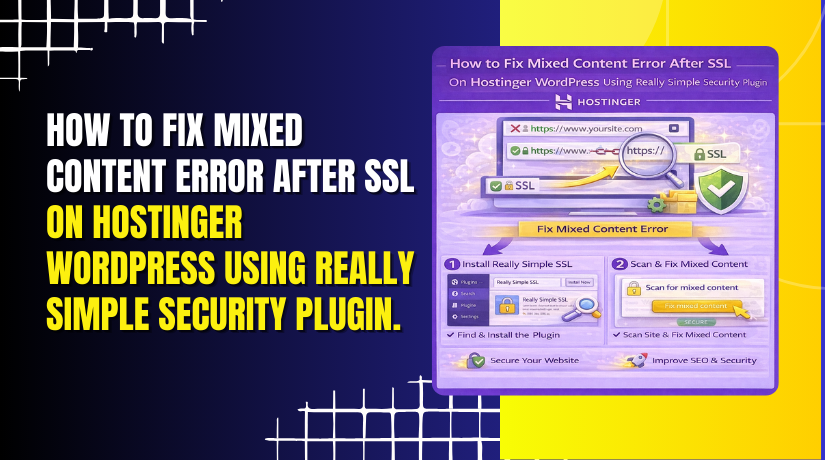
How to Fix Mixed Content Error After SSL On Hostinger WordPress Using Really Simple Security Plugin.
Introduction
After enabling SSL on a WordPress website, some pages may still load insecure resources using HTTP instead of HTTPS. This issue is known as a mixed content error and can cause browsers to display security warnings, reducing user trust and affecting website credibility. Mixed content errors usually occur when images, scripts, or stylesheets are linked with outdated URLs.
This guidde explains how to fix mixed content errors on your Hostinger WordPress site using the Really Simple SSL plugin. By following these steps, you can ensure that all website resources load securely over HTTPS and that your site displays properly without security alerts.
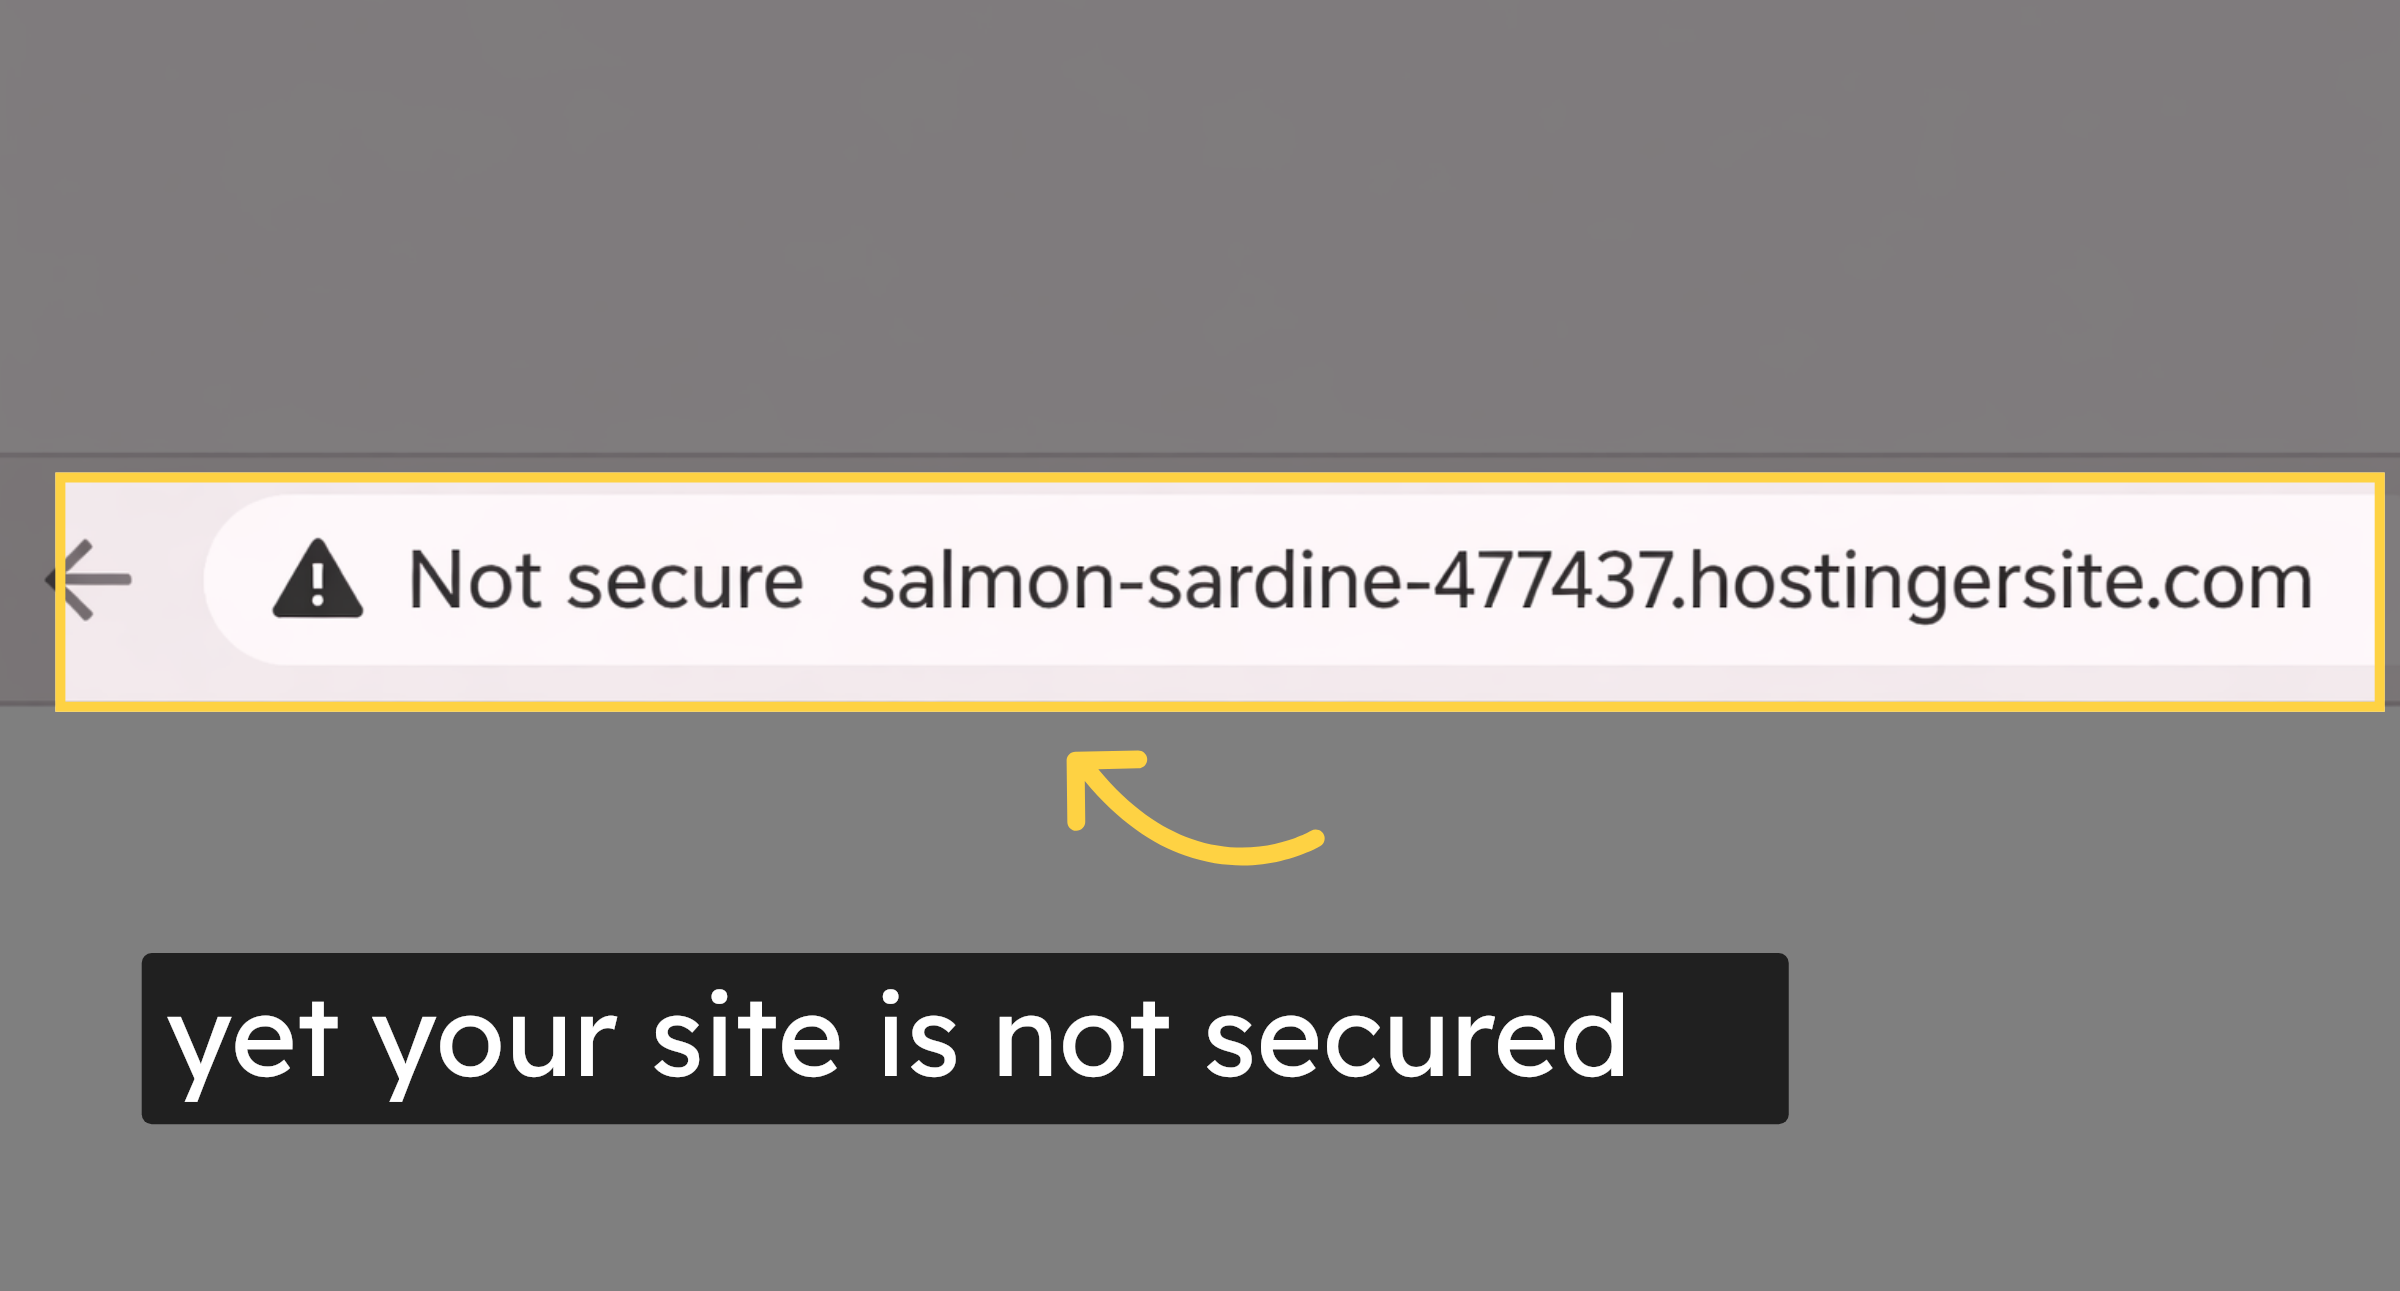
1. yet your site is not secured
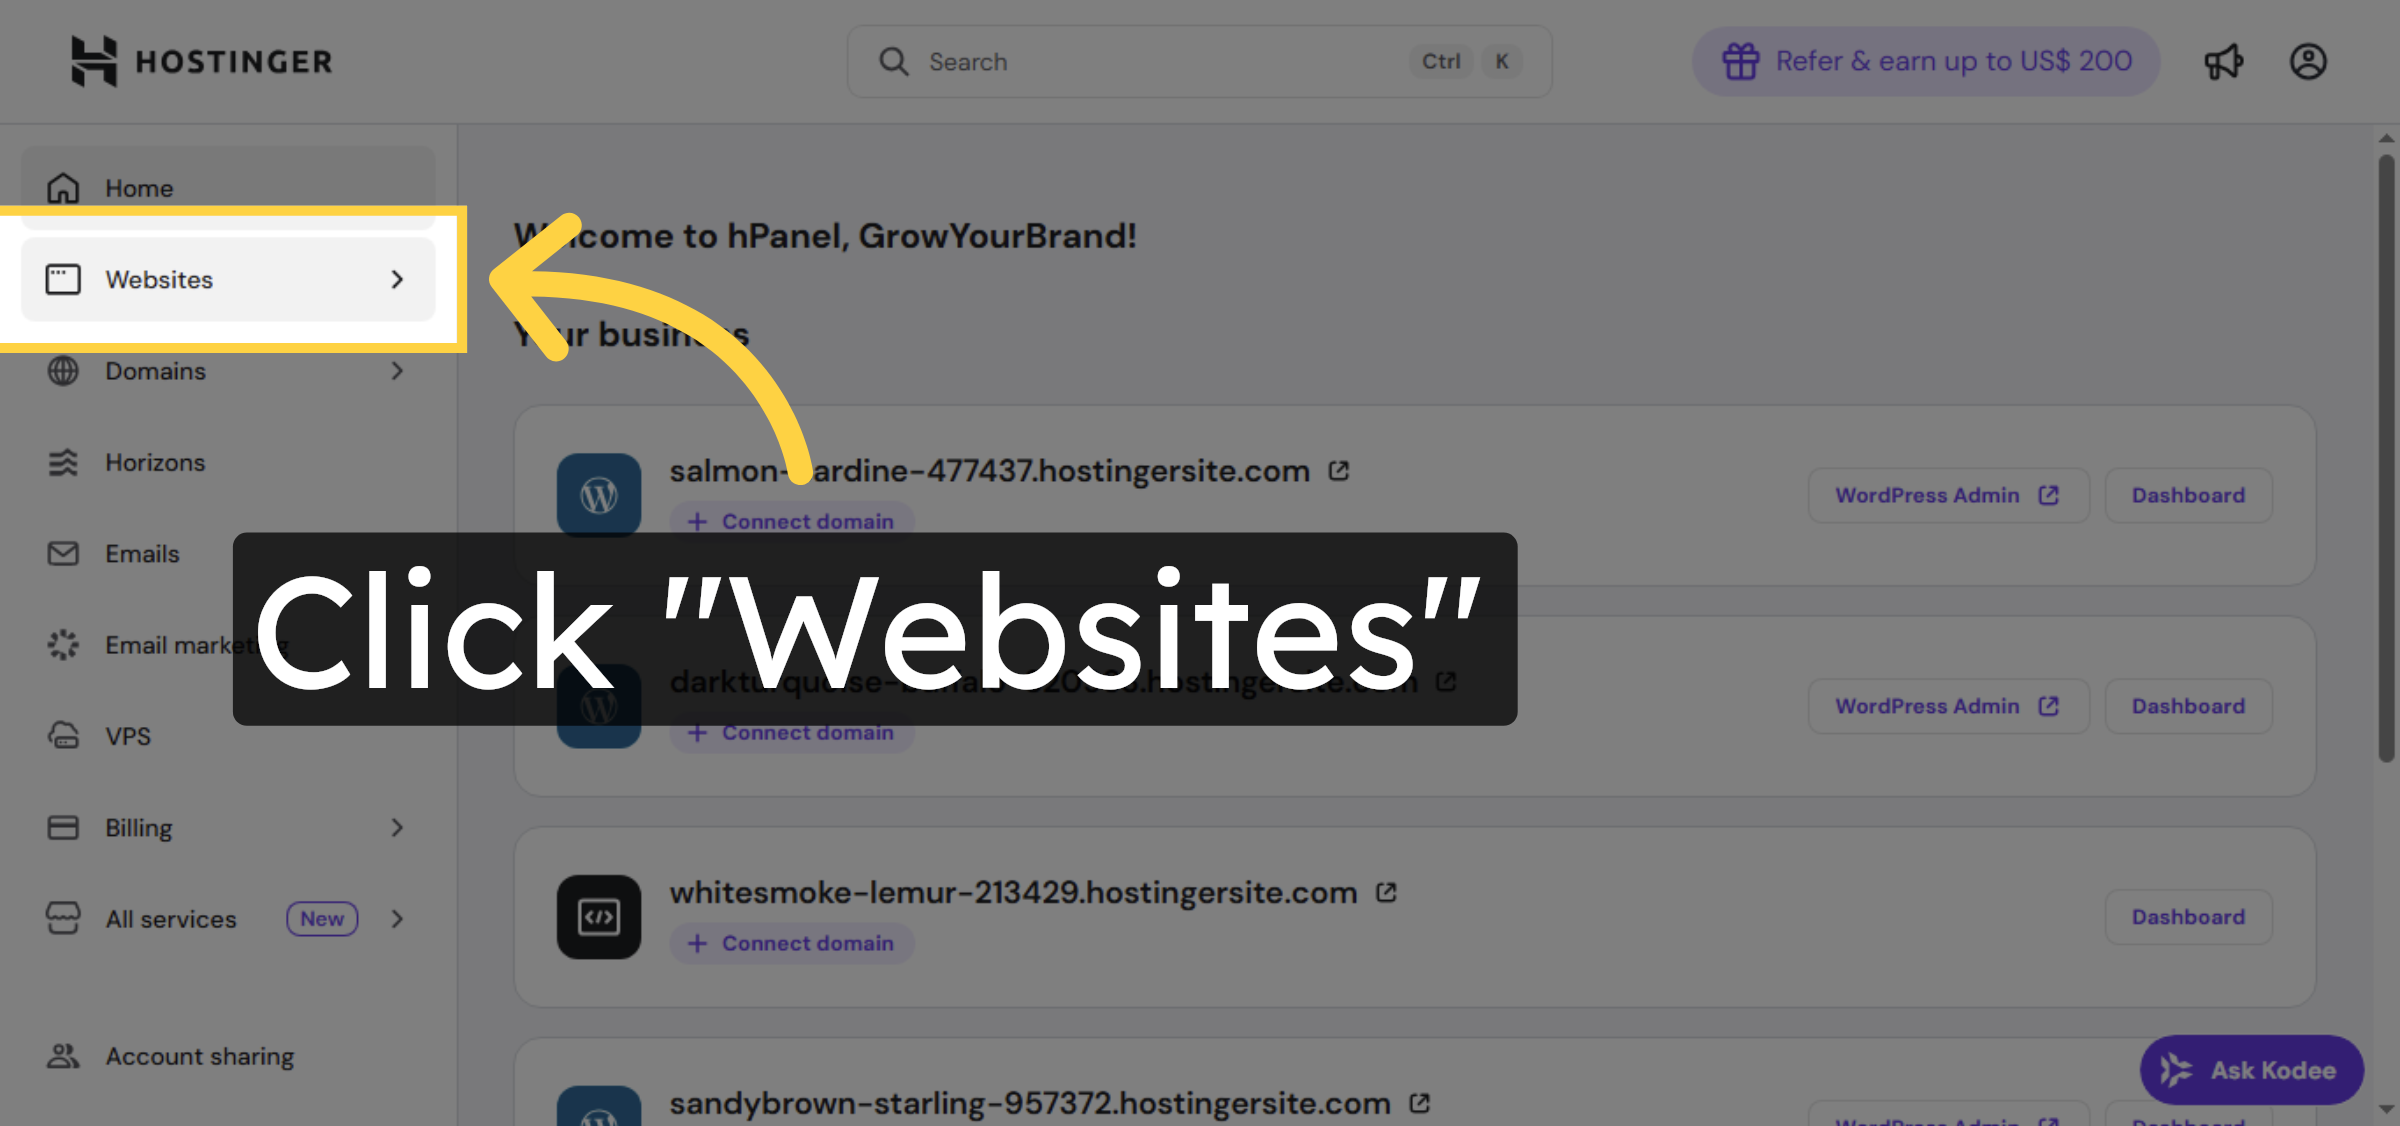
2. Navigate to Websites Section
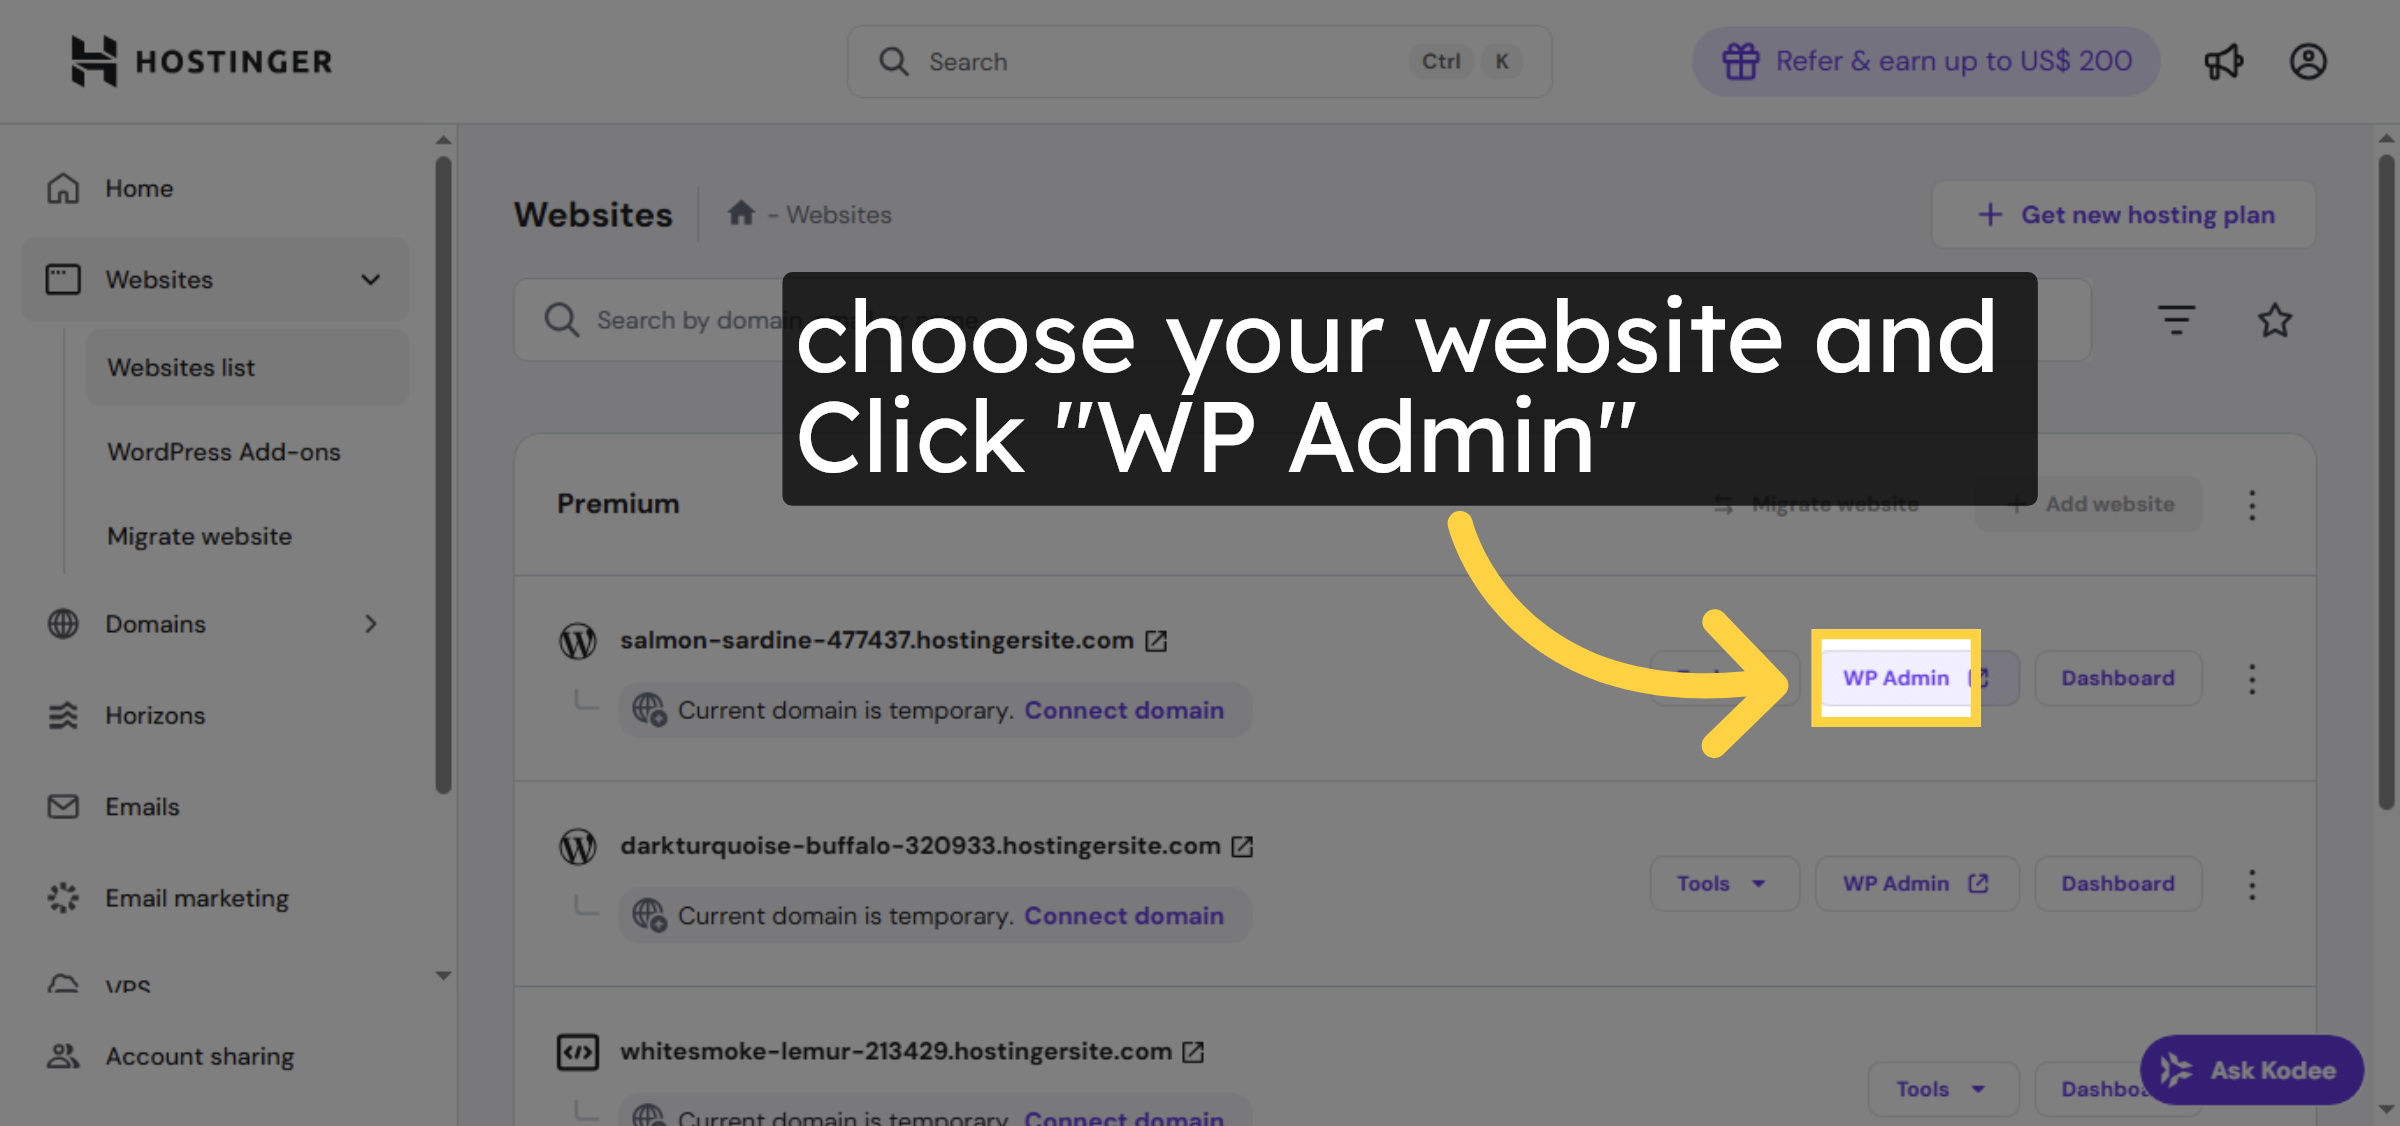
3. Open WordPress Admin Panel
4. Access Plugin Installation

5. Open Plugin Search
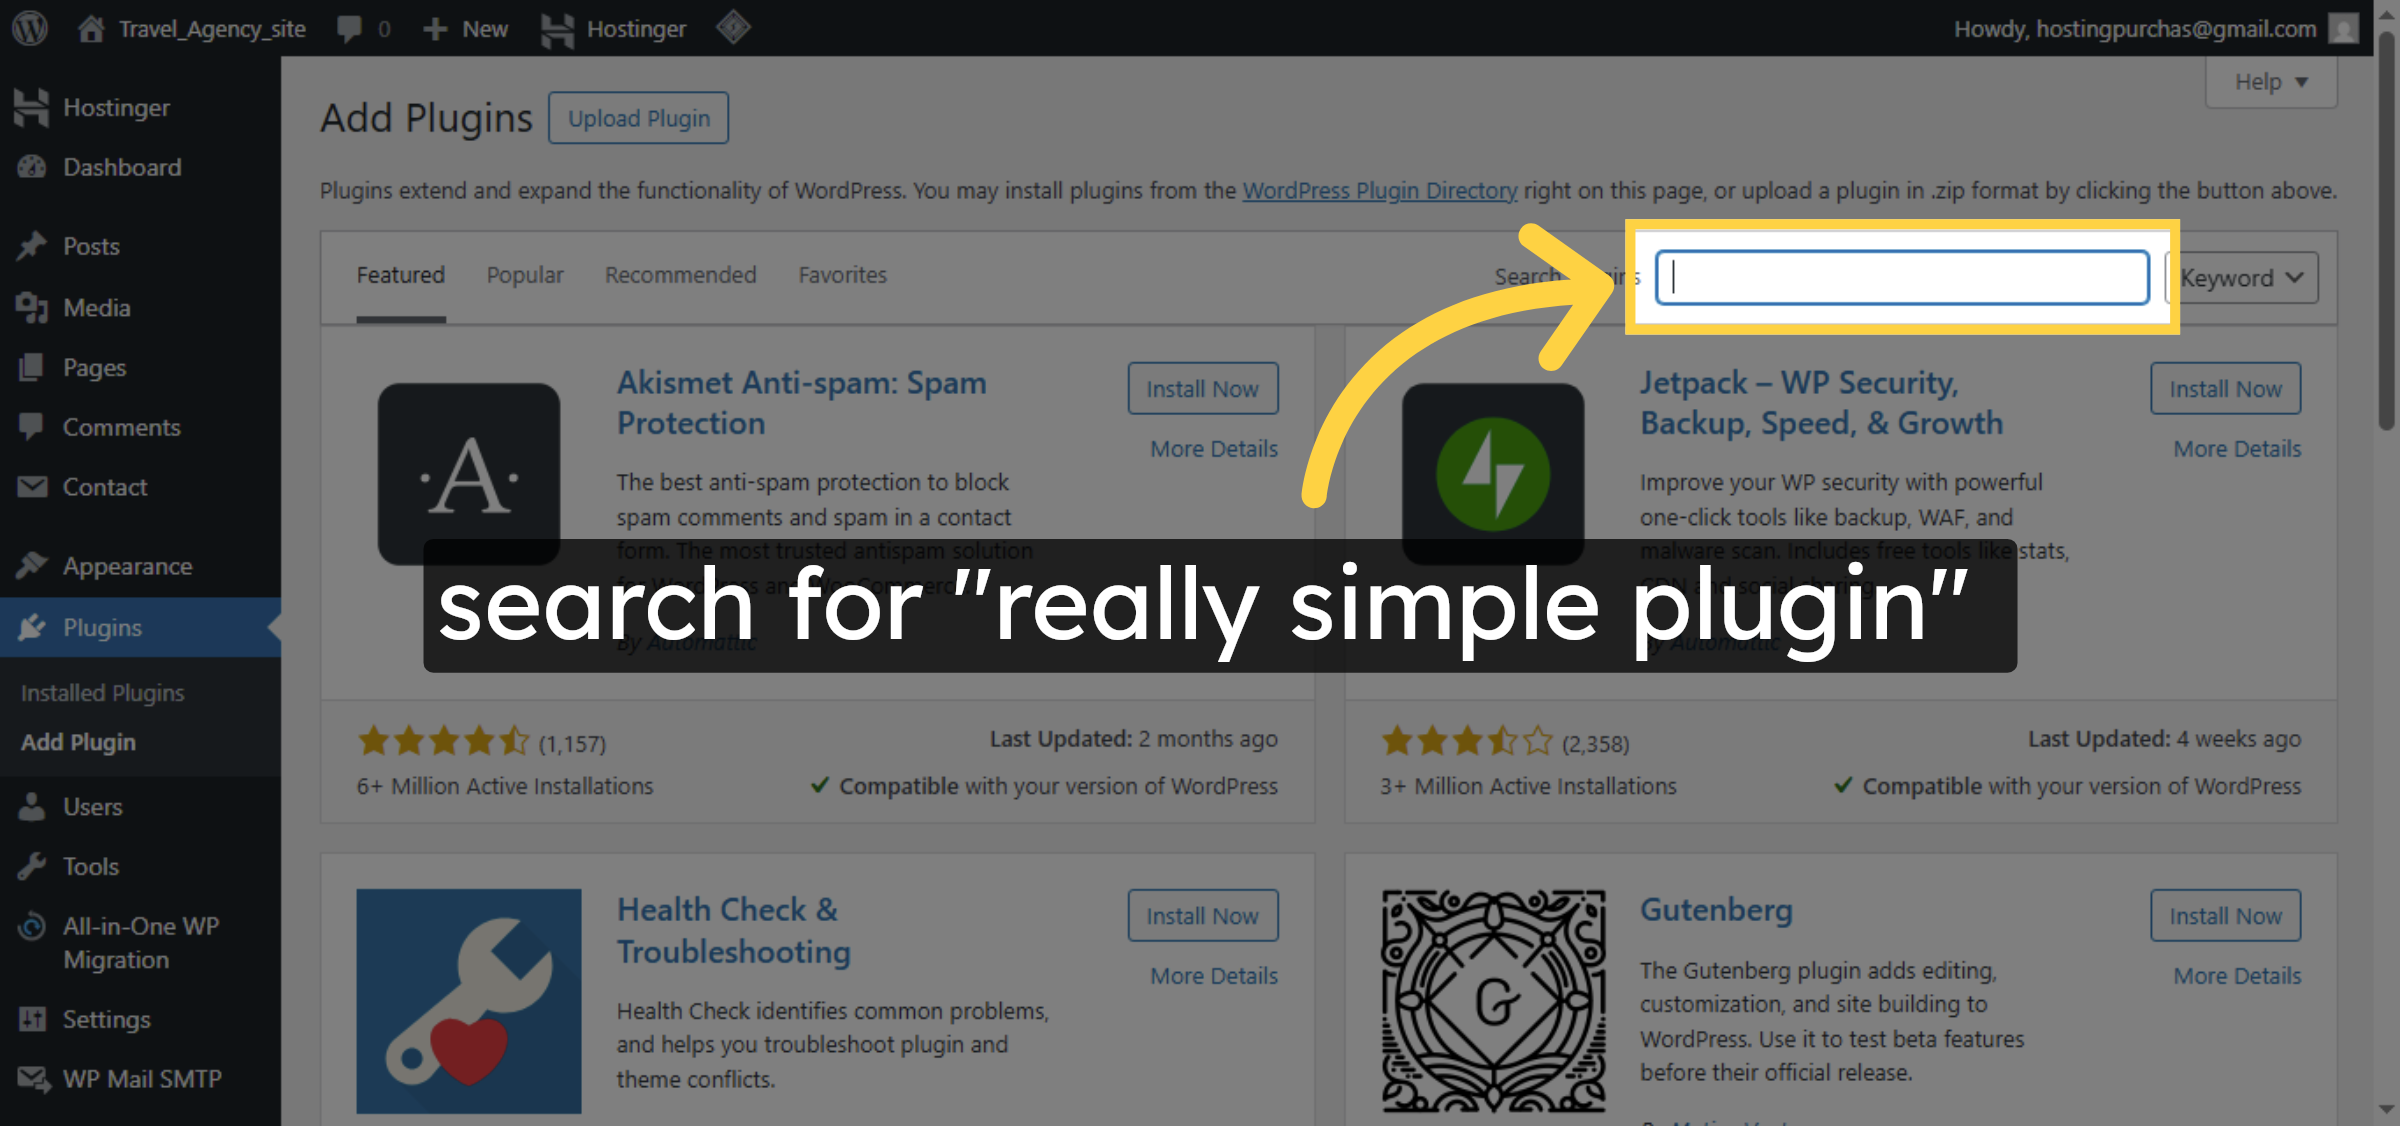
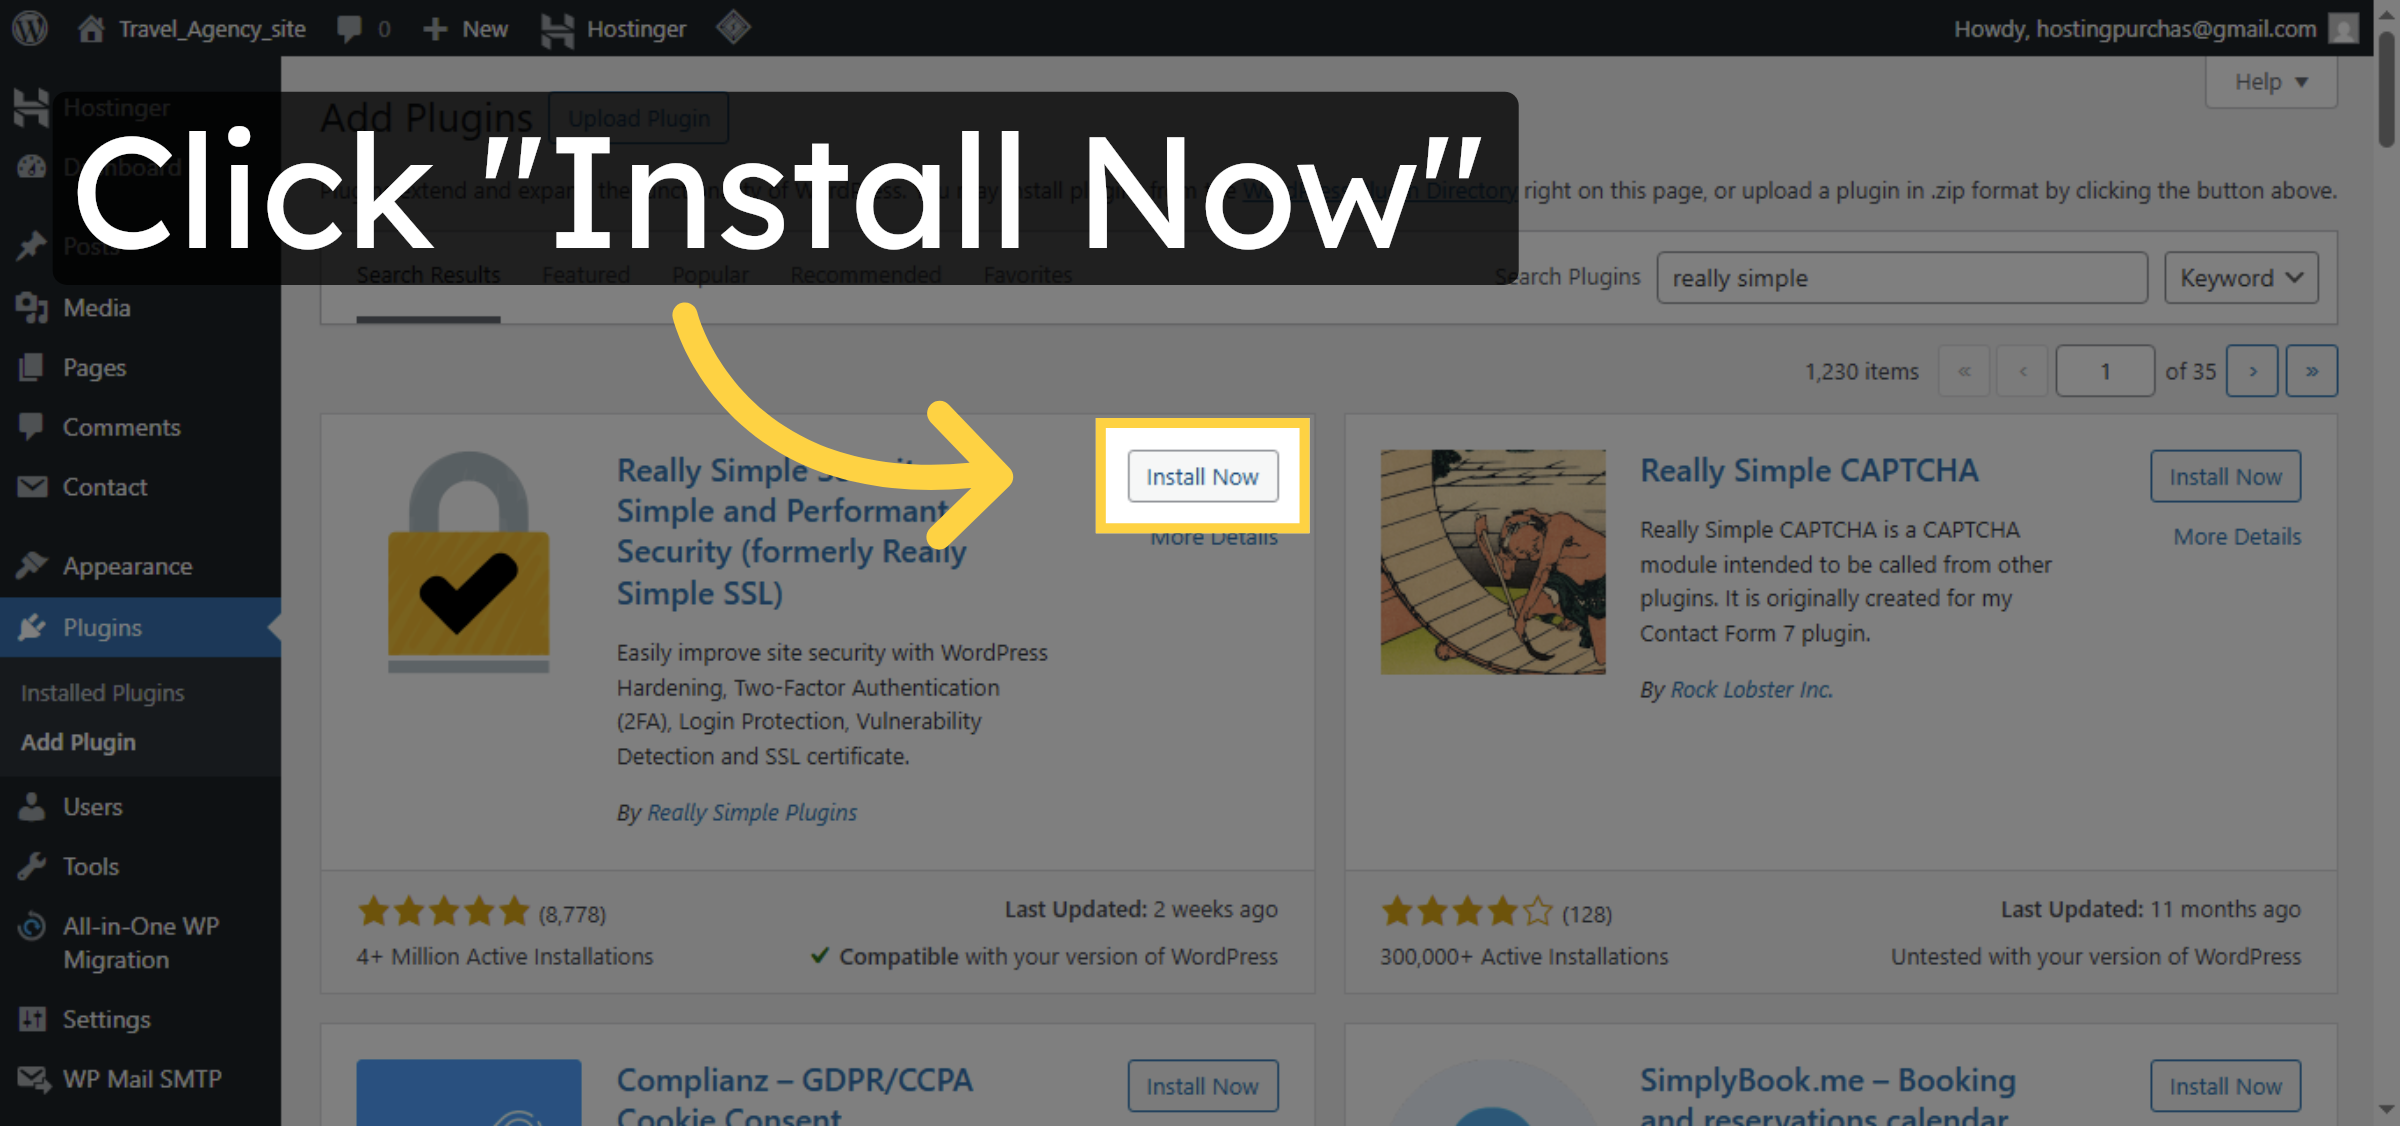
6. Install SSL Plugin
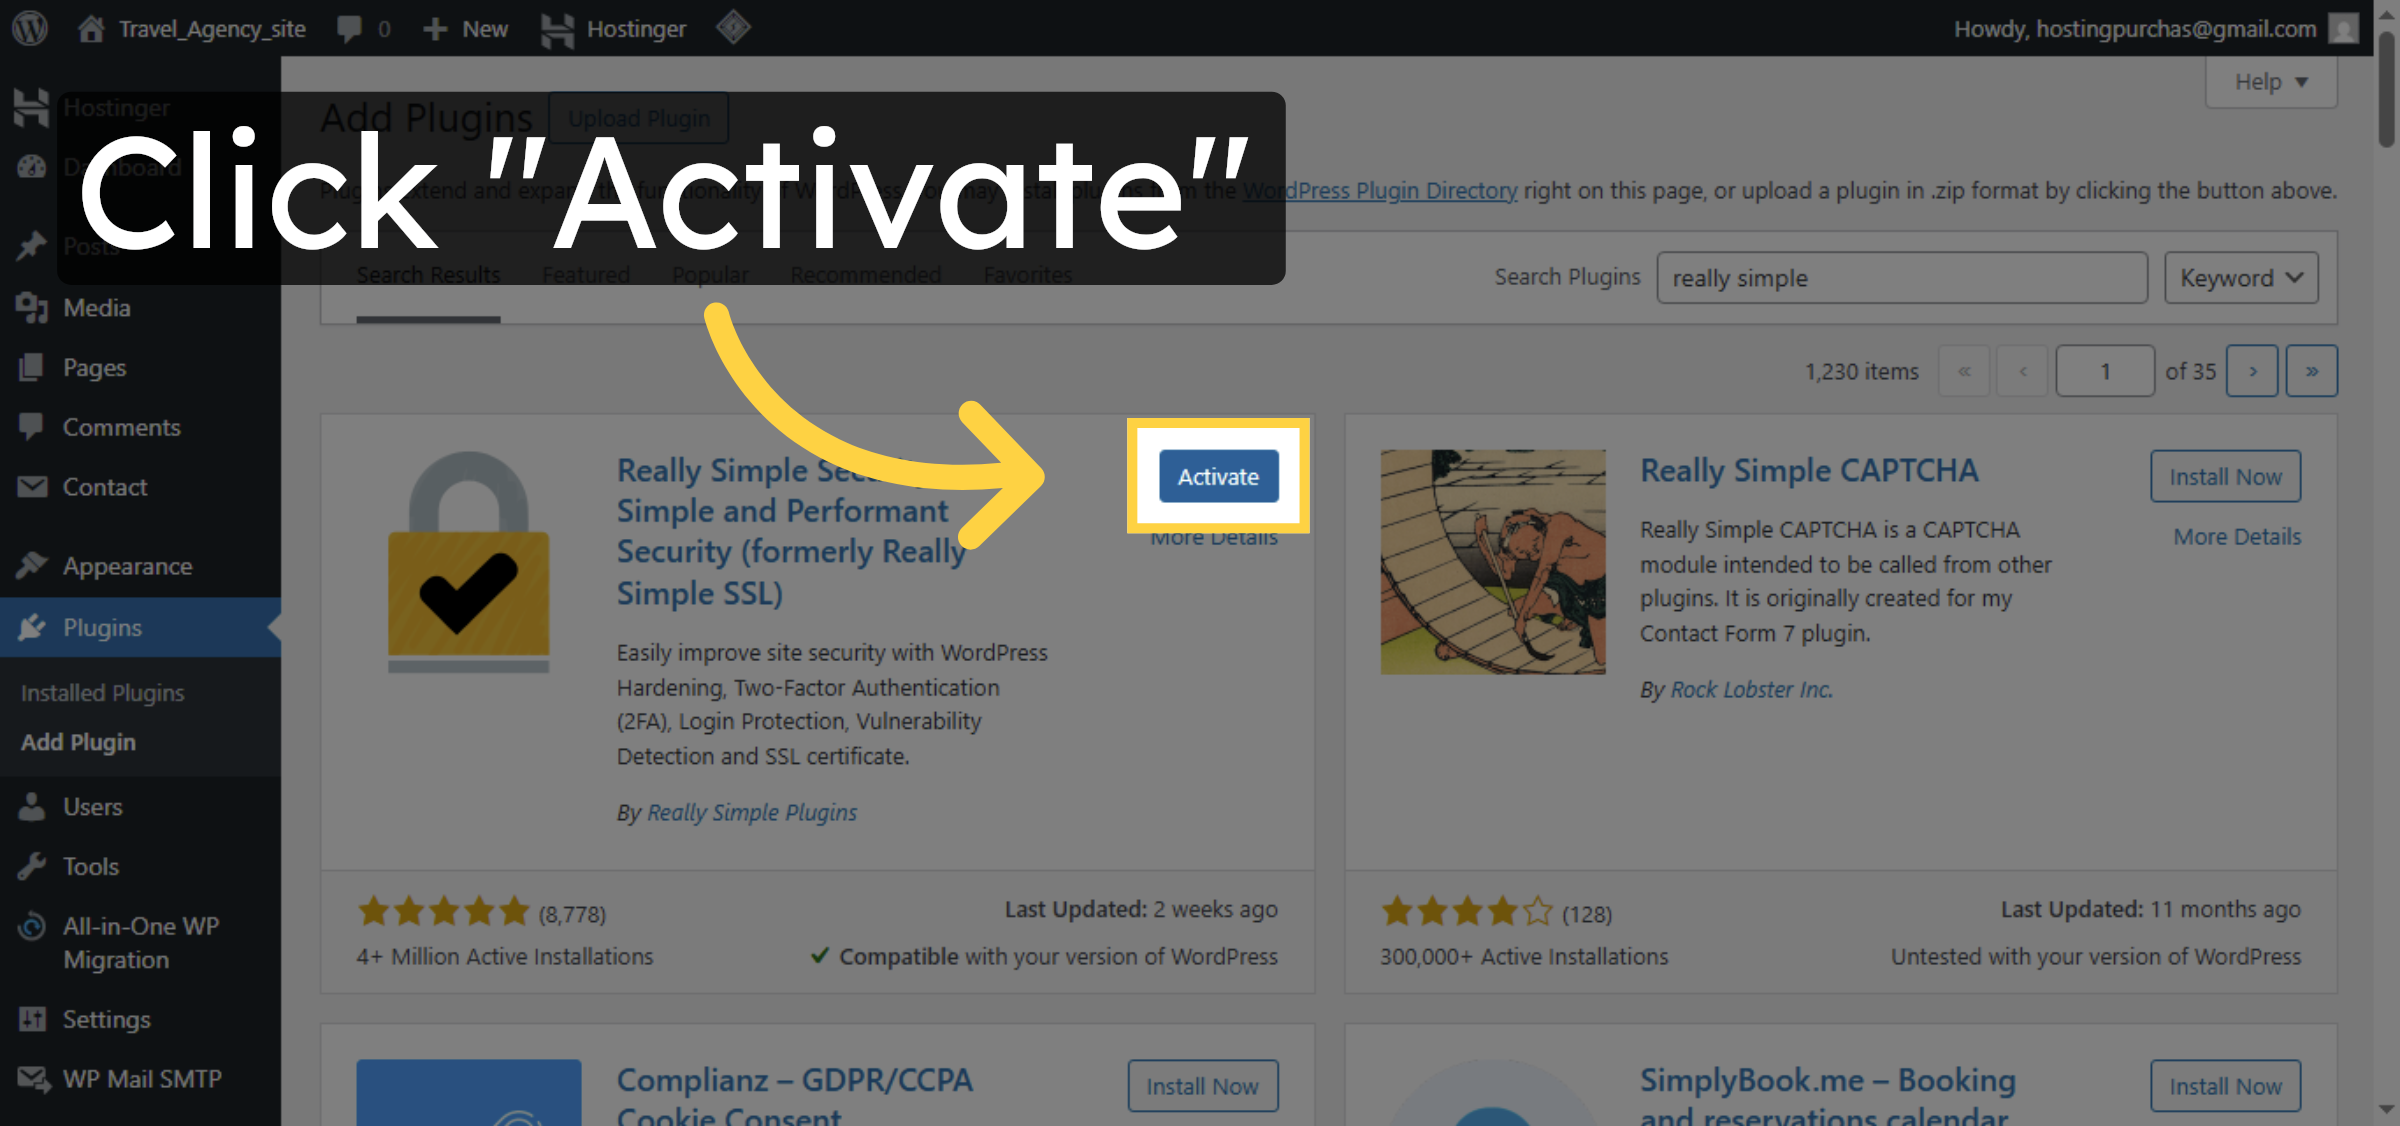
7. Activate SSL Plugin
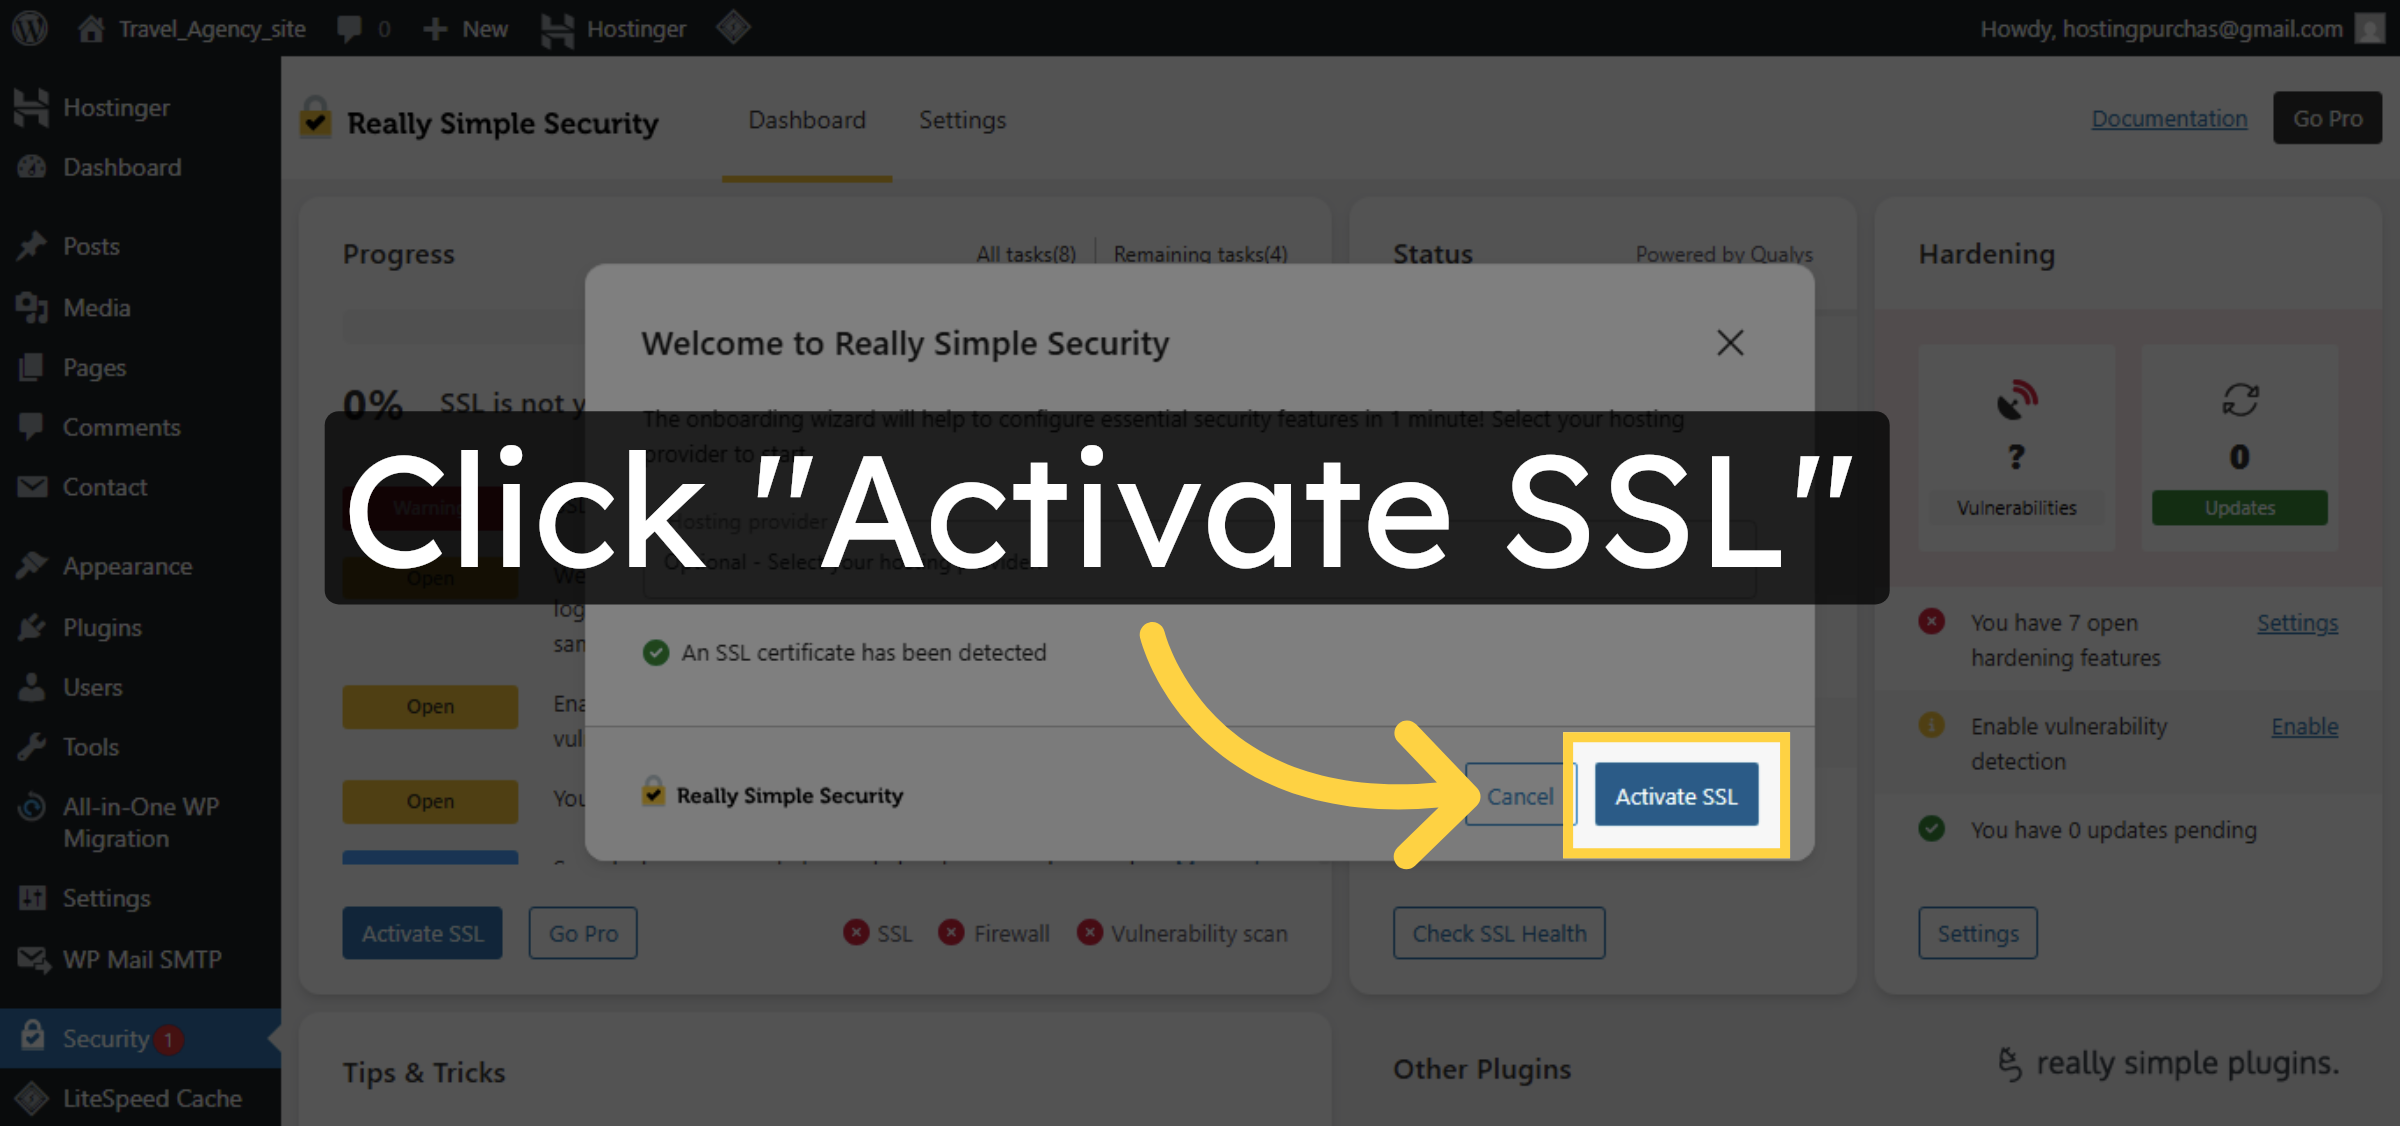
8. Enable SSL Feature
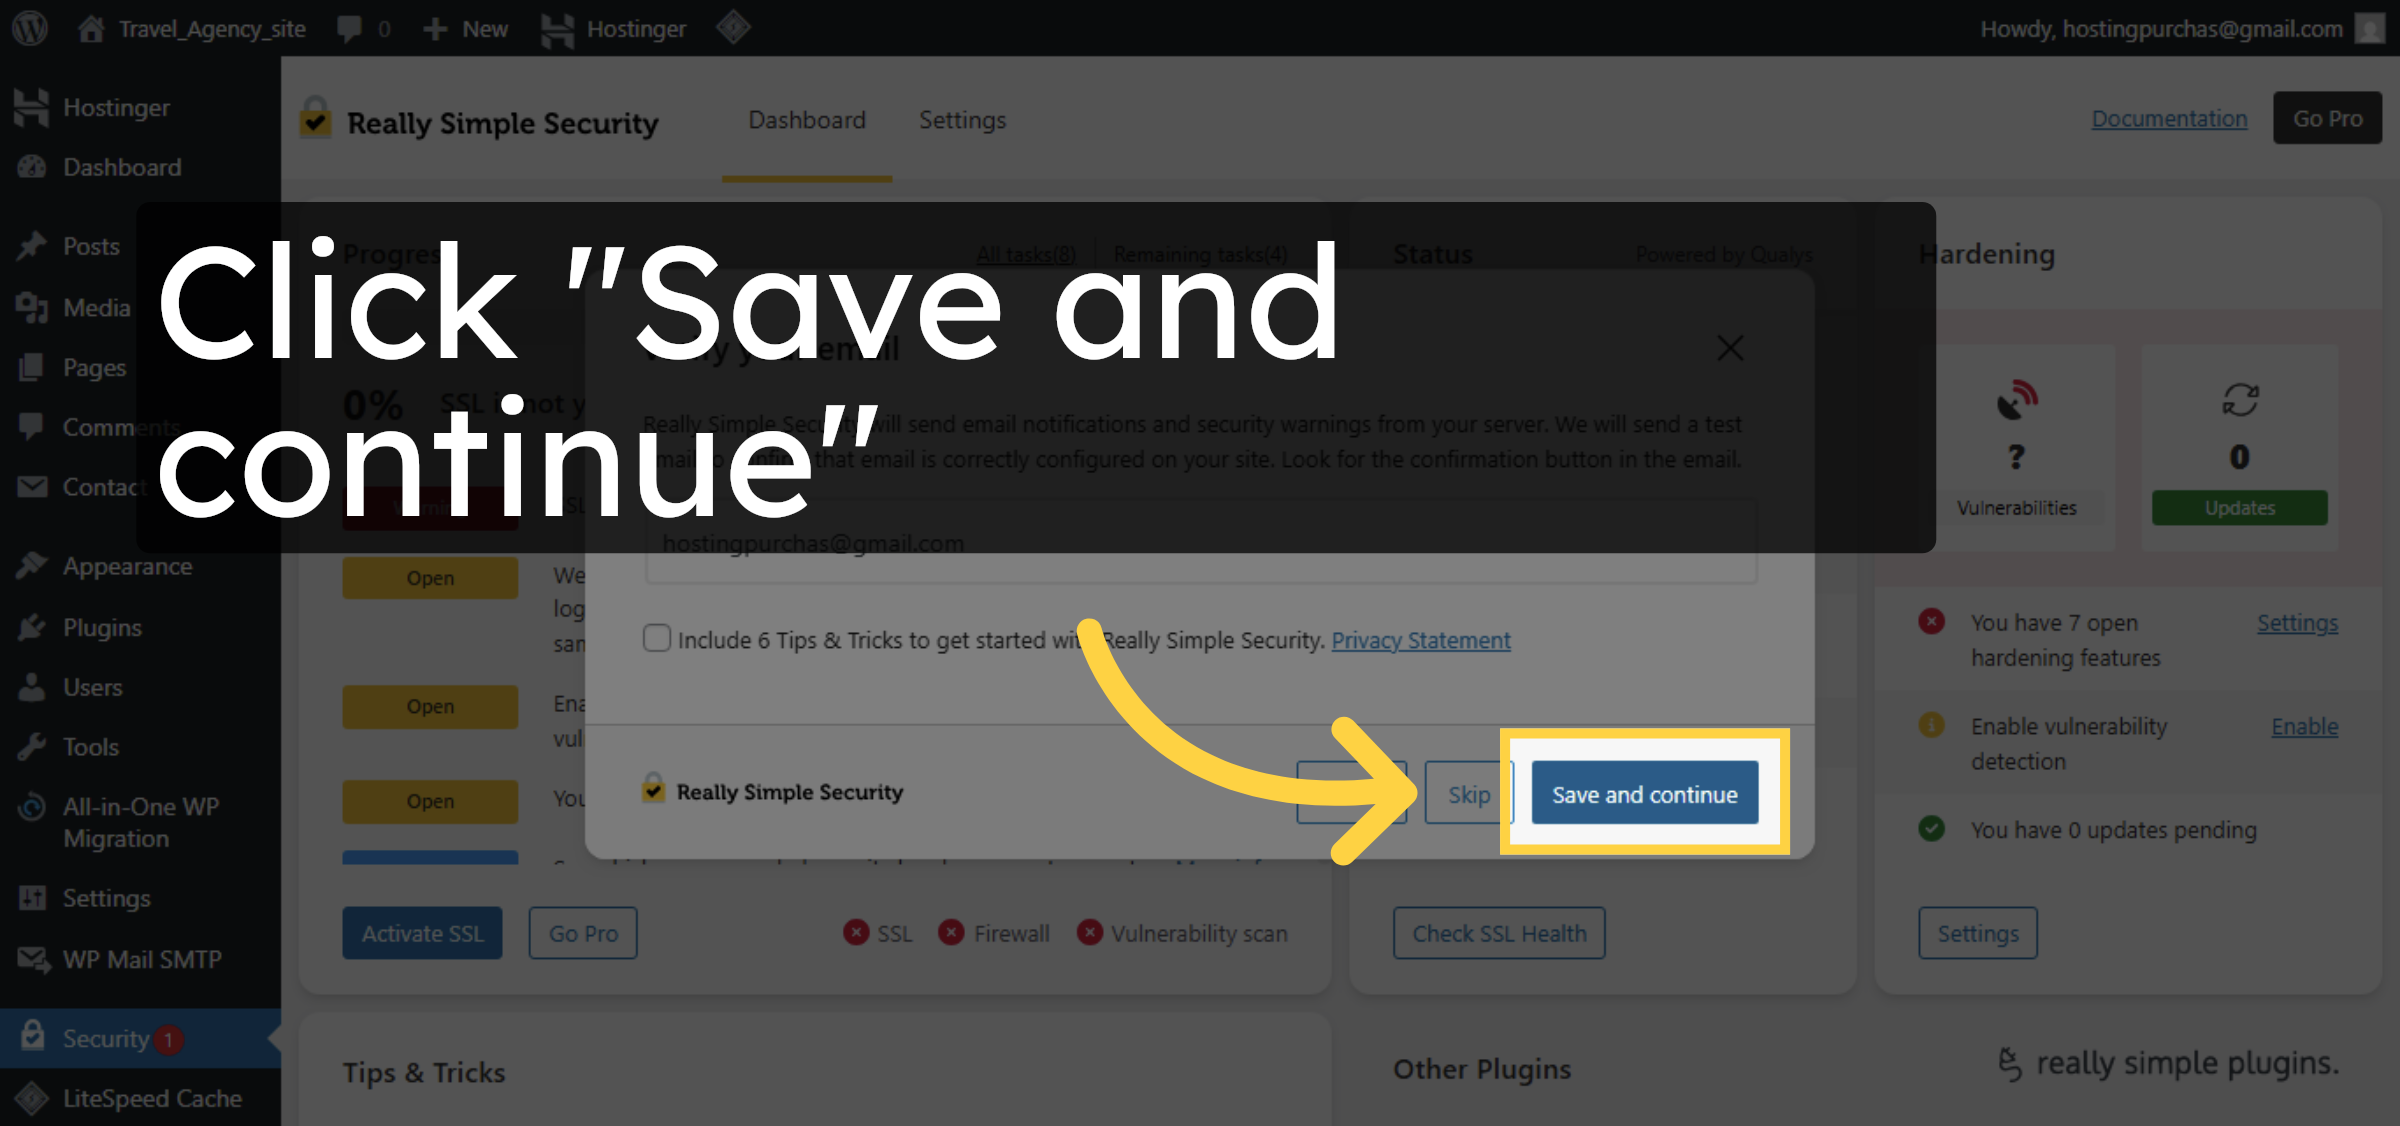
9. Save SSL Settings


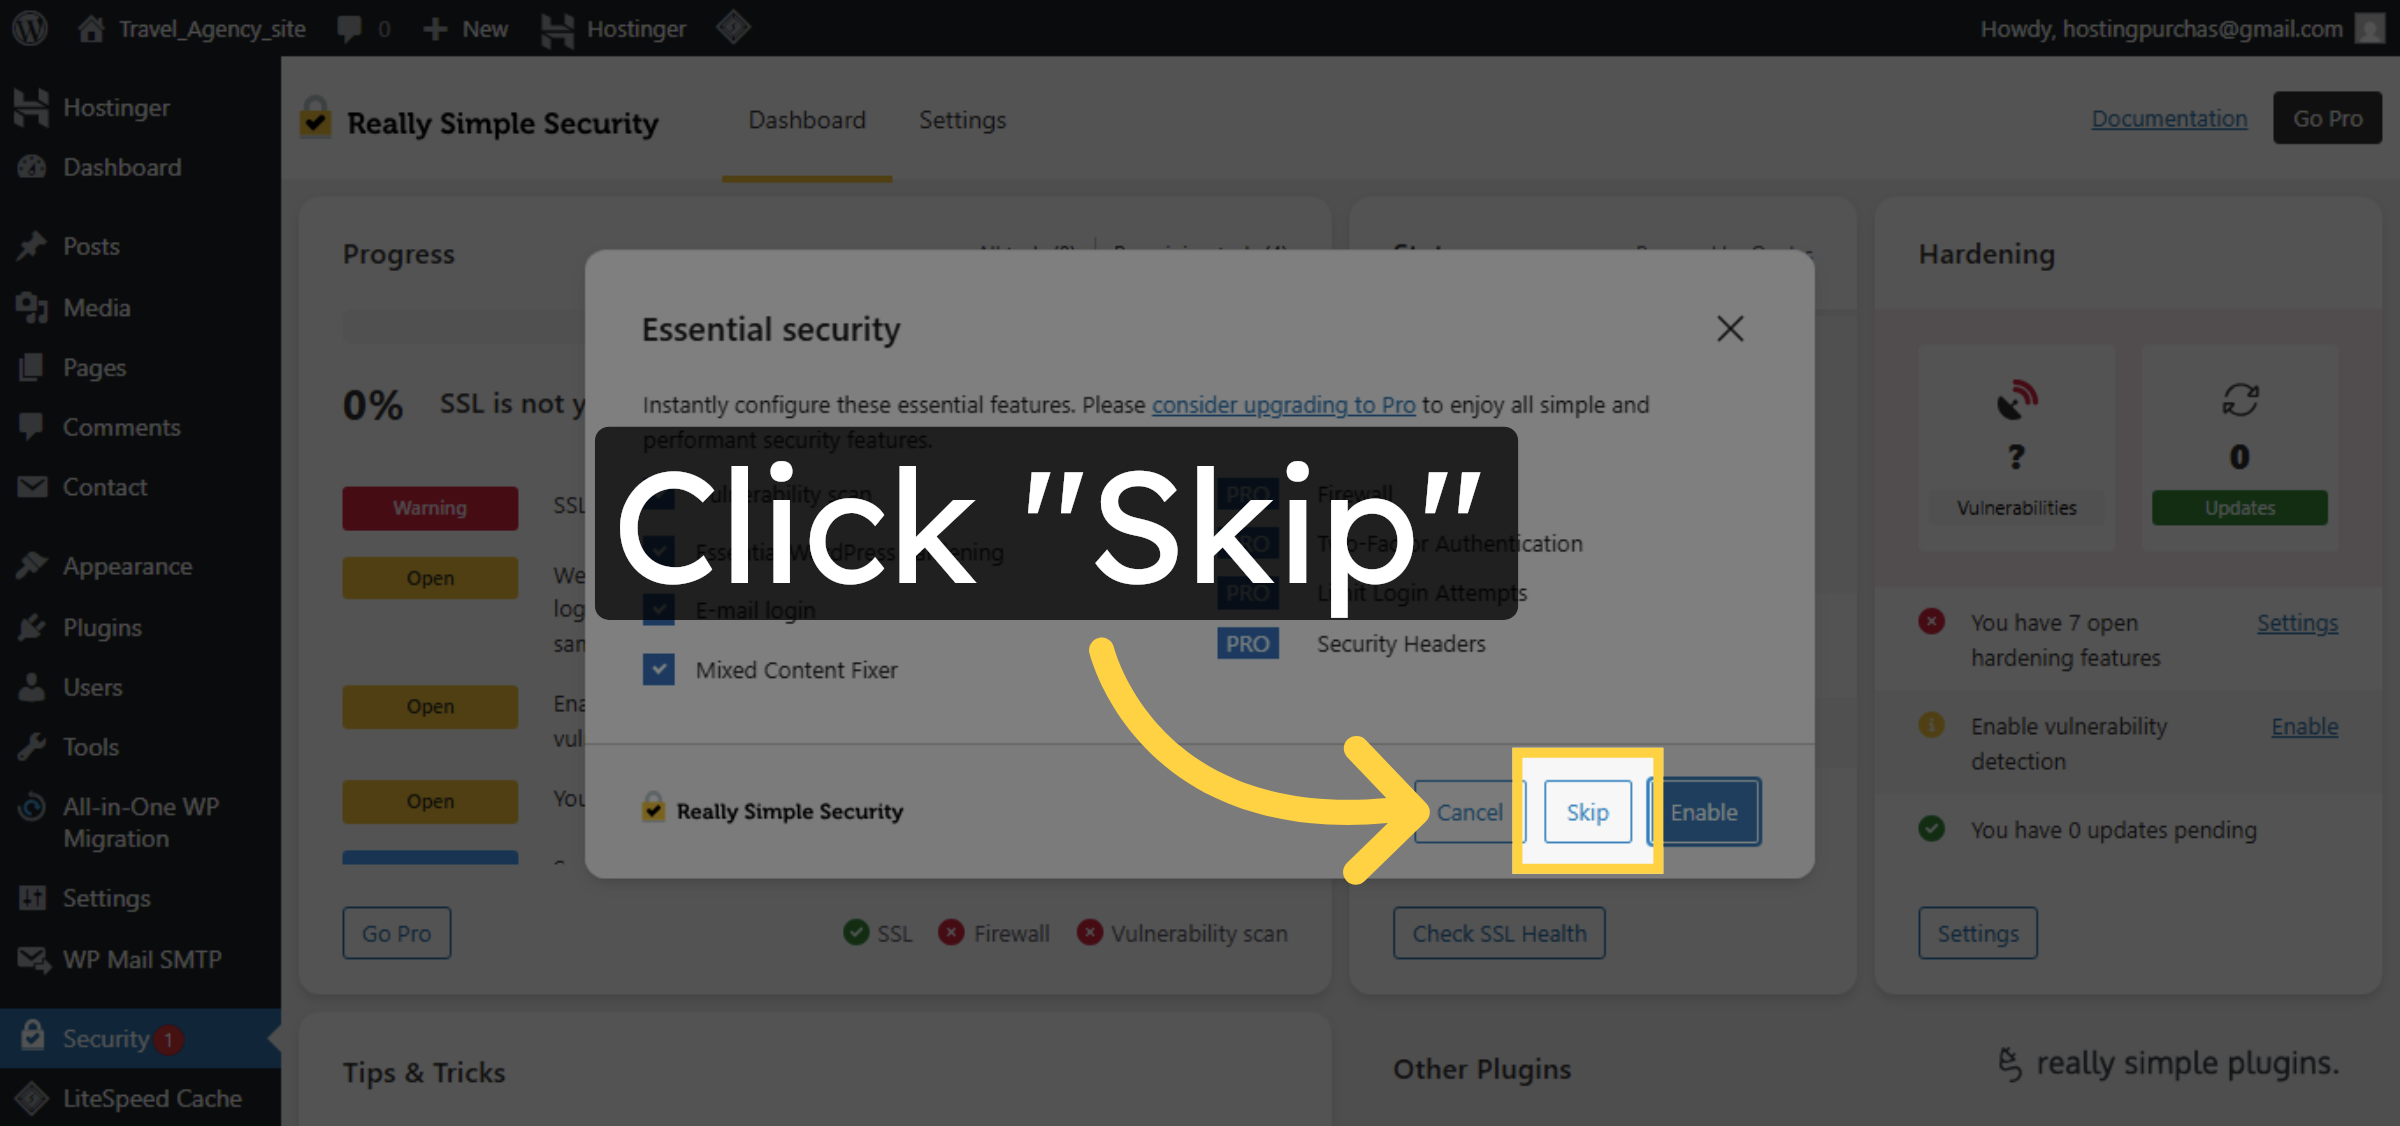
10. Skip Additional Setup
11. Install SSL Certificate
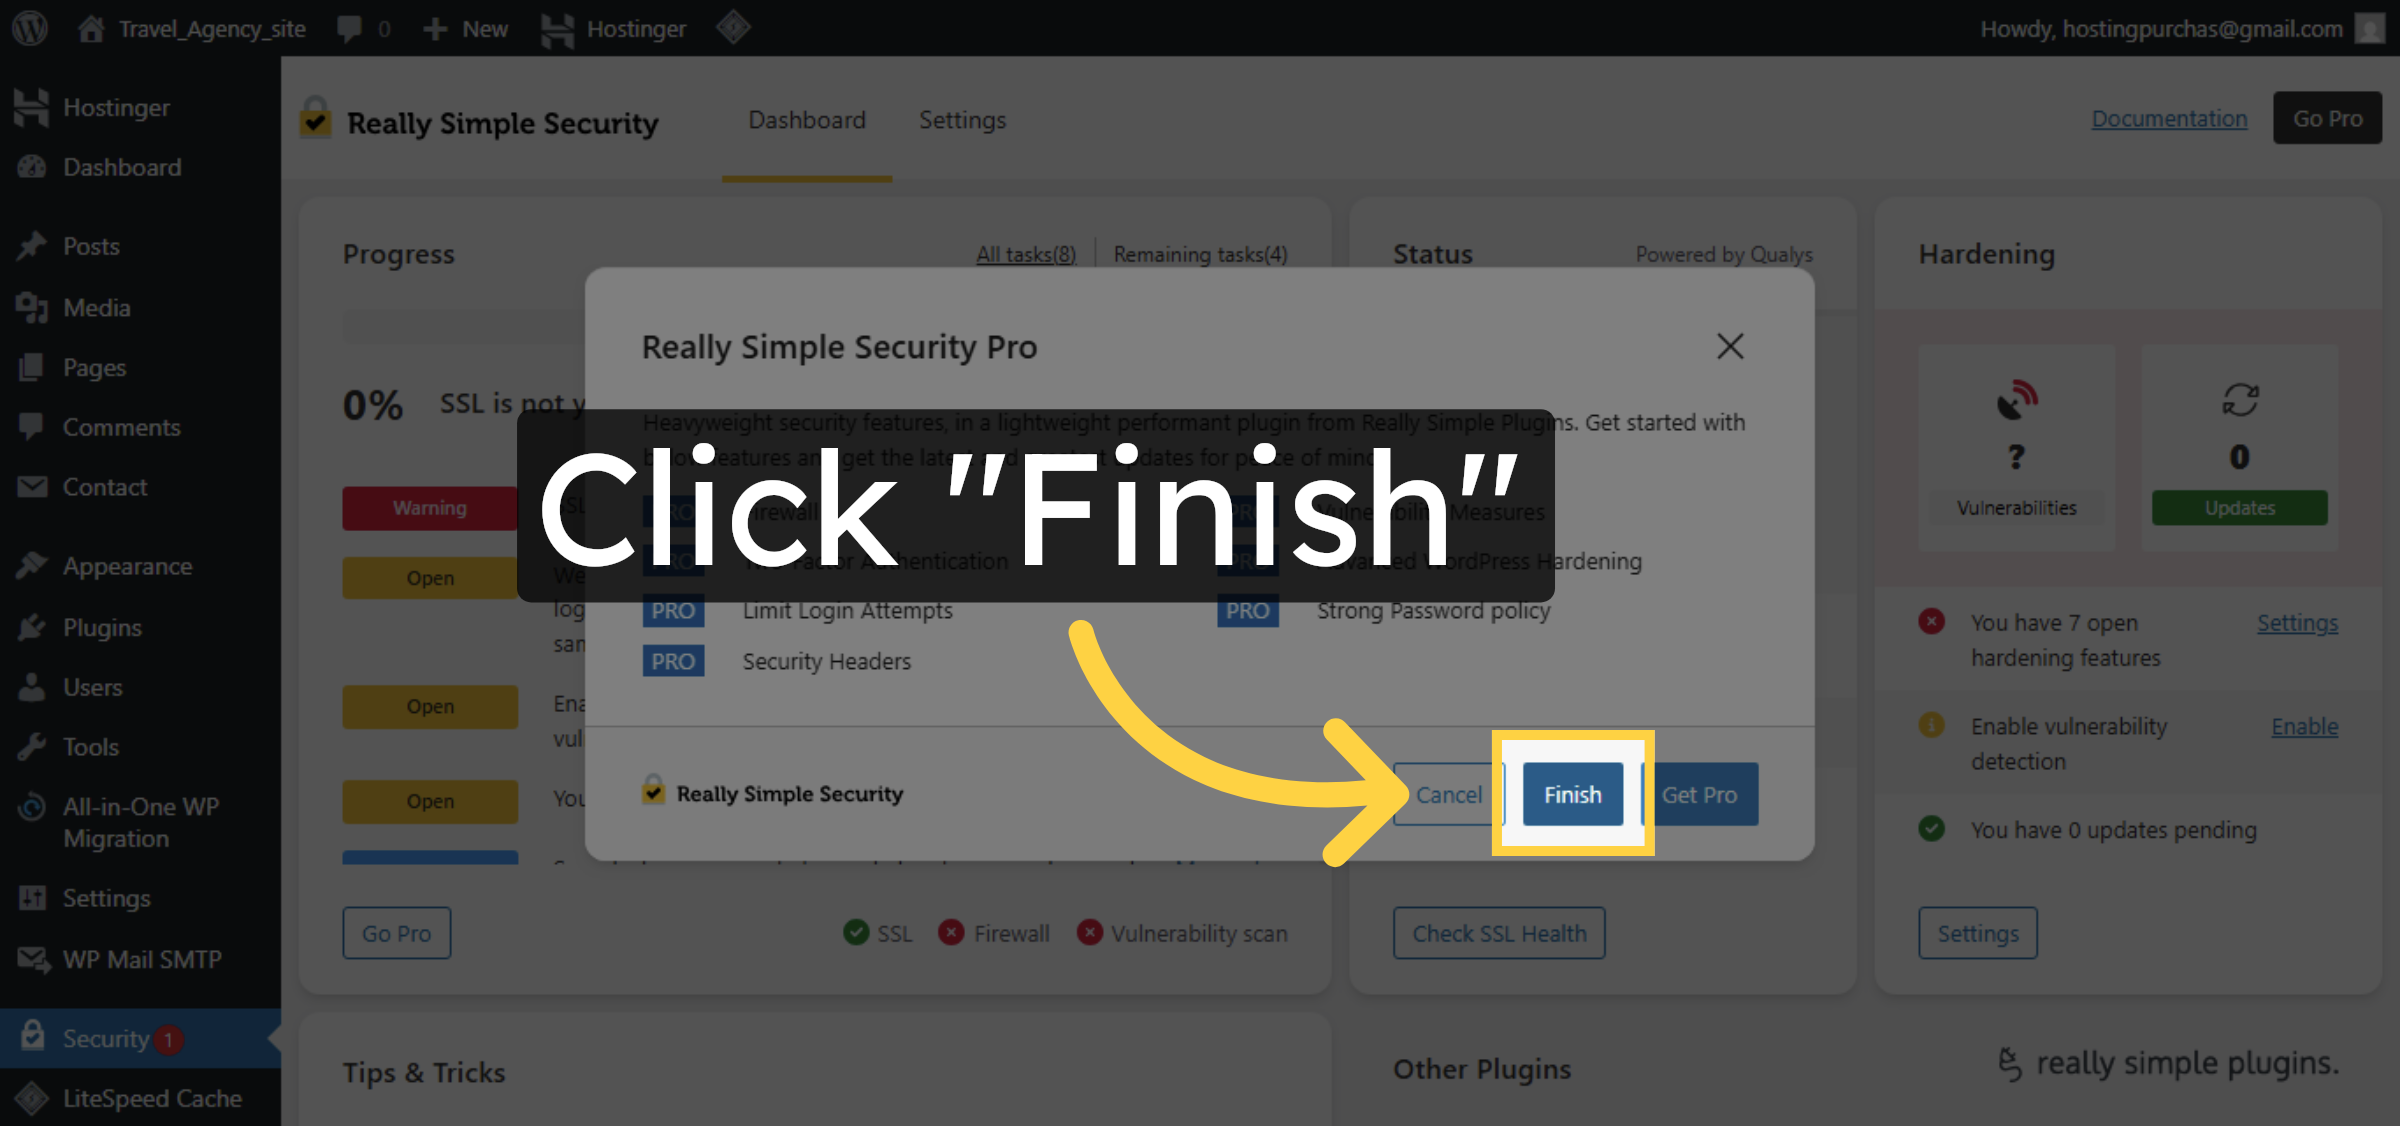
12. Complete SSL Setup
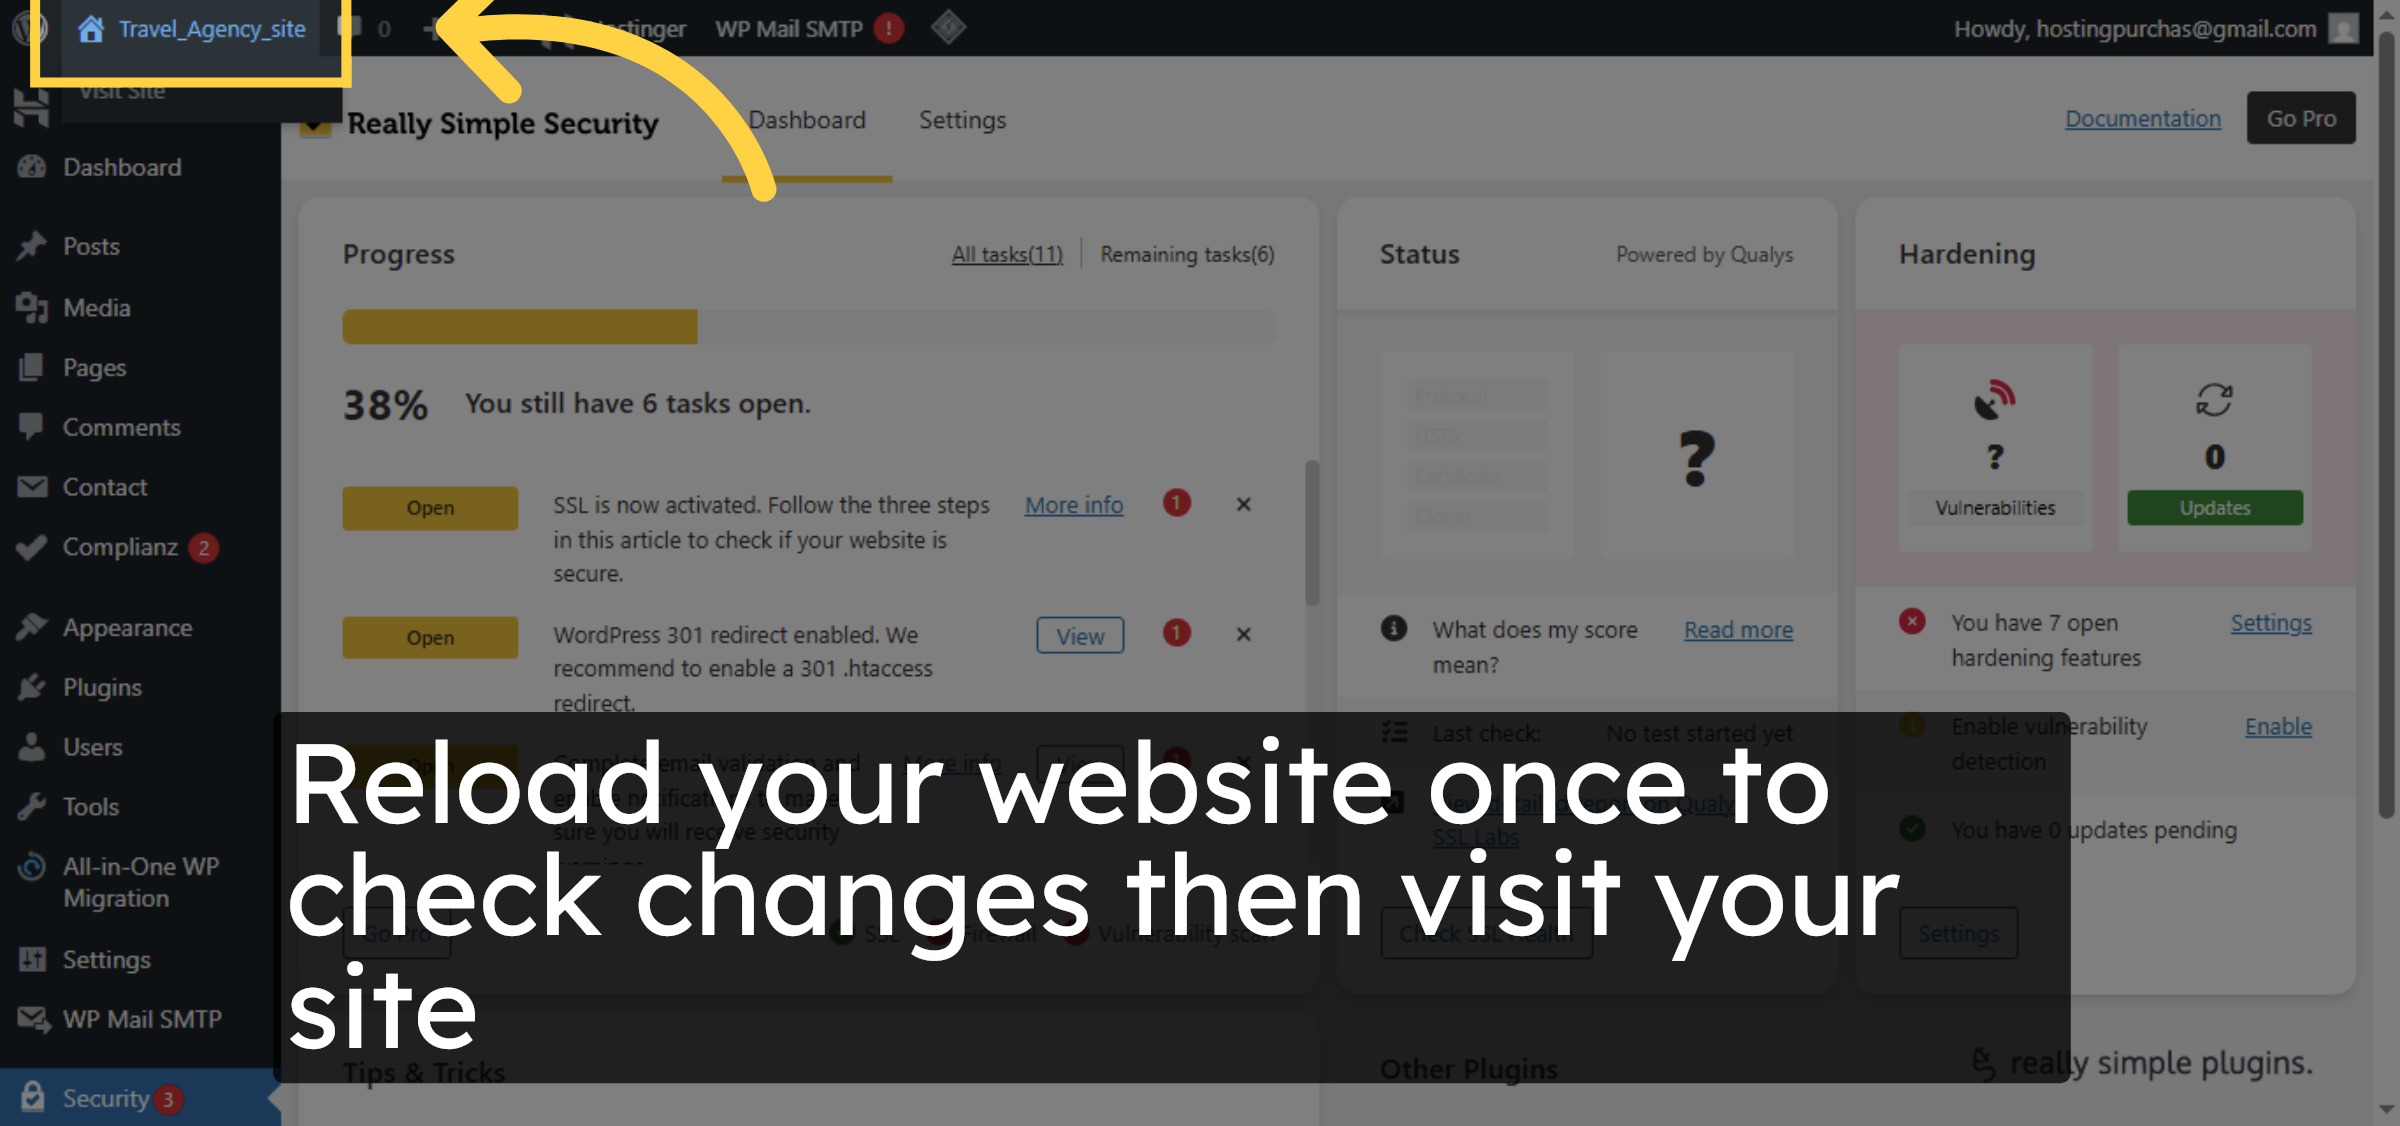
13. Return to Site Dashboard
14. now you can see your error has been resolved

Conclusion
By following this guide, you have successfully resolved mixed content errors on your Hostinger WordPress website. The SSL plugin has been installed, activated, and configured to convert insecure links into secure HTTPS connections automatically.
With all content now loading securely, your website is fully protected and compliant with modern browser security standards. Regularly monitoring your SSL settings and updating plugins will help maintain long-term website security and performance.
WooHelpDesk Support
Need professional help with SSL issues, WordPress security, or website optimization? WooHelpDesk offers expert support to keep your website secure and running smoothly.
Visit: https://www.woohelpdesk.com
Call Us Toll-Free: +1 888 602 0119 (US & Canada)
Reliable Support | Secure Solutions | Trusted Experts


