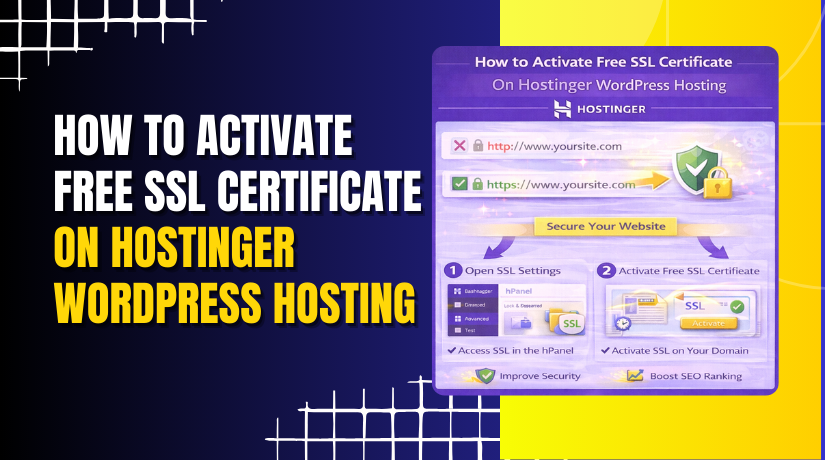
How to Activate Free SSL Certificate On Hostinger WordPress Hosting
Introduction
Website security is a critical factor in protecting user data and maintaining trust. An SSL (Secure Sockets Layer) certificate encrypts the connection between your website and visitors, ensuring that sensitive information such as login credentials and contact details remains secure. It also helps improve search engine rankings and enhances your website’s credibility.
This guidde explains how to activate a free SSL certificate on your Hostinger WordPress hosting account using the hPanel dashboard. By following these steps, you can secure your website with HTTPS and provide a safe browsing experience for your users.
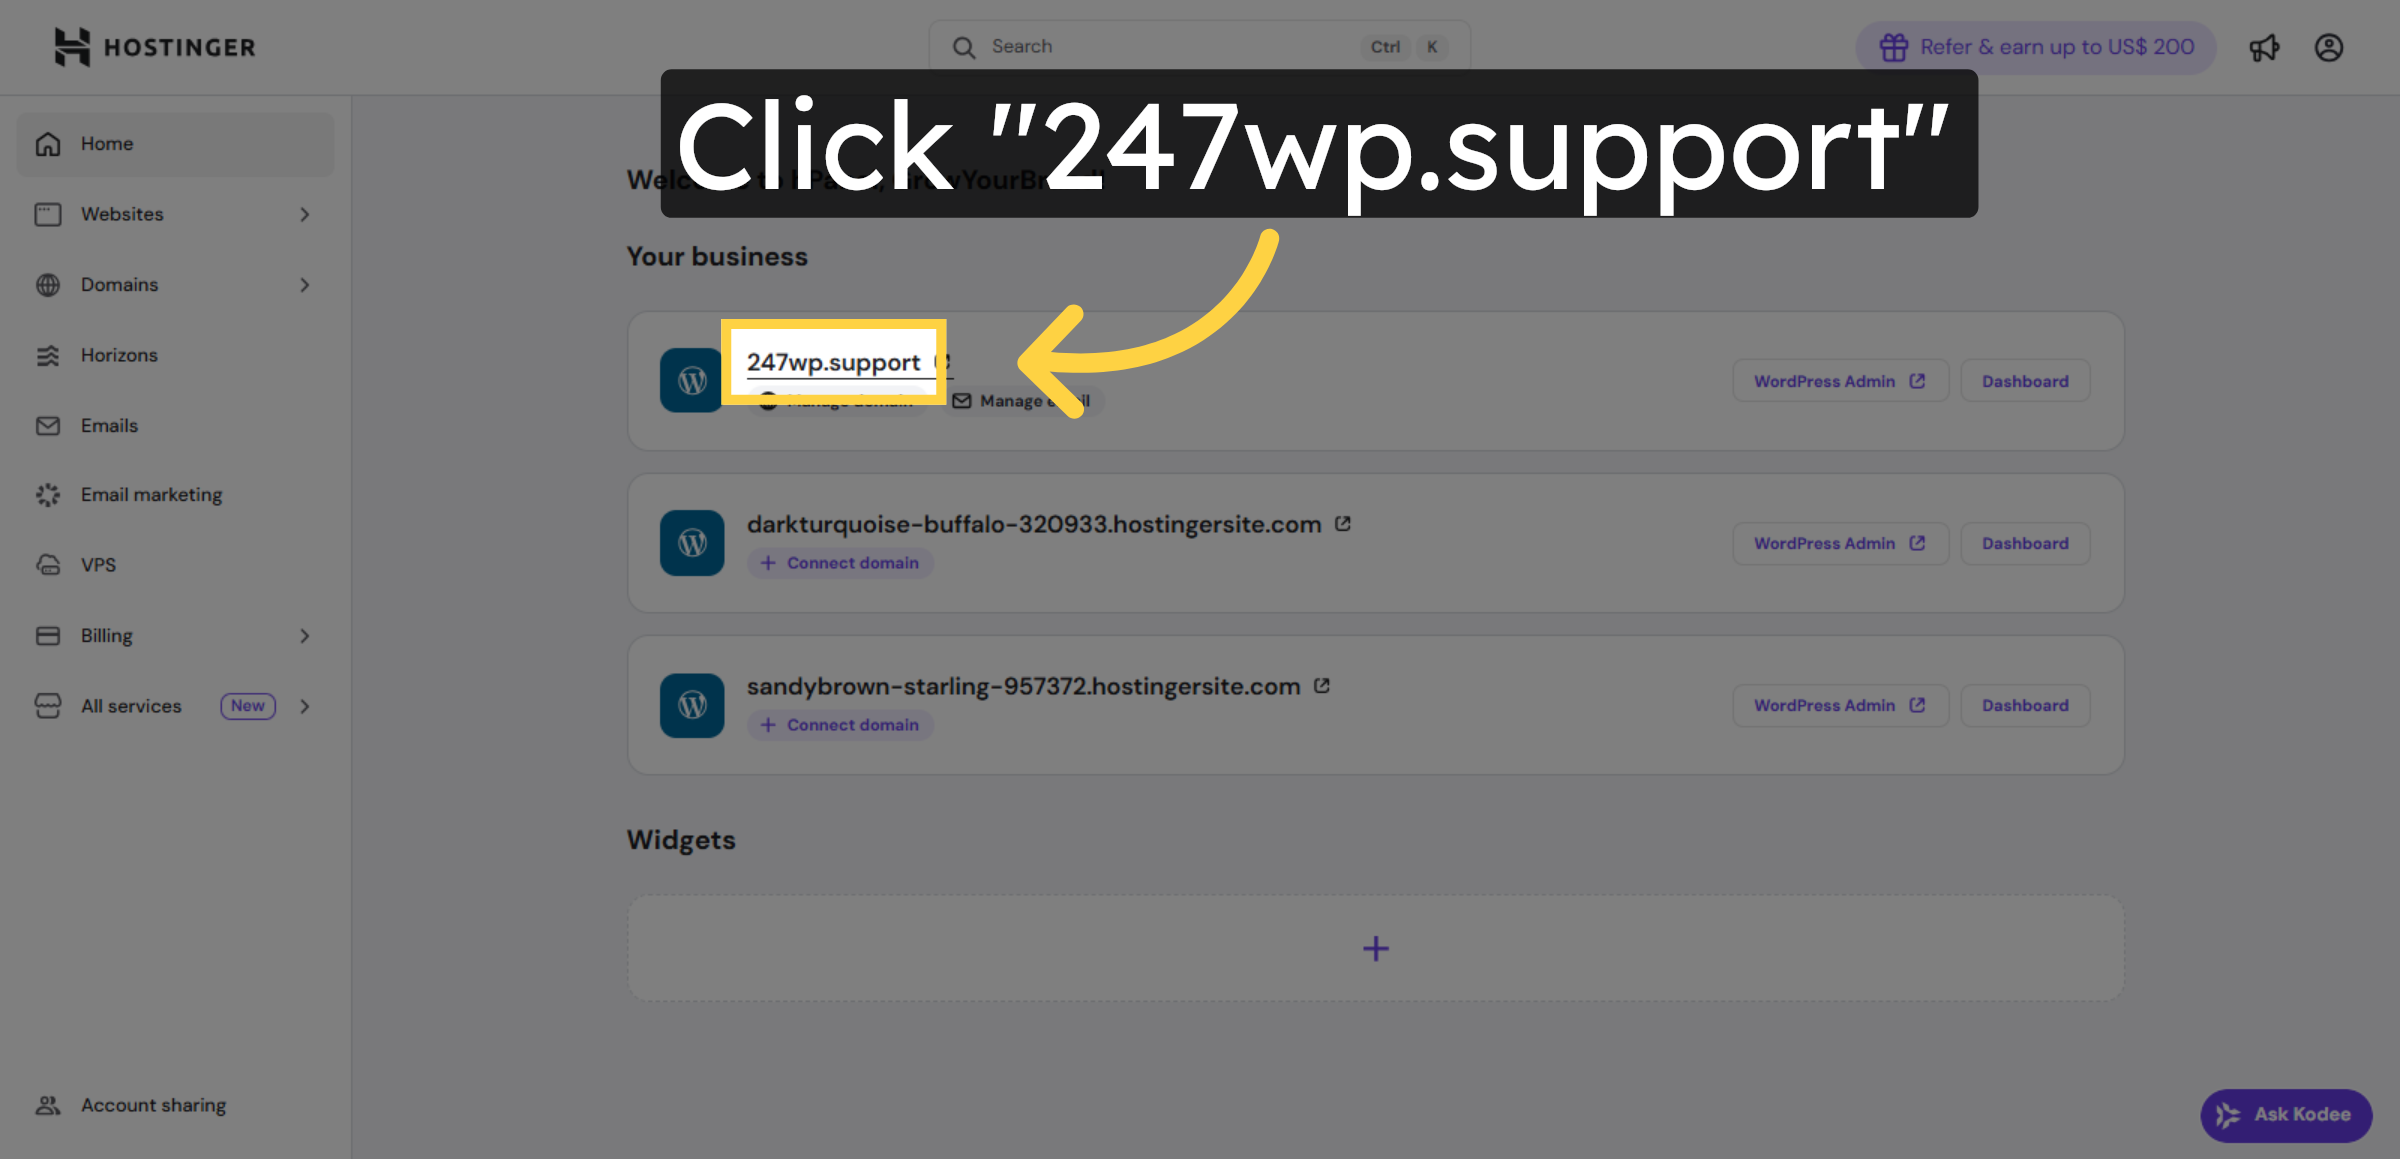
1. Hostinger hPanel
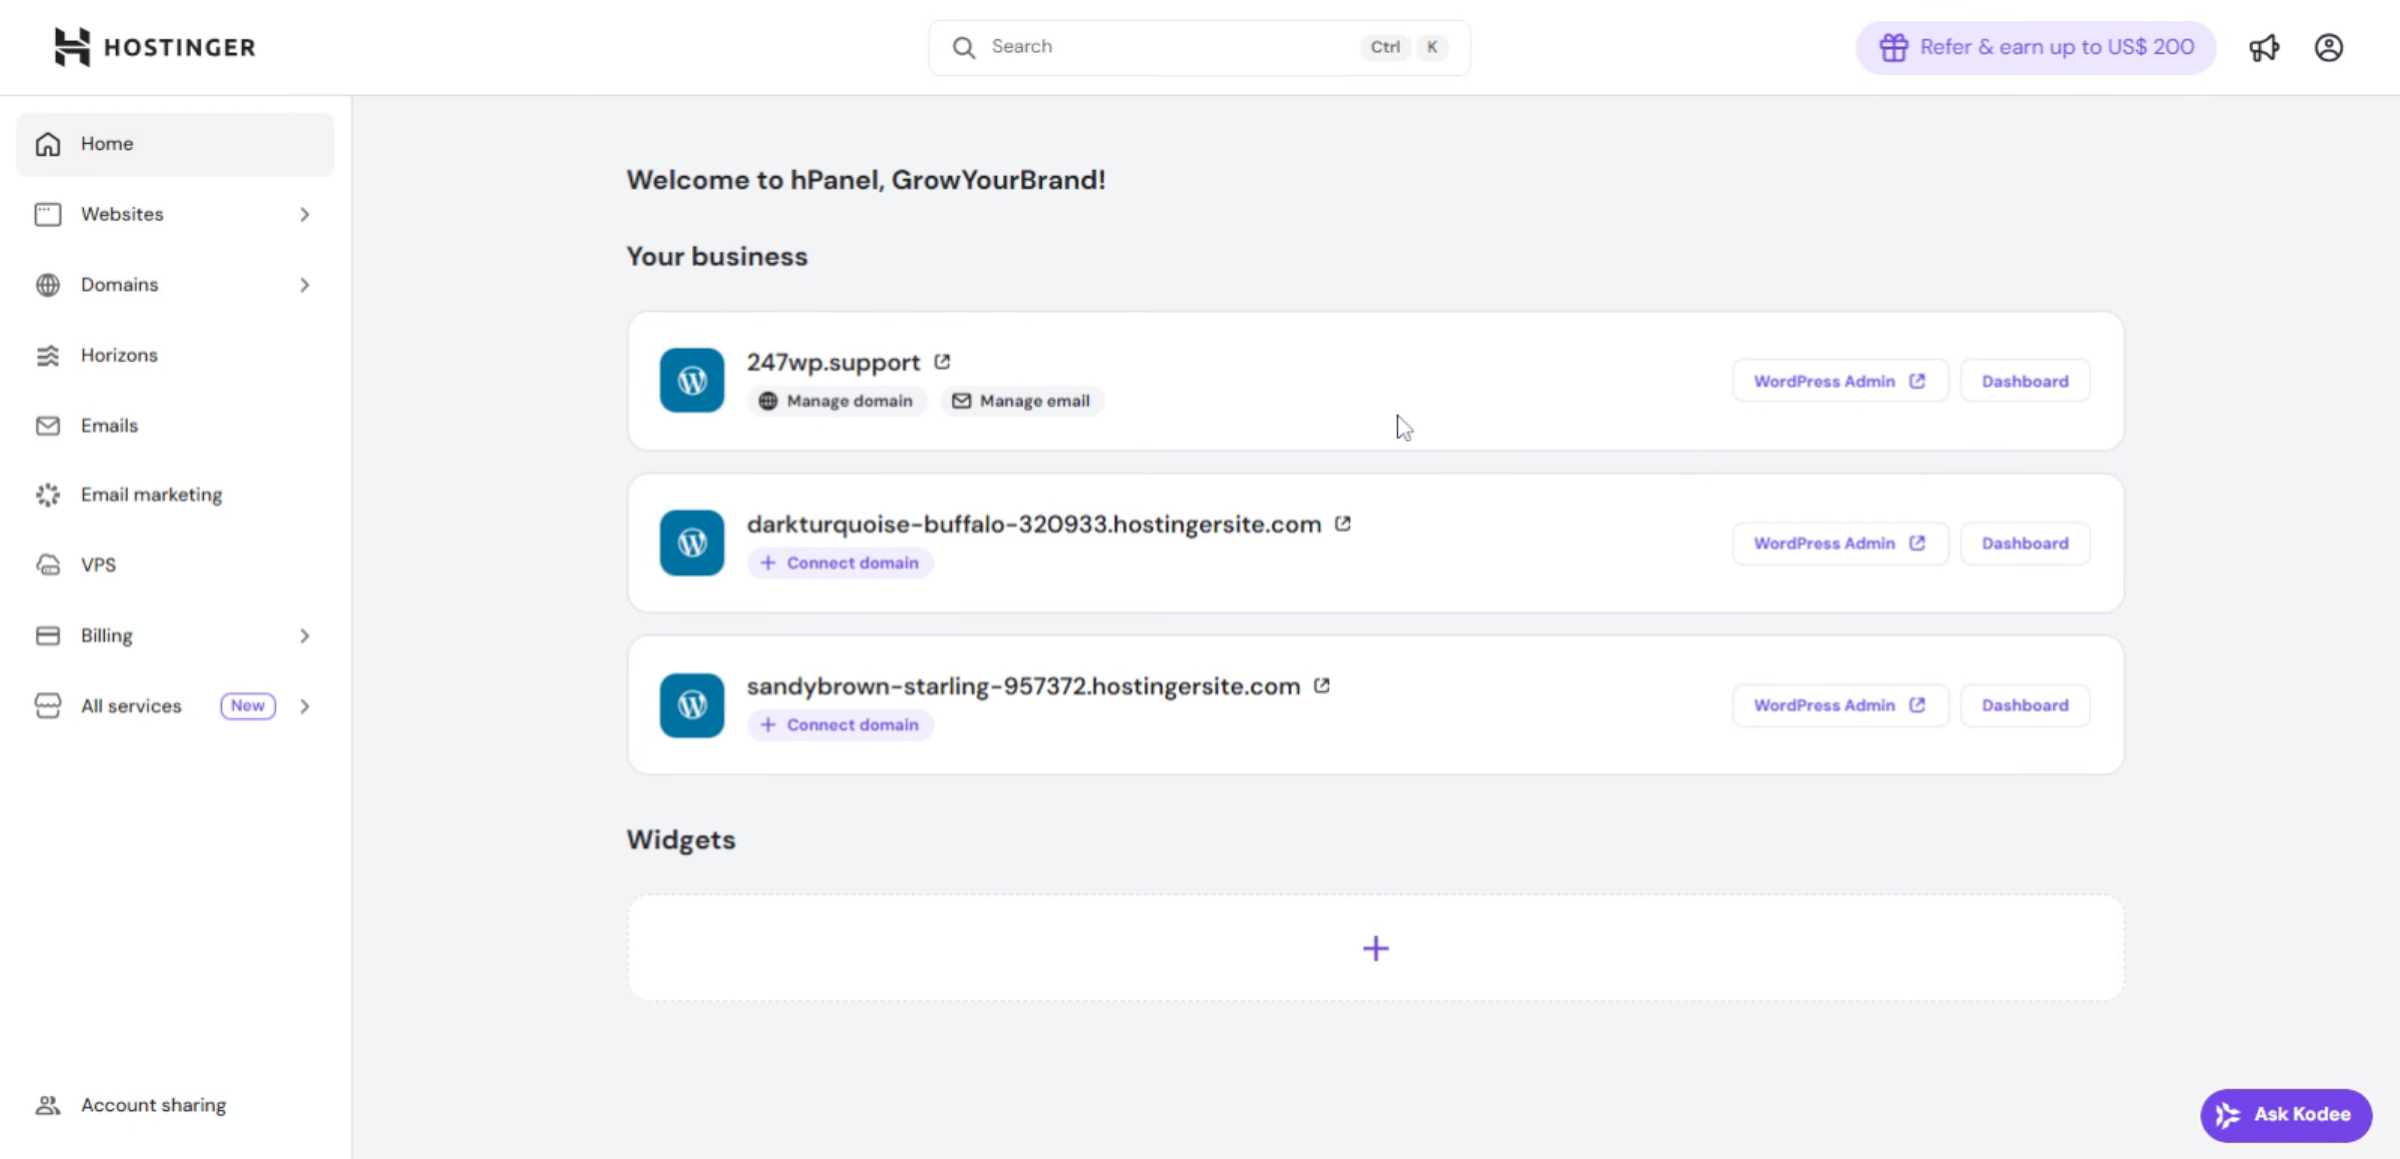
2. Access Hostinger Account
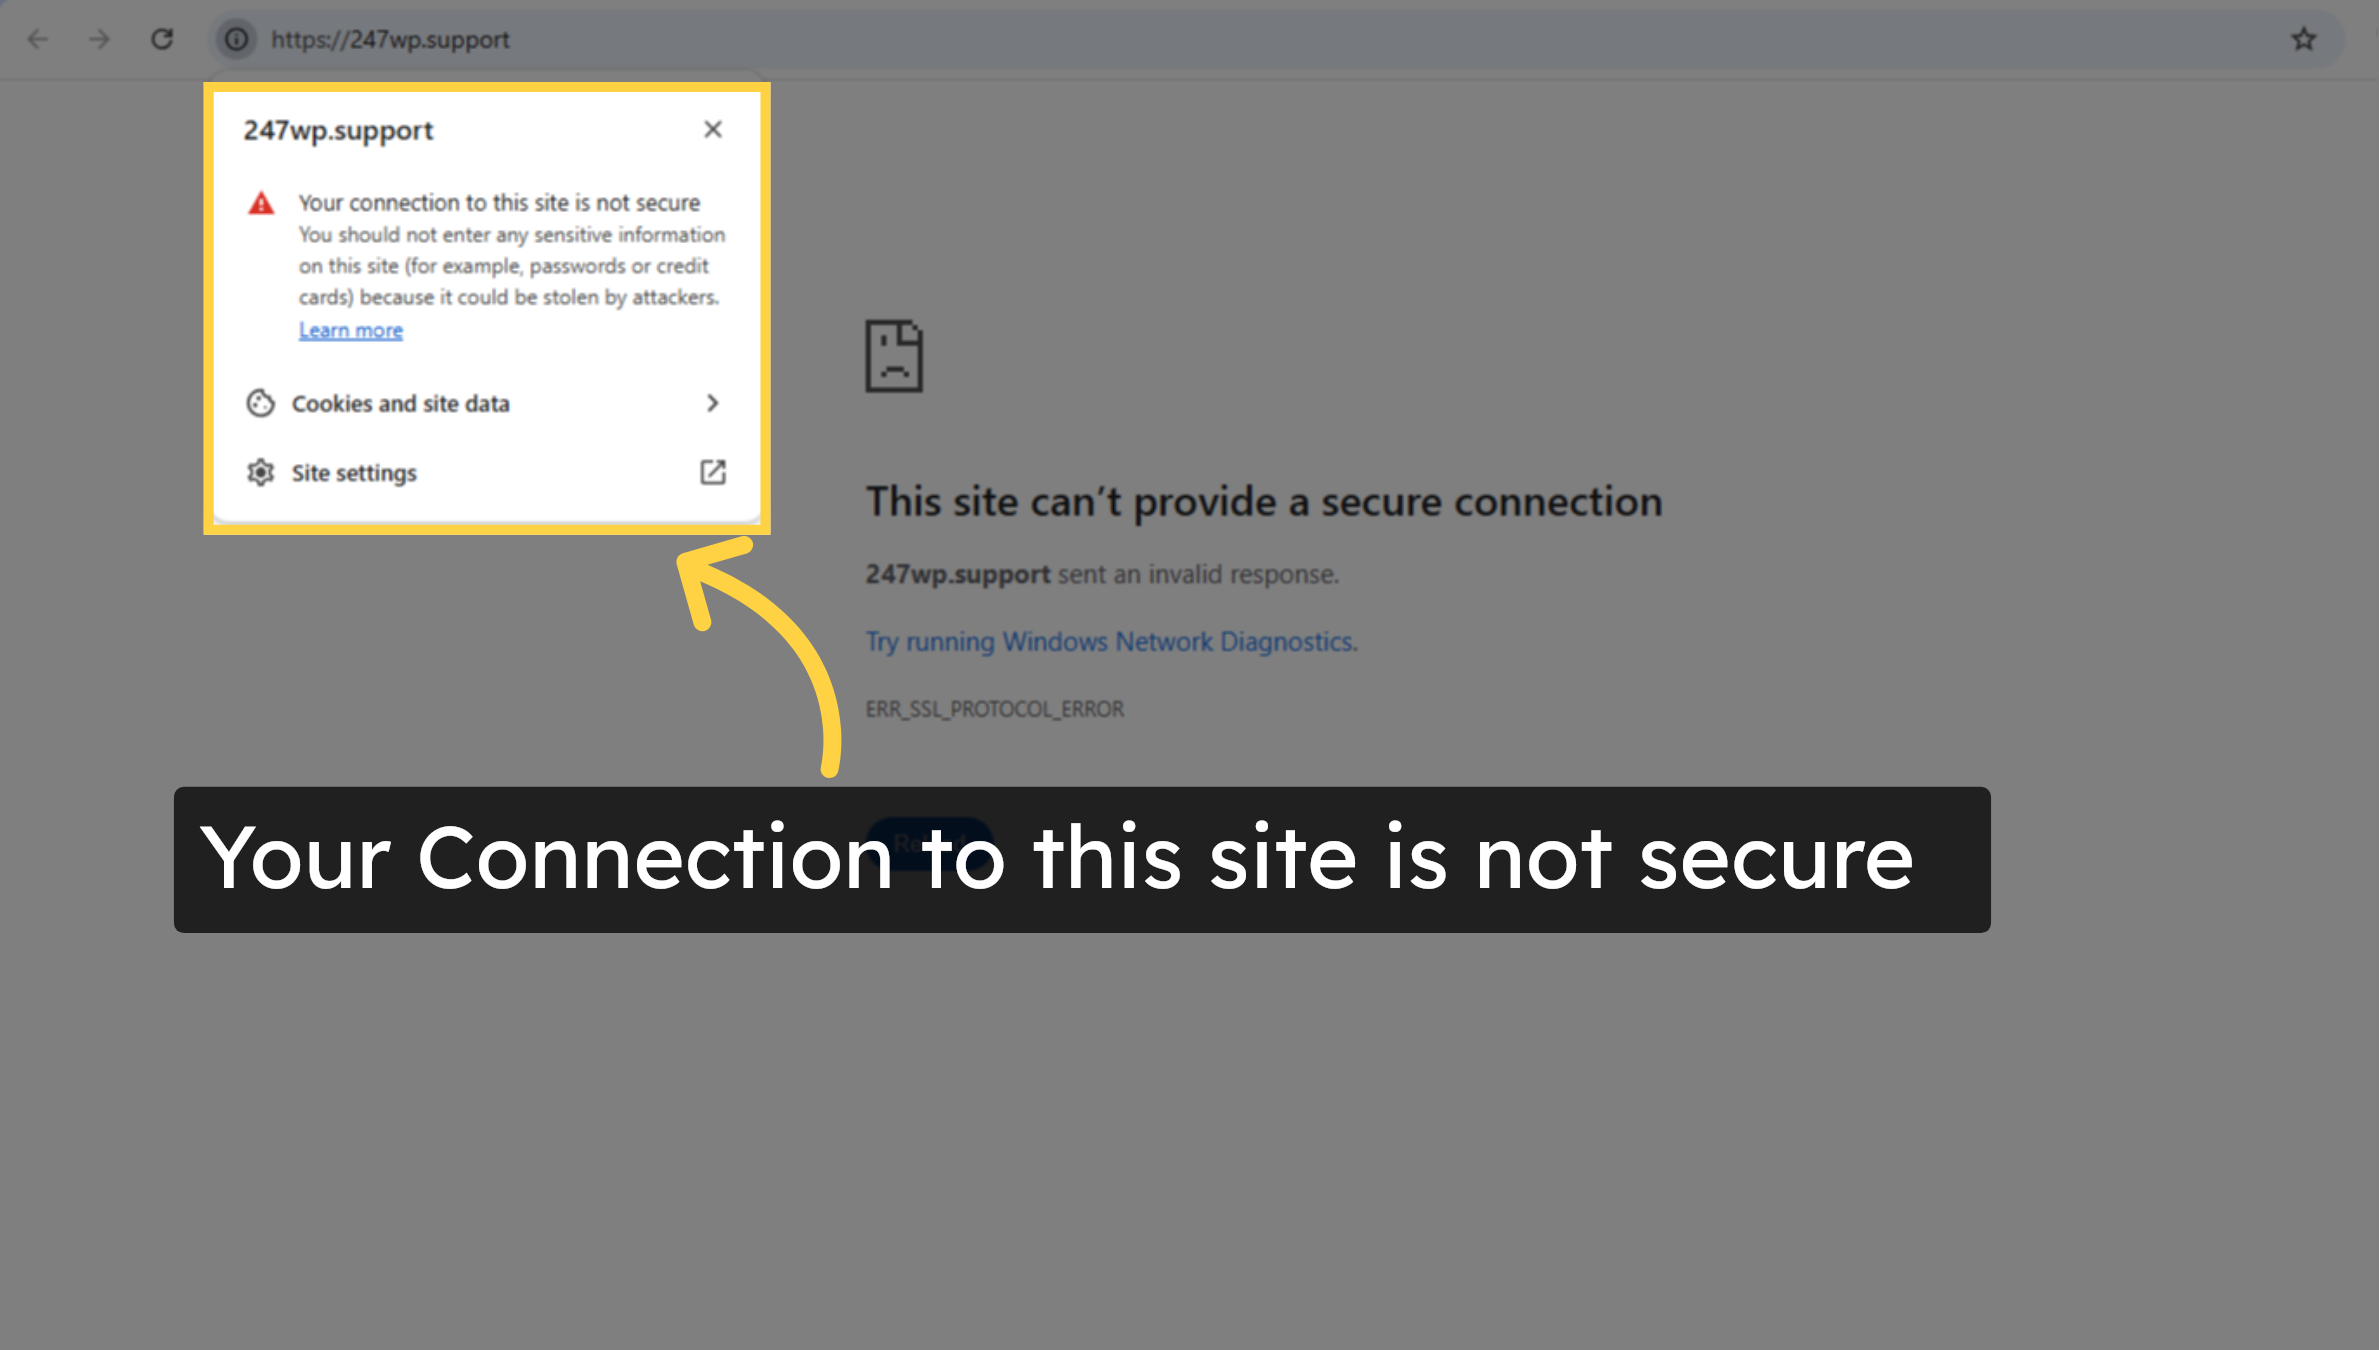
3. Your Connection Is Not Secure
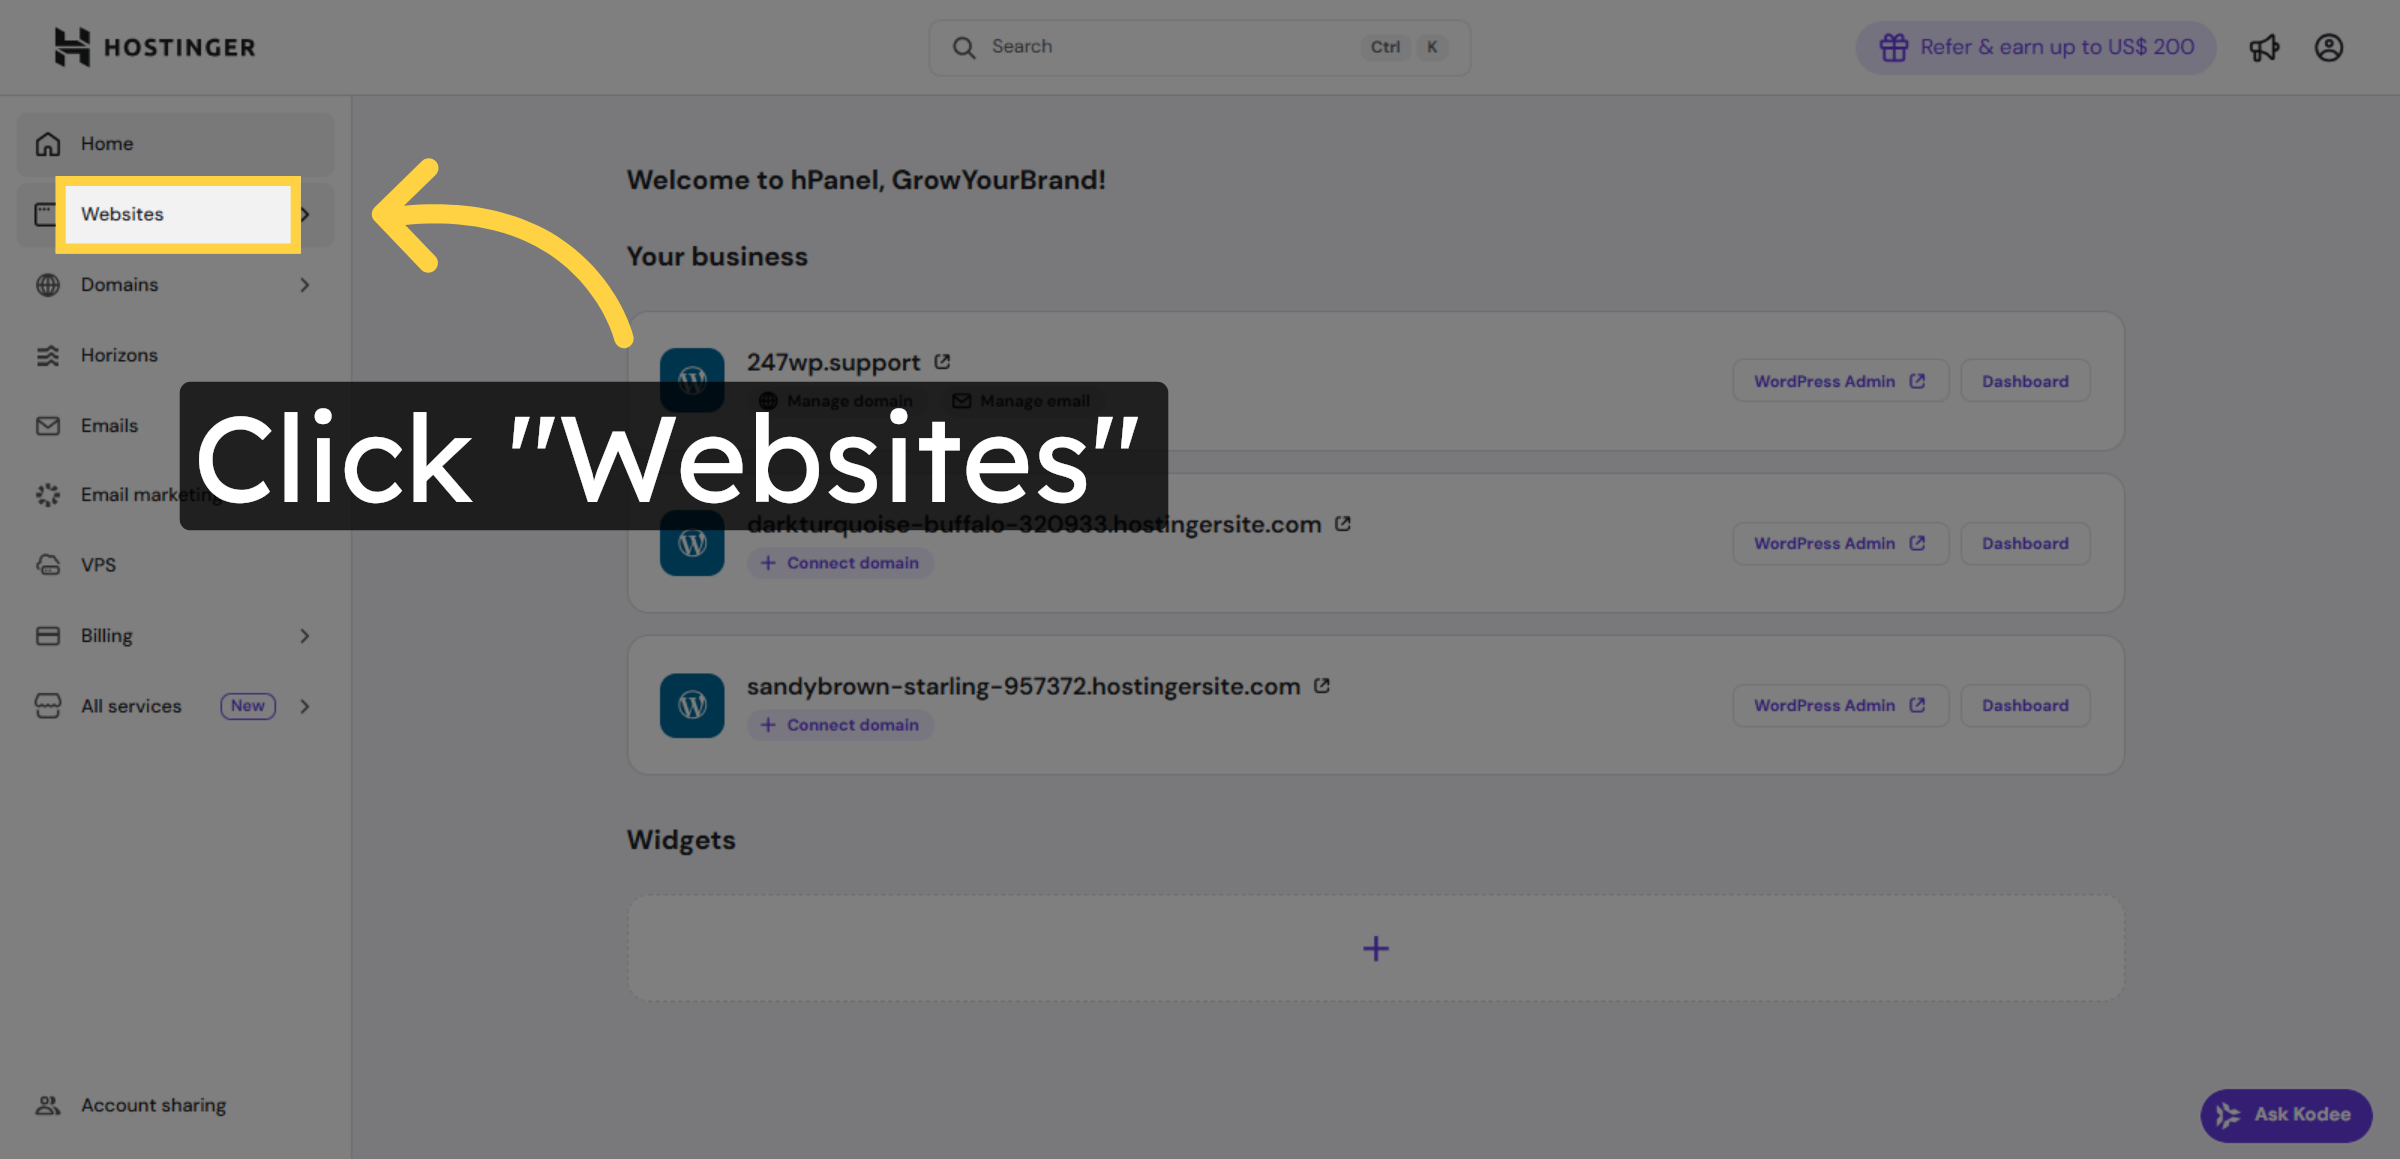
4. Open Websites Section
5. Go To Website Dashboard

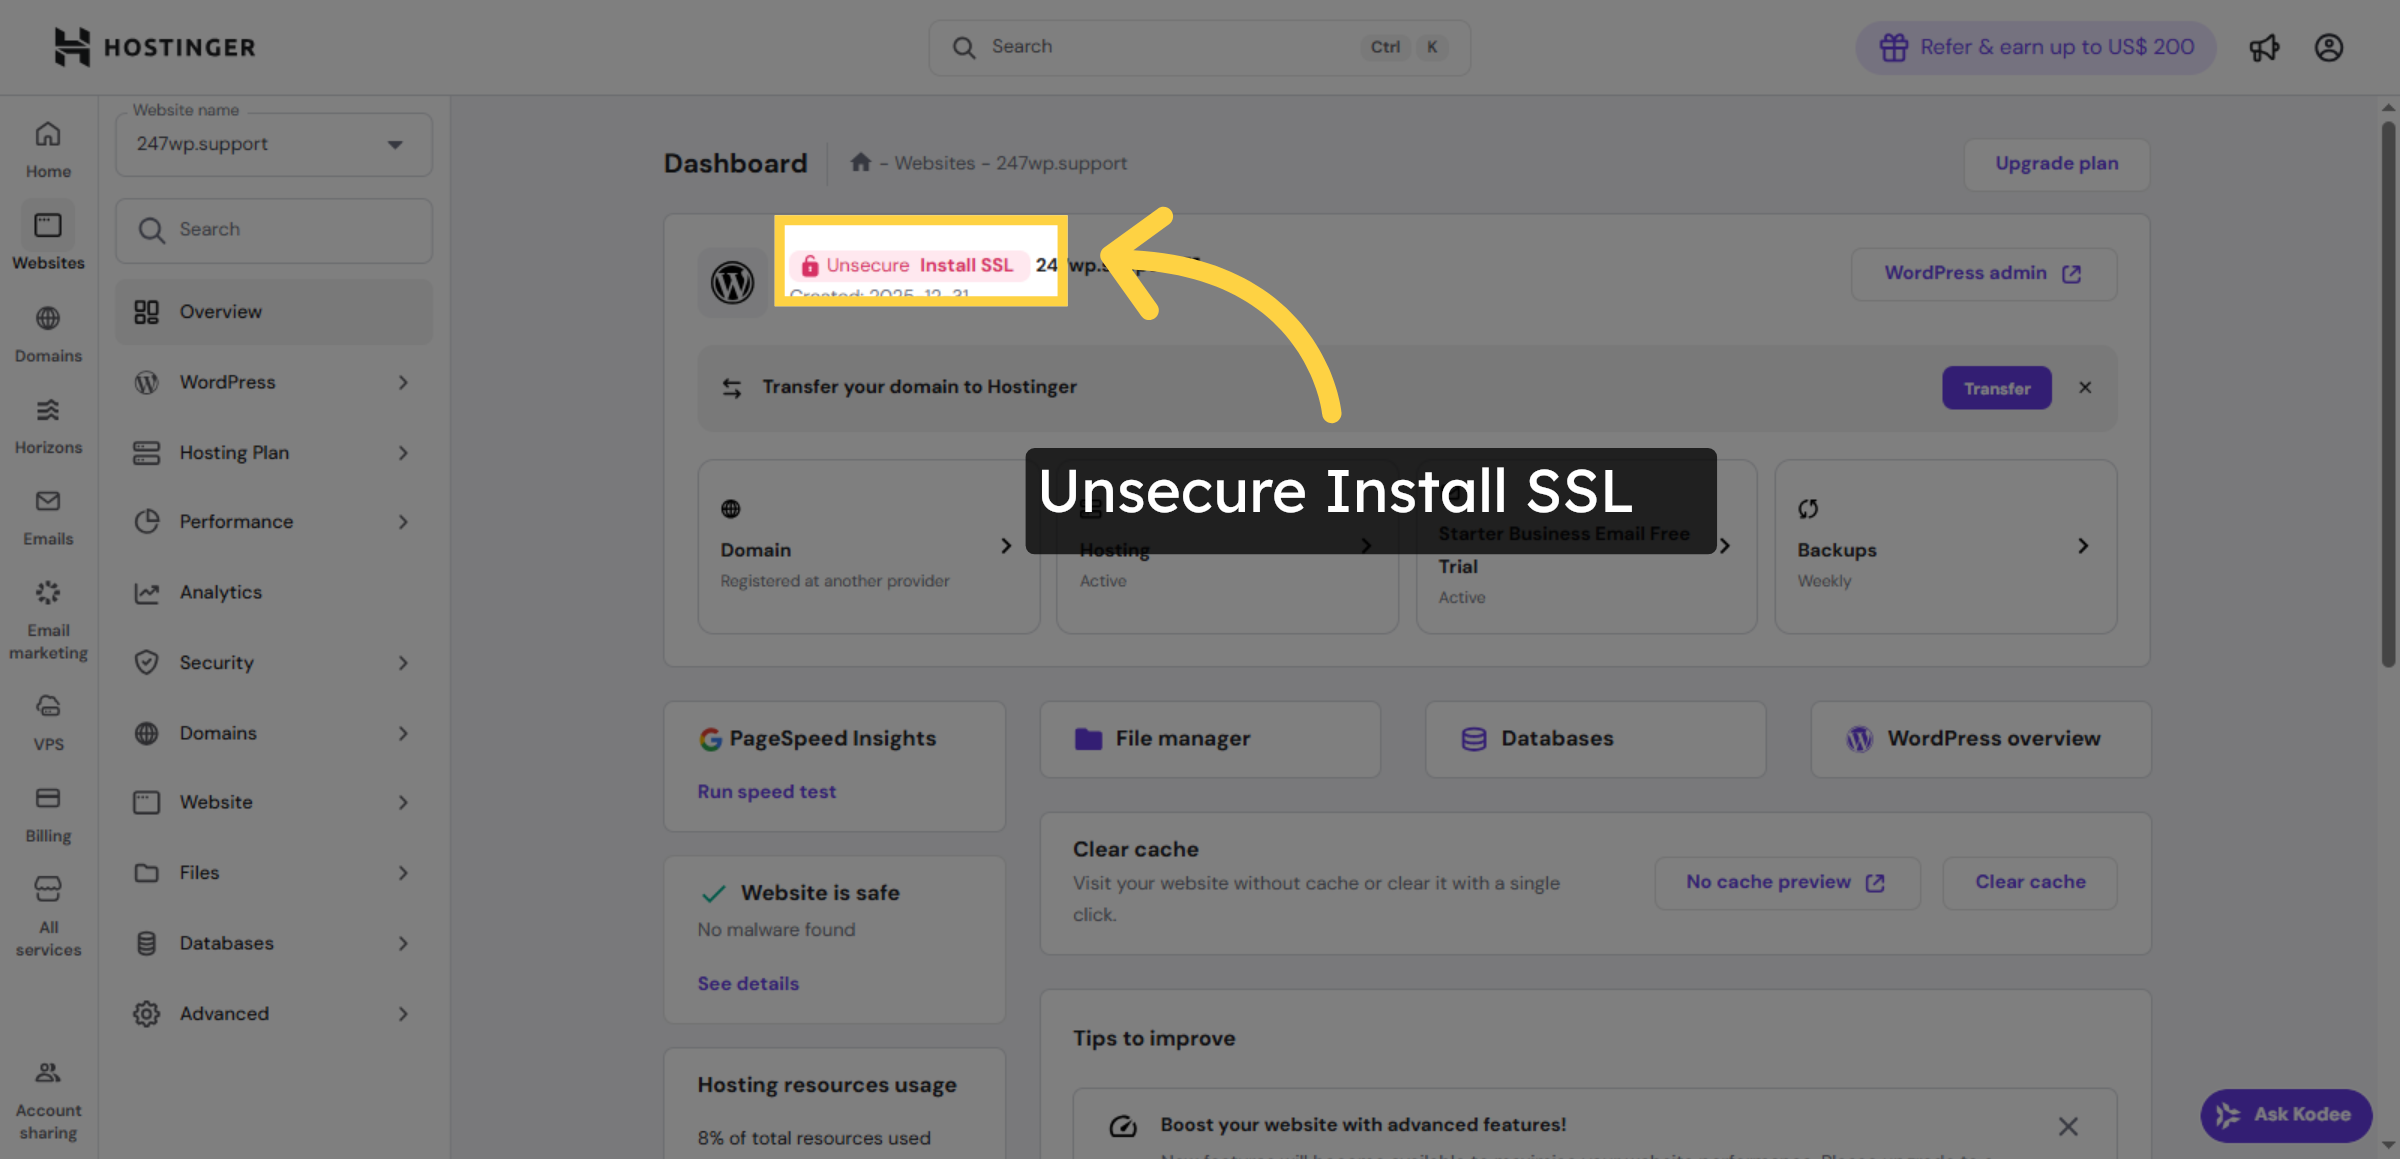
6. Unsecure SSL Installation
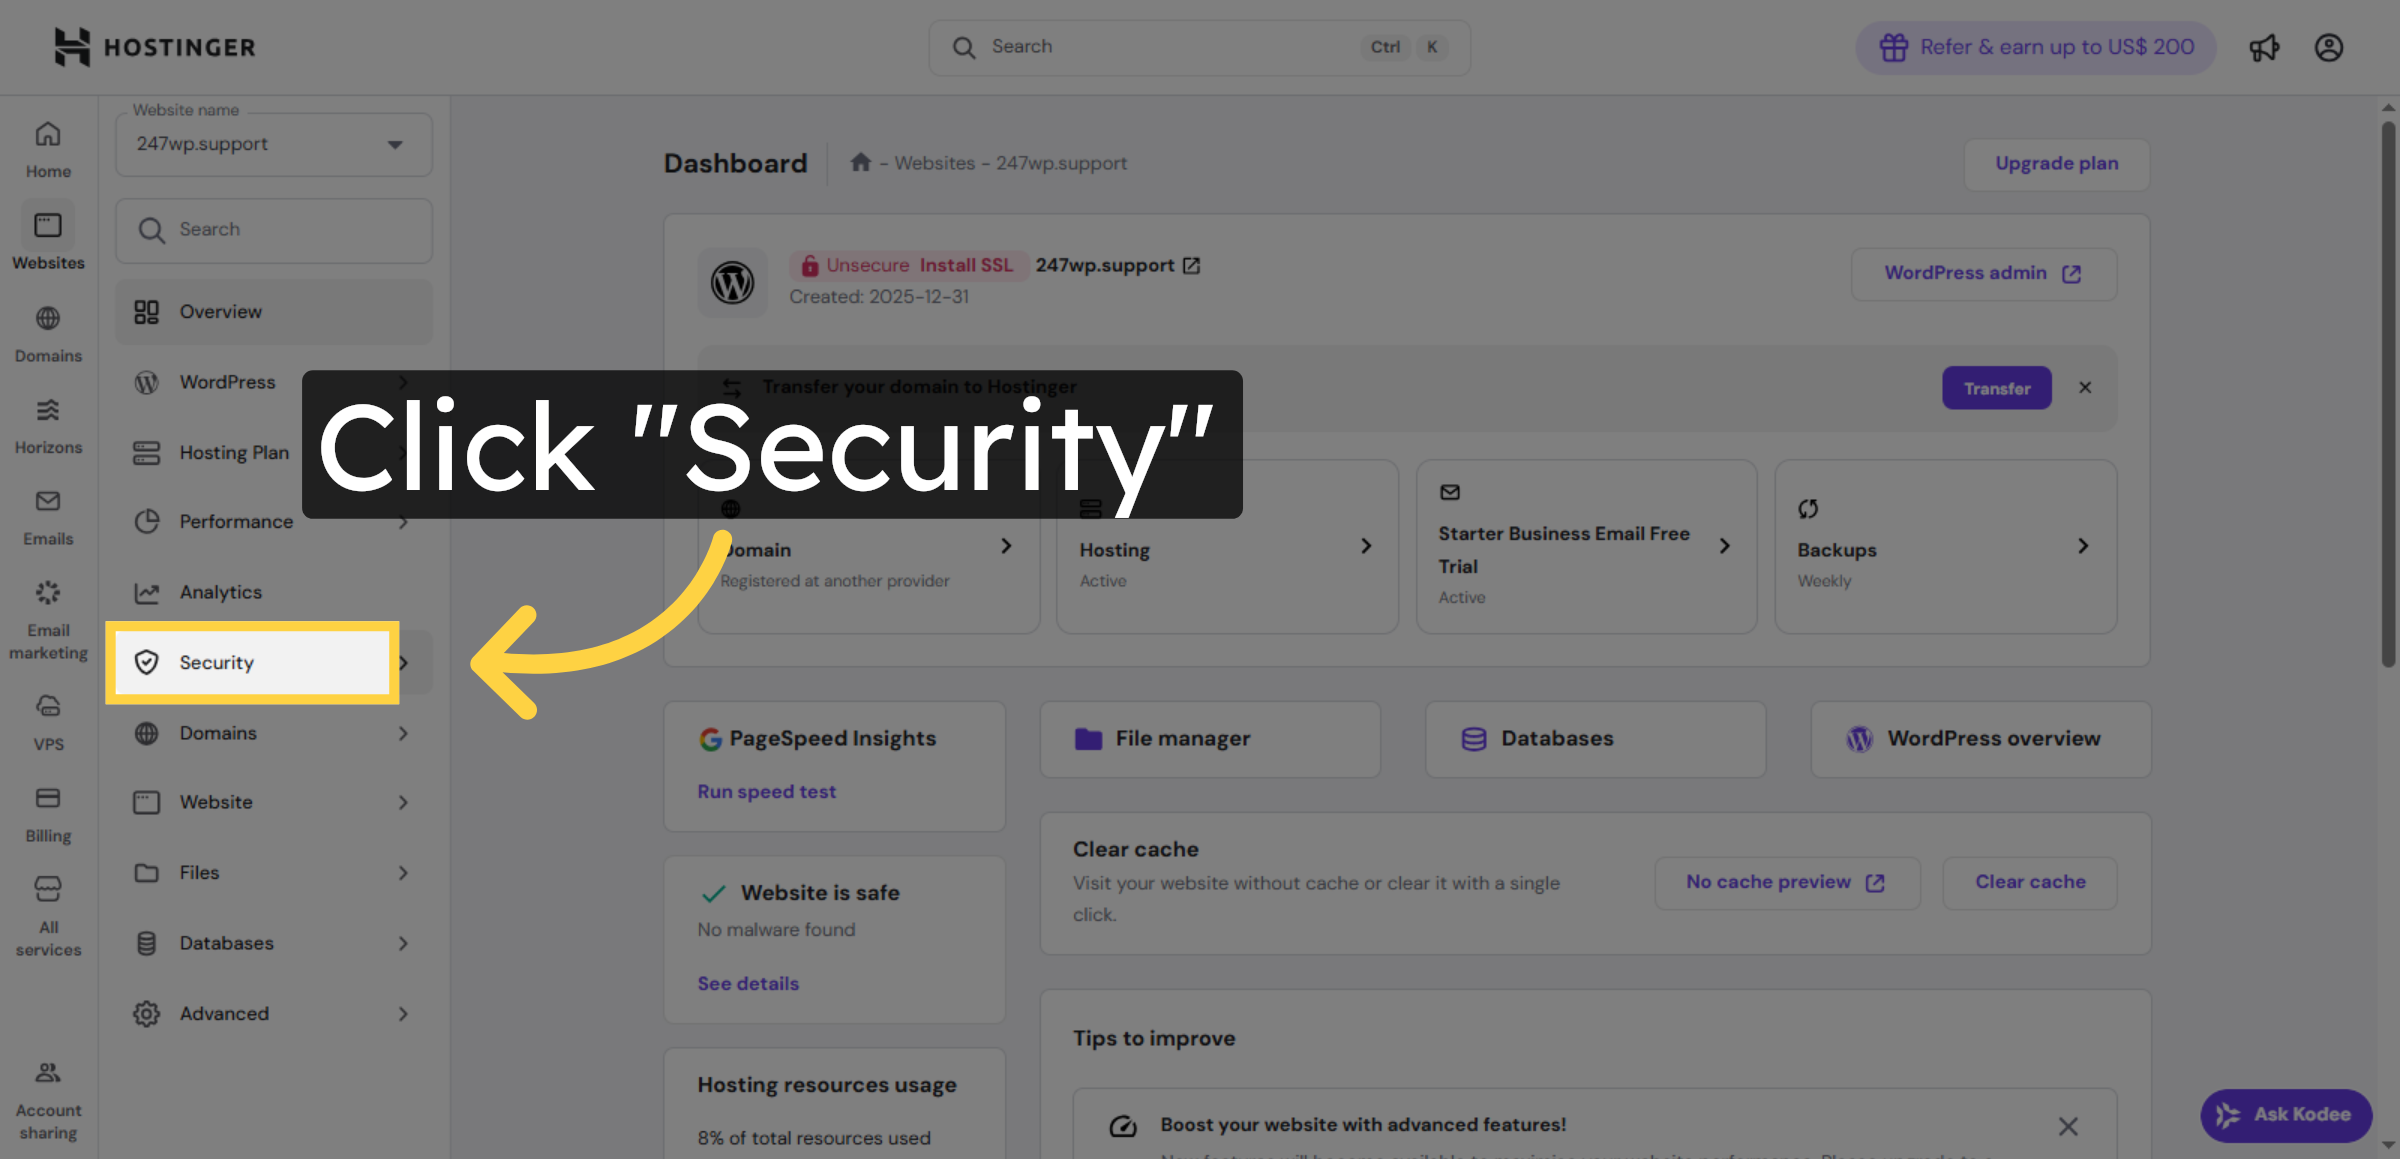
7. Navigate To Security Settings
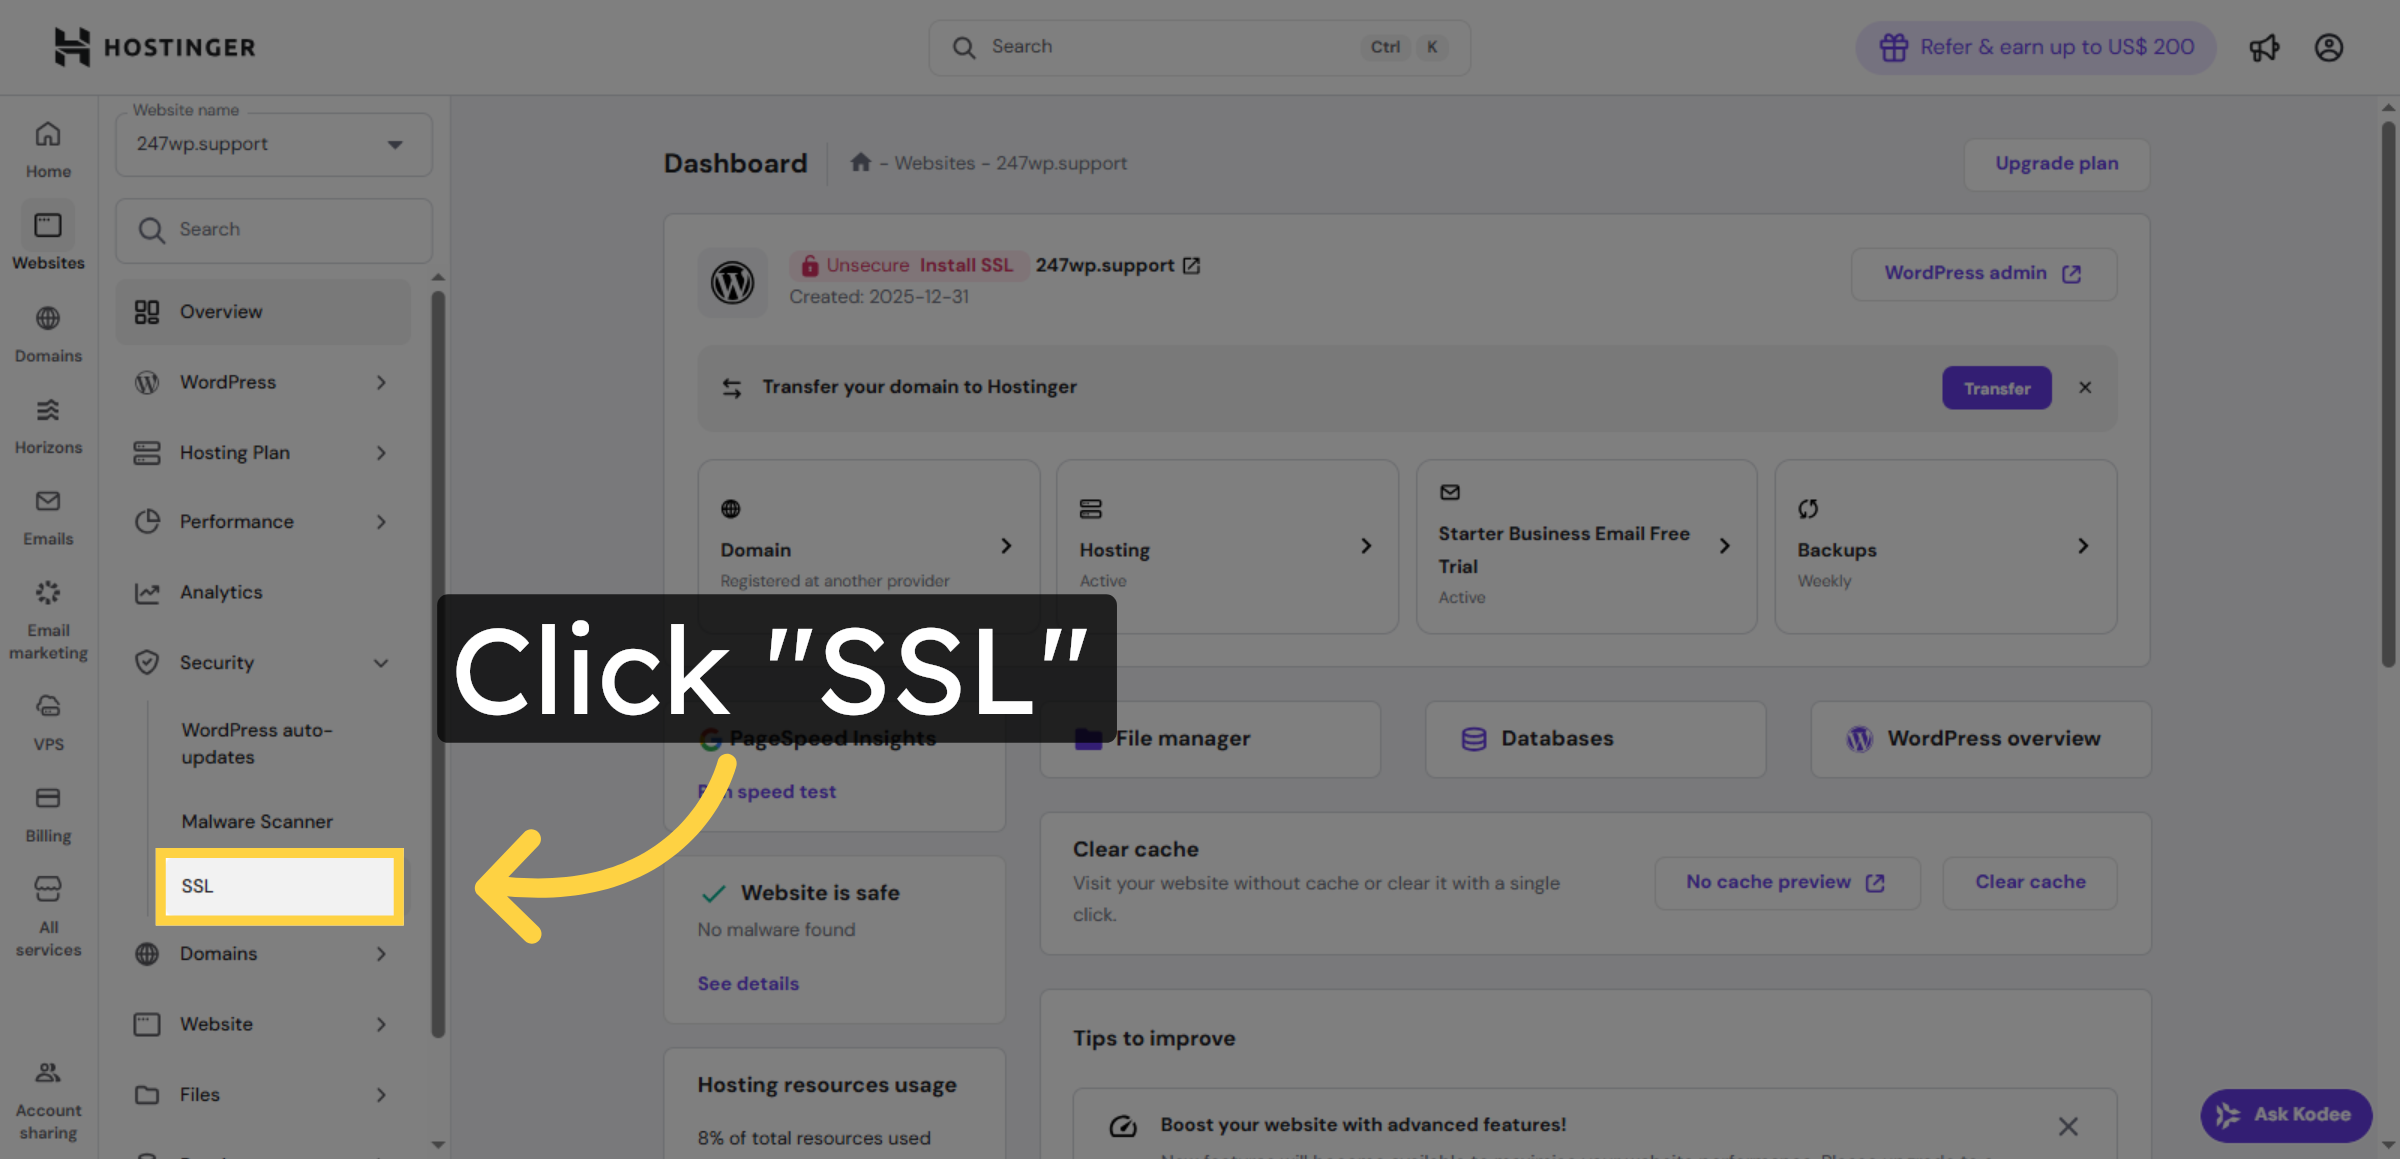
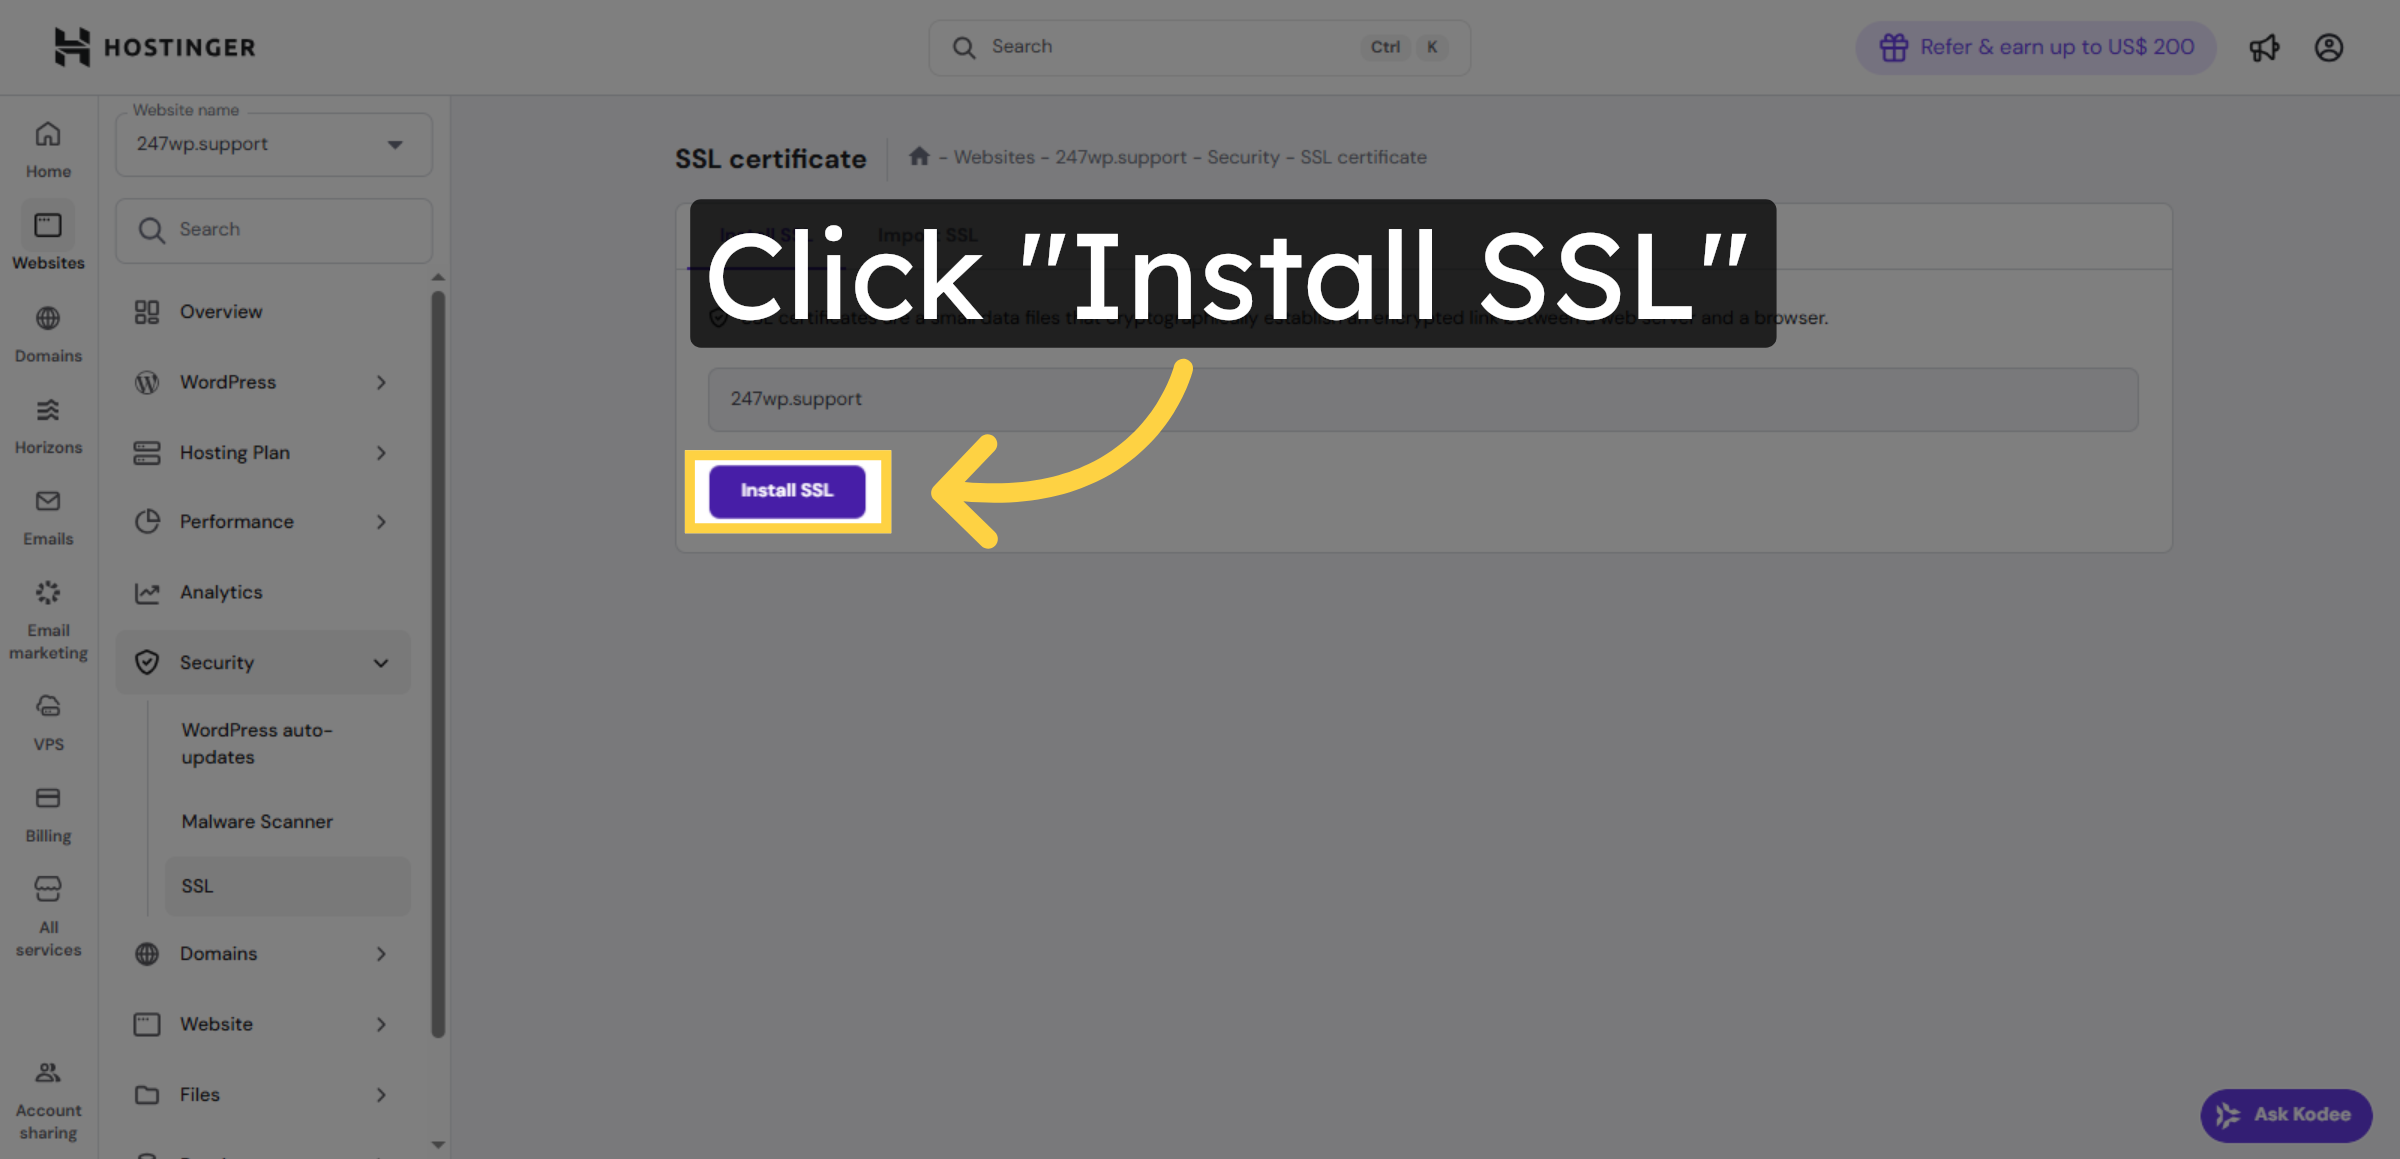
8. Select SSL Option


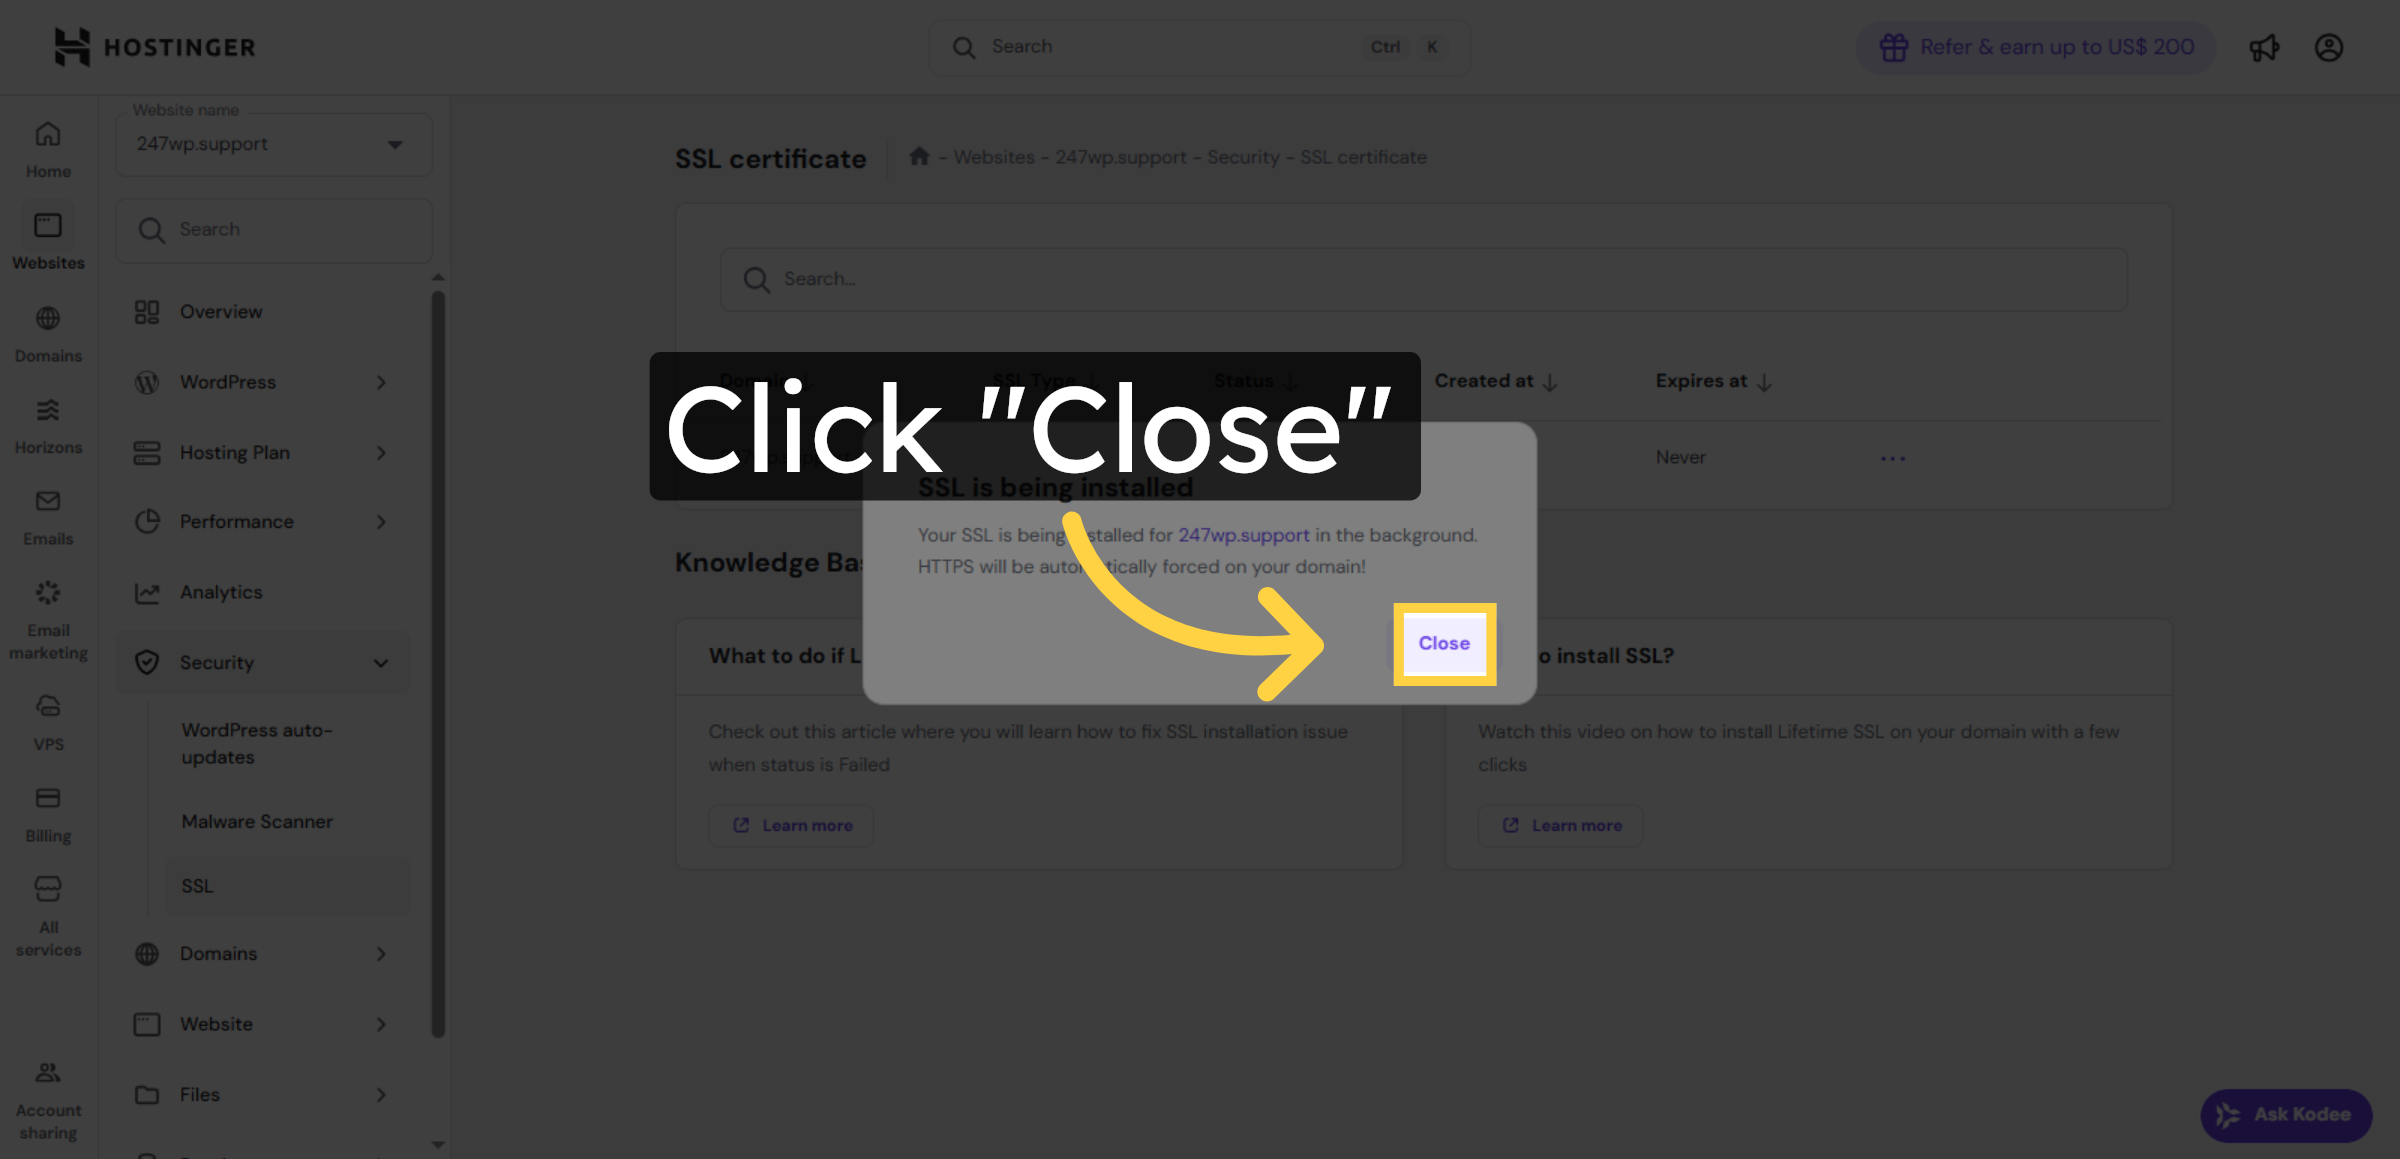
9. Install Free SSL Certificate
10. Close Installation Window
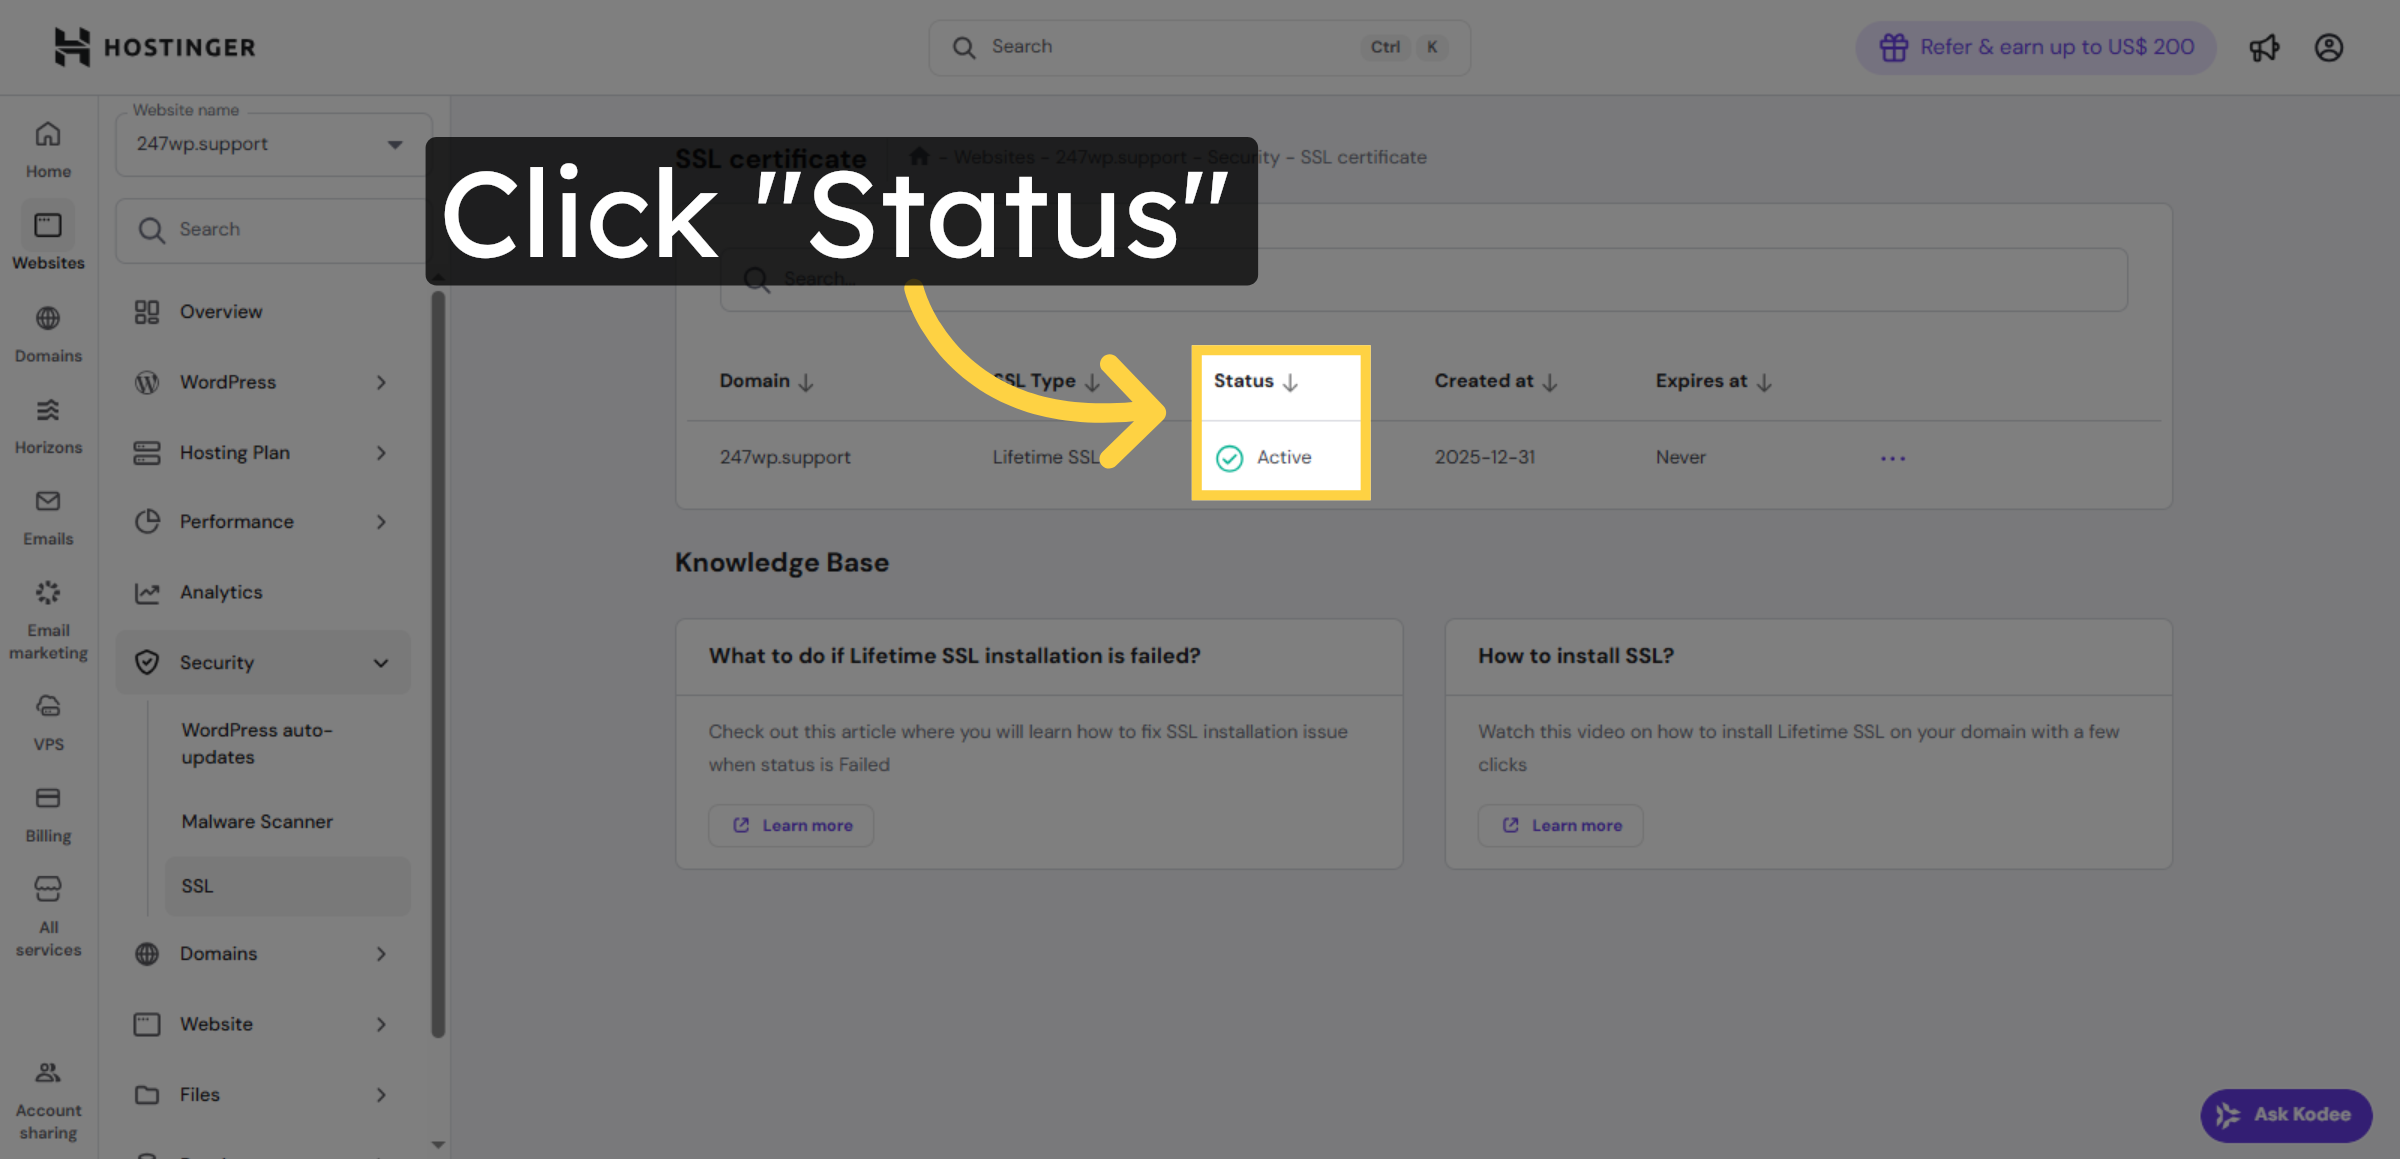
11. Check SSL Status
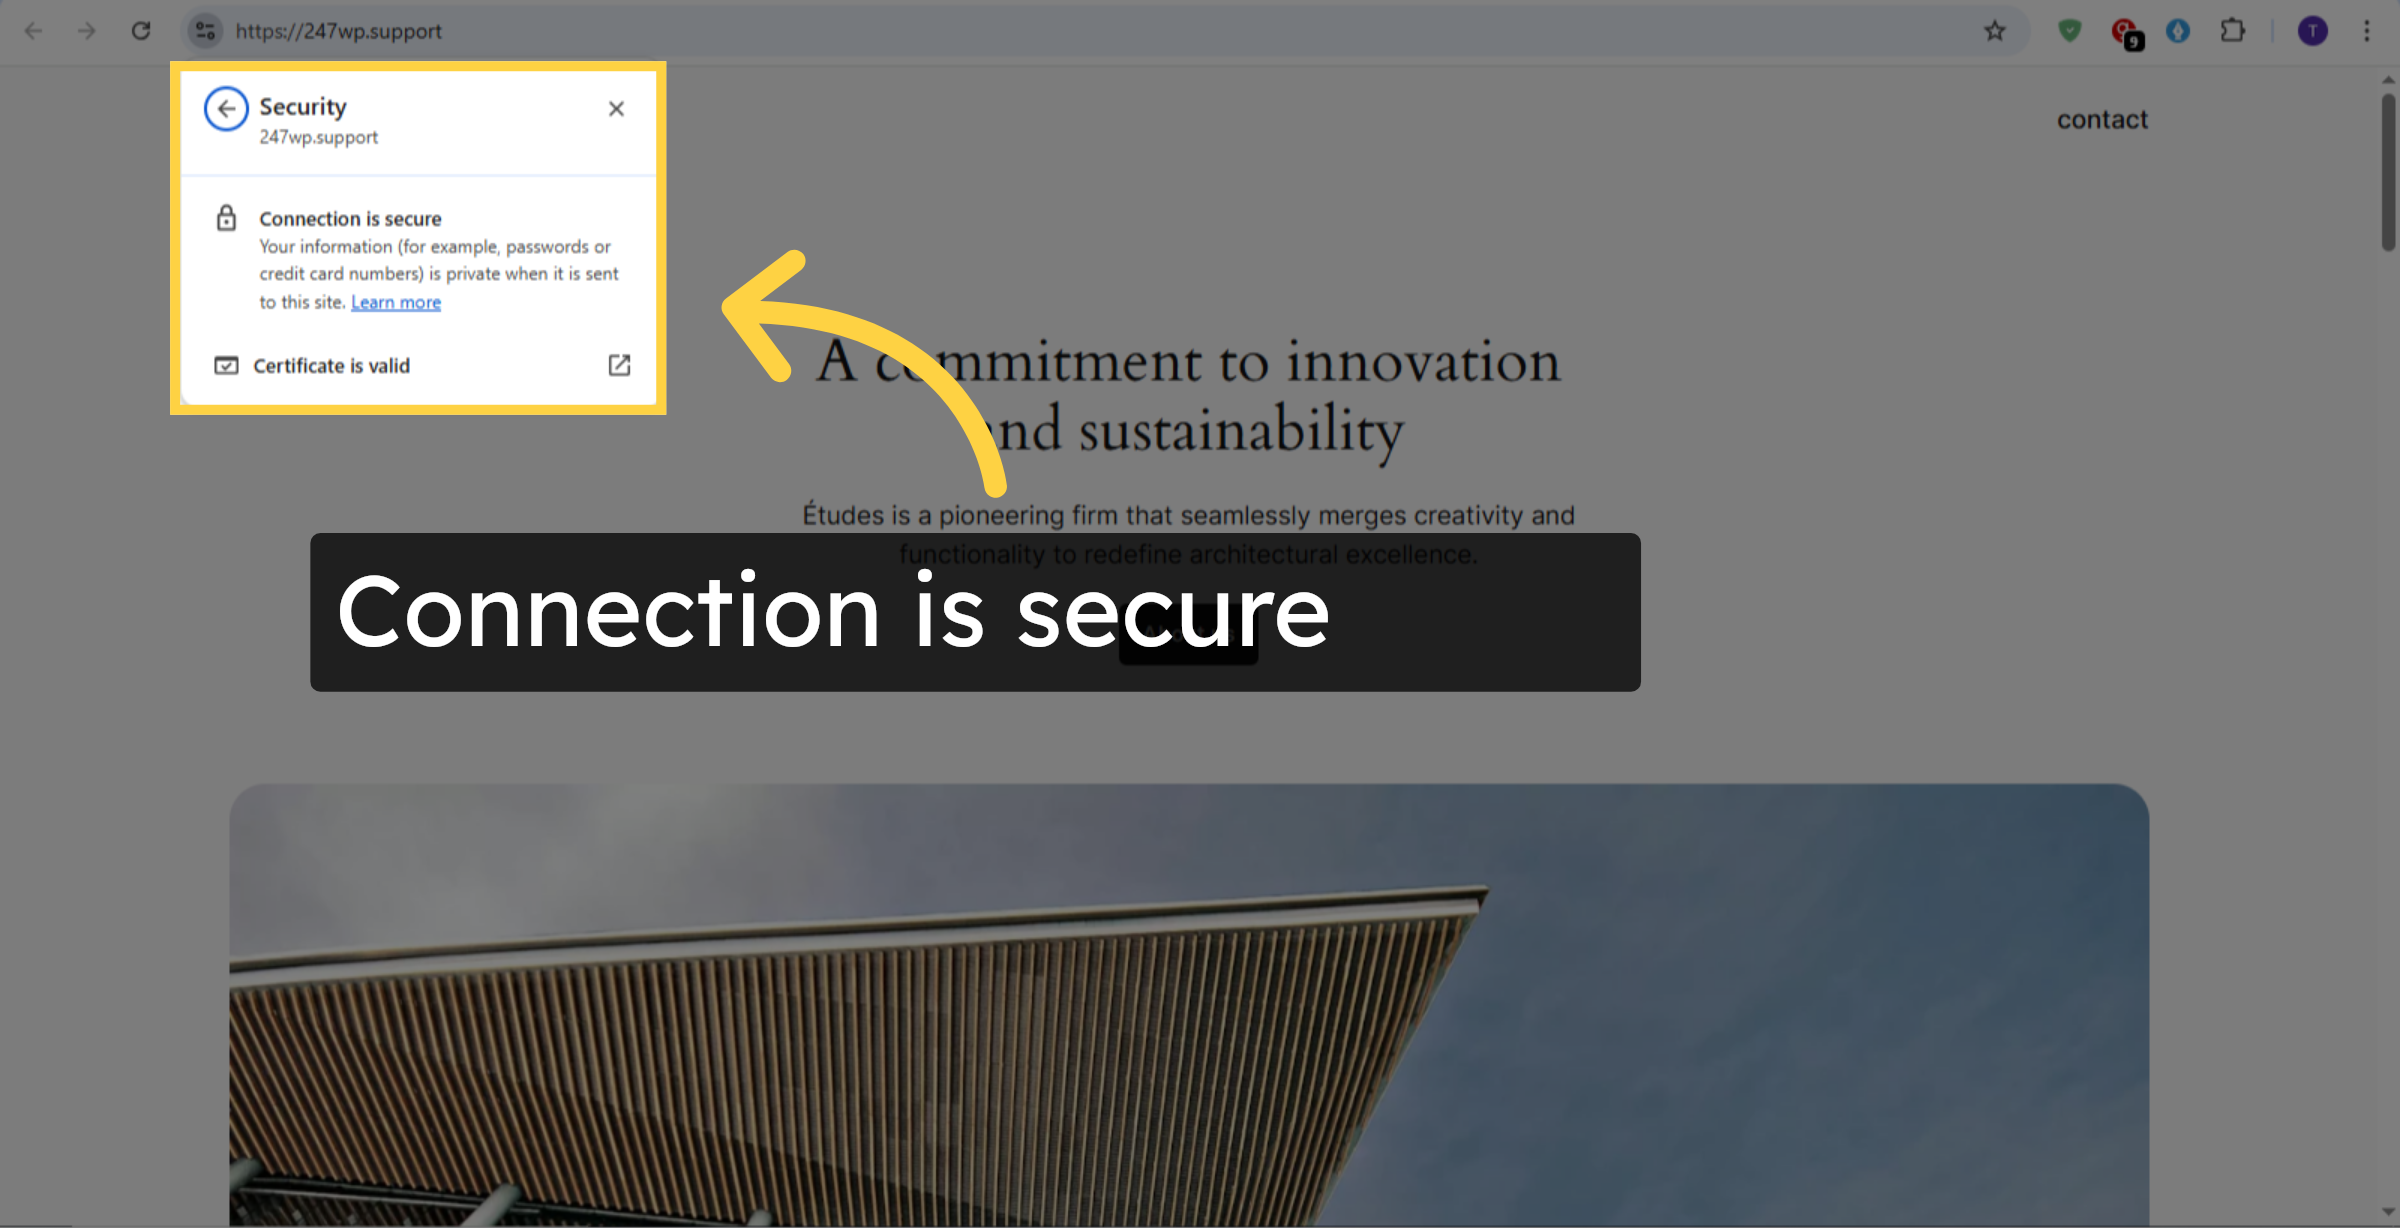
12. Connection Is Secure
Conclusion
By completing this guide, you have successfully installed and activated a free SSL certificate on your Hostinger WordPress website. Your site is now protected with encrypted connections, reducing security risks and improving overall performance and trustworthiness.
With SSL enabled, visitors can browse your website safely, and modern browsers will no longer display security warnings. To maintain optimal security, regularly monitor your SSL status and renew certificates when required. This practice ensures uninterrupted protection and long-term website reliability.
WooHelpDesk Support
Need expert support for SSL setup, website security, or WordPress management? WooHelpDesk provides professional assistance to keep your website secure and fully optimized.
Visit: https://www.woohelpdesk.com
Call Us Toll-Free: +1 888 602 0119 (US & Canada)
Secure Solutions | Expert Support | Trusted Service


