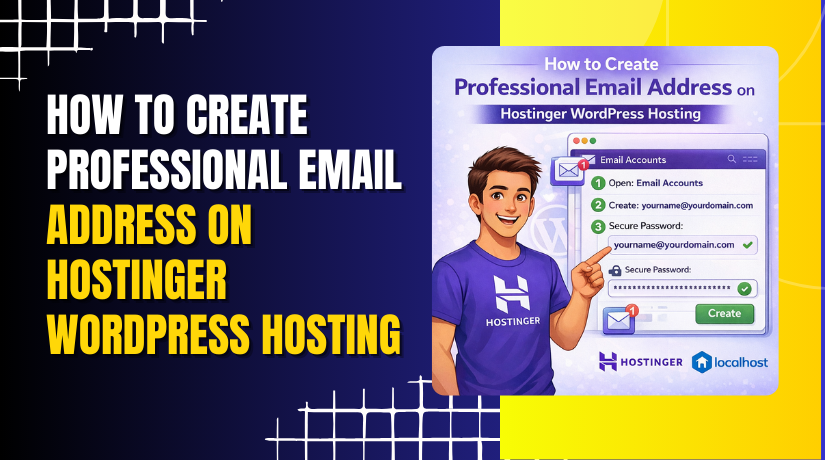
How to Create Professional Email Address on Hostinger WordPress Hosting
Introduction
Creating a professional email address using your domain name is an important step in building a strong online identity and improving business communication. A custom email such as [email protected] or [email protected] helps establish credibility and trust with customers and clients.
With Hostinger WordPress Hosting, you can easily create and manage professional email accounts through the hPanel dashboard. This guide explains the step-by-step process to activate free email hosting, set up your mailbox, create a secure password, and access your inbox. By following these instructions, you can ensure smooth and reliable email communication for your website and business needs.
1. Hostinger hPanel
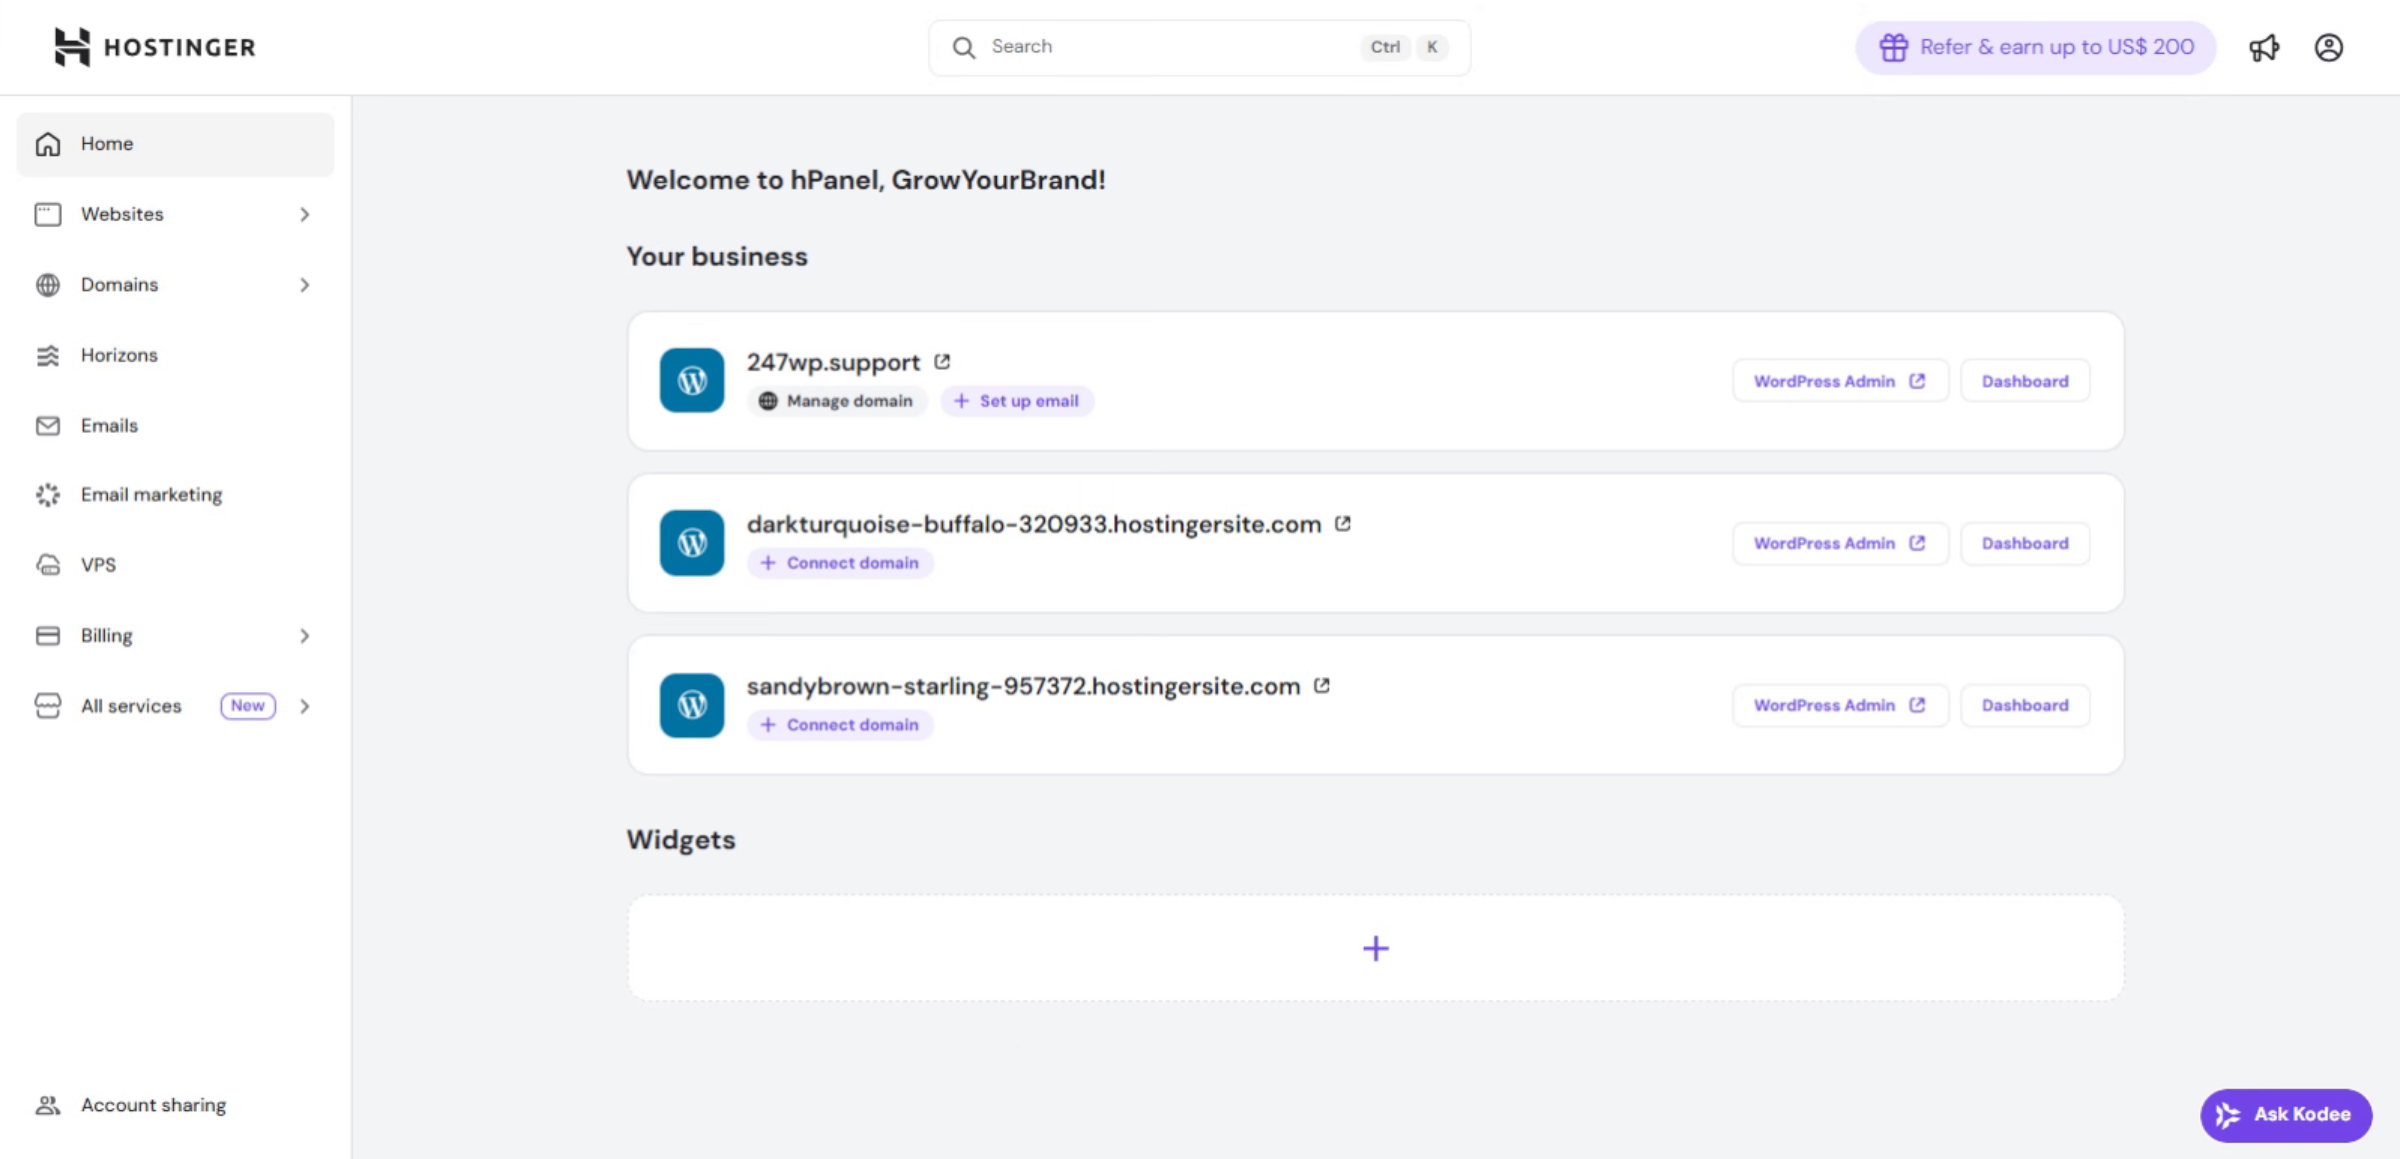
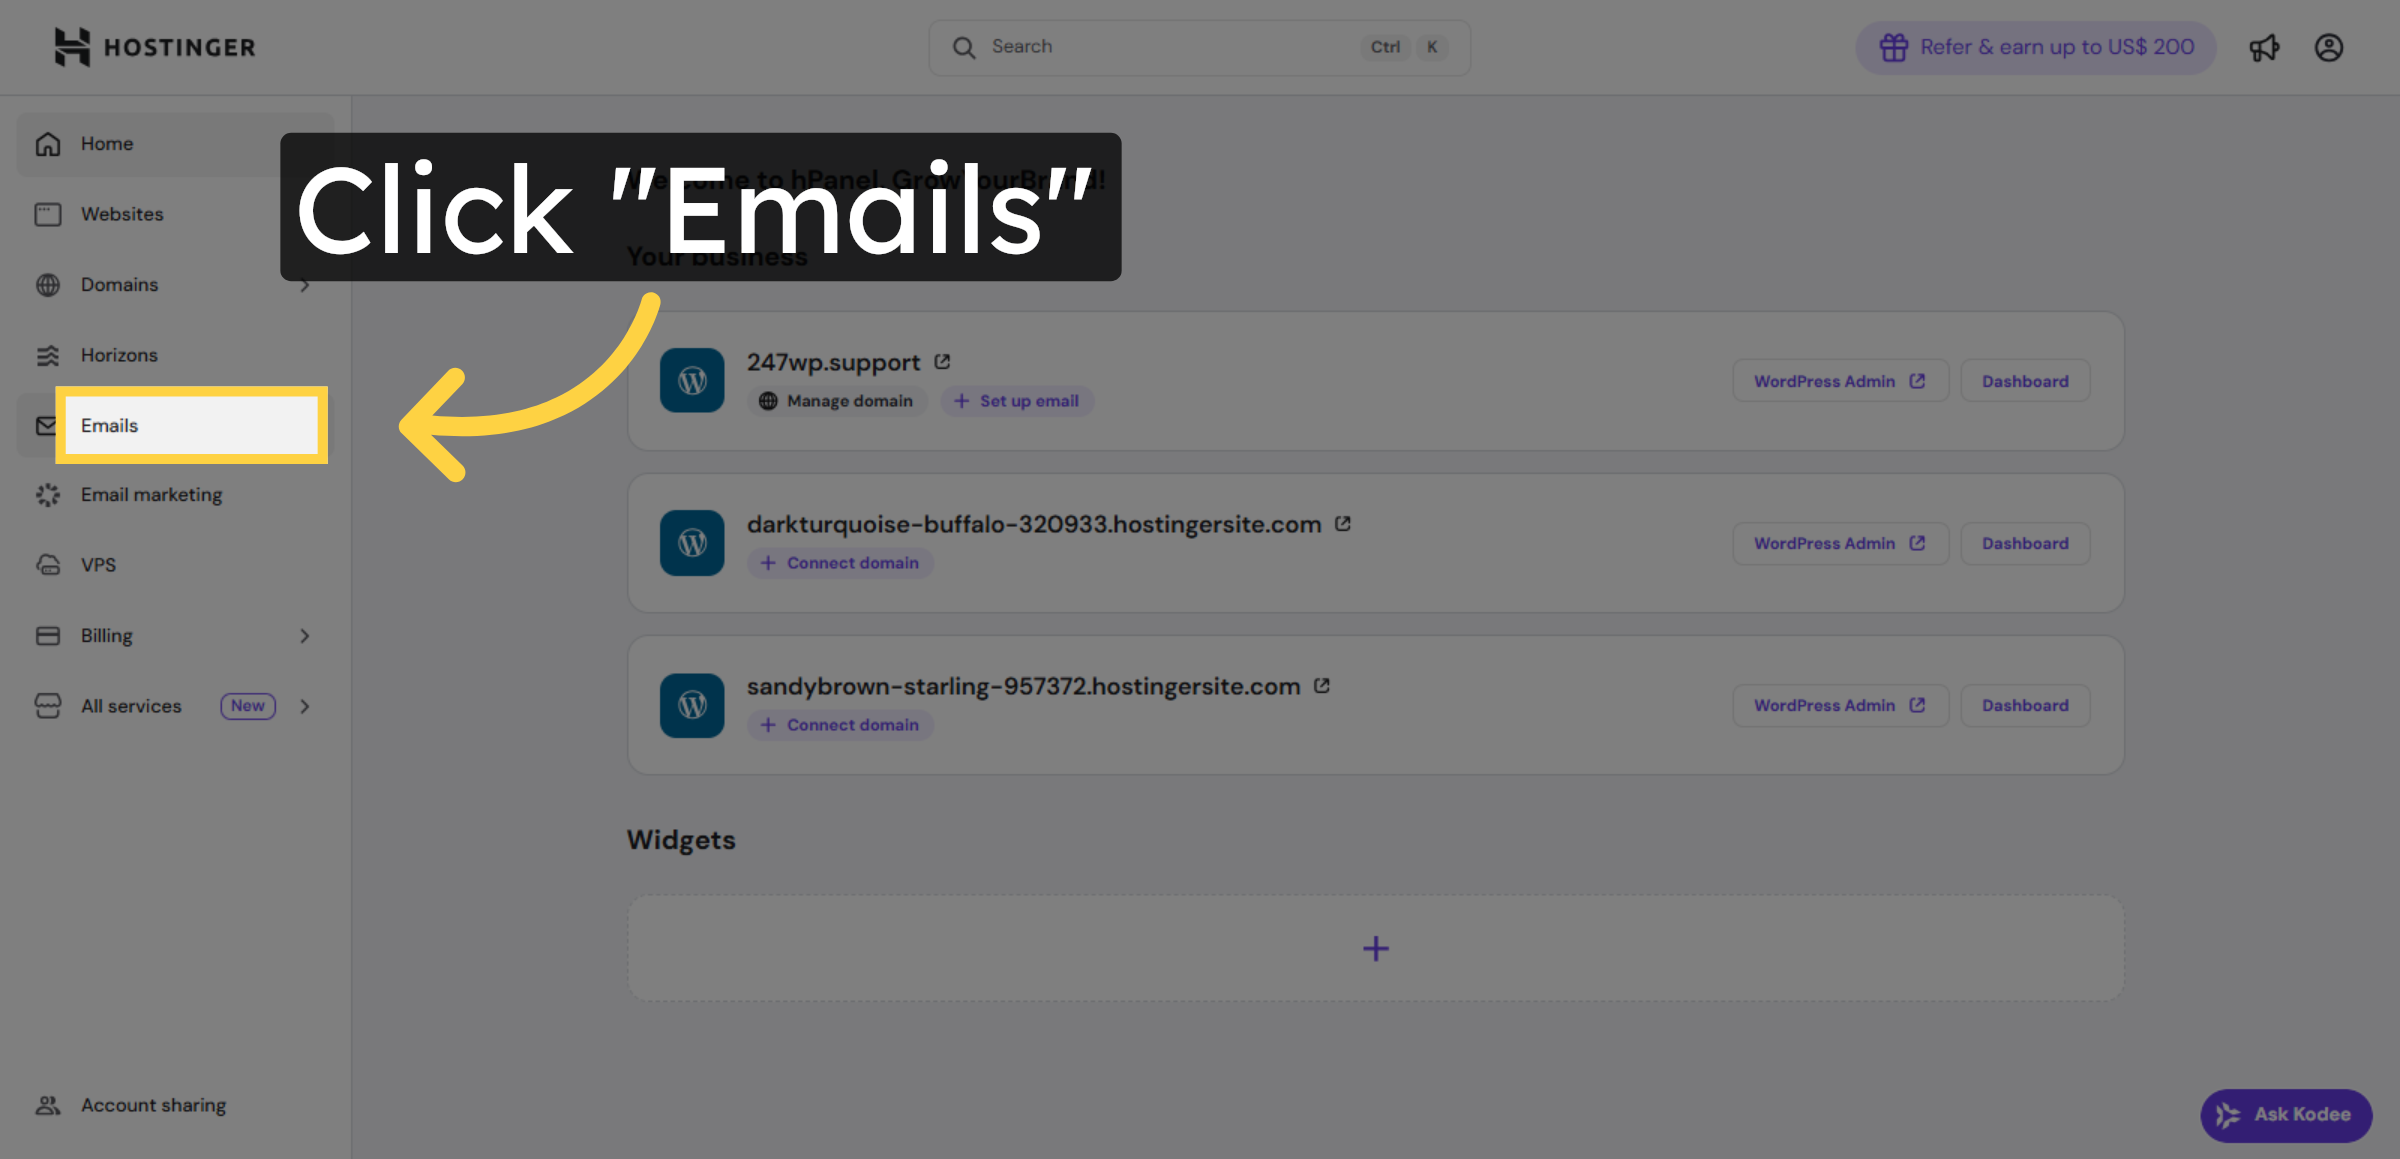
2. Navigate to Emails Section
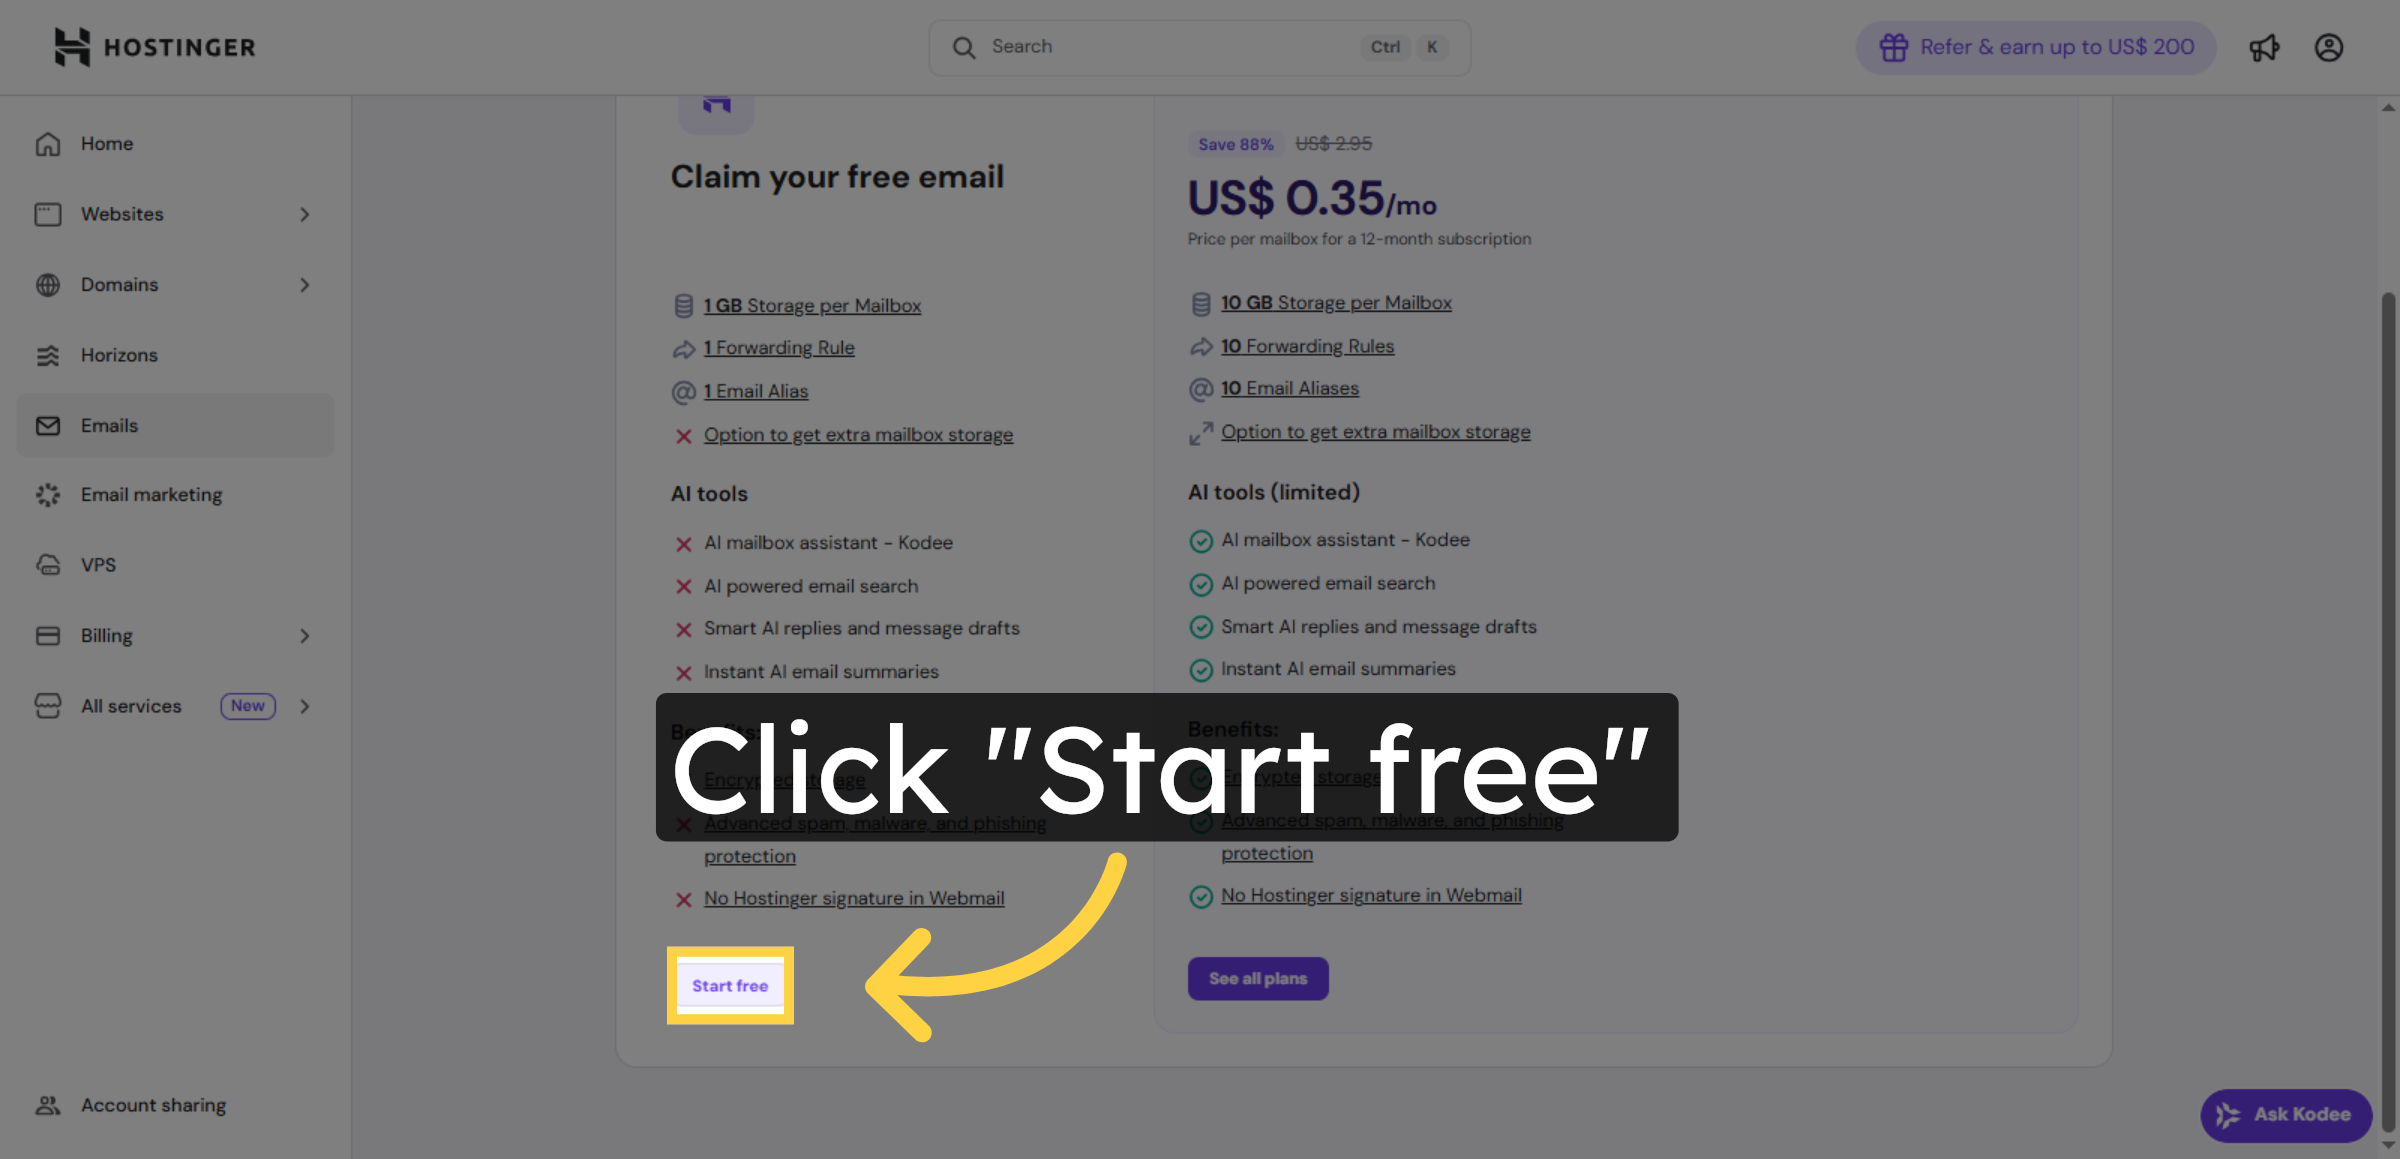
3. Start Free Email Setup
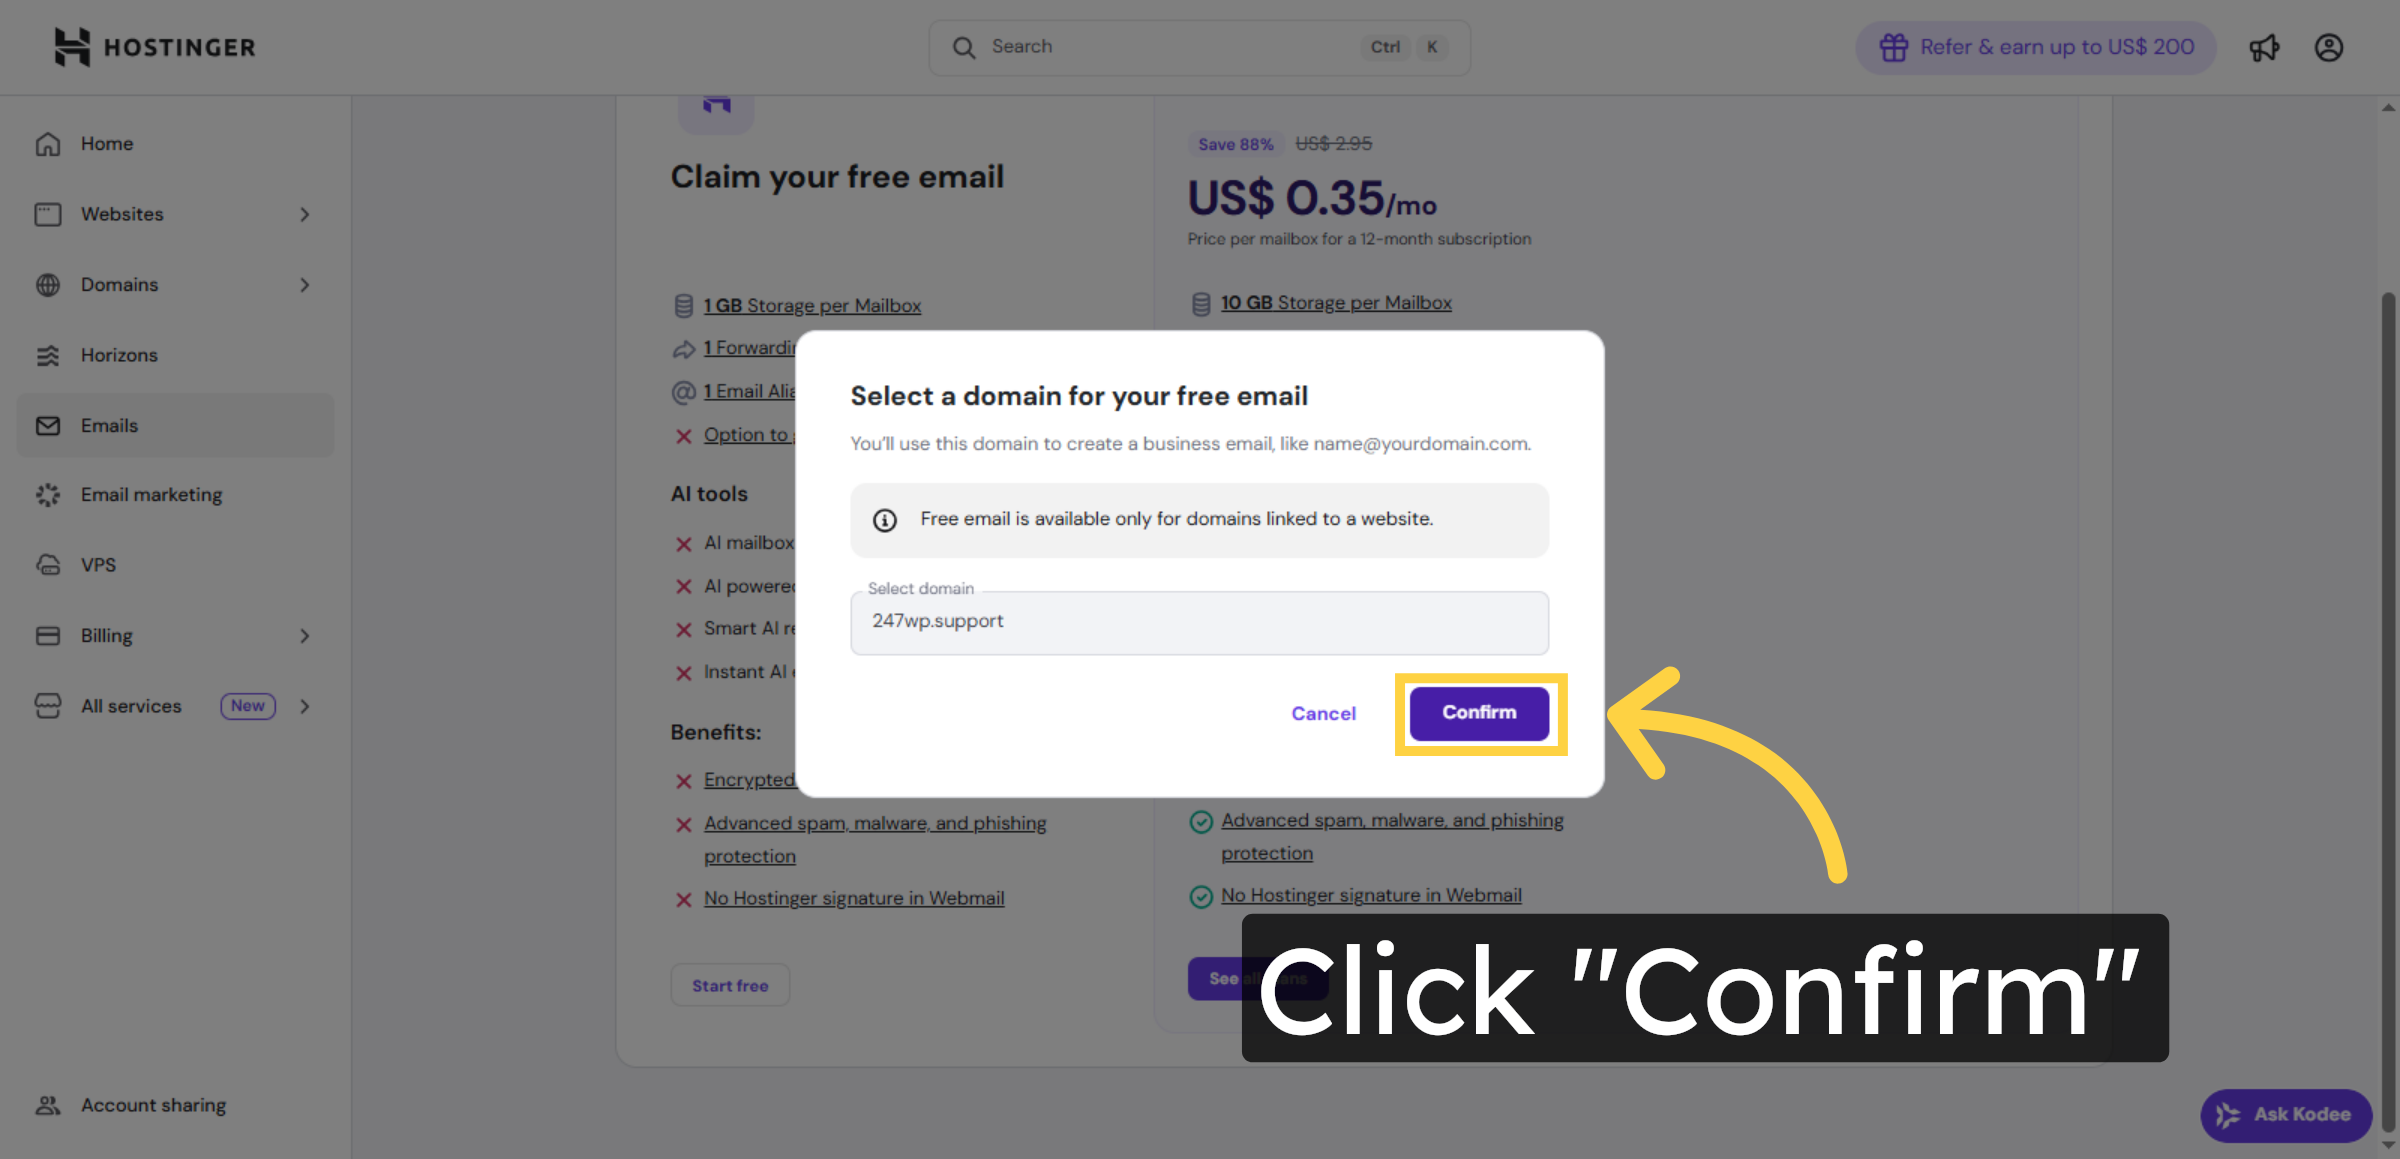
4. Confirm Email Setup
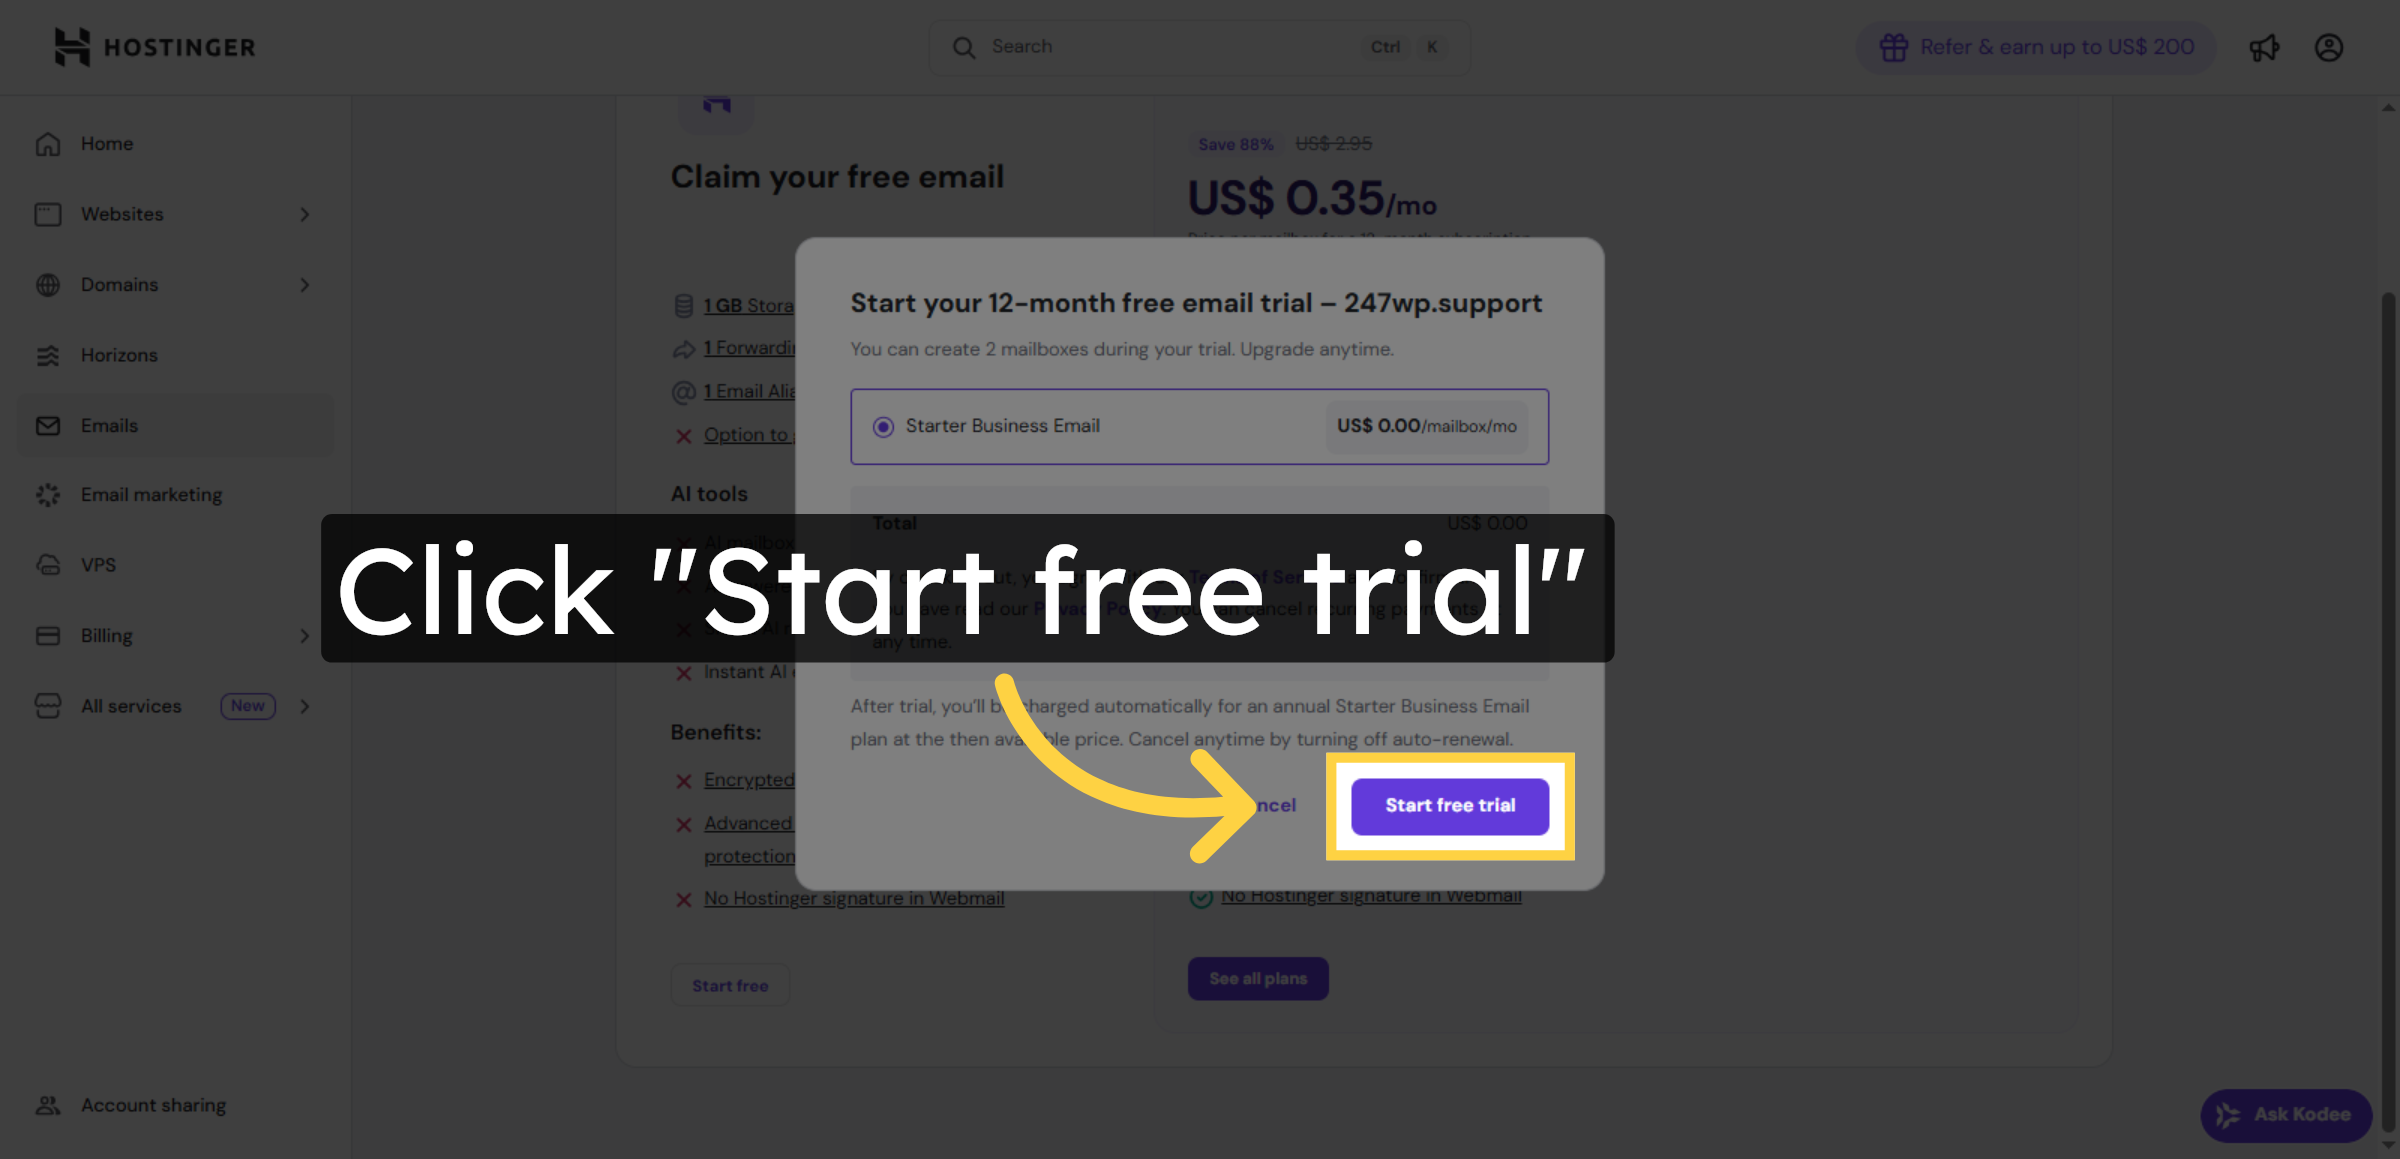
5. Begin Free Trial
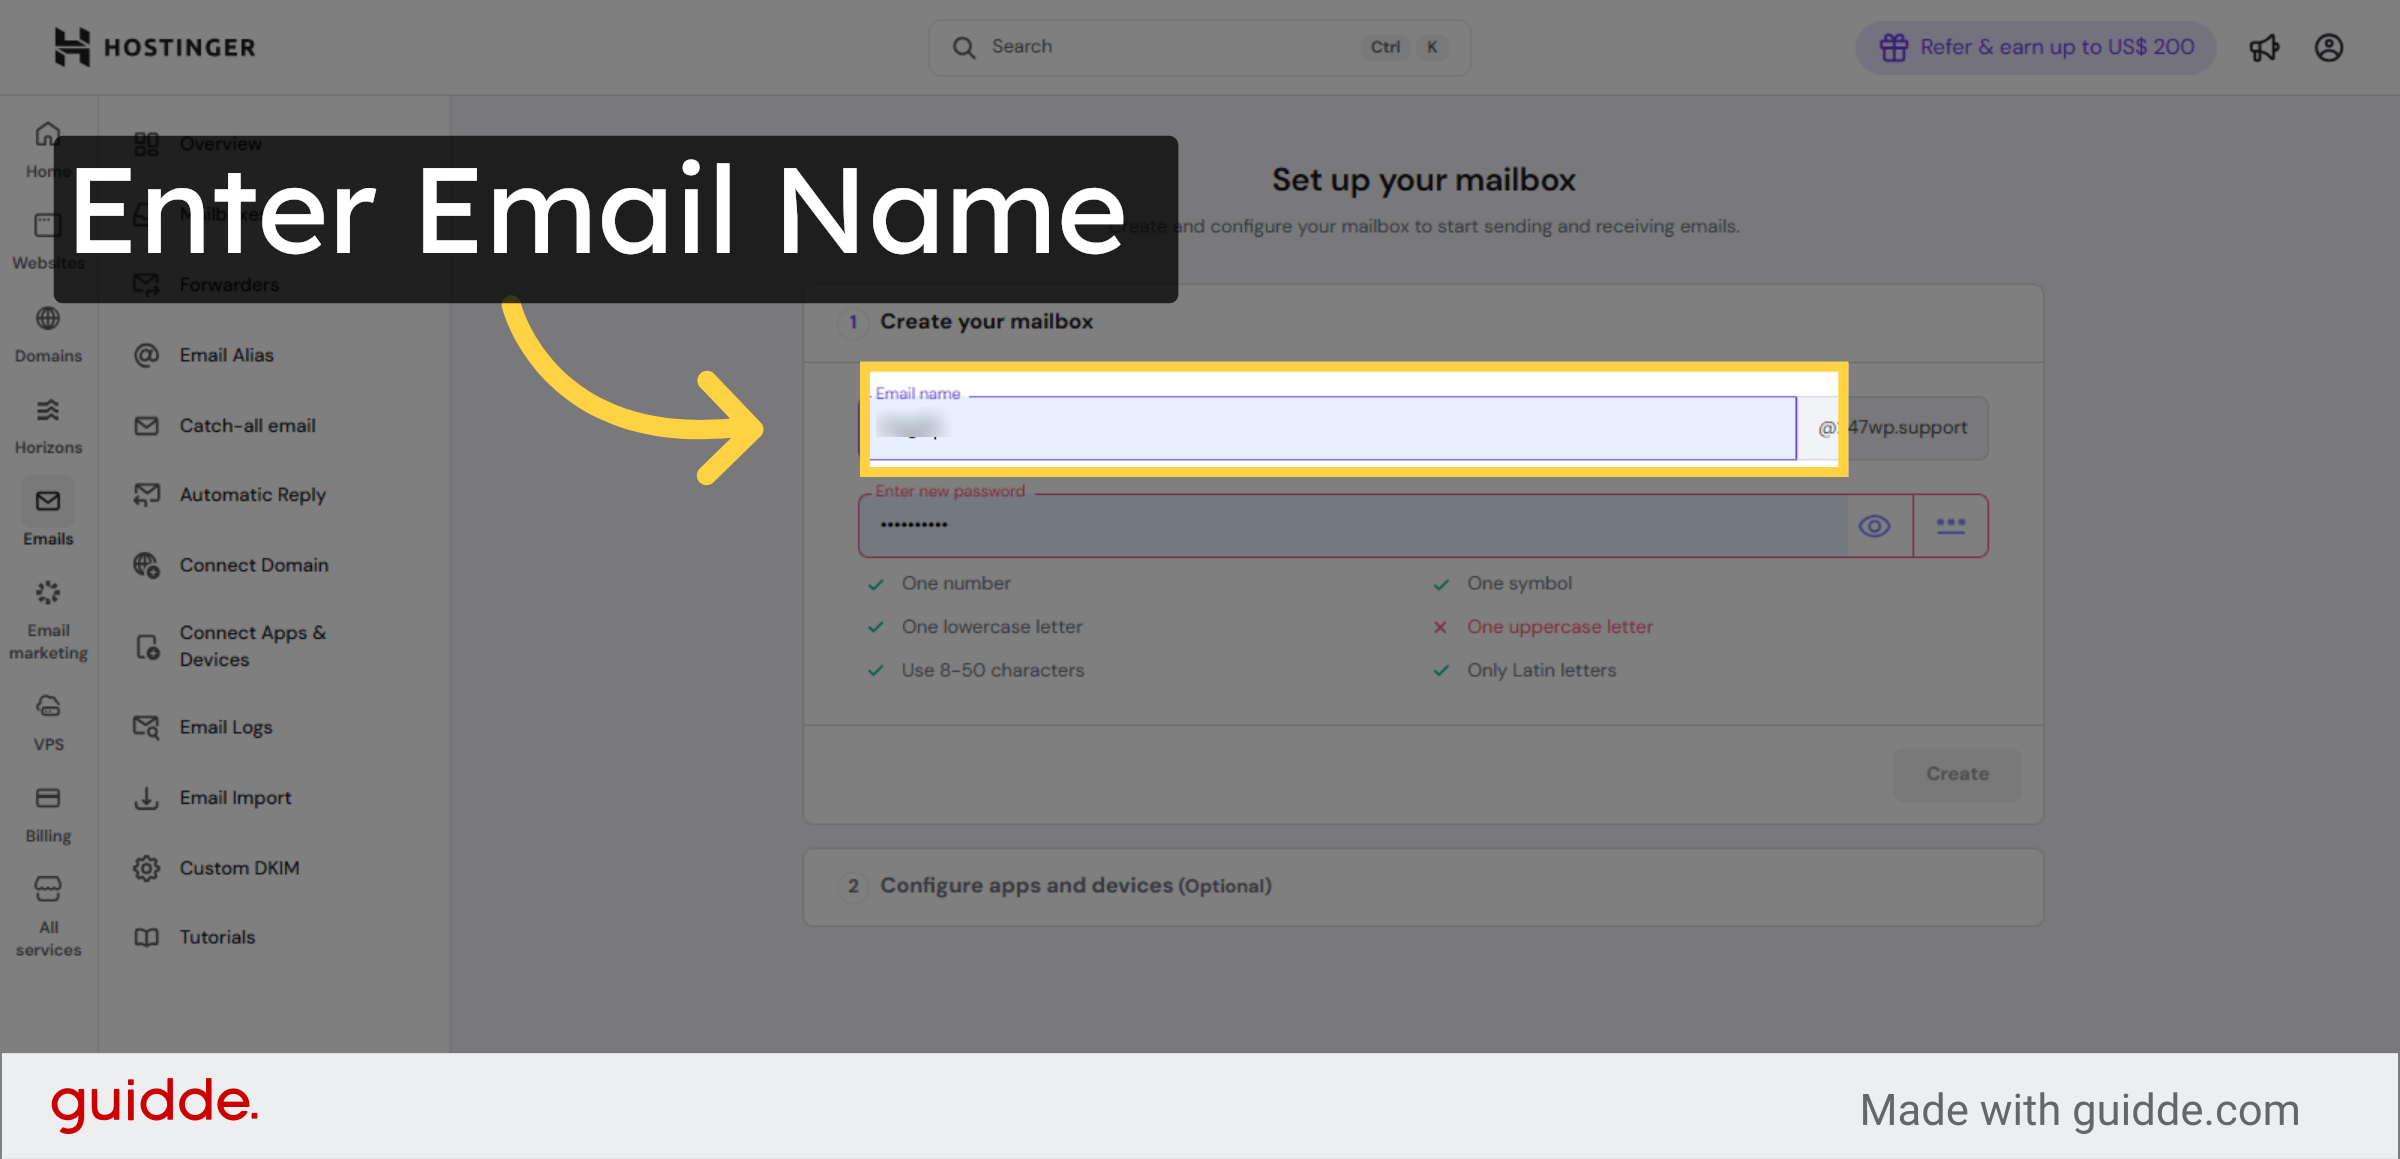
6. Enter Email Name
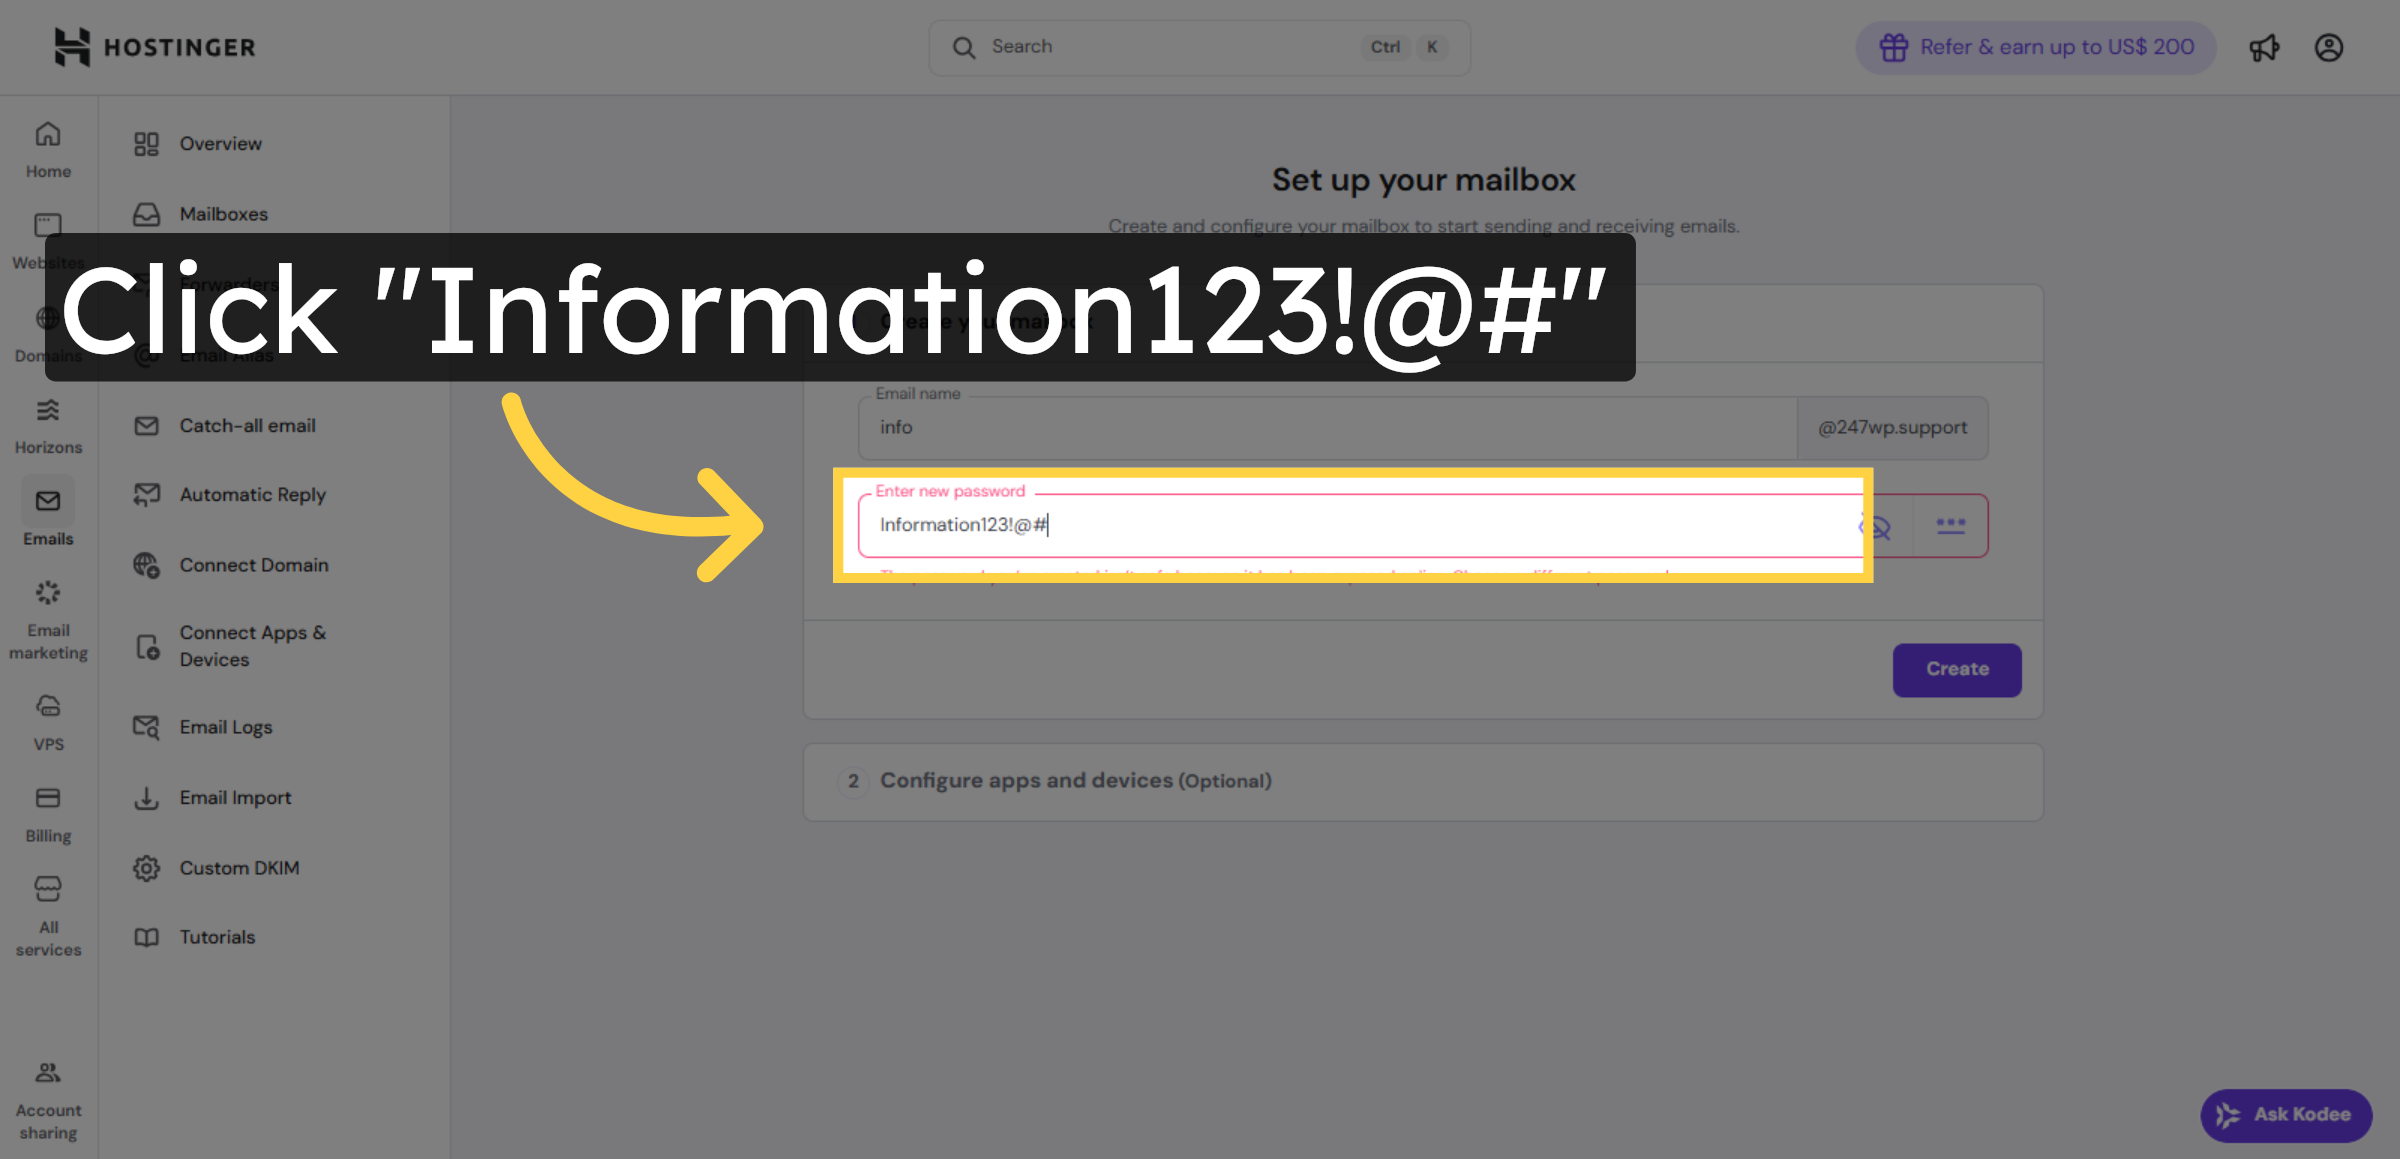
7. Access Password Field
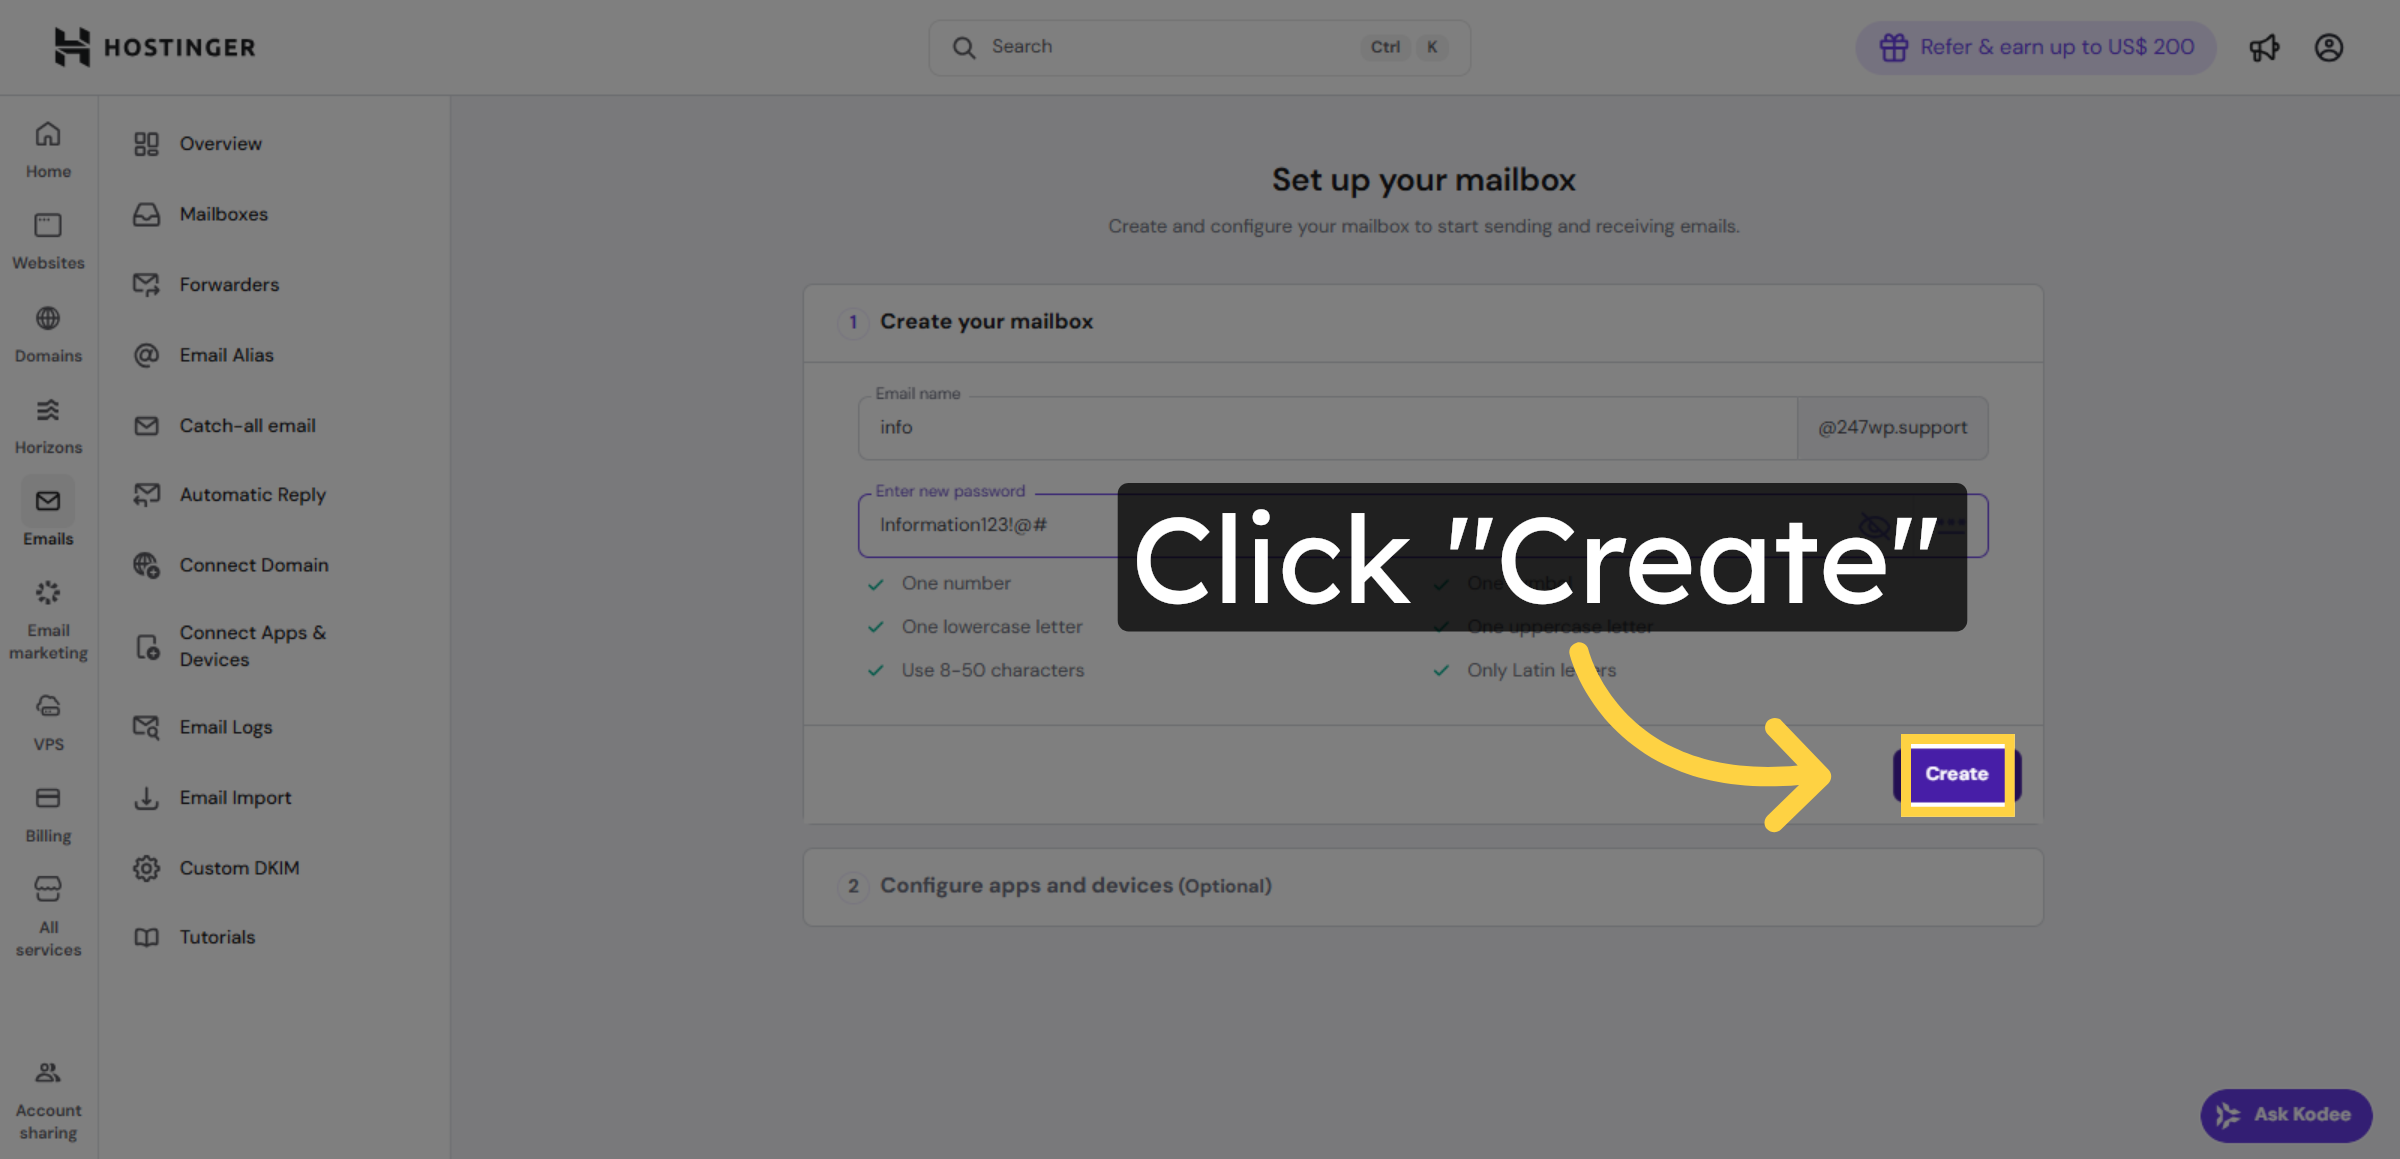
8. Create Mailbox
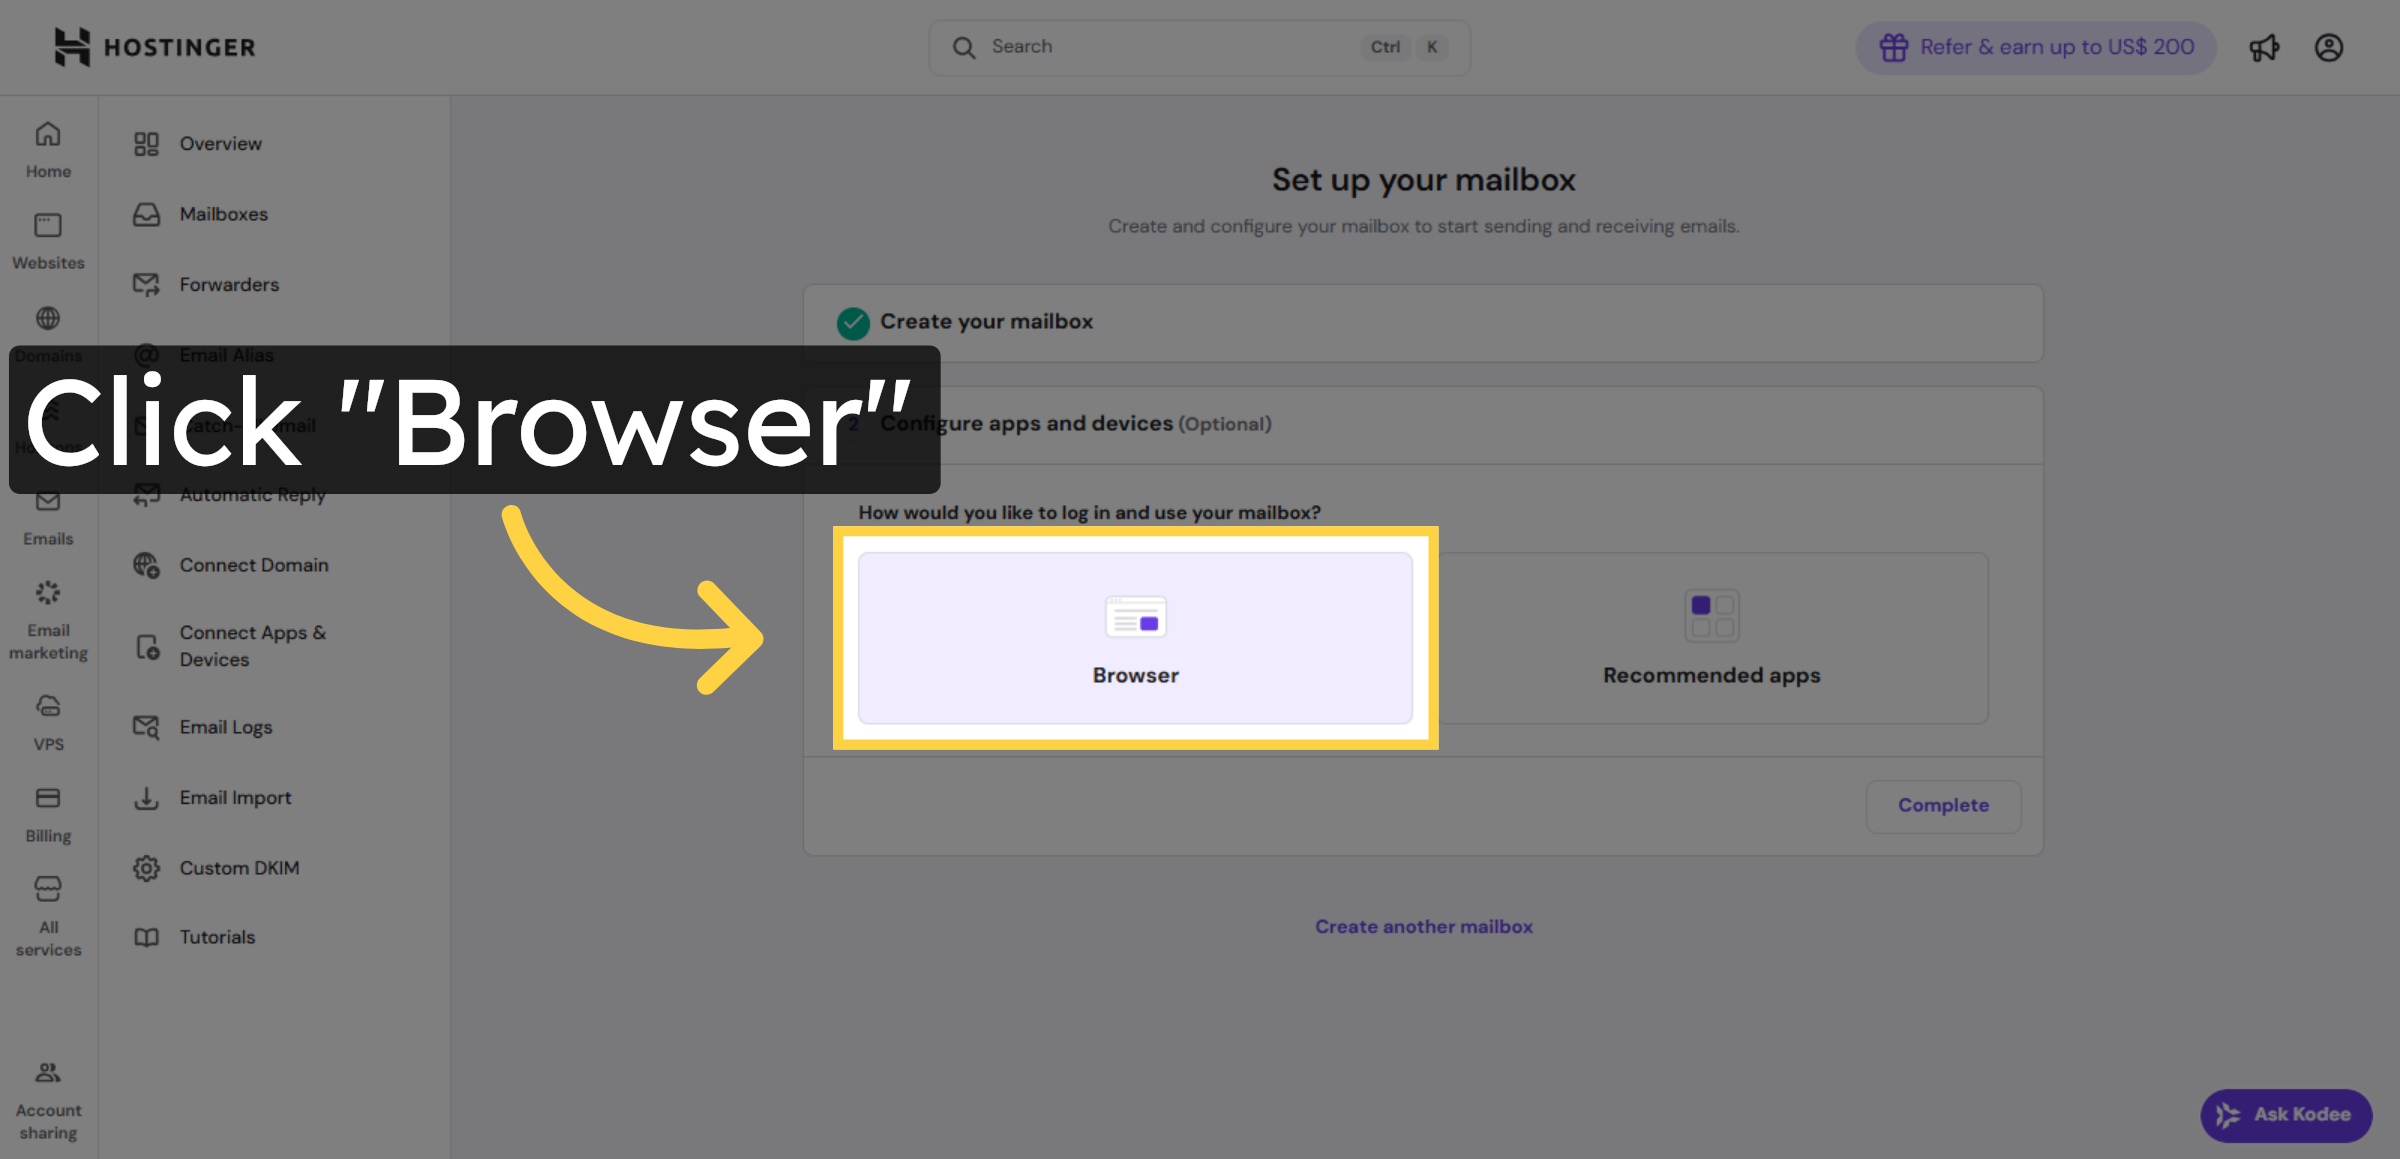
9. Open Browser Tab
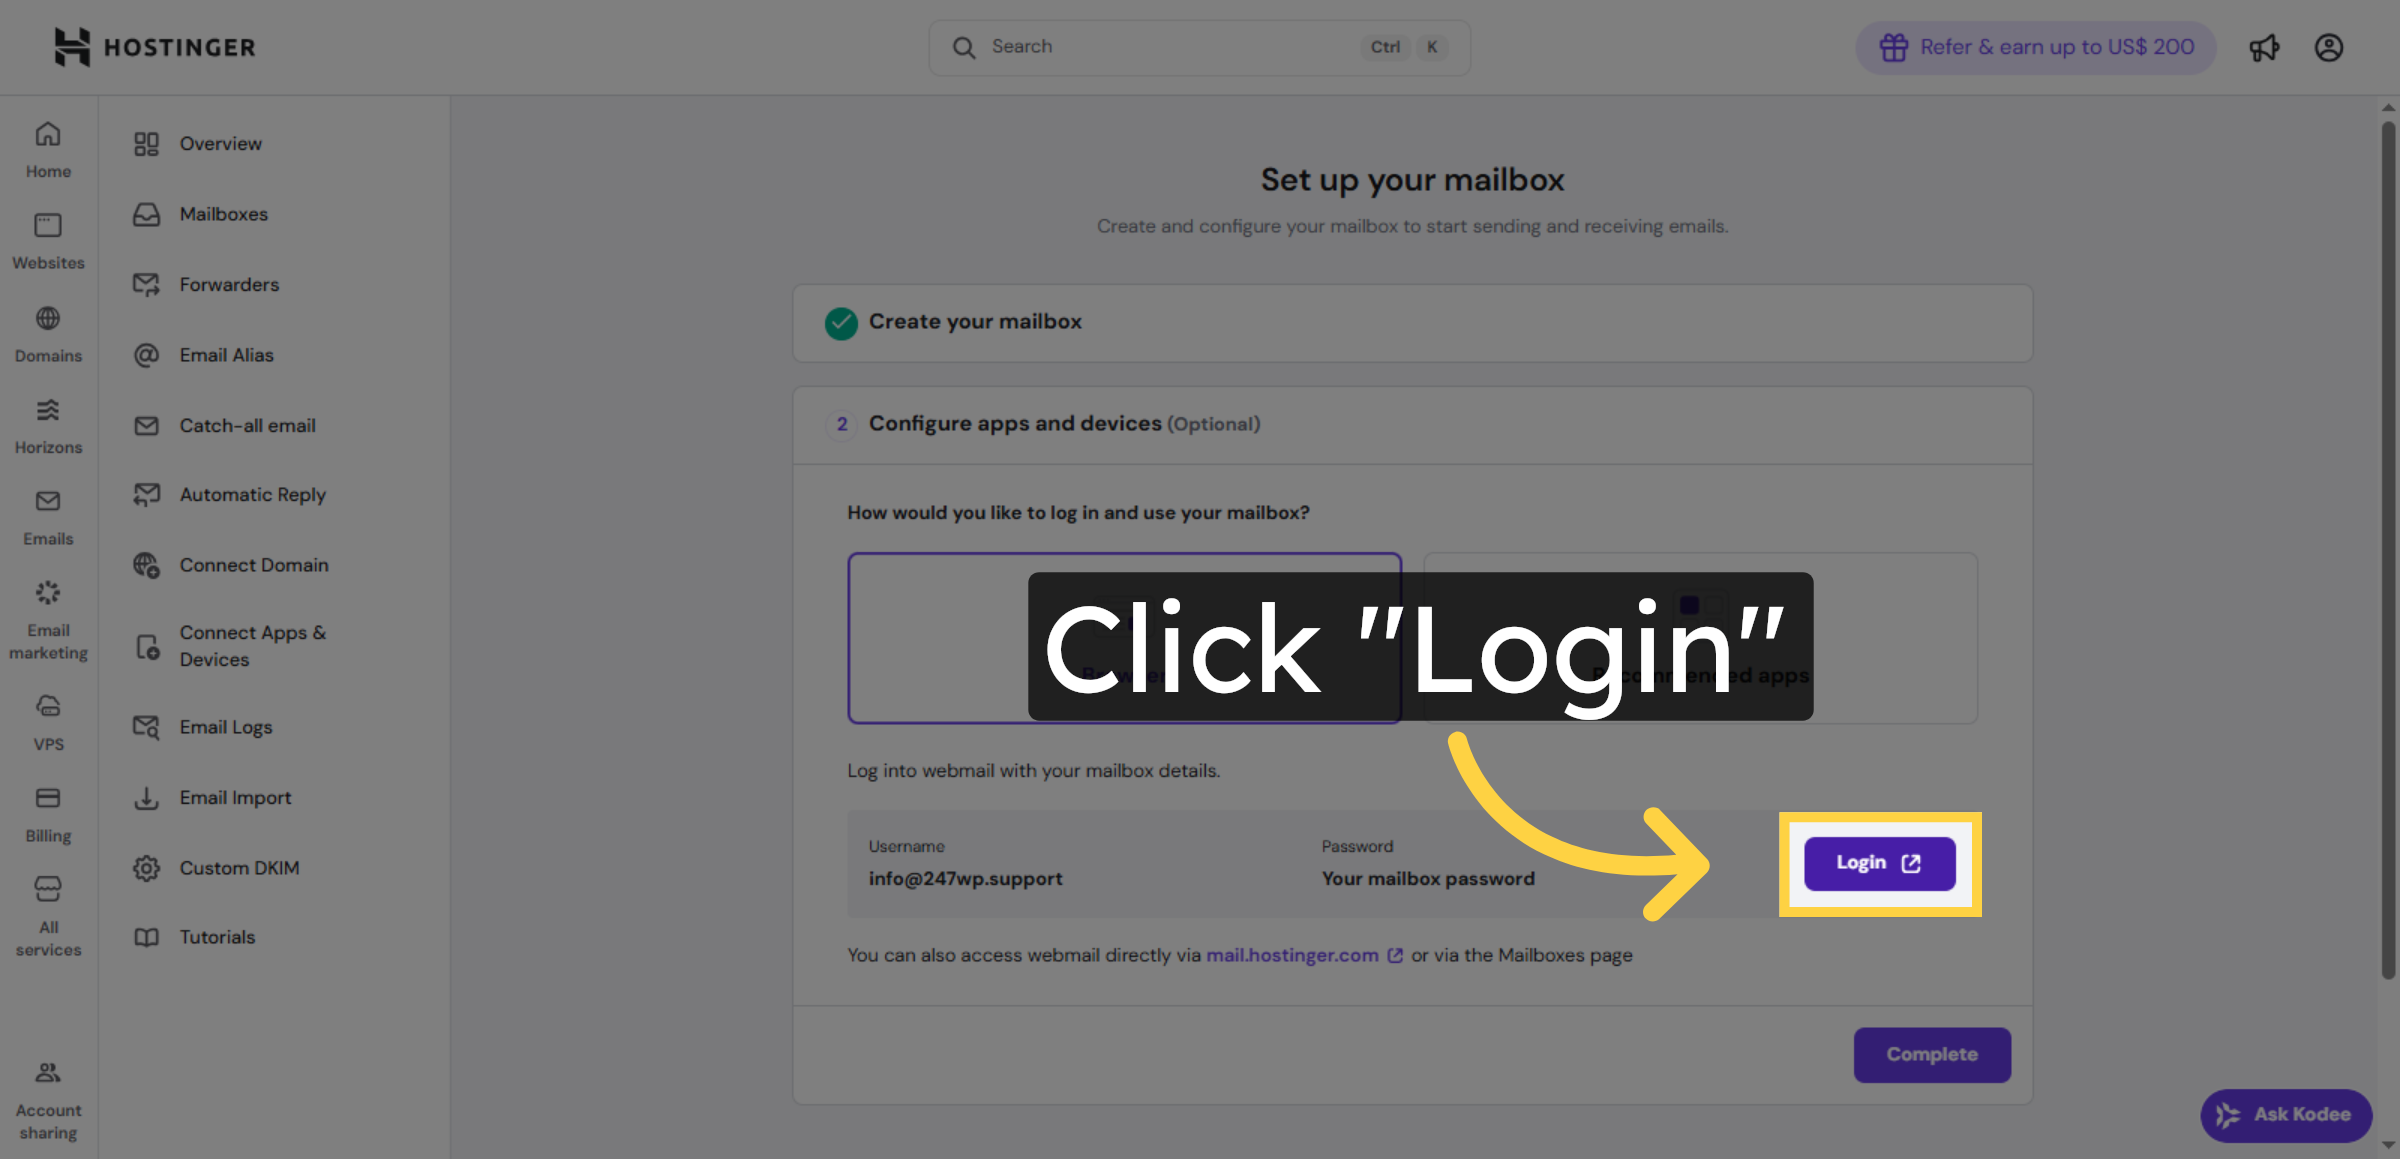
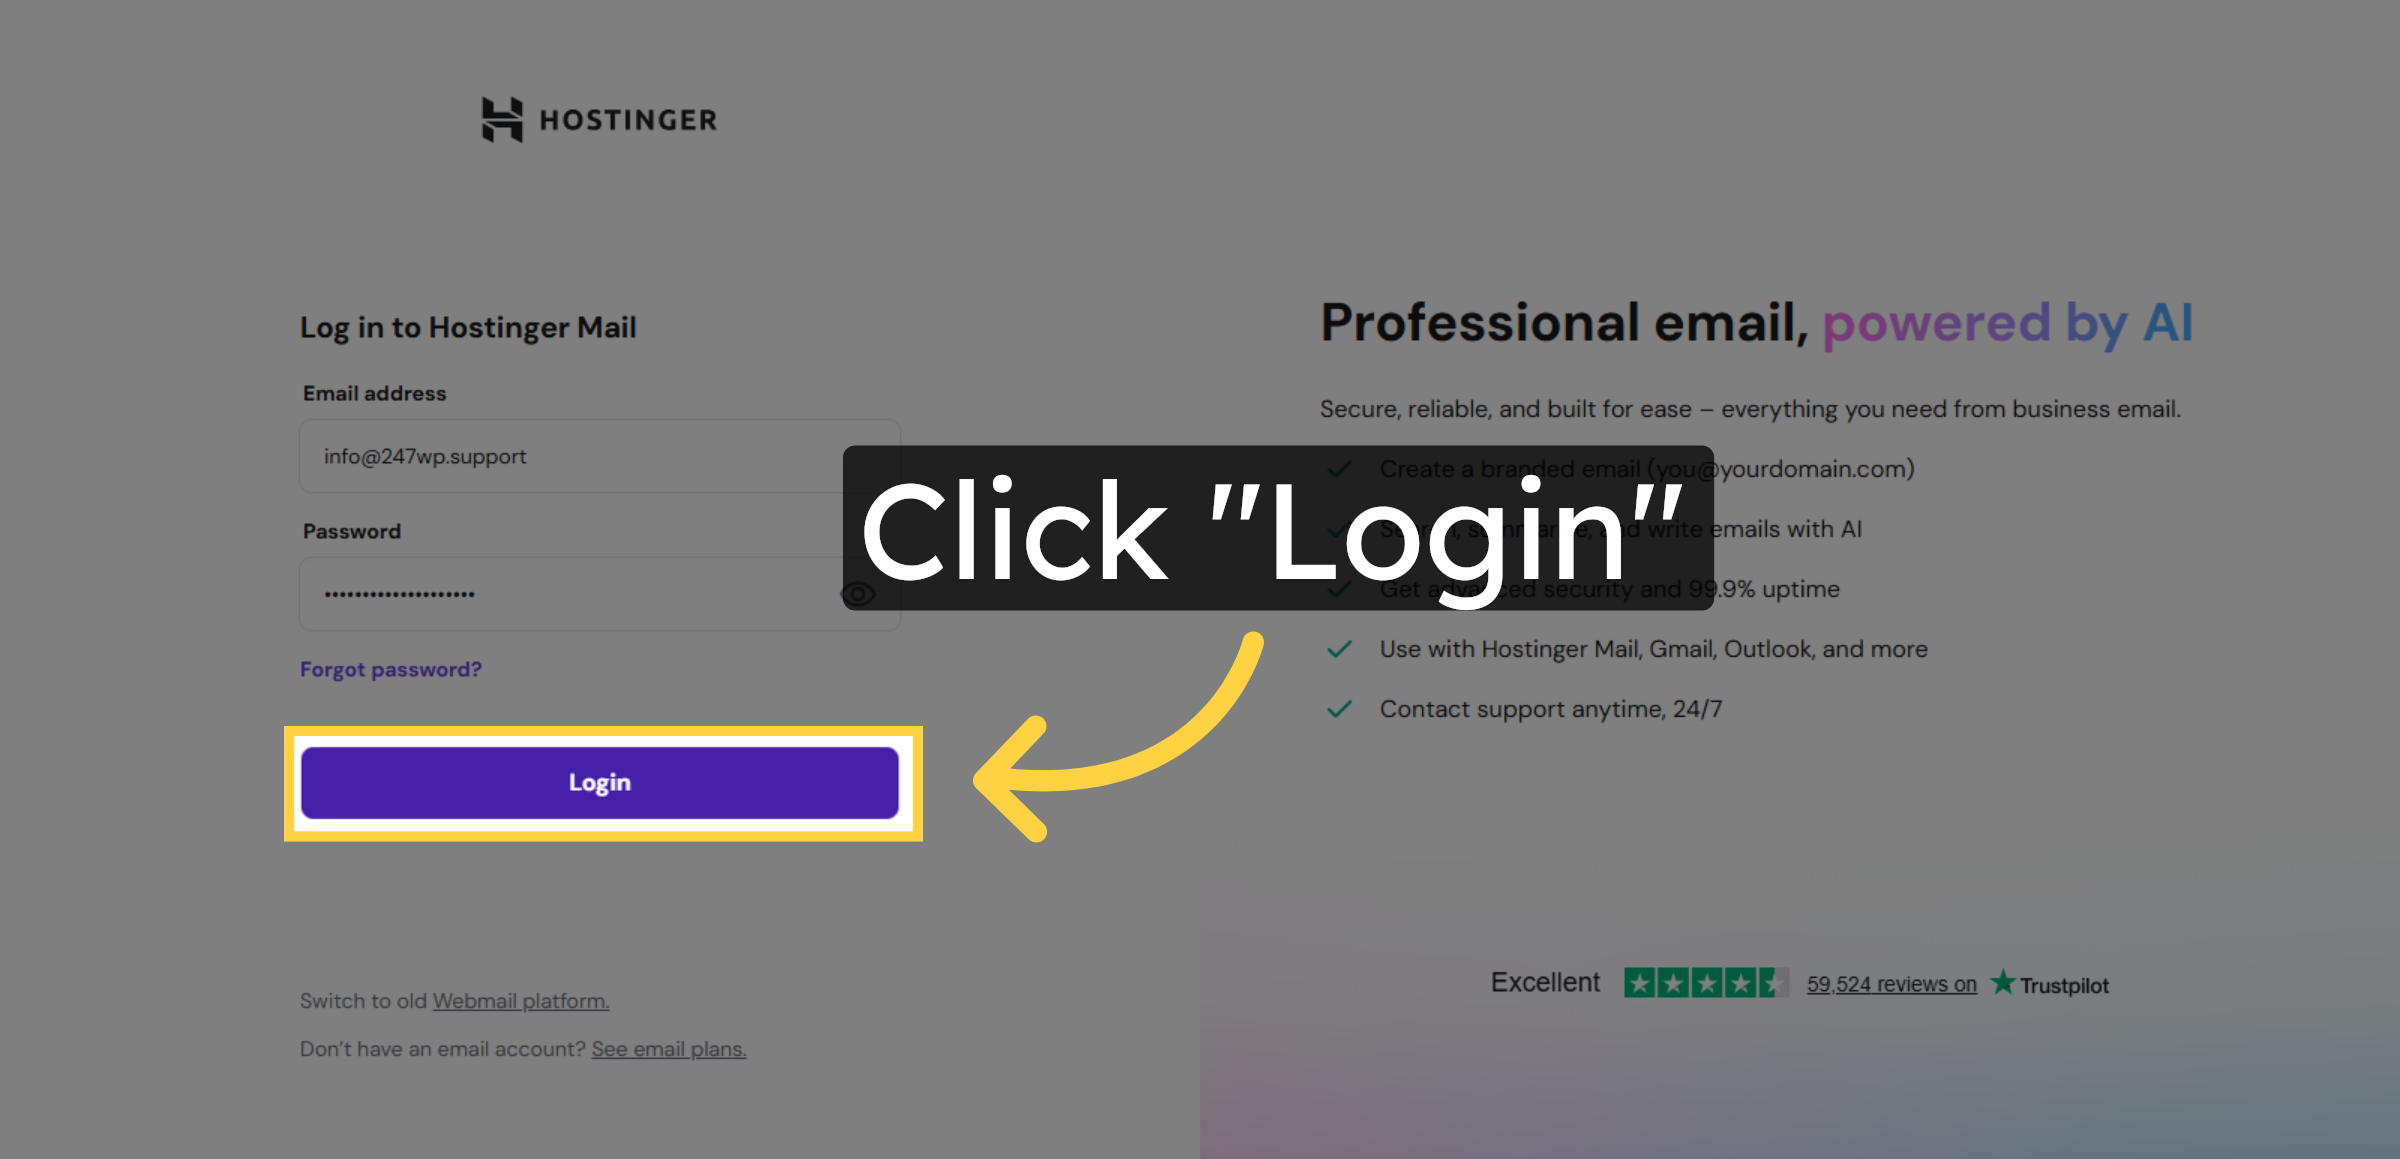
10. Click Login Button


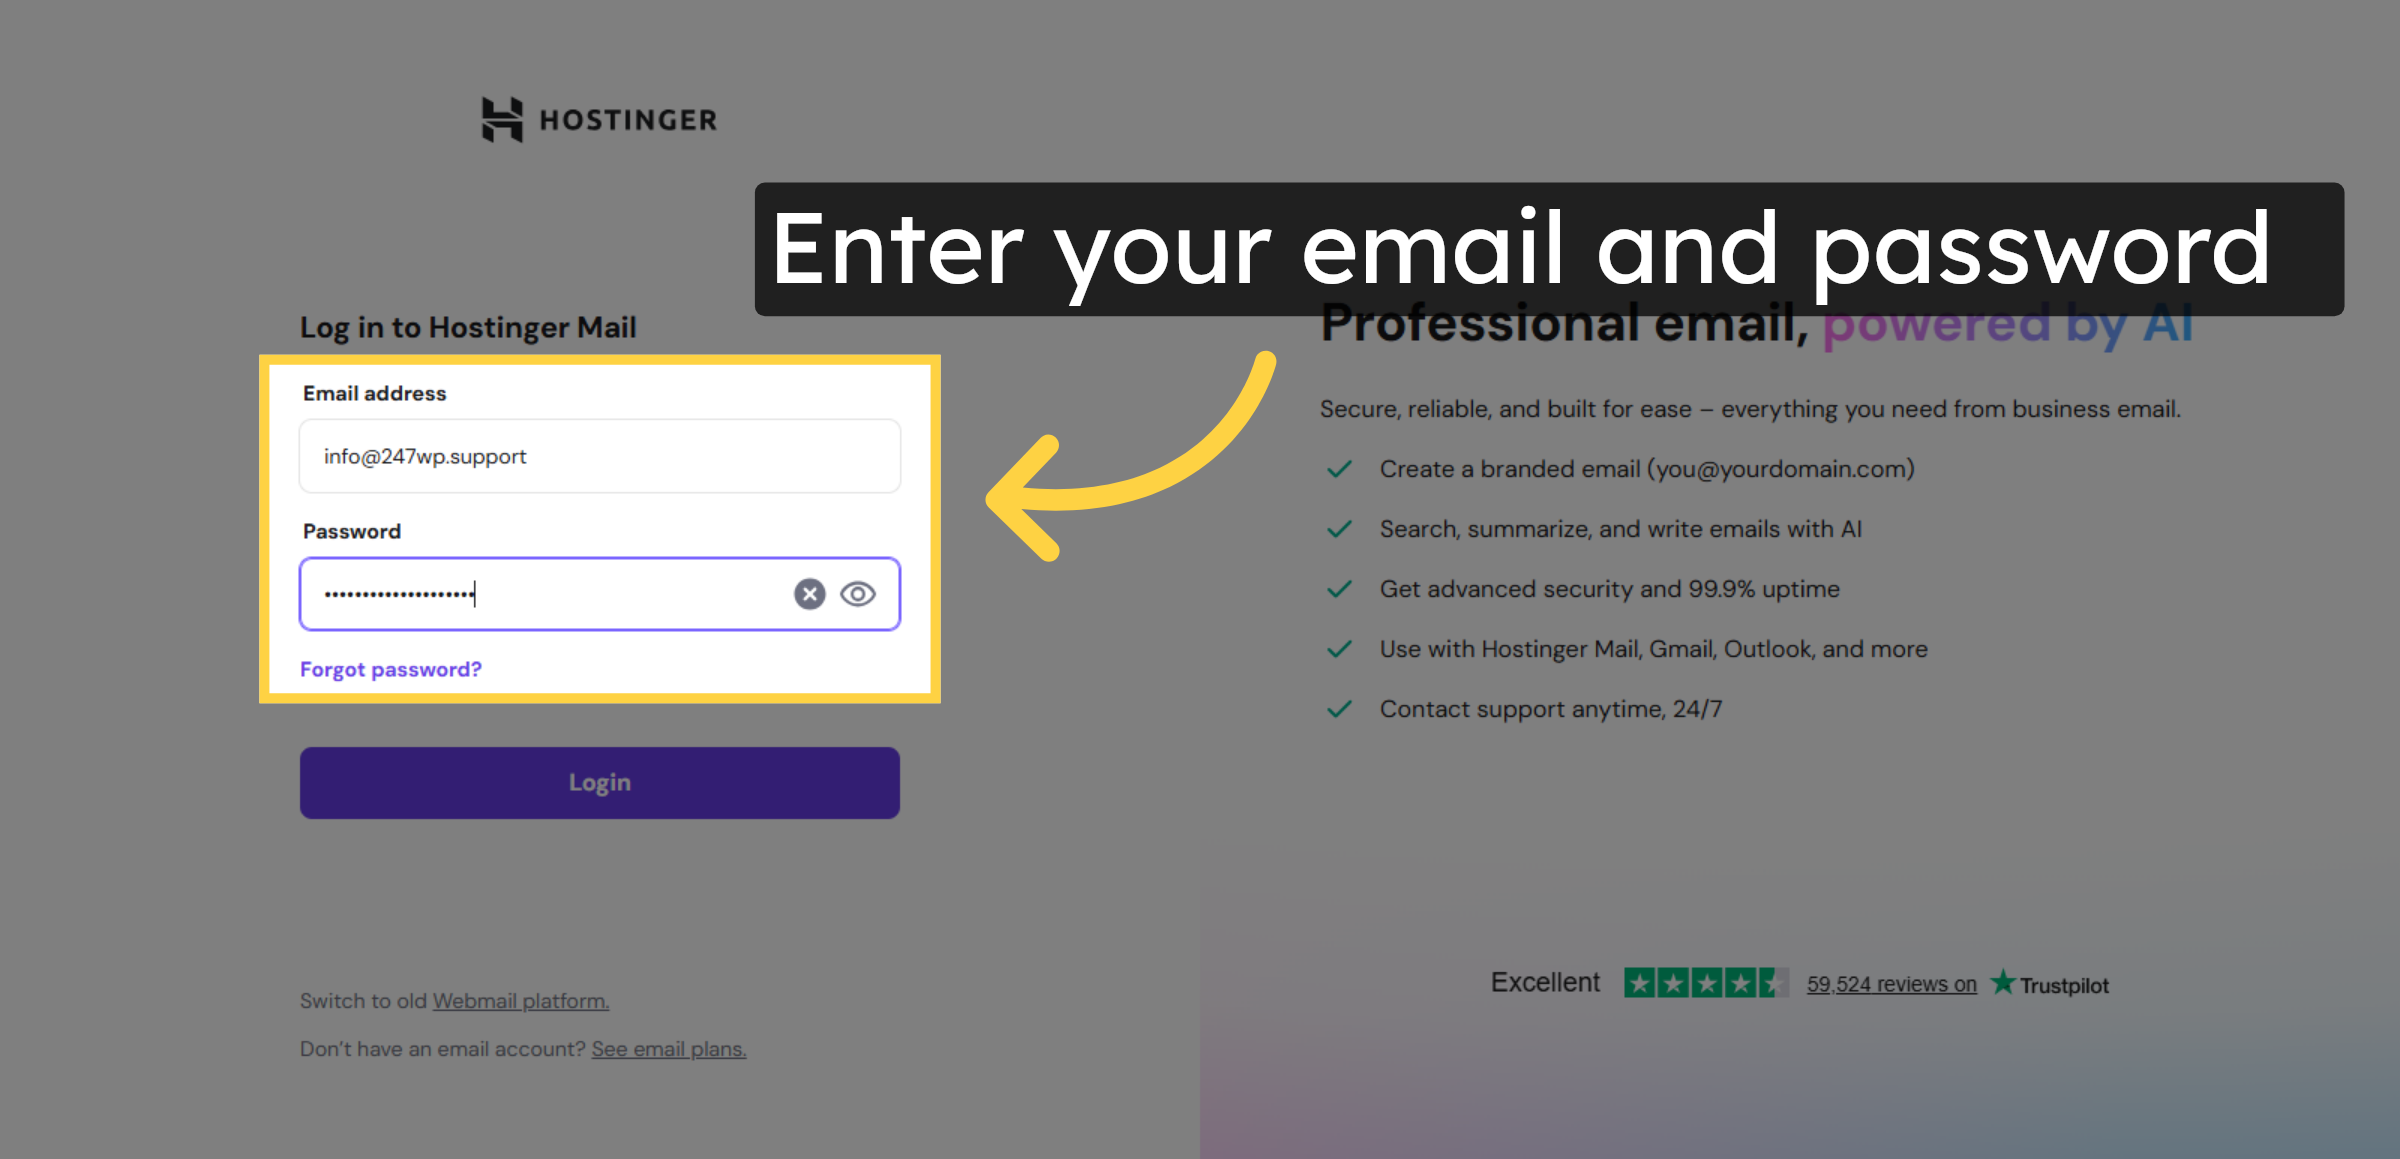
11. Enter Email Address and Email Password
12. Submit Login Credentials
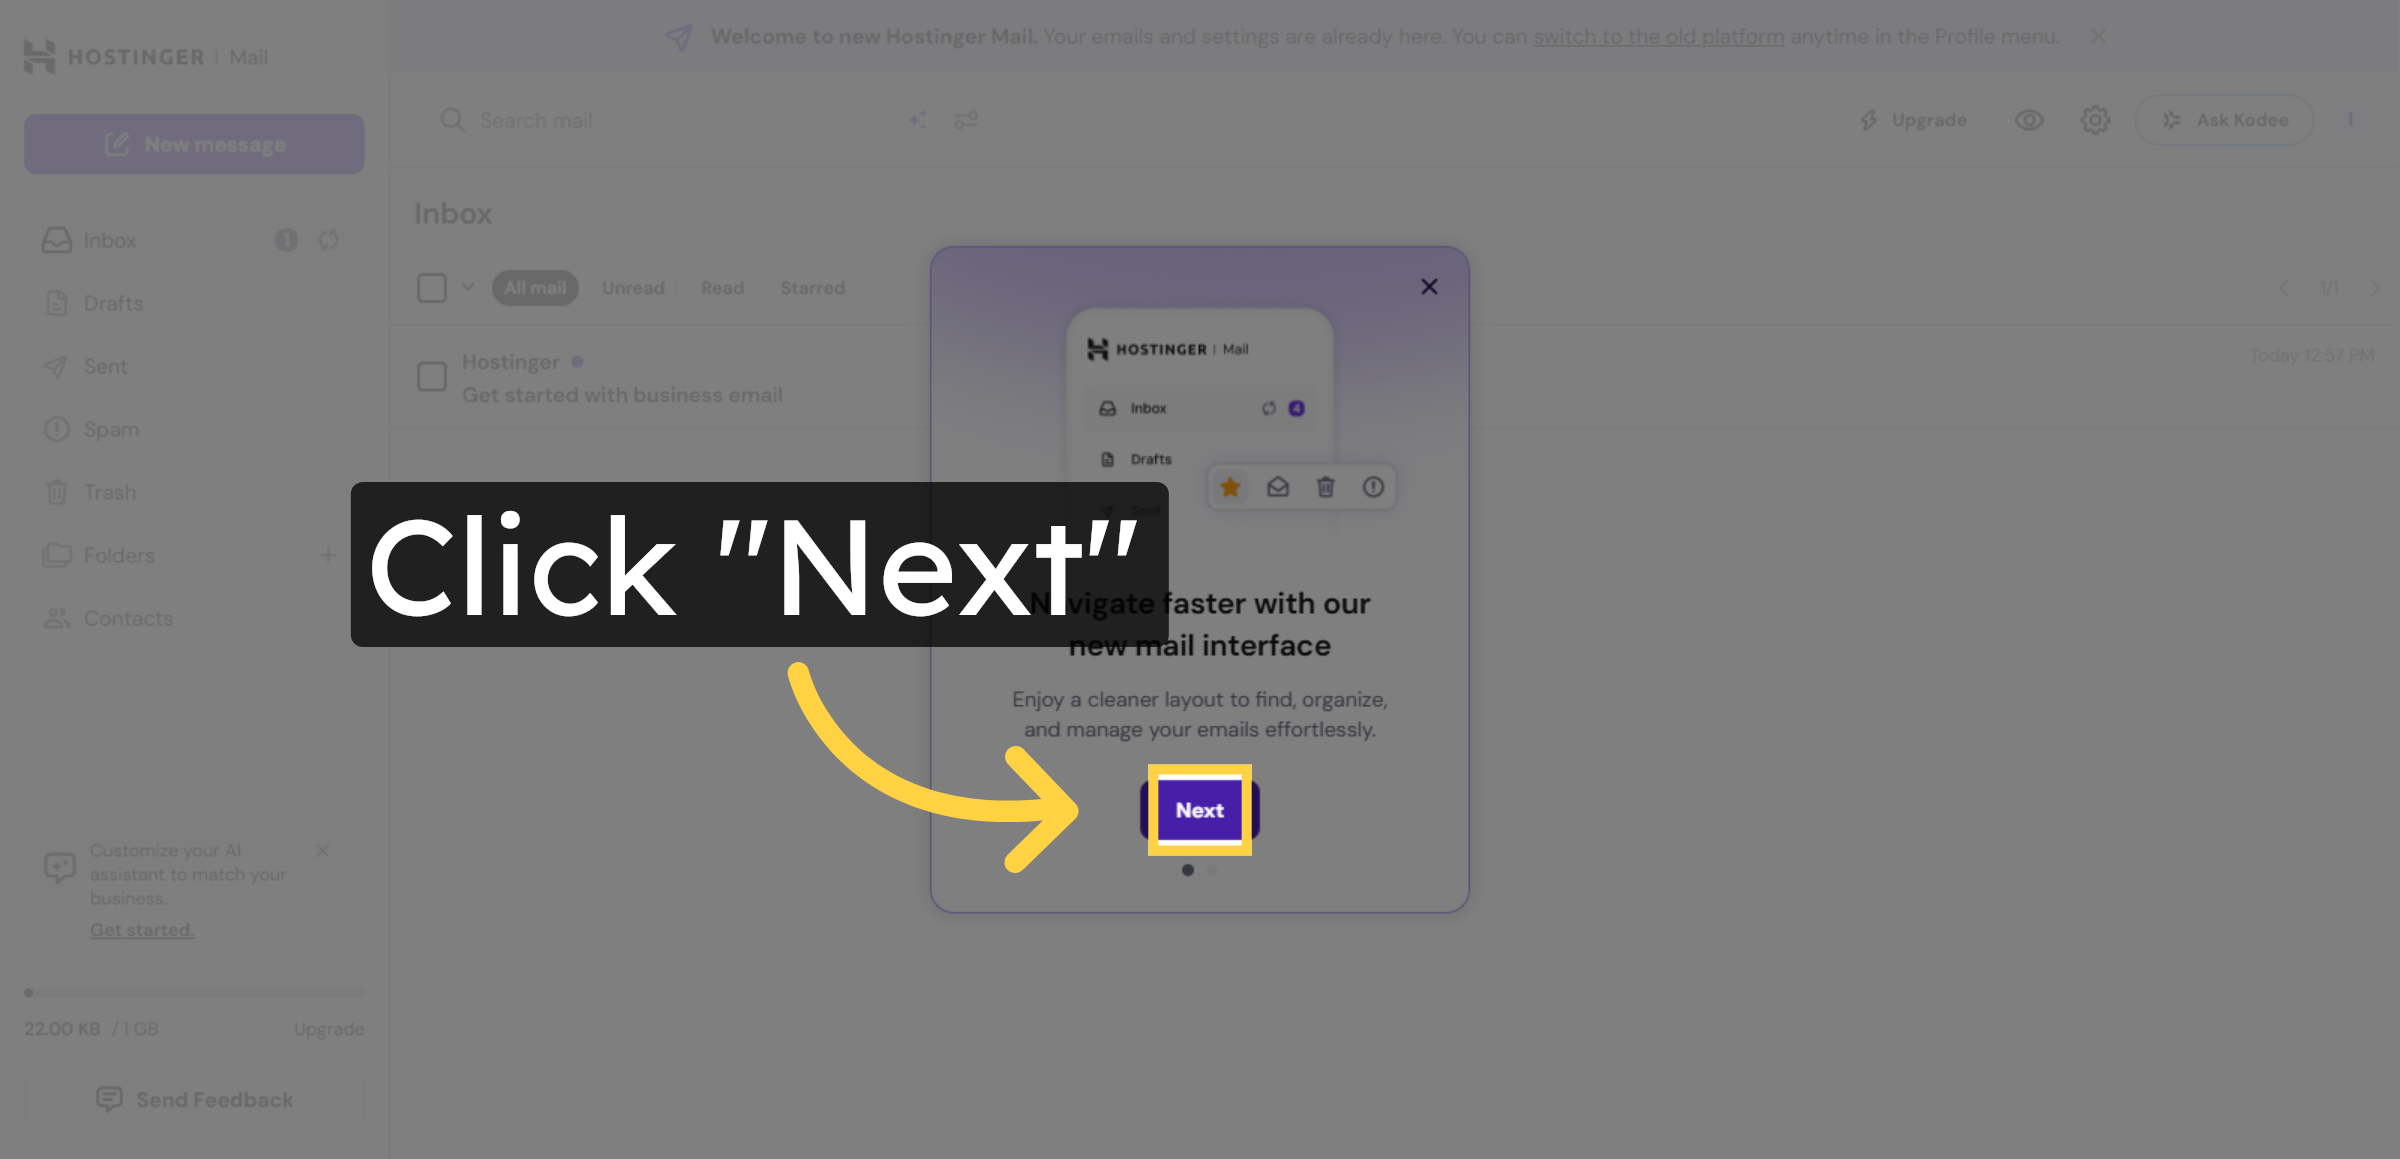
13. Proceed to Next Step
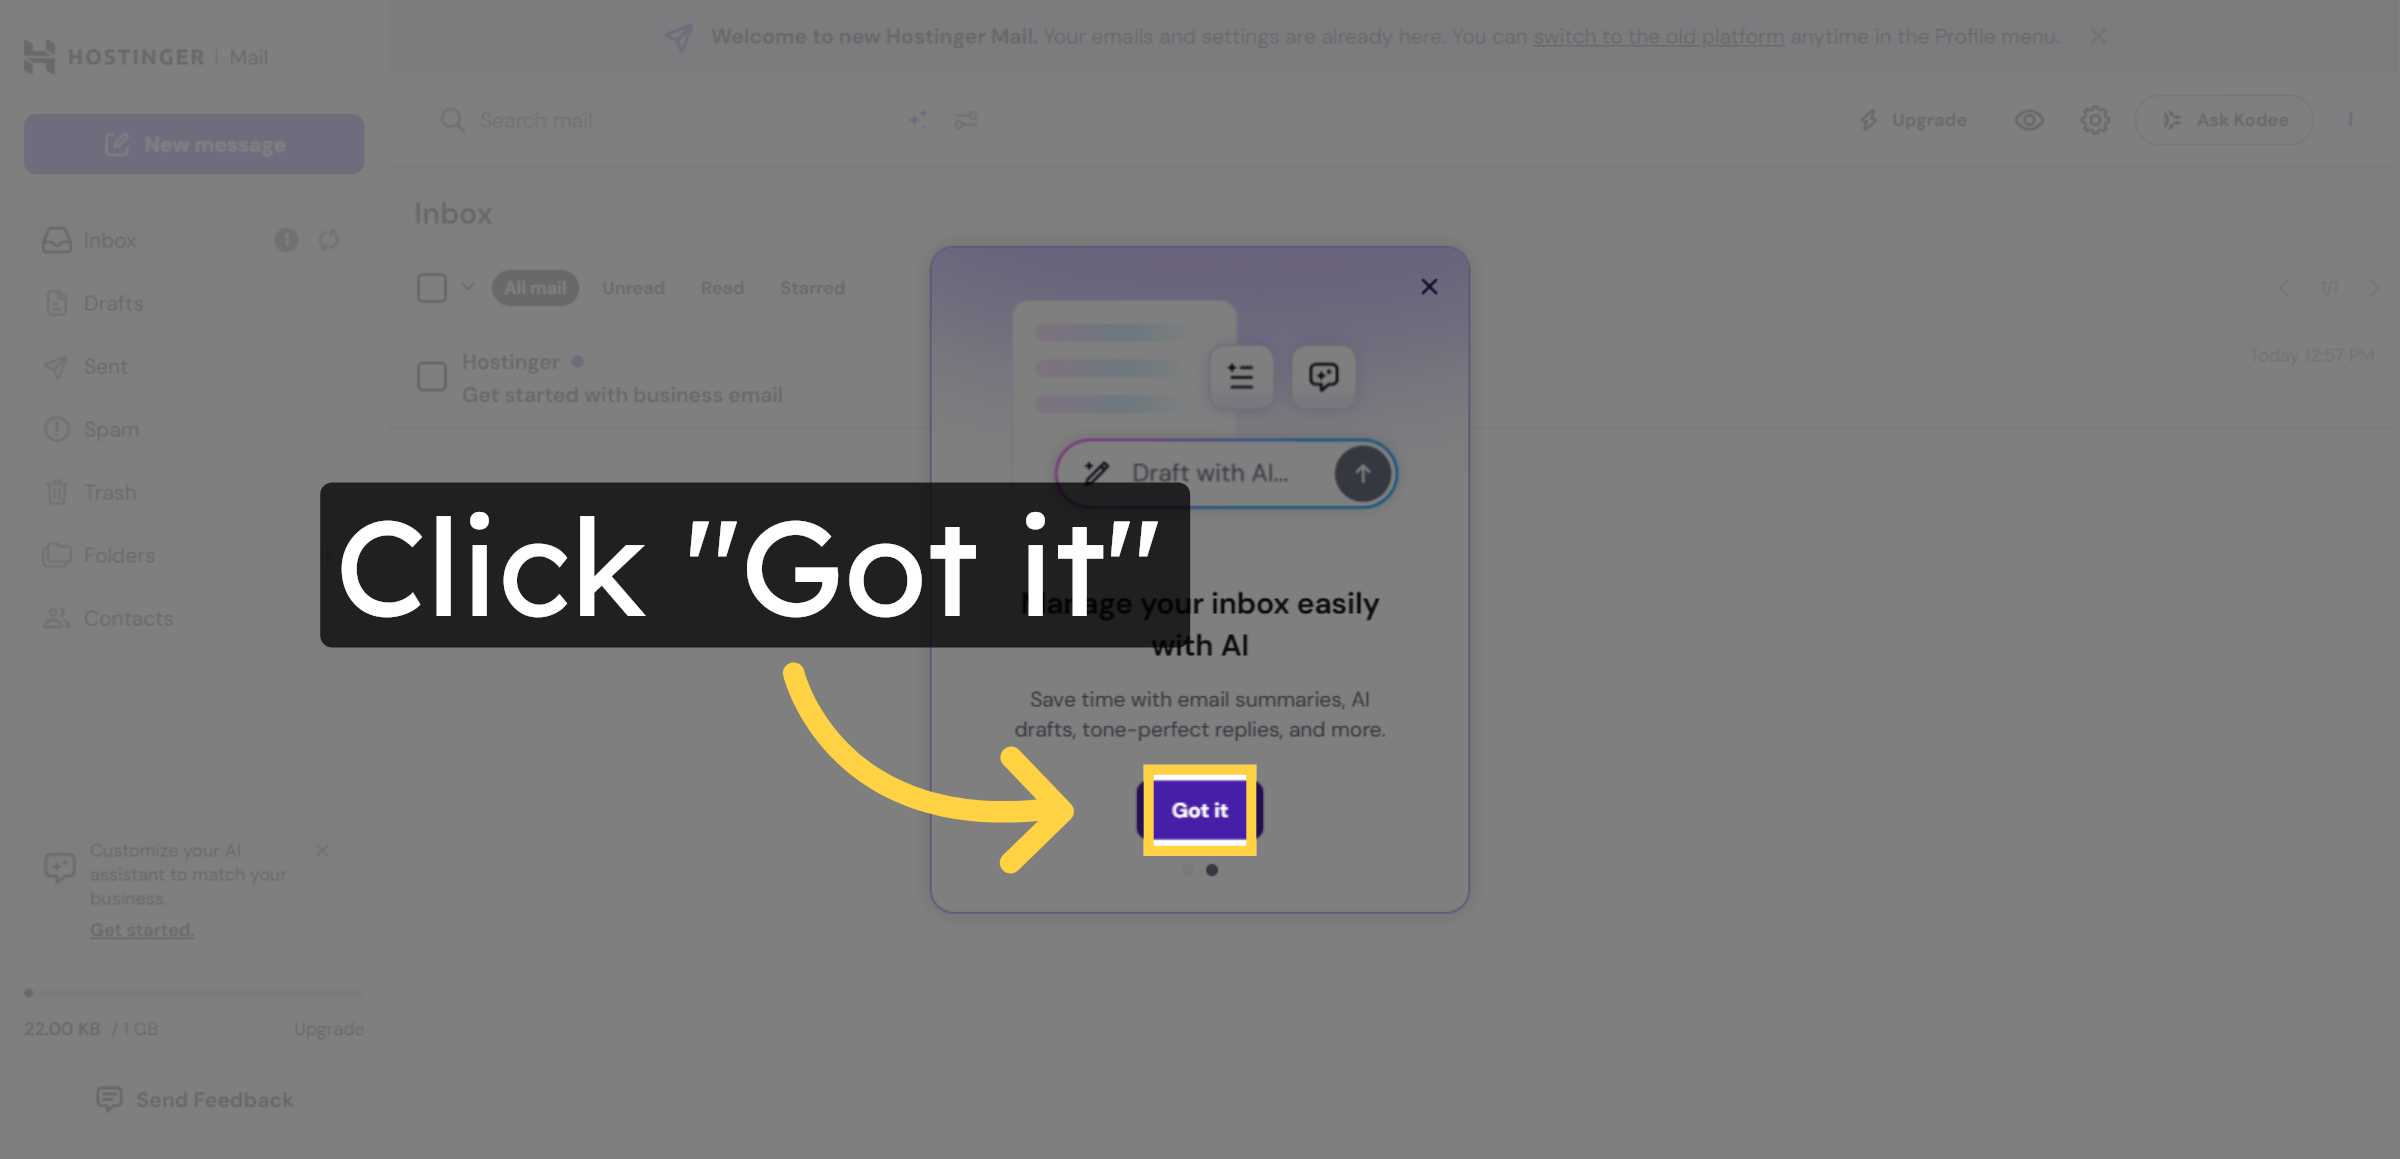
14. Acknowledge Welcome Message
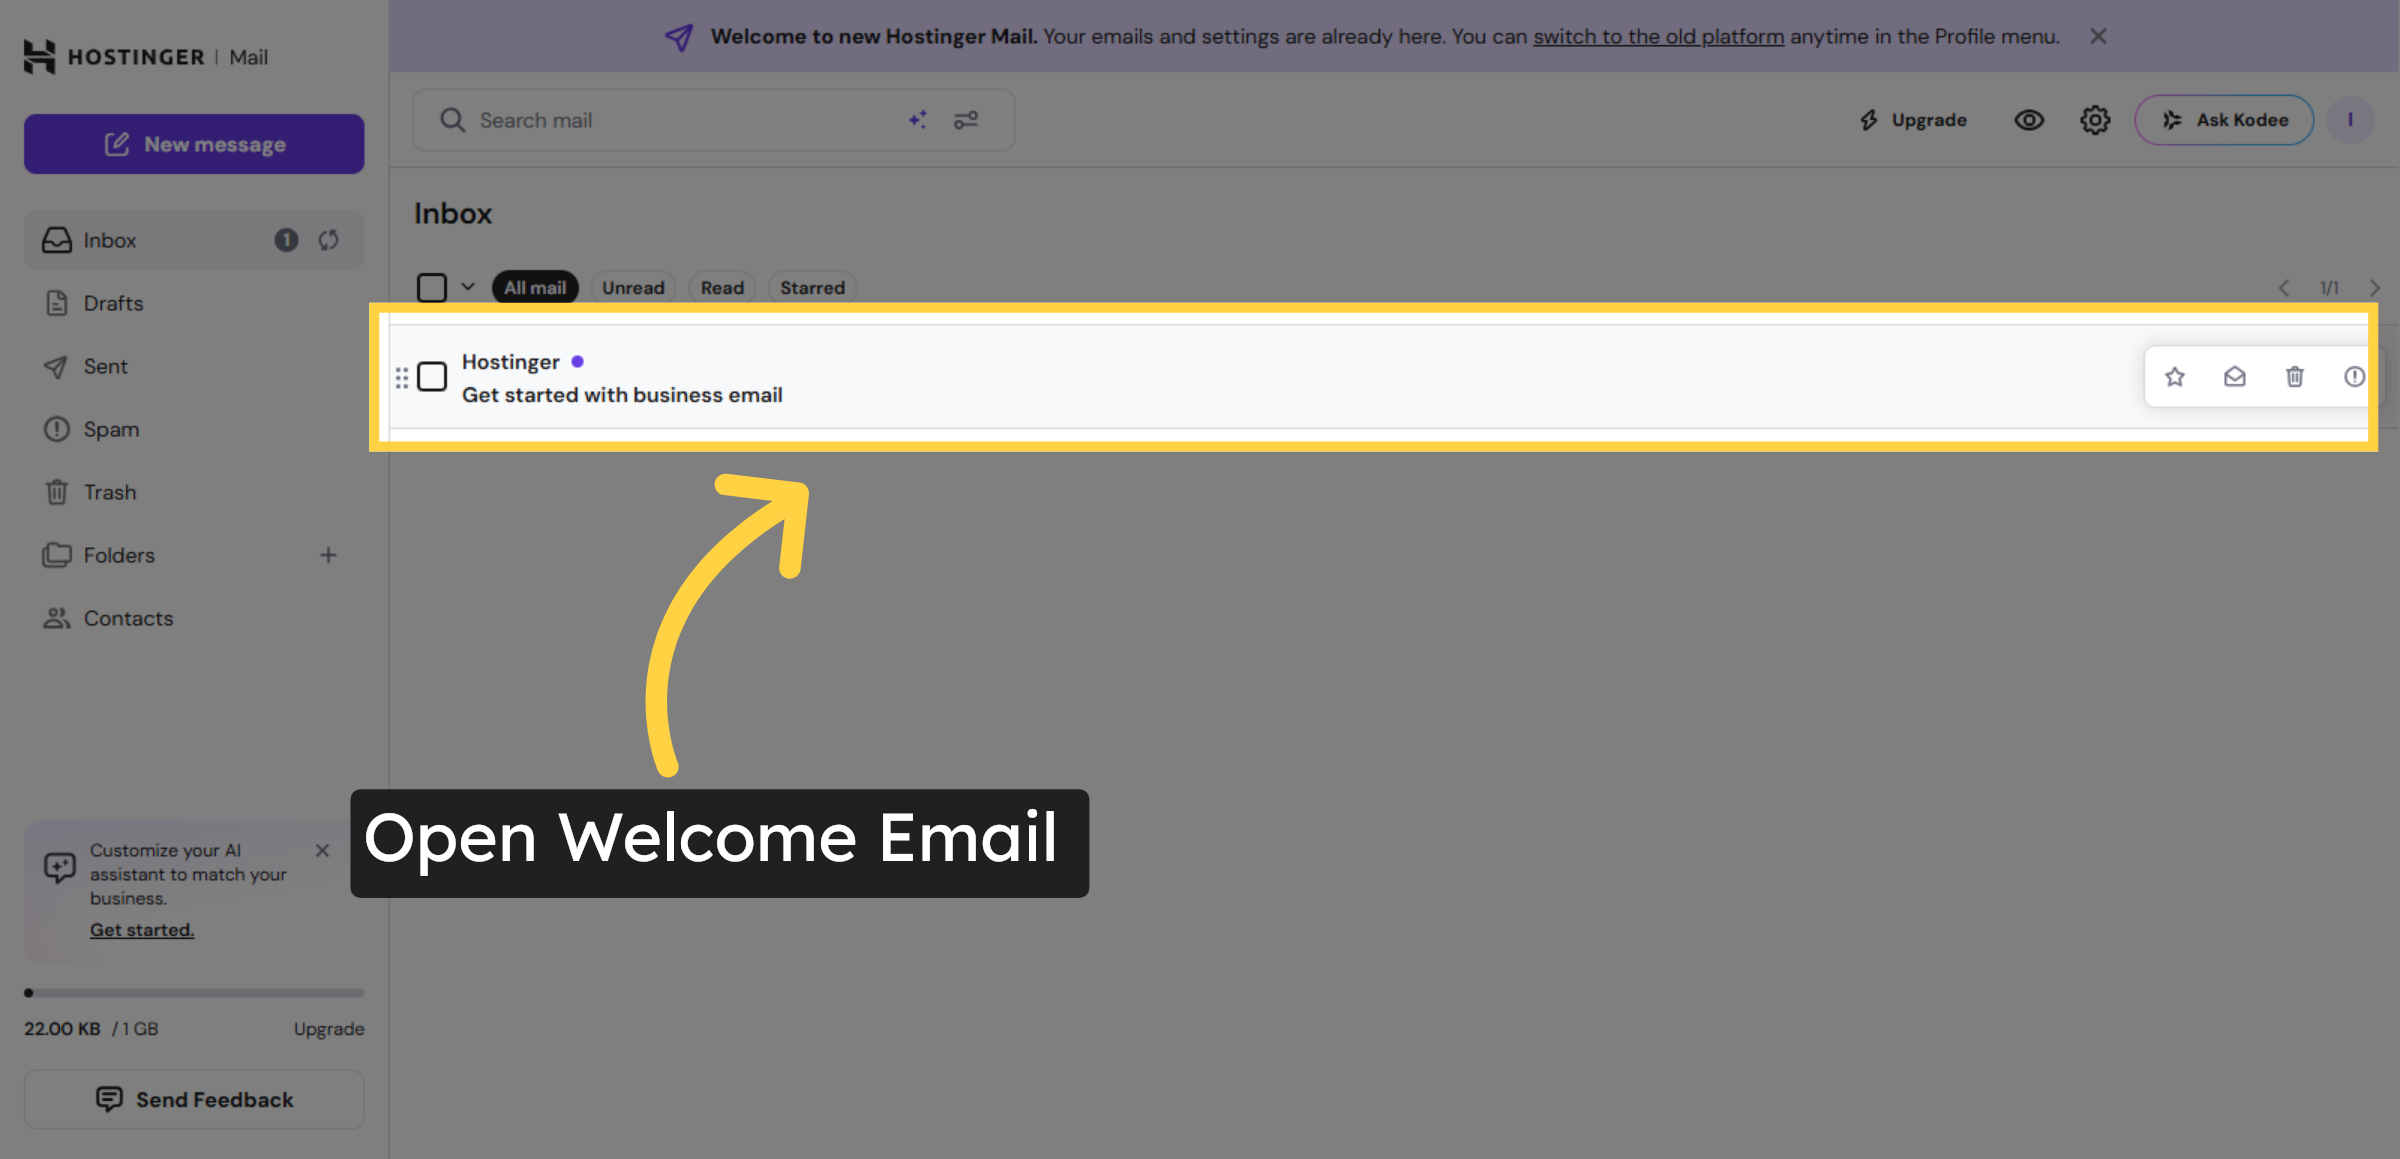
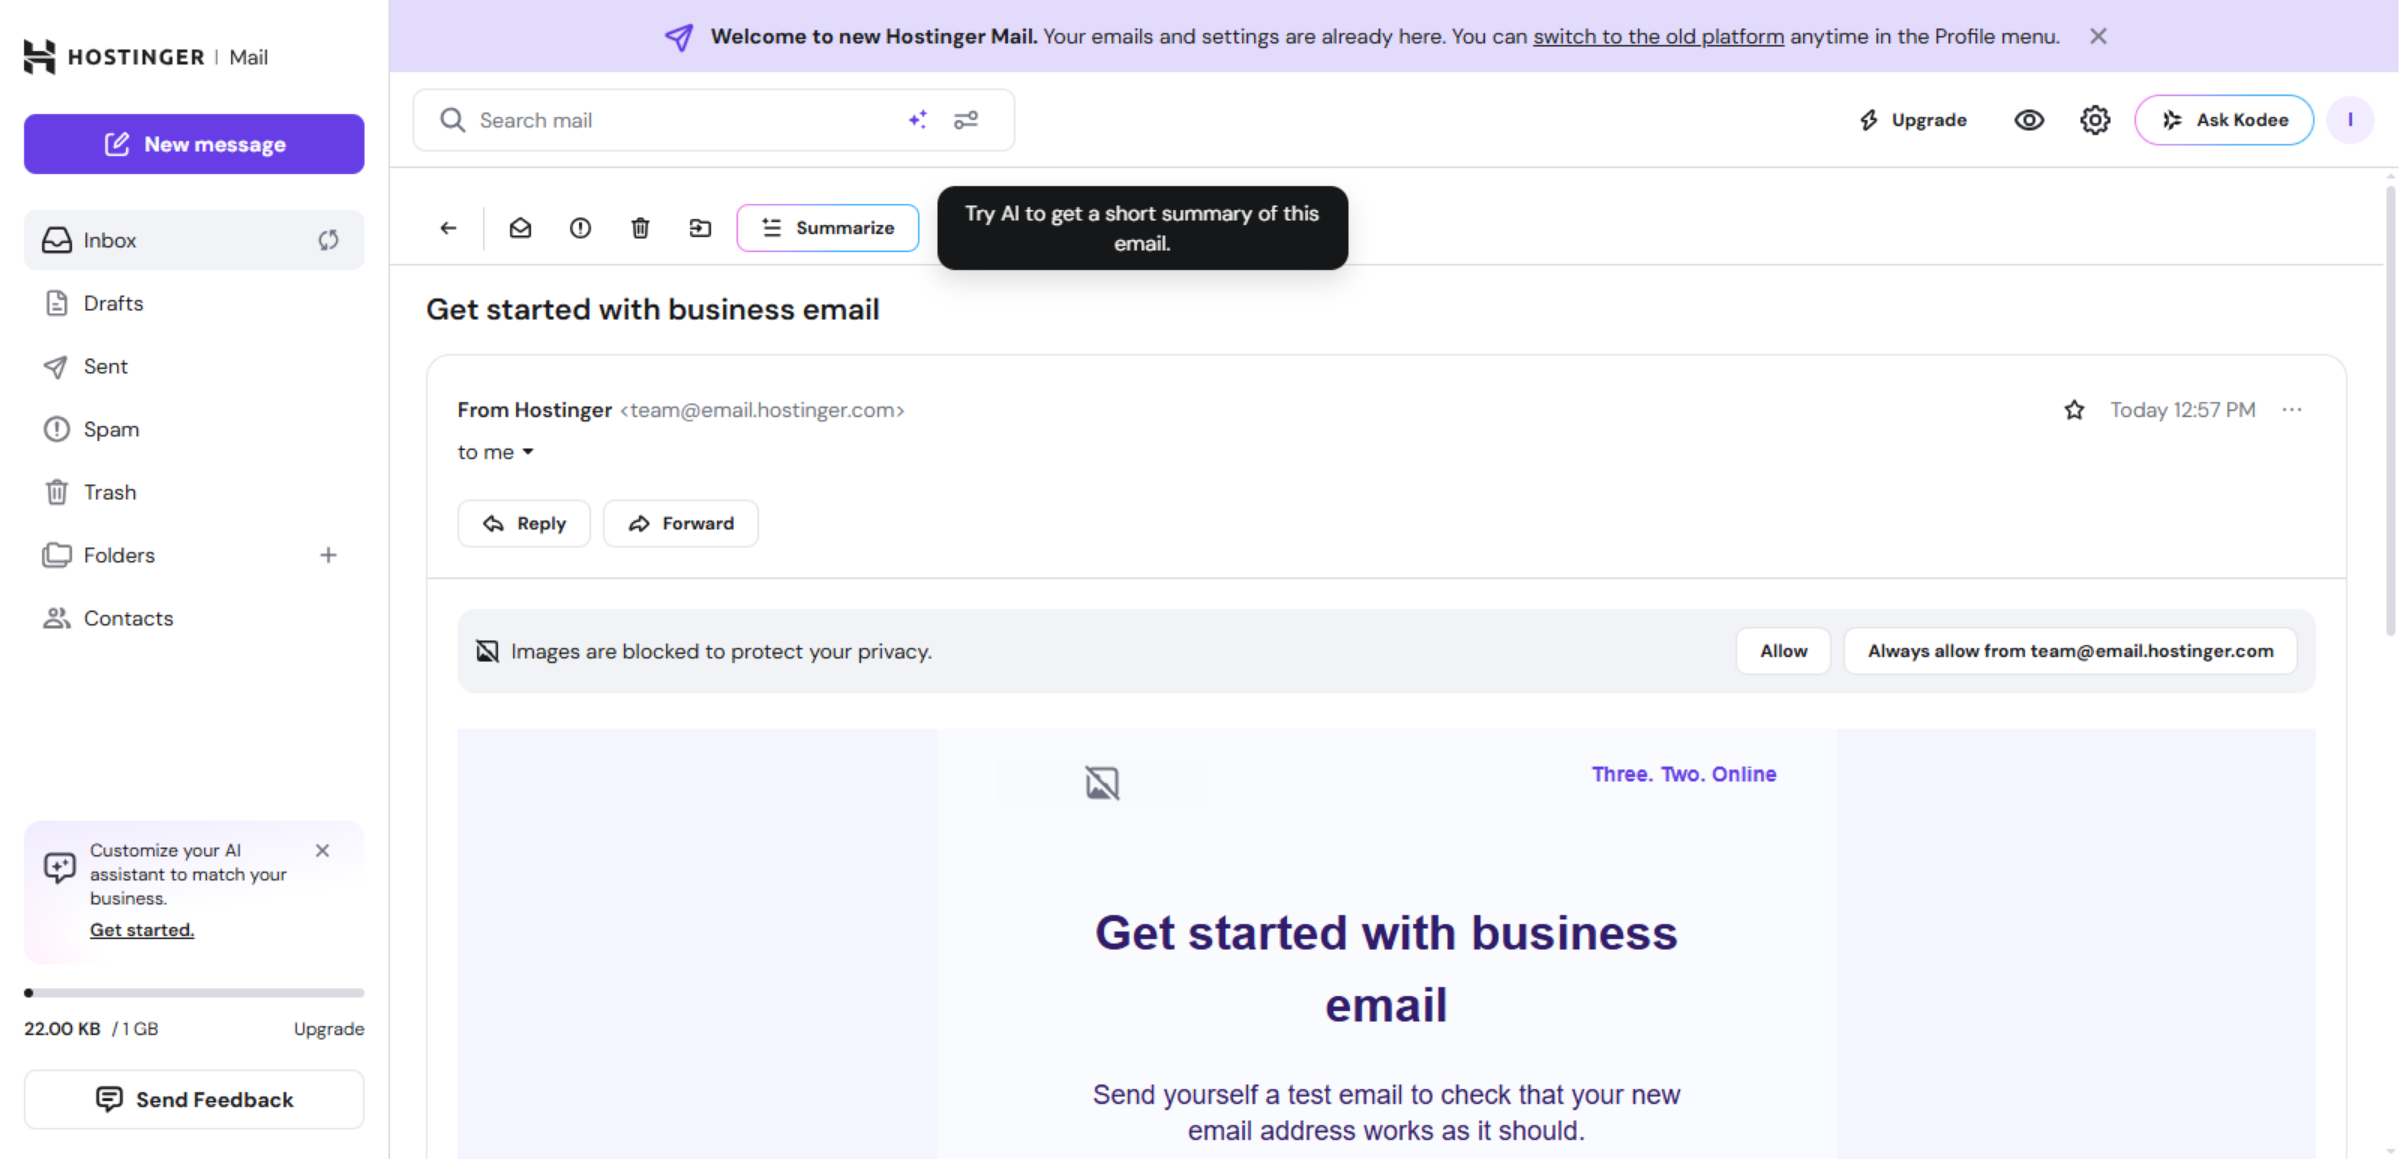
15. Open Welcome Email
16. Read Welcome Email Content
Conclusion
By following this guide, you have successfully created and accessed a professional email address using Hostinger WordPress Hosting. Your custom mailbox is now ready for sending and receiving emails, helping you maintain professional communication with your audience.
To keep your account secure and efficient, it is recommended to enable recovery options, update your password regularly, and configure email forwarding if needed. You may also connect your email with popular clients like Gmail or Outlook for easier management. A professional email address strengthens your brand image and supports long-term business growth.
WooHelpDesk Support
Need help setting up professional email, managing hosting, or configuring WordPress services? WooHelpDesk provides expert technical support to ensure your website and email systems work smoothly and securely.
Visit: https://www.woohelpdesk.com
Call Us Toll-Free: +1 888 602 0119 (US & Canada)
Trusted Support | Reliable Solutions | Expert Assistance


