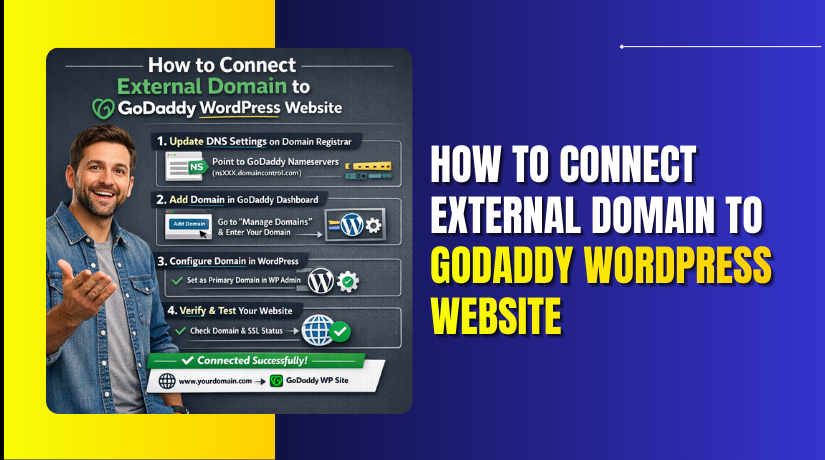
How to Connect External Domain to GoDaddy WordPress Website
Introduction
Connecting an external domain to your WordPress website is an important step in establishing a professional online identity. It allows your website to be accessed through a custom domain instead of a default or temporary URL, improving brand credibility and user trust. When using GoDaddy WordPress hosting, proper domain configuration ensures seamless website access and reliable performance.
This guidde explains how to connect an external domain to your GoDaddy WordPress website. It covers adding the domain in your GoDaddy account, configuring hosting settings, updating DNS records, and verifying successful connection. By following this guide, users can link their external domains efficiently and activate their websites under a preferred web address.
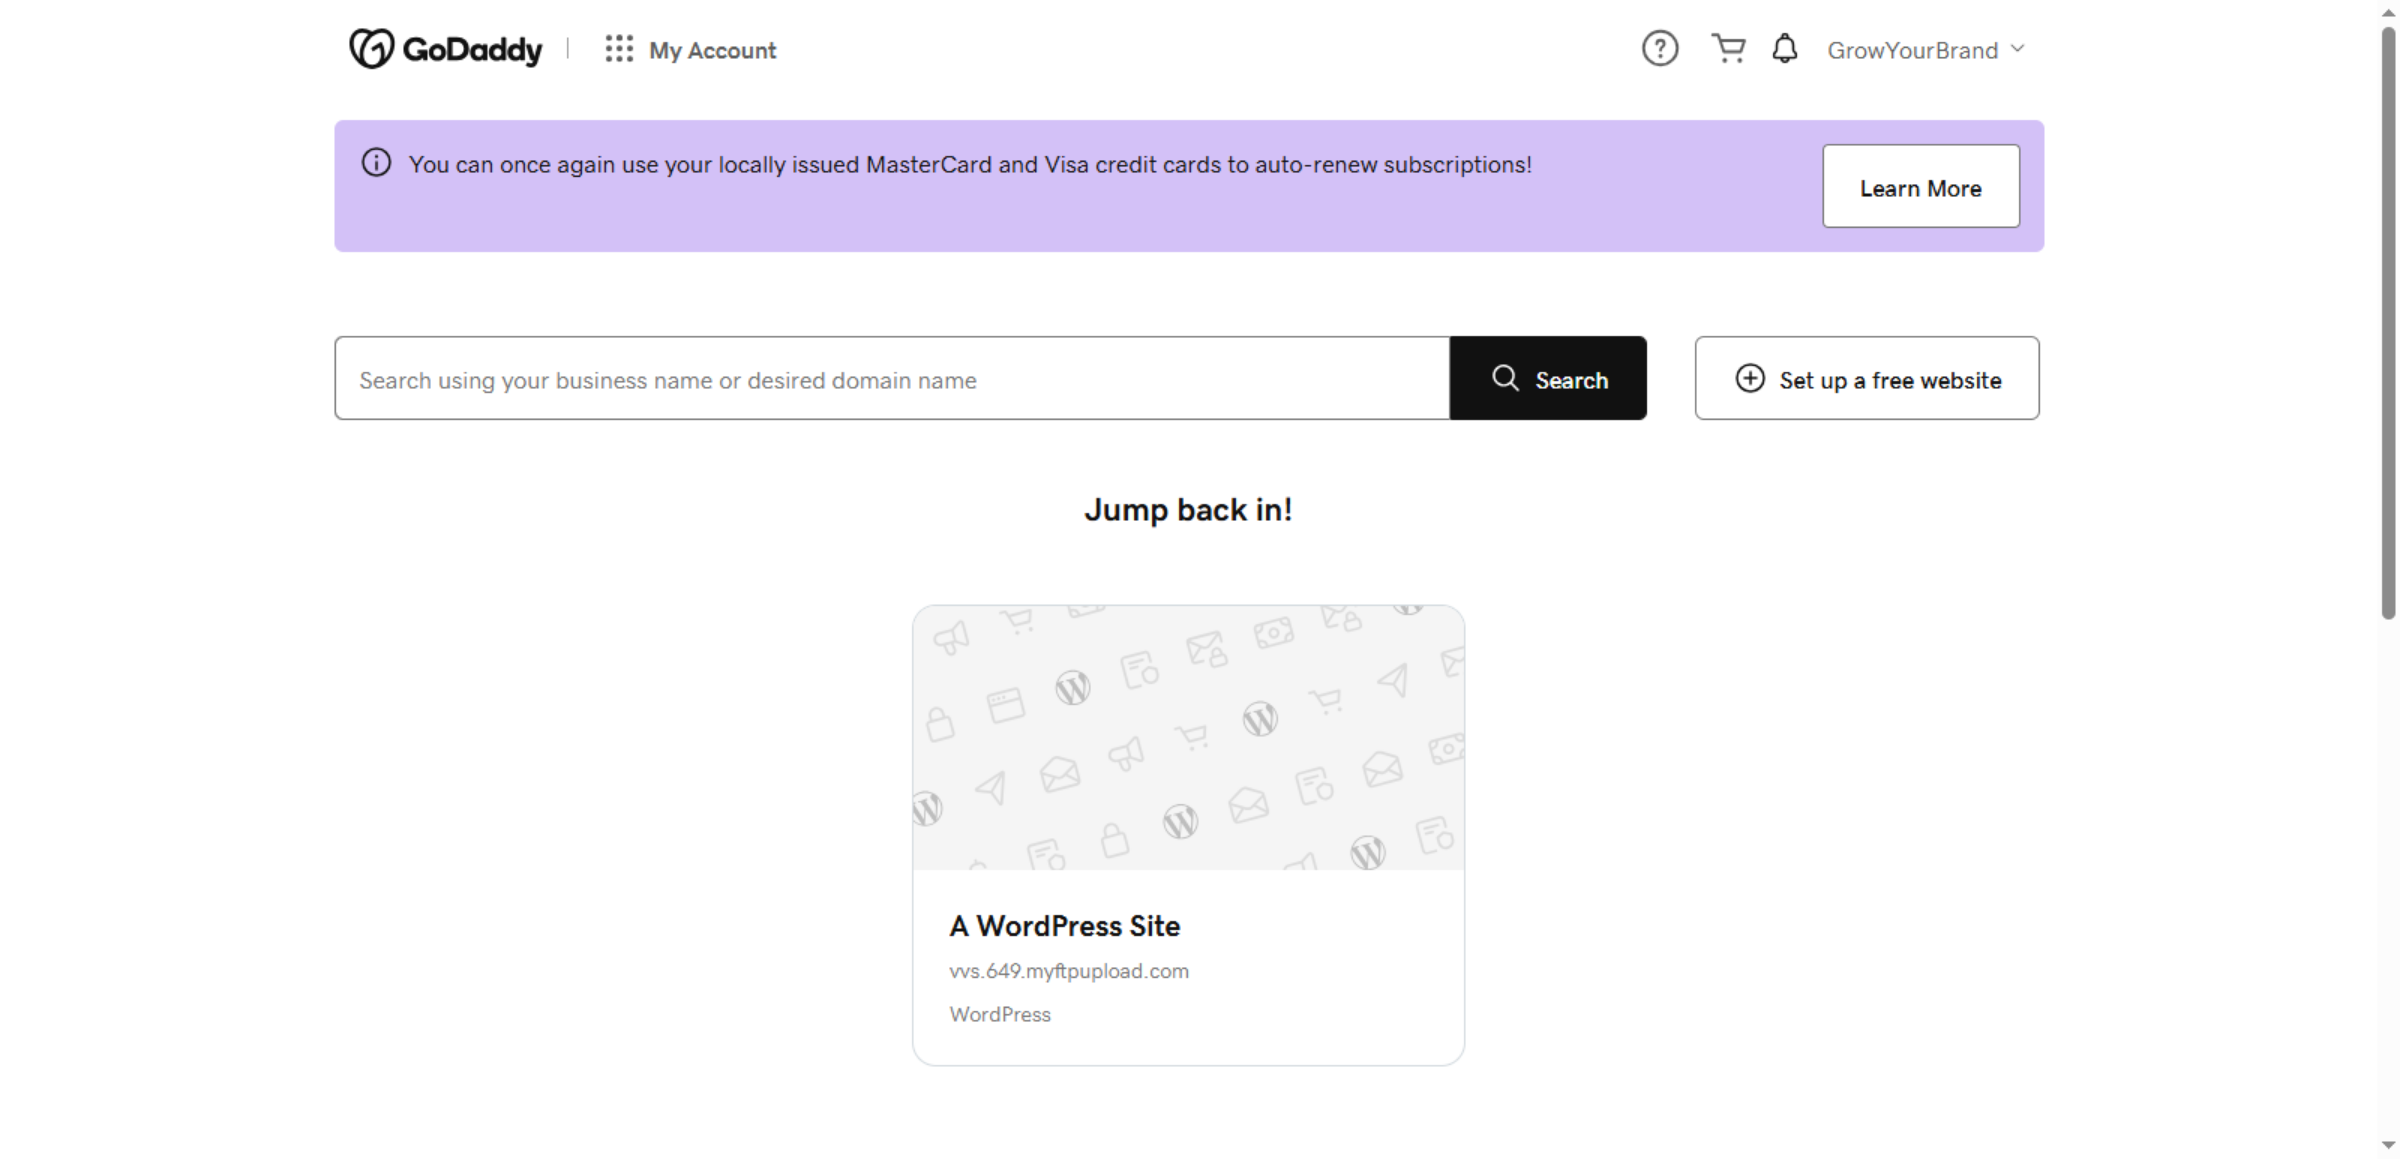
1. Access GoDaddy Account
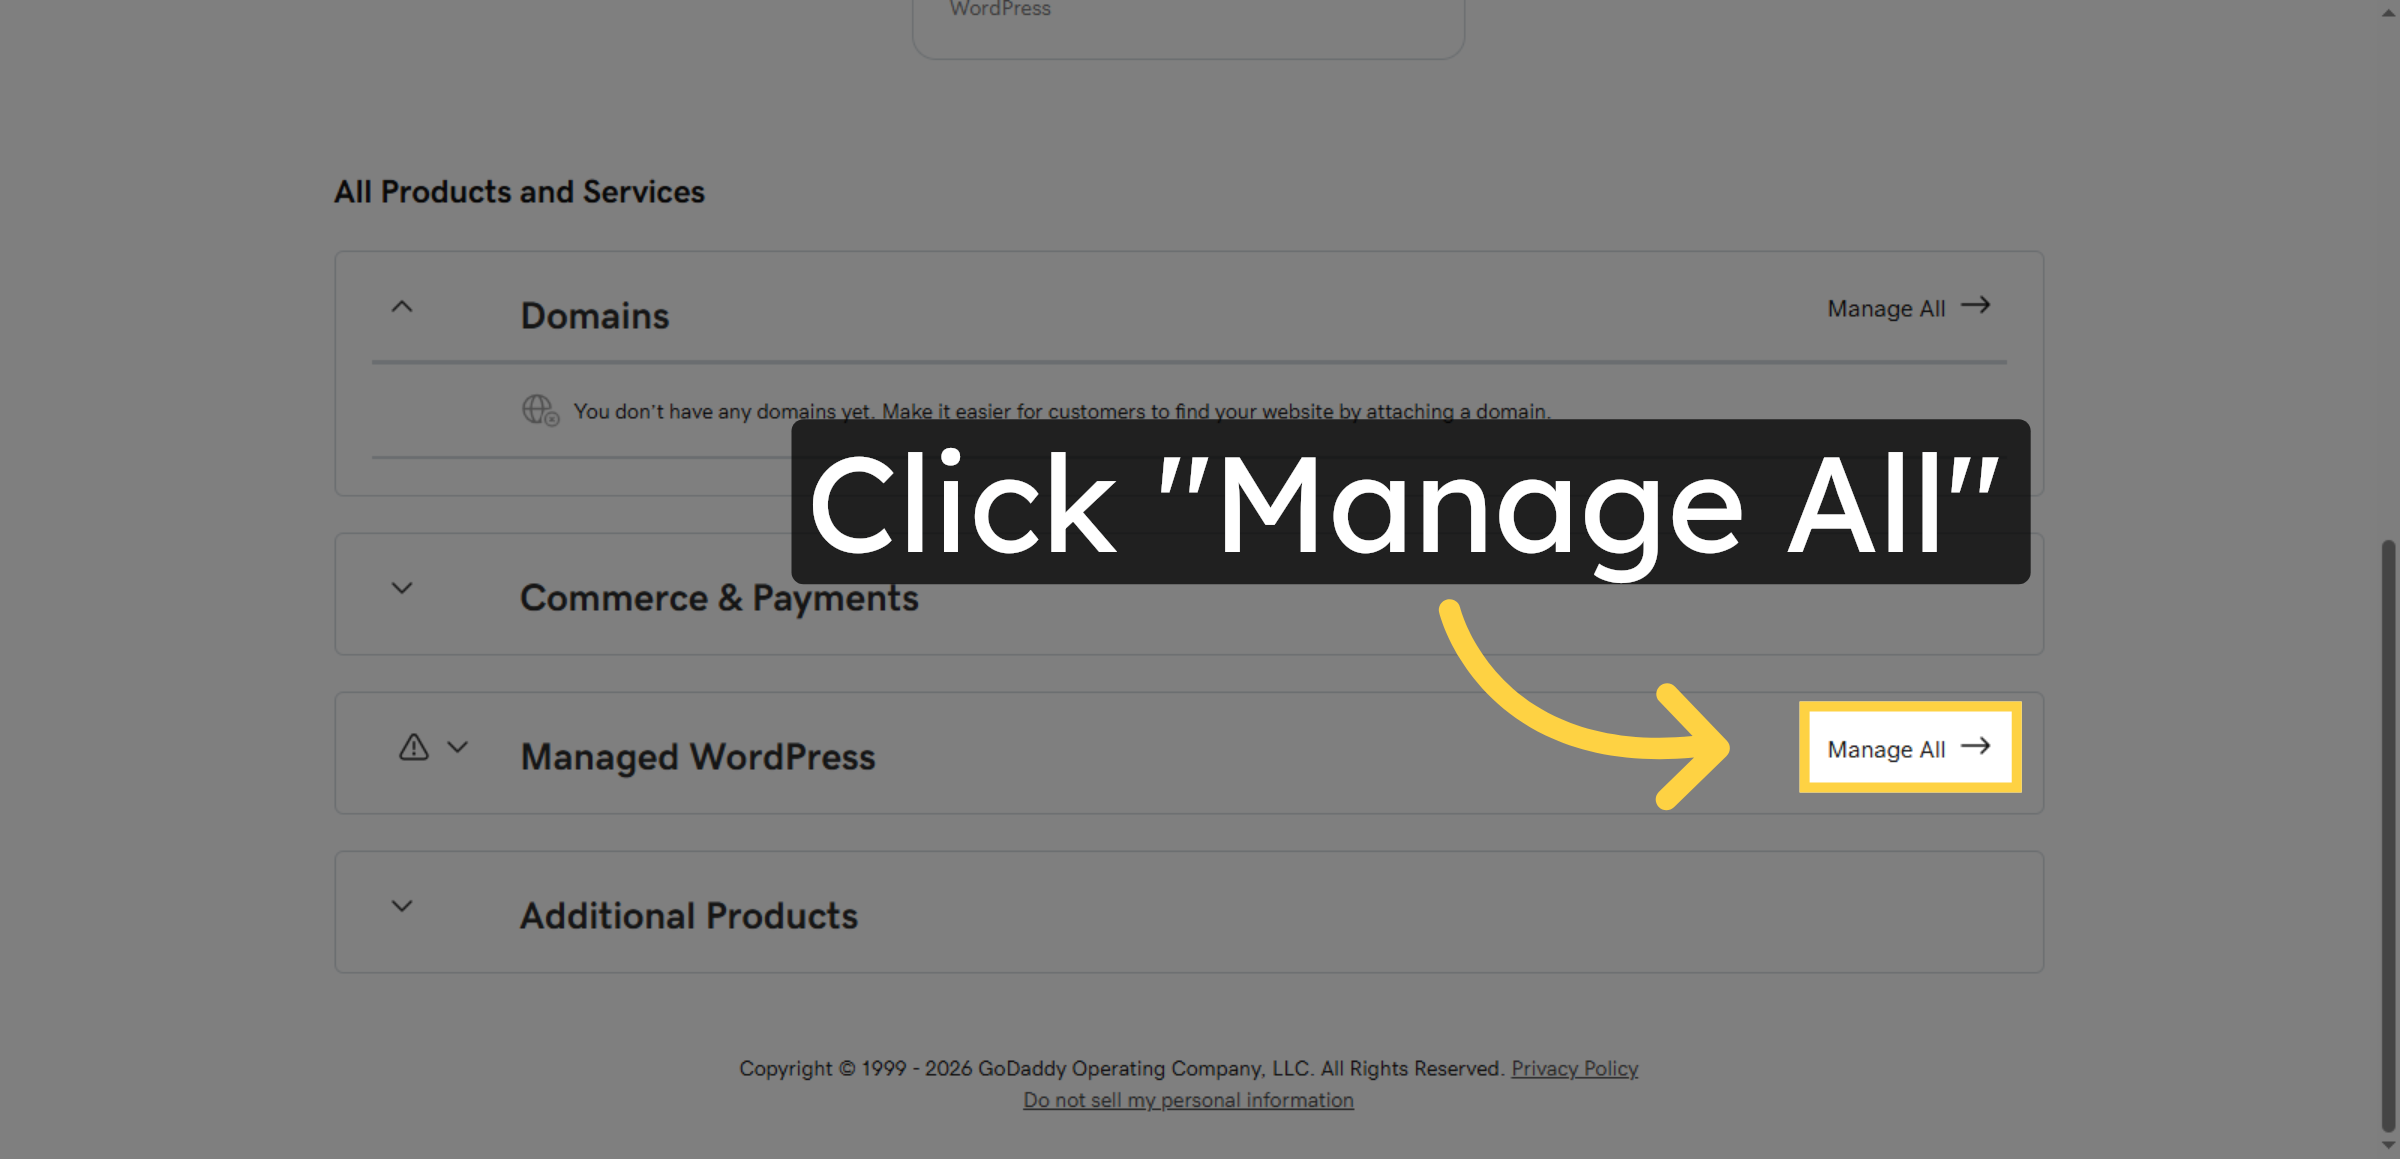
2. Open Manage All Products
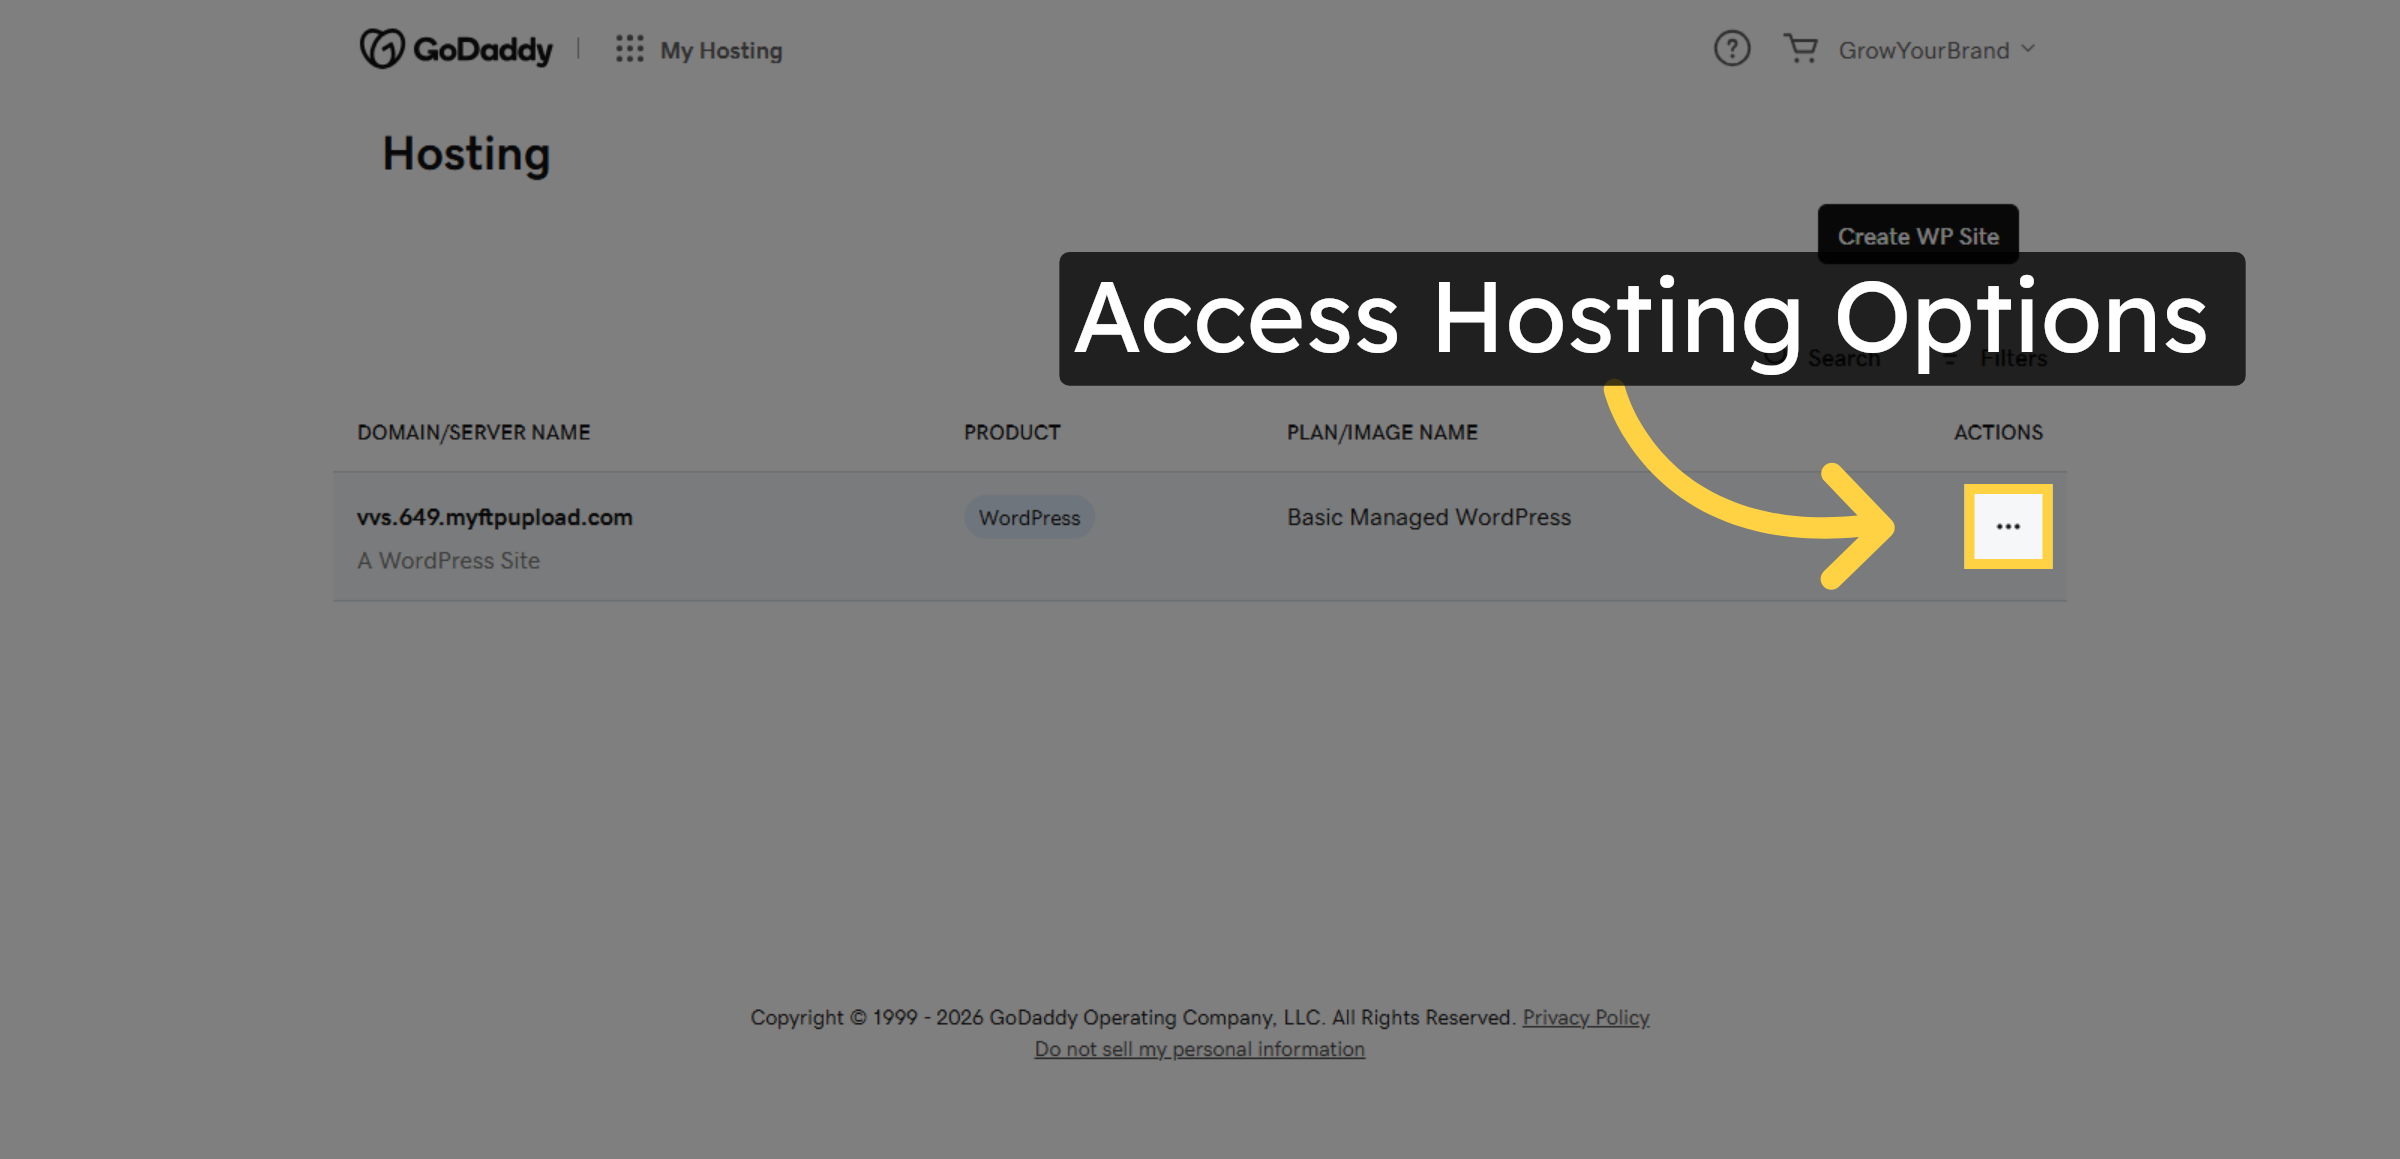
3. Access Hosting Options
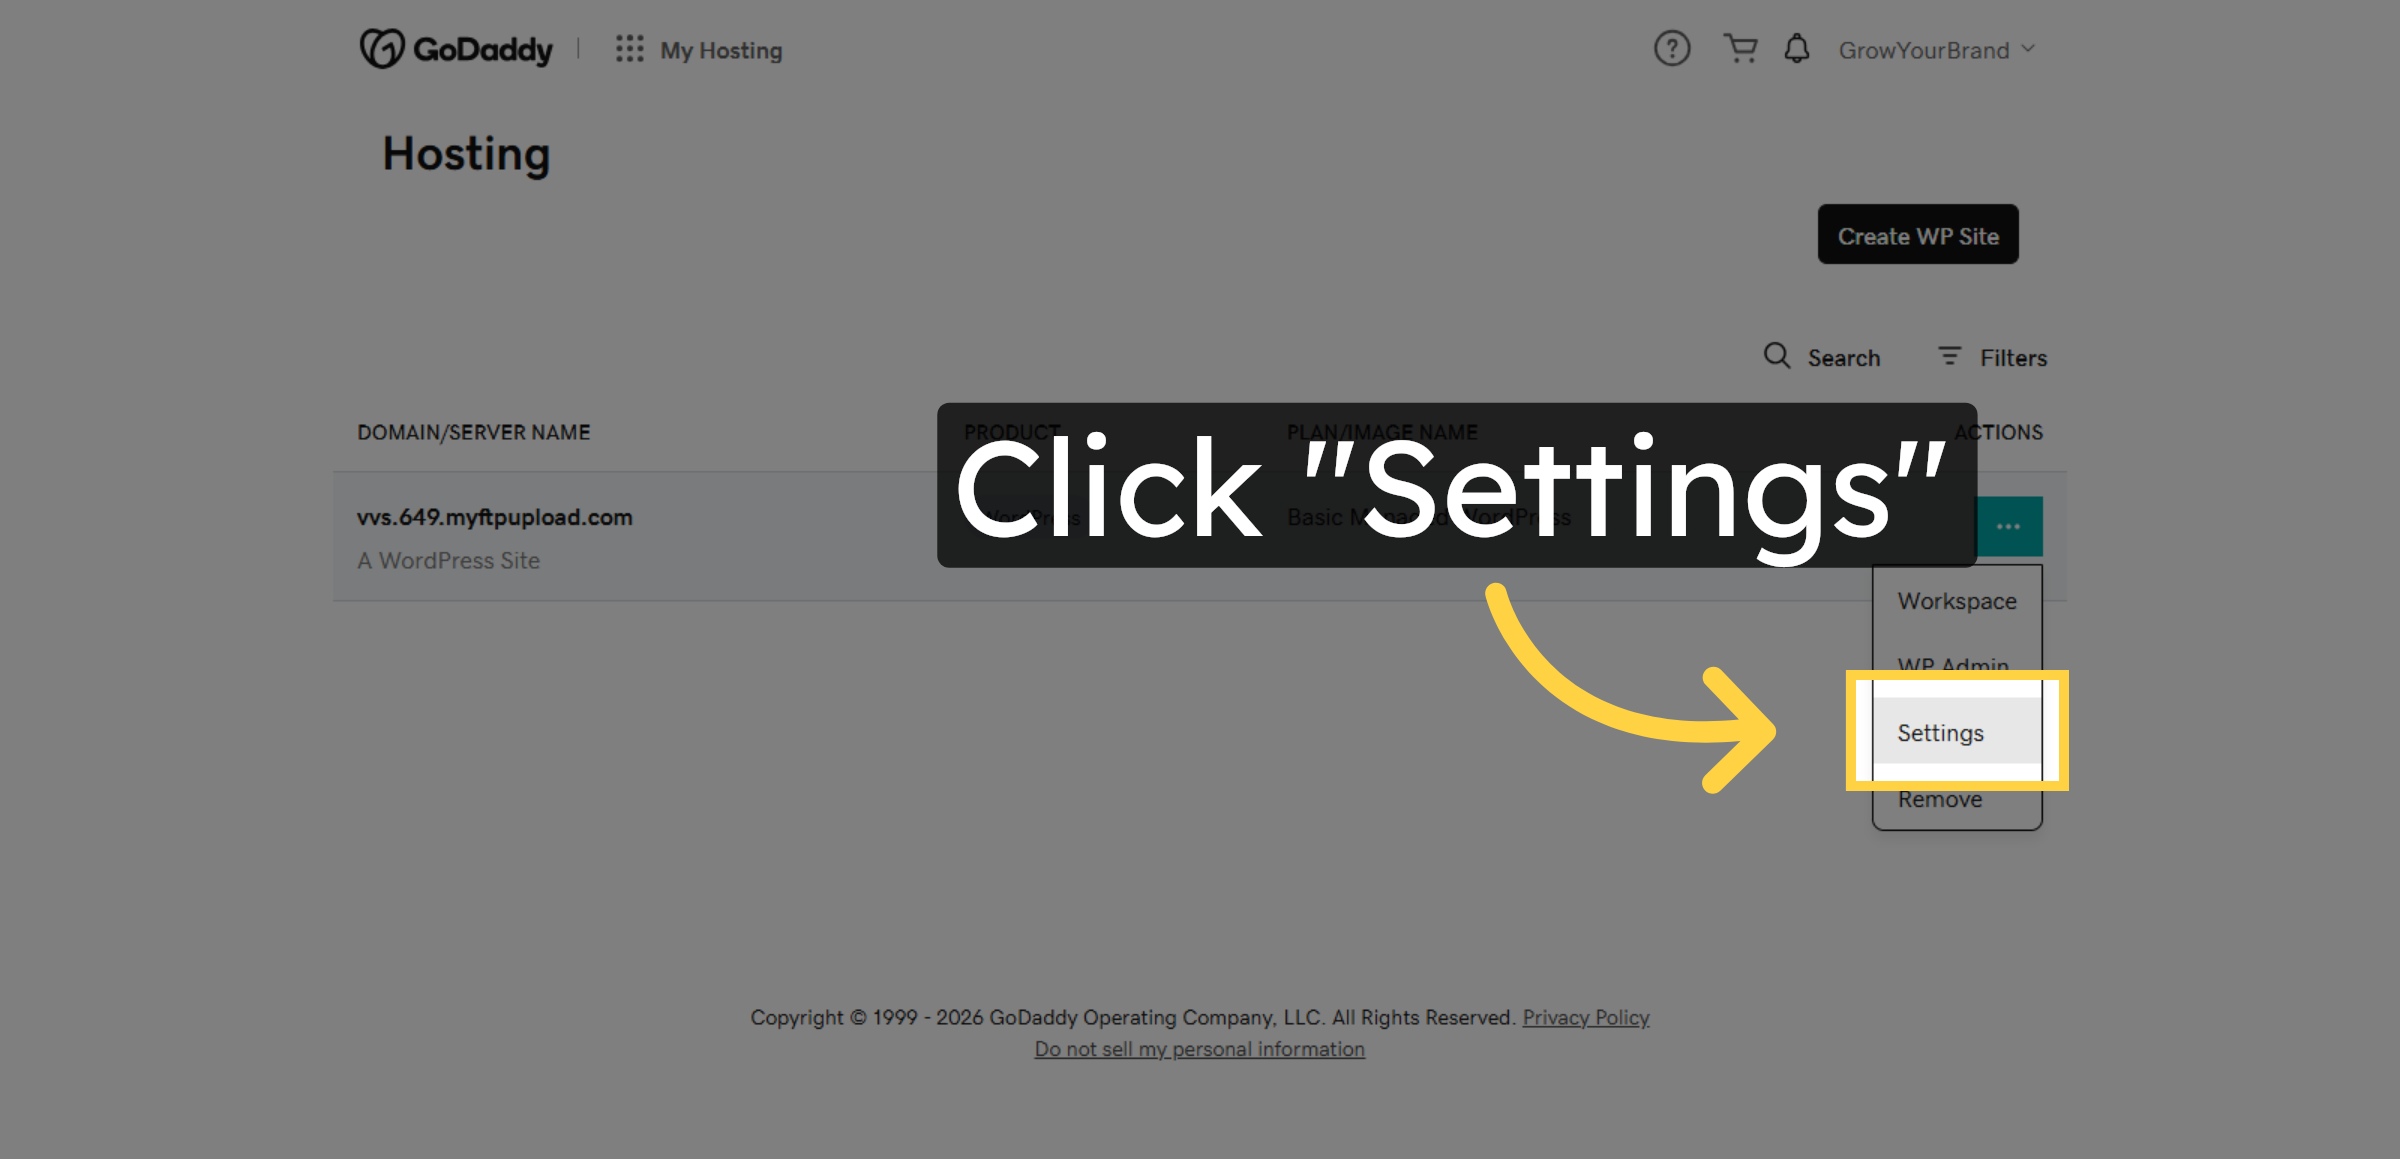
4. Access Hosting Settings
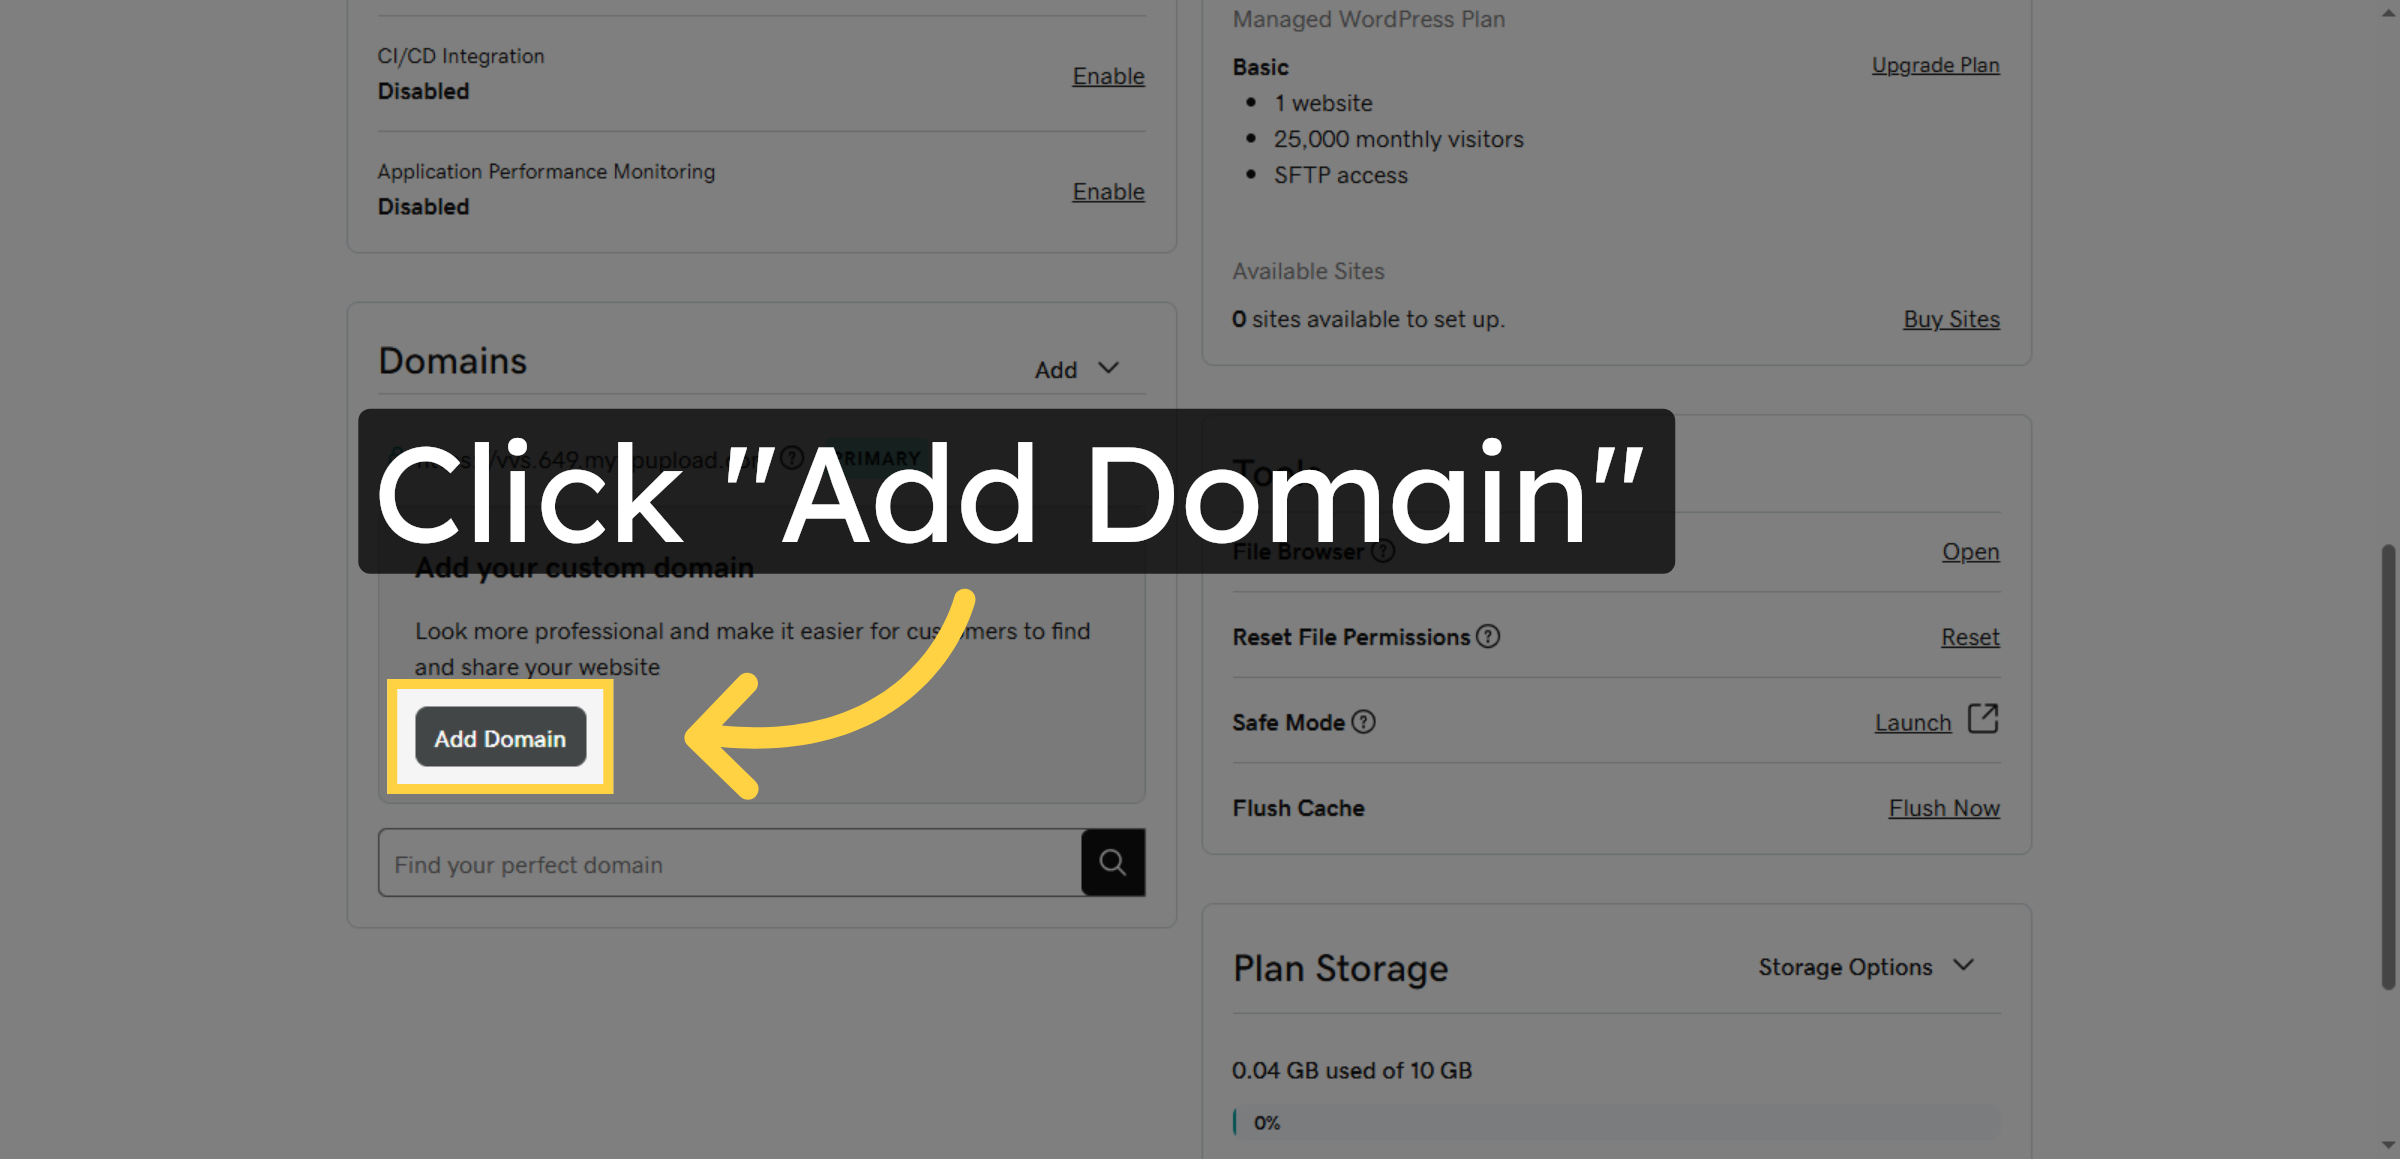
5. Initiate Domain Addition
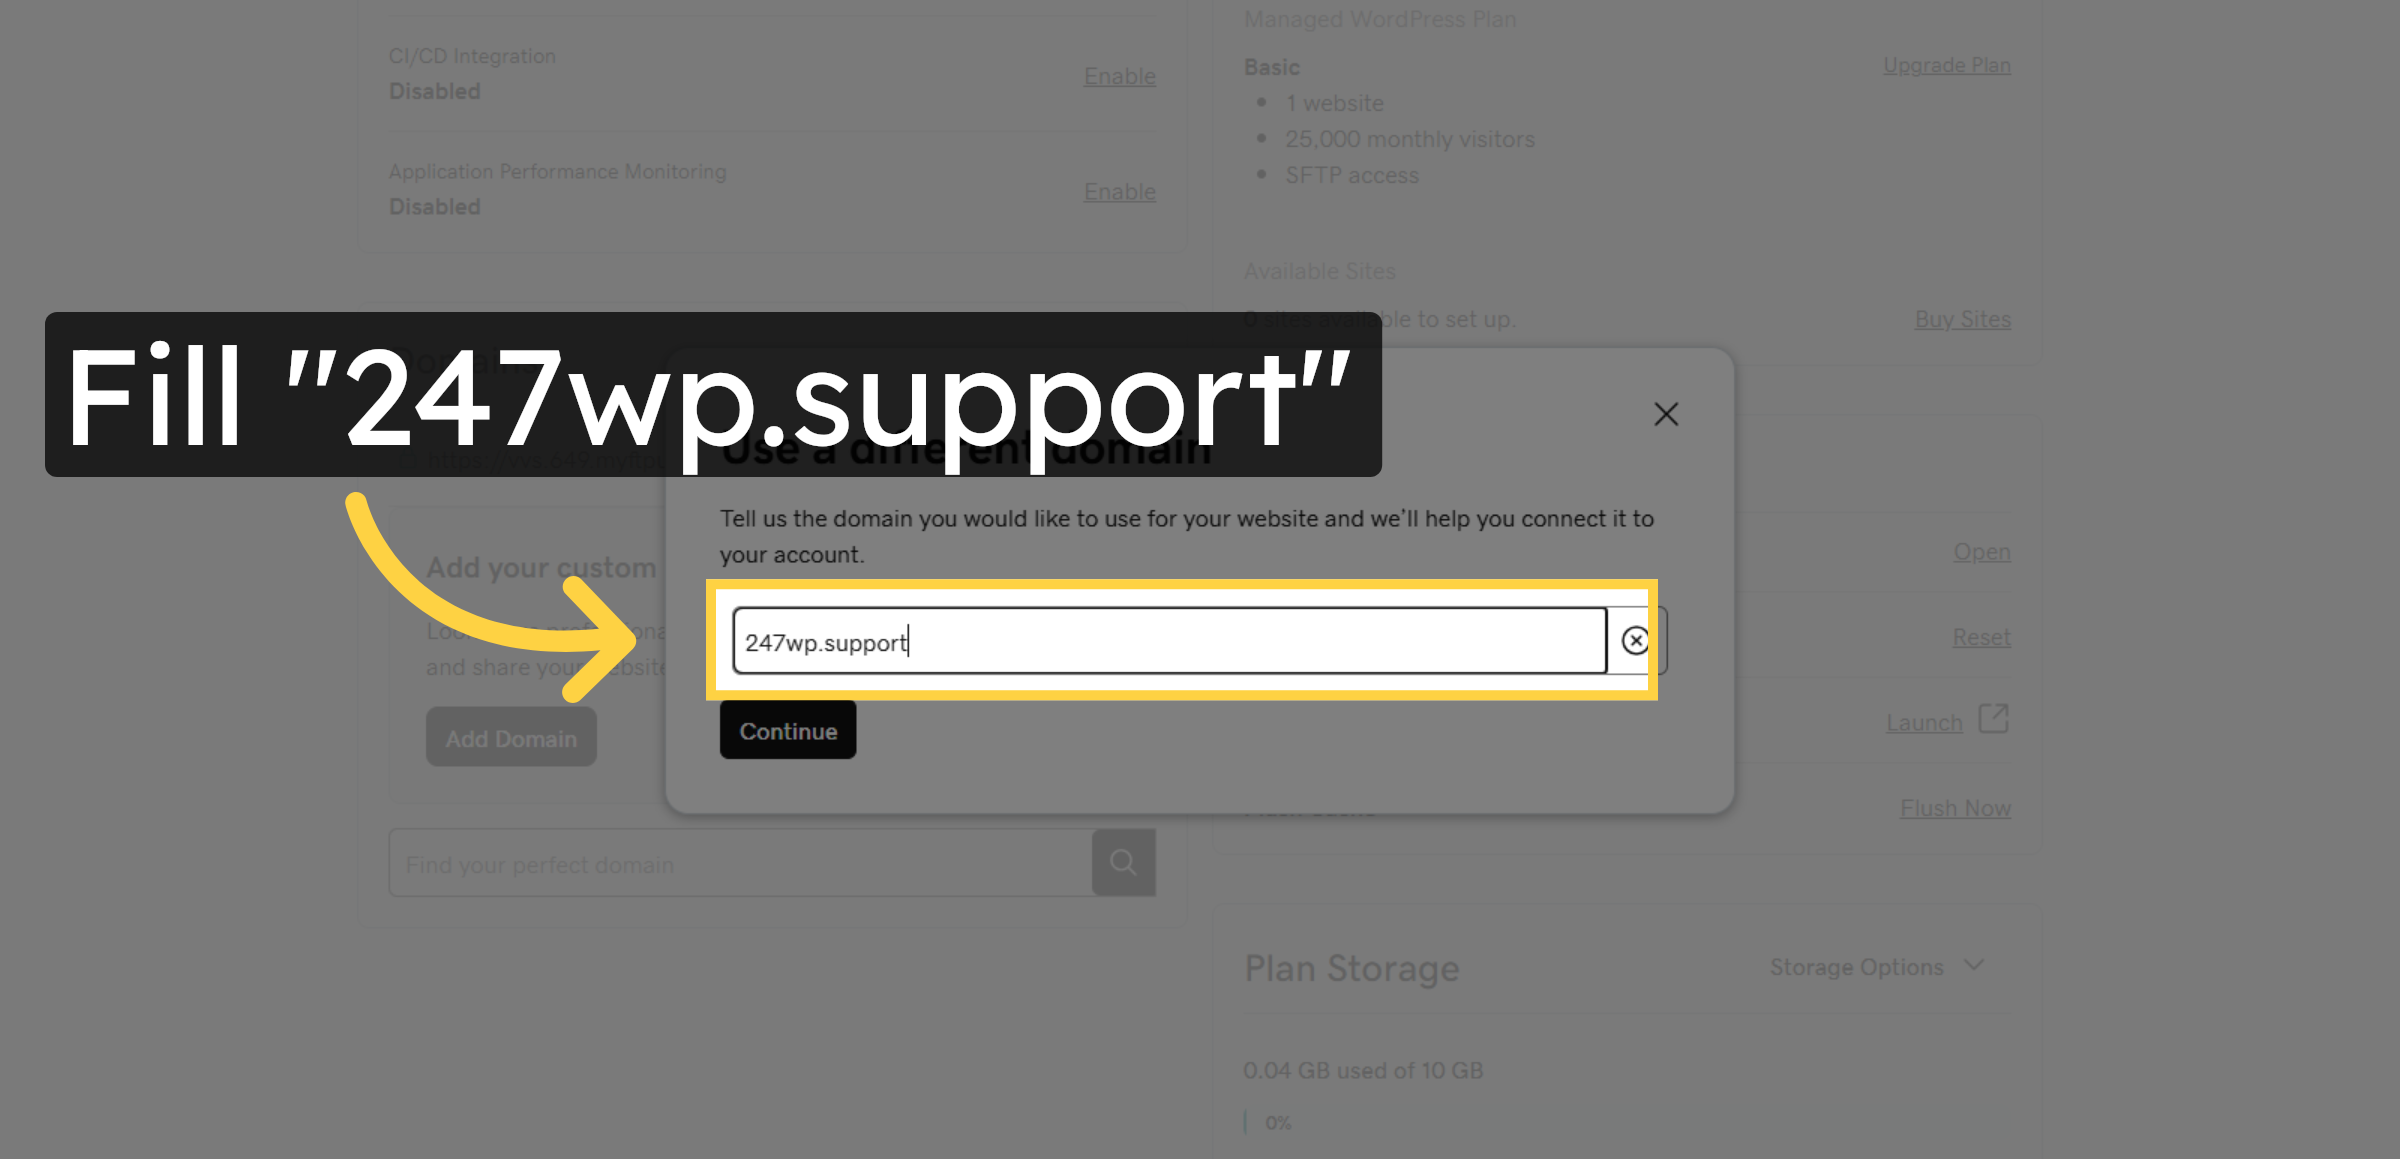
6. Enter Domain Name
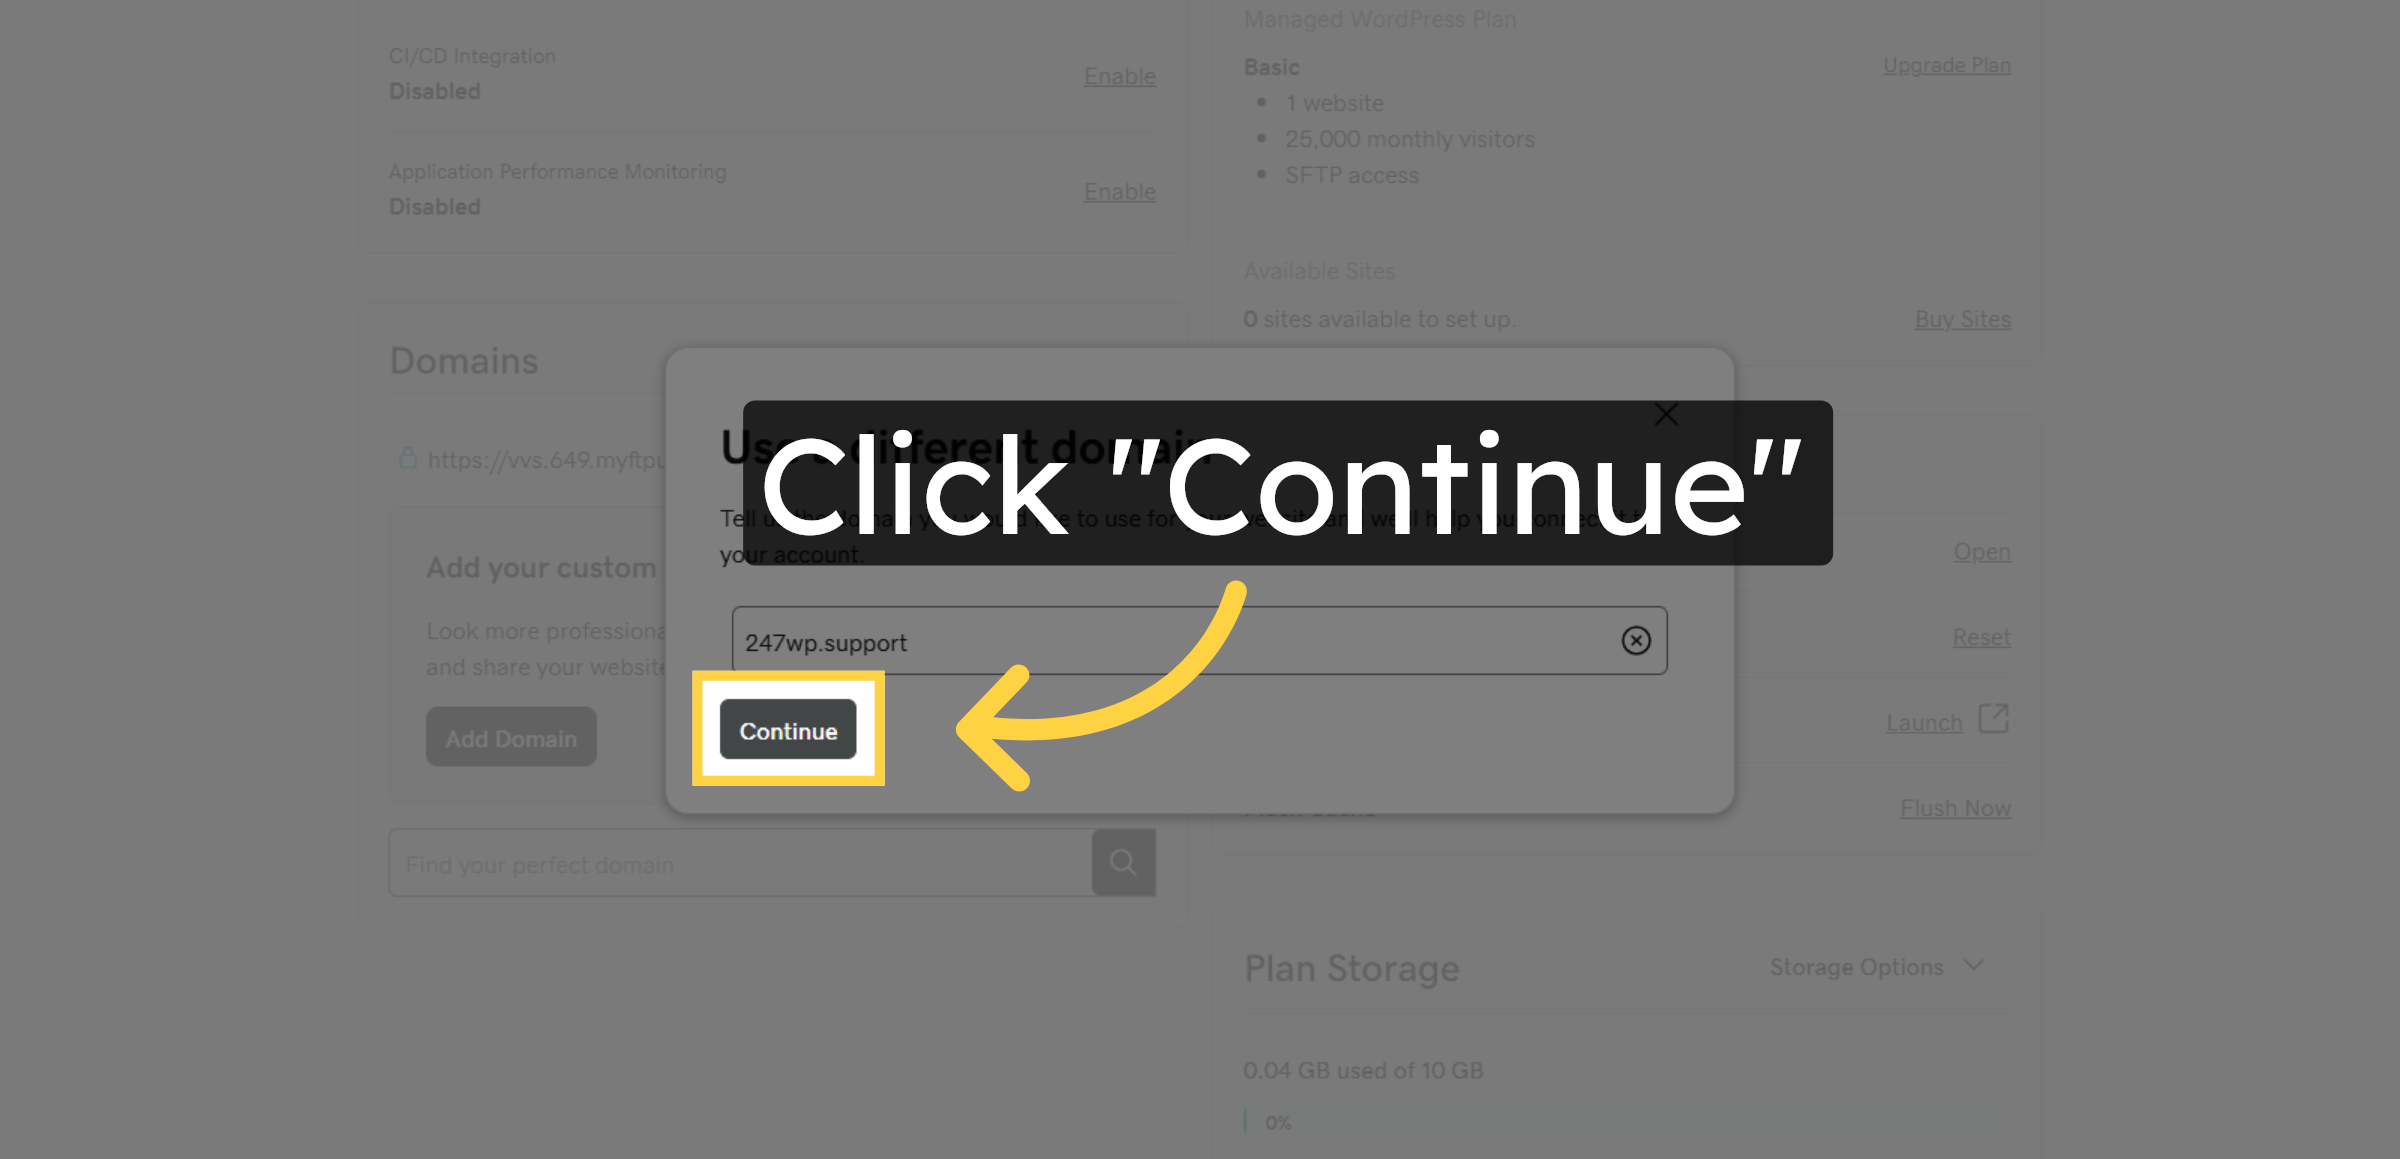
7. Continue Domain Setup
8. Connect Your Domain
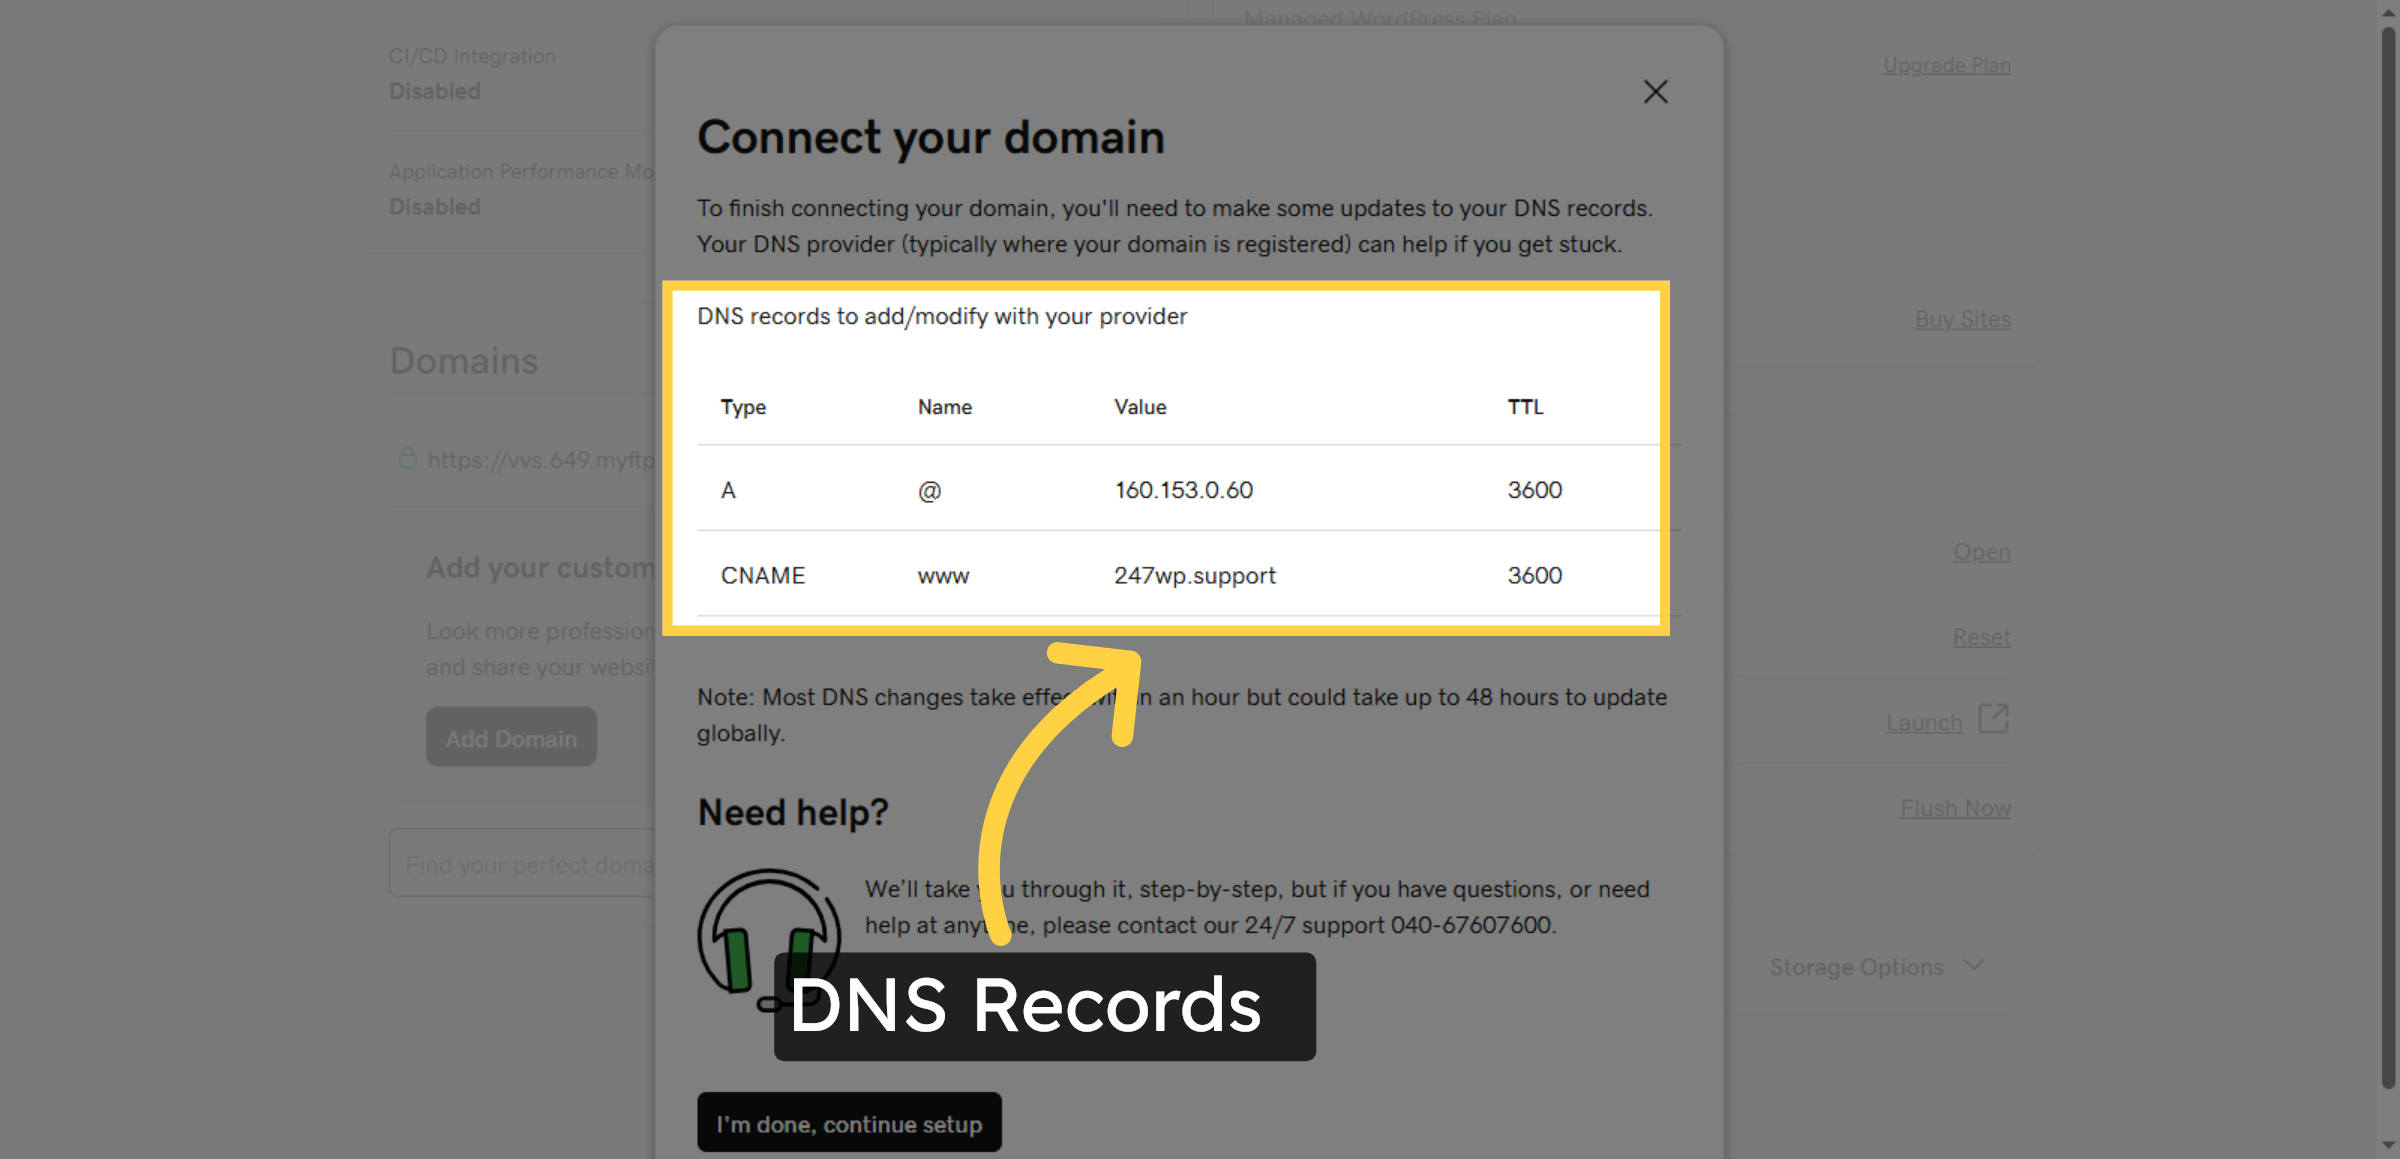
9. Confirm DNS Setup Step
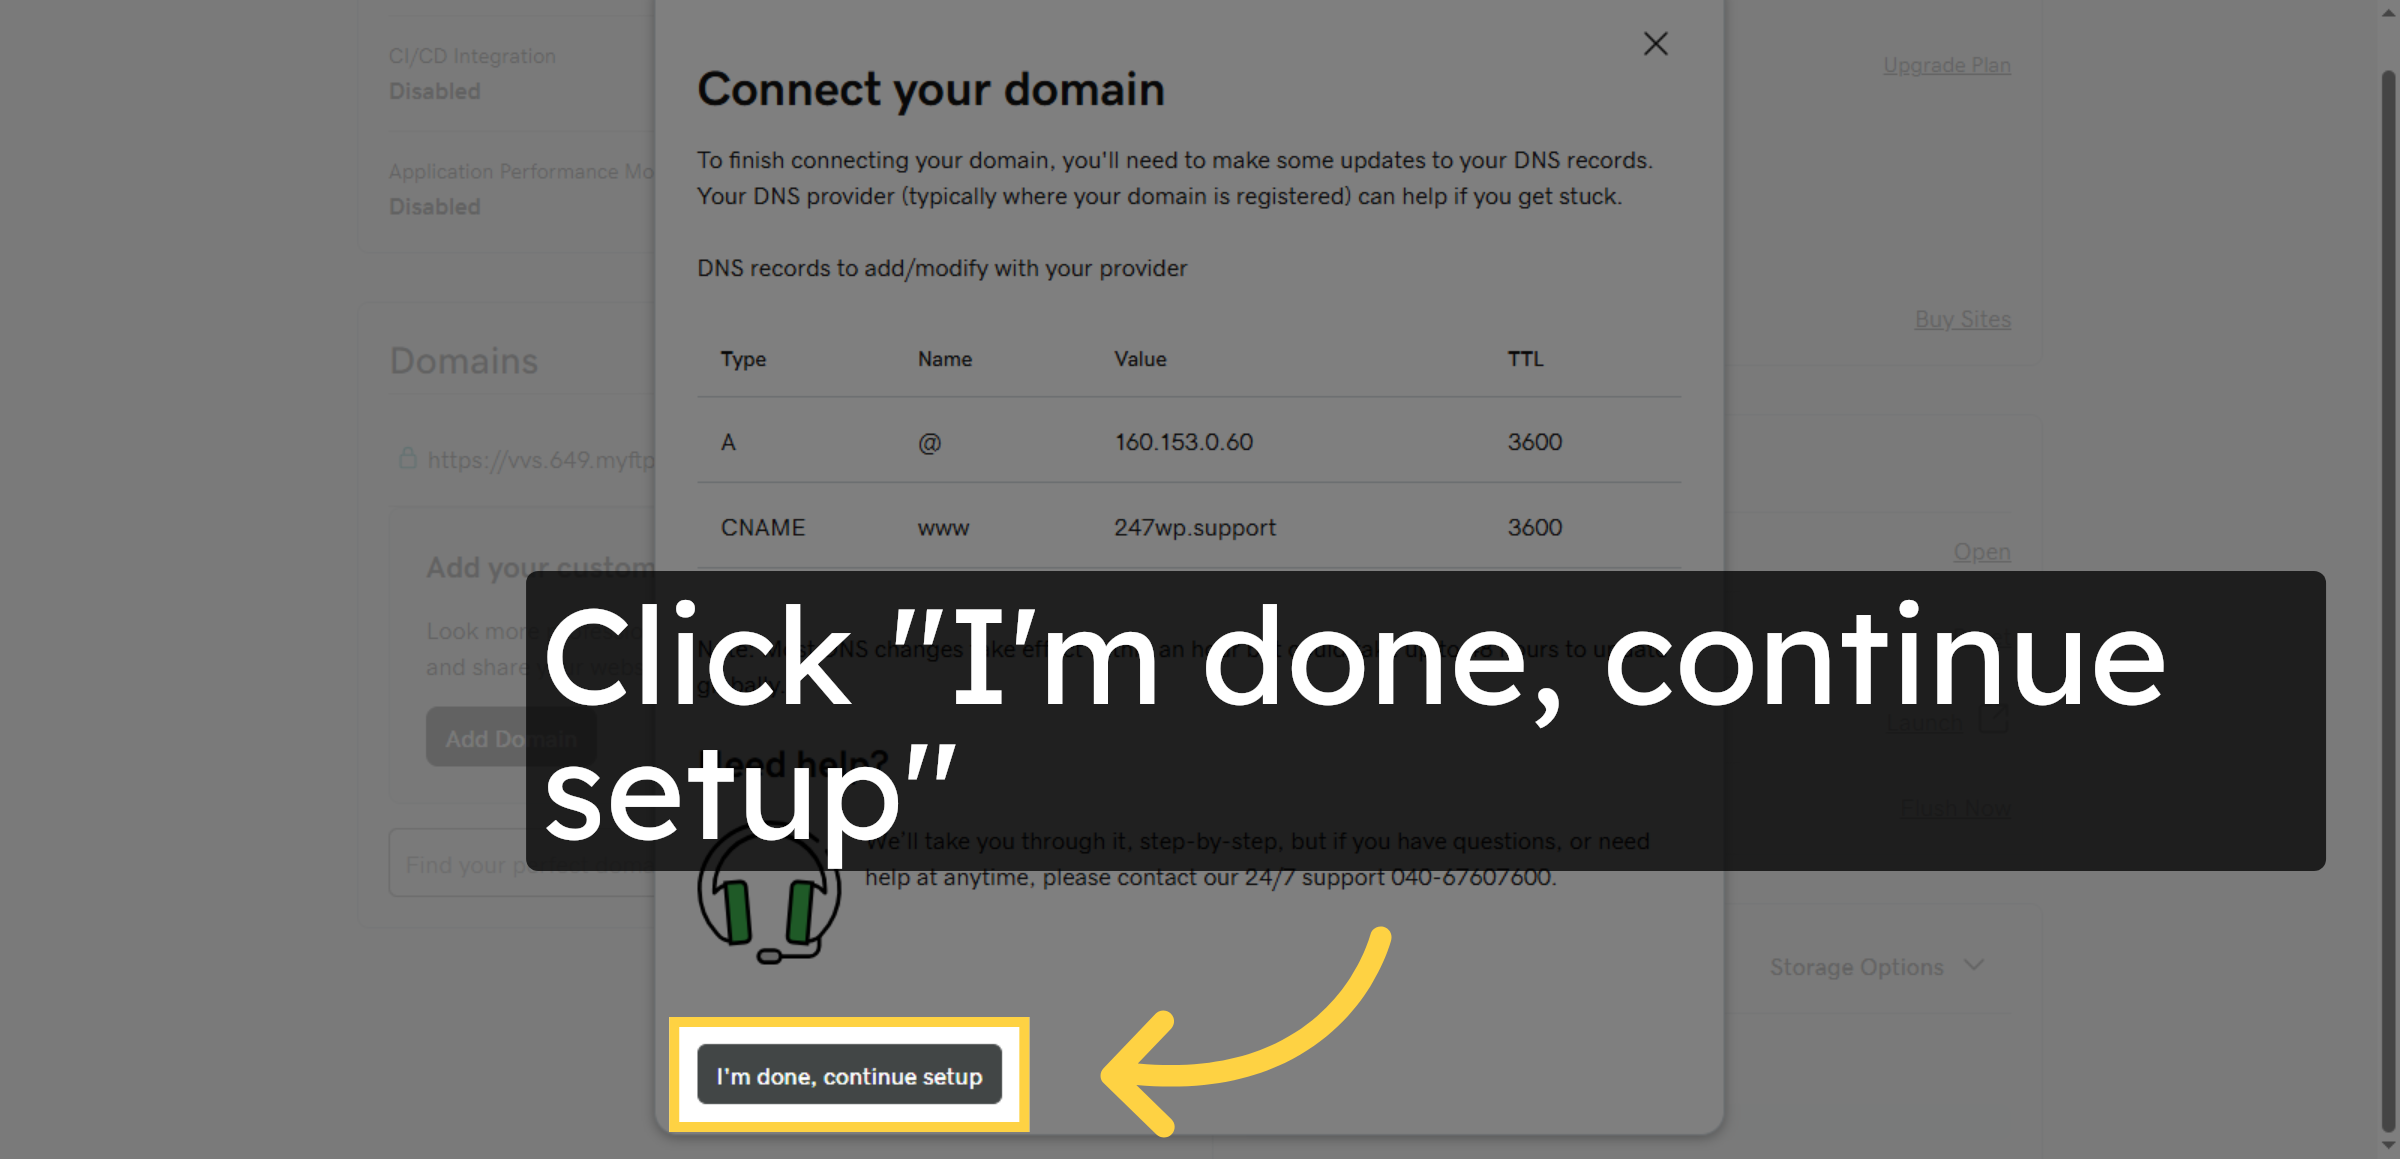


10. NOTE
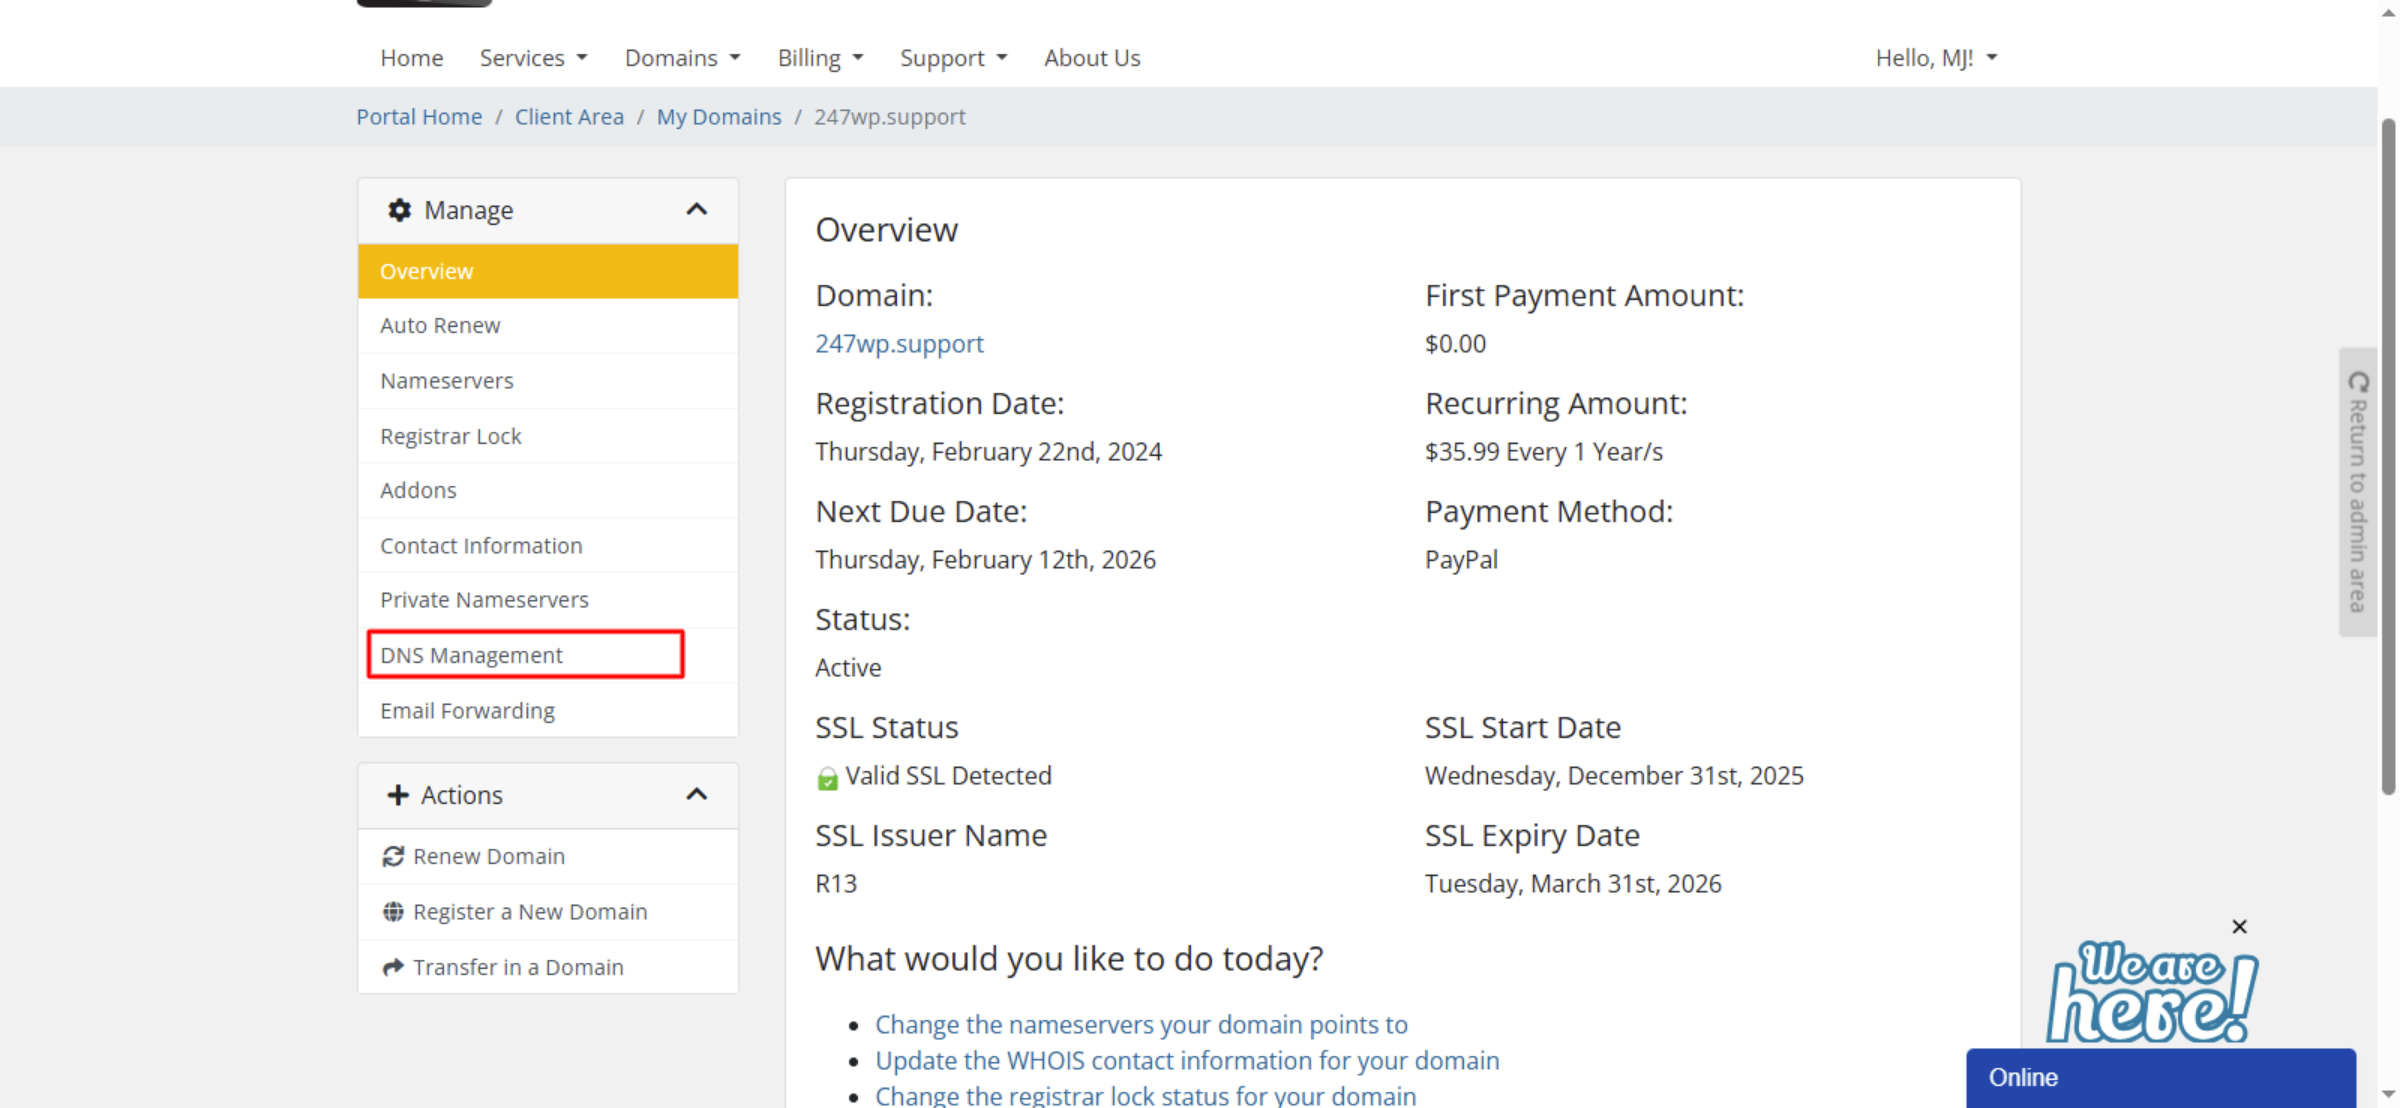
11. DNS Management Access
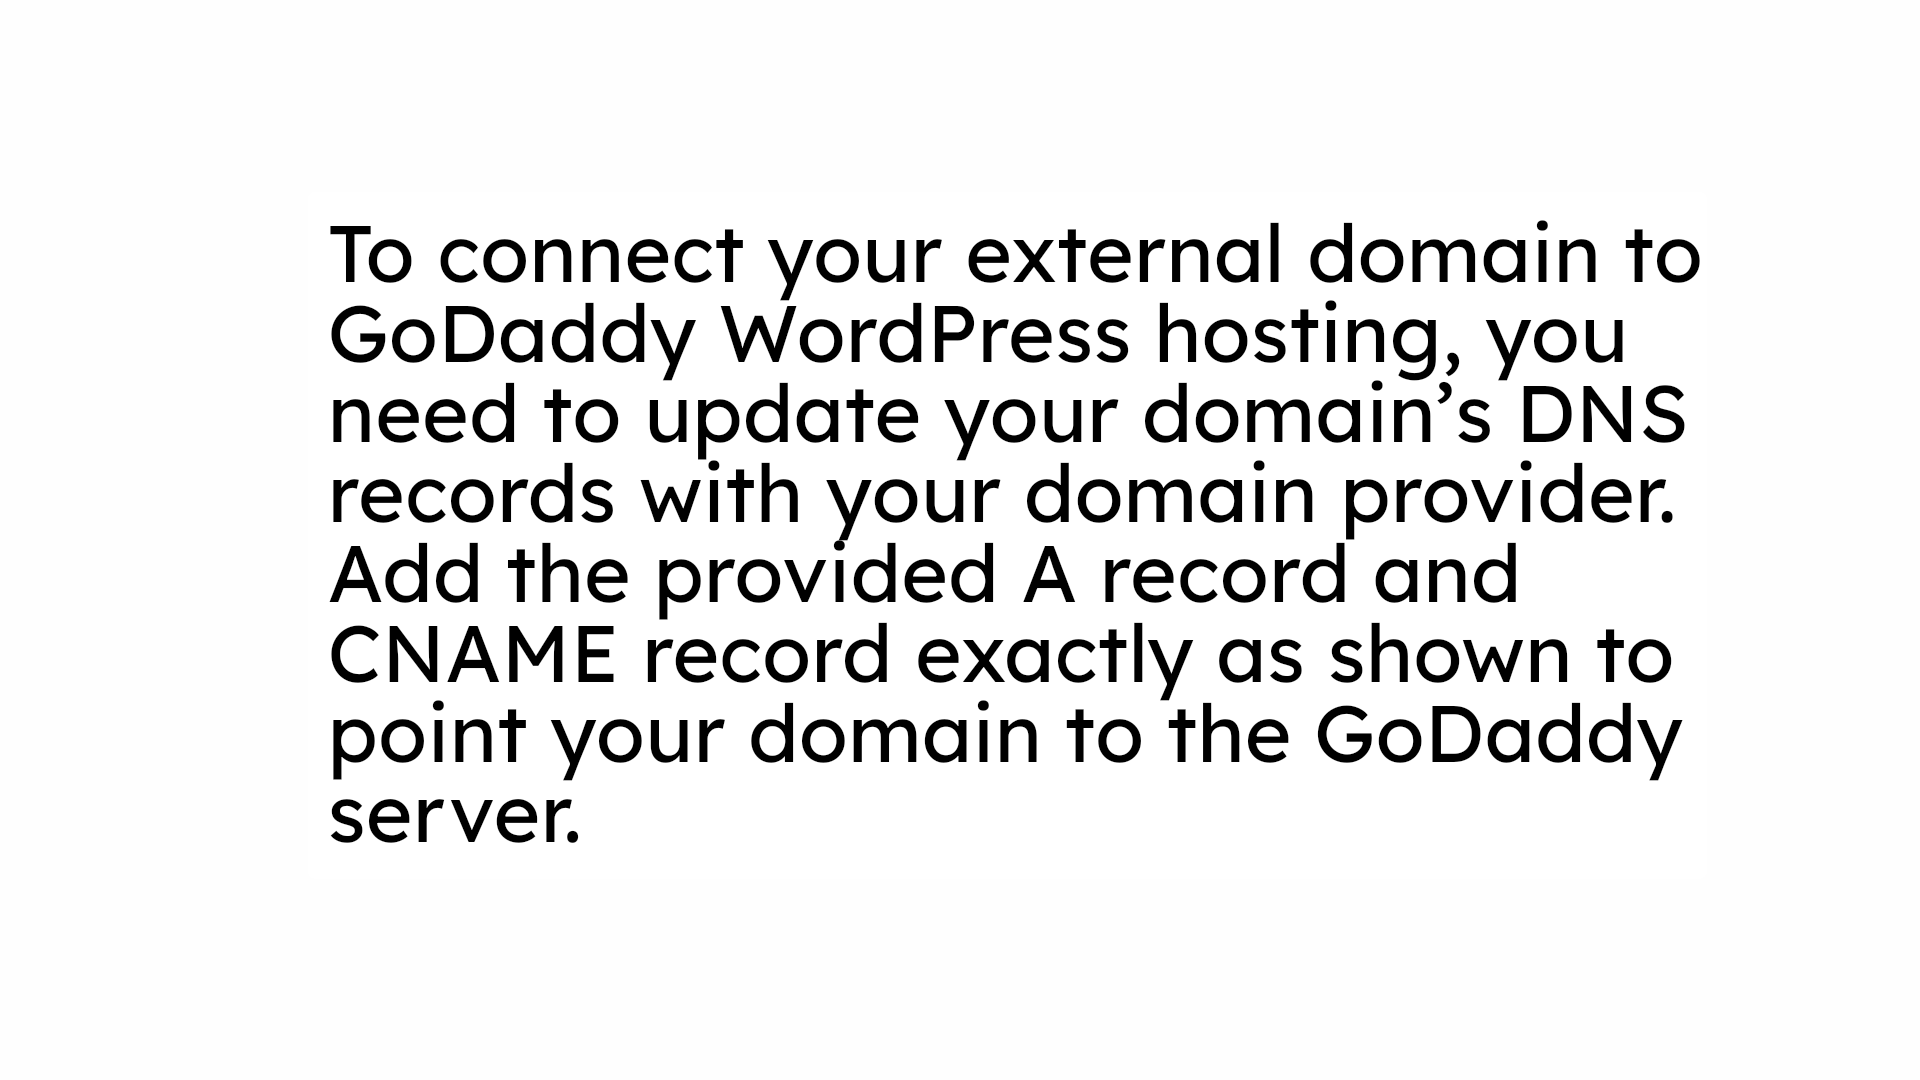
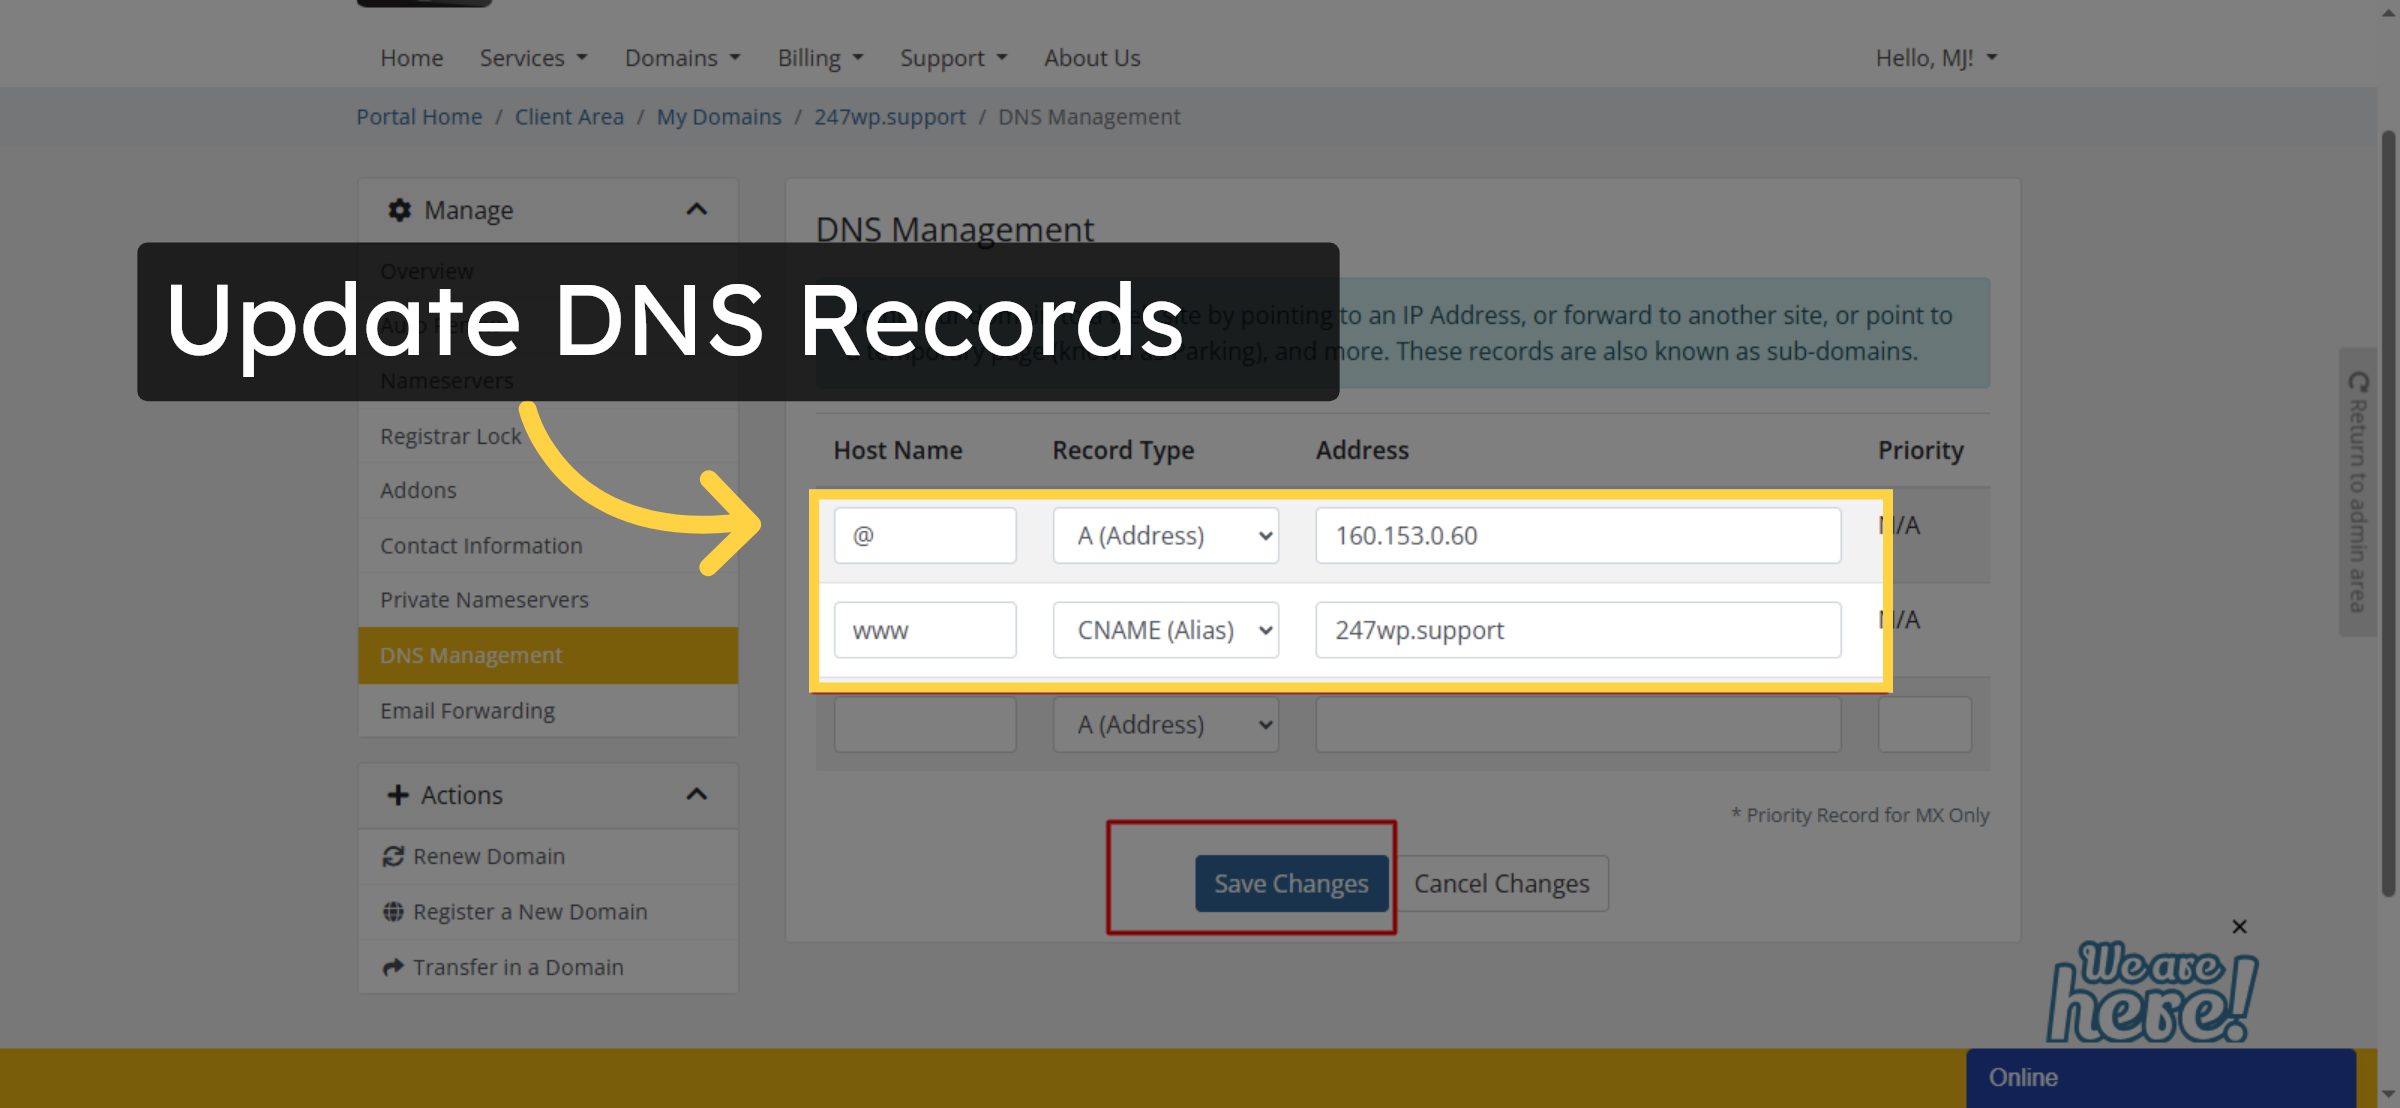
12. Update DNS Records
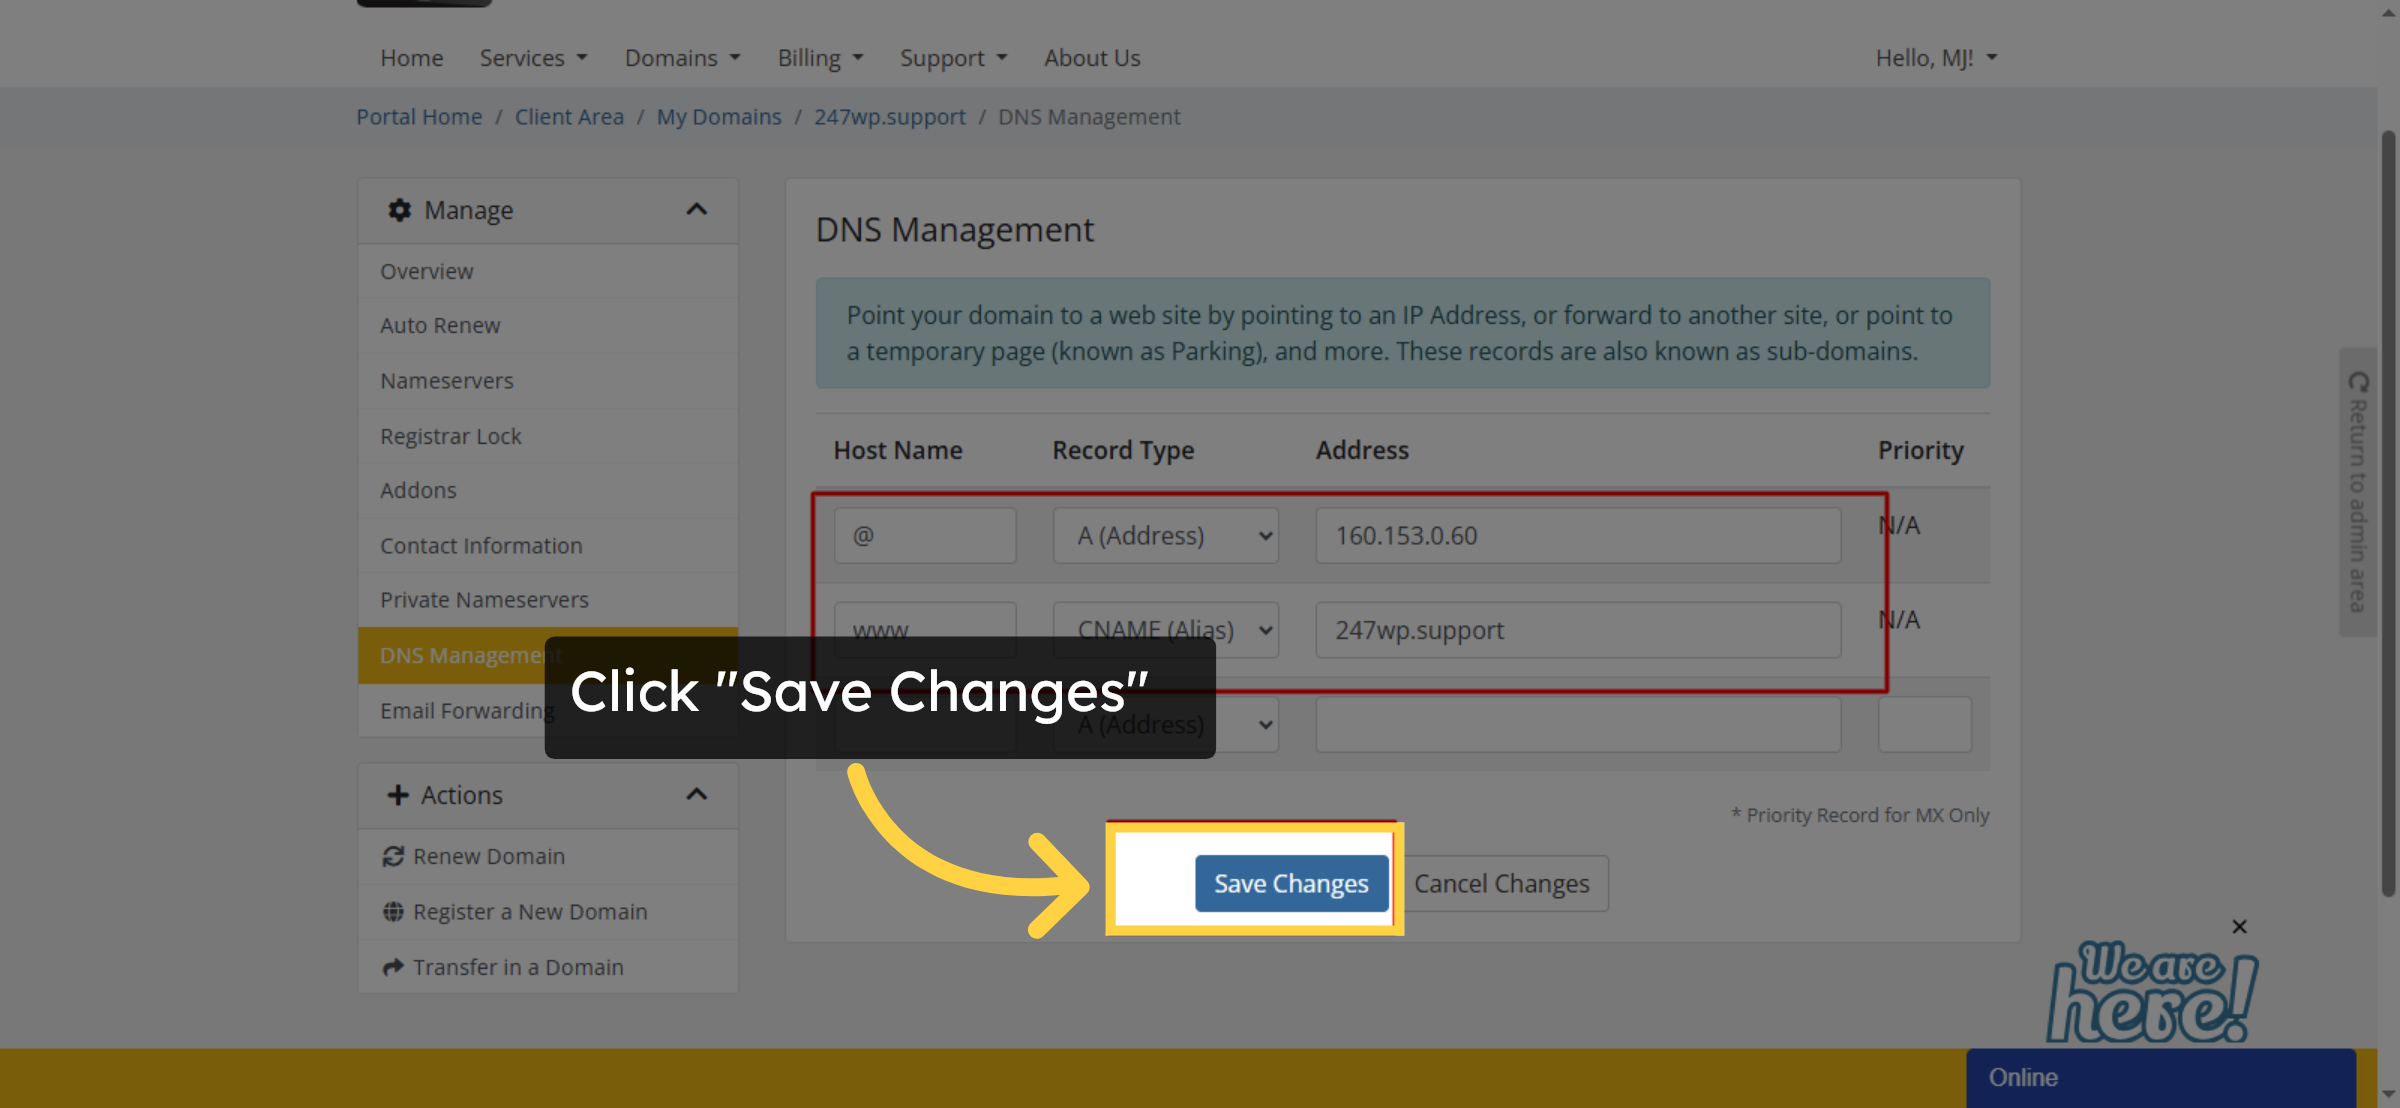
13. Save DNS Changes
14. NOTE
Conclusion
By following this guide, you have successfully connected your external domain to your GoDaddy WordPress website. Your domain is now properly linked to your hosting environment, allowing visitors to access your site using your custom web address. This setup enhances professionalism and strengthens your online presence.
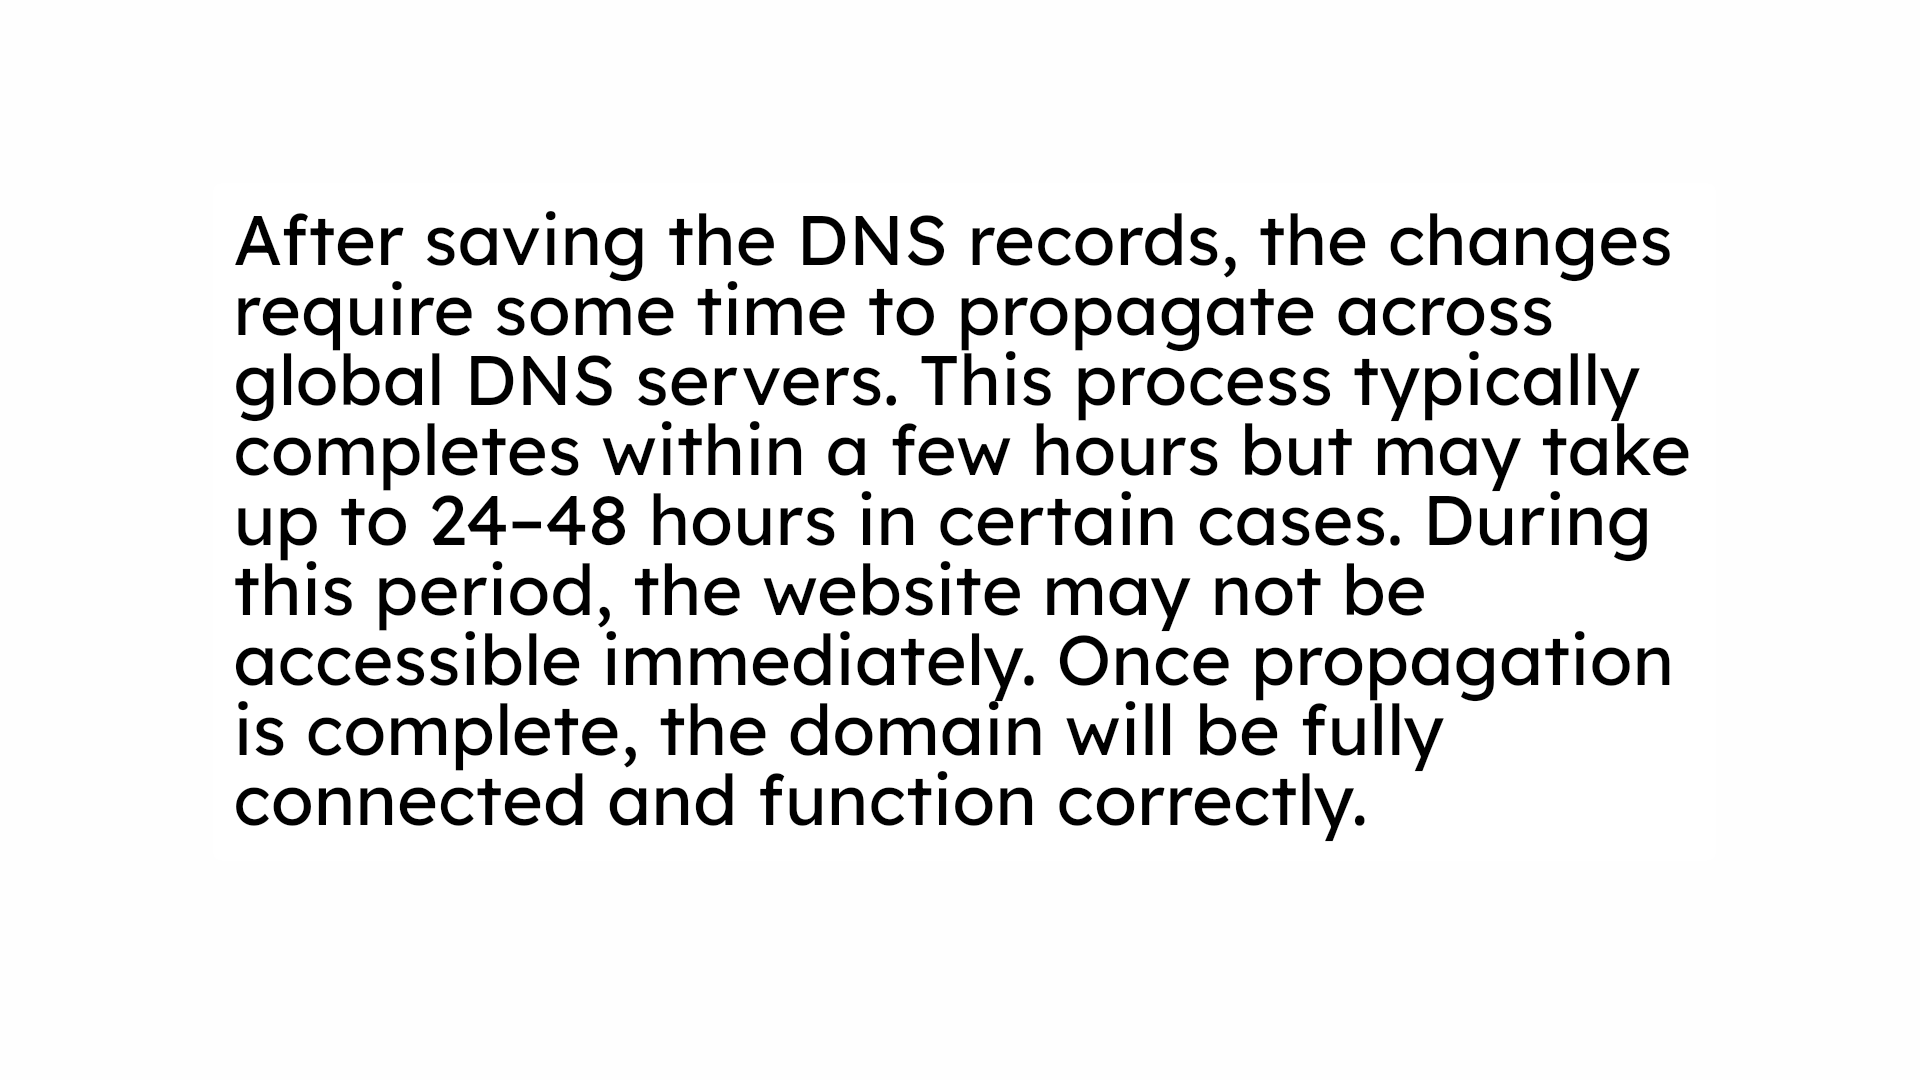
To ensure uninterrupted service, allow sufficient time for DNS propagation and regularly monitor your domain settings. Keeping DNS records updated will help prevent connectivity issues and maintain stable website performance
WooHelpDesk Support
Need help with domain connection, DNS configuration, or website setup? WooHelpDesk provides expert support to ensure smooth and secure website management.
Visit: https://www.woohelpdesk.com
Call Us Toll-Free: +1 888 602 0119 (US & Canada)
Smooth Setup | Expert Support | Trusted Solutions


