Introduction
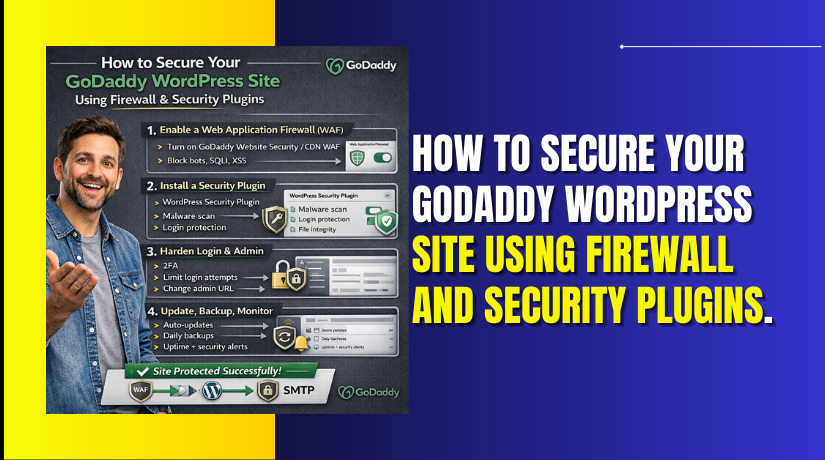
Website security is essential for protecting your WordPress site from malware, hacking attempts, data breaches, and unauthorized access. Without proper security measures, websites are vulnerable to attacks that can affect performance, reputation, and user trust. GoDaddy provides a reliable hosting environment, but additional protection through advanced security plugins is necessary for complete website safety.
This guide explains how to secure your GoDaddy WordPress website using firewall and security plugins, specifically the All In One Security (AIOS) plugin. It covers enabling malware scanning, strengthening login security, protecting databases and files, configuring firewall rules, preventing brute-force attacks, and monitoring suspicious activities. By following this guide, you can build a strong defense system for your website.
1. Access GoDaddy Account
Secure your GoDaddy WordPress website using the GoDaddy Account Dashboard by enabling firewall protection and installing trusted security plugins to prevent malware, hacking attempts, and unauthorized access.
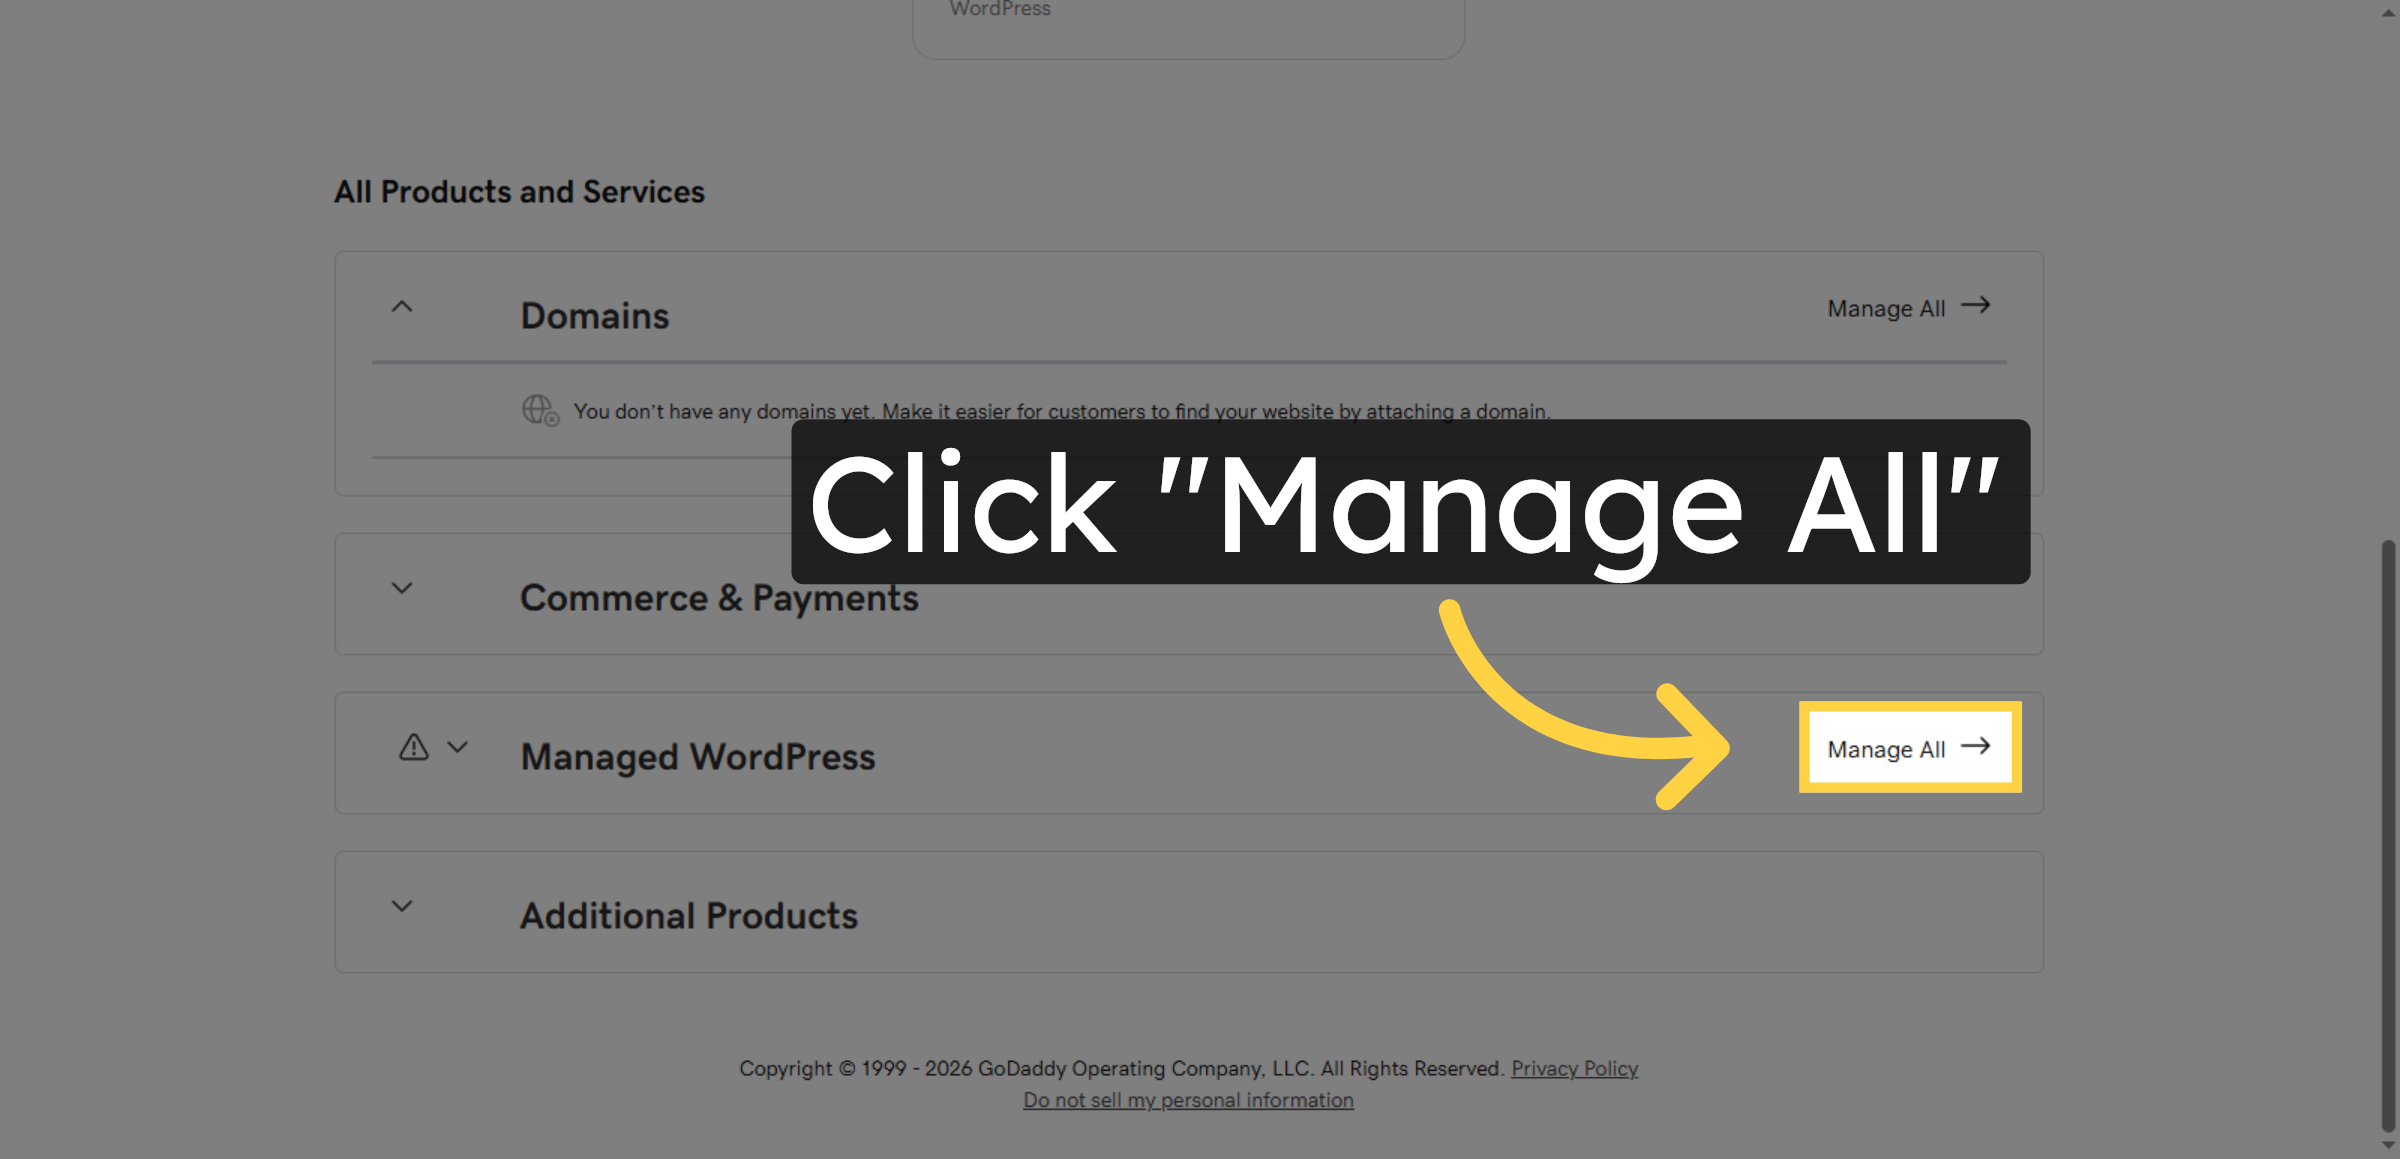
2. Open Manage All Section
Click “Manage All” to view all your GoDaddy products and services associated with your account.
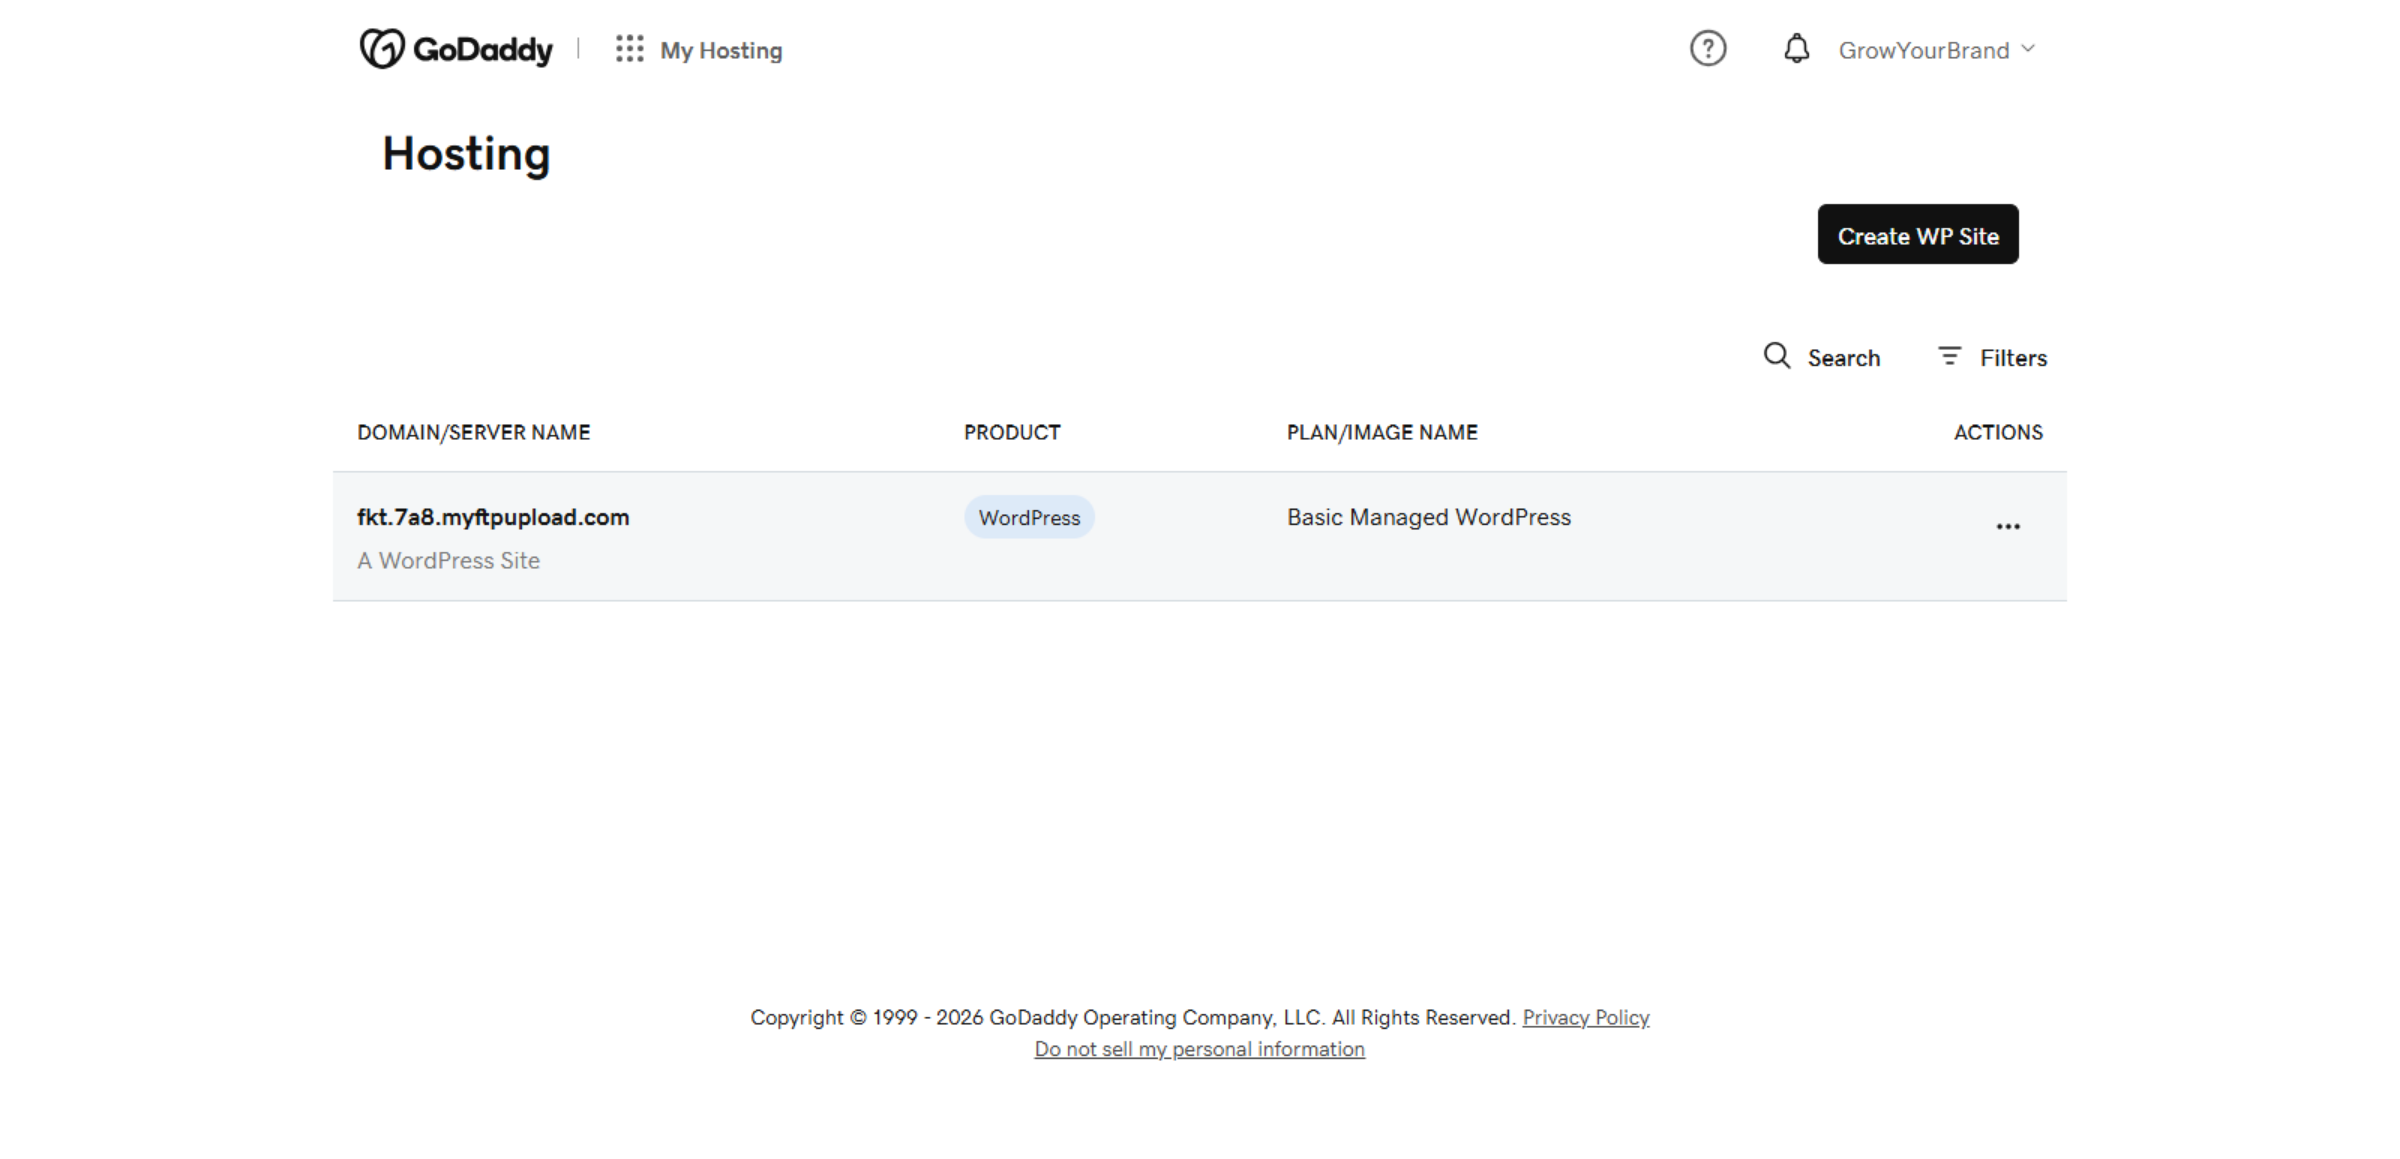
3. Switch To Hosting Dashboard
Switch to the hosting dashboard at host.godaddy.com to manage your website hosting settings.
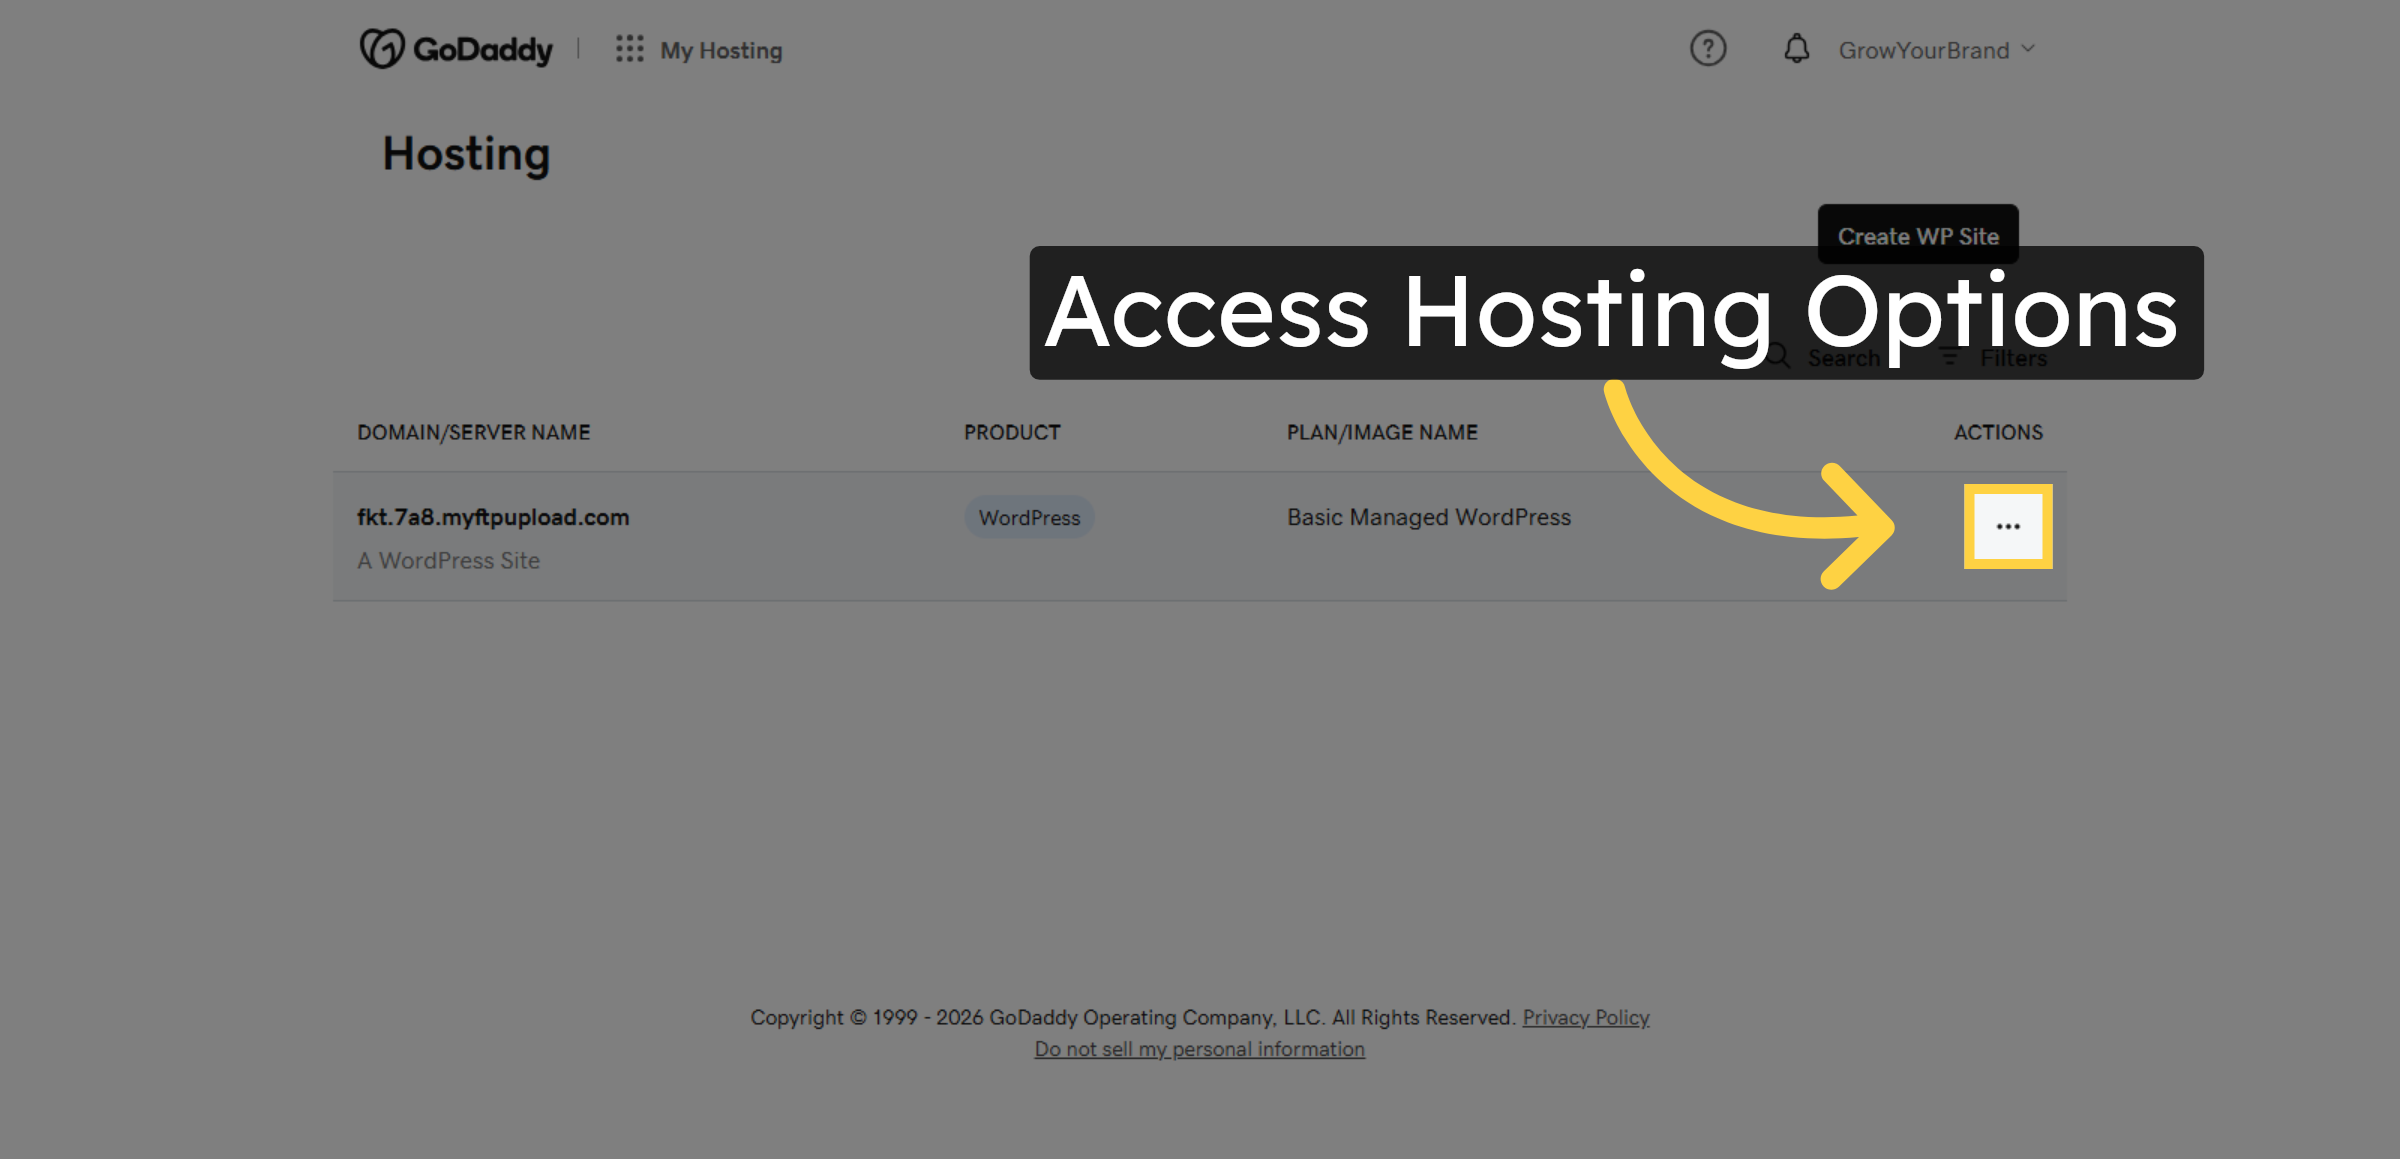
4. Access Hosting Options
Click the designated area to open hosting management options for your WordPress site
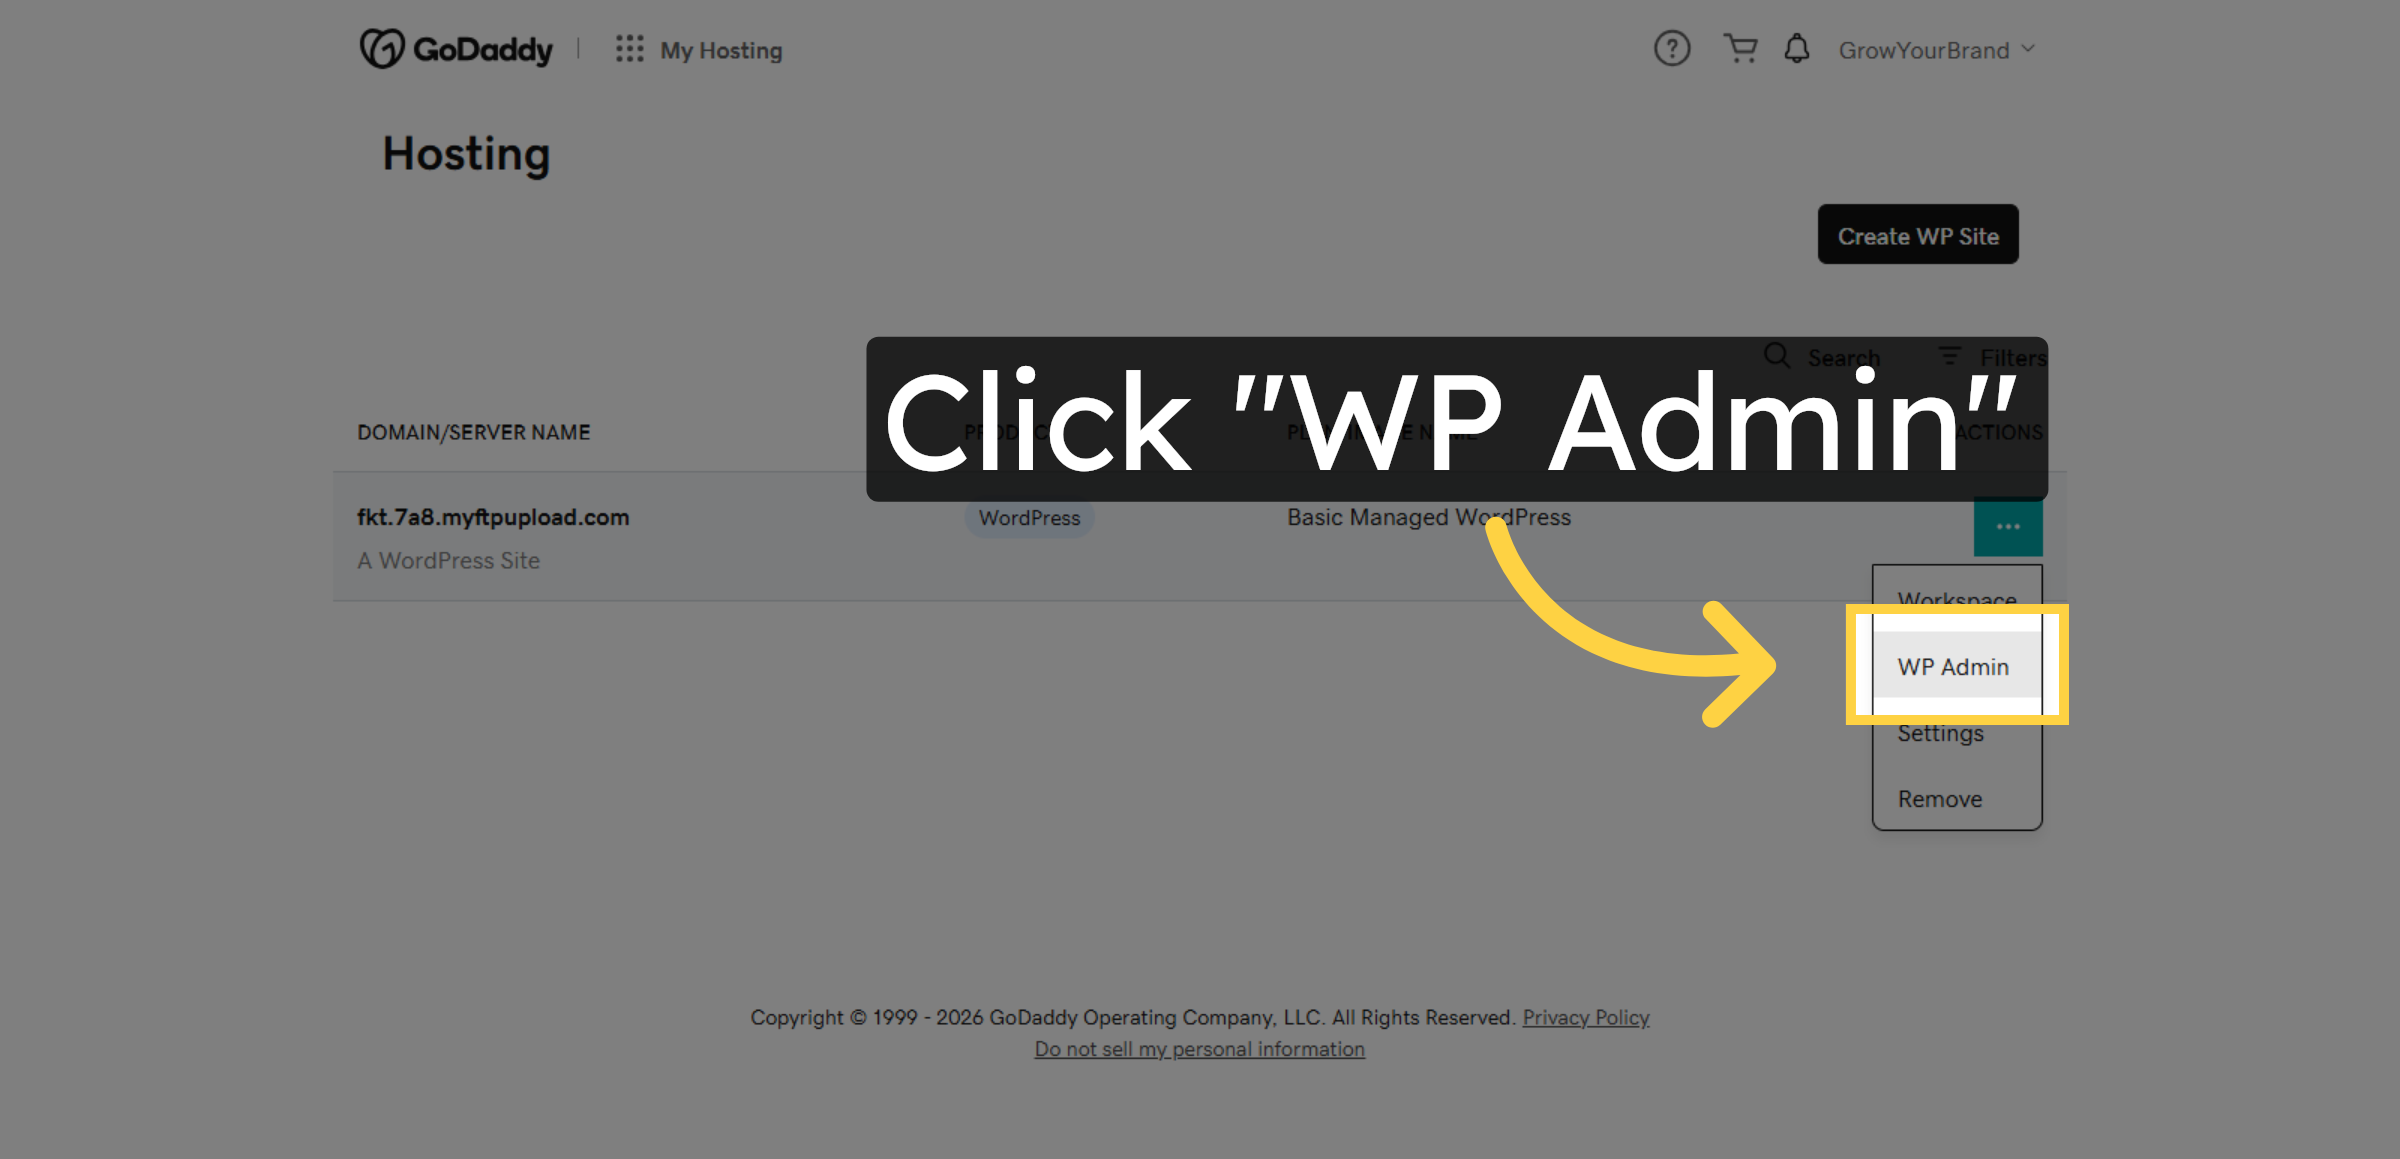
5. Open WP Admin Panel
Click WP Admin to open the WordPress dashboard, where you can enable malware scanning and firewall protection to secure your website.
6. Switch To WordPress Dashboard
This is the WordPress dashboard, where you can manage your website settings. From here, you can install security plugins to enable malware scanning and firewall protection for your GoDaddy WordPress site.
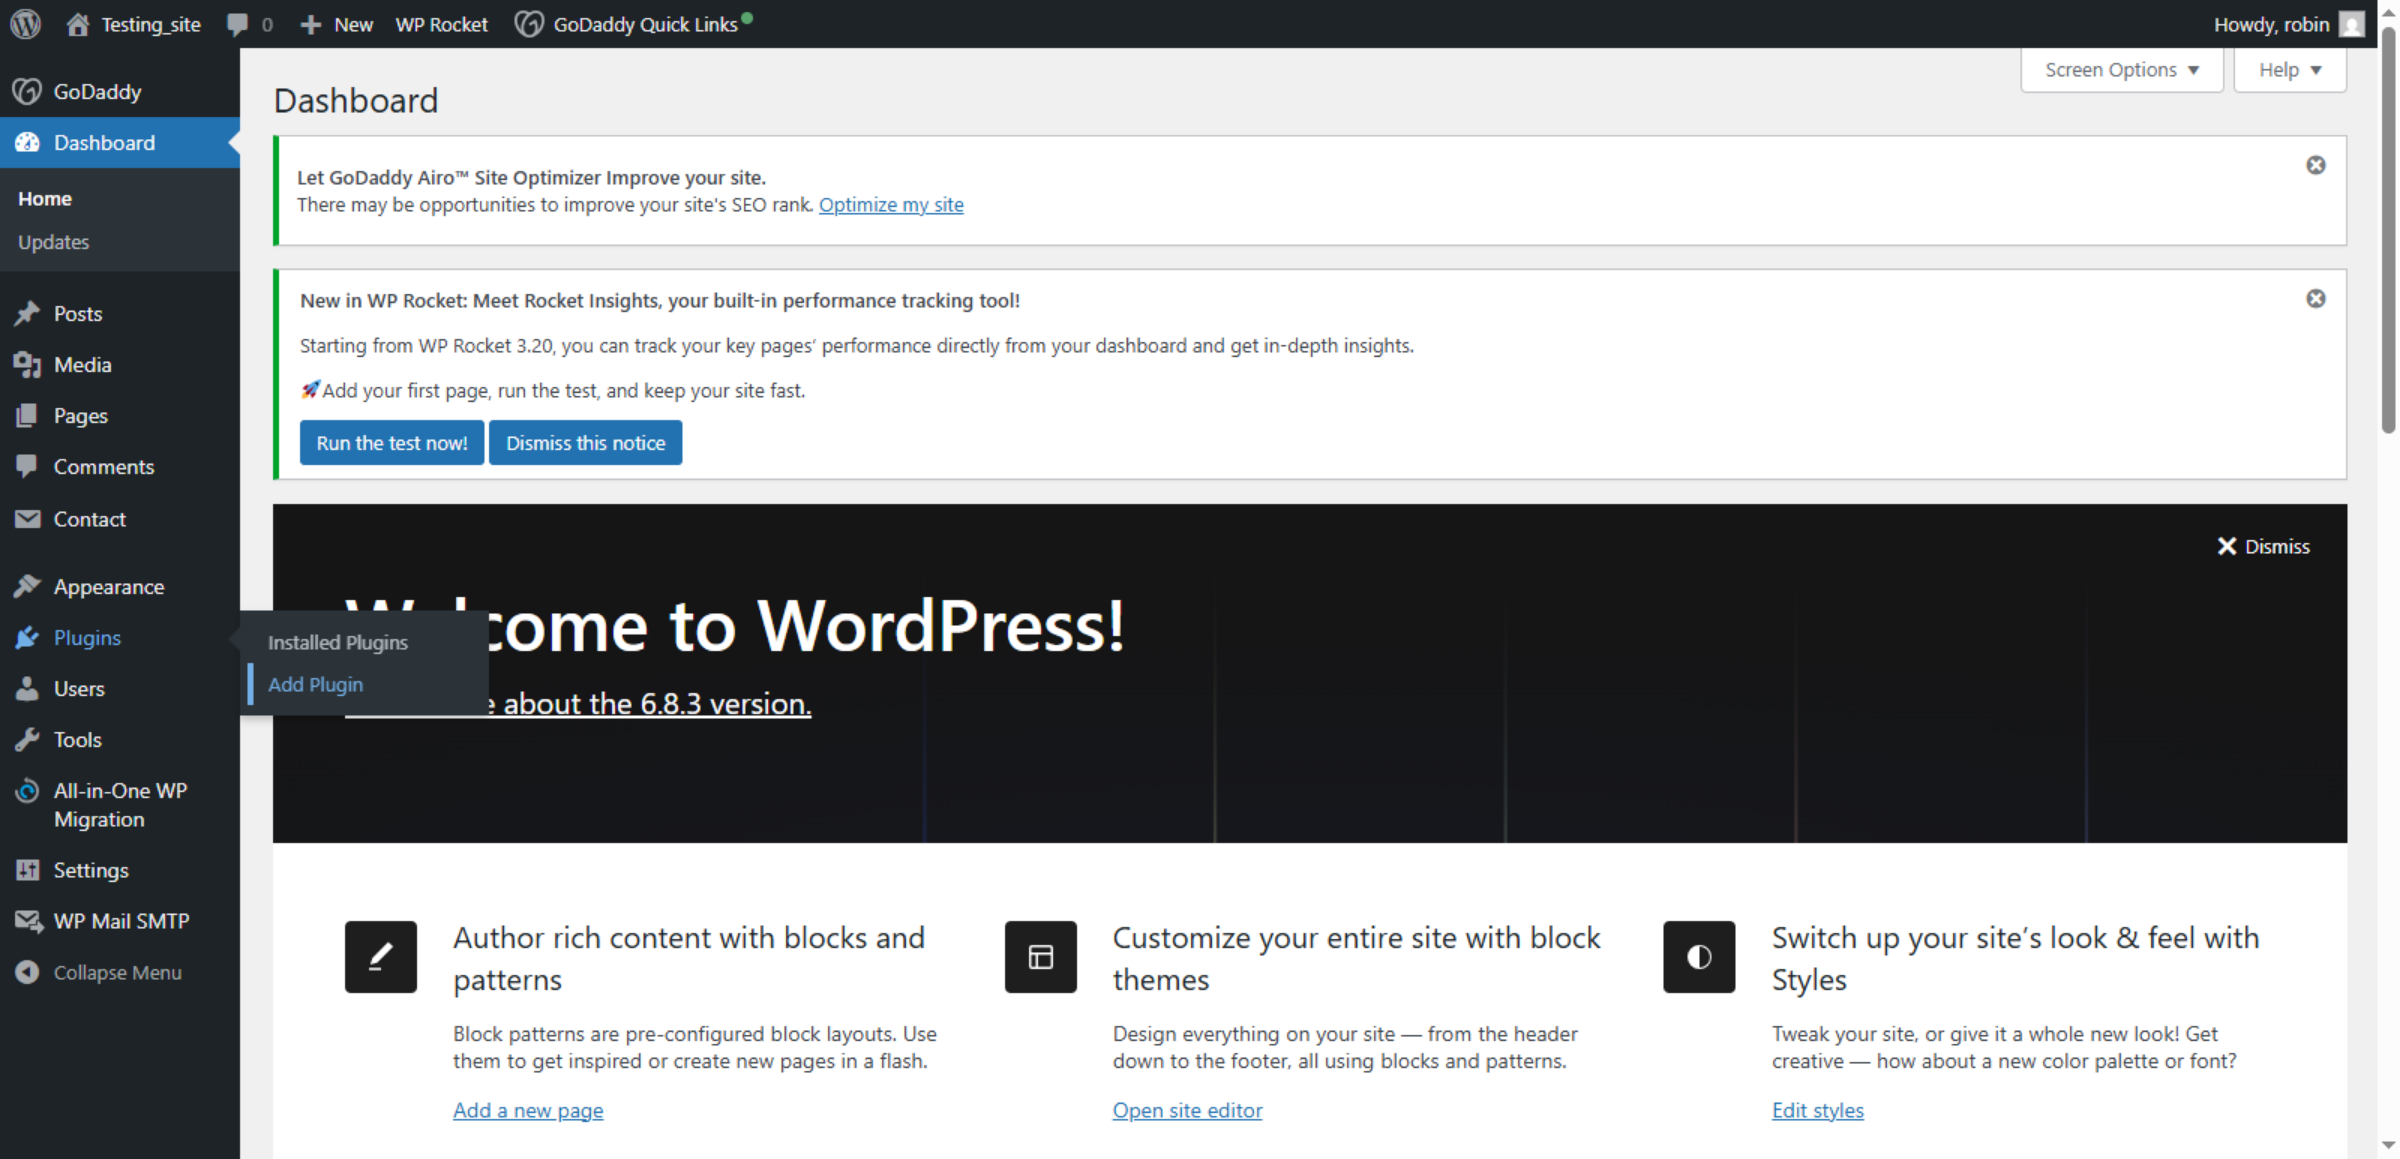
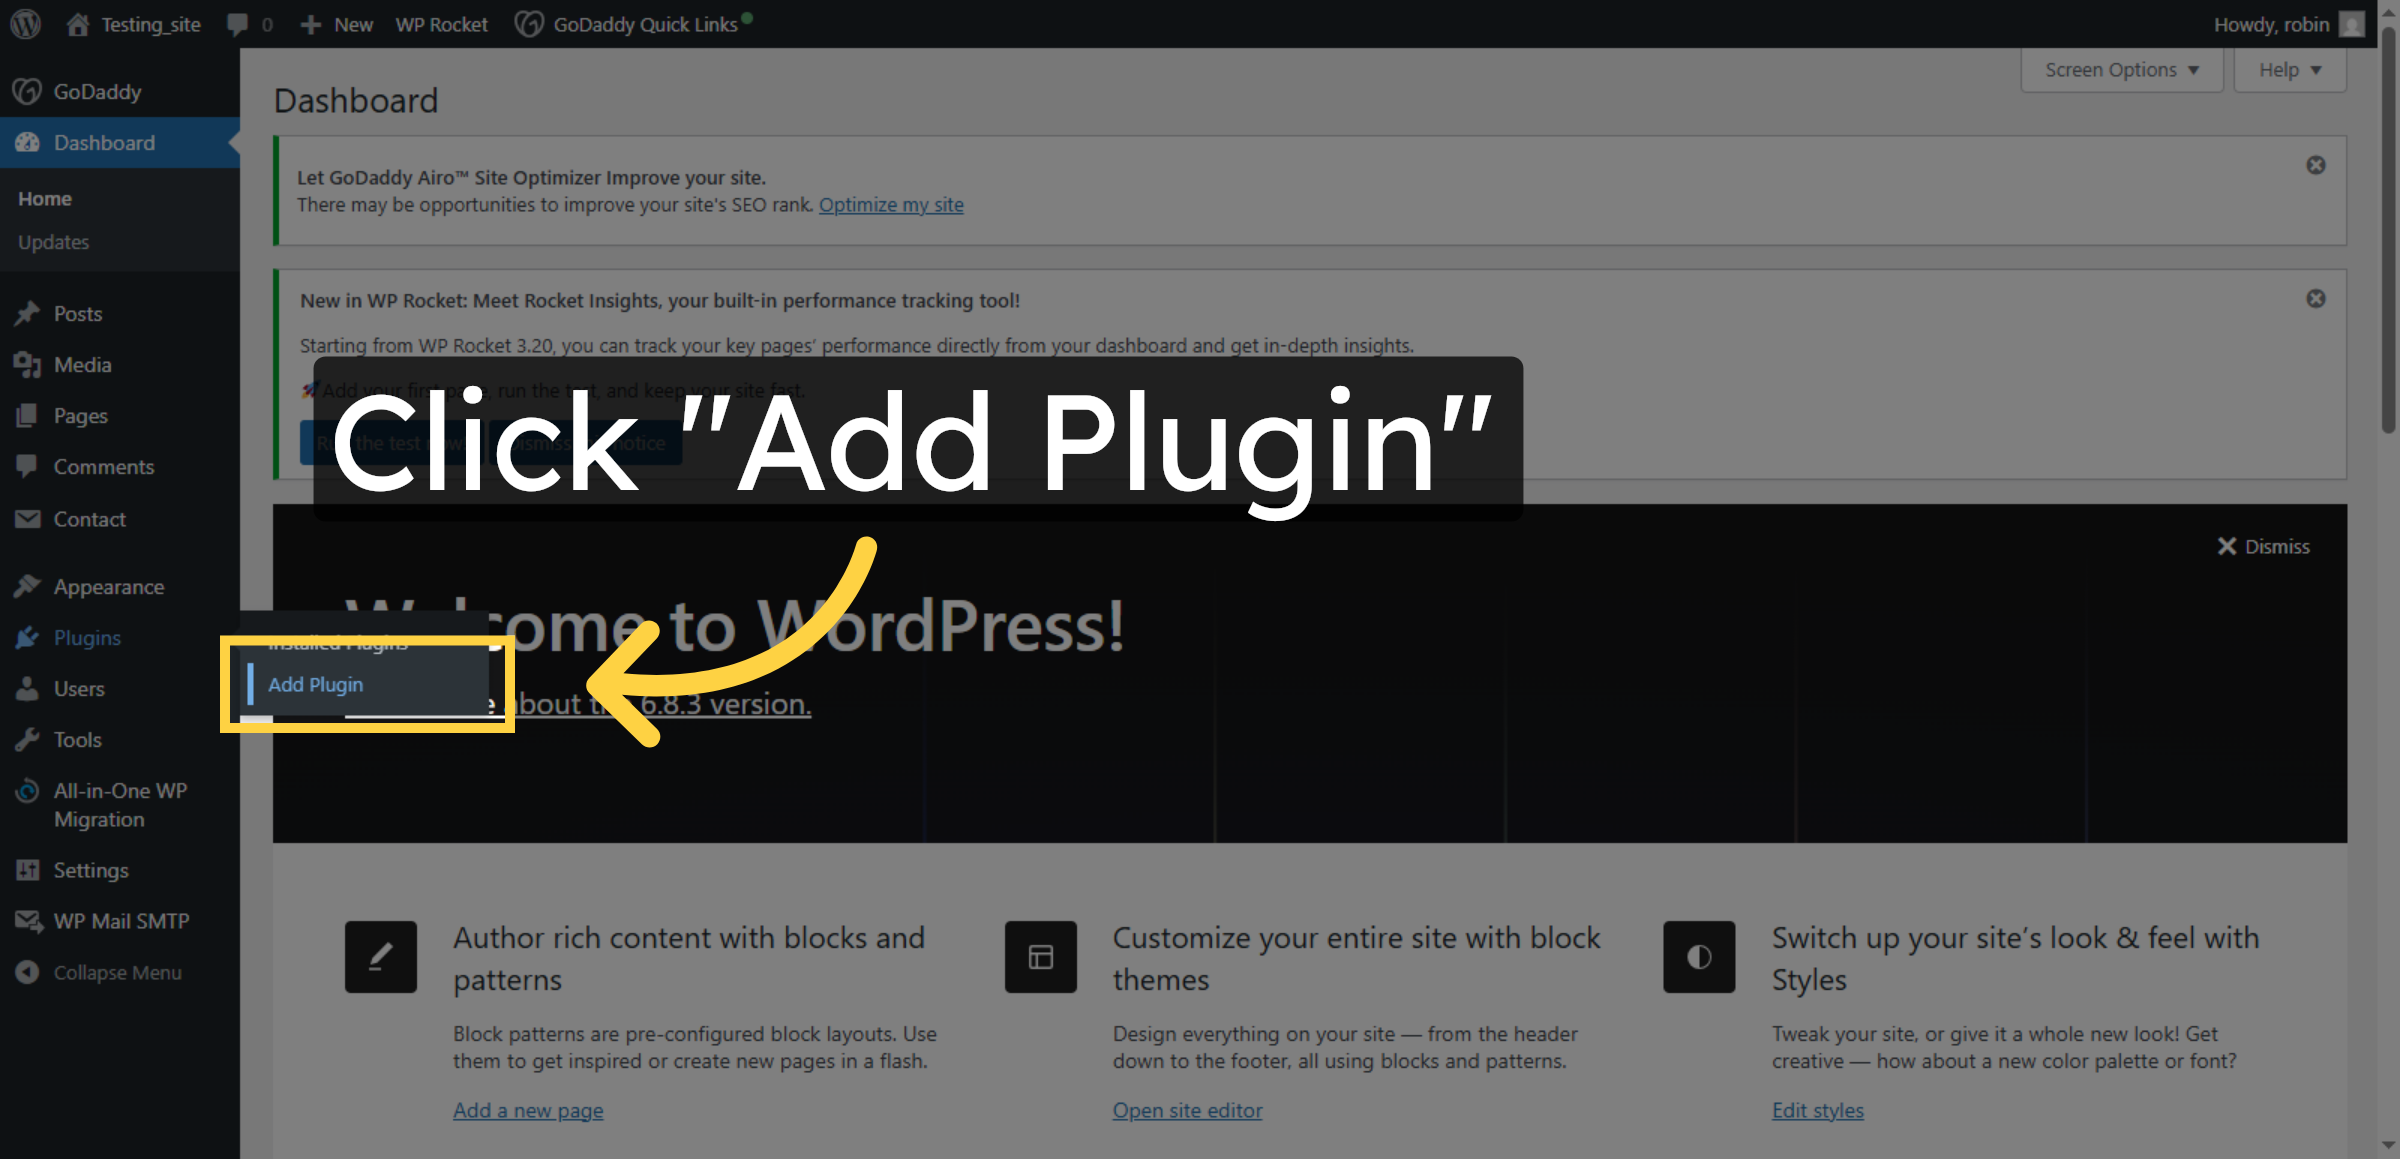
7. Add New Plugin
Click “Add Plugin” in the WordPress dashboard to begin installing new security features.
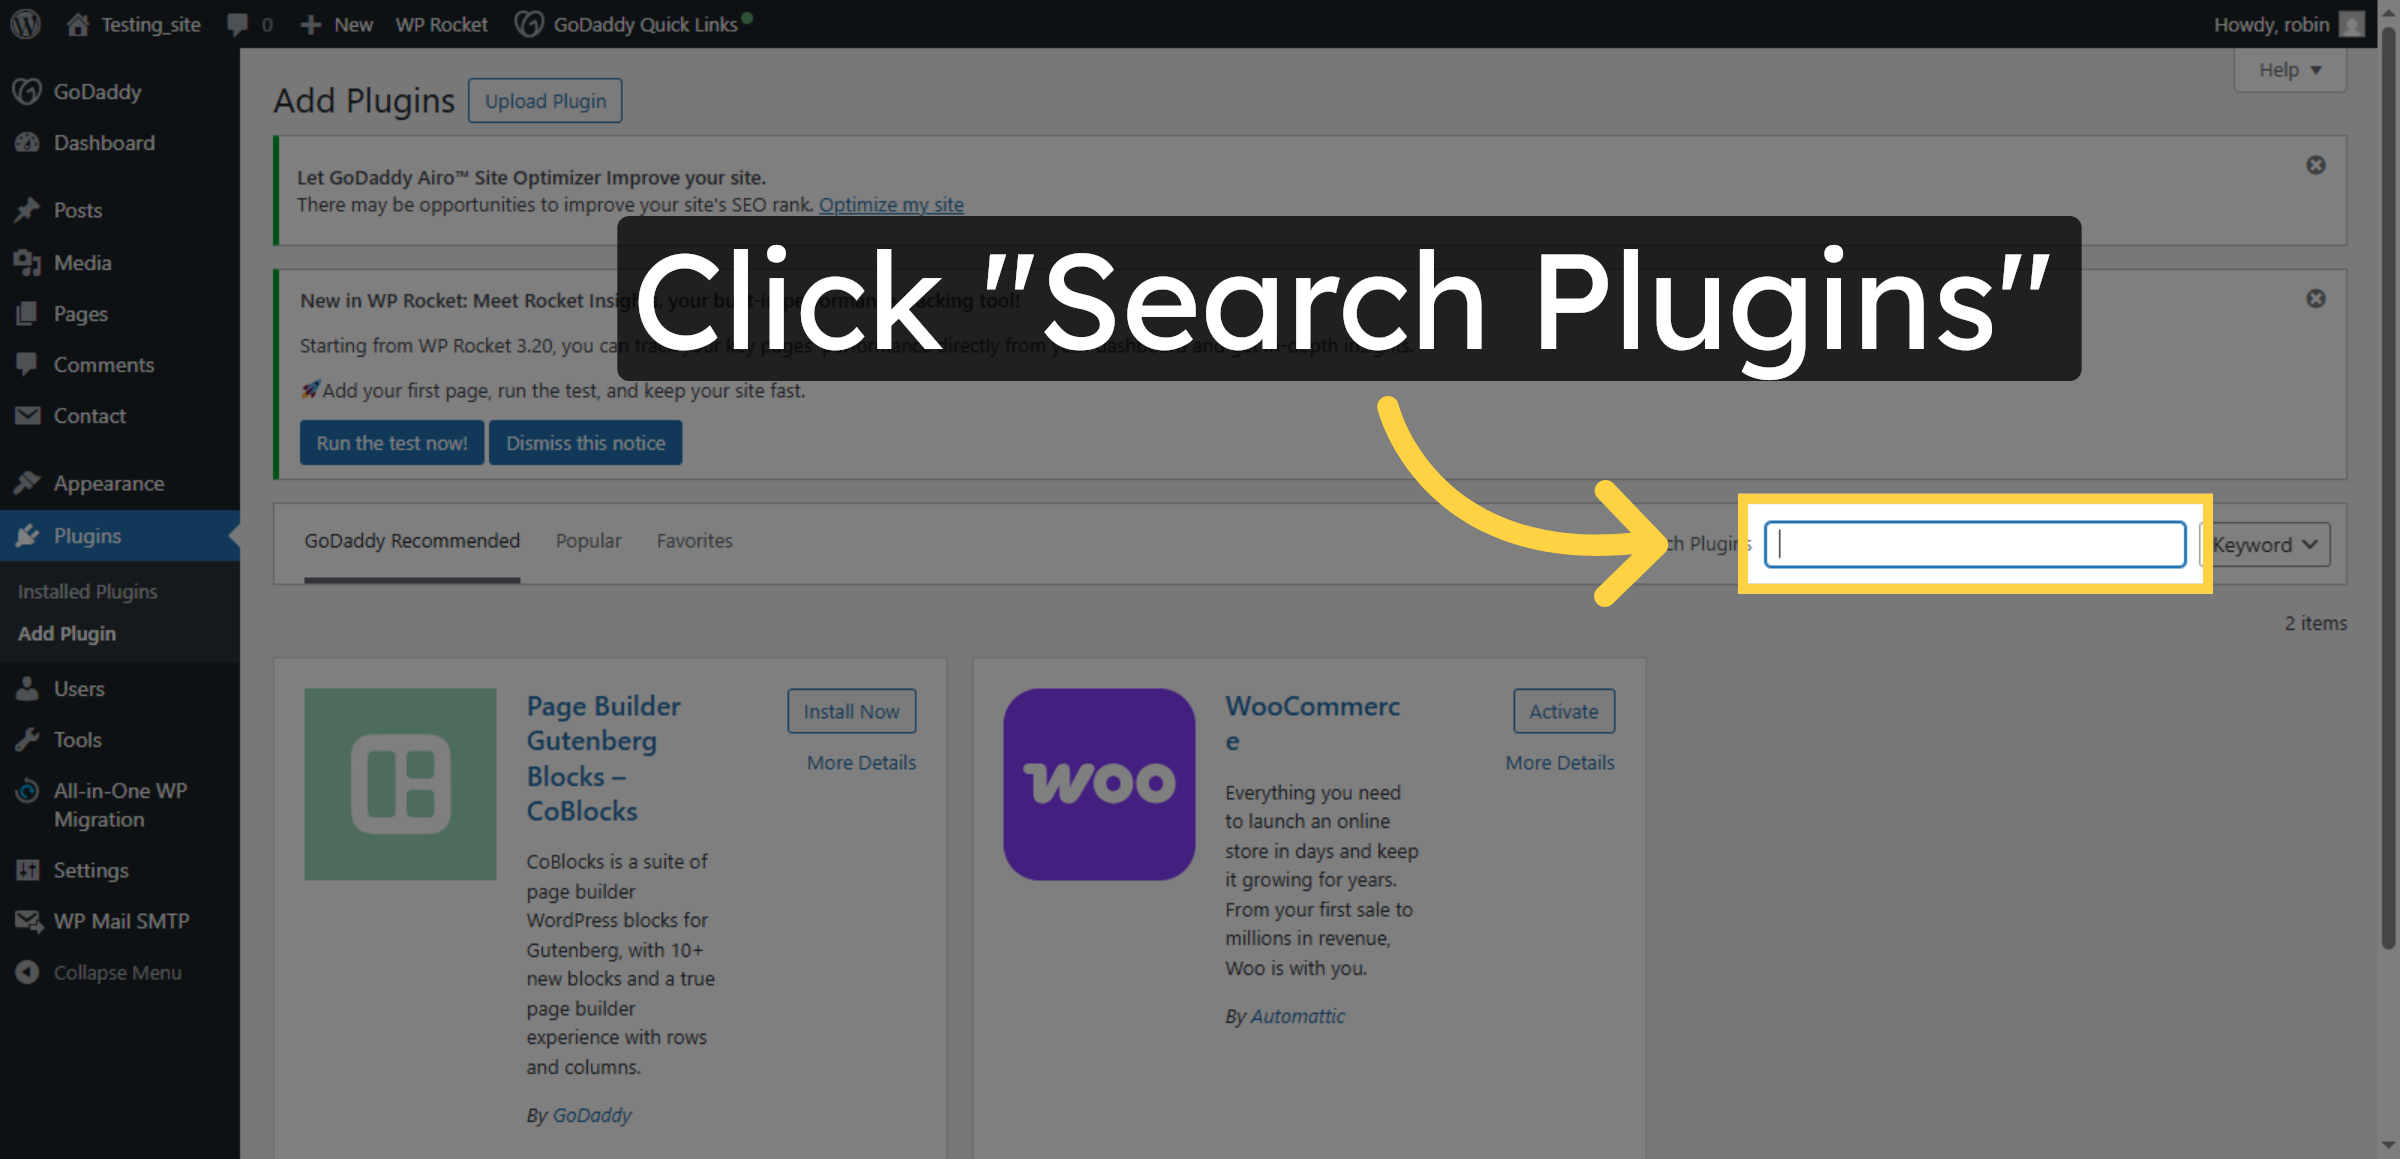
8. Search For Plugins
Click “Search Plugins” to find the security plugin needed for malware scanning and firewall protection.
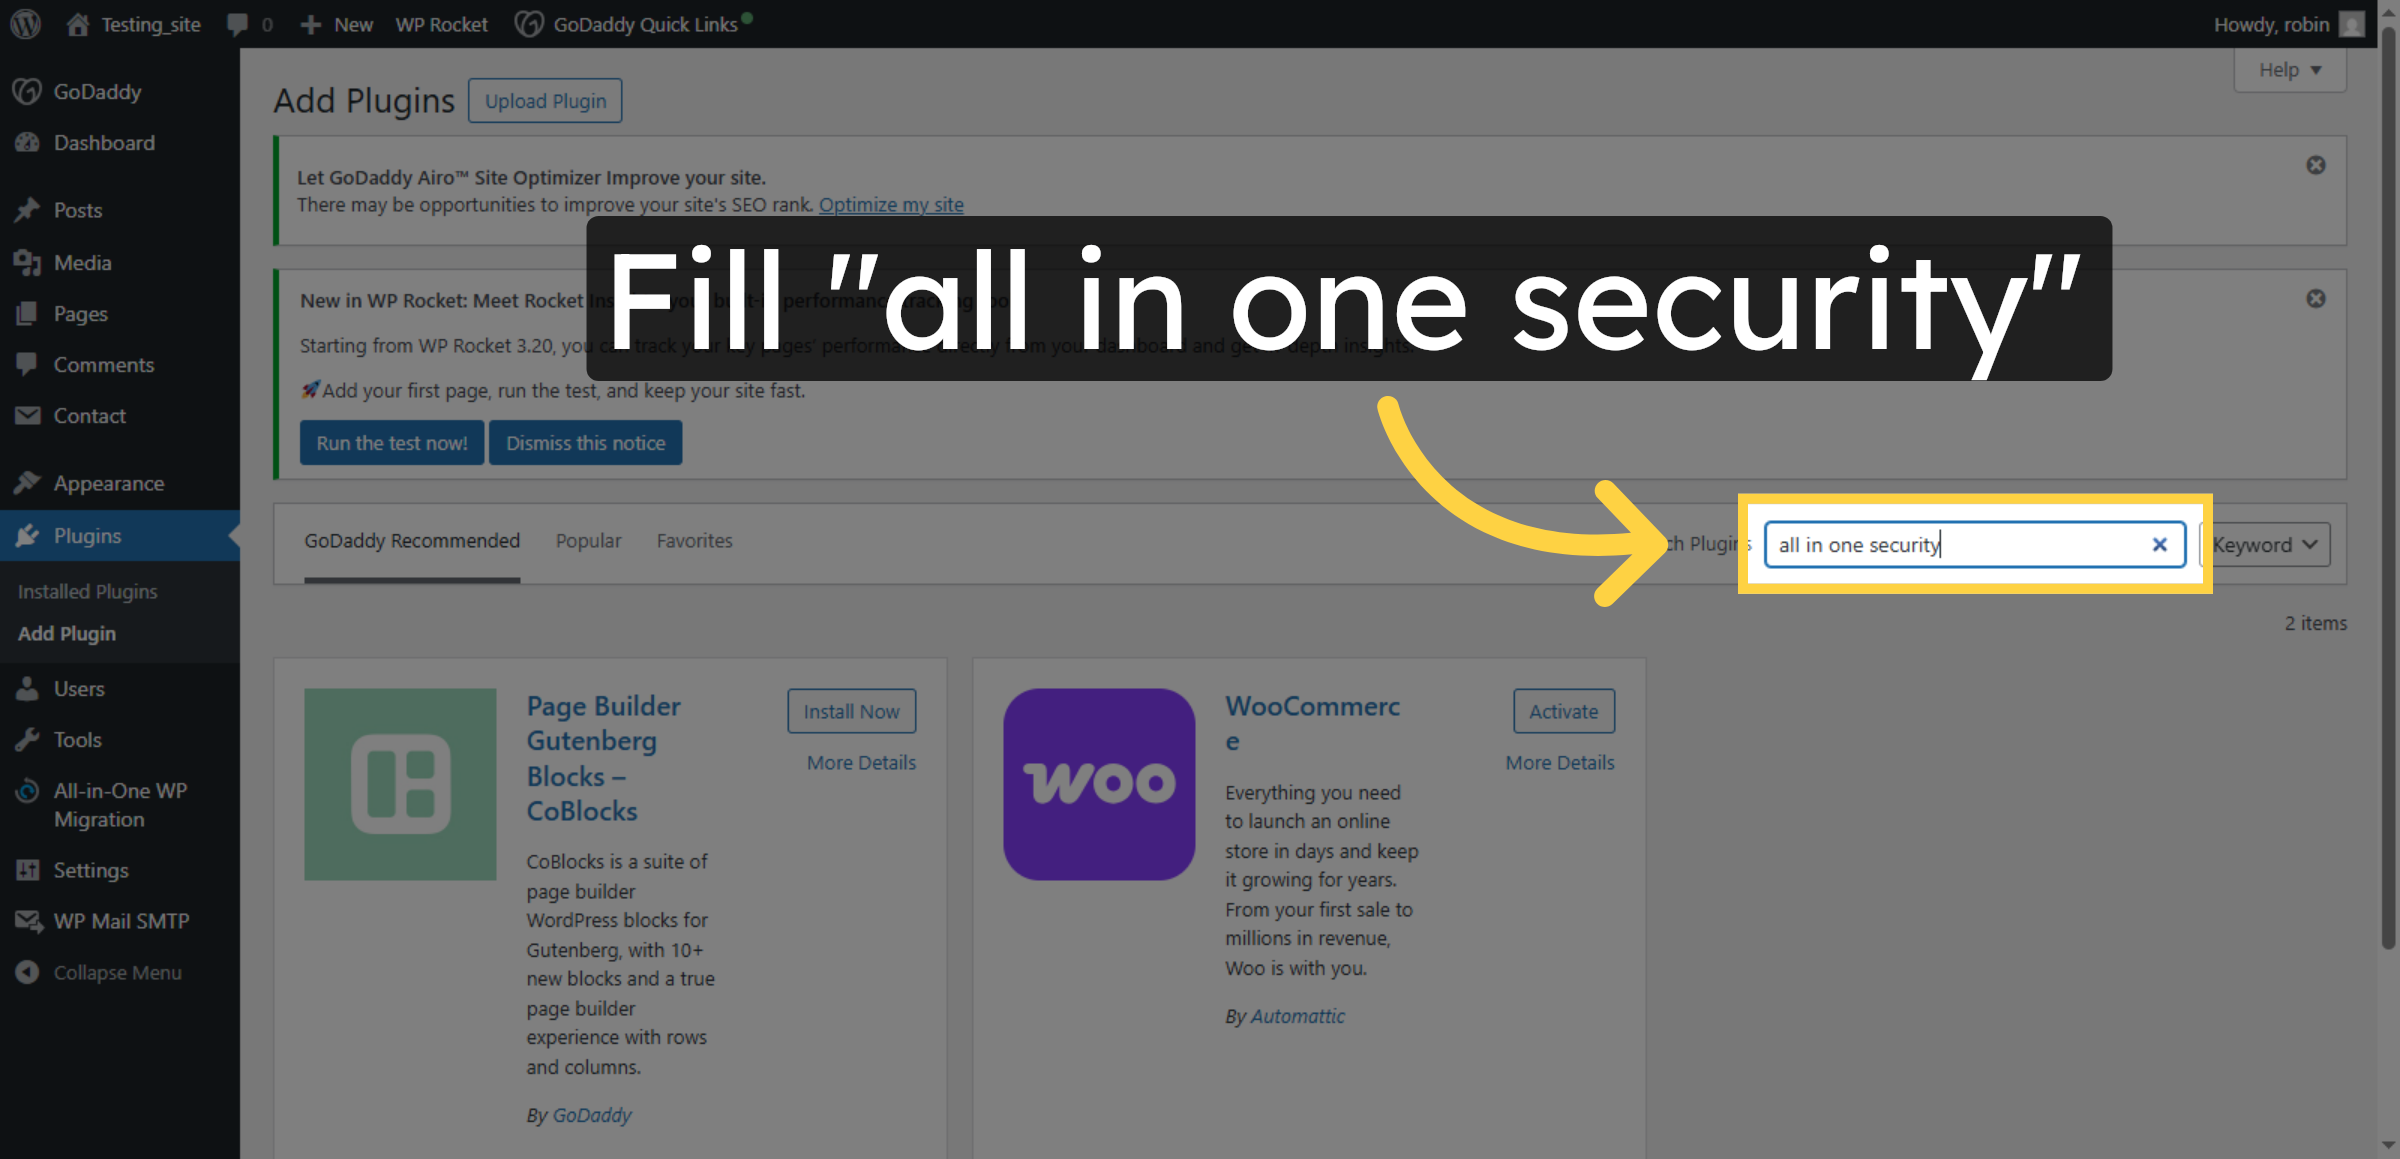
9. Search Security Plugin
Enter “all in one security” in the search field to locate the All In One Security plugin for WordPress.
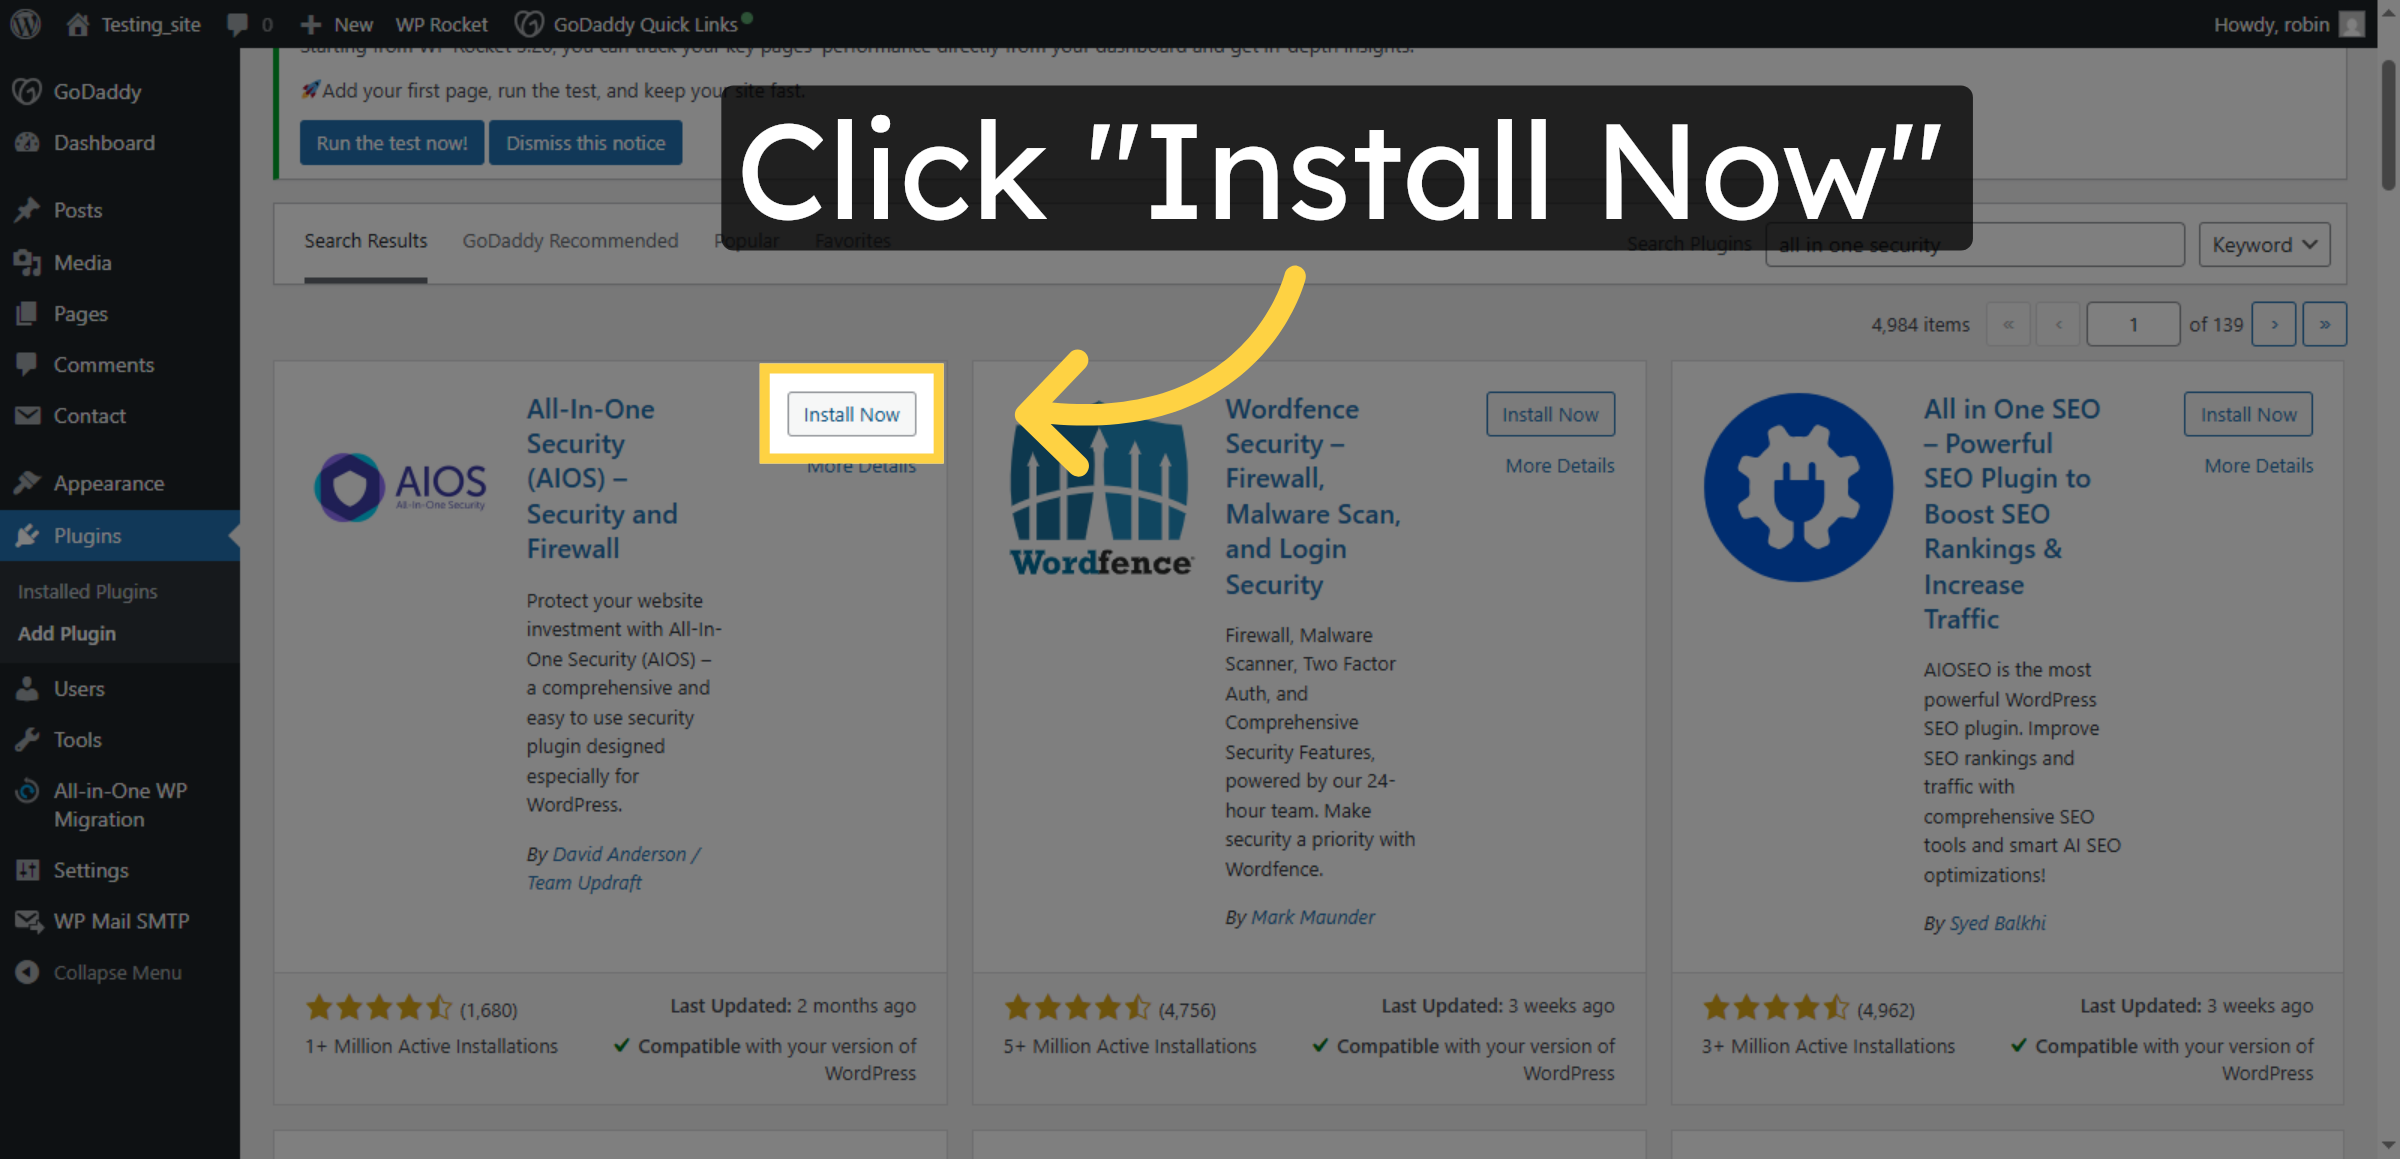
10. Install Security Plugin
Click “Install Now” to download and install the All In One Security plugin on your WordPress site.
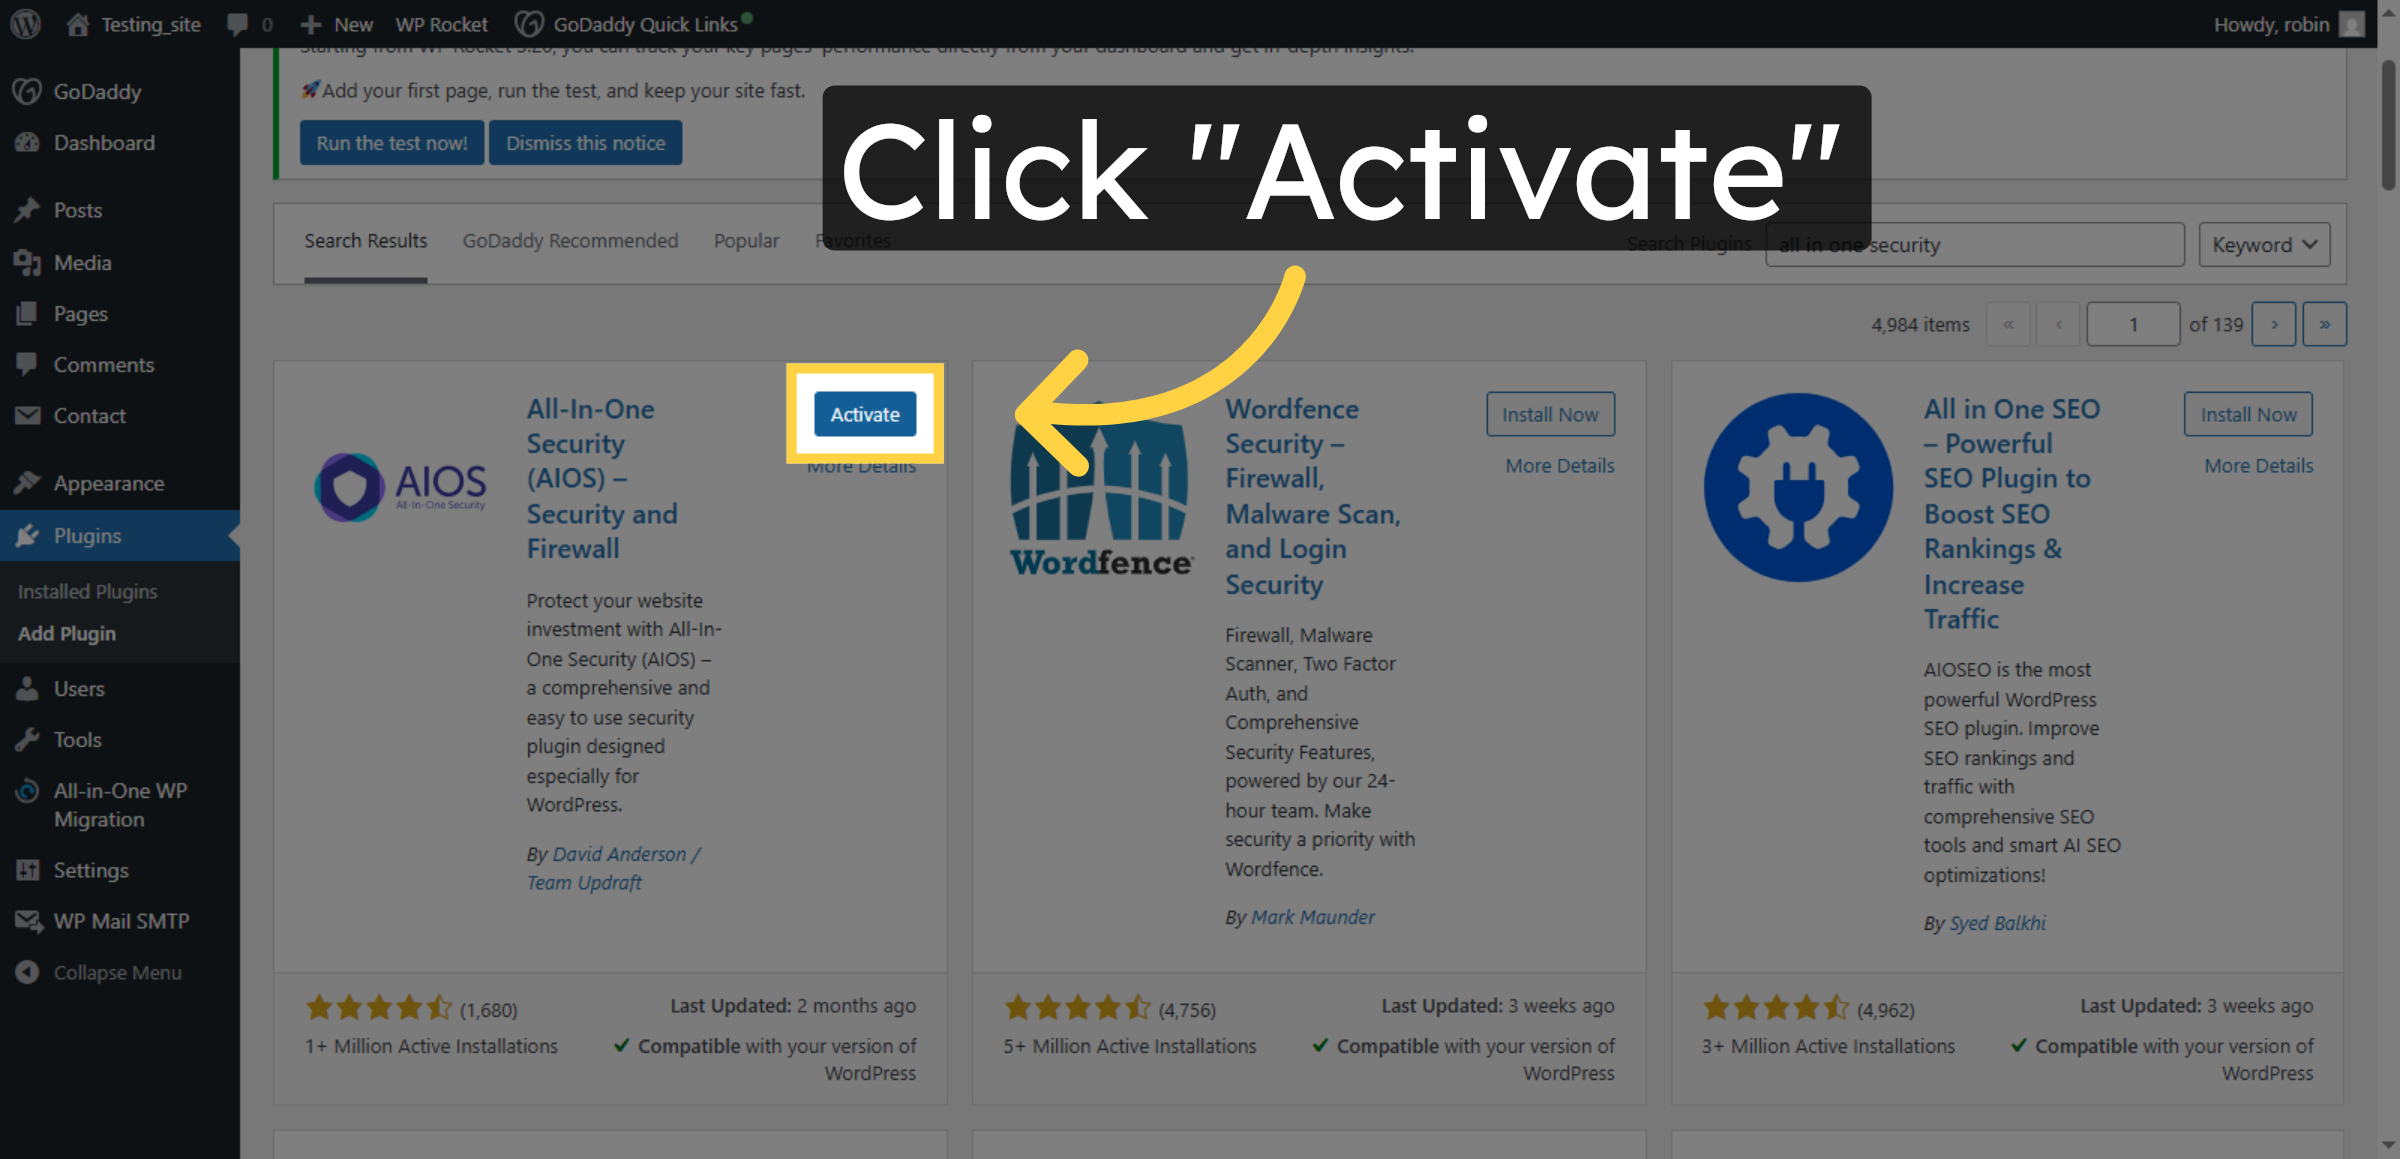
11. Activate Security Plugin
Click “Activate” to enable the All In One Security plugin and prepare it for configuration.
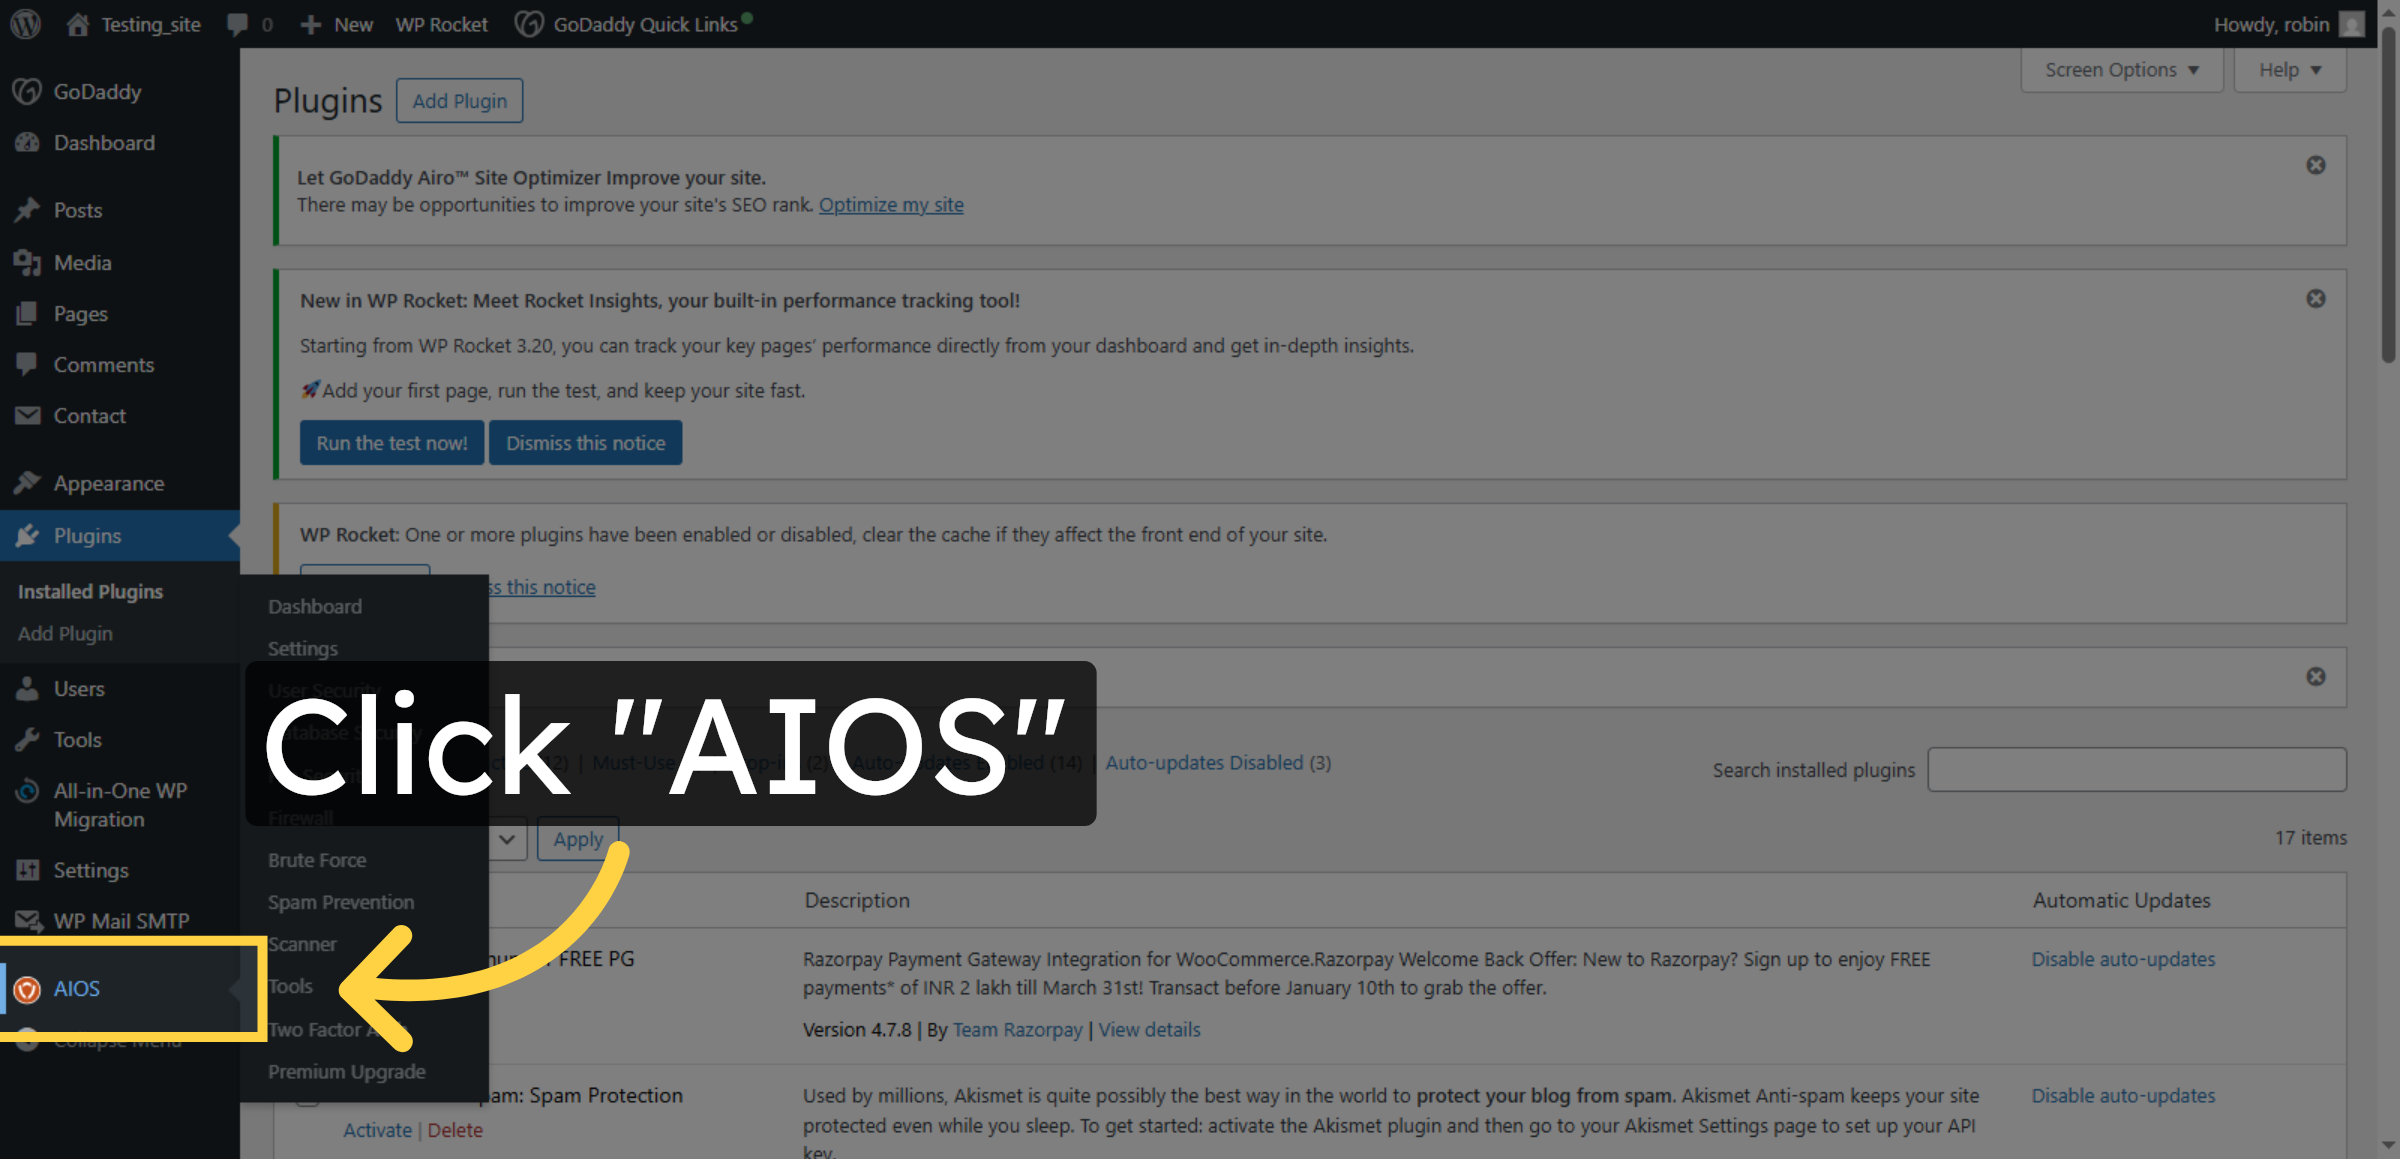
12. Open AIOS Plugin
Click “AIOS” in the WordPress plugins menu to access the All In One Security plugin dashboard.
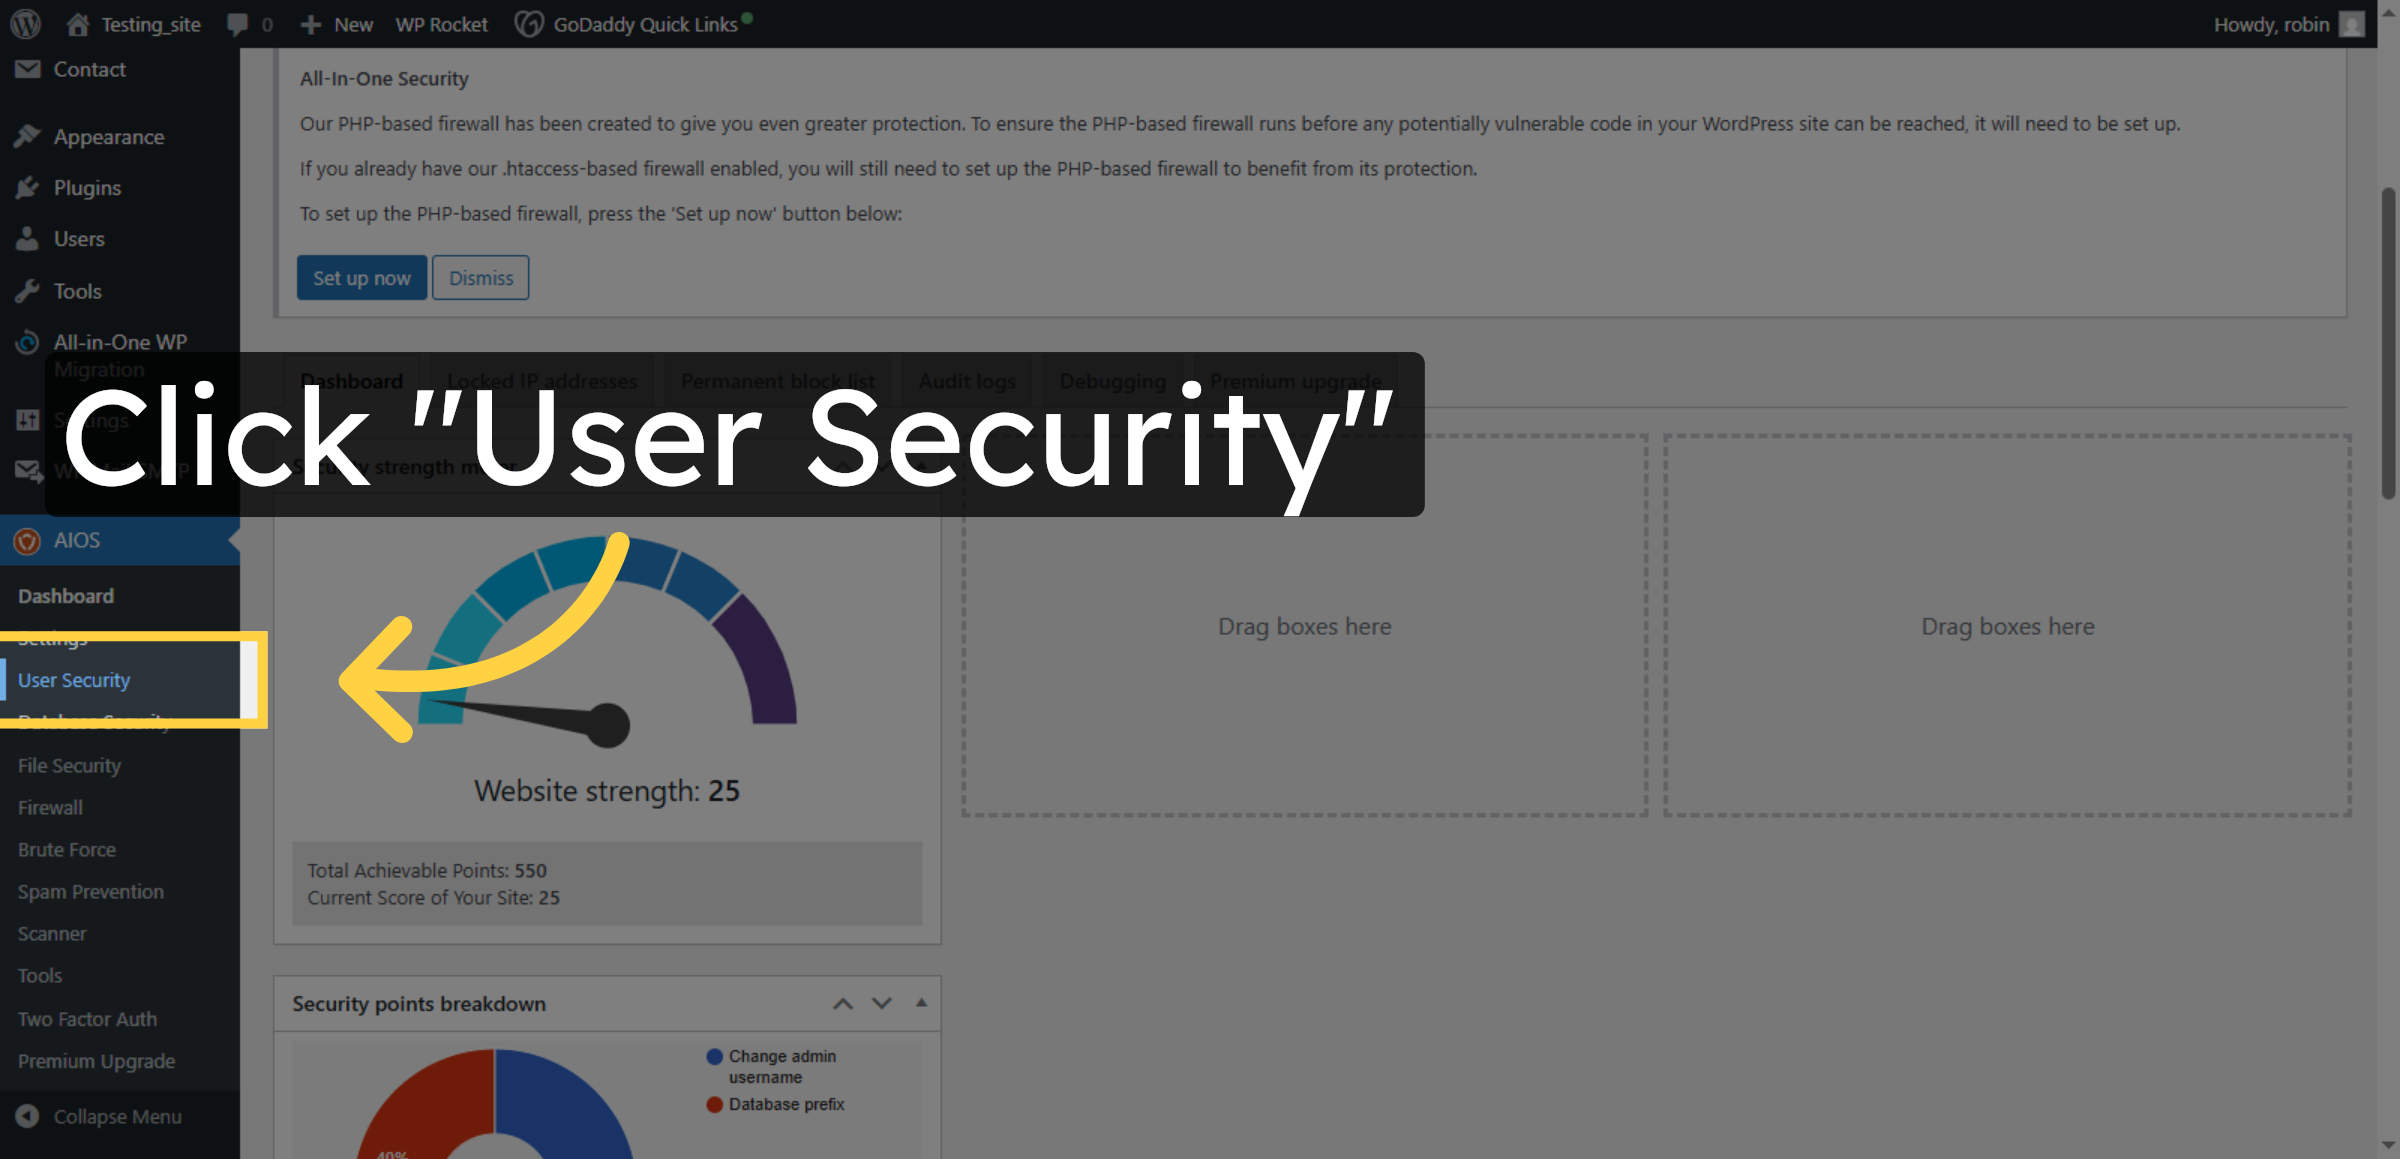
13. Access User Security
Click “User Security” within the AIOS dashboard to configure user-related security settings.
14. Enable Login Lockdown
Click the checkbox to enable login lockdown features that protect against unauthorized access attempts.
15. Enable Enforce Strong password
Enable this if you want to force your users to use a strong password.
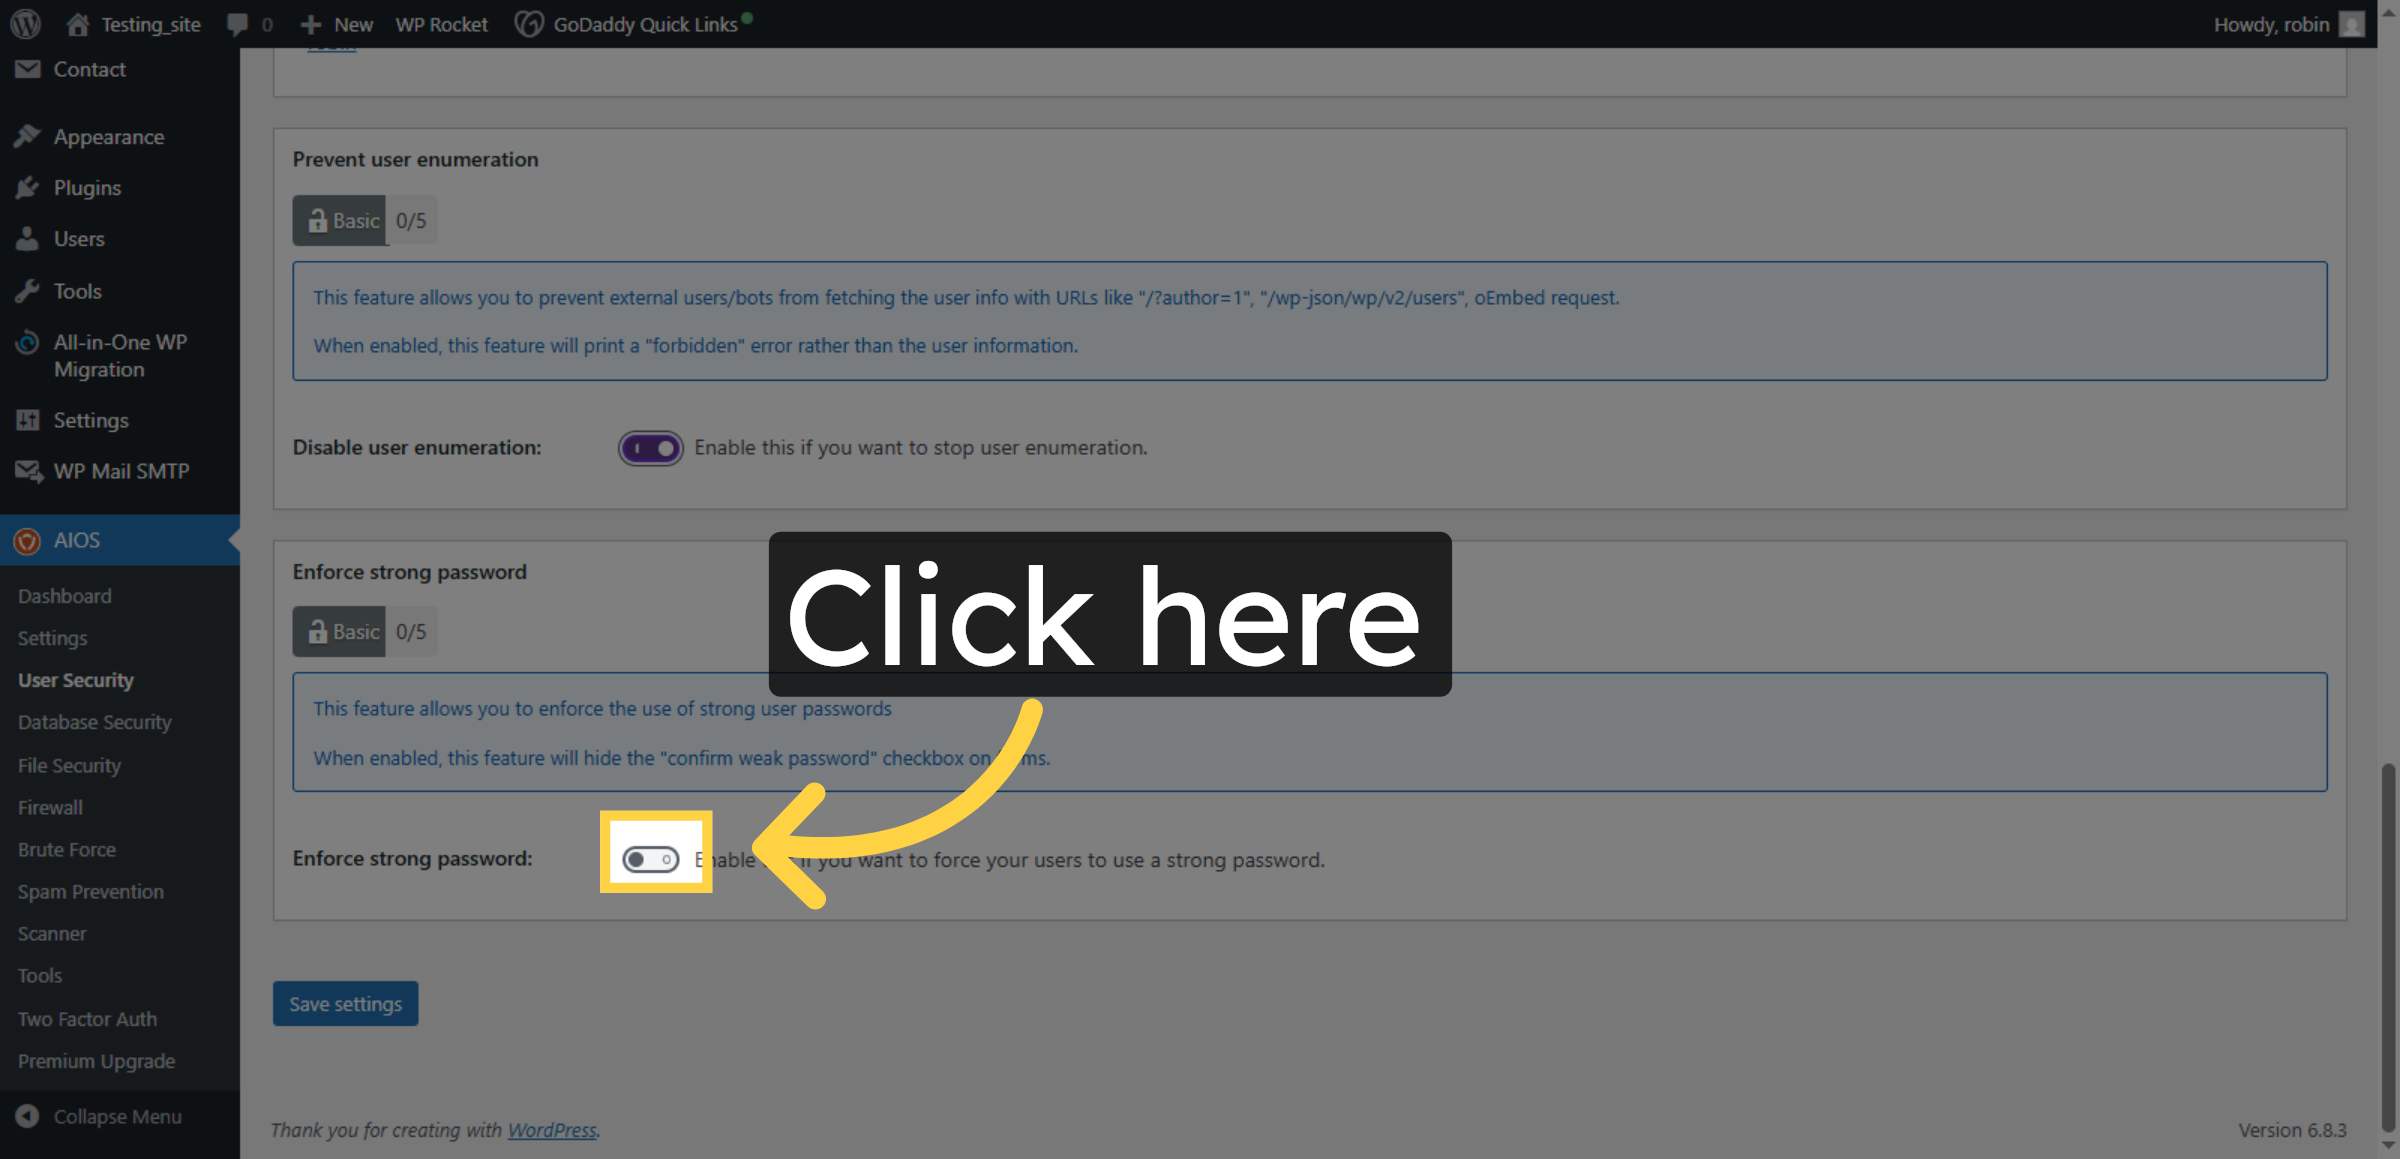
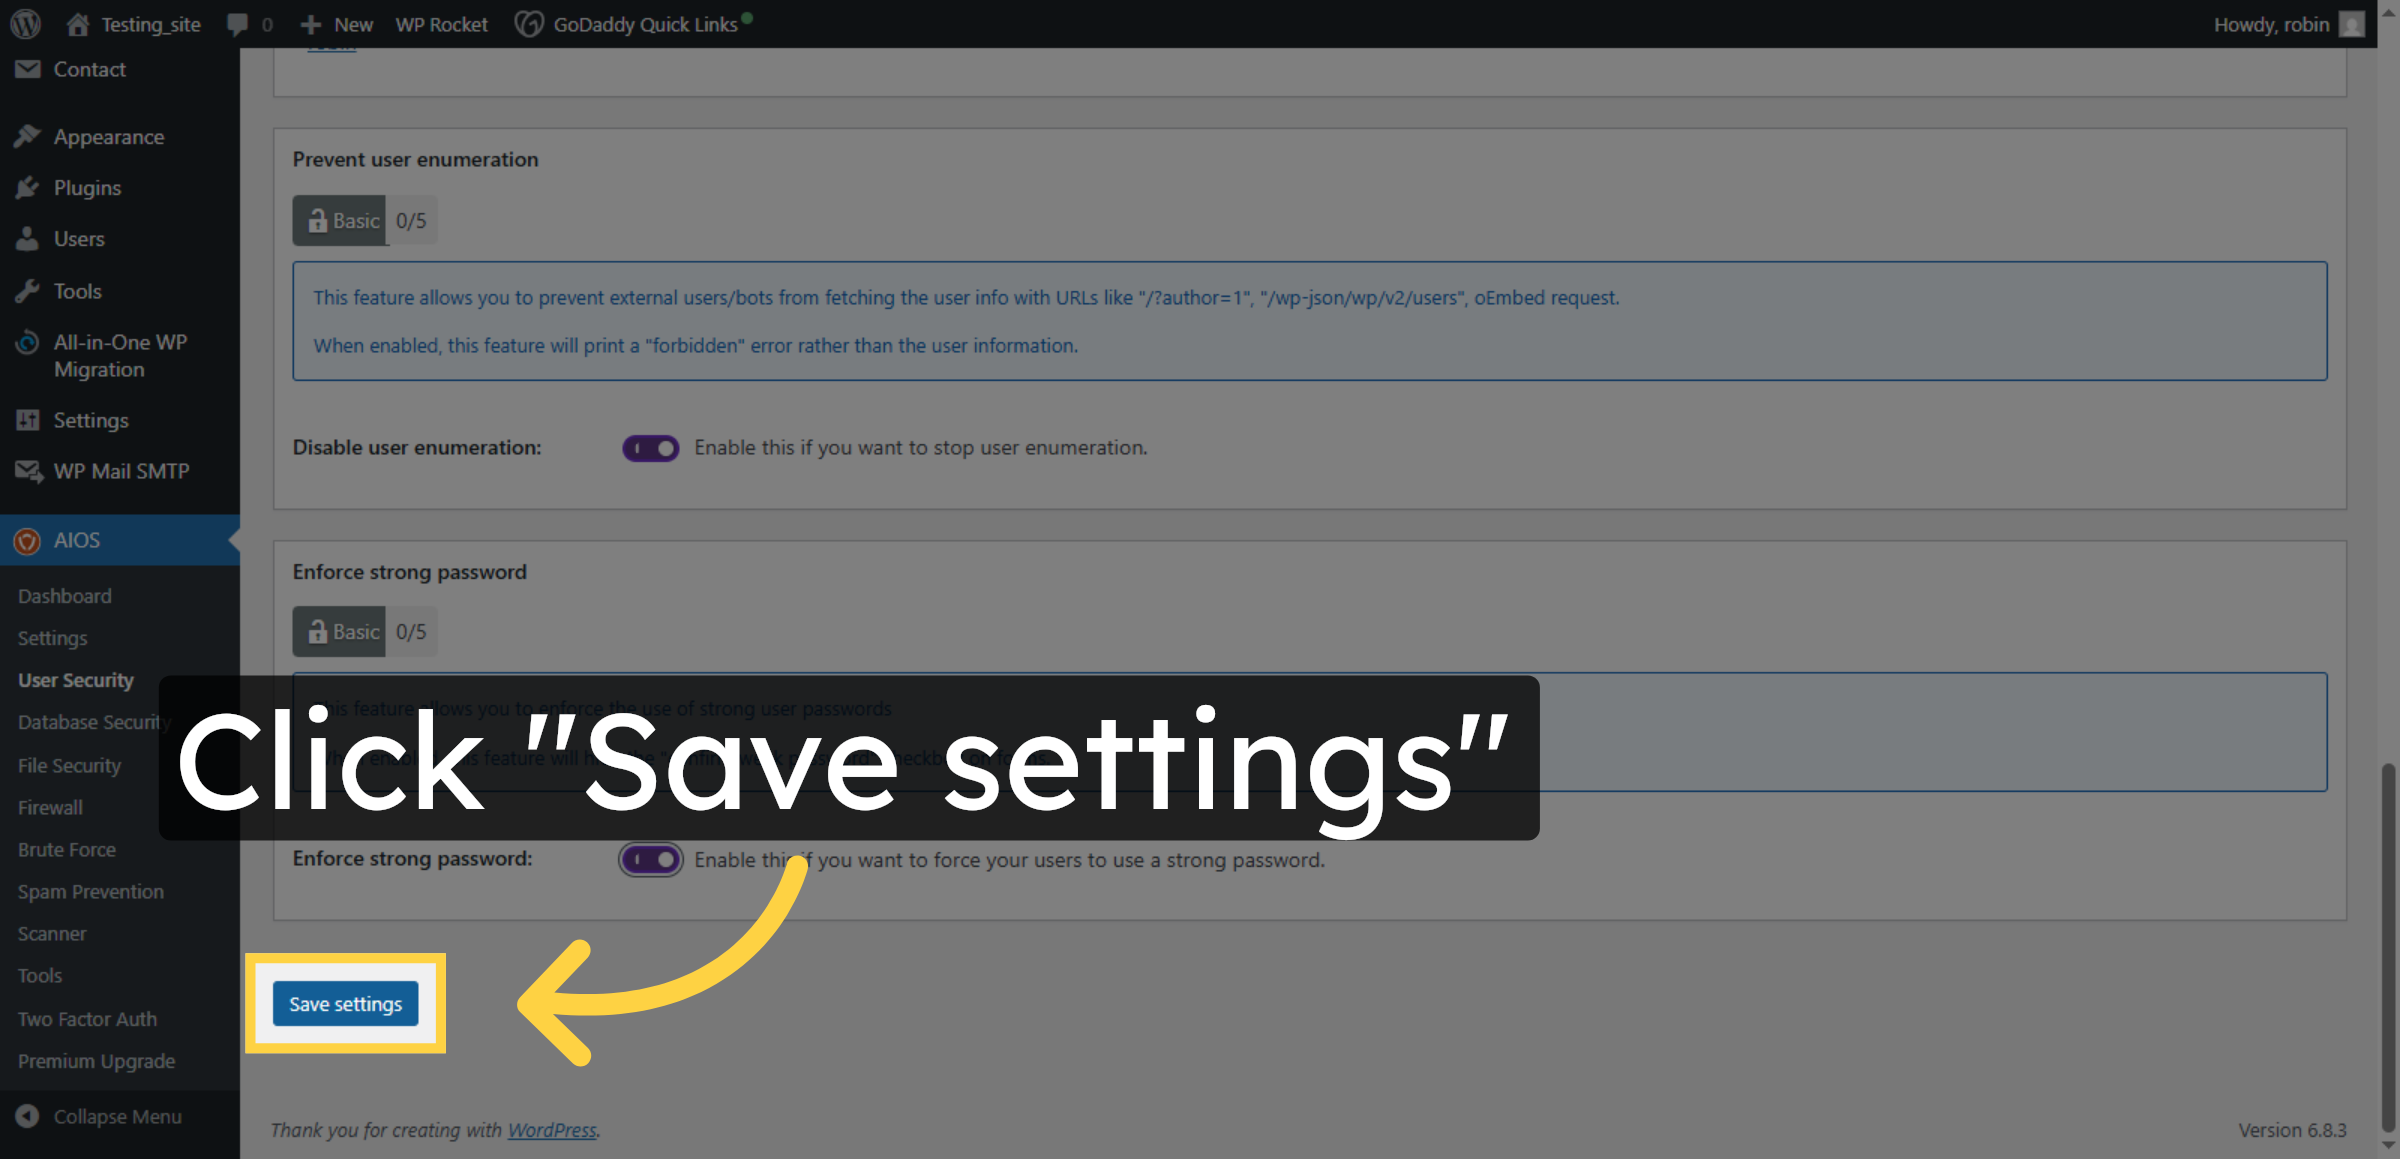
16. Save User Security Settings
Click “Save settings” to apply the user security configurations you have made.
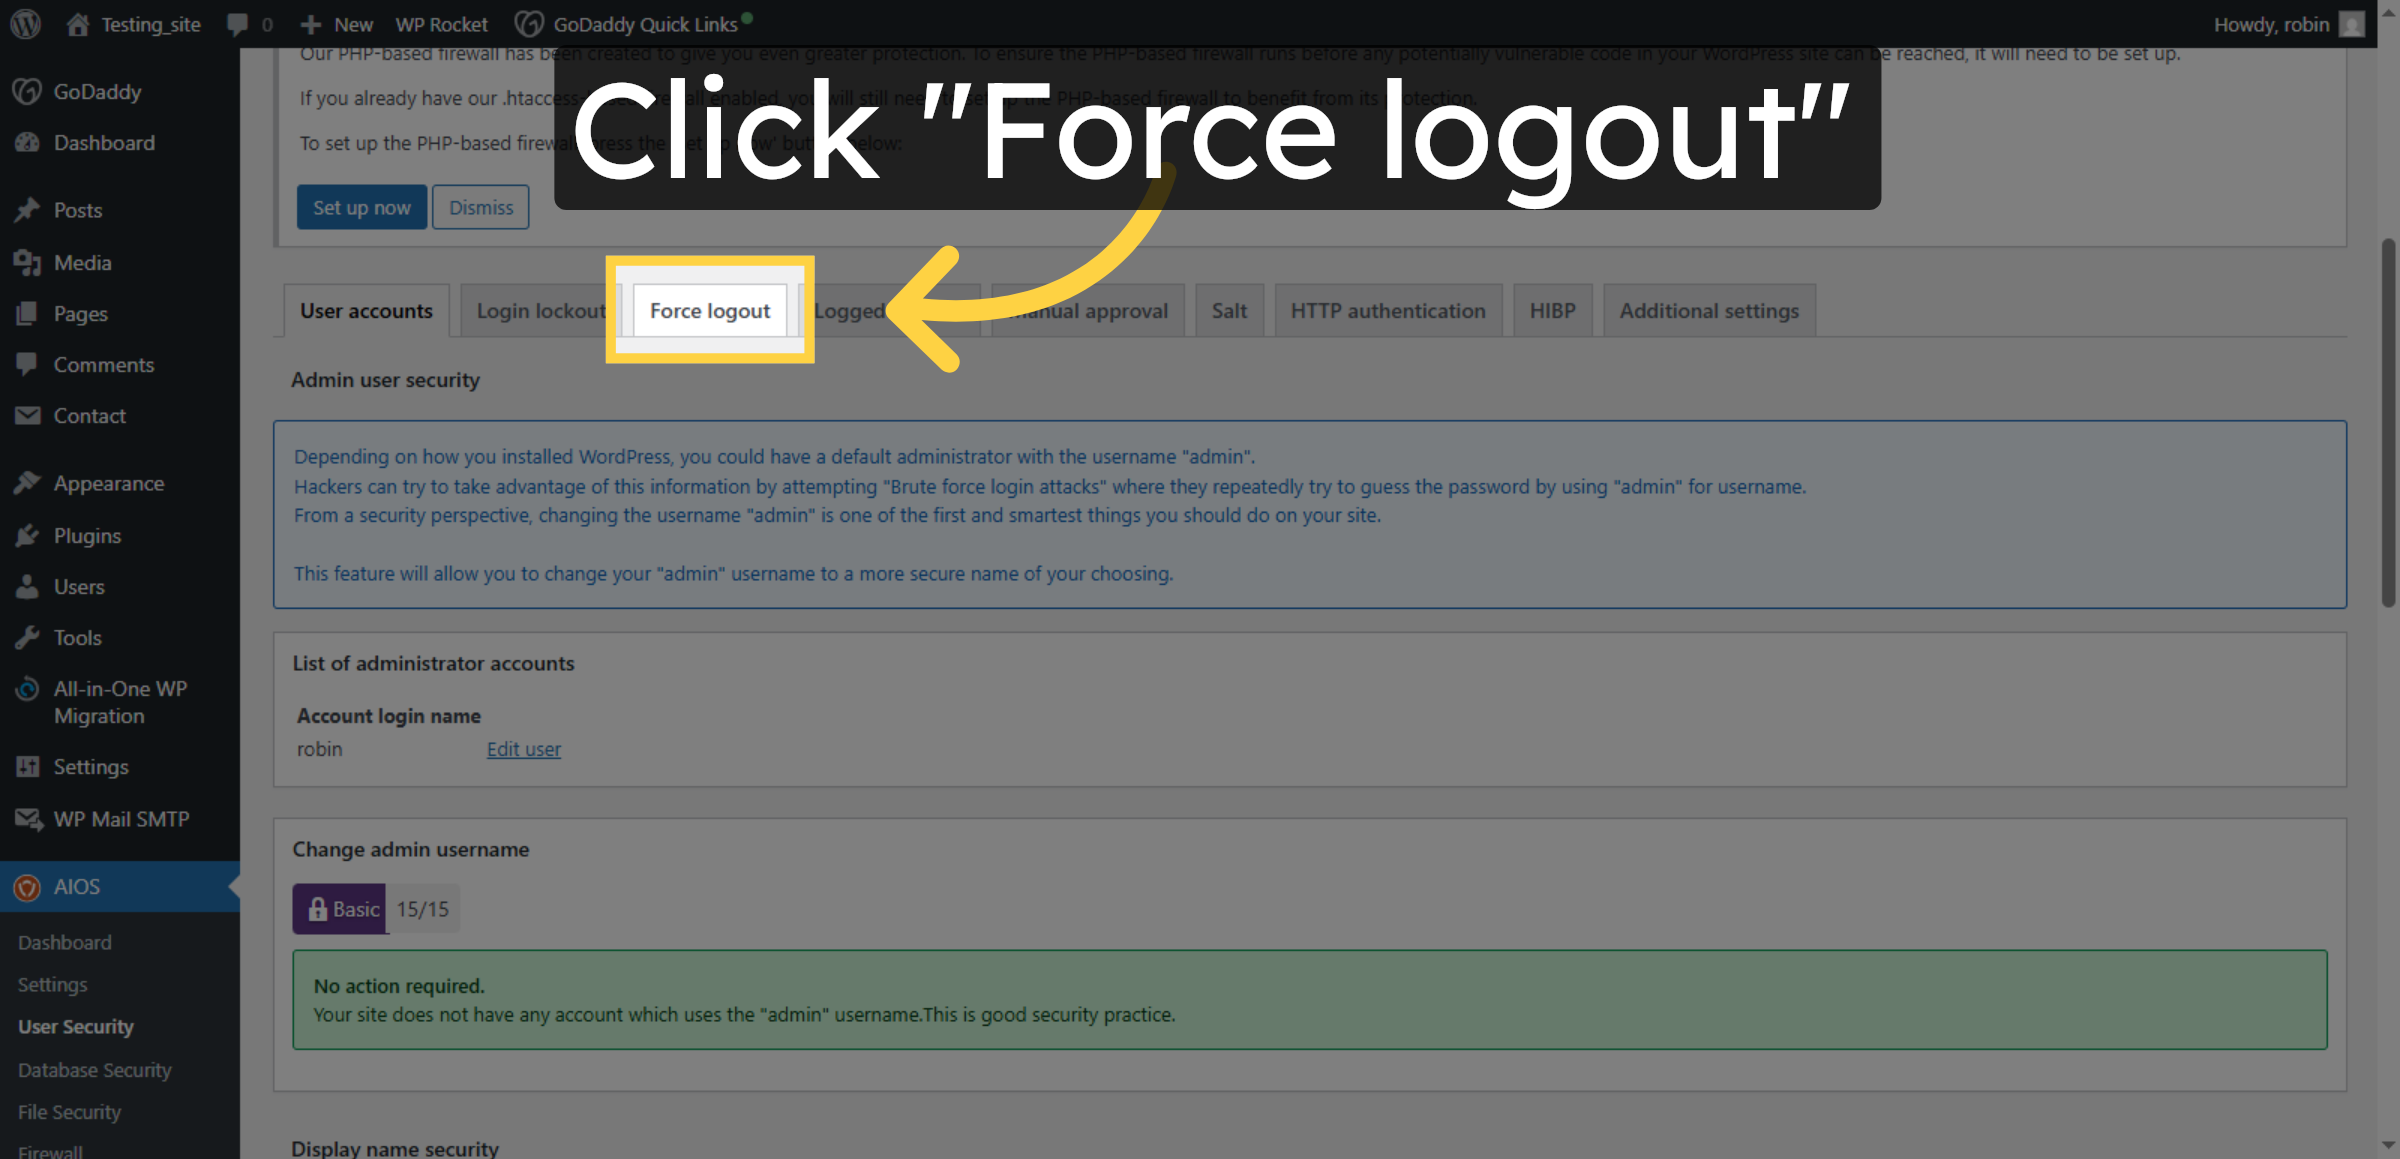
17. Force User Logout
Click “Force logout” to immediately log out users who meet the lockdown criteria.
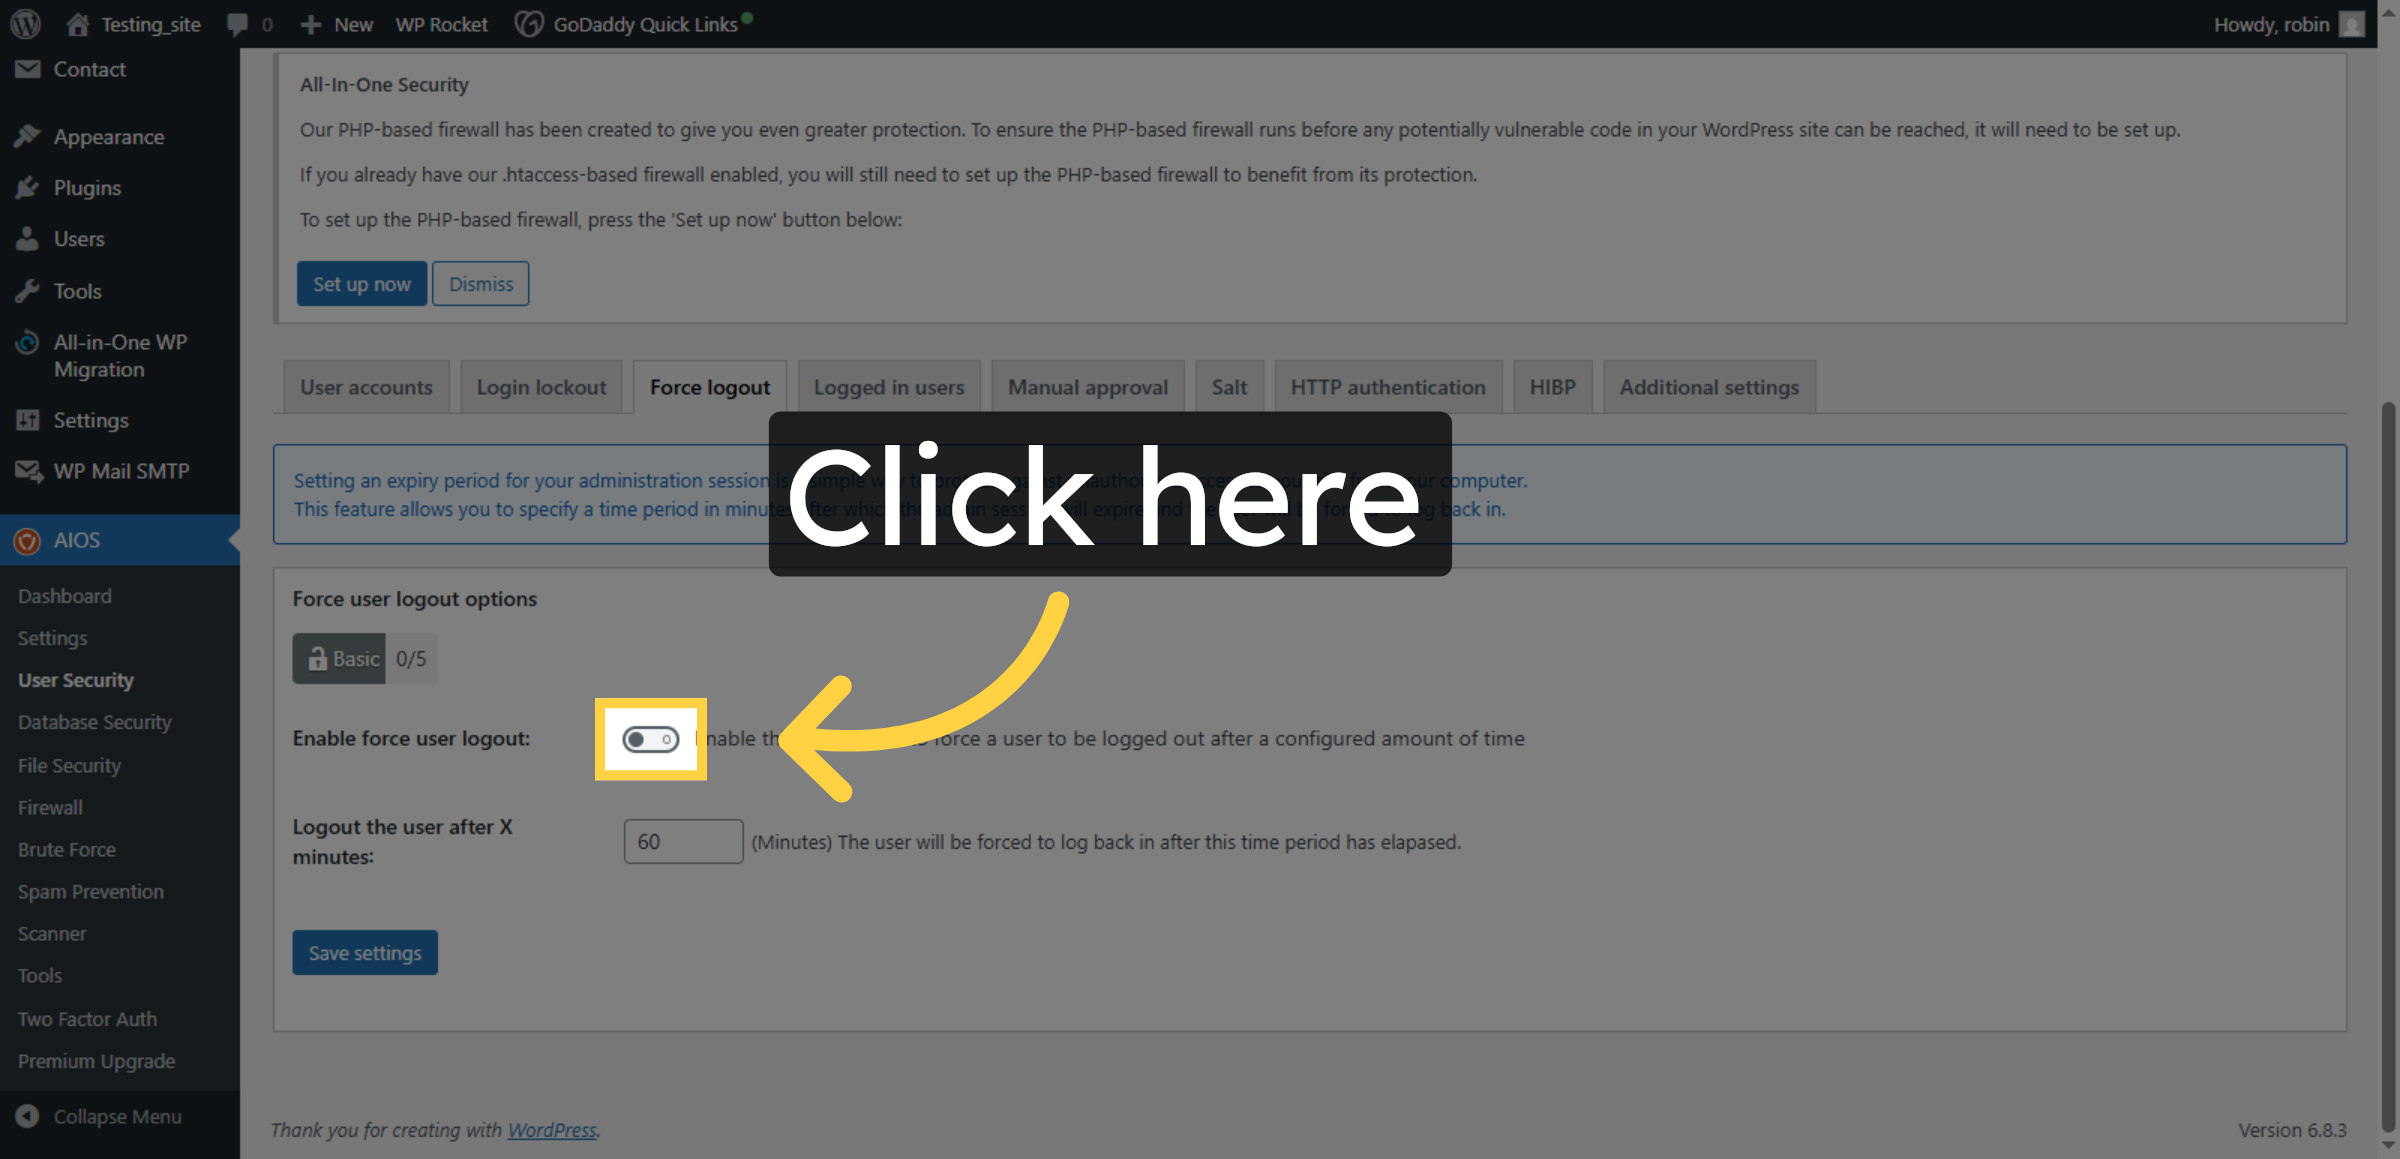
18. Enable Force user Logout
Enable this if you want to force a user to be logged out after a configured amount of time
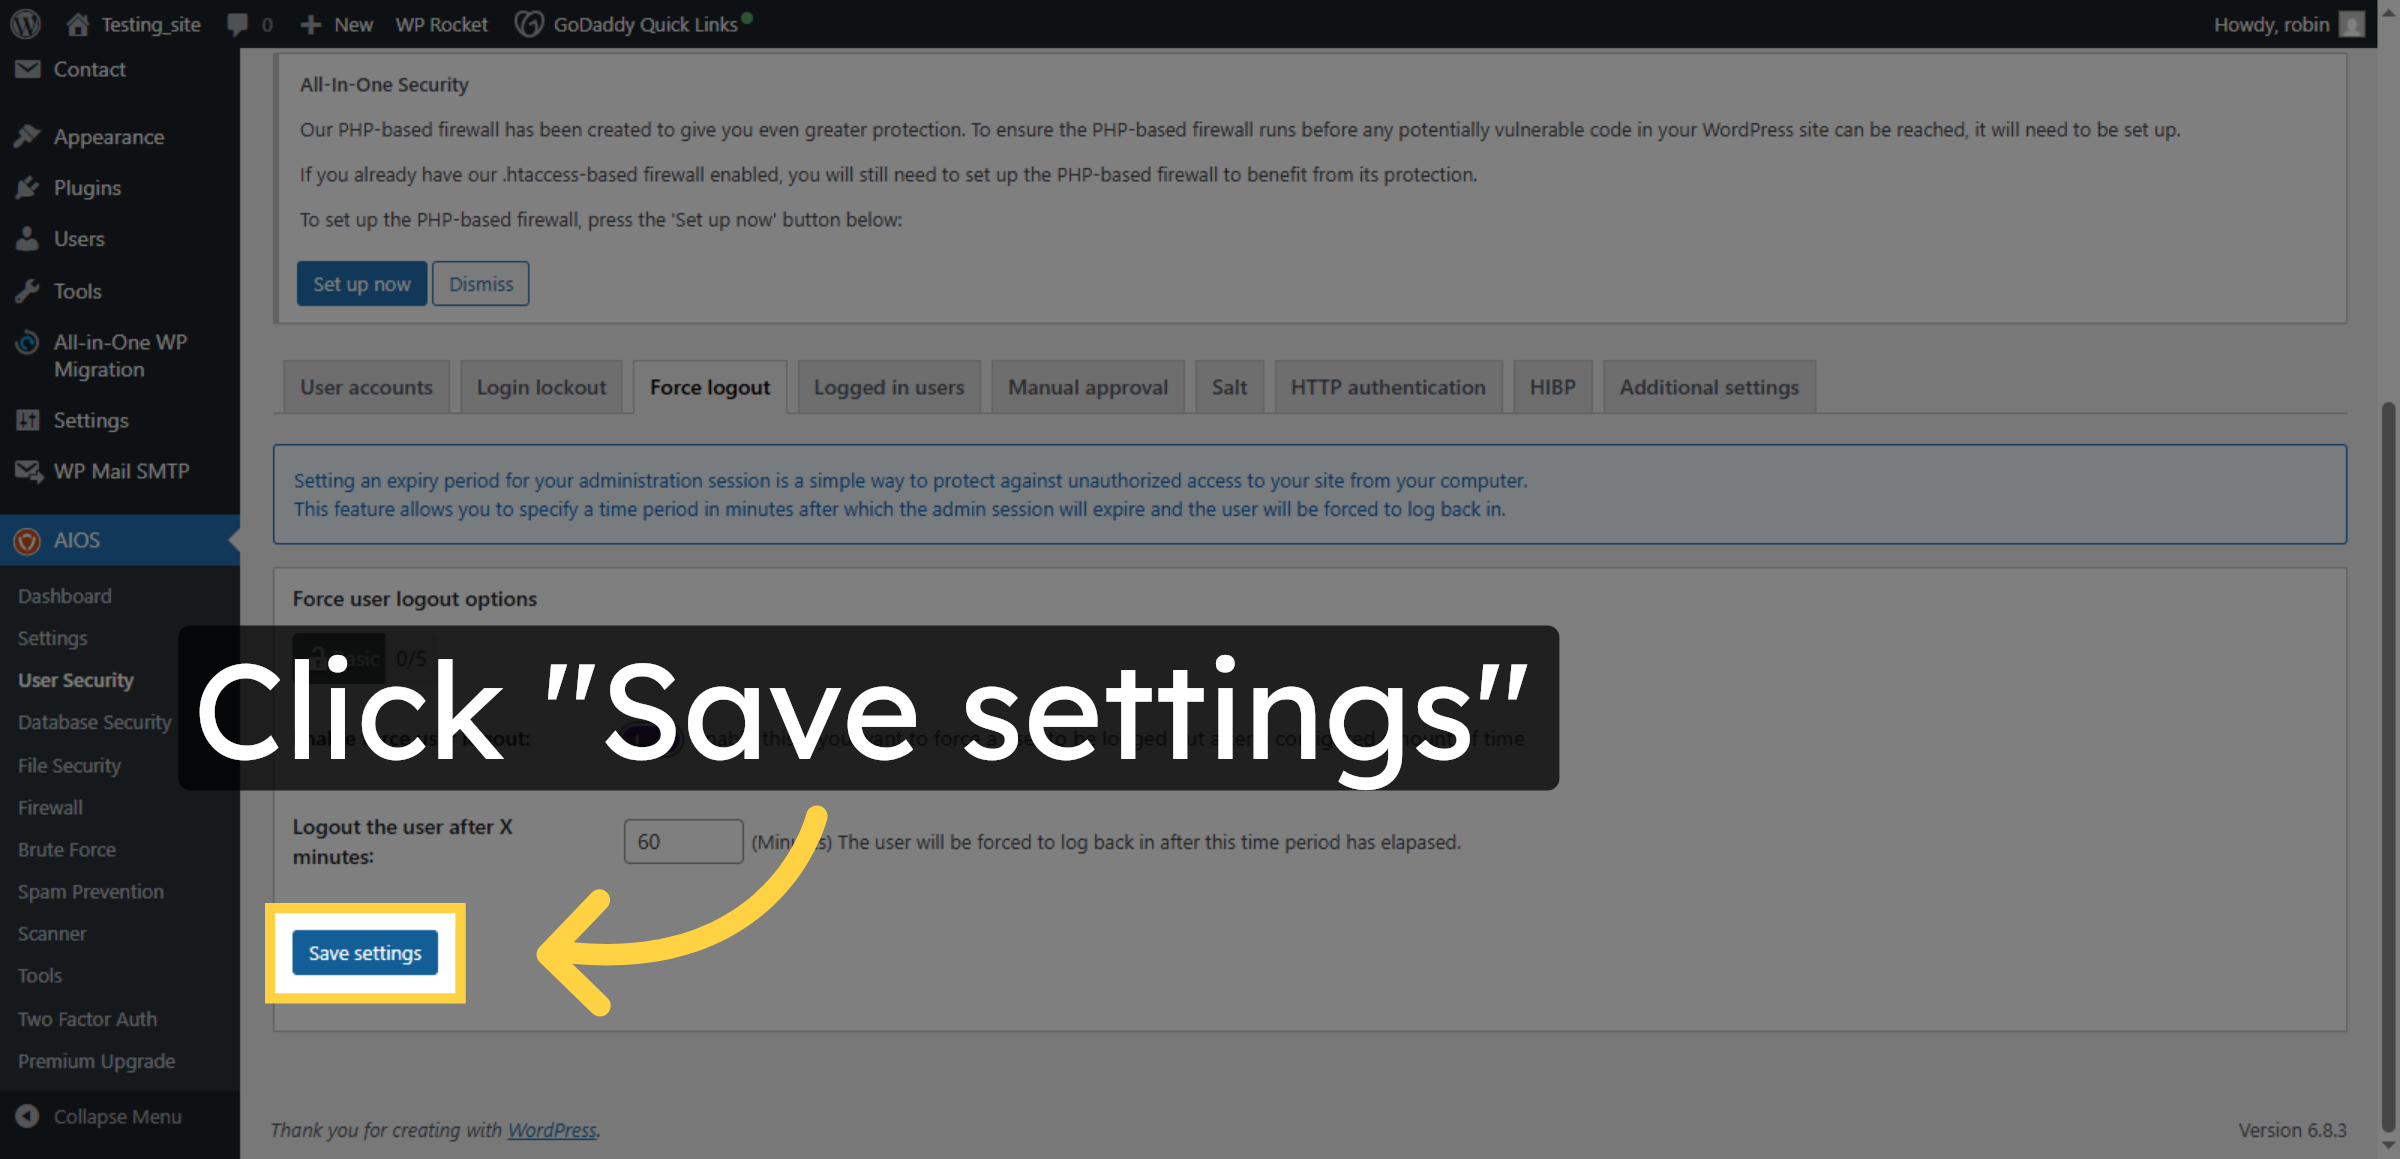
19. Save Force Logout Settings
Click “Save settings” to confirm and apply the force logout configurations.
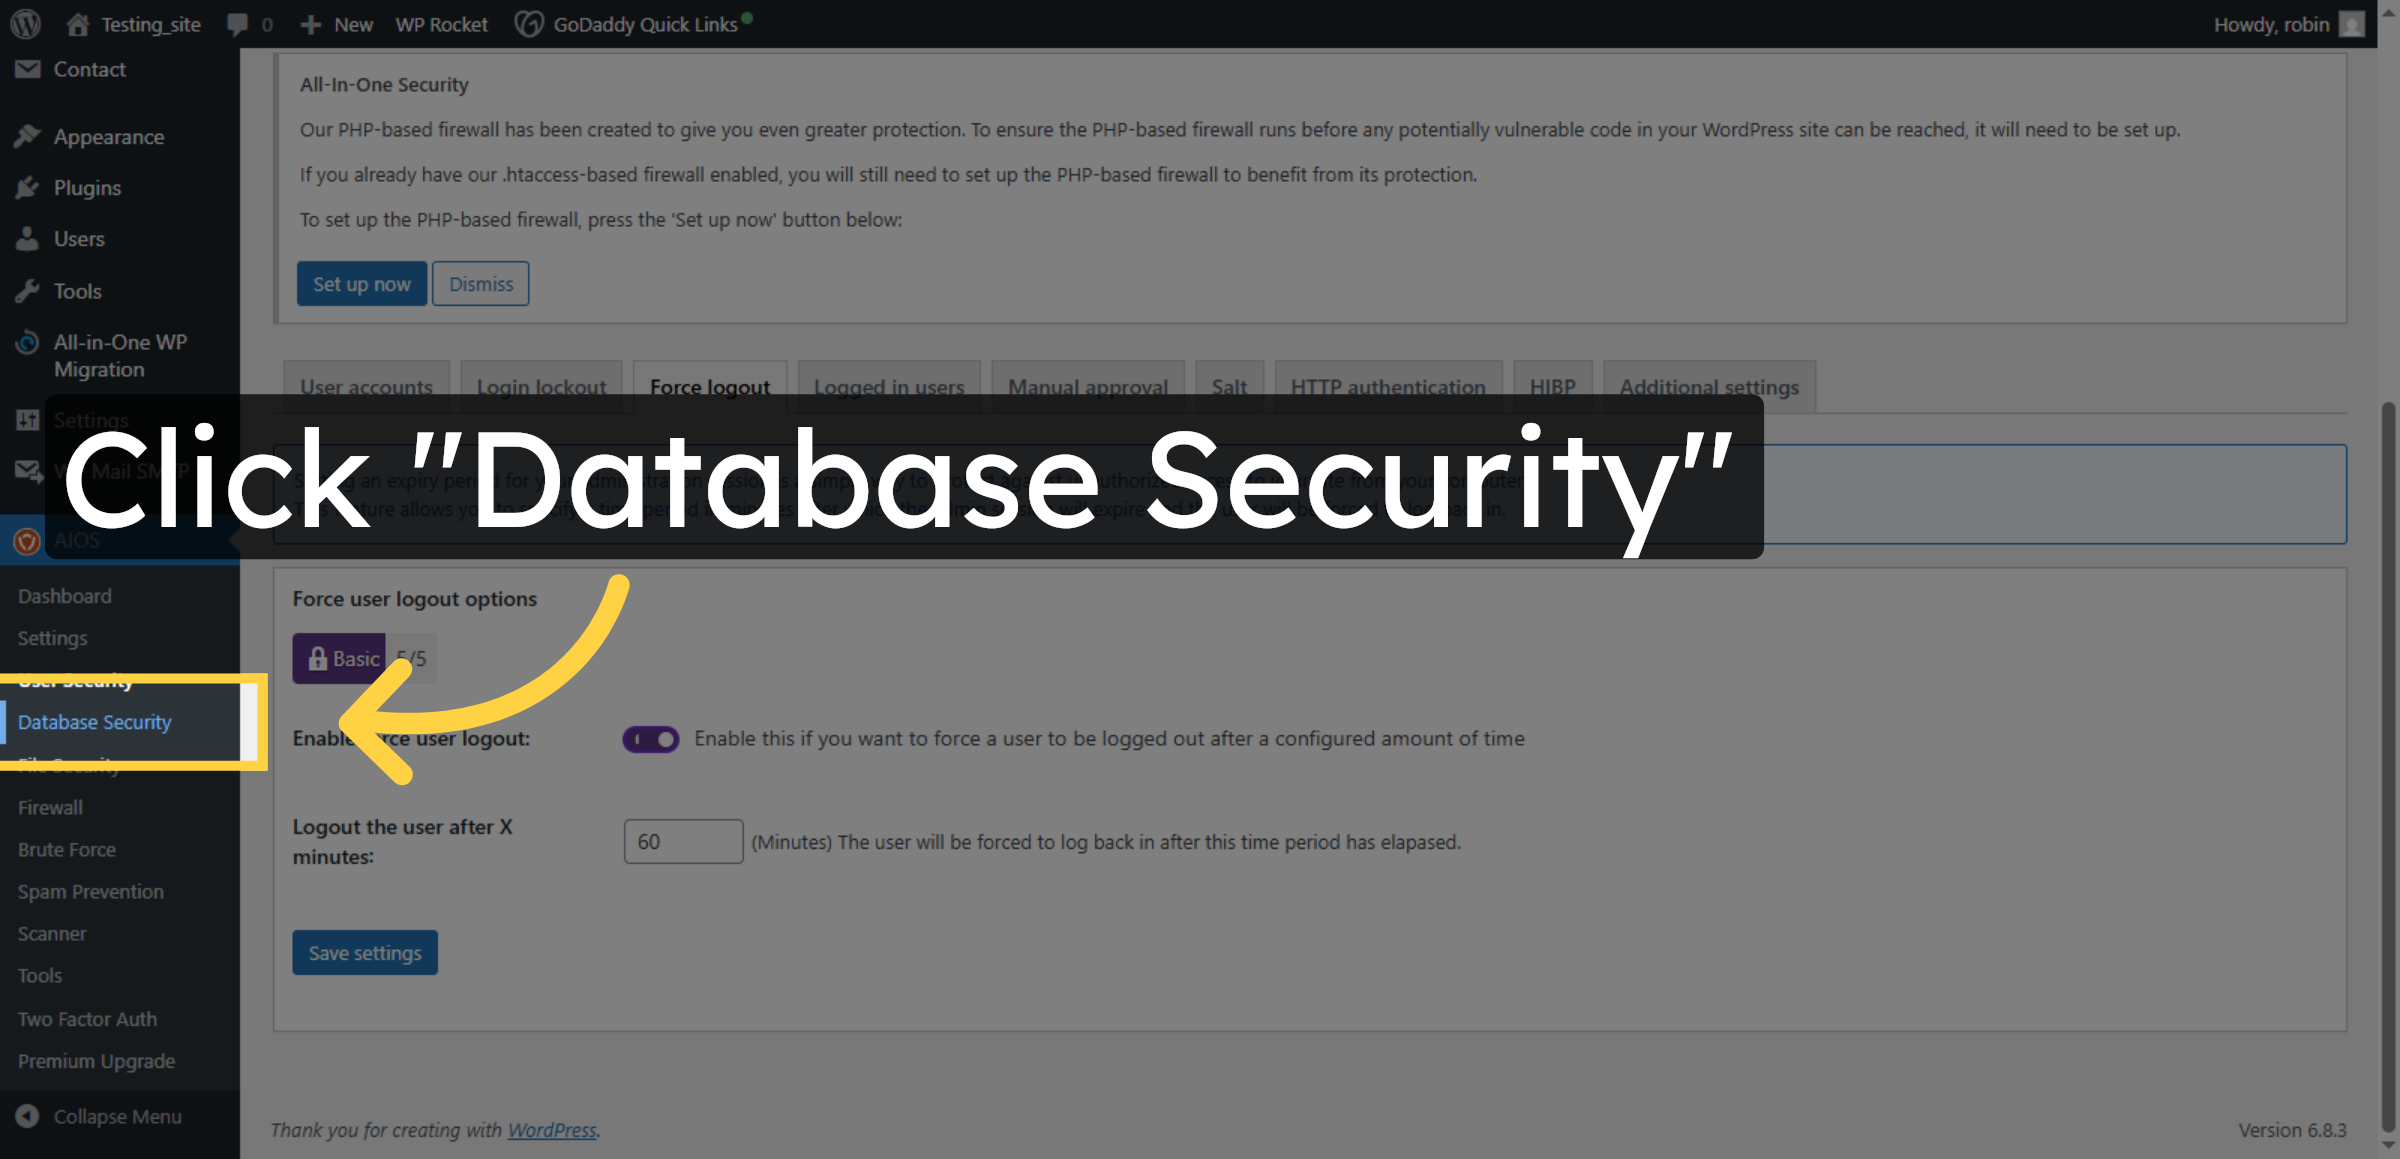
20. Open Database Security
Click “Database Security” in the AIOS dashboard to access database protection options.
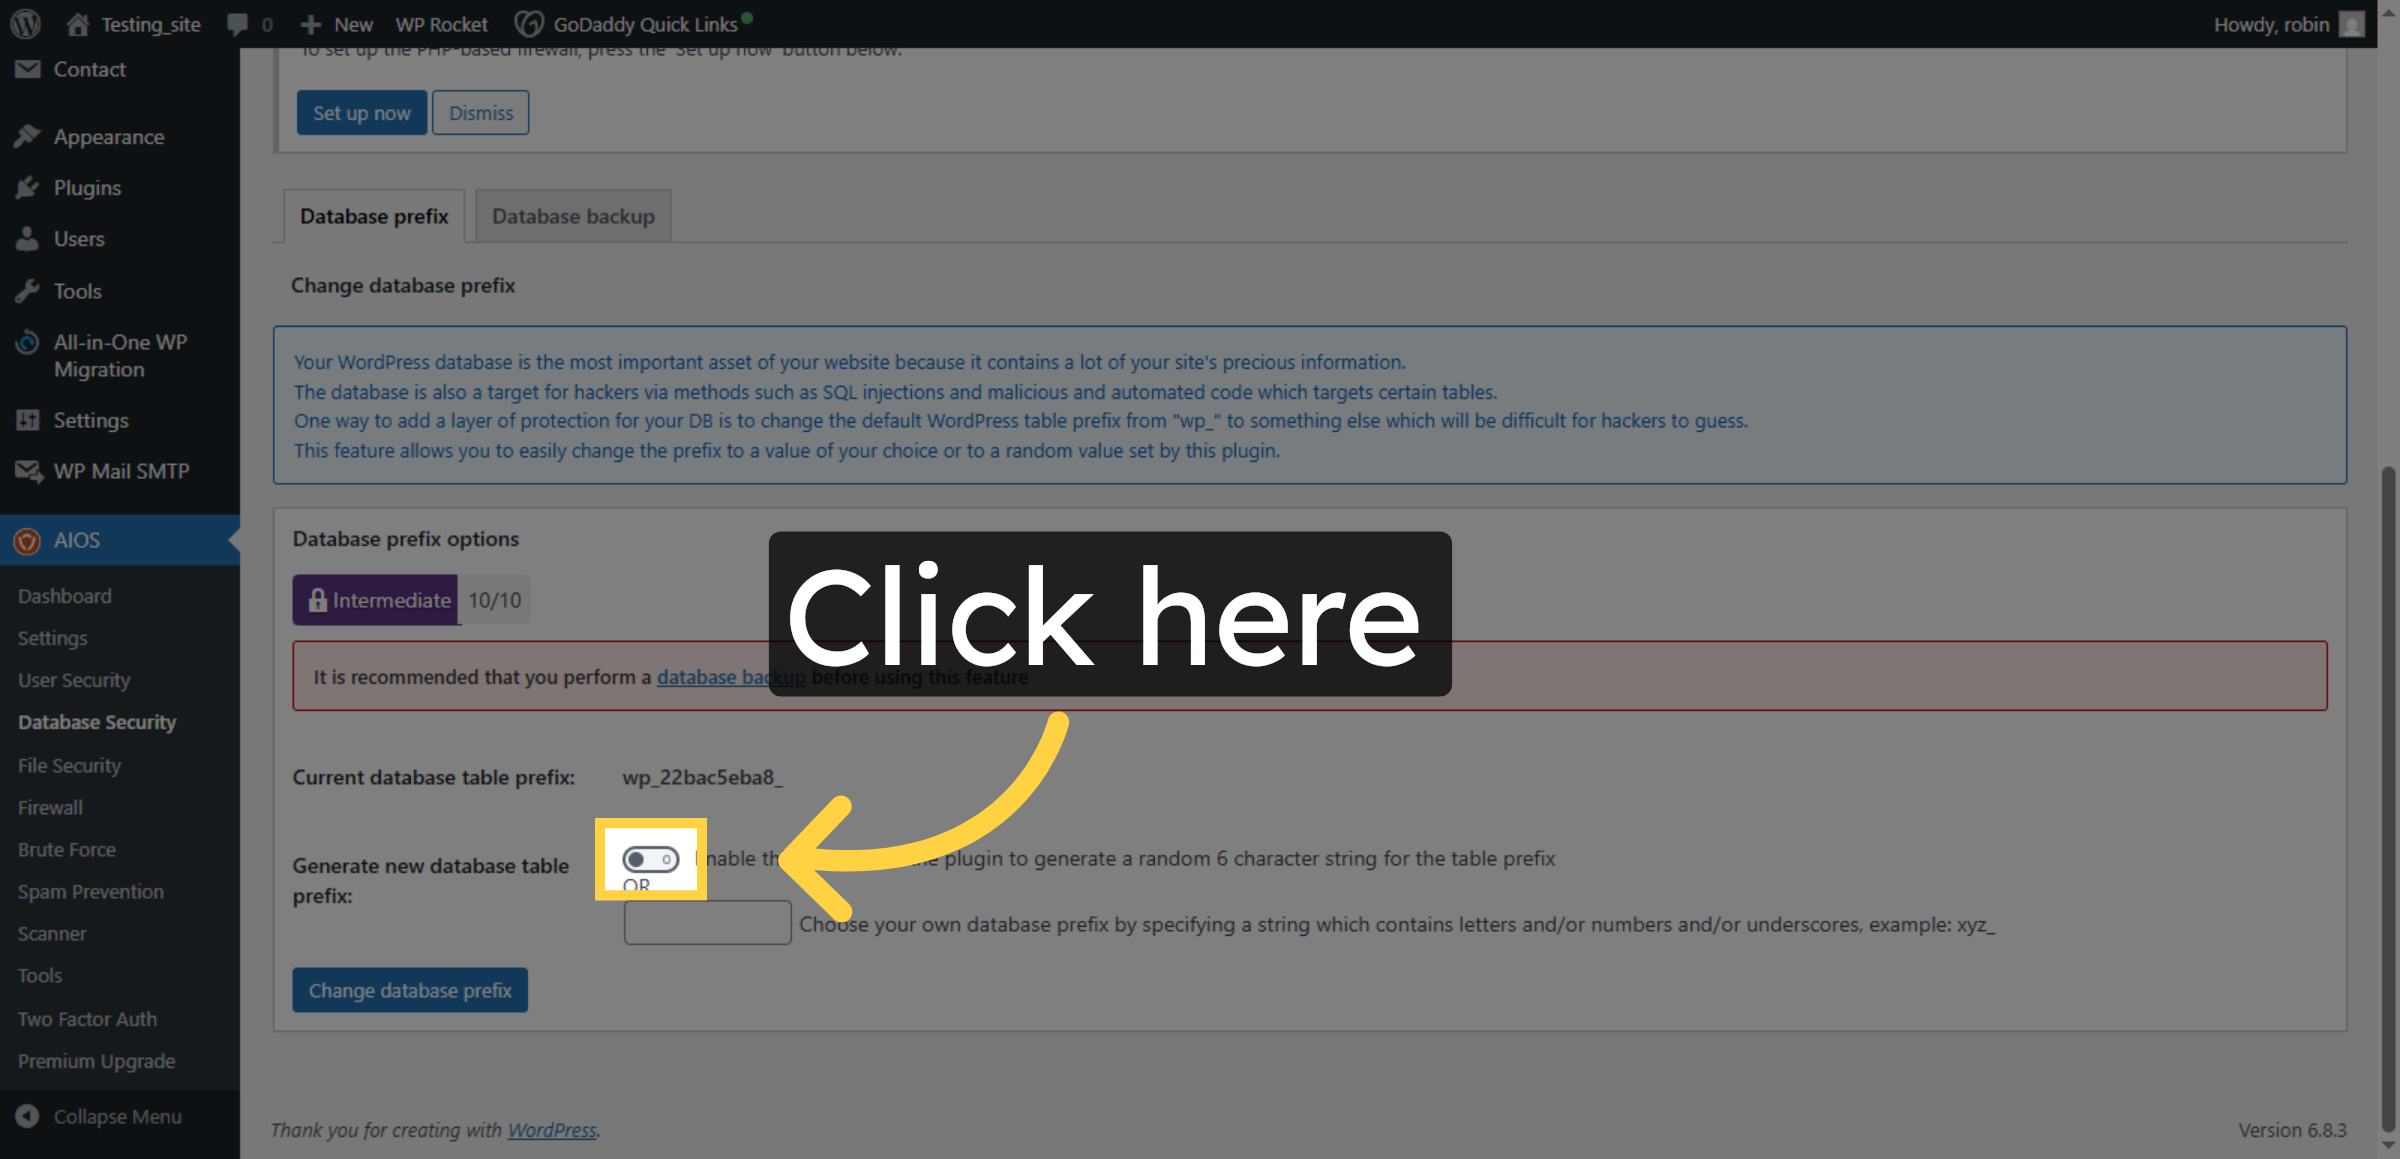
21. Enable Database Prefix Change
Click the checkbox to enable changing the database prefix for enhanced security.
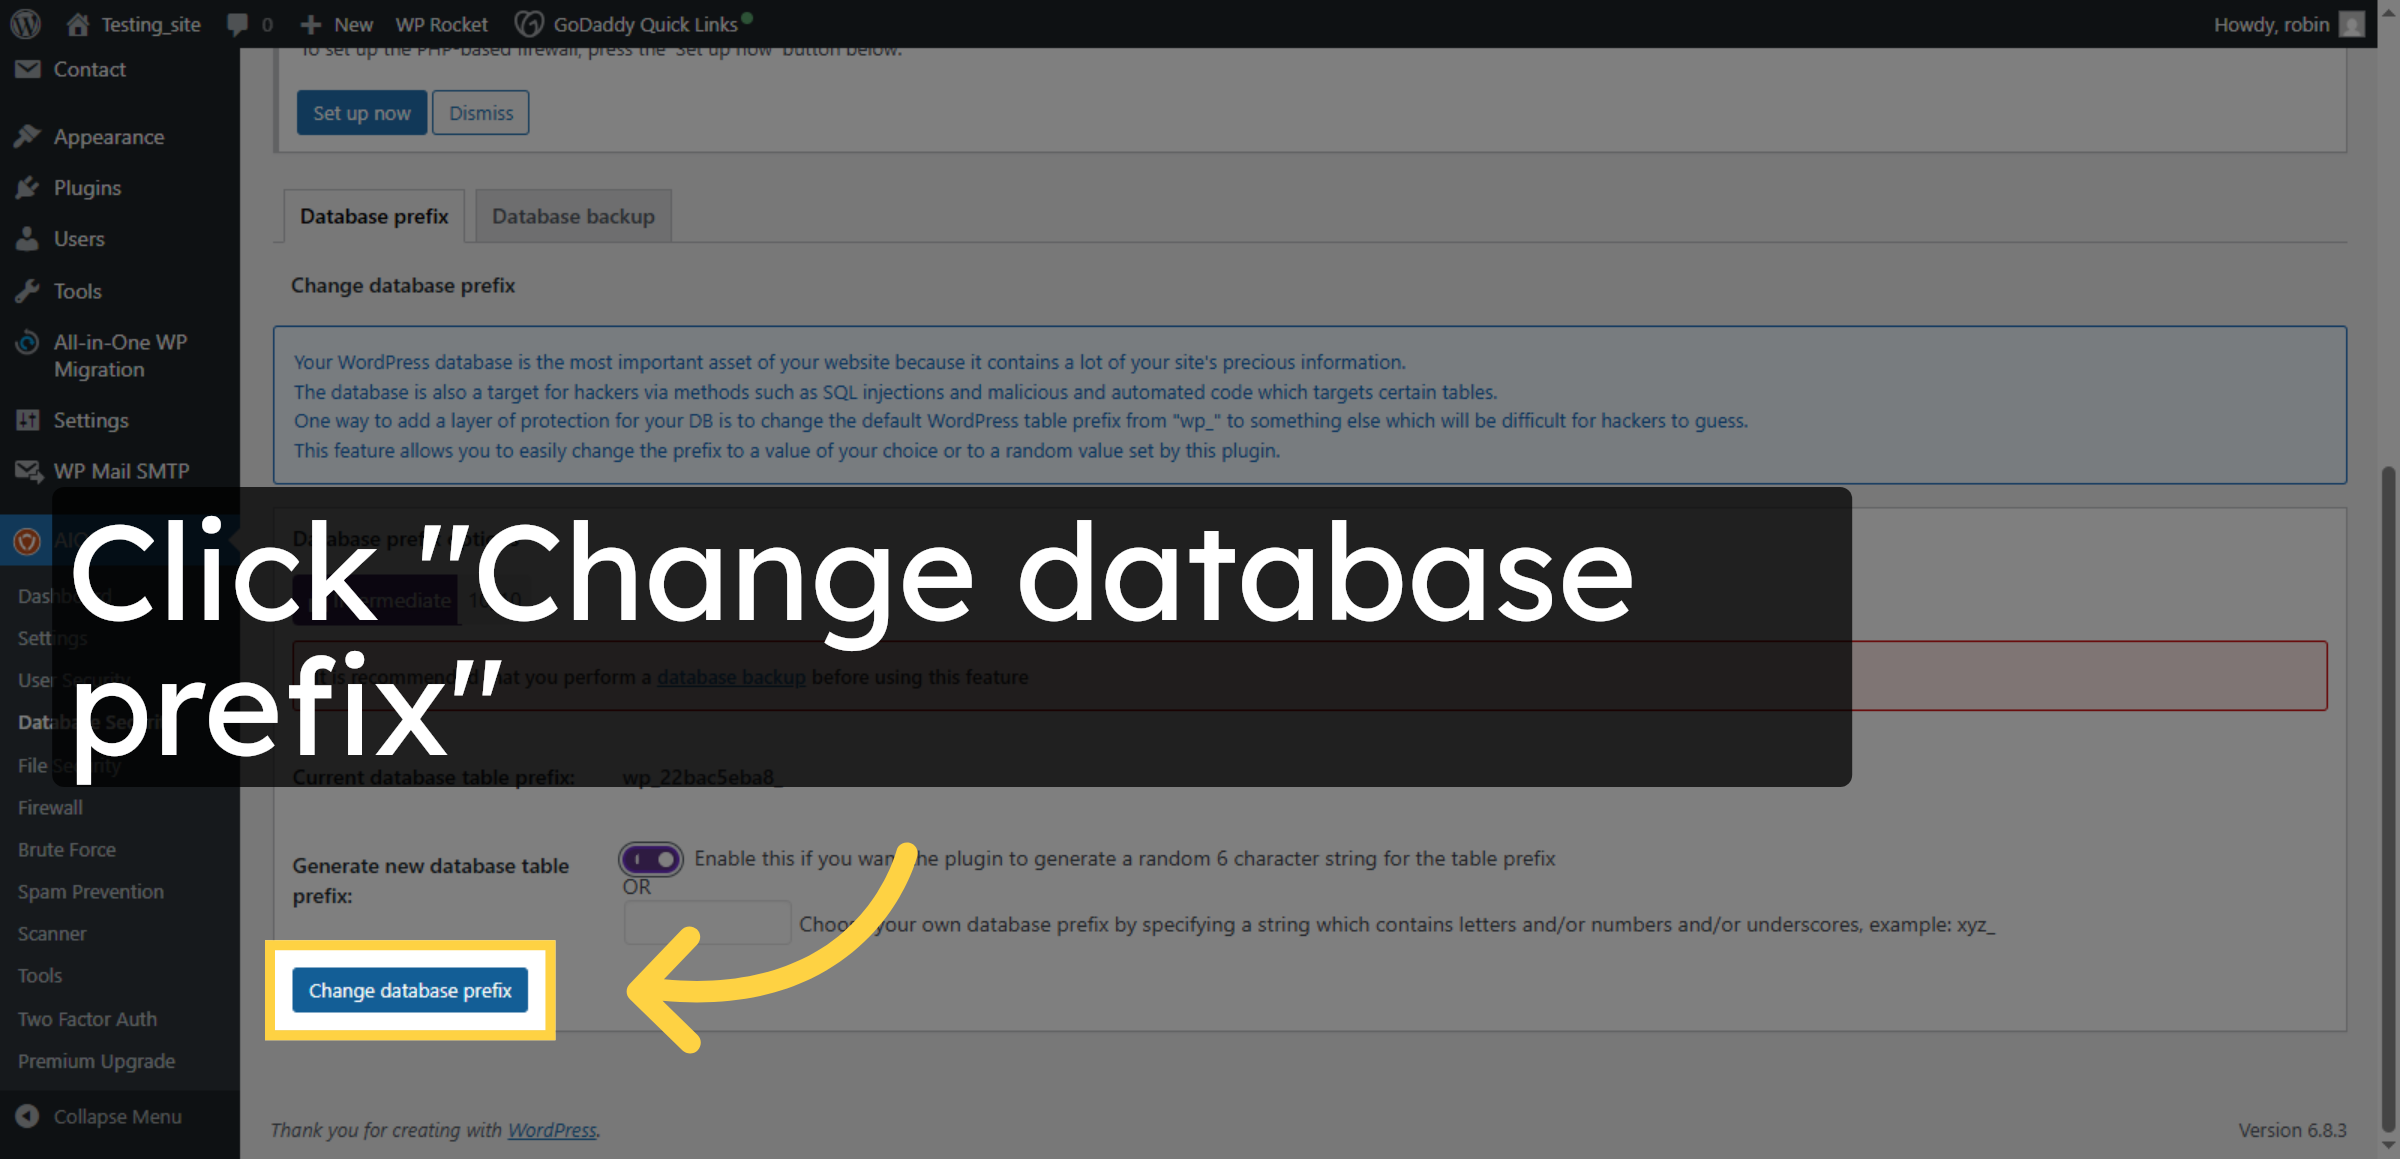
22. Change Database Prefix
Click “Change database prefix” to initiate the process of modifying your WordPress database prefix.
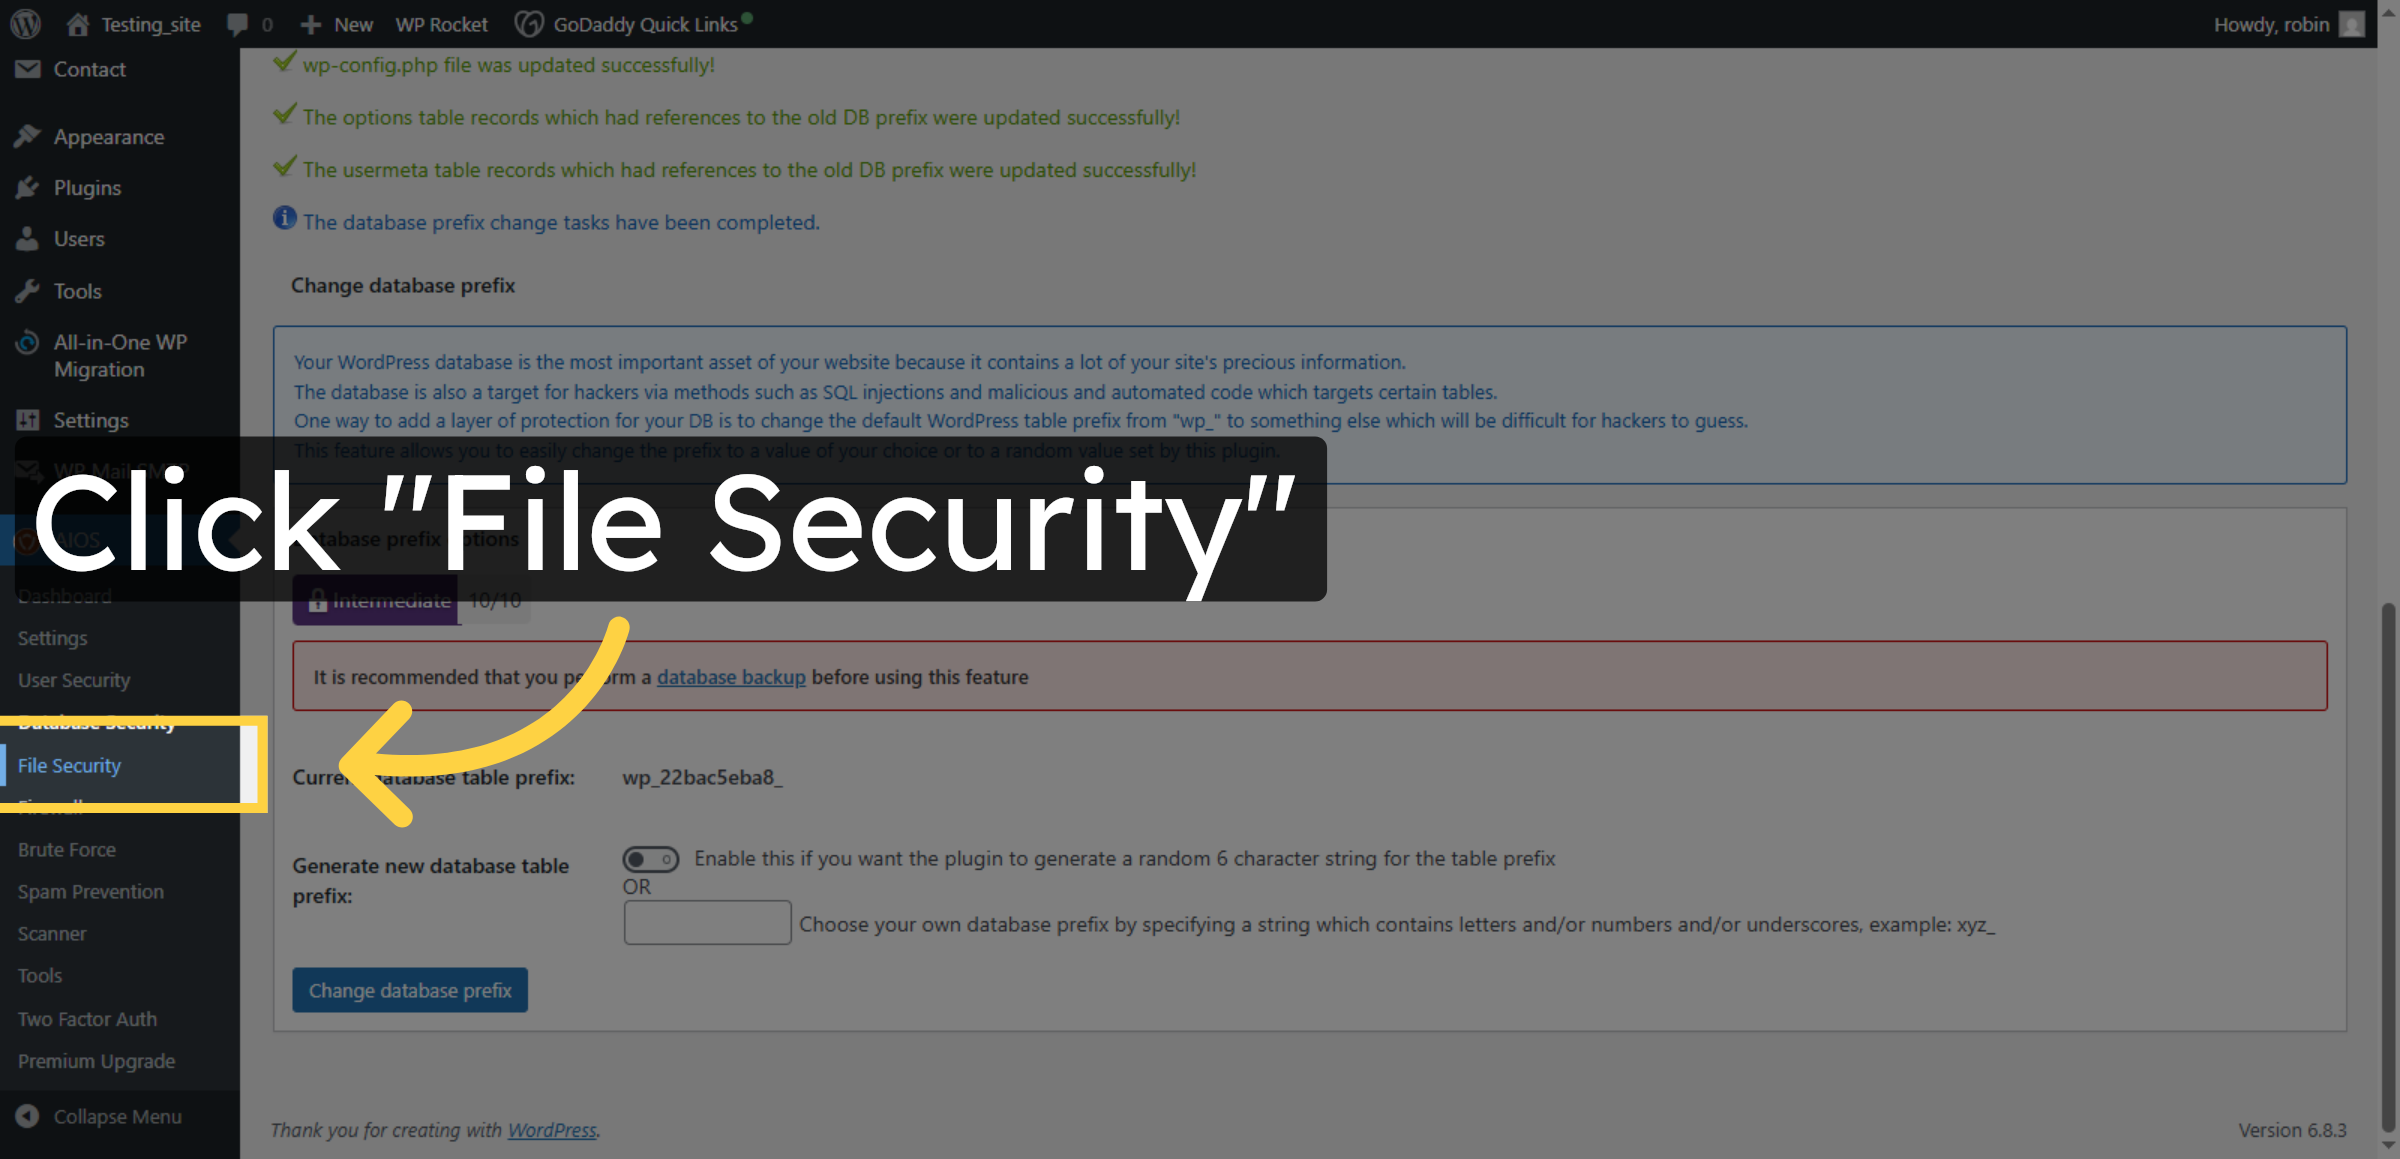
23. Access File Security
Click “File Security” to manage file permissions and protection settings for your website.
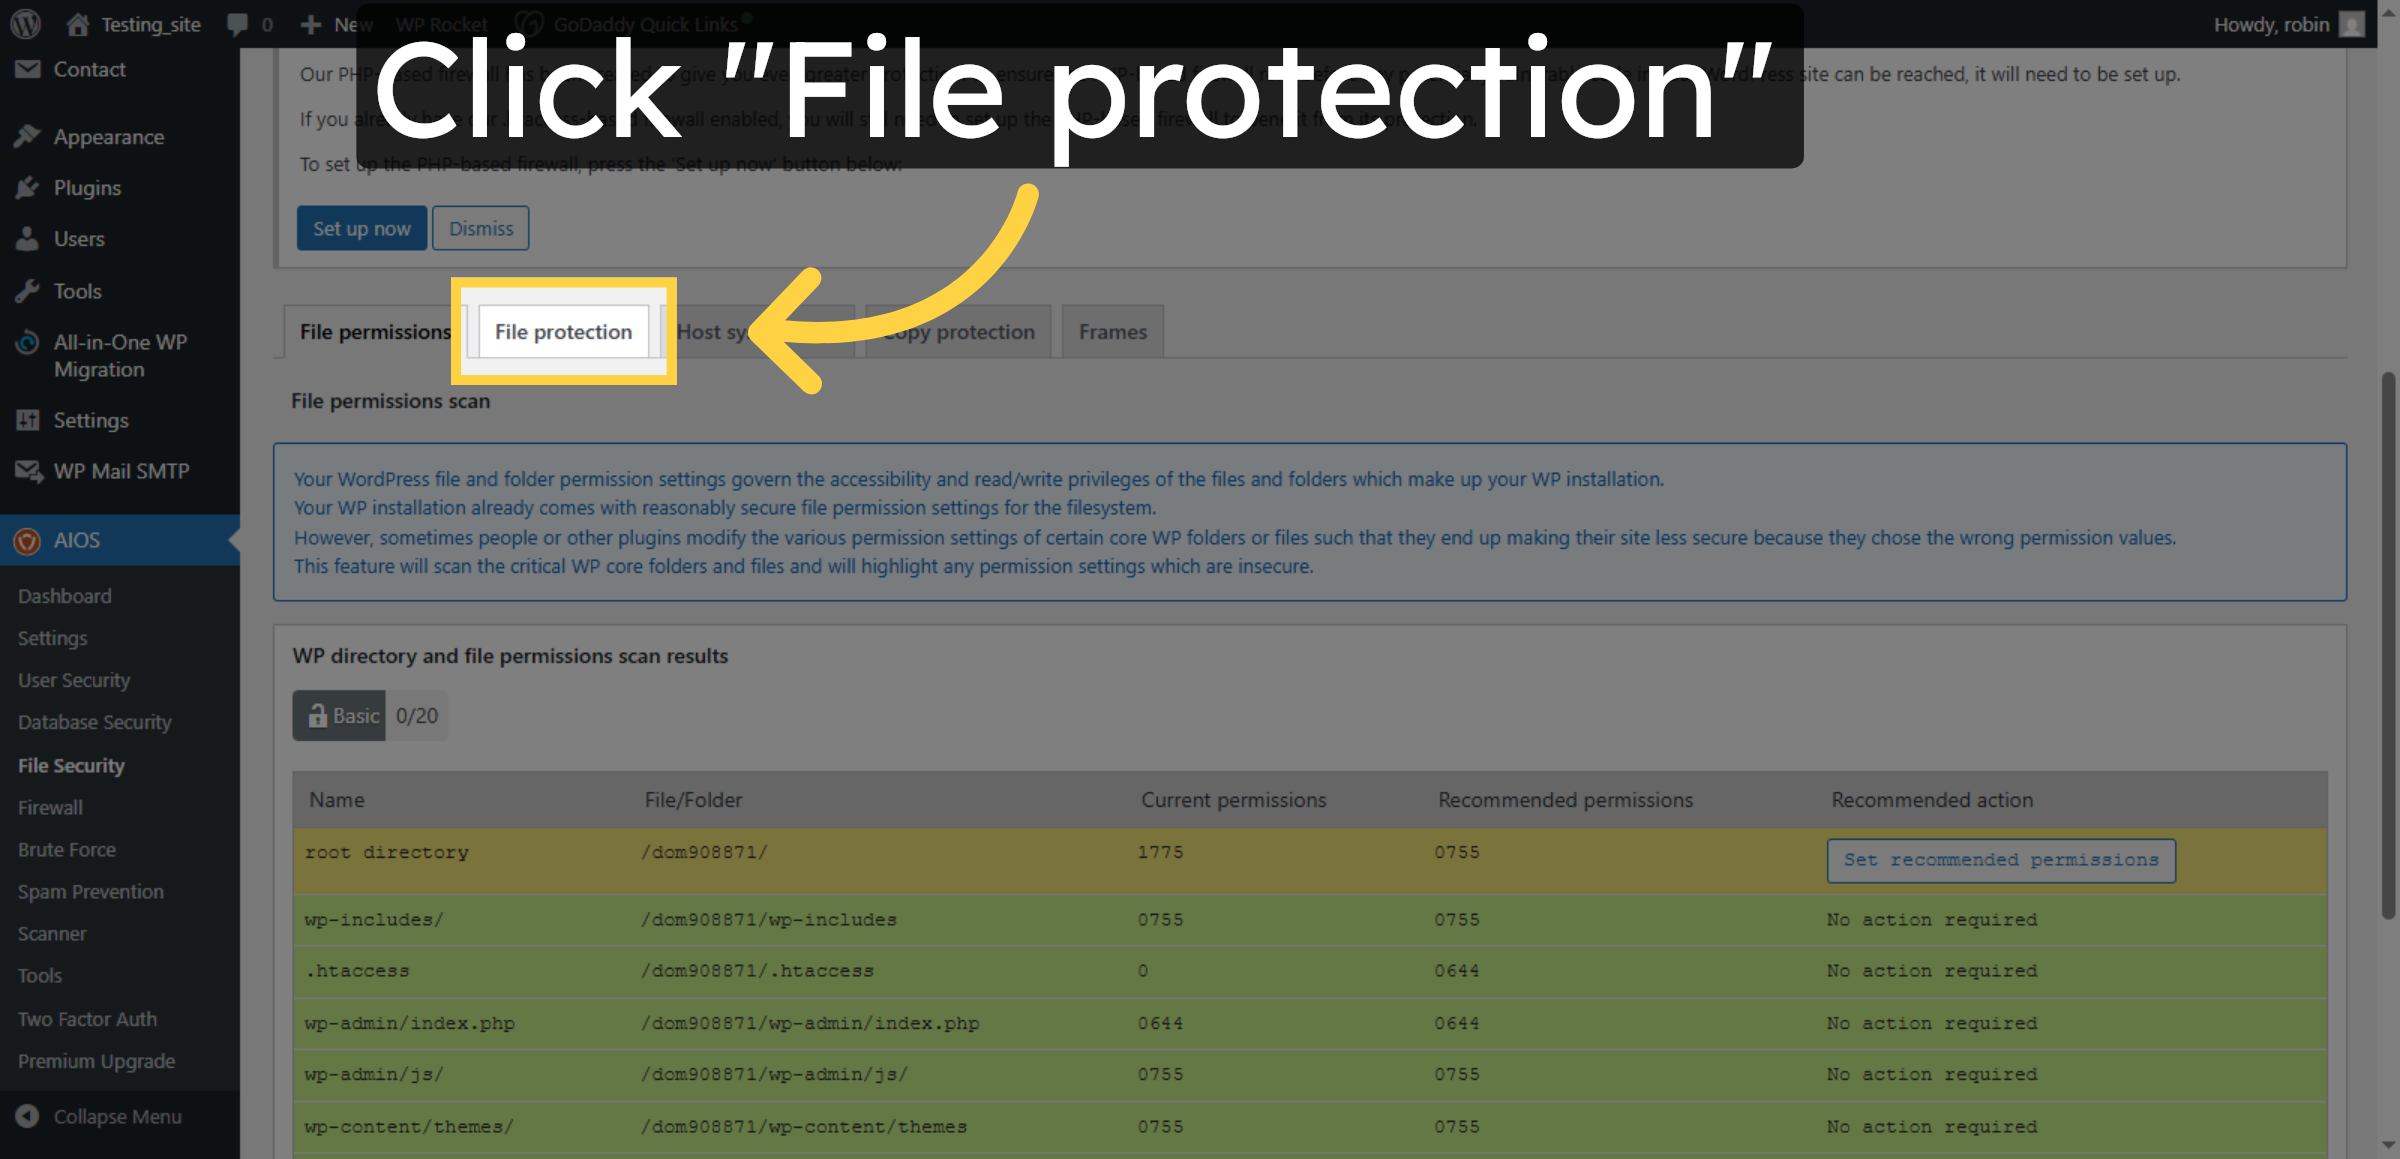
24. Open File Protection
Click “File protection” to configure additional file security features within the plugin.
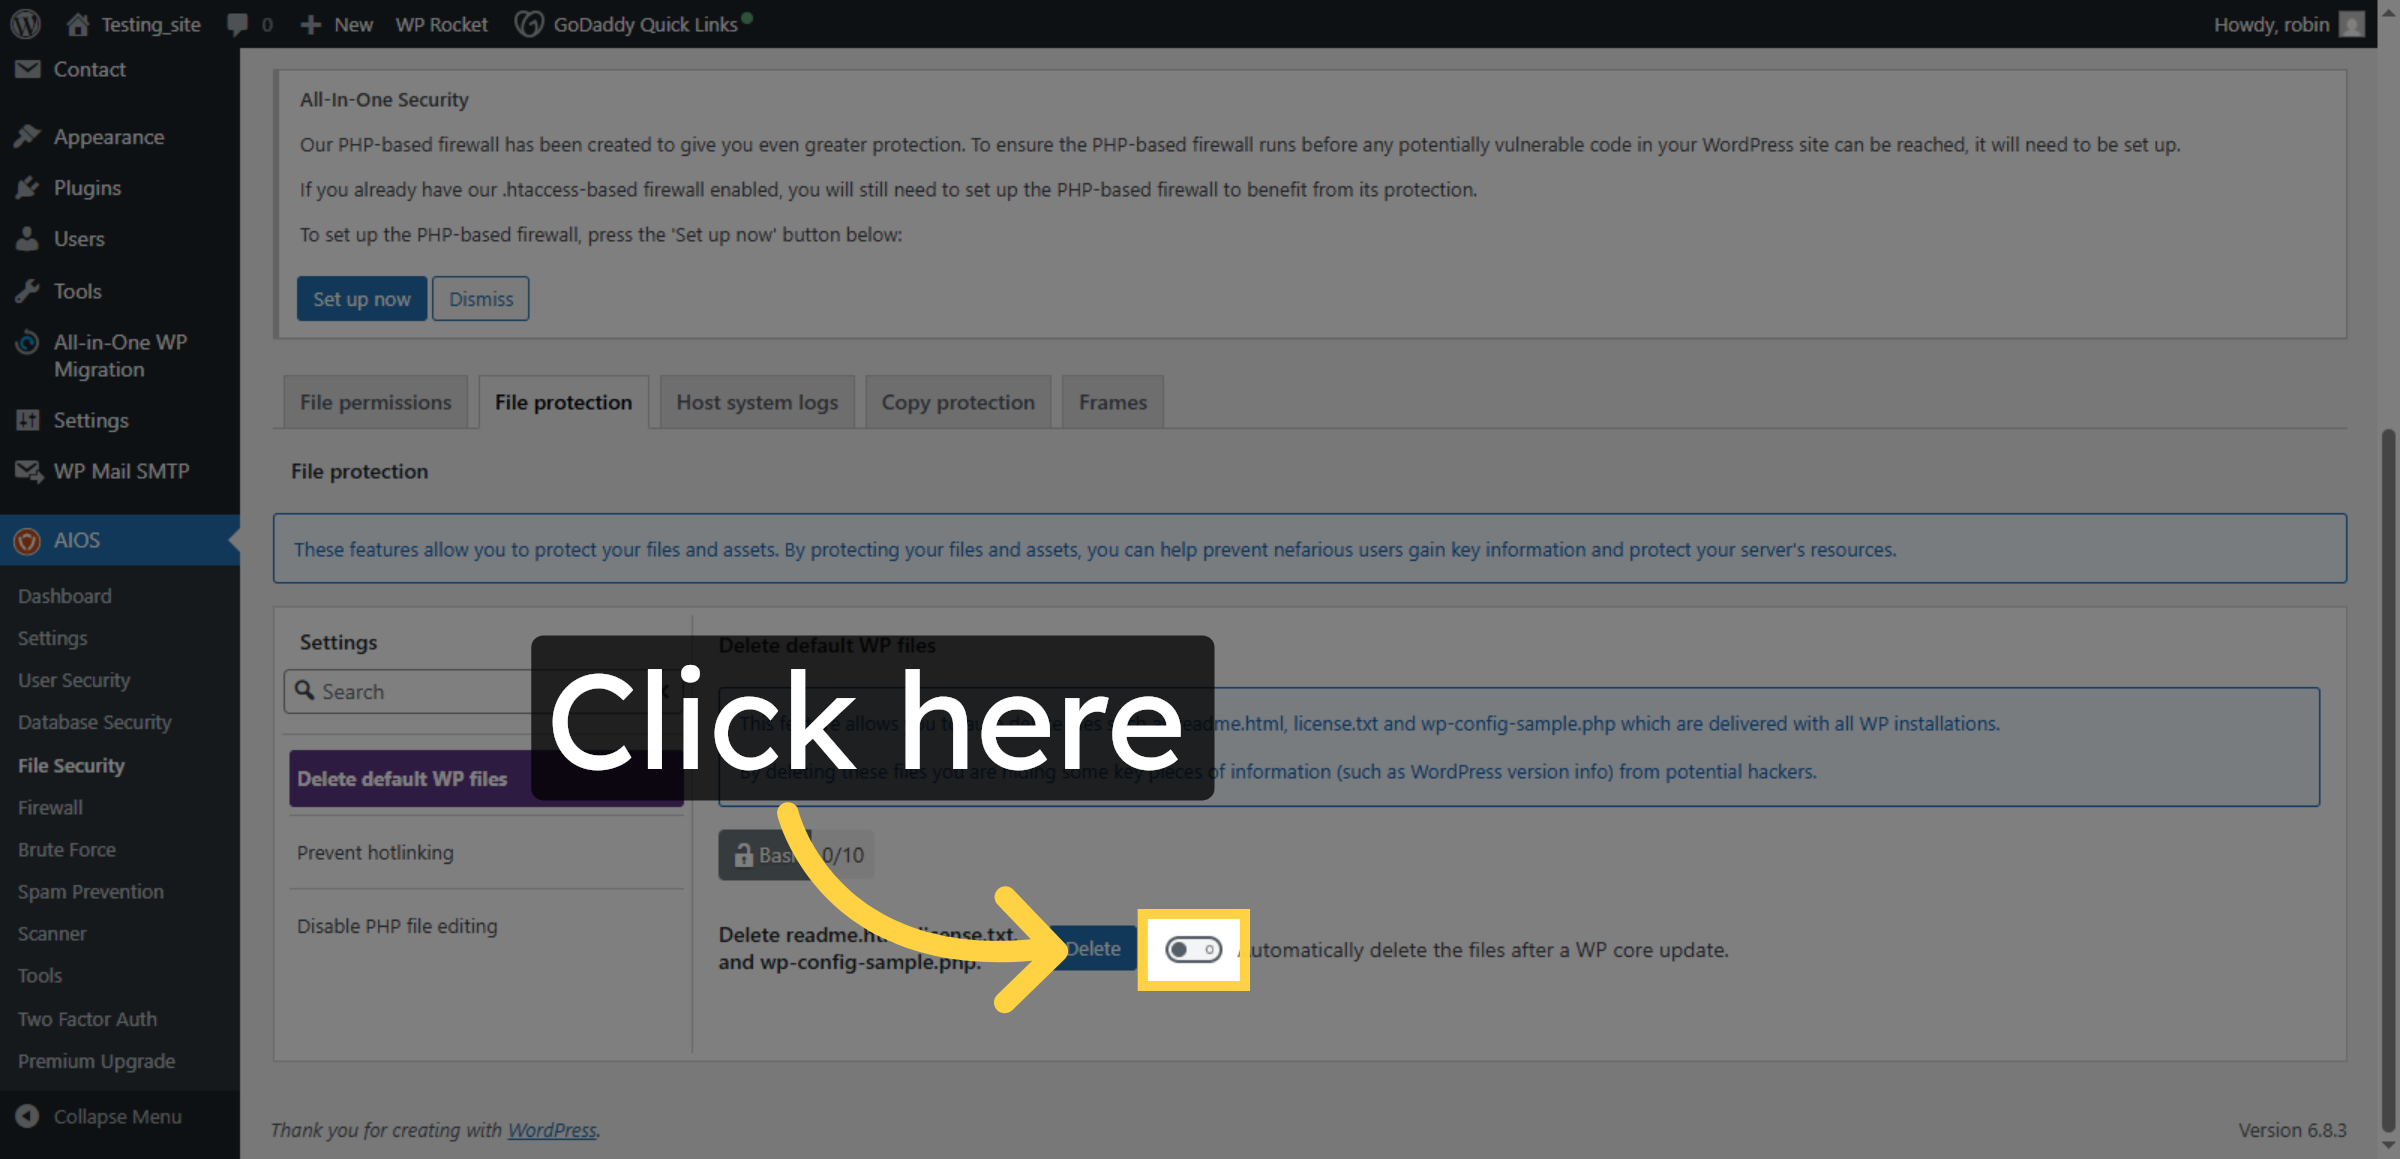
25. Enable File Protection
This feature allows you to auto delete files such as readme.html, license.txt and wp-config-sample.php which are delivered with all WP installations.By deleting these files you are hiding some key pieces of information (such as WordPress version info) from potential hackers.
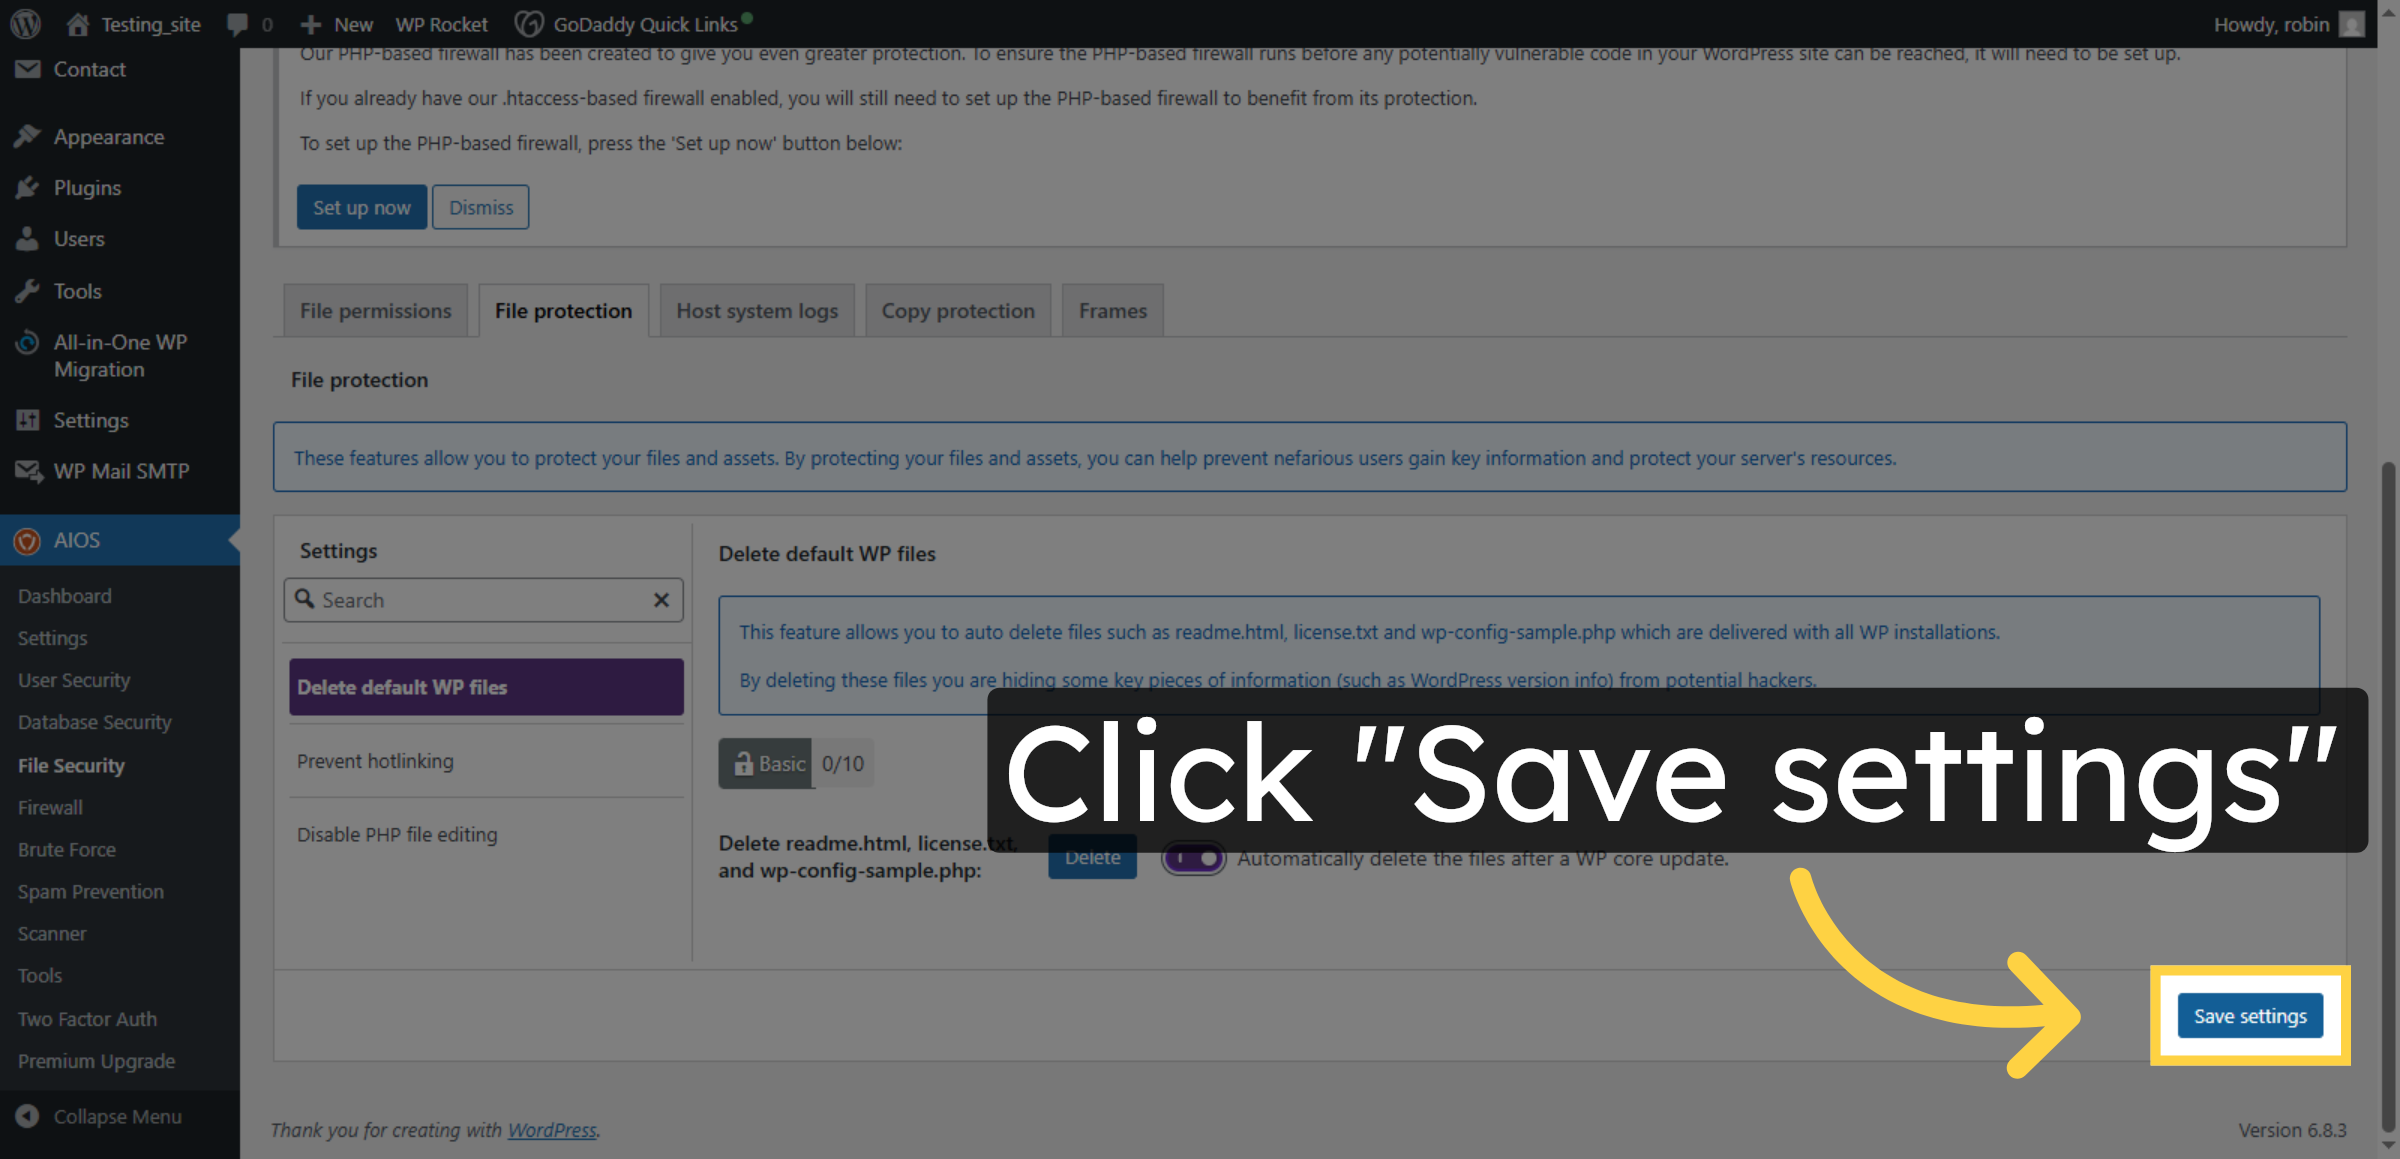
26. Save File Protection Settings
Click “Save settings” to apply the file protection configurations.
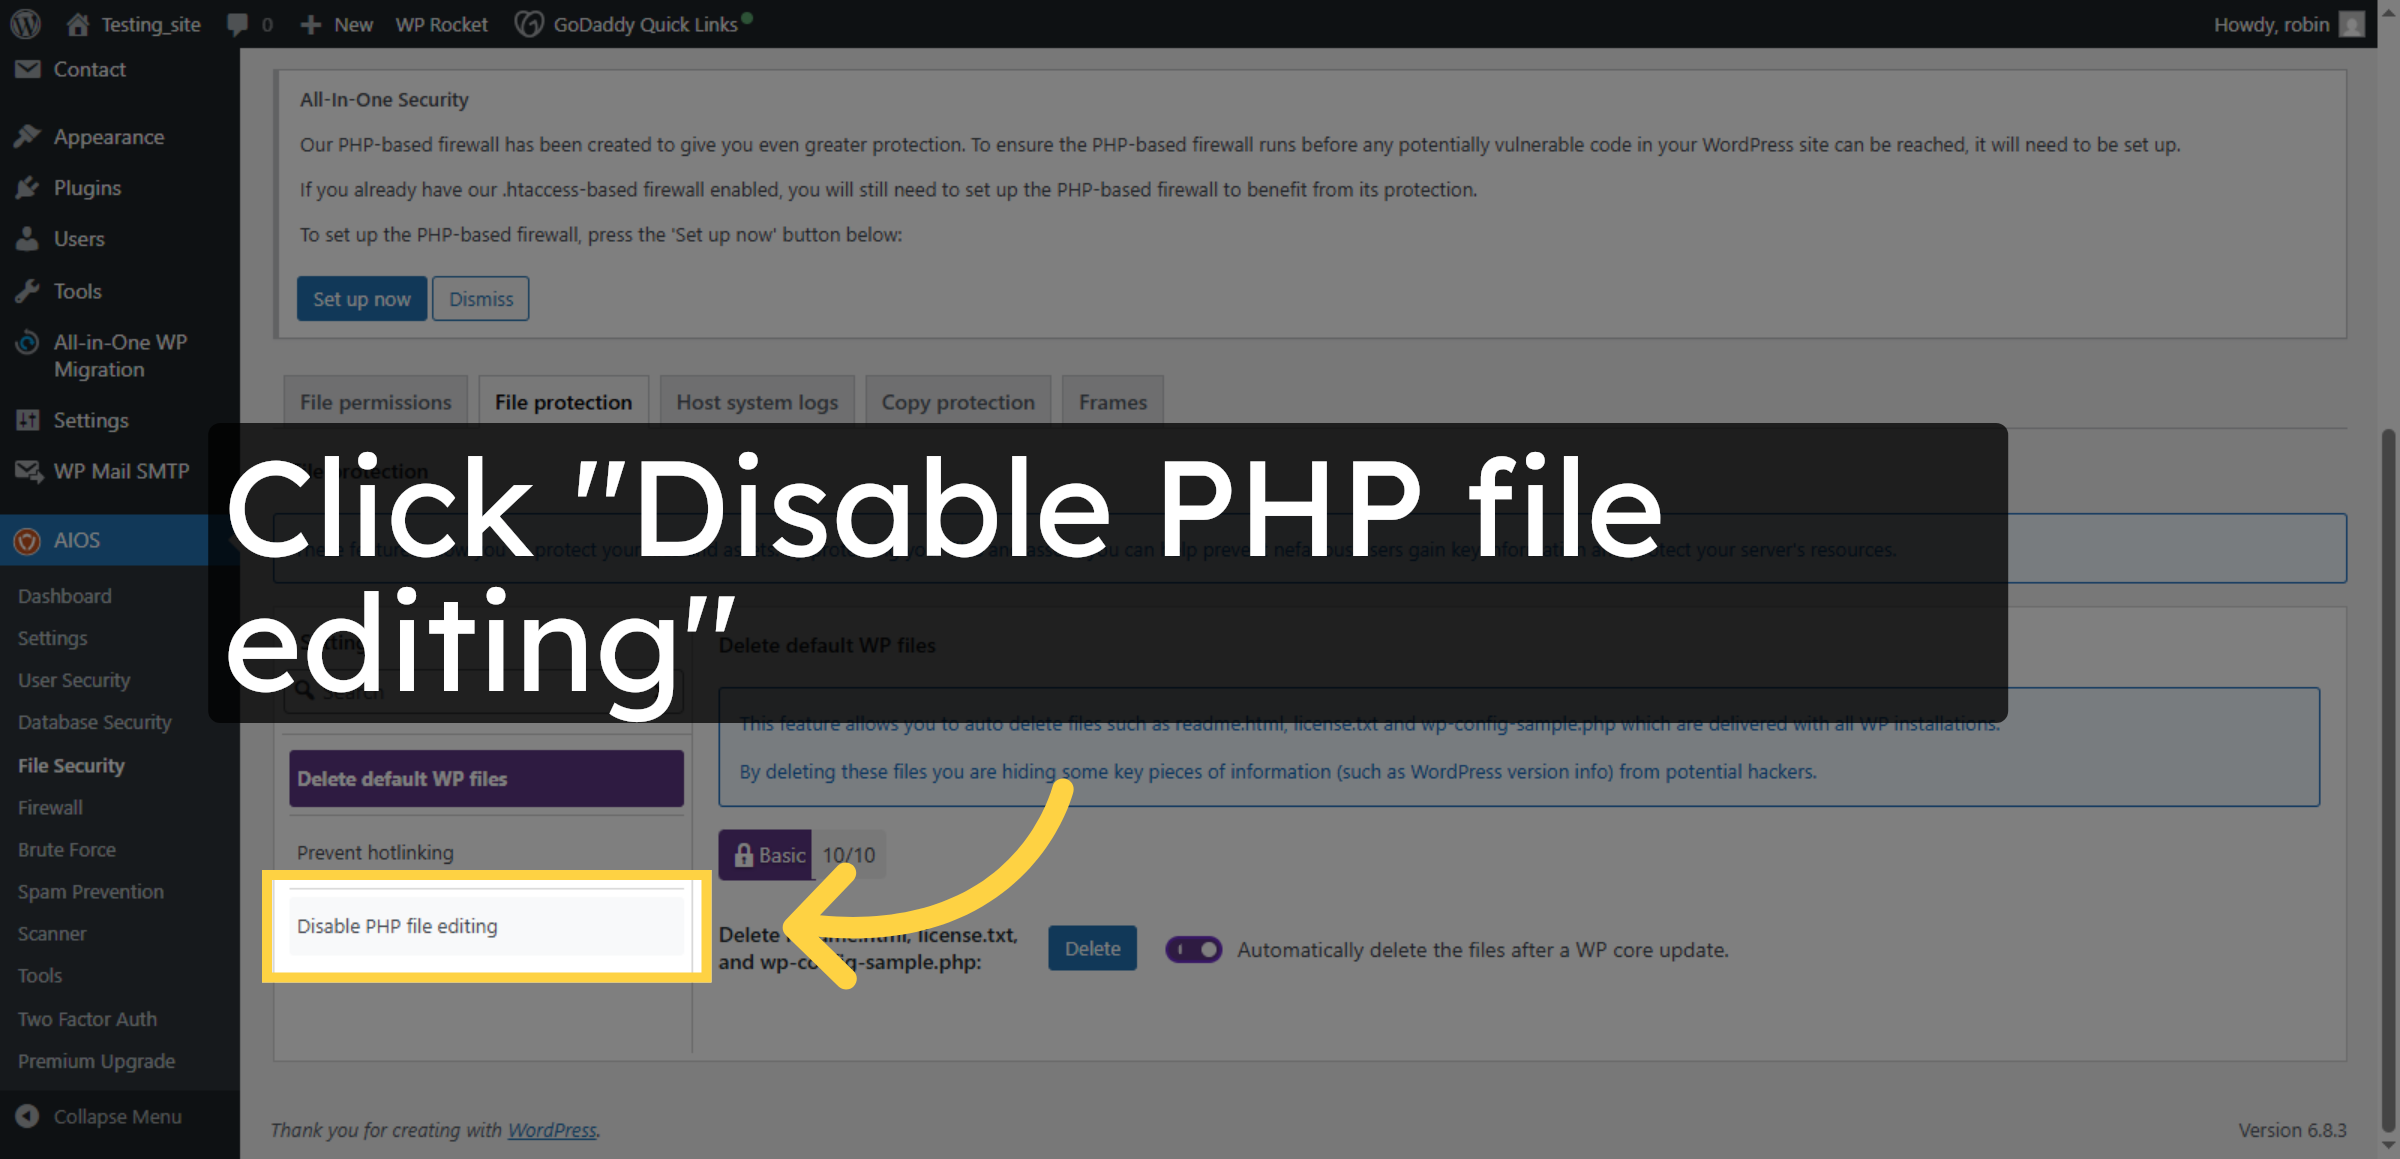
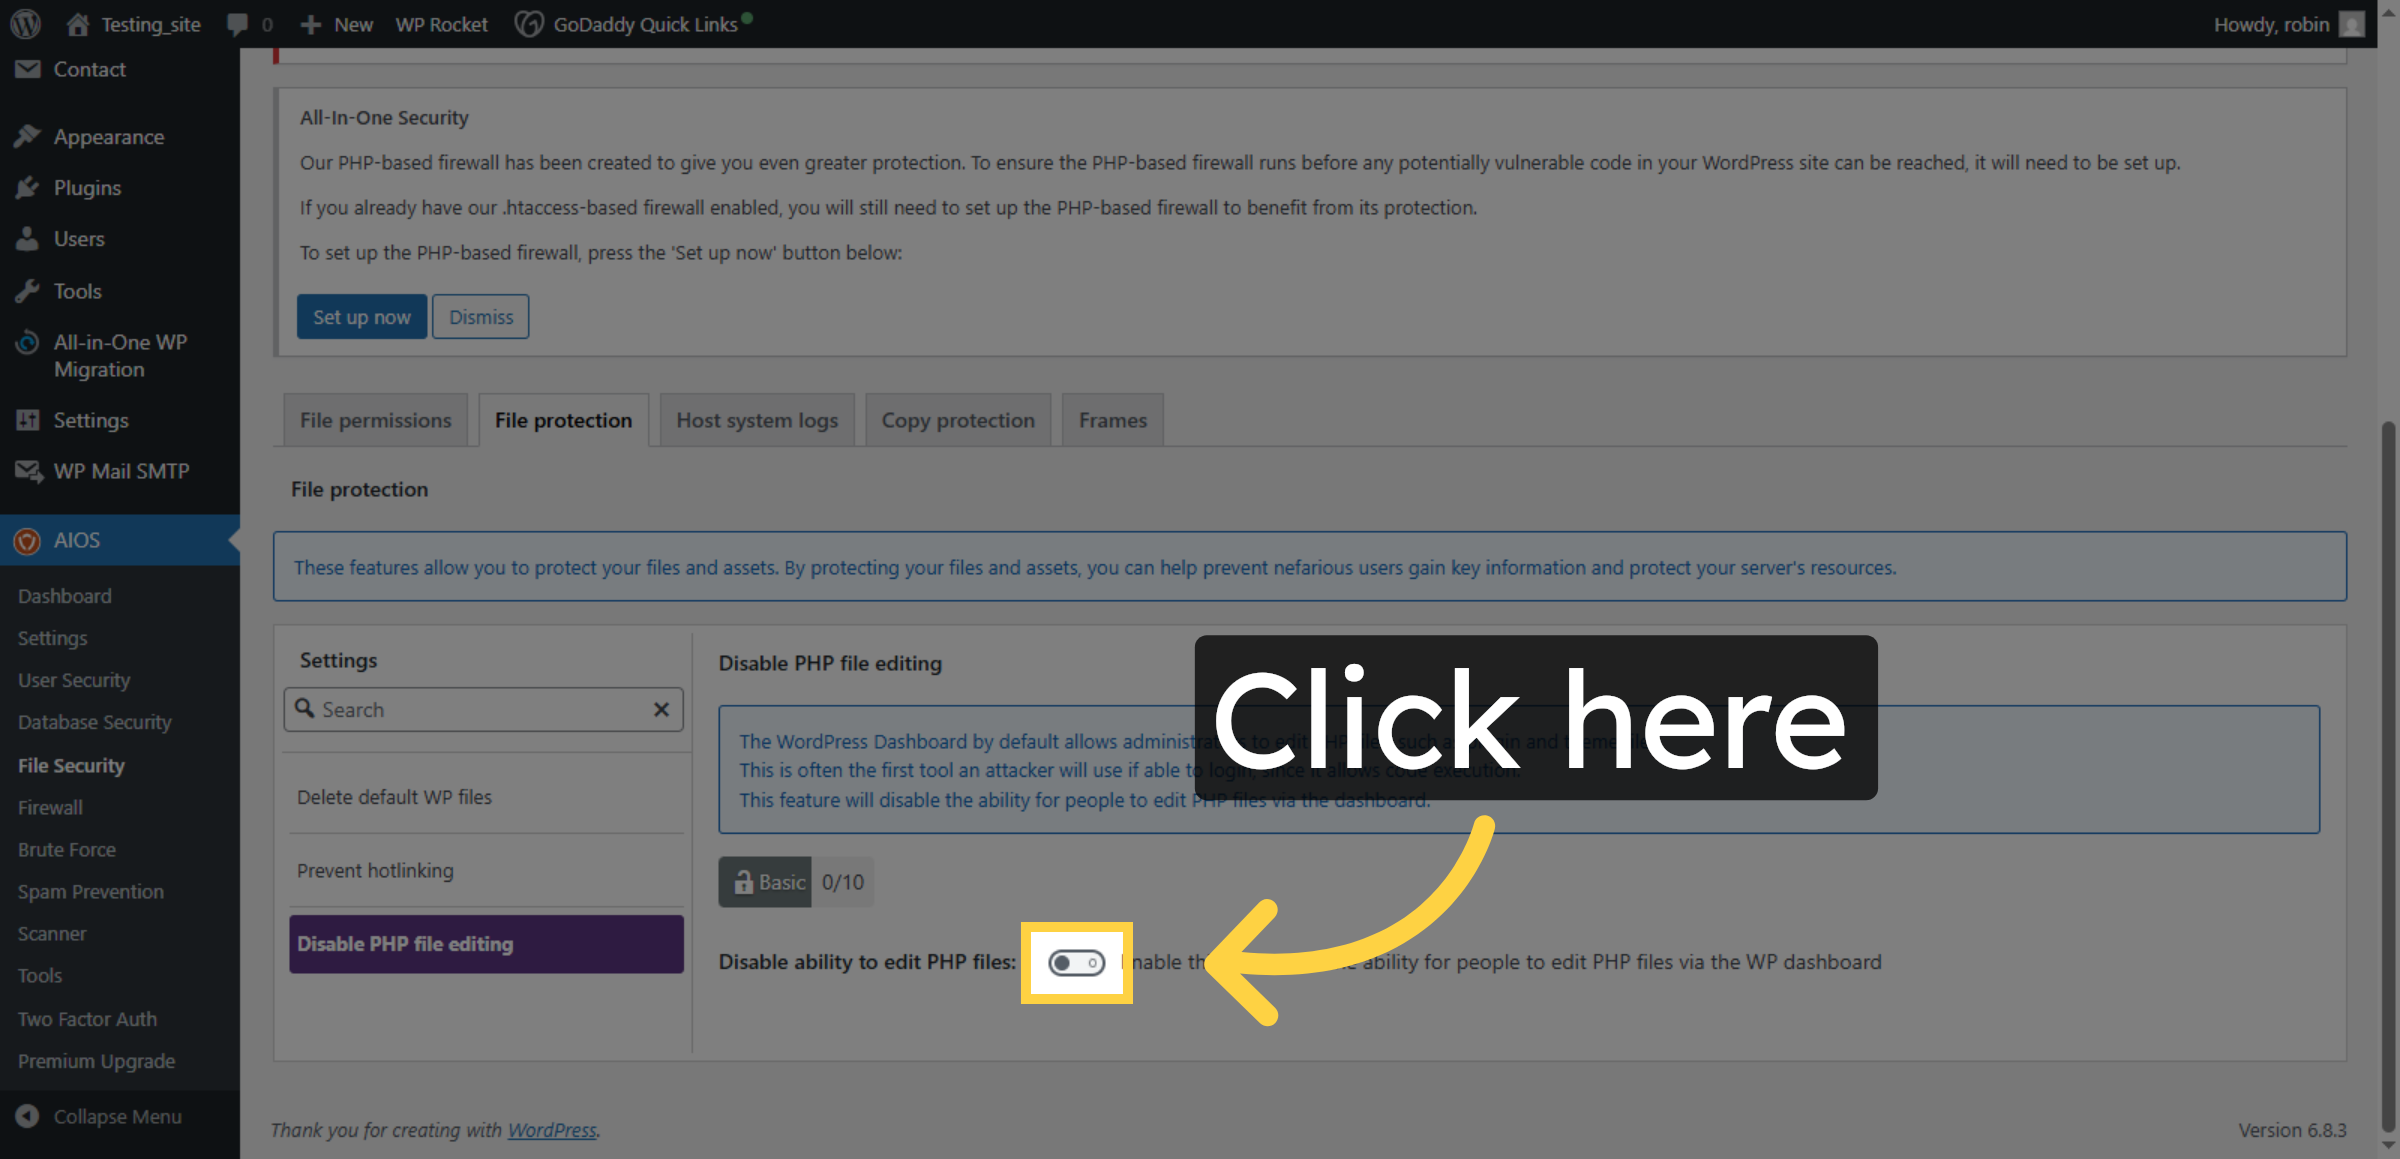
27. Disable PHP File Editing
Click “Disable PHP file editing” to prevent unauthorized changes to PHP files.
28. Enable a Disable PHP Editing option
Enable this to remove the ability for people to edit PHP files via the WP dashboard
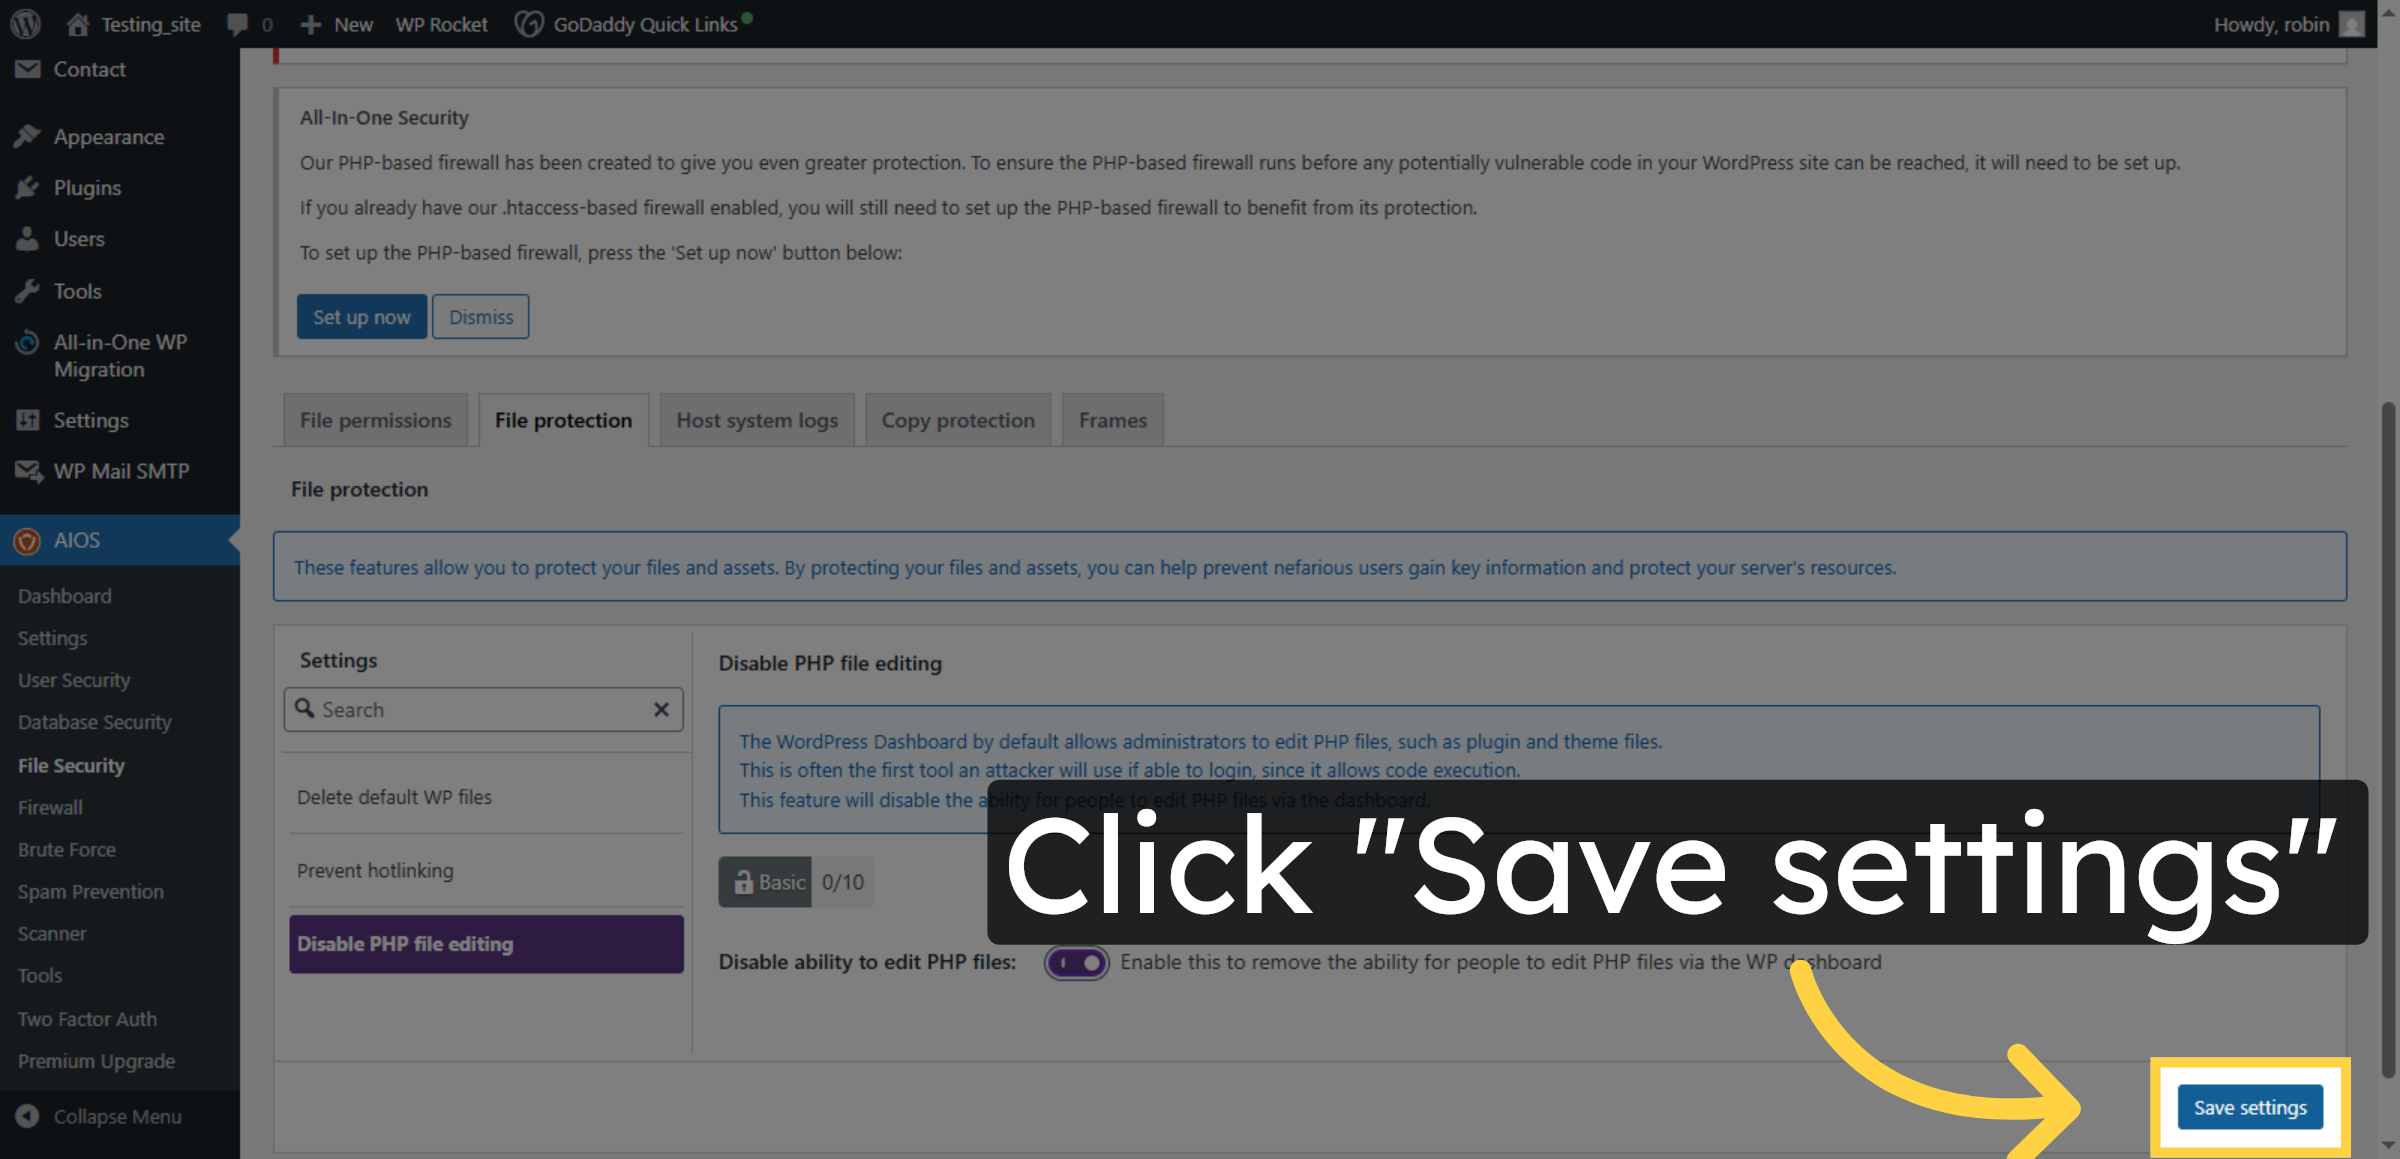
29. Save PHP Editing Settings
Click “Save settings” to confirm and apply the PHP file editing restrictions.
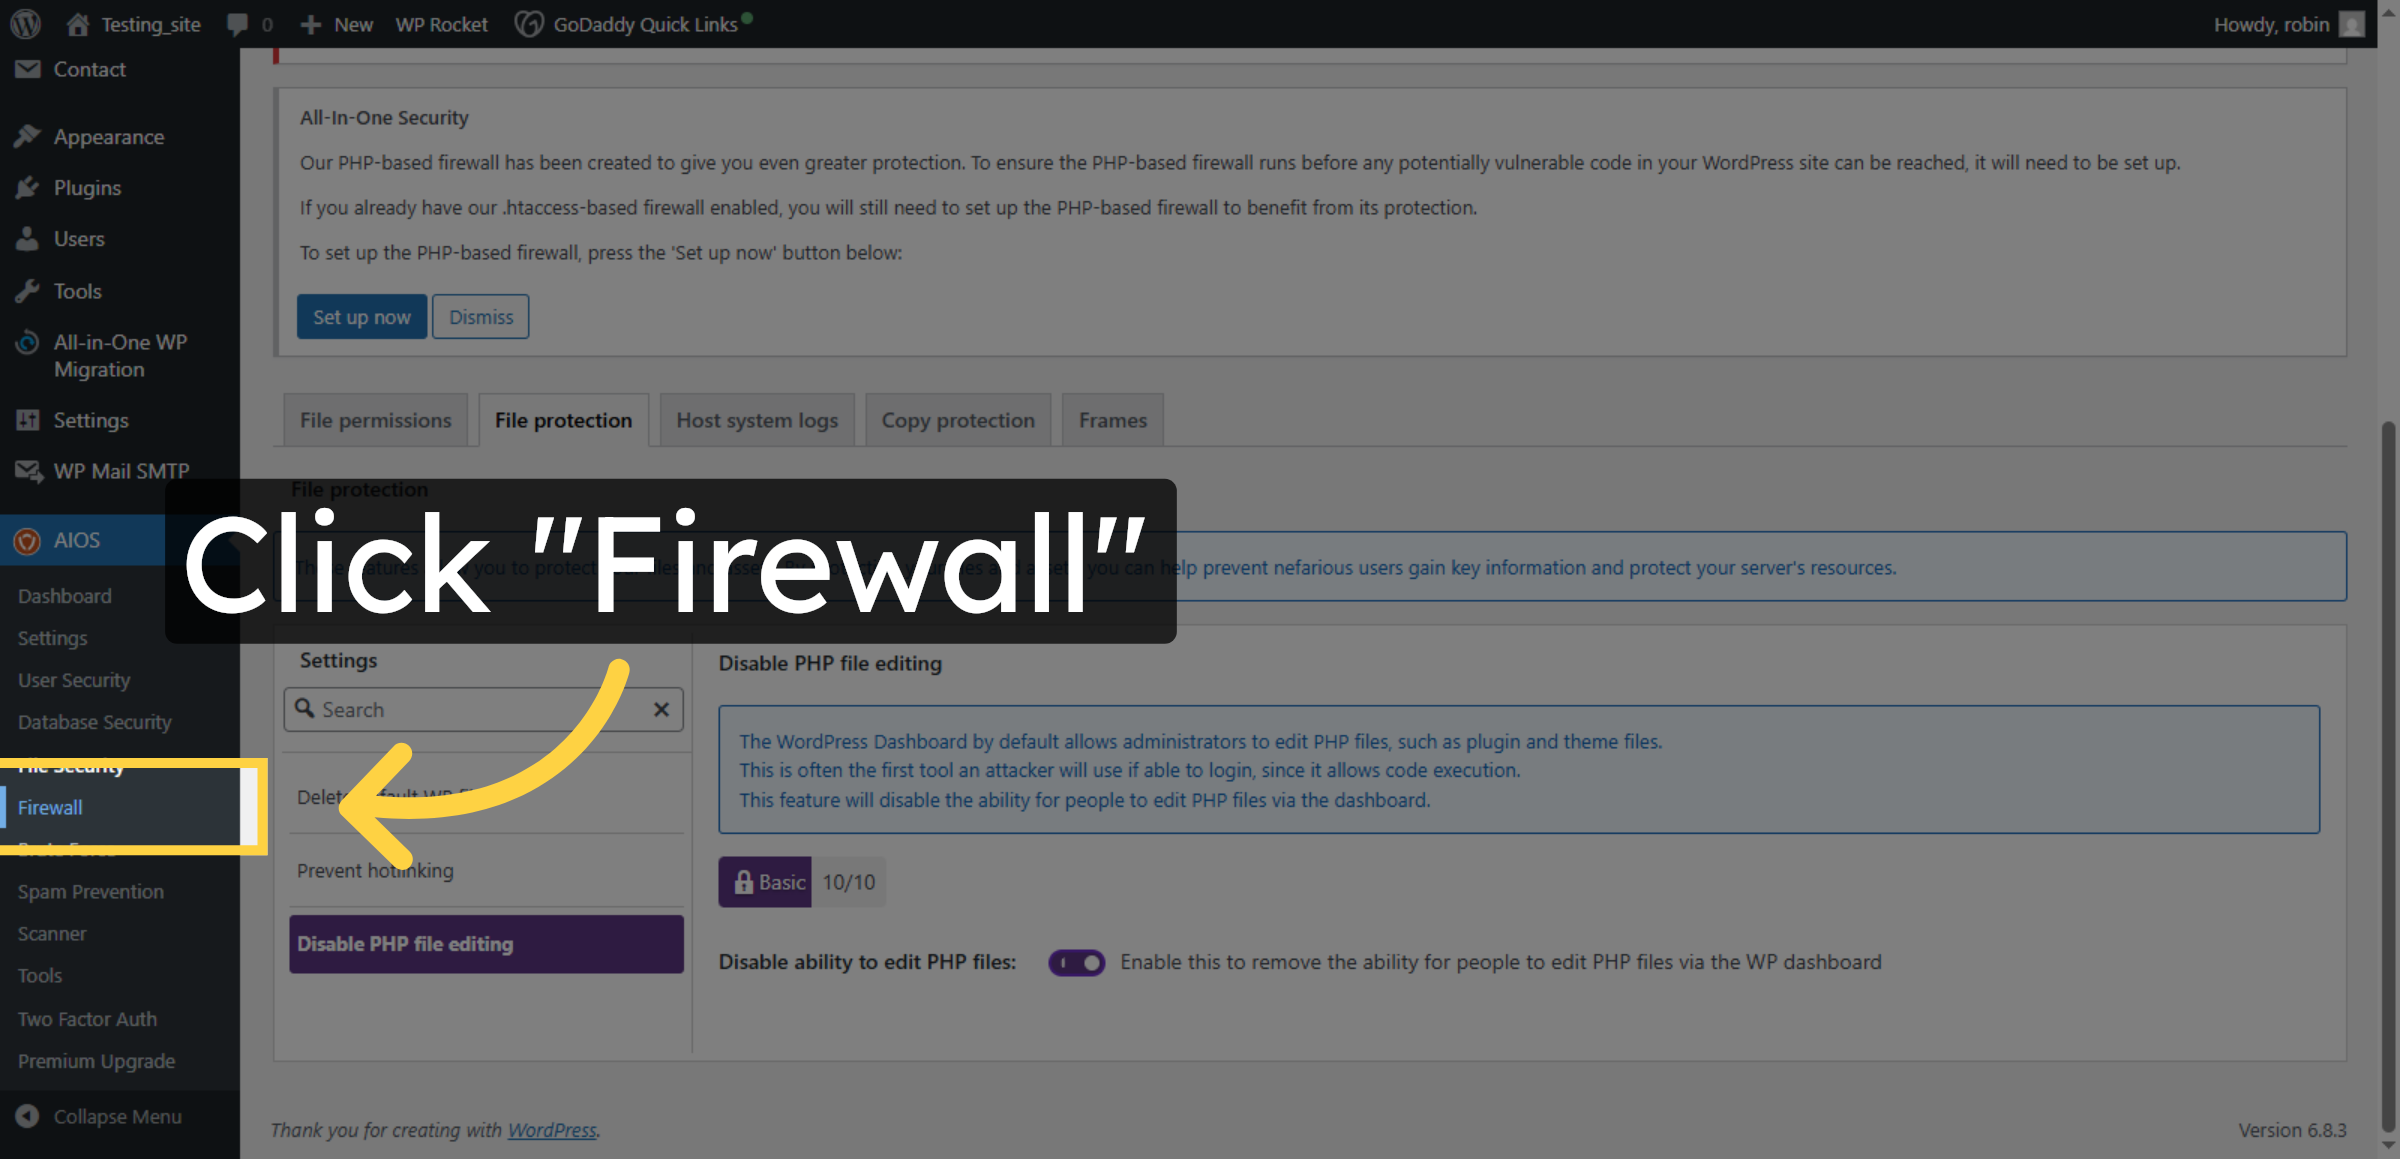
30. Open Firewall Settings
Click “Firewall” in the plugin dashboard to access firewall configuration options.
31. Enable Firewall Protection
Click the checkbox to enable firewall protection for your WordPress site.

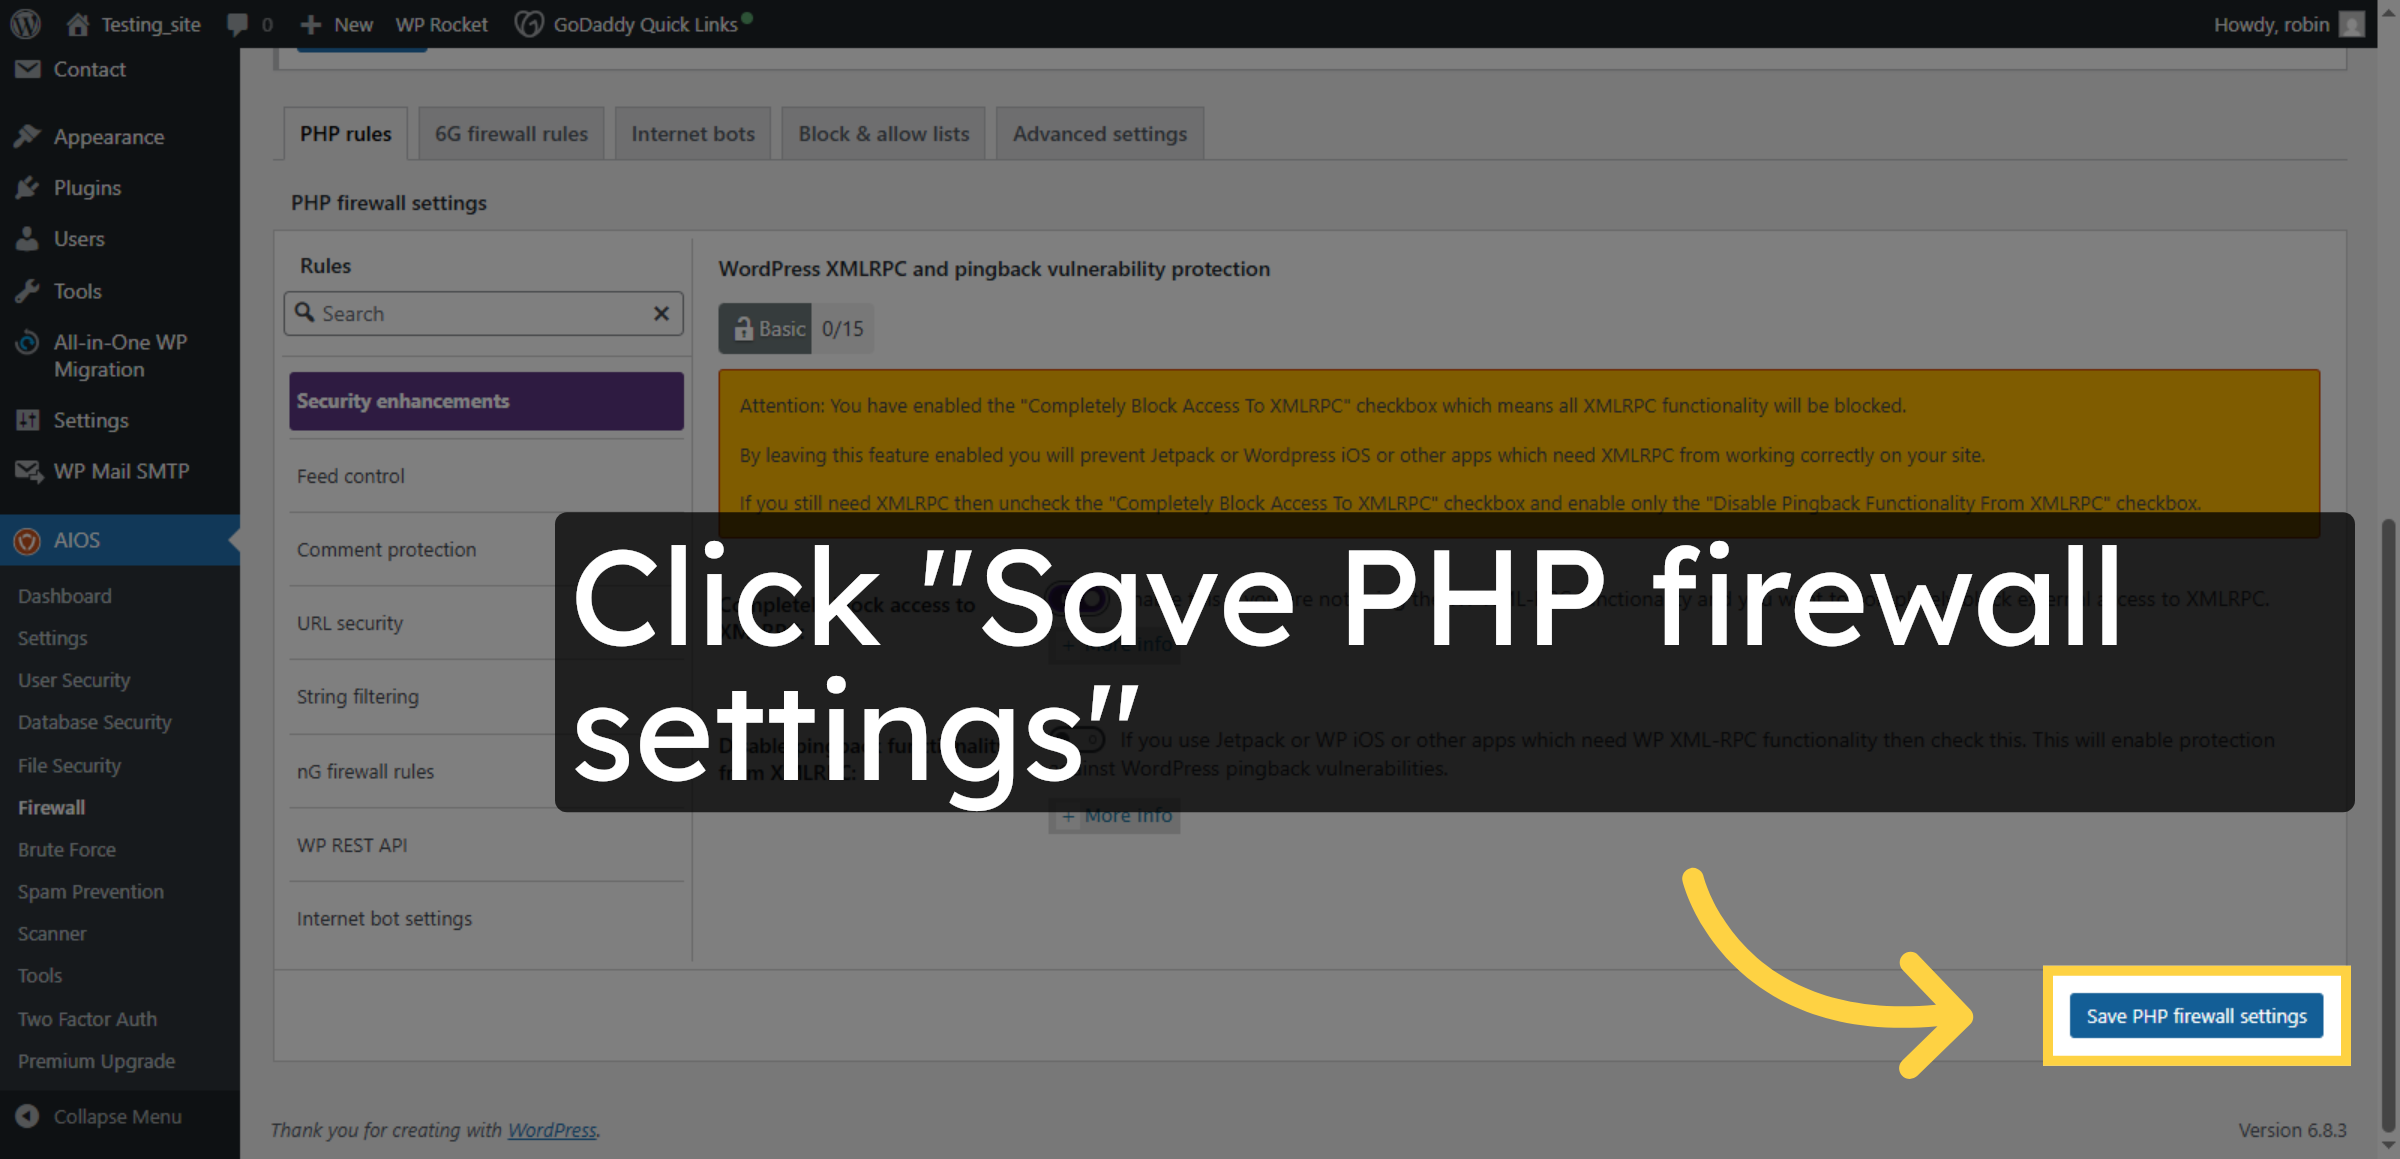
32. Save Firewall Settings
Click “Save PHP firewall settings” to apply the firewall configurations.
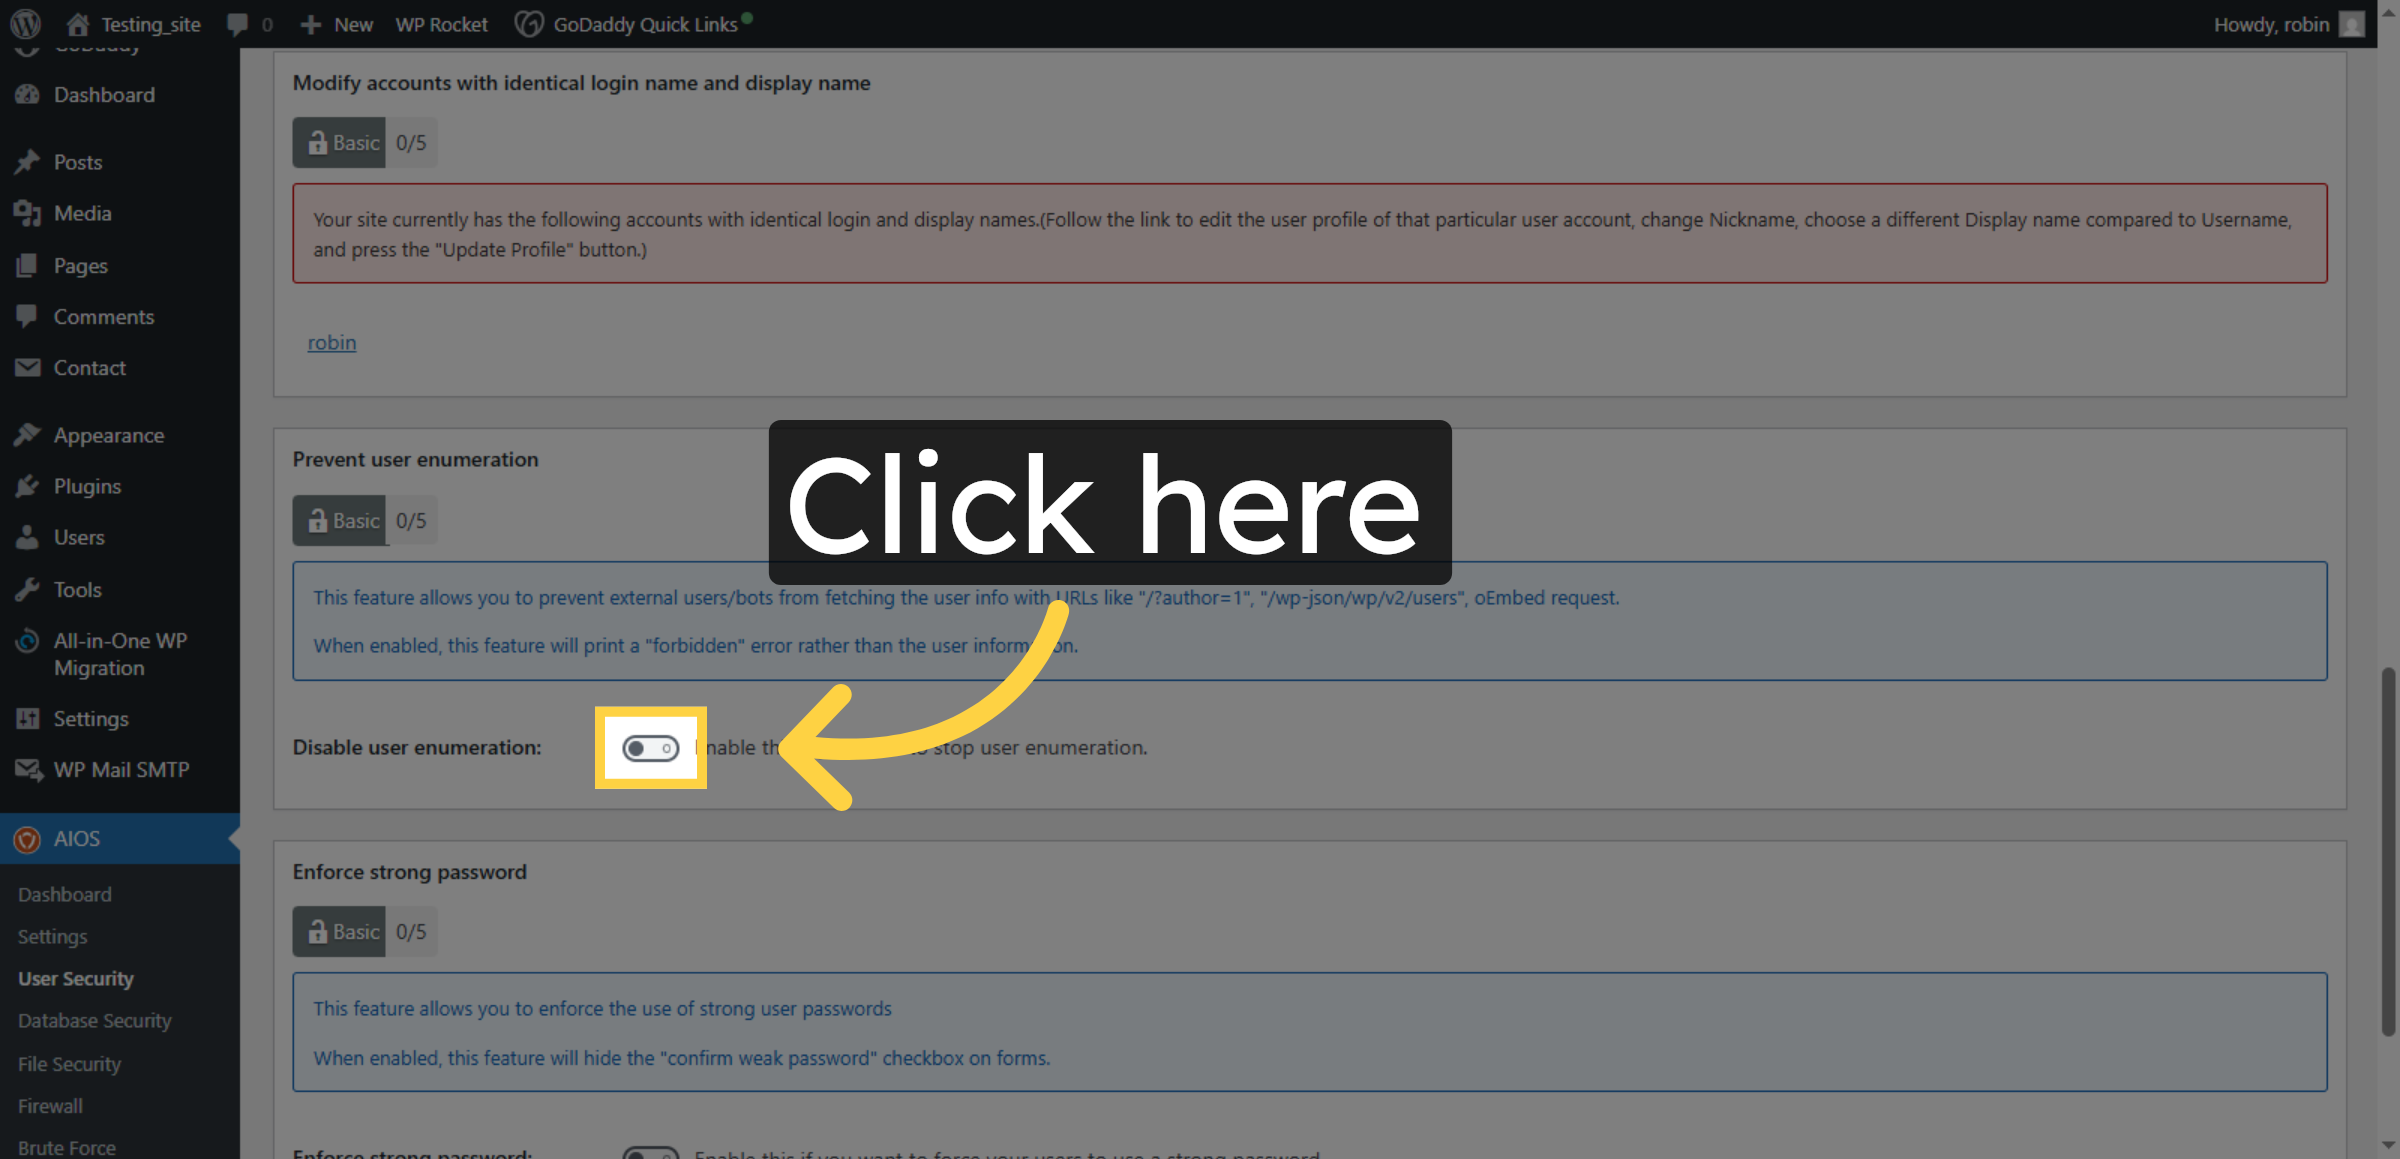
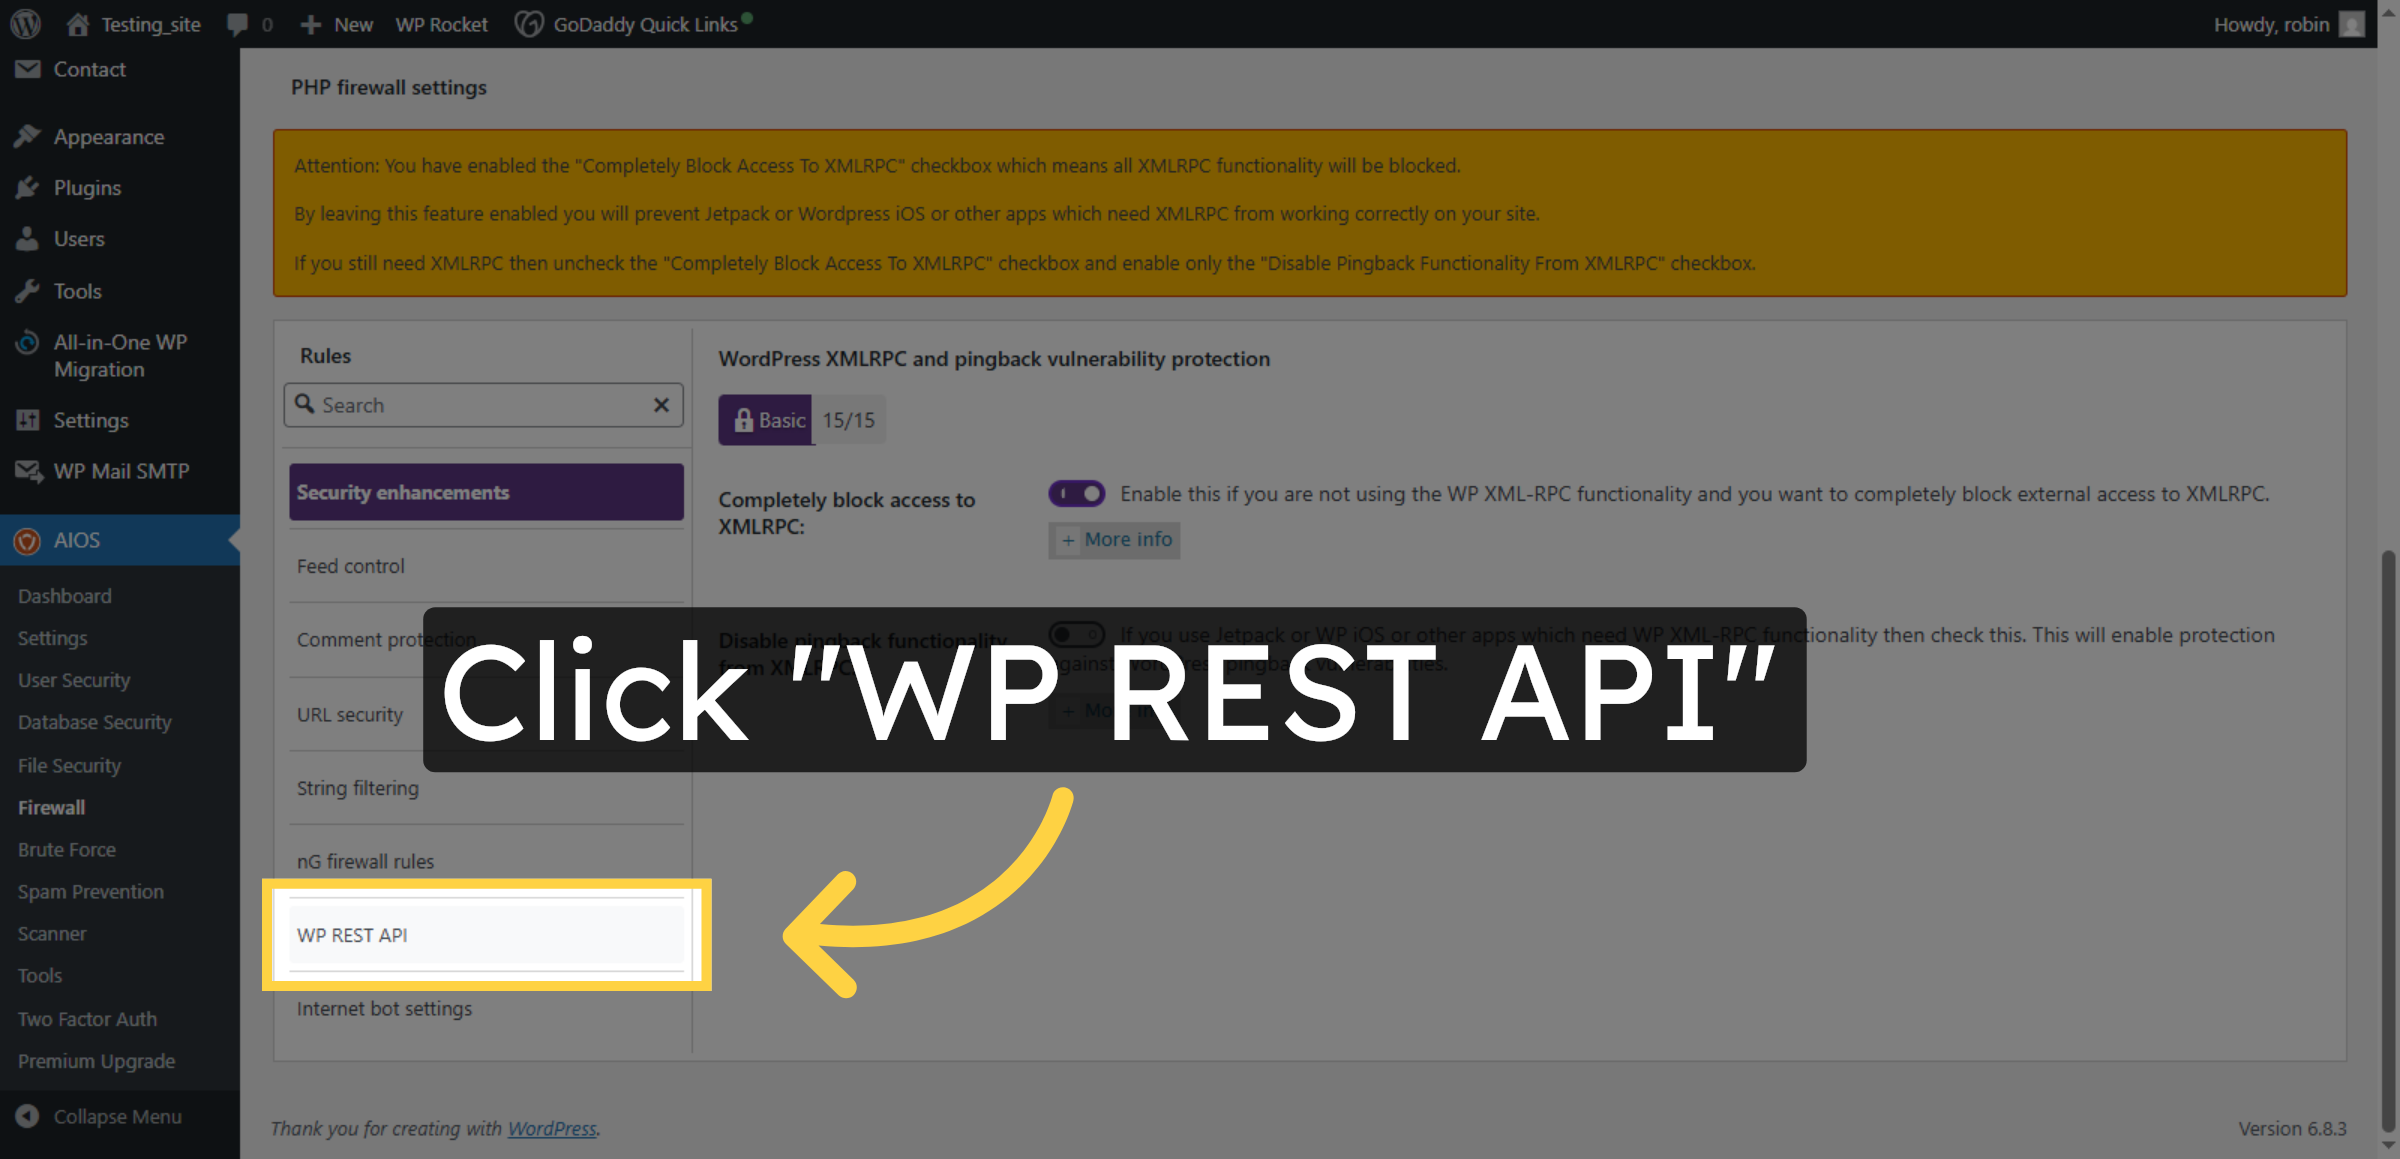
33. Access WP REST API Settings
Click “WP REST API” to configure firewall rules related to the WordPress REST API.
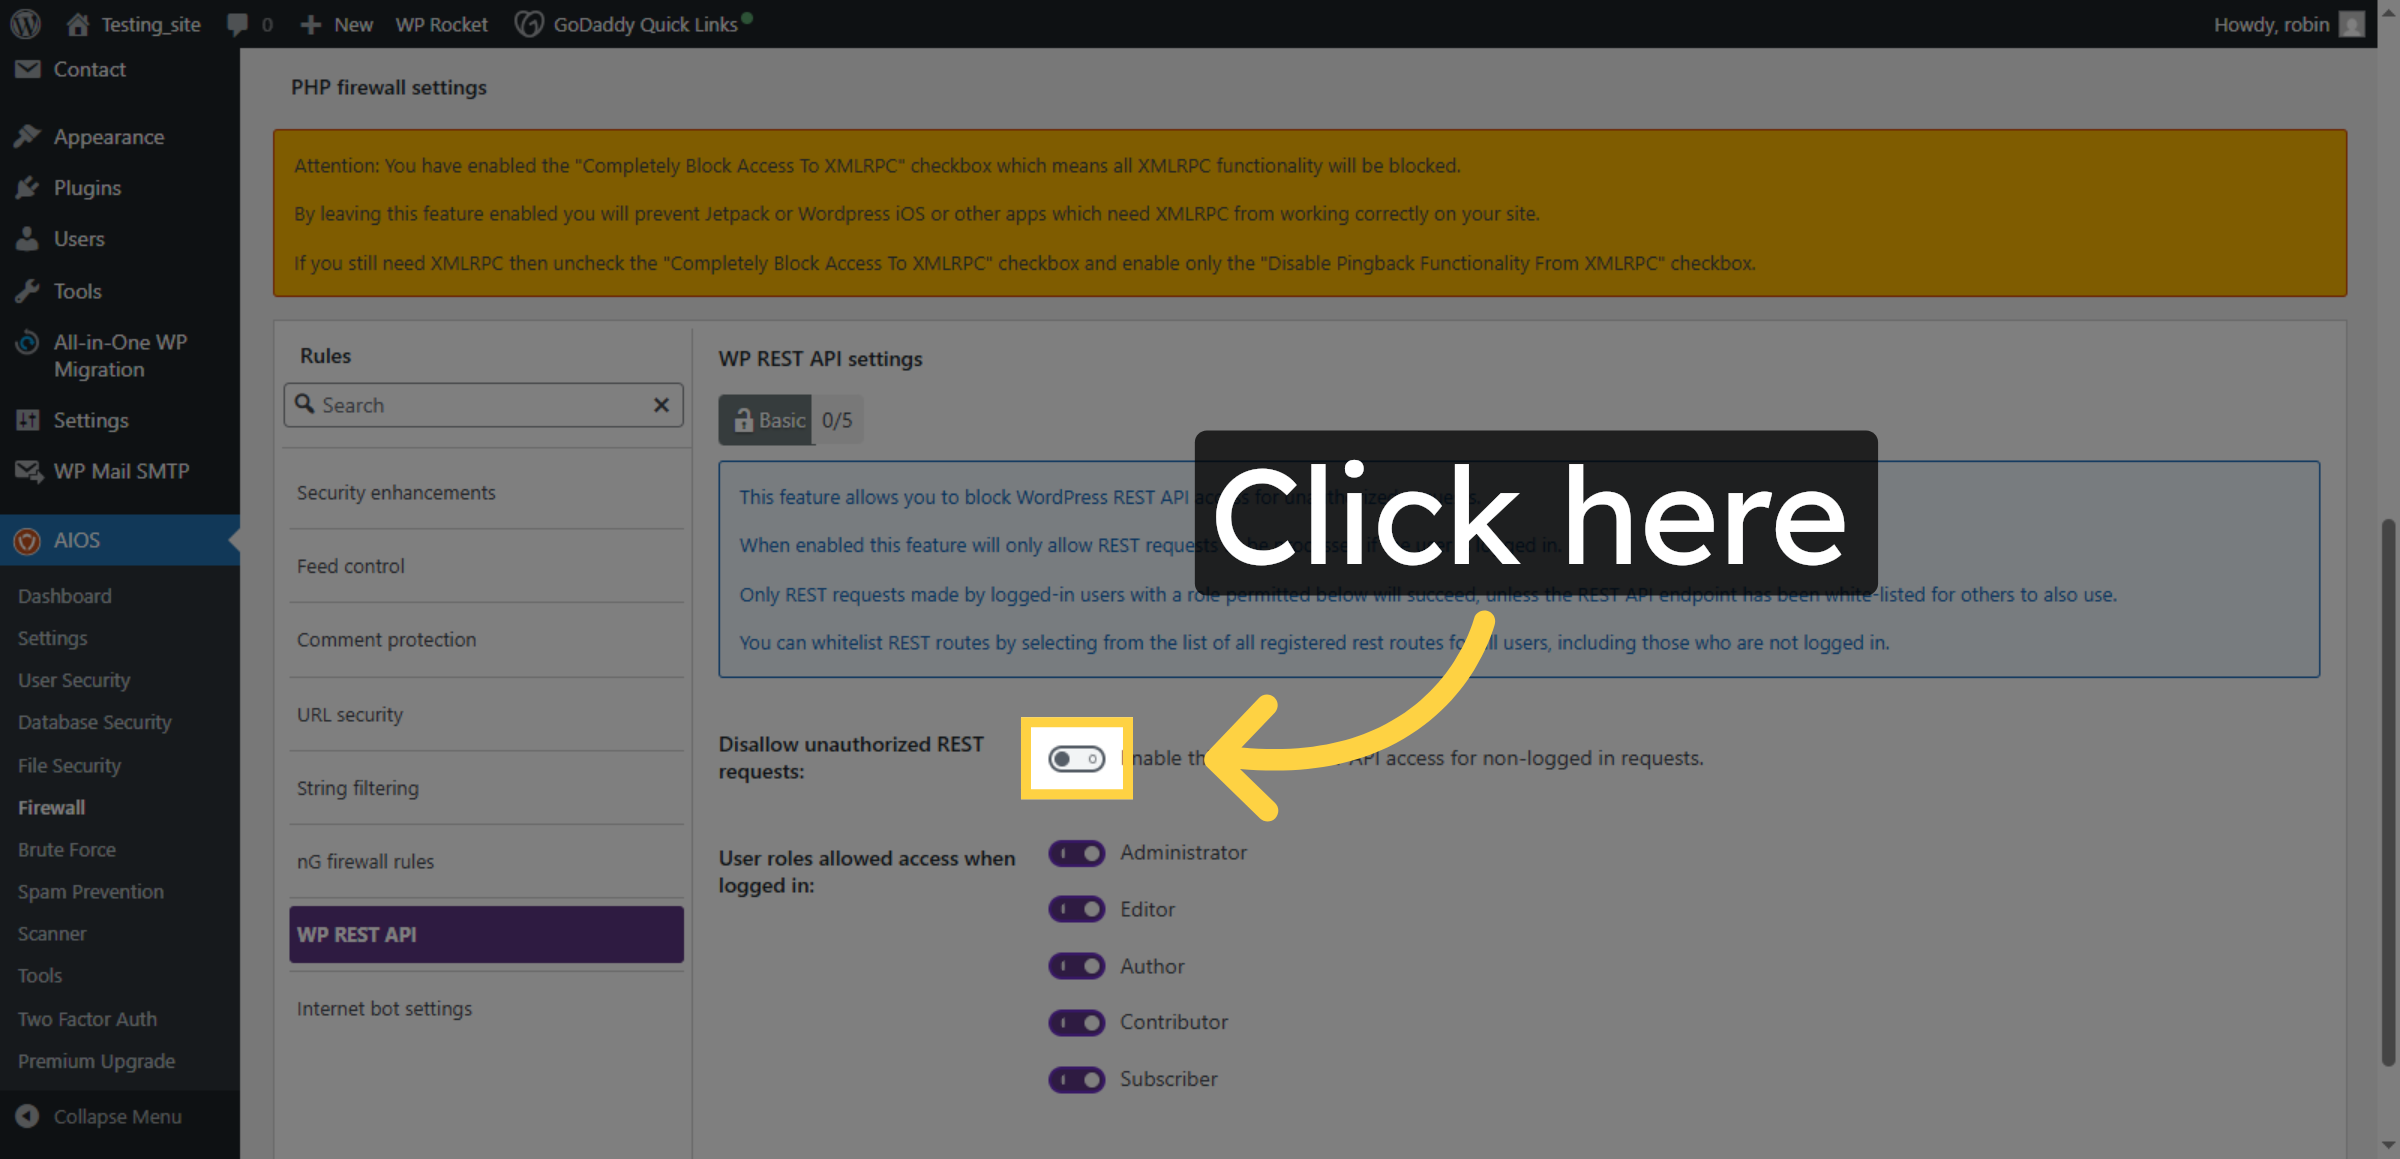
34. Enable WP REST API Firewall
Enable this to stop REST API access for non-logged in requests.
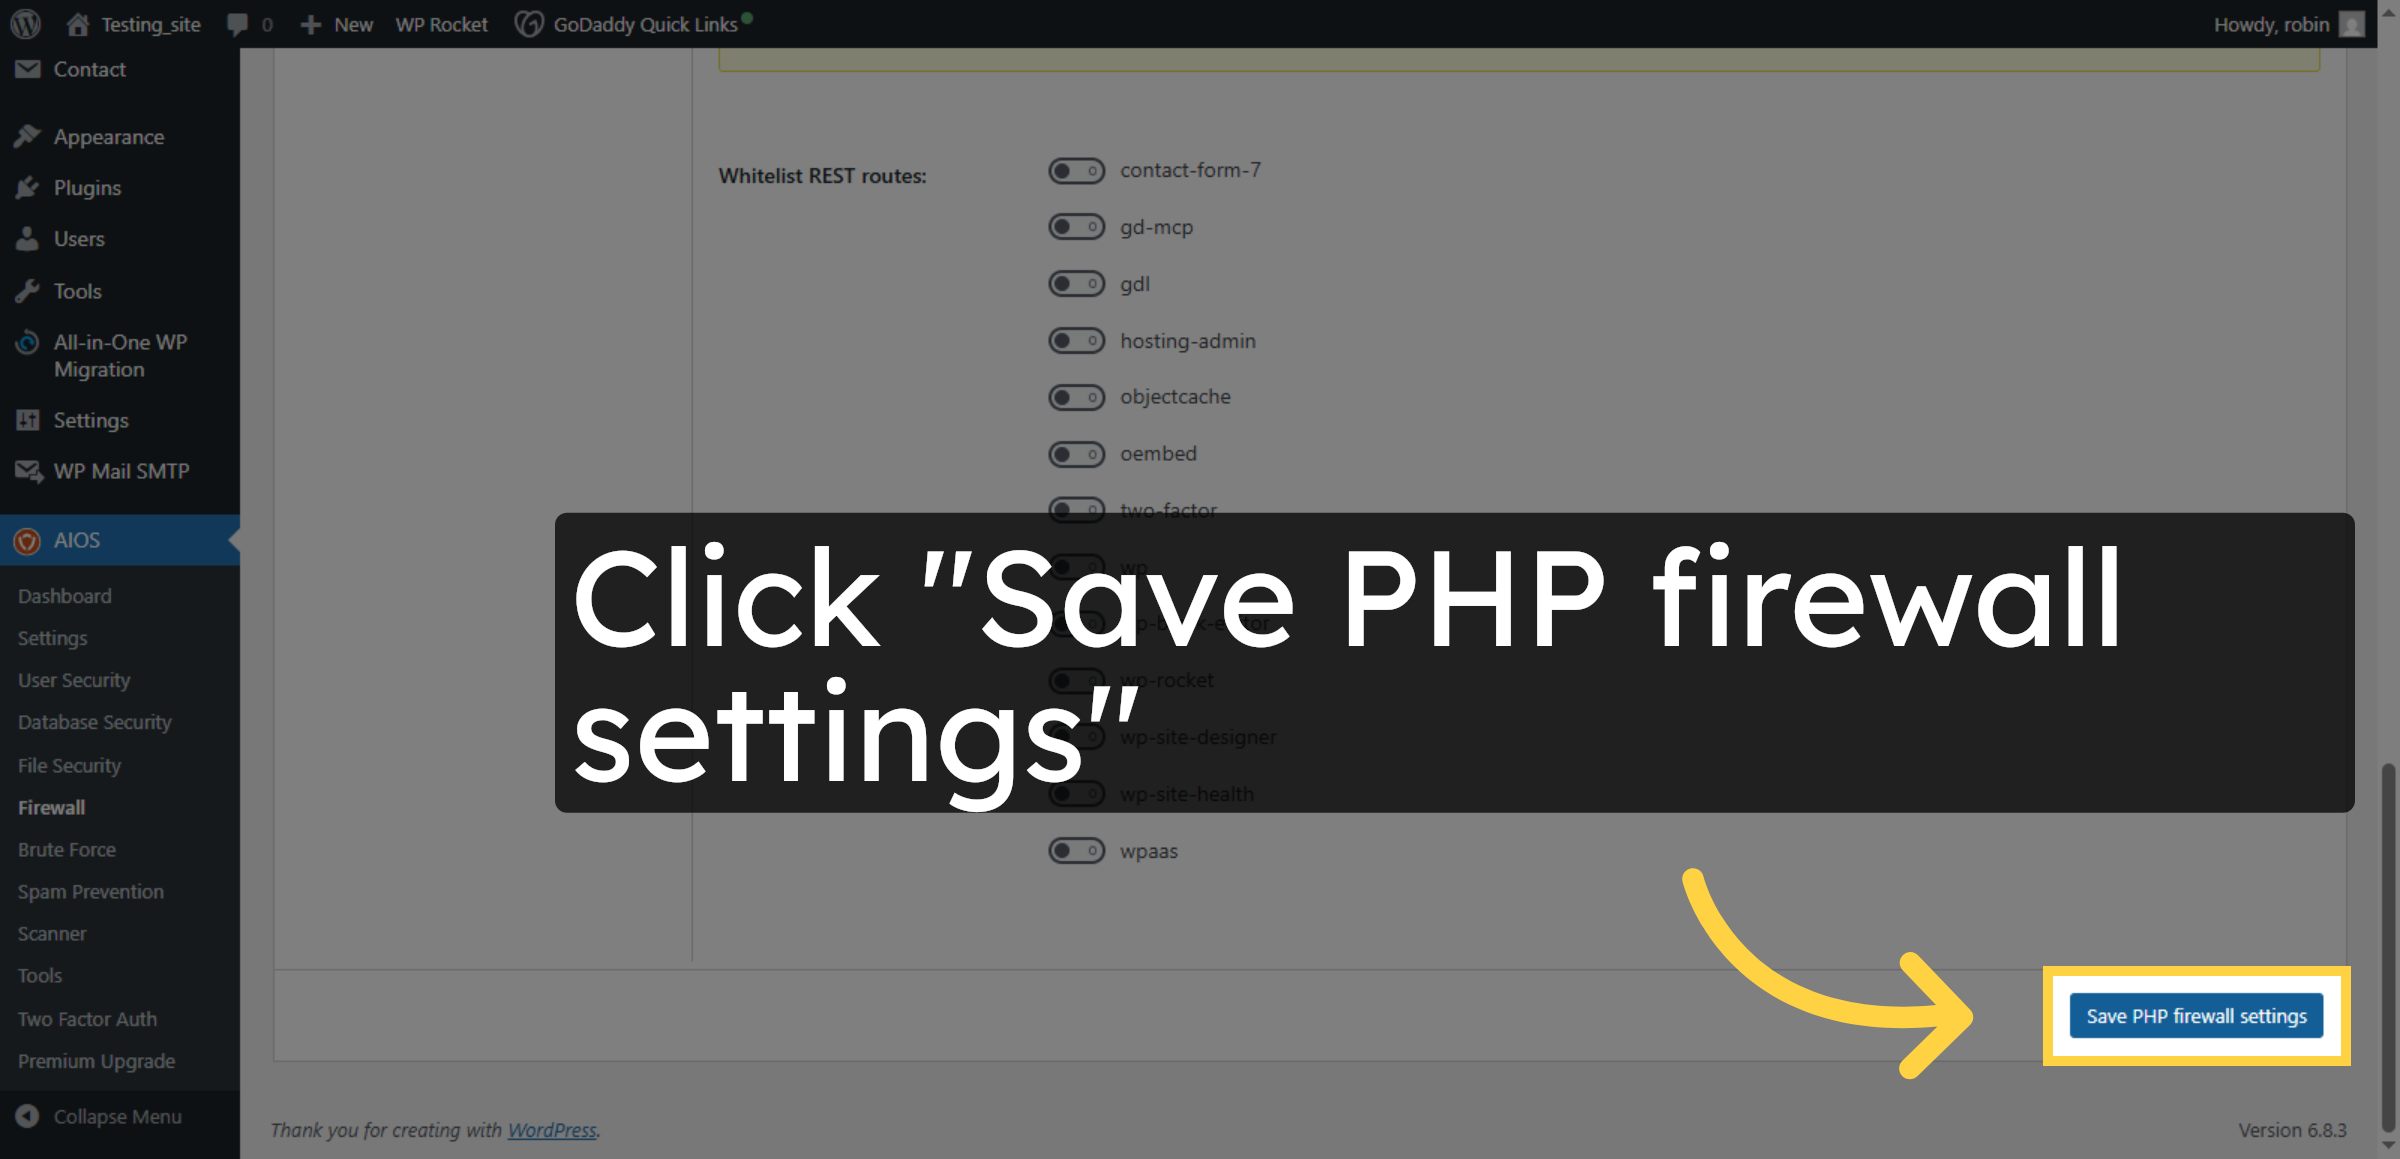
35. Save WP REST API Settings
Click “Save PHP firewall settings” to save the WP REST API firewall configurations.
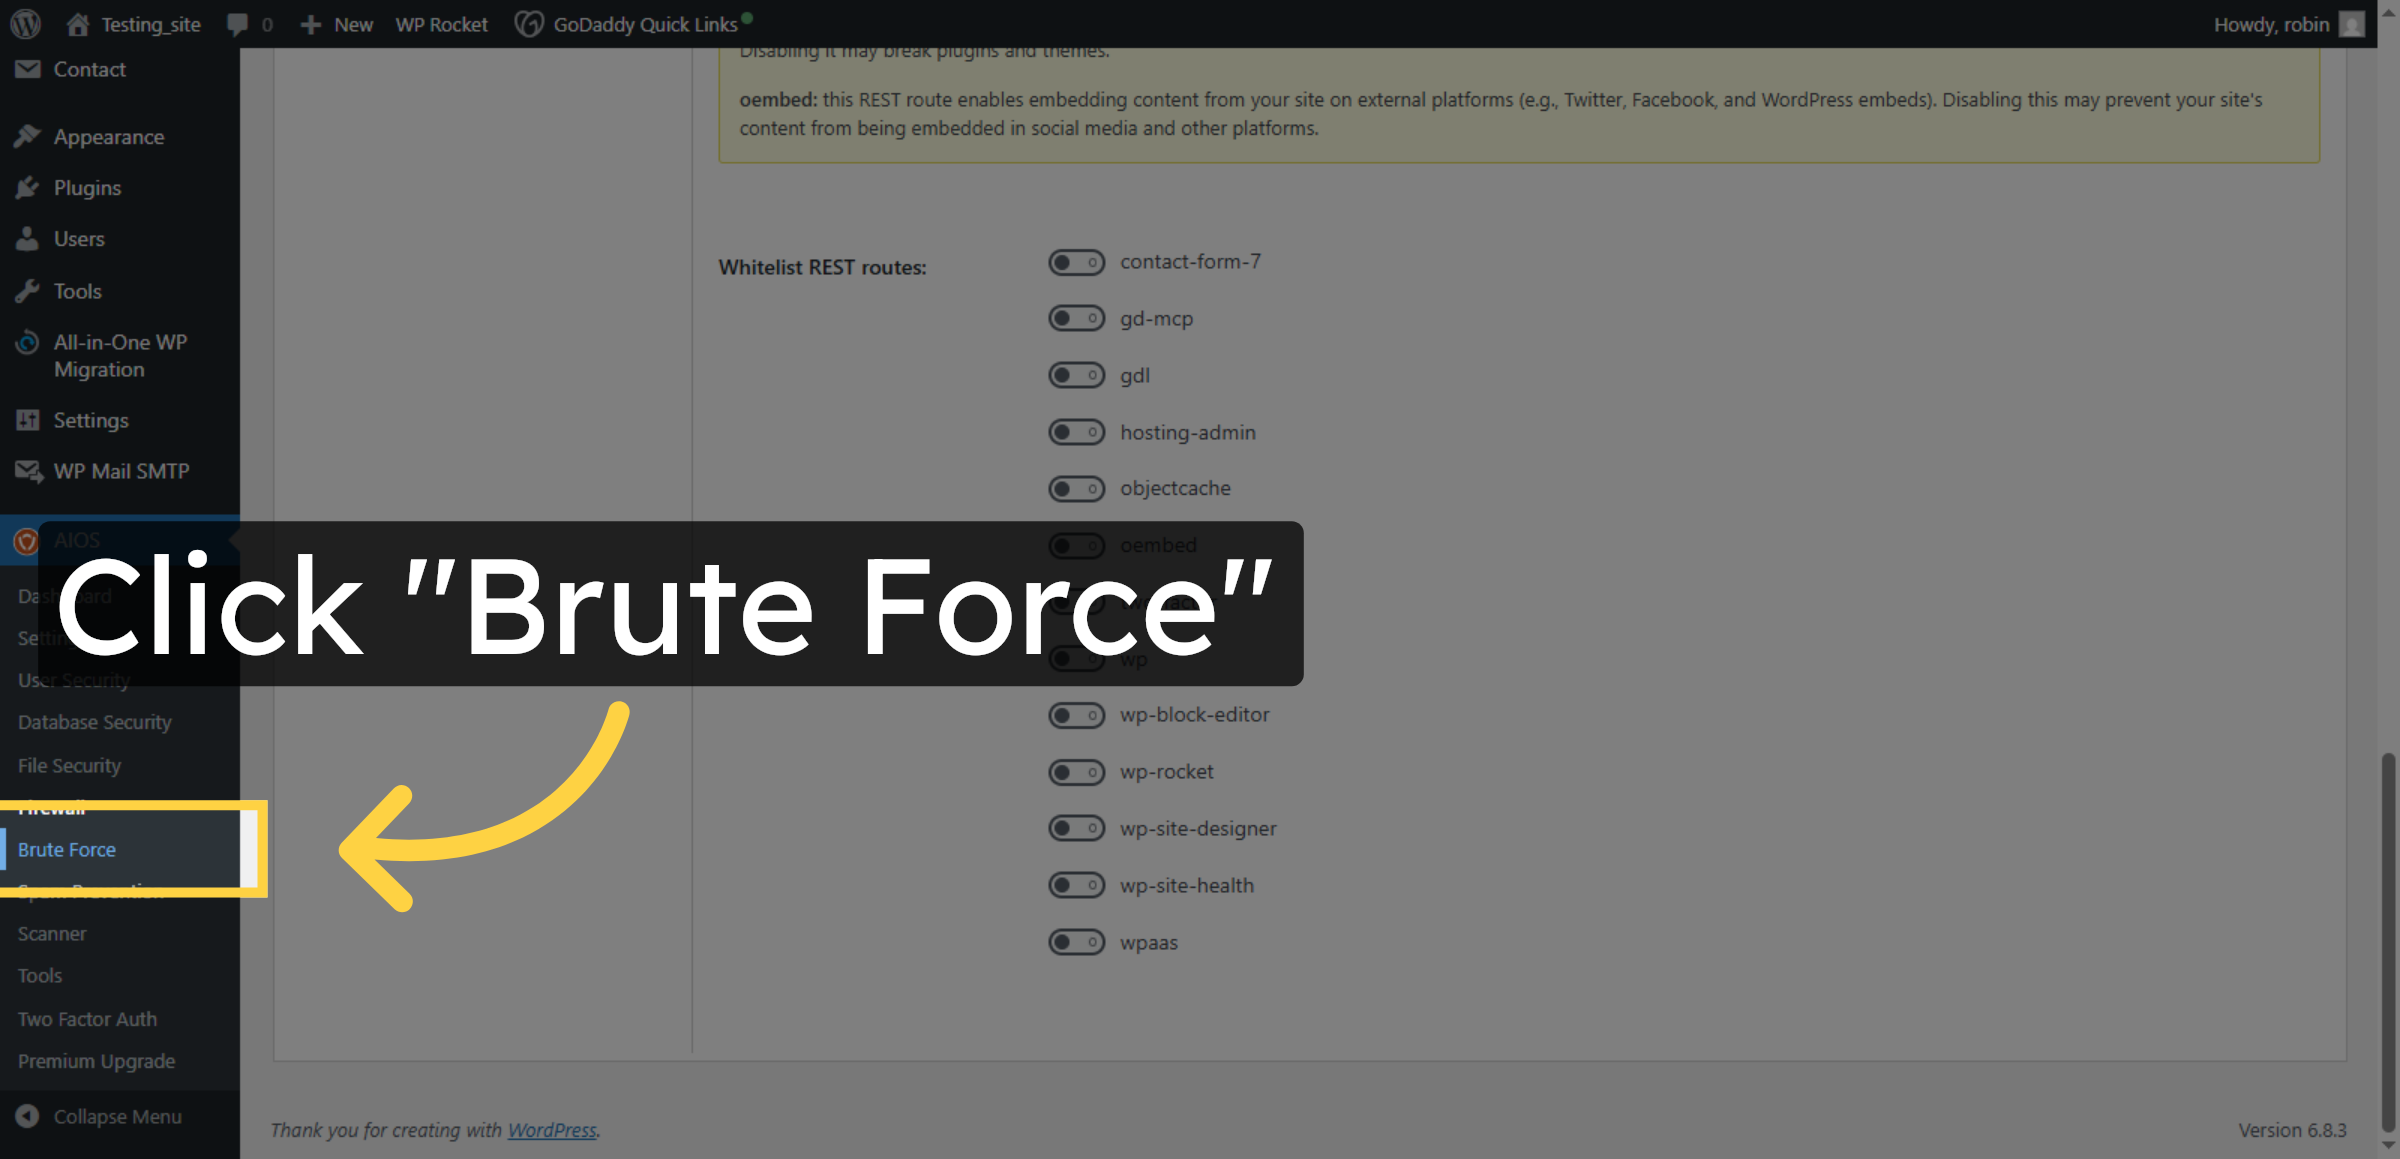
36. Open Brute Force Settings
Click “Brute Force” to access settings that protect against brute force login attacks.
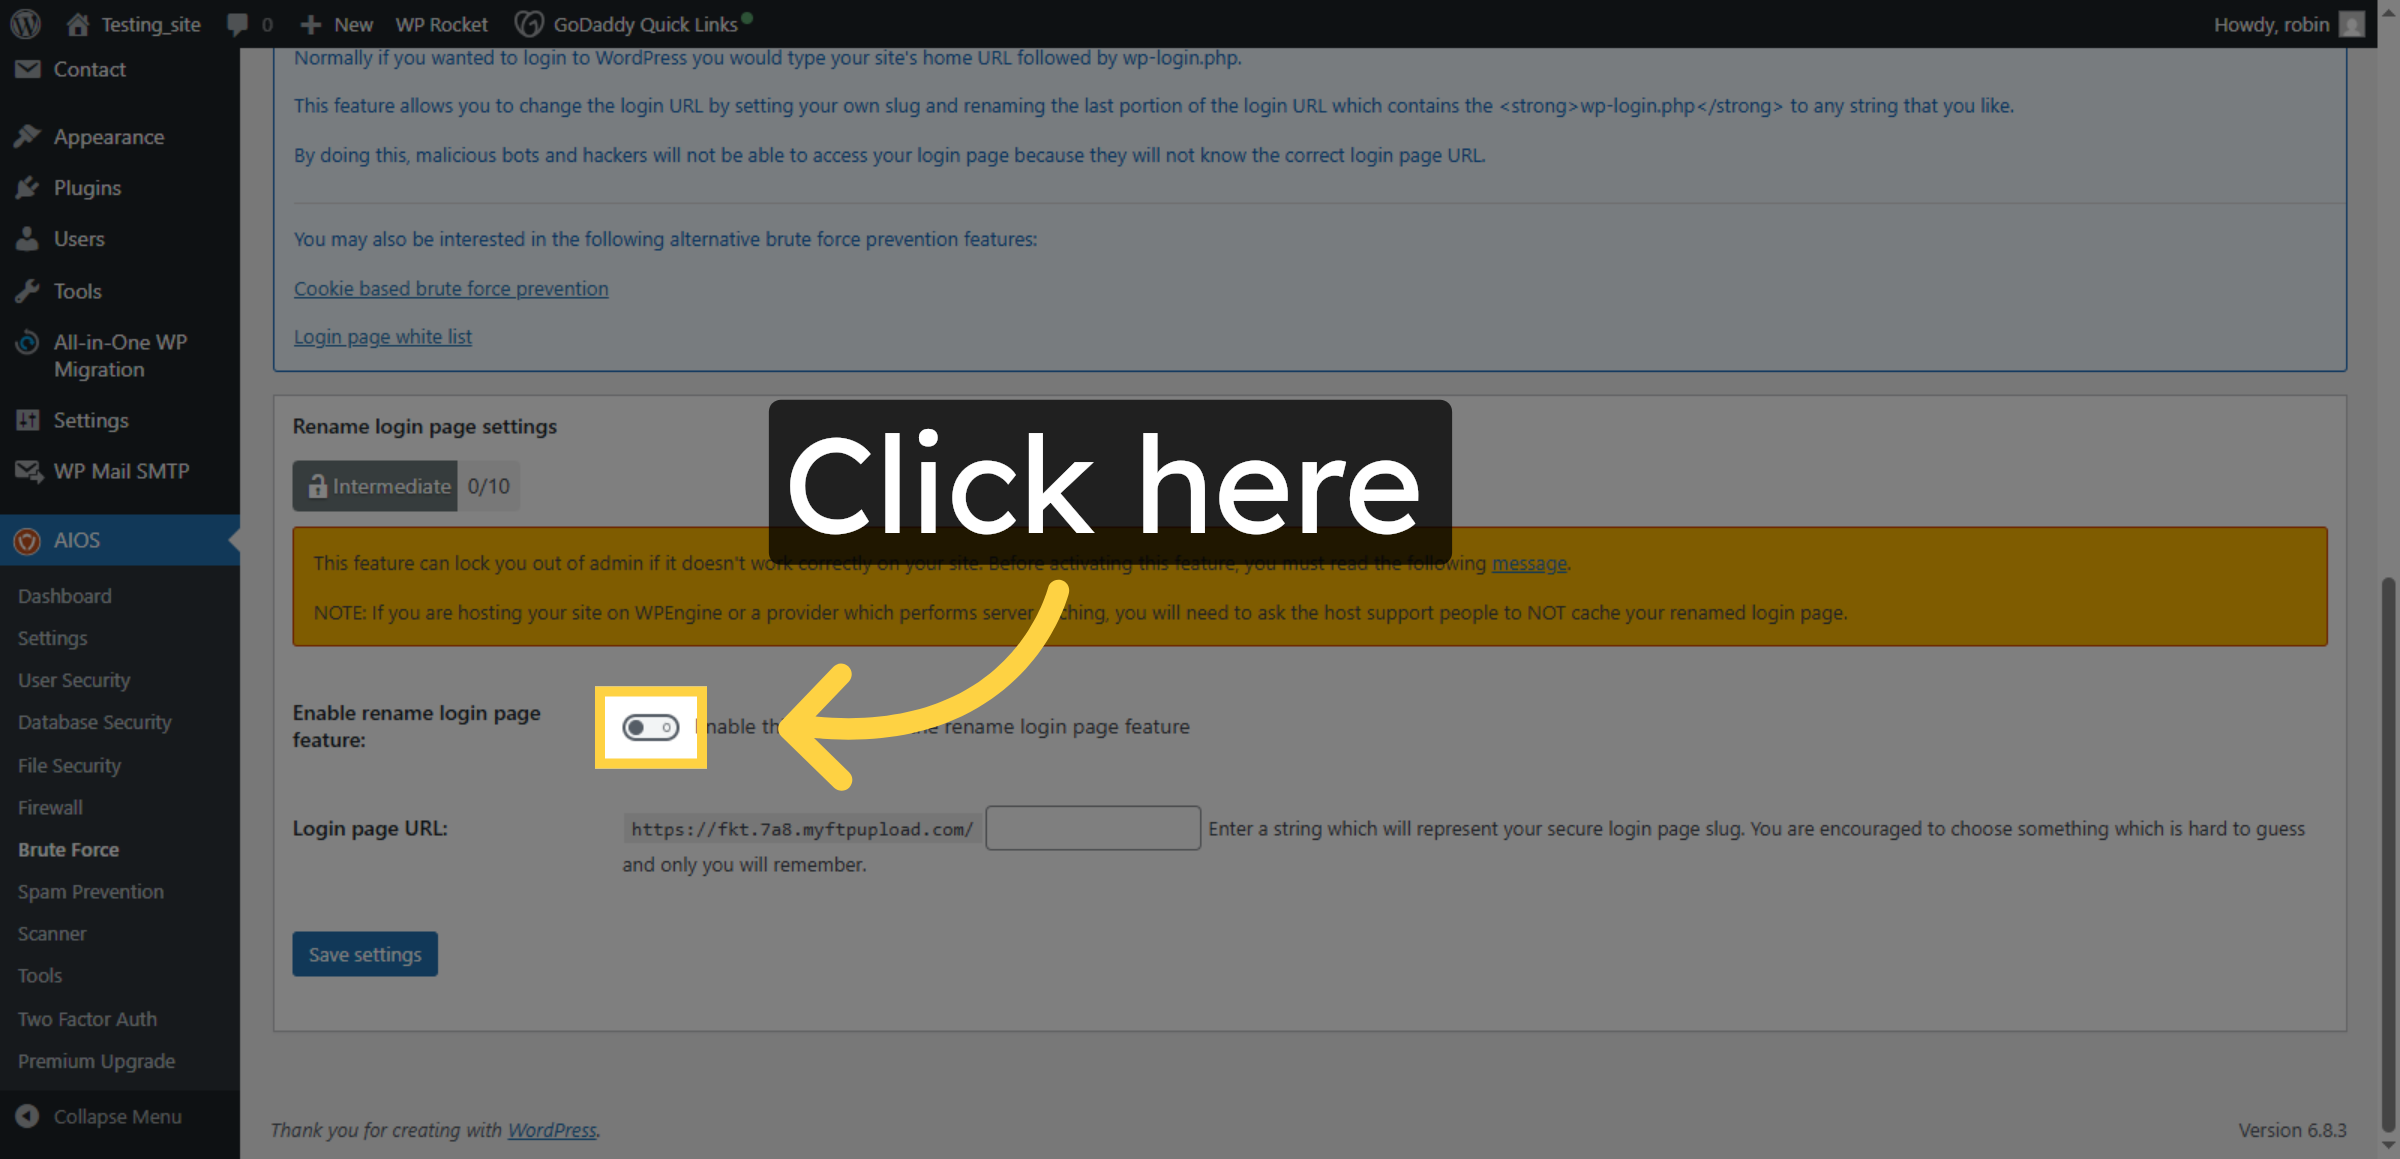
37. Enable rename login page feature
Enable this if you want the rename login page feature
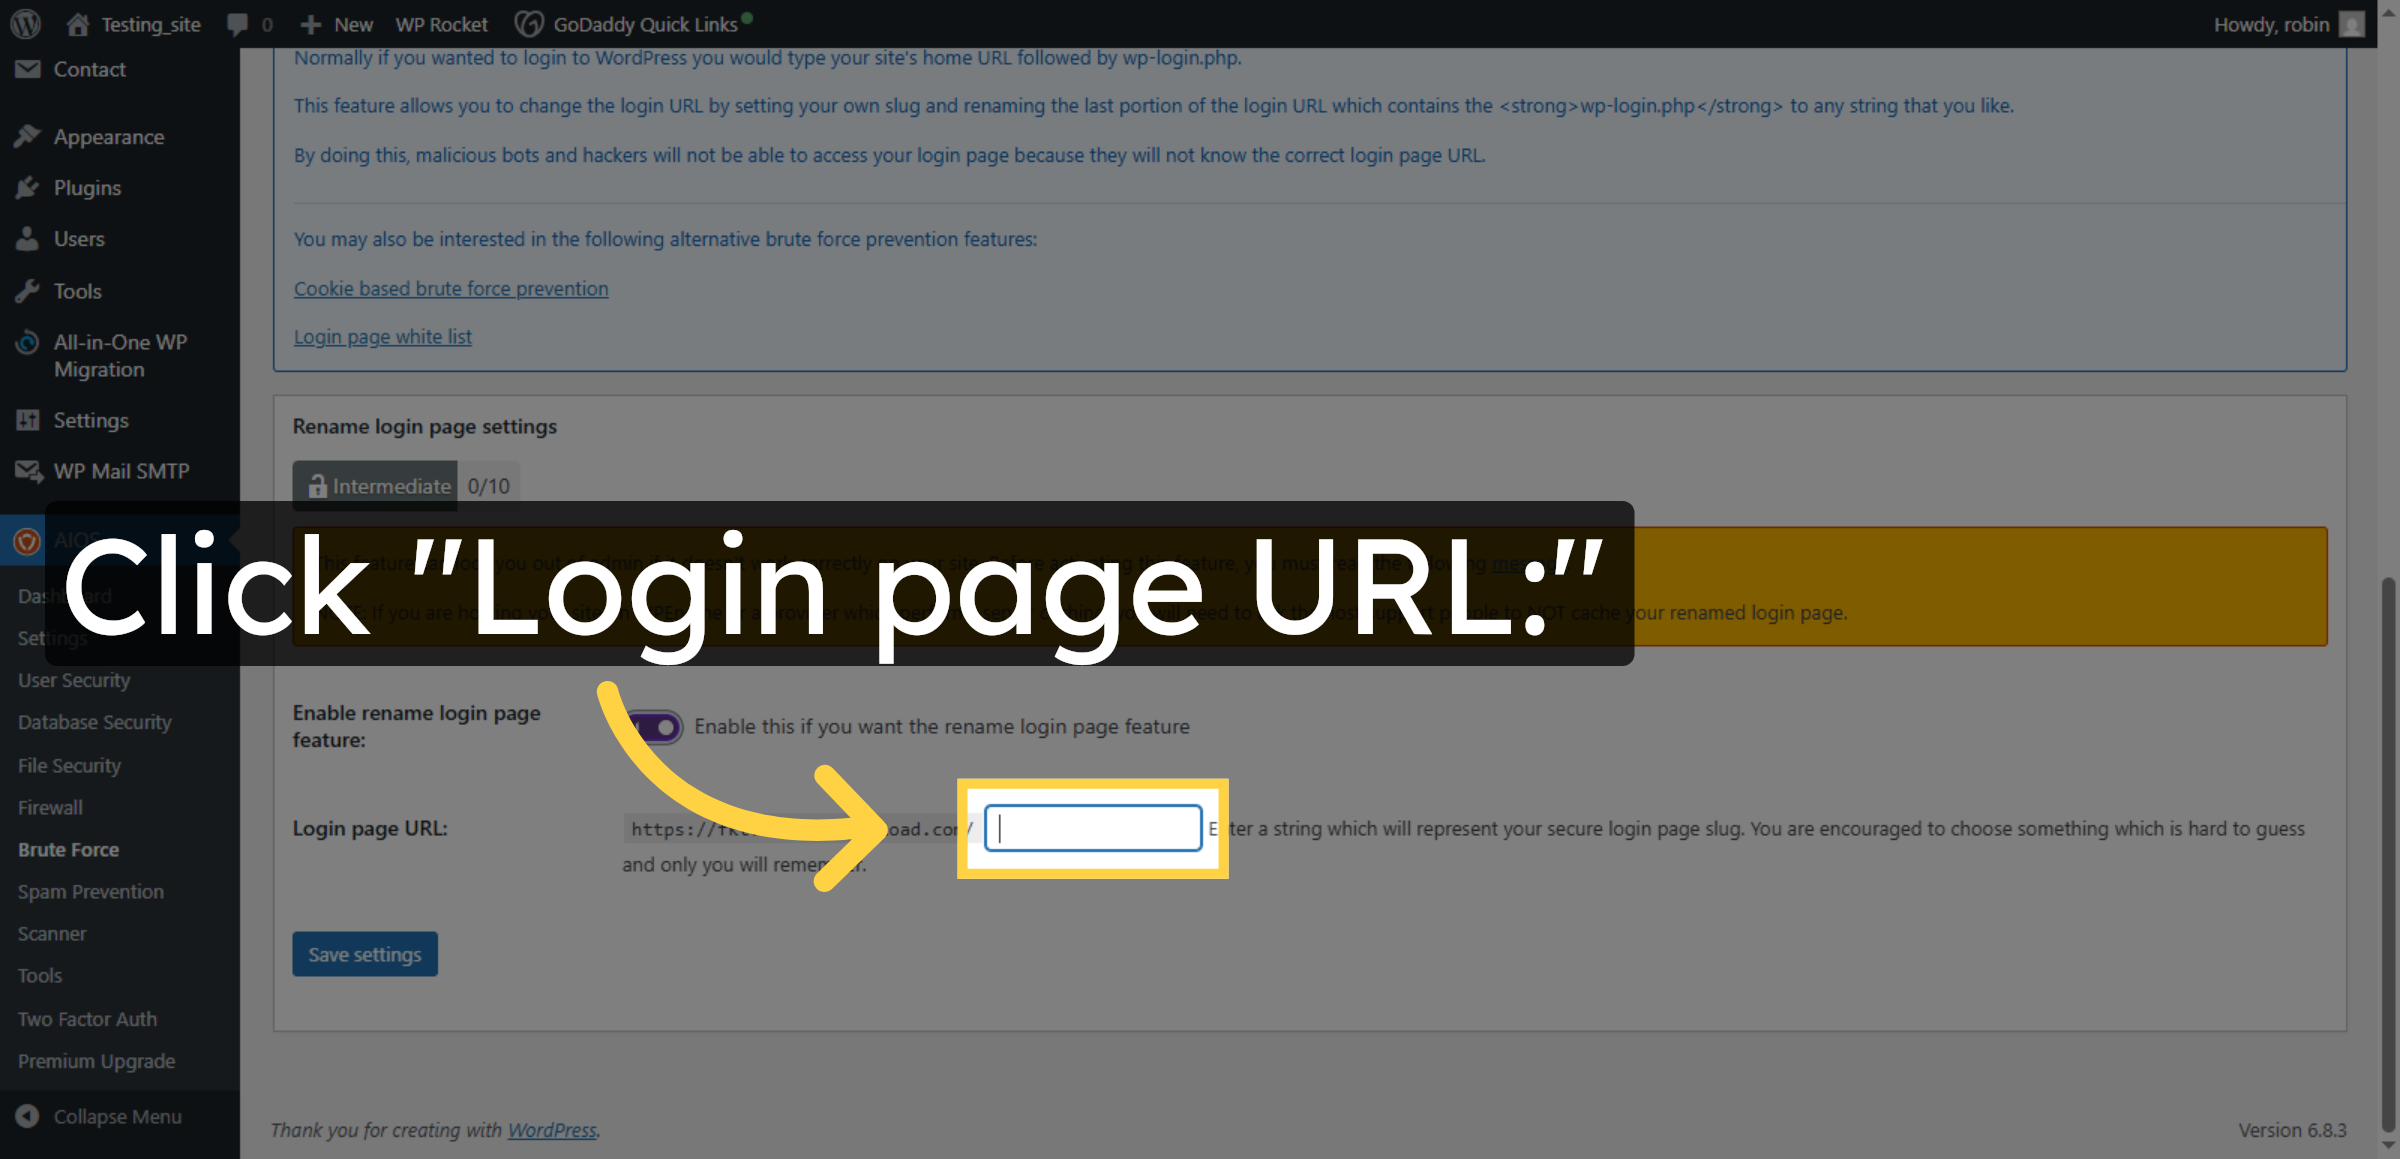
38. Edit Login Page URL
Click the “Login page URL:” field to customize the URL for your WordPress login page.
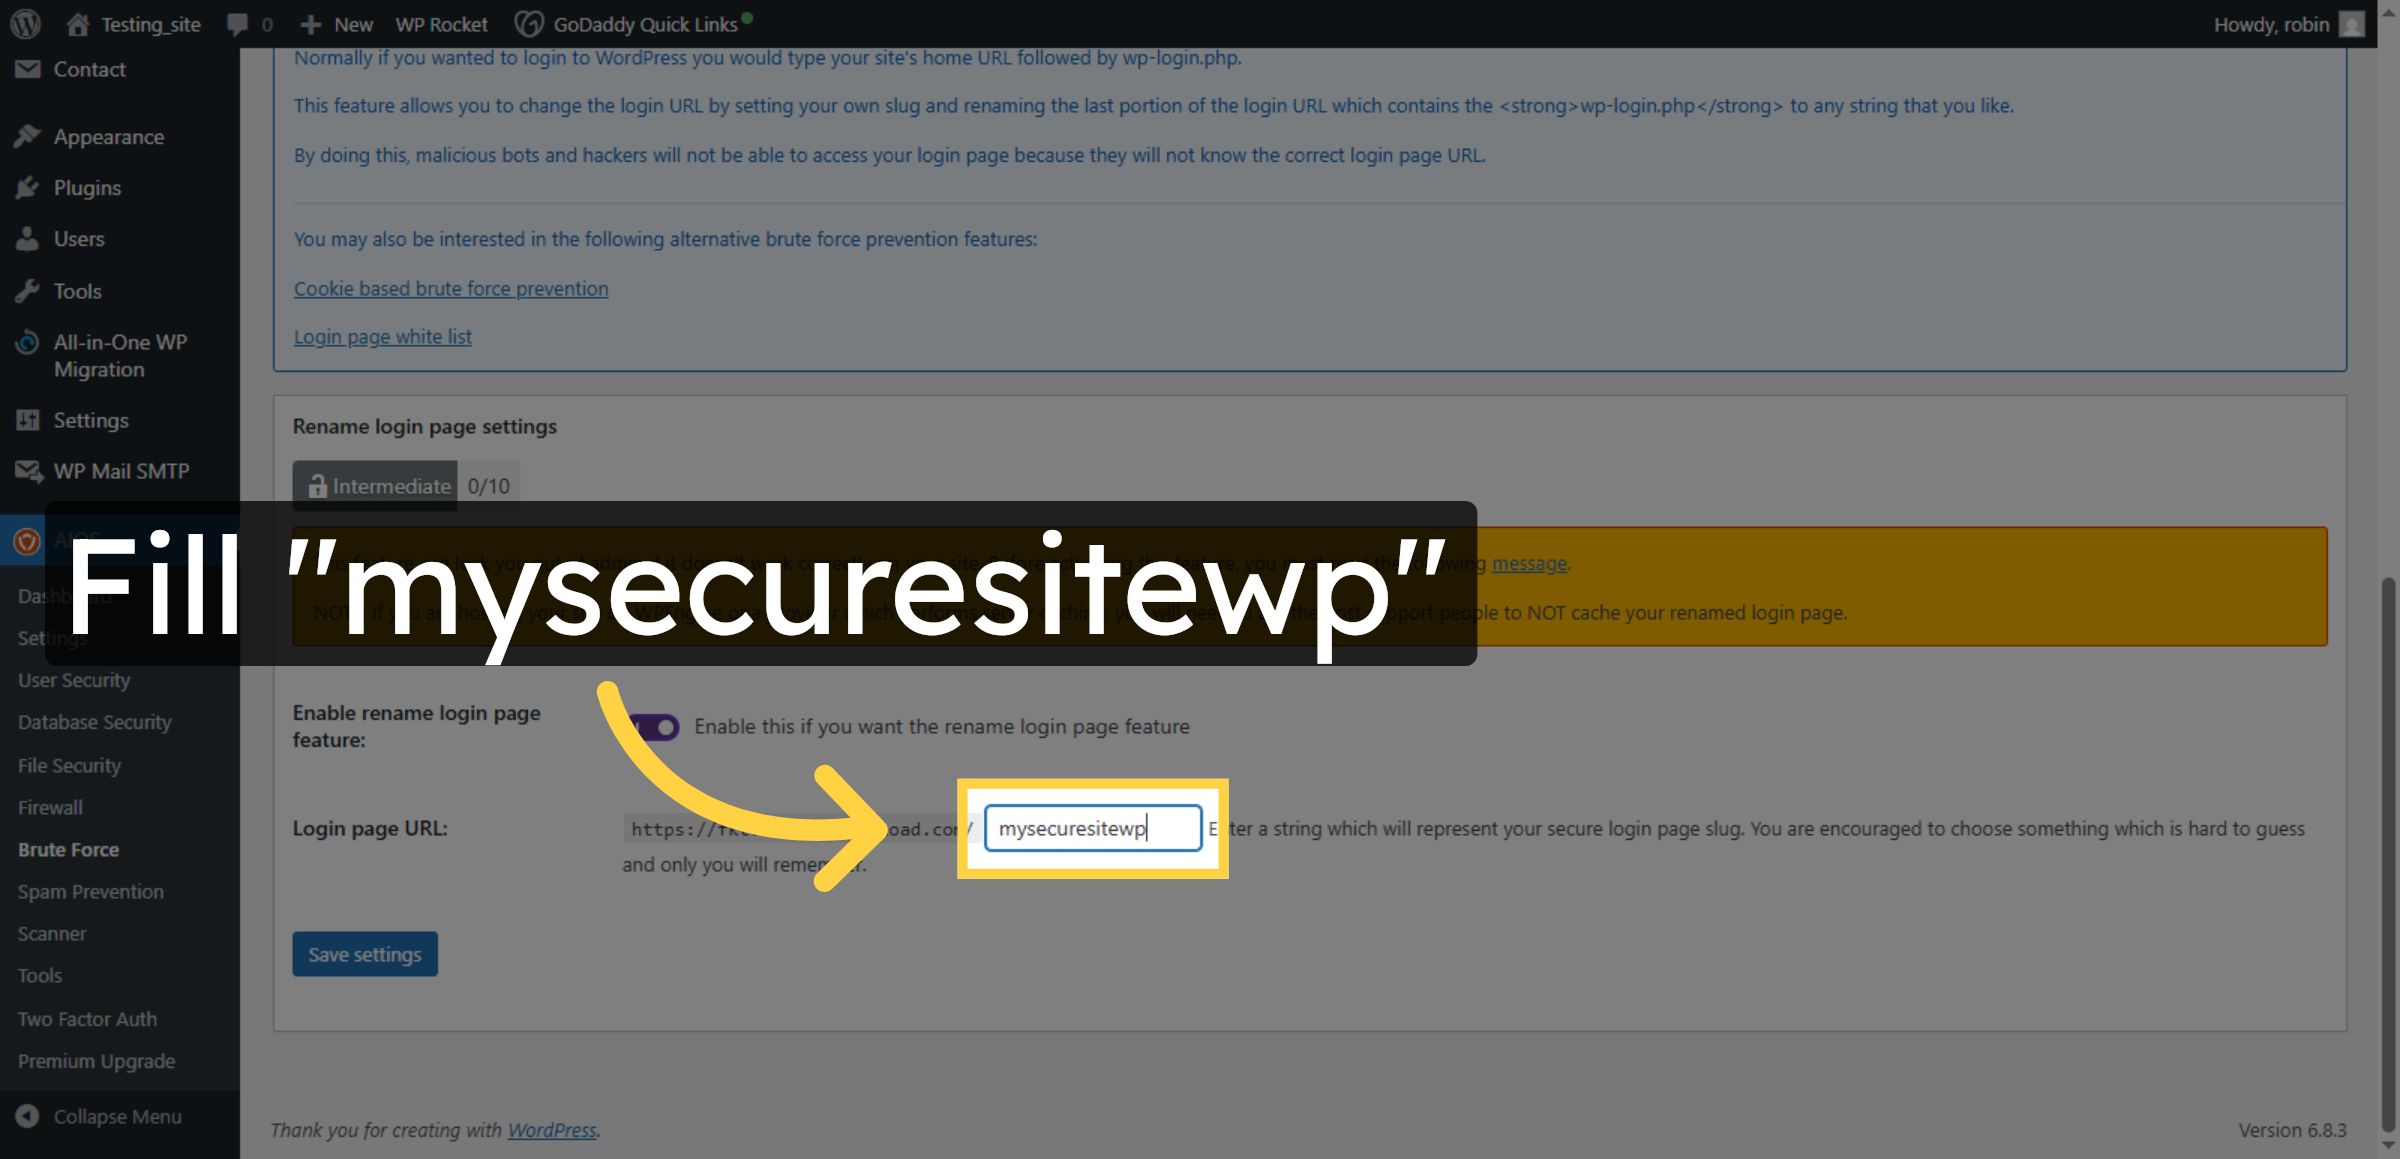
39. Set Custom Login URL
Enter a string which will represent your secure login page slug. You are encouraged to choose something which is hard to guess and only you will remember.
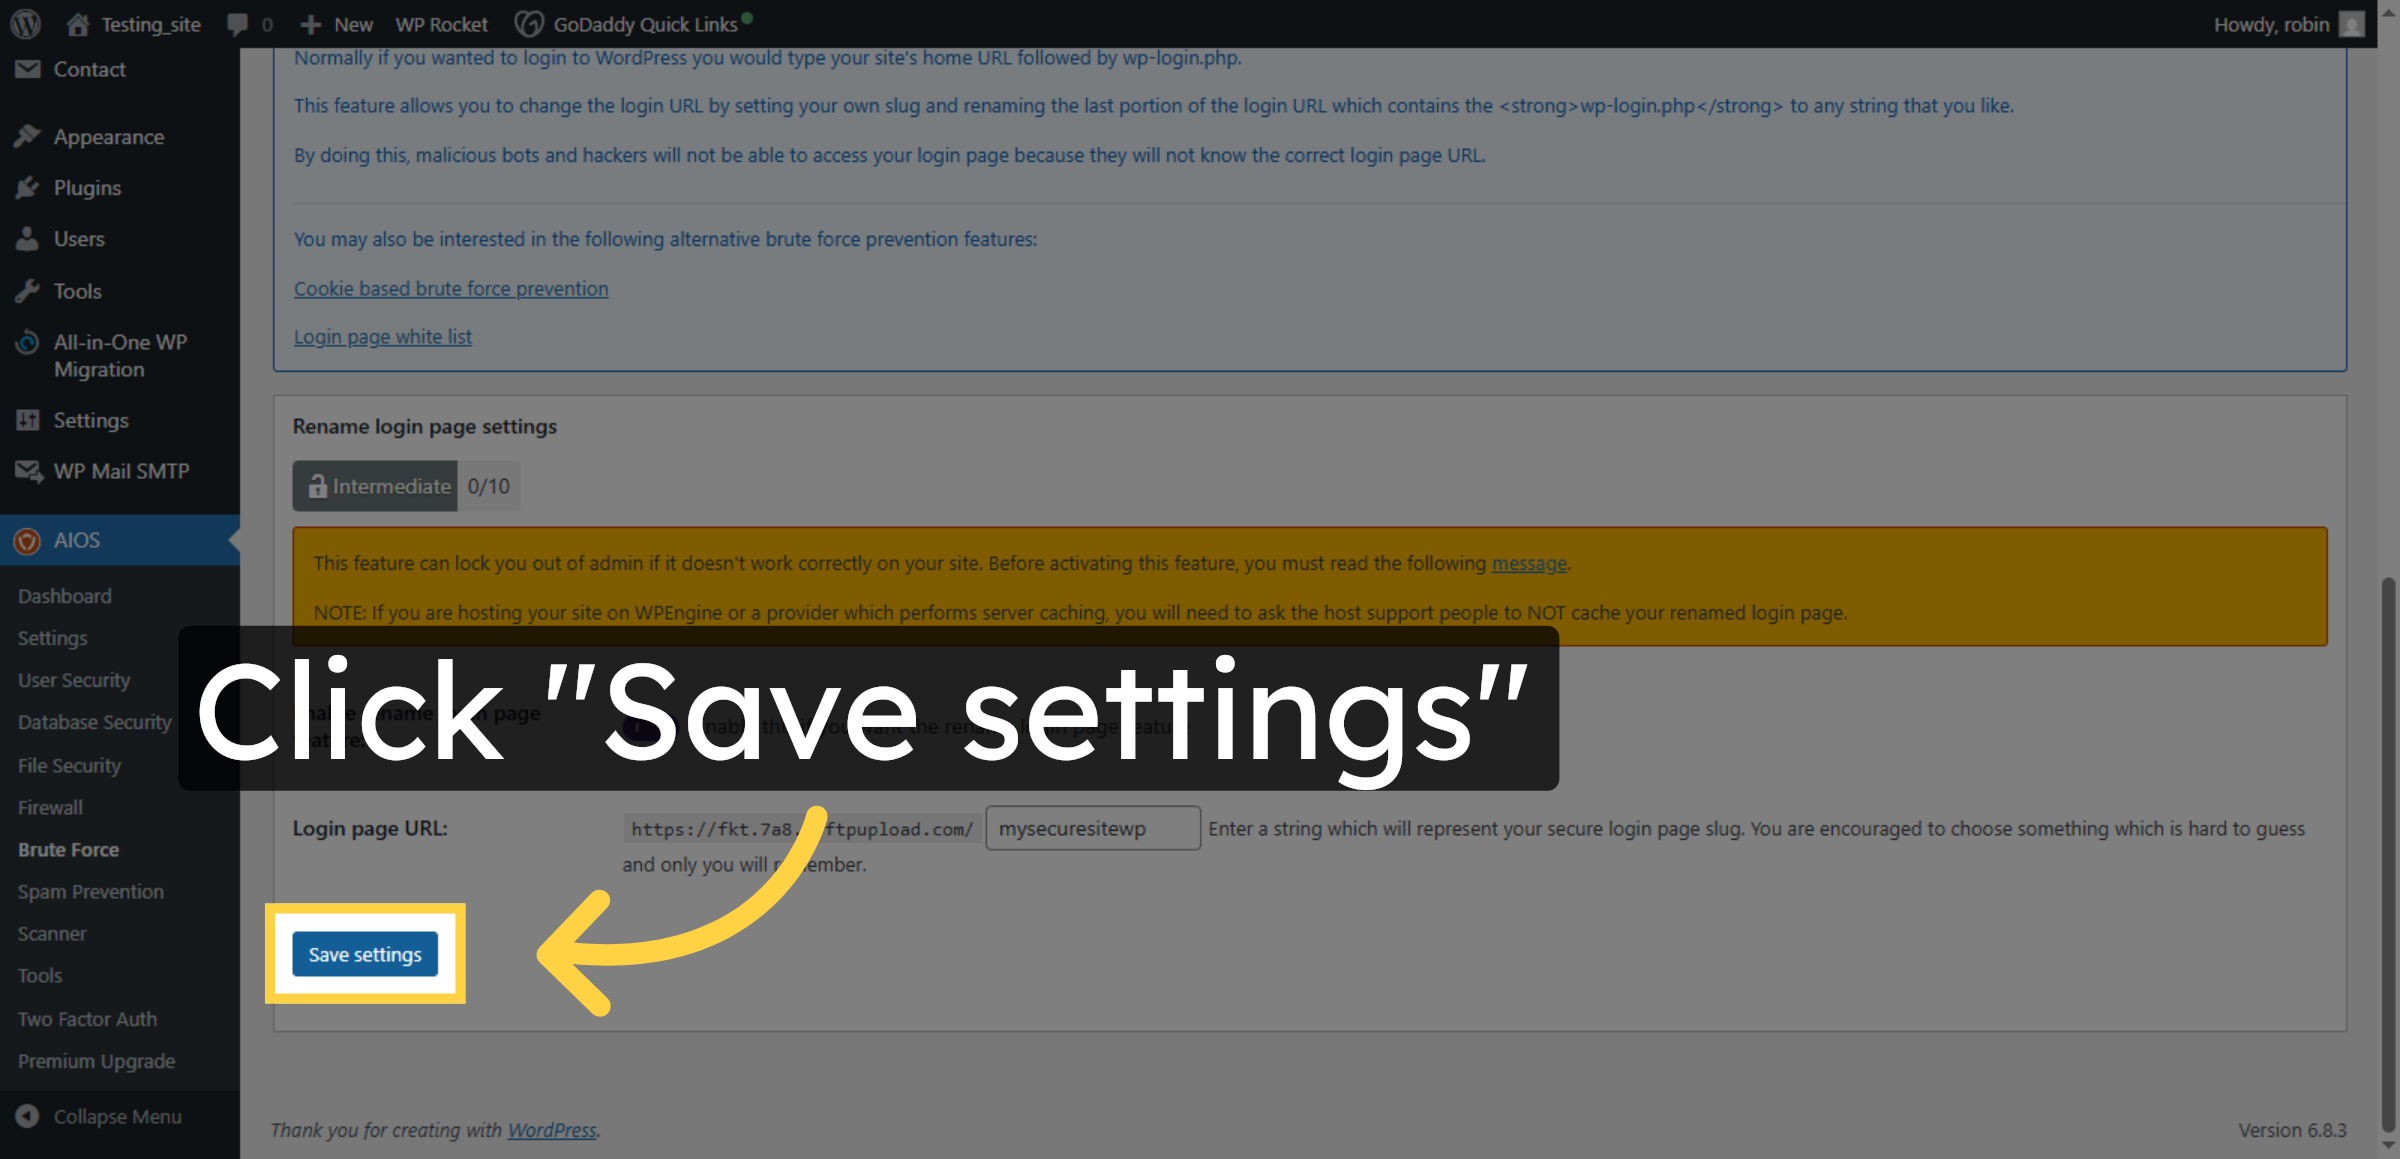
40. Save Brute Force Settings
Click “Save settings” to apply the brute force protection configurations.
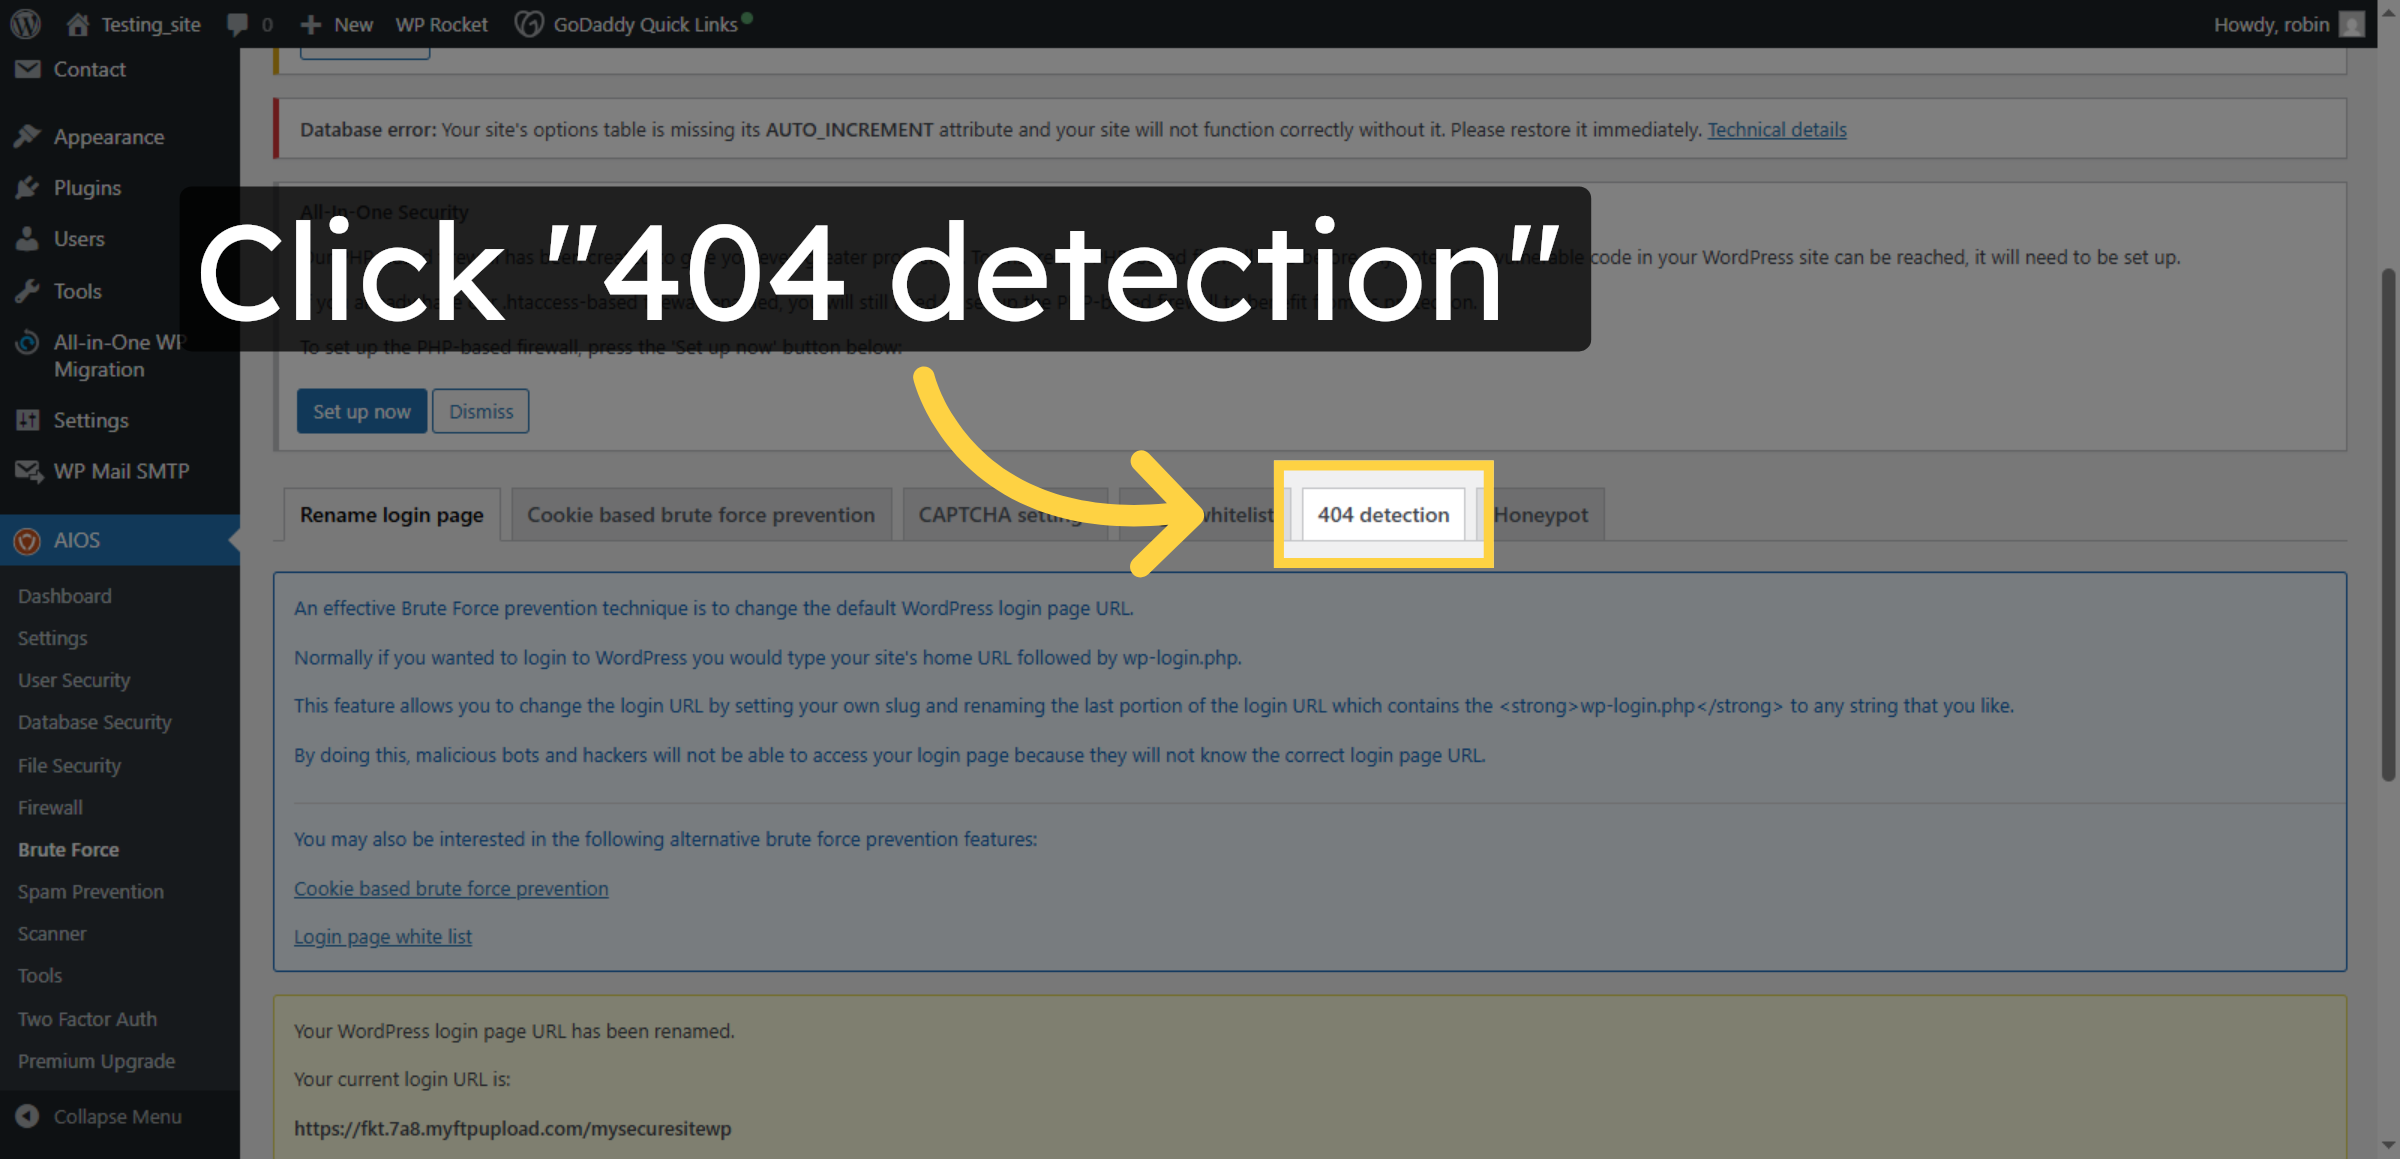
41. Open 404 Detection Settings
Click “404 detection” to configure settings that monitor and protect against suspicious 404 errors.
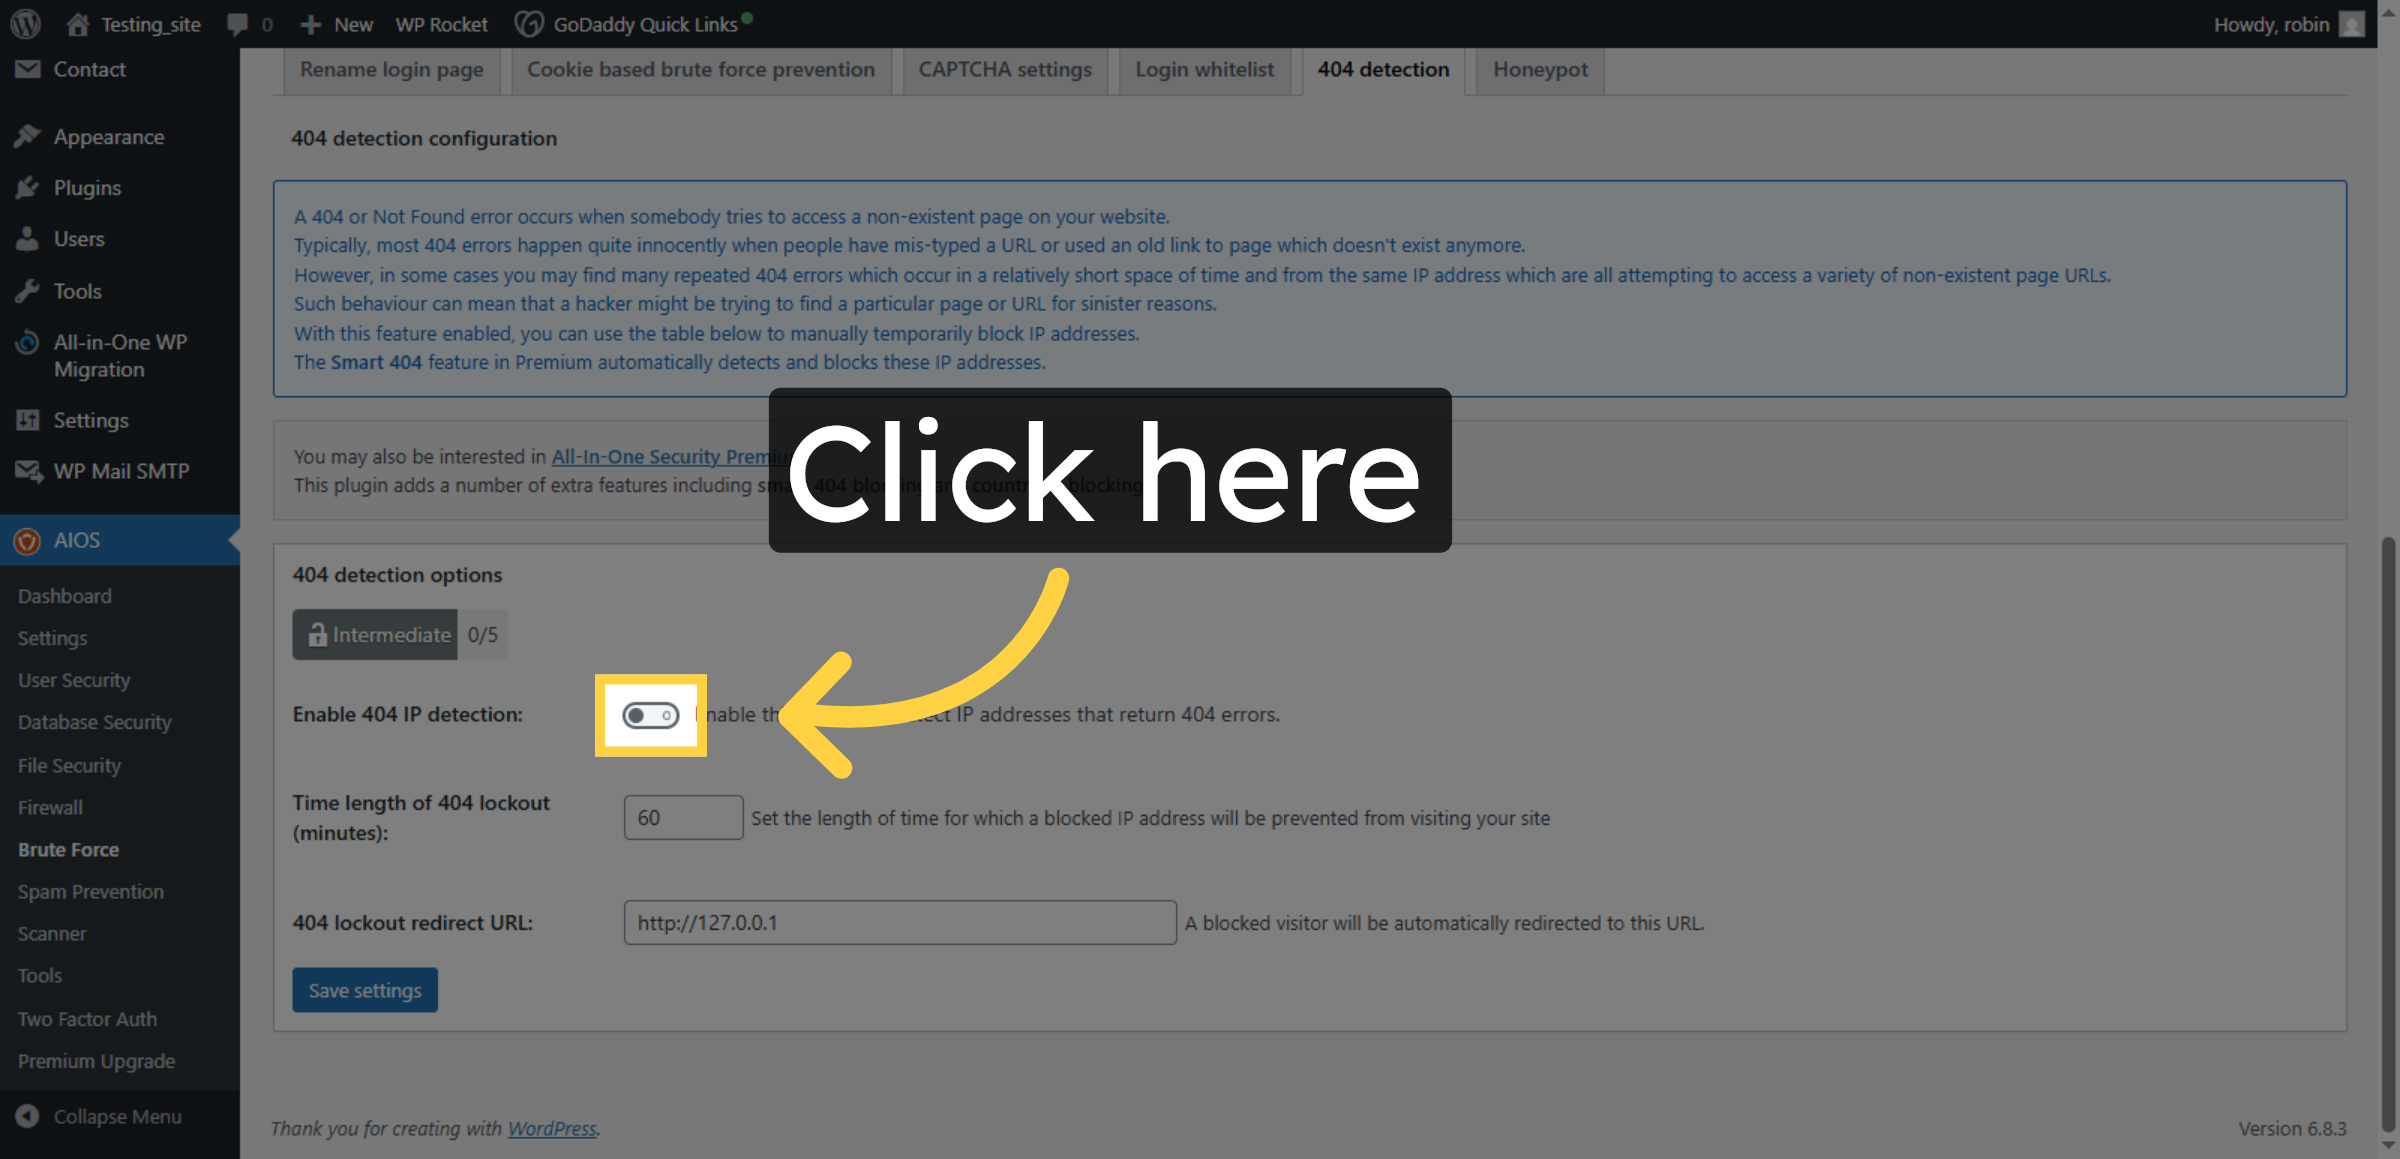
42. Enable 404 Detection
Click the checkbox to enable 404 detection features.
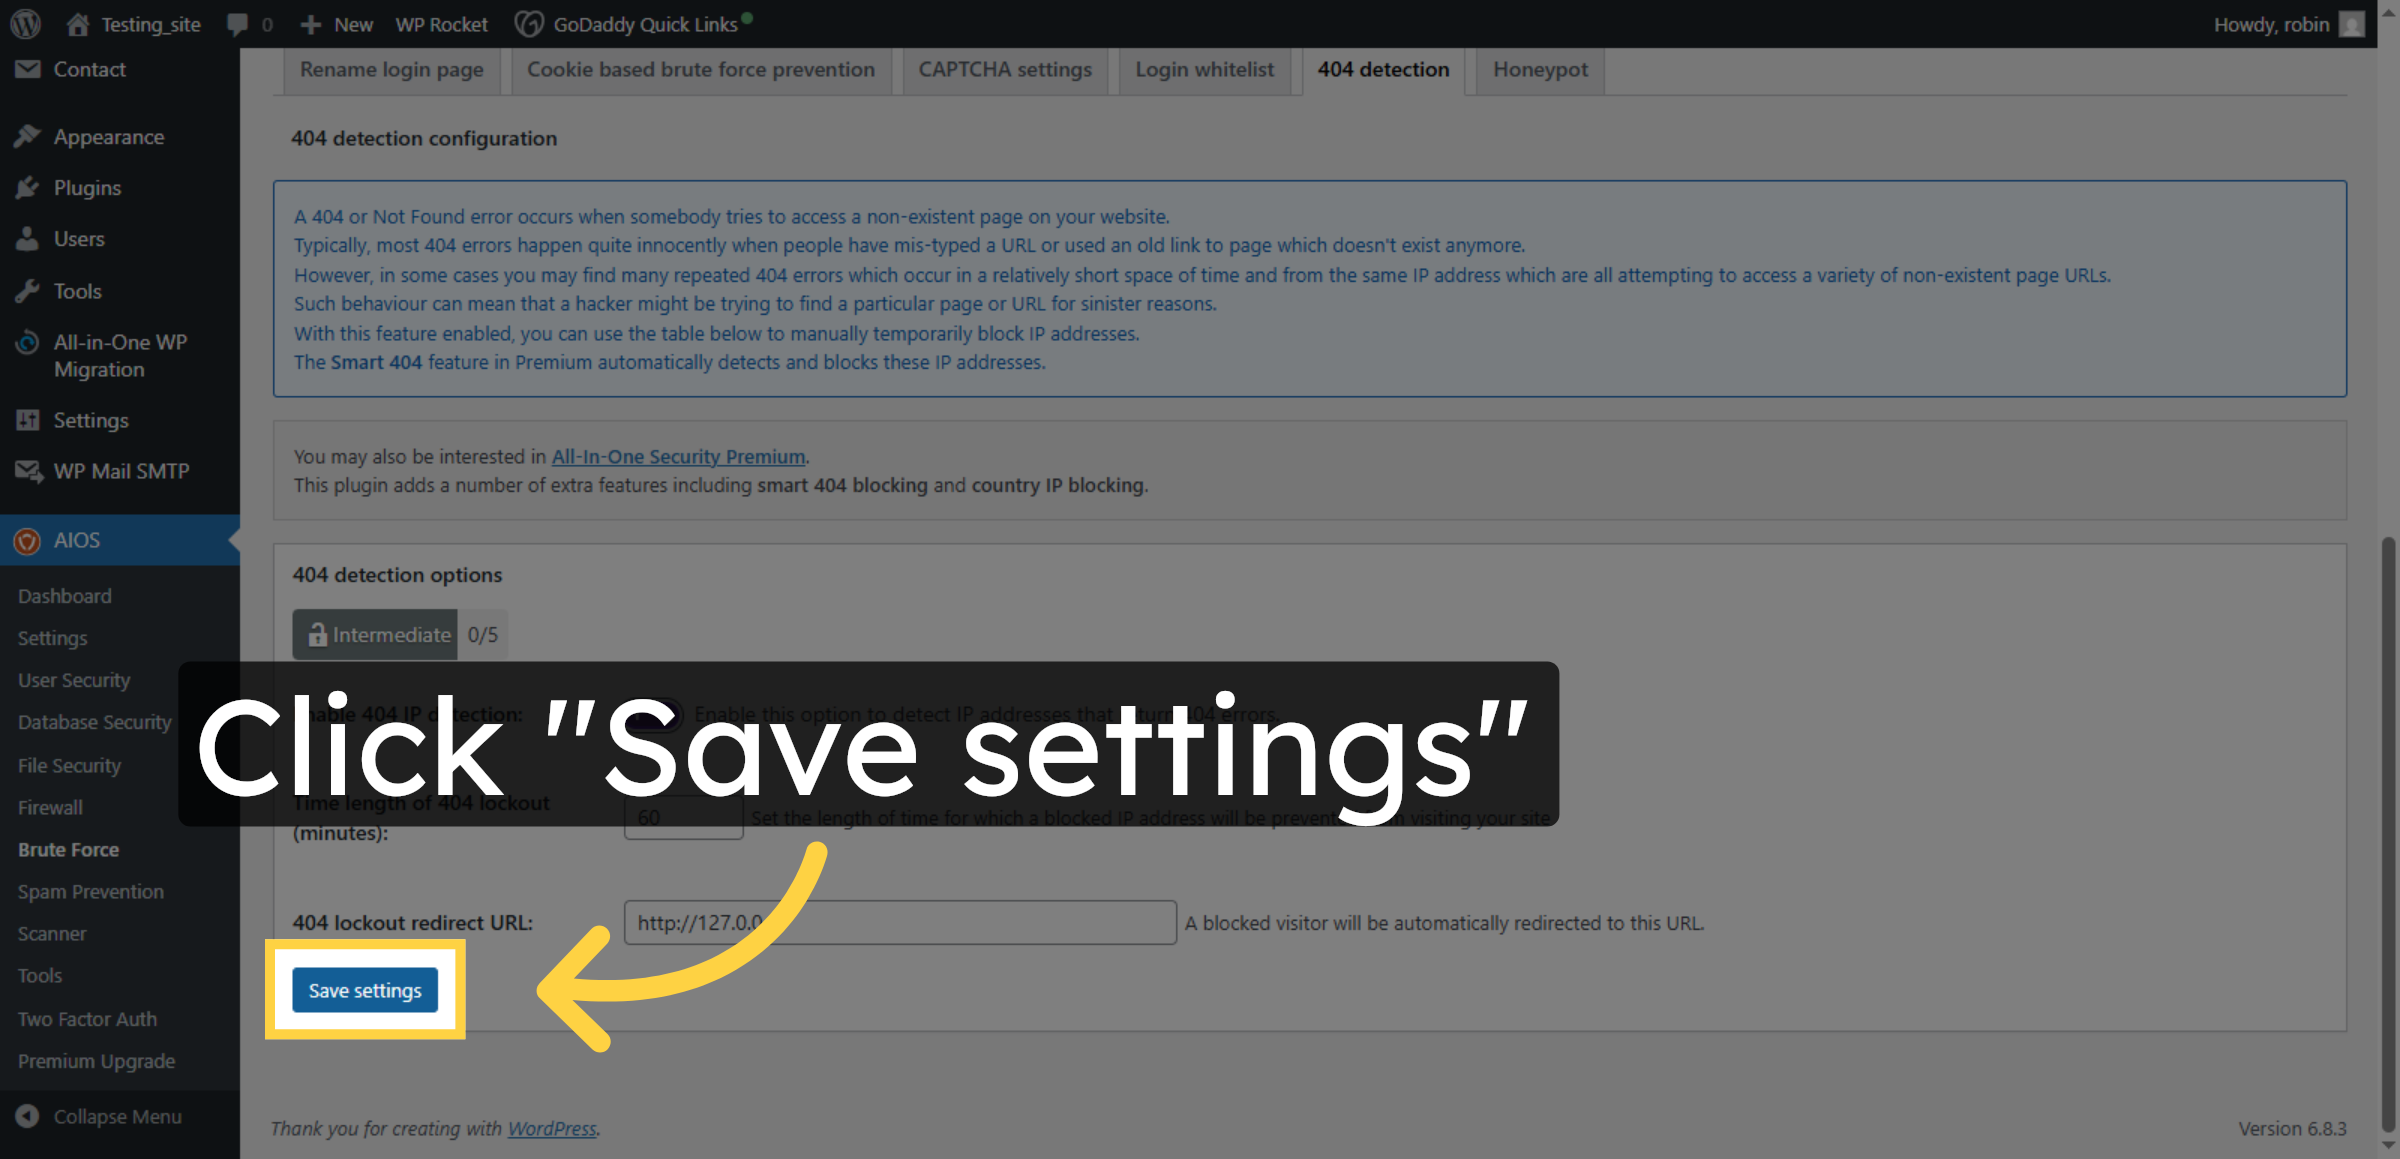
43. Save 404 Detection Settings
Click “Save settings” to confirm and apply the 404 detection configurations.
Conclusion
By following this guide, you have successfully implemented advanced security features on your GoDaddy WordPress website. Your site is now protected with malware scanning, firewall rules, login security controls, and database and file protection measures. These security improvements help block malicious traffic, prevent unauthorized access, and safeguard sensitive website data.
To maintain strong security, regularly update WordPress, plugins, and themes, perform malware scans, and review security logs. Consistent monitoring and maintenance will help keep your website safe from evolving cyber threats.
WooHelpDesk Support
Need help with WordPress security setup, firewall configuration, or malware removal? WooHelpDesk provides expert support to keep your website protected and optimized.
Visit: https://www.woohelpdesk.com
Call Us Toll-Free: +1 888 602 0119 (US & Canada)
Secure Protection | Expert Support | Trusted Solutions