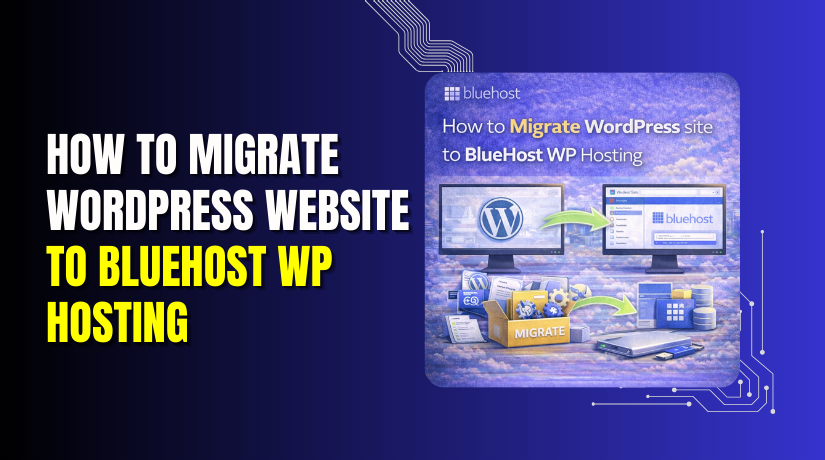
How to Migrate WordPress Website to Bluehost WP Hosting
Introduction
Website migration is a critical process when transferring a WordPress site from one hosting provider to another. A successful migration ensures that all website content, themes, plugins, databases, and configurations are preserved without data loss or downtime. Hosting platforms such as Bluehost offer optimized environments for WordPress hosting, making them a preferred choice for improved performance, security, and reliability.
This guidde explains how to migrate a WordPress website to Bluehost WP Hosting using the All-in-One WP Migration plugin. It provides step-by-step instructions for exporting website data from the source server, downloading the migration file, importing it into the Bluehost environment, and verifying the restored website. By following this guide, website owners can complete a smooth and secure migration while maintaining website functionality and design consistency.
1. NOTE
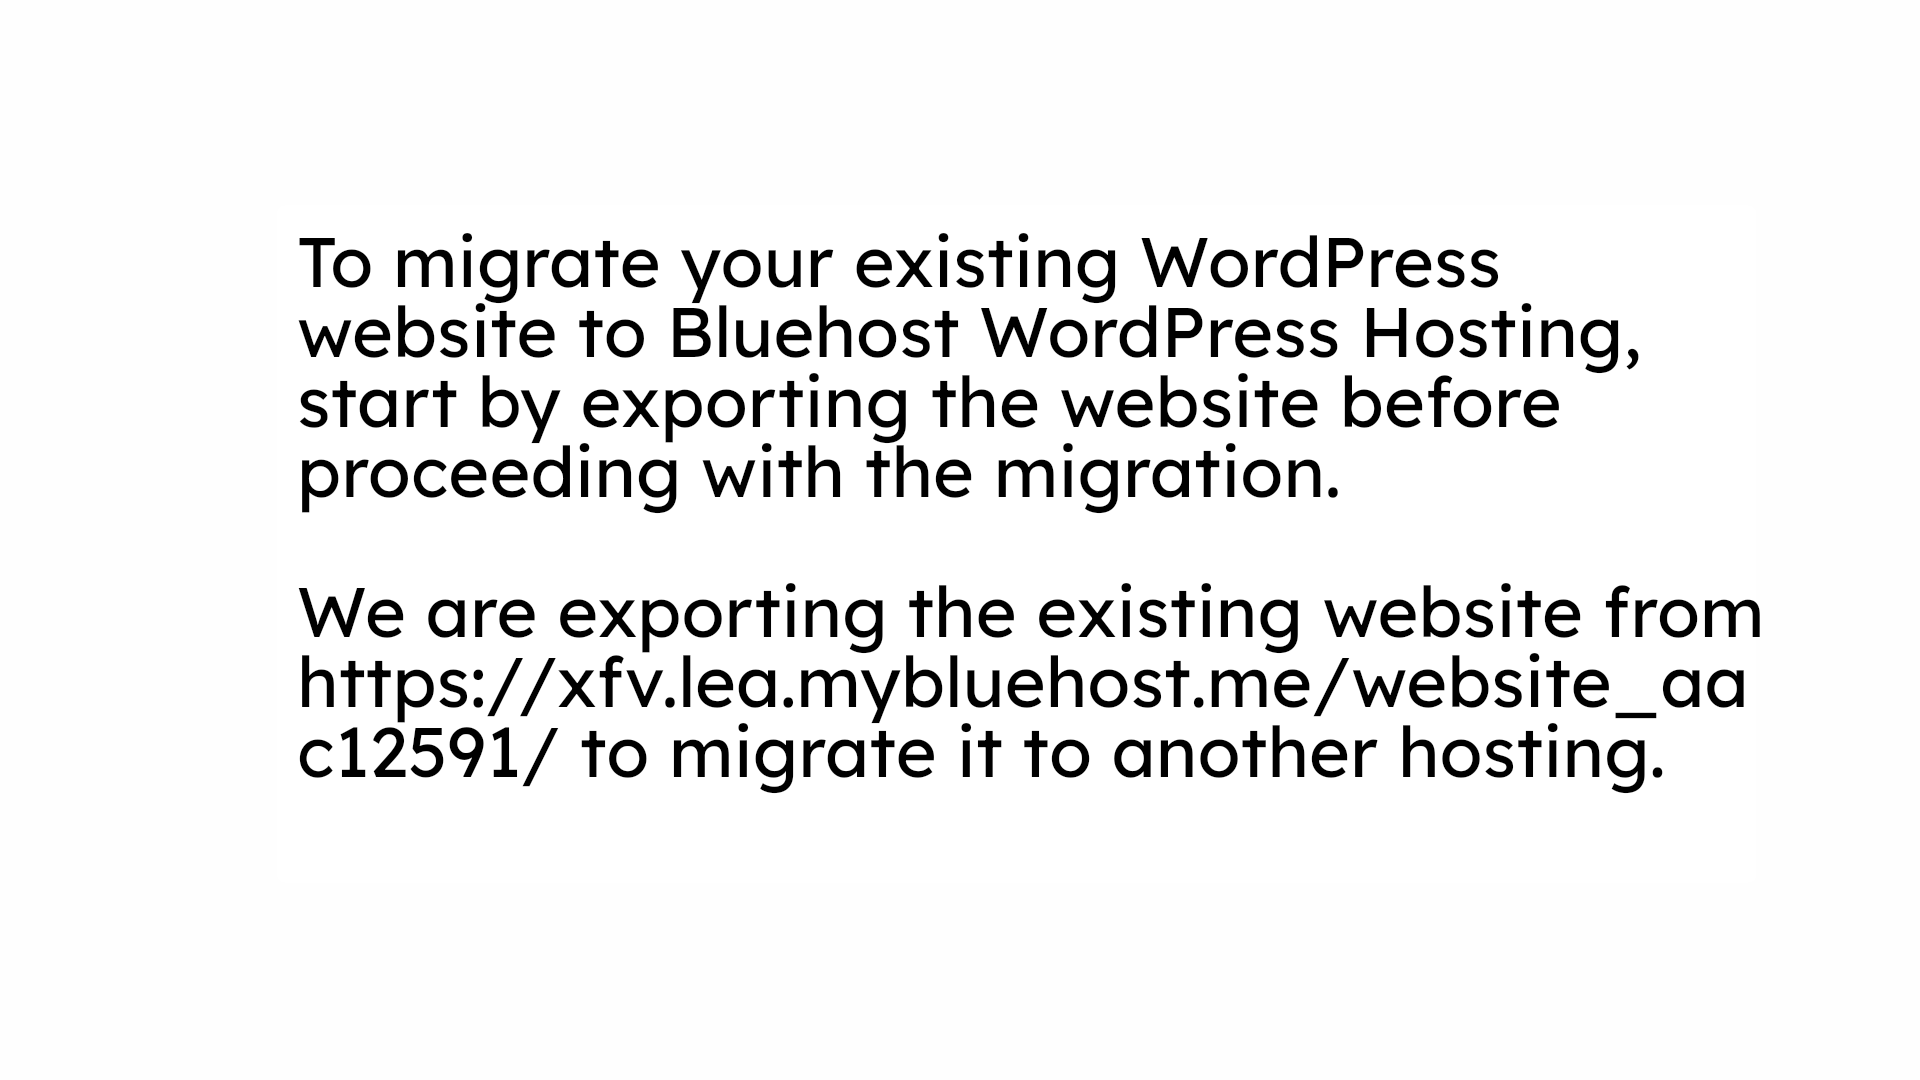
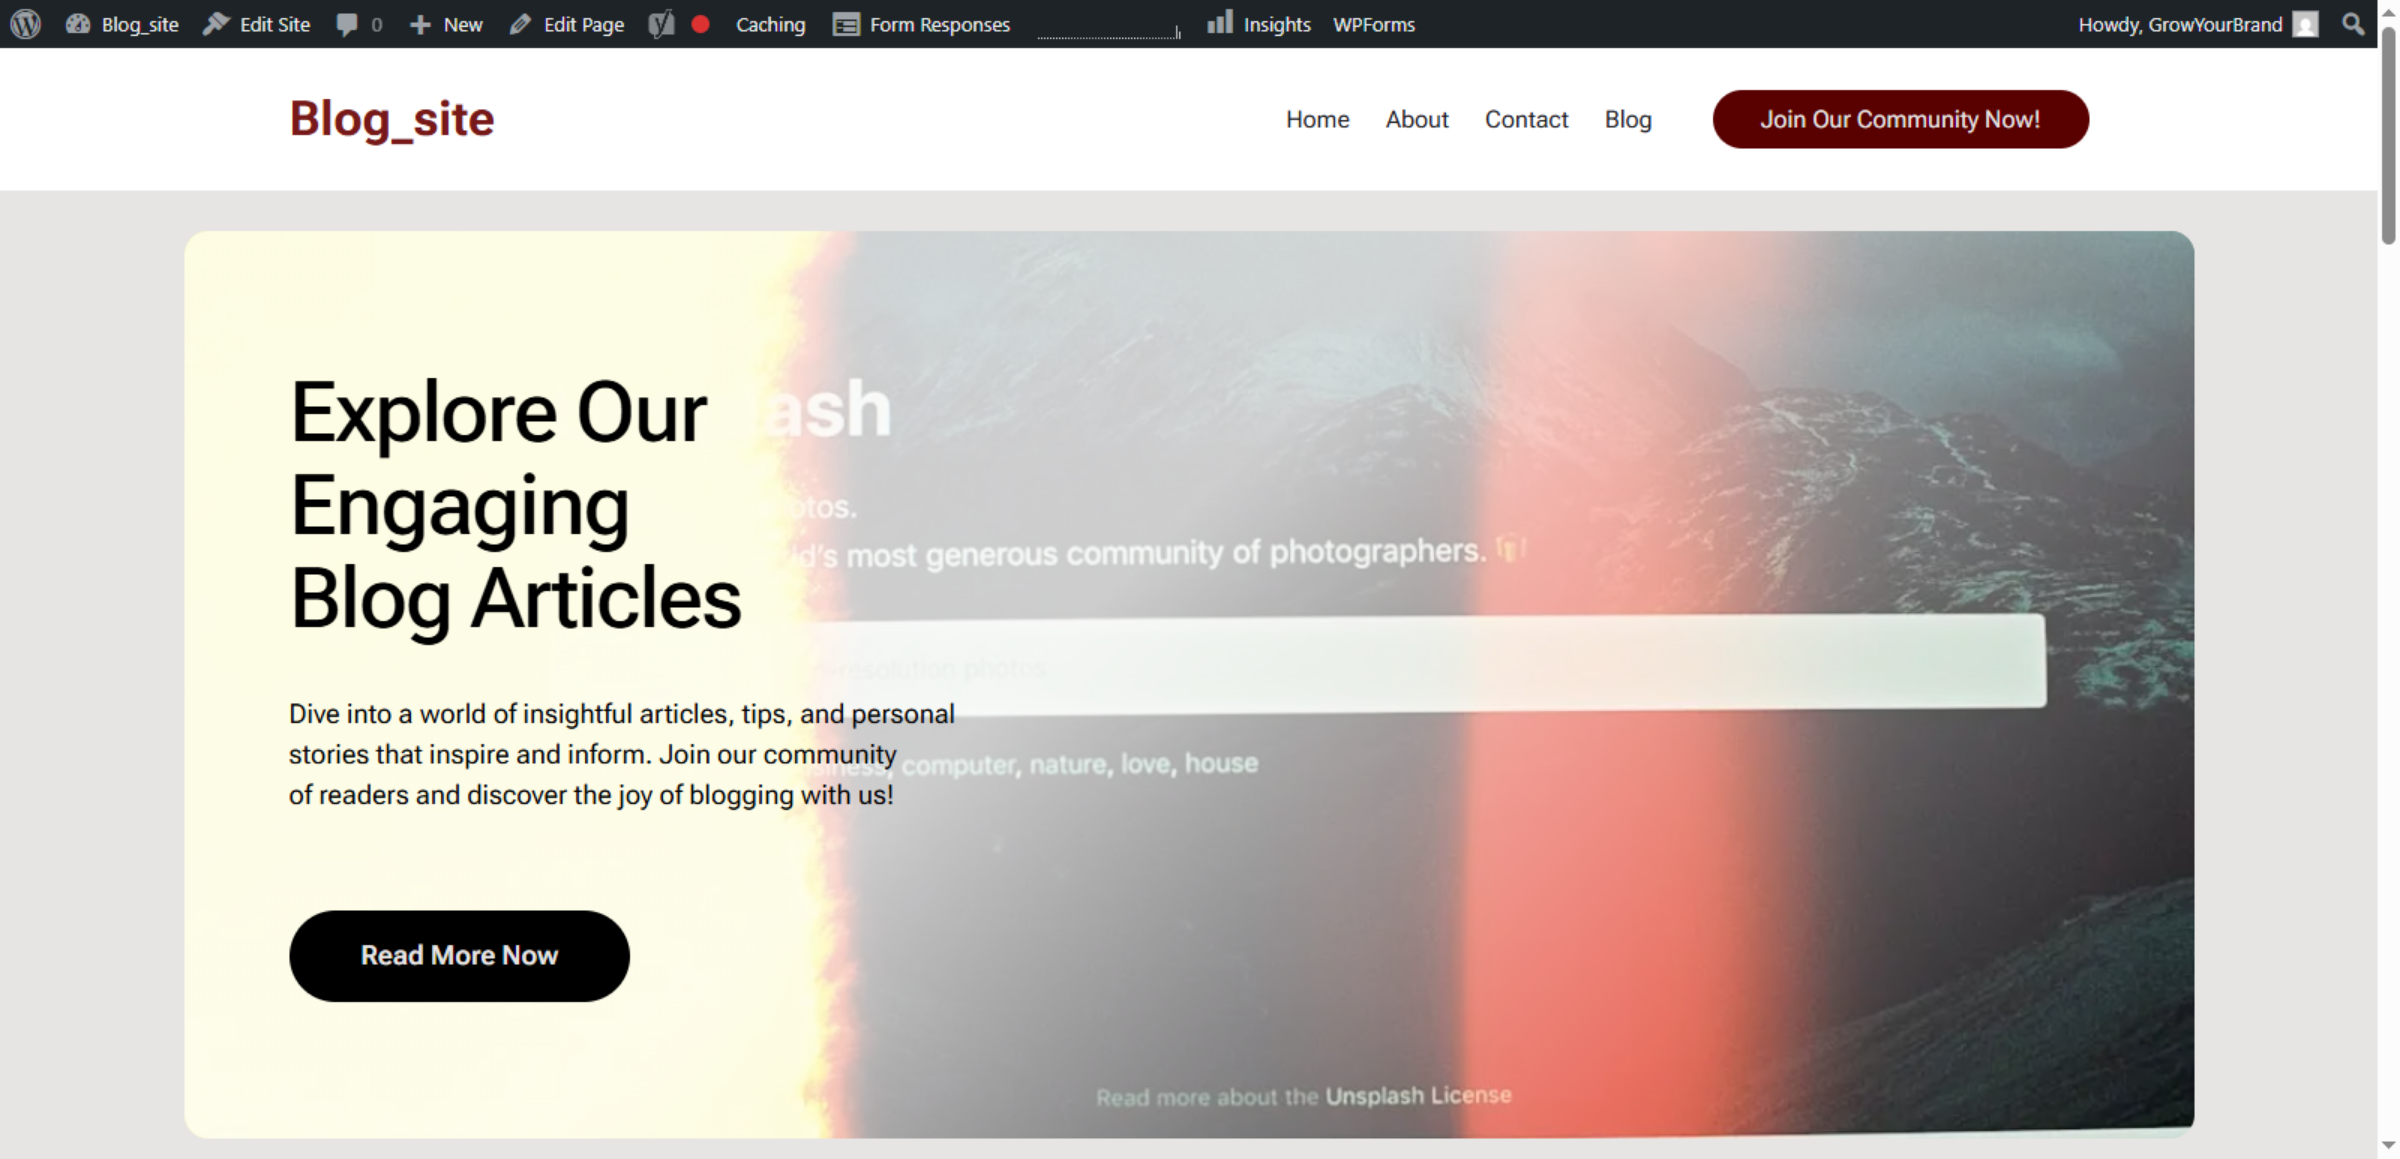
2. Existing Website for Export

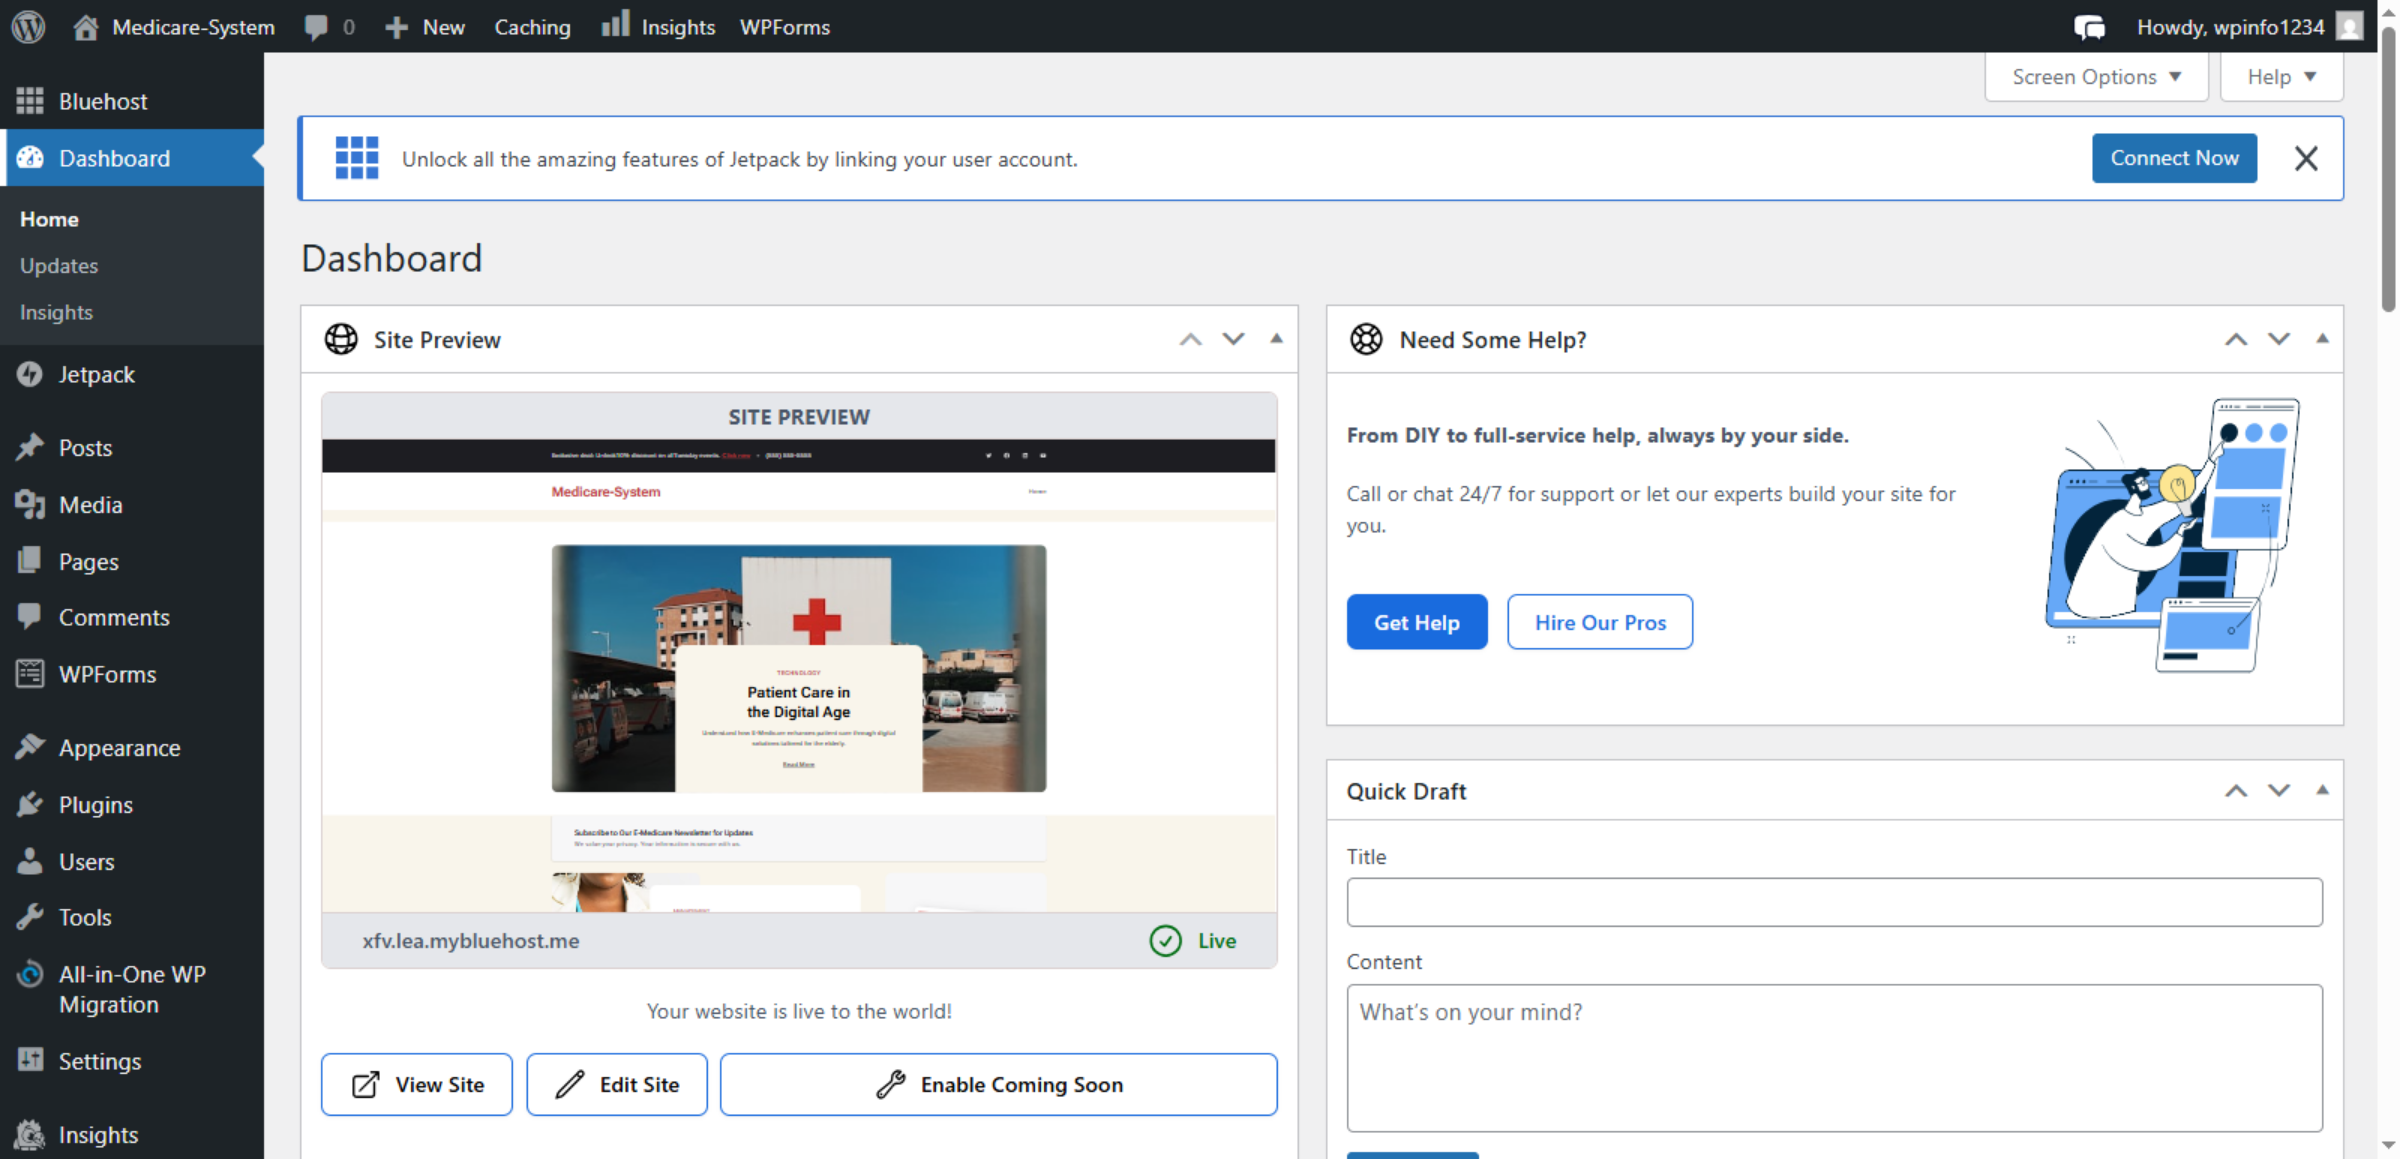
3. Access WordPress Dashboard on Source Website
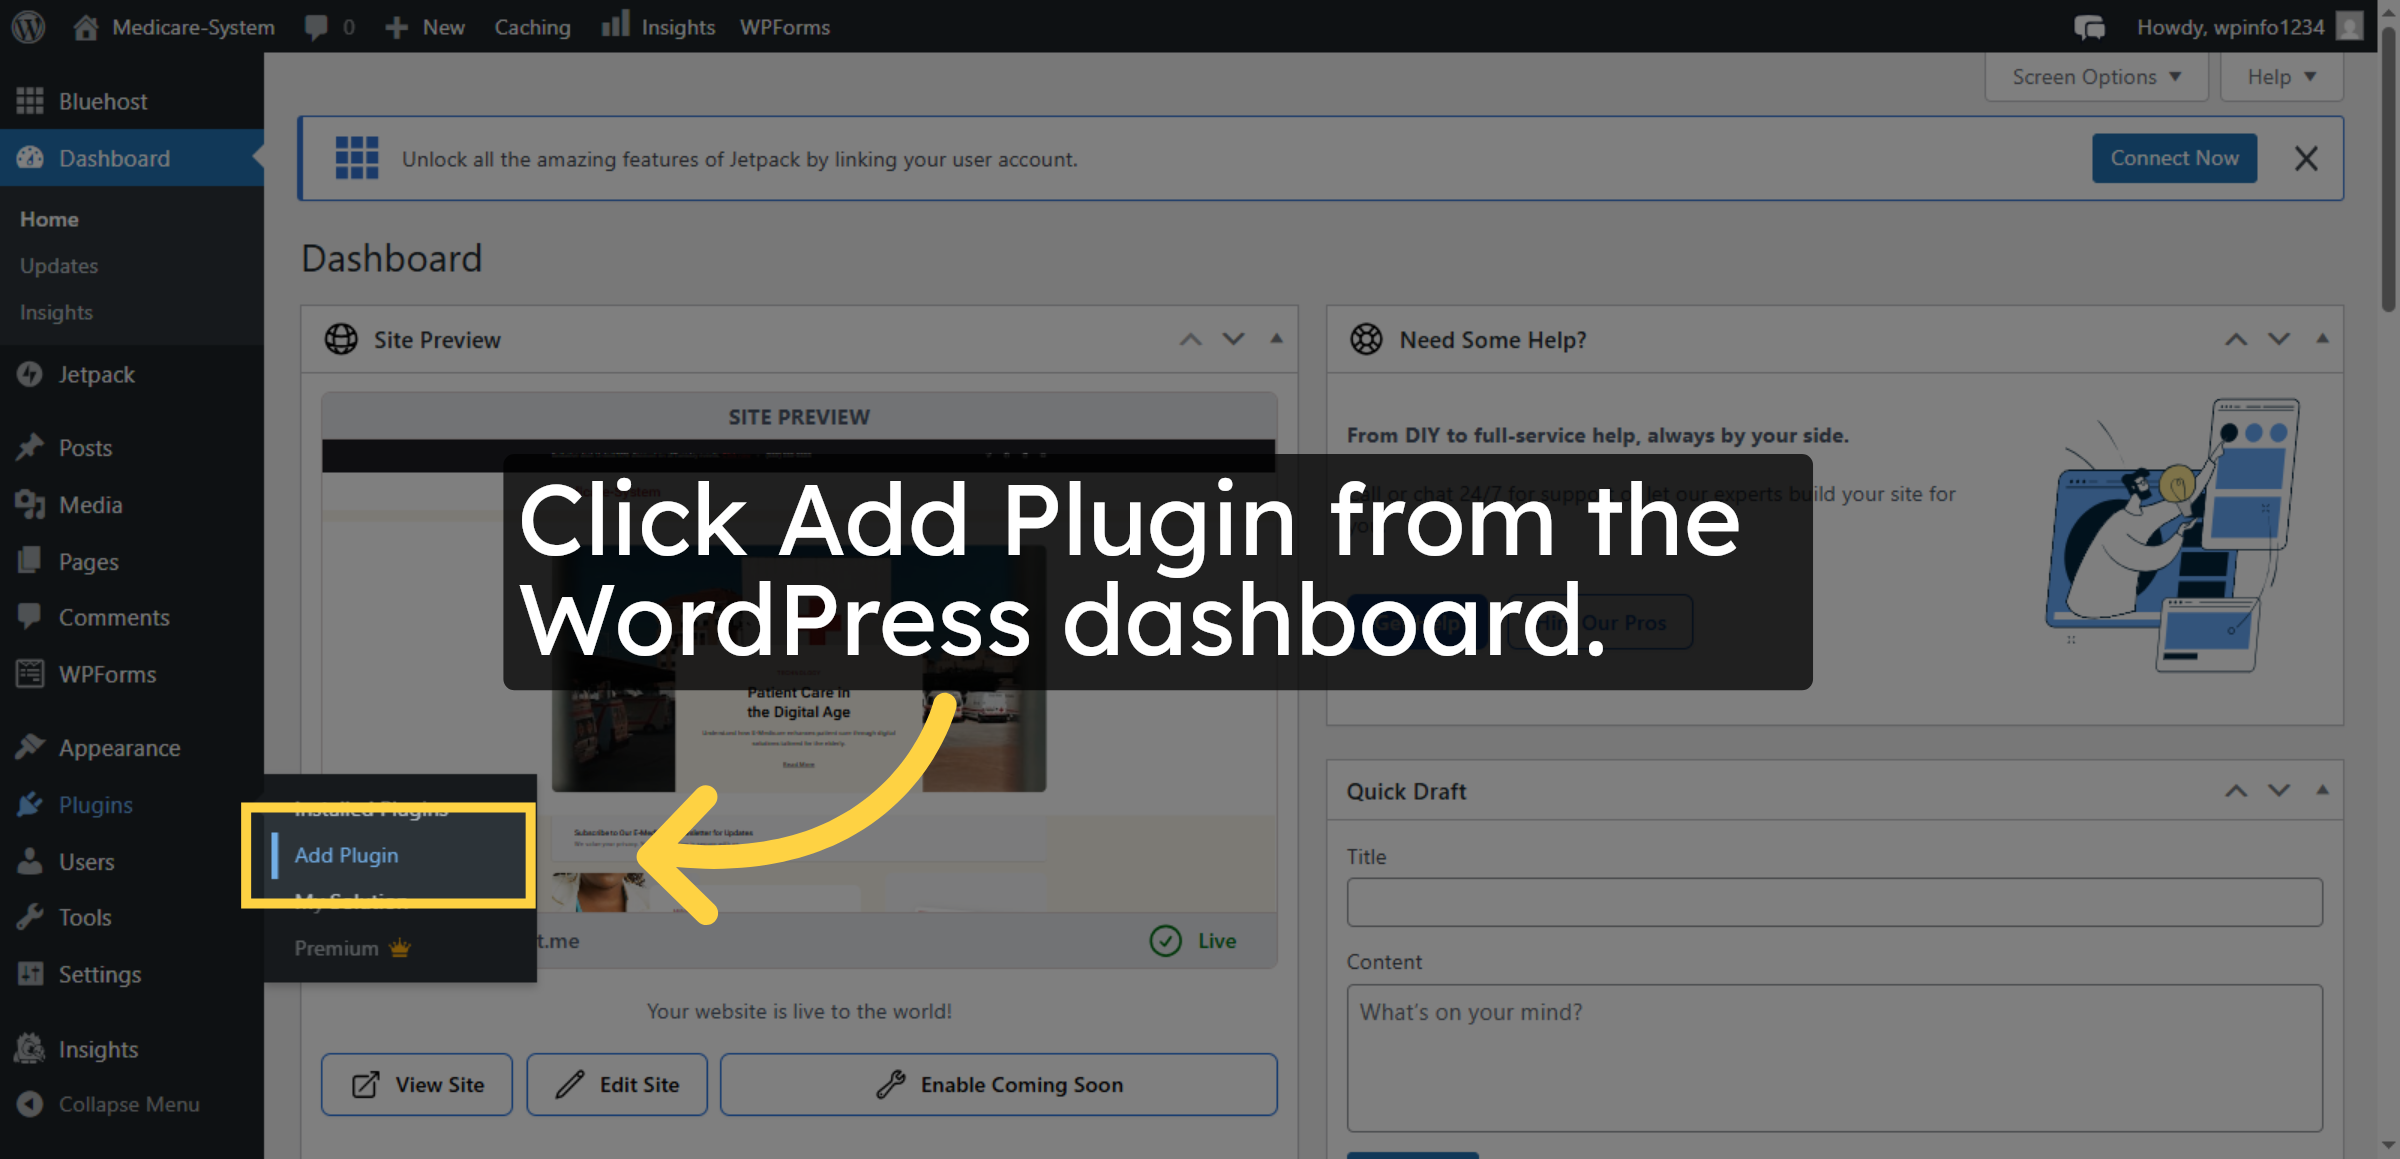
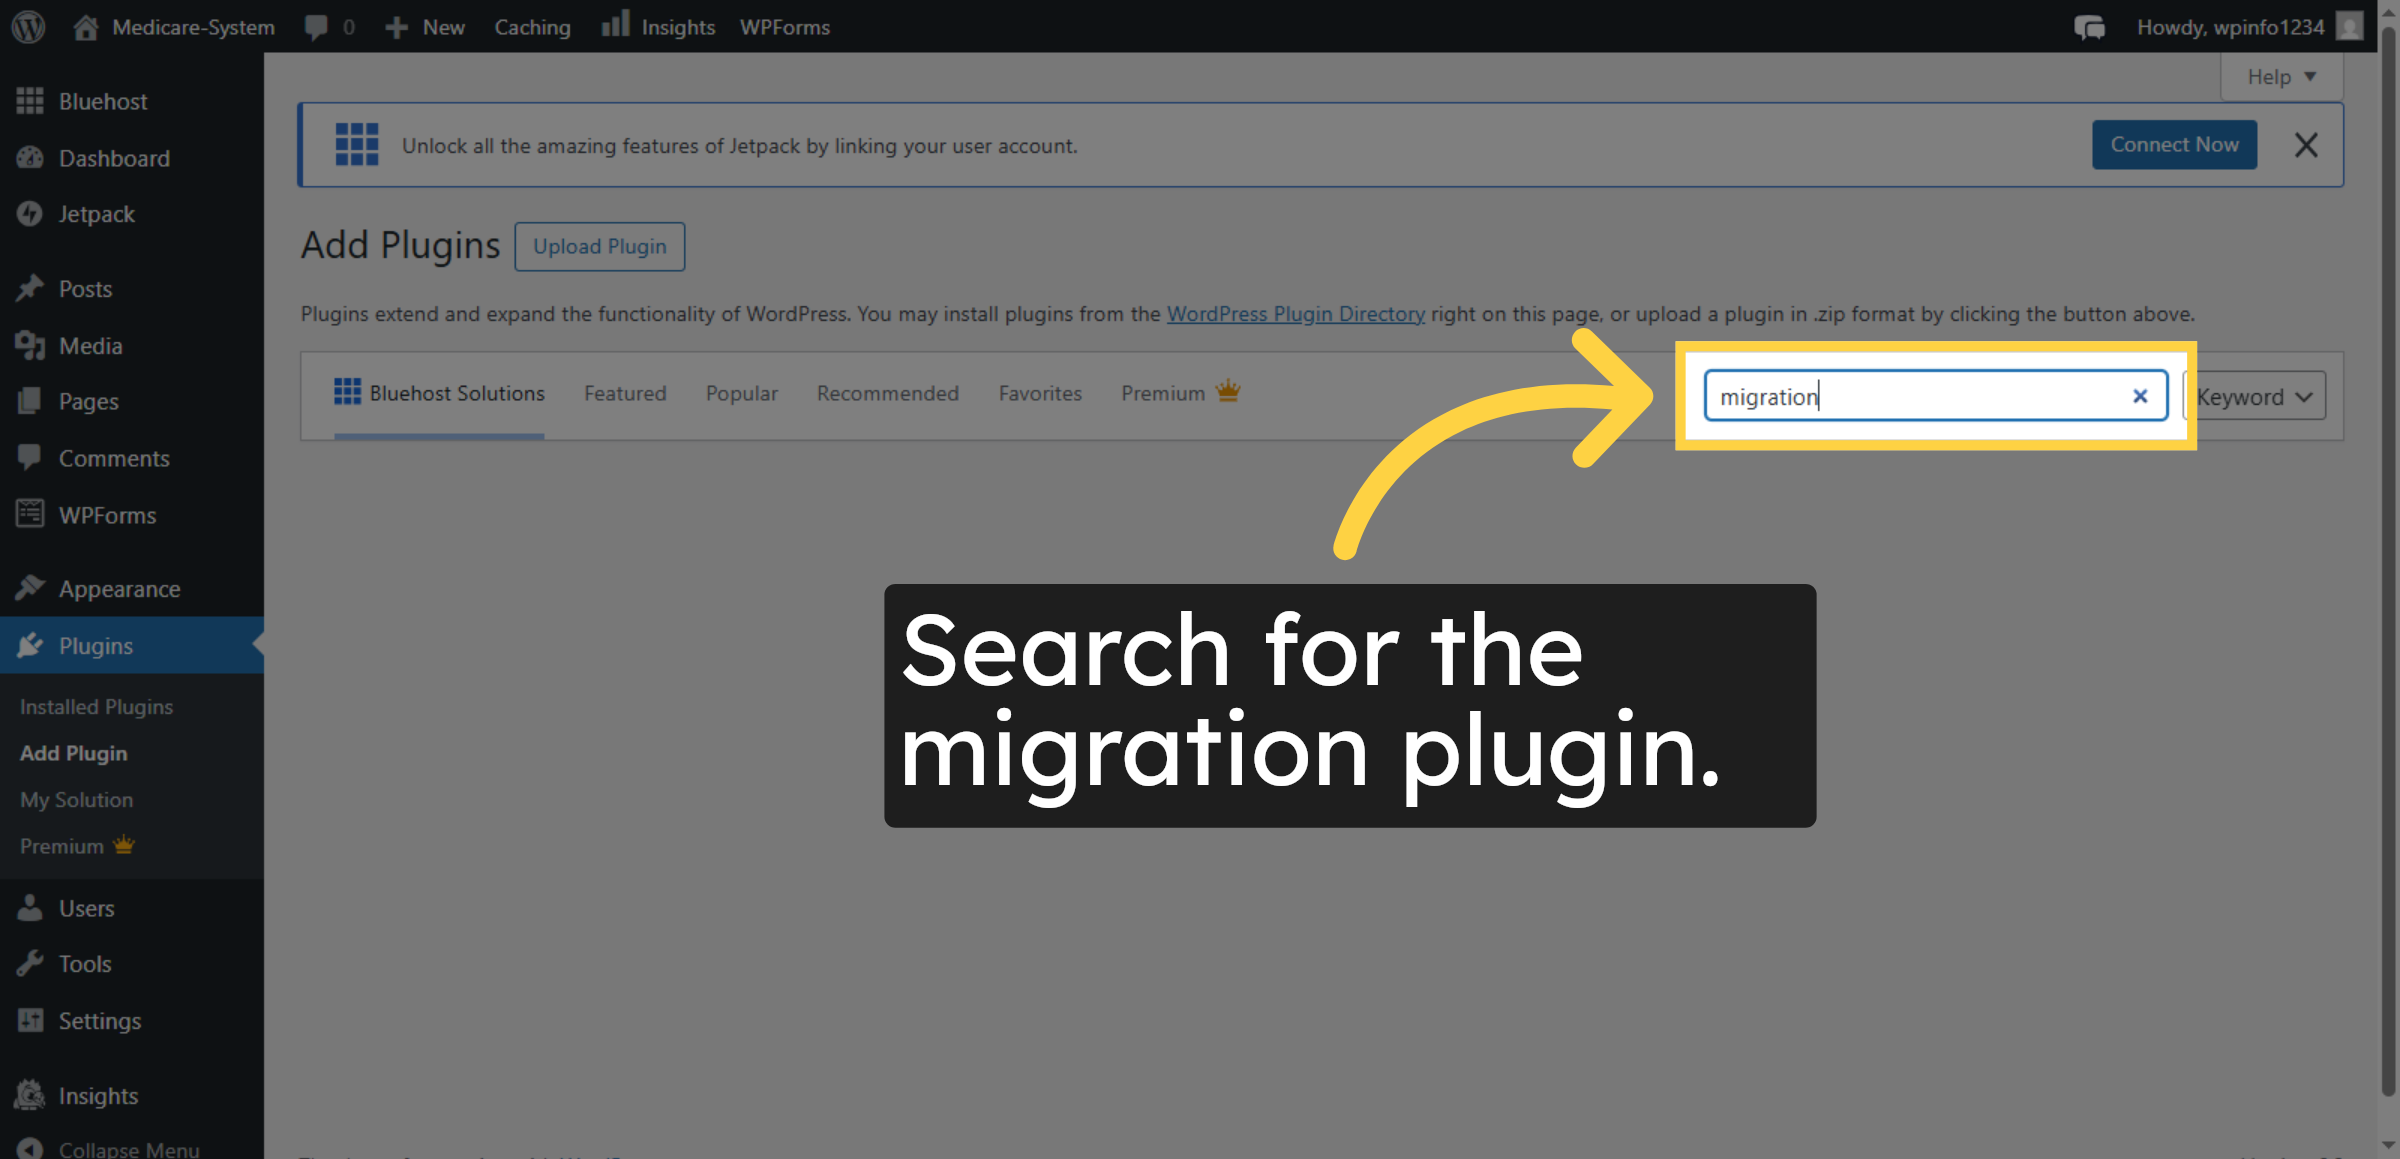
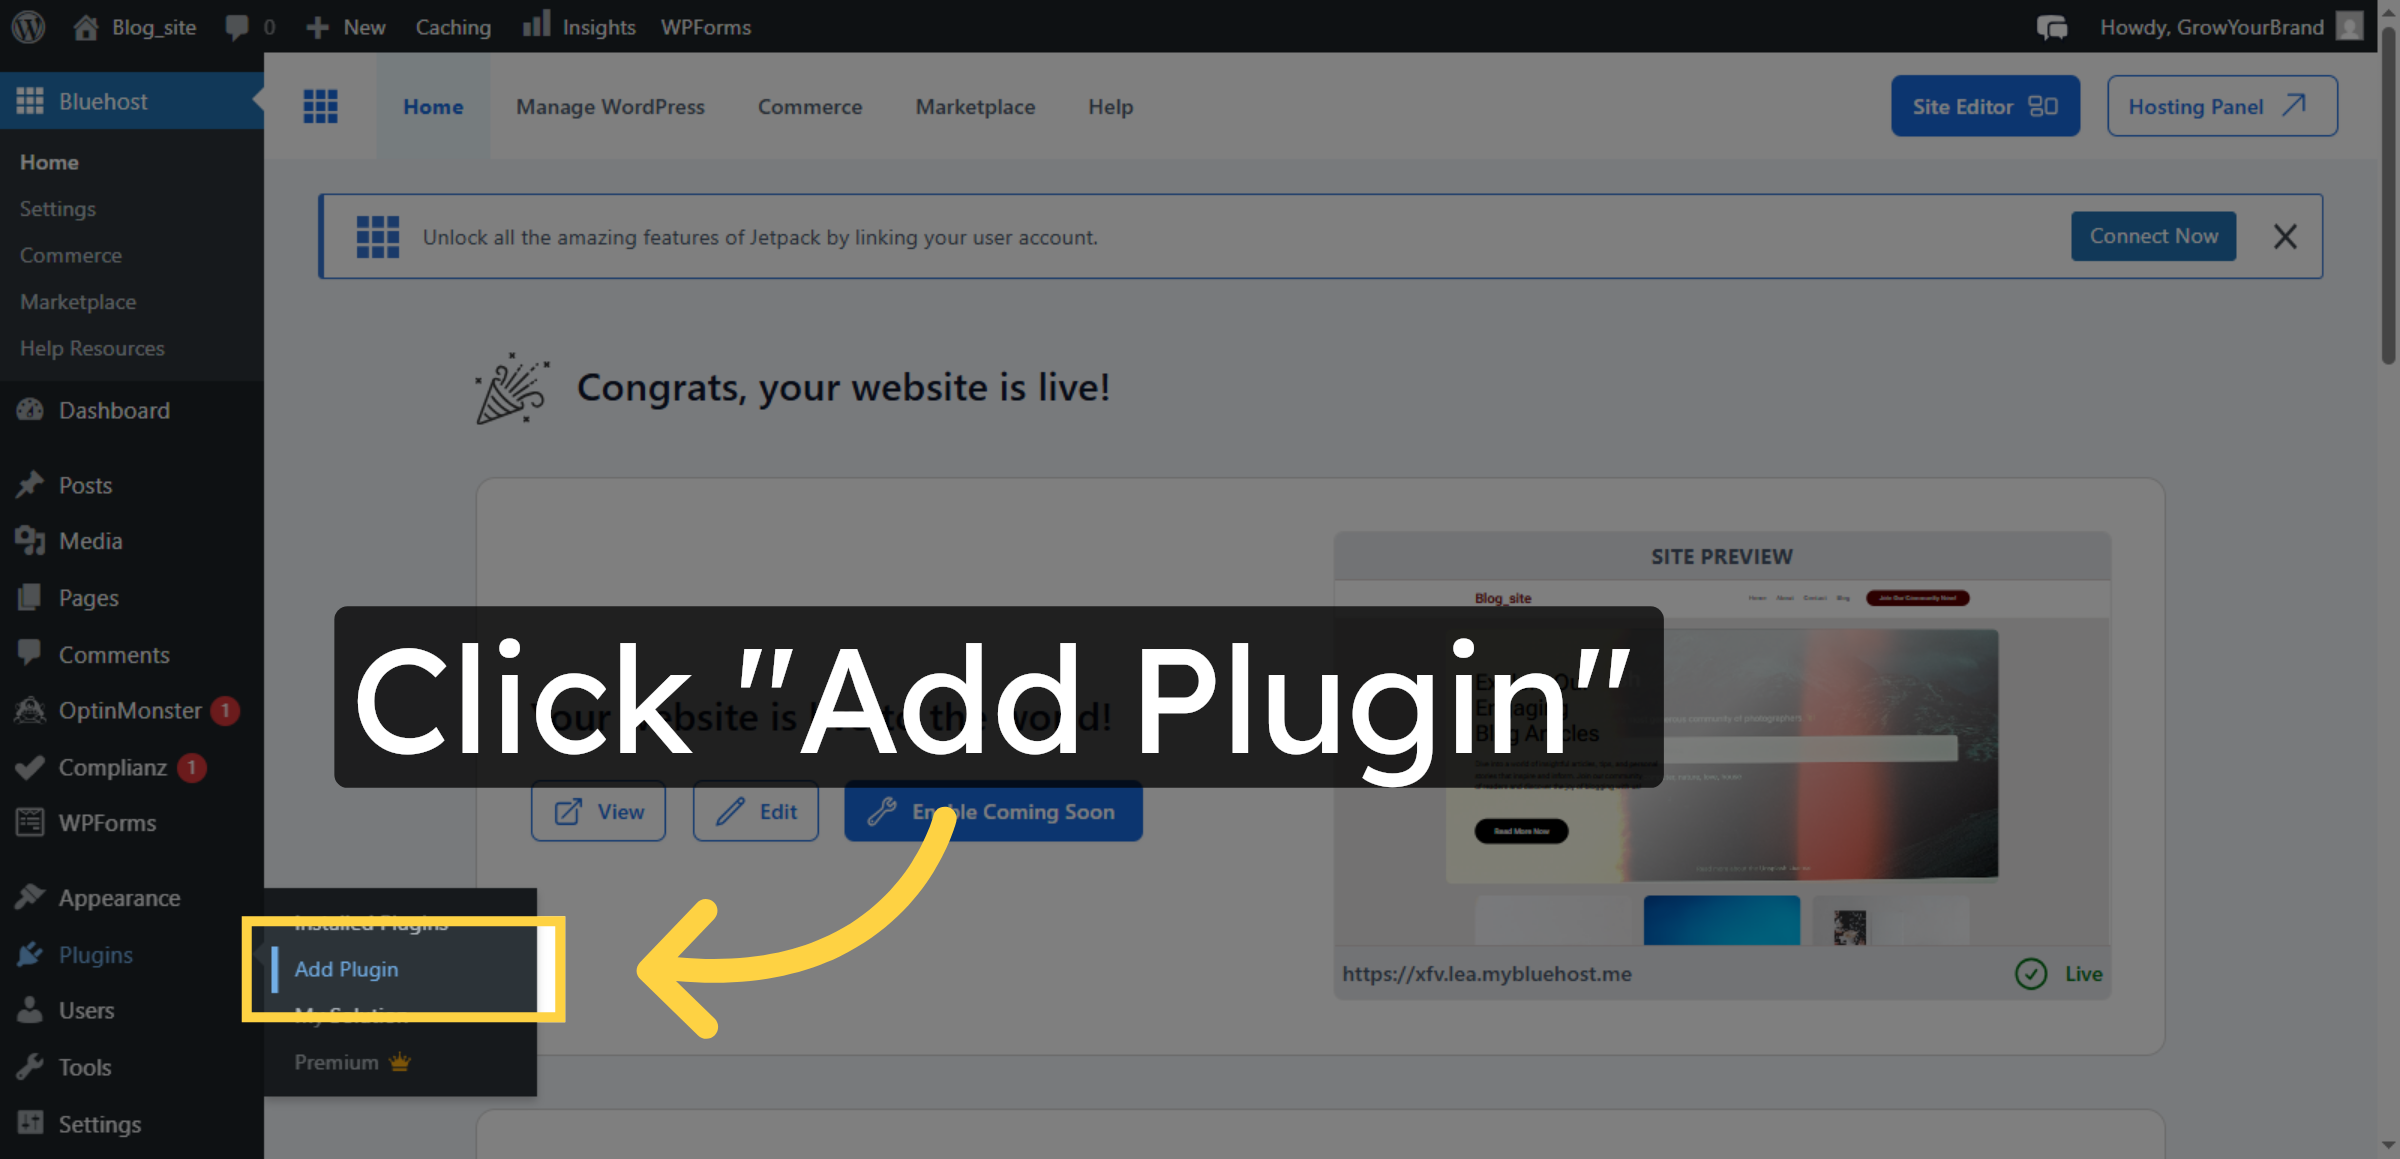
4. Navigate To Add Plugin
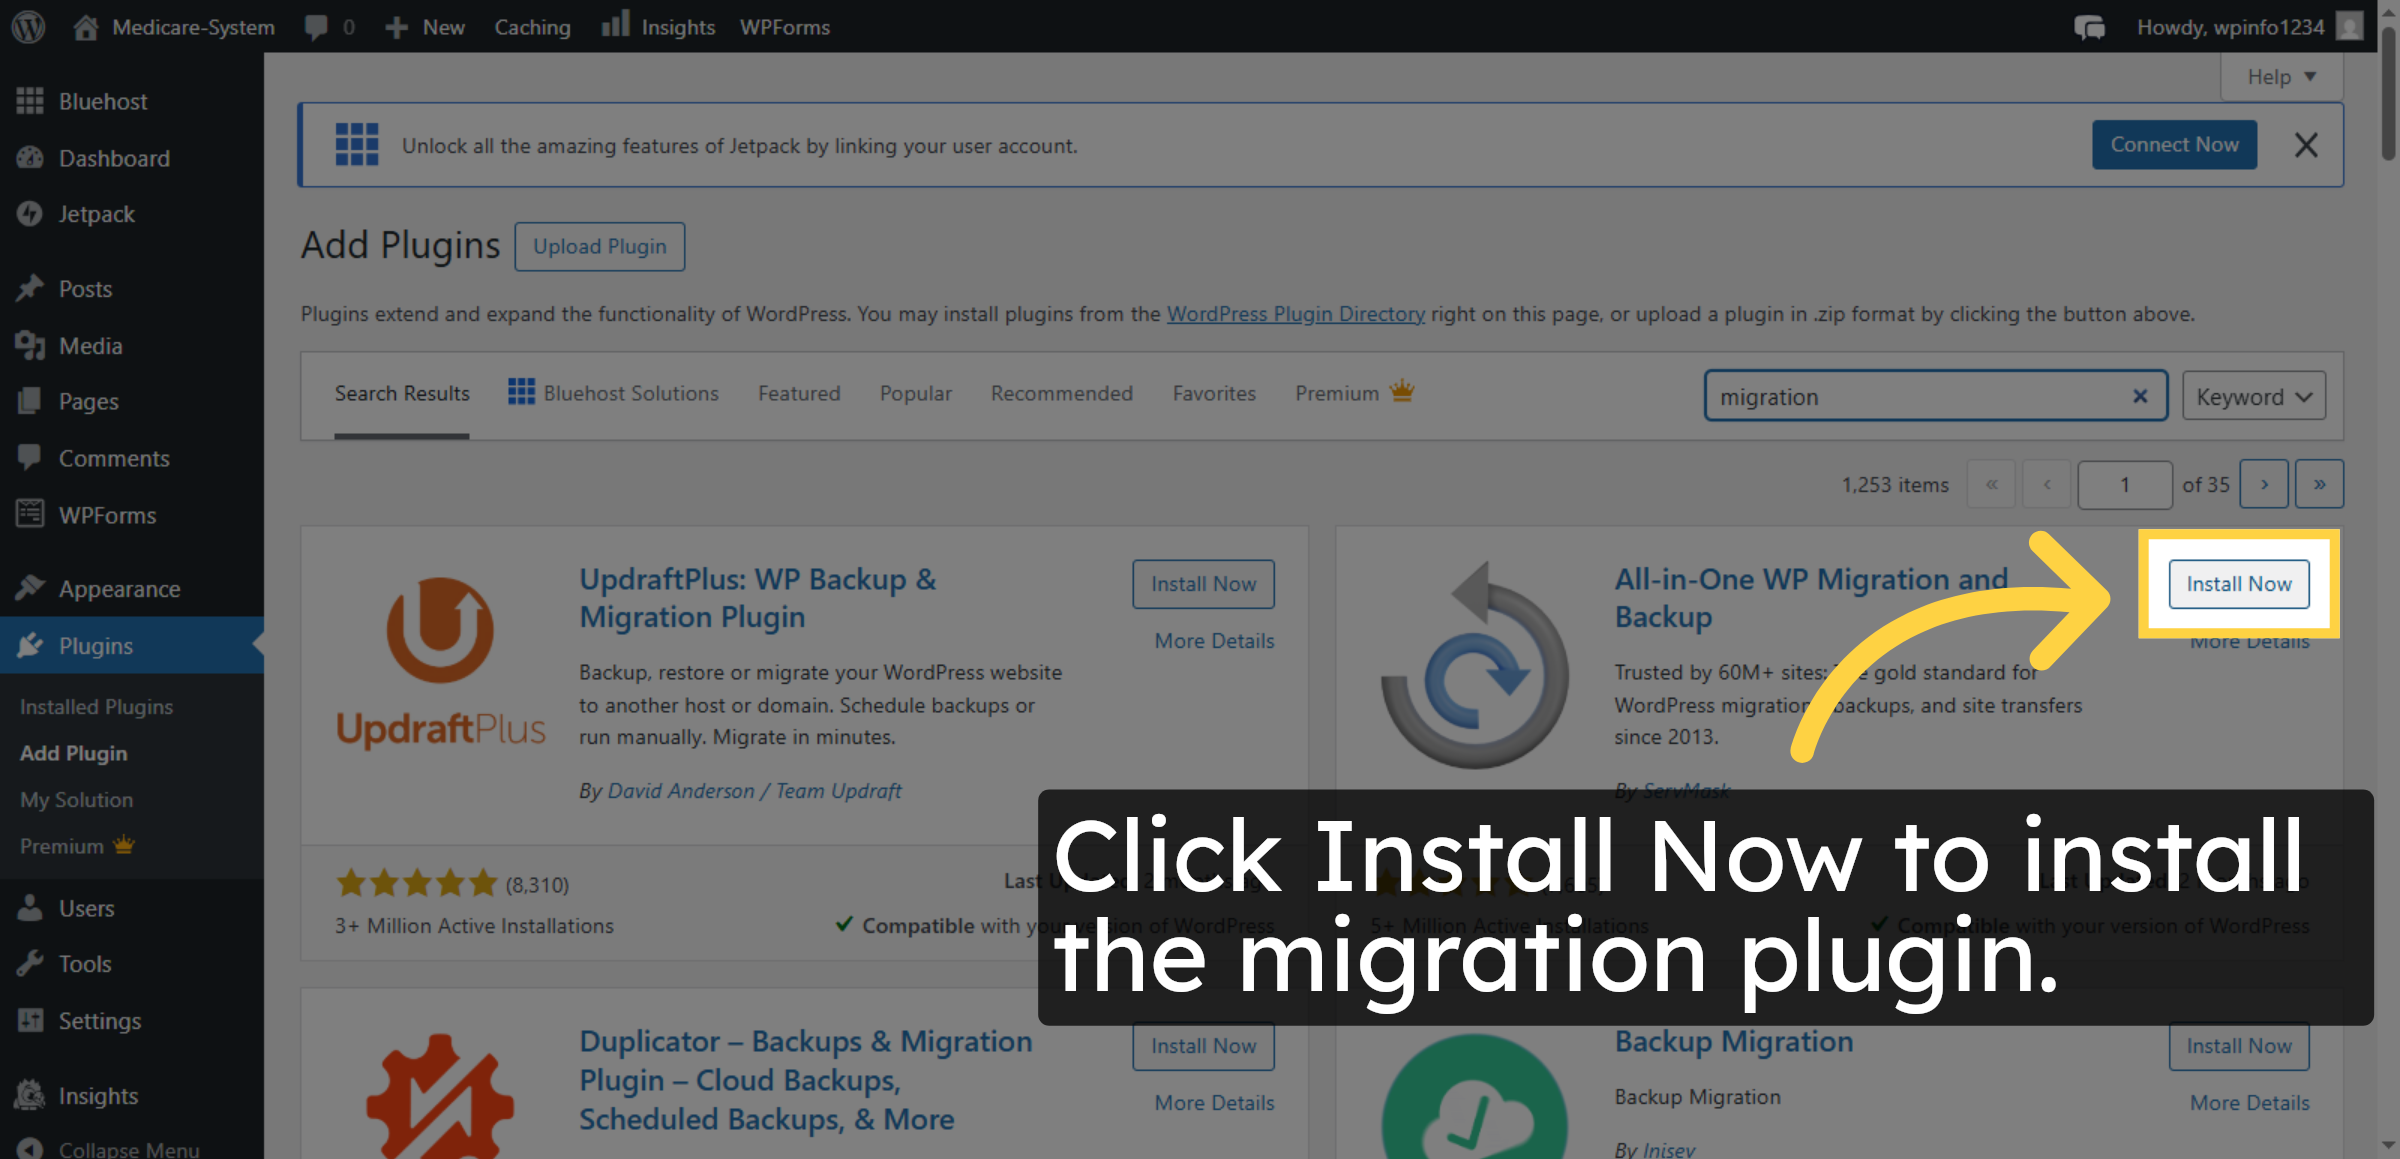
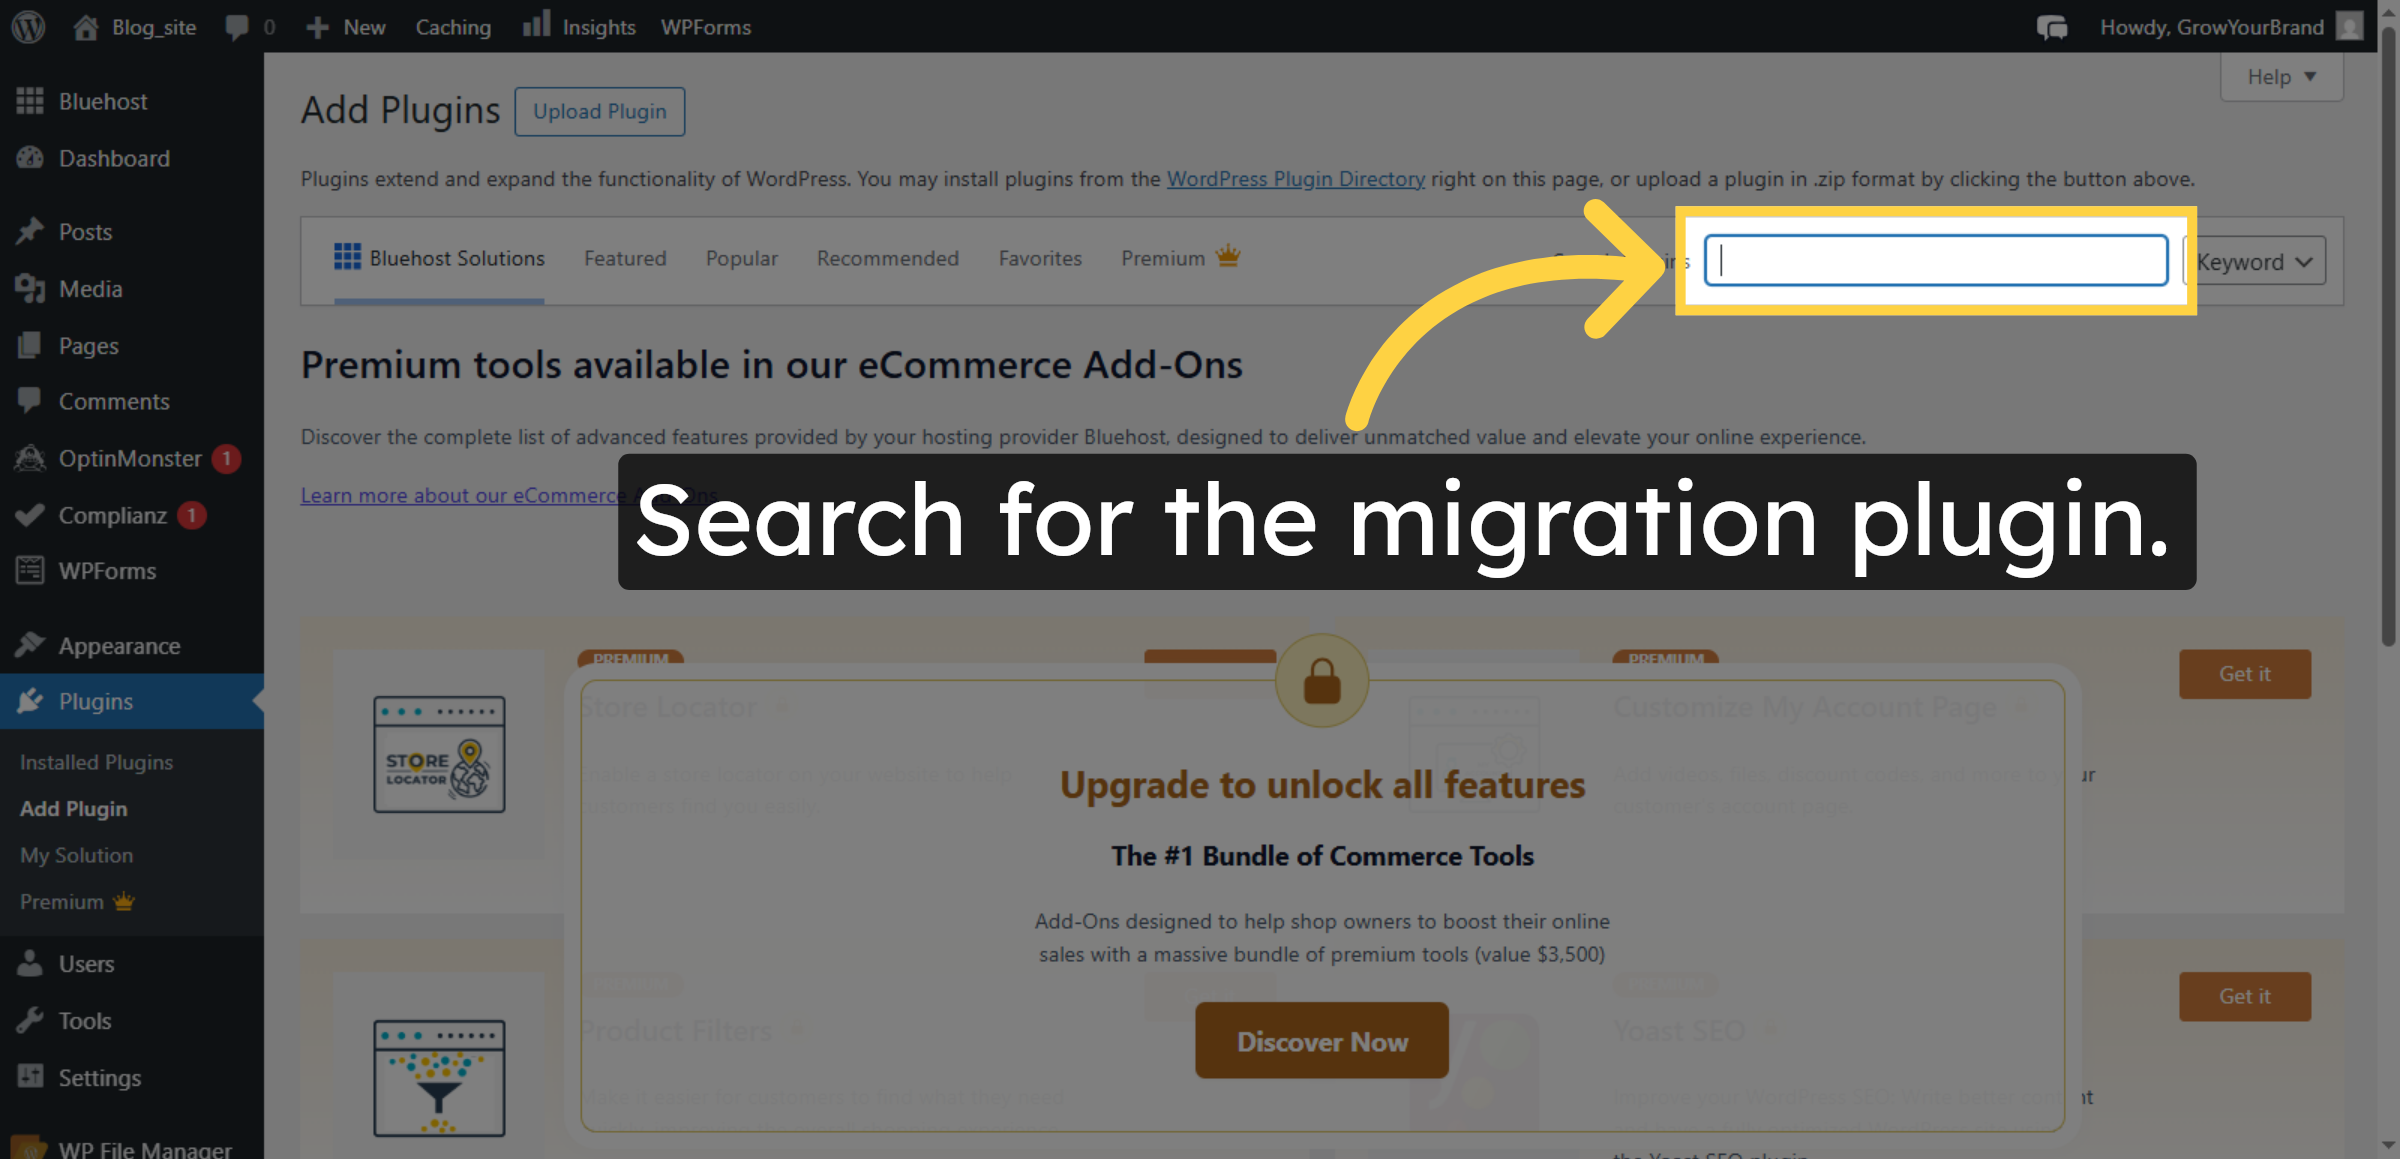
5. Search for Migration Plugin
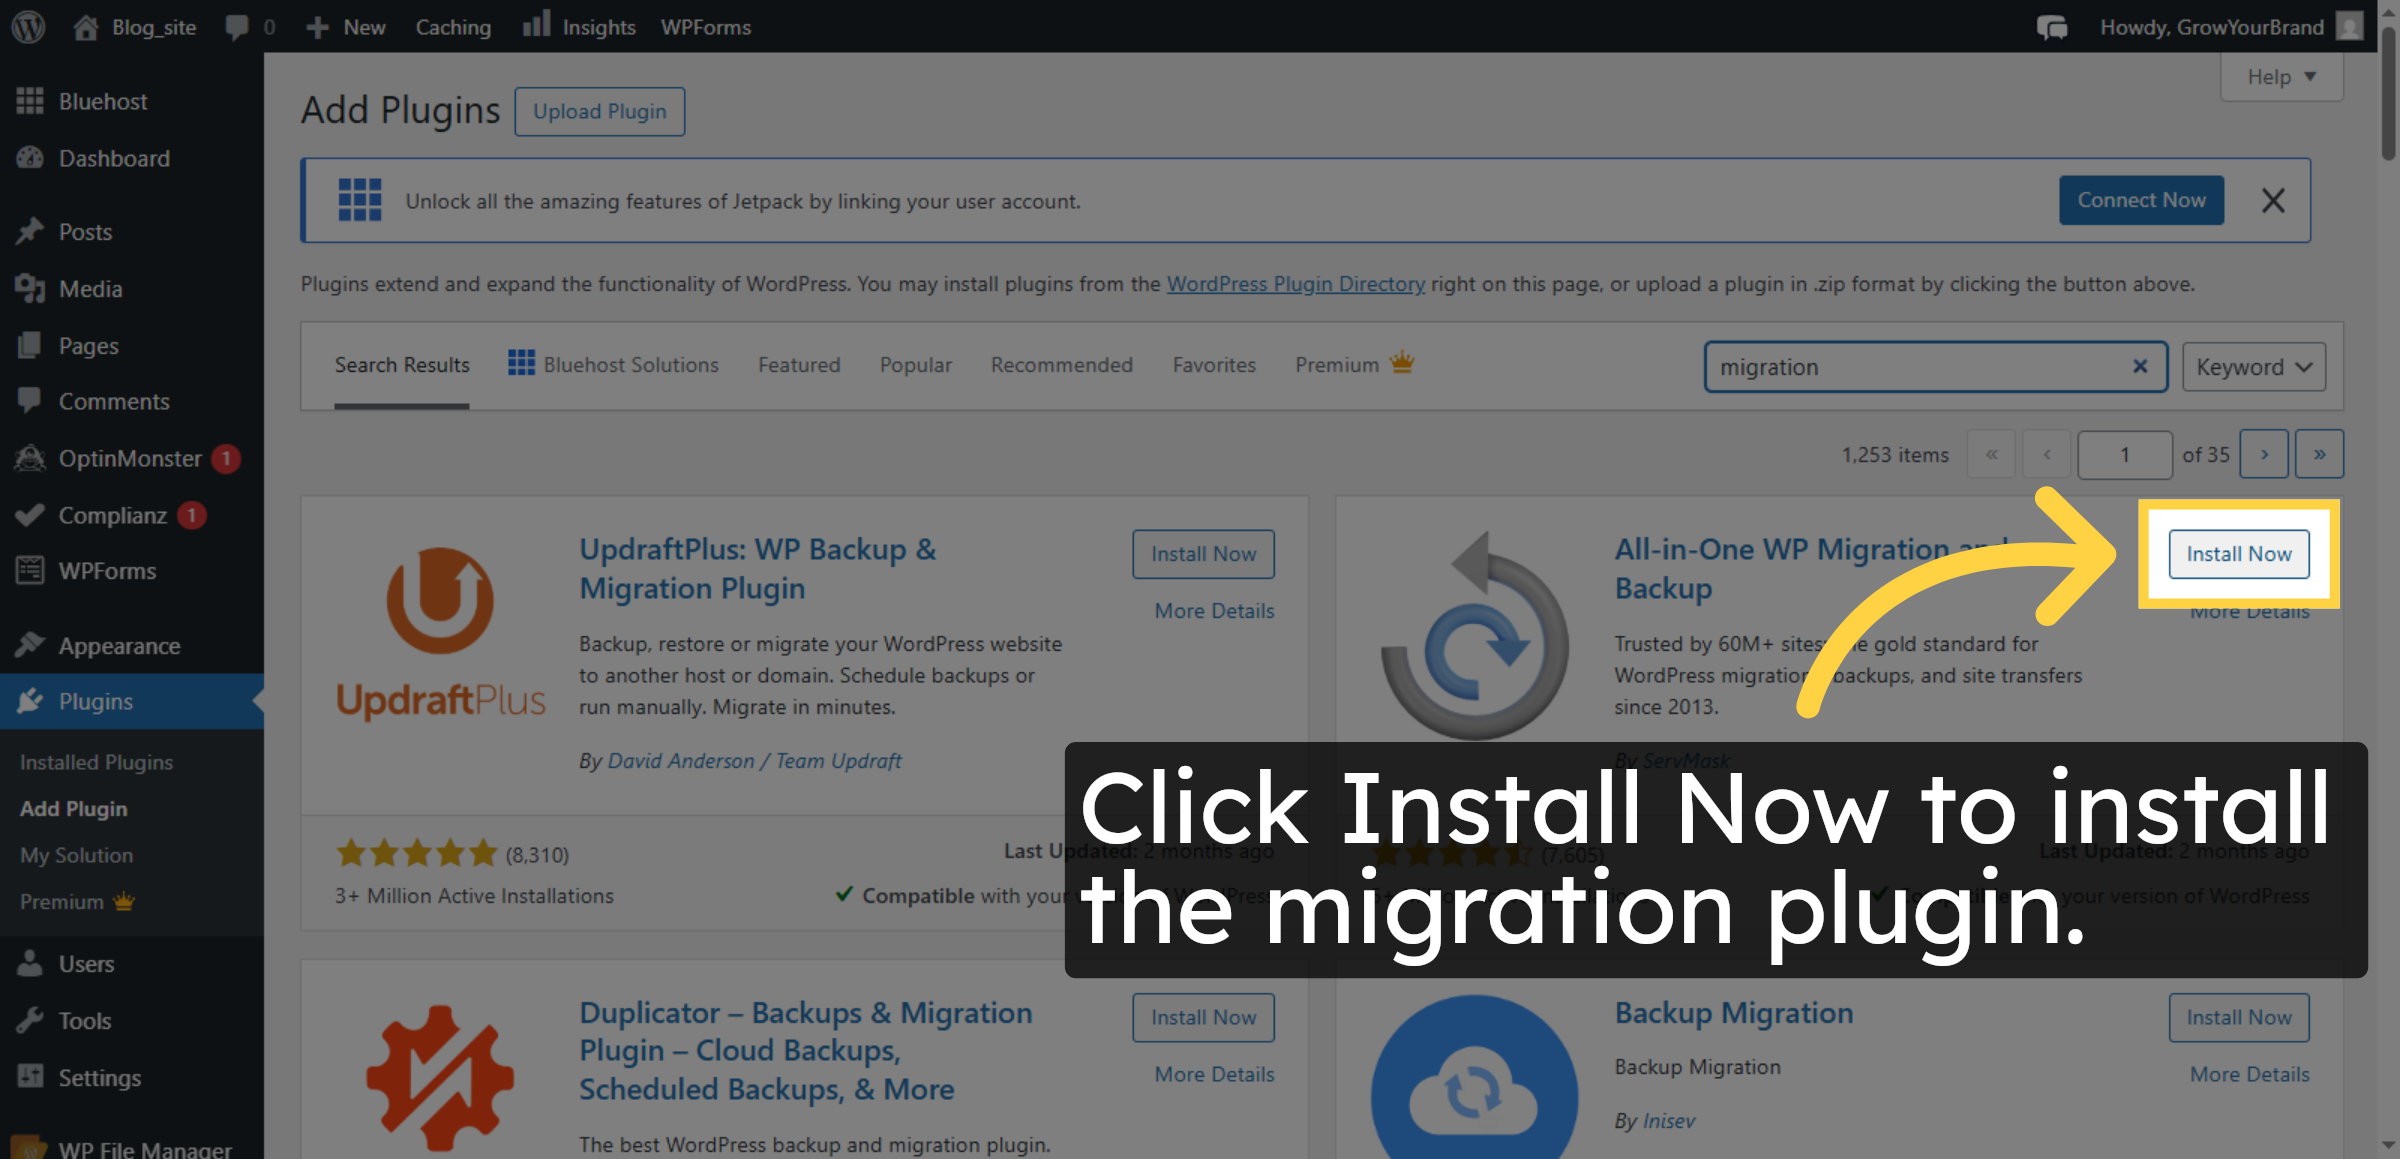
6. Install Migration Plugin
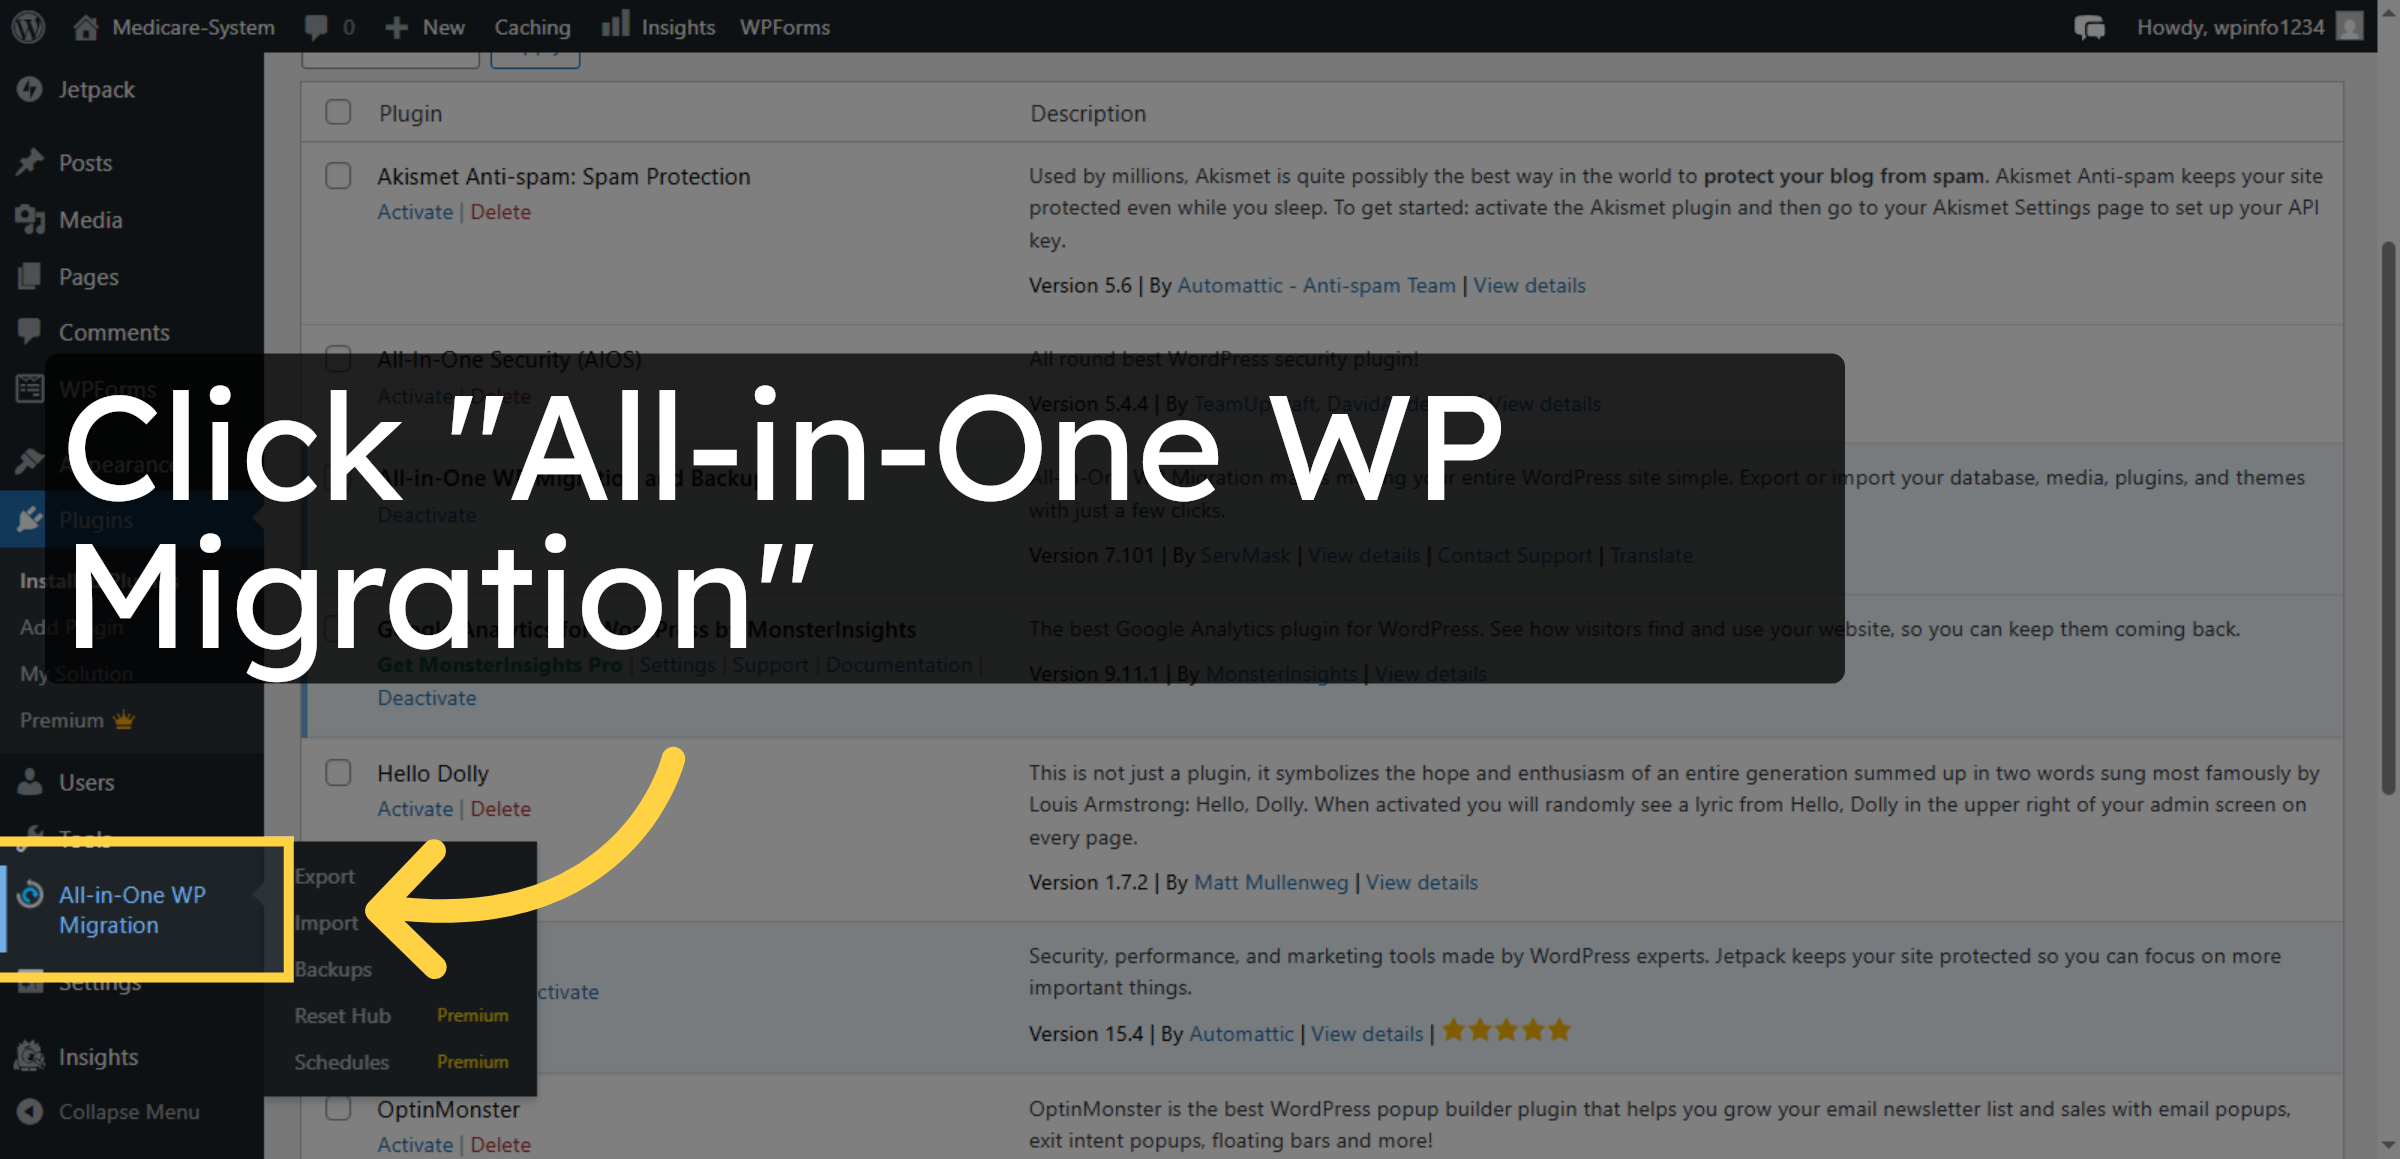
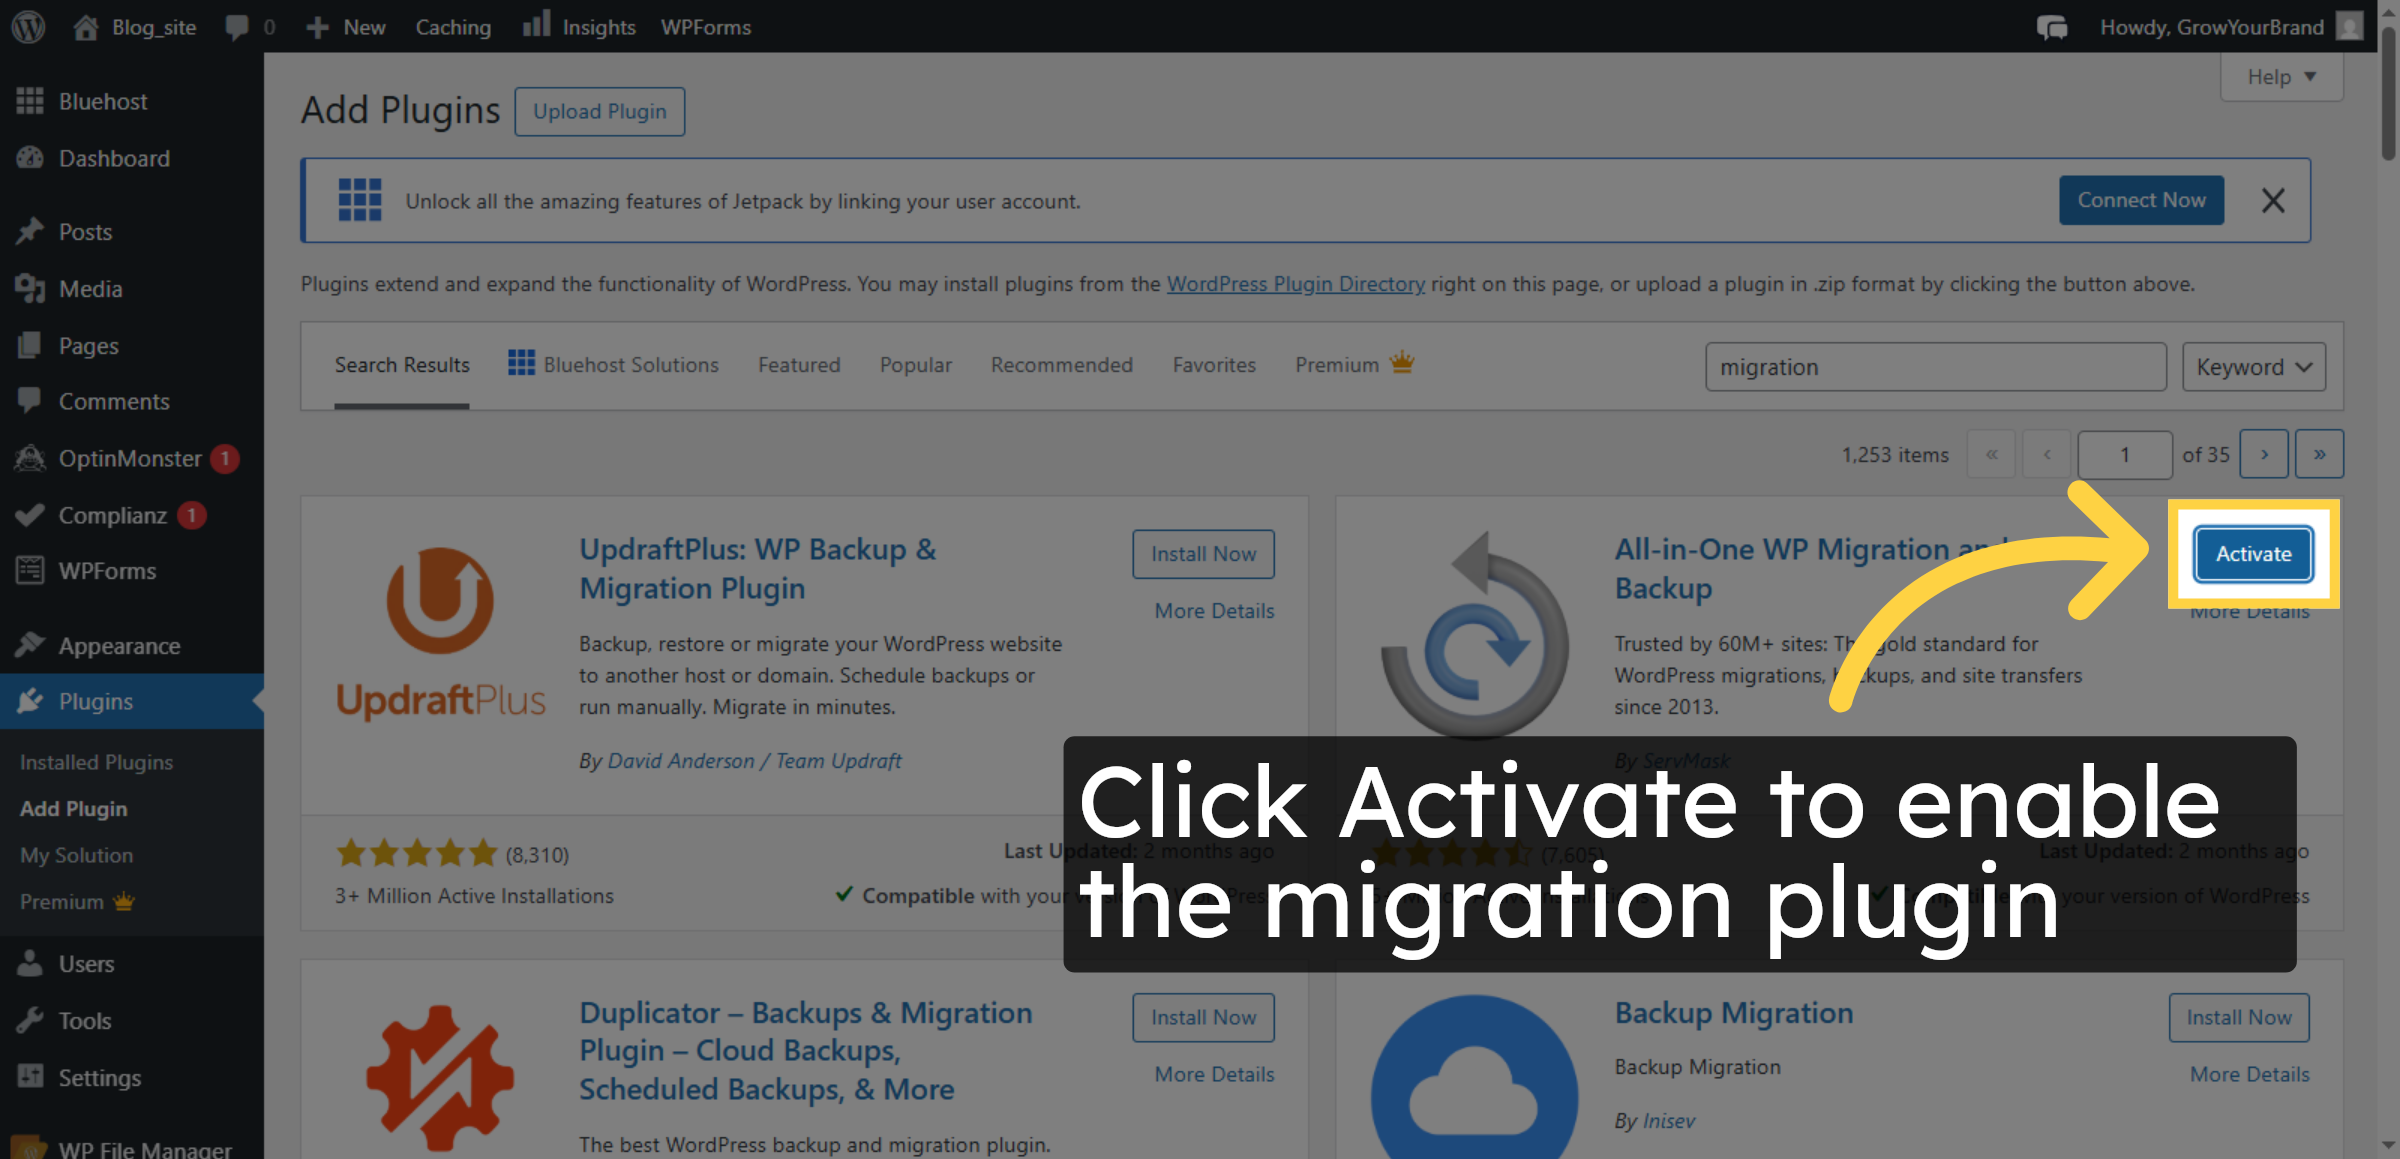
7. Activate Migration Plugin

8. Open Migration Plugin
9. Start Export Process
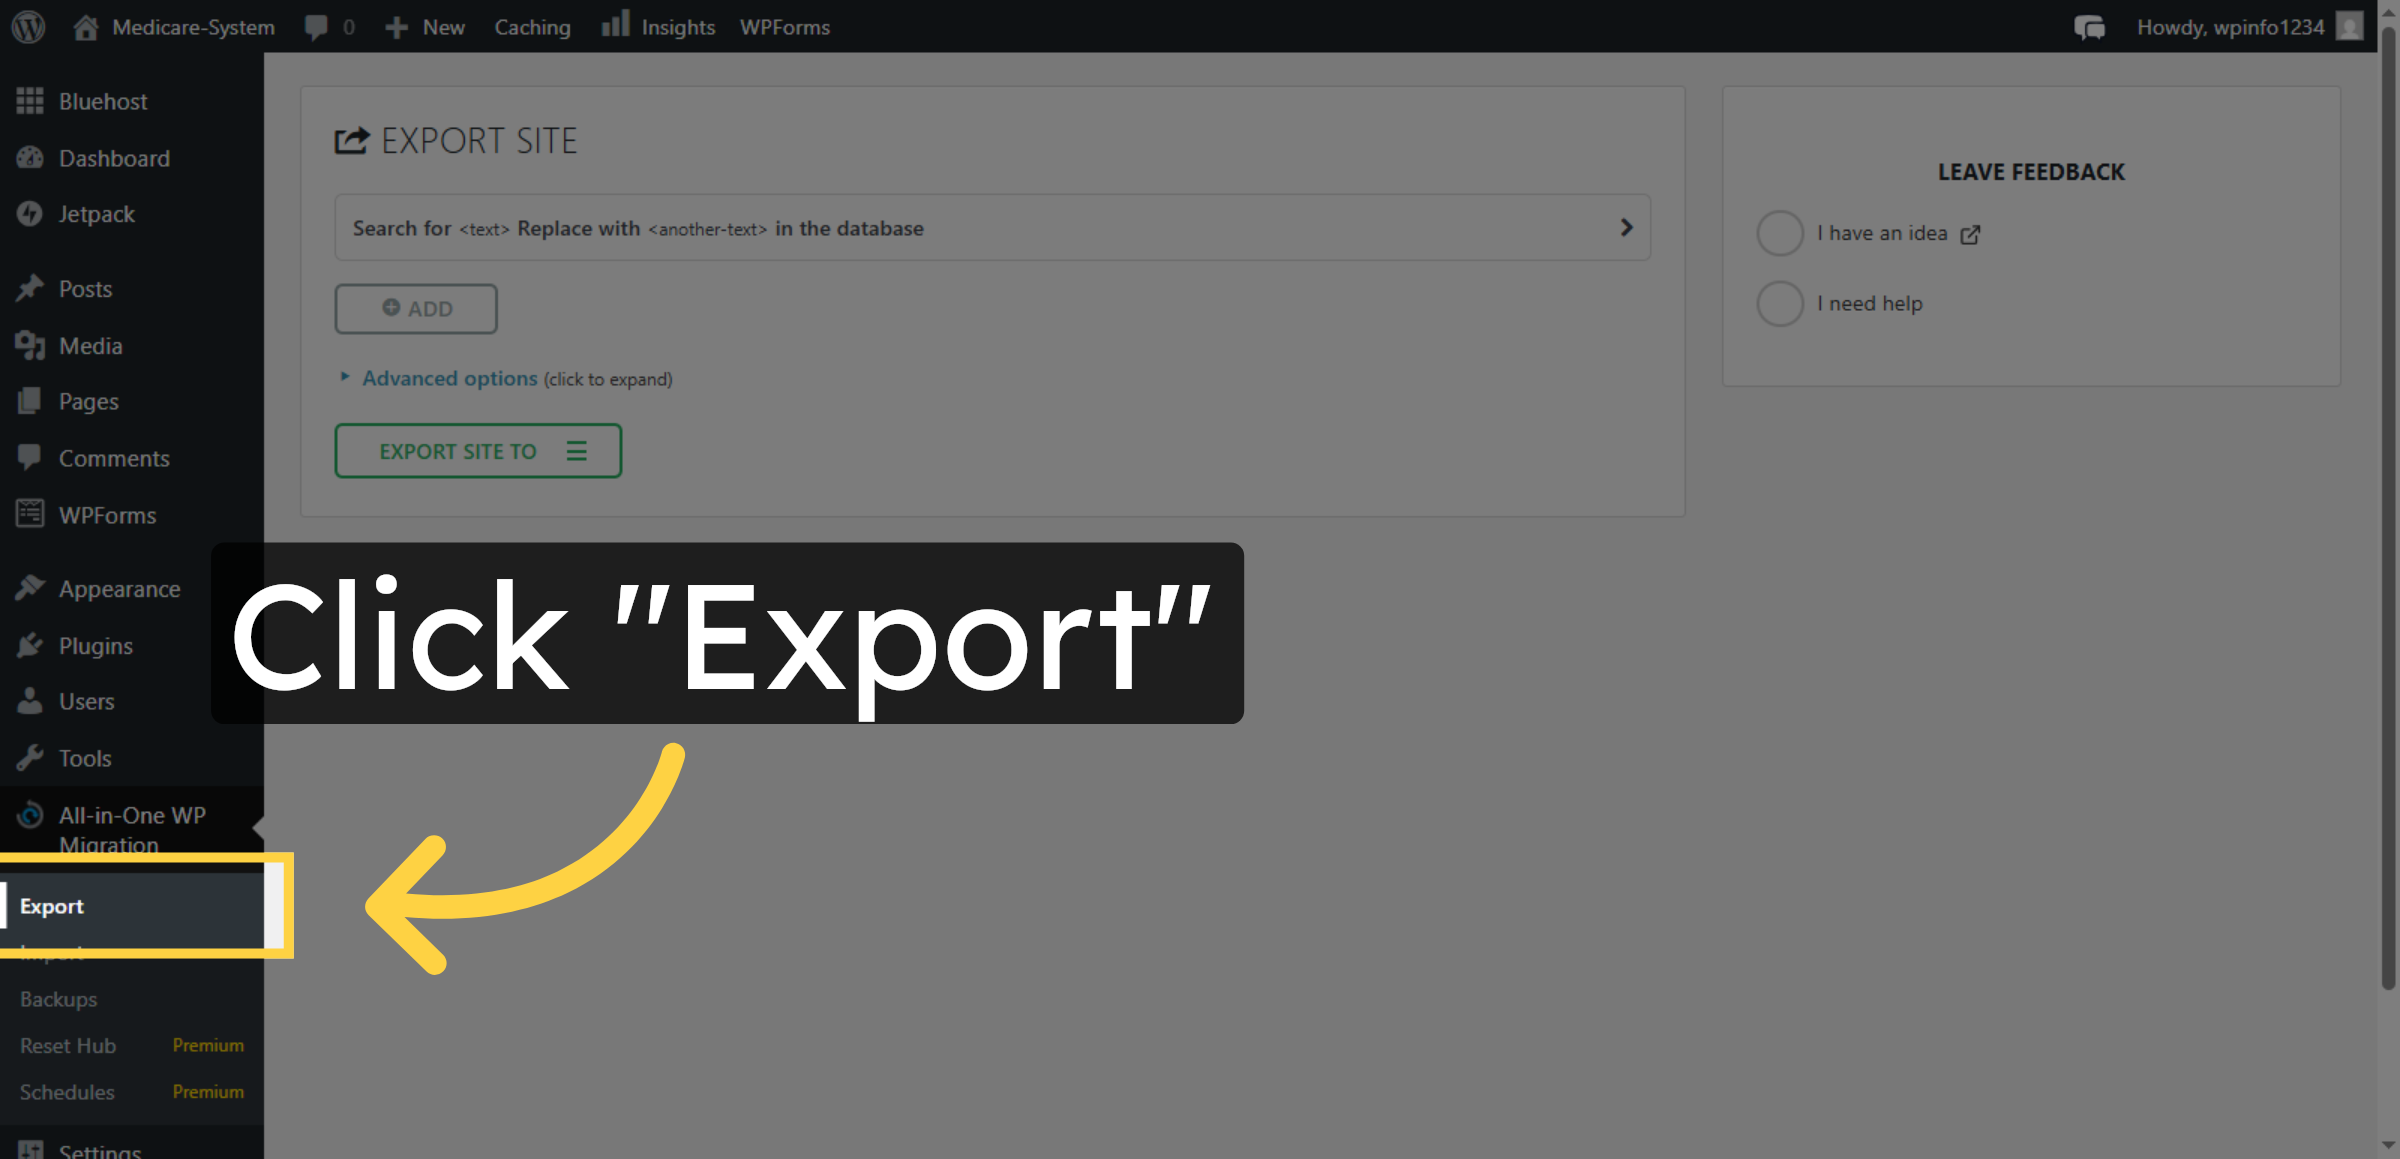
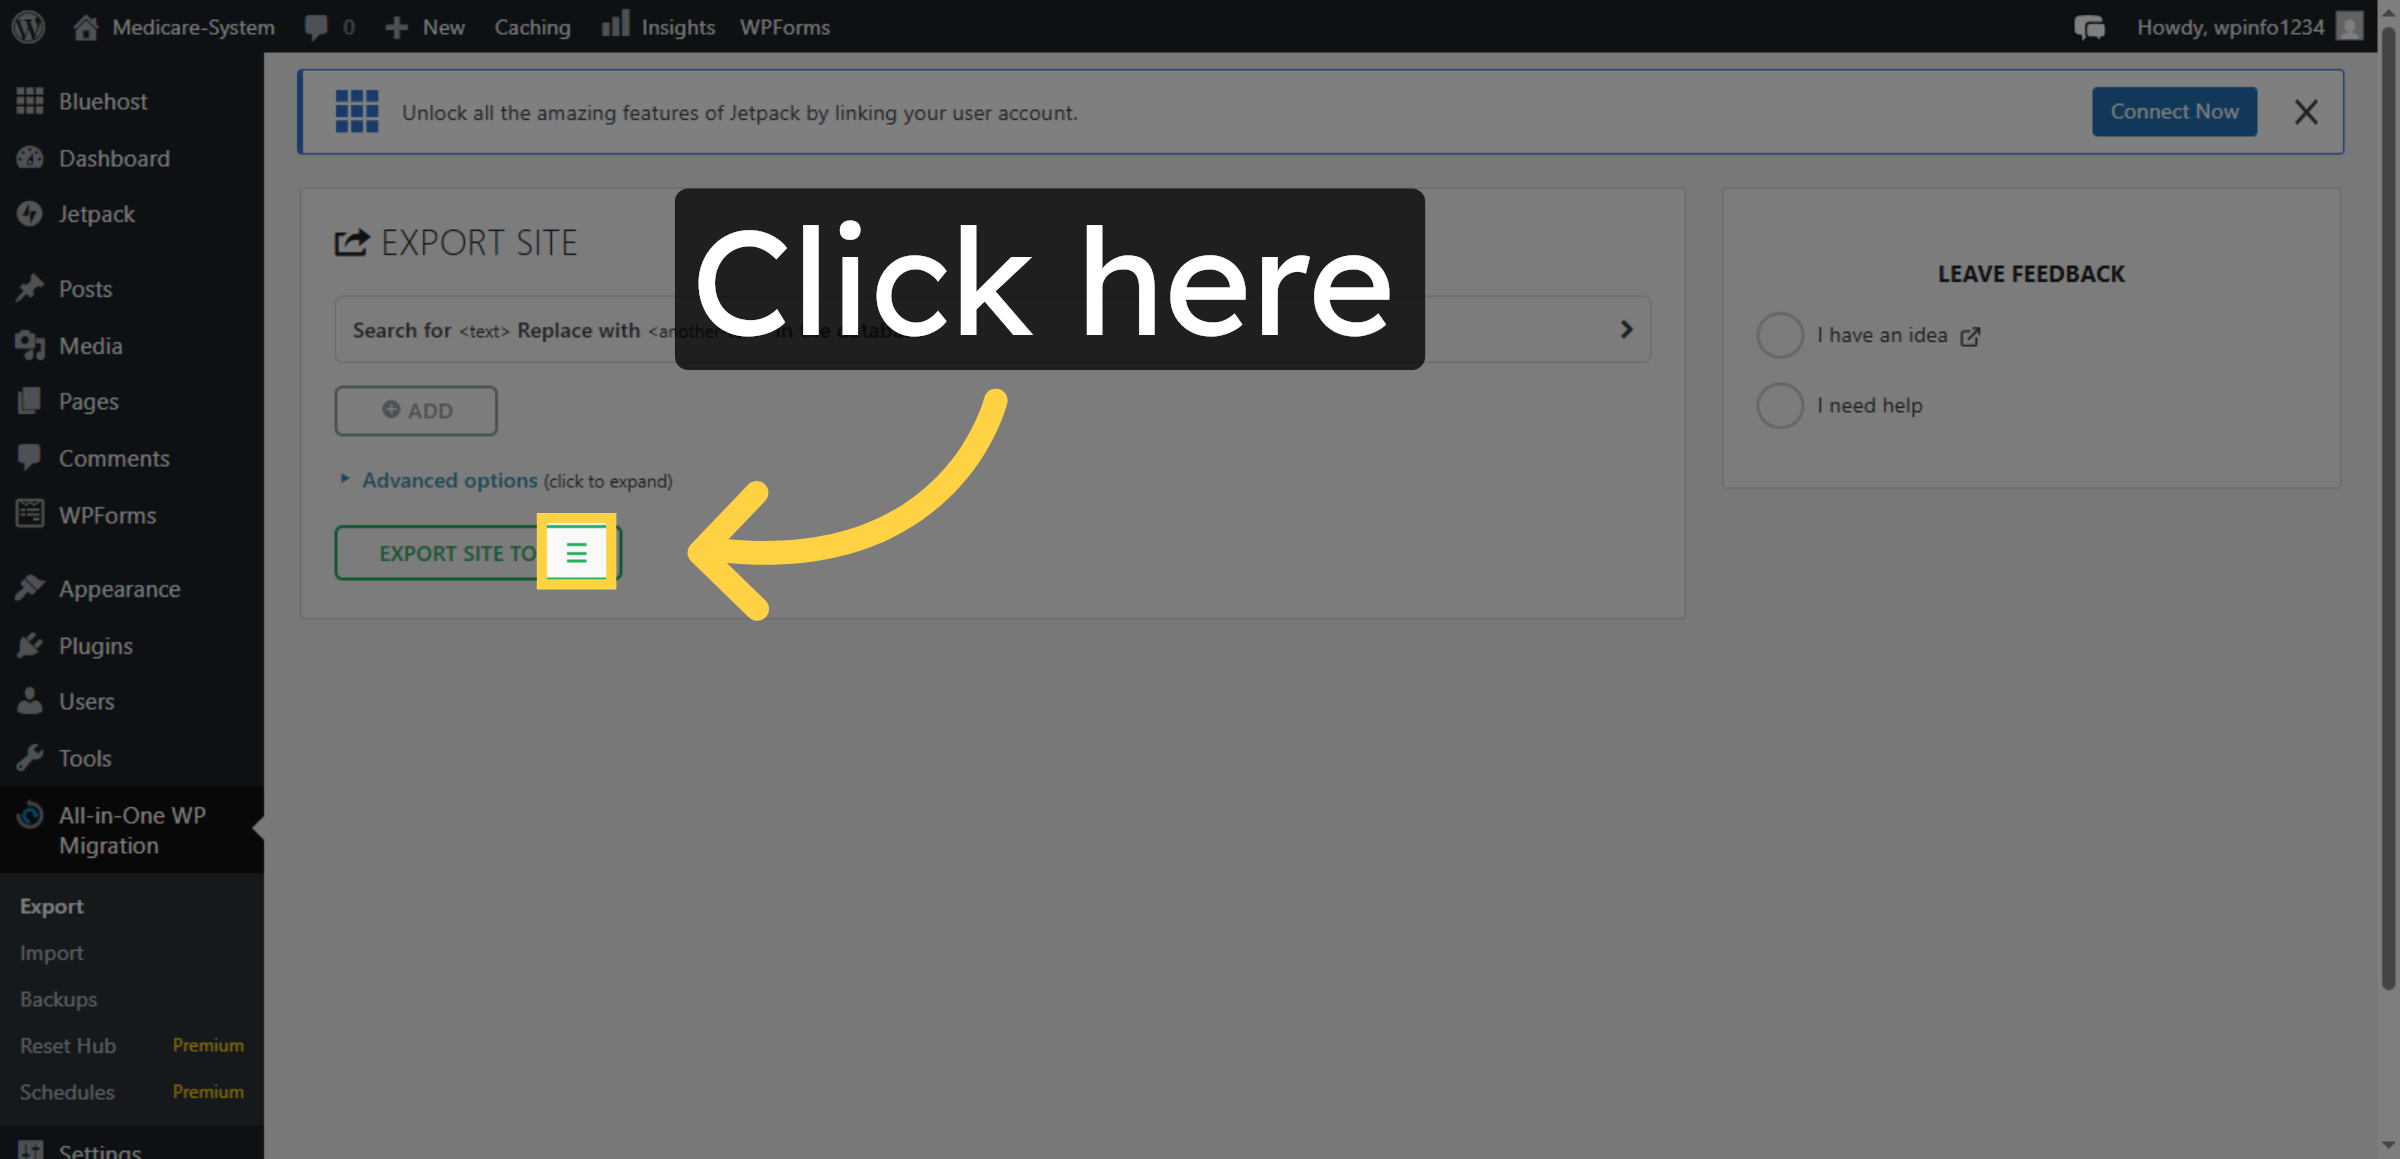
10. Select Export Option
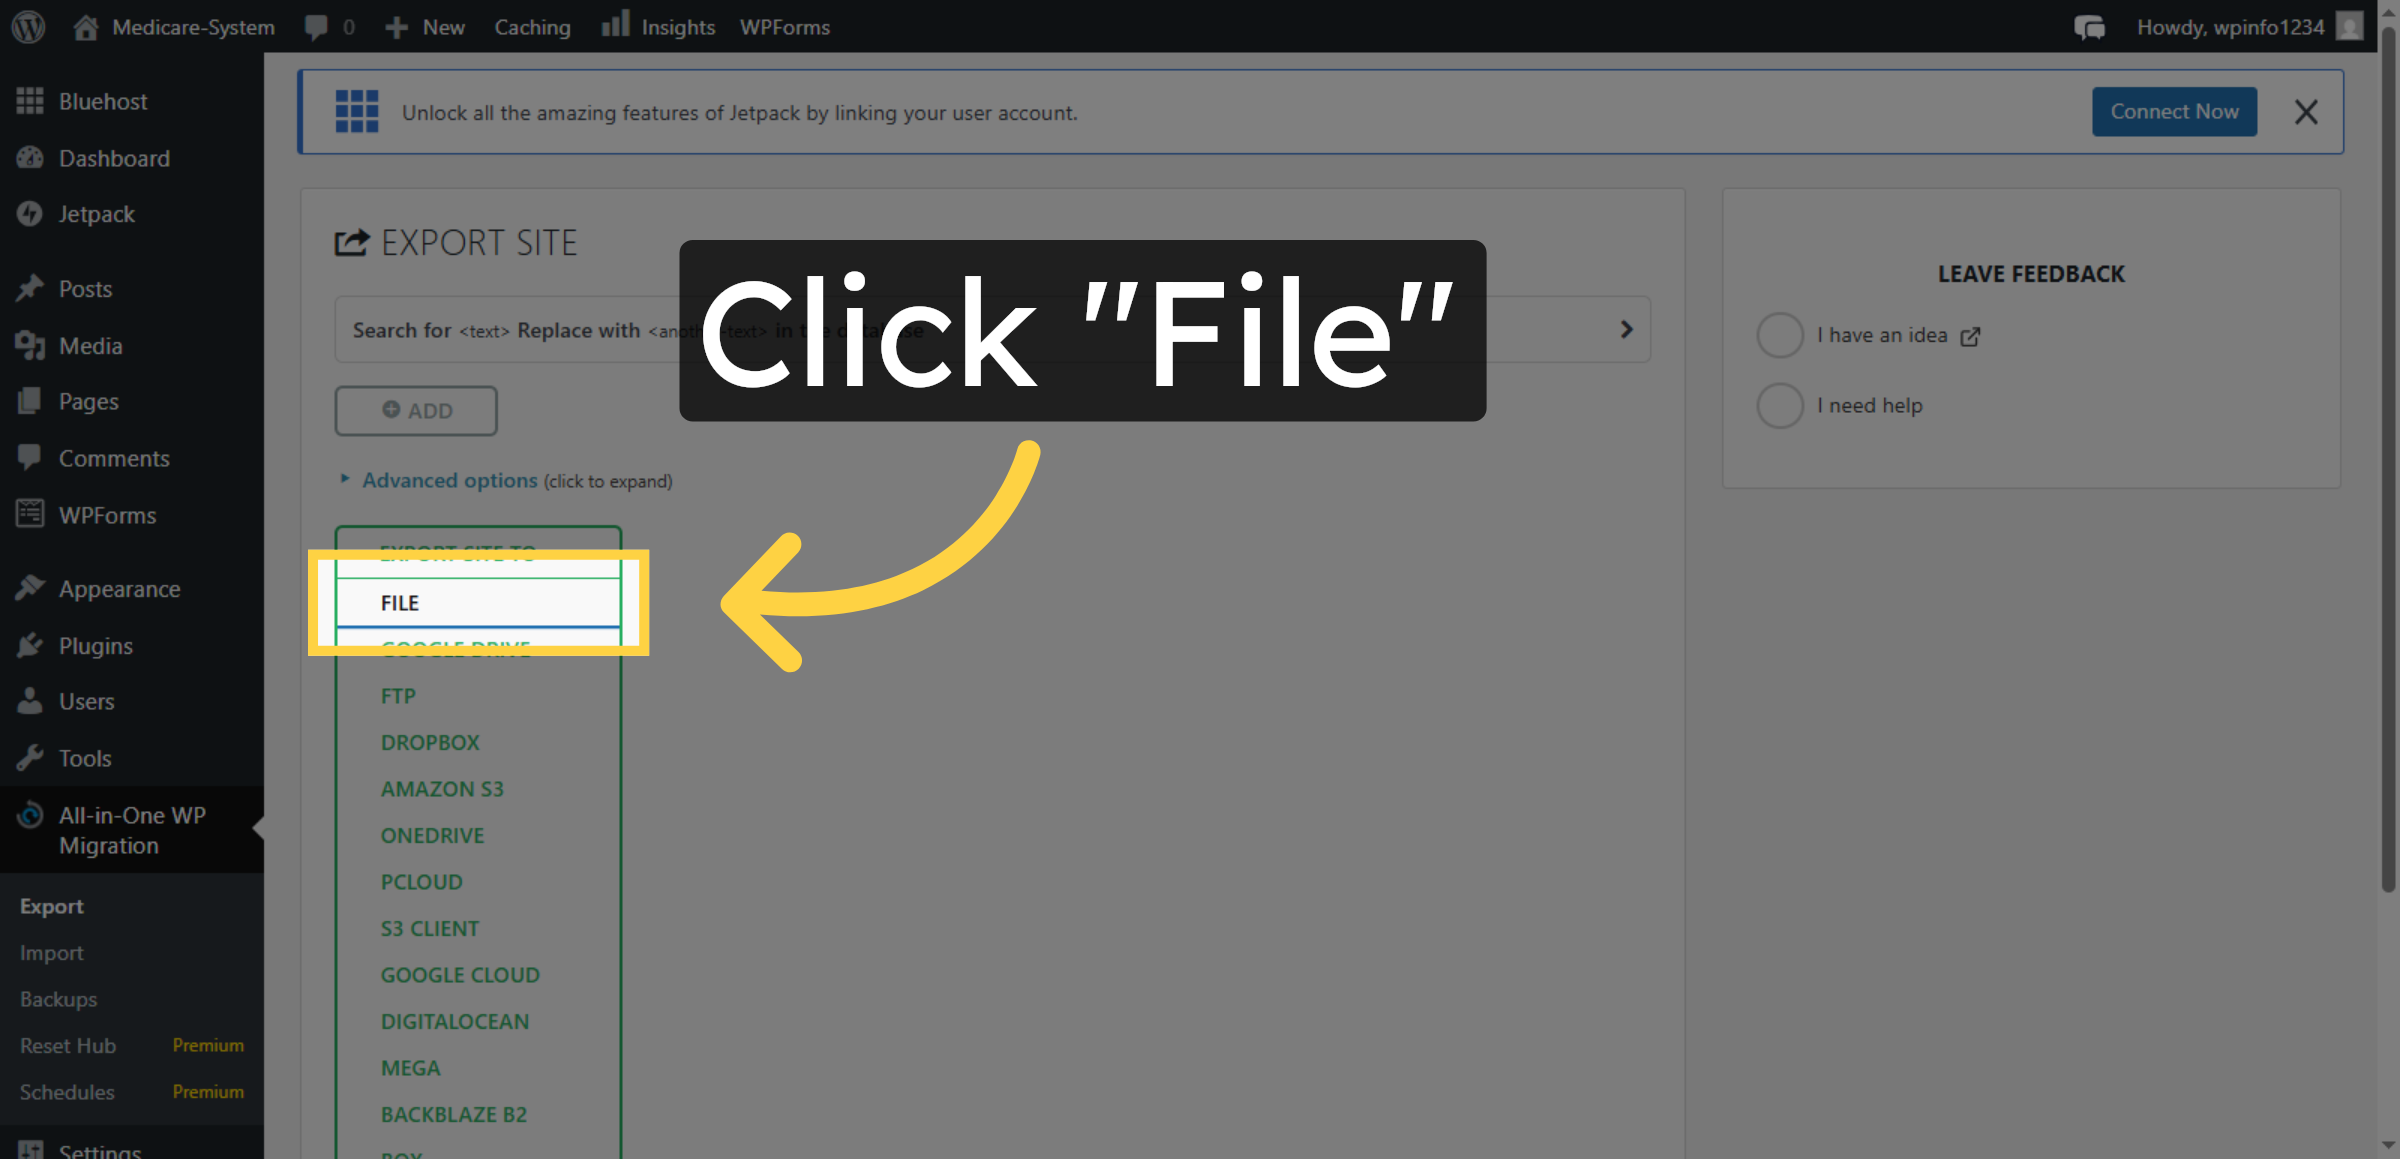
11. Choose Export File
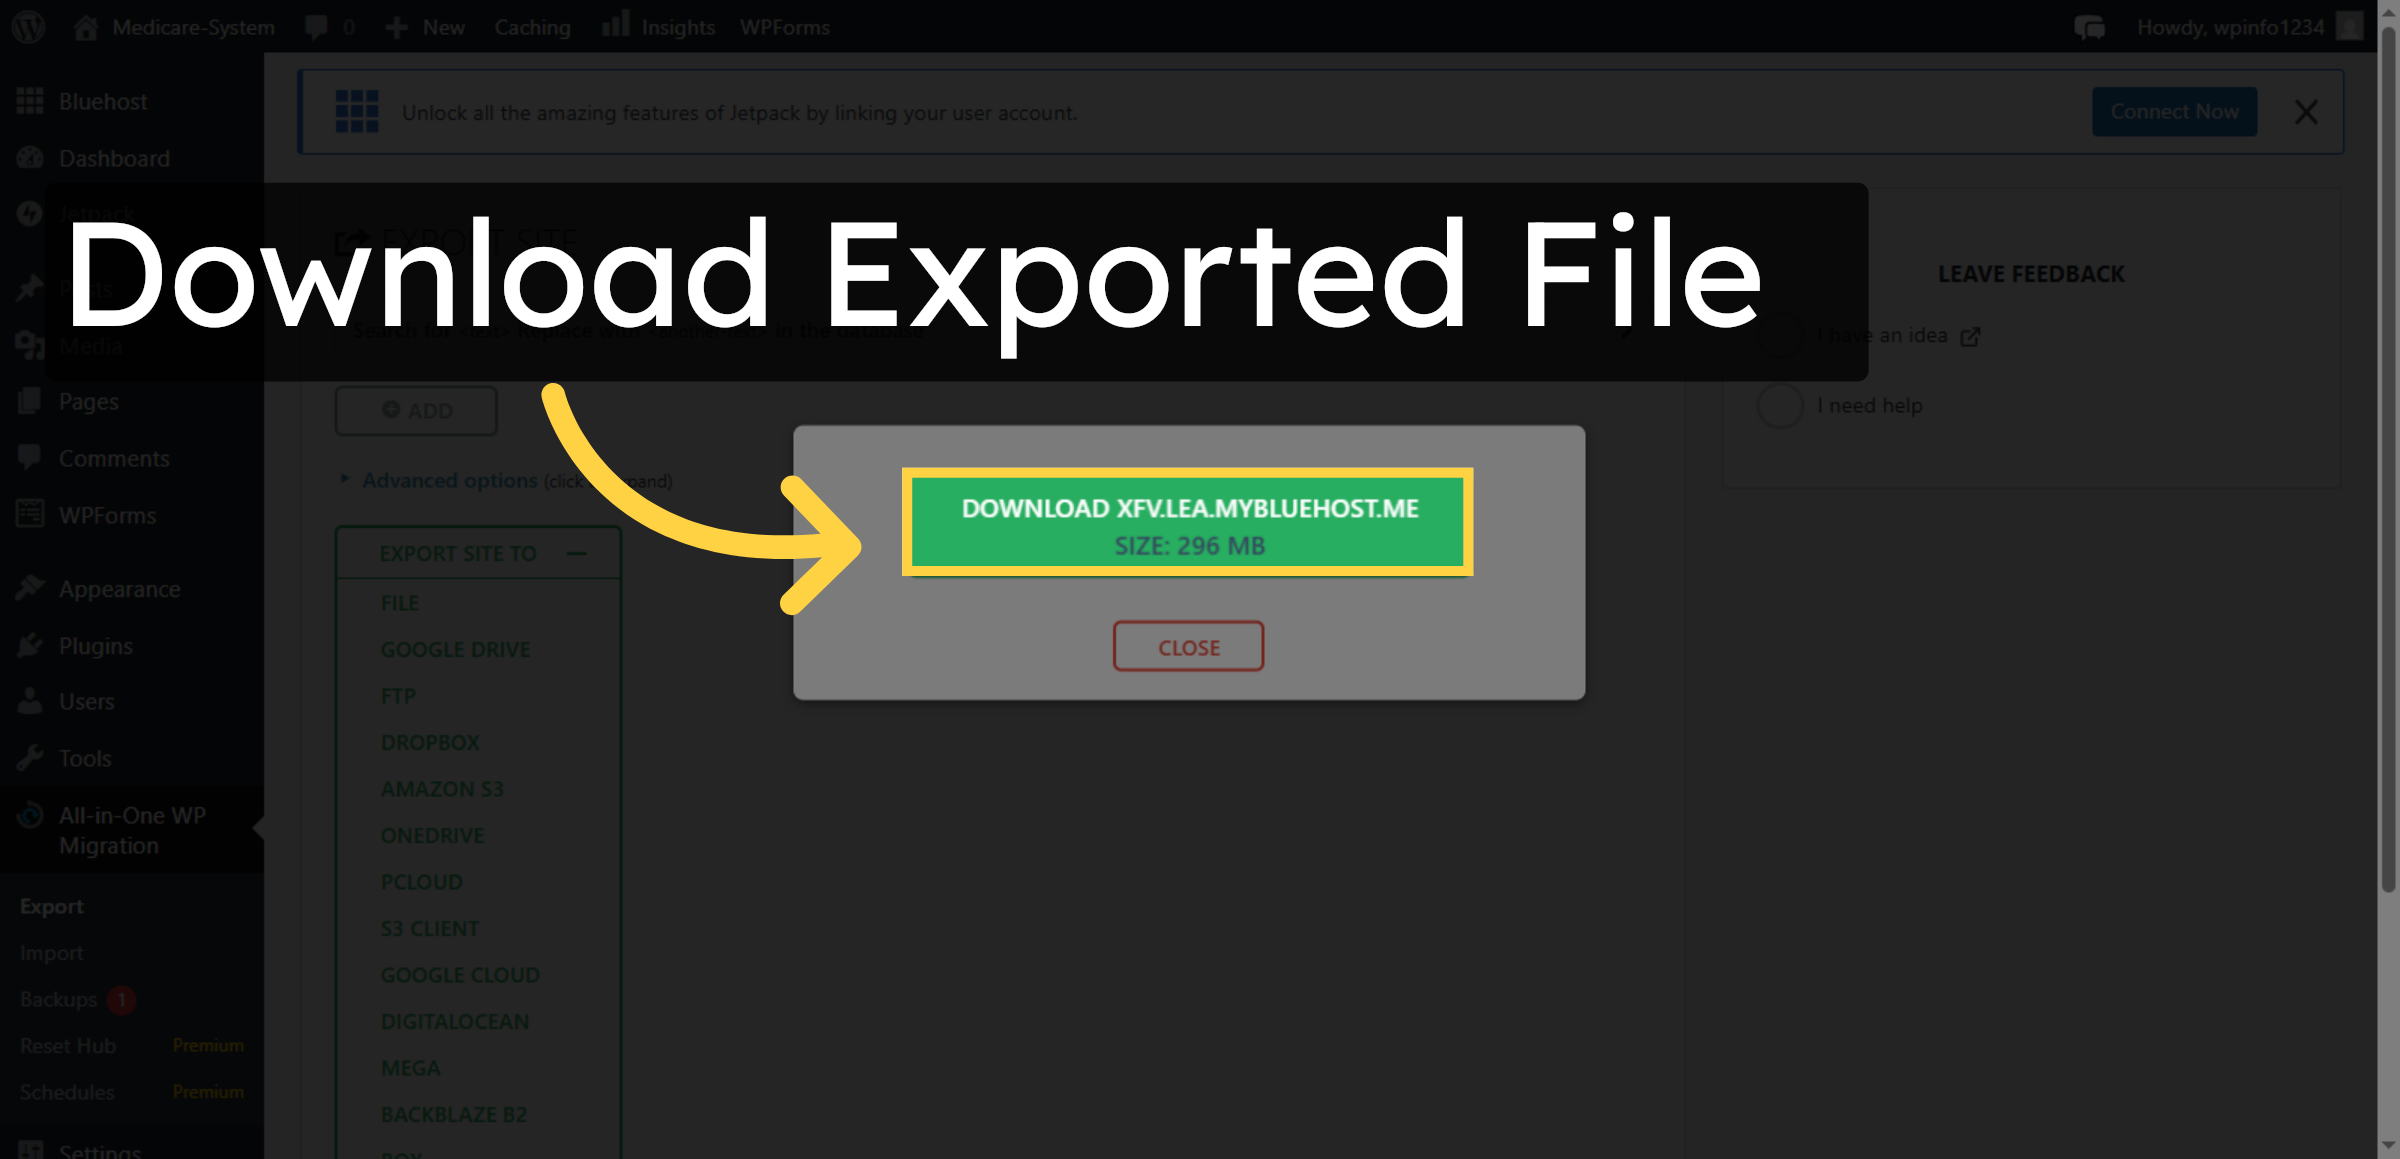
12. Download Exported File
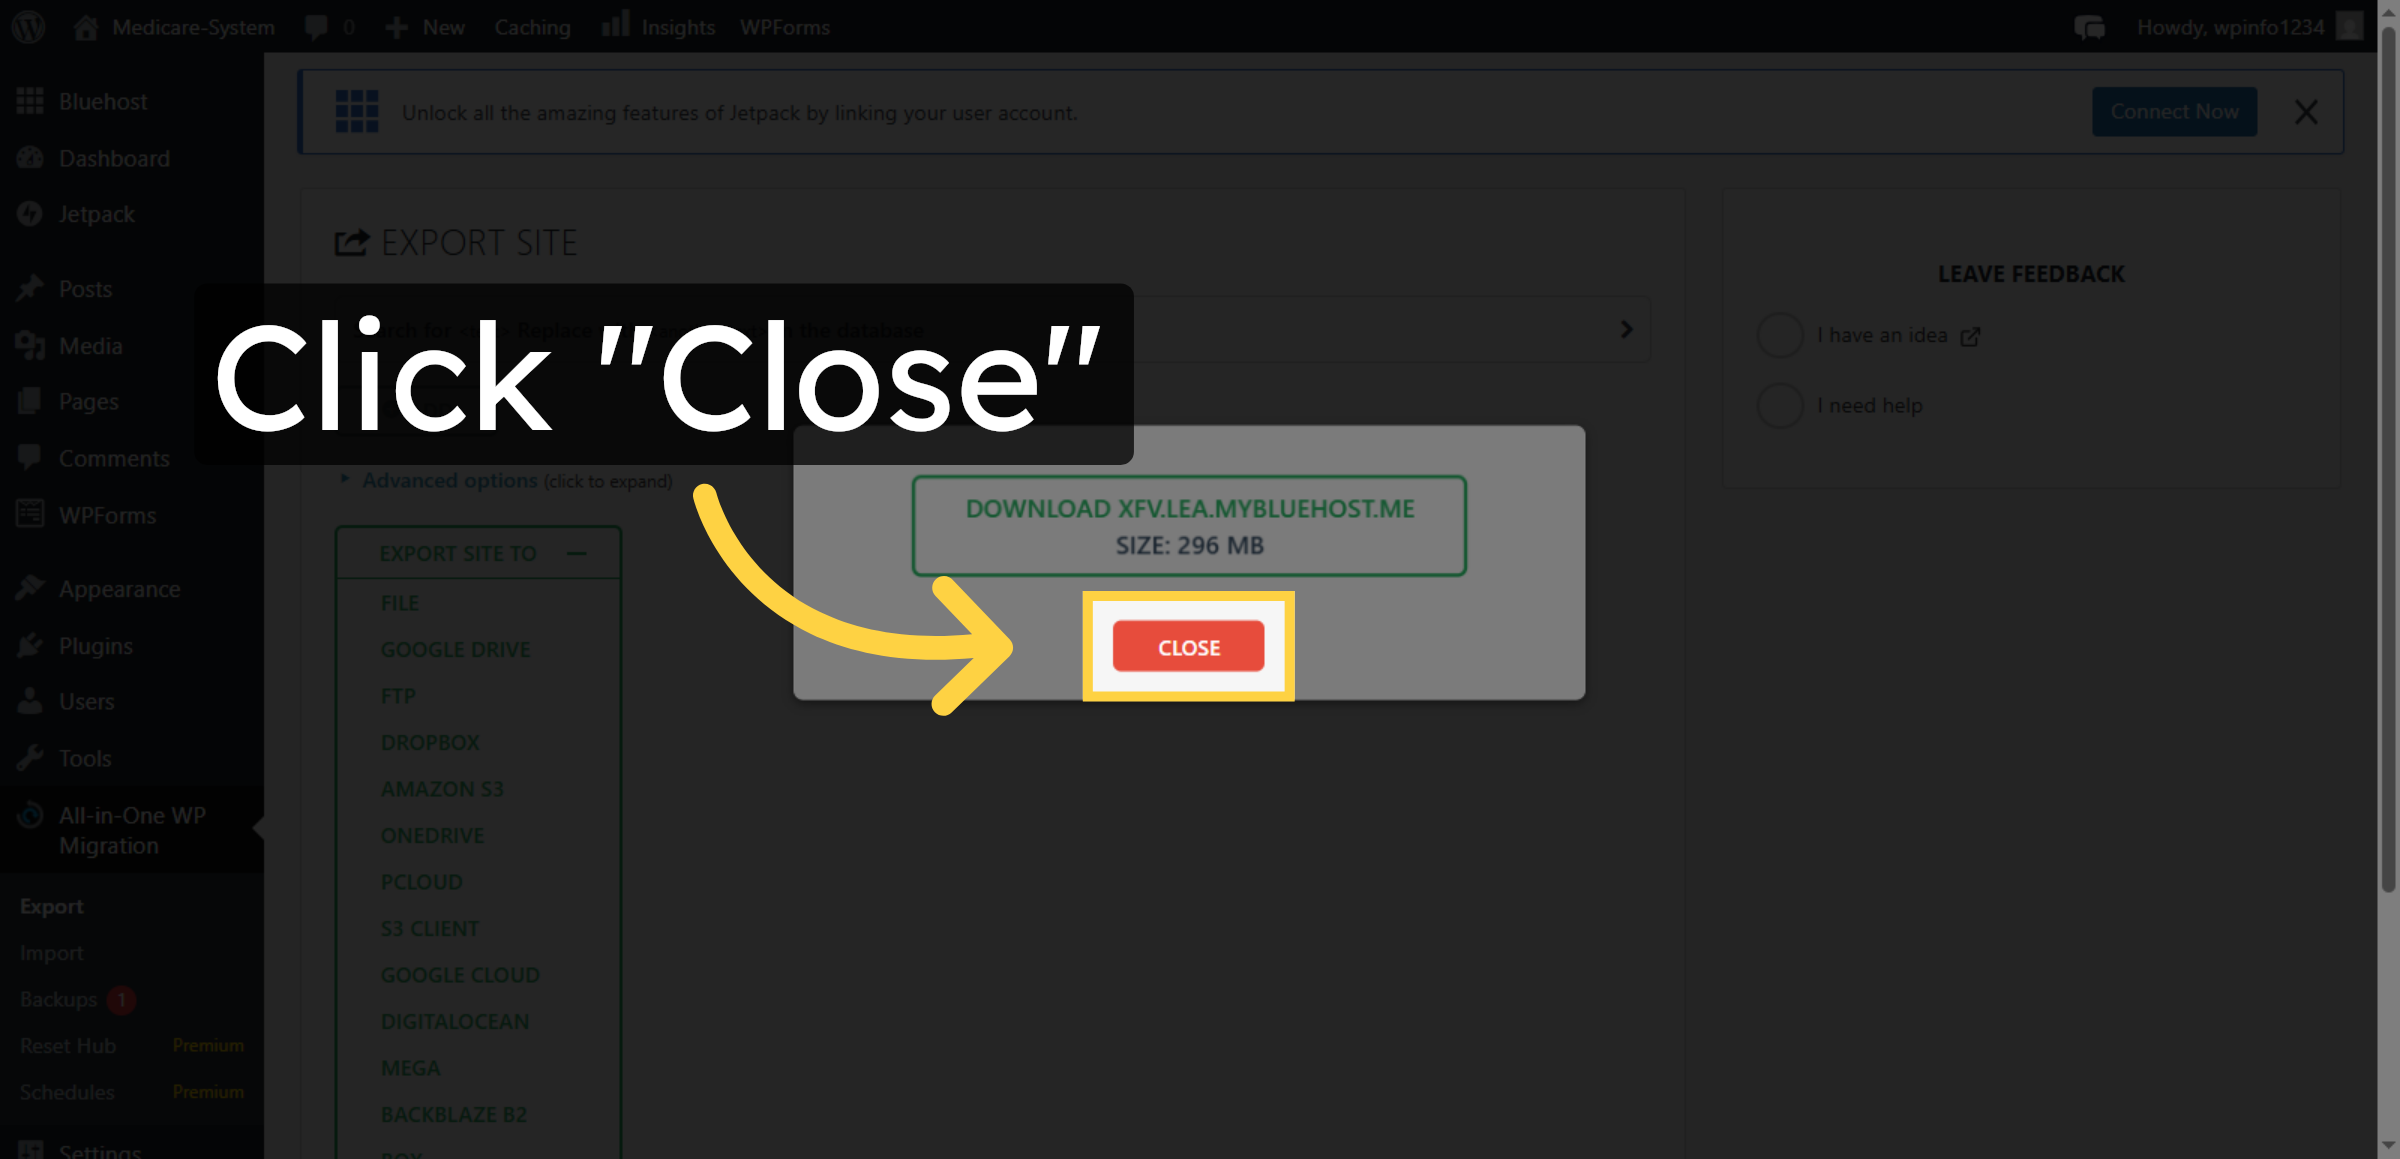
13. Close Export Window
14. NOTE
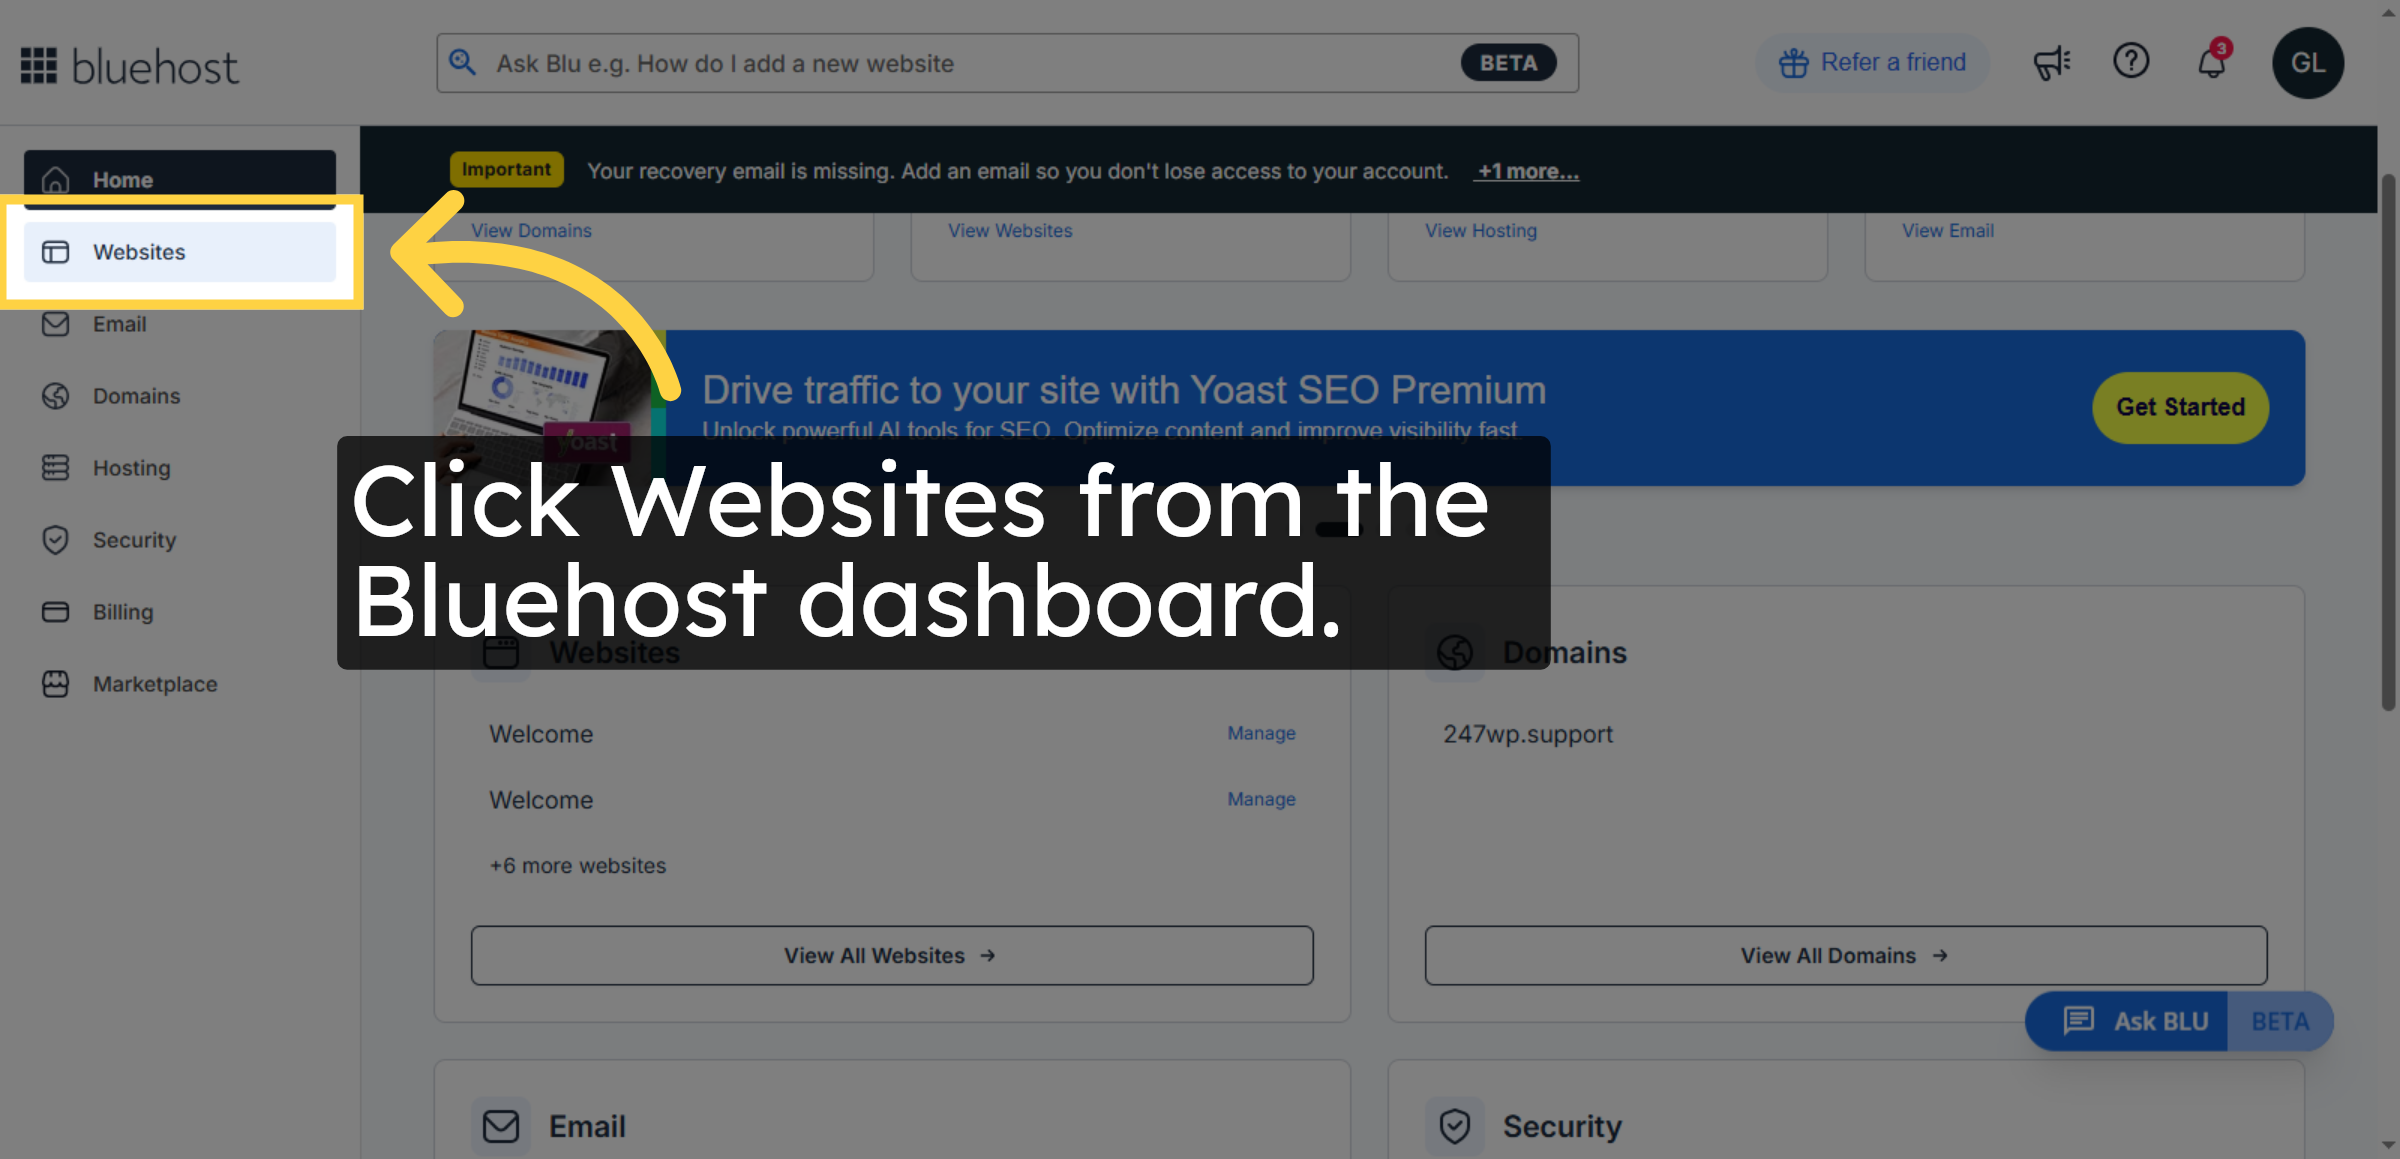
15. Open Bluehost Dashboard (Target Website)

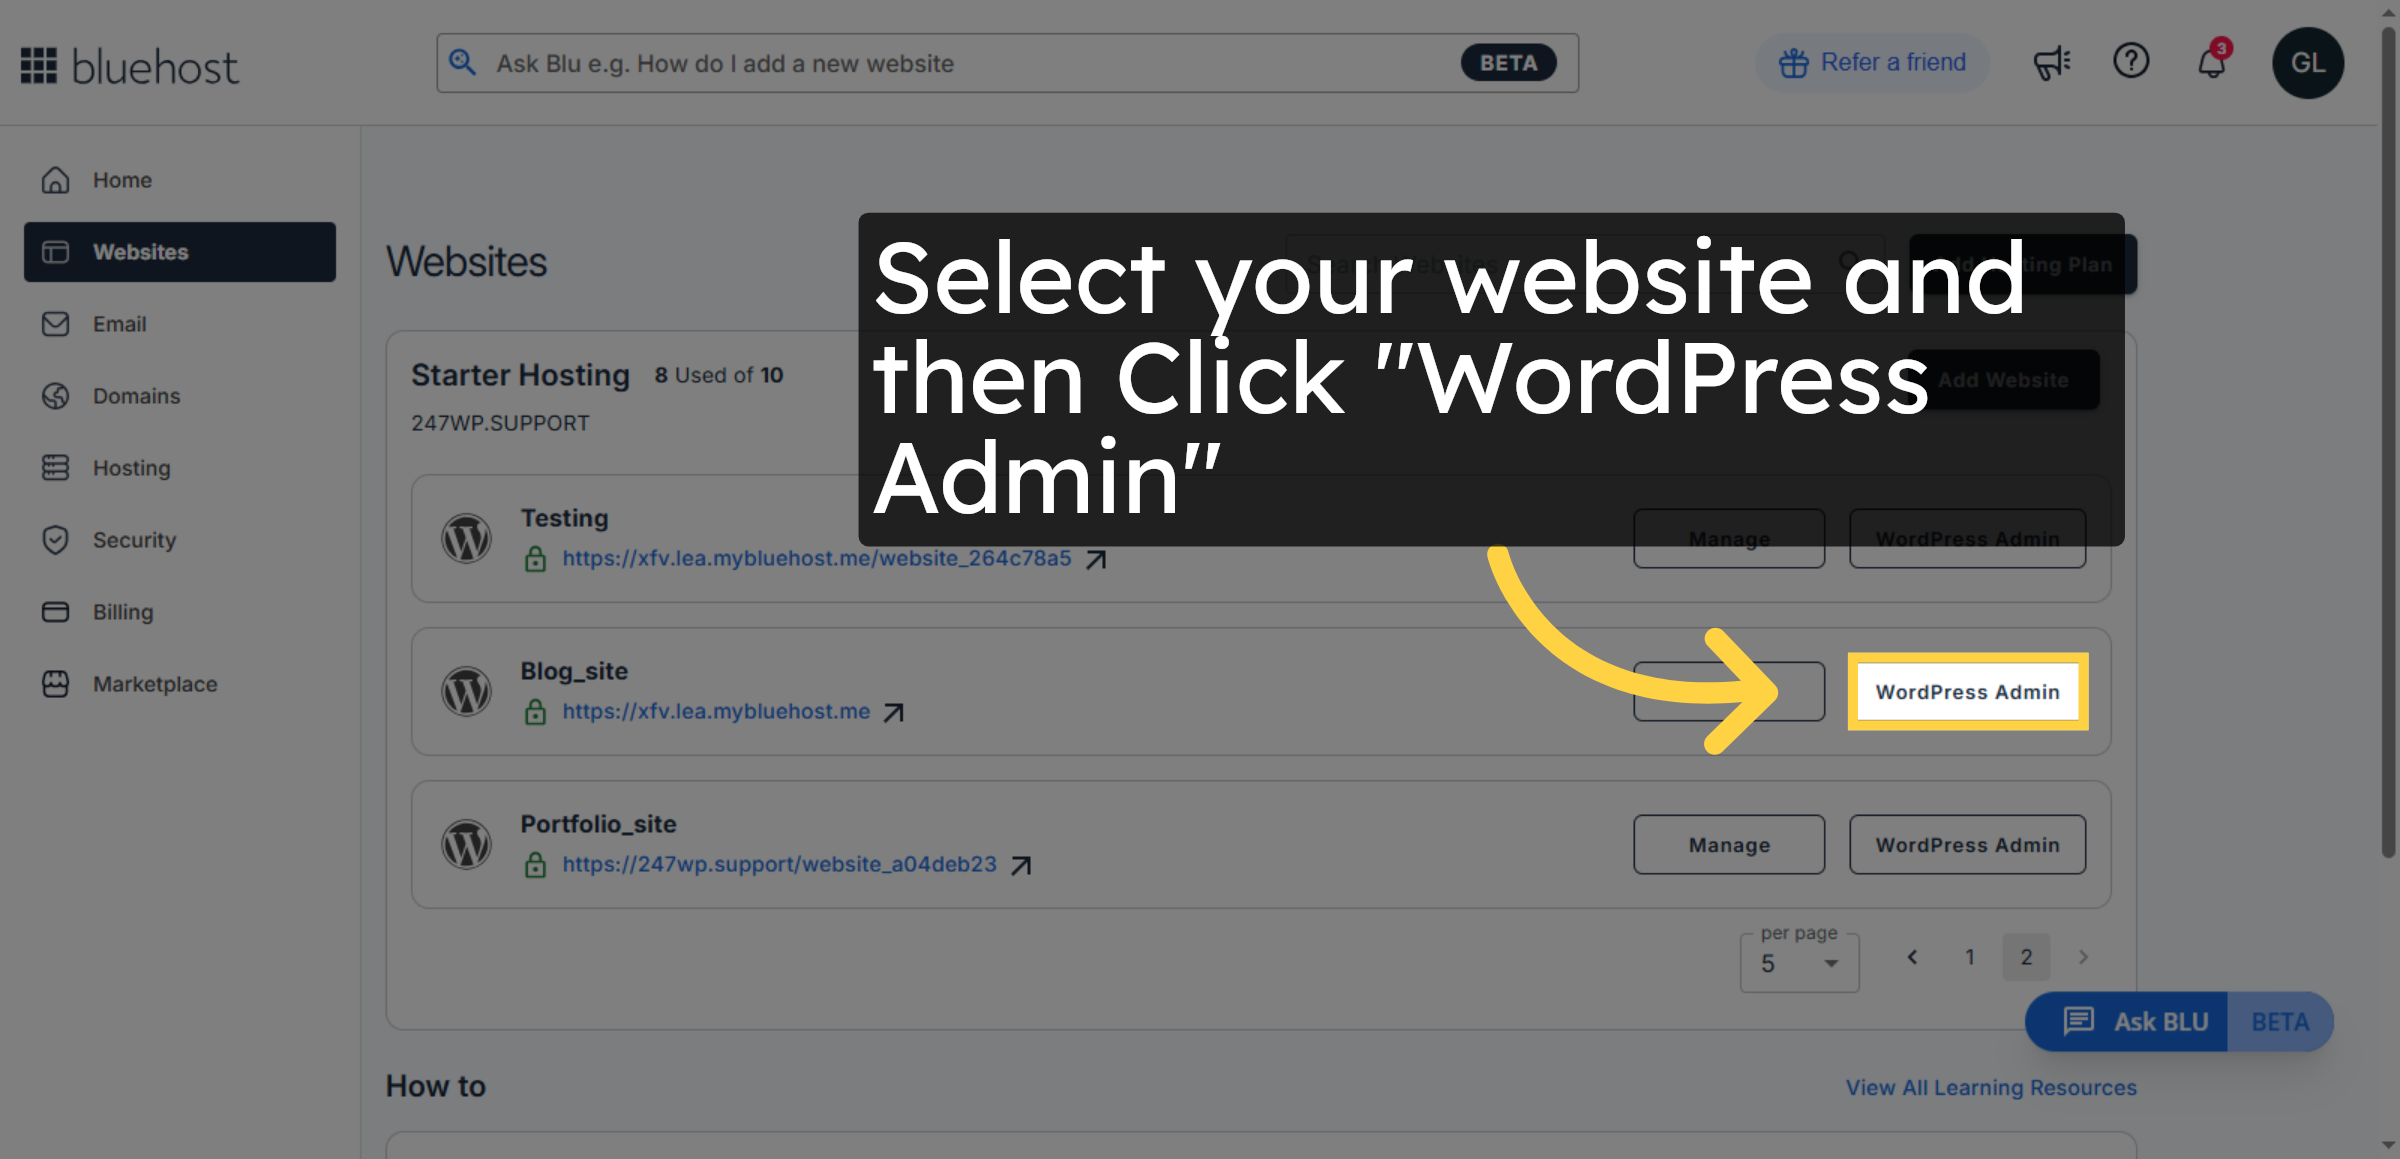
16. Open Websites Section
17. Open WordPress Admin
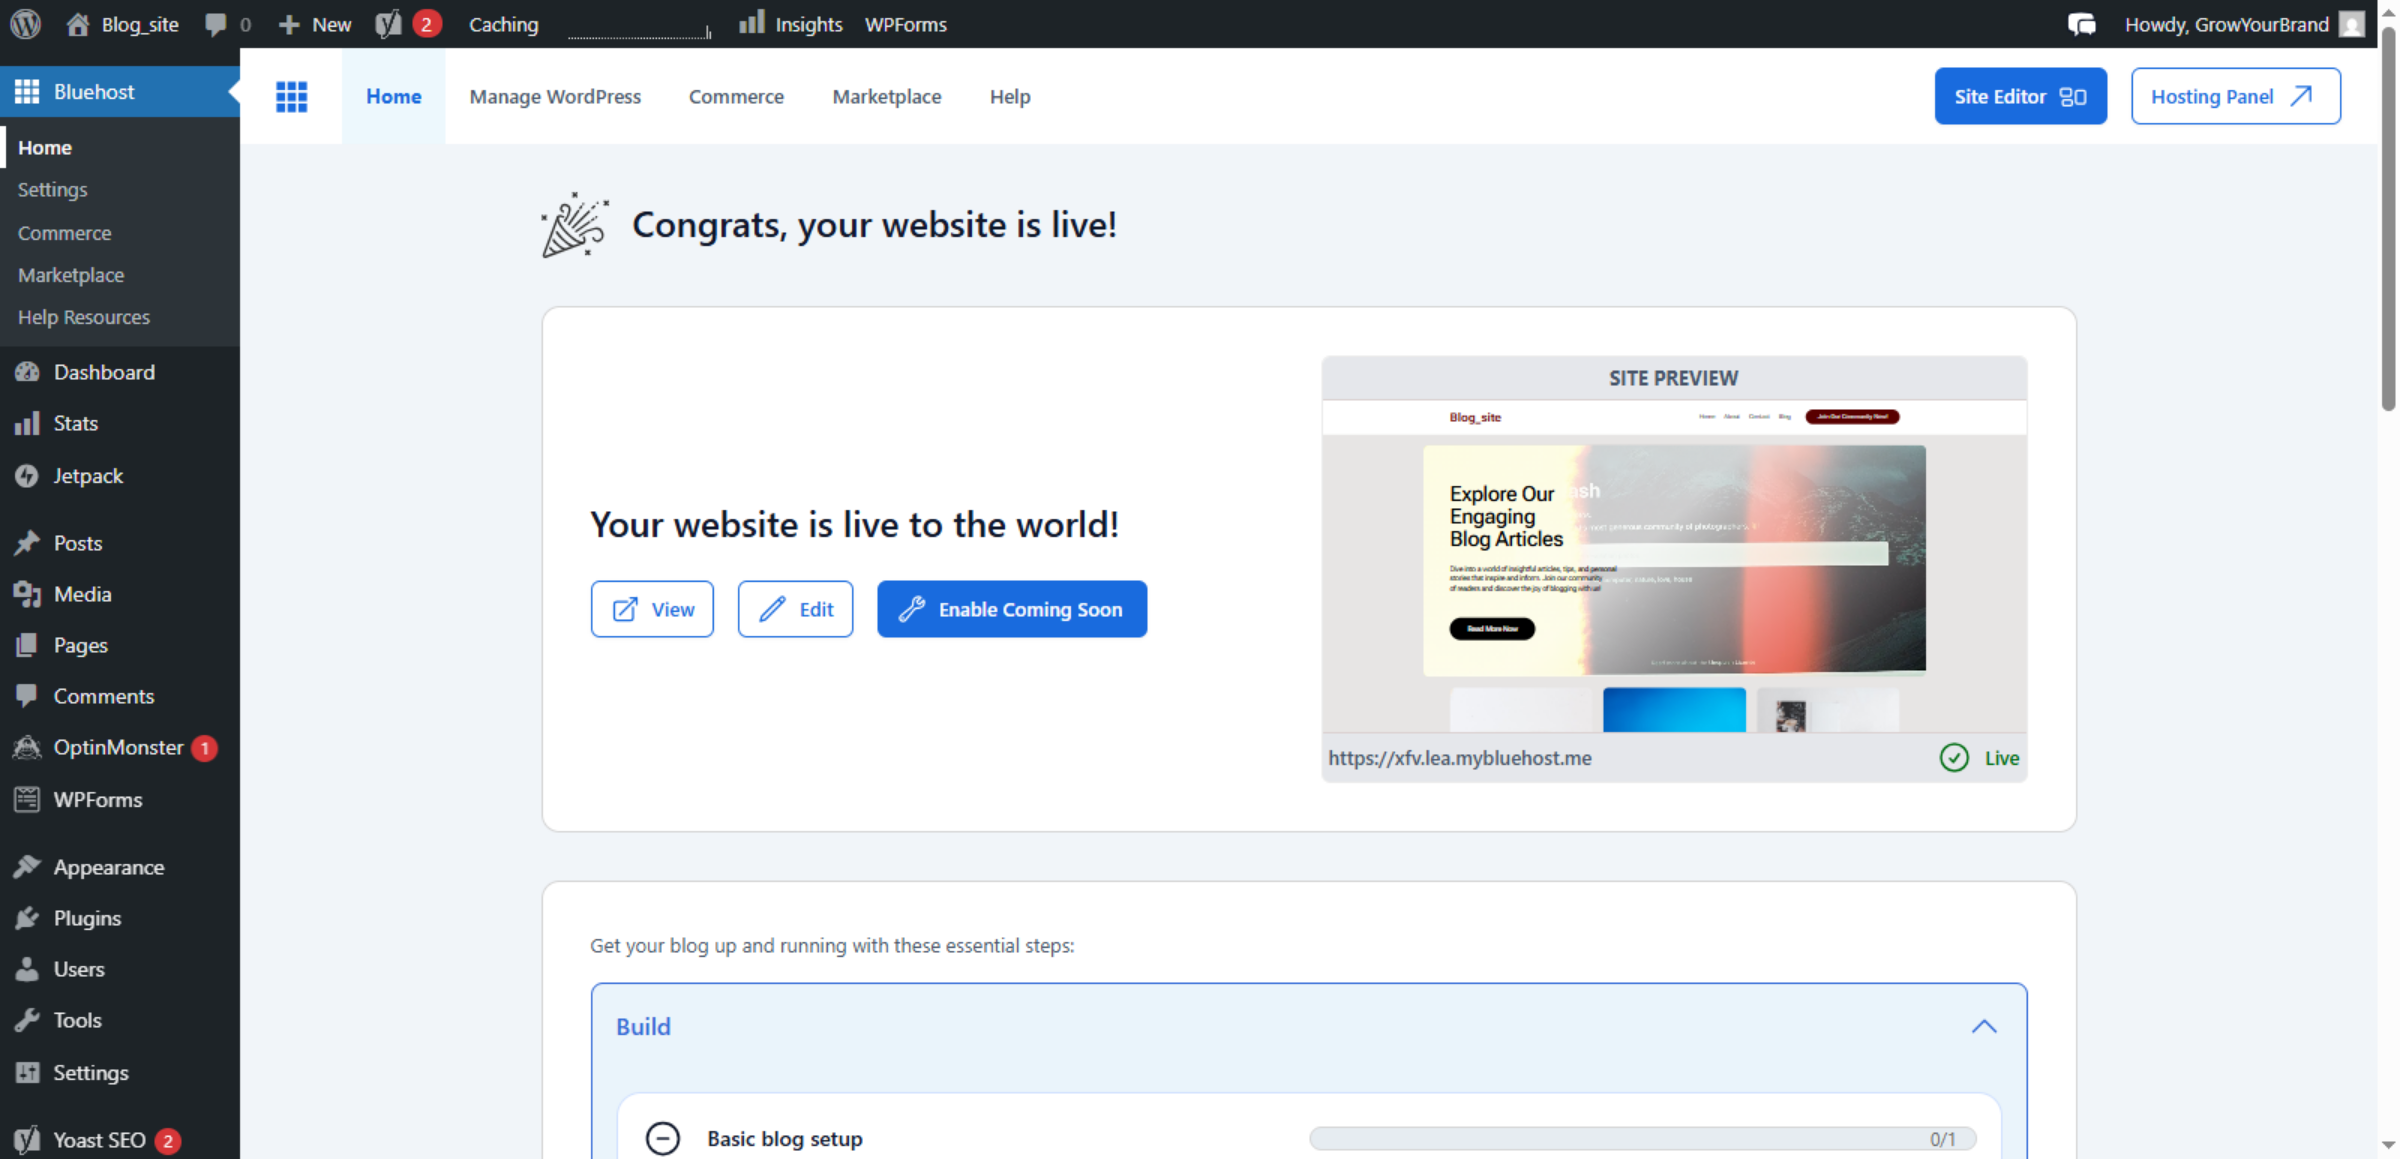
18. Open WordPress Dashboard (Destination)
19. Visit Your WordPress Site

20. Original Website Before Migration


21. Open Add Plugin Section
22. Search for Migration Plugin
23. Install Migration Plugin
24. Activate Migration Plugin
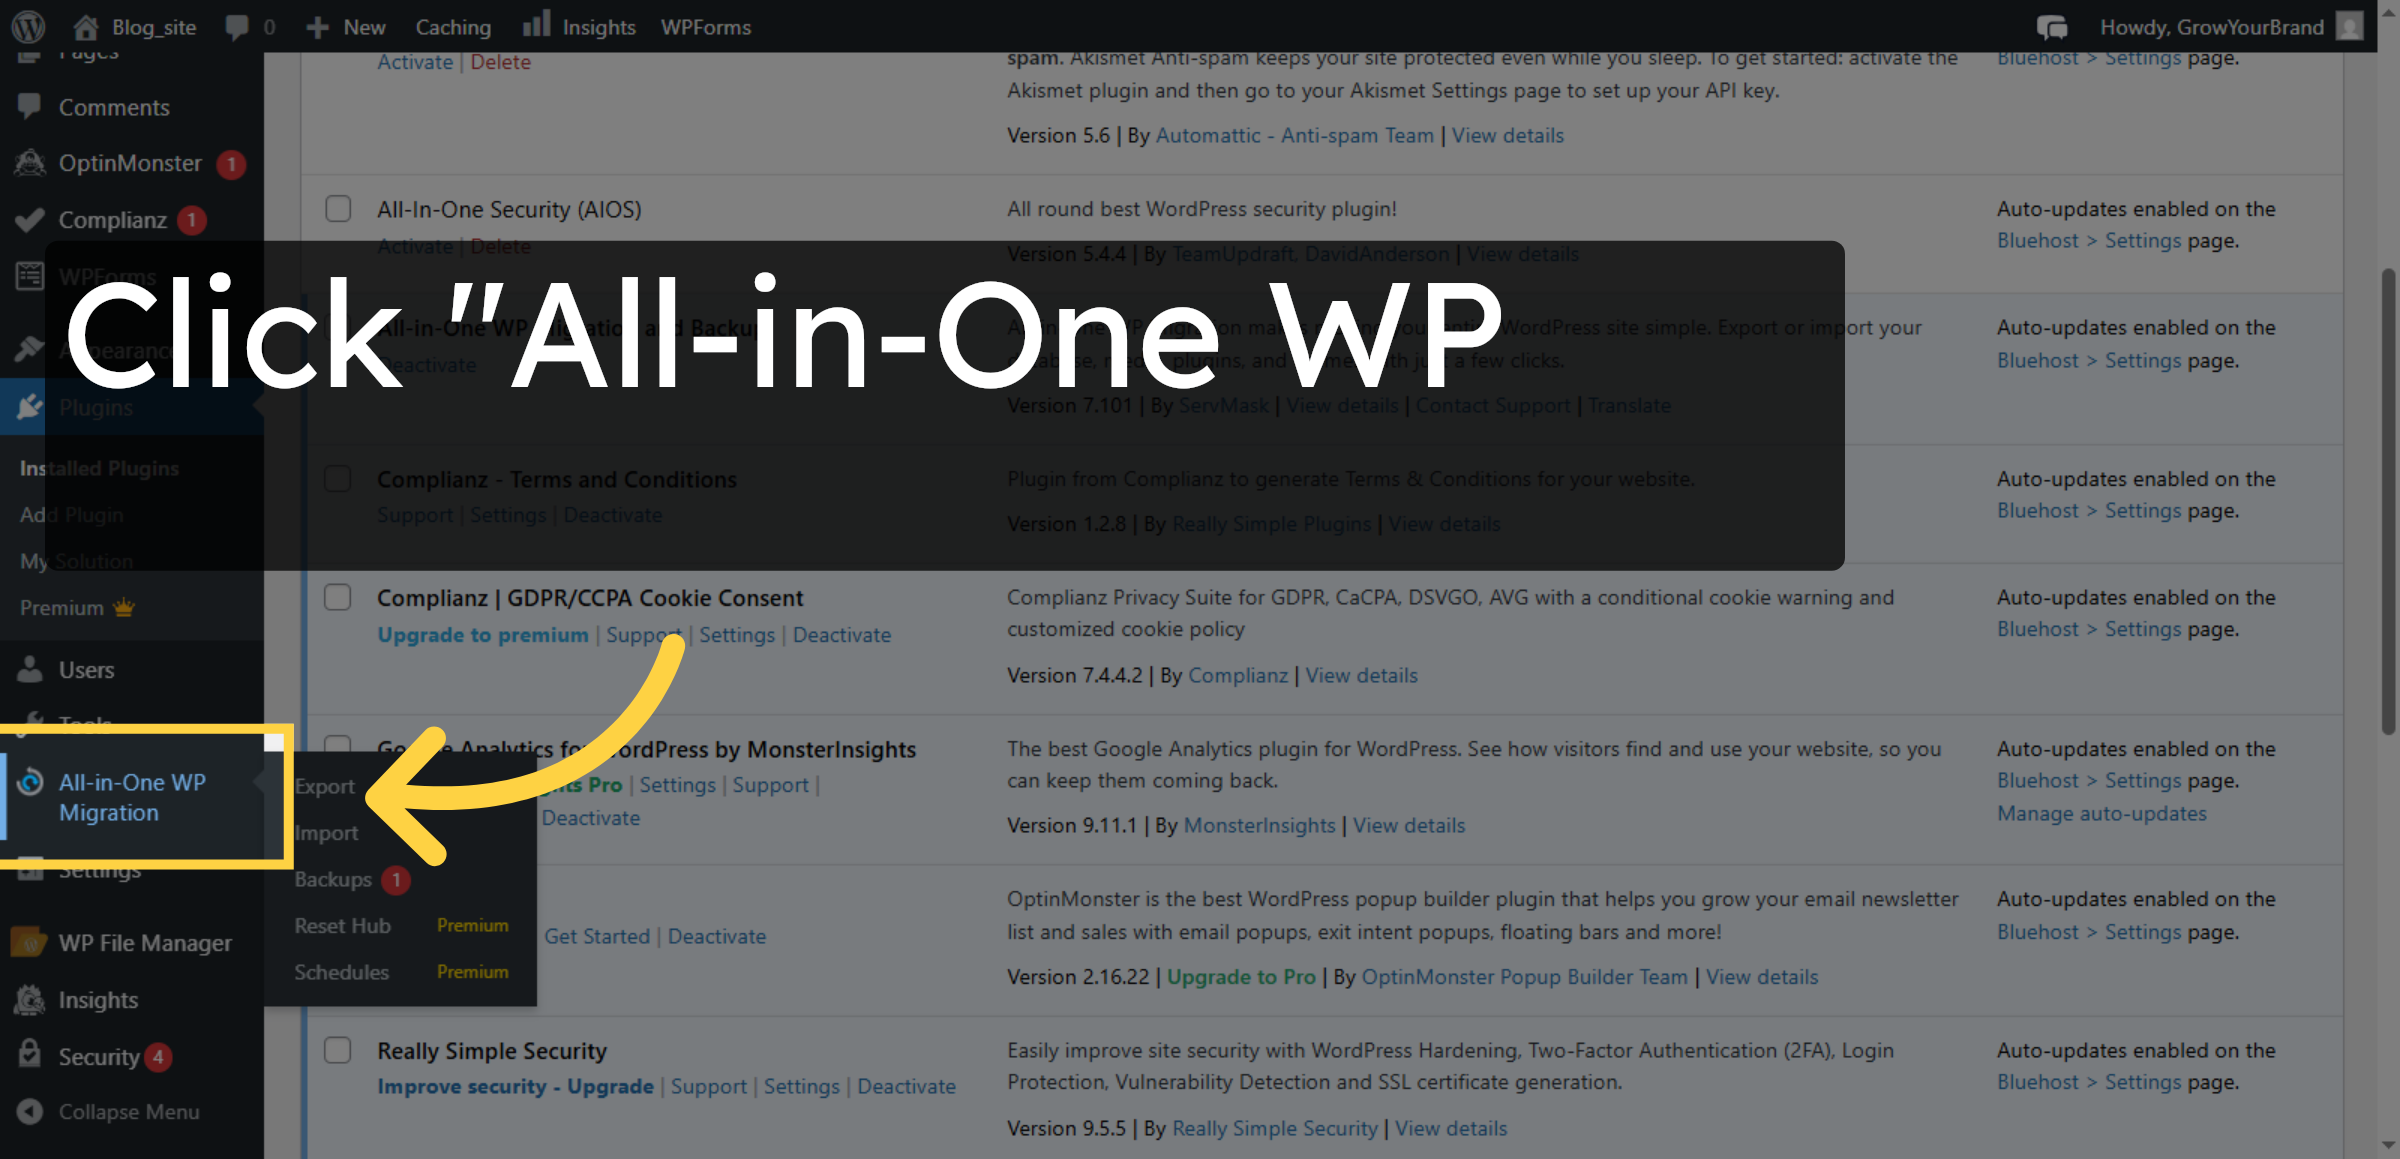
25. Open Migration Plugin
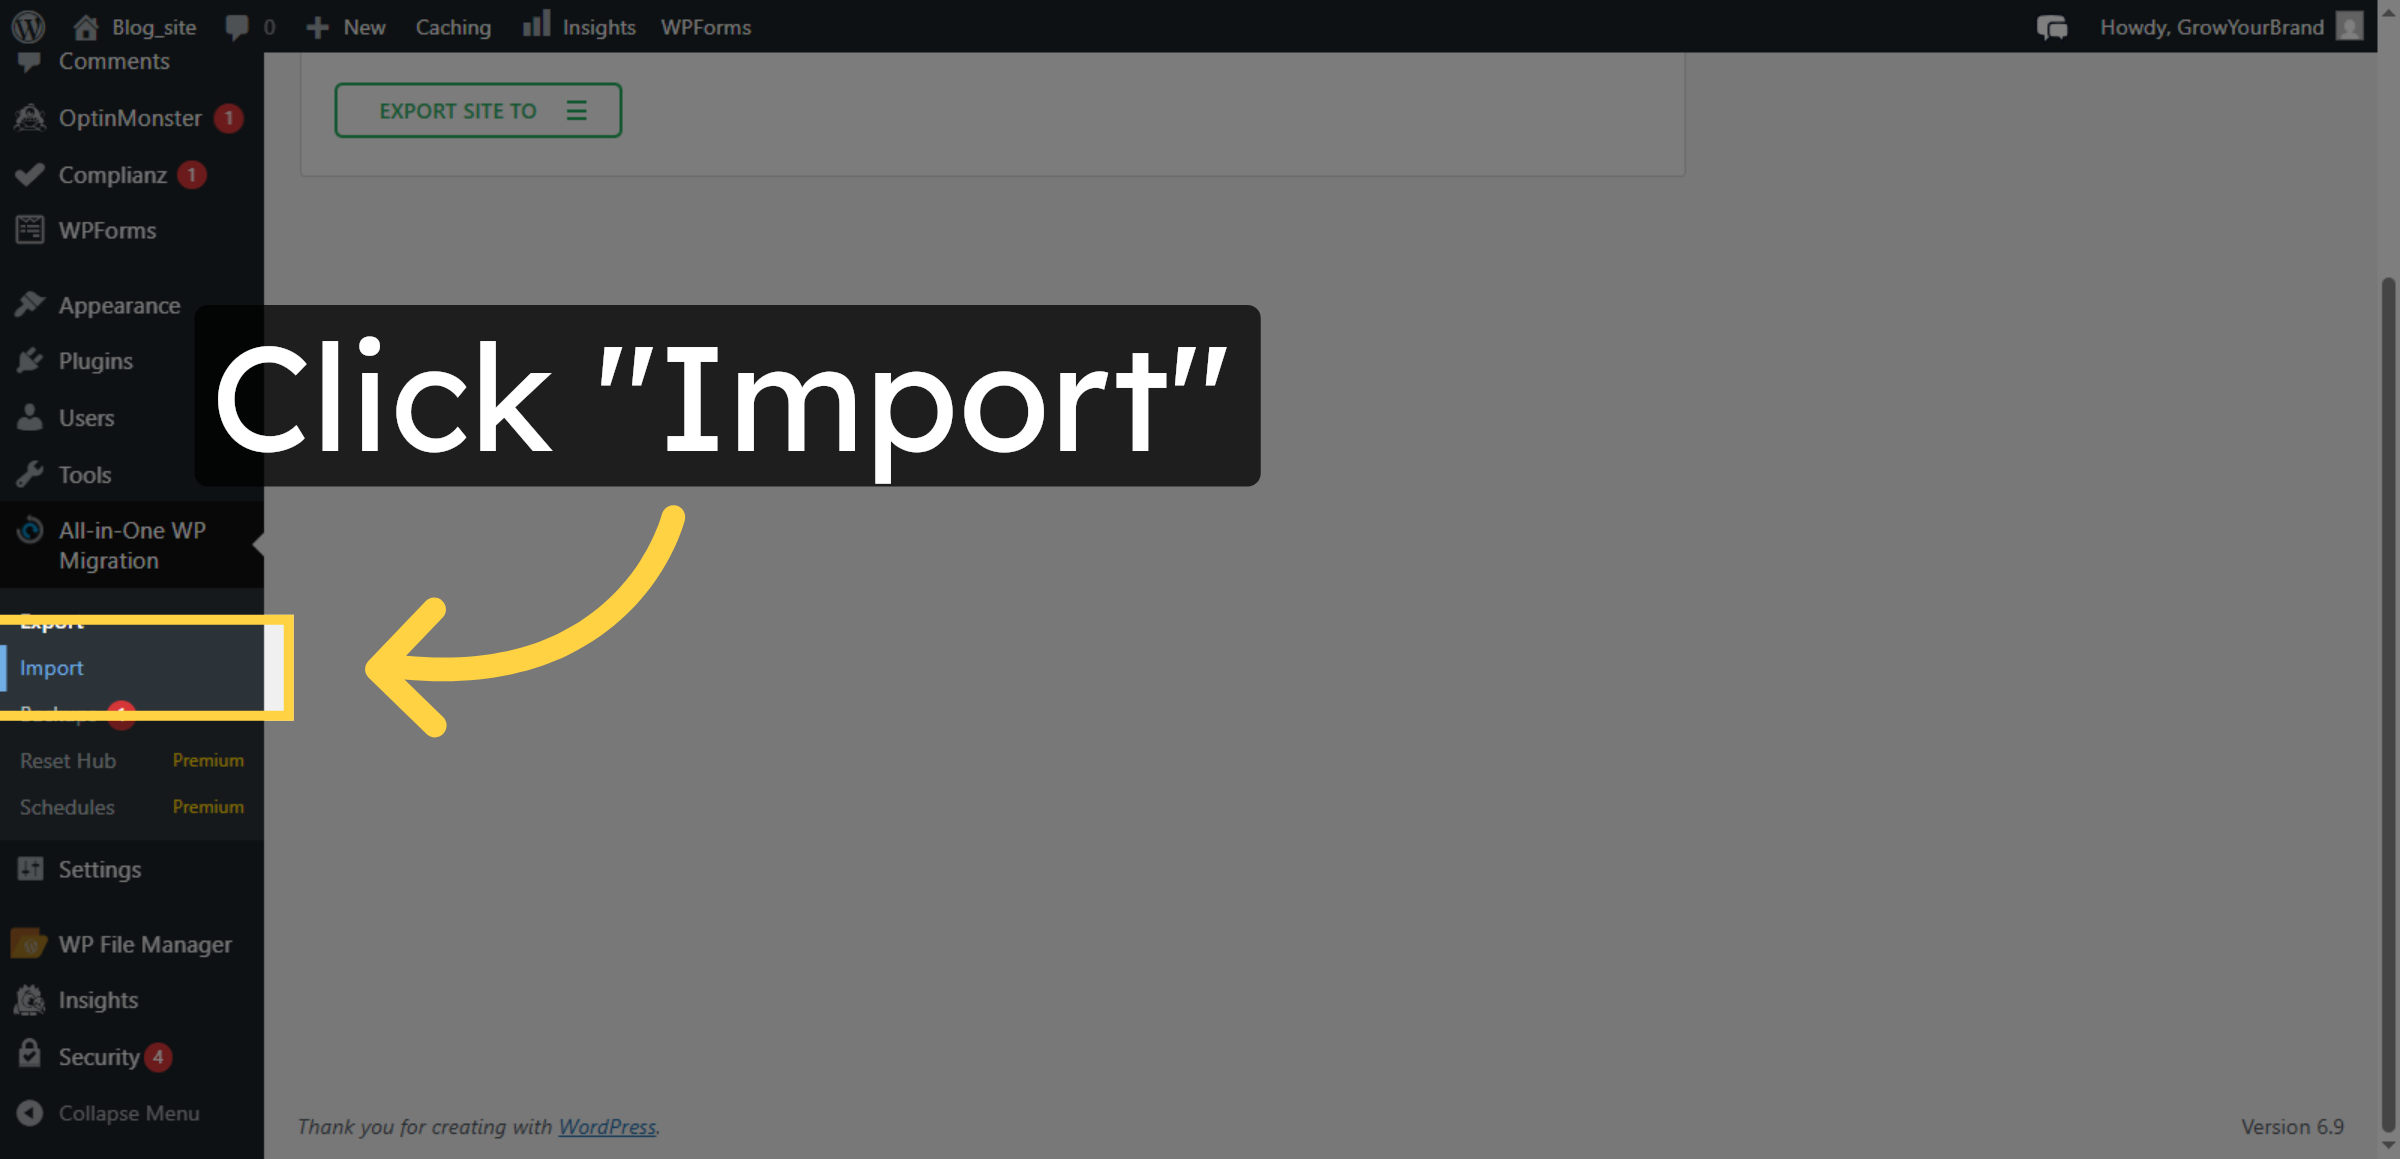
26. Select Import Option
27. Open Import Options
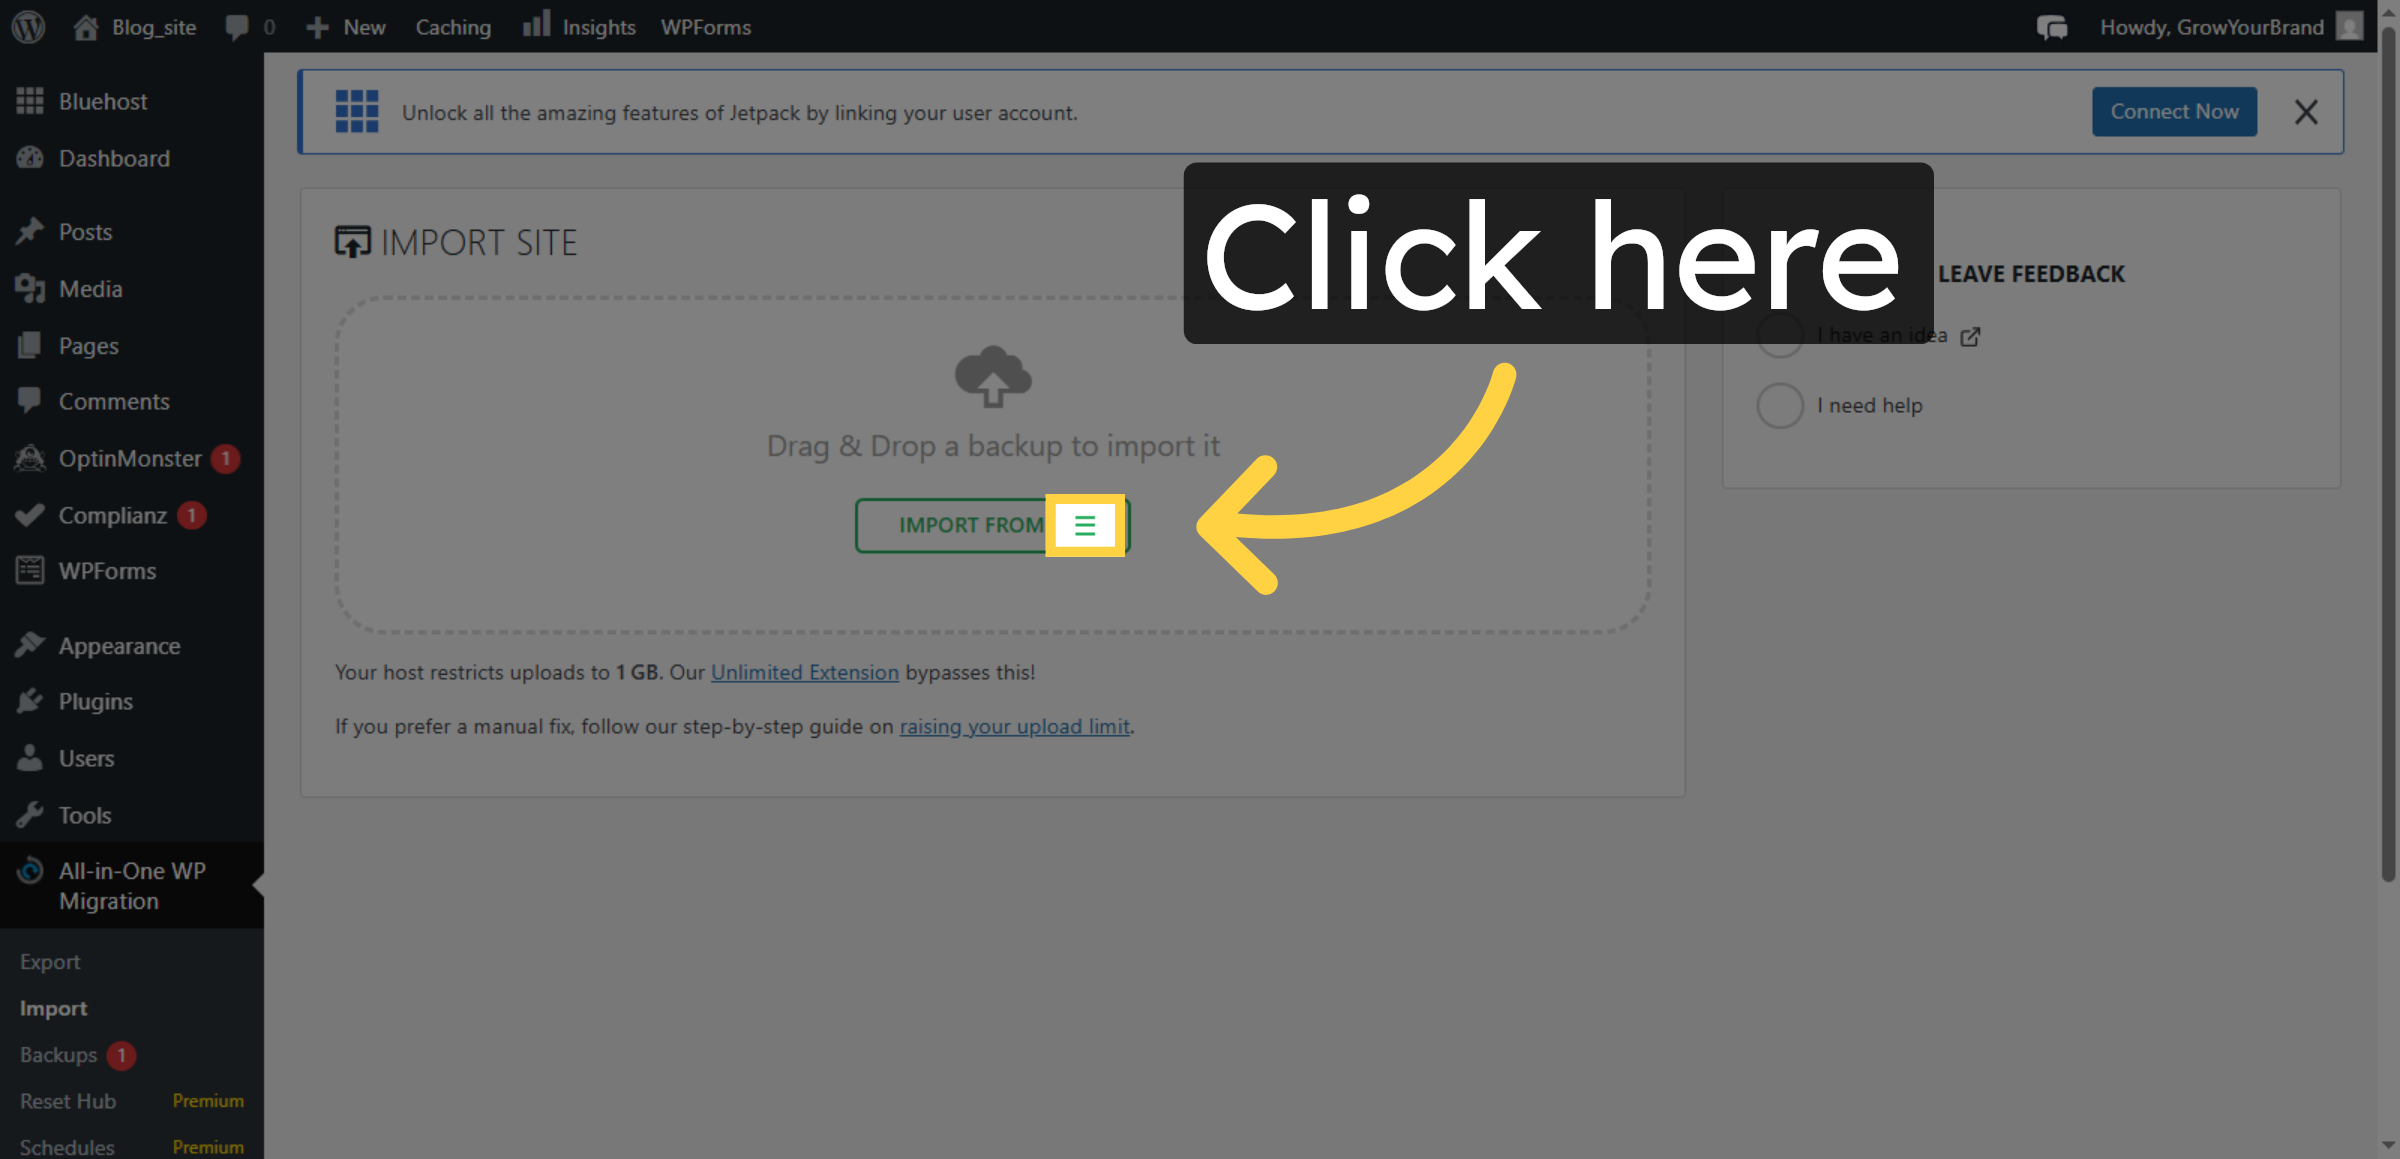
28. Choose Import File

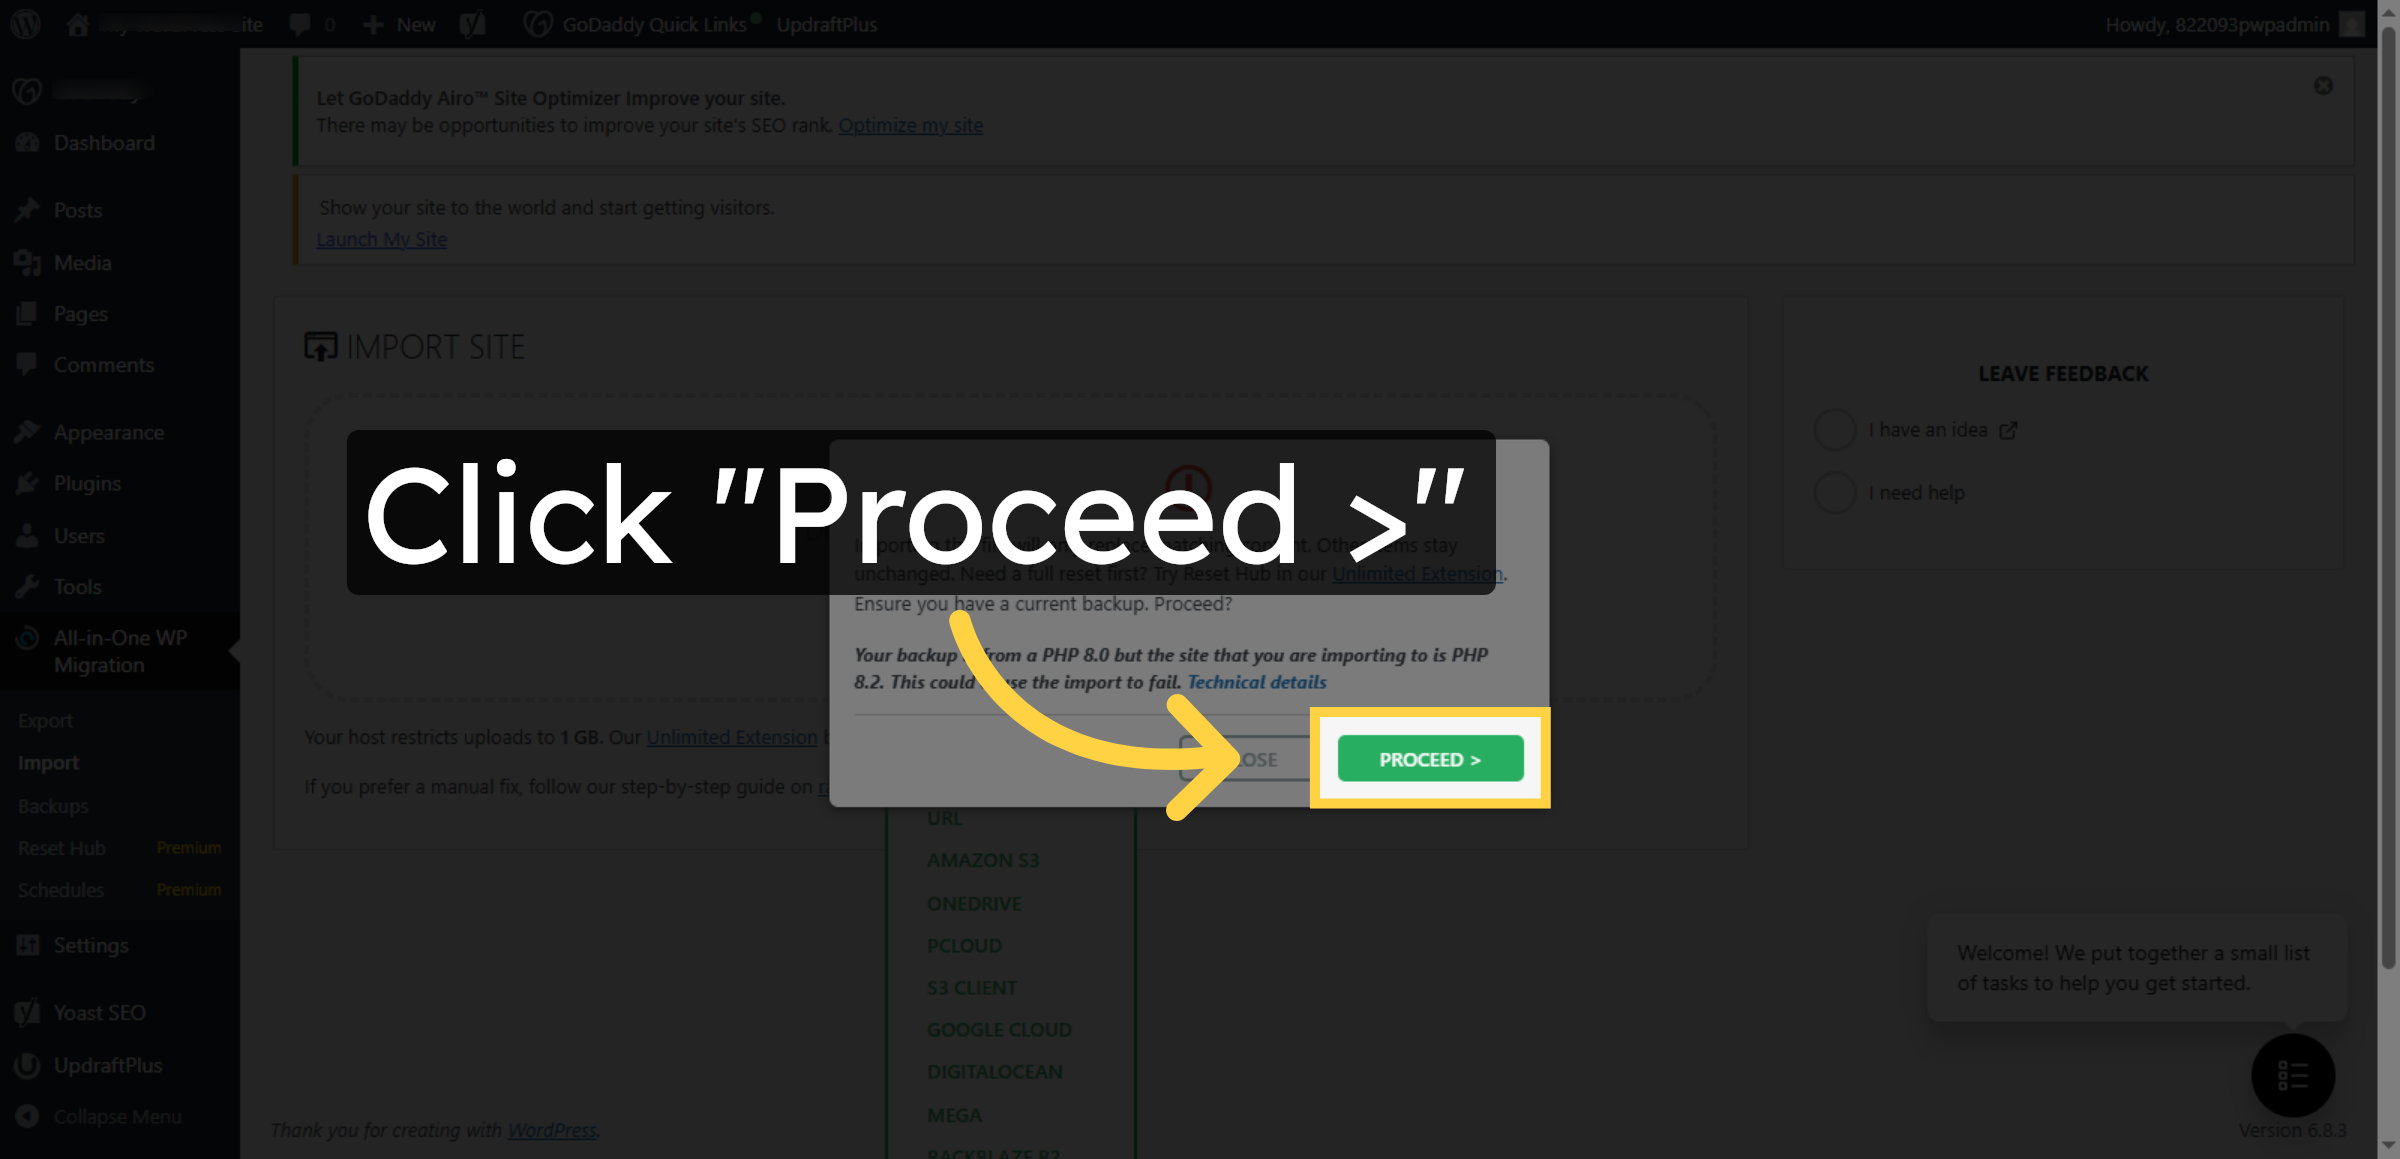
29. Proceed With Import
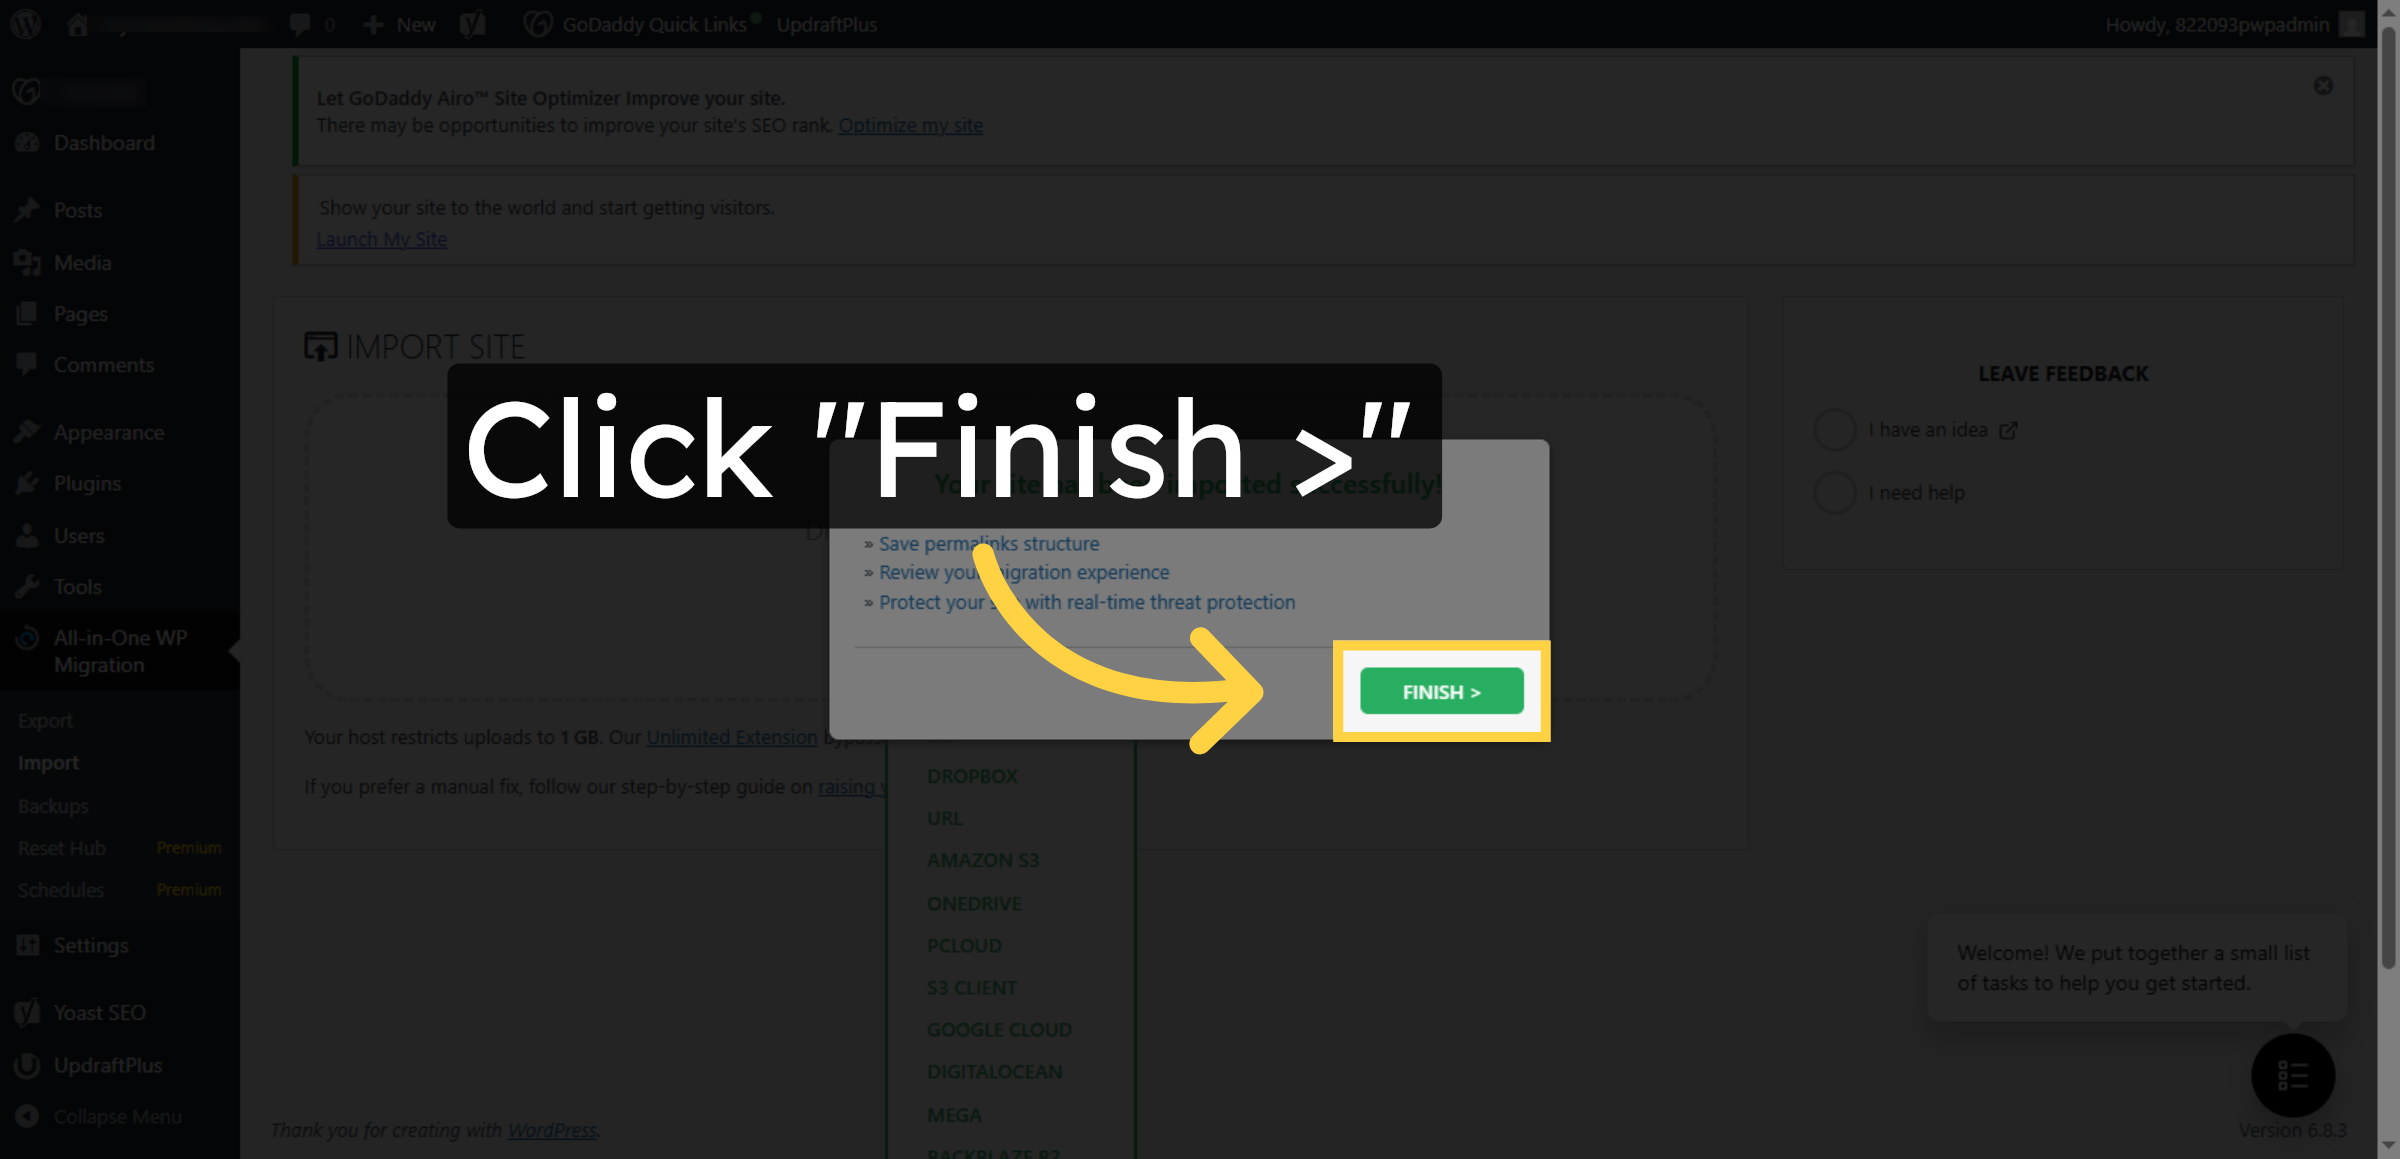
30. Finish Import Process
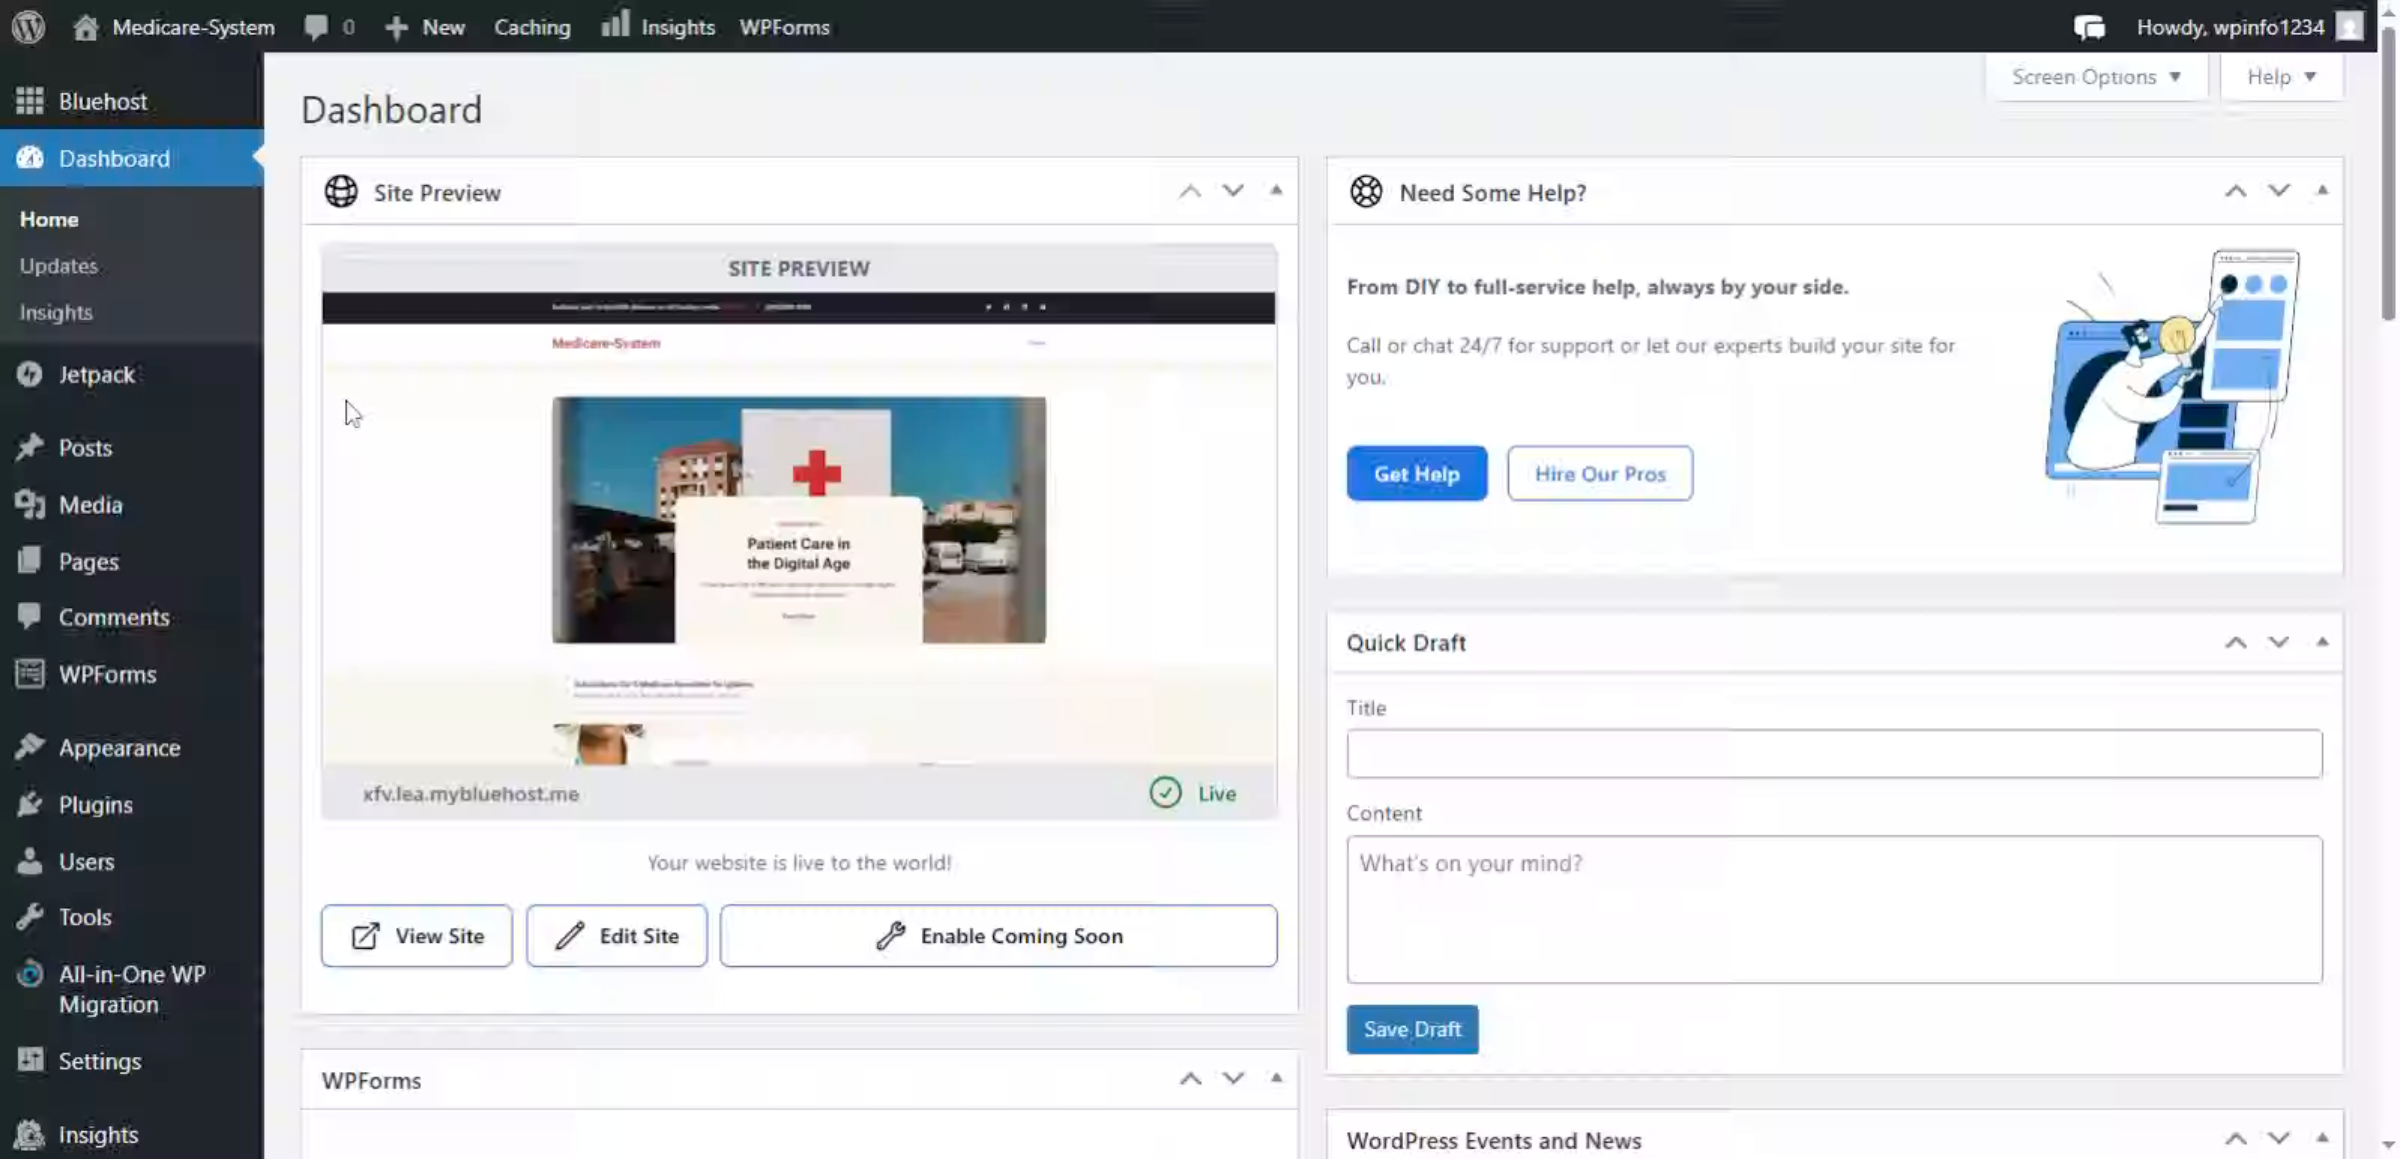
31. Return To Dashboard
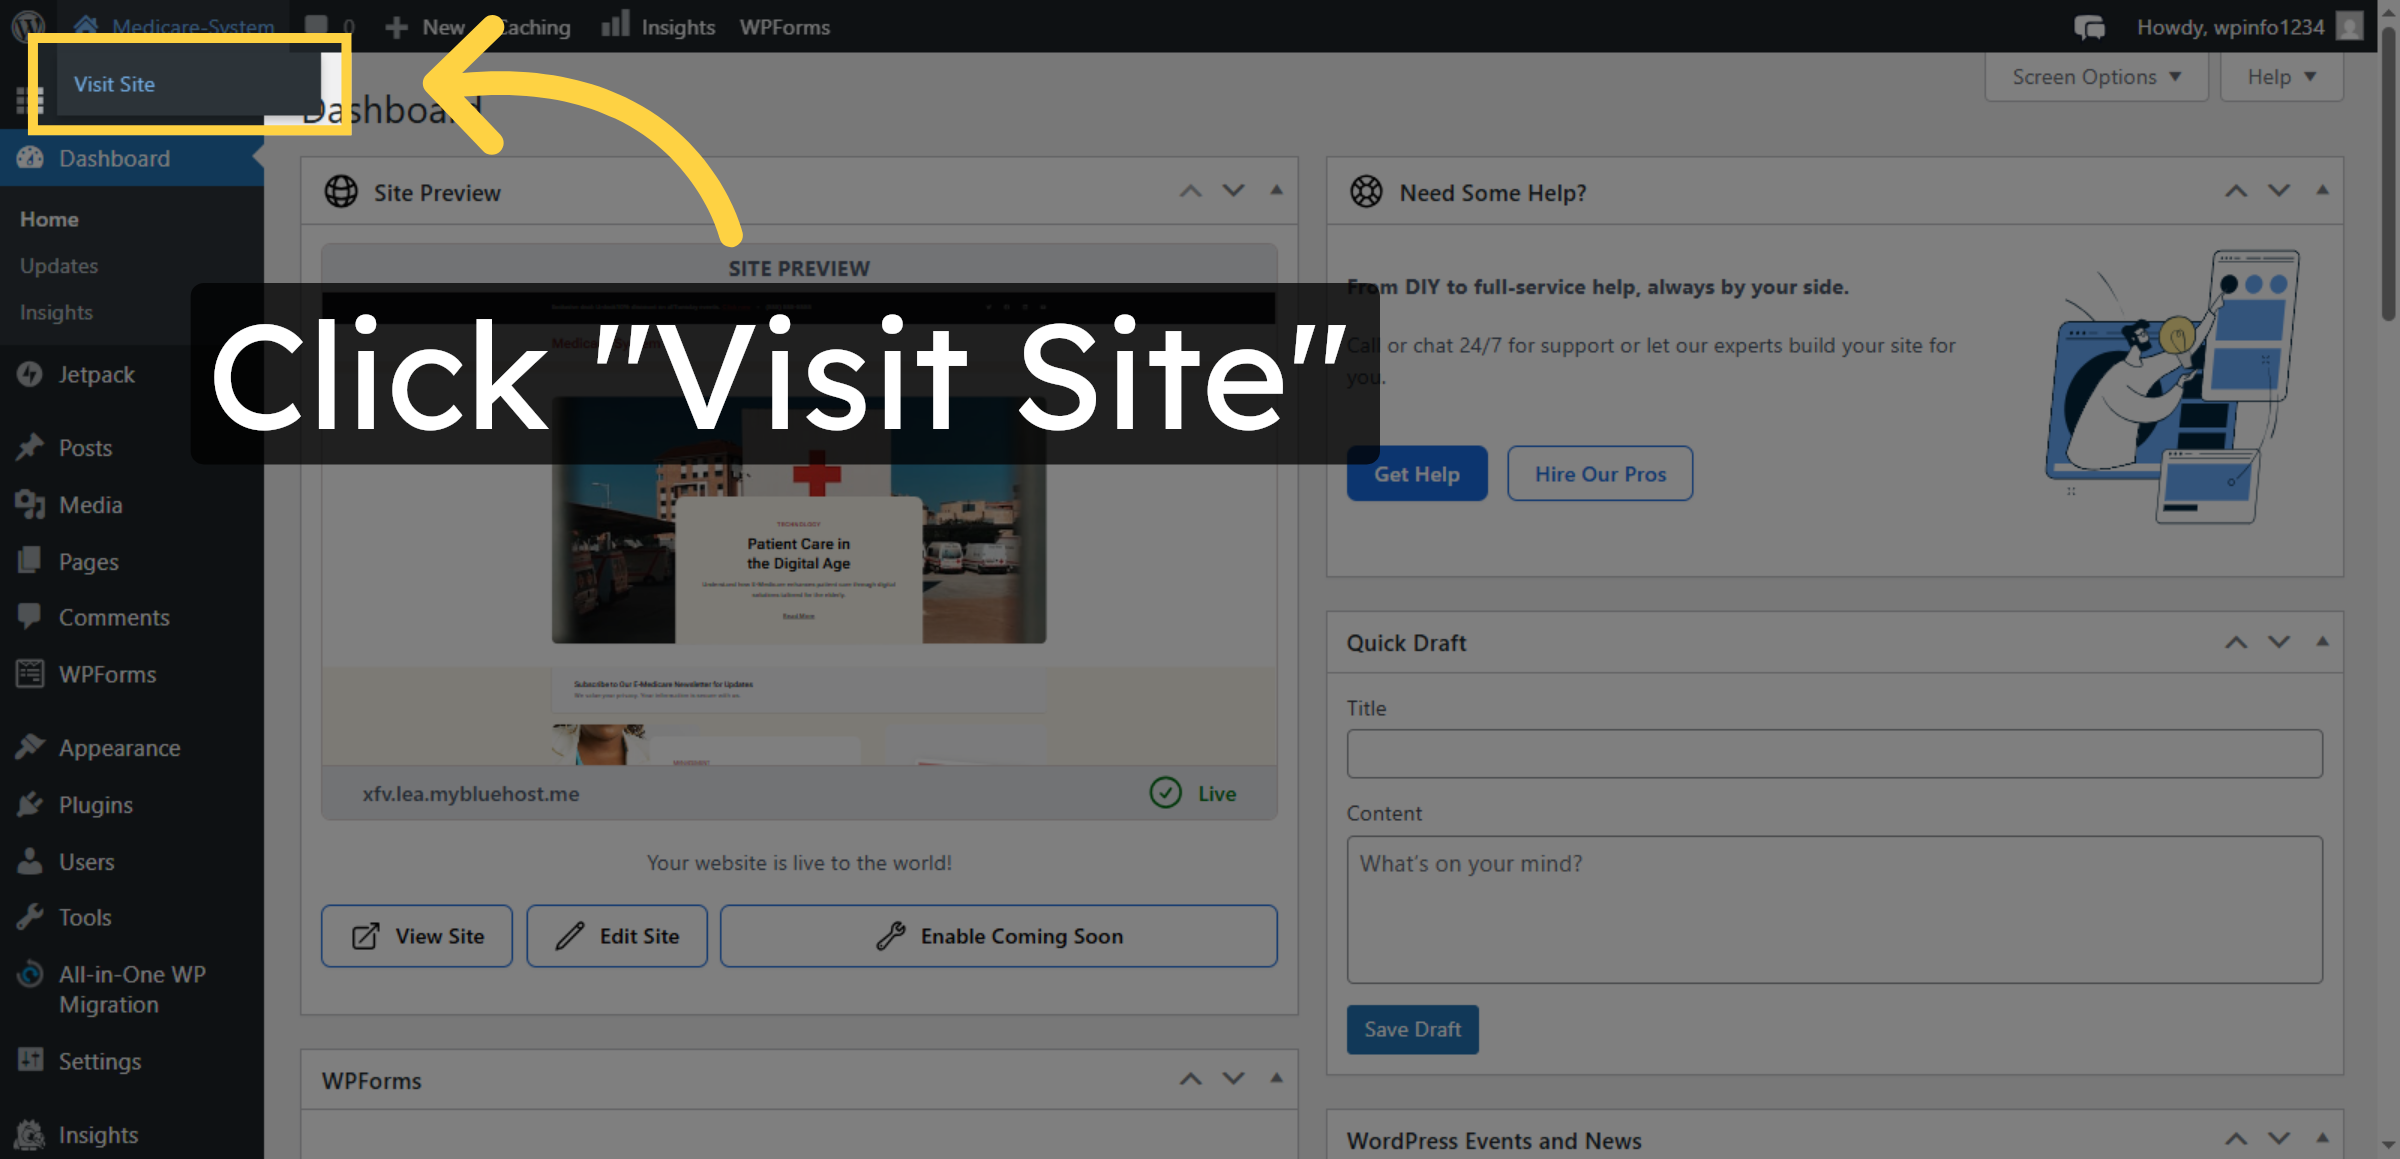
32. Visit Migrated Site
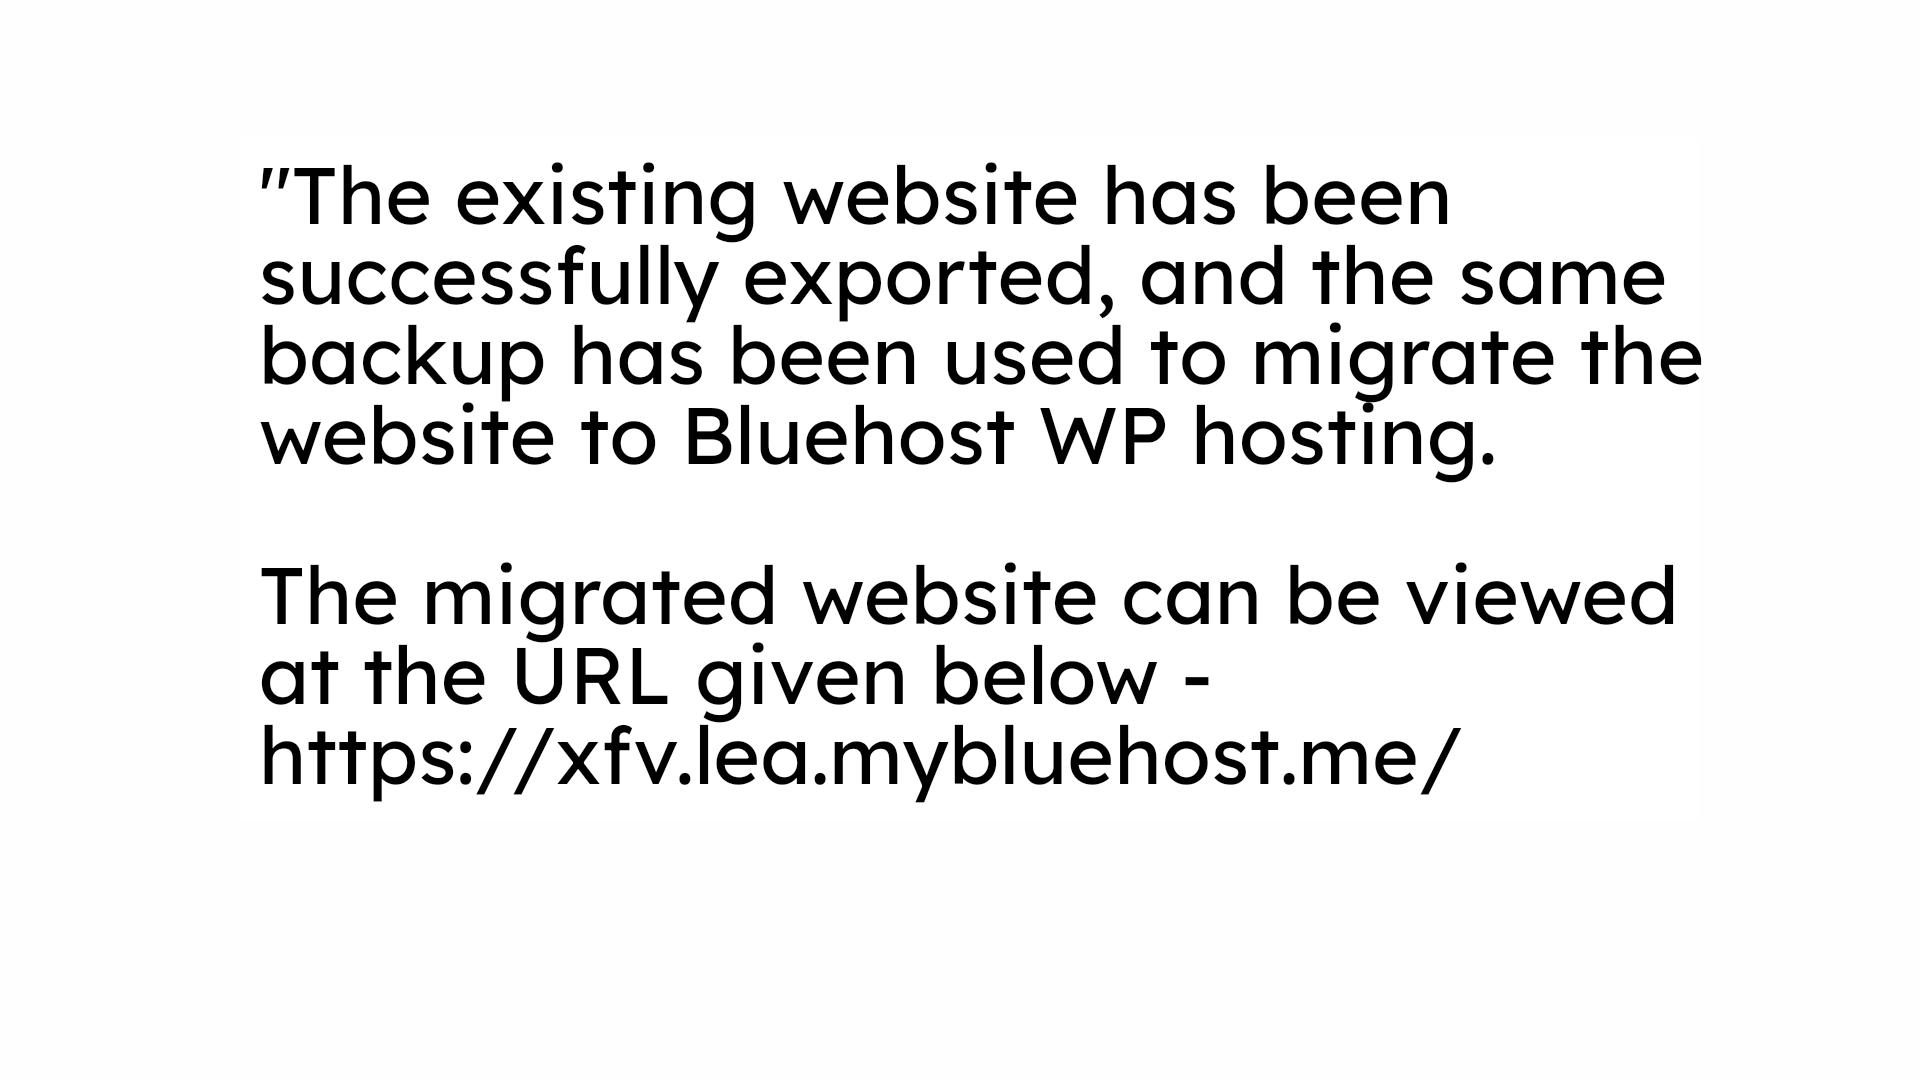
33. Website Successfully Migrated
Conclusion
Proper website migration is essential for maintaining business continuity and user experience. By following the steps outlined in this guide, you have successfully transferred your WordPress website to Bluehost hosting, including all content, media files, plugins, and configurations. This process ensures that your website remains fully functional in its new hosting environment without disruptions.
To ensure long-term stability, it is recommended to verify all internal links, test website performance, update DNS settings if required, and perform regular backups after migration. Routine monitoring and maintenance will help you maximize the benefits of your new hosting platform. With a successful migration completed, your website is now ready to operate efficiently and securely on Bluehost’s optimized infrastructure.
WooHelpDesk Support
Need professional assistance with WordPress migration, hosting transfer, website setup, or post-migration optimization? WooHelpDesk provides expert technical support to ensure a smooth and hassle-free transition.
Visit: https://www.woohelpdesk.com
Call Us Toll-Free: +1 888 602 0119 (US & Canada)
Seamless Migration | Secure Transfer | Trusted Support
Contact WooHelpDesk today for reliable WordPress and hosting migration services.


