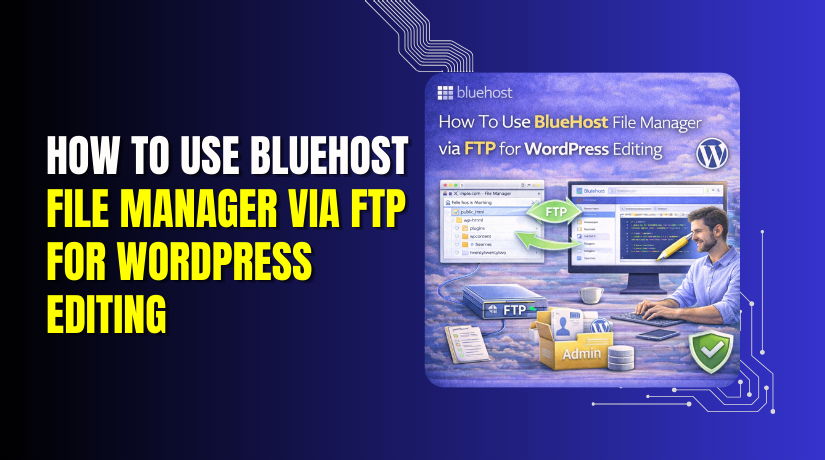
How To Use BlueHost File Manager via FTP for WordPress Editing
Introduction
Setting up an FTP account on BlueHost is an essential step for managing WordPress files efficiently and securely. FTP (File Transfer Protocol) allows you to access, upload, download, and edit website files directly on the server, making it especially useful for advanced file management, troubleshooting, and bulk updates. This guide walks you through the complete process of creating an FTP account from the BlueHost dashboard, configuring access through cPanel, and connecting to your server using the FileZilla FTP client. From setting up FTP credentials to installing FileZilla and accessing the public_html directory, each step is explained clearly to ensure a smooth setup. By following this guide, you gain direct control over your website files, enabling safer edits, faster file transfers, and better overall site management compared to browser-based file editors.
1. Click Websites Tab
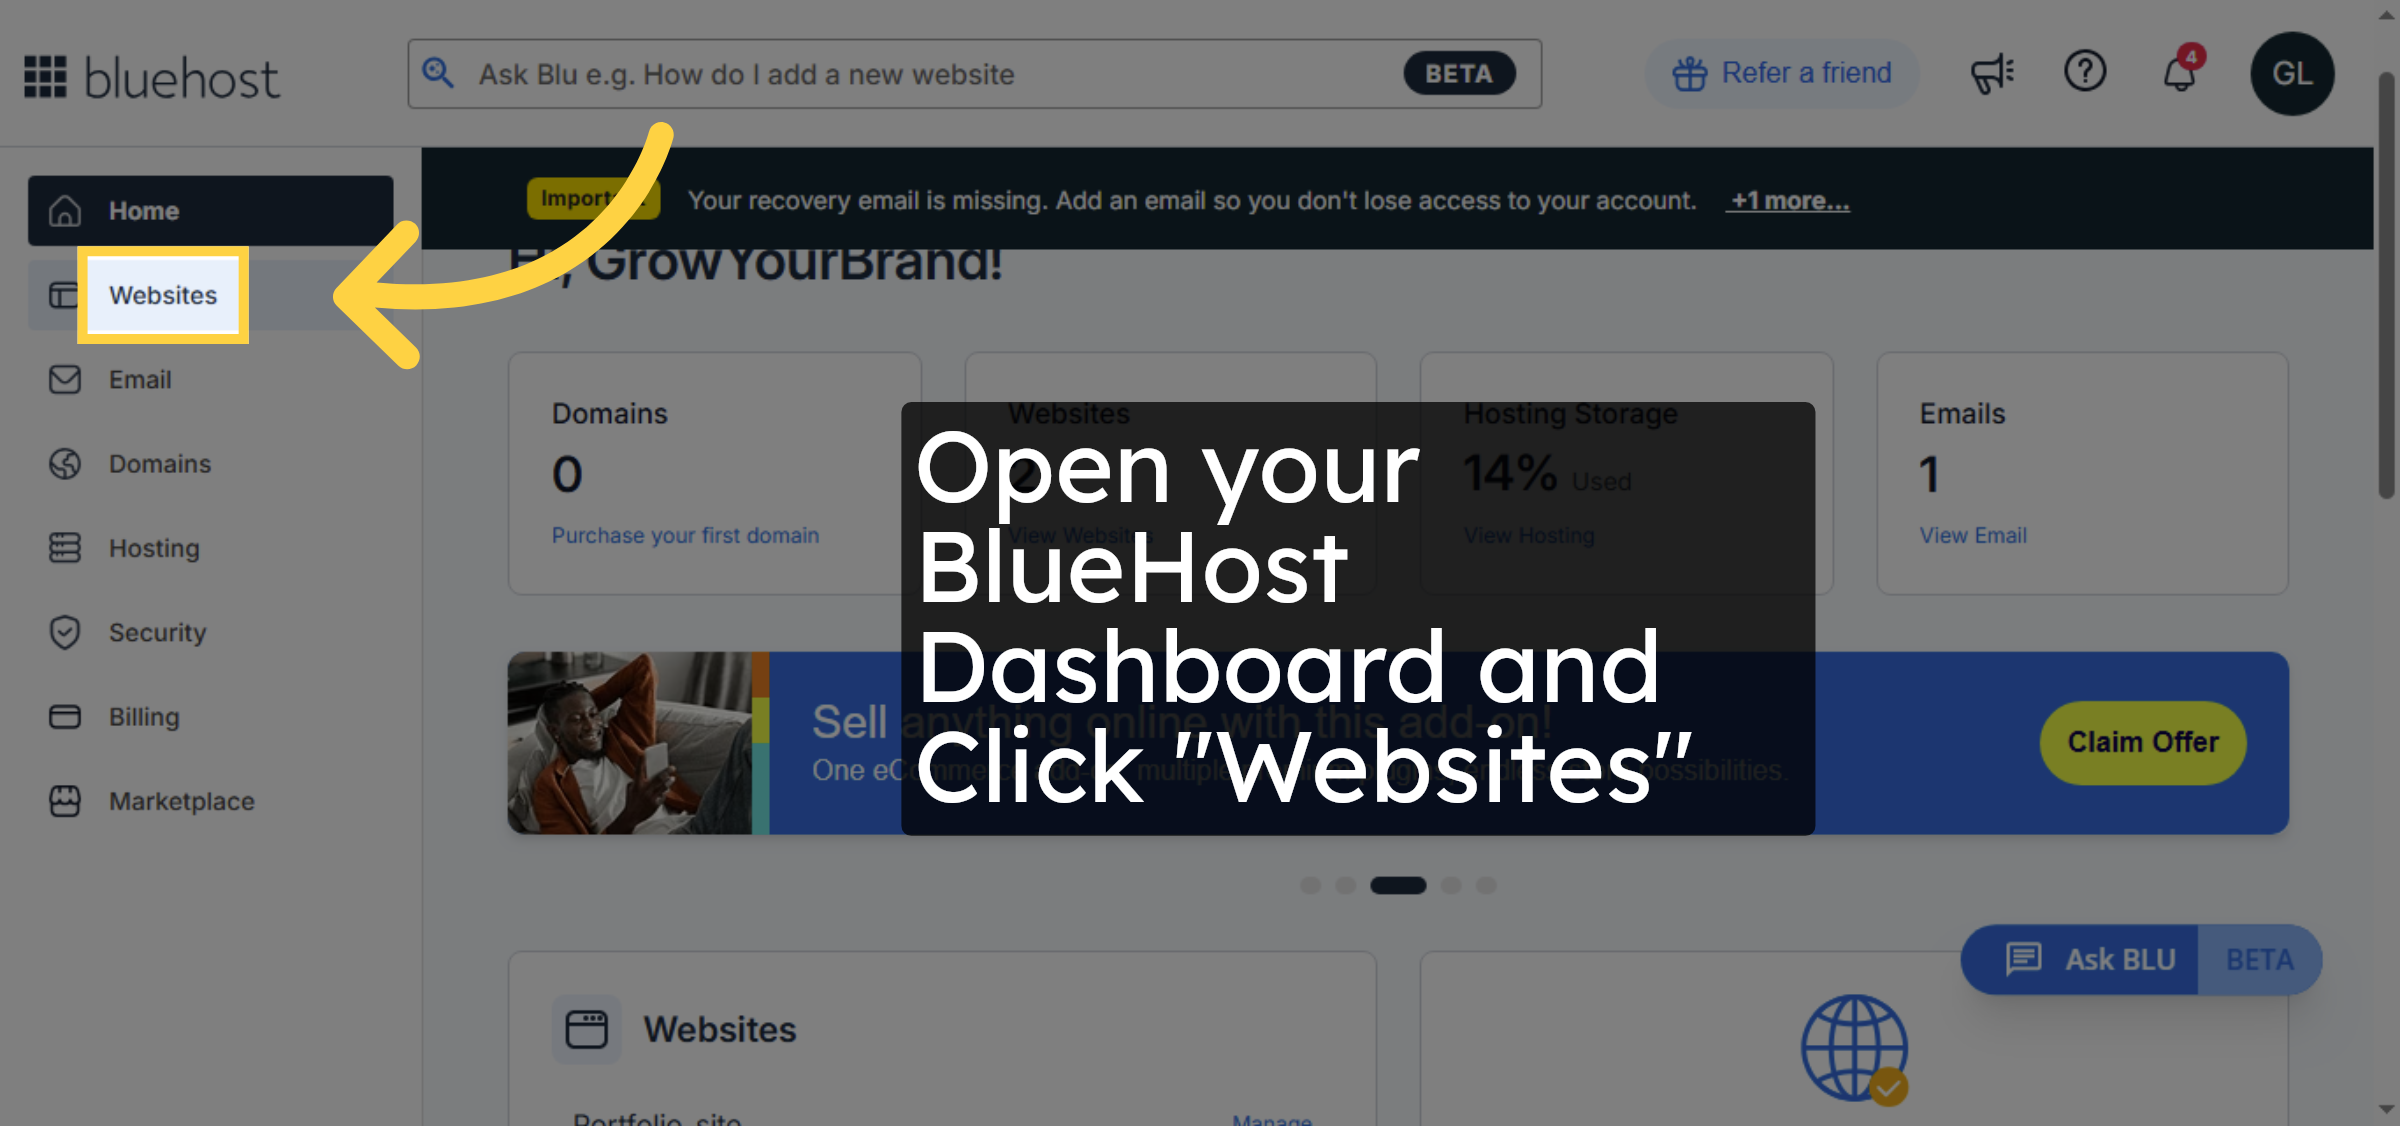
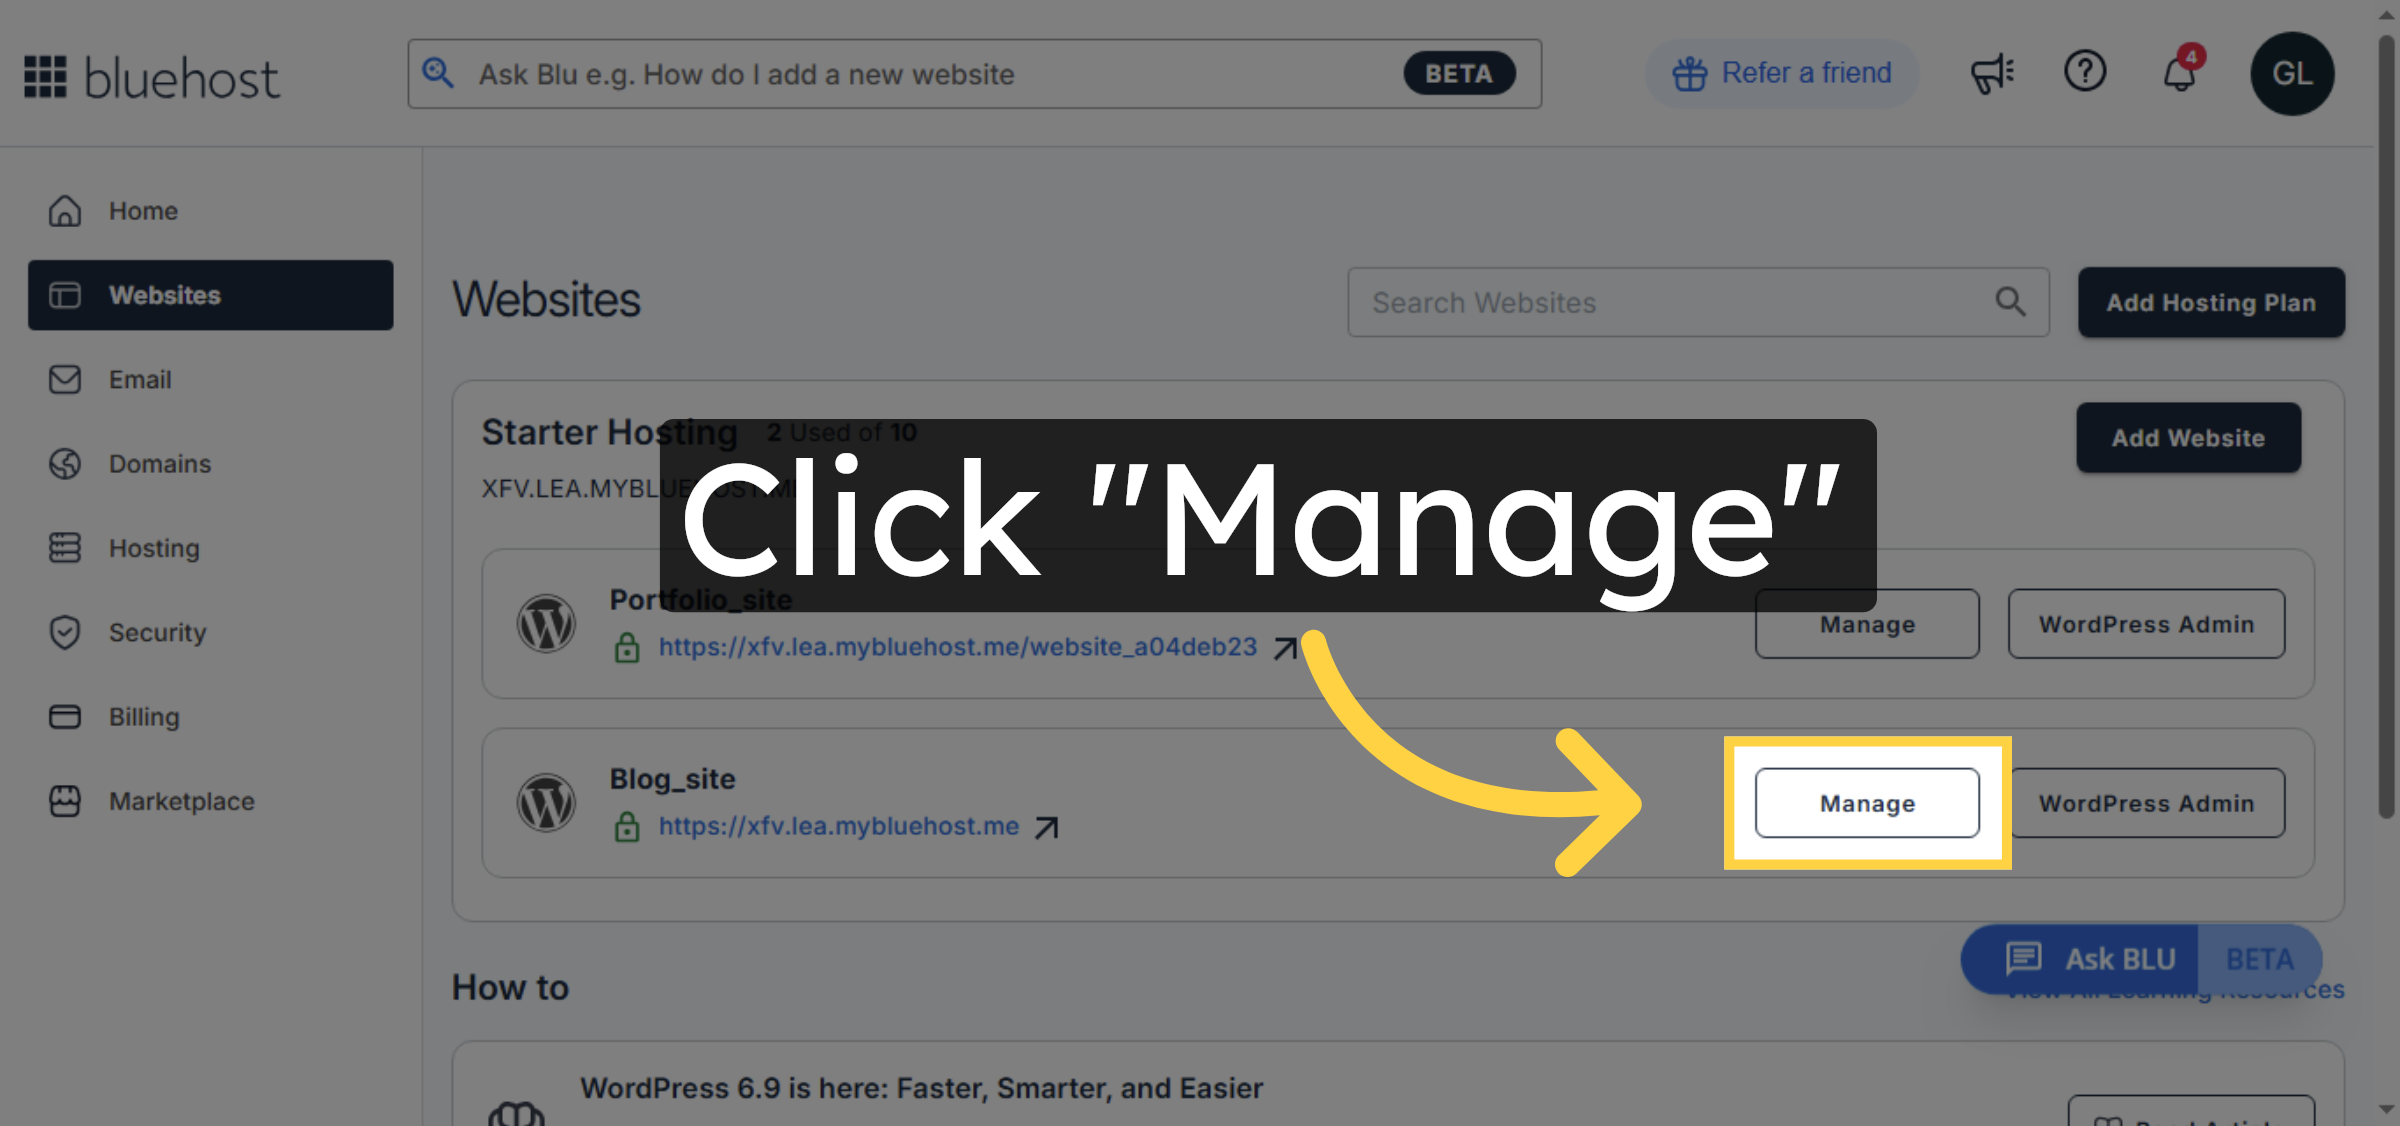
2. Click Manage Button
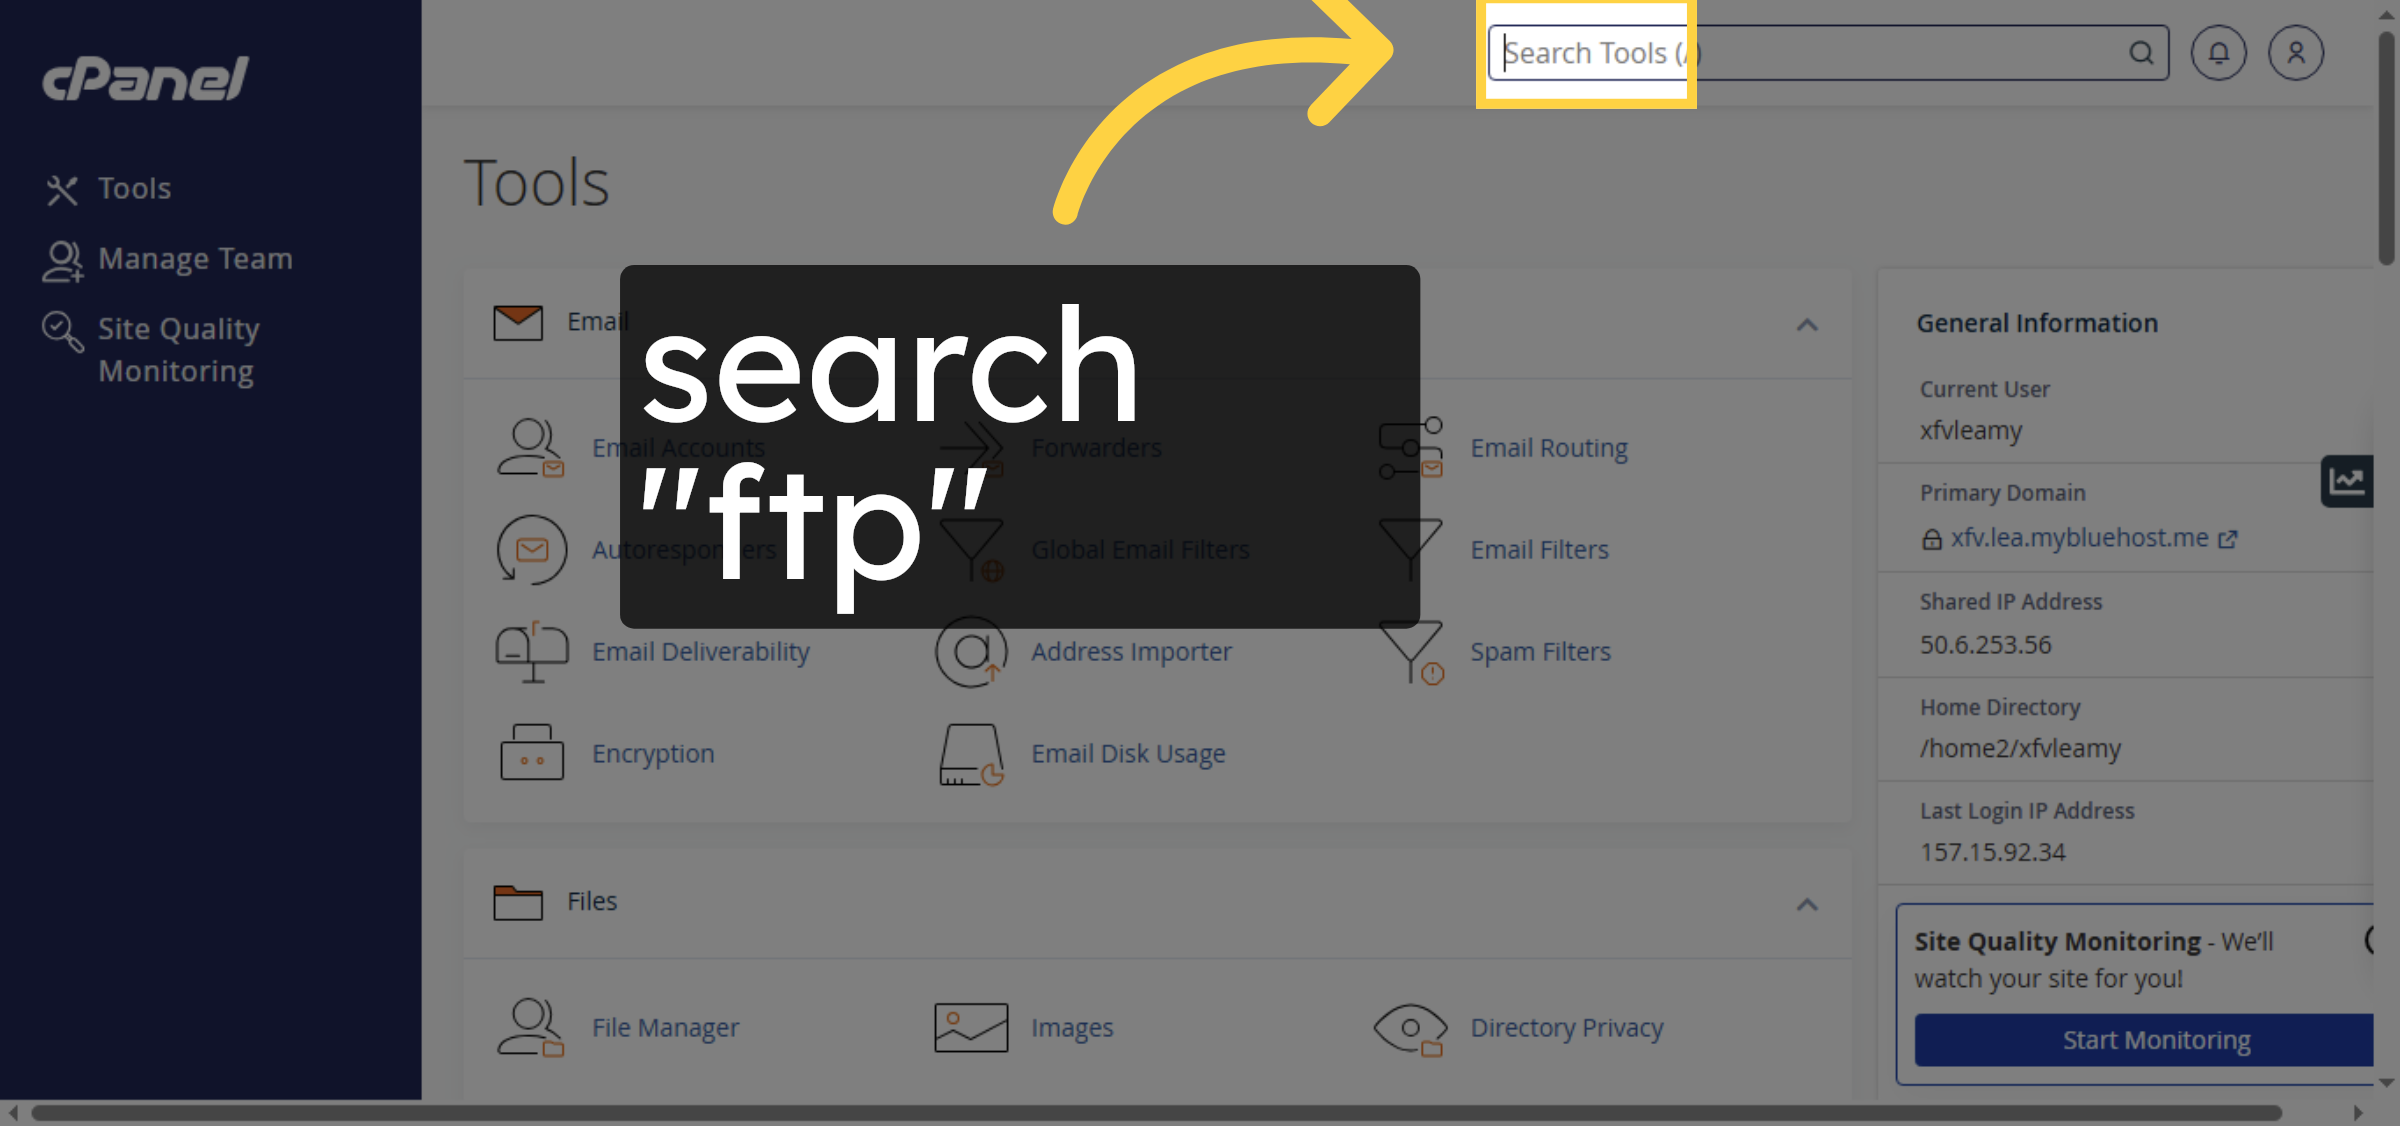
3. Access cPanel

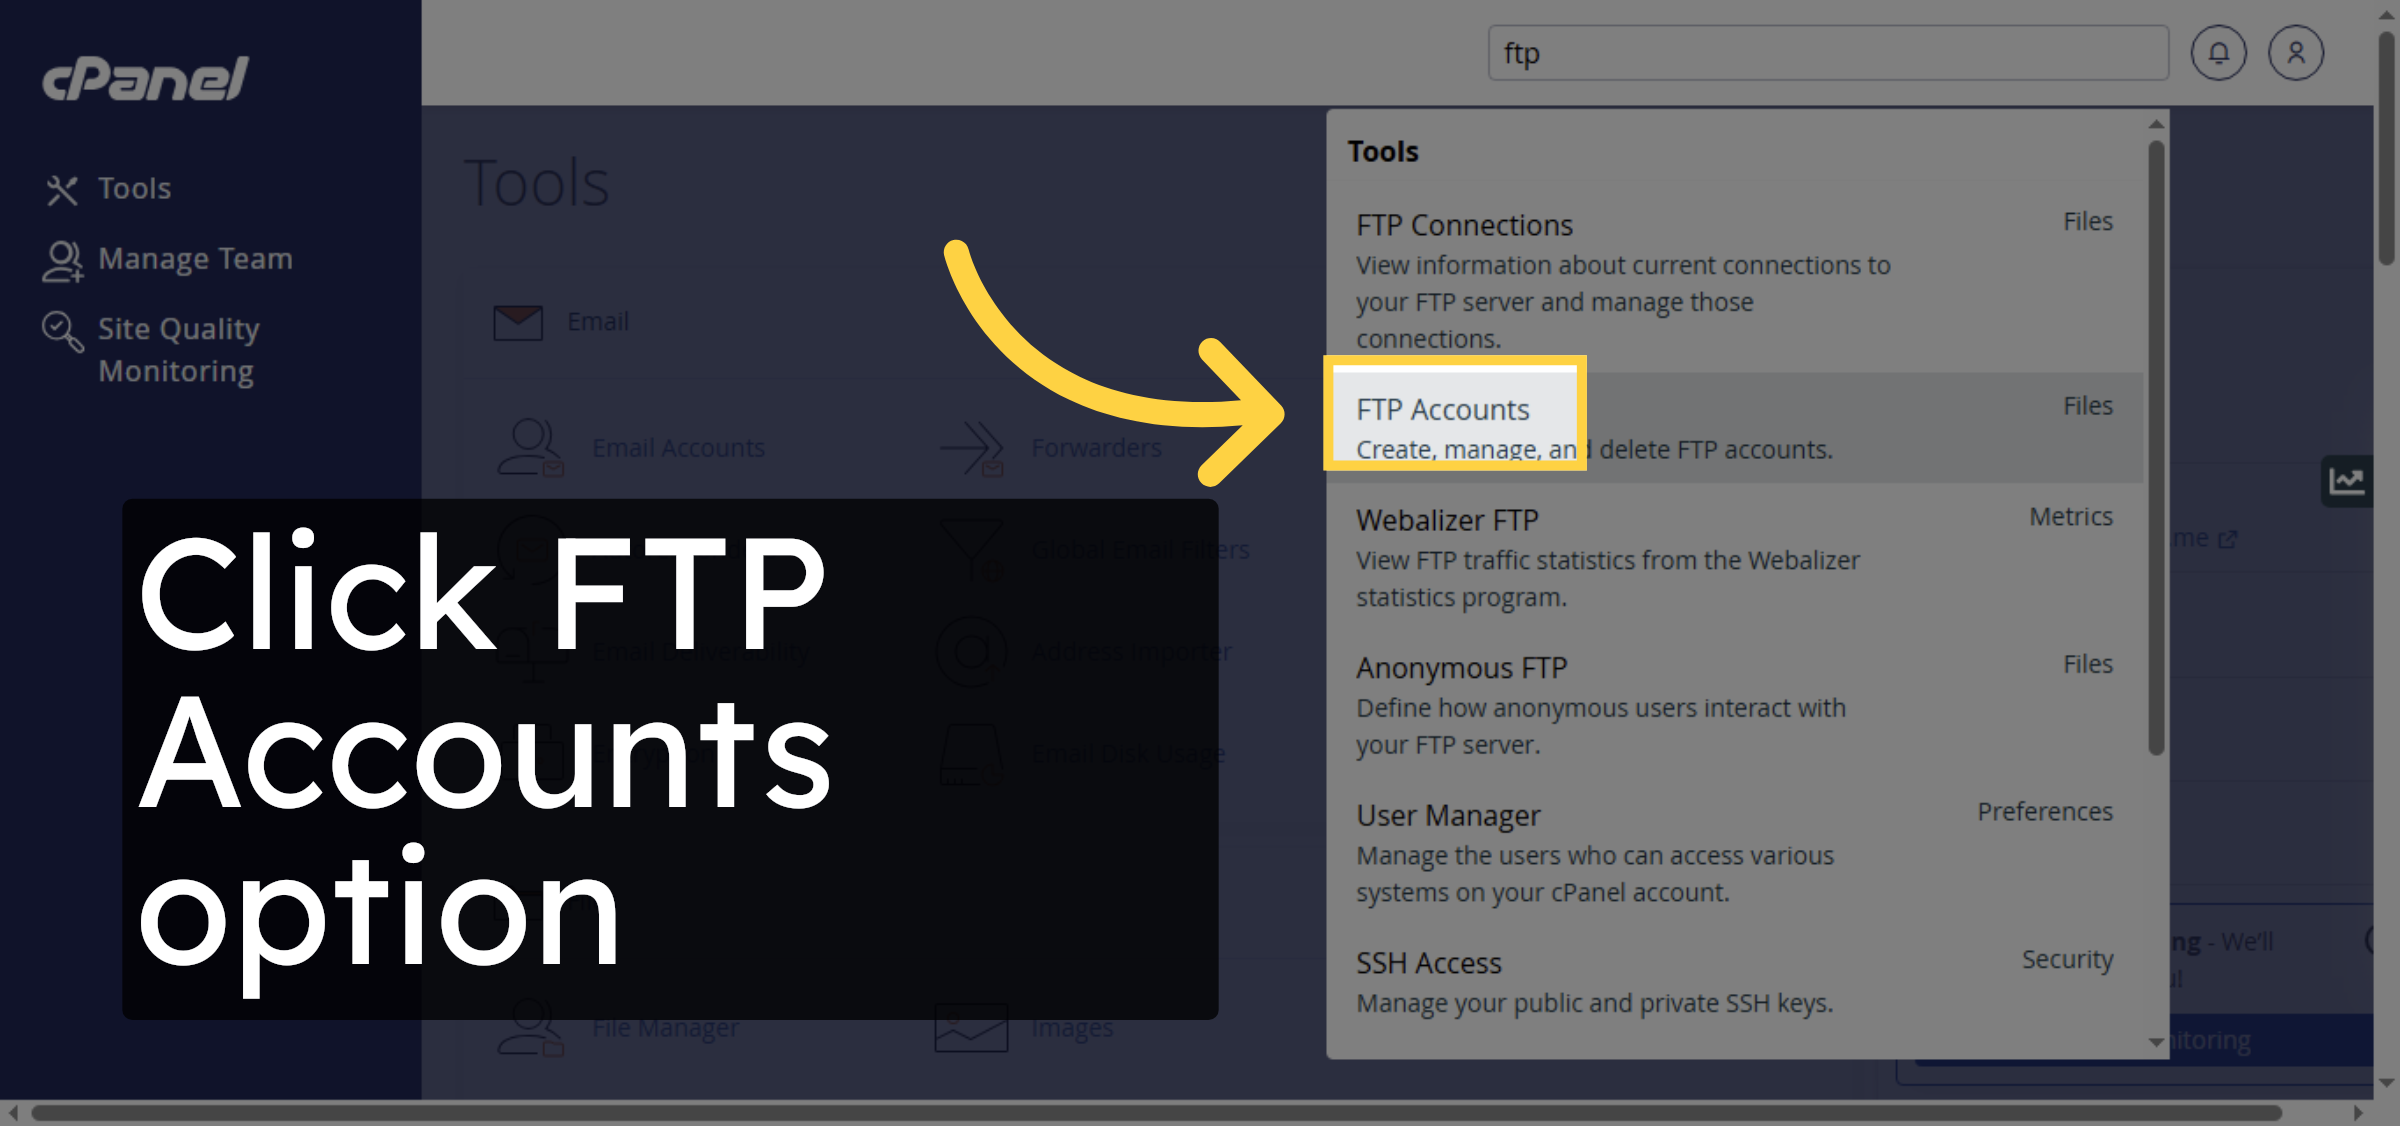
4. search for ftp
5. Proceed to Next Step
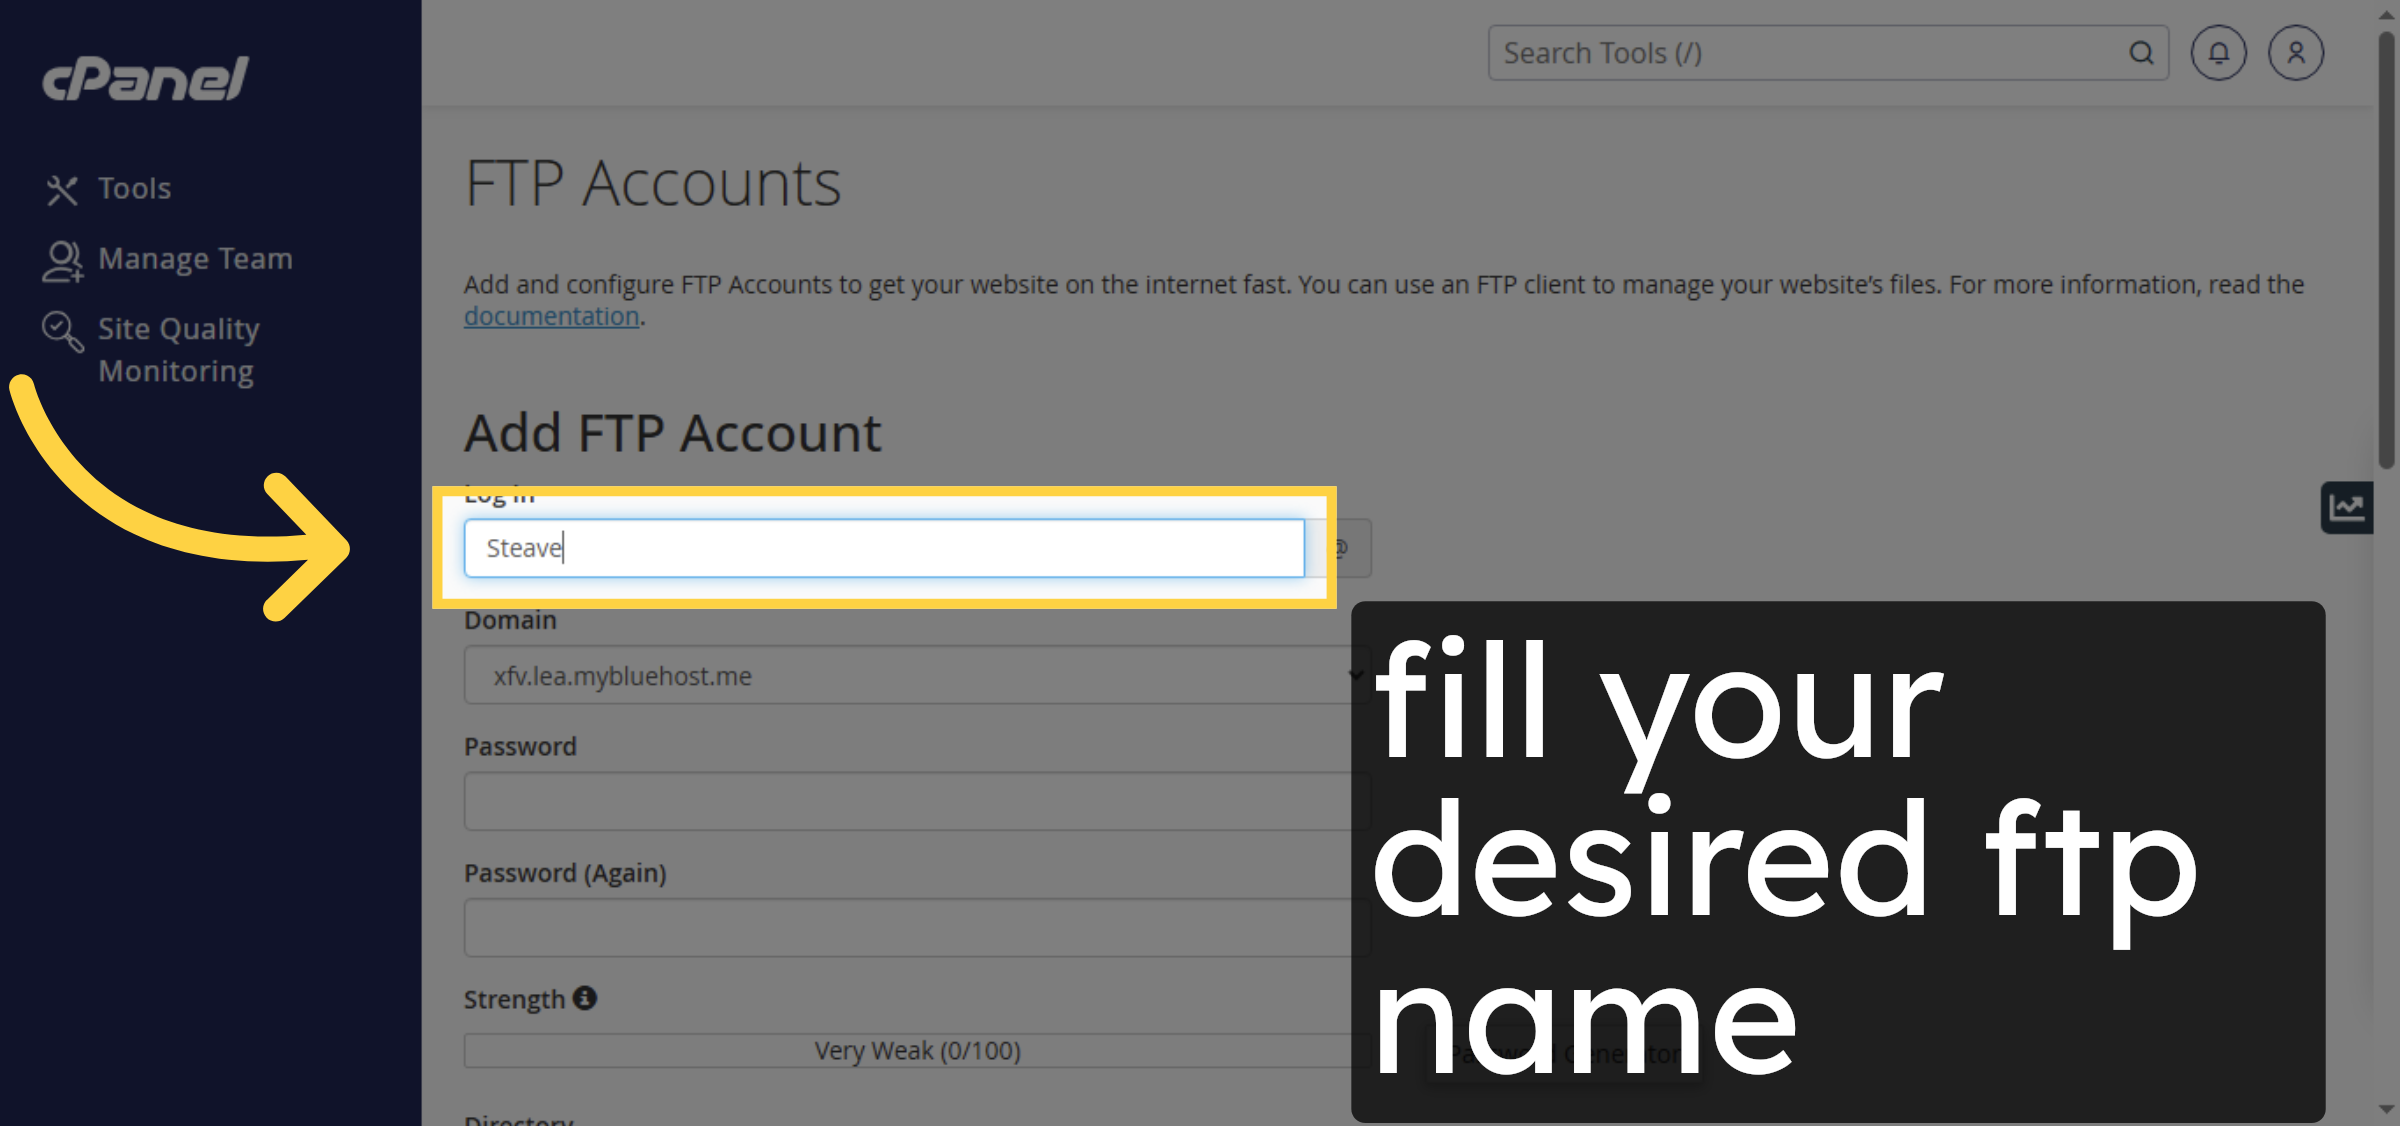
6. Enter FTP Username
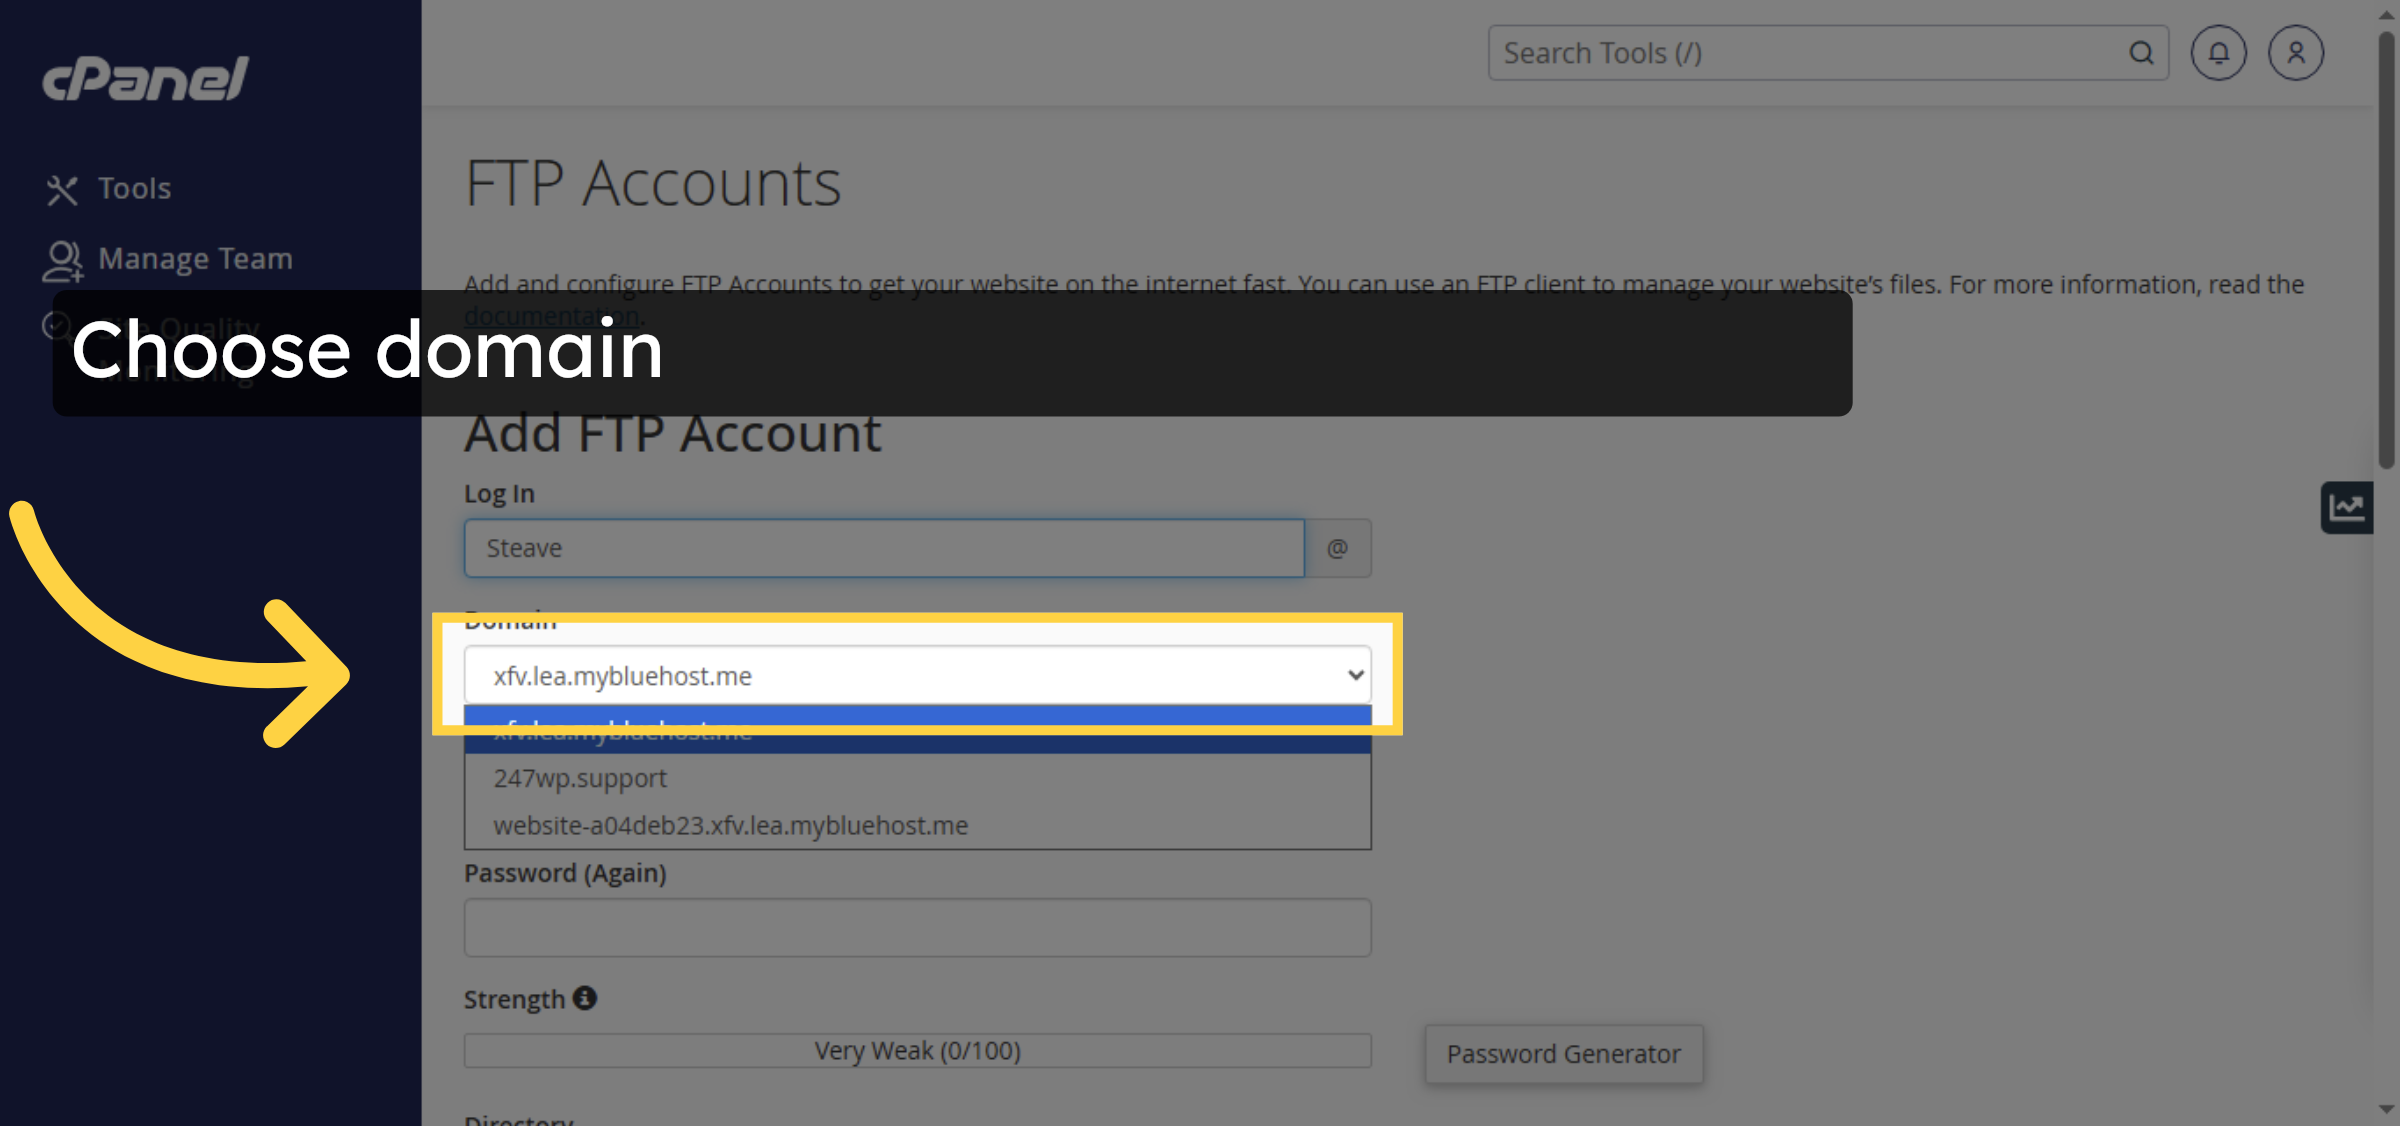
7. Select FTP Domain
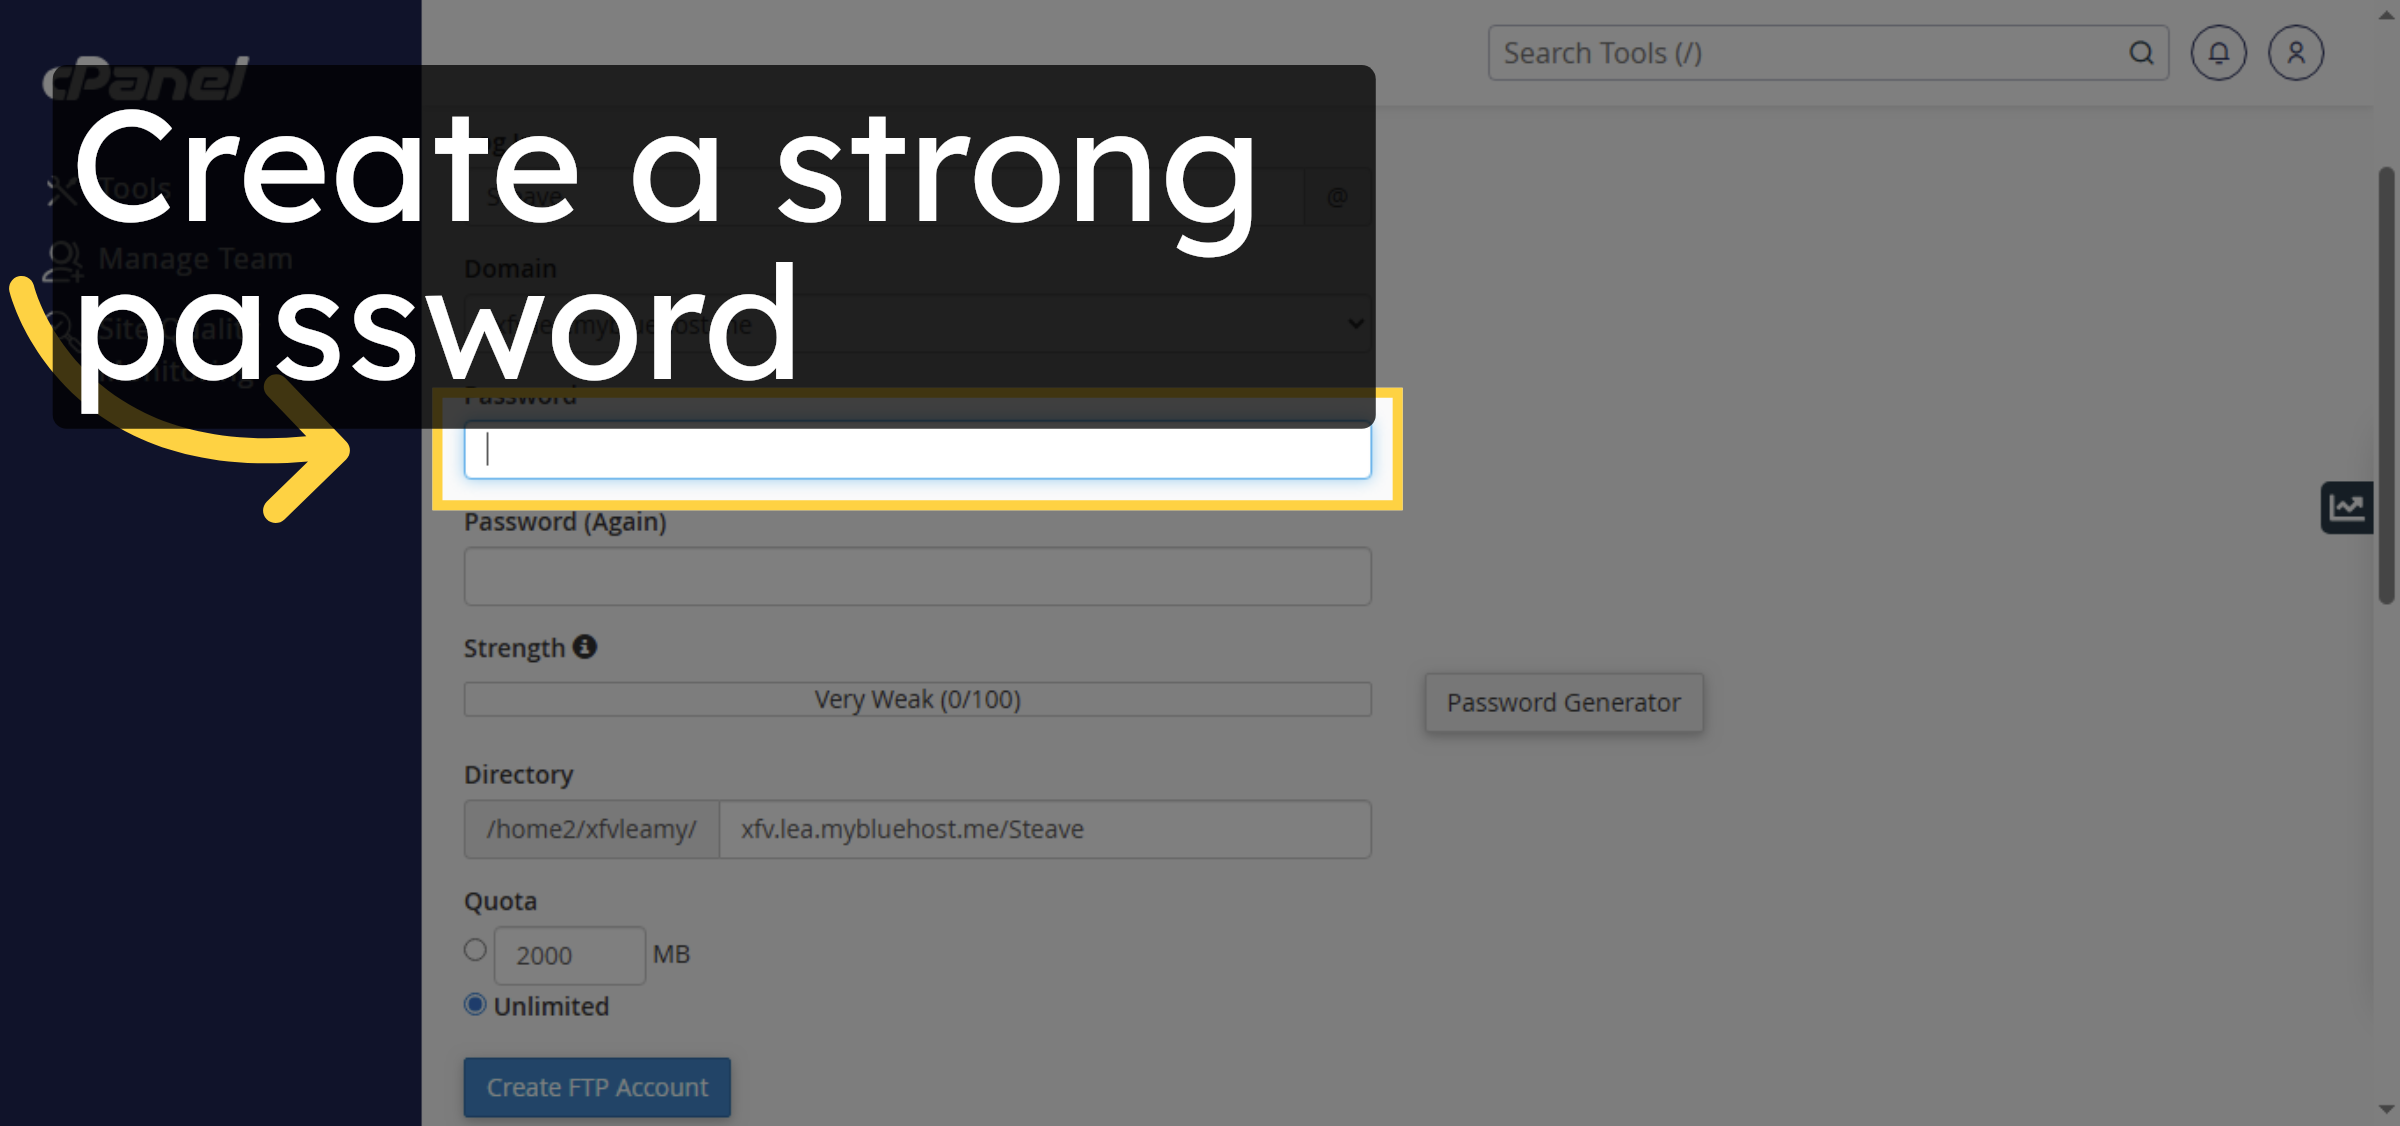
8. create password
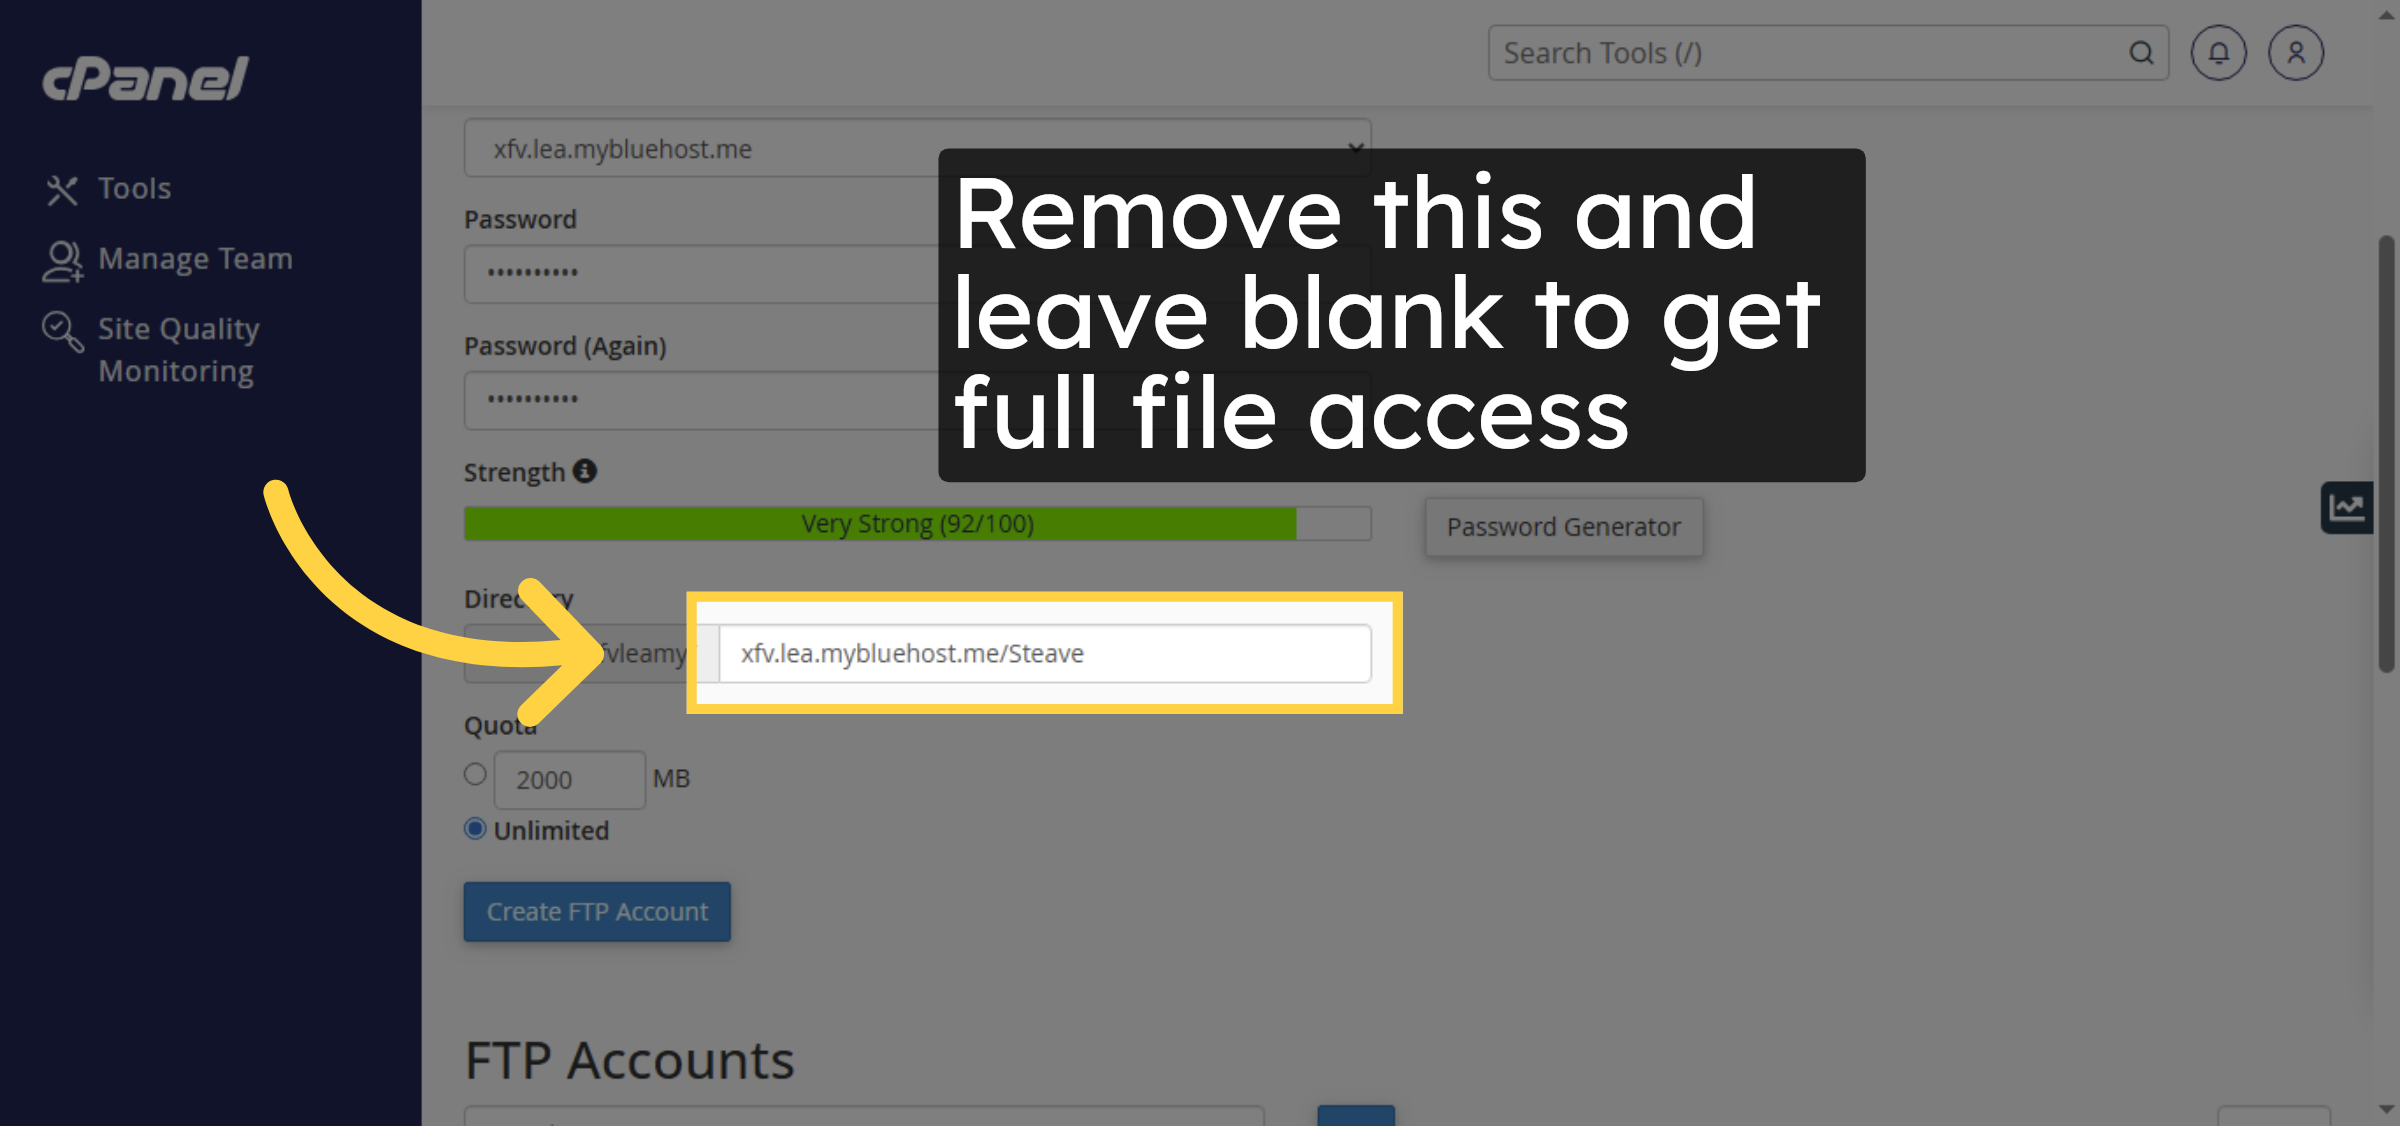
9. Get full file access
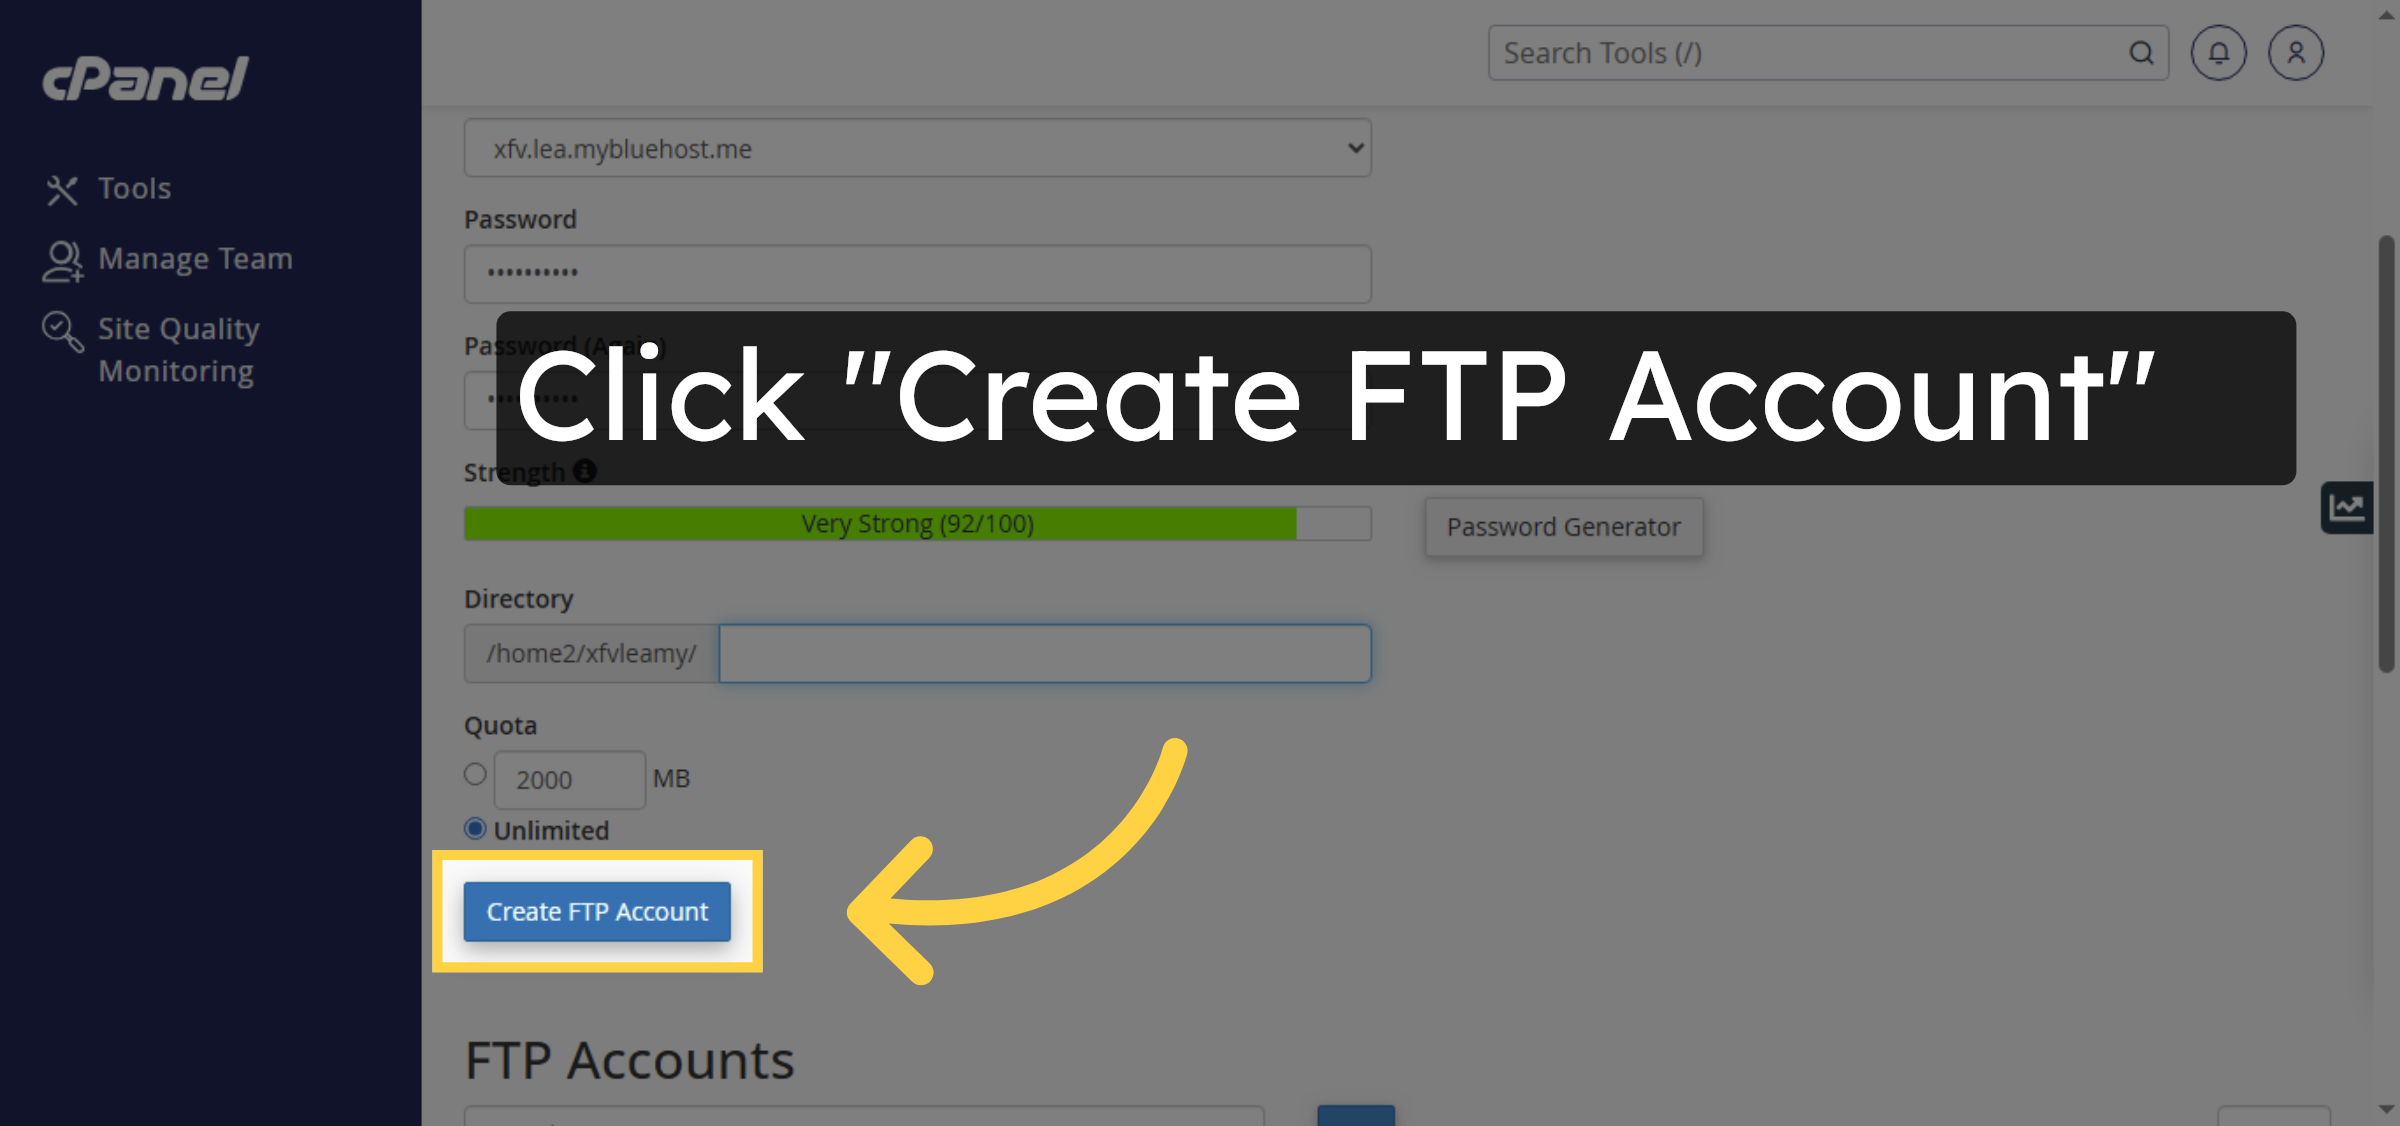
10. Create FTP Account
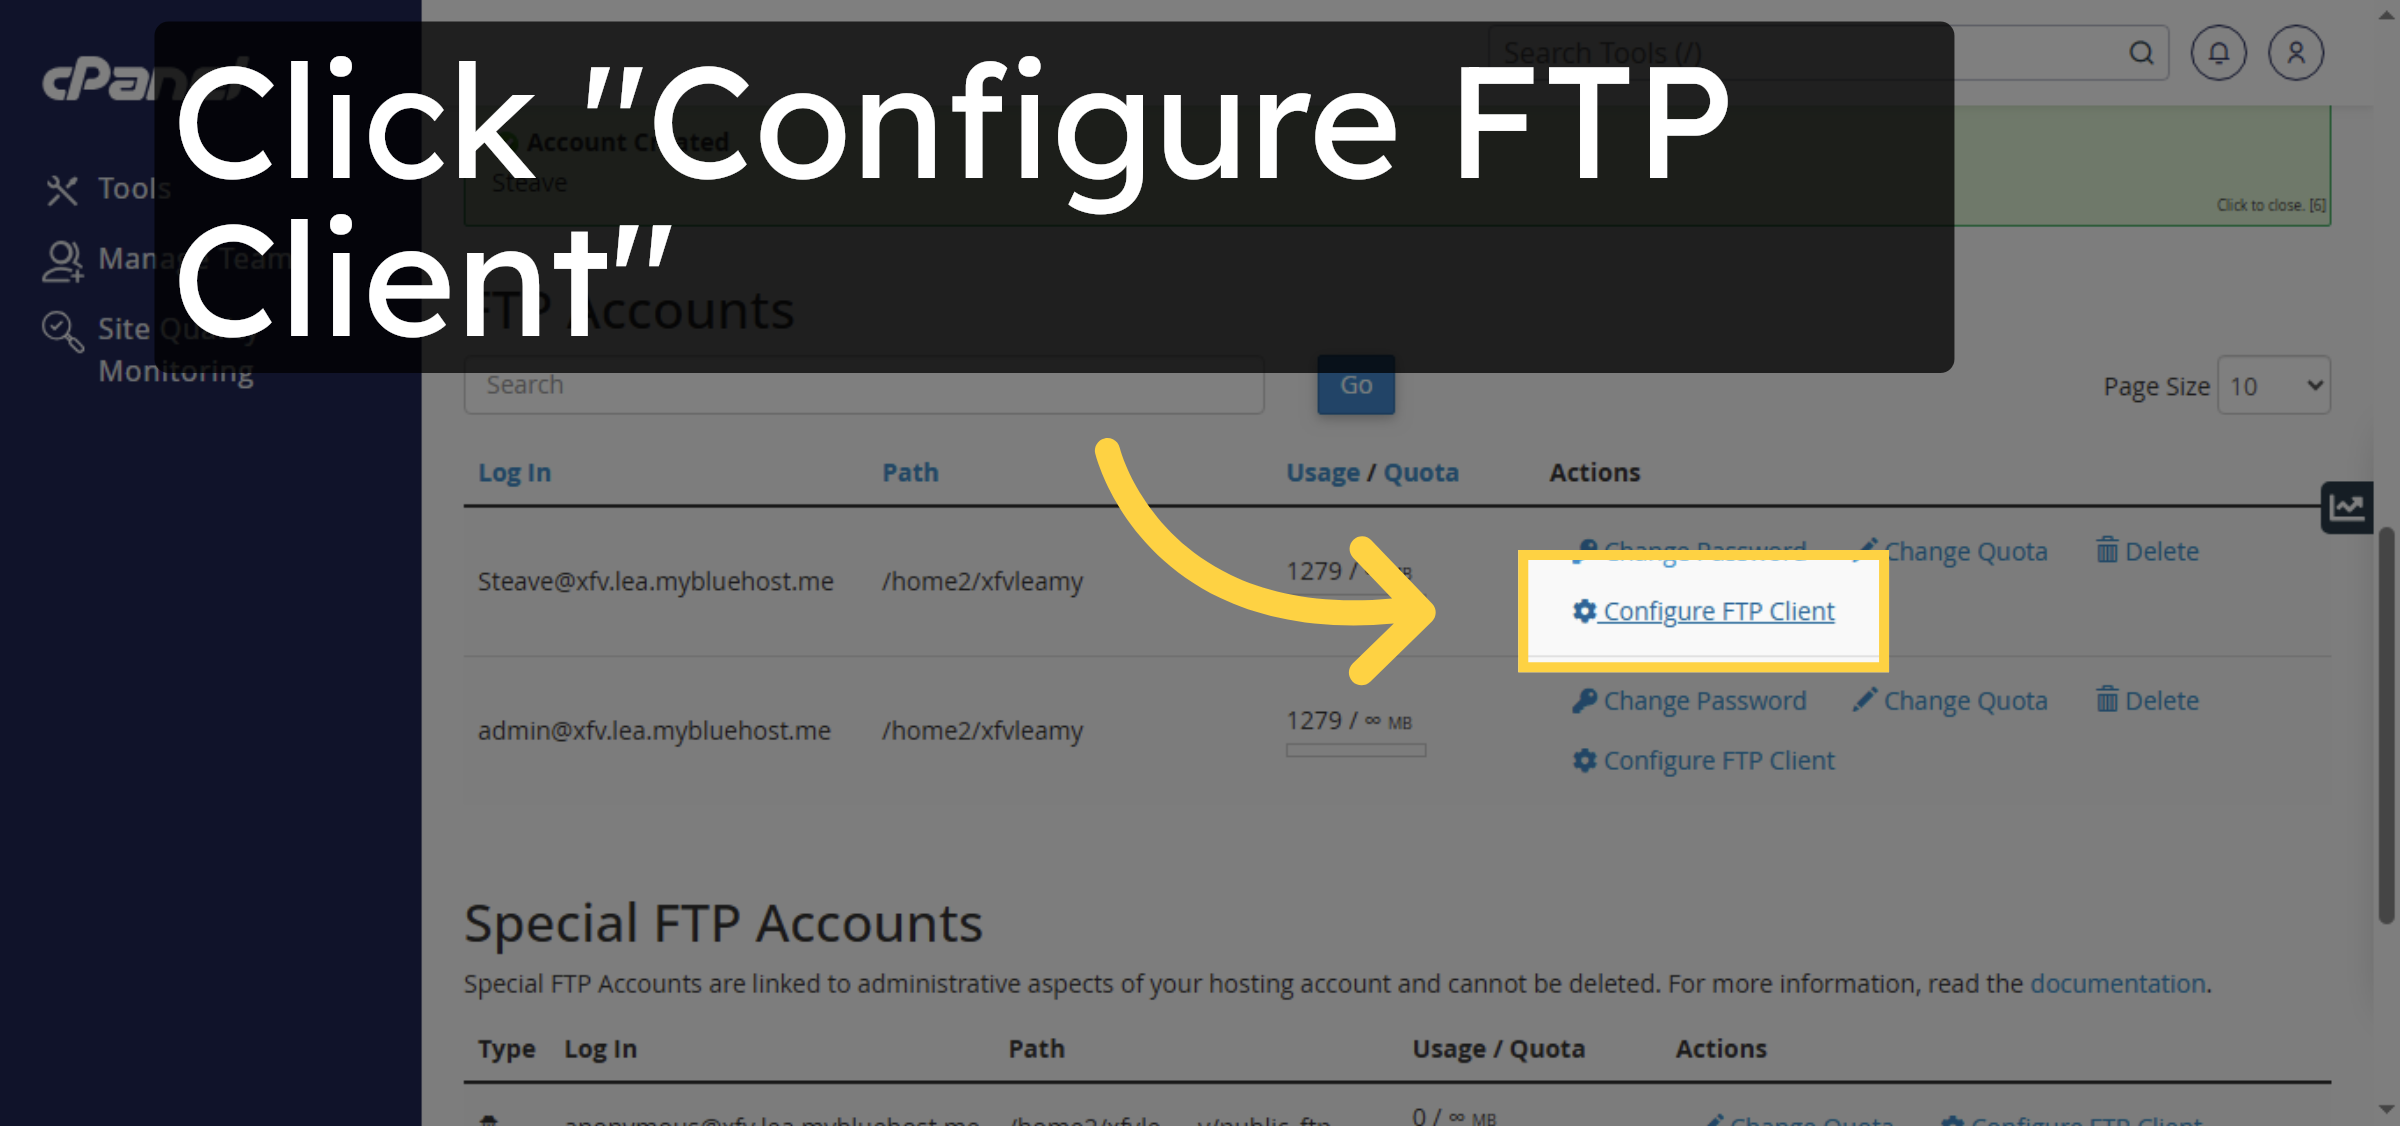
11. Configure FTP Client
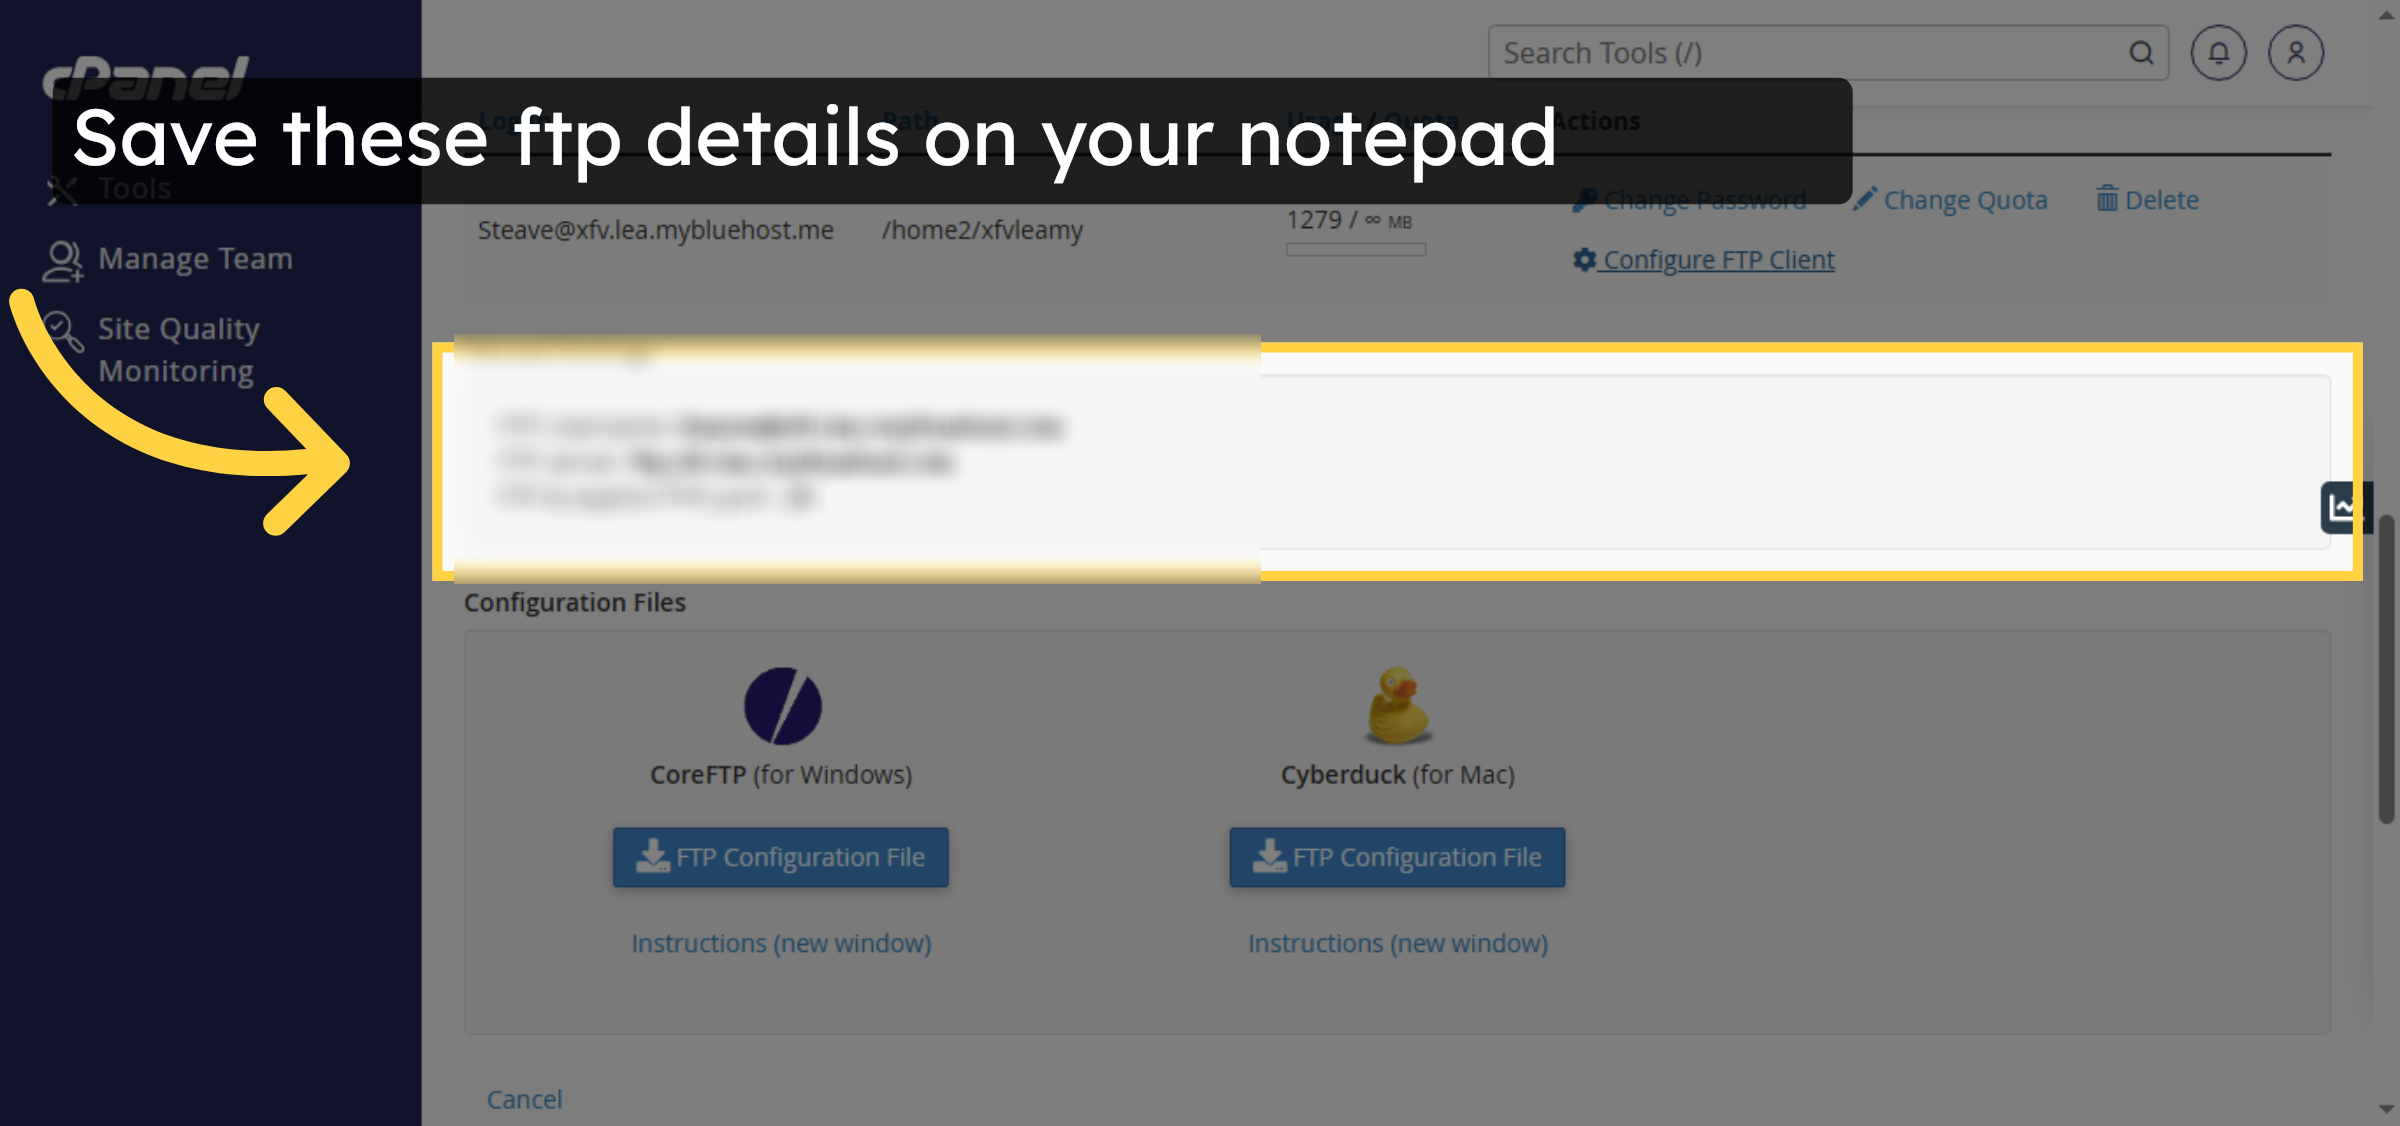
12. View FTP Connection Info
13. Select FileZilla Website


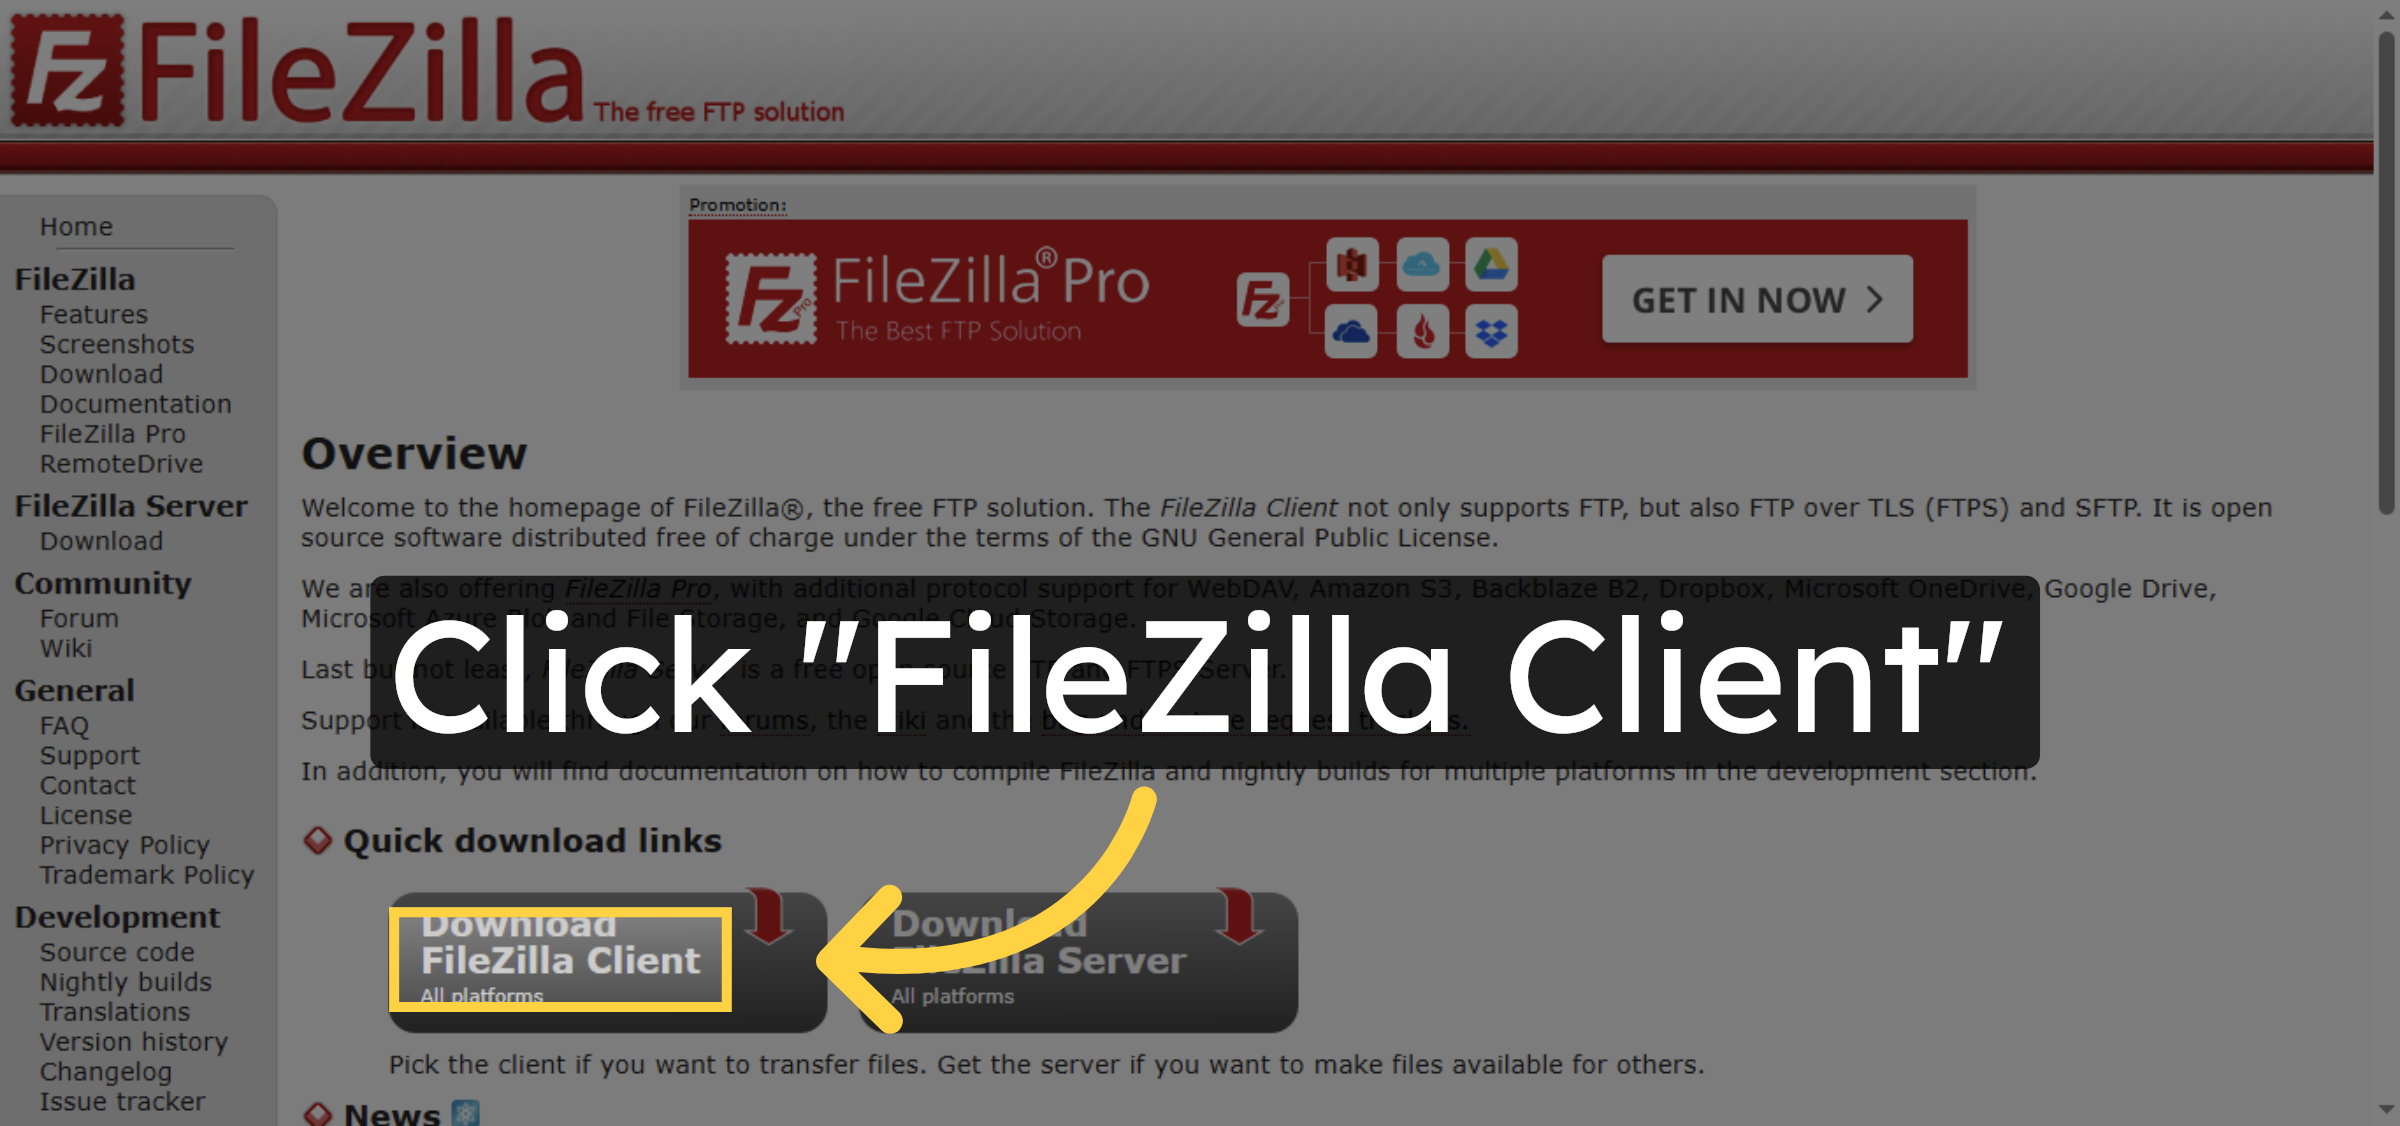
14. Access FileZilla Client Page
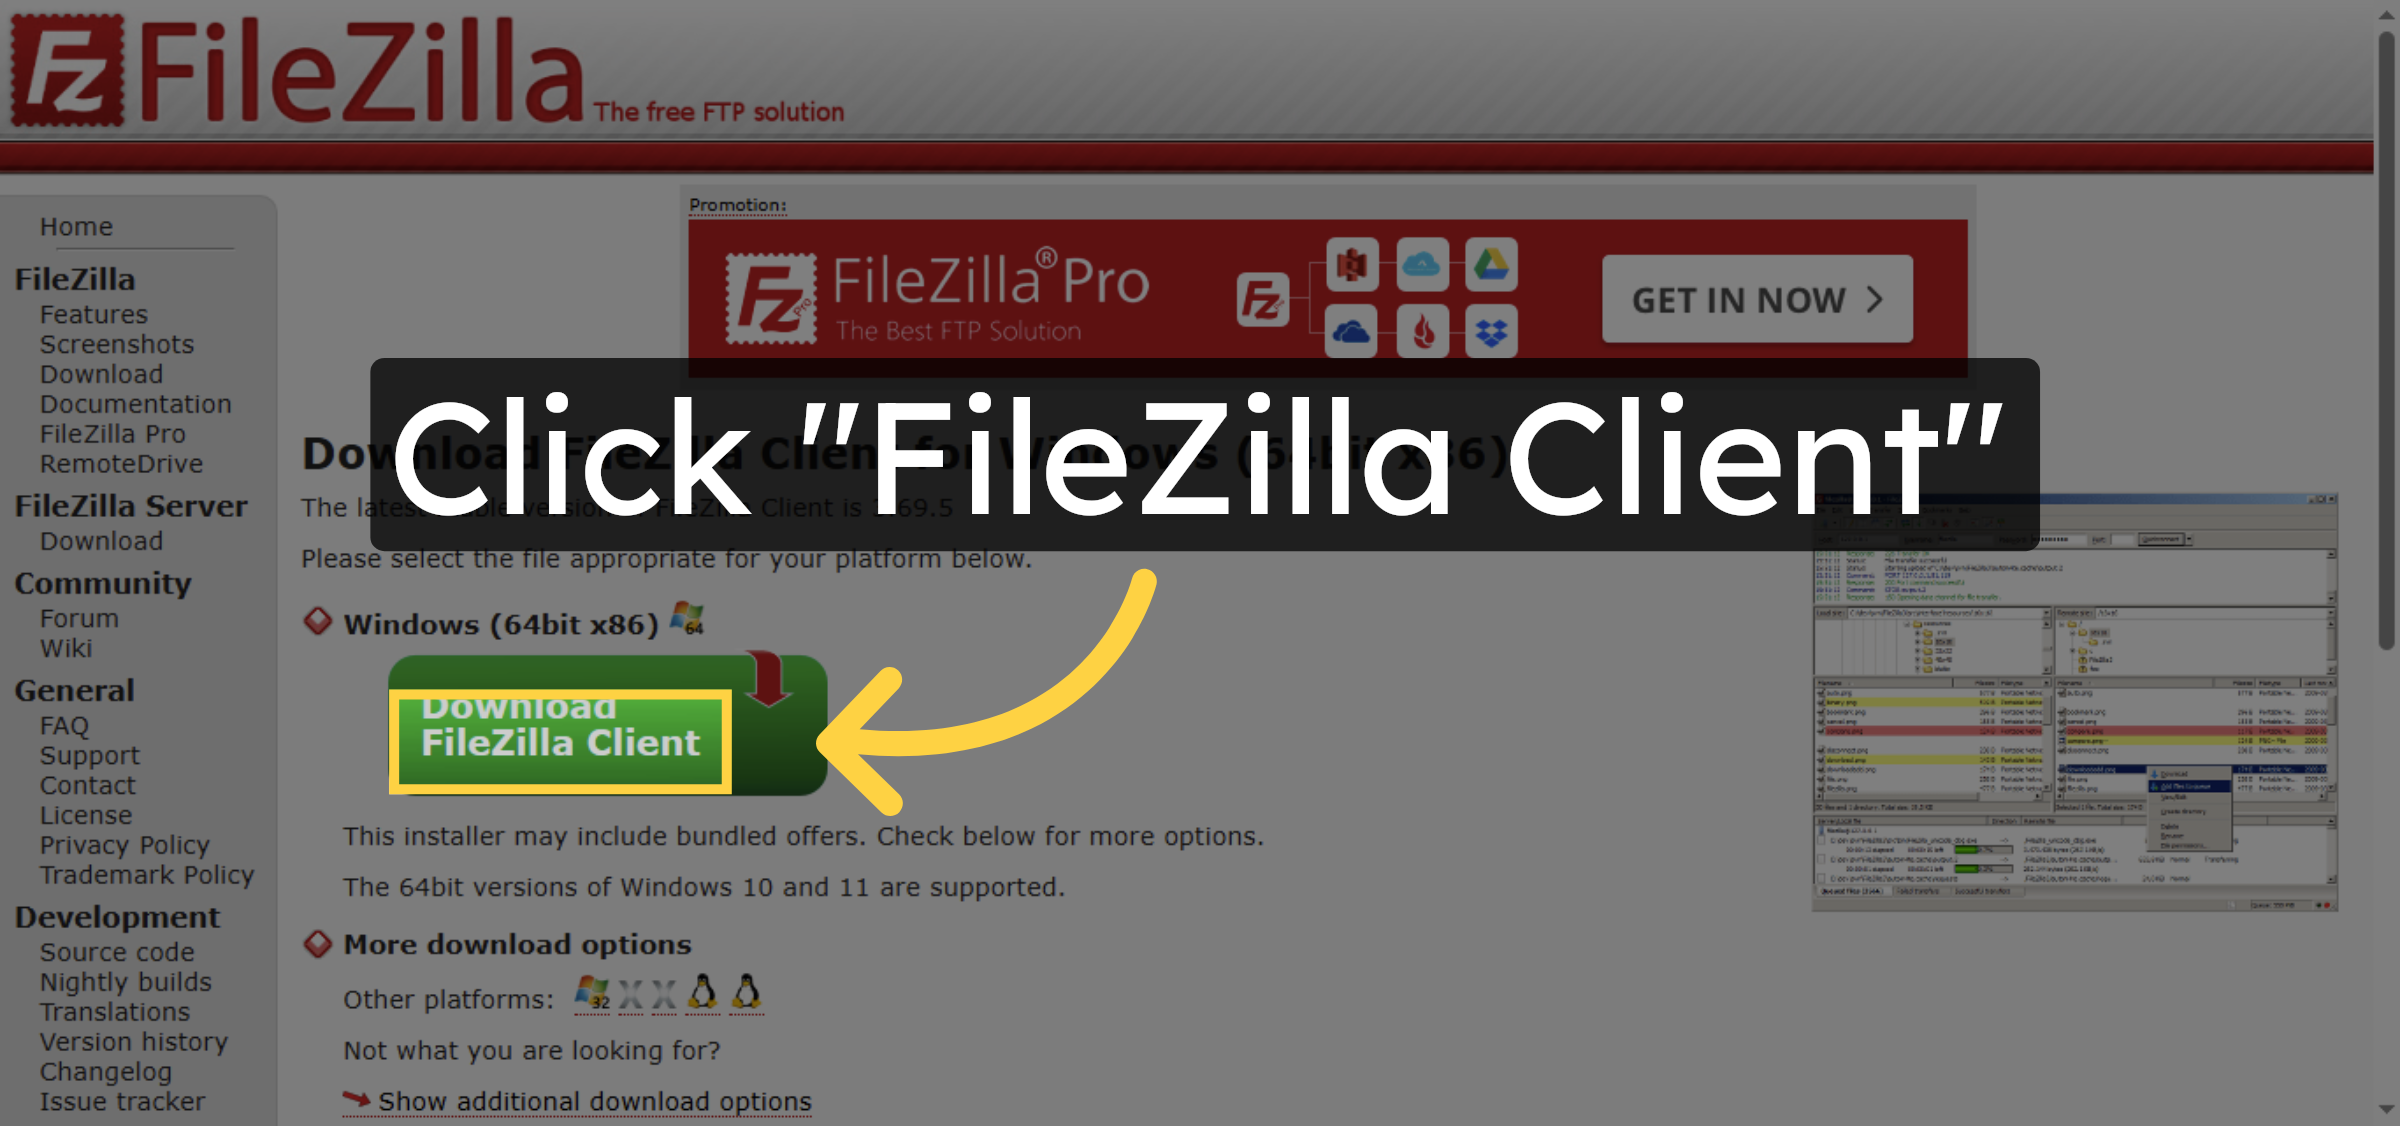
15. Choose FileZilla Client Version
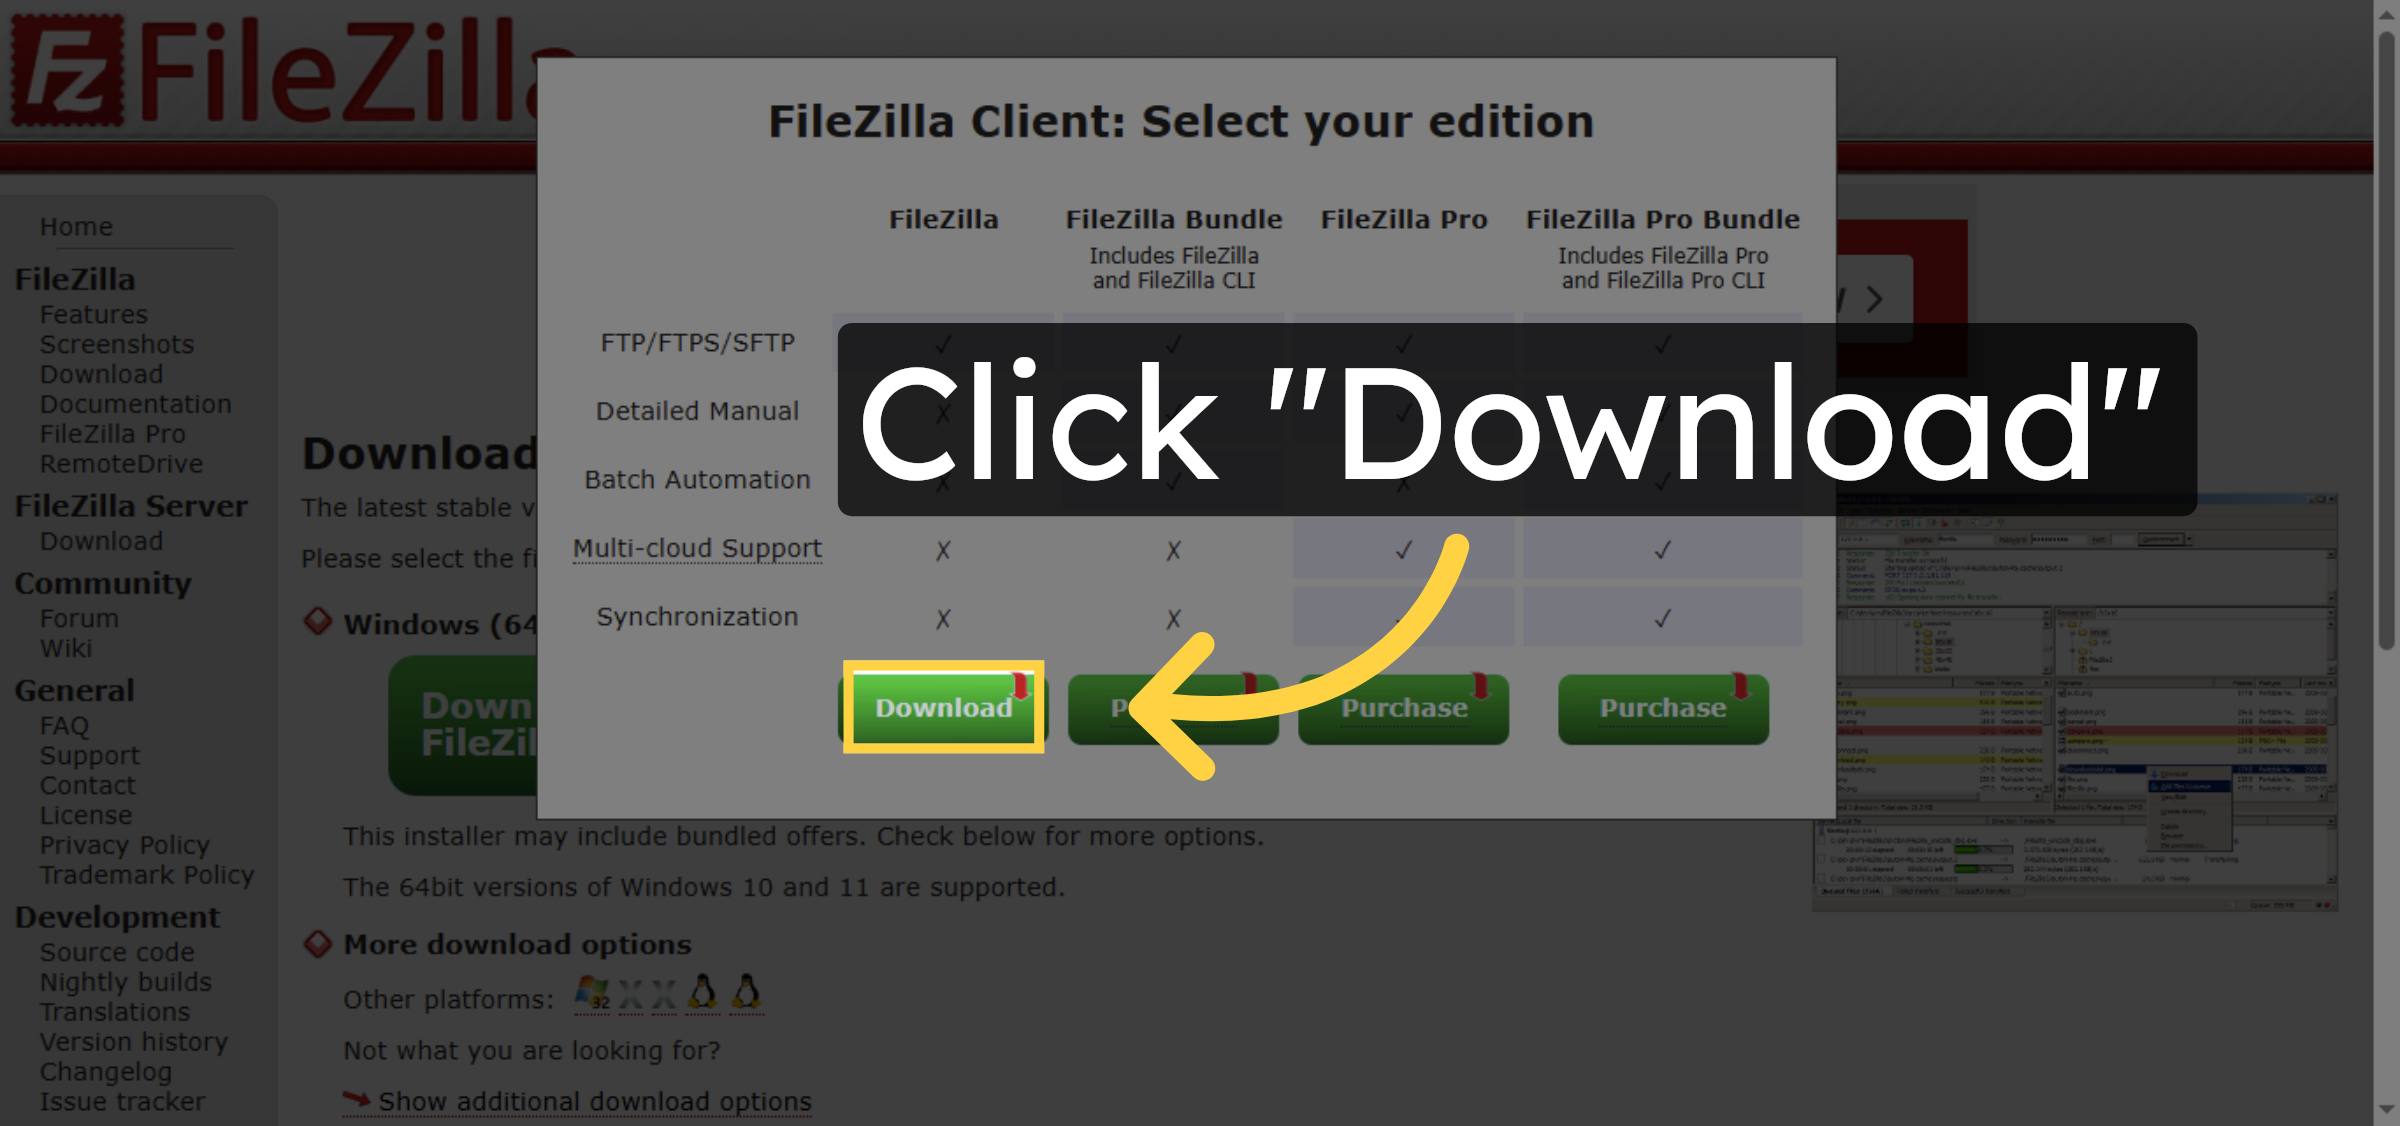
16. Download FileZilla Client
17. Install filezilla
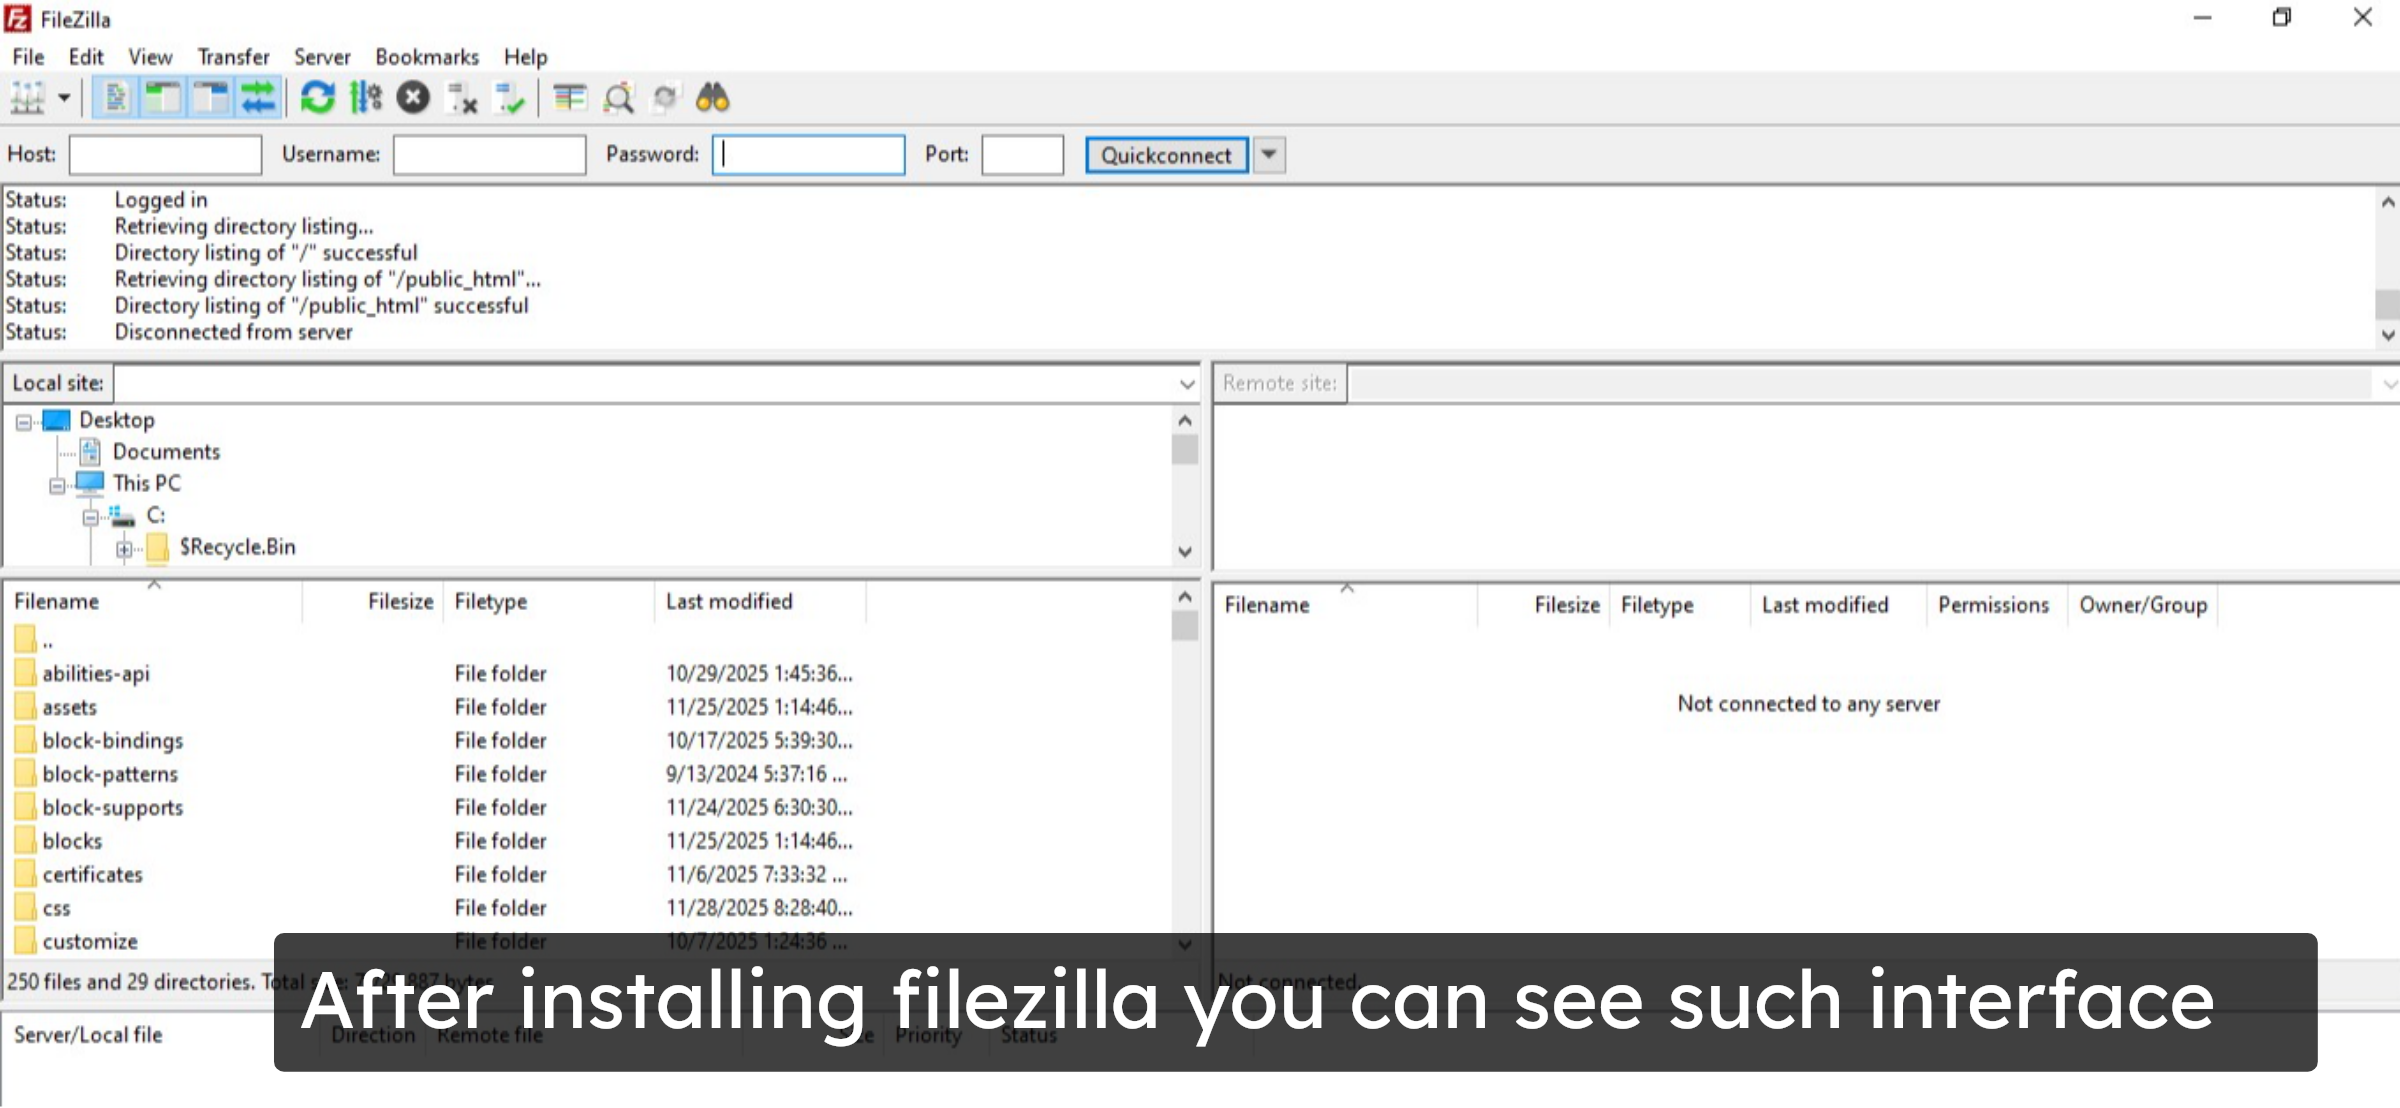
18. Filezilla Interface
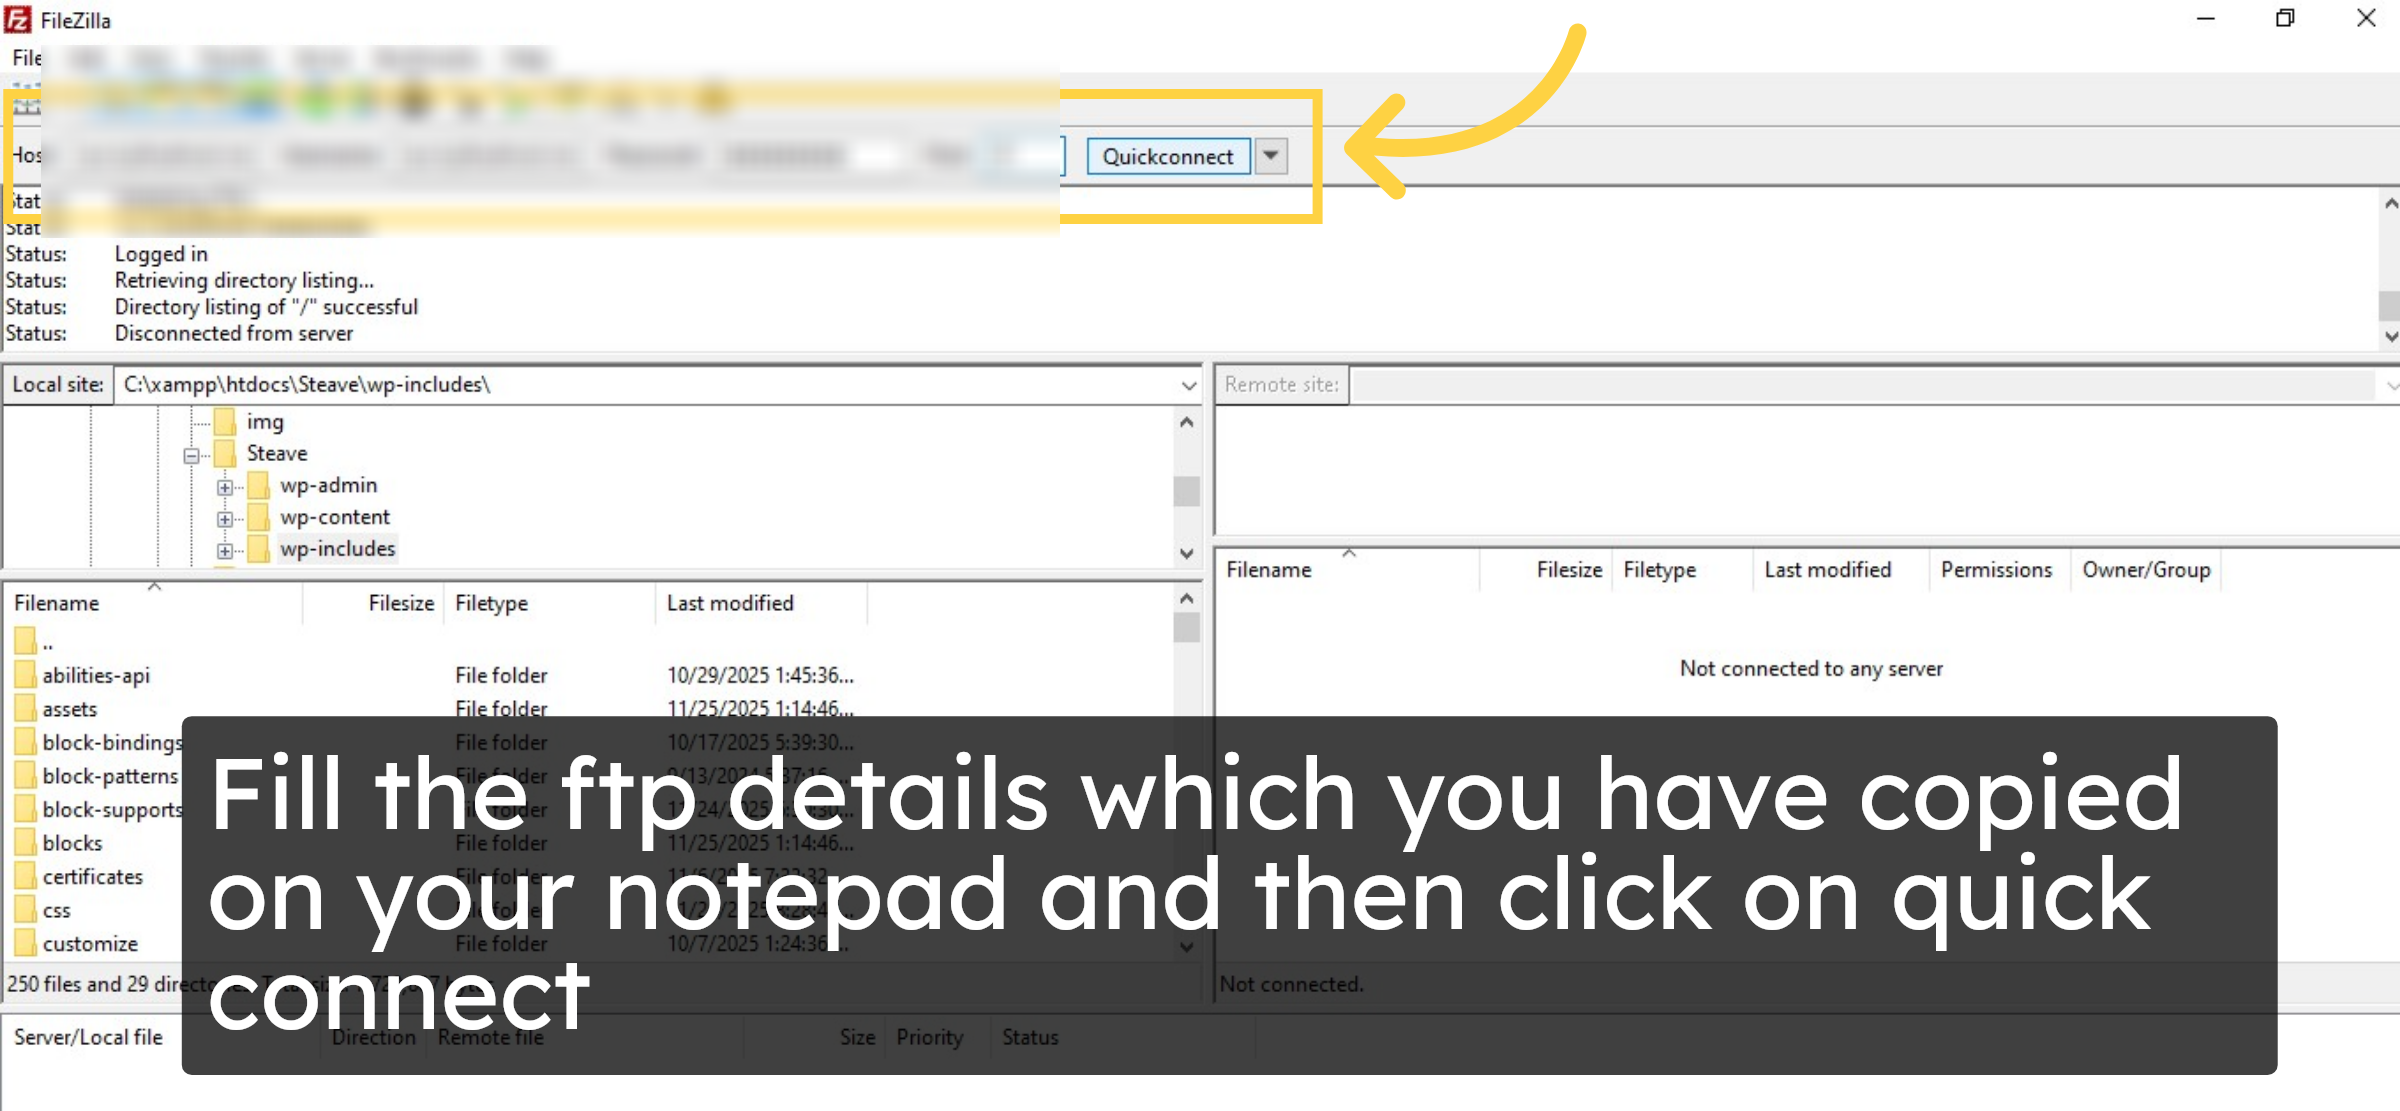
19. fill ftp details
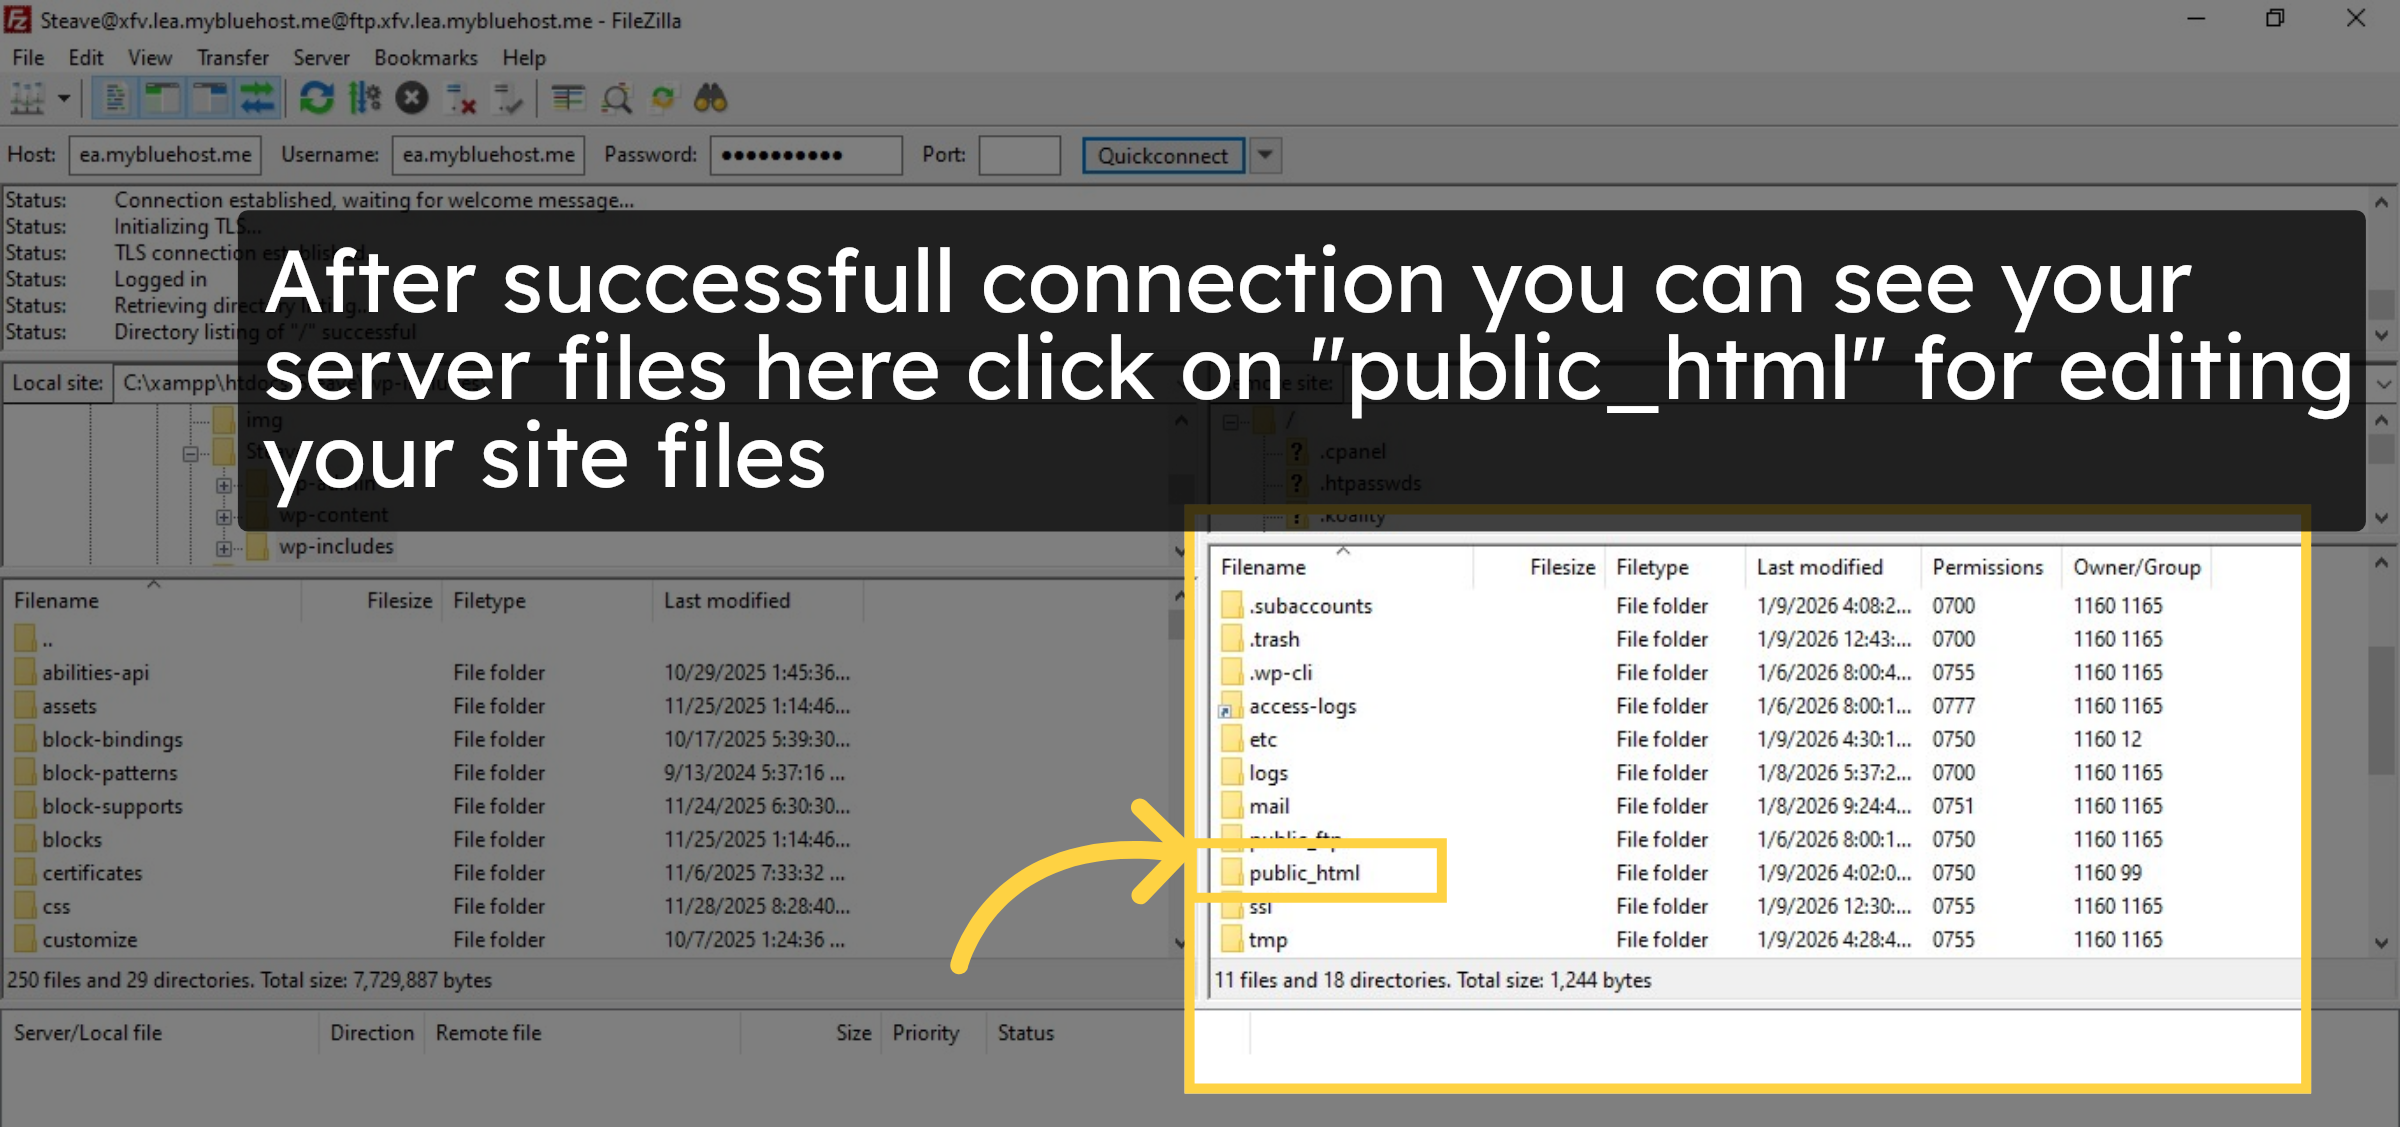
20. Check server files
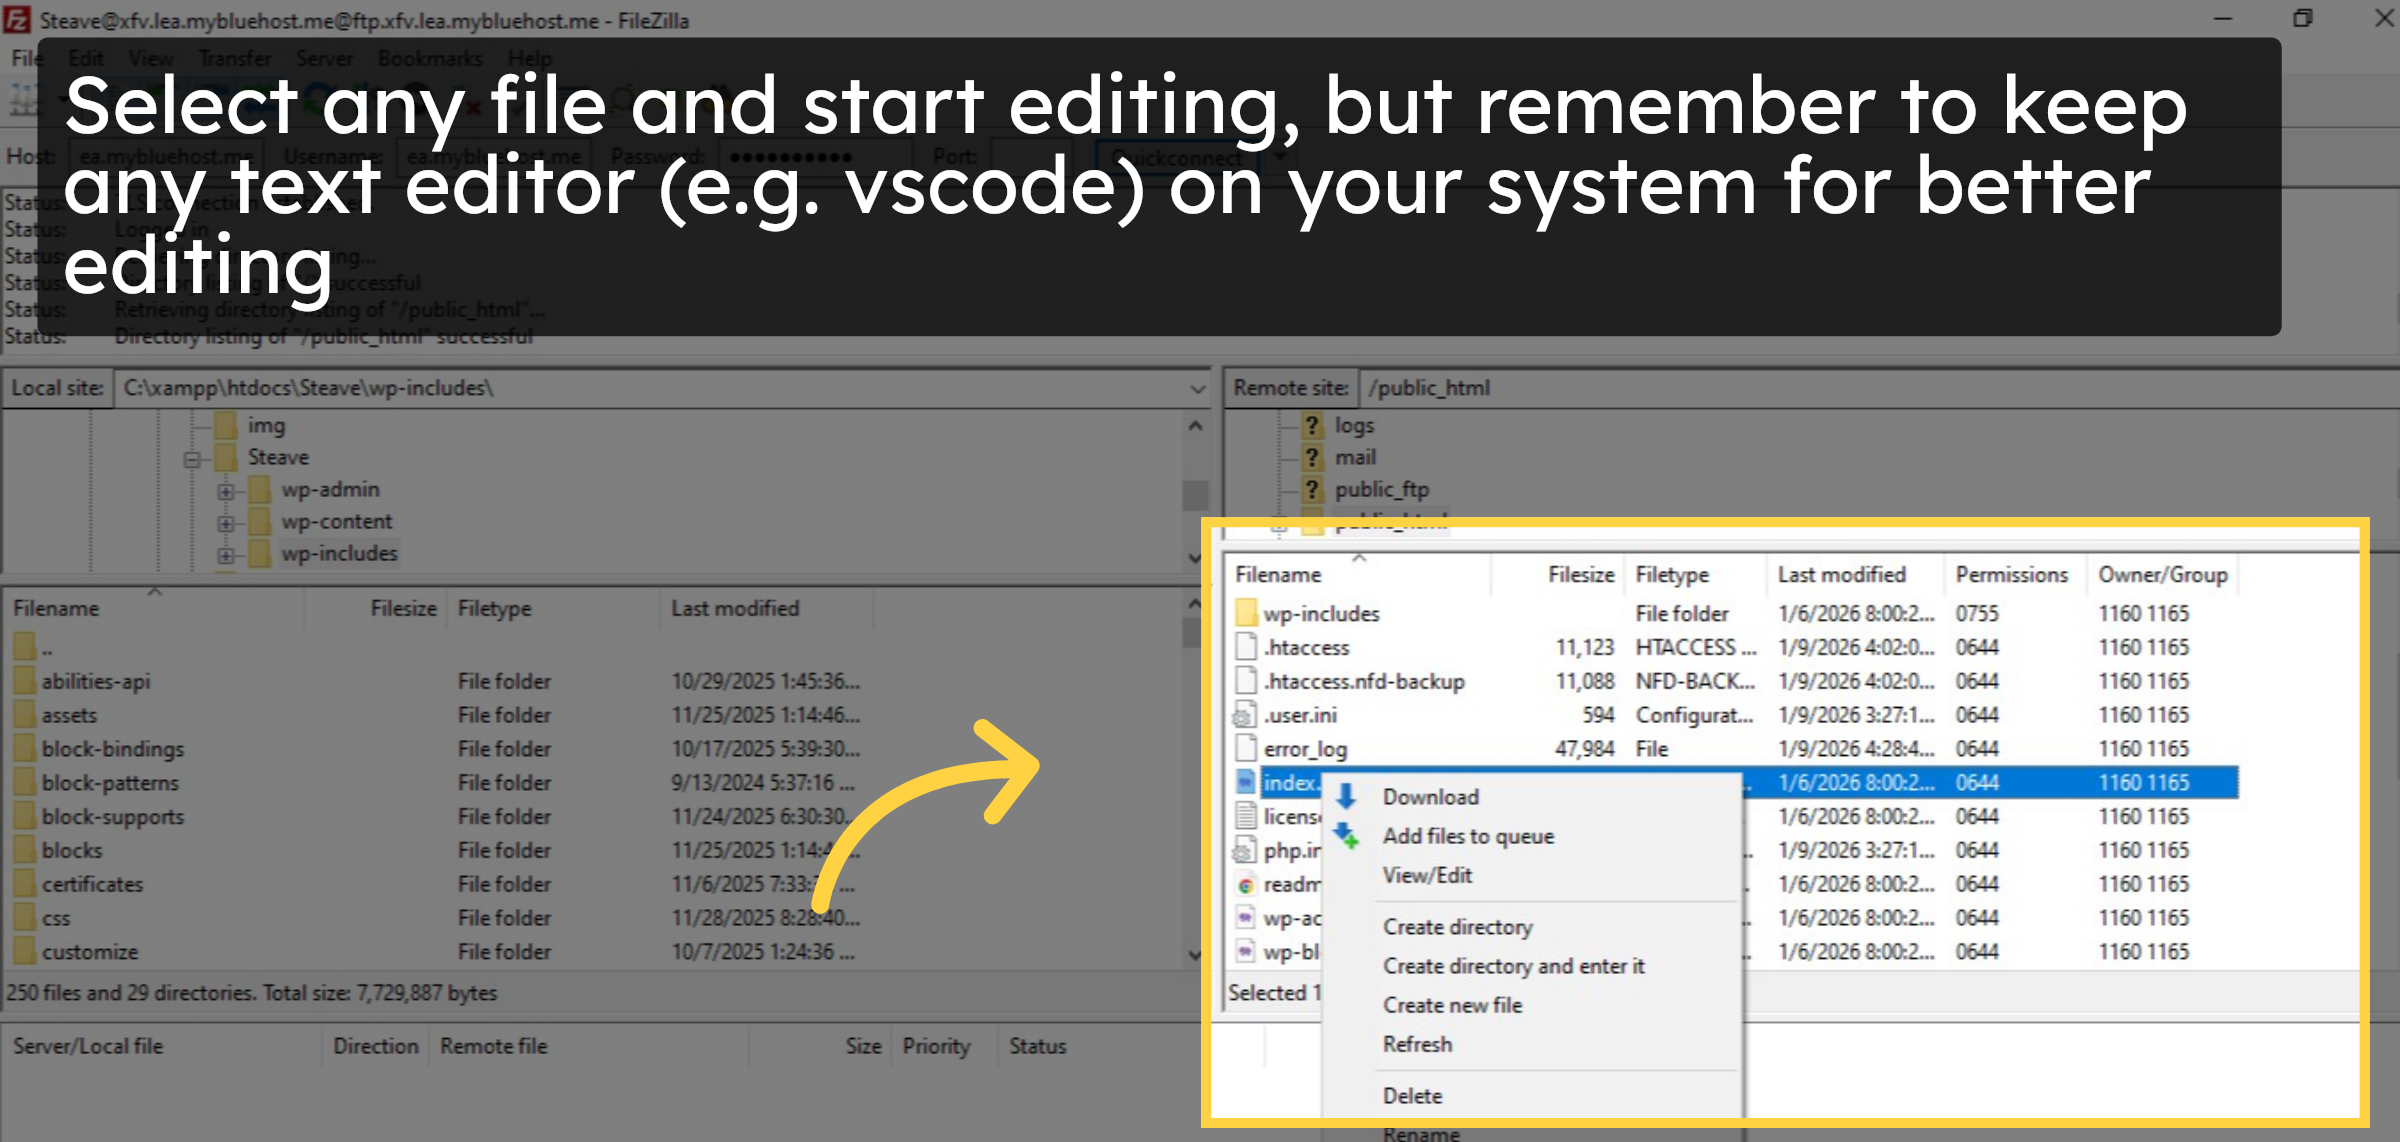
21. Edit your files
Conclusion
By completing the steps in this guide, you have successfully created an FTP account in BlueHost and connected it to your website using the FileZilla FTP client. This setup allows you to securely access and manage your WordPress files, making tasks such as editing core files, uploading assets, and troubleshooting issues more efficient. Using FTP provides greater flexibility and reliability for maintaining your website’s file structure and content.
-
Visit: https://www.woohelpdesk.com
-
Call Us Toll-Free: +1 888 602 0119 (US & Canada)
-
Get professional support for FTP setup, WordPress file management, hosting configuration, troubleshooting, and WooCommerce assistance


