How to Set Up Email Forwarding On Hostinger WordPress Hosting
Introduction
Email forwarding is an essential feature for managing business communication efficiently. It allows you to receive emails sent to your domain-based address directly in your preferred inbox without logging into multiple accounts. On Hostinger WordPress hosting, email forwarding can be configured easily through the hPanel interface.
This guidde explains how to create and activate an email forwarder using Hostinger’s email management tools and verify its functionality through Gmail. By following these steps, you can ensure that important messages are delivered promptly and remain accessible from a single, centralized email account.
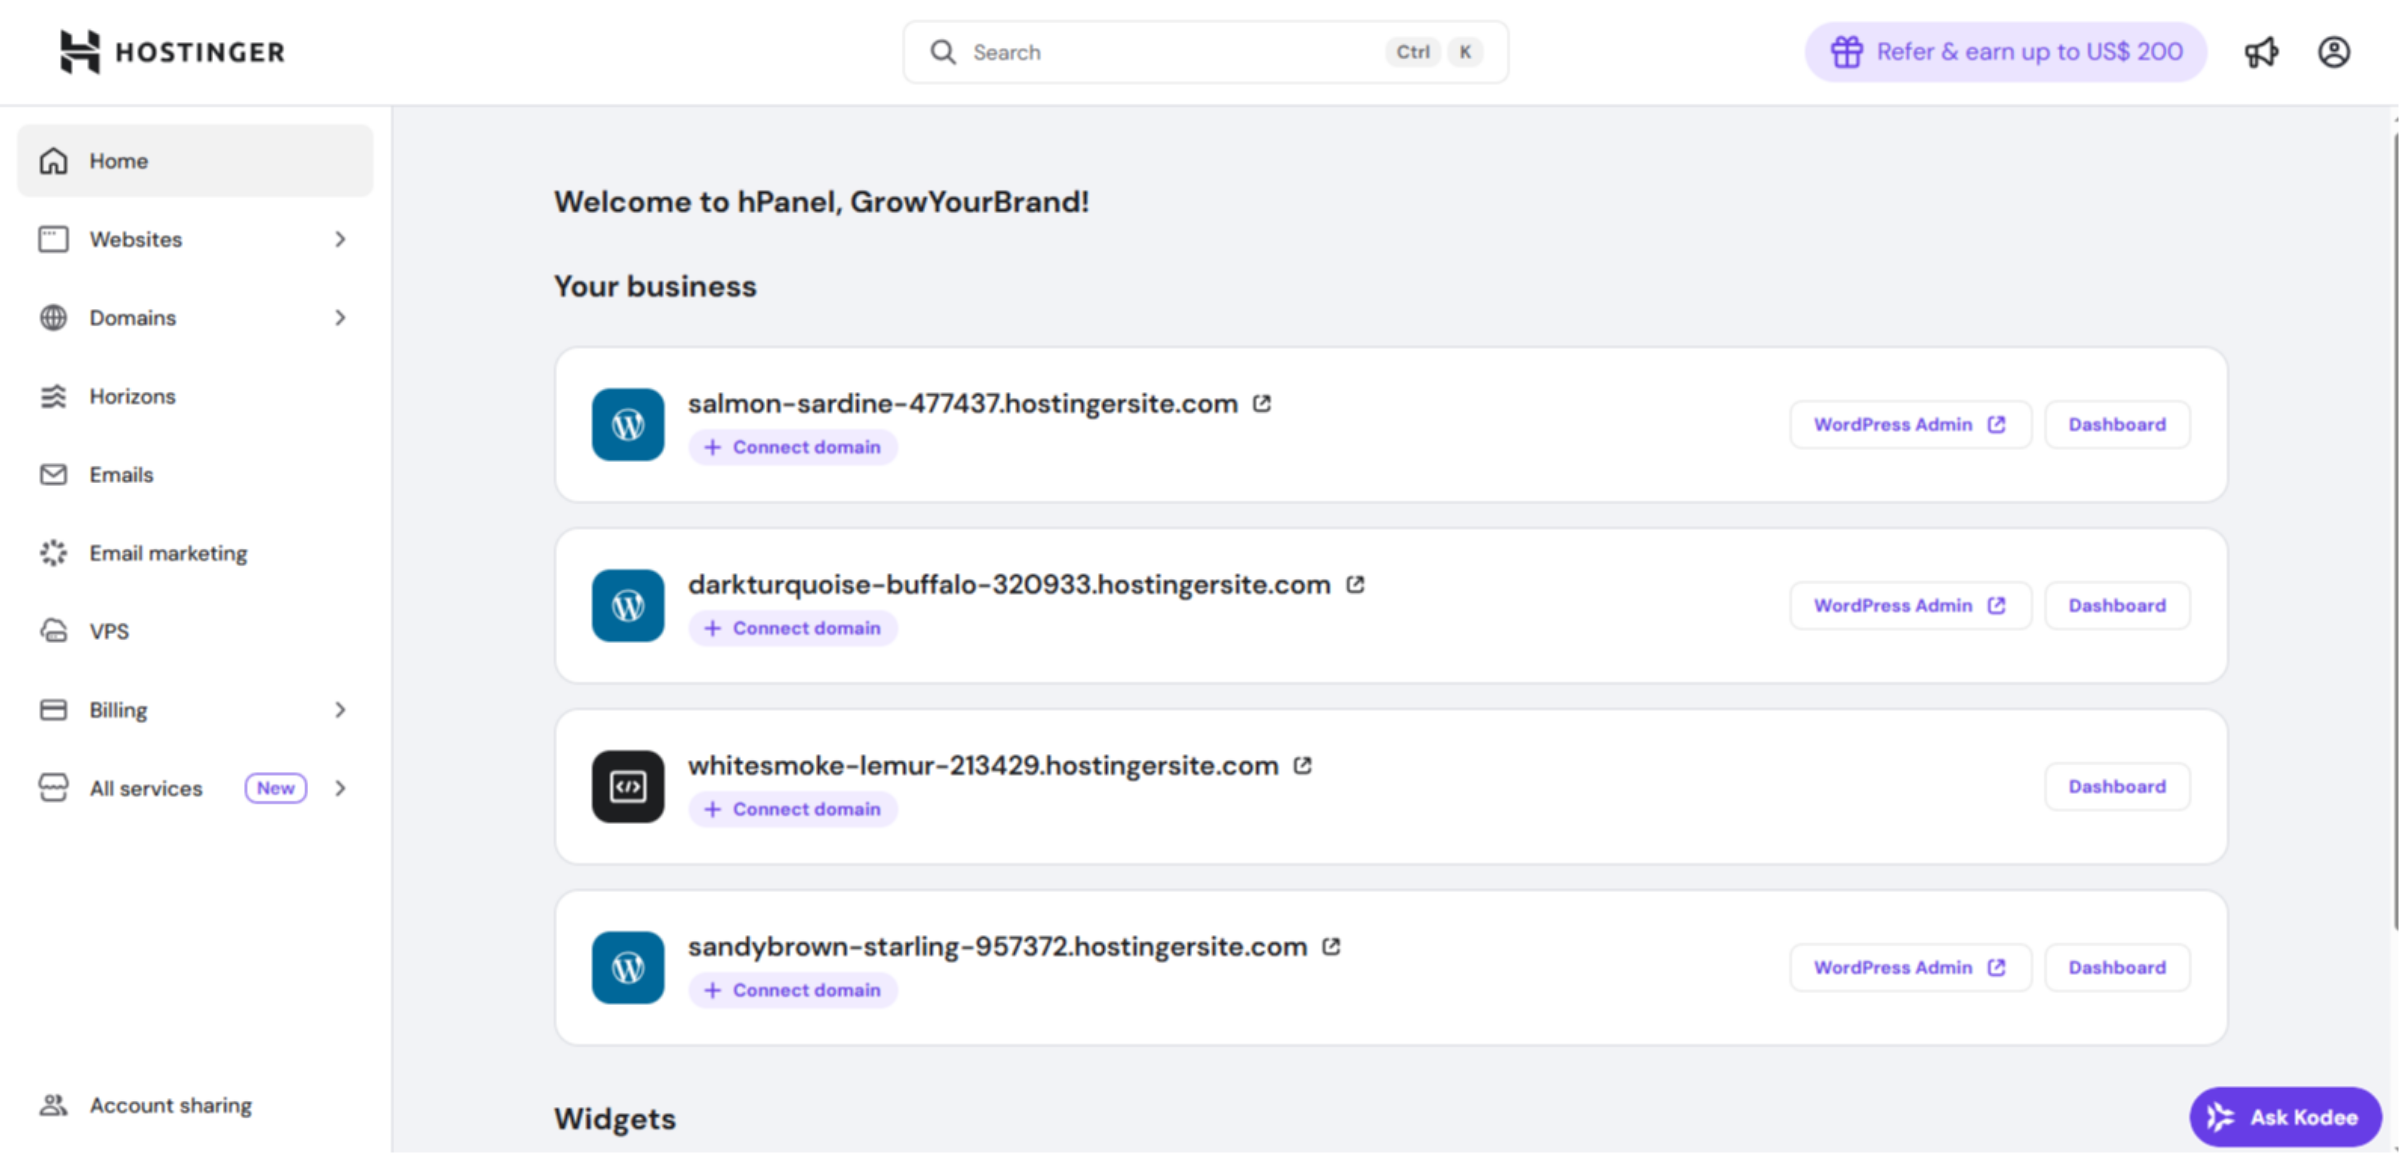
1. Hostinger hPanel
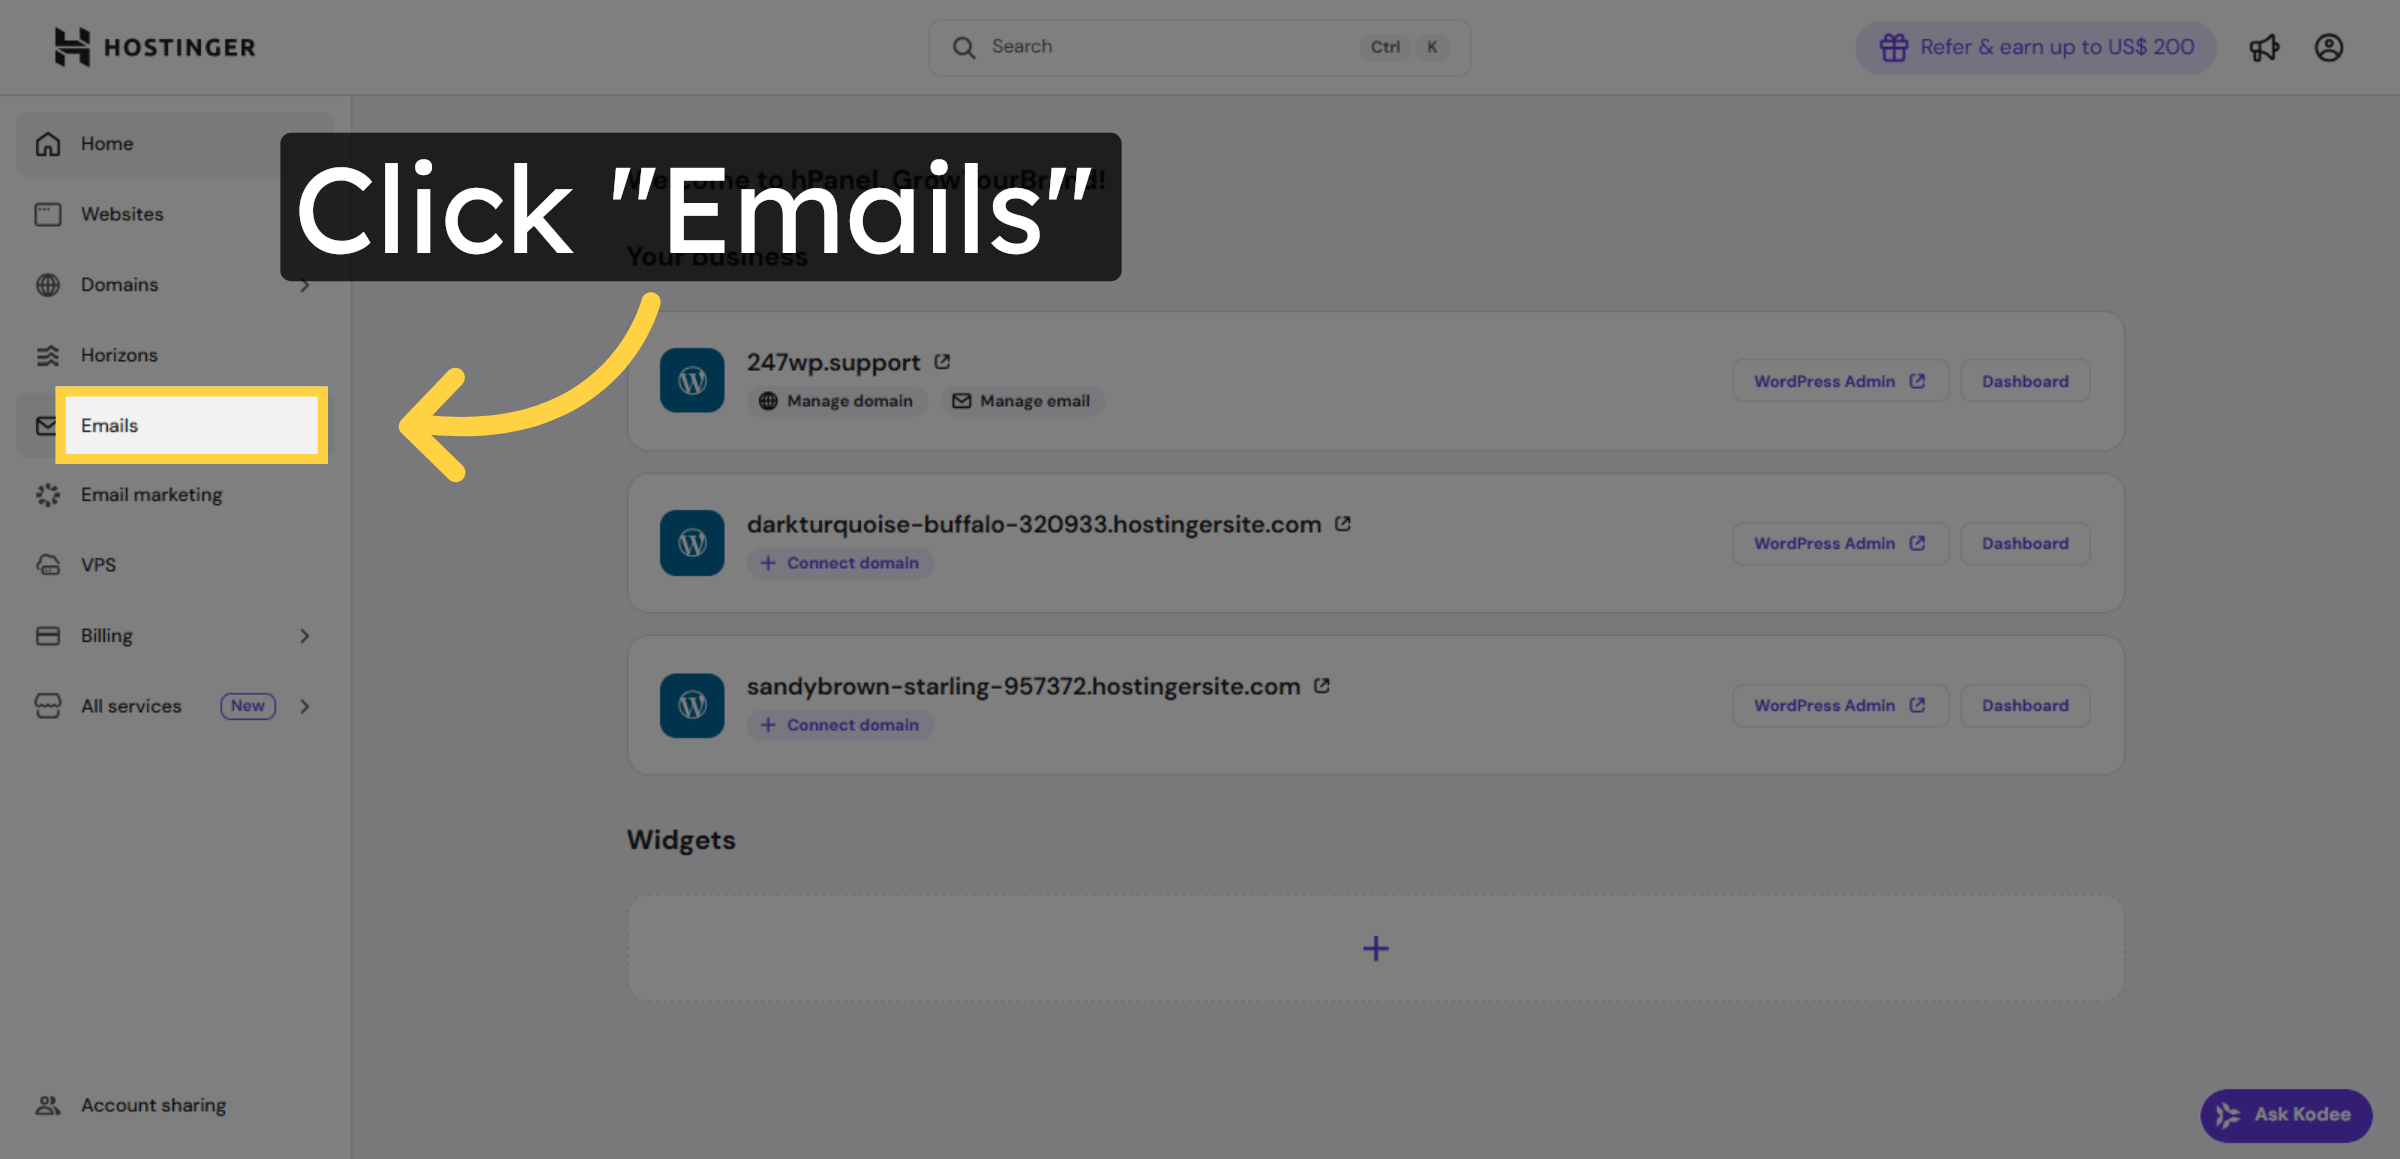
2. Navigate to Emails Section
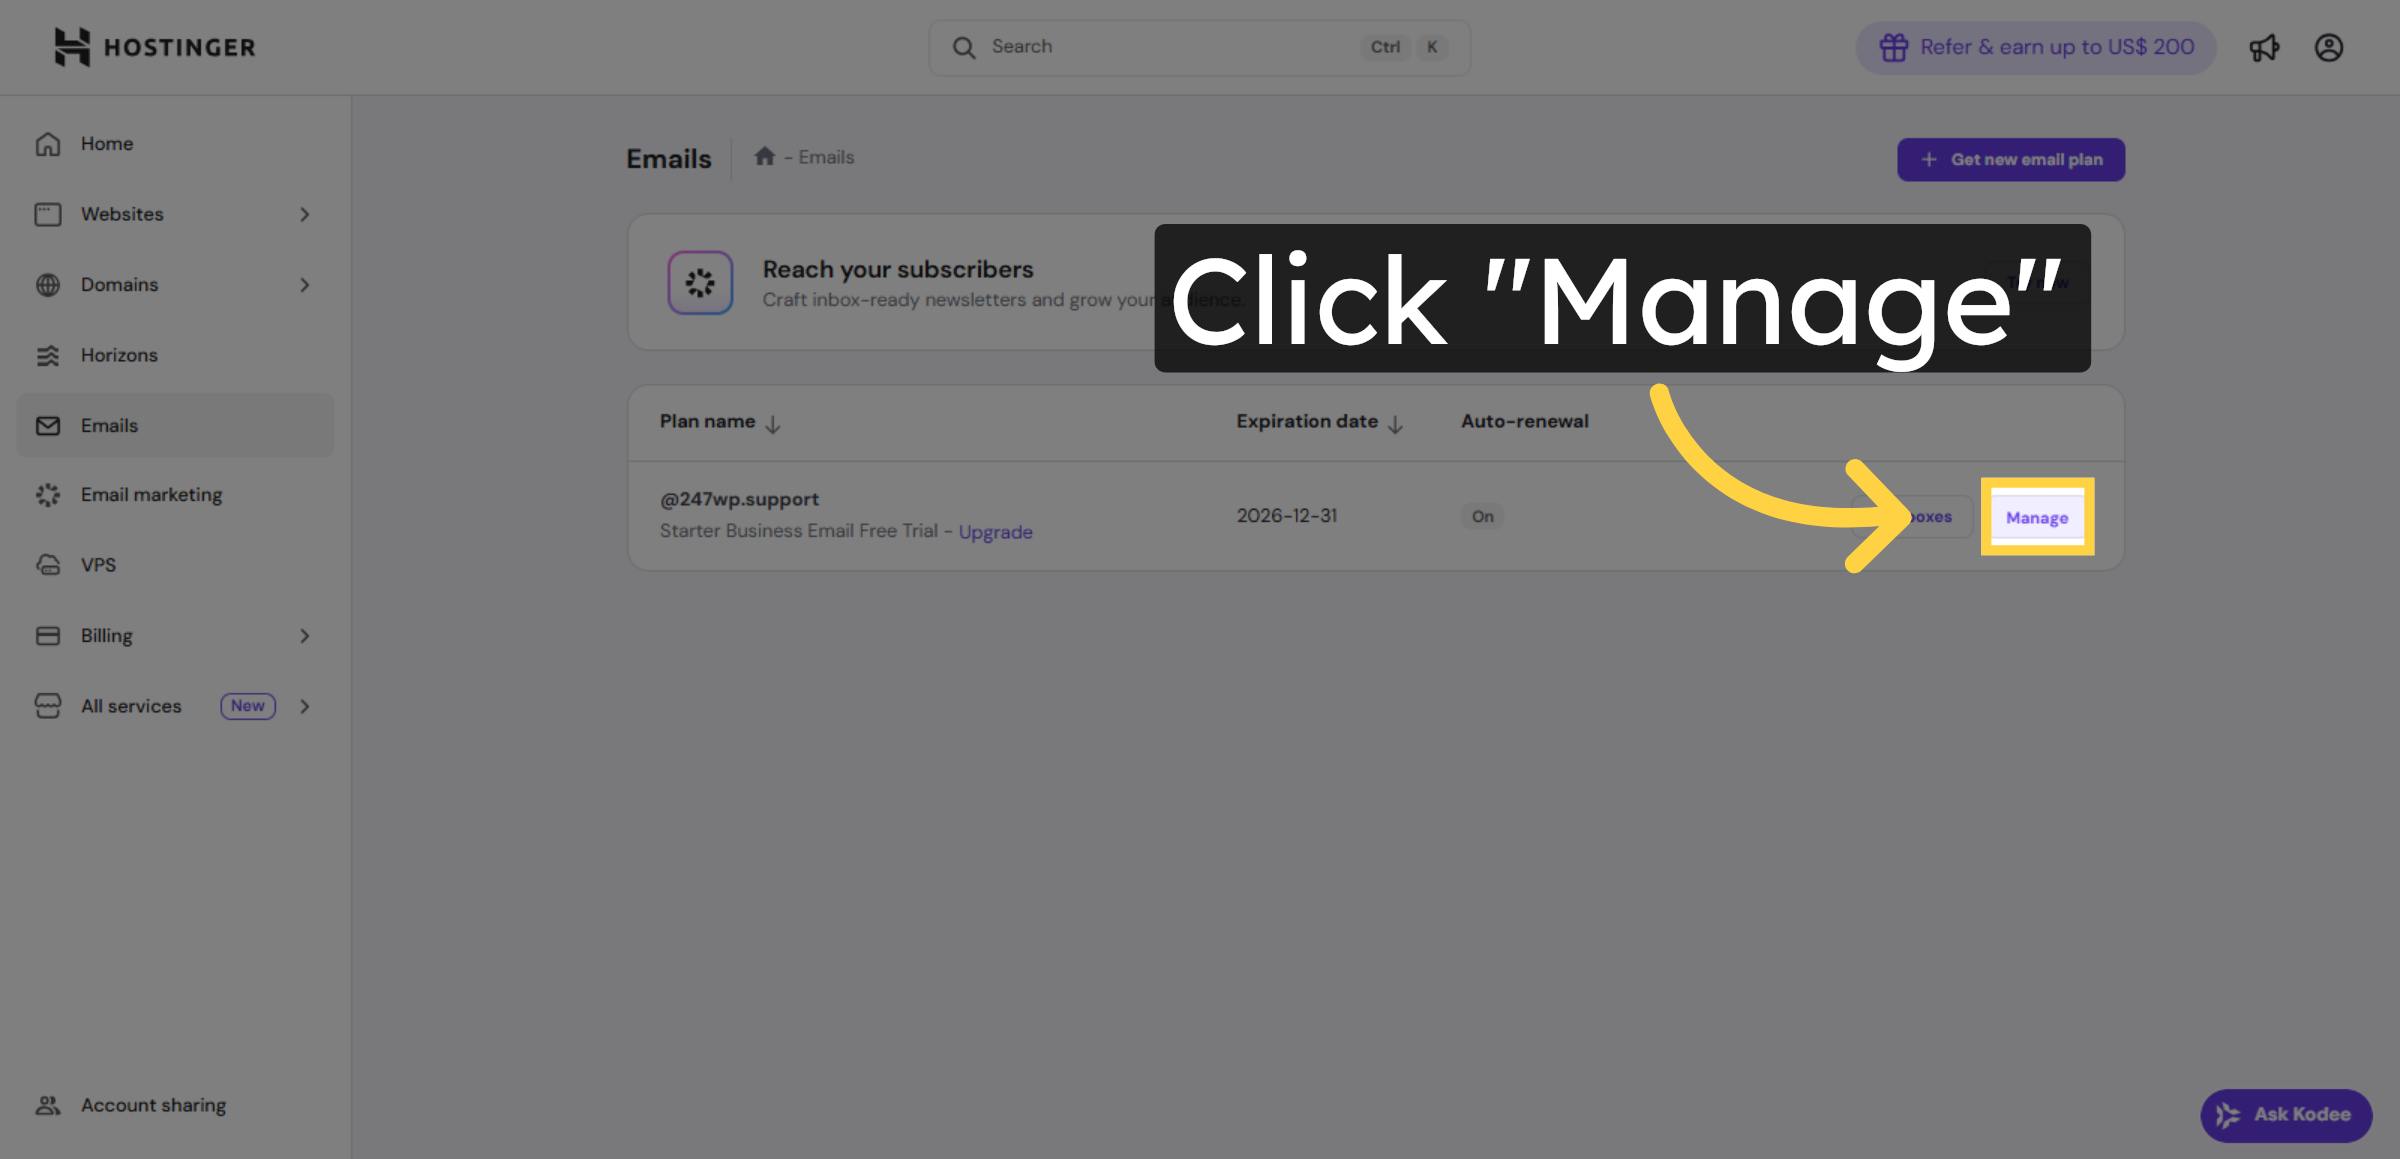
3. Open Email Management
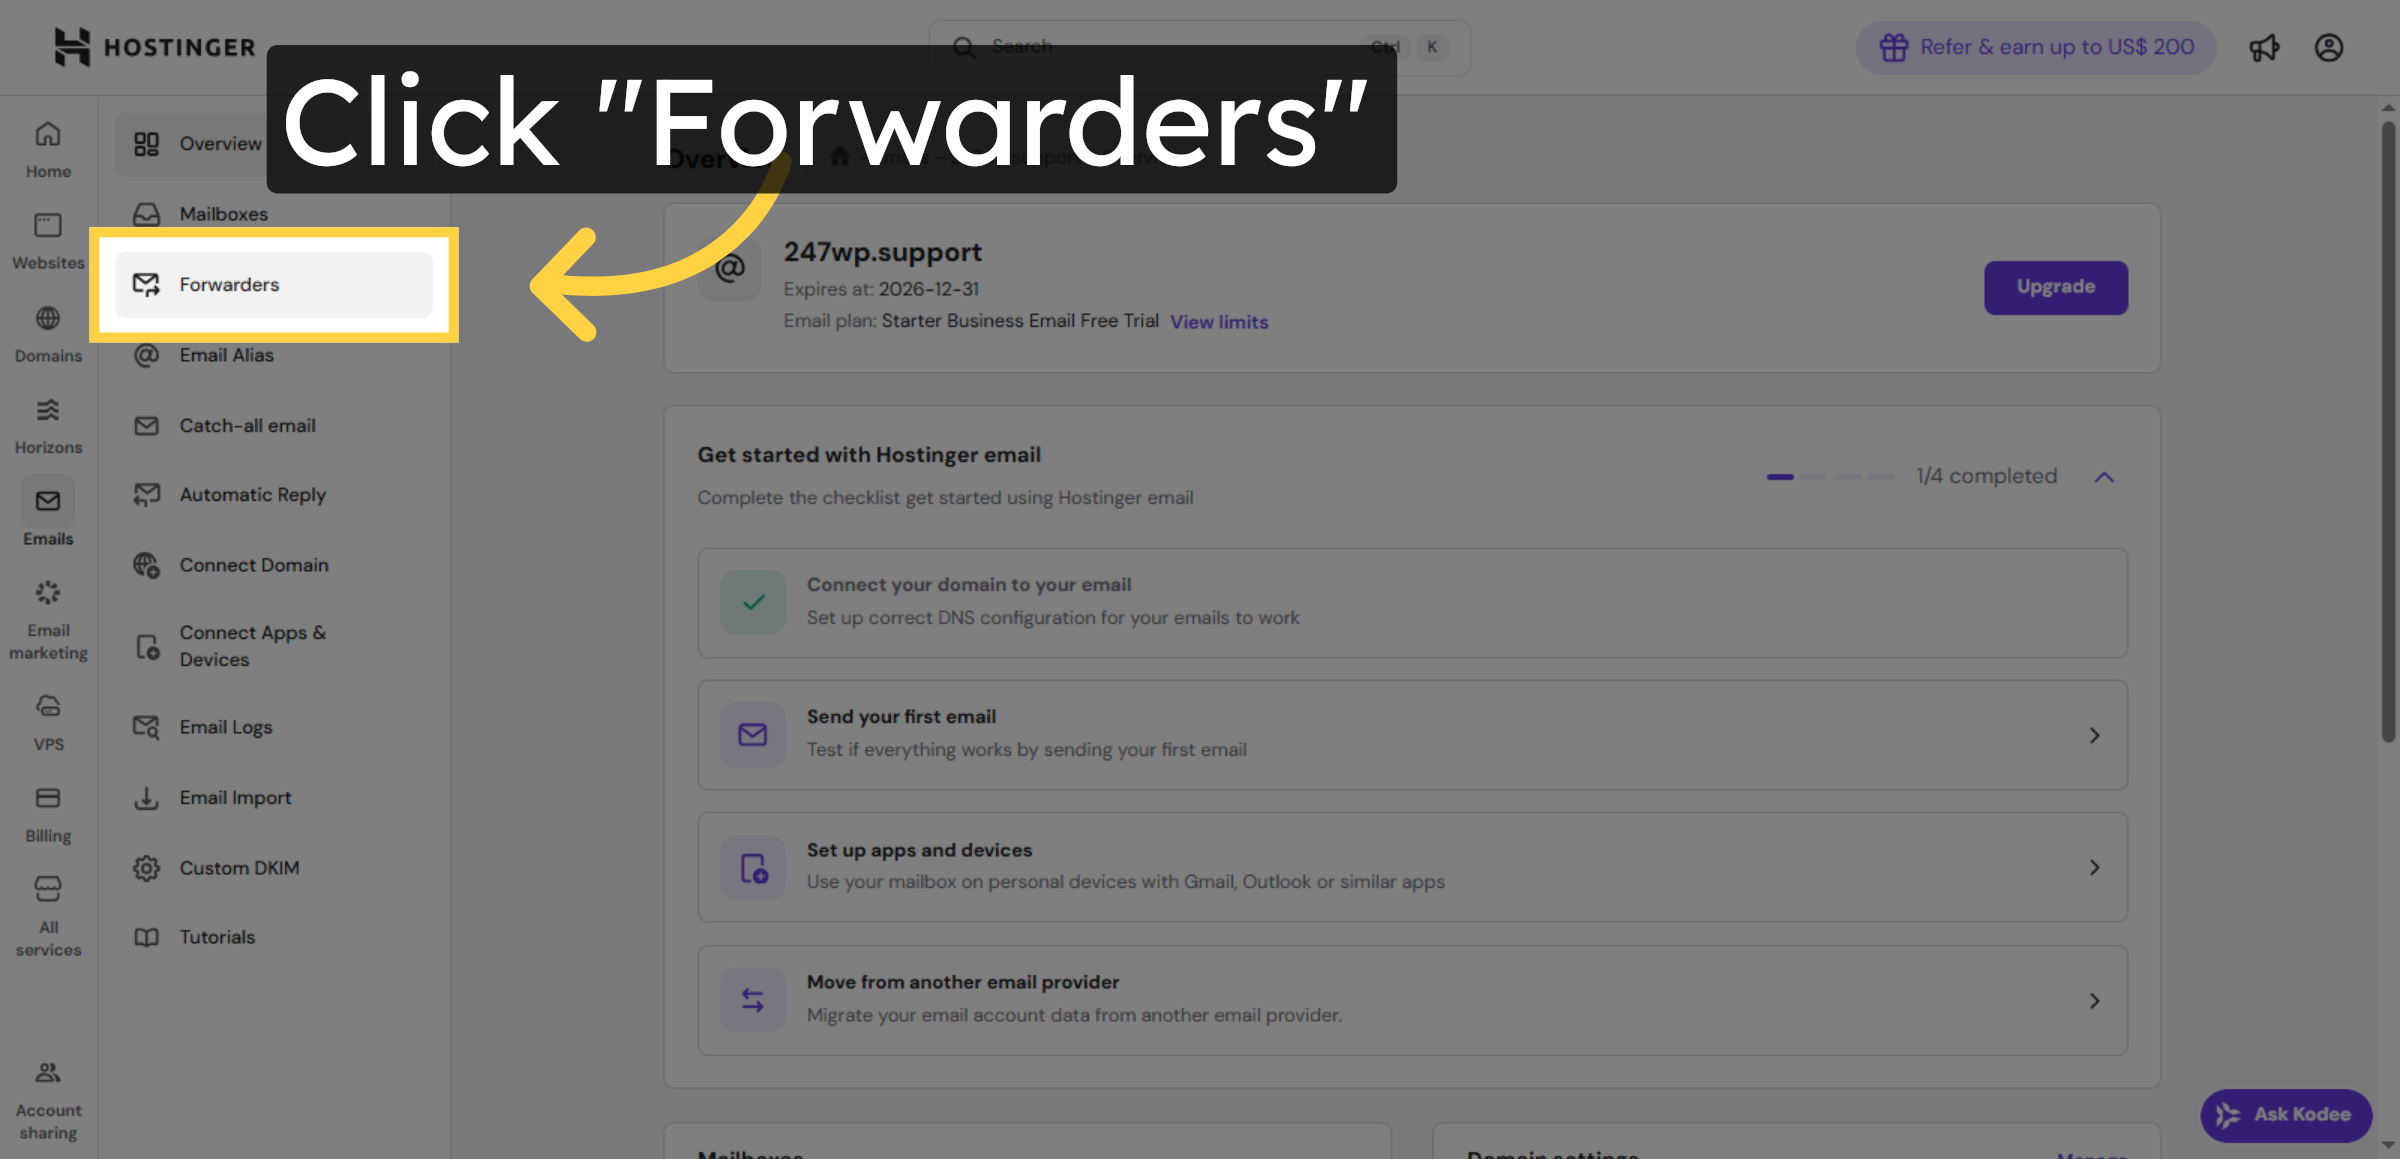
4. Access Forwarders Tab
5. Initiate Forwarder Creation
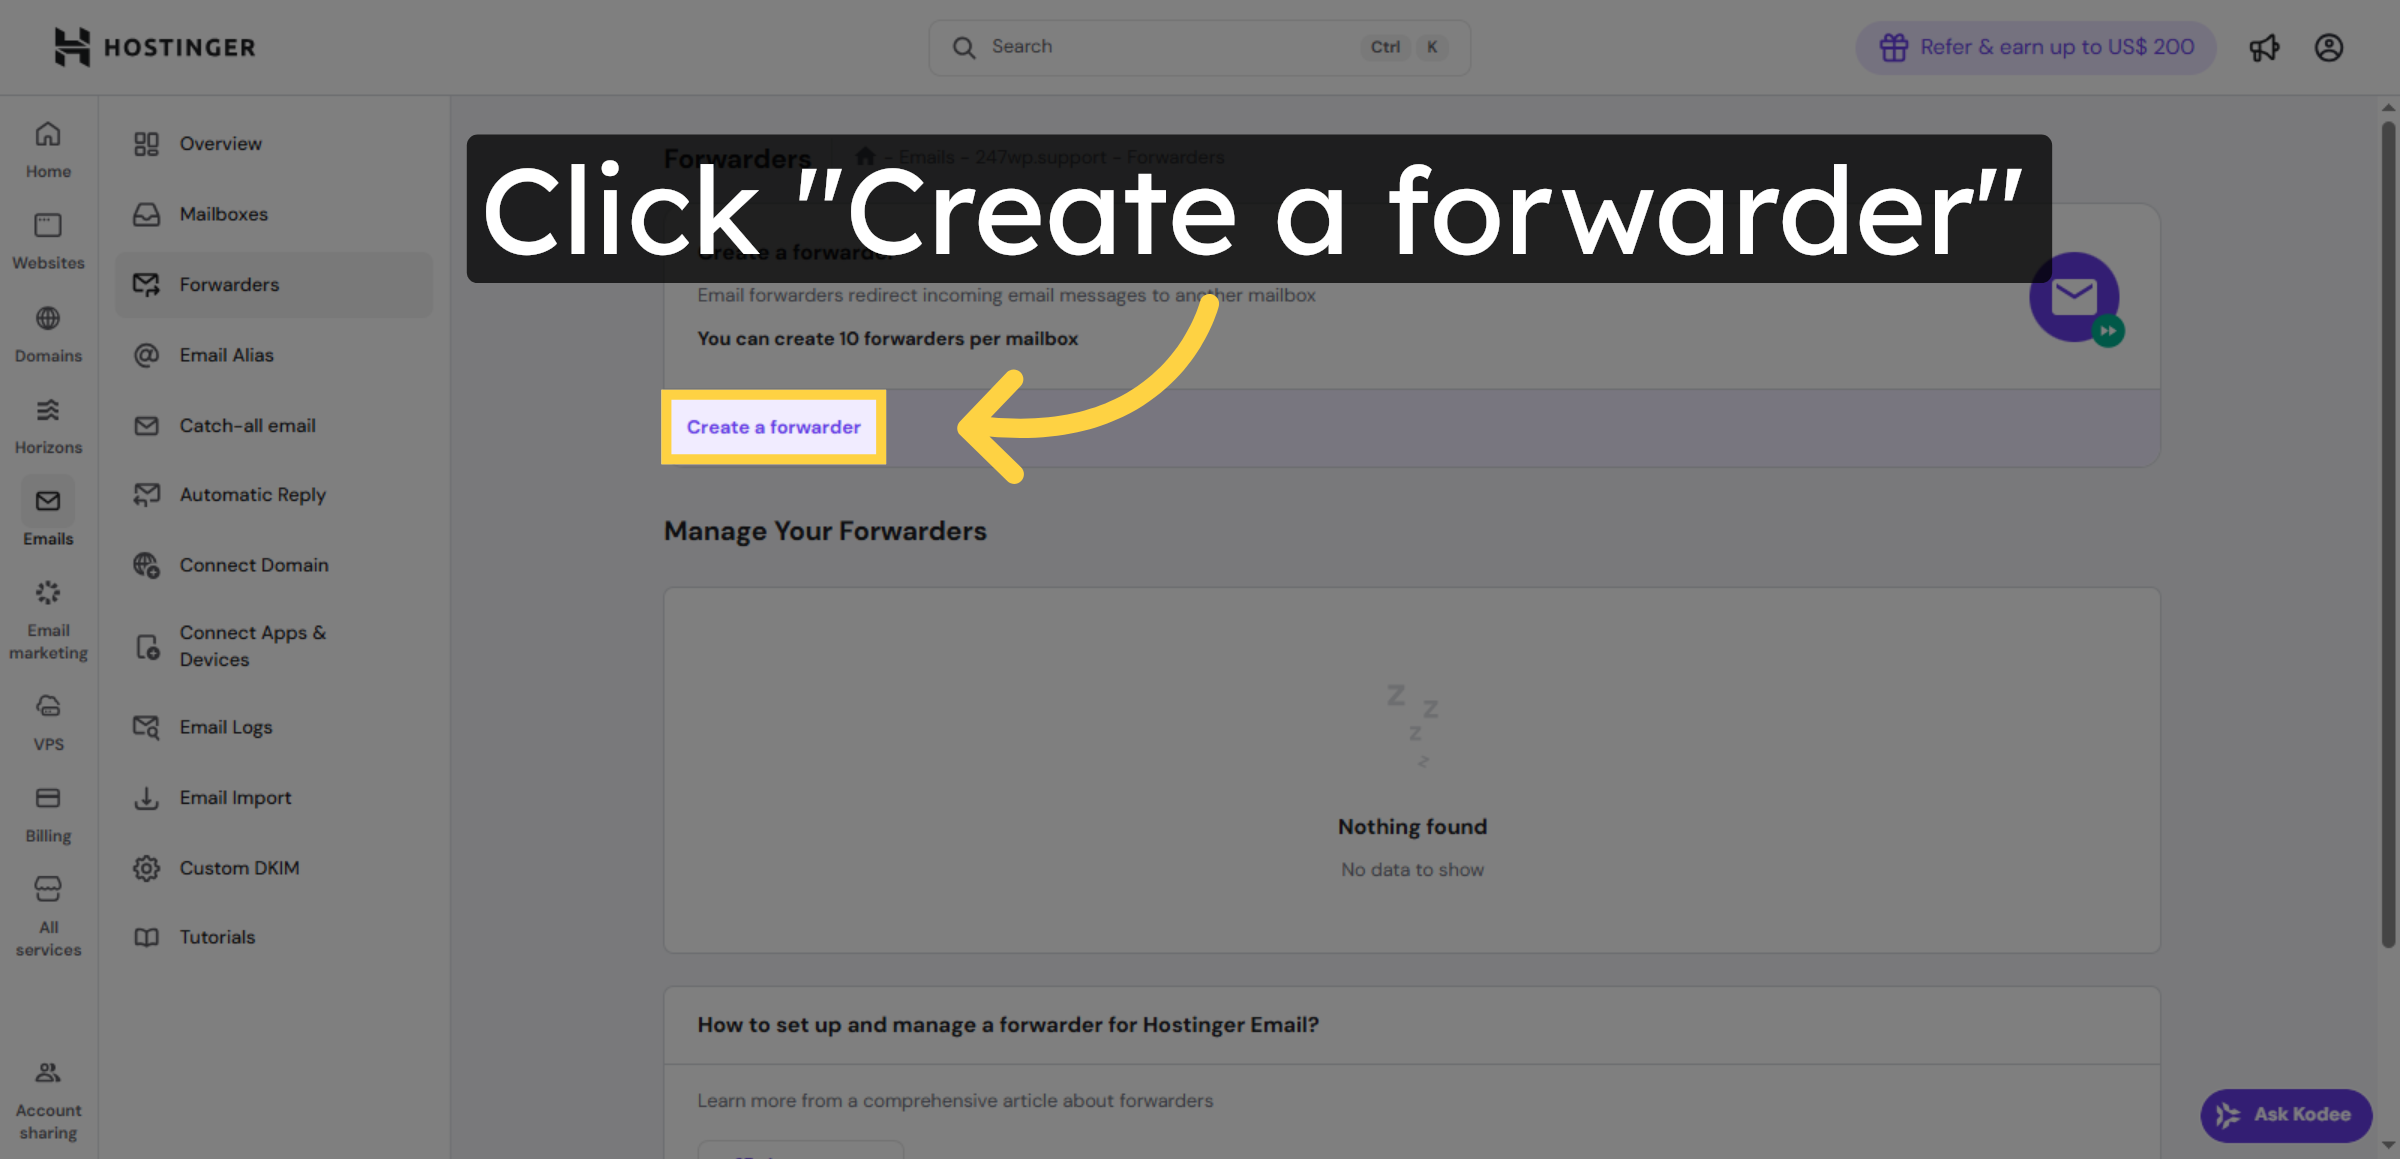
6. Select Forwarder Creation Option
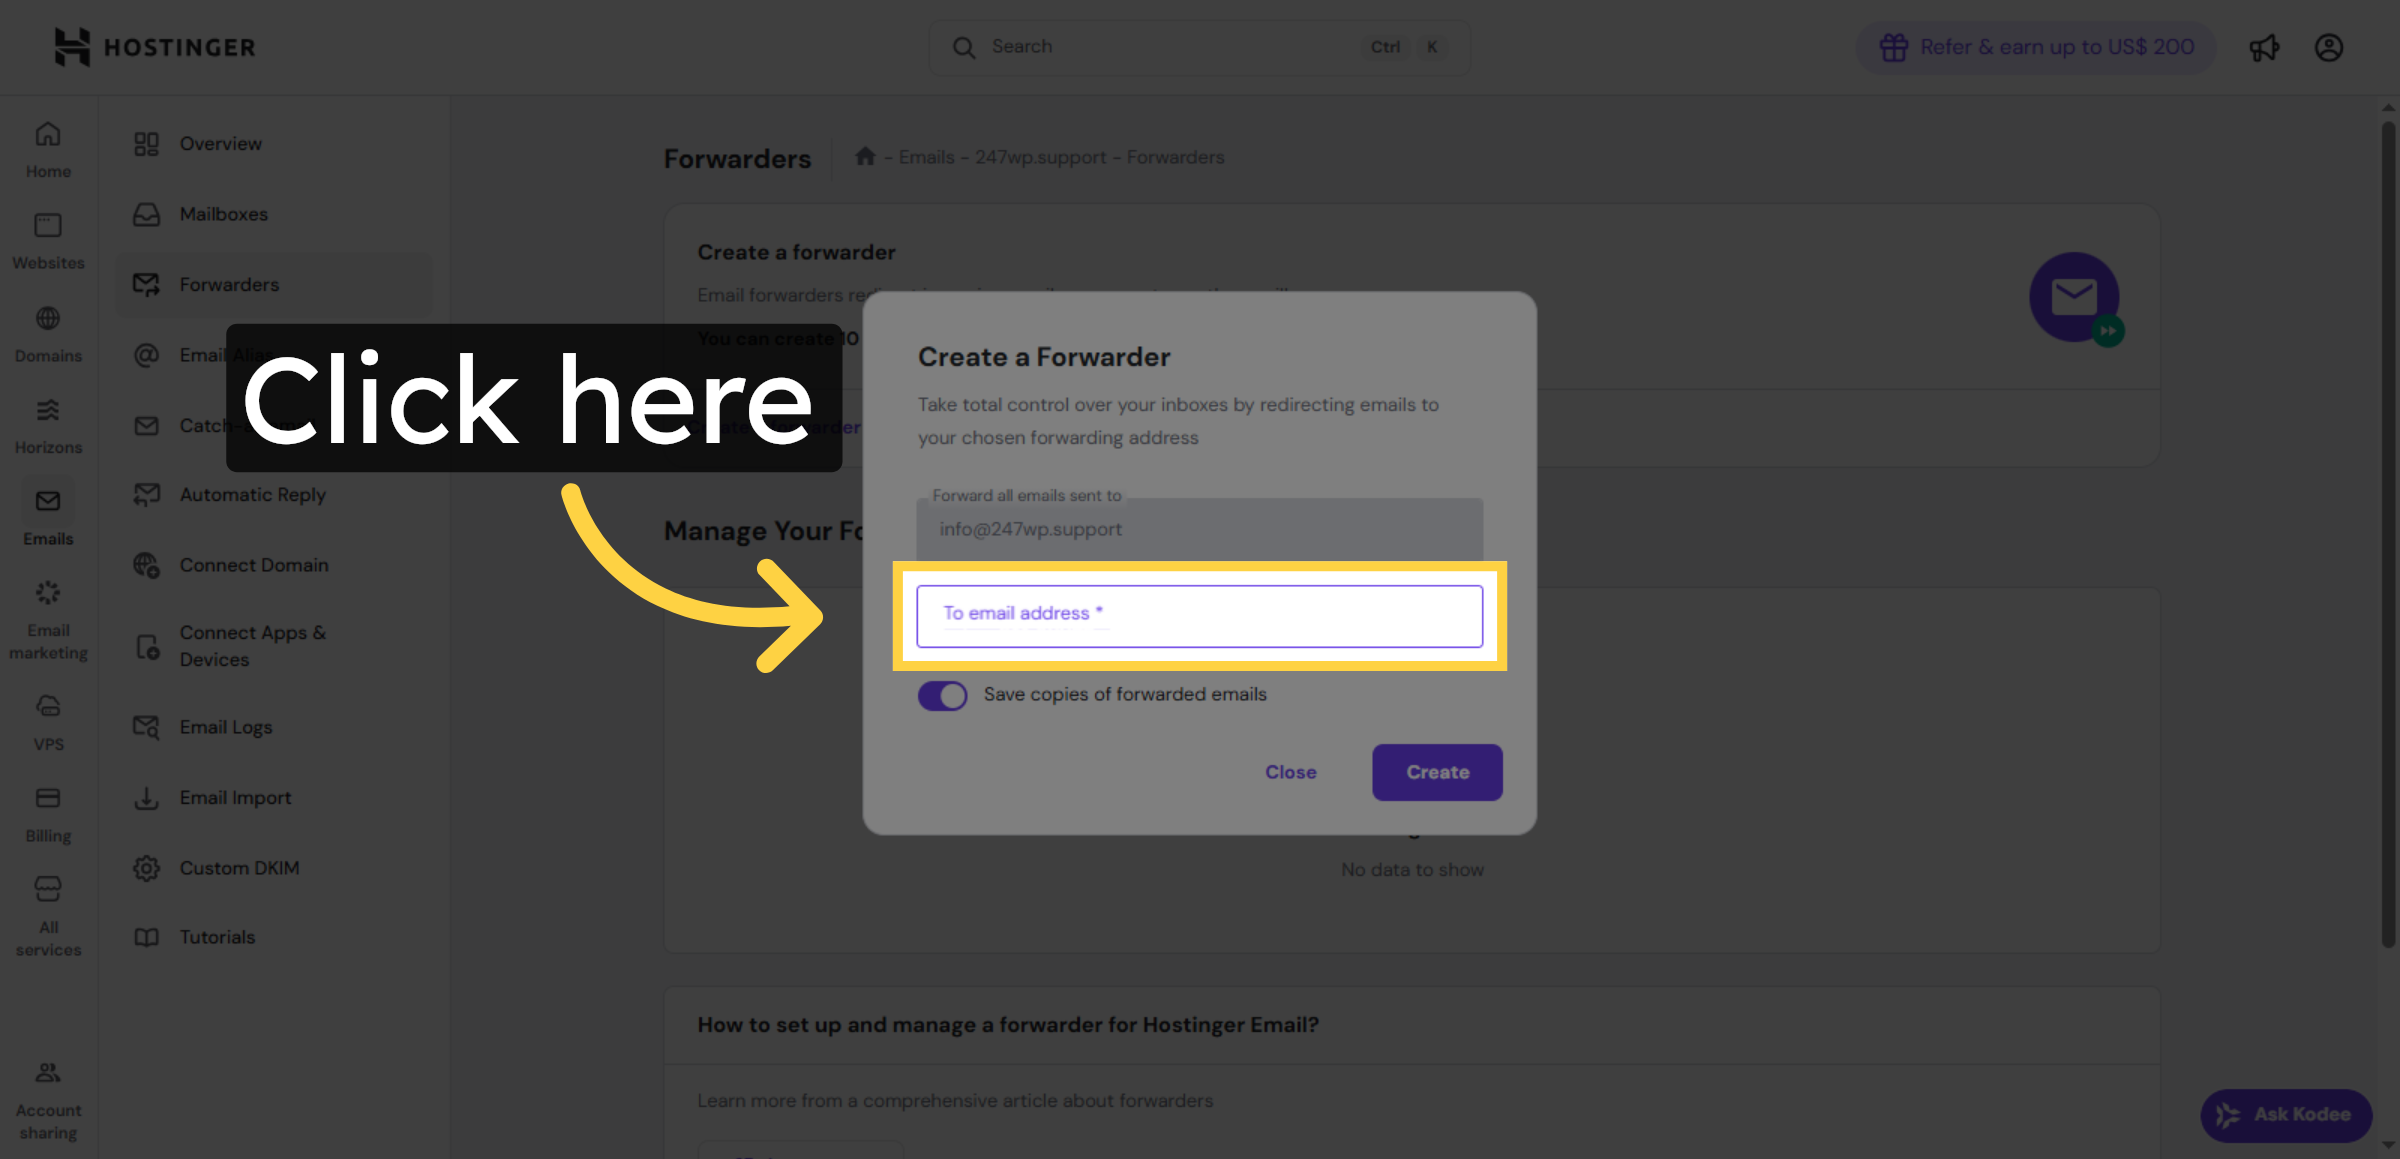
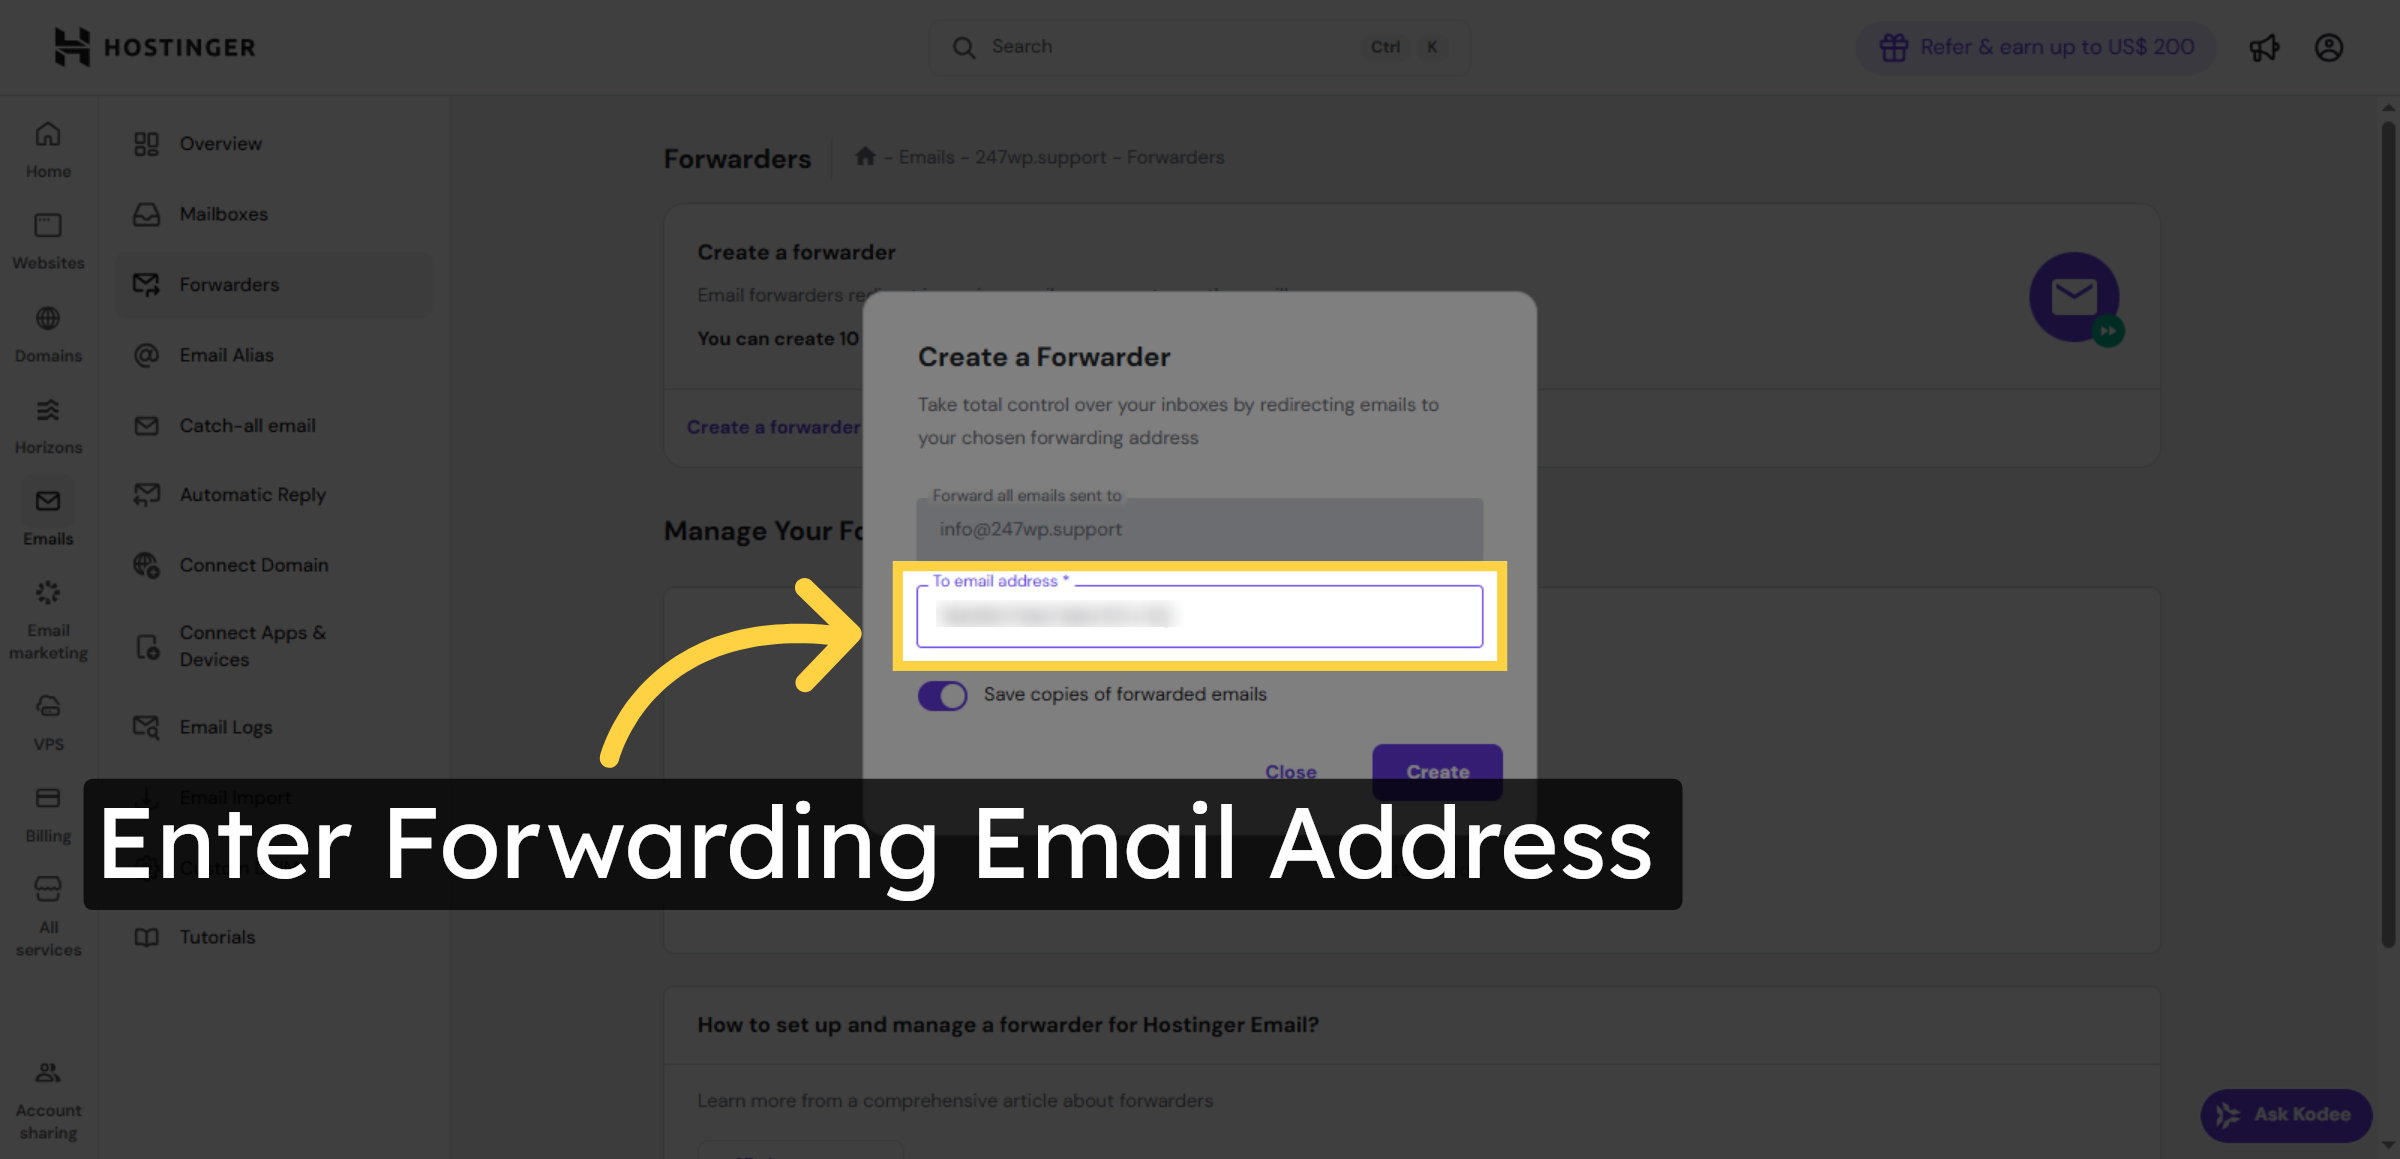
7. Enter Forwarding Email Address
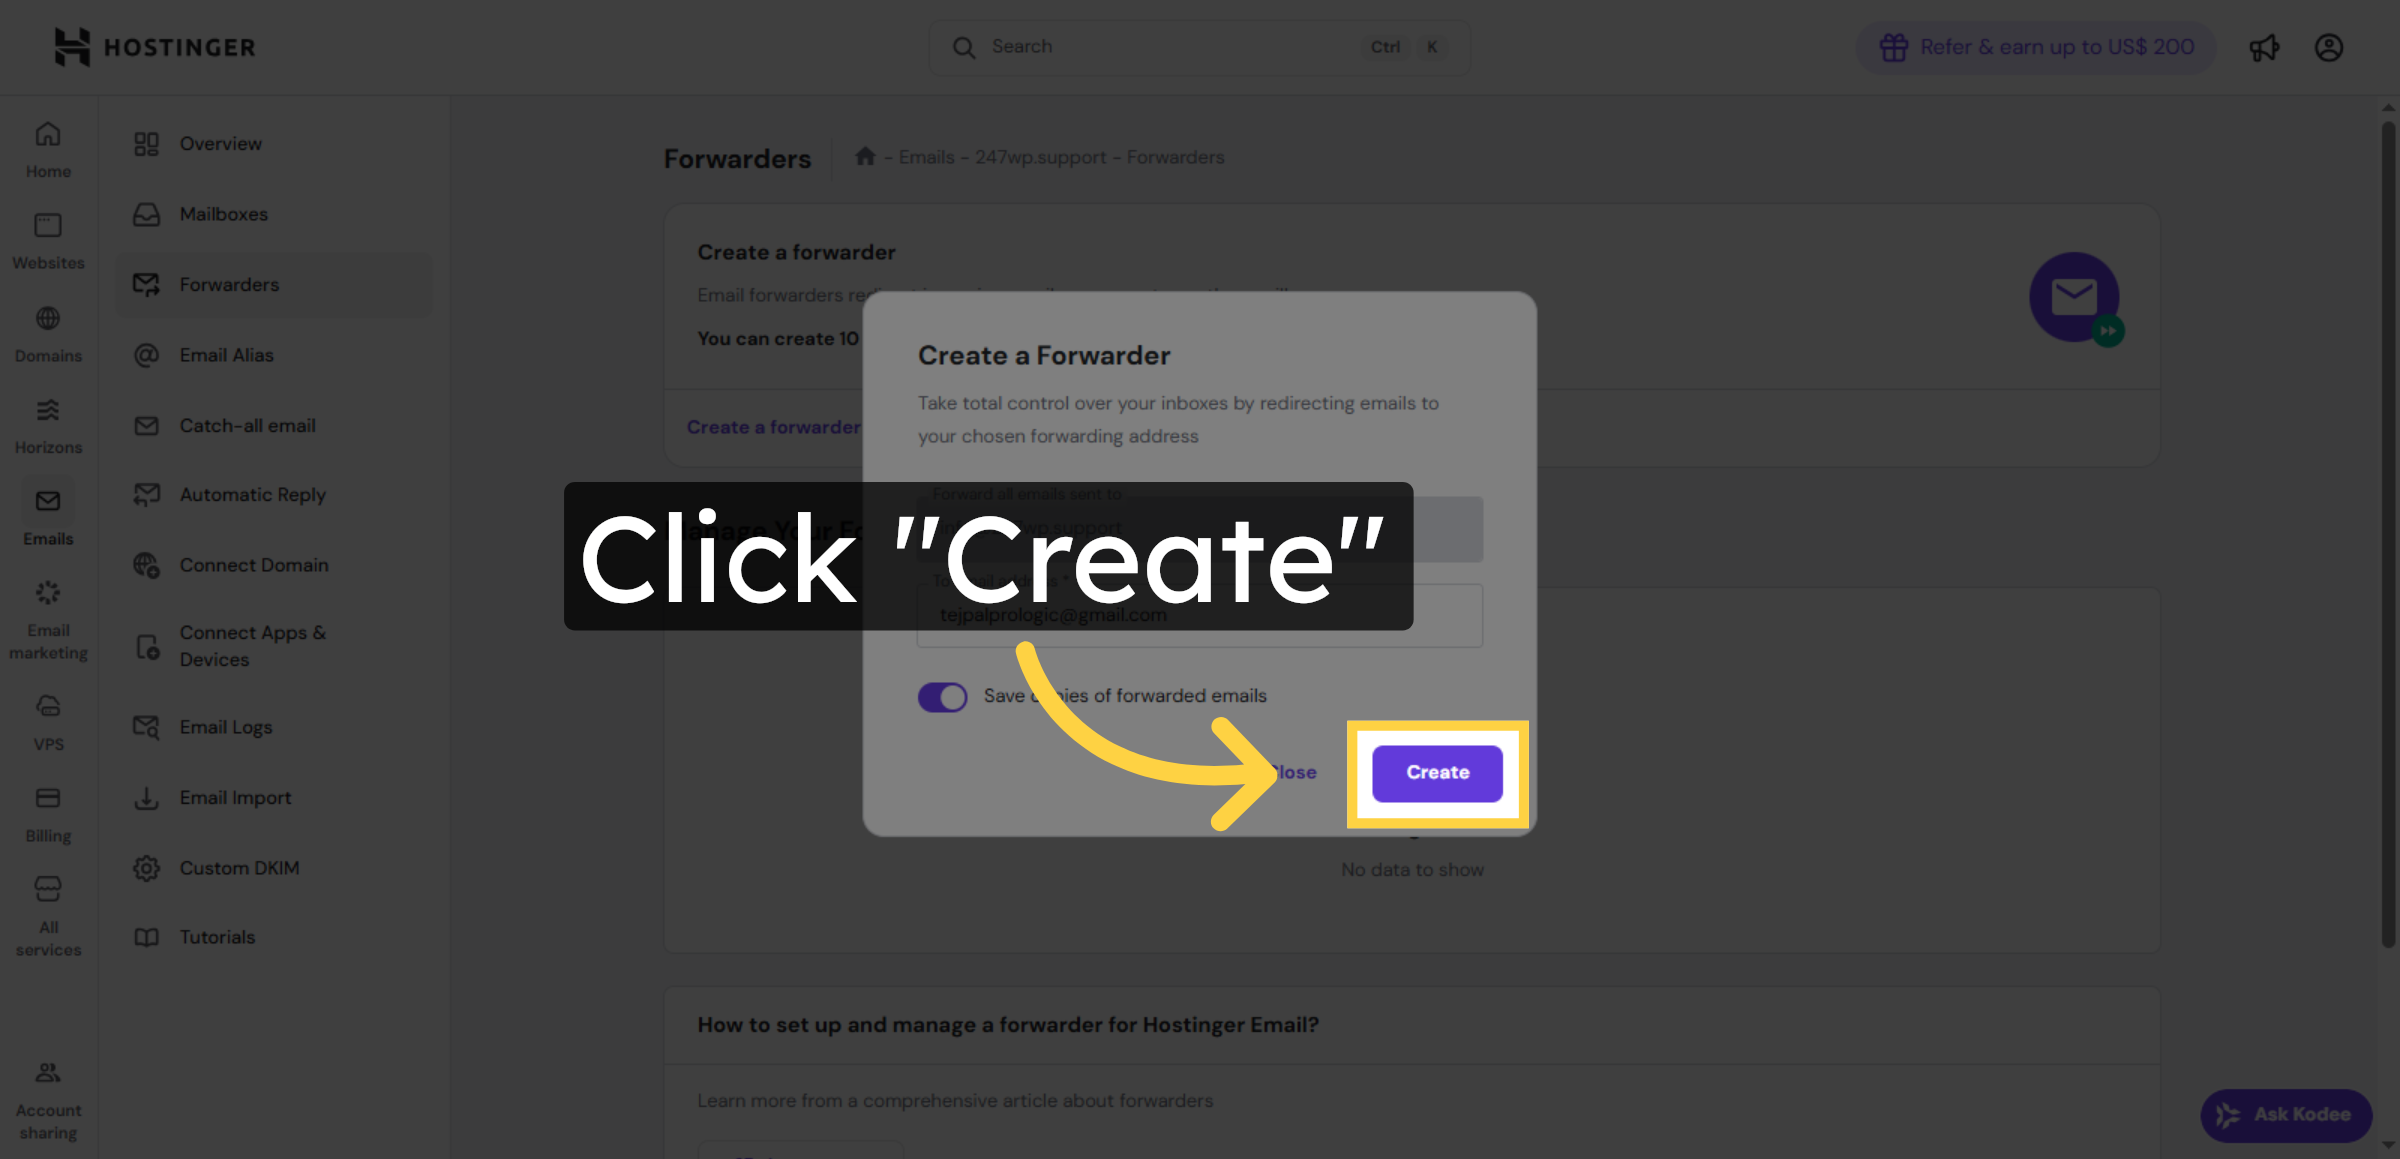
8. Confirm Forwarder Setup


9. Check Forwarder Status

10. Open Gmail Inbox
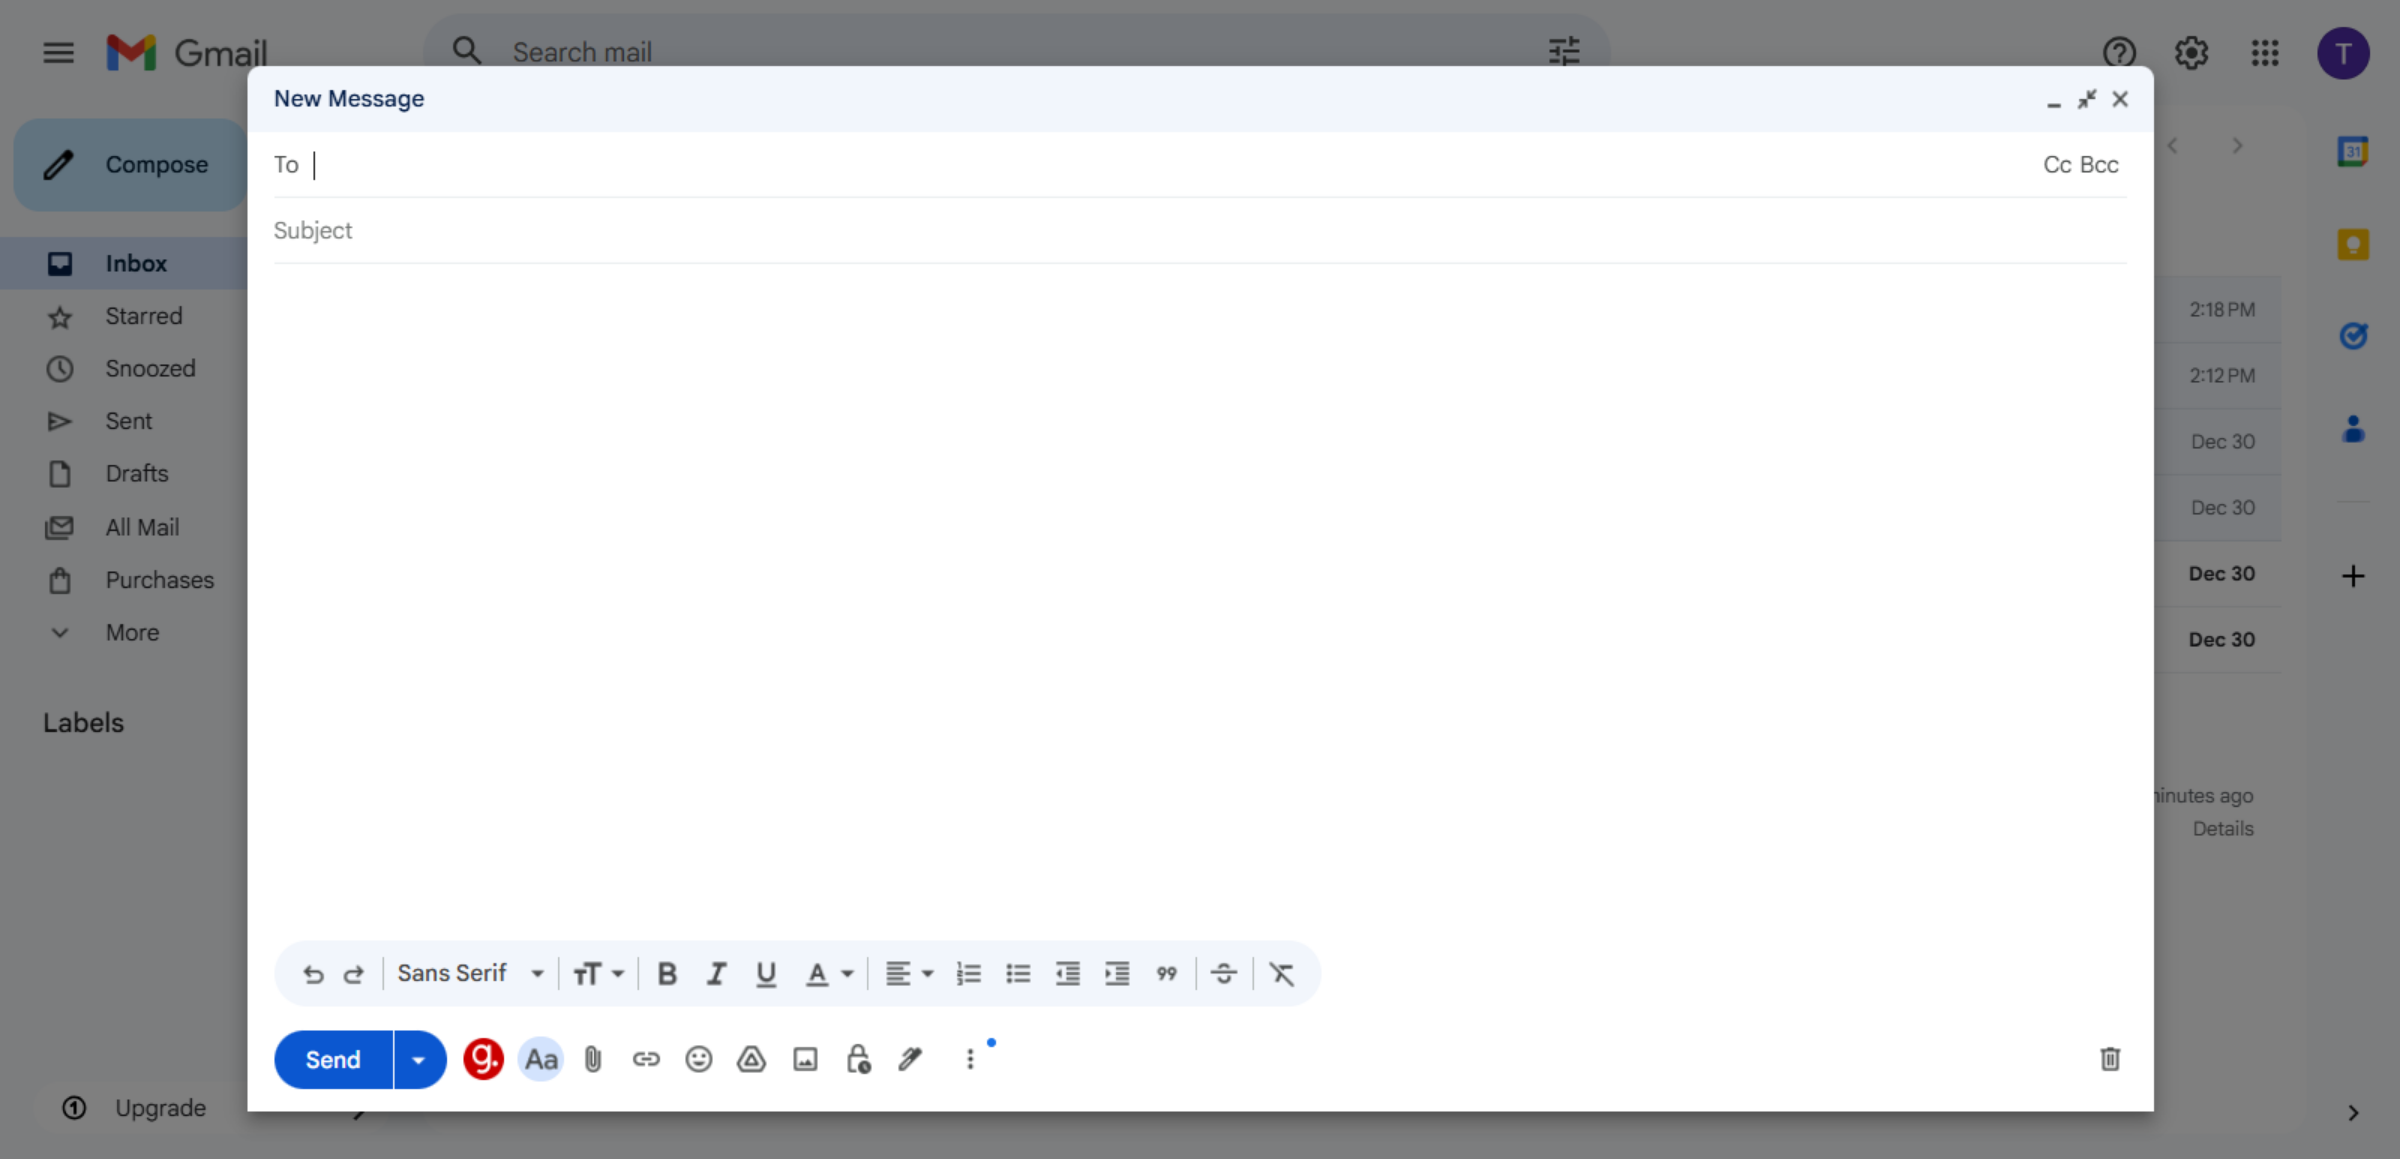
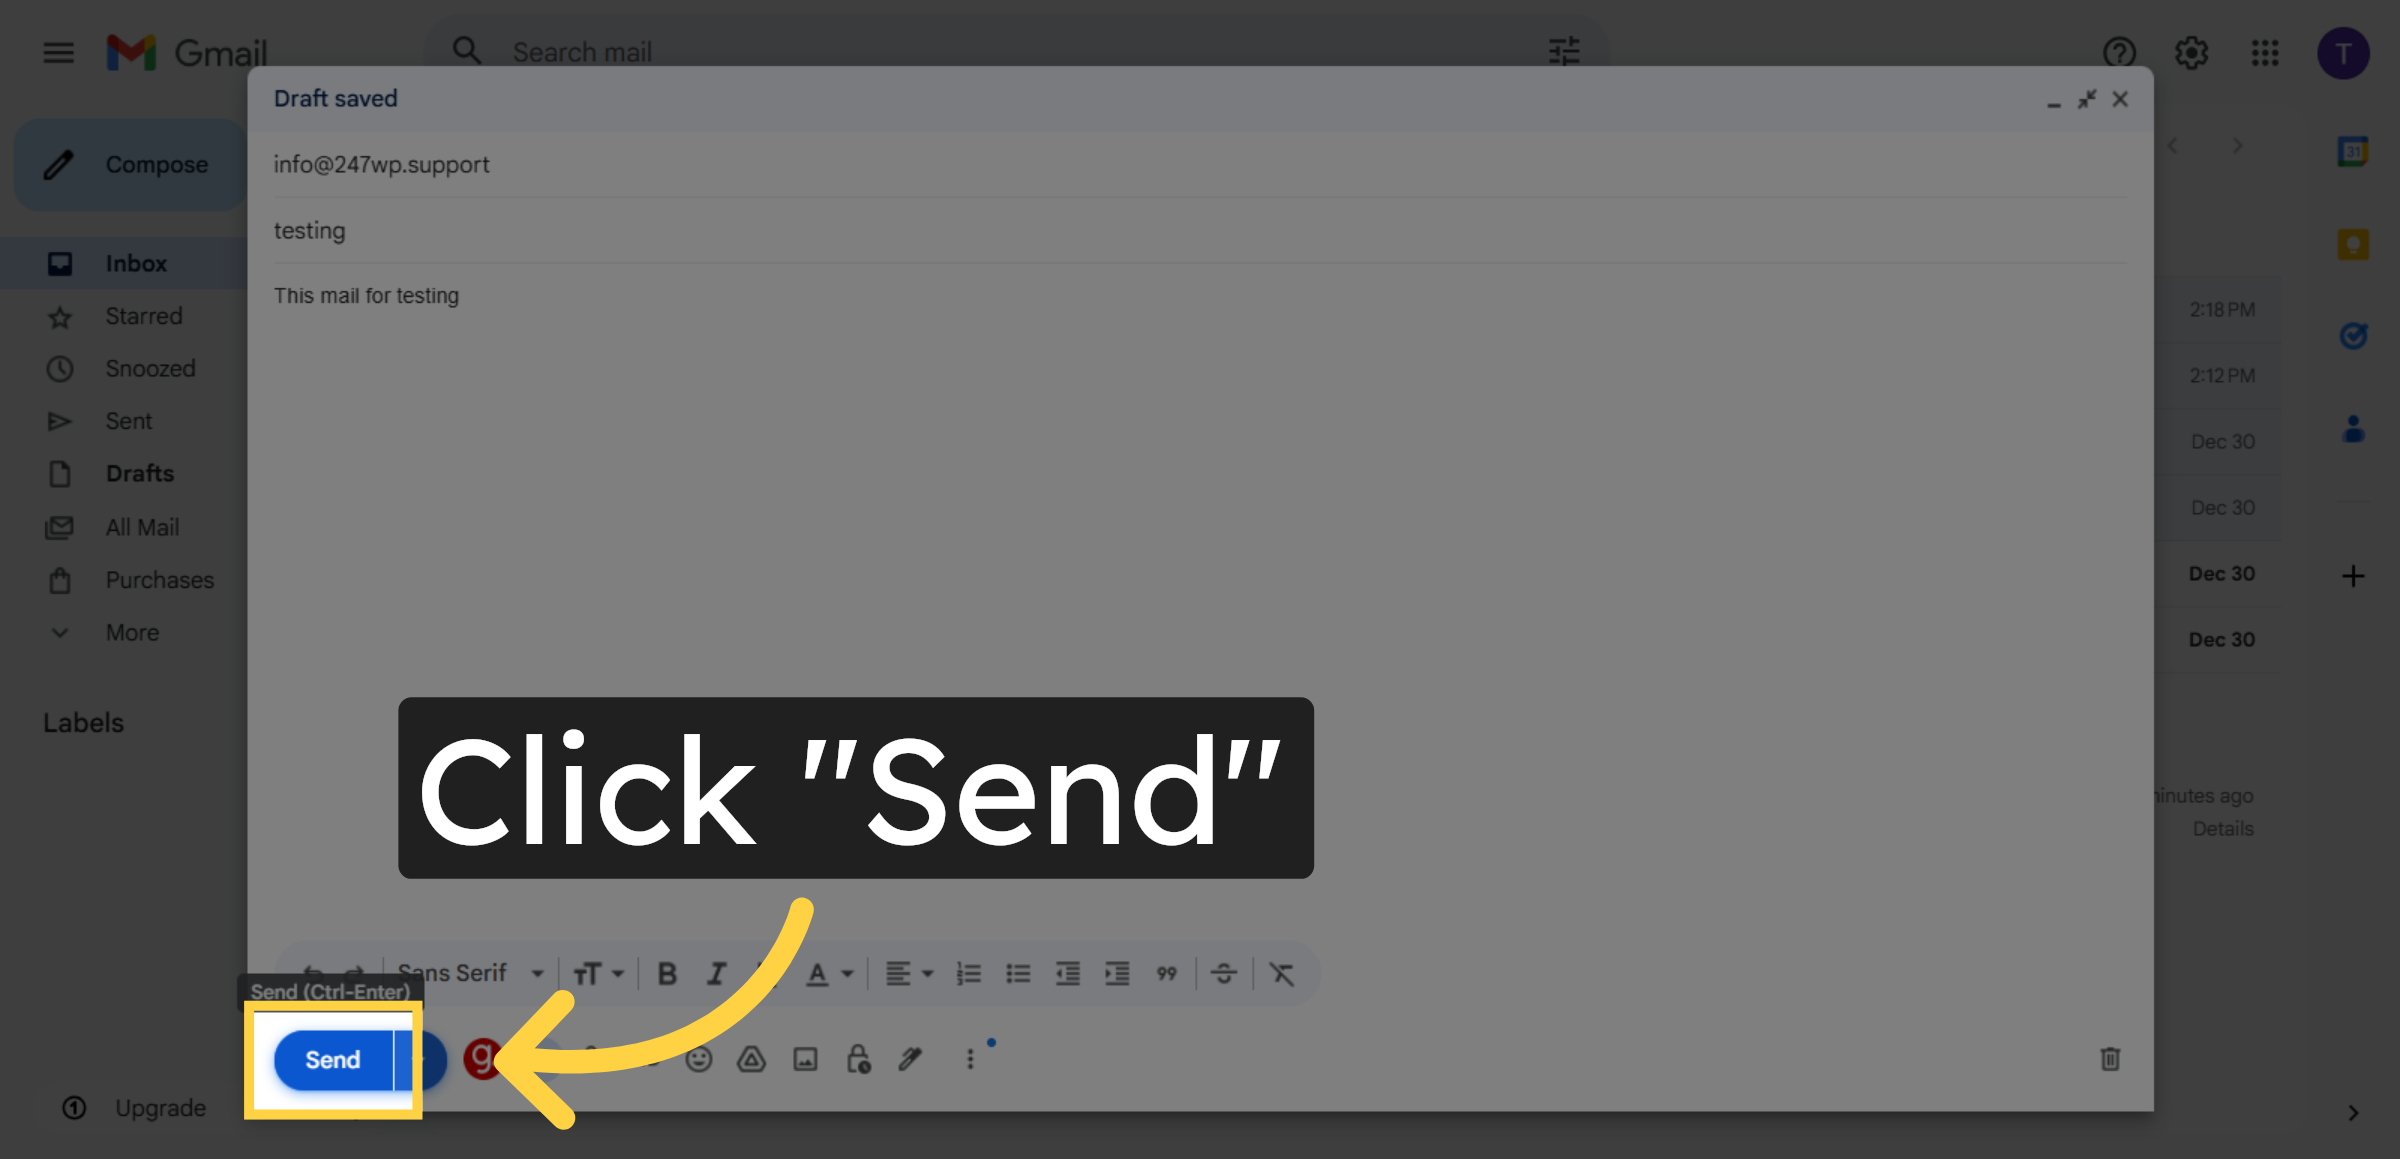
11. Send Test Email
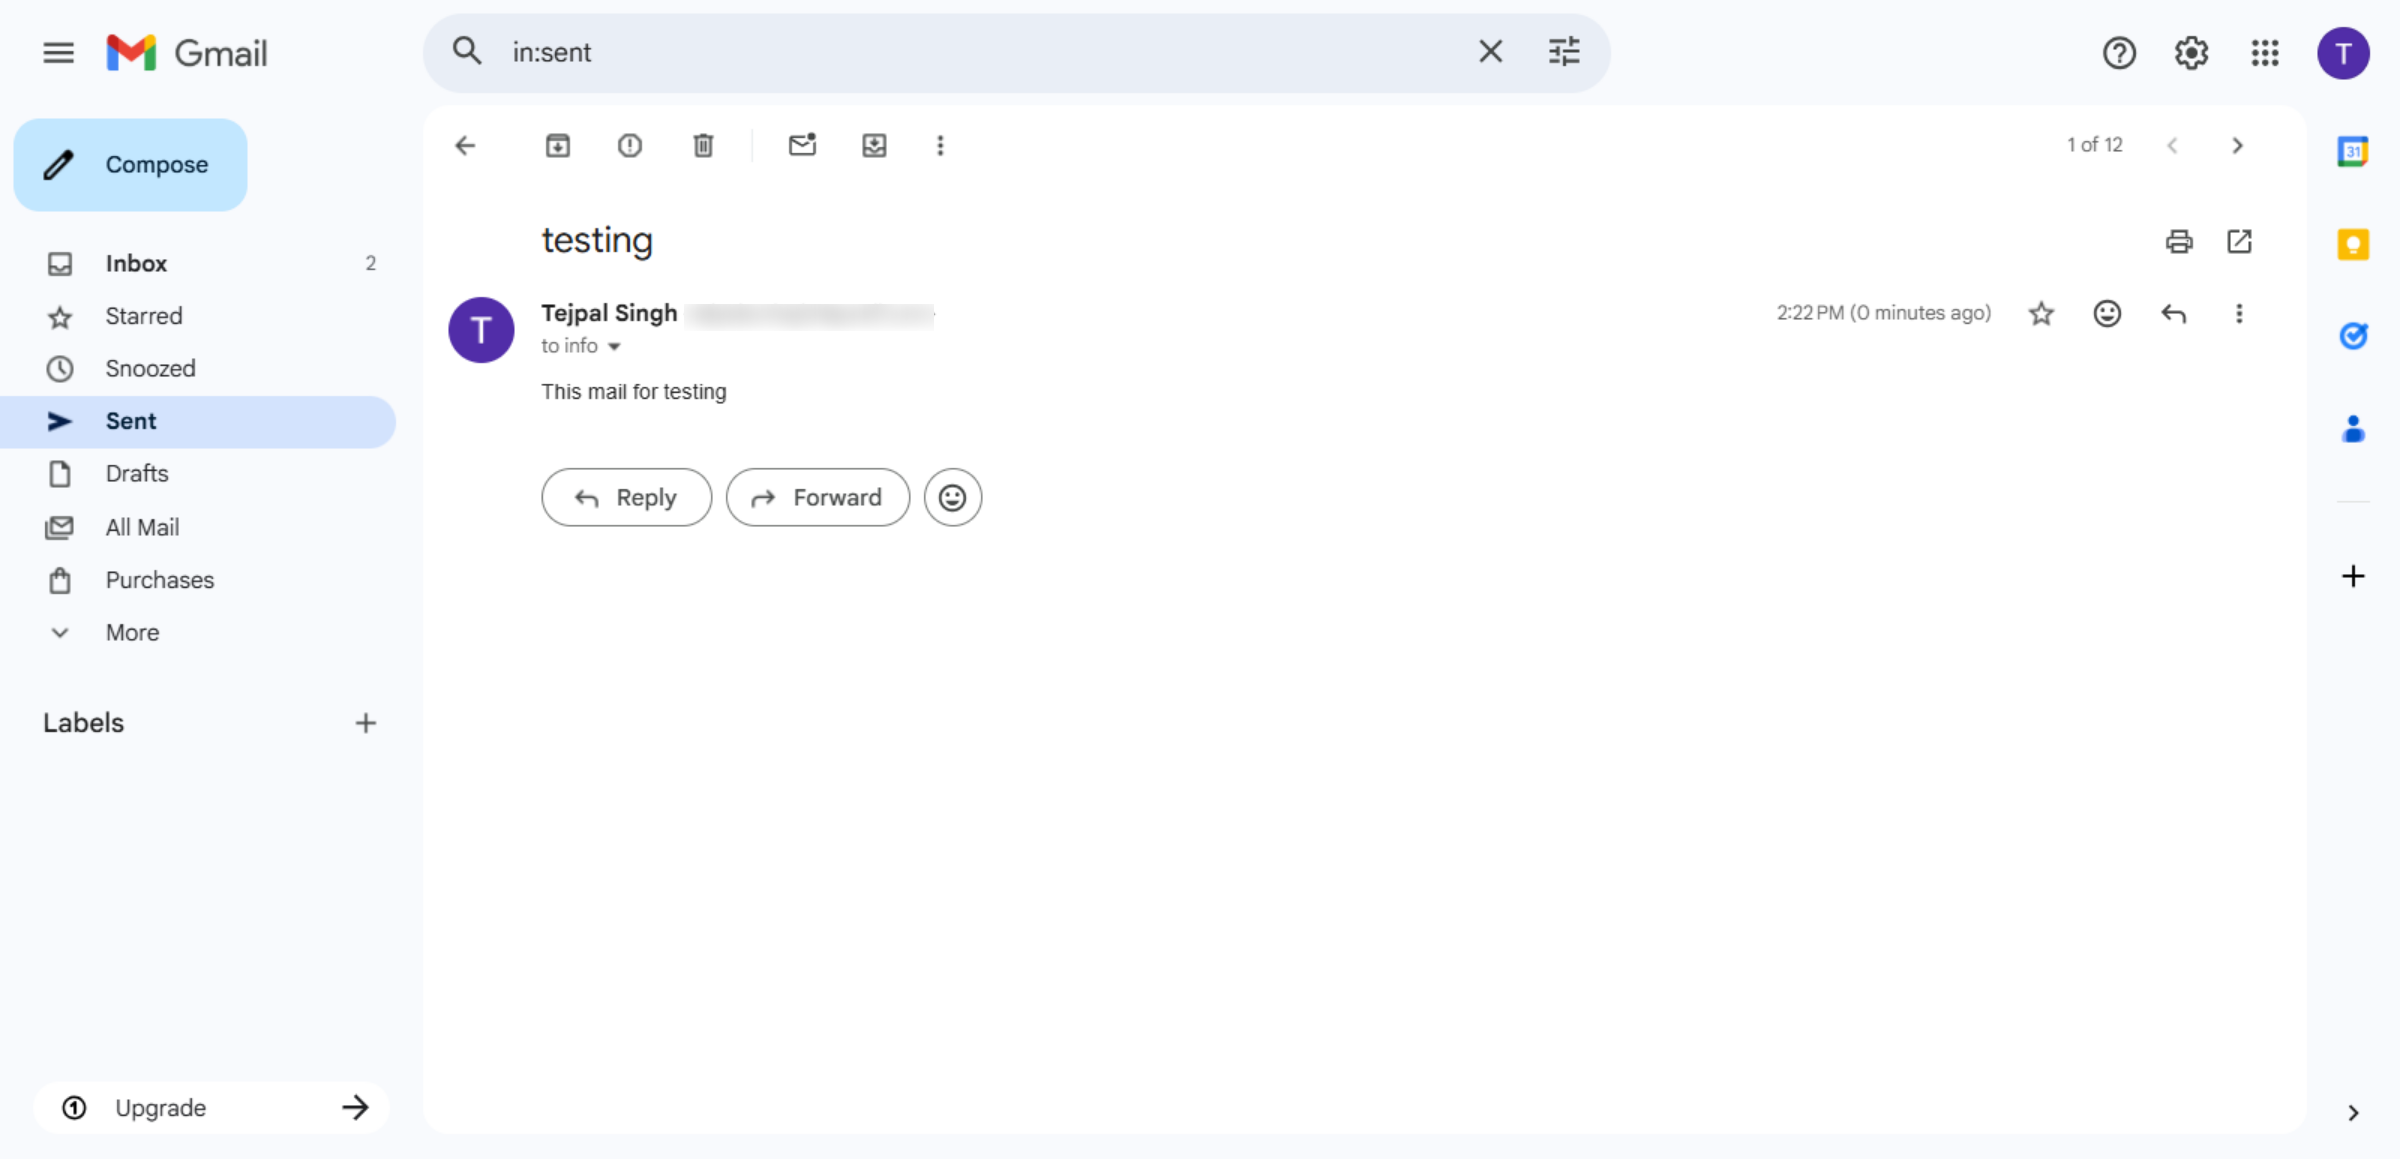
12. Review Sent Email Details
Conclusion
By following this guide, you have successfully configured email forwarding on your Hostinger WordPress hosting account and verified its operation using a test email. Your domain emails are now automatically redirected to your selected inbox, helping you manage communication more effectively.
This setup improves productivity, reduces the risk of missed messages, and ensures consistent access to important correspondence. For best results, regularly review your forwarding settings and test functionality to maintain reliable email delivery.
WooHelpDesk Support
Need professional assistance with email configuration, WordPress management, or hosting setup? WooHelpDesk is here to help you with secure and reliable technical support.
Visit: https://www.woohelpdesk.com
Call Us Toll-Free: +1 888 602 0119 (US & Canada)
Expert Support | Reliable Solutions | Trusted Service


