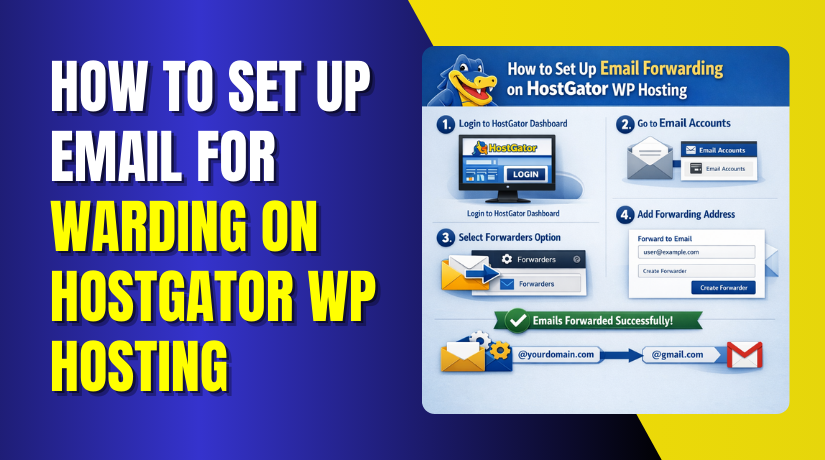
How to Set Up Email Forwarding on HostGator WP Hosting
Introduction
Email forwarding allows you to automatically redirect emails sent to a domain-based email address to another email account, such as Gmail. This feature is especially useful for businesses and website owners who want to receive emails in a single inbox without logging into multiple email accounts. This guide explains how to set up email forwarding on HostGator WordPress hosting using the cPanel Forwarders option. It walks you through accessing the HostGator dashboard, navigating to cPanel, creating a new email forwarder, and testing the forwarding setup by sending a test email. By following these steps, you can ensure that all incoming emails are reliably forwarded to your preferred email address.
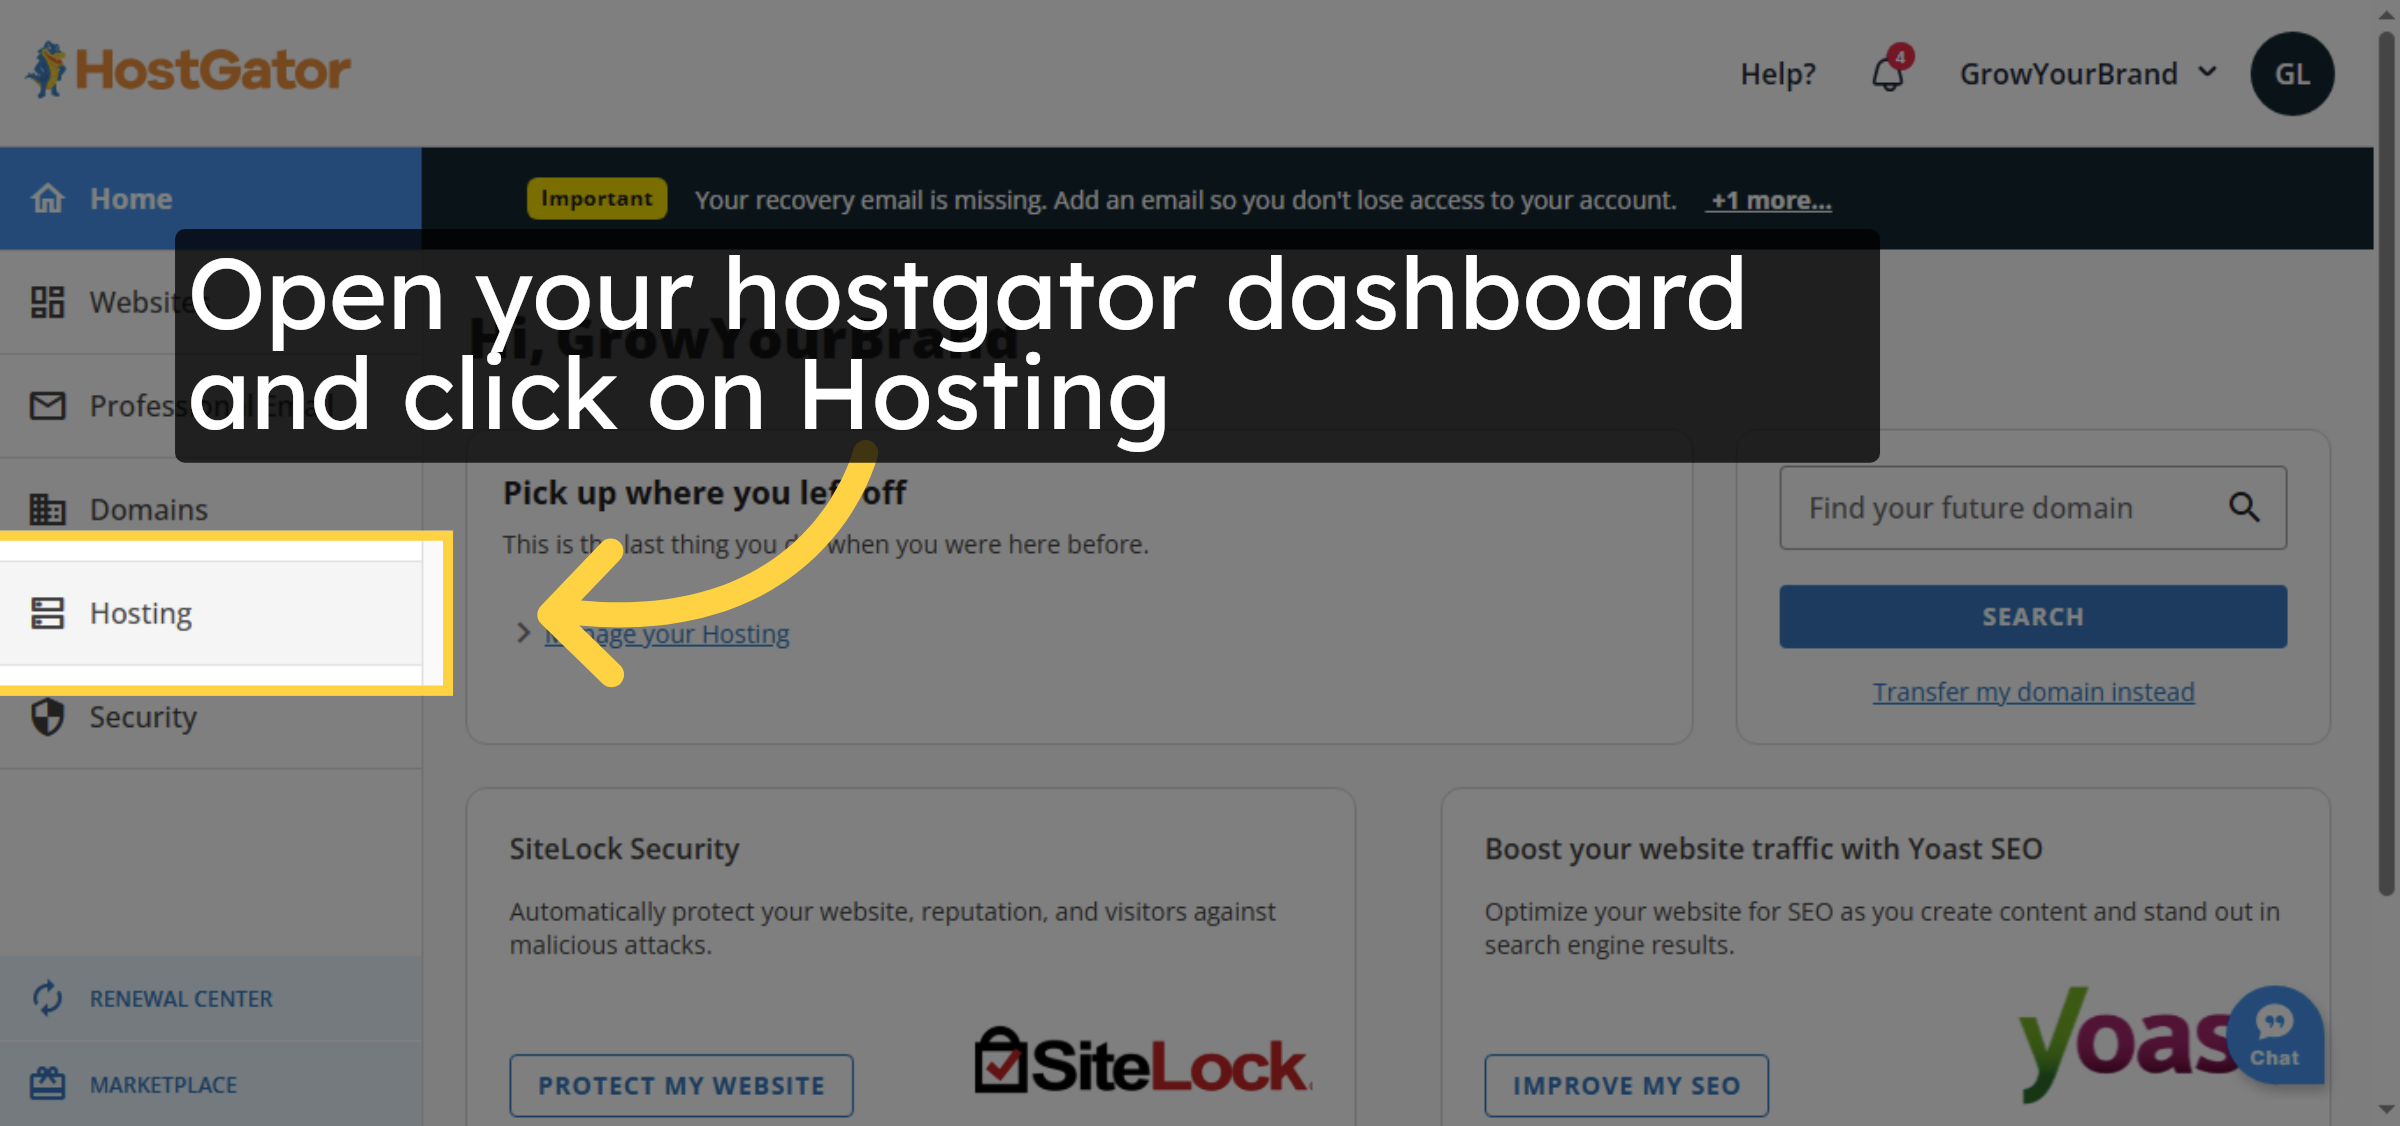
1. Open Hostgator Dashboad
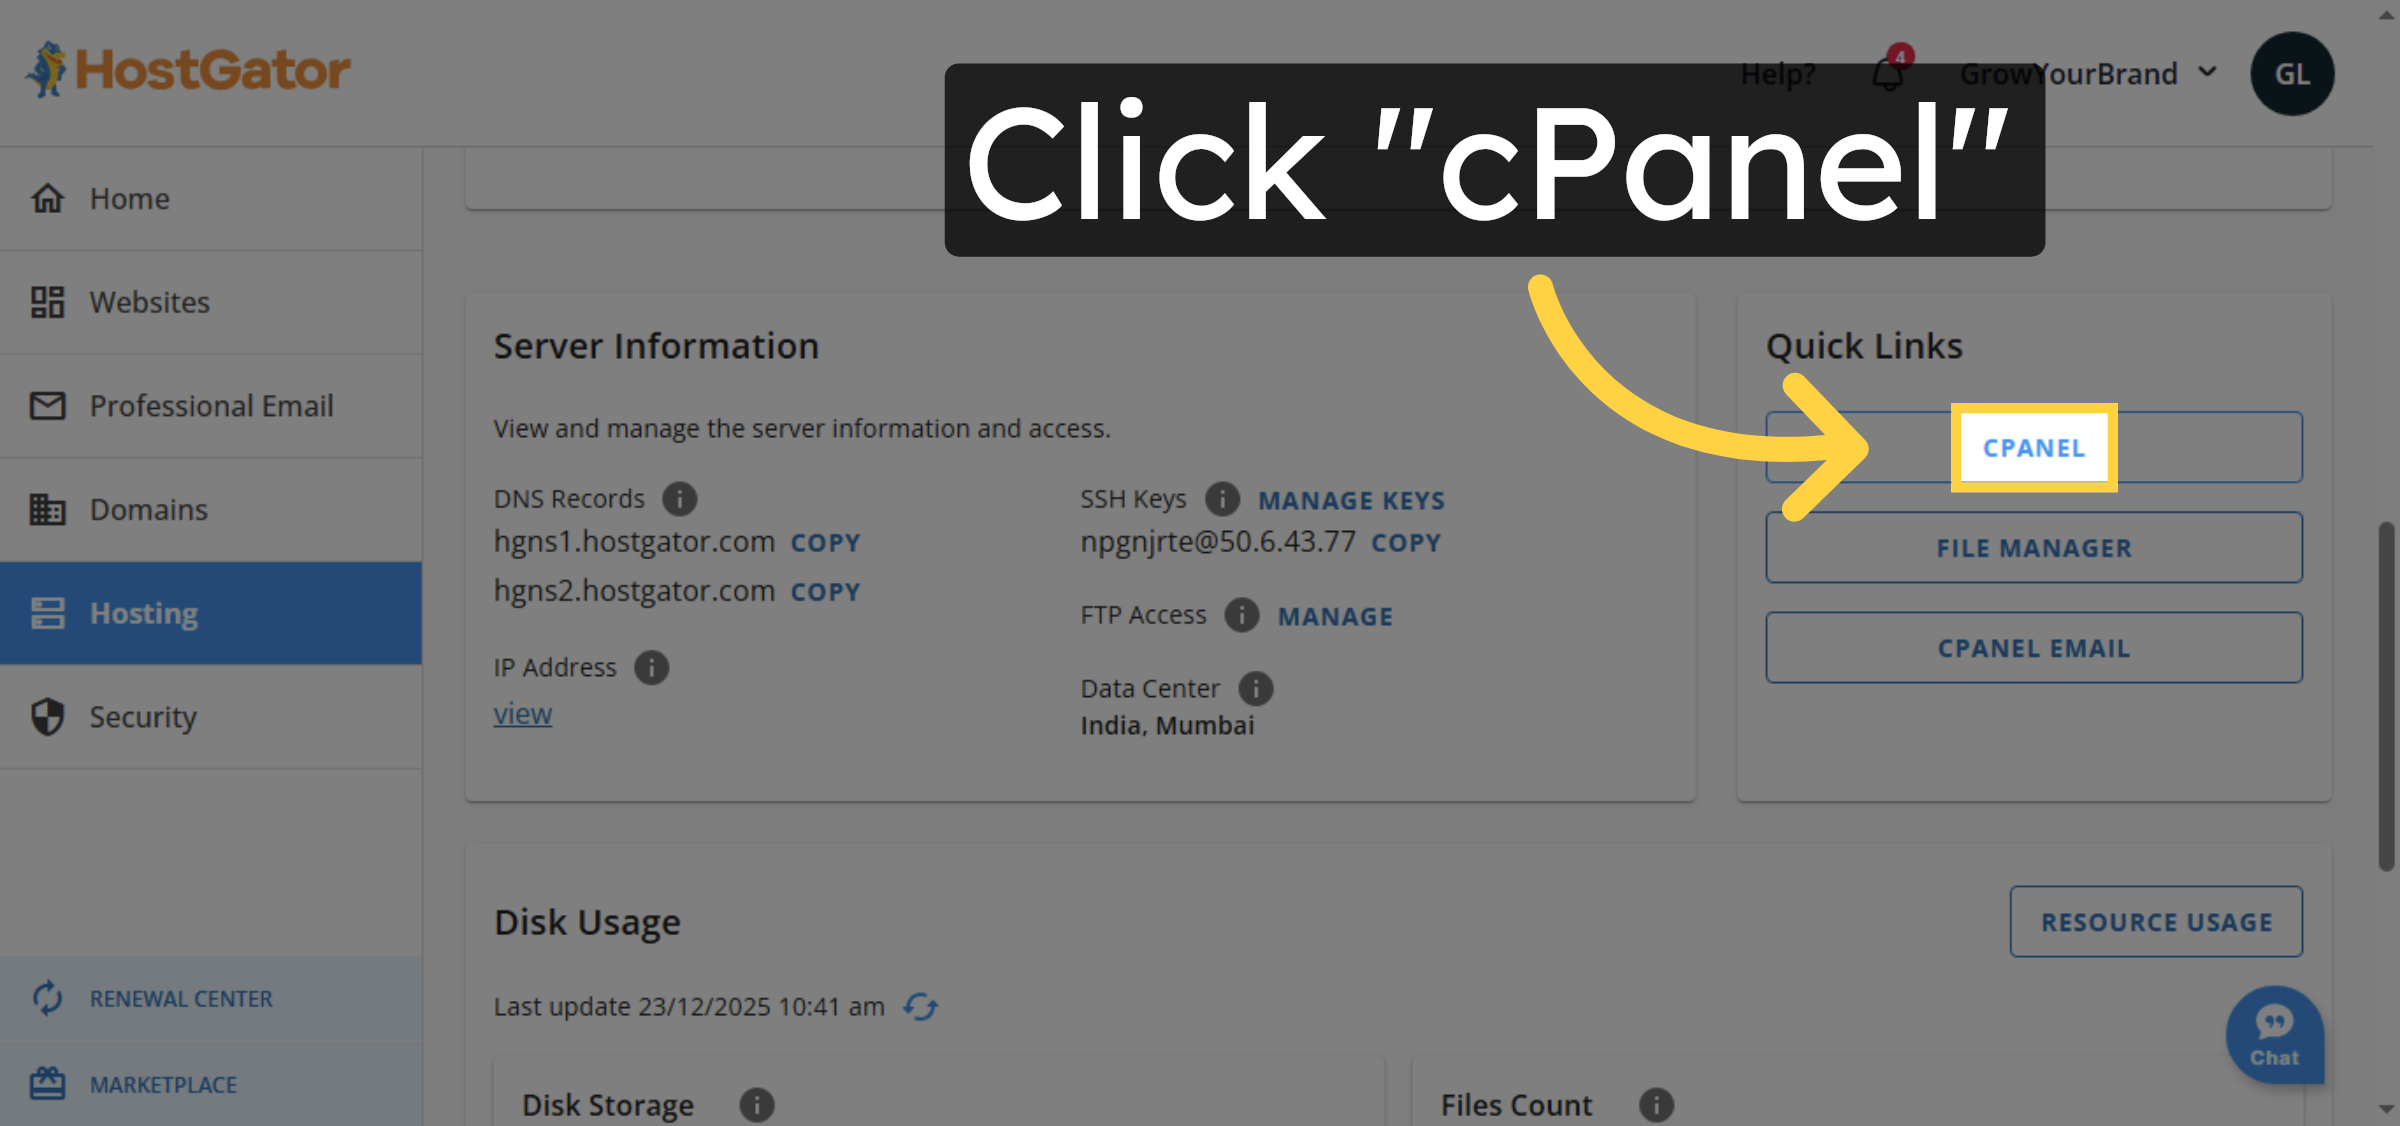
2. Open cPanel Again
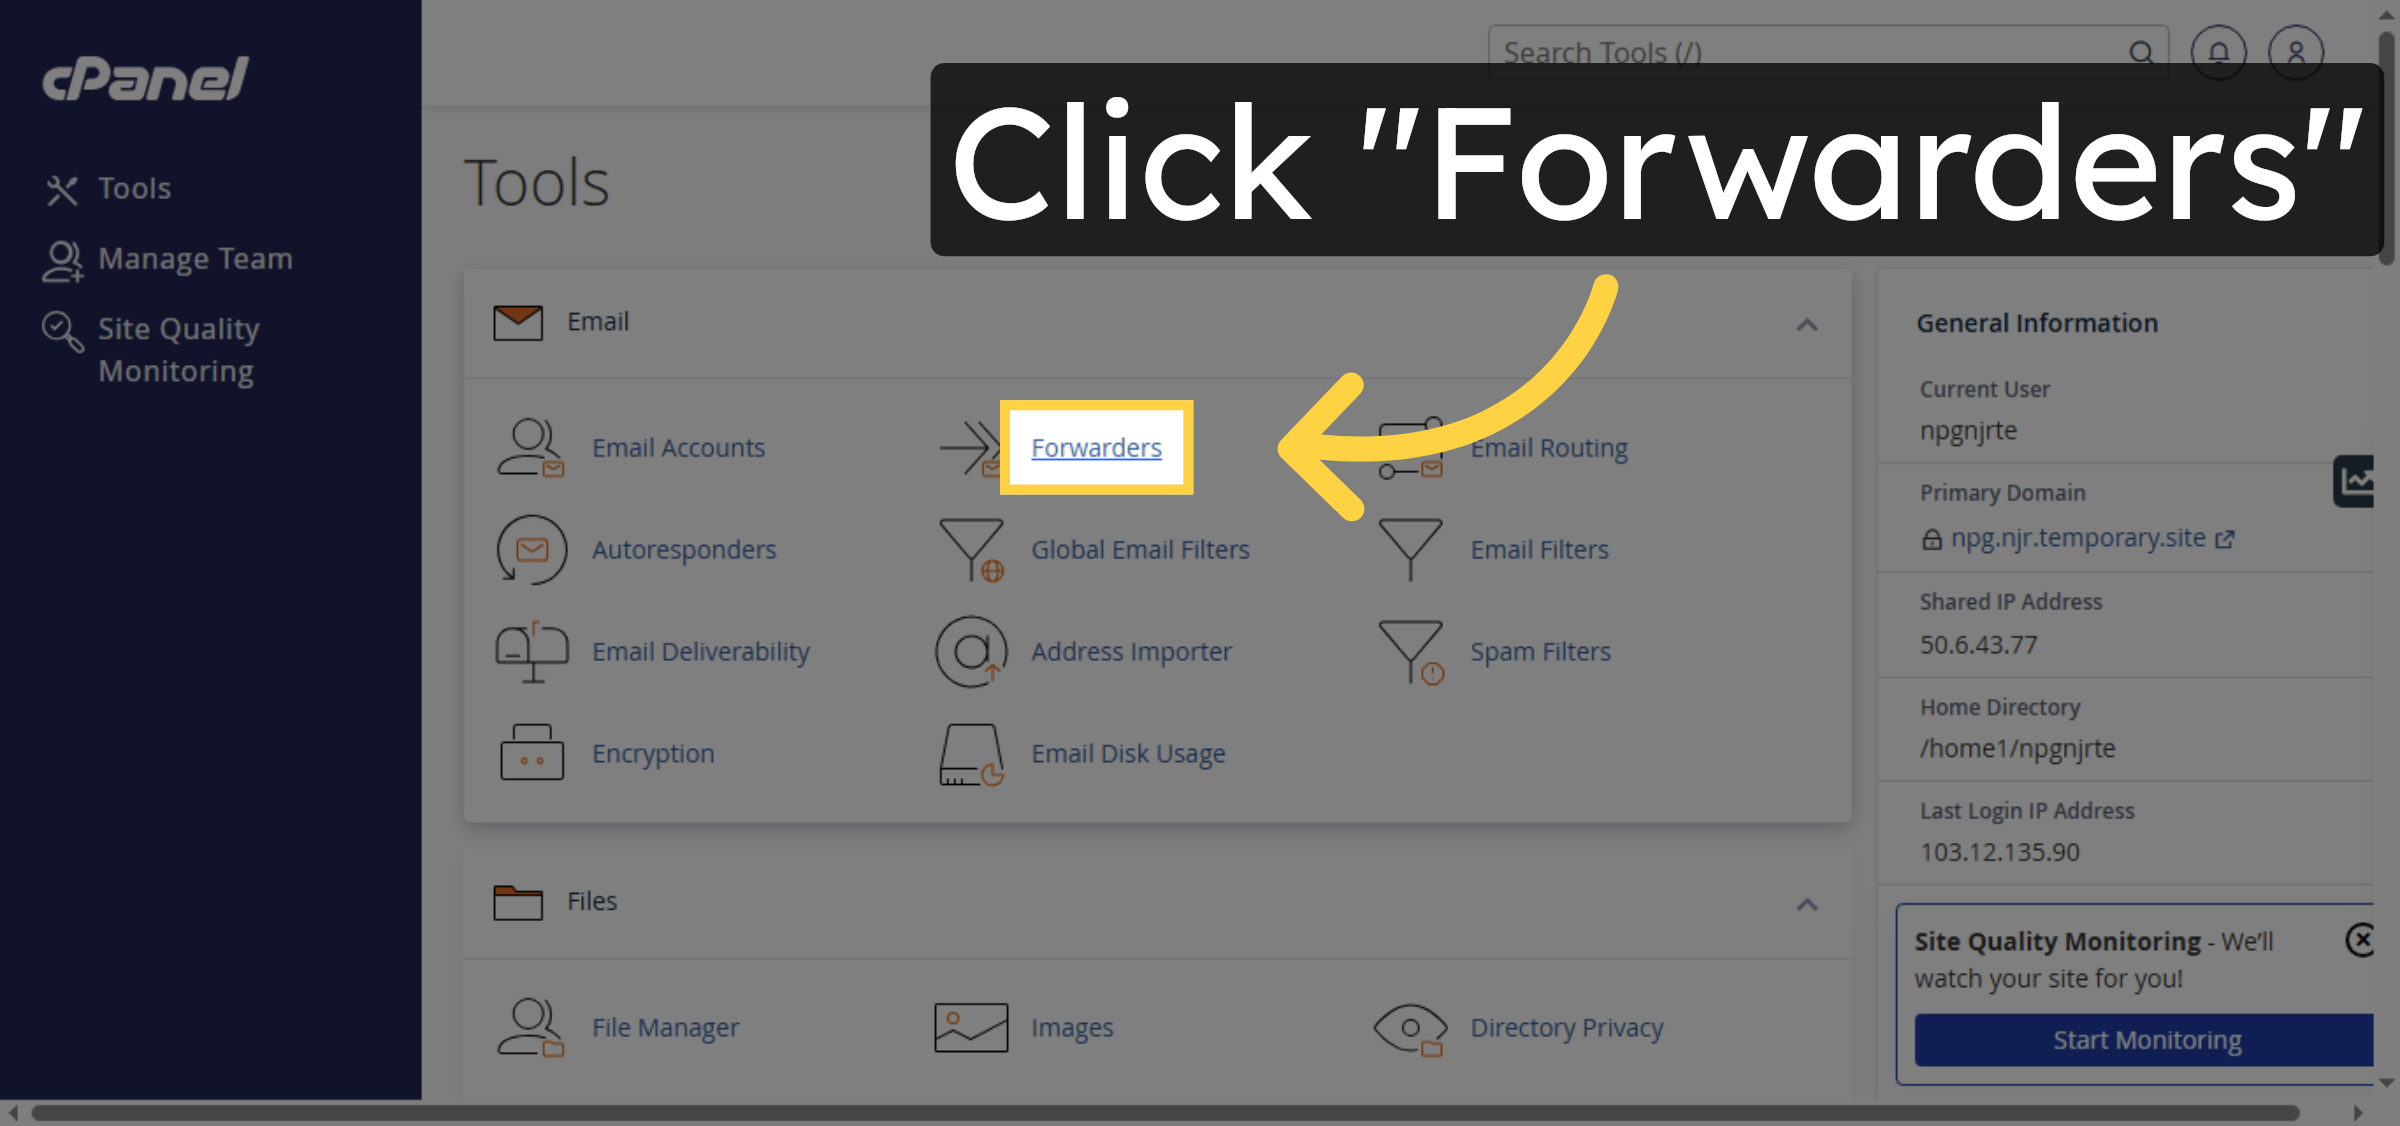
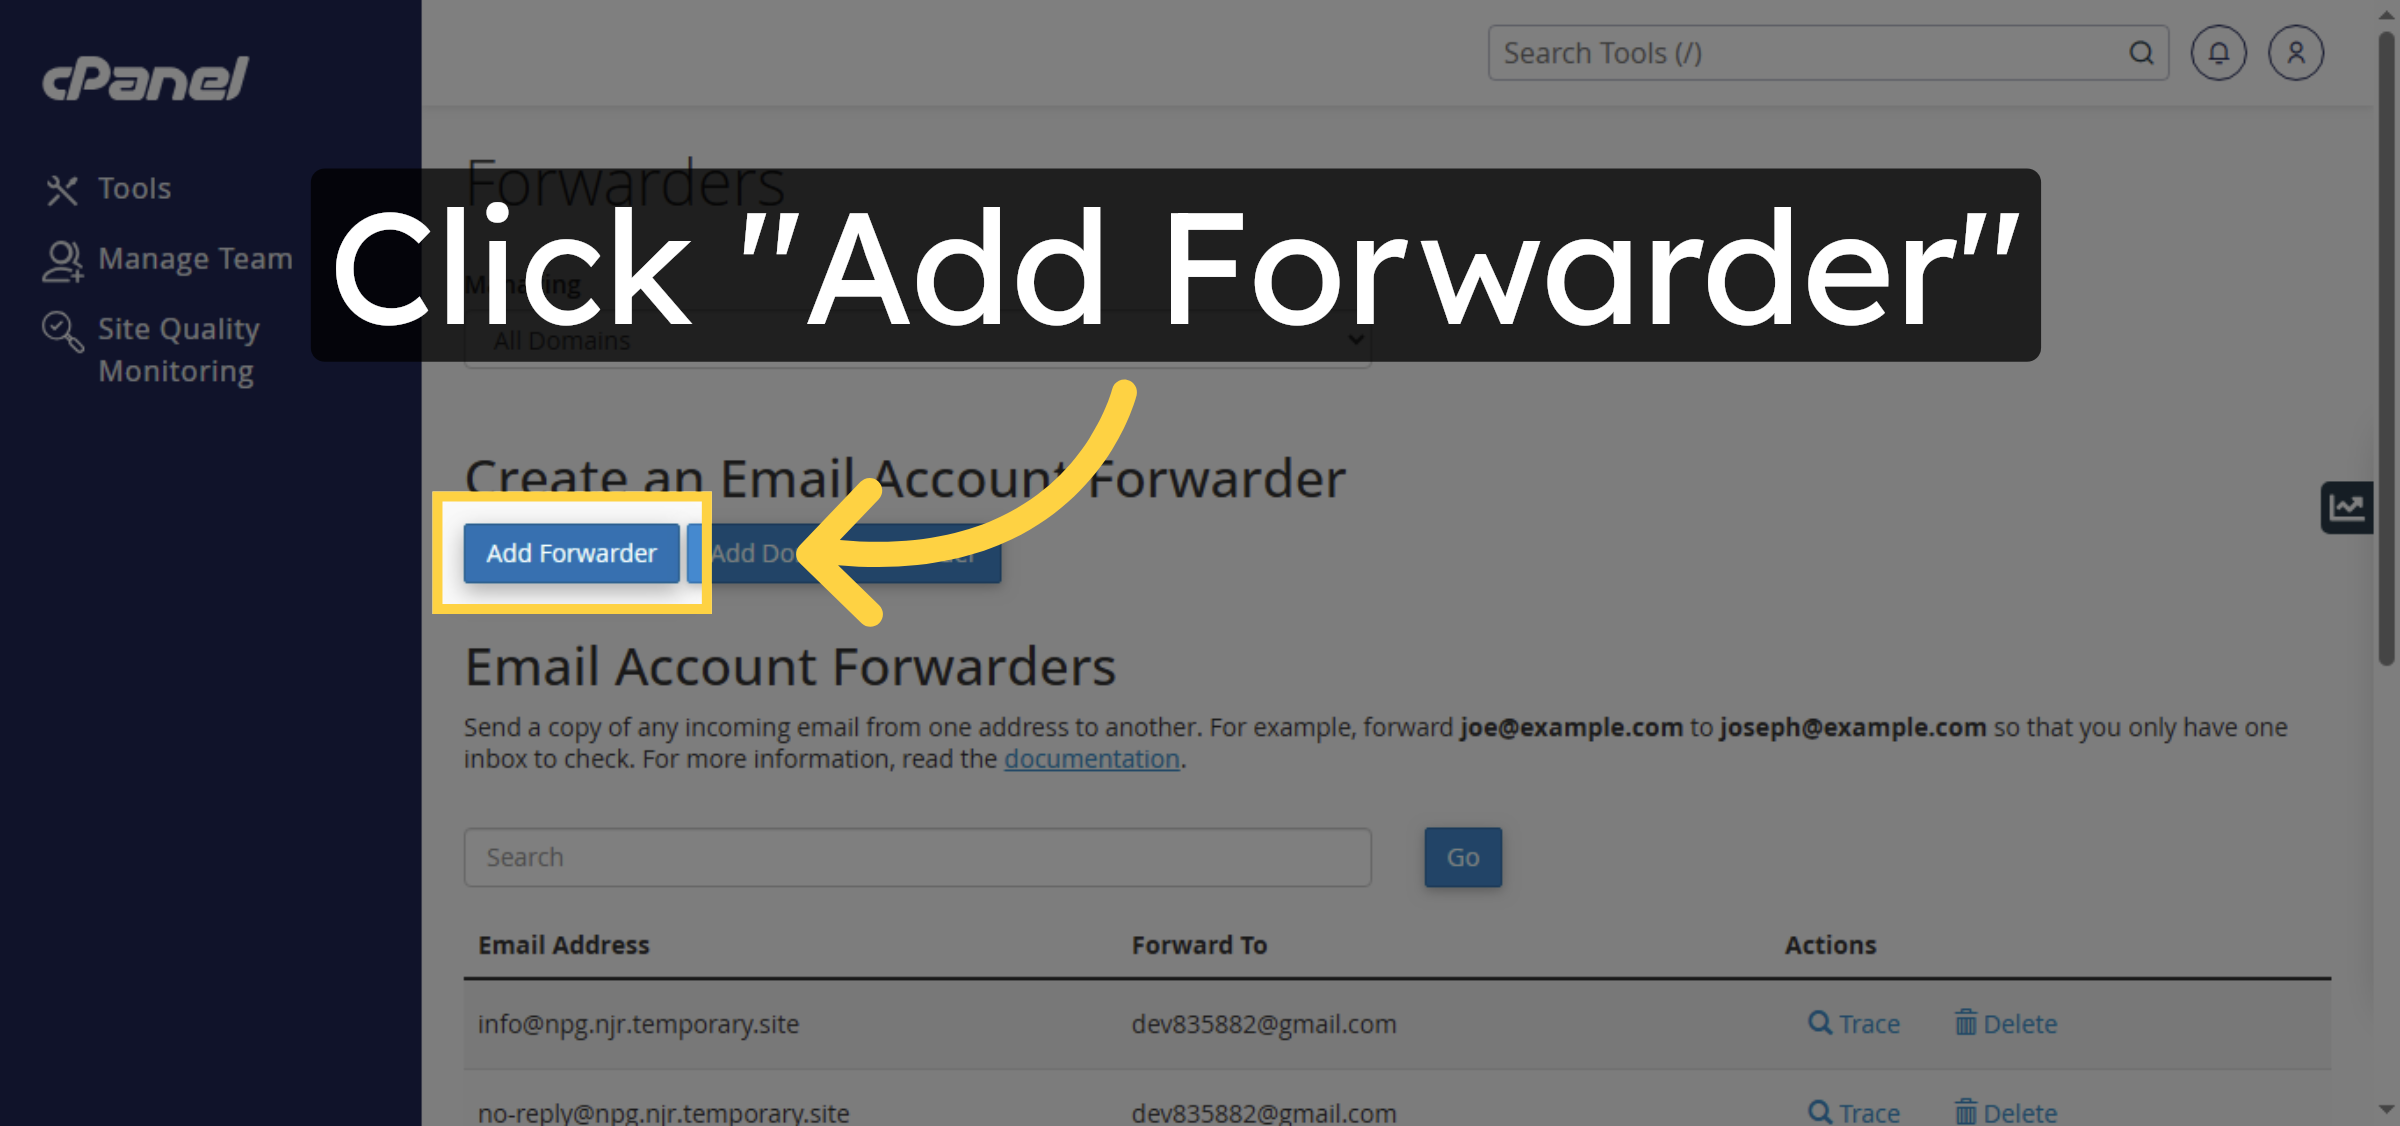
3. Open Forwarders Section
4. Add New Forwarder
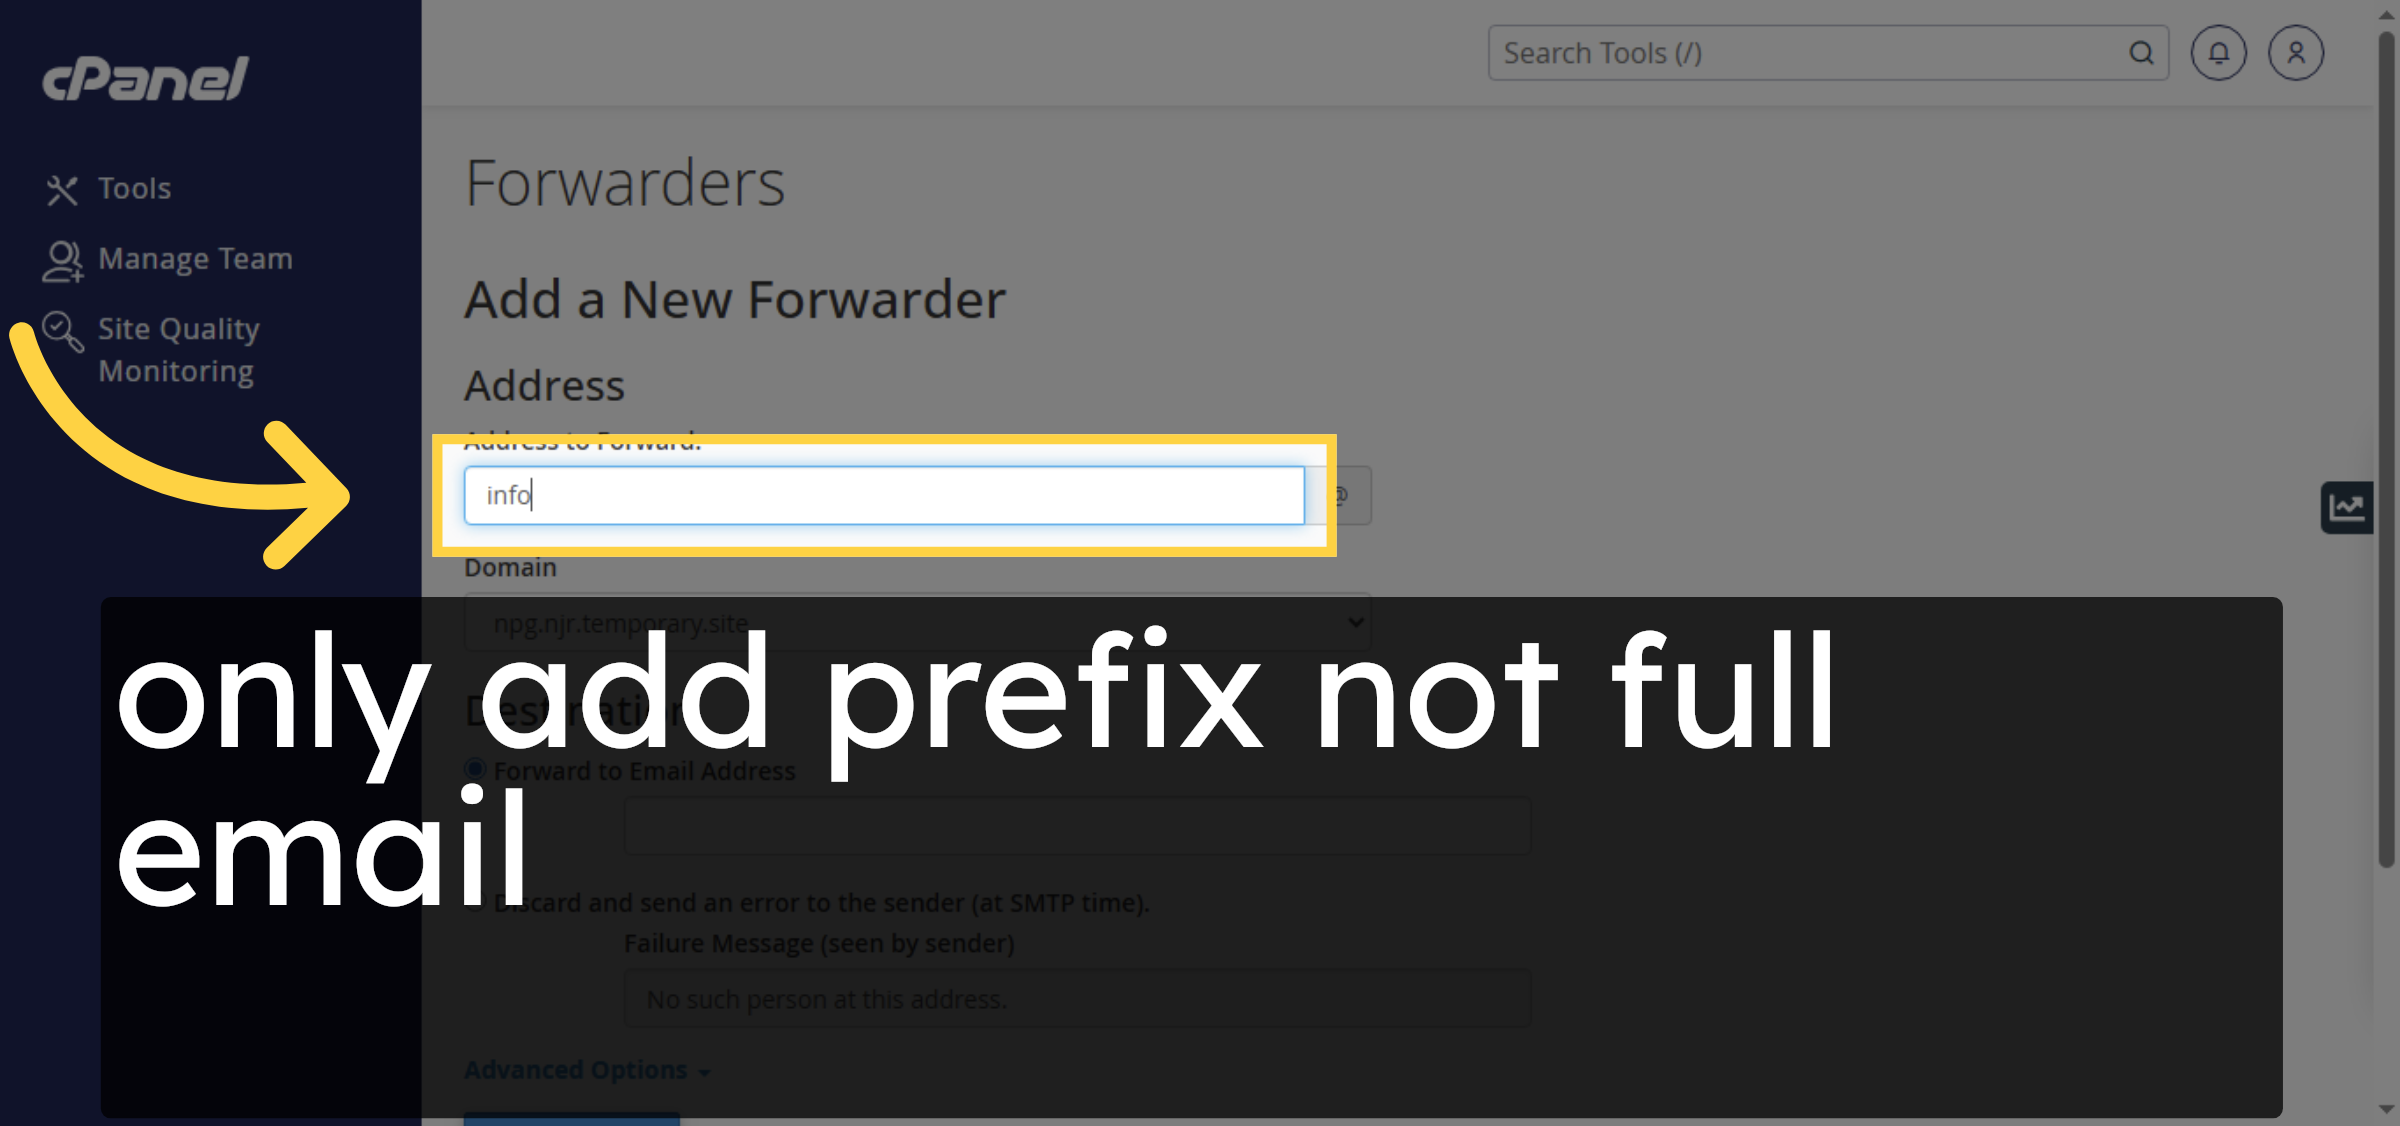
5. Enter Forwarder Address
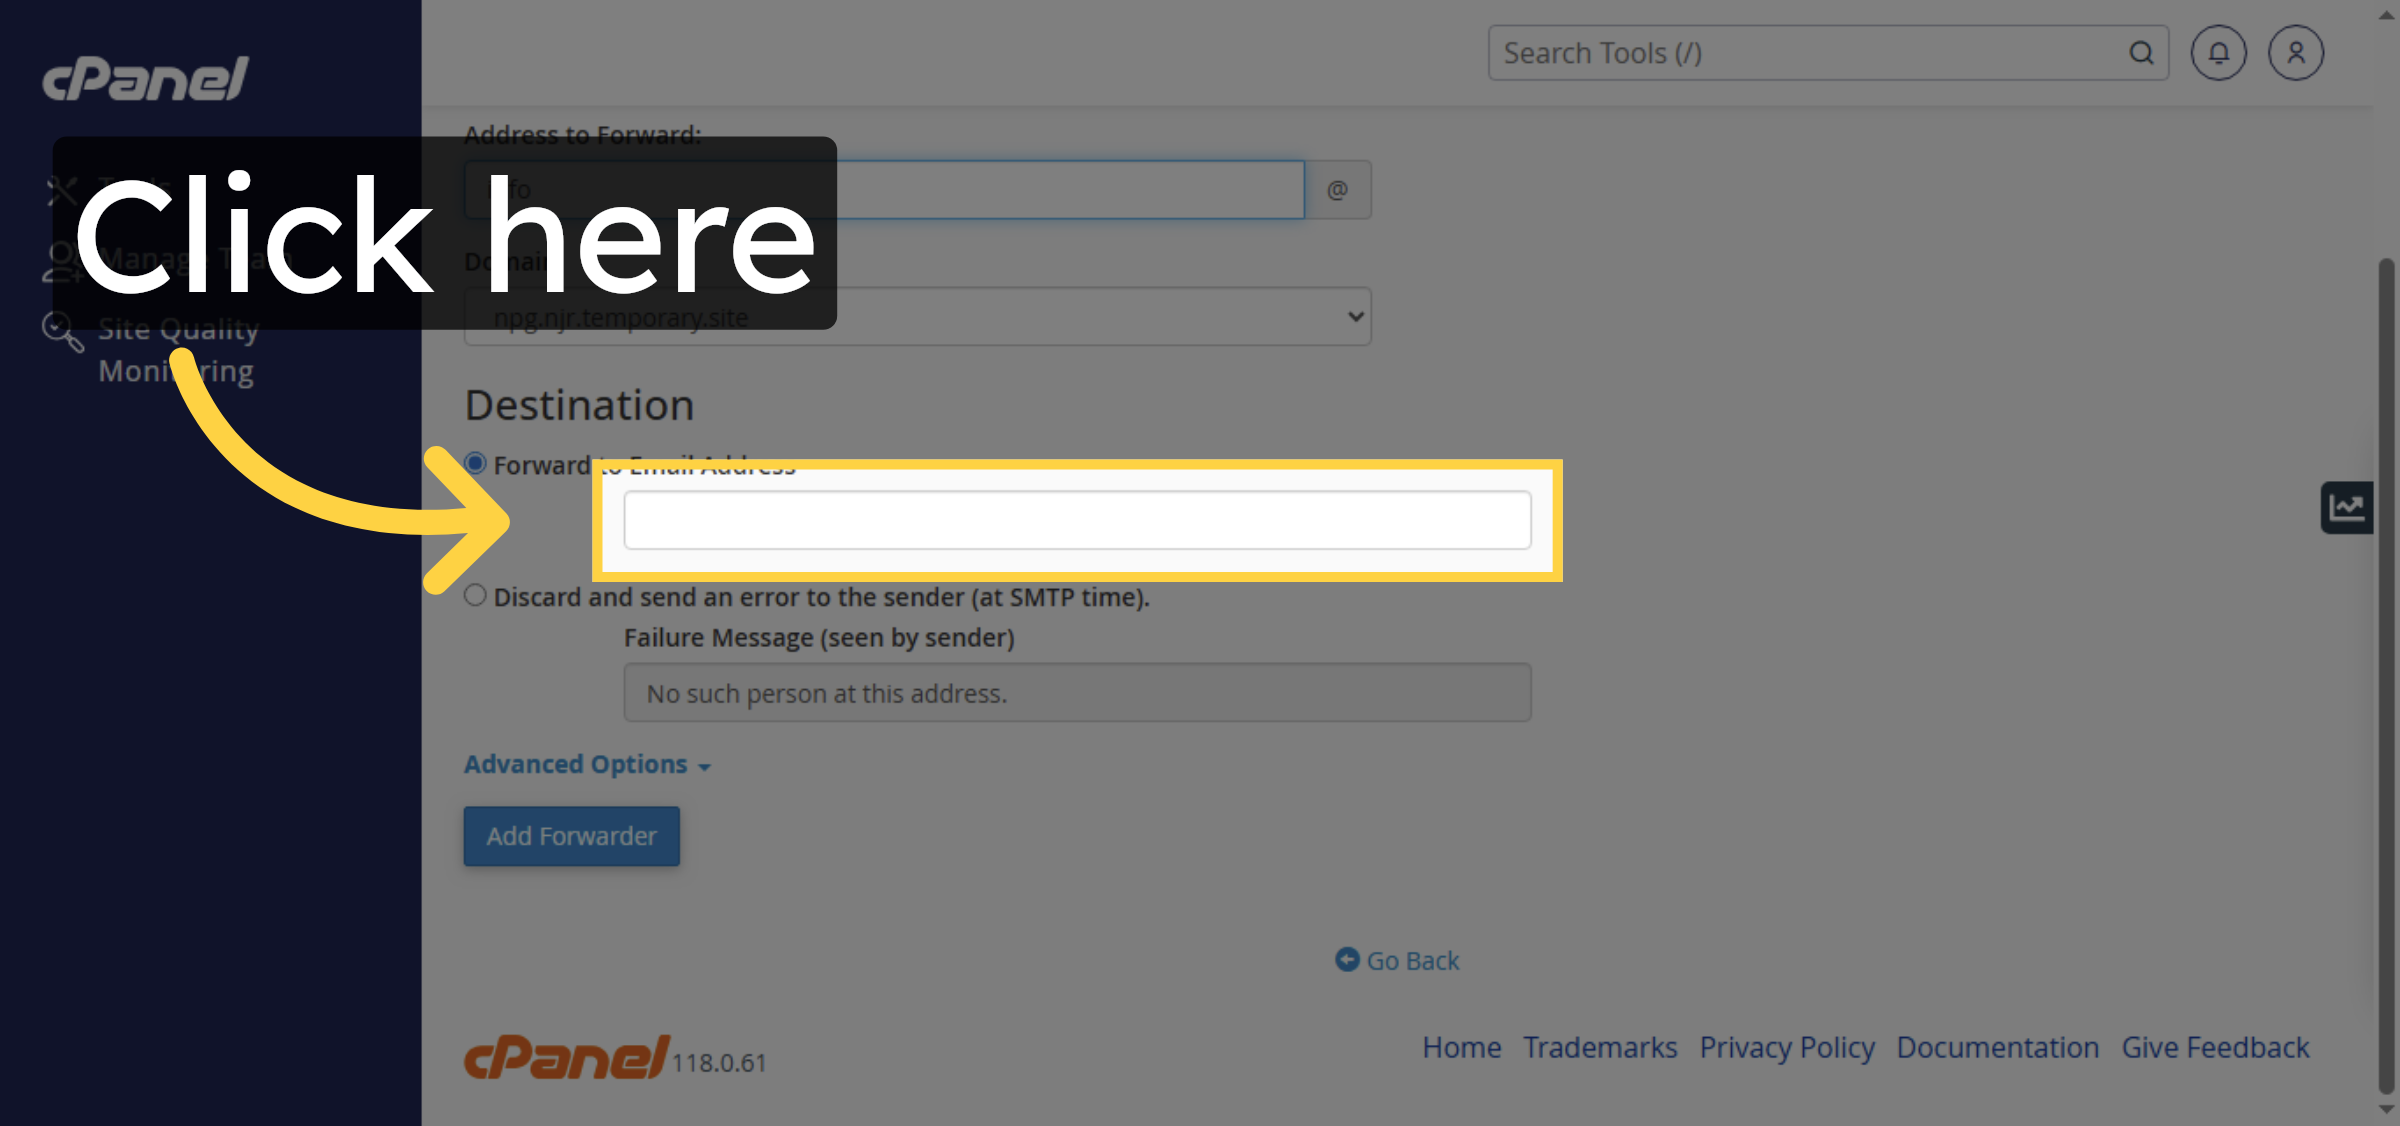
6. Access Forwarding Destination Field
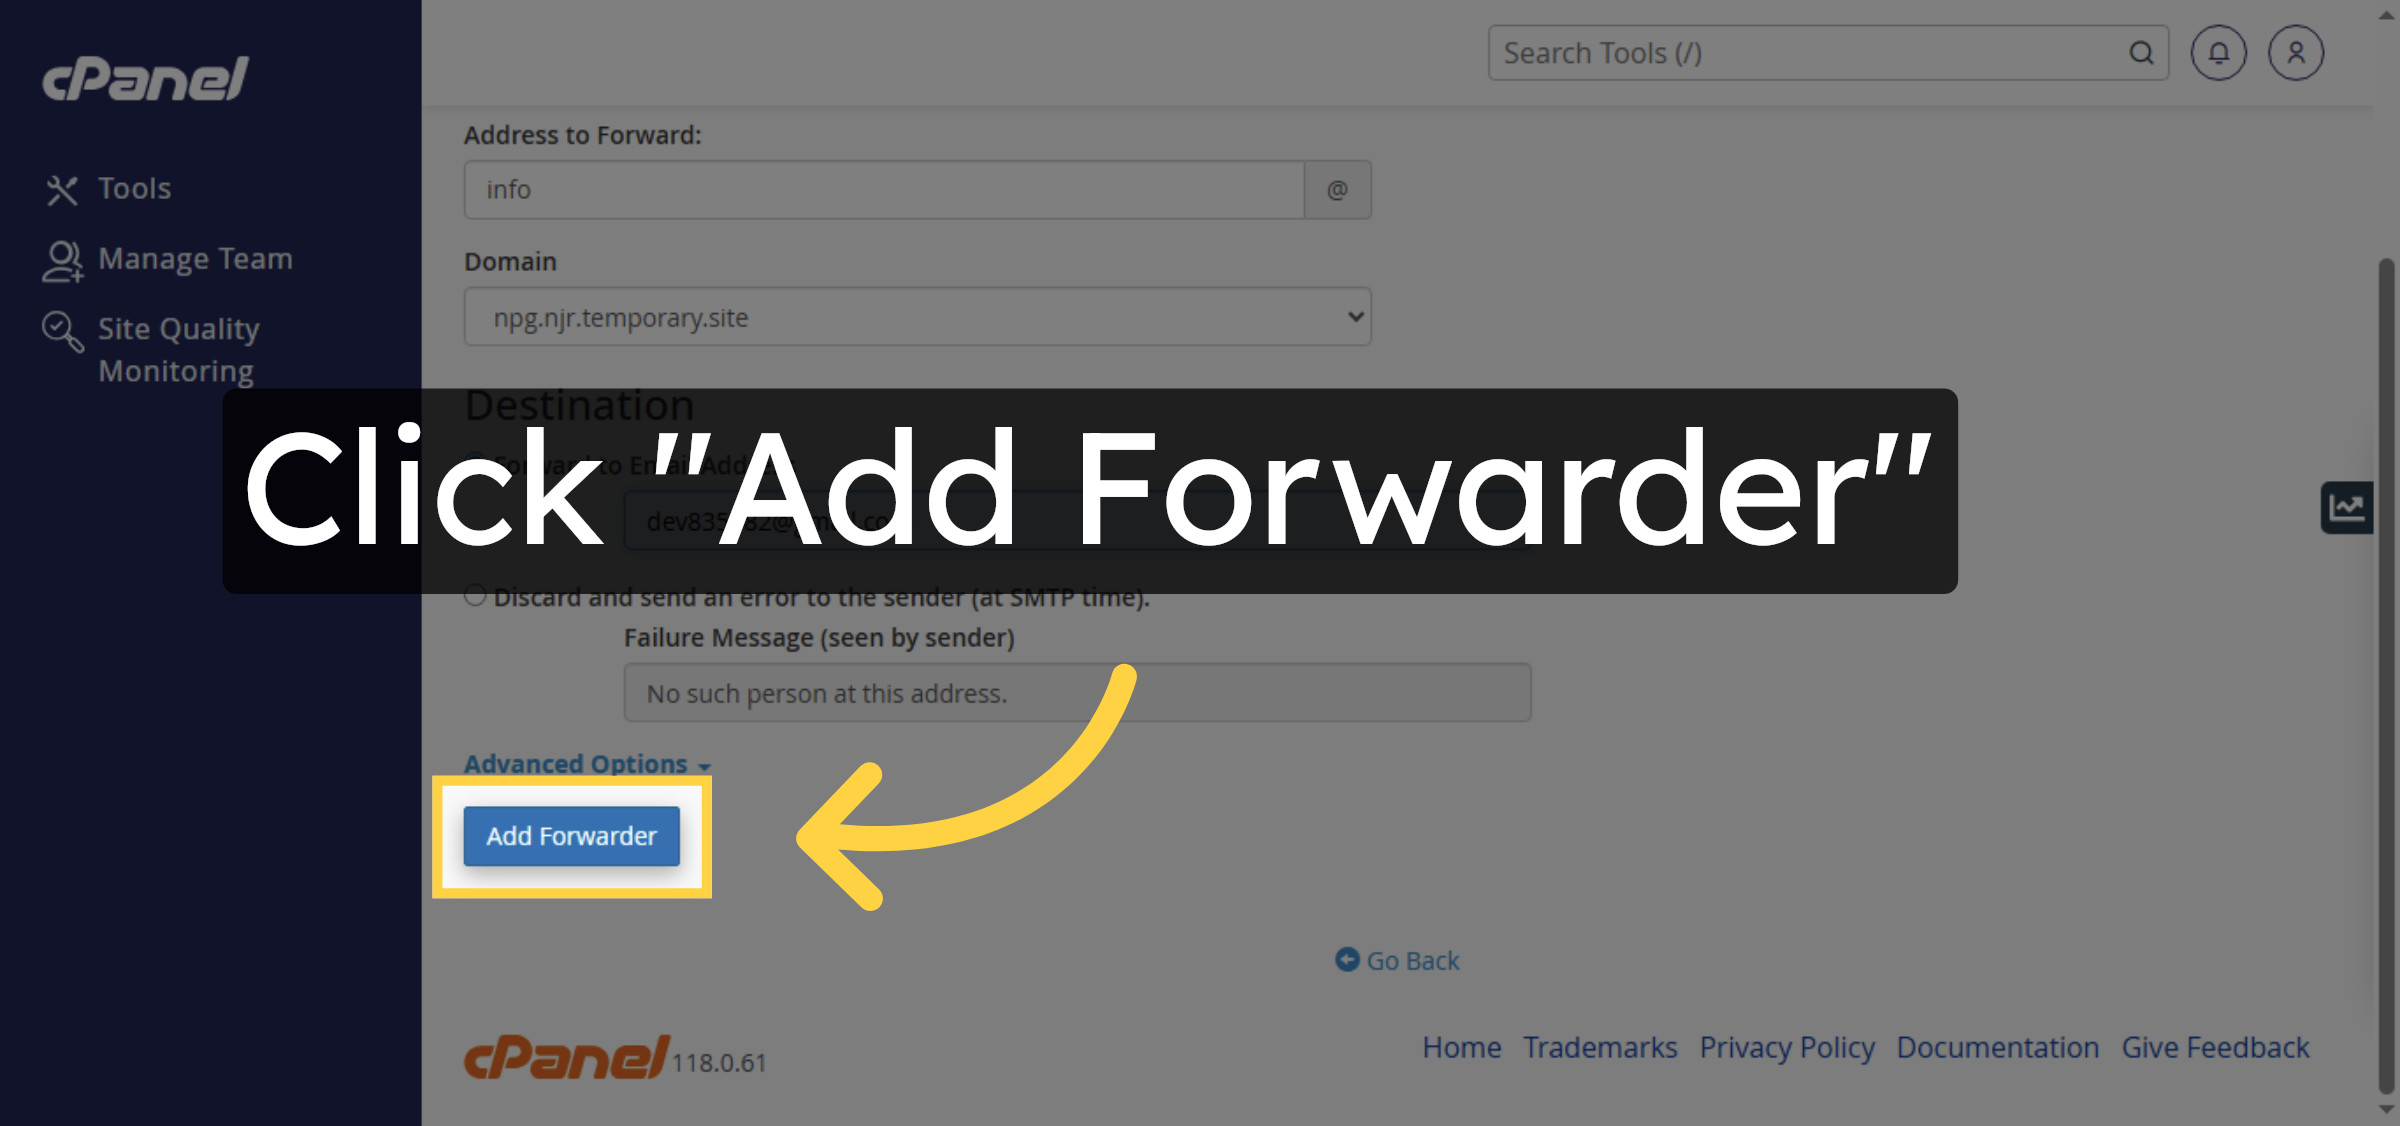
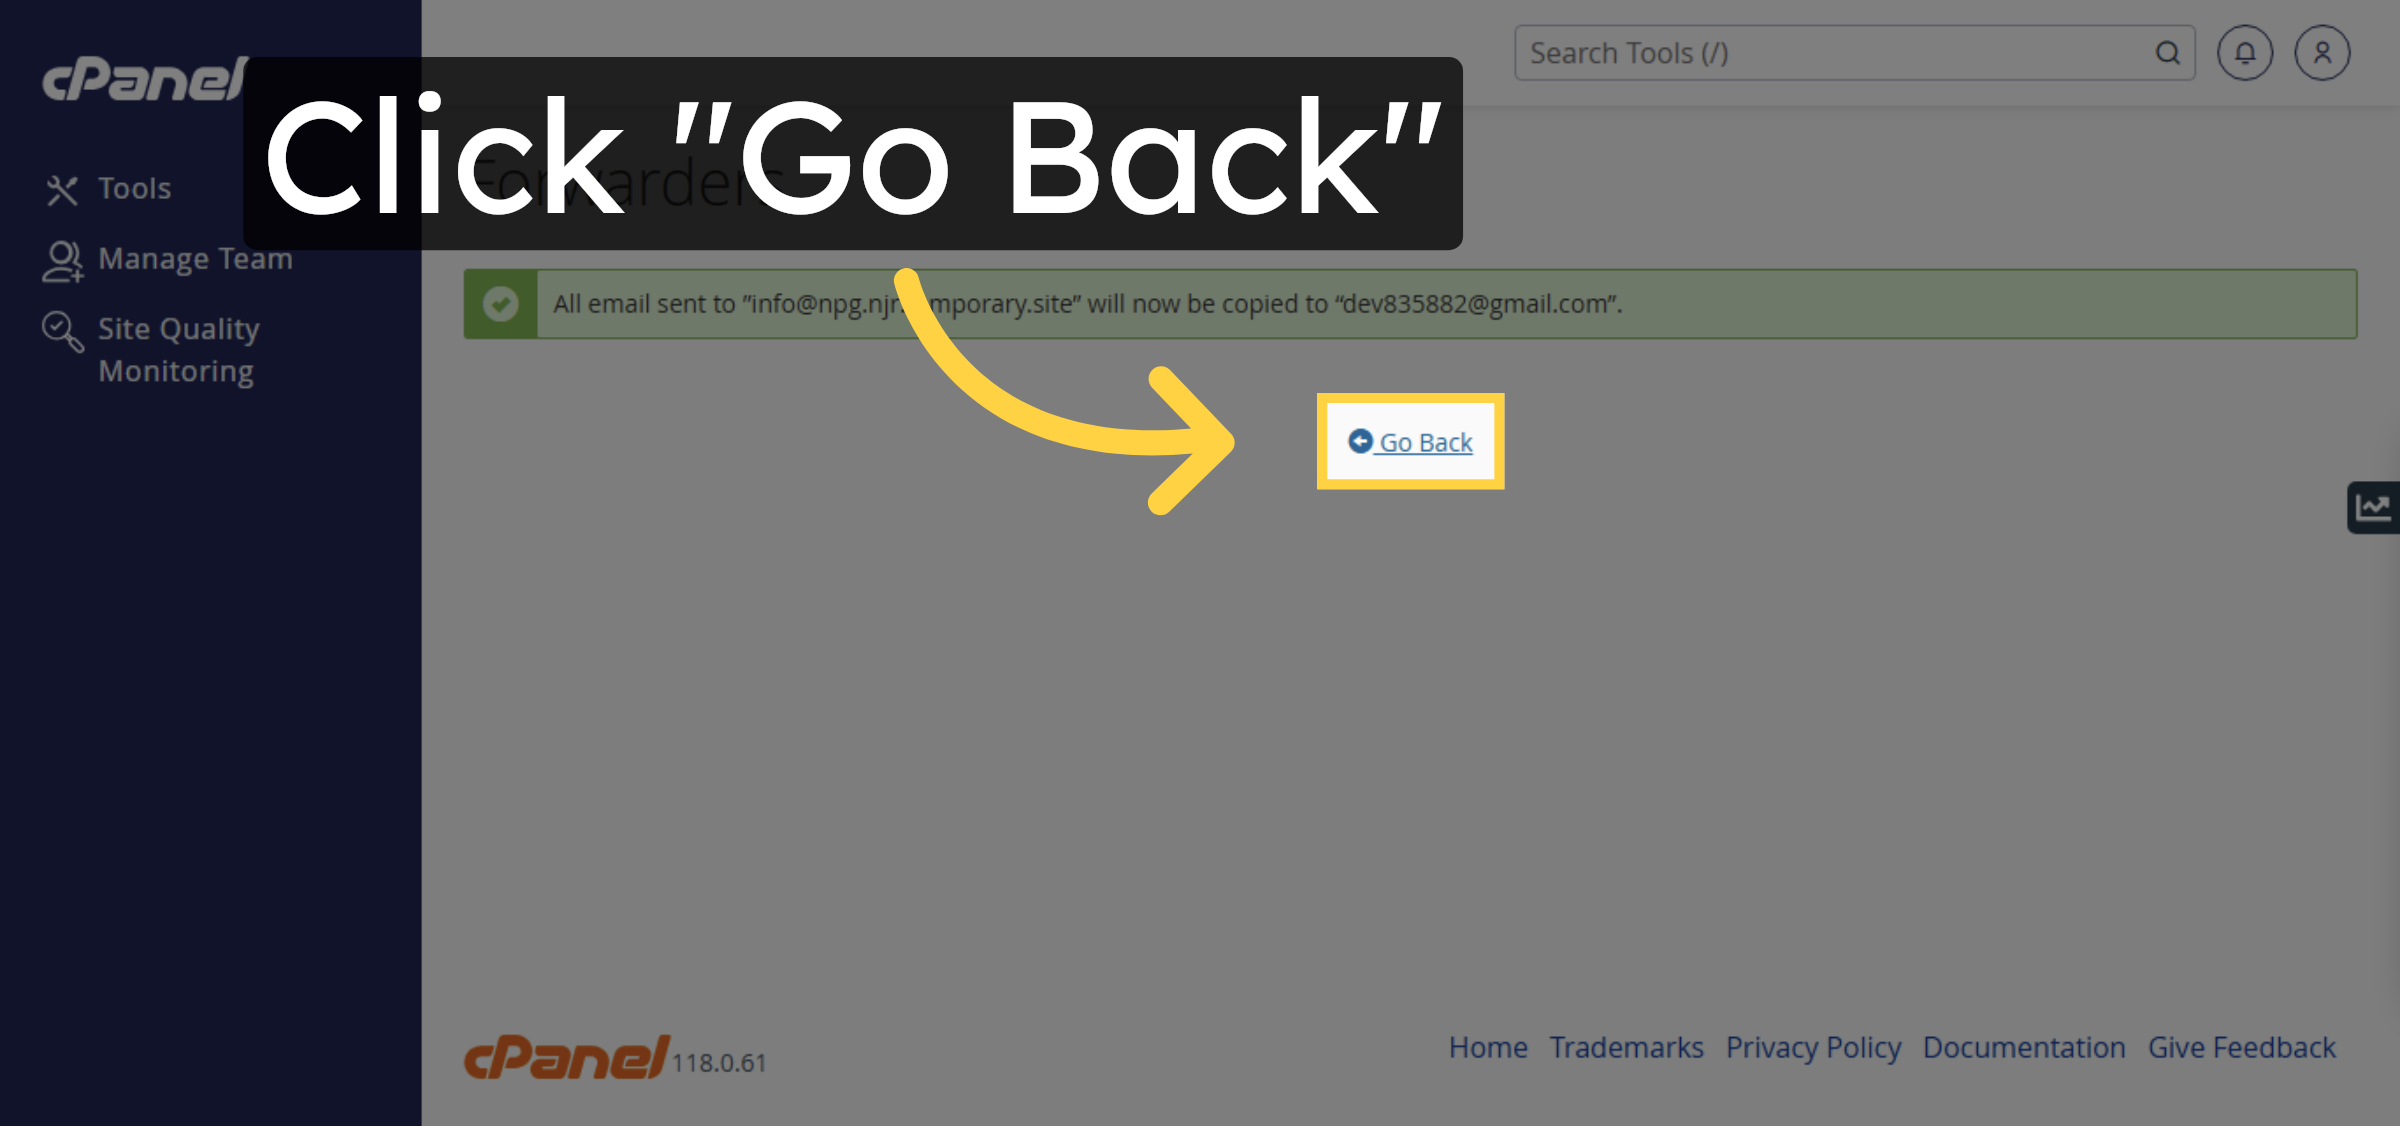
7. Confirm Forwarder Addition
8. Return to Forwarders List
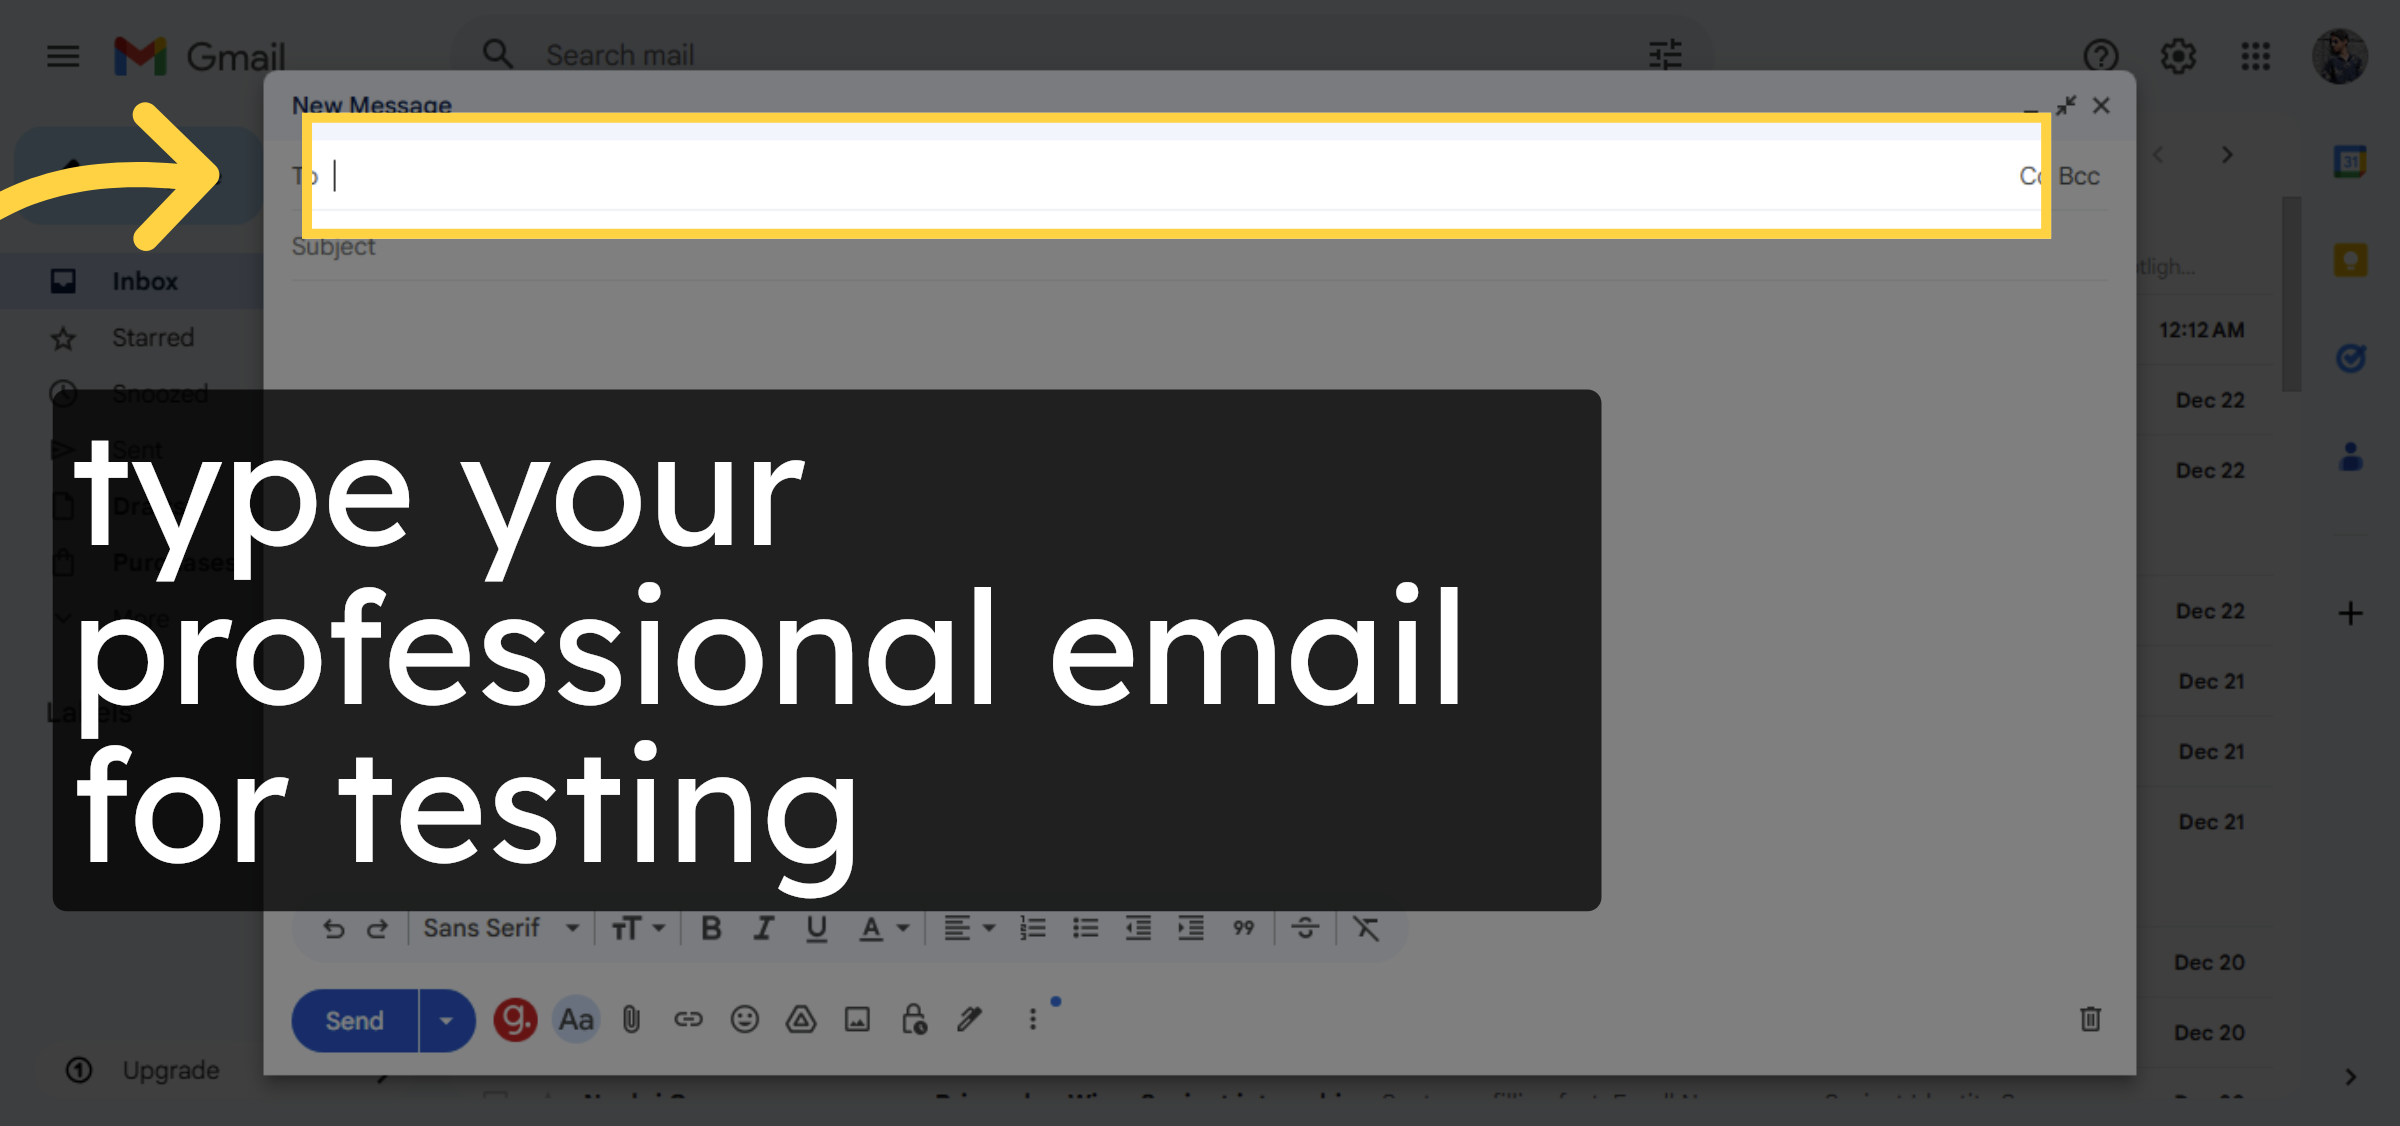
9. Open Gmail Inbox


10. Select Email Recipients Field
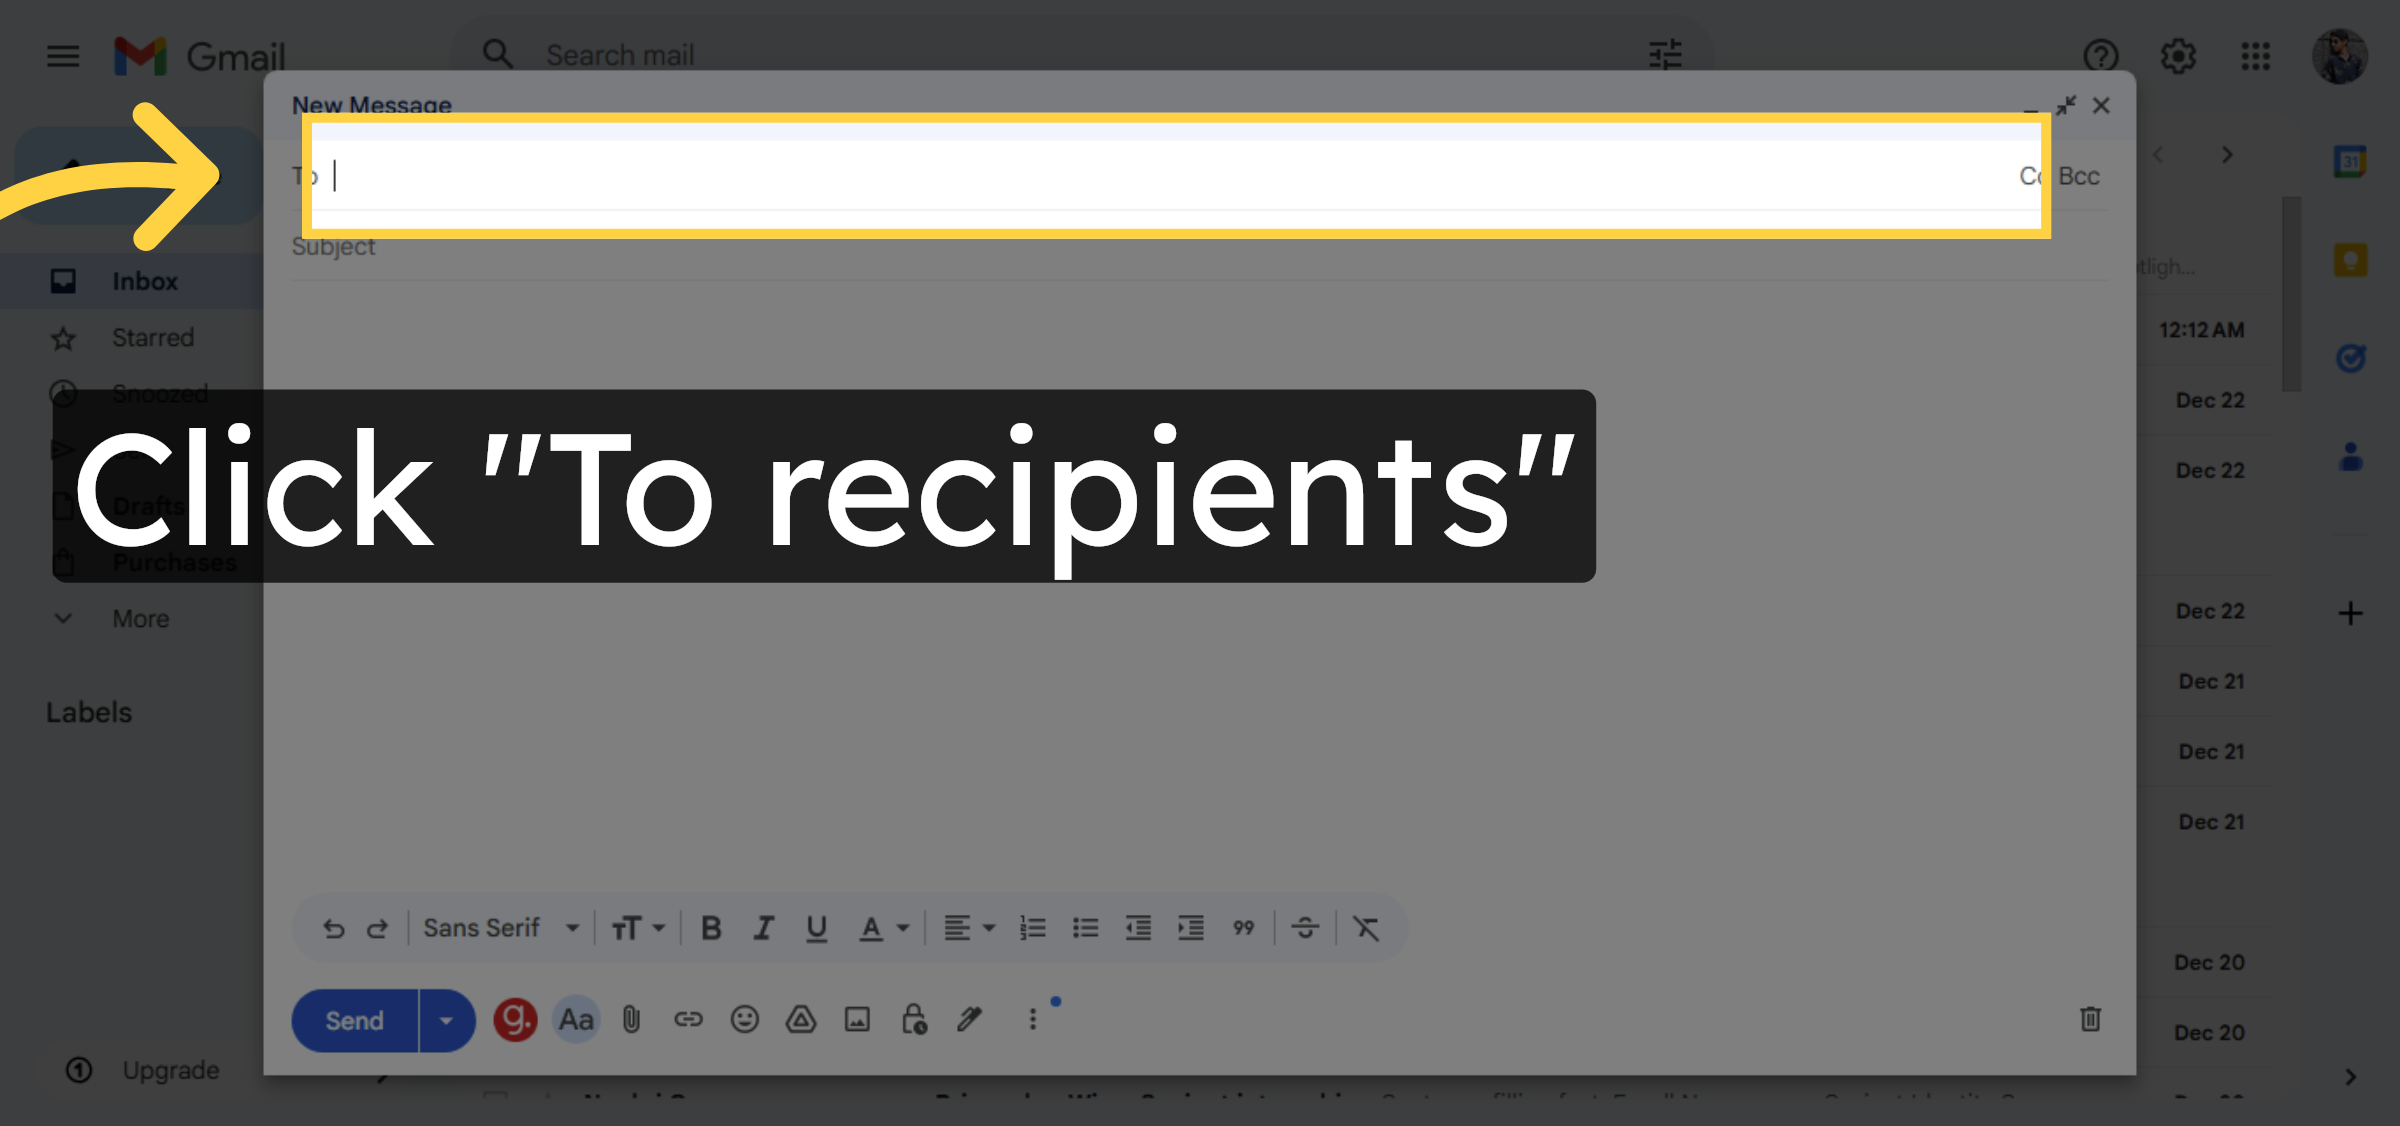
11. Select Email Recipients Field Again
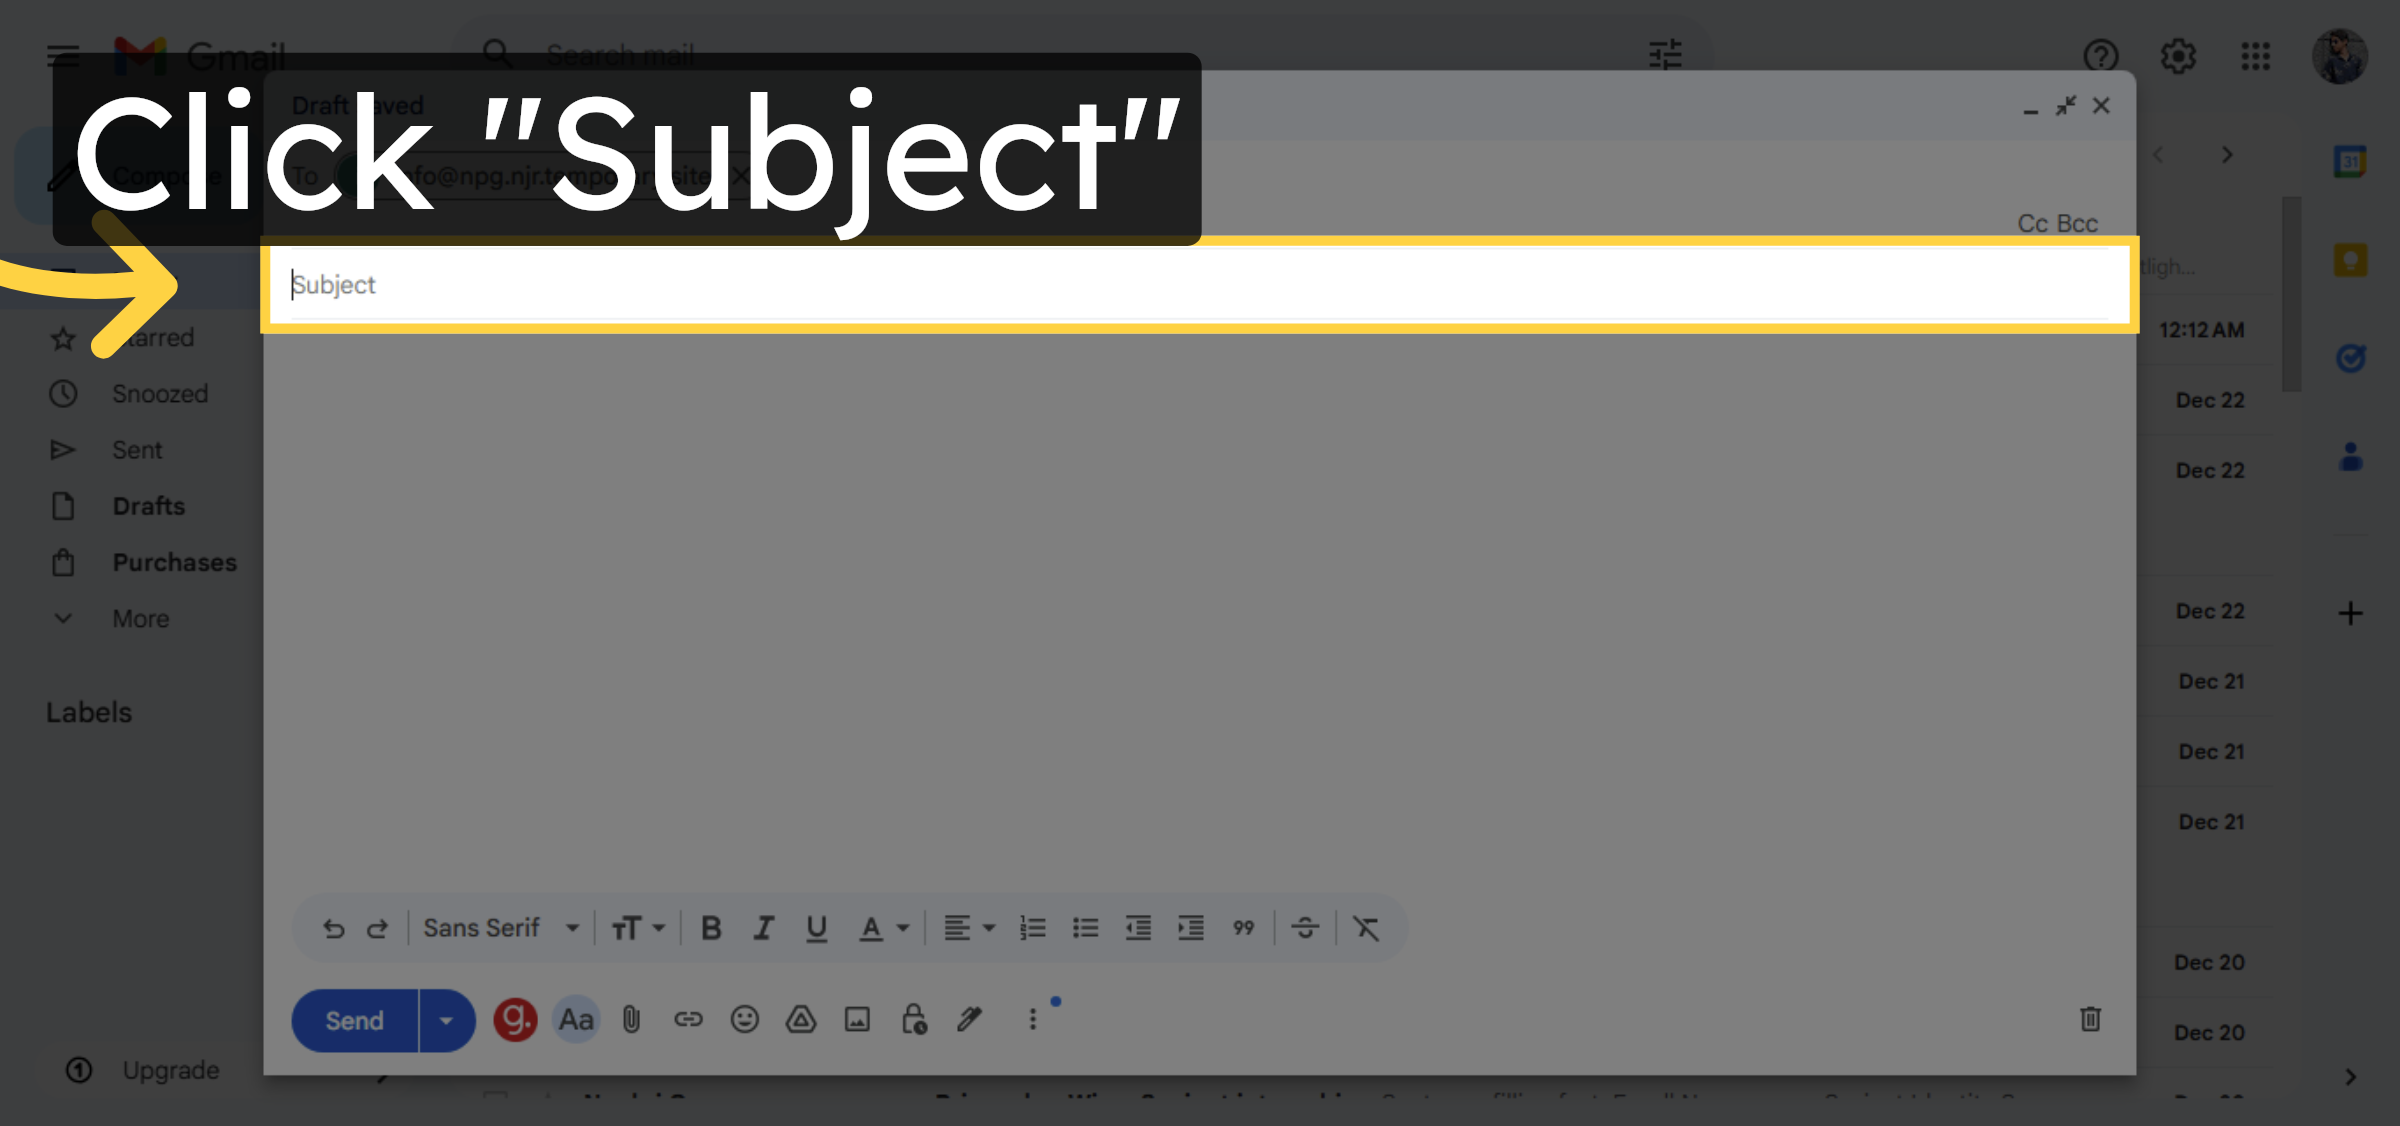
12. Select Email Subject Field
13. Send Test Email

Conclusion
By completing the steps outlined in this guide, you can successfully configure email forwarding on HostGator WordPress hosting. Creating a forwarder ensures that emails sent to your domain-based address are automatically delivered to another inbox of your choice. Sending a test email confirms that the forwarding rule is working correctly. This setup helps streamline email management and ensures that important messages are never missed, even if you primarily use an external email service.
-
Visit: https://www.woohelpdesk.com
-
Call Us Toll-Free: +1 888 602 0119 (US & Canada)
-
Get professional assistance with HostGator email forwarding, SMTP configuration, WordPress setup, and hosting management


