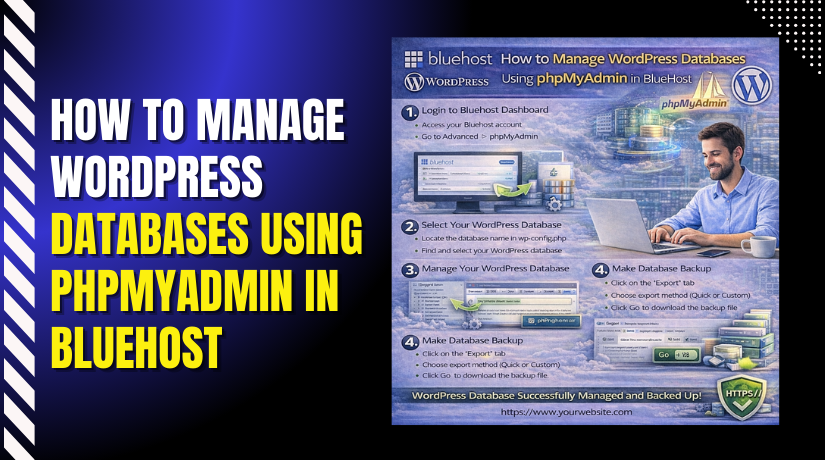
How to Manage WordPress Databases Using phpMyAdmin in Bluehost
Introduction
Managing your WordPress database is essential for maintaining website performance, security, and data accuracy. The database stores important information such as user accounts, posts, settings, and system records. Bluehost provides access to phpMyAdmin through cPanel, allowing administrators to safely view, edit, insert, and delete database records.
This guidde explains how to manage WordPress databases using phpMyAdmin in Bluehost hosting. It covers accessing the control panel, opening phpMyAdmin, running SQL queries, editing user records, and deleting unnecessary data. By following this guide, users can efficiently manage backend data and resolve database-related issues.
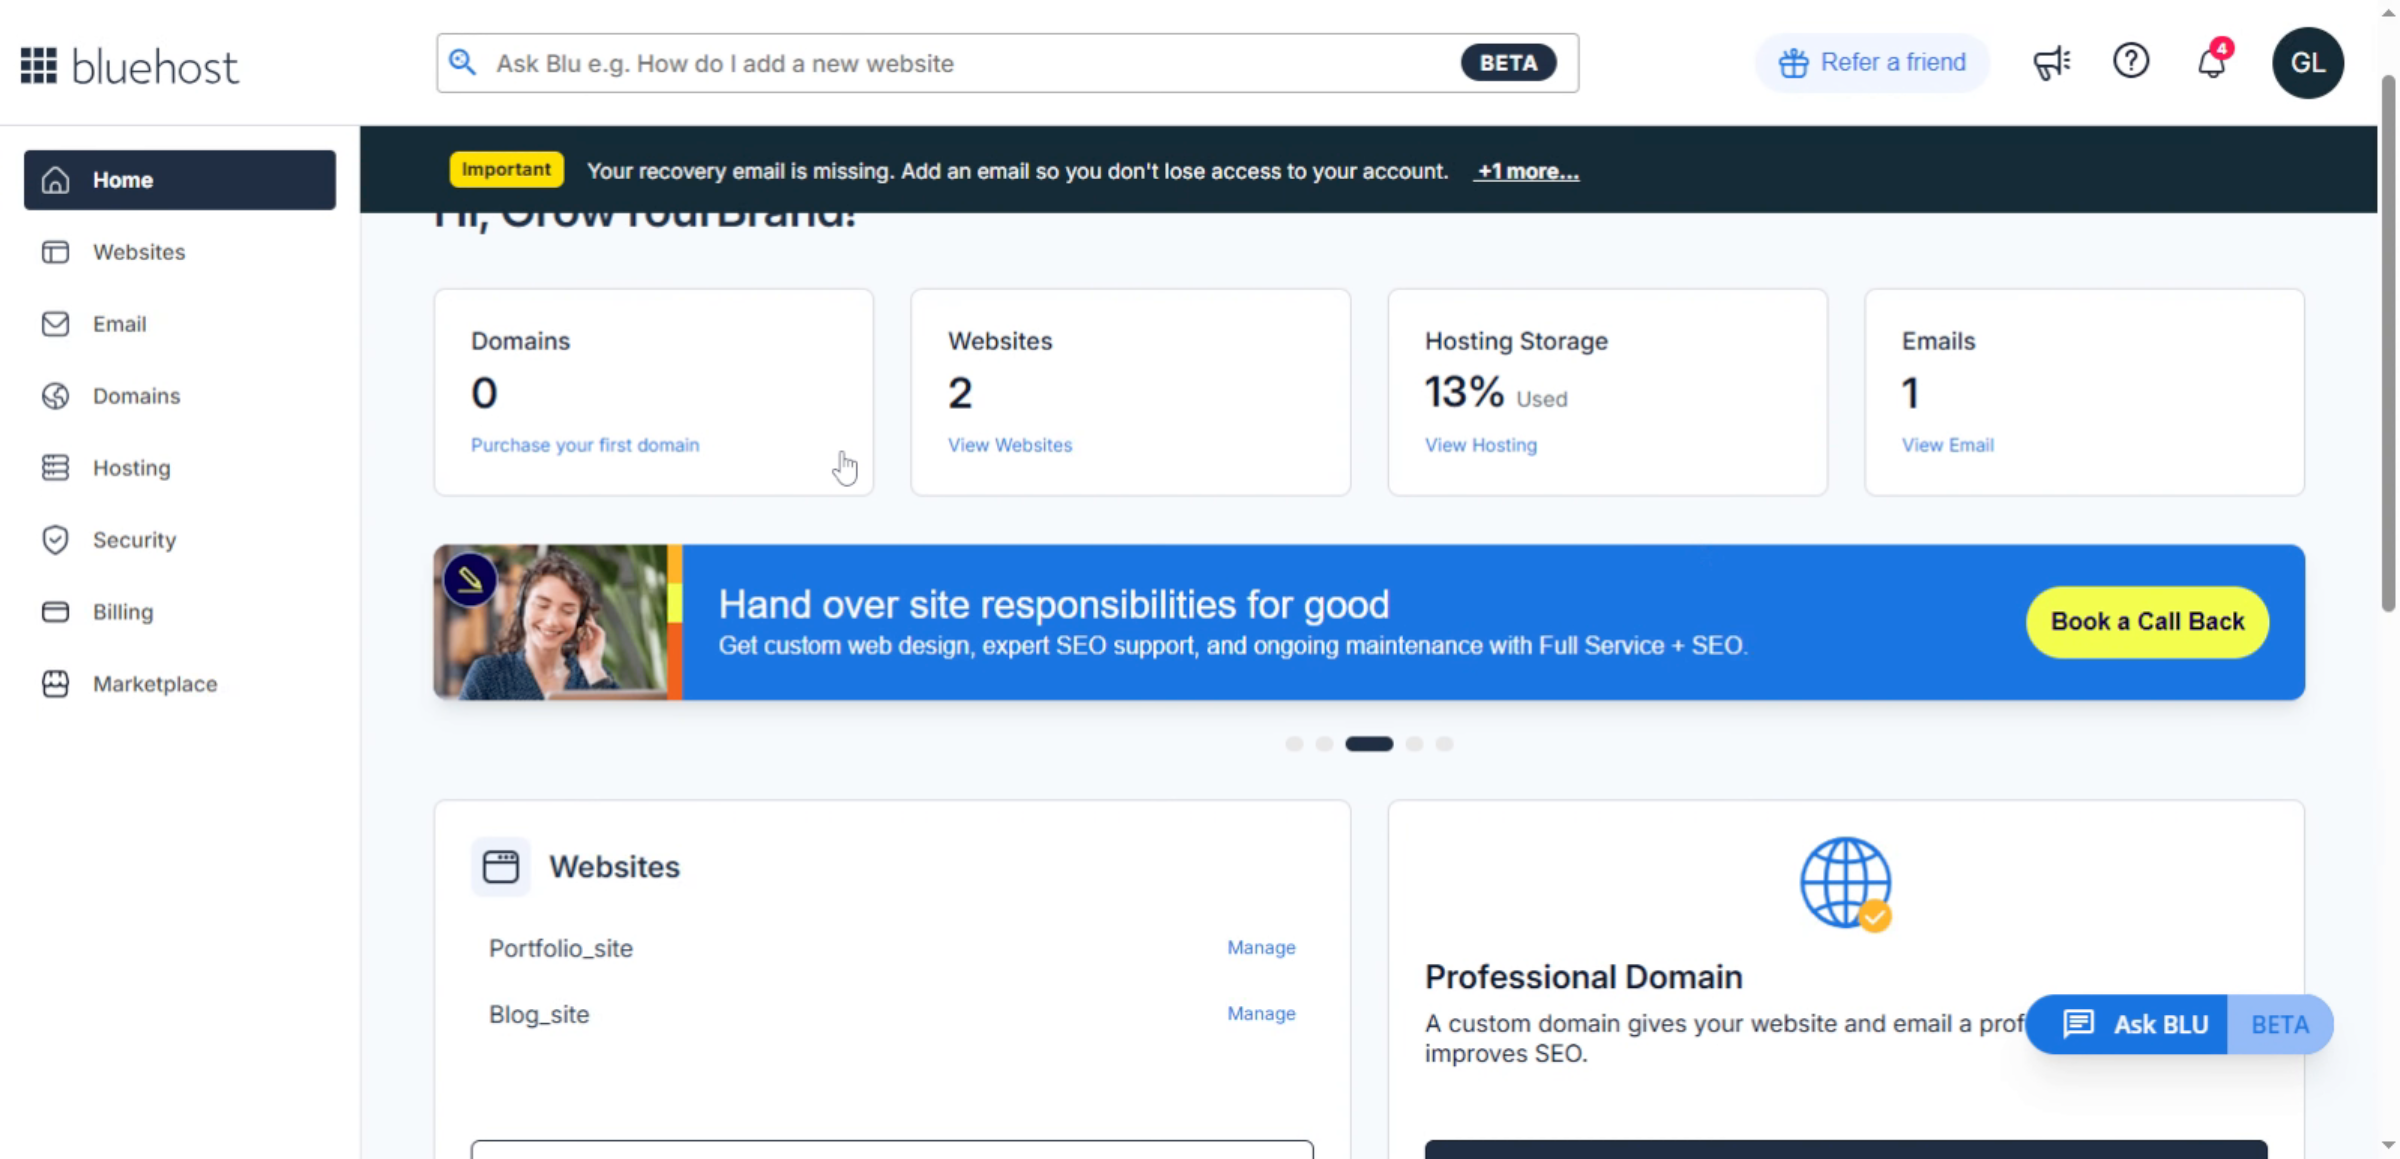
1. Access Bluehost Account Dashboard
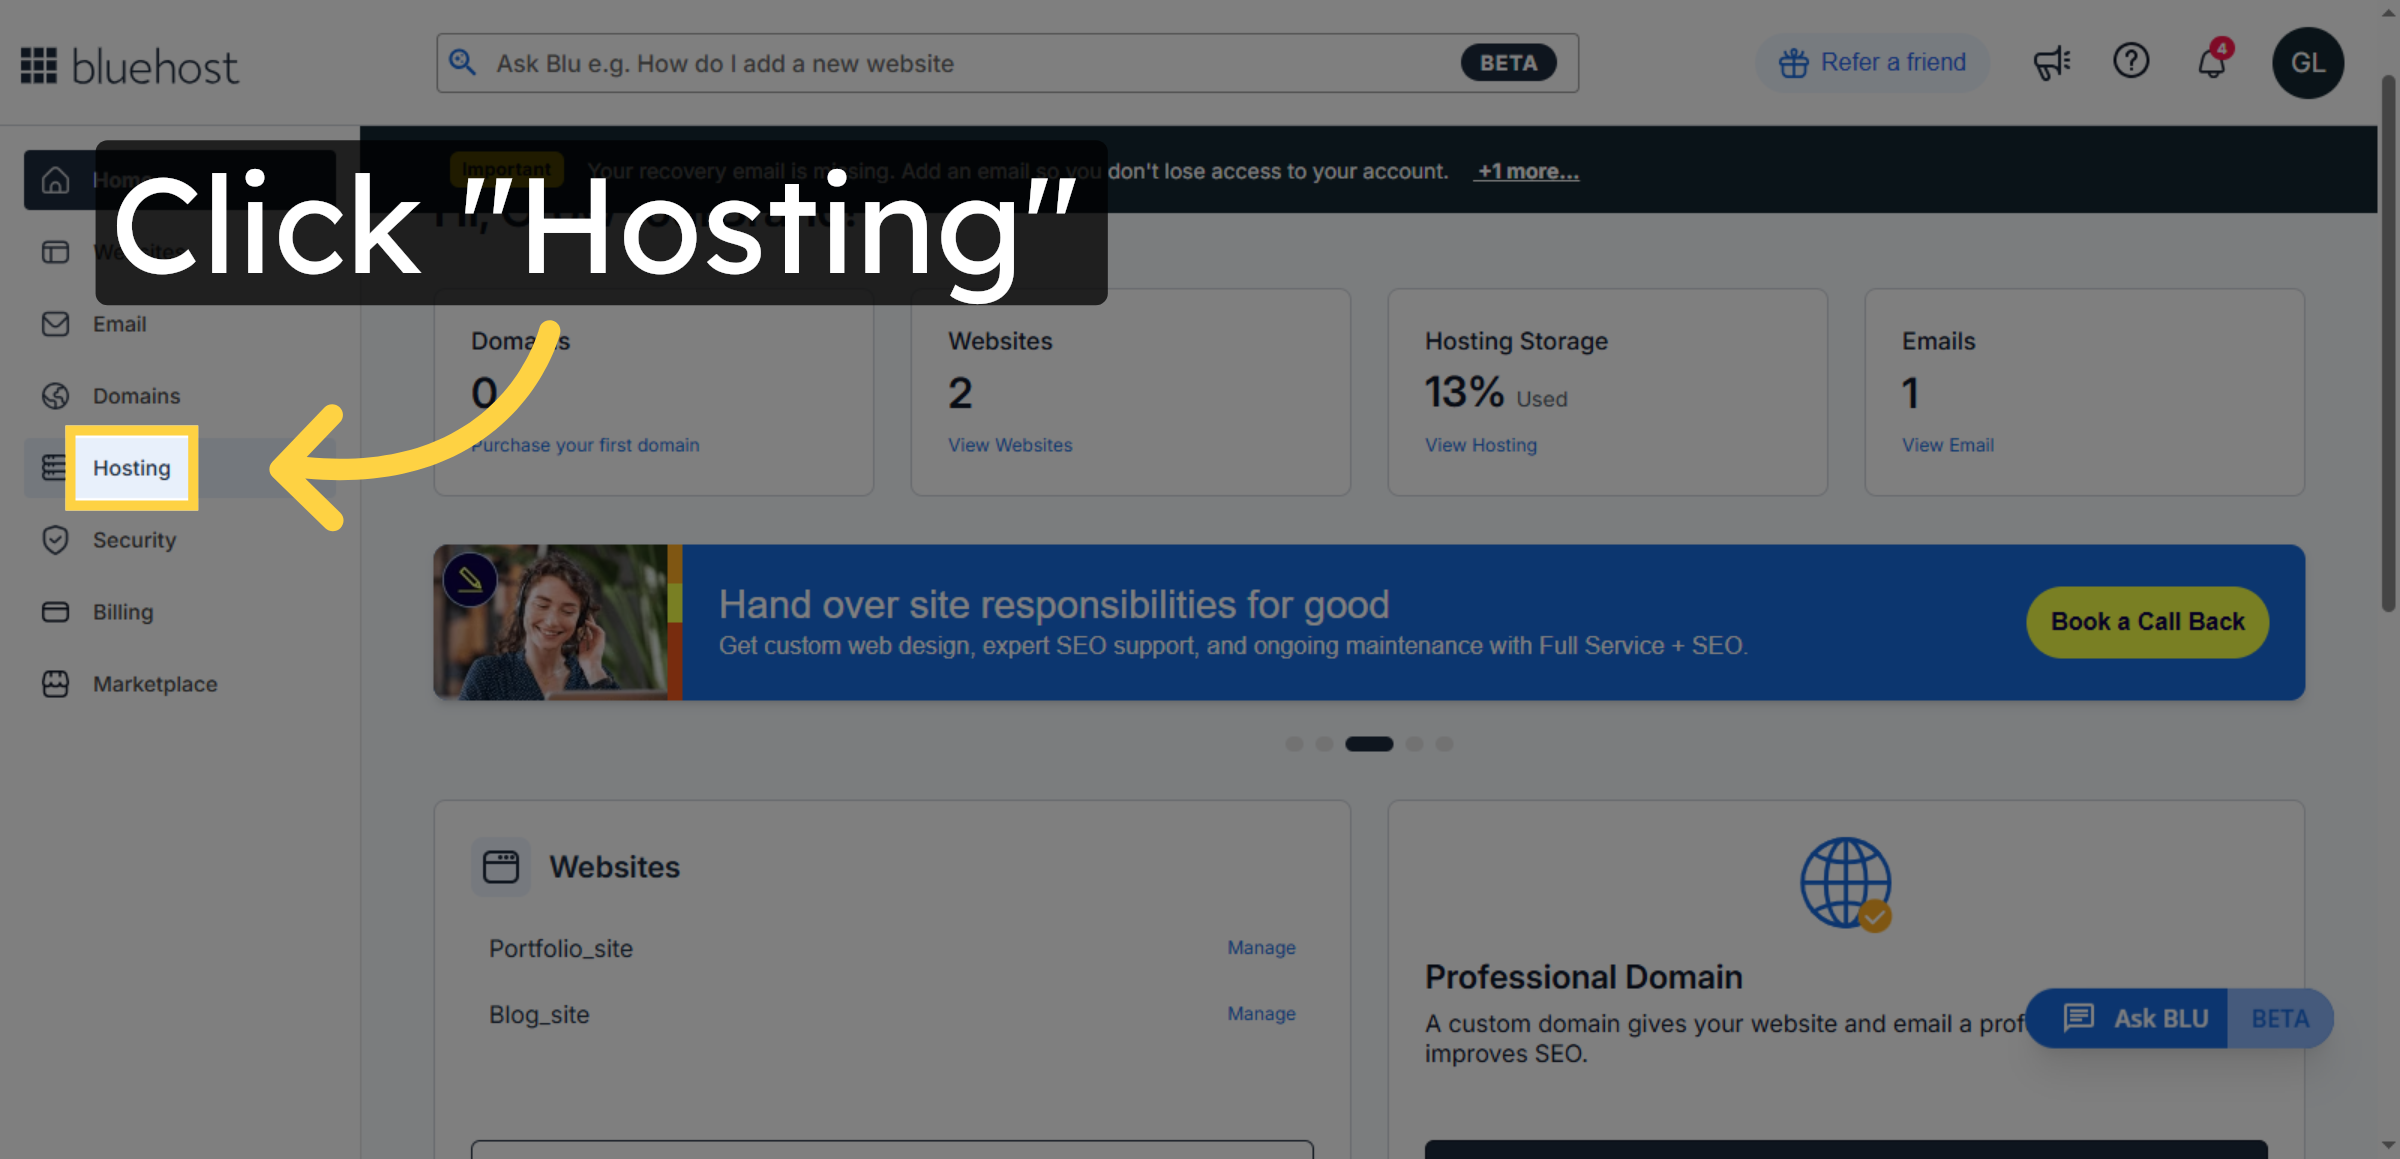
2. Access Hosting Section
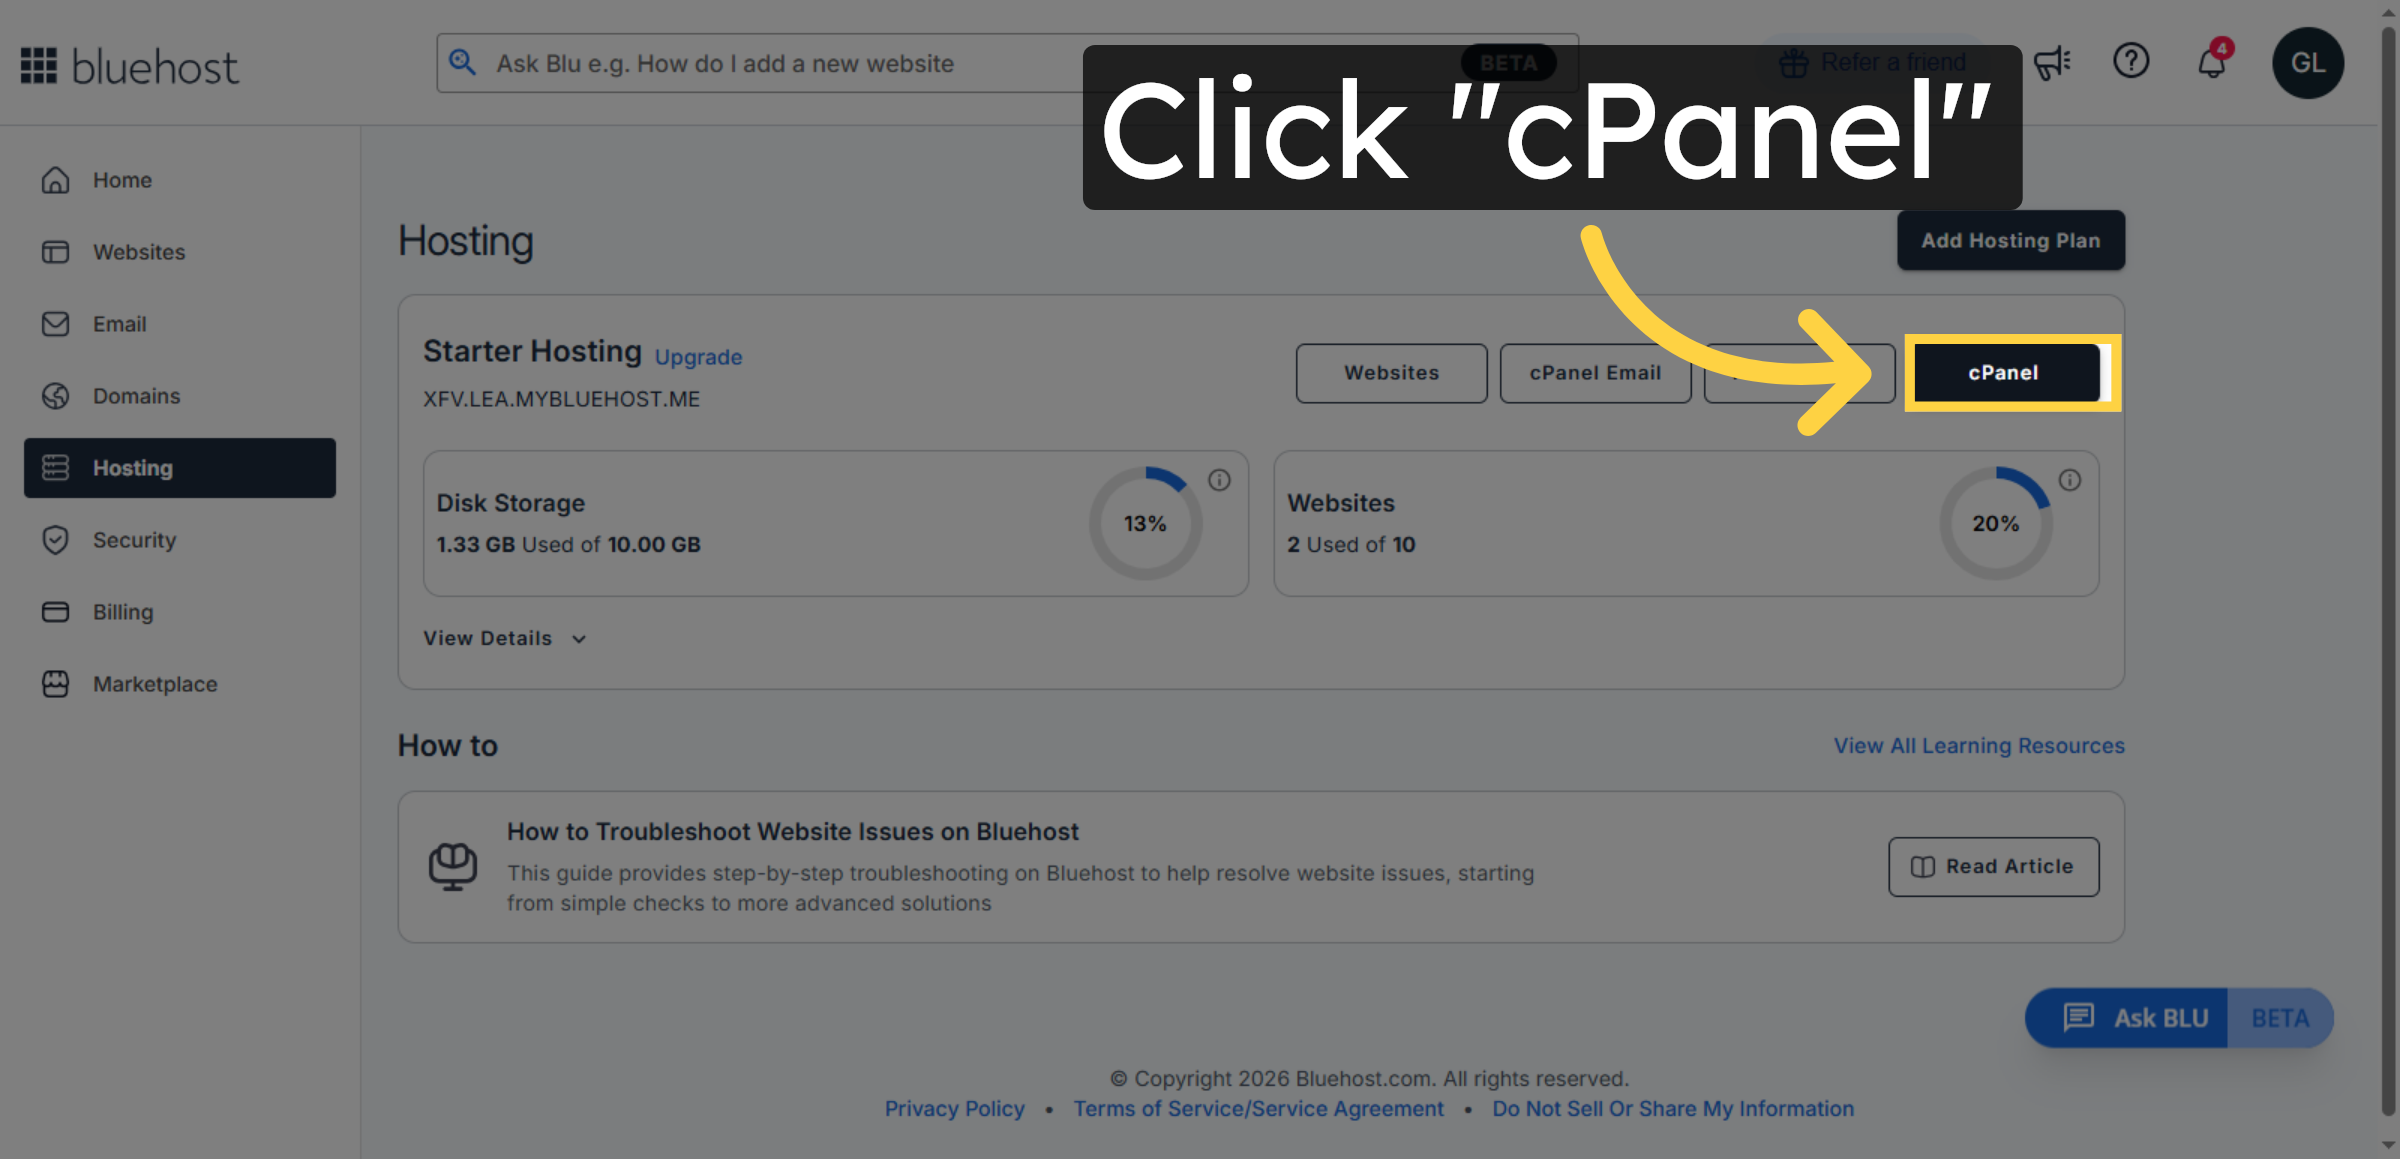
3. Open cPanel Interface
4. Switch to Bluehost cPanel
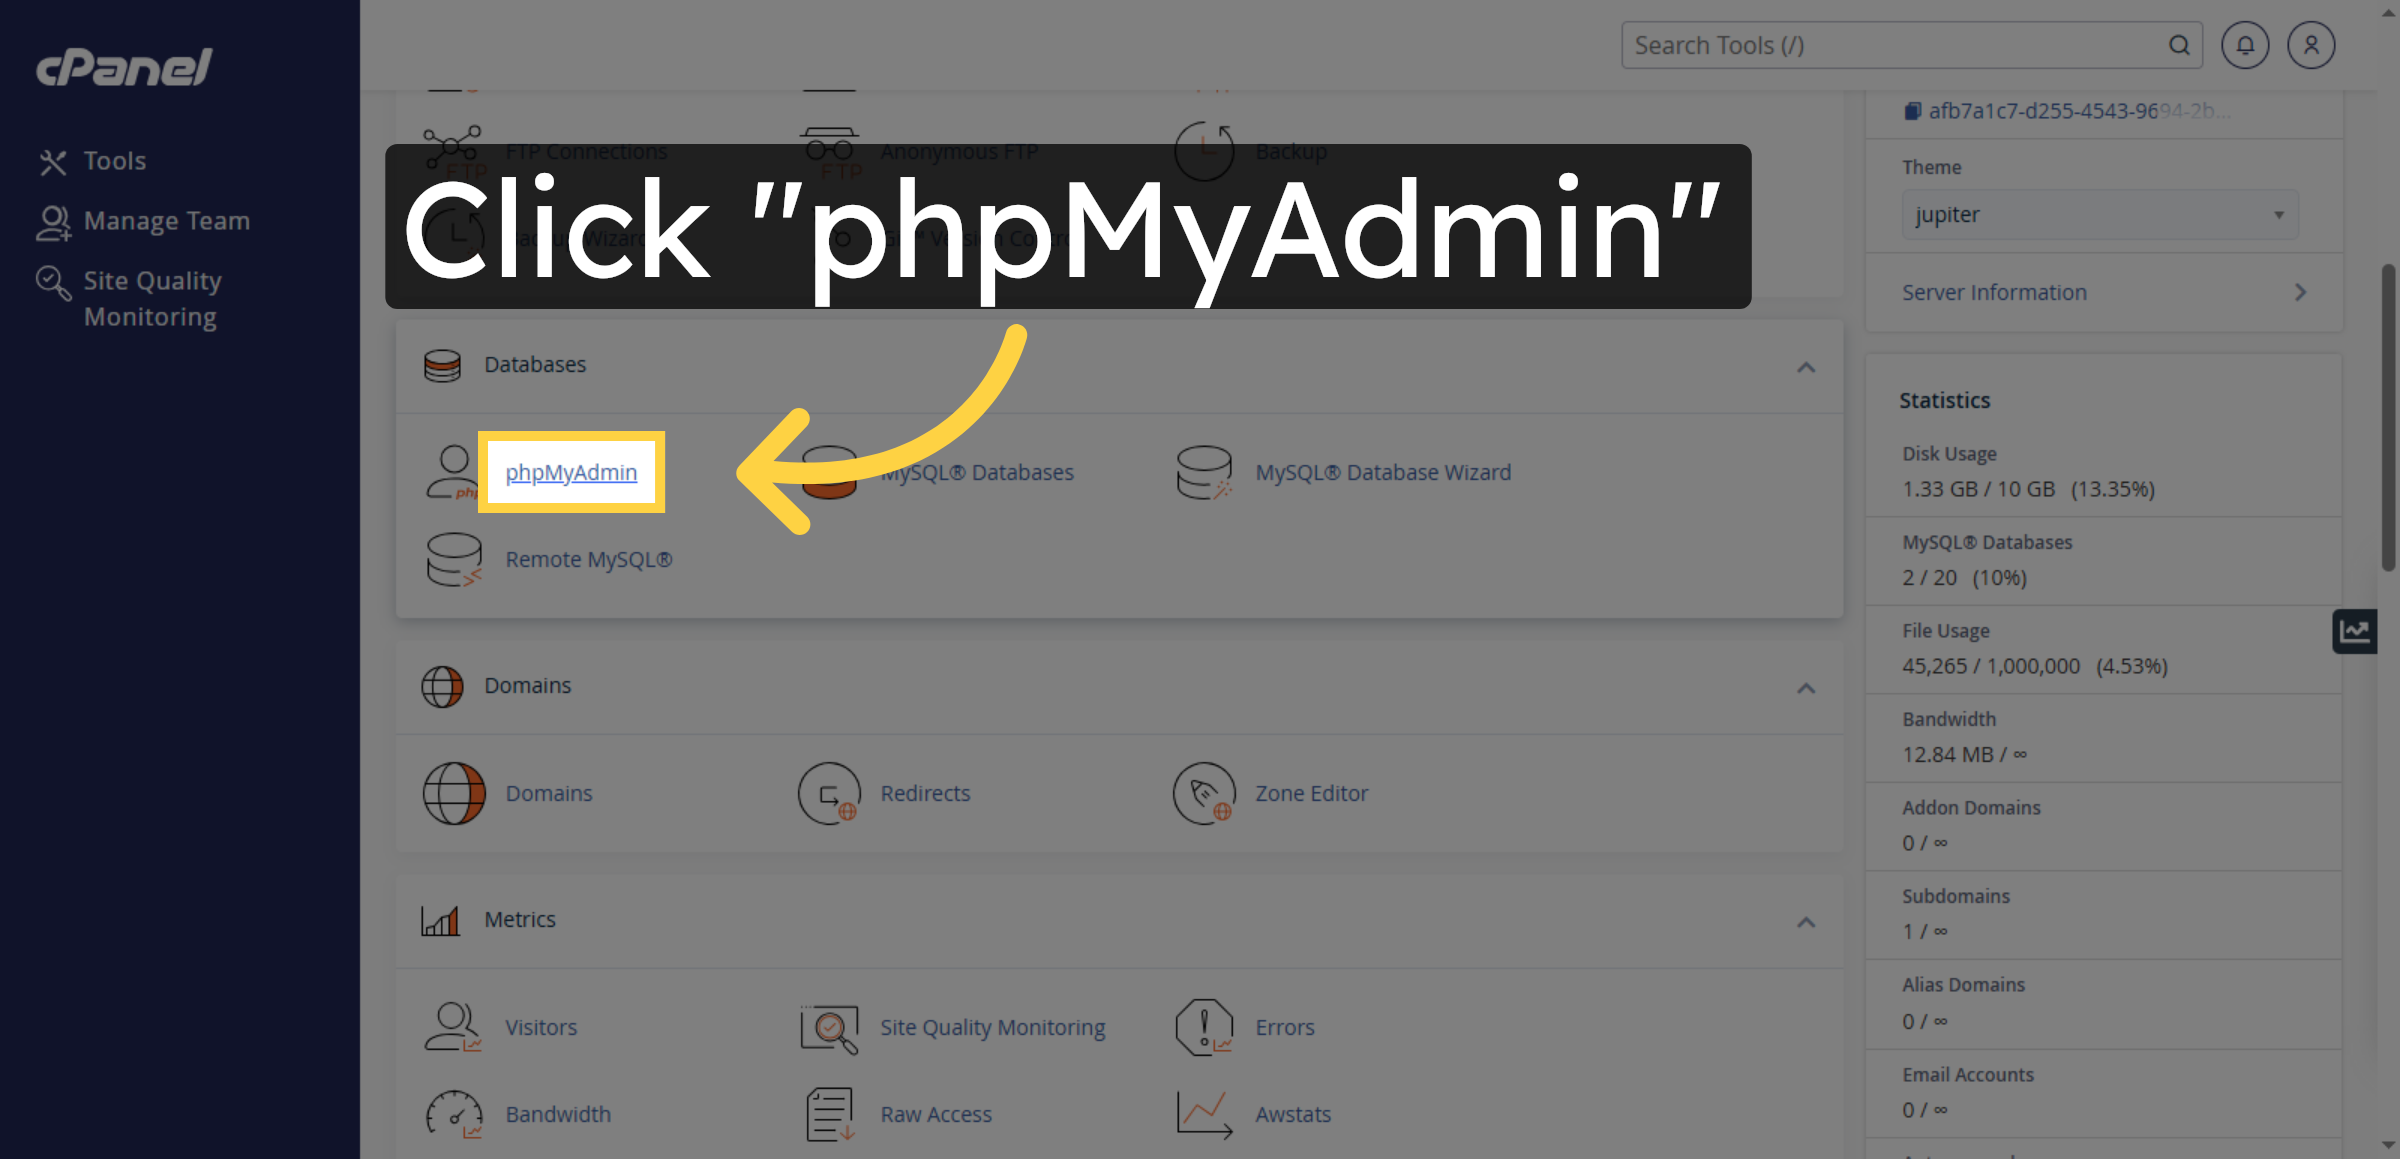
5. Click phpMyAdmin Tool
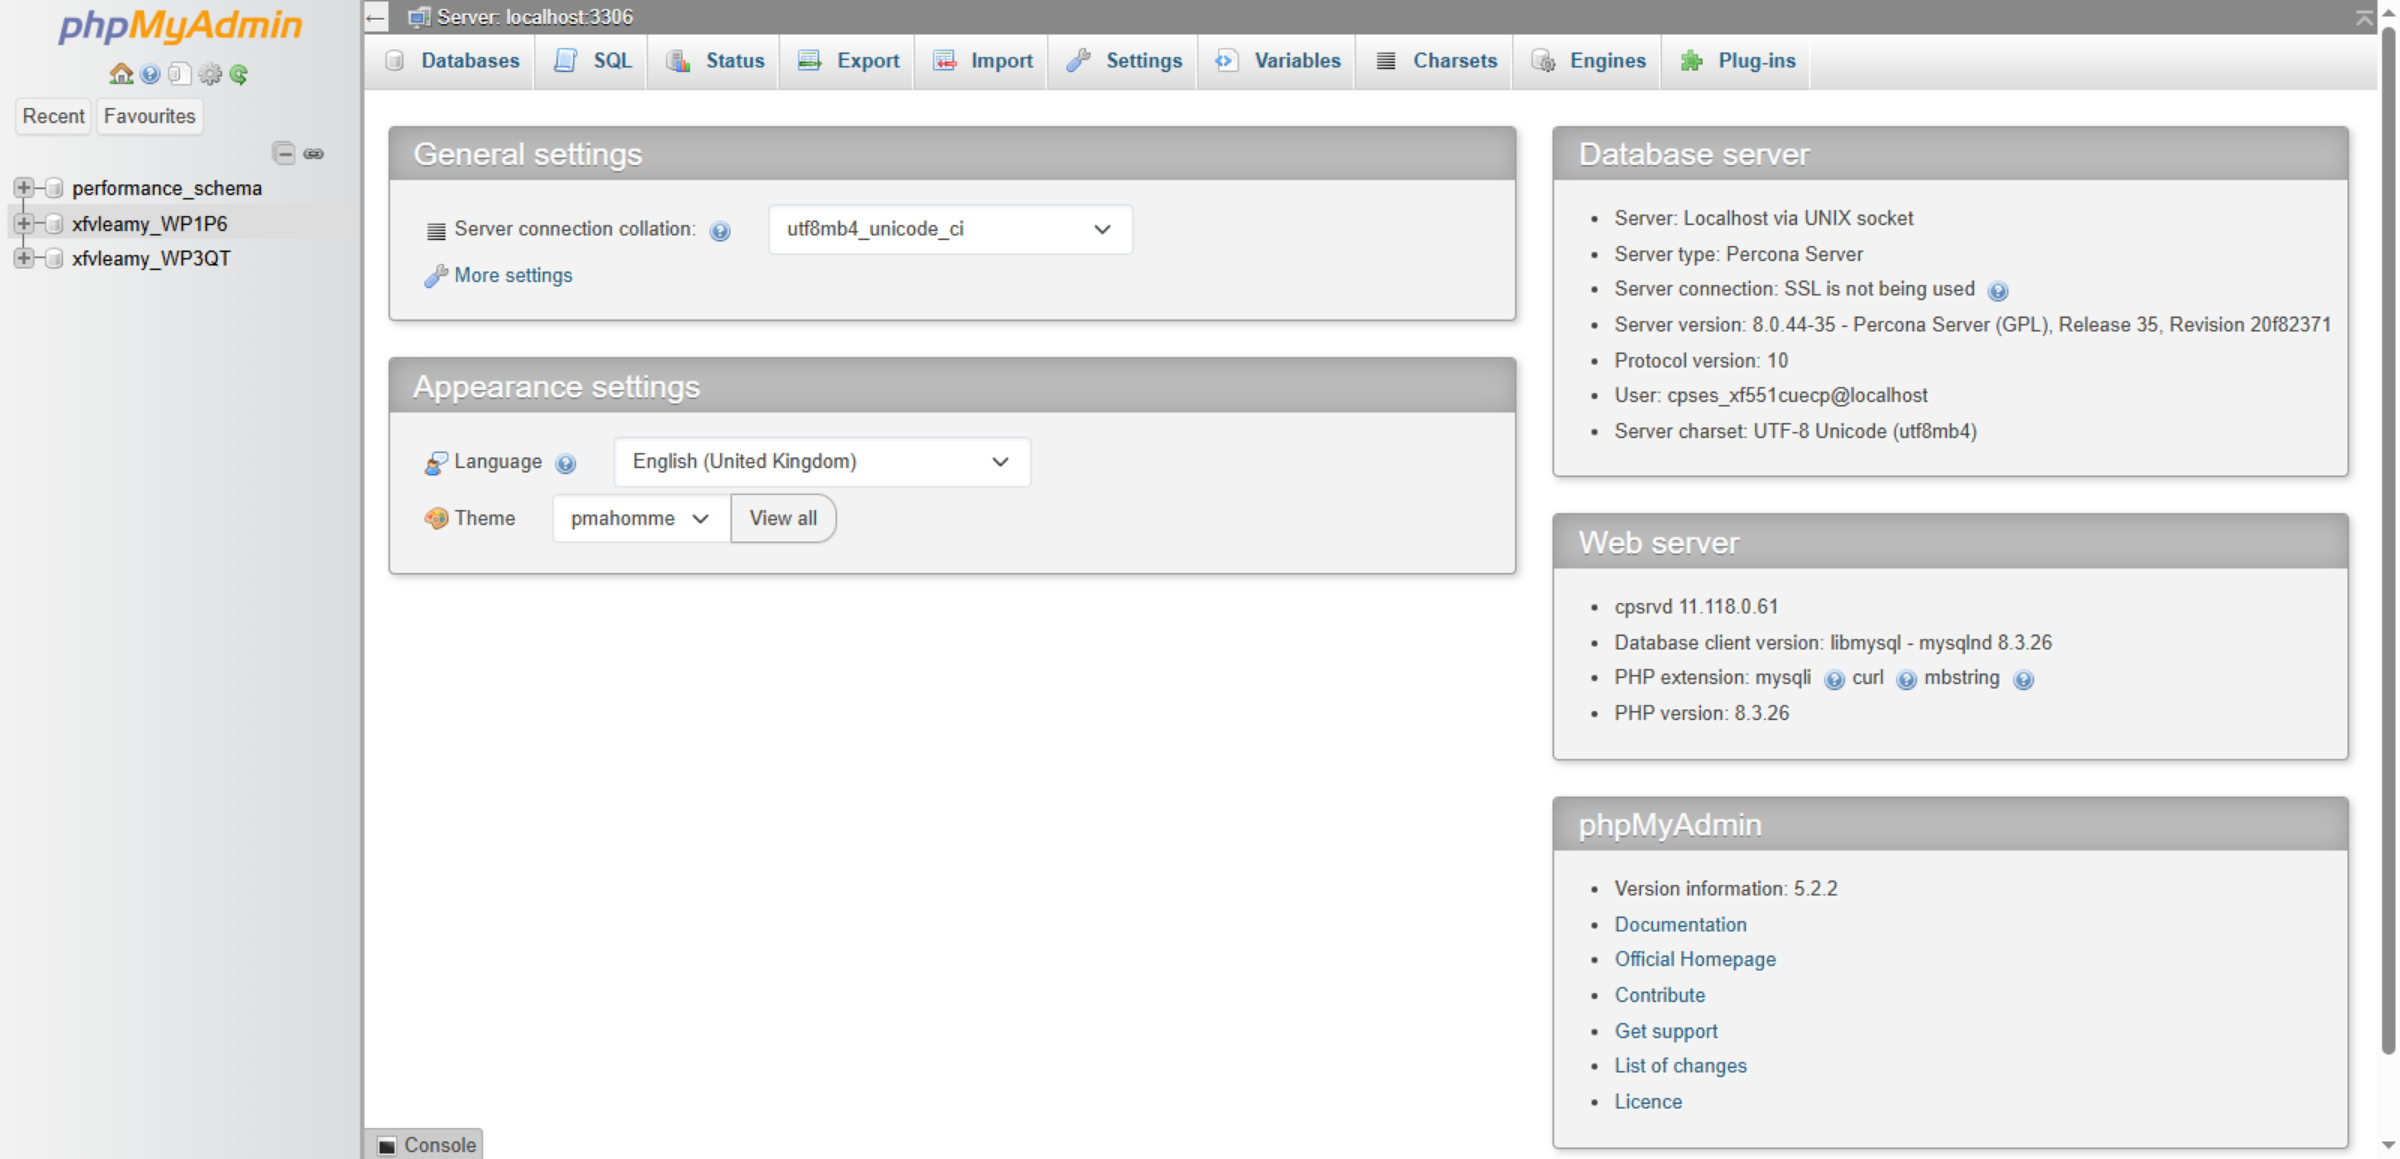
6. Open phpMyAdmin Interface
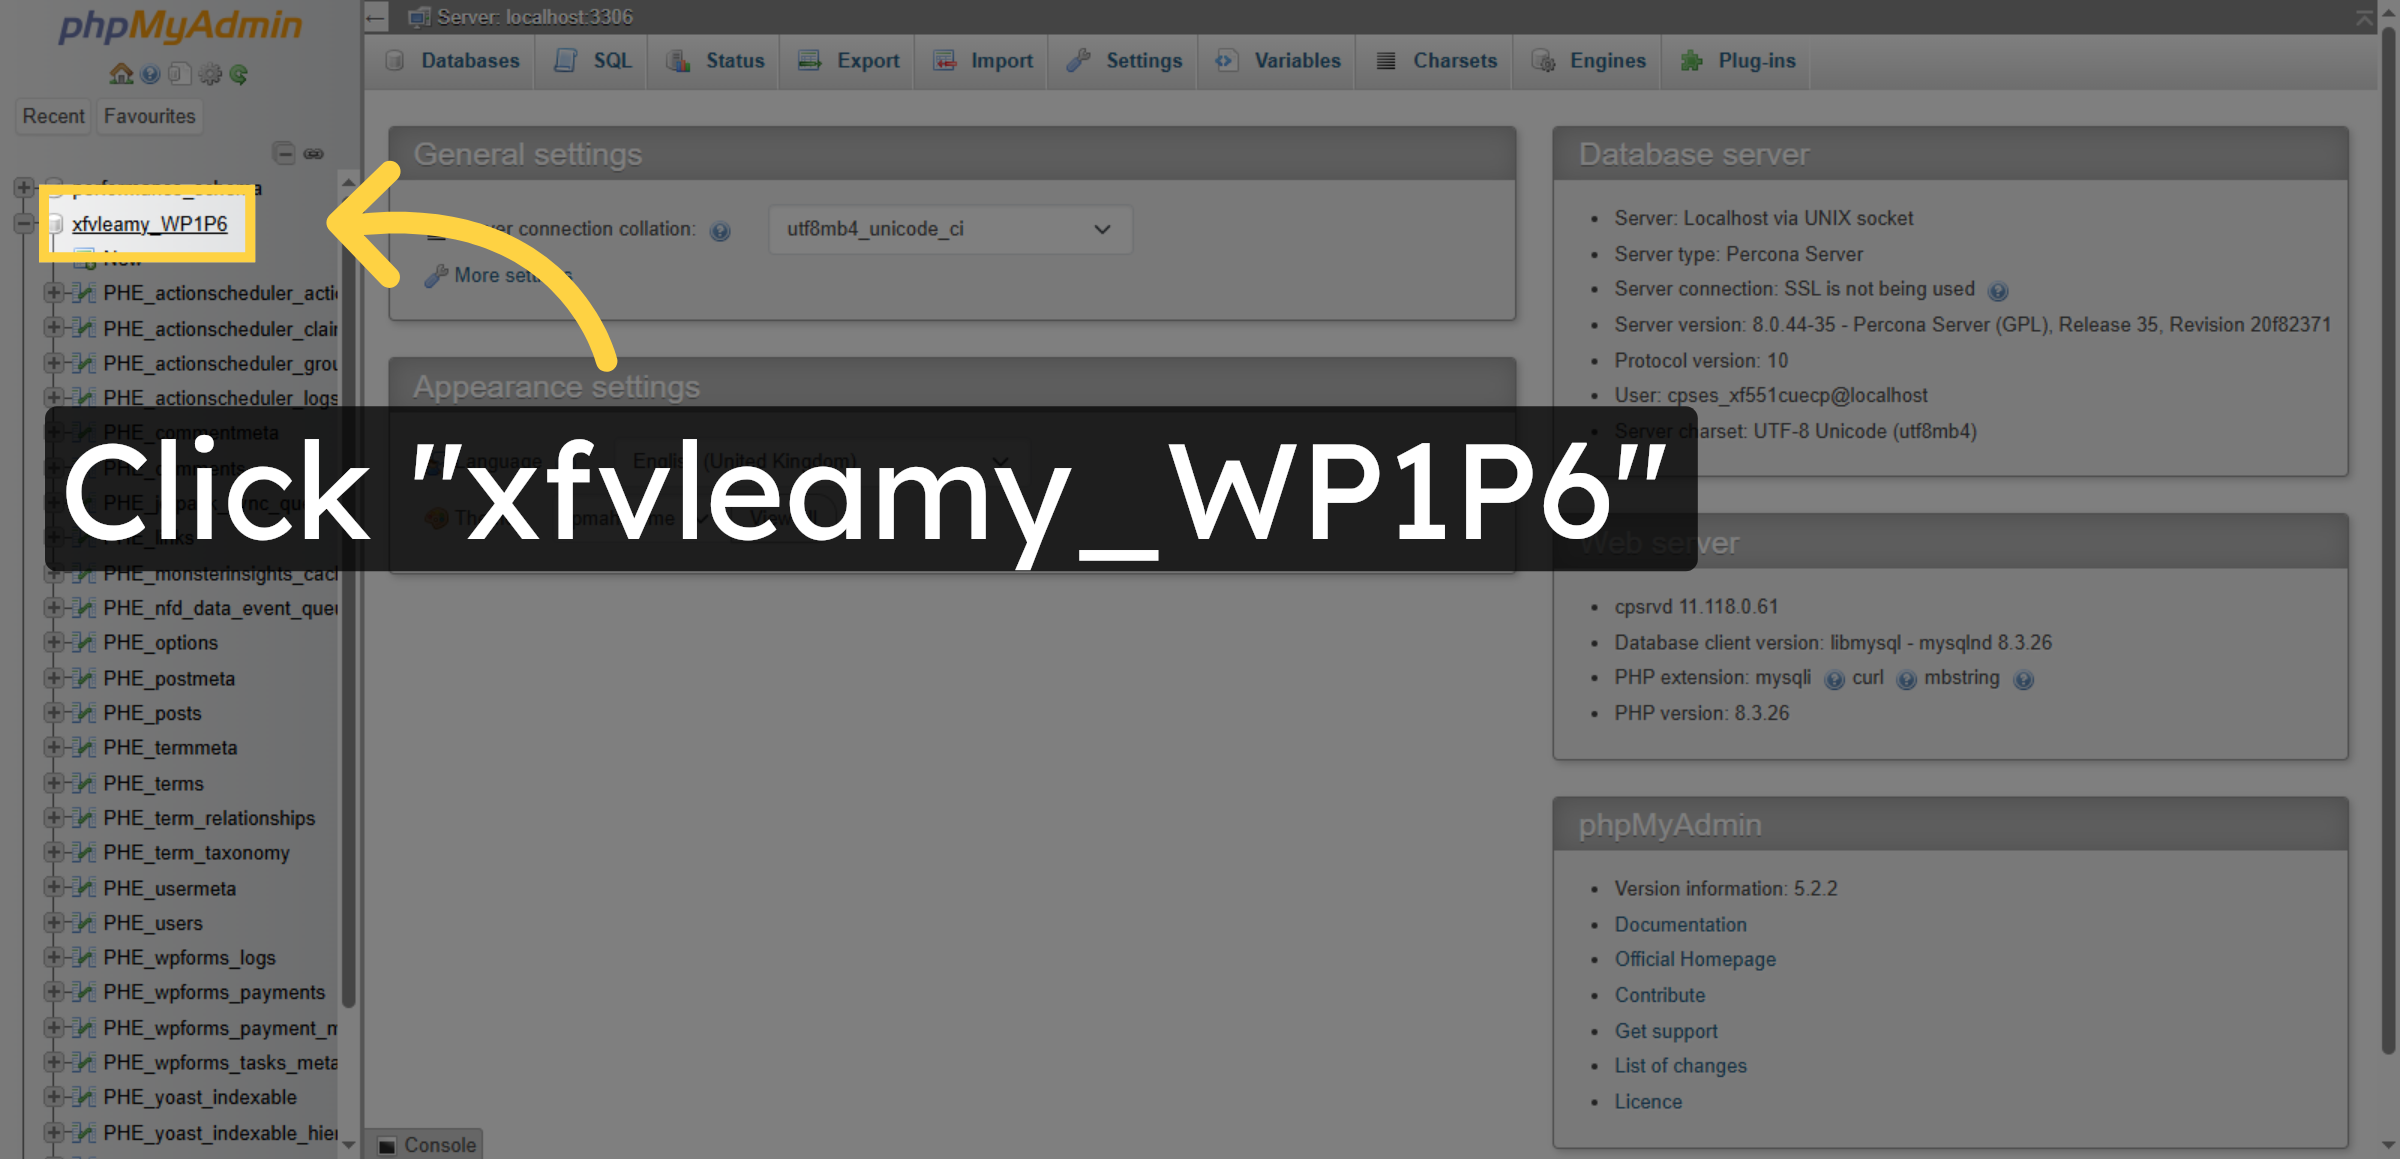
7. Select WordPress Database
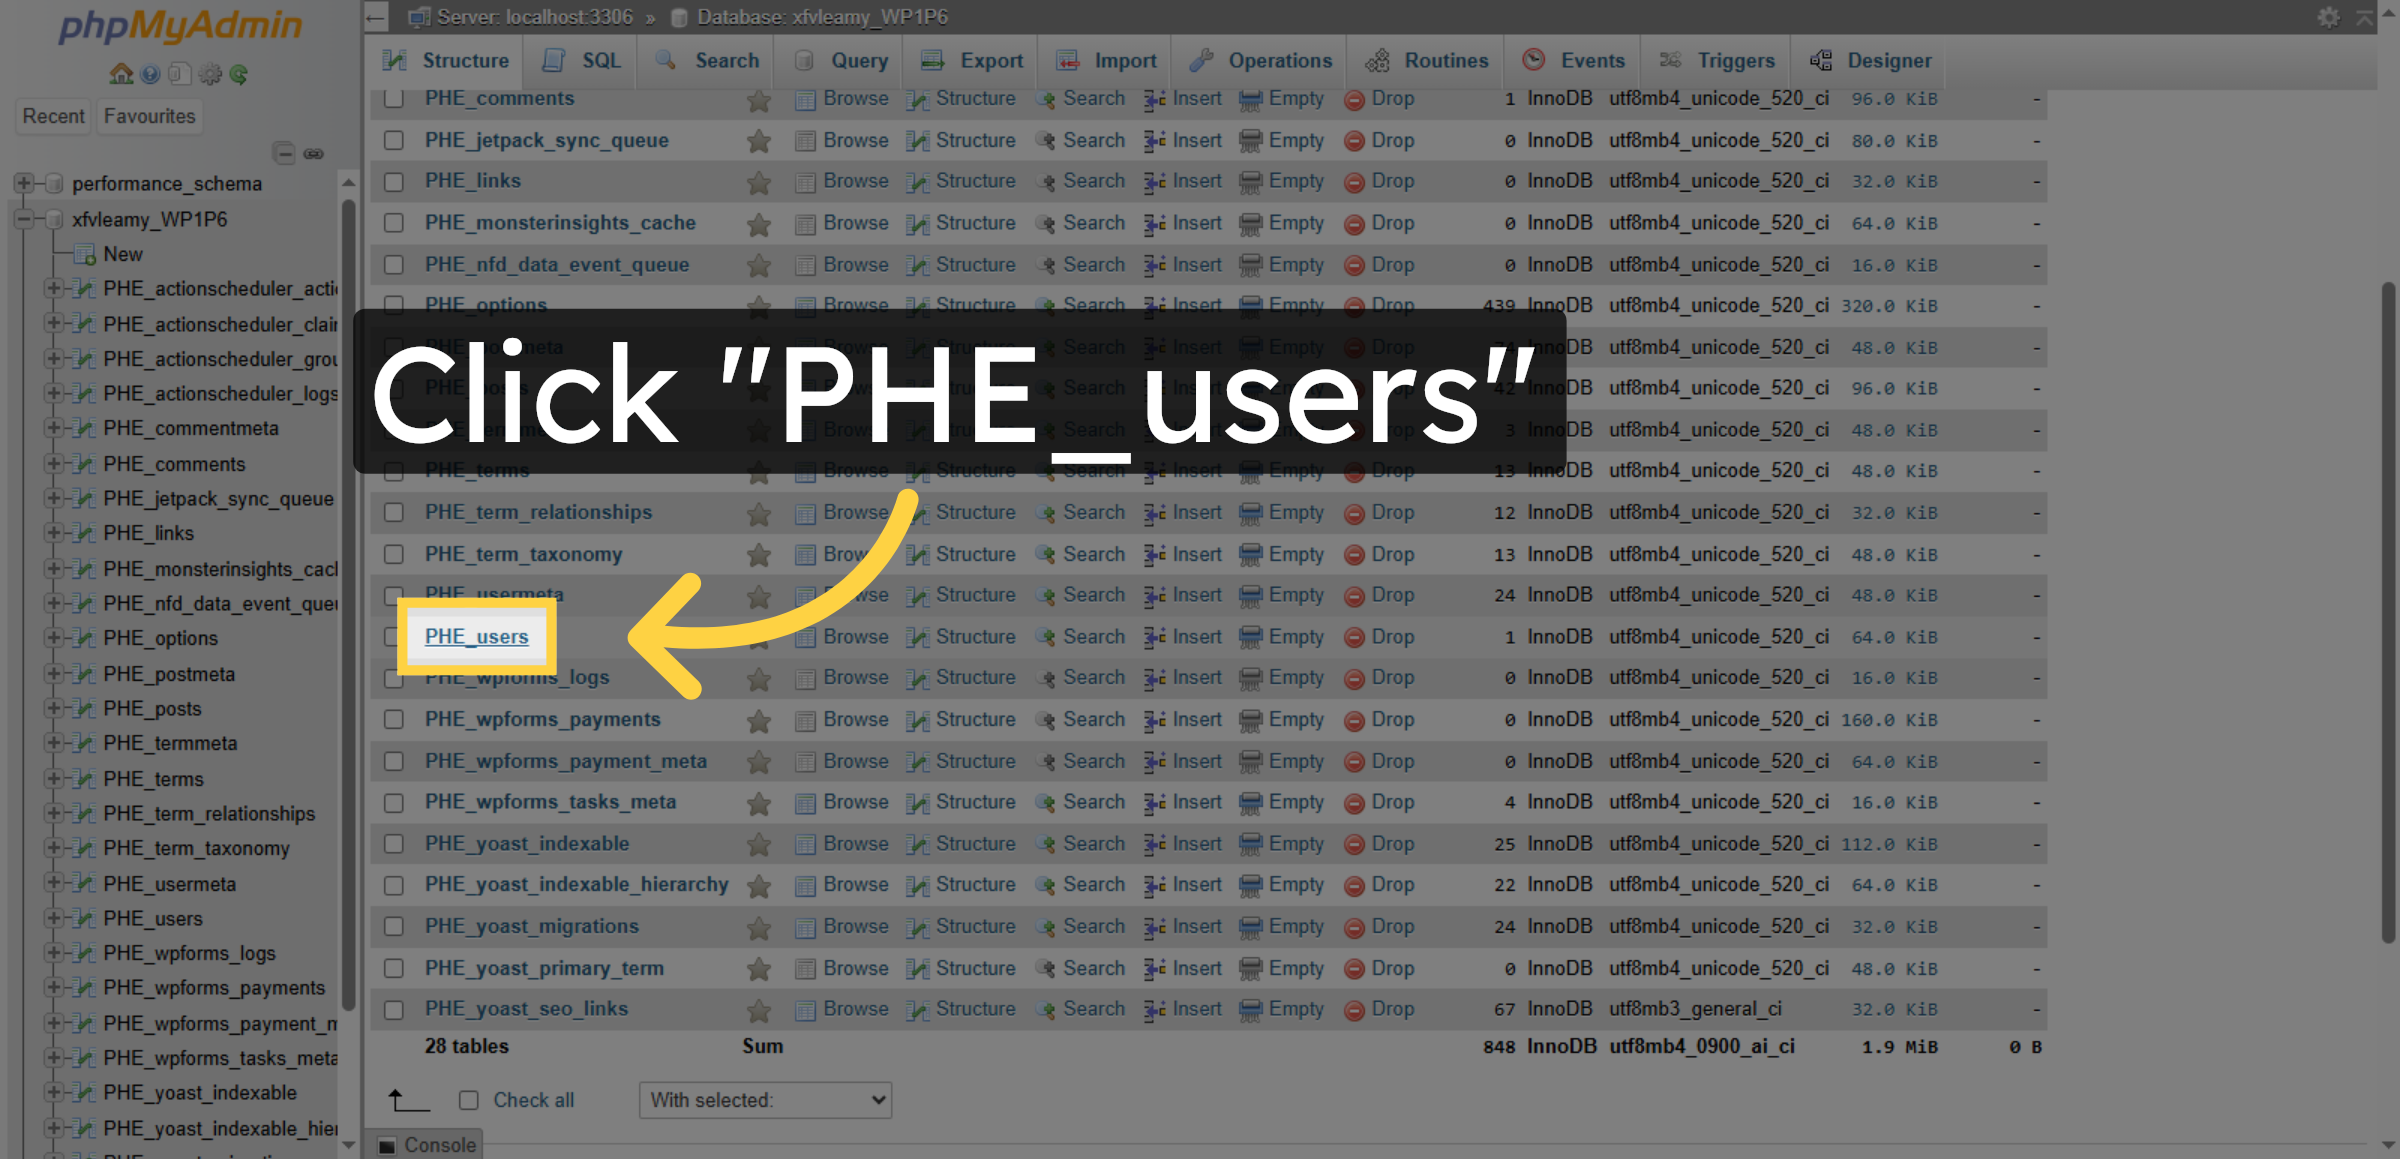
8. Open Users Table
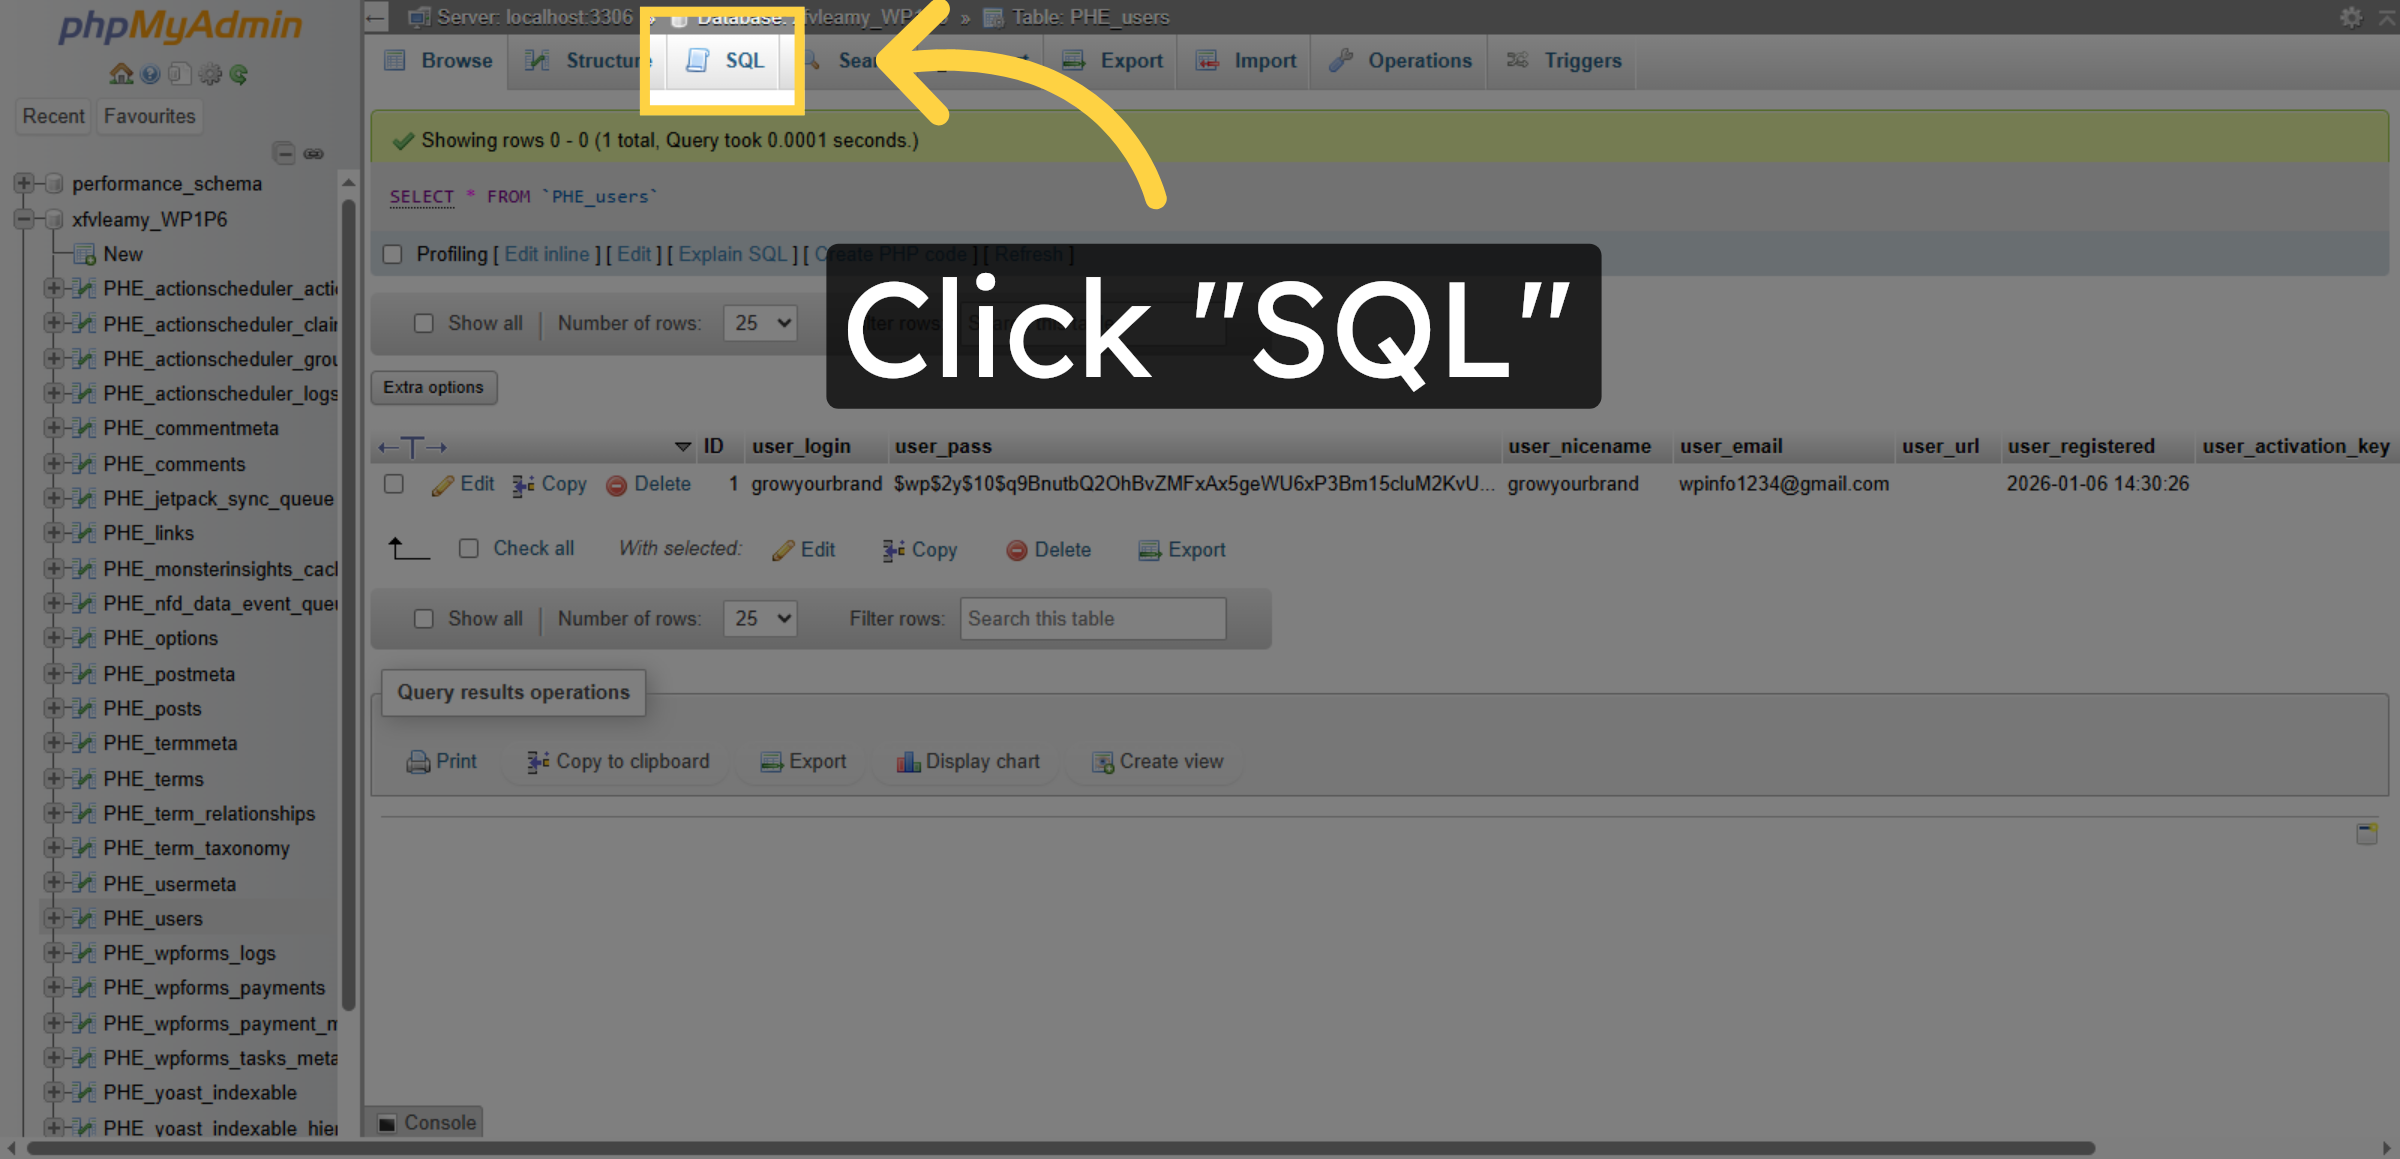
9. Access SQL Query Tab
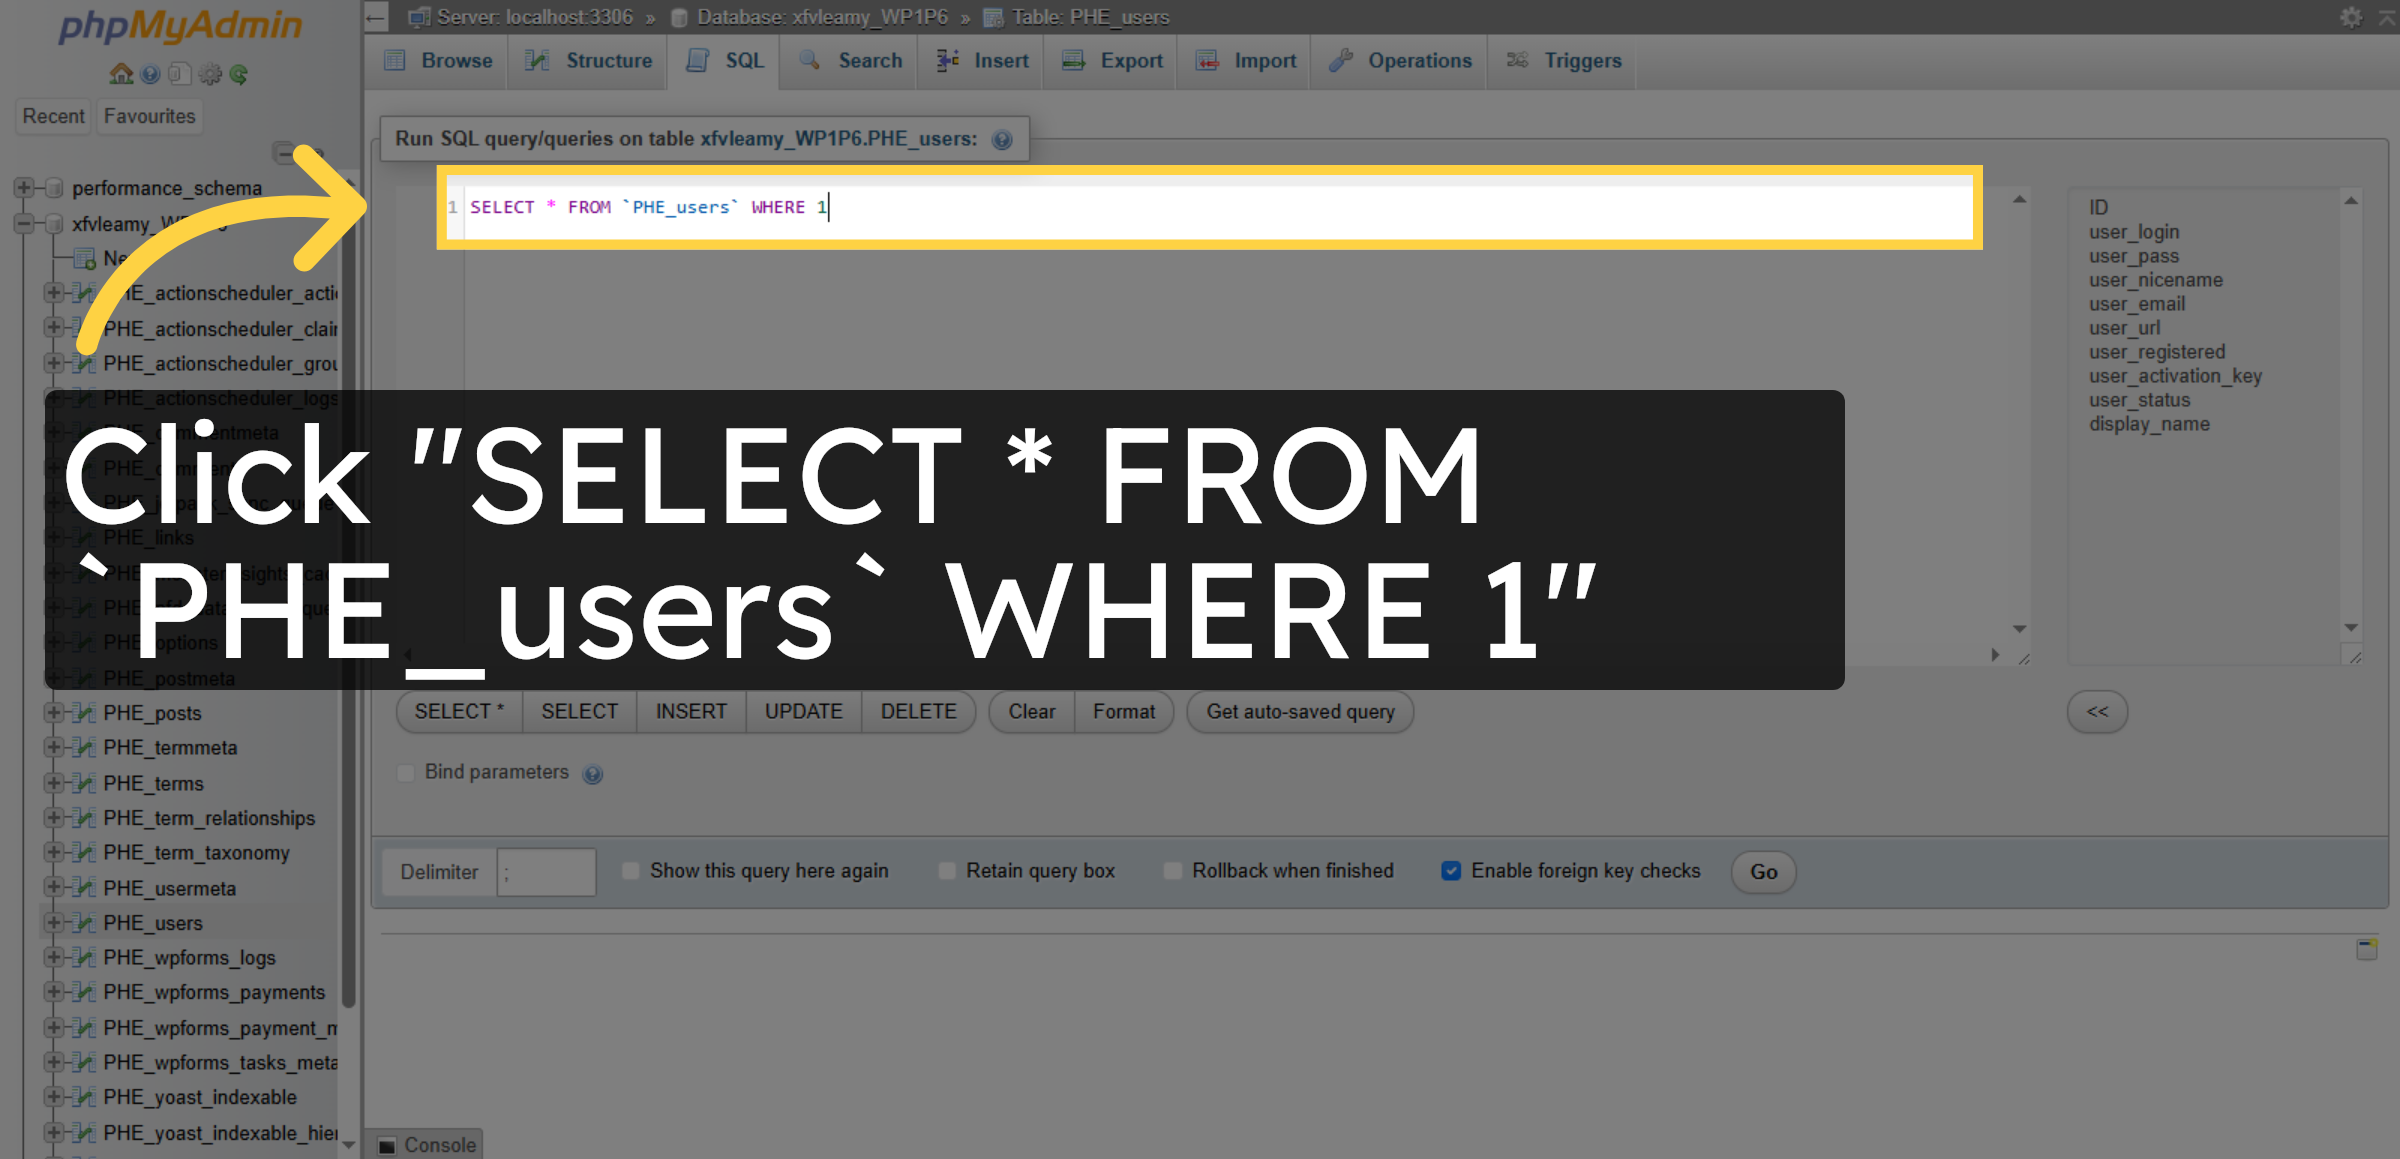
10. Select All User Records and Remove
11. Inserting New User
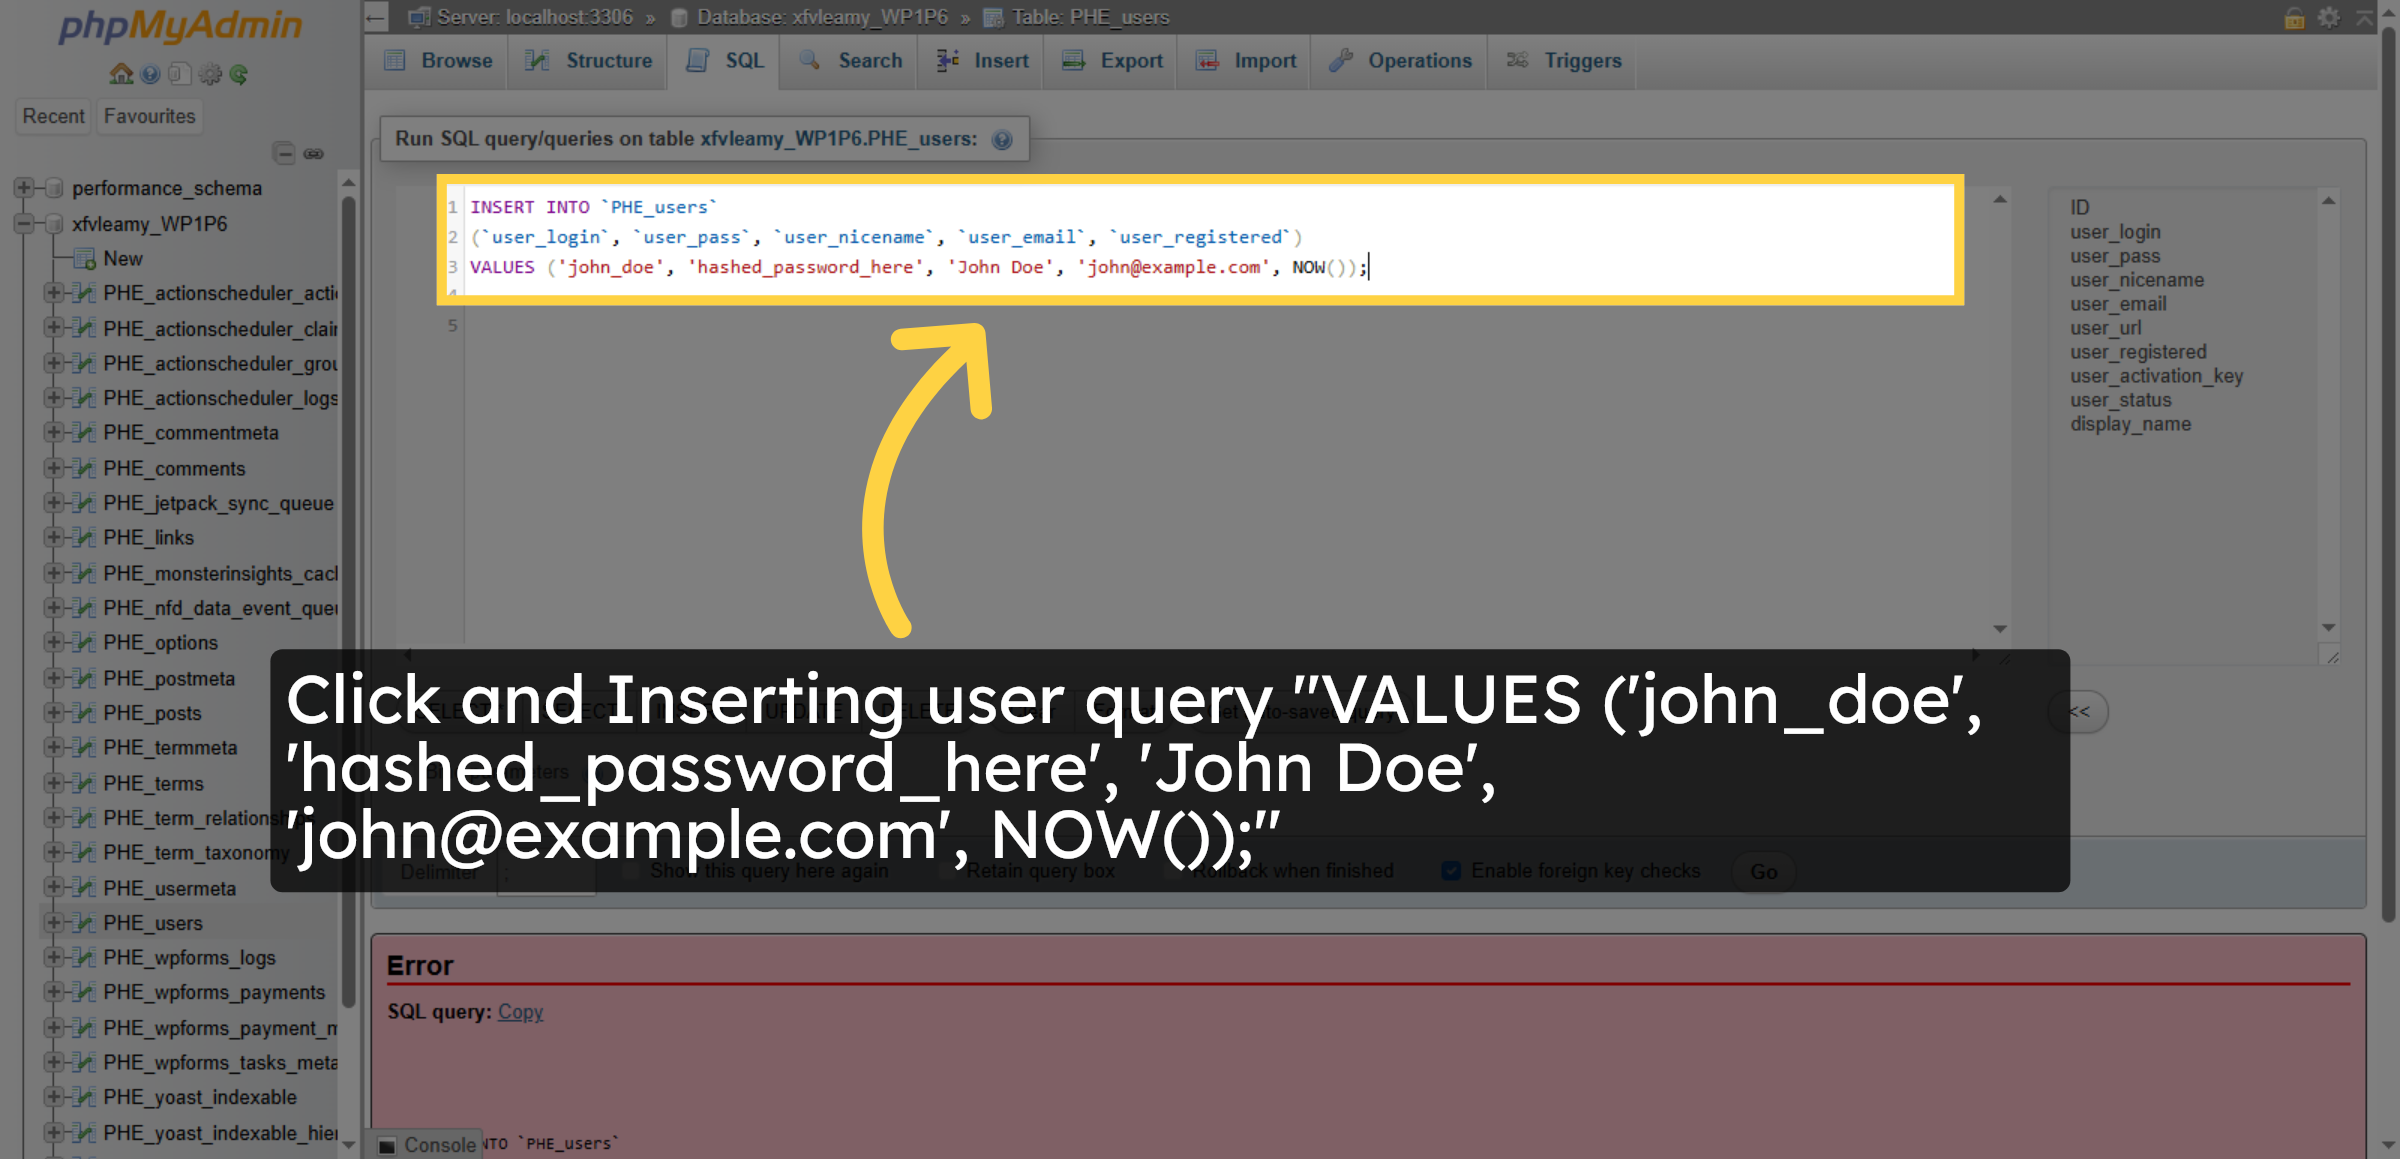
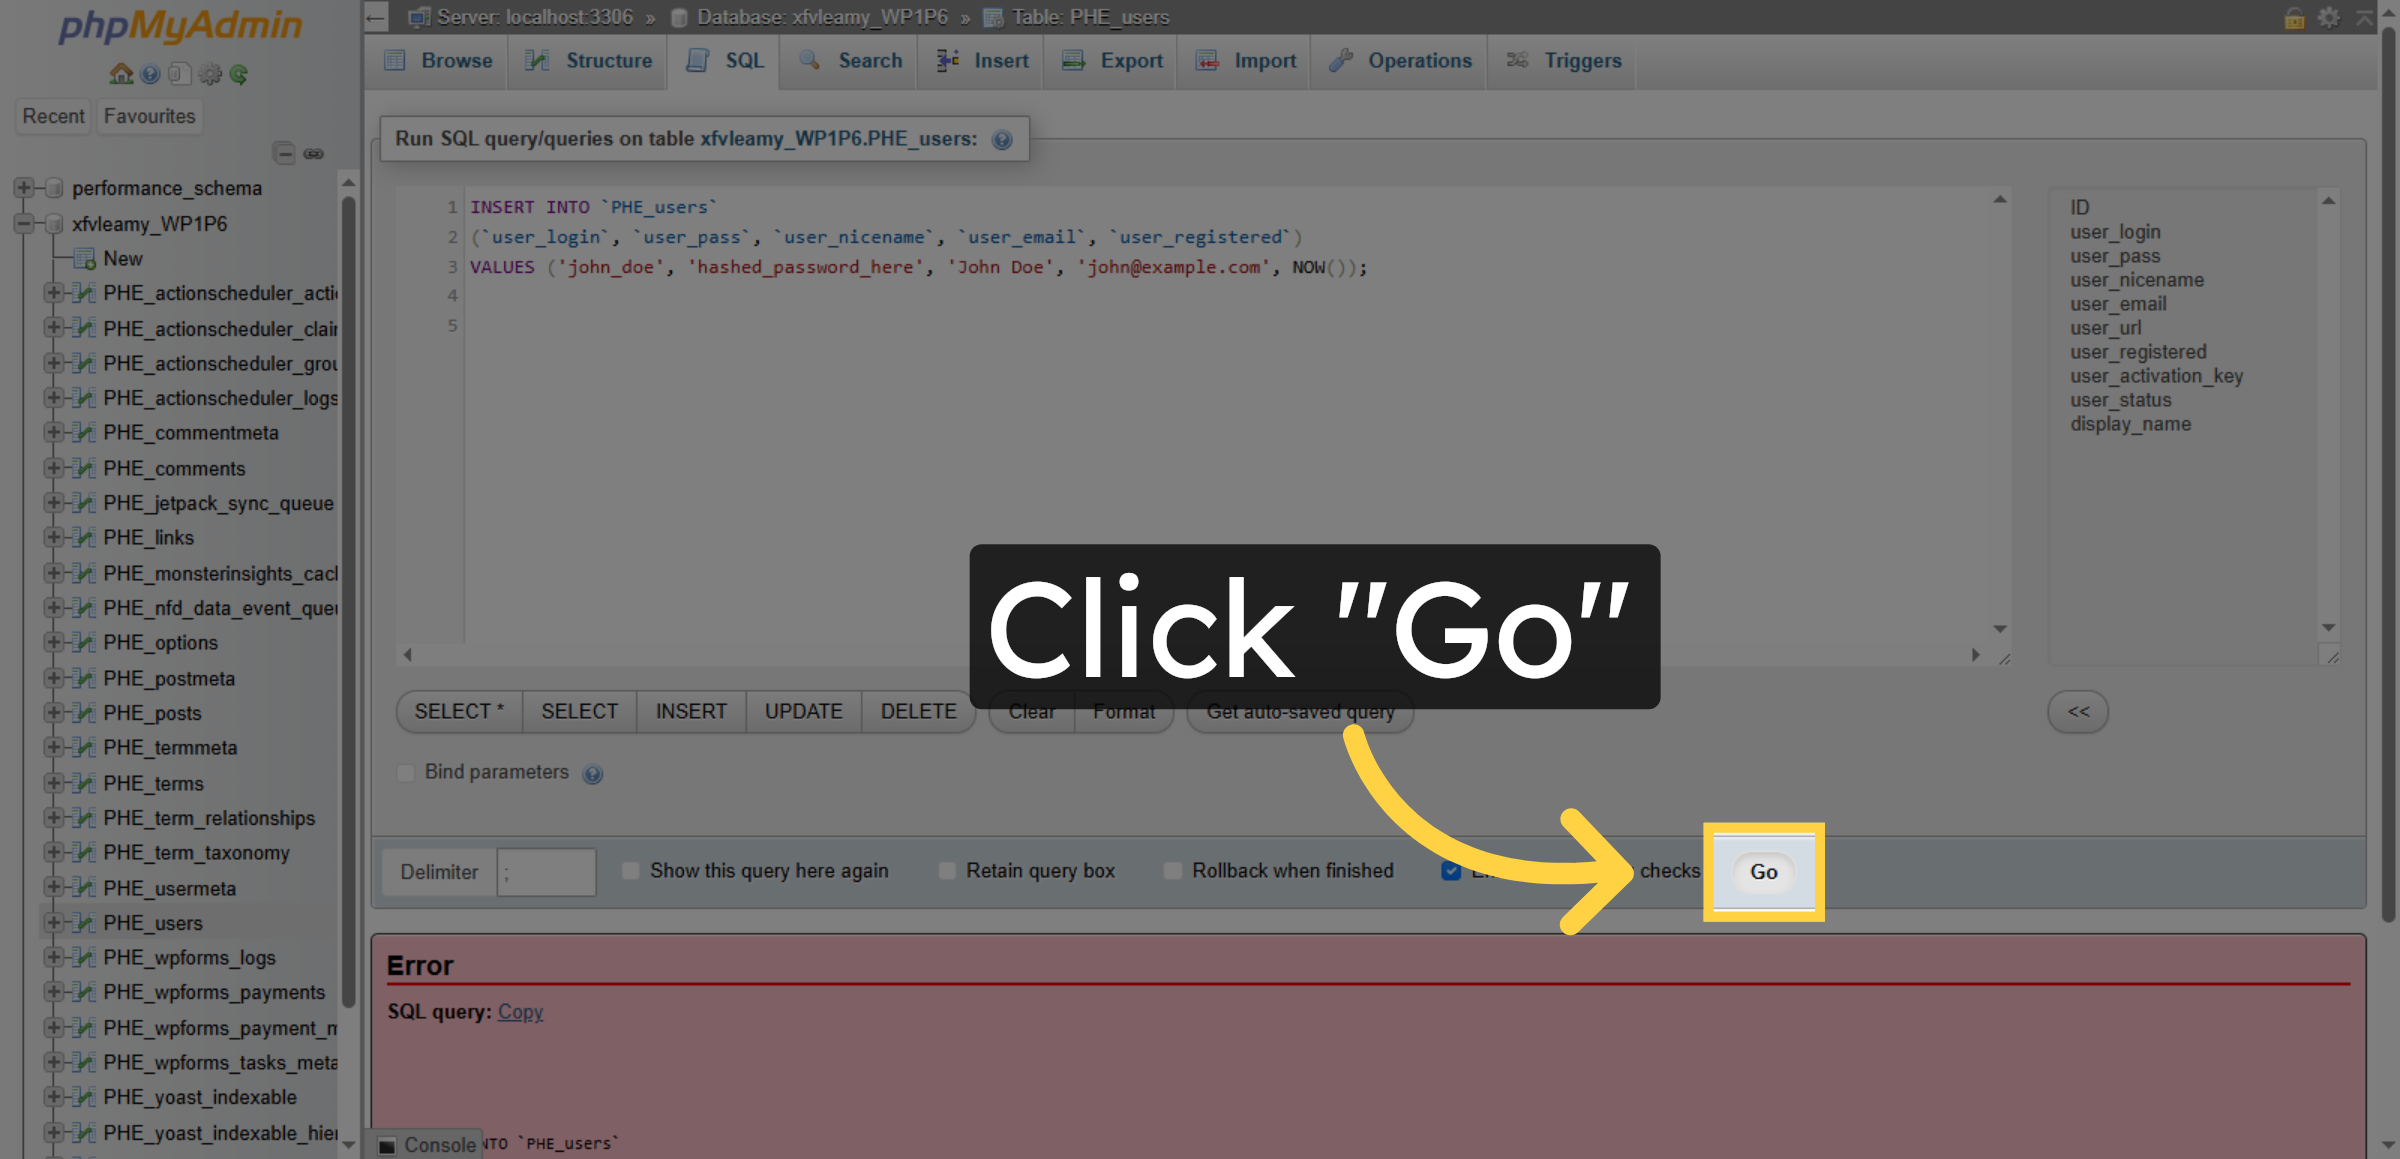
12. Run Timestamped Insert Query
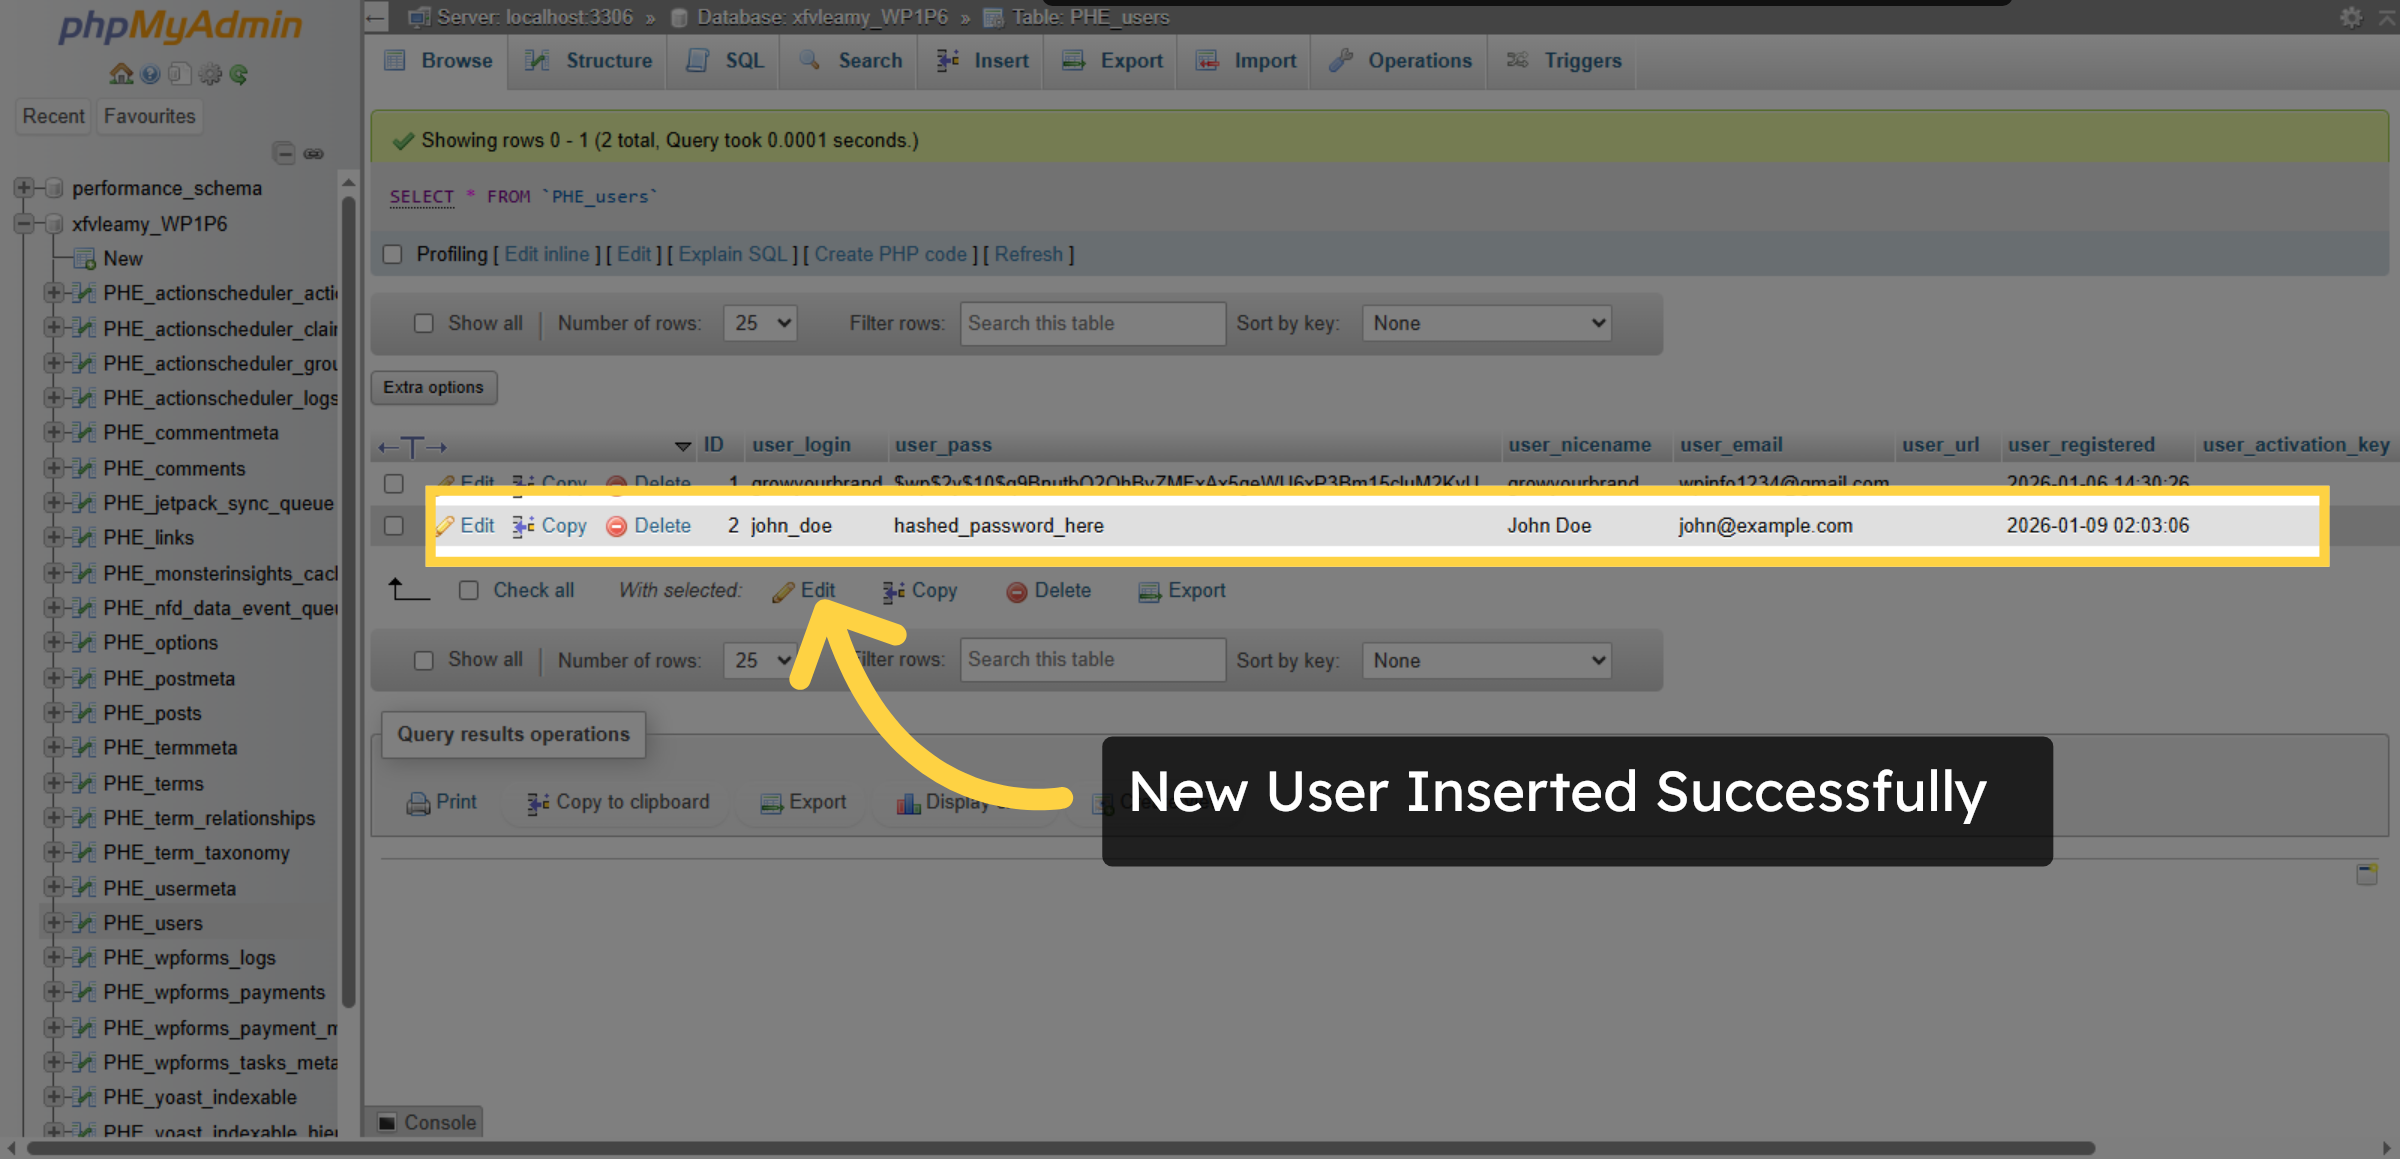
13. New User Inserted


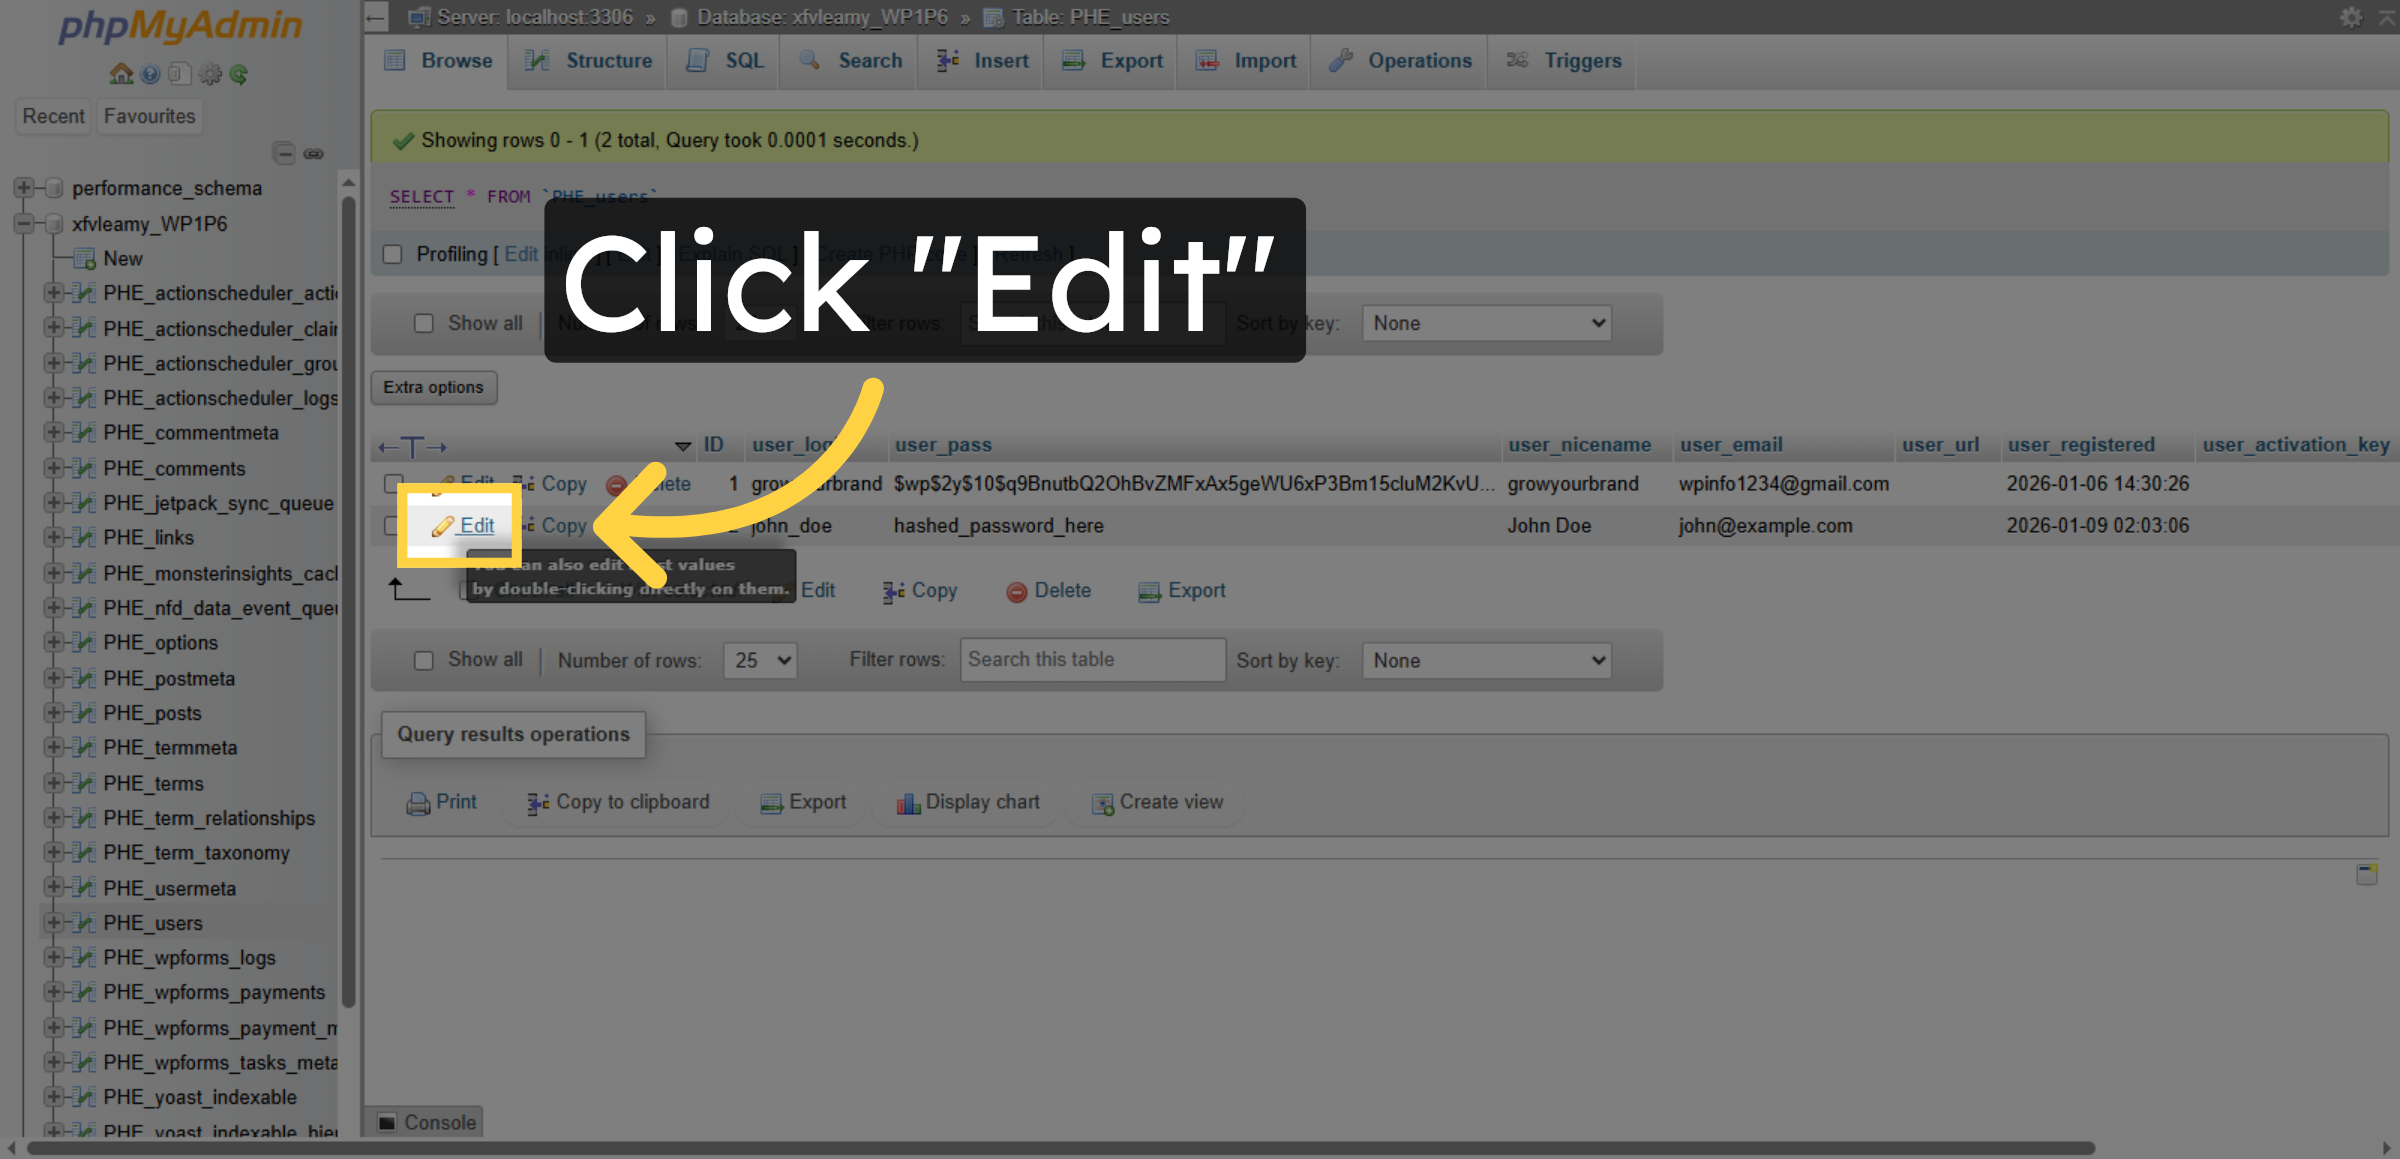
14. Edit User Record
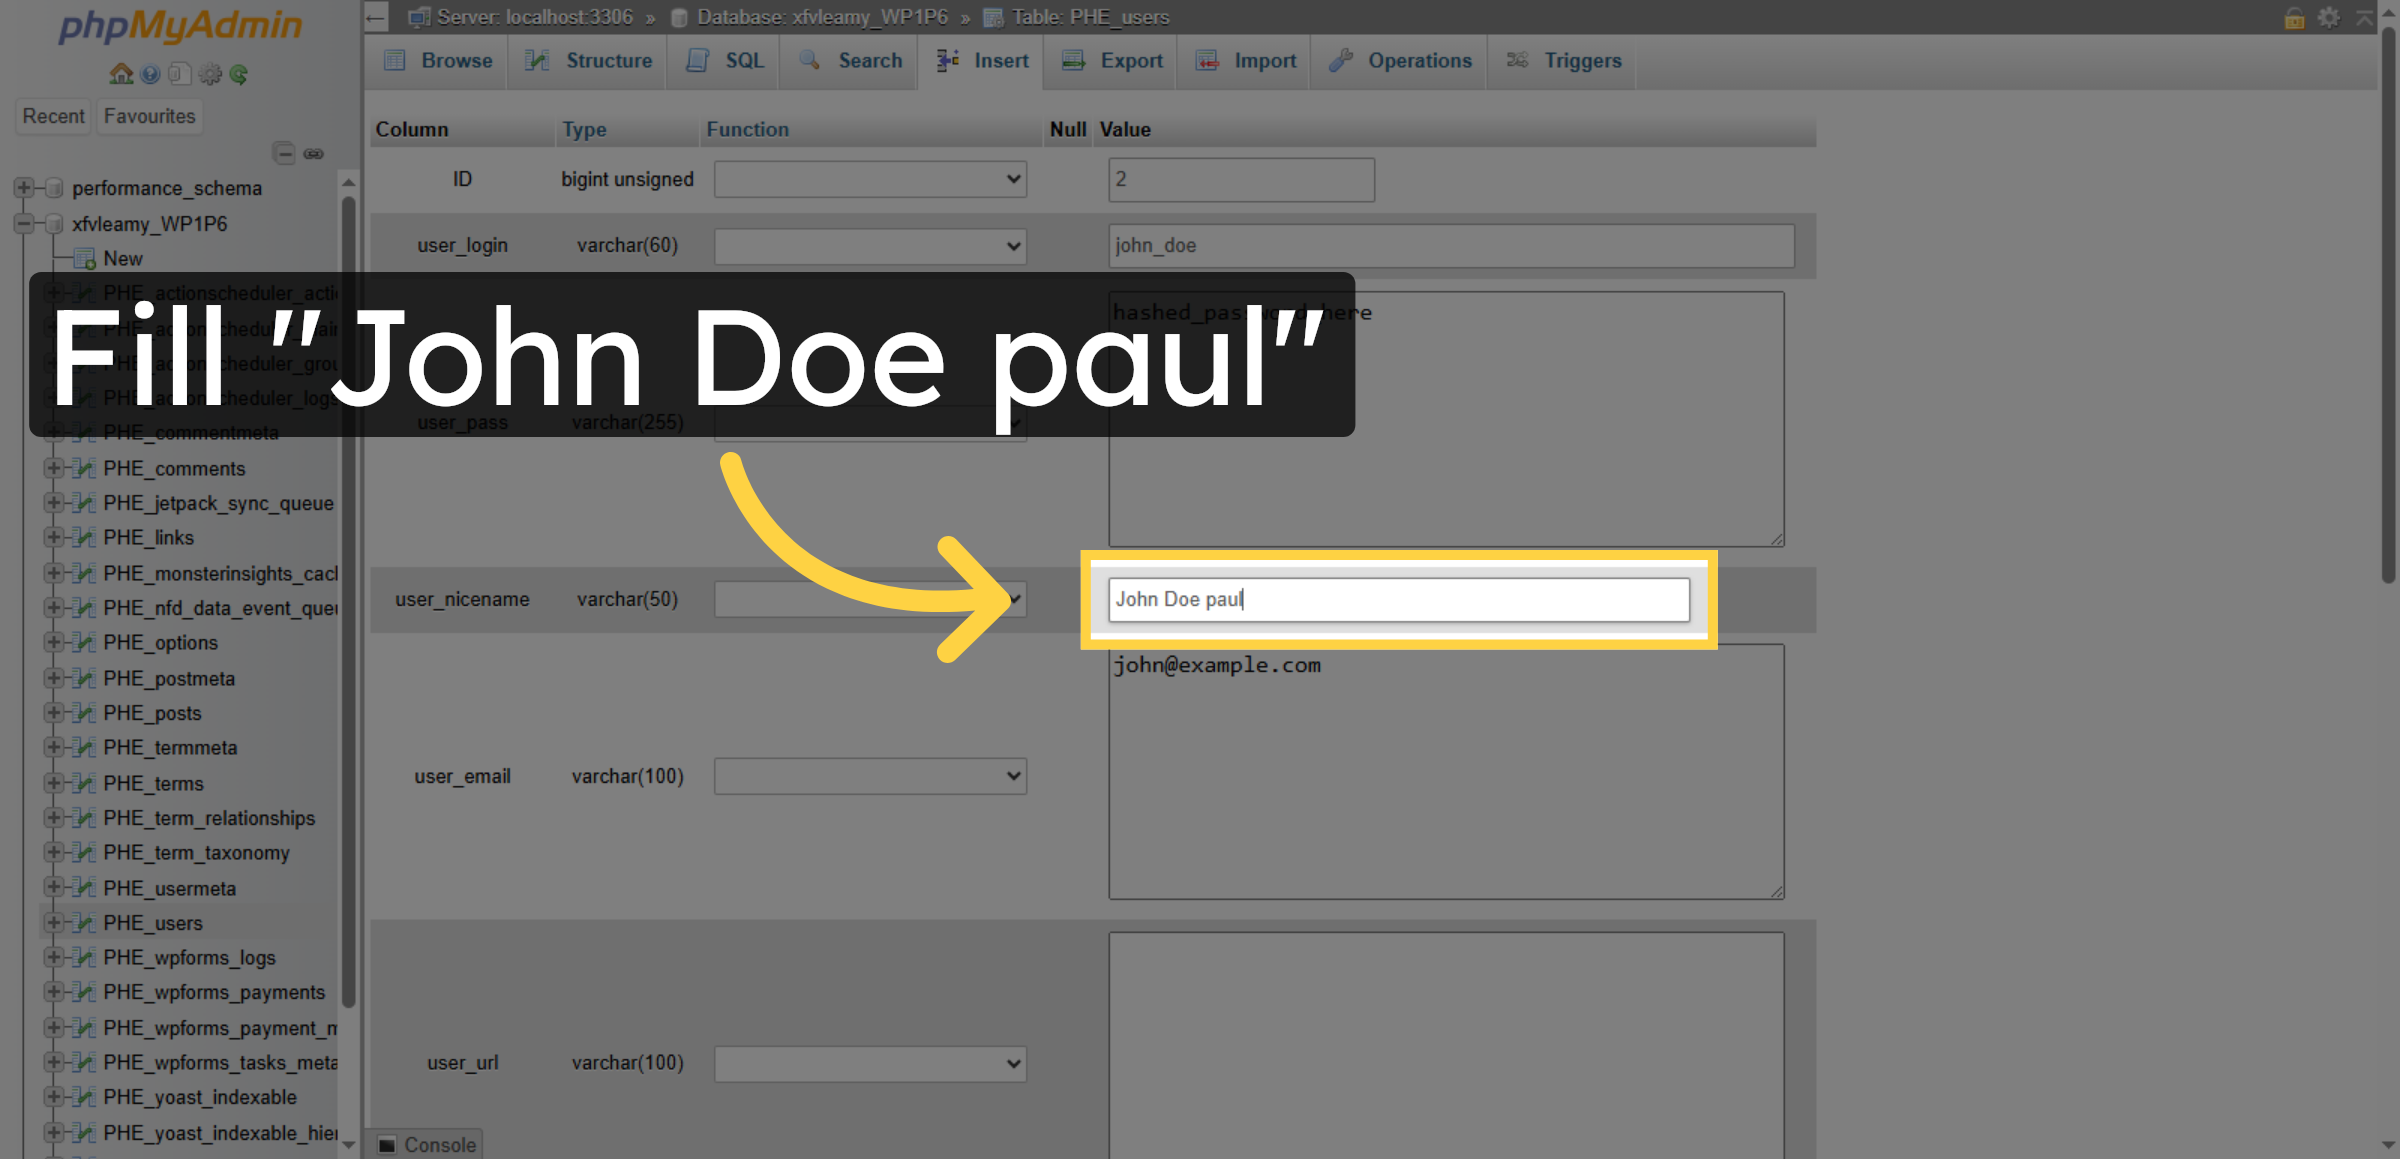
15. Select User Name Field and Update it
16. Select and Update User Email Field
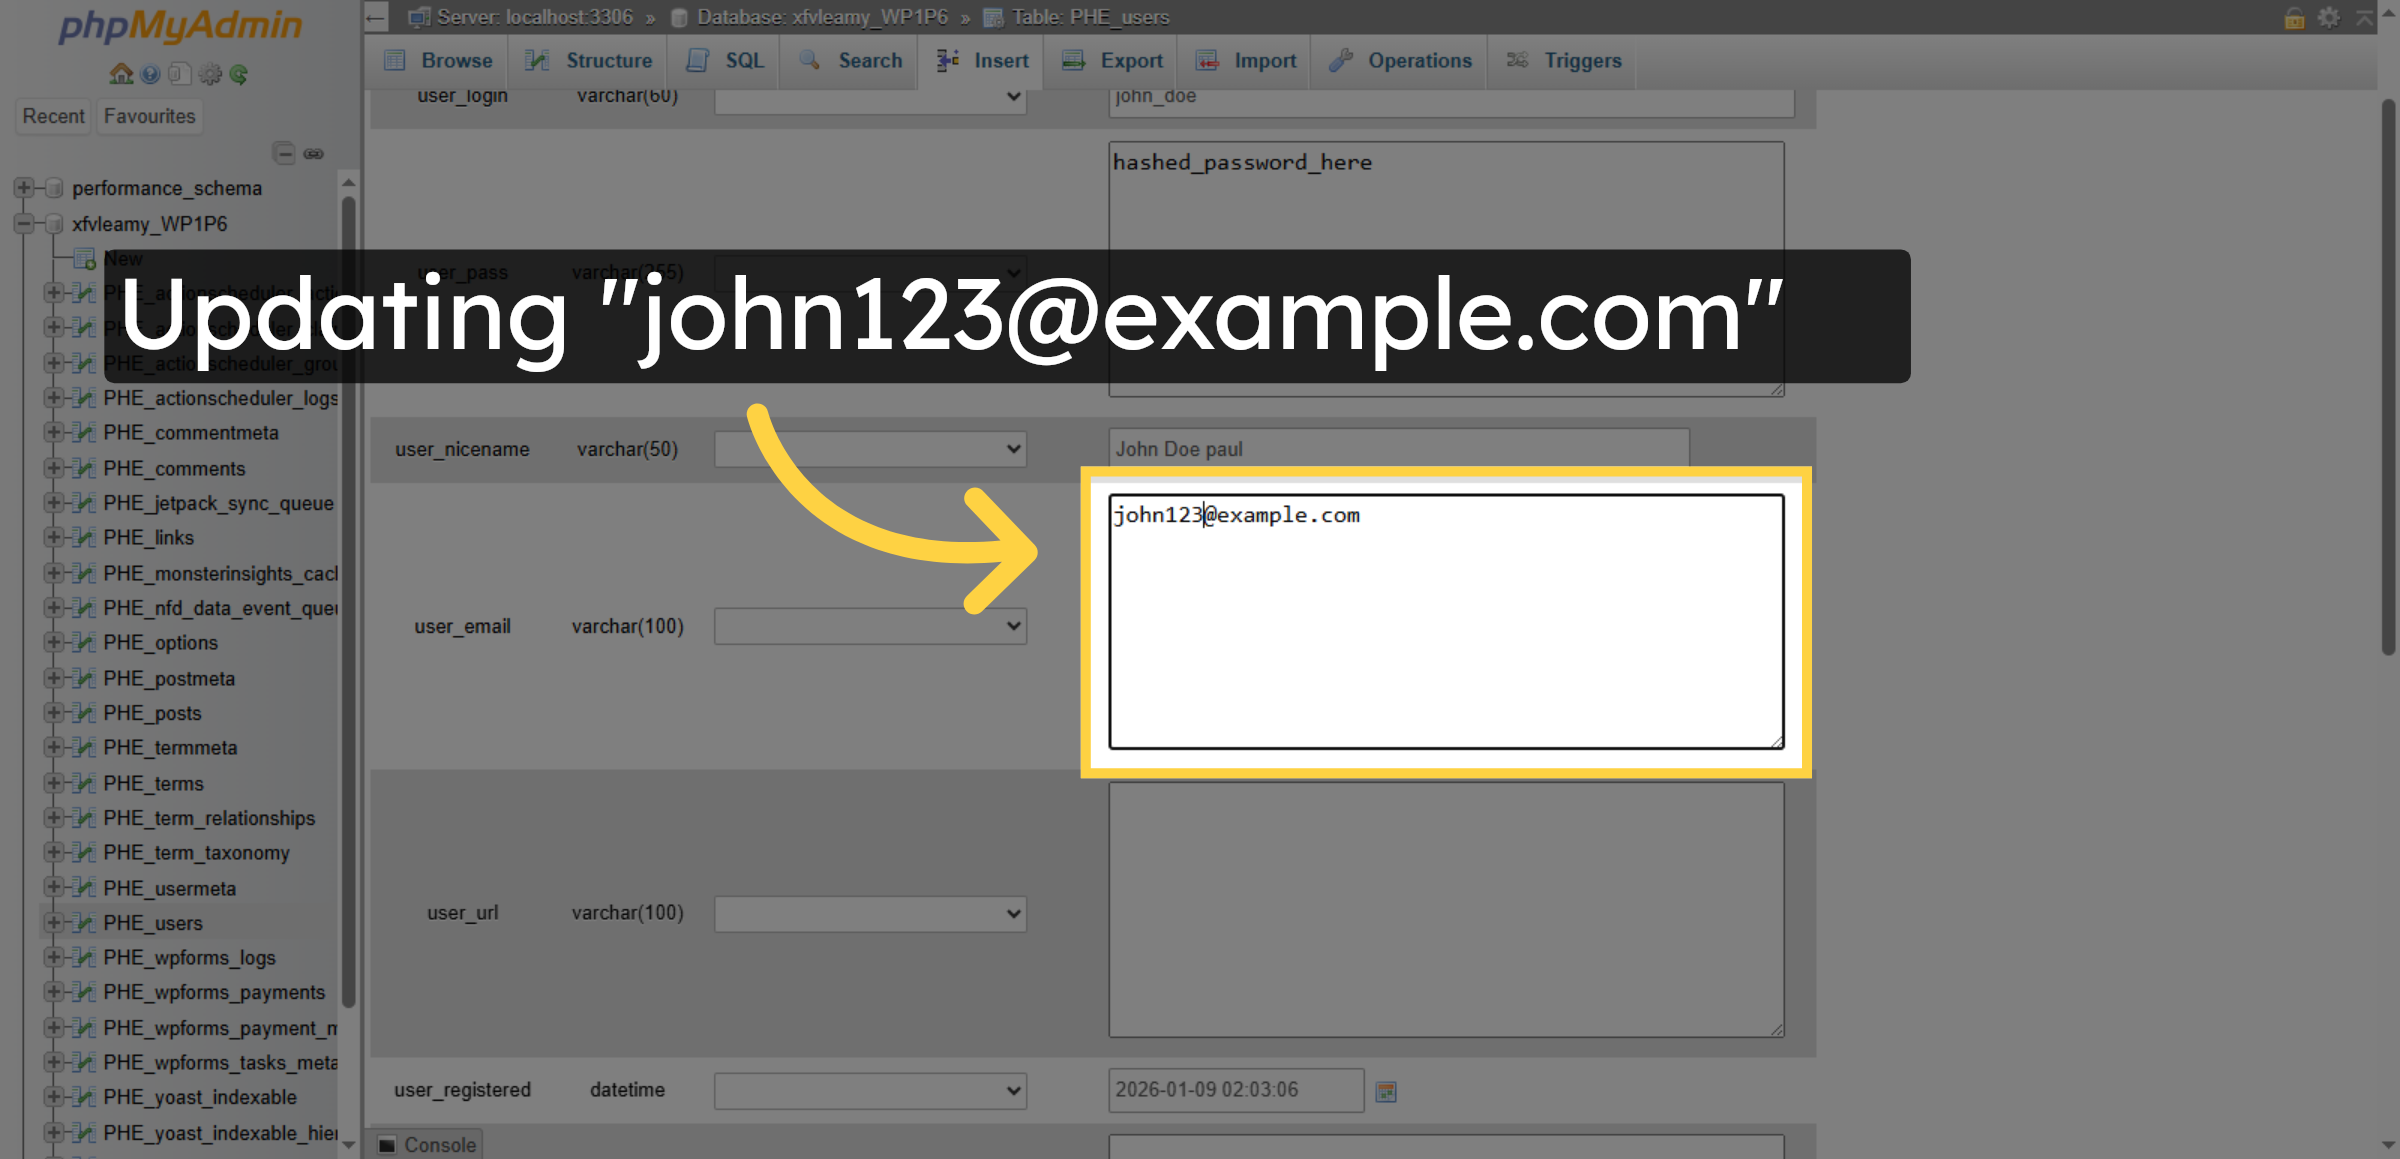
17. Save User Record Changes

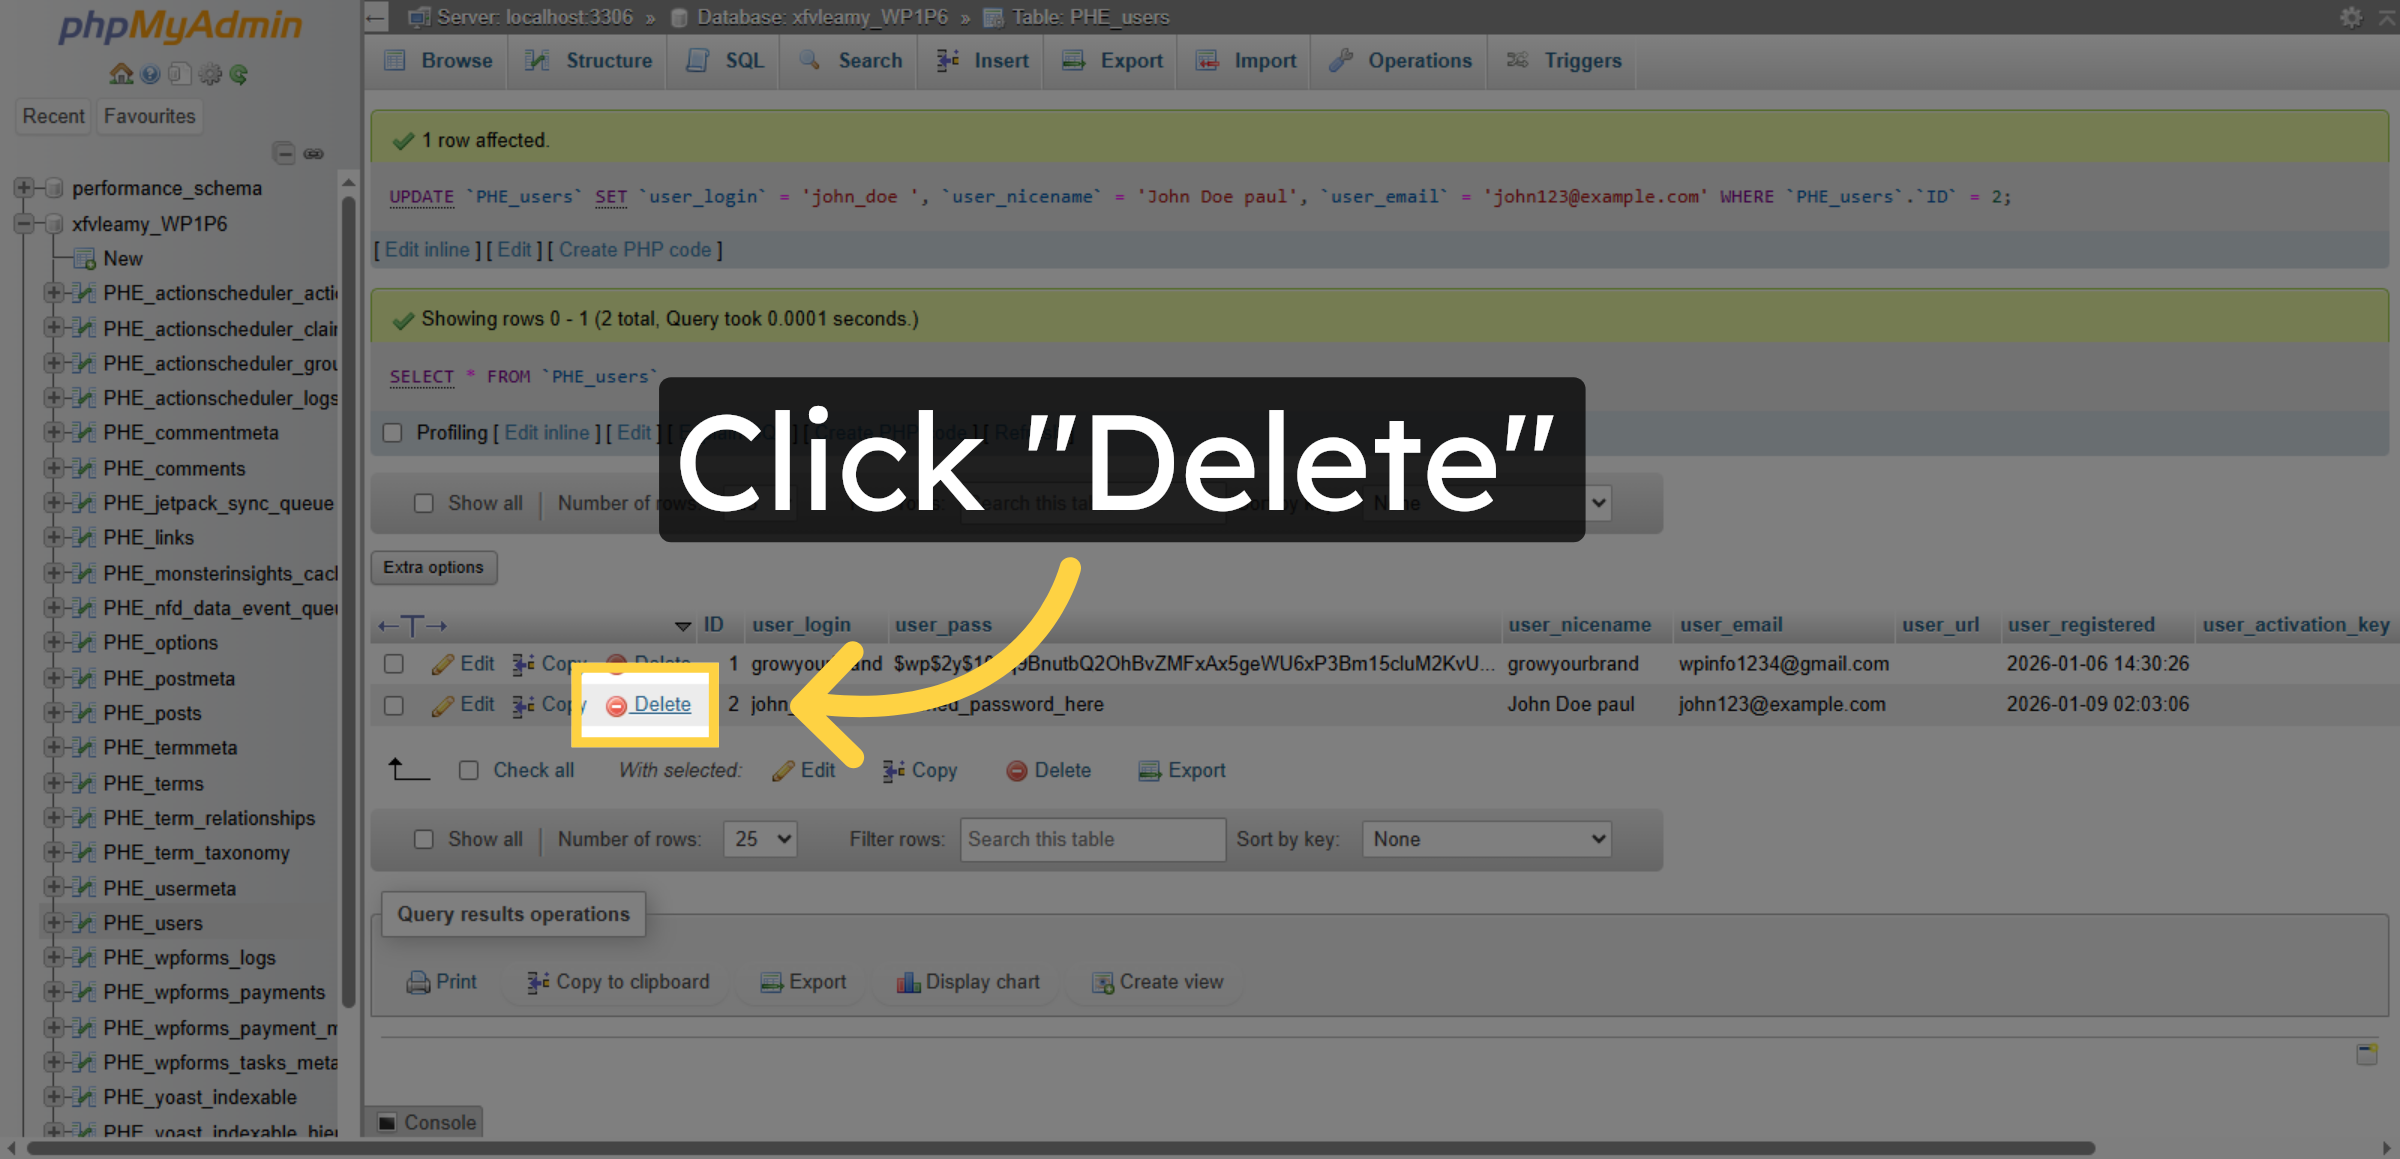
18. Delete User Record
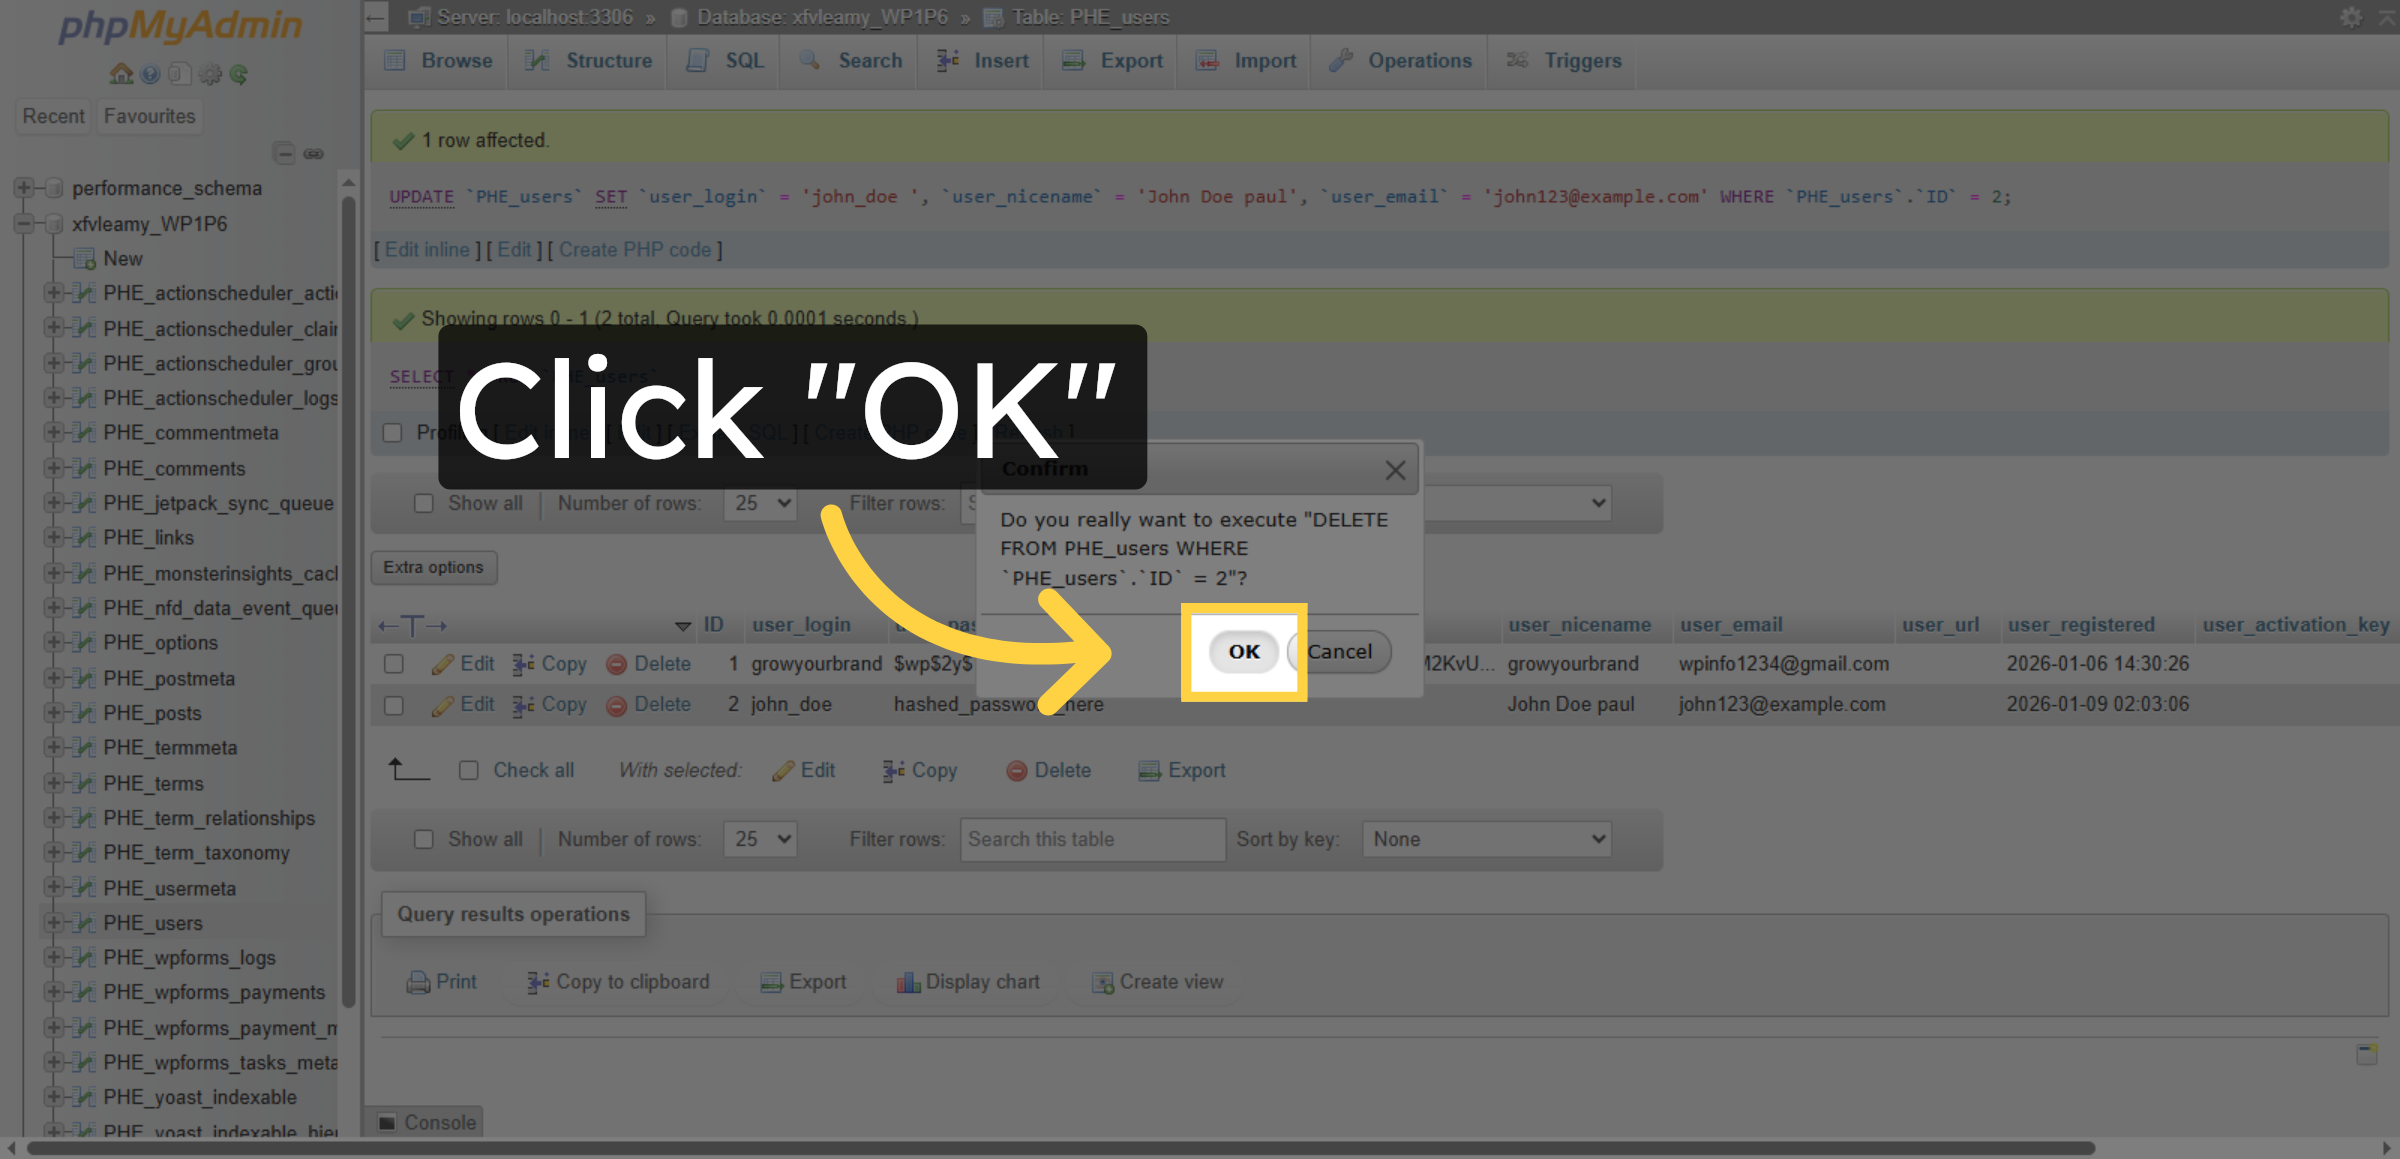
19. Confirm Deletion
Conclusion
By following this guide, you have successfully learned how to access and manage your WordPress database using phpMyAdmin on Bluehost. You can now view tables, insert new records, update user information, and remove unwanted entries safely. These skills help improve website stability and data accuracy.
To avoid data loss, always create backups before making major changes and review database entries carefully. Regular database maintenance will help keep your website secure and optimized.
WooHelpDesk Support
Need help with WordPress database management, backups, or troubleshooting? WooHelpDesk is here to support you.
Visit: https://www.woohelpdesk.com
Call Us Toll-Free: +1 888 602 0119 (US & Canada)
Secure Management | Expert Support
Contact WooHelpDesk today for reliable database assistance.


