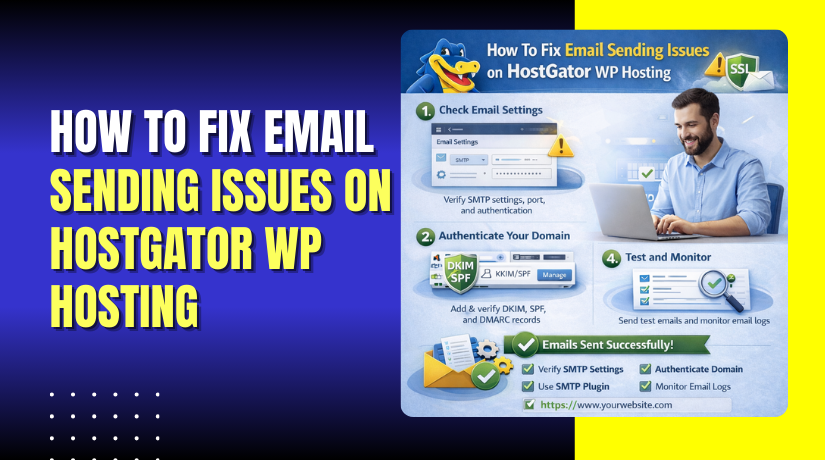
How To Fix Email Sending Issues on HostGator WP Hosting
Introduction
Email delivery issues are a common problem on WordPress websites, especially when default mail settings are not properly configured. When emails fail to send from contact forms or notification systems, configuring SMTP is the most reliable solution. This guide explains how to resolve email sending errors on HostGator WordPress hosting by creating a domain-based email account and configuring an SMTP plugin within WordPress. It walks you through setting up the email account in cPanel, installing and activating an SMTP plugin, and completing the SMTP setup wizard with the correct host, port, and authentication details. By following these steps, you can ensure that emails sent from your WordPress website are delivered successfully and consistently.
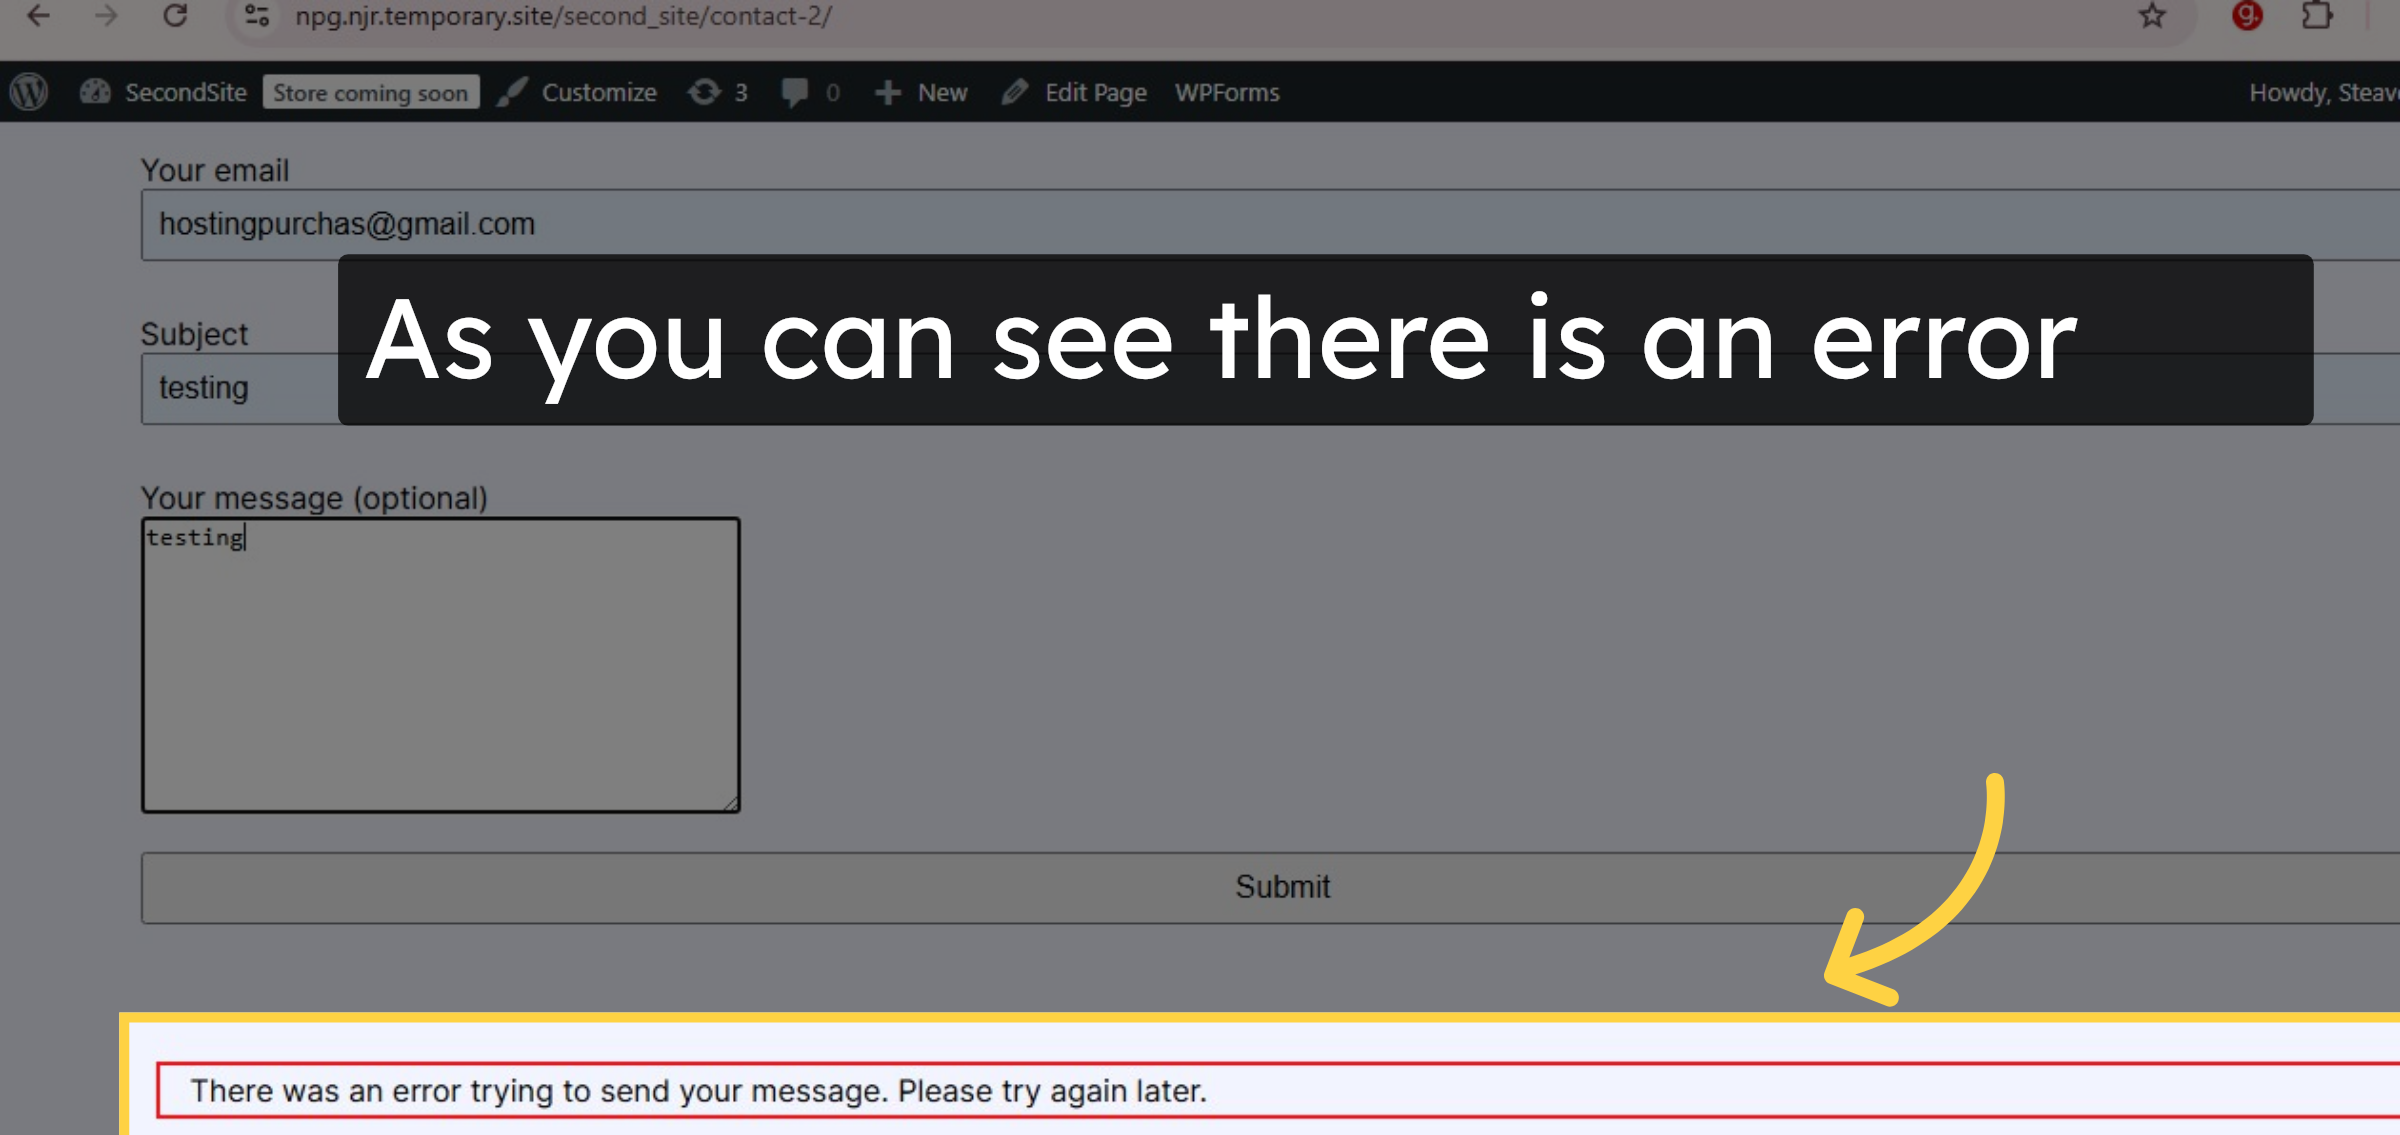
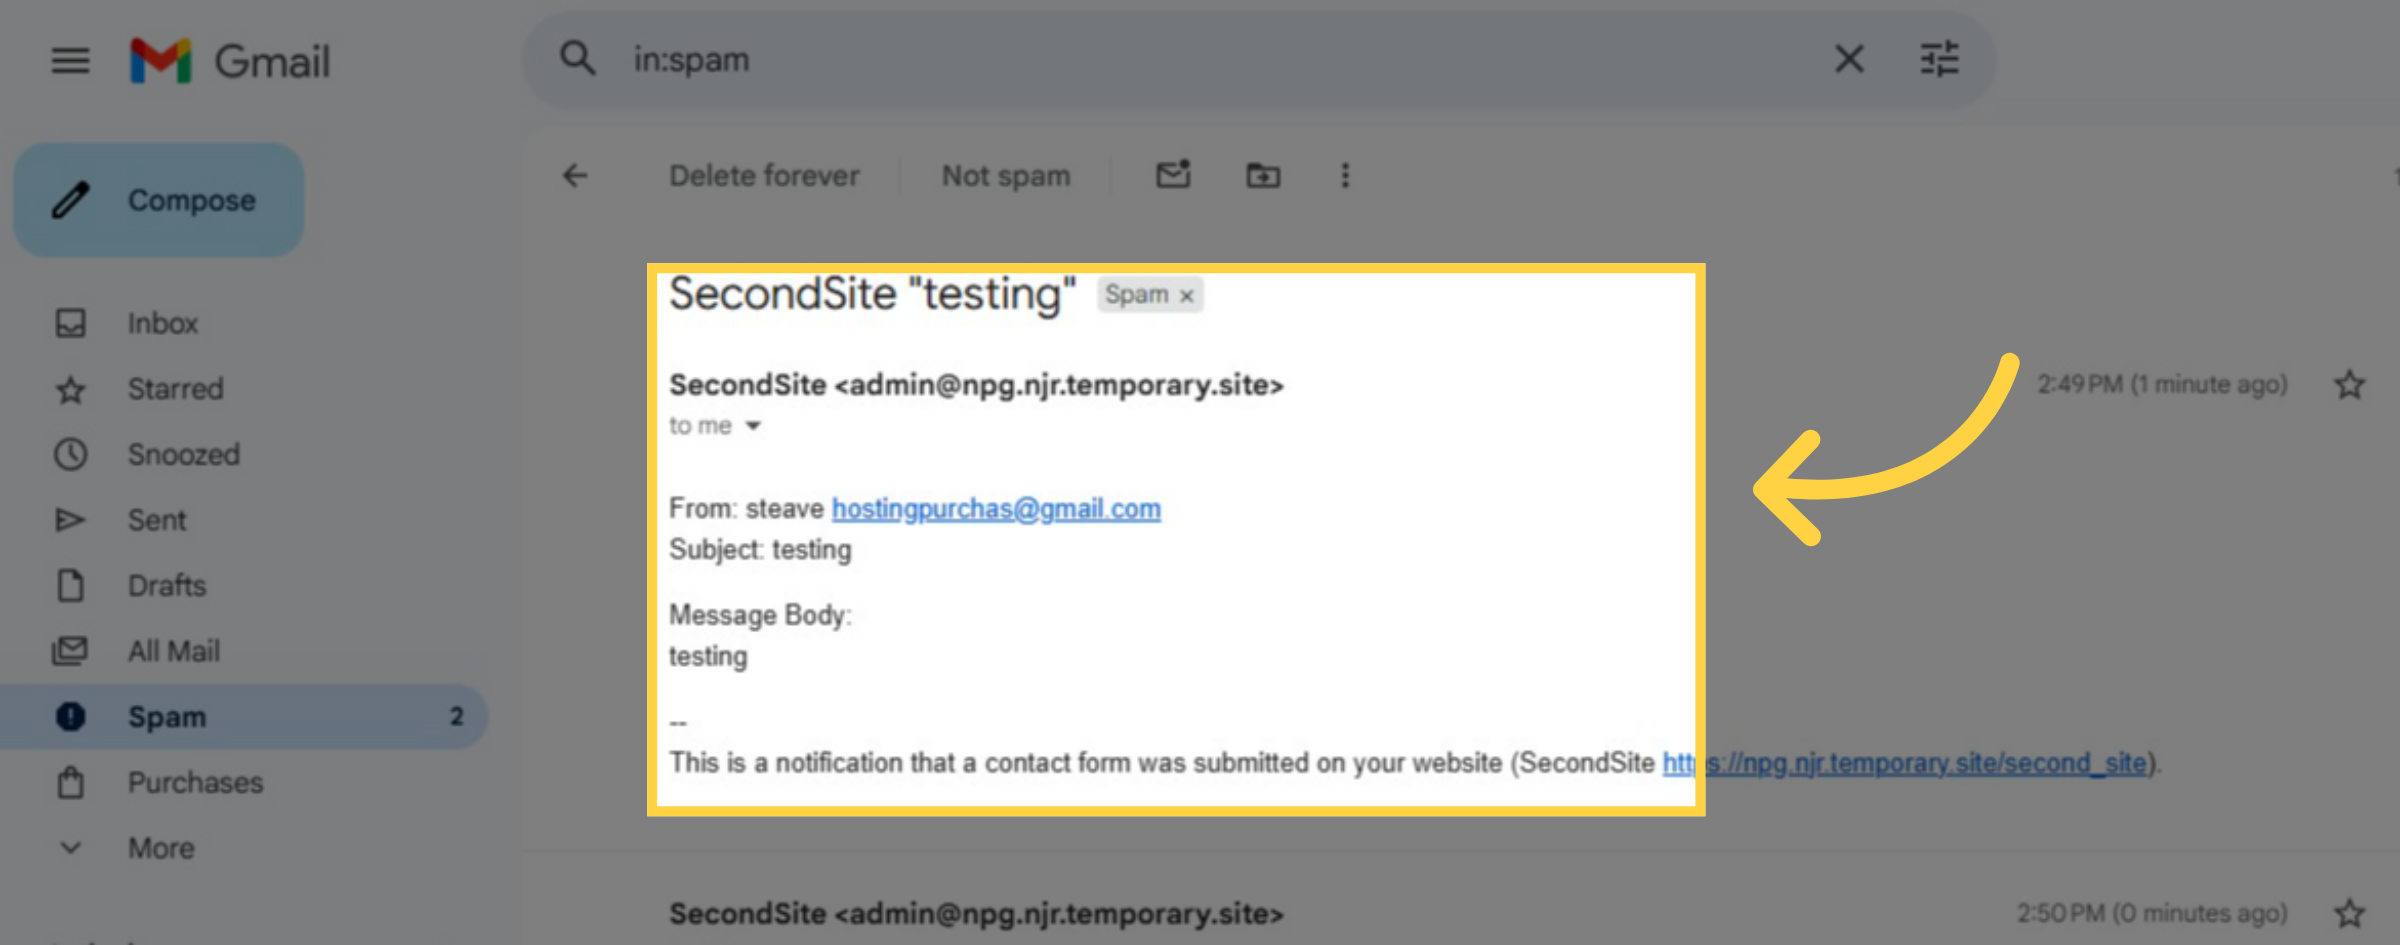
1. Error on sending Email.
2. Open Hostgator Dashboard.

3. Open Cpanel.
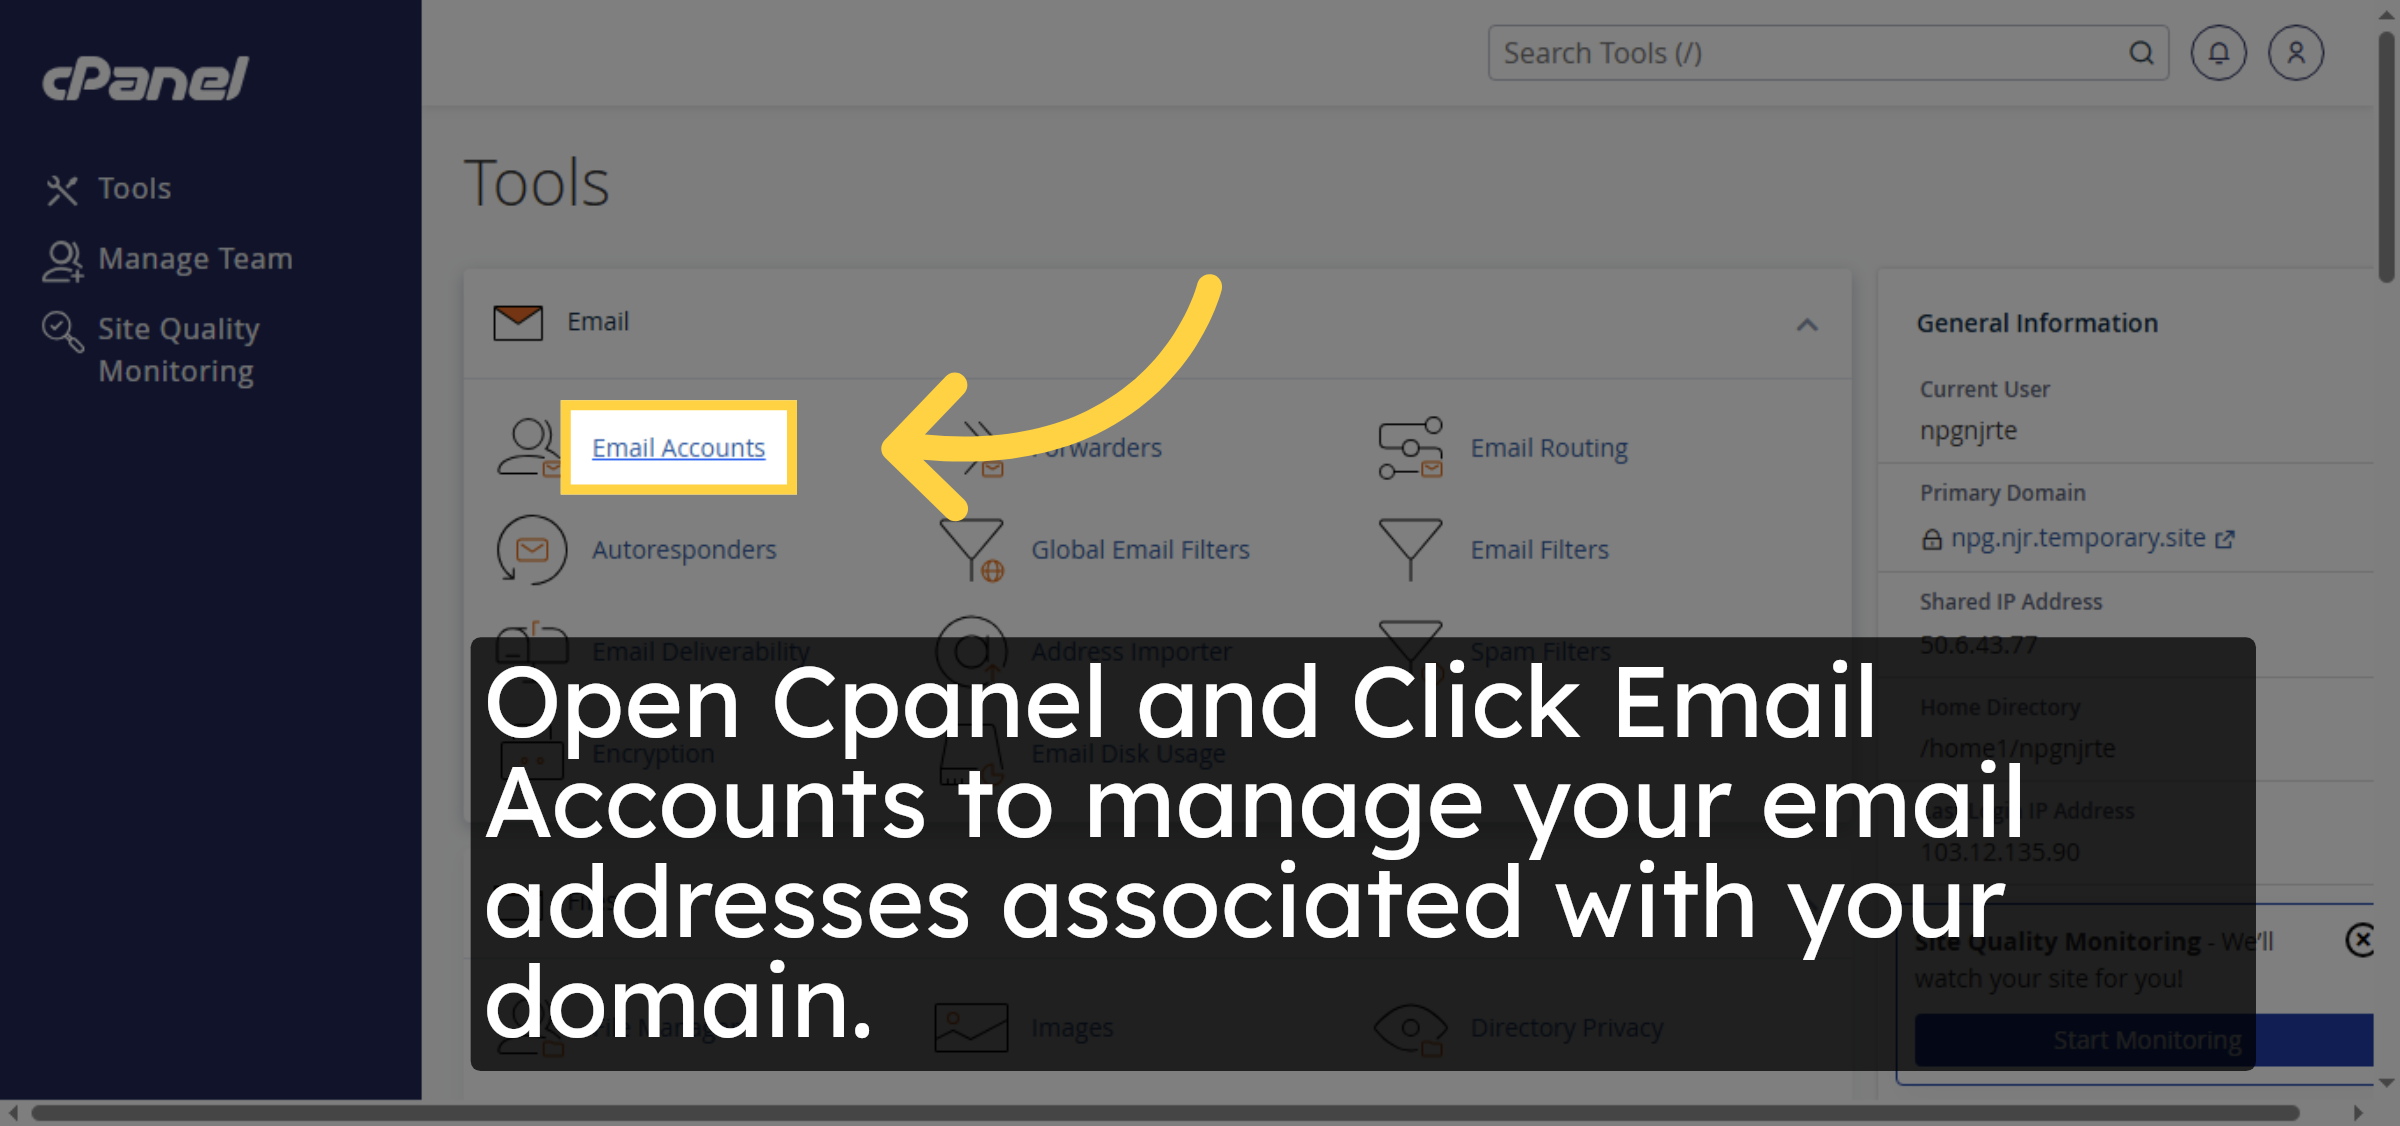
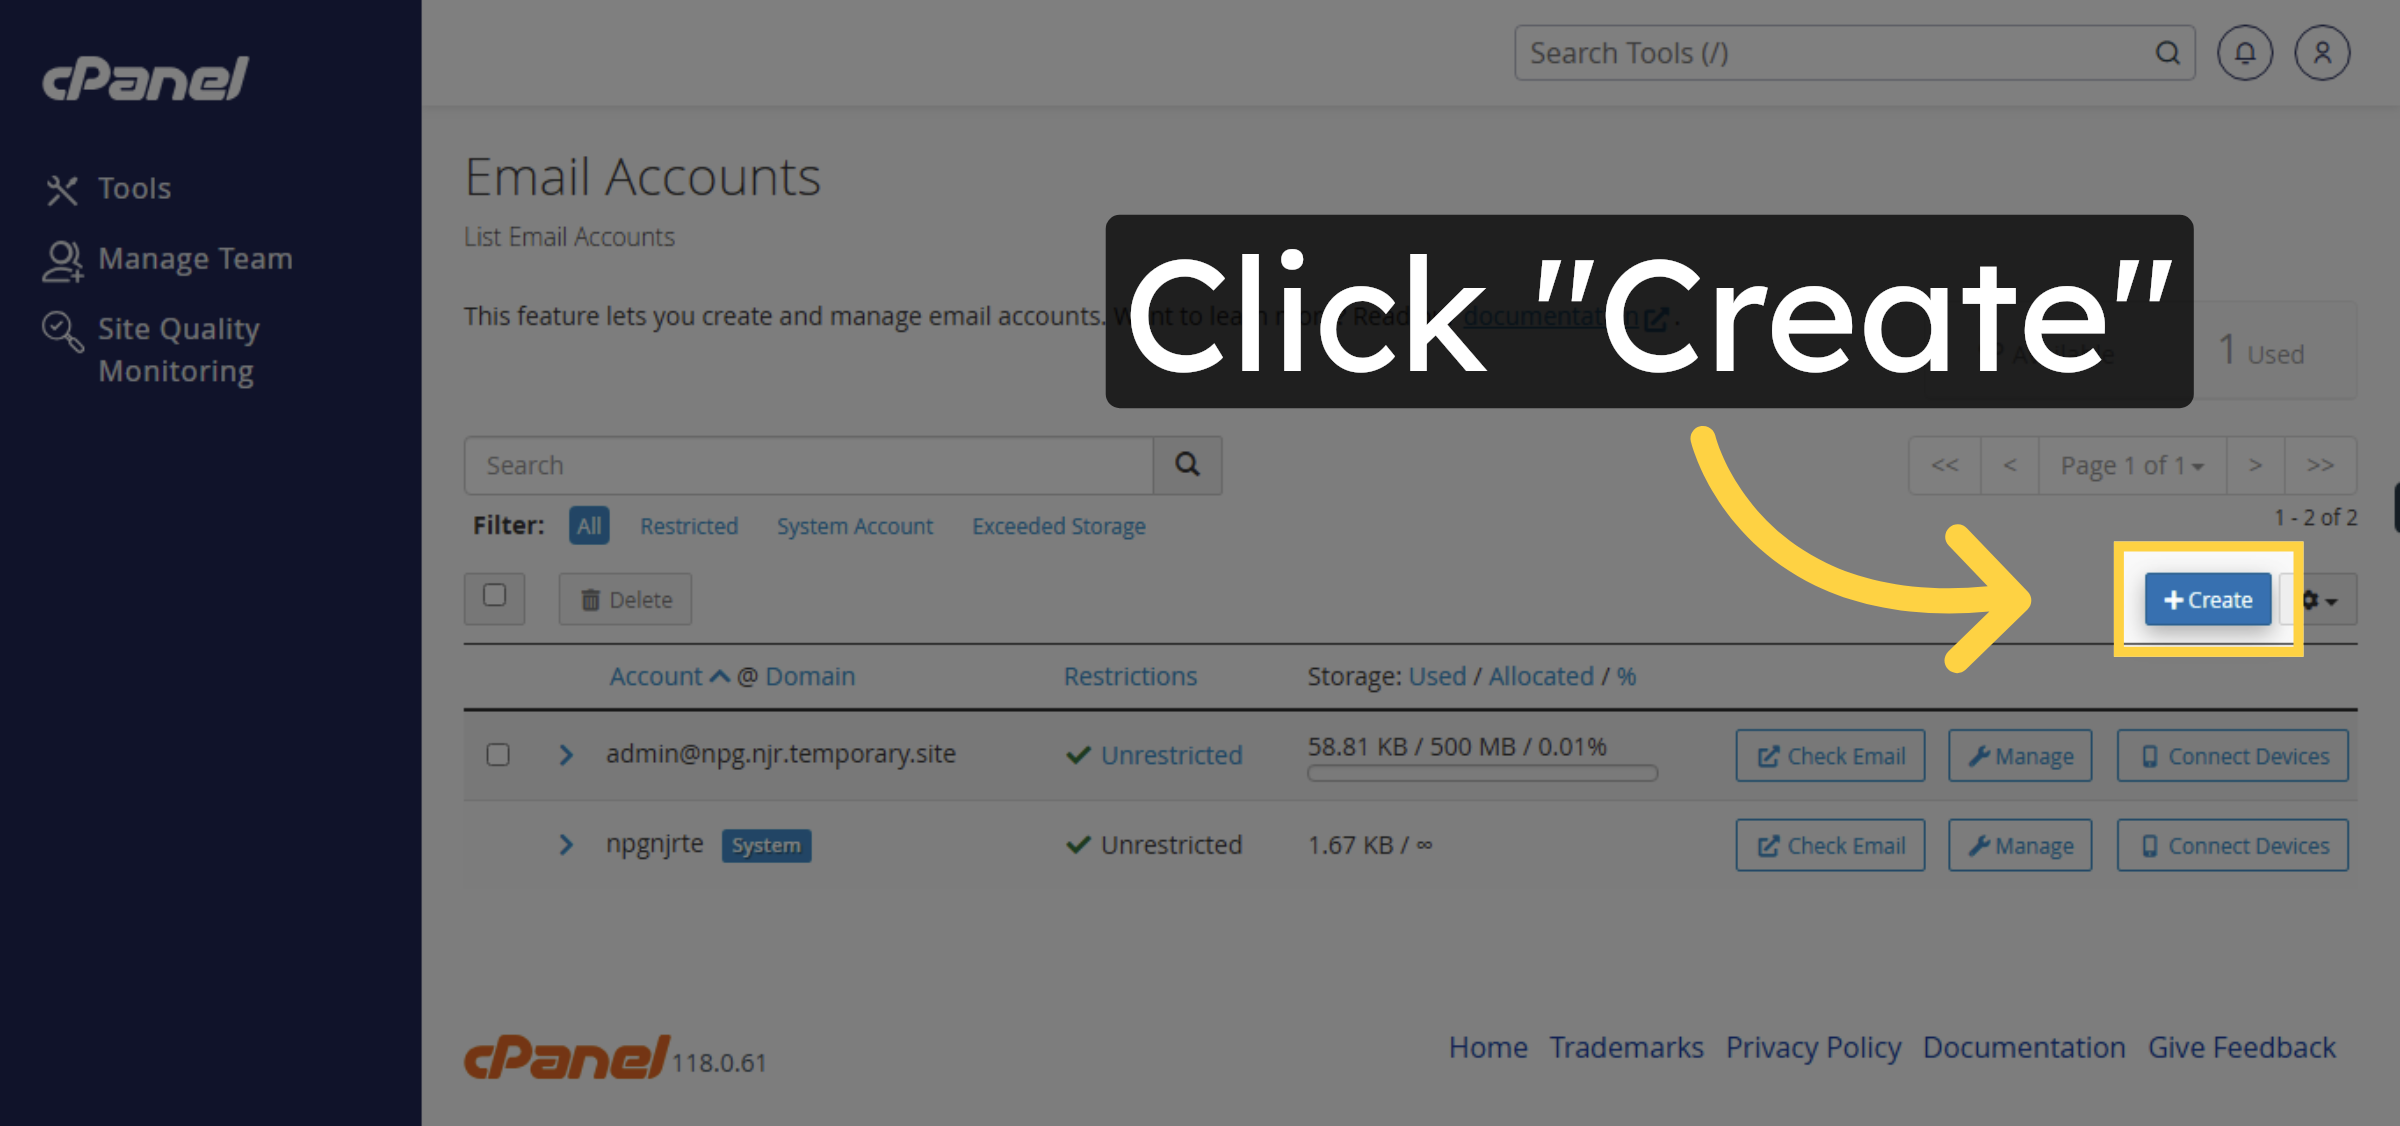
4. Initiate Email Account Creation
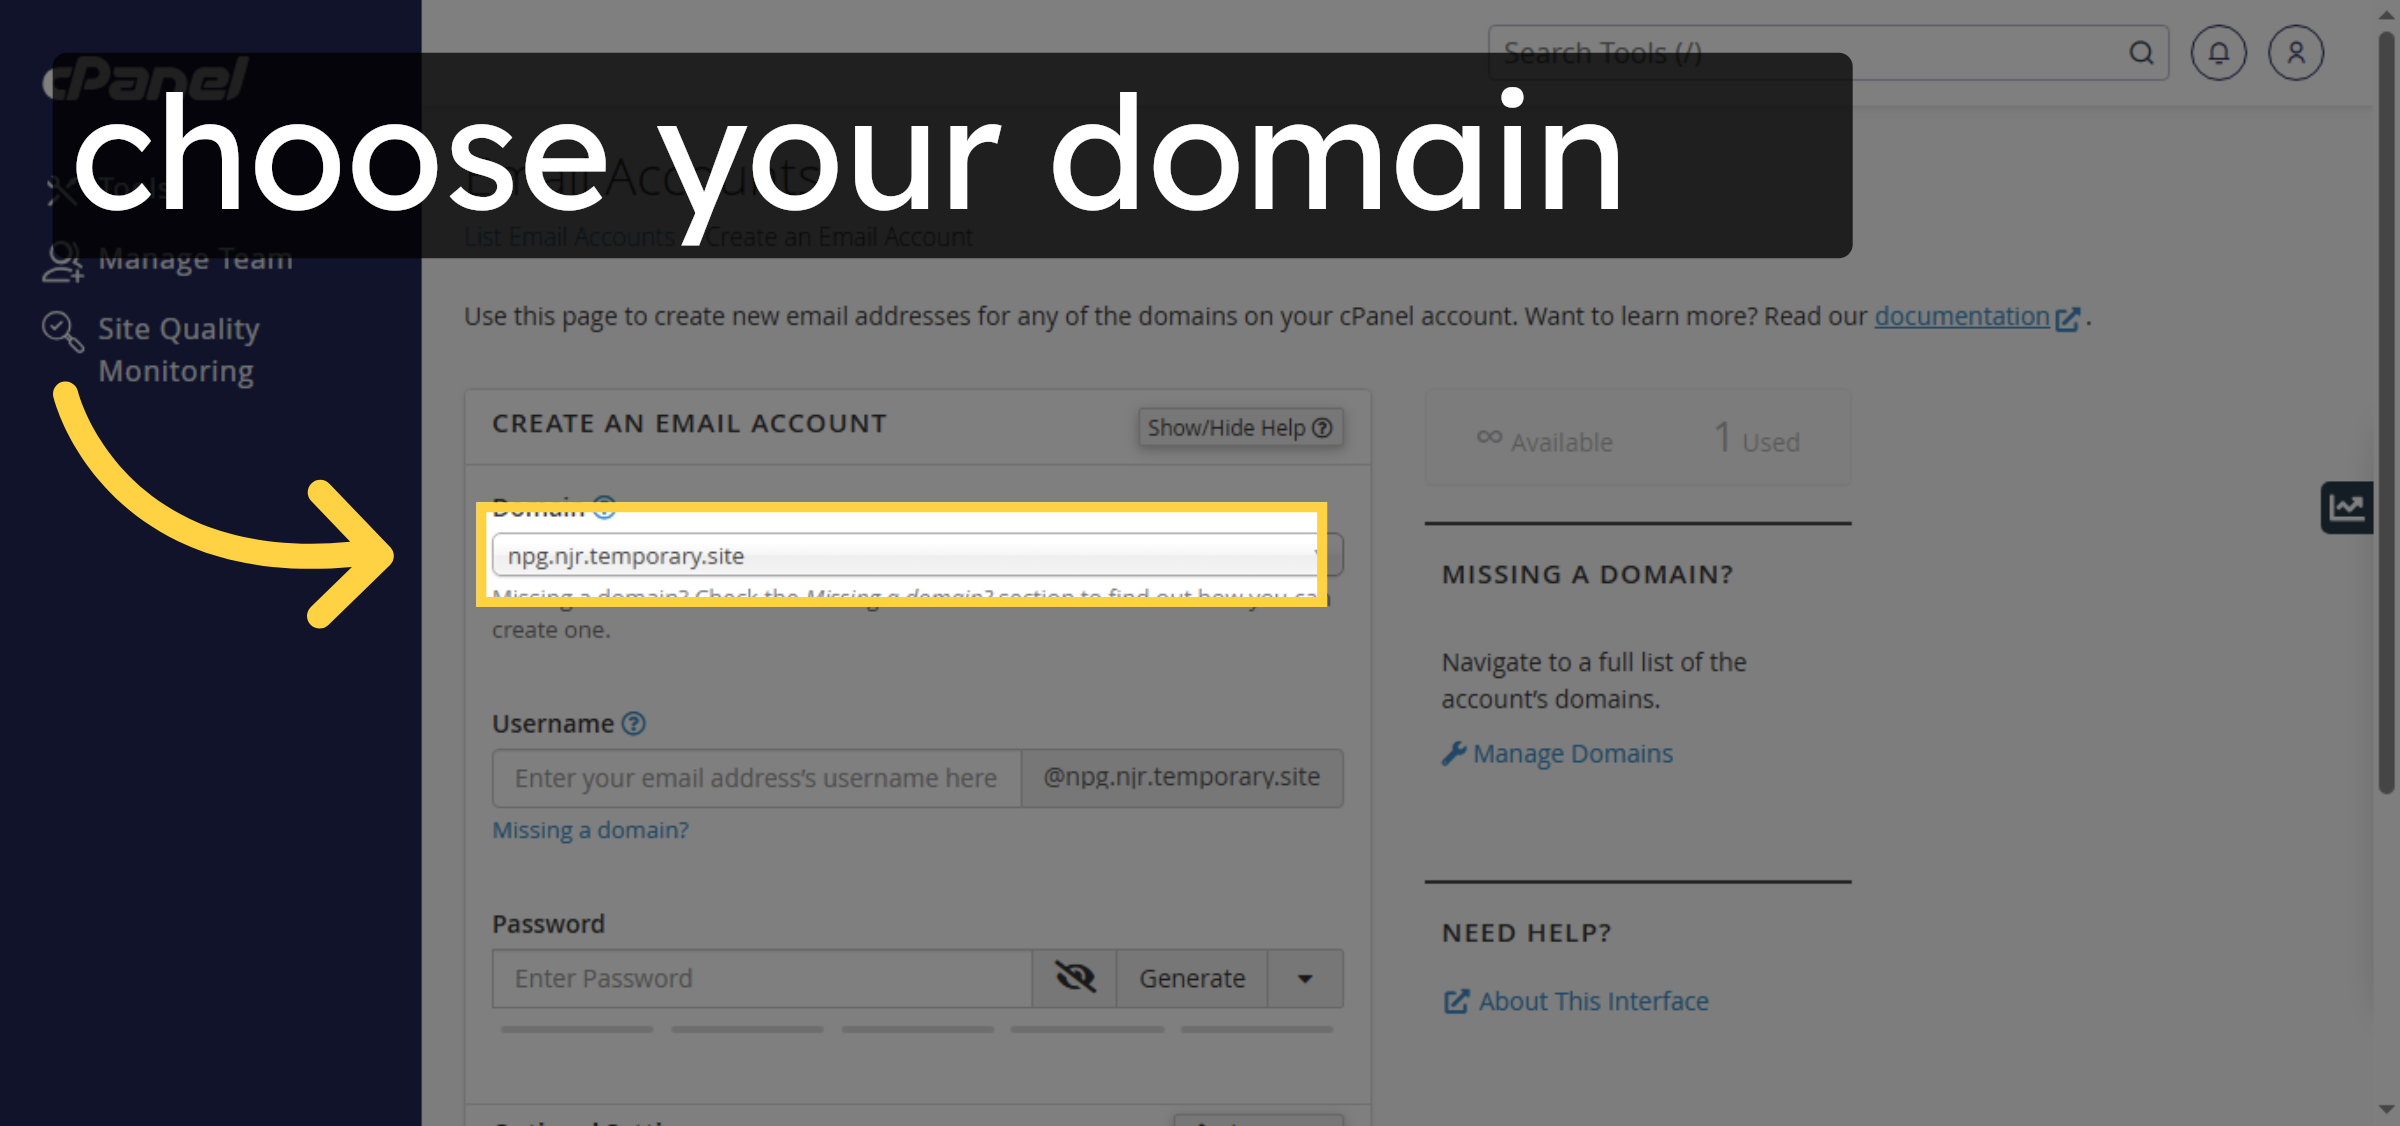
5. Select Domain for Email
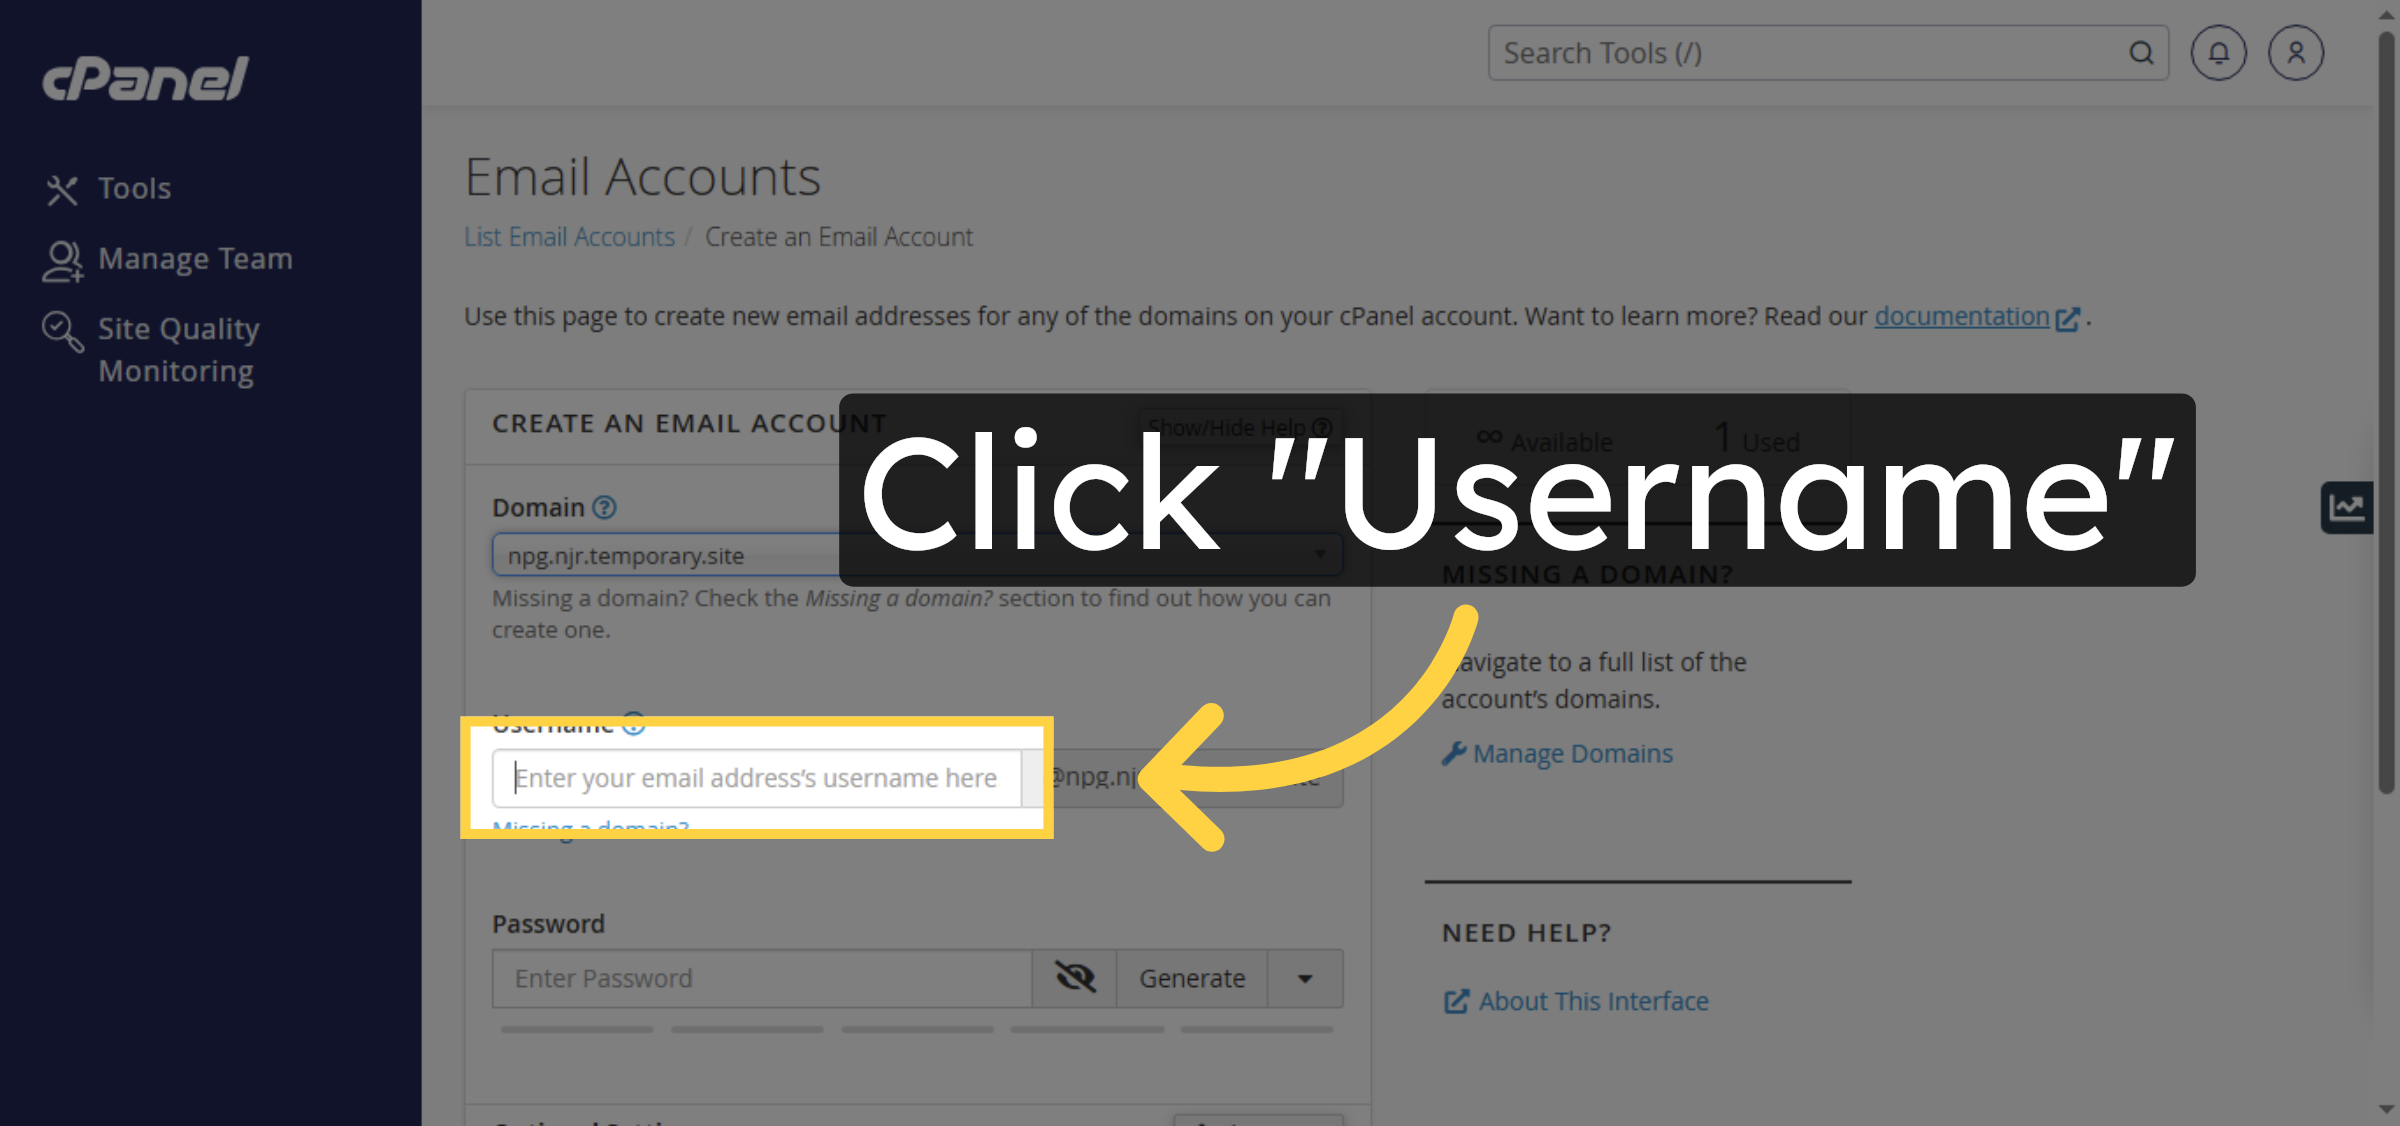
6. Select Username Field
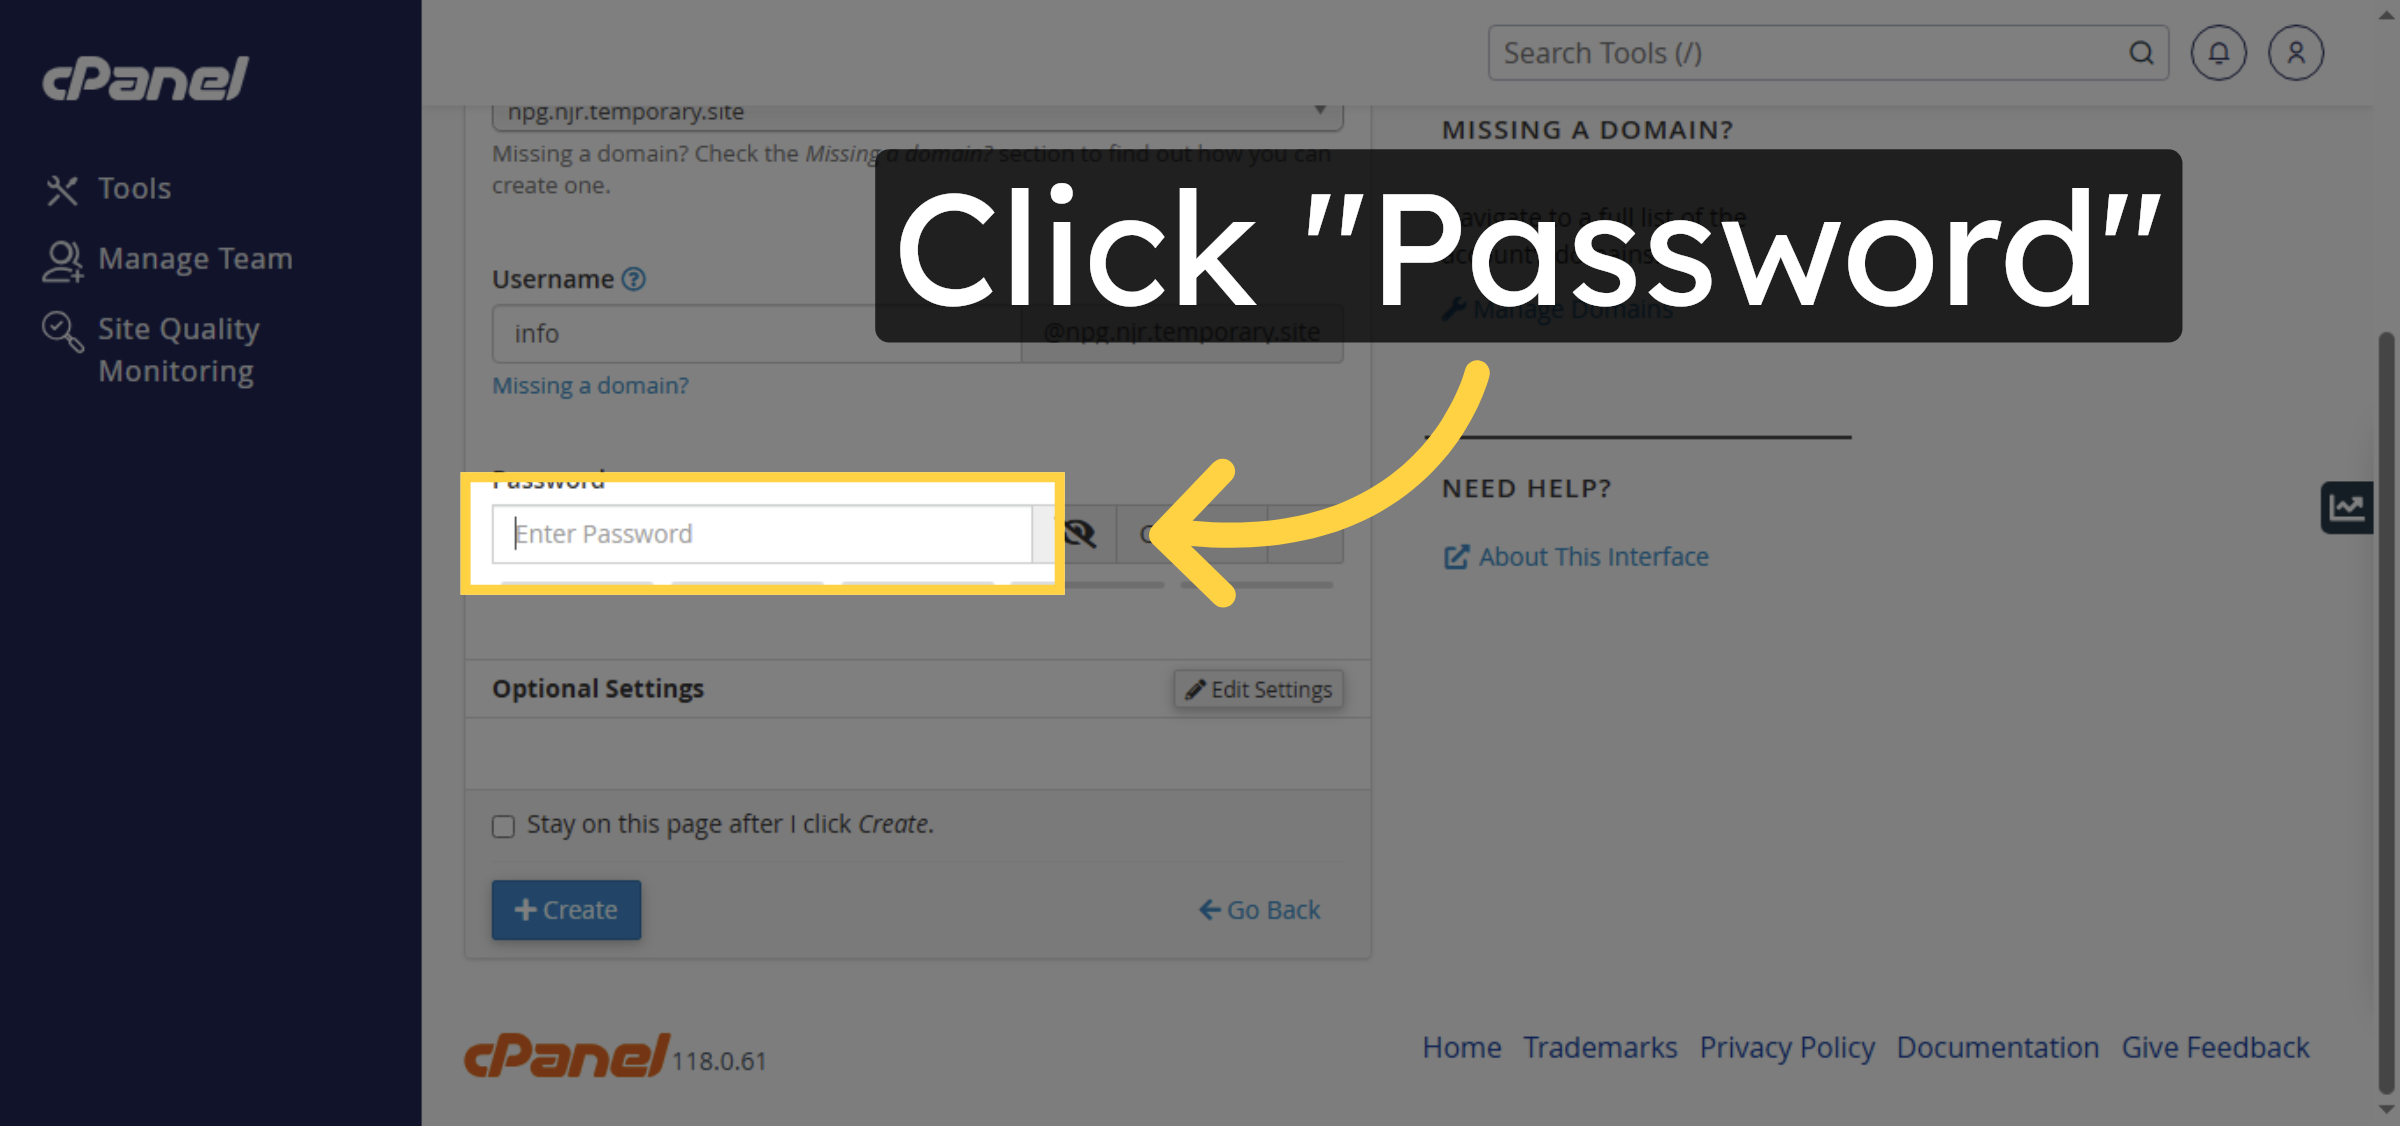
7. Select Password Field
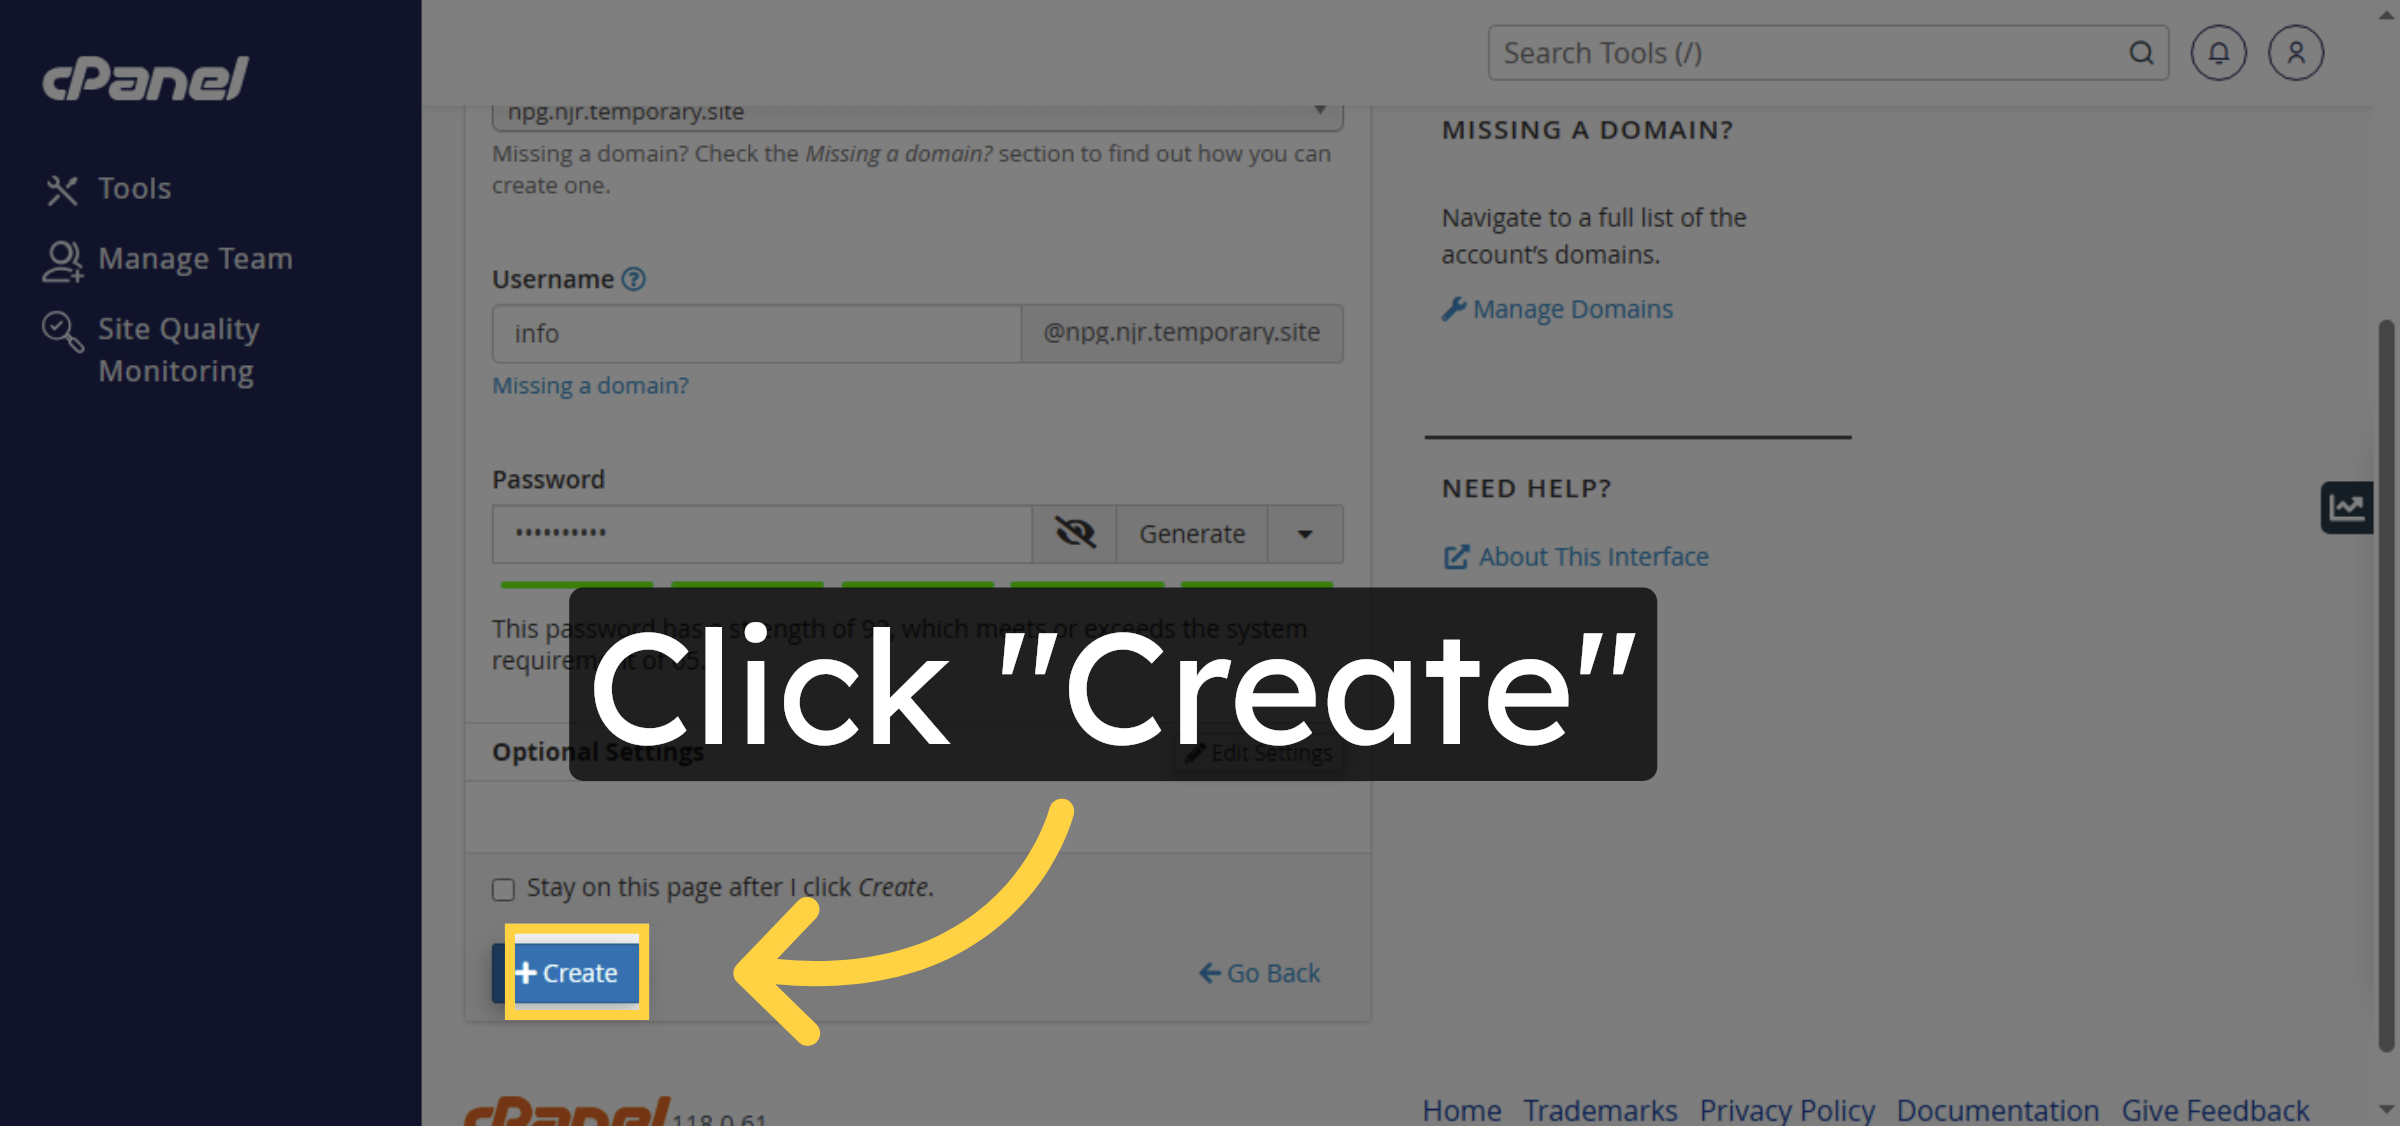
8. Create Email Account
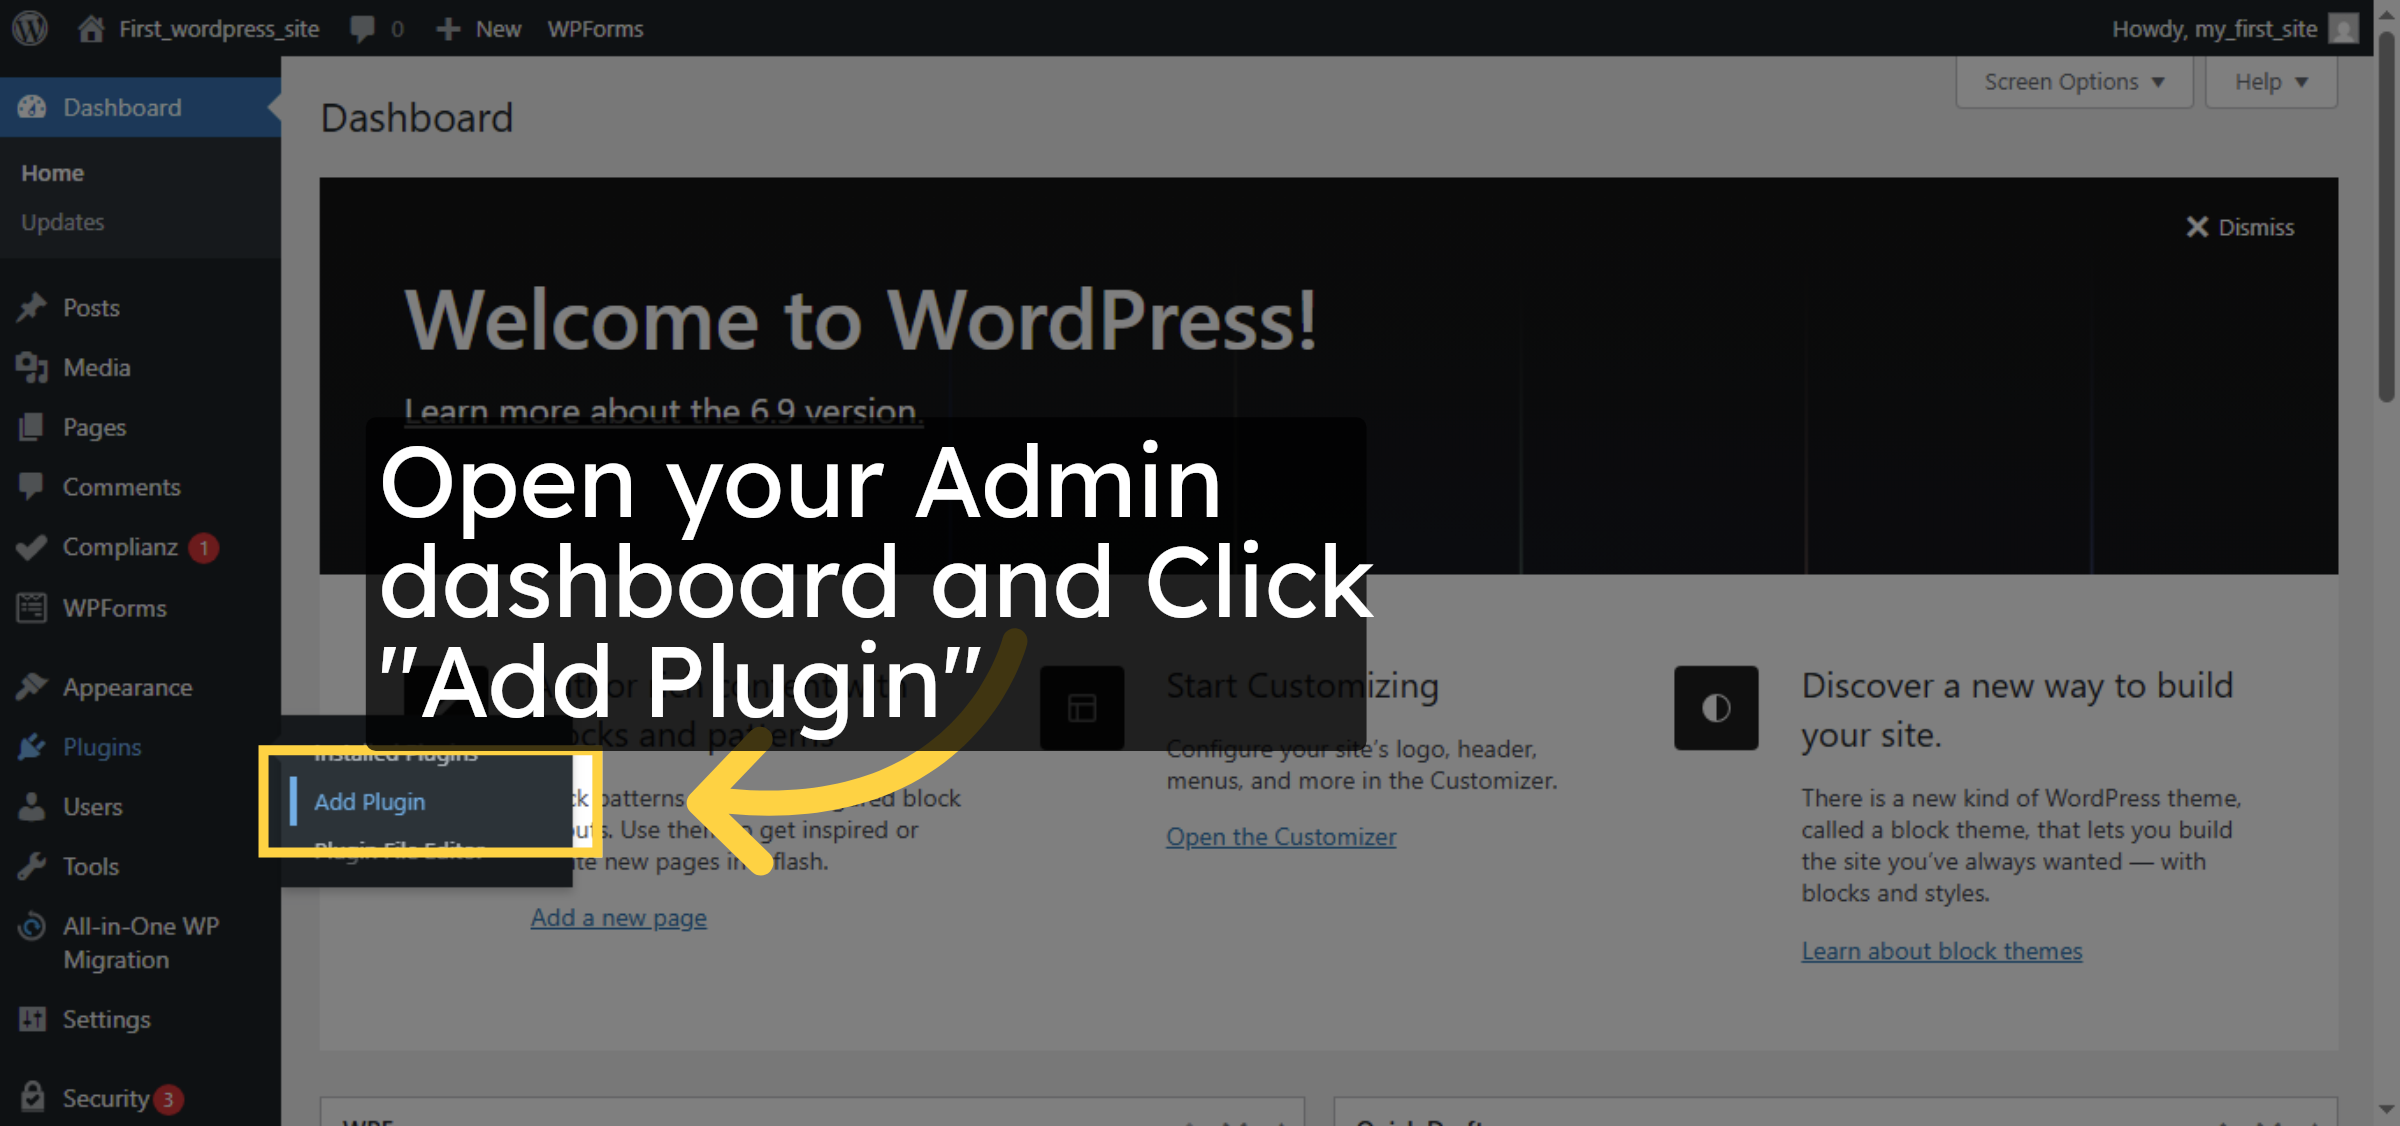
9. Open Plugin Installation
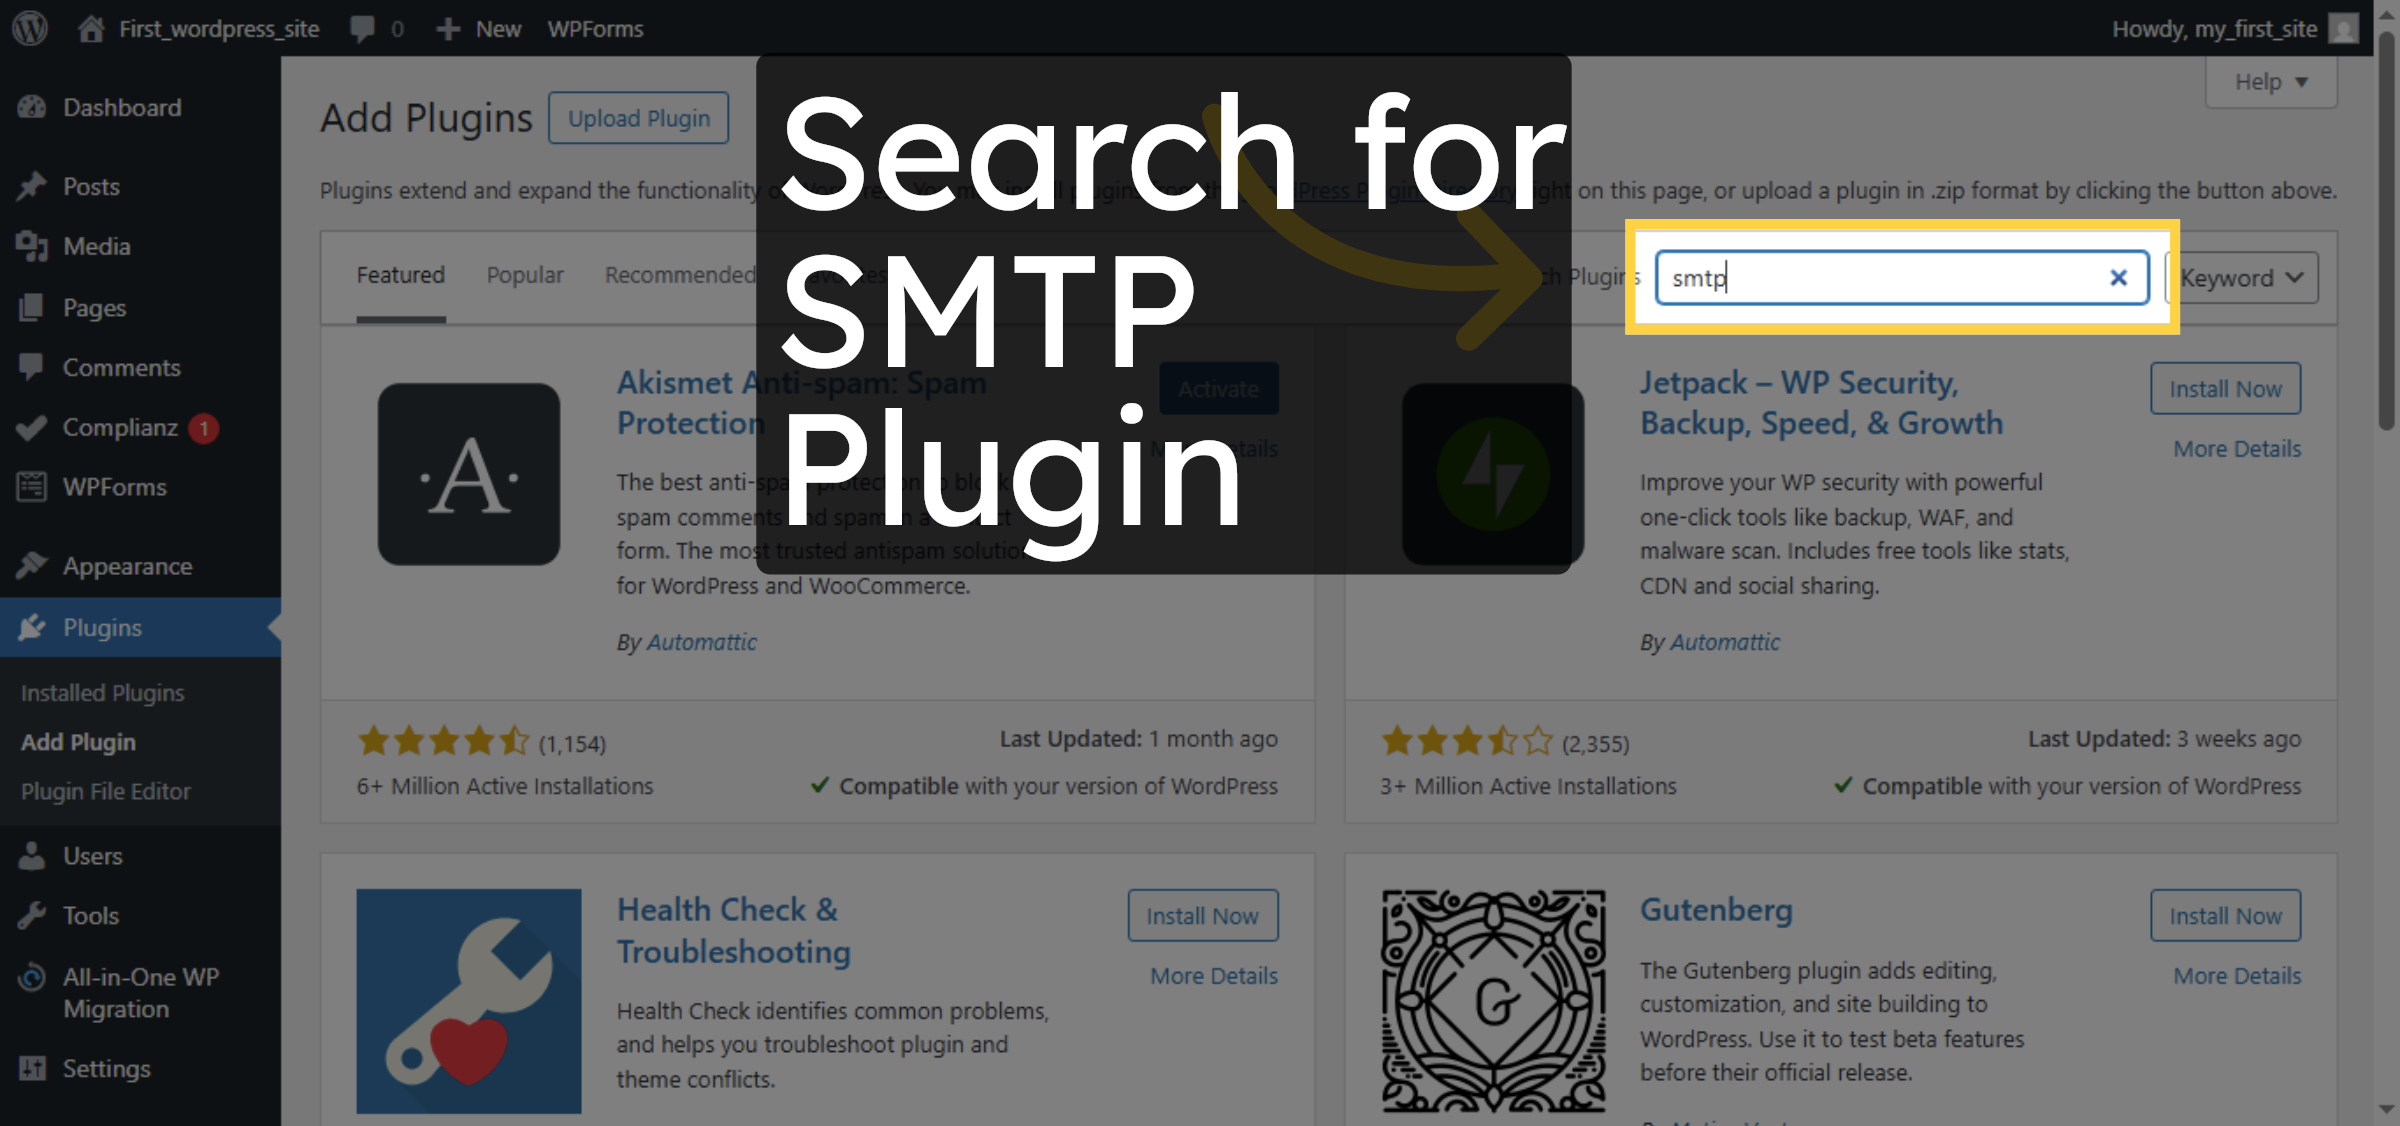
10. Search for SMTP Plugin
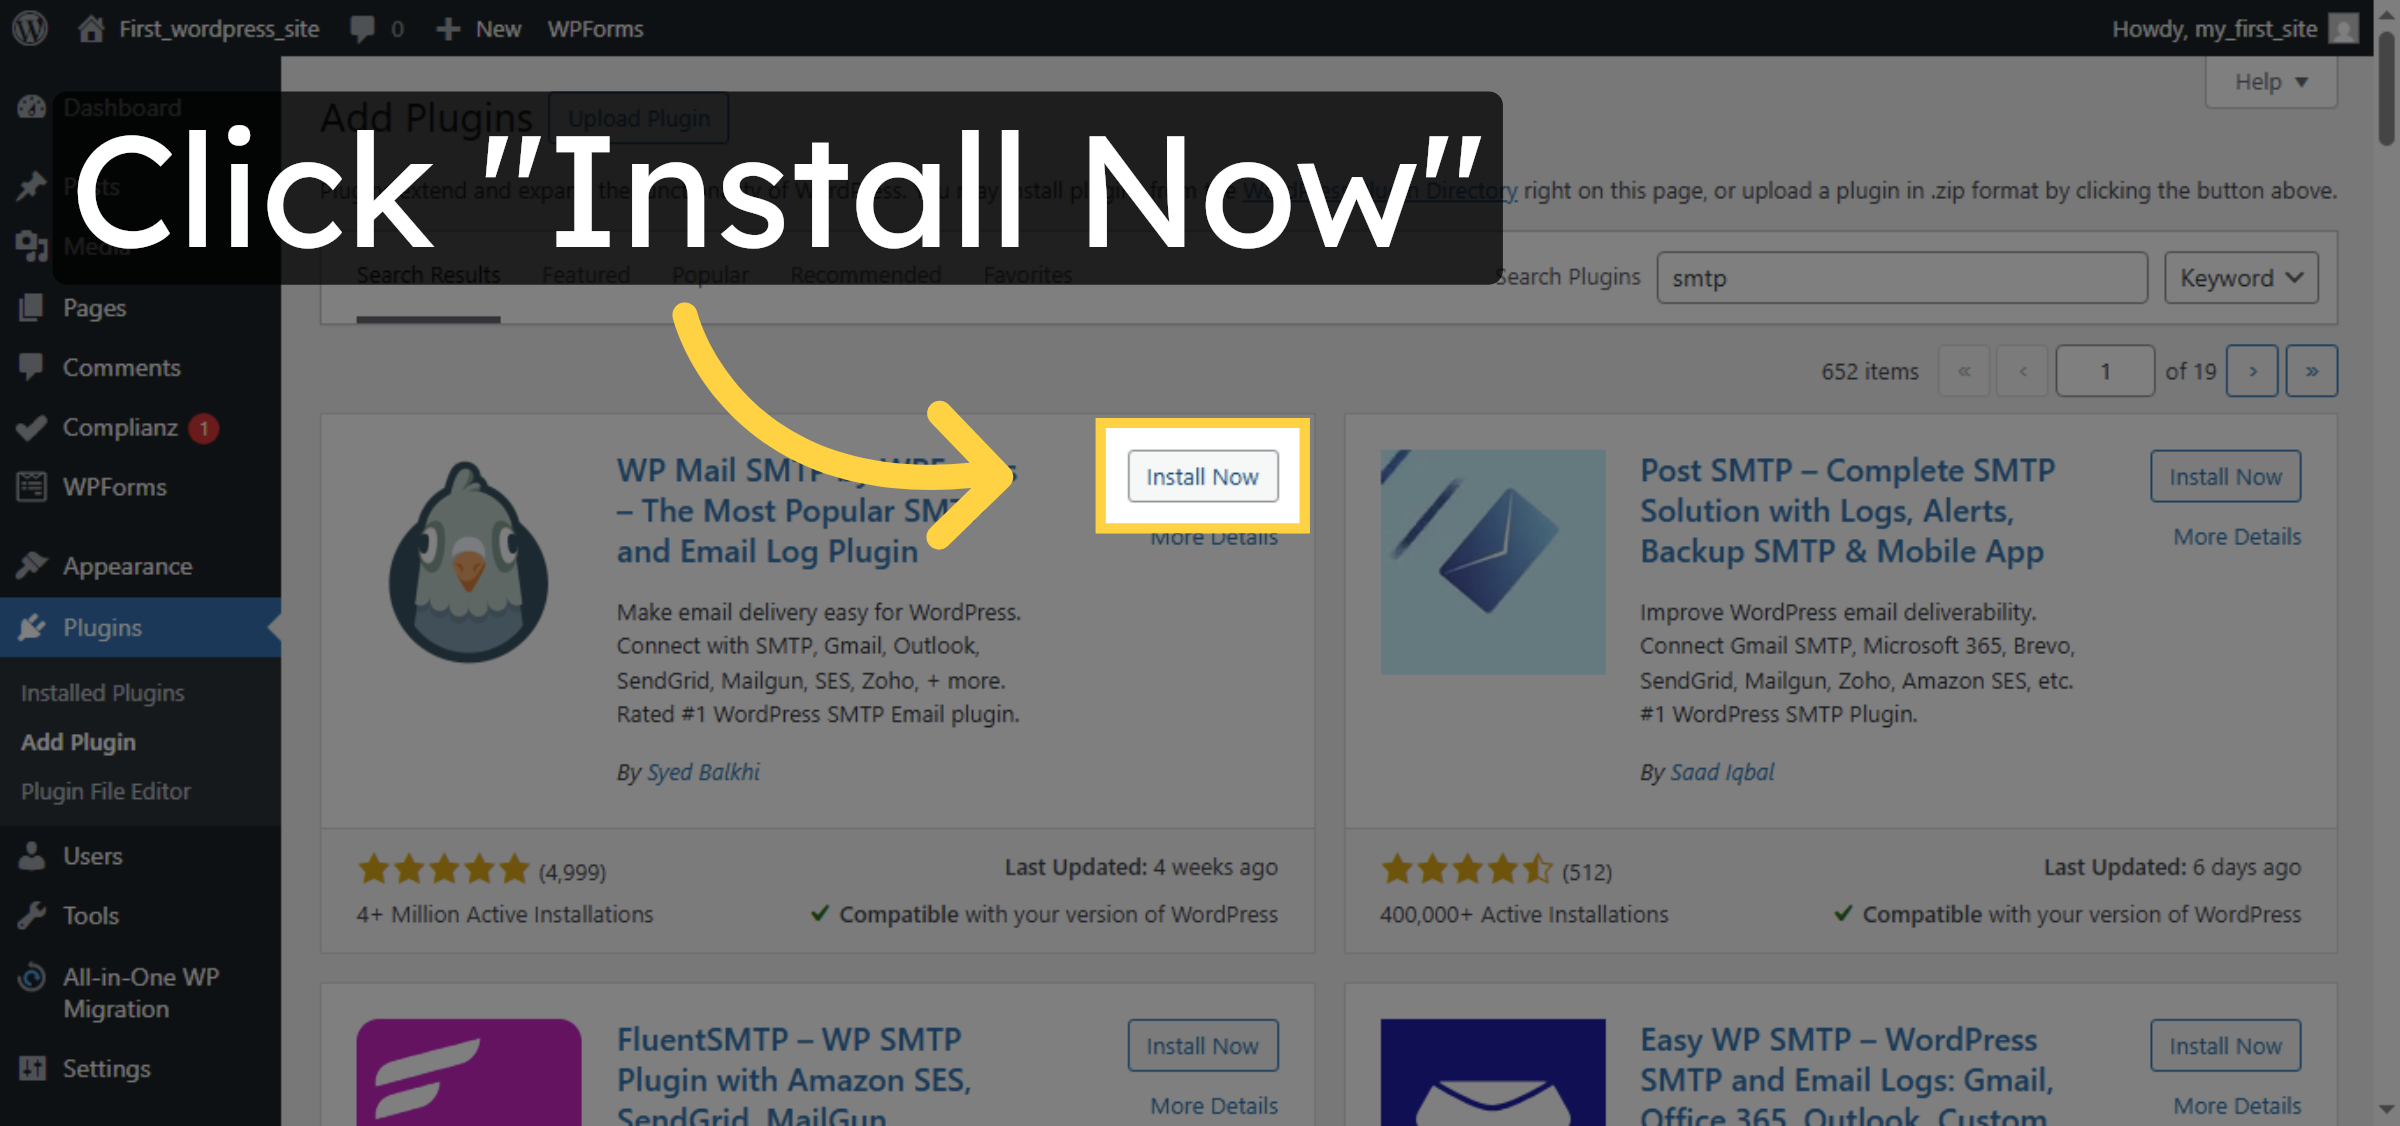
11. Install SMTP Plugin
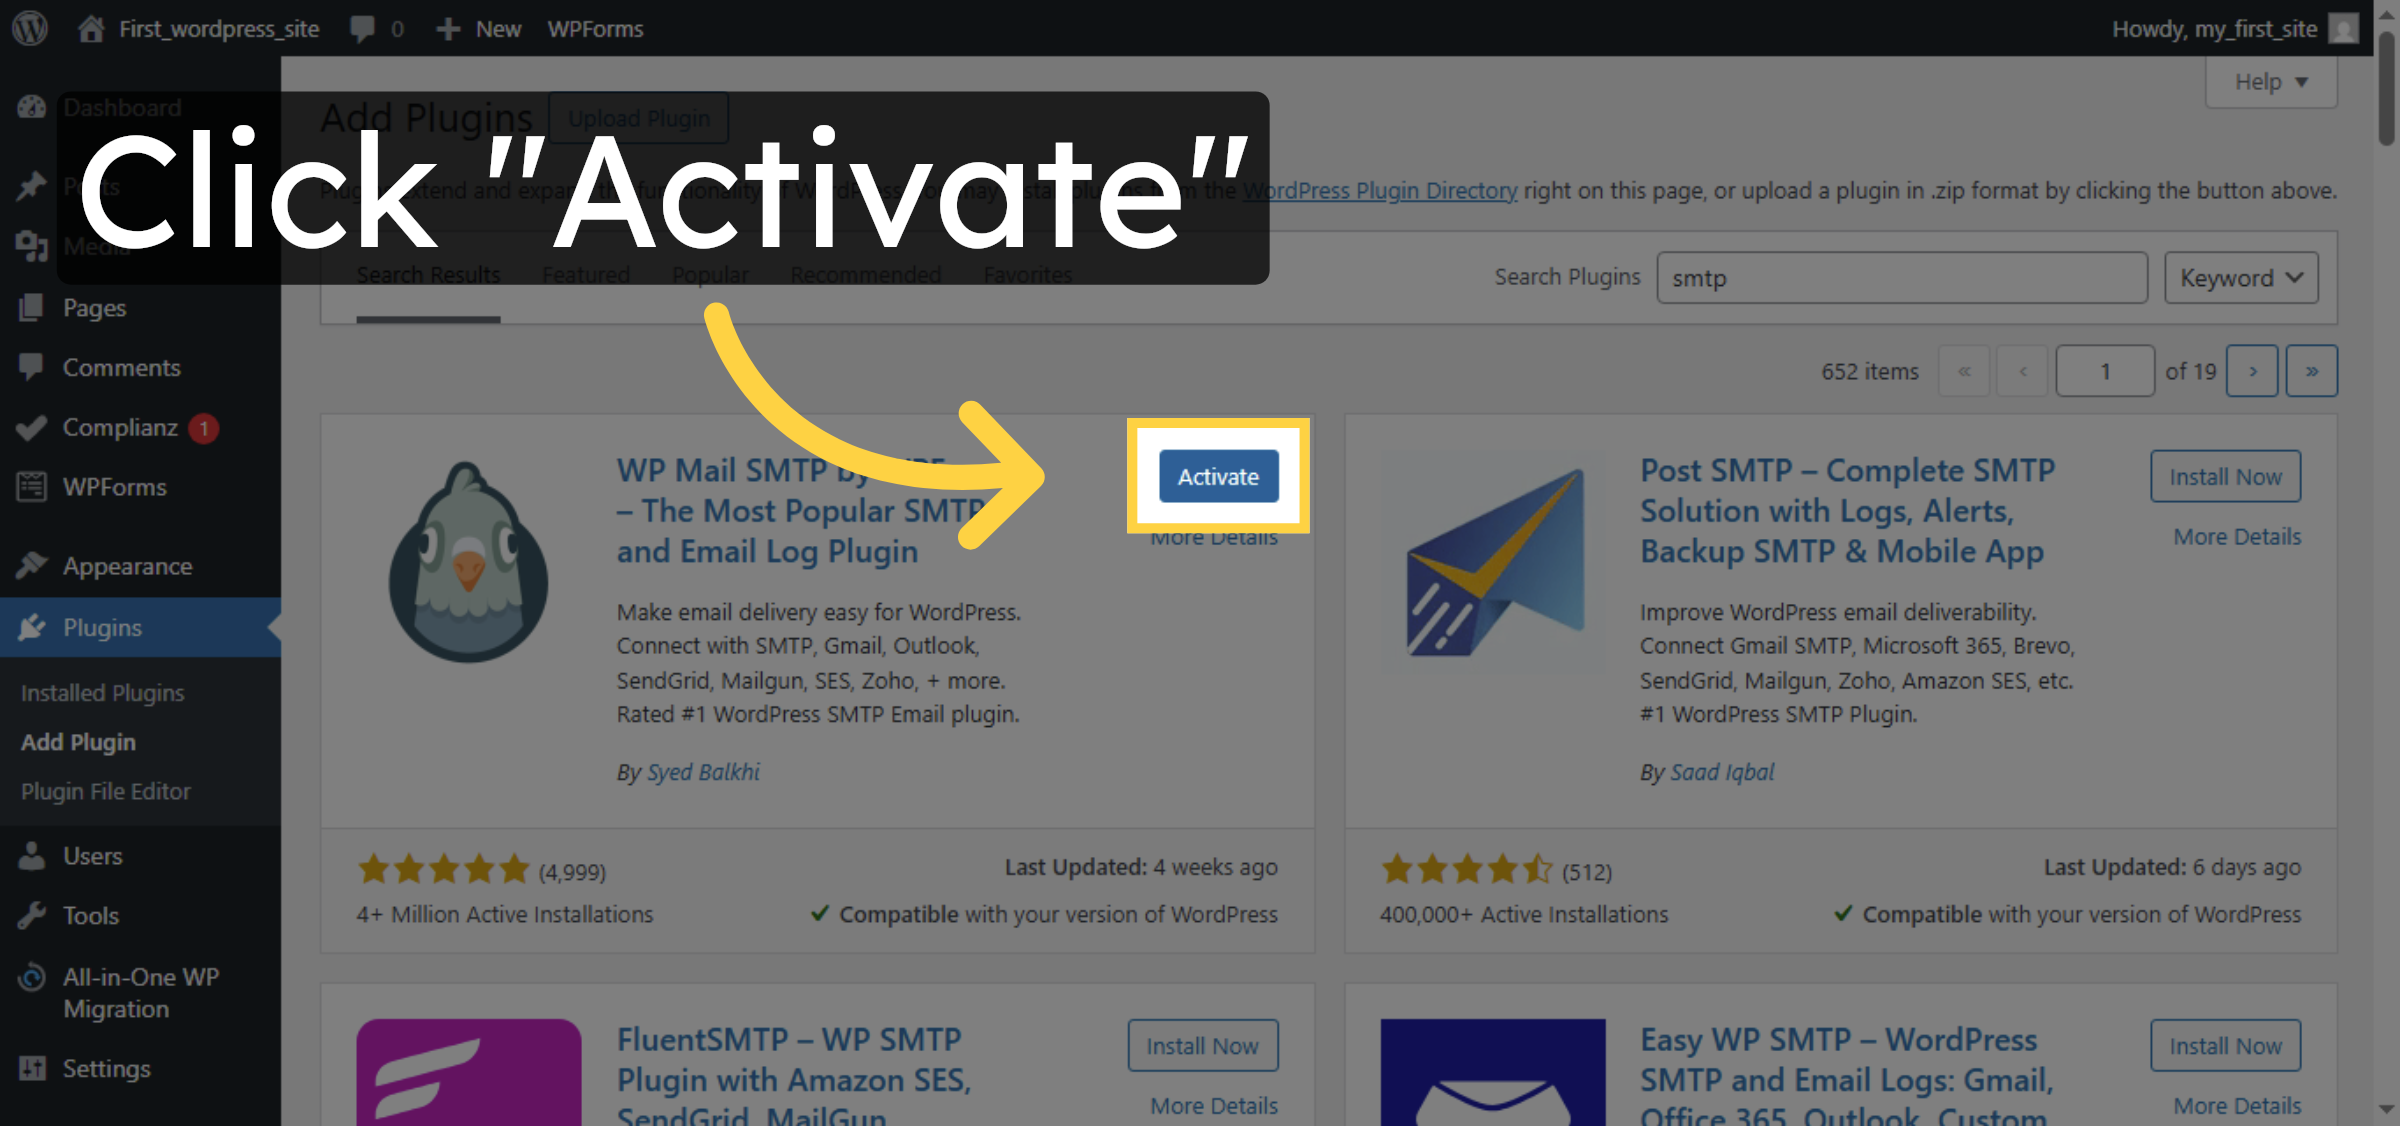
12. Activate SMTP Plugin
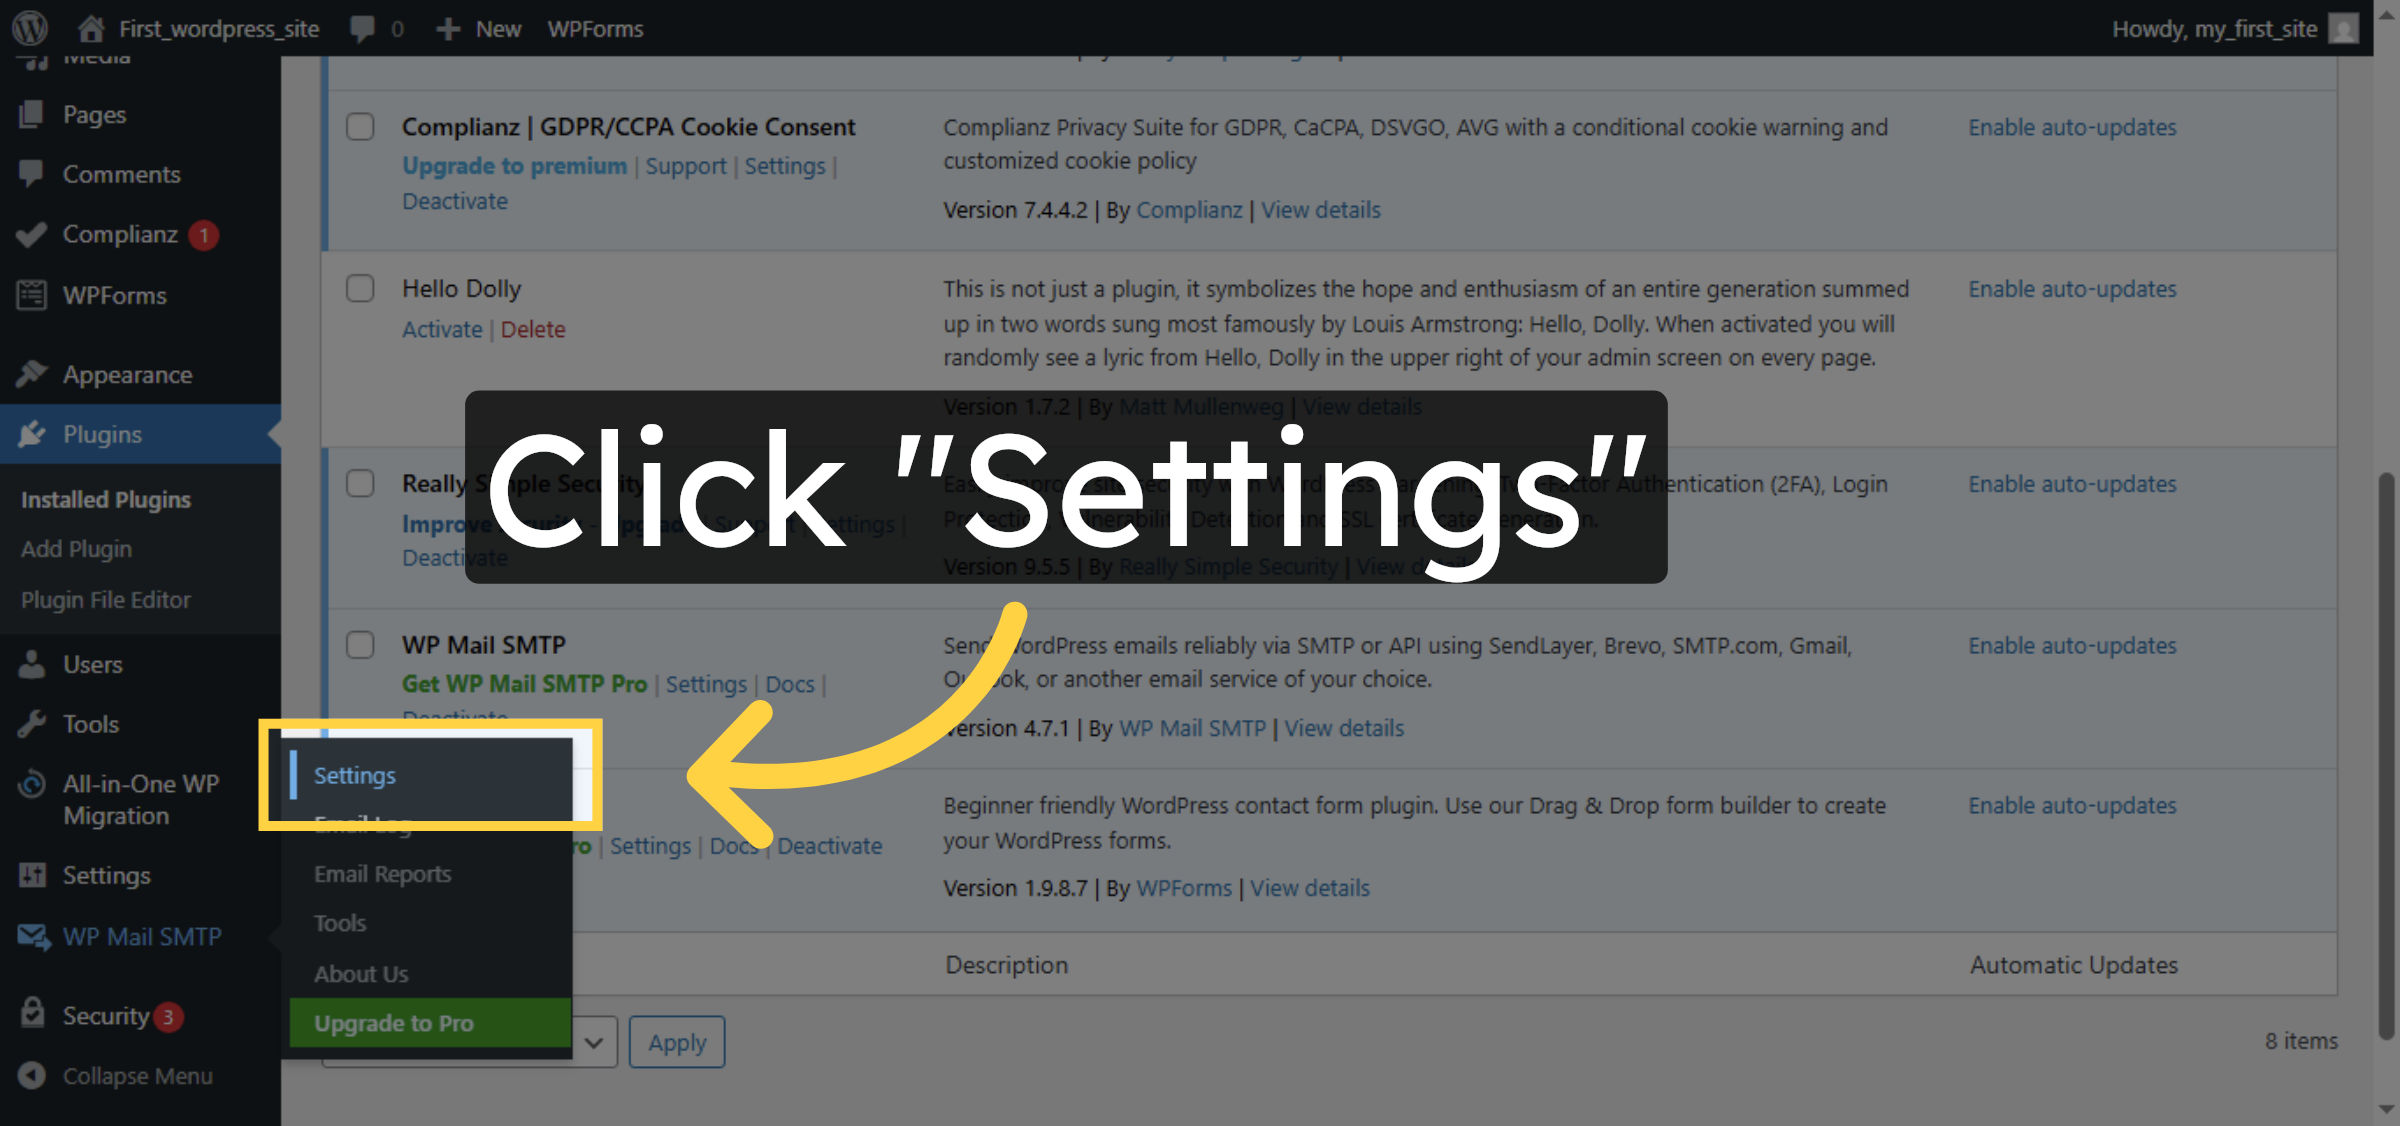
13. Open Plugin Settings
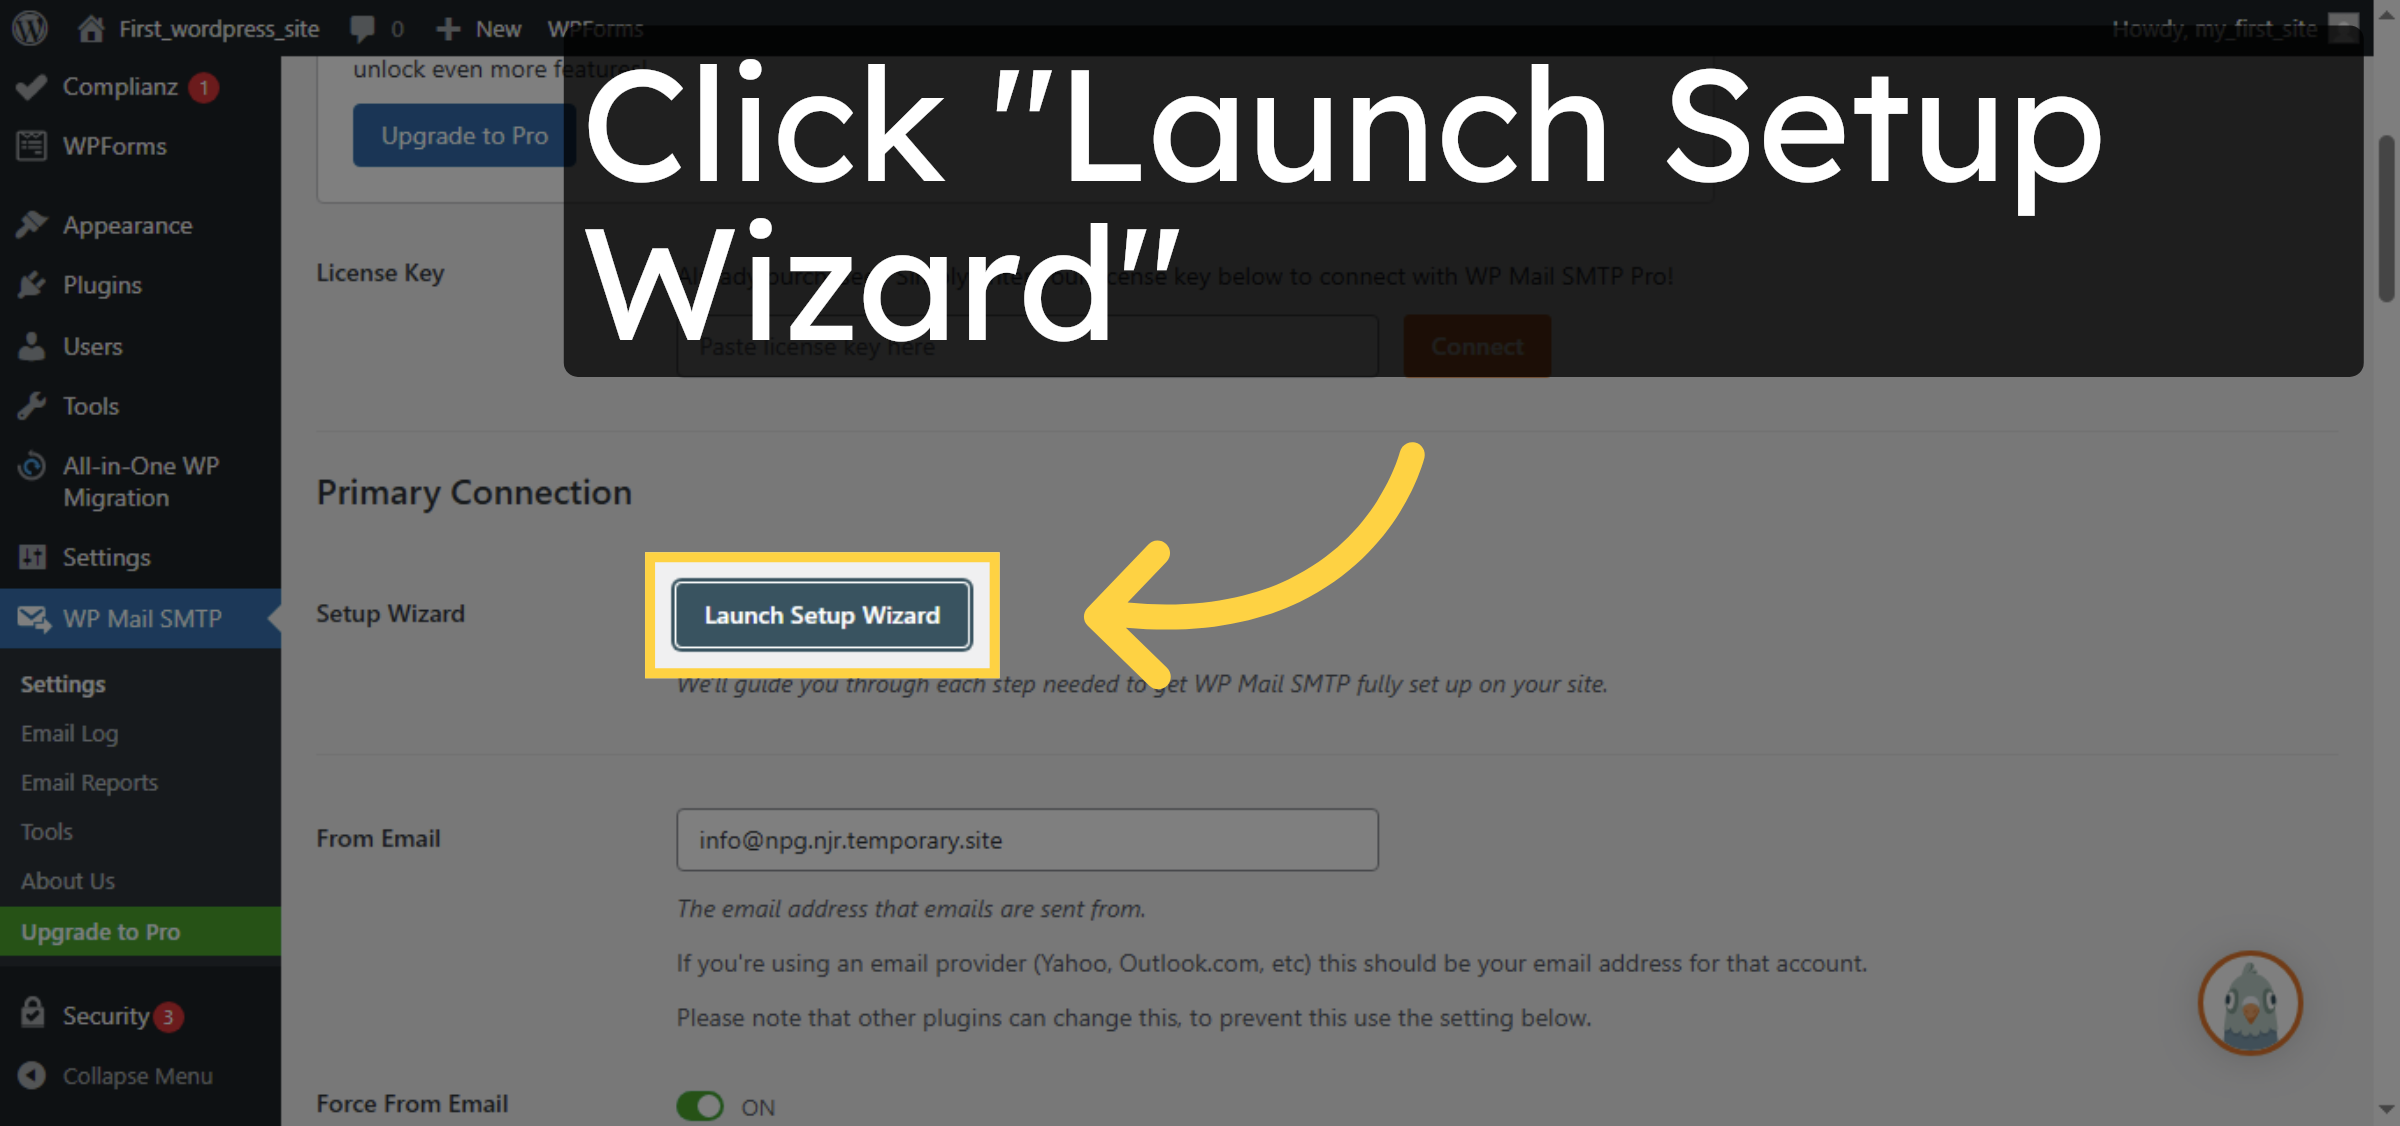
14. Launch Setup Wizard
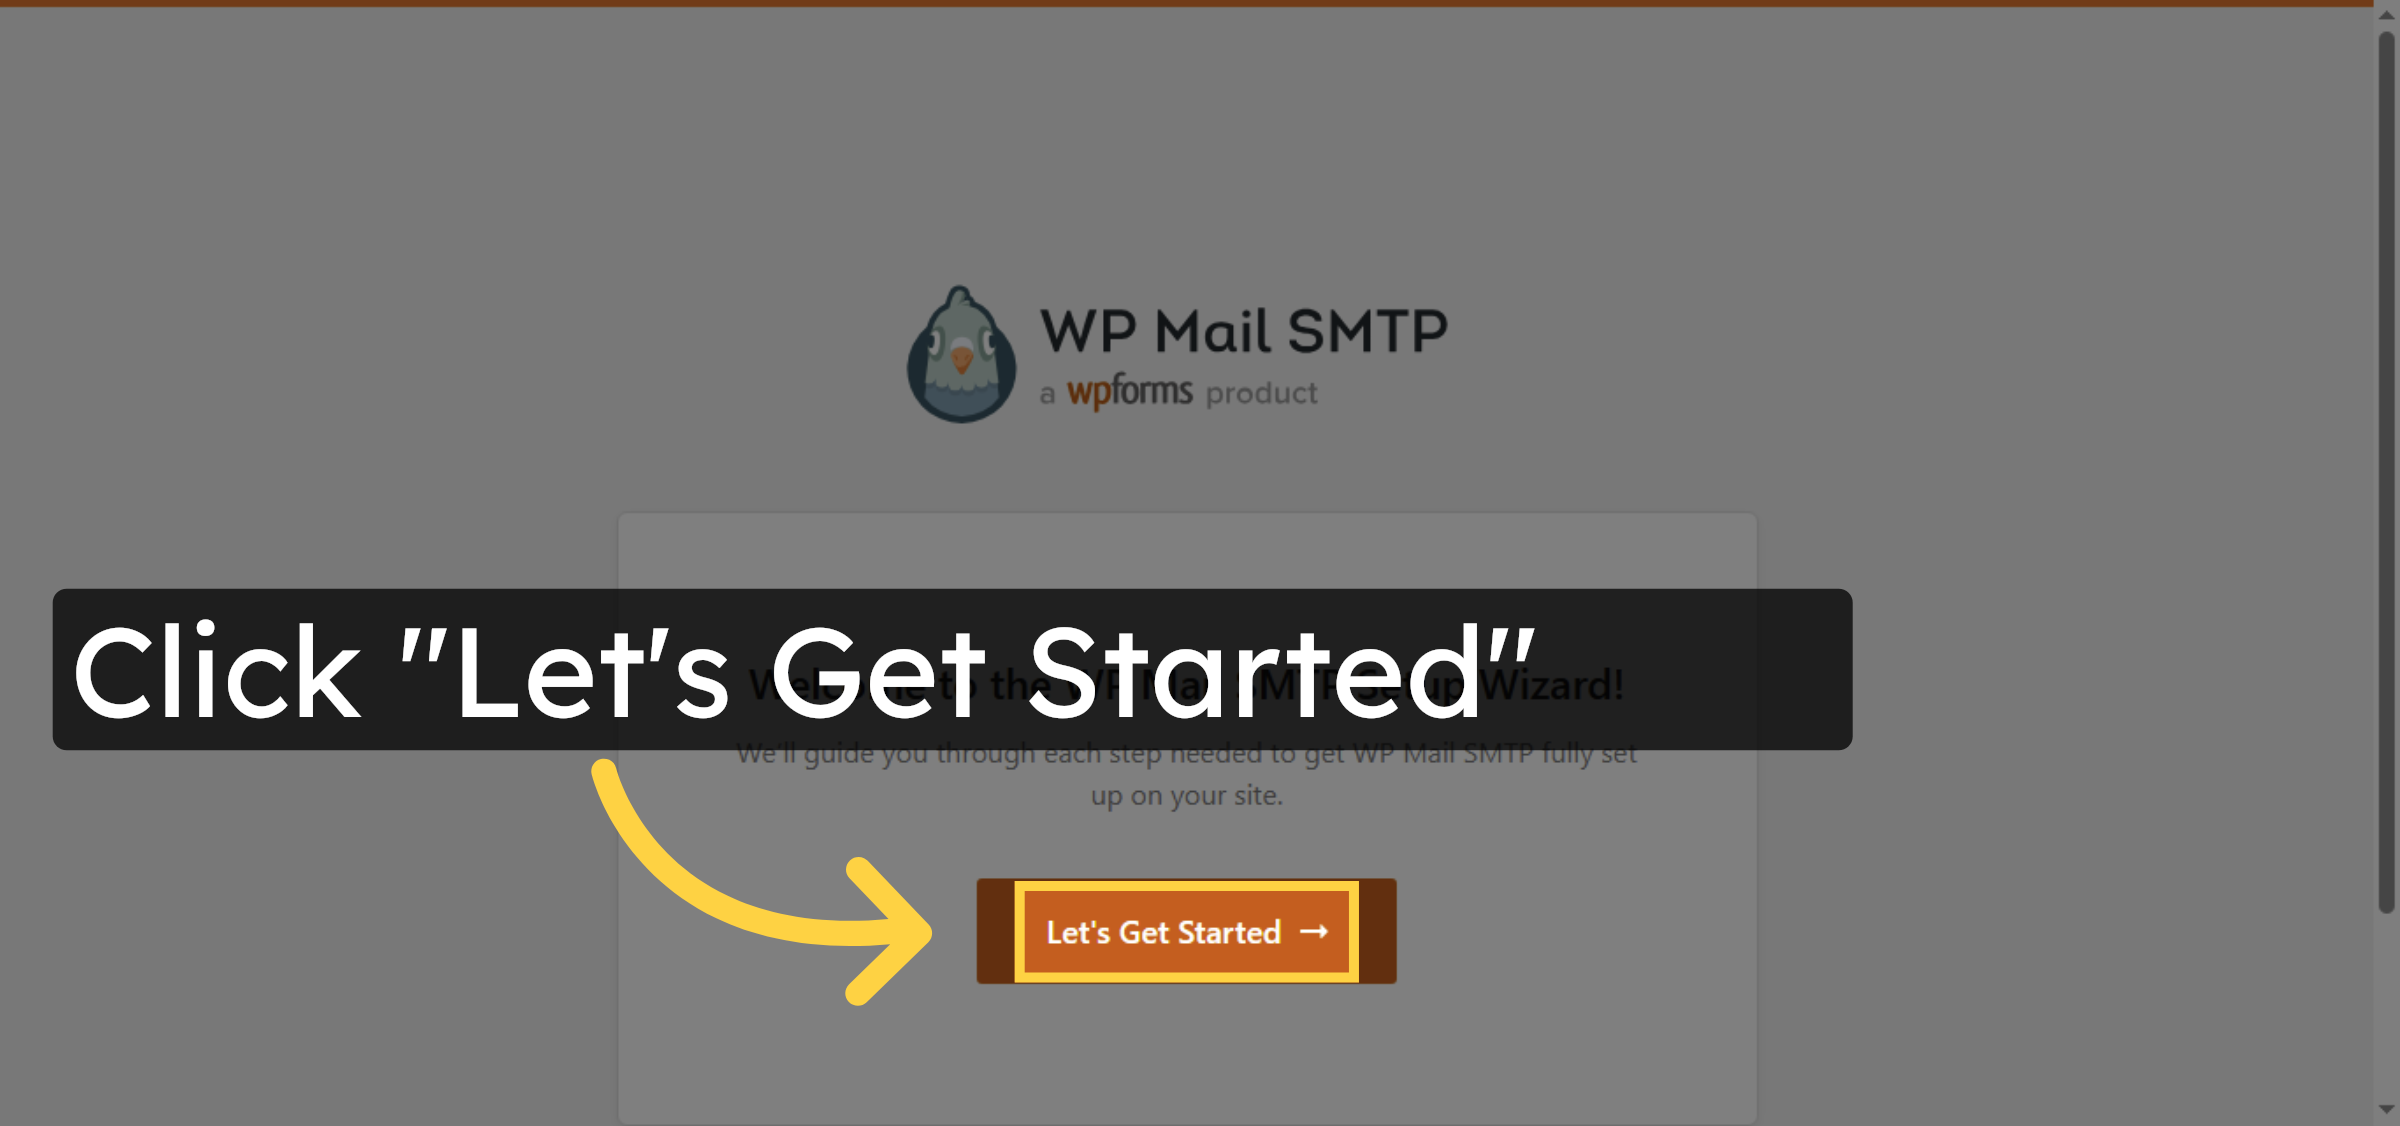
15. Begin Setup Wizard
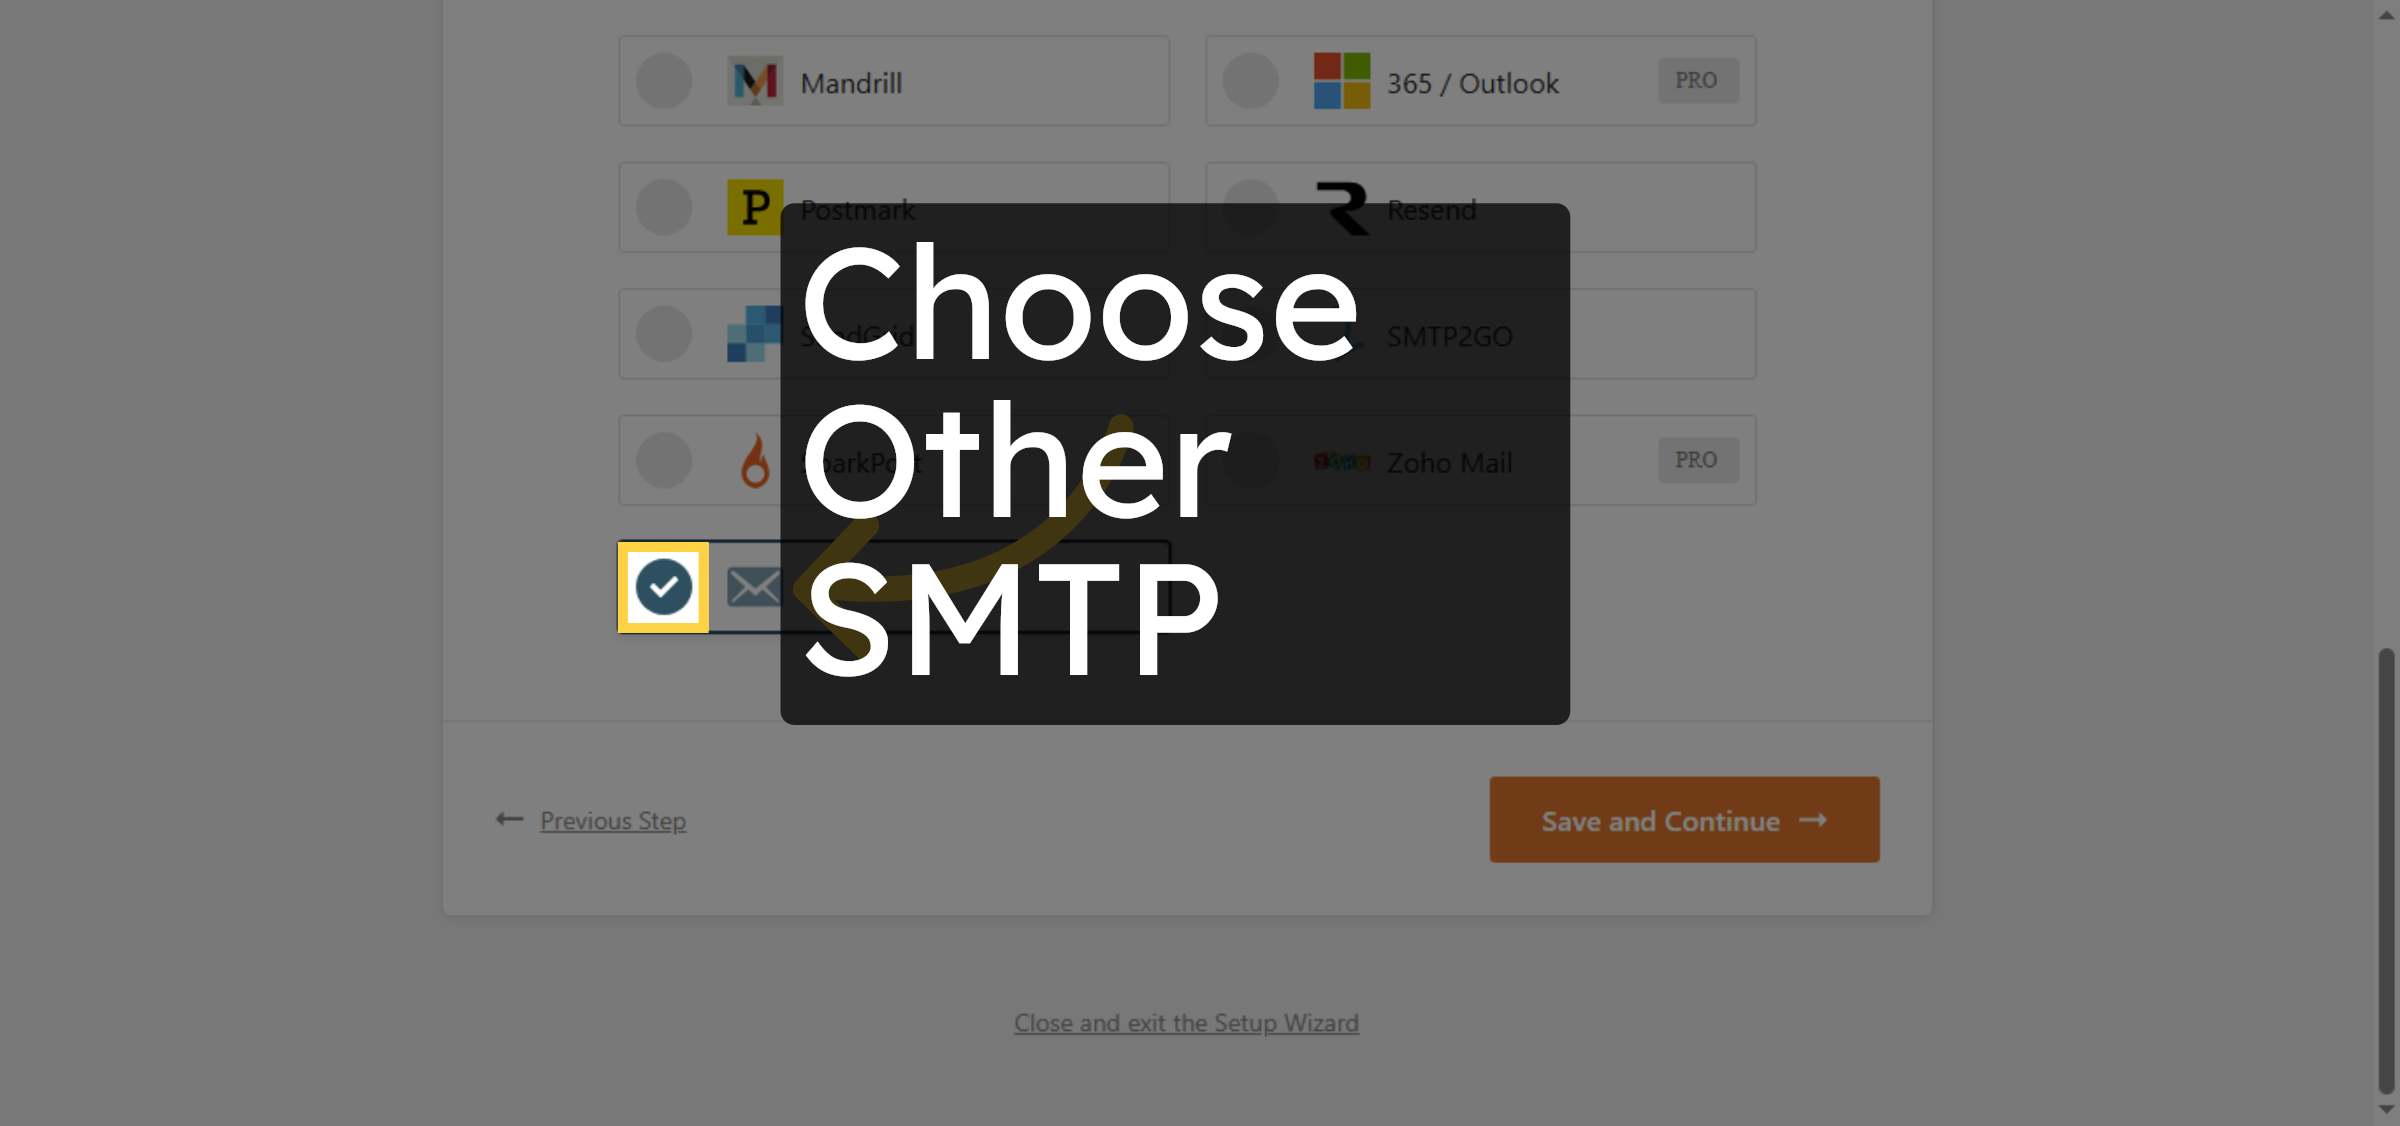
16. Access Configuration Link
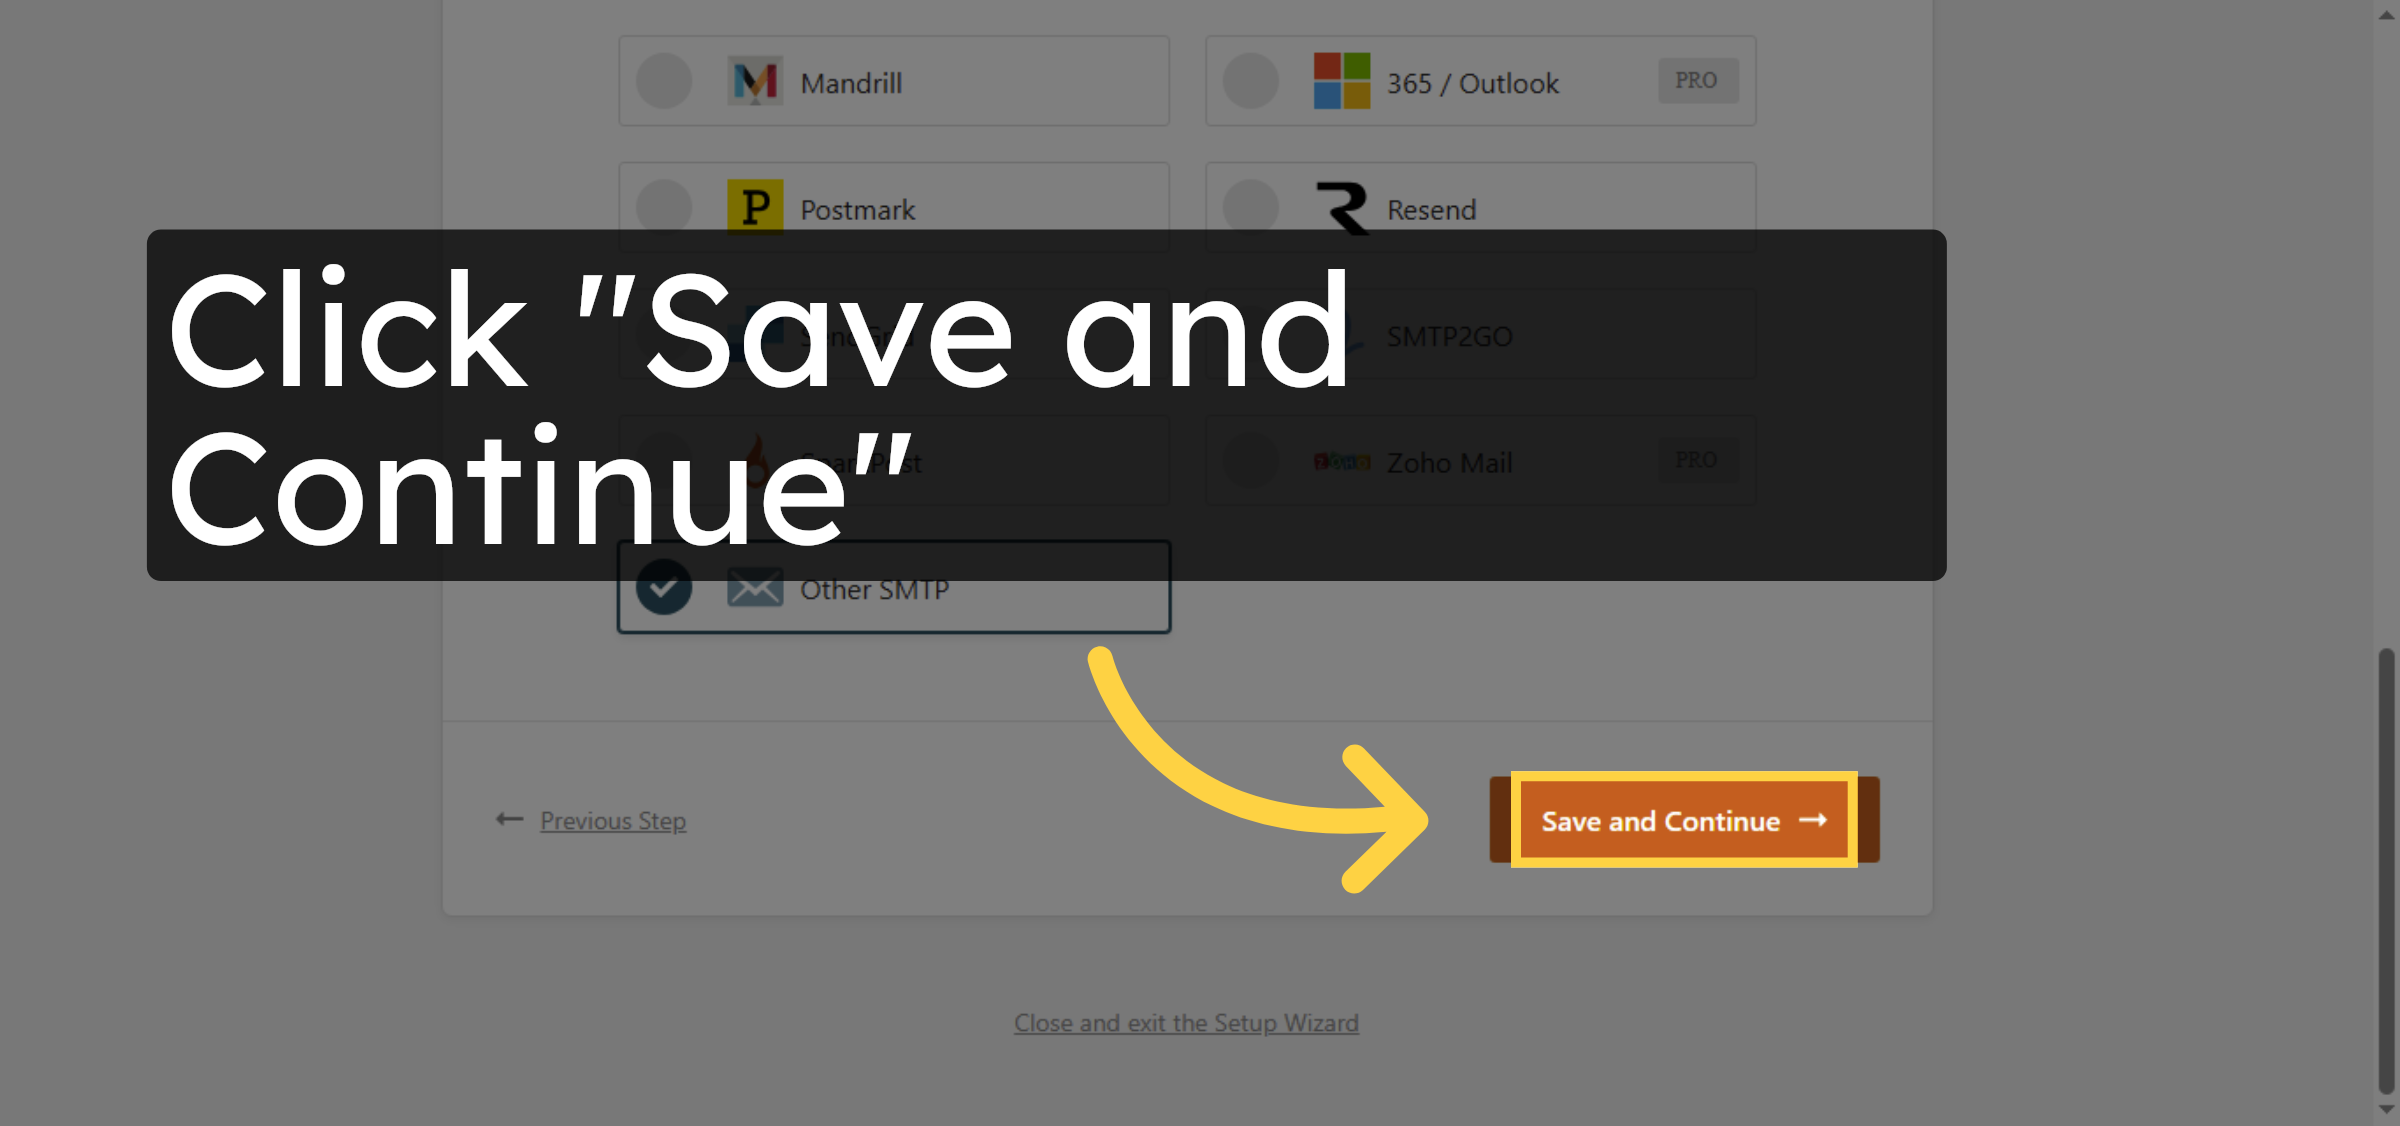
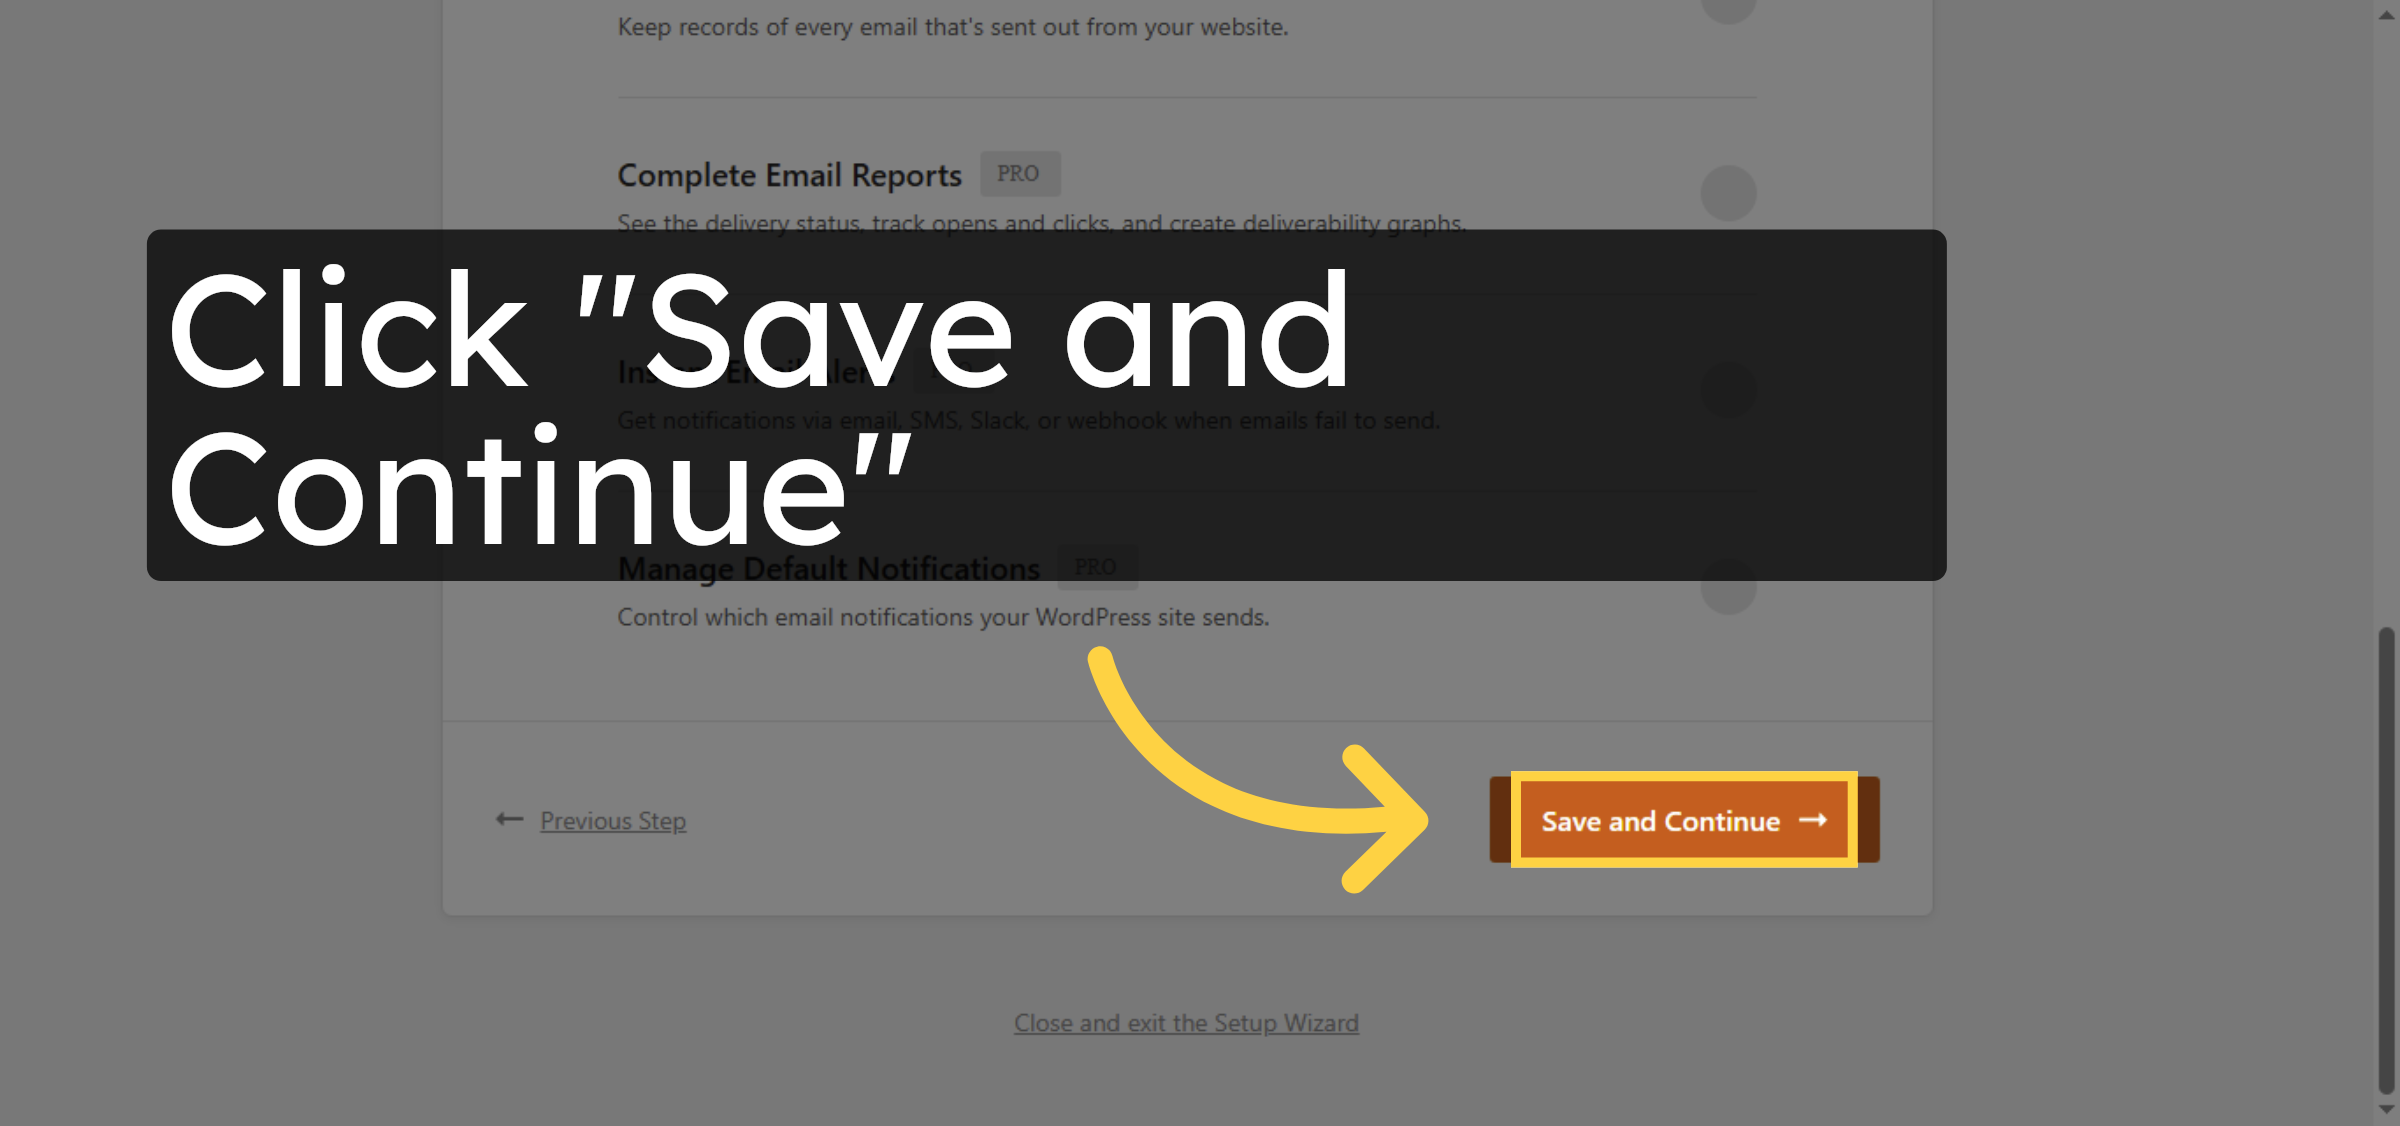
17. Save and Continue Setup
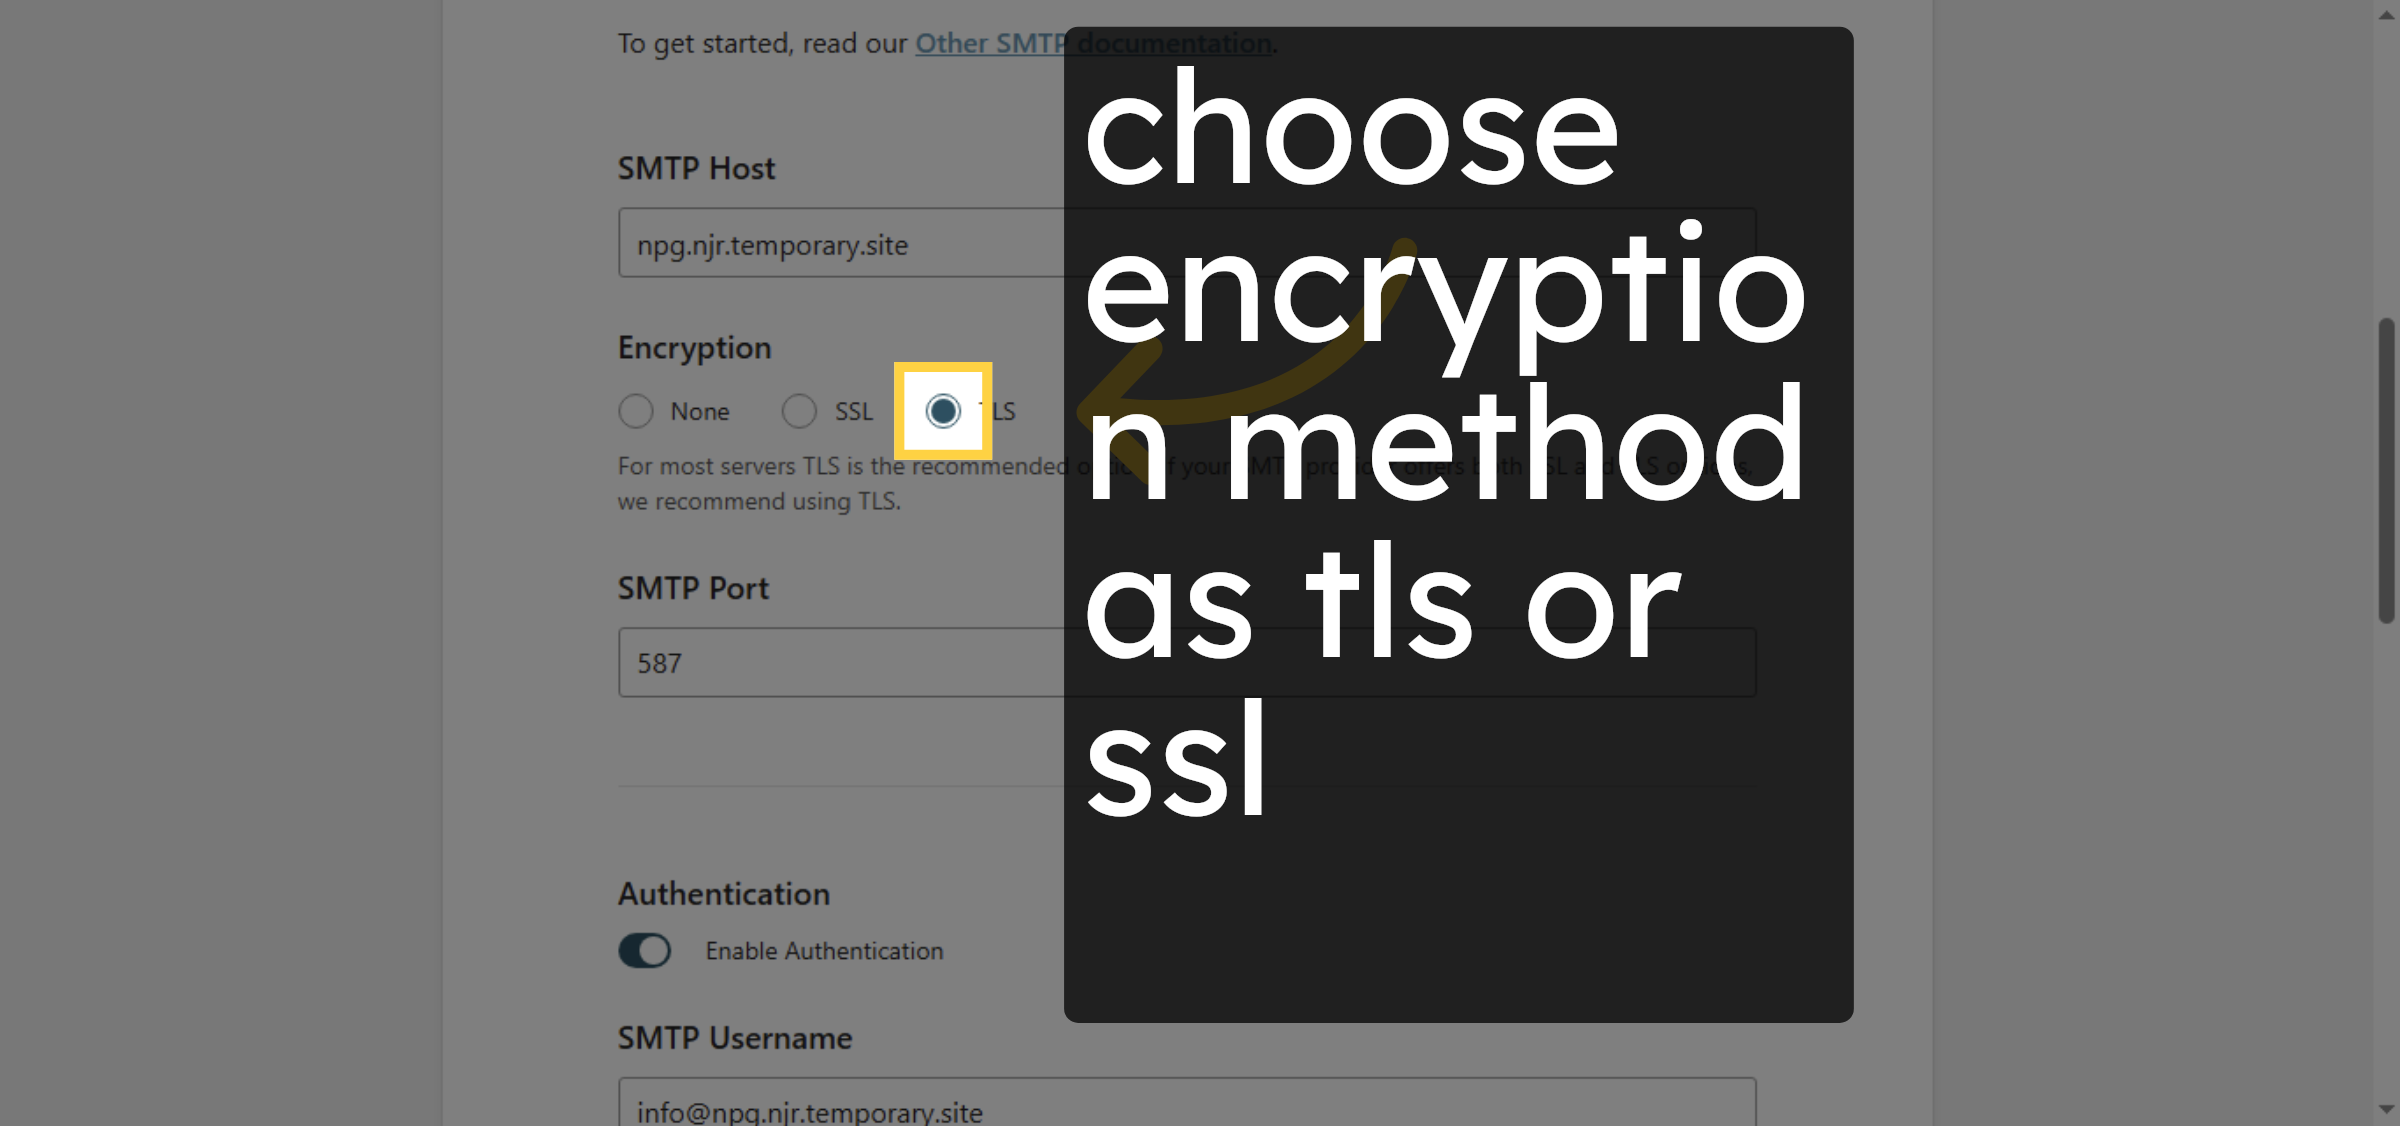
18. Select SMTP Host Field

19. Access SMTP Host Input
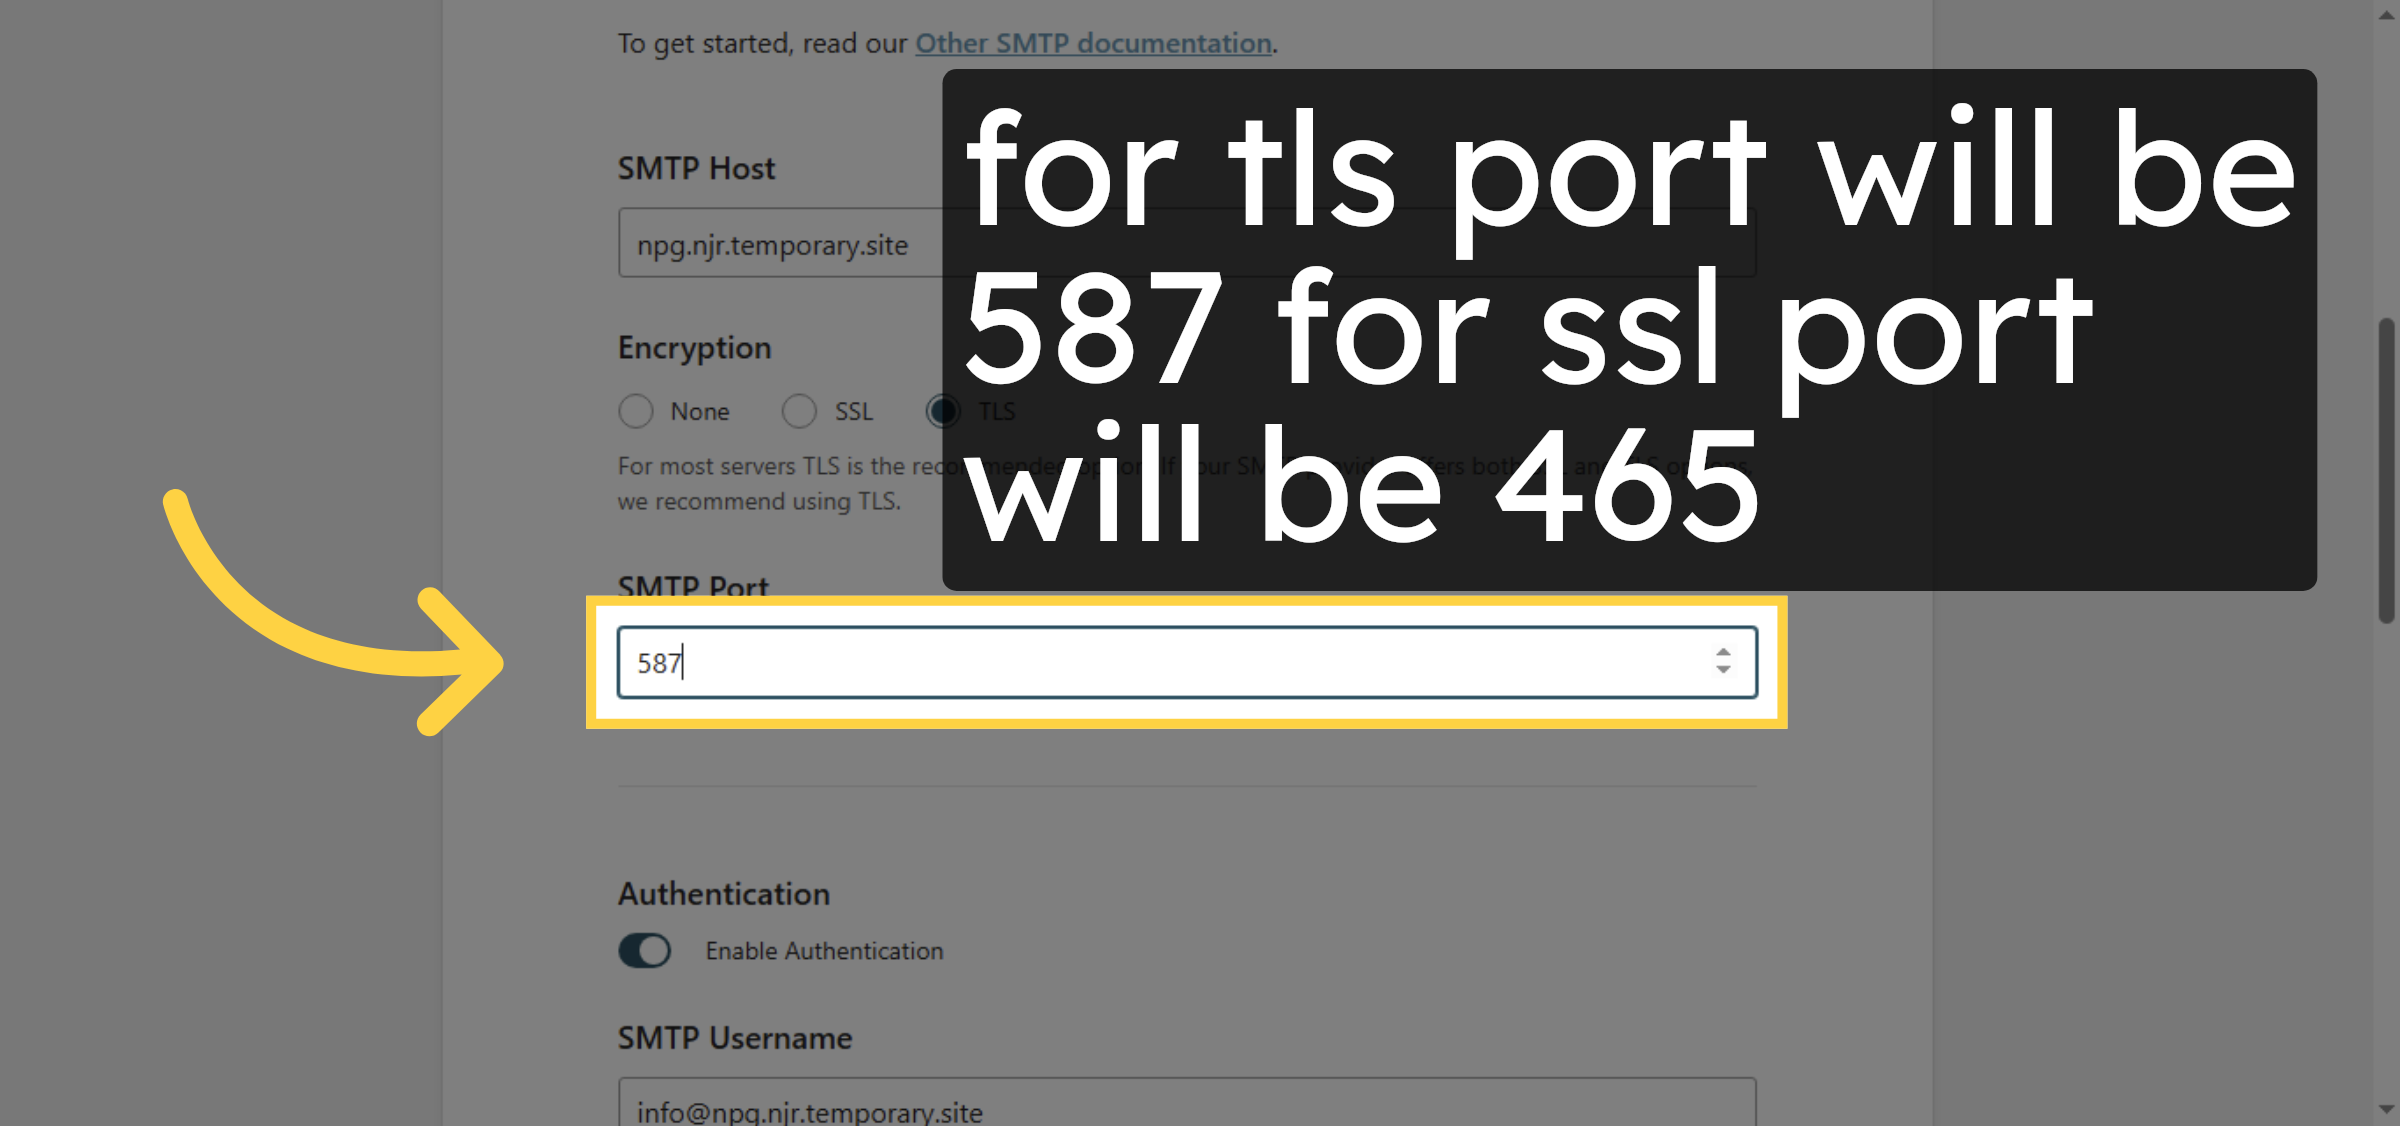
20. Select SMTP Port Field


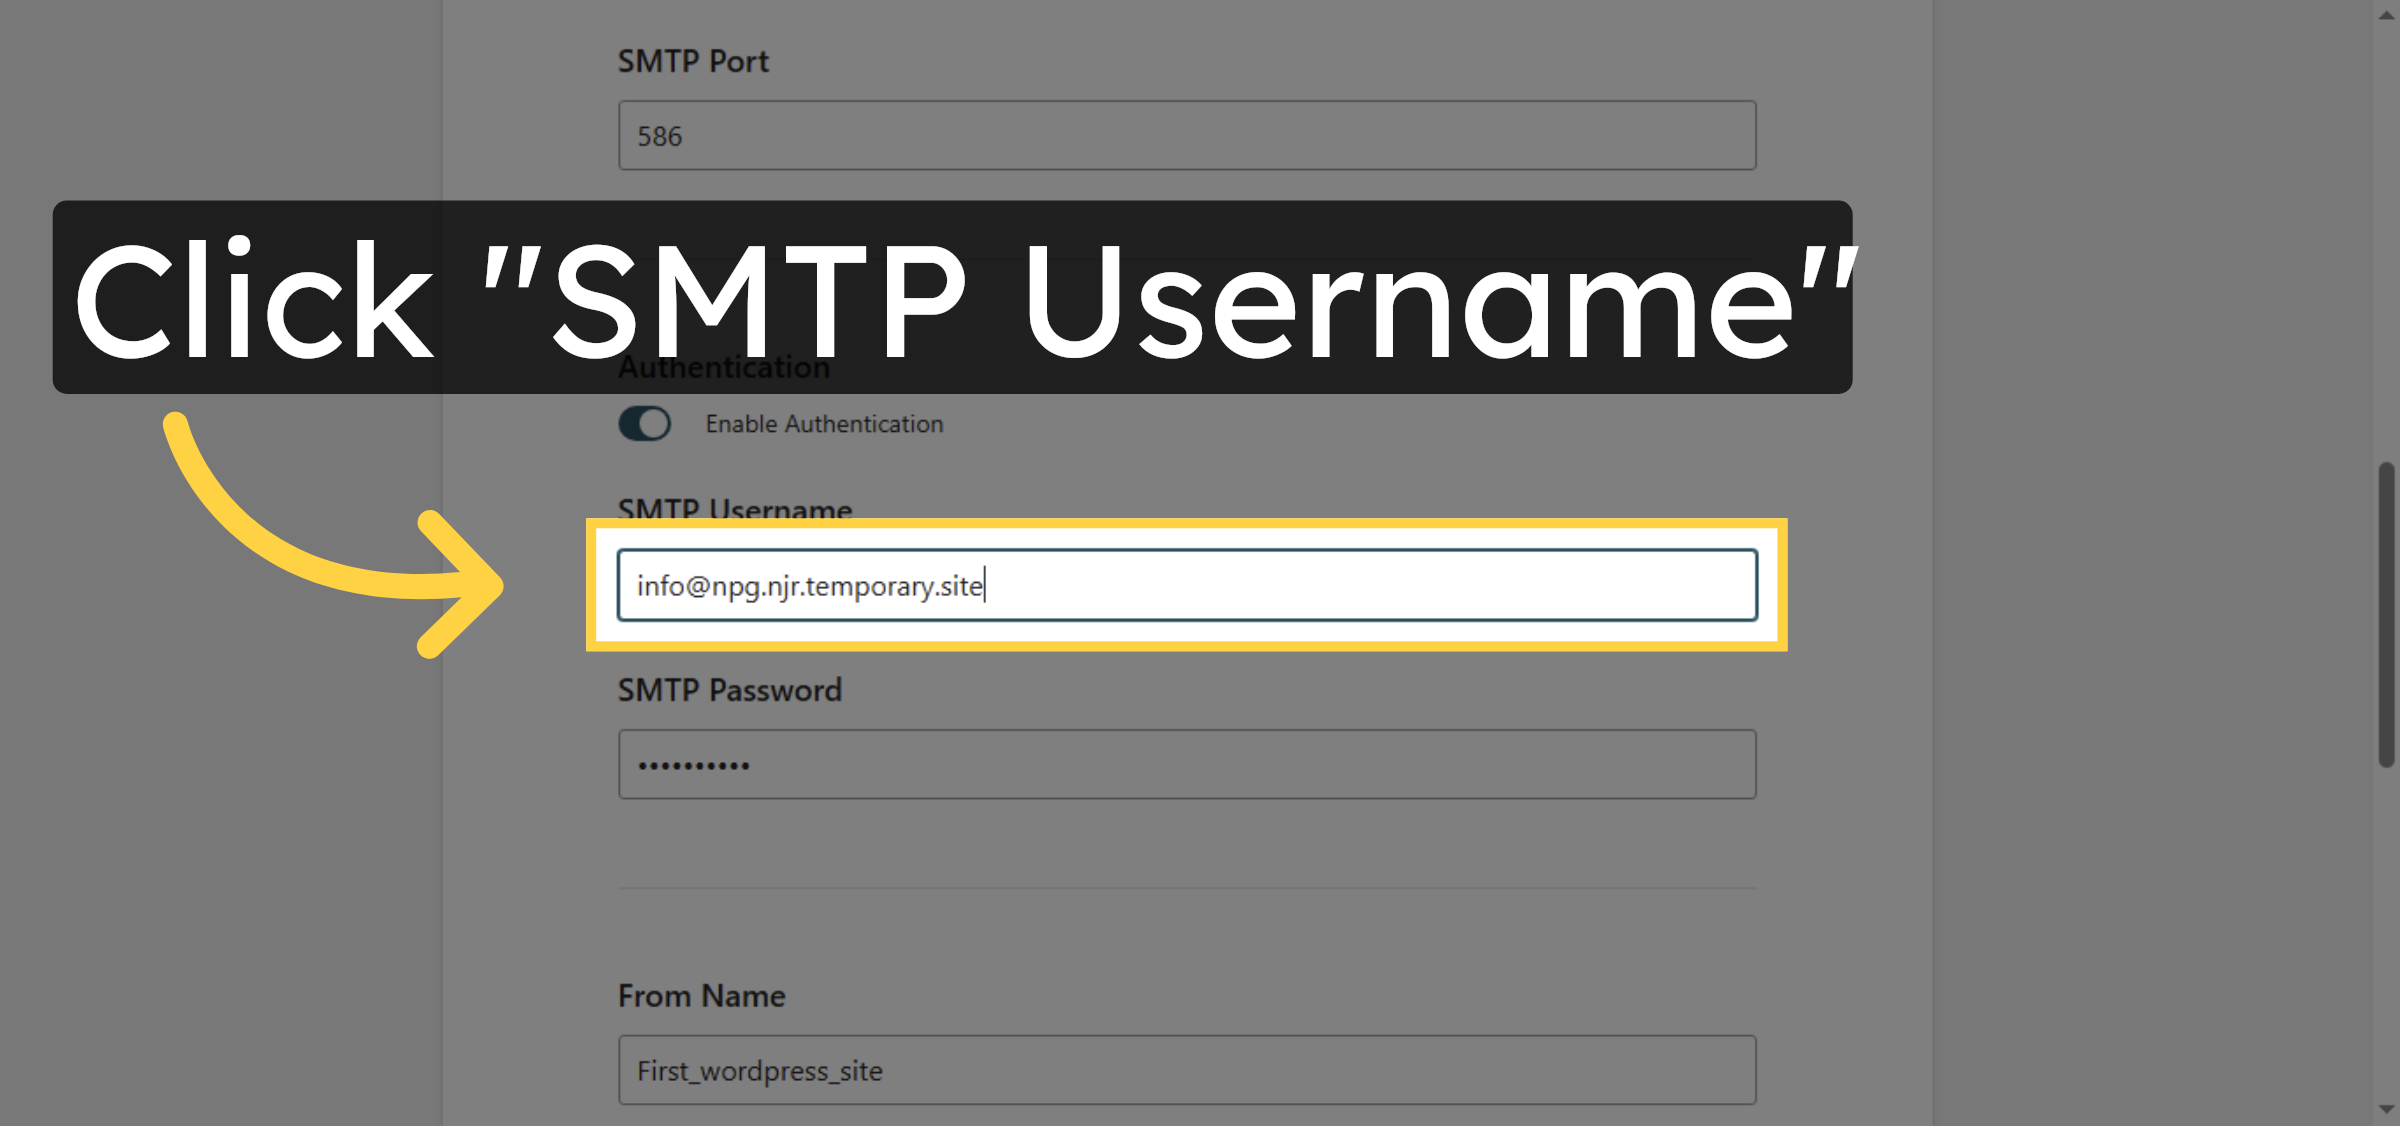
21. Select SMTP Username Field
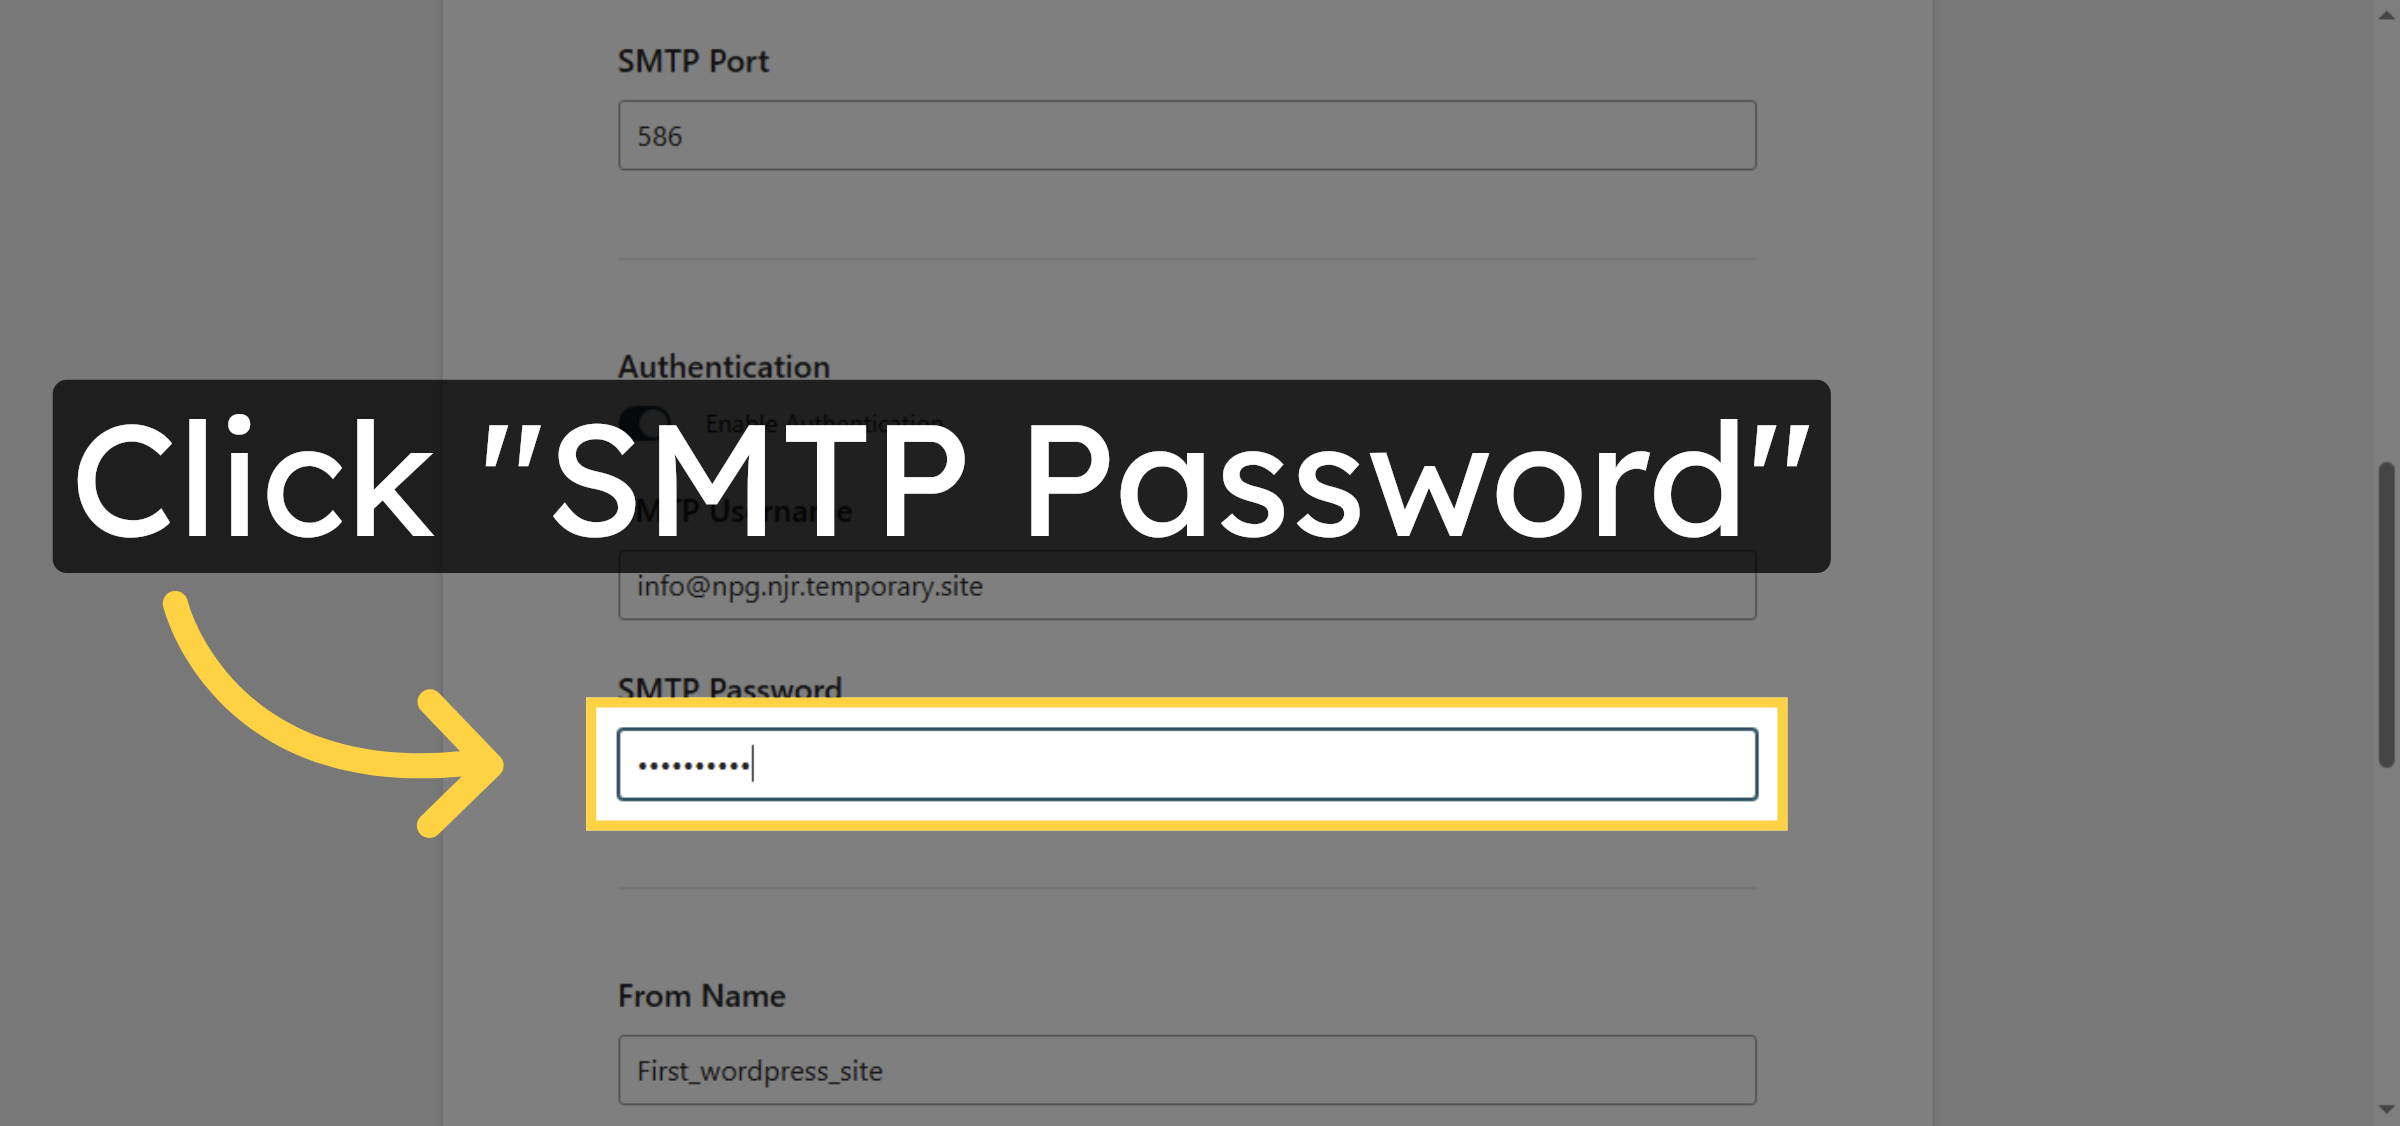
22. Select SMTP Password Field
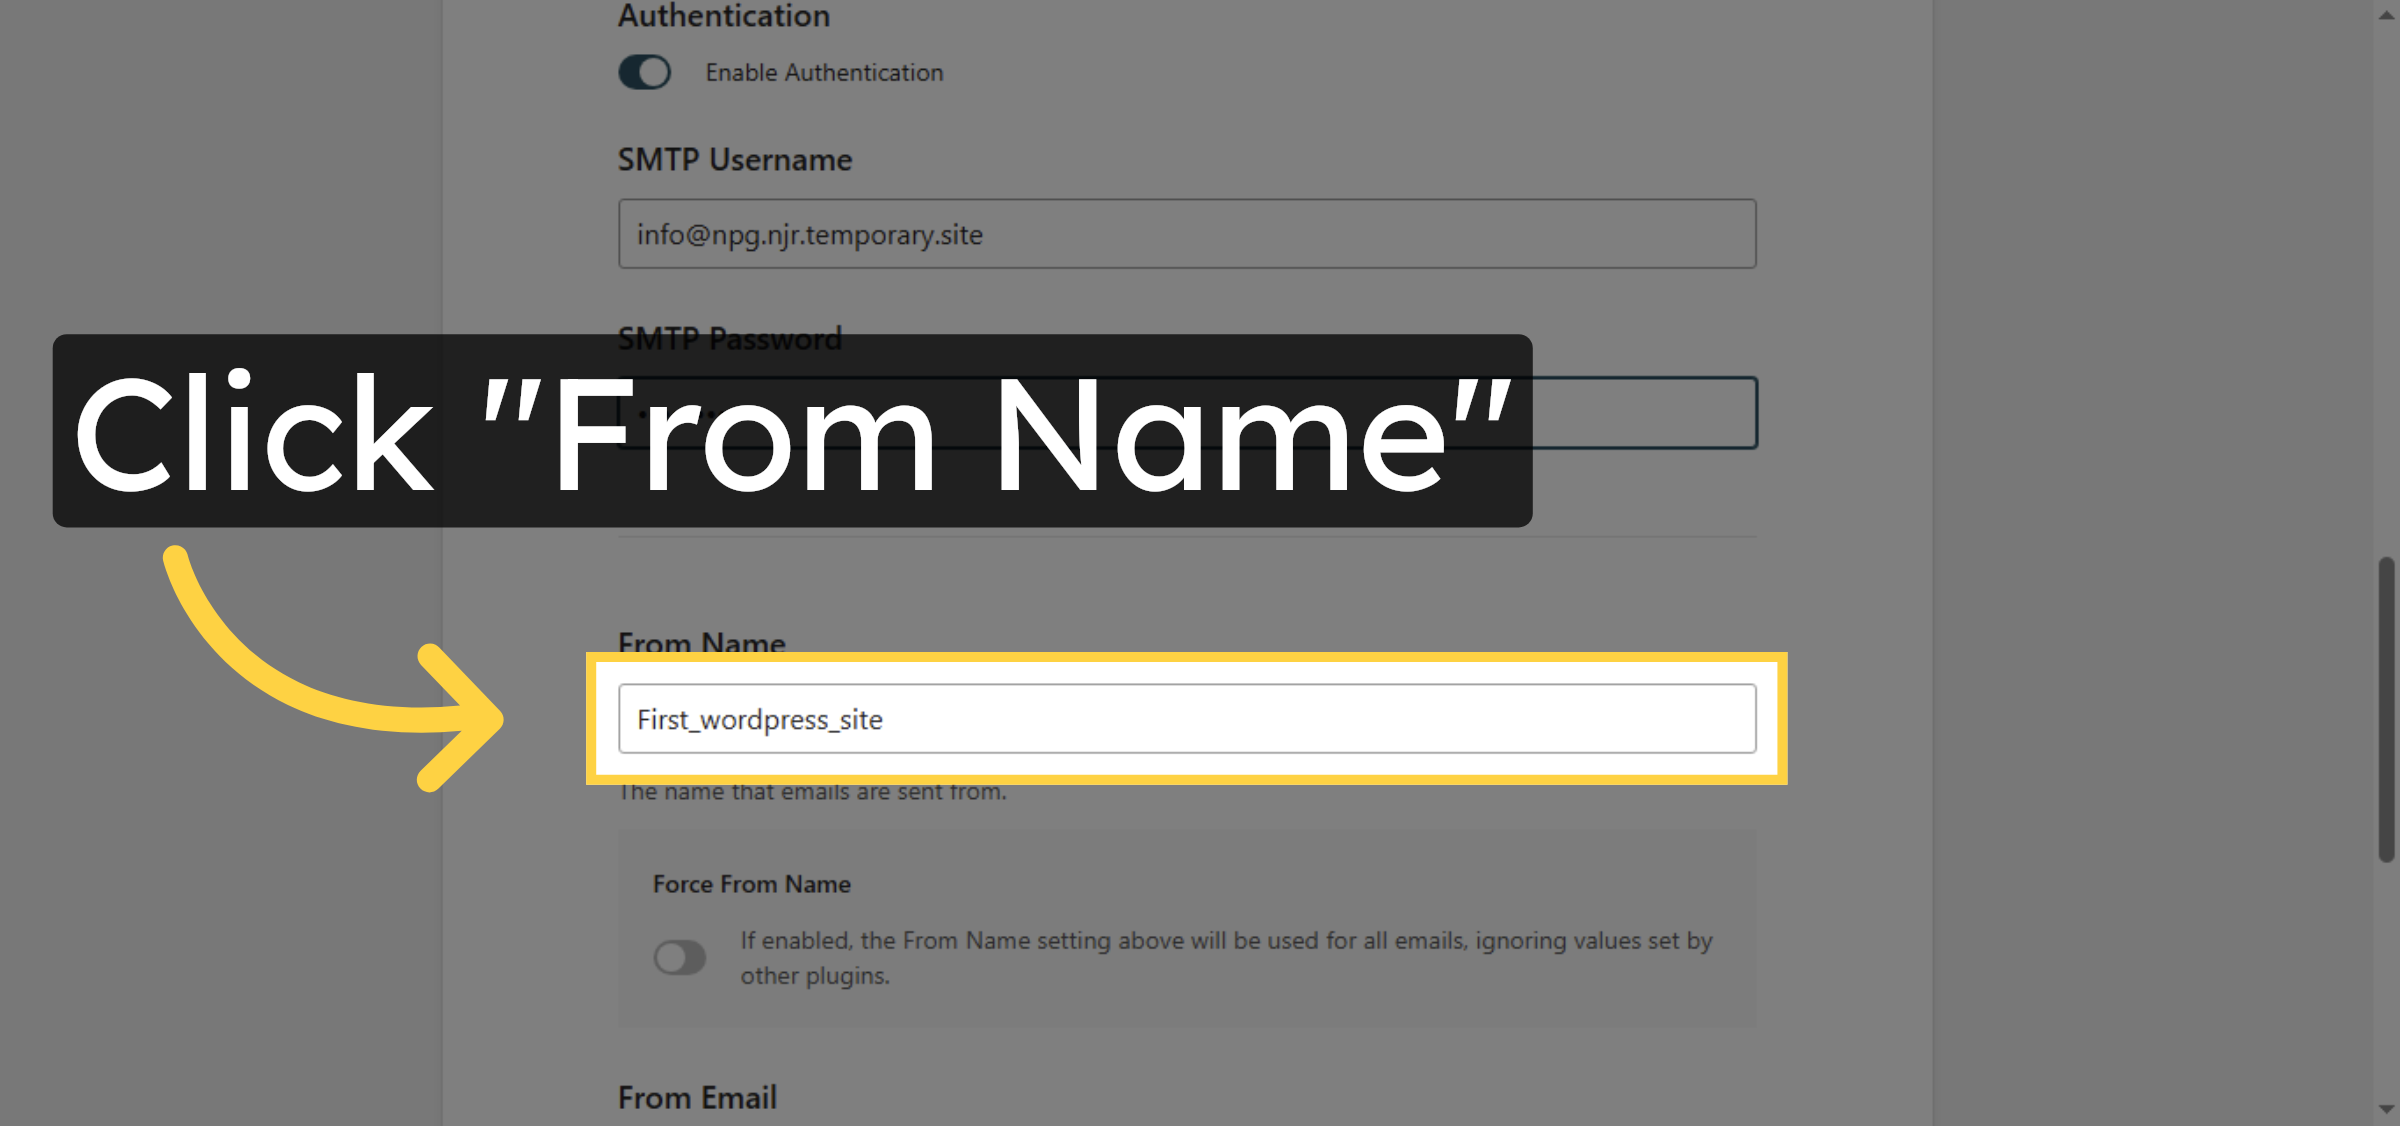
23. Select From Name Field
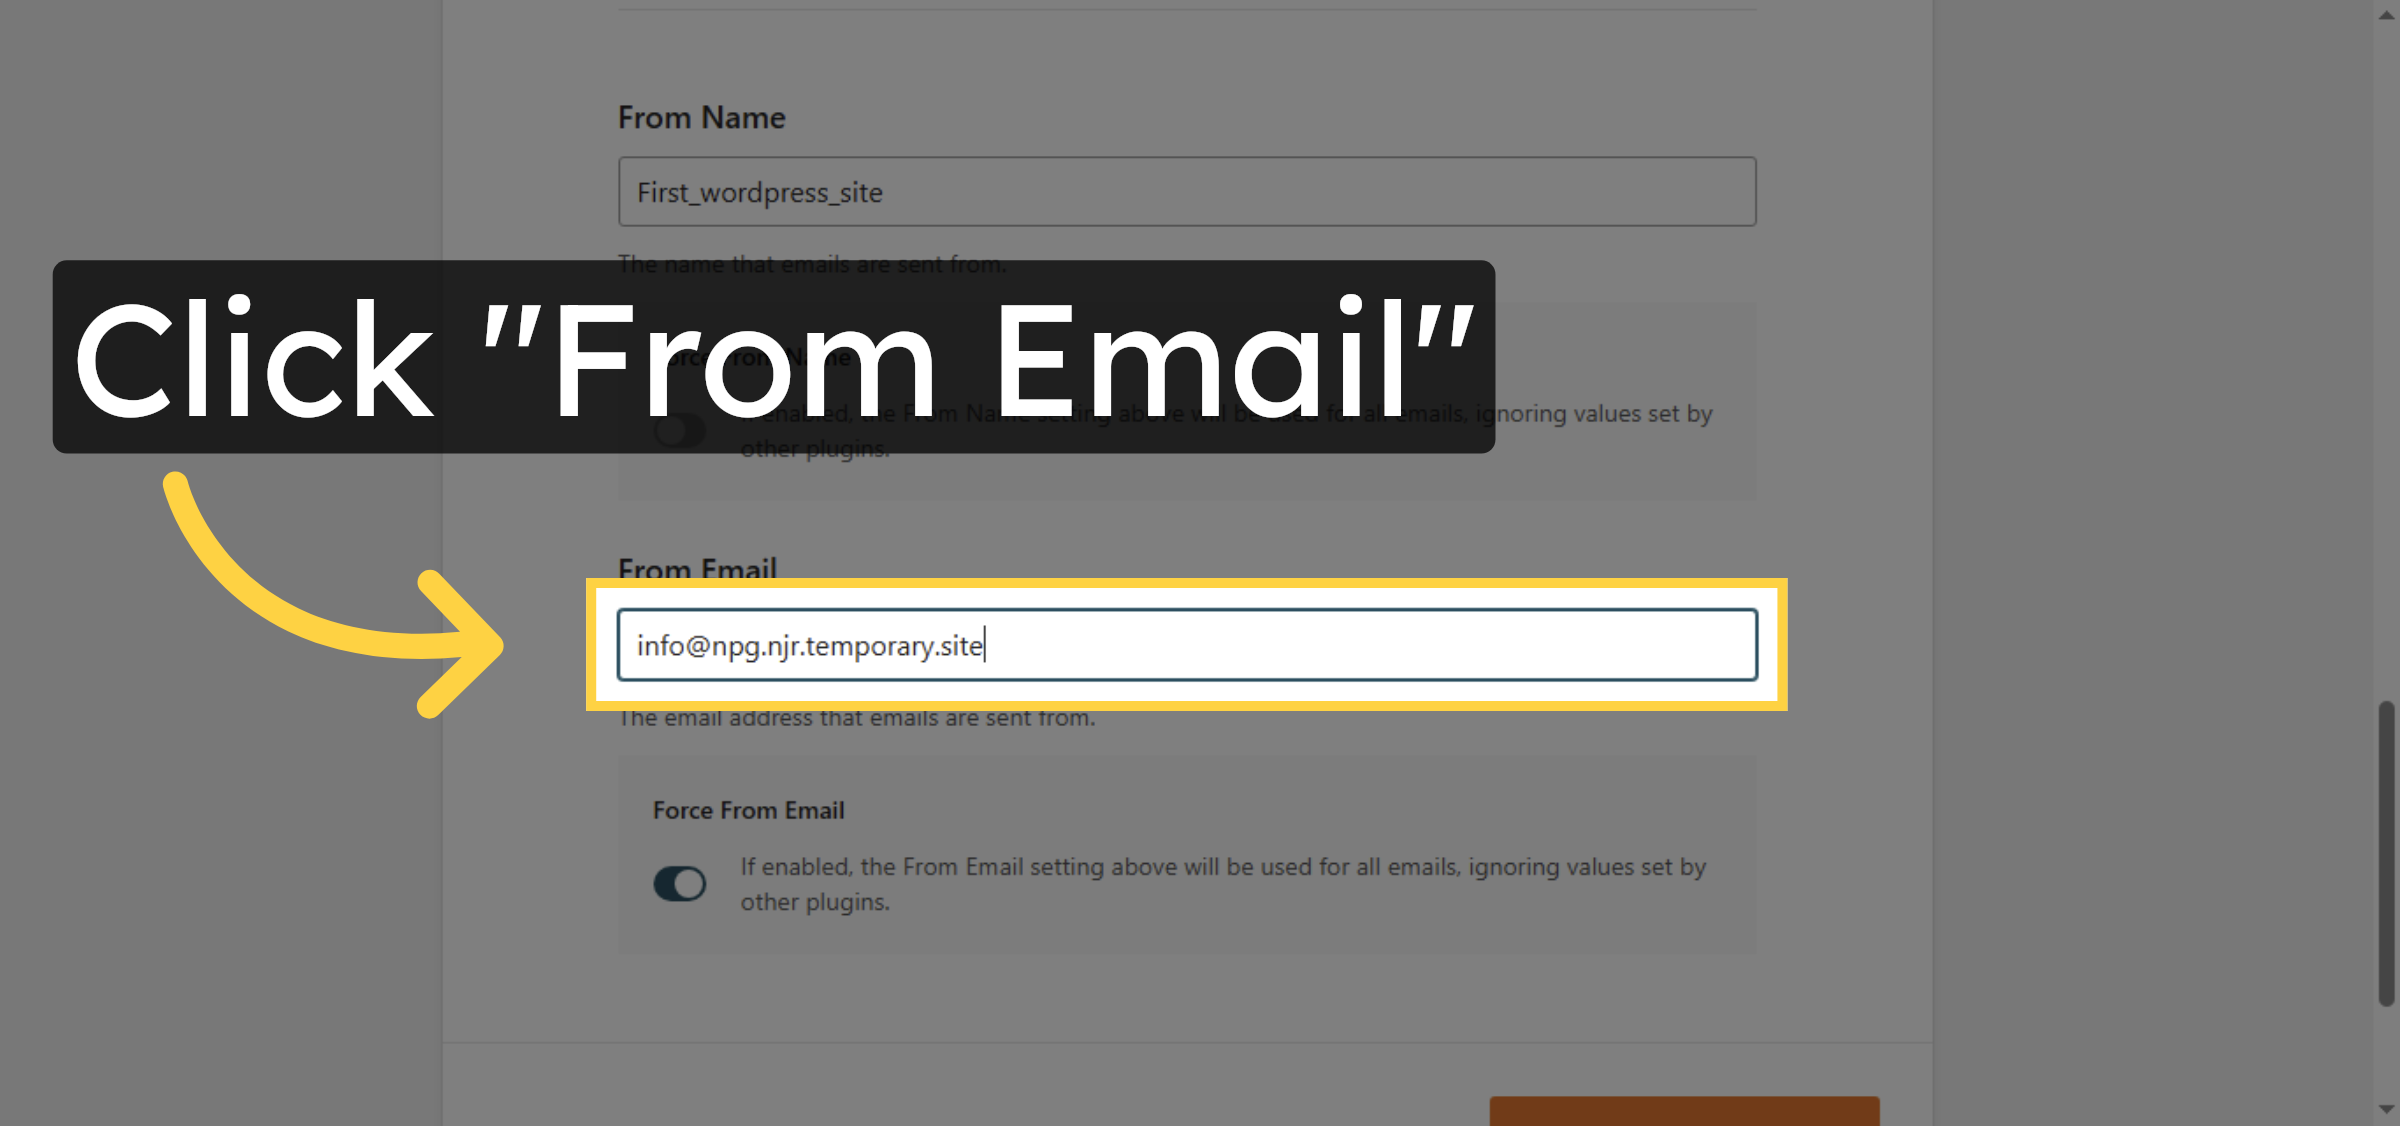
24. Select From Email Field
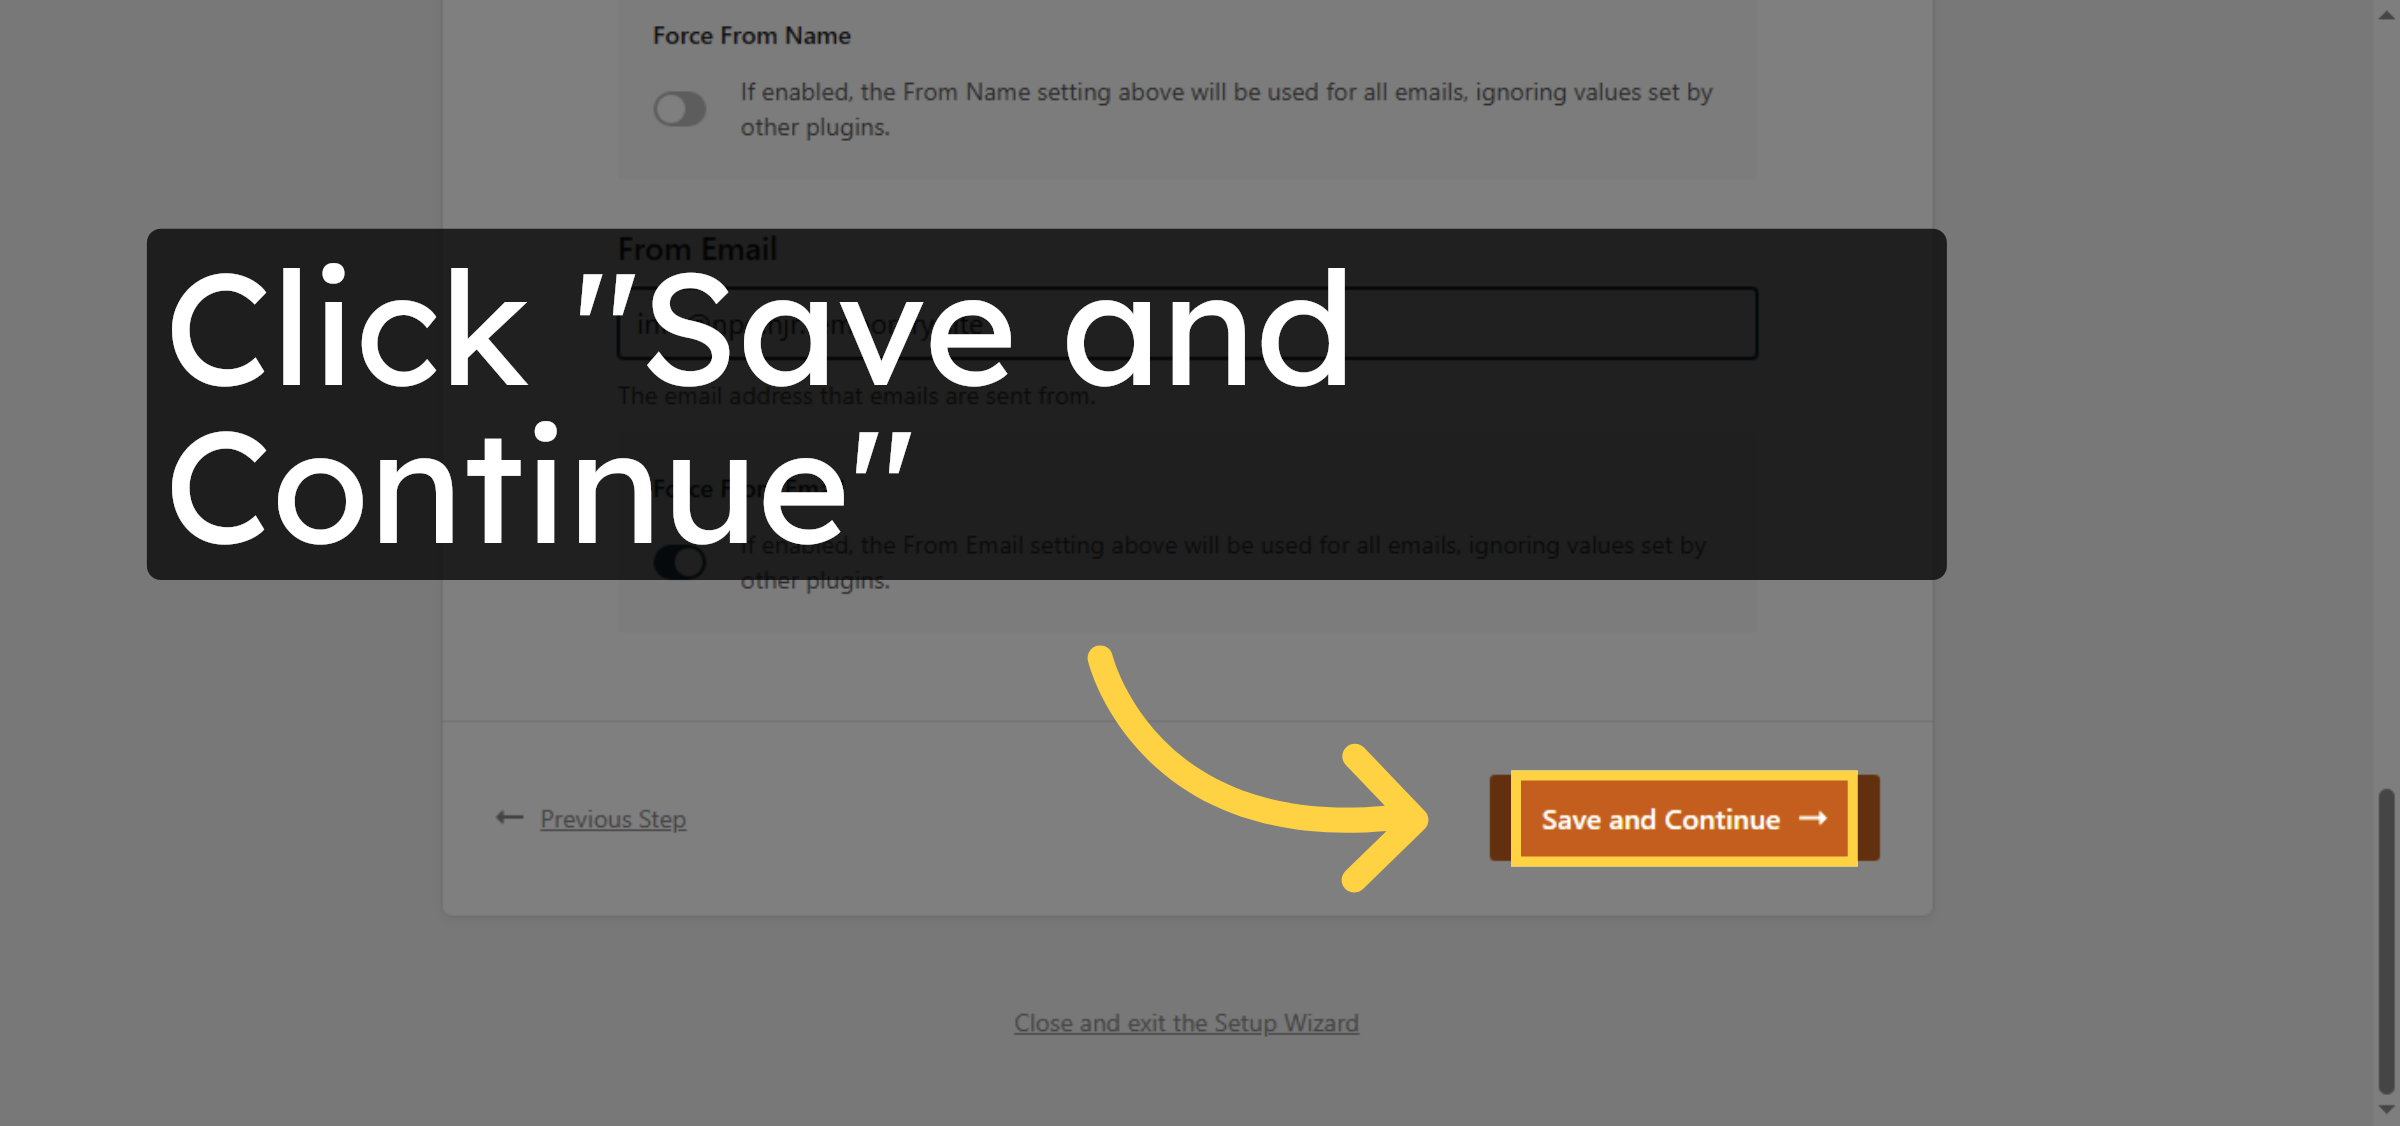
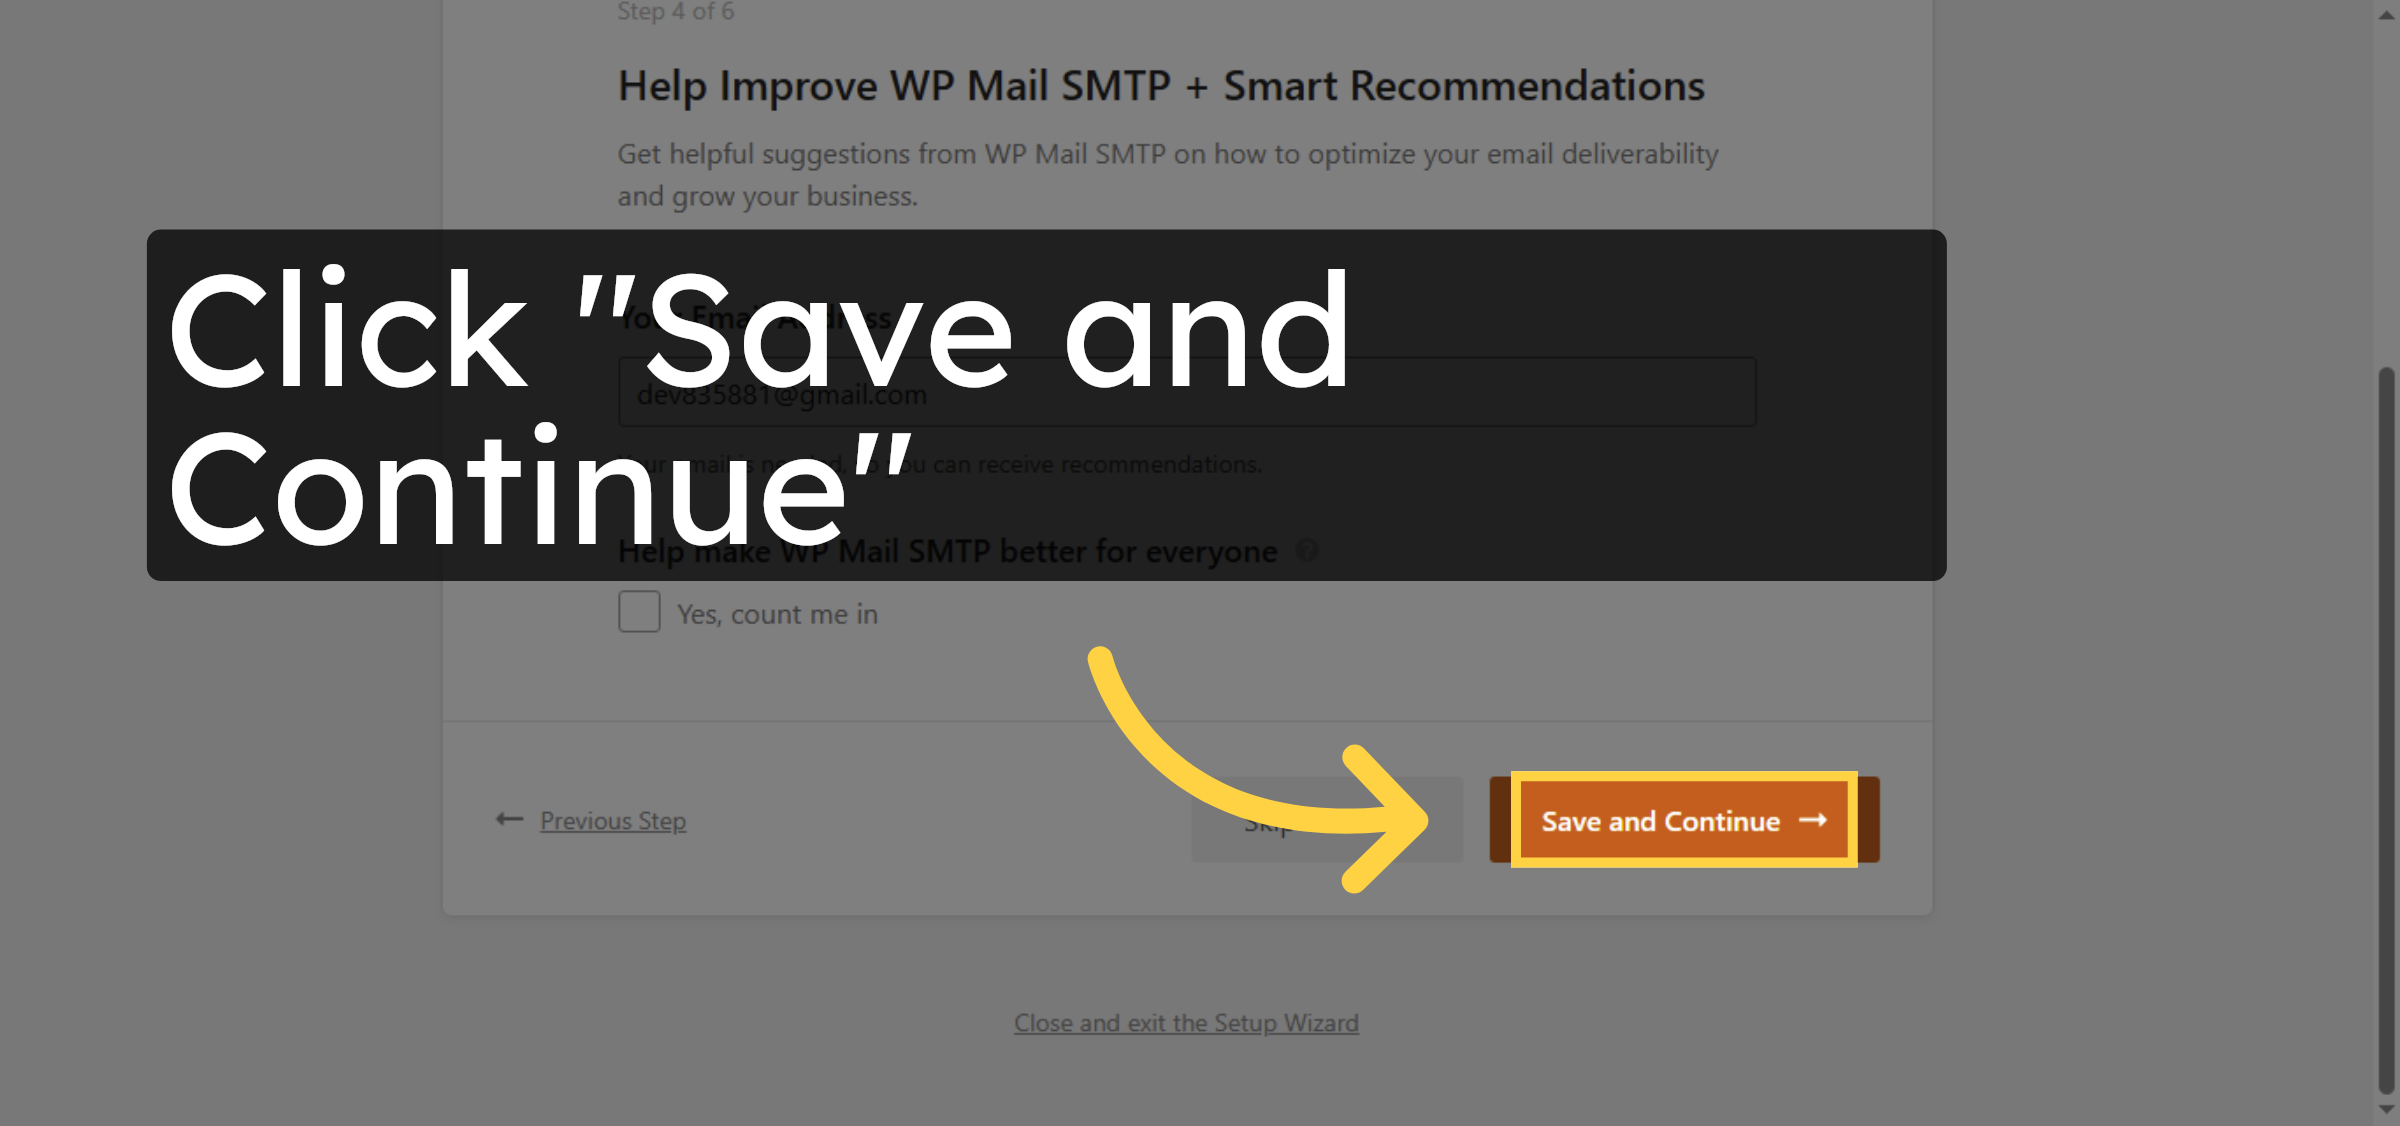
25. Save and Continue Setup.
26. Continue Setup Progress
27. Proceed to Next Step
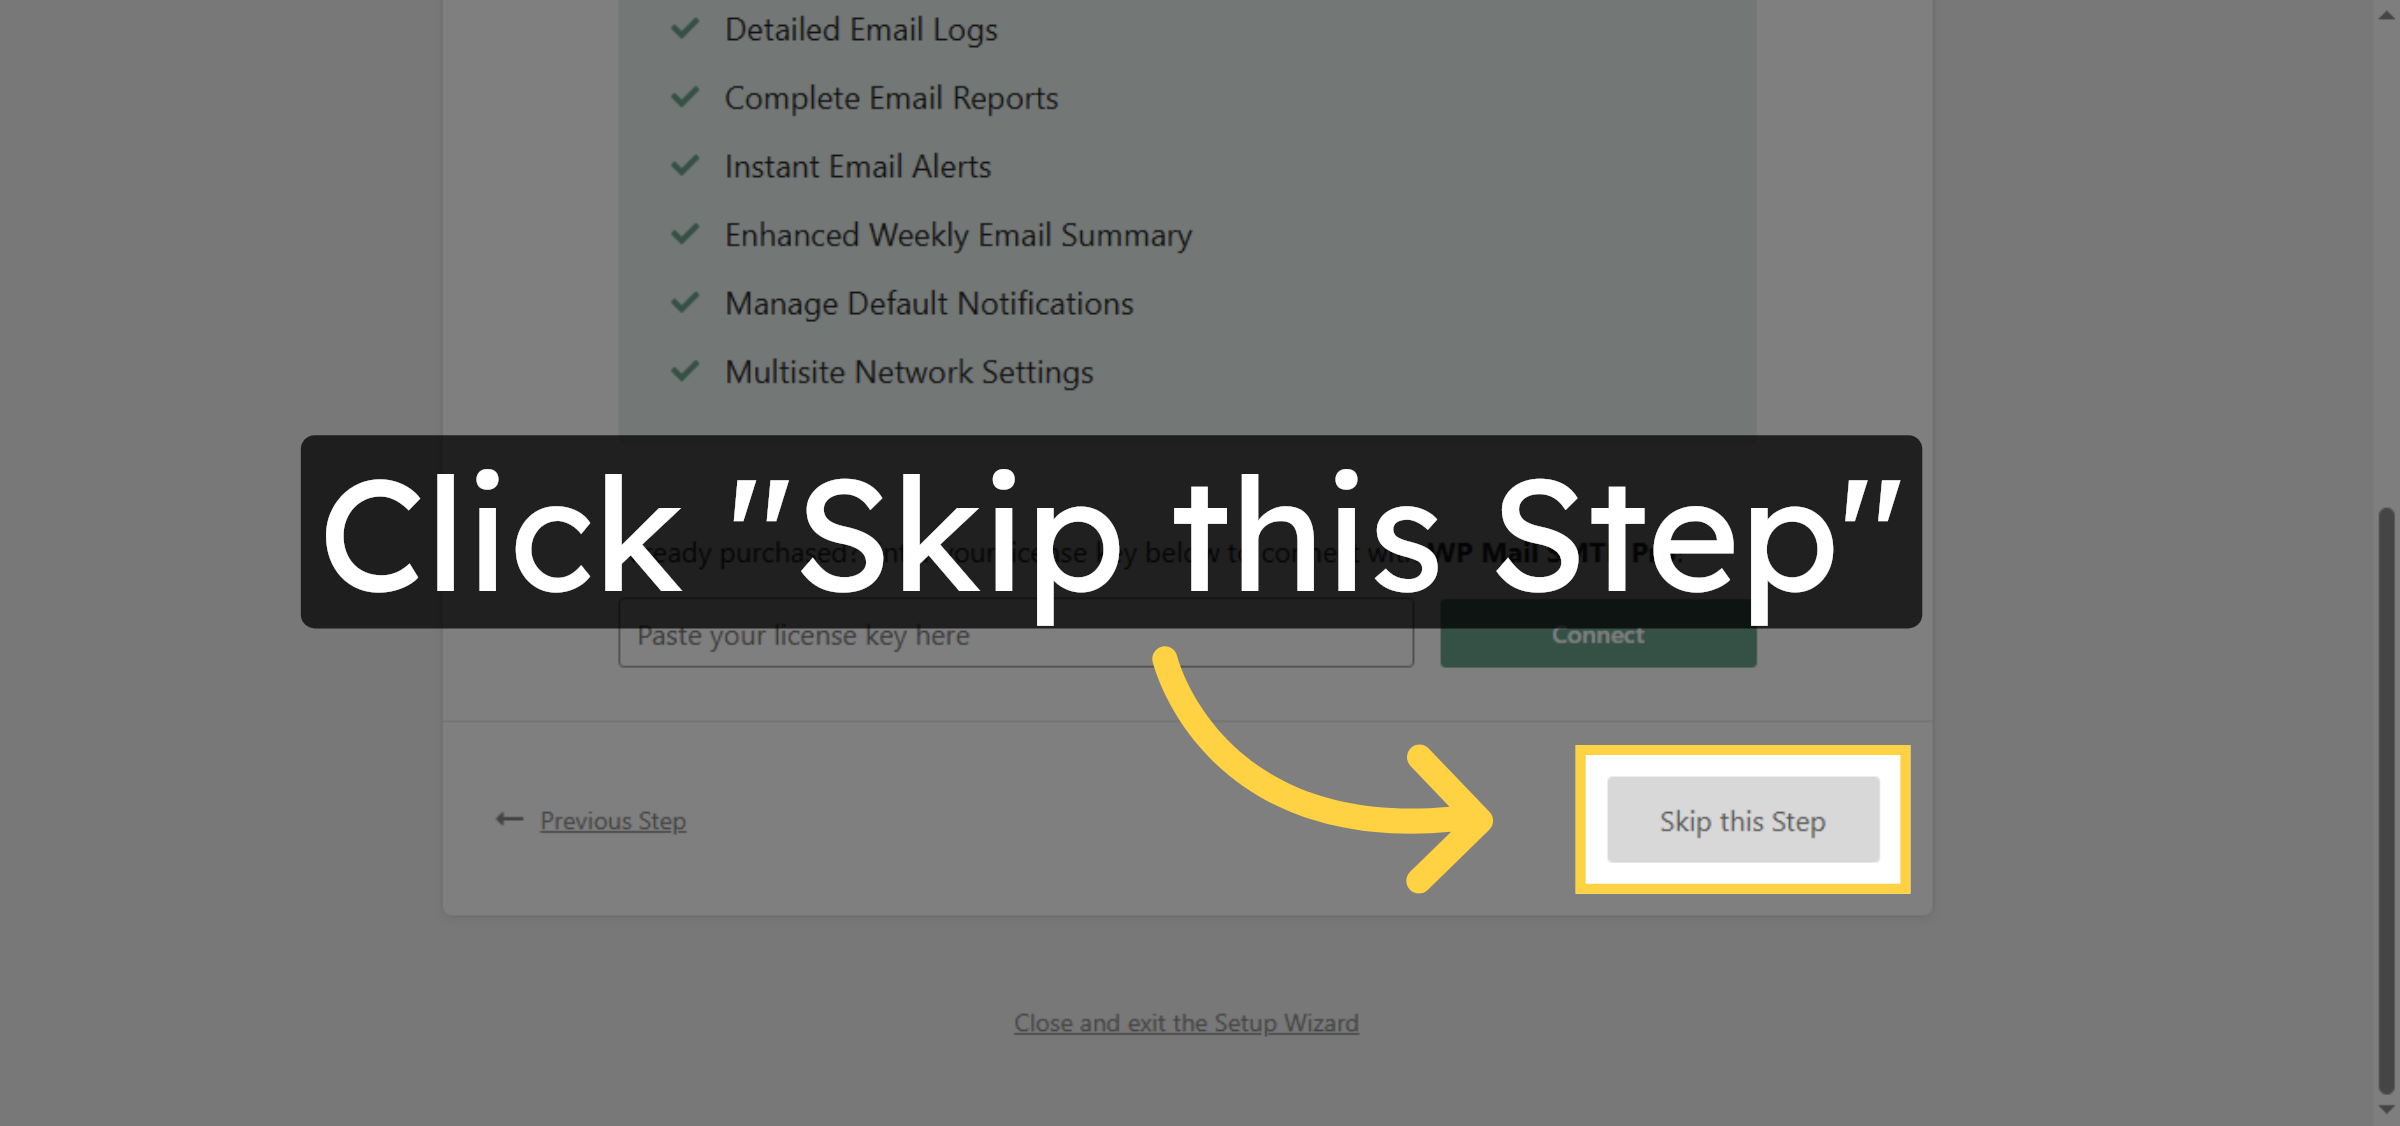
28. Skip Optional Step
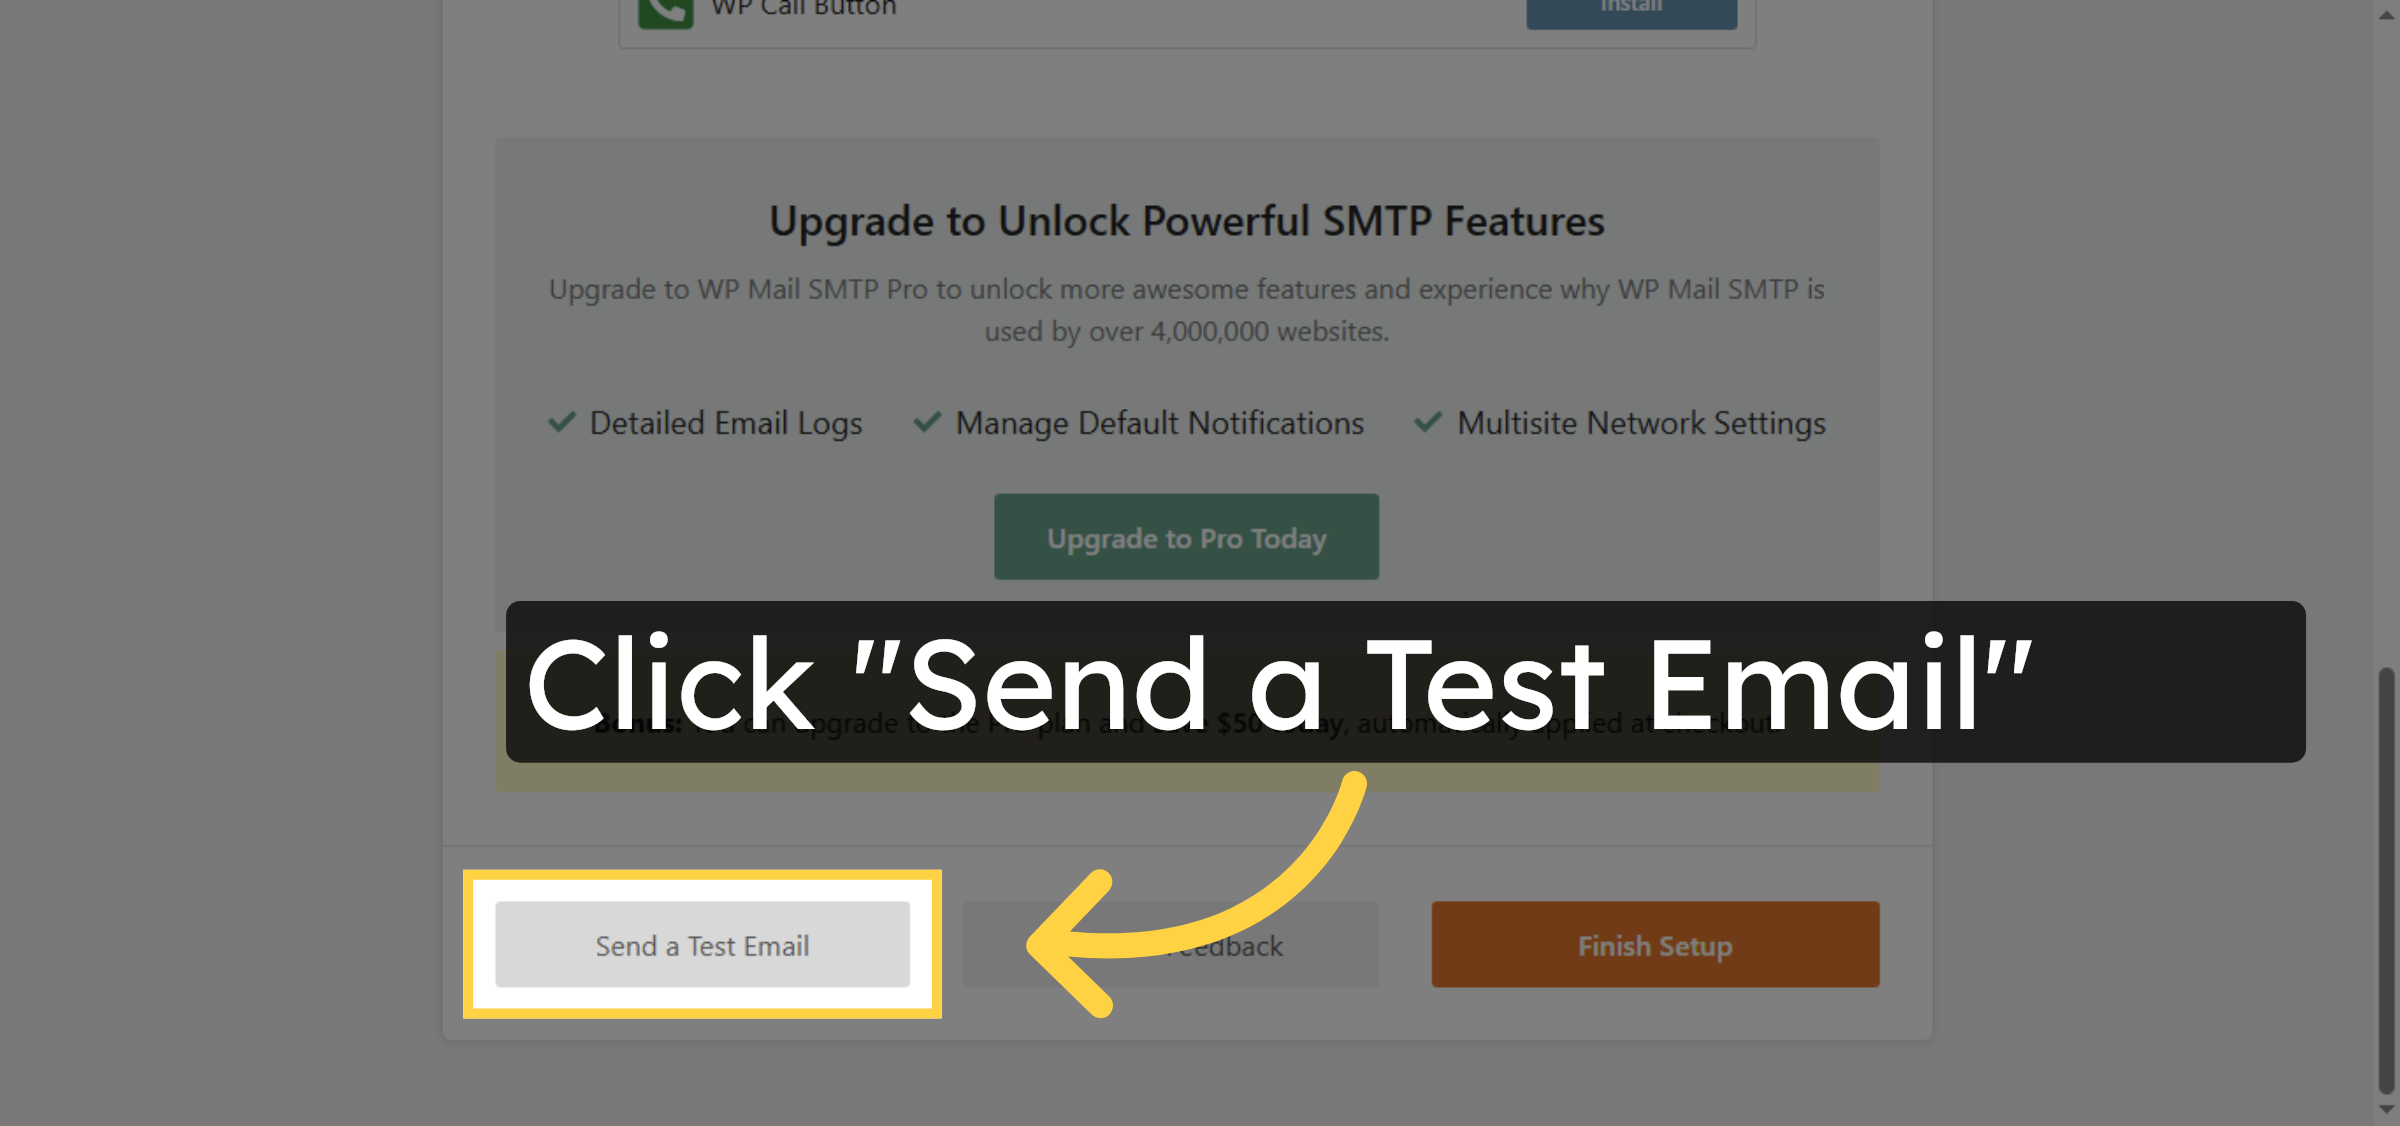
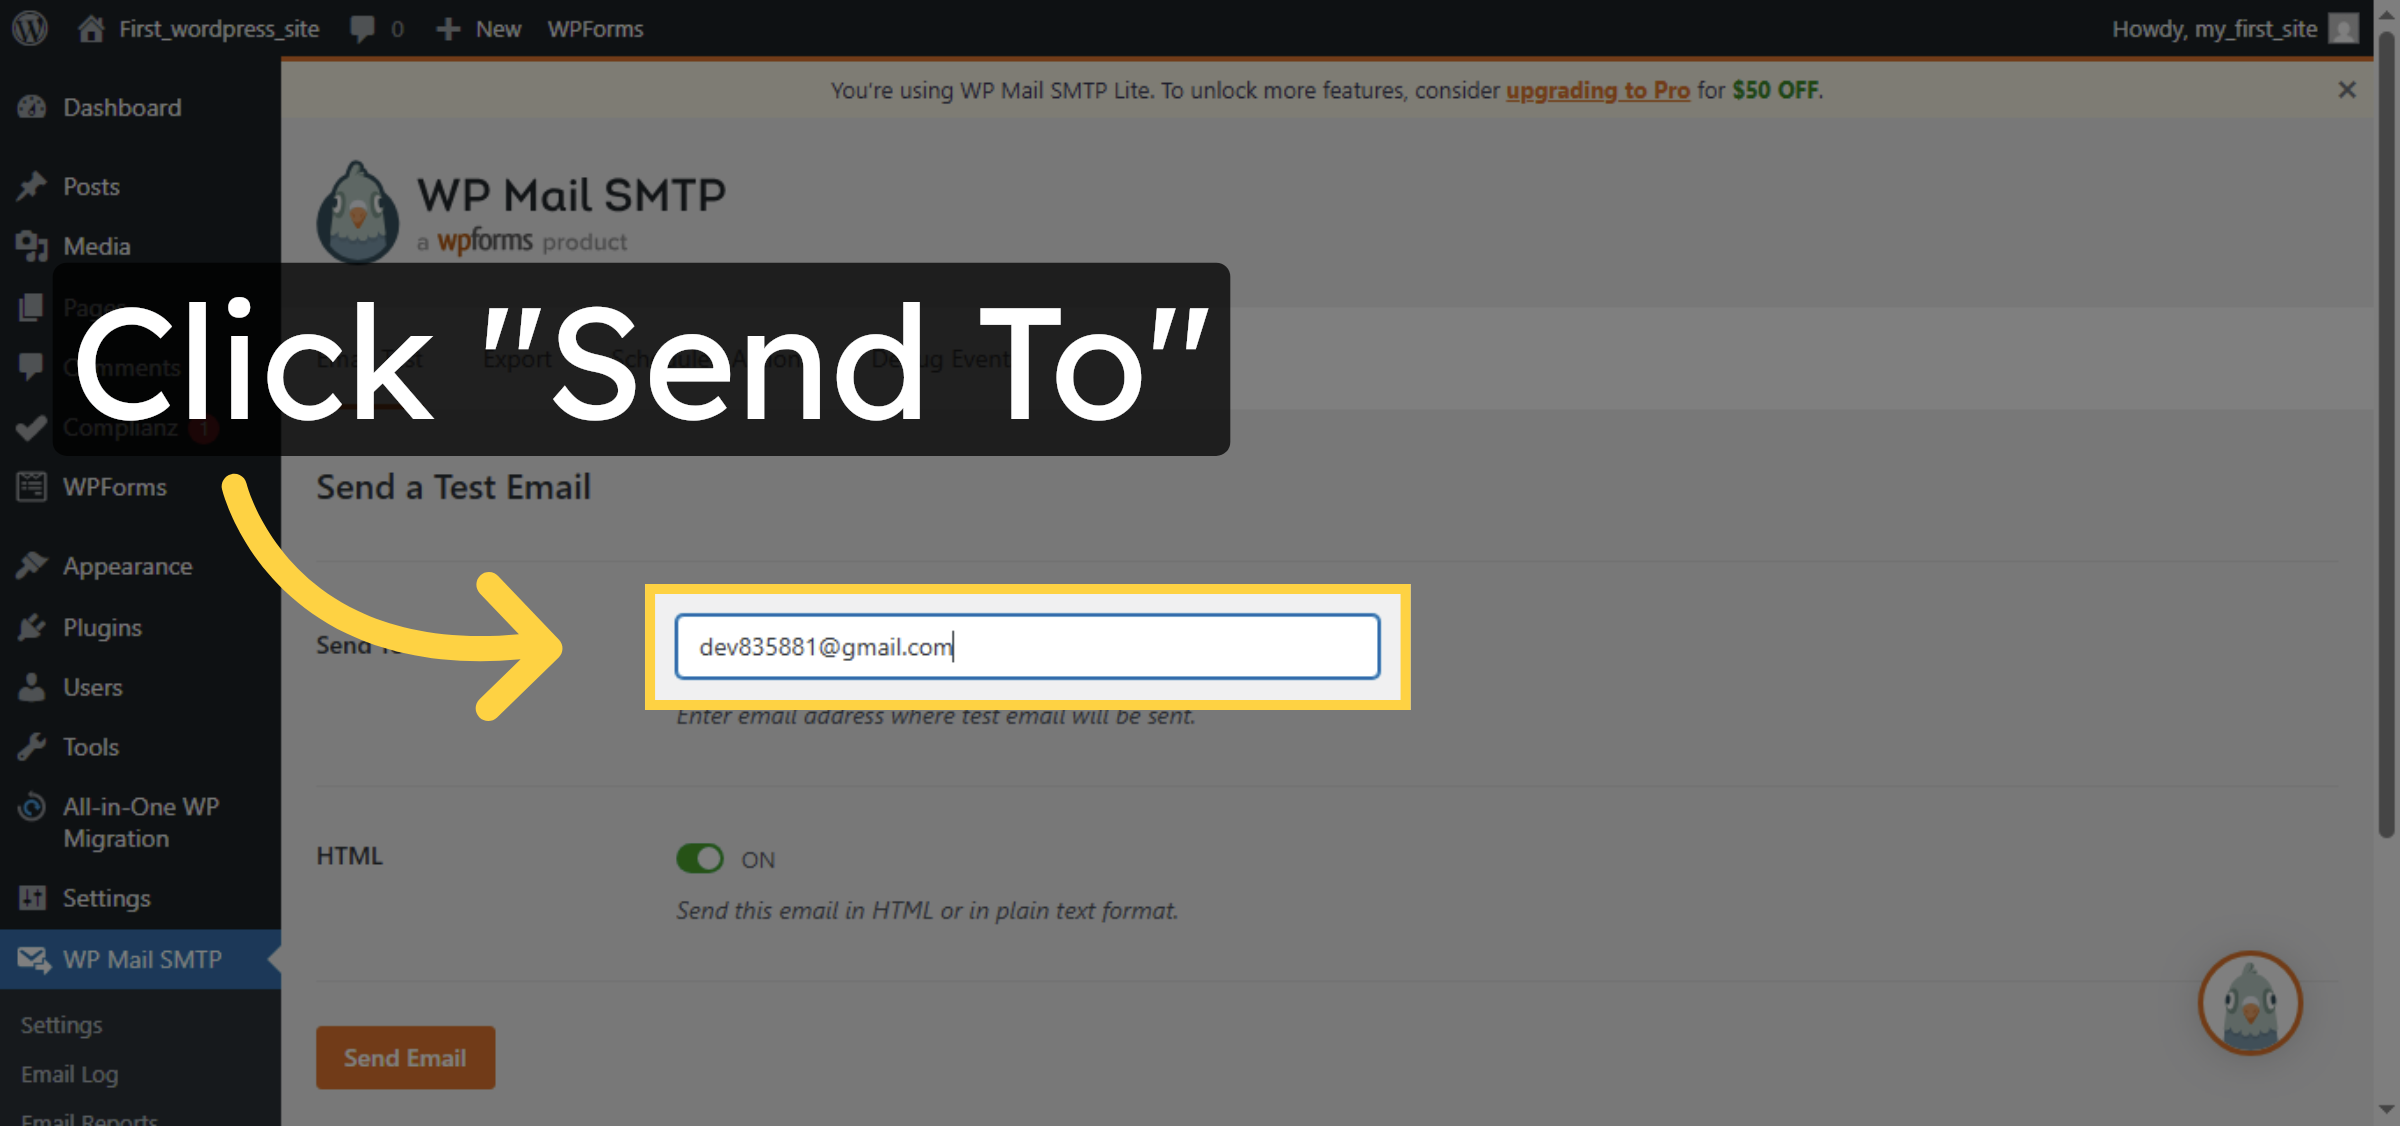
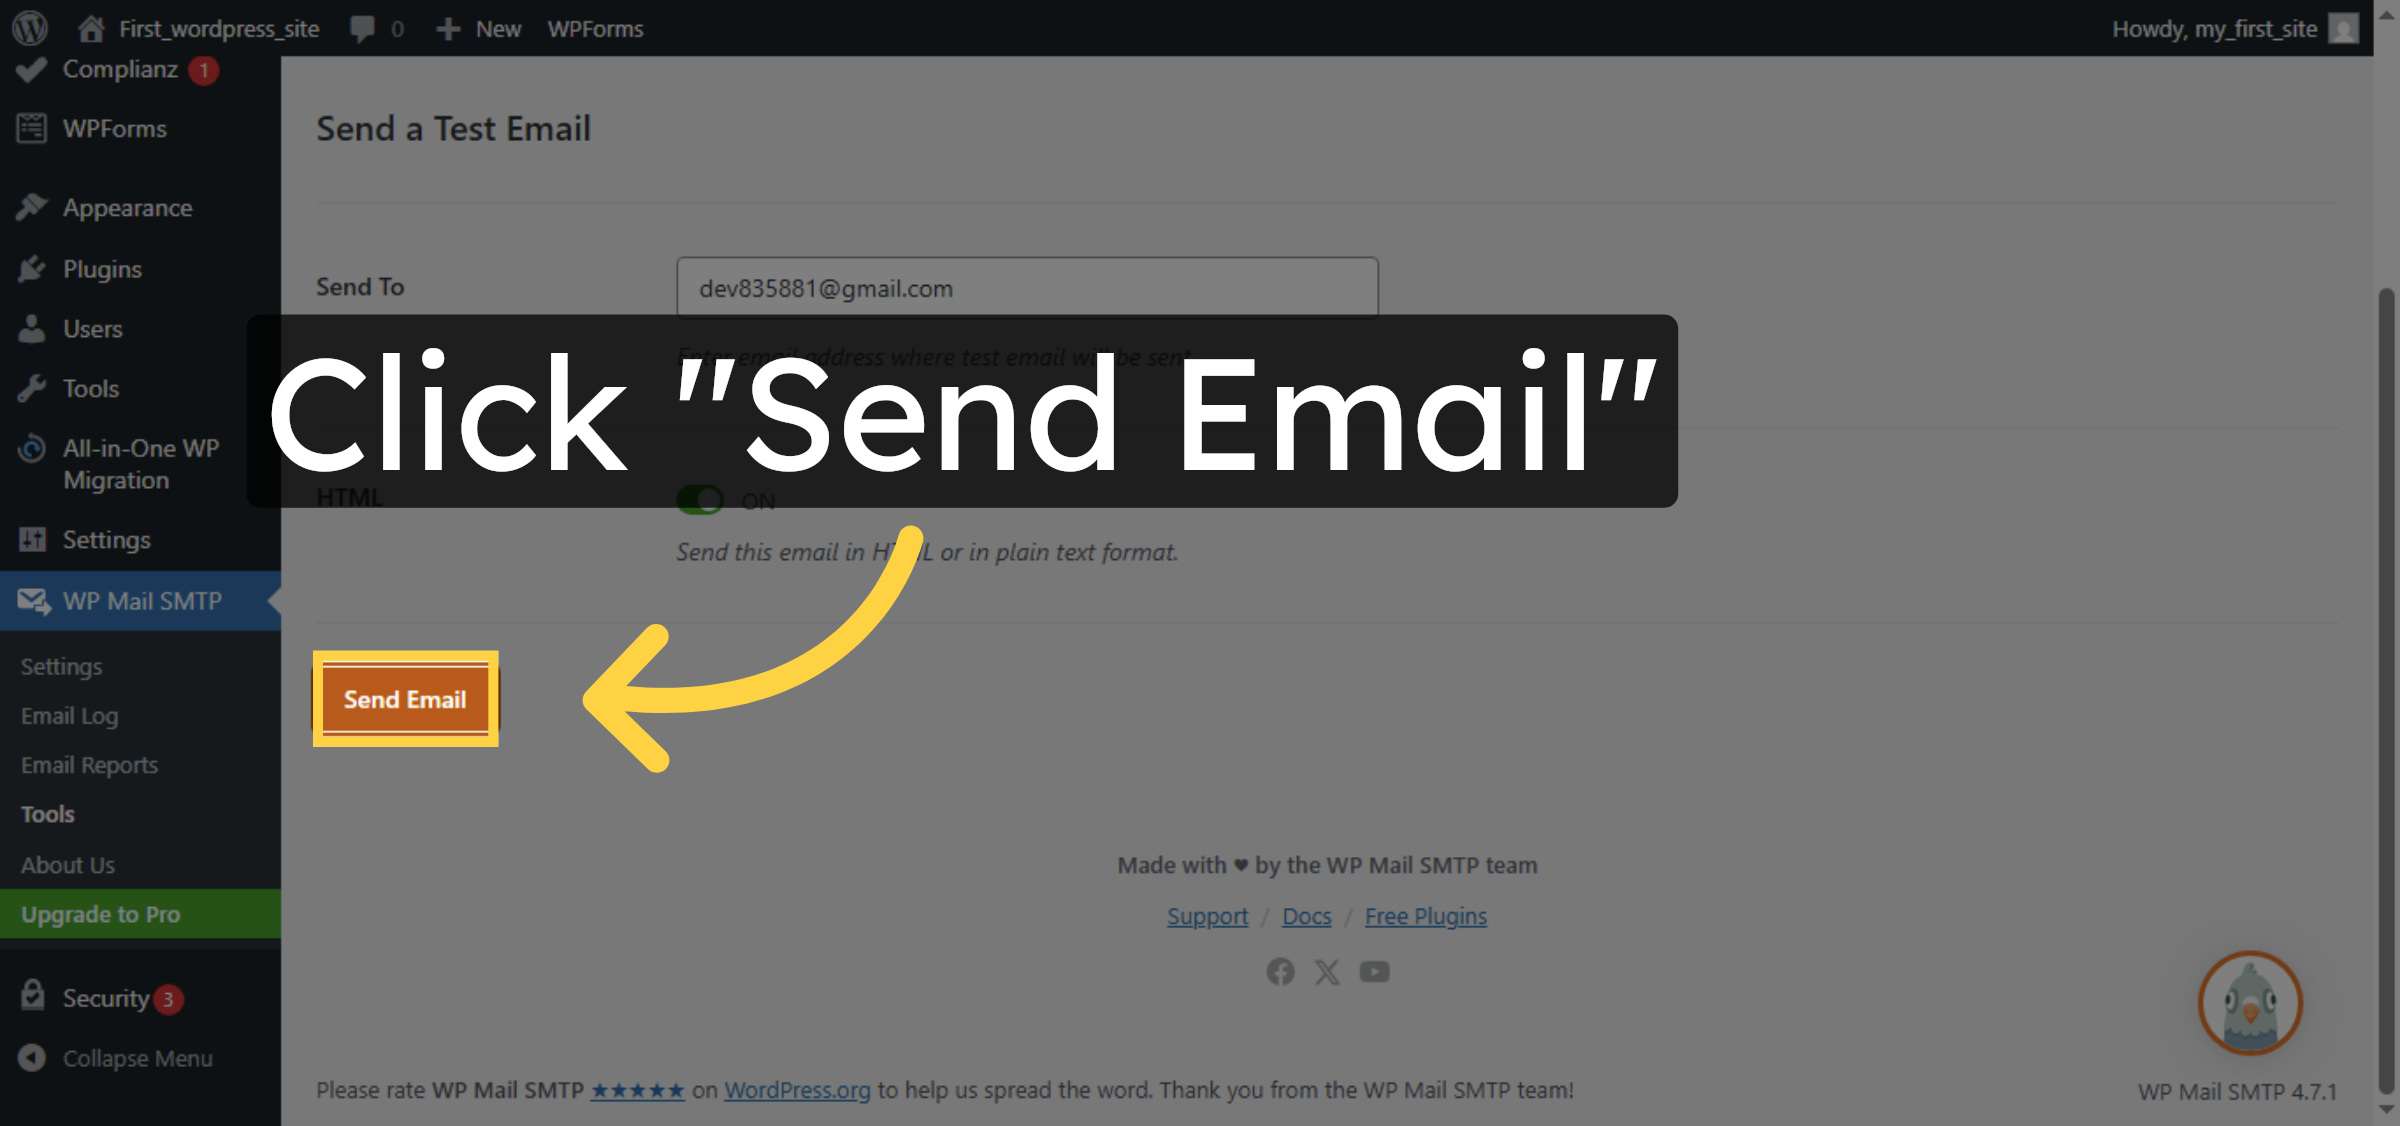
29. Send Test Email
30. Select Test Email Recipient
31. Send Test Email Confirmation
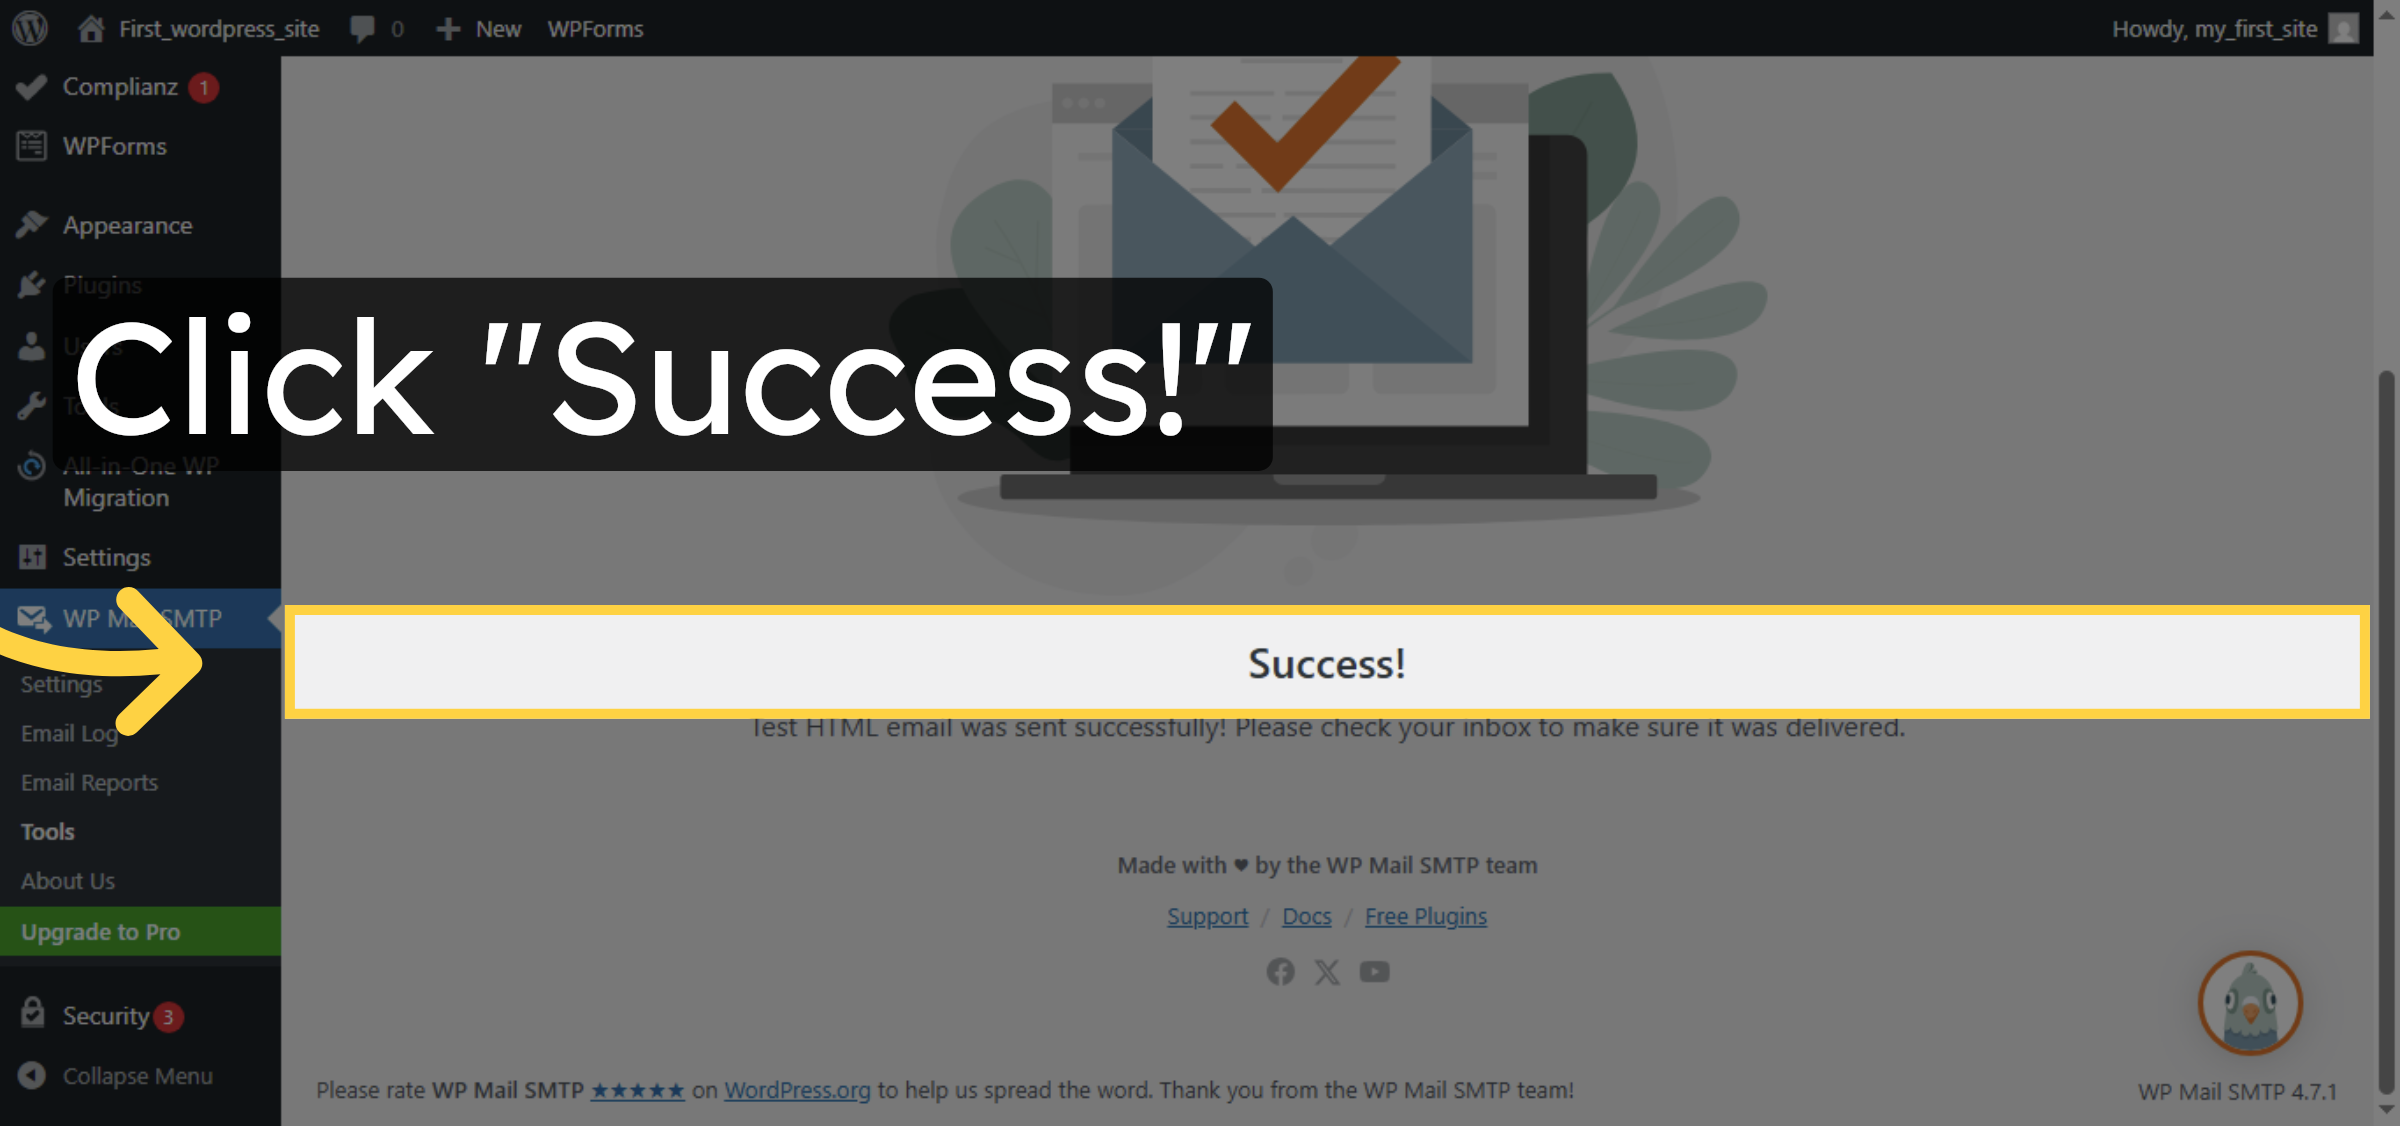
32. Confirm Test Email Success
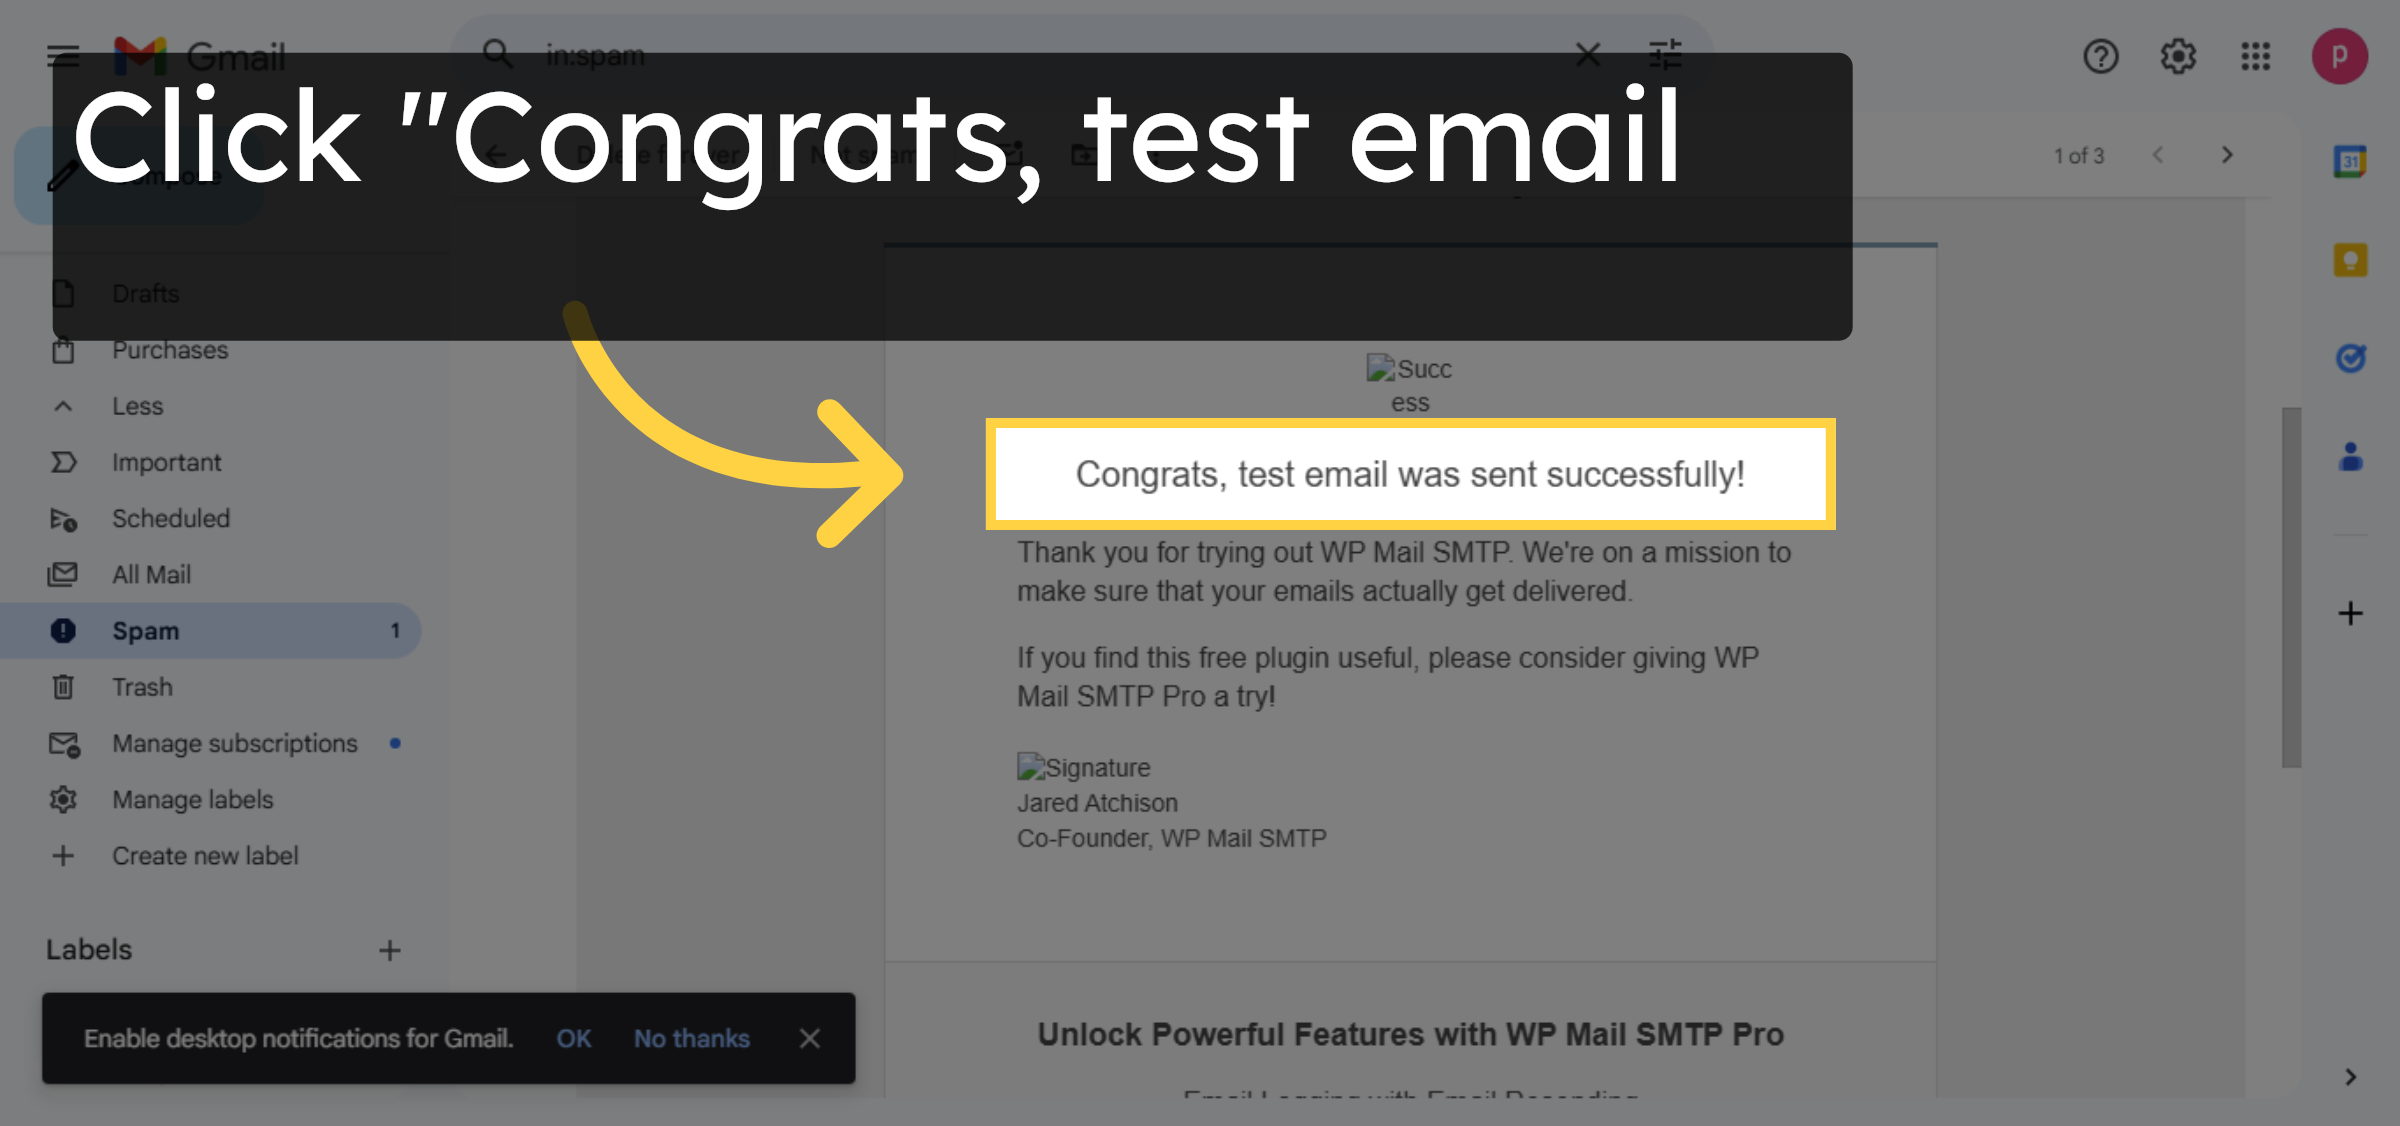
33. View Test Email Confirmation
34. Check from contact form

35. Verify
Conclusion
By following the steps in this guide, you can successfully fix email sending issues on your HostGator WordPress website. Creating a professional email account and configuring SMTP settings allows WordPress to send emails securely through an authenticated mail server. Sending a test email and verifying delivery confirms that the configuration is working correctly. Once completed, emails from contact forms and system notifications should be delivered reliably. This setup improves email deliverability and helps maintain consistent communication through your website.
Call to Action
-
Visit: https://www.woohelpdesk.com
-
Call Us Toll-Free: +1 888 602 0119 (US & Canada)
-
Get expert help with WordPress email issues, SMTP configuration, hosting setup, and WooCommerce support


