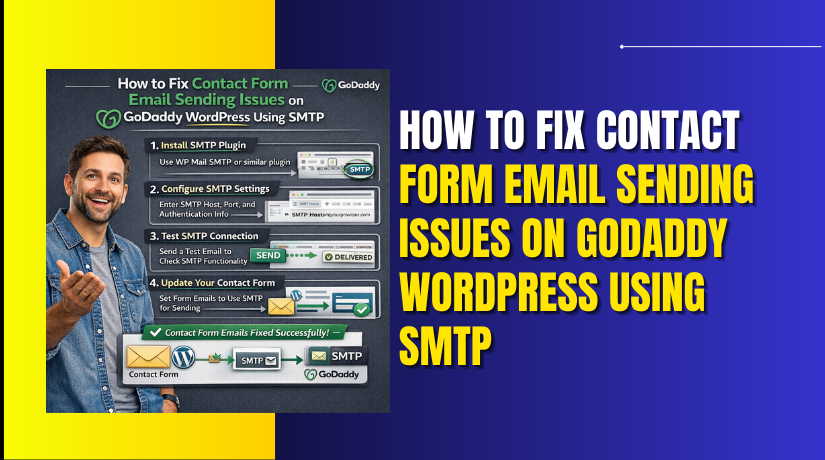
Introduction
Reliable email delivery is essential for any WordPress website, especially for contact forms, notifications, and customer inquiries. When emails fail to send, important messages may be missed, leading to communication gaps and reduced user trust. On GoDaddy-hosted WordPress websites, email issues often occur due to incorrect server settings, missing authentication, or blocked mail functions.
This guidde explains how to fix contact form email sending issues on GoDaddy WordPress websites using the WP Mail SMTP plugin and Google Cloud credentials. It covers plugin installation, Gmail authentication, OAuth configuration, and email testing to ensure stable and secure email delivery.
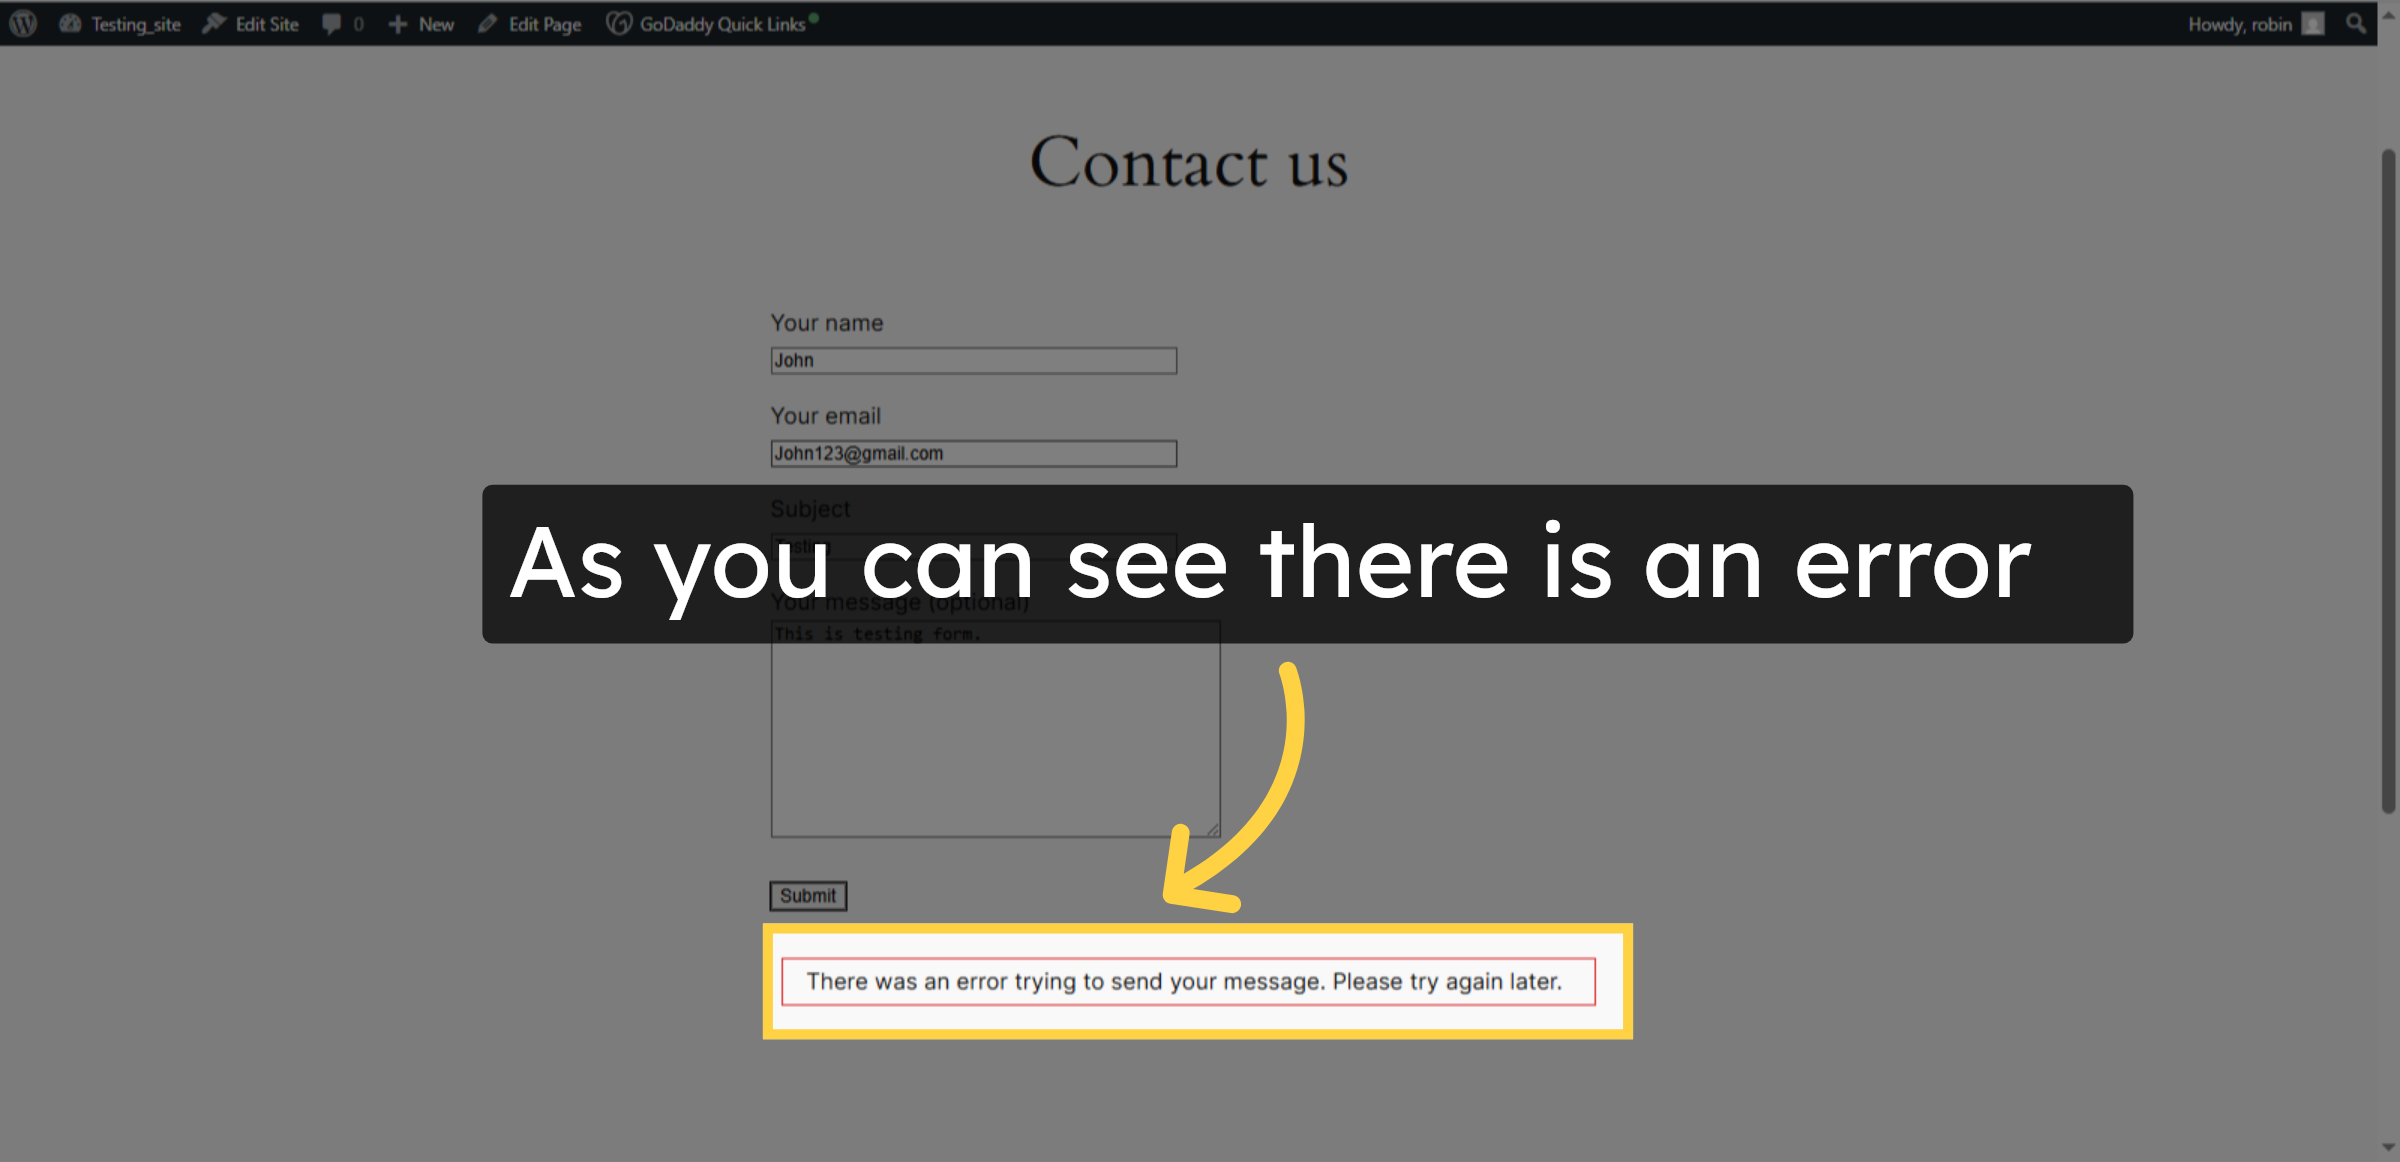
1. Unable to Send Message
An error occurred while sending the message due to a configuration issue. Please try again later or contact the site administrator for assistance.
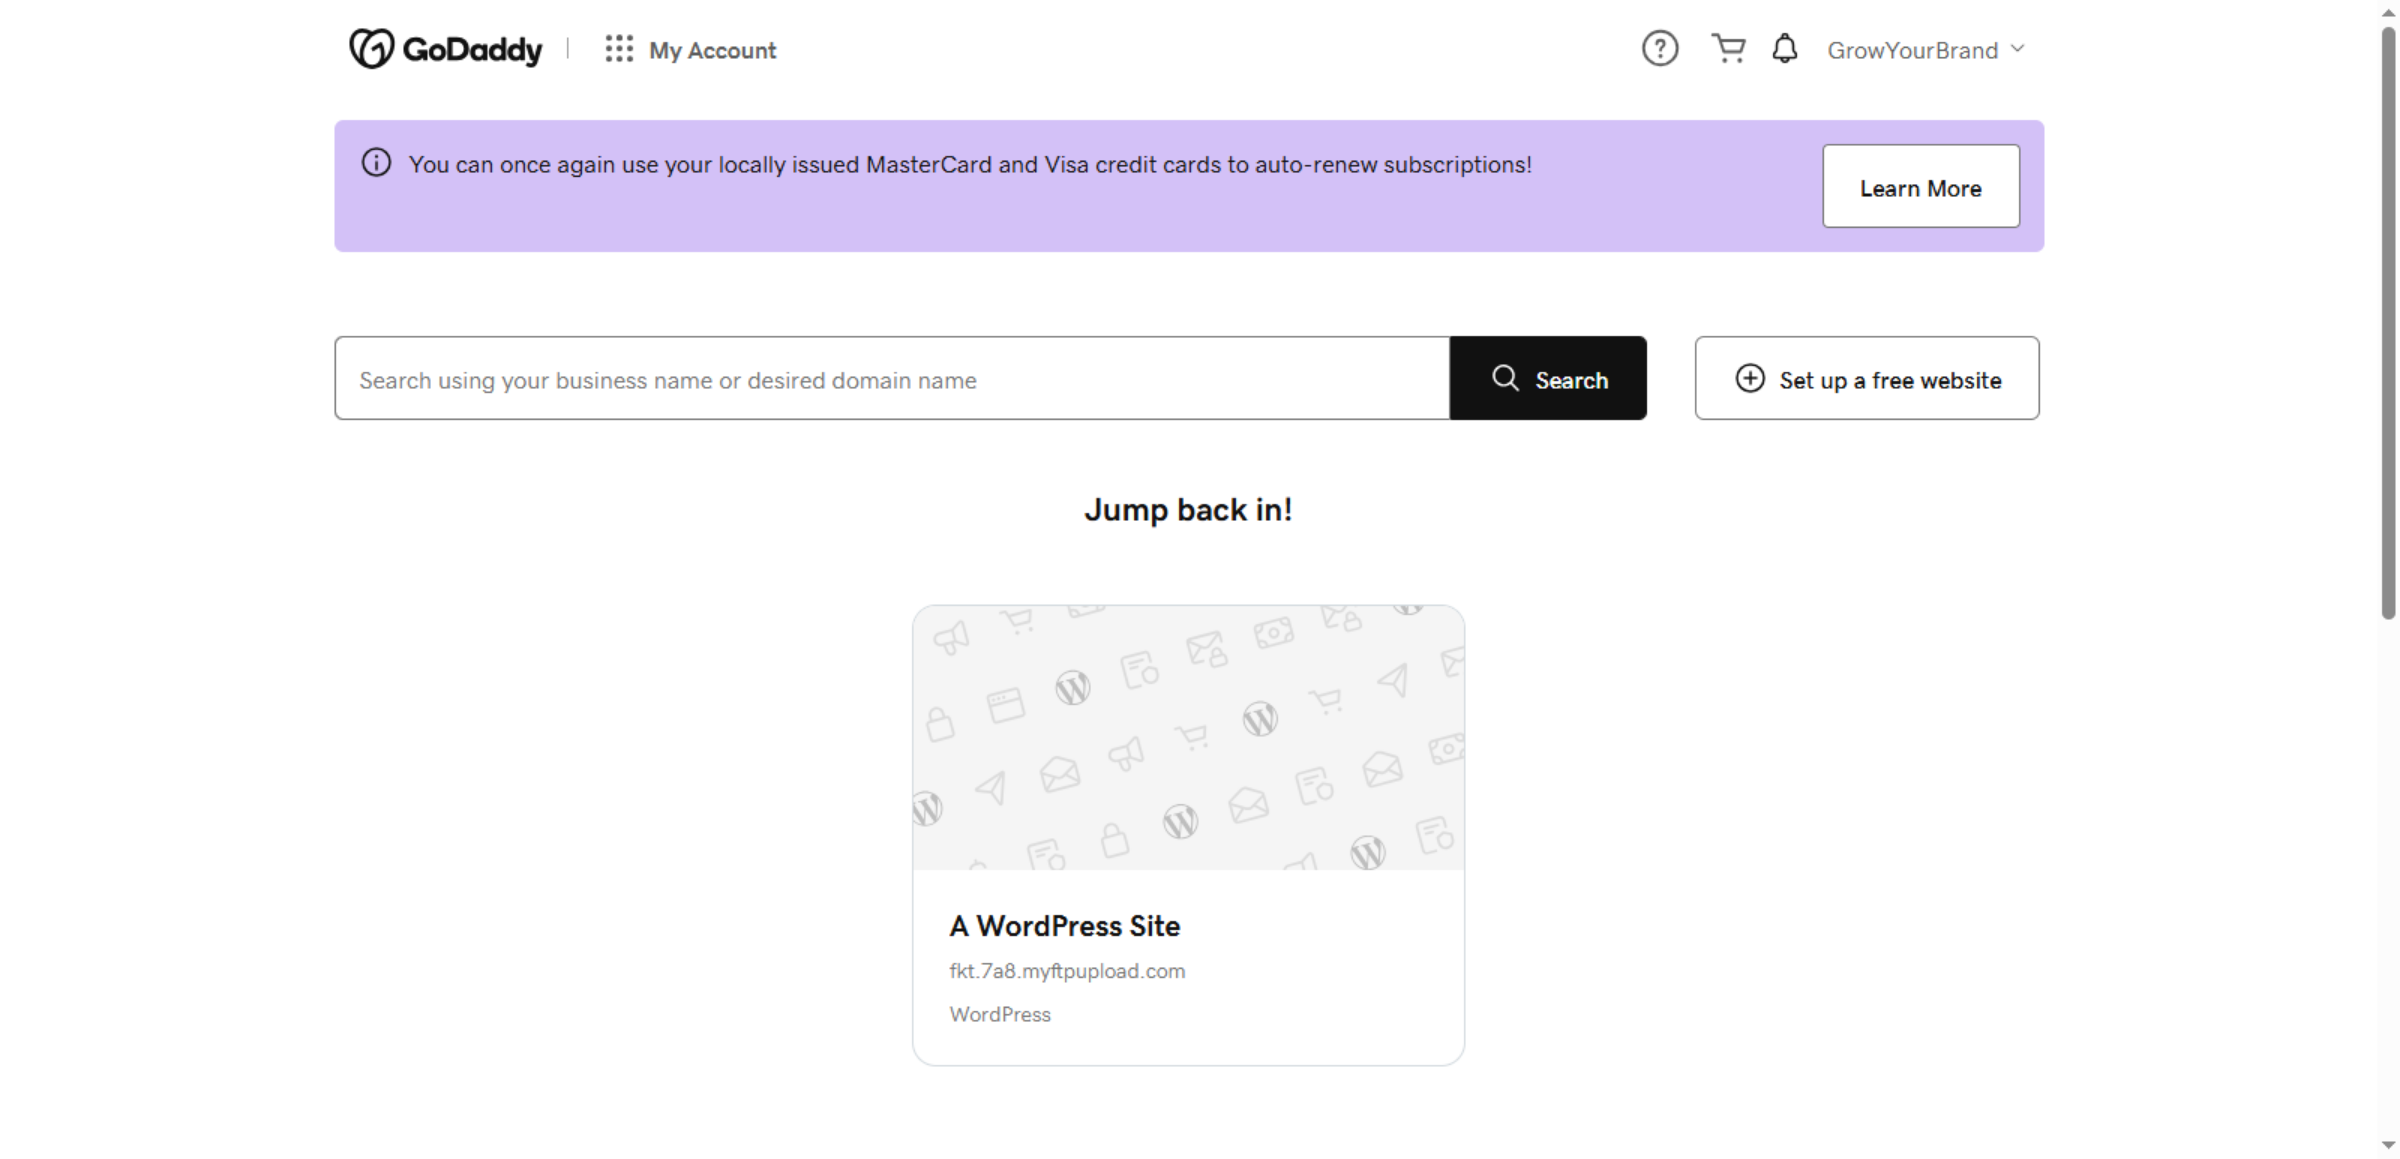
2. Access GoDaddy Account
Fix contact form email sending issues on a GoDaddy WordPress website by configuring SMTP through the GoDaddy Account Dashboard to ensure reliable and successful email delivery.
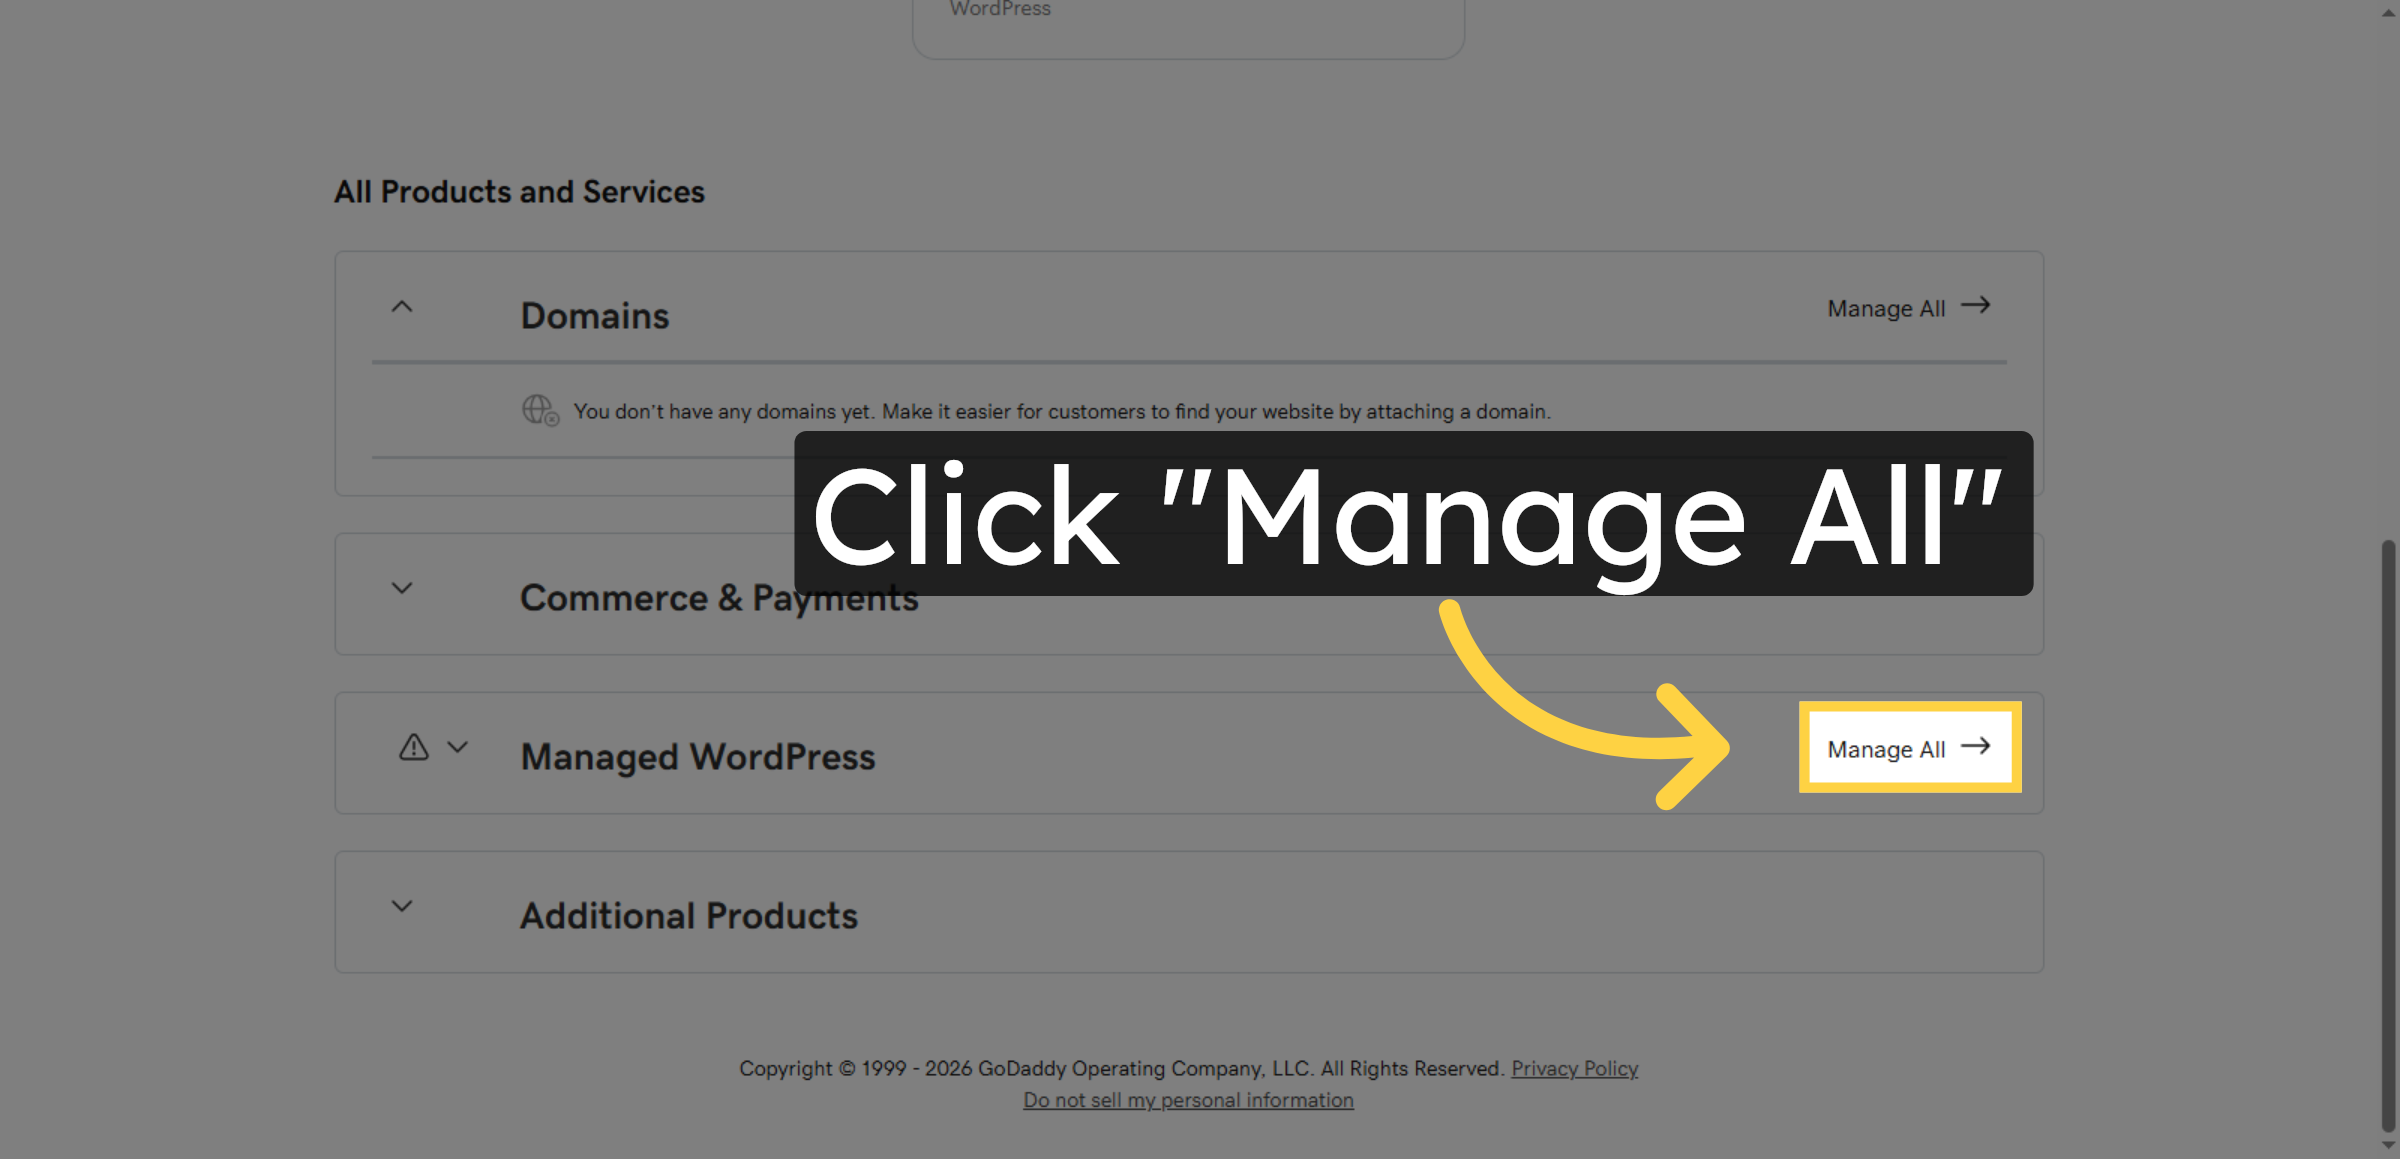
3. Open Manage All Products
Click Manage All to view all your GoDaddy products and services associated with your account.
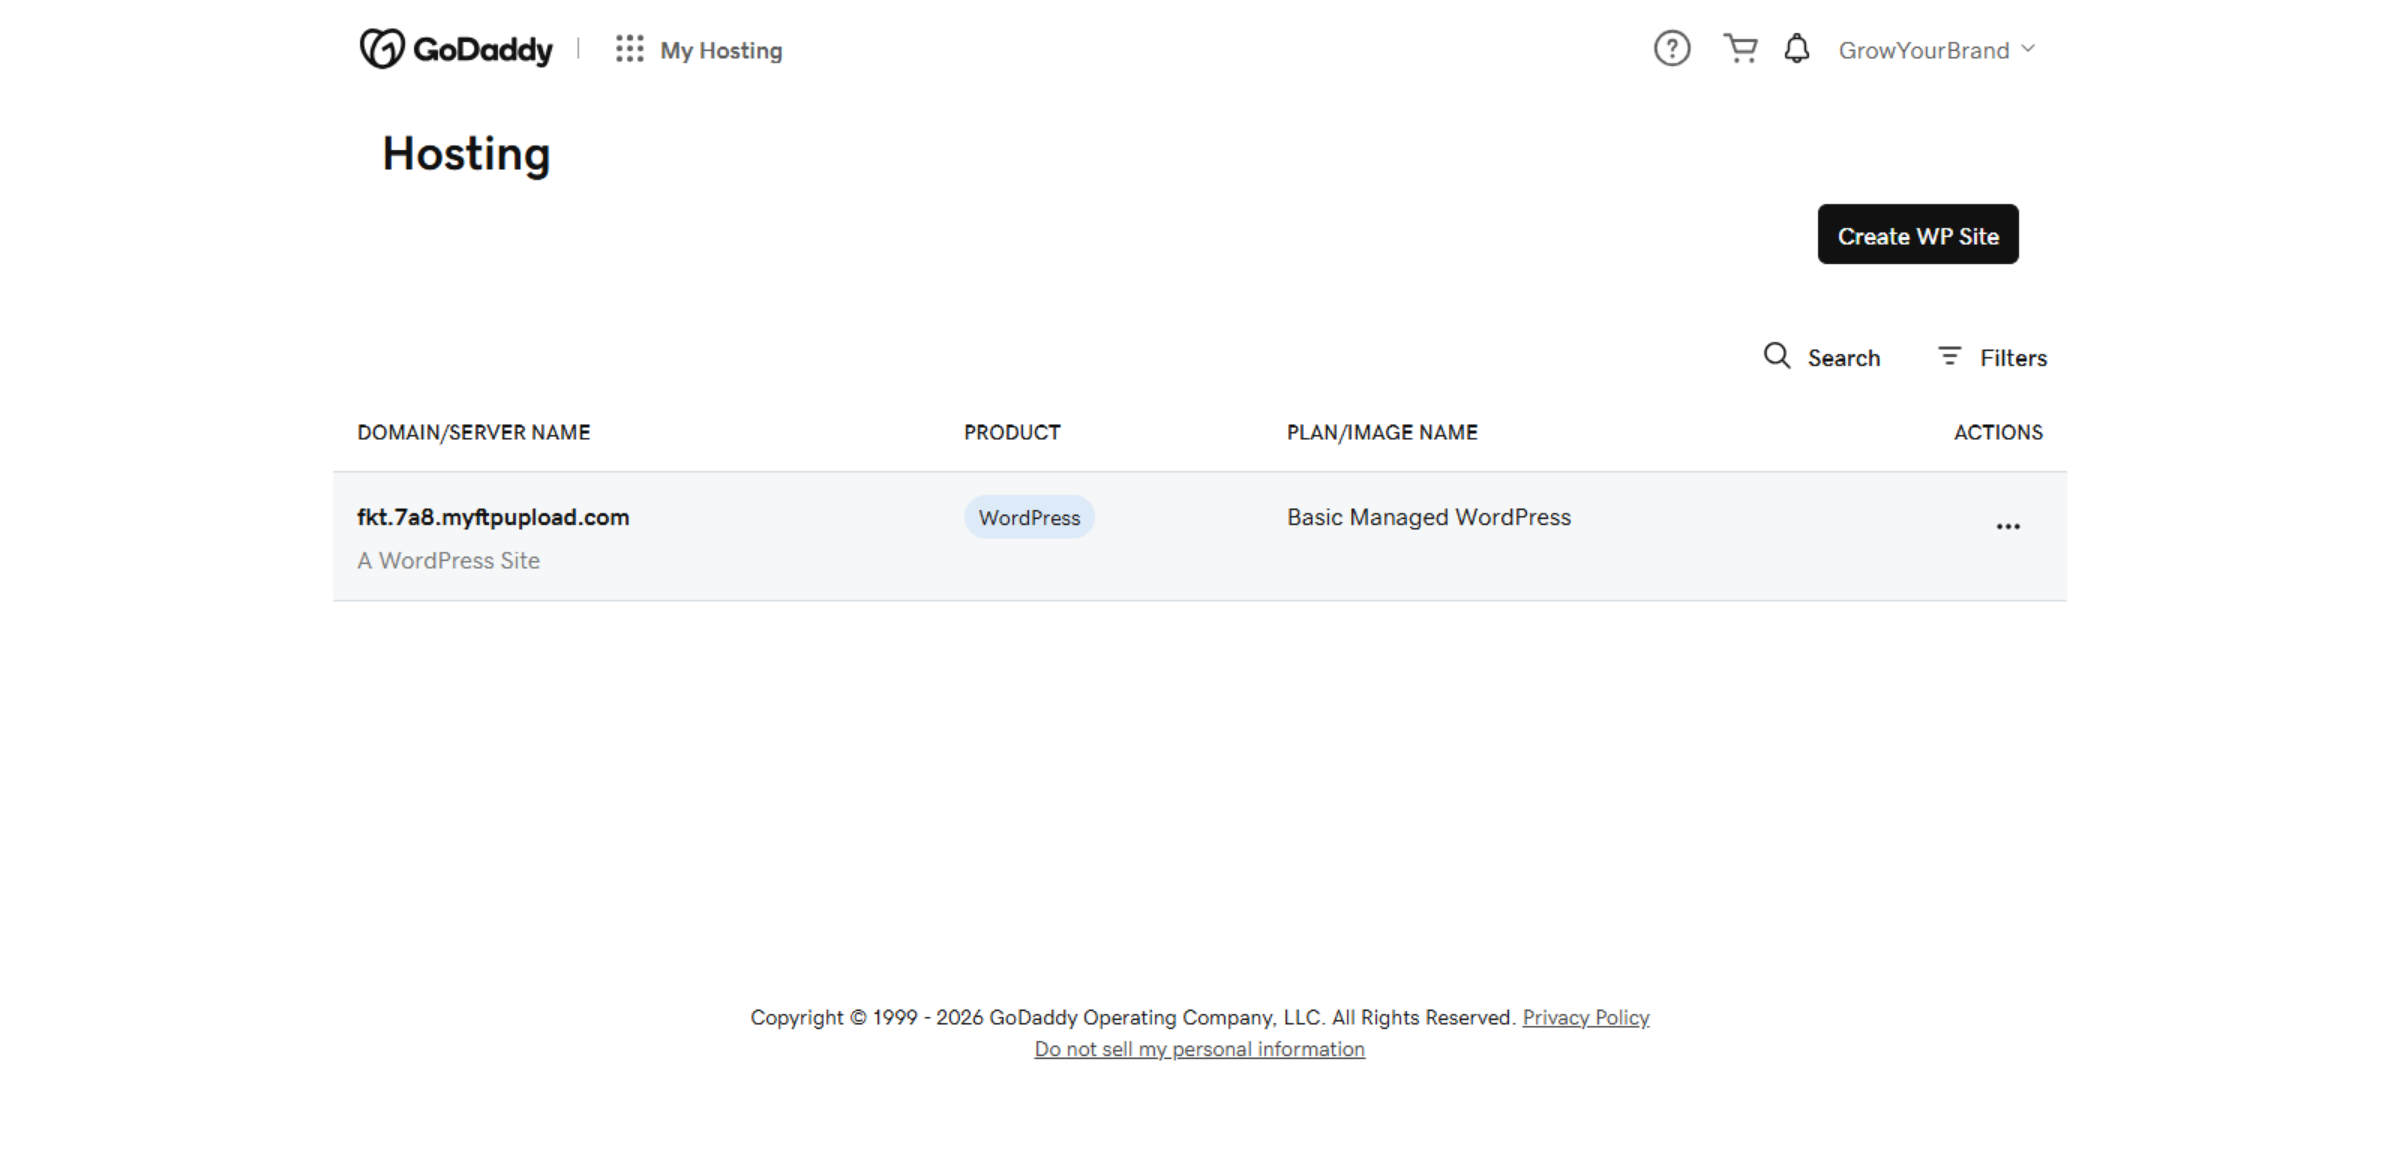
4. Switch To Hosting Dashboard
Switch to the hosting dashboard at host.godaddy.com to manage your website hosting settings.
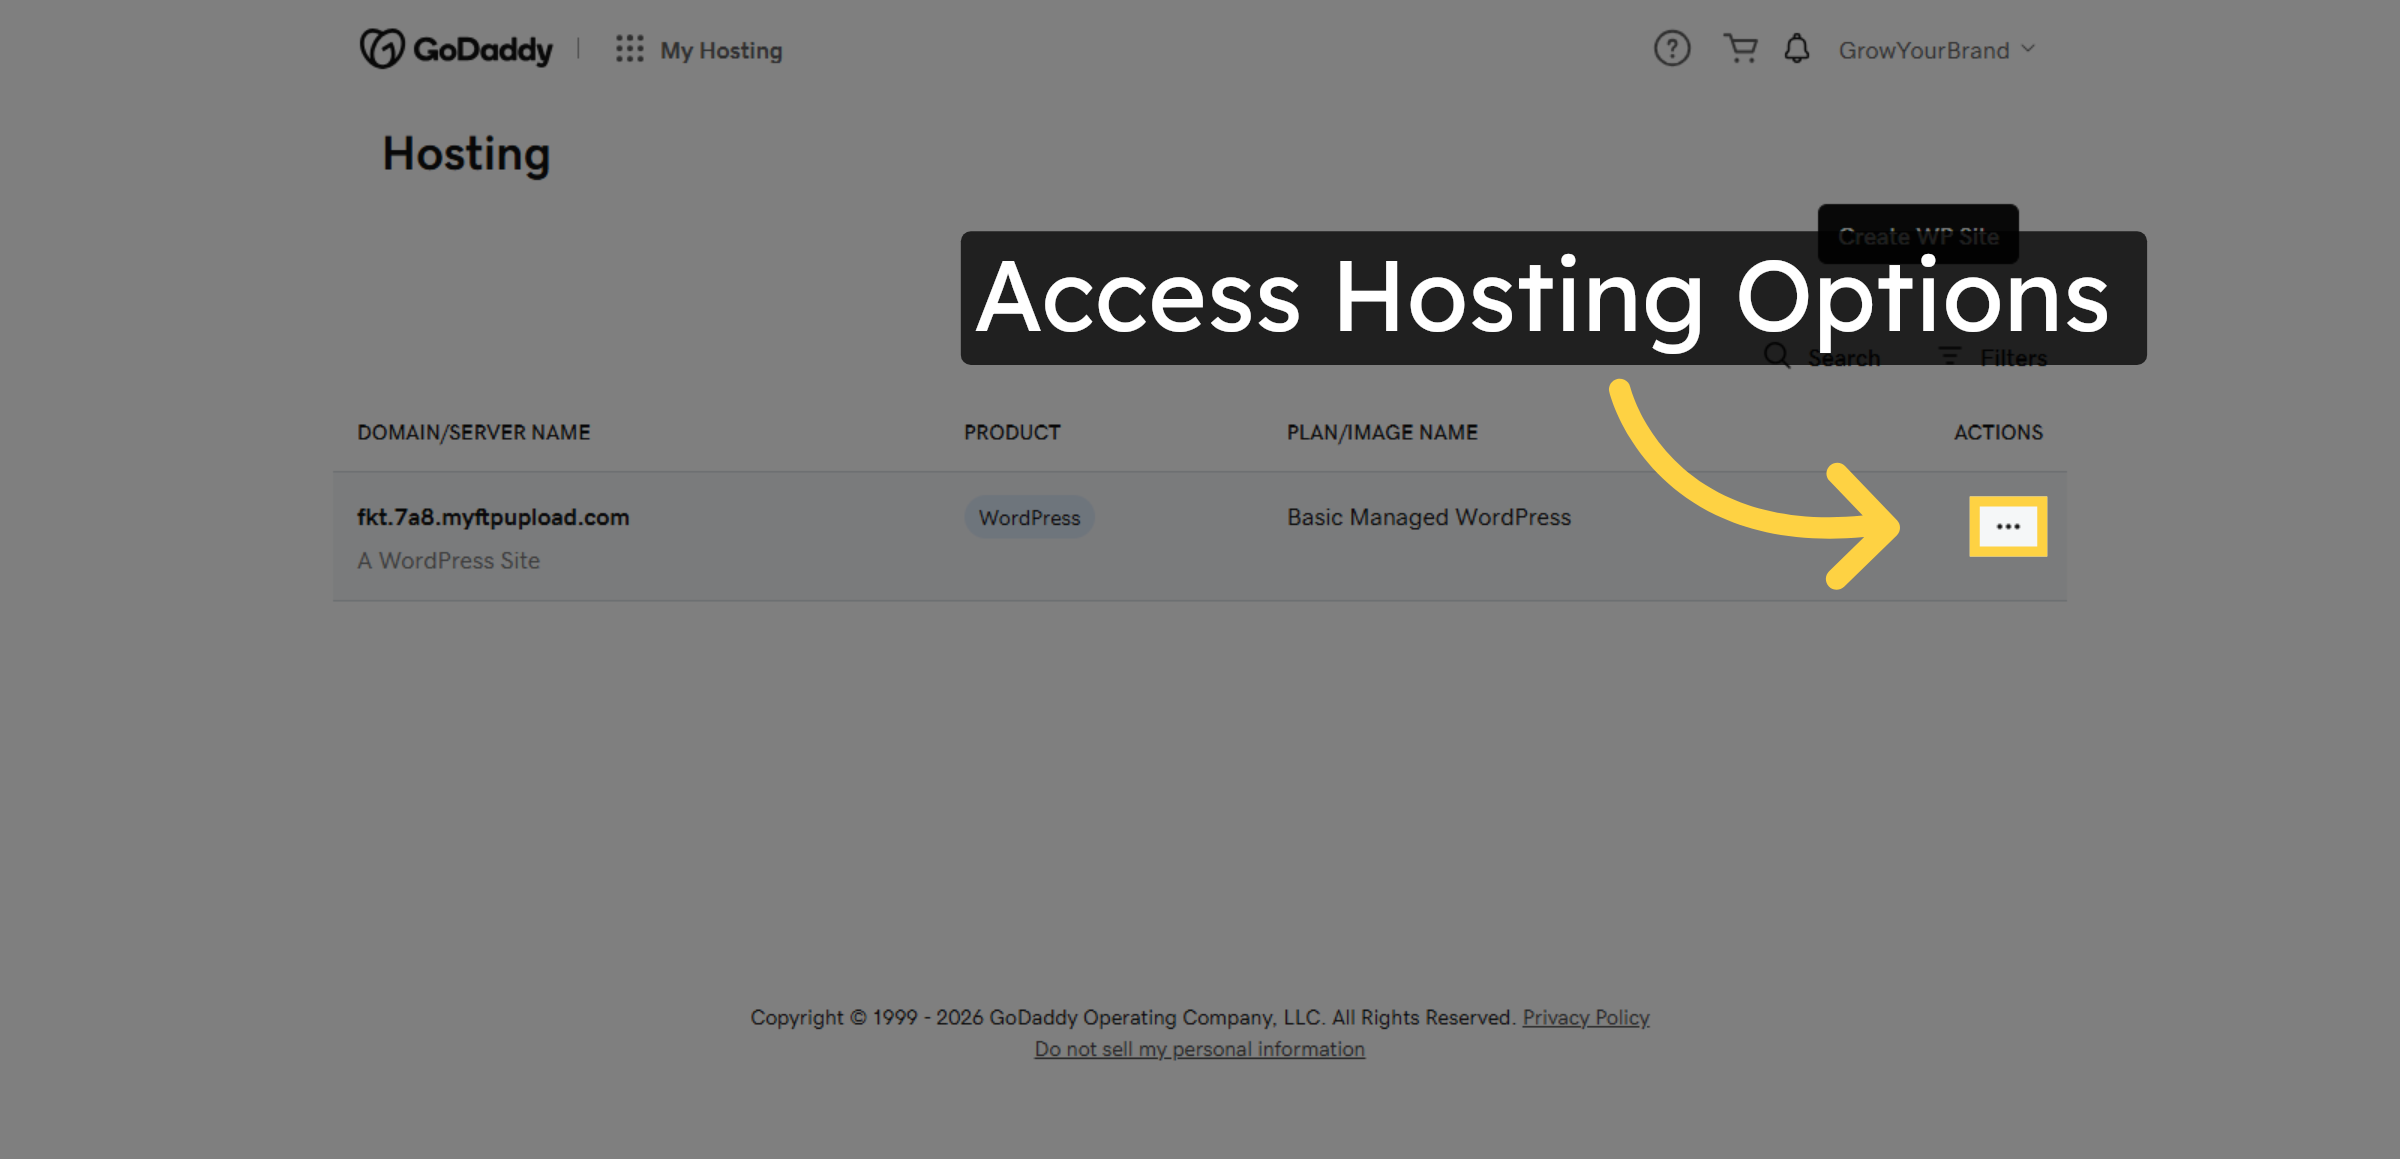
5. Access Hosting Options
Click the indicated area to access detailed hosting management options for your WordPress site.
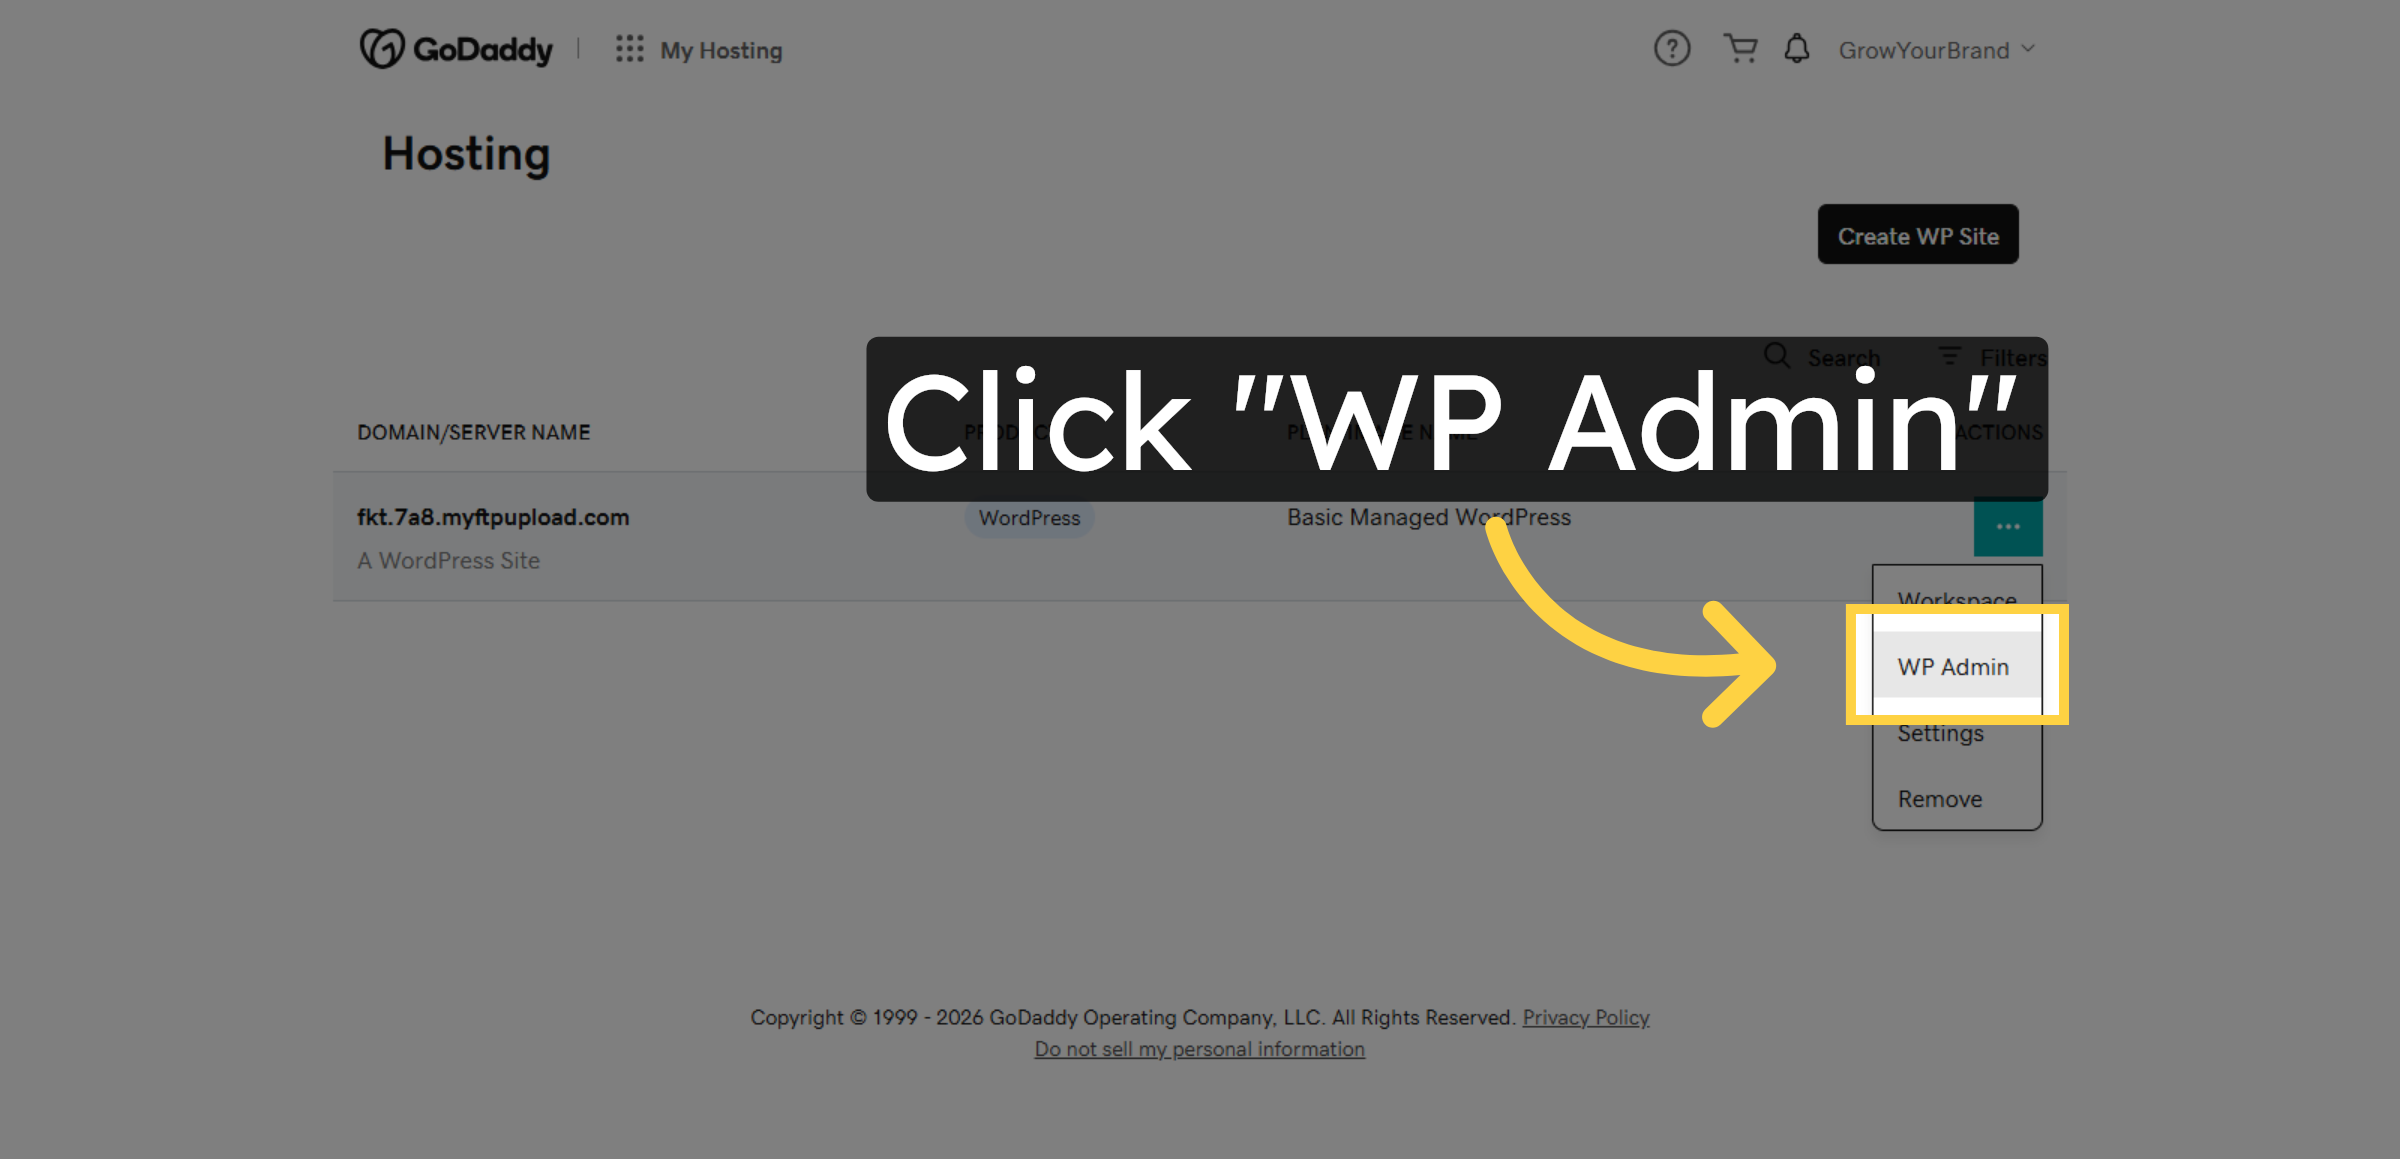
6. Open WP Admin Panel
Click WP Admin to open the WordPress administration panel for your website.
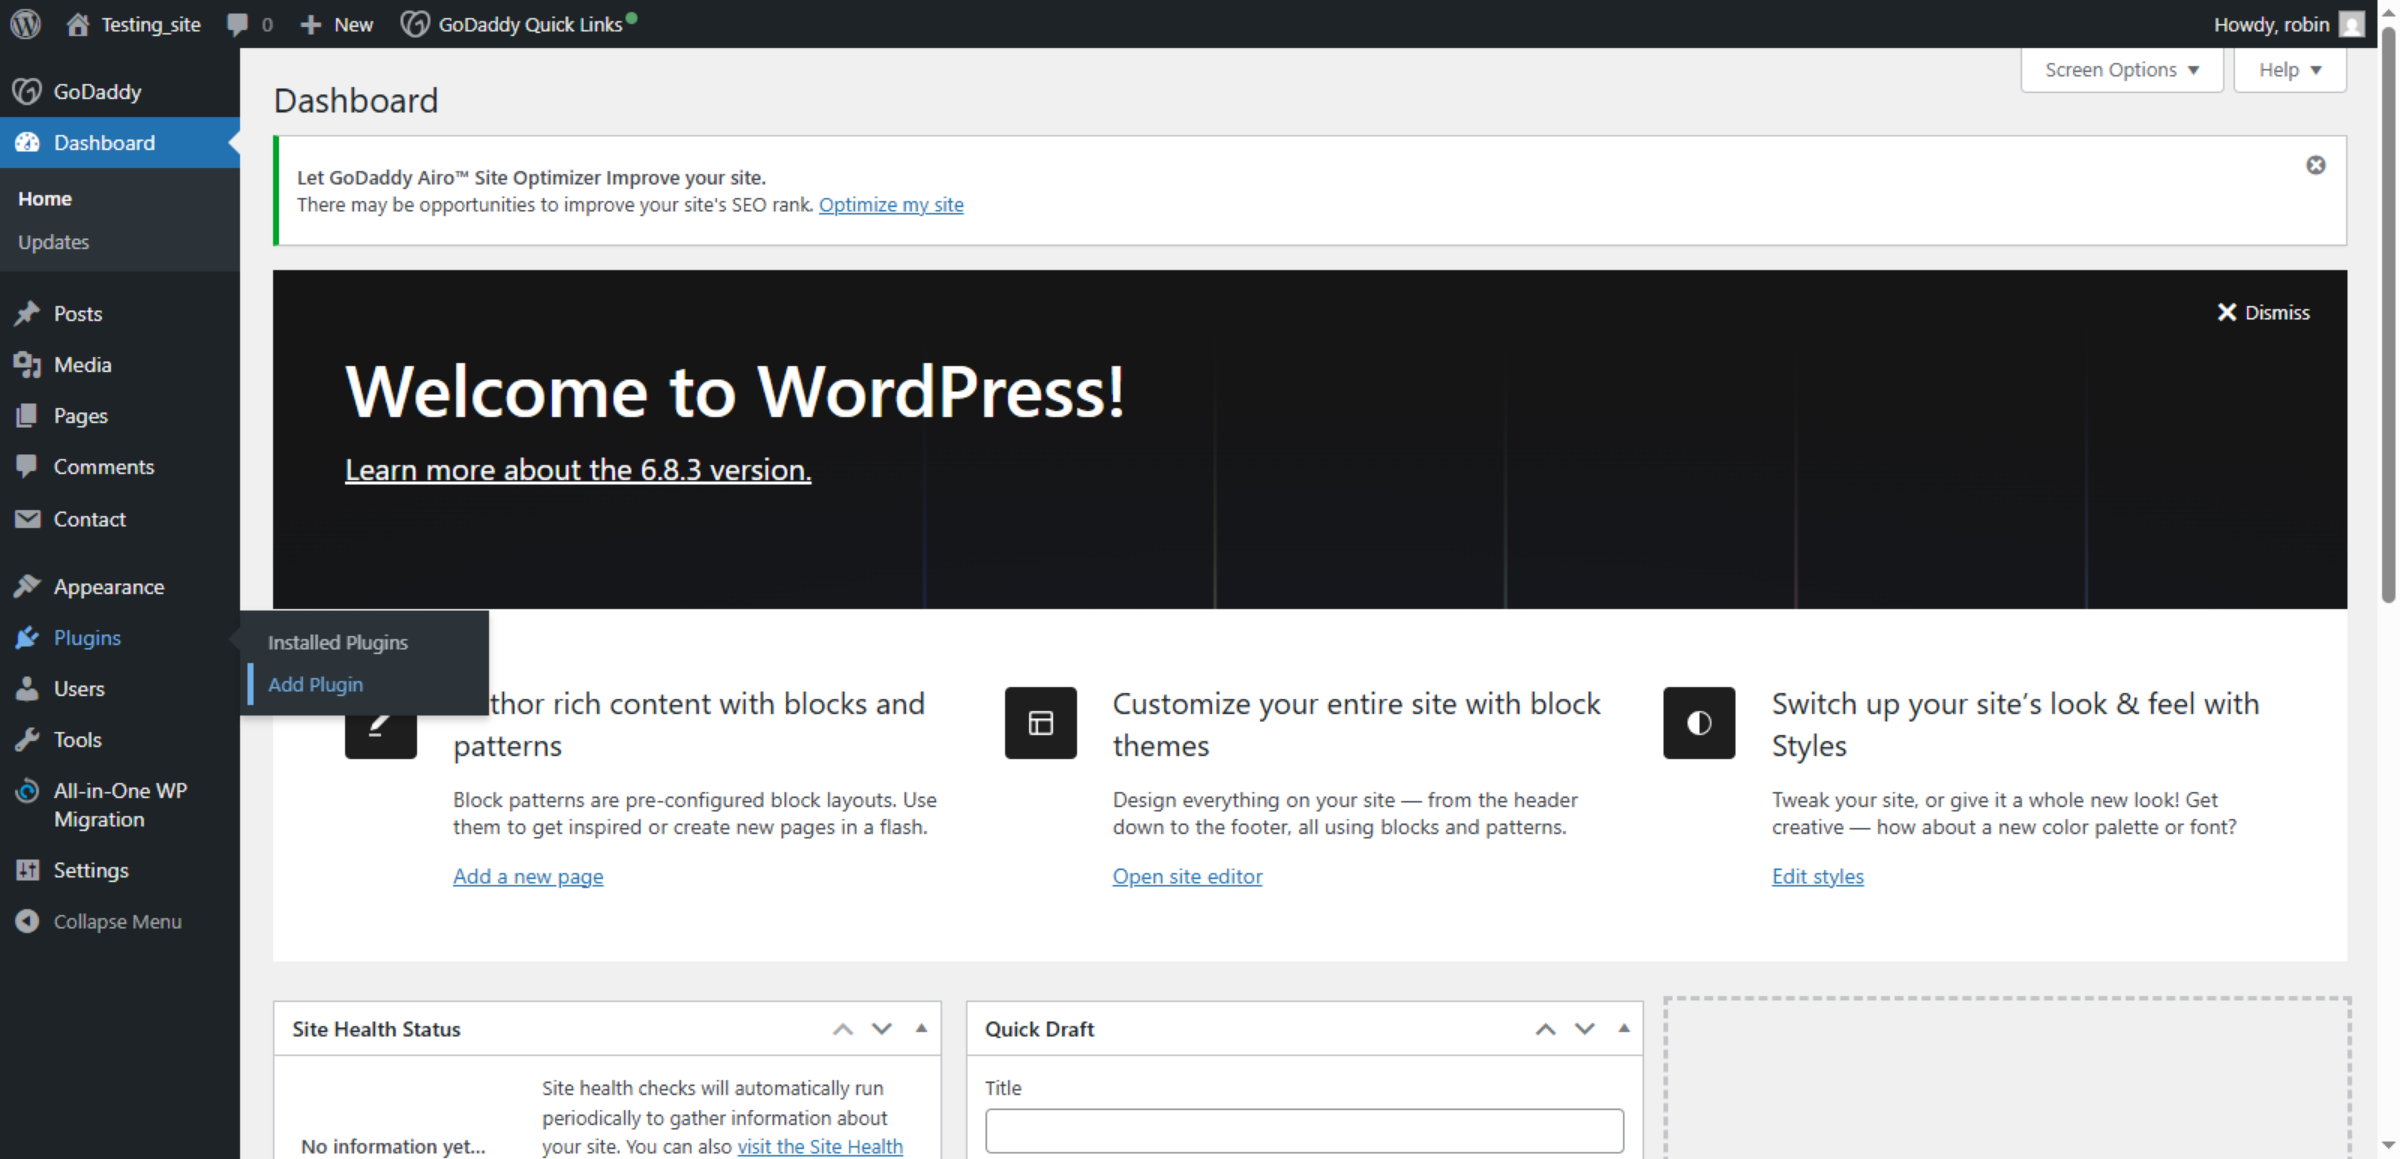
7. Switch To WordPress Dashboard
Switch to your WordPress dashboard hosted at your FTP upload domain to manage site plugins and settings.
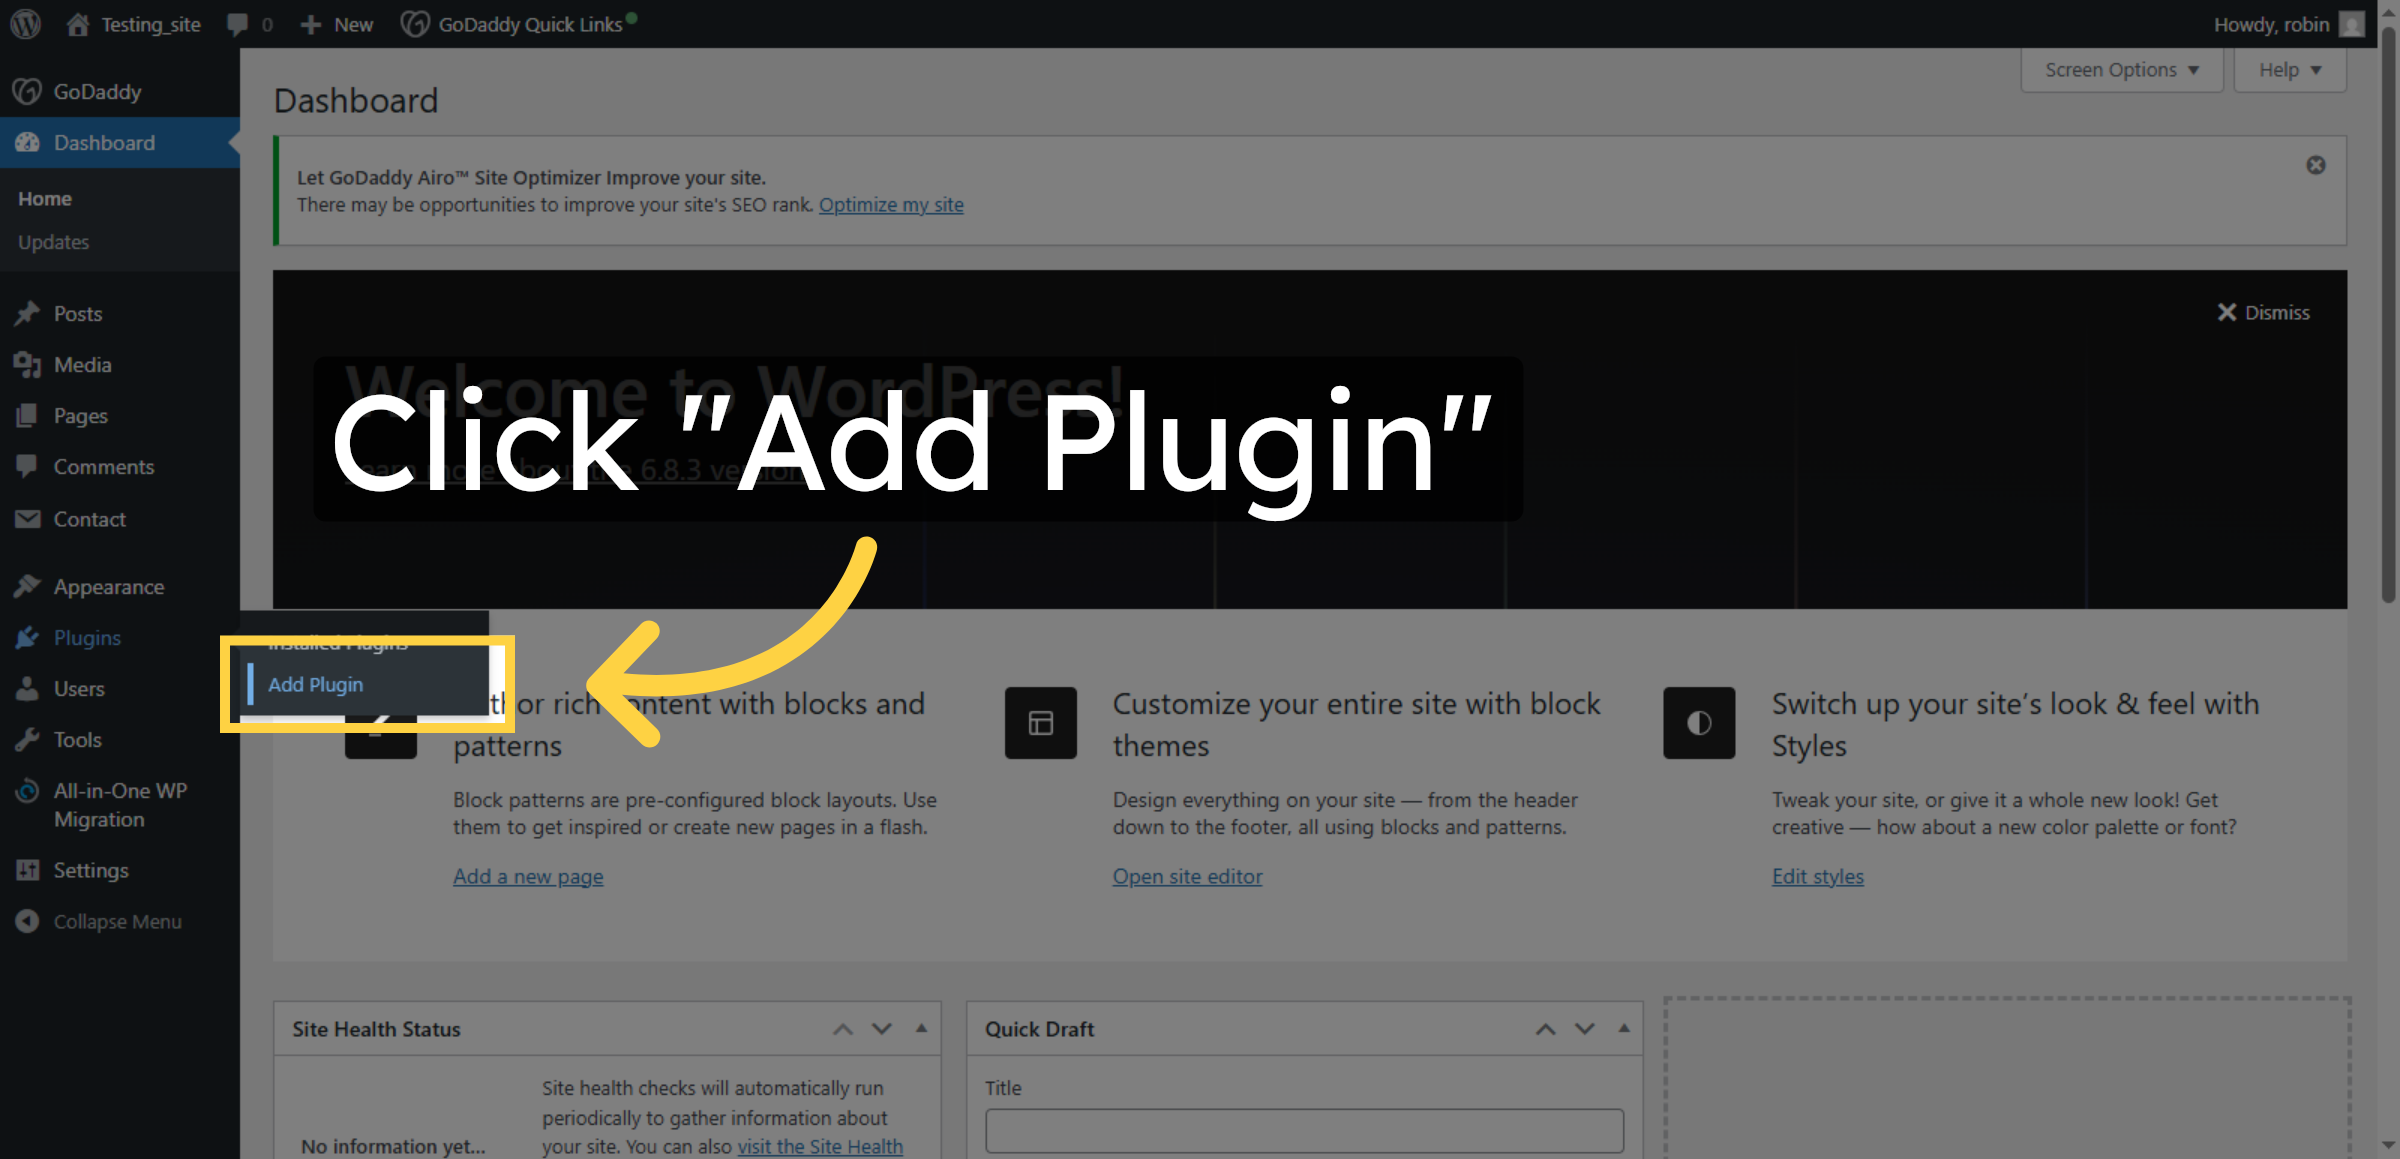
8. Add New Plugin
Click Add Plugin to begin installing a new plugin that will help fix email sending issues.
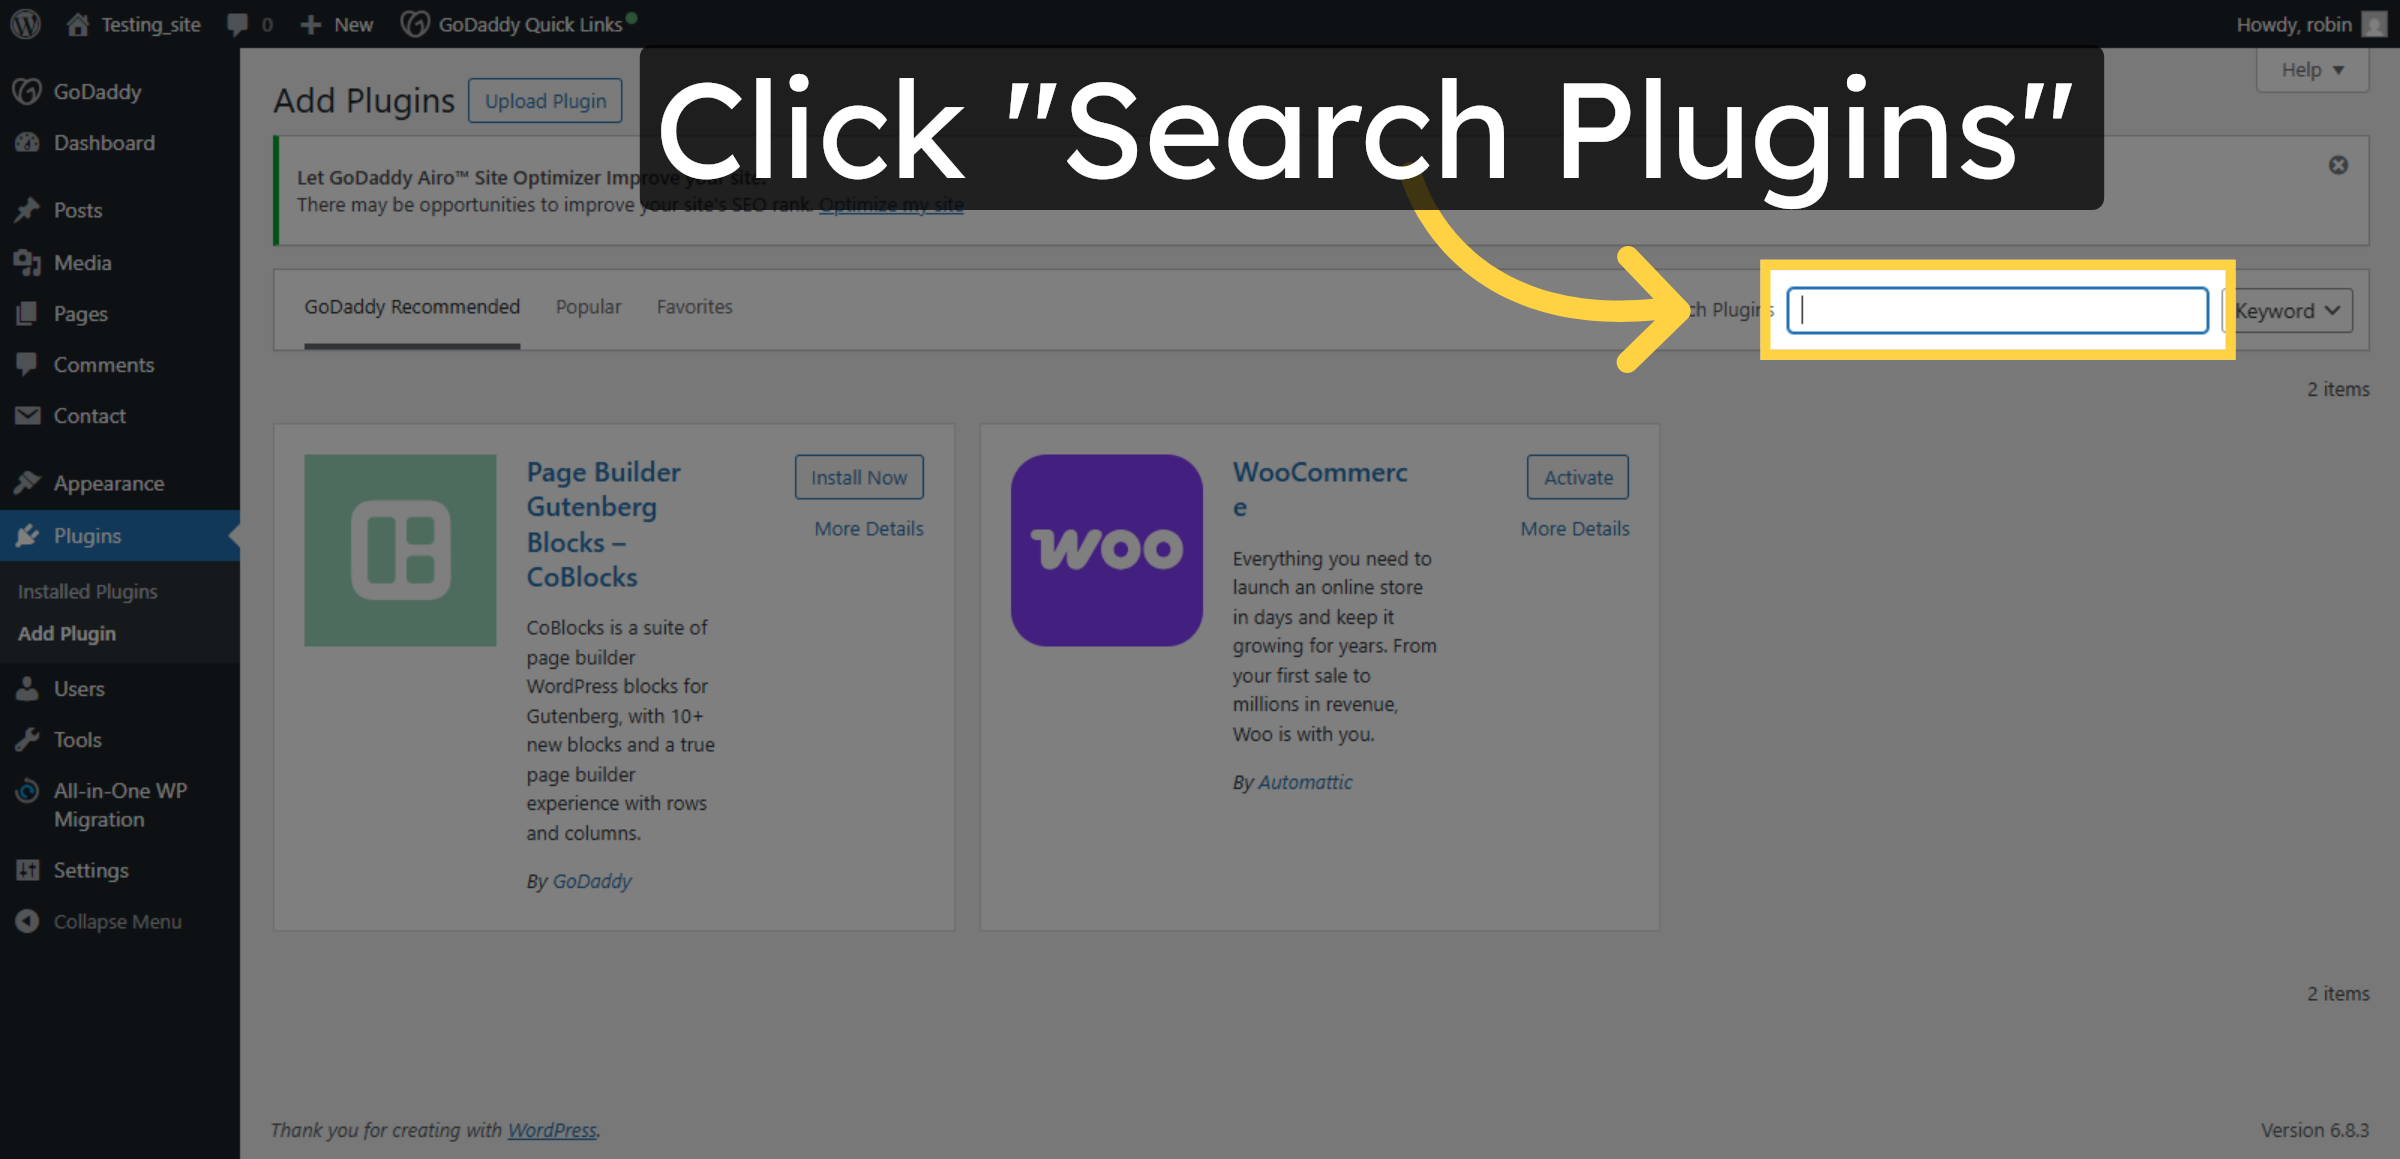
9. Search For Plugins
Click Search Plugins to find the SMTP plugin needed for email configuration.
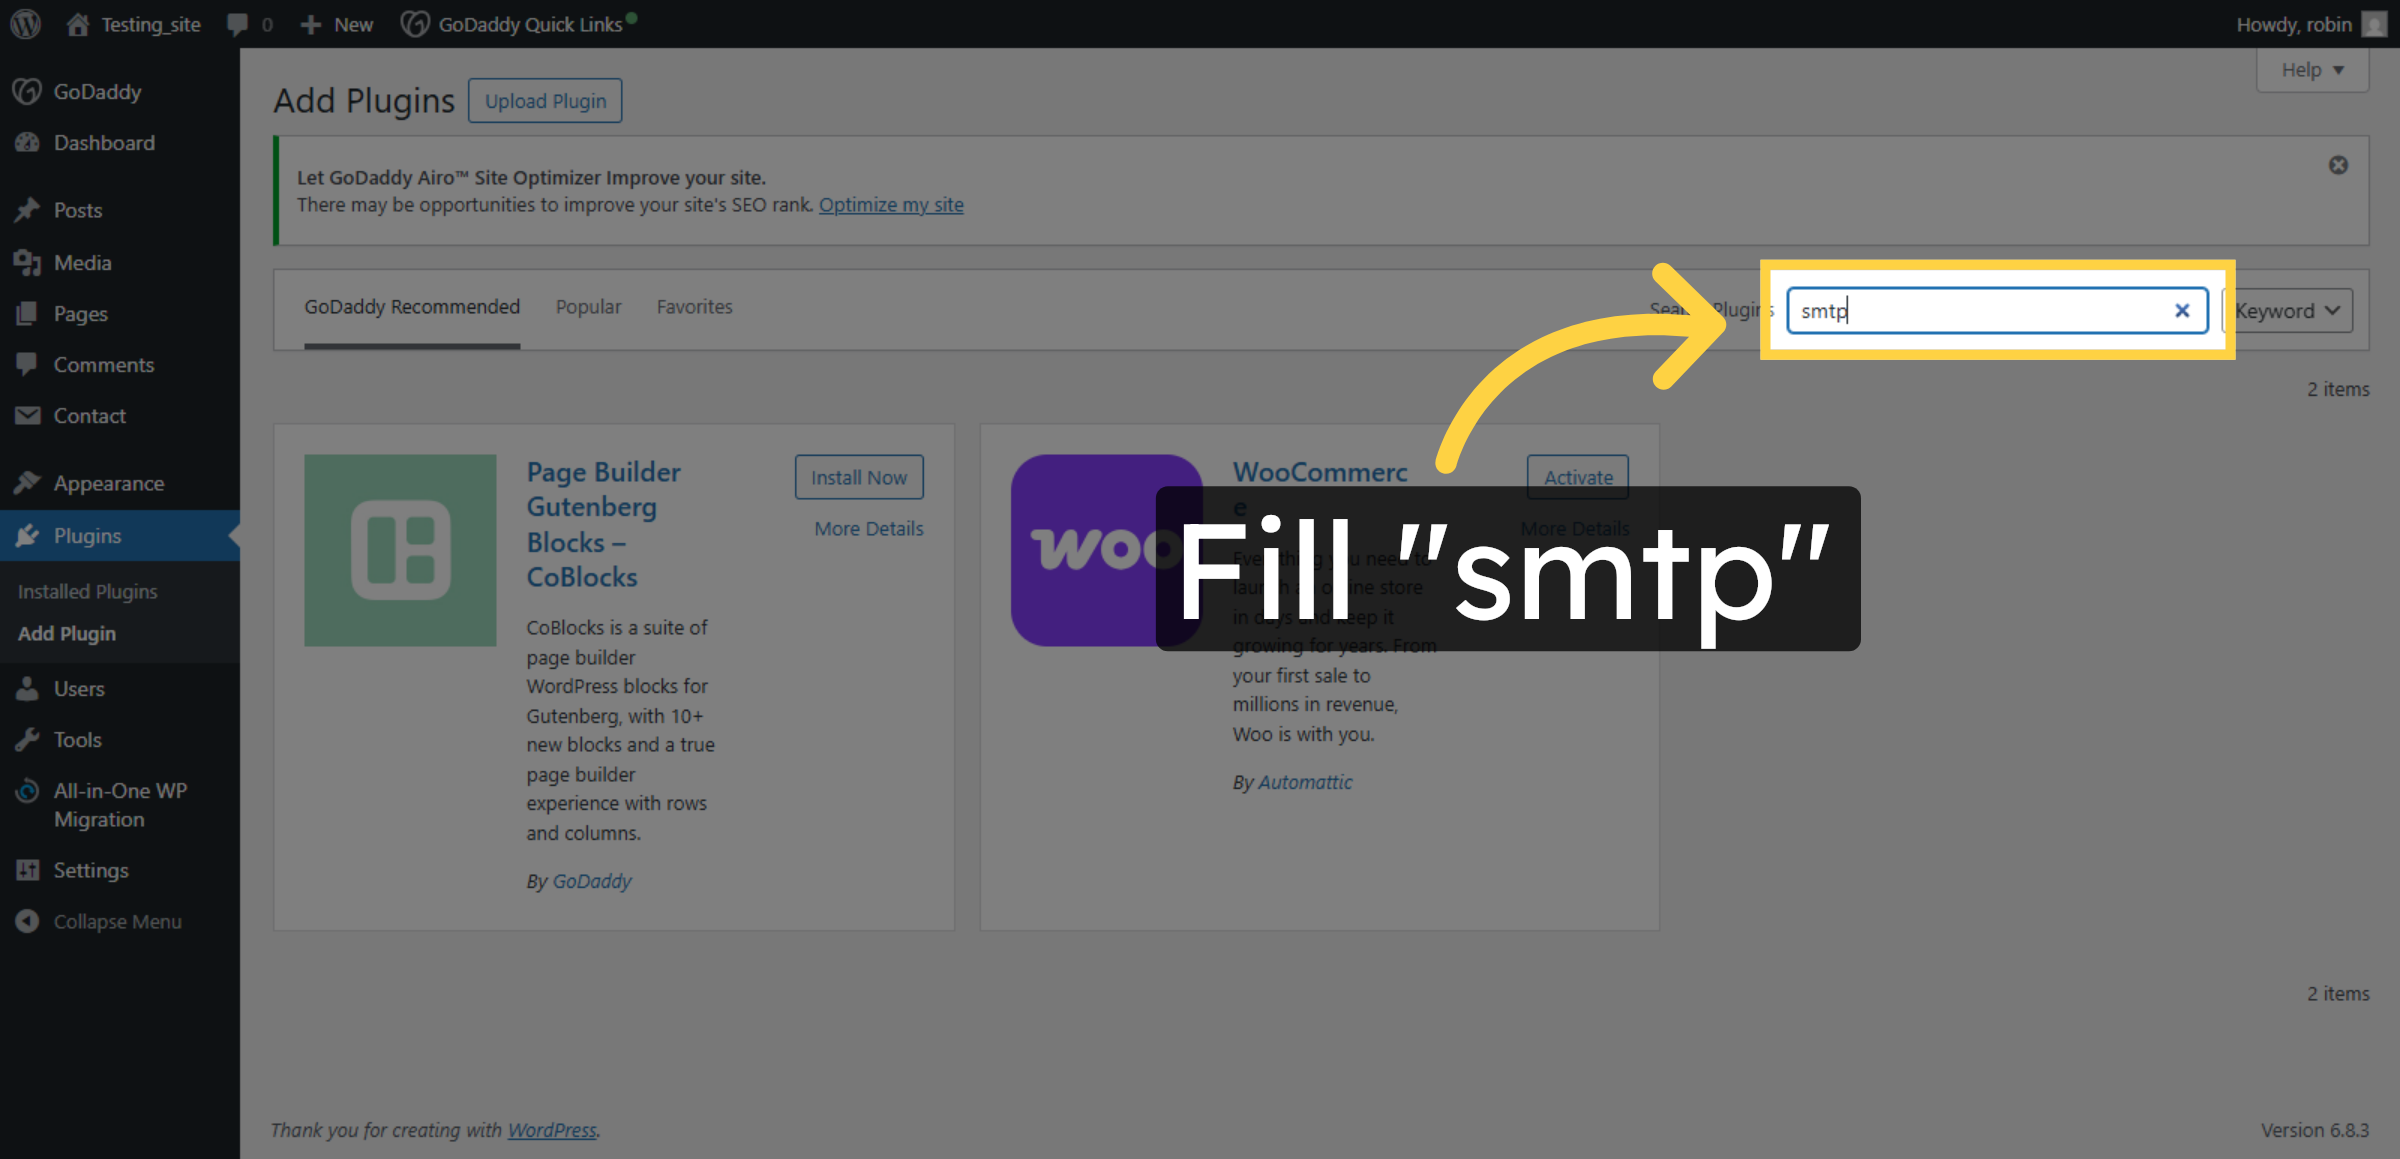
10. Enter SMTP In Search
Enter smtp in the search field to locate the WP Mail SMTP plugin for installation.
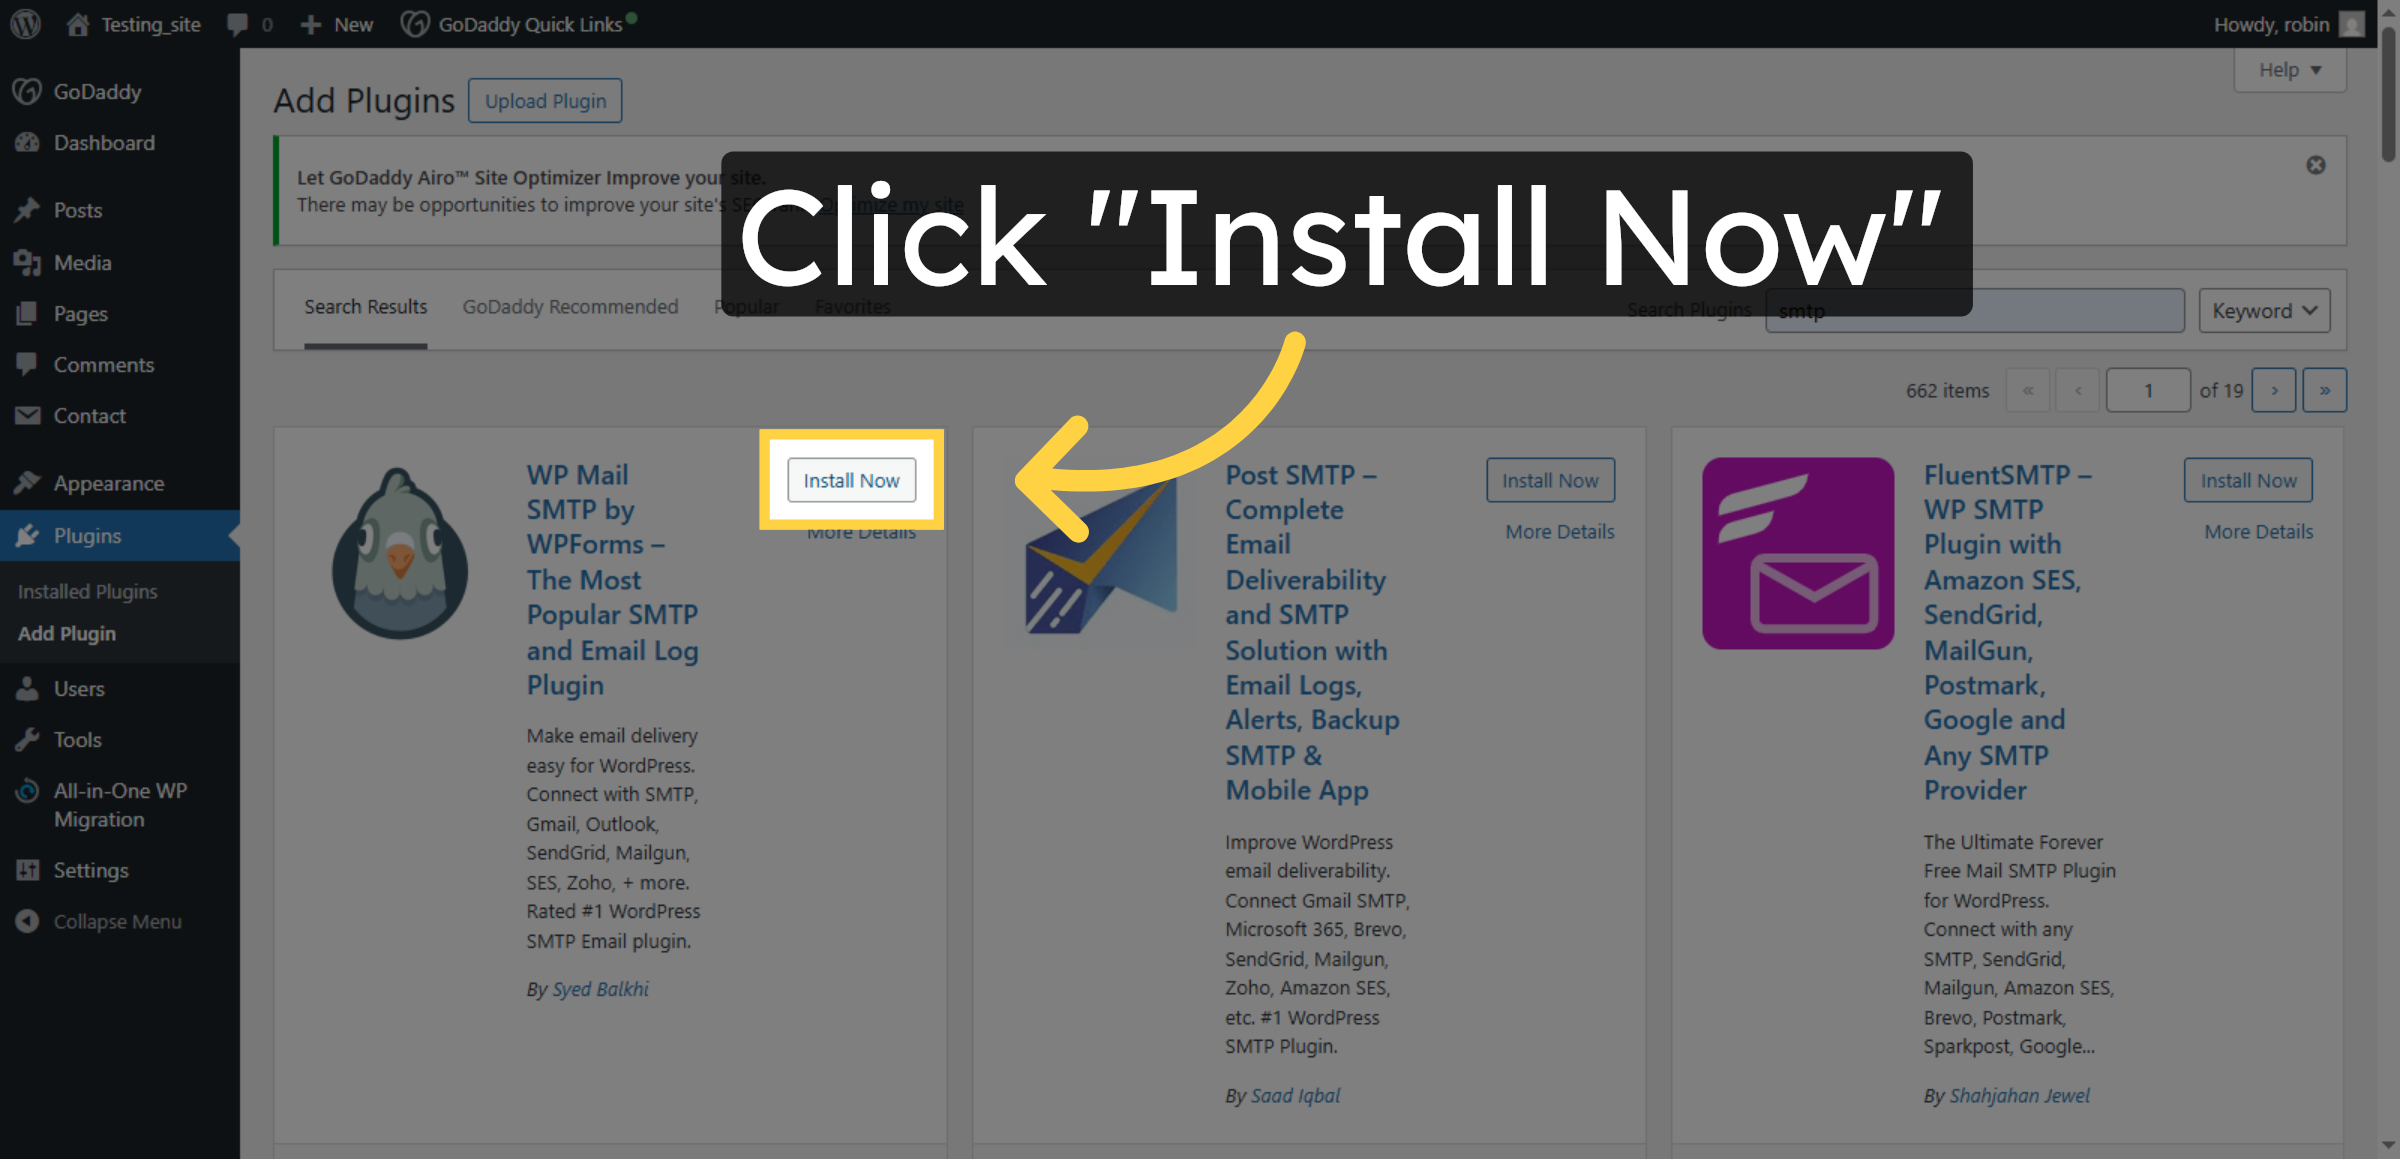
11. Install SMTP Plugin
Click Install Now to add the WP Mail SMTP plugin to your WordPress site.
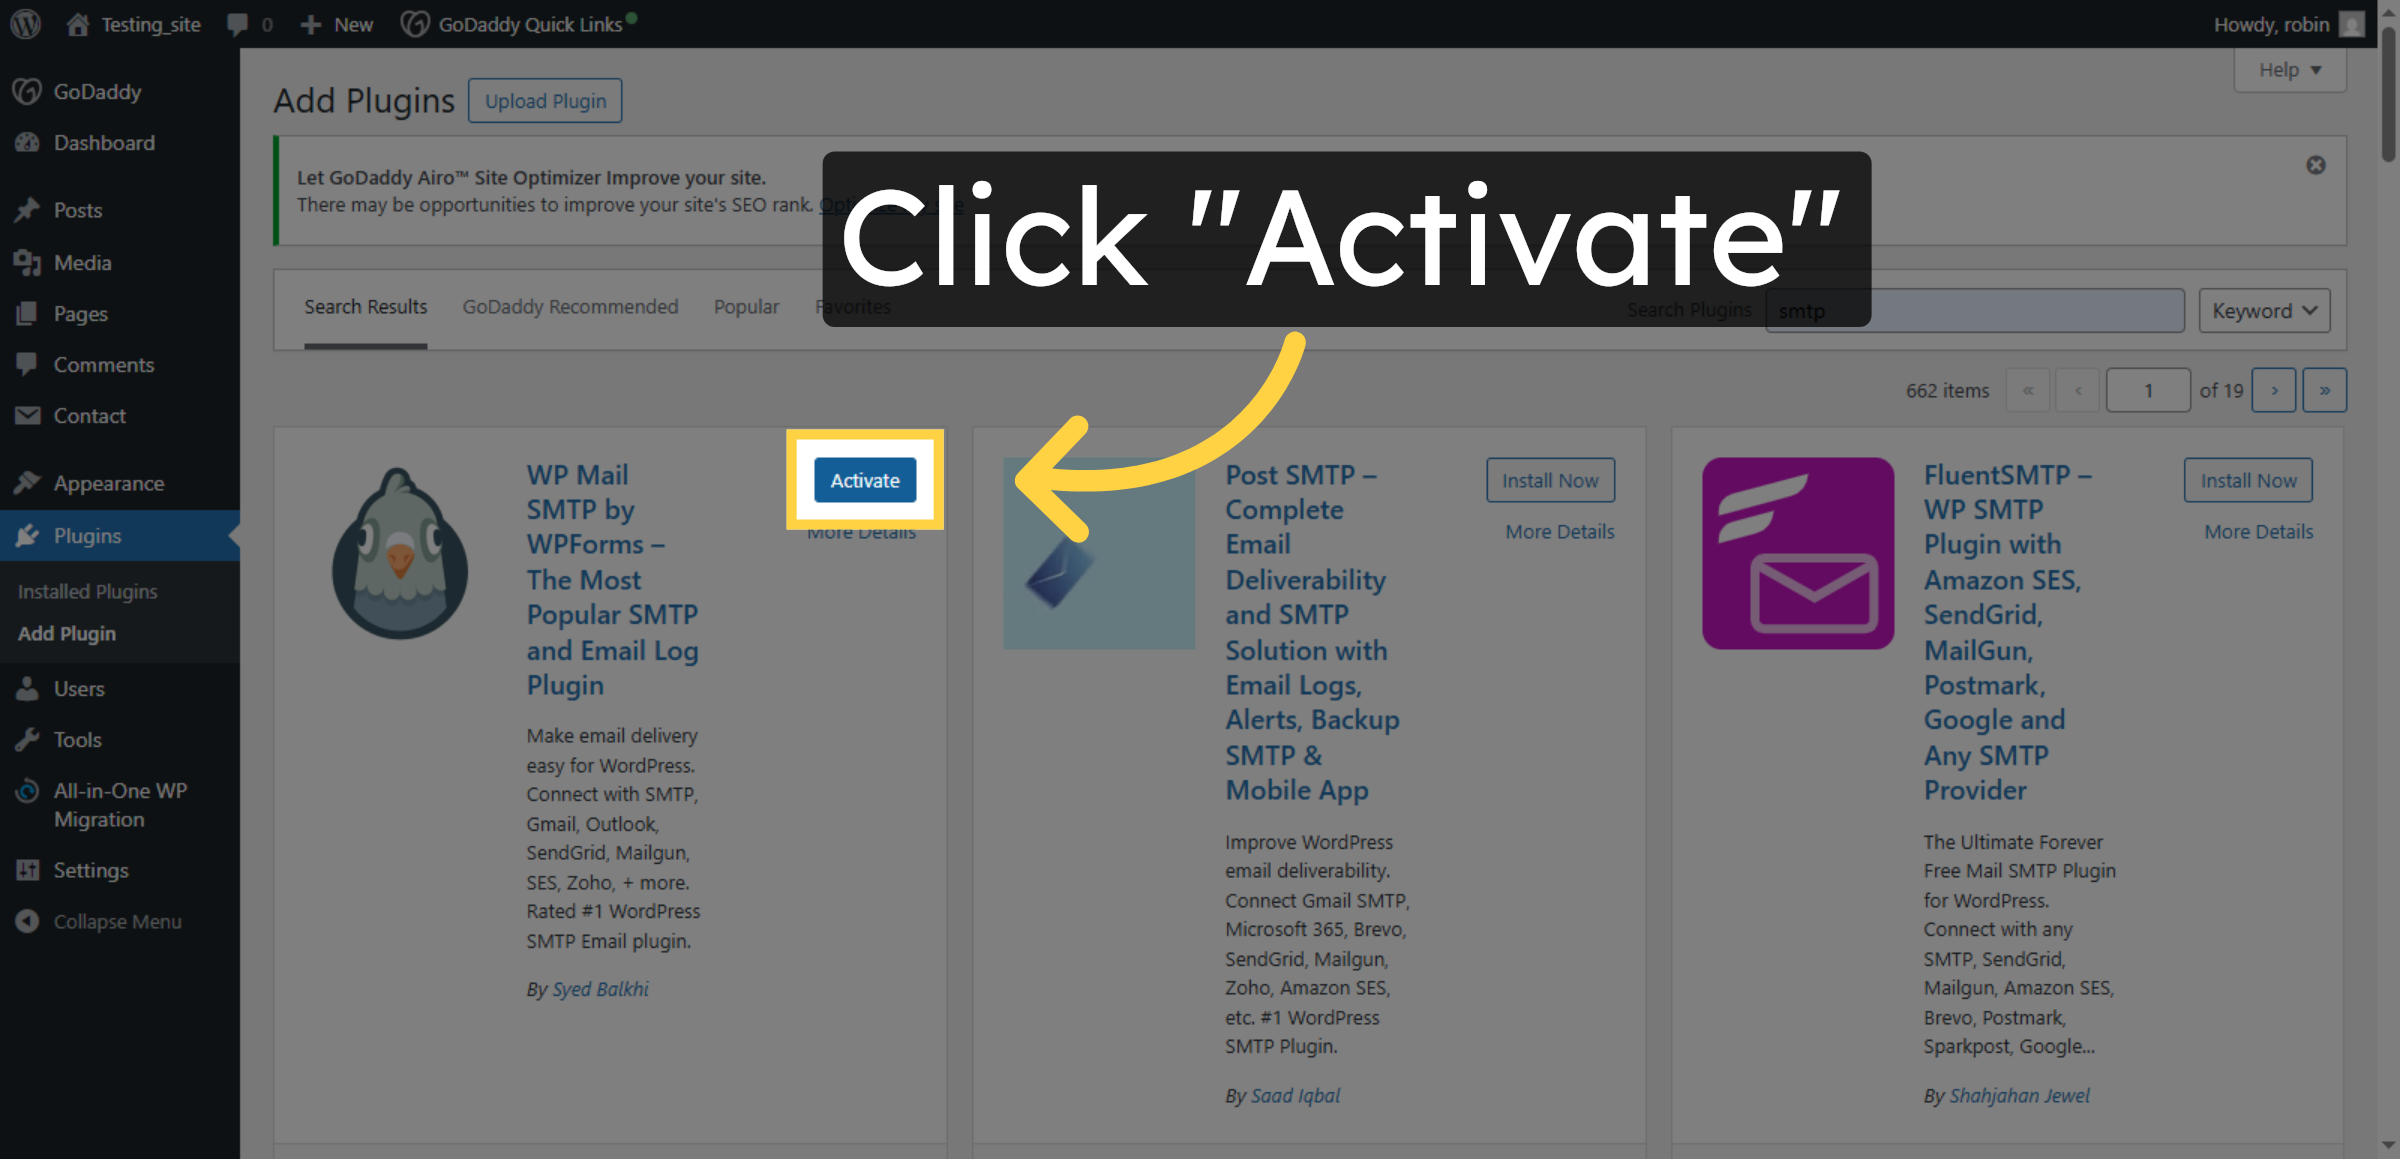
12. Activate SMTP Plugin
Click Activate to enable the WP Mail SMTP plugin and prepare it for configuration.
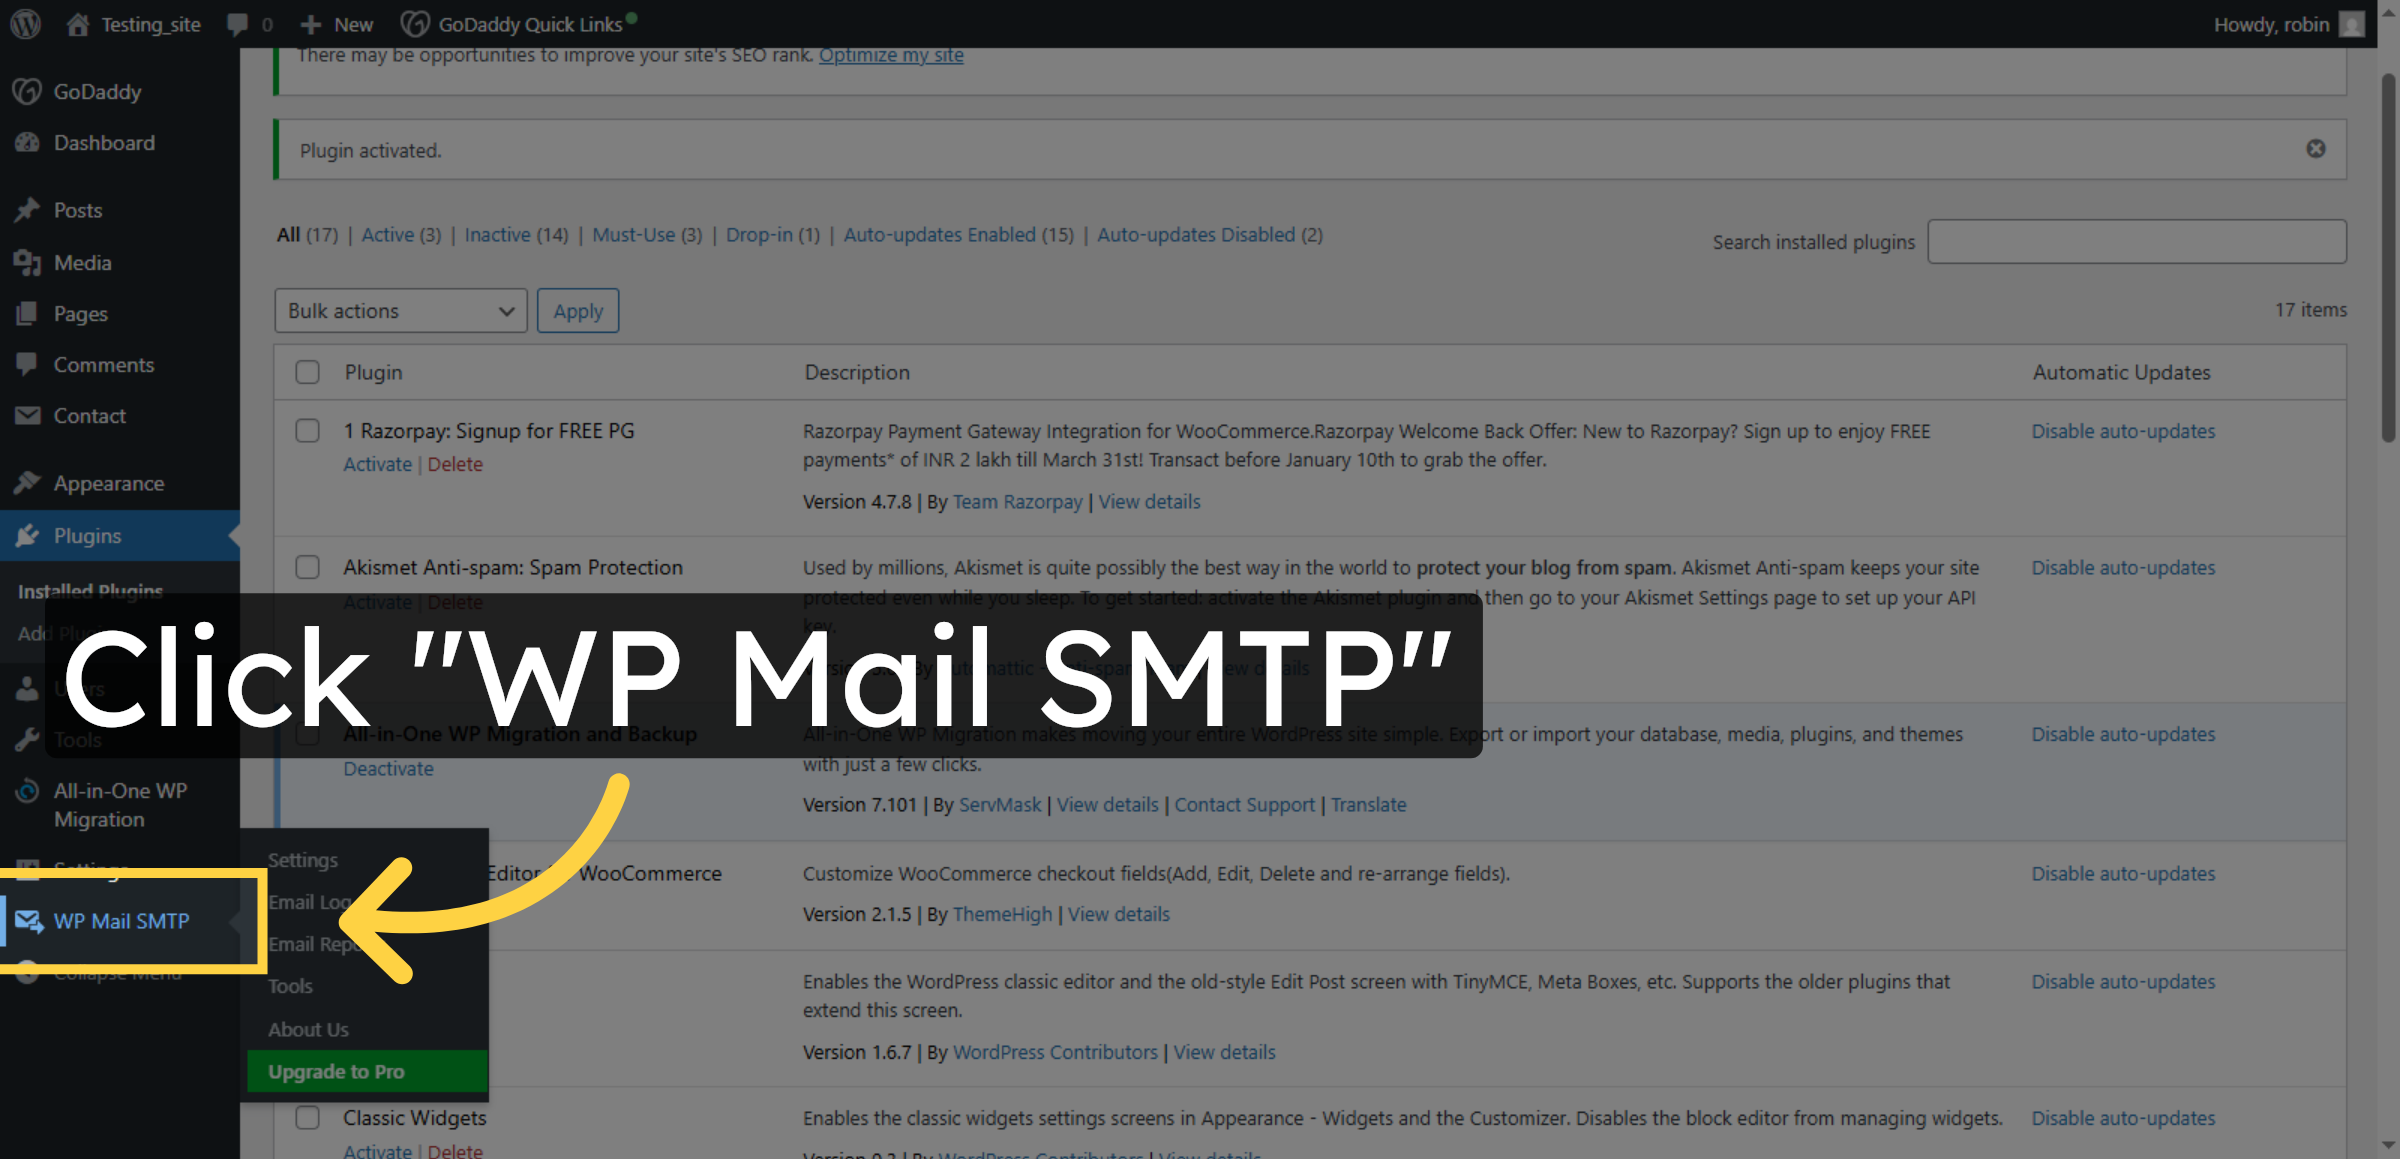
13. Open WP Mail SMTP Settings
Click WP Mail SMTP in the plugins list to access its settings and setup options.
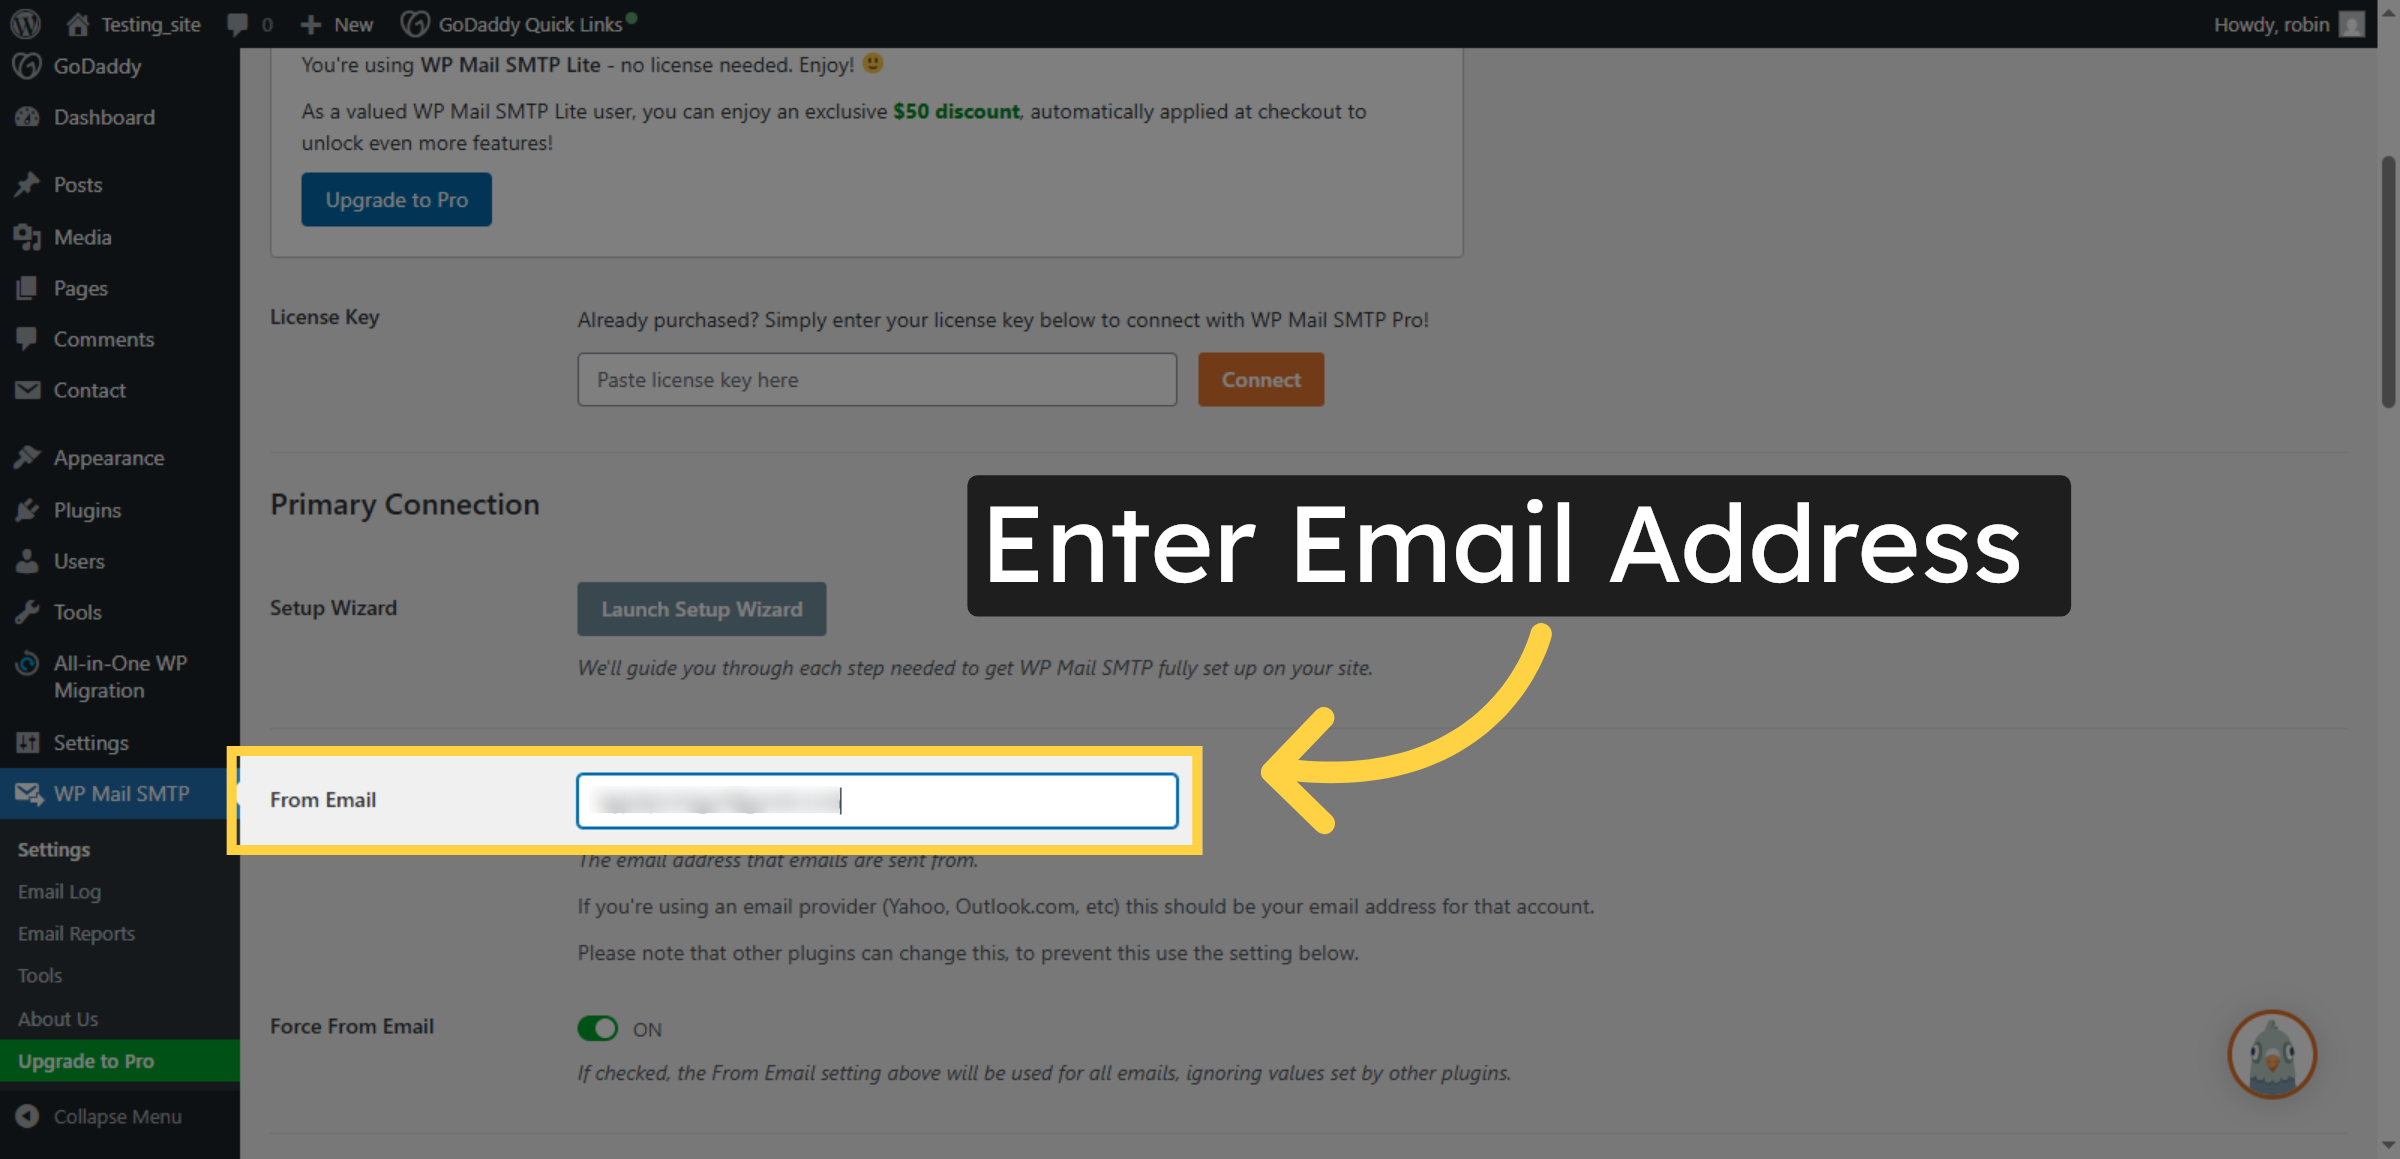
14. Enter Email Address
Enter your email address to be used as the sender for outgoing emails from your website.
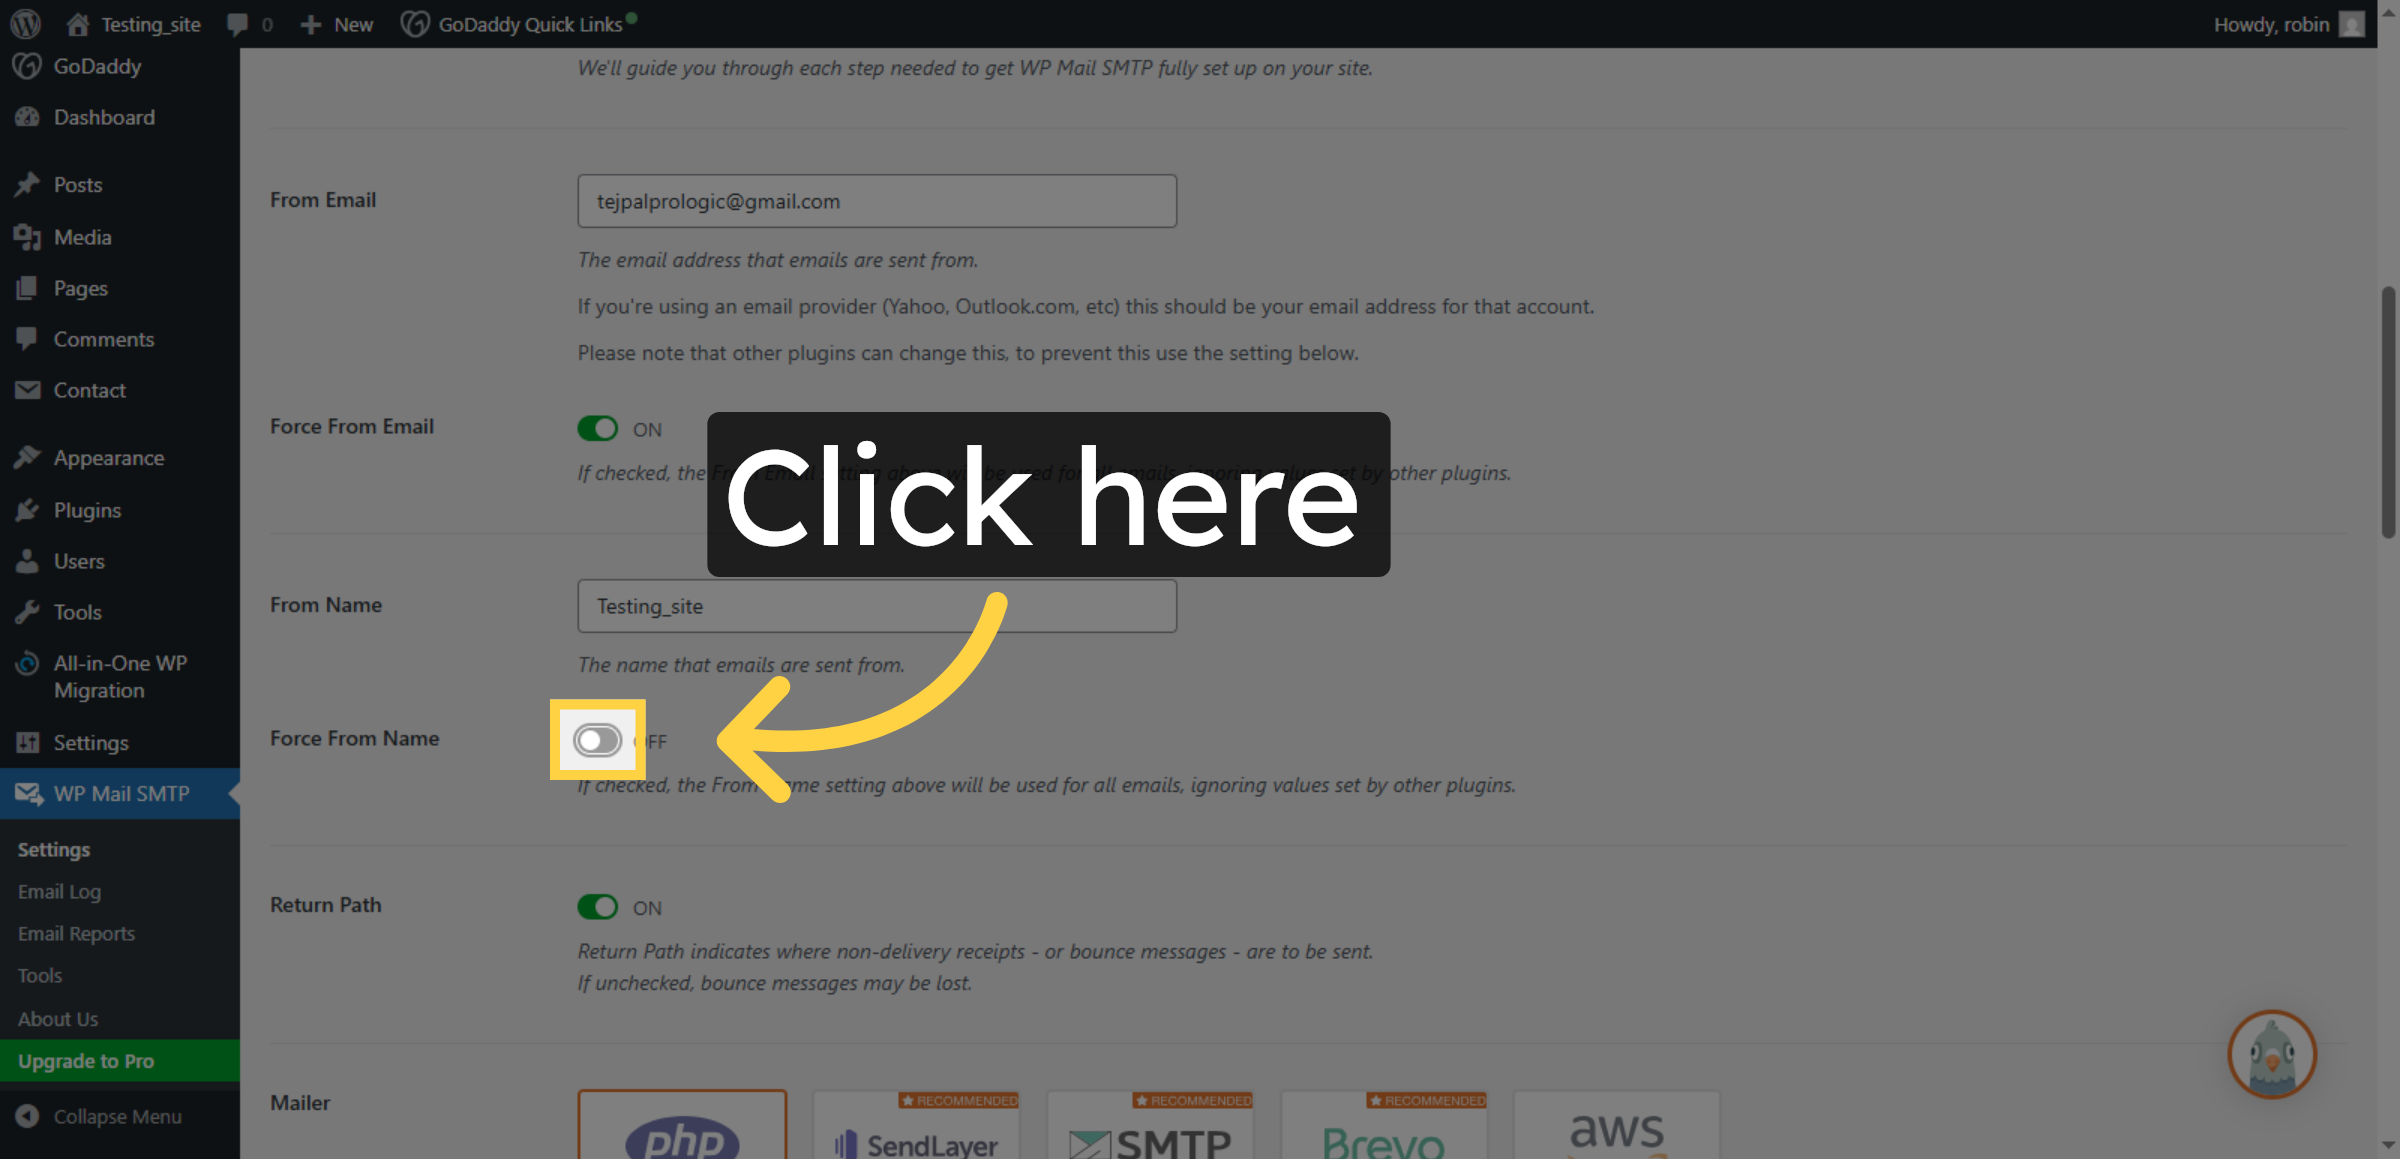
15. Proceed To Next Step
Click the indicated area to continue with the SMTP setup process.
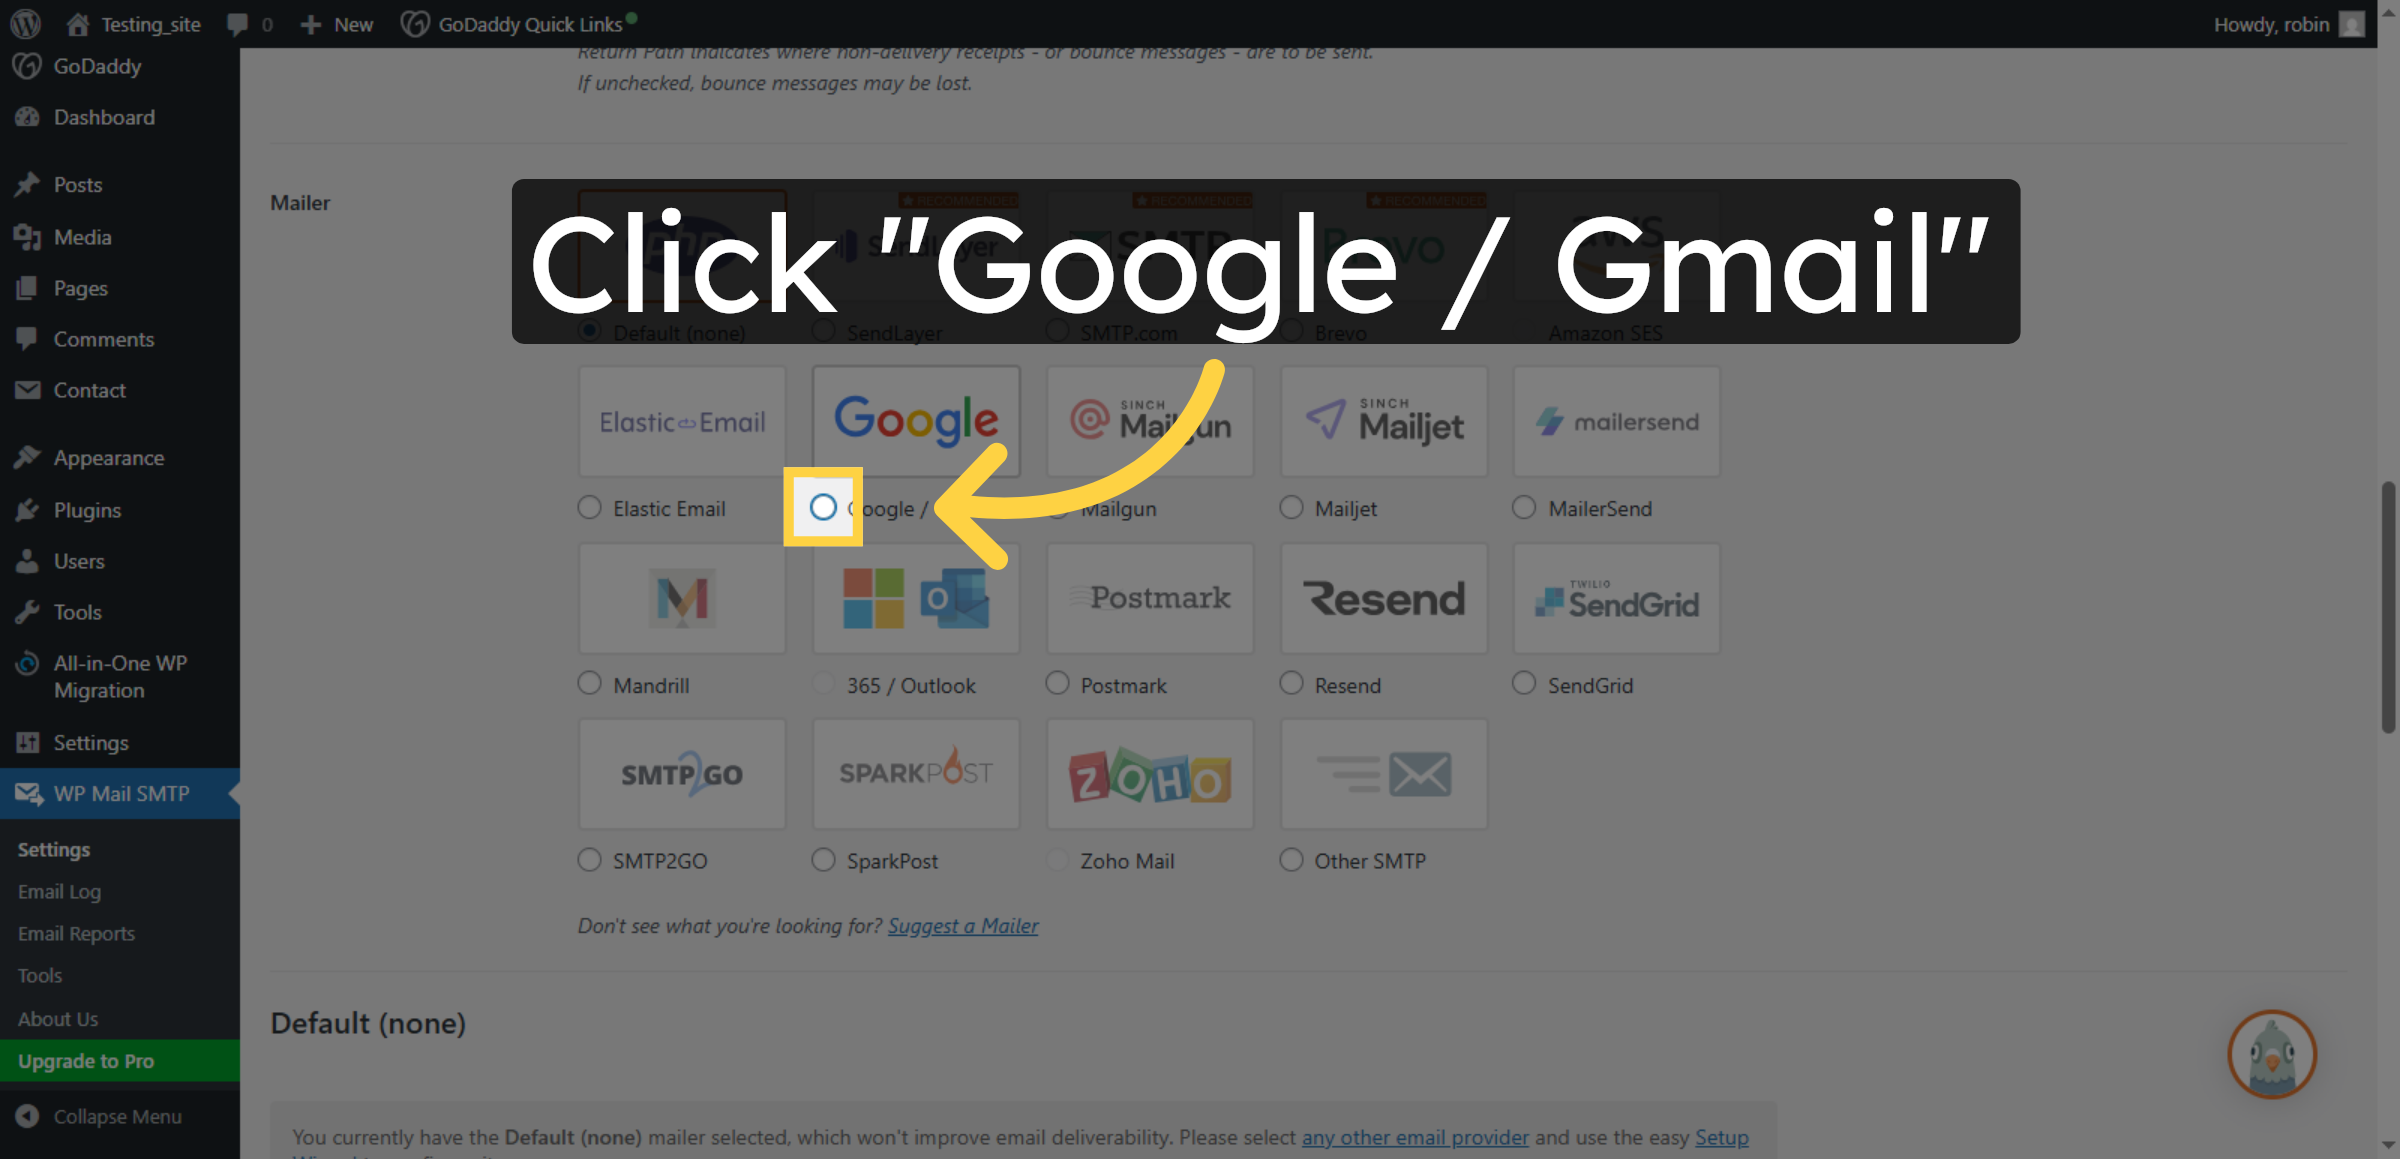
16. Select Google Gmail Option
Click Google / Gmail as the mailer service to use Google’s SMTP servers for sending emails.
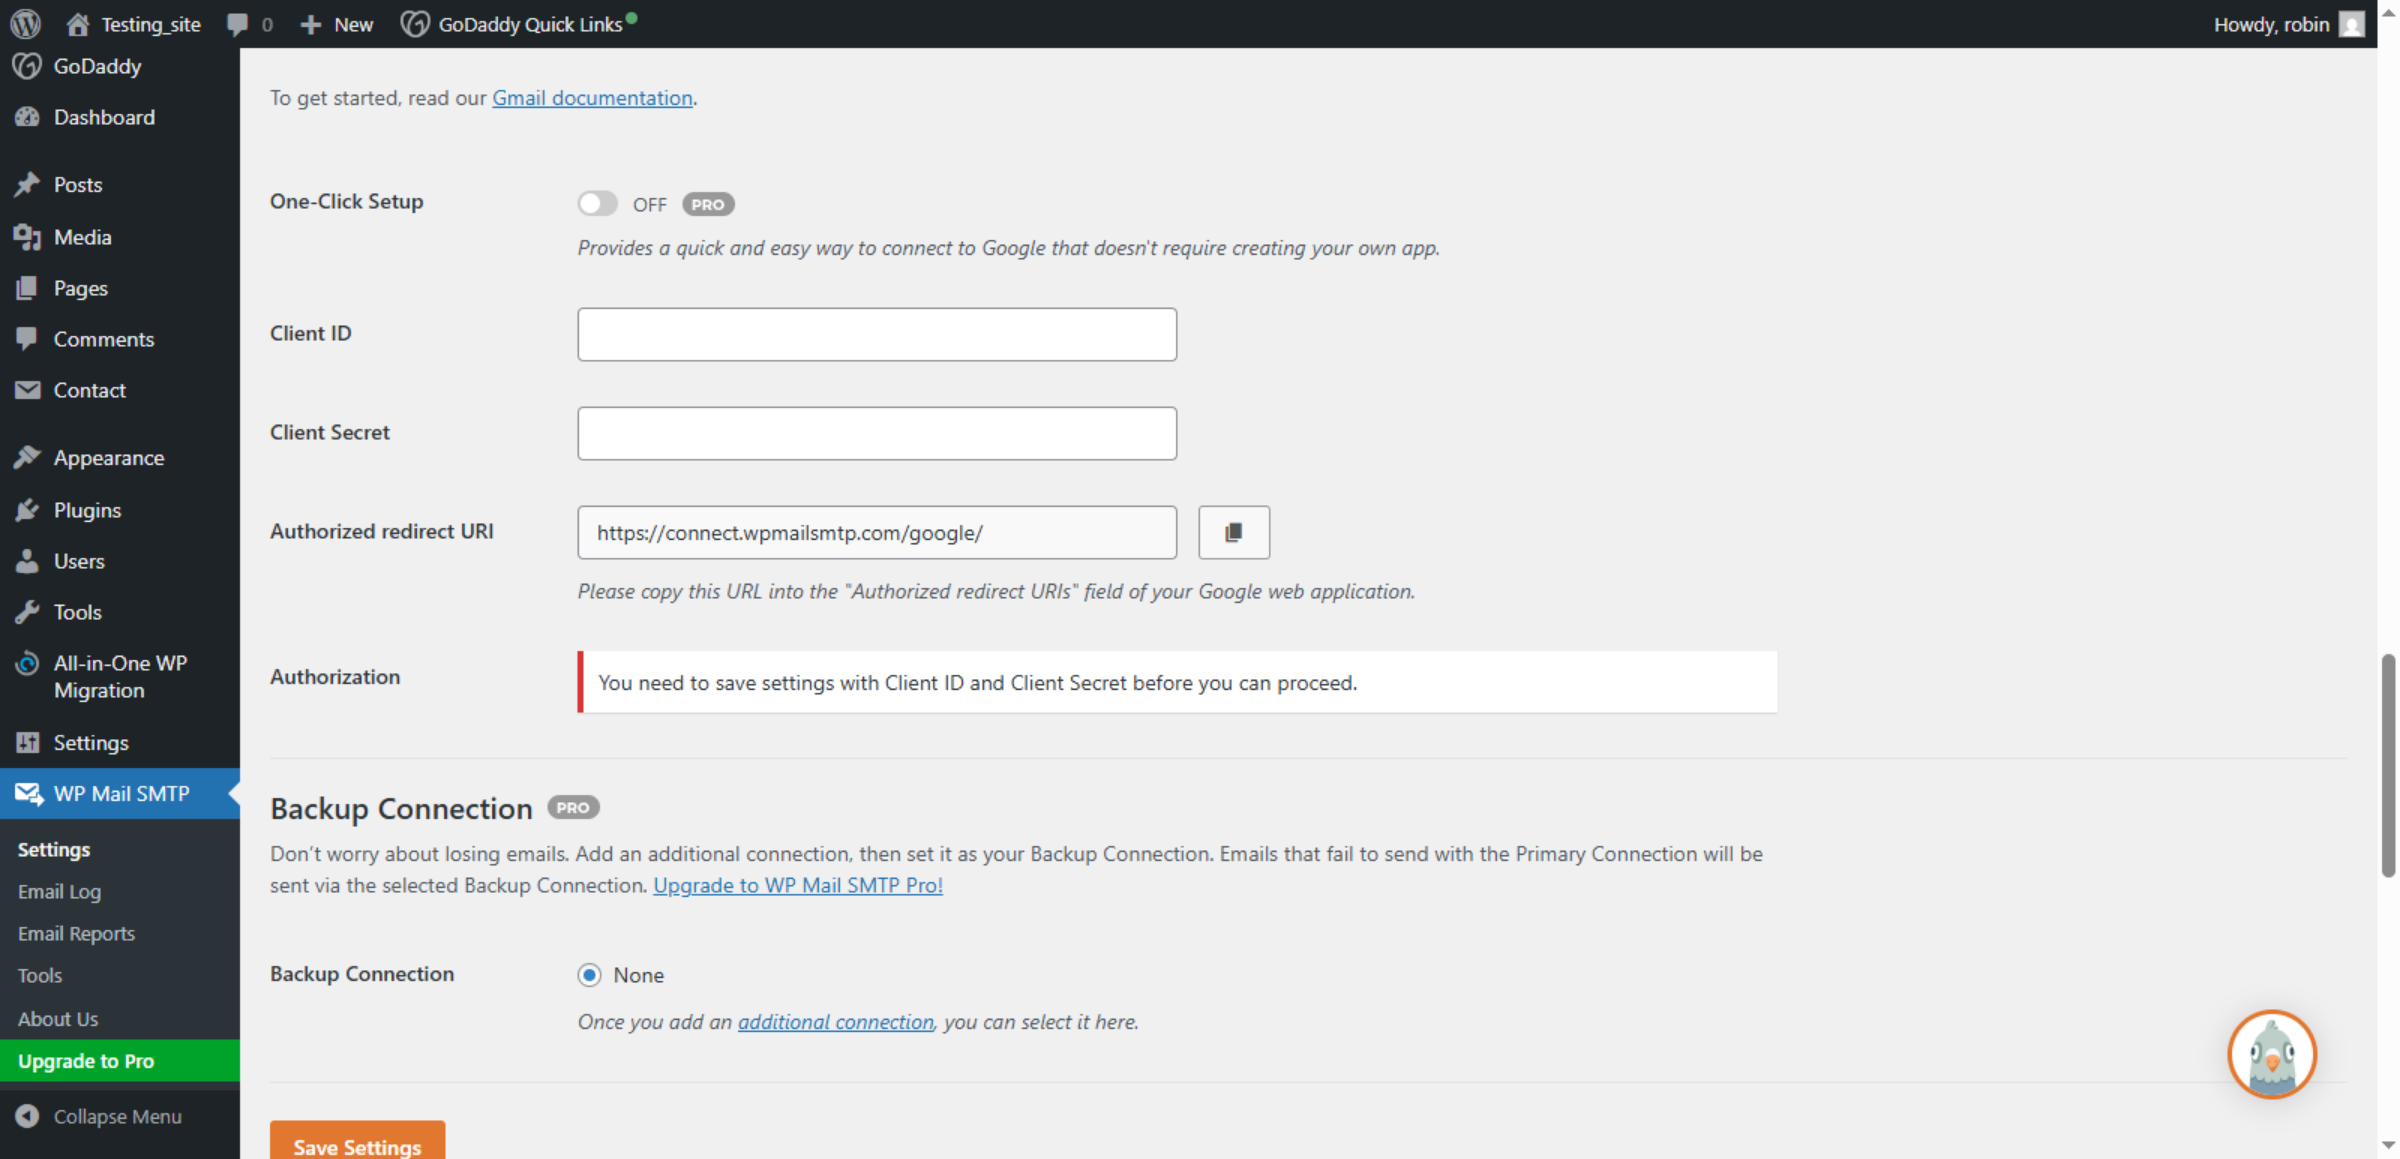
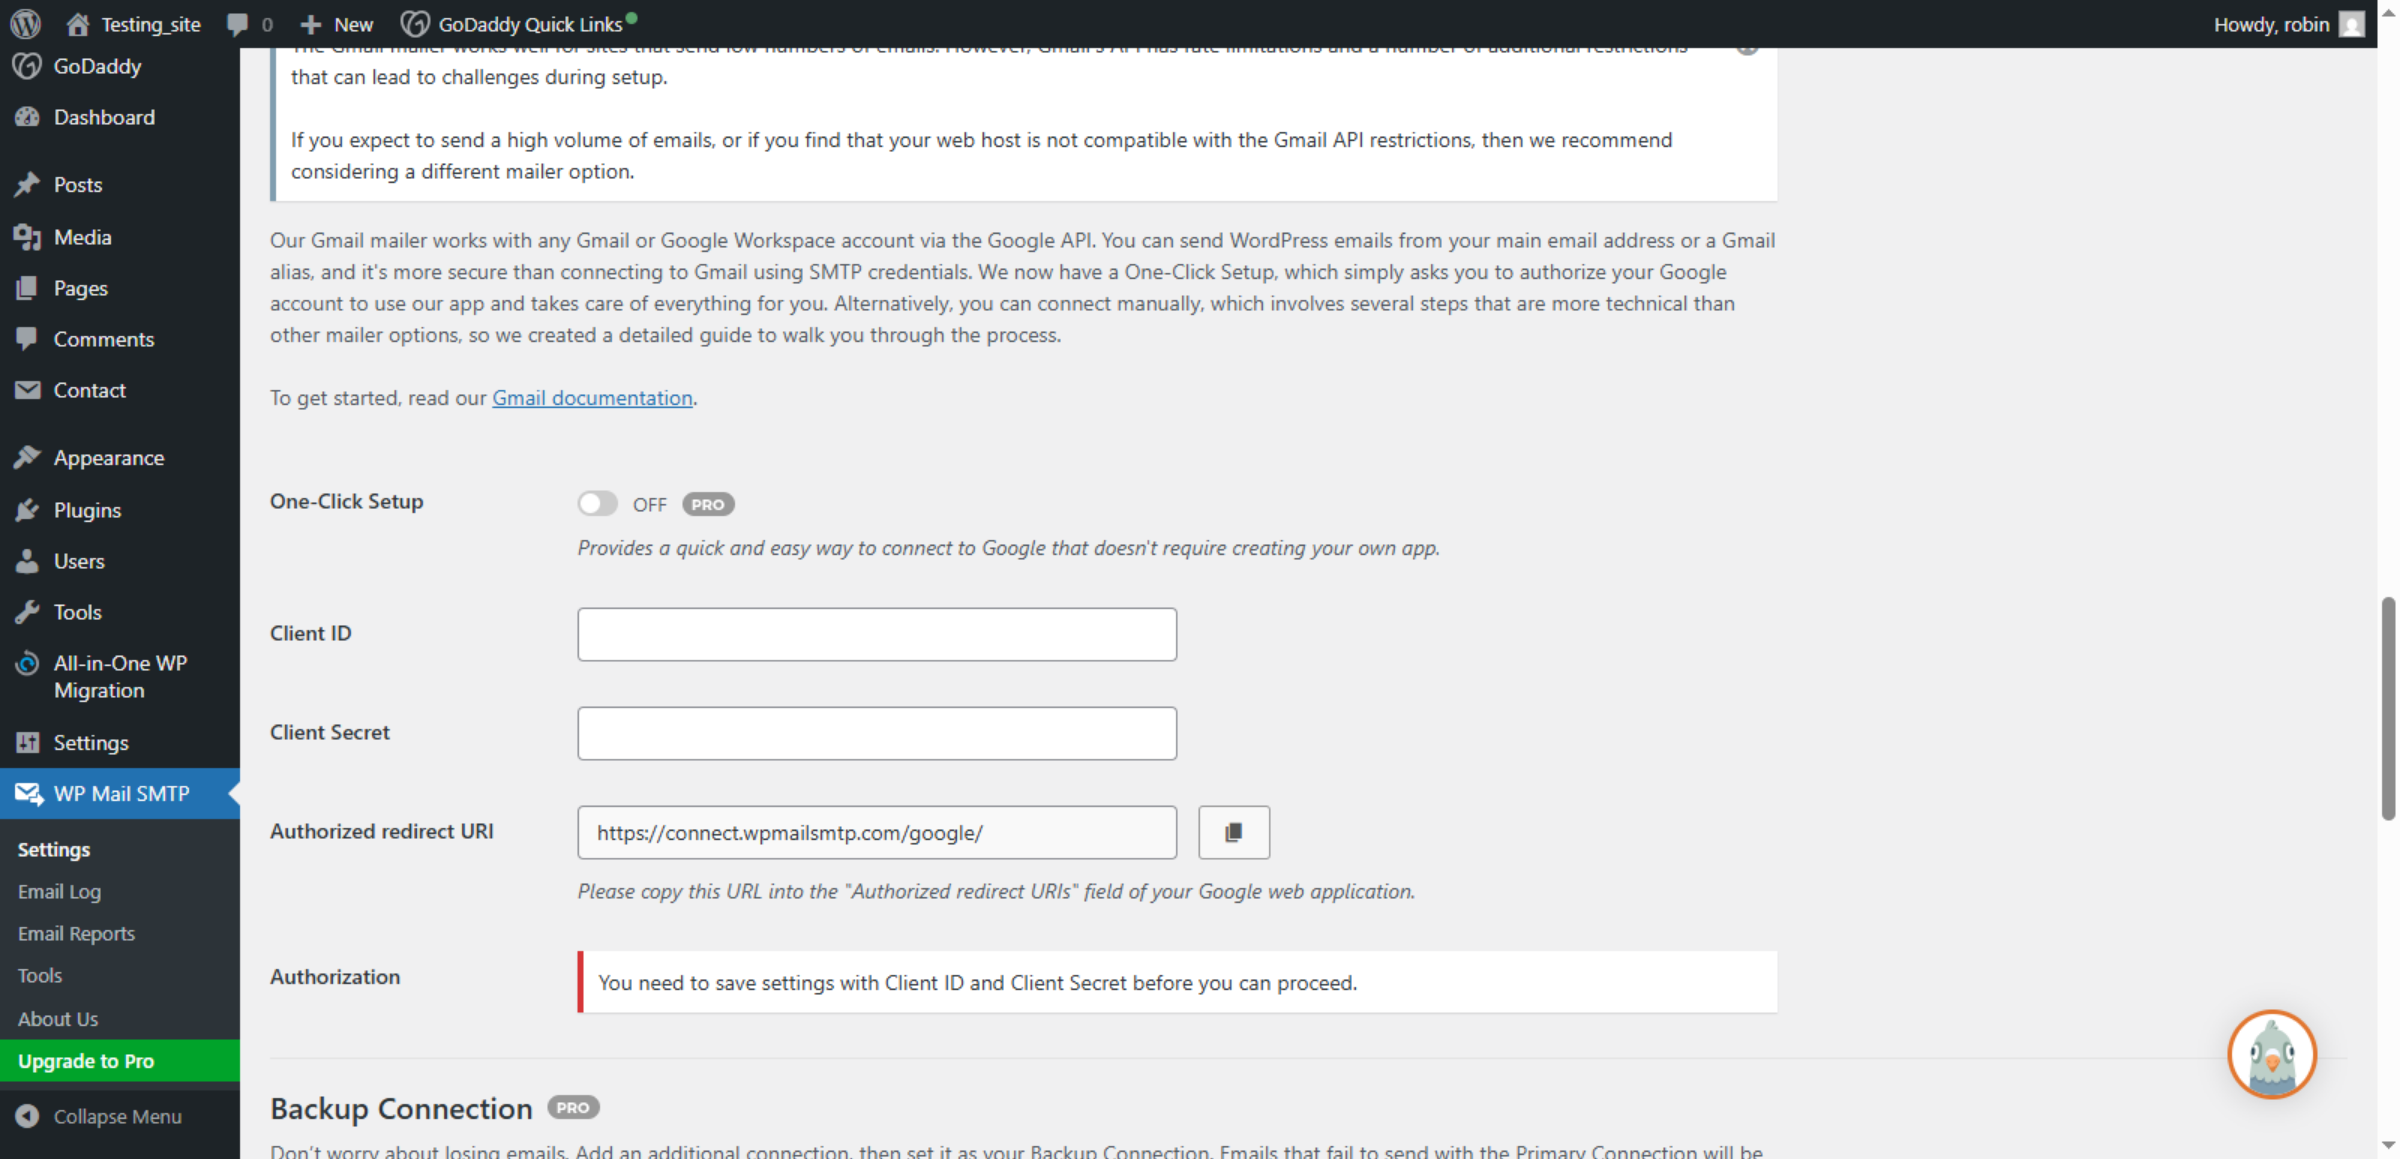
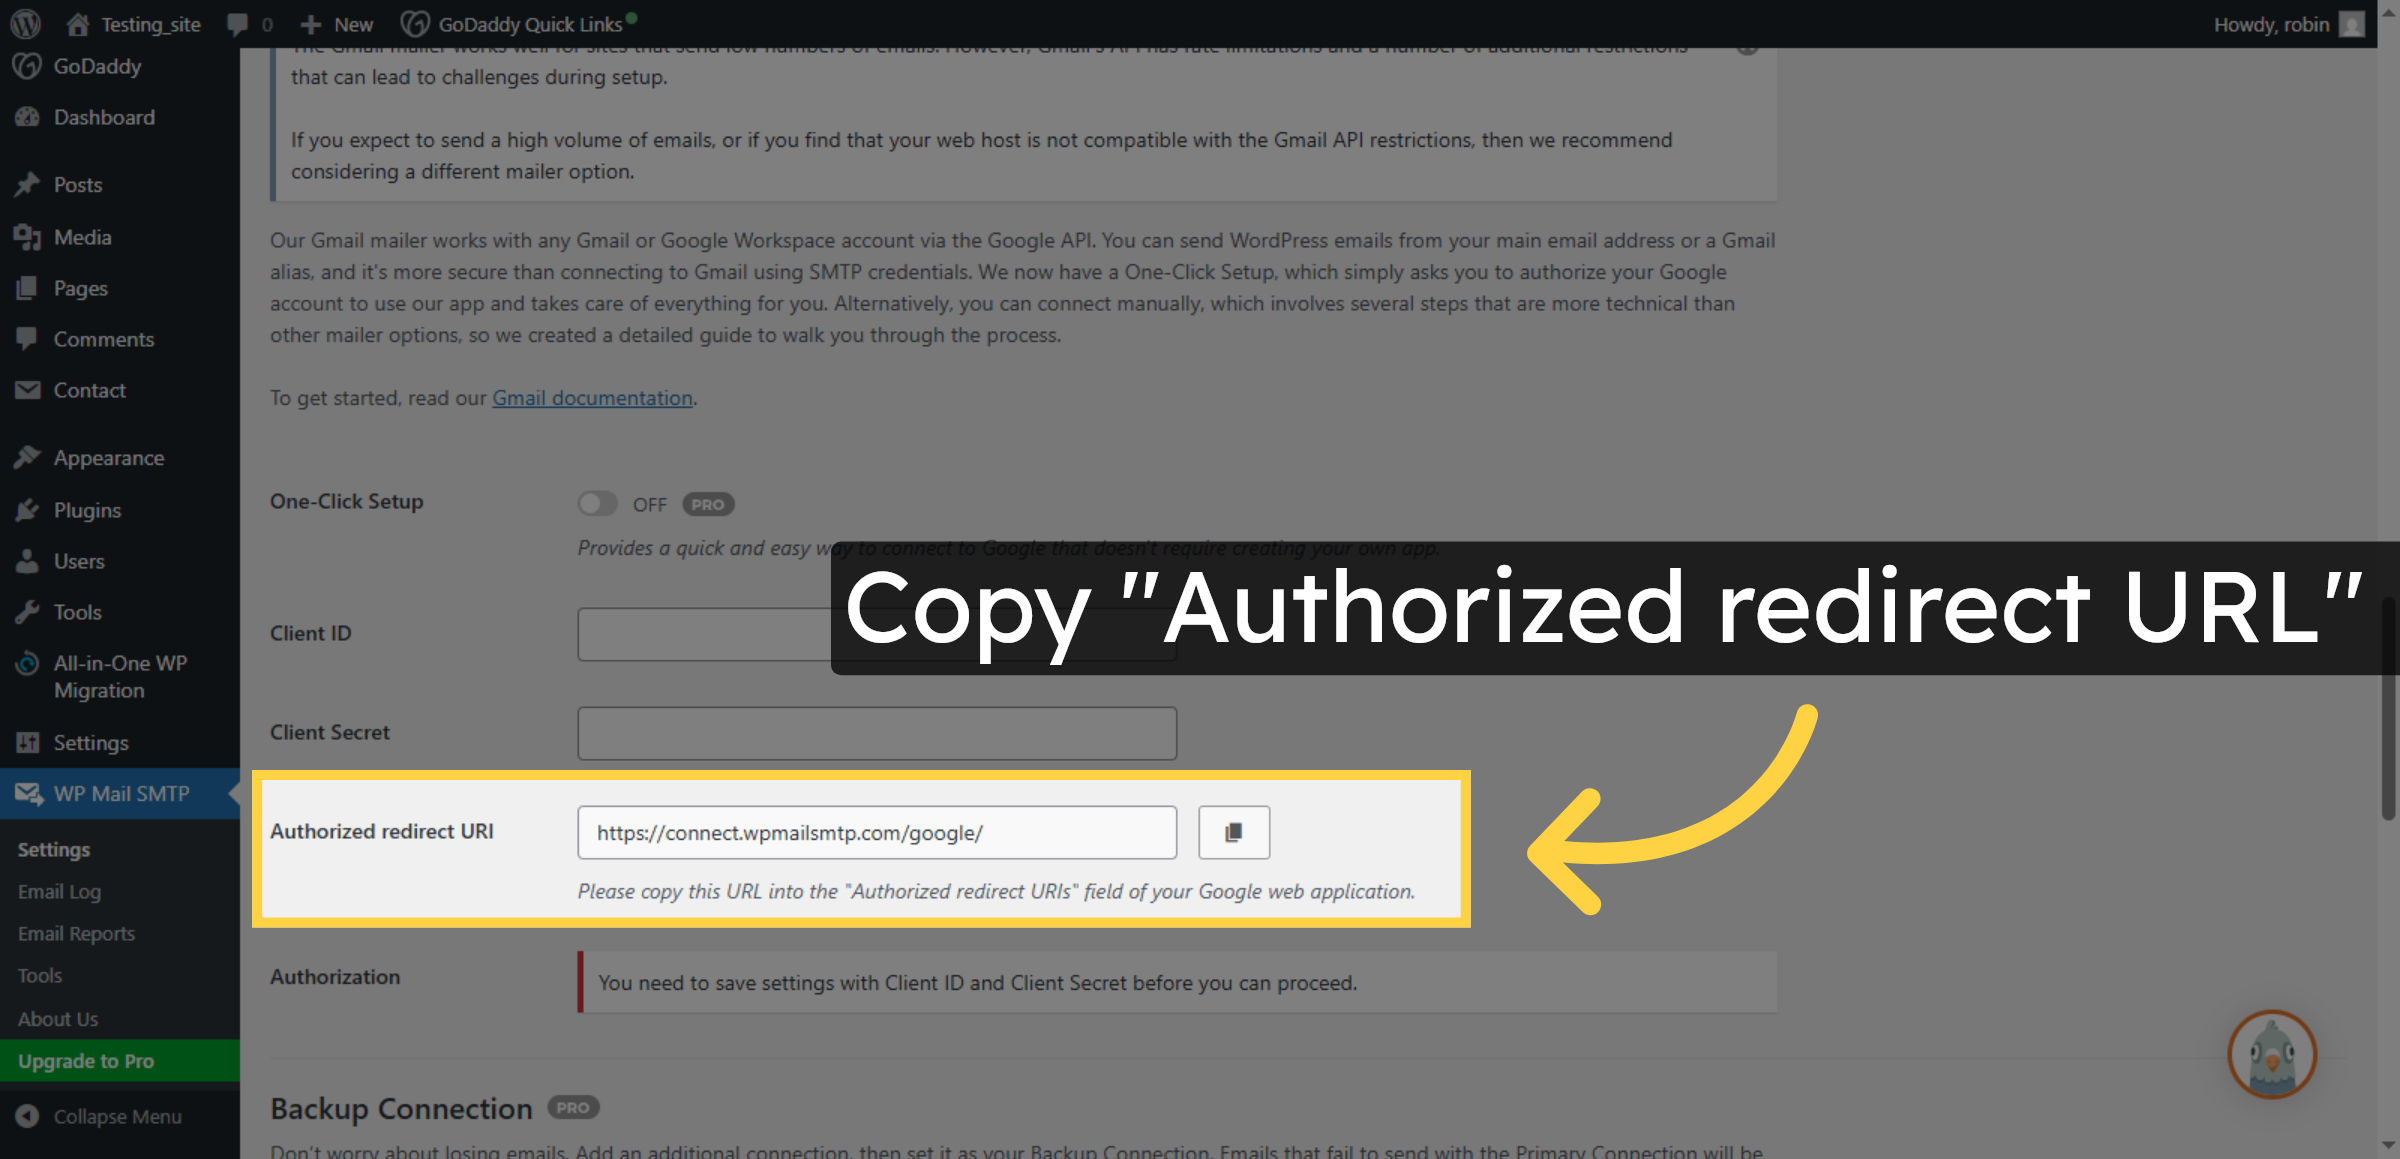
17. Open Backup Connection
Click Authorized redirect URI and copy the URL provided for use in your Google web application settings.
18. Go To Google Cloud Console
Switch to console.cloud.google.com to manage Google Cloud projects and APIs.
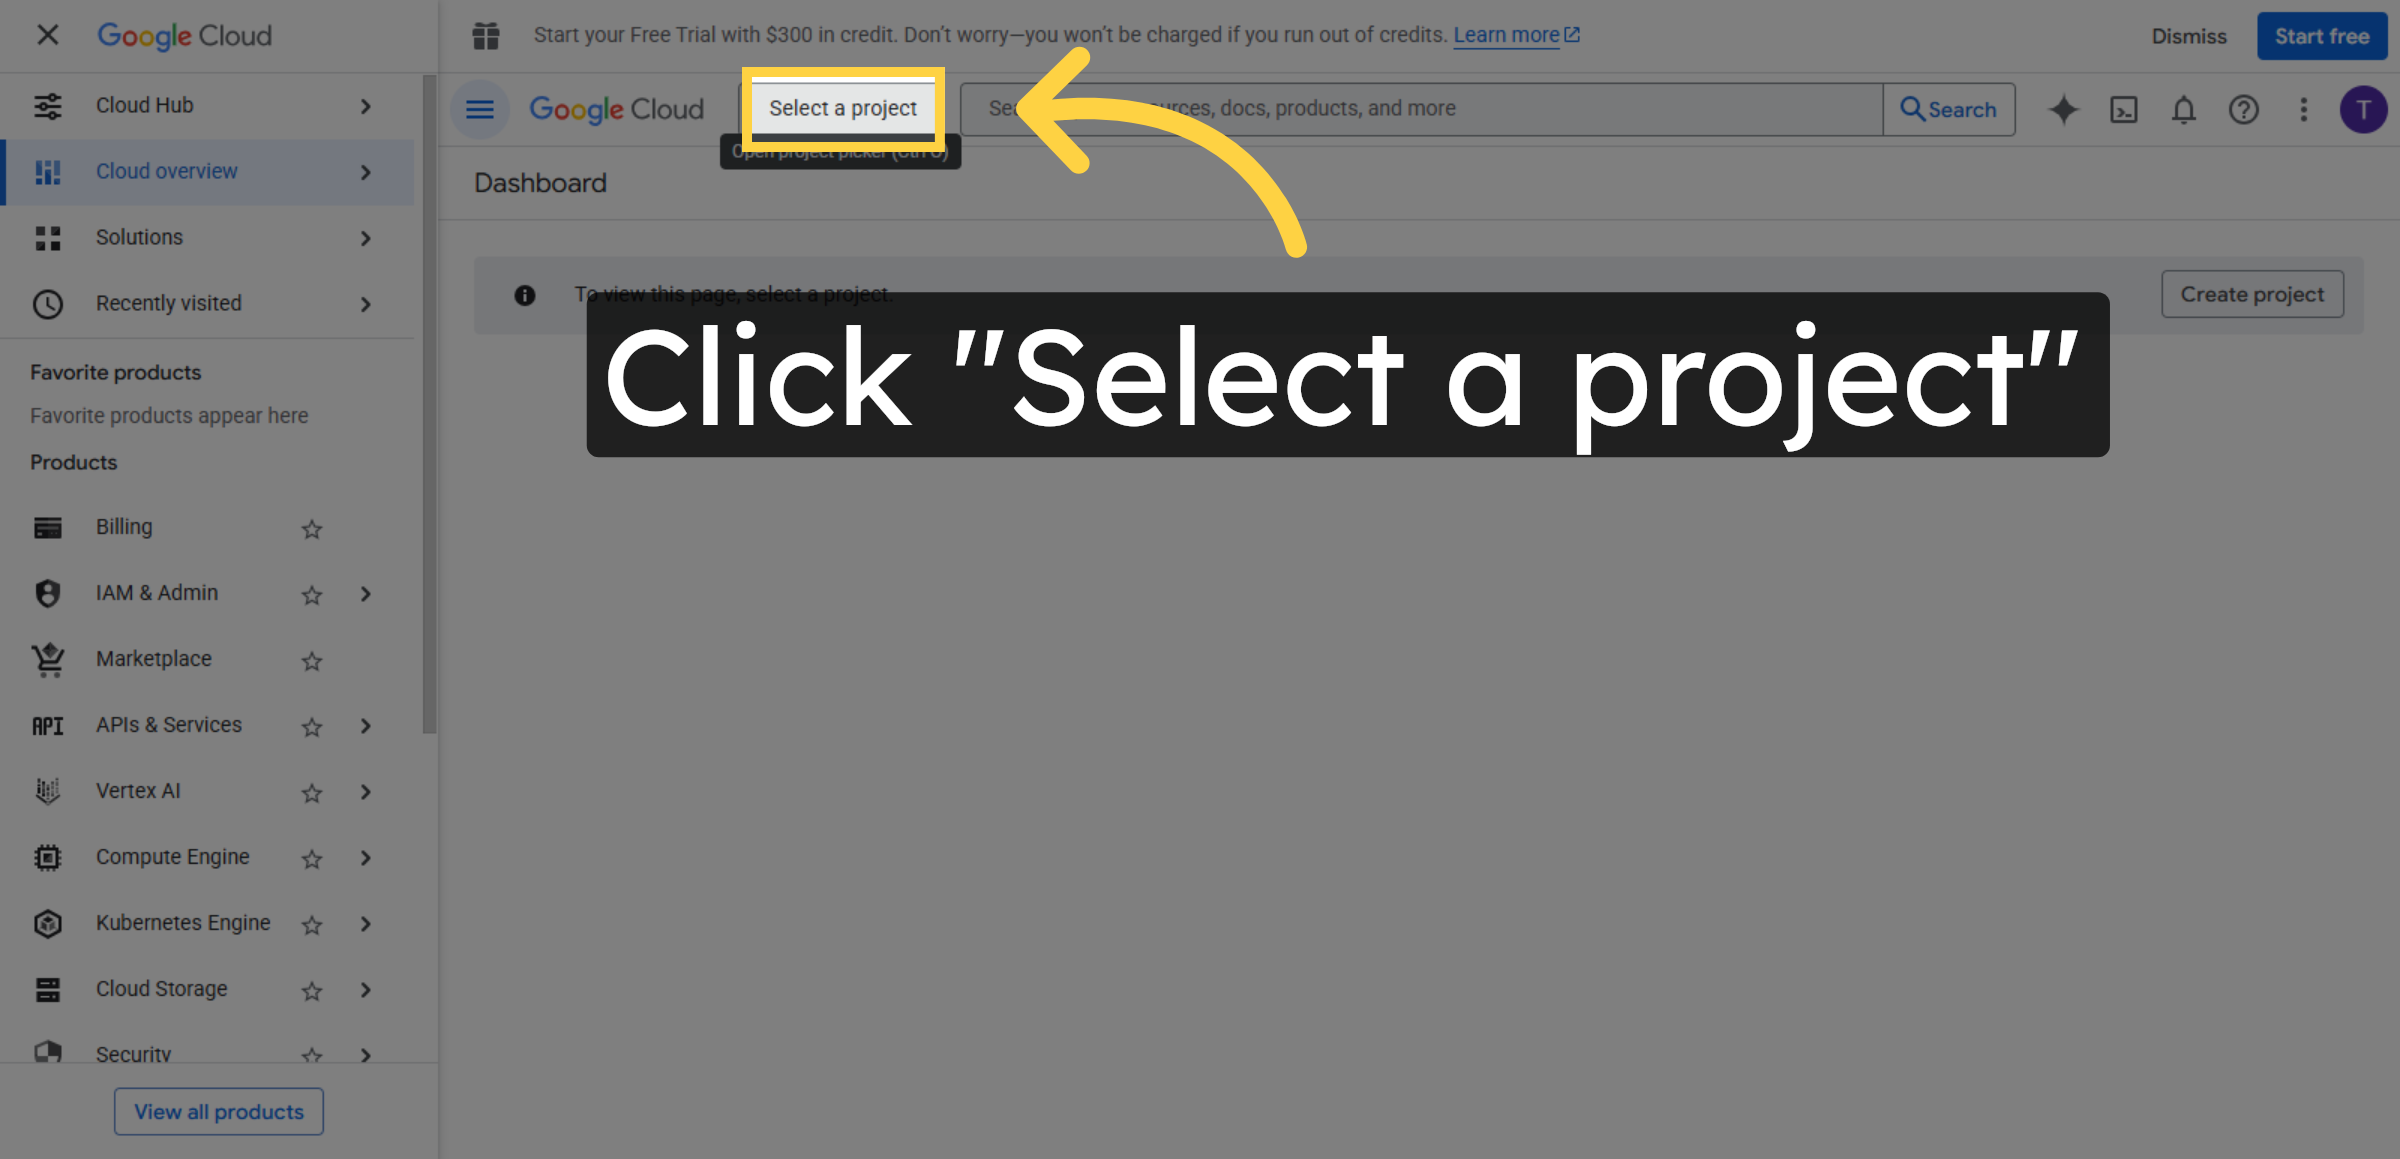
19. Select Project Menu
Click Select a project to choose or create a Google Cloud project.
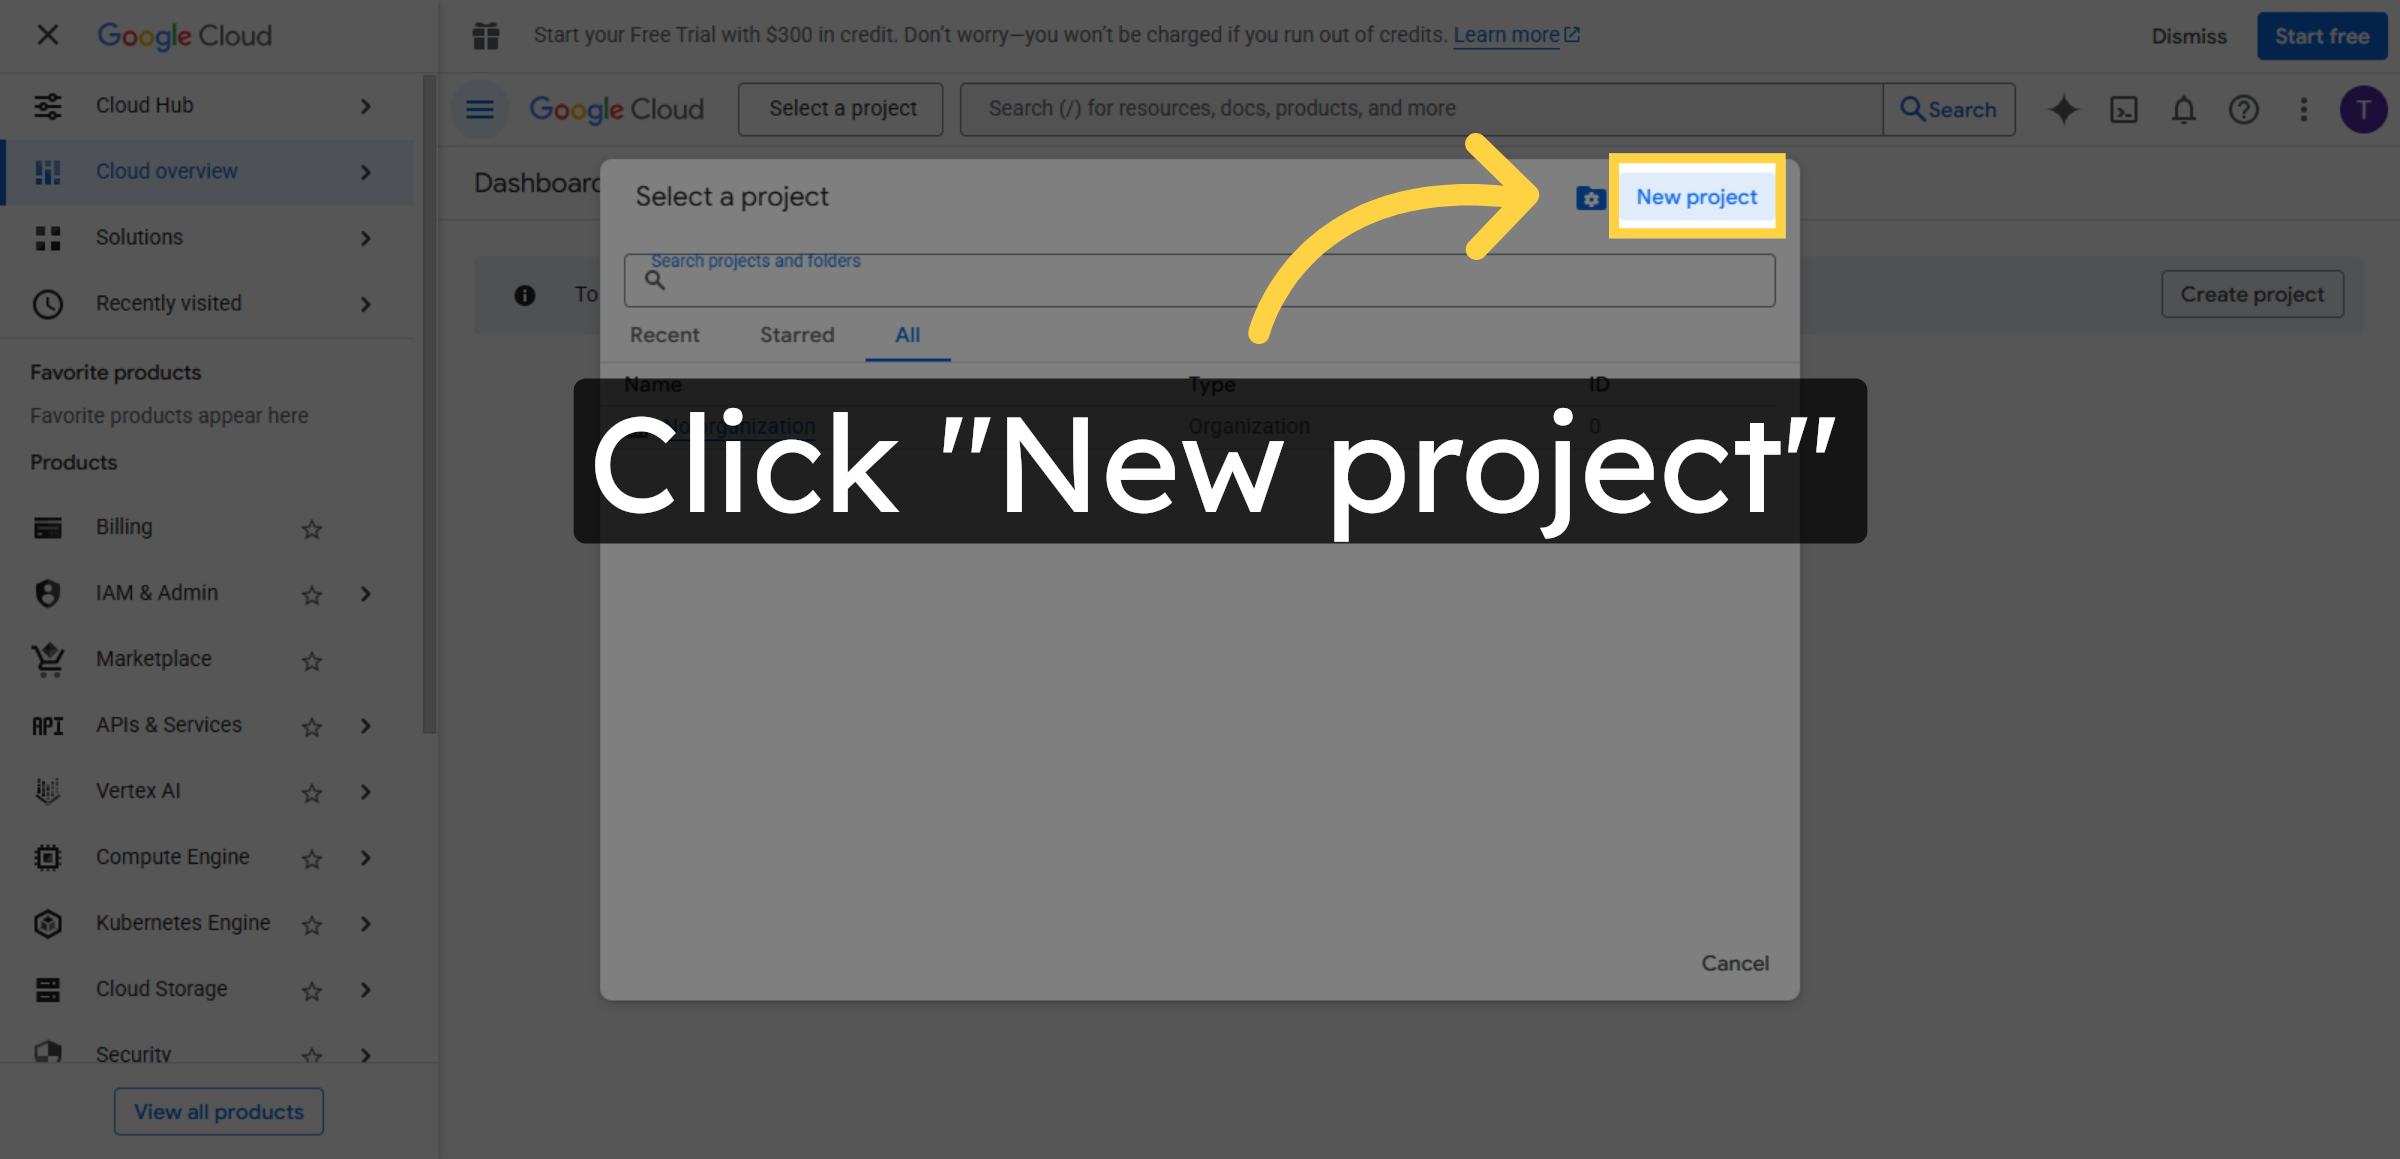
20. Create New Project
Click New project to start setting up a new Google Cloud project for API access.
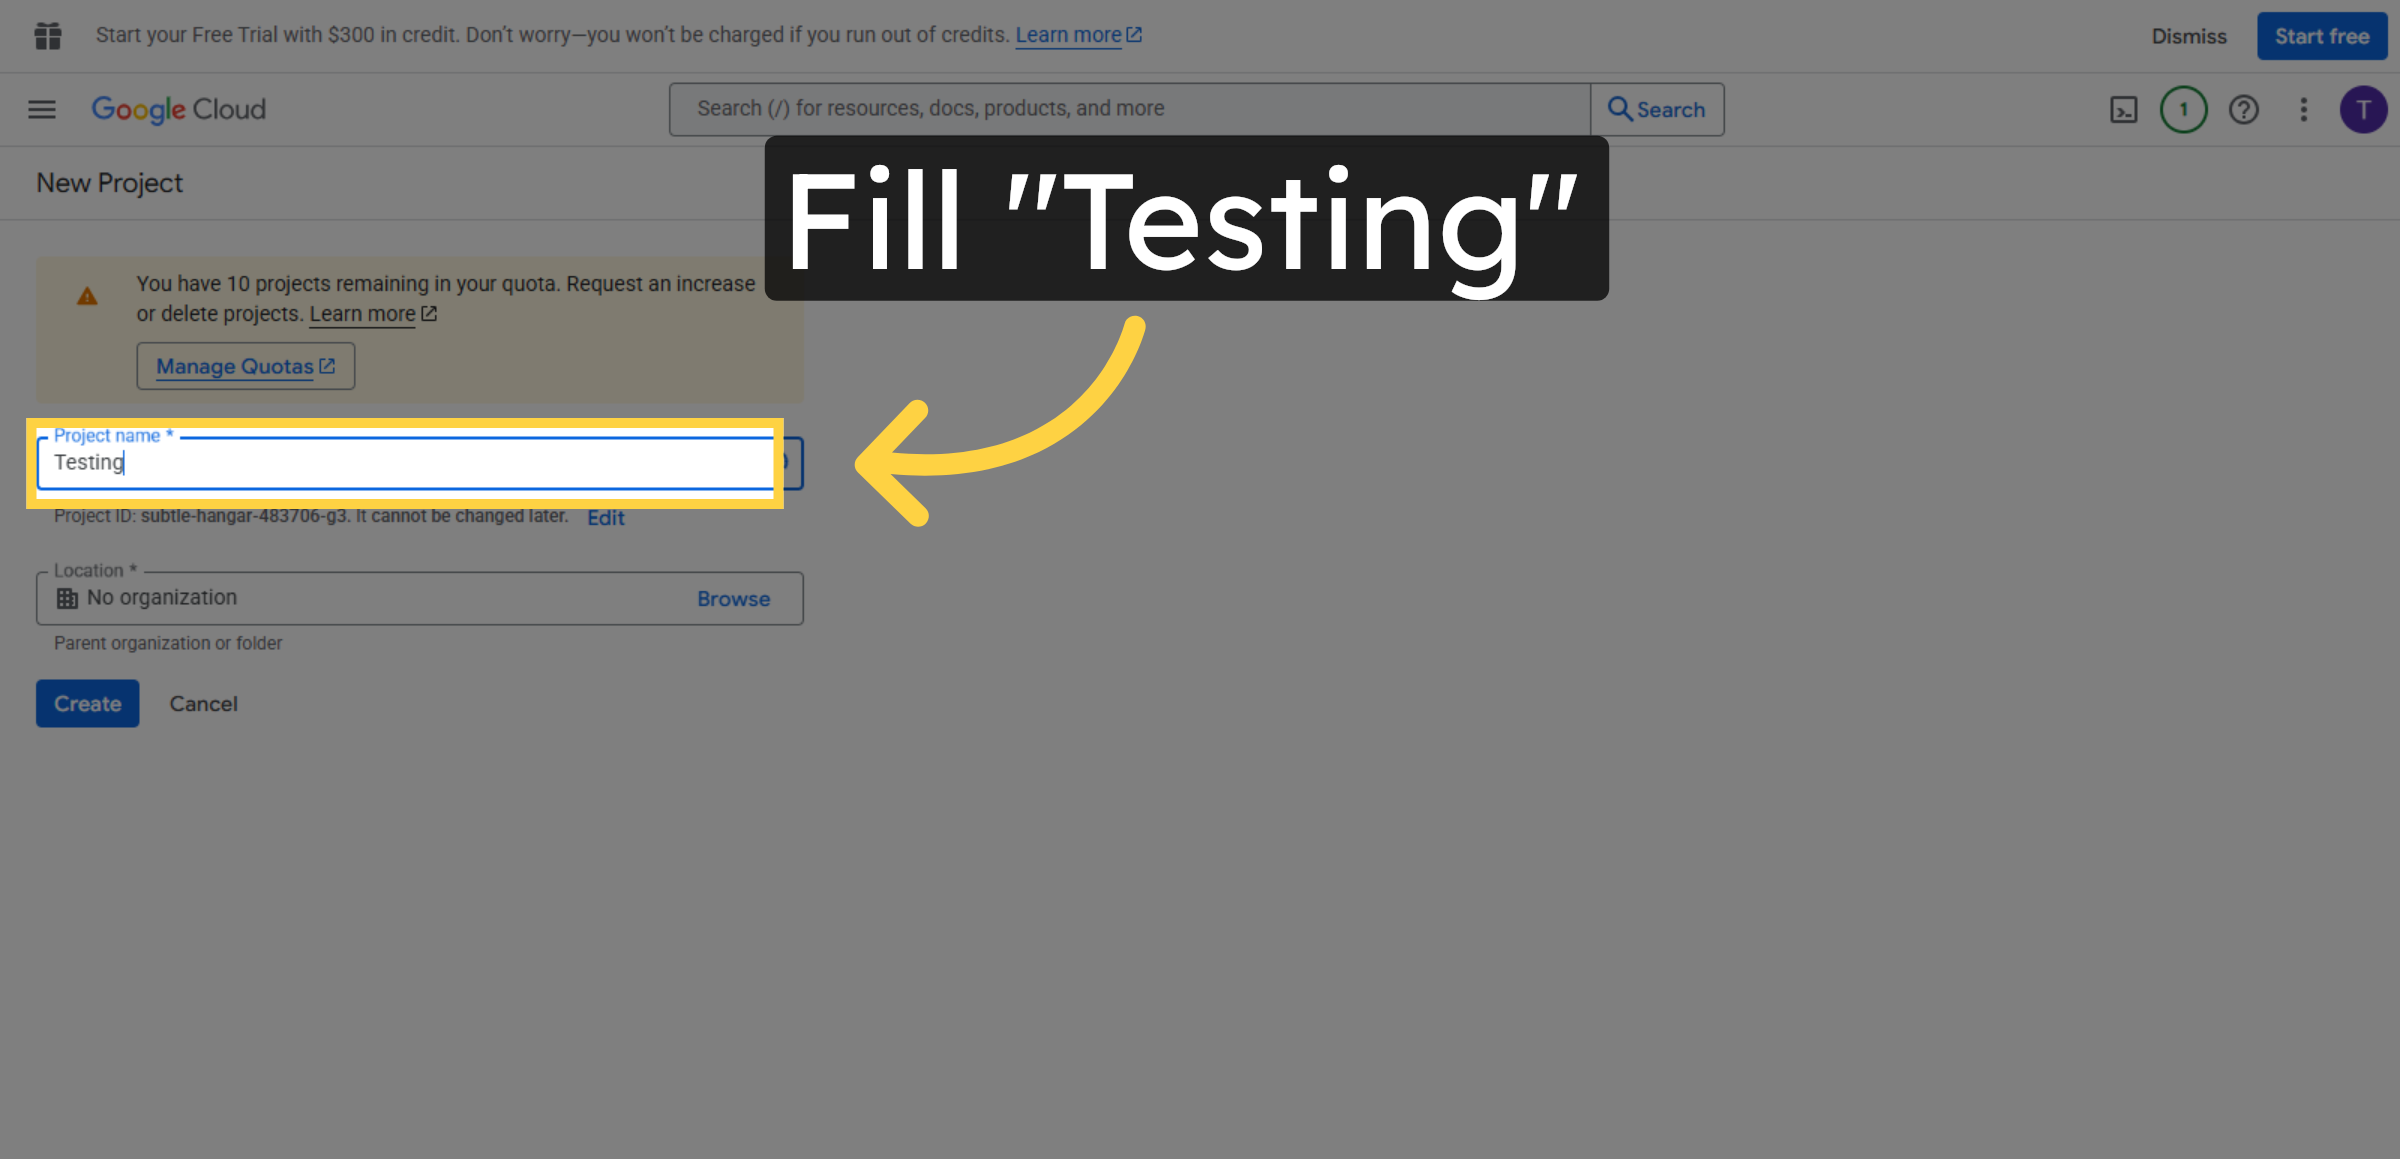
21. Name of the New Project
Fill Testing to complete the project name for your Google Cloud setup.
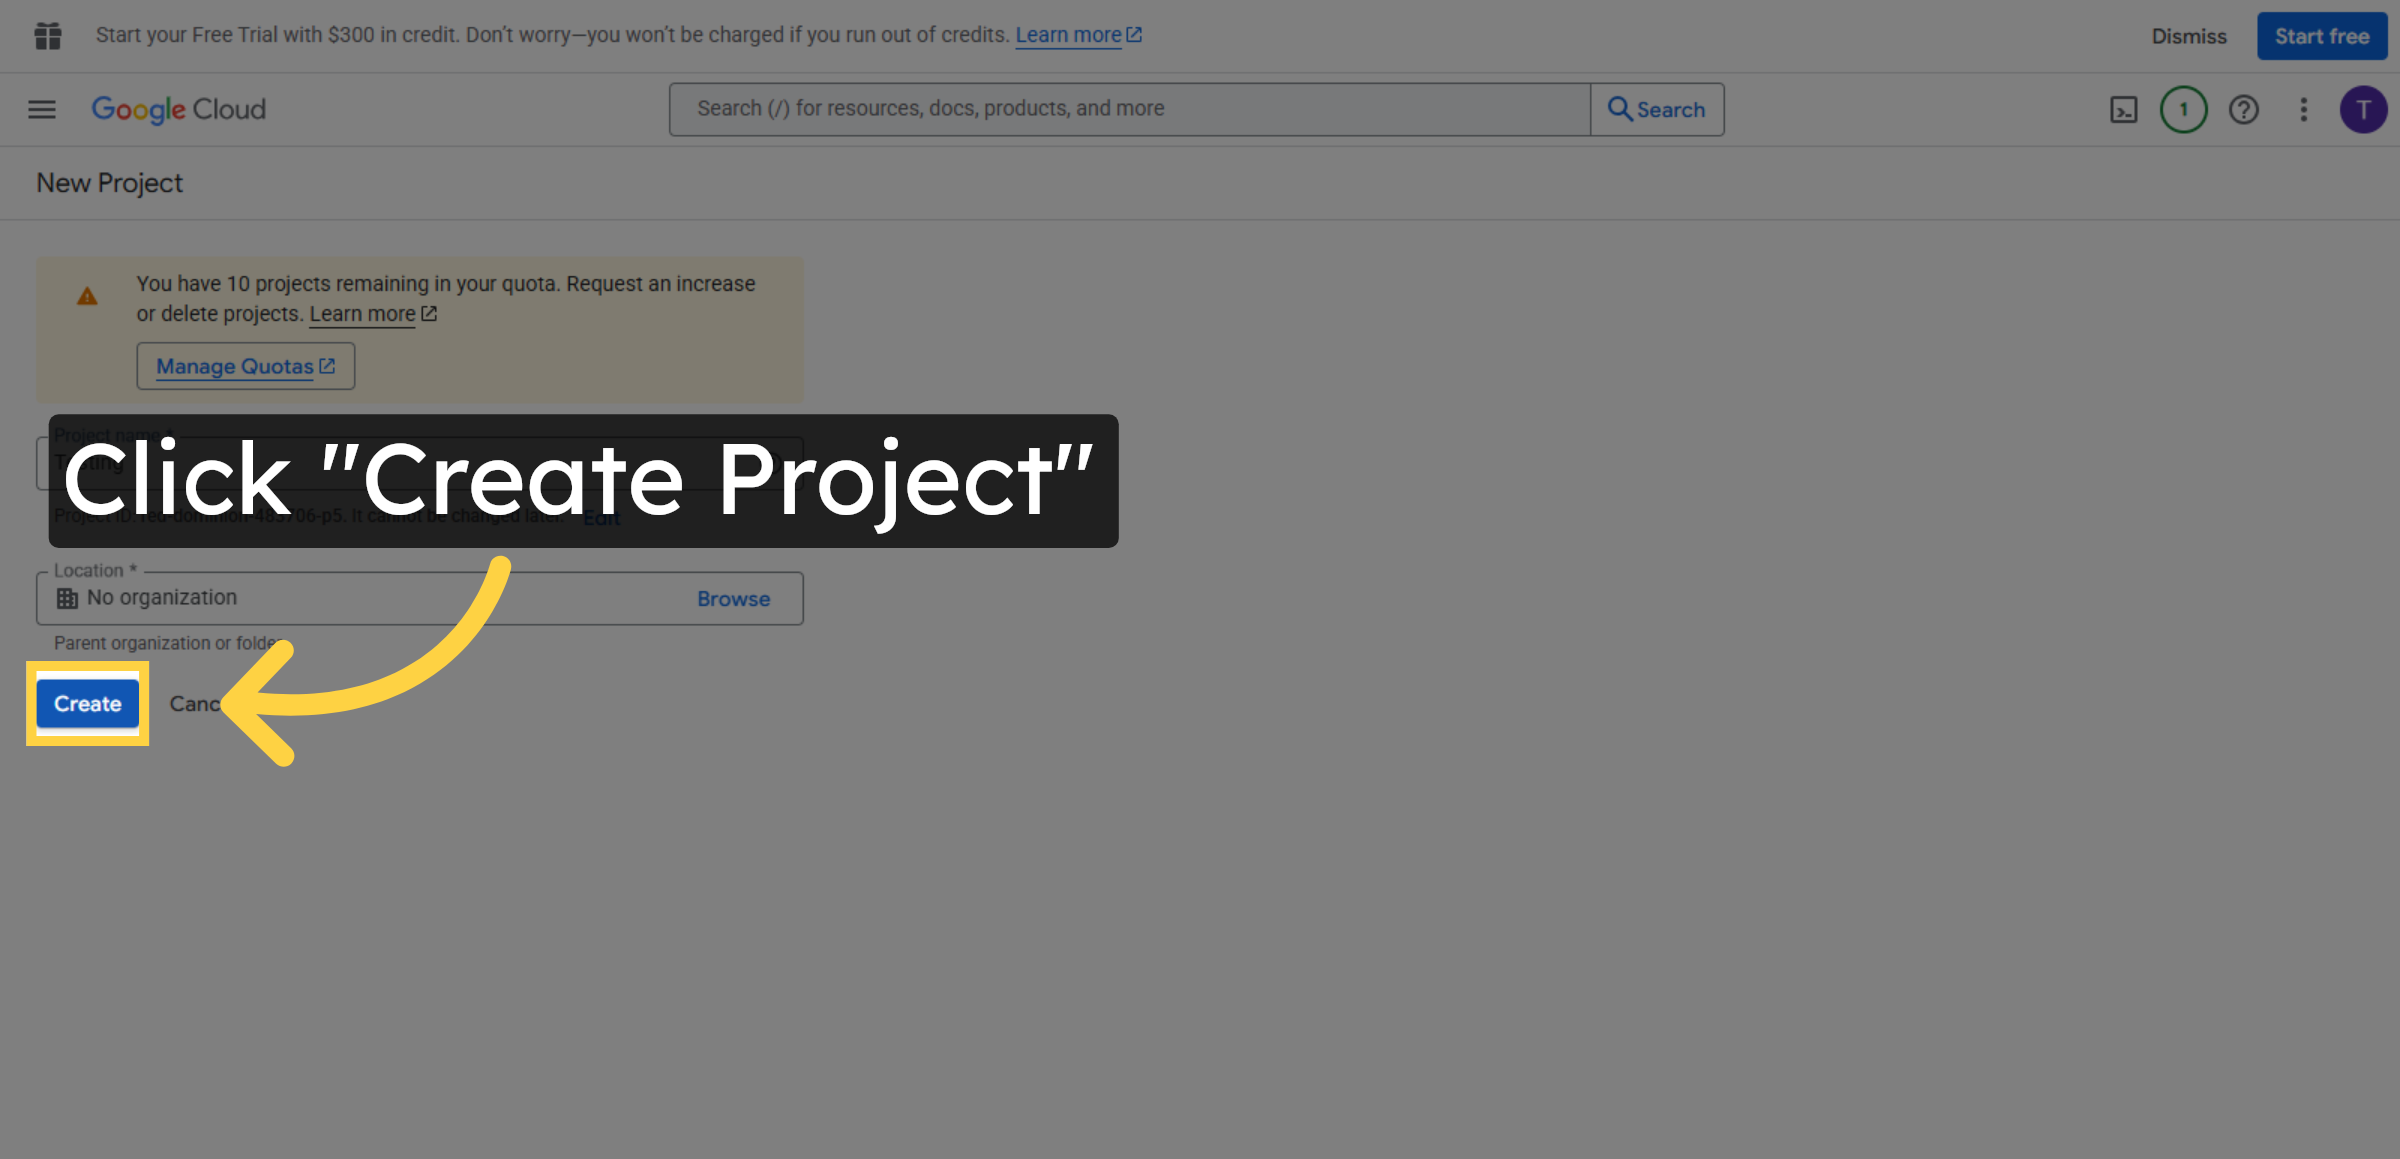
22. Create Project
Click Create to finalize the creation of your new Google Cloud project.
23. Access APIs & Services
Click APIs & Services to manage APIs for your Google Cloud project.

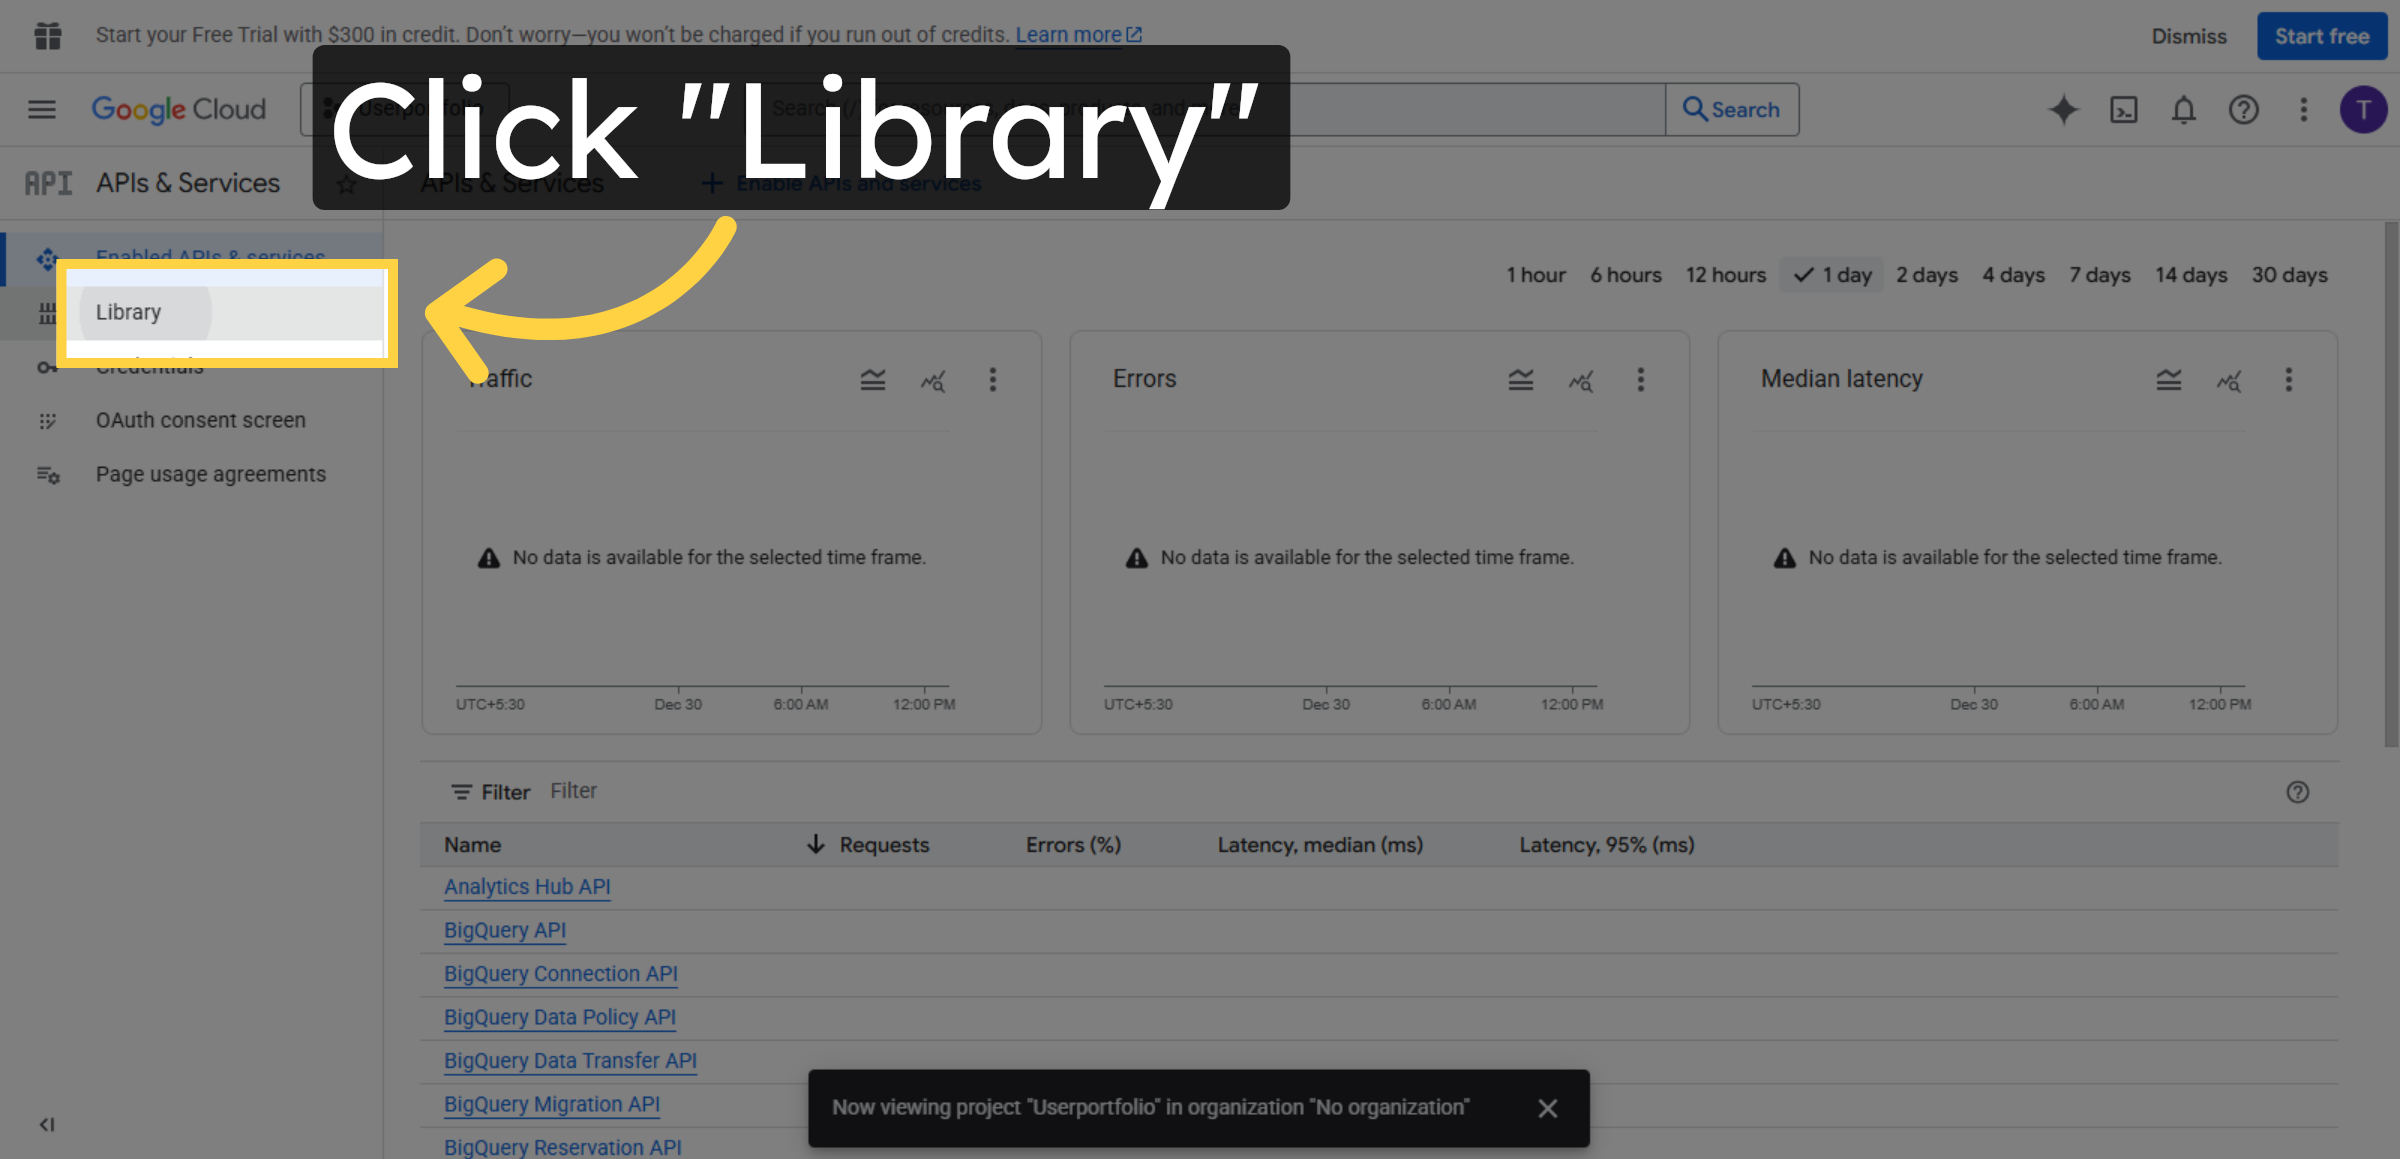
24. Open API Library
Click Library to browse available APIs to enable for your project.
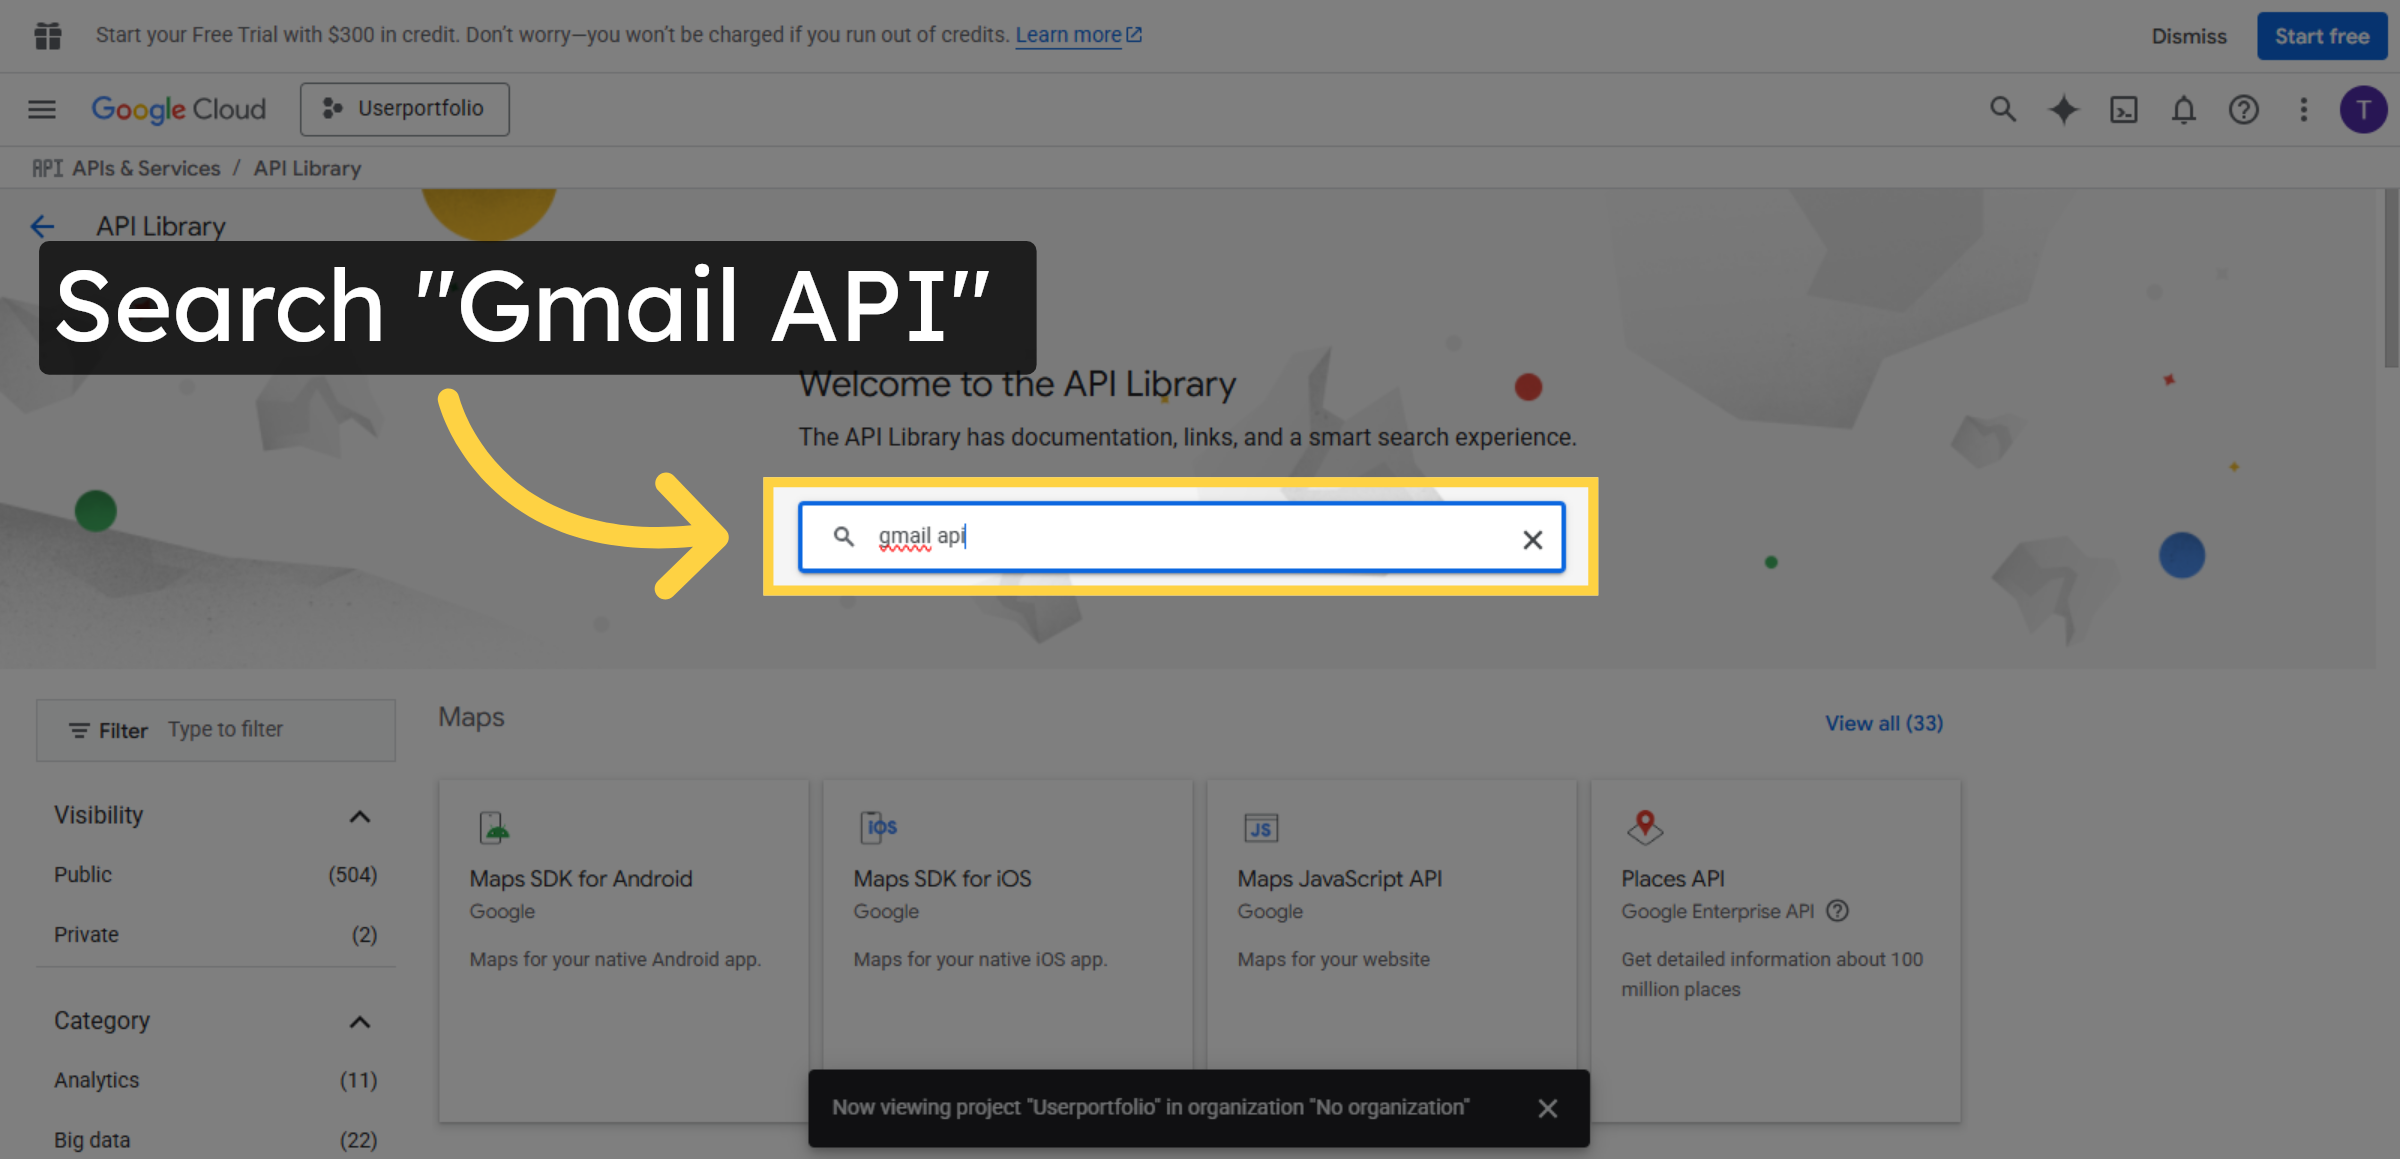
25. Search Gmail API
Fill gmail api in the search bar to locate the Gmail API.
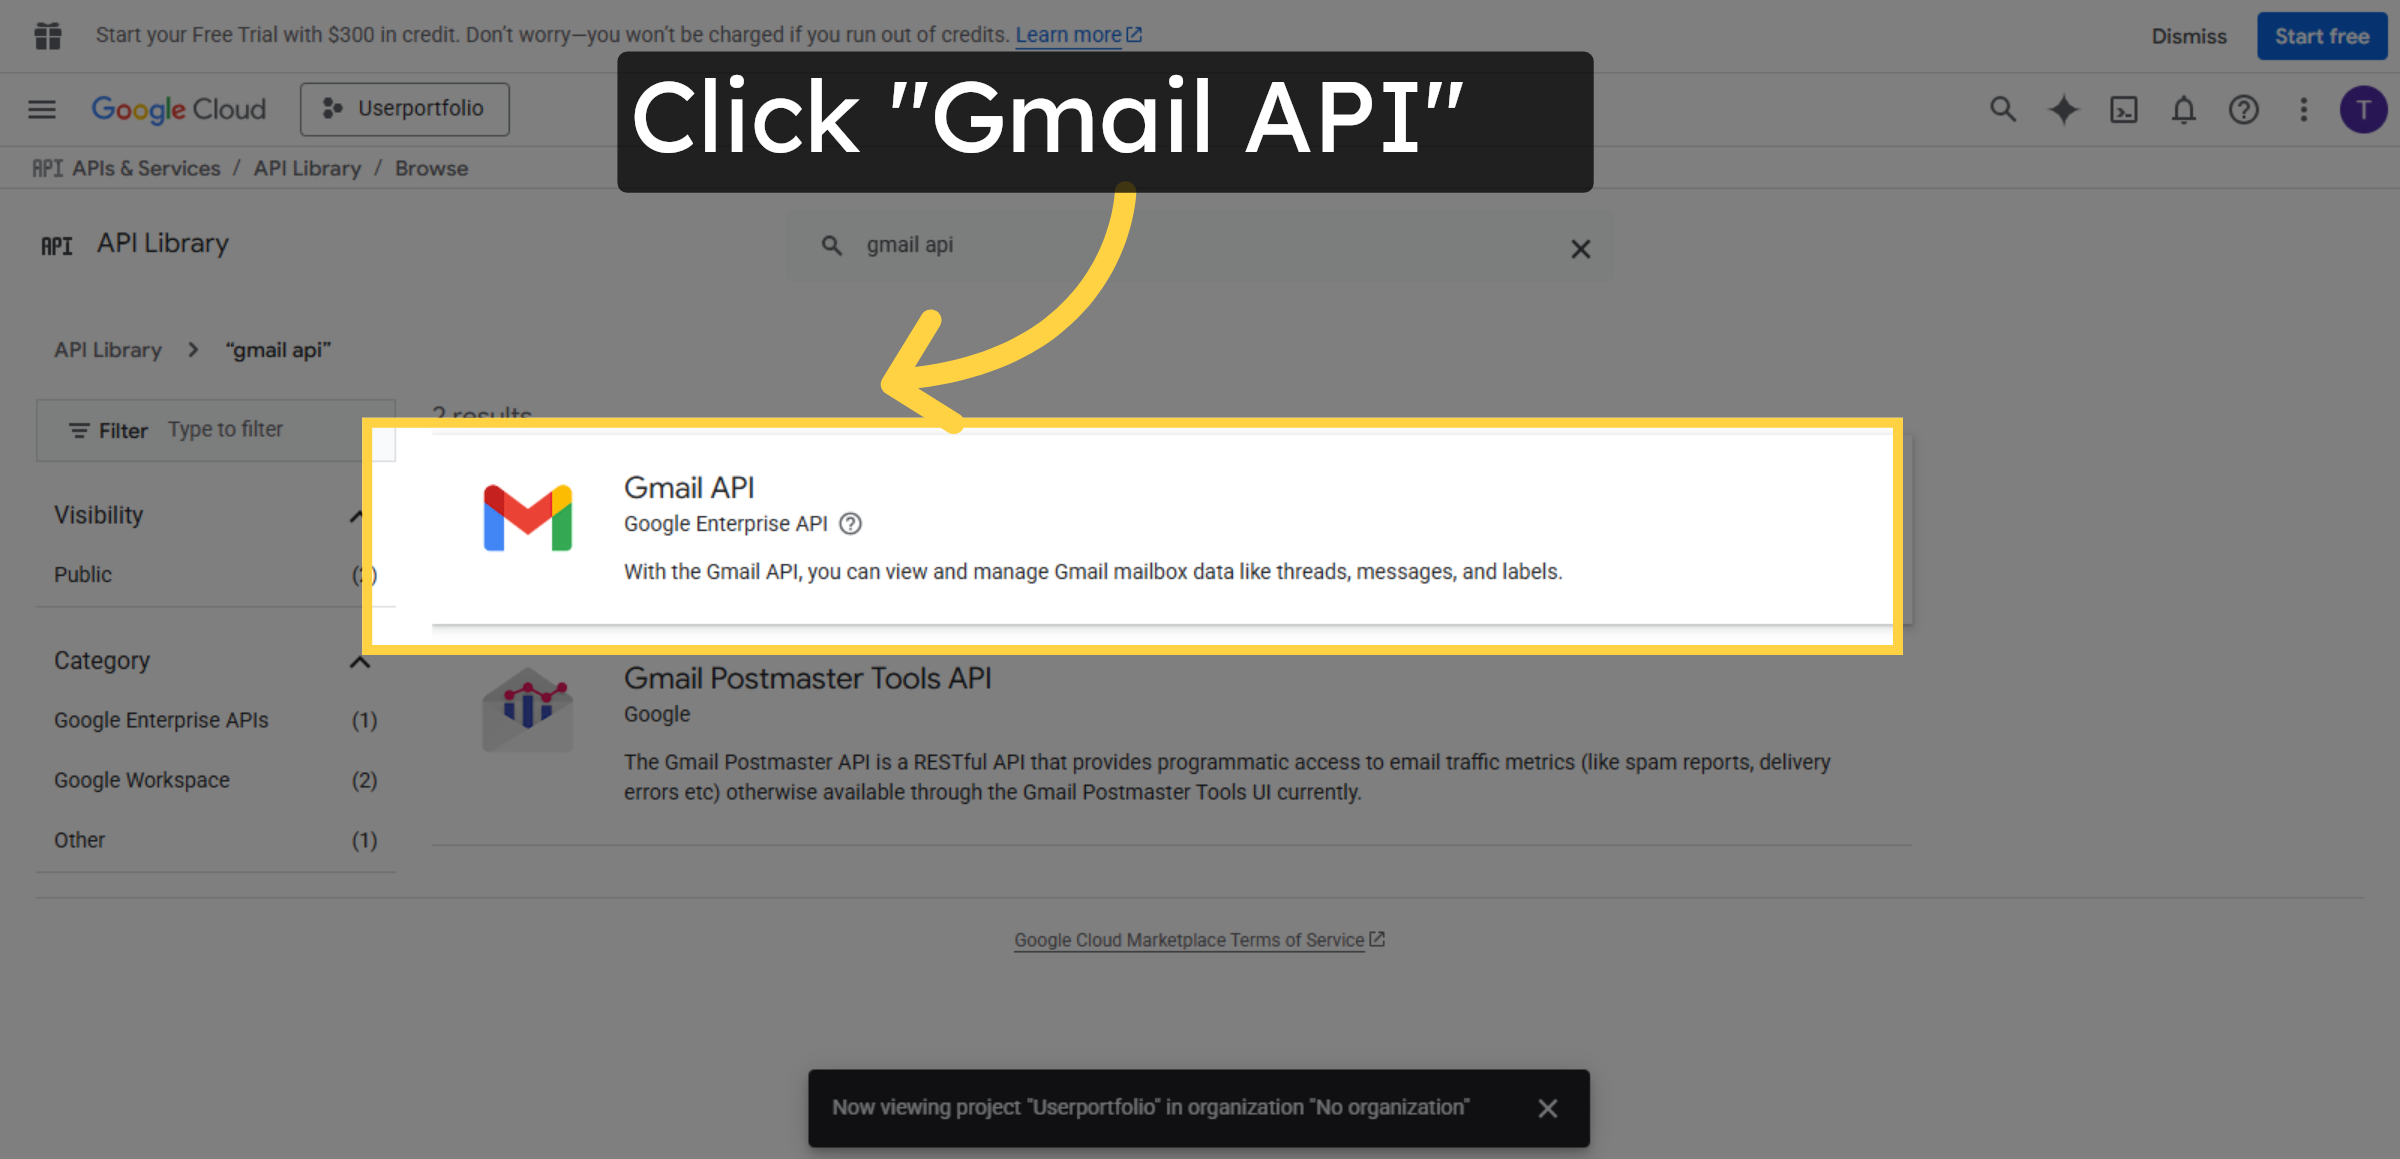
26. Select Gmail API
Click Gmail API to open its details and enable it.
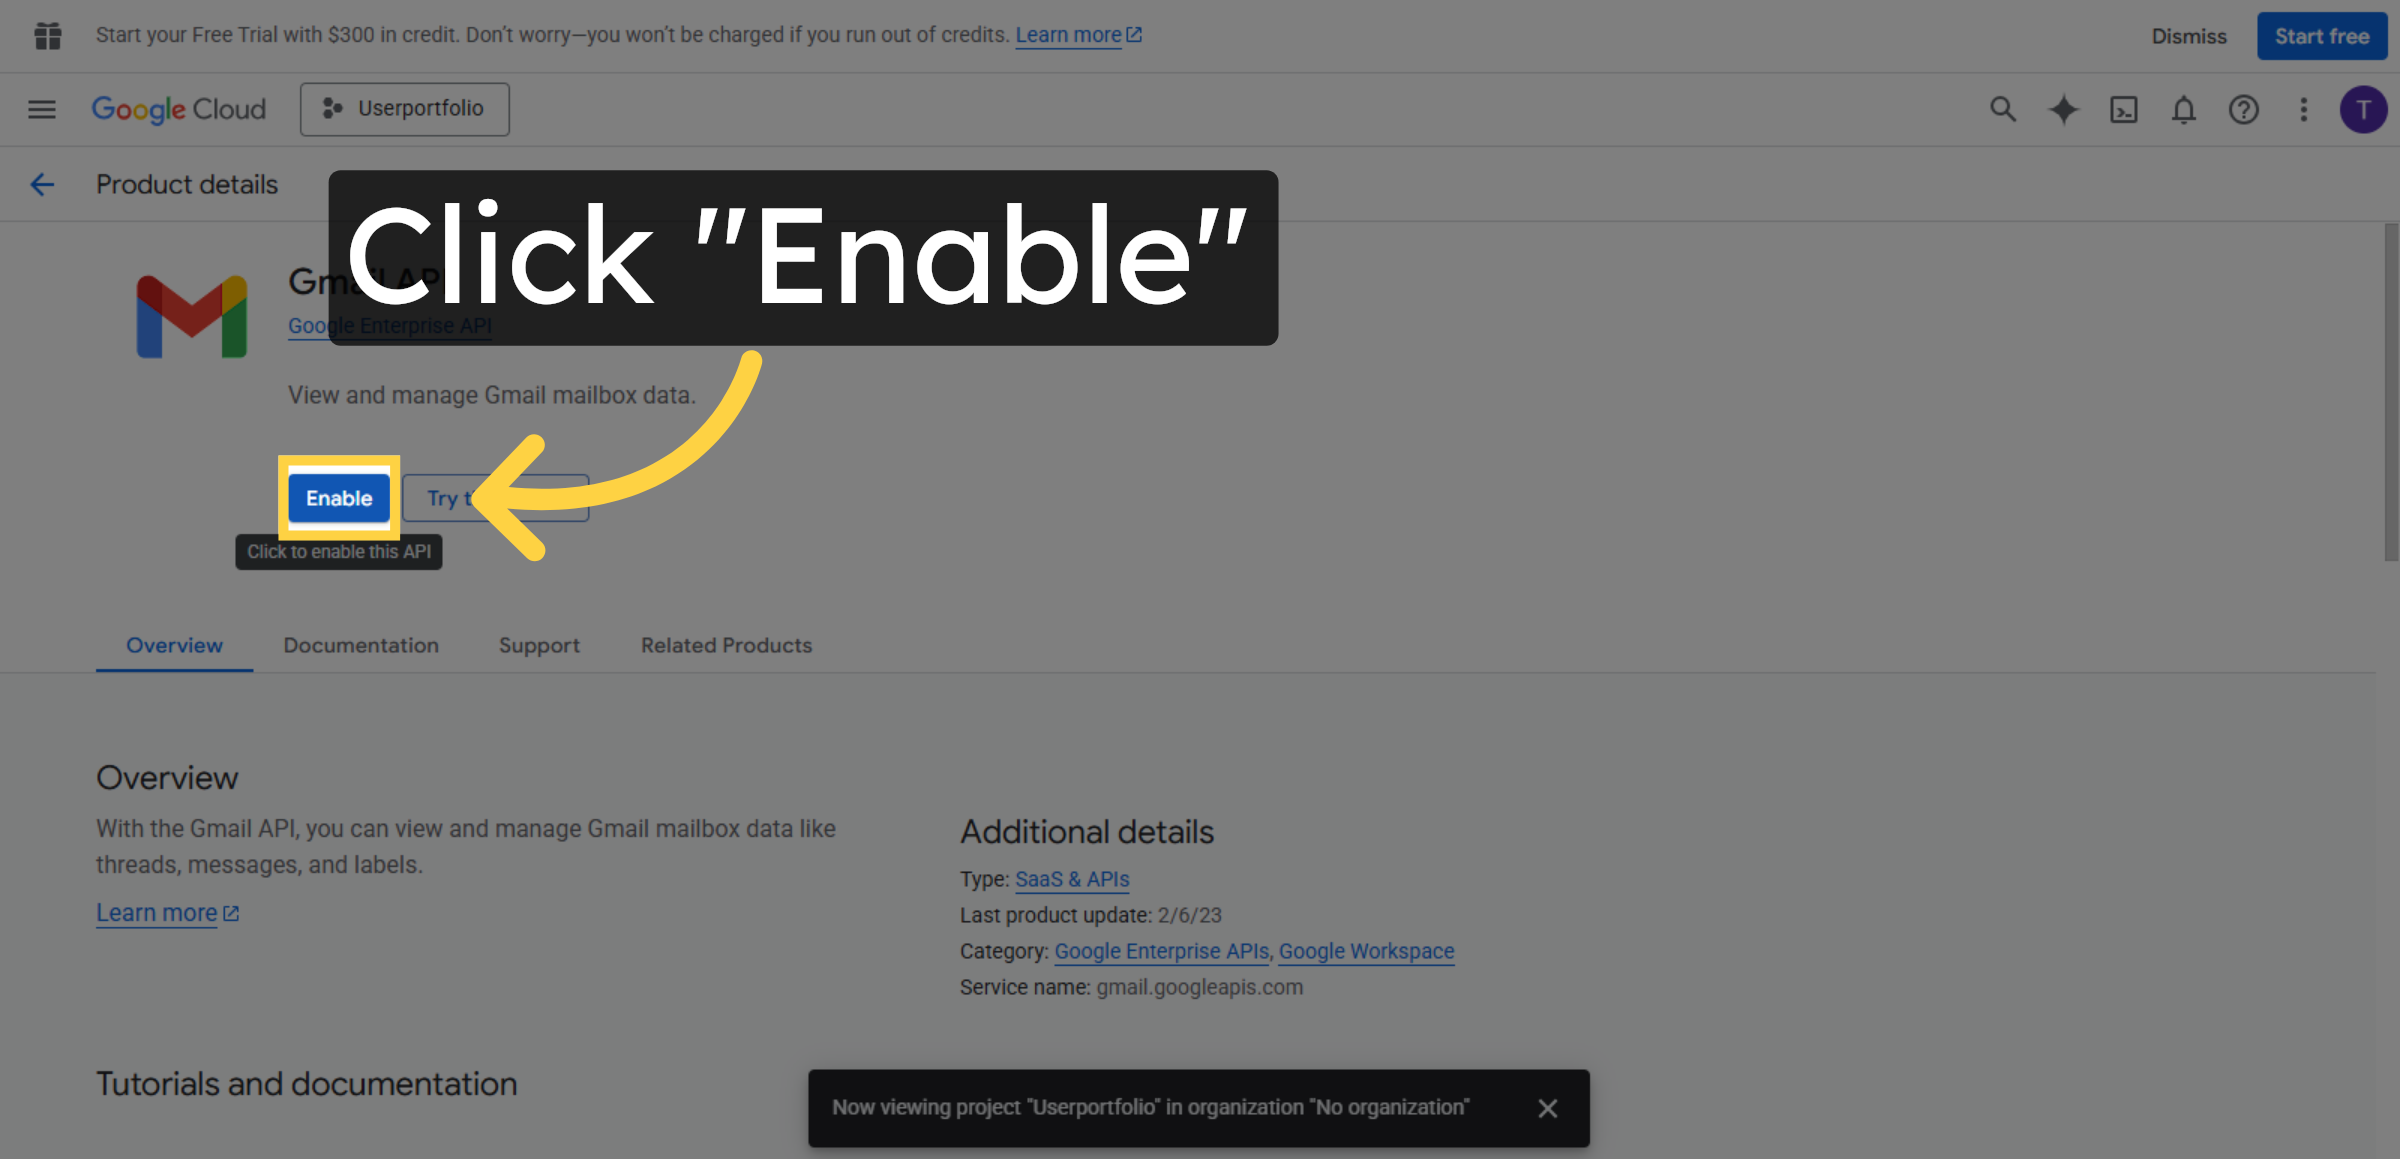
27. Enable Gmail API
Click Enable to activate the Gmail API for your project.
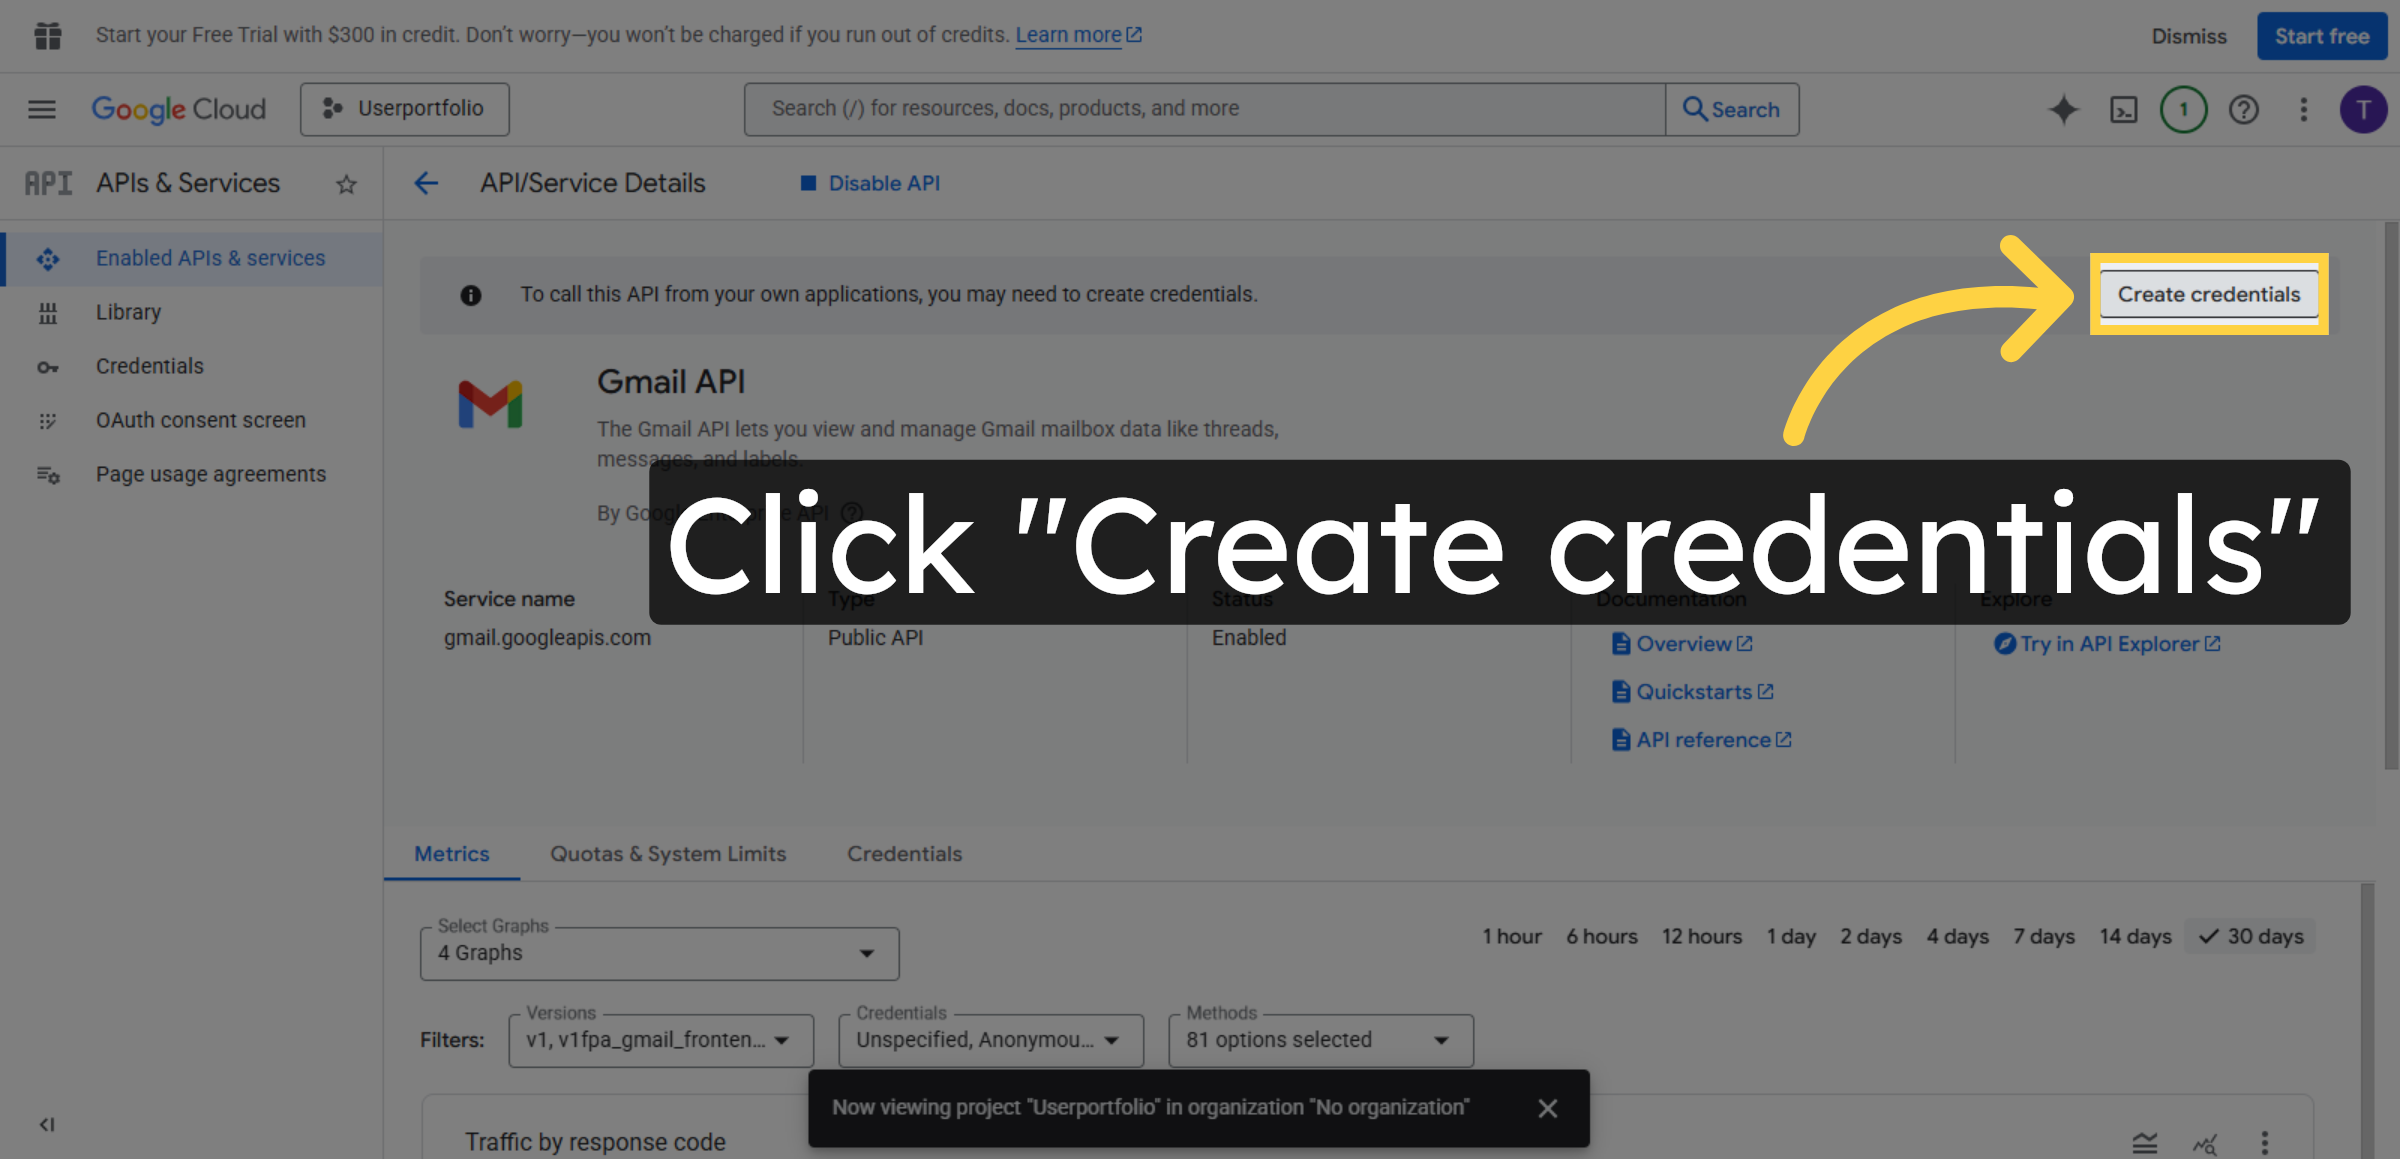
28. Create Credentials
Click Create credentials to generate the necessary authentication keys.
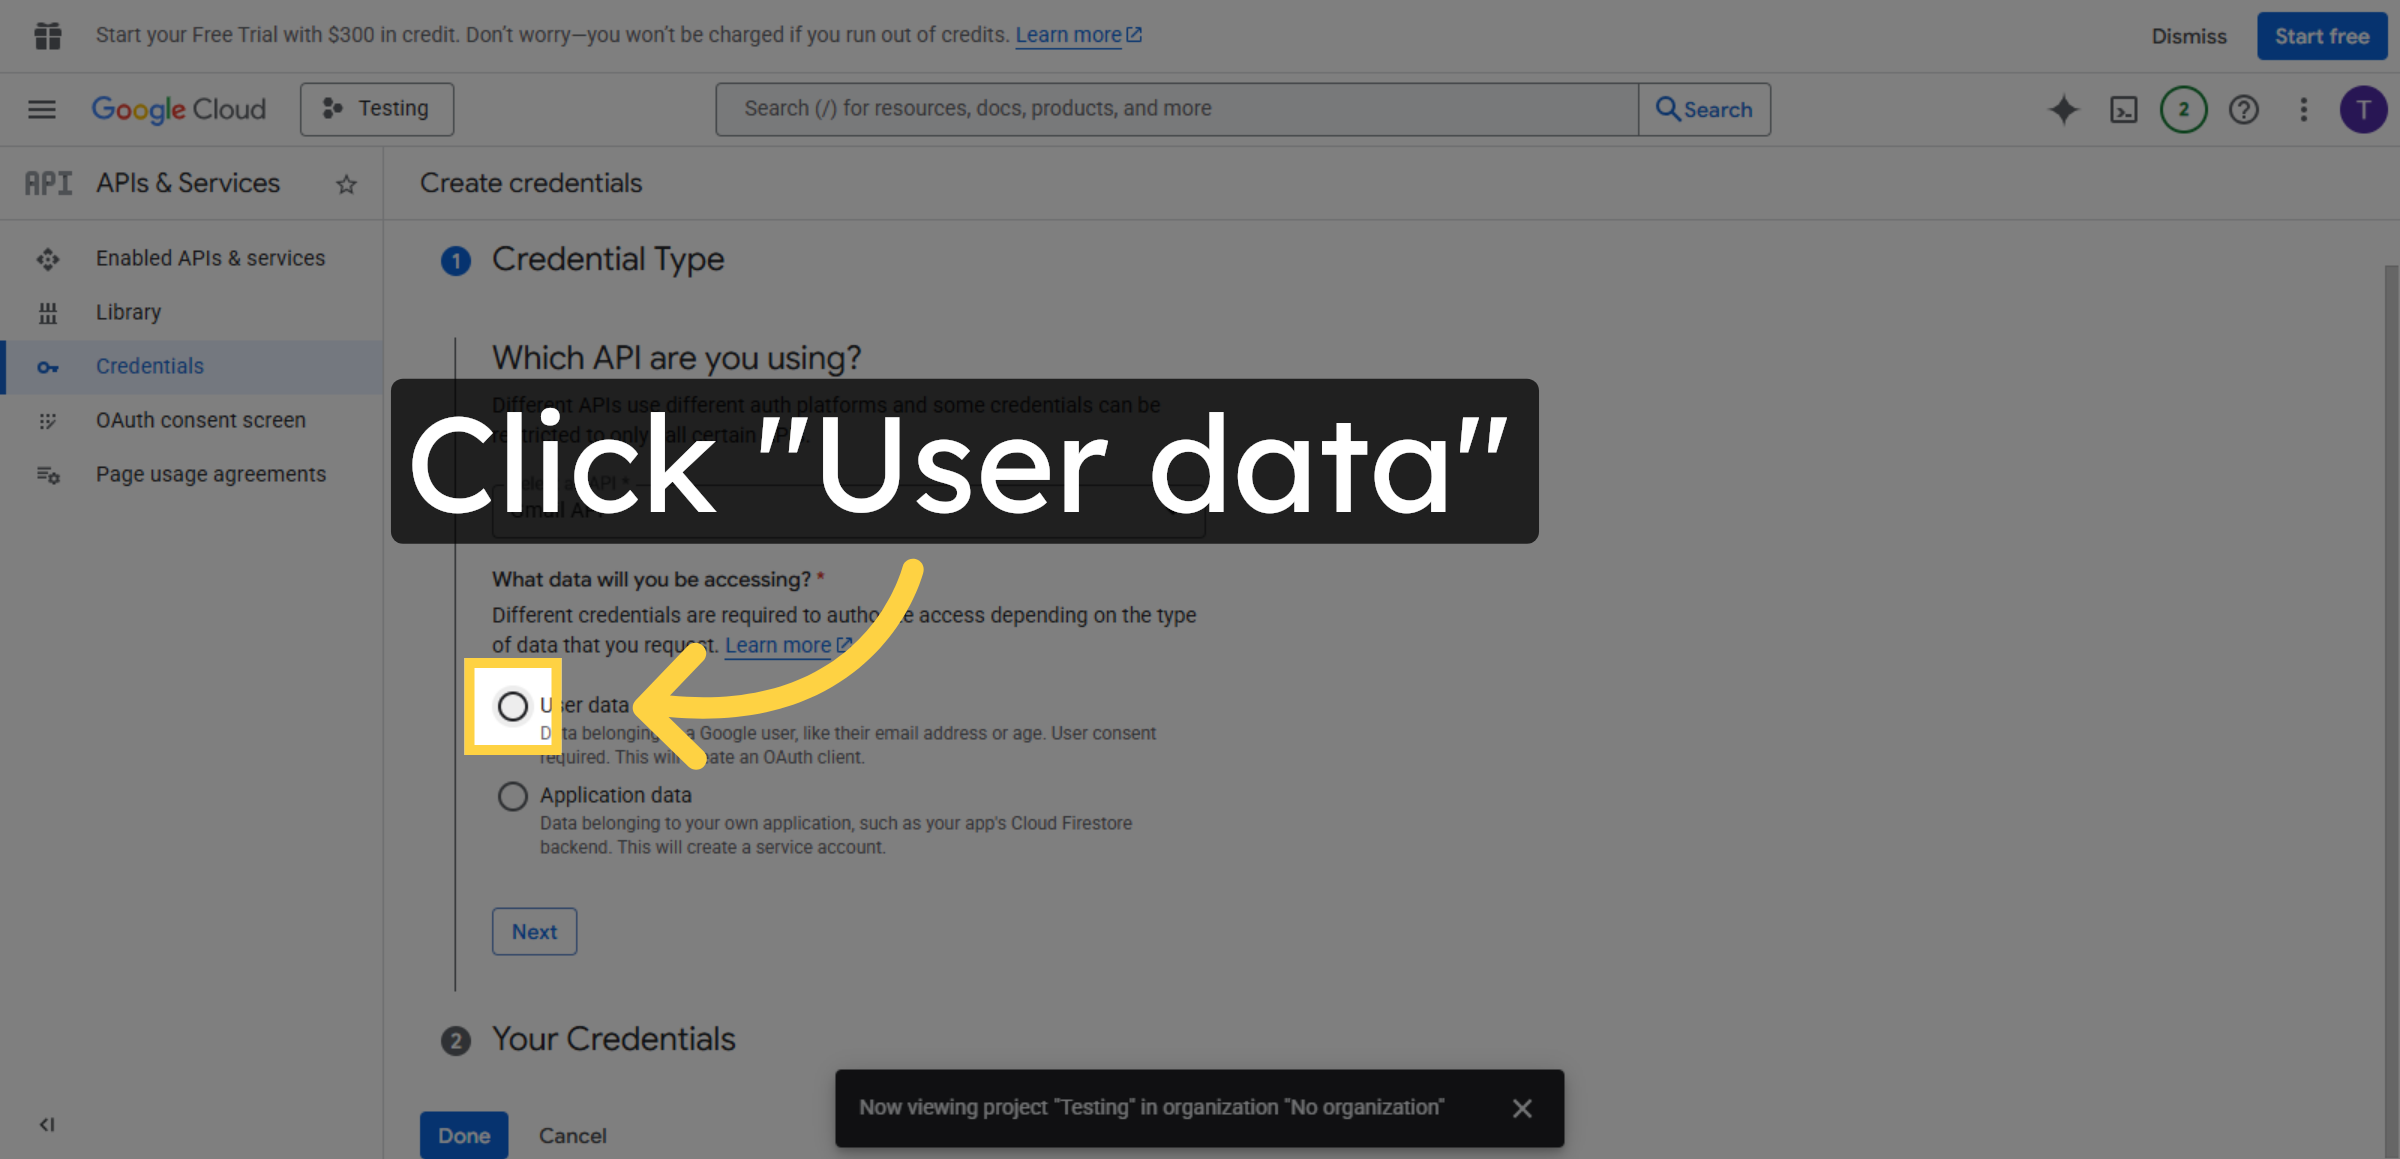
29. Select User Data Type
Click User data to specify the type of data your application will access.
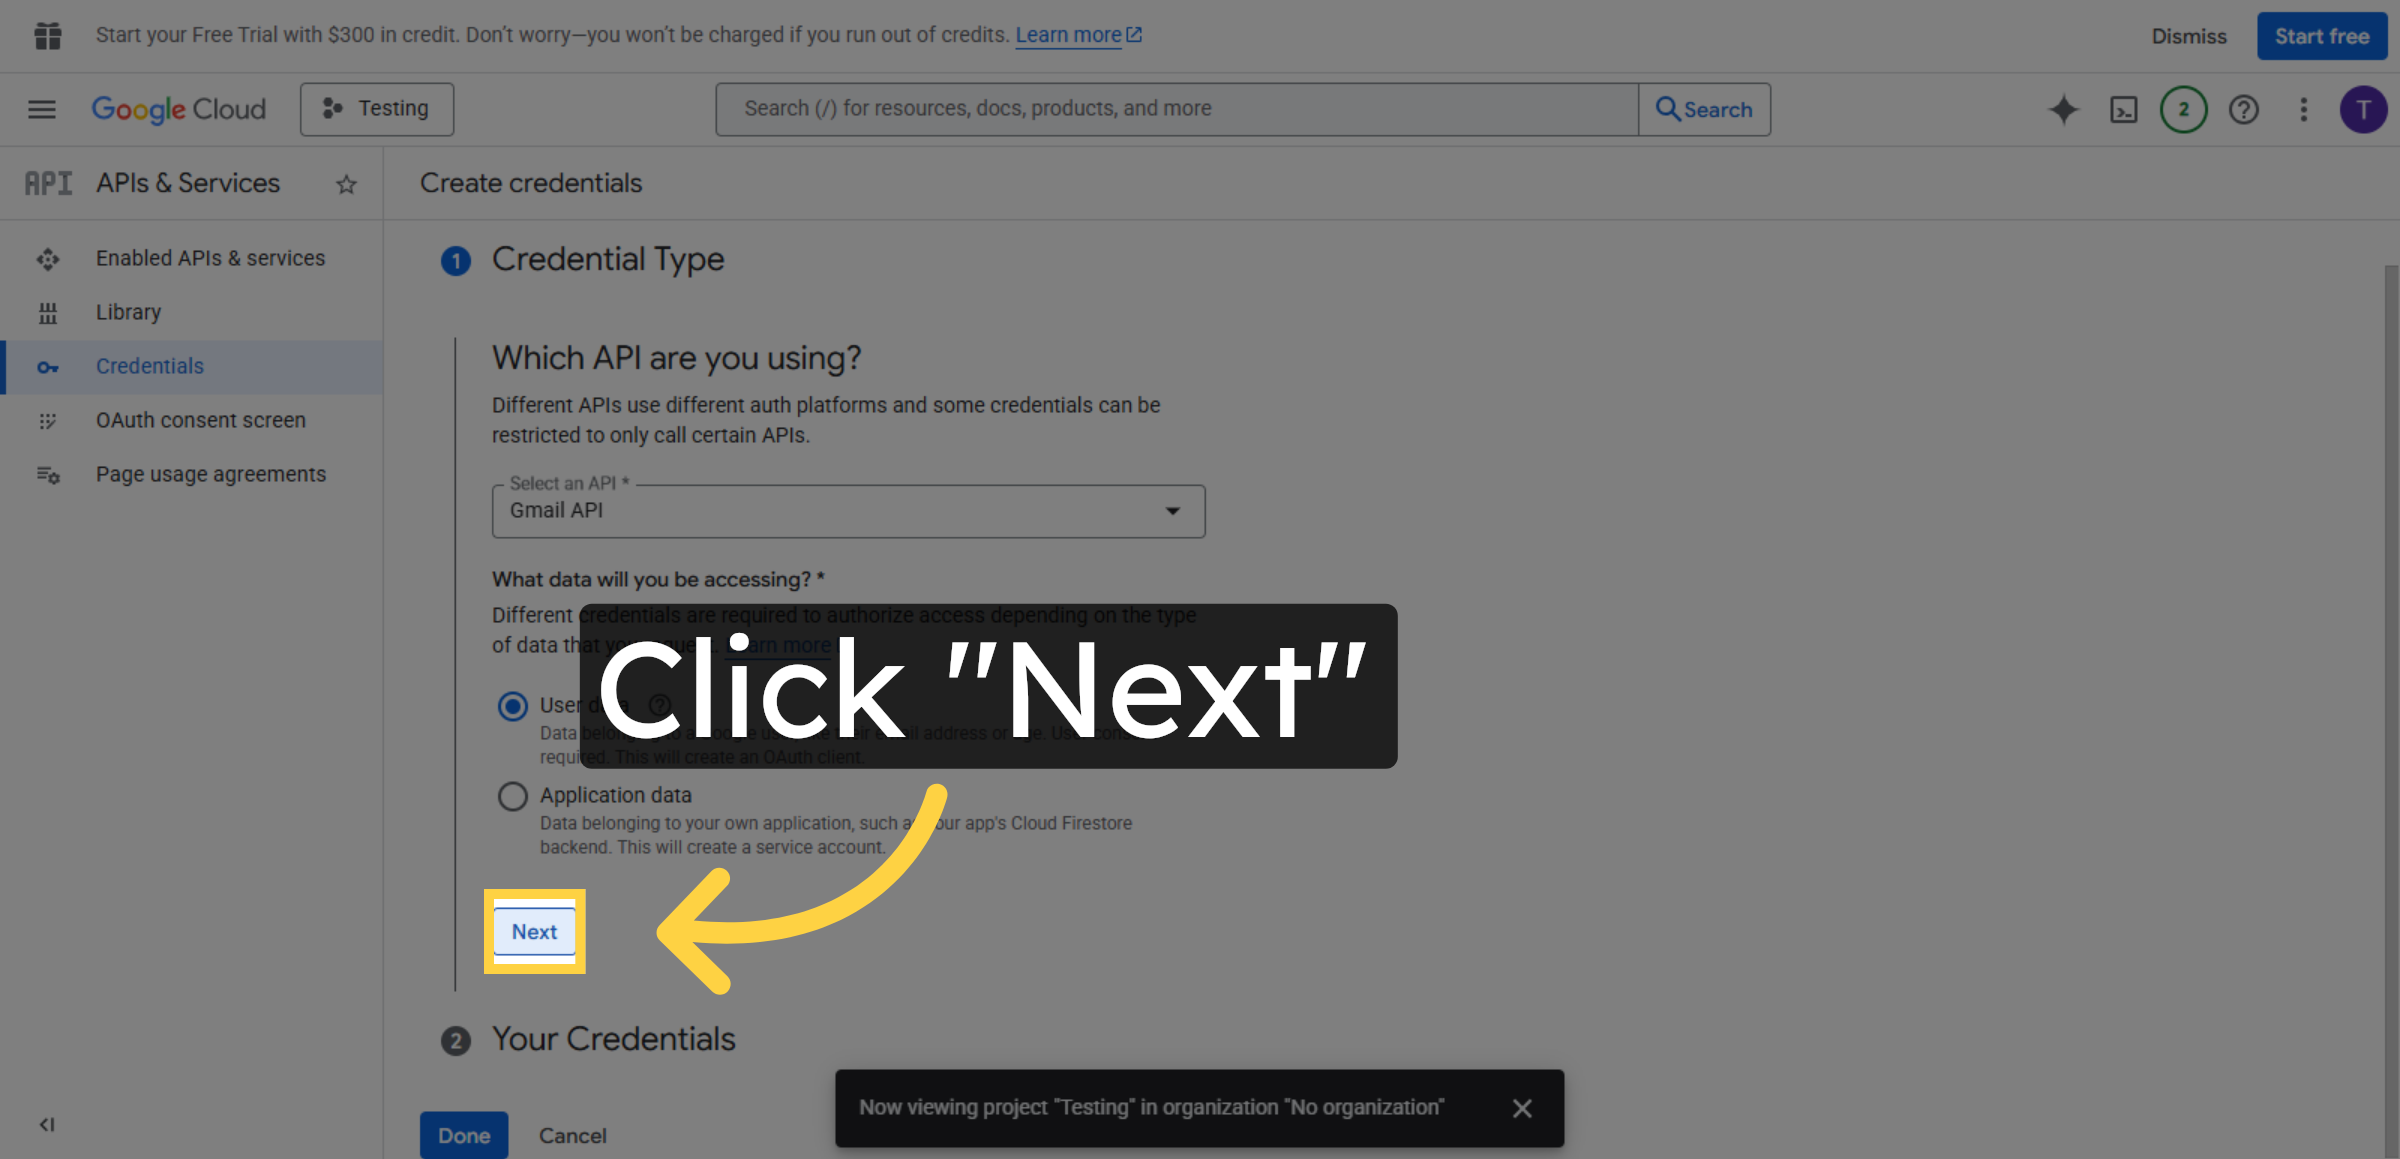
30. Proceed To Next Step
Click Next to continue the OAuth client creation process.
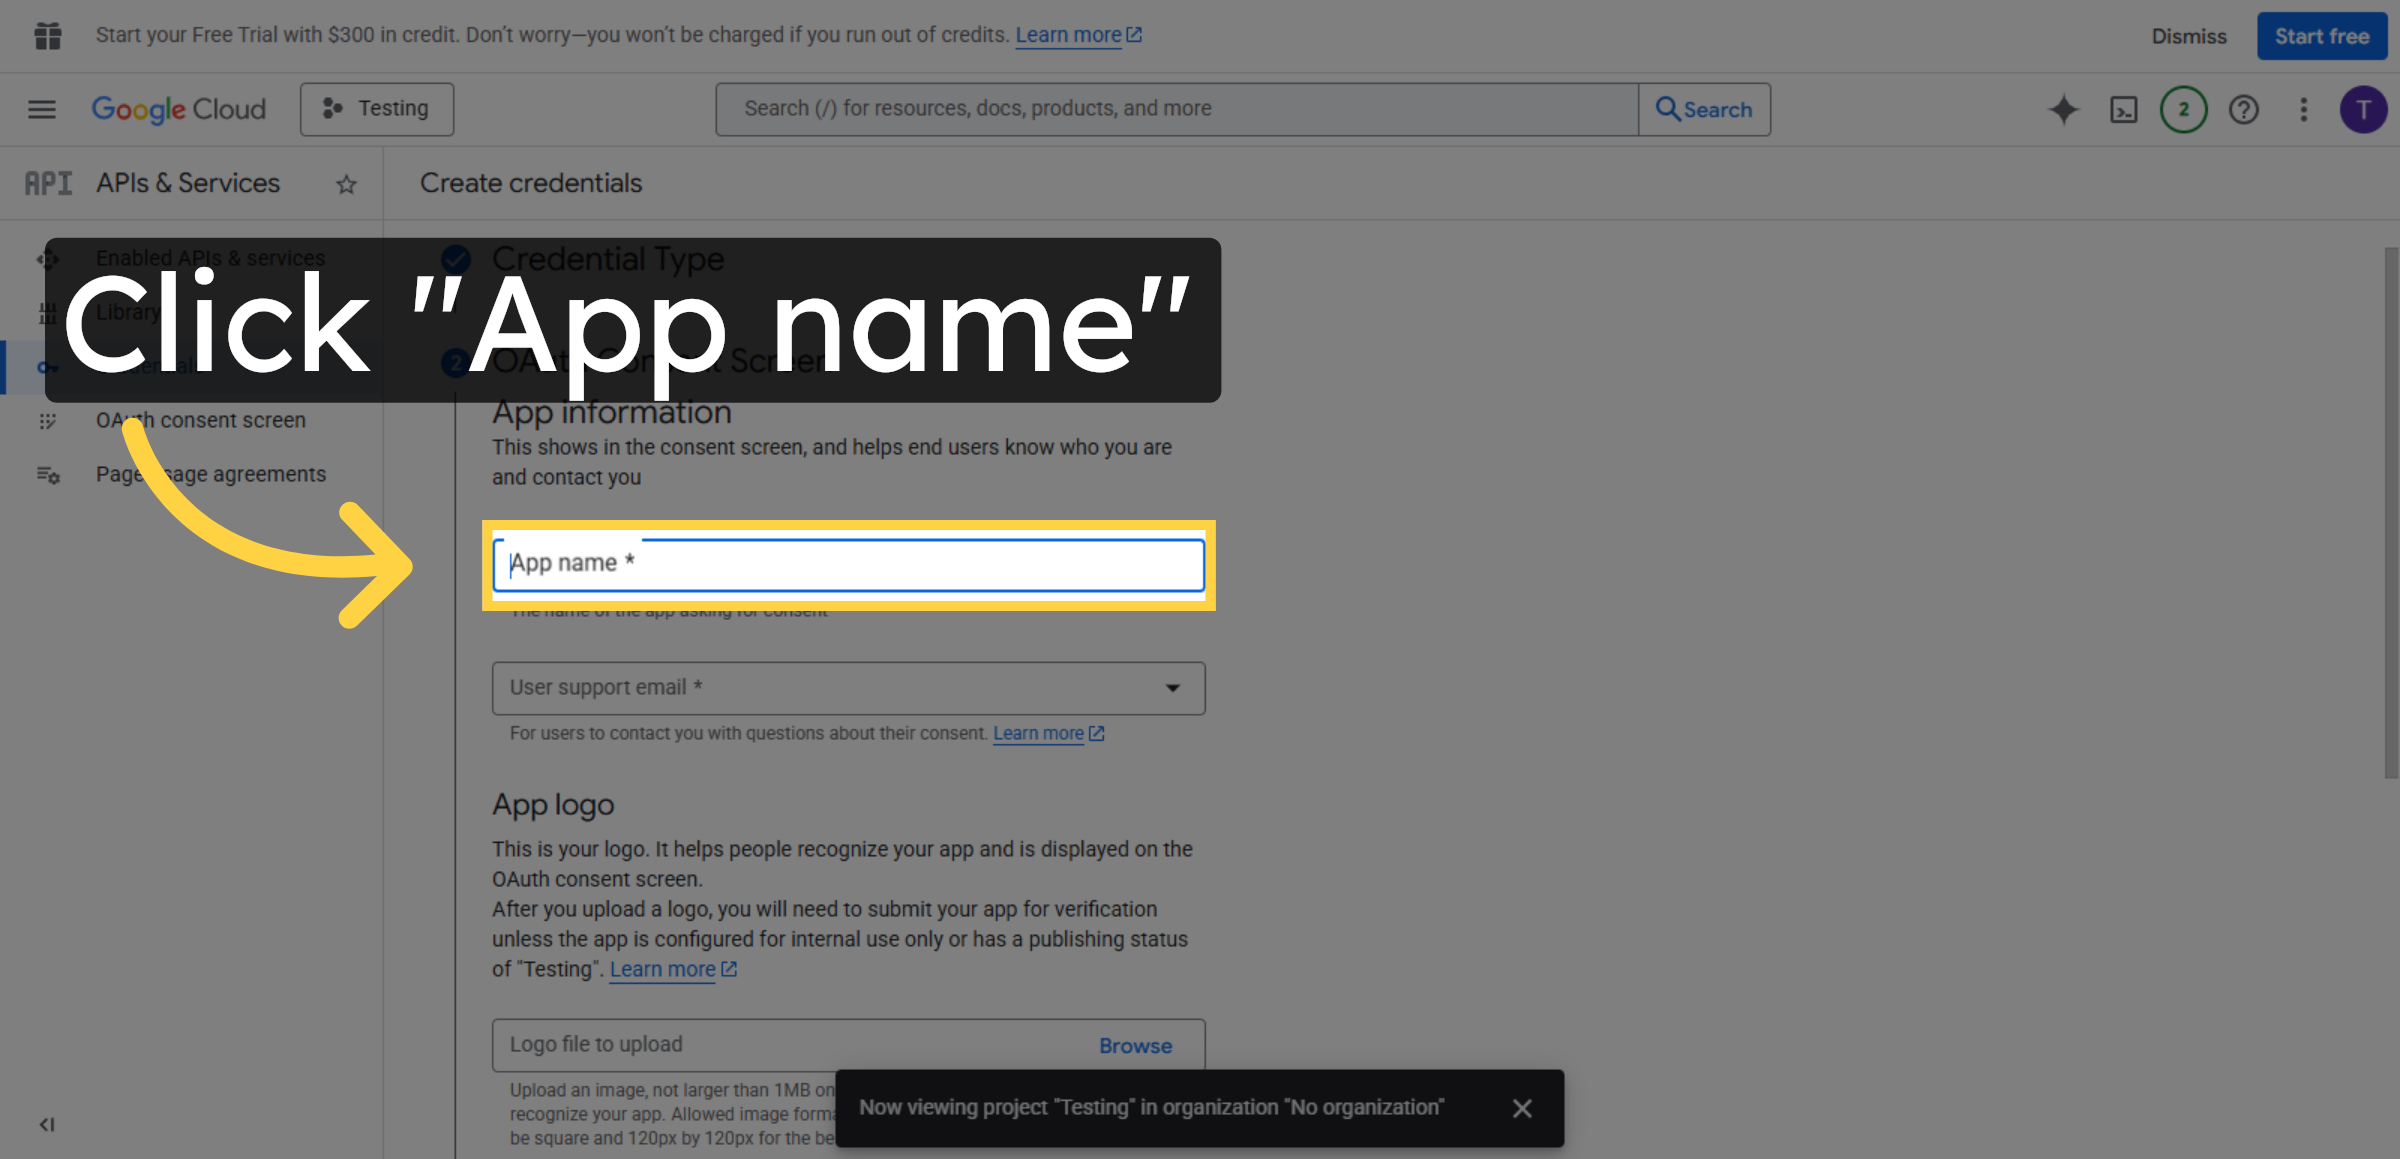
31. Enter App Name
Click App name field to specify the name of your application for OAuth consent.
32. Fill App Name
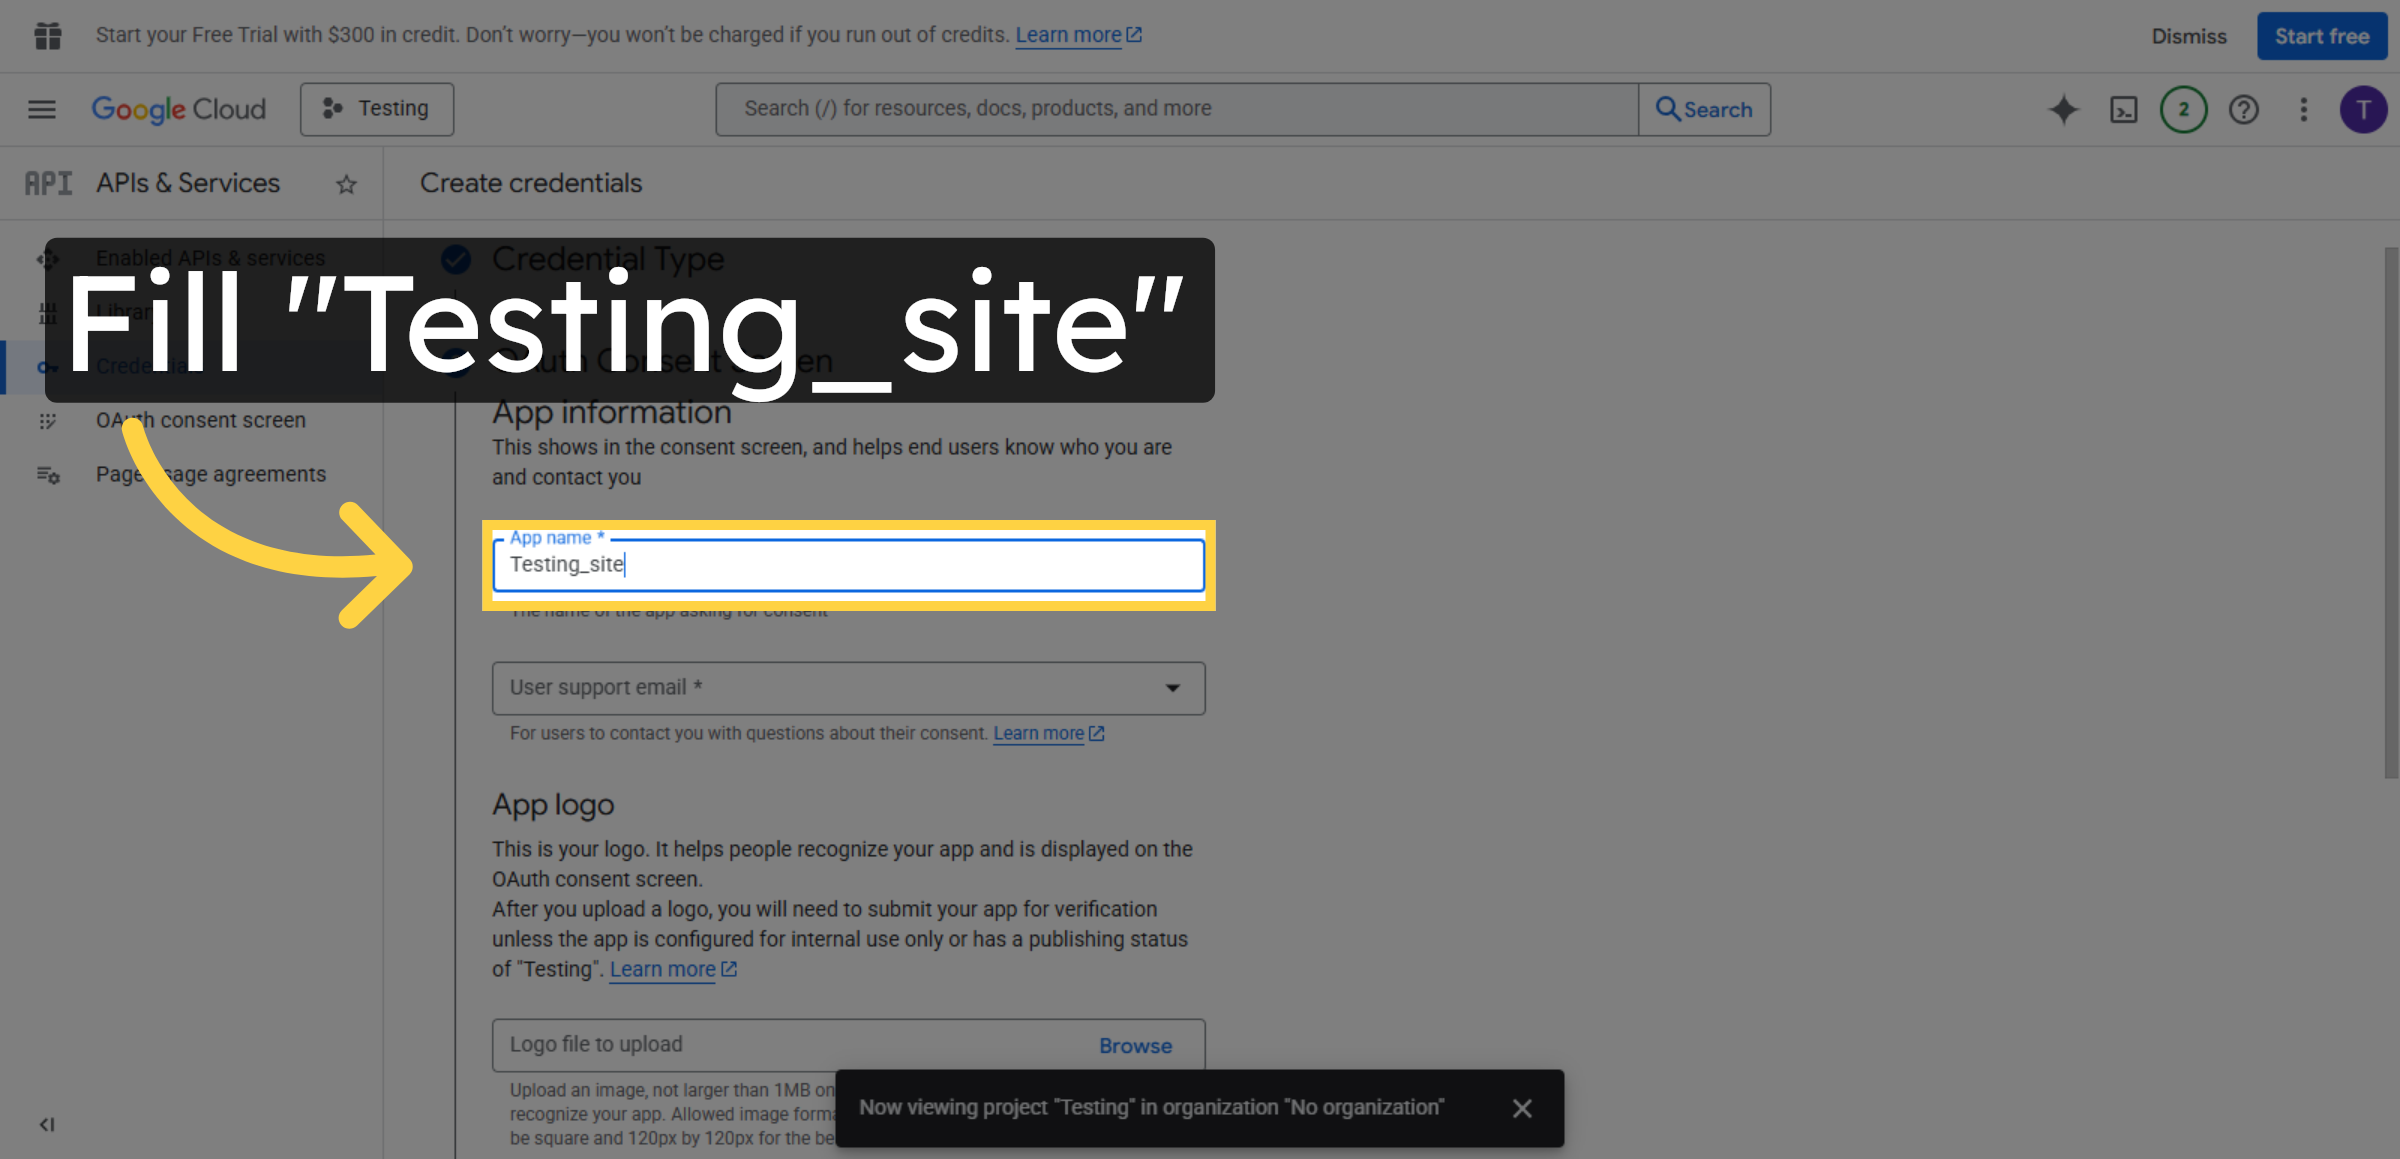
Fill Testing_site as the application name to identify it in the OAuth consent screen.
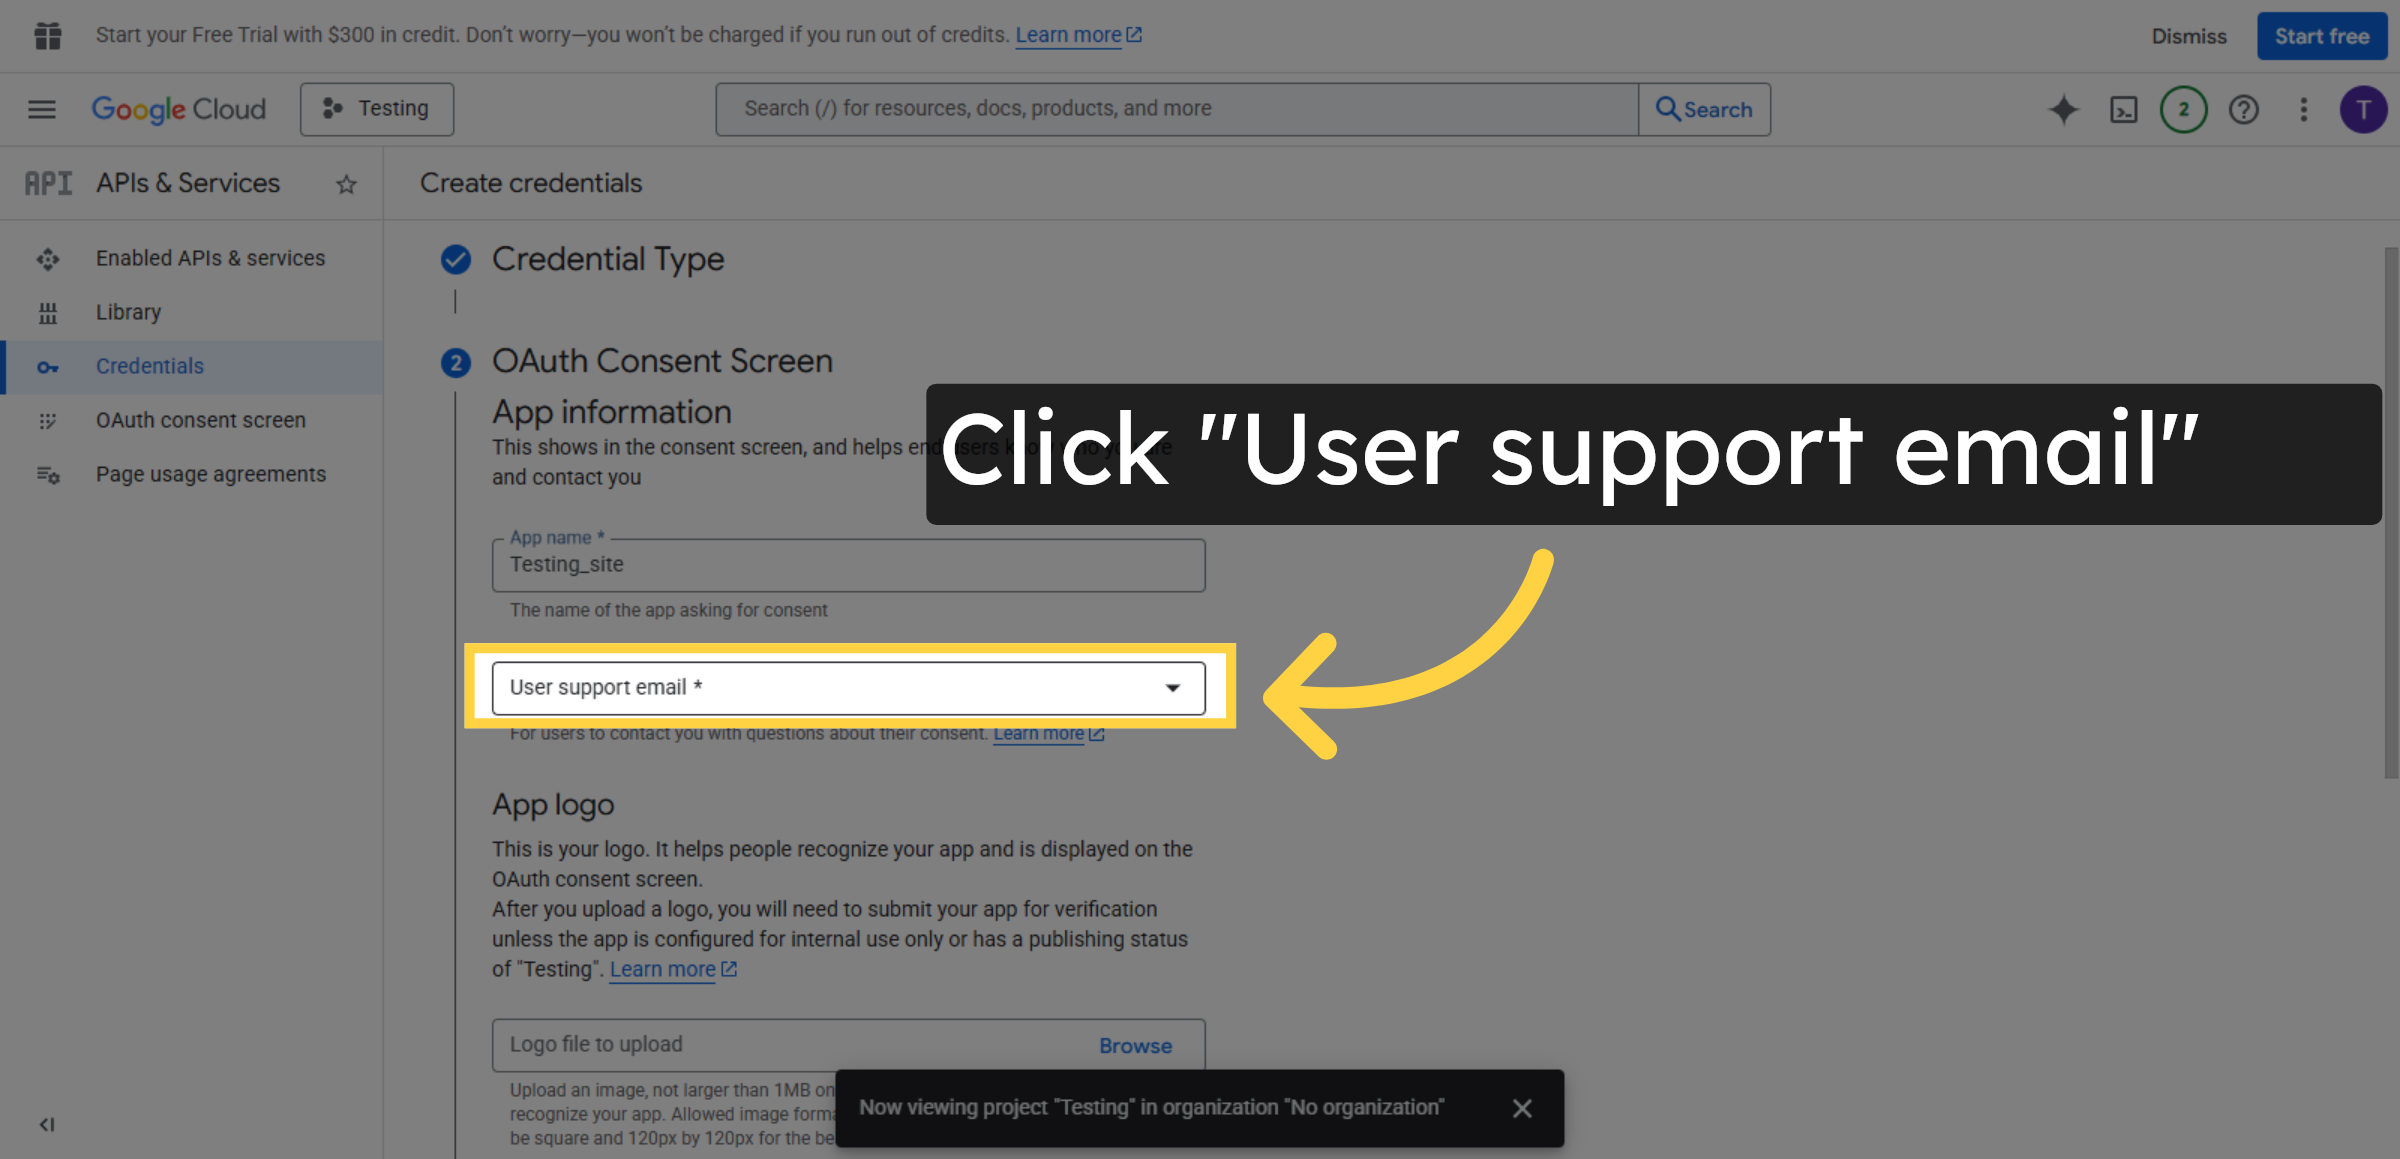
33. Select Support Email
Click User support email to choose the email address users can contact for support.
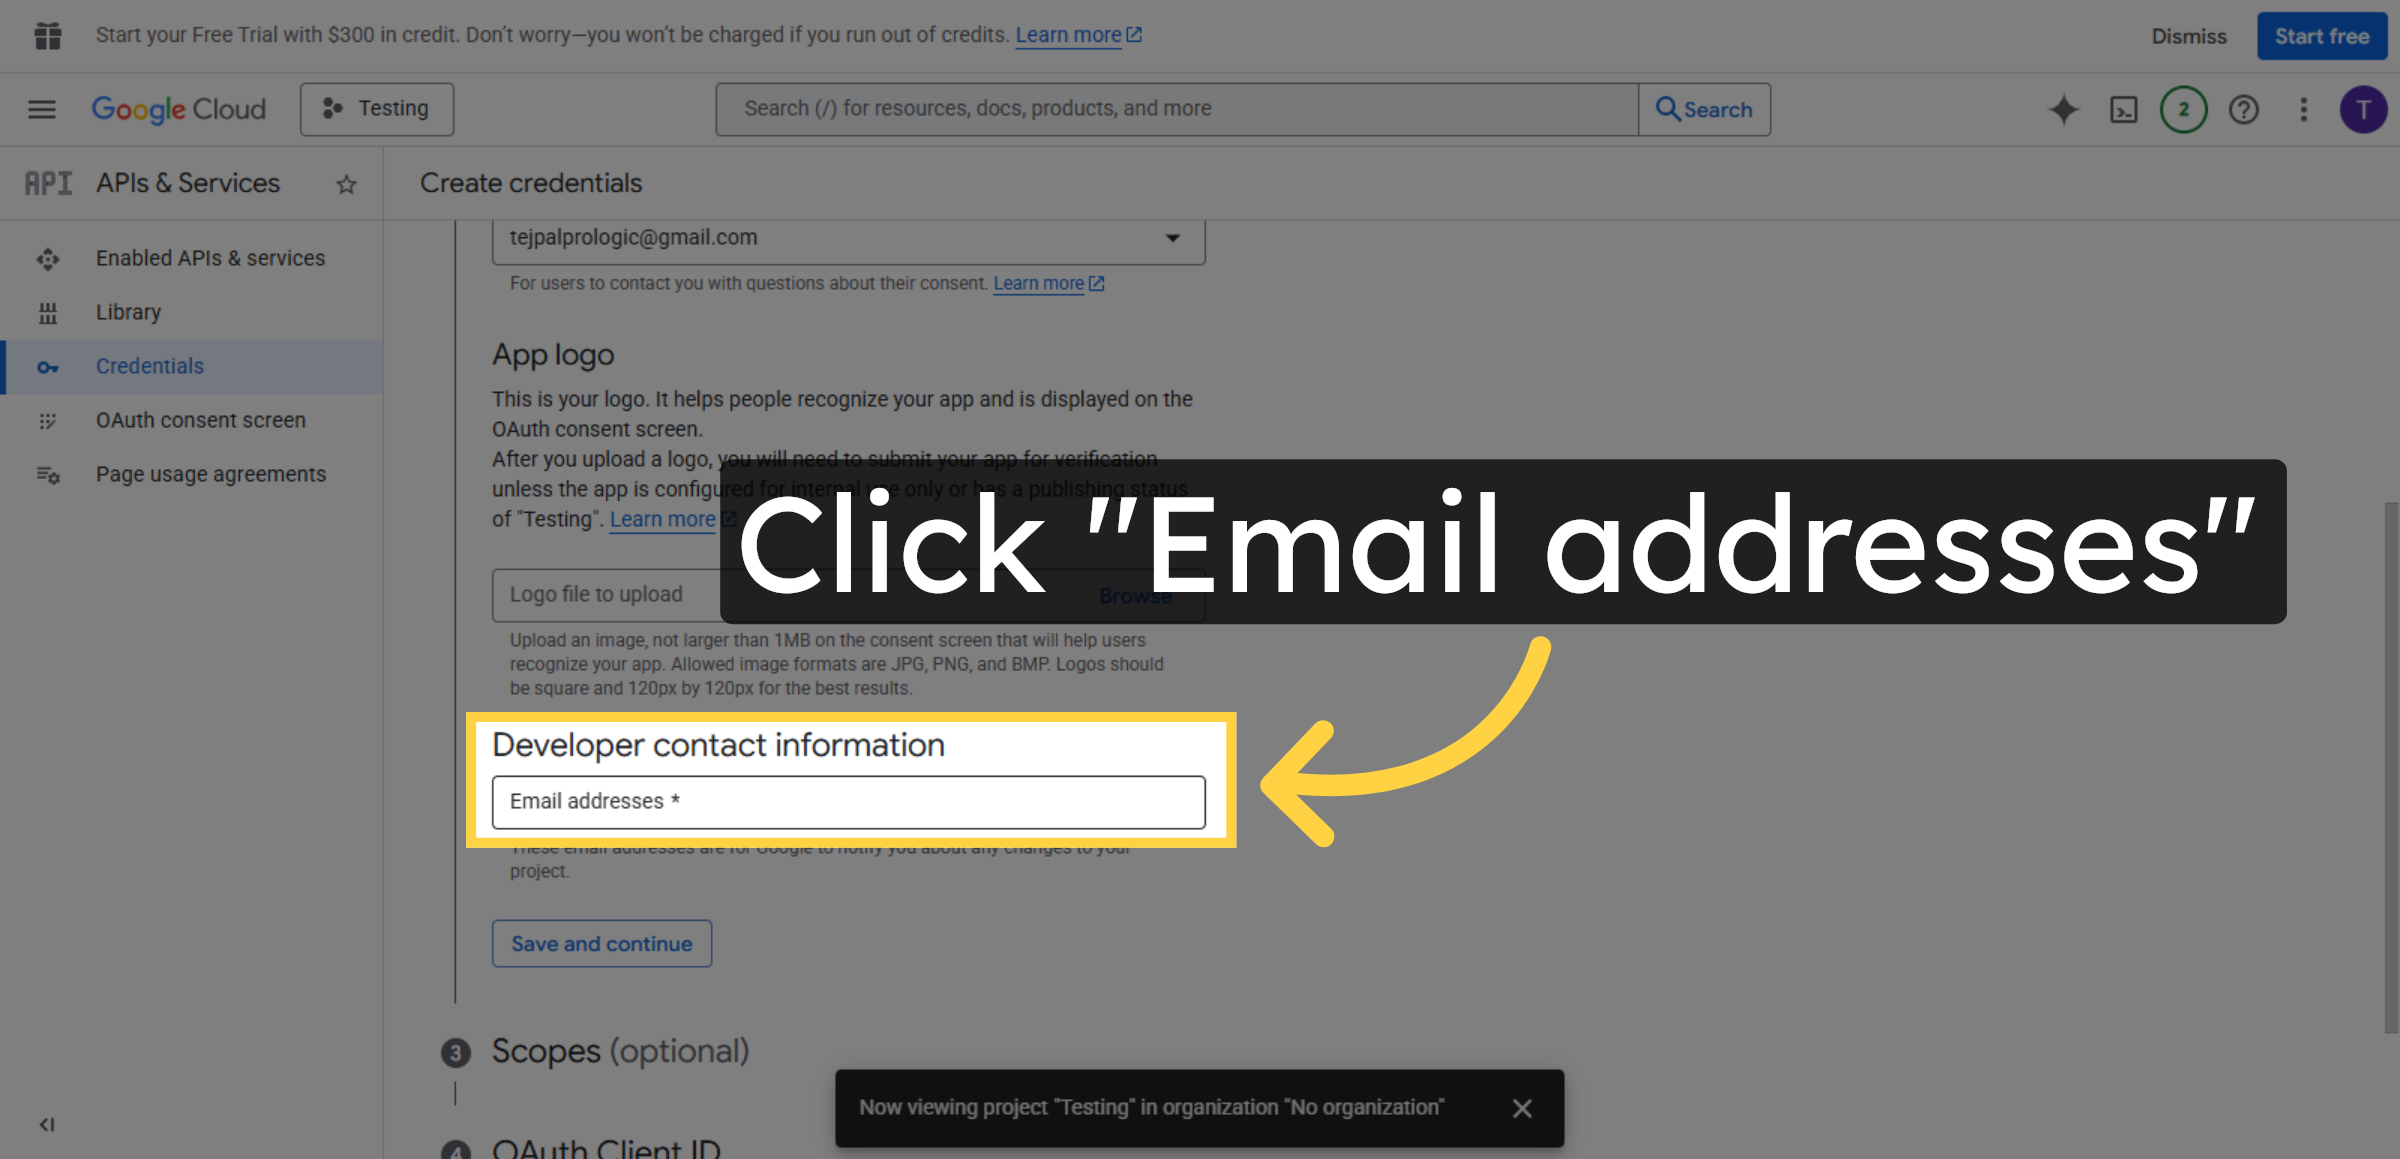
34. Access Email Addresses
Click Email addresses to add or verify authorized email addresses for your project.
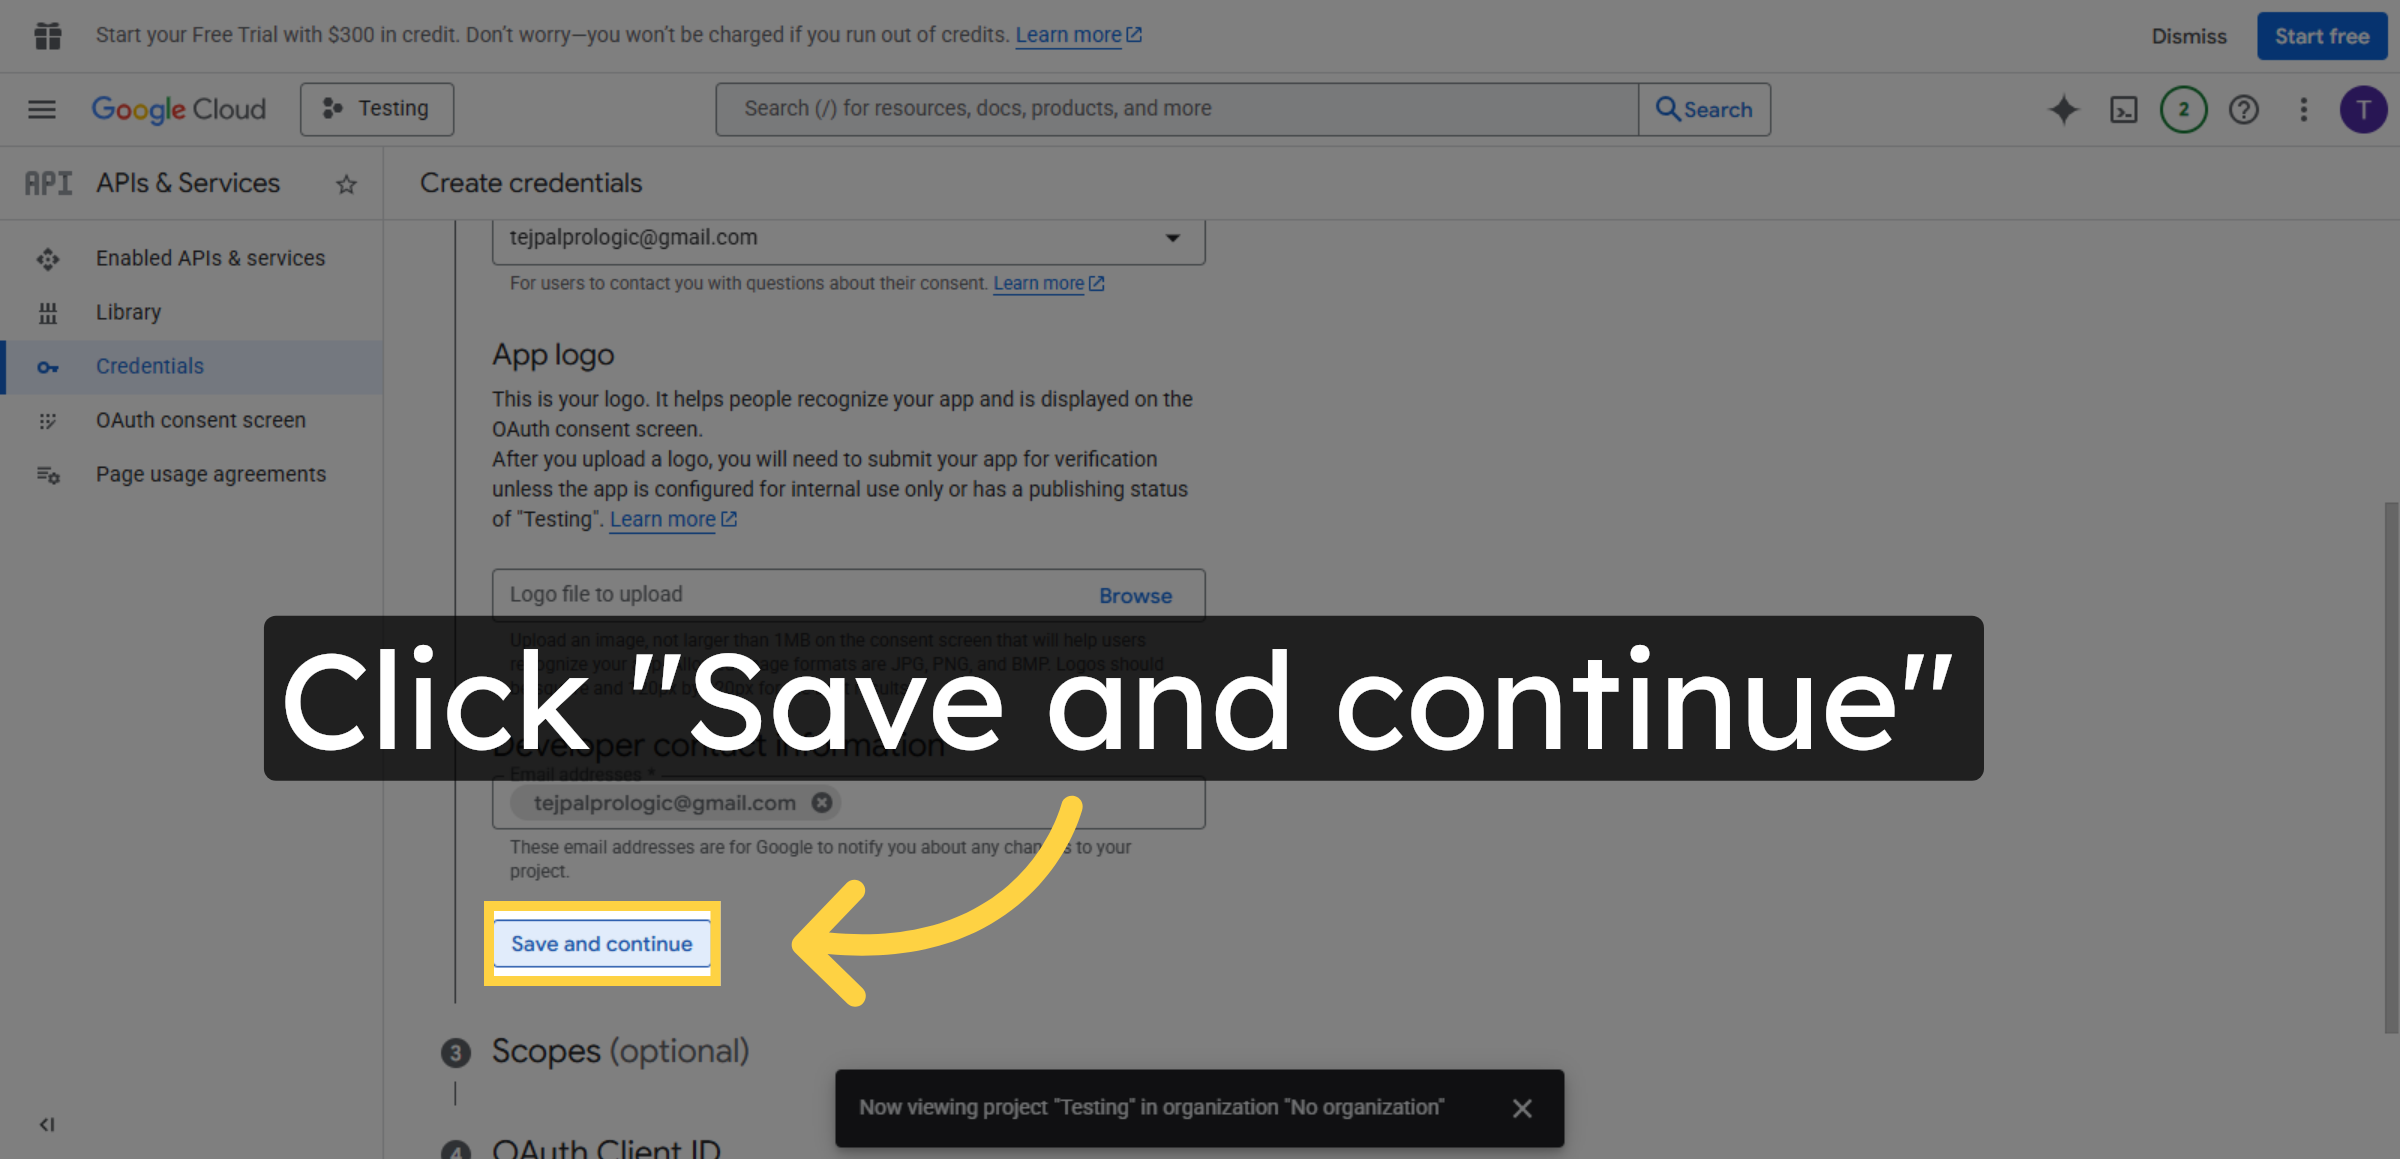
35. Save OAuth Settings
Click Save and continue to apply your OAuth consent screen settings.
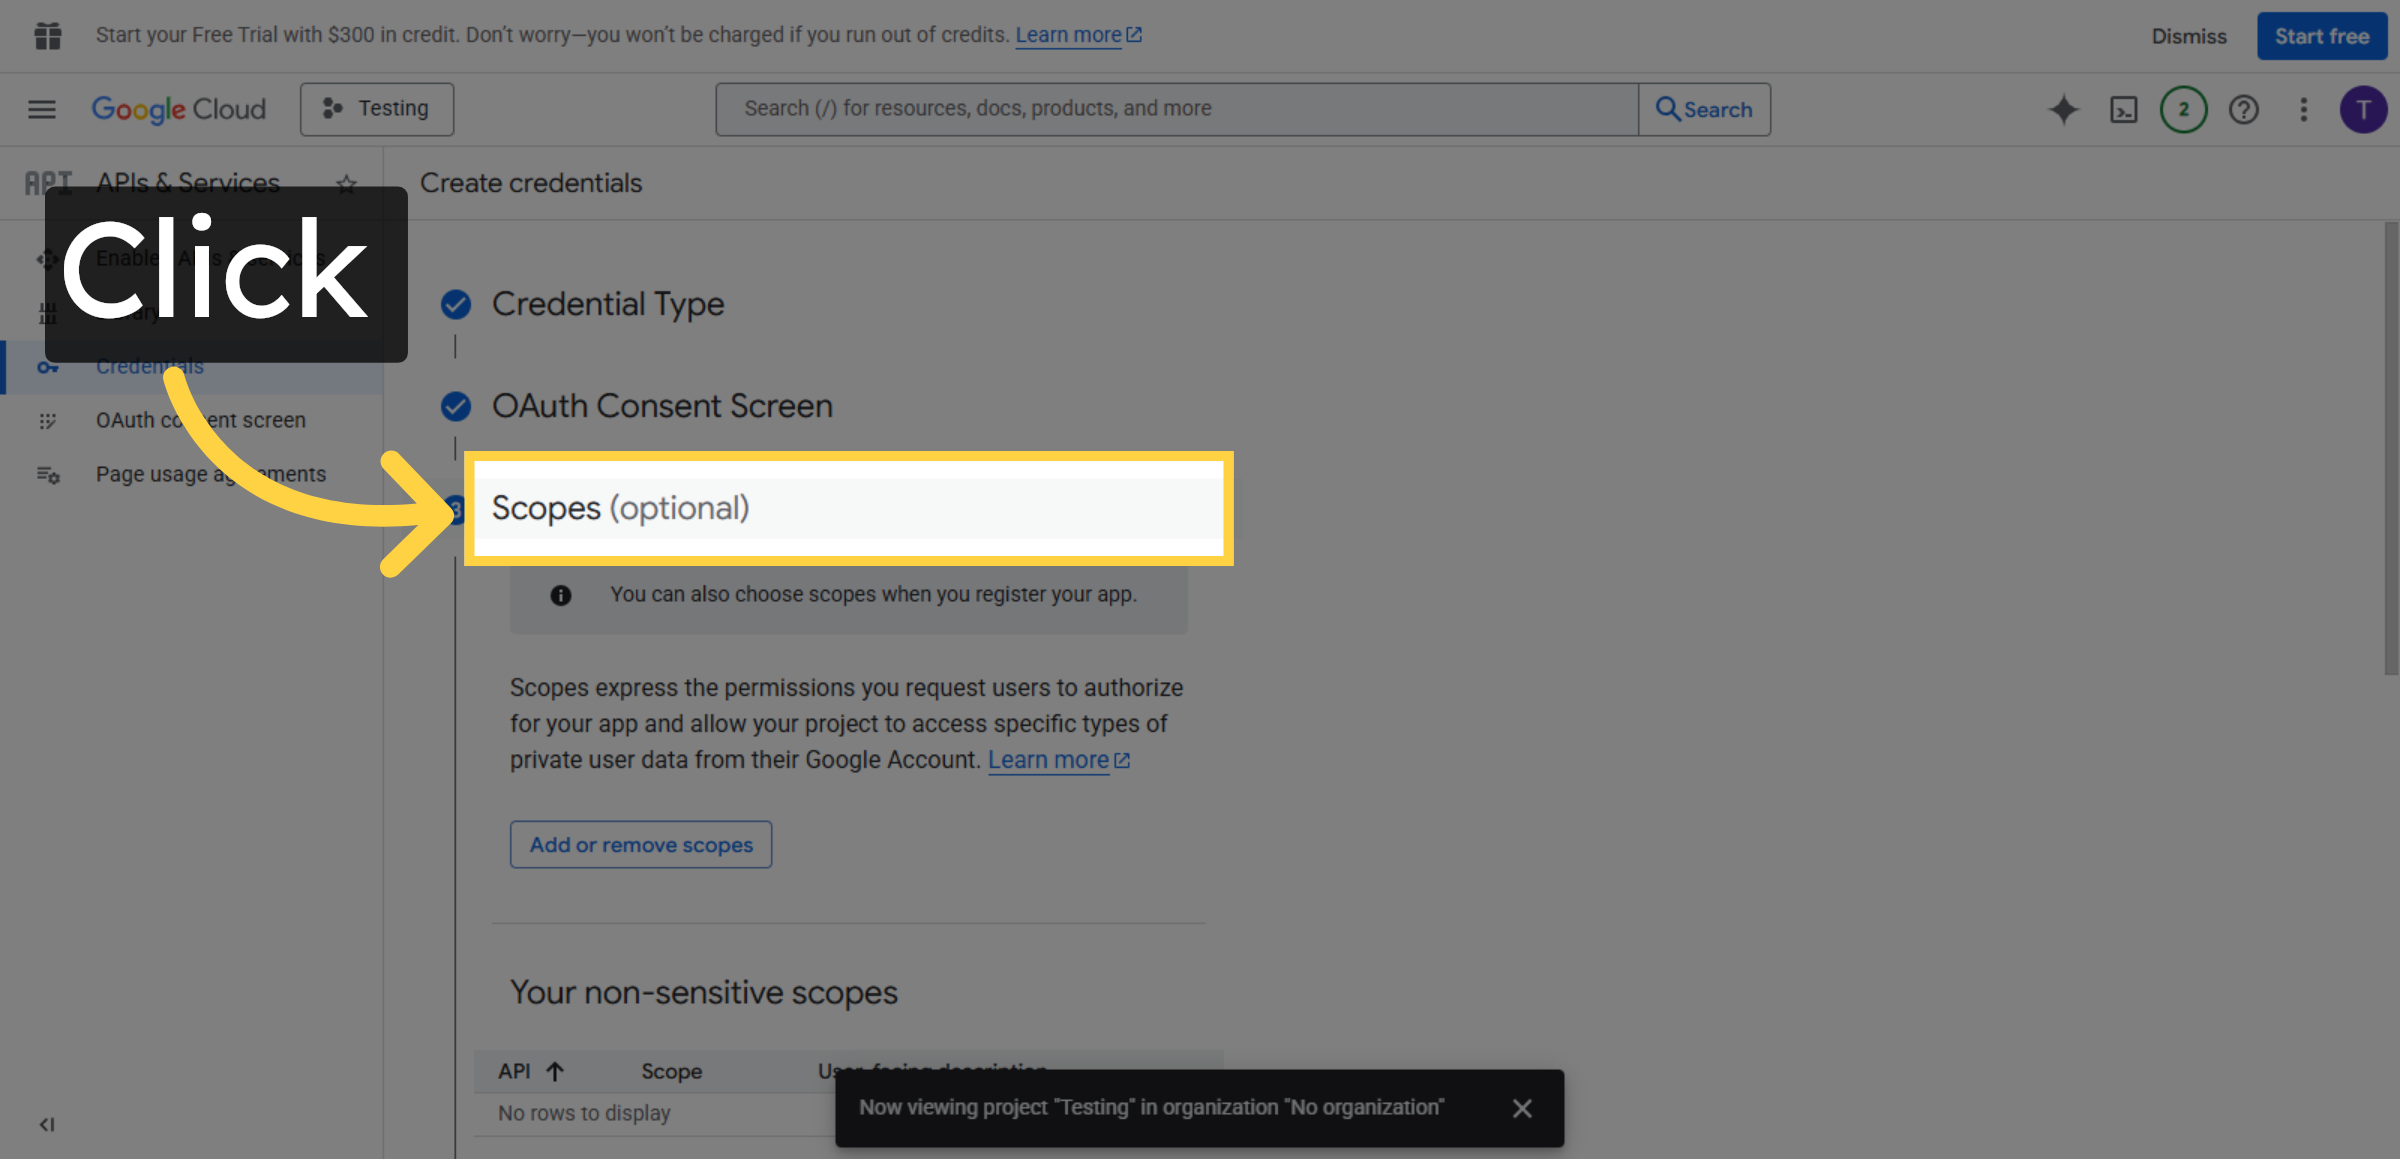
36. Open Scopes Section
Click Scopes (optional) to review or add API scopes your application requires.
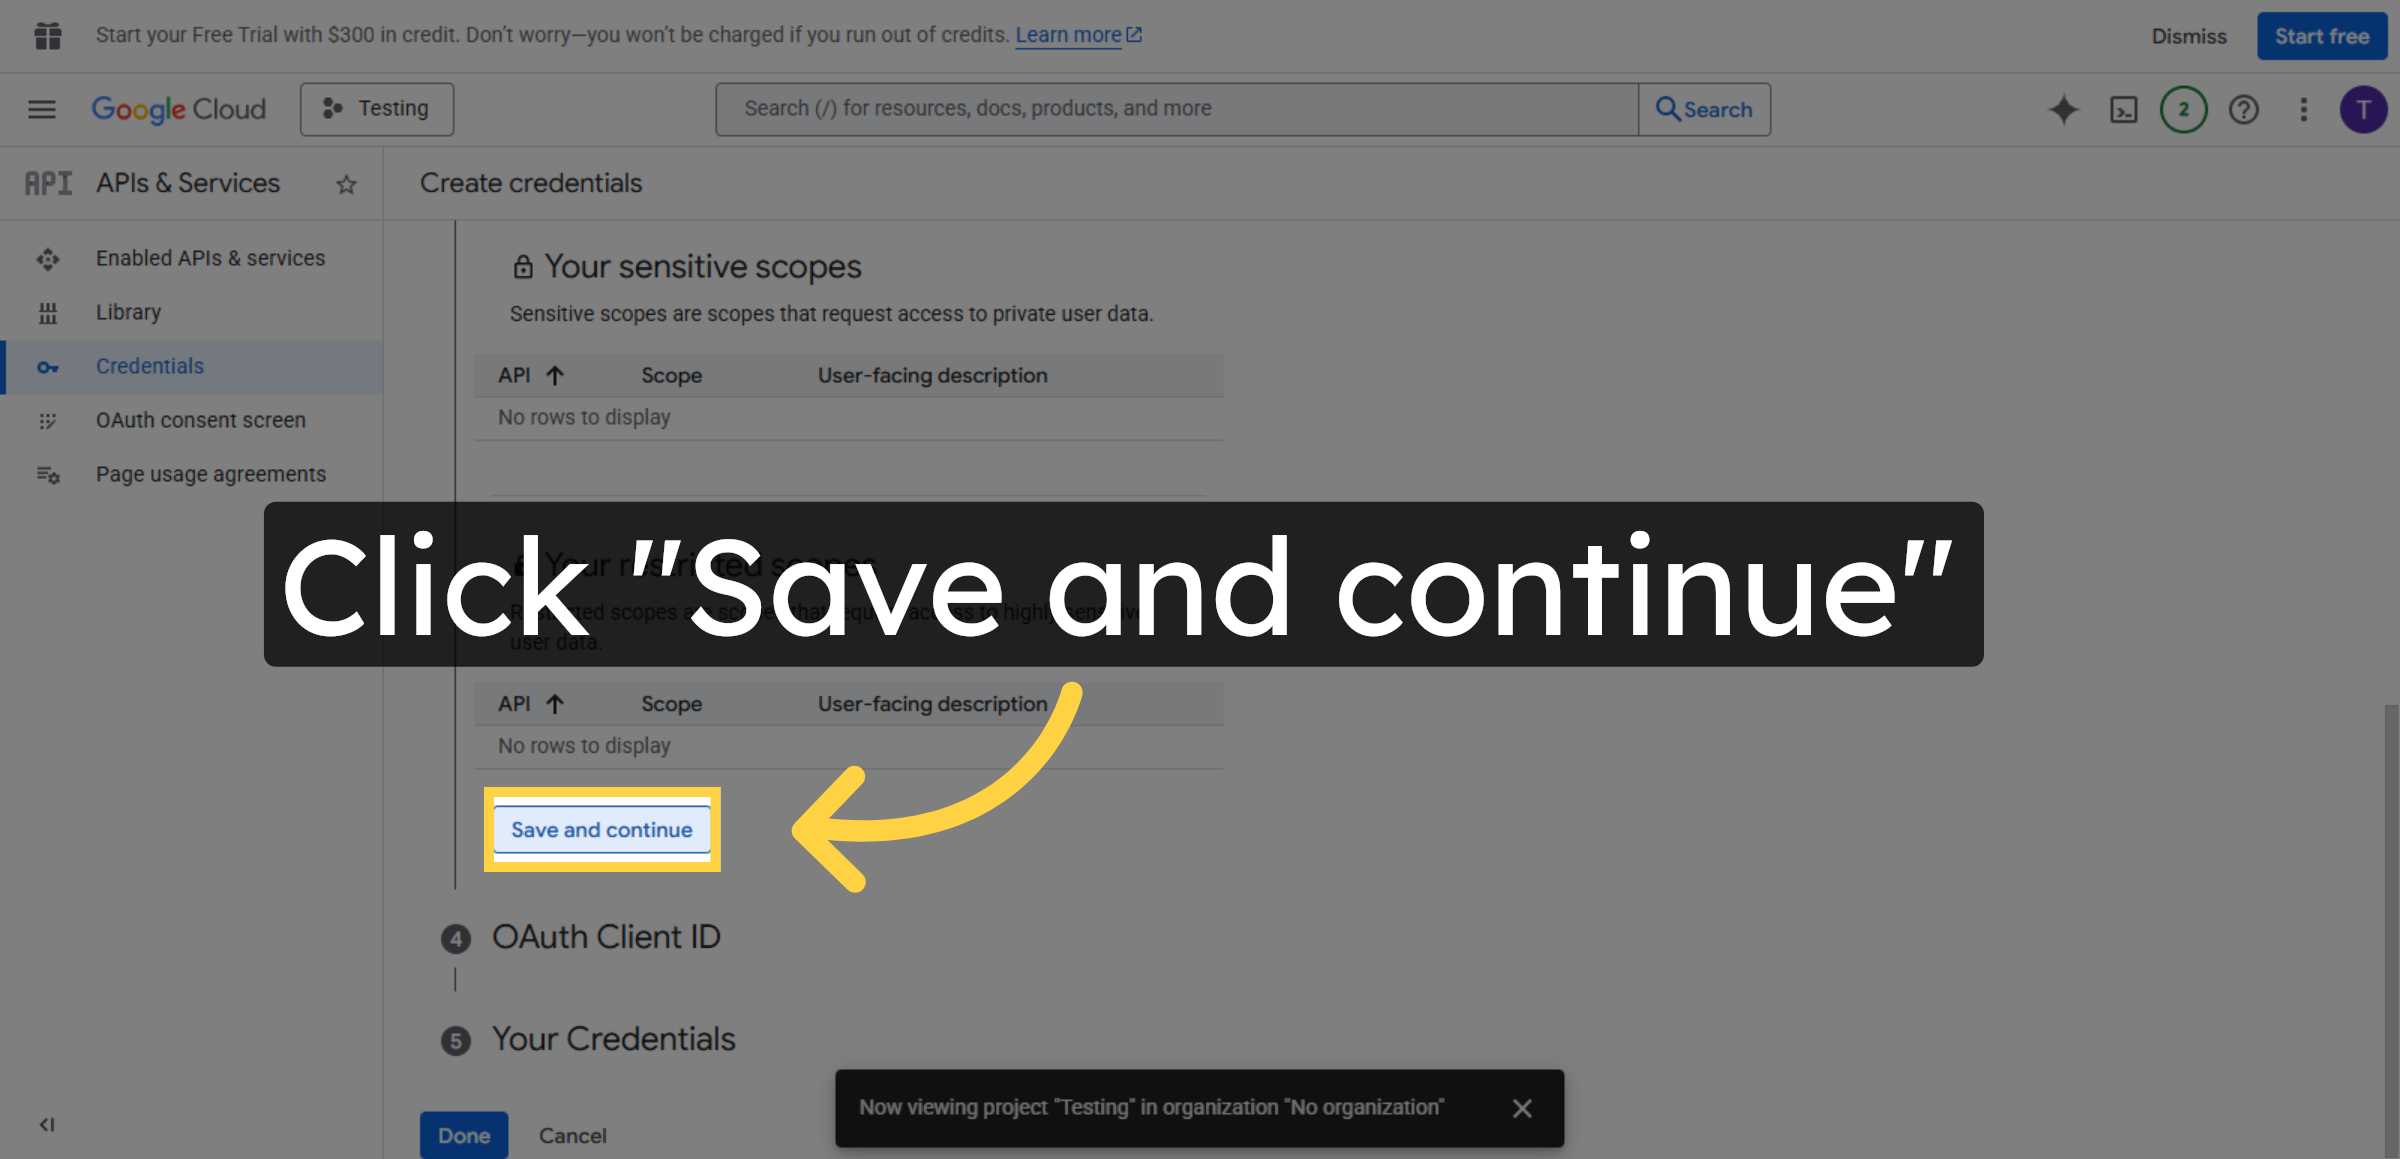
37. Save Scopes
Click Save and continue to finalize the scopes configuration.
38. Click Indicated Area
Click the indicated area to return to the credentials management page.
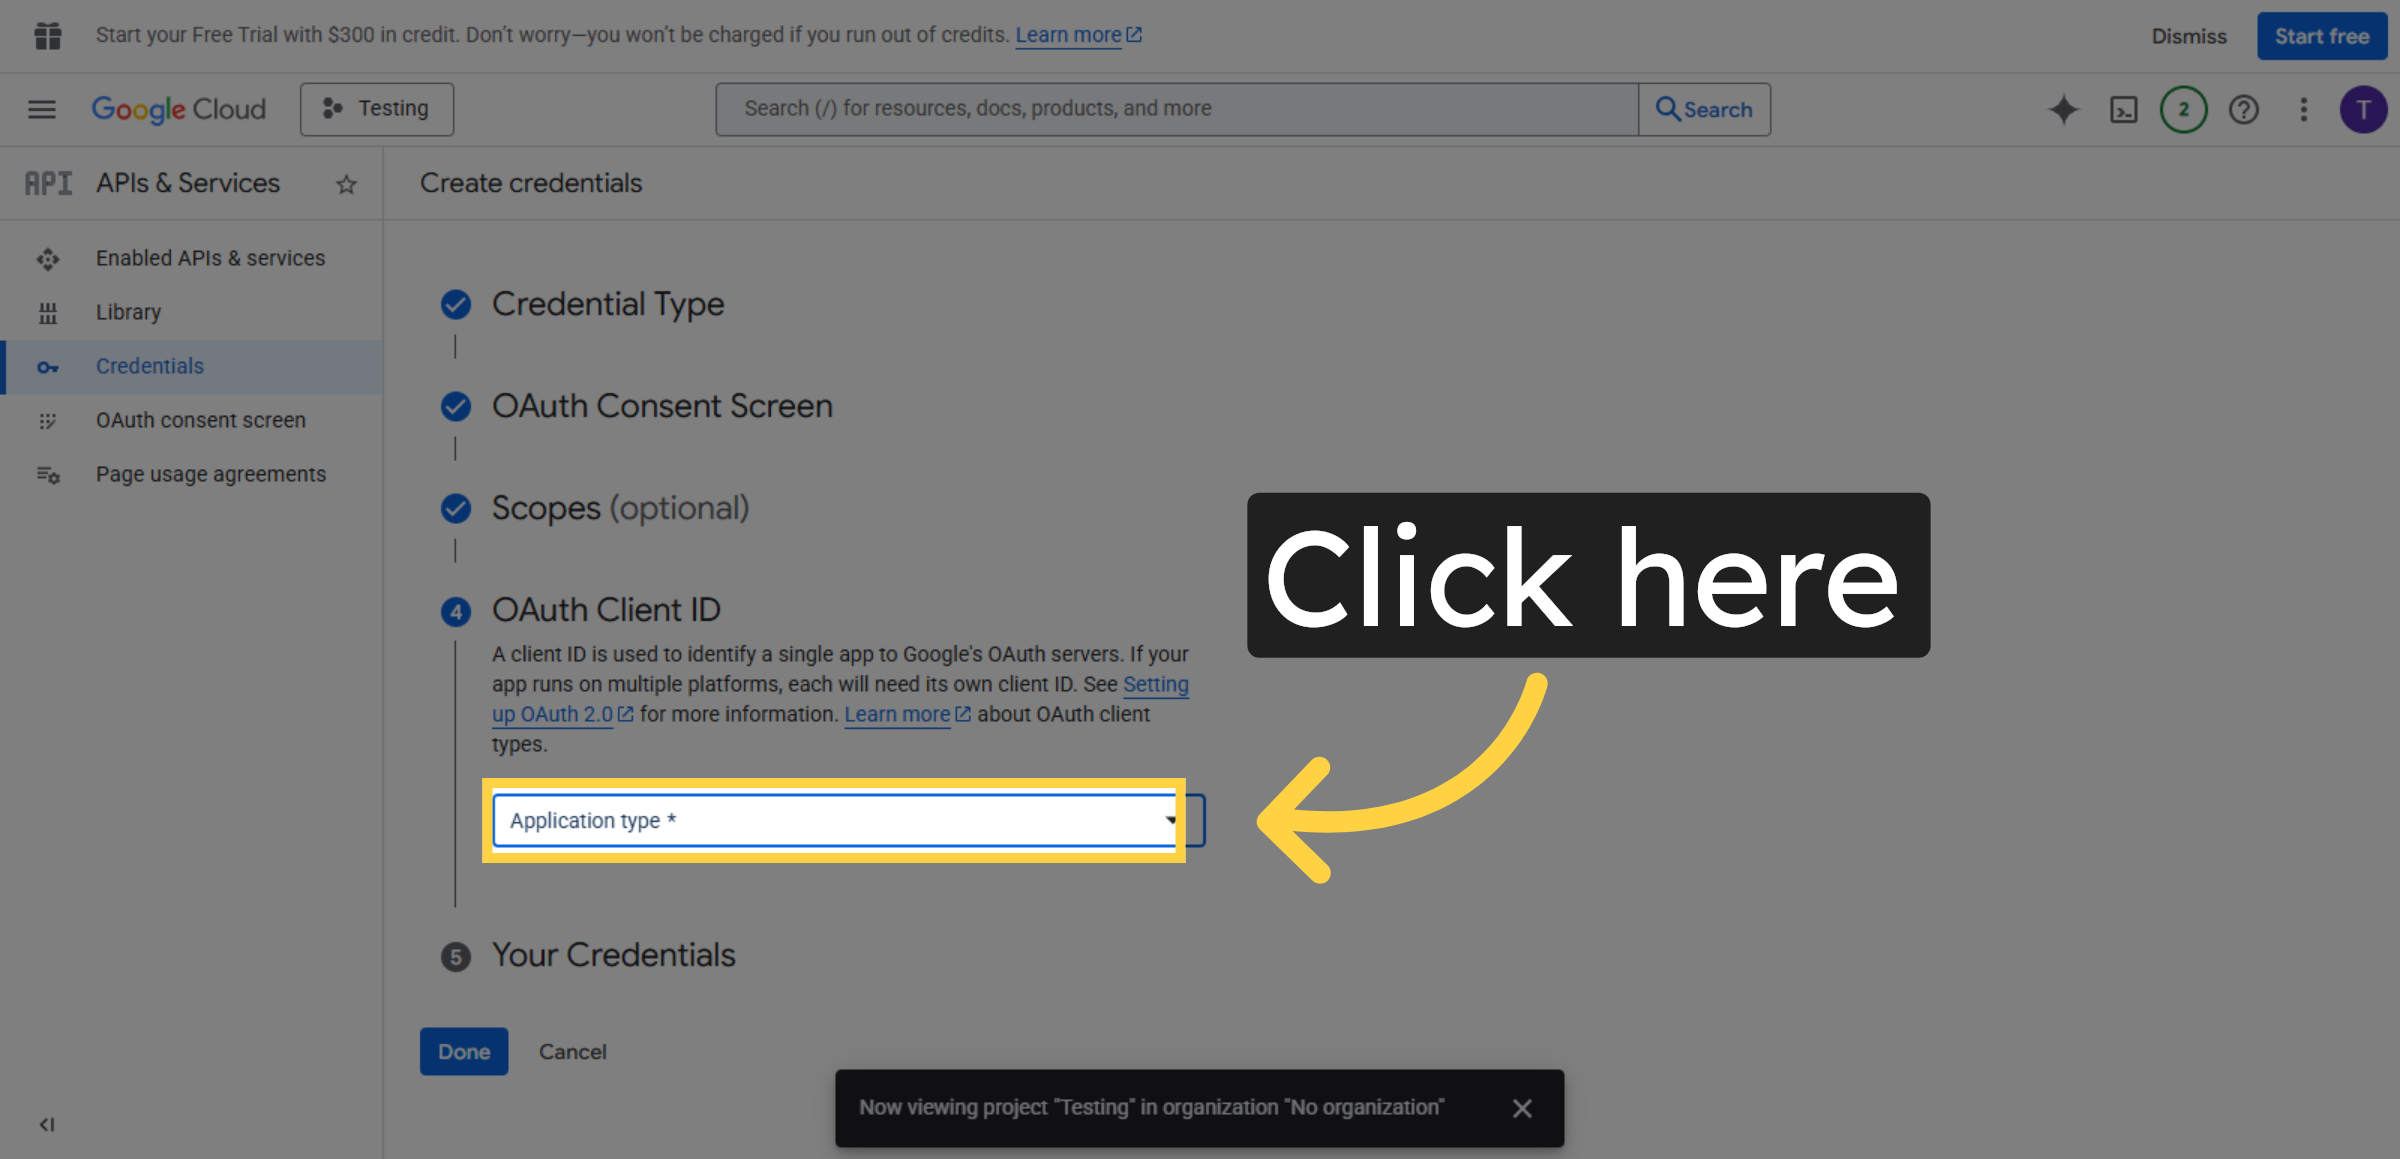
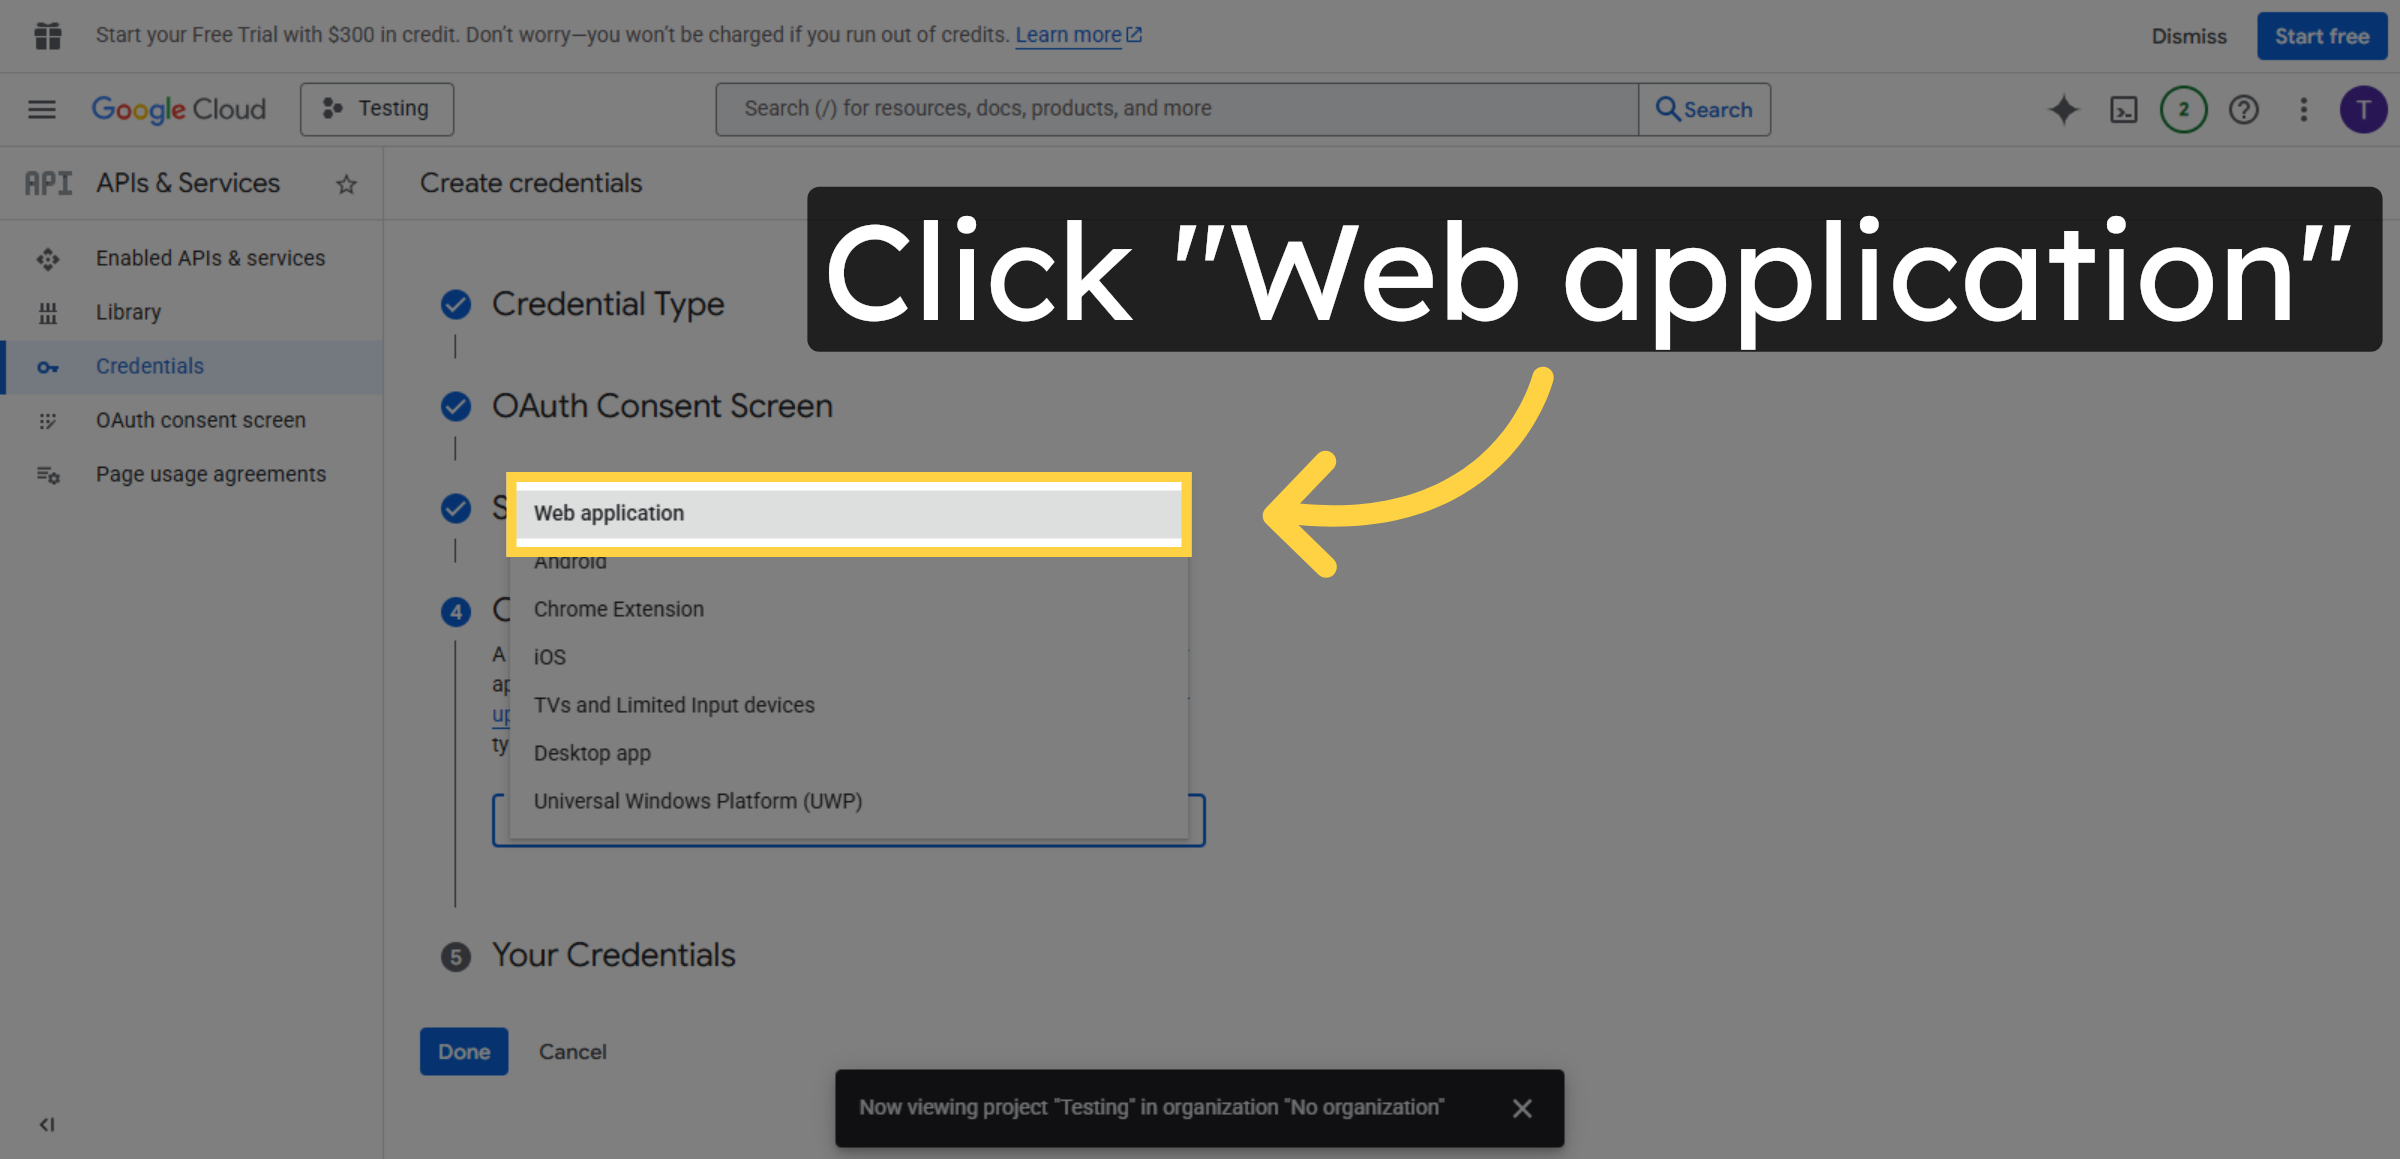
39. Select Web Application
Click Web application to create credentials specific to your website.
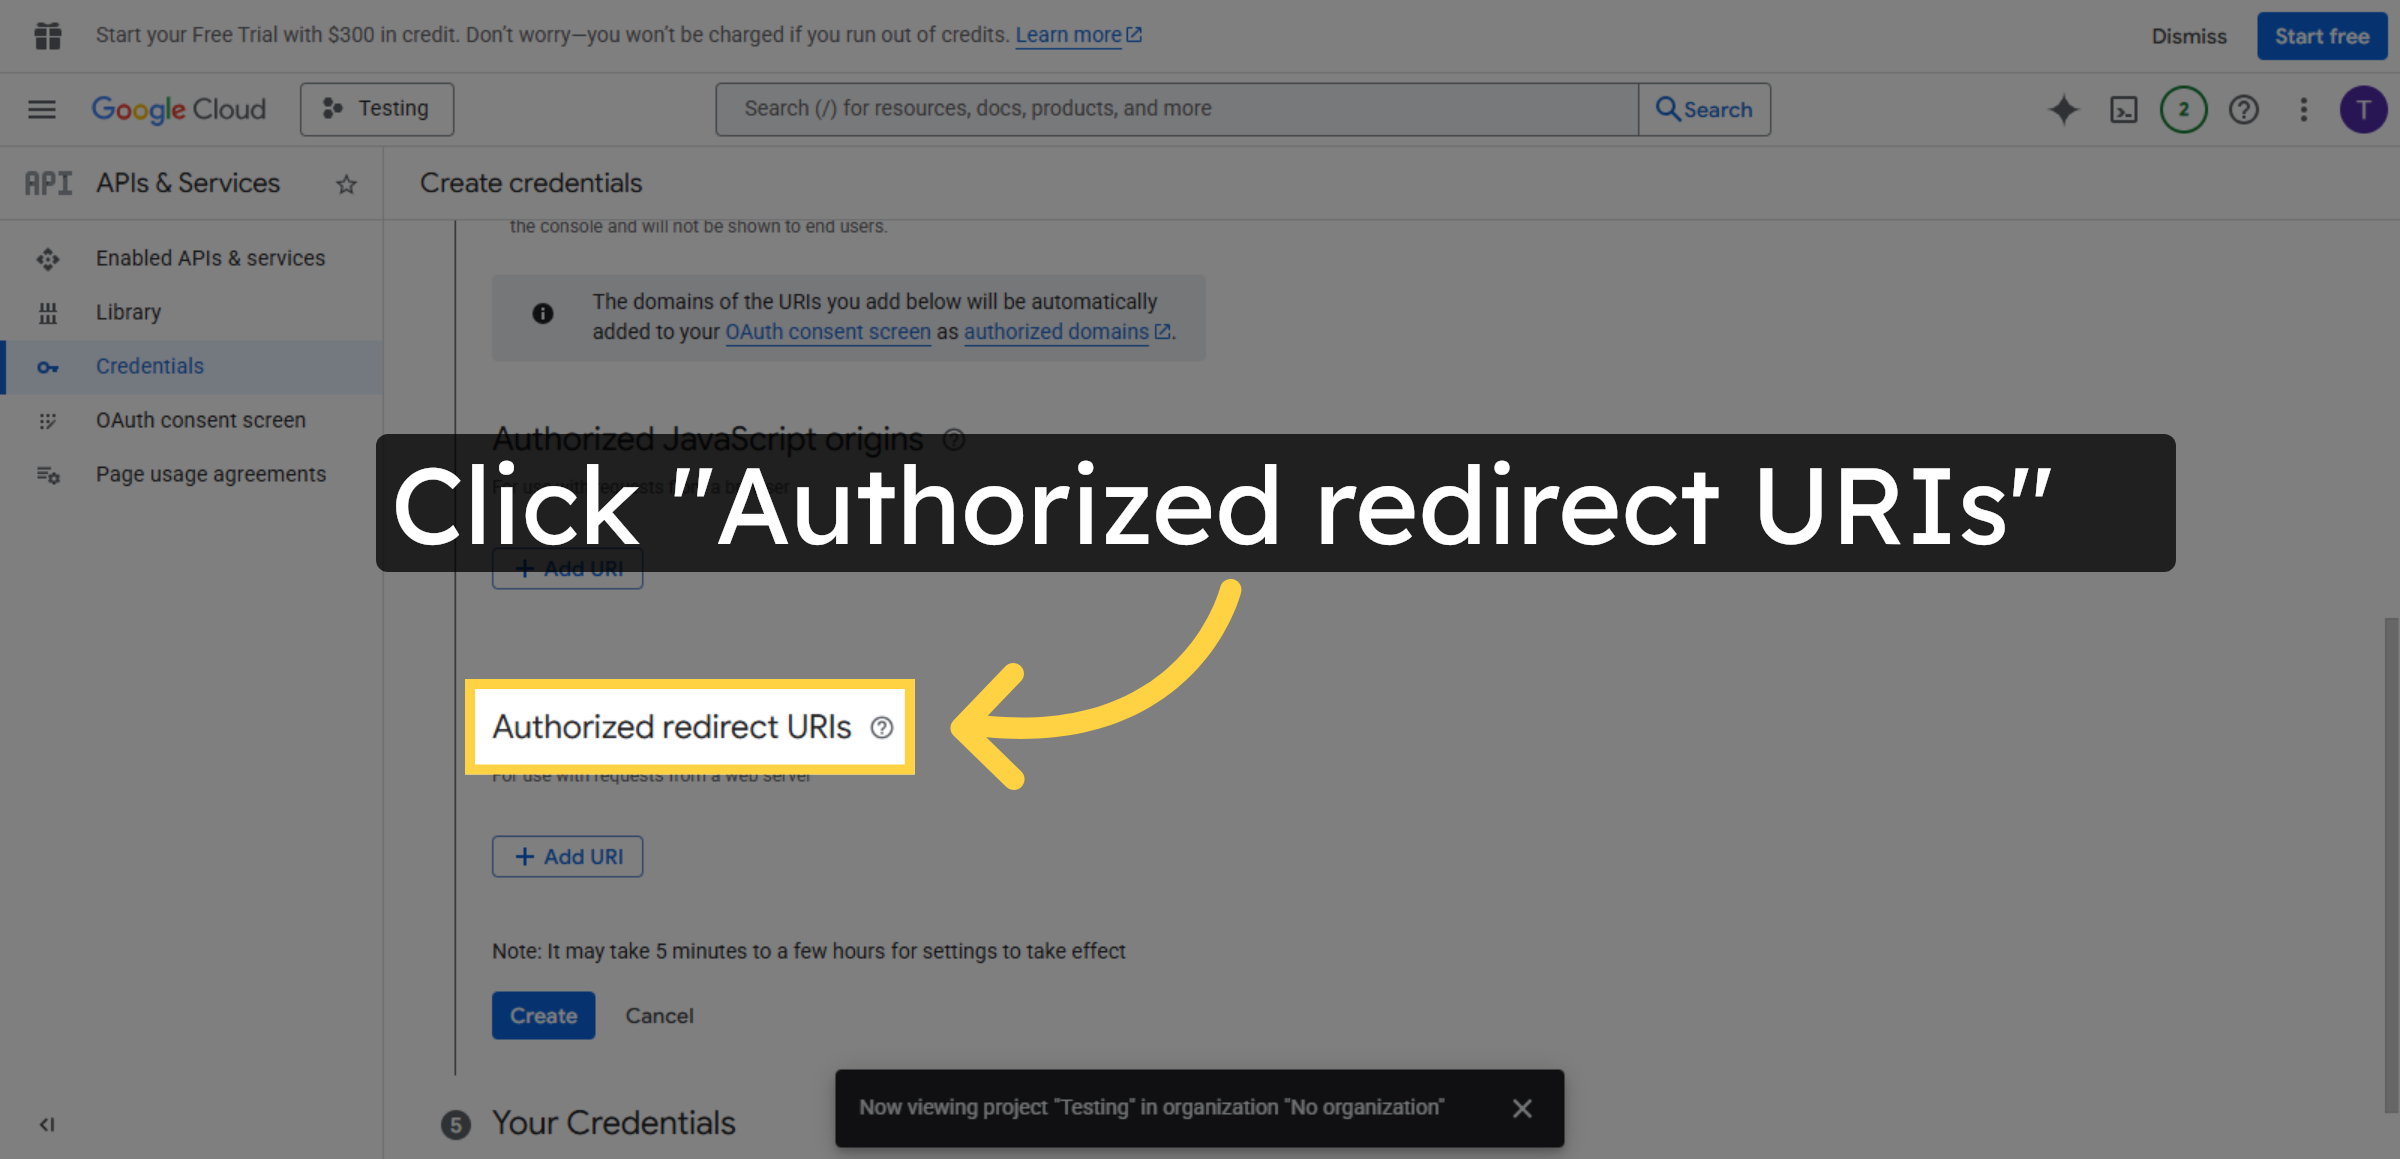
40. Edit Redirect URIs
Click Authorized redirect URIs to add the URL needed for OAuth redirection.
41. Return To WordPress Settings
Switch back to your WordPress site settings to continue configuring the SMTP plugin.
42. Copy Redirect URI
Click Authorized redirect URI to prepare for adding the Google redirect URL.
43. Switch To Google Console
Switch to the Google Cloud Console to add the redirect URI to your OAuth credentials.
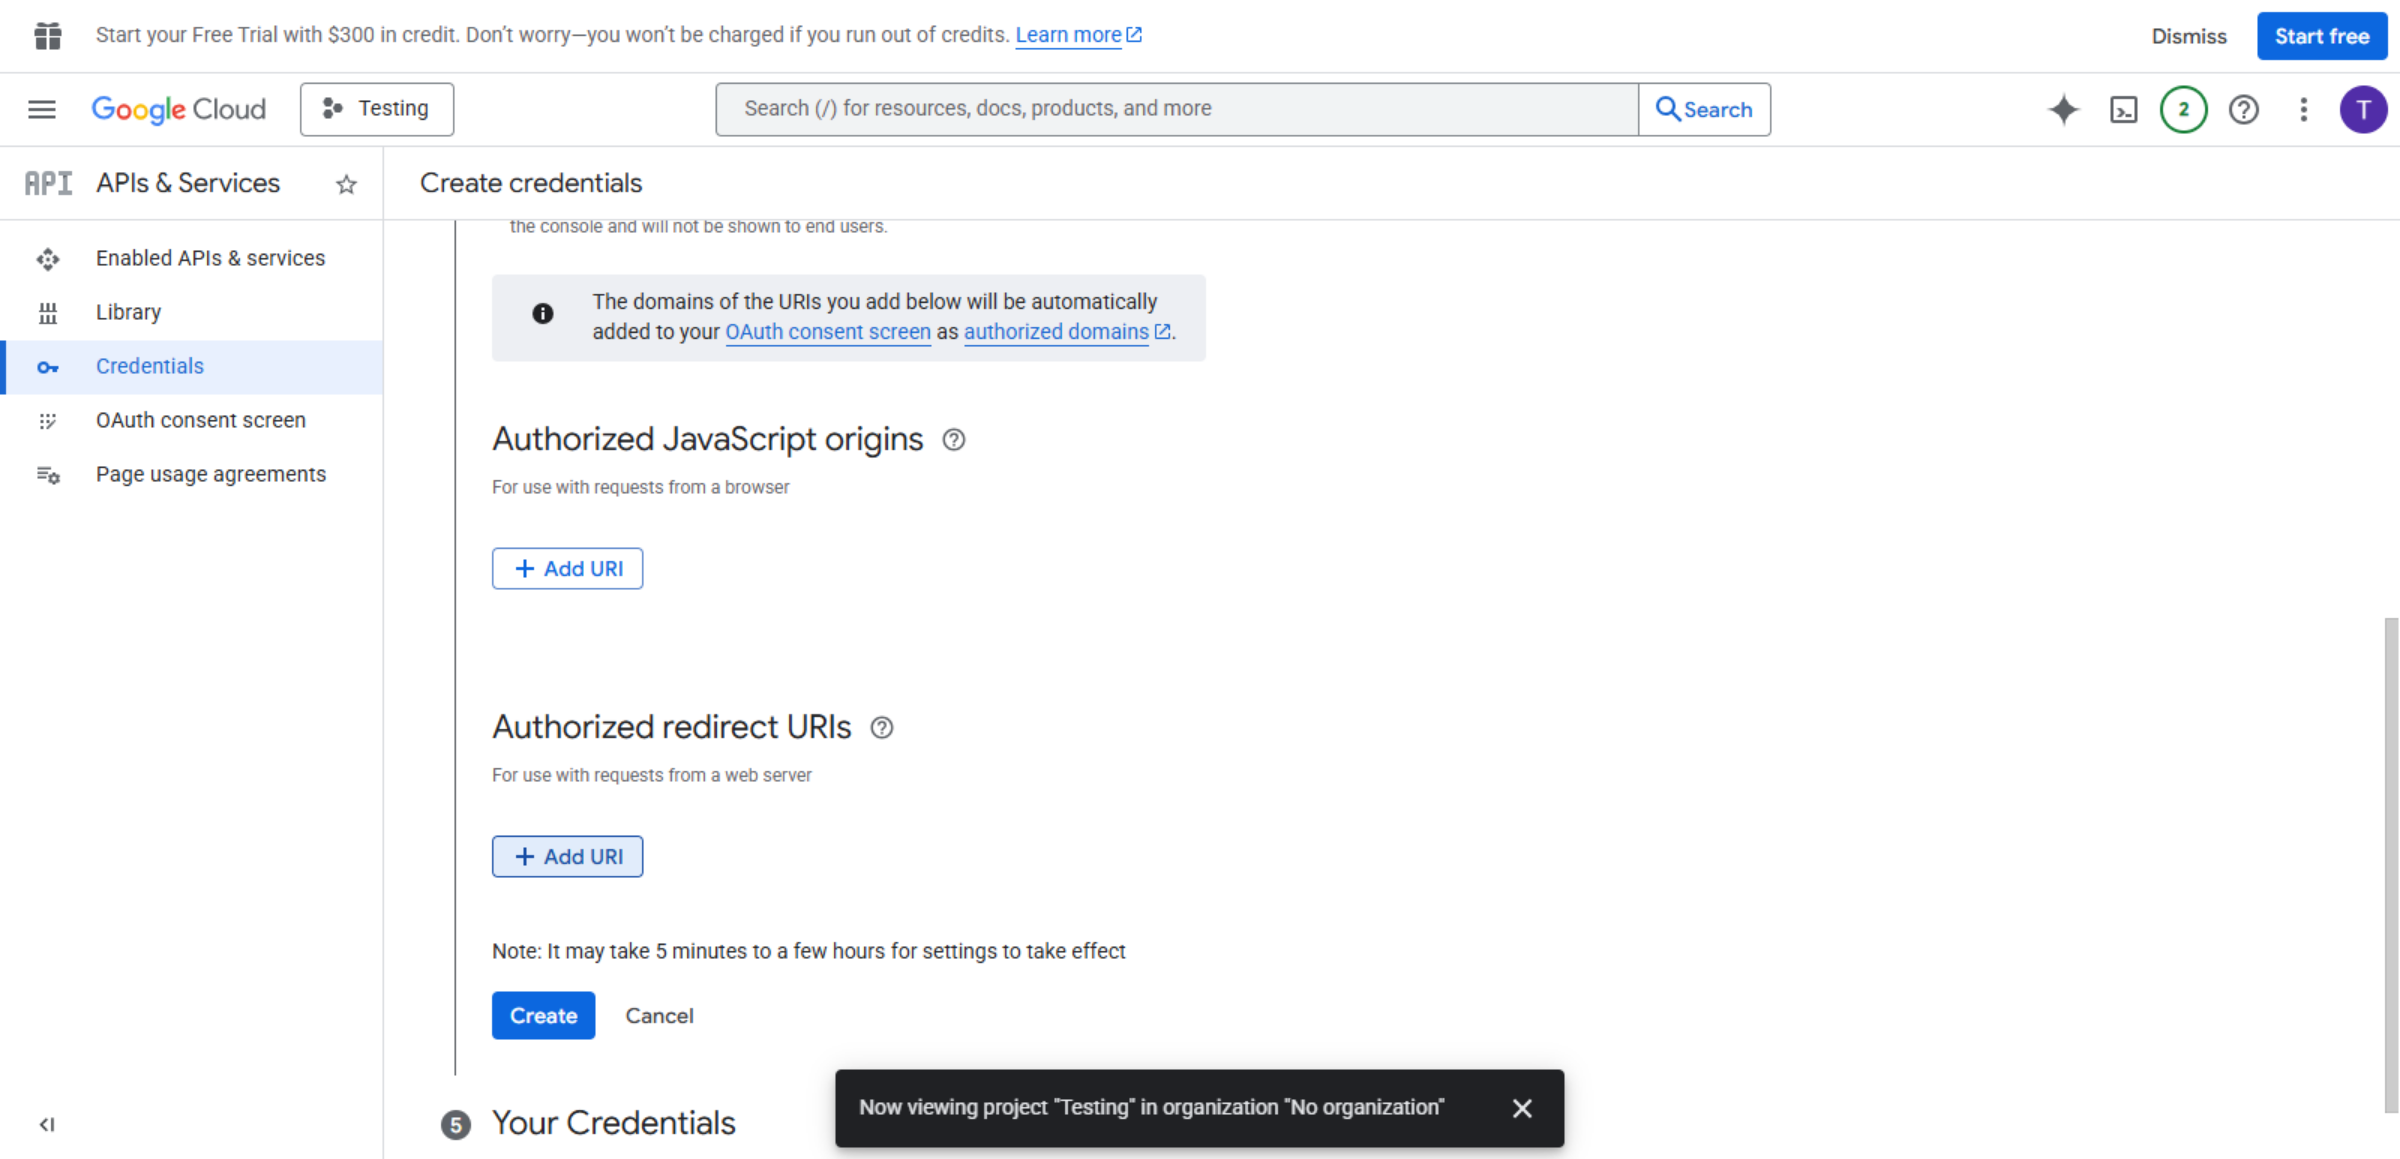
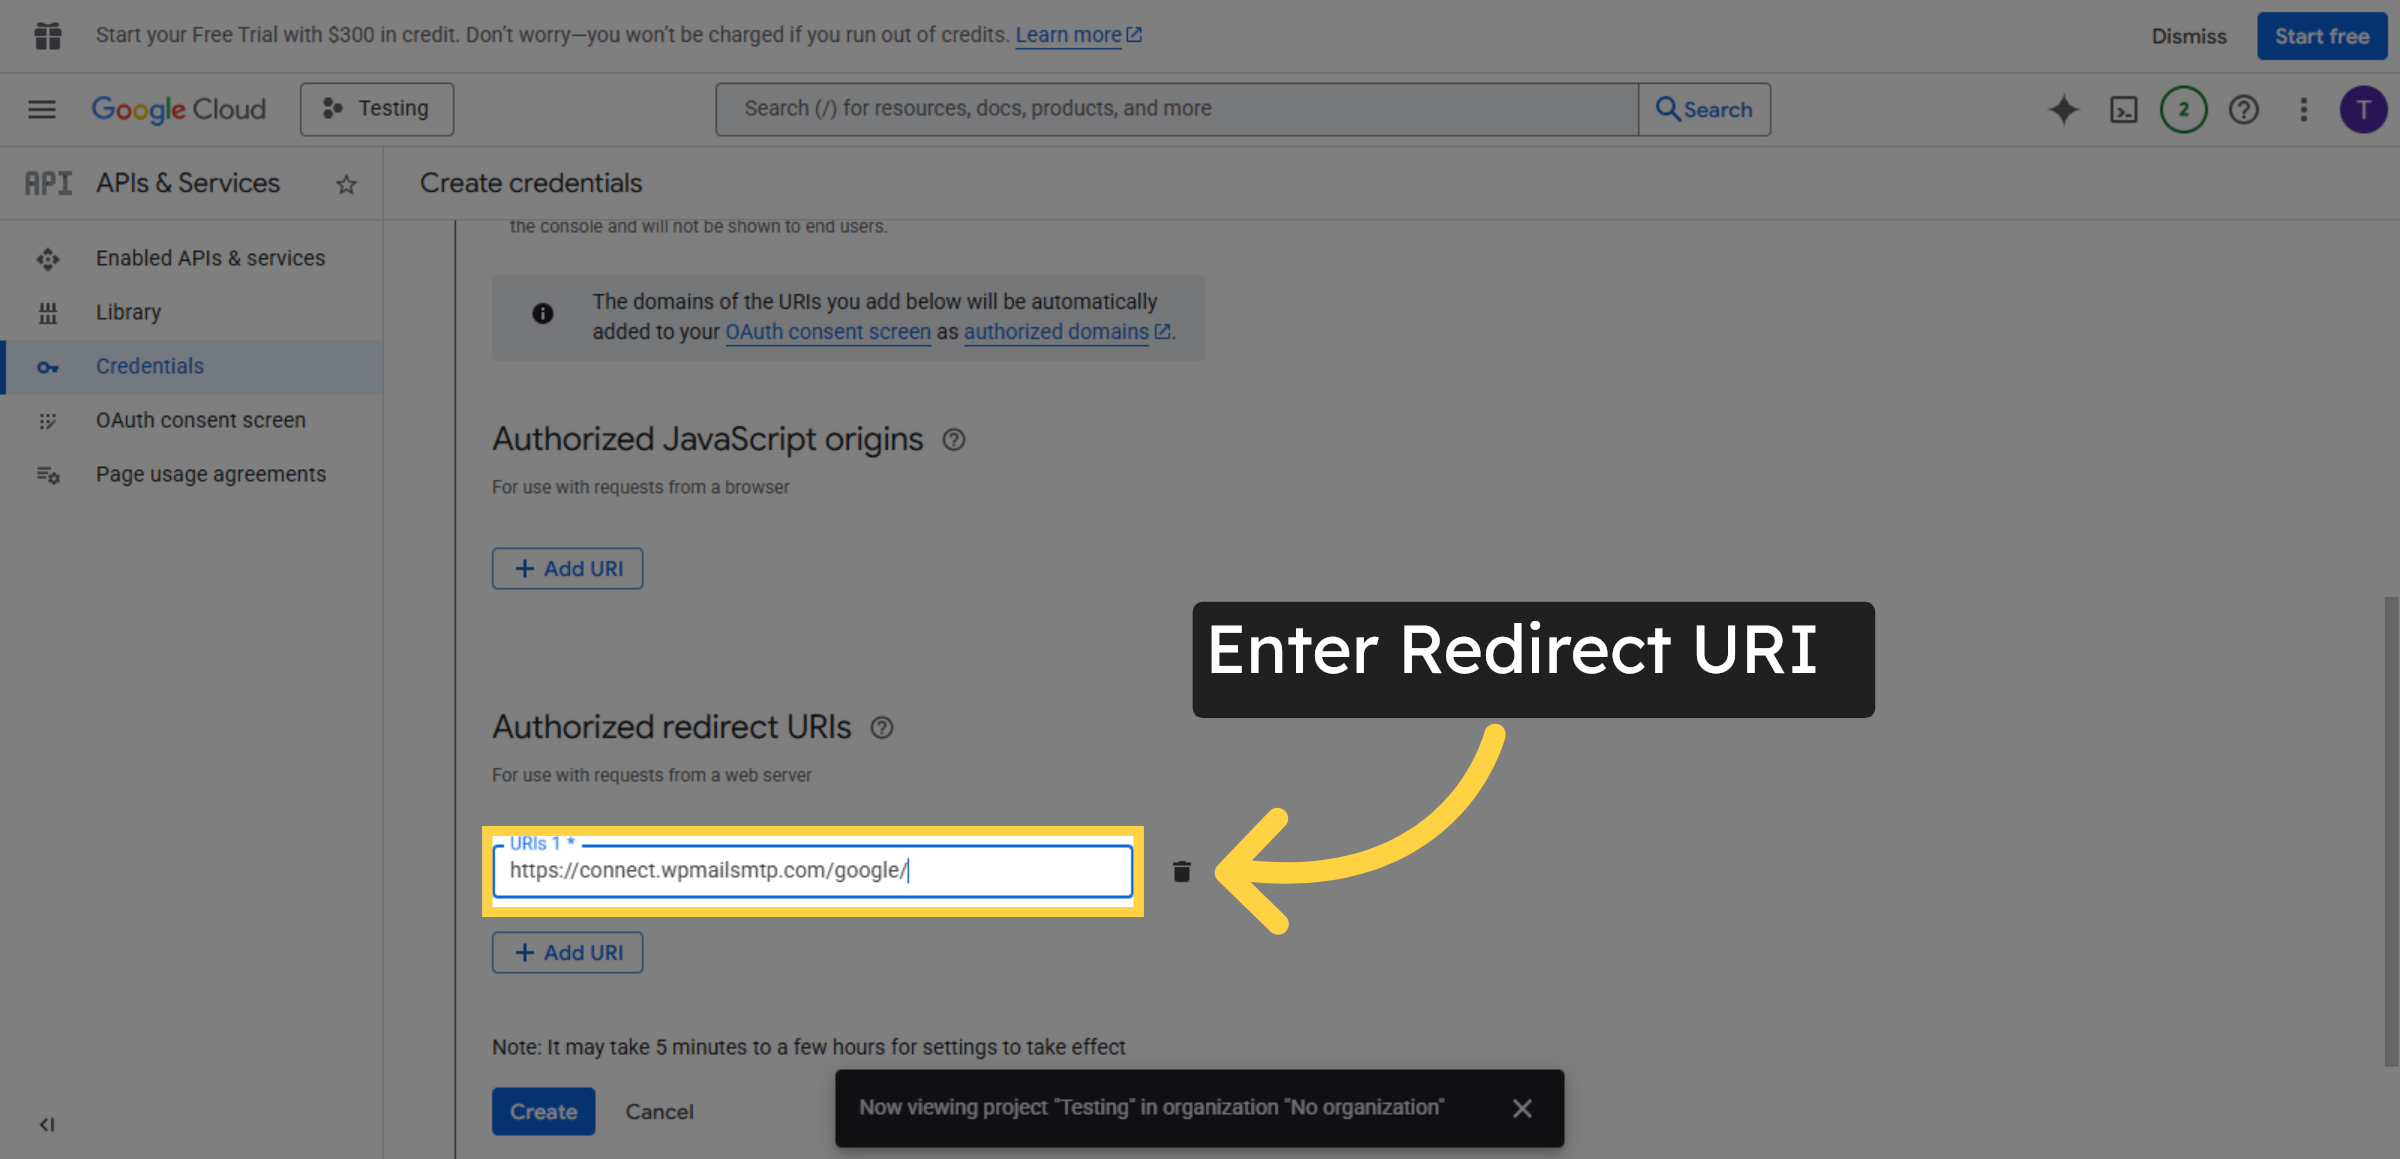
44. Add New Redirect URI
Click Add URI to insert a new authorized redirect URI for your web application.

45. Enter Redirect URI
Fill https://connect.wpmailsmtp.com/google/ as the authorized redirect URI for OAuth.
46. Create Credential Entry
Click Create to save the new redirect URI in your Google Cloud project credentials.
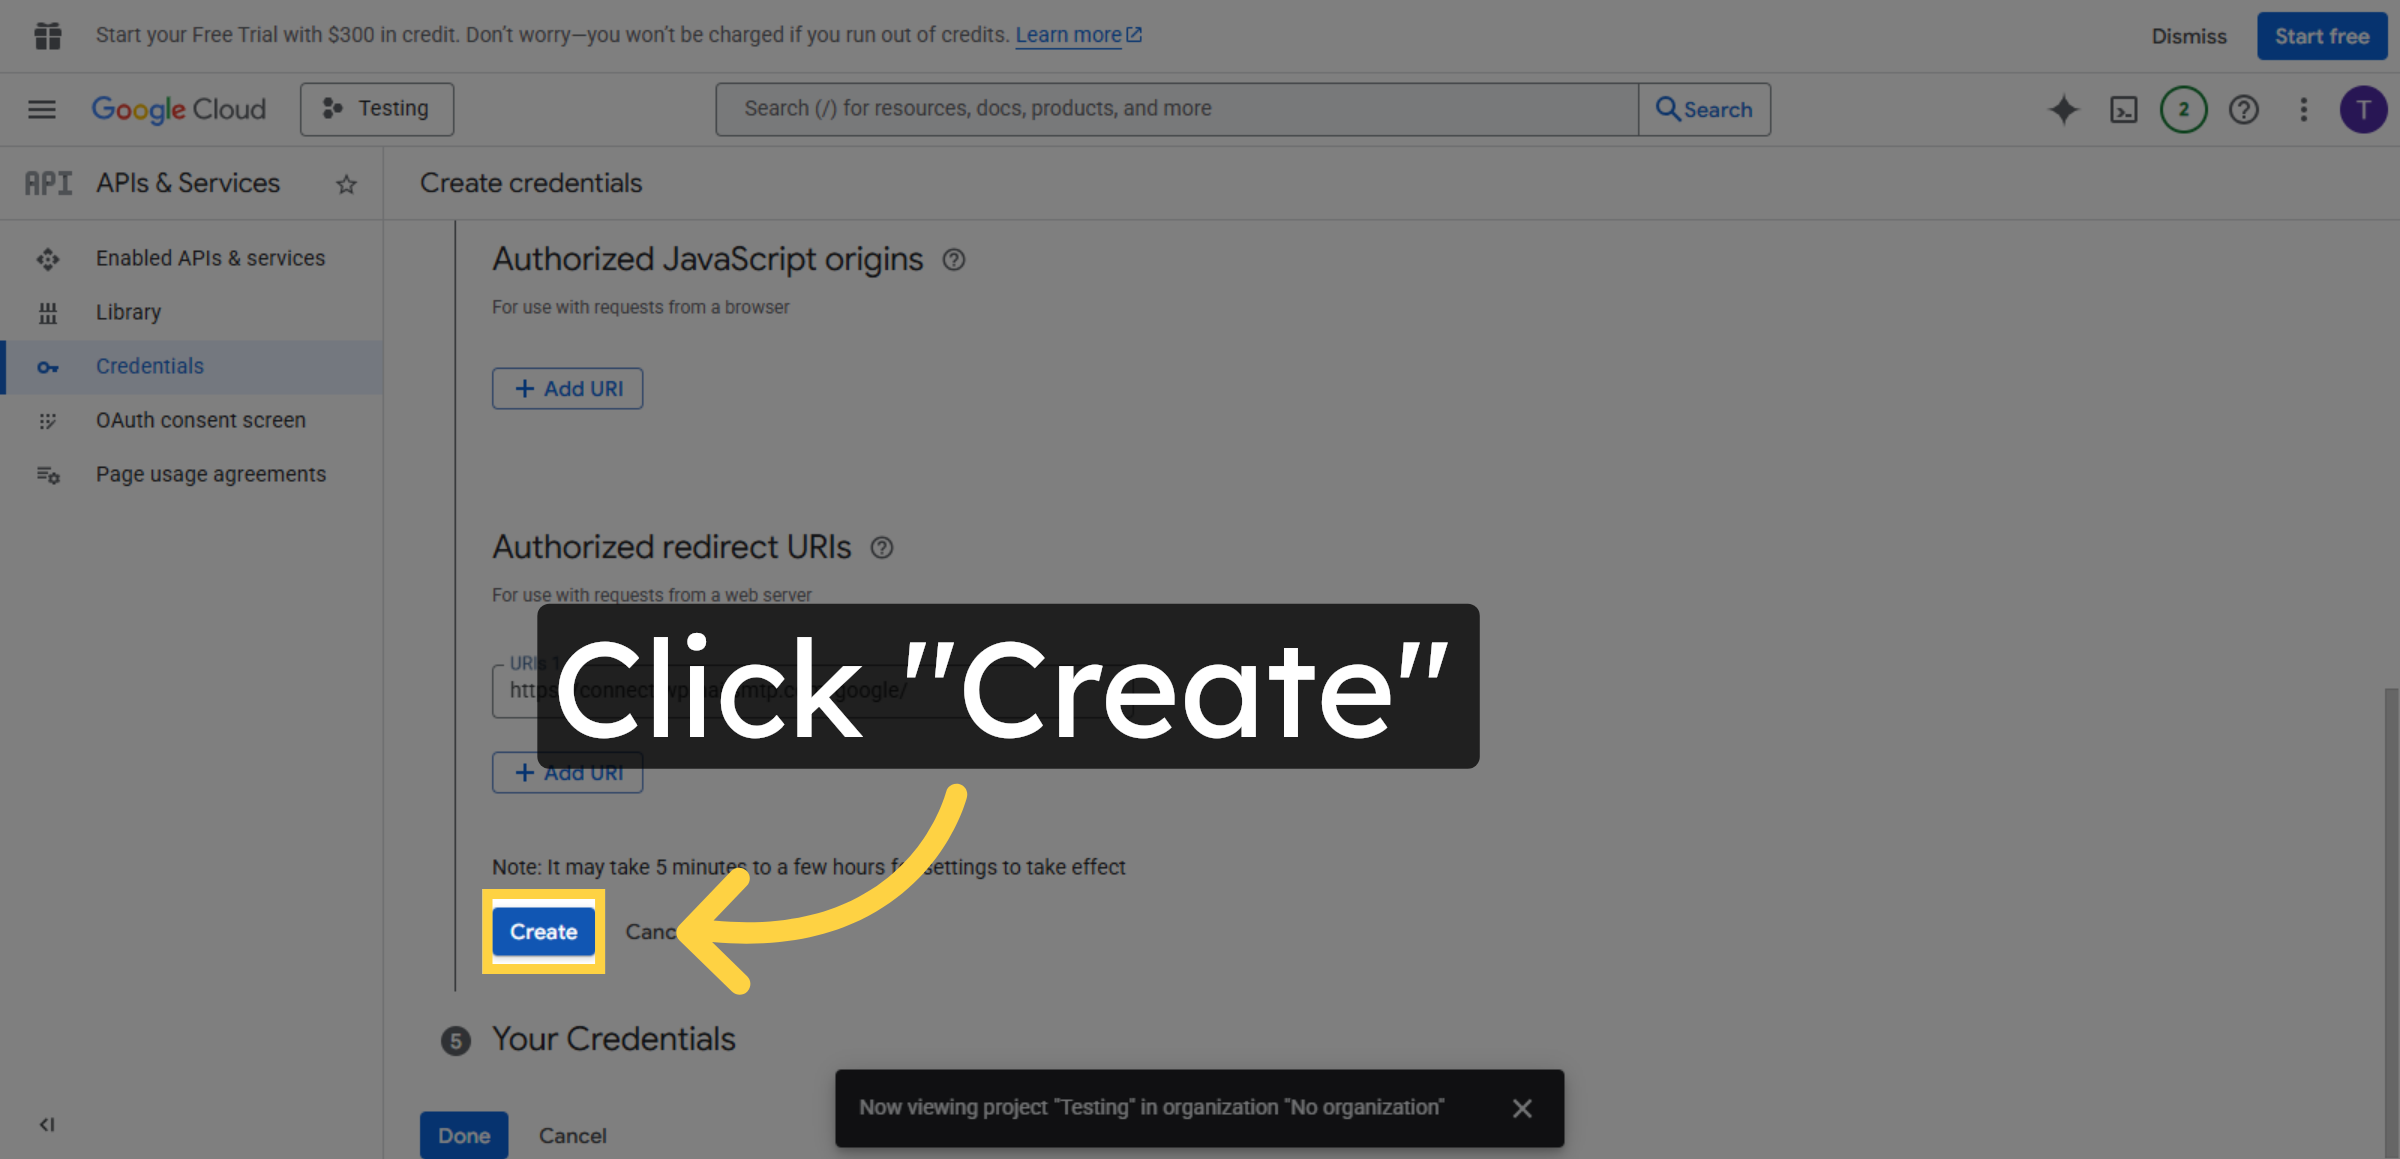
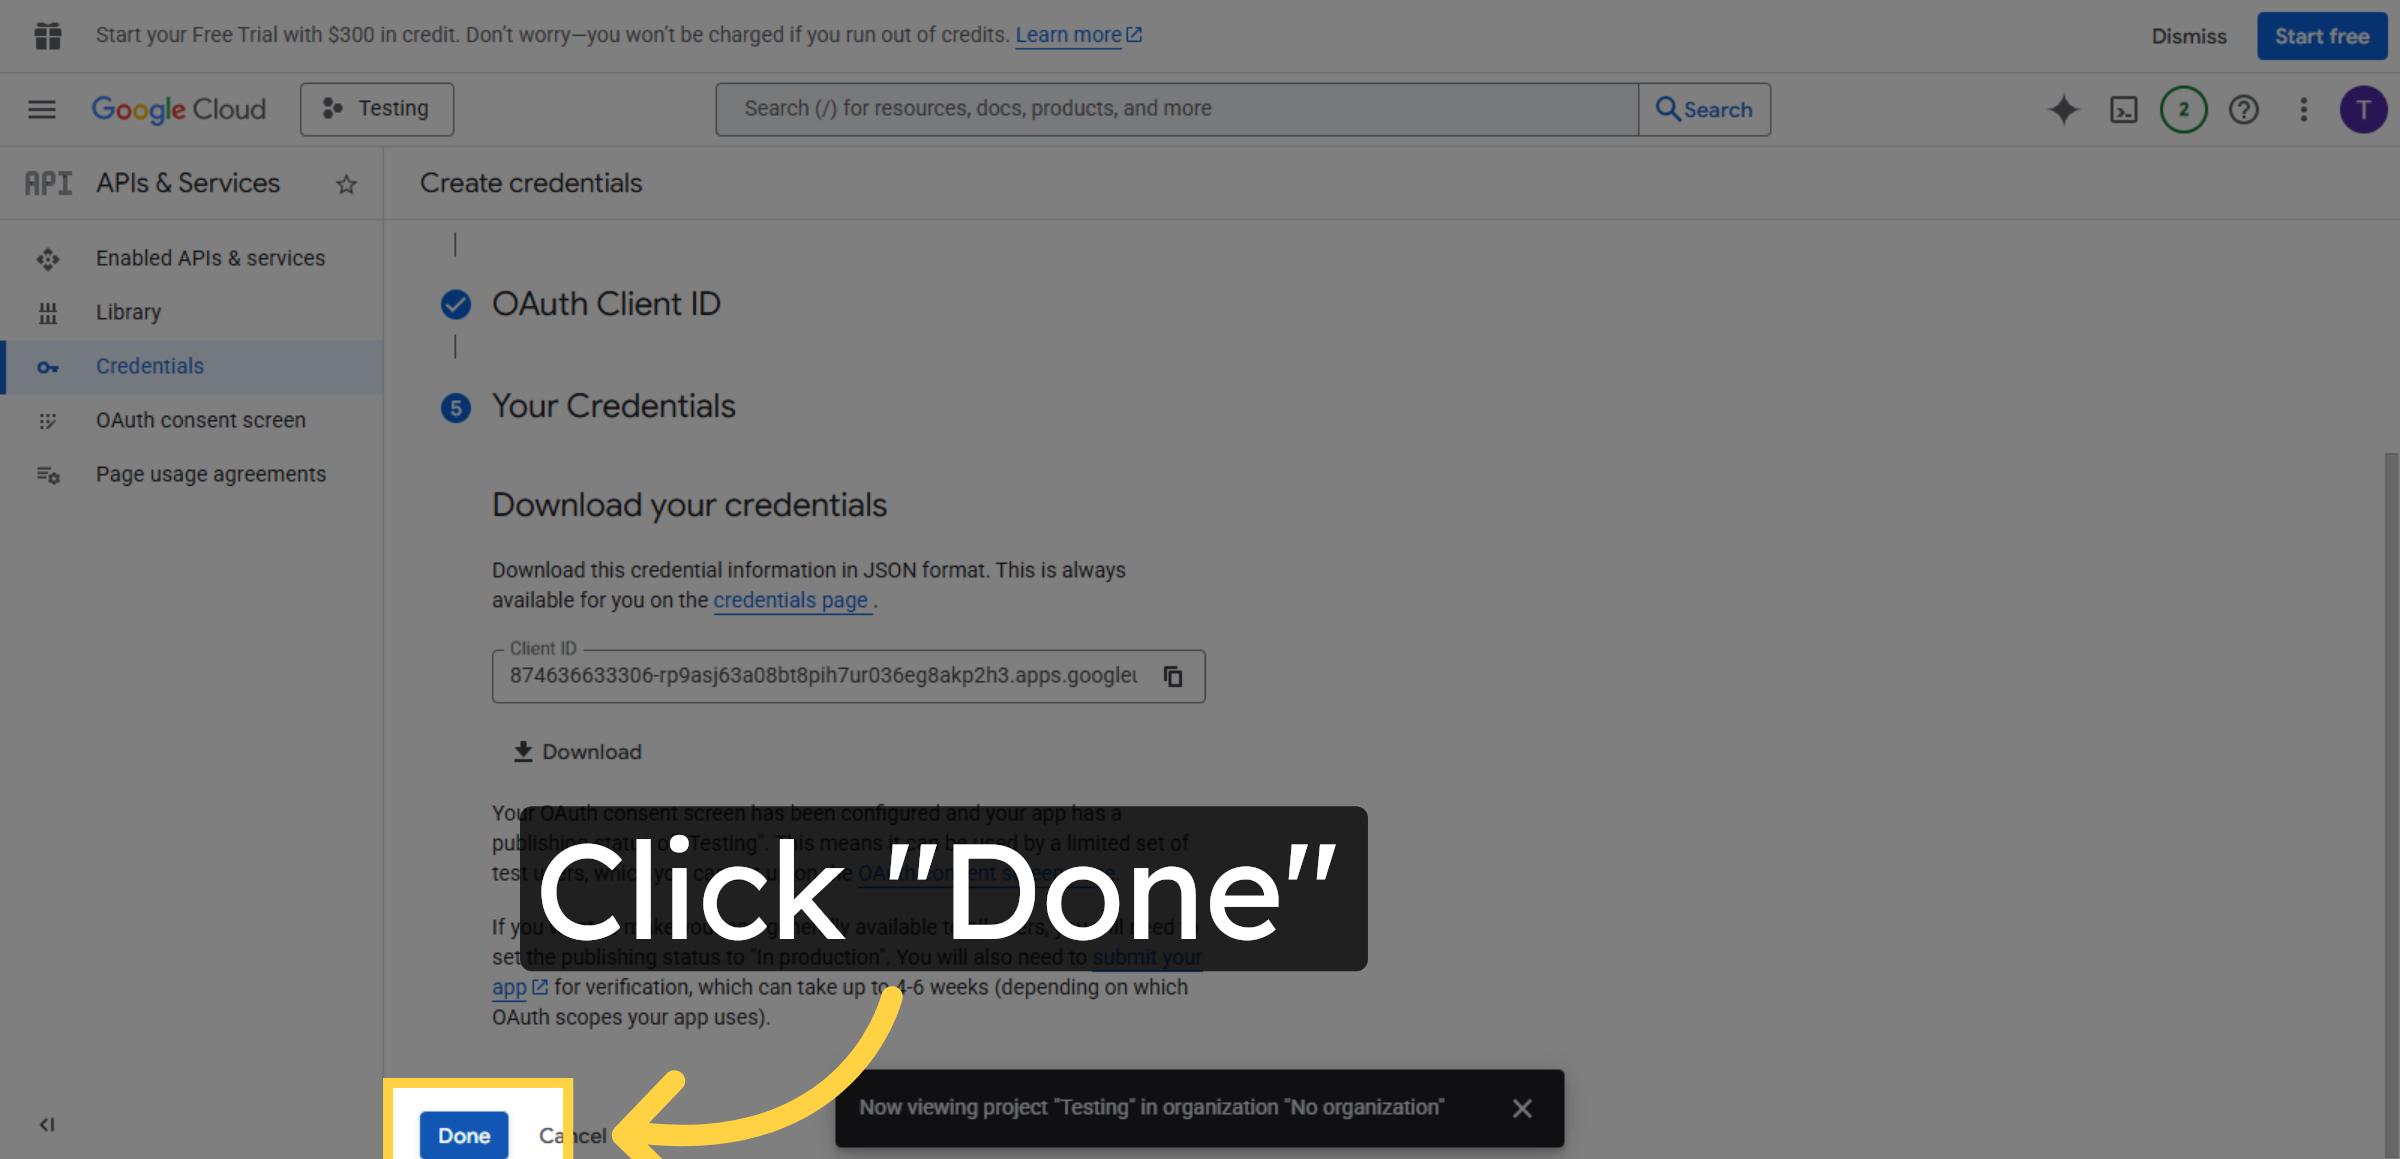
47. Complete Credential Setup
Click Done to finish the credential creation process.
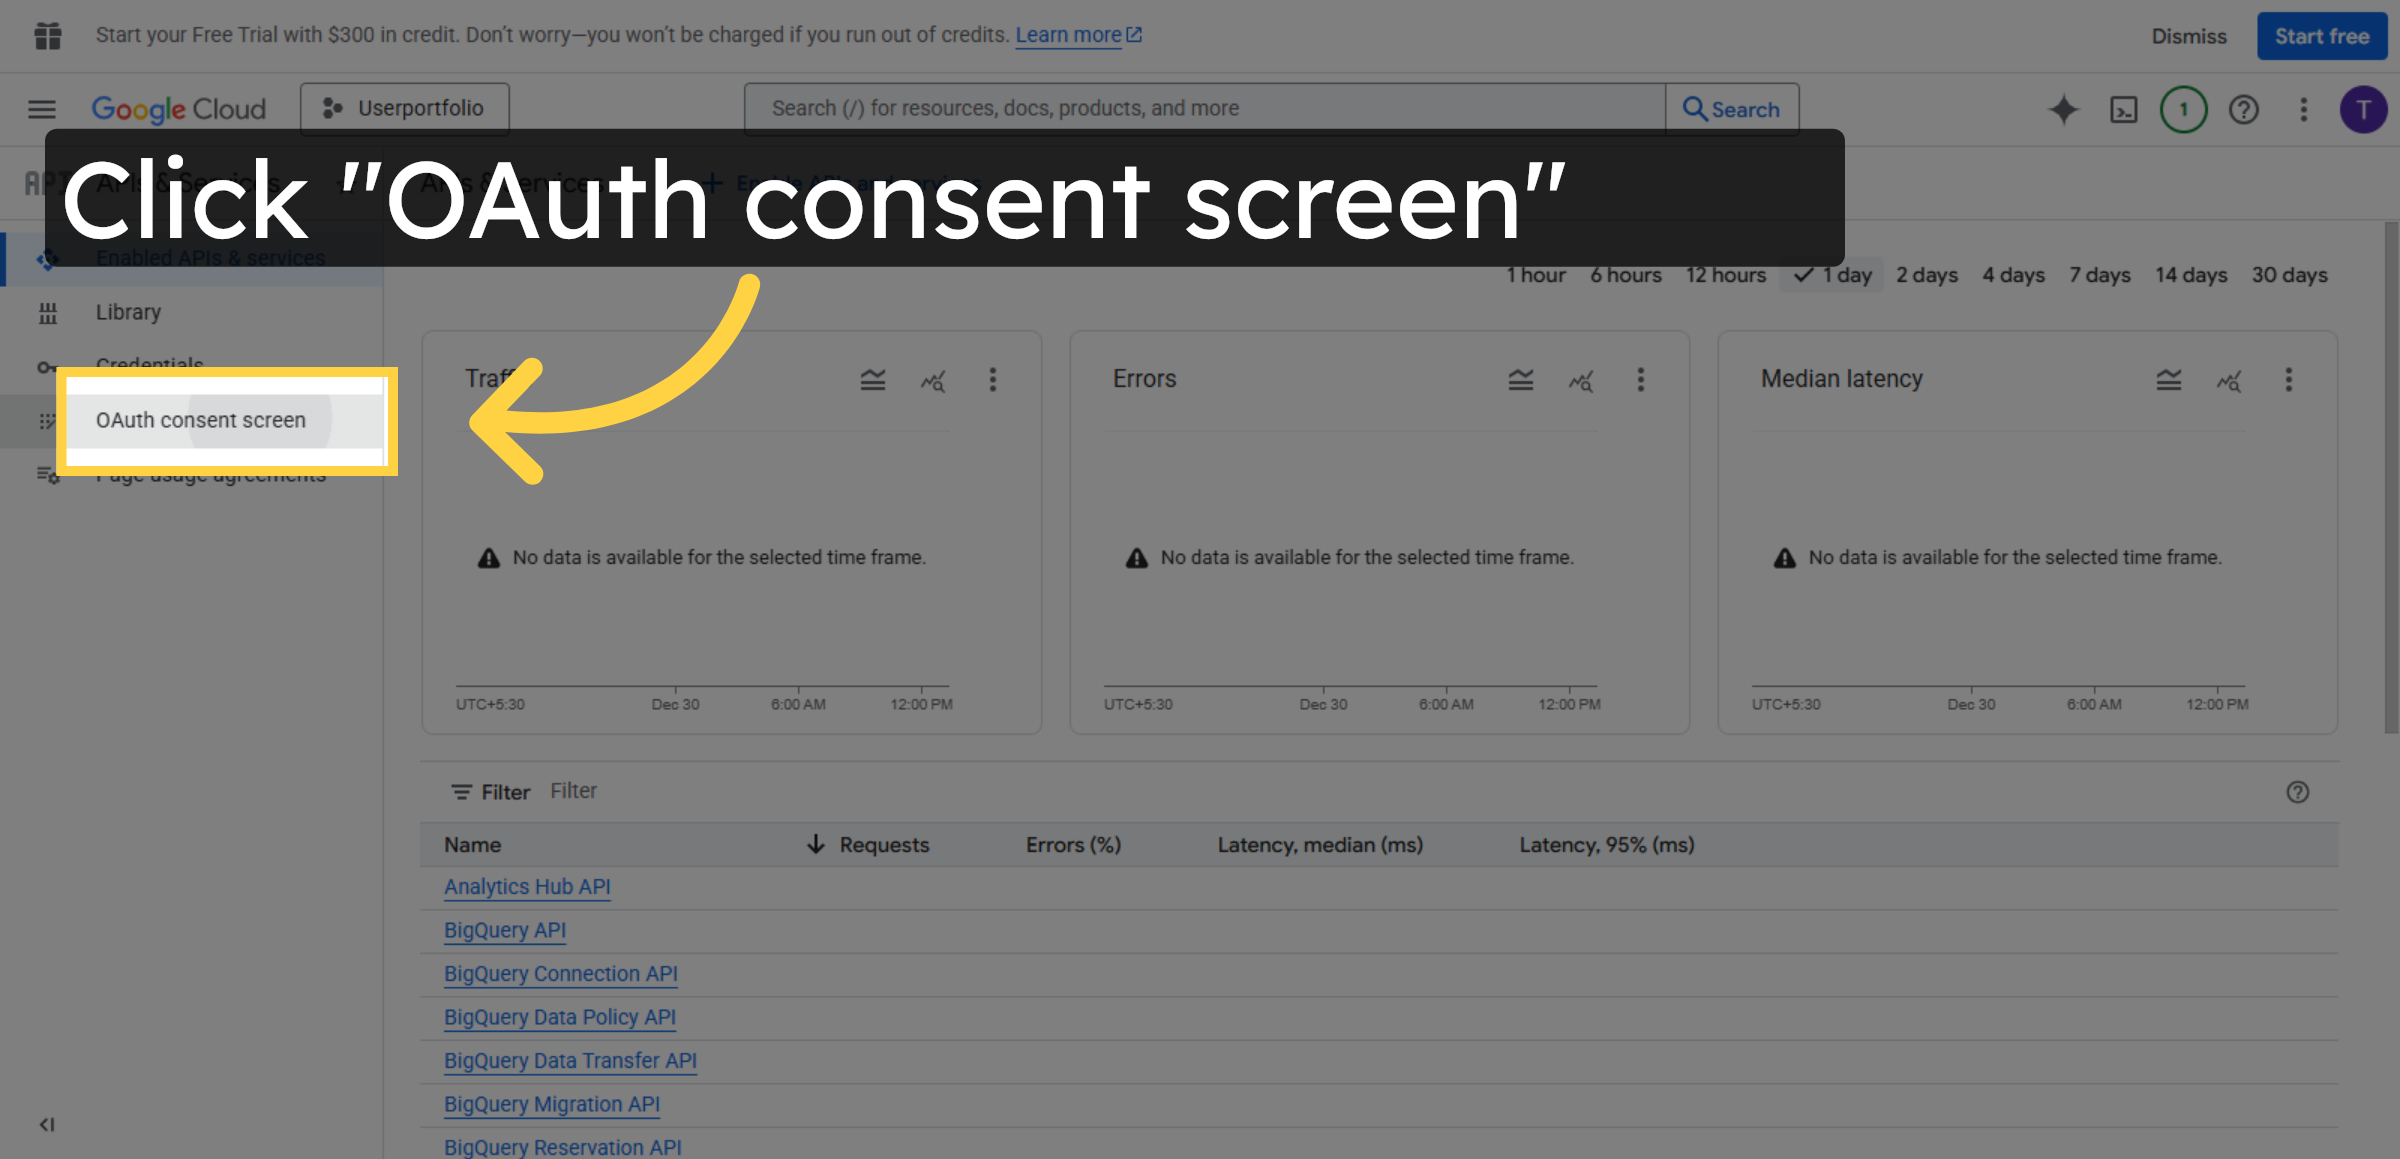
48. Access OAuth Consent Screen
Click OAuth consent screen to configure app permissions and publishing.
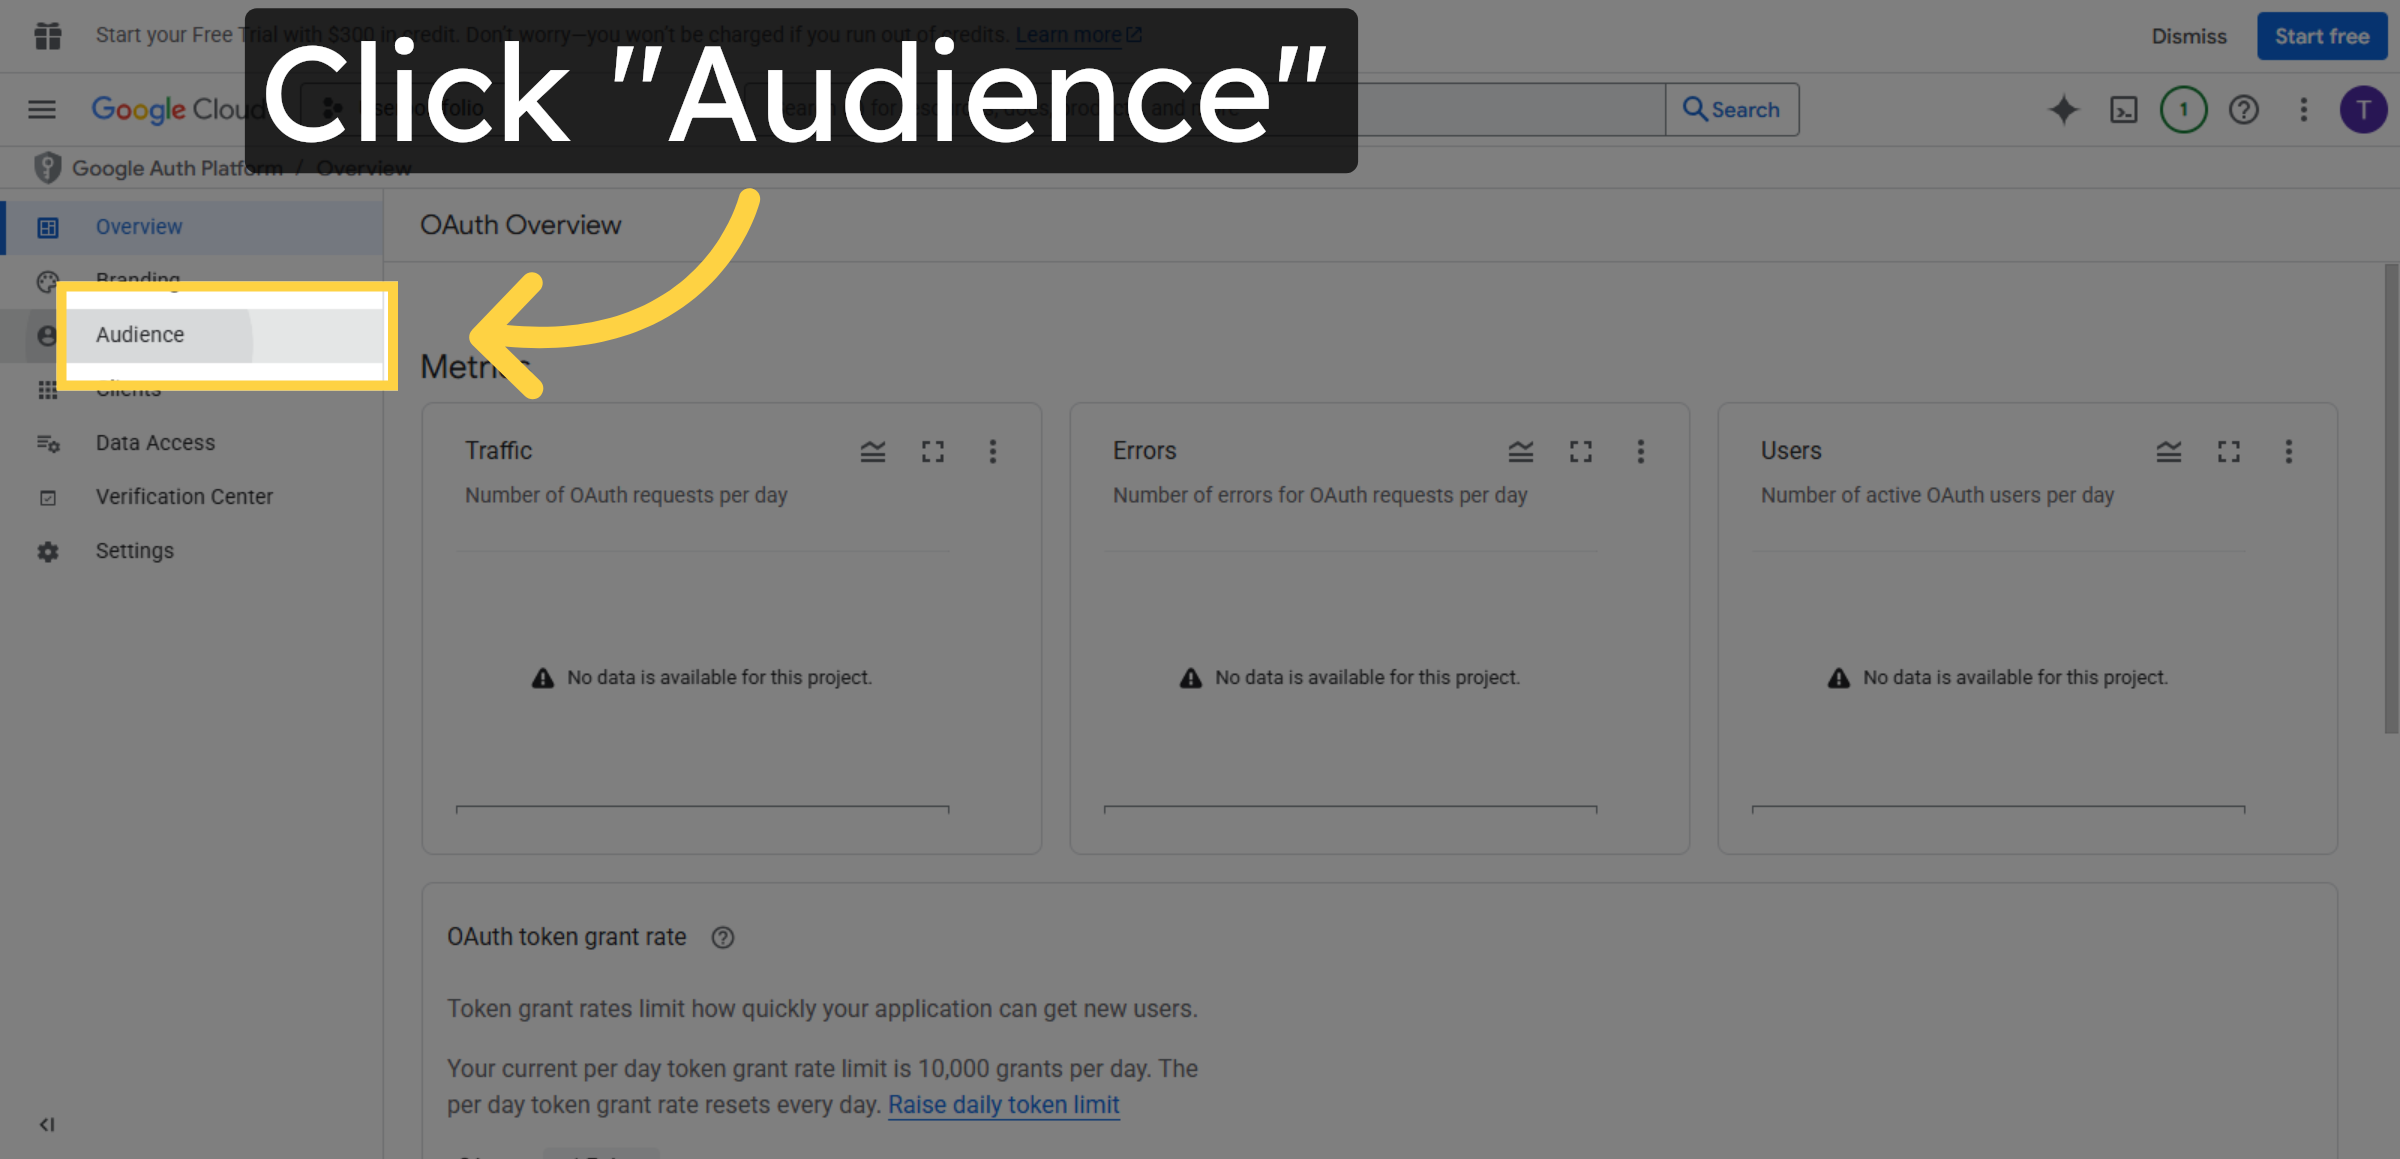
49. Open Audience Section
Click Audience to manage who can use your OAuth app.
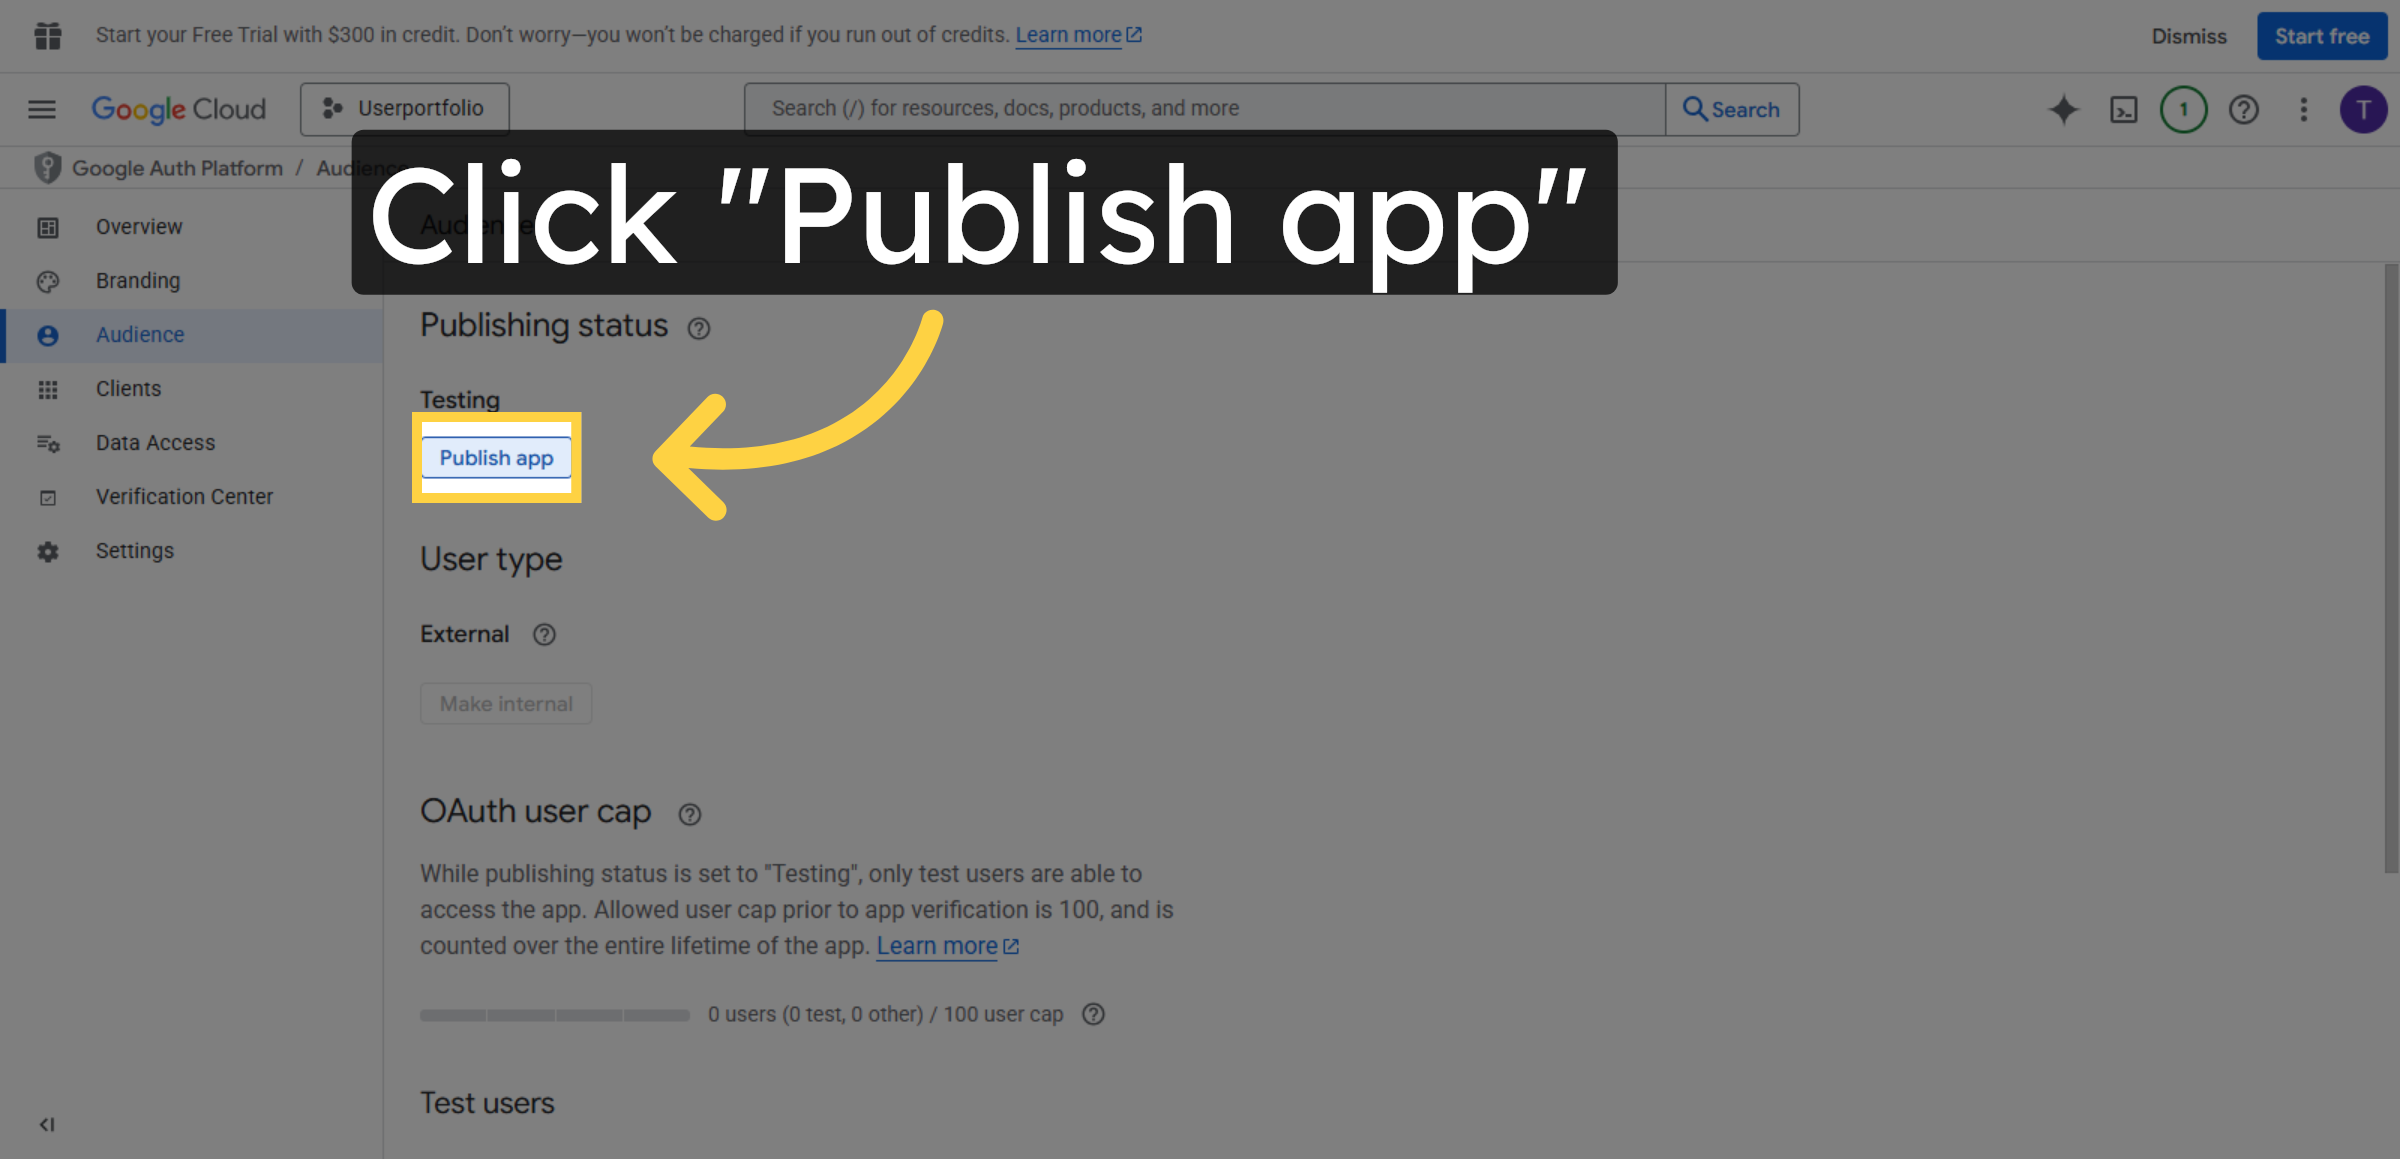
50. Publish OAuth App
Click Publish app to make your OAuth consent screen available to users.
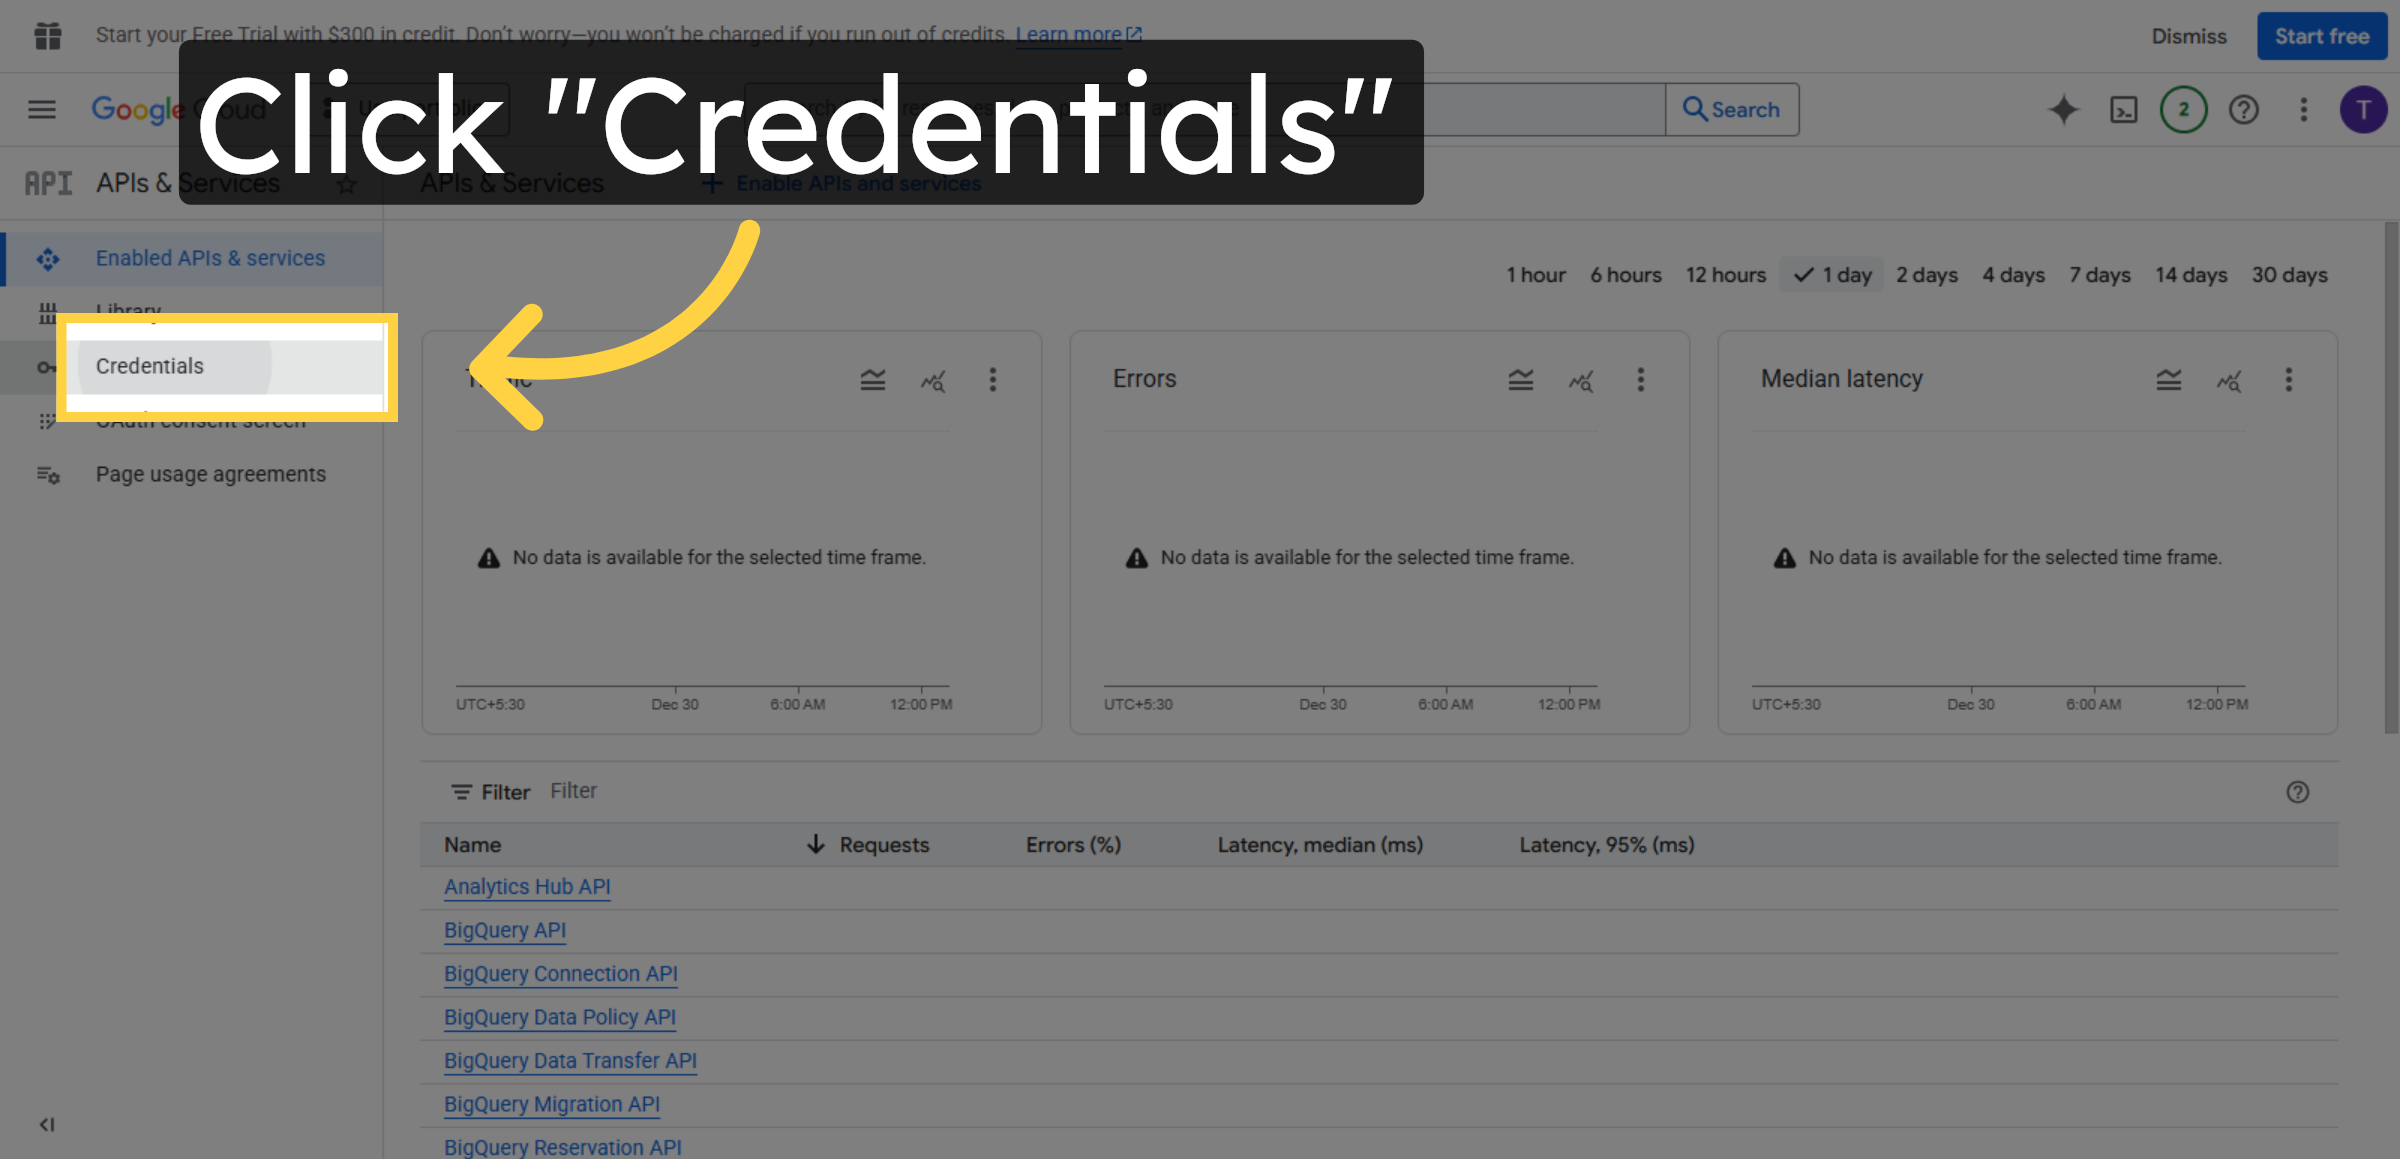
51. Return To Credentials
Click Credentials to continue managing your OAuth client IDs.
52. Return To Credentials
Click the indicated area to go back to the credentials overview page.
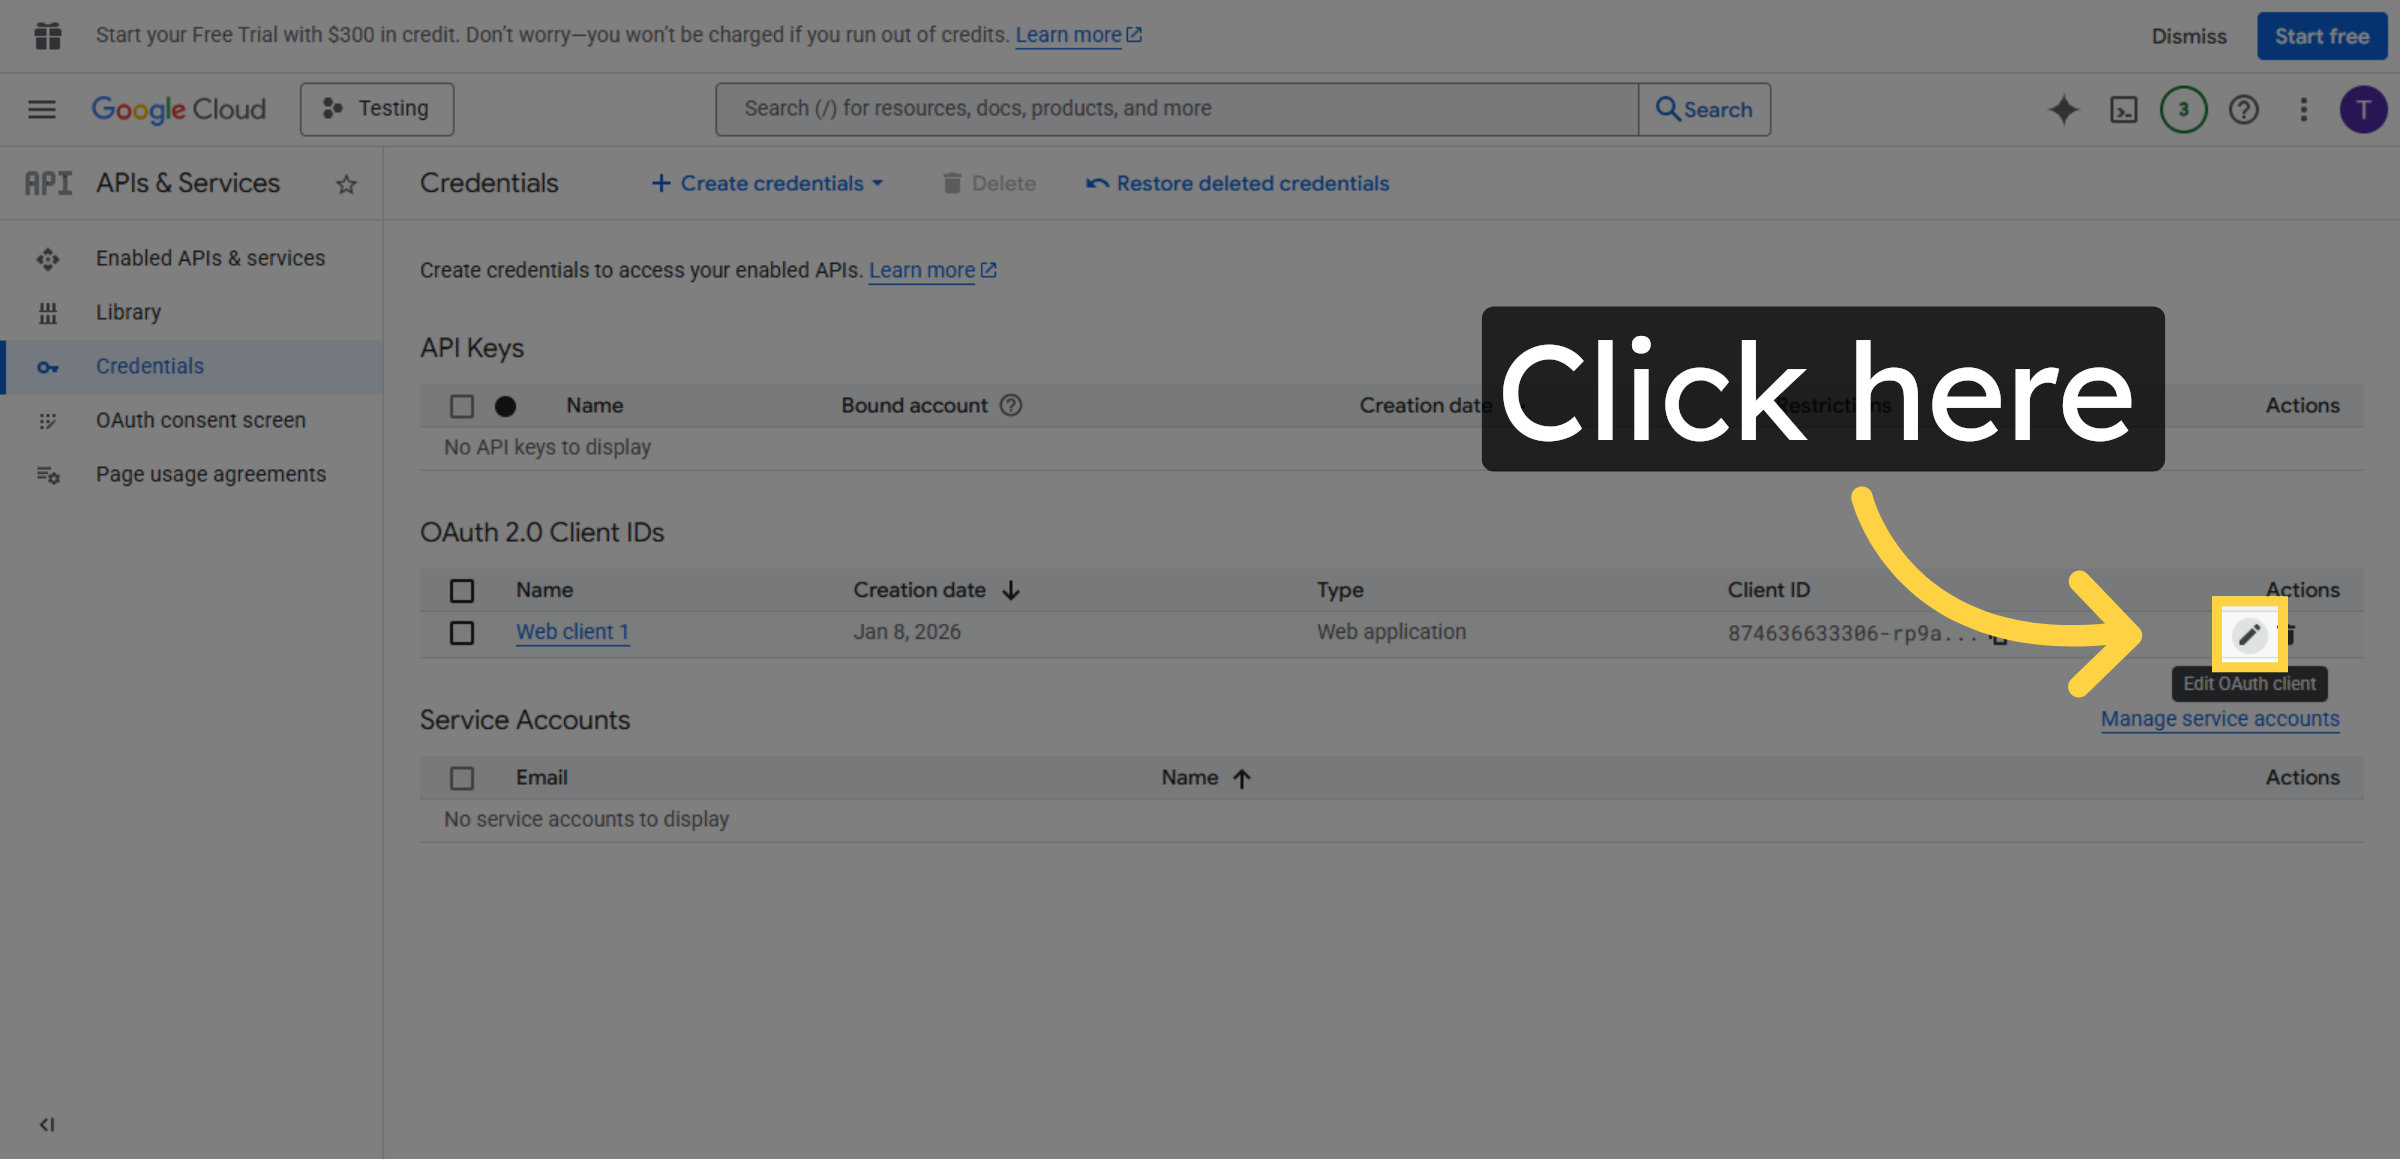
53. Select OAuth Client ID
Click Client ID to view the details of your OAuth client credentials.

54. Select Client ID Field
Click Client ID field in the SMTP plugin settings to input your OAuth client ID.
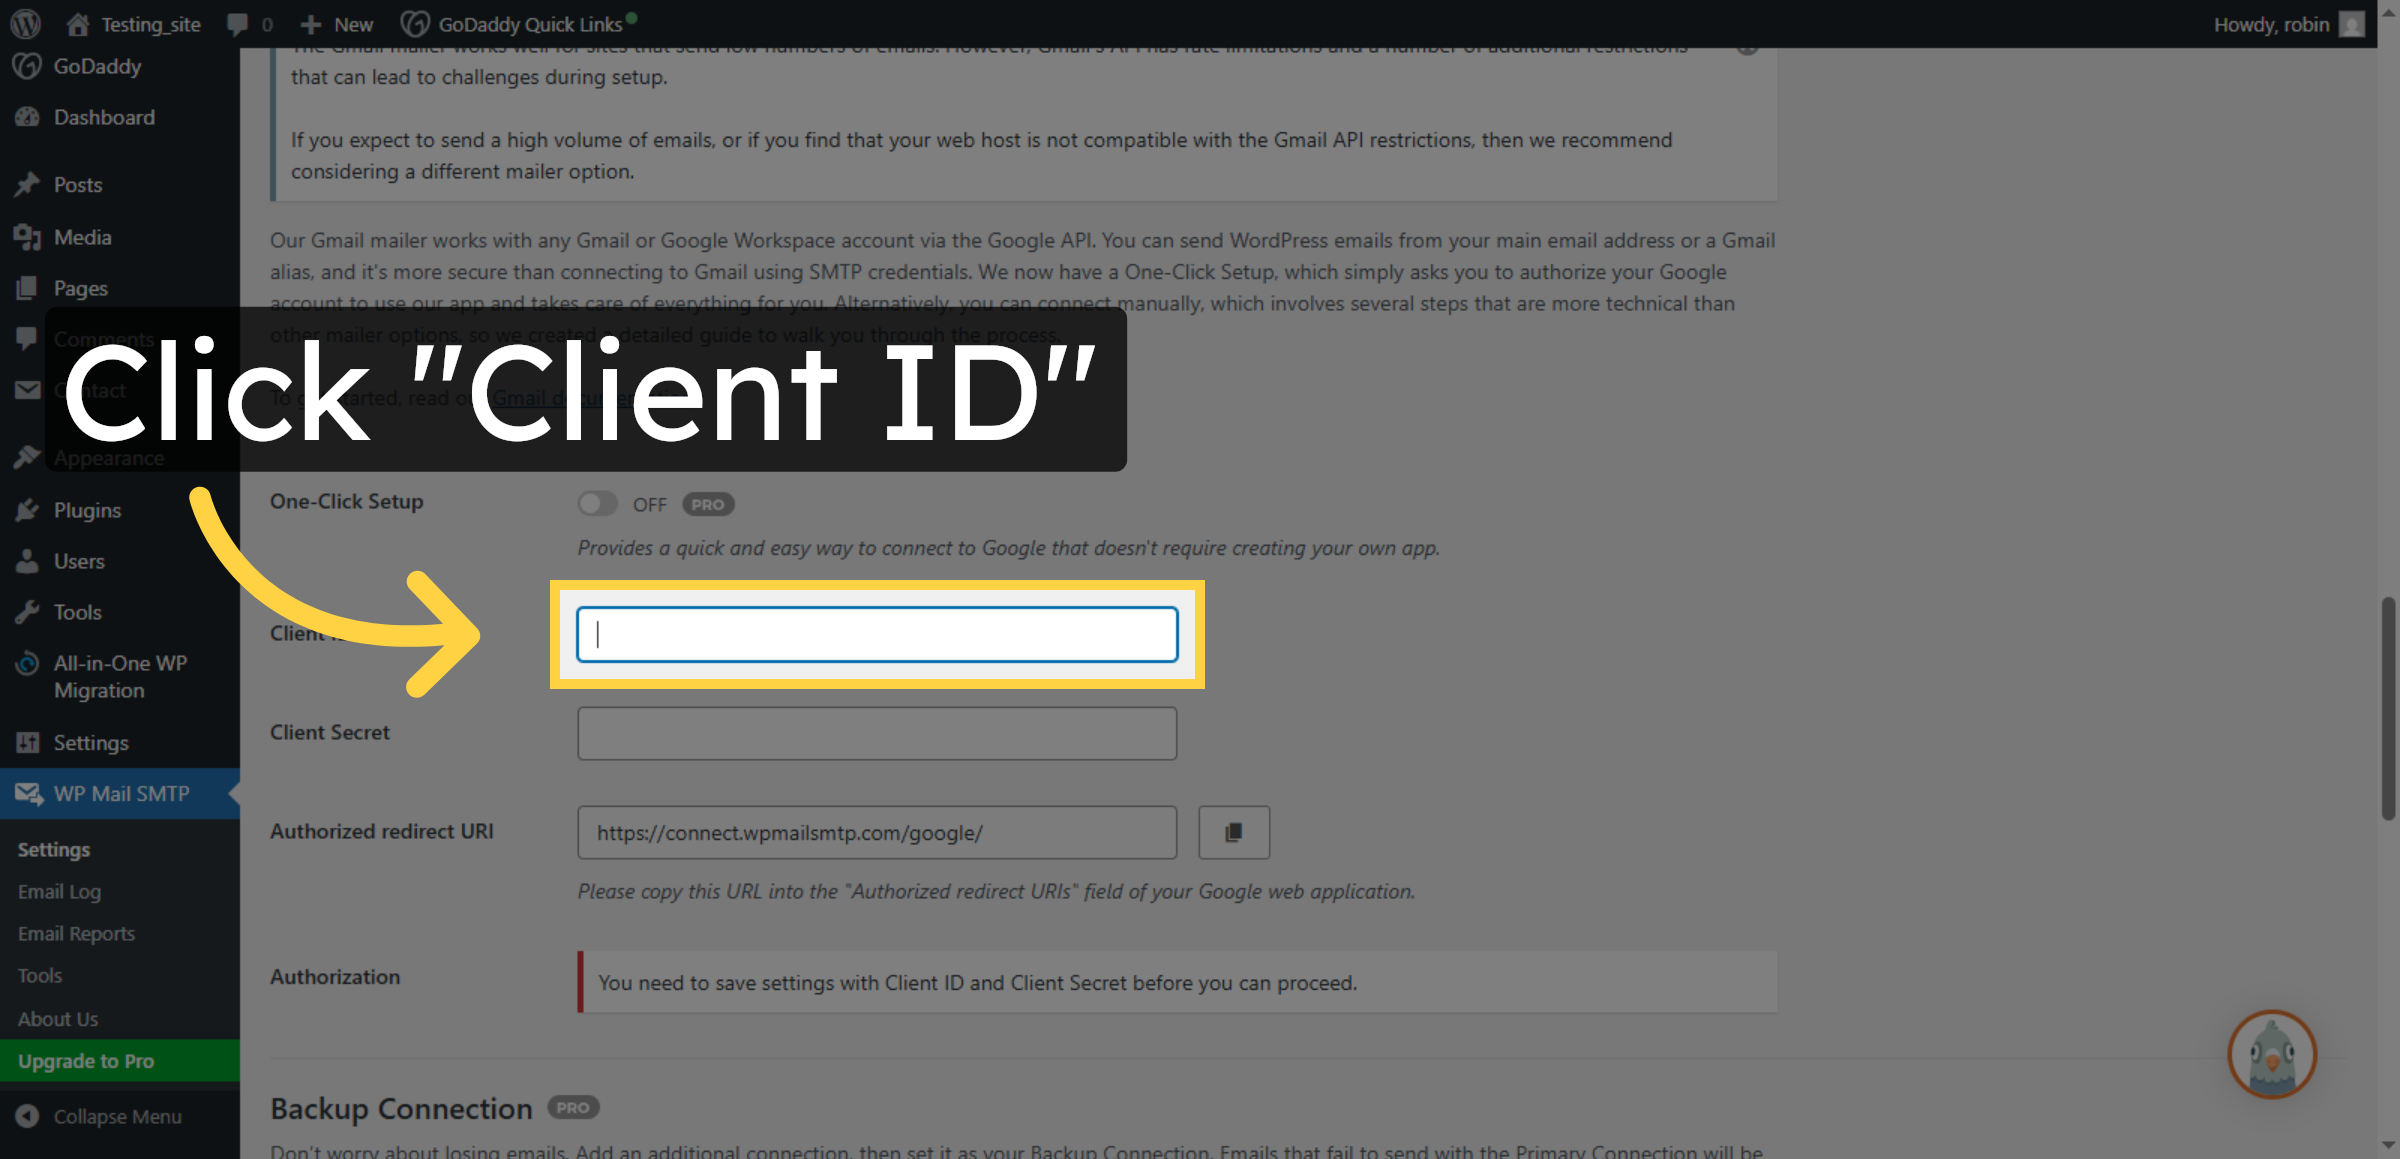
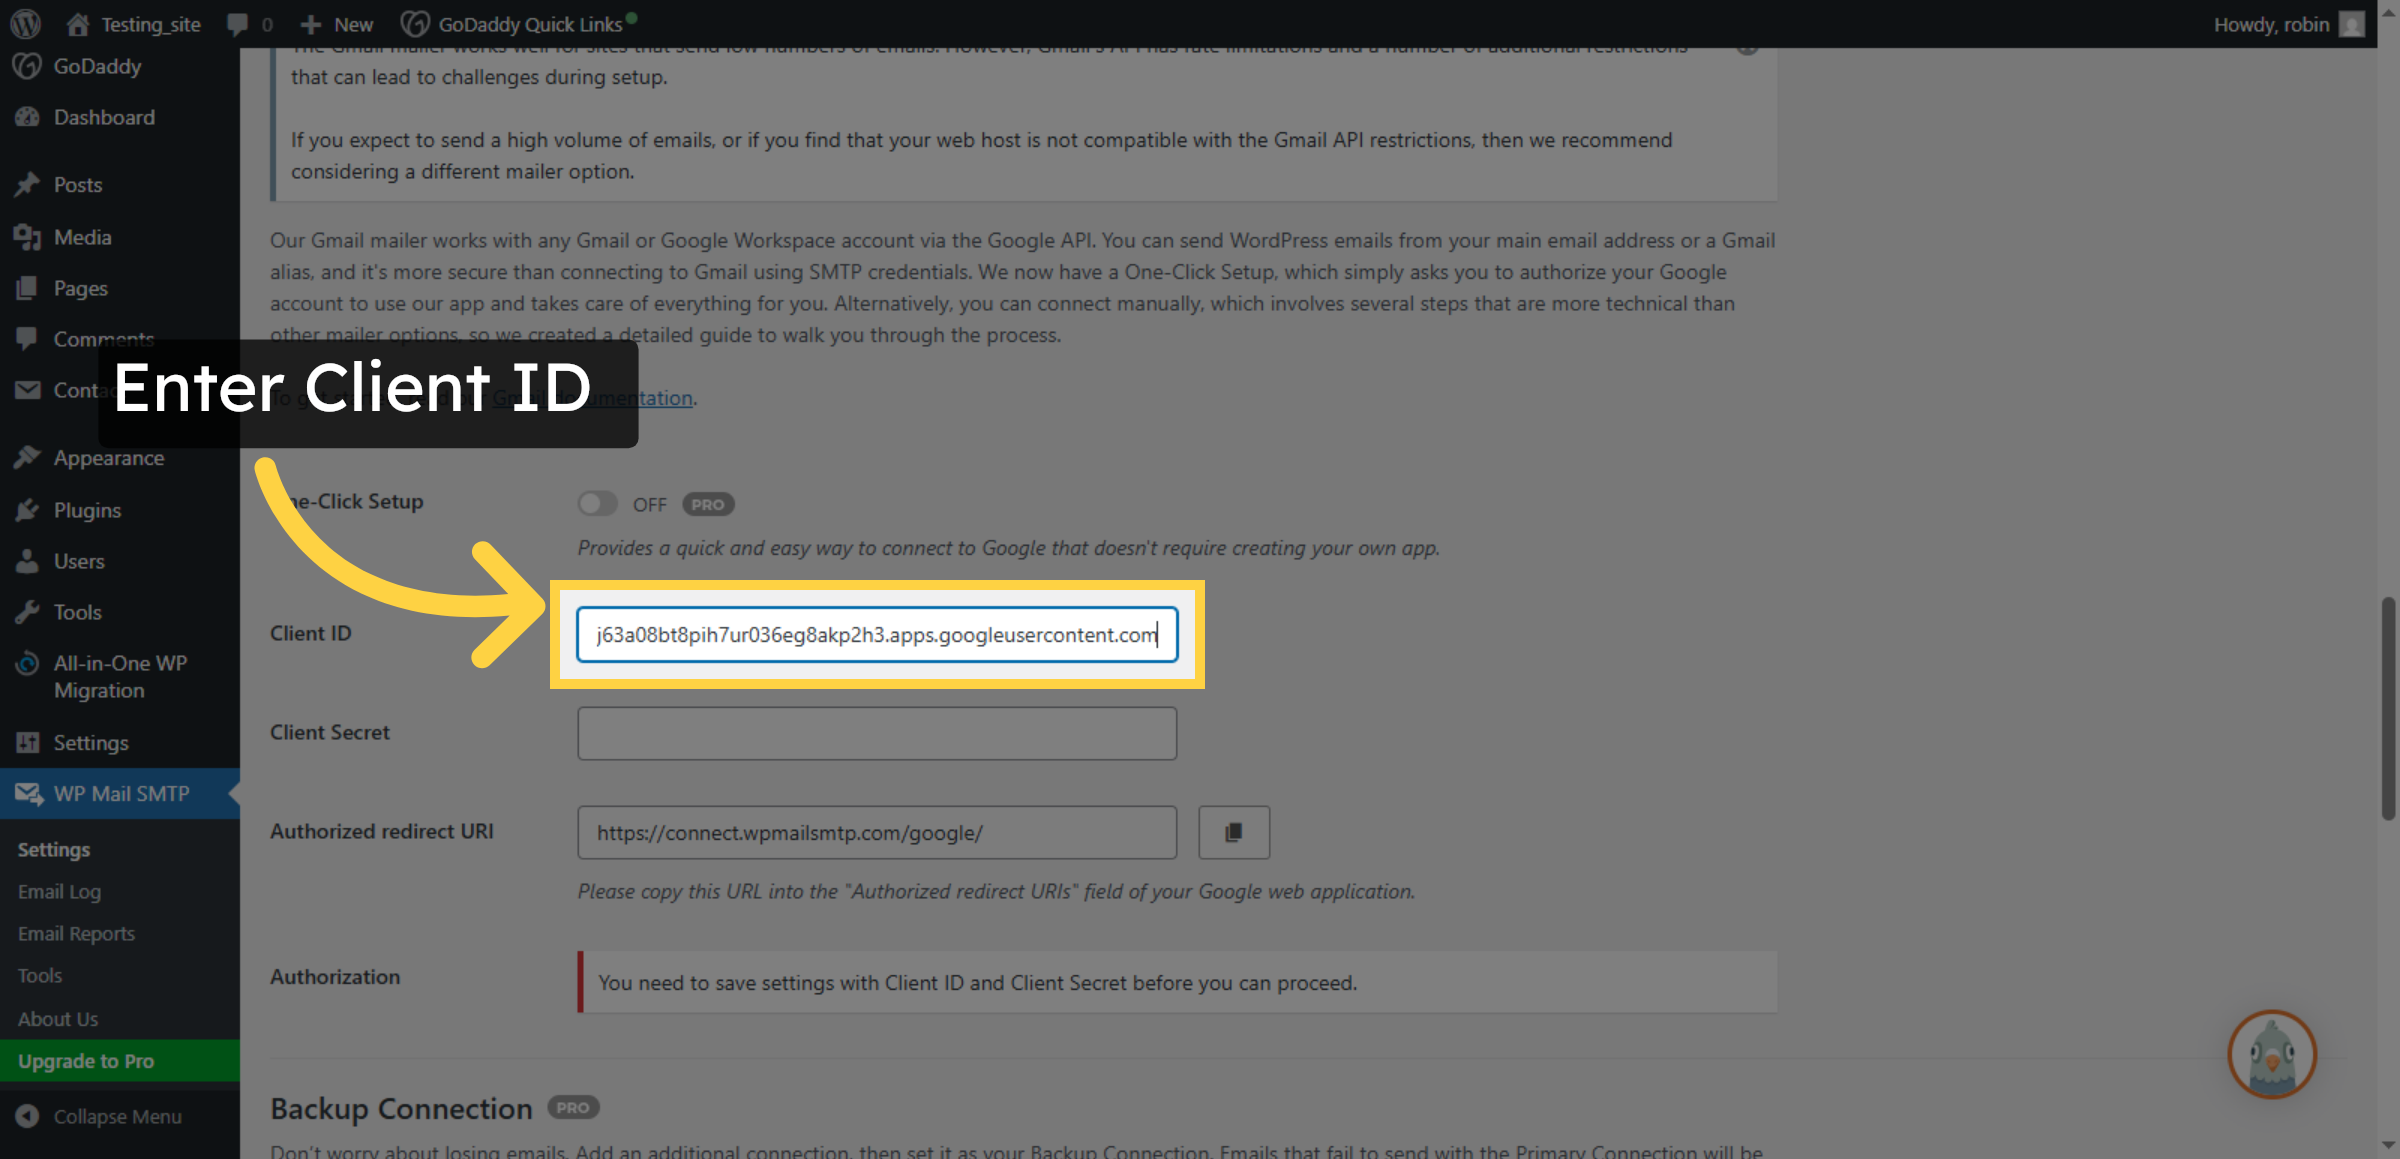
55. Enter Client ID
Fill your OAuth client ID string to link your WordPress SMTP plugin with Google.
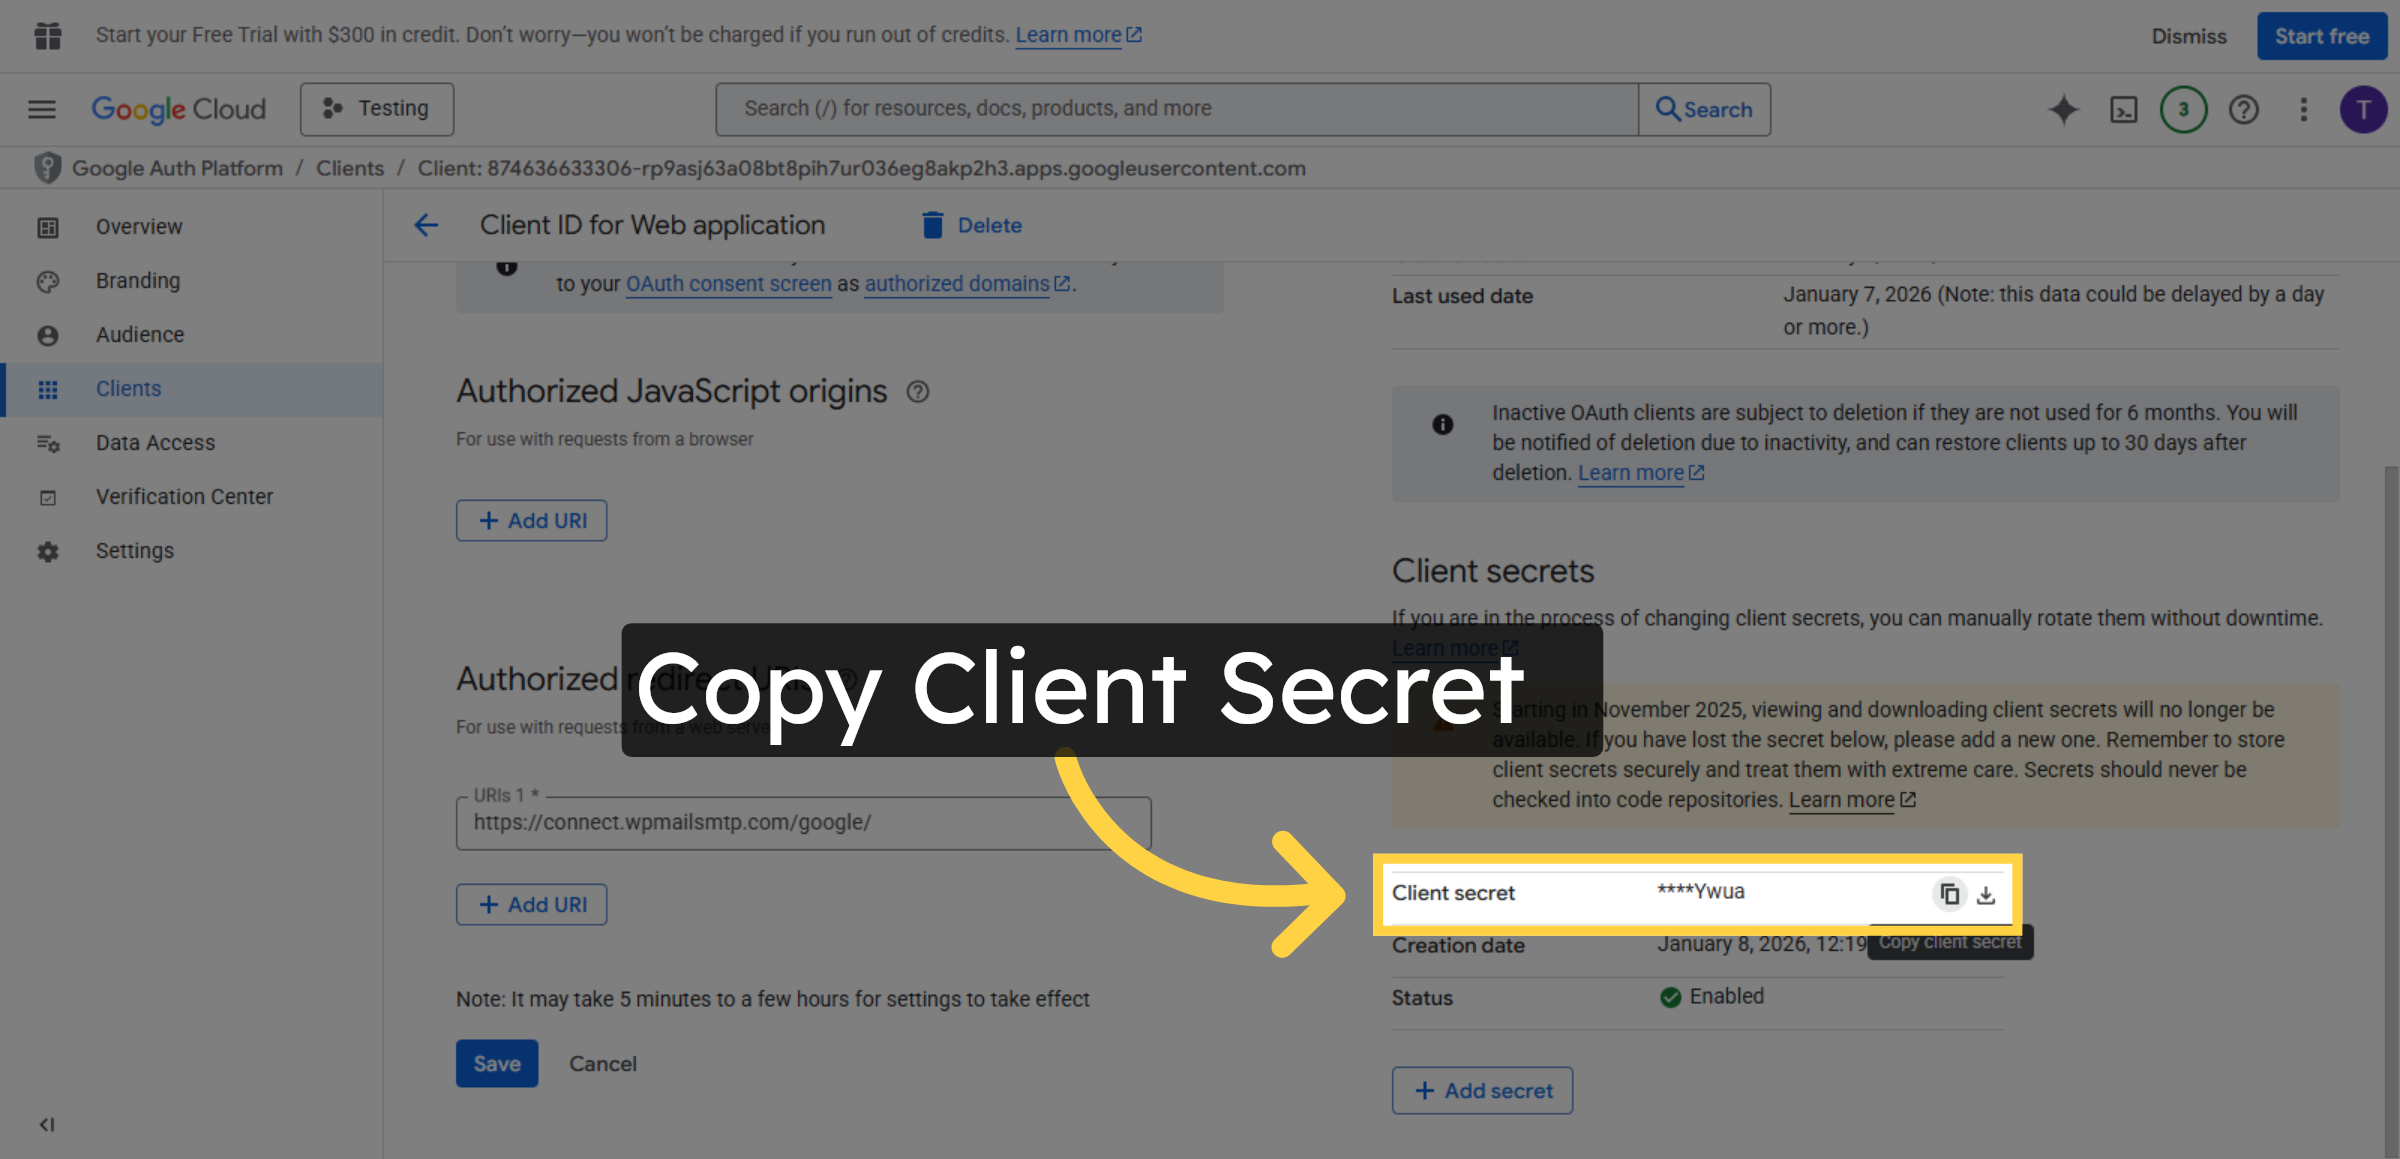
56. Copy Client Secret
Click the indicated area to copy your client secret for use in WordPress settings.
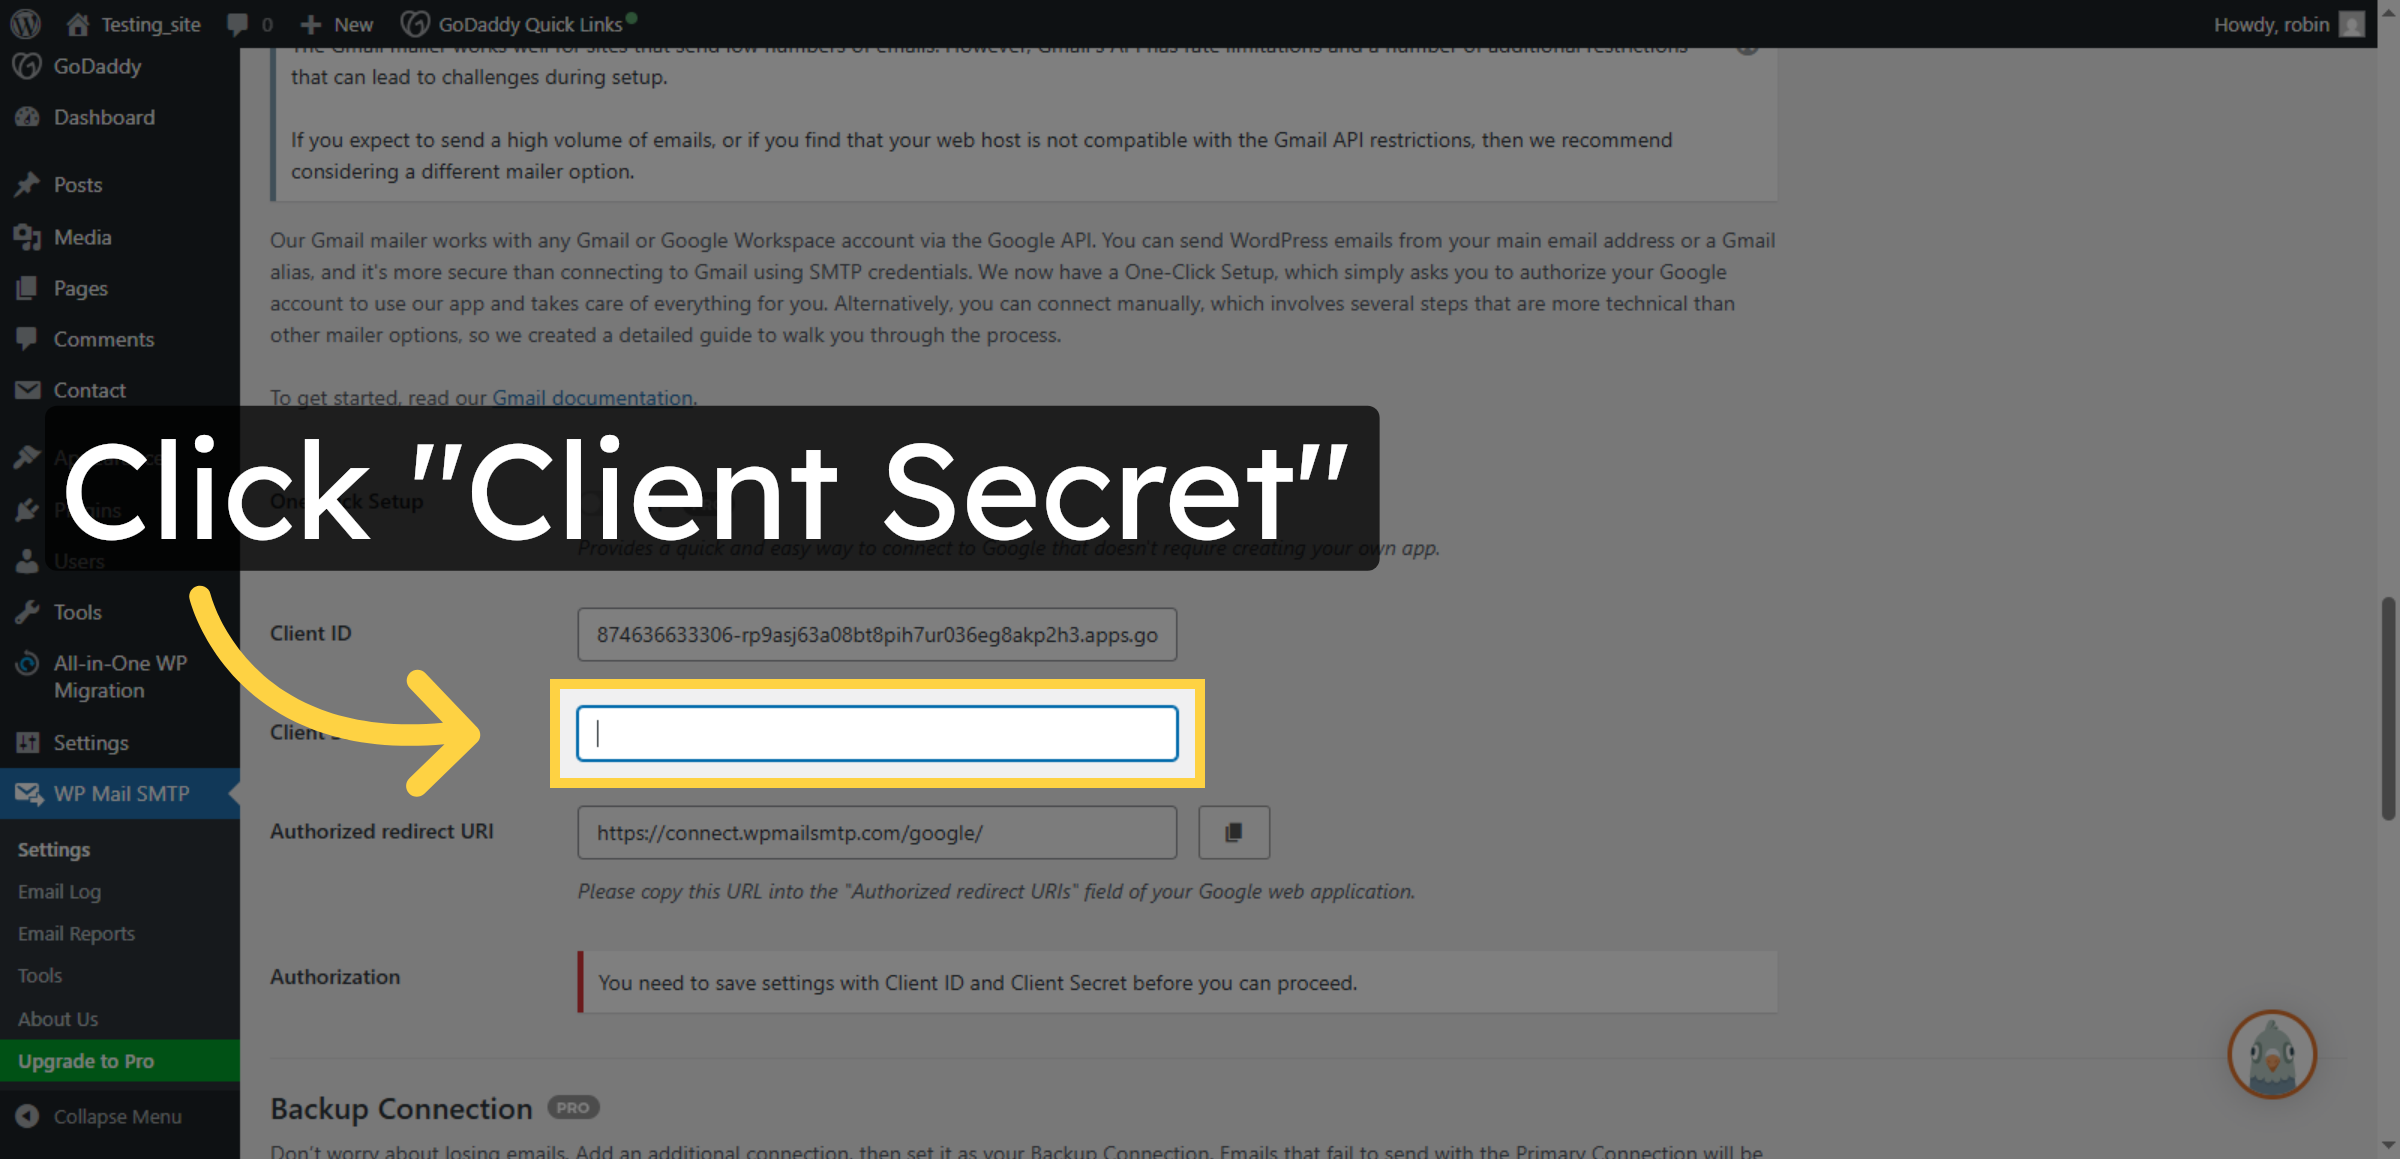
57. Select Client Secret Field
Click Client Secret field to input your OAuth client secret key.
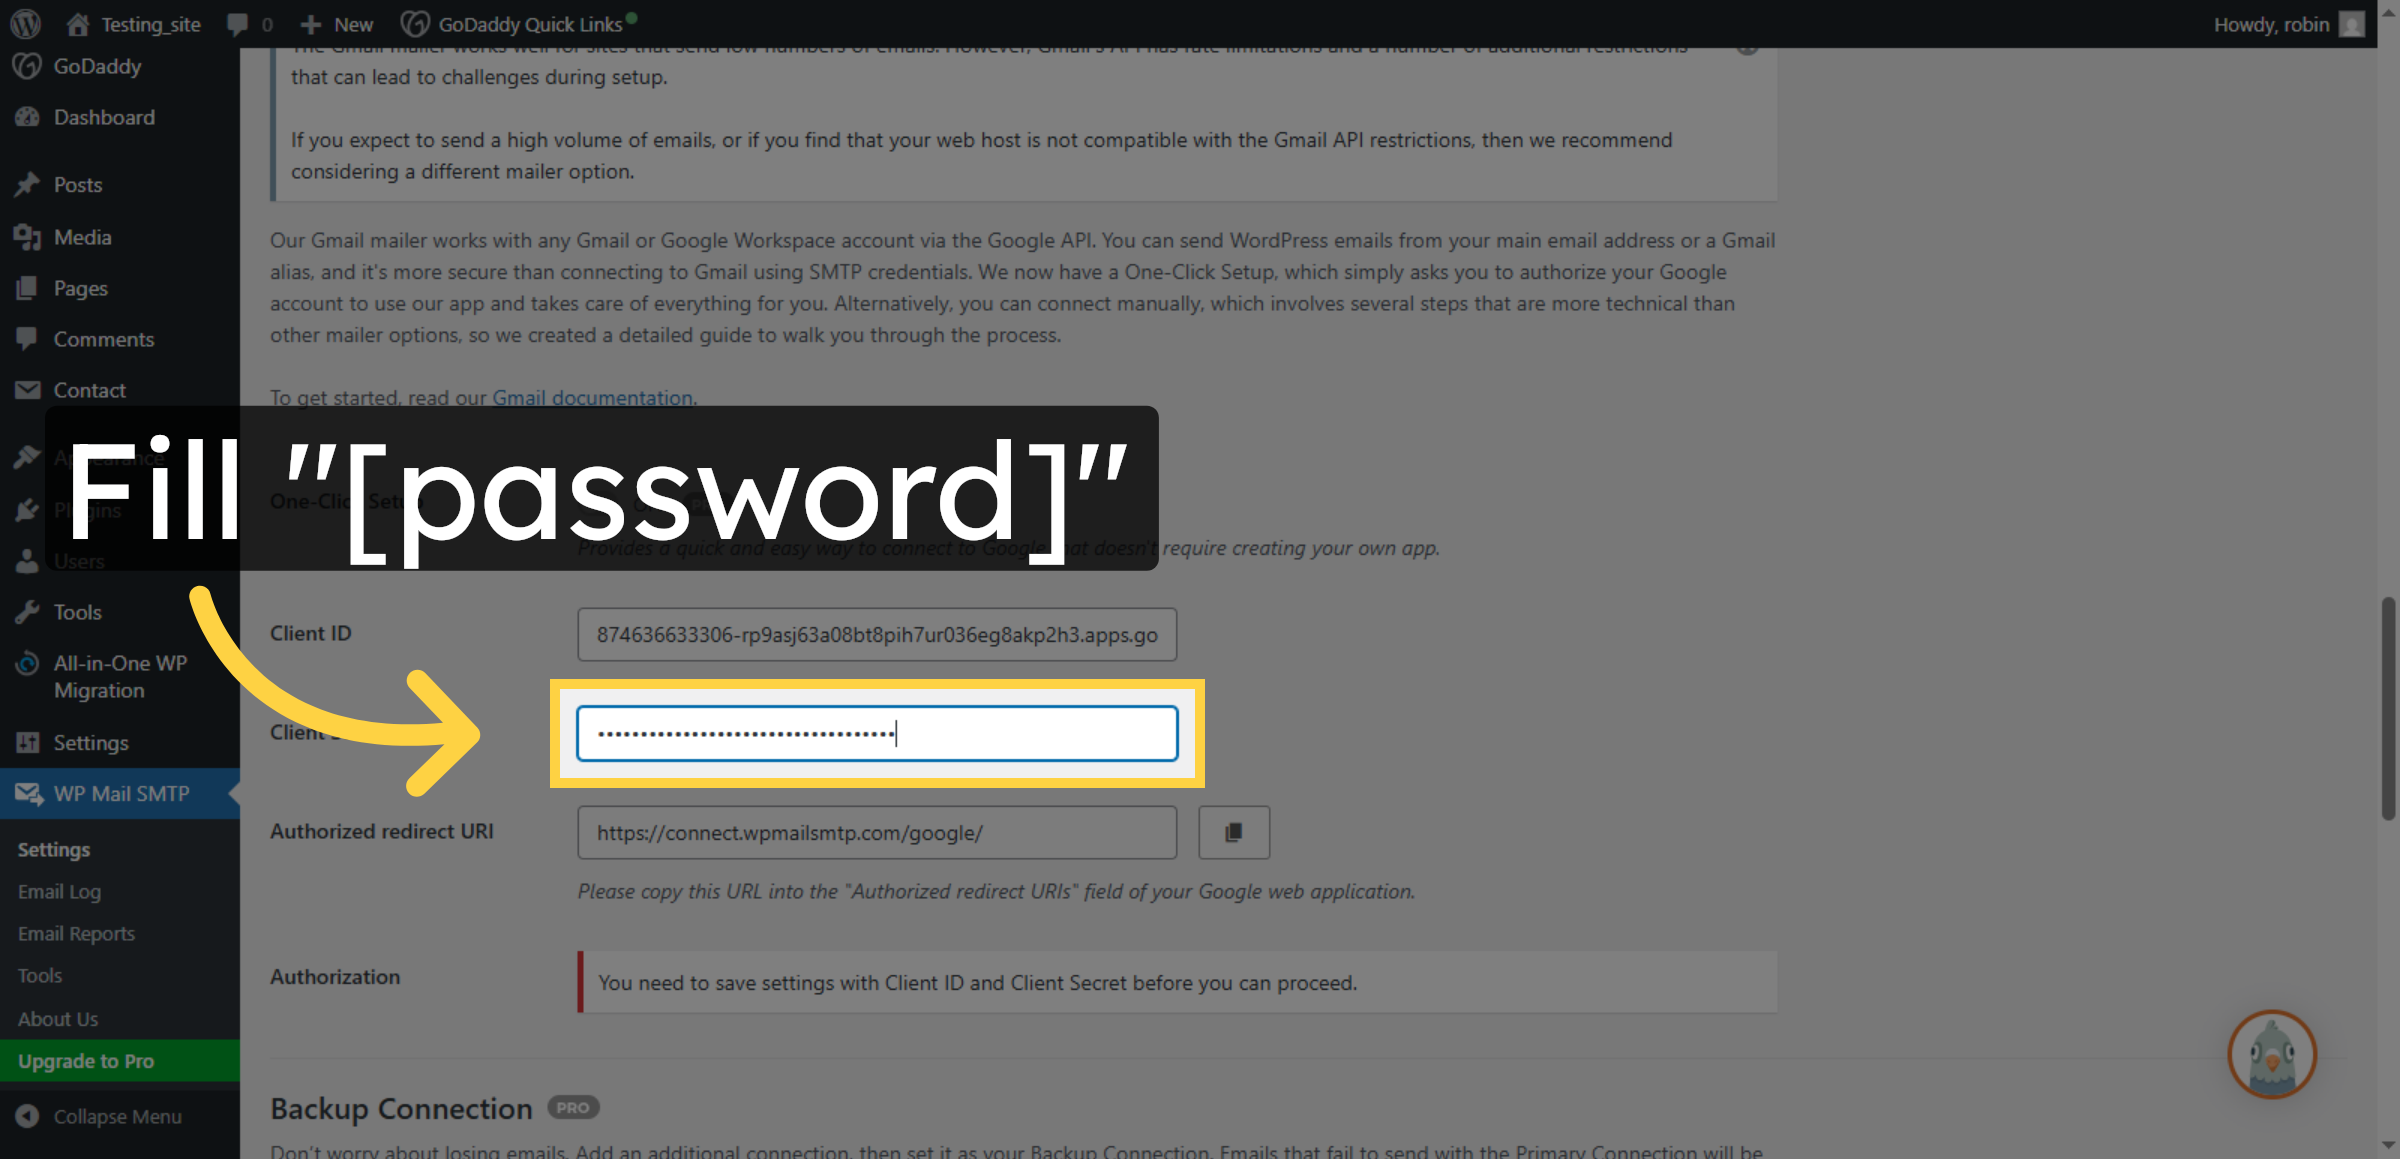
58. Enter Client Secret
Fill your client secret key to complete the OAuth configuration in the SMTP plugin.
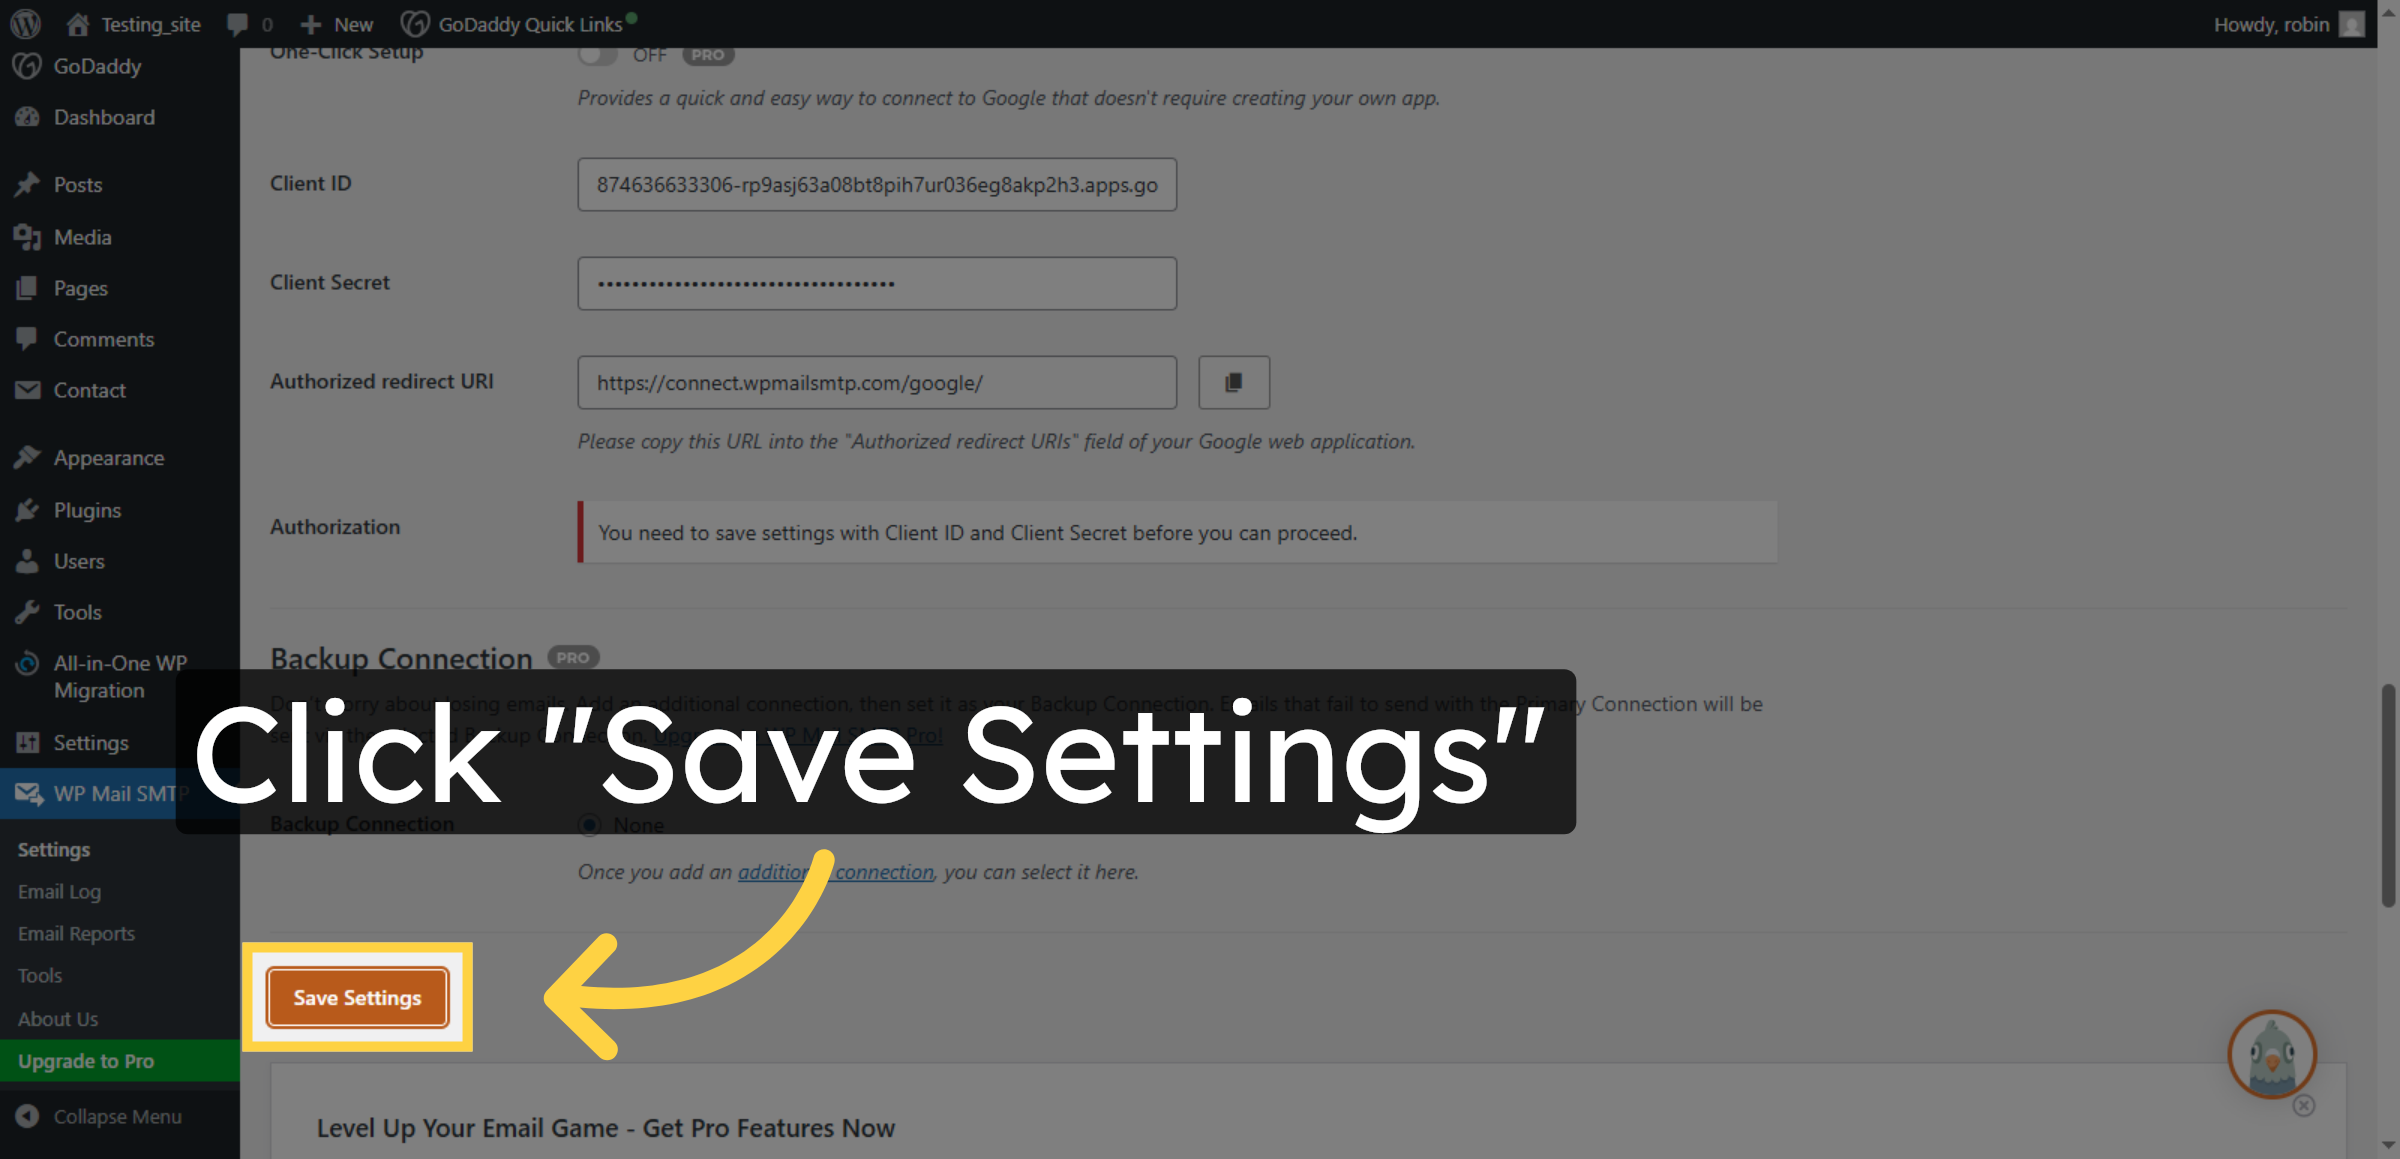
59. Save SMTP Settings
Click Save Settings to apply all changes made to the WP Mail SMTP plugin configuration.
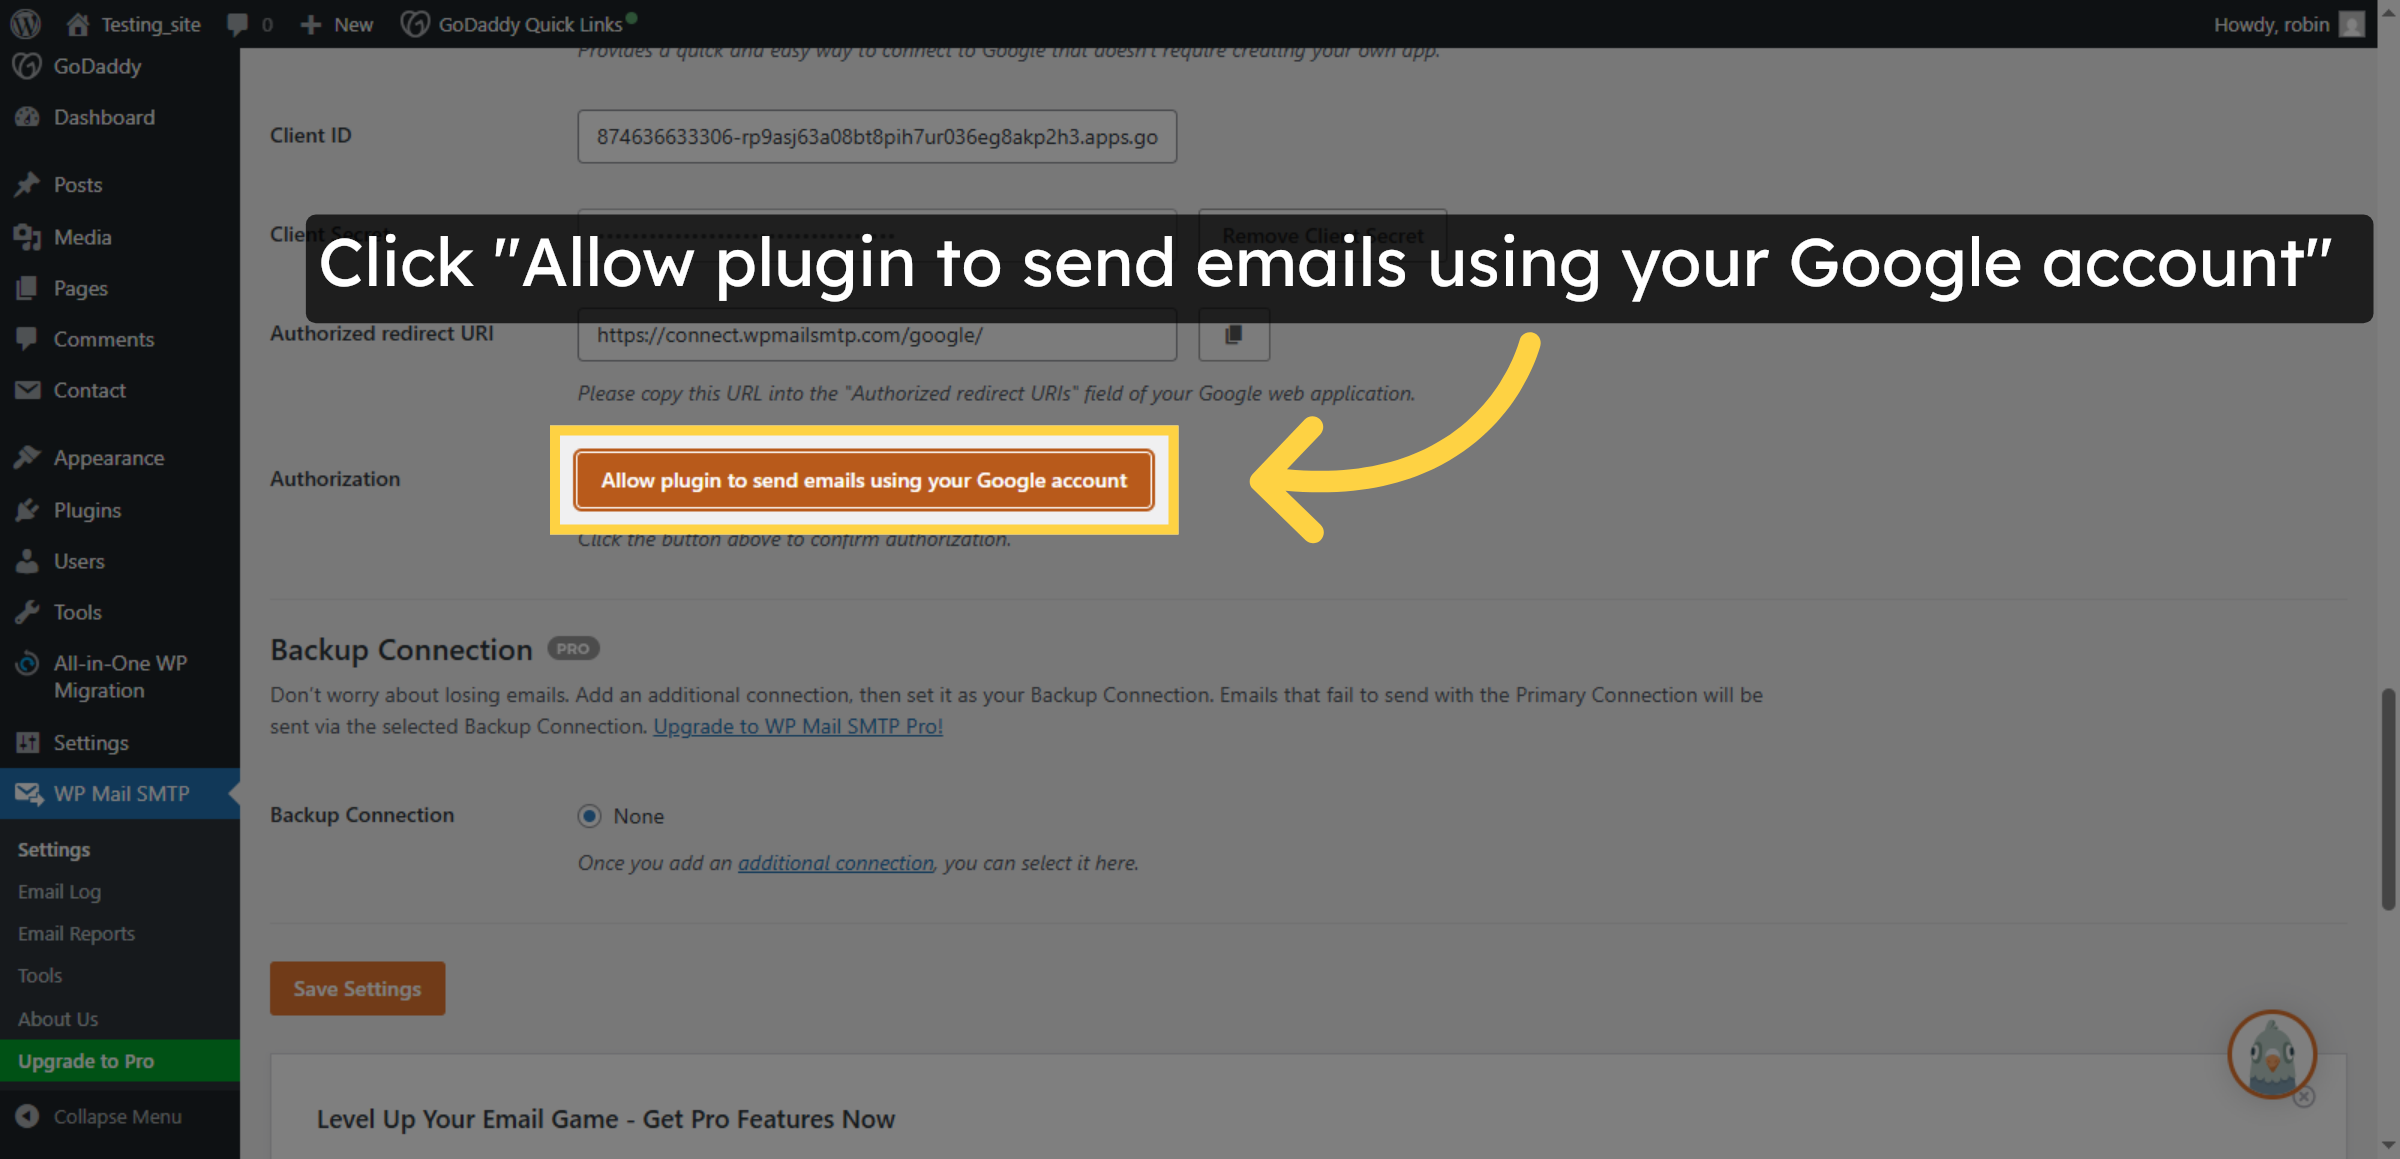
60. Authorize Plugin Email Sending
Click Allow plugin to send emails using your Google account to enable email sending.
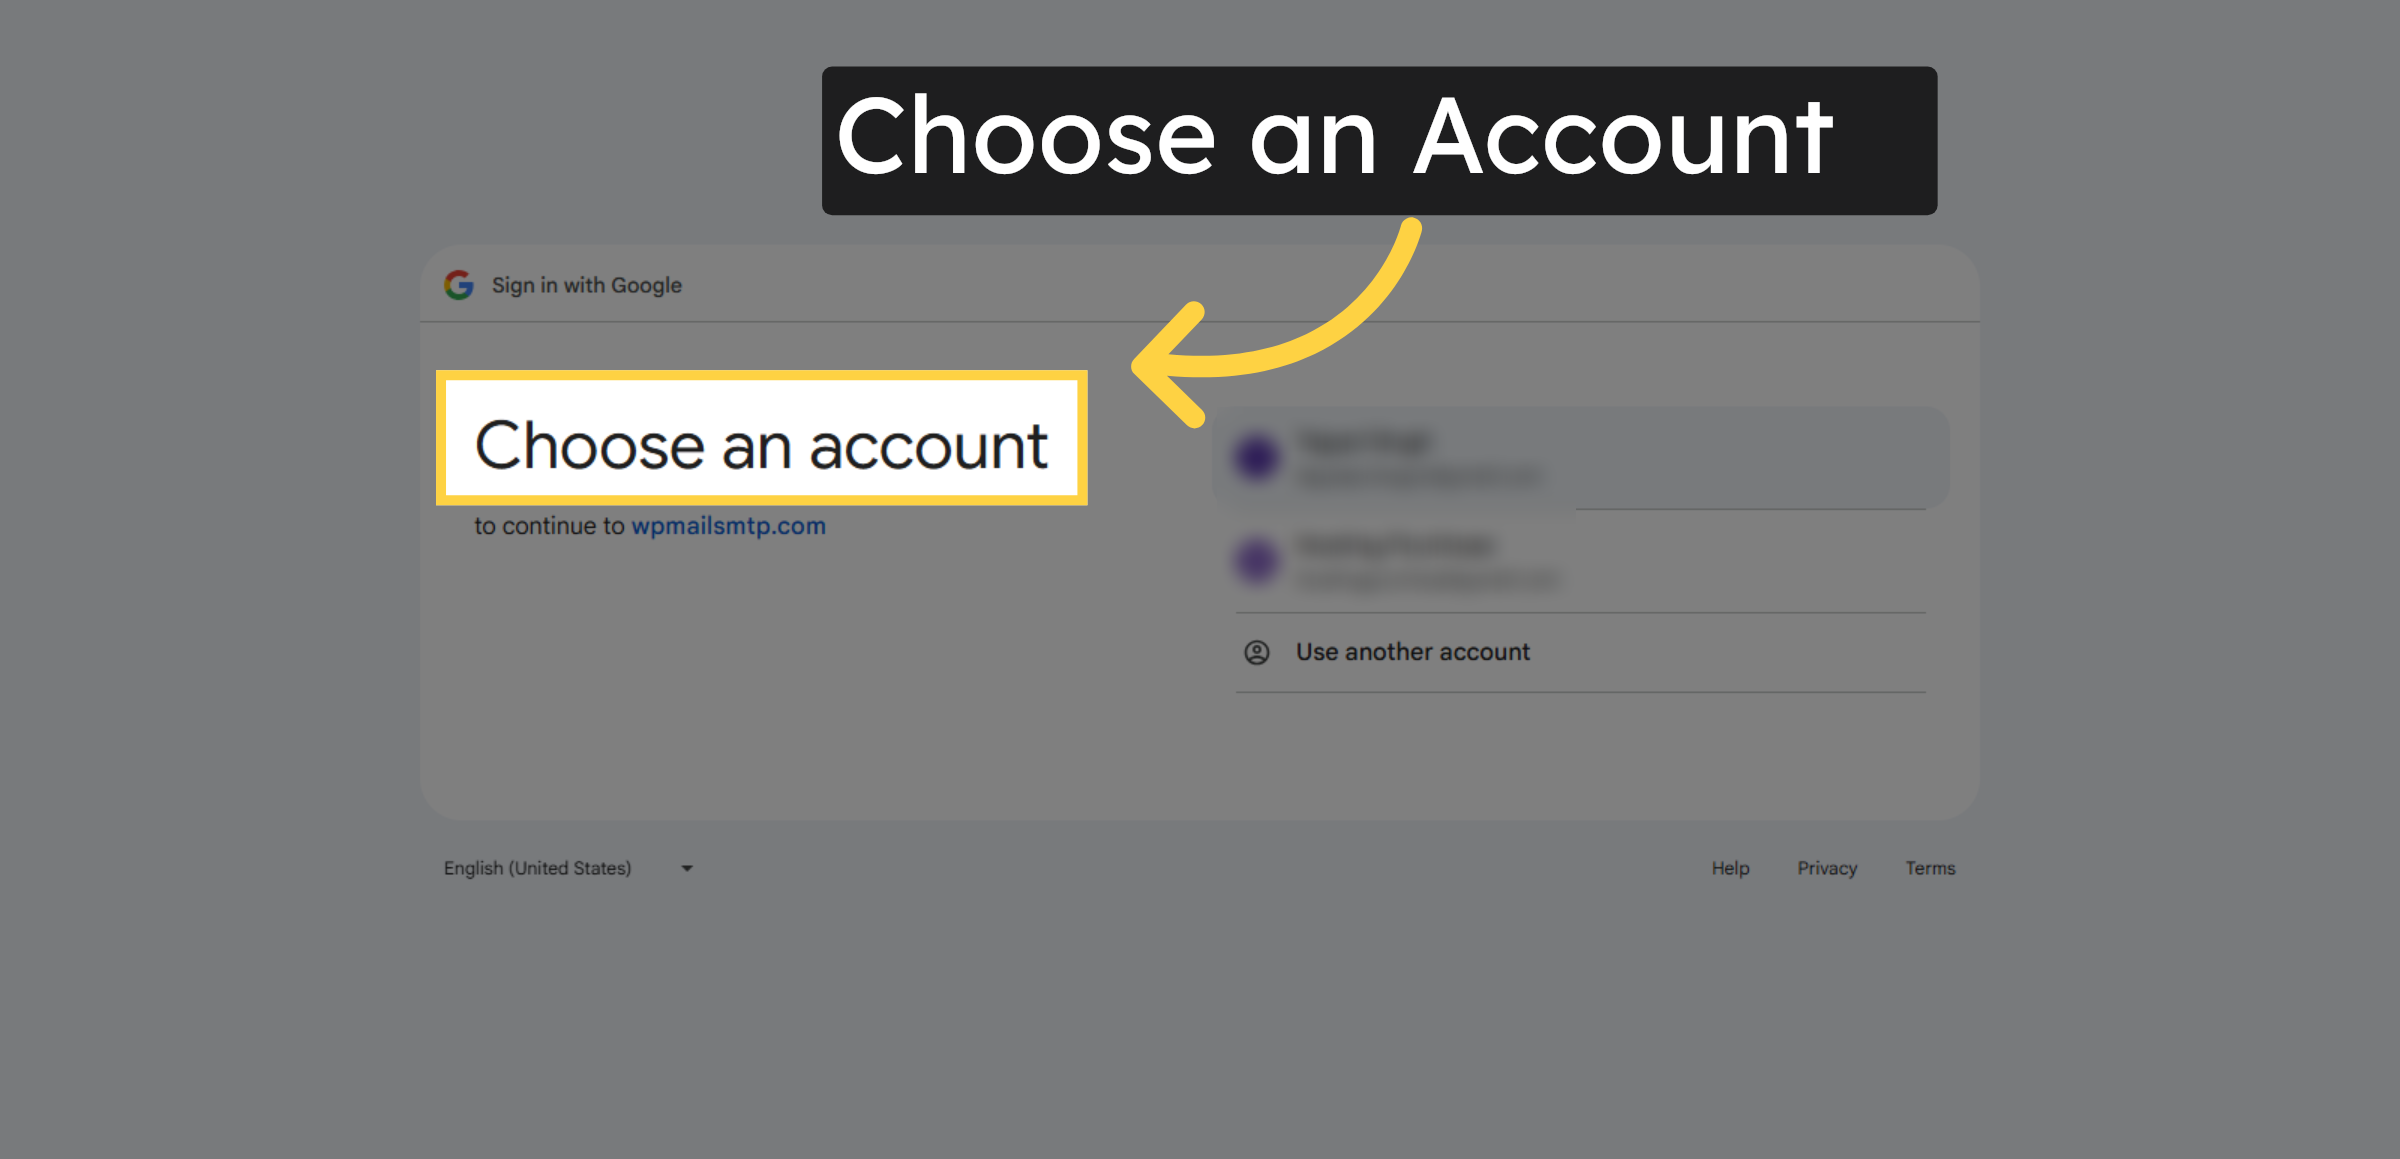
61. Select Google Account
Click your Google account to proceed with authorization.
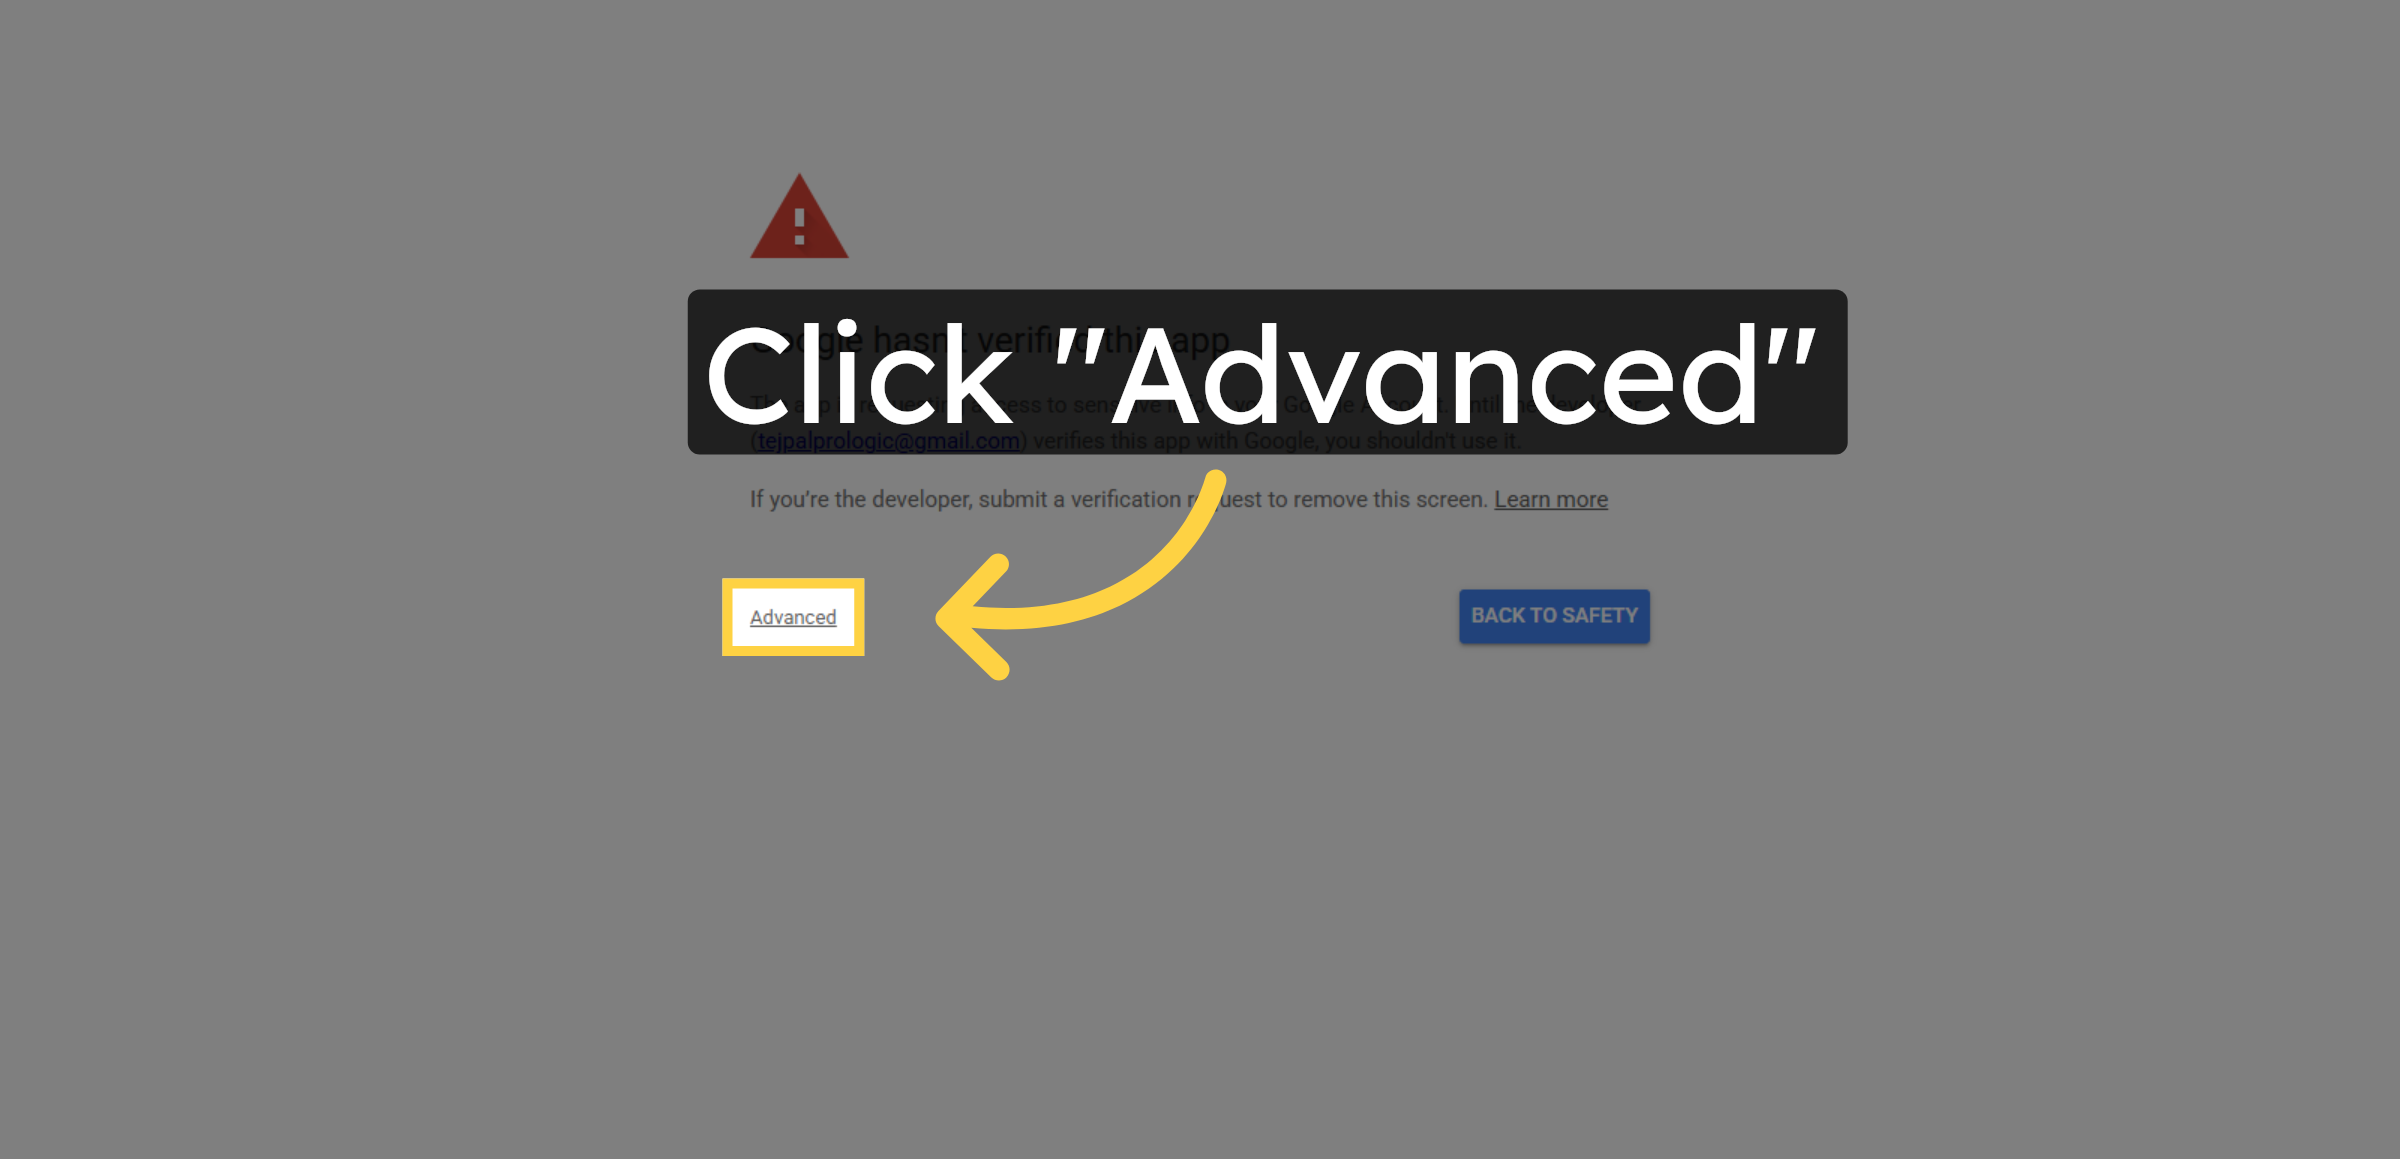
62. Open Advanced Options
Click Advanced to access additional sign-in options.
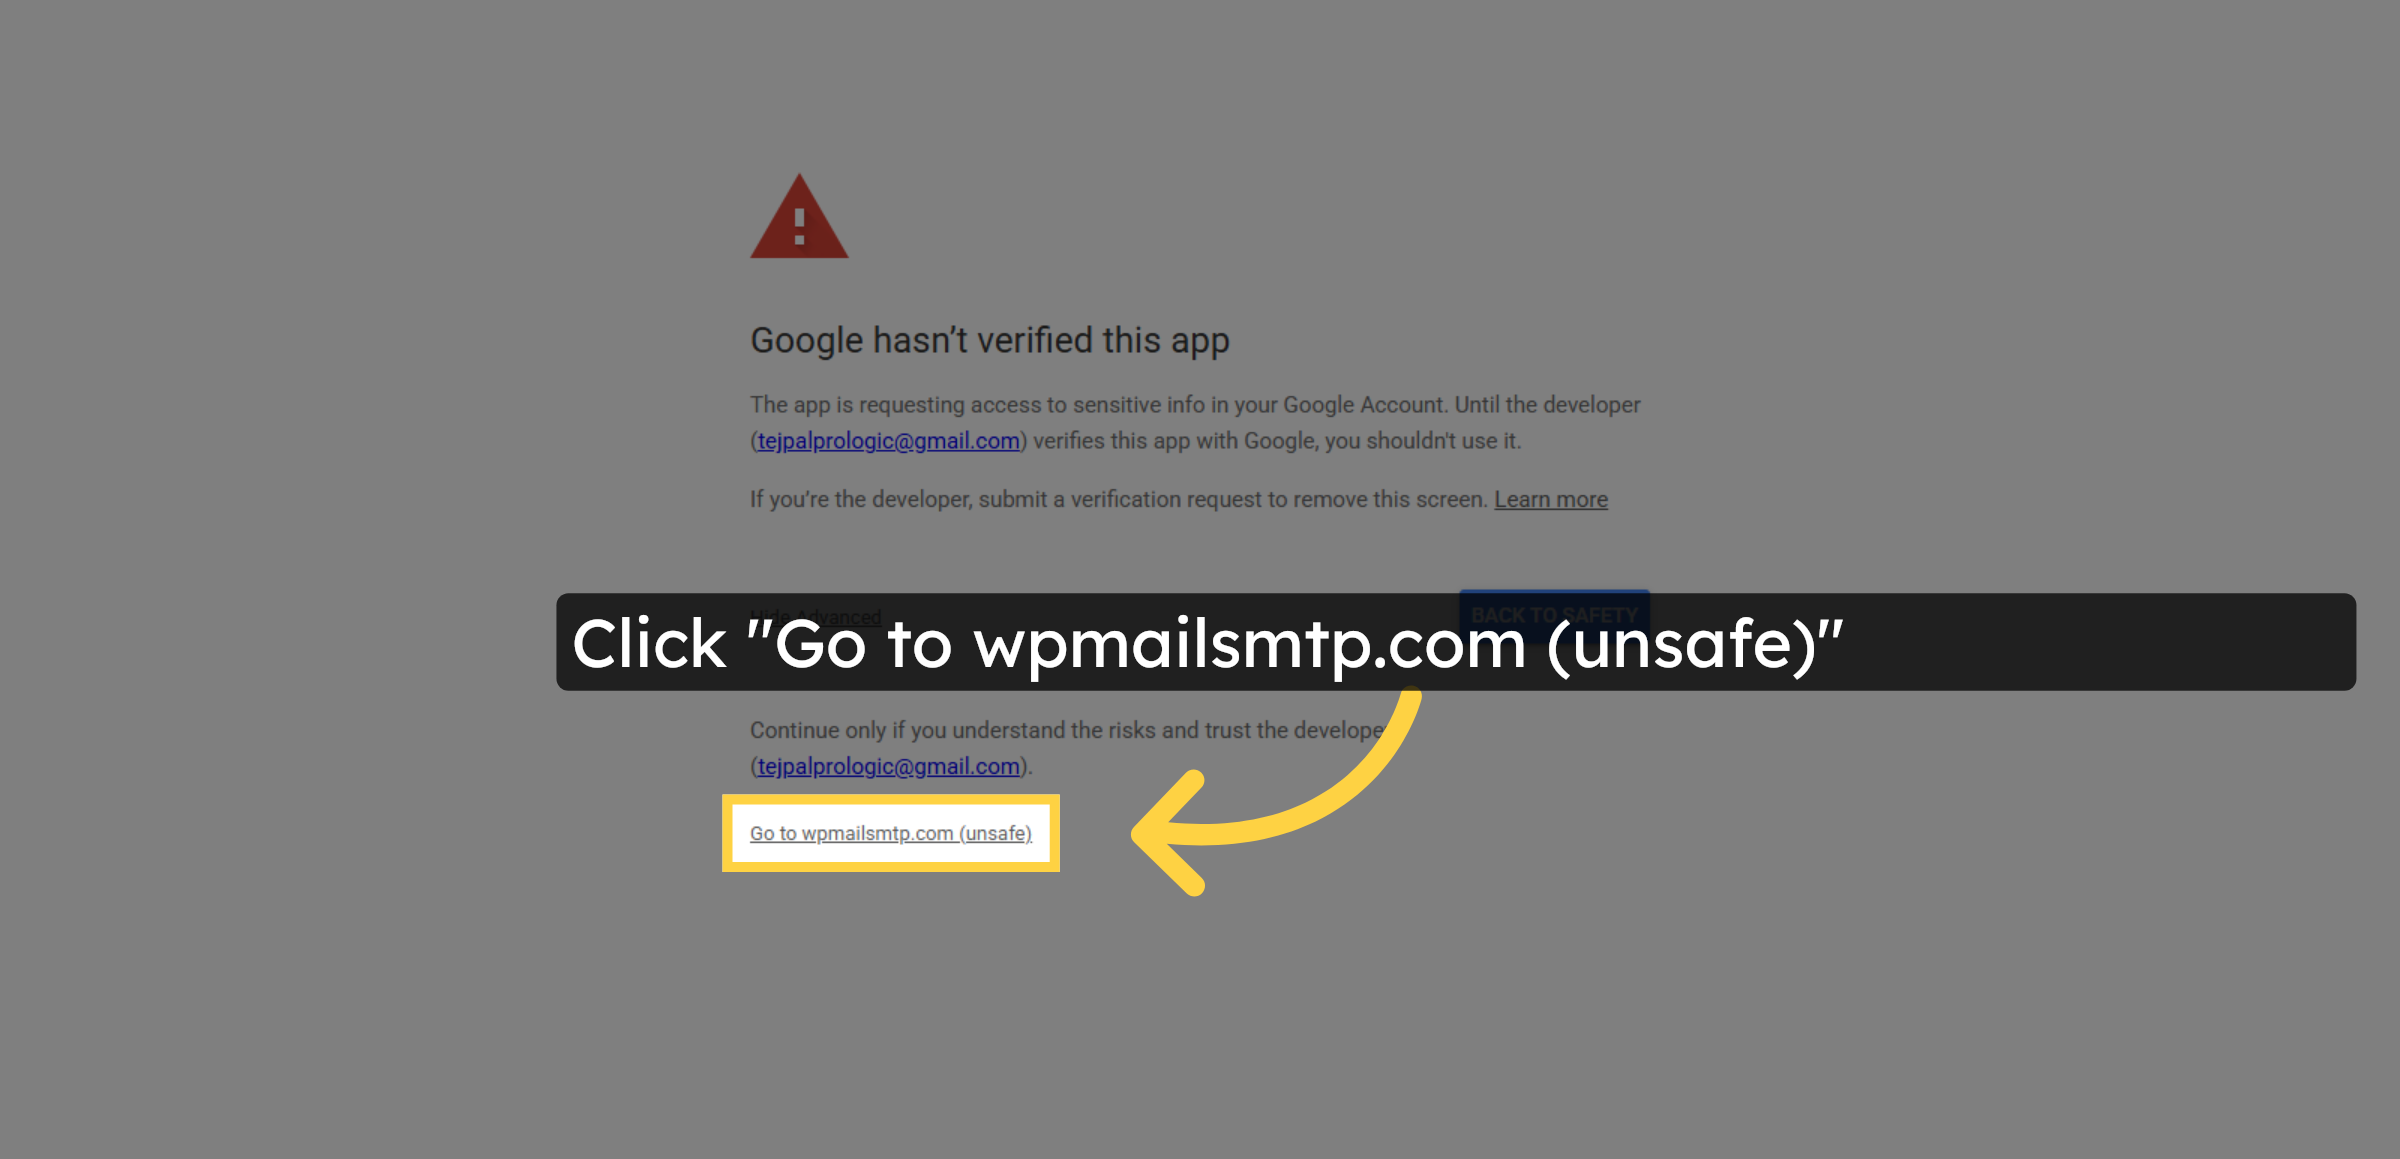
63. Proceed To Unsafe Site
Click Go to wpmailsmtp.com (unsafe) to continue authorization.
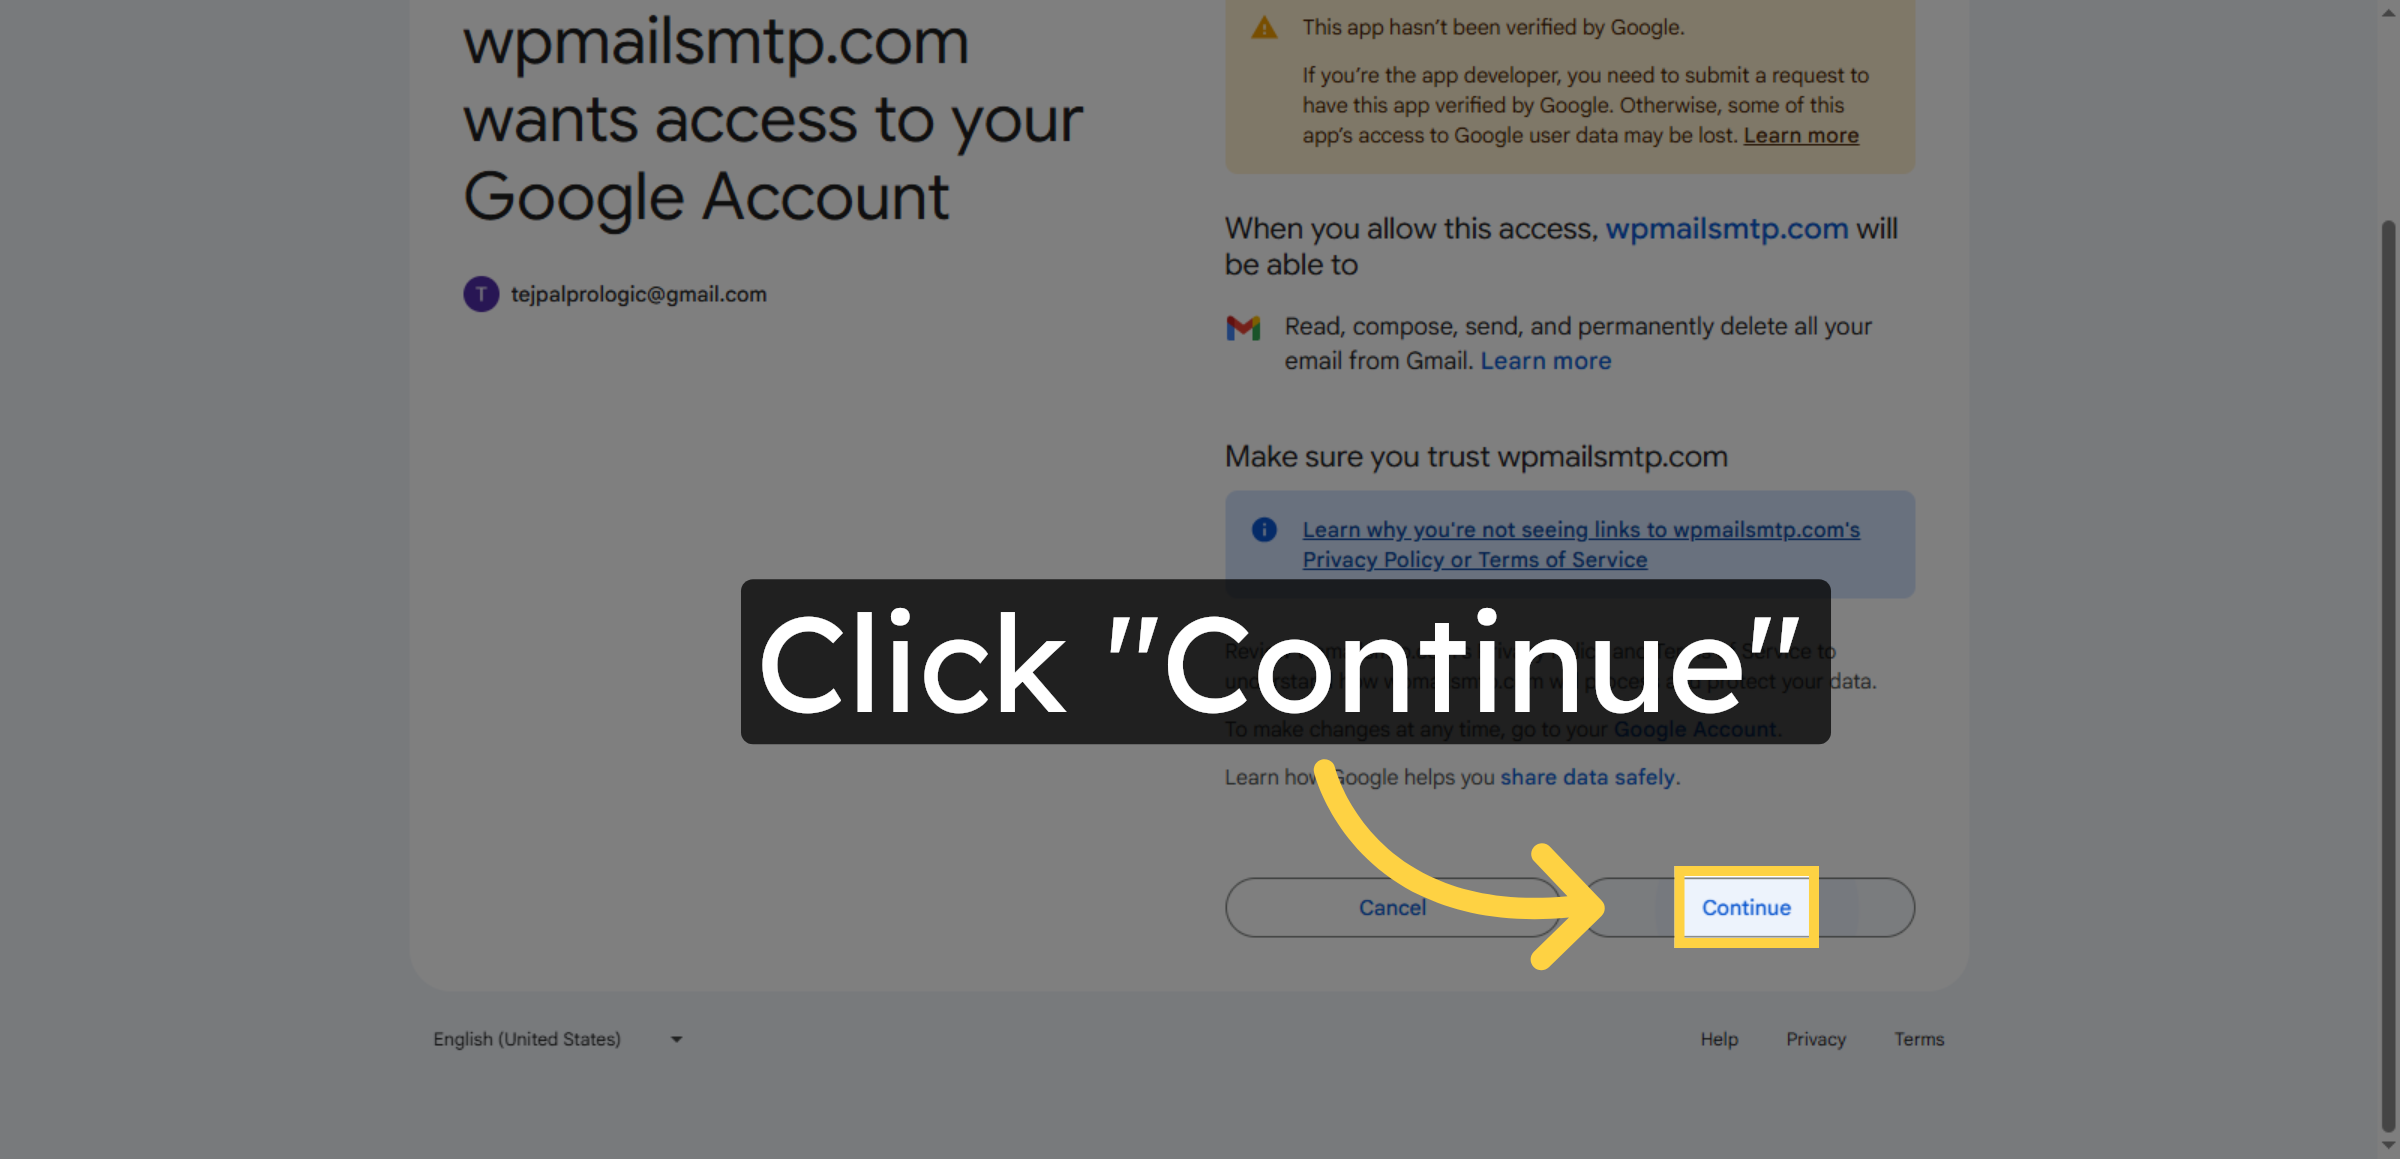
64. Confirm Authorization
Click Continue to approve plugin access to your Google account.
65. Return To WordPress Dashboard
Switch back to your WordPress dashboard to verify email sending functionality.
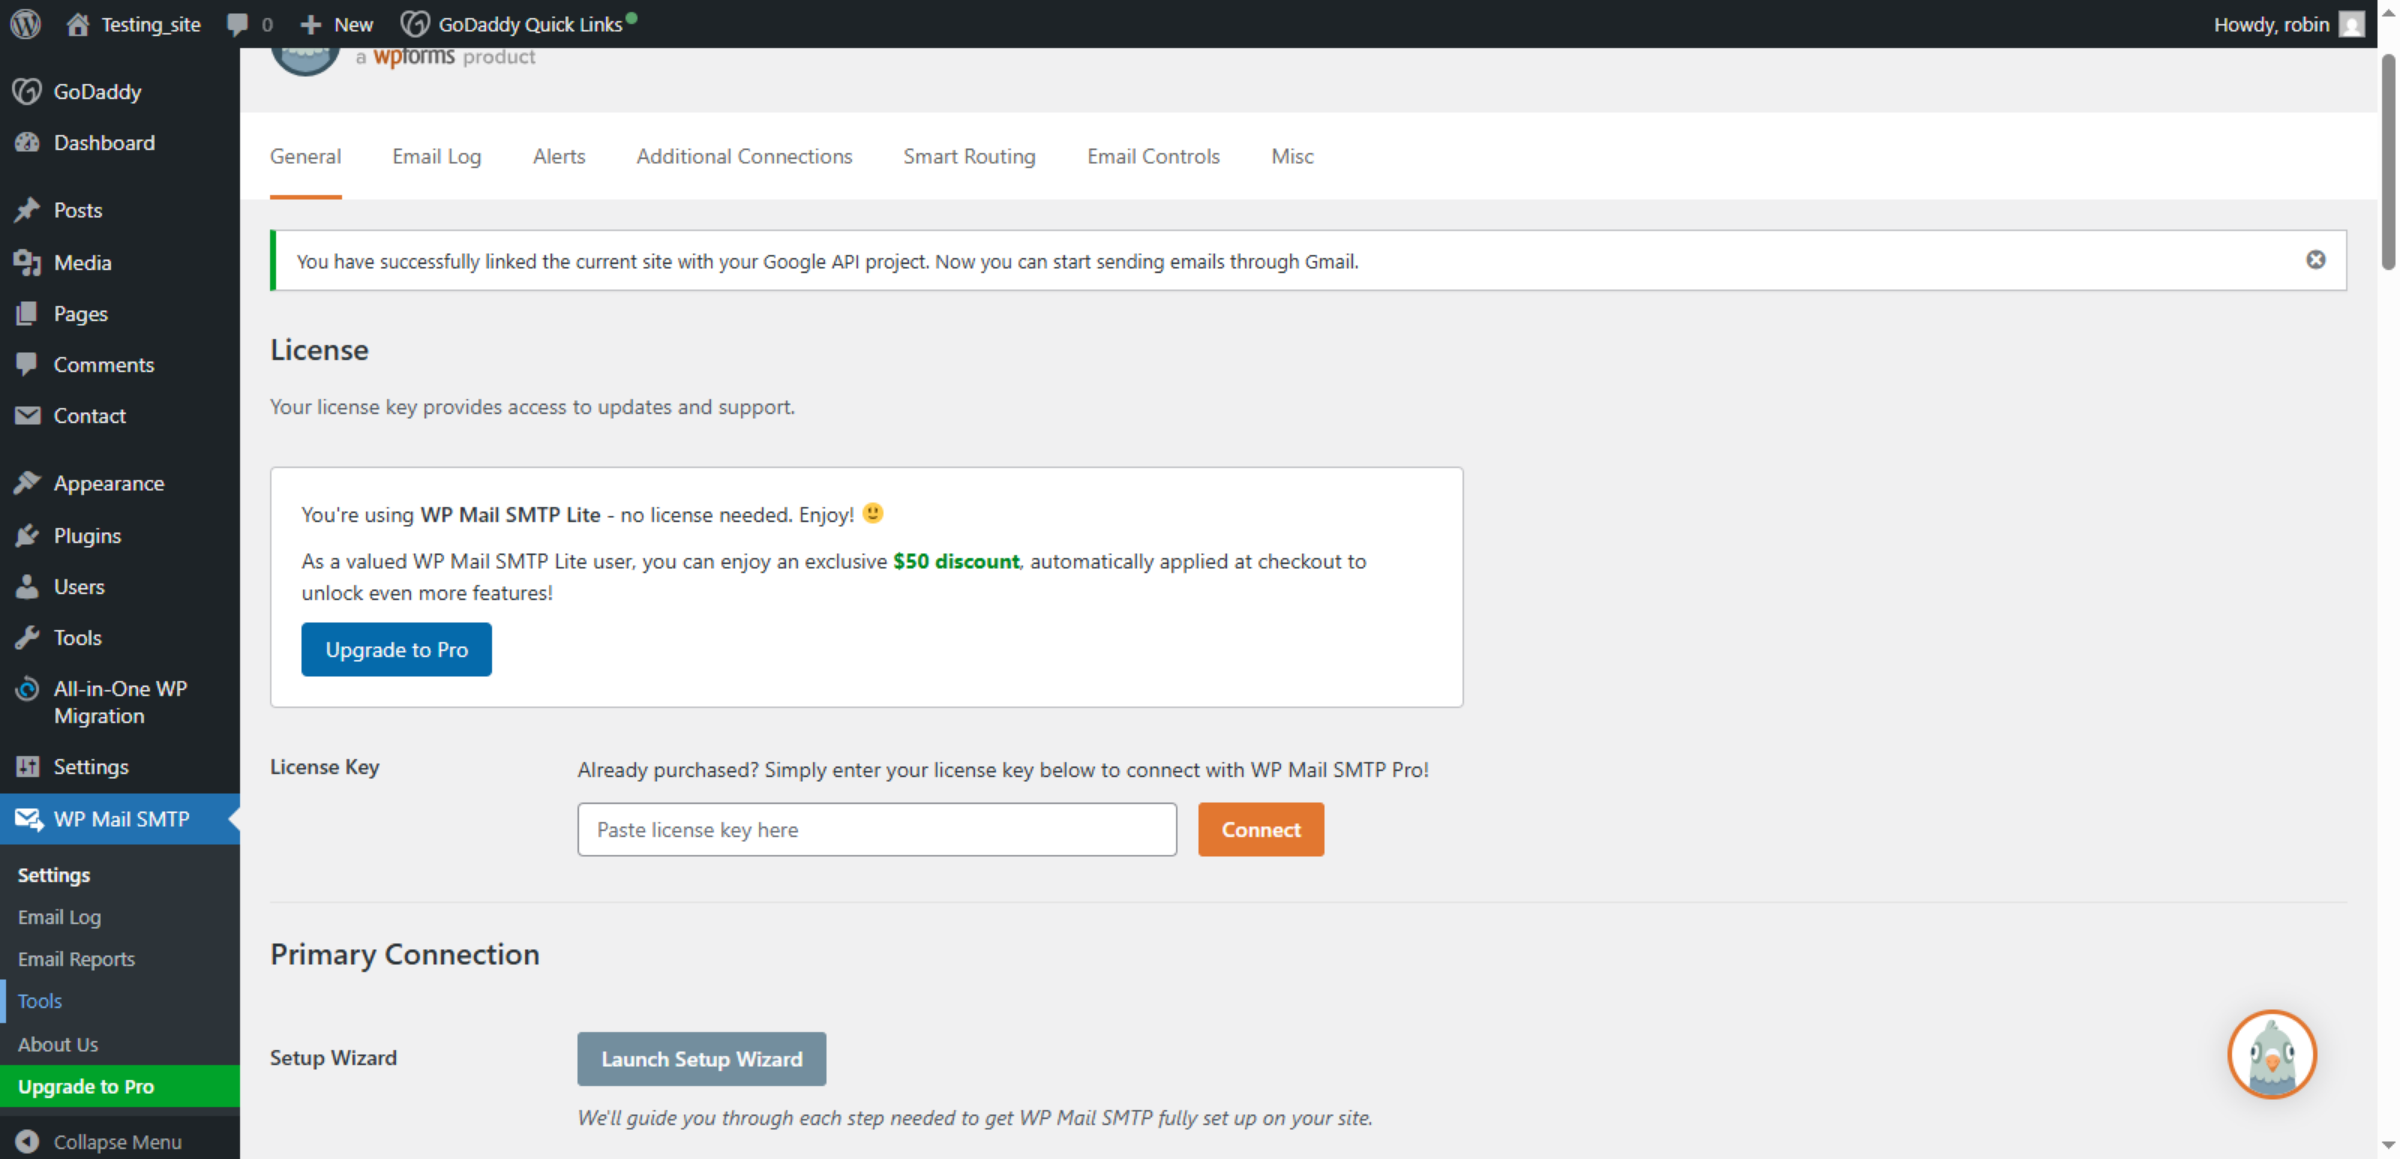
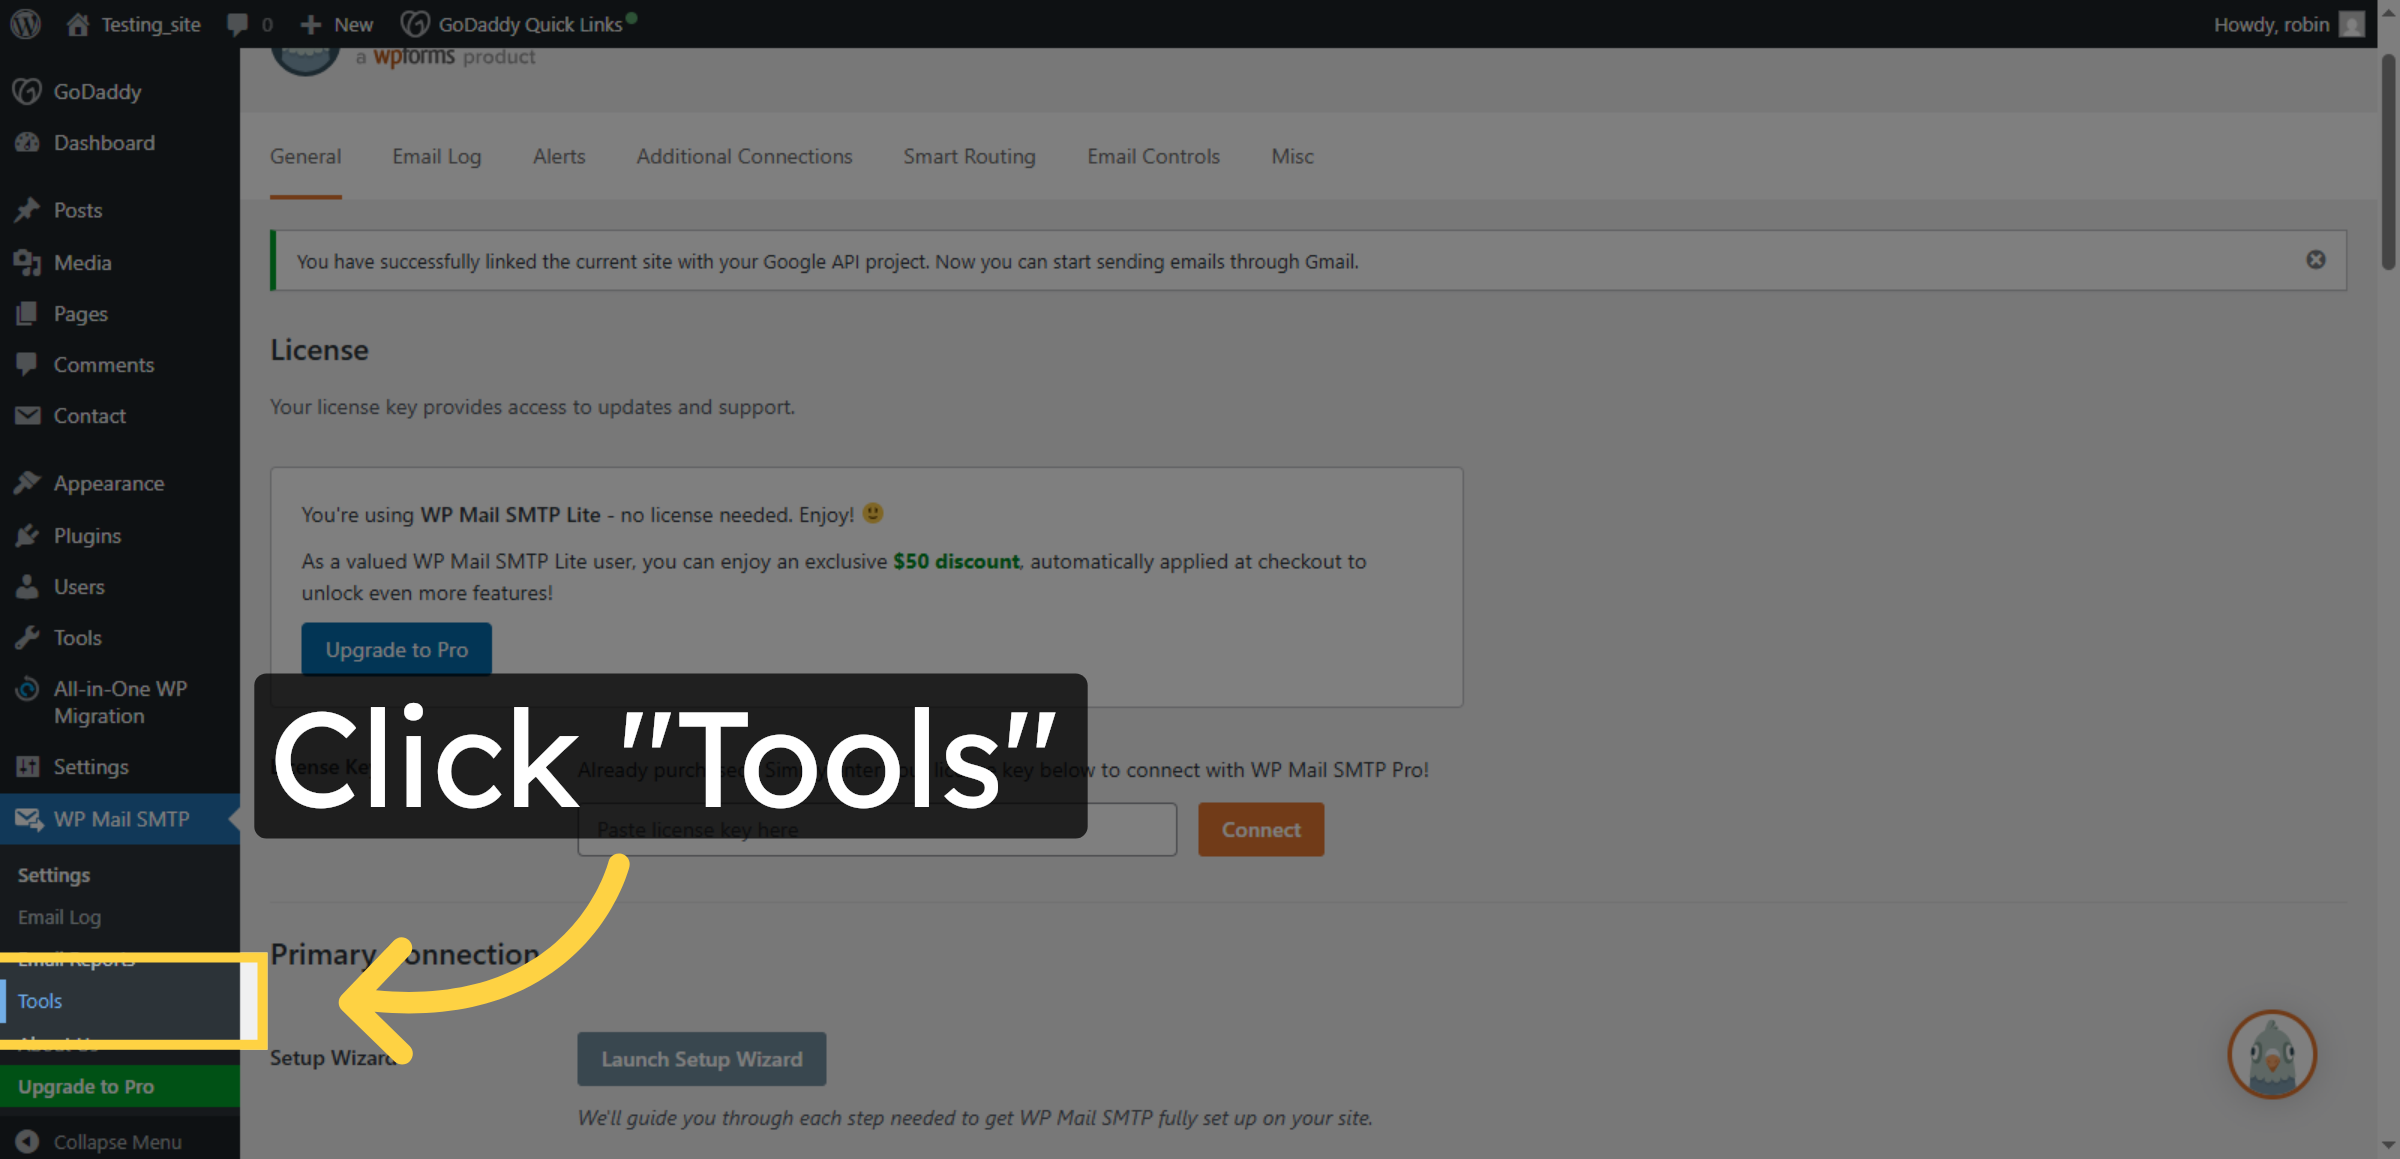
66. Open Tools Menu
Click Tools in the WordPress dashboard to access email testing features.
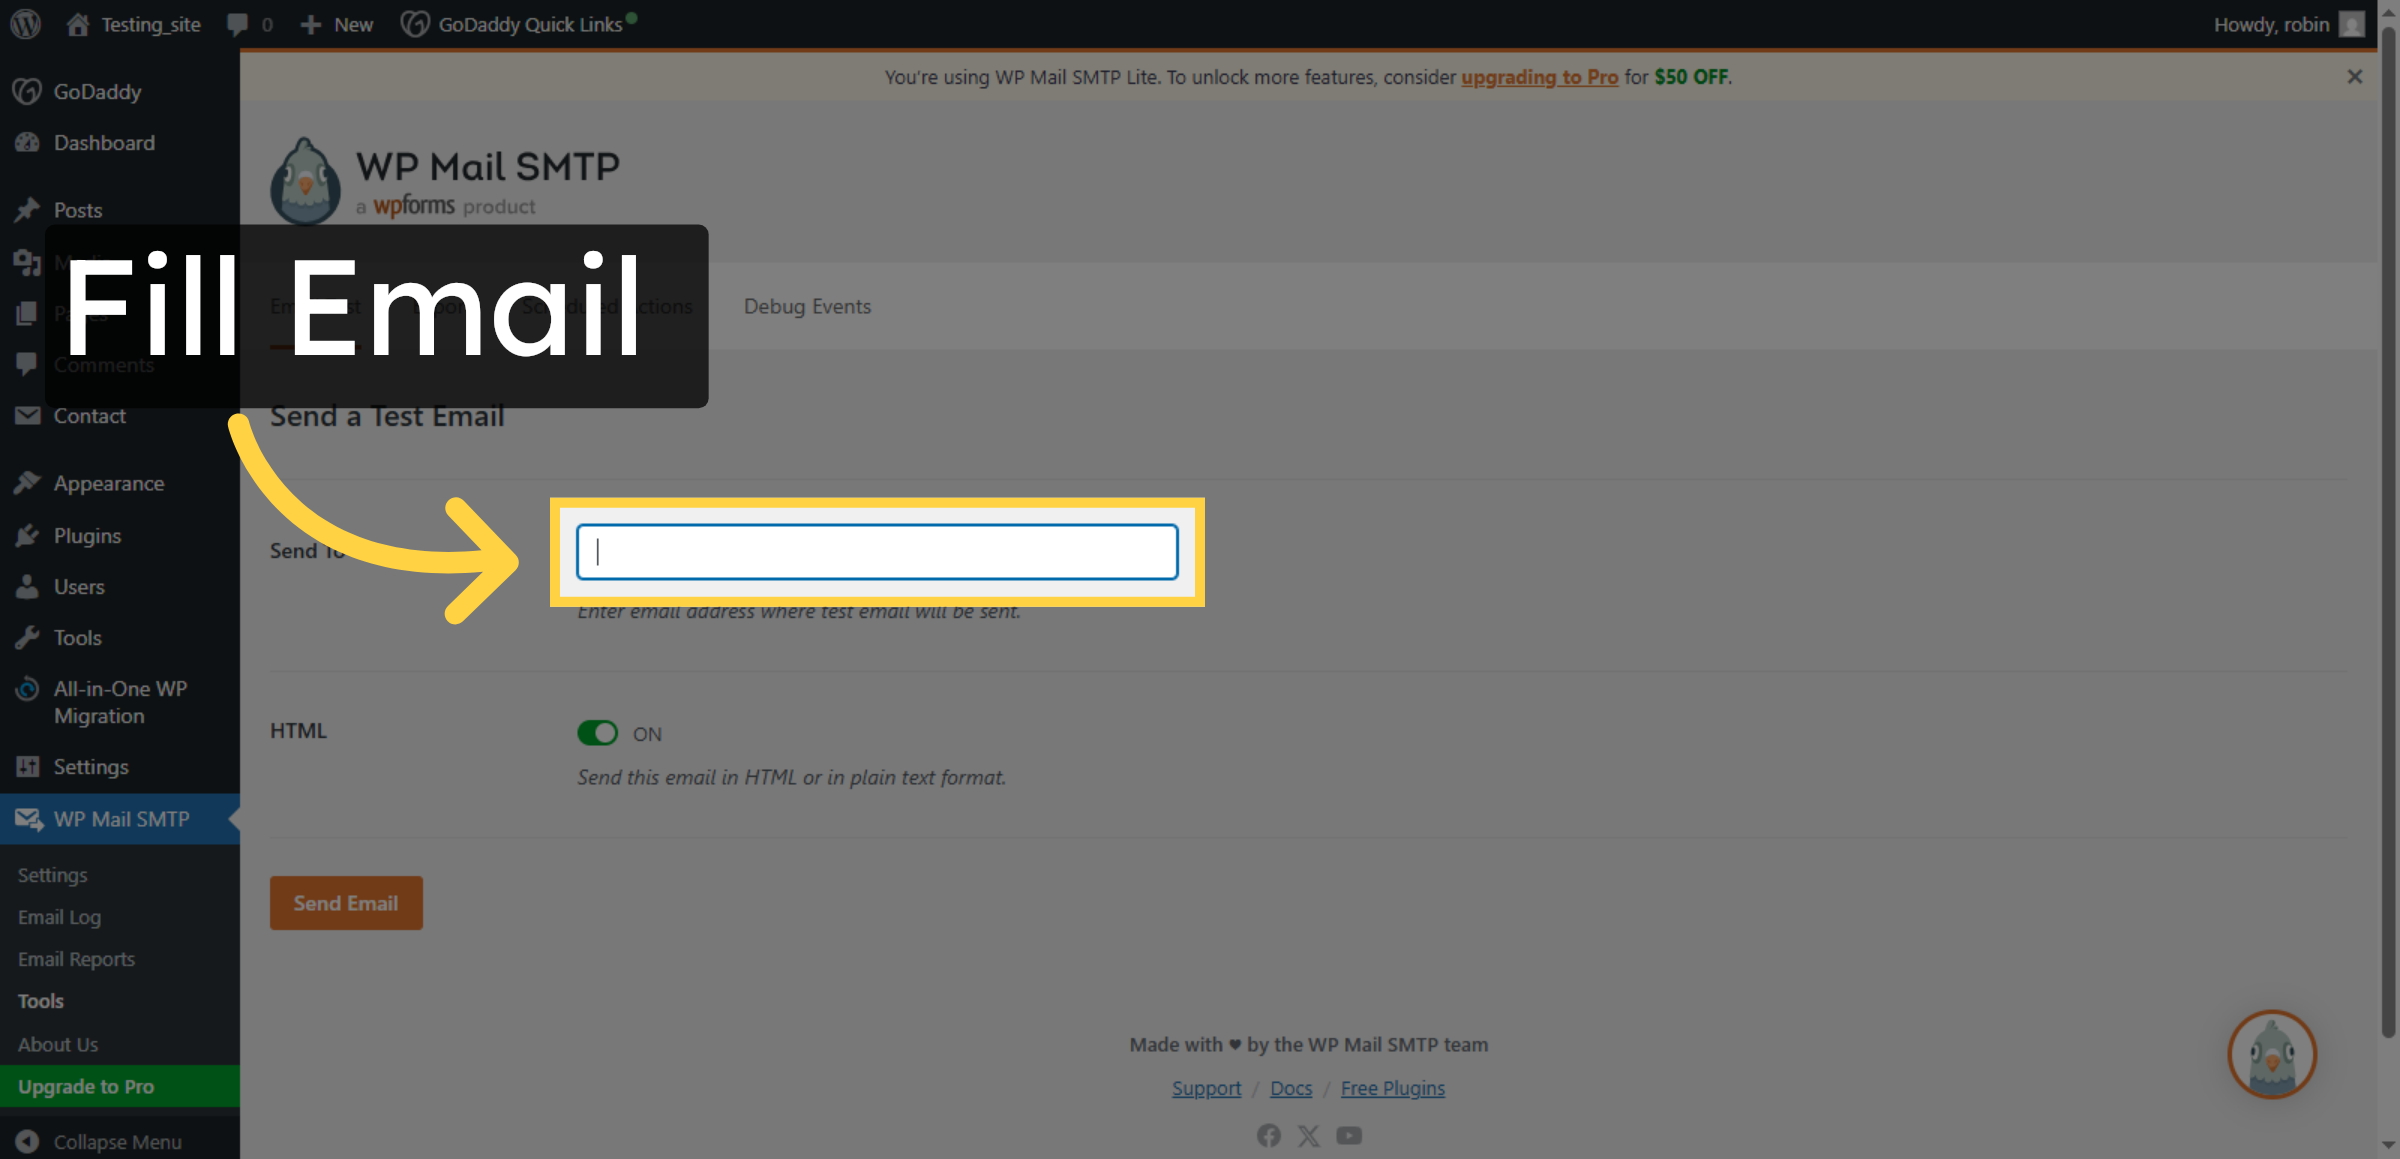
67. Enter Recipient Email
Click Send To to specify the recipient address for test emails.
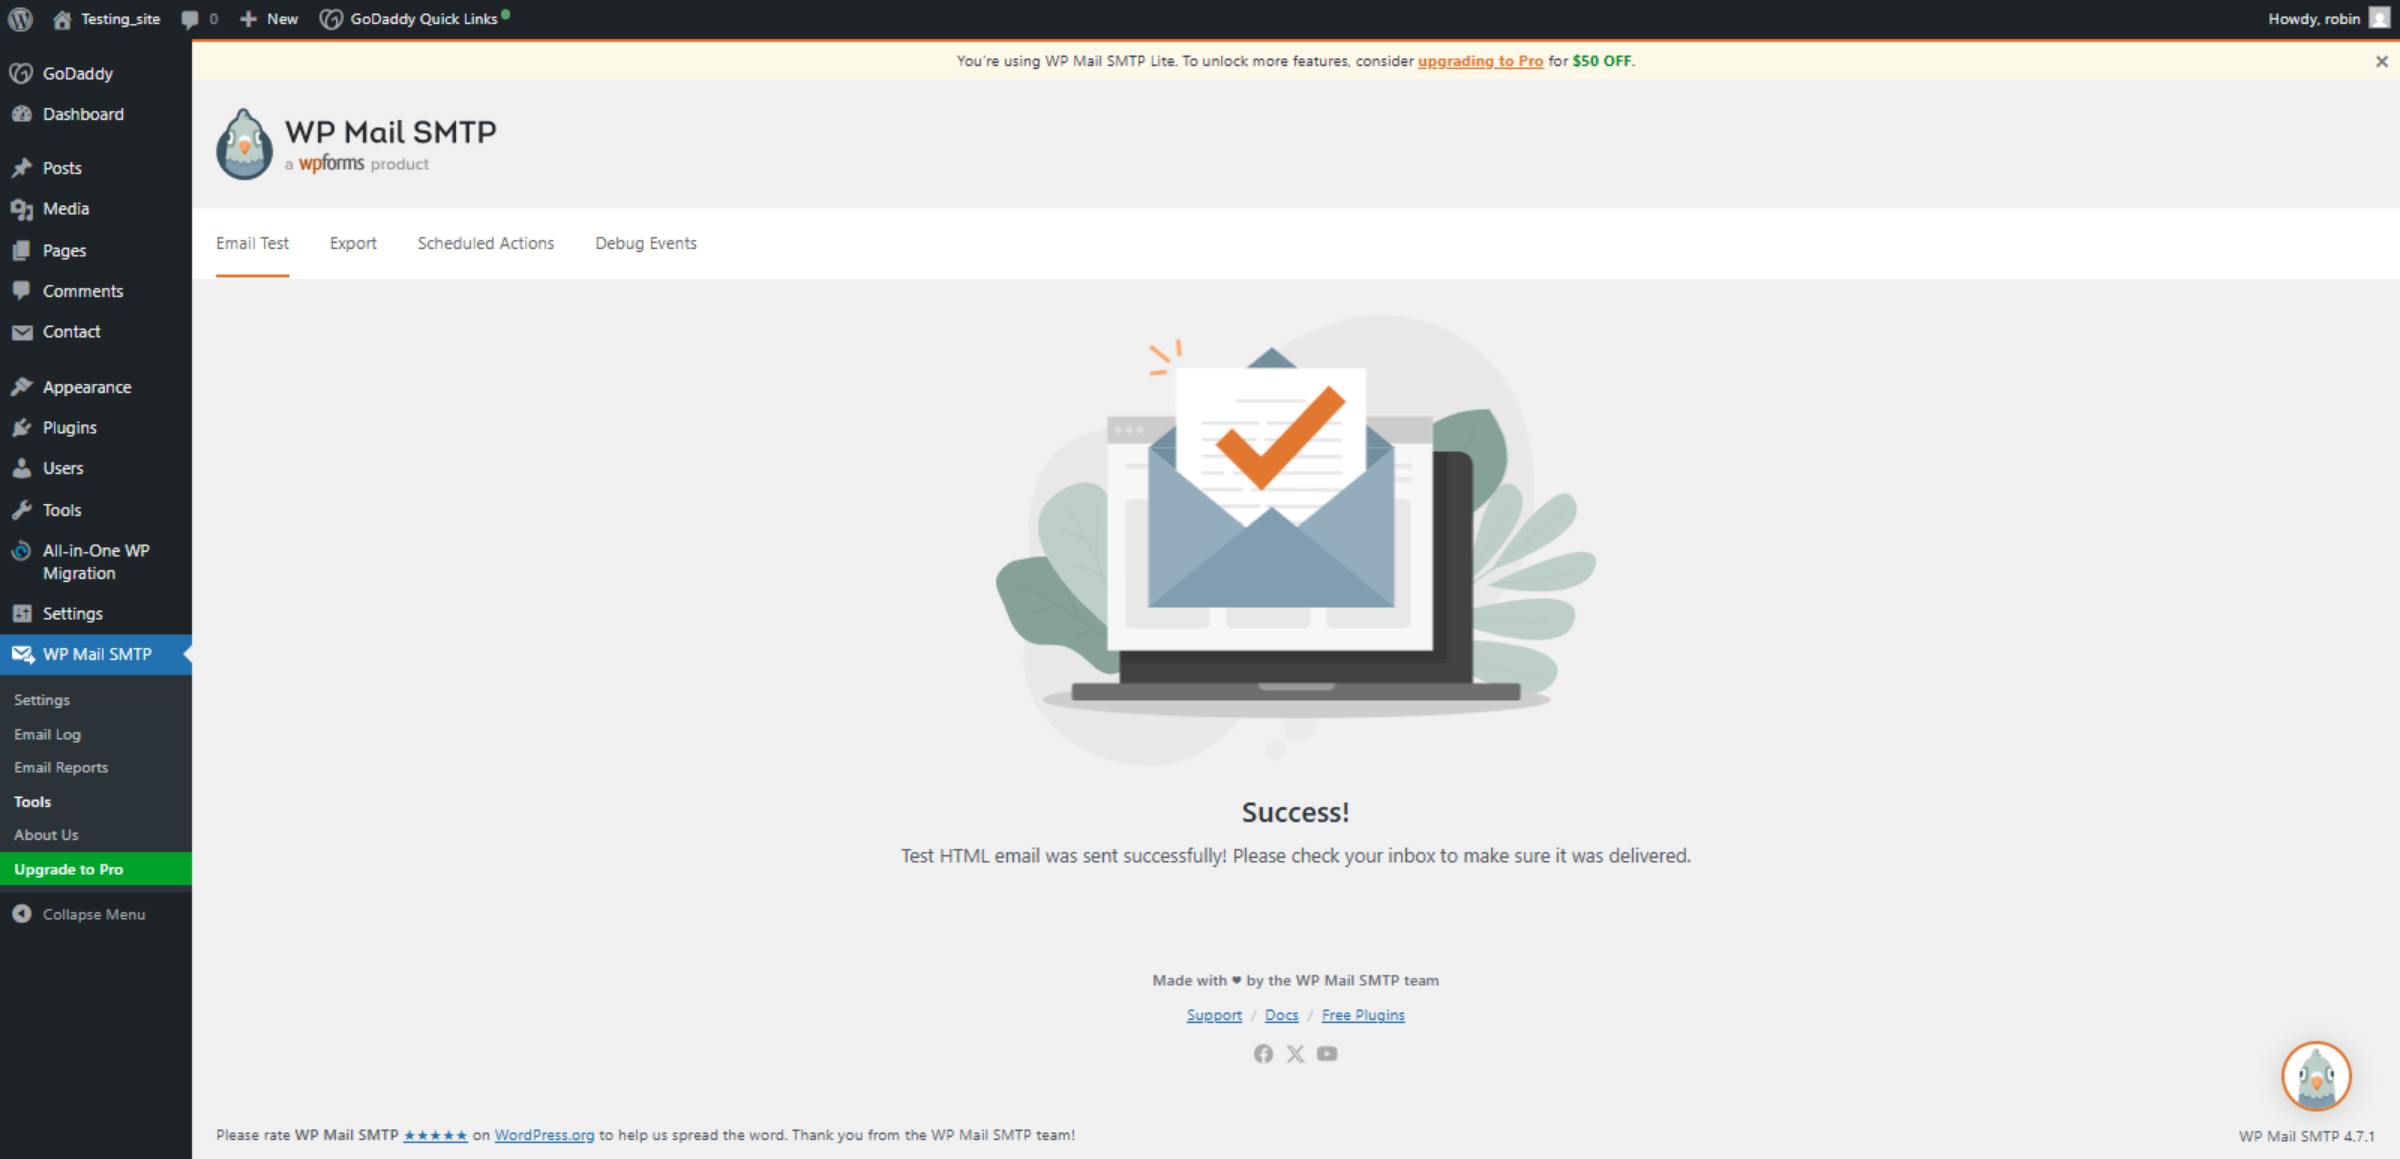
68. Send Test Email
Click Send Email to dispatch a test message and verify SMTP configuration.

69. Confirm Email Sent
Click Success! Test HTML email was sent successfully! Please check your inbox to make sure it was delivered.
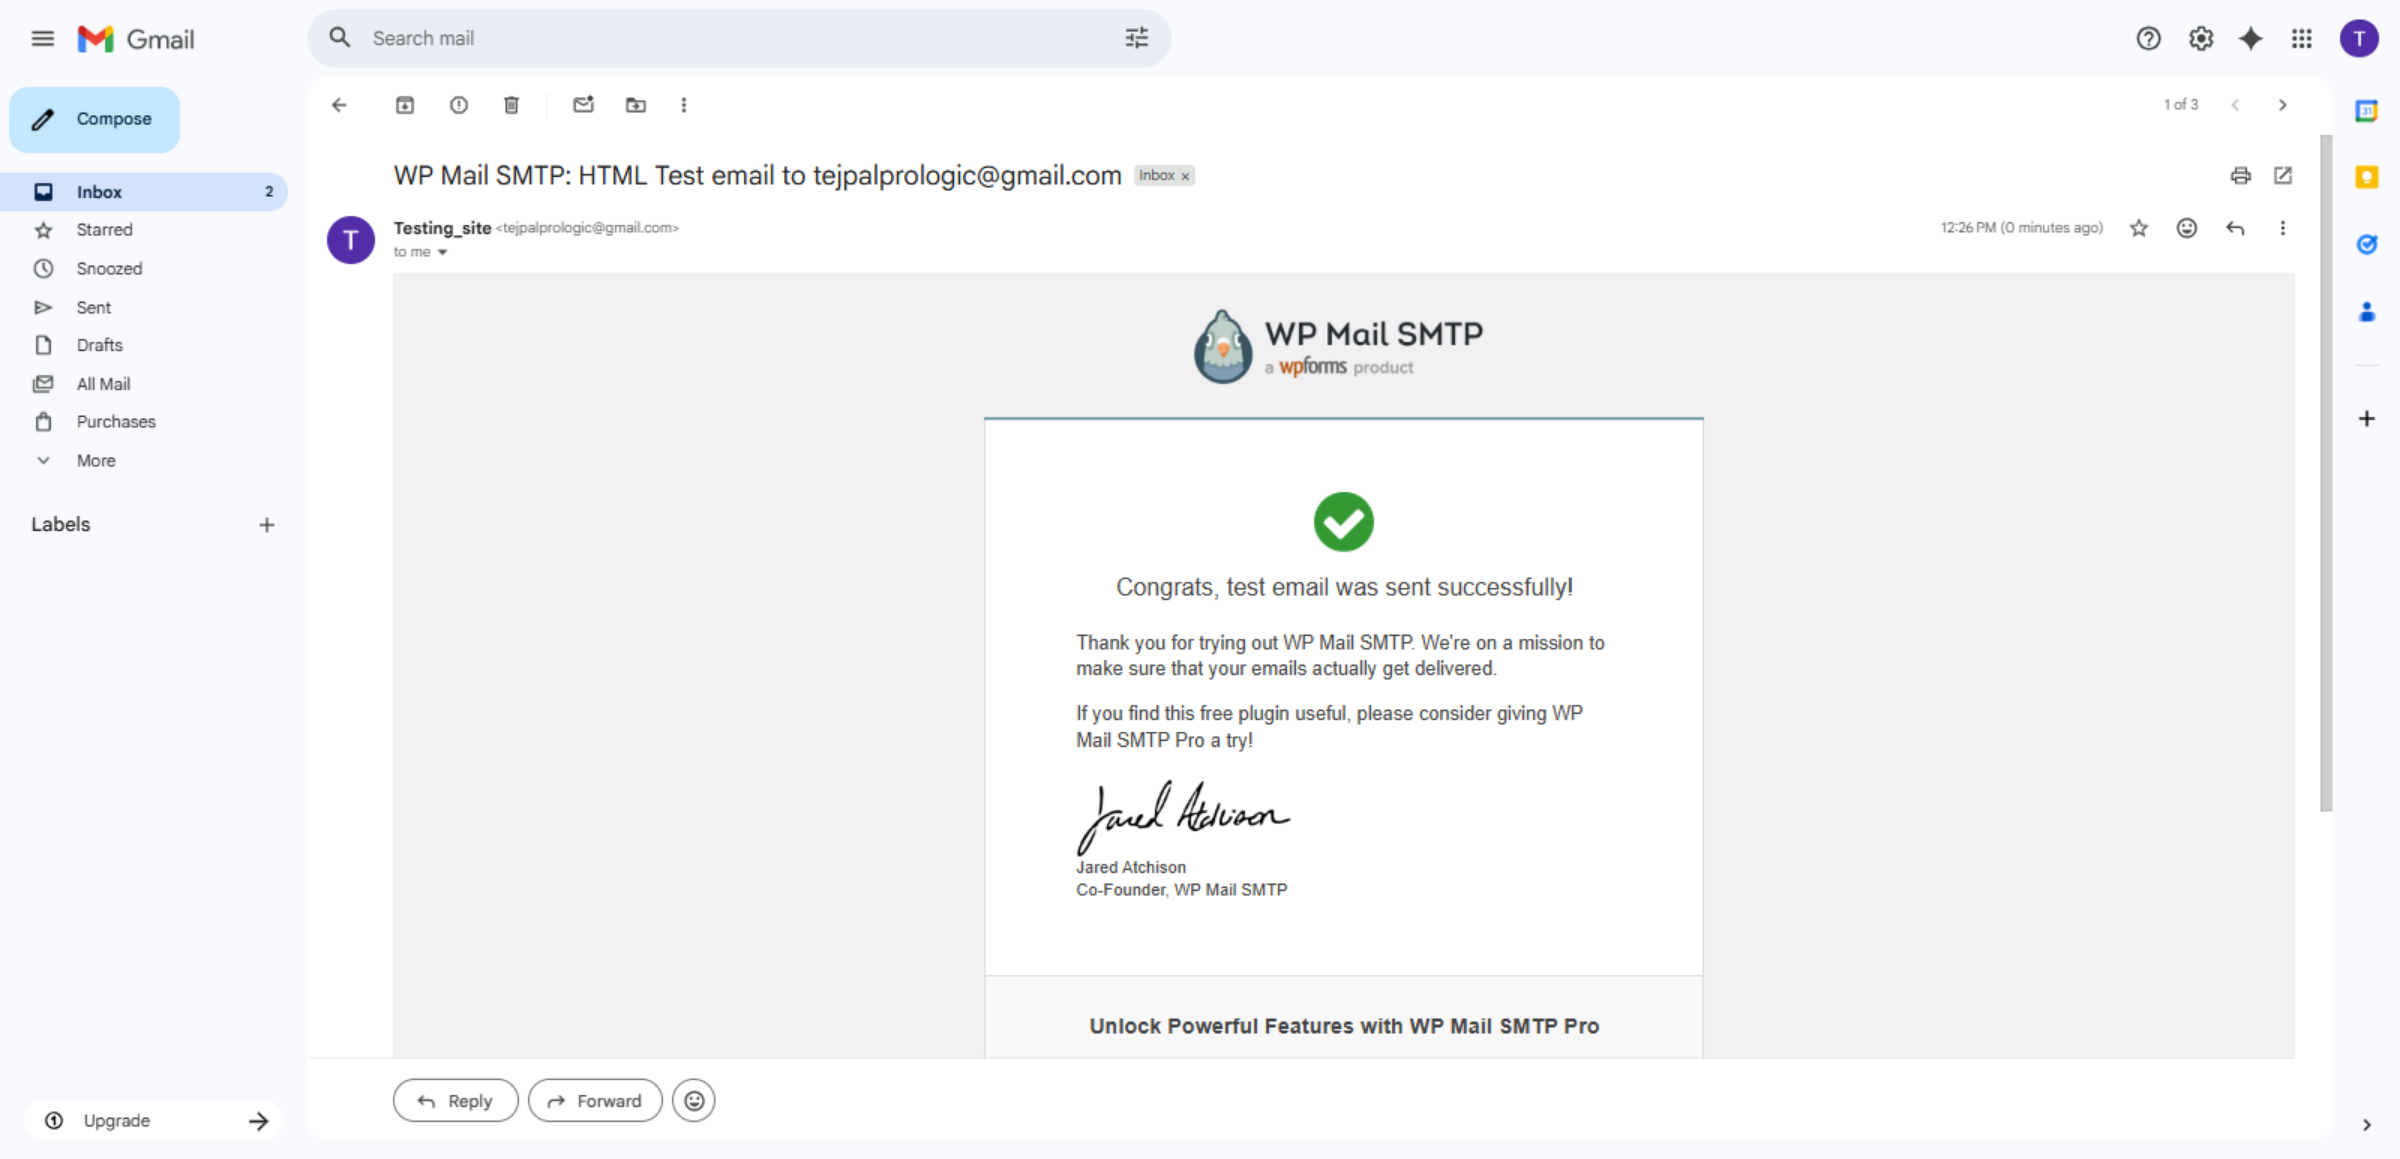
70. Open Gmail Inbox
Switch to mail.google.com to check your inbox for the test email sent from WordPress.
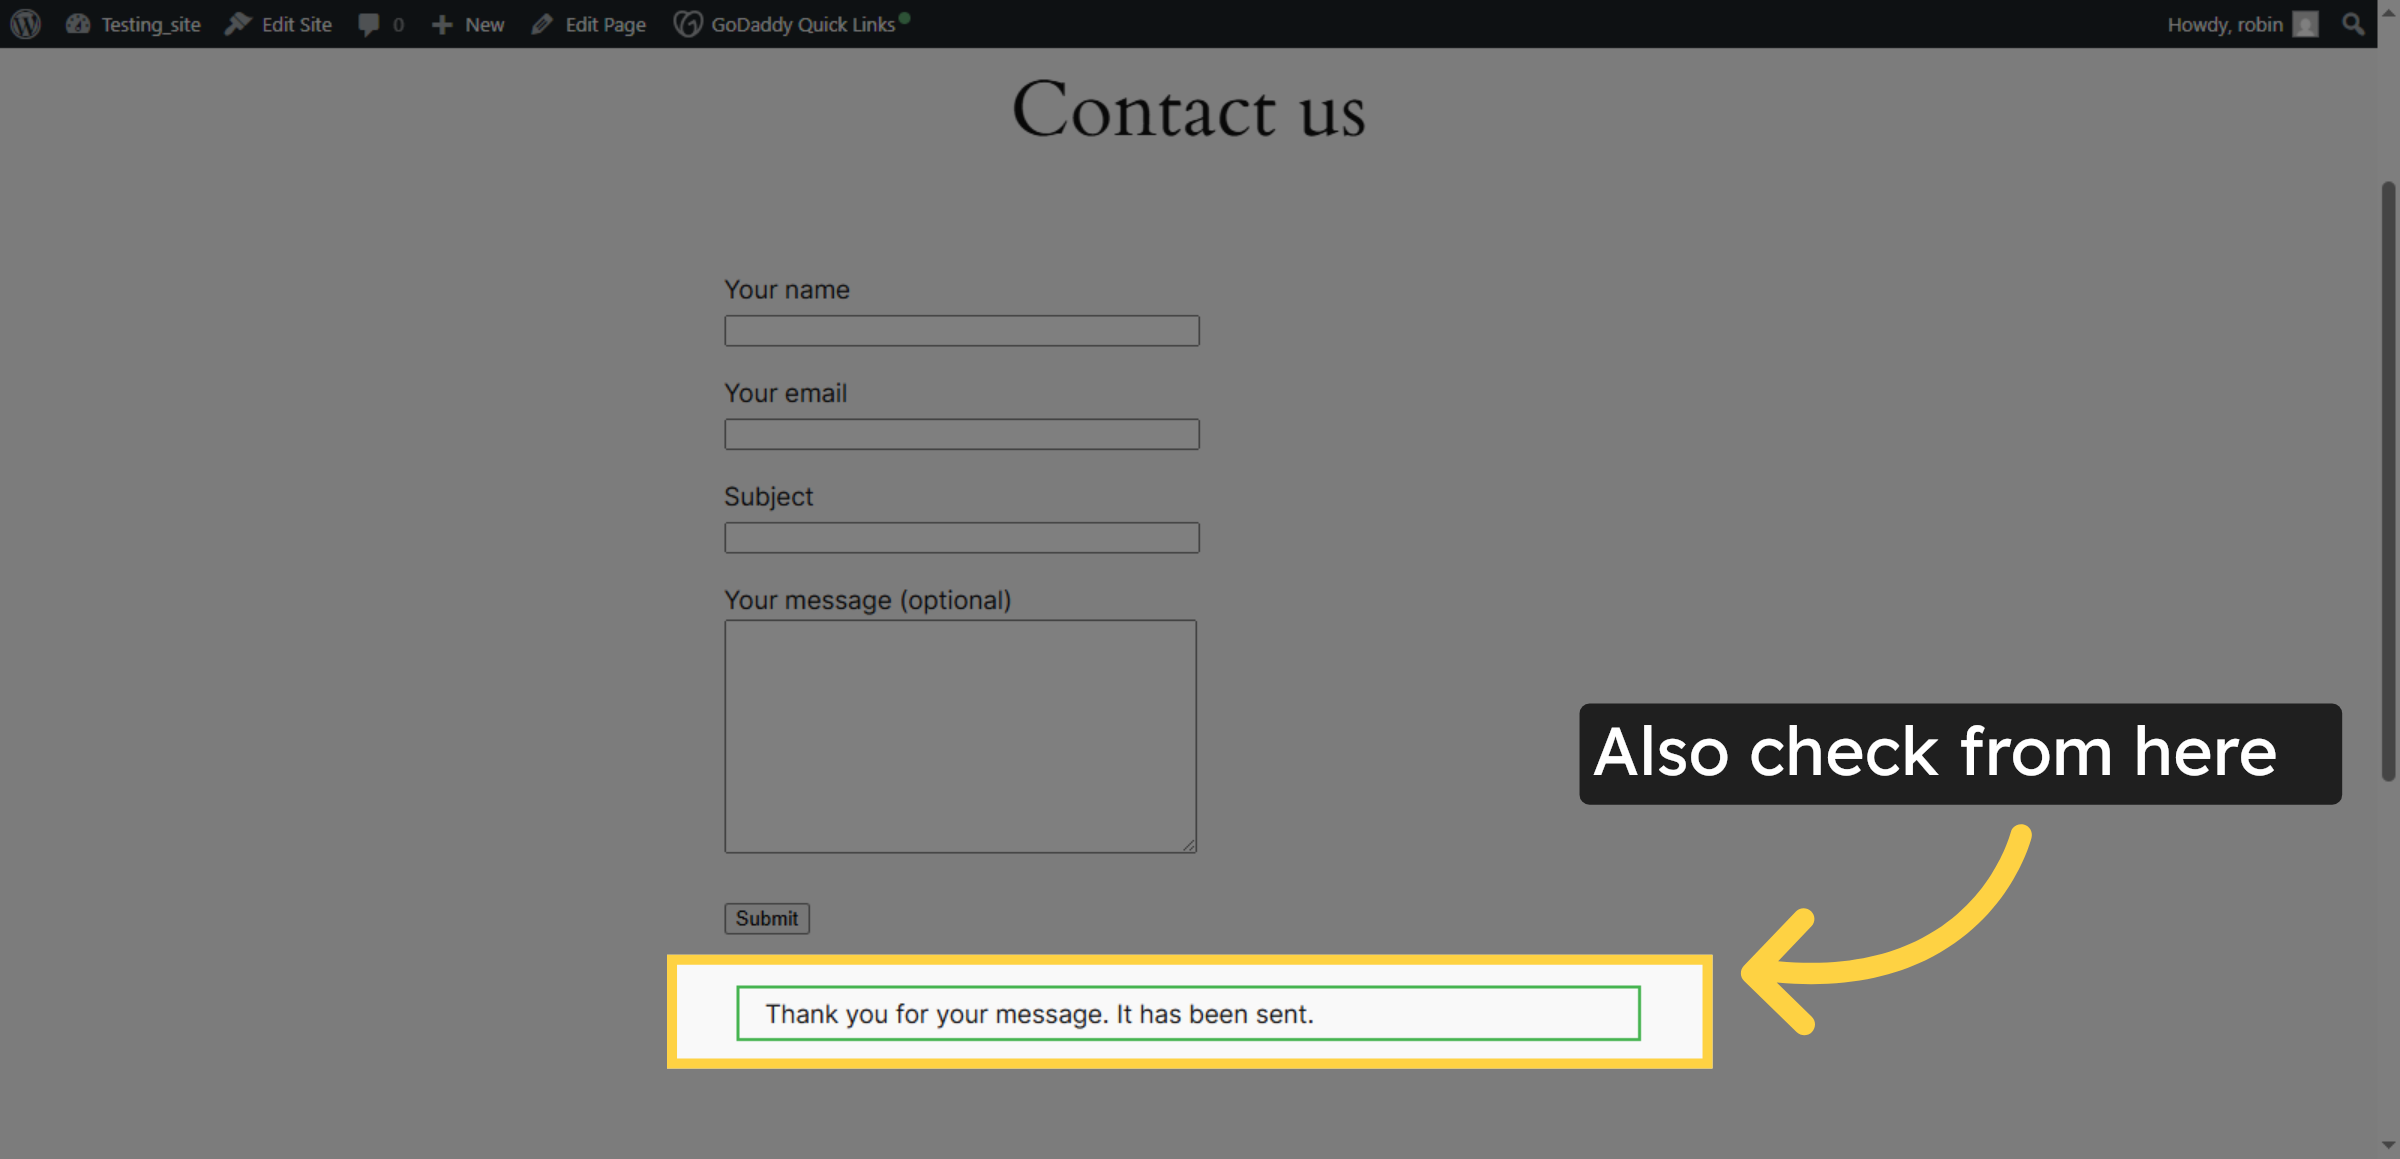
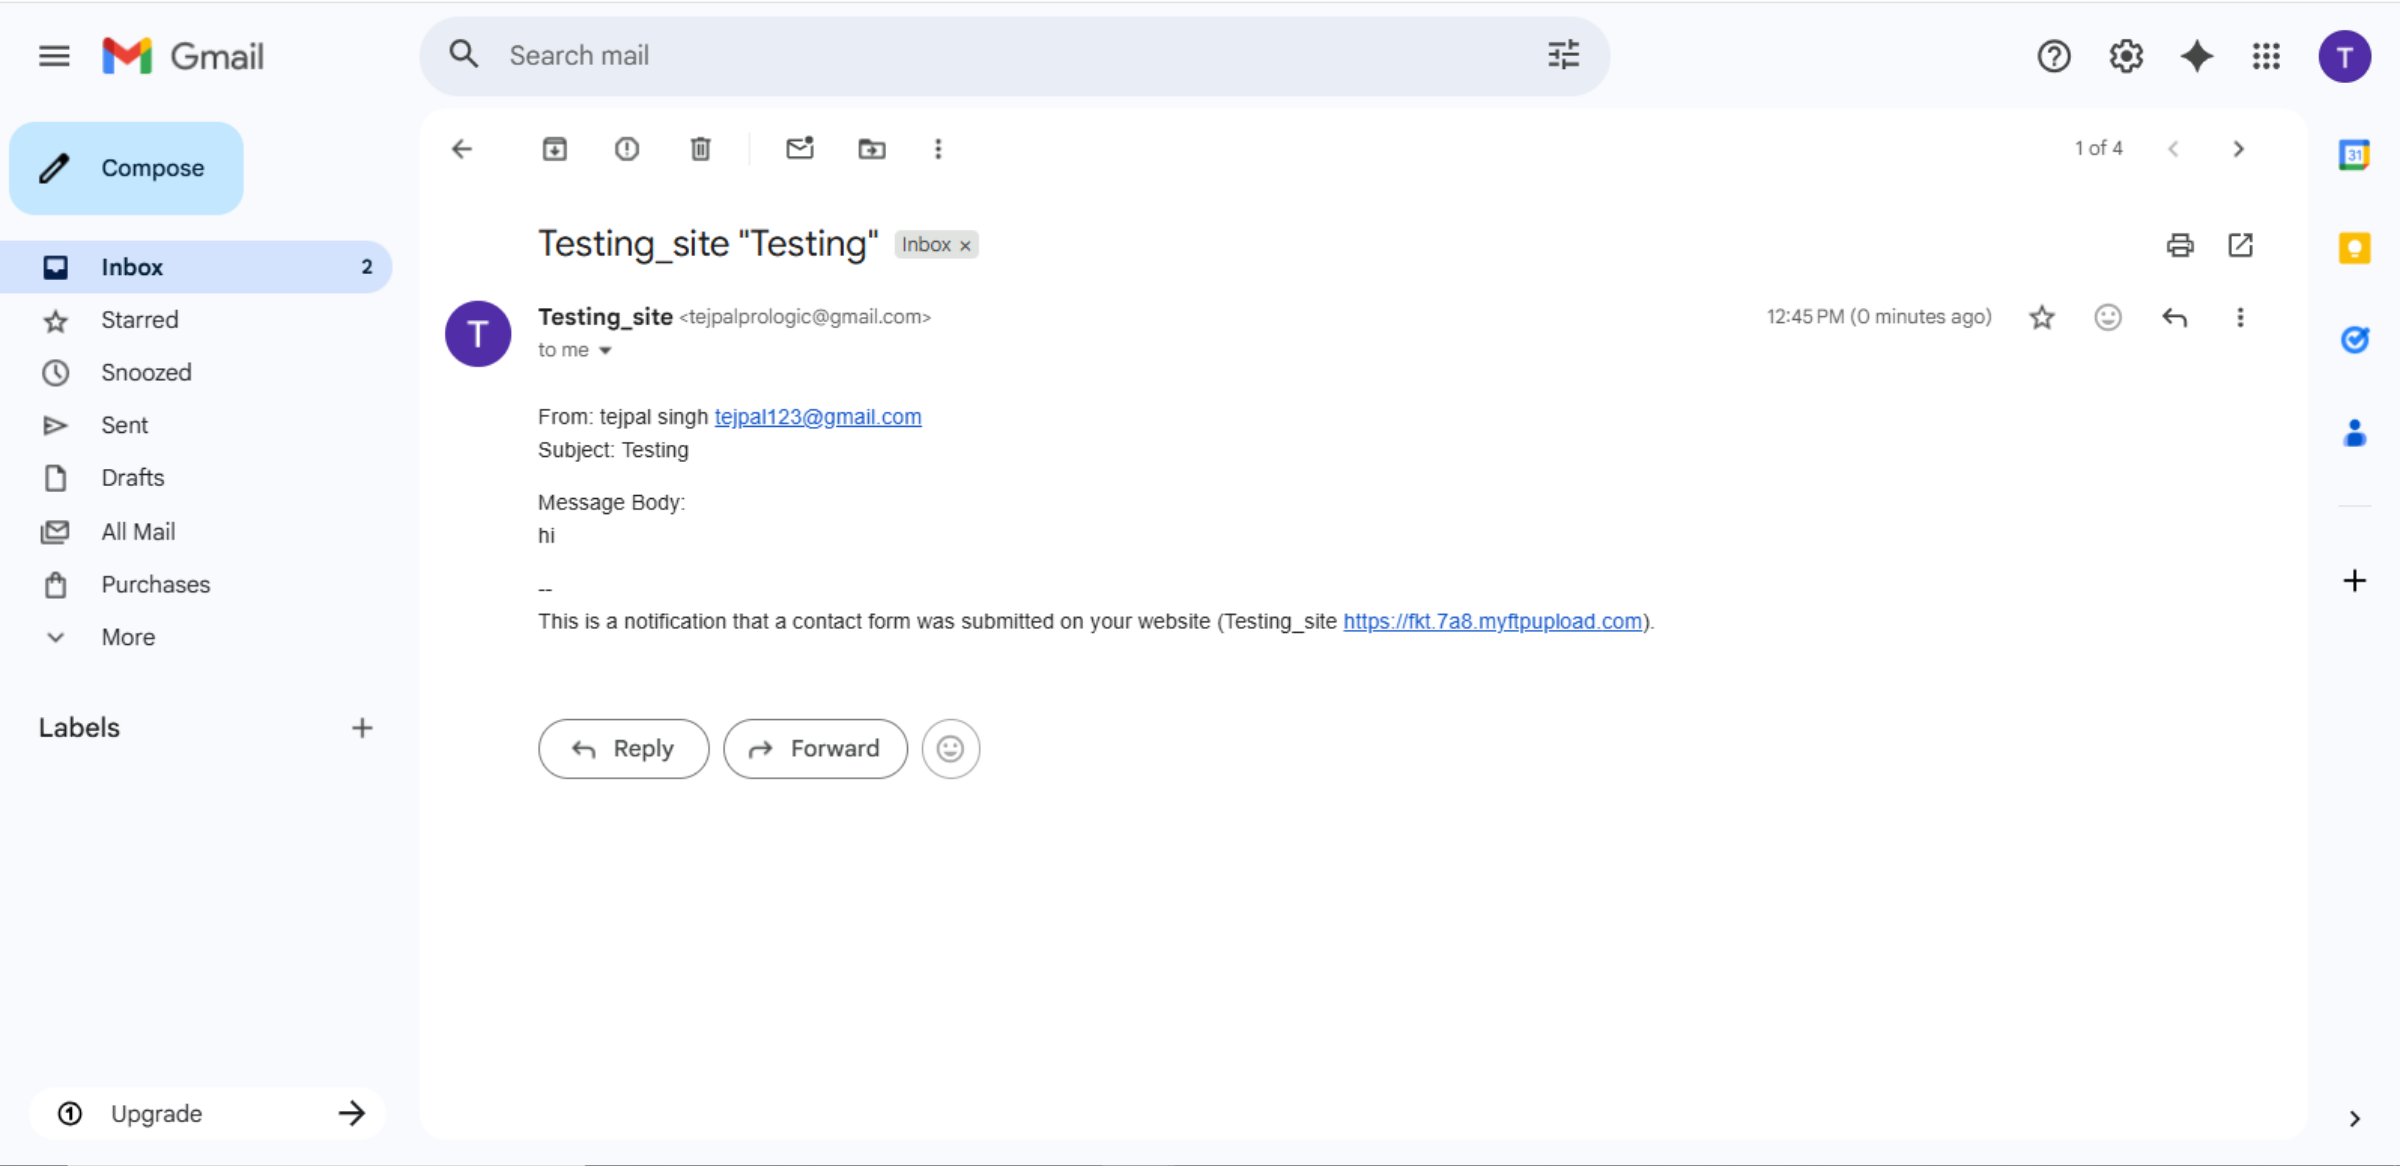
71. Confirm Message Sent
Click Thank you for your message. It has been sent to confirm successful form submission.
72. Review Email Permissions
Conclusion
By following this guide, you have successfully configured SMTP settings on your GoDaddy WordPress website using WP Mail SMTP and Google authentication. Your contact forms and system emails are now delivered reliably without errors or delays. This setup improves customer communication, prevents message loss, and strengthens website credibility.
To maintain consistent email performance, regularly test email delivery, update plugins, and review security settings. Proper maintenance will help keep your website’s email system secure and dependable.
WooHelpDesk Support
Need help with SMTP setup, email delivery issues, or WordPress configuration? WooHelpDesk provides expert support to ensure your contact forms and website emails work reliably.
Visit: https://www.woohelpdesk.com
Call Us Toll-Free: +1 888 602 0119 (US & Canada)
Expert Support | Reliable Email Setup | Trusted Solutions