How to Configure Hosting Plan and Website Setup on Hostinger
Introduction
Choosing the right hosting plan and setting up your website correctly are essential steps in building a successful online presence. A reliable hosting provider ensures good performance, security, and scalability for your website. Hostinger offers affordable and user-friendly hosting solutions that make it easy for beginners and professionals to launch websites efficiently.
This guidde explains how to configure a hosting plan and set up a website using Hostinger. It covers selecting a suitable plan, creating an account, completing the payment process, accessing the hosting control panel, and launching a website using a temporary domain. By following this guide, users can start their online journey with confidence.
1. Introduction
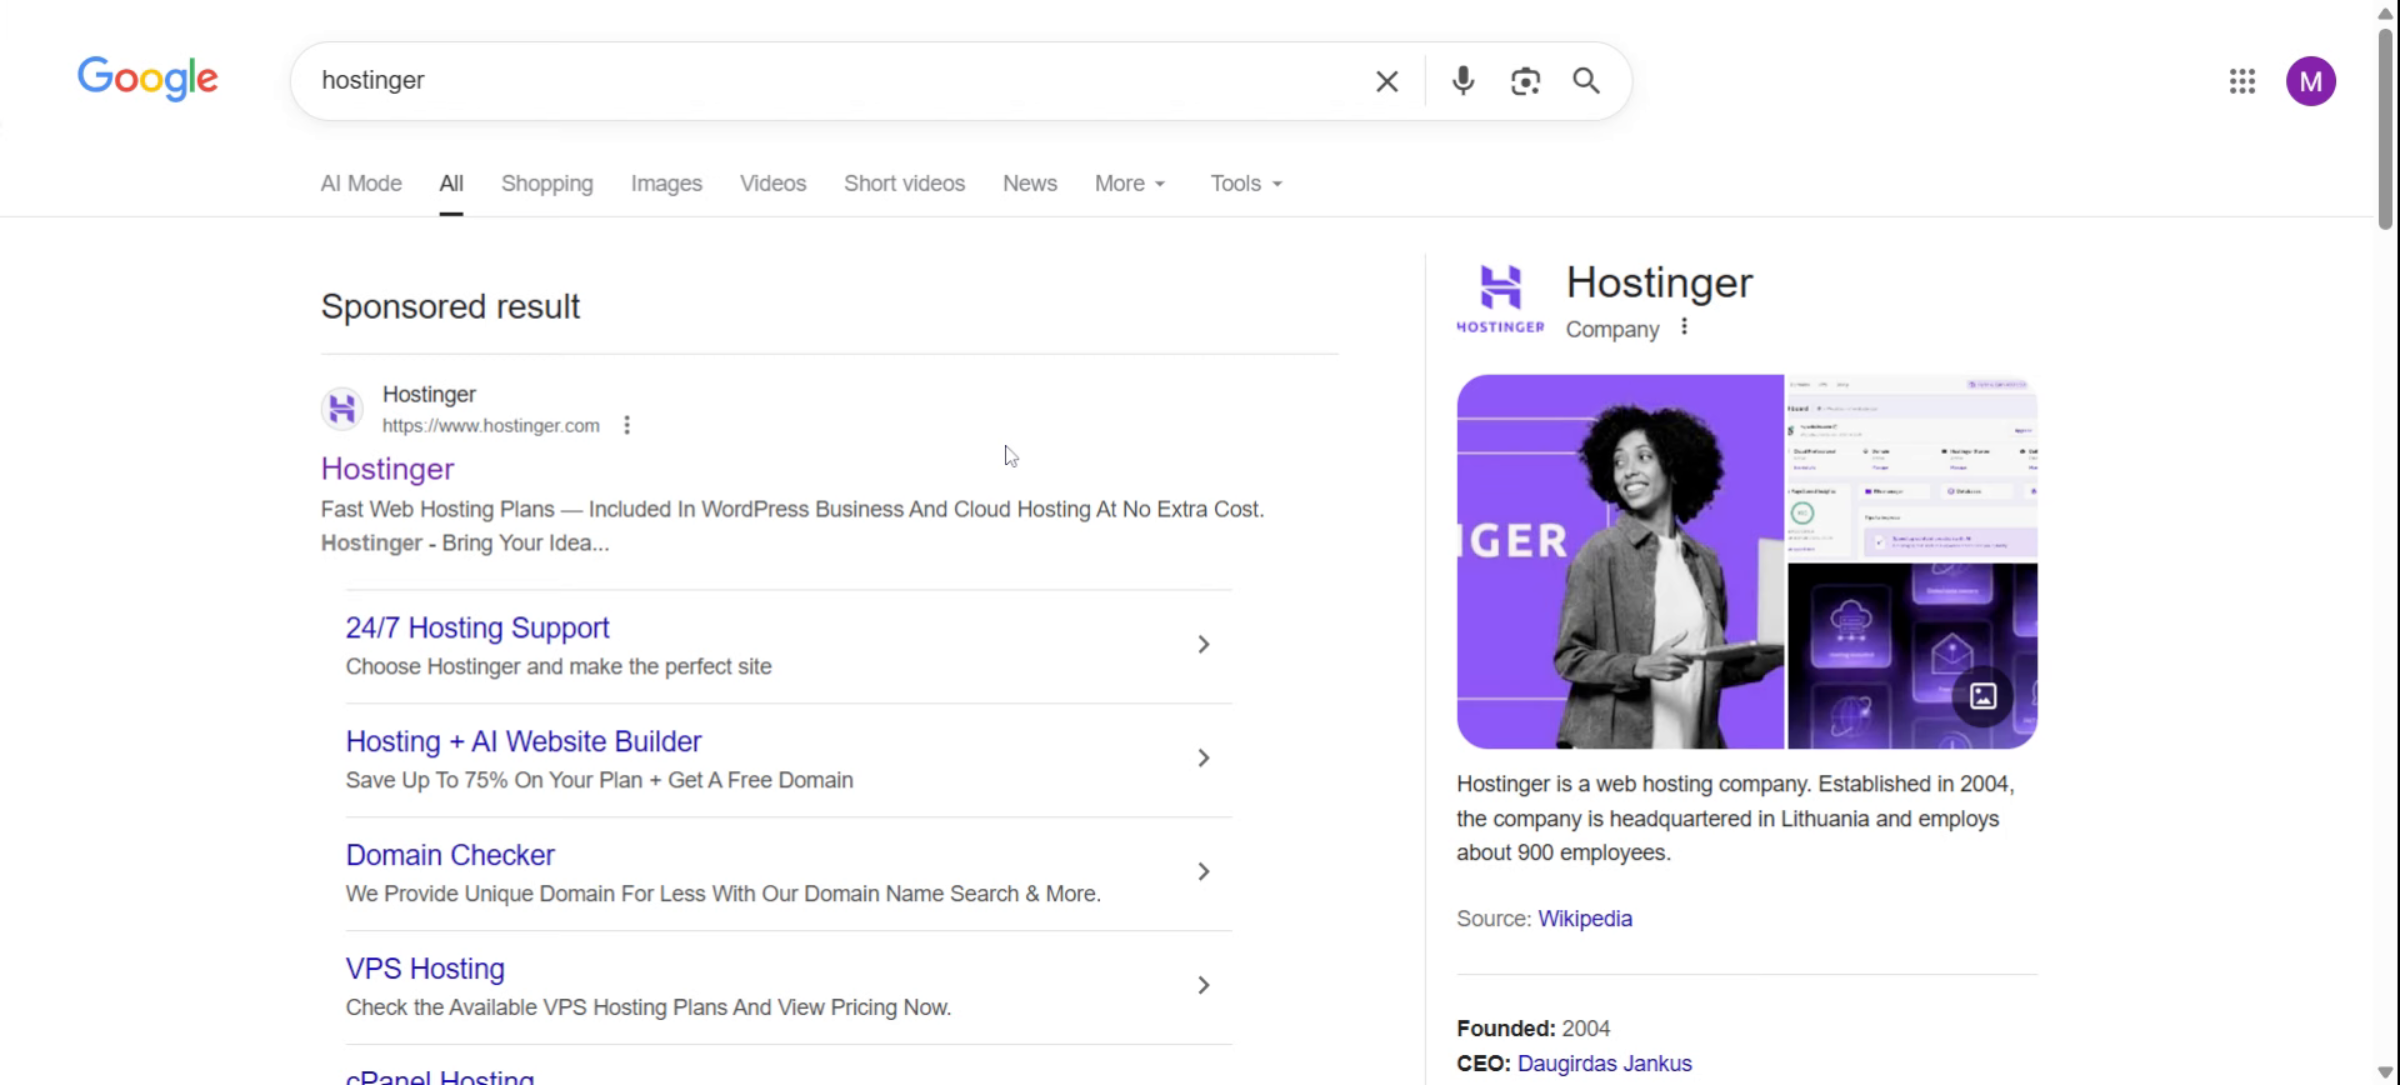
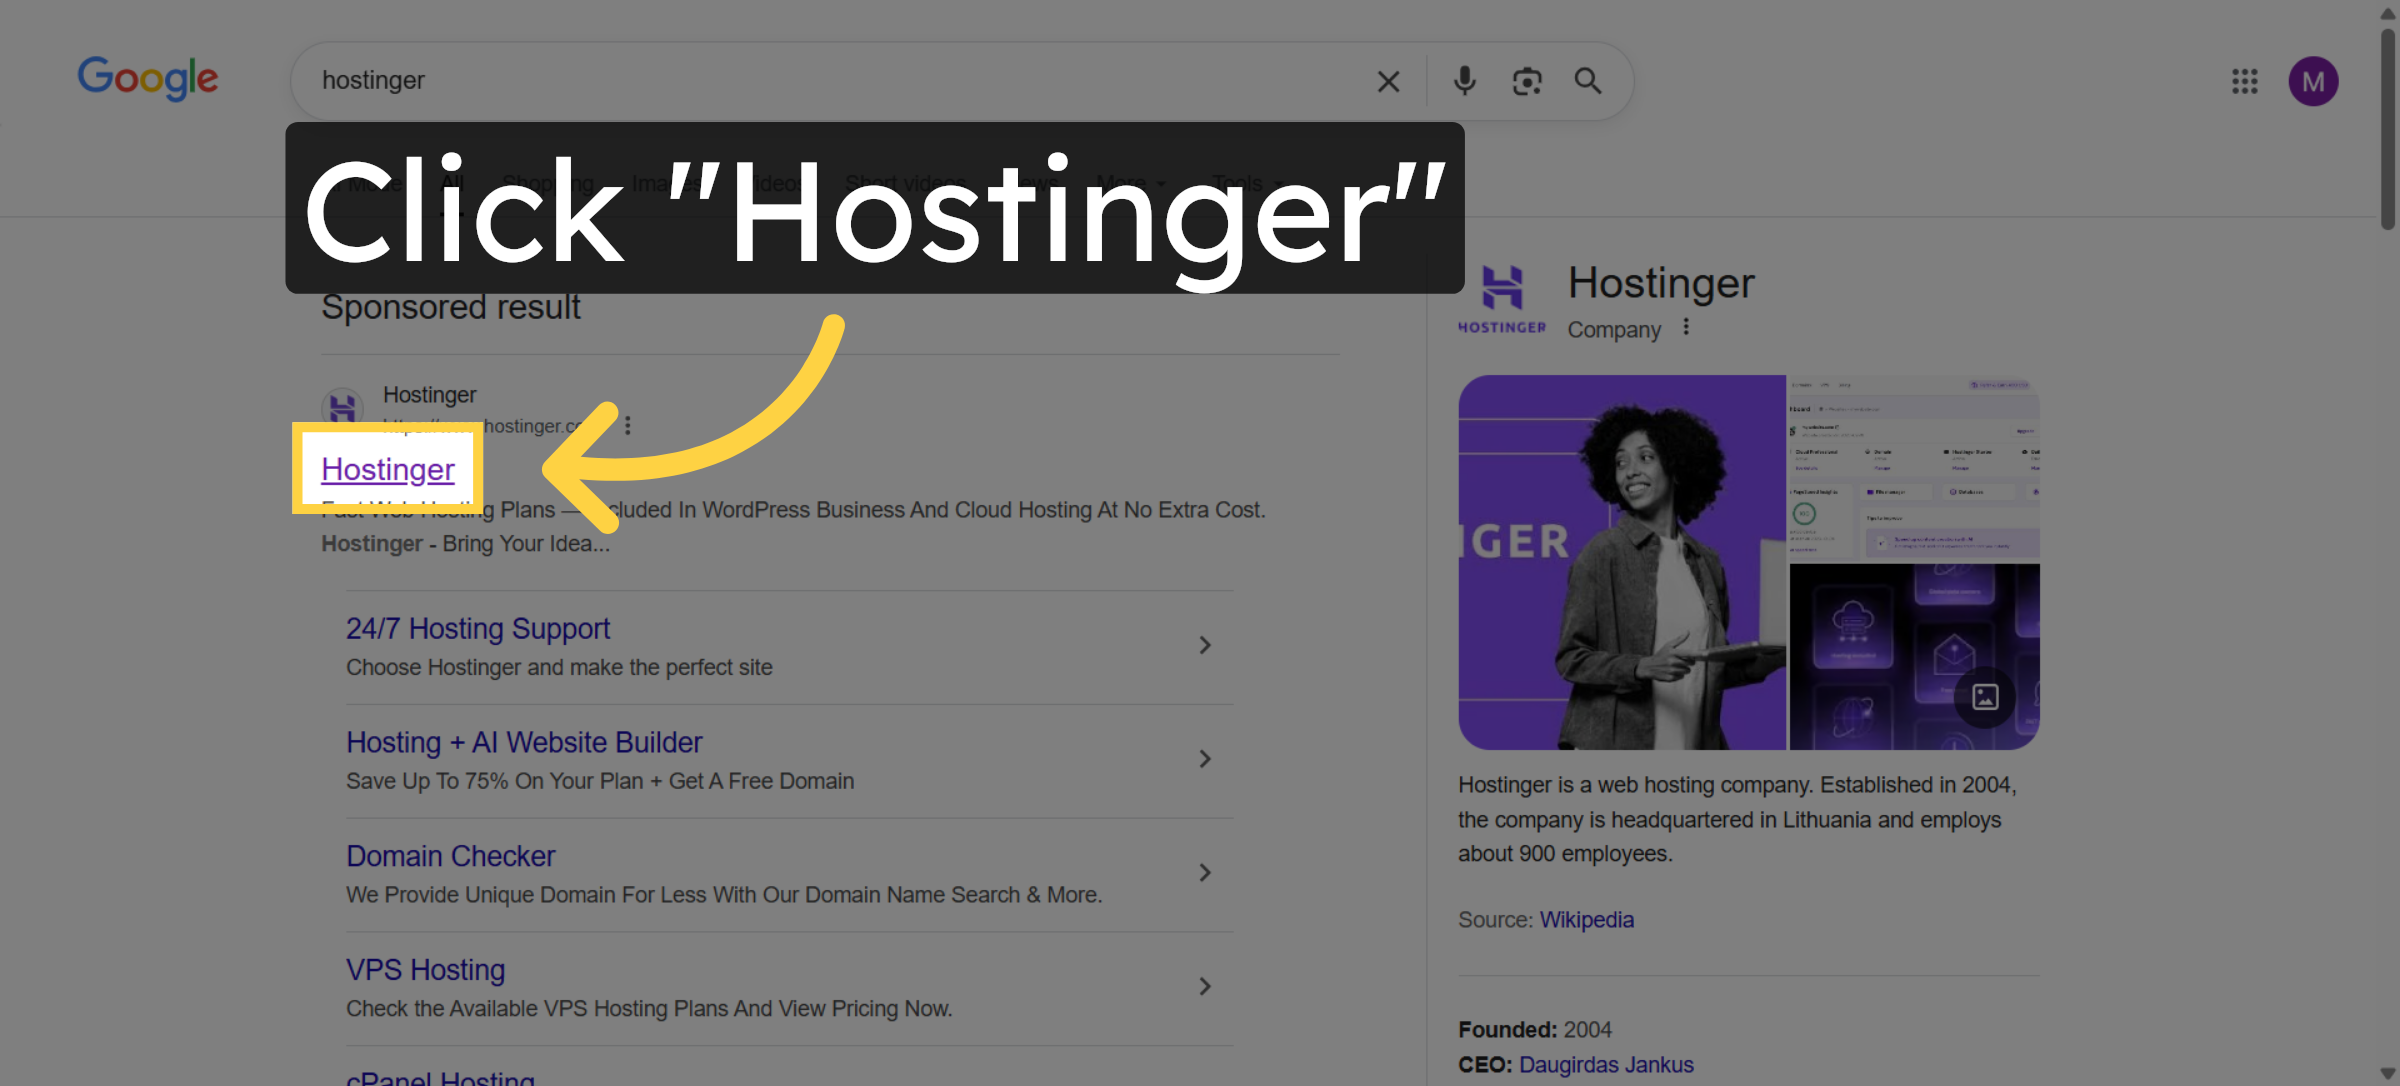
2. Click Hostinger Link
3. Access Pricing Page
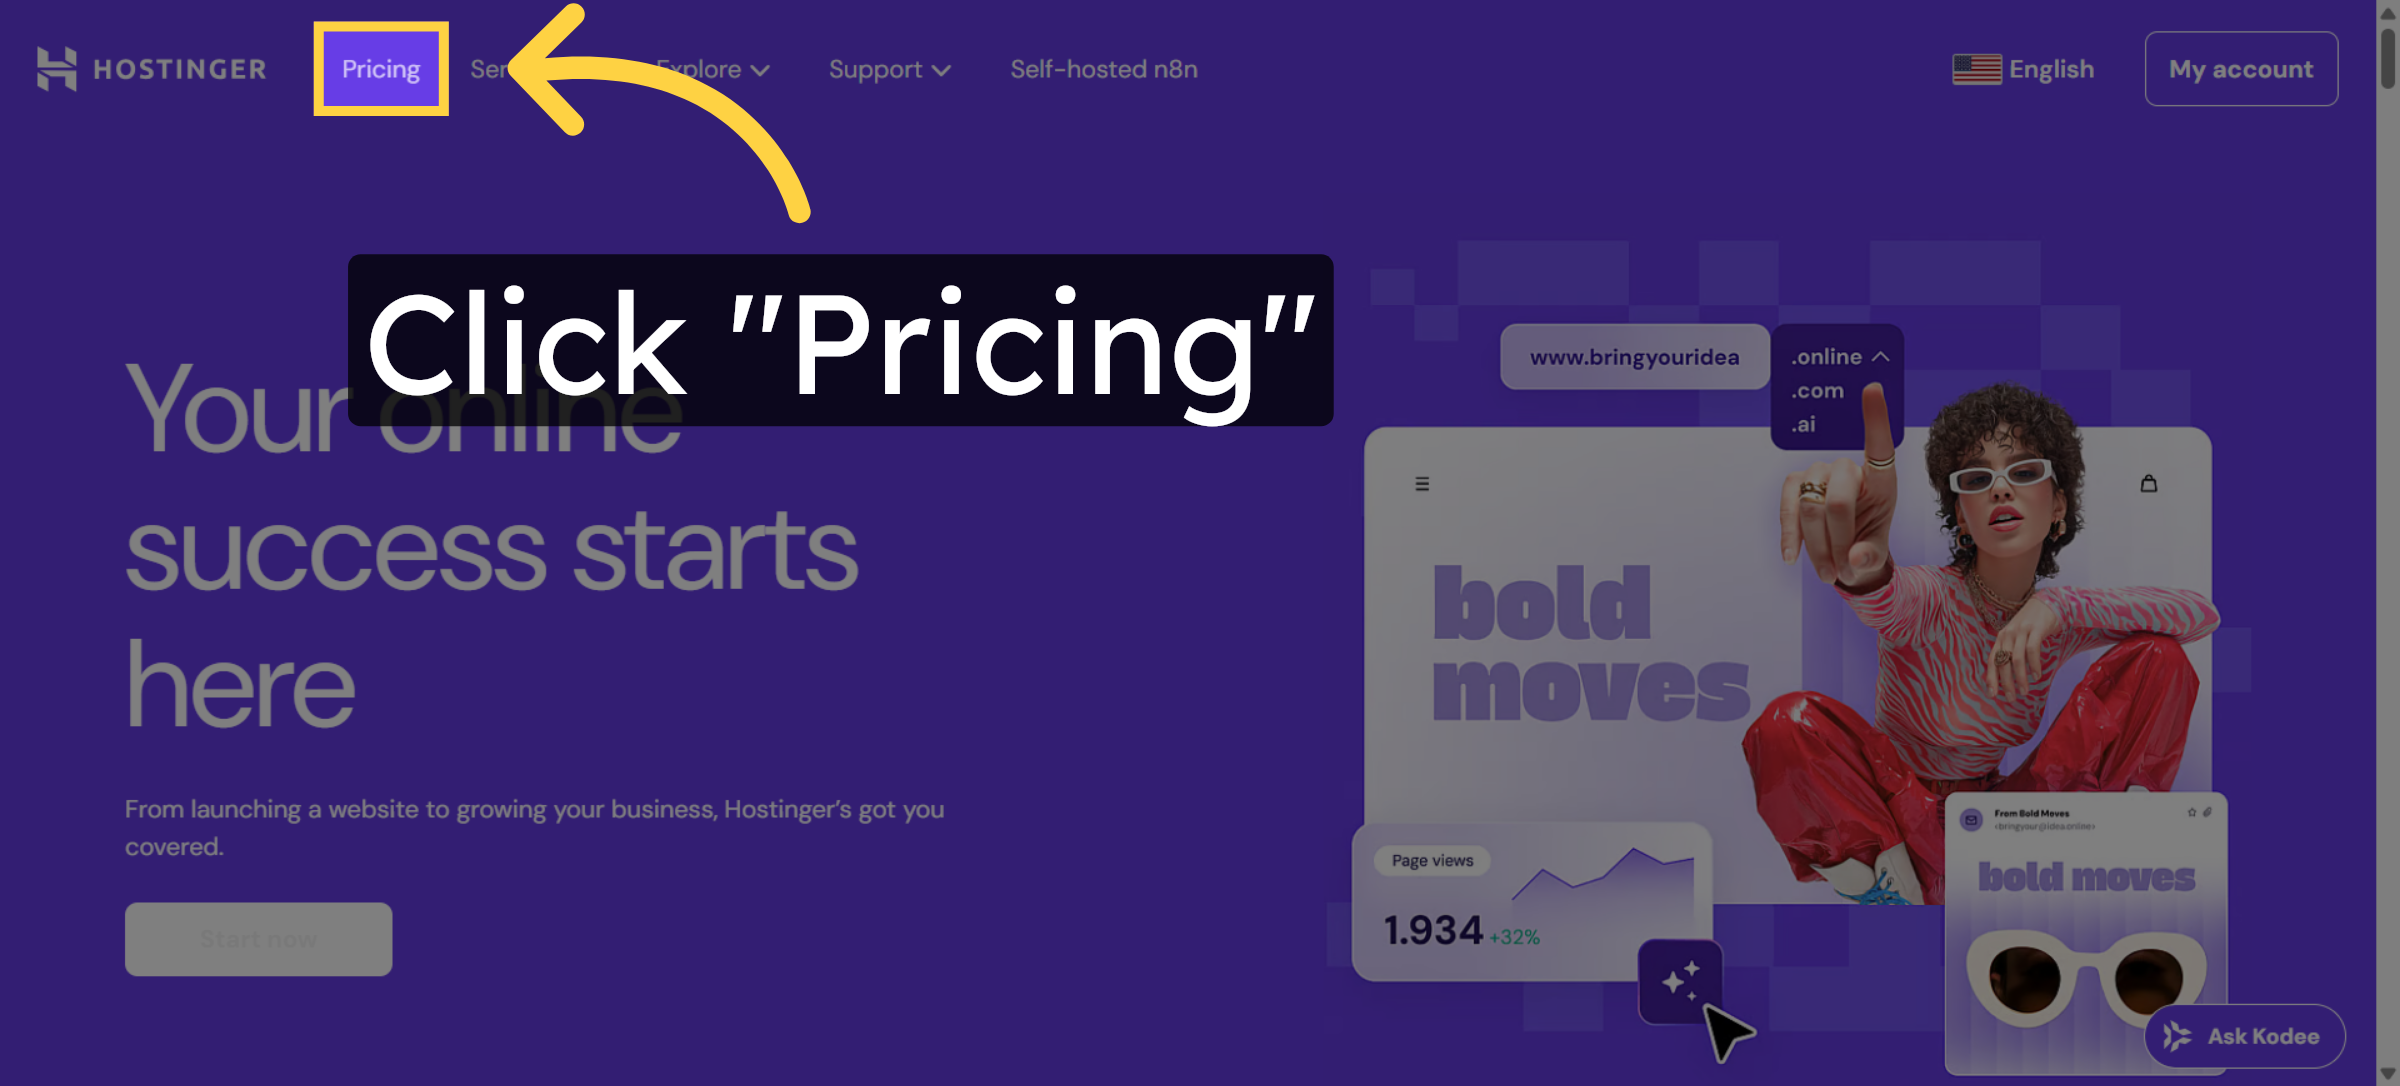
4. Navigate to Hostinger Website
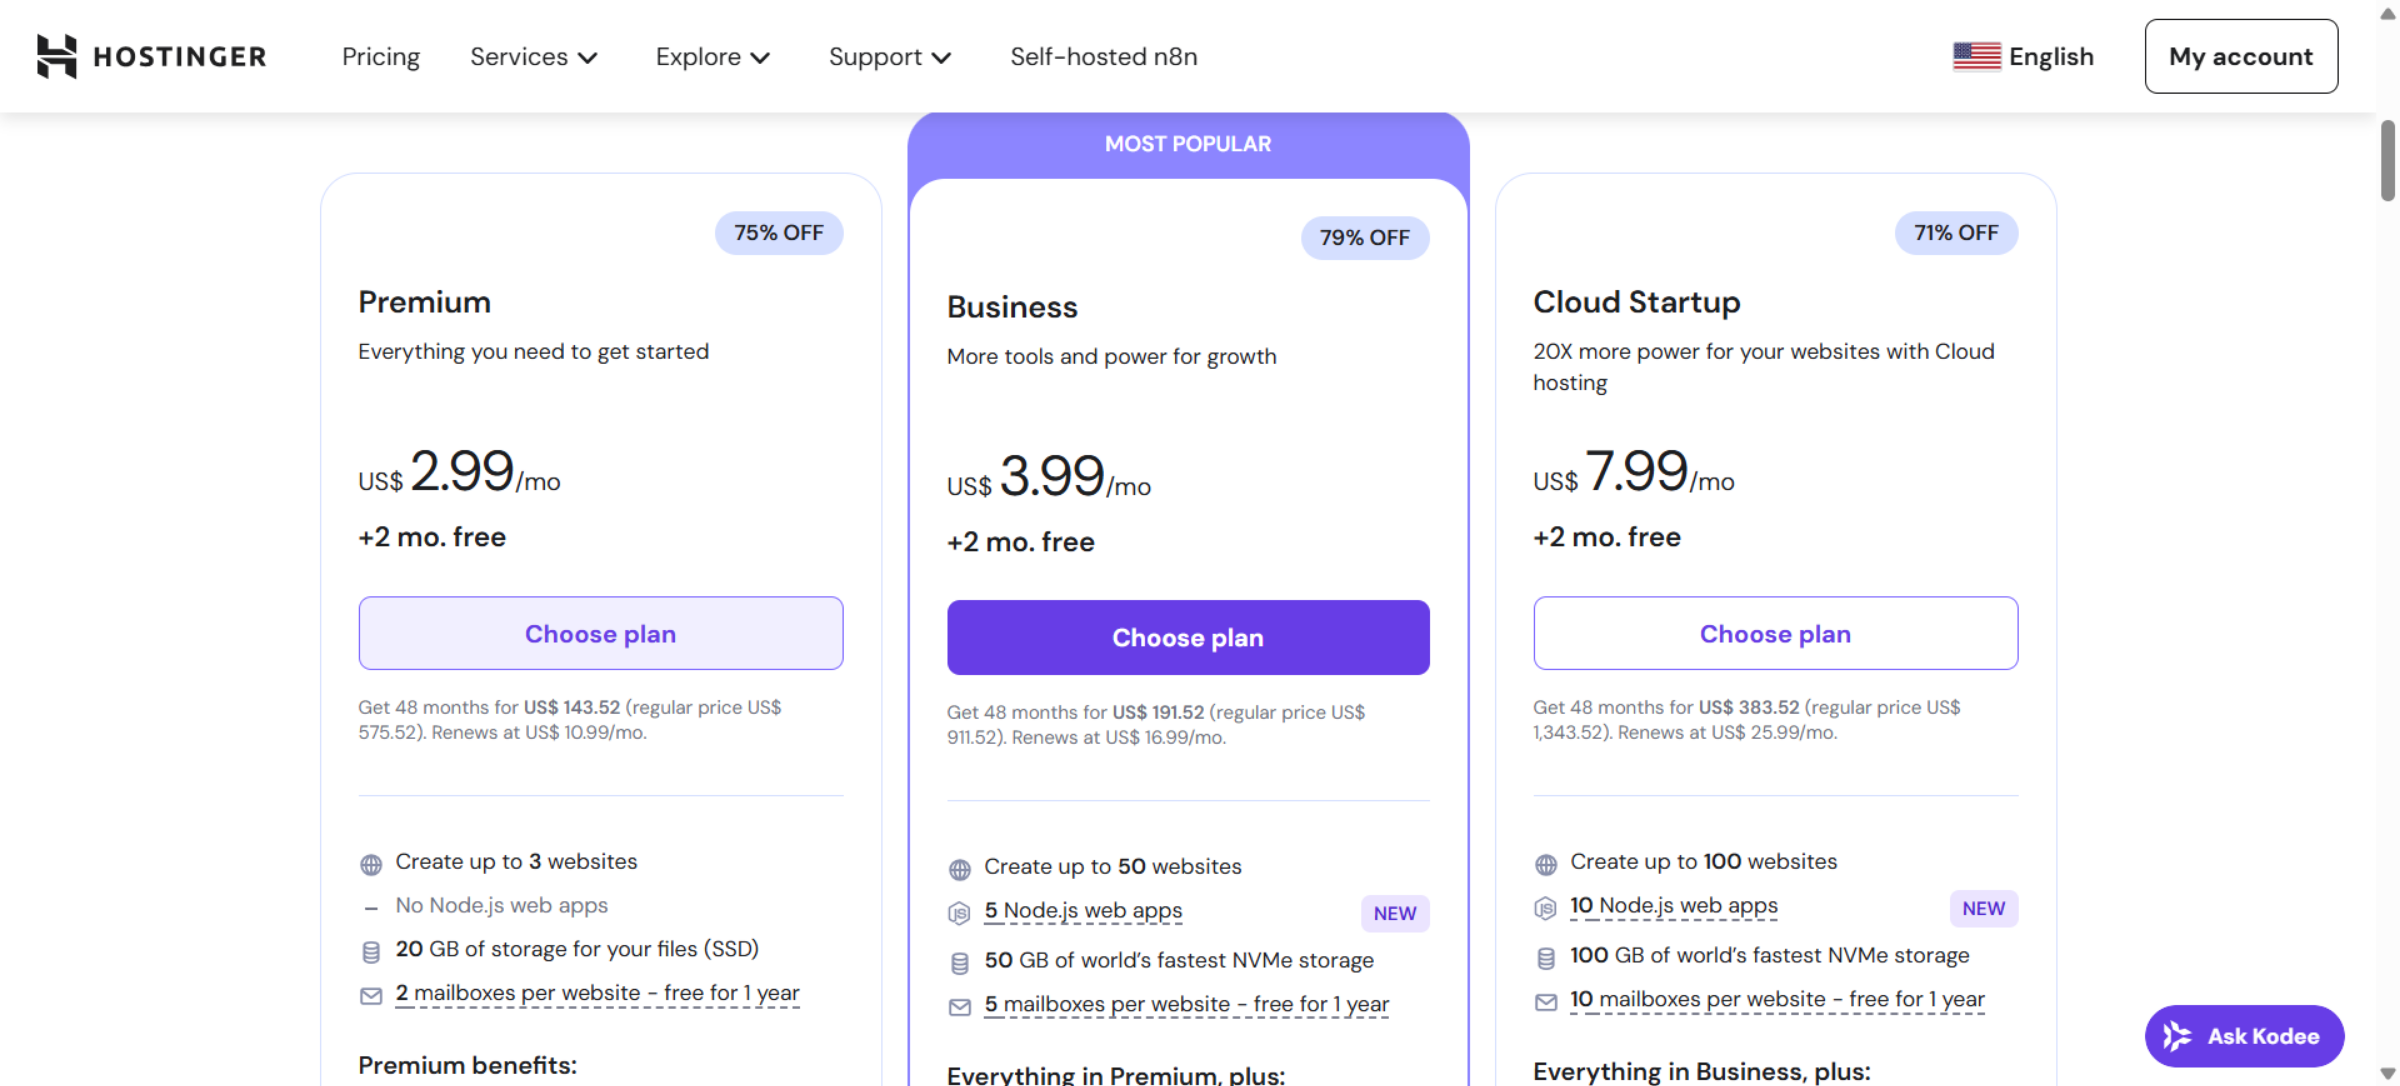
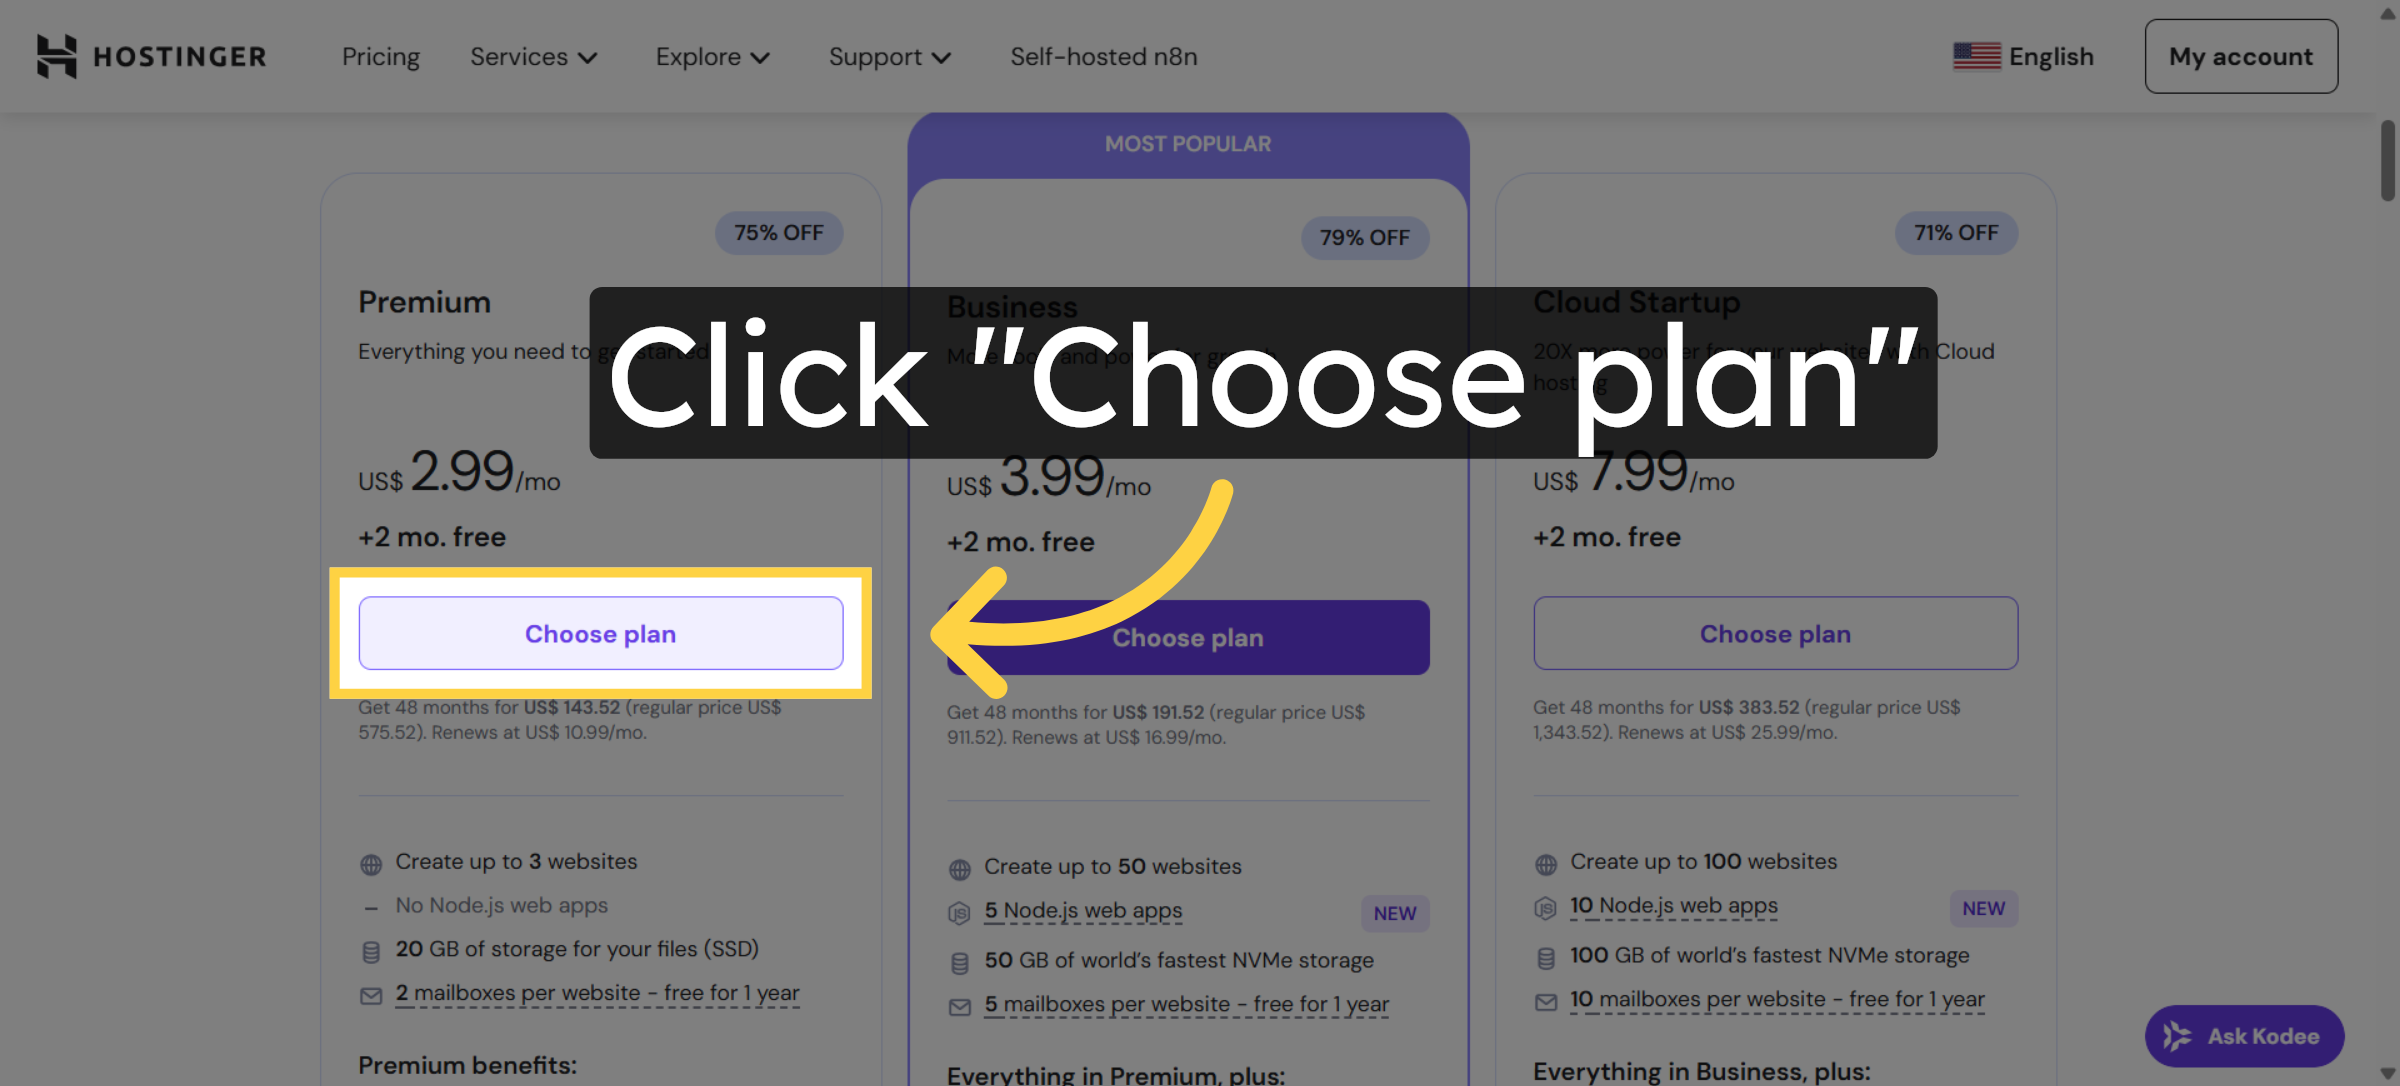
5. Choose Hosting Plan
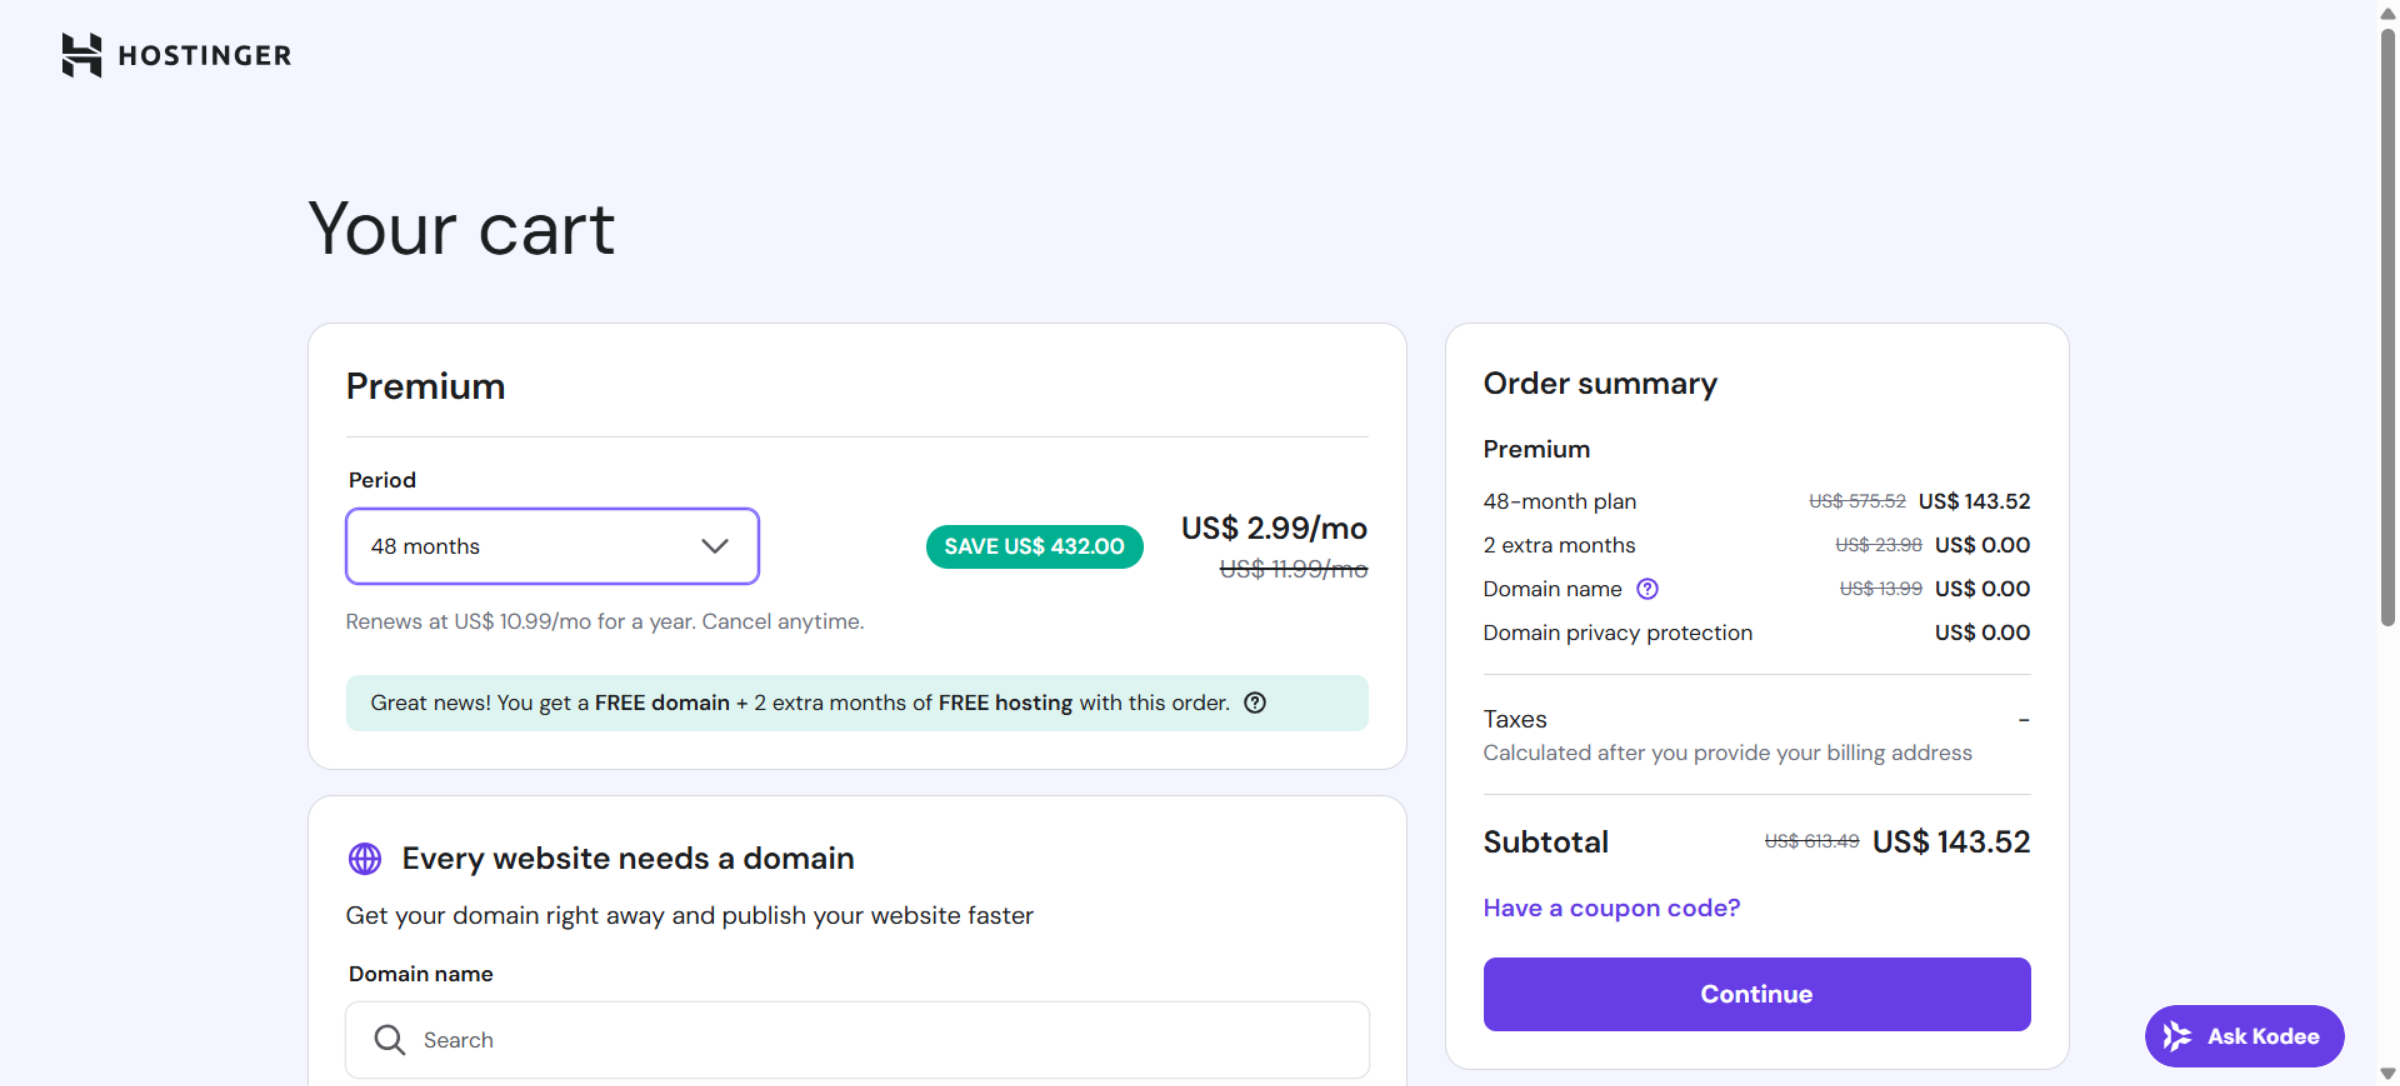
6. Open Cart Page
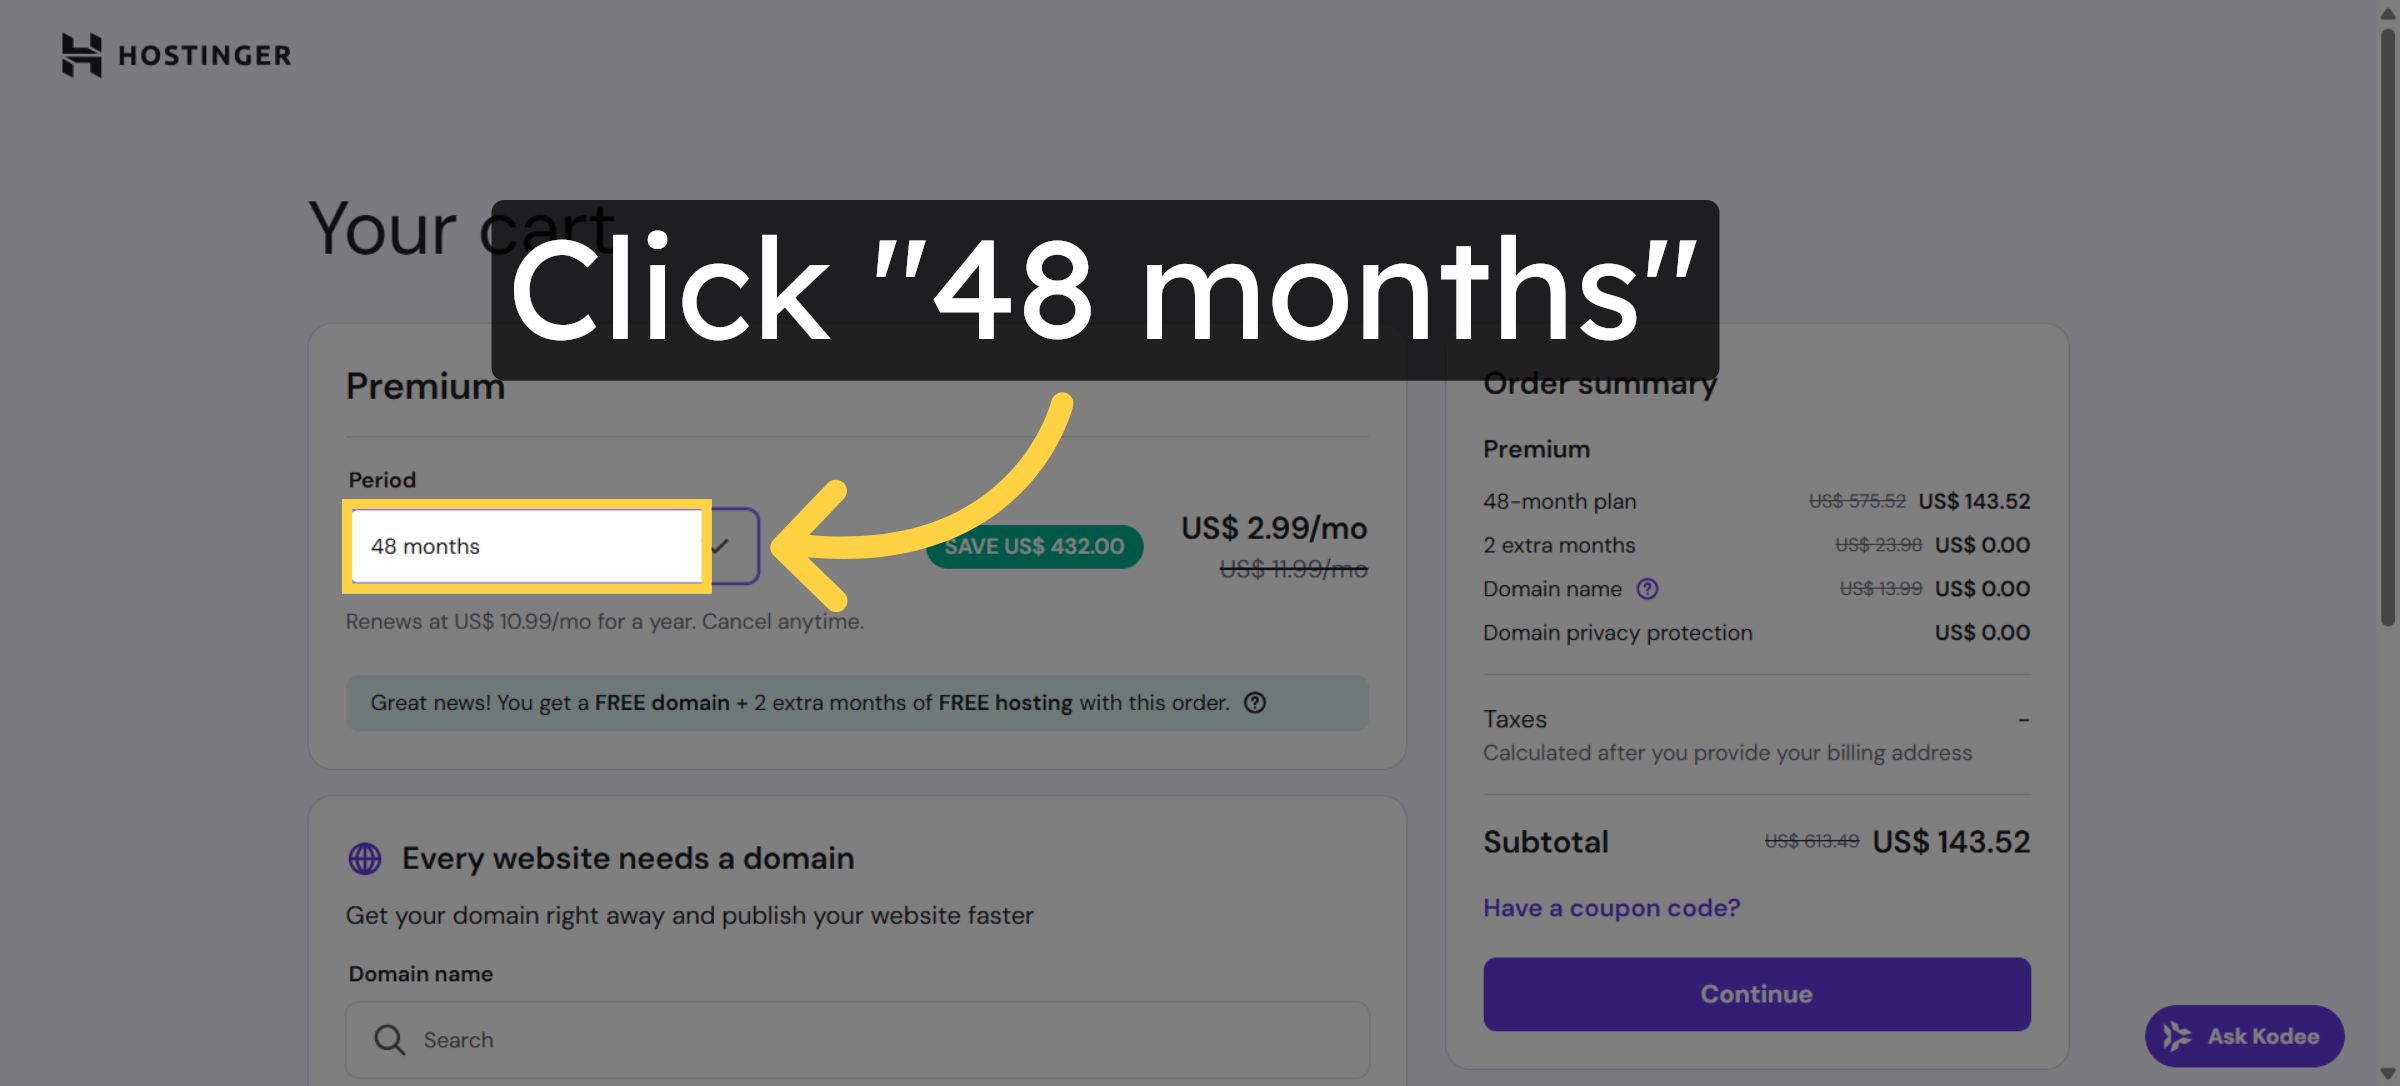
7. Select 48-Month Plan
8. Proceed to Checkout
9. Open Authentication Page
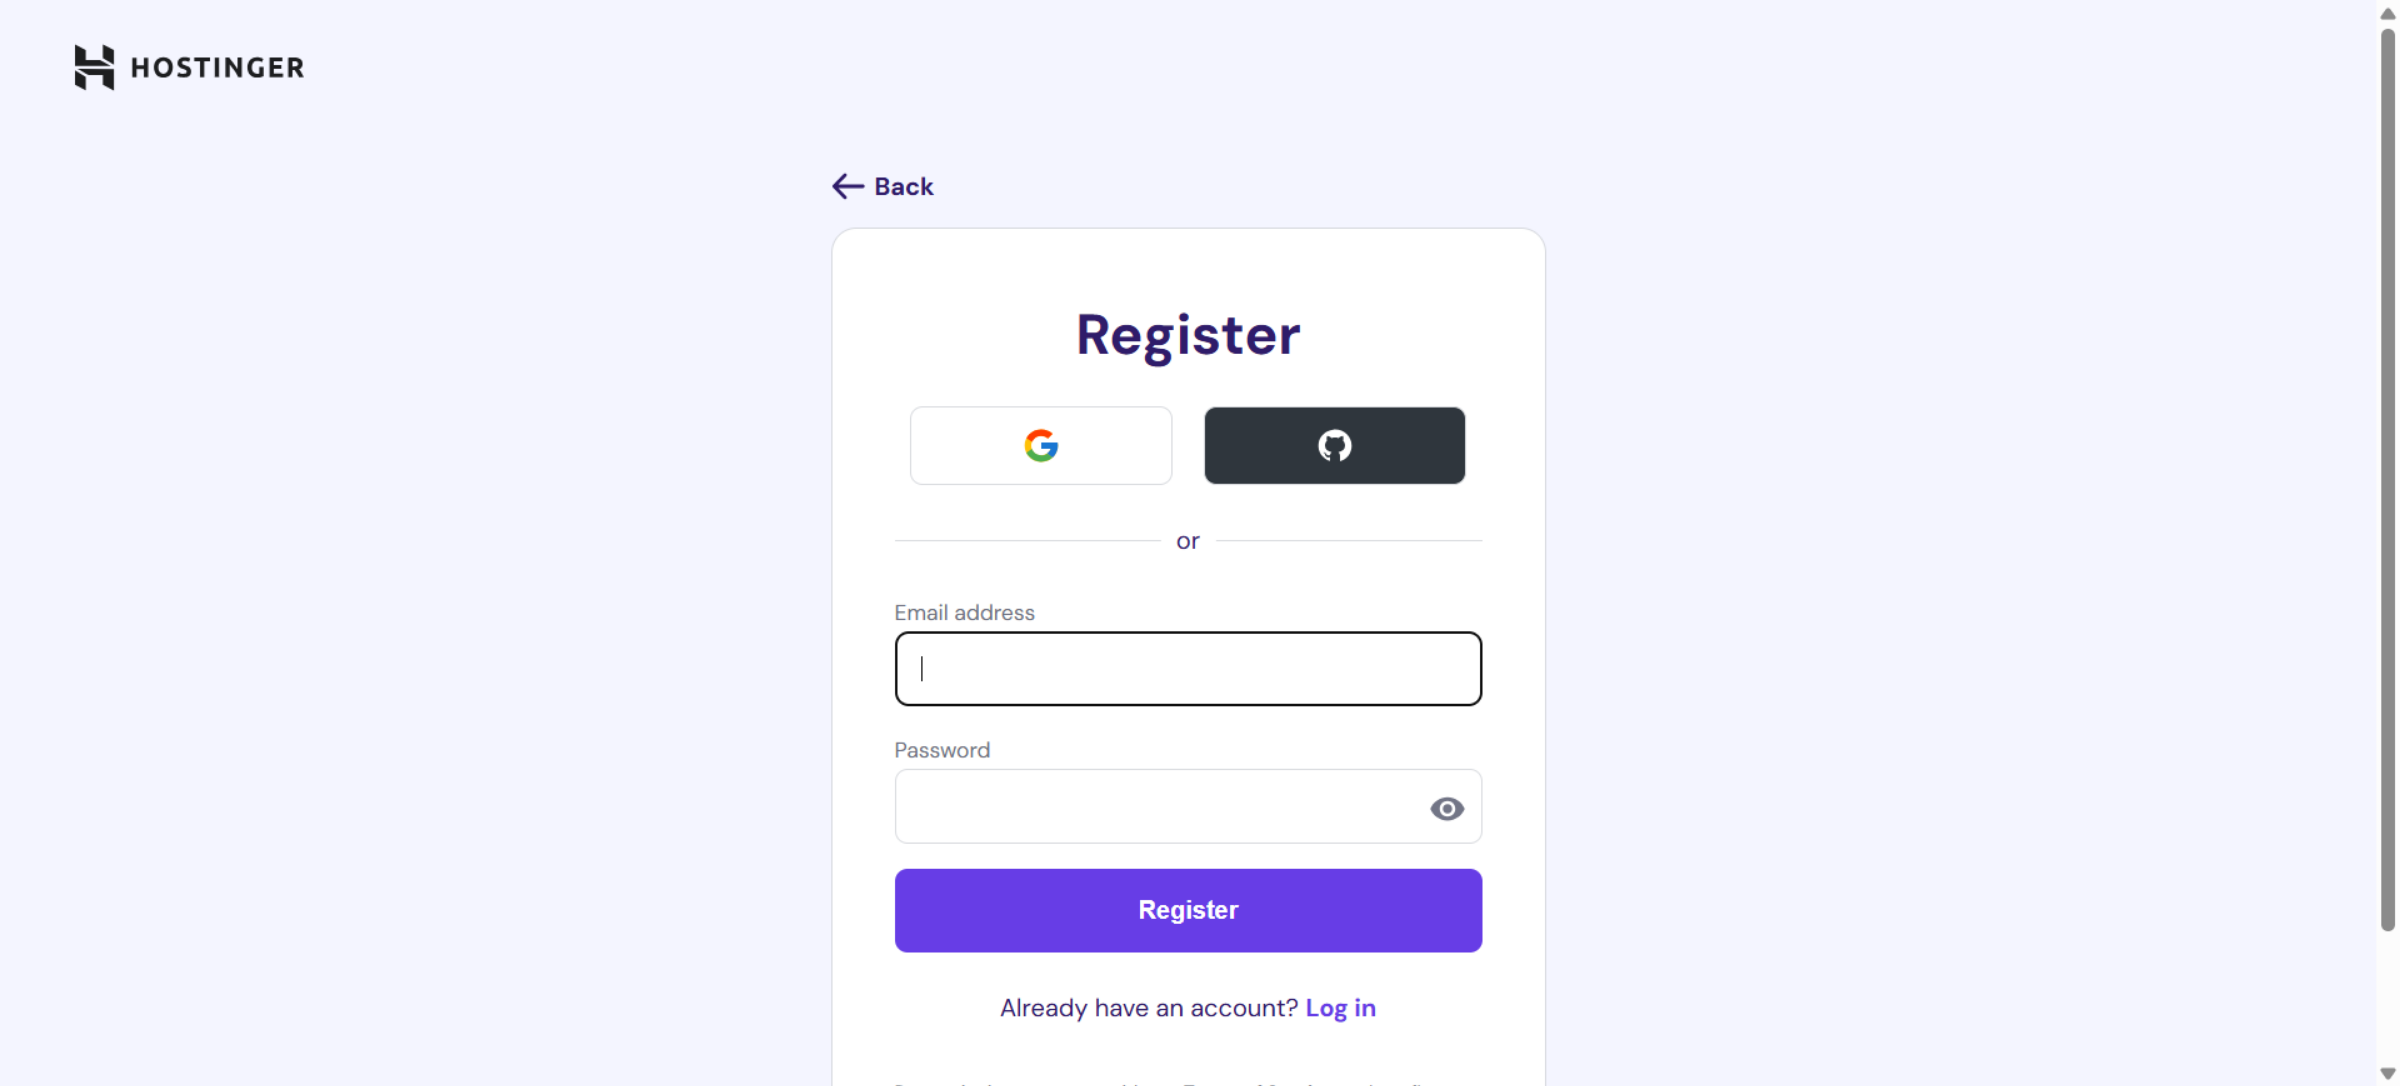
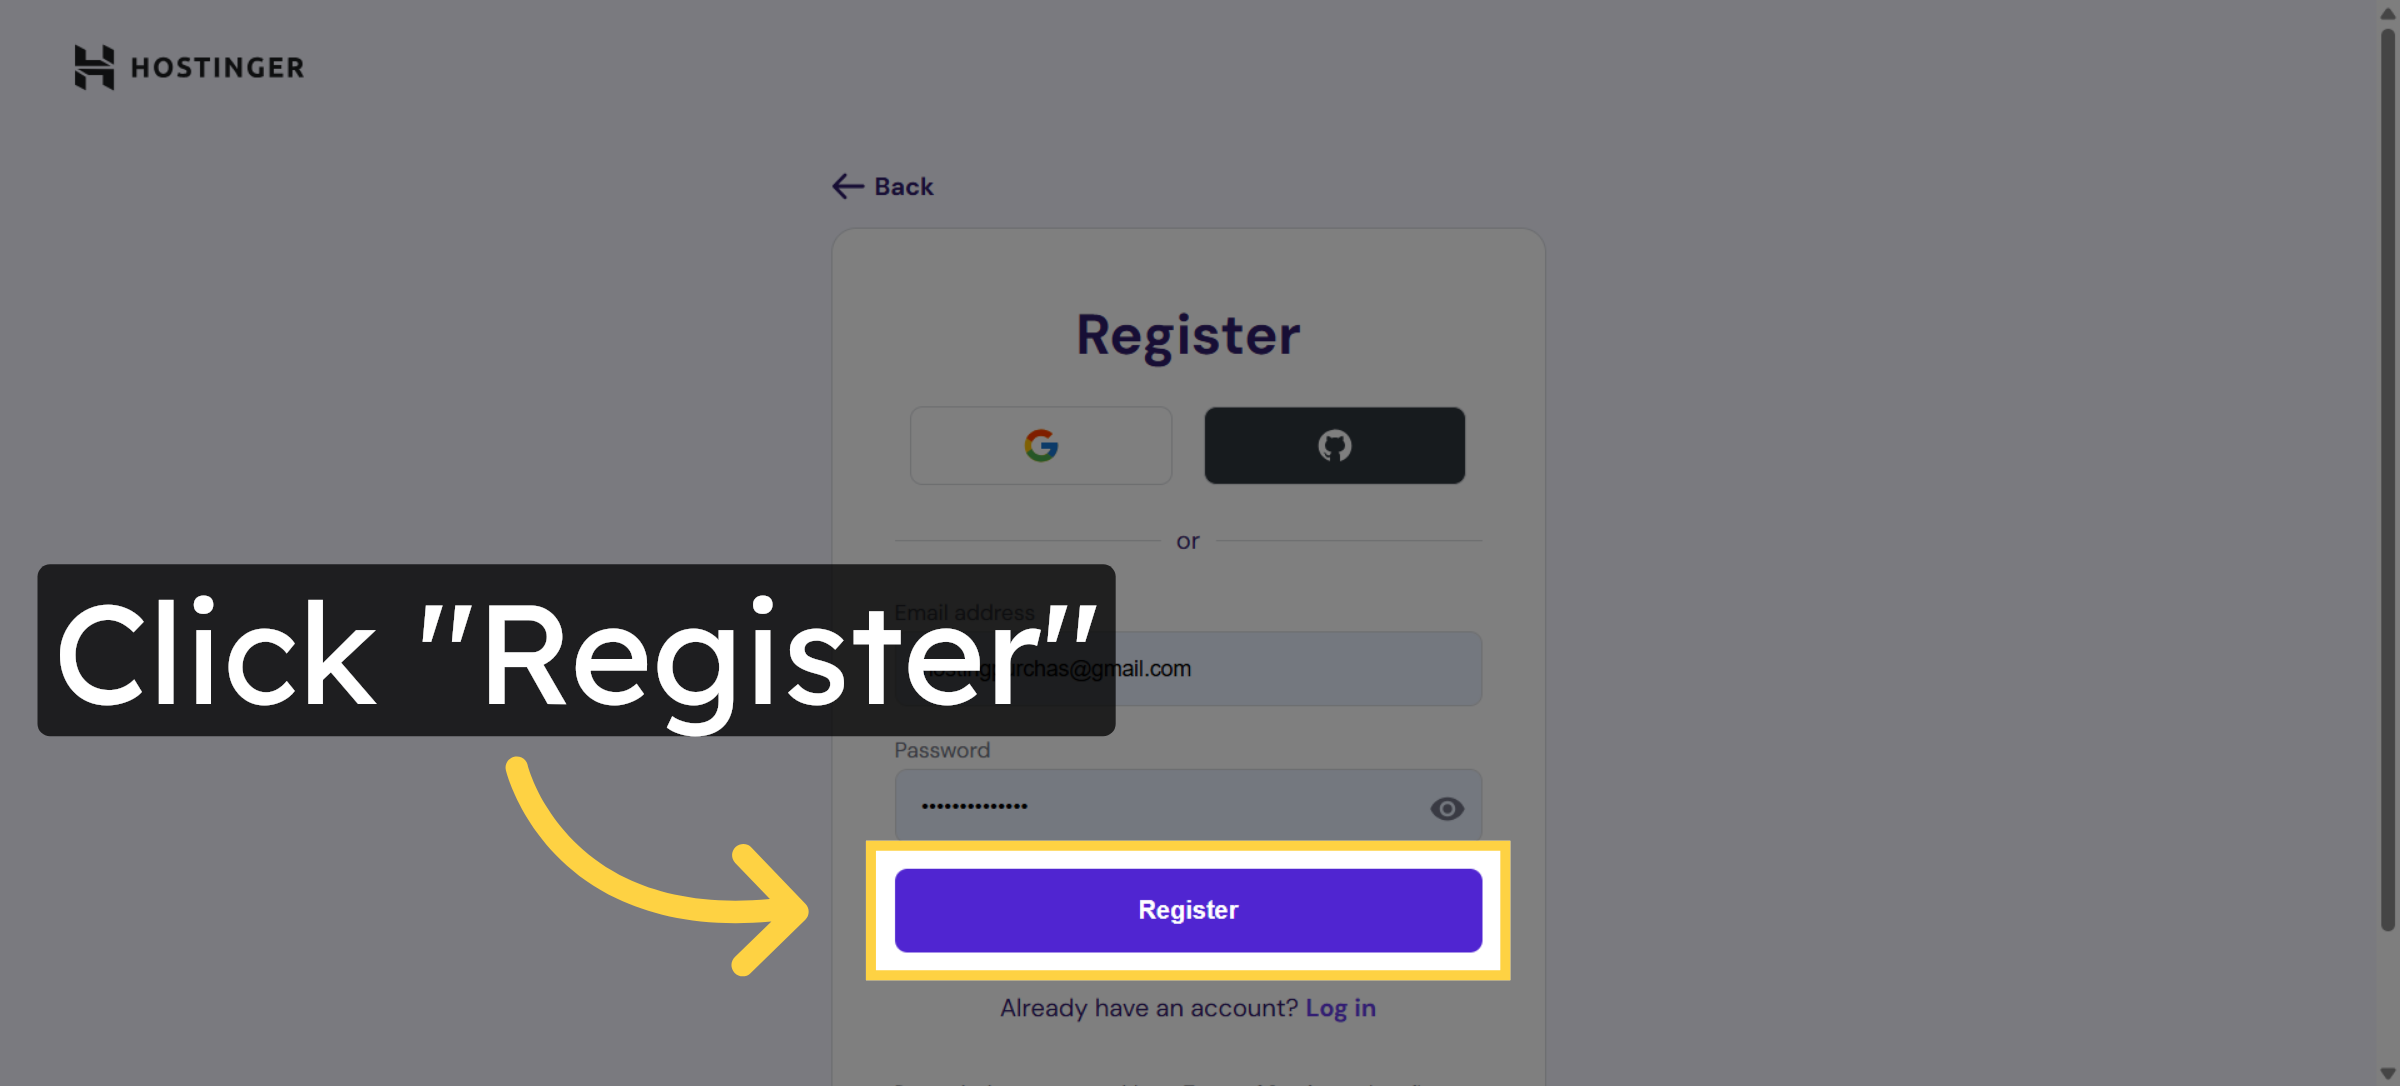
10. Click Register Button
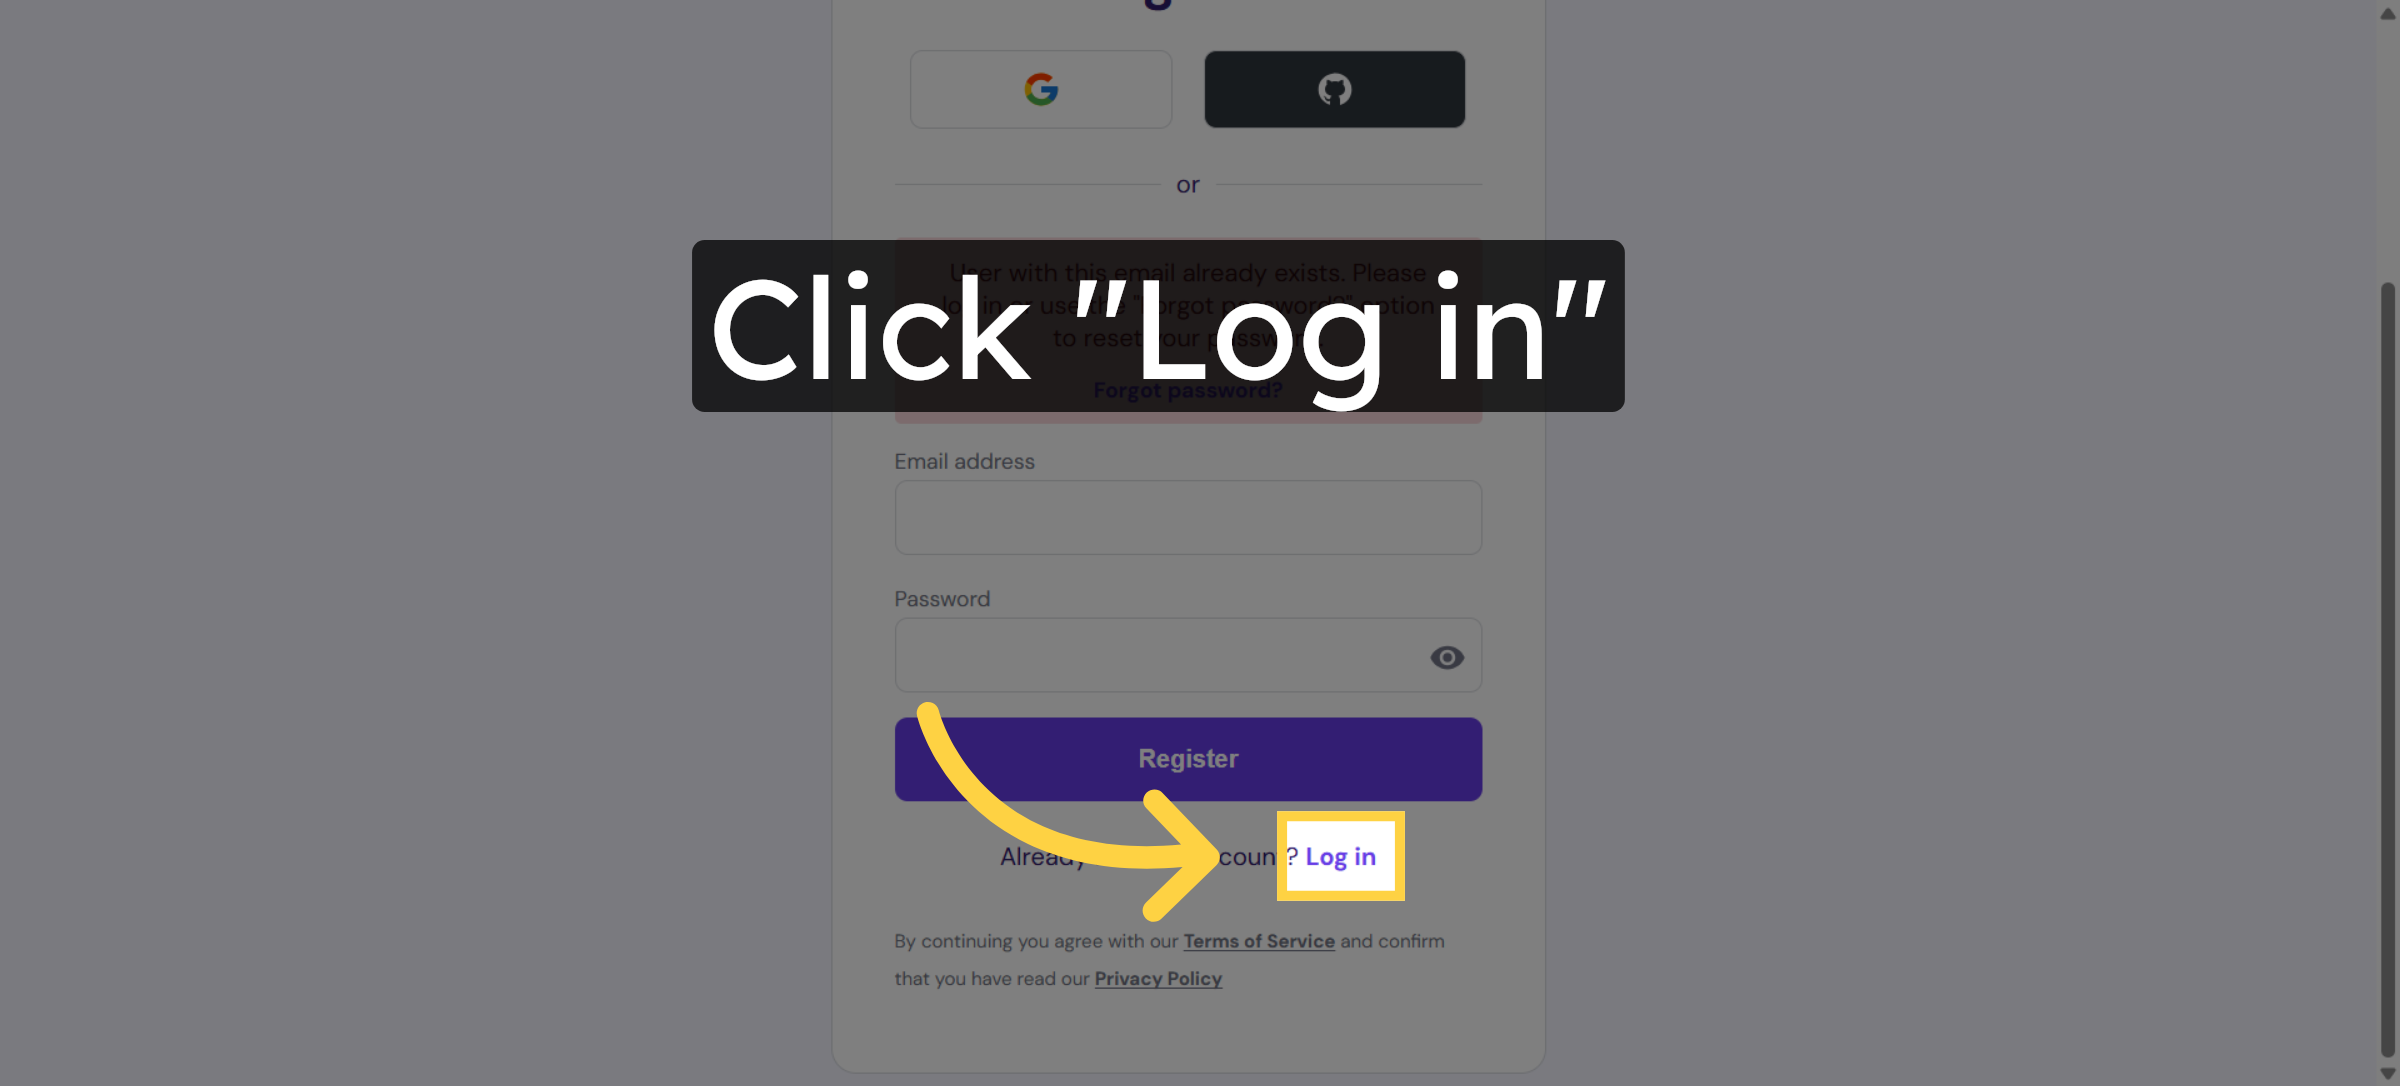
11. Select Log In Option
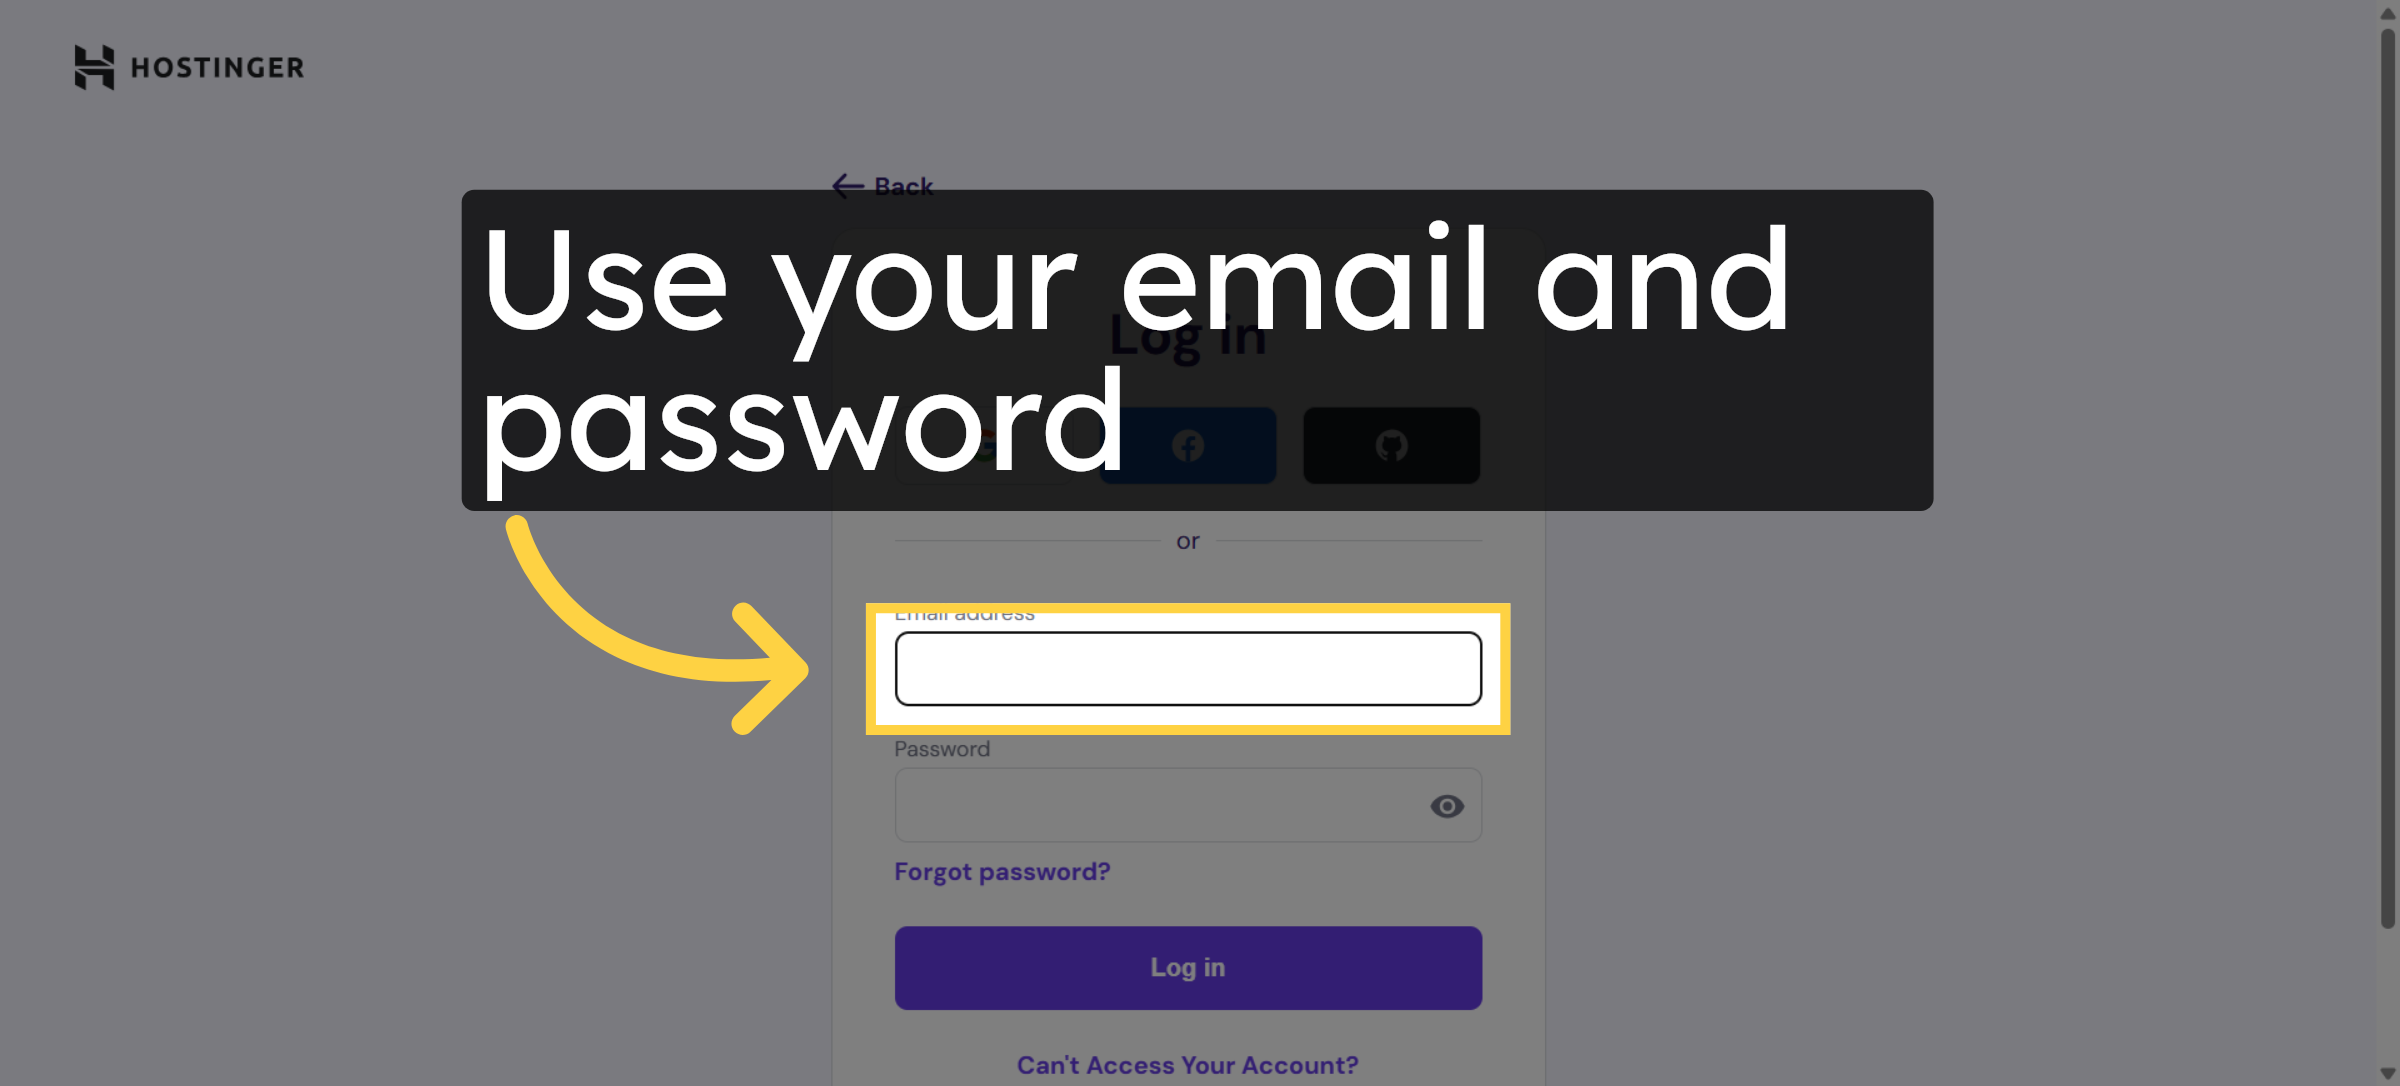
12. Select Email Address Field
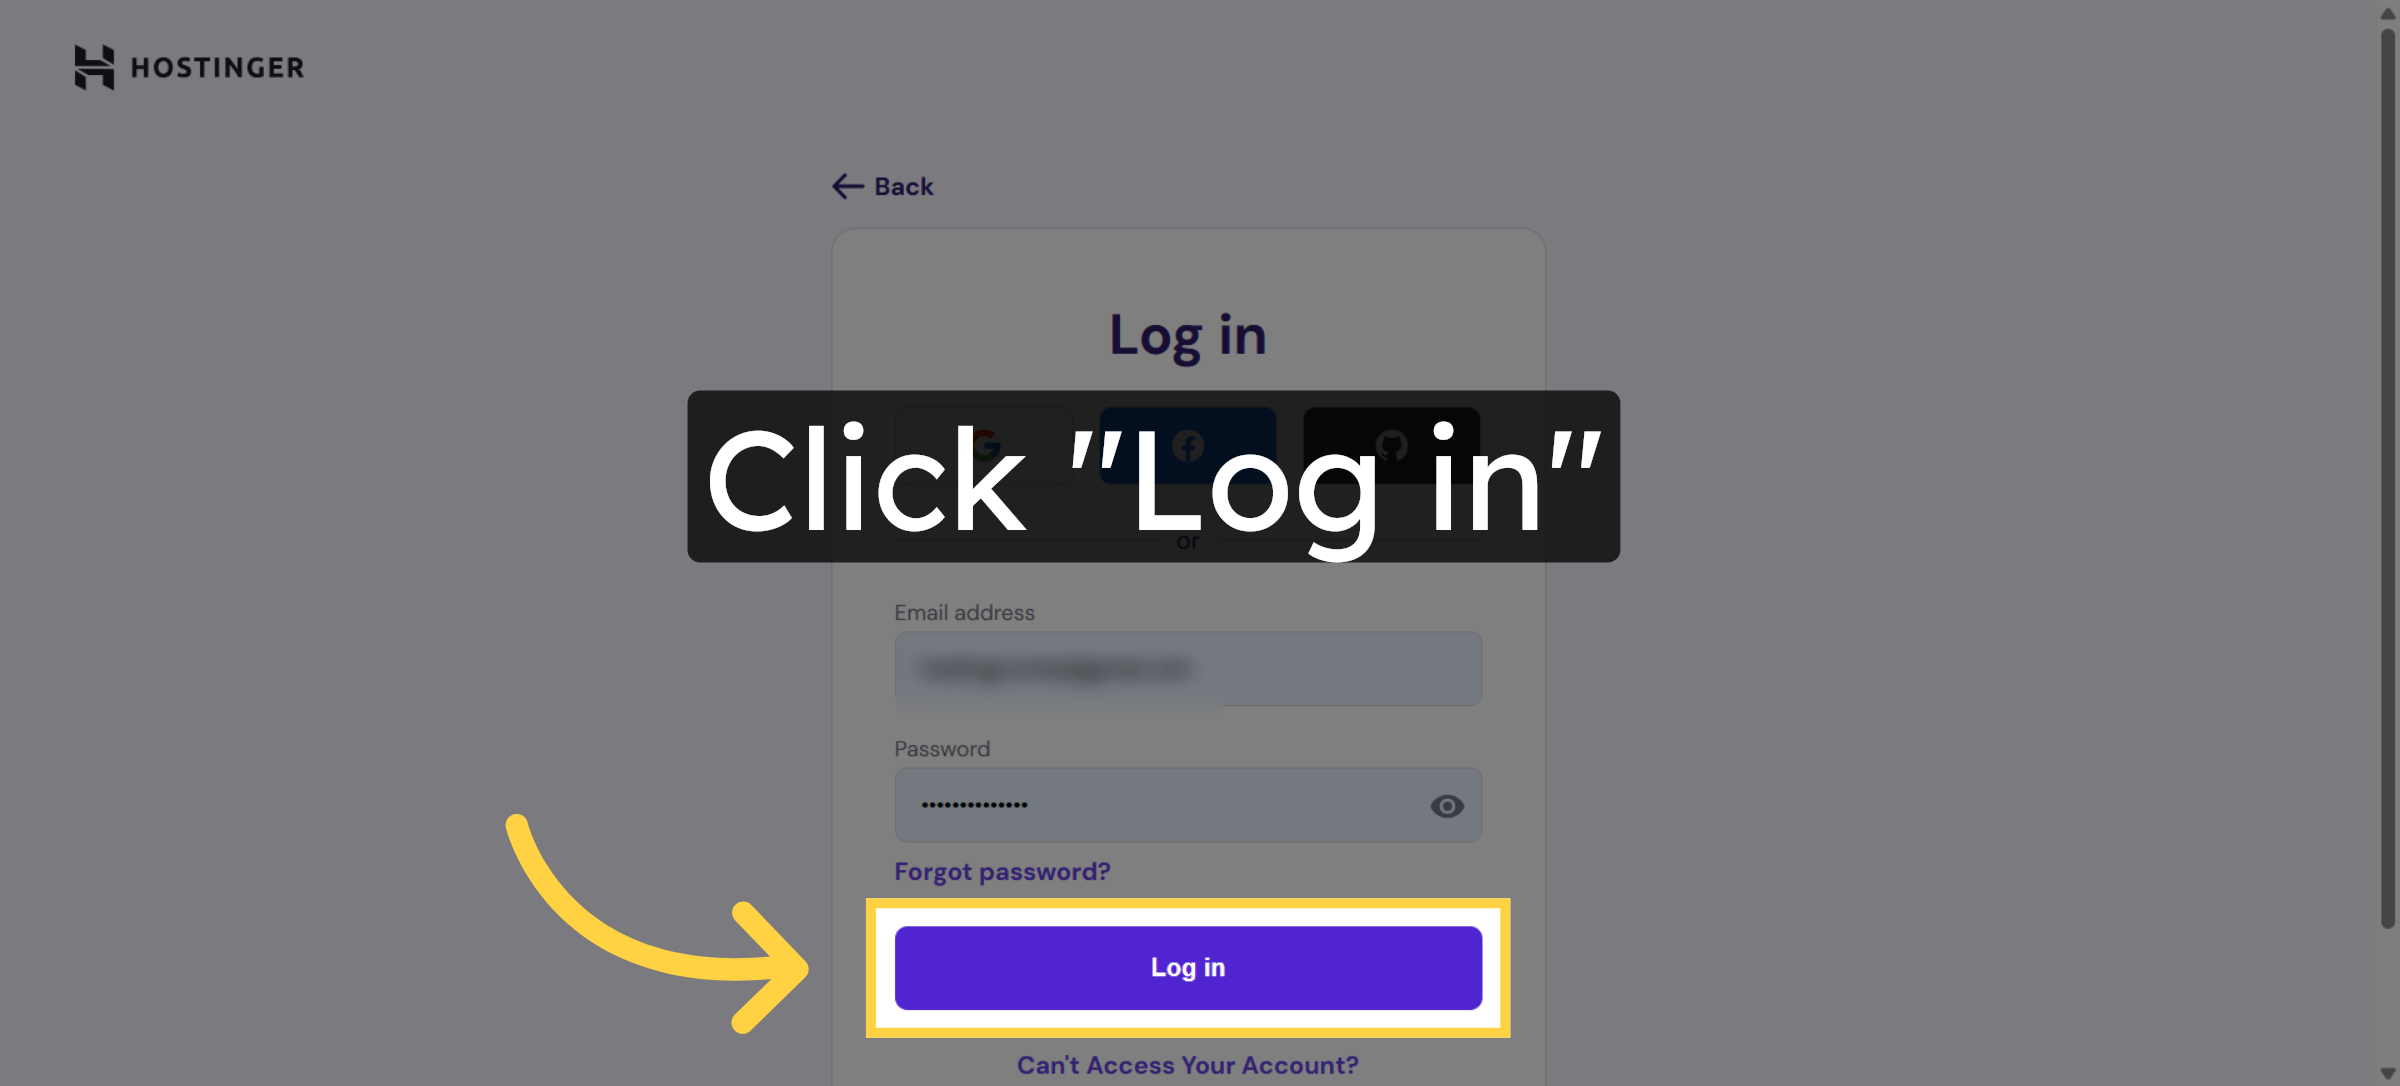
13. Click Log In Button
14. After Click on login Page will be redirect to Cart Page
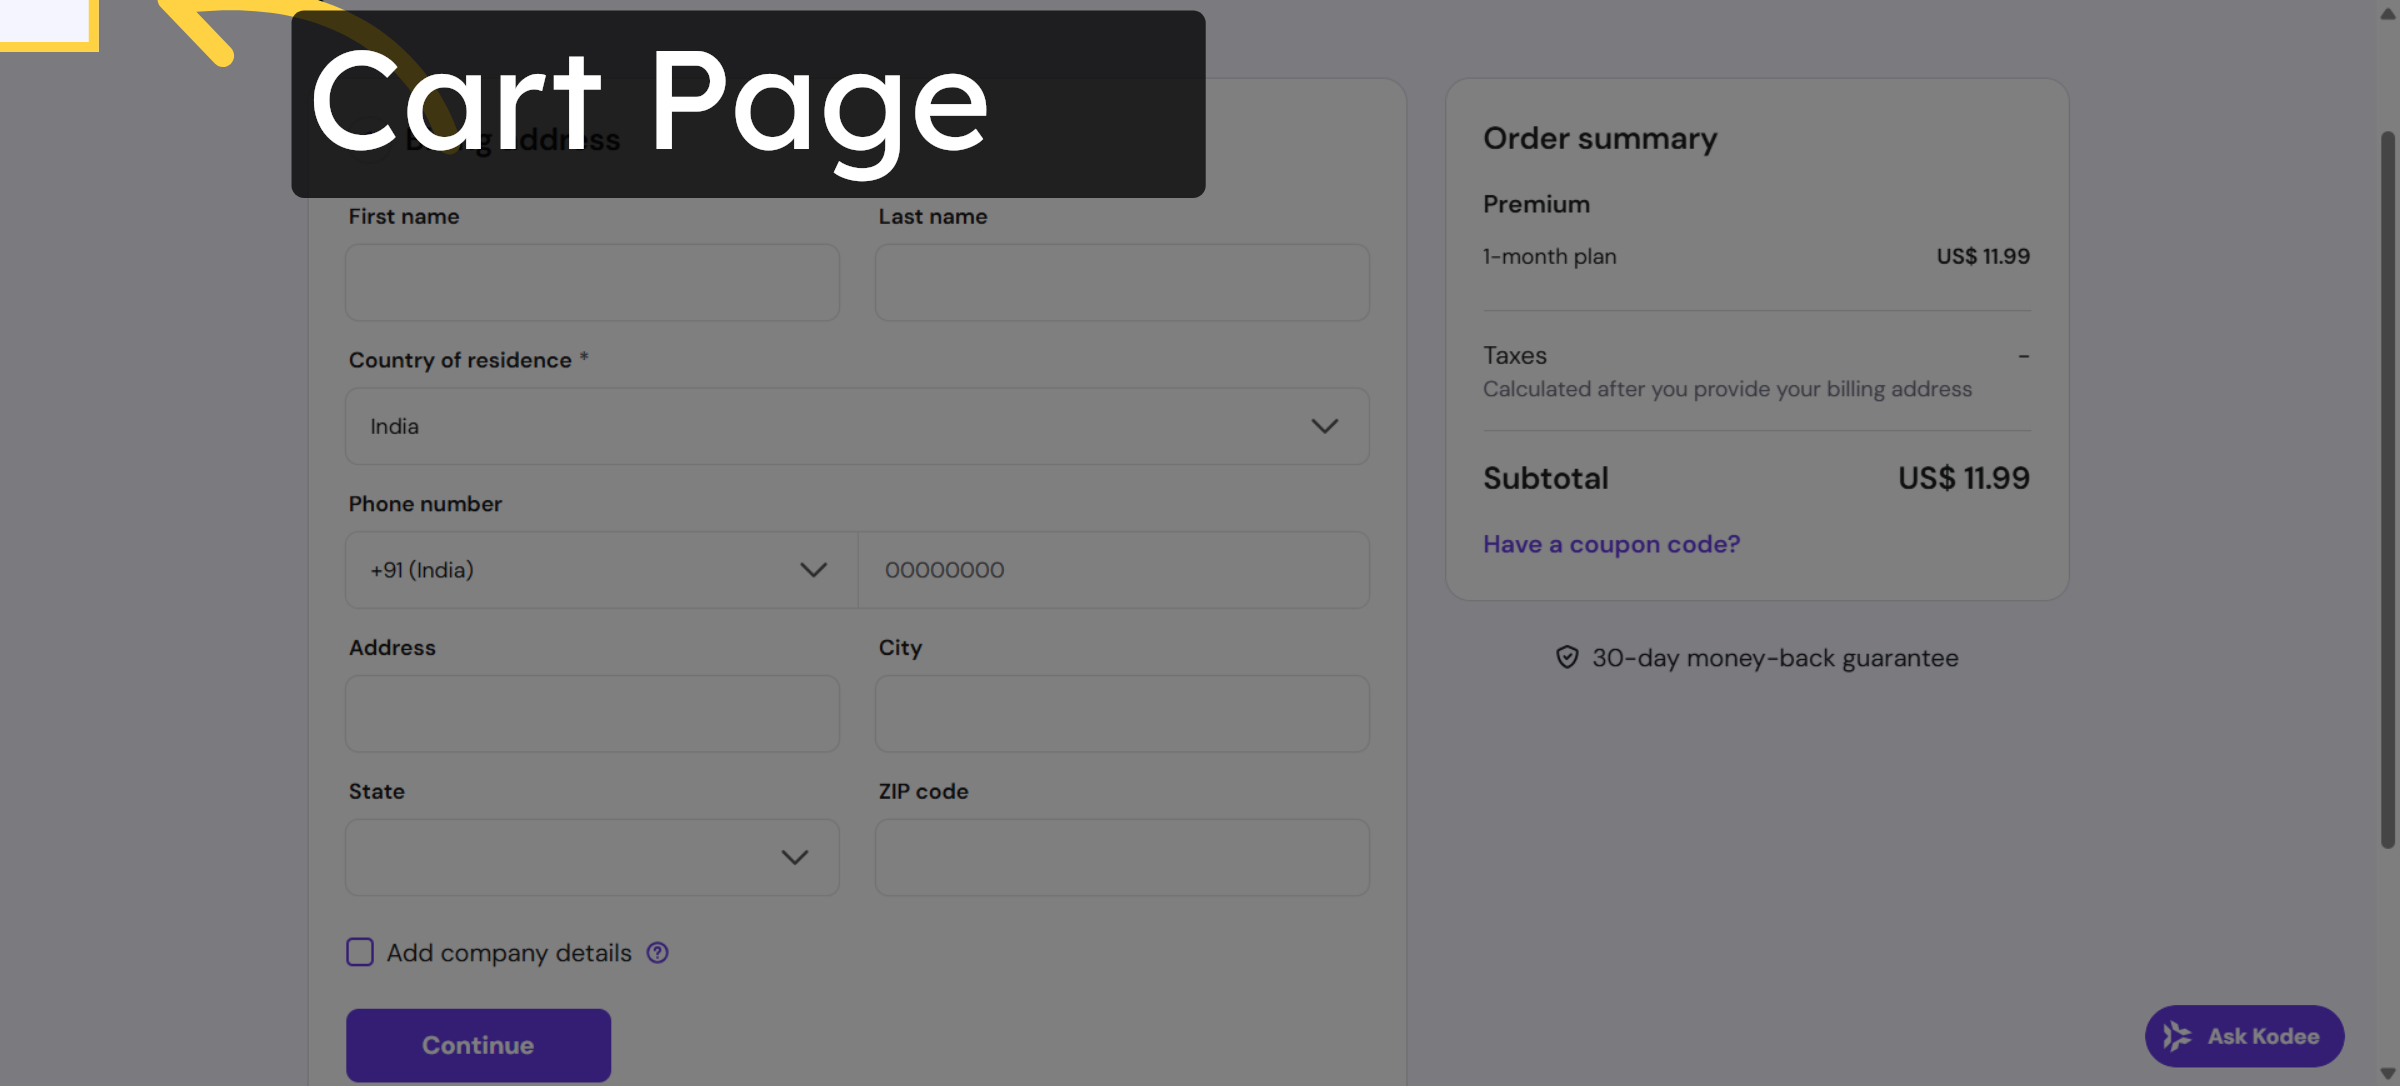
15. Switch to Cart Page
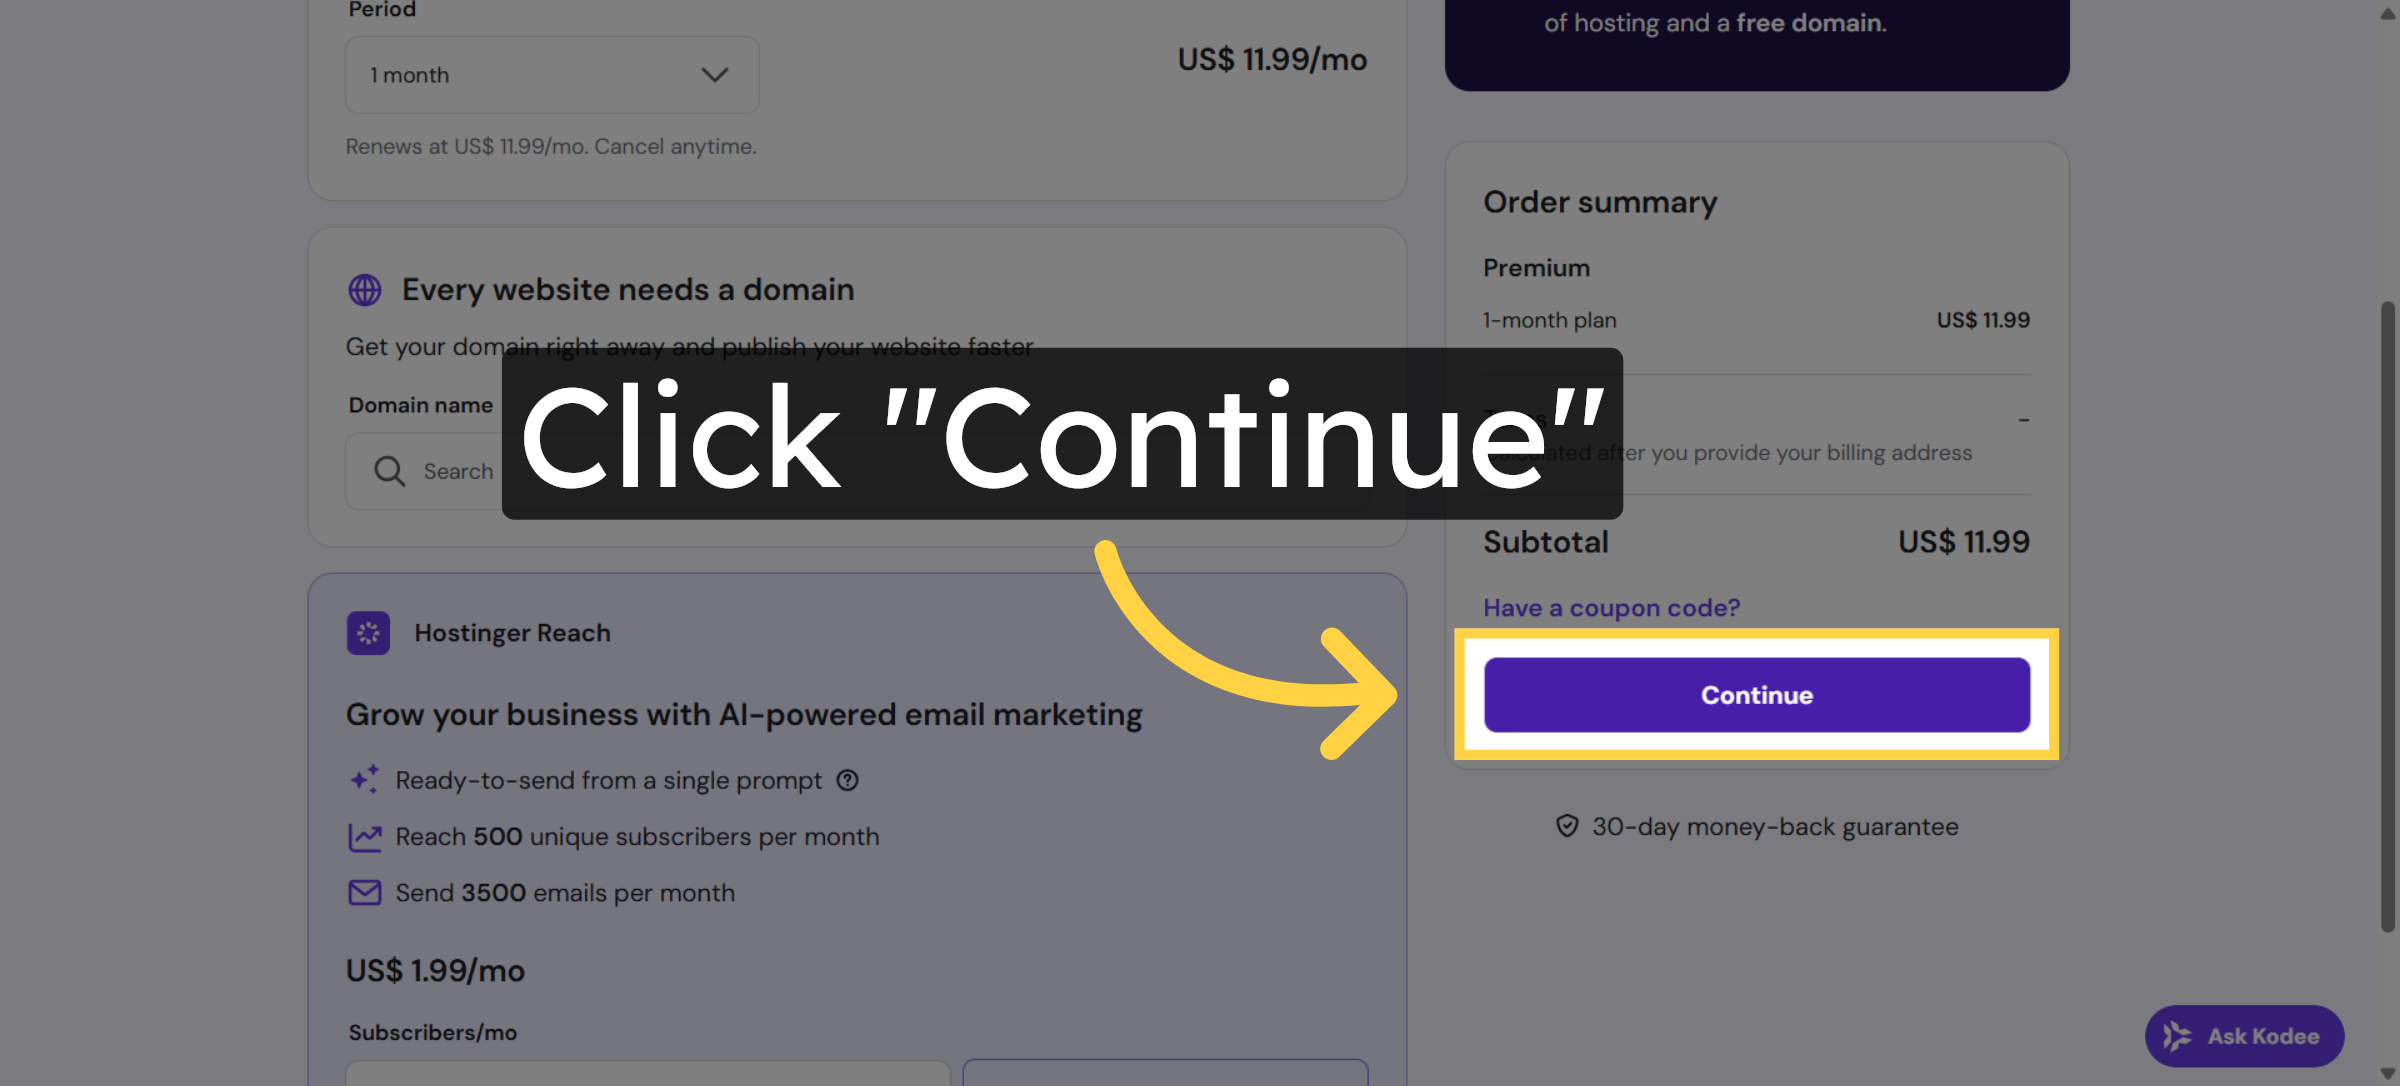
16. Review Order Summary

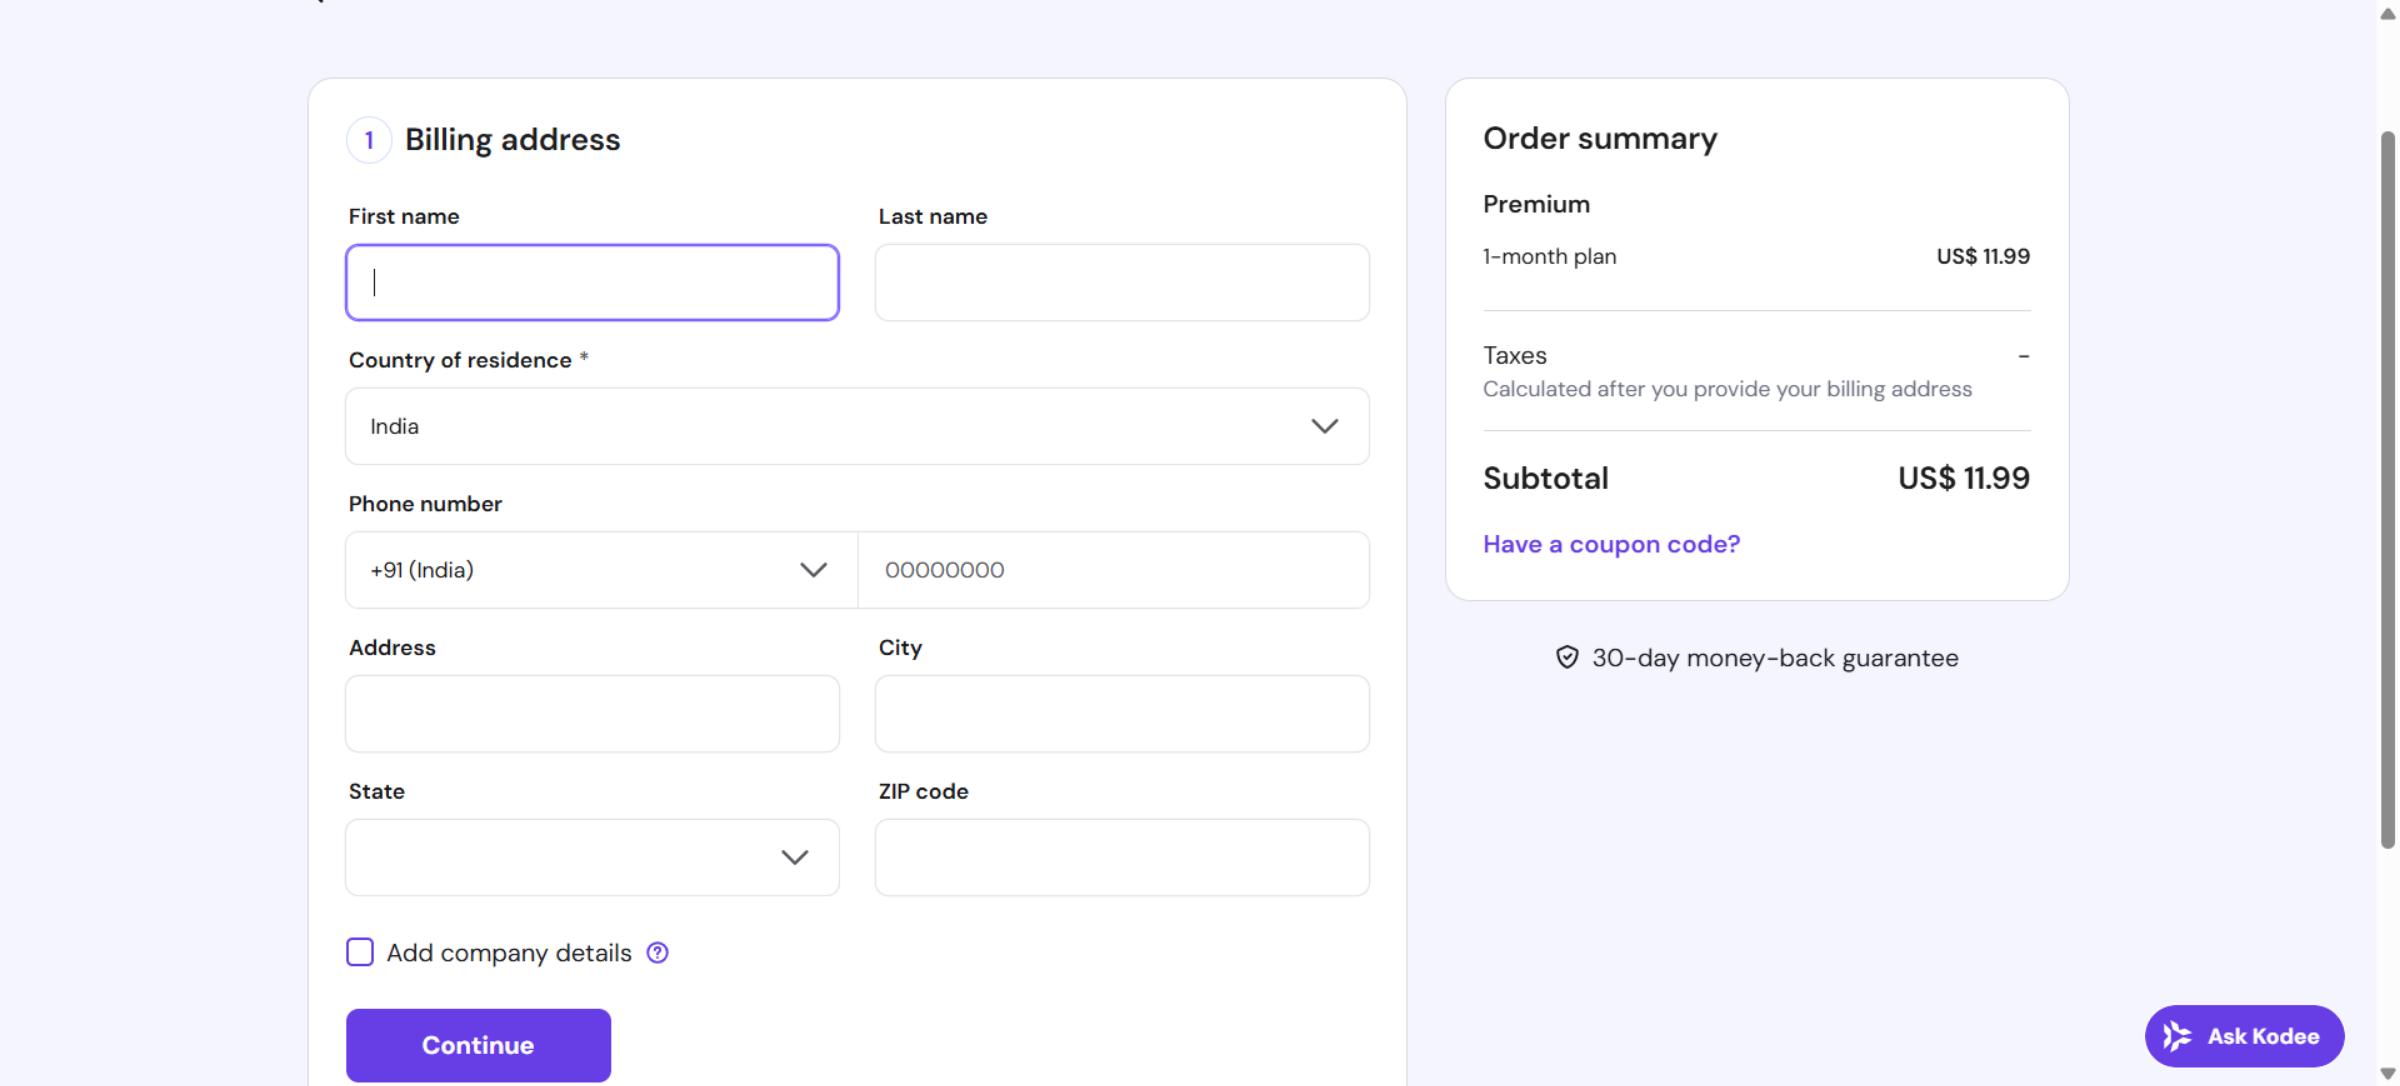
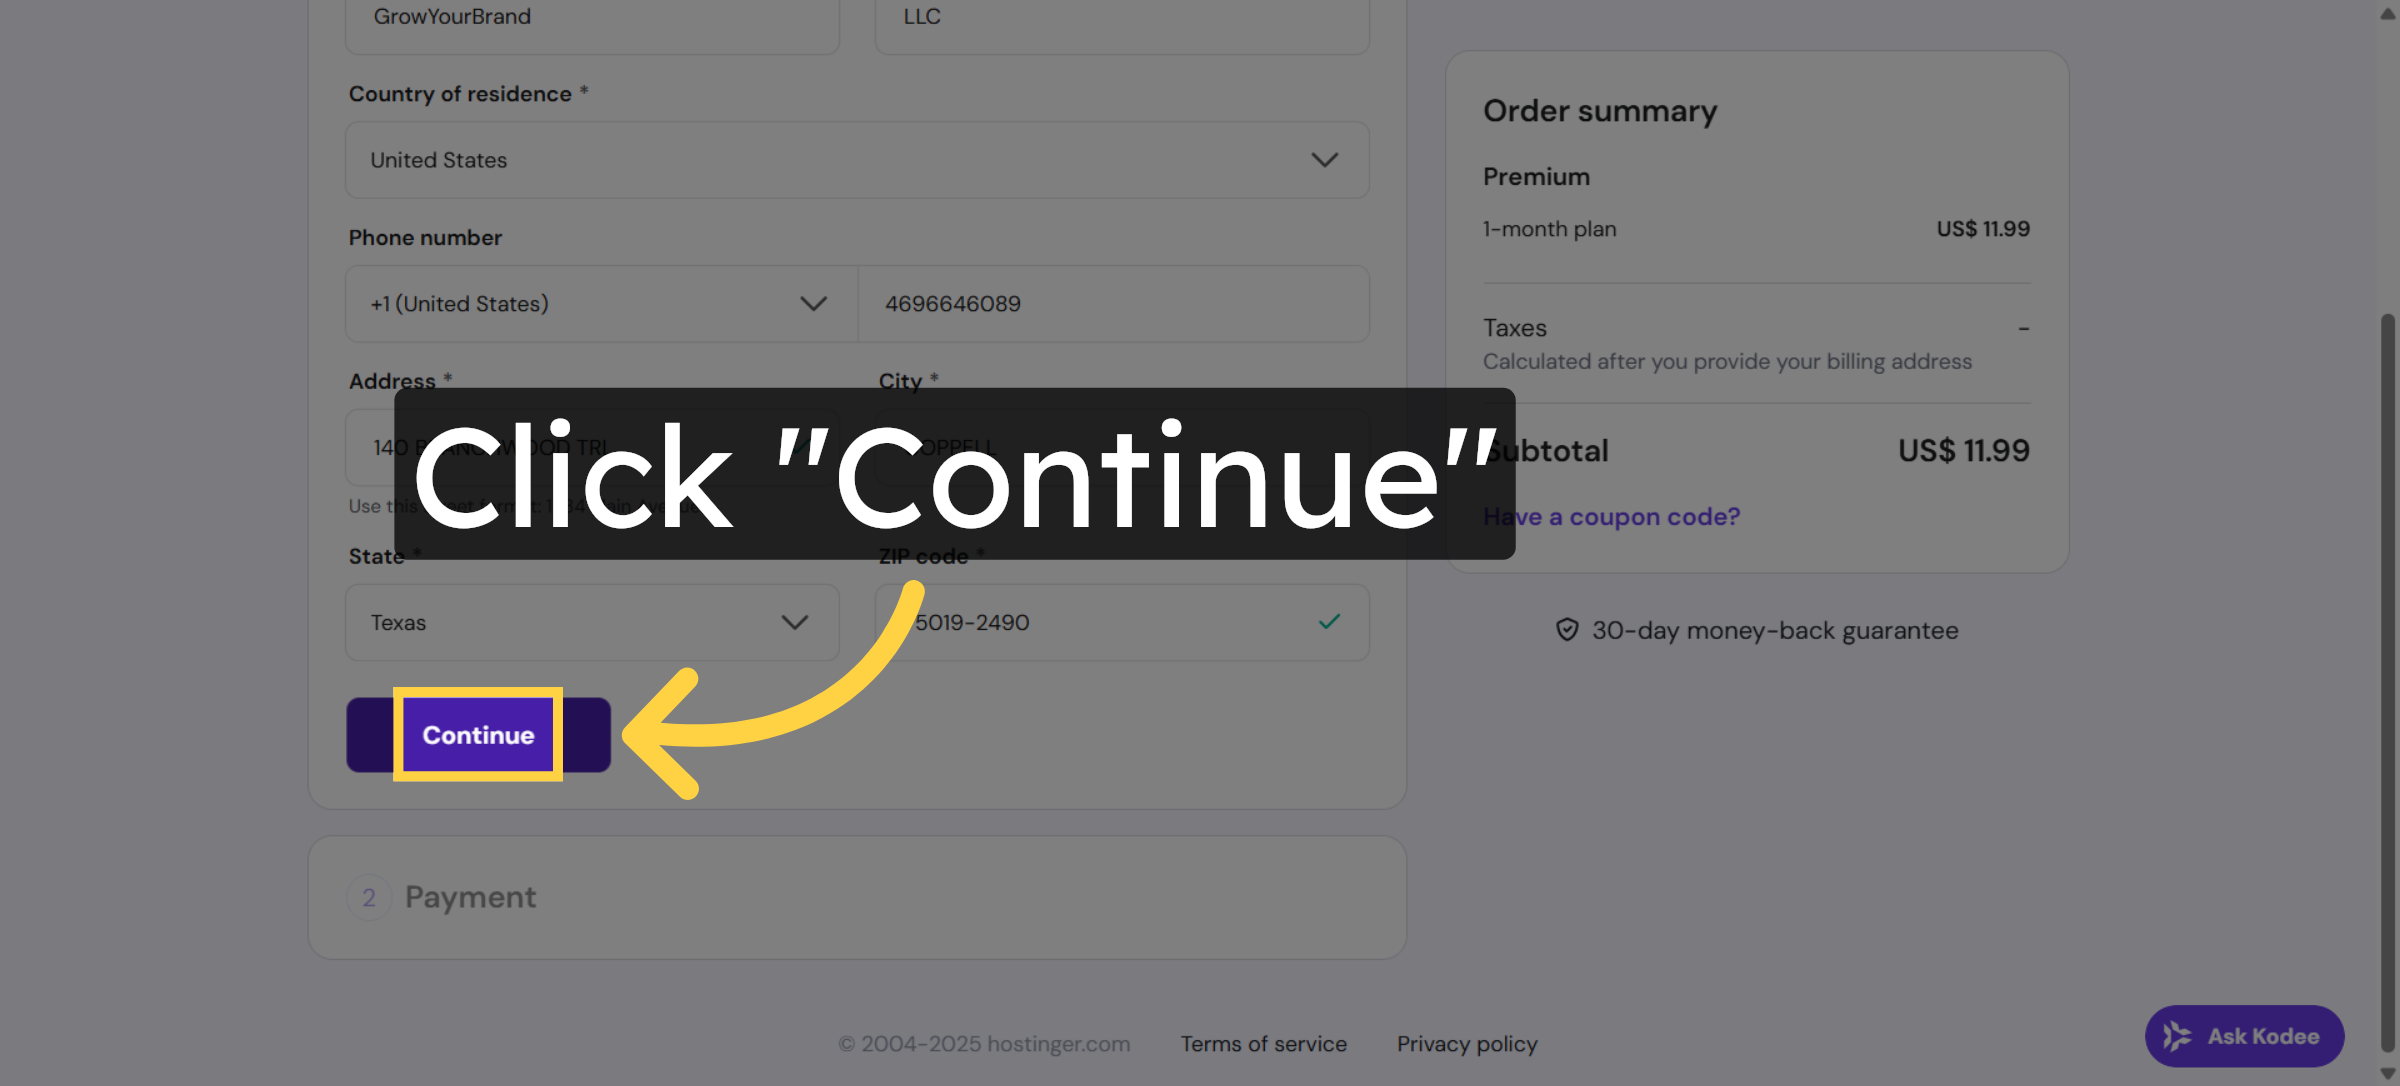
17. Continue to Payment
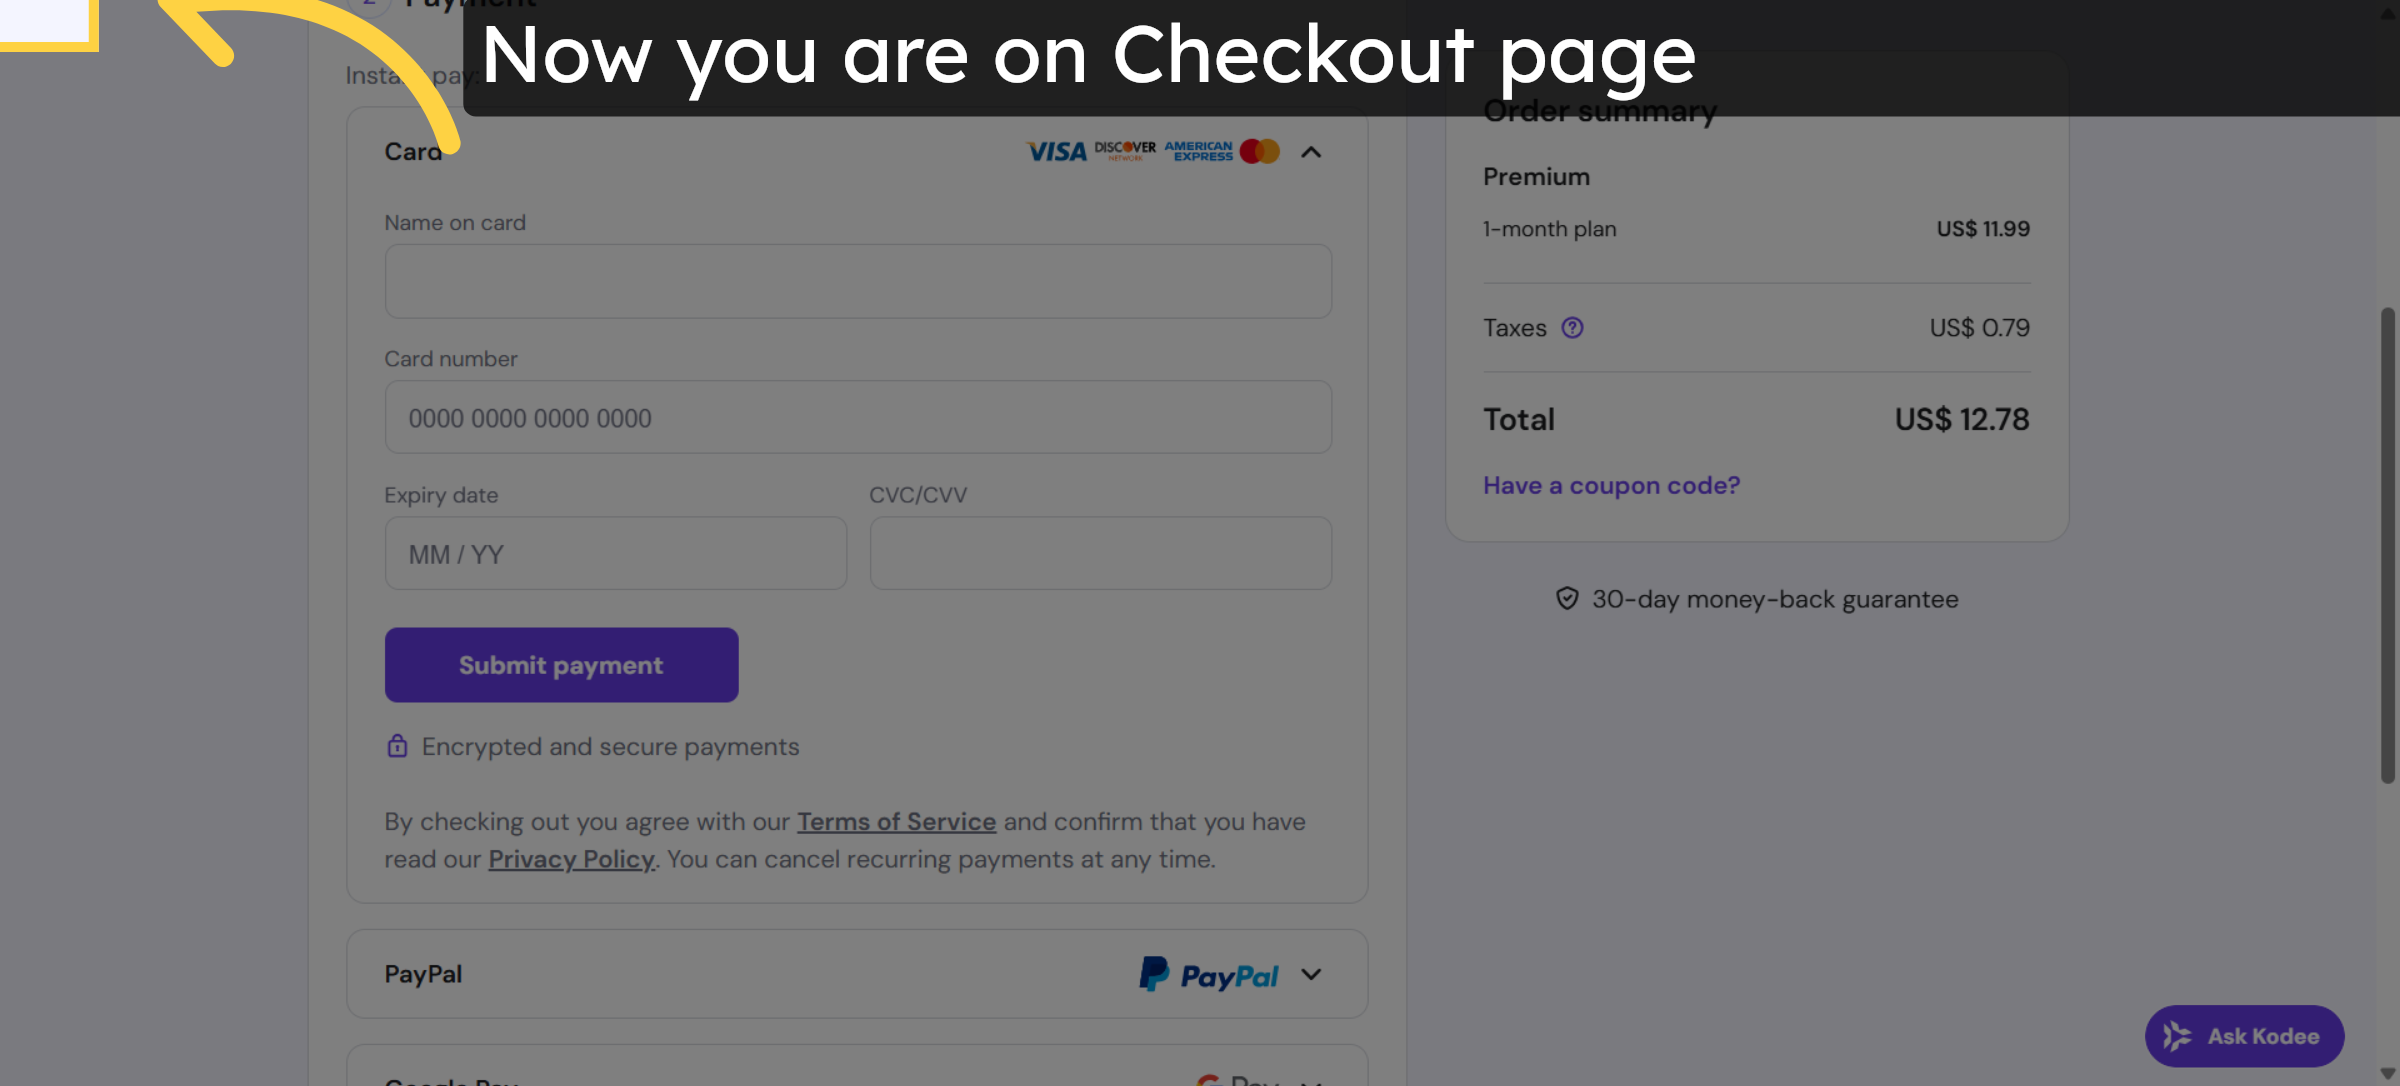
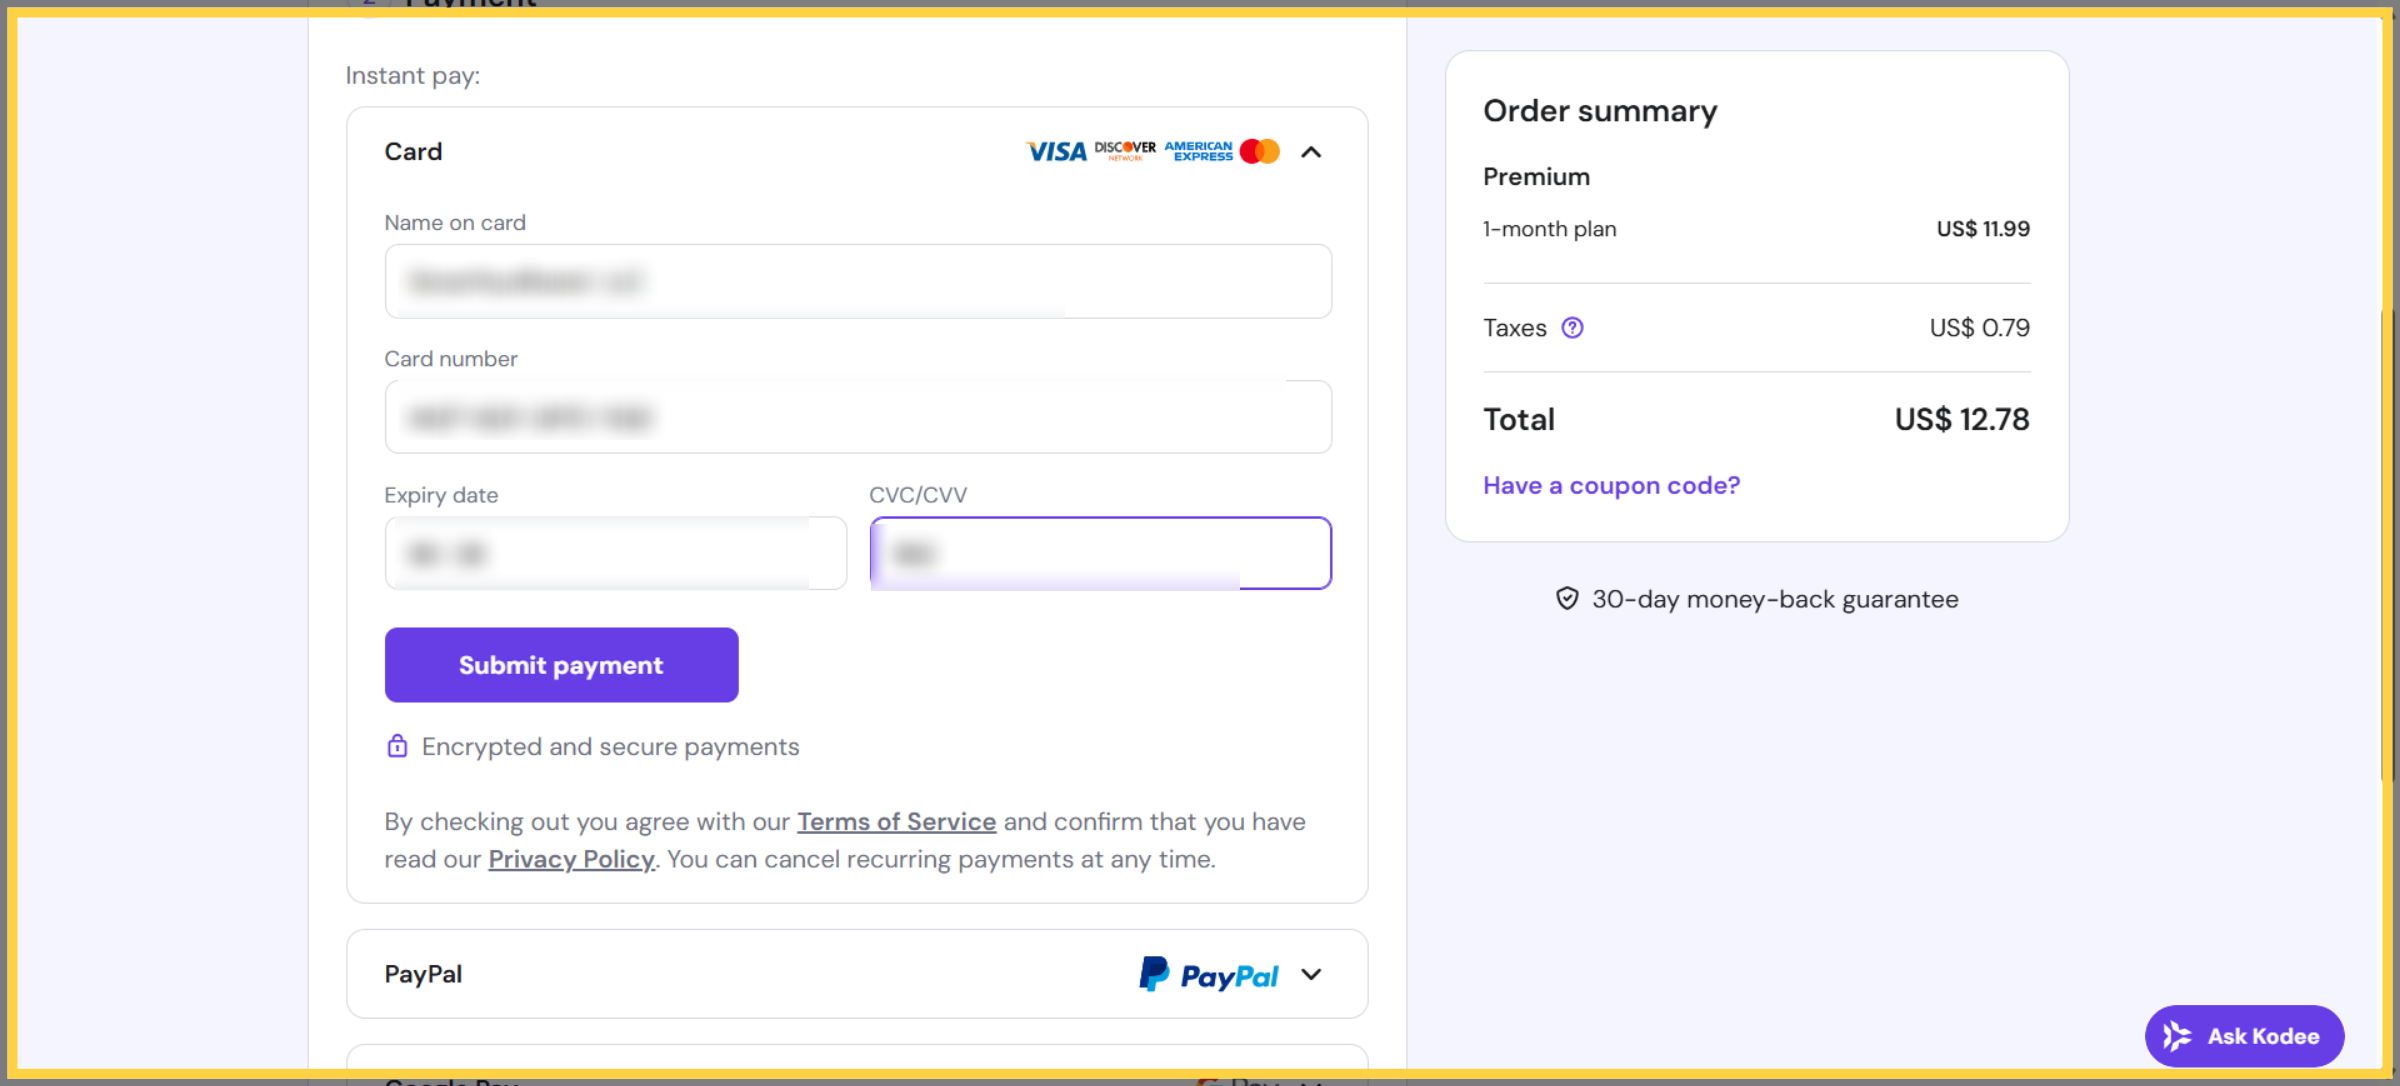
18. Navigate to Payment Section


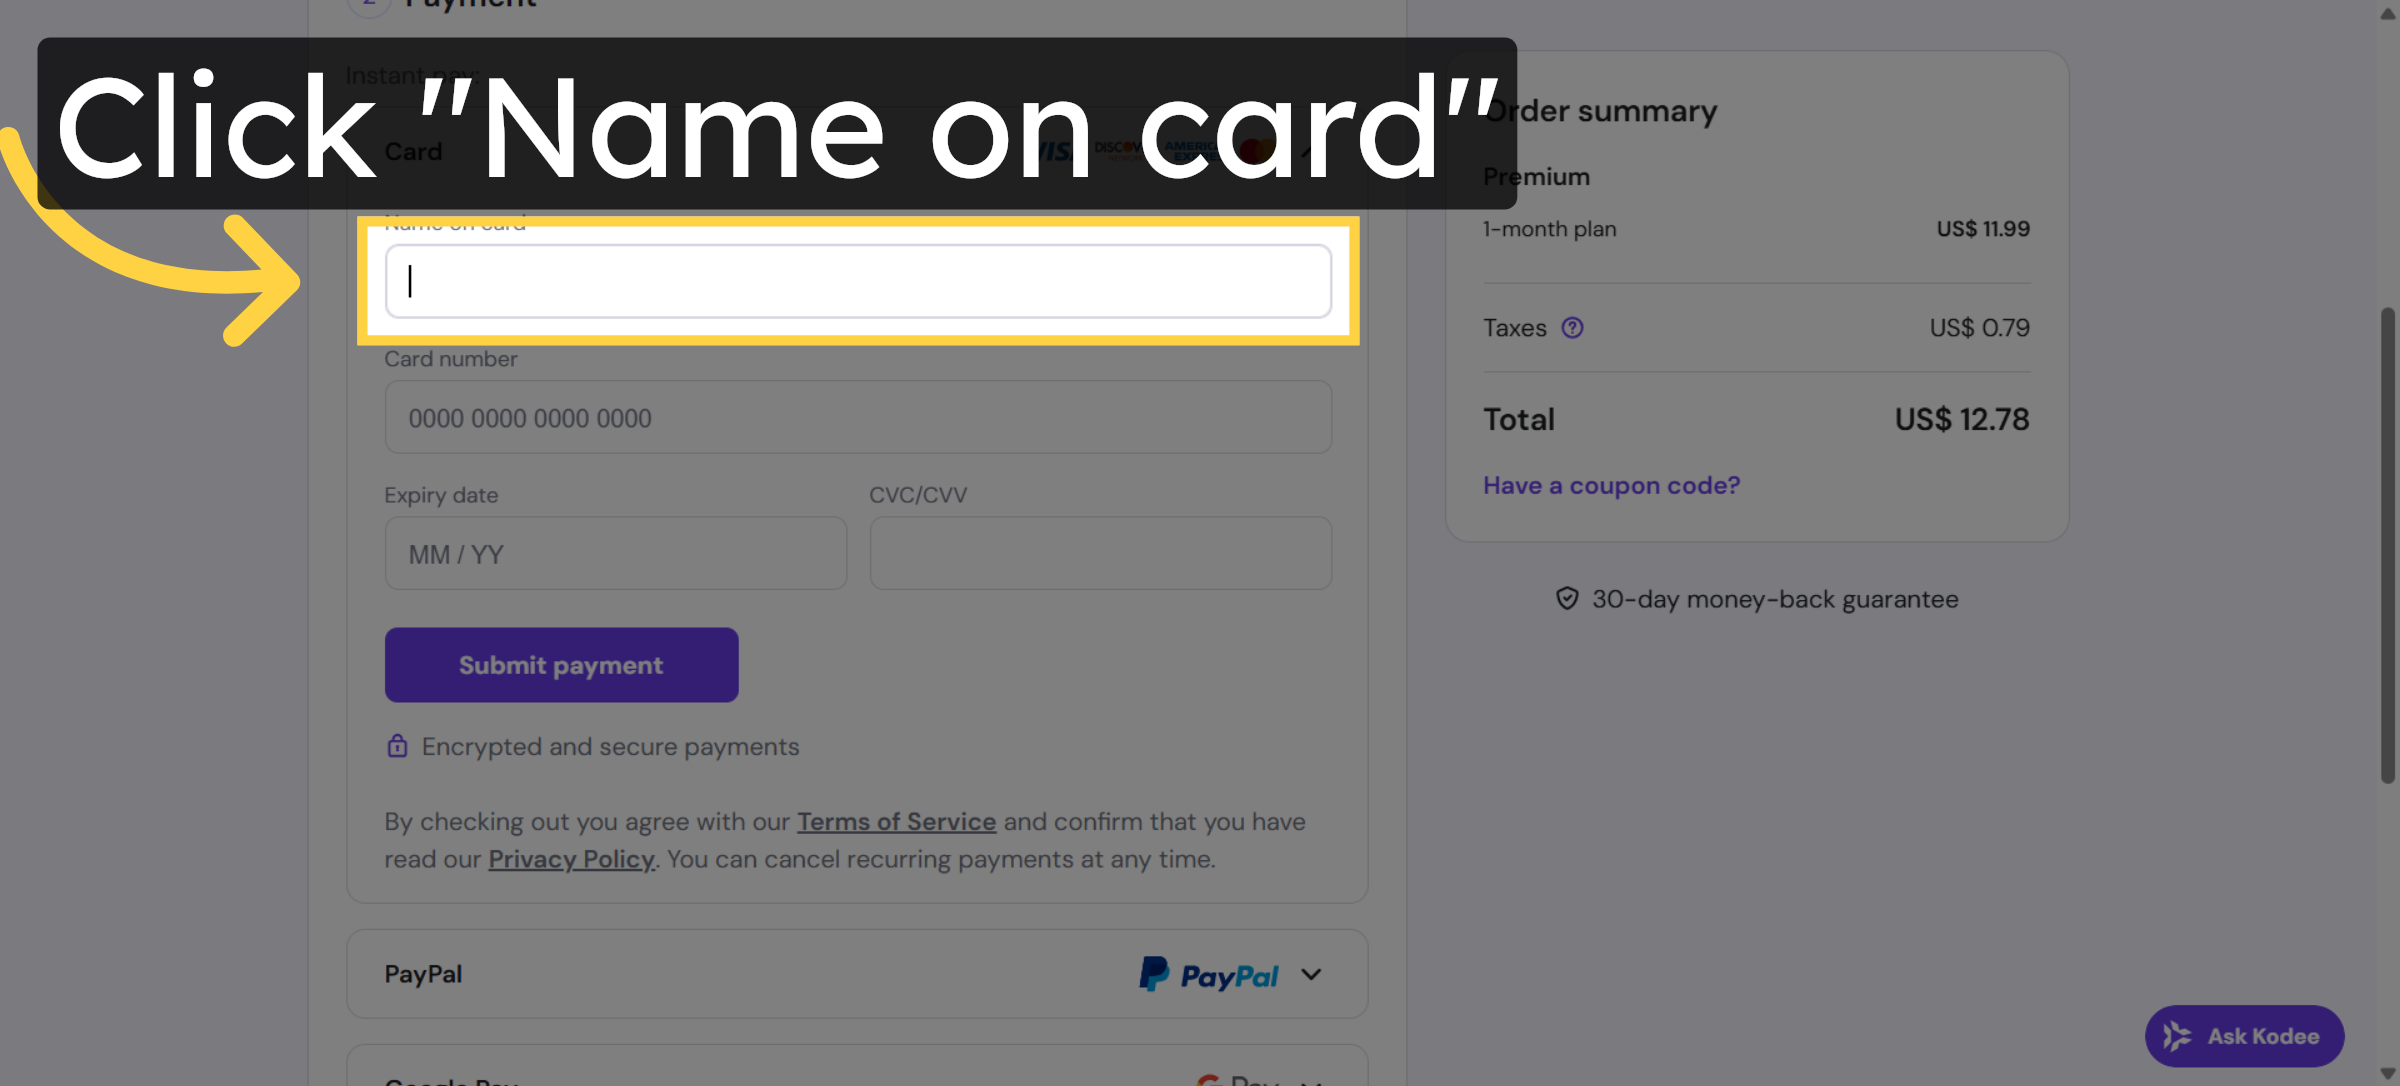
19. Select Name on Card Field
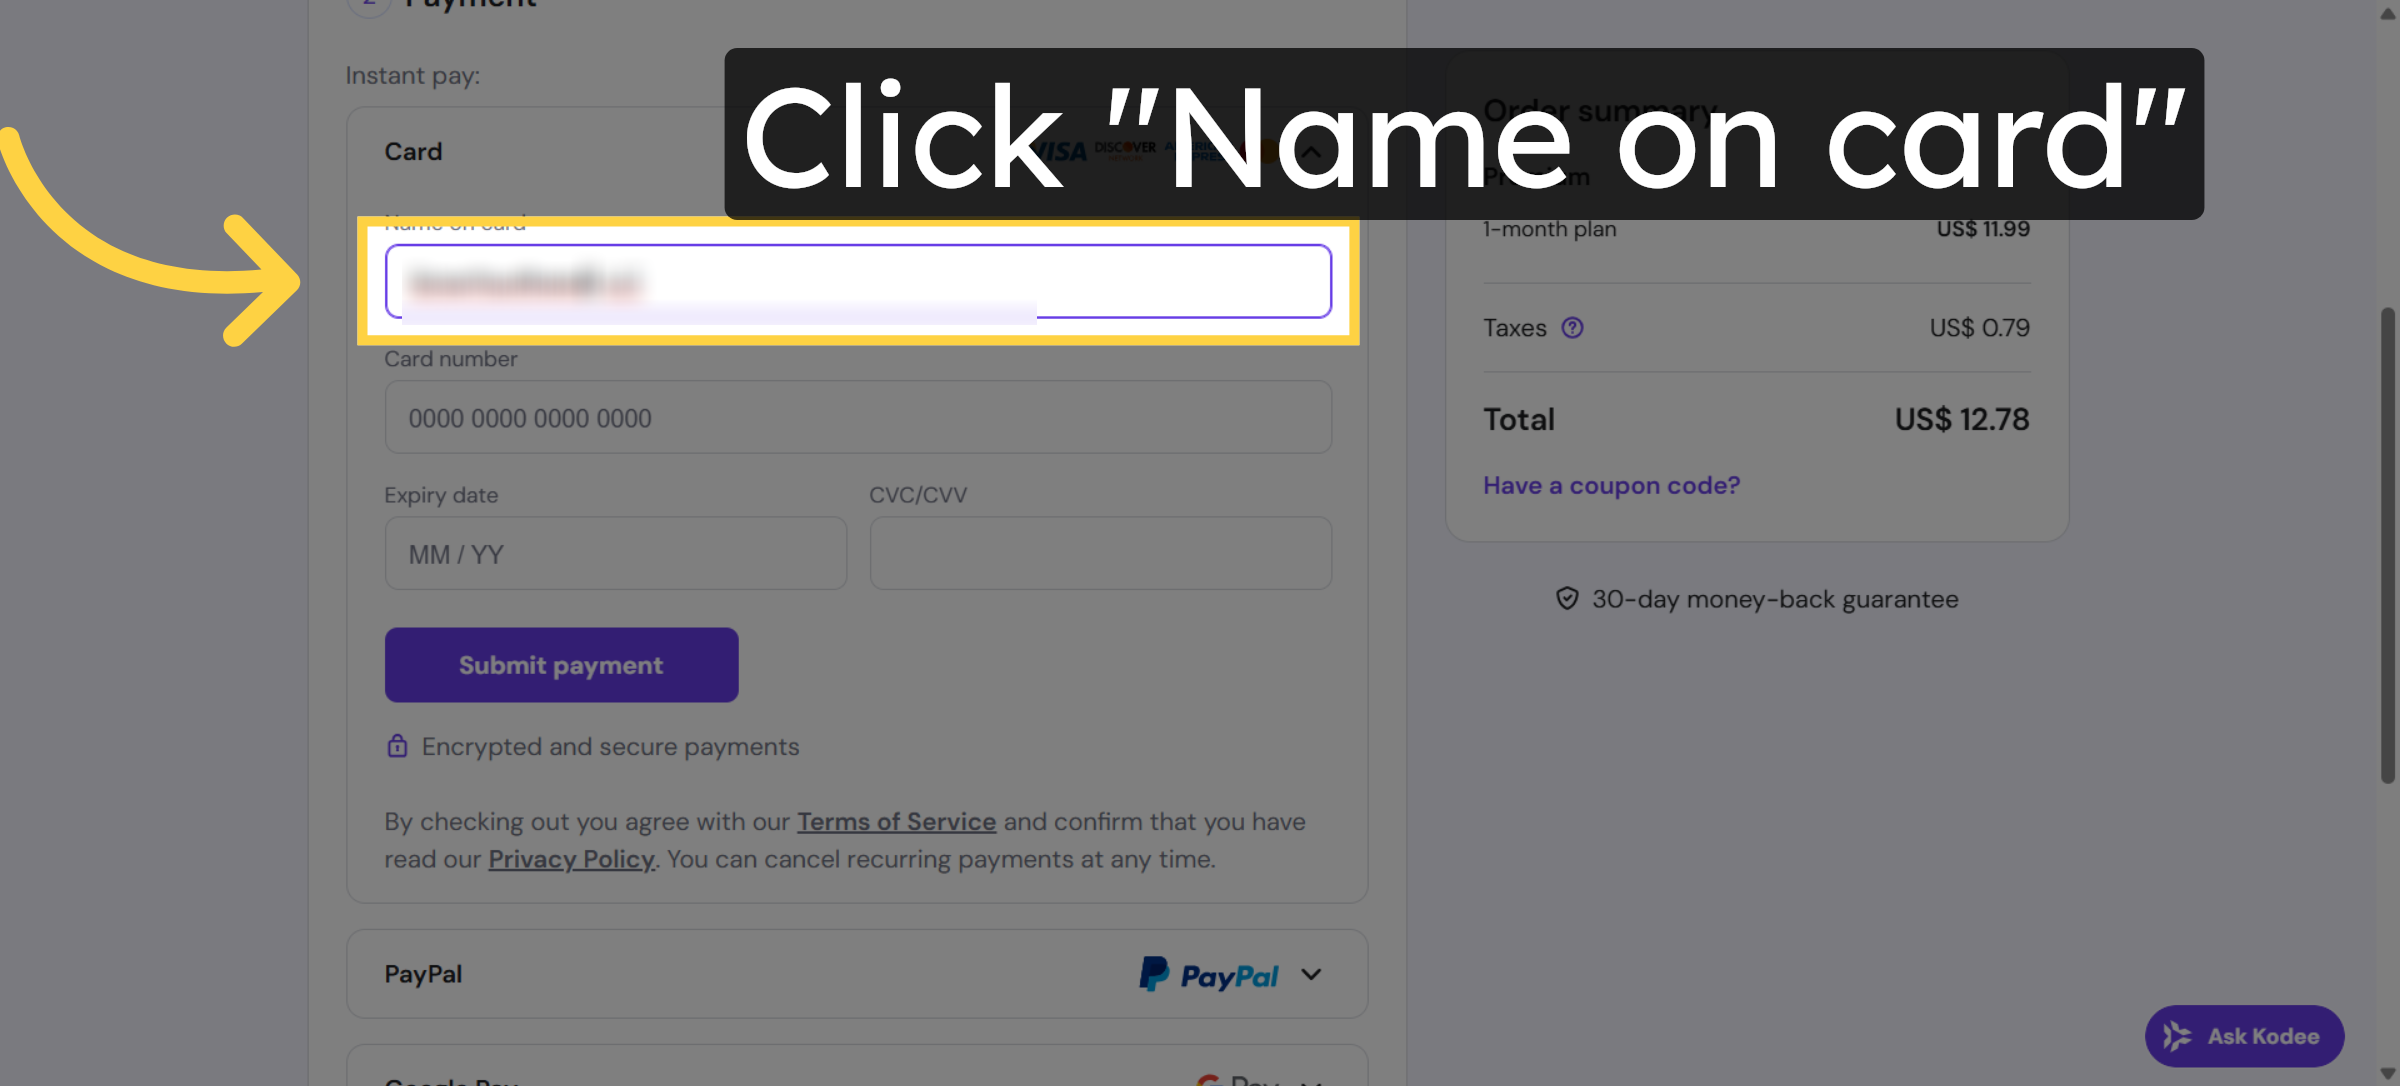
20. Select Name on Card Field Again
21. Click Here Link
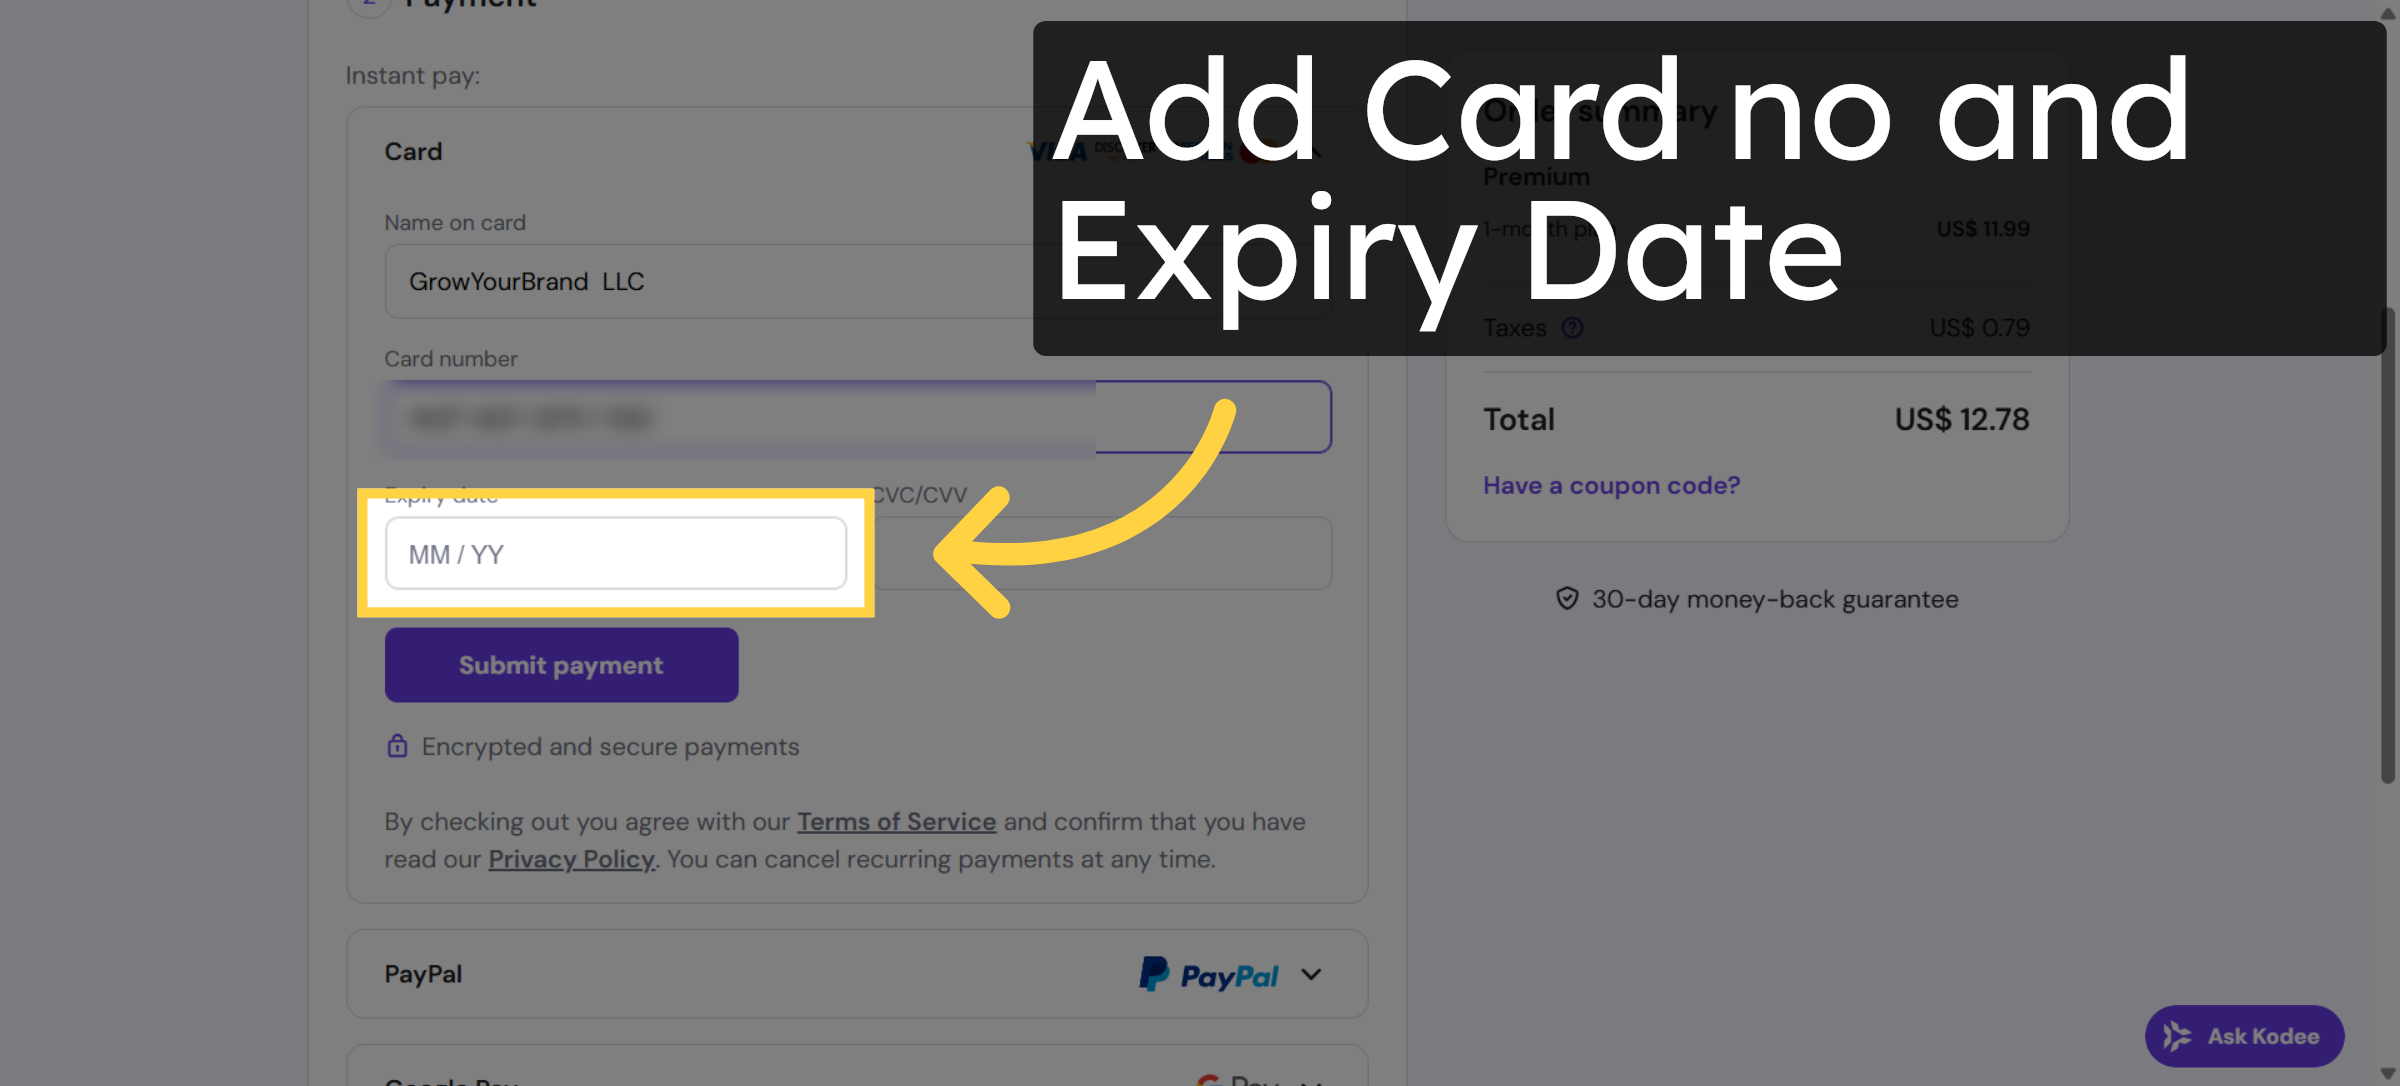
22. Enter Card Security Code
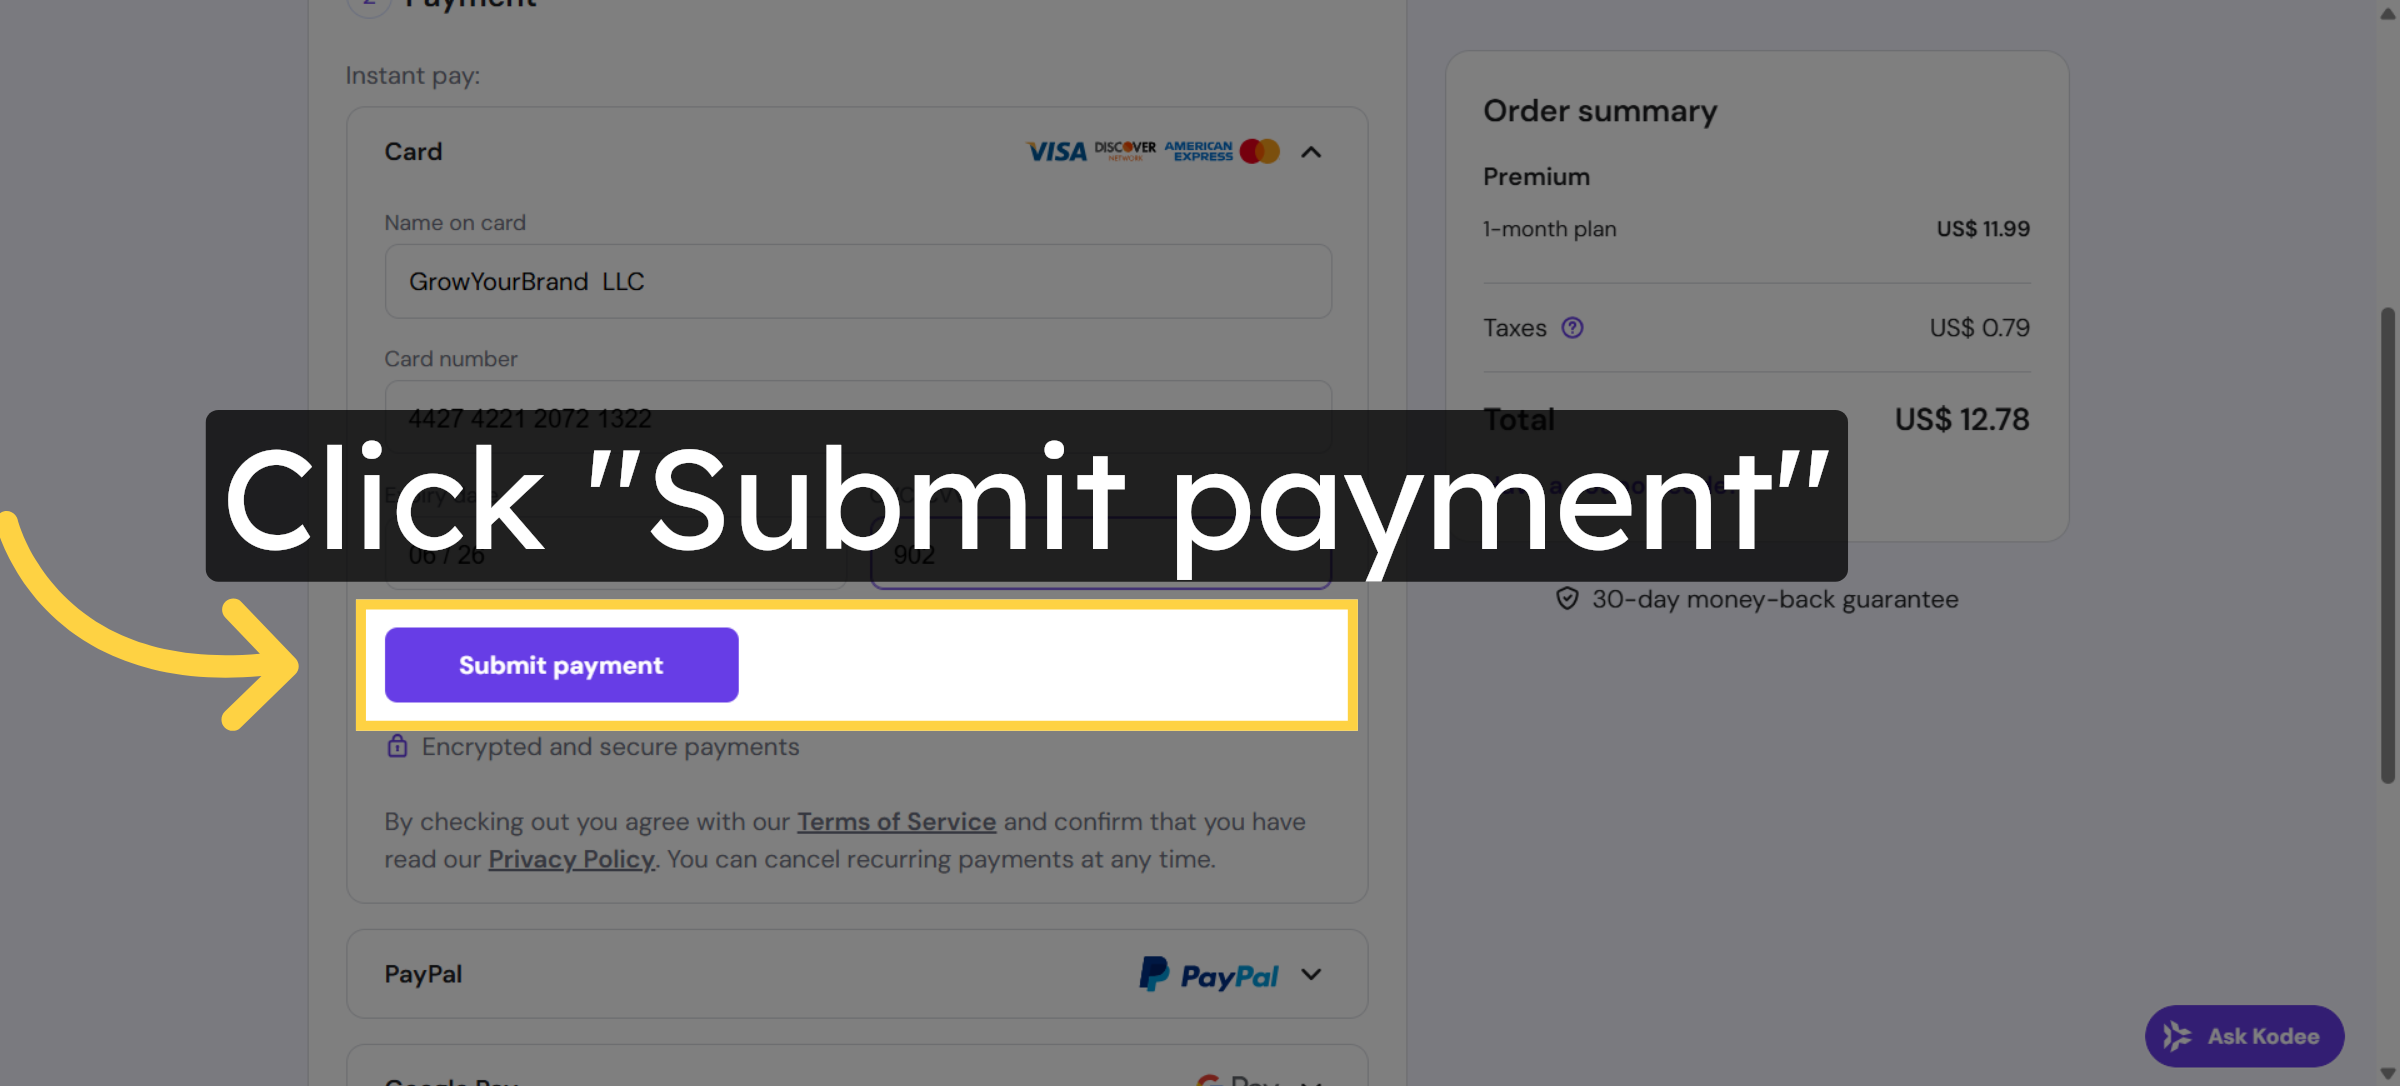
23. Submit Payment
24. Switch to Hosting Control Panel

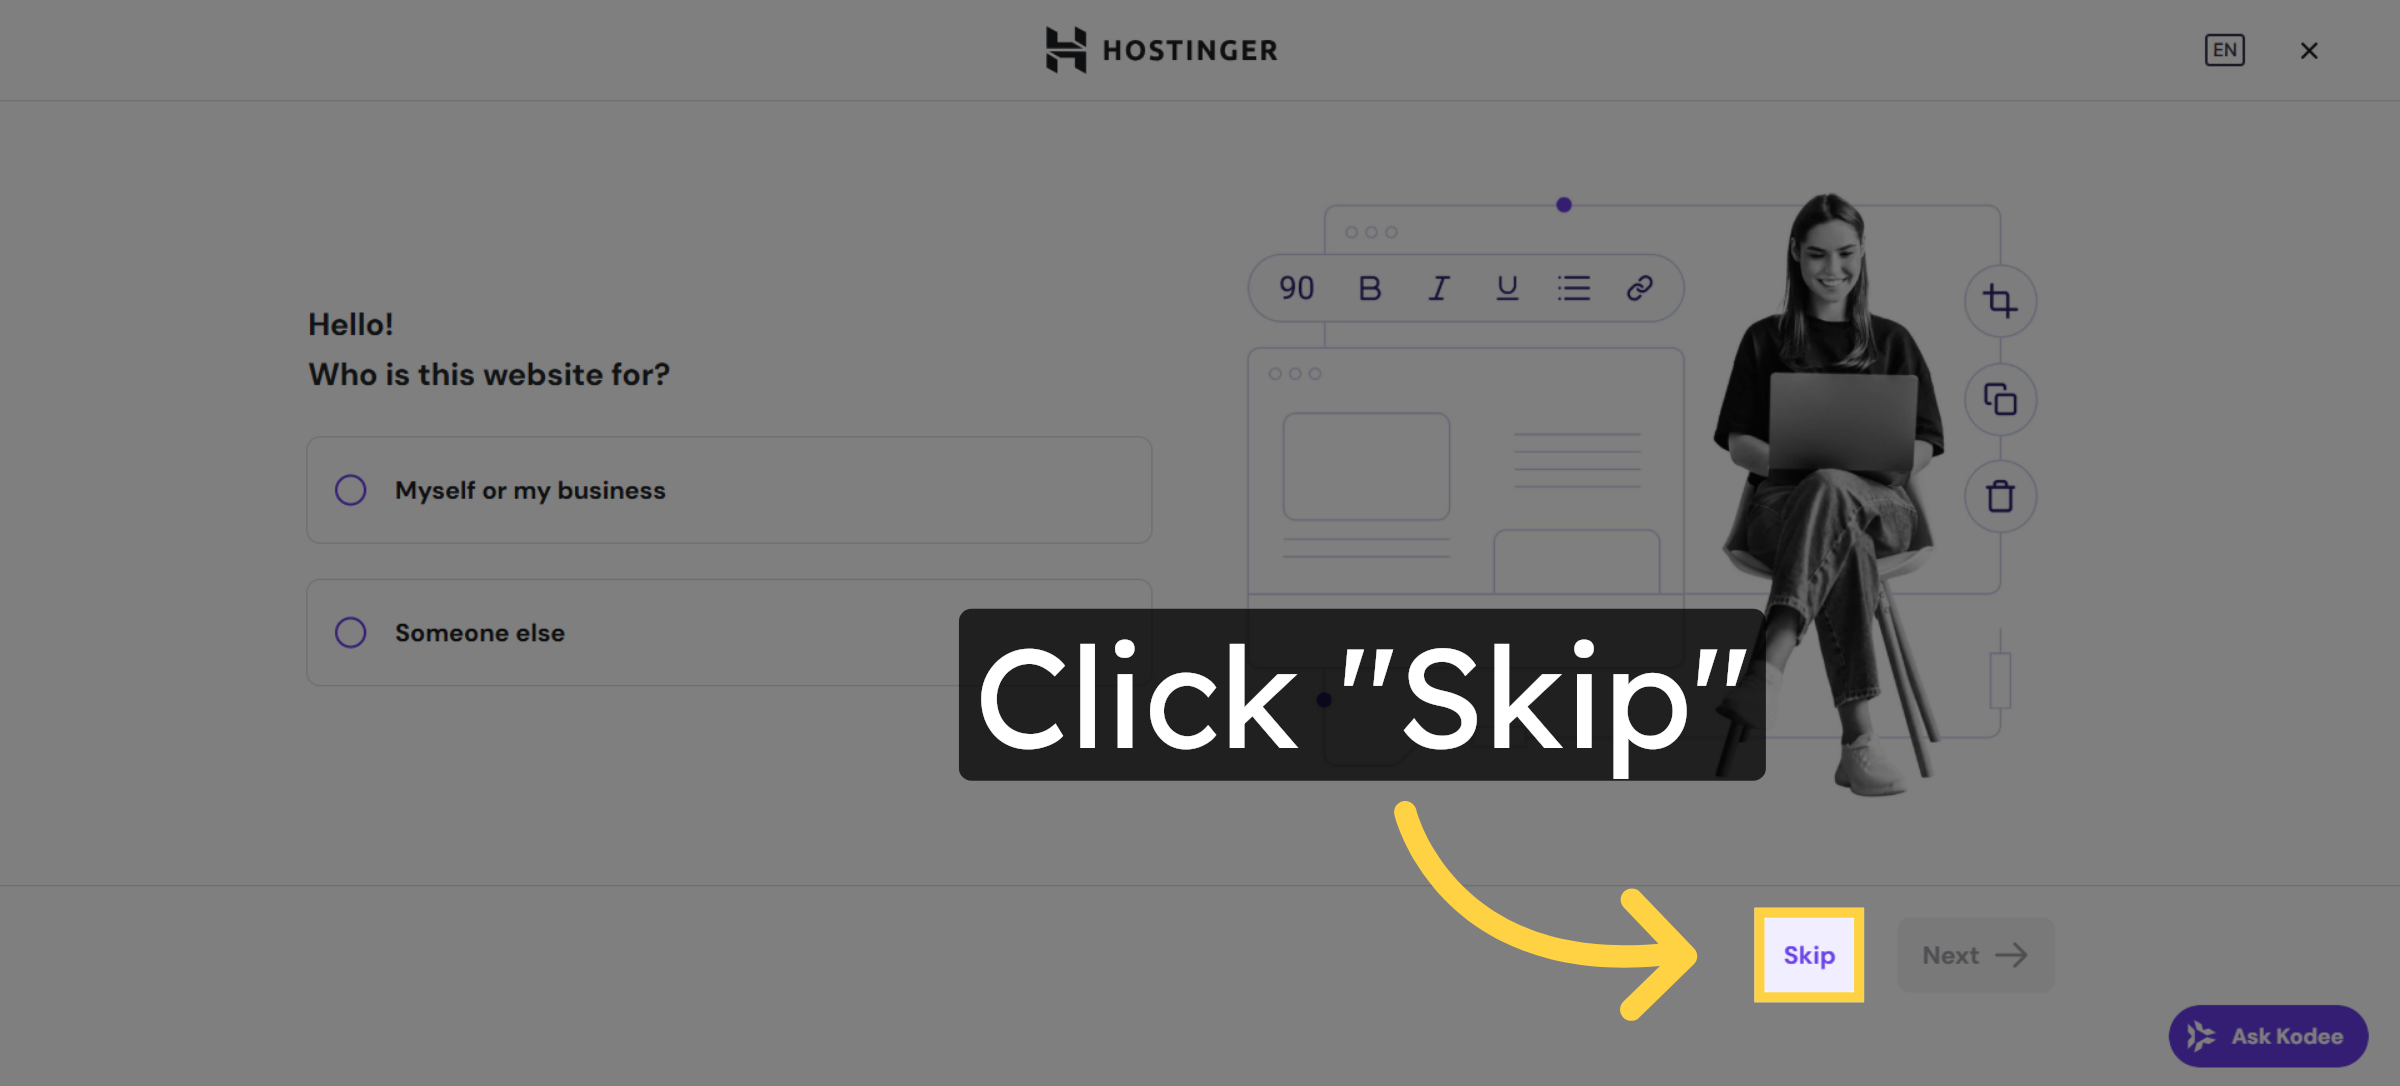
25. Skip Initial Setup
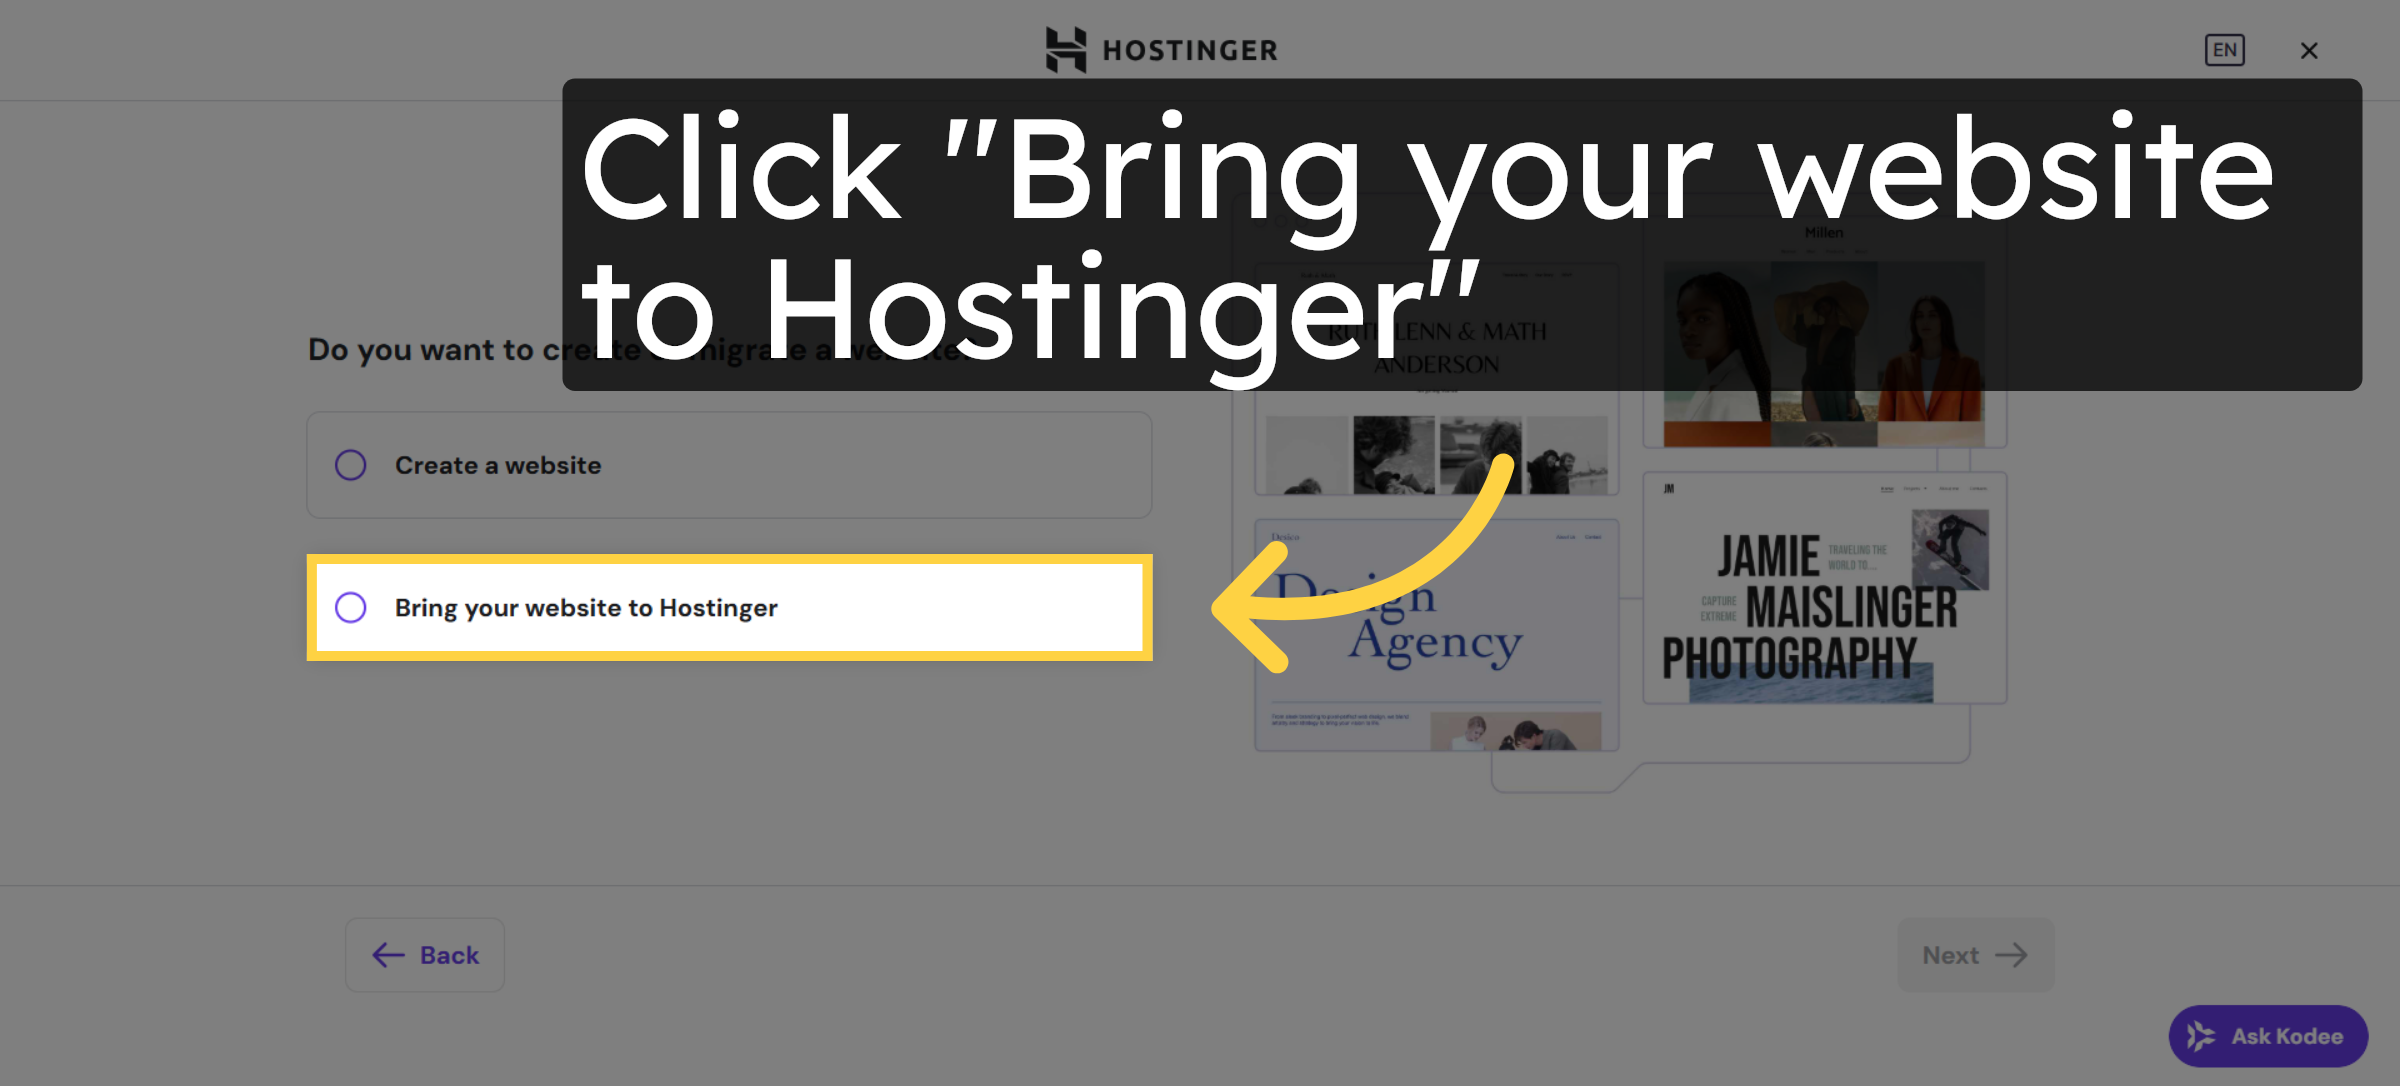
26. Select Website Migration Option
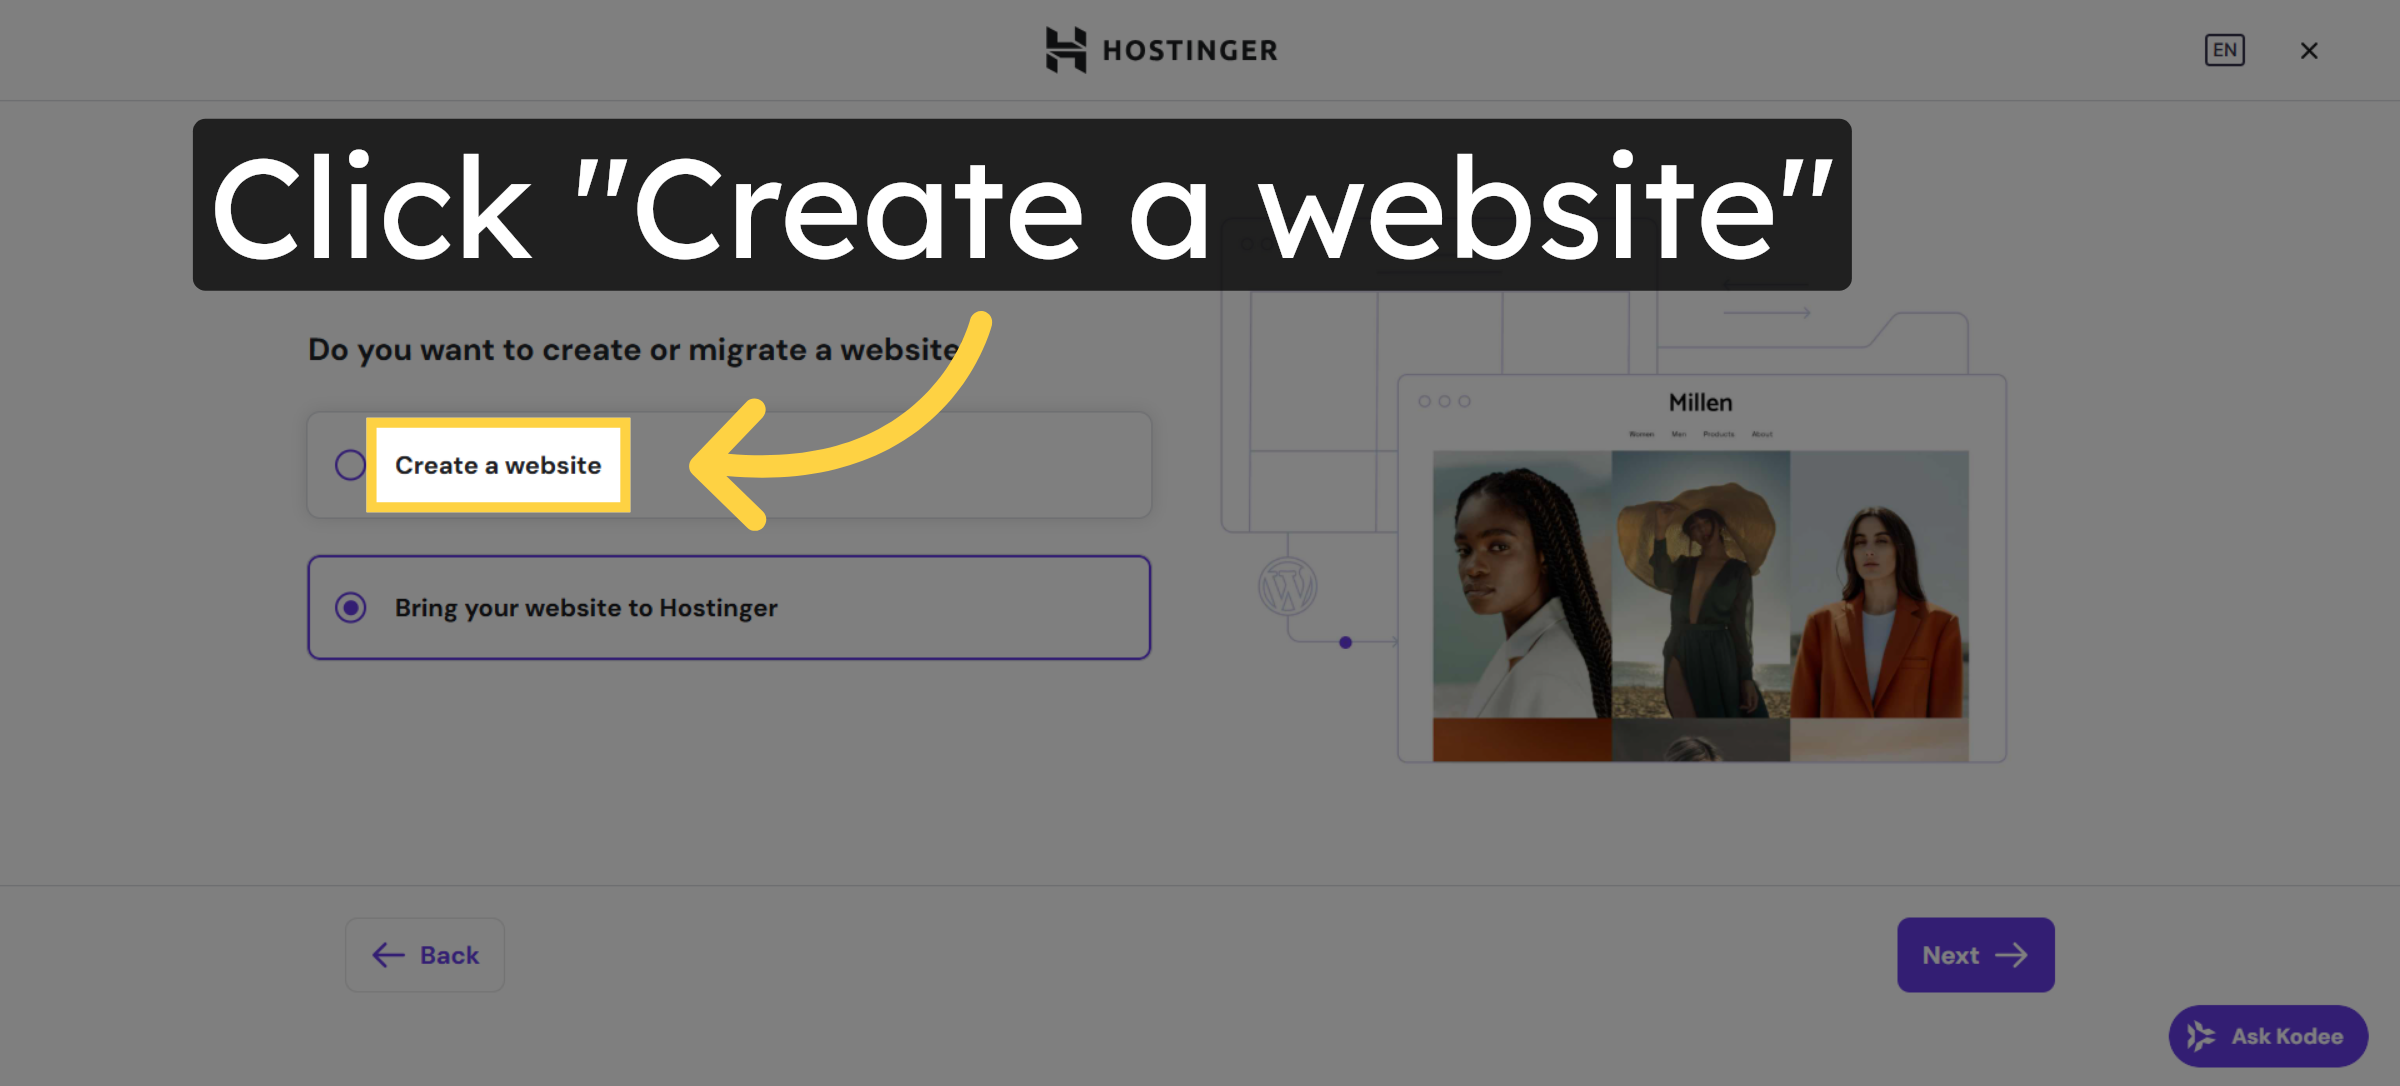
27. Create New Website
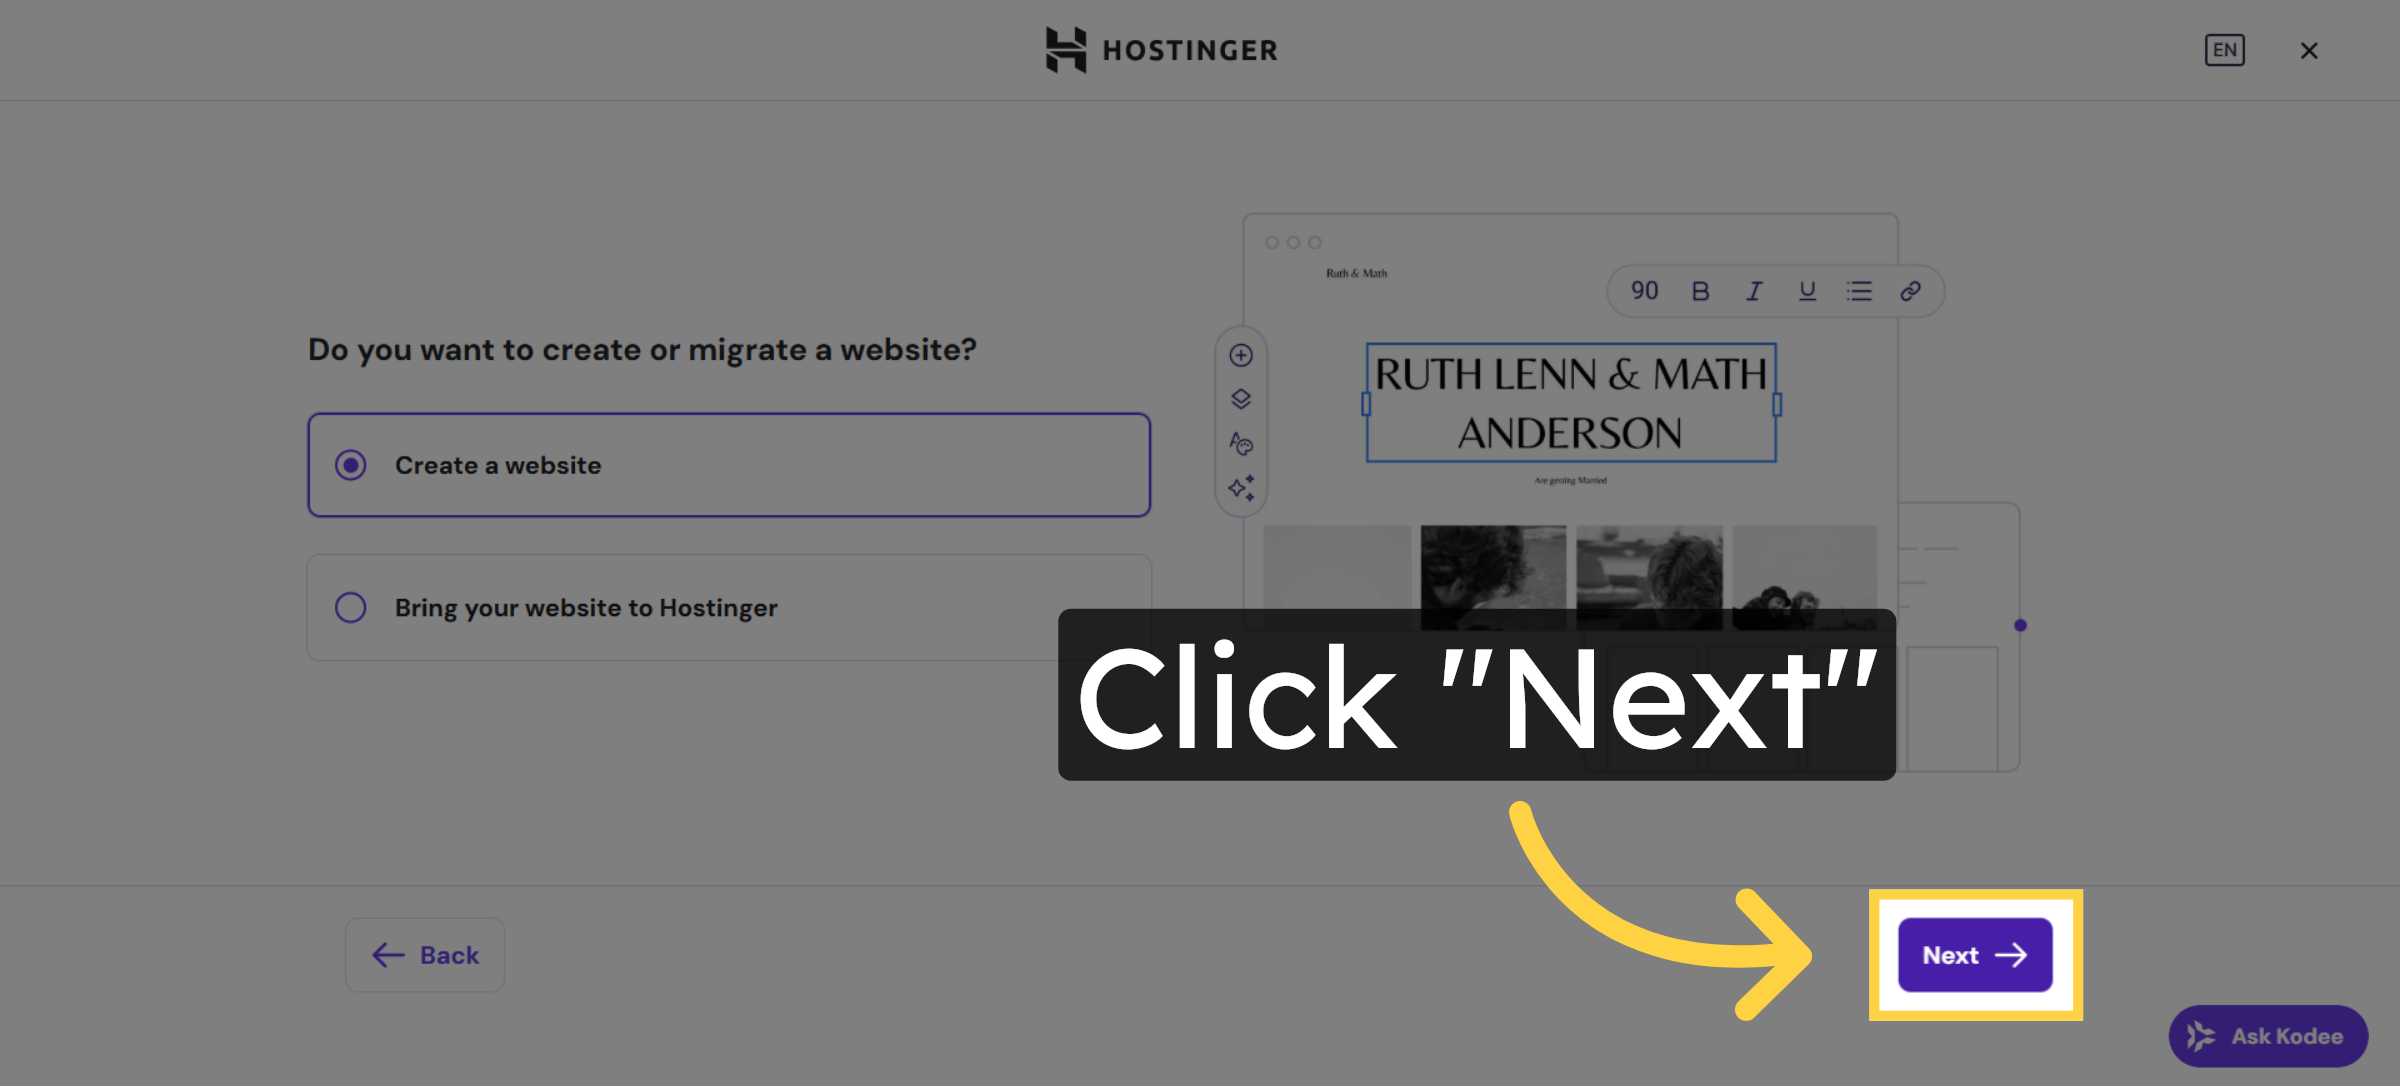
28. Proceed to Next Step
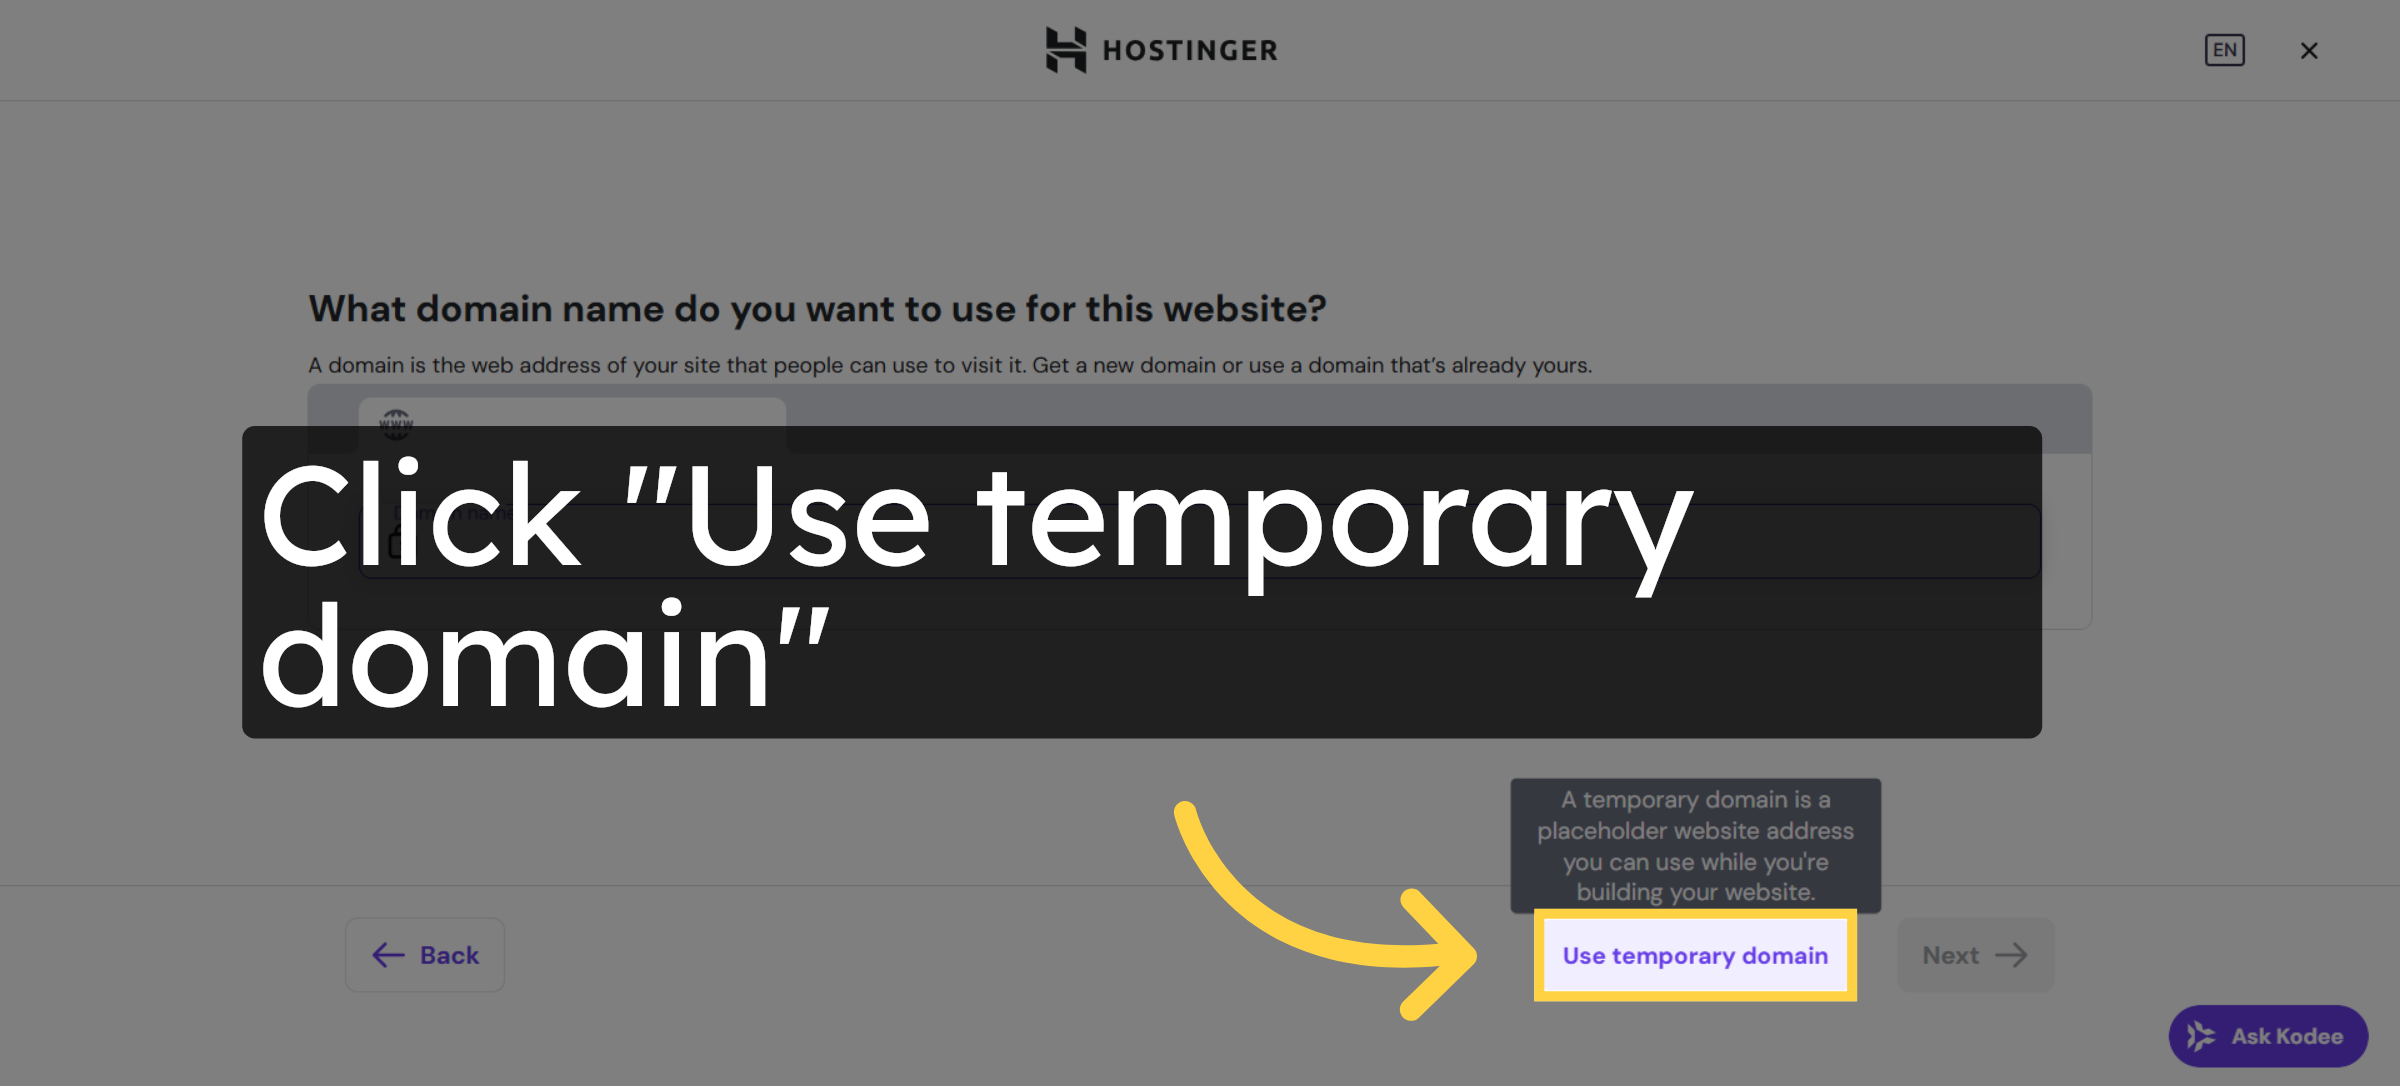
29. Use Temporary Domain
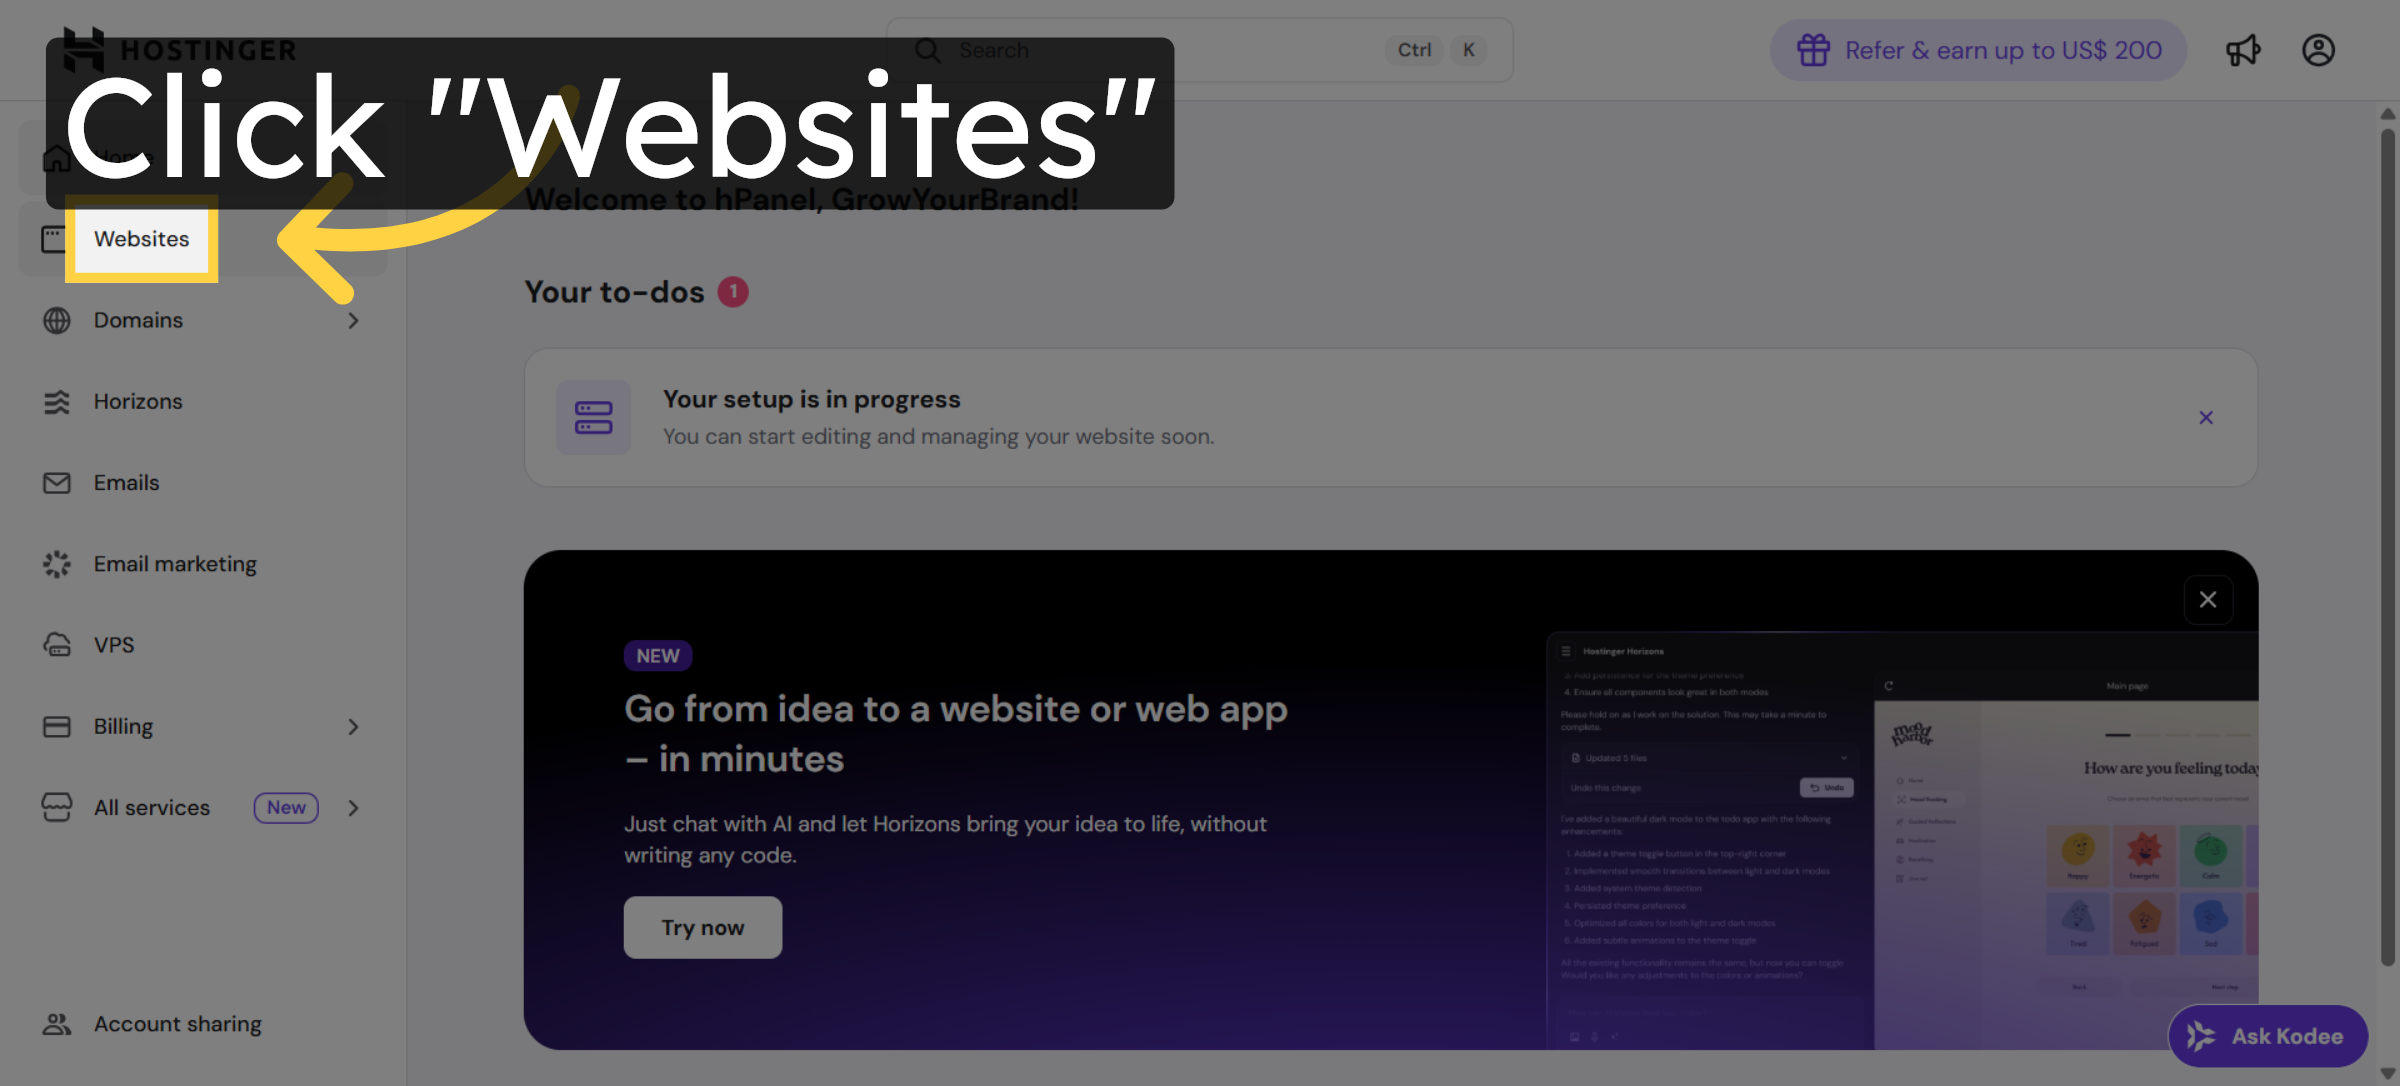
30. Open Websites Section
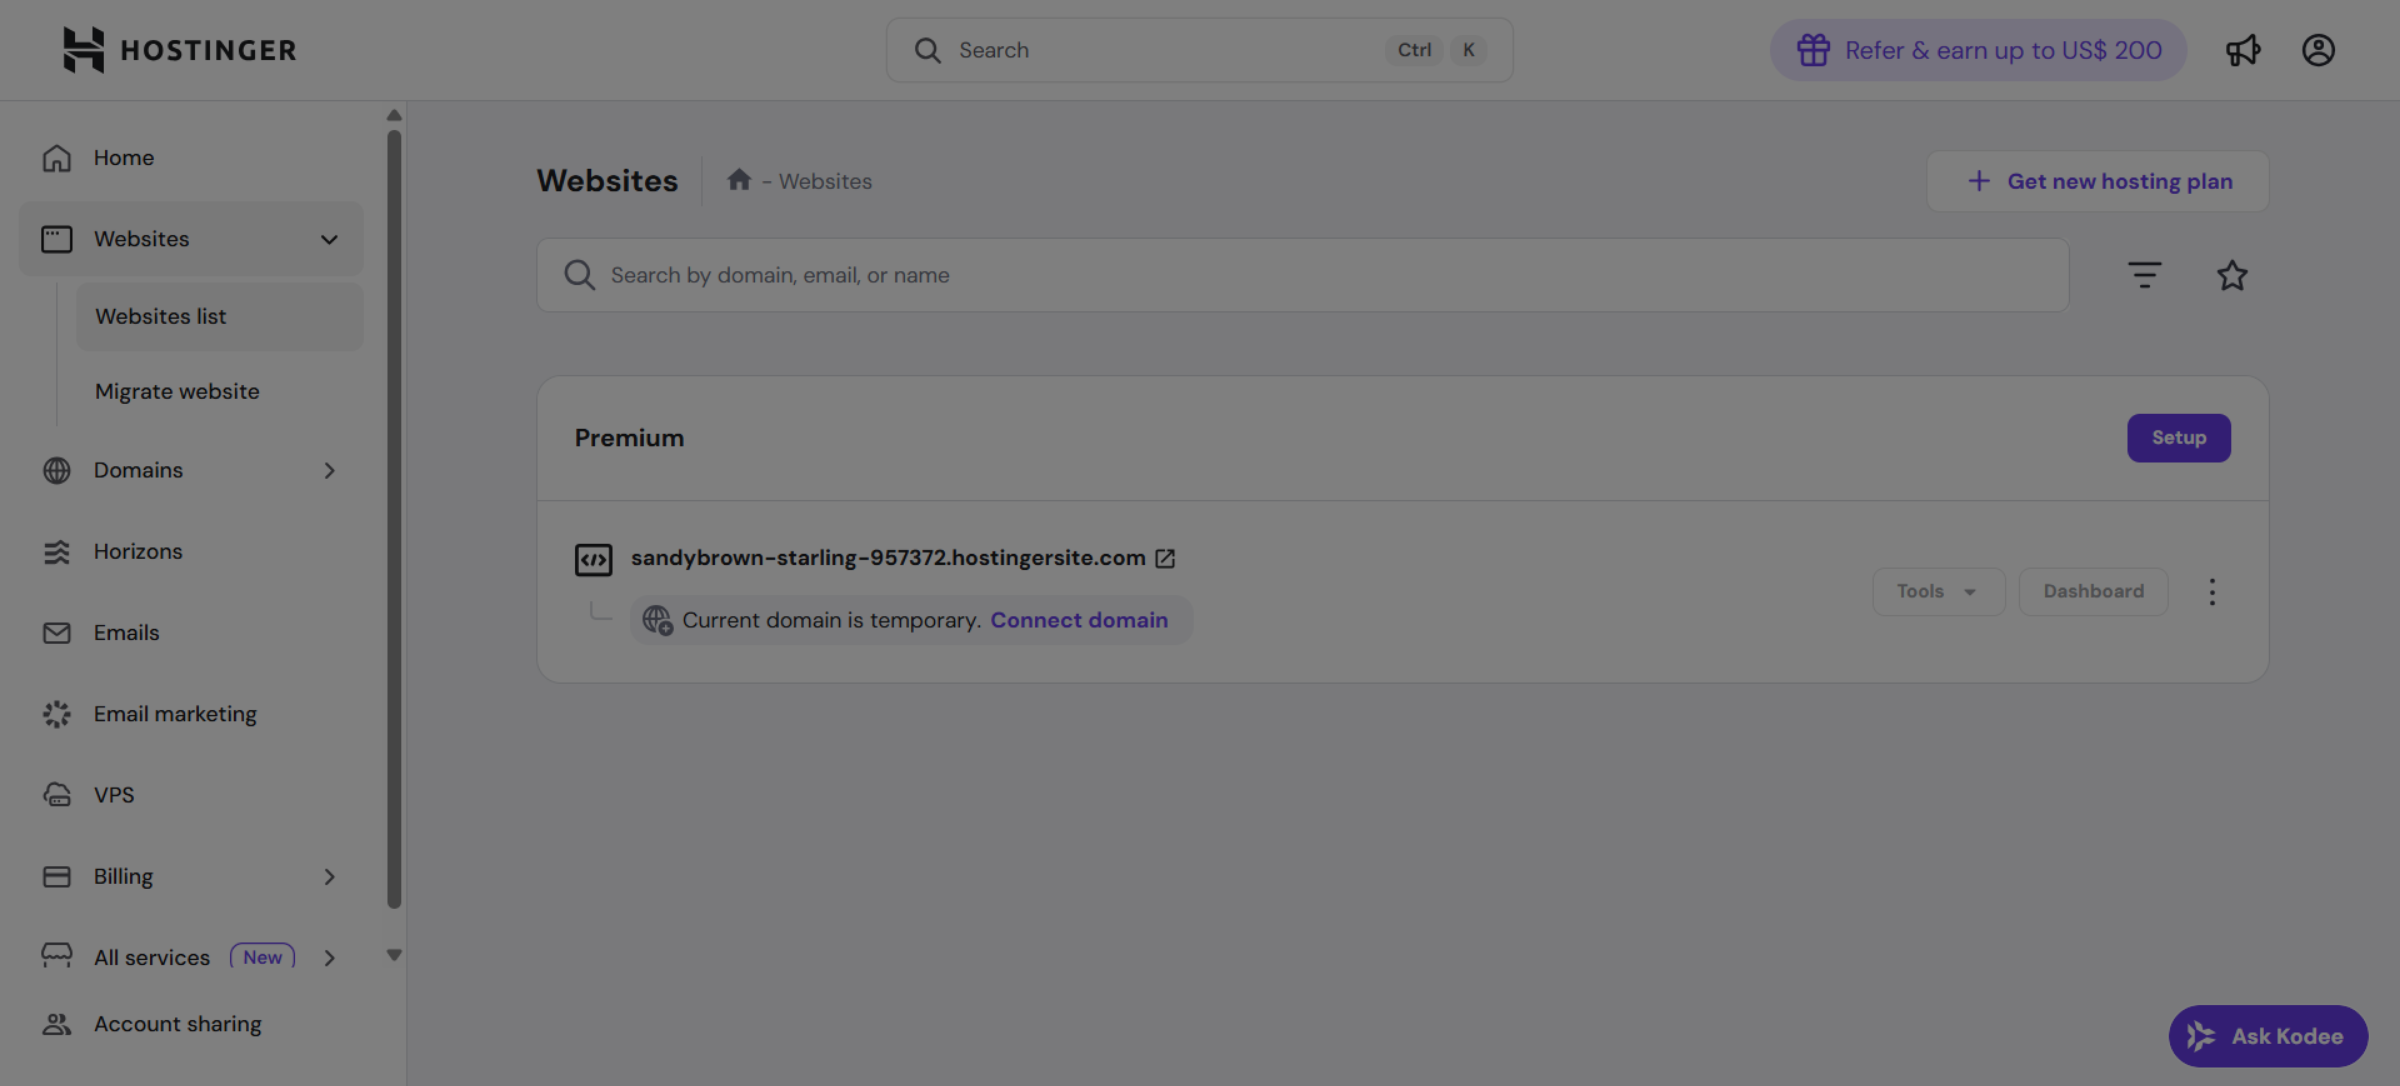
31. View Website Details
Conclusion
By following this guide, you have successfully purchased a Hostinger hosting plan and completed your website setup. Your hosting environment is now ready, and your website is accessible using a temporary domain. This setup provides a strong foundation for further customization, content development, and domain configuration.
To ensure long-term success, regularly update your website, secure your hosting account, and monitor performance. Proper maintenance will help keep your website fast, stable, and secure.
WooHelpDesk Support
Need help with hosting setup, website configuration, or performance optimization? WooHelpDesk provides expert support to ensure smooth website management.
Visit: https://www.woohelpdesk.com
Call Us Toll-Free: +1 888 602 0119 (US & Canada)
Reliable Hosting Support | Expert Assistance | Trusted Solutions


