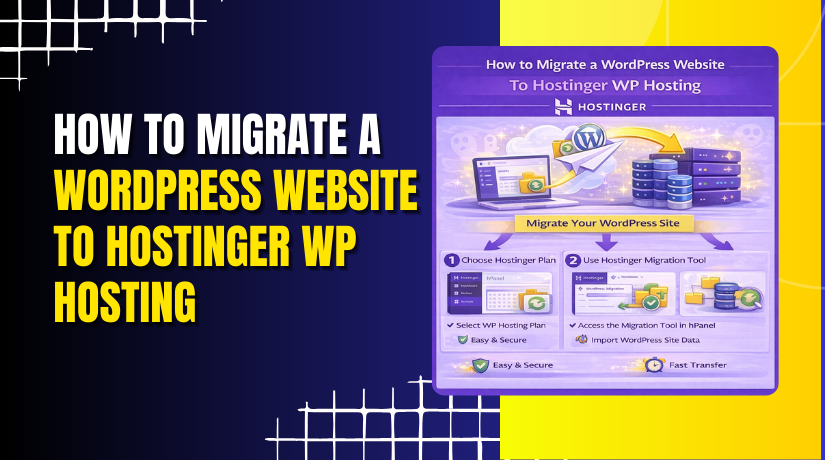
How to Migrate a WordPress Website To Hostinger WP Hosting
Introduction
Migrating a WordPress website from one site to another can seem complex, especially when transferring content, settings, plugins, and themes without errors. Using a reliable migration plugin like All-in-One WP Migration simplifies this process by allowing you to export your entire website into a single backup file and import it into a new WordPress installation. This method eliminates the need for manual database handling or FTP transfers. In this guide, you’ll learn how to create a full backup of your existing WordPress site, install the migration plugin on a target site, import the backup file, and finalize the migration by updating permalink settings. Following these steps ensures a smooth and secure WordPress site migration with minimal downtime and complete data integrity.
1. open hostinger panel
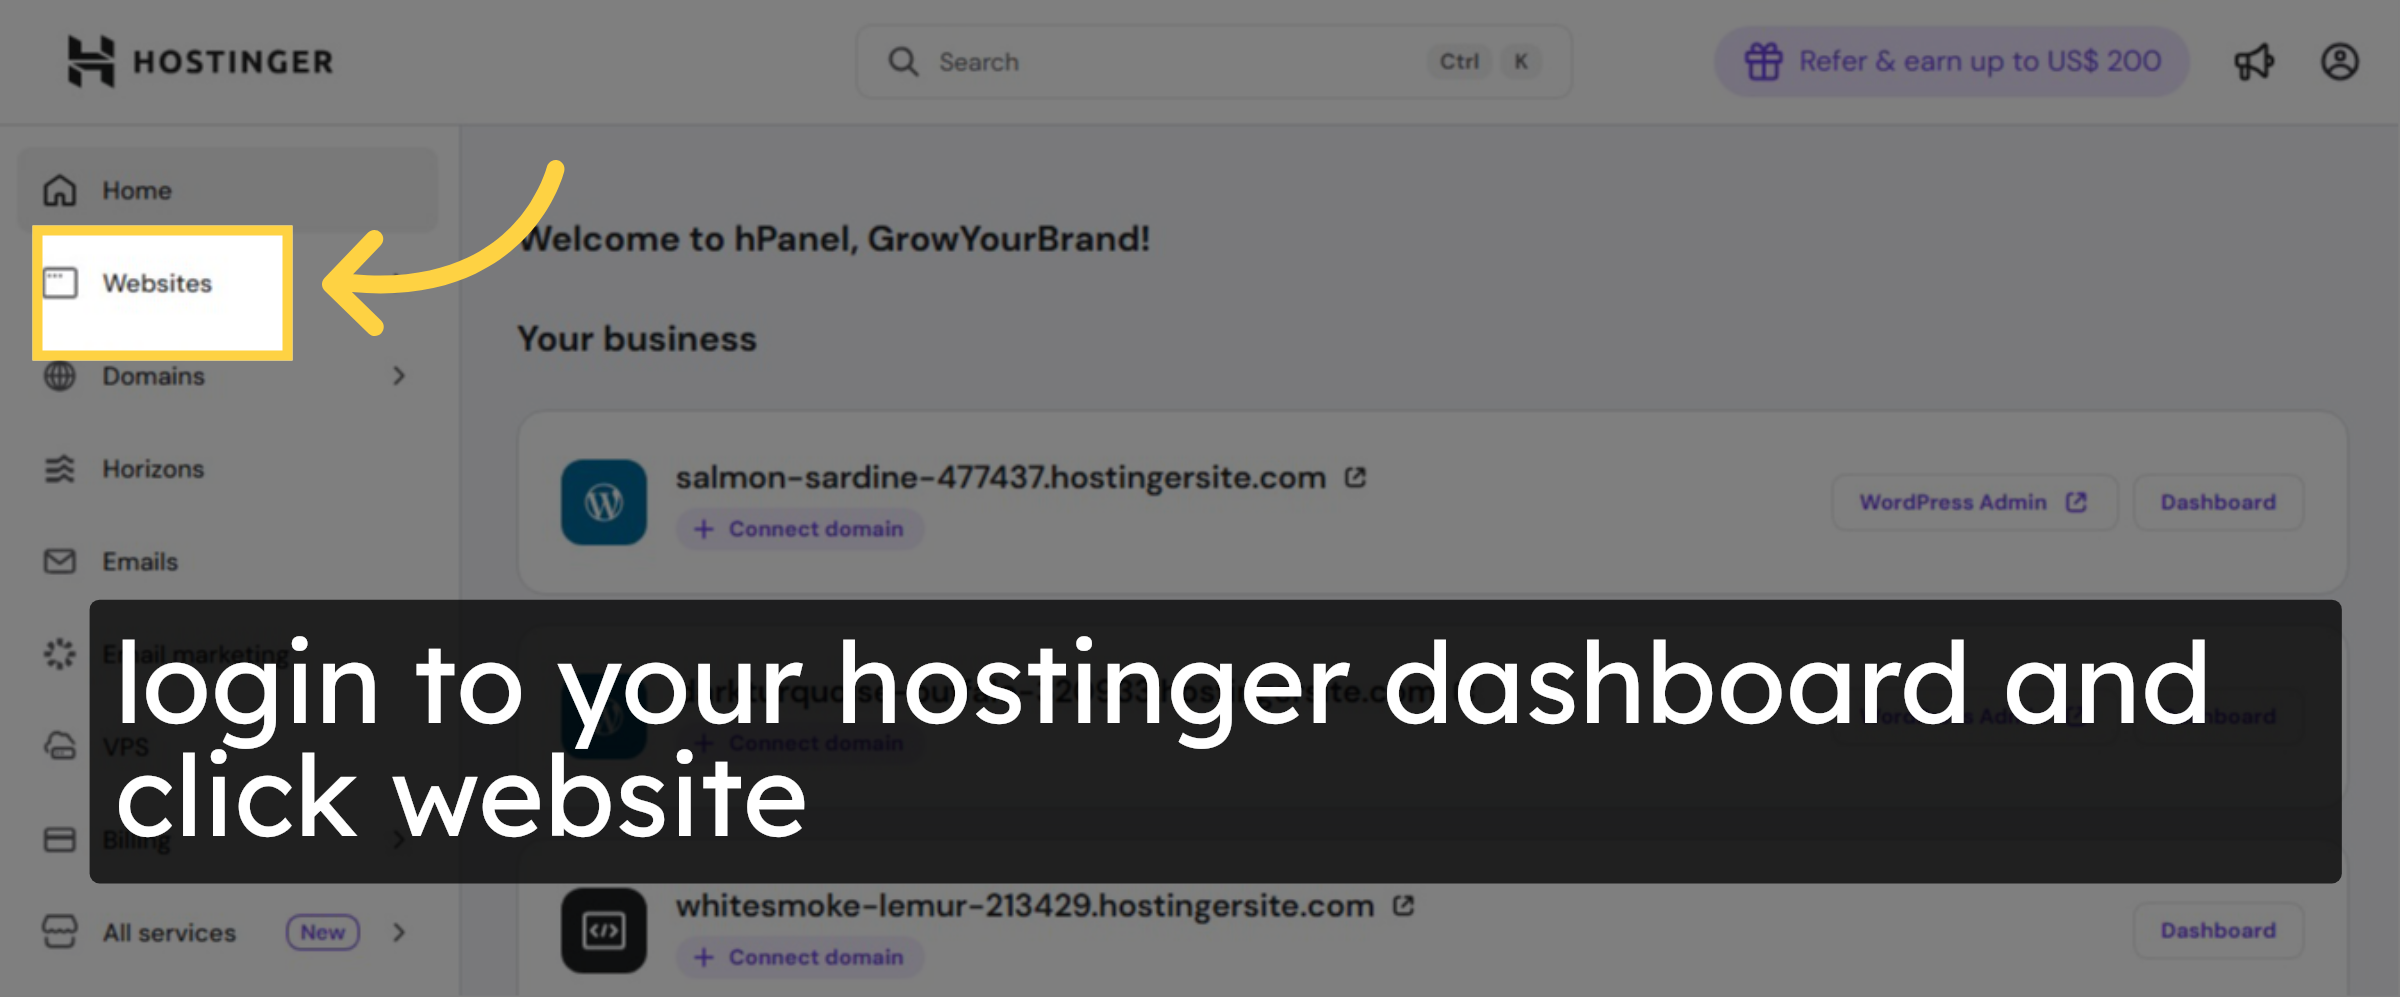
2. choose your website
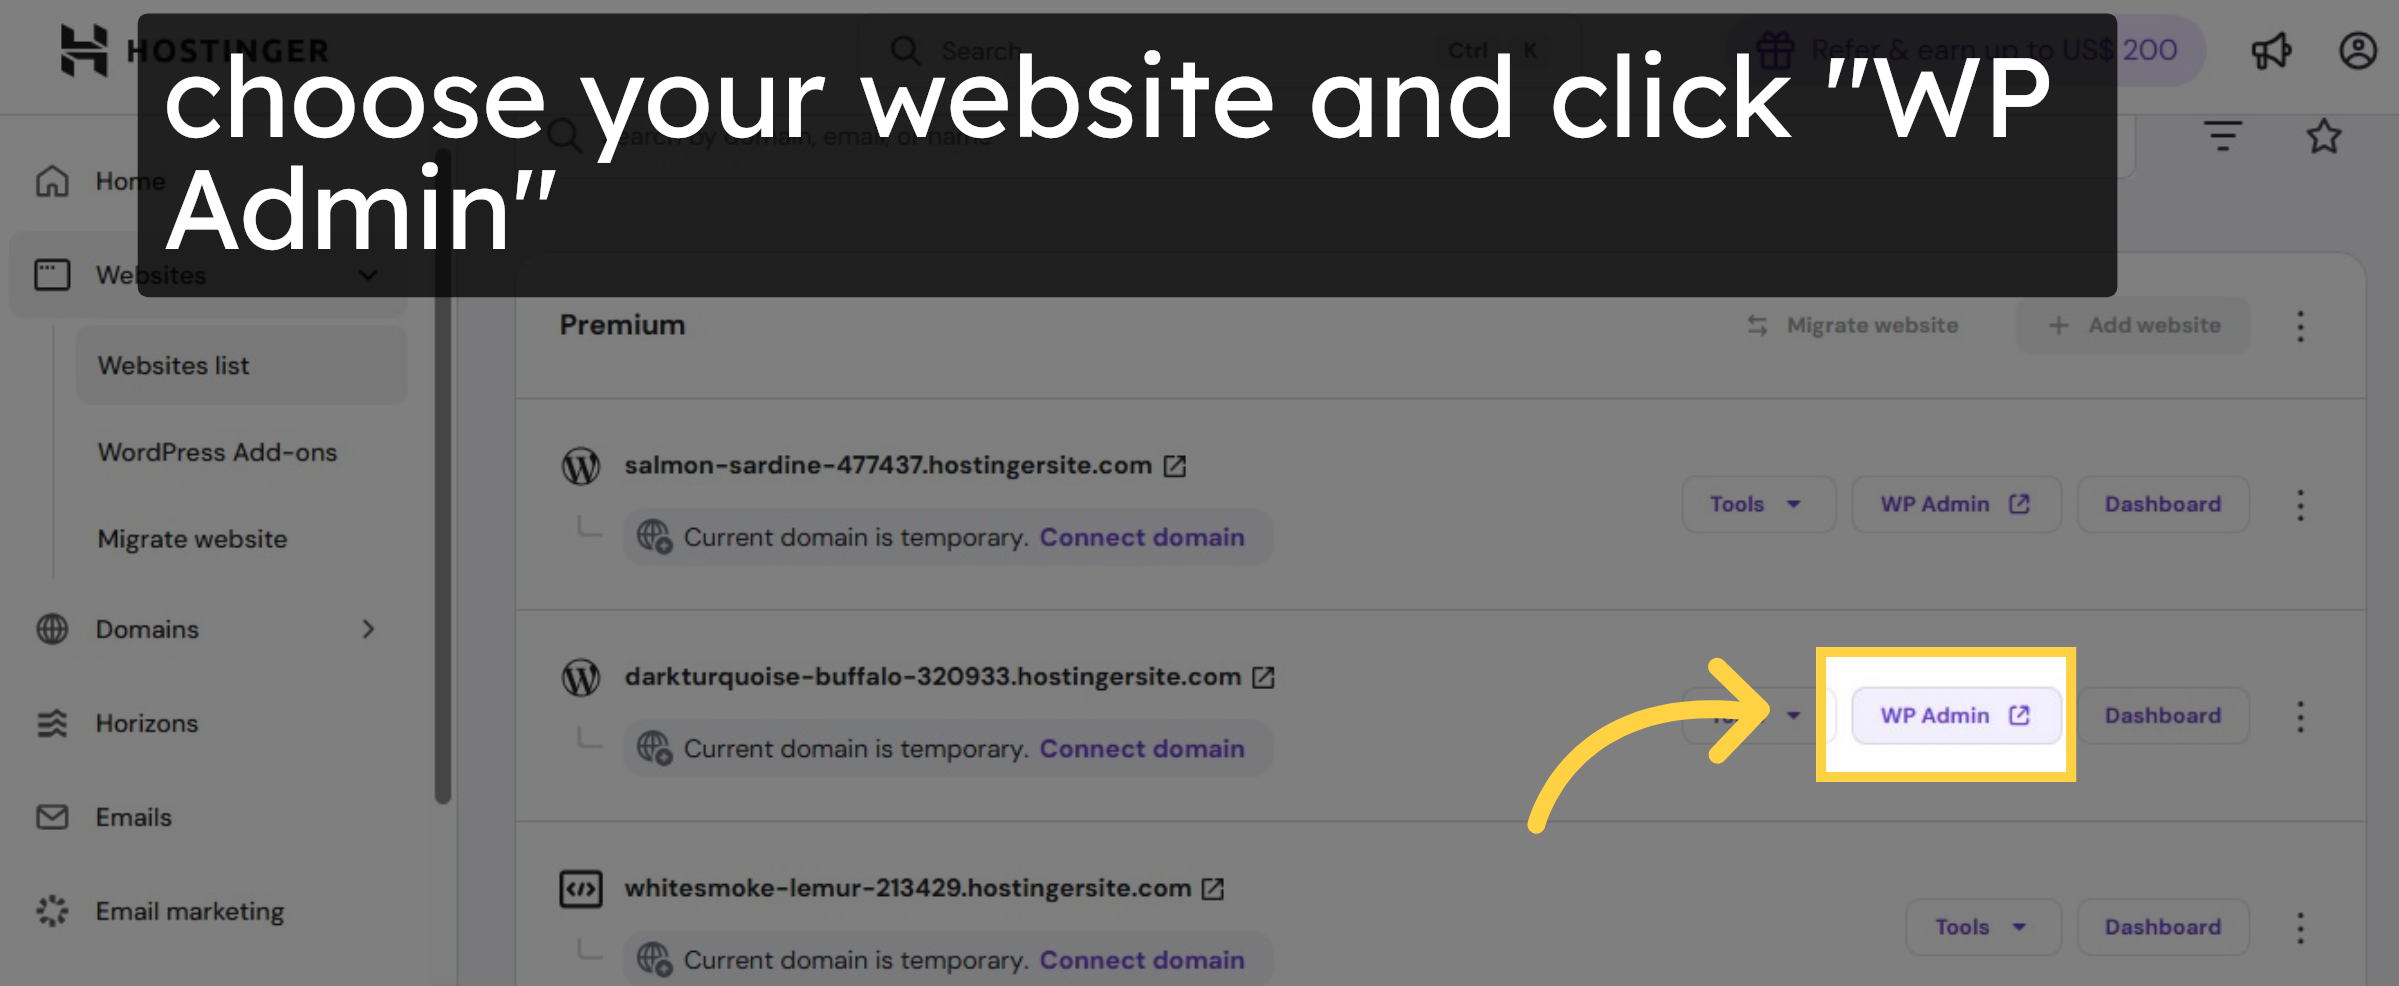
3. Open WordPress Dashboard
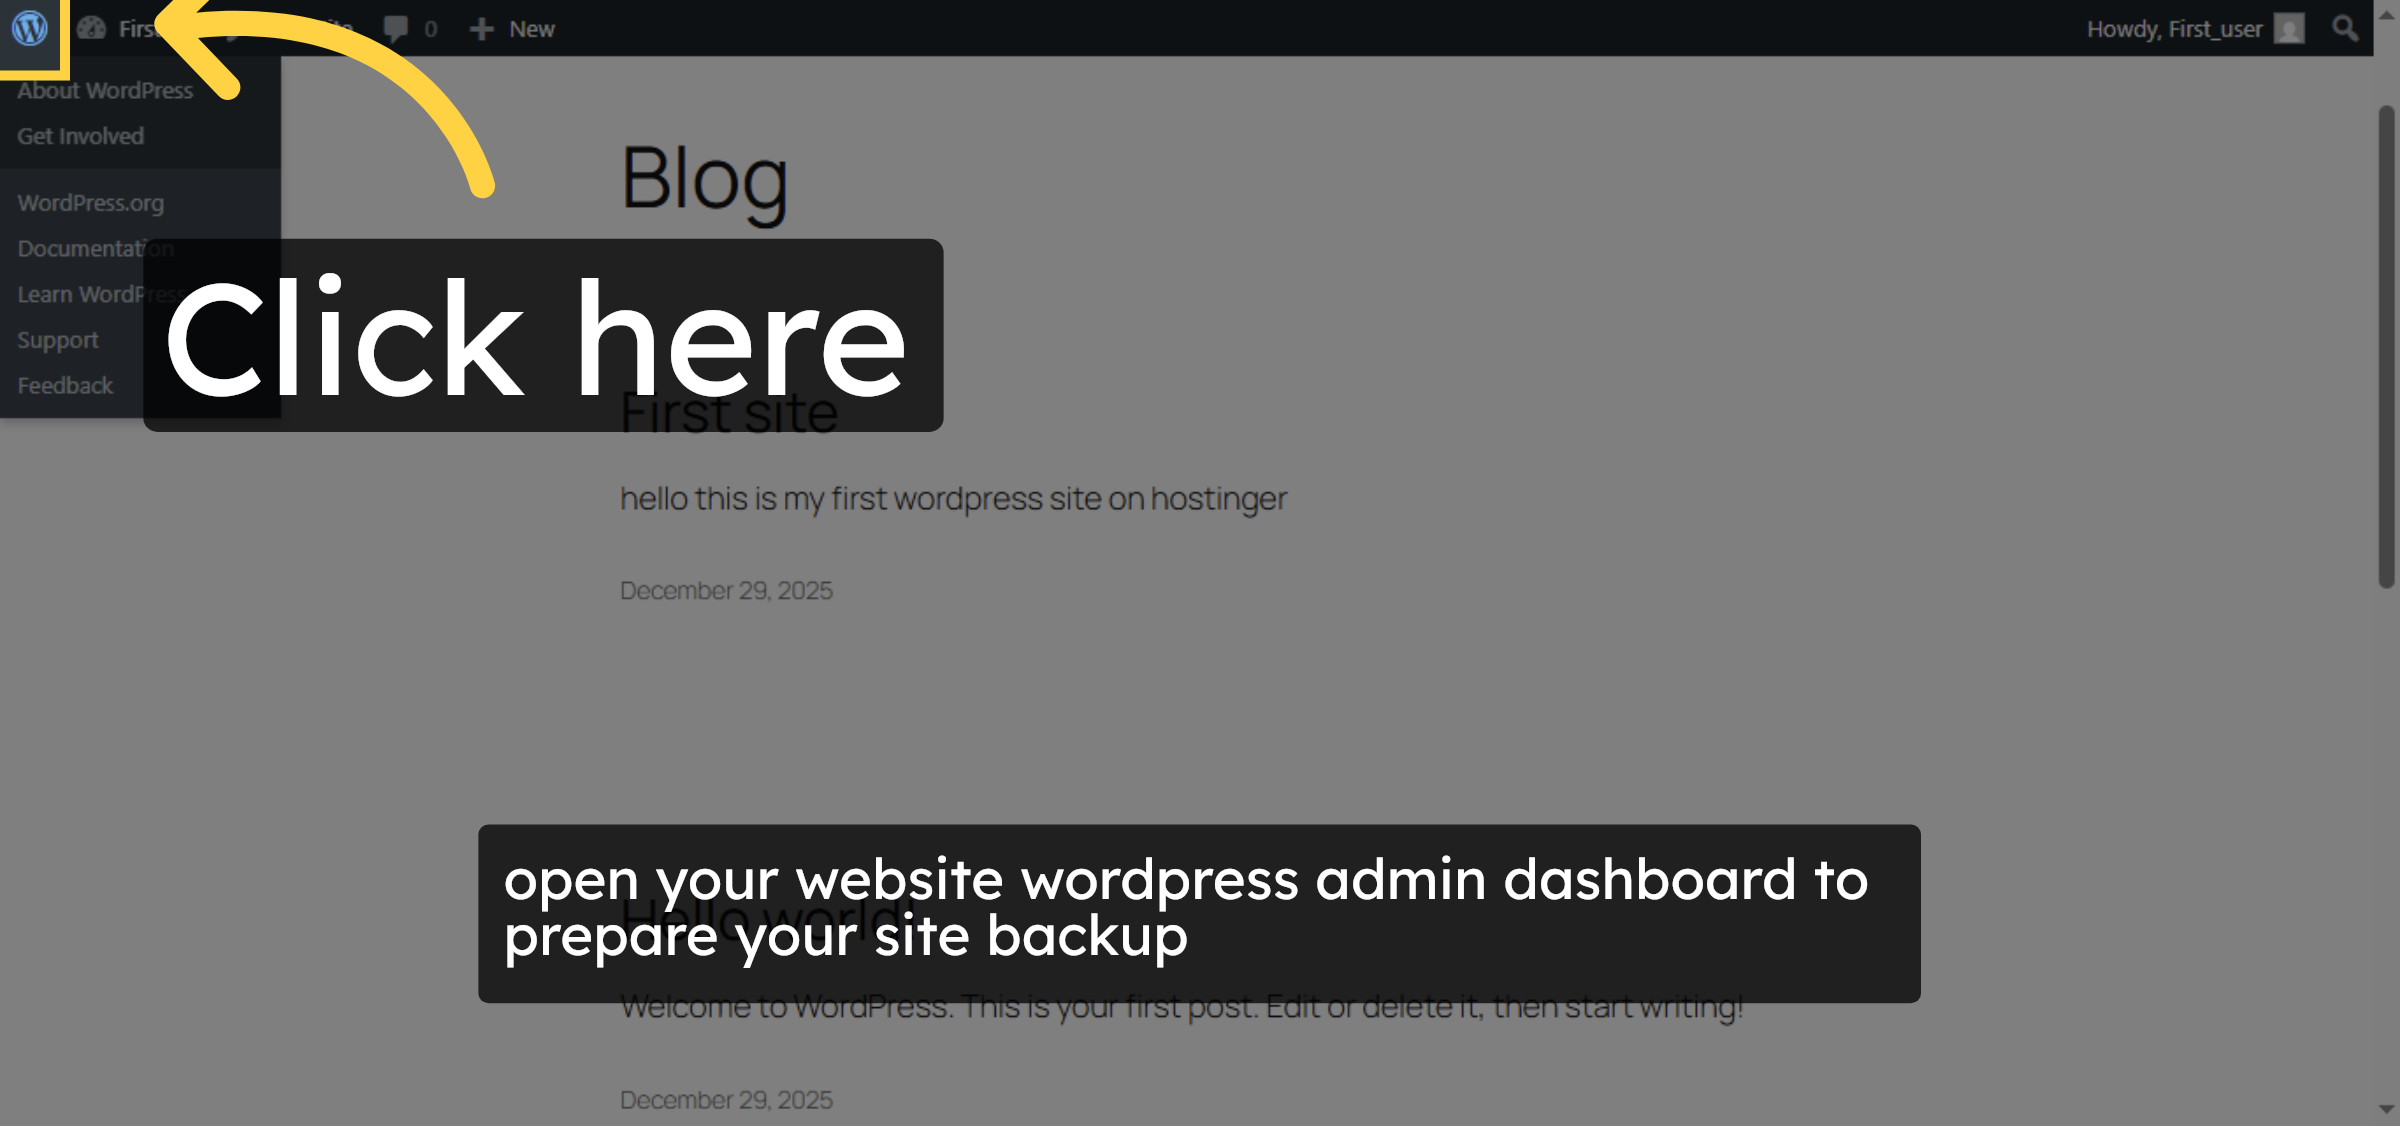
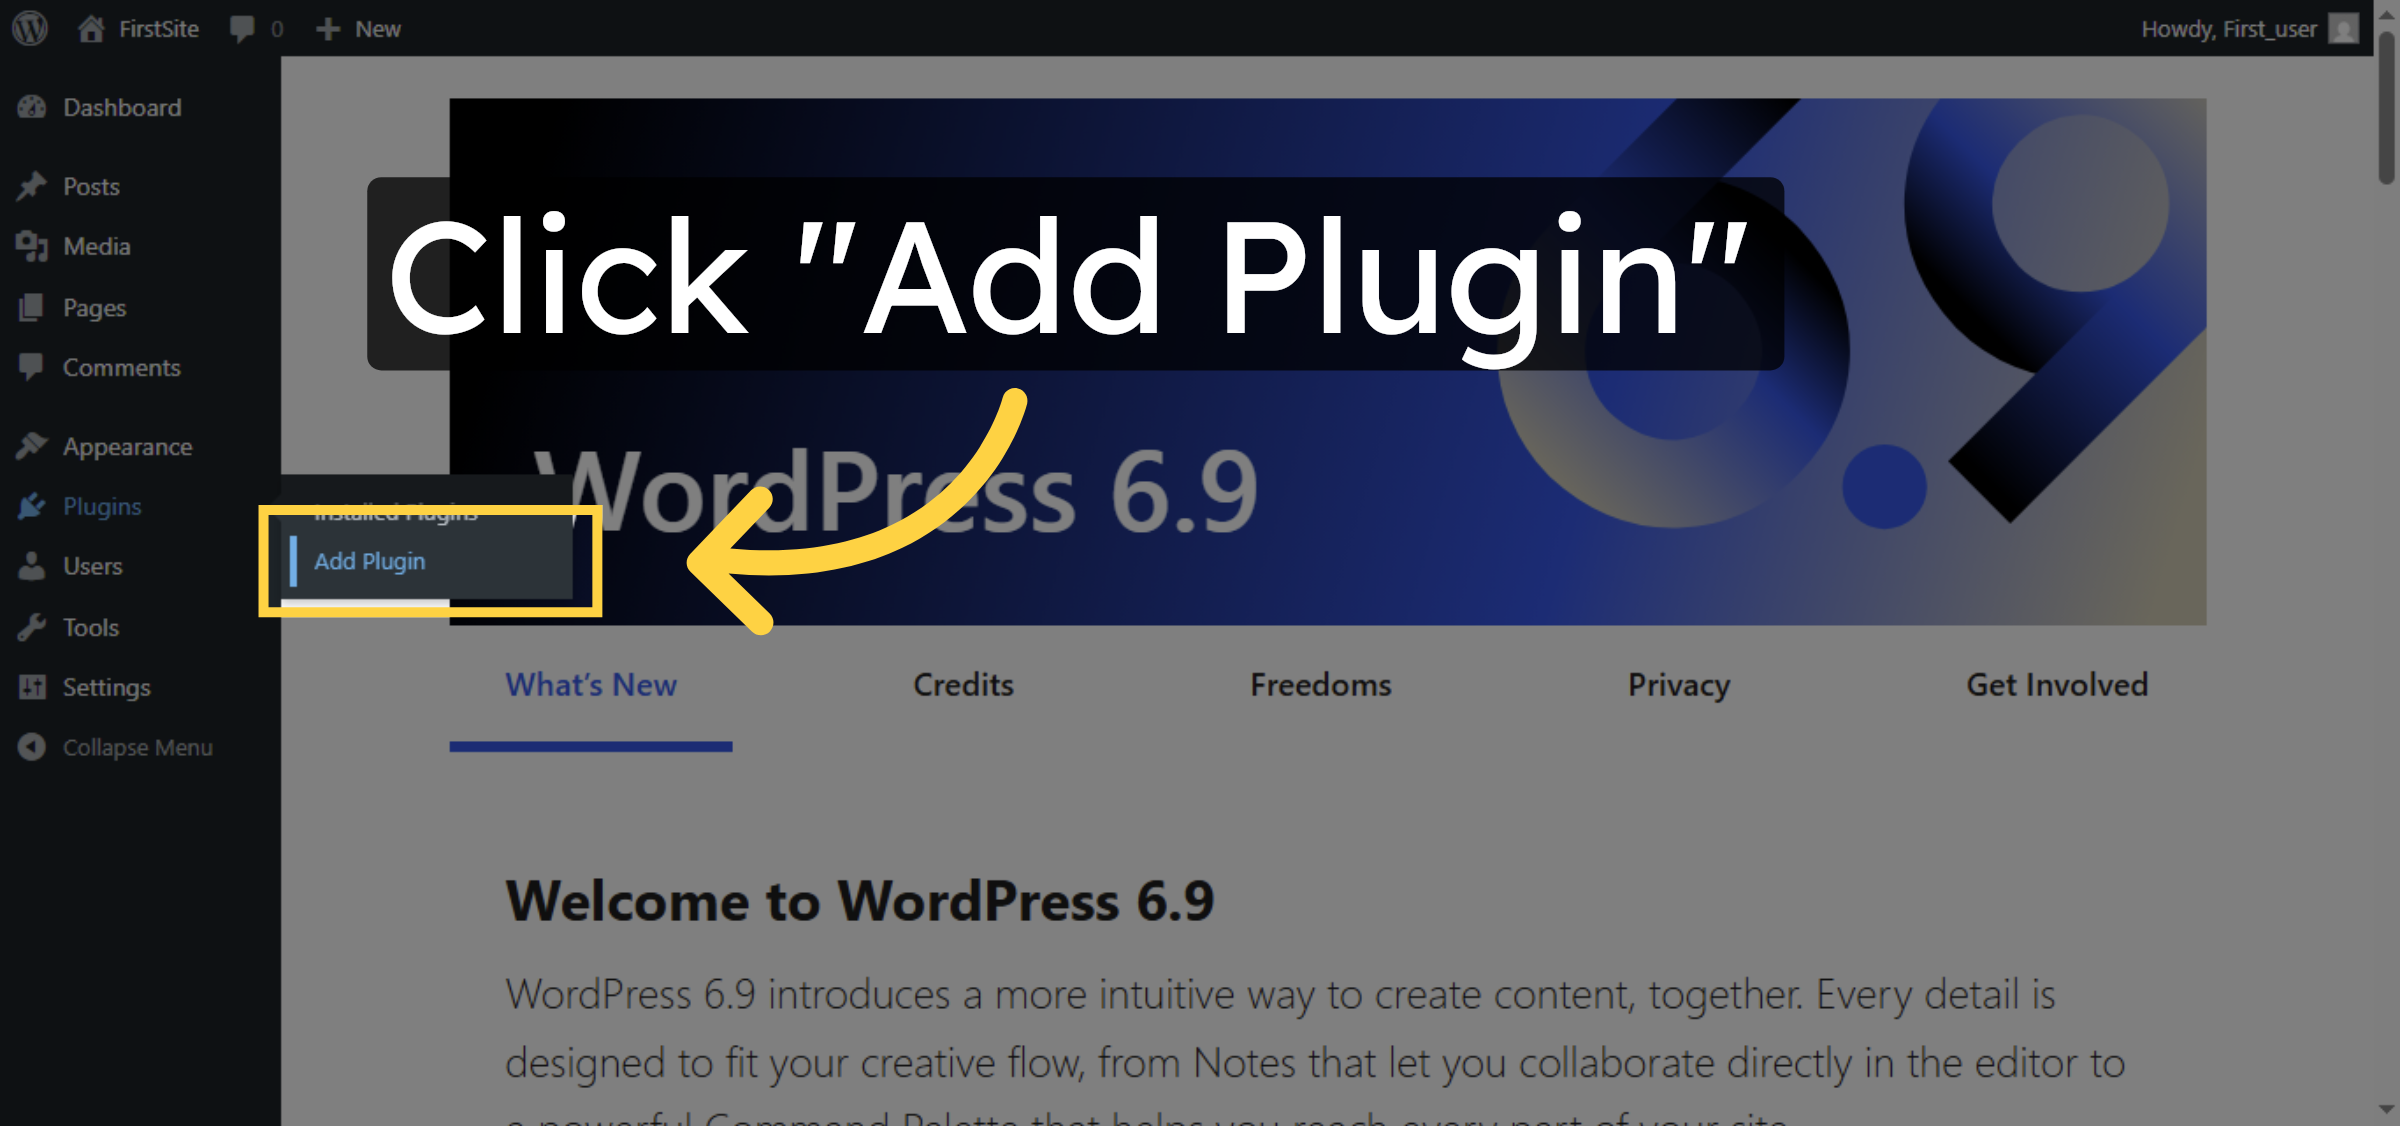
4. Access Add Plugin Section
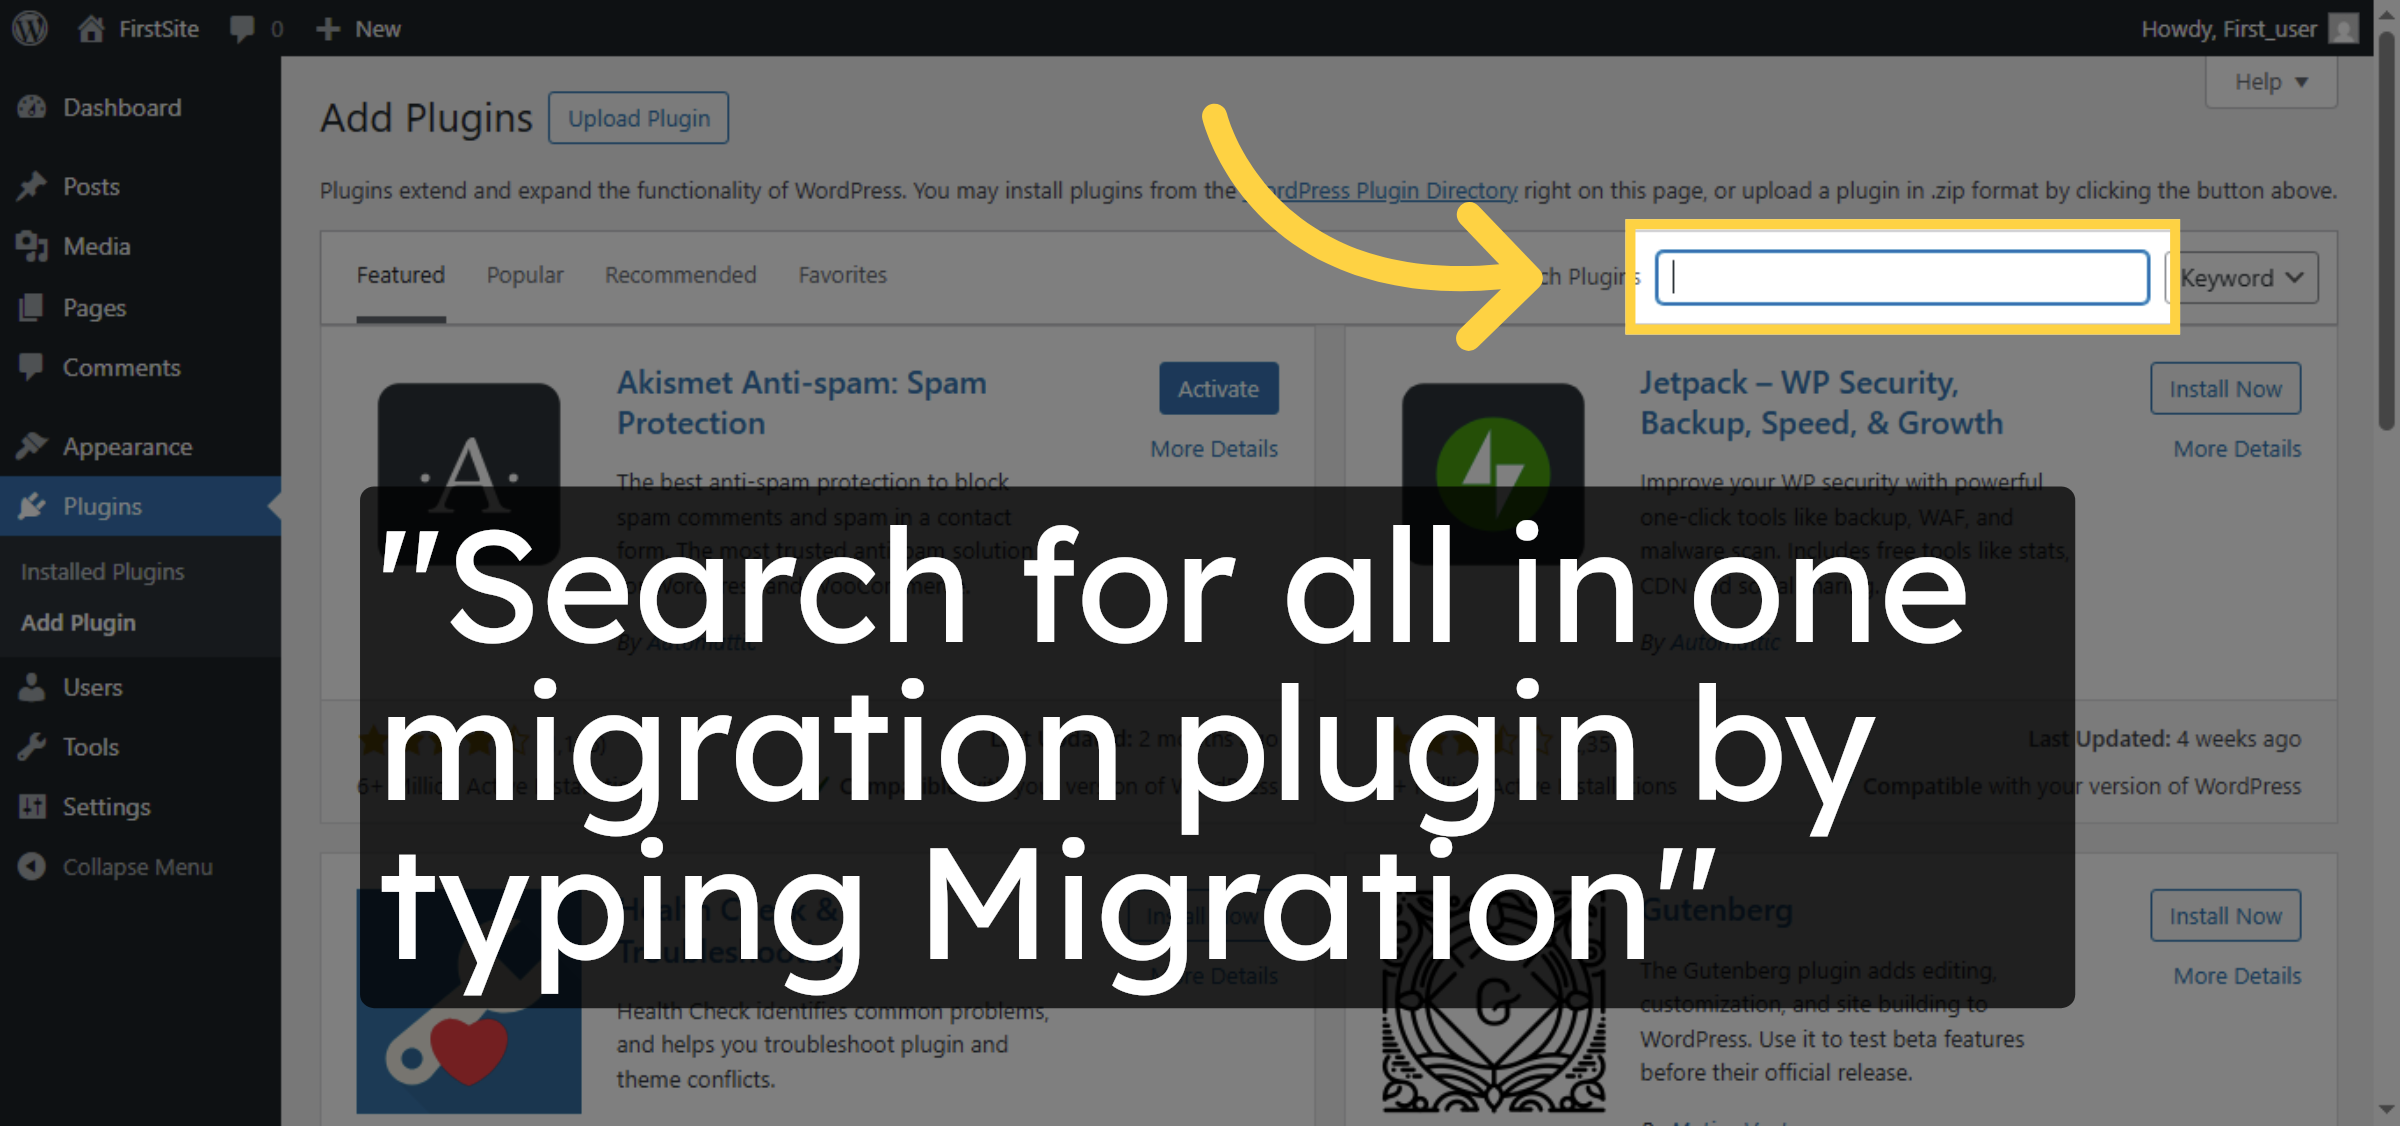
5. Open Plugin Search
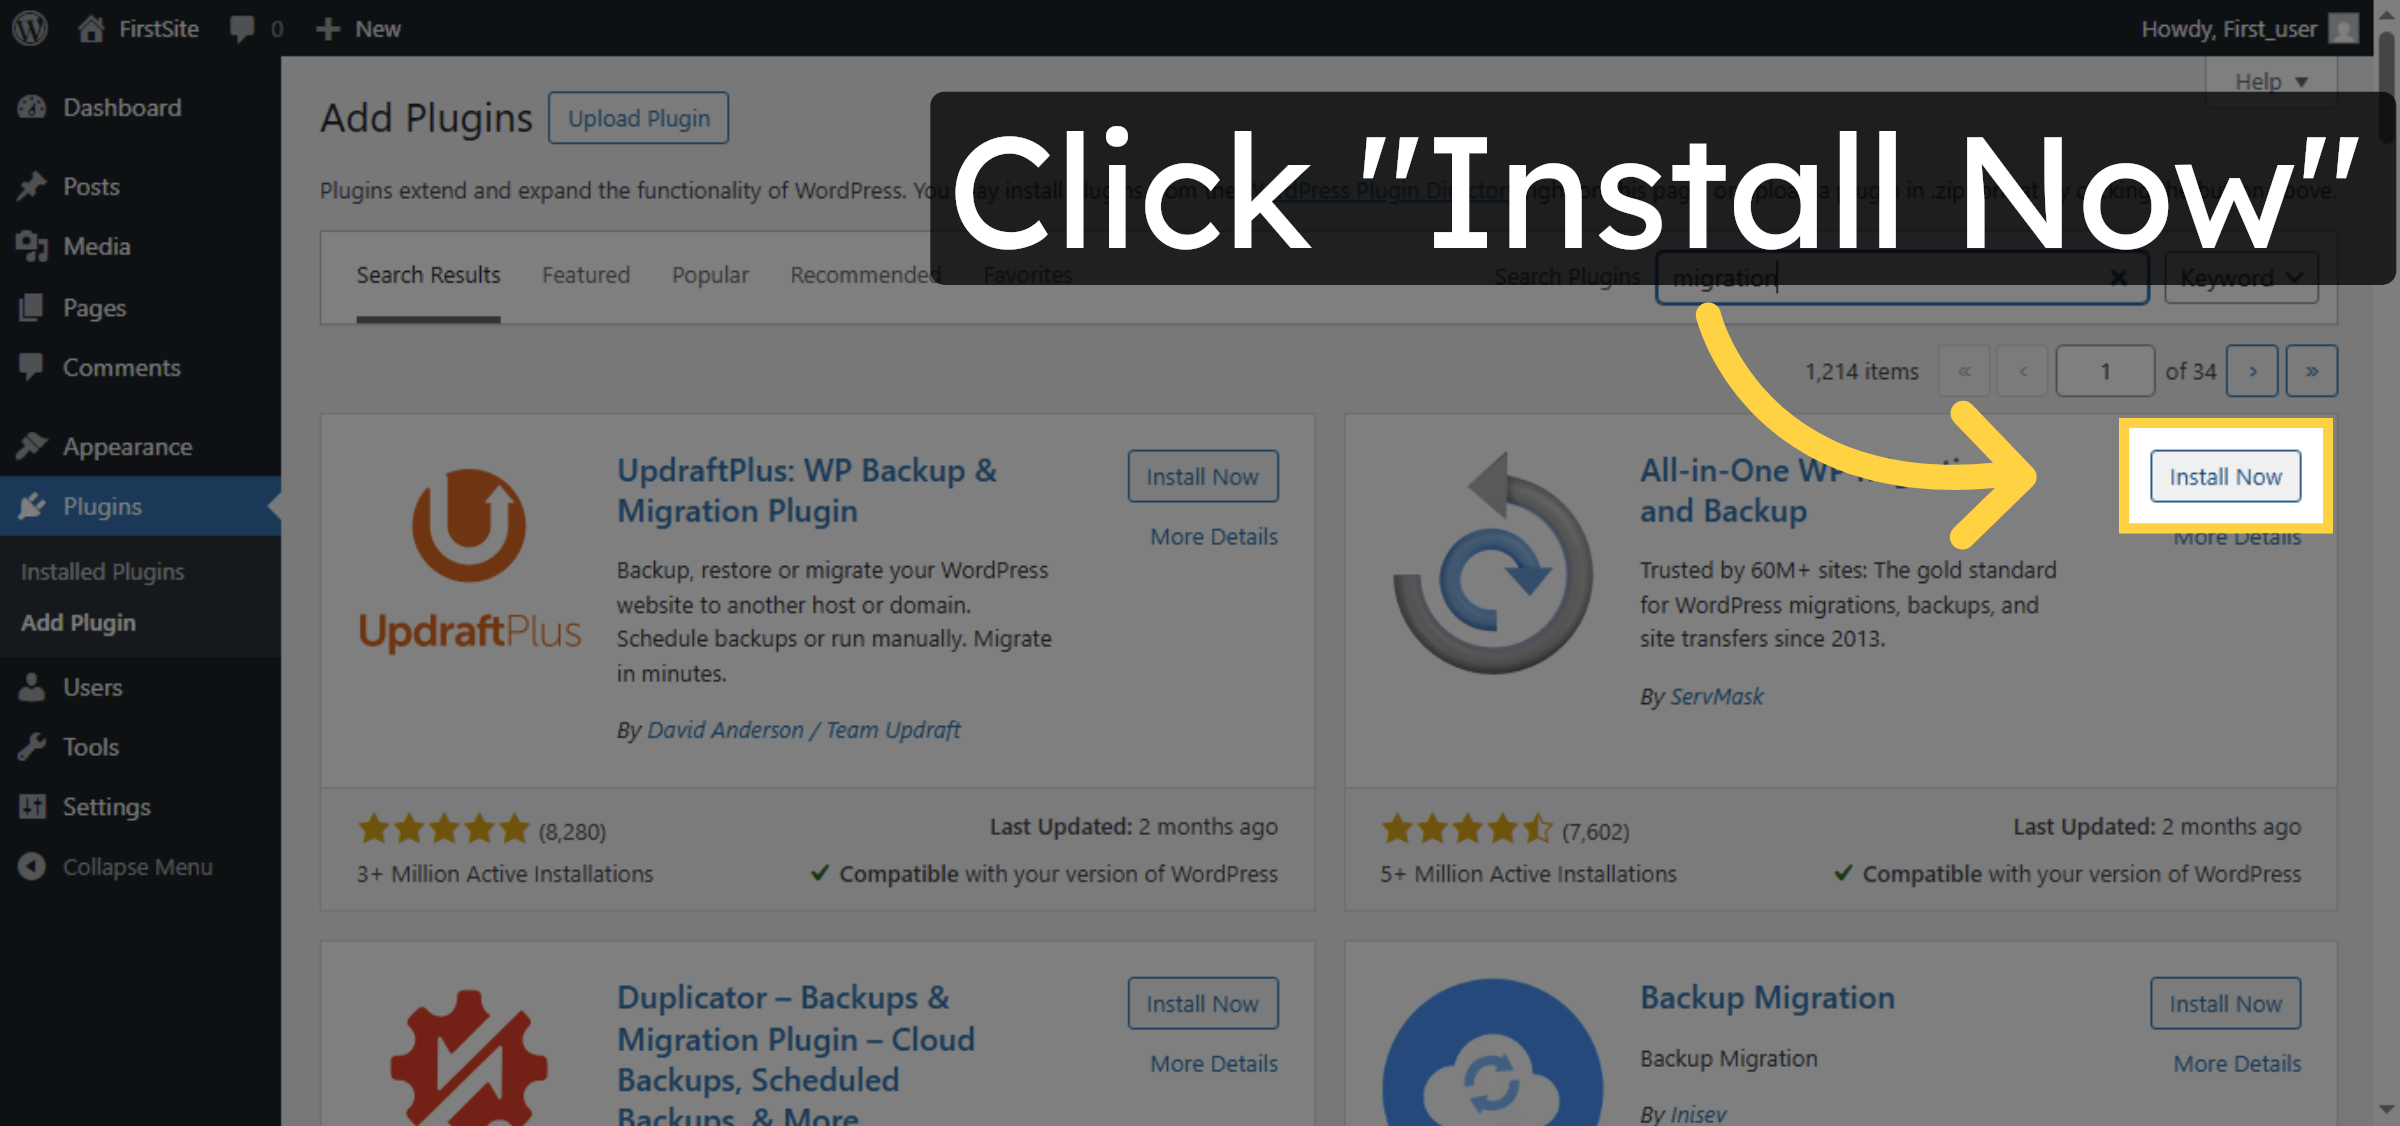
6. Install Migration Plugin
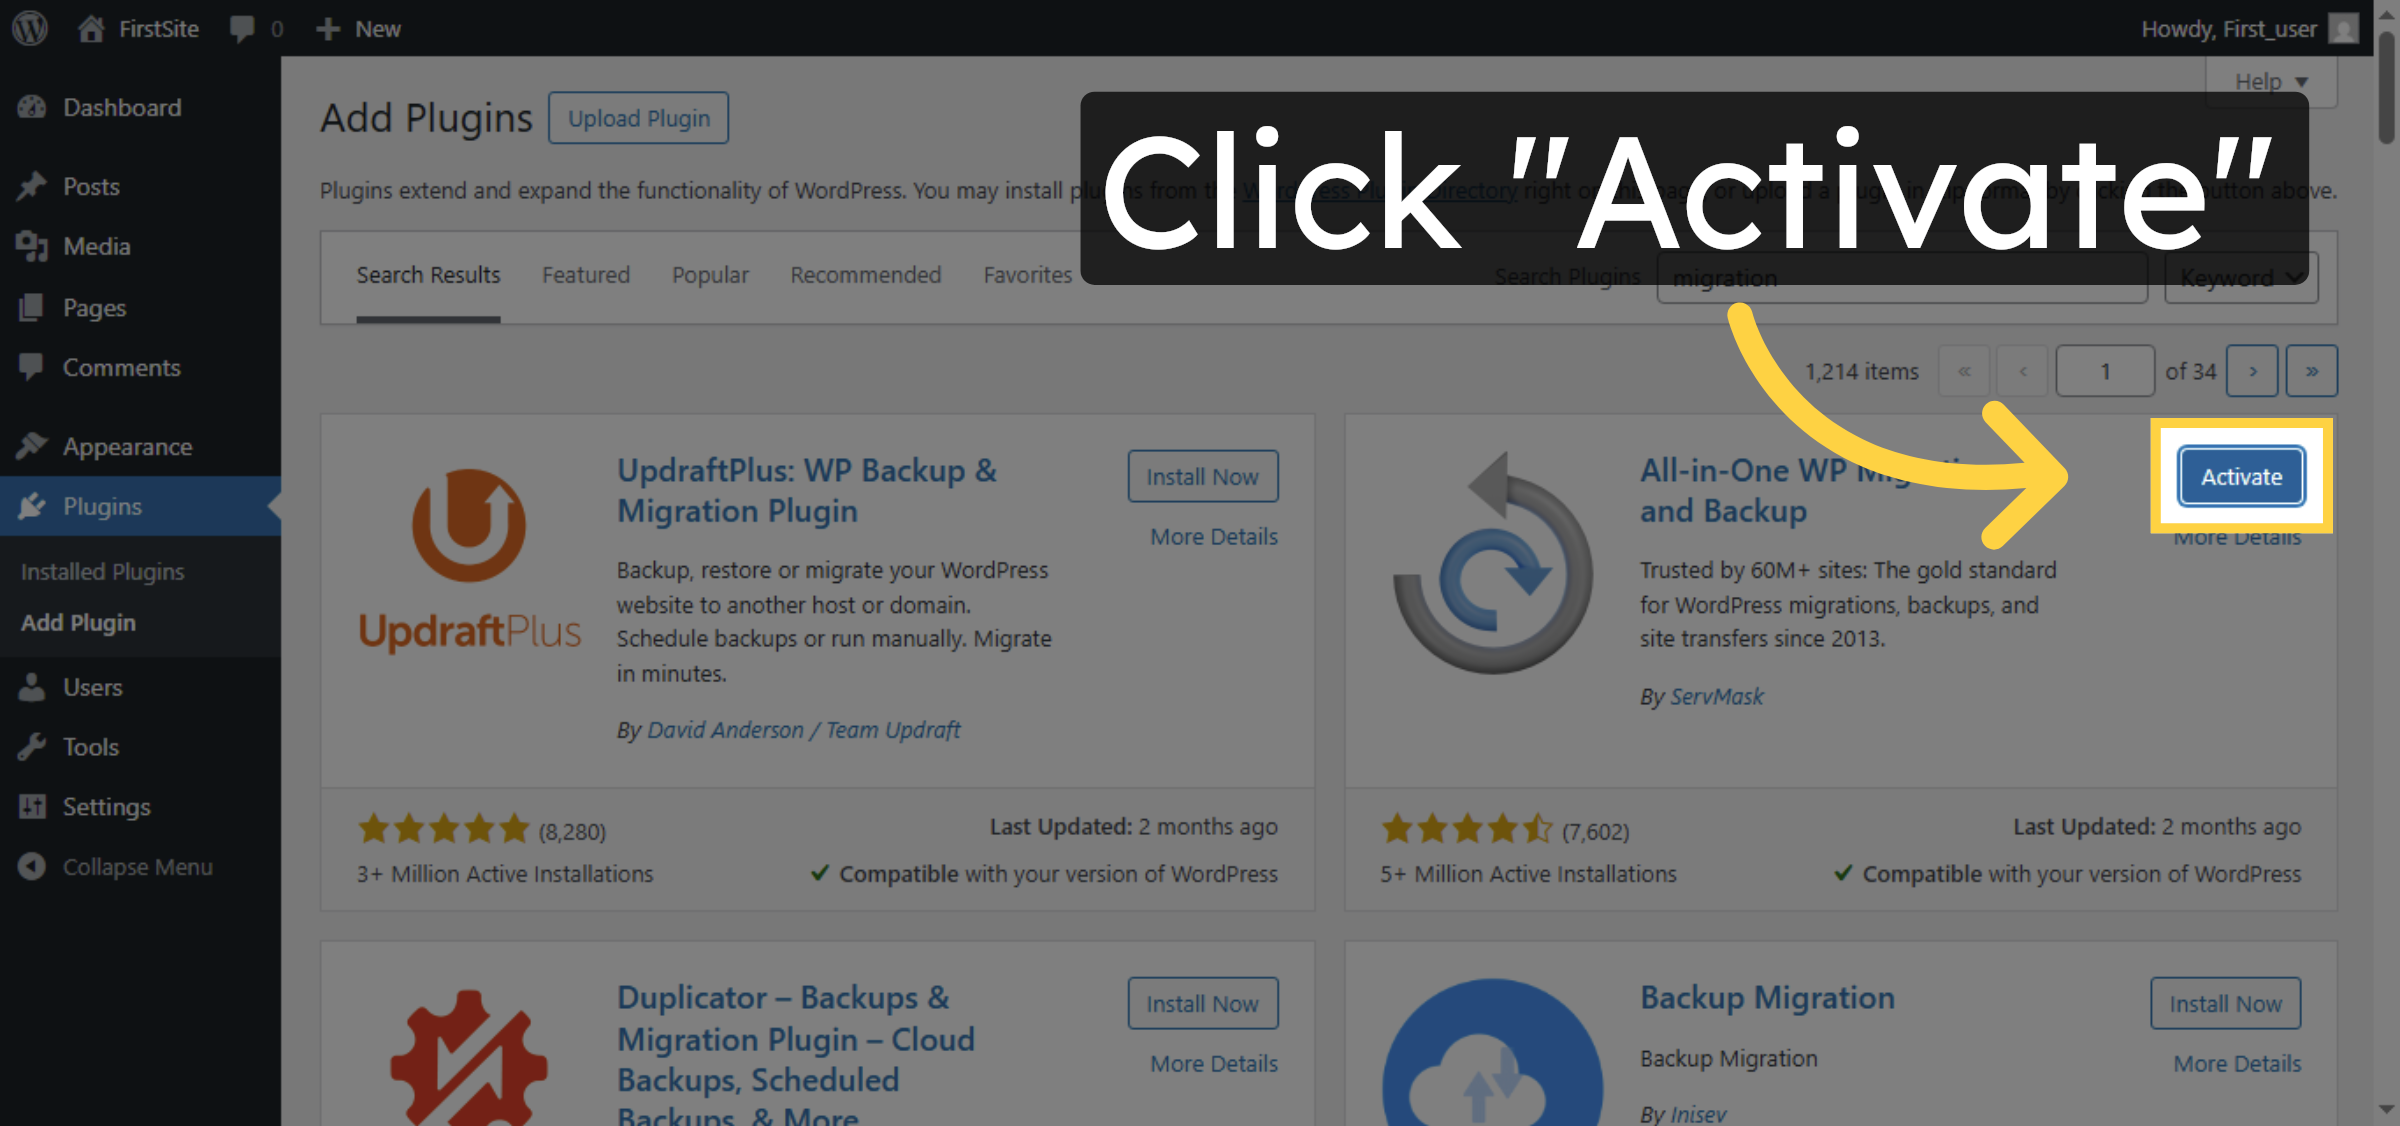
7. Activate Migration Plugin
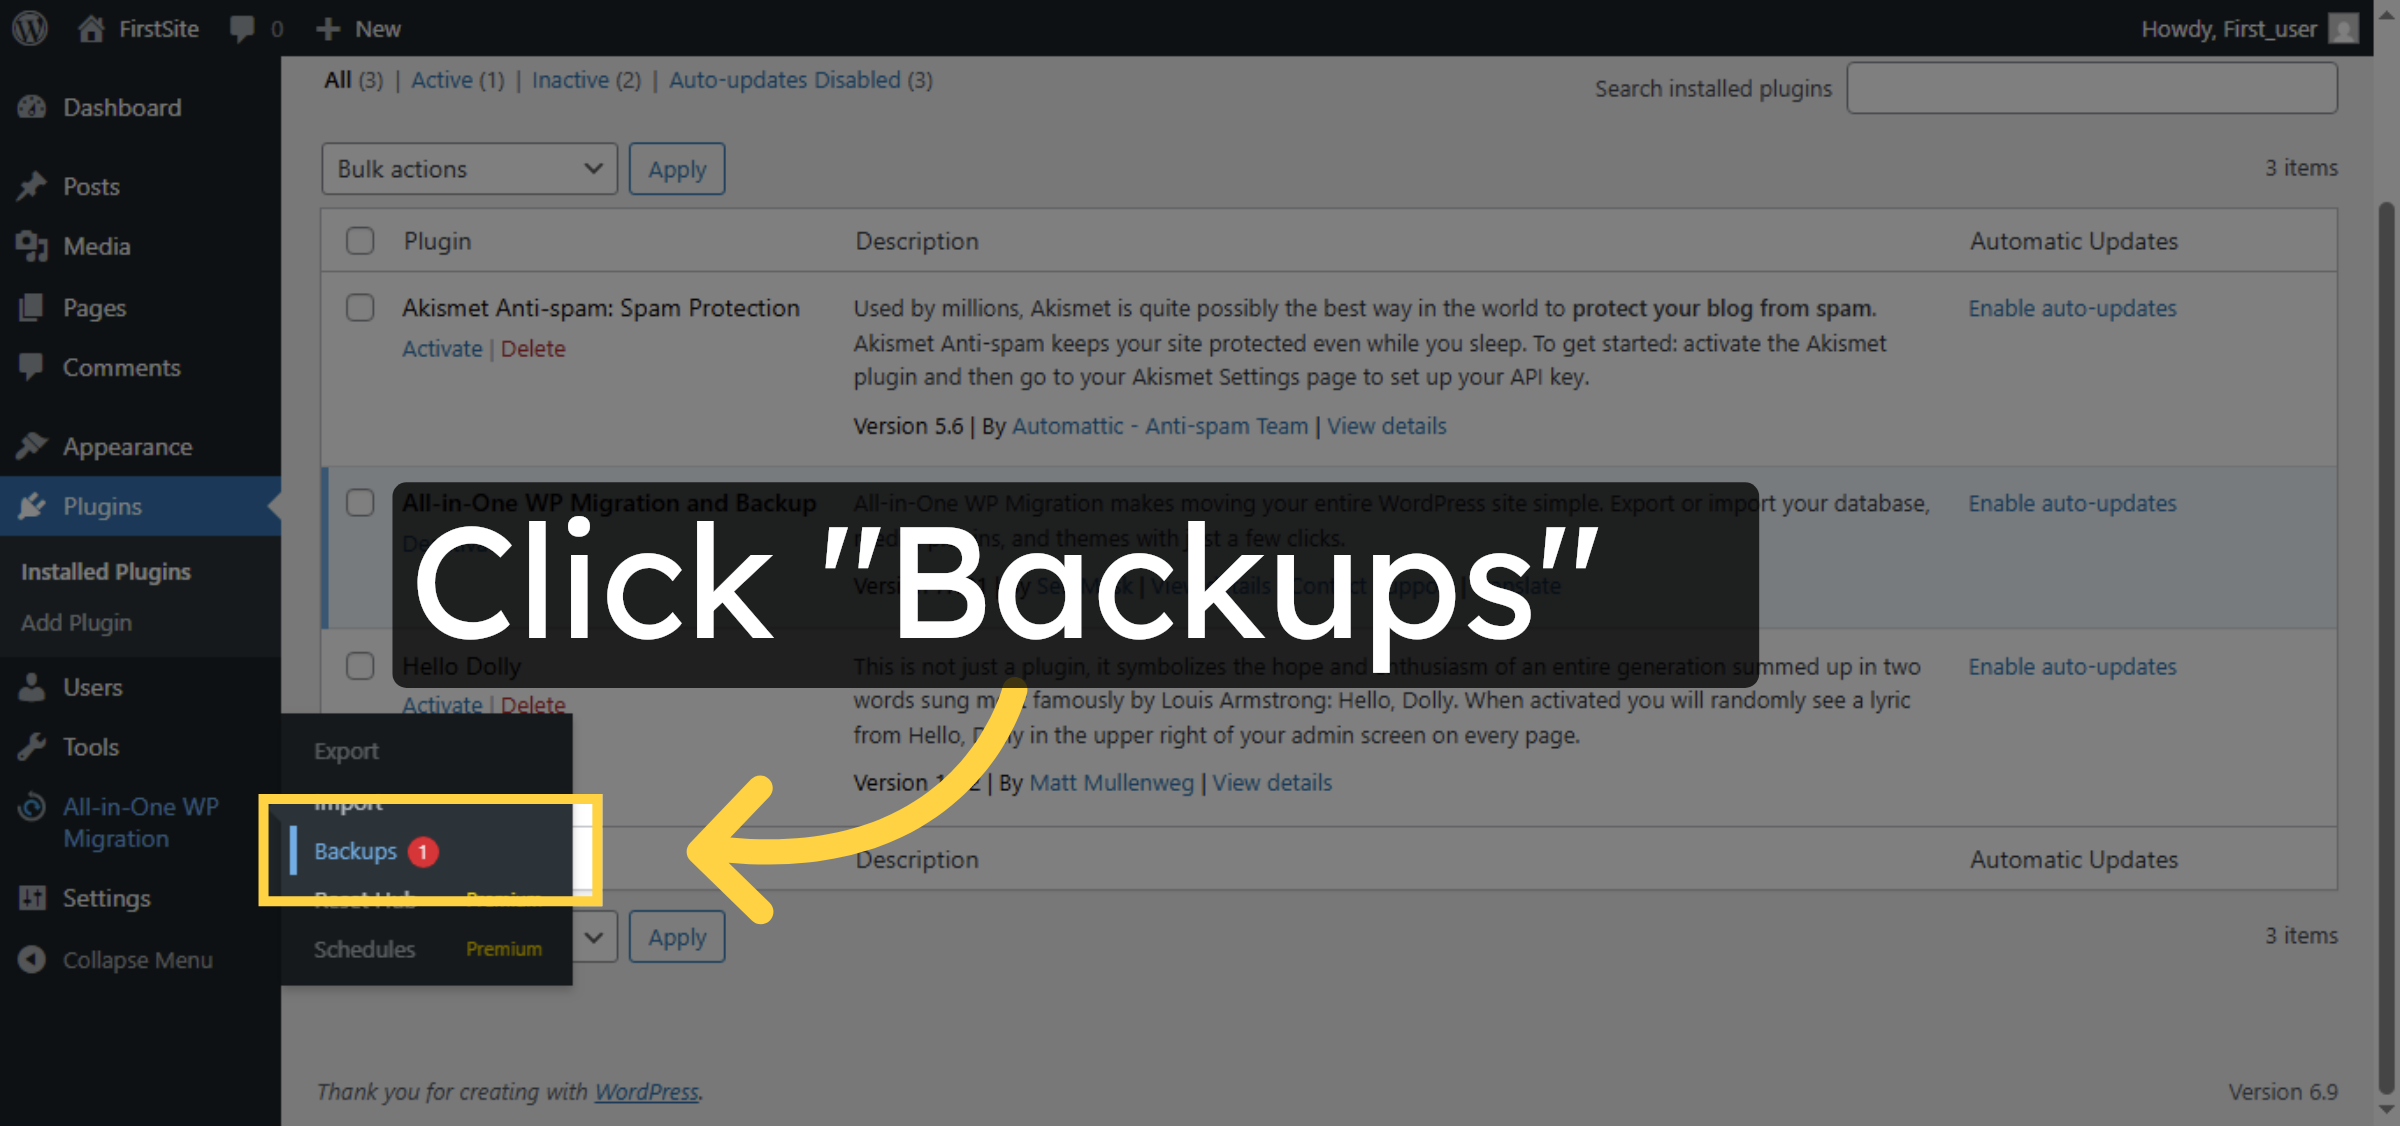
8. Open Backups Plugin
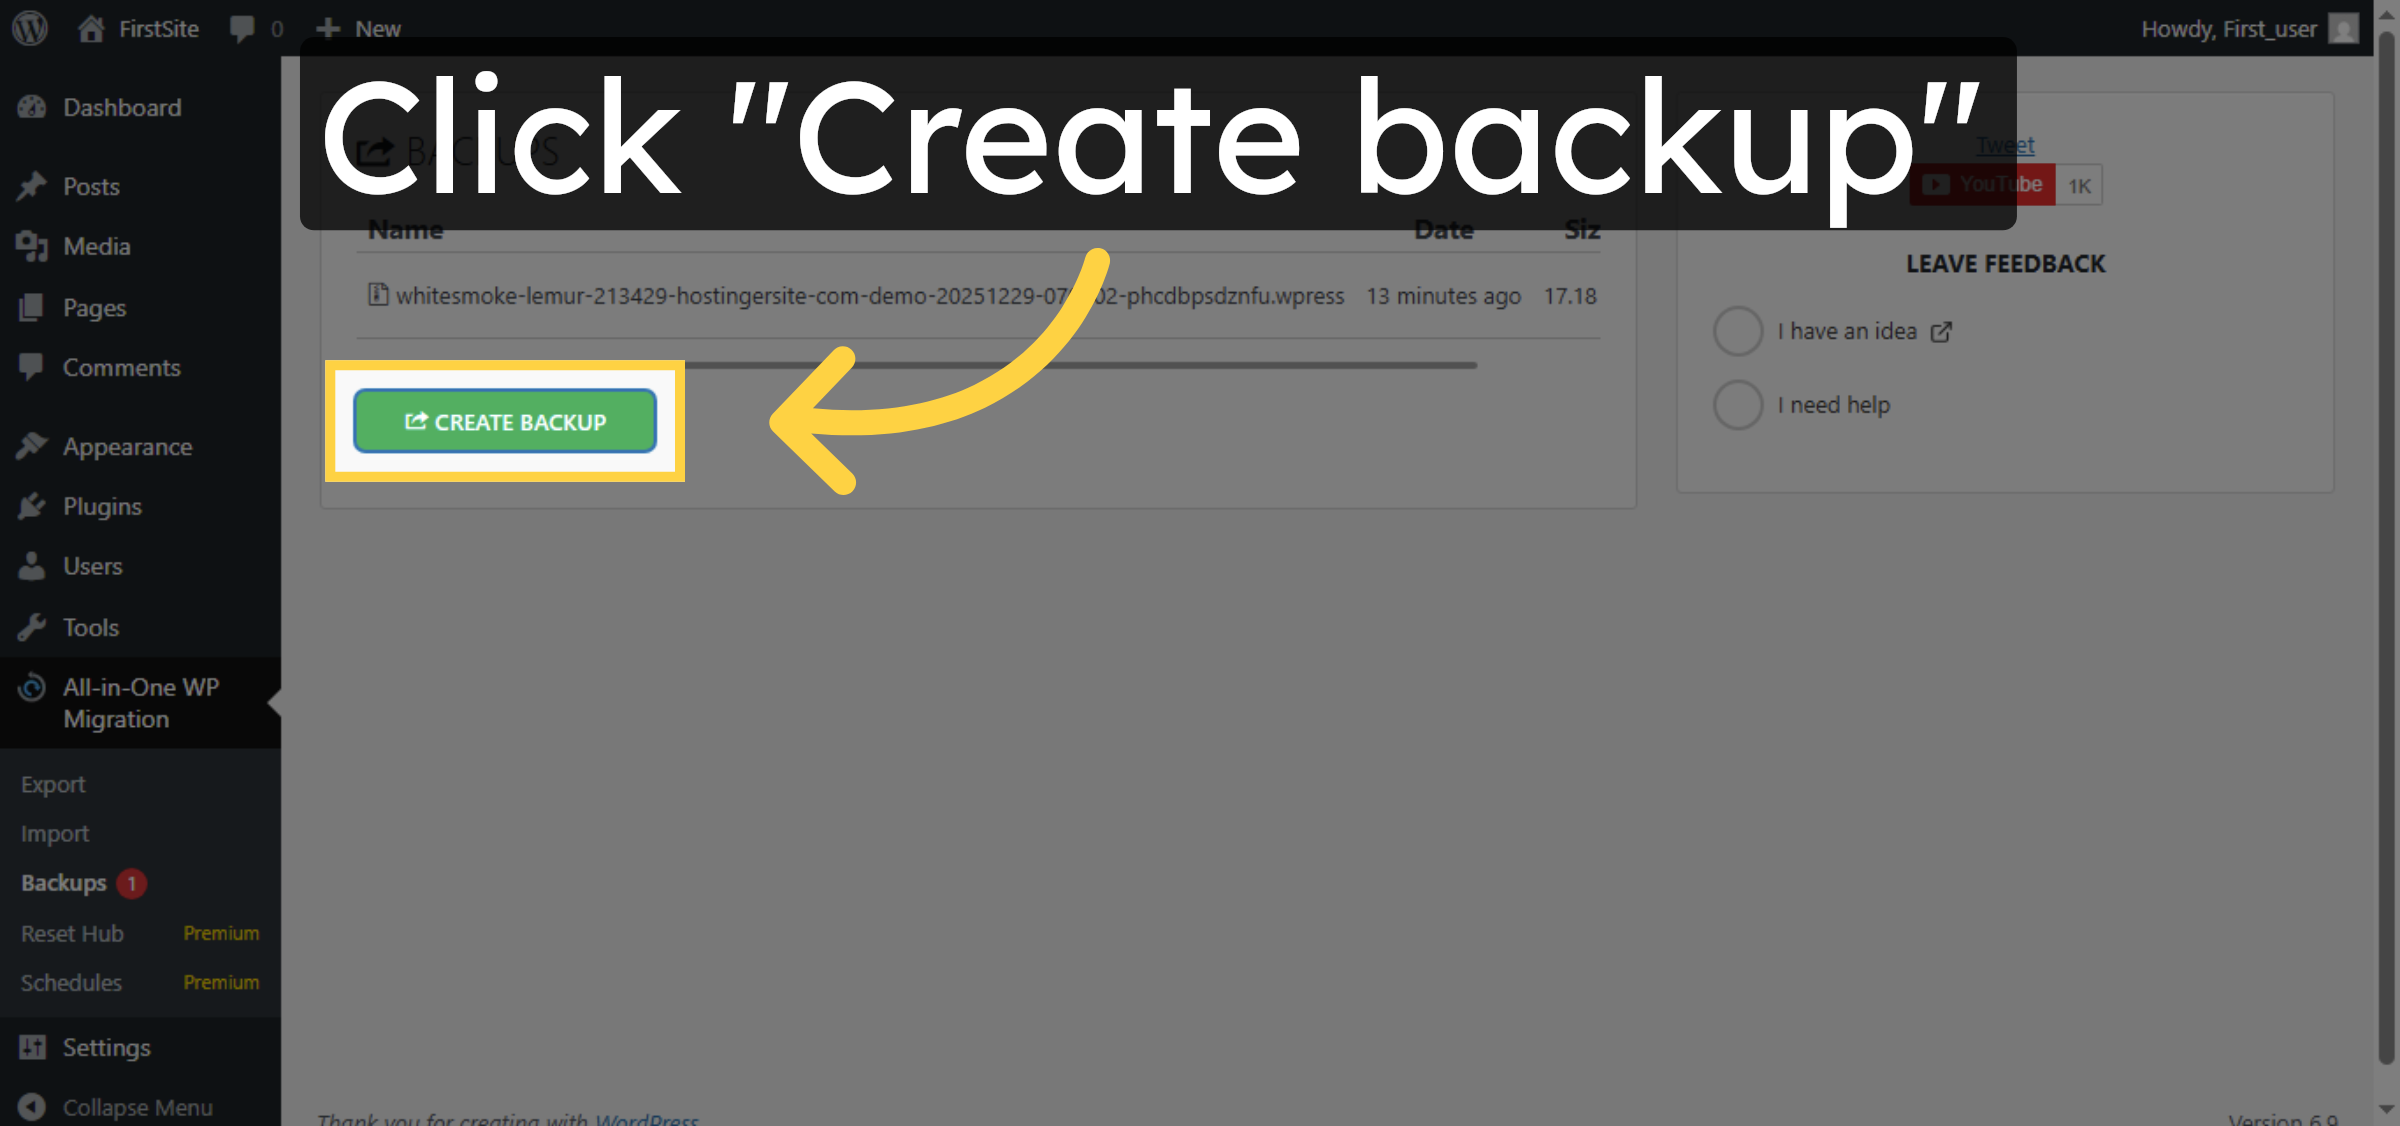
9. Create New Backup
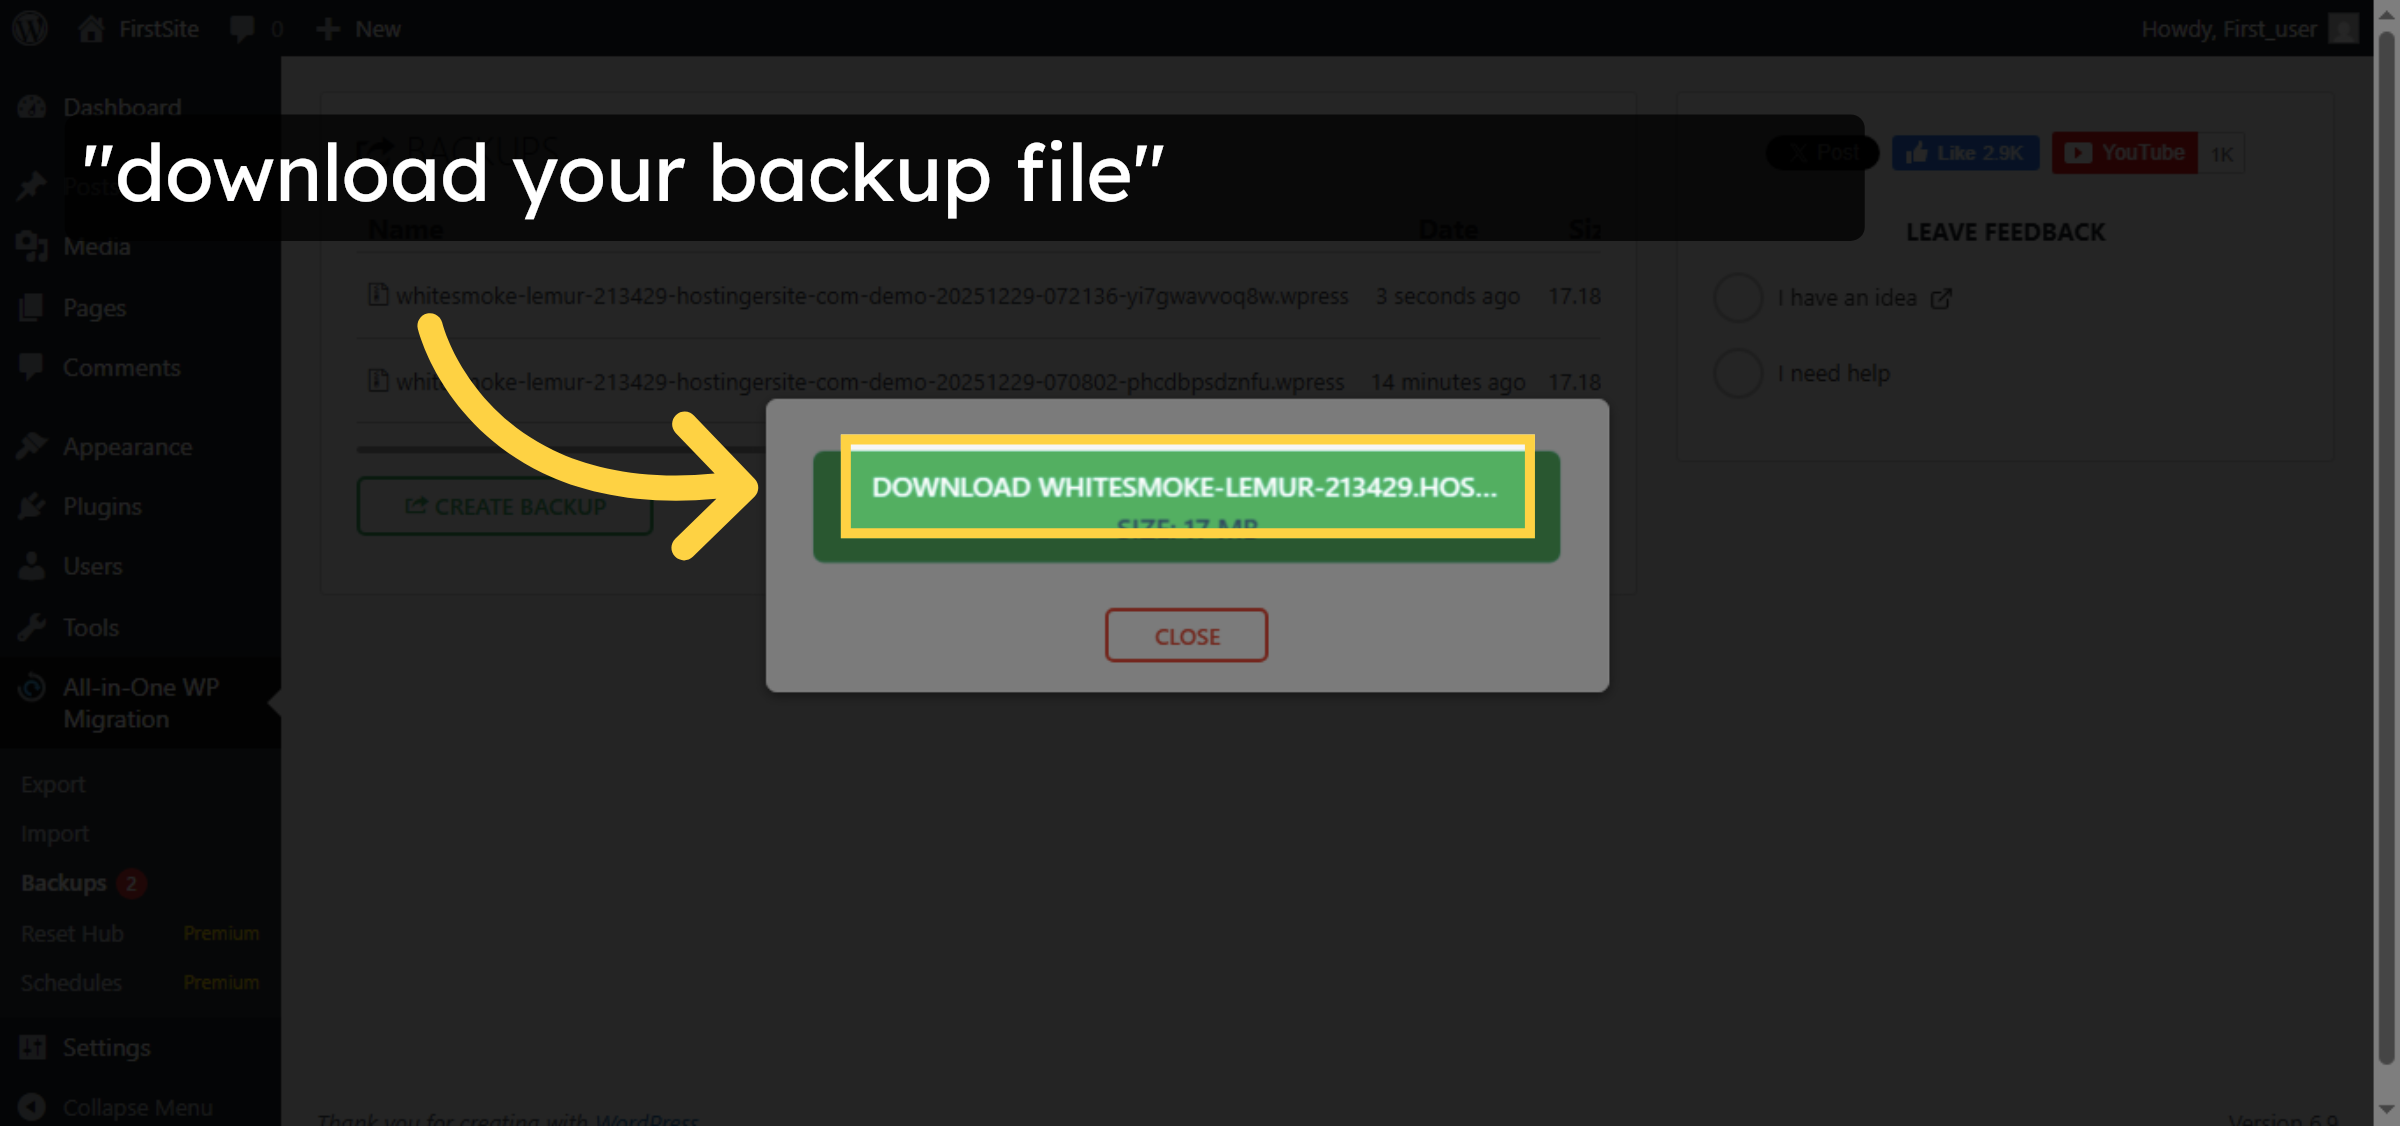
10. Download Backup File
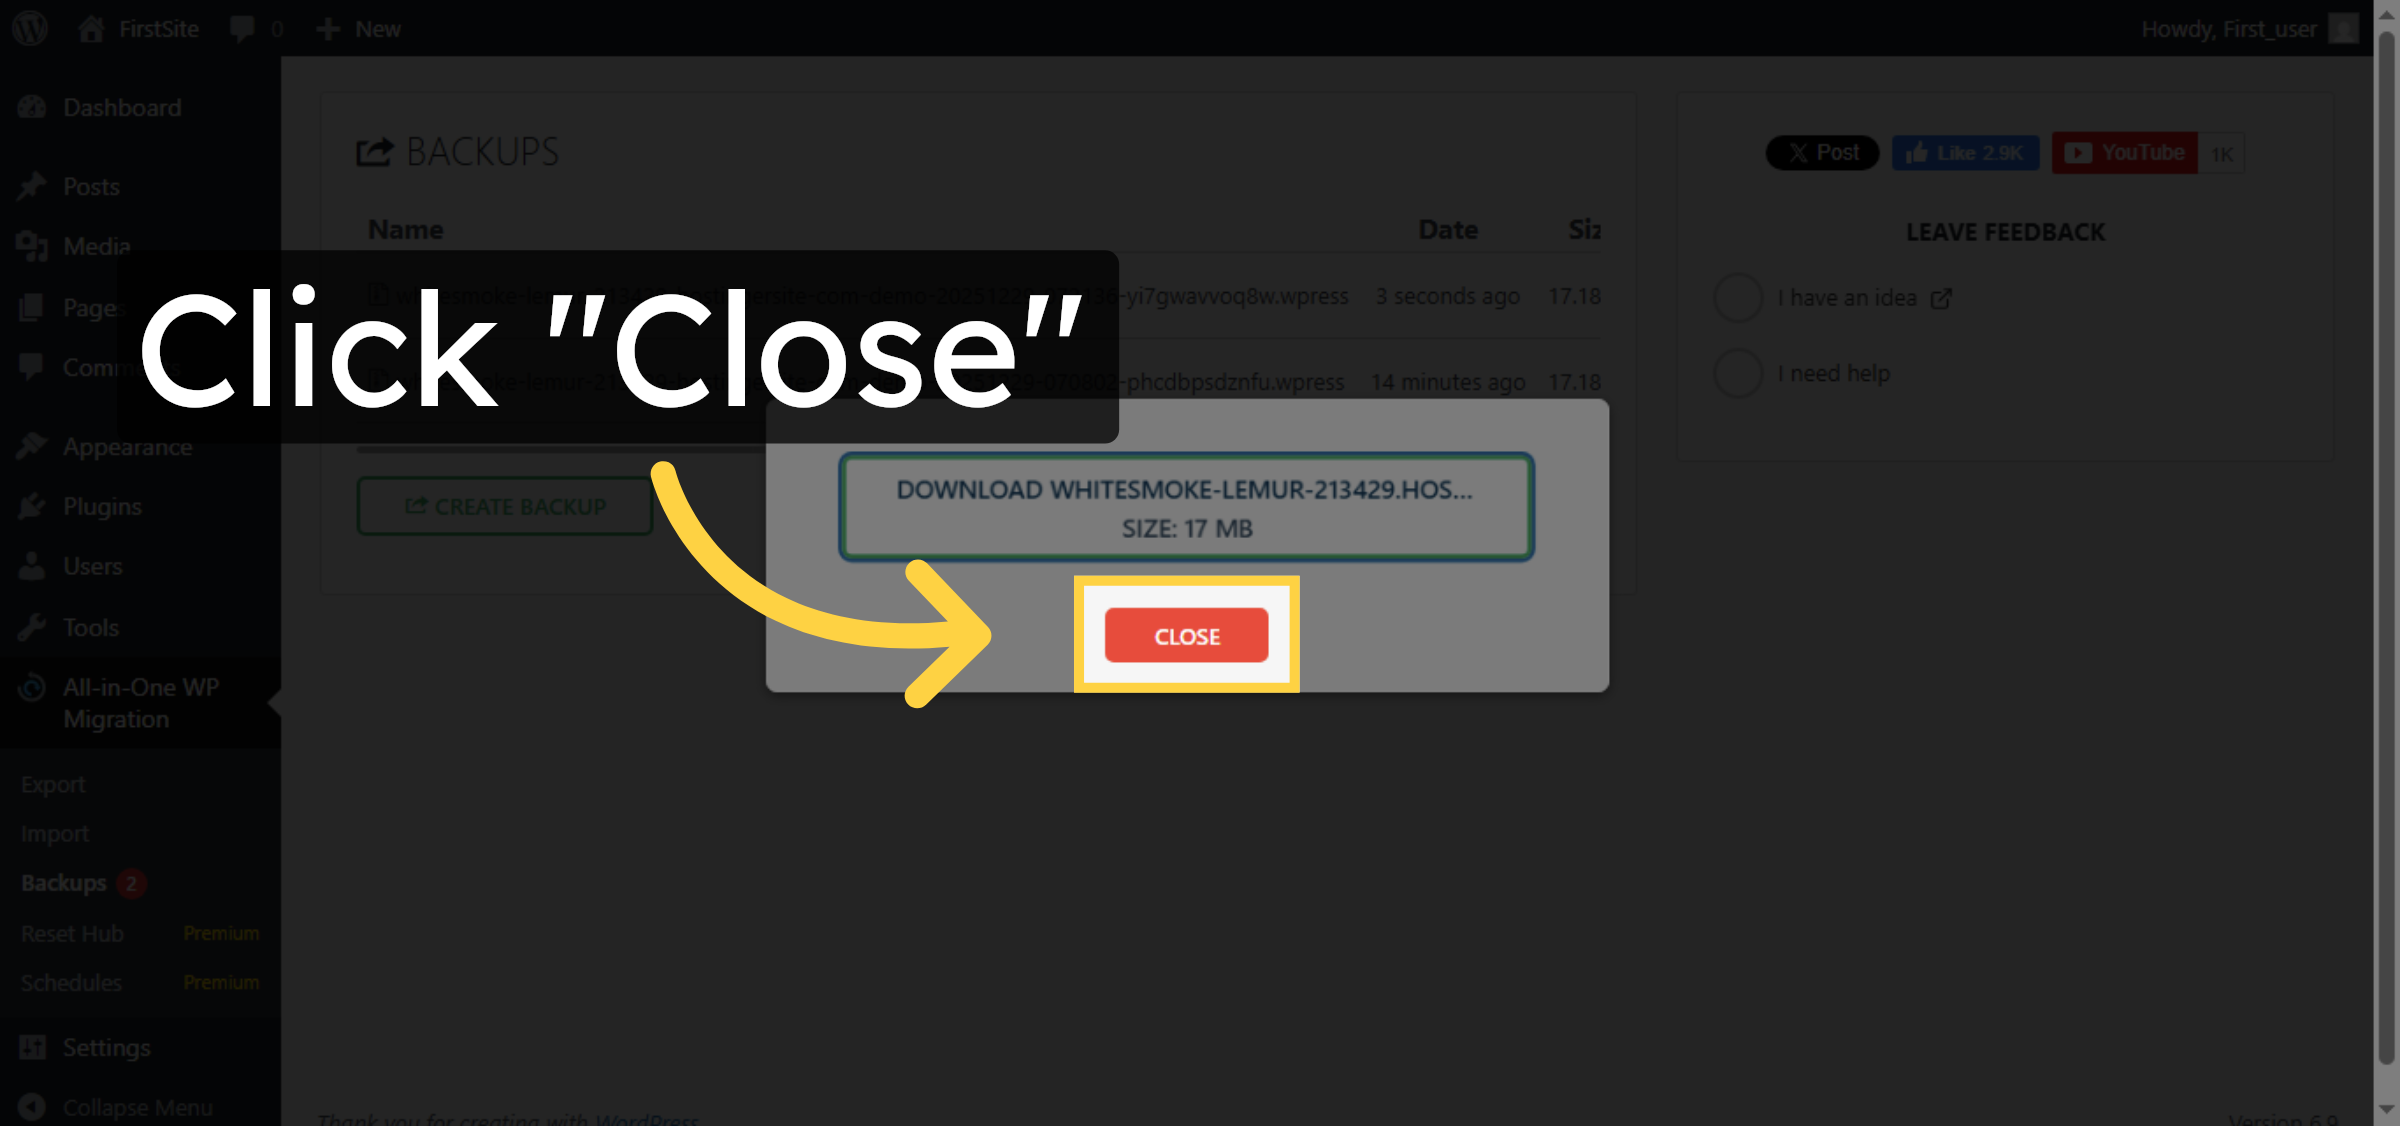
11. Close Backup Window
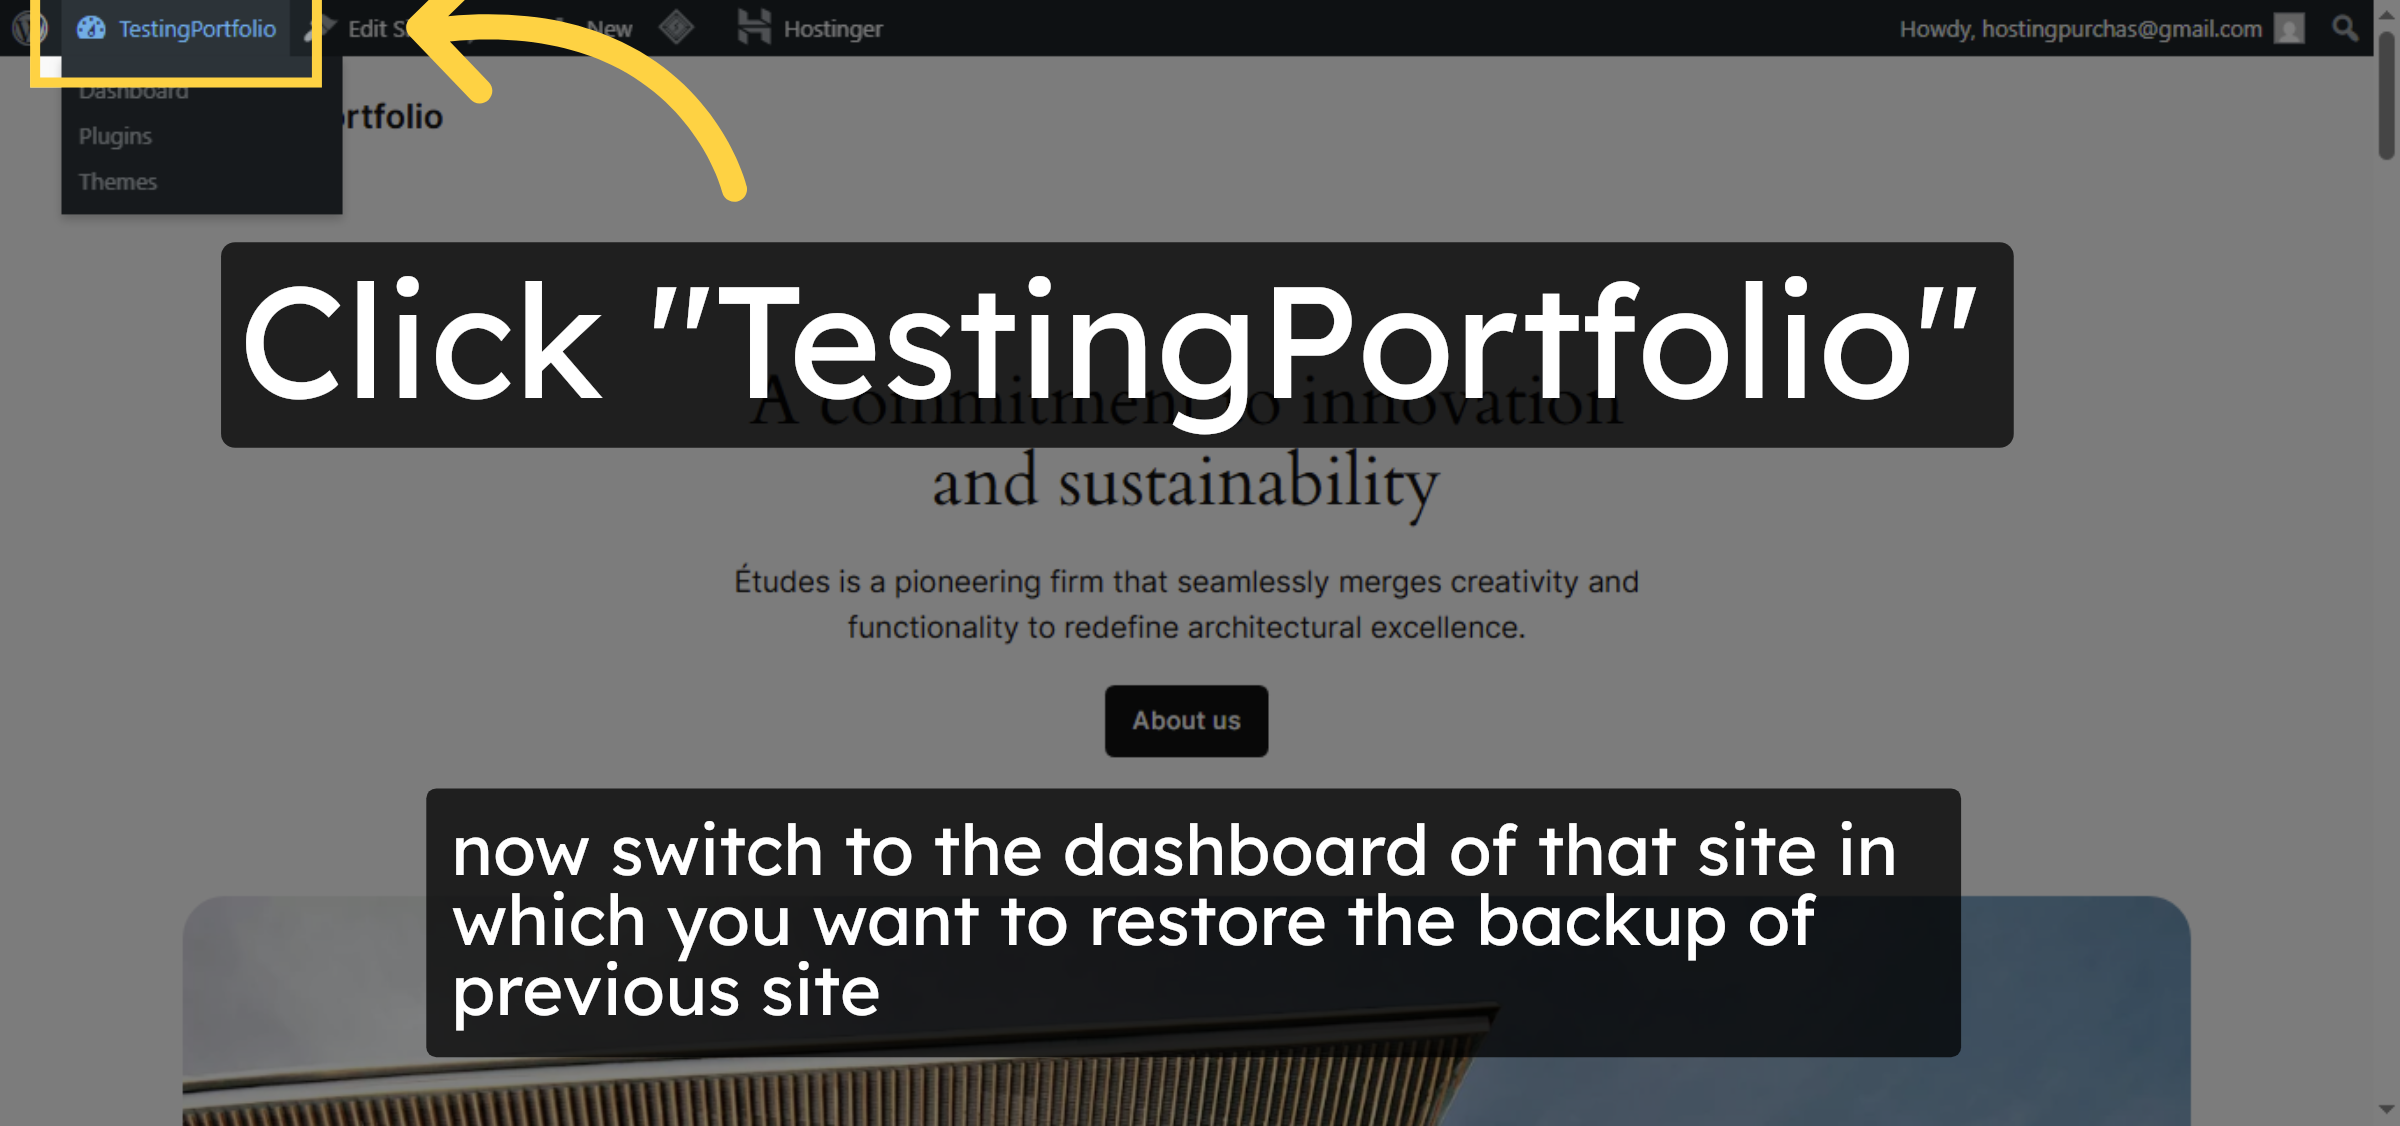
12. Open Target Site Dashboard
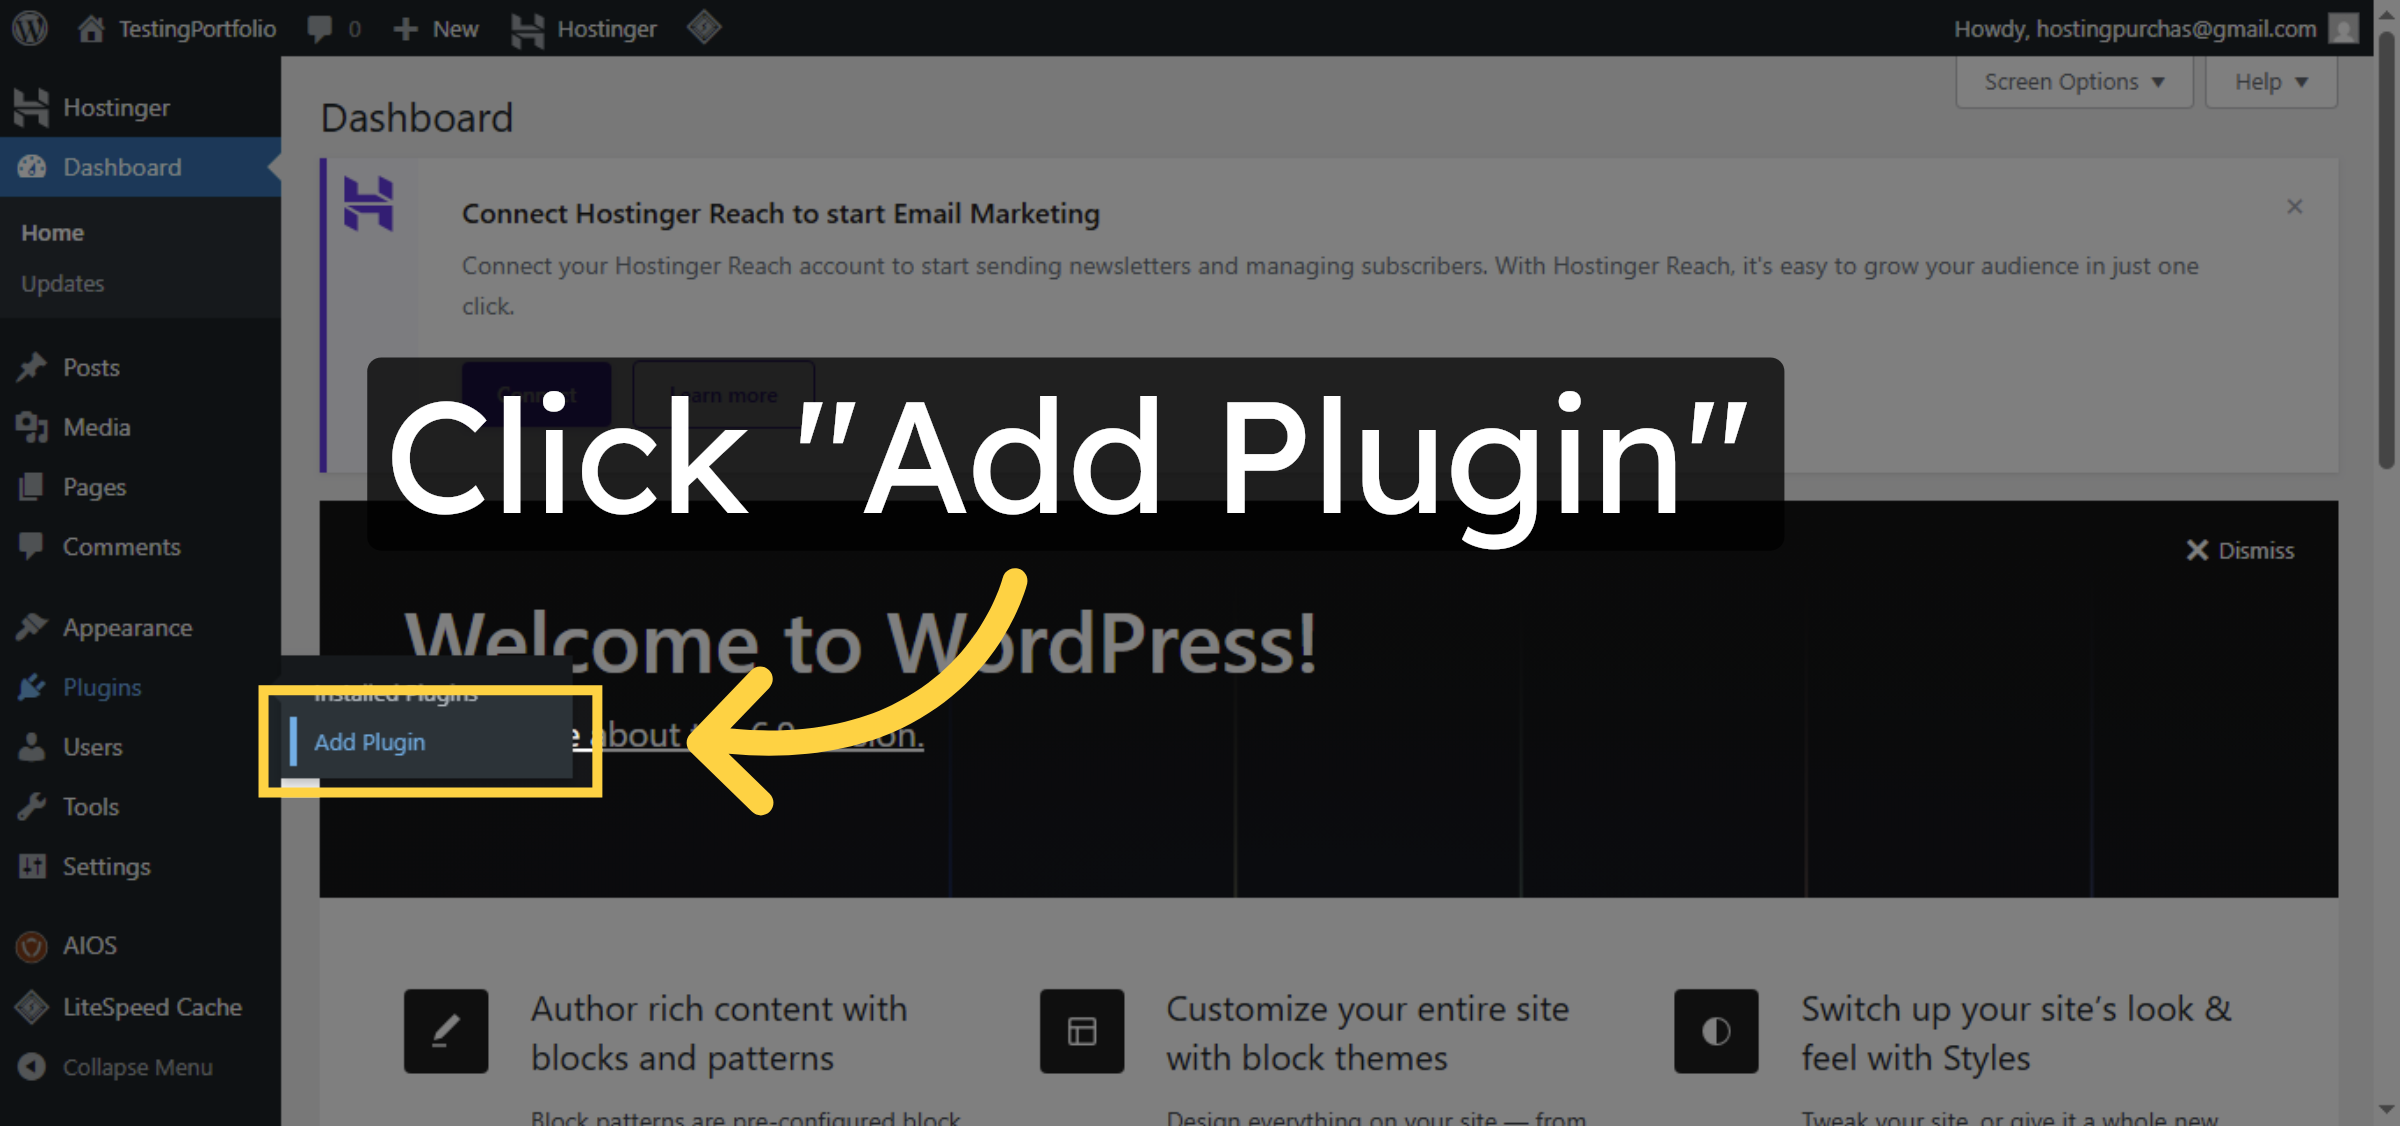
13. Access Add Plugin on Target
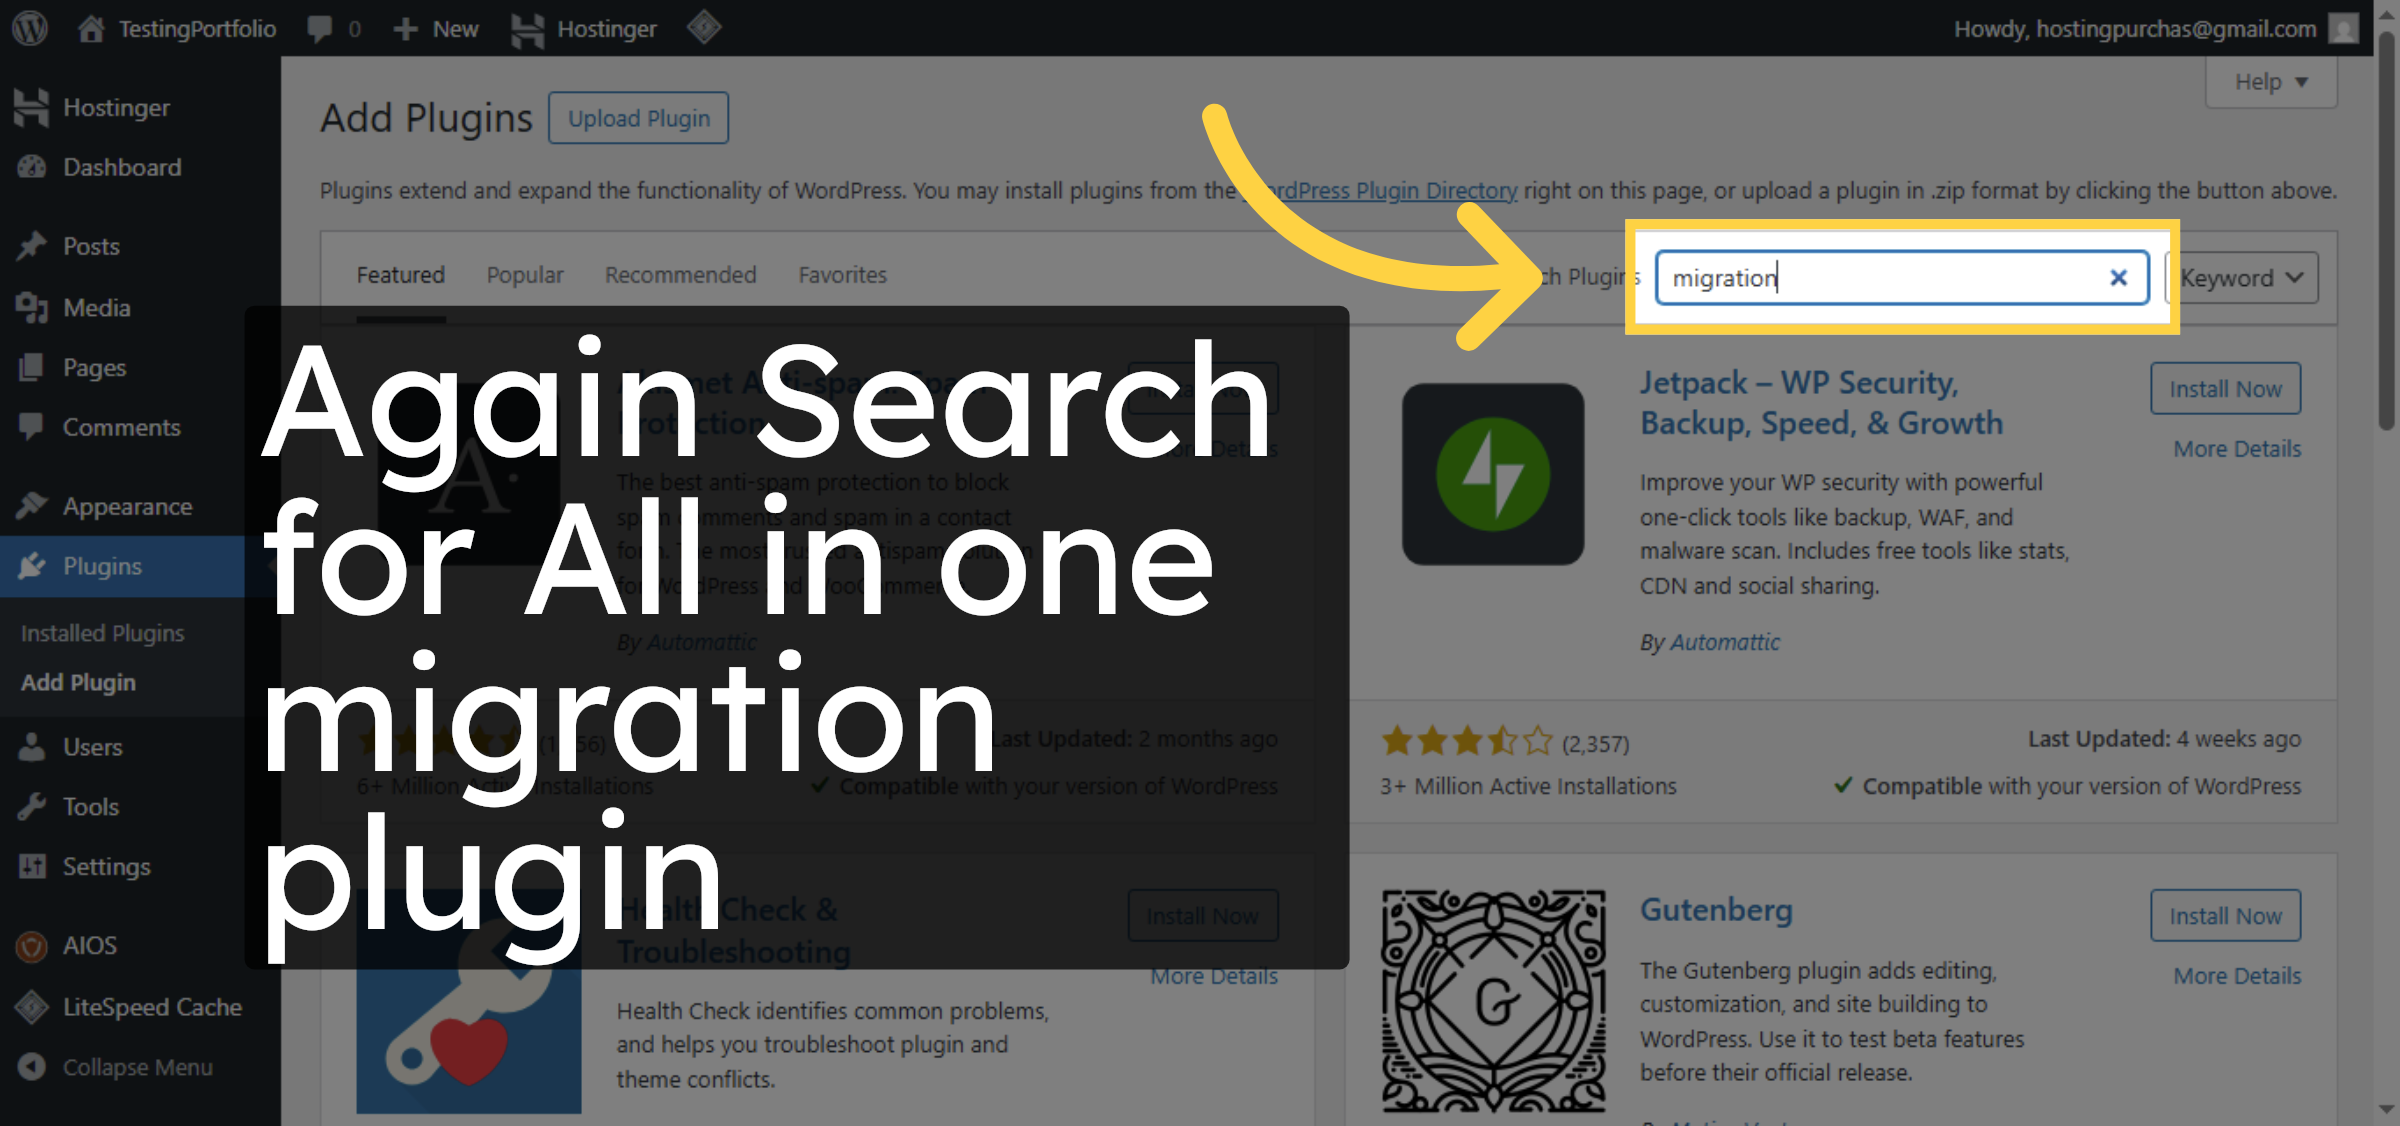
14. Search Migration Plugin Again
15. Install Migration Plugin Target


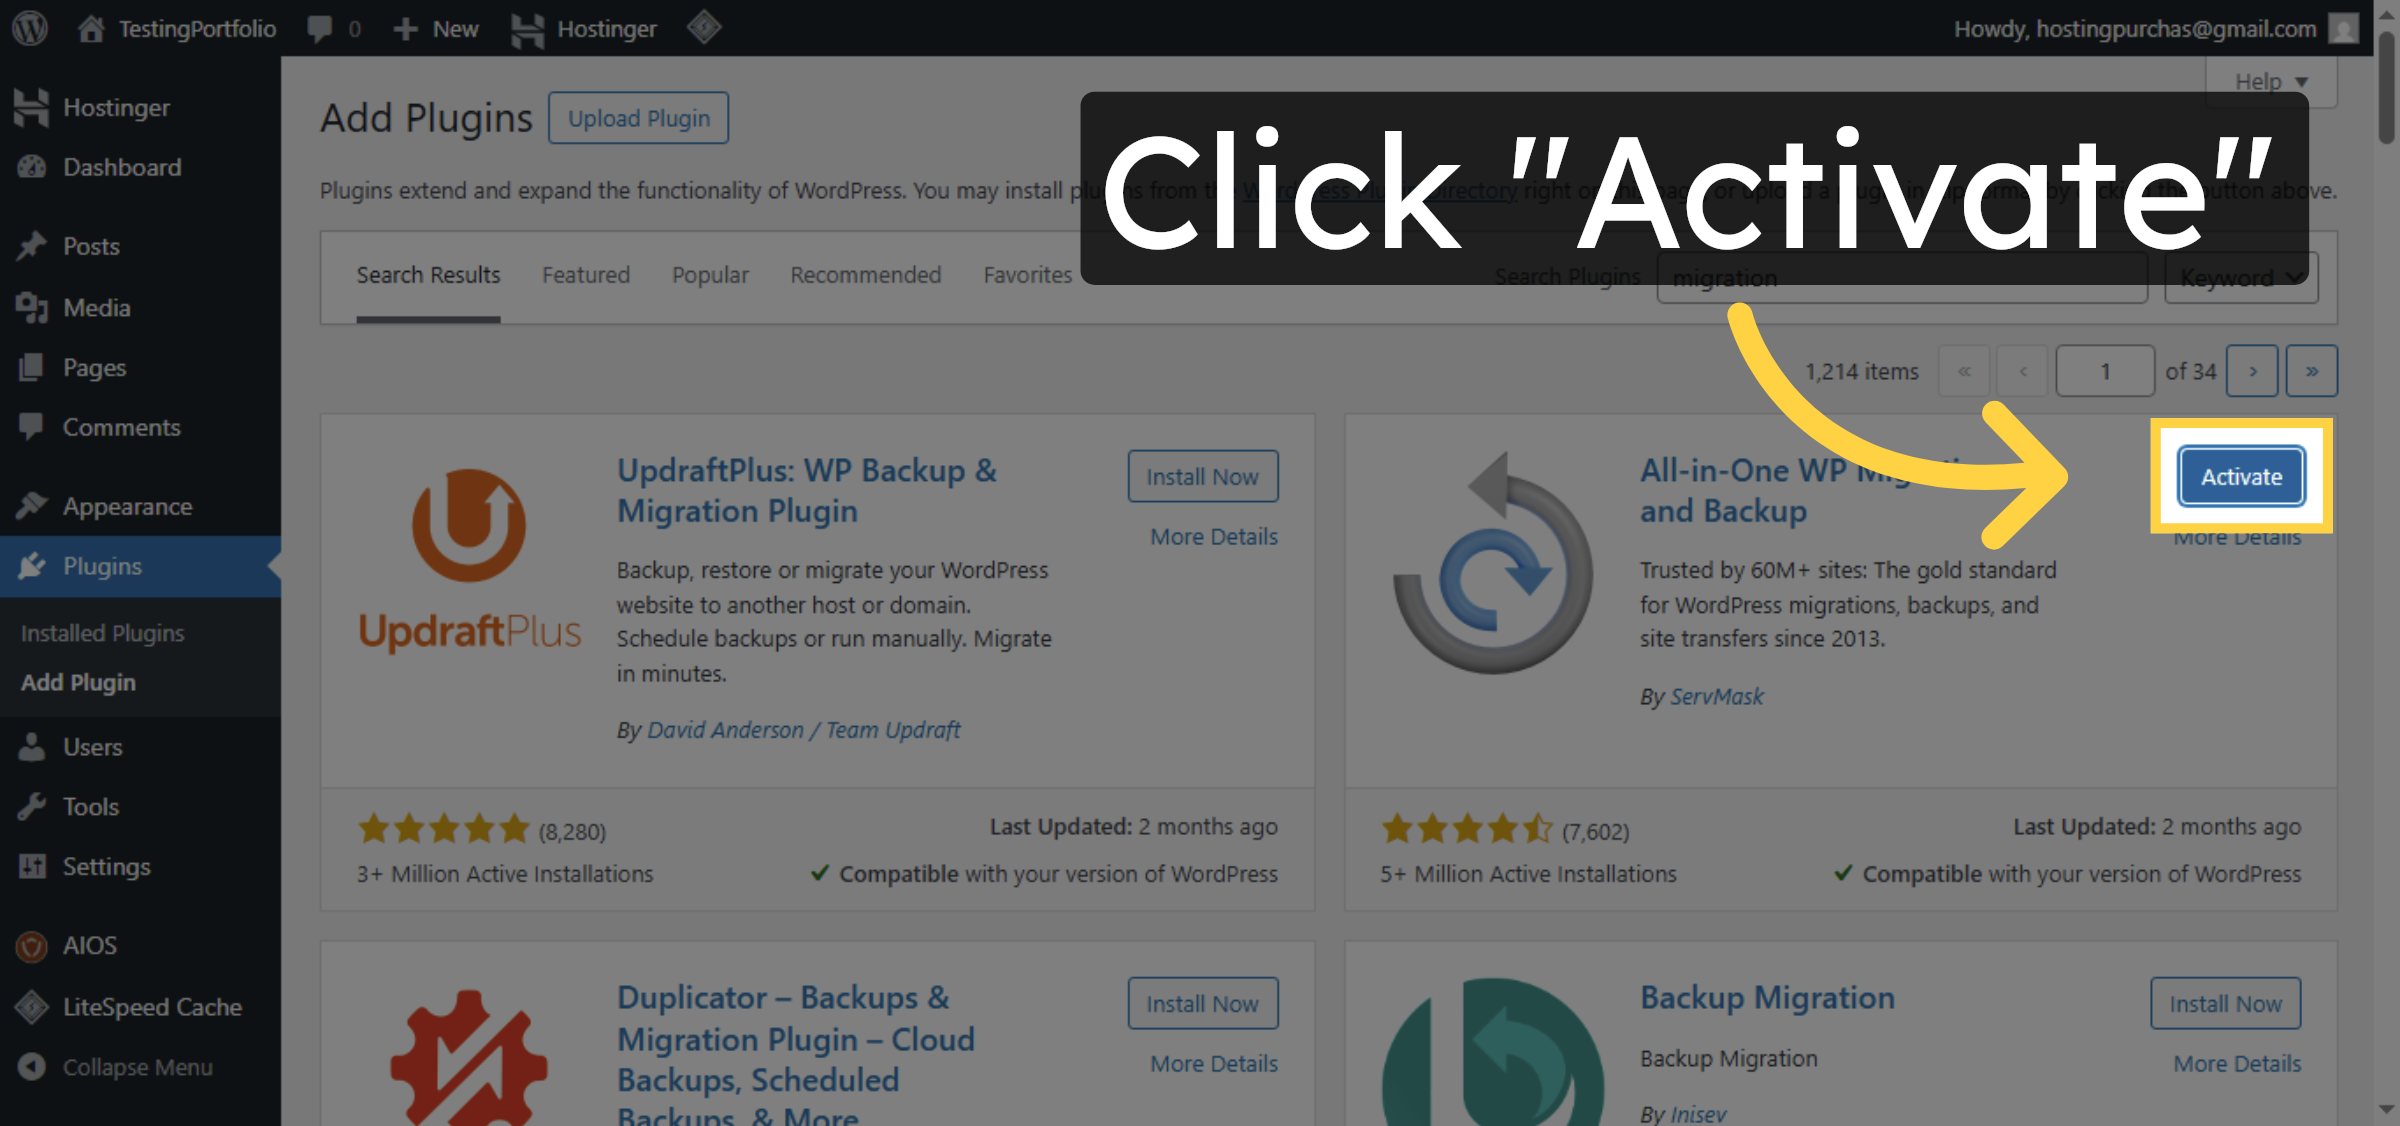
16. Activate Migration Plugin Target
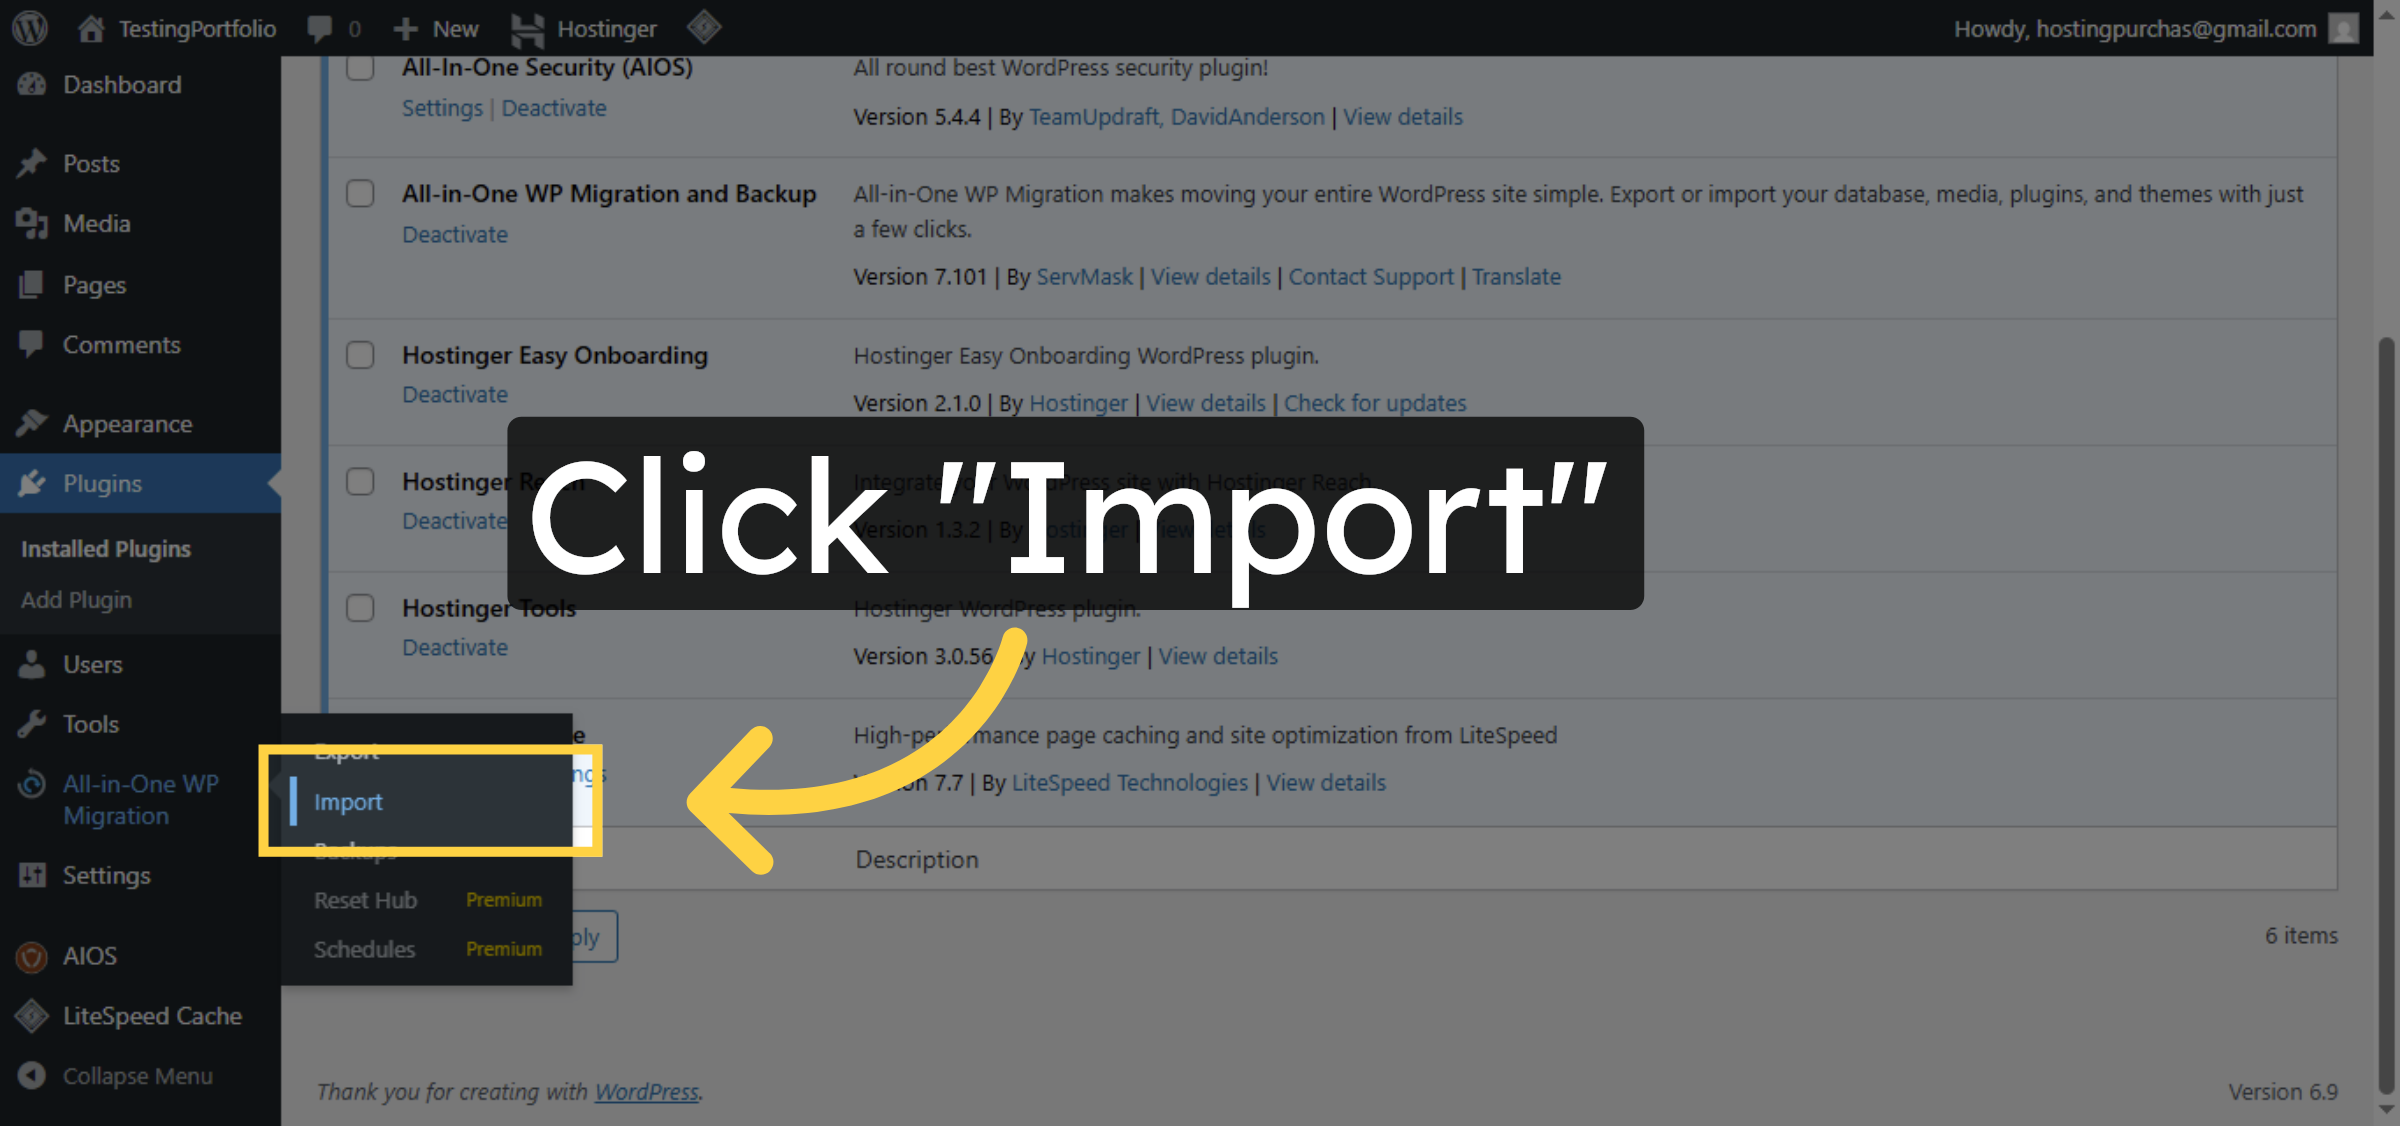
17. Open Import Section
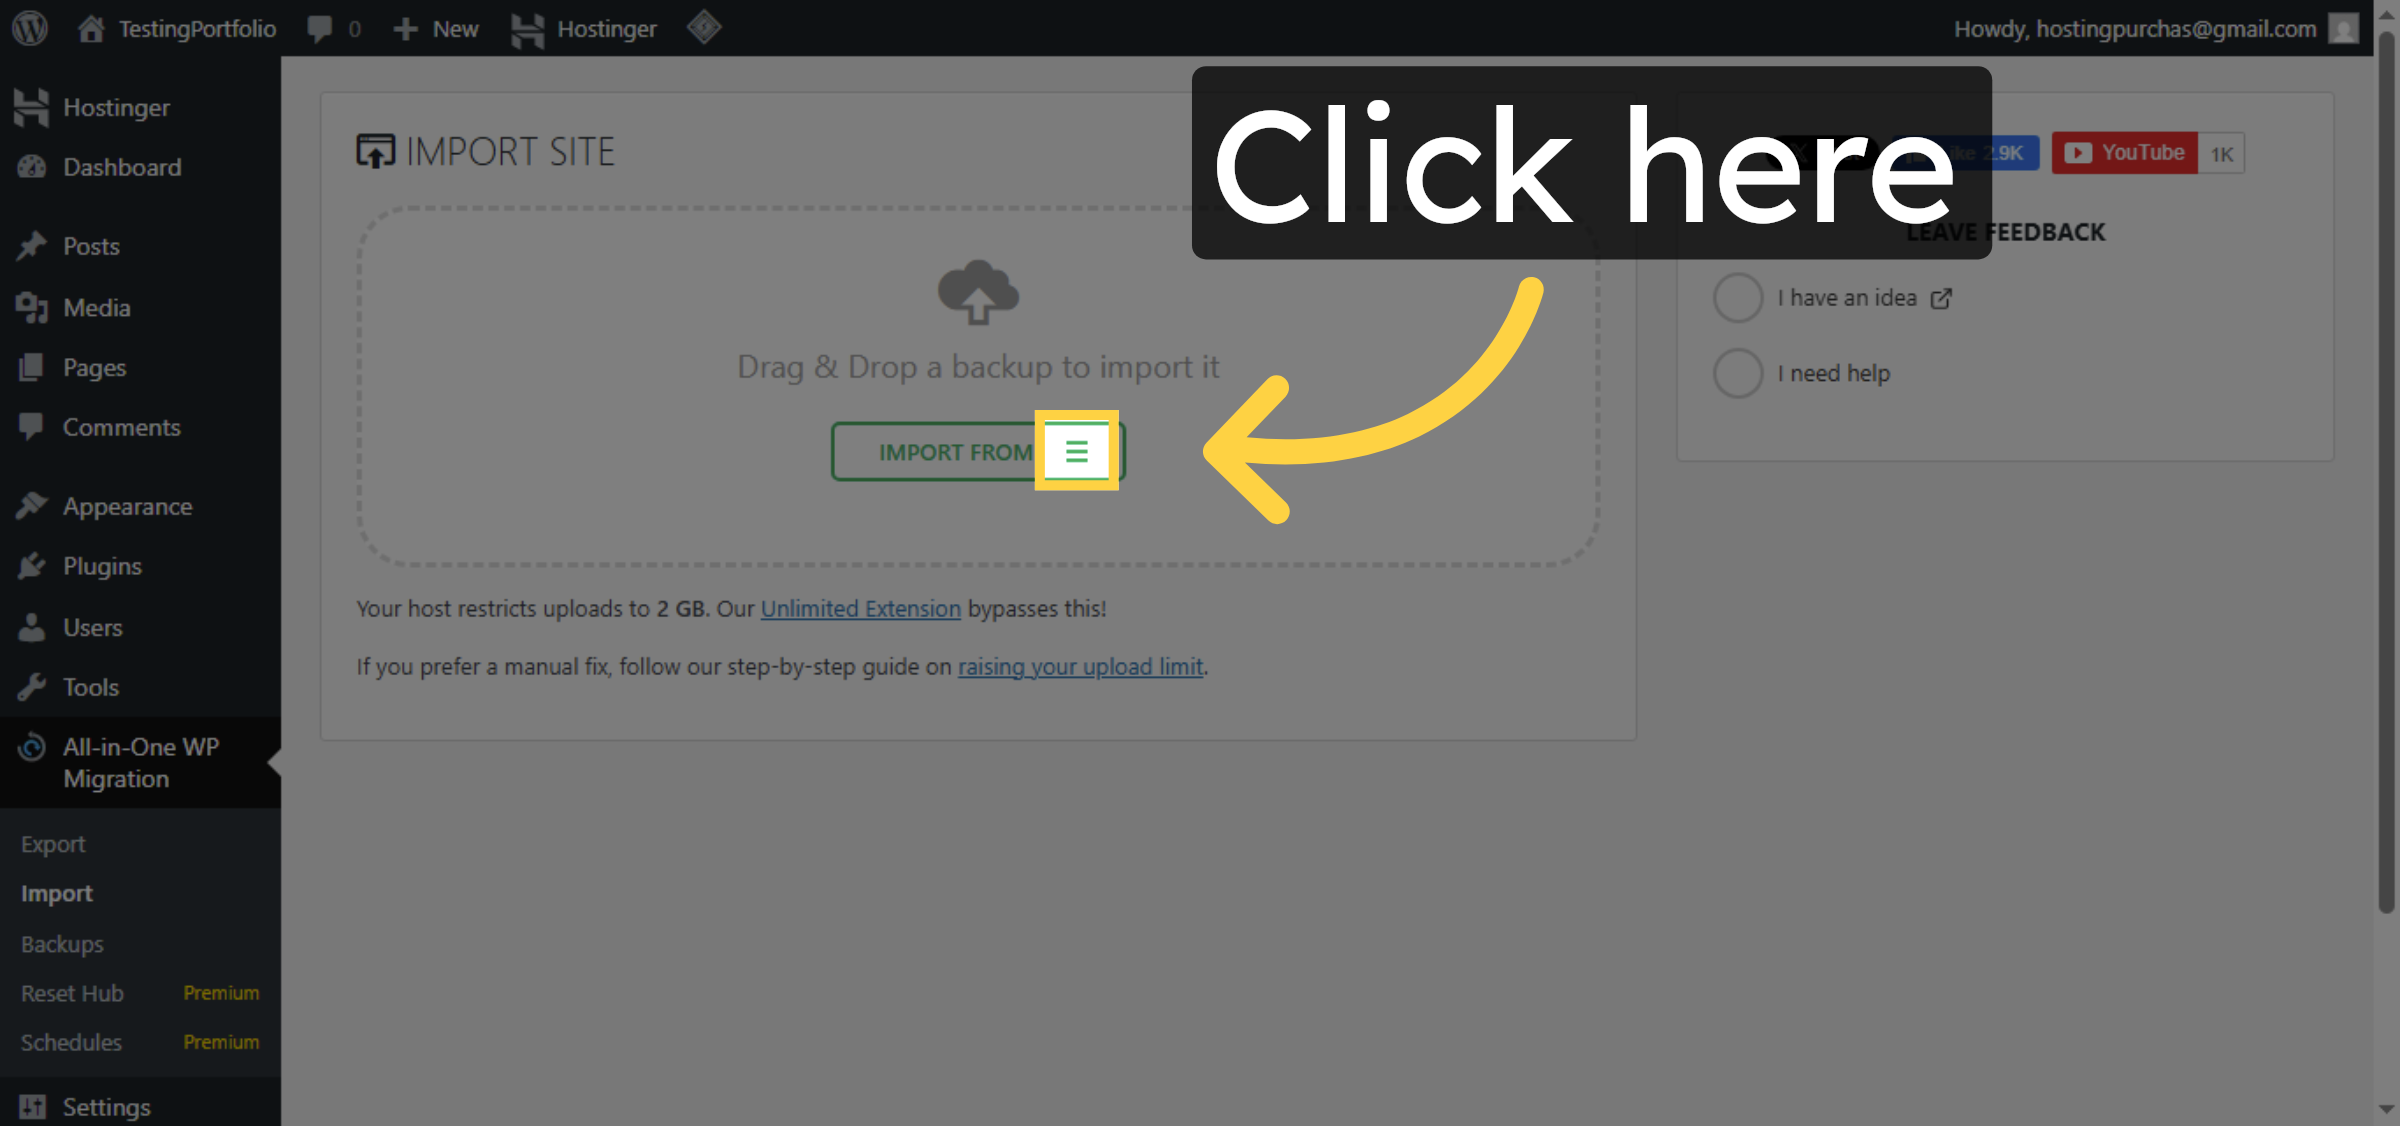
18. Select Import File Option
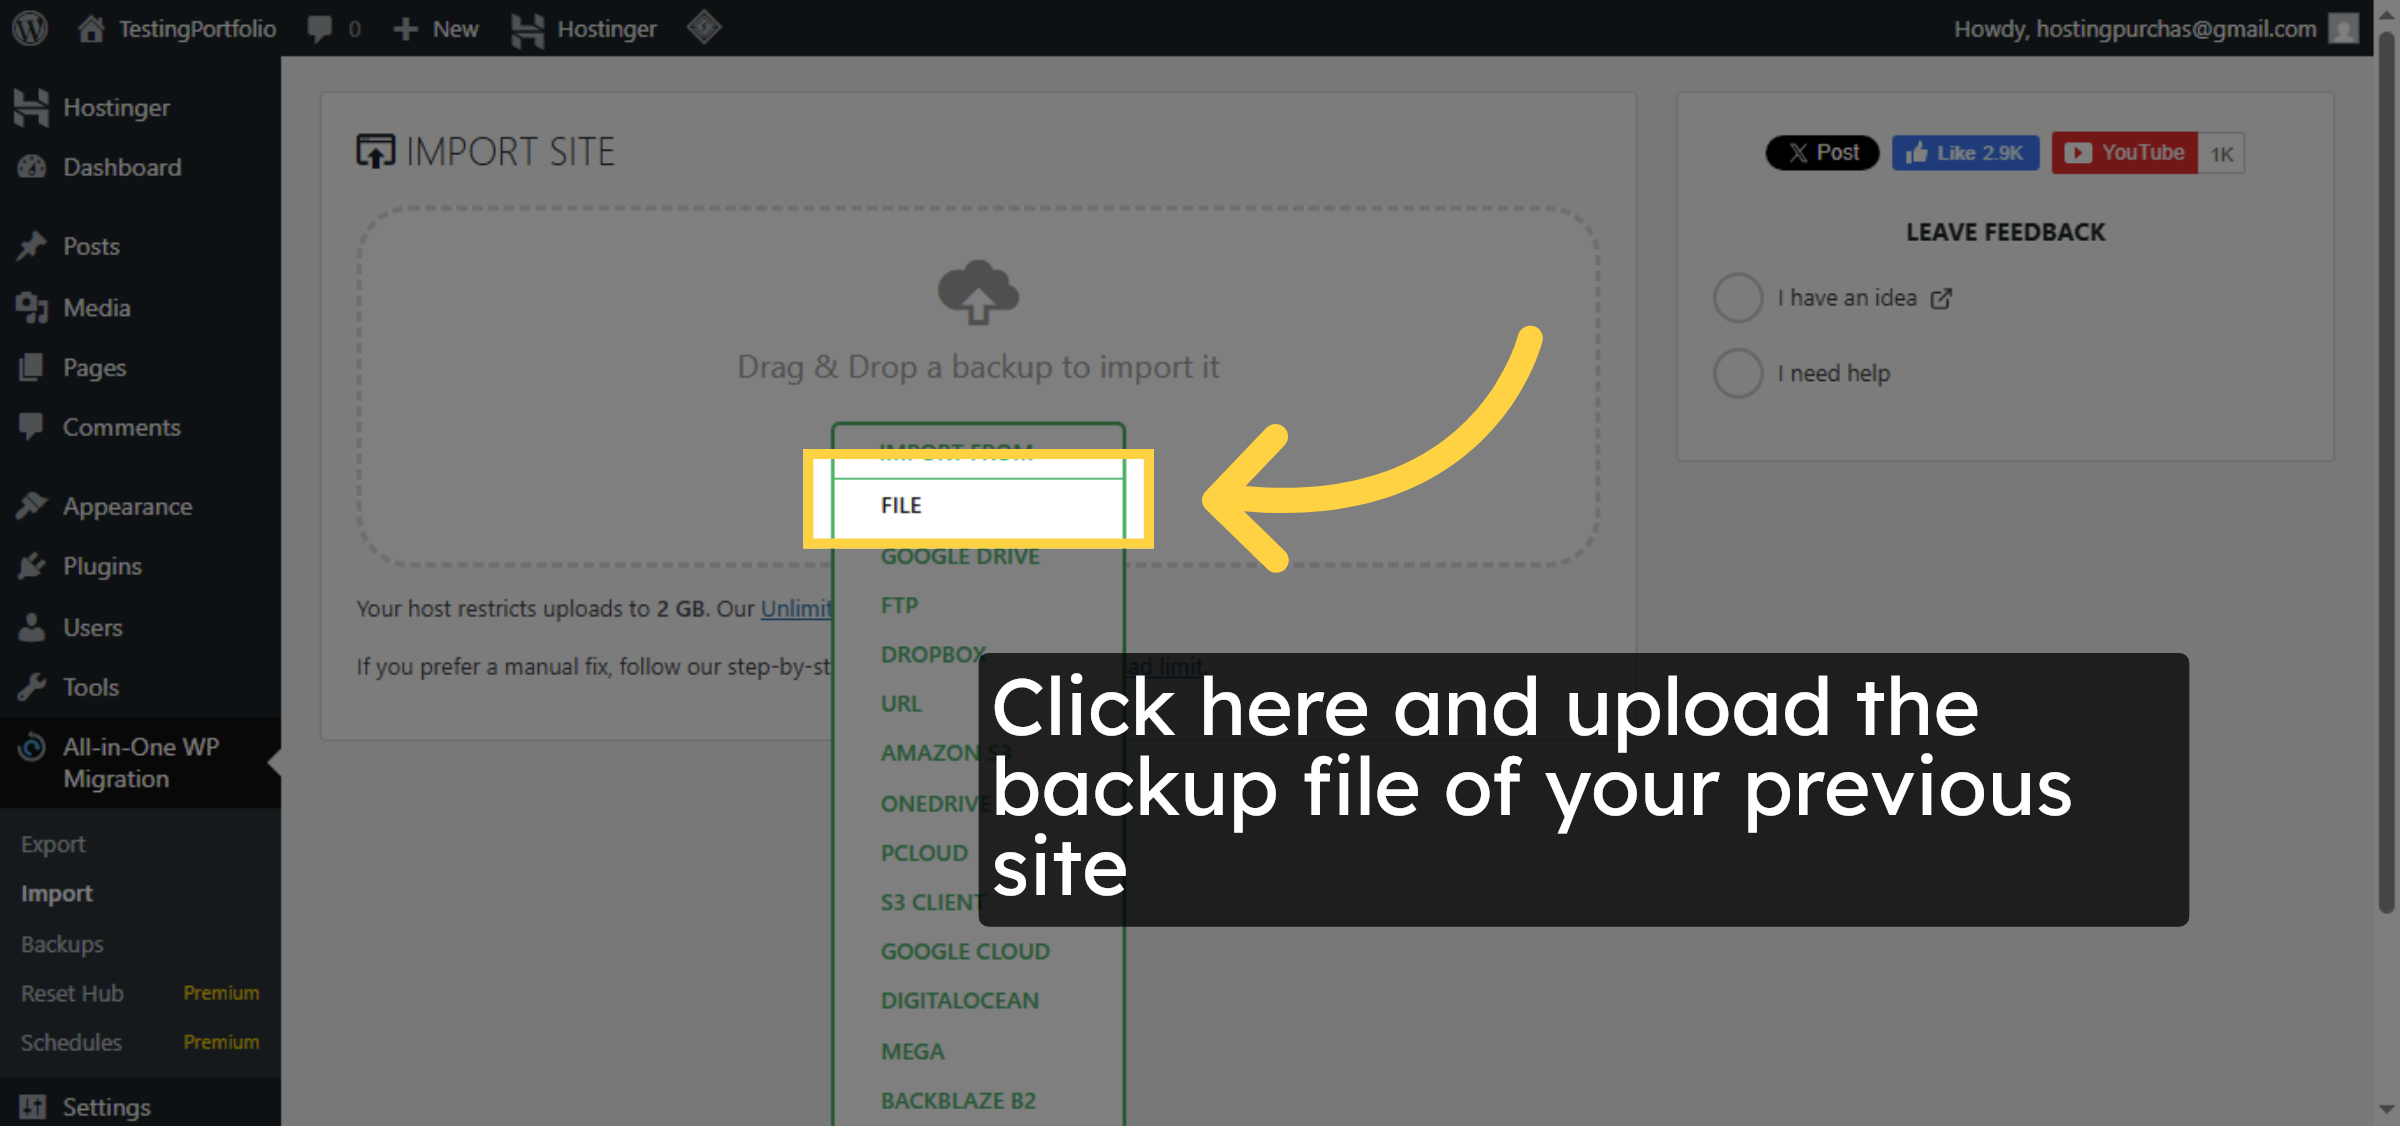
19. Choose Backup File
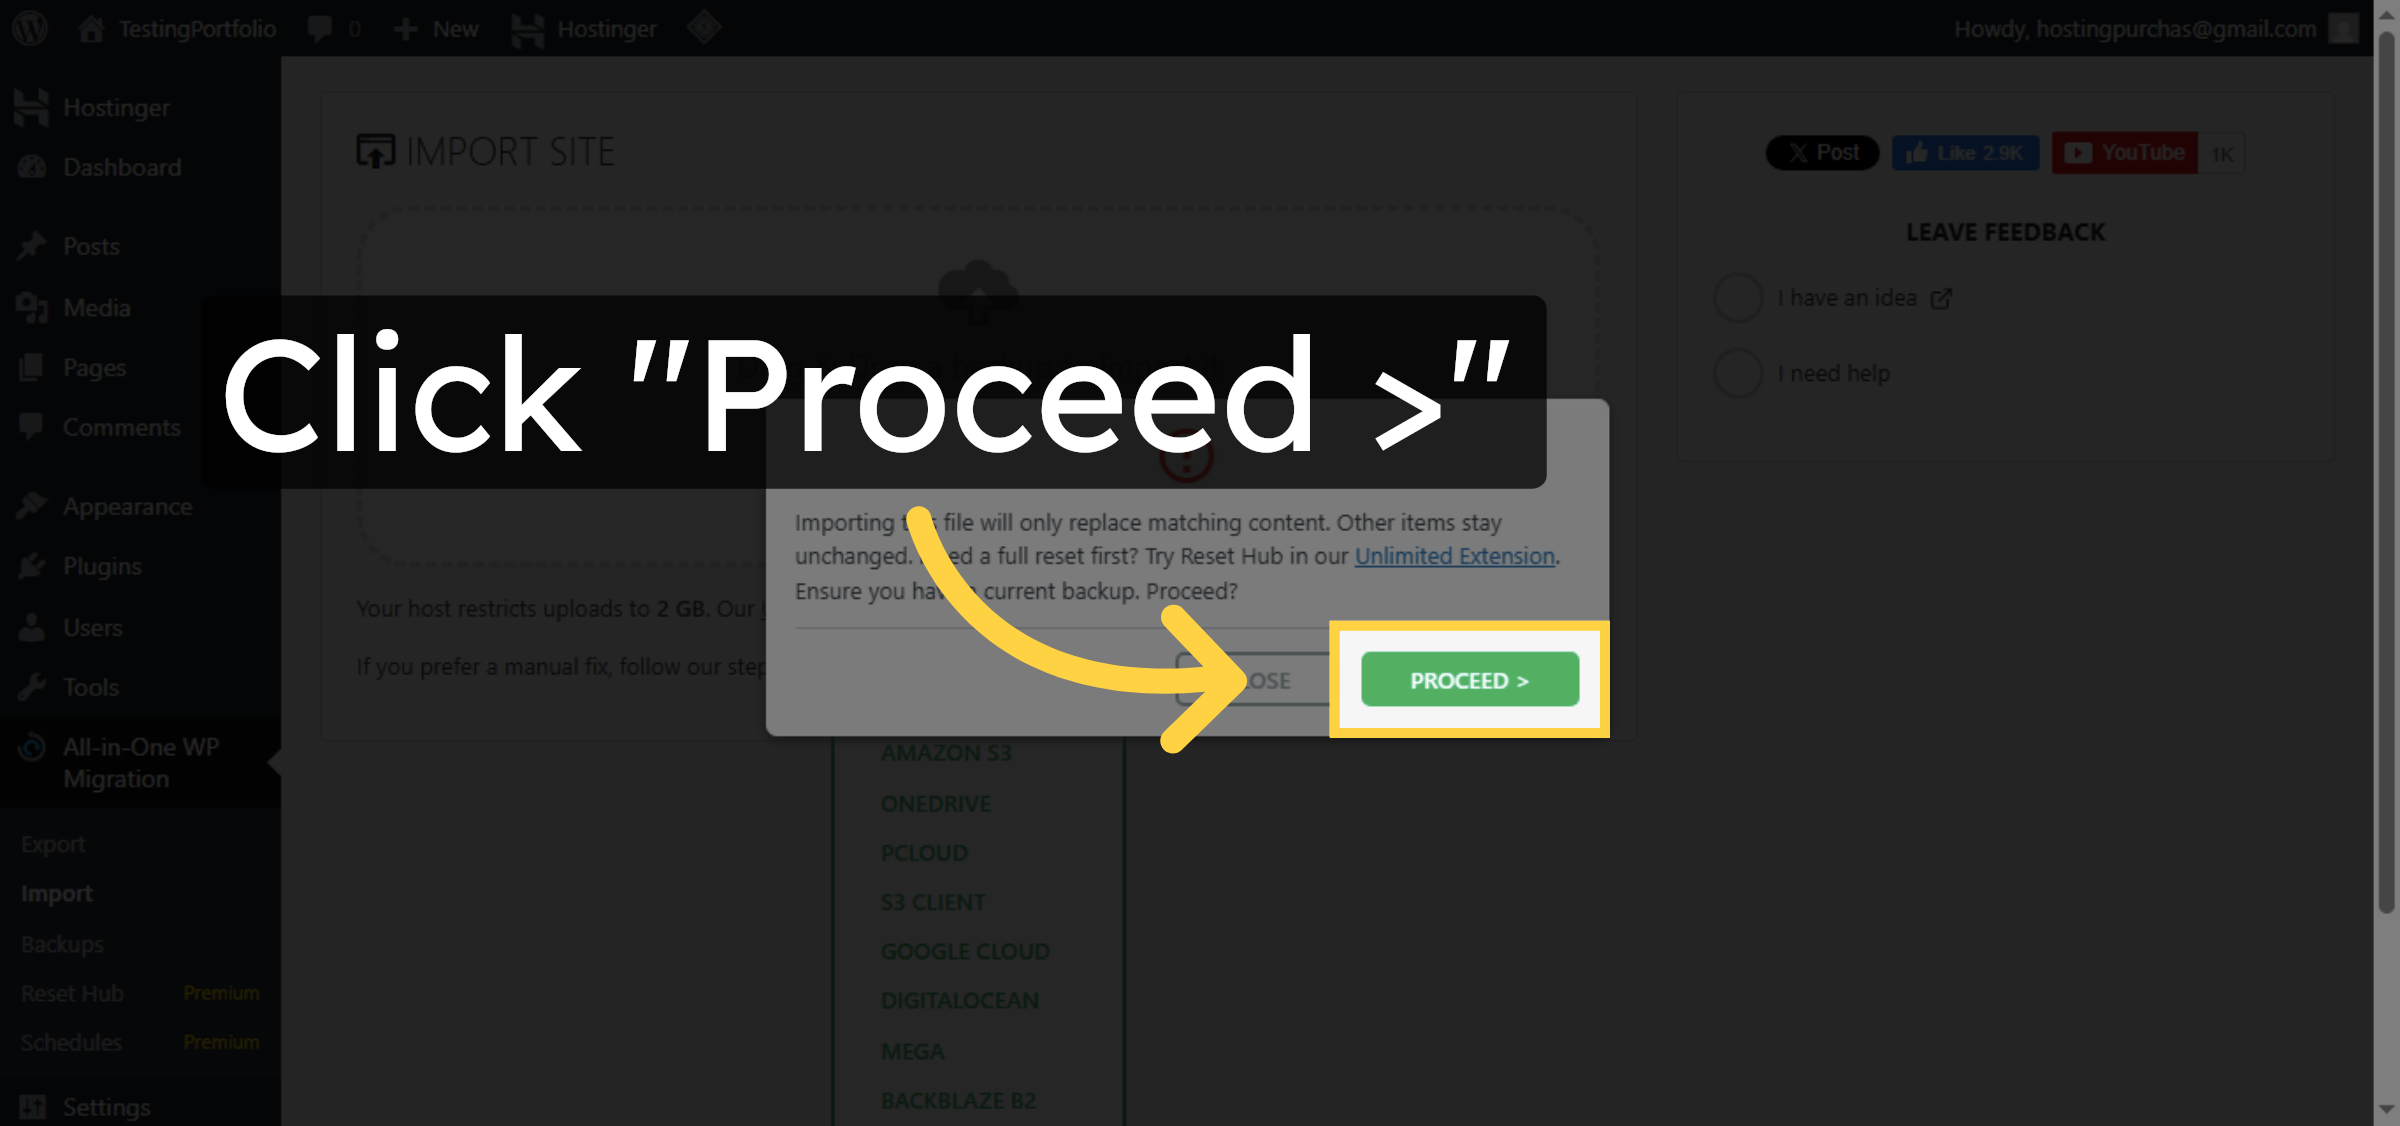
20. Proceed with Import
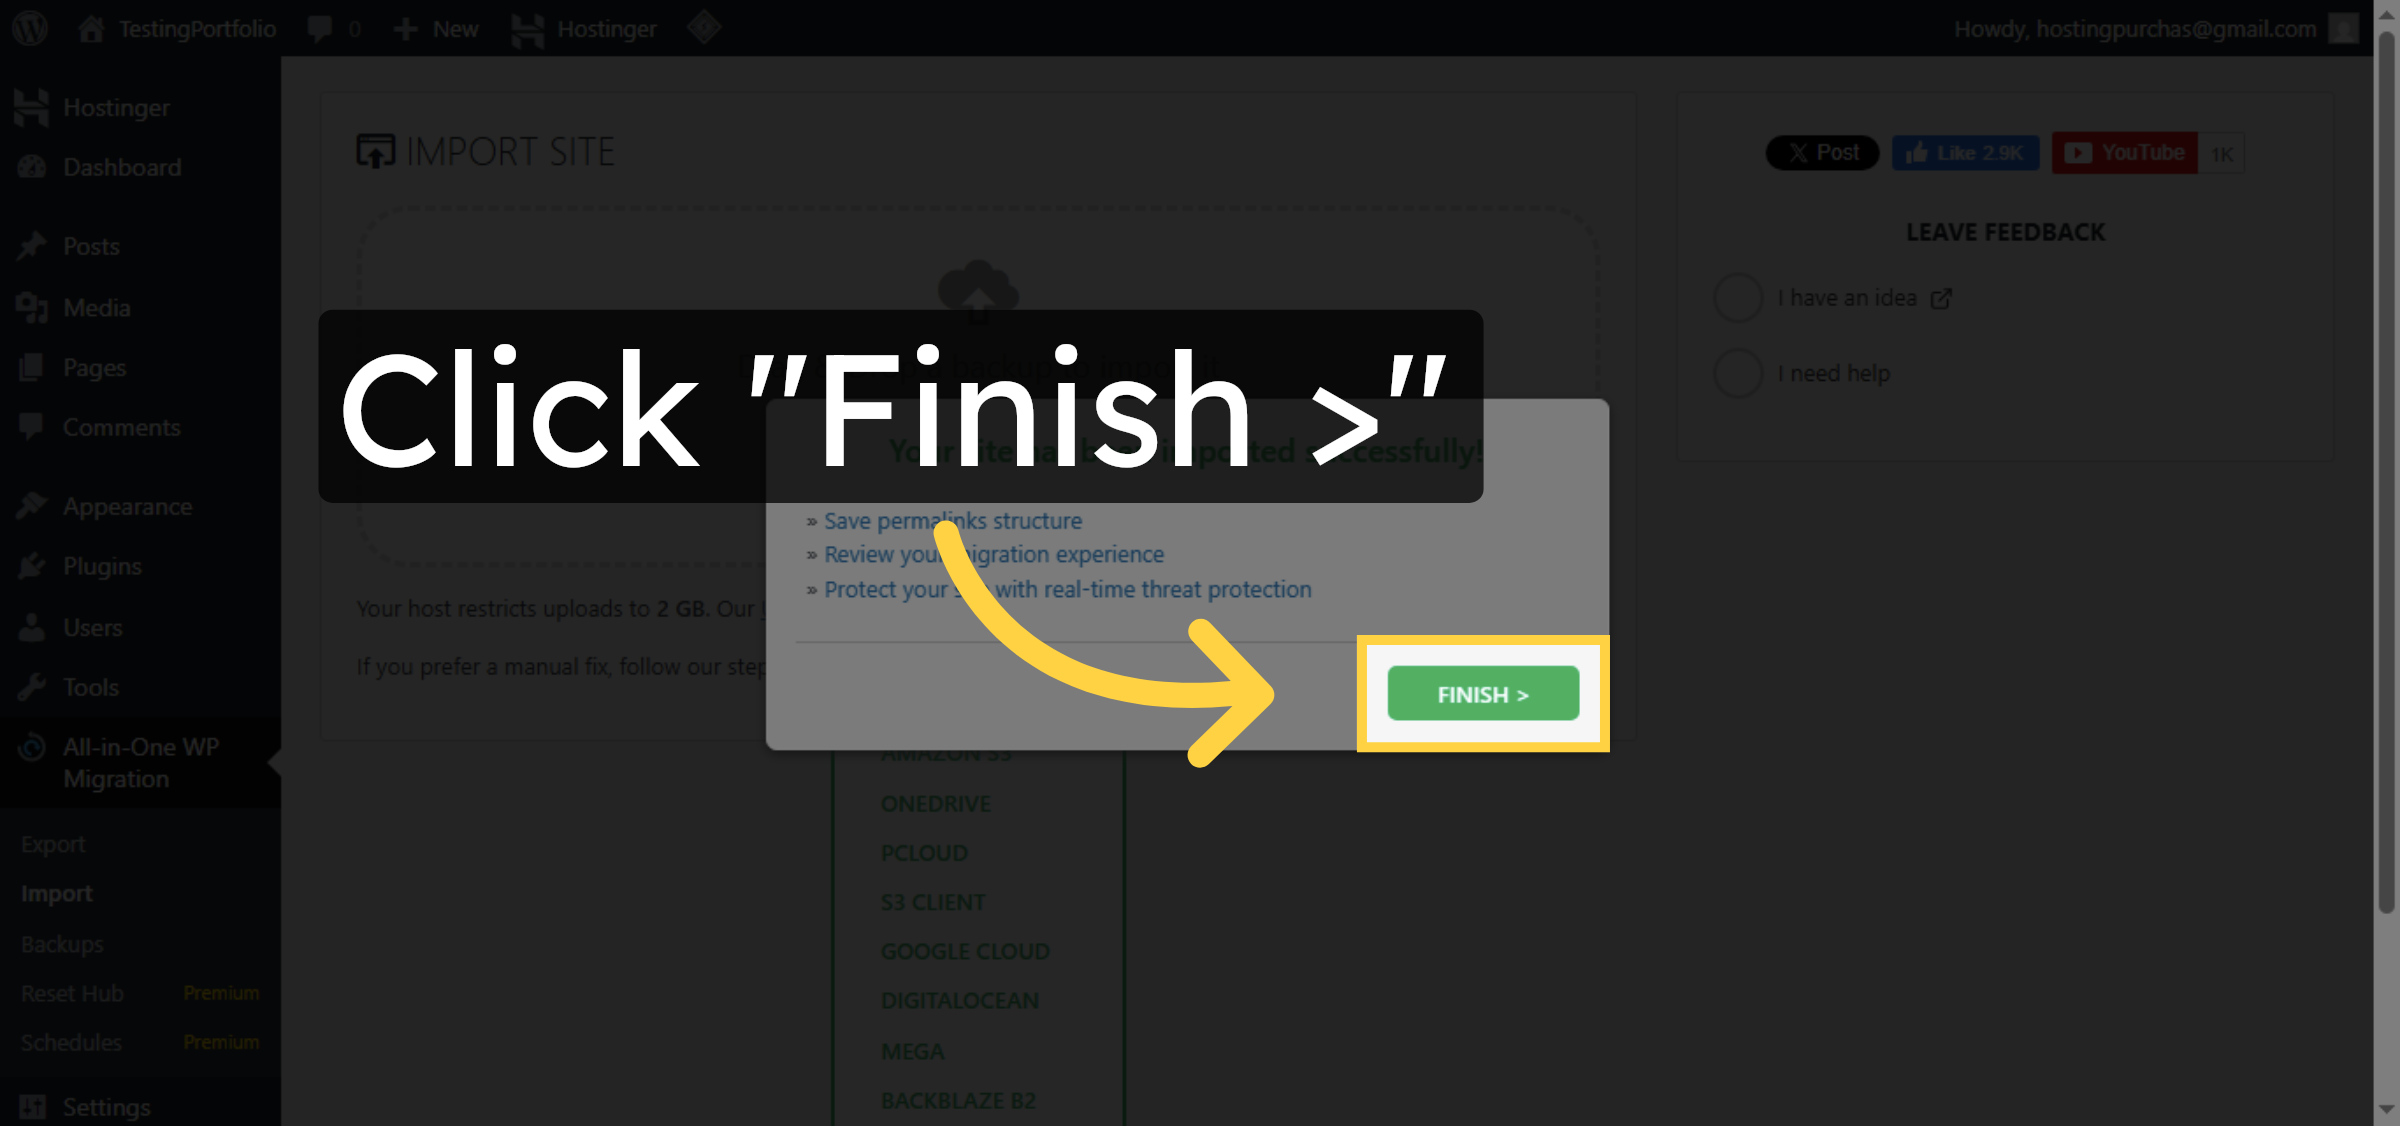
21. Finish Import Process
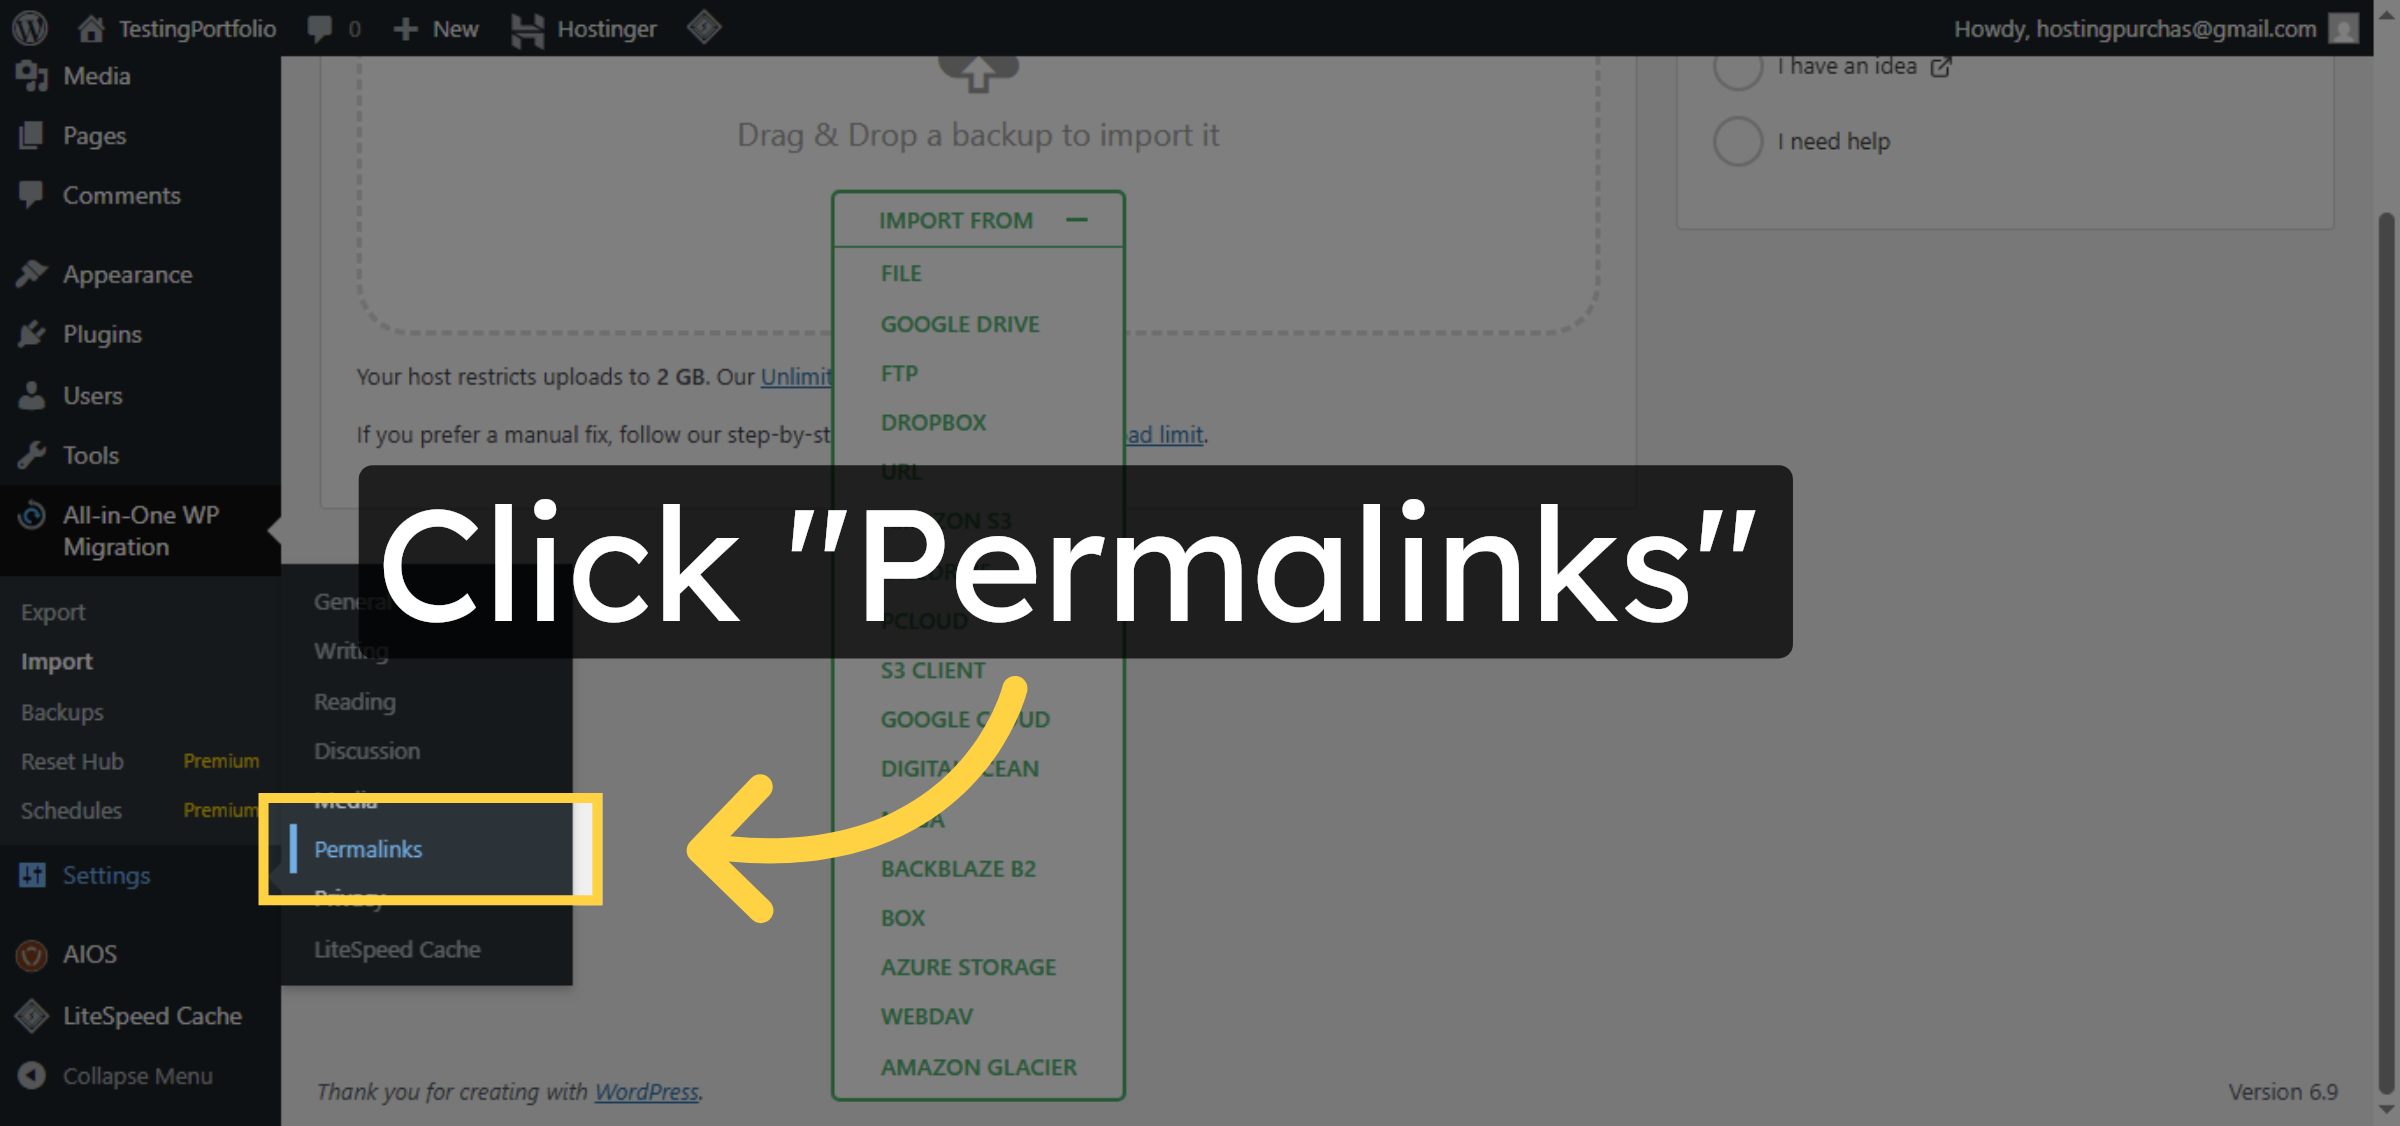
22. Access Permalink Settings
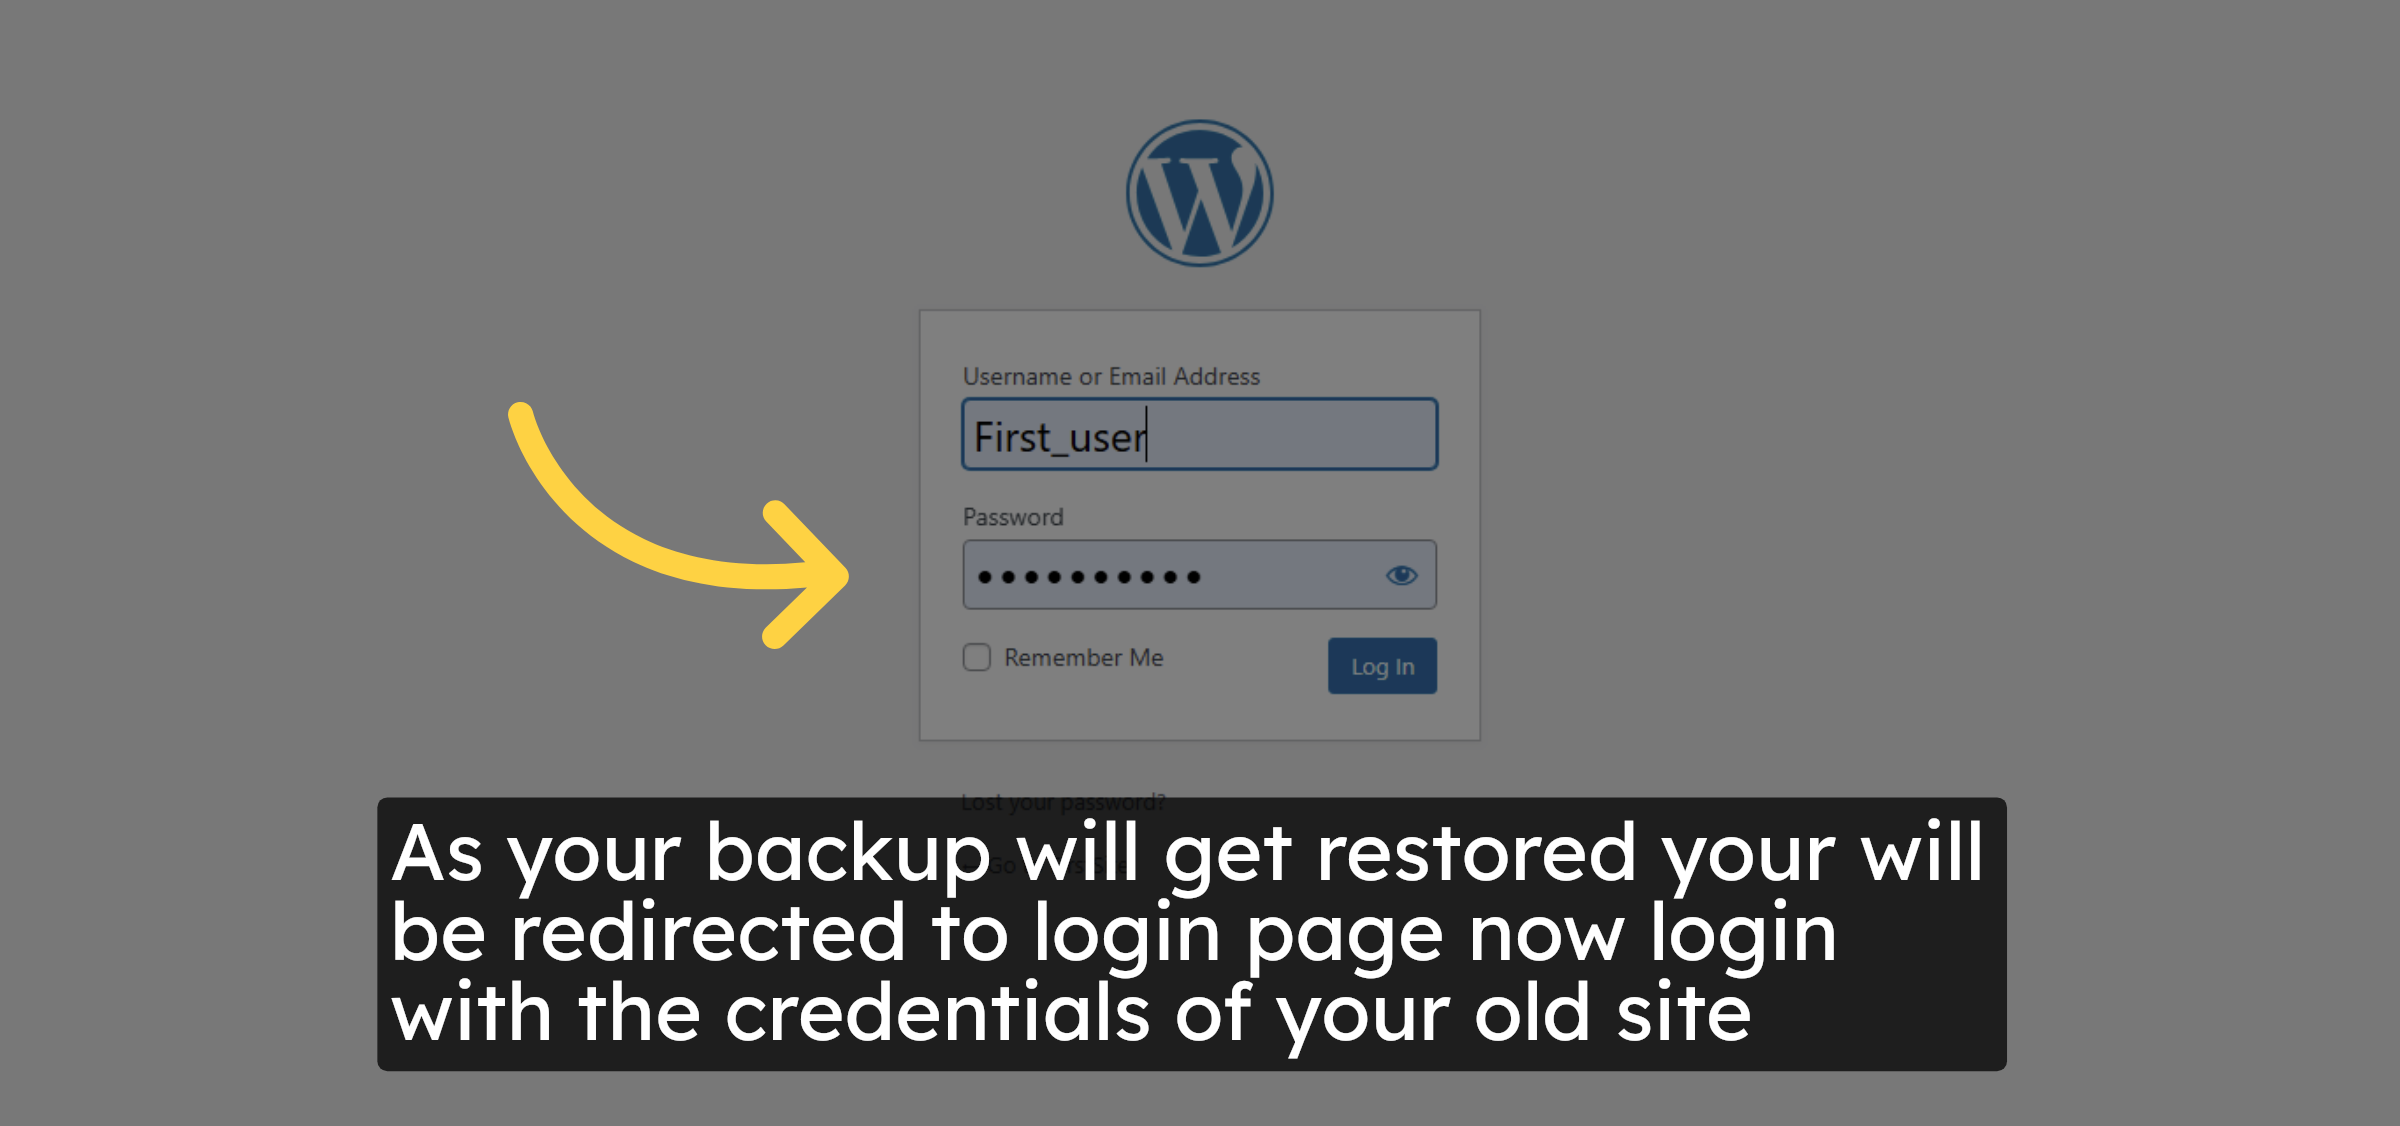
23. Login again
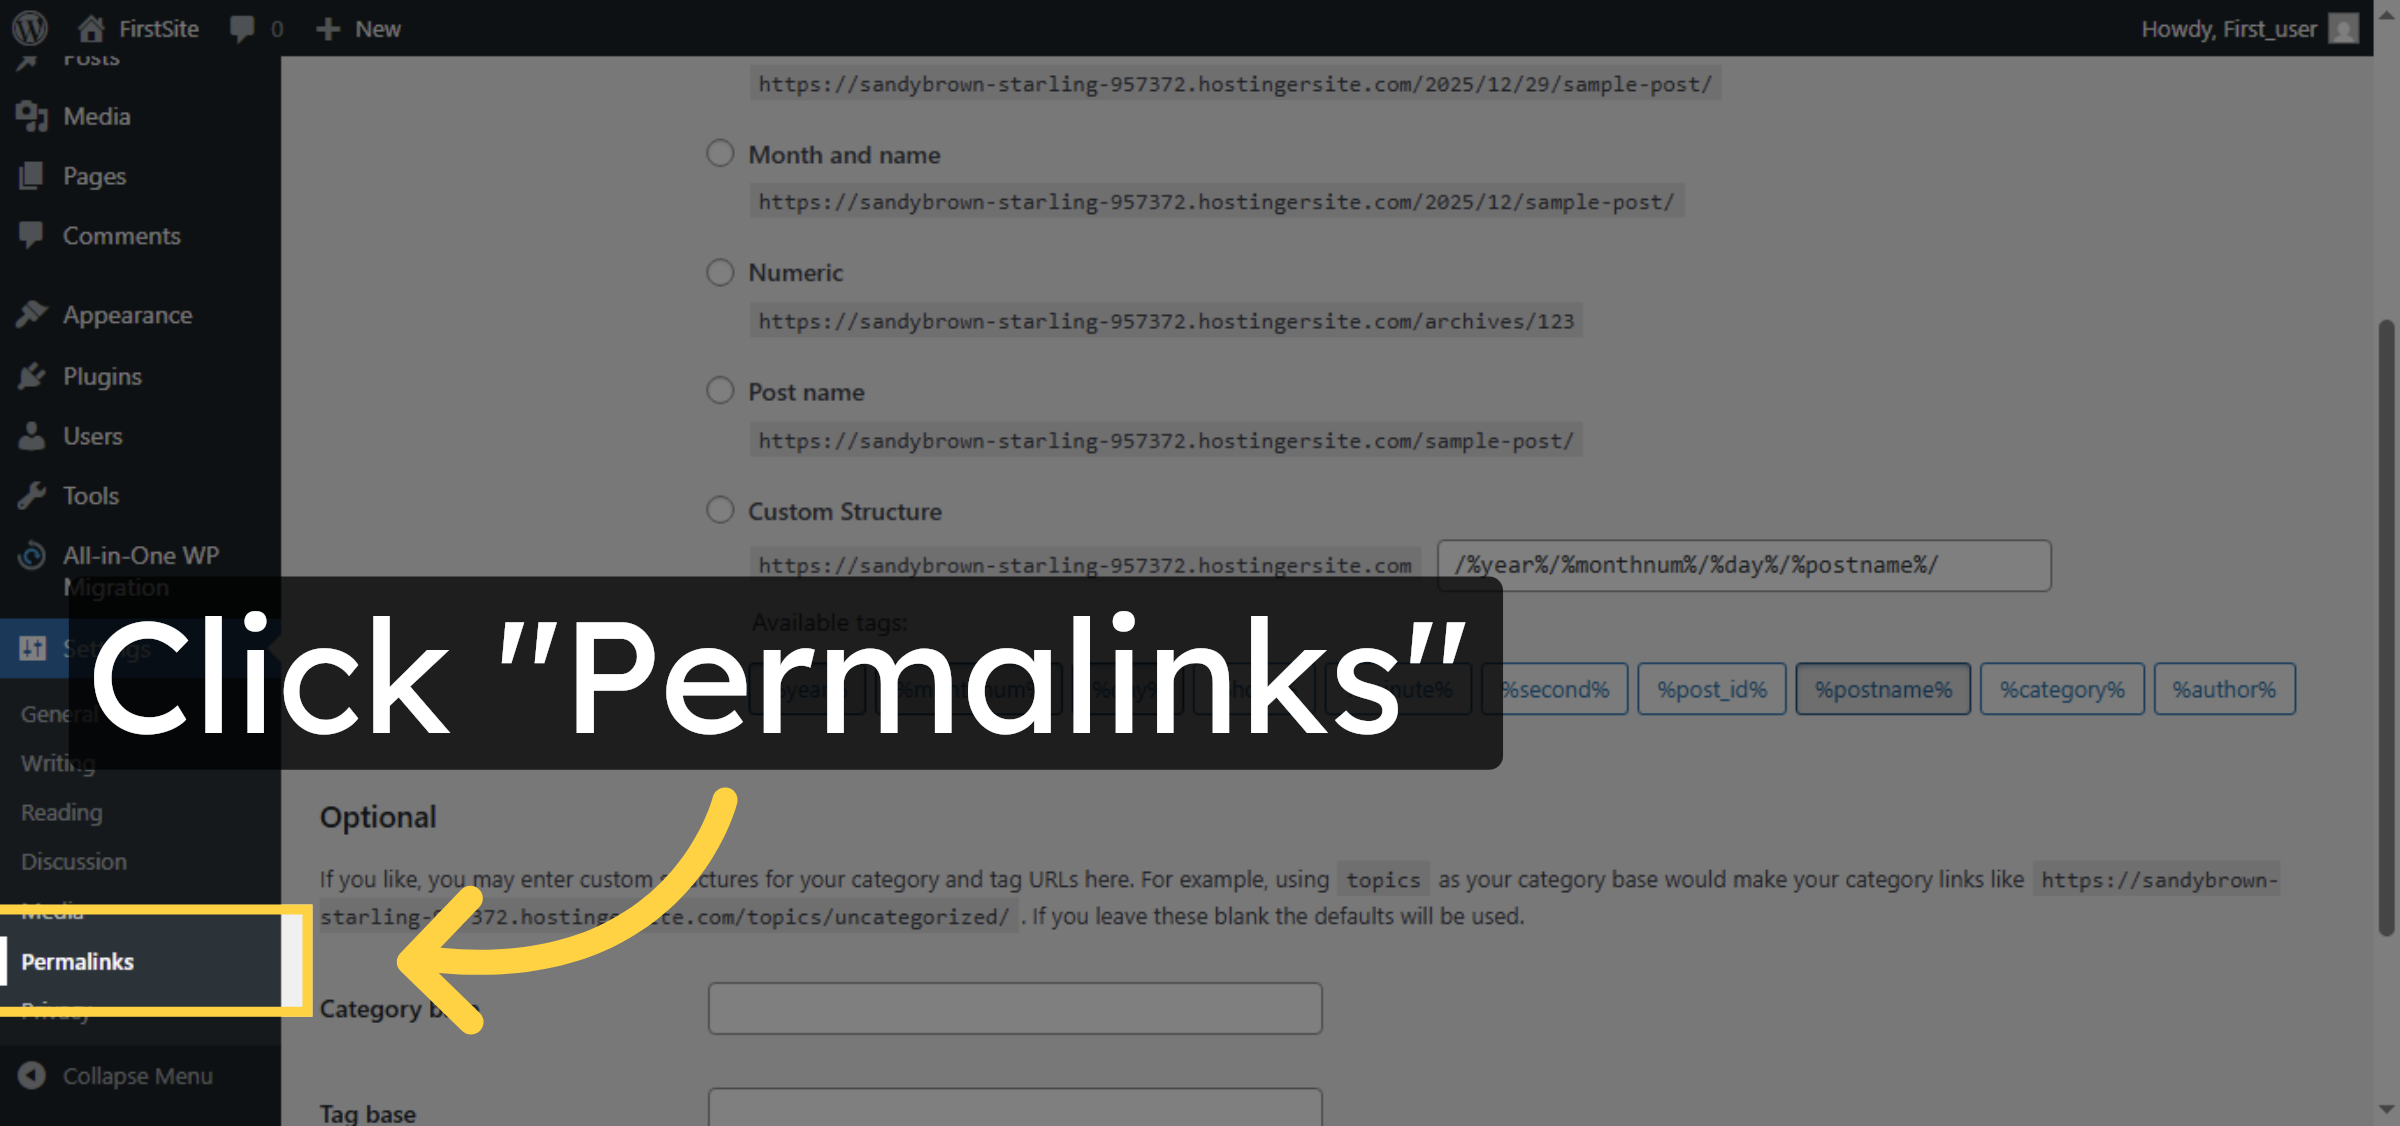
24. Open Permalink Settings Again
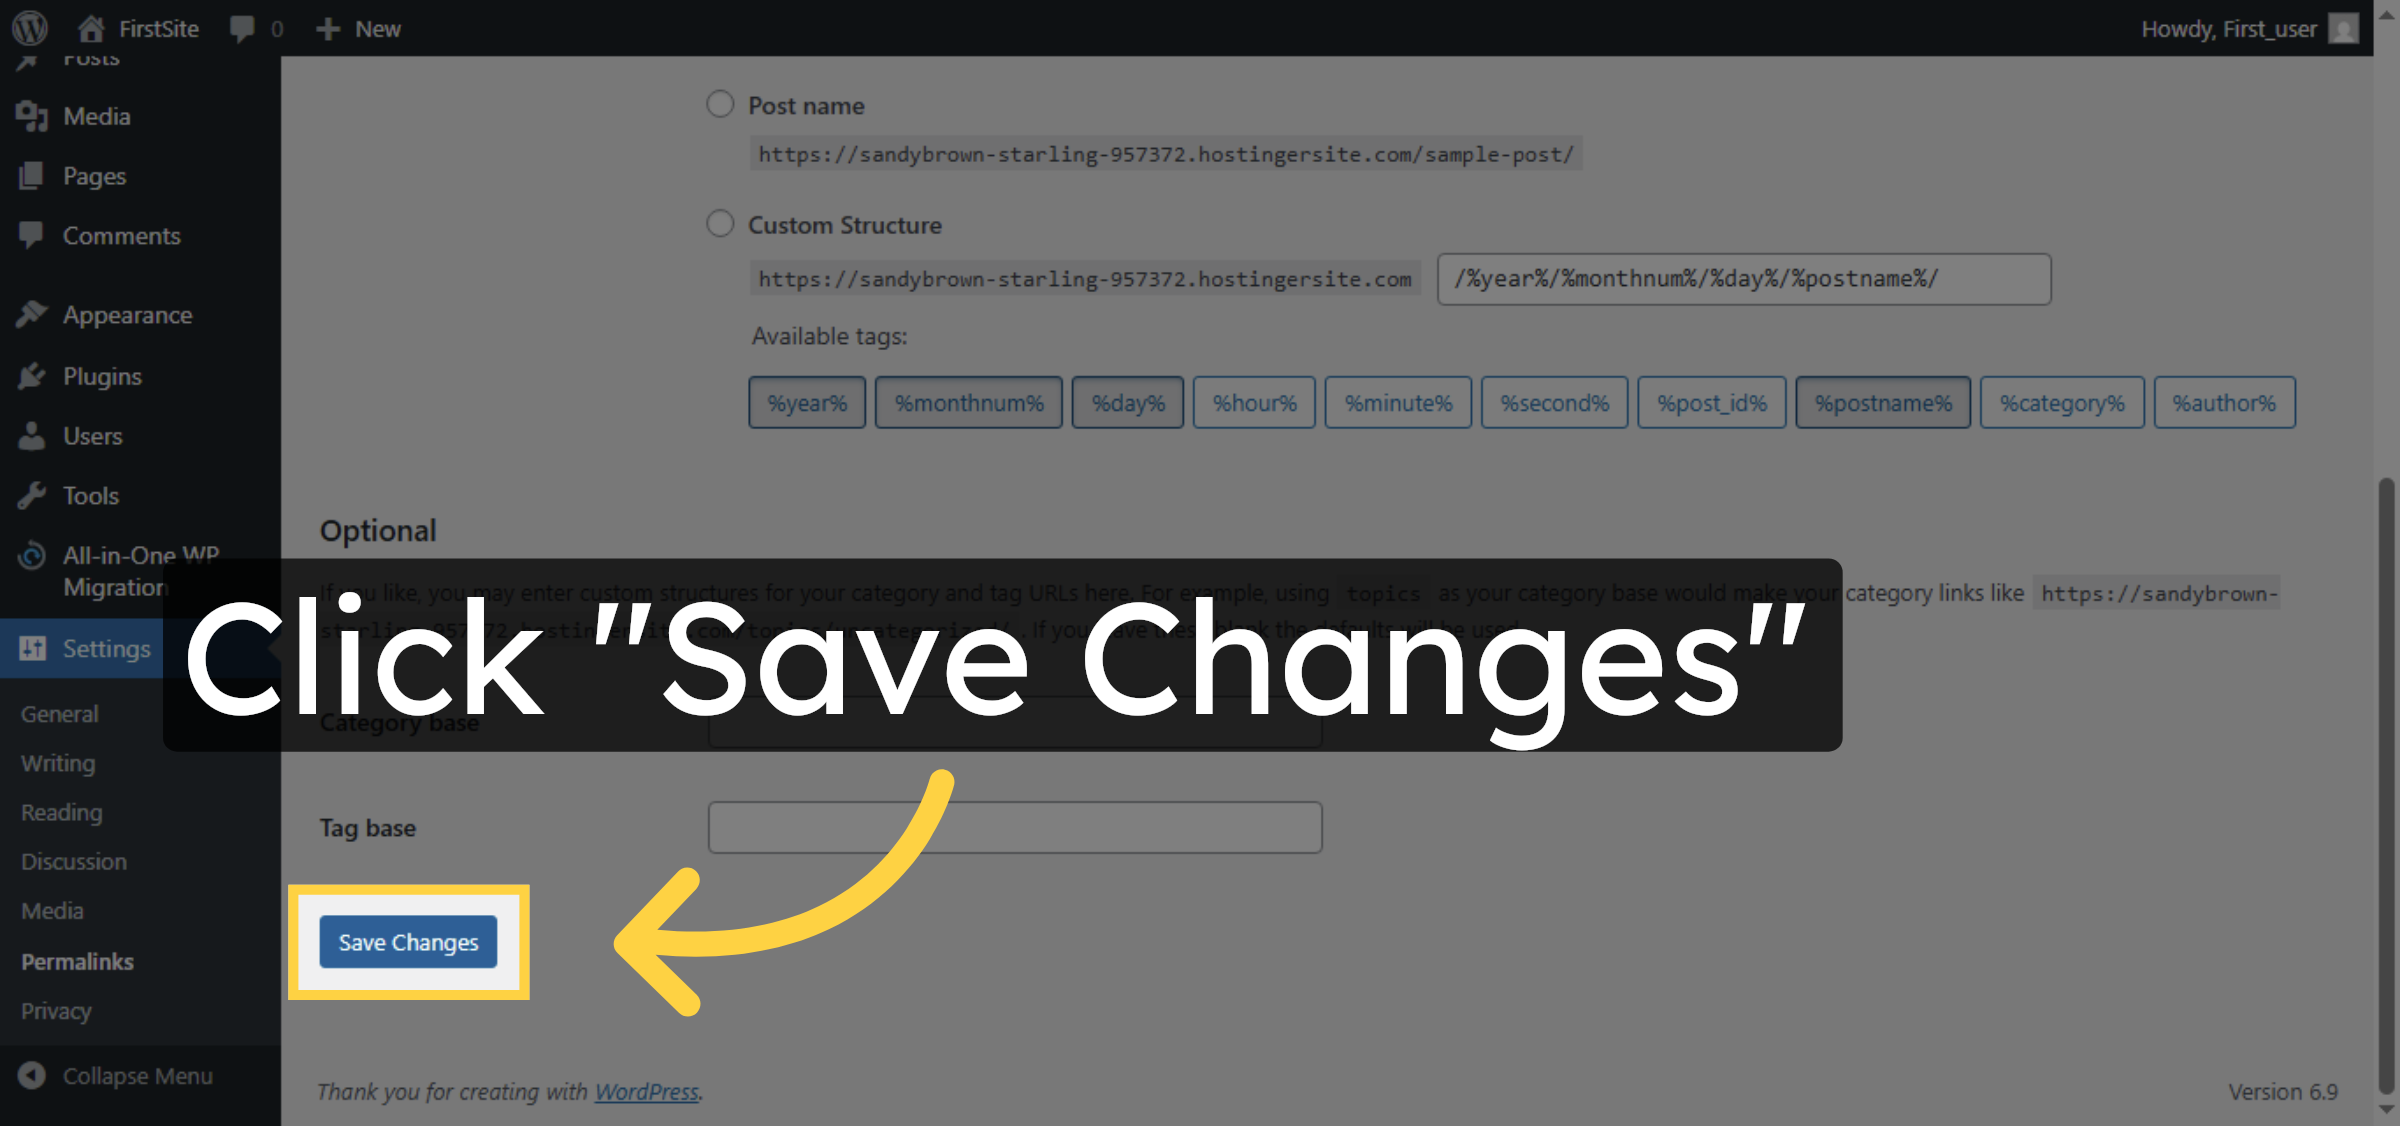
25. Save Permalink Changes
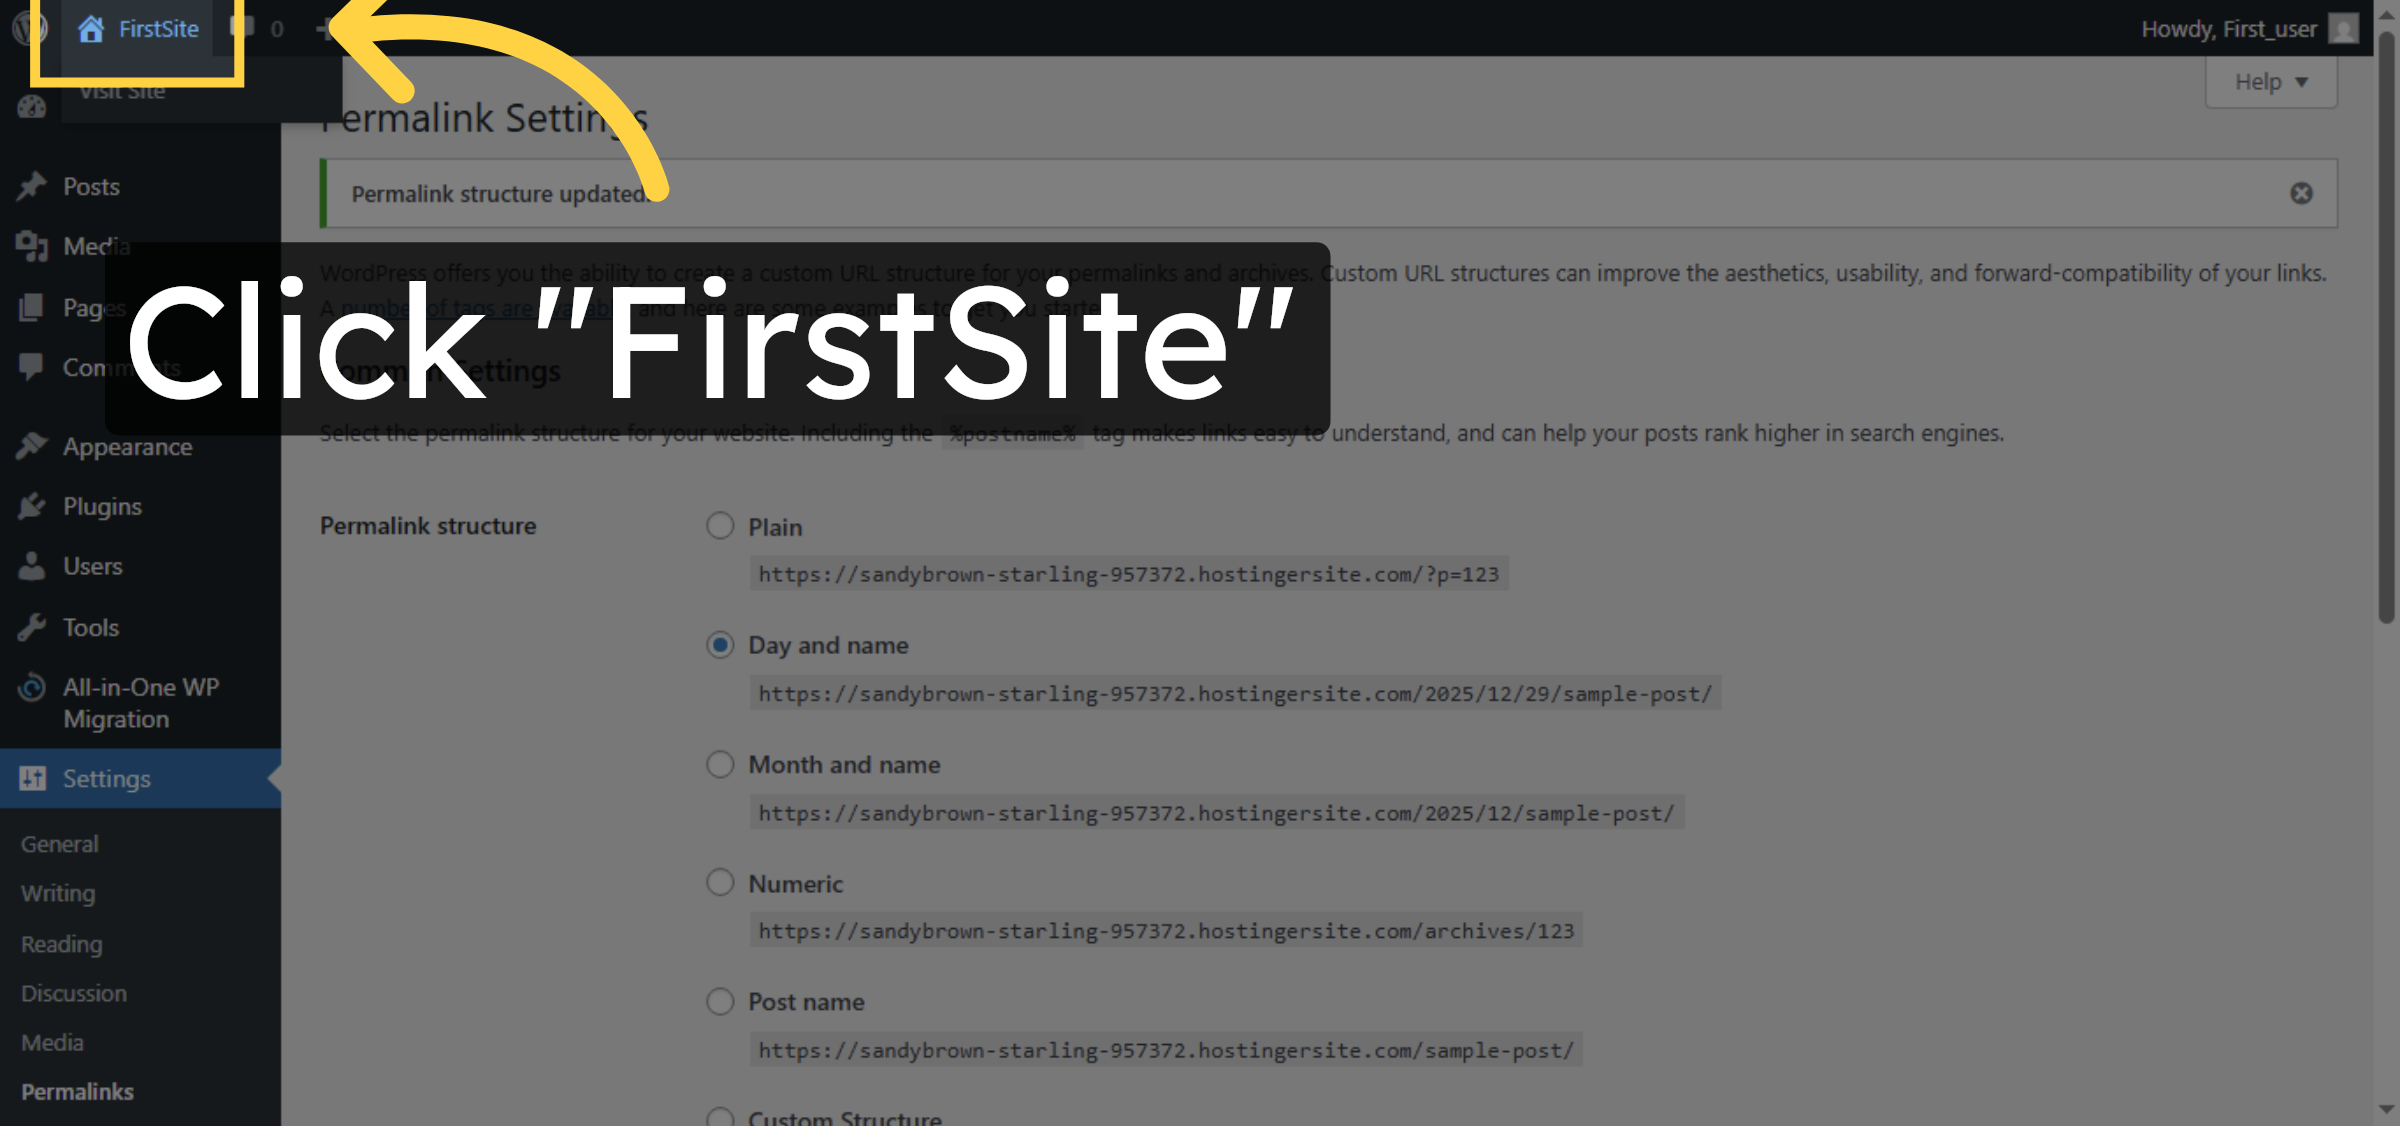
26. Return to Site Dashboard
Conclusion
By following the steps outlined in this guide, you can successfully migrate your WordPress website using the All-in-One WP Migration plugin. Creating a backup, importing it into the target site, and updating permalinks ensures that your content, settings, and structure are restored correctly. This approach provides a reliable and efficient way to move WordPress websites without technical complexity or data loss.
Visit: https://www.woohelpdesk.com
Call Us Toll-Free: +1 888 602 0119 (US & Canada)
Get professional support for WordPress configuration, hosting management, performance optimization, and troubleshooting.


