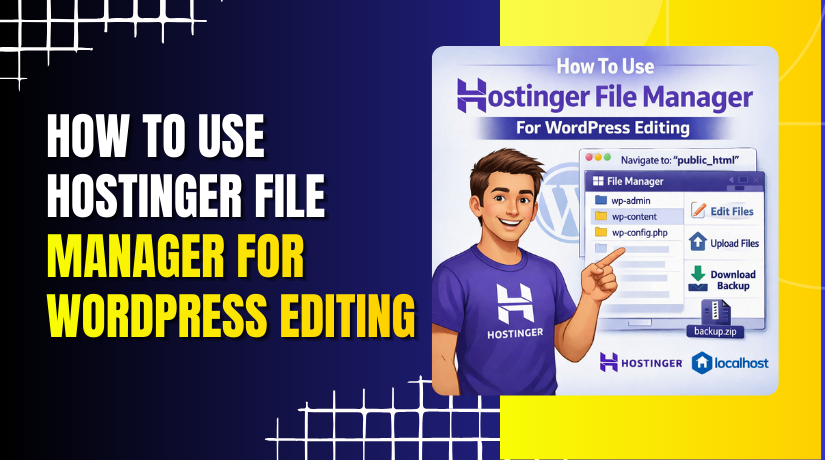
How To Use Hostinger File Manager For WordPress Editing
Introduction
Managing website files efficiently is a fundamental skill for anyone working with WordPress or custom PHP projects. Hostinger’s built-in File Manager provides a convenient way to create, edit, rename, and delete files directly from the hosting control panel—without the need for FTP software or additional tools. Whether you’re adding a new PHP file for testing, updating existing code, or cleaning up unused files, understanding how to use the File Manager helps you maintain better control over your website’s structure and functionality. In this guide, you’ll learn how to navigate the Hostinger dashboard, access the public_html directory, create a new PHP file, modify its contents, rename it, and safely delete it when no longer needed. These steps are essential for developers, administrators, and beginners looking to manage WordPress files confidently and efficiently.
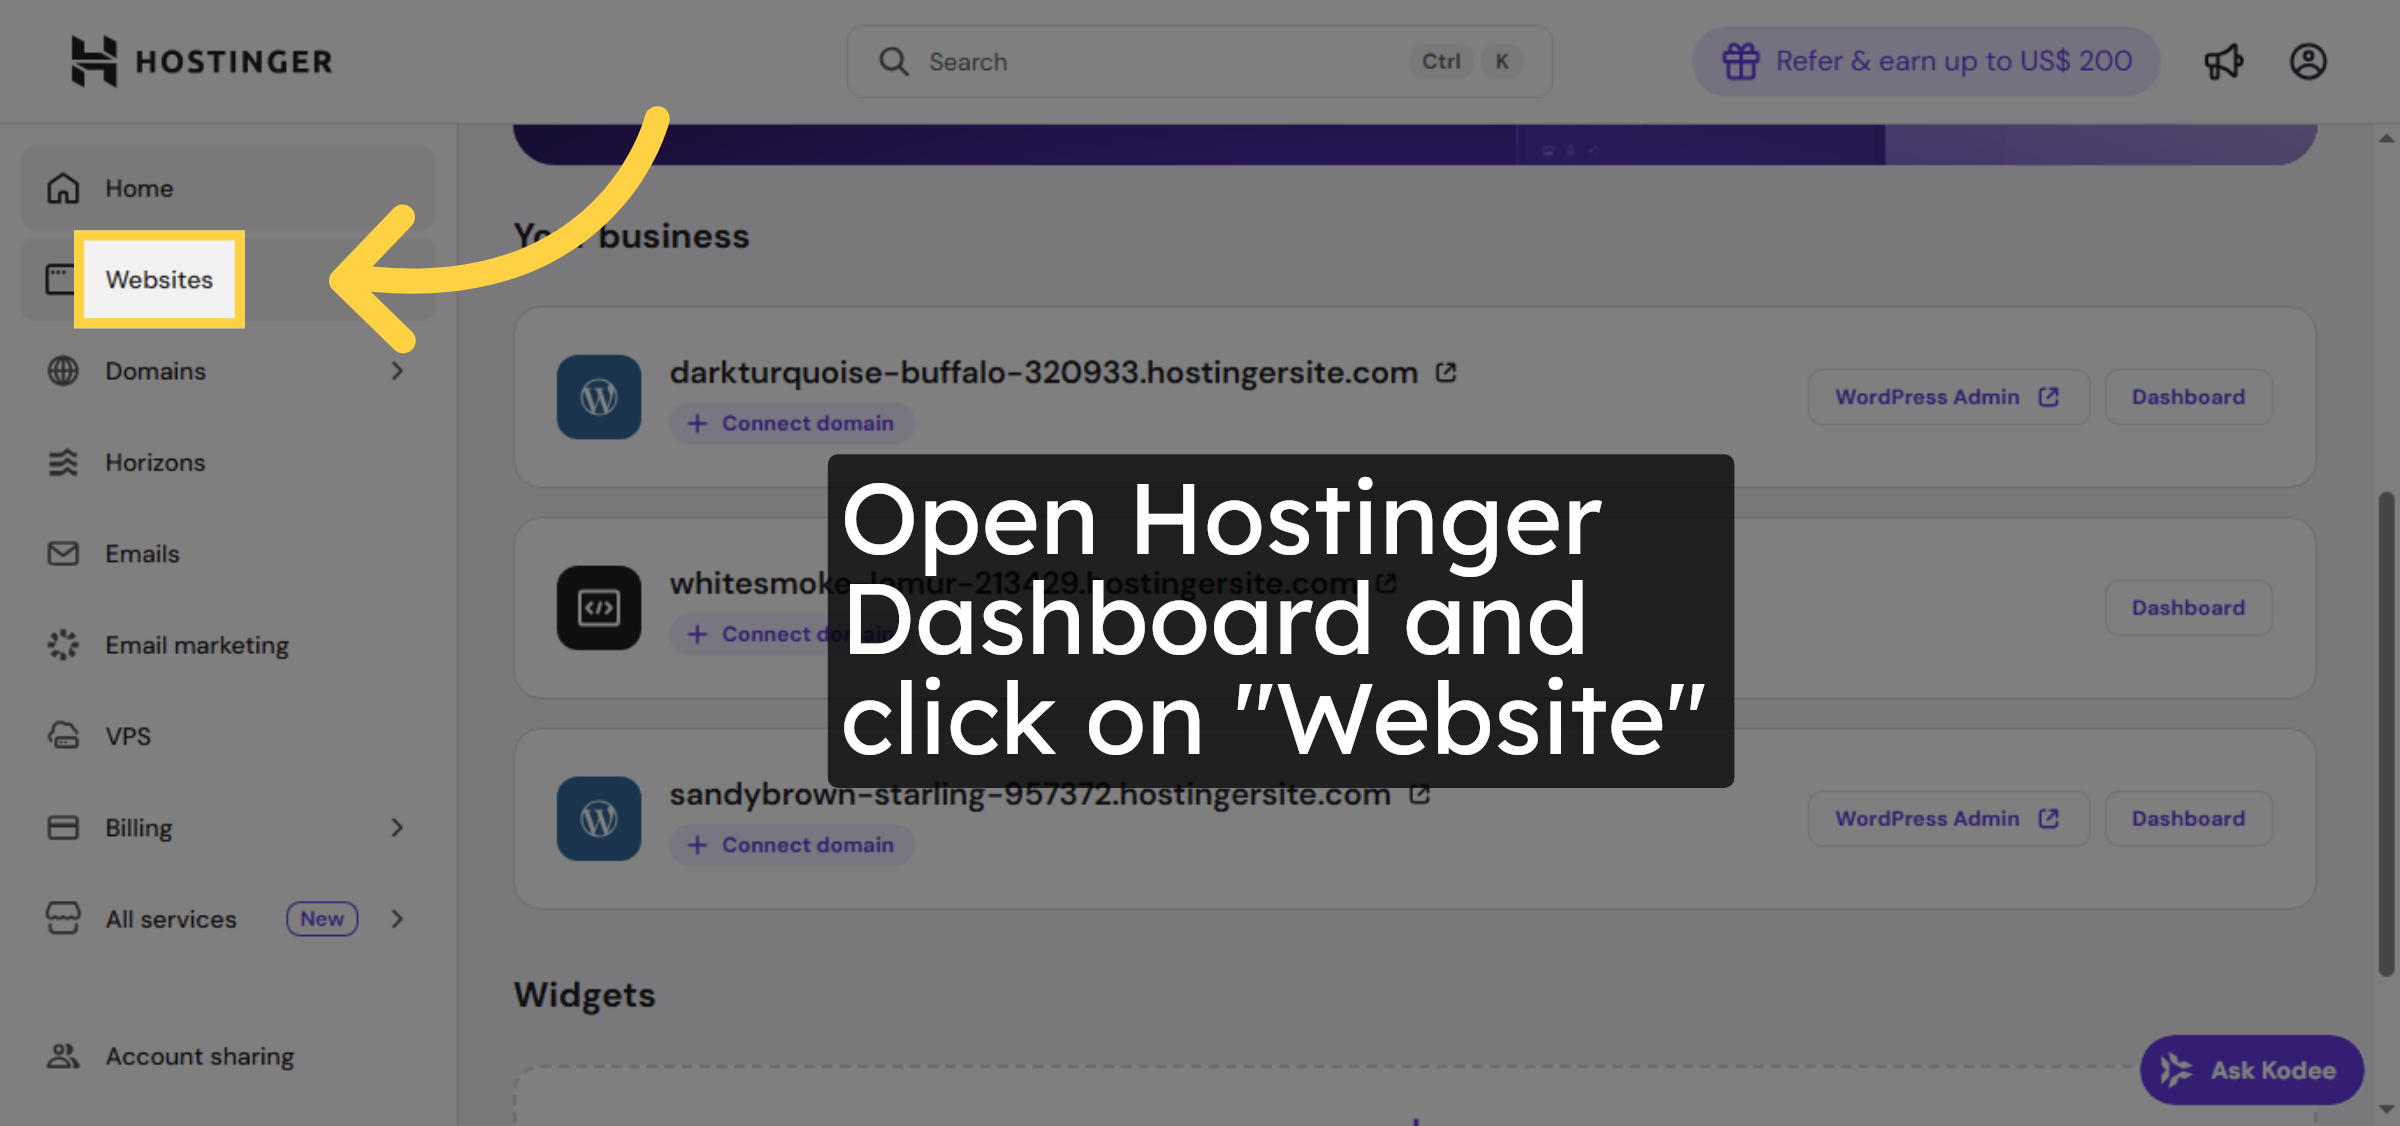
1. Open Websites Section
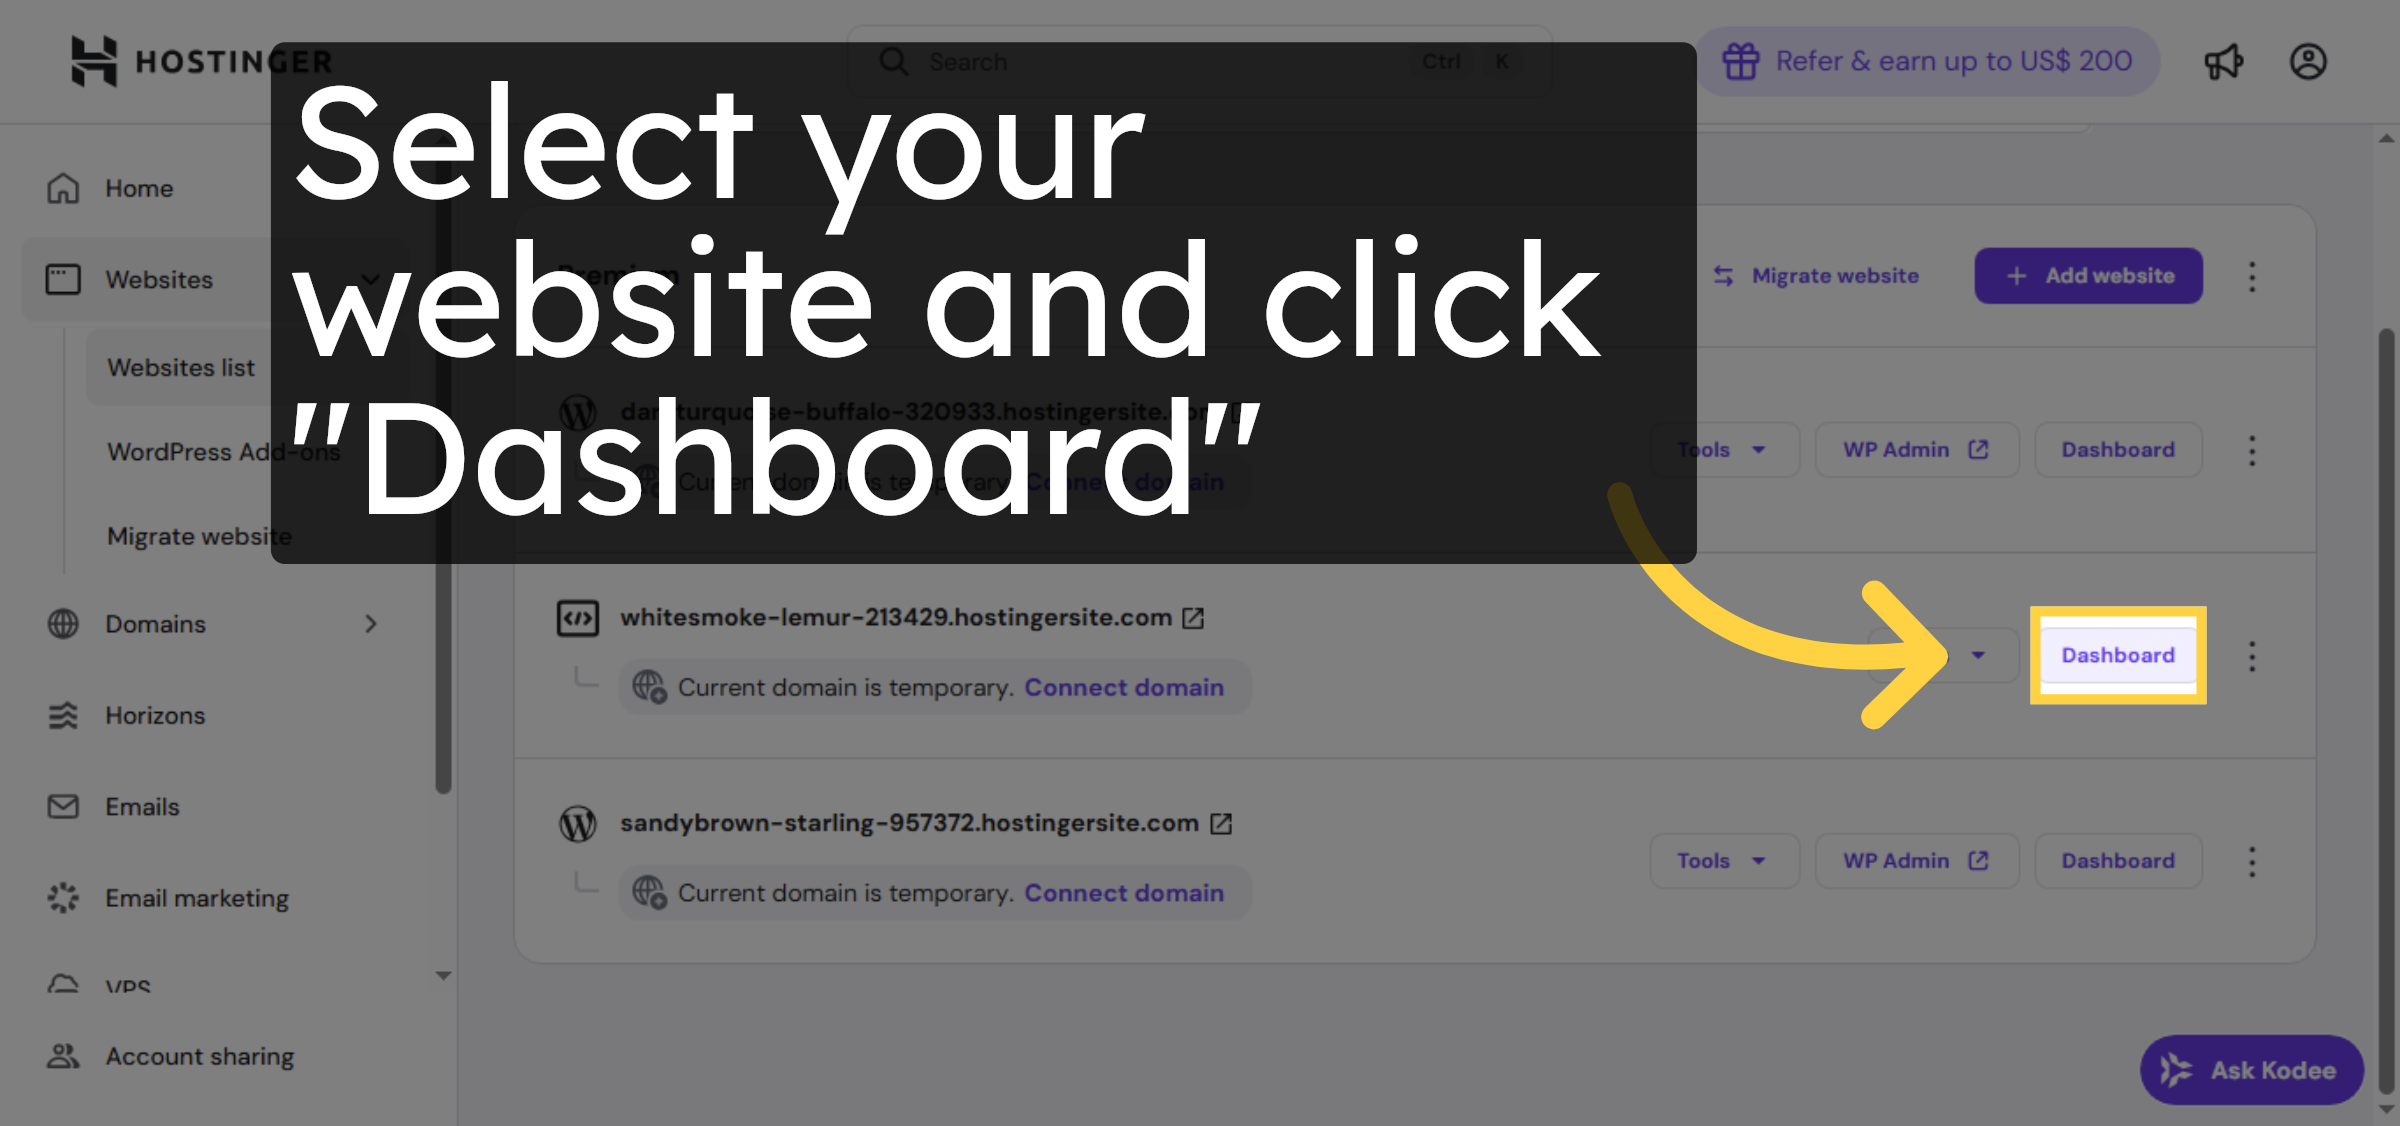
2. Access Dashboard
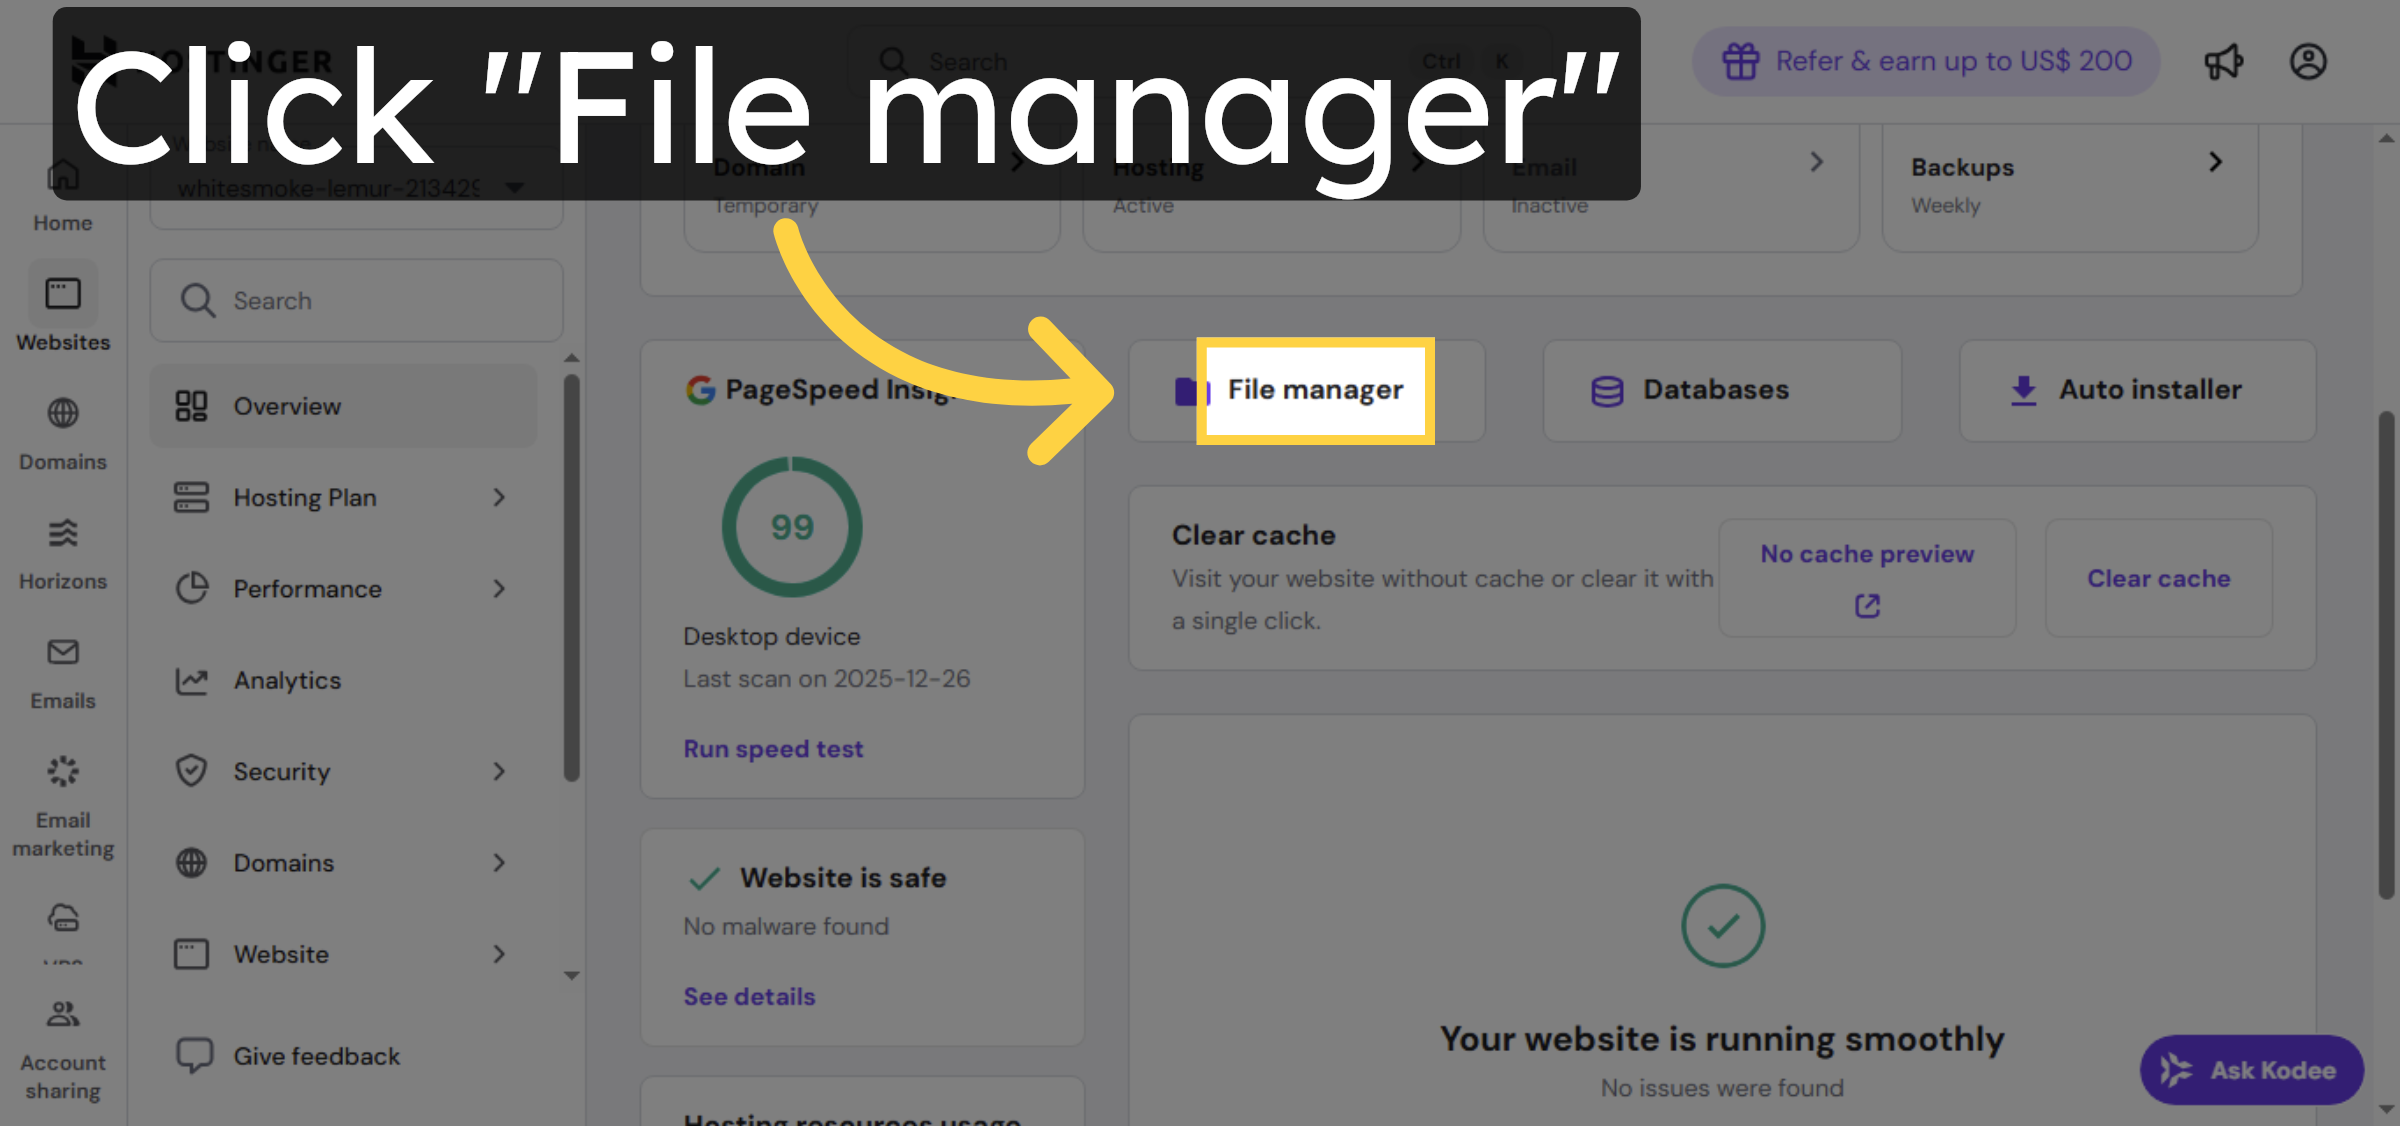
3. Open File Manager
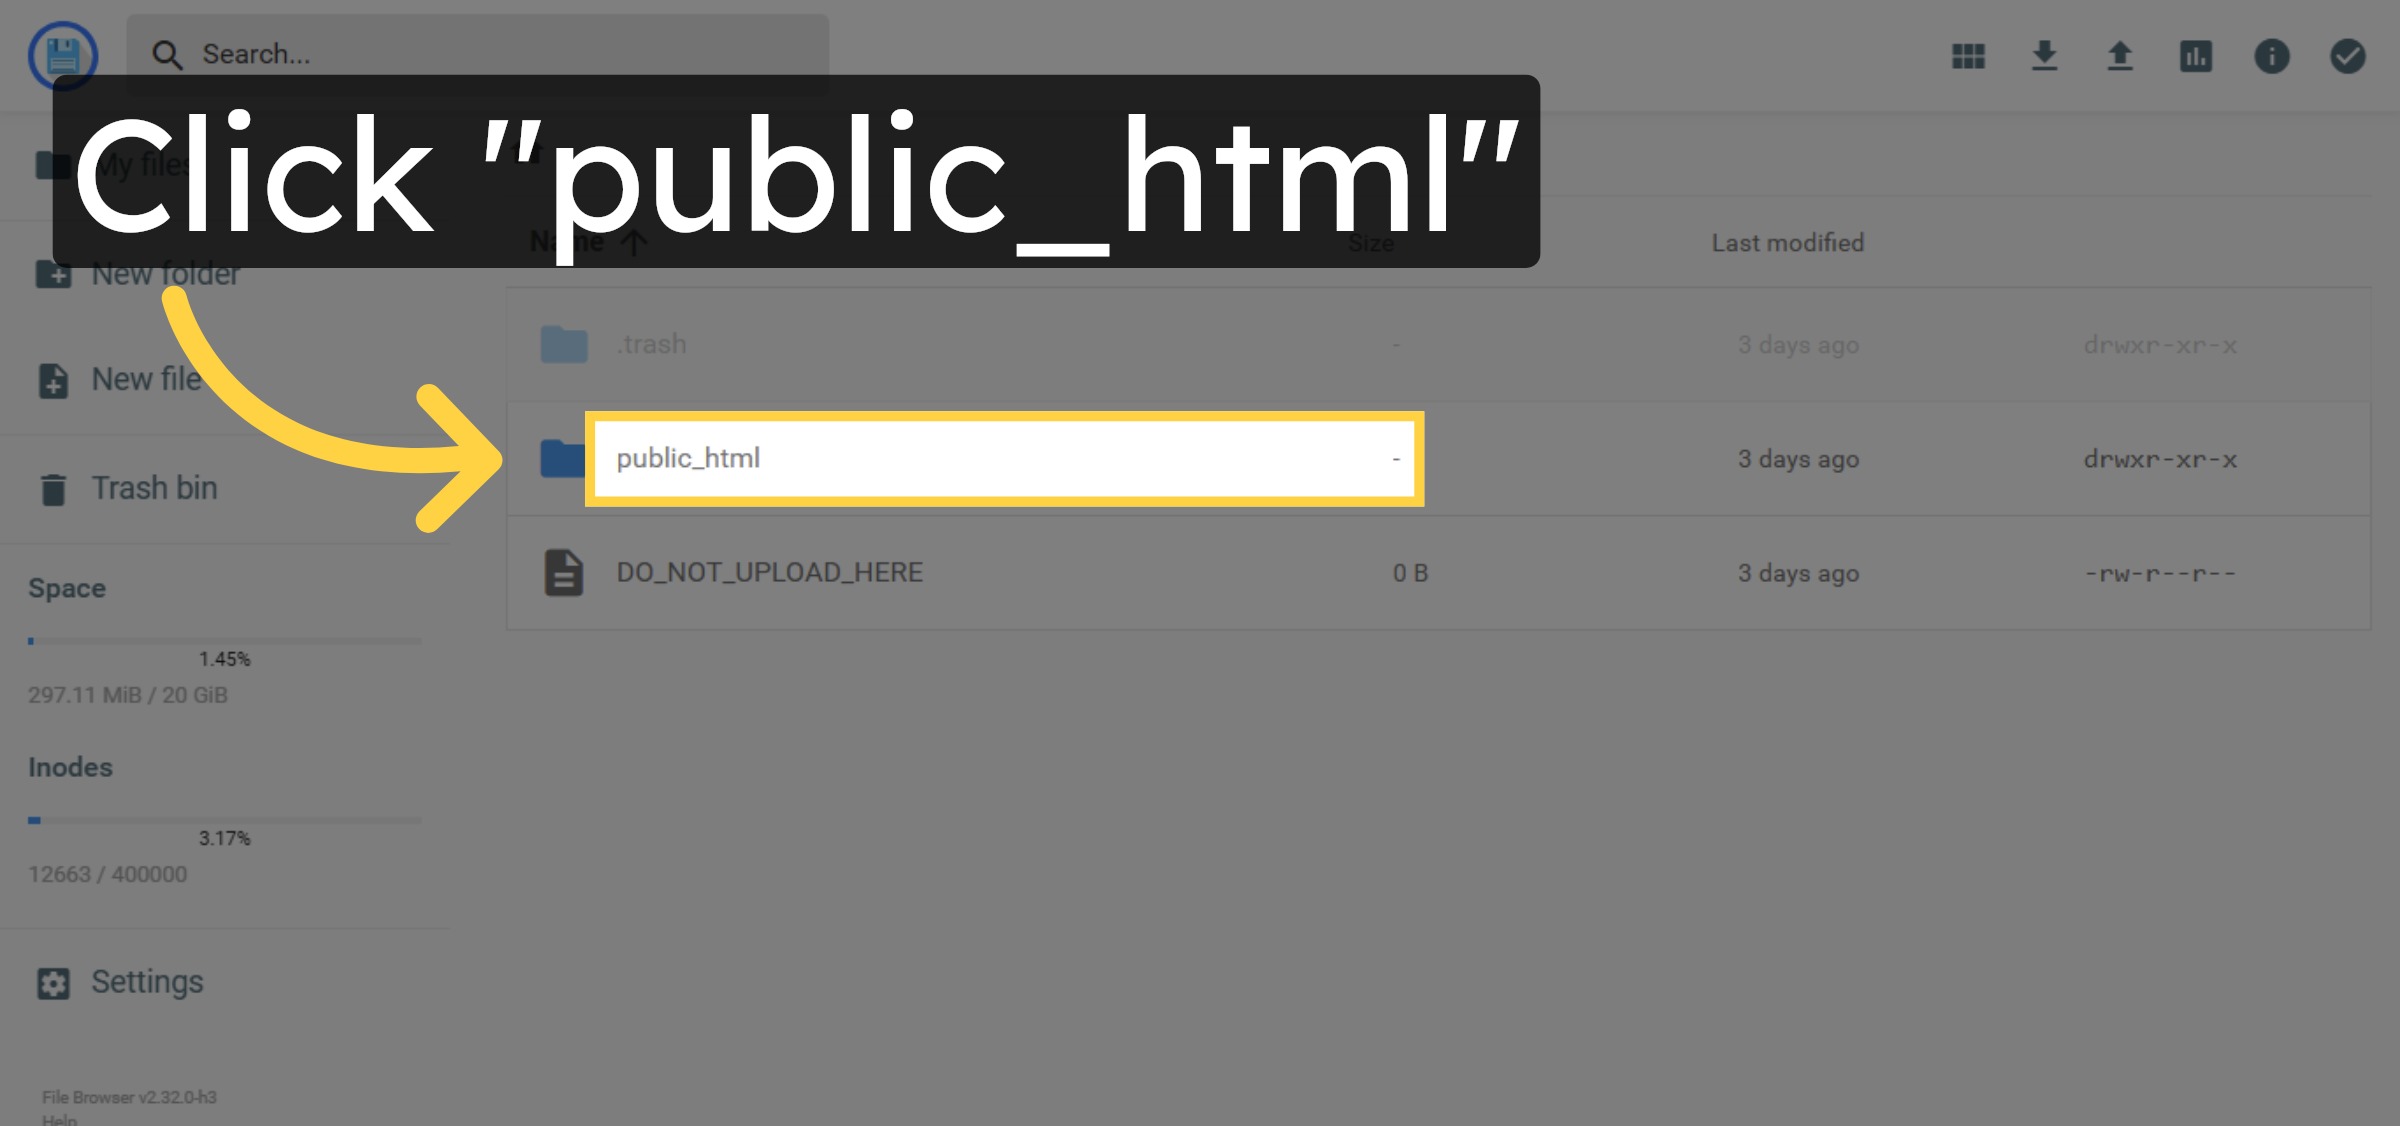
4. Open Public HTML Folder
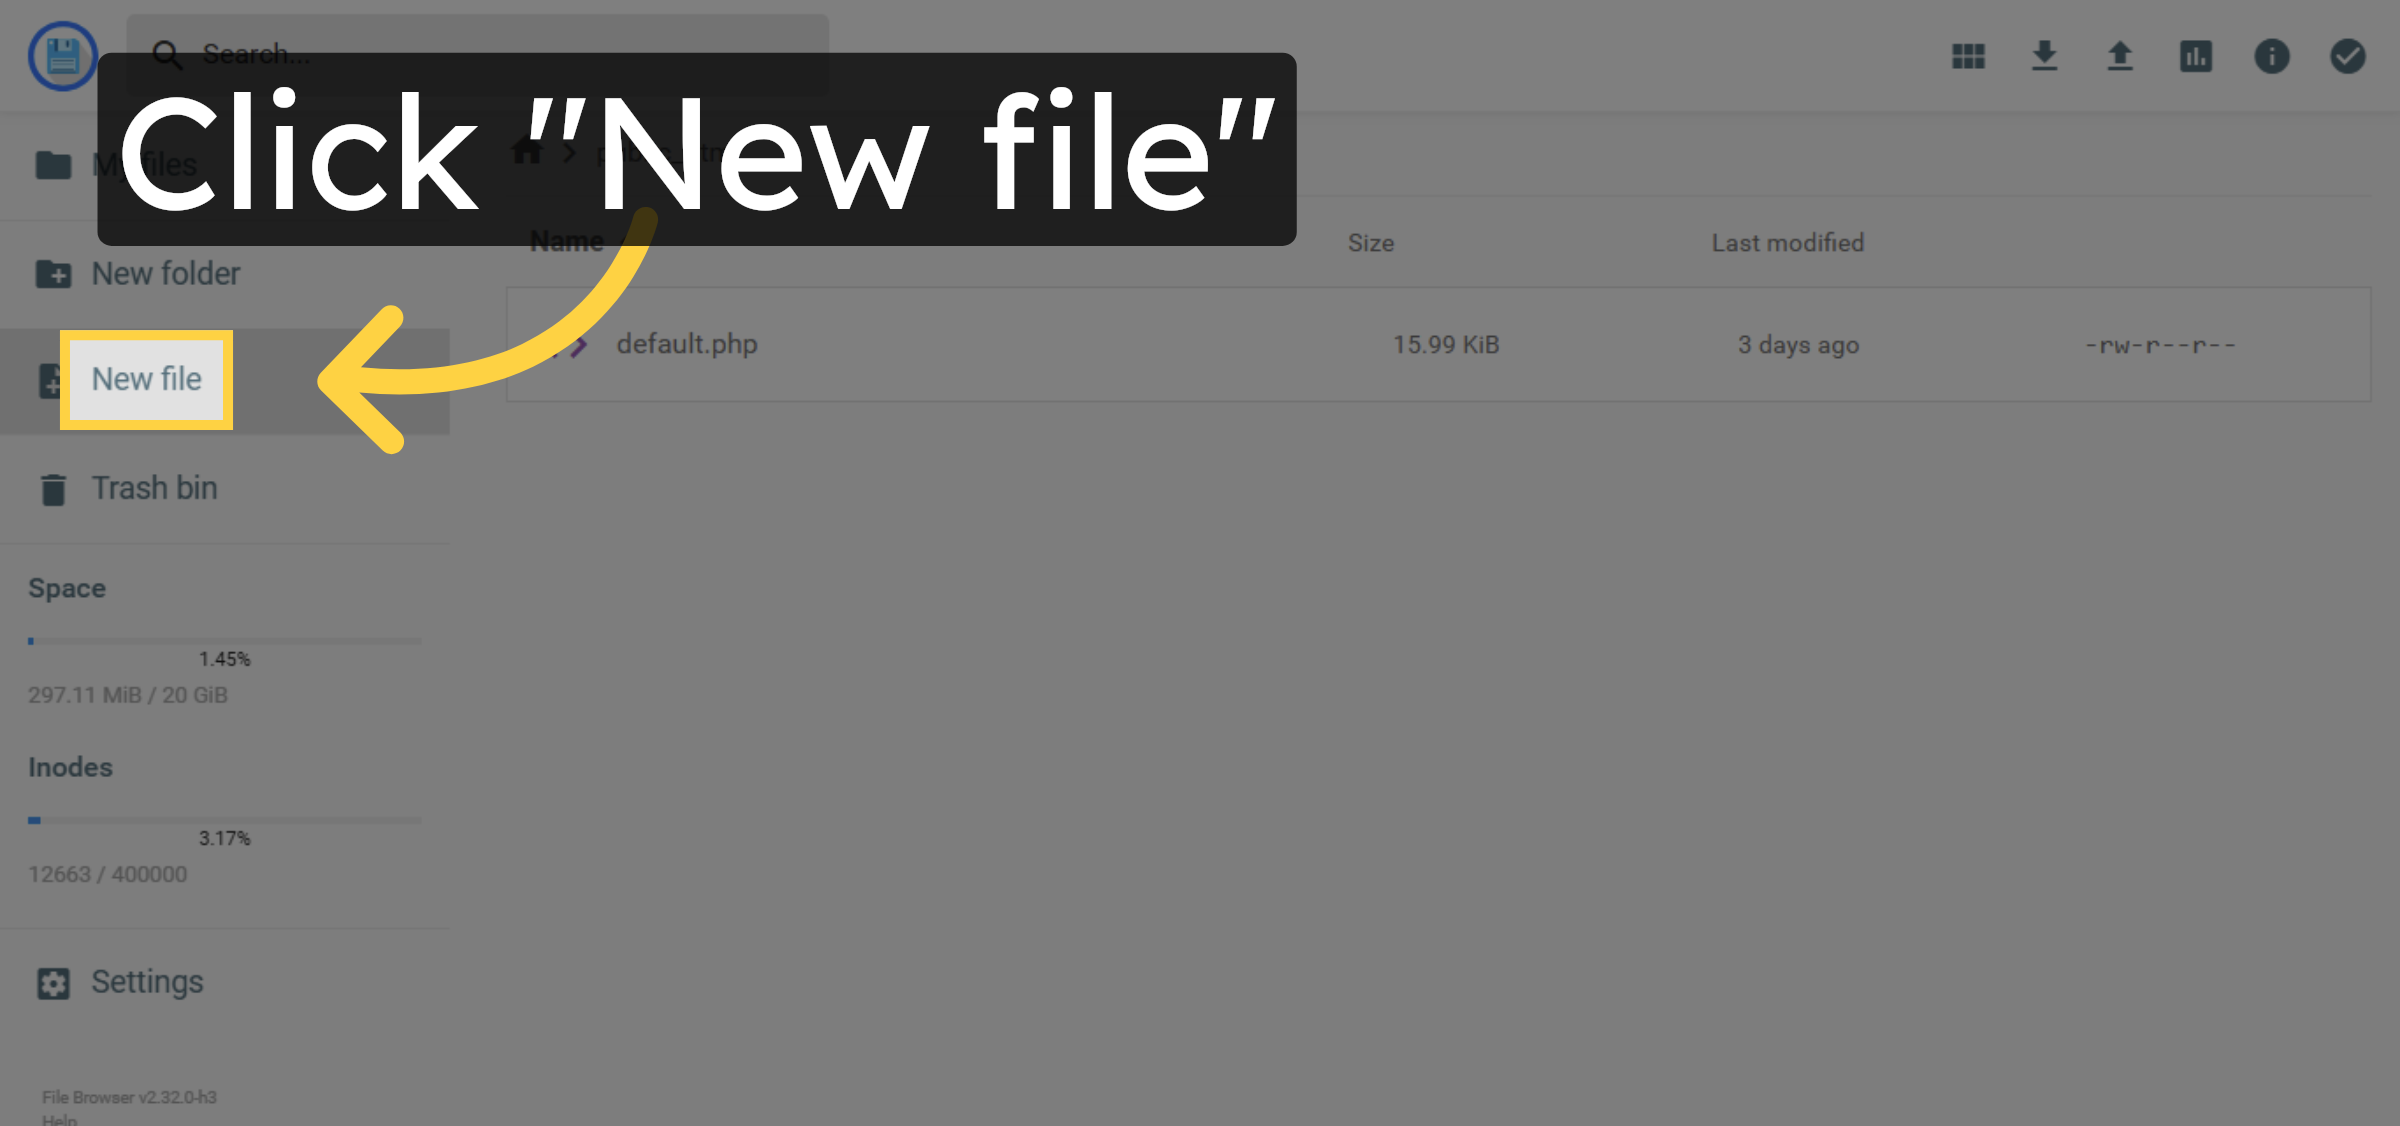
5. File Creation
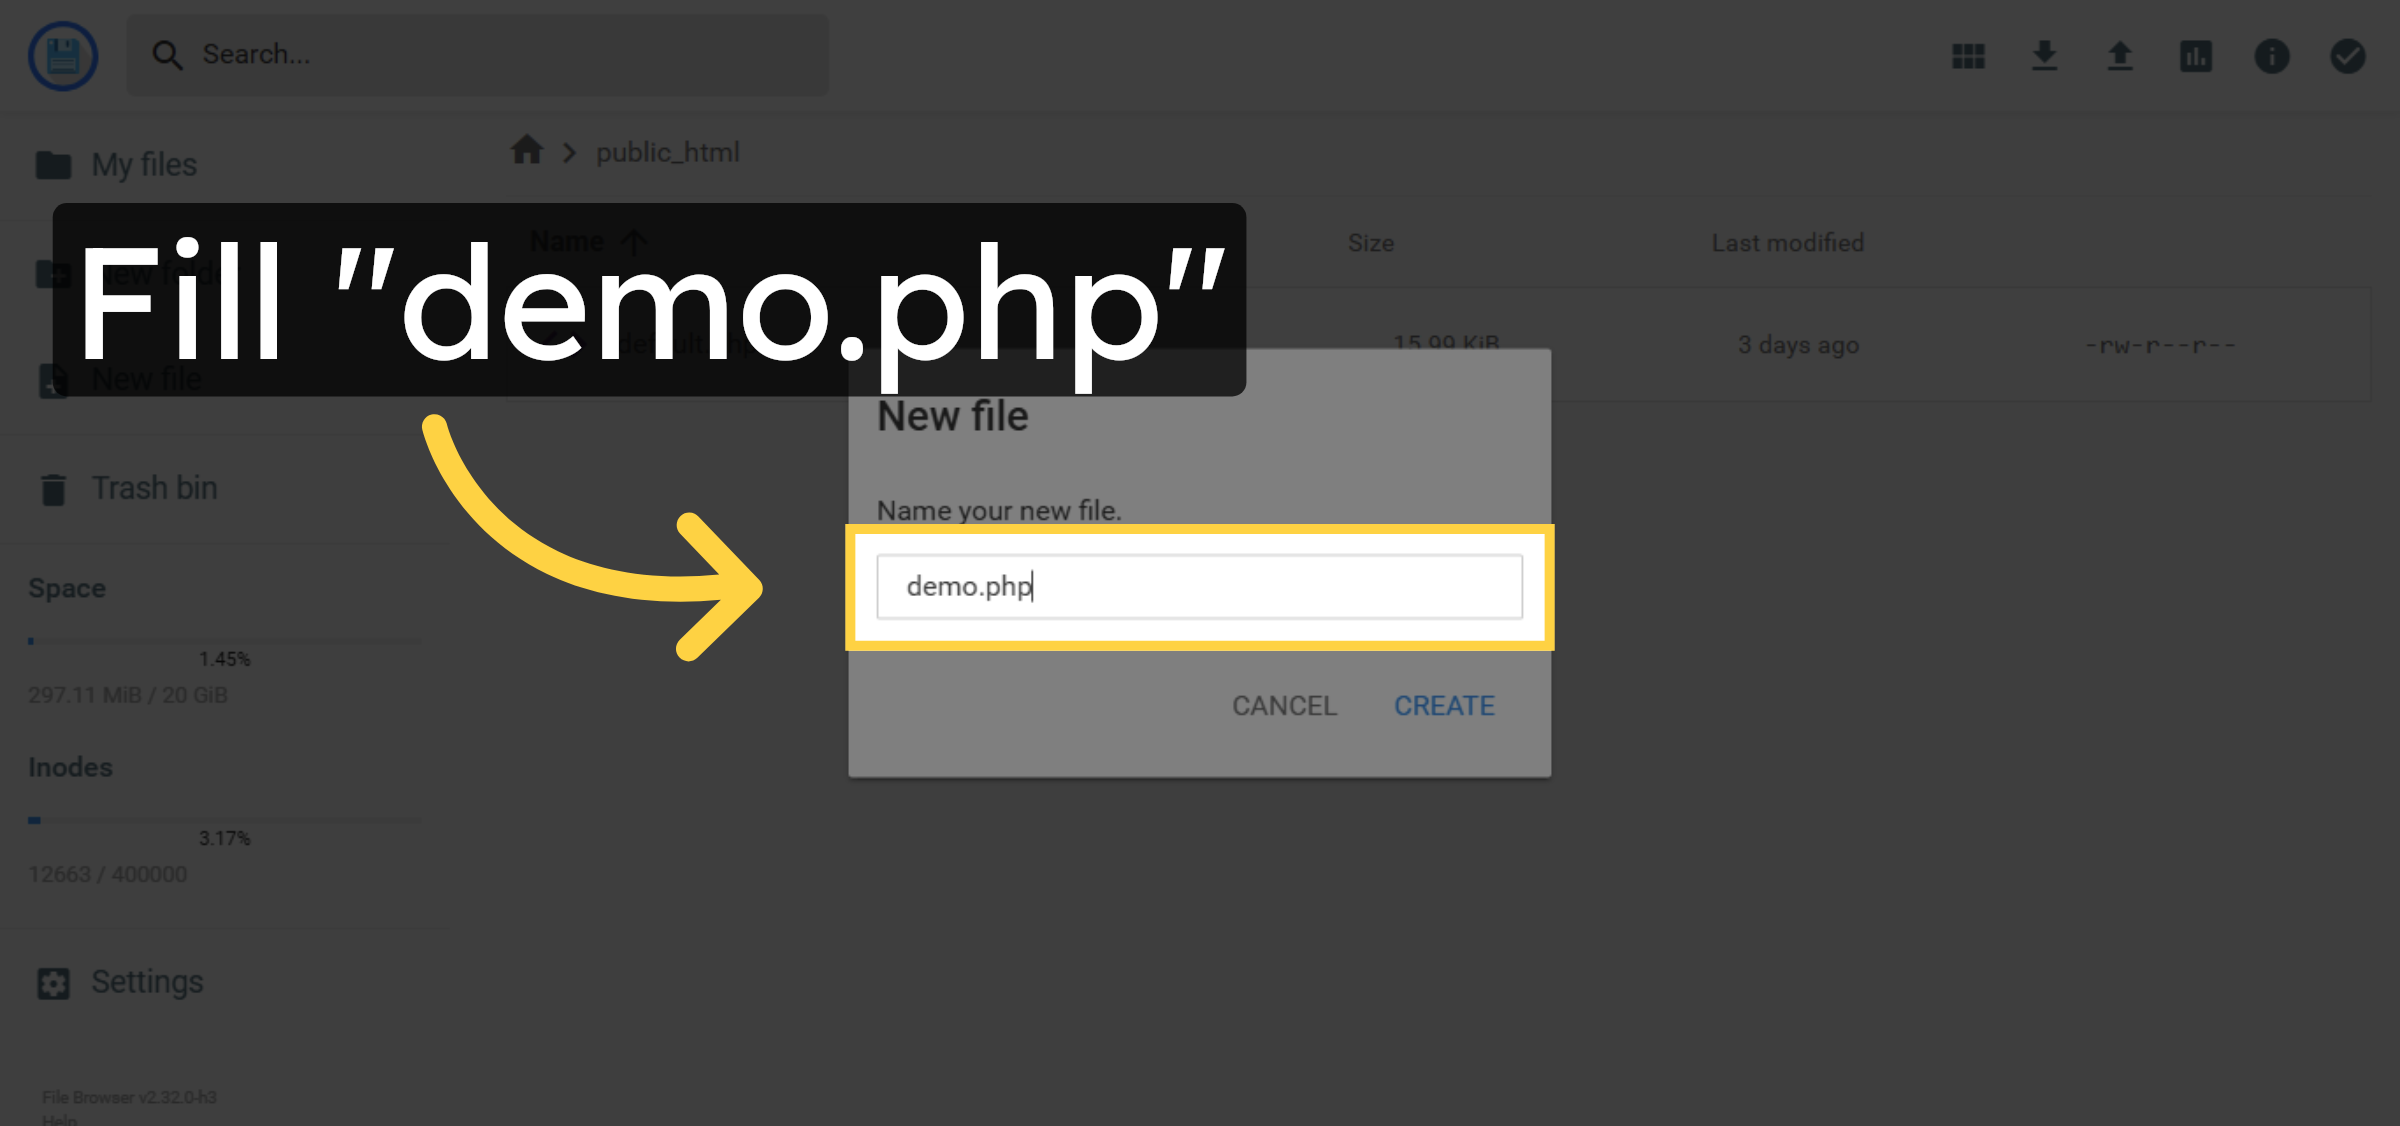
6. Name New File
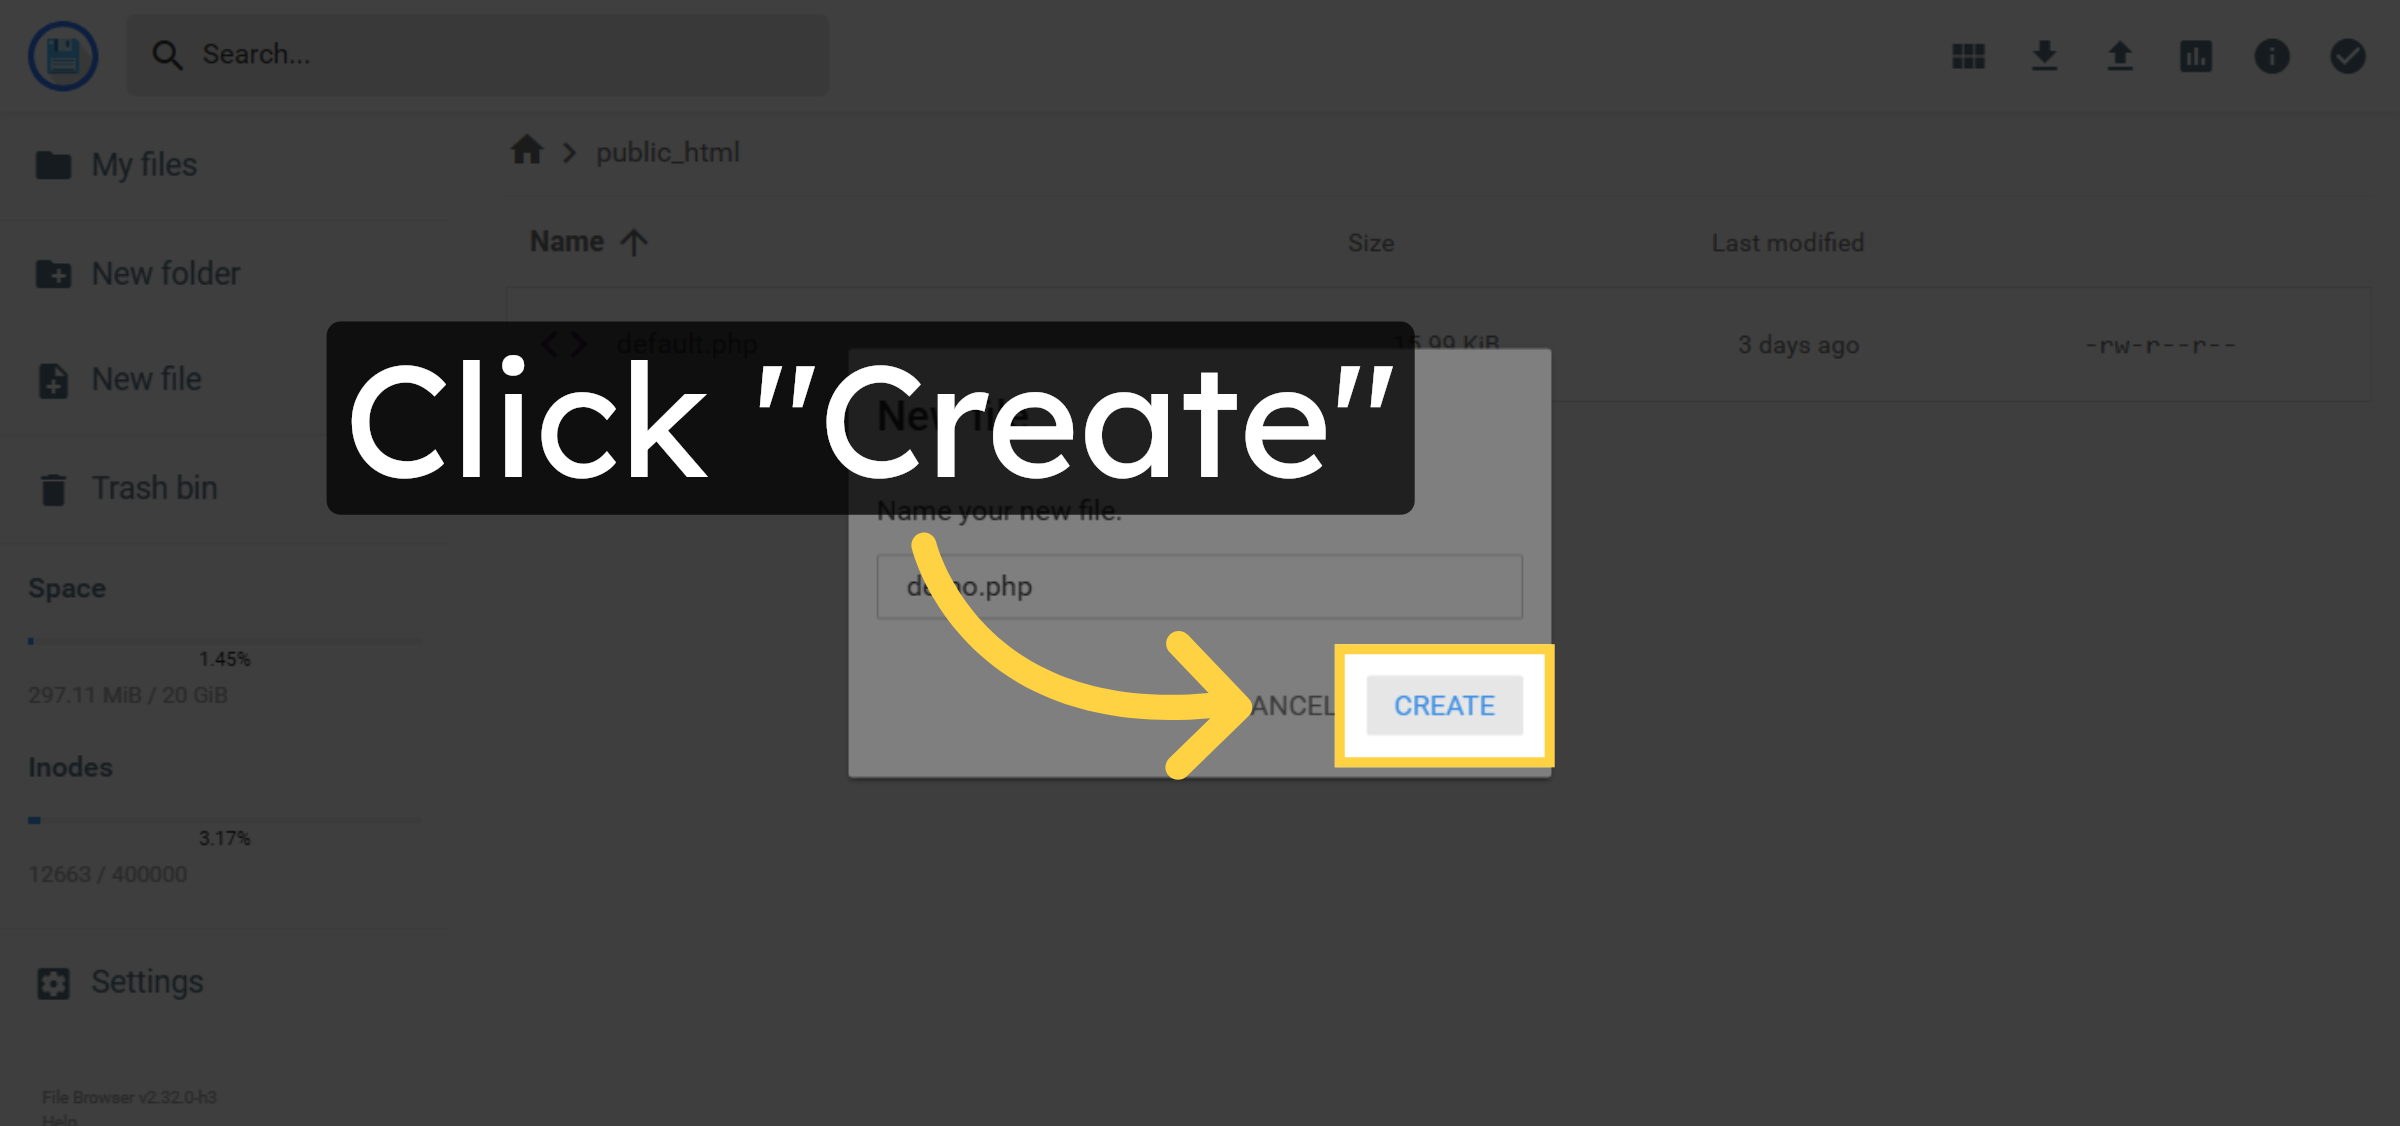
7. Confirm File Creation
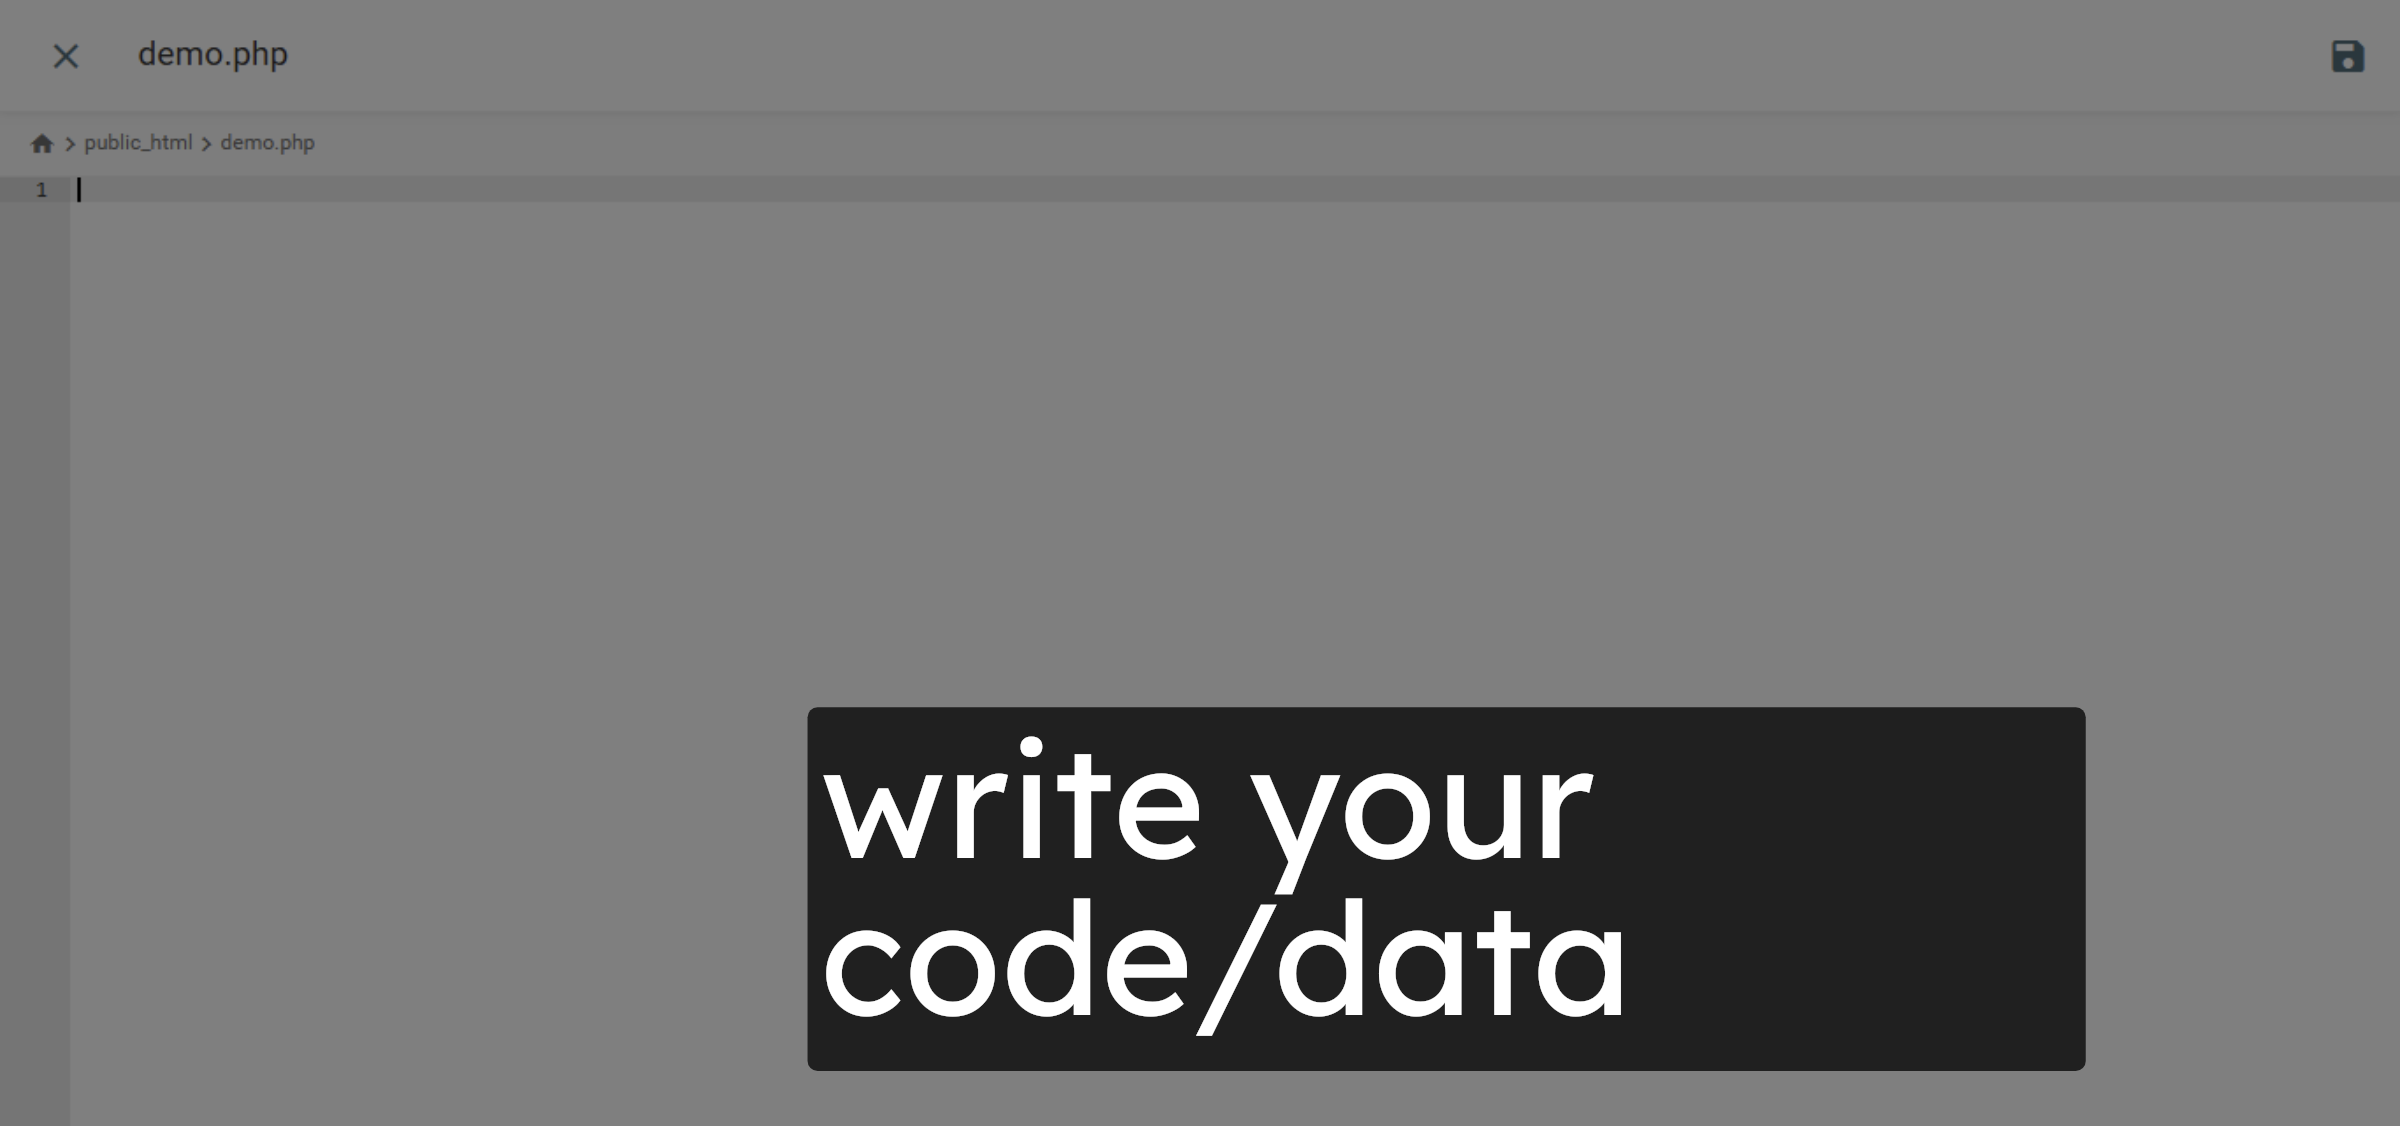
8. Writing Data/code
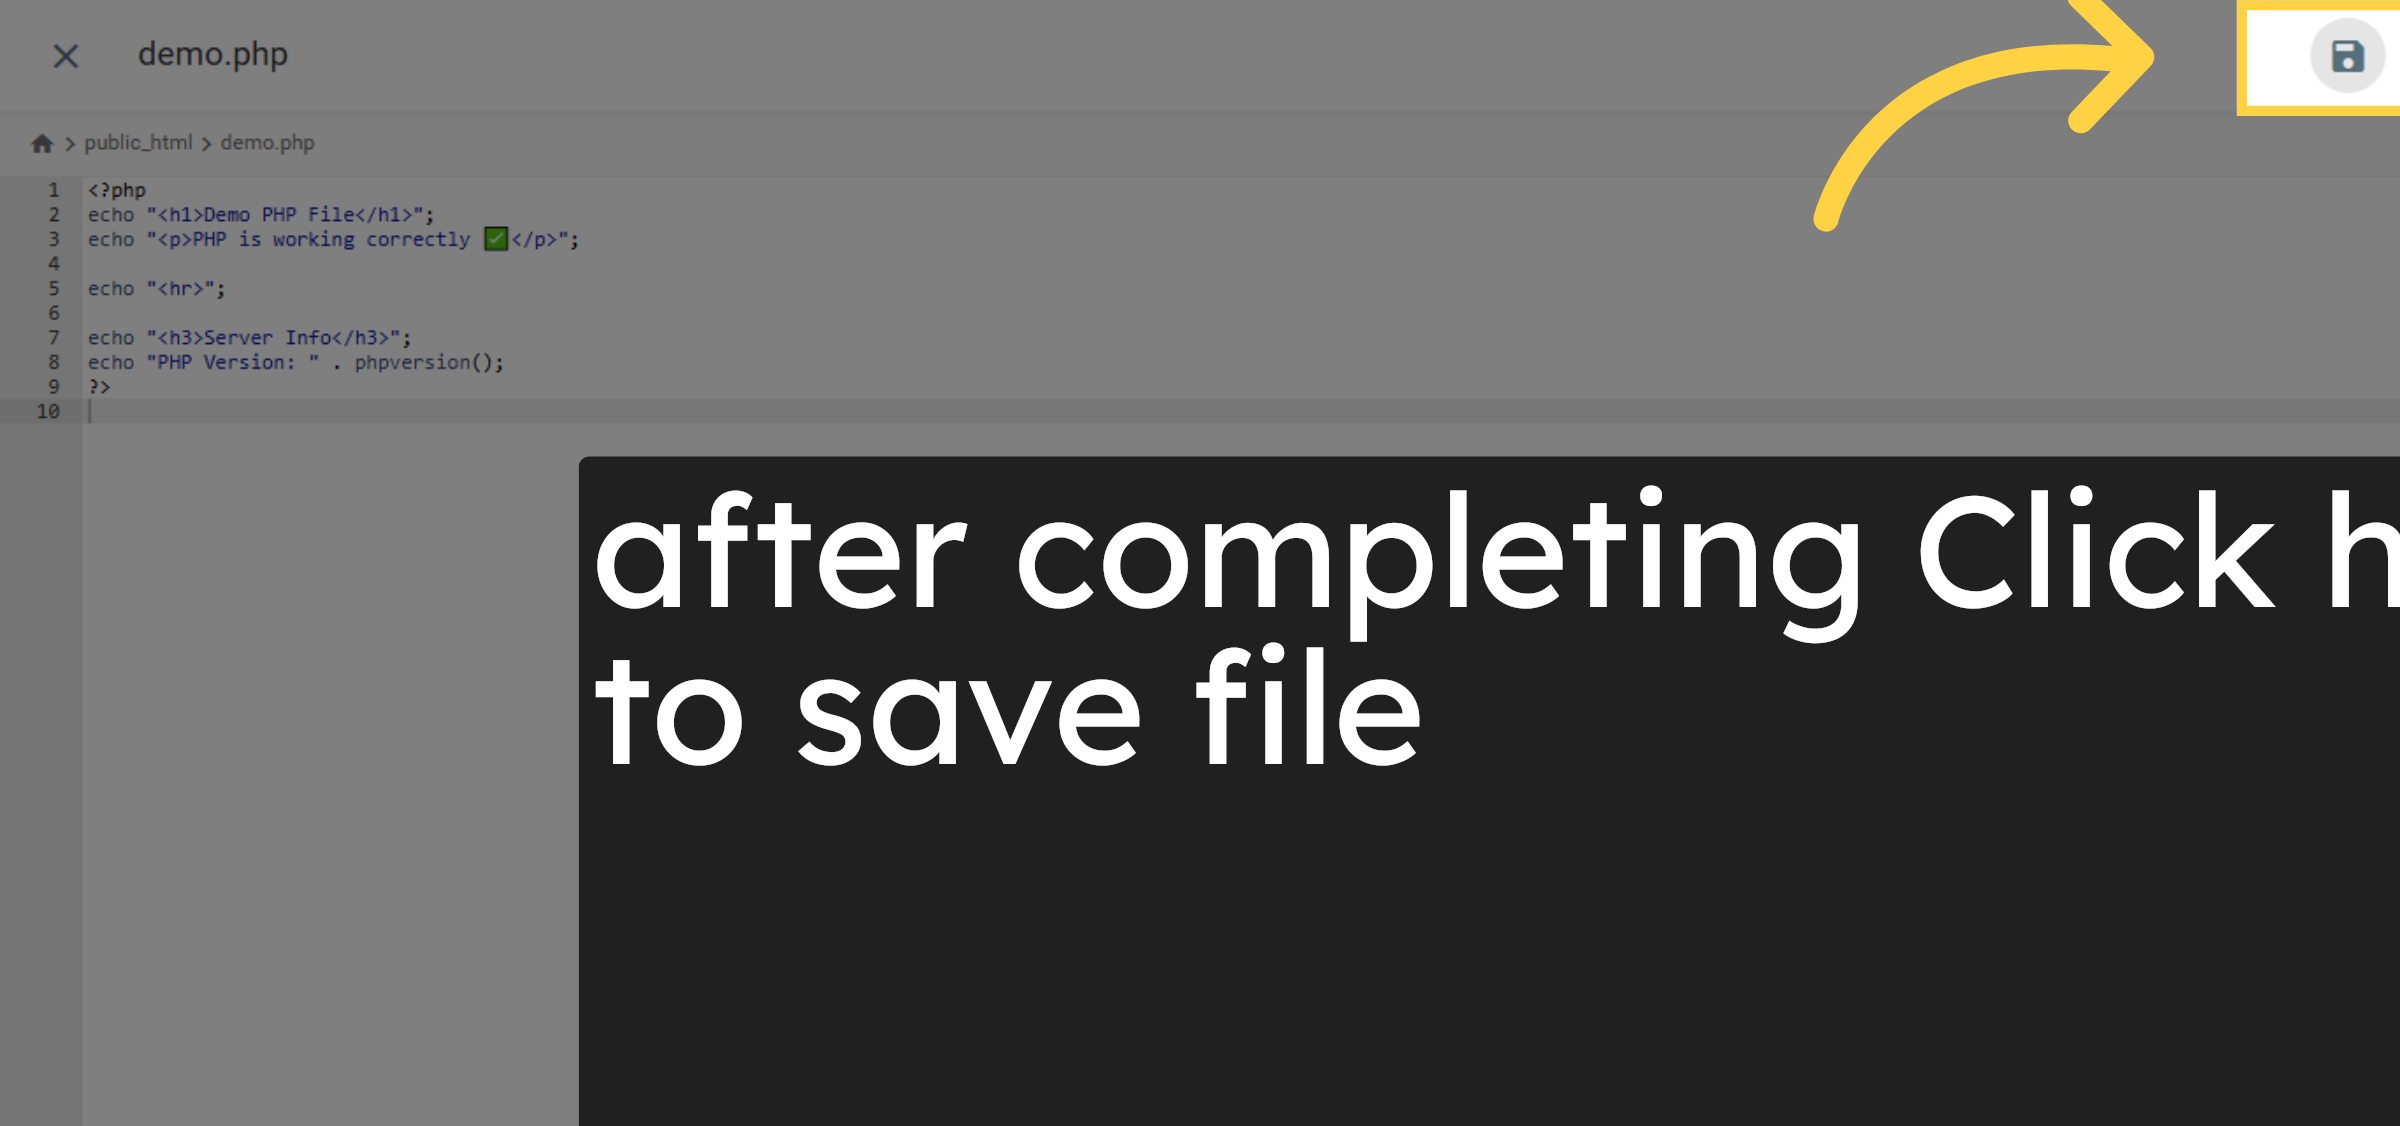
9. Save file
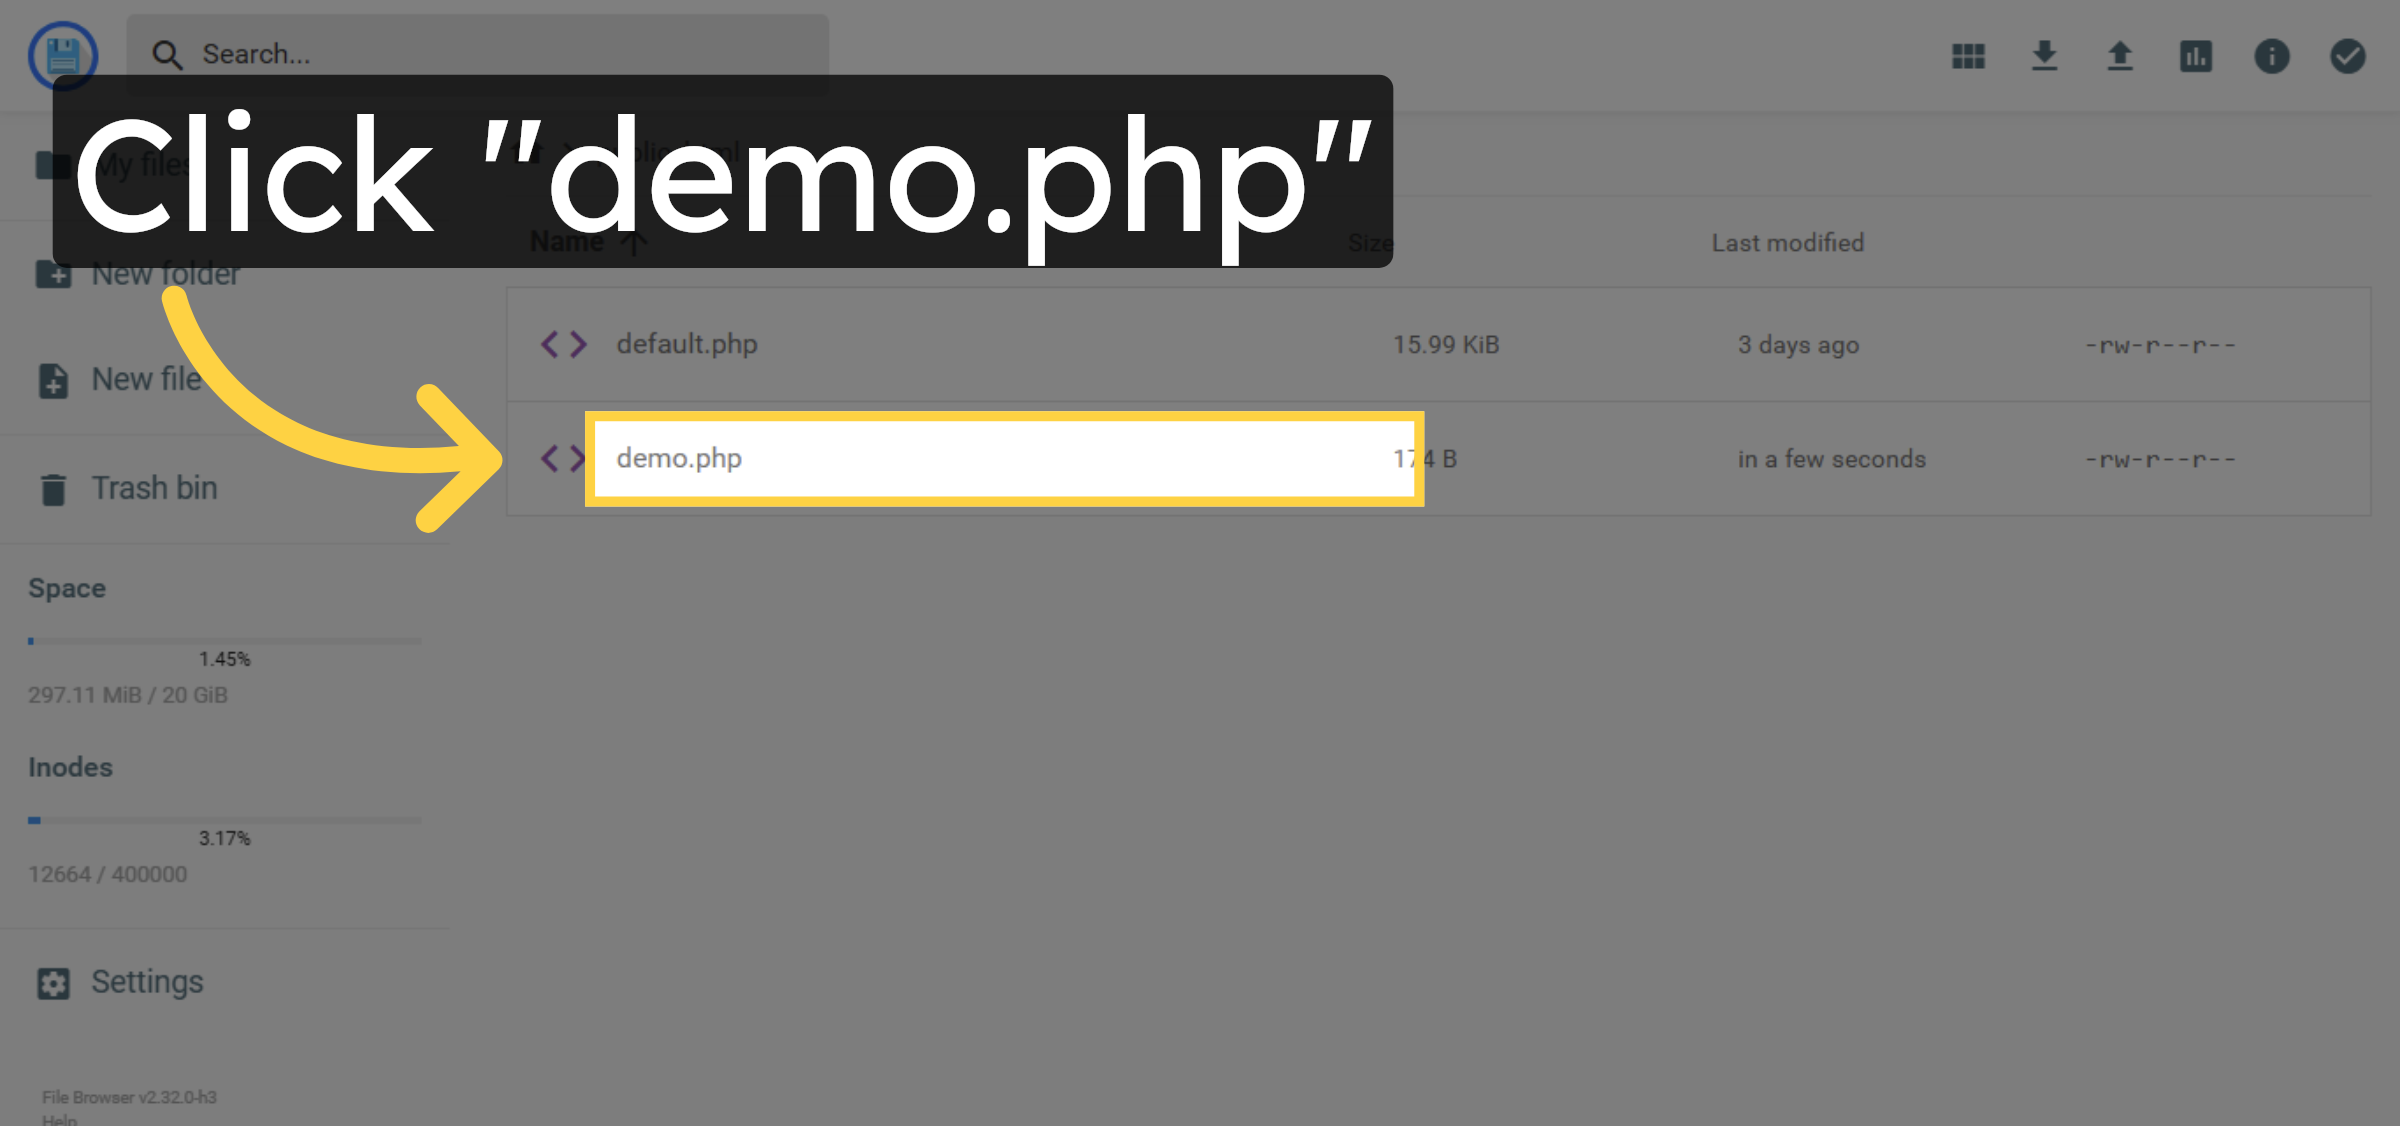
10. Open File Menu
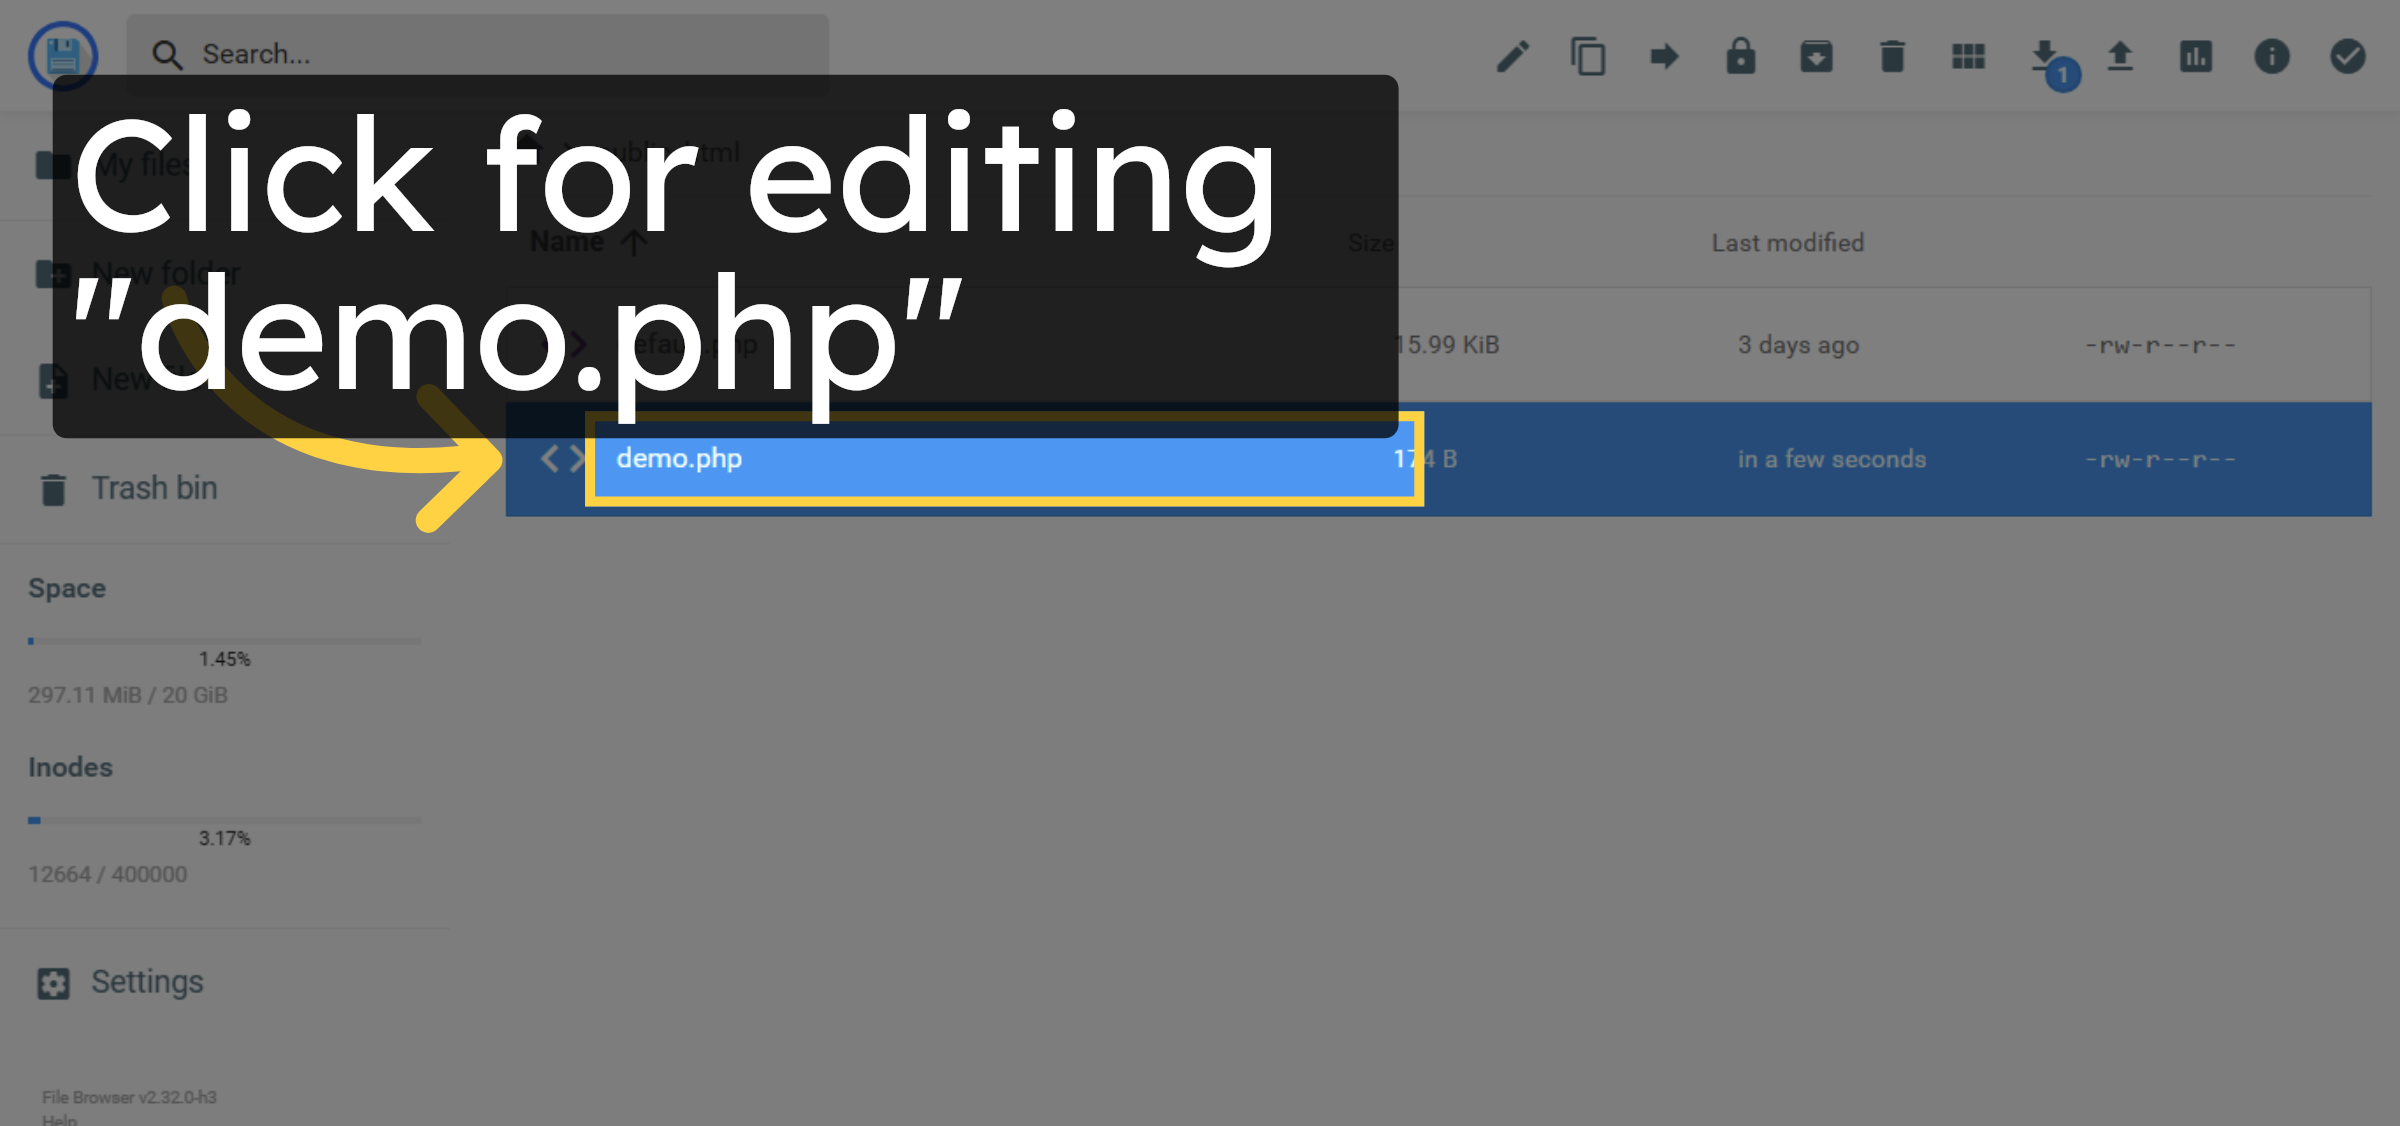
11. File Editing
12. Start Editing File

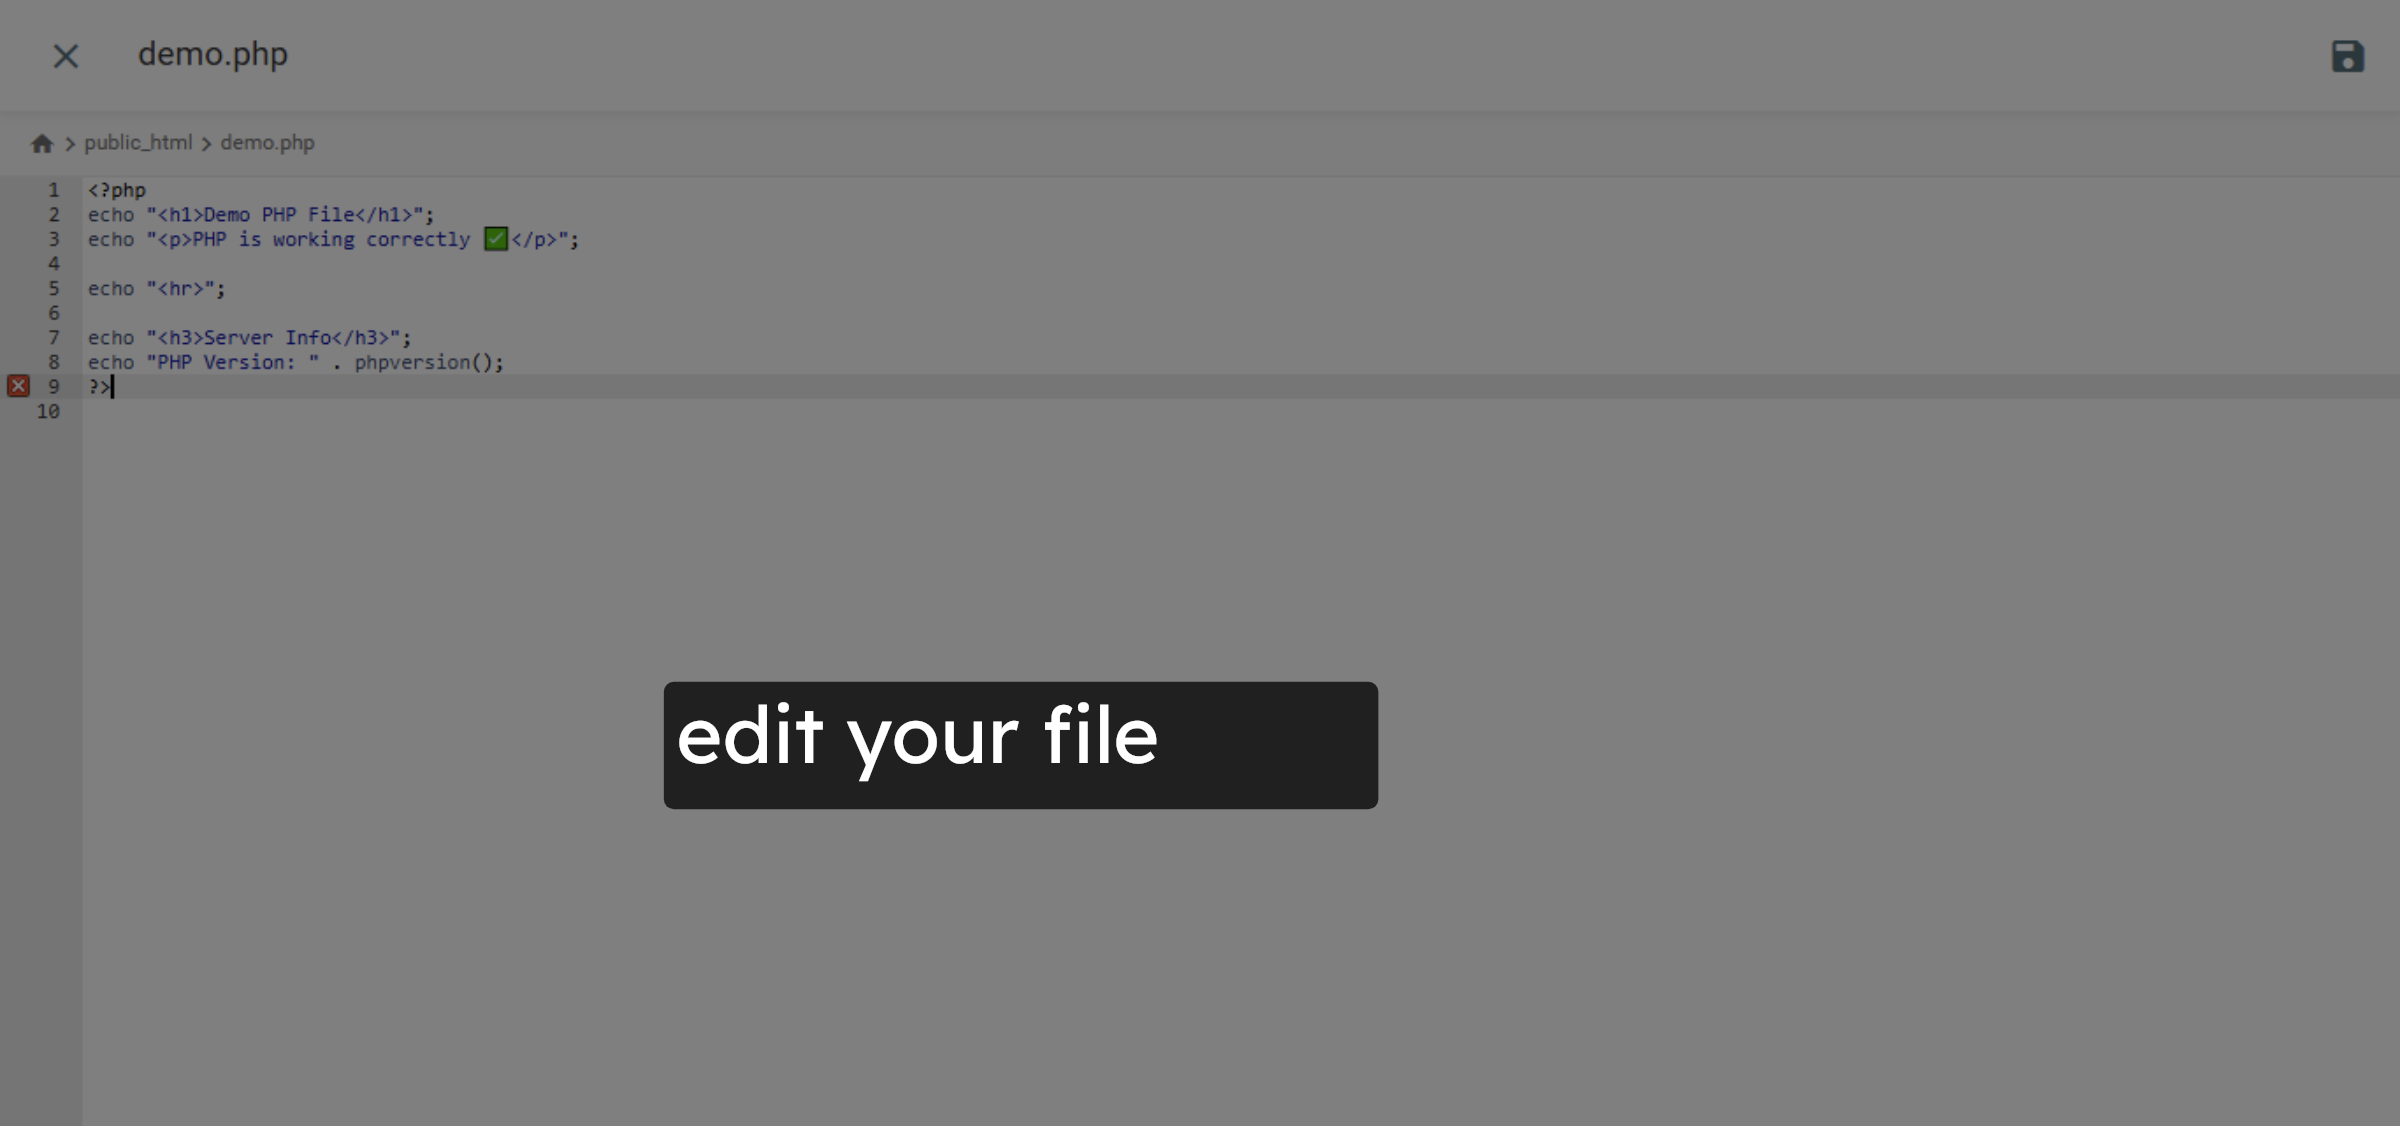
13. Edit your file


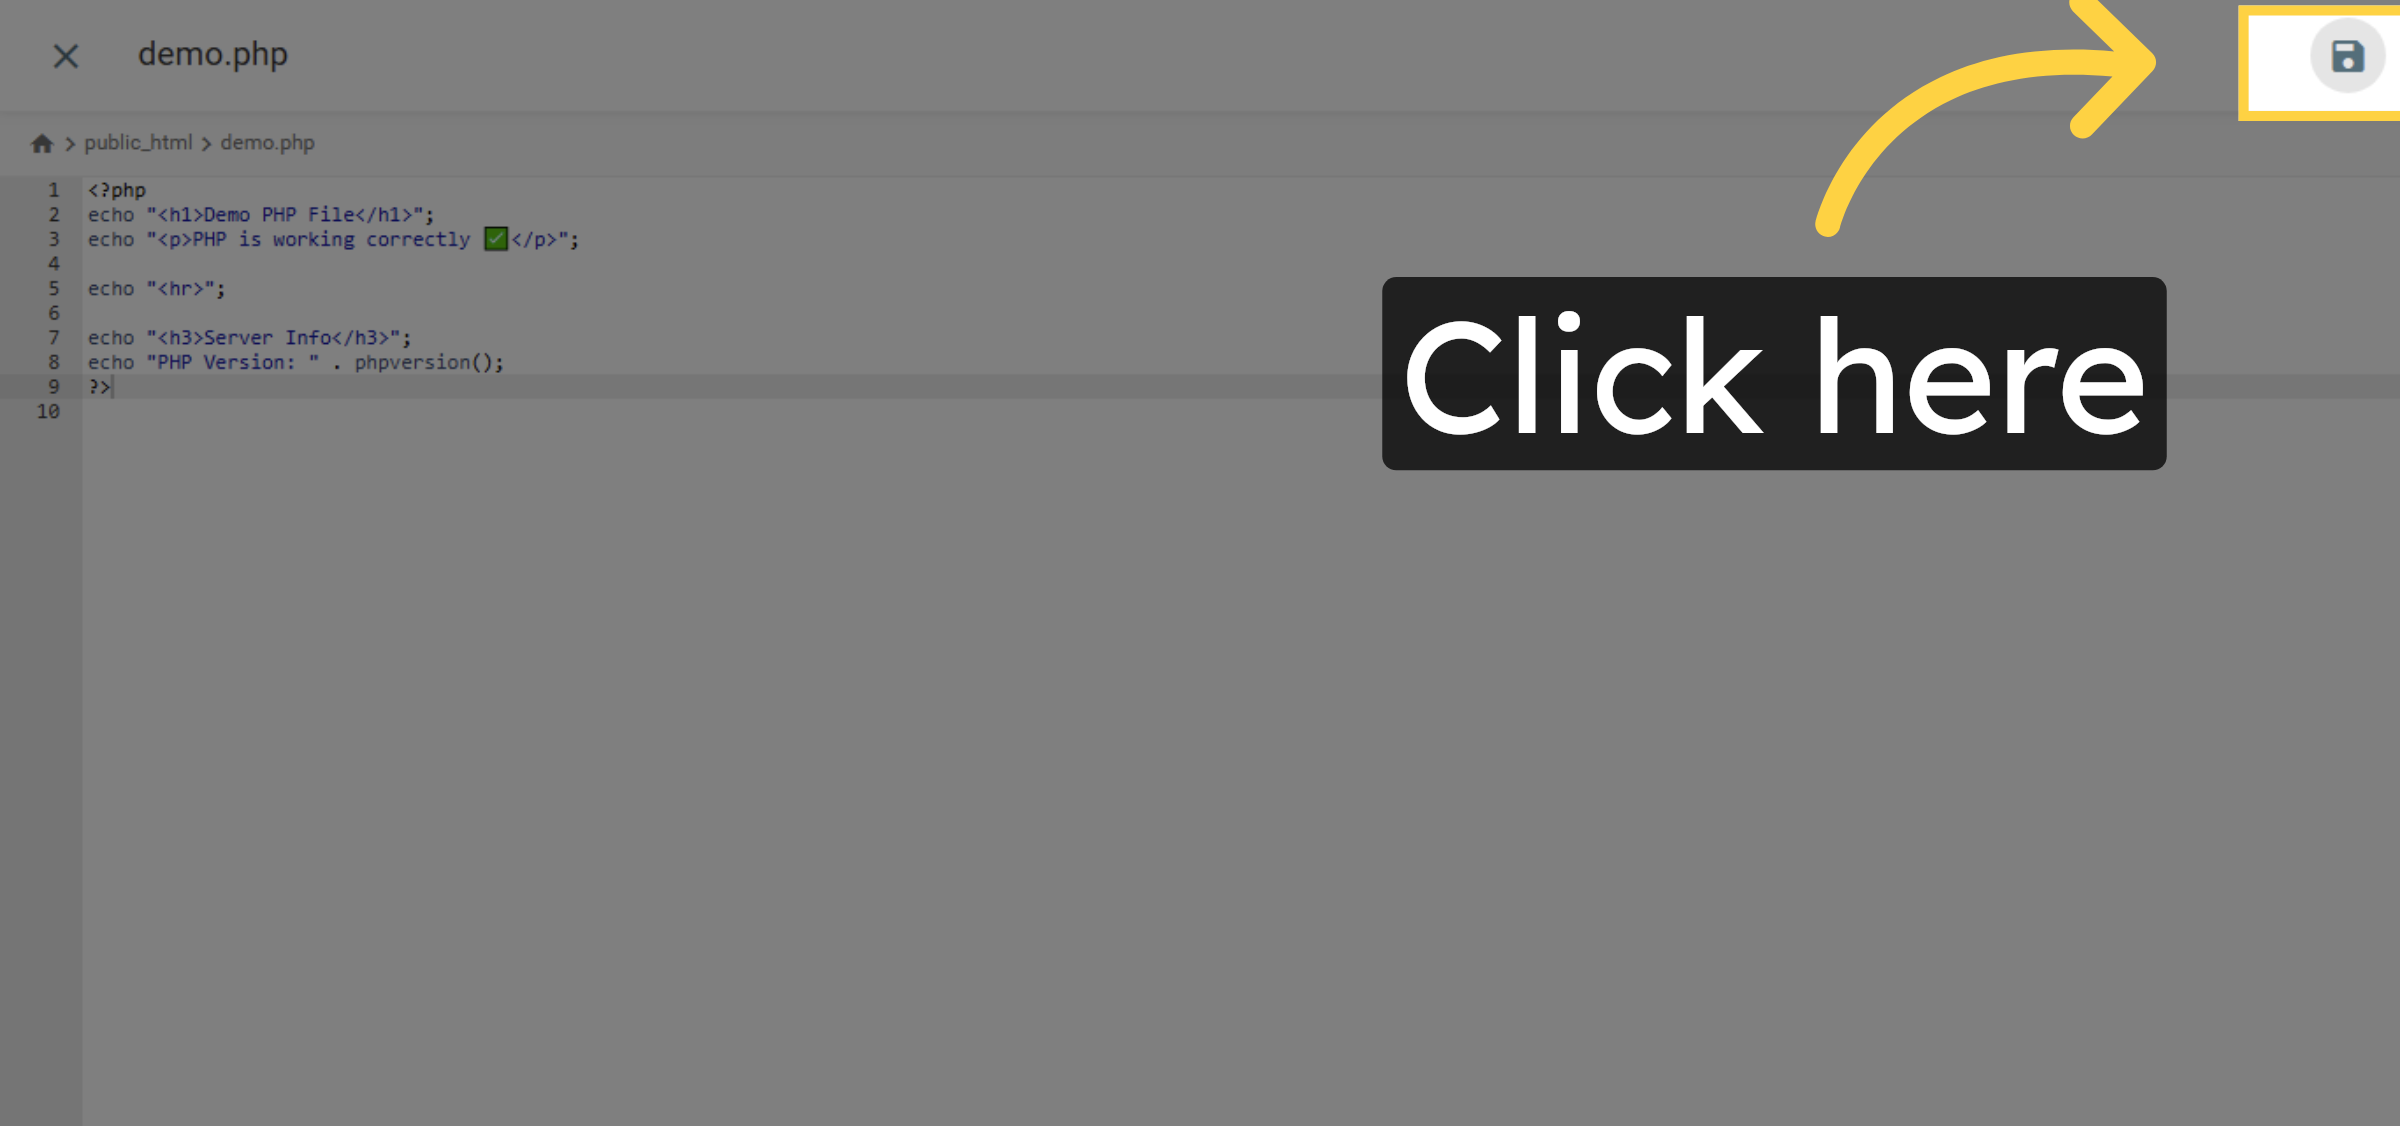
14. Save File Changes
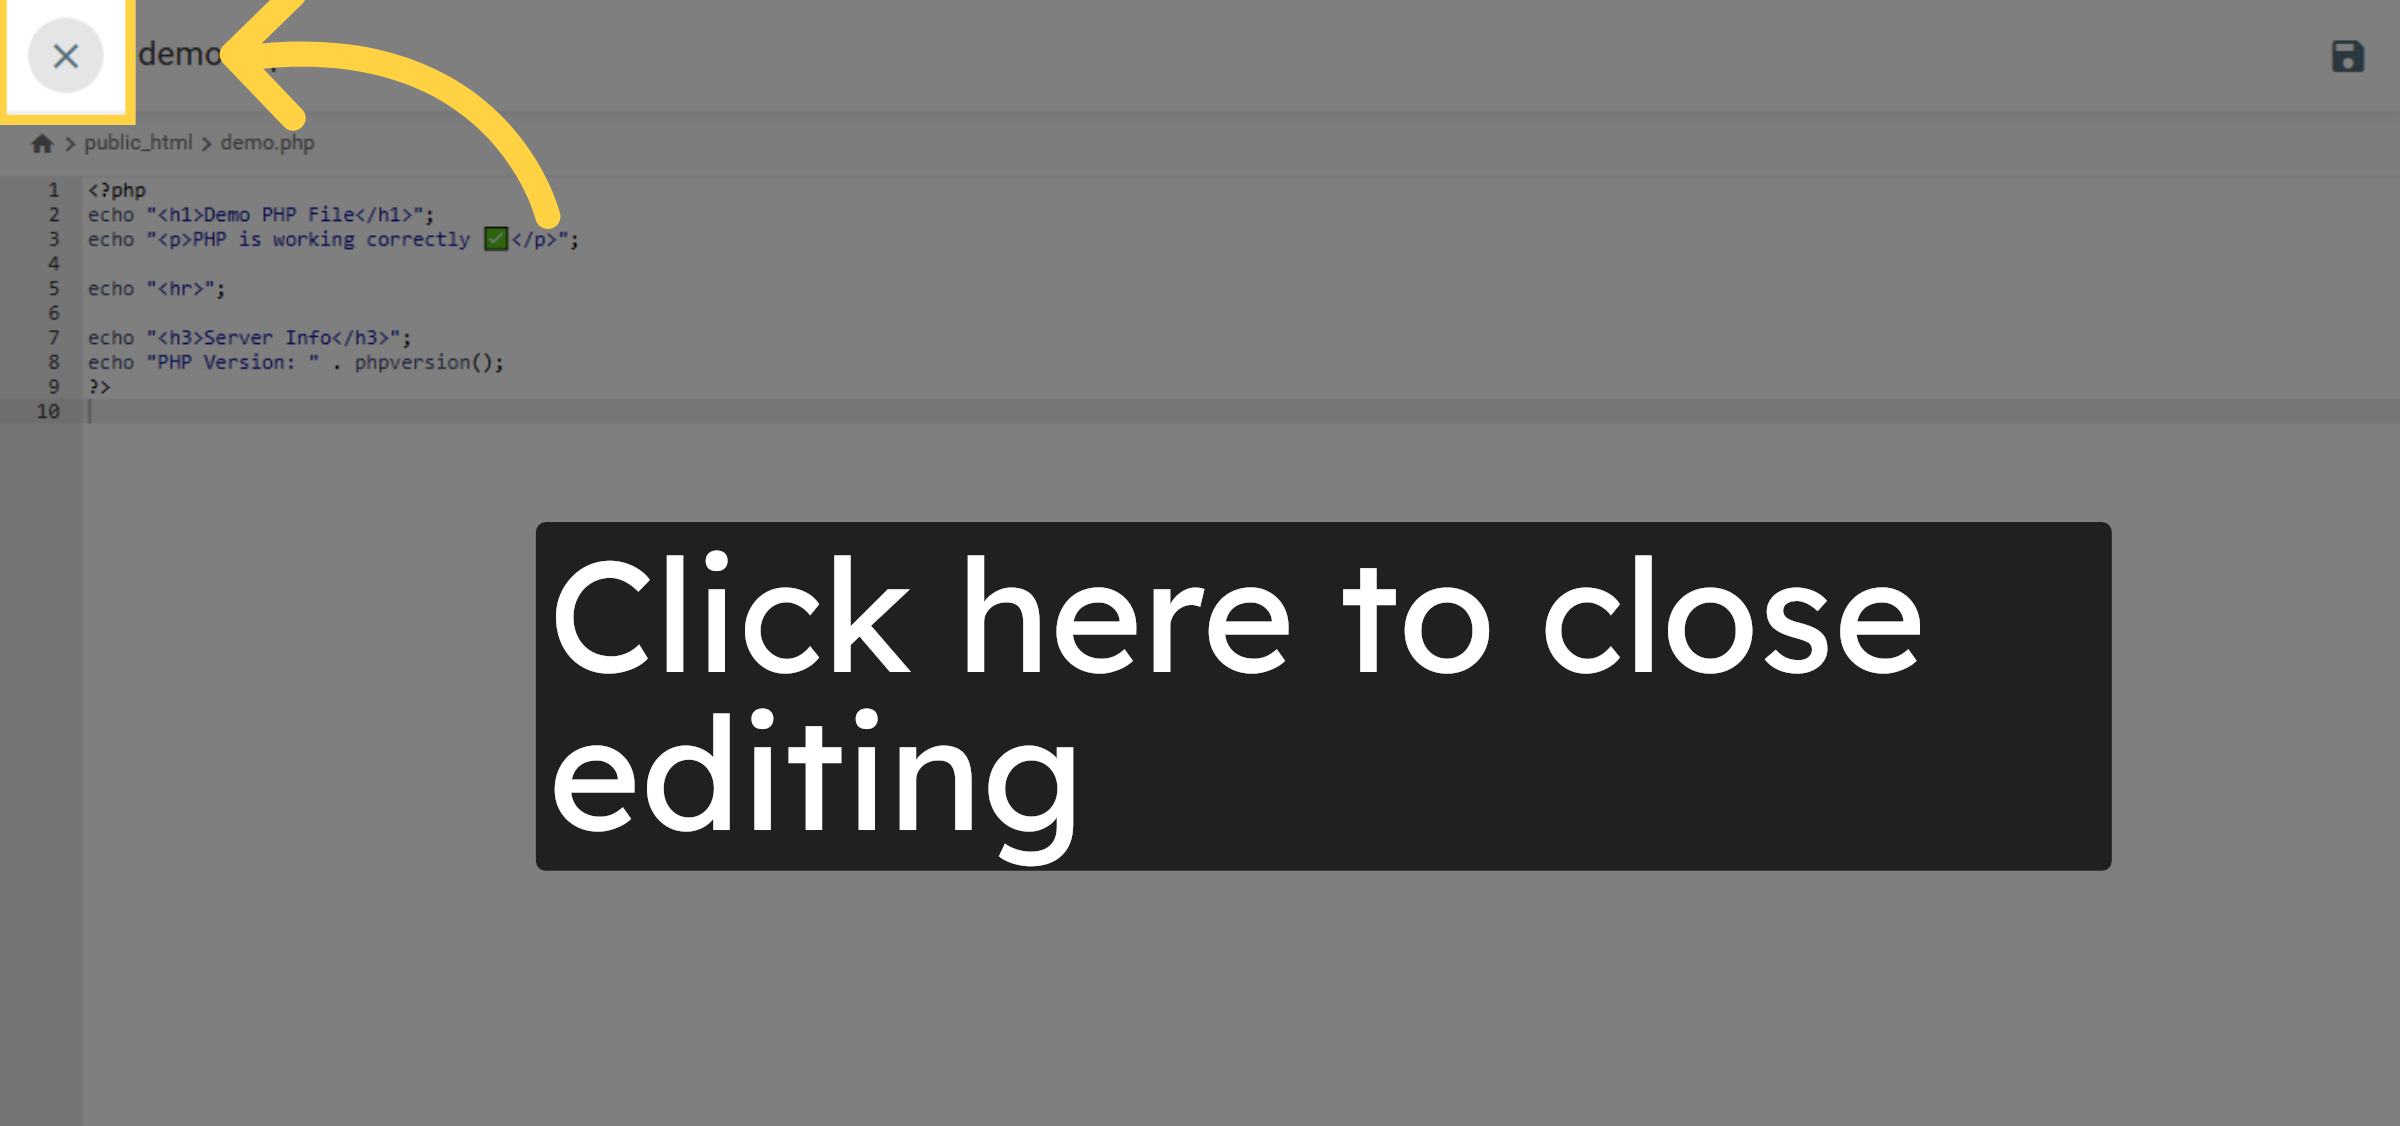
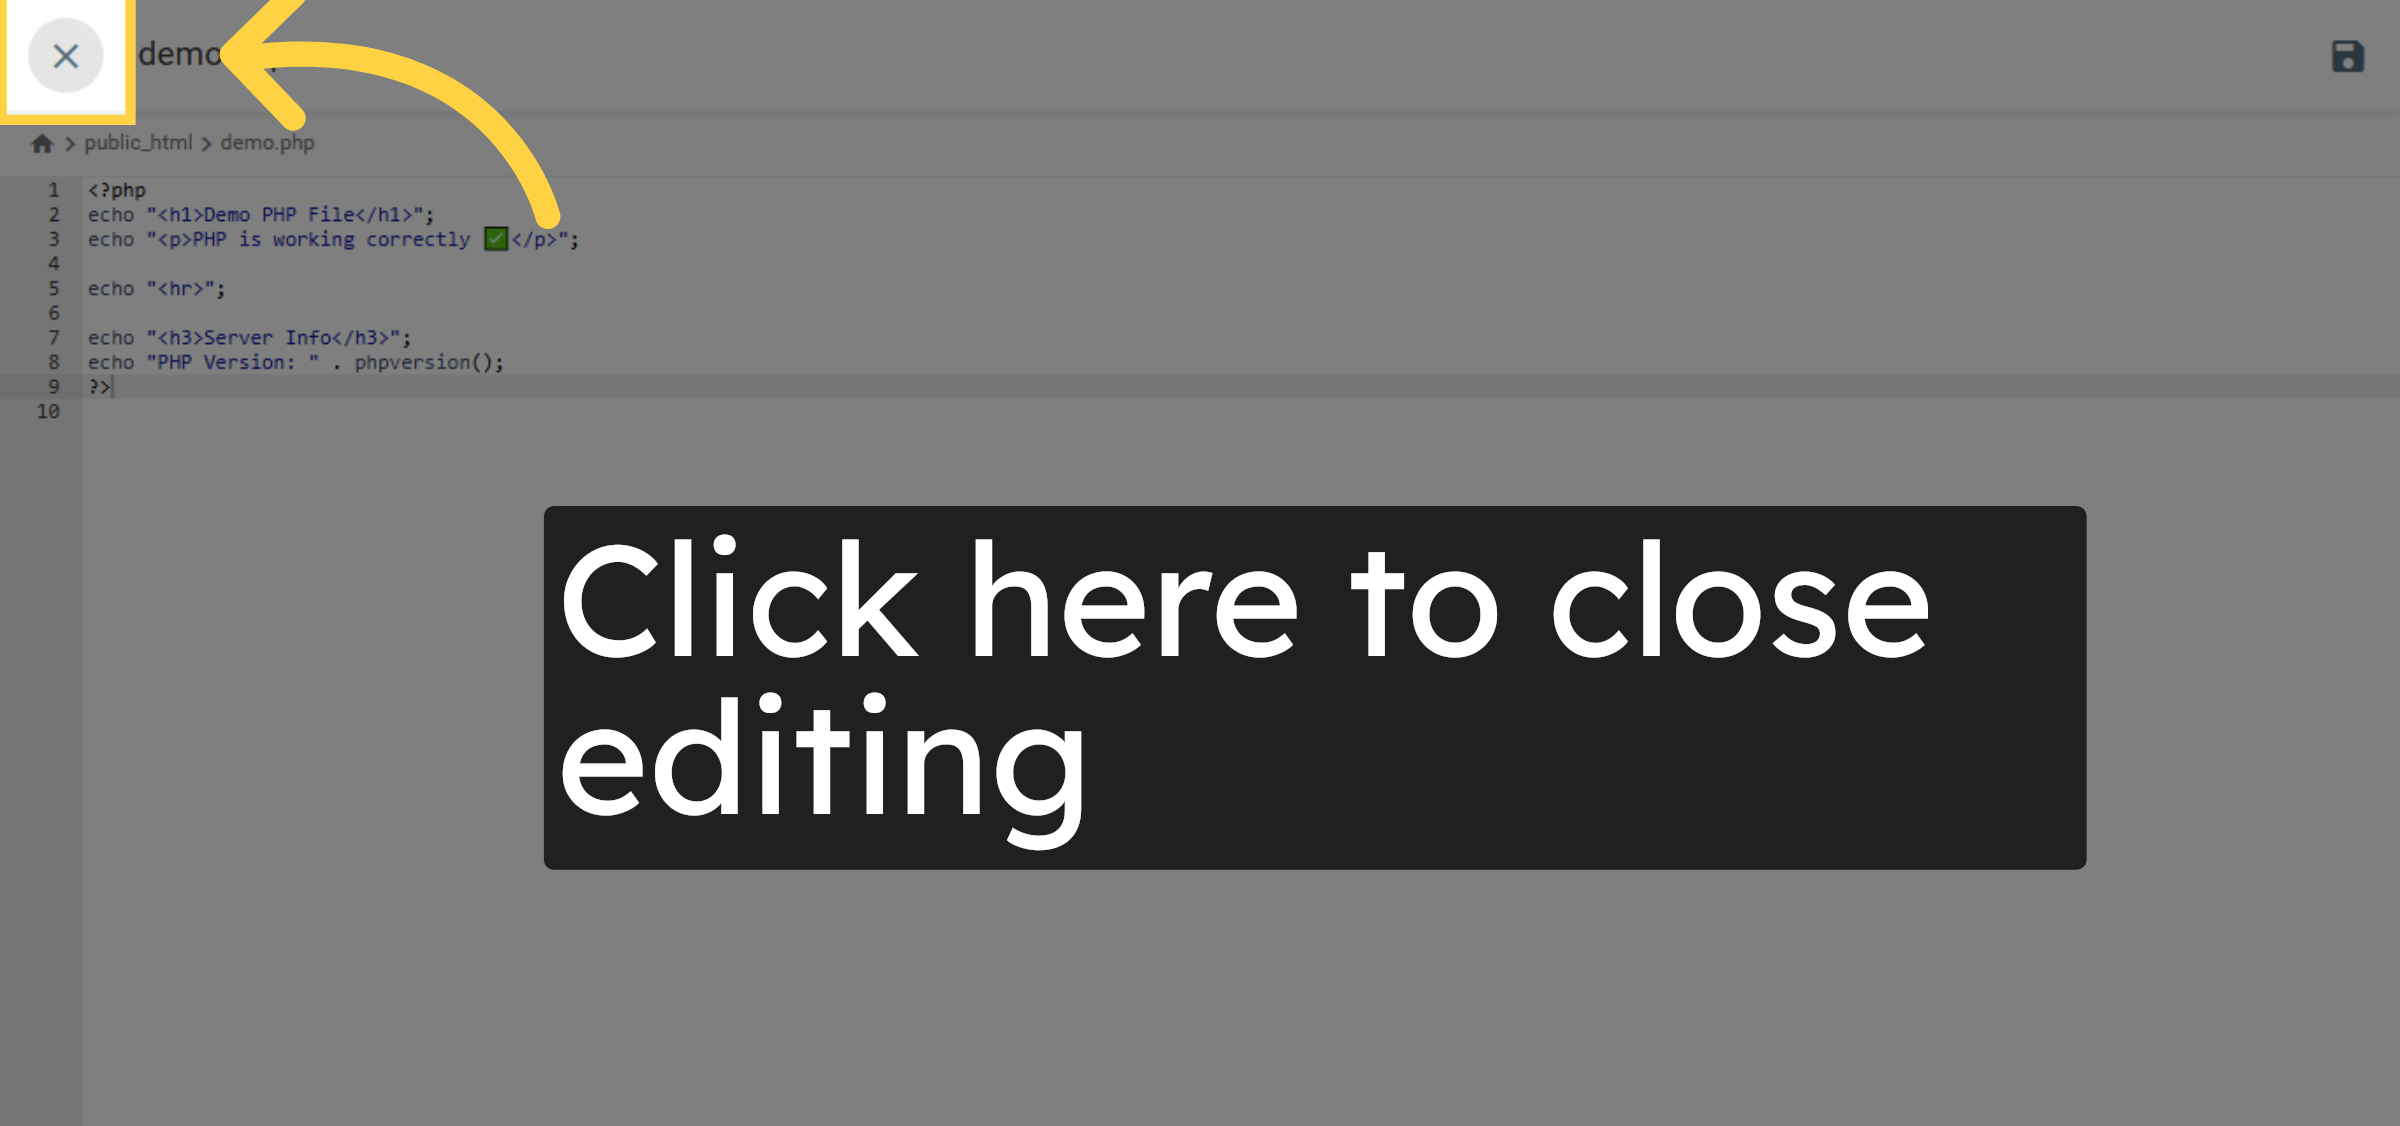
15. close file
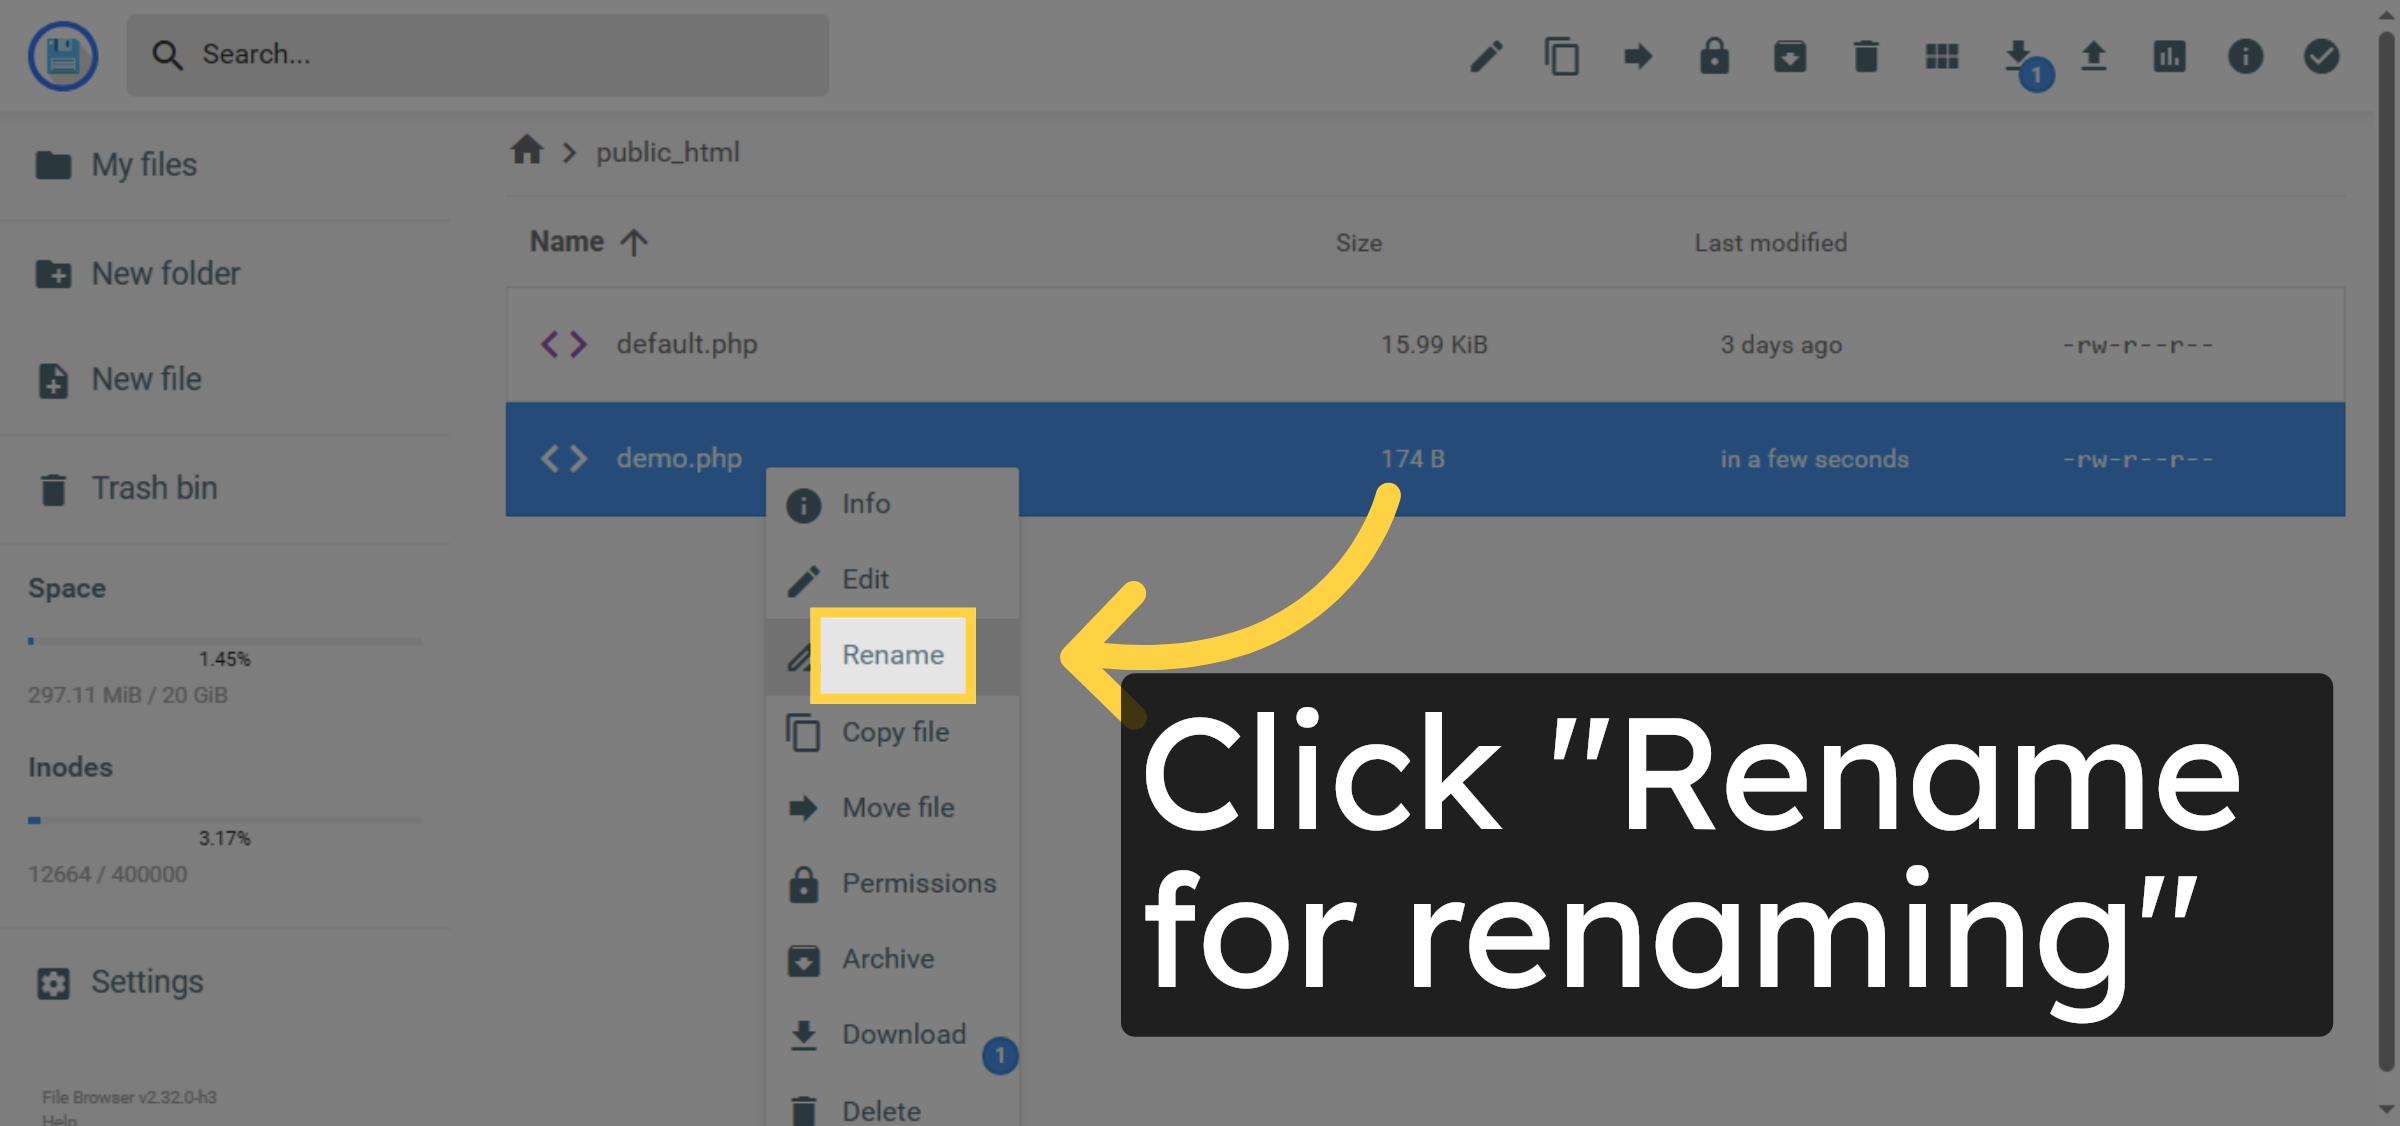
16. File Renaming
17. Rename File
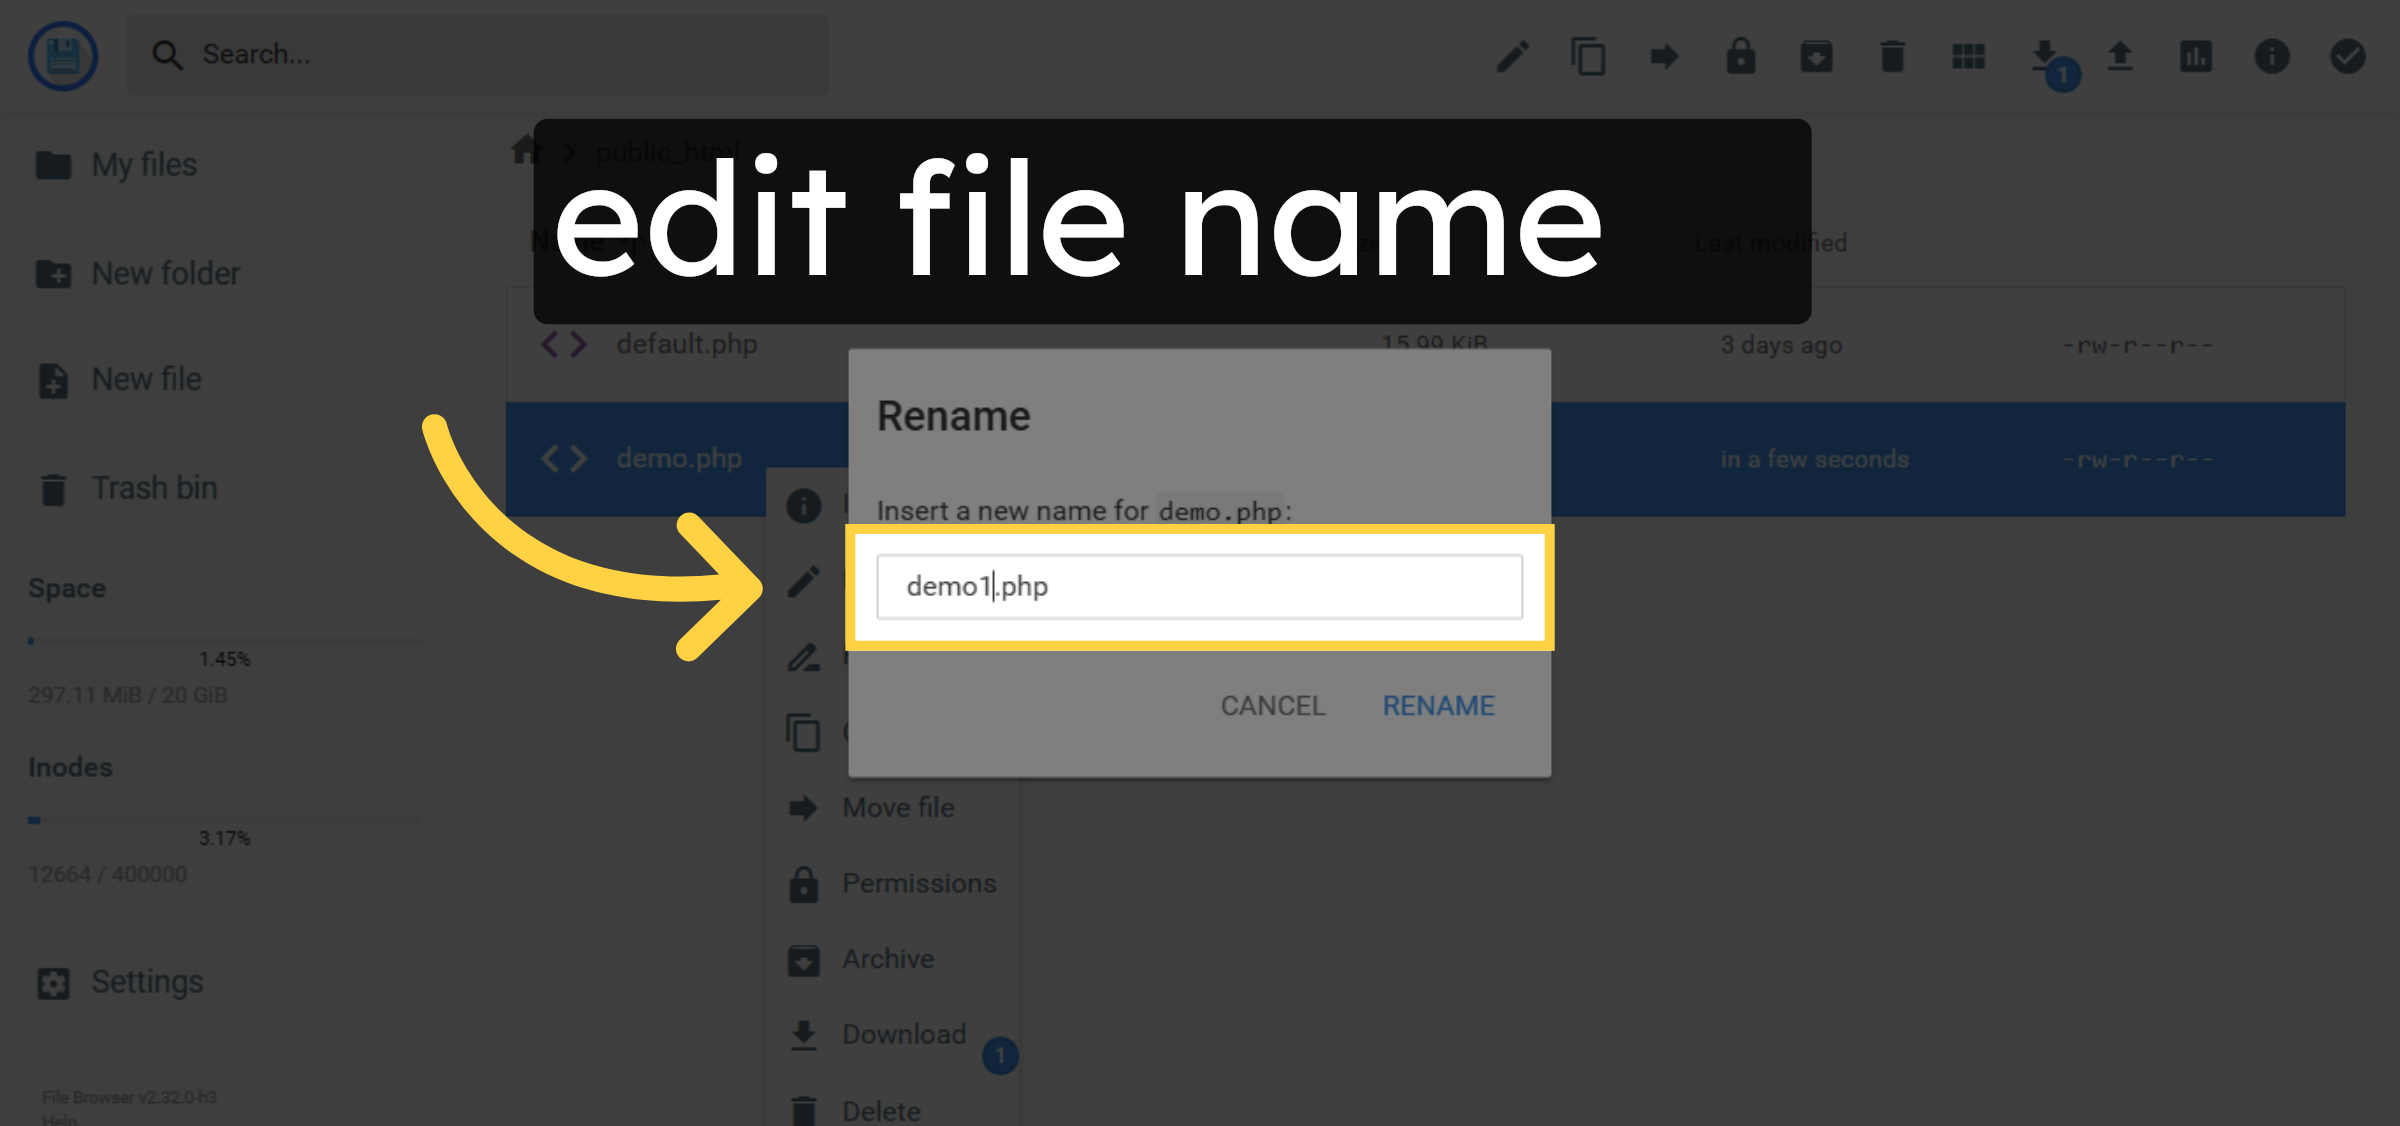
18. Enter New File Name
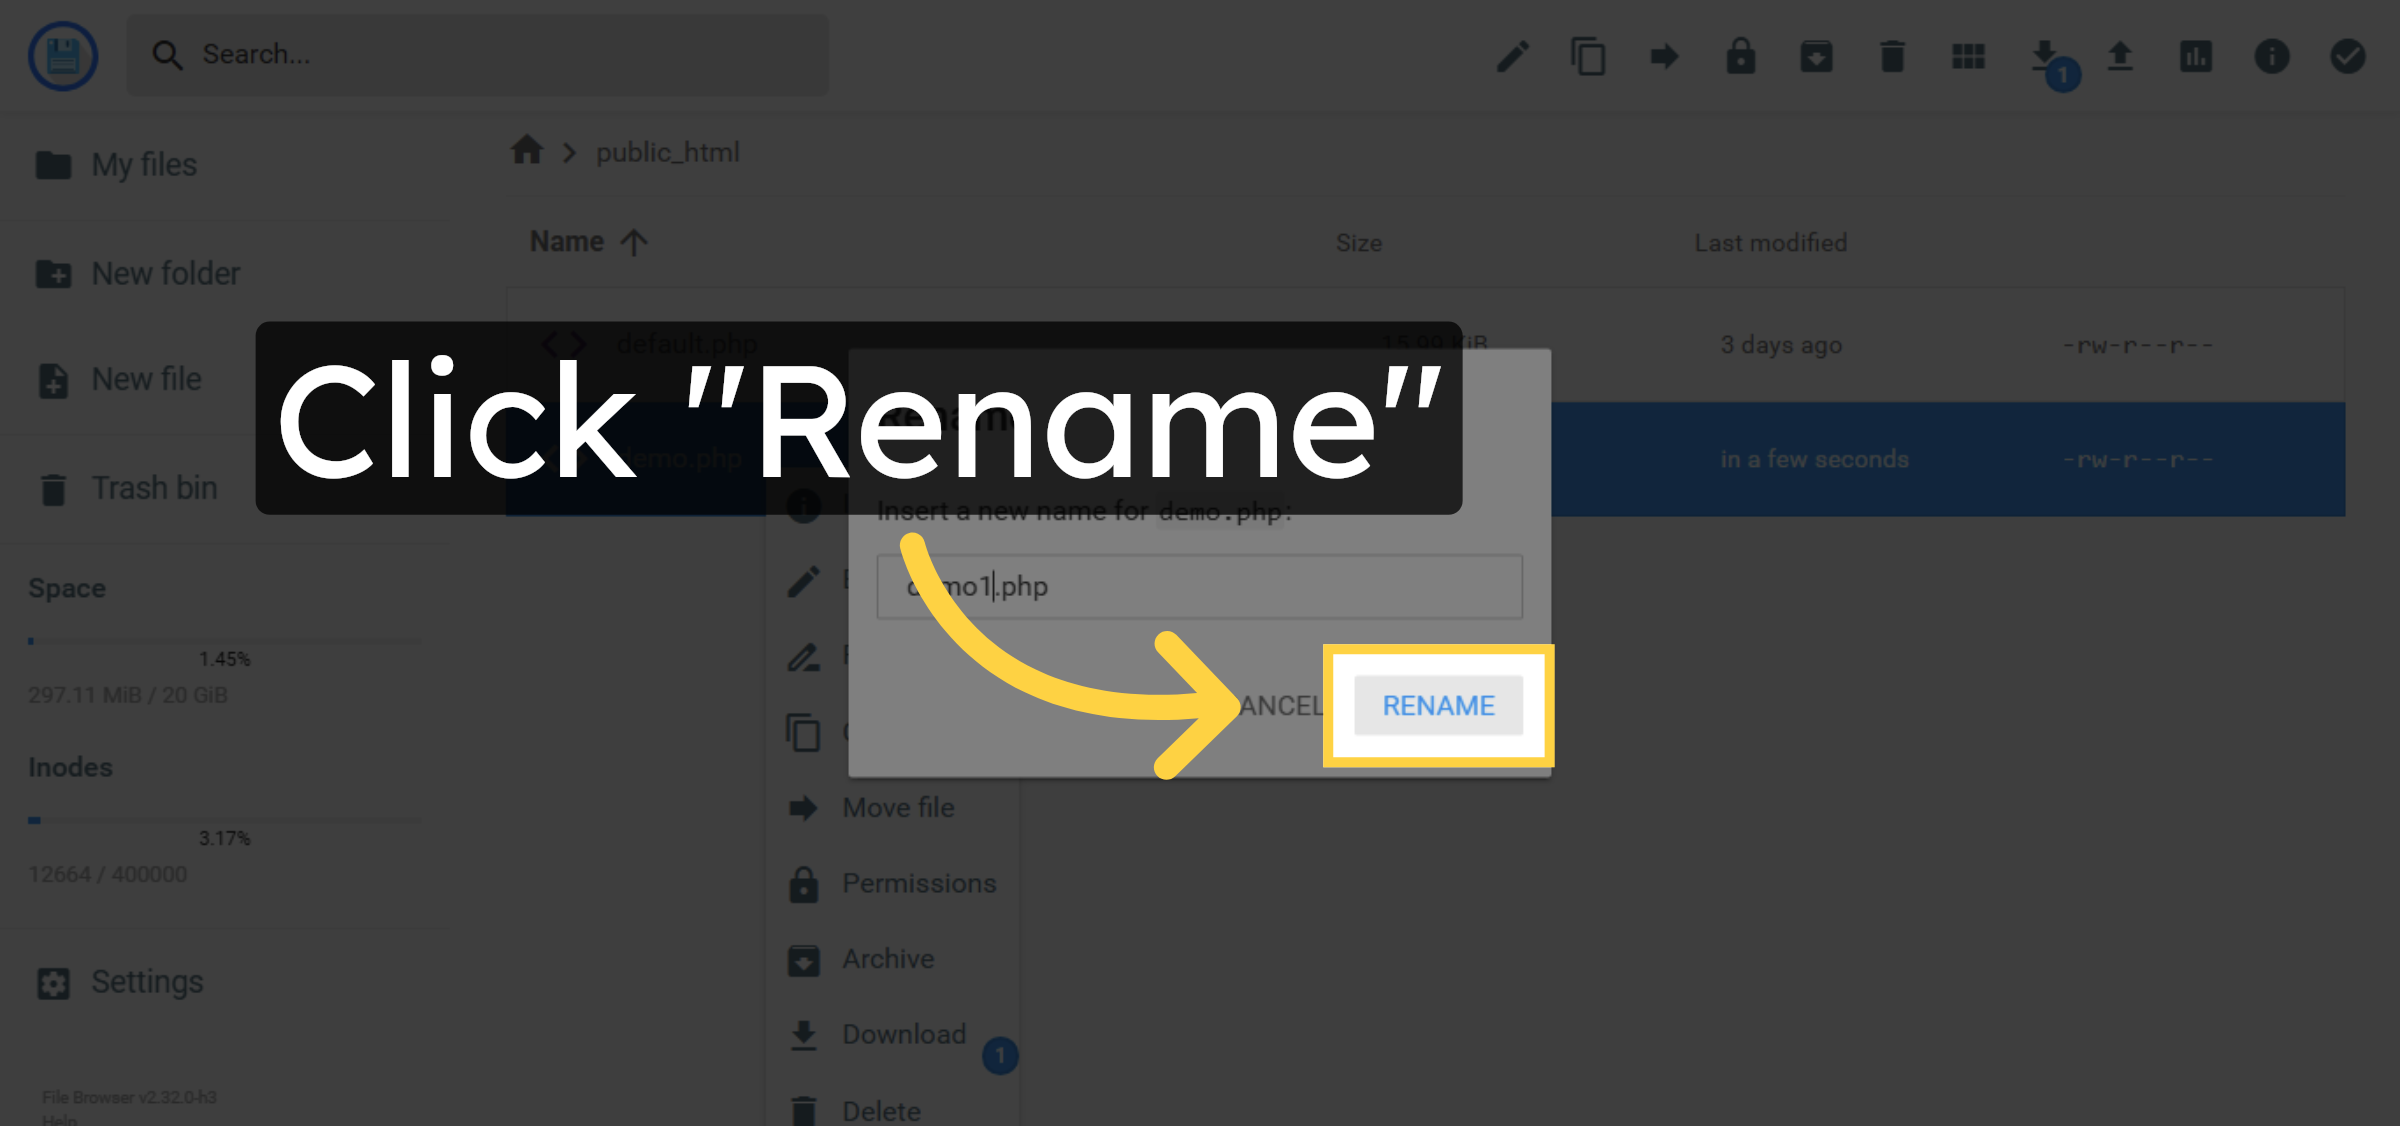
19. Confirm Rename
20. File Deletion.
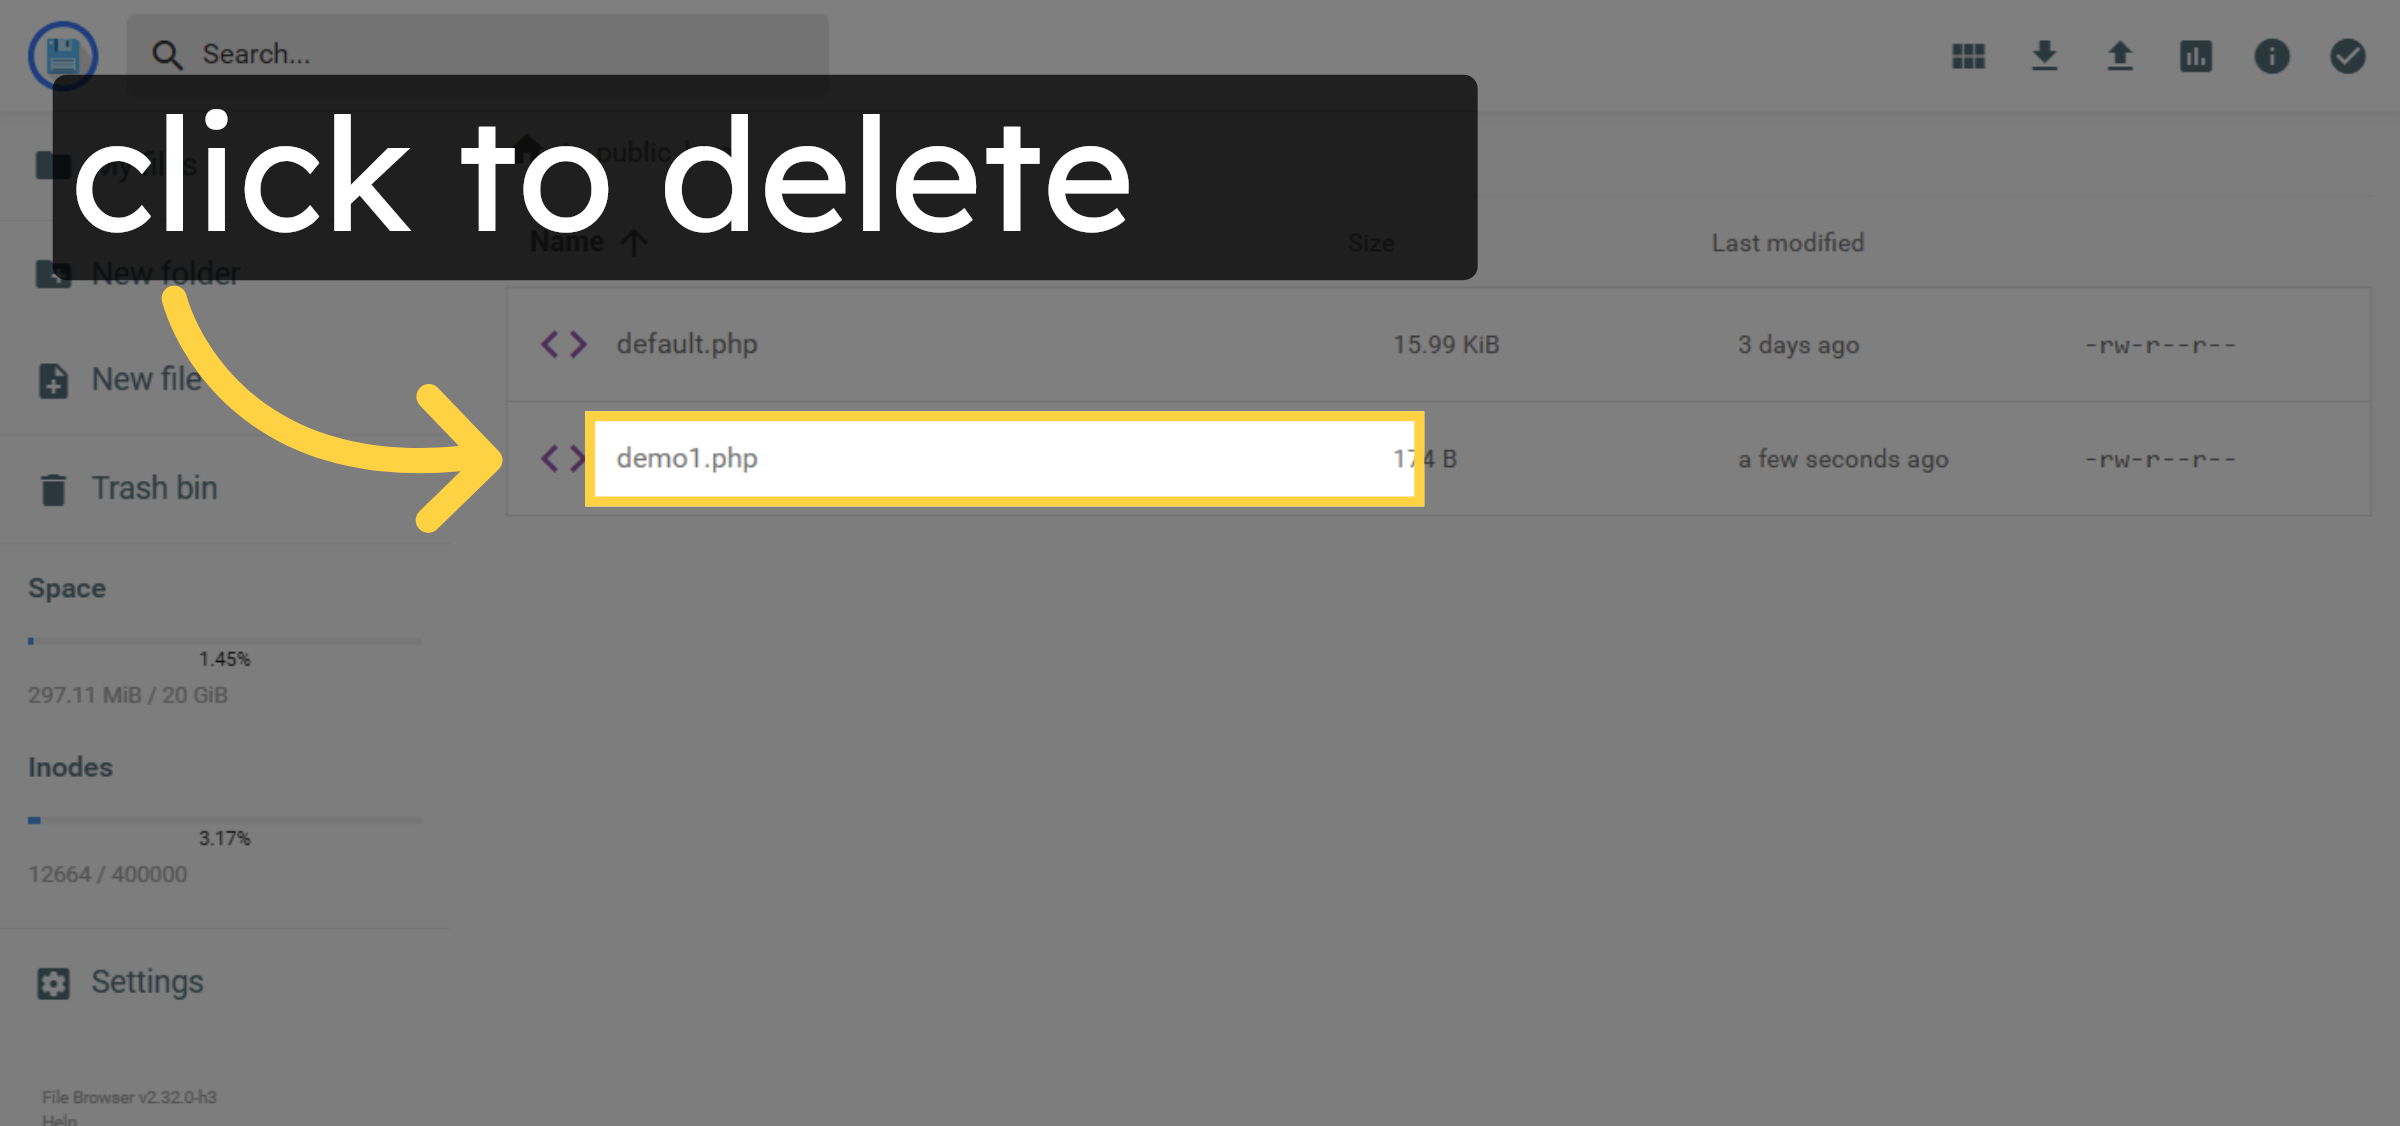
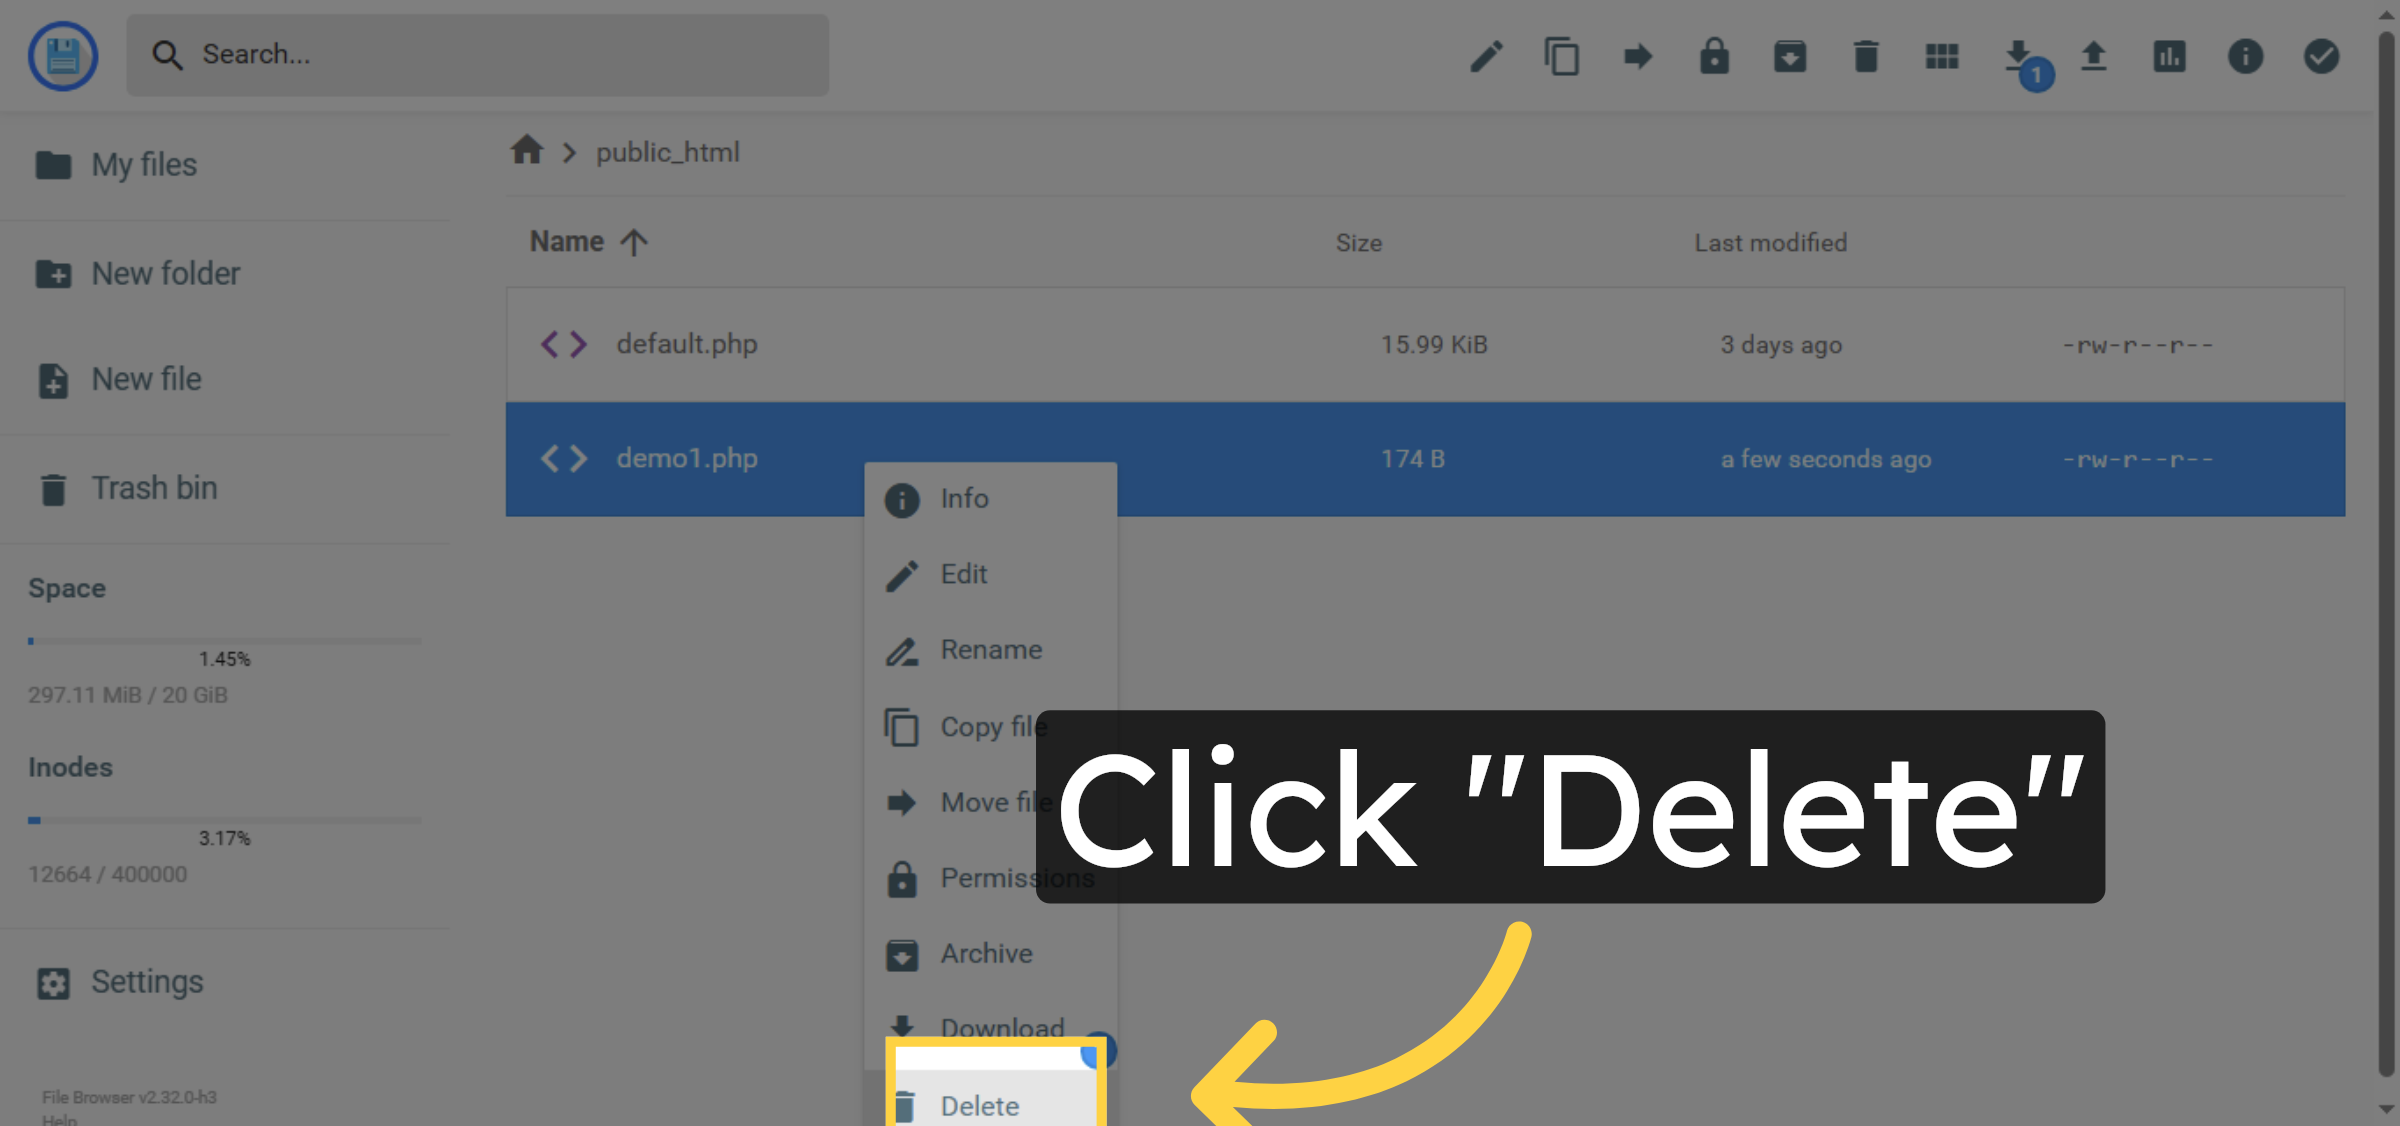
21. Delete File
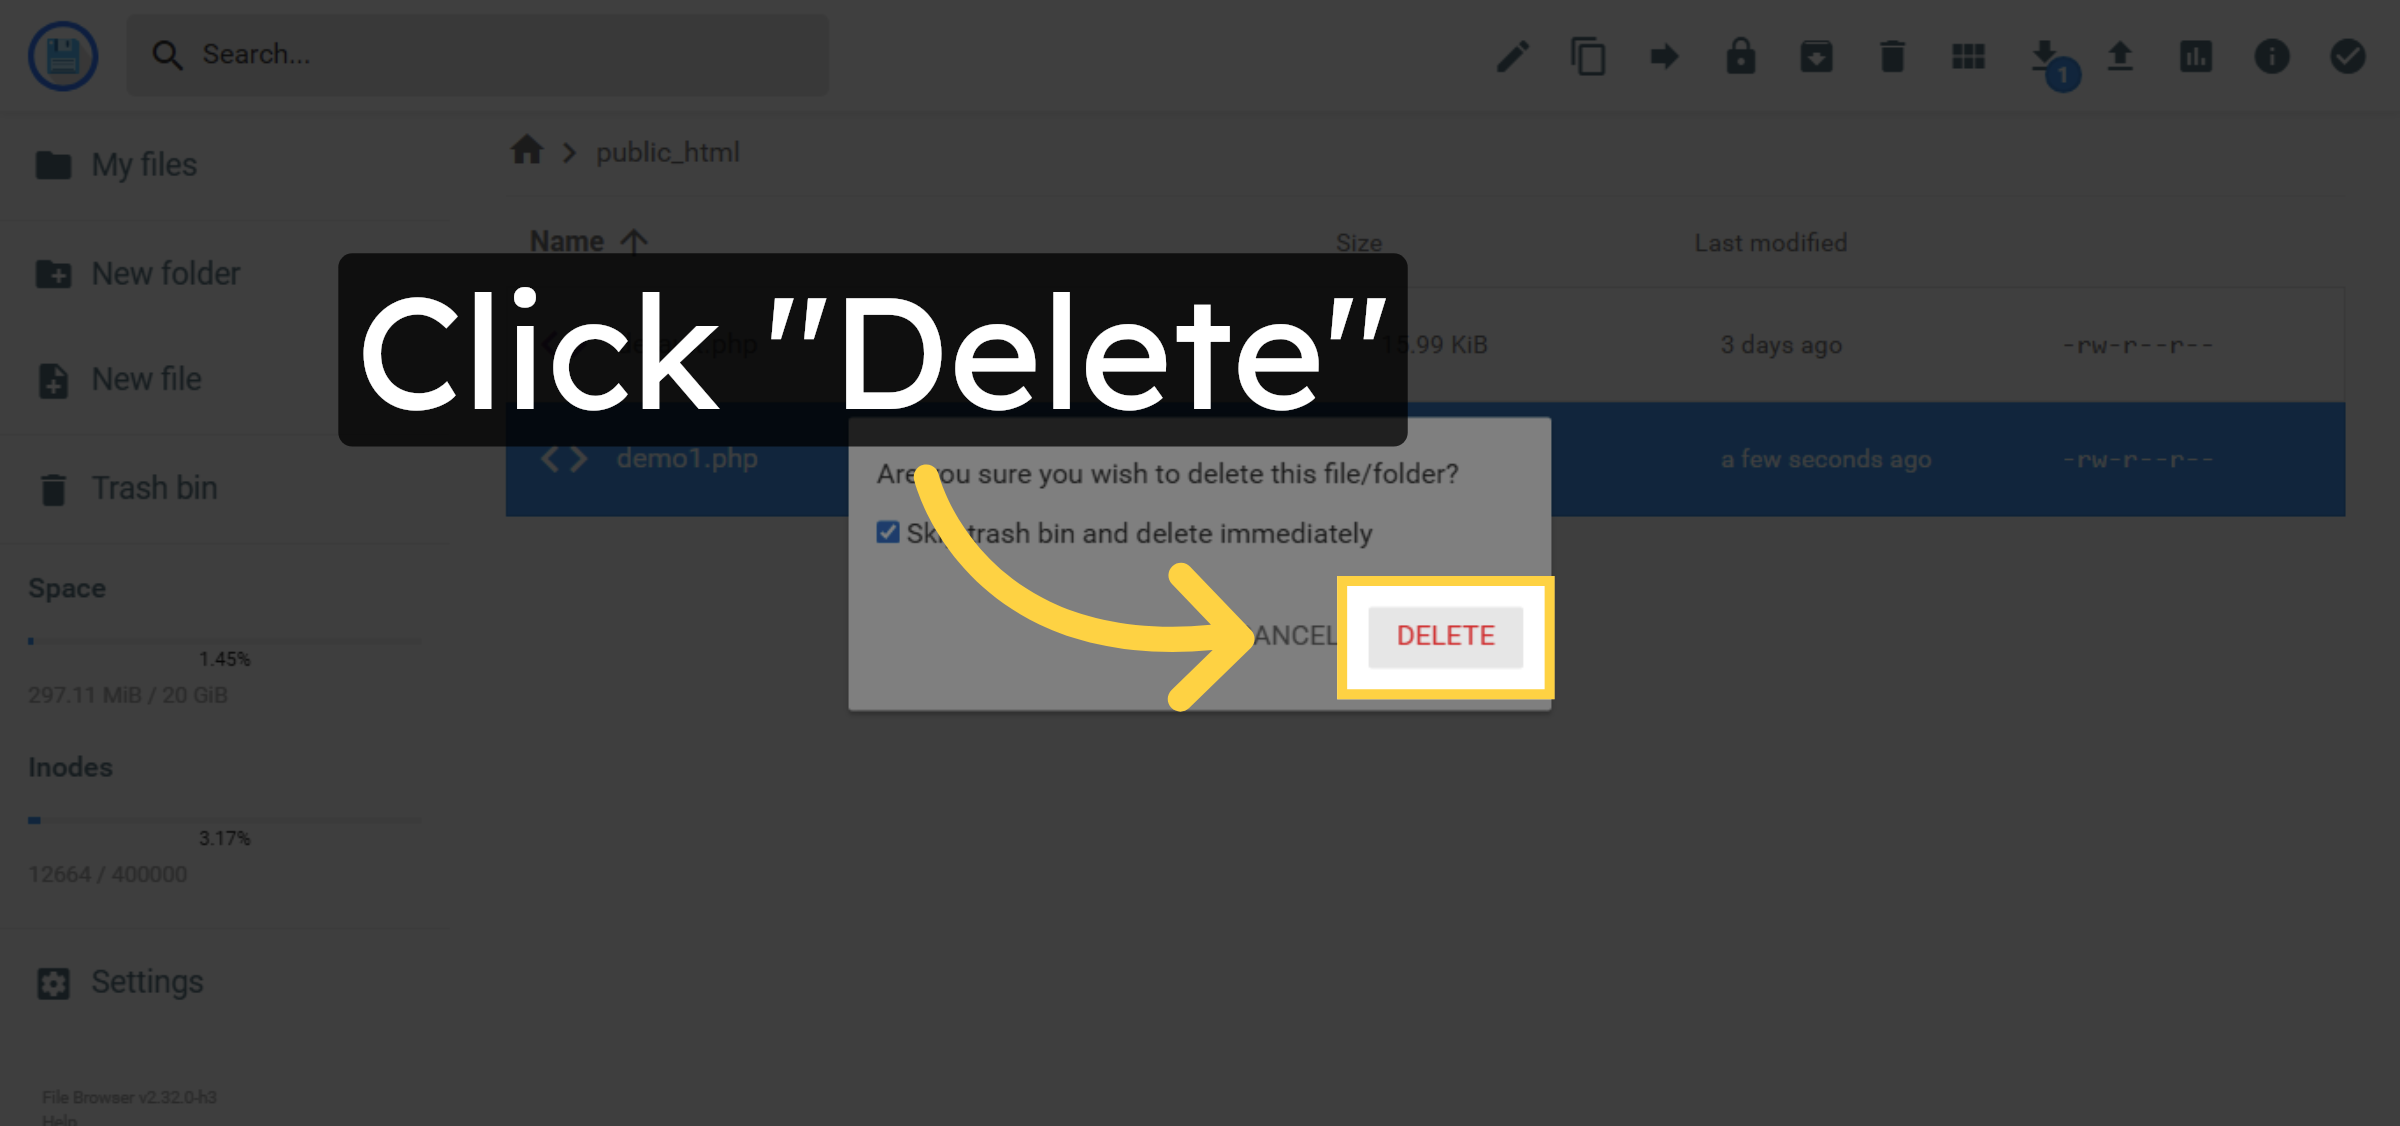
22. Confirm File Deletion
Conclusion
By following the steps outlined in this guide, you can successfully use Hostinger’s File Manager to create, edit, rename, and delete PHP files within your WordPress hosting environment. Proper file management helps maintain a clean directory structure, simplifies development tasks, and reduces the risk of errors. Regularly reviewing and managing your website files is a best practice for keeping your hosting environment organized and secure.
Visit: https://www.woohelpdesk.com
Call Us Toll-Free: +1 888 602 0119 (US & Canada)
Get professional support for WordPress configuration, hosting management, performance optimization, and troubleshooting.


