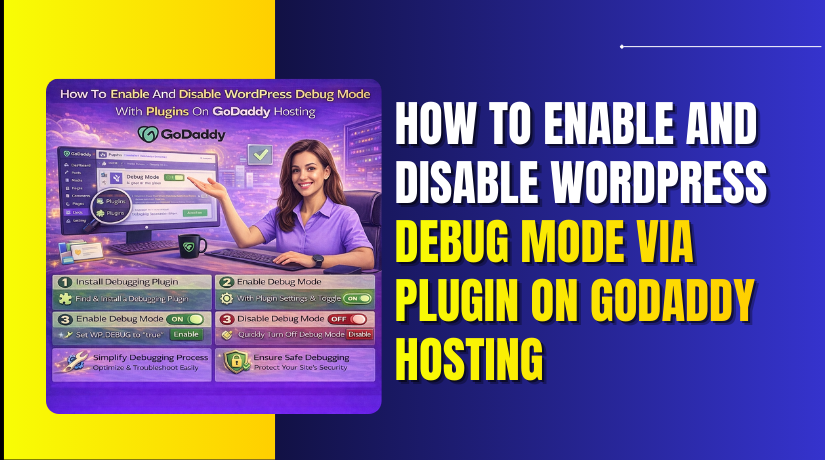
How To Enable And Disable WordPress Debug Mode Via Plugin On GoDaddy Hosting
Introduction
Debugging WordPress issues on GoDaddy Managed WordPress hosting can be challenging, especially when direct access to core configuration files is restricted. Errors caused by plugin conflicts, theme incompatibility, or unexpected site behaviour often require a safe way to troubleshoot without affecting live visitors. The Health Check & Troubleshooting plugin provides an effective solution by allowing you to enable troubleshooting mode for your session only, ensuring your live website remains unaffected. Through this guide video, you’ll learn how to install, activate, and use the Health Check plugin on GoDaddy to diagnose WordPress issues efficiently. This approach helps you identify the root cause of problems quickly while maintaining site stability, making it an essential tool for both beginners and experienced WordPress users.
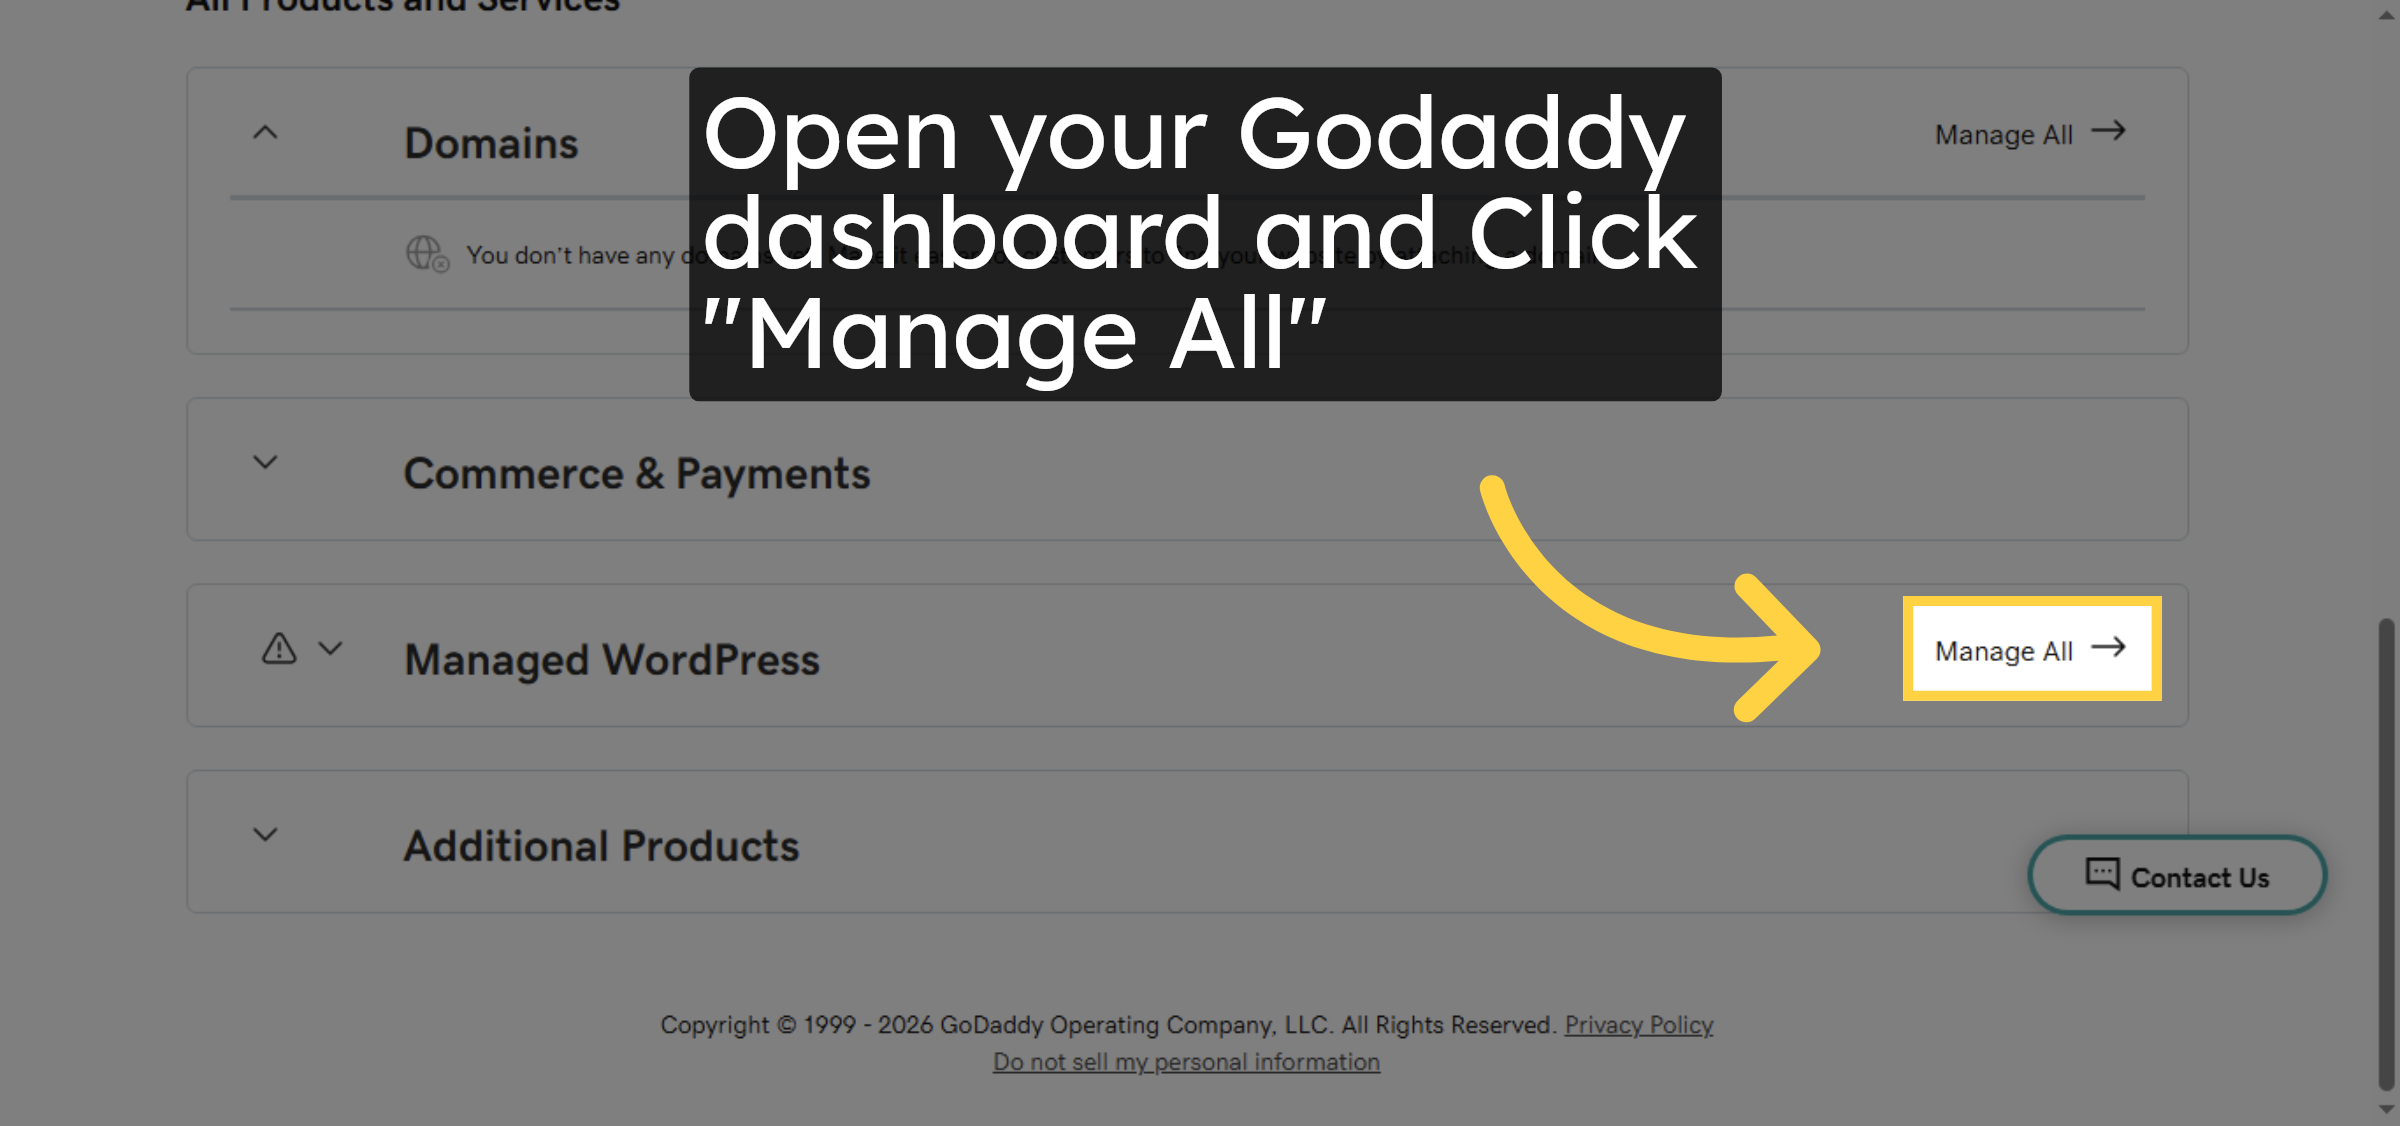
1. Click Manage All
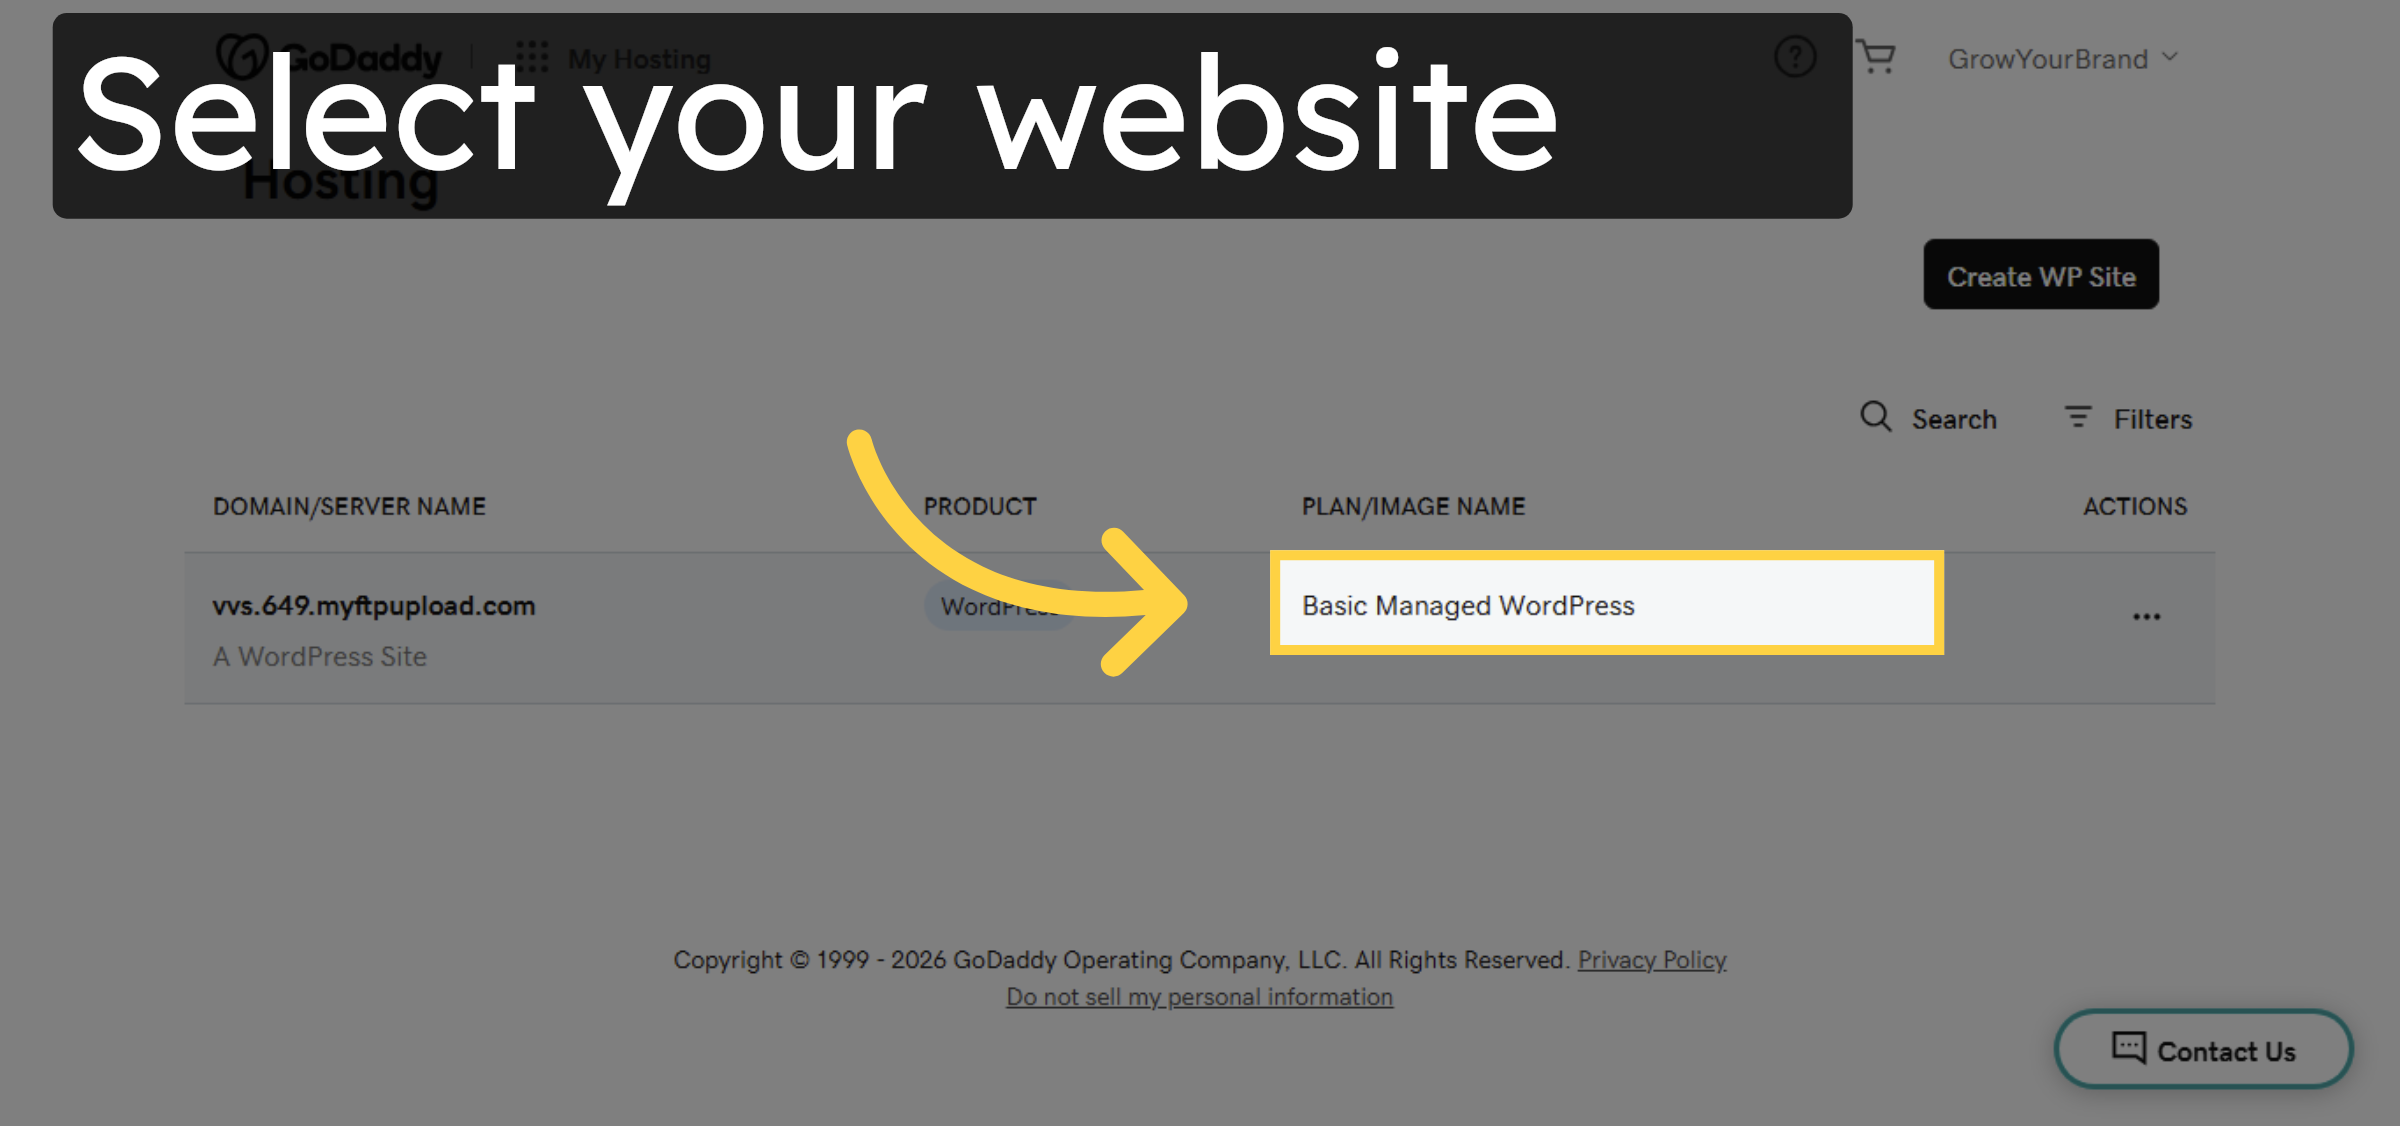
2. Choose your site.
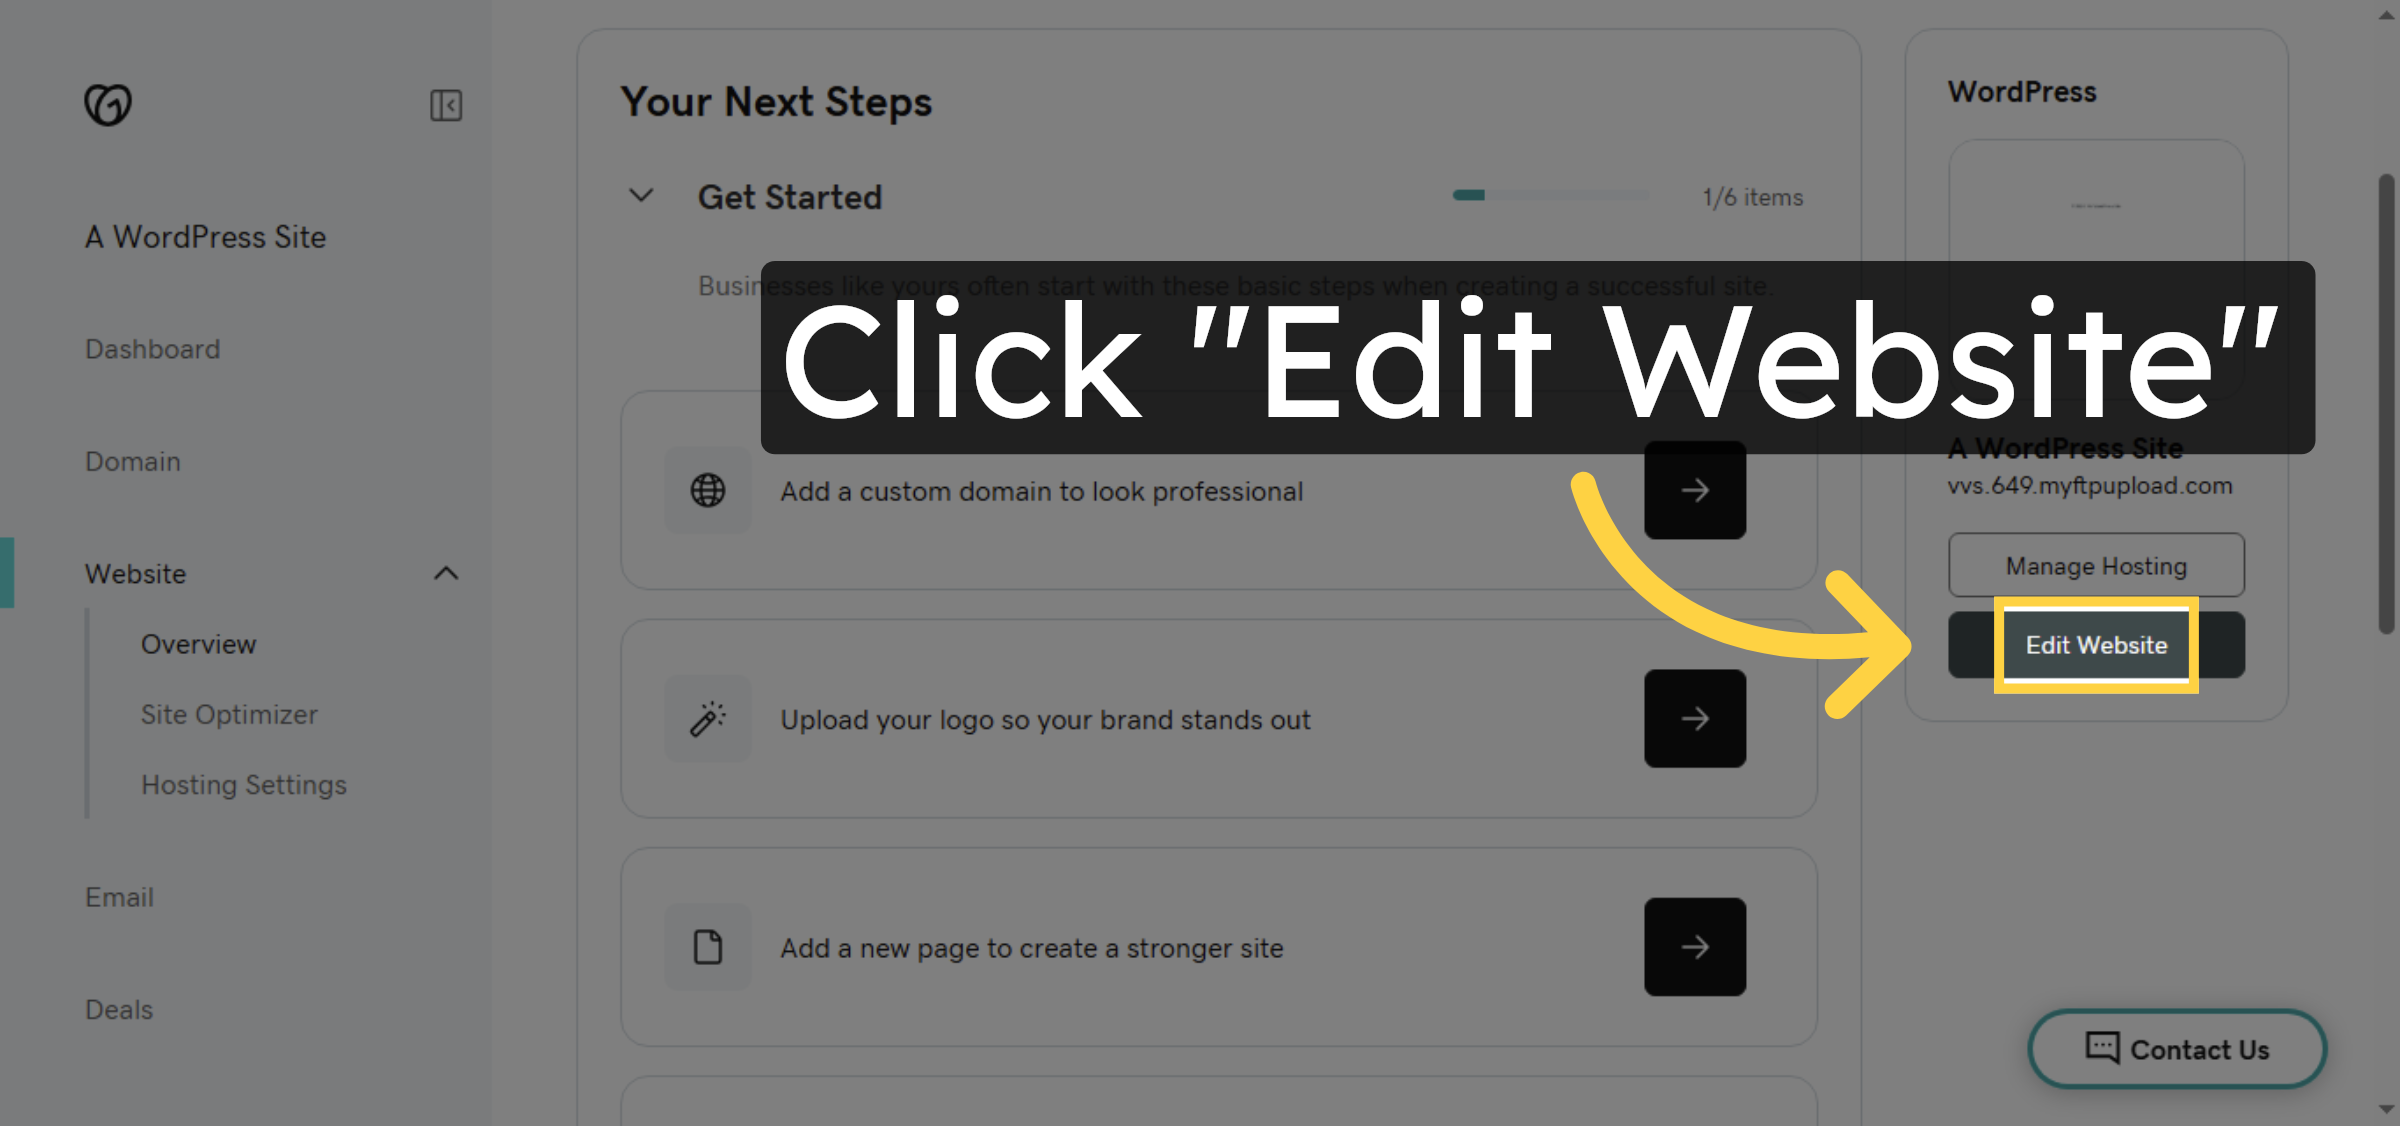
3. Click Edit Website
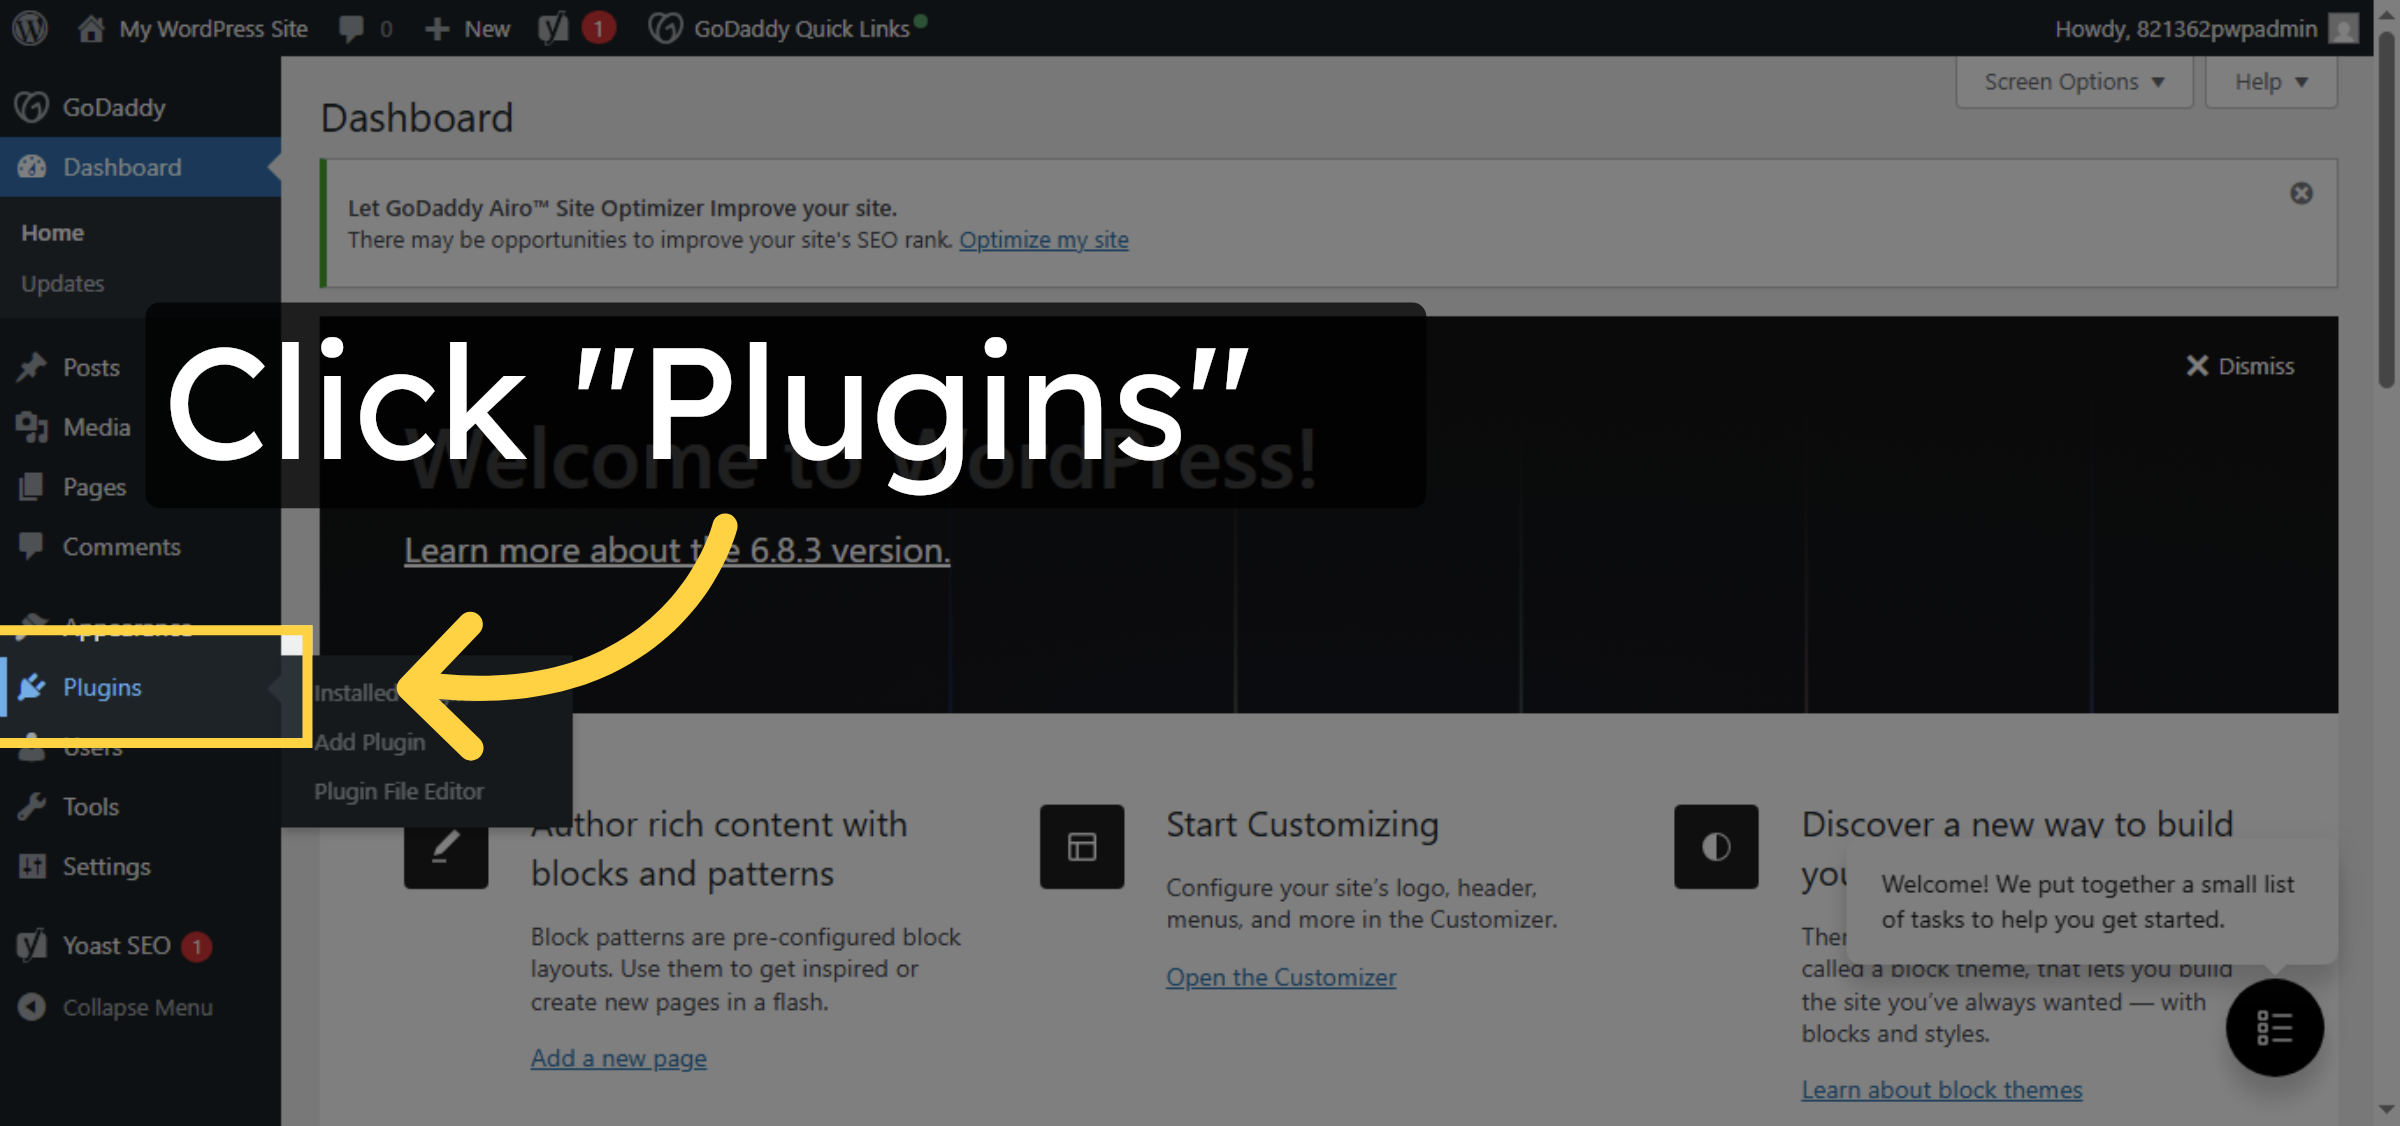
4. Open Plugins Section
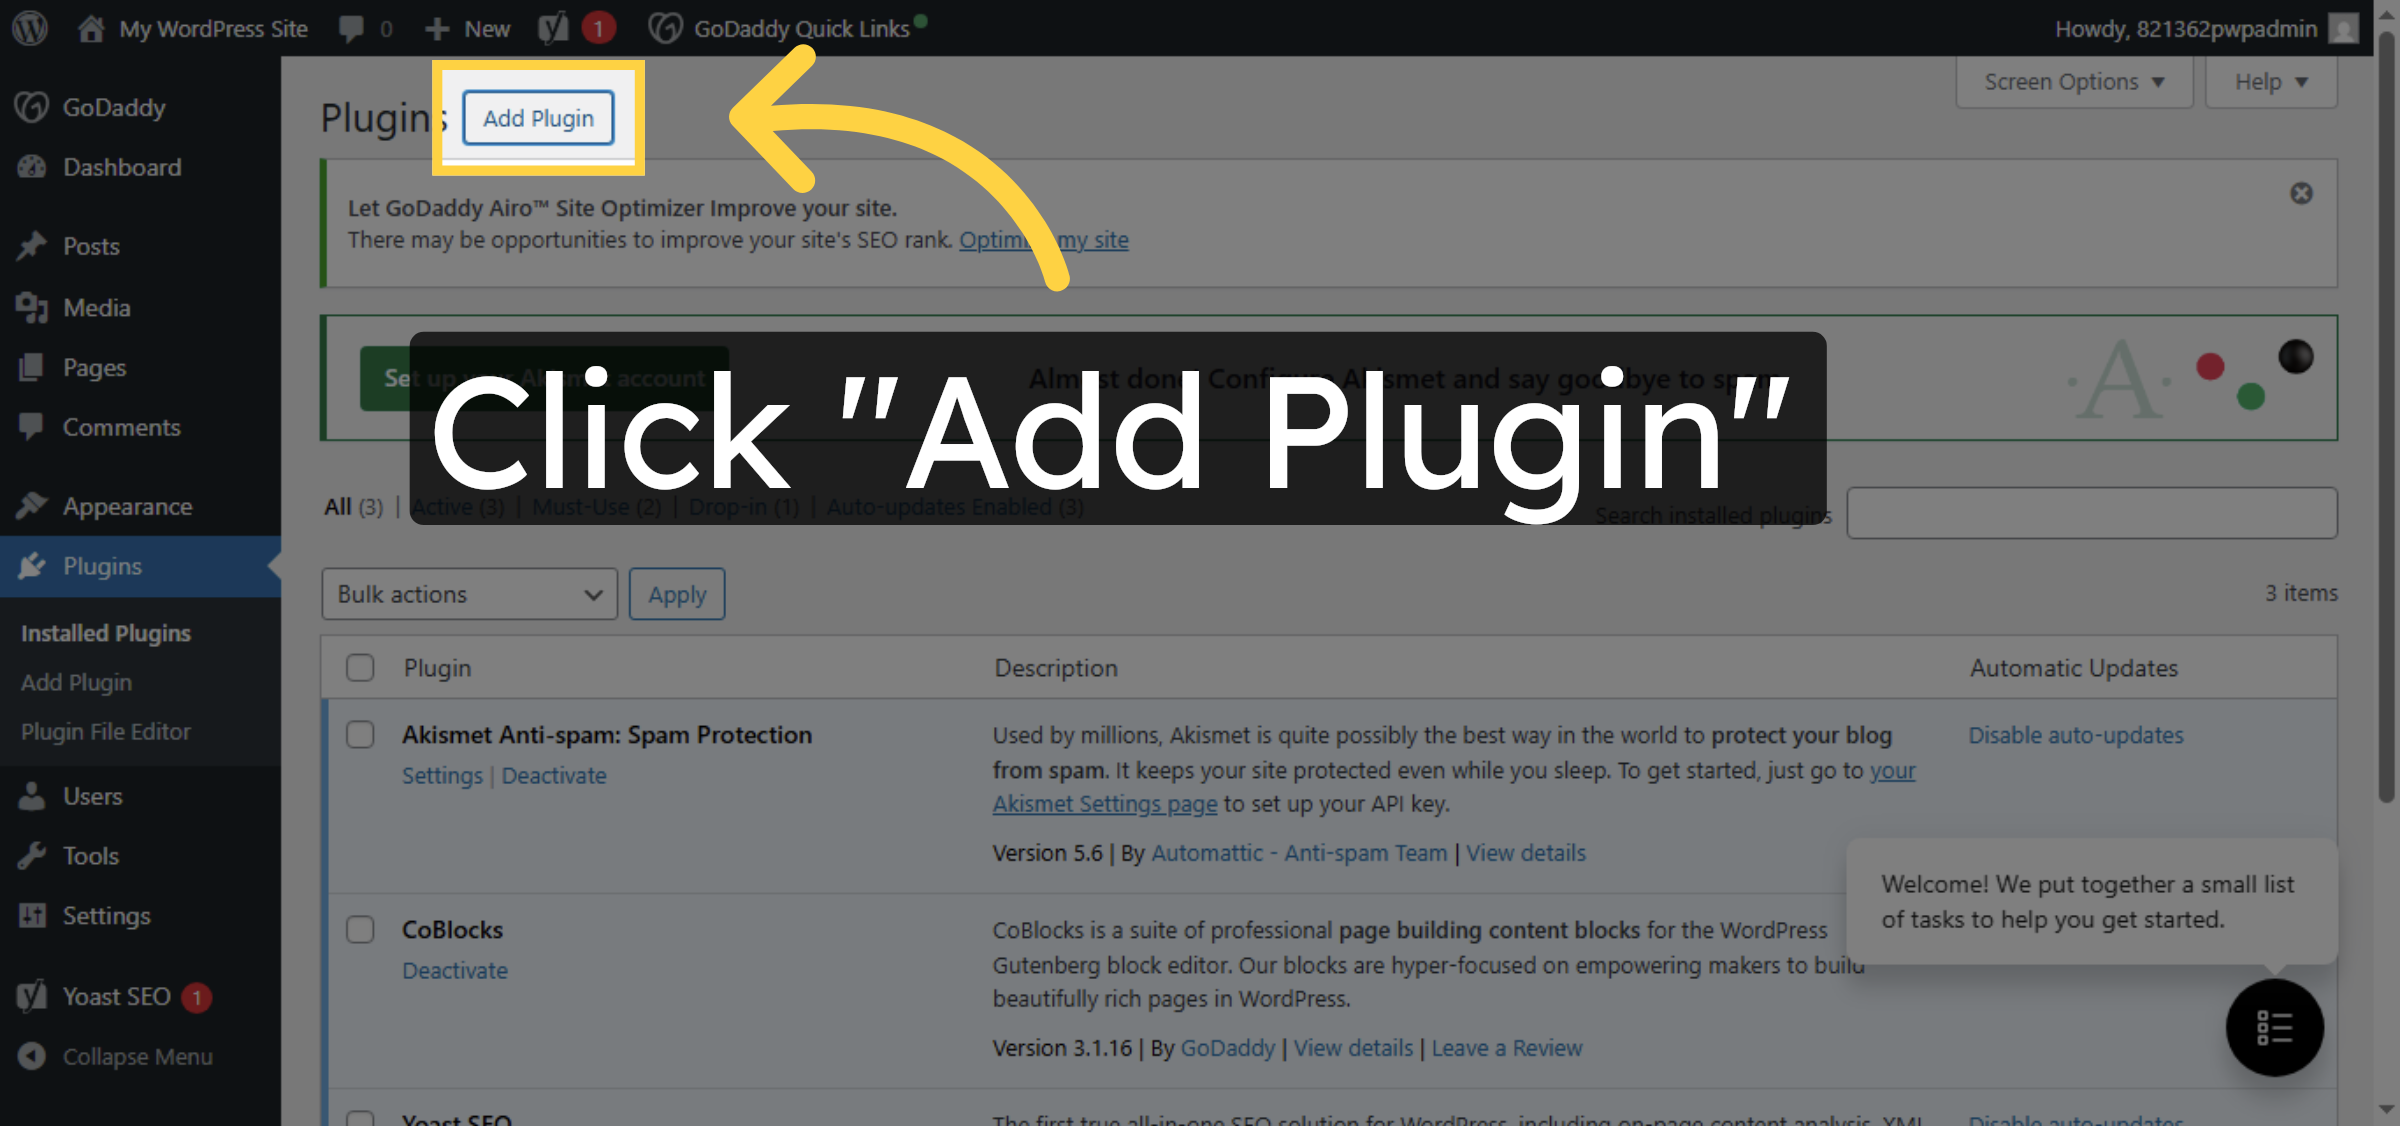
5. Click Add Plugin
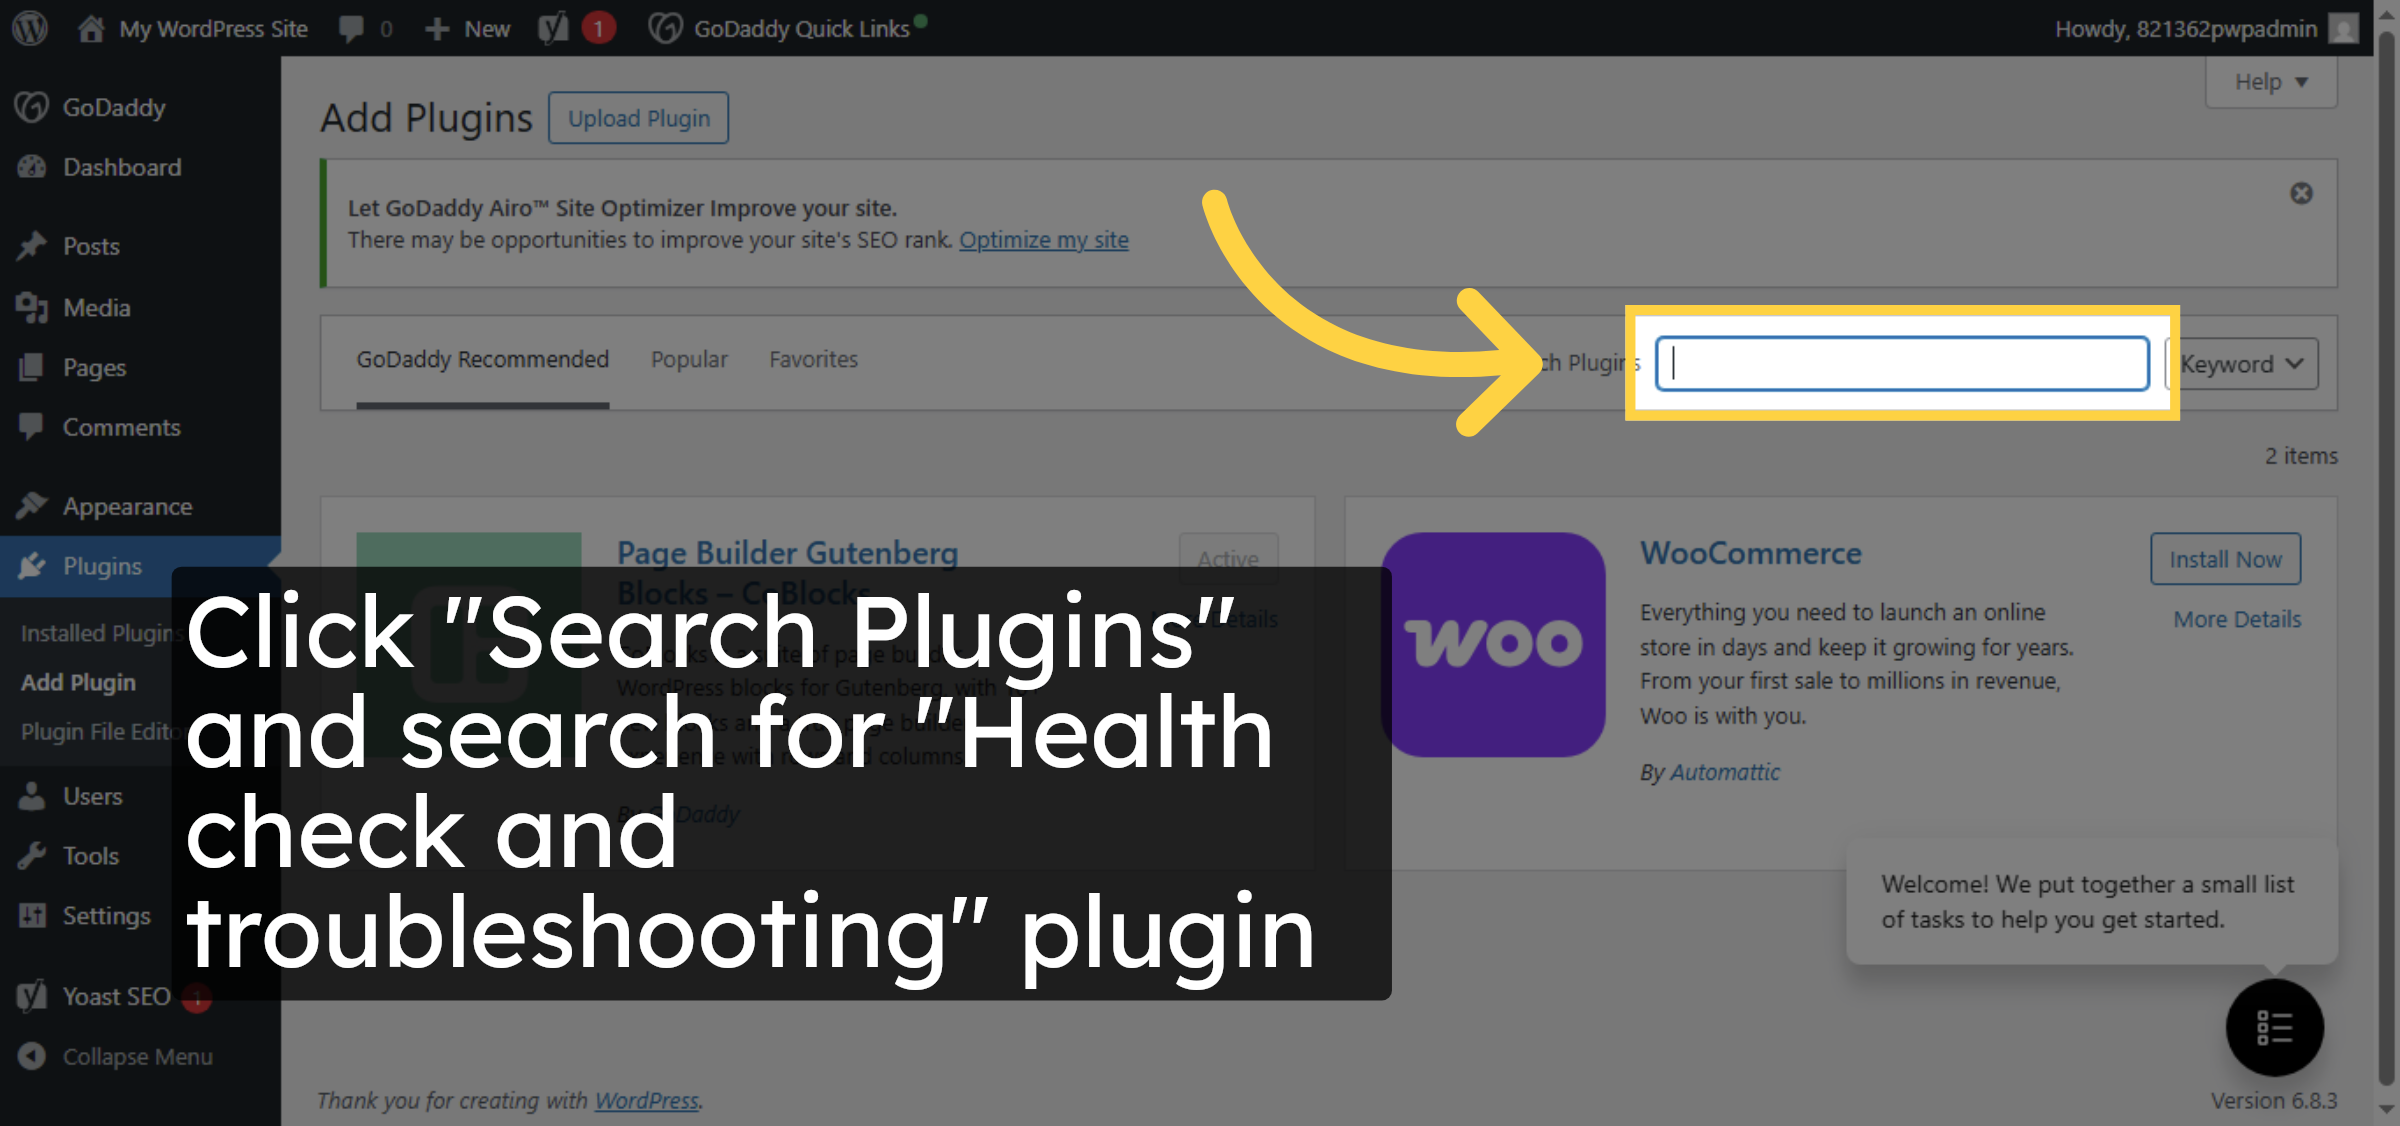
6. Access Plugin Search
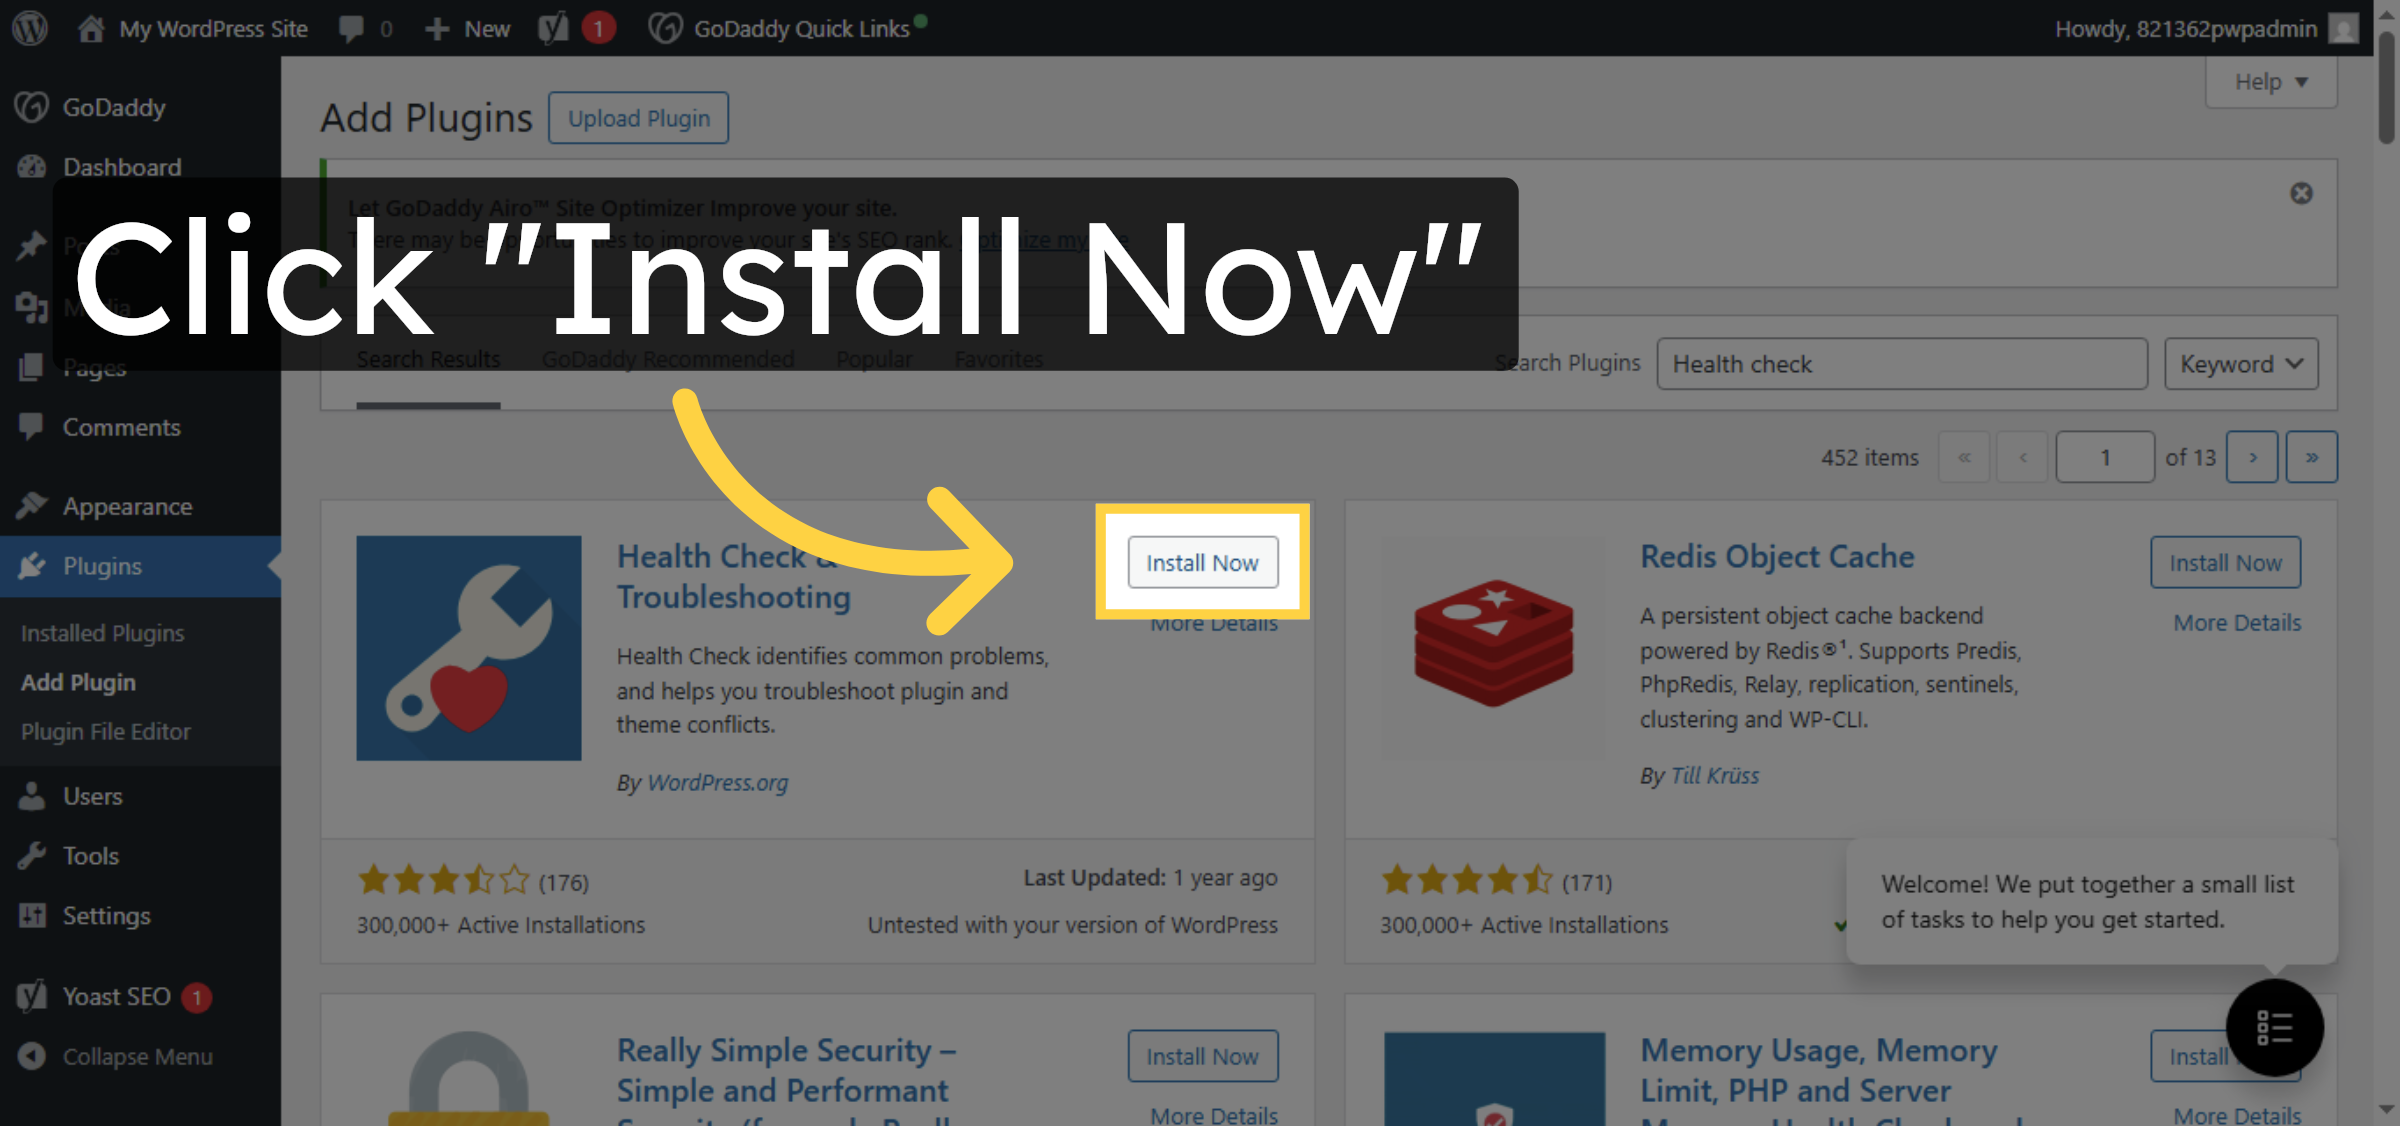
7. Install Health Check Plugin


8. Activate Health Check Plugin

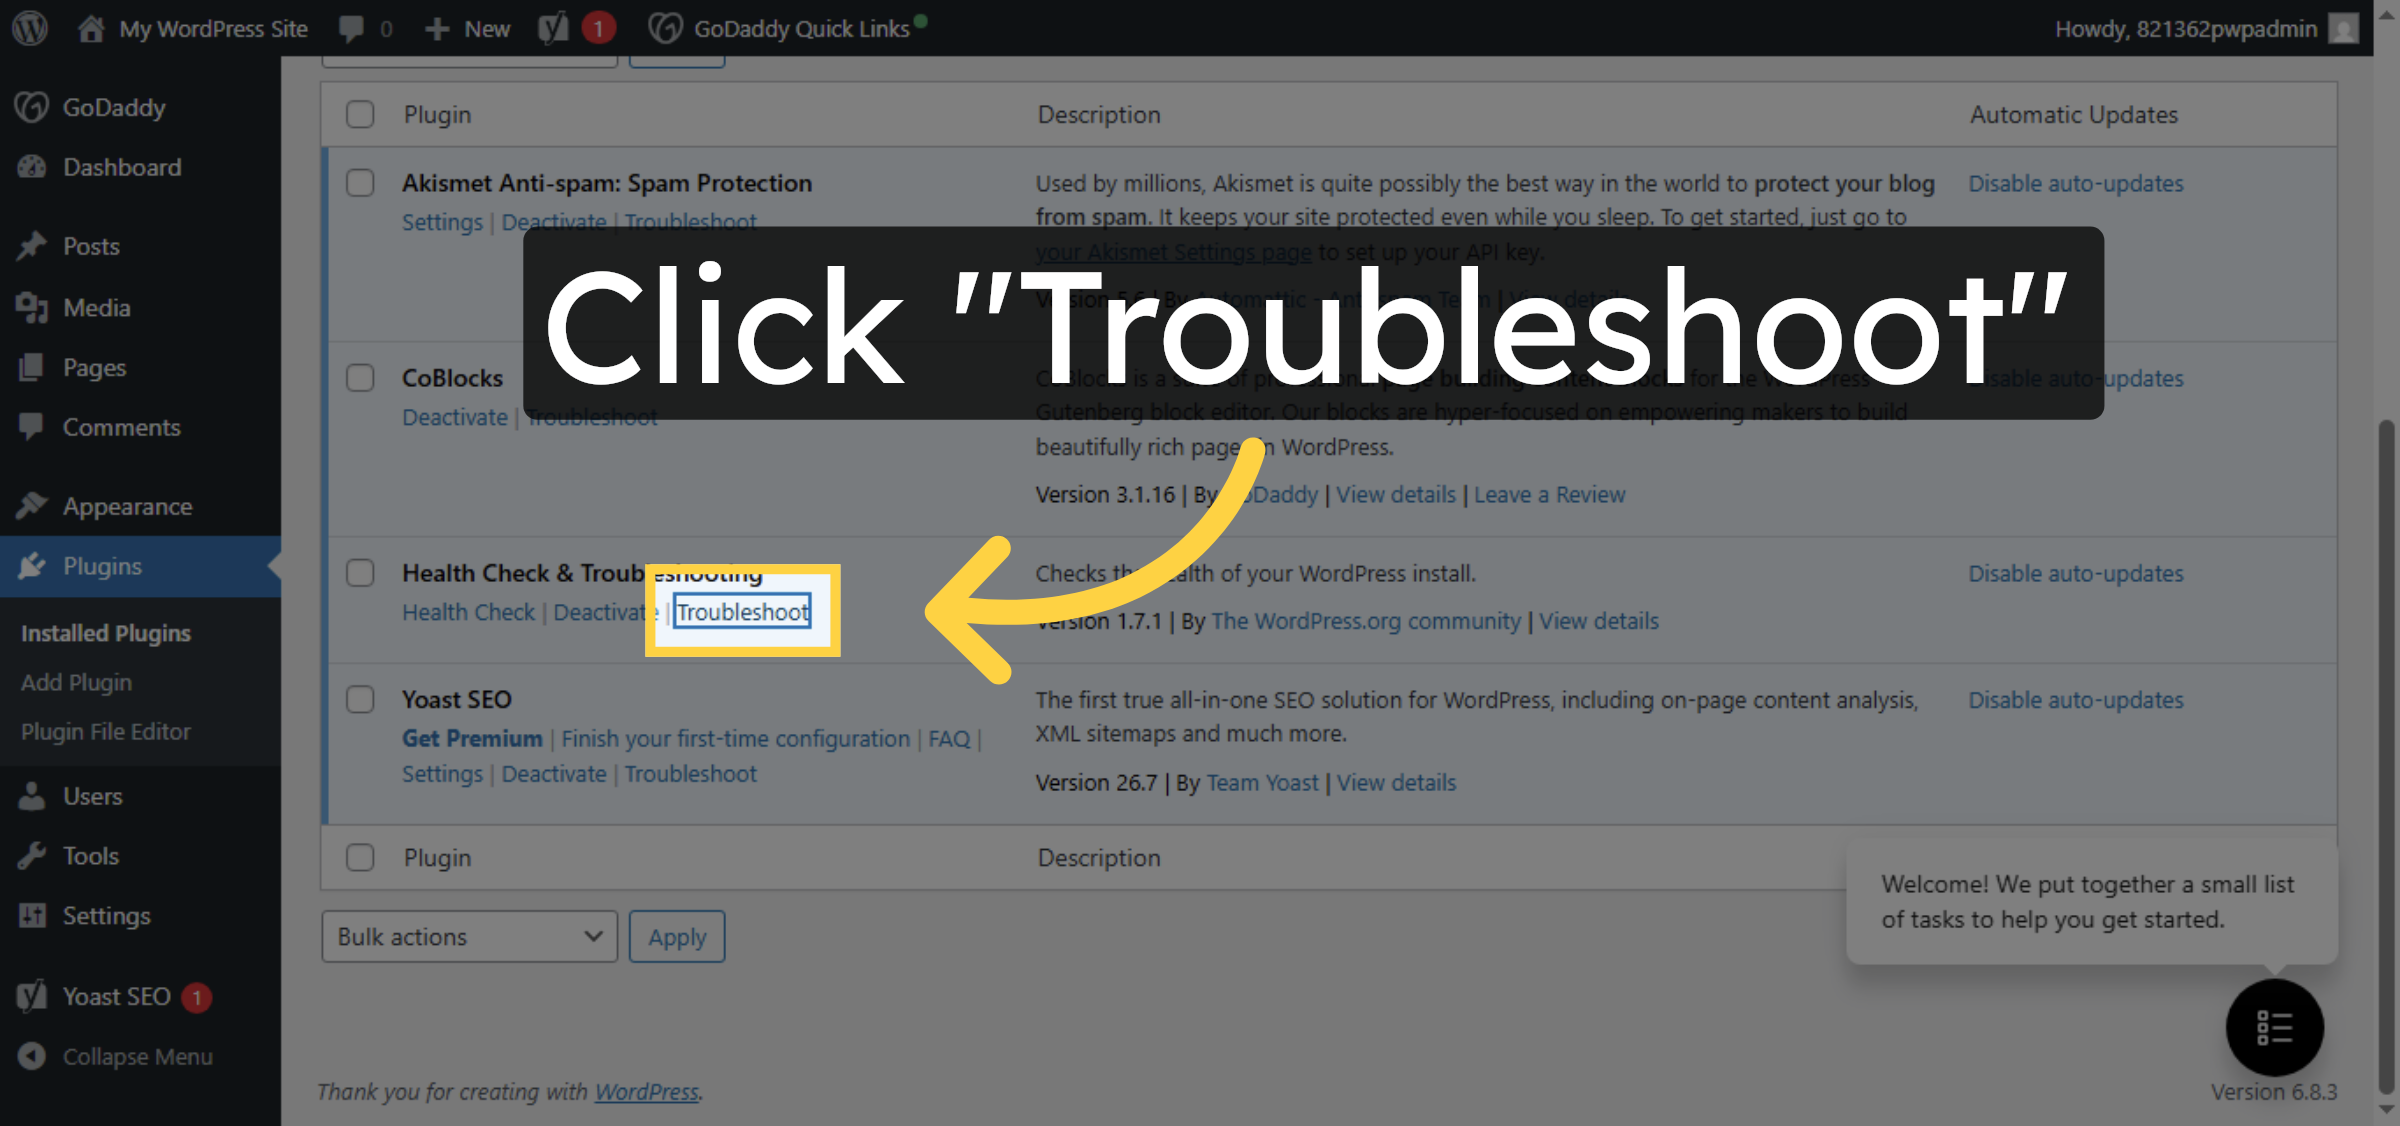
9. Open Troubleshoot Tab
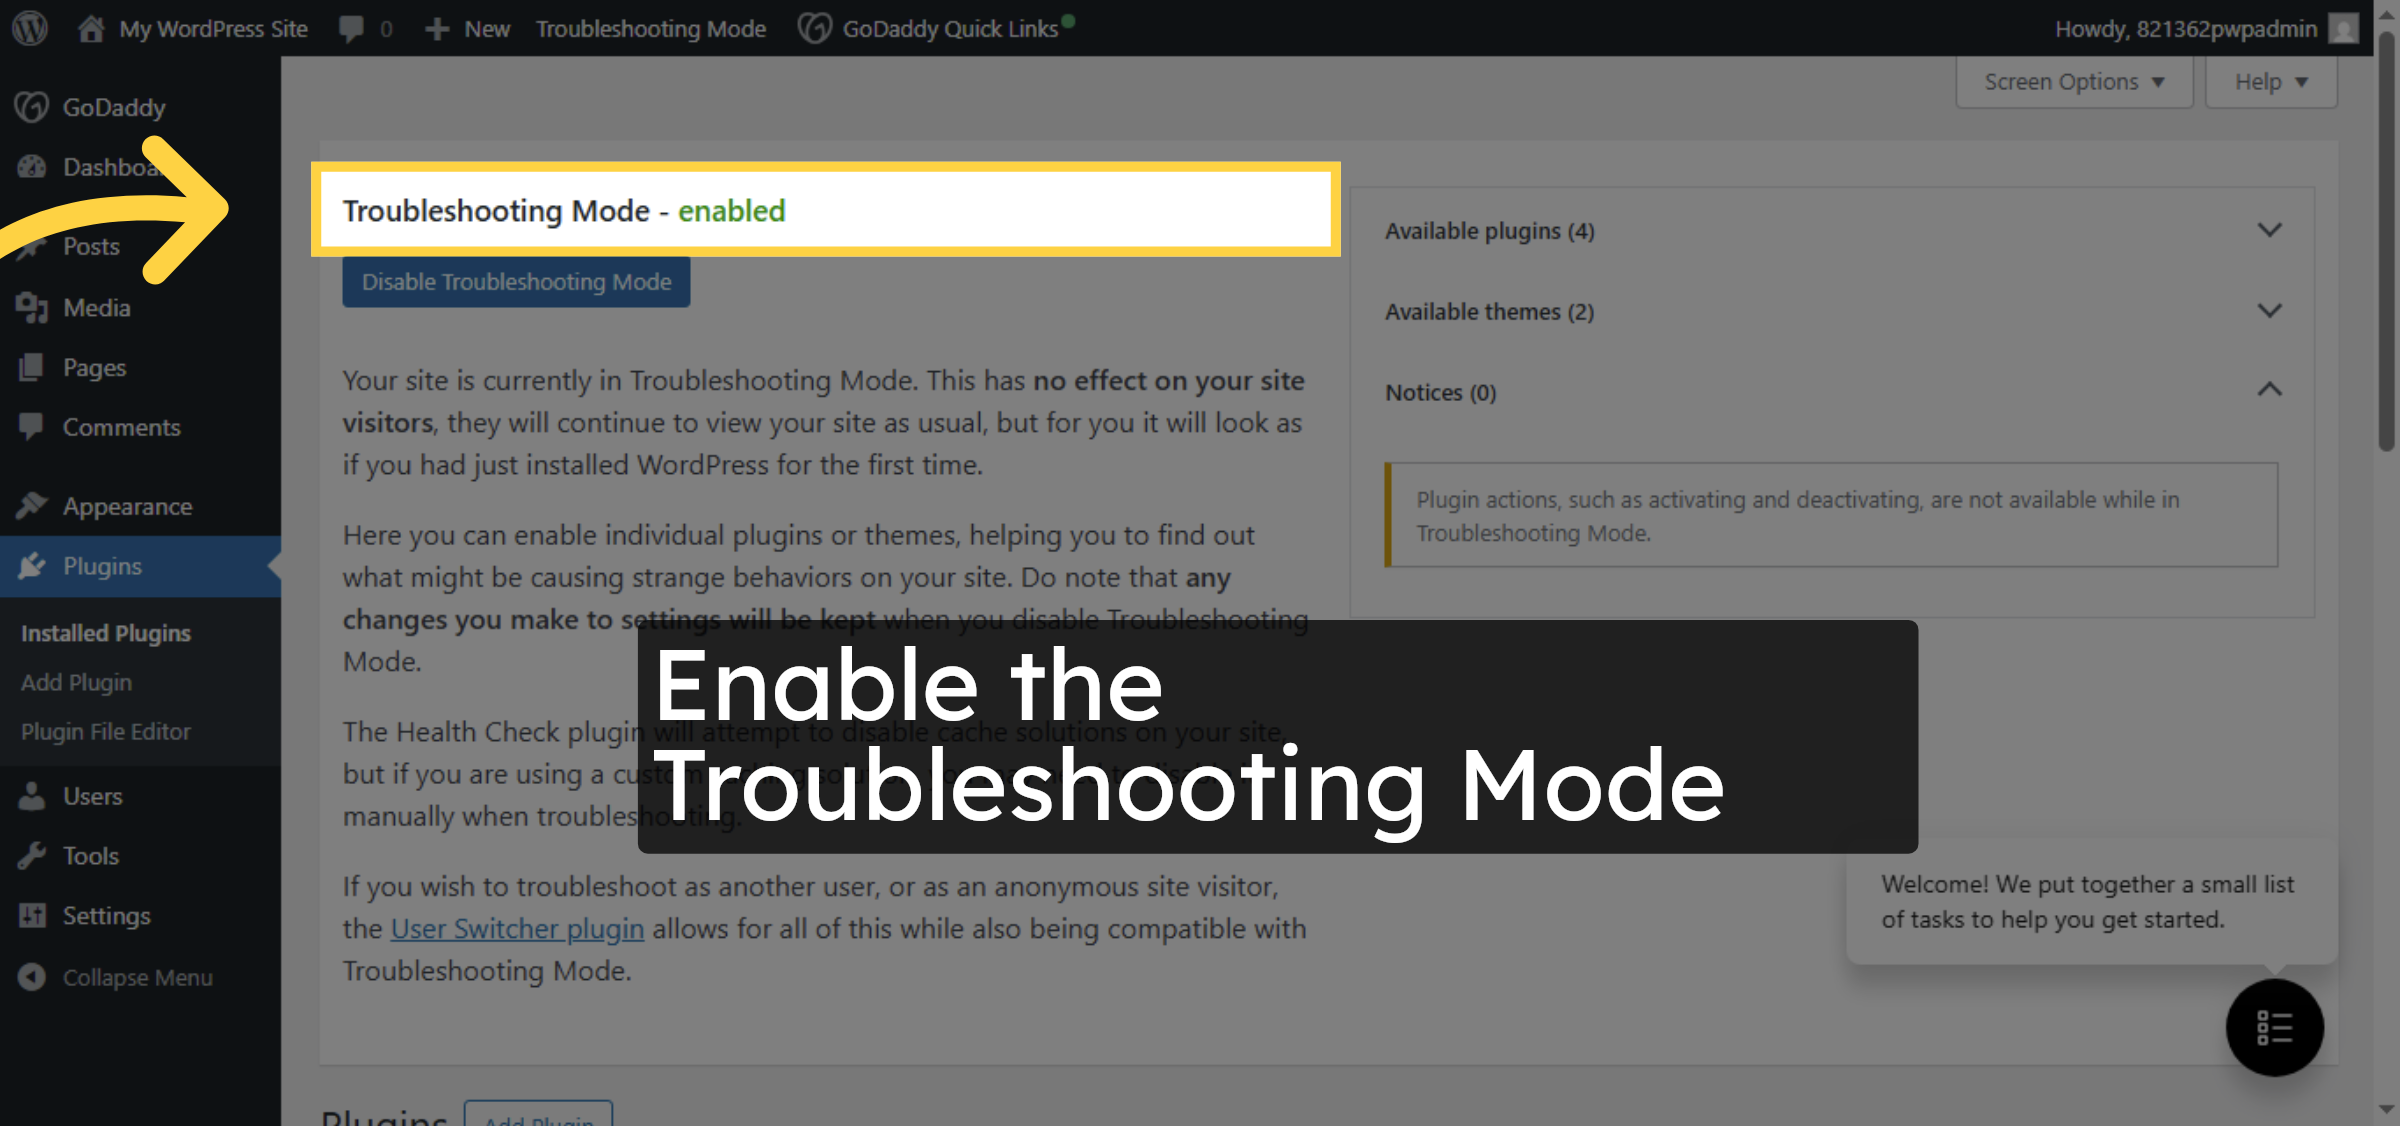
10. Enable Troubleshooting Mode
Conclusion
By following the steps outlined in this guide, you can safely enable and use the Health Check & Troubleshooting plugin on GoDaddy Managed WordPress hosting. This method allows you to debug plugin and theme conflicts without impacting your live website. Using troubleshooting mode helps maintain site stability, improves issue resolution efficiency, and ensures a smoother WordPress management experience.
Visit: https://www.woohelpdesk.com
Call Us Toll-Free: +1 888 602 0119 (US & Canada)
Get professional support for WordPress configuration, hosting management, performance optimization, and troubleshooting.


