How To Use GoDaddy File Manager For WordPress Editing
Introduction
The GoDaddy File Manager provides a simple and convenient way to manage your WordPress website files directly from your hosting dashboard, without needing third-party tools like FTP clients. It is especially useful for quick edits, creating temporary files, testing PHP scripts, or deleting unused files when troubleshooting issues. In this guide, you’ll learn how to access the GoDaddy File Manager, create new files, edit existing ones, and safely delete files from your hosting environment. This method is ideal for beginners as well as site owners who need fast access to server files without installing additional software. Whether you’re adding a custom PHP file, modifying configuration settings, or cleaning up unnecessary files, understanding how to use the File Manager gives you better control over your website. Following these steps ensures safe file handling while maintaining the stability and security of your WordPress site.
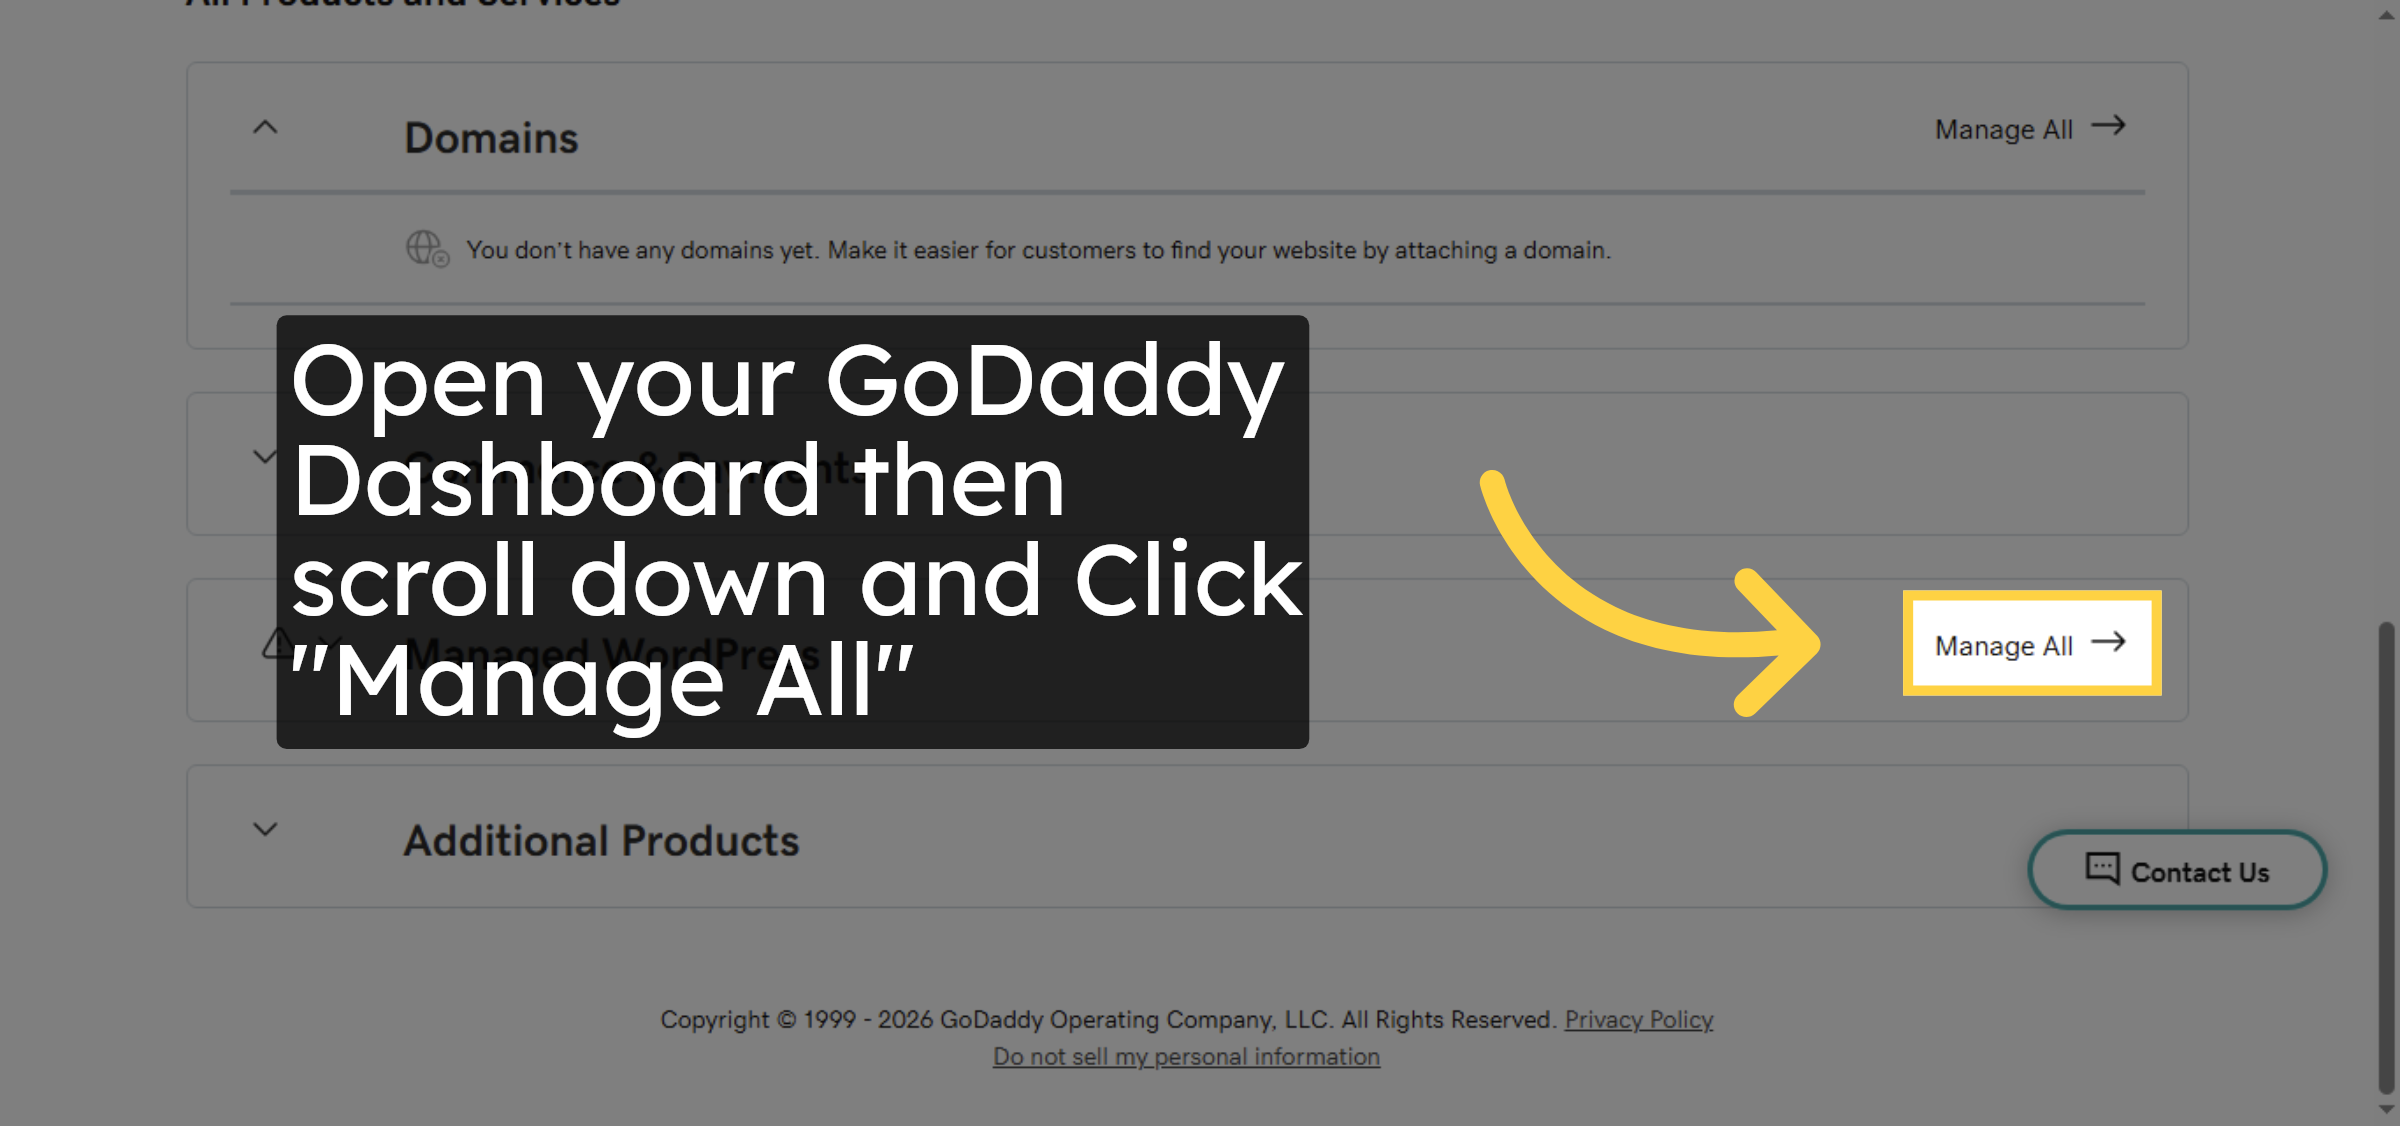
1. Click Manage All
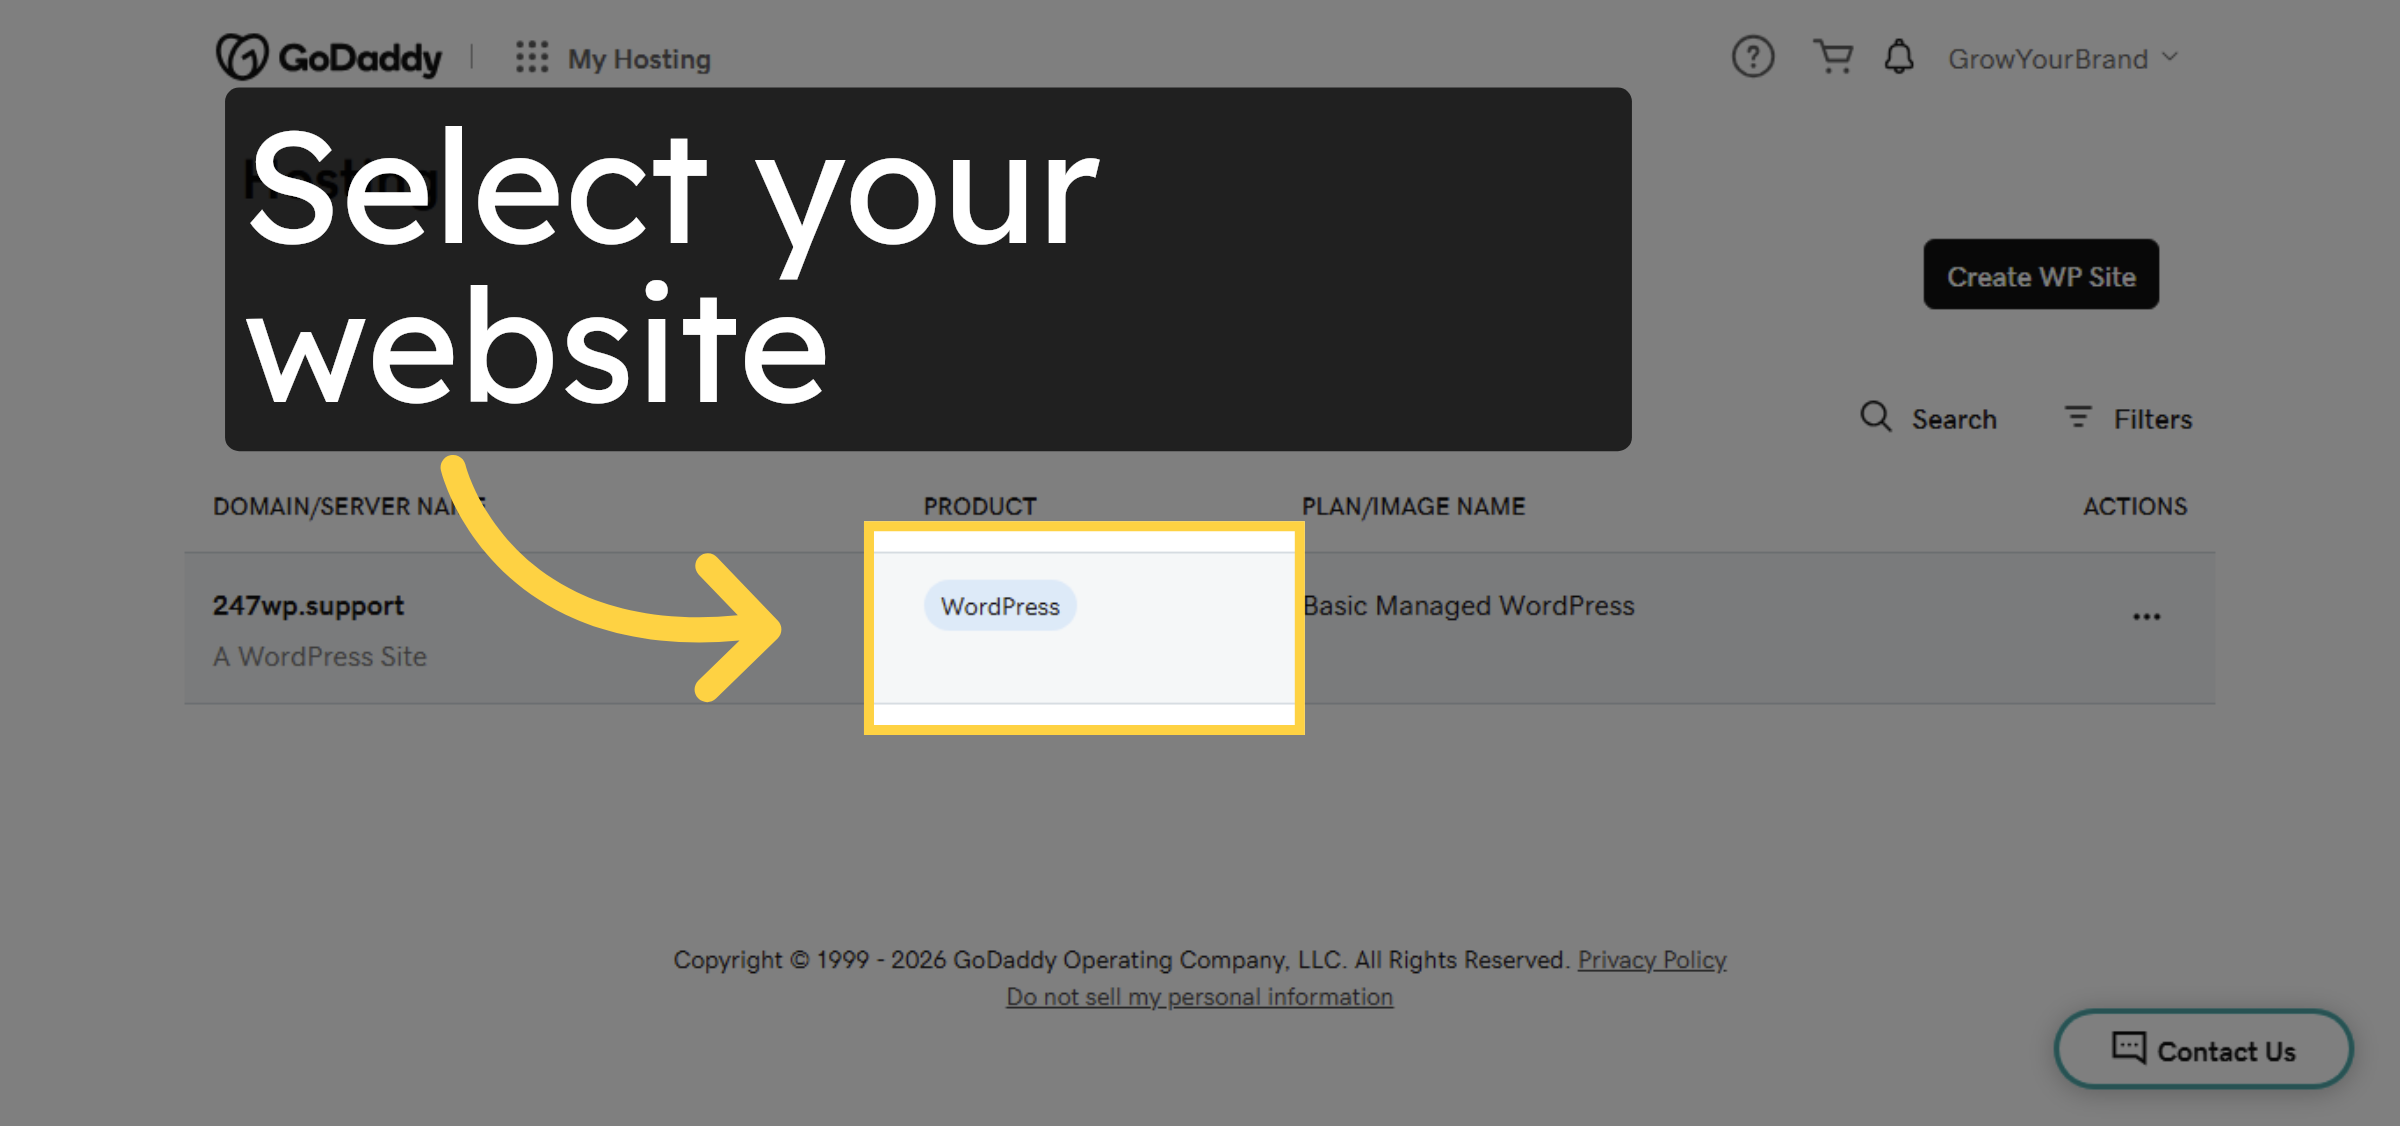
2. Select Your site
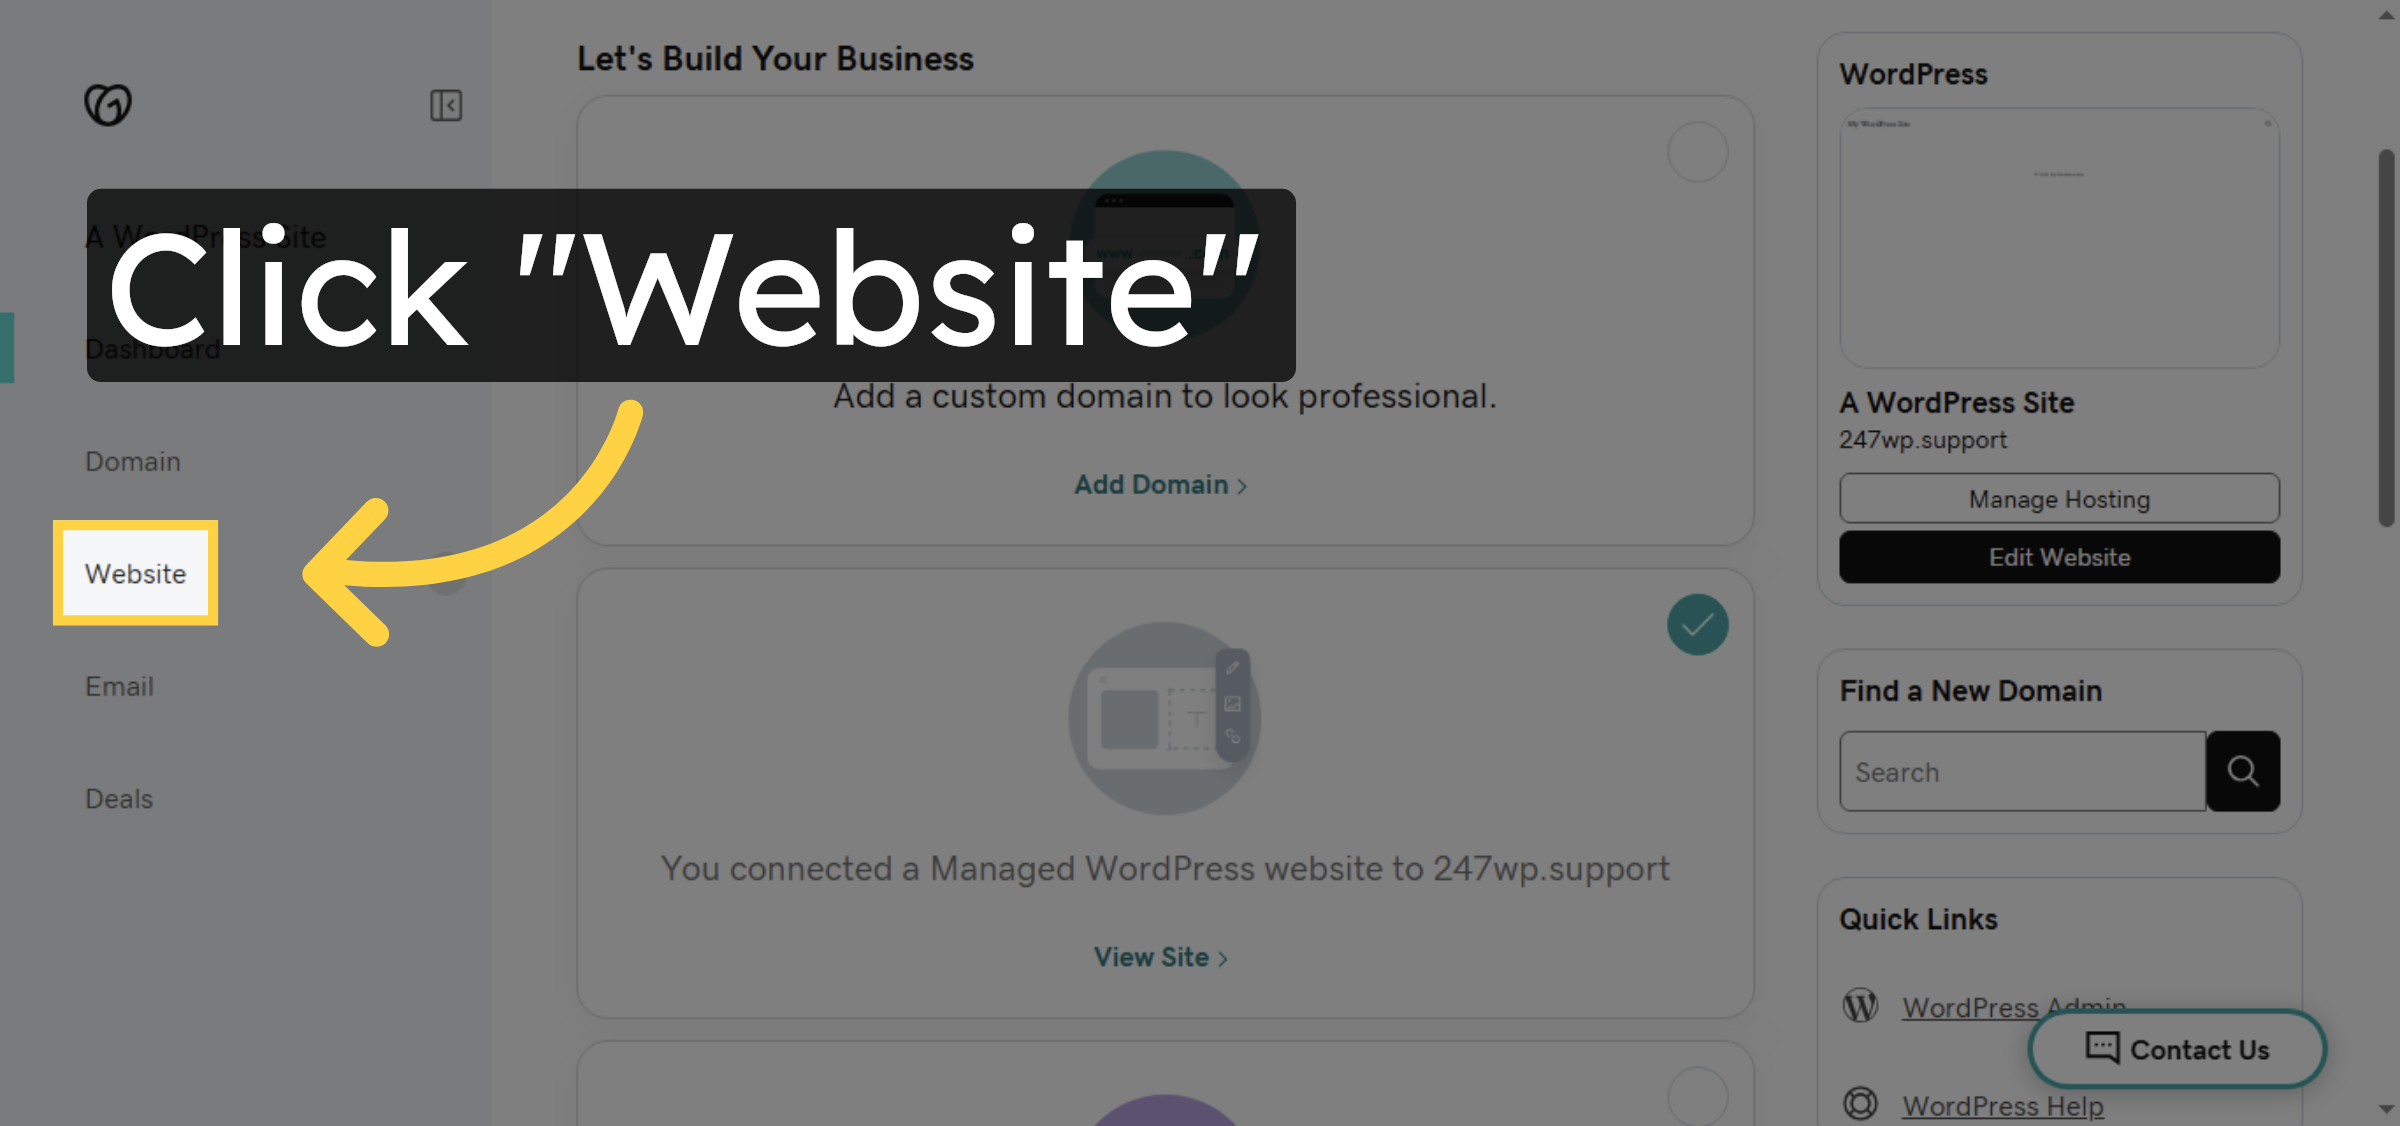
3. Click Website
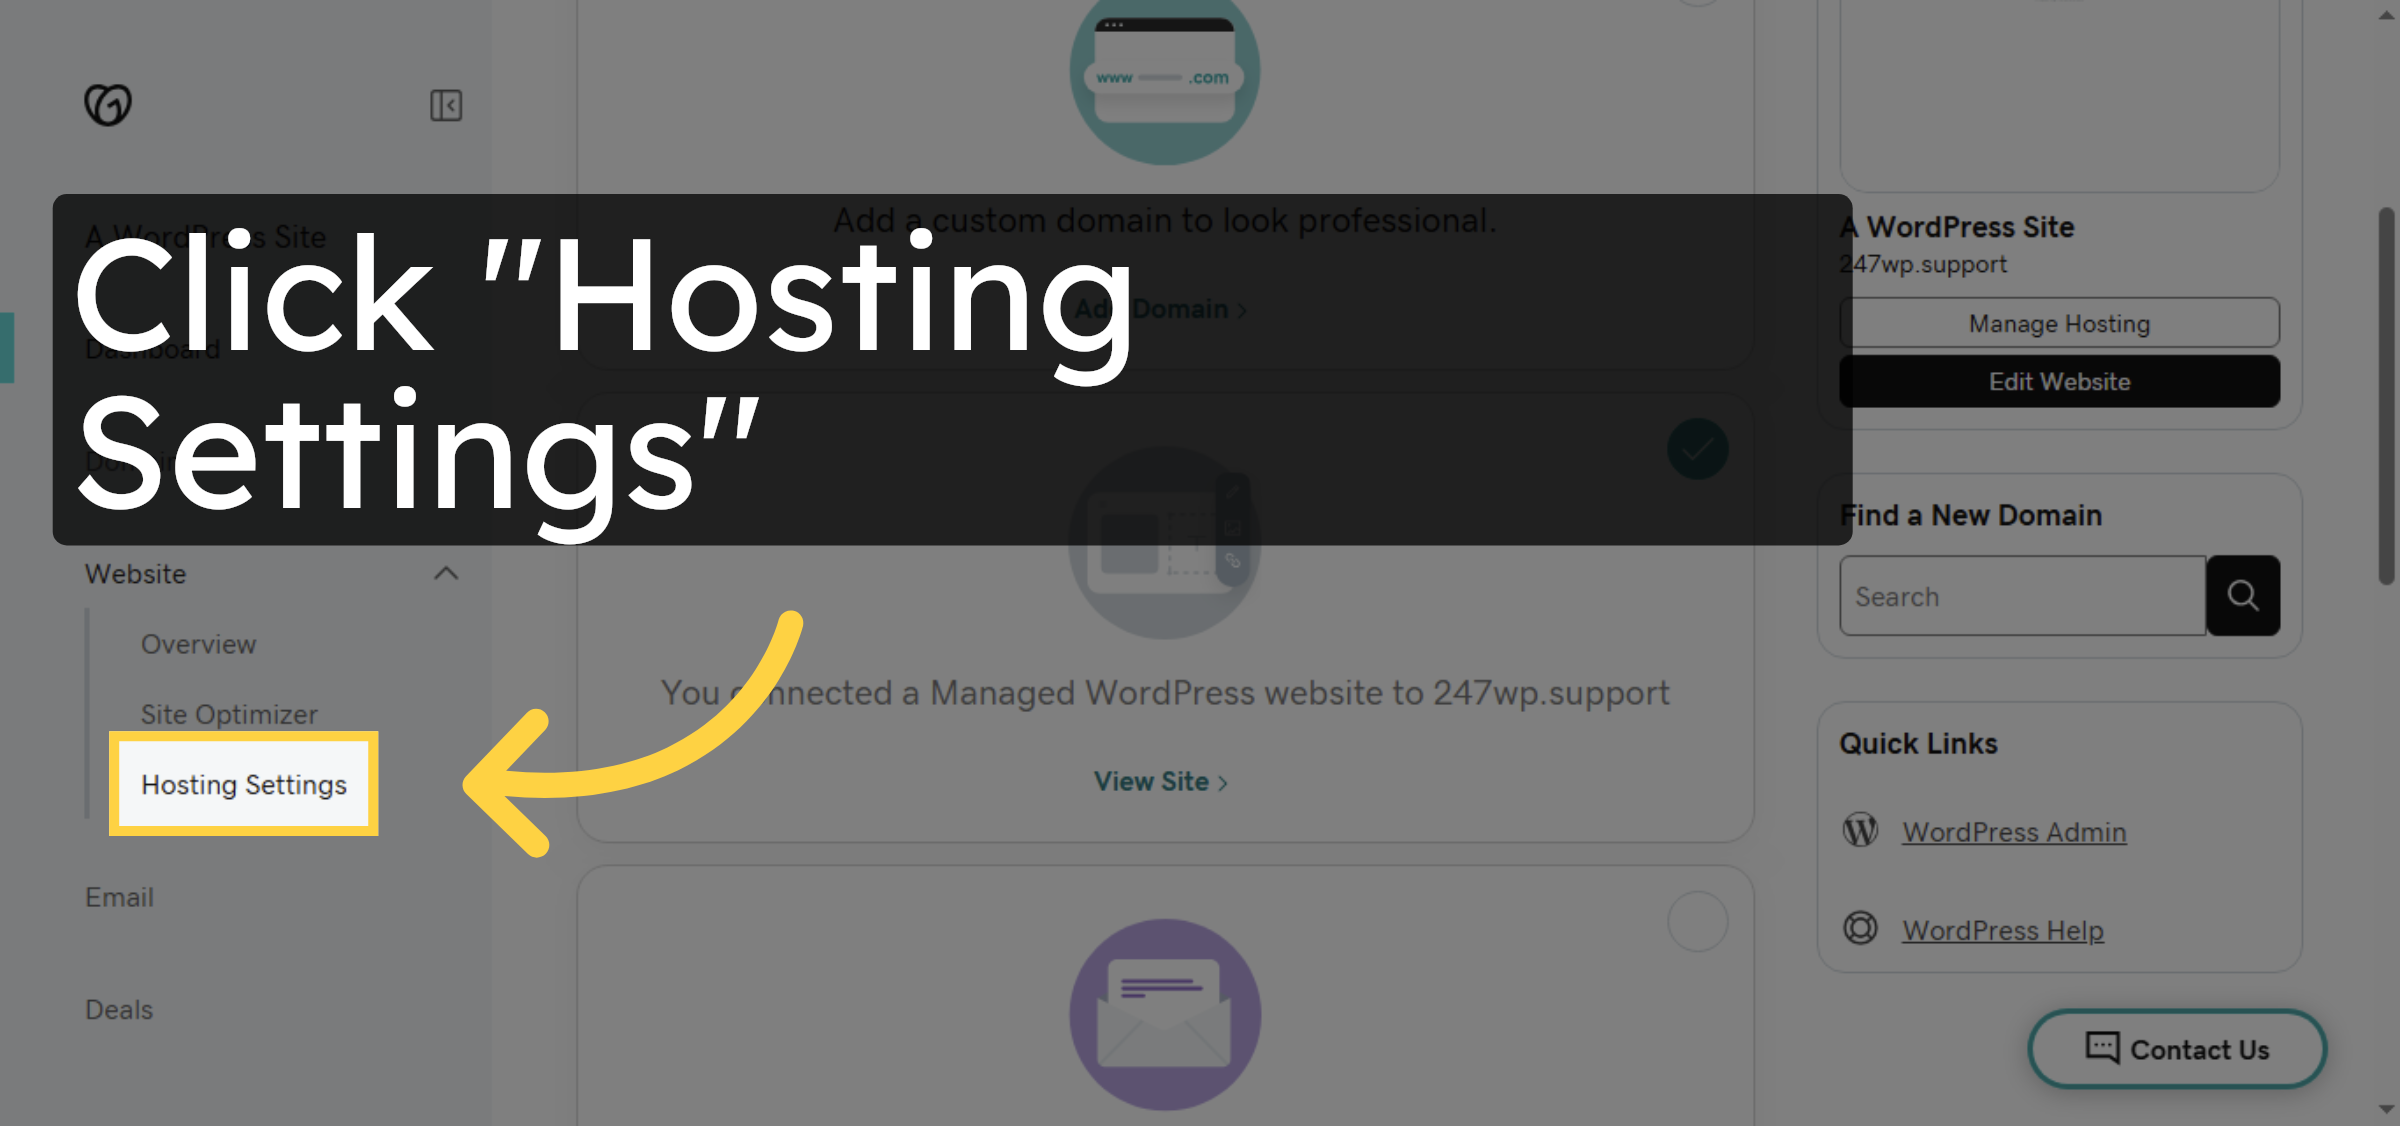
4. Open Hosting Settings
5. Access Hosting Details

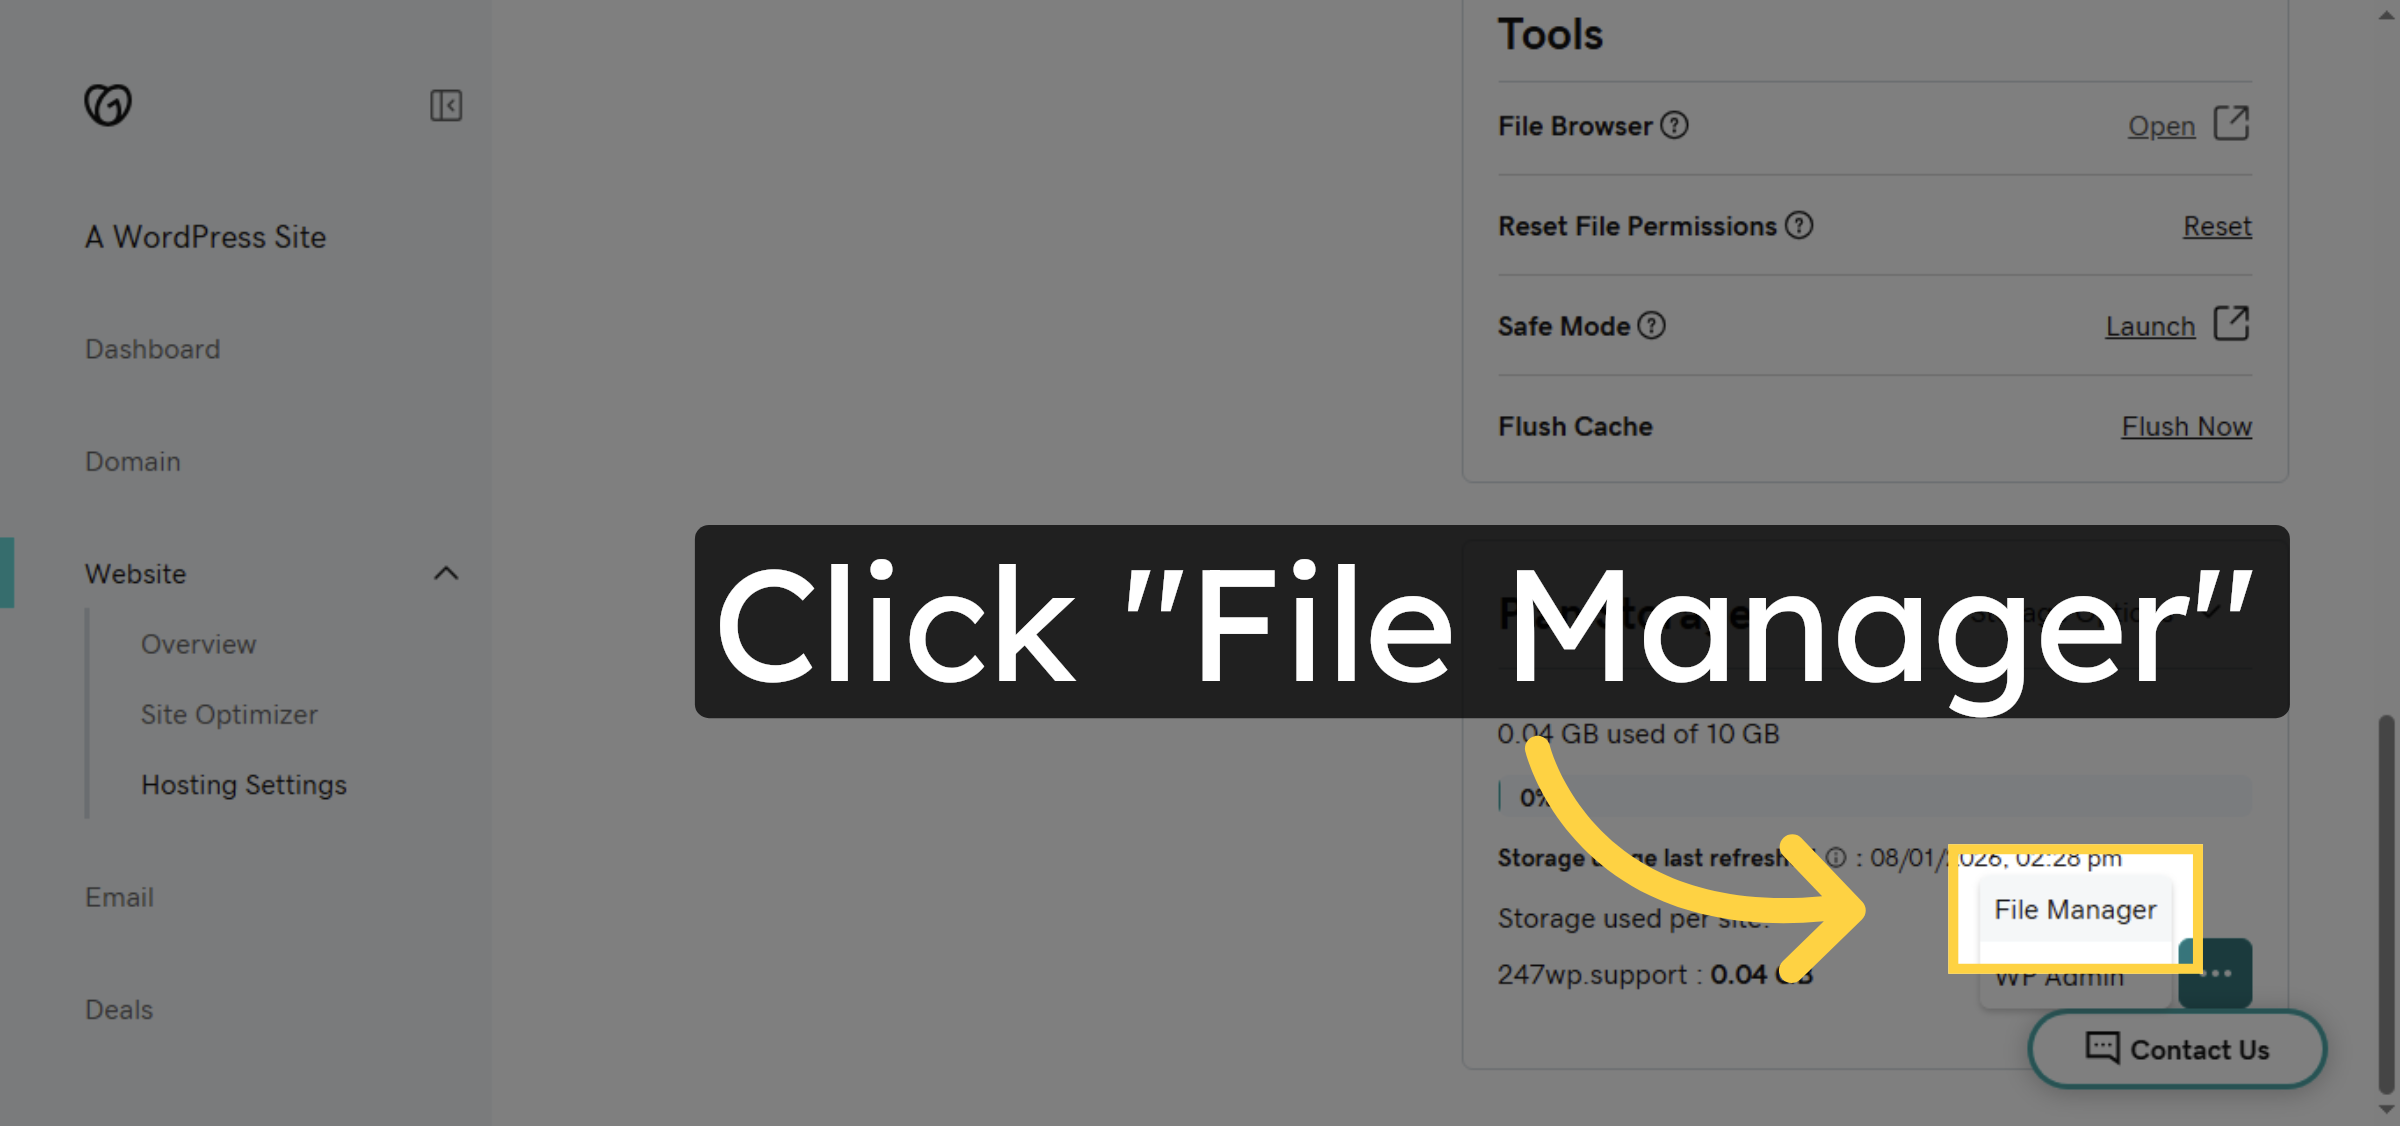
6. Open File Manager
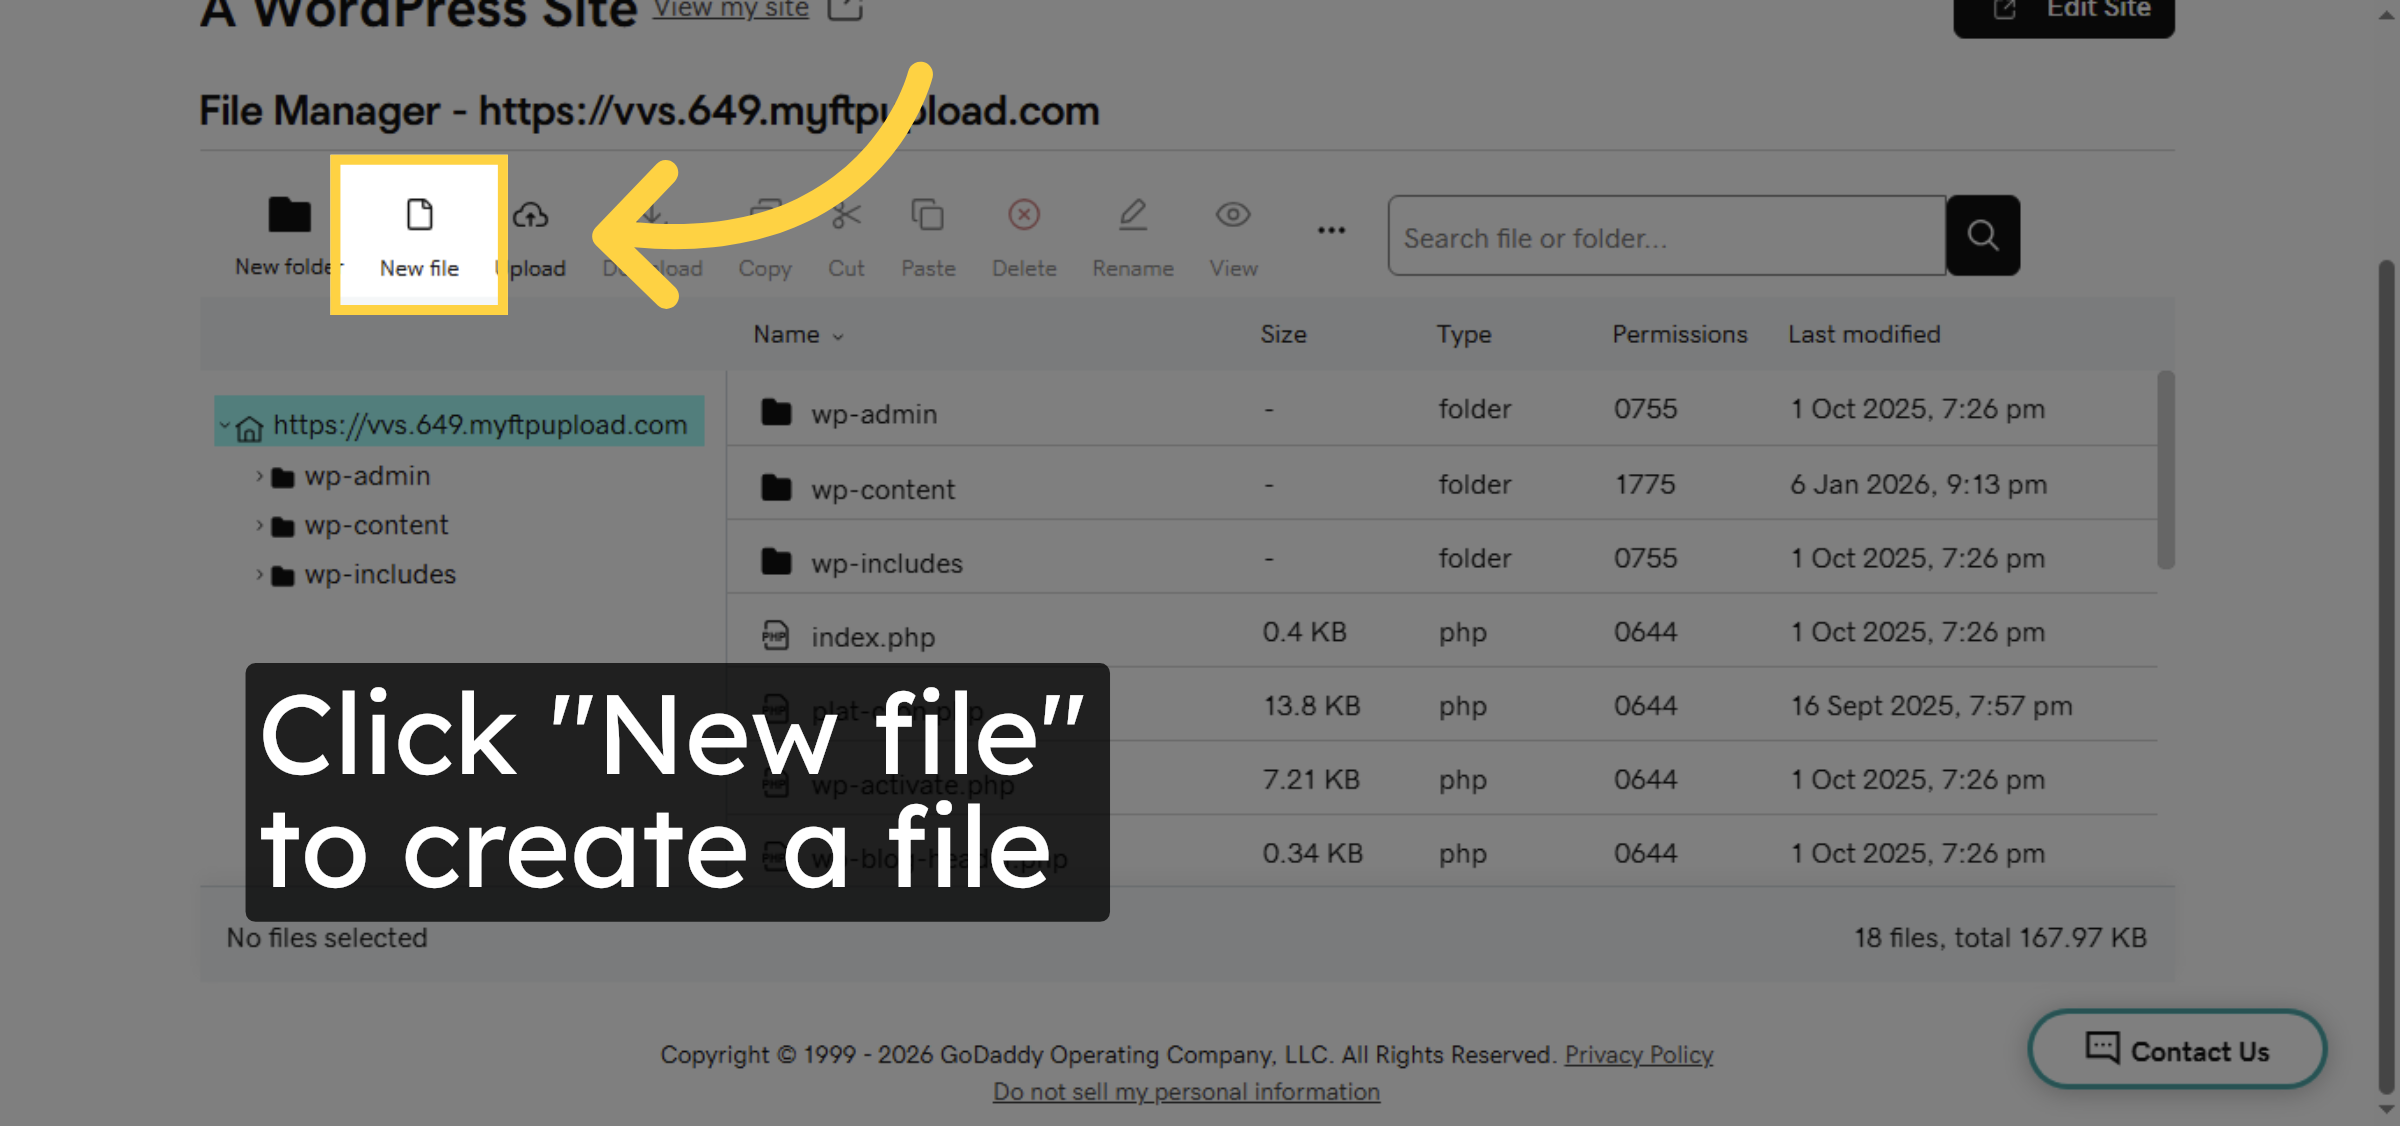
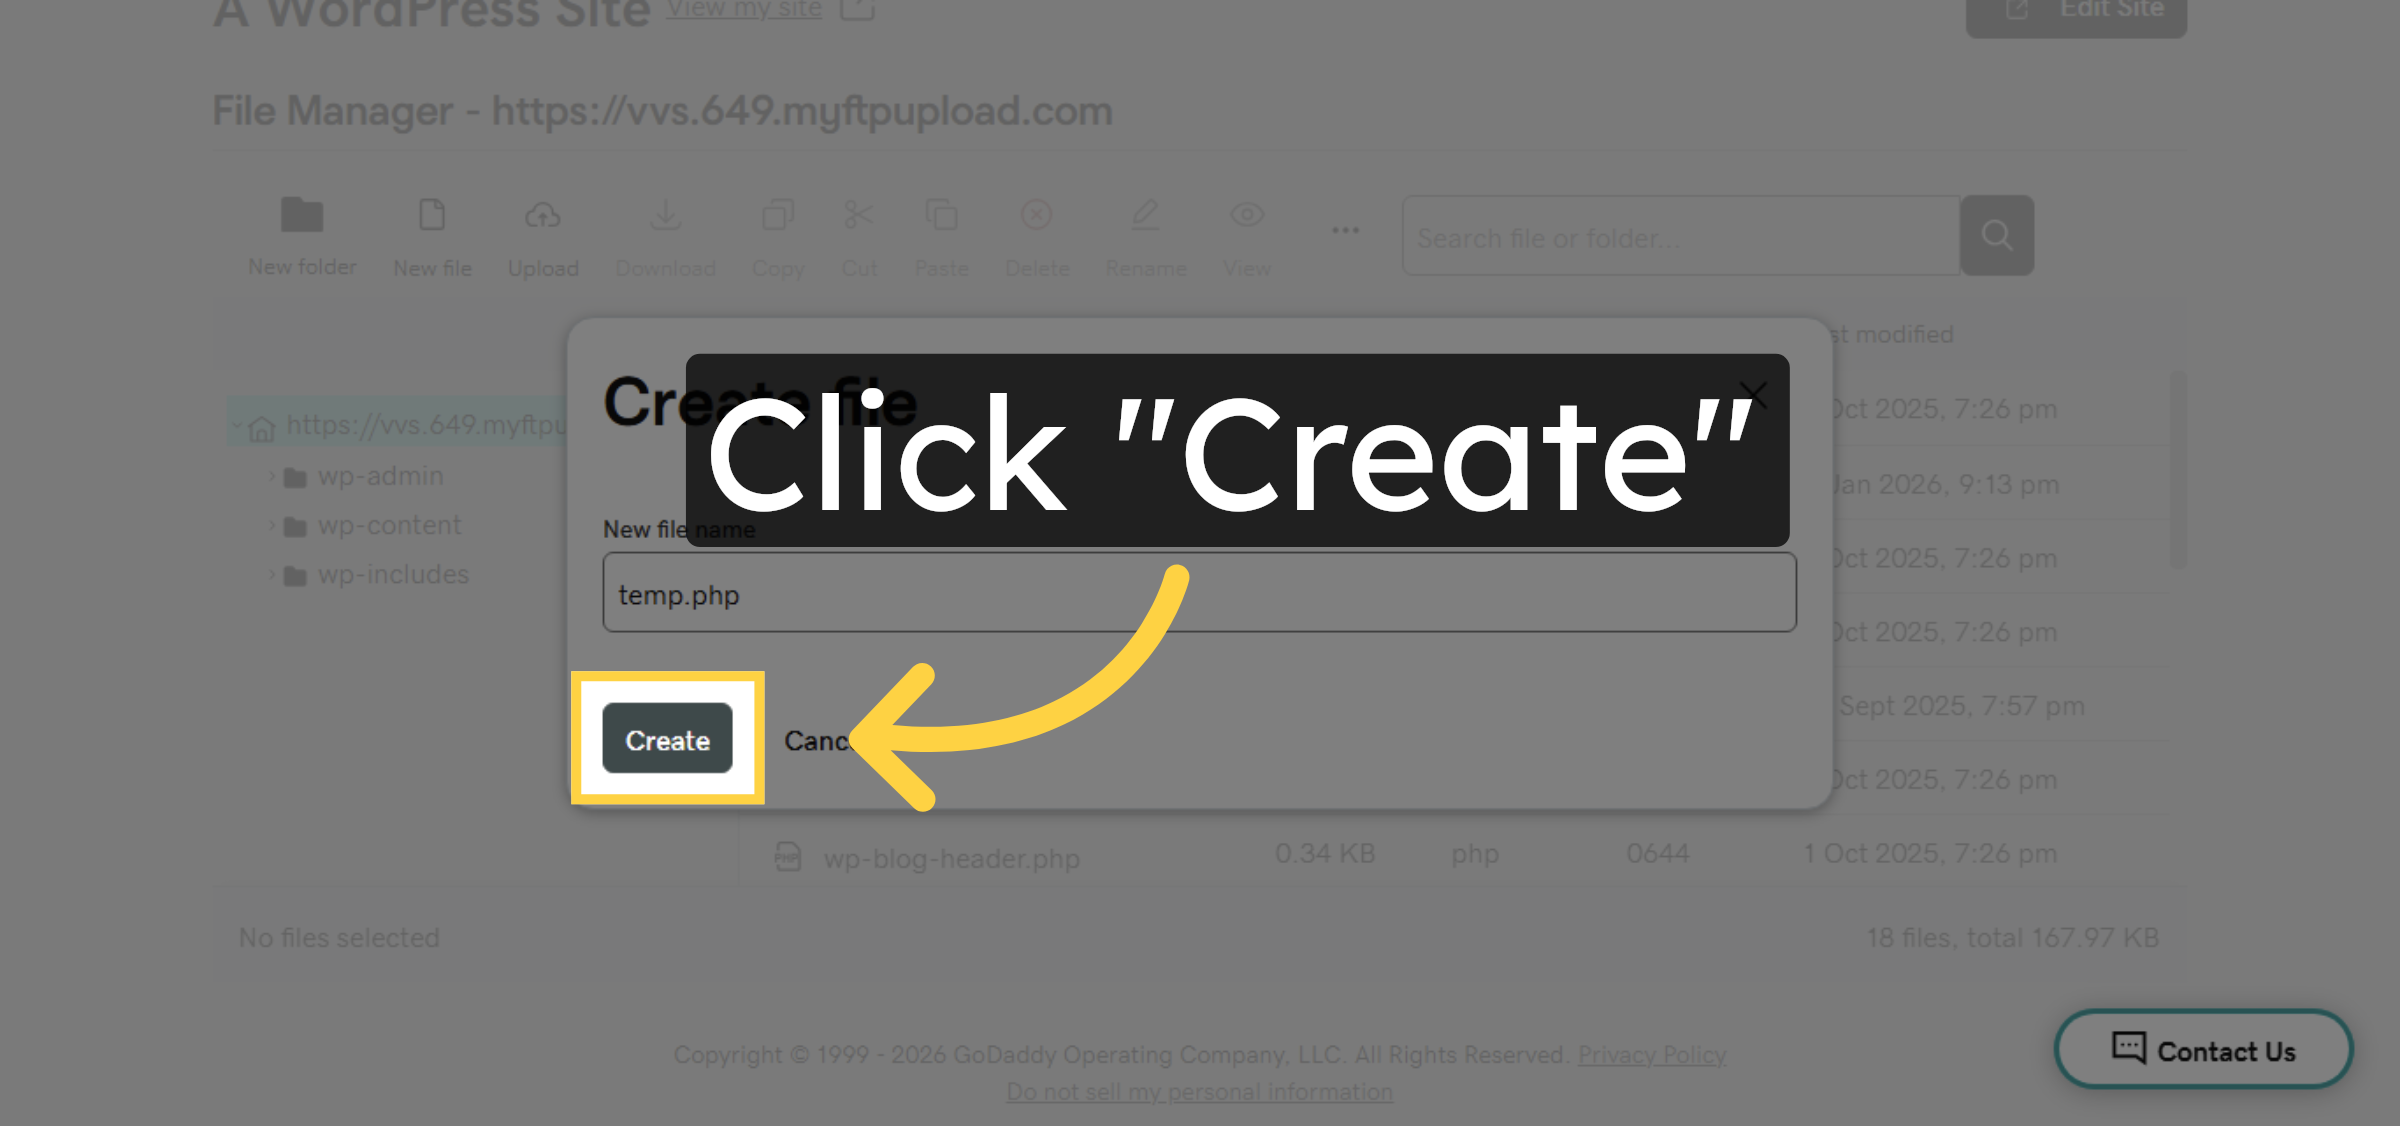
7. File creation
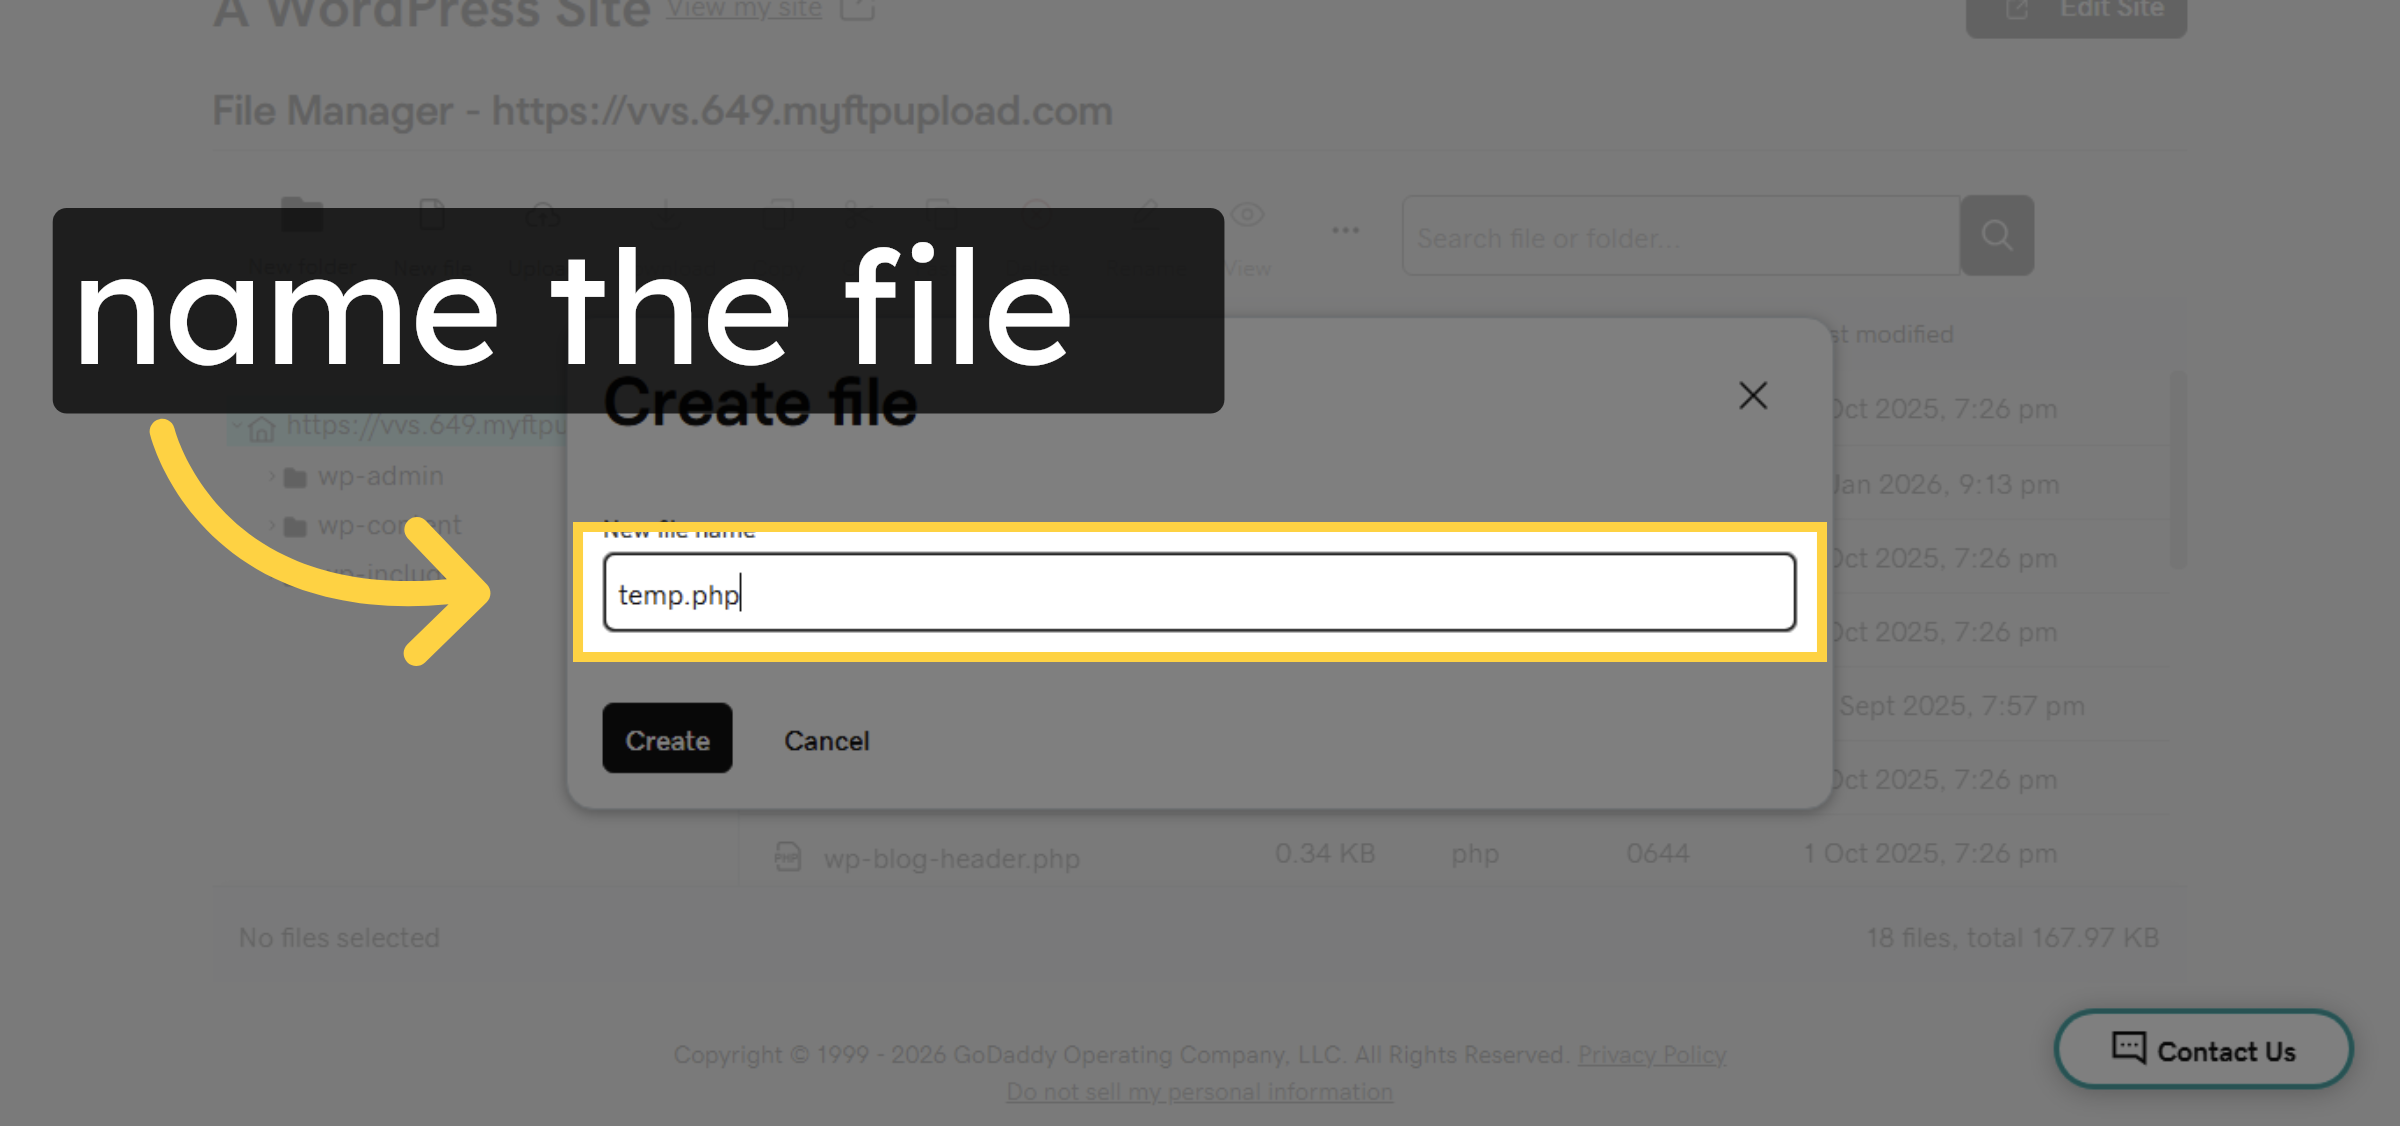
8. Enter File Name
9. Create New File
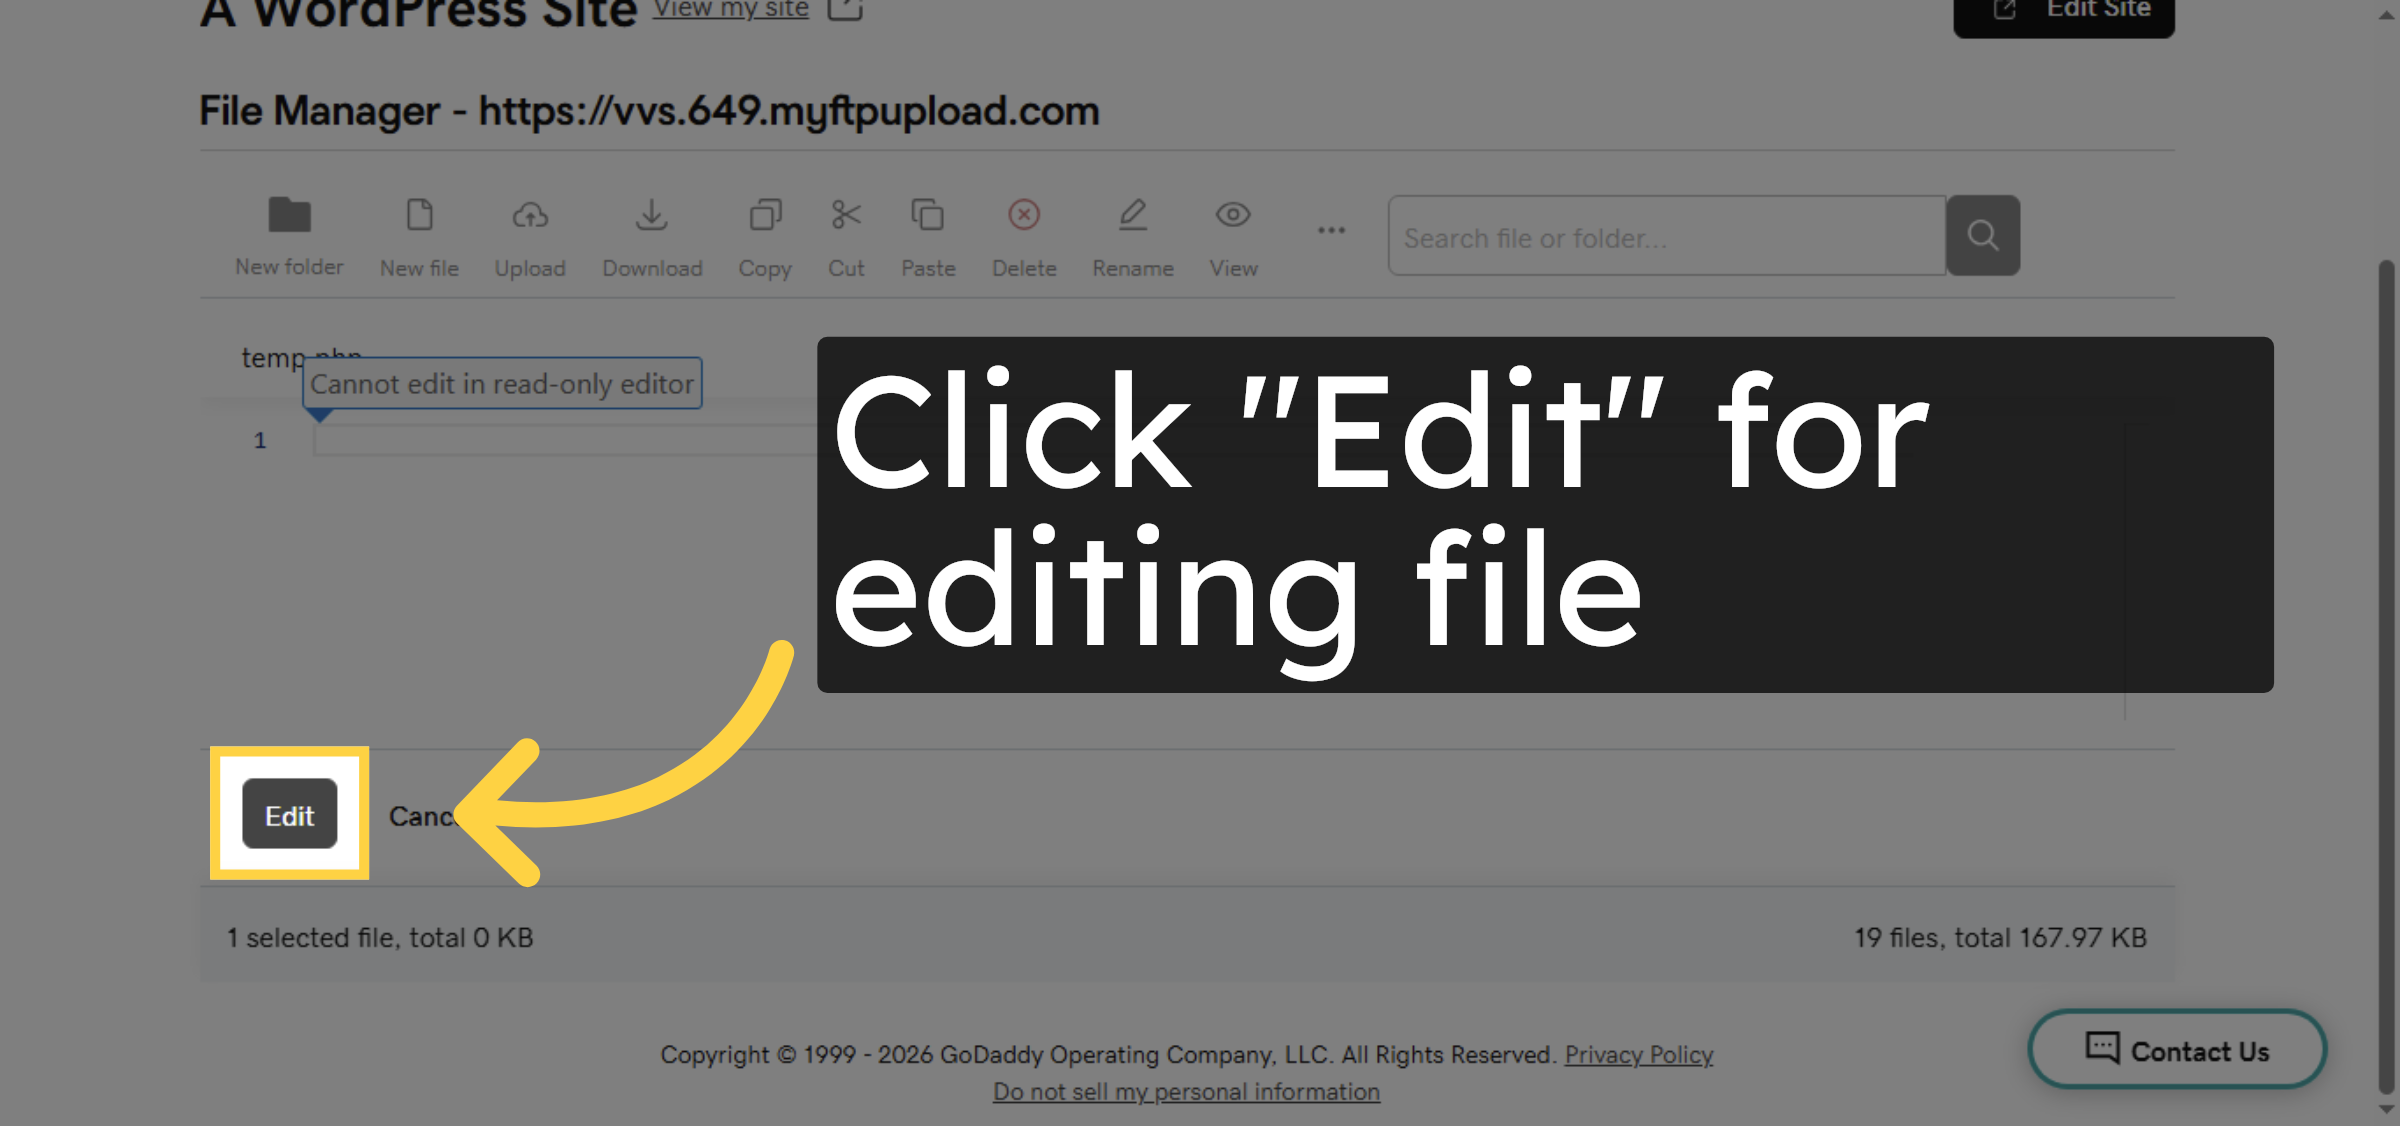
10. Select New File

11. Click Edit Button


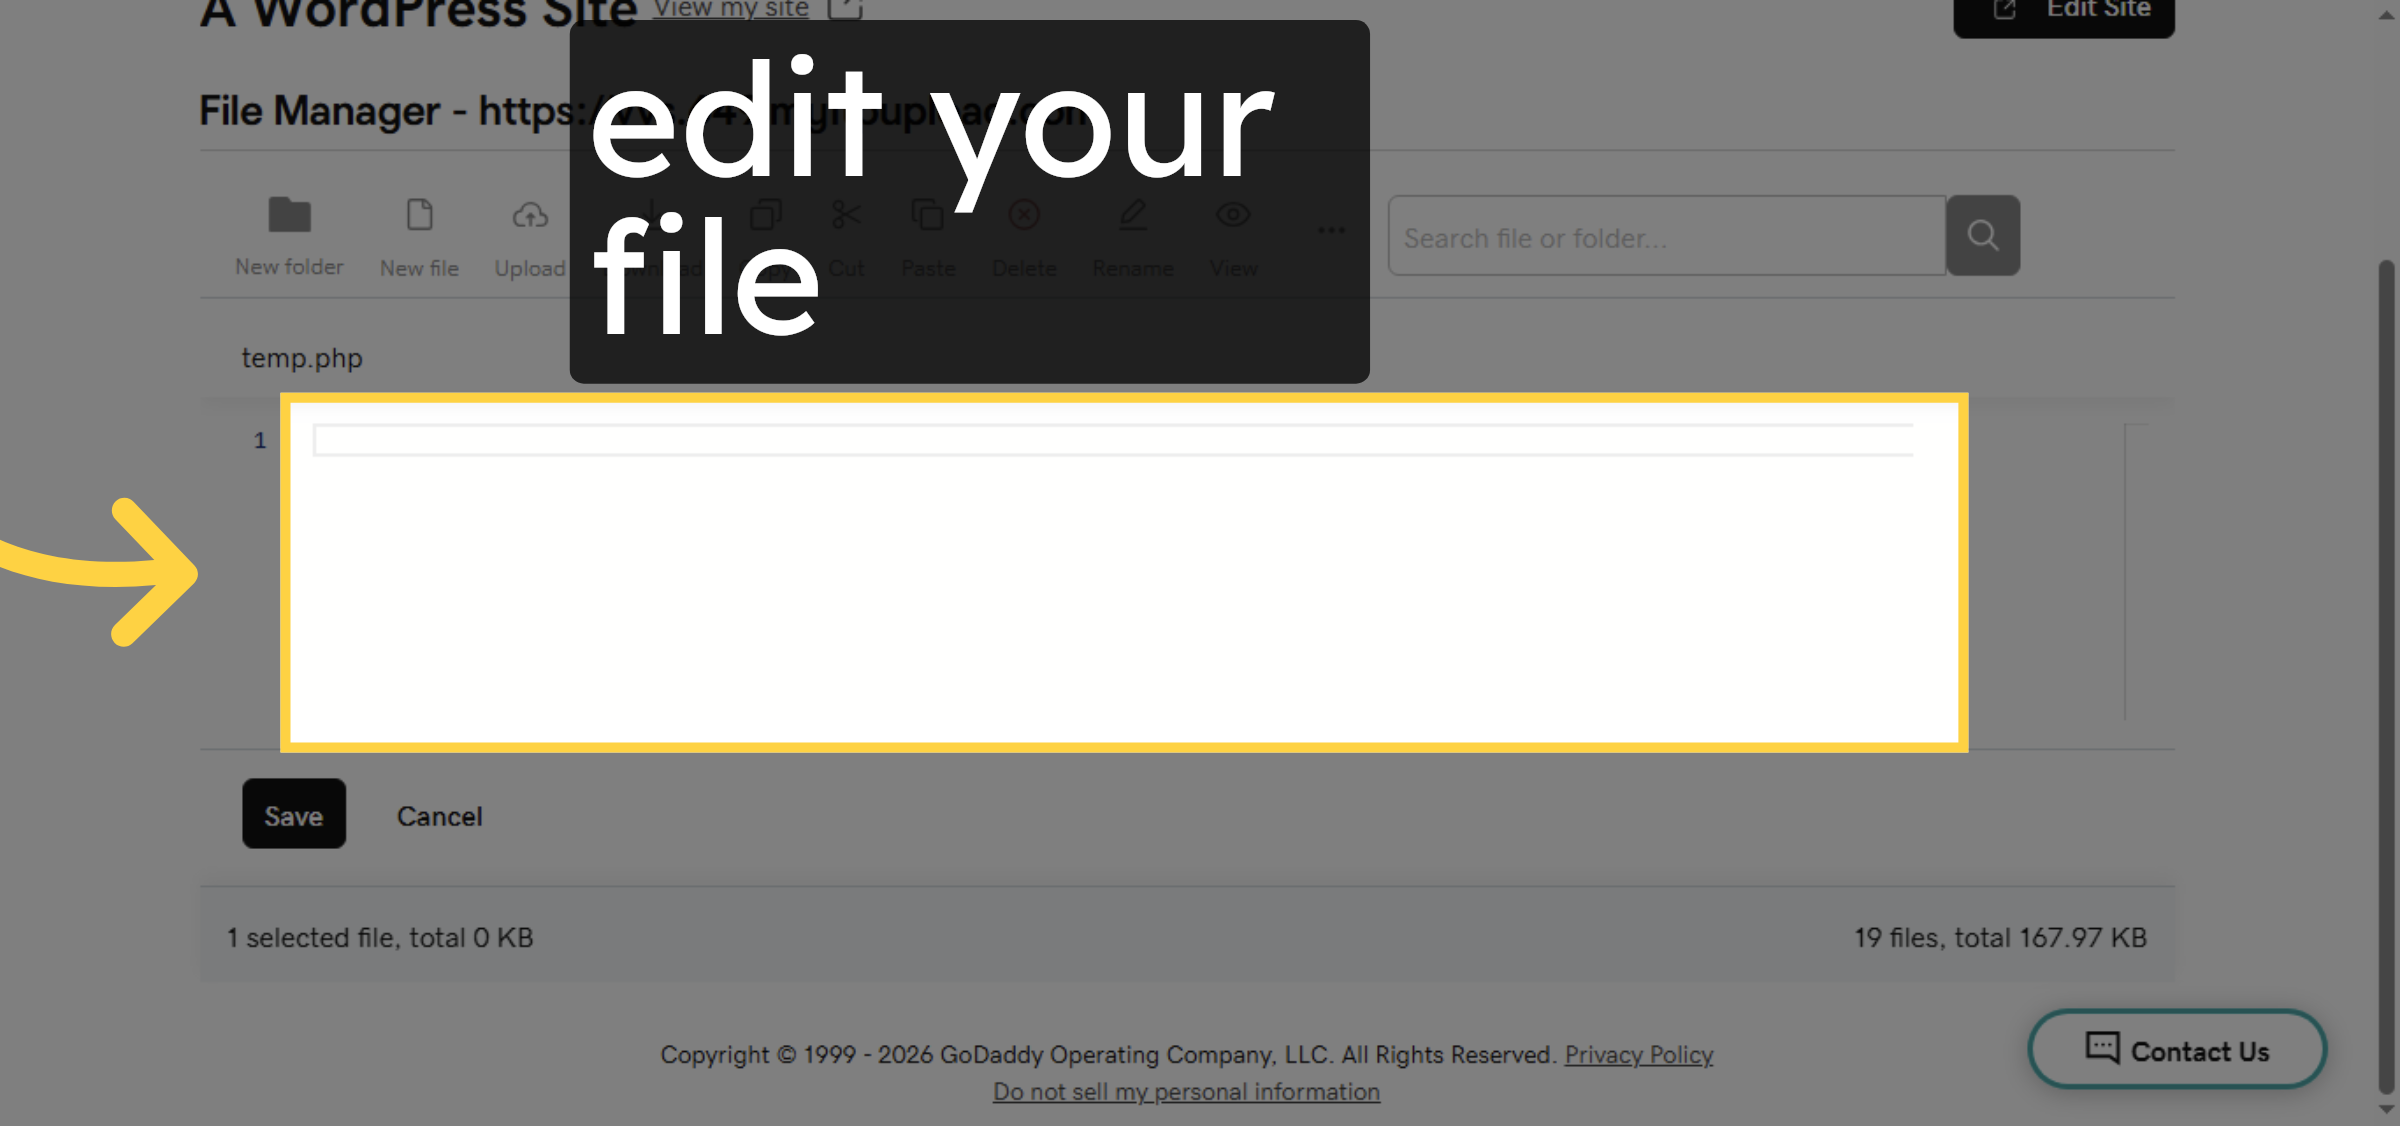
12. Edit file
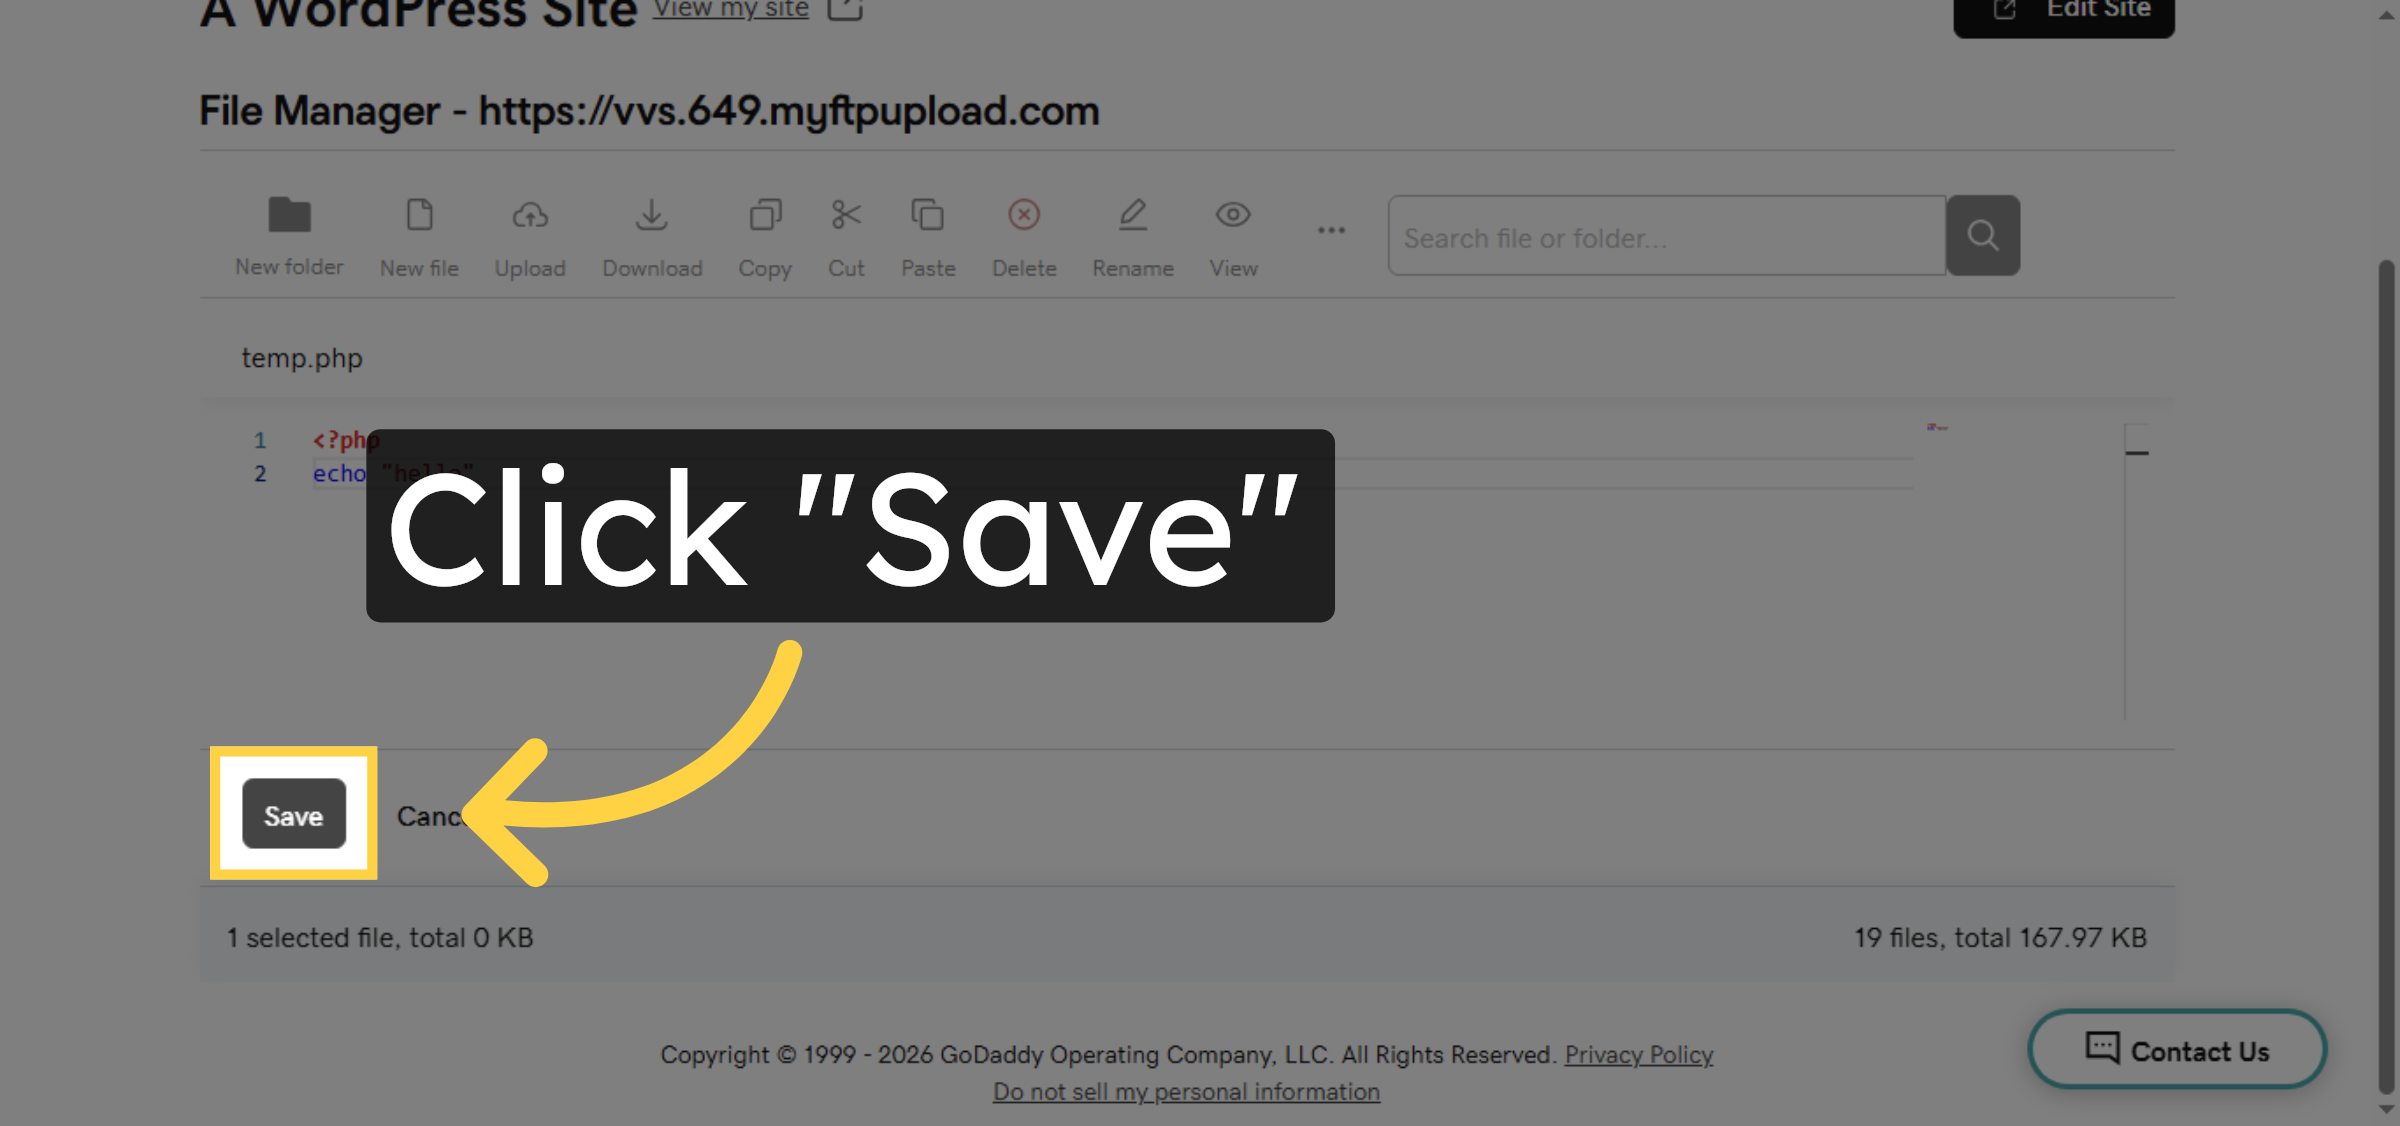
13. Save File Changes
14. File Deletion
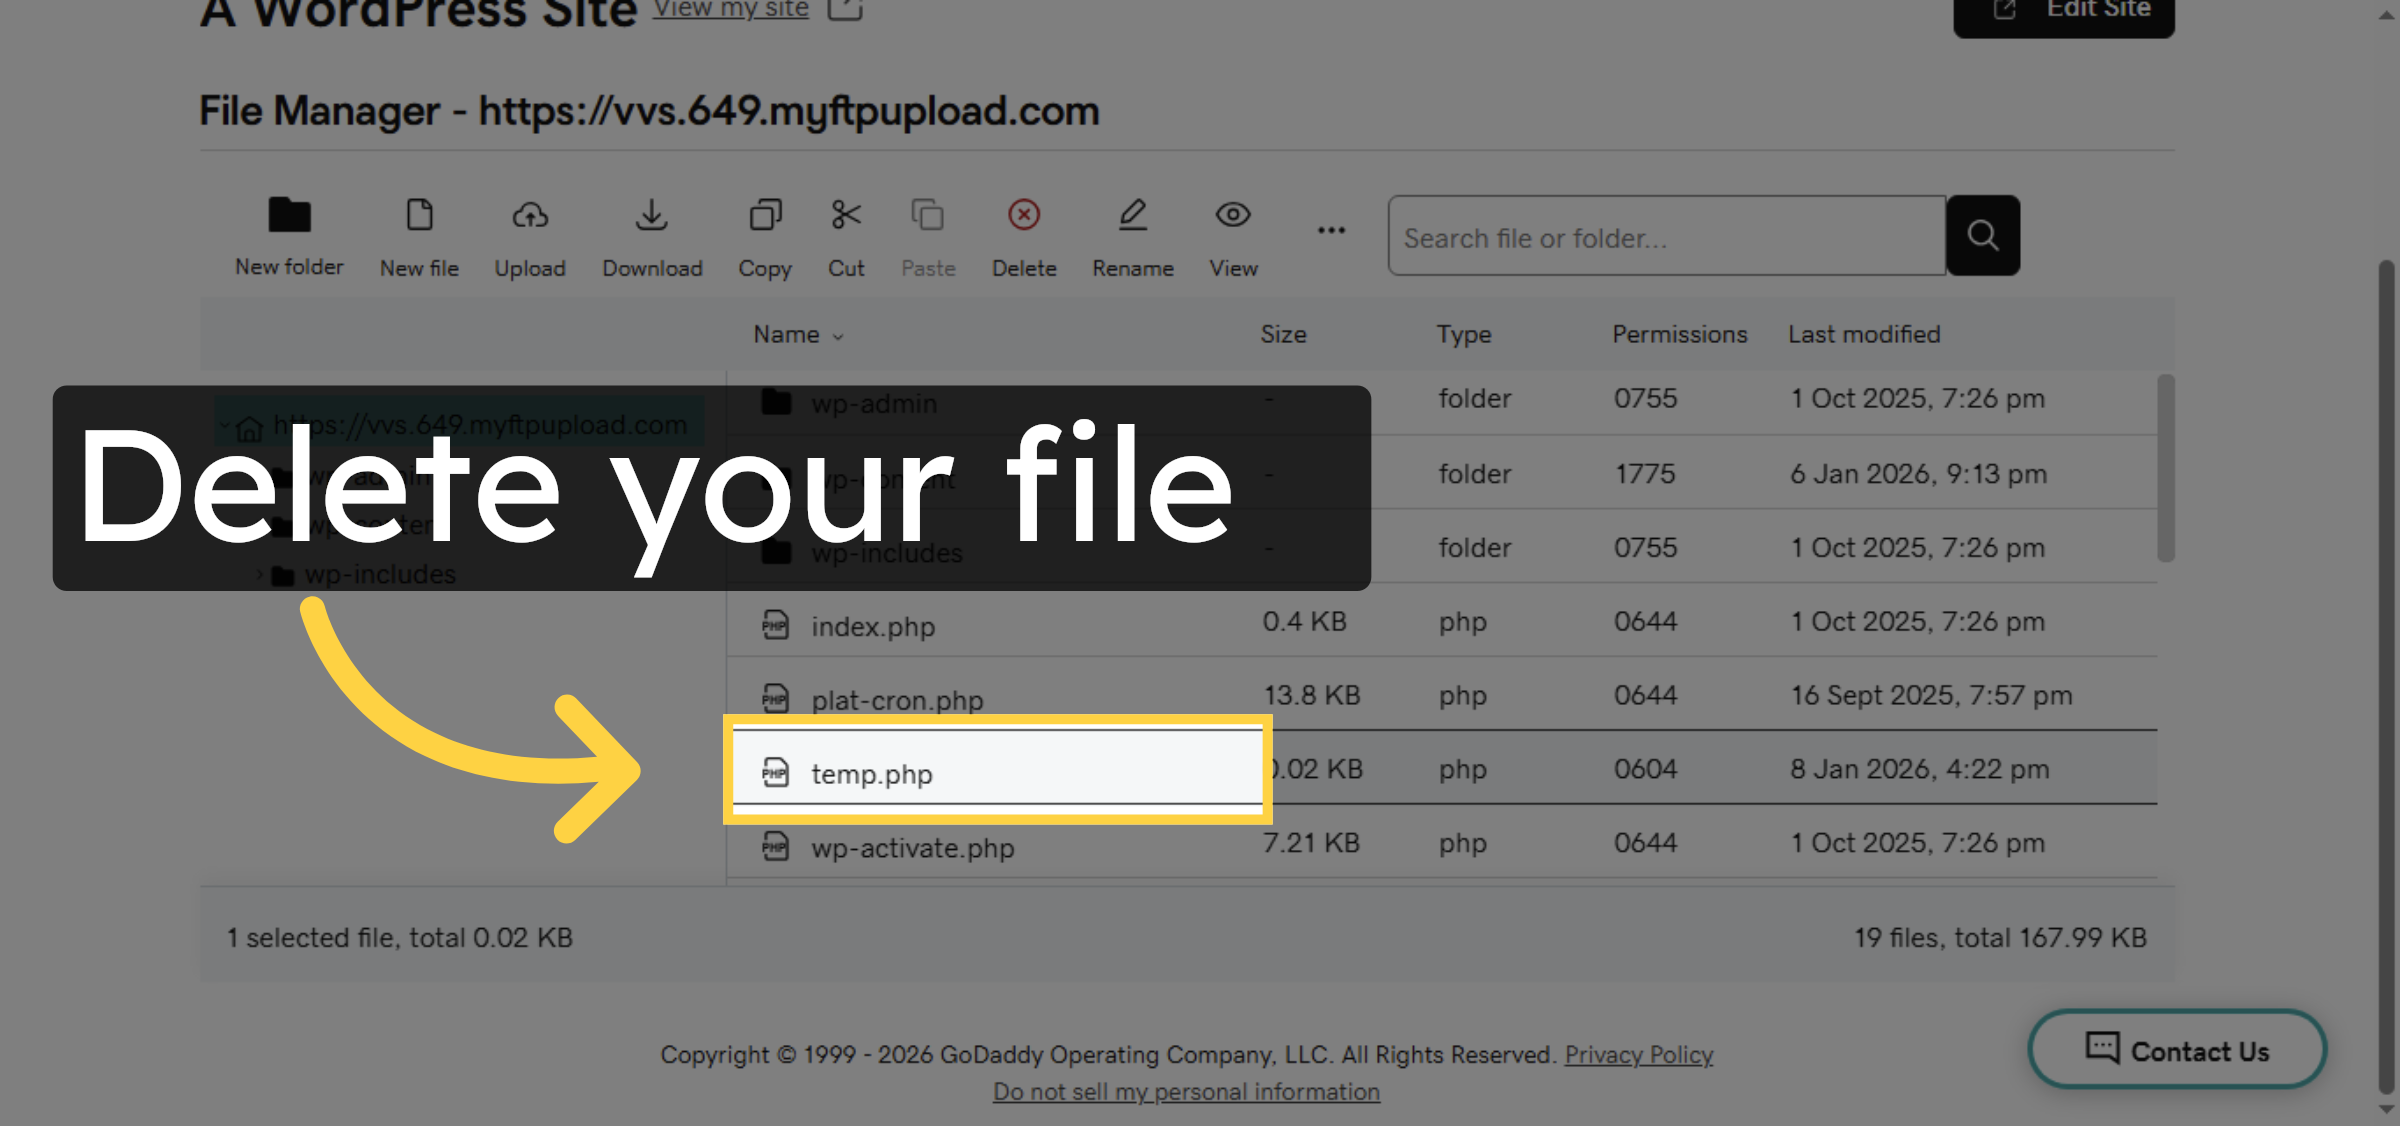
15. Access File Options
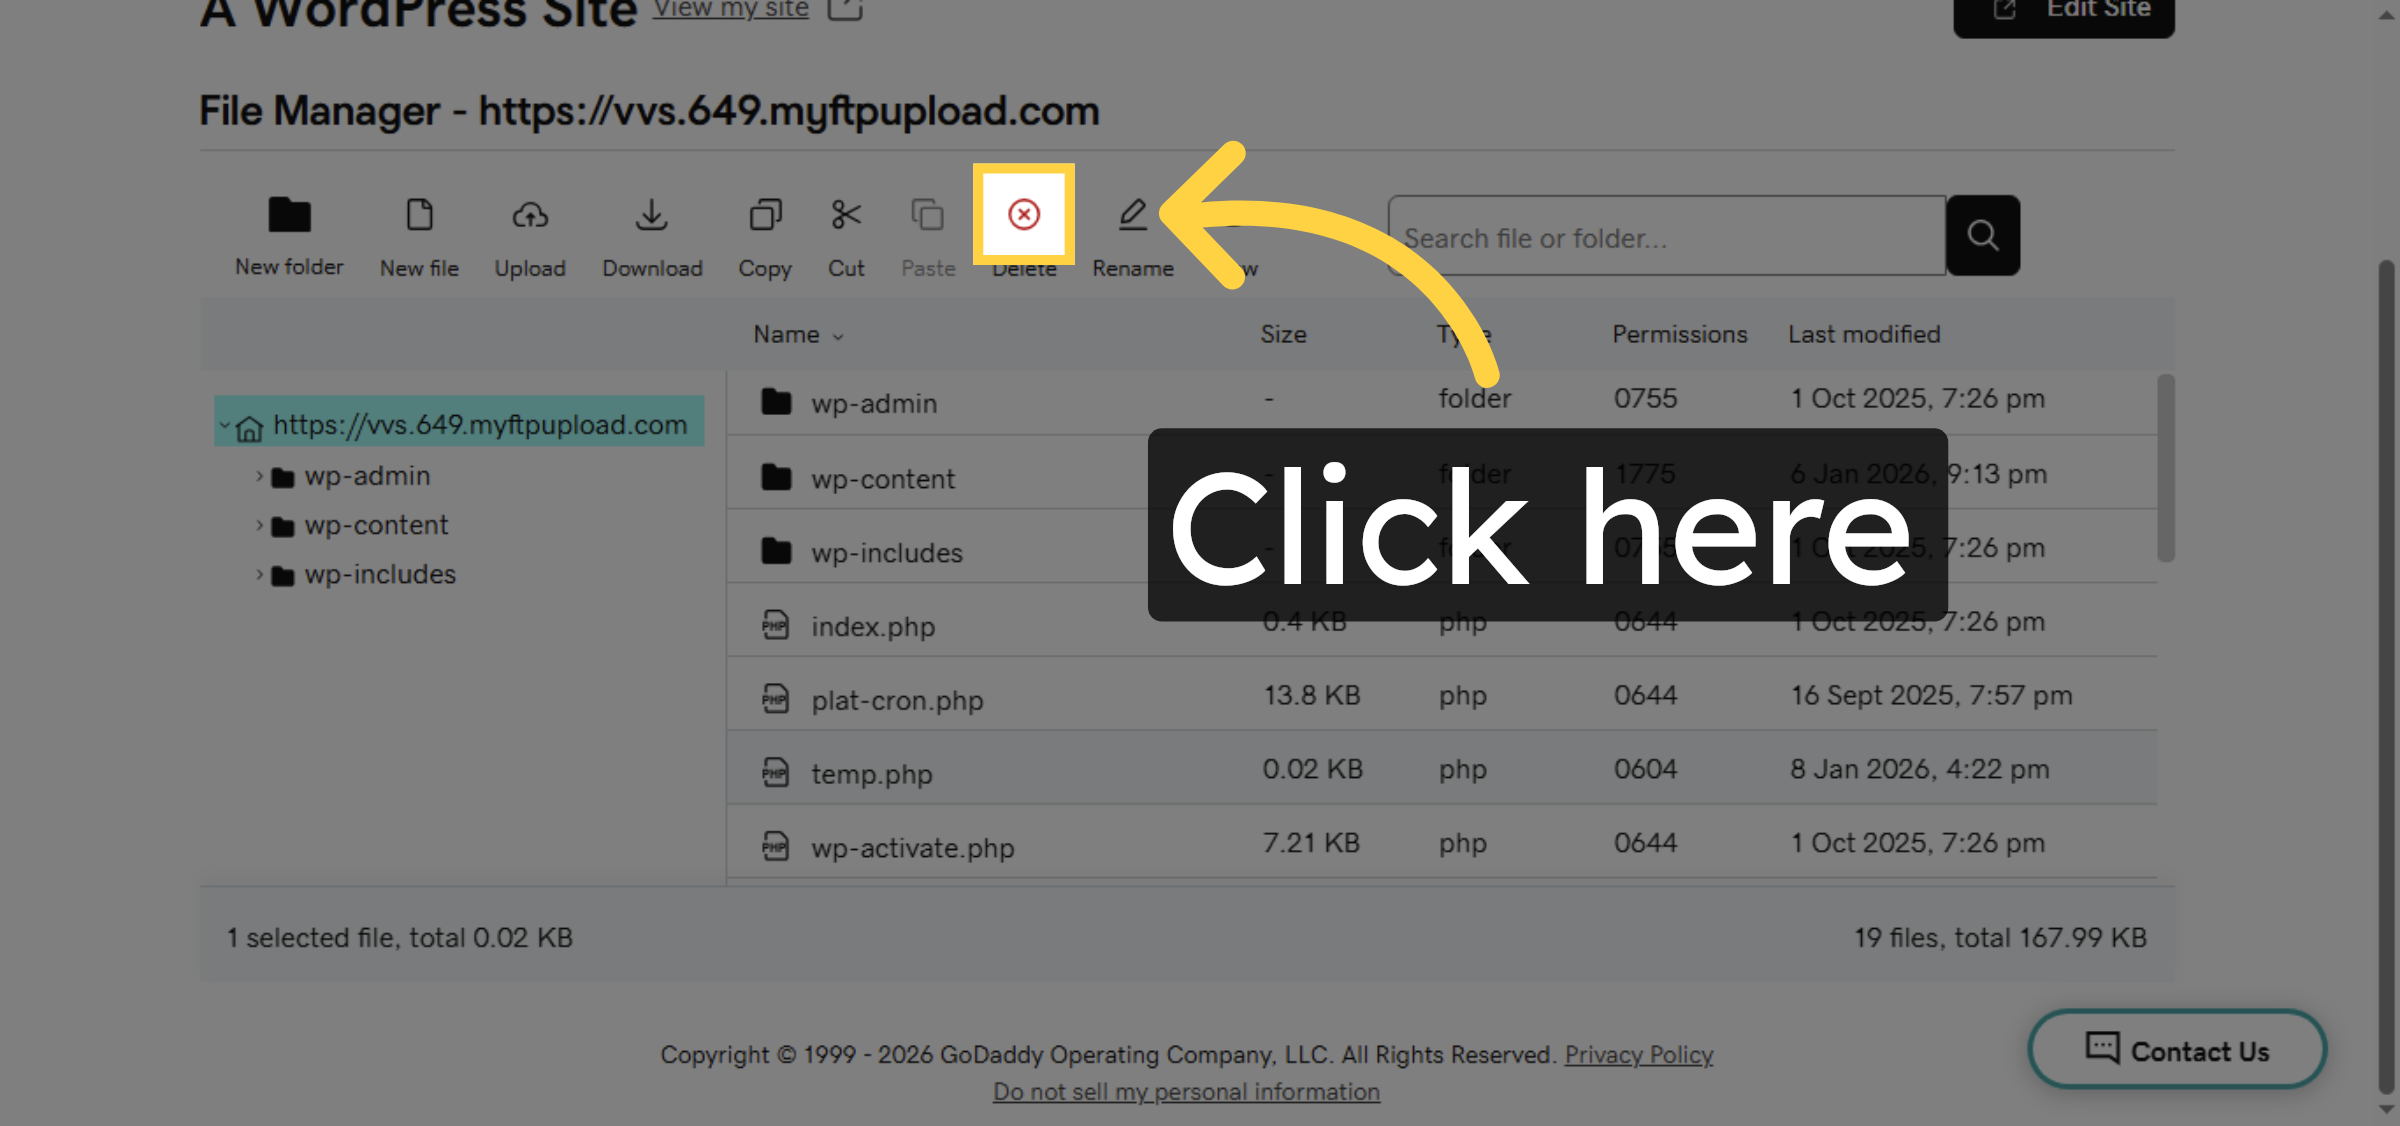
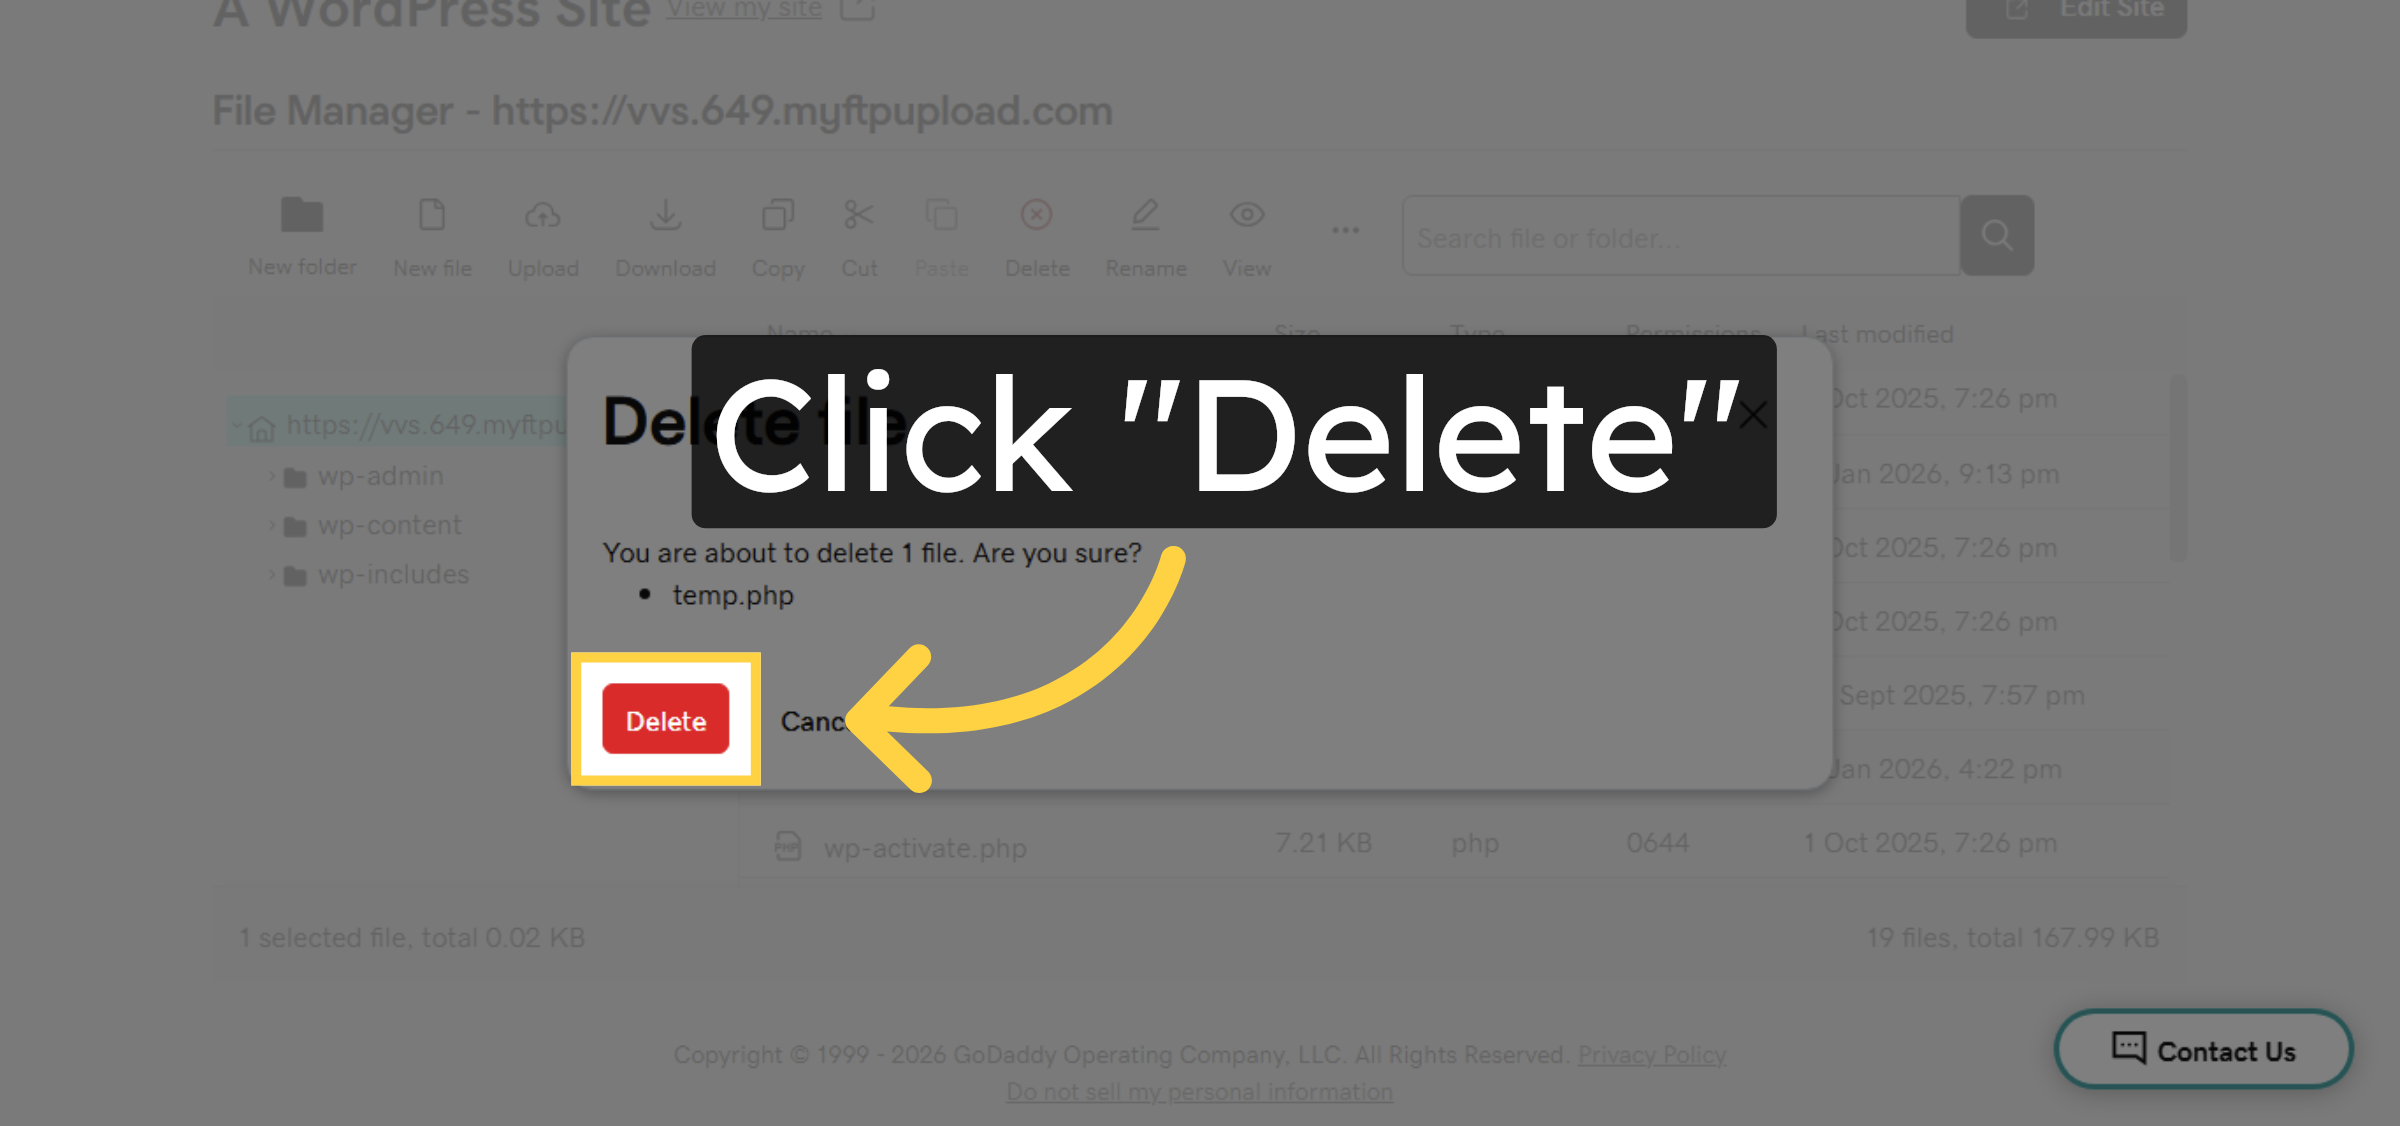
16. Delete Temporary File
Conclusion
By following this guide, you have successfully learned how to use the GoDaddy File Manager to create, edit, and delete WordPress files directly from your hosting dashboard. This approach allows quick file management without relying on FTP tools and is helpful for troubleshooting, testing, and basic customization. Proper file handling helps maintain site performance and reduces the risk of errors.
-
Visit: https://www.woohelpdesk.com
-
Call Us Toll-Free: +1 888 602 0119 (US & Canada)
-
Get professional support for GoDaddy hosting management, WordPress file editing, PHP troubleshooting, performance optimization, and WooCommerce solutions


