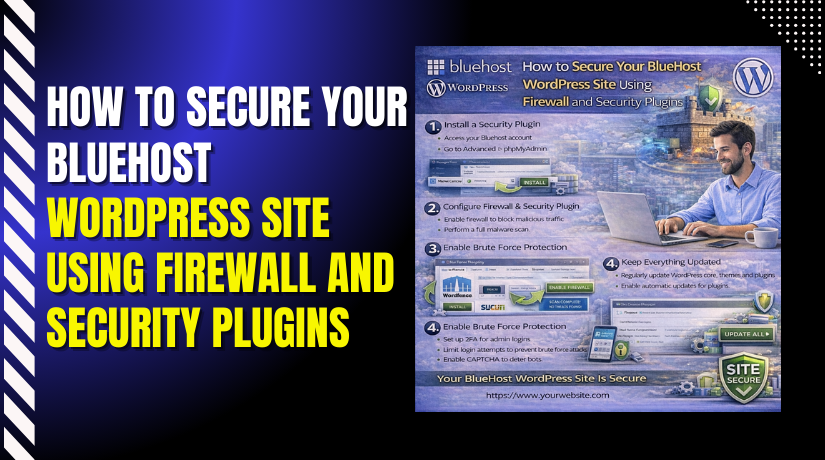
Introduction
Website security is essential for protecting your WordPress site from malware, hacking attempts, and unauthorized access. Without proper protection, your website may face data loss, downtime, and reduced user trust. Bluehost provides basic security features, but using advanced security plugins ensures stronger and more reliable protection.
This guidde explains how to secure your Bluehost WordPress website using firewall and security plugins, especially the All In One Security (AIOS) plugin. It shows how to enable malware scanning, configure login protection, secure files and databases, and activate firewall rules to keep your website safe.
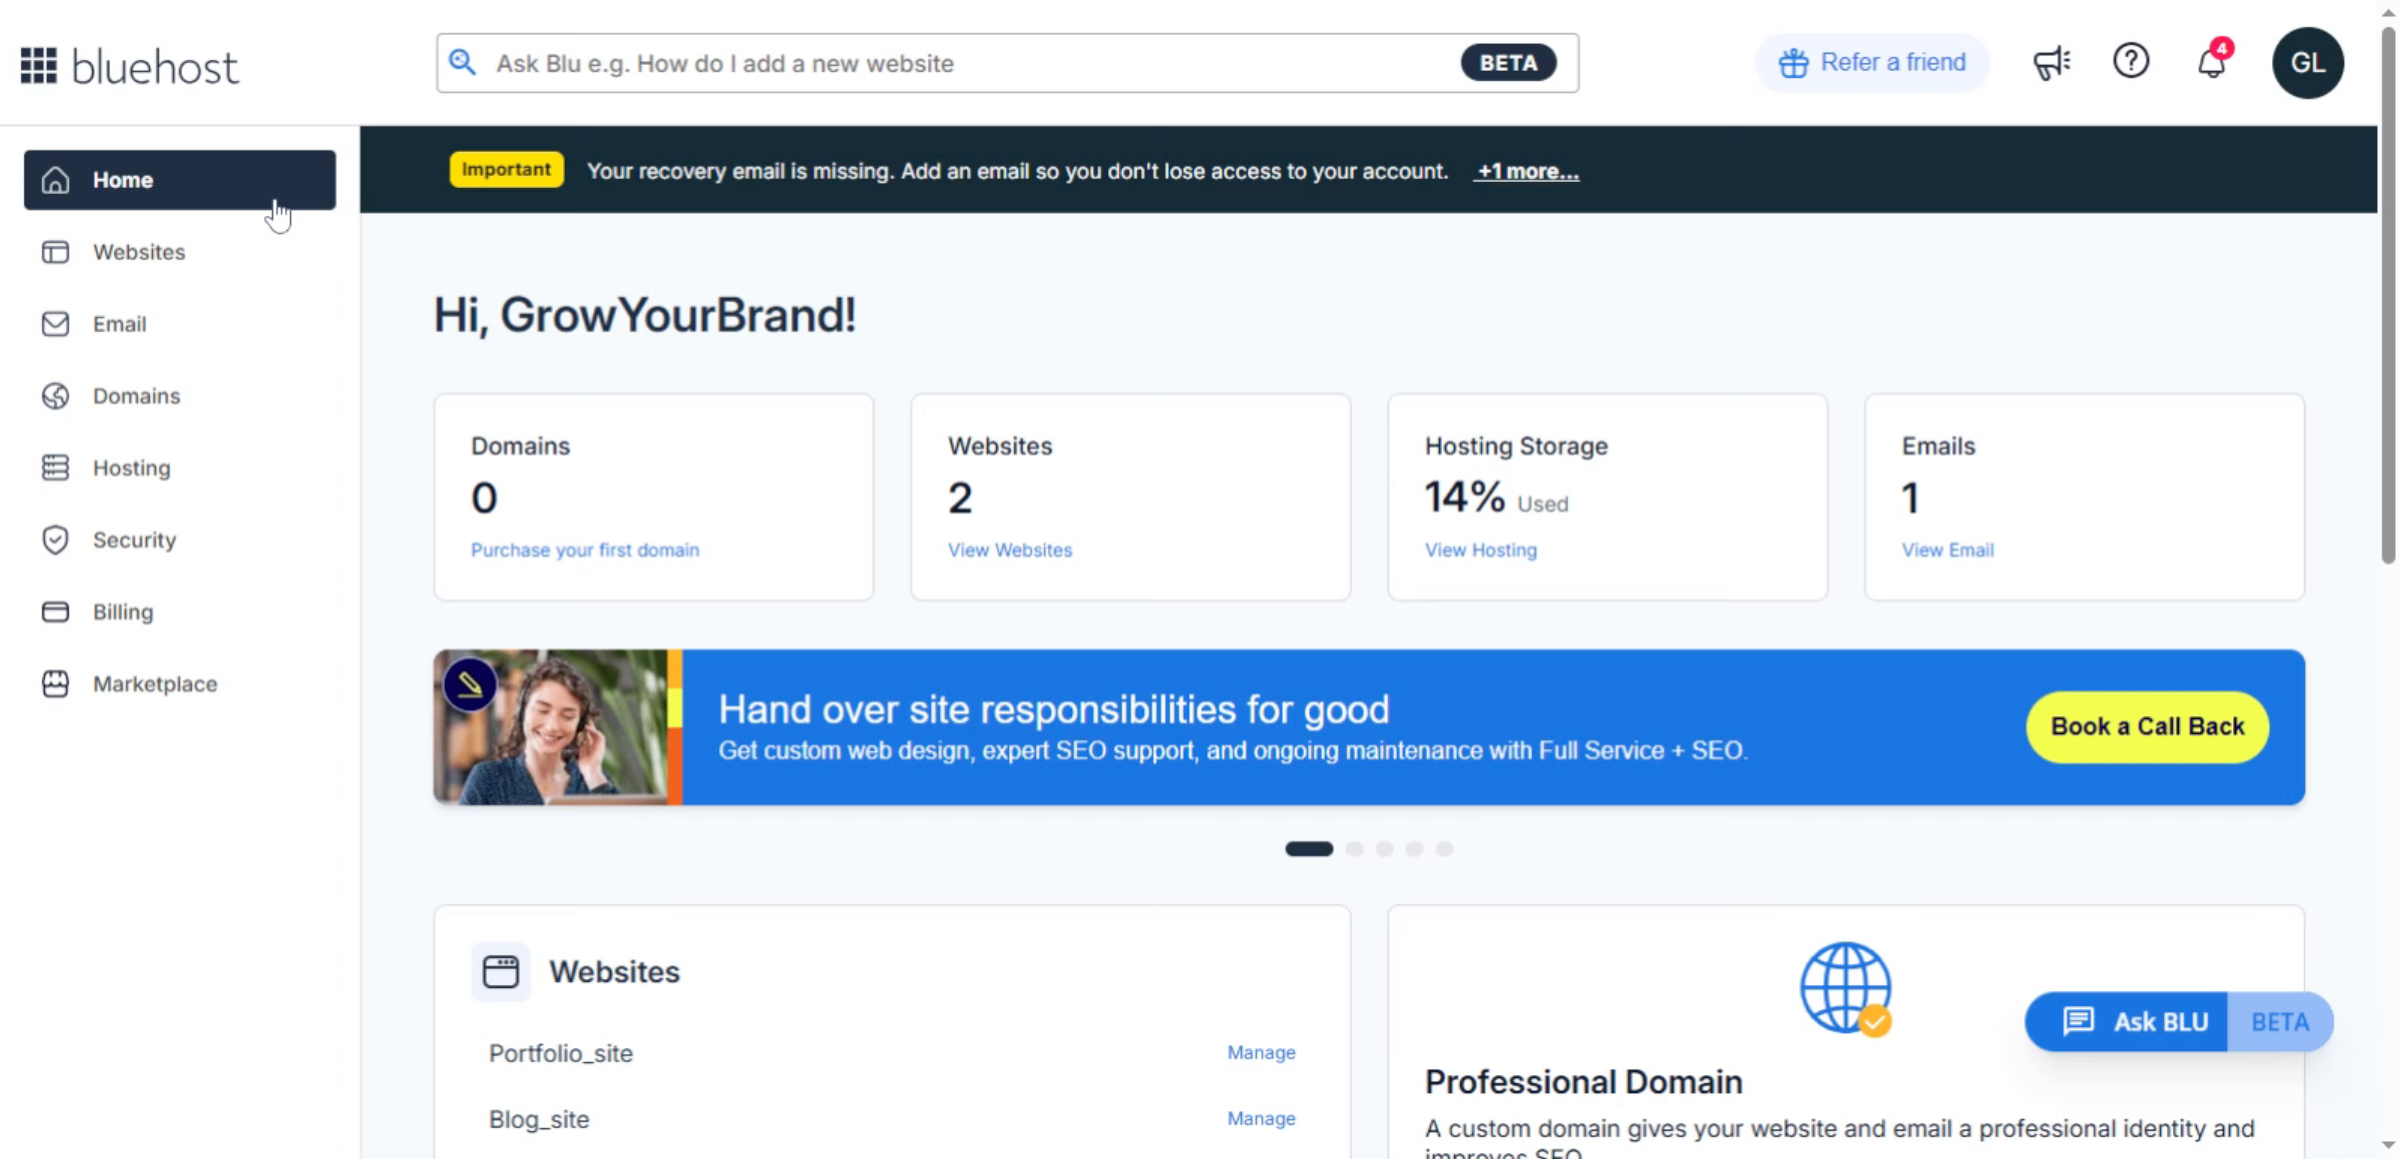
1. Bluehost Hosting Dashboard
From the Bluehost Hosting Dashboard, enable built-in security features and add trusted WordPress security plugins to activate firewall protection, block malicious traffic, and safeguard your website from common threats.
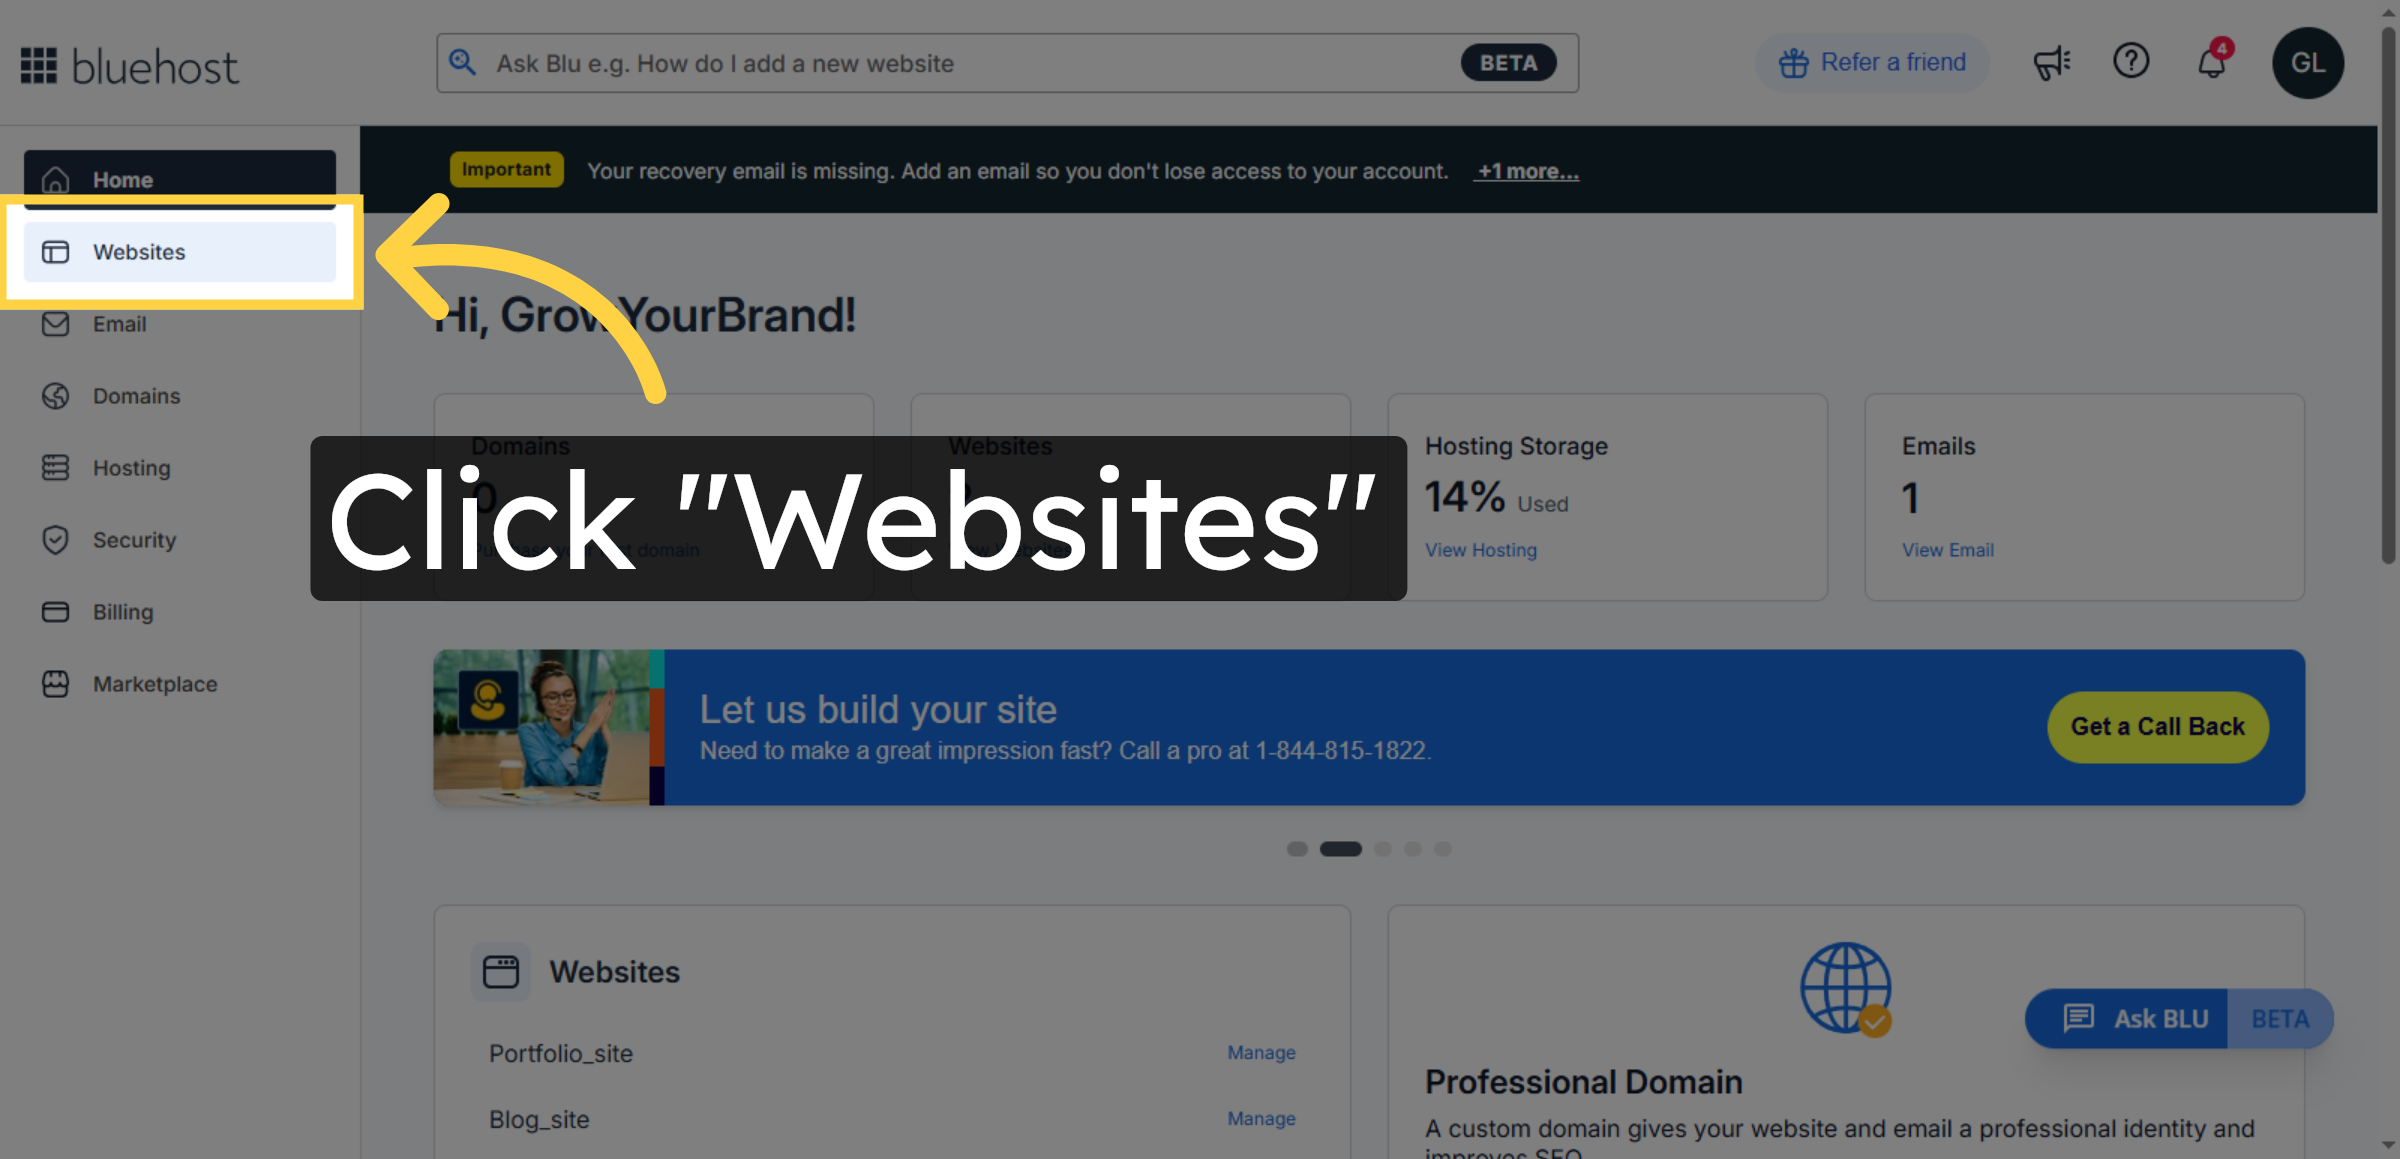
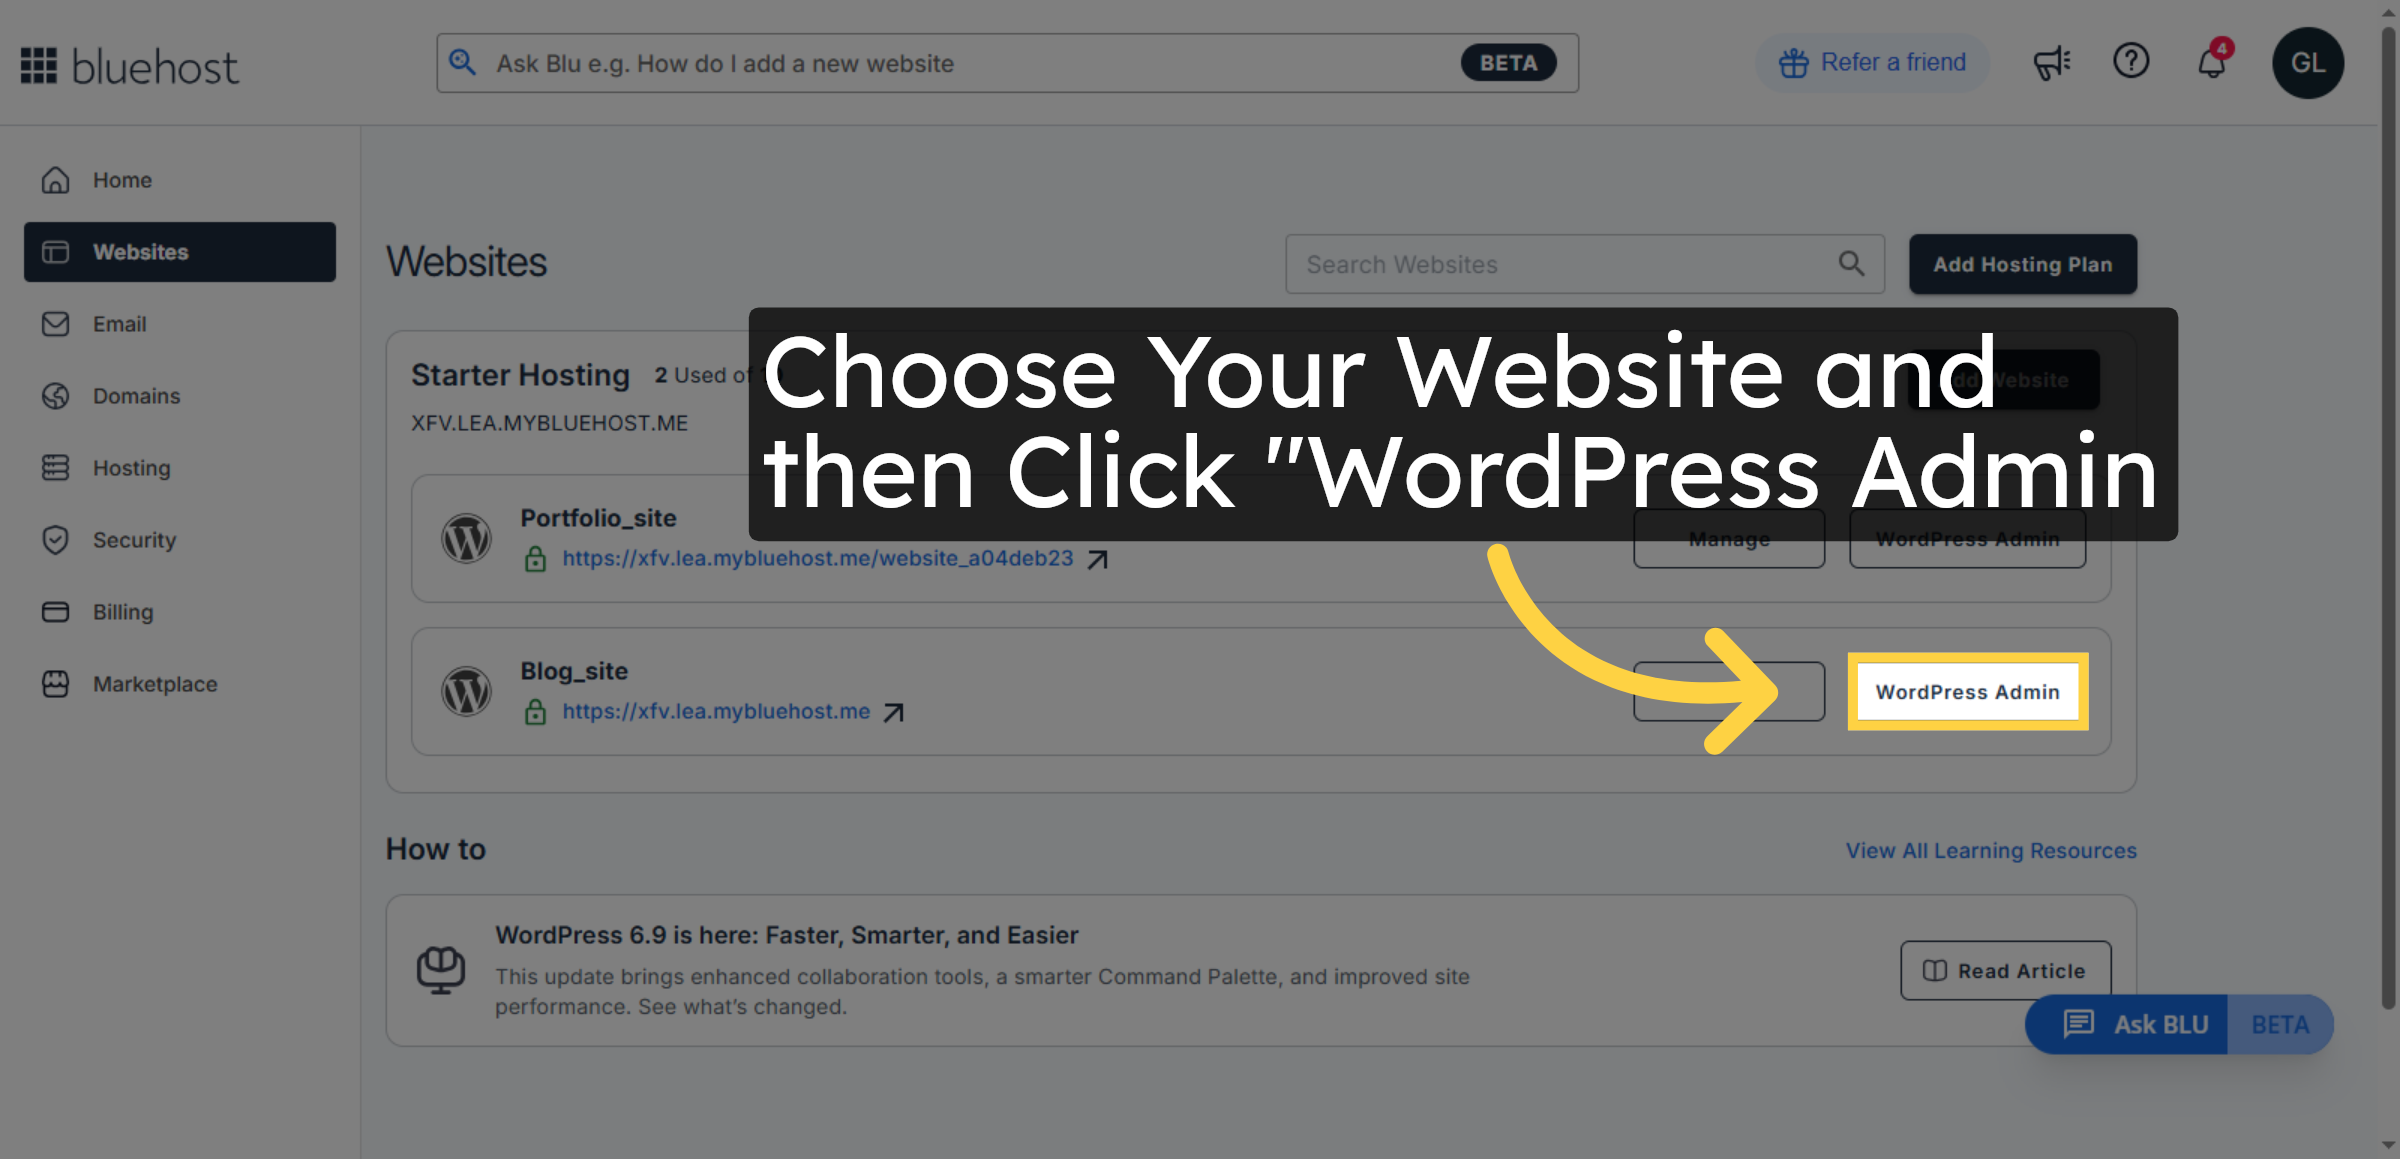
2. Access Websites Section
The Websites section allows you to access your WordPress sites. From here, you can open the WordPress Admin panel to configure security settings, firewall plugins, and other protections.
3. Open WordPress Admin
This screen shows the WordPress Admin dashboard of your selected website, where all site settings, plugins, and security tools are managed.
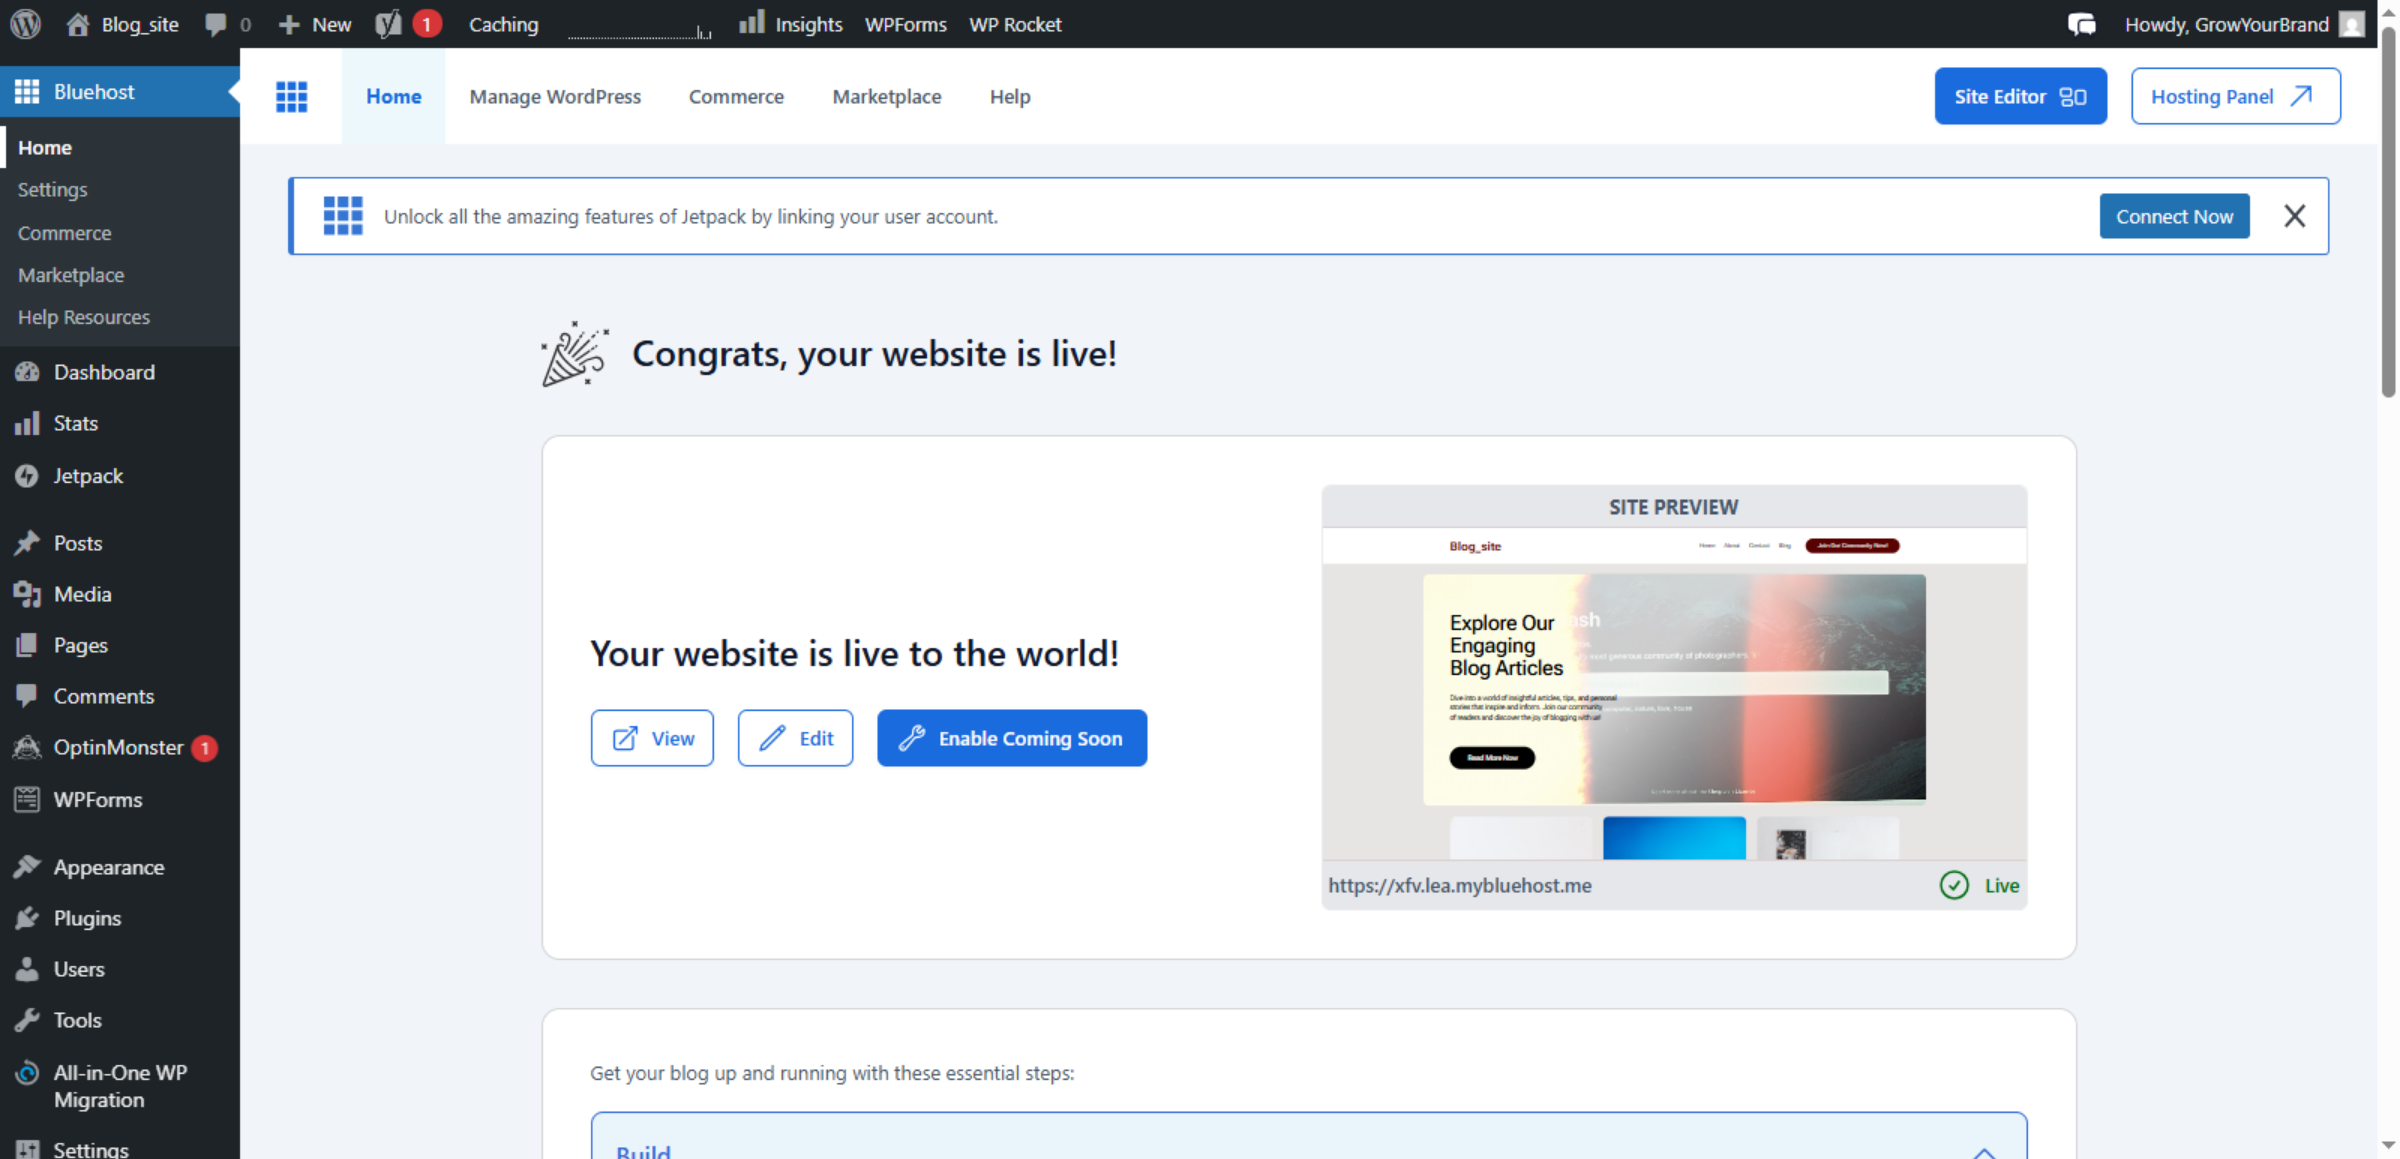
4. Switch to Site Dashboard
Switch to your specific site dashboard by selecting your site URL.
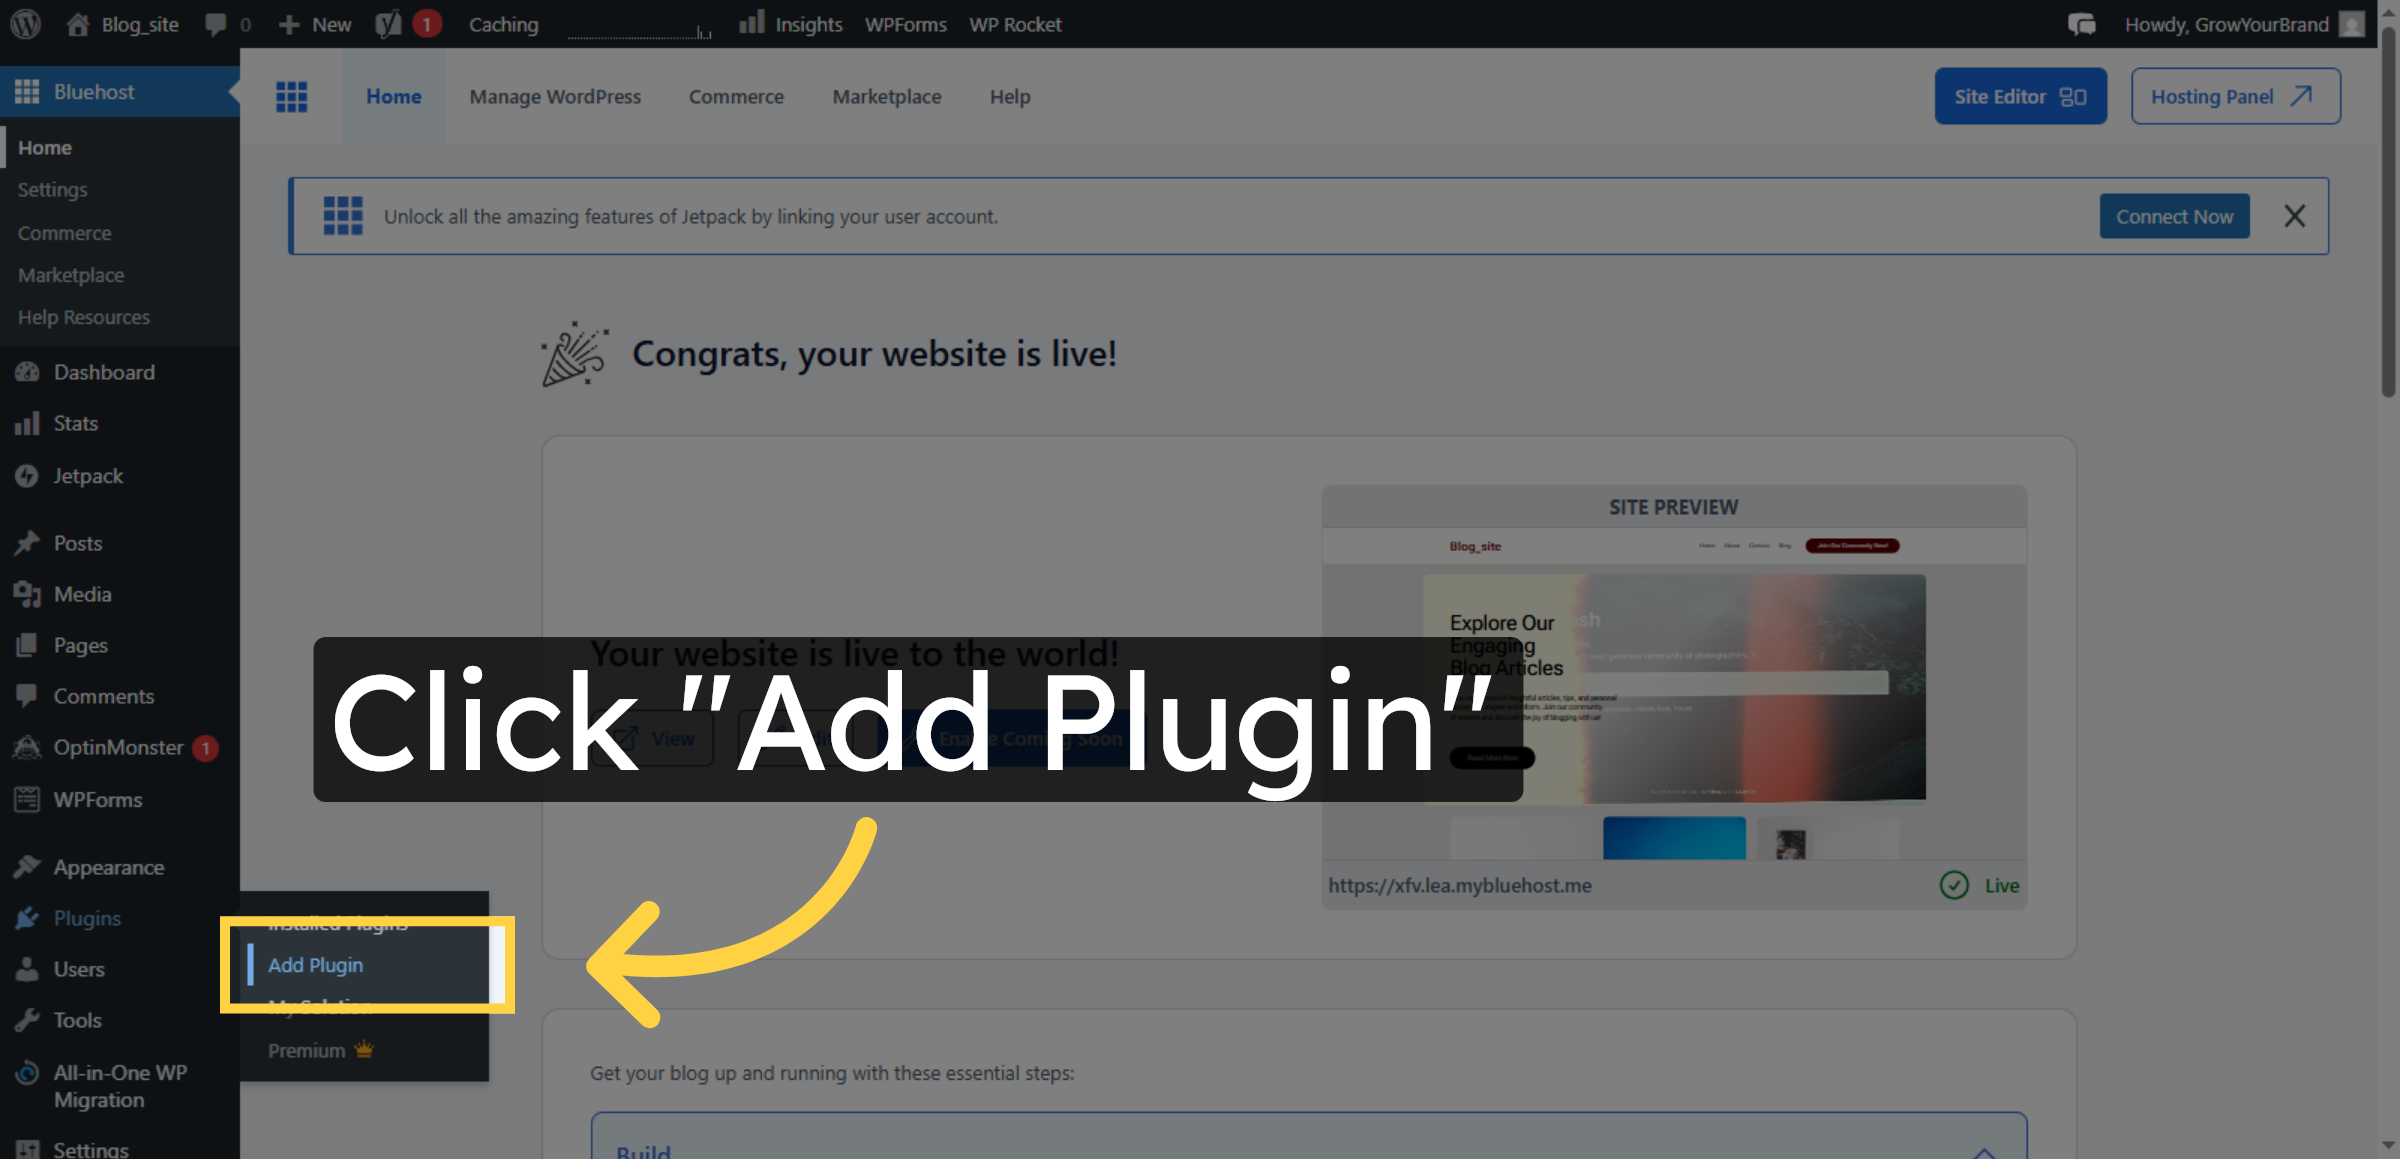
5. Open Add Plugin Page
Click the Add Plugin button to start installing a new plugin.
6. Click “Search Plugins” and enter “All In One Security.”
Enter the plugin name “all in one security” in the search box to locate it.

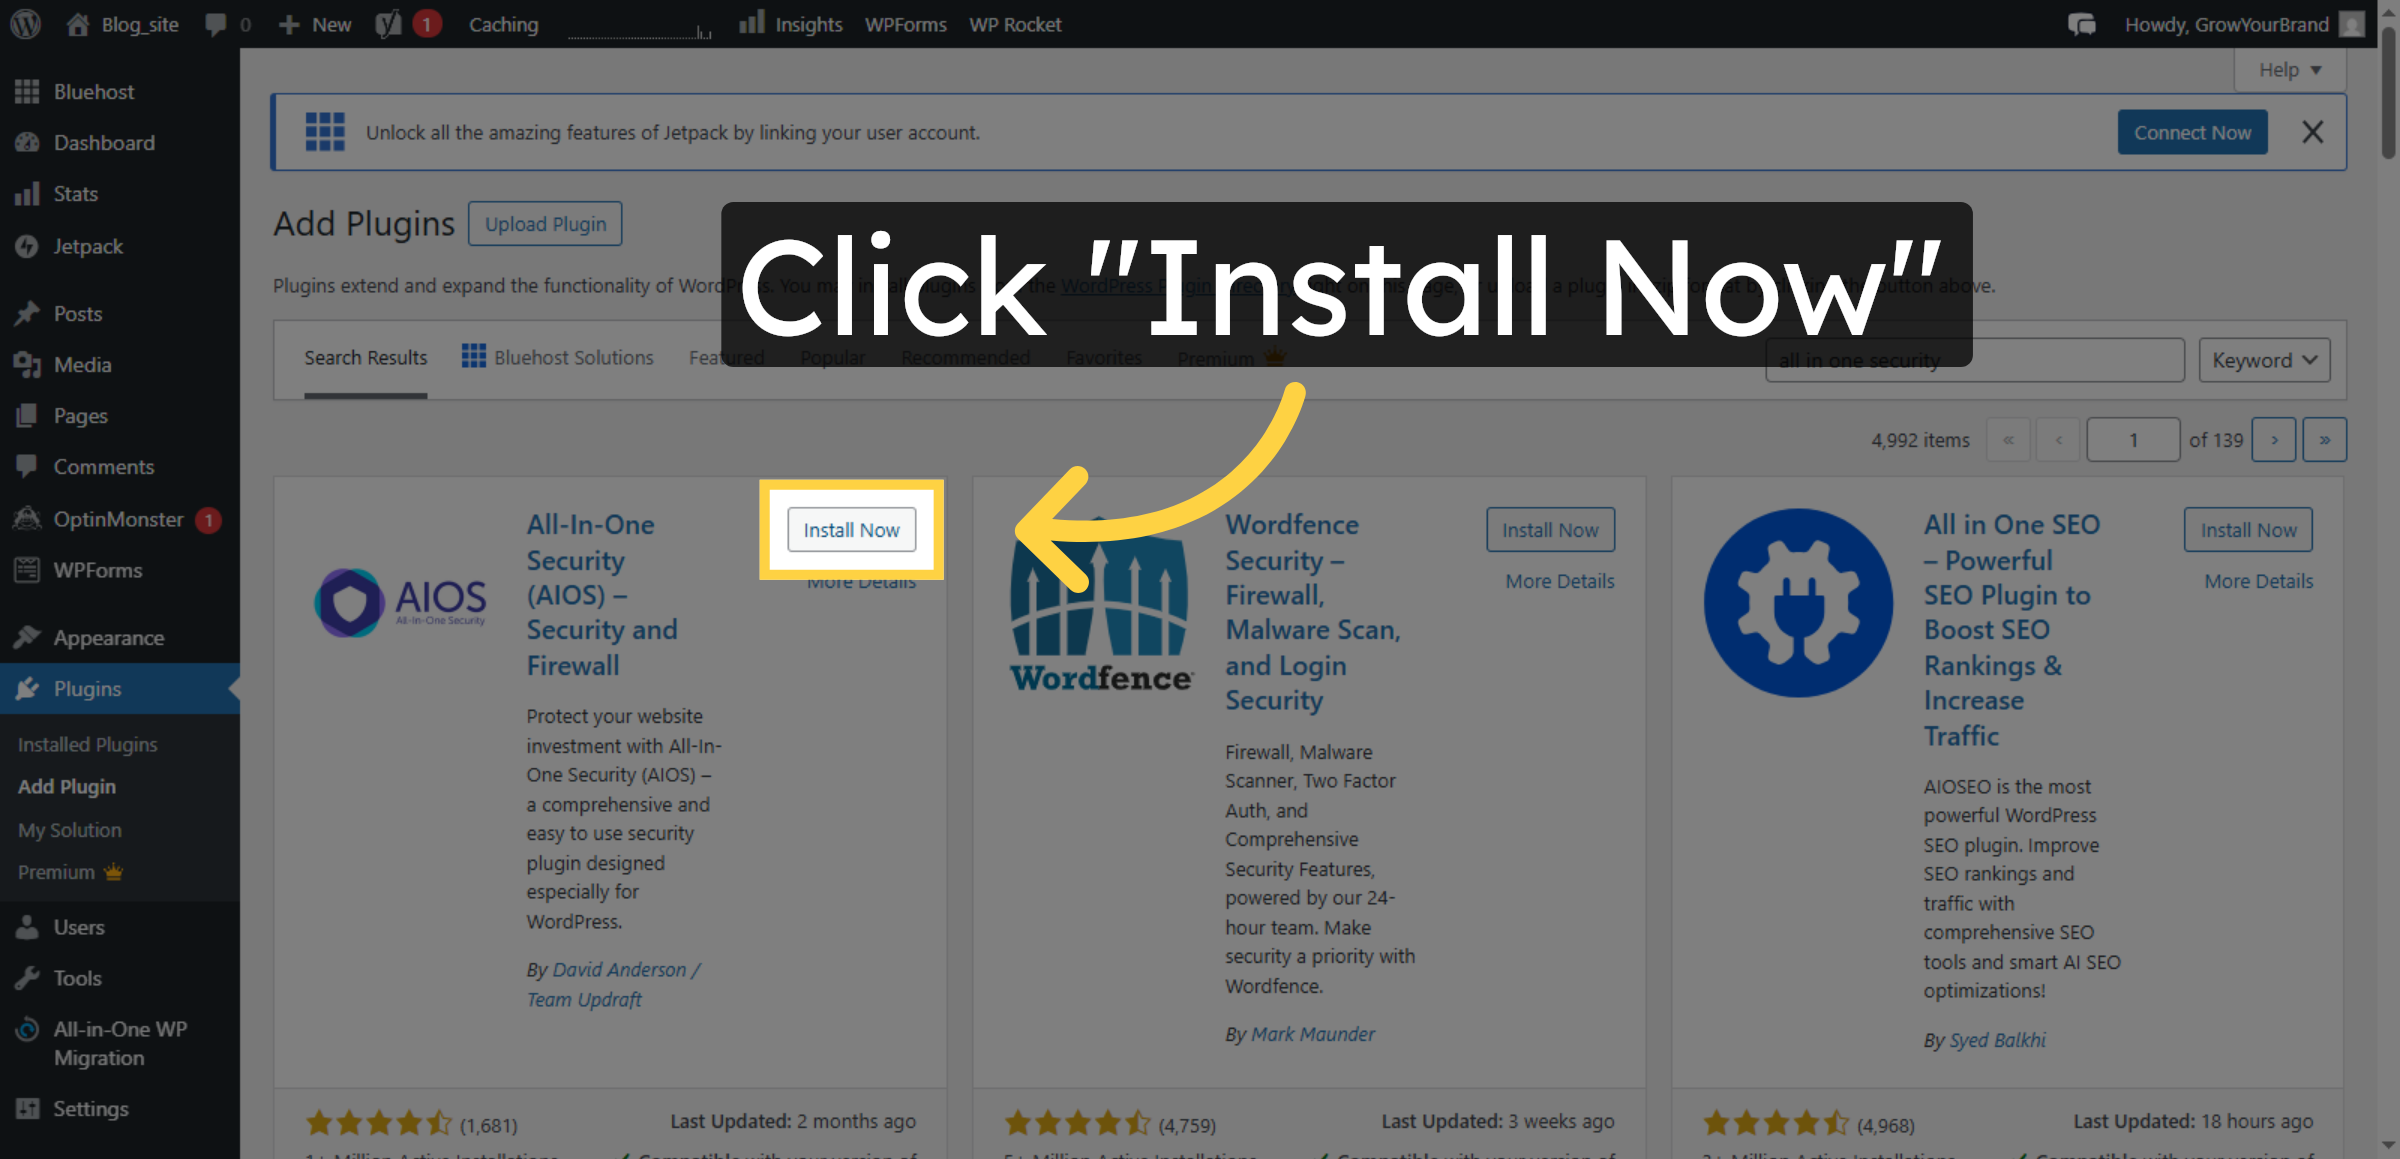
7. Install Plugin
Click the Install Now button to install the All In One Security plugin.
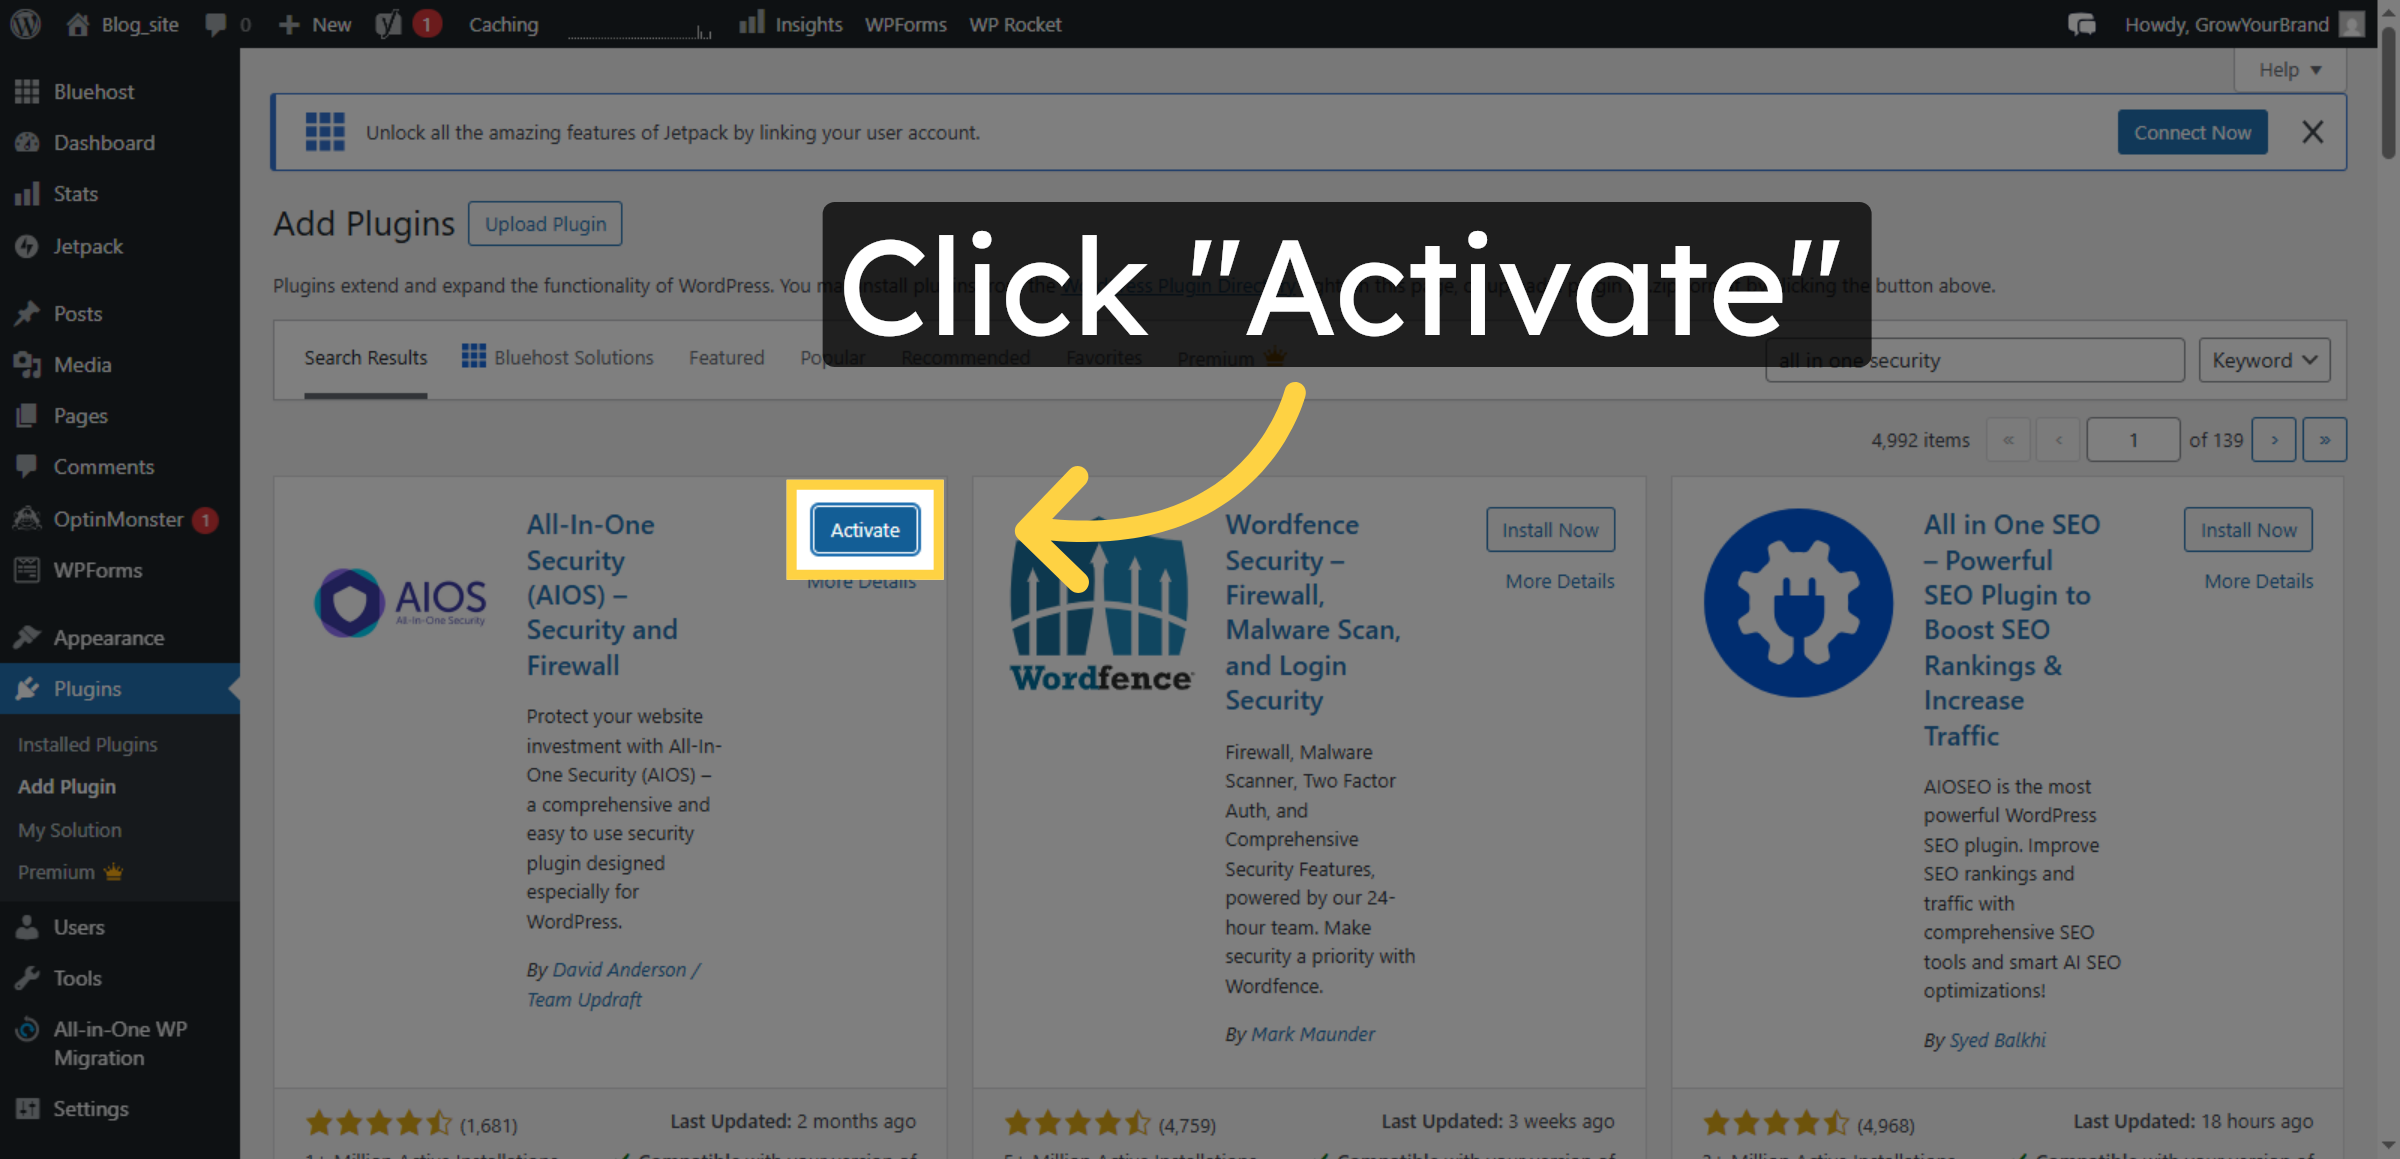
8. Activate Plugin
Click the Activate button to enable the All In One Security plugin on your site.
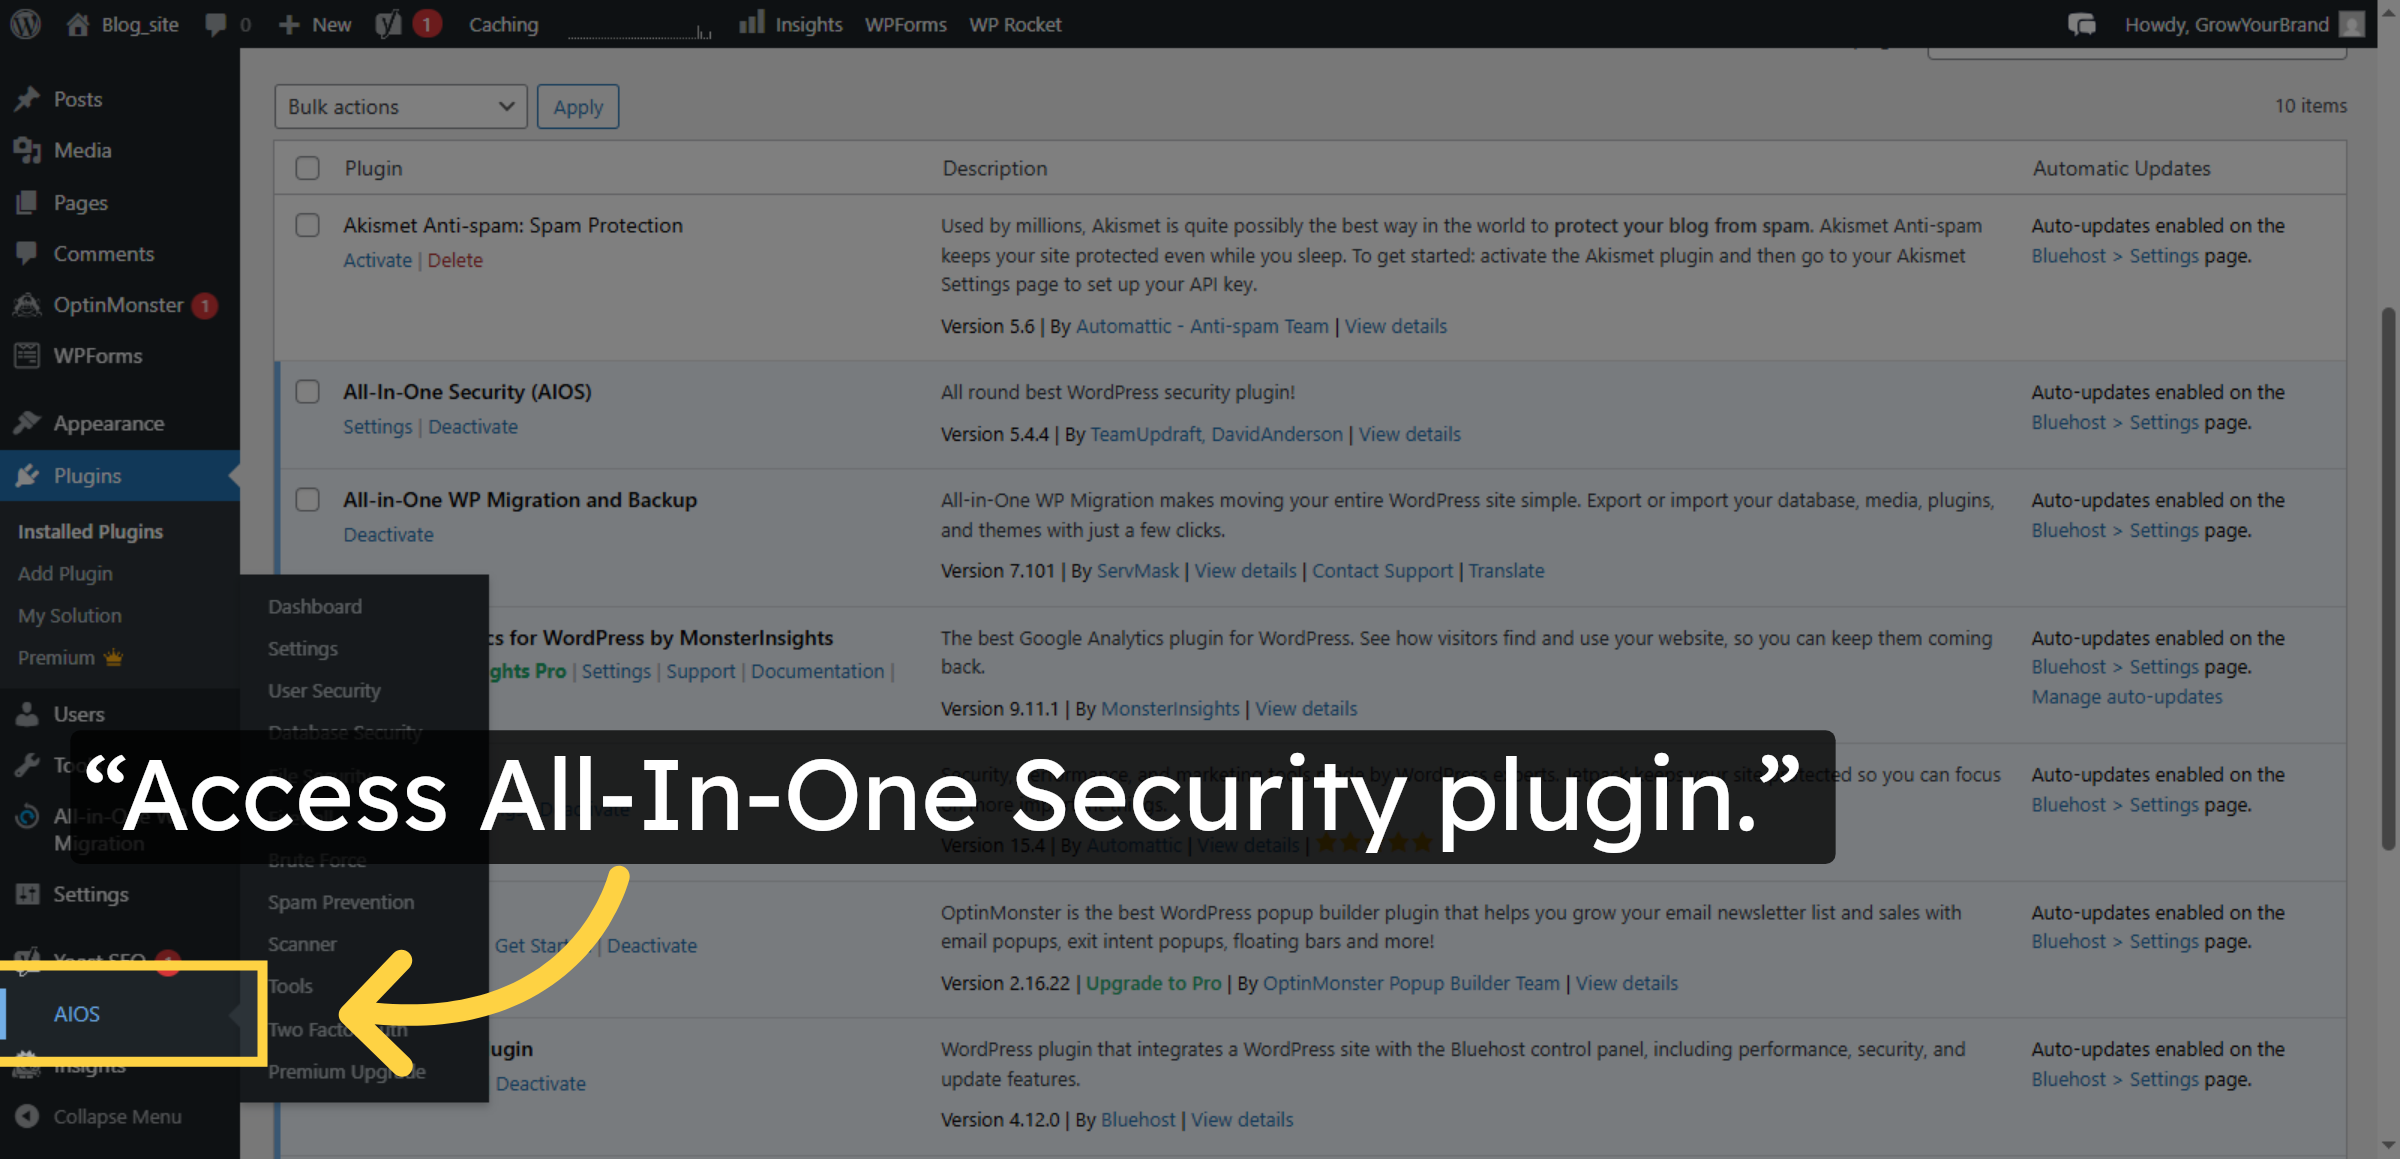
9. Open AIOS Plugin
Click “AIOS” to open the All-In-One Security plugin dashboard, where you can configure firewall and security settings to protect your WordPress site.
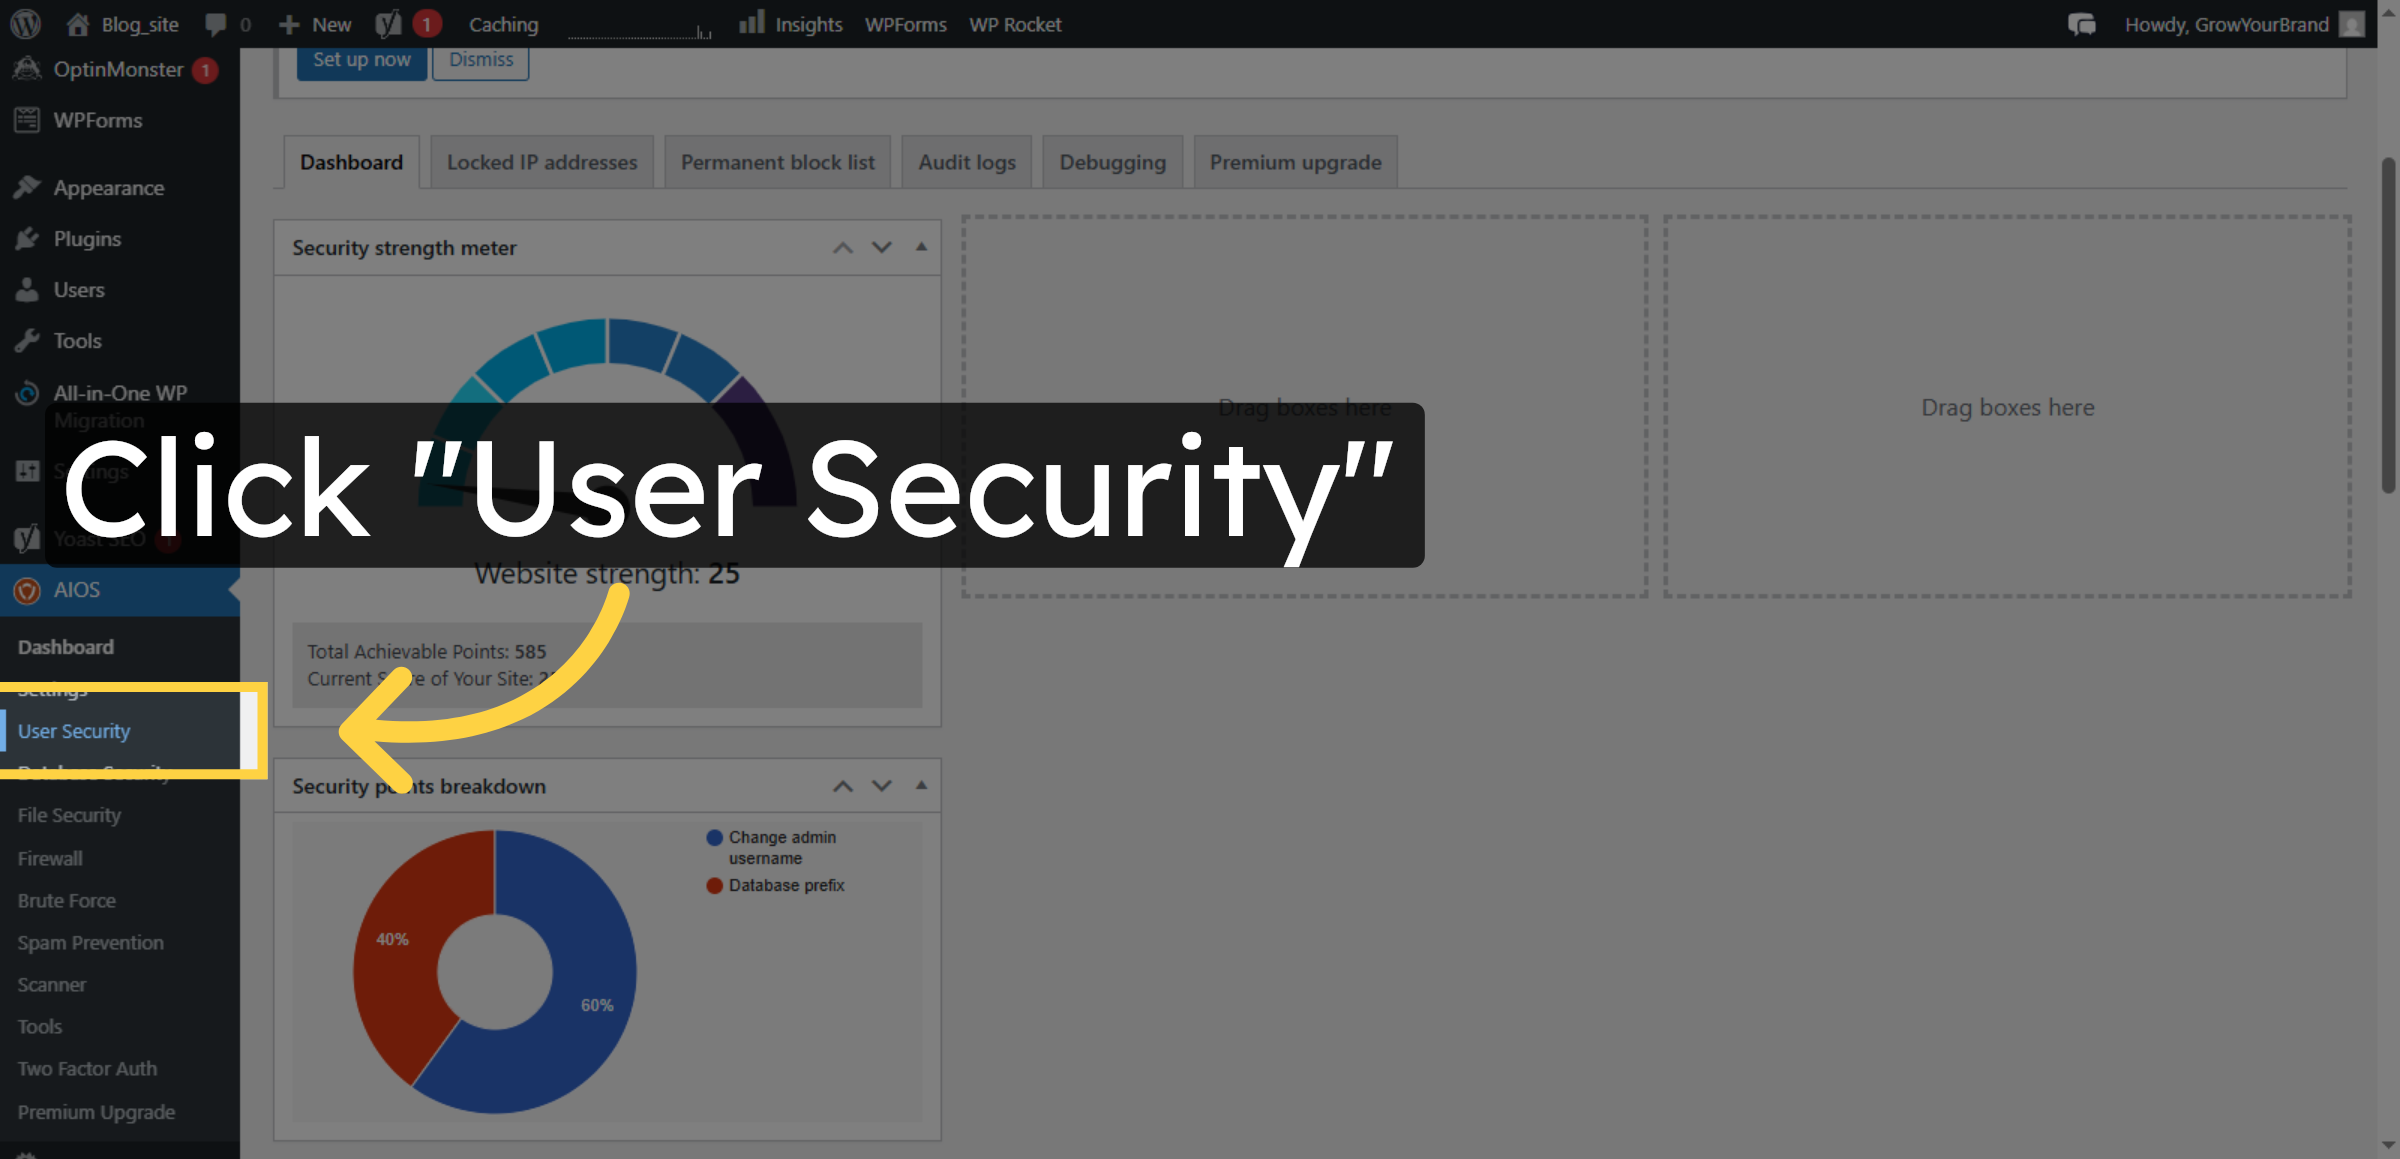
10. Access User Security
Click the User Security section to configure user-related security settings.
11. Enable Login Lockdown
Click the field to set the number of allowed login attempts.
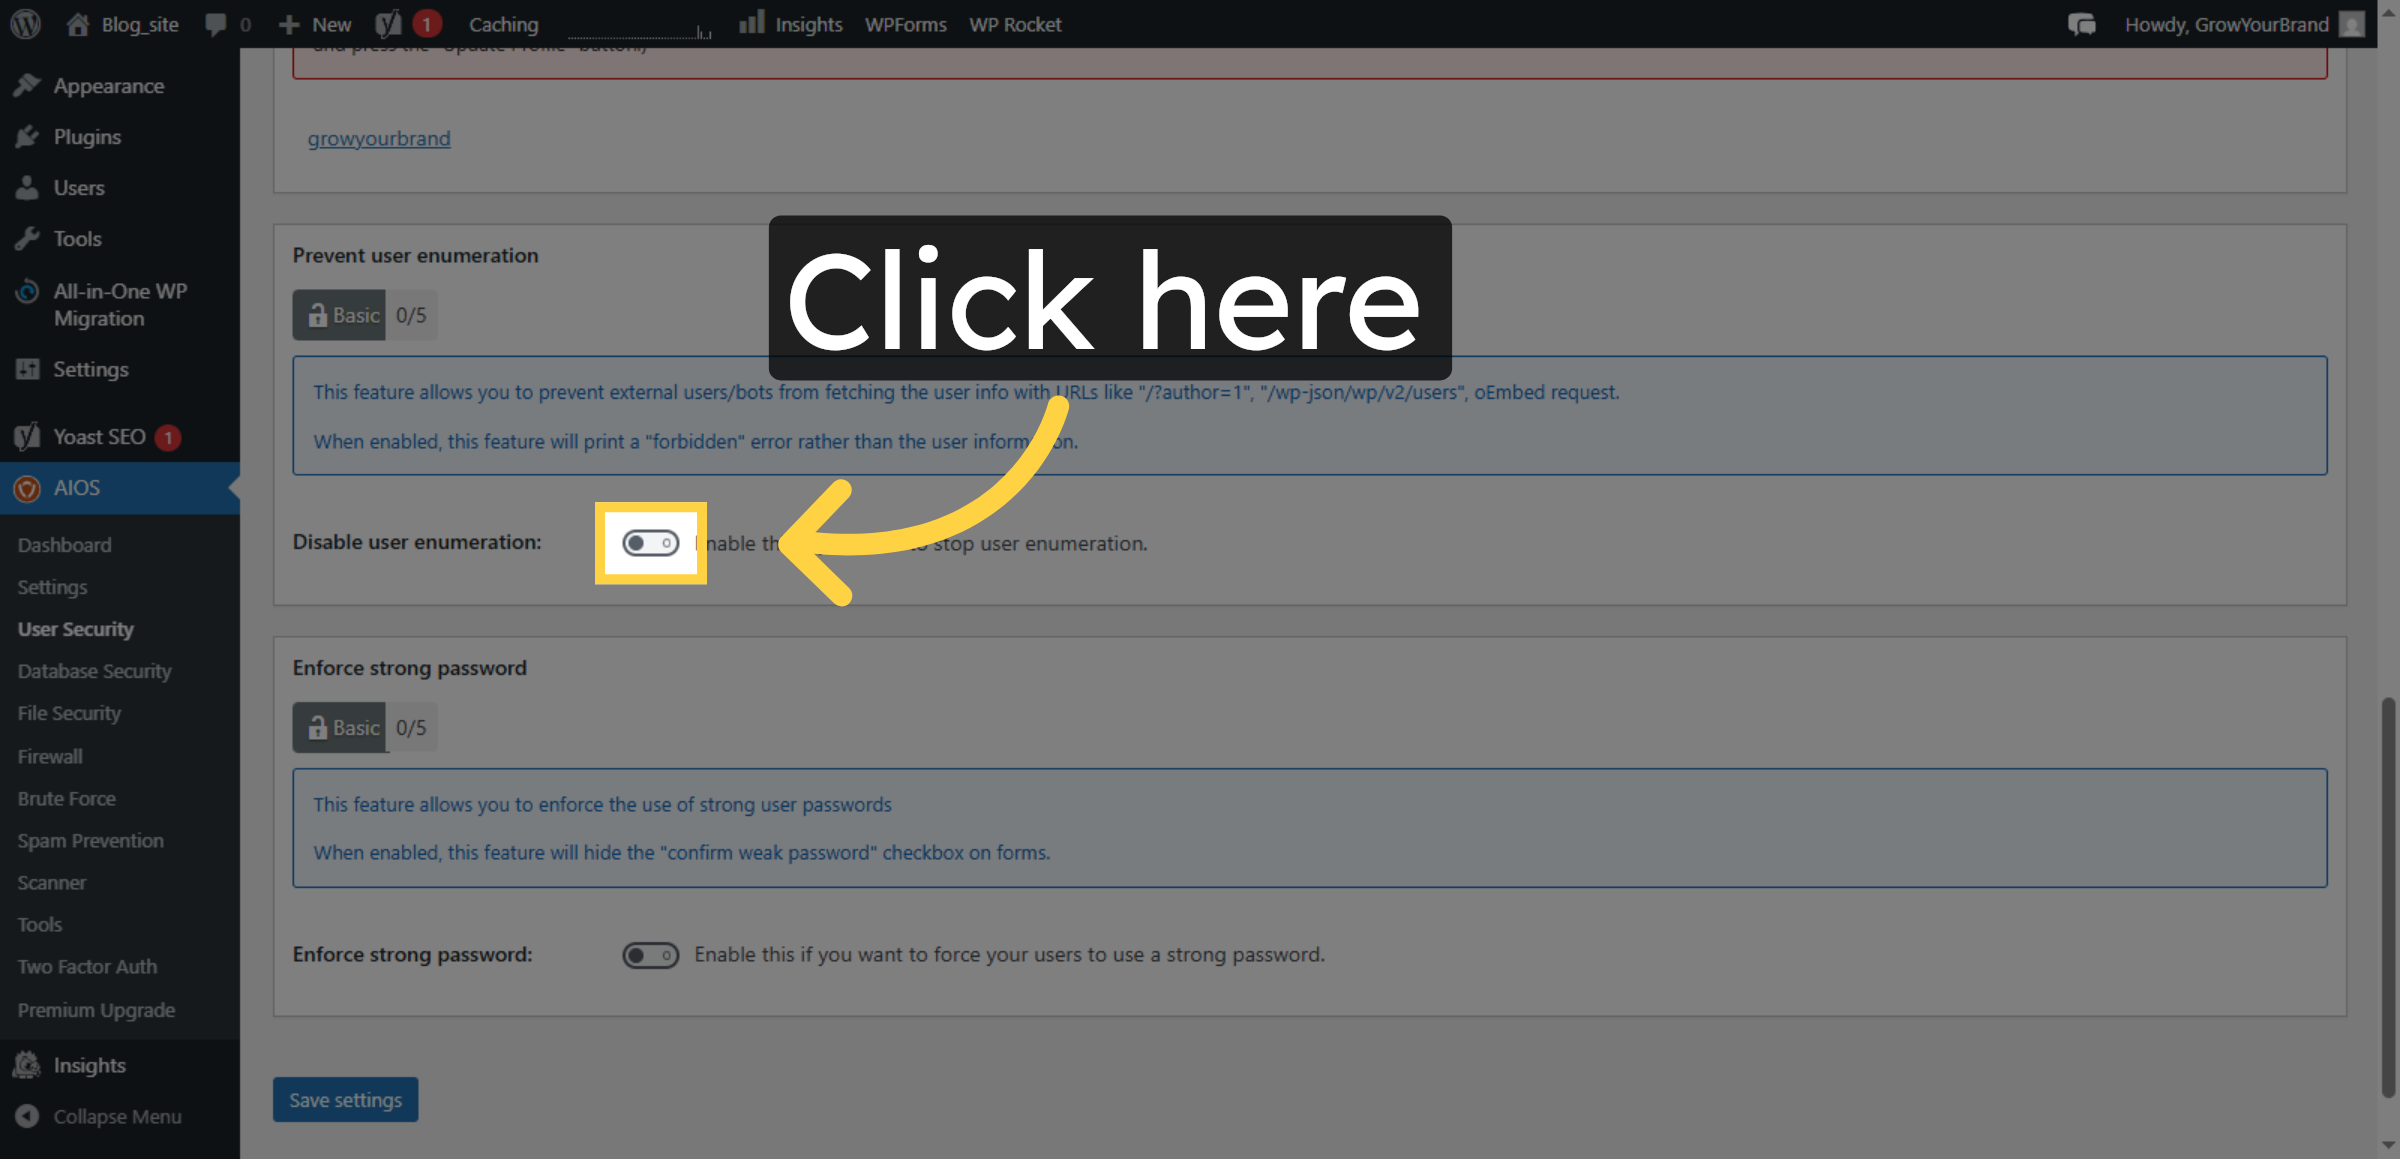
12. Enable Enforce Strong password
Click the field to set the user session timeout duration.
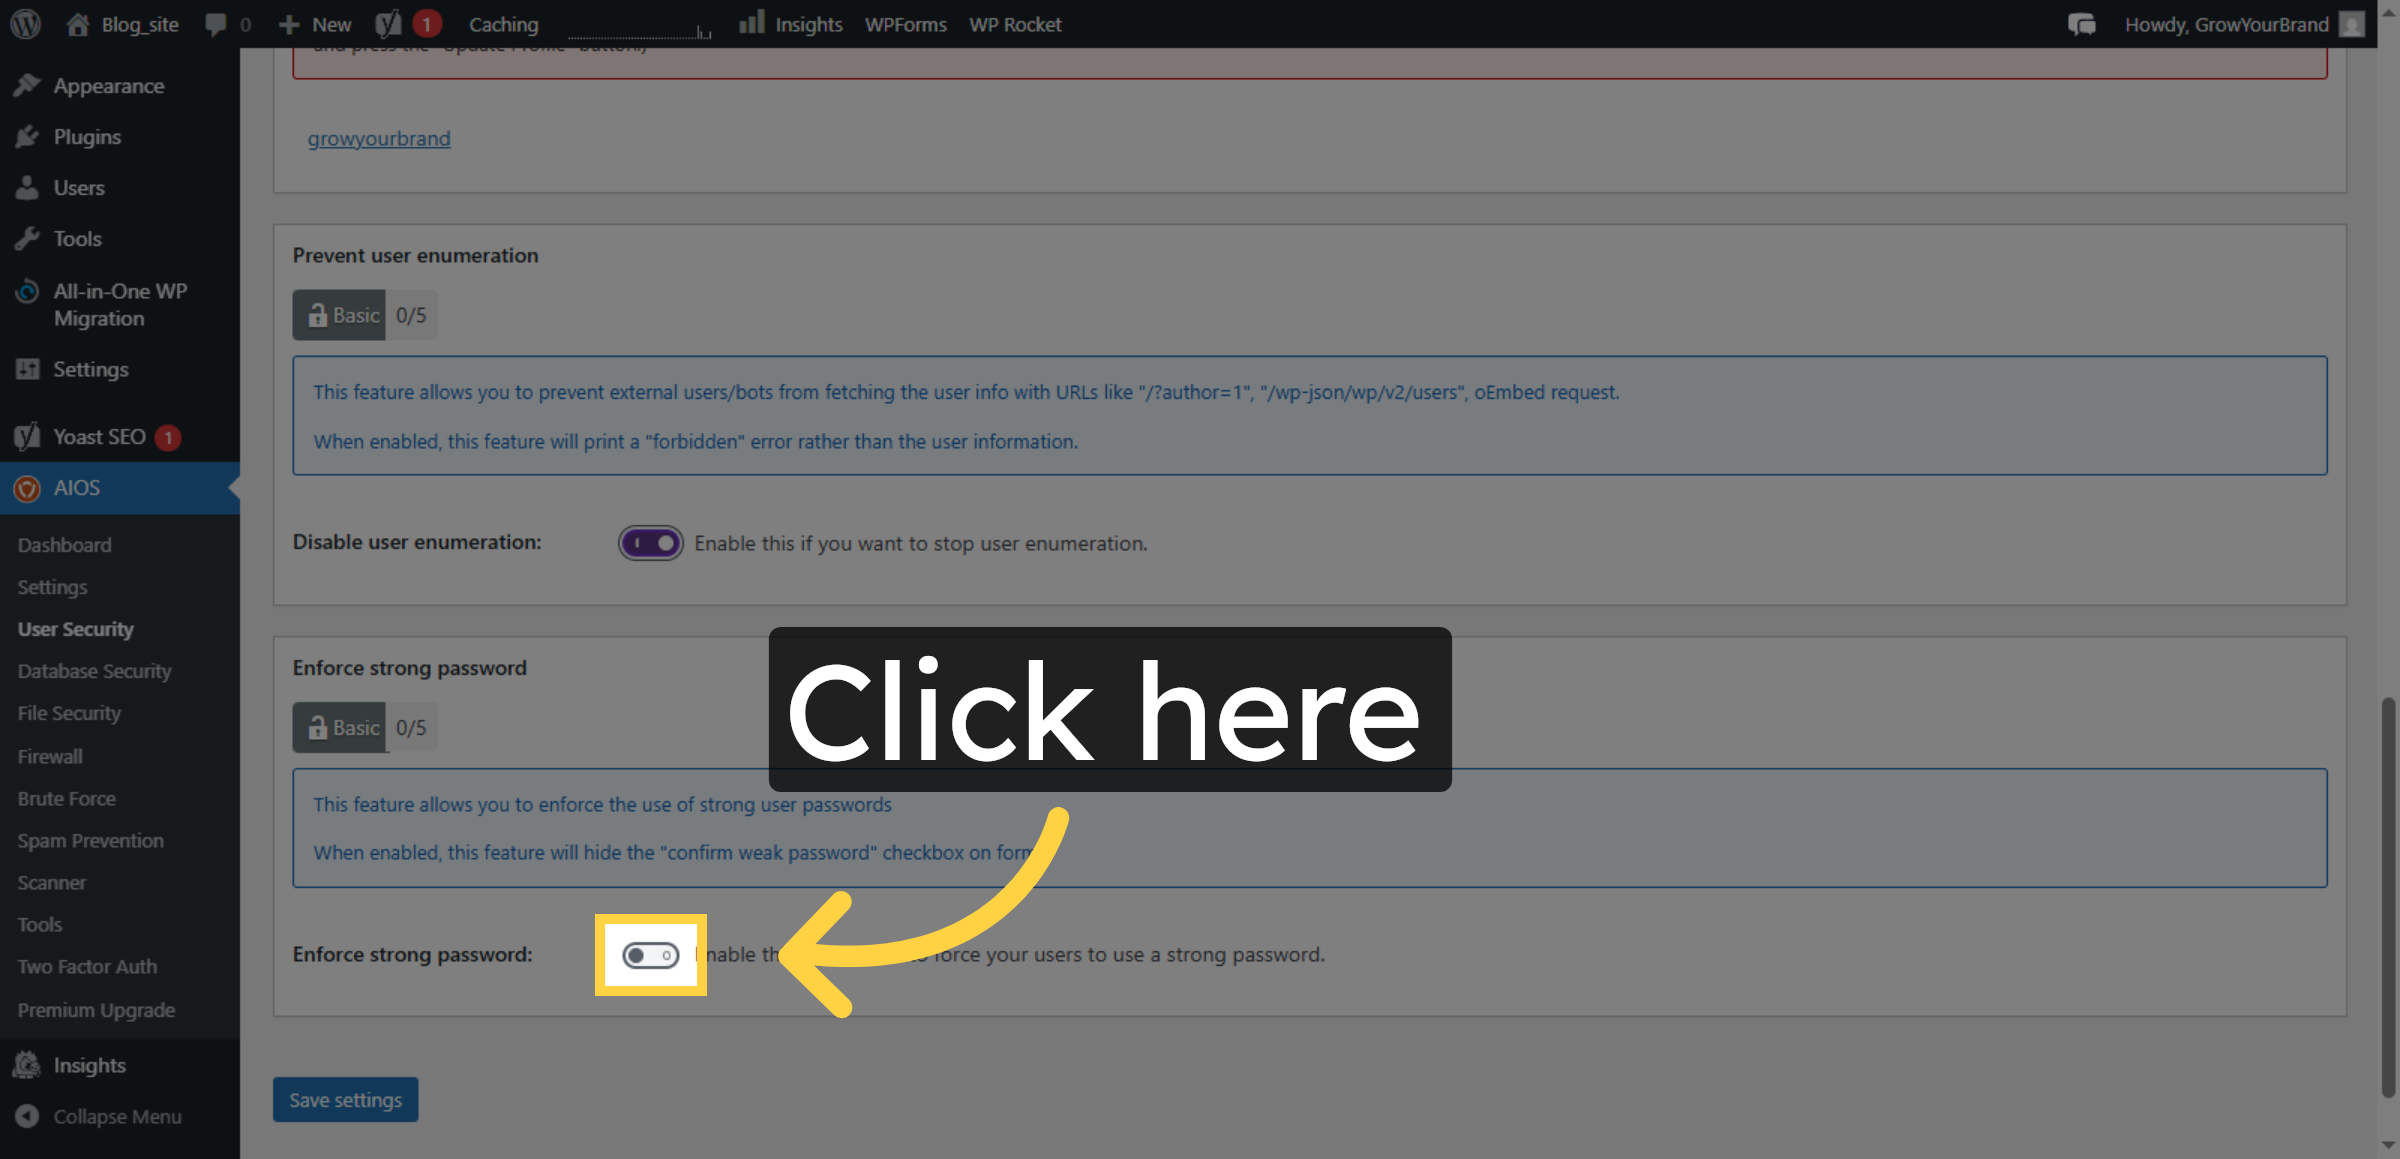
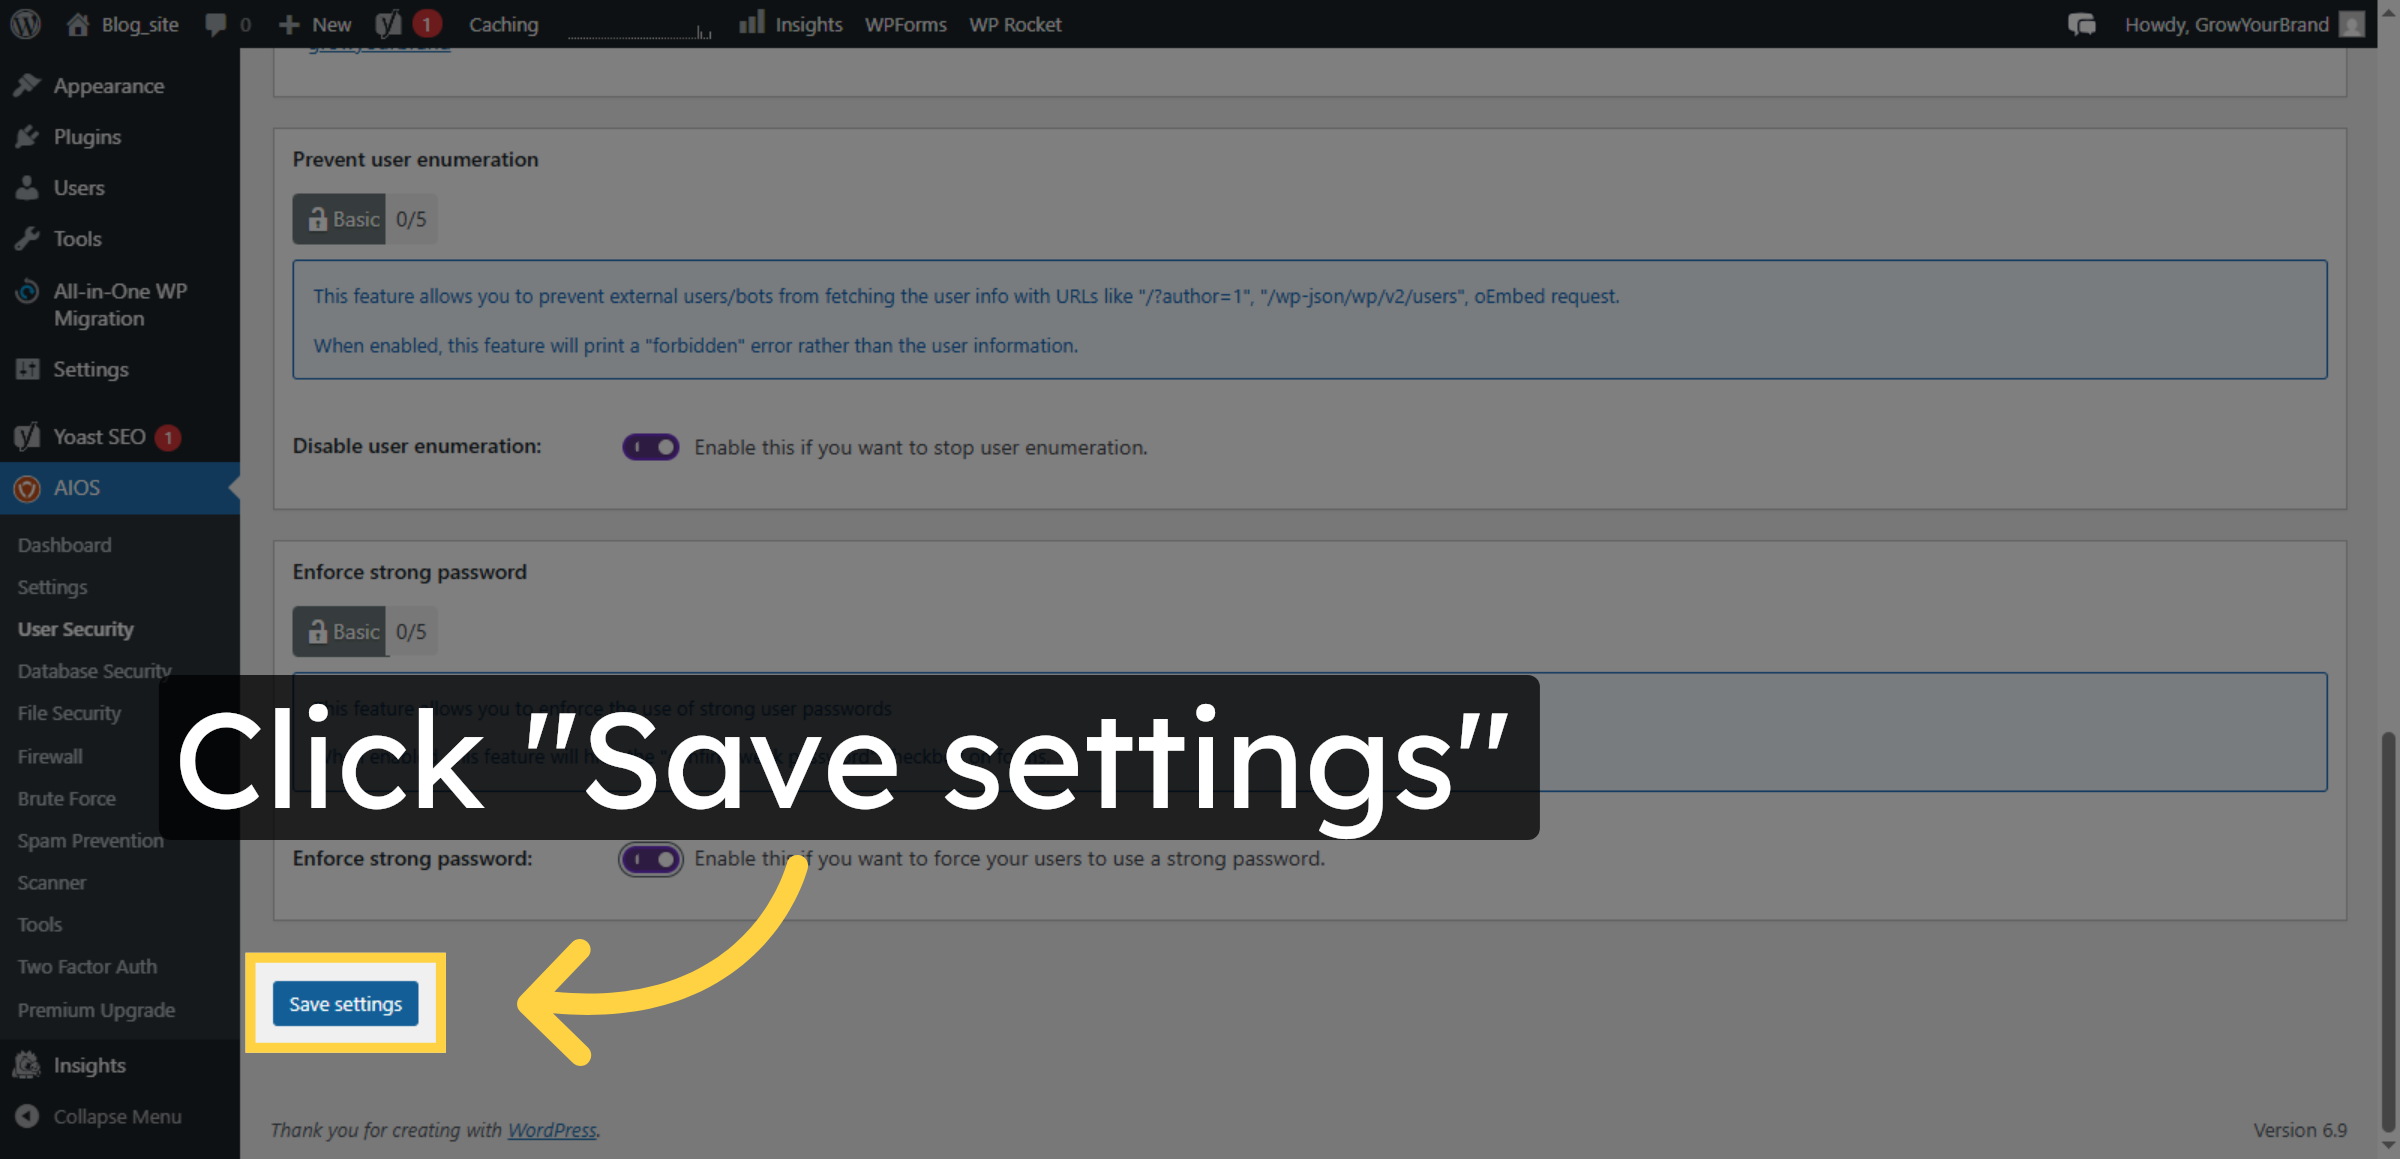
13. Save User Security Settings
Click the Save settings button to apply your user security configurations.
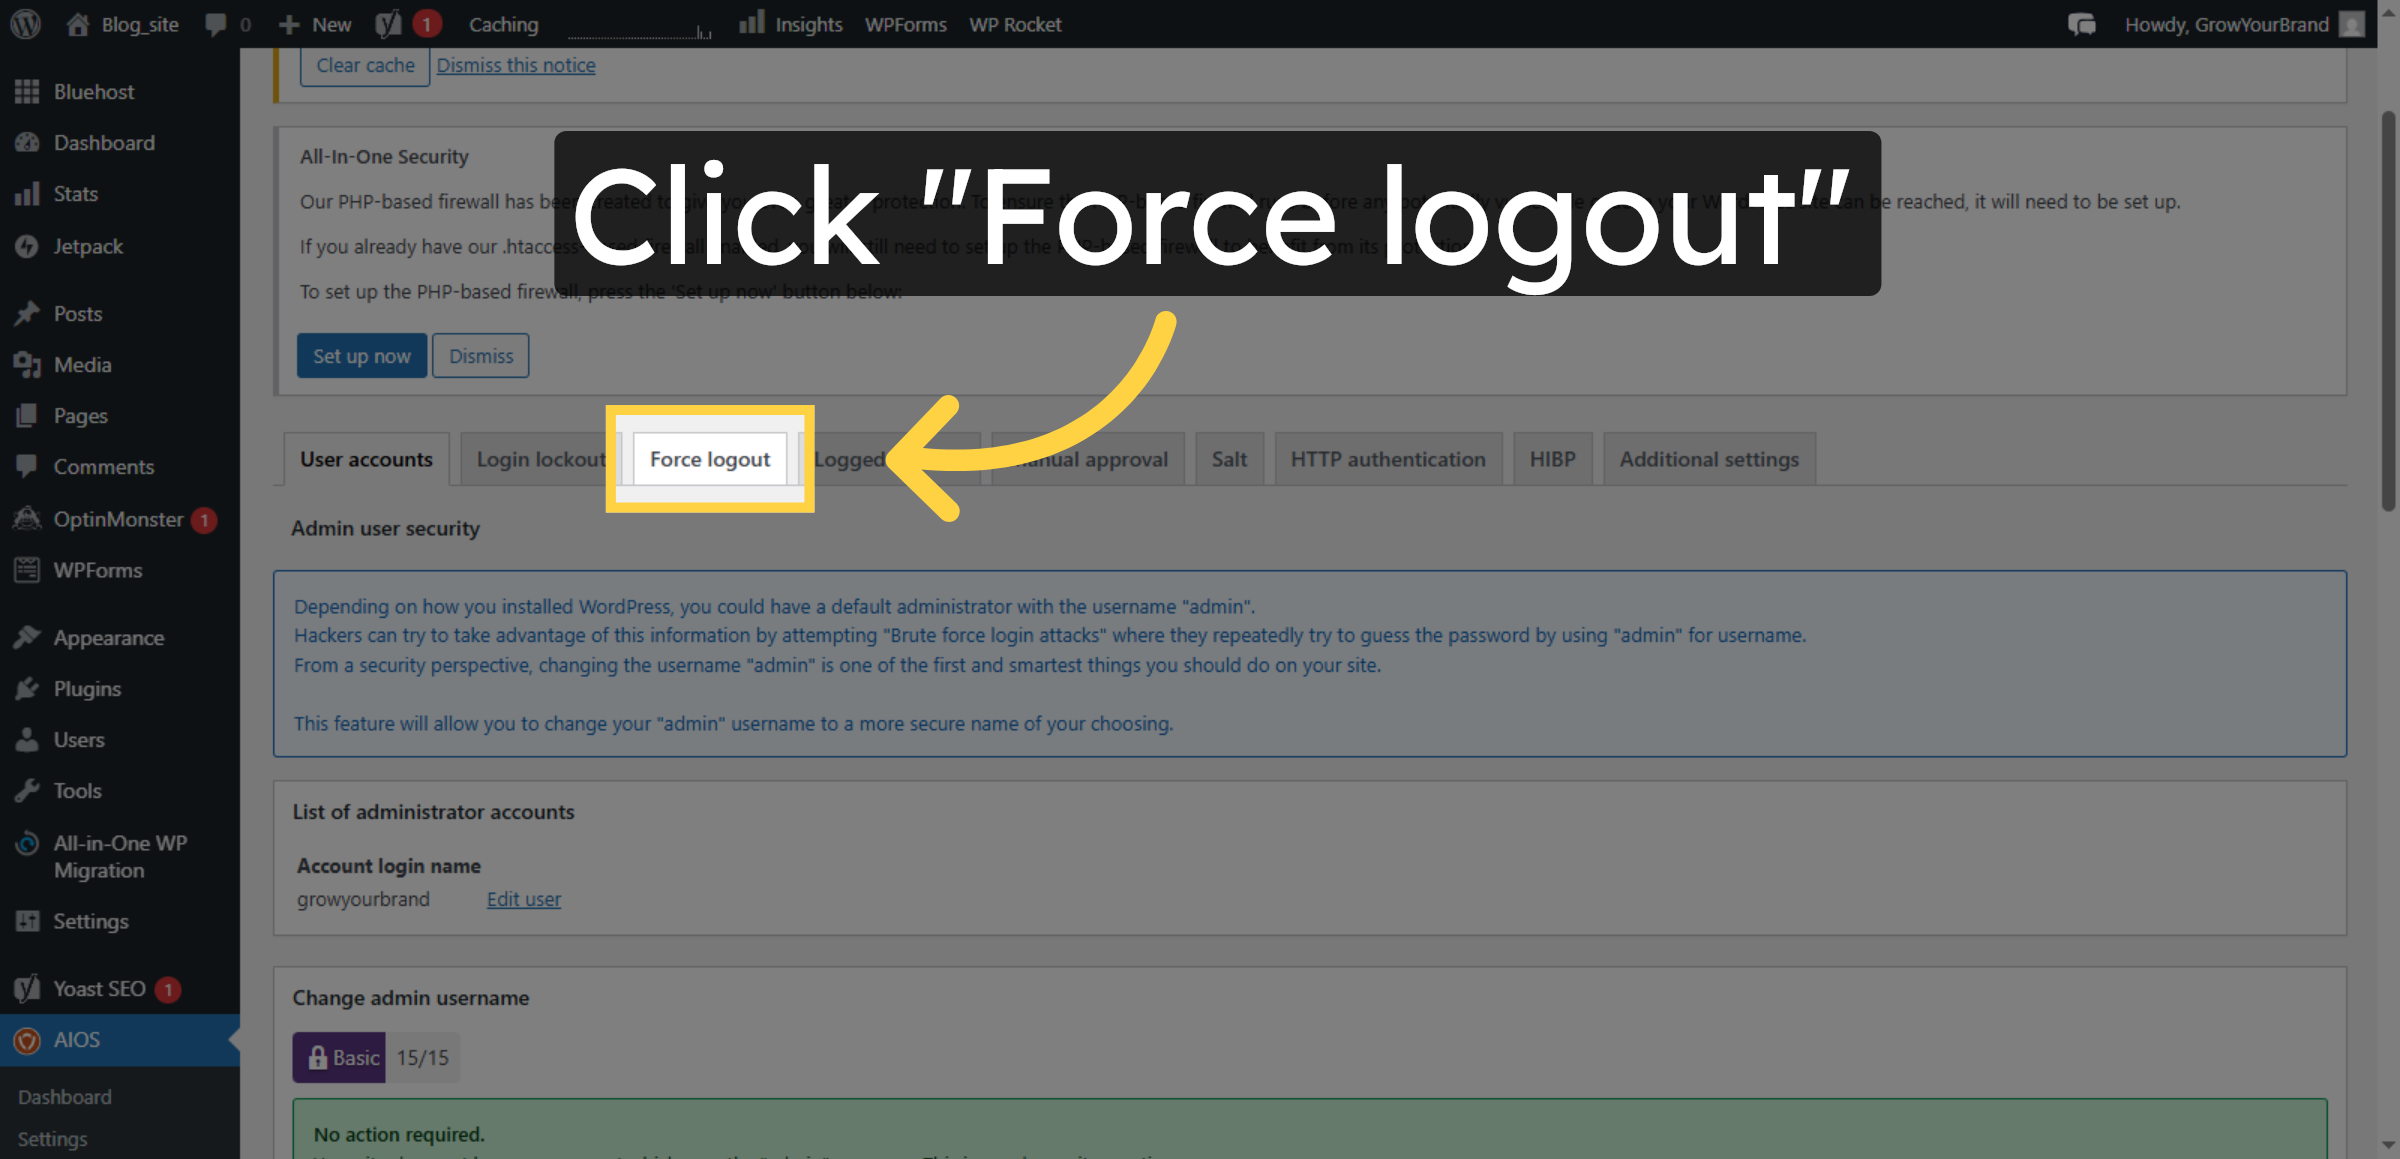
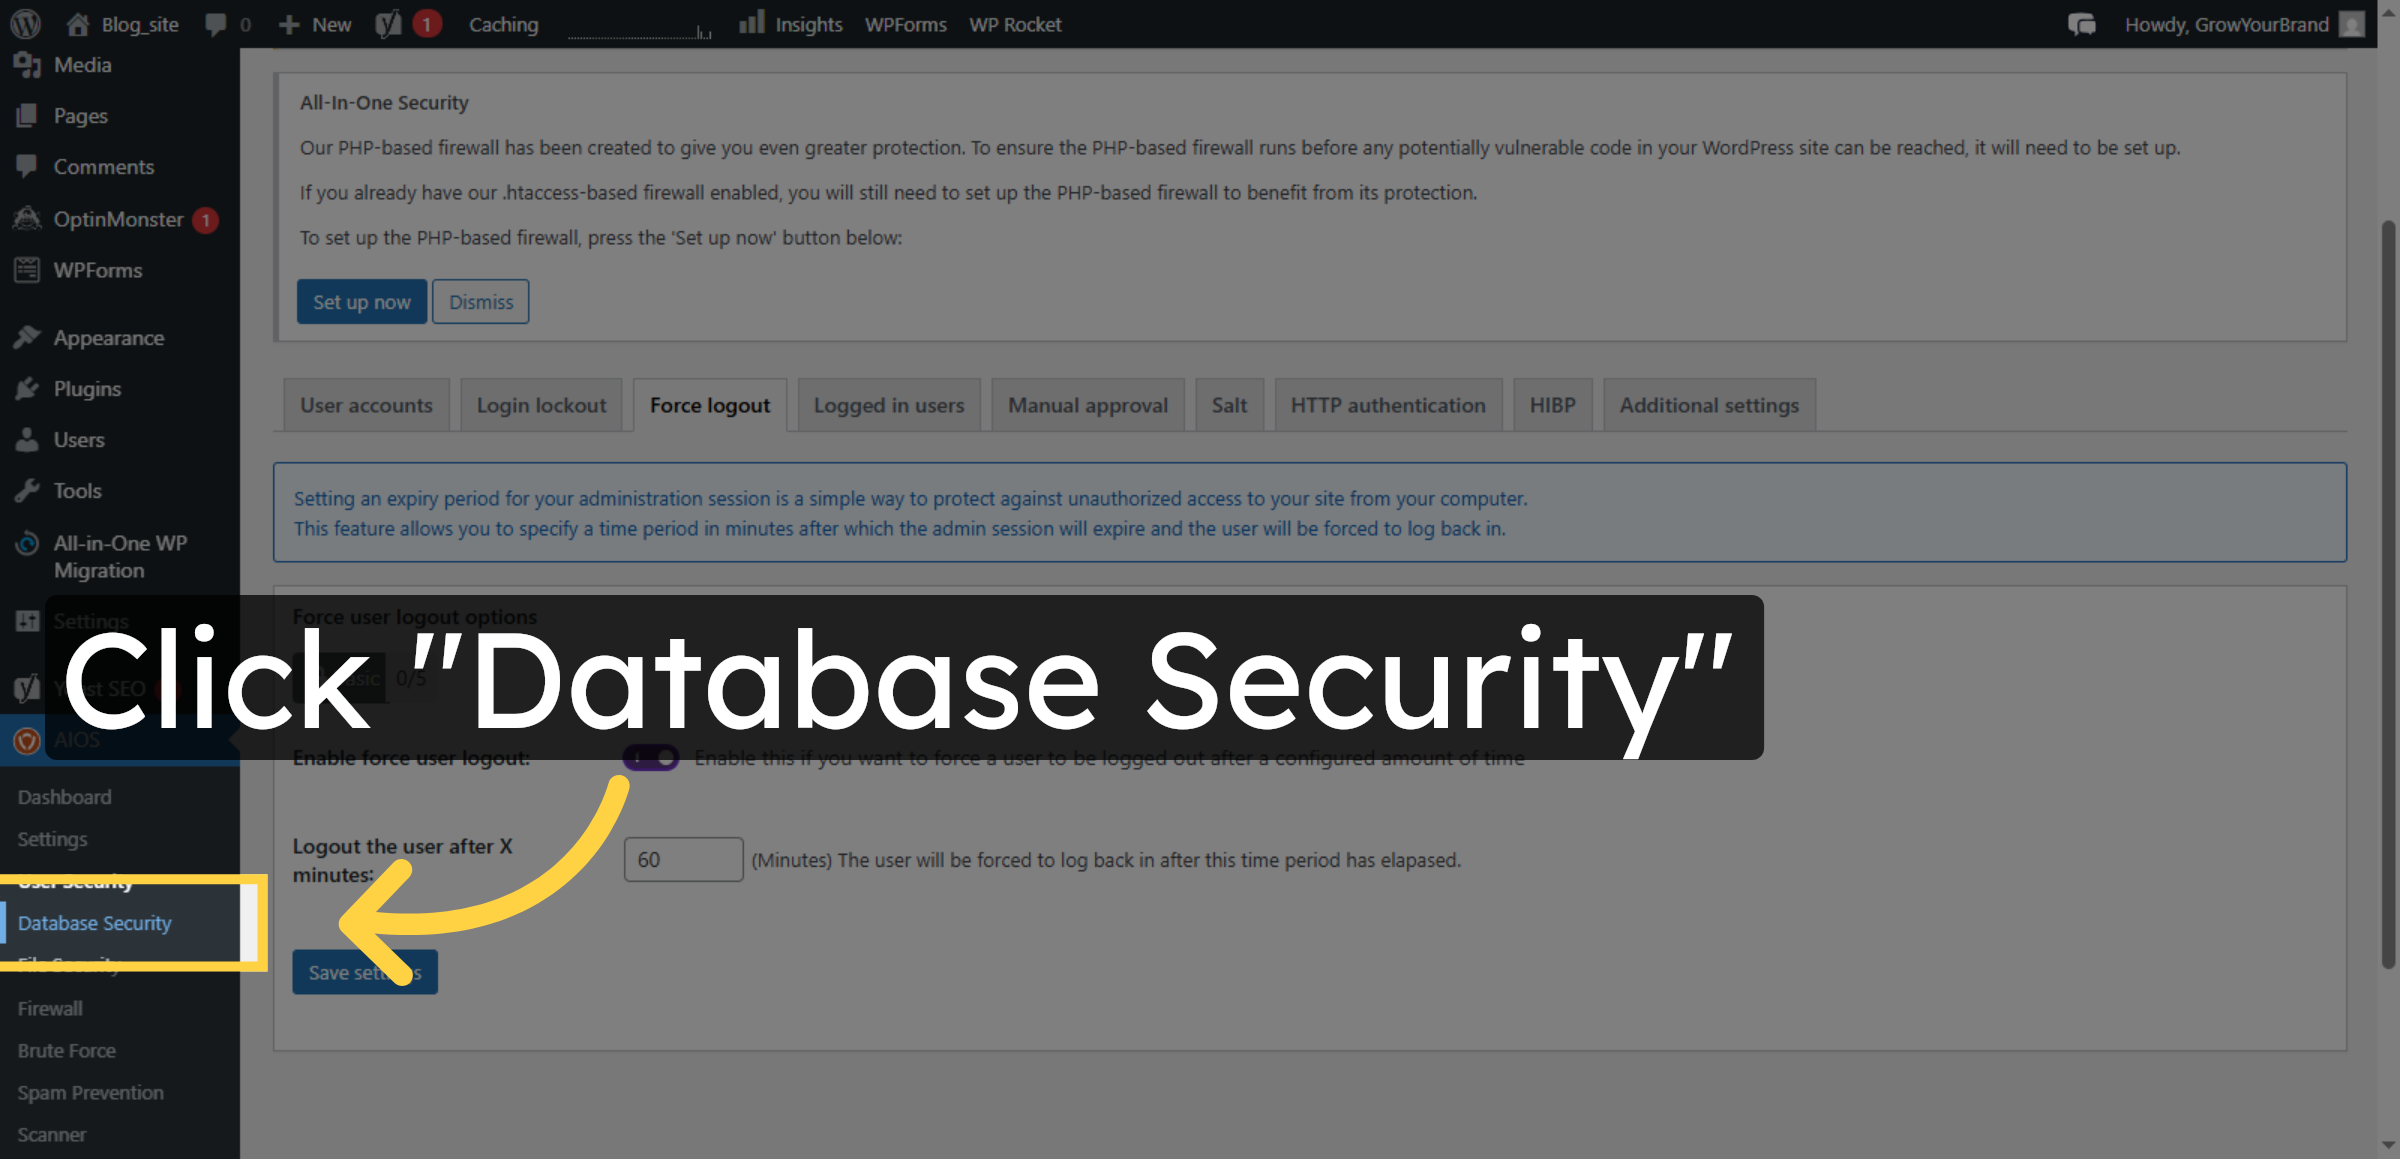
14. Enable Force Logout
Click the Force logout option to enforce user logout after inactivity.
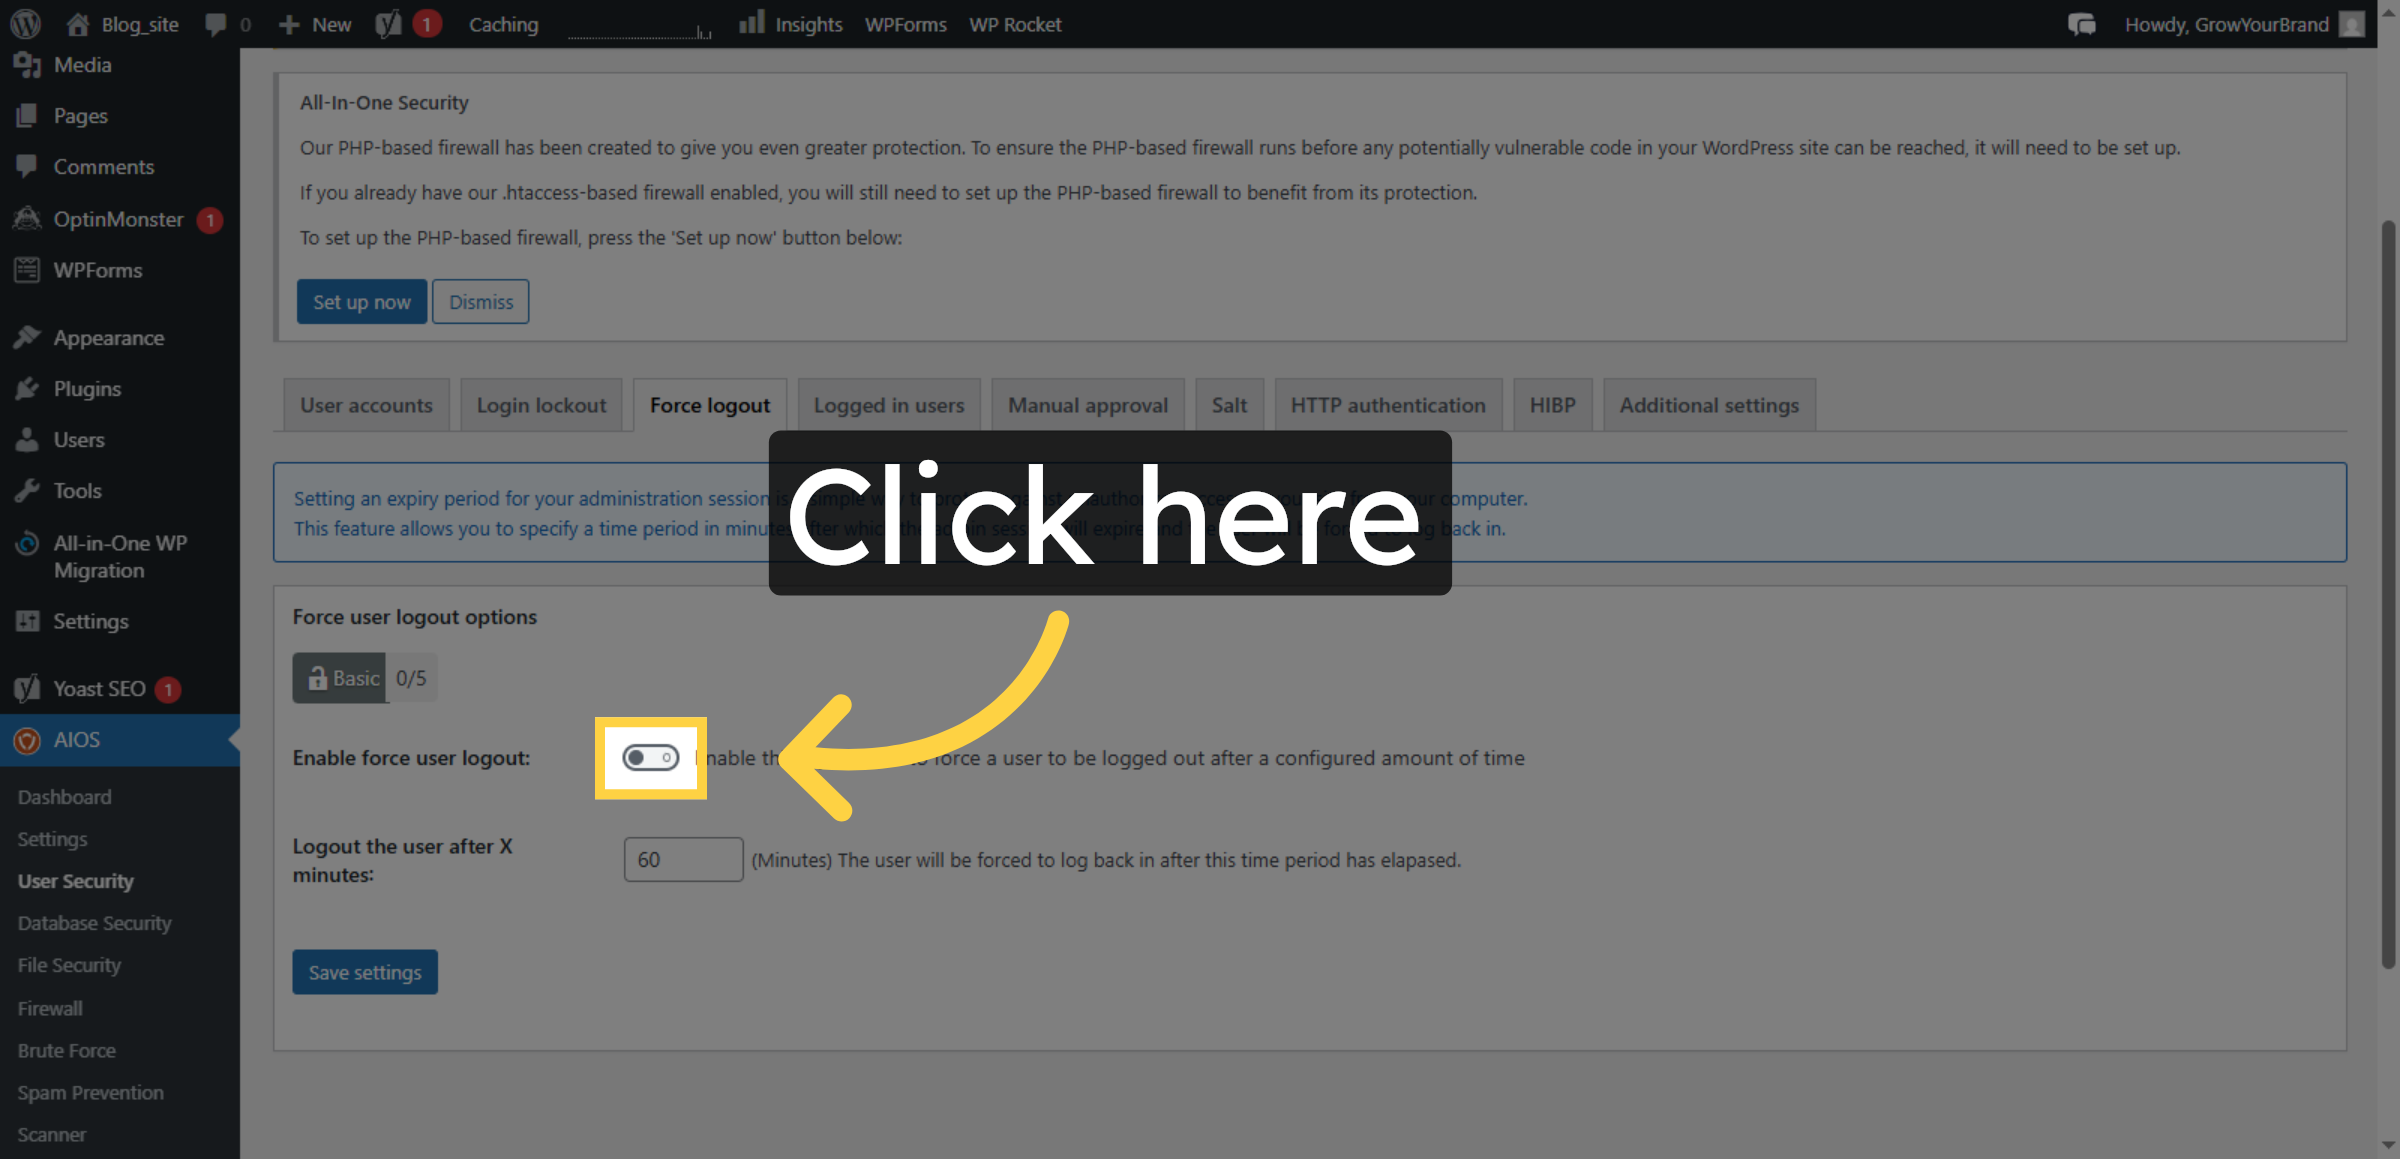
15. Enable Force user Logout
Click the field to specify the duration before force logout.
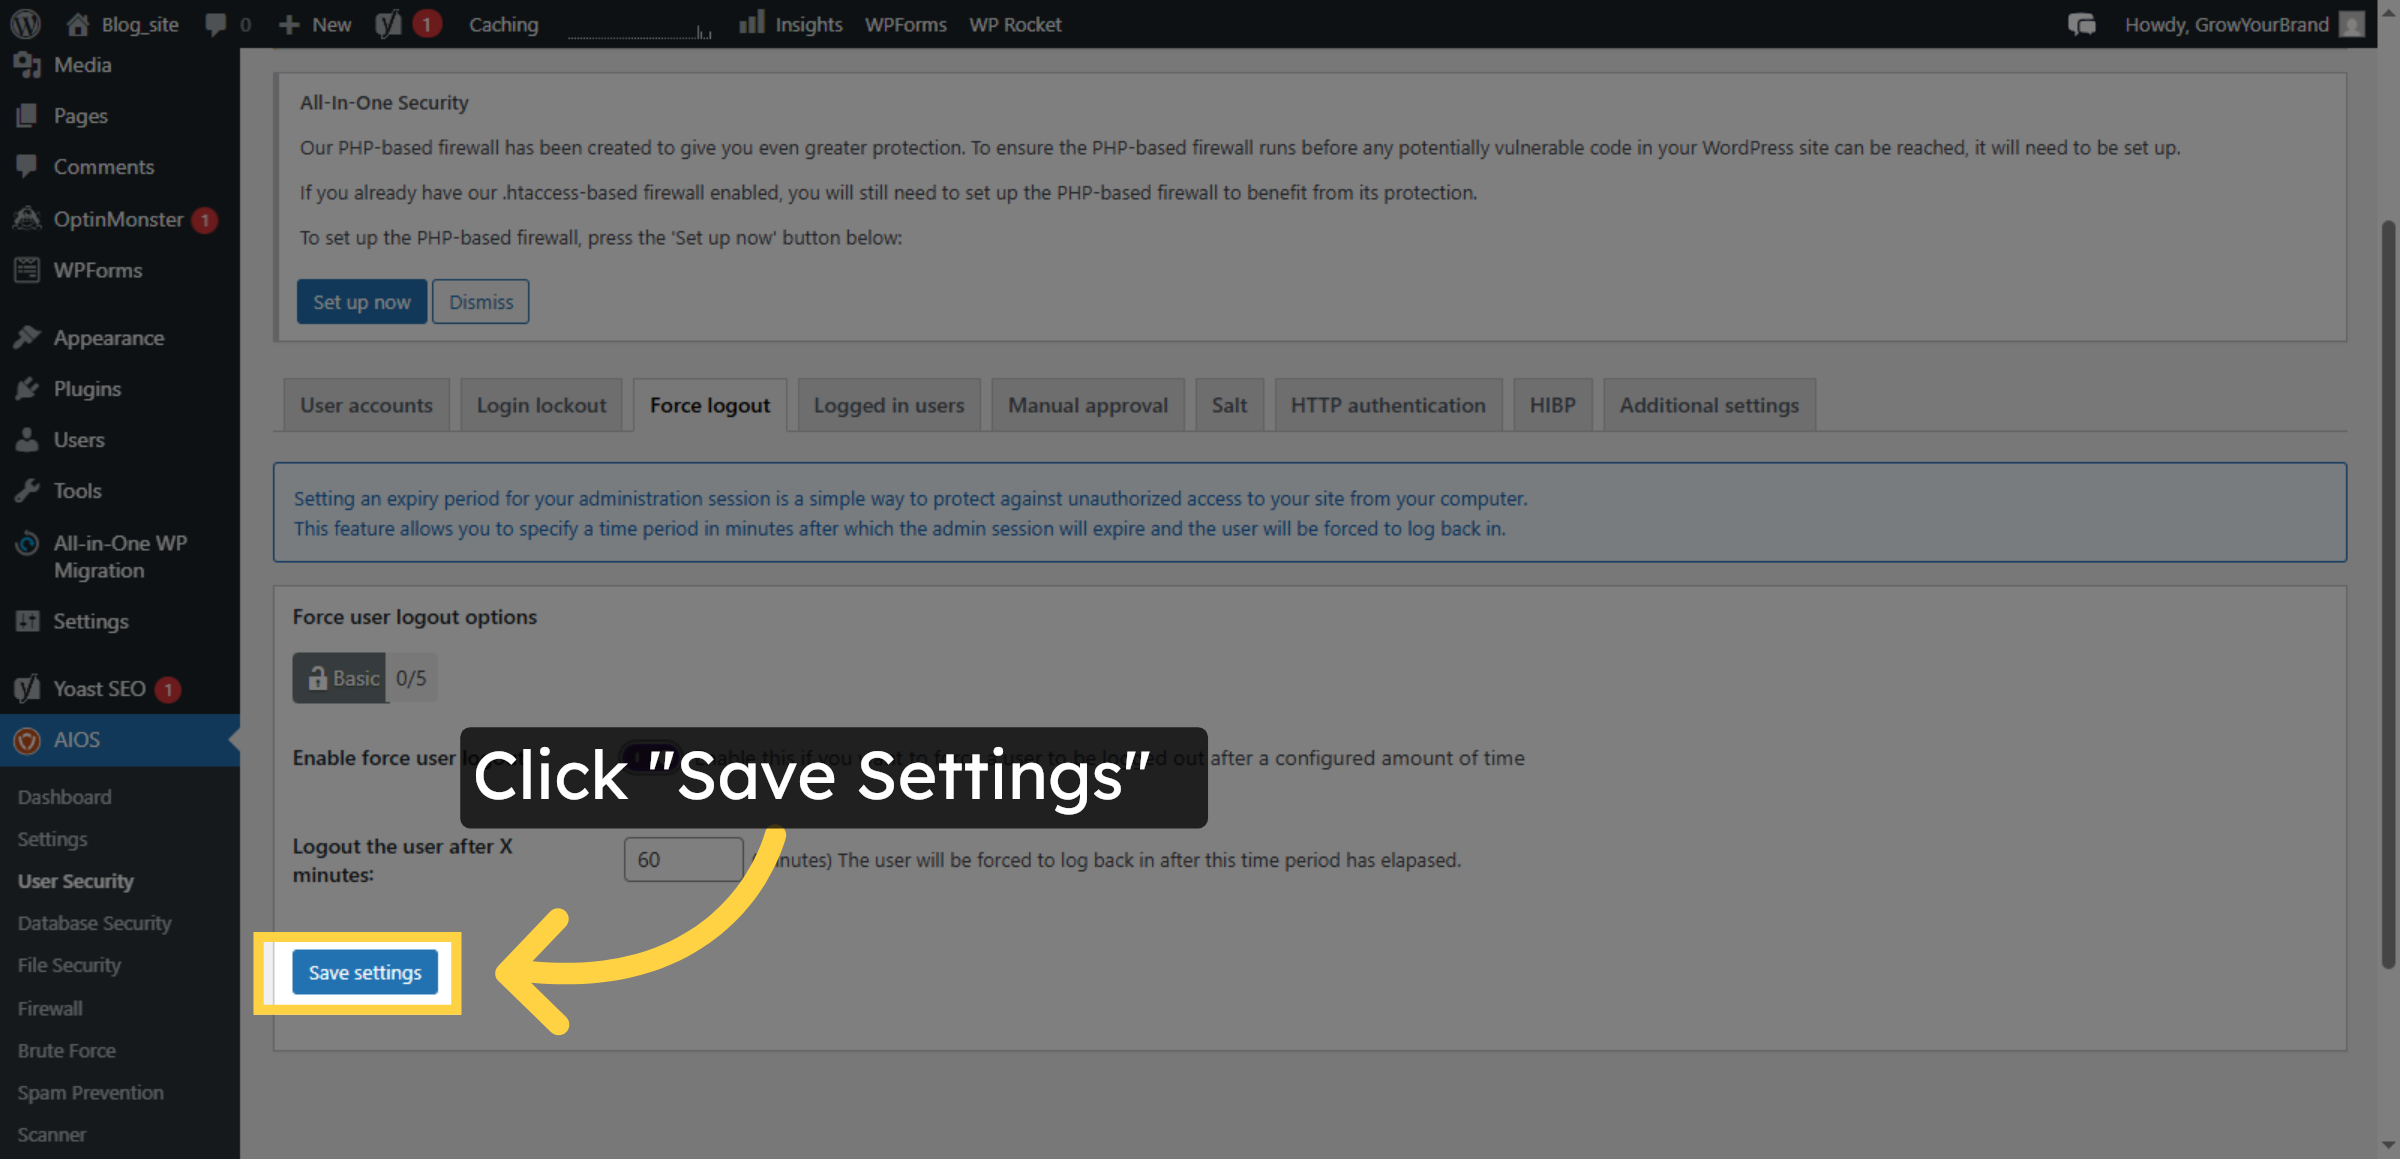
16. Save Force Logout Settings
Enable this if you want to force a user to be logged out after a configured amount of inactivity.
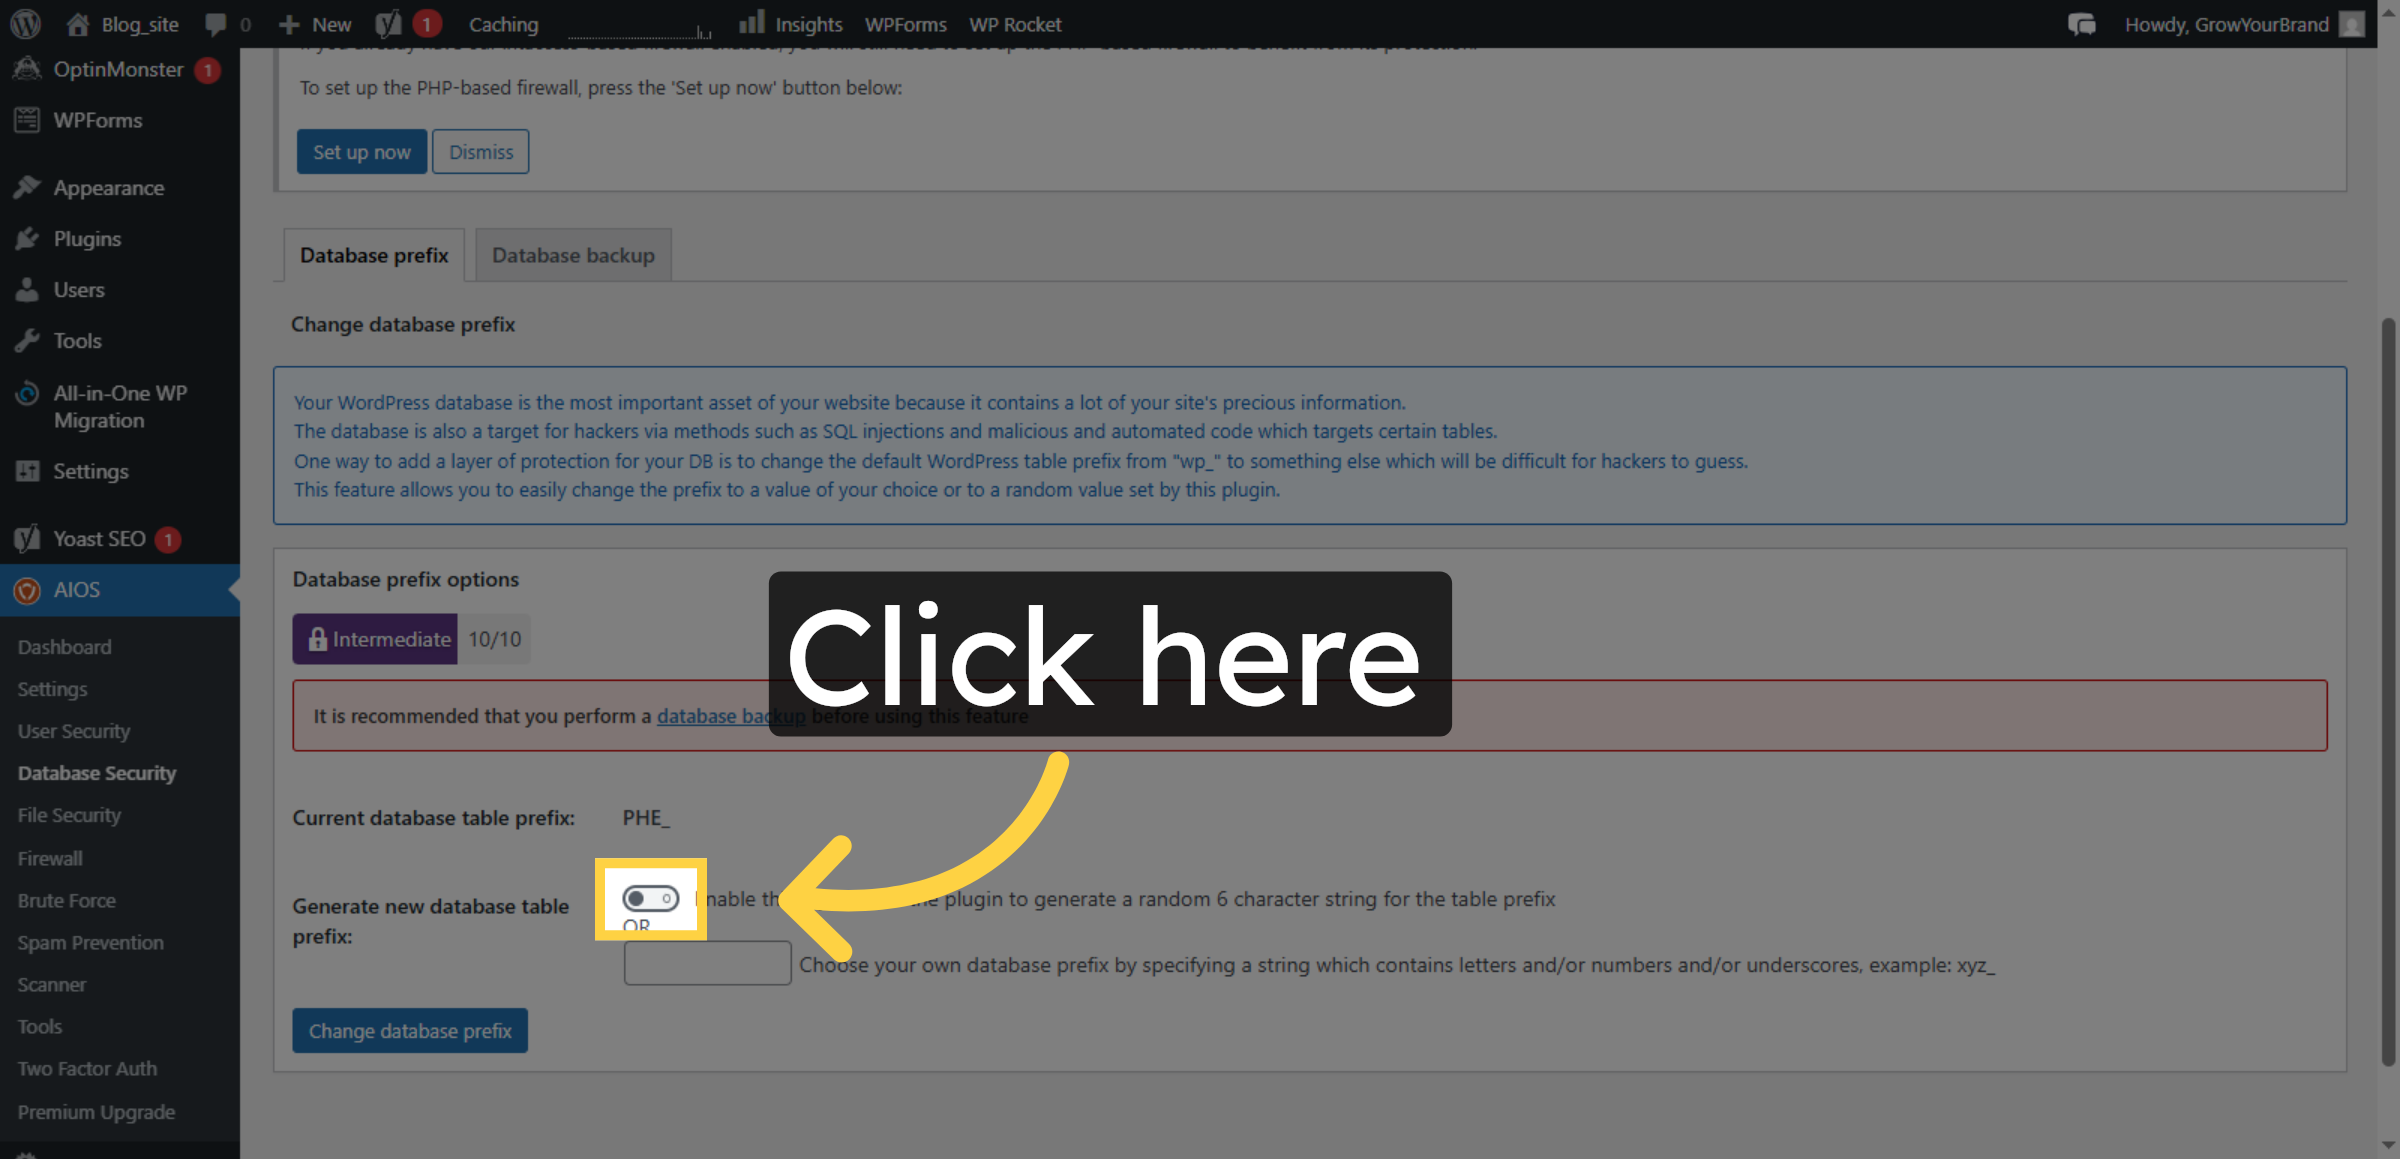
17. Open Database Security
Click the Database Security section to enhance your database protection.
18. Enable Database Prefix Change
Click the field to initiate changing the database prefix.
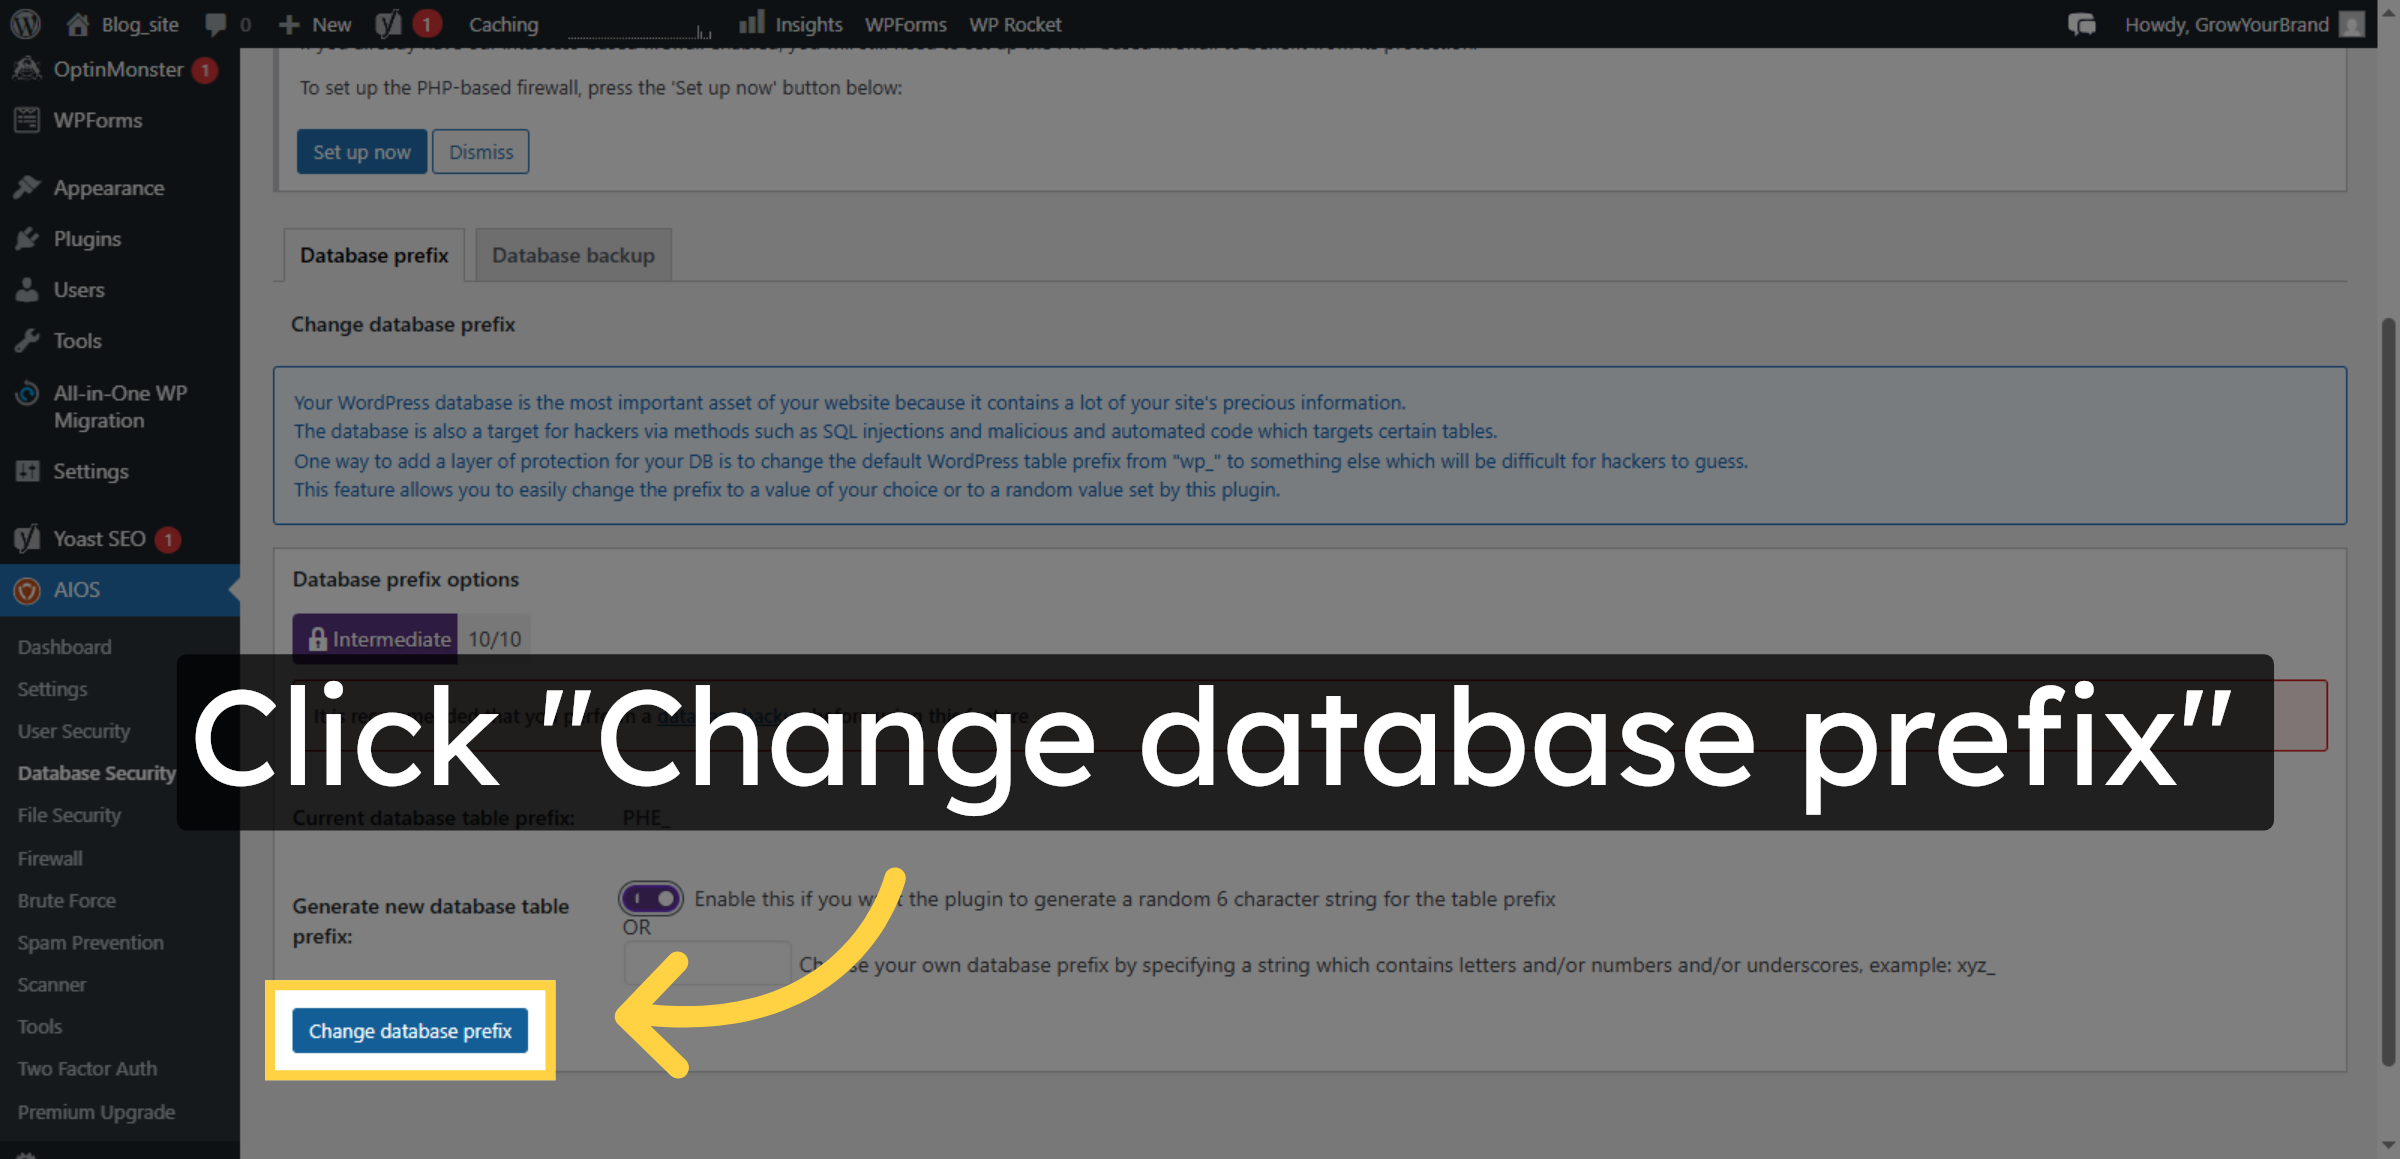
19. Change Database Prefix
Click the Change database prefix button to apply the new prefix.
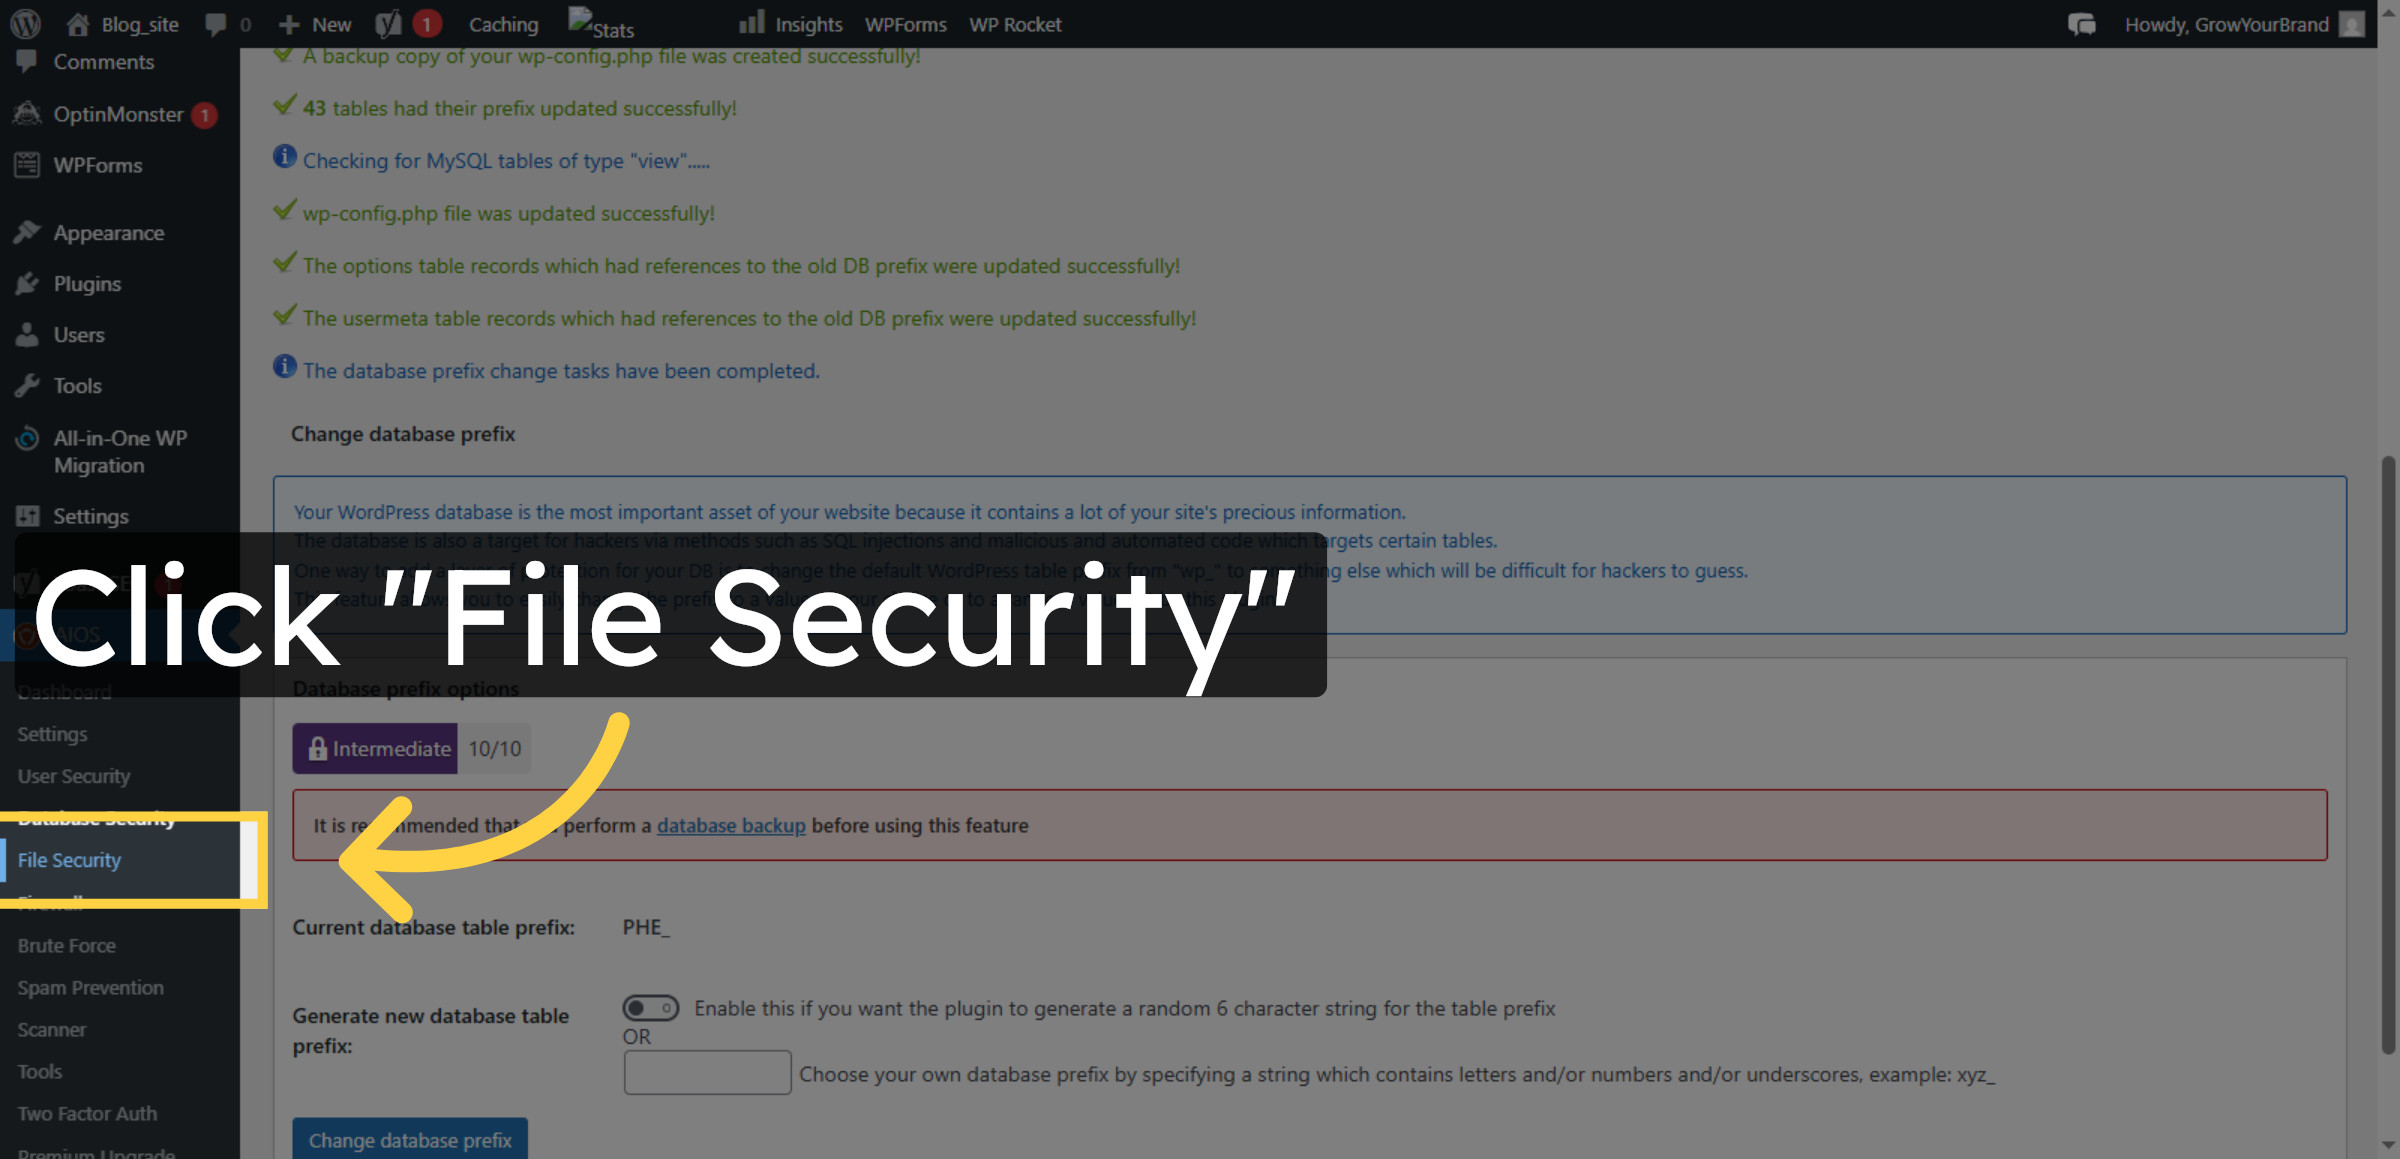
20. Access File Security
Click the File Security section to manage file permissions and protection.
21. Set Recommended Permissions
Click the Set recommended permissions button to apply secure file permissions.

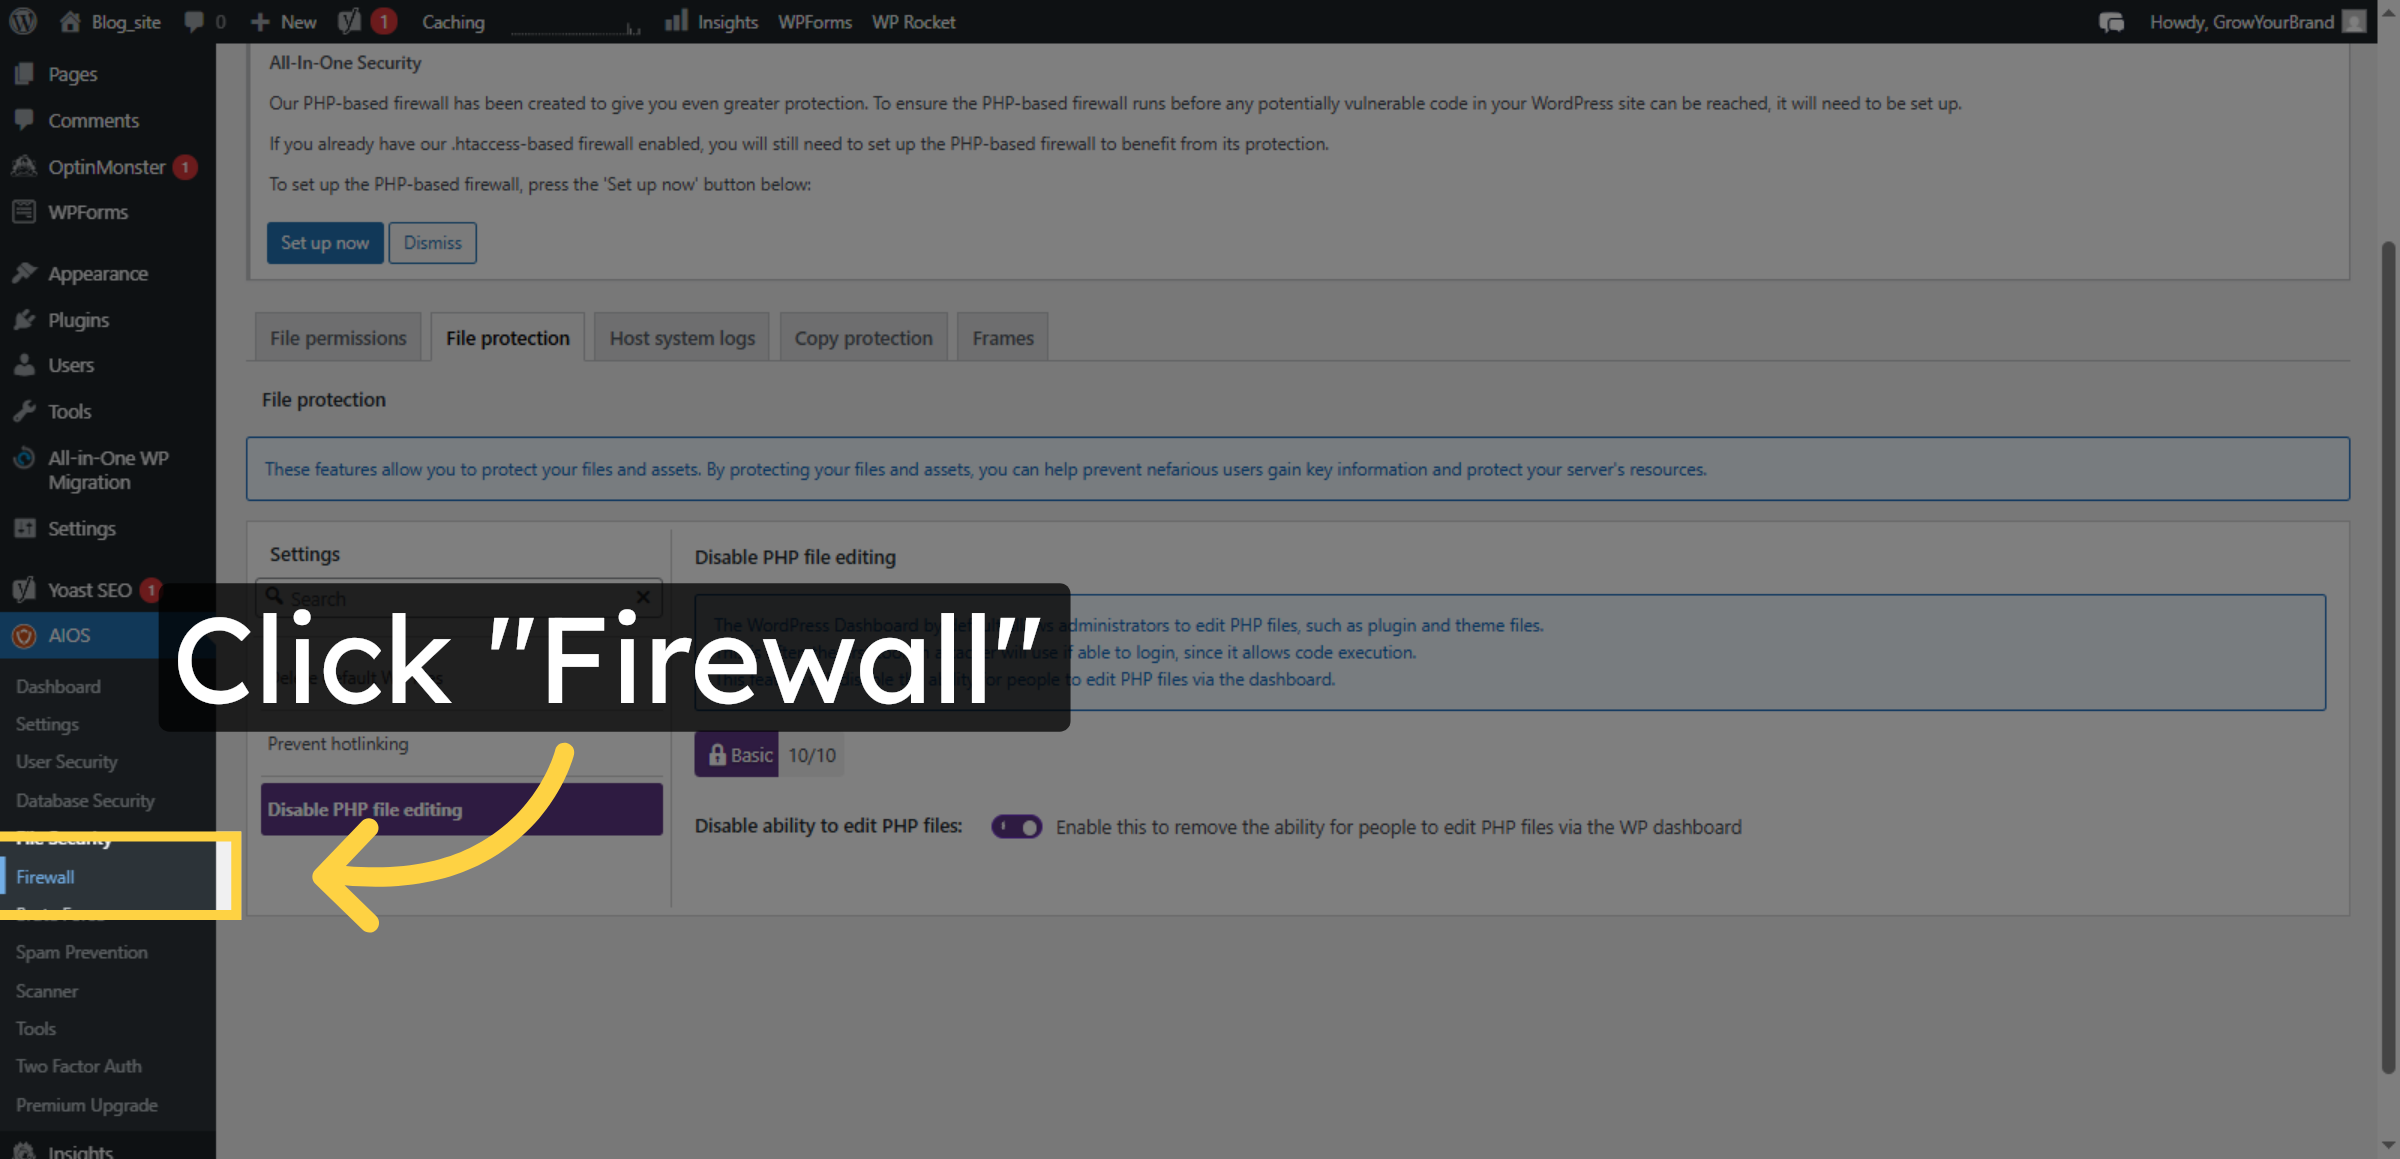
22. Open File Protection
Click the File protection option to configure file access restrictions.

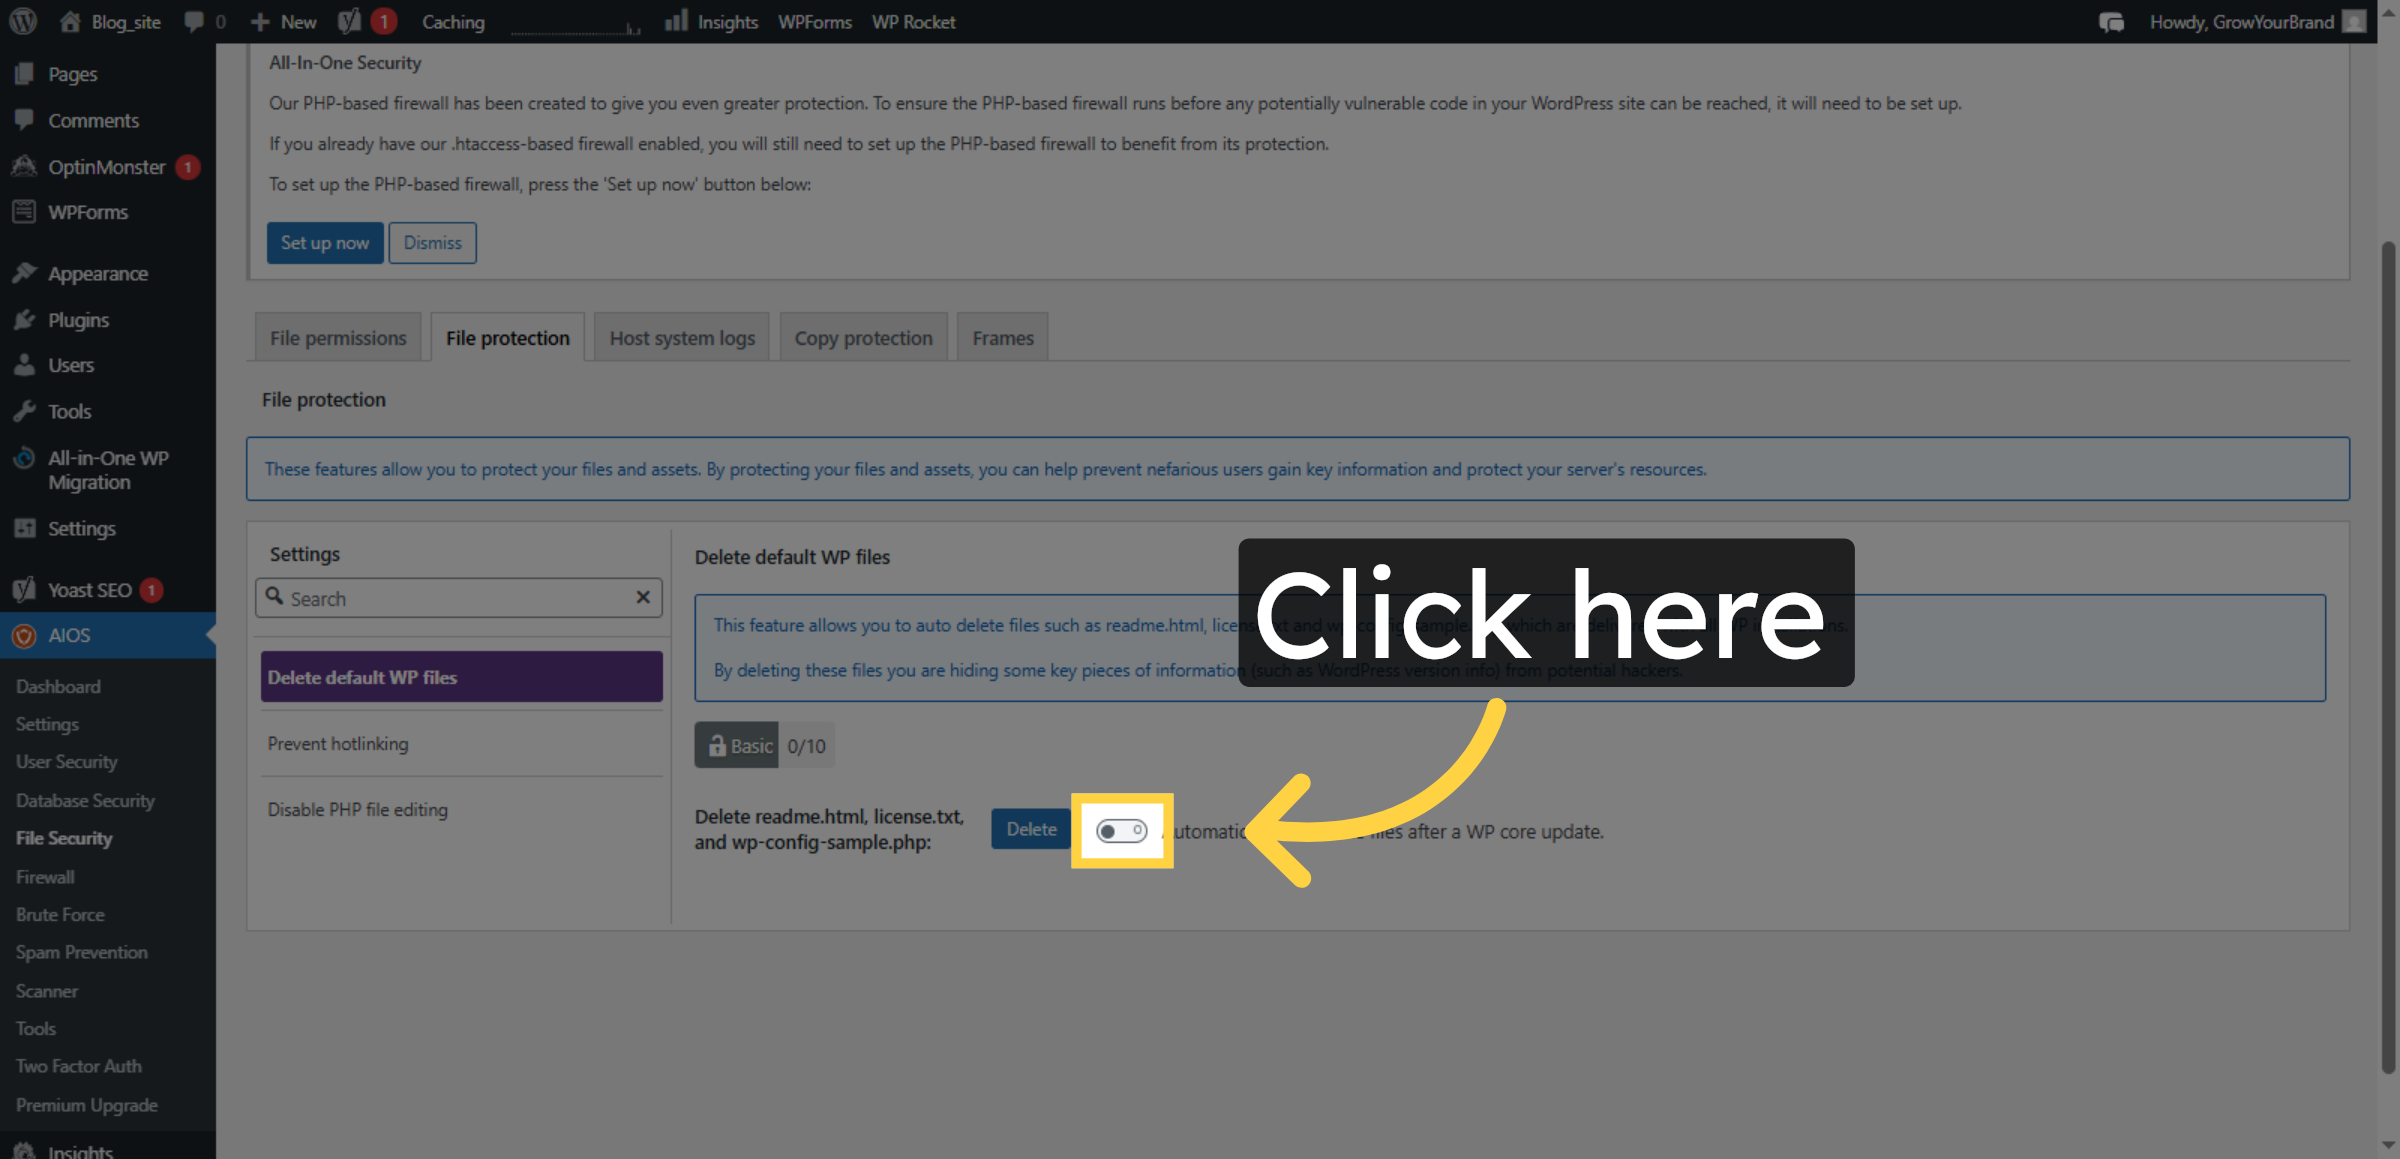
23. Enable File Protection
Click the field to enable file protection features.
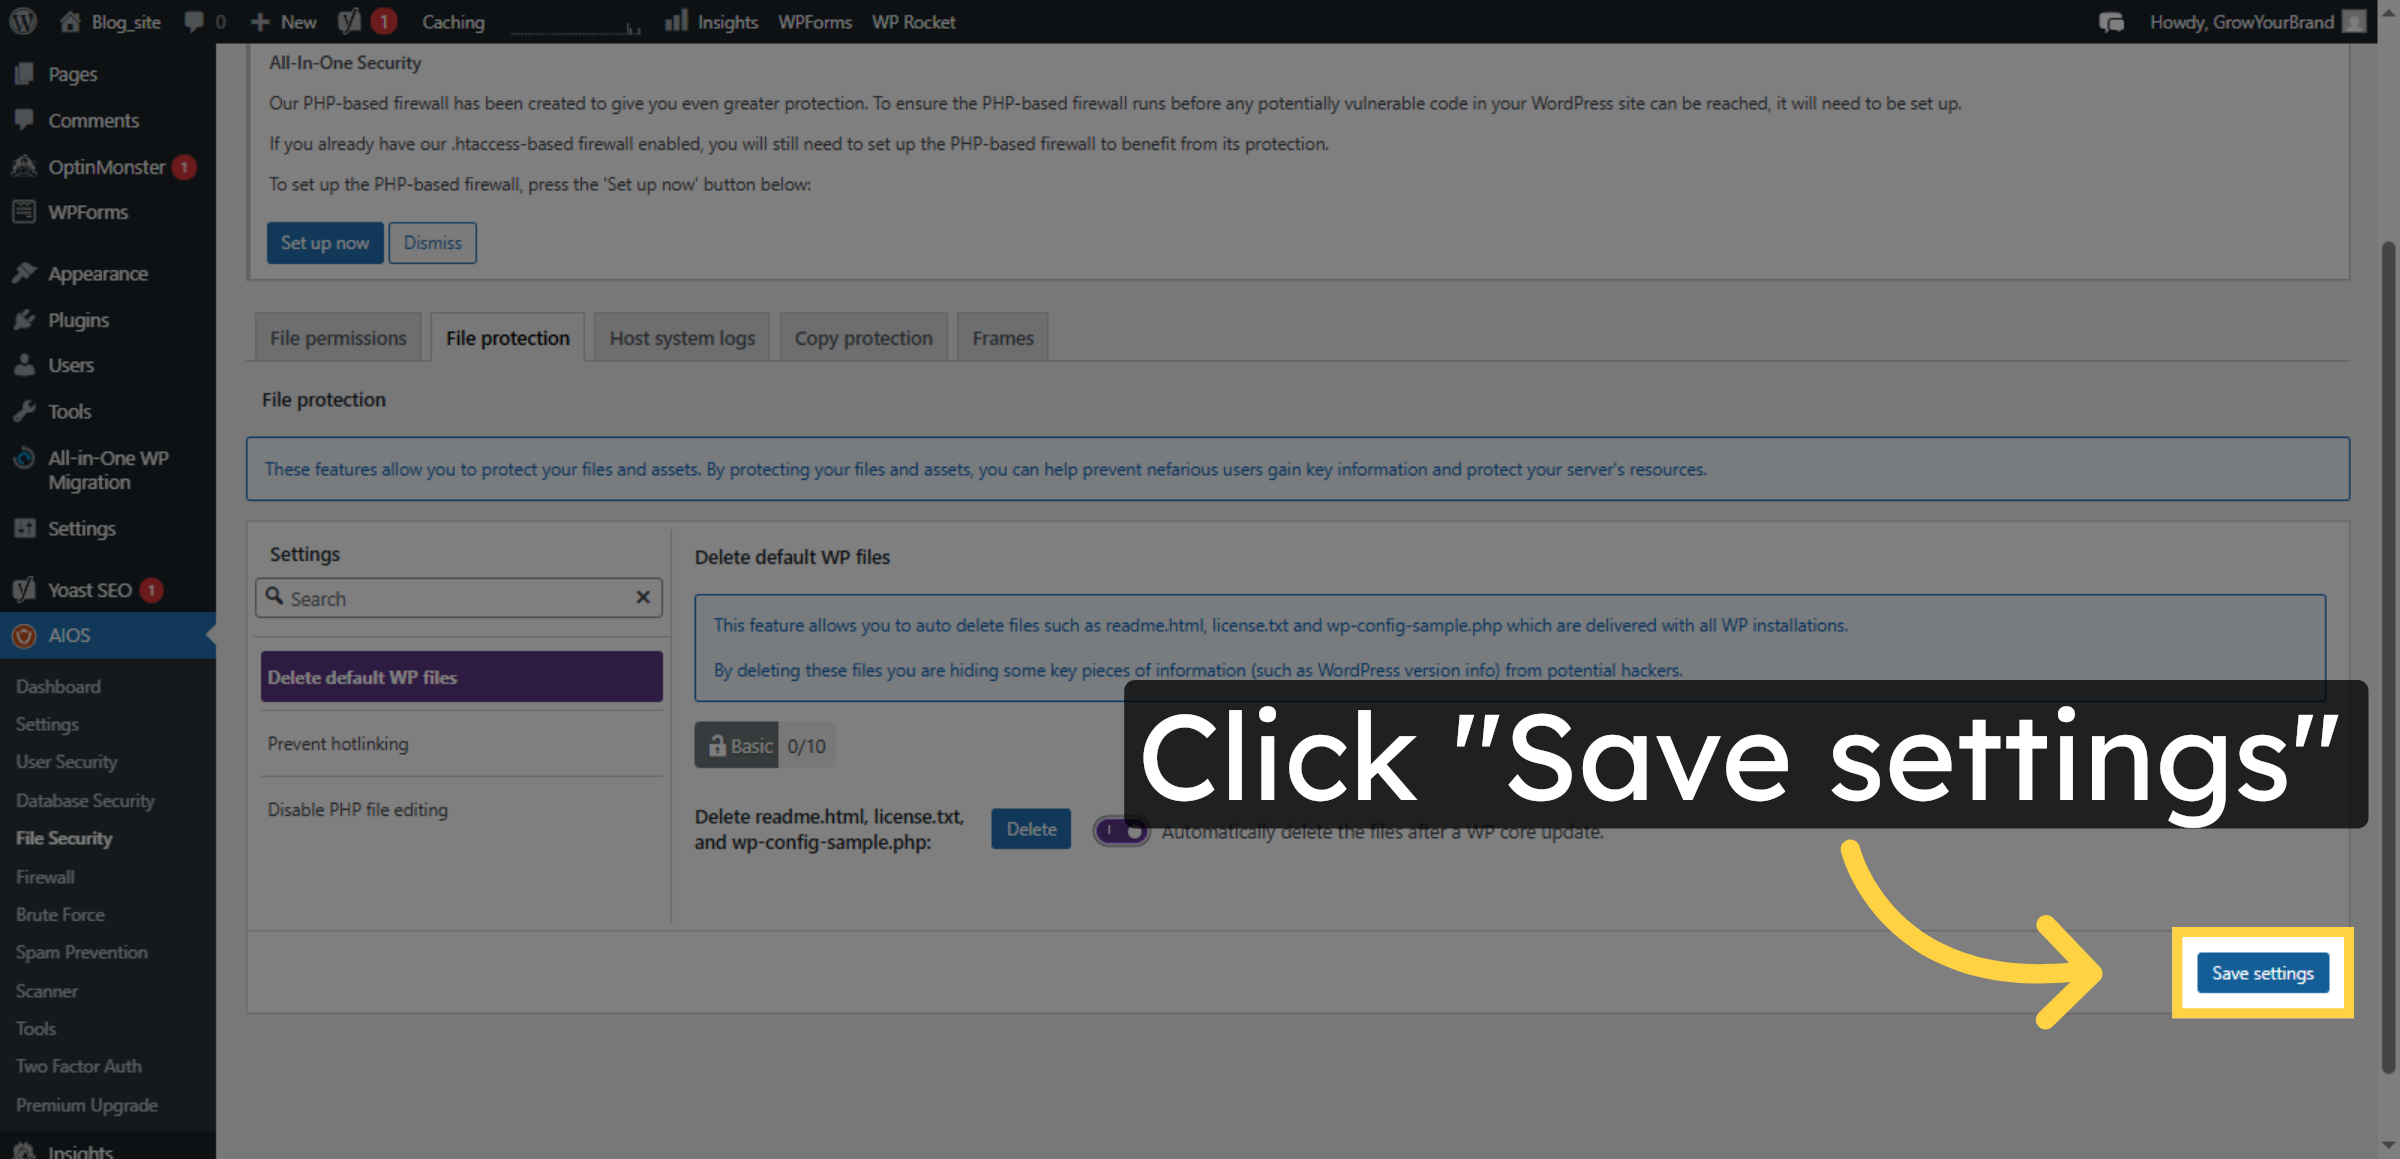
24. Save File Security Settings
Click the Save settings button to save your file security configurations.
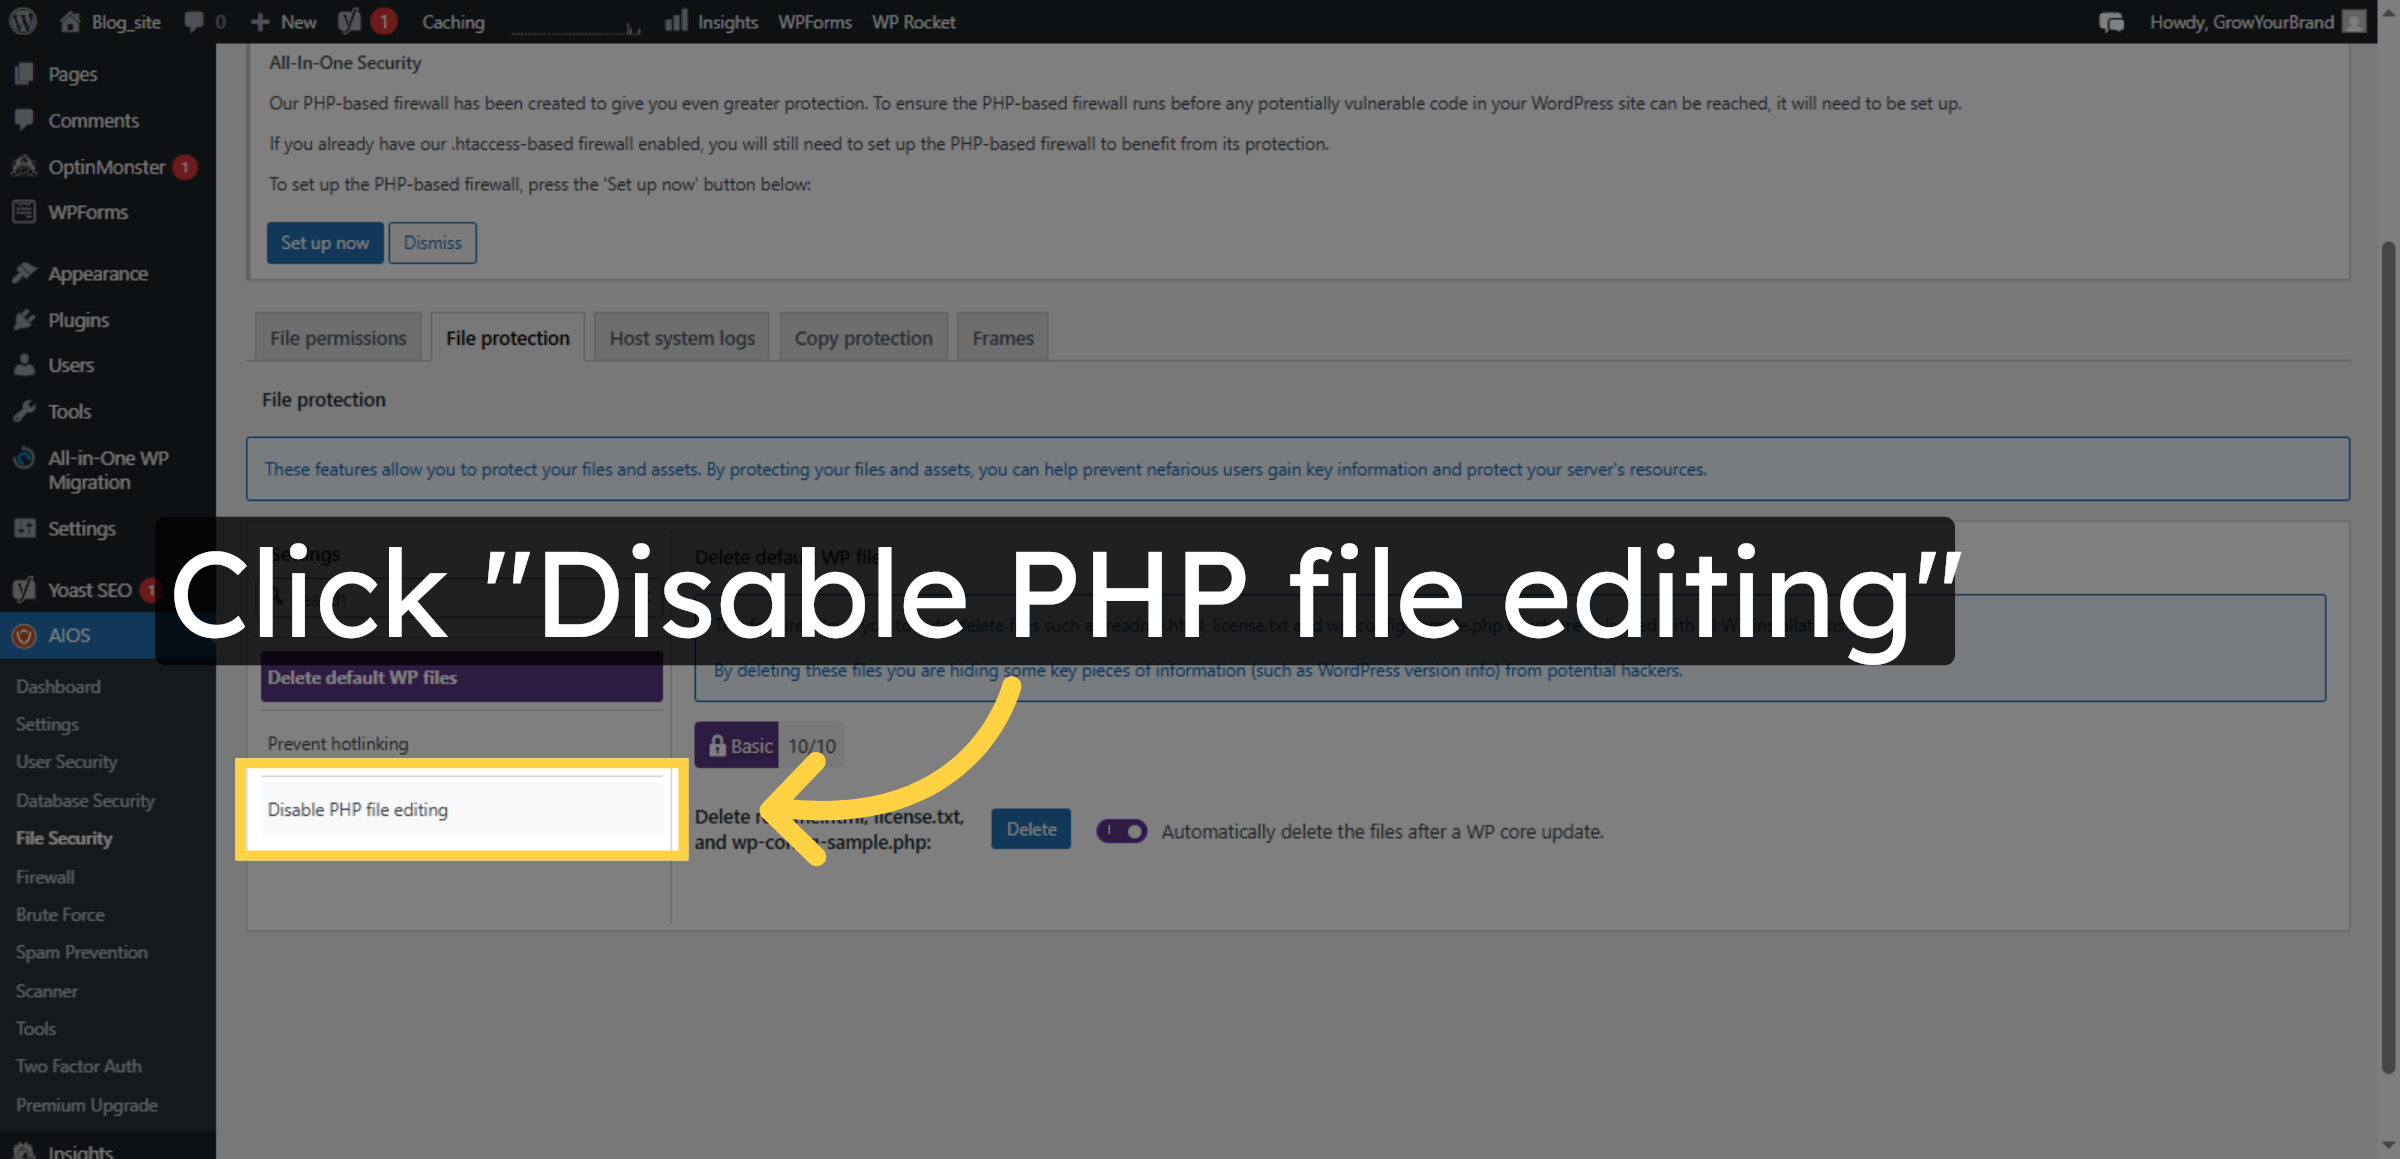
25. Disable PHP File Editing
Click the Disable PHP file editing button to prevent unauthorized code changes.
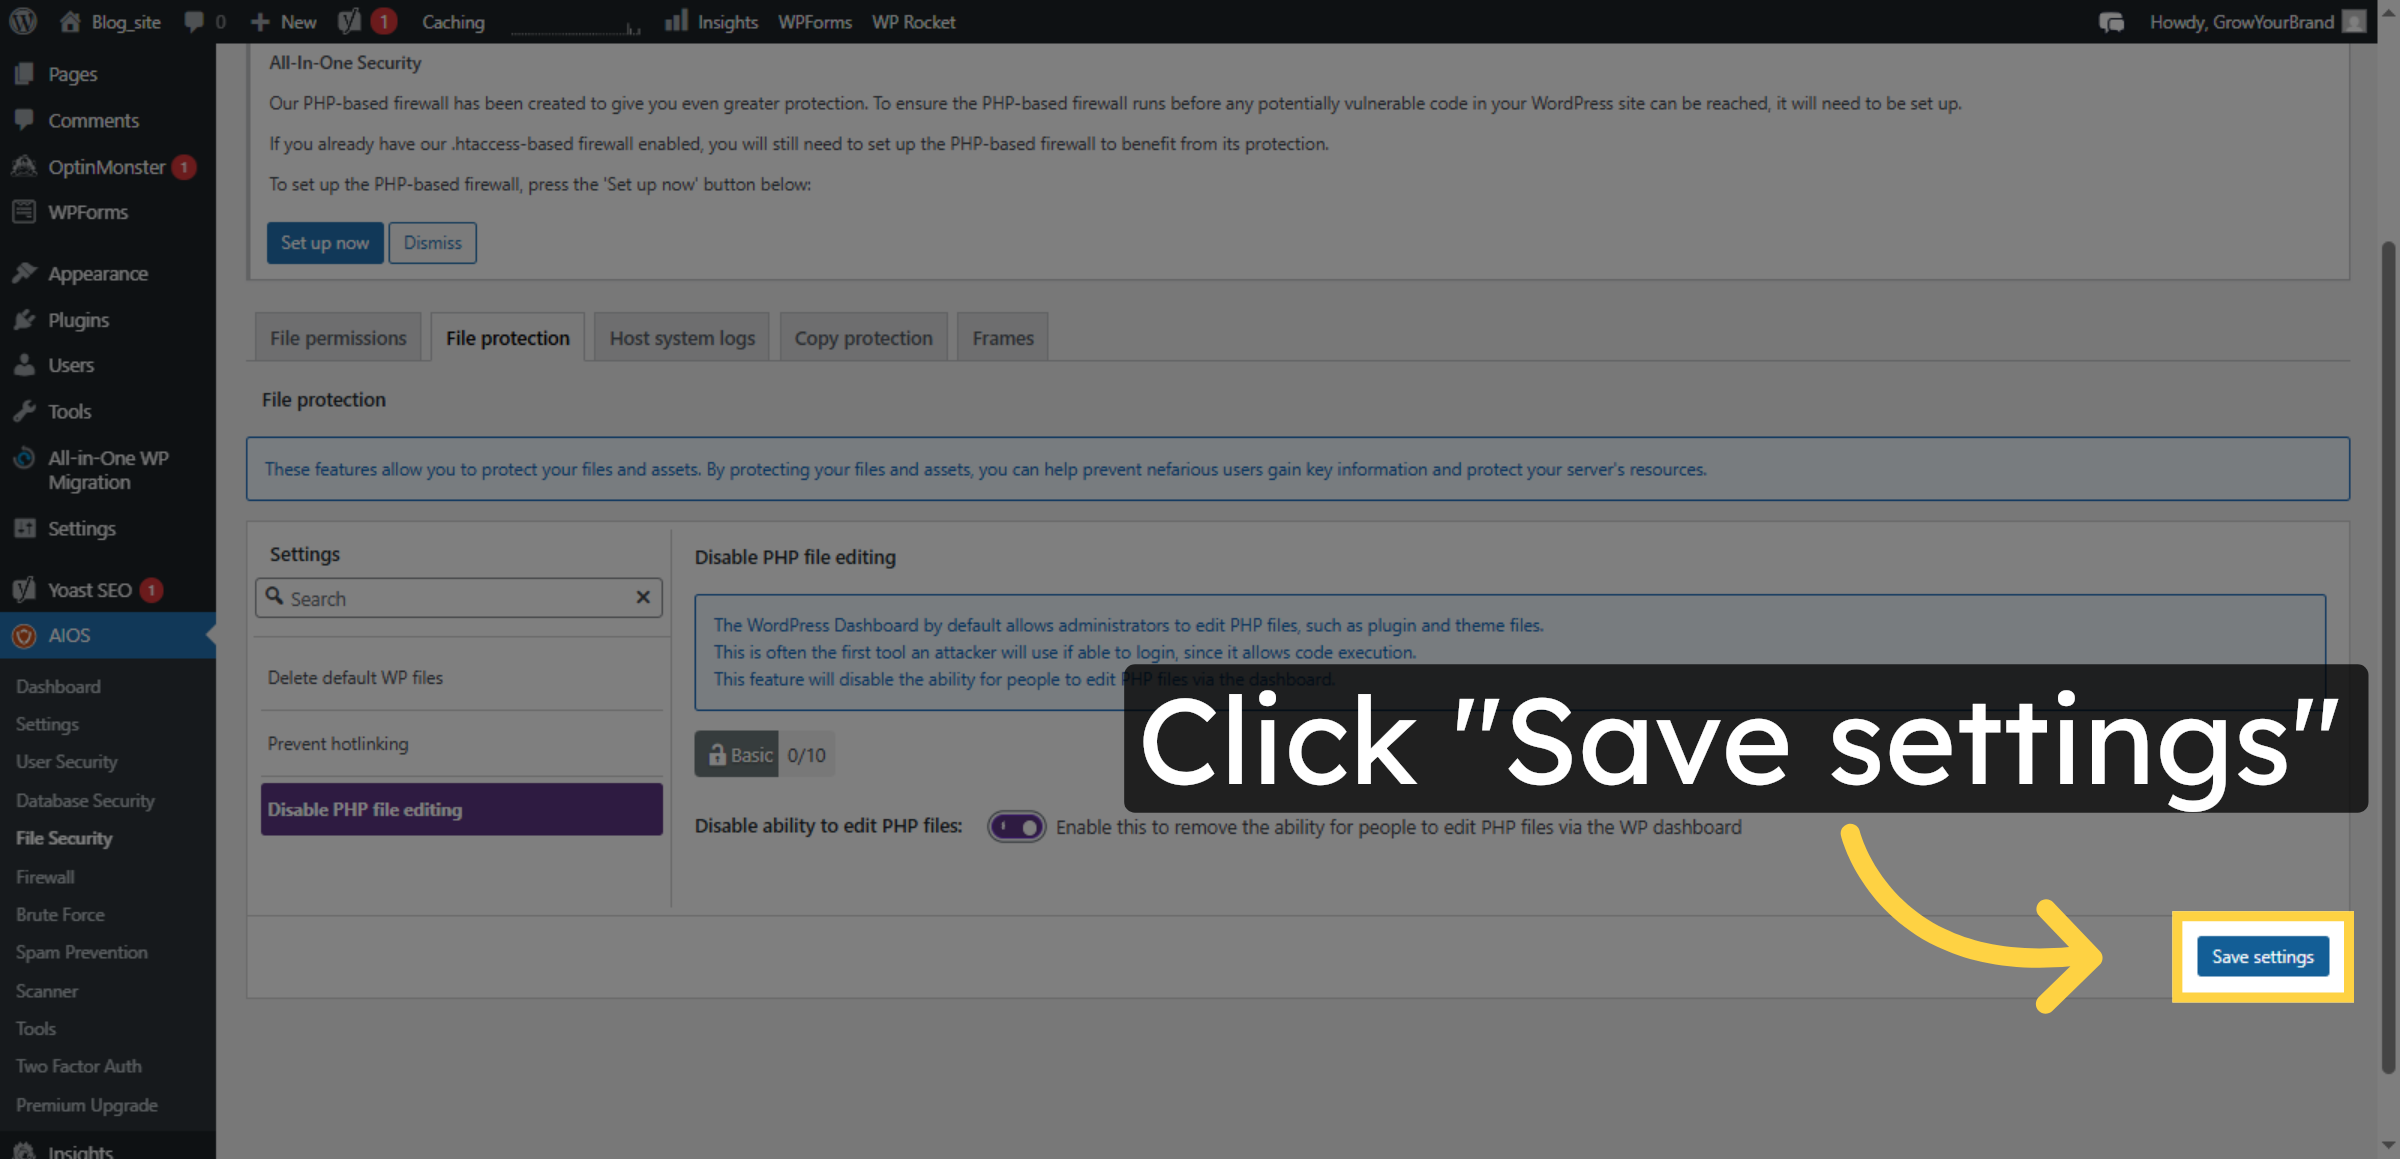
26. Enable PHP Editing Disable
Click the field to activate the disable PHP file editing feature.

27. Save PHP Editing Settings
Click the Save settings button to apply the PHP file editing restrictions.
28. Open Firewall Settings
Click the Firewall section to configure firewall protection for your site.
29. Enable PHP Firewall
Click the field to activate the PHP firewall feature.
30. Save PHP Firewall Settings
Click the Save PHP firewall settings button to save your firewall configurations.
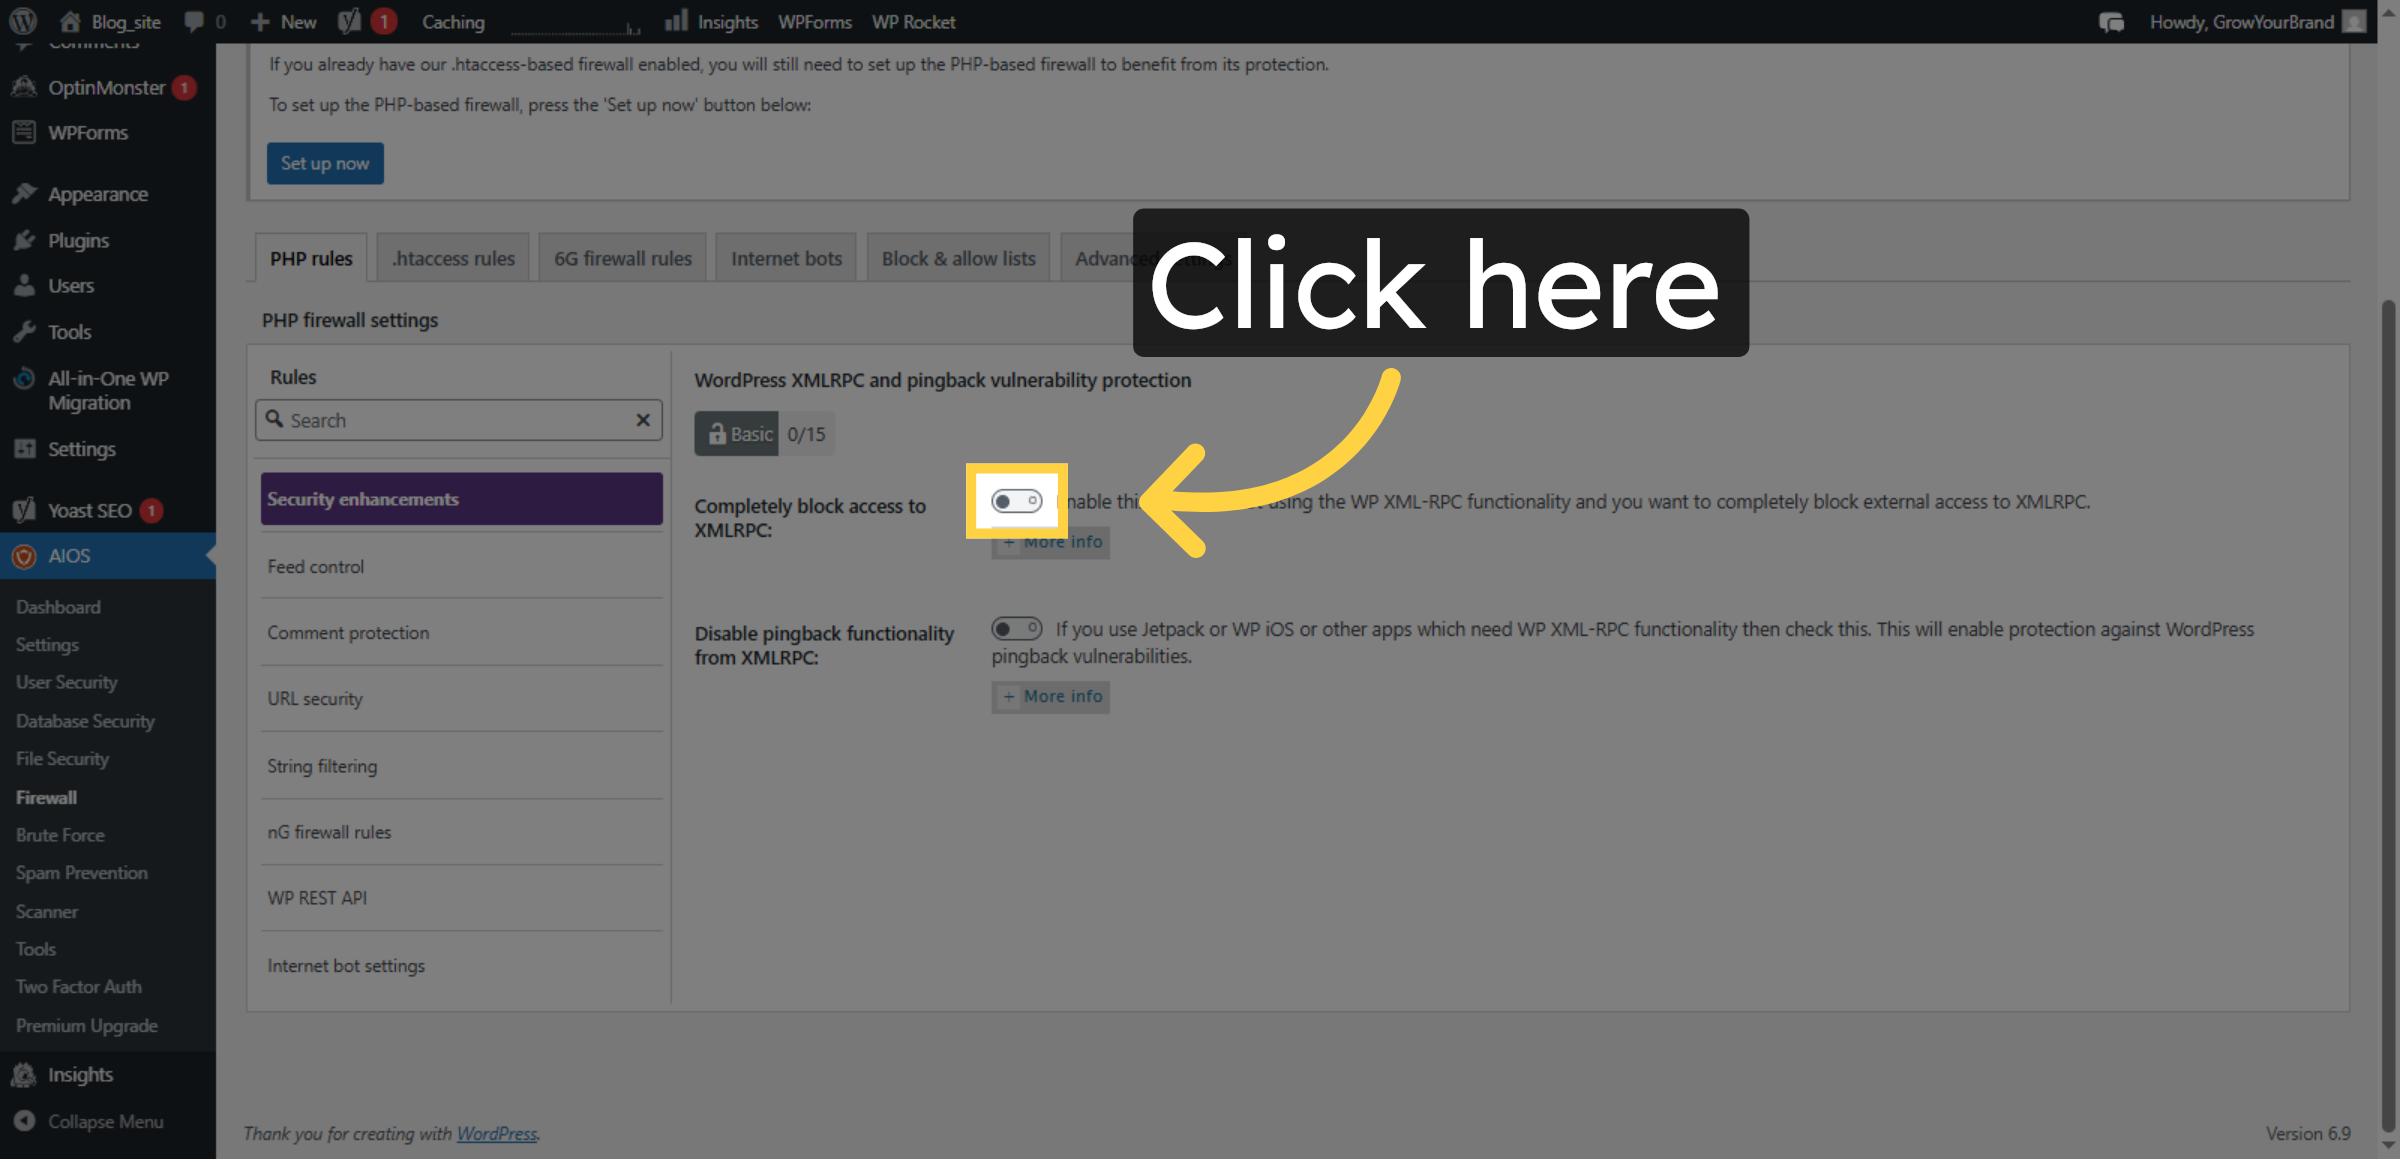
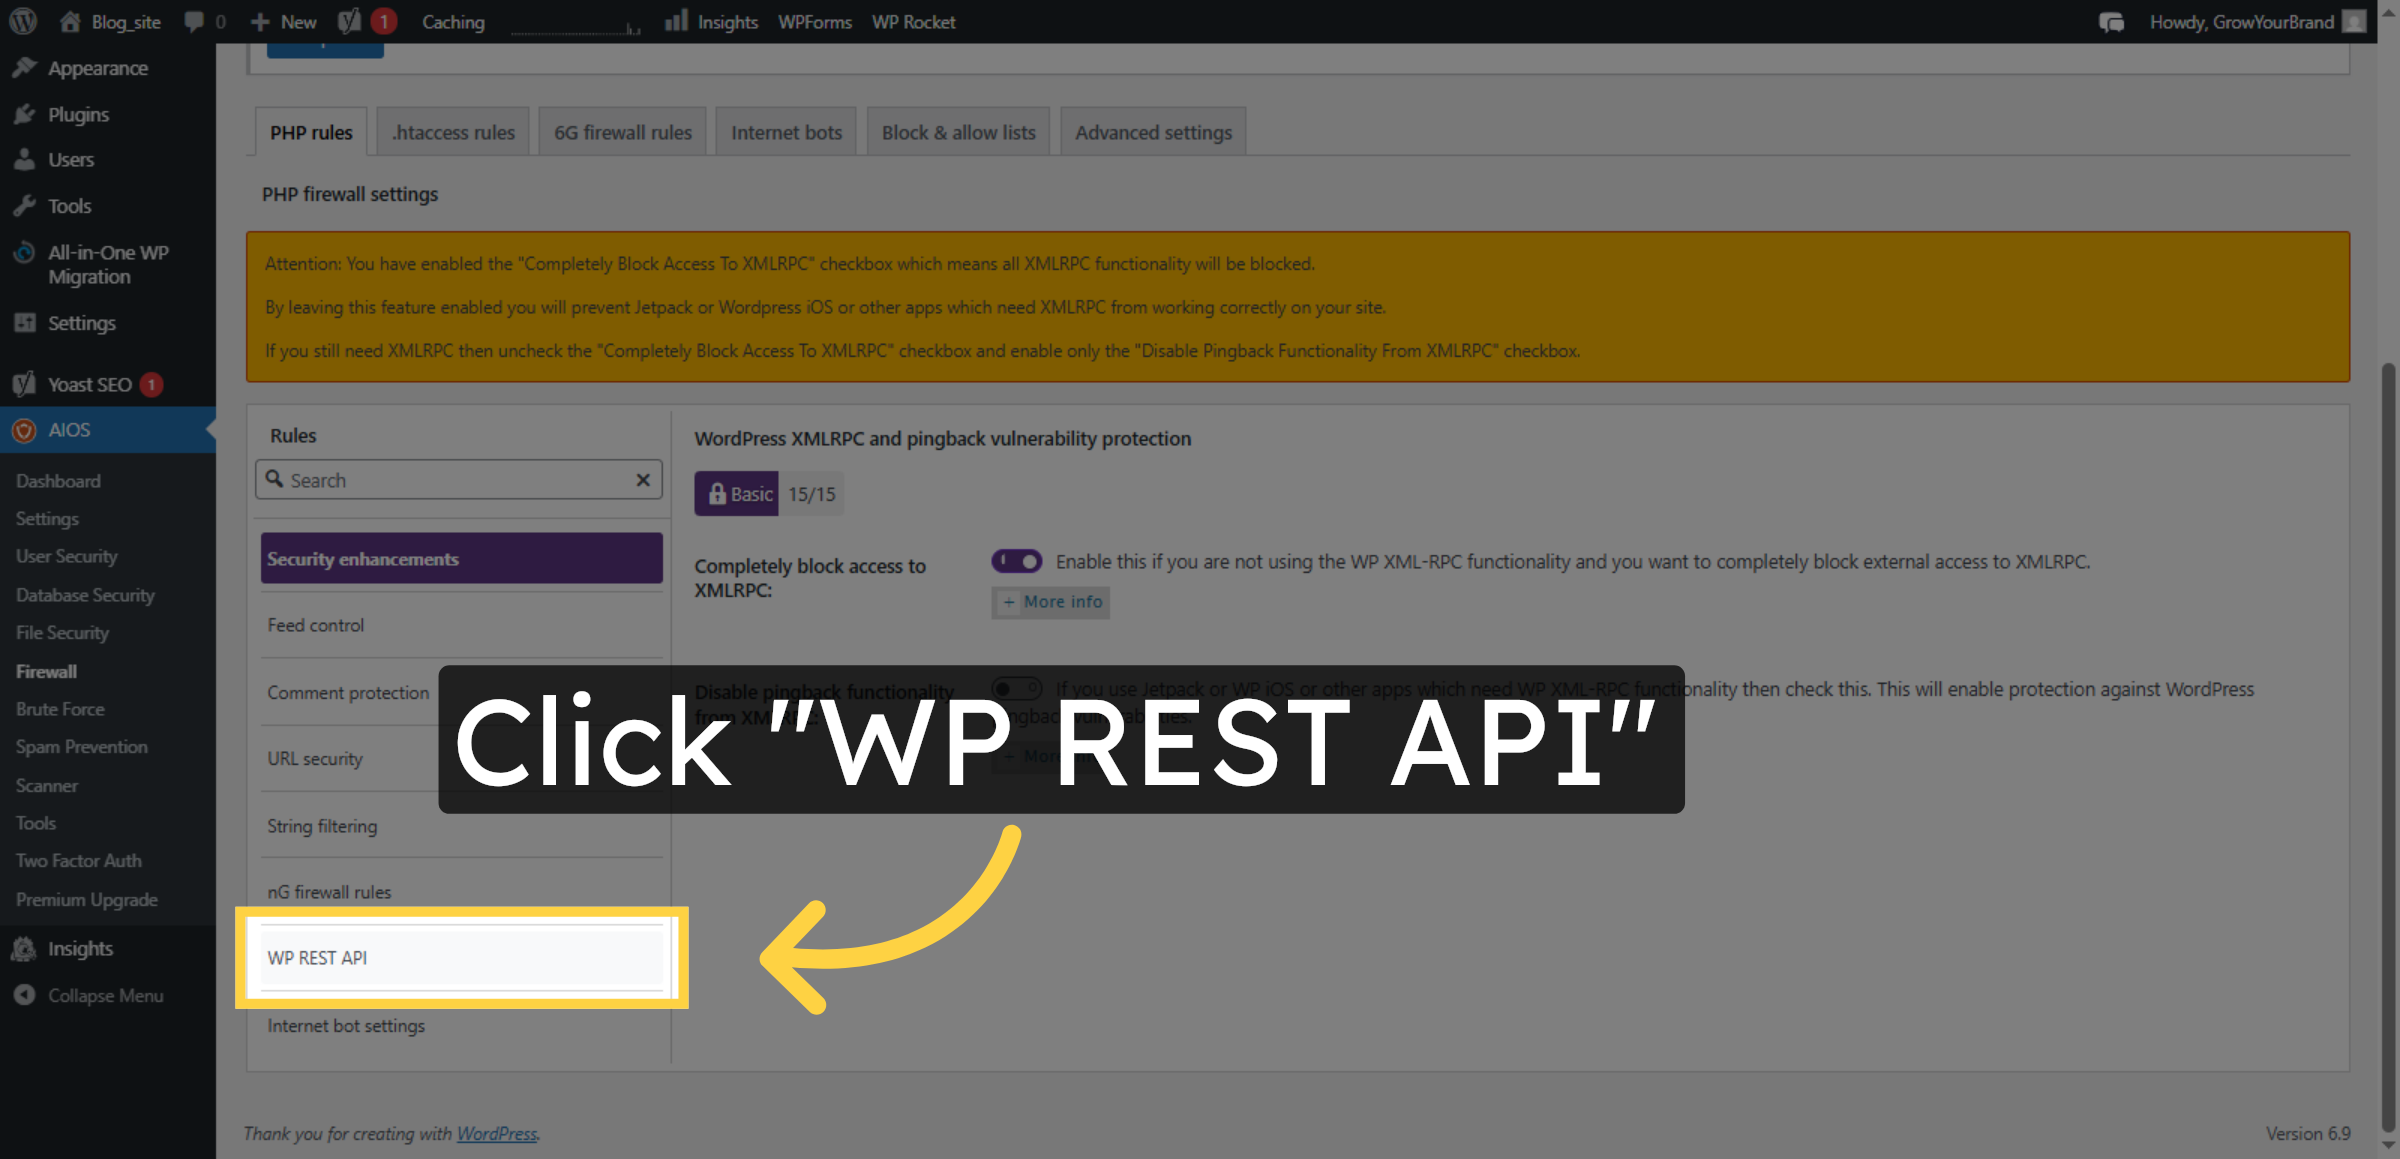
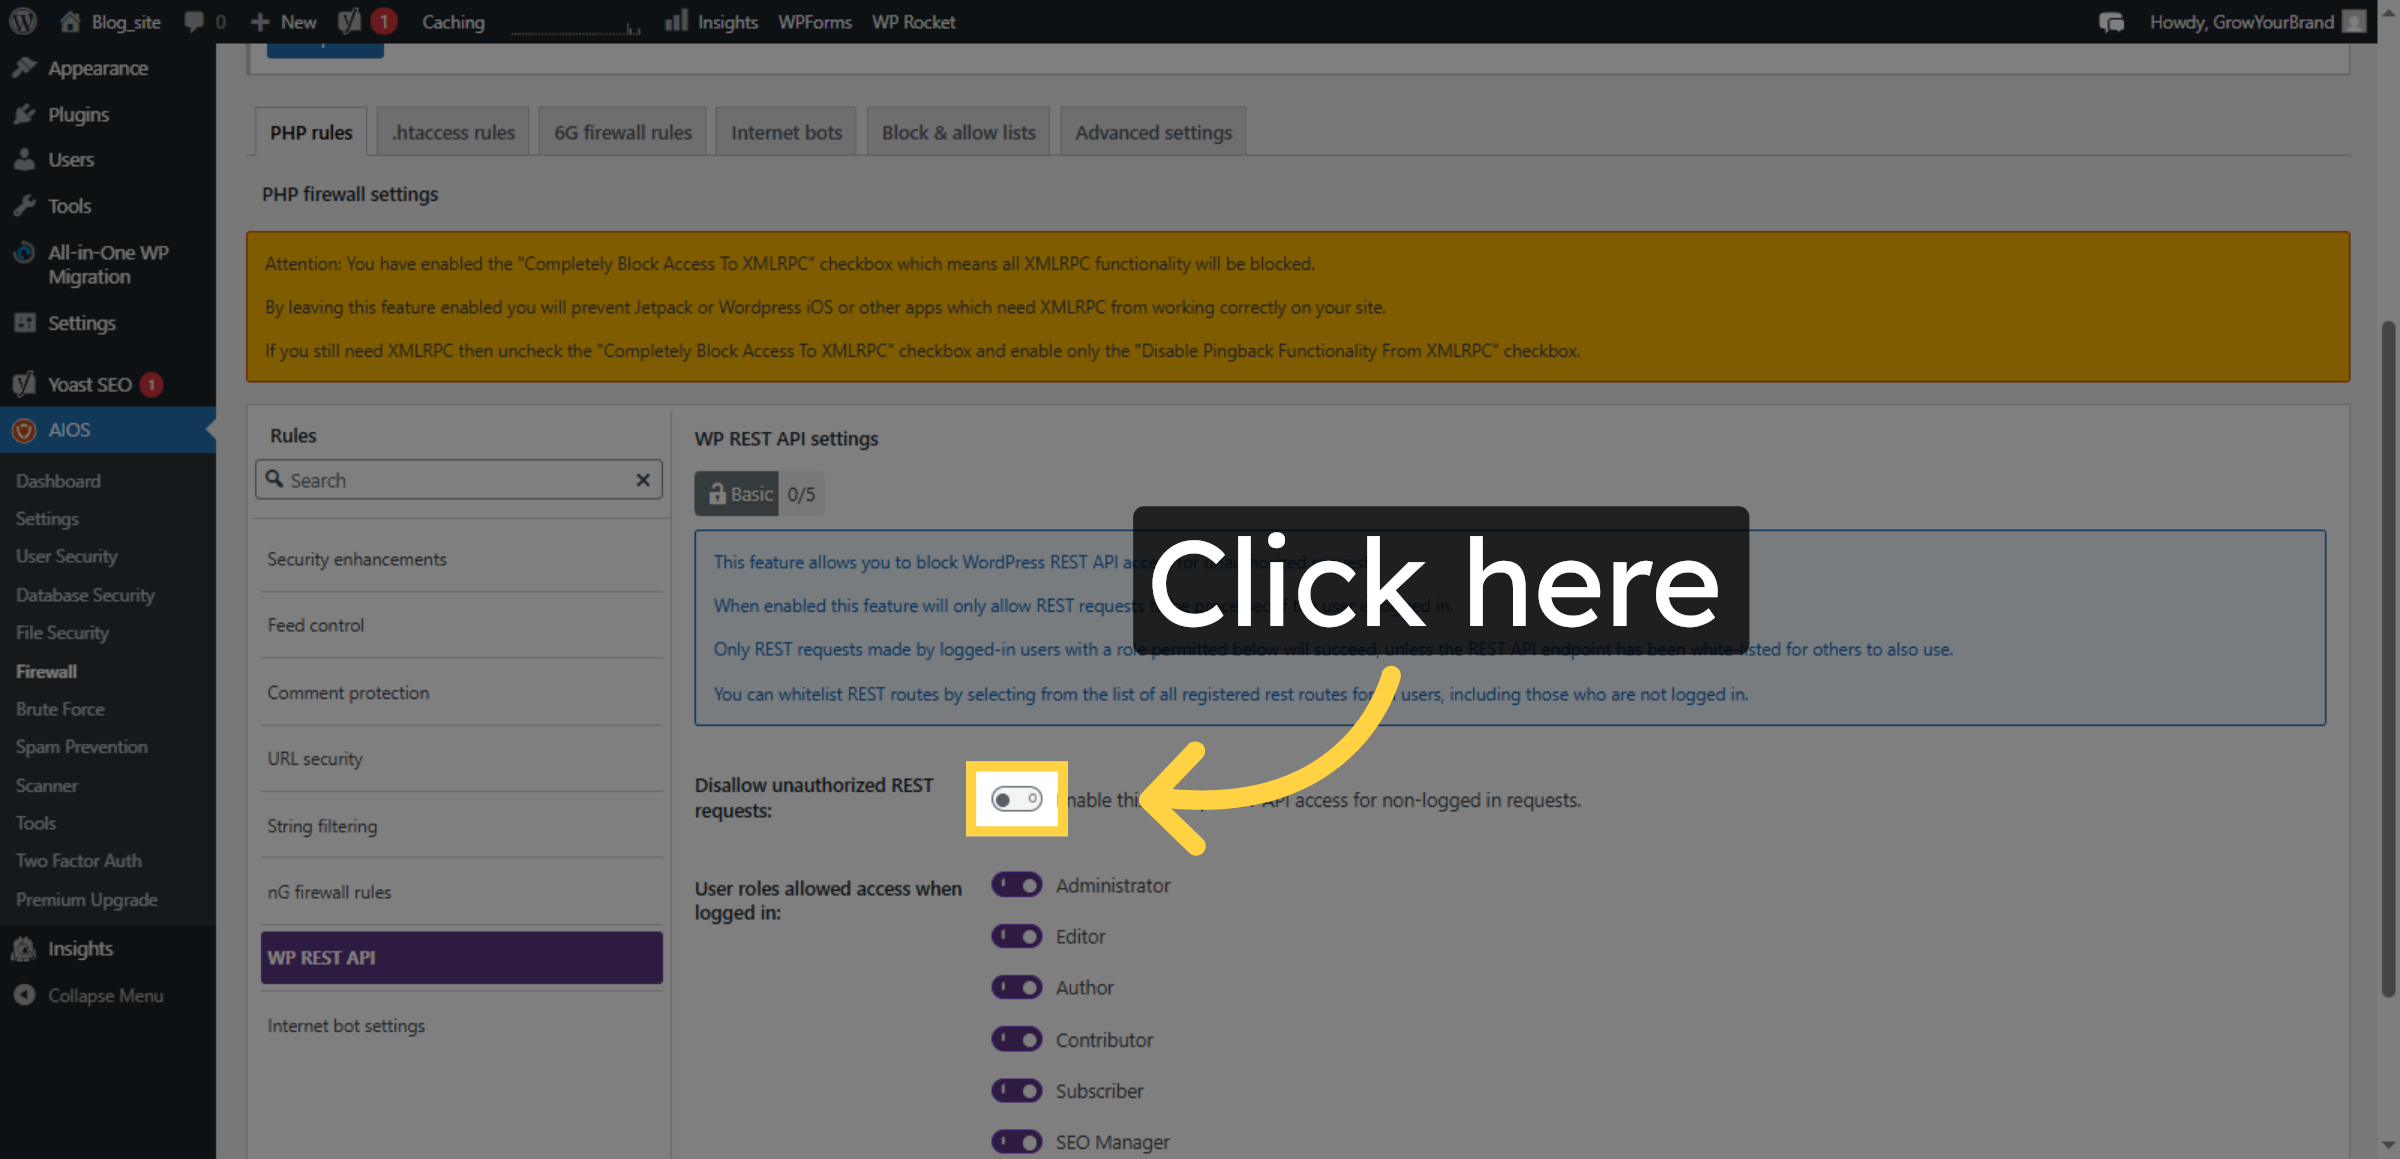
31. Access WP REST API Settings
Click the WP REST API option to manage API firewall rules.
32. Enable WP REST API Firewall
Click the field to enable firewall protection for the WP REST API.
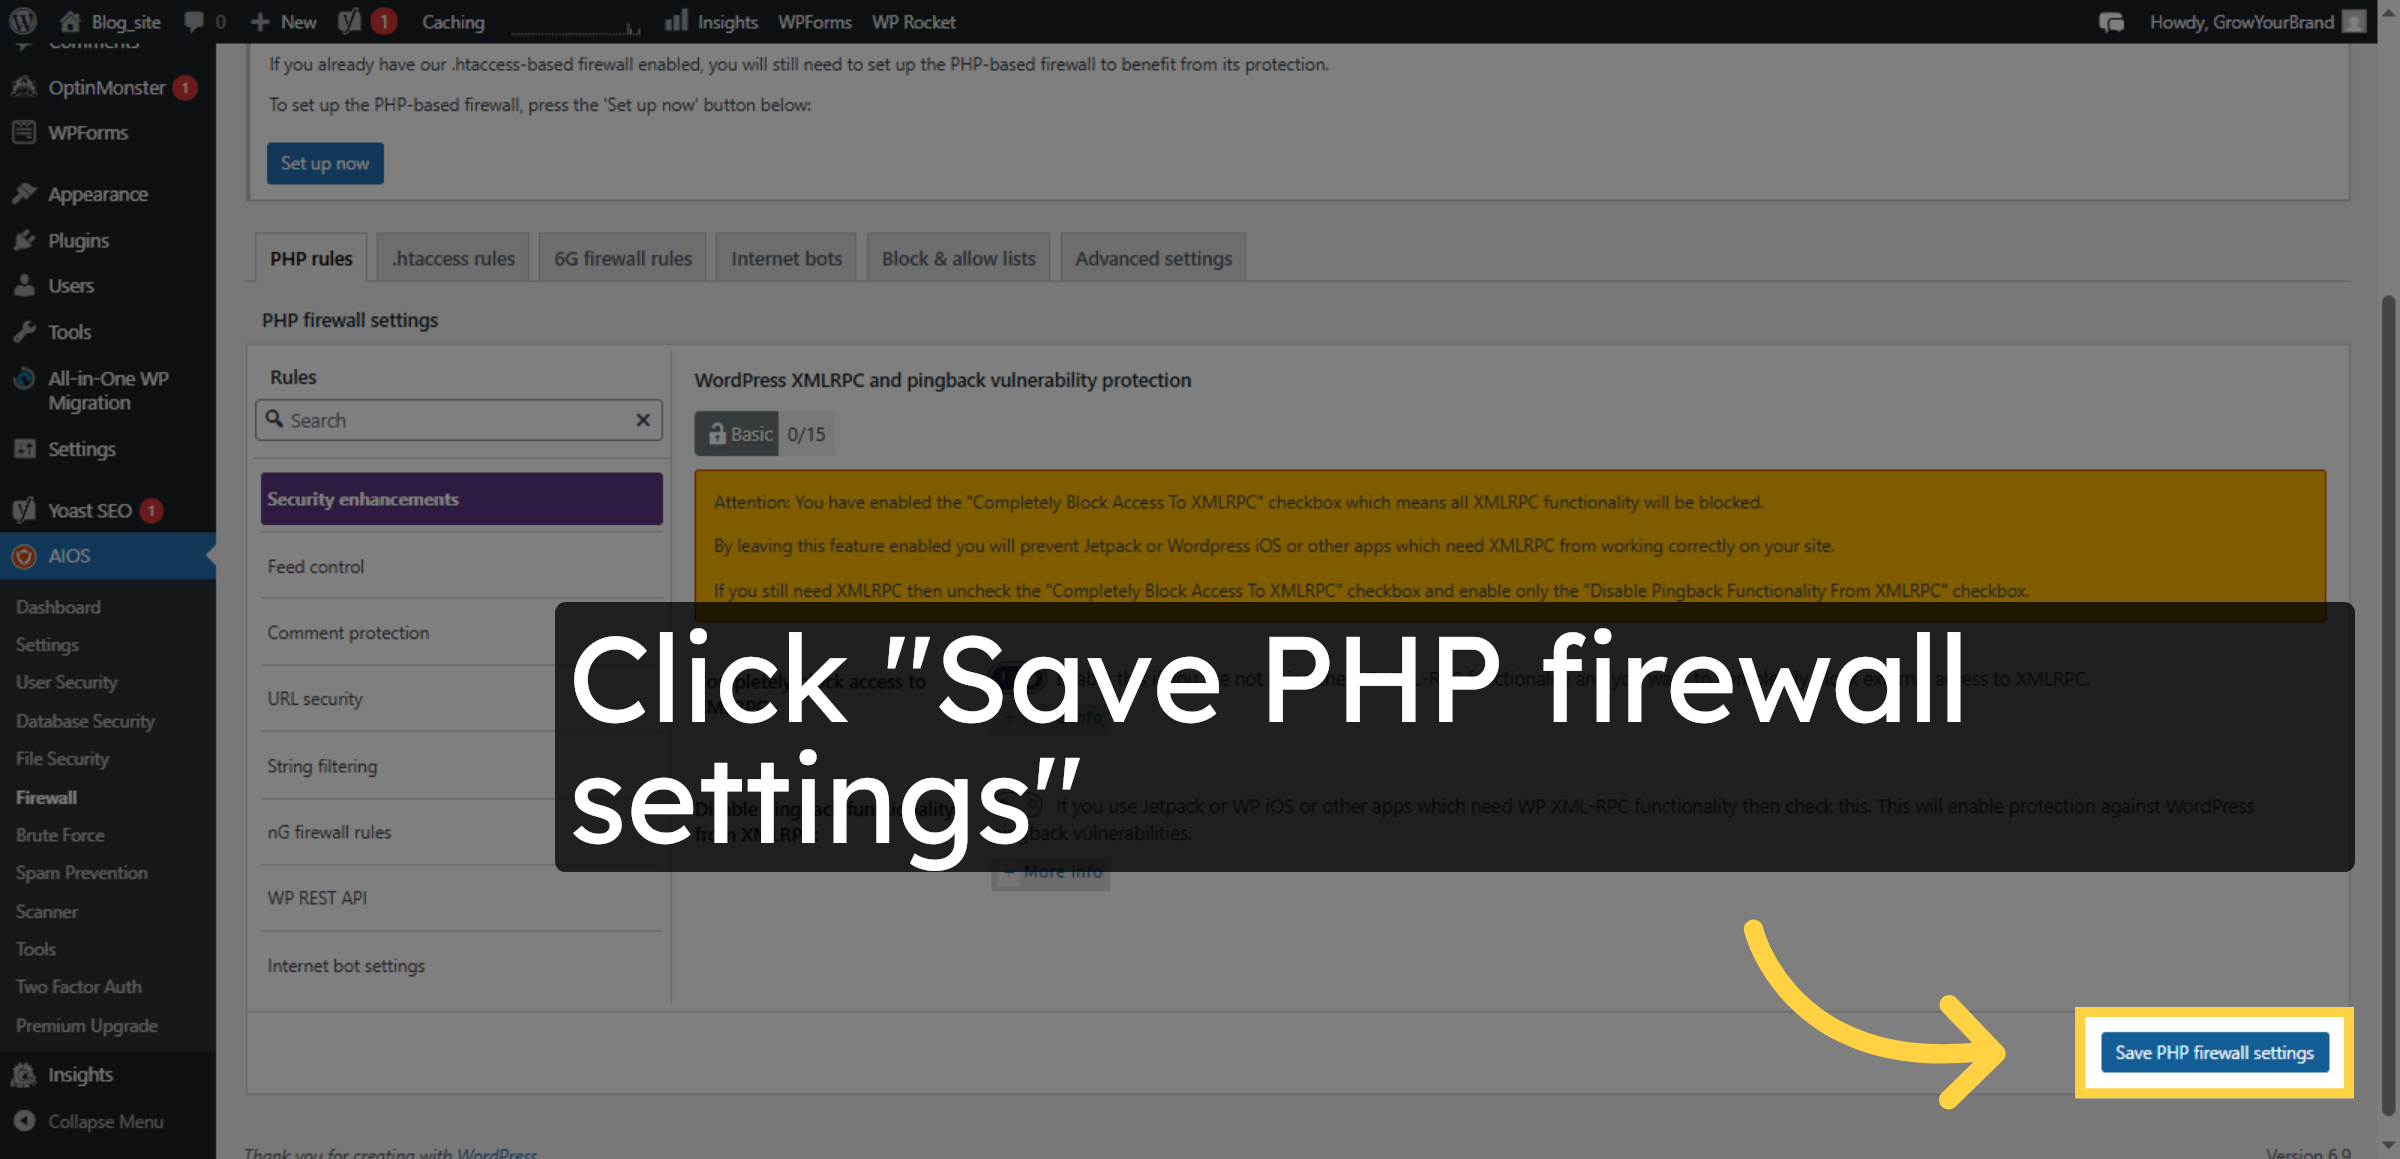
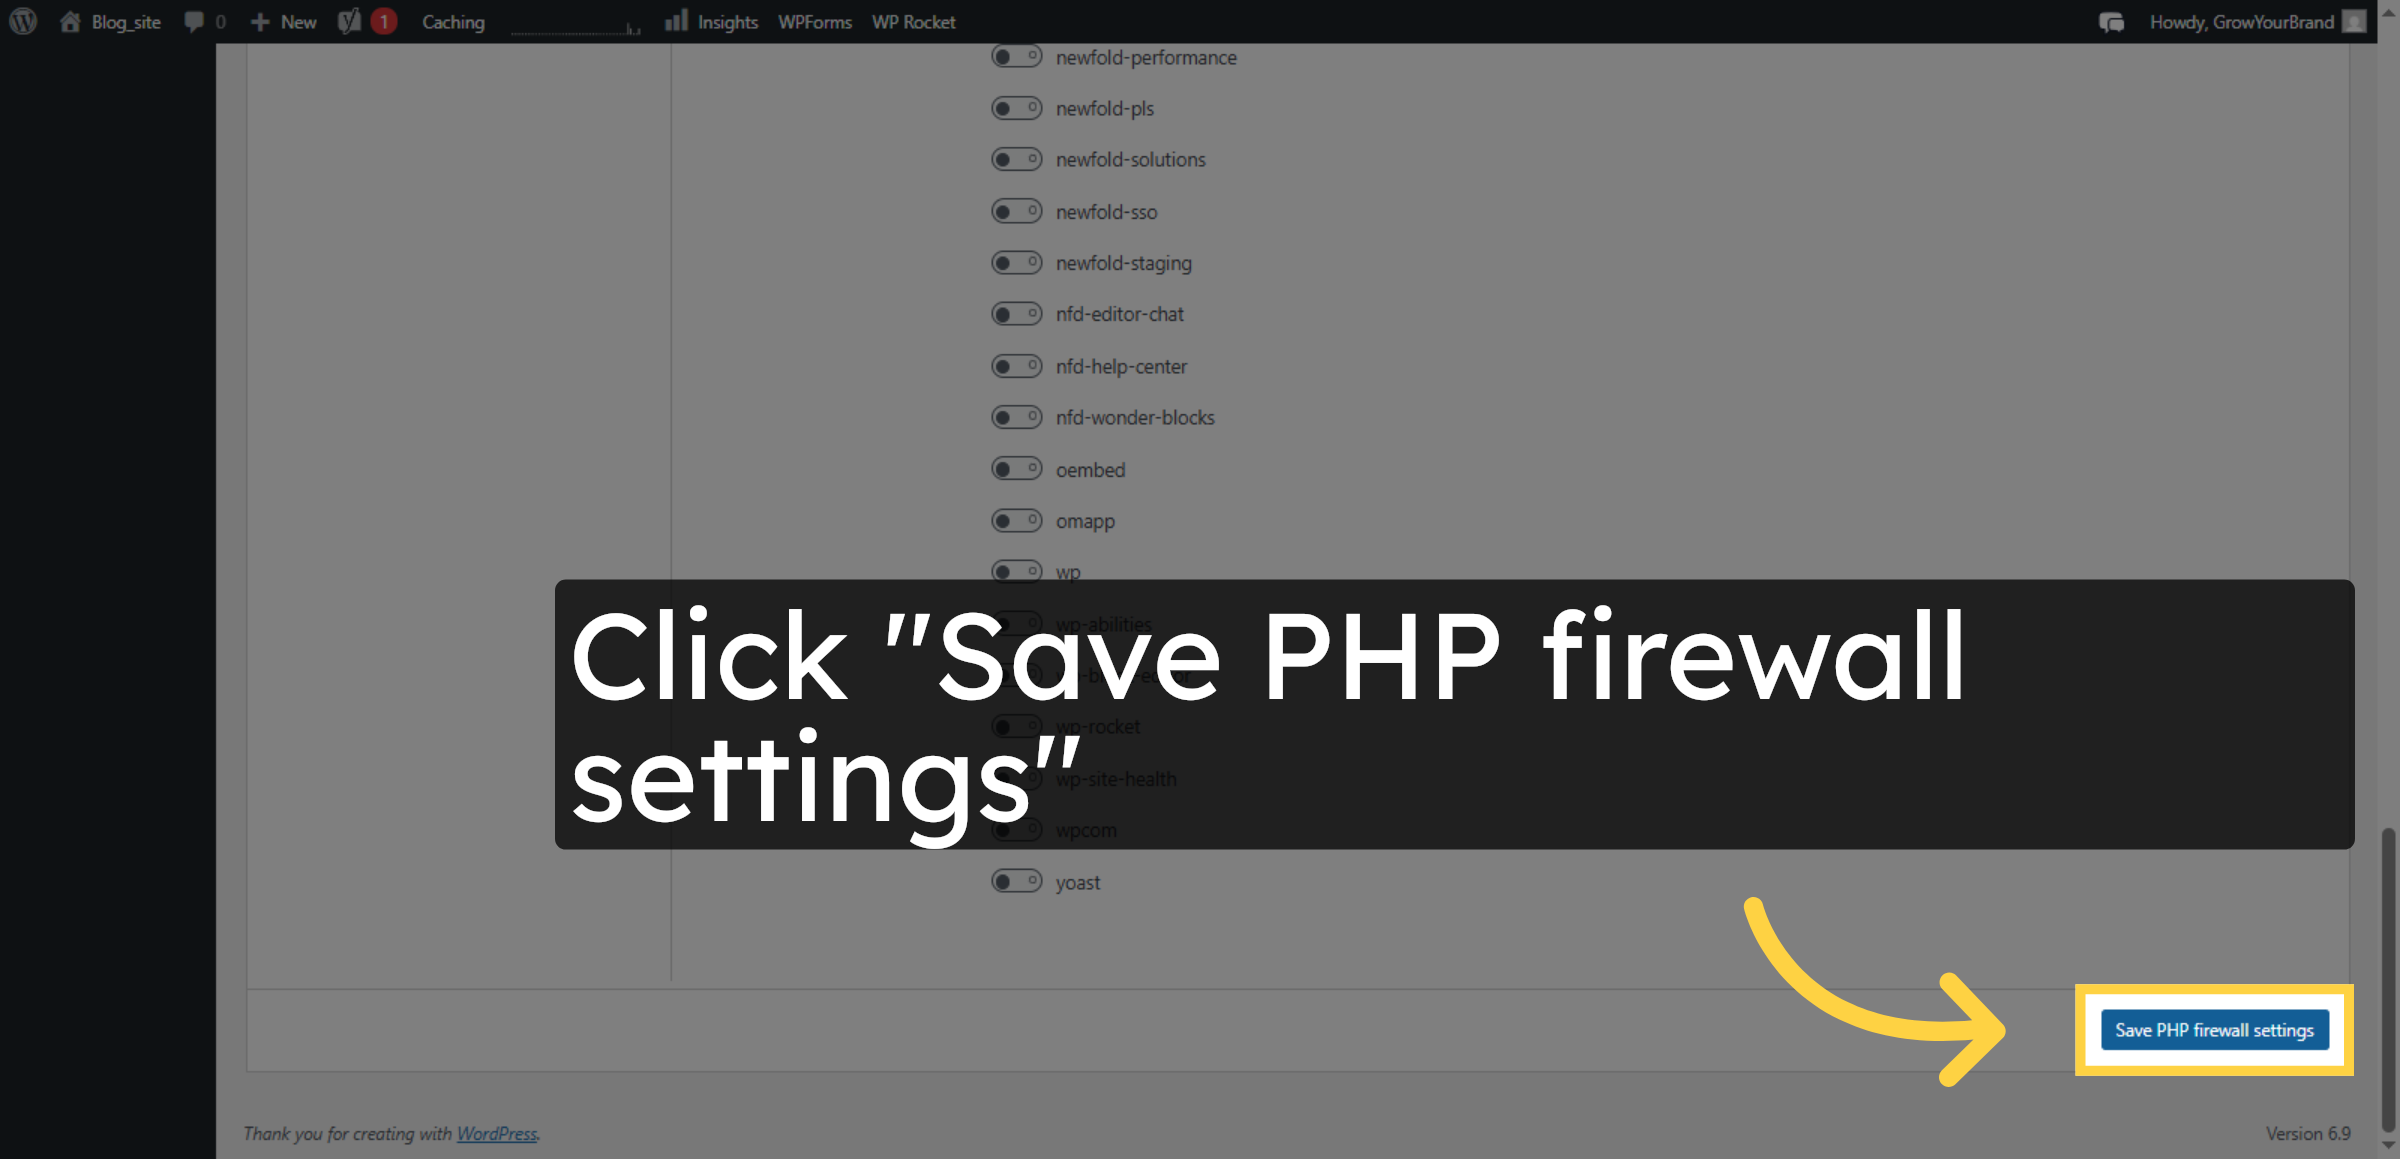
33. Save WP REST API Settings
Click the Save PHP firewall settings button to apply the API firewall rules.
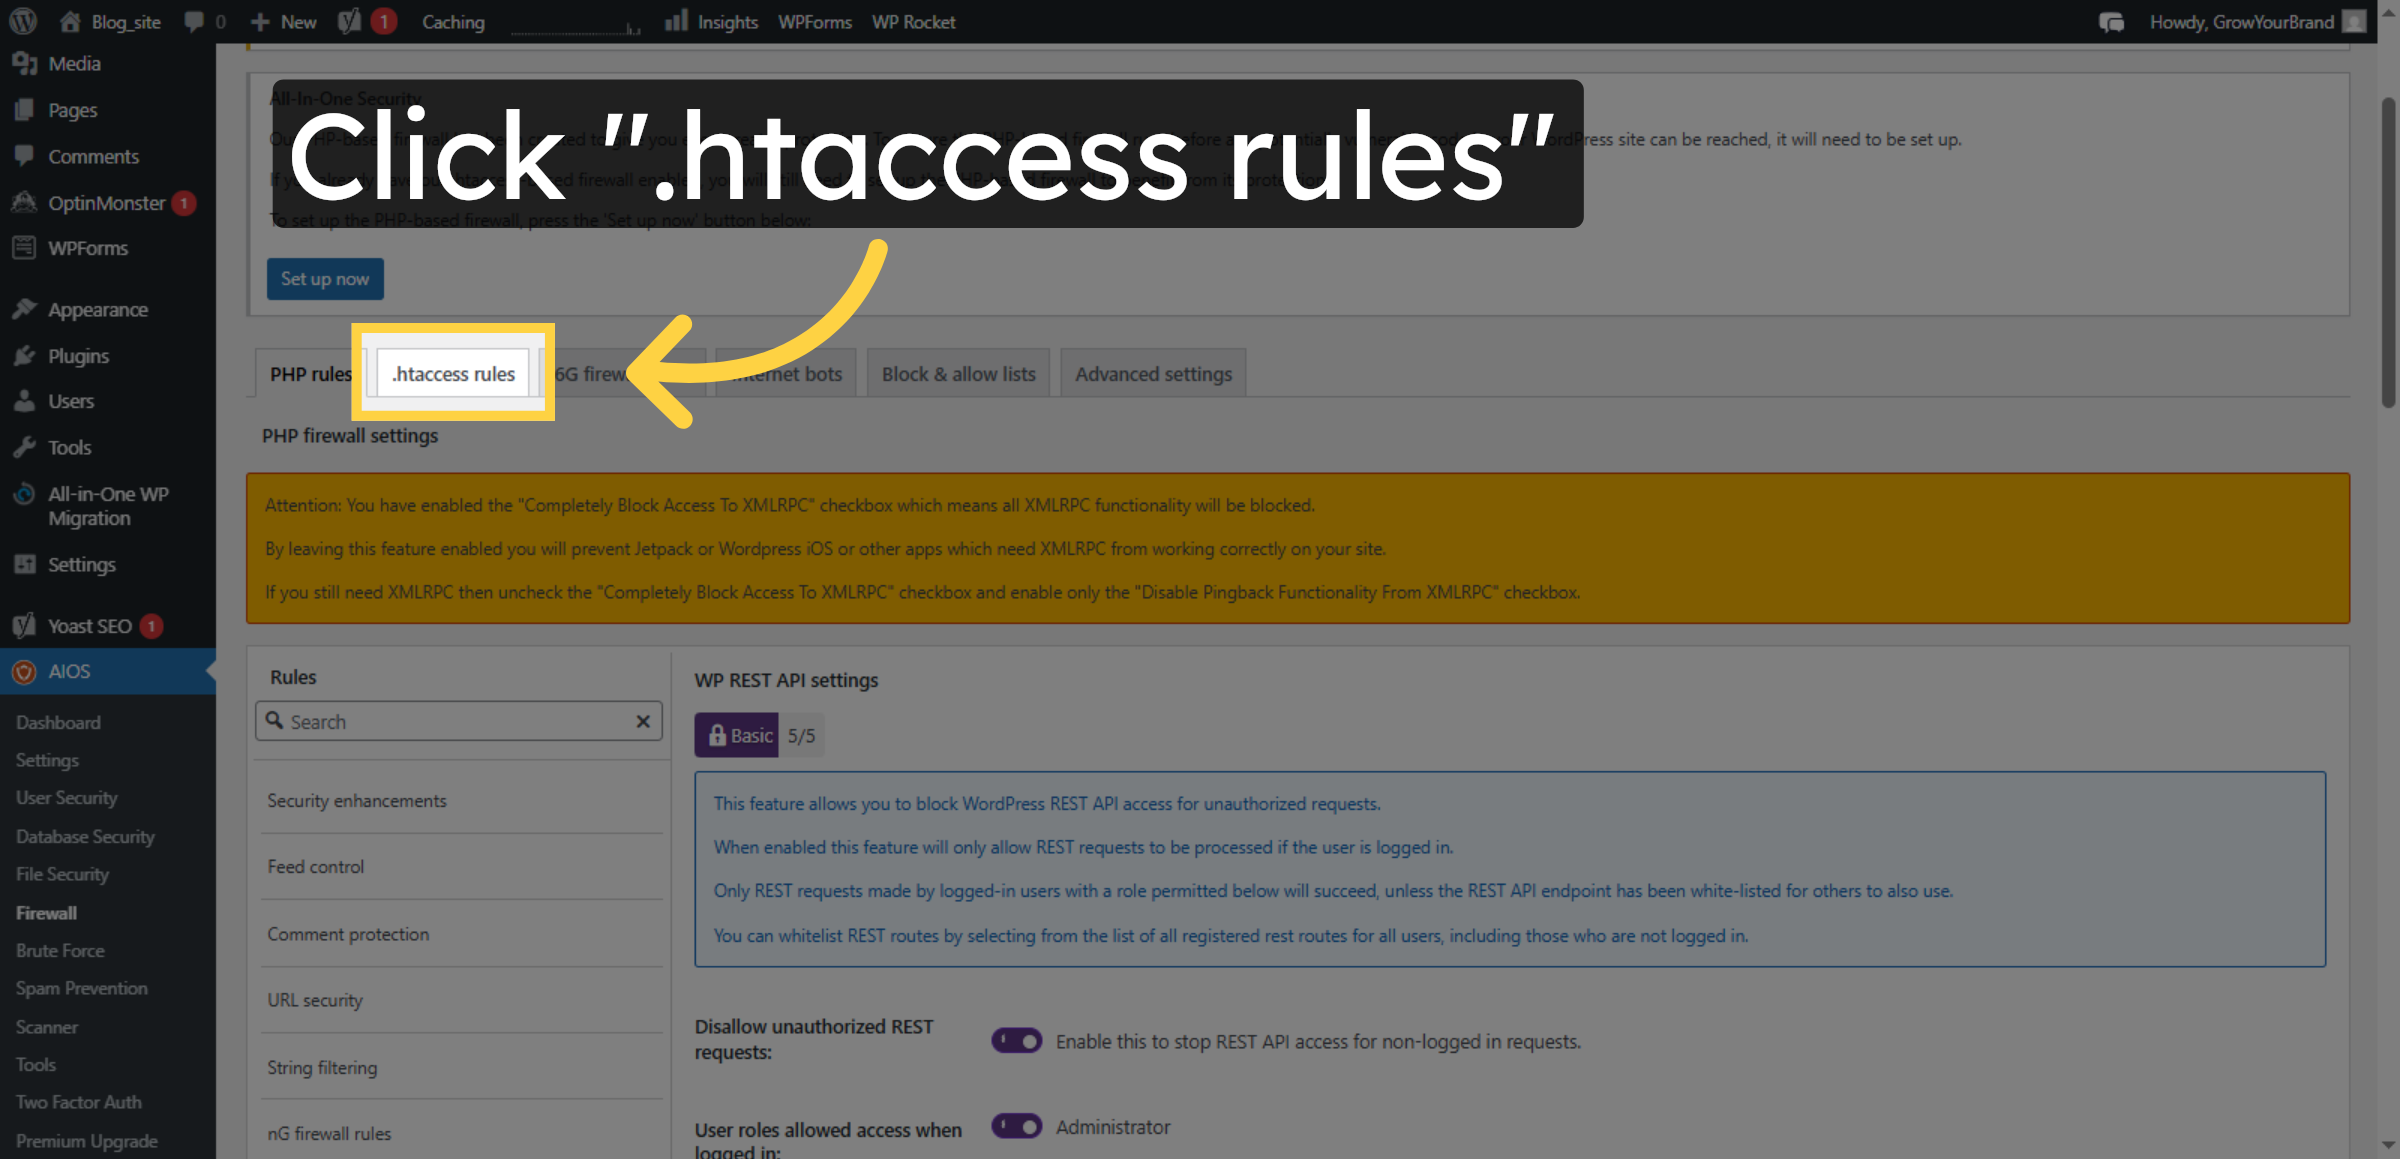
34. Open .htaccess Rules
Click the .htaccess rules section to configure web server firewall rules.
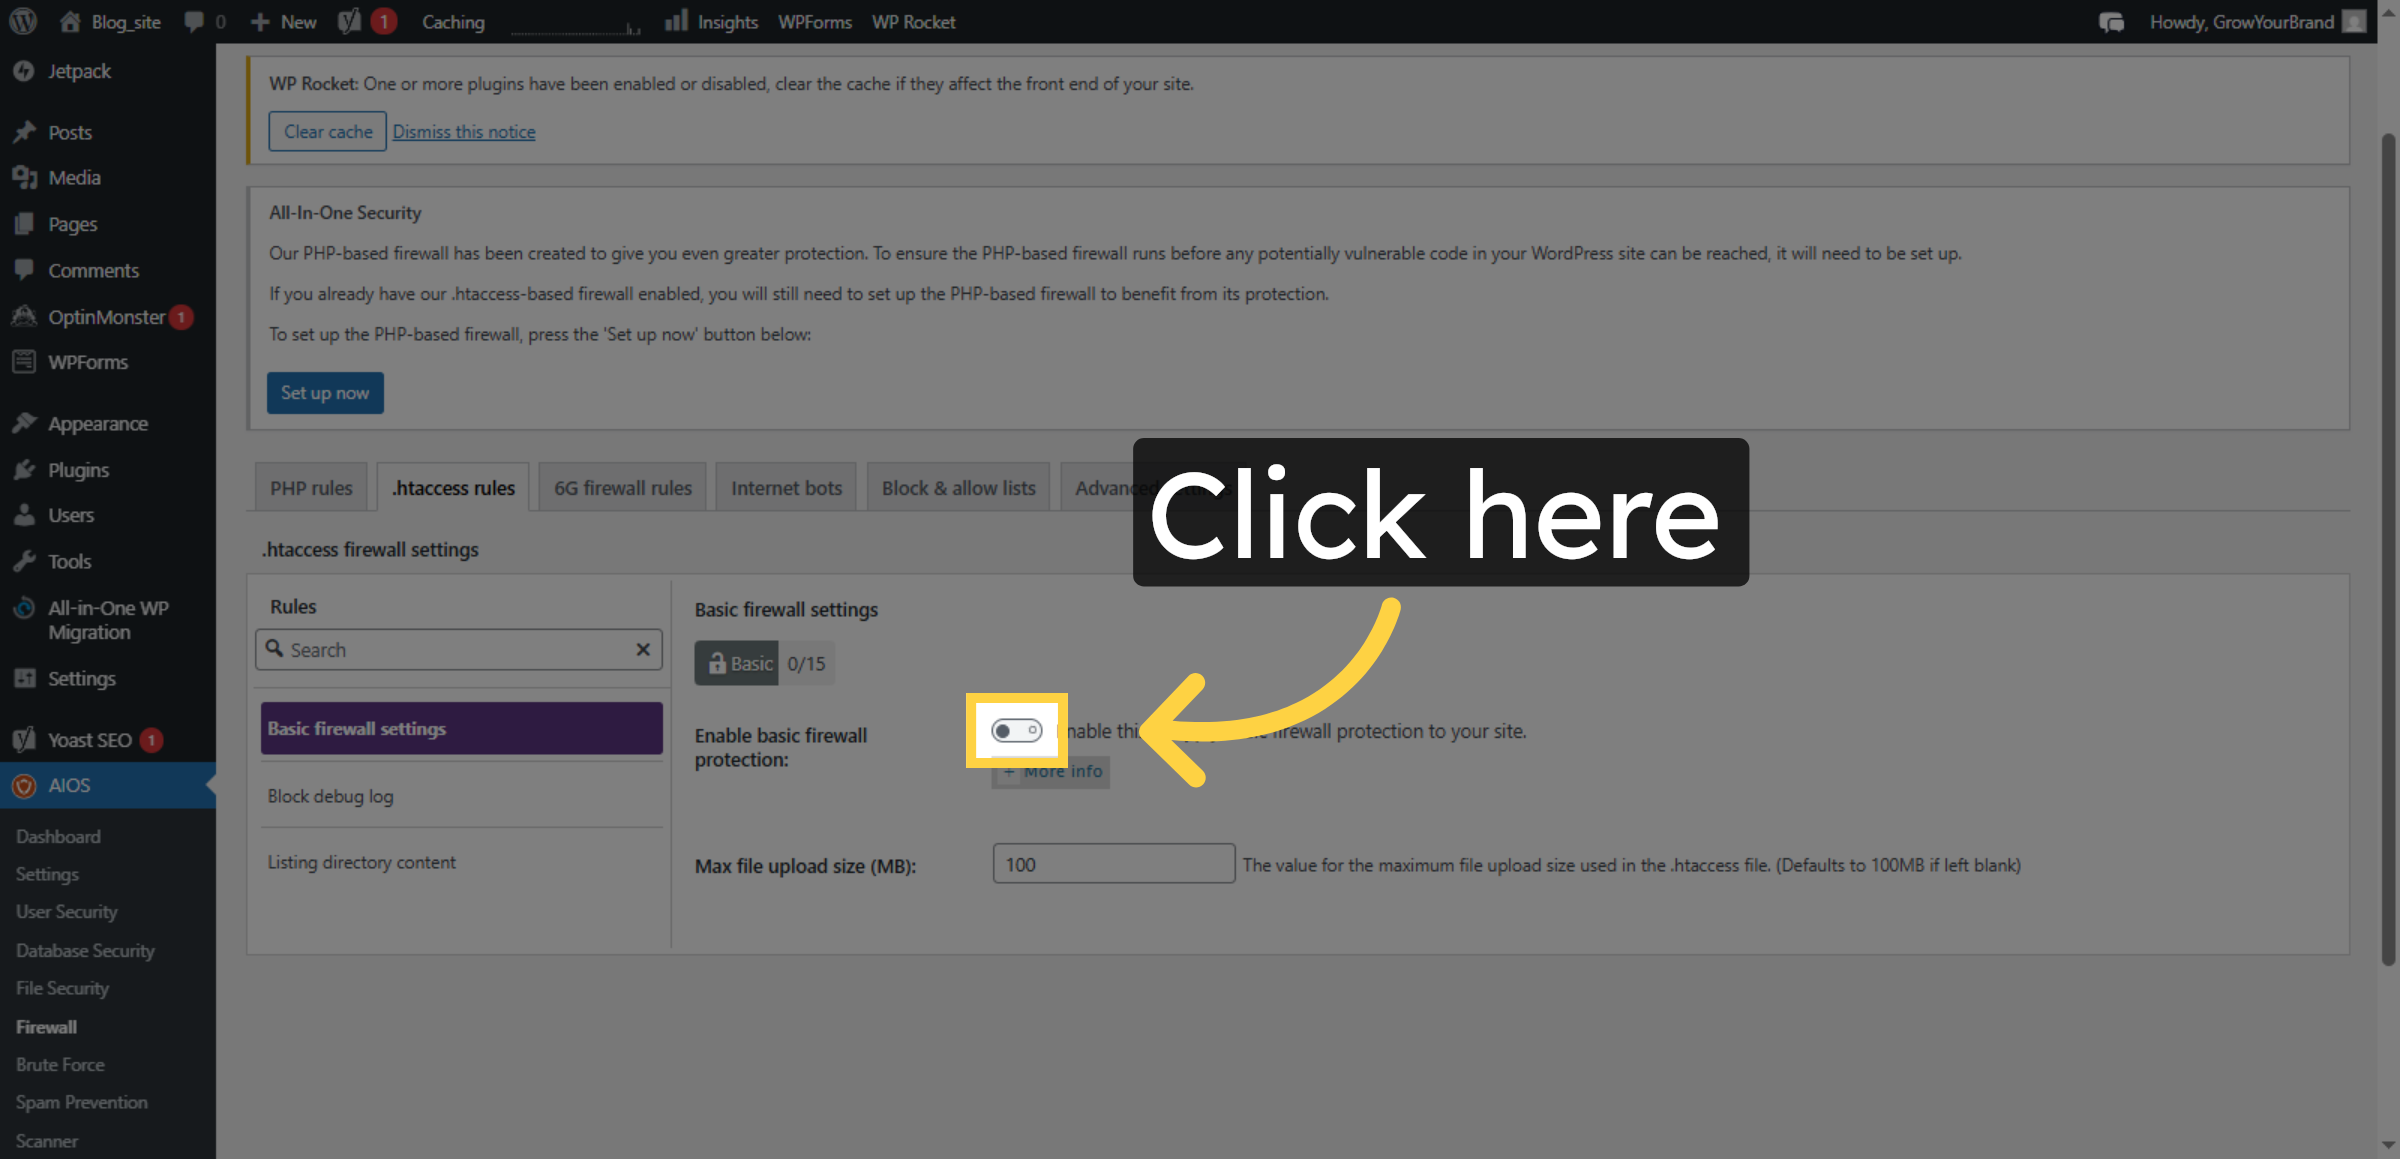
35. Enable .htaccess Firewall
Click the field to activate .htaccess firewall protections.
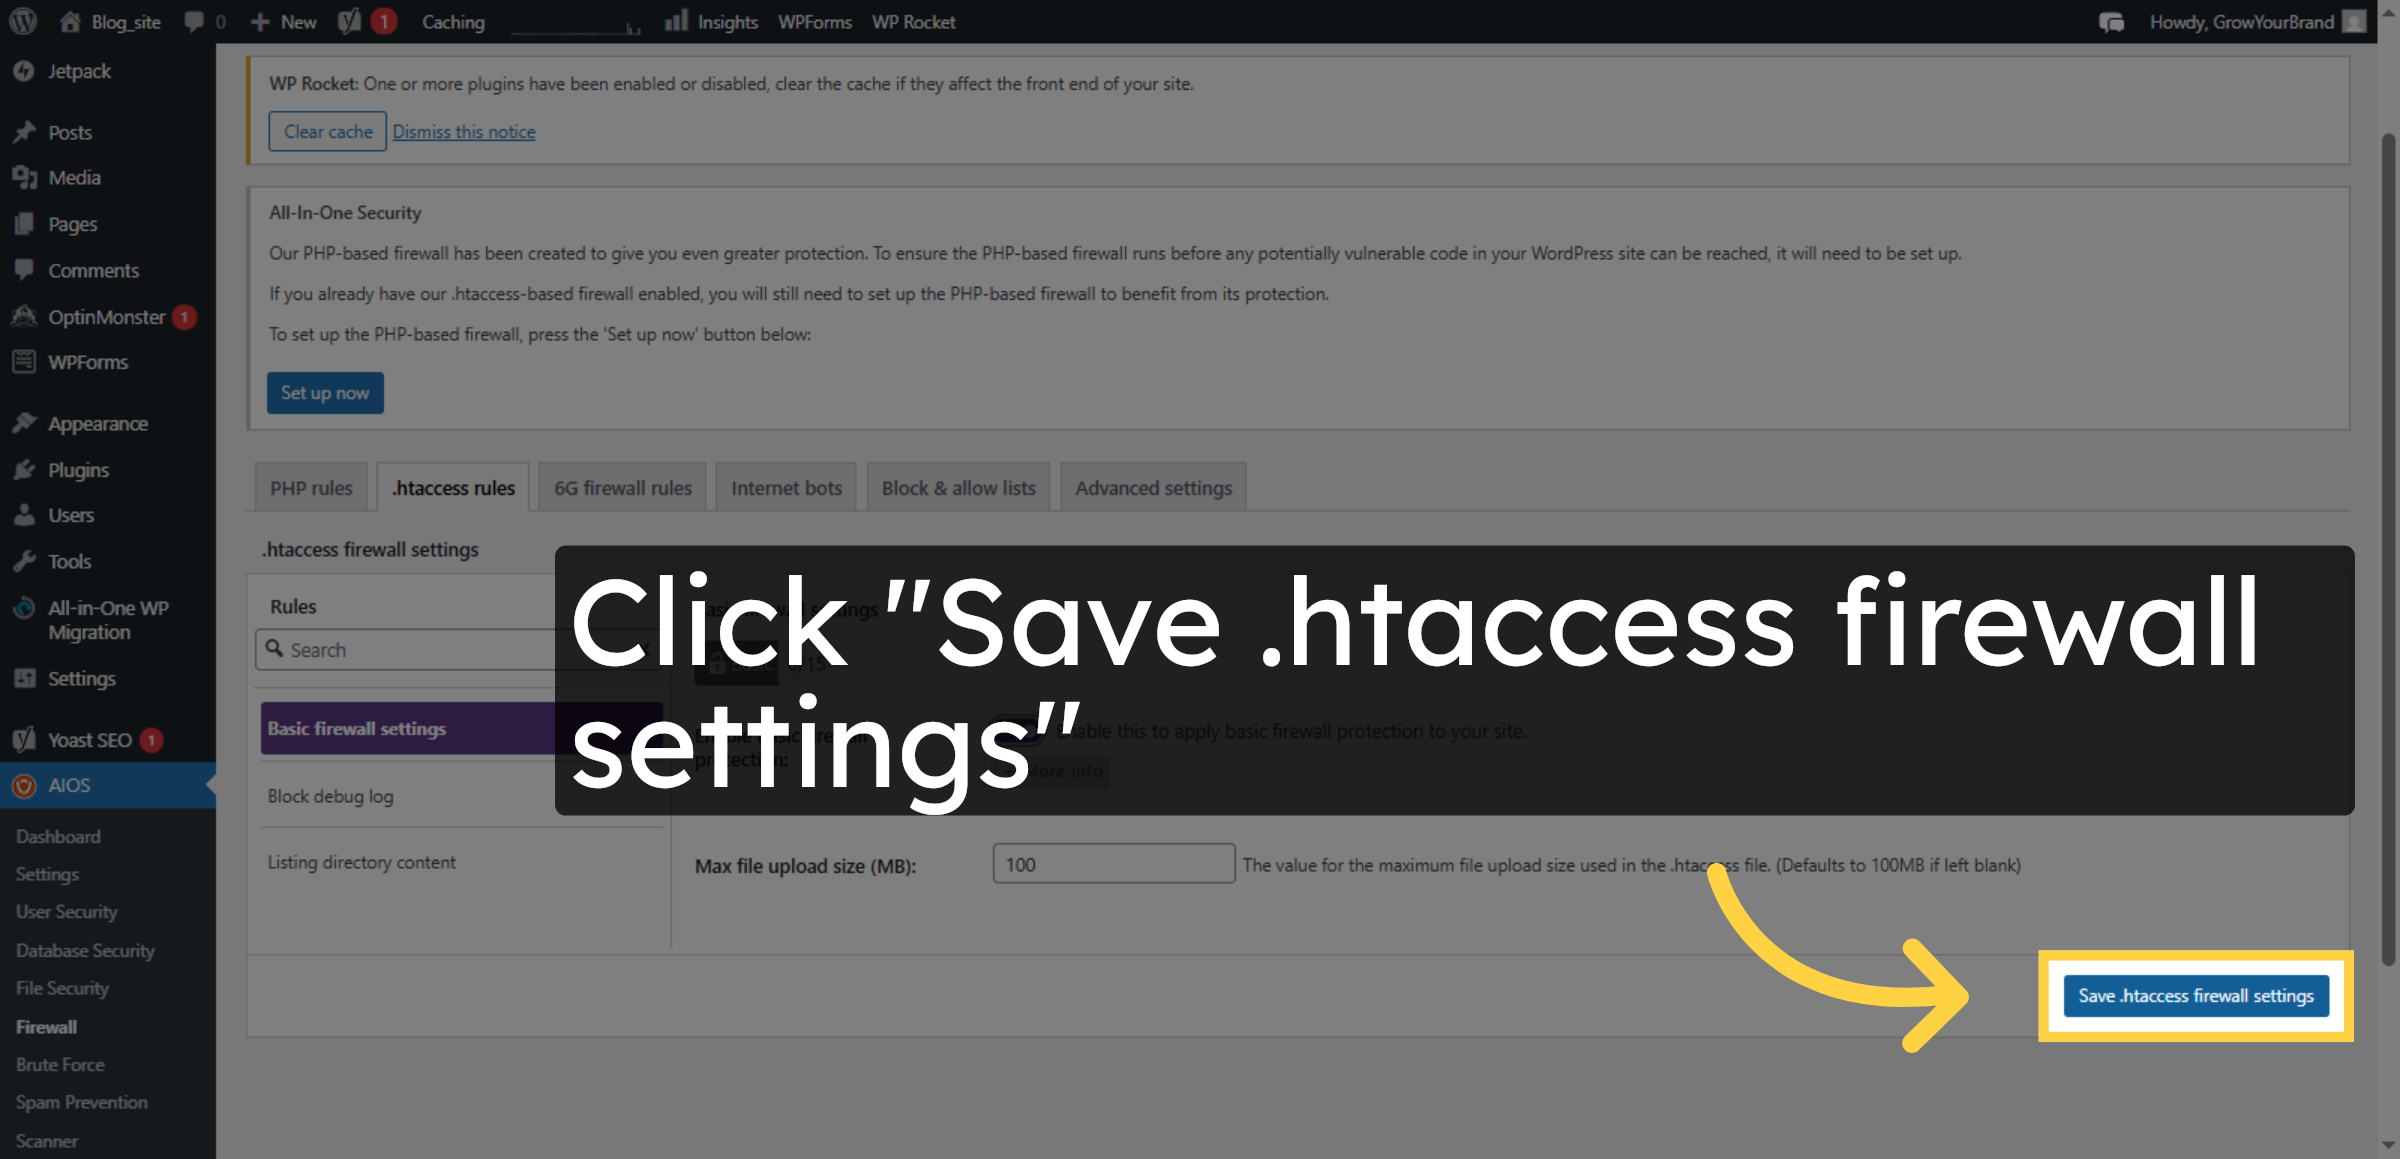
36. Save .htaccess Firewall Settings
Click the Save .htaccess firewall settings button to save your changes.
37. Open Directory Listing Settings
Click the Listing directory content option to manage directory visibility.

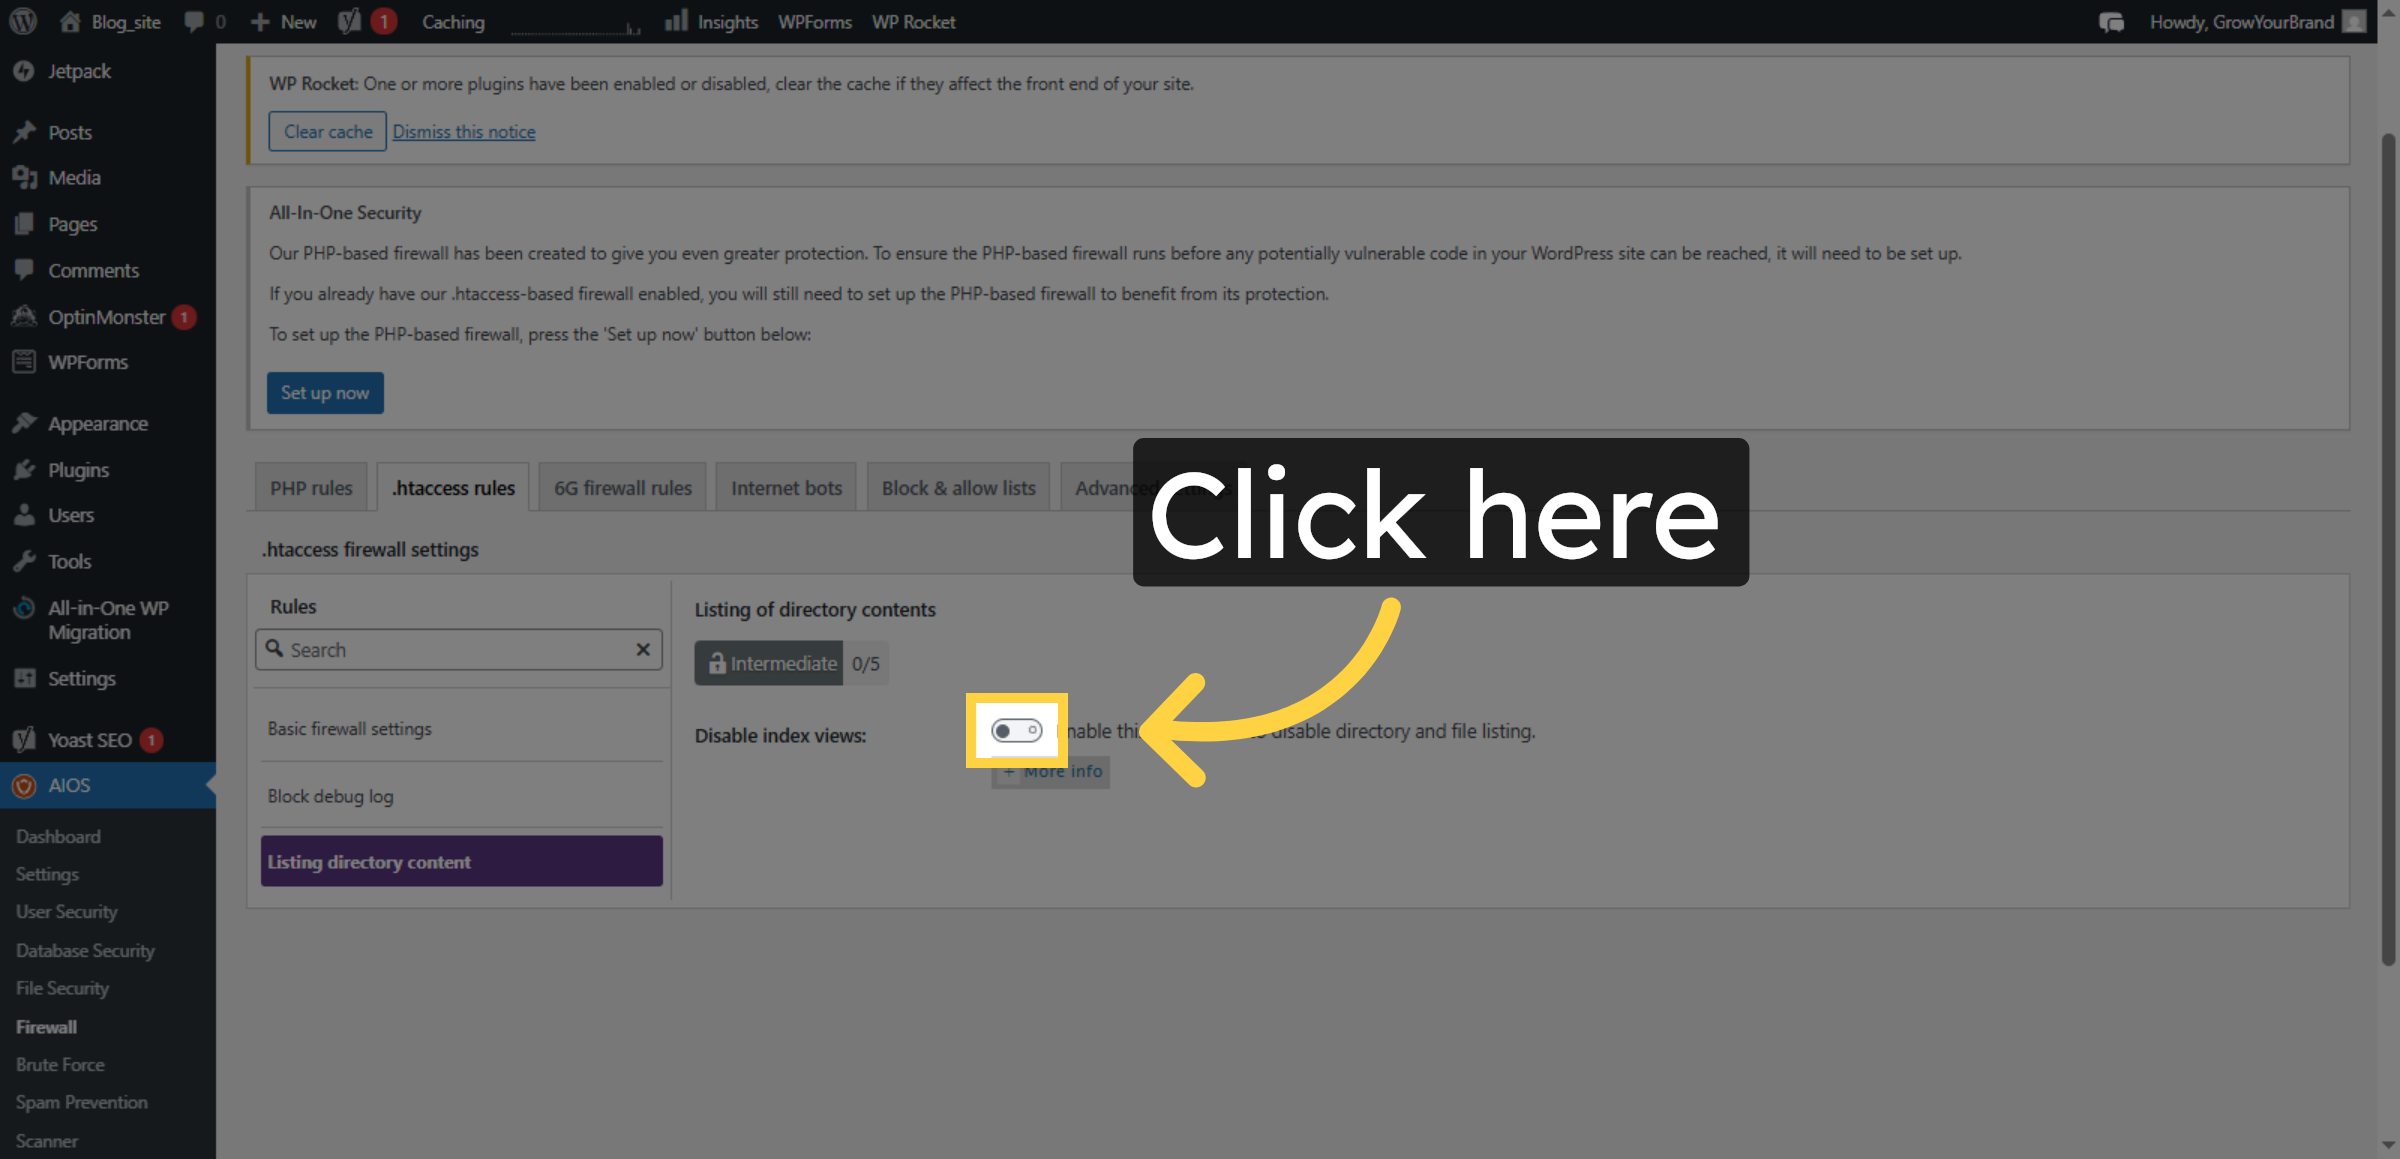
38. Enable Directory Listing Protection
Click the field to prevent directory listing on your site.
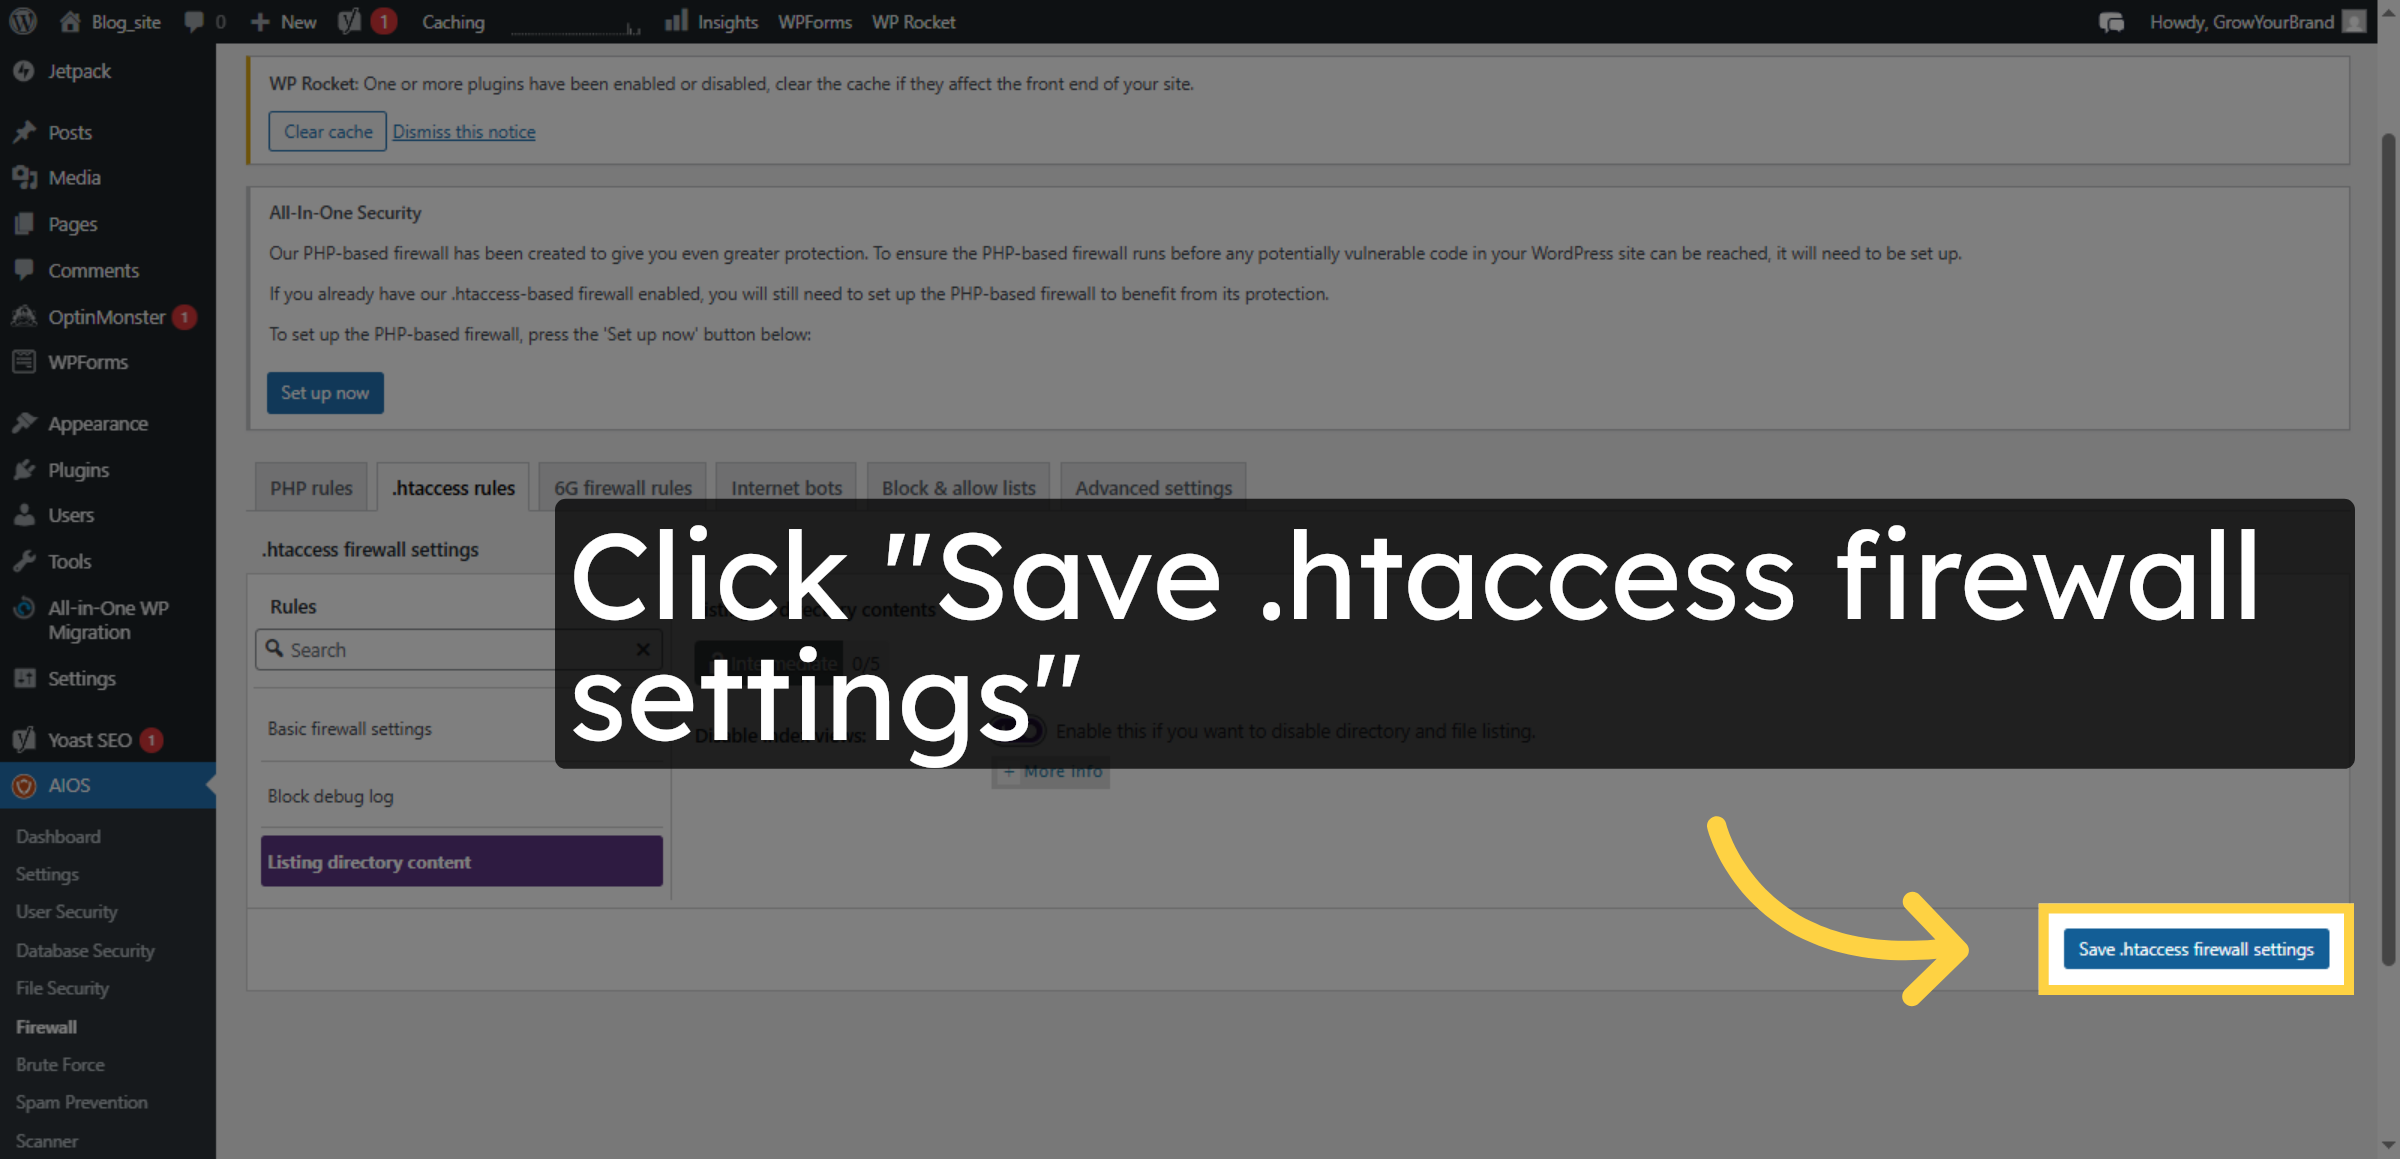
39. Save Directory Listing Settings
Click the Save .htaccess firewall settings button to apply directory listing protections.
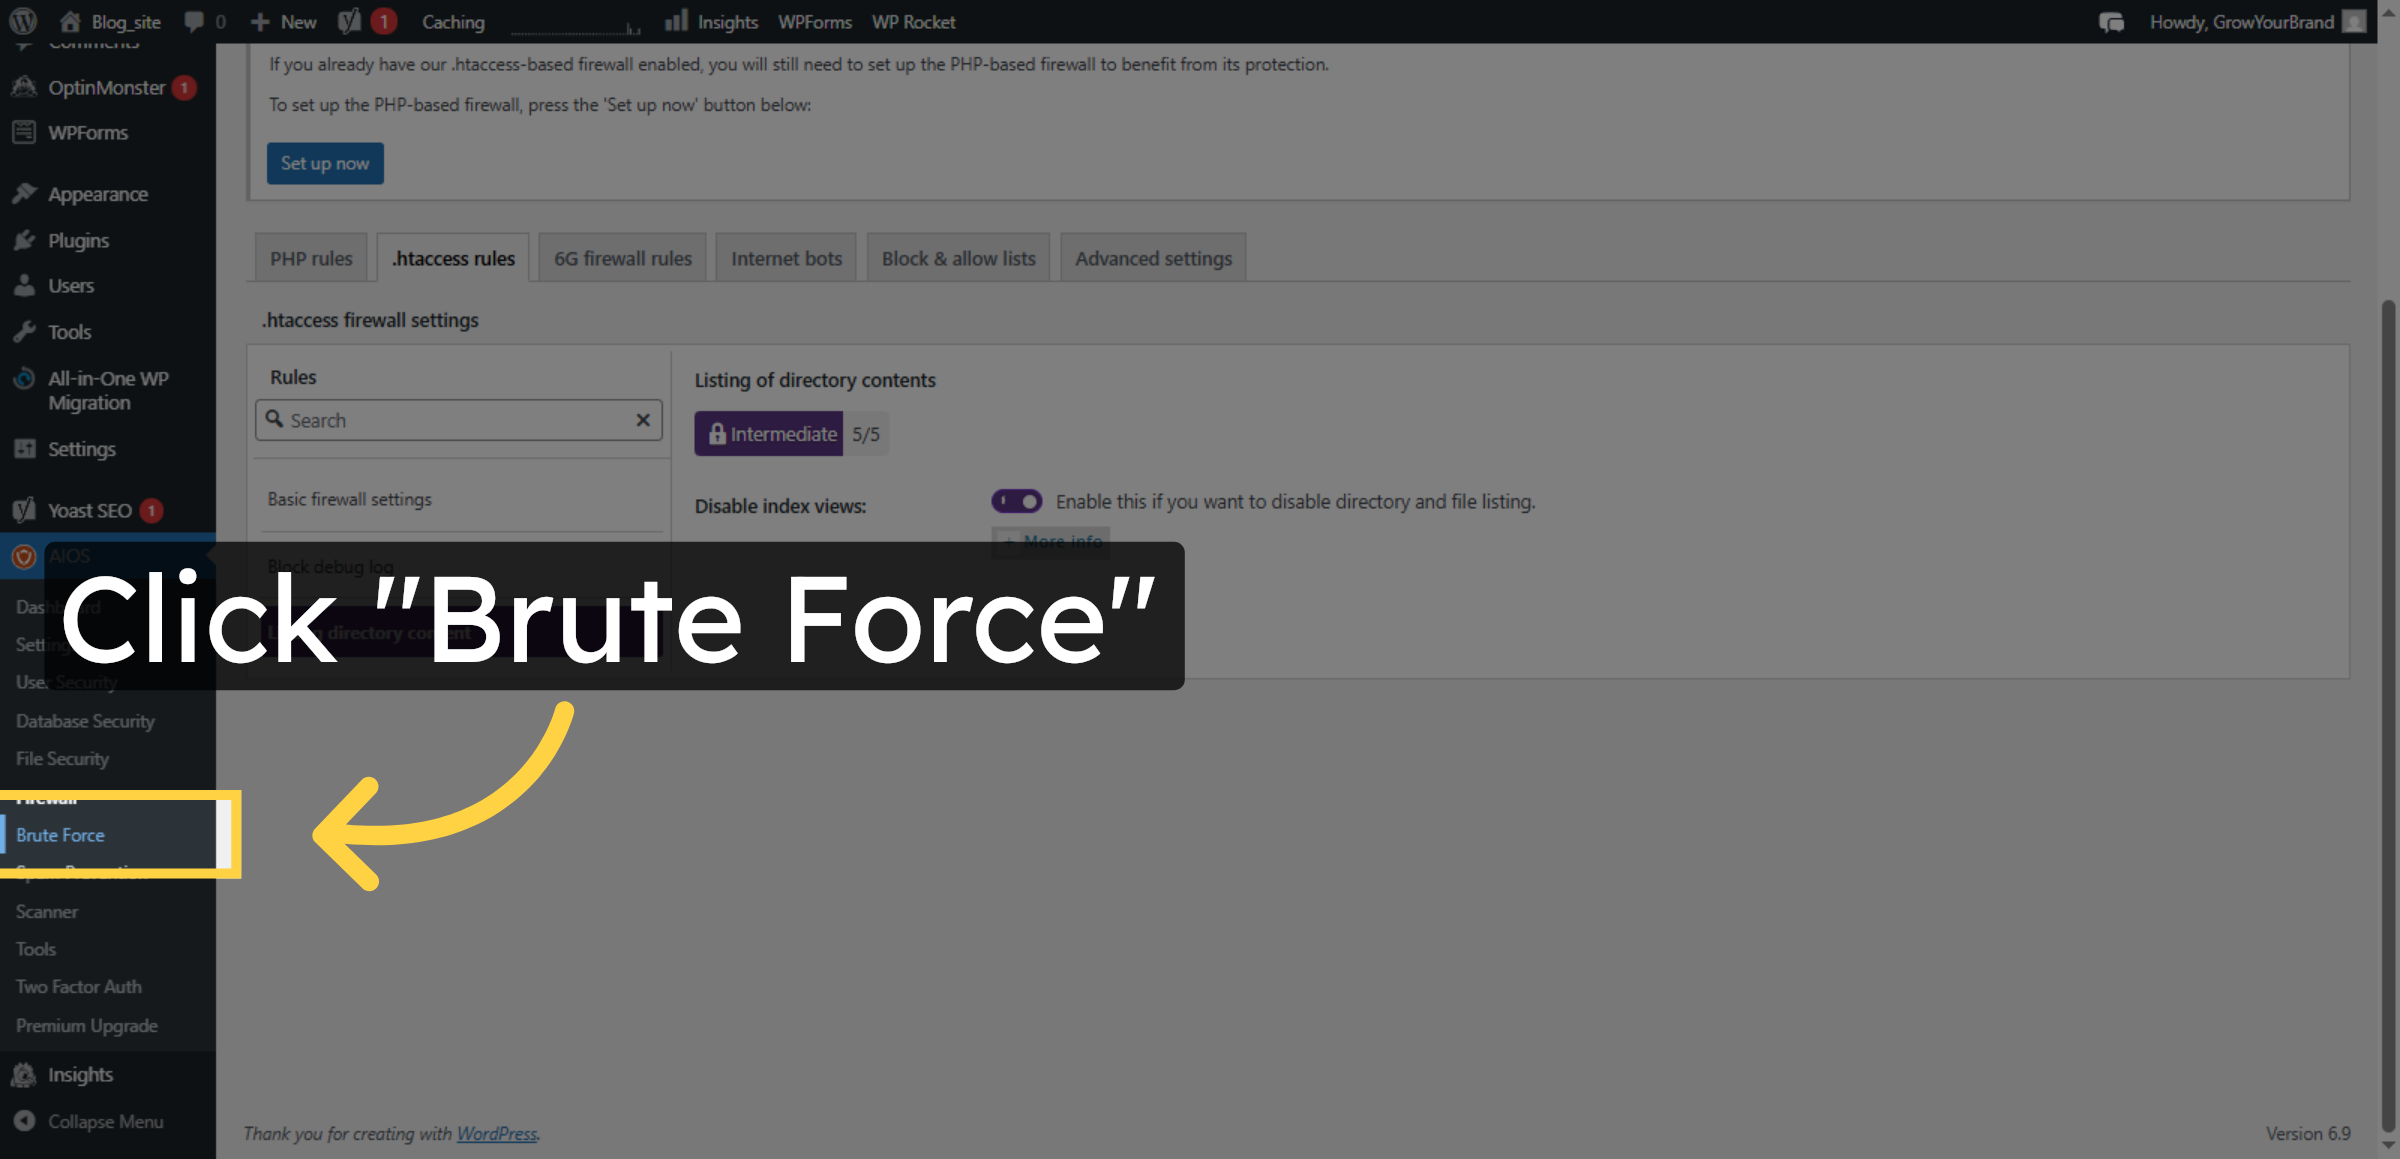
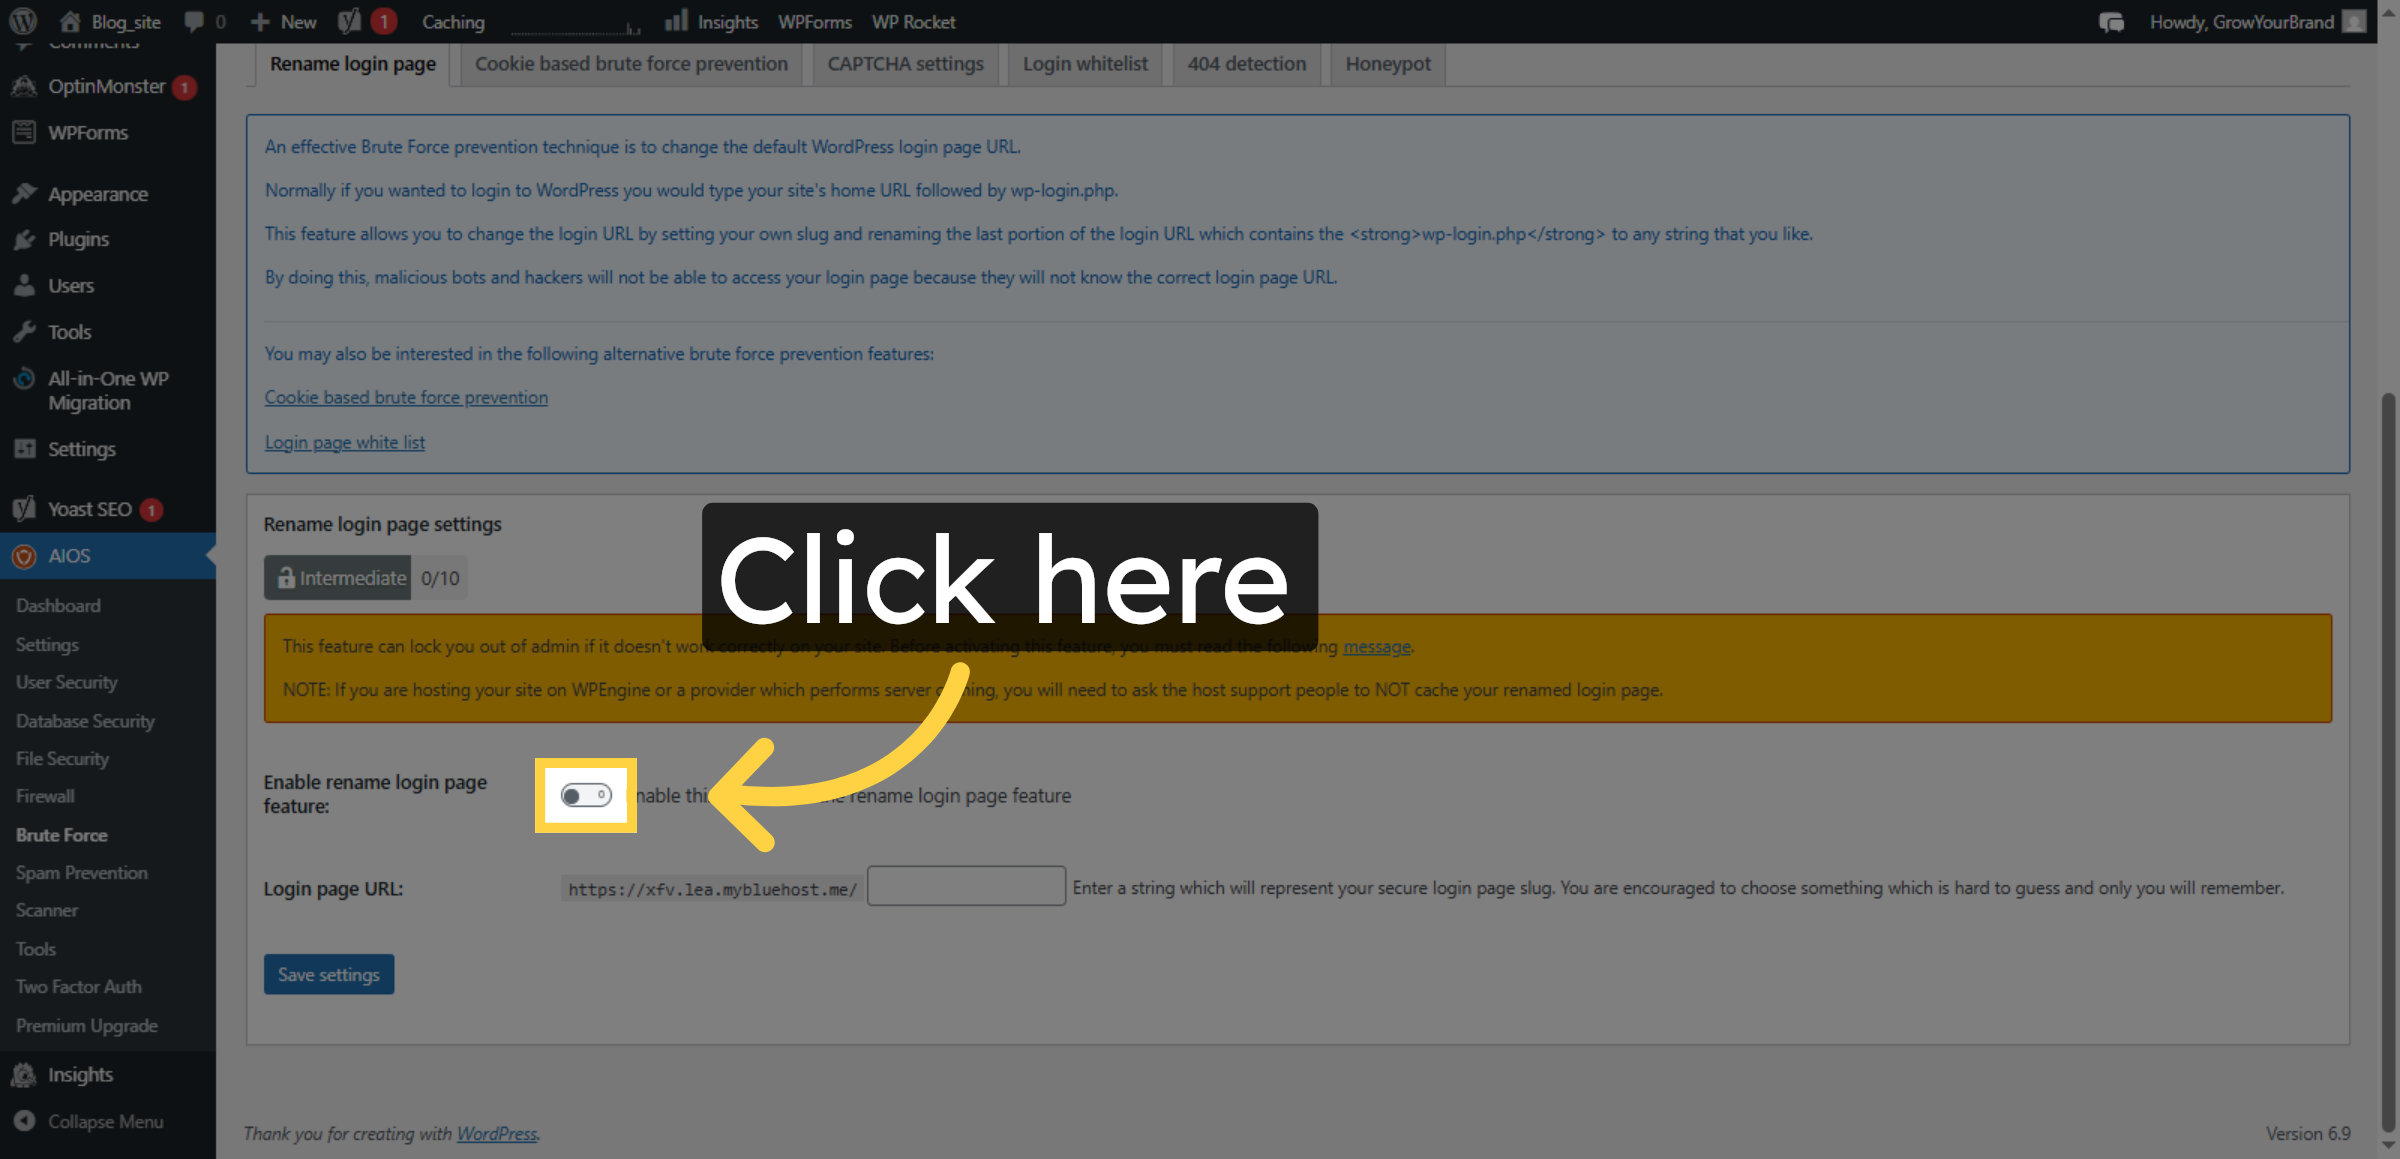
40. Open Brute Force Settings
Click the Brute Force section to configure login attack protections.
41. Enable rename login page feature
Click the field to activate brute force attack prevention.
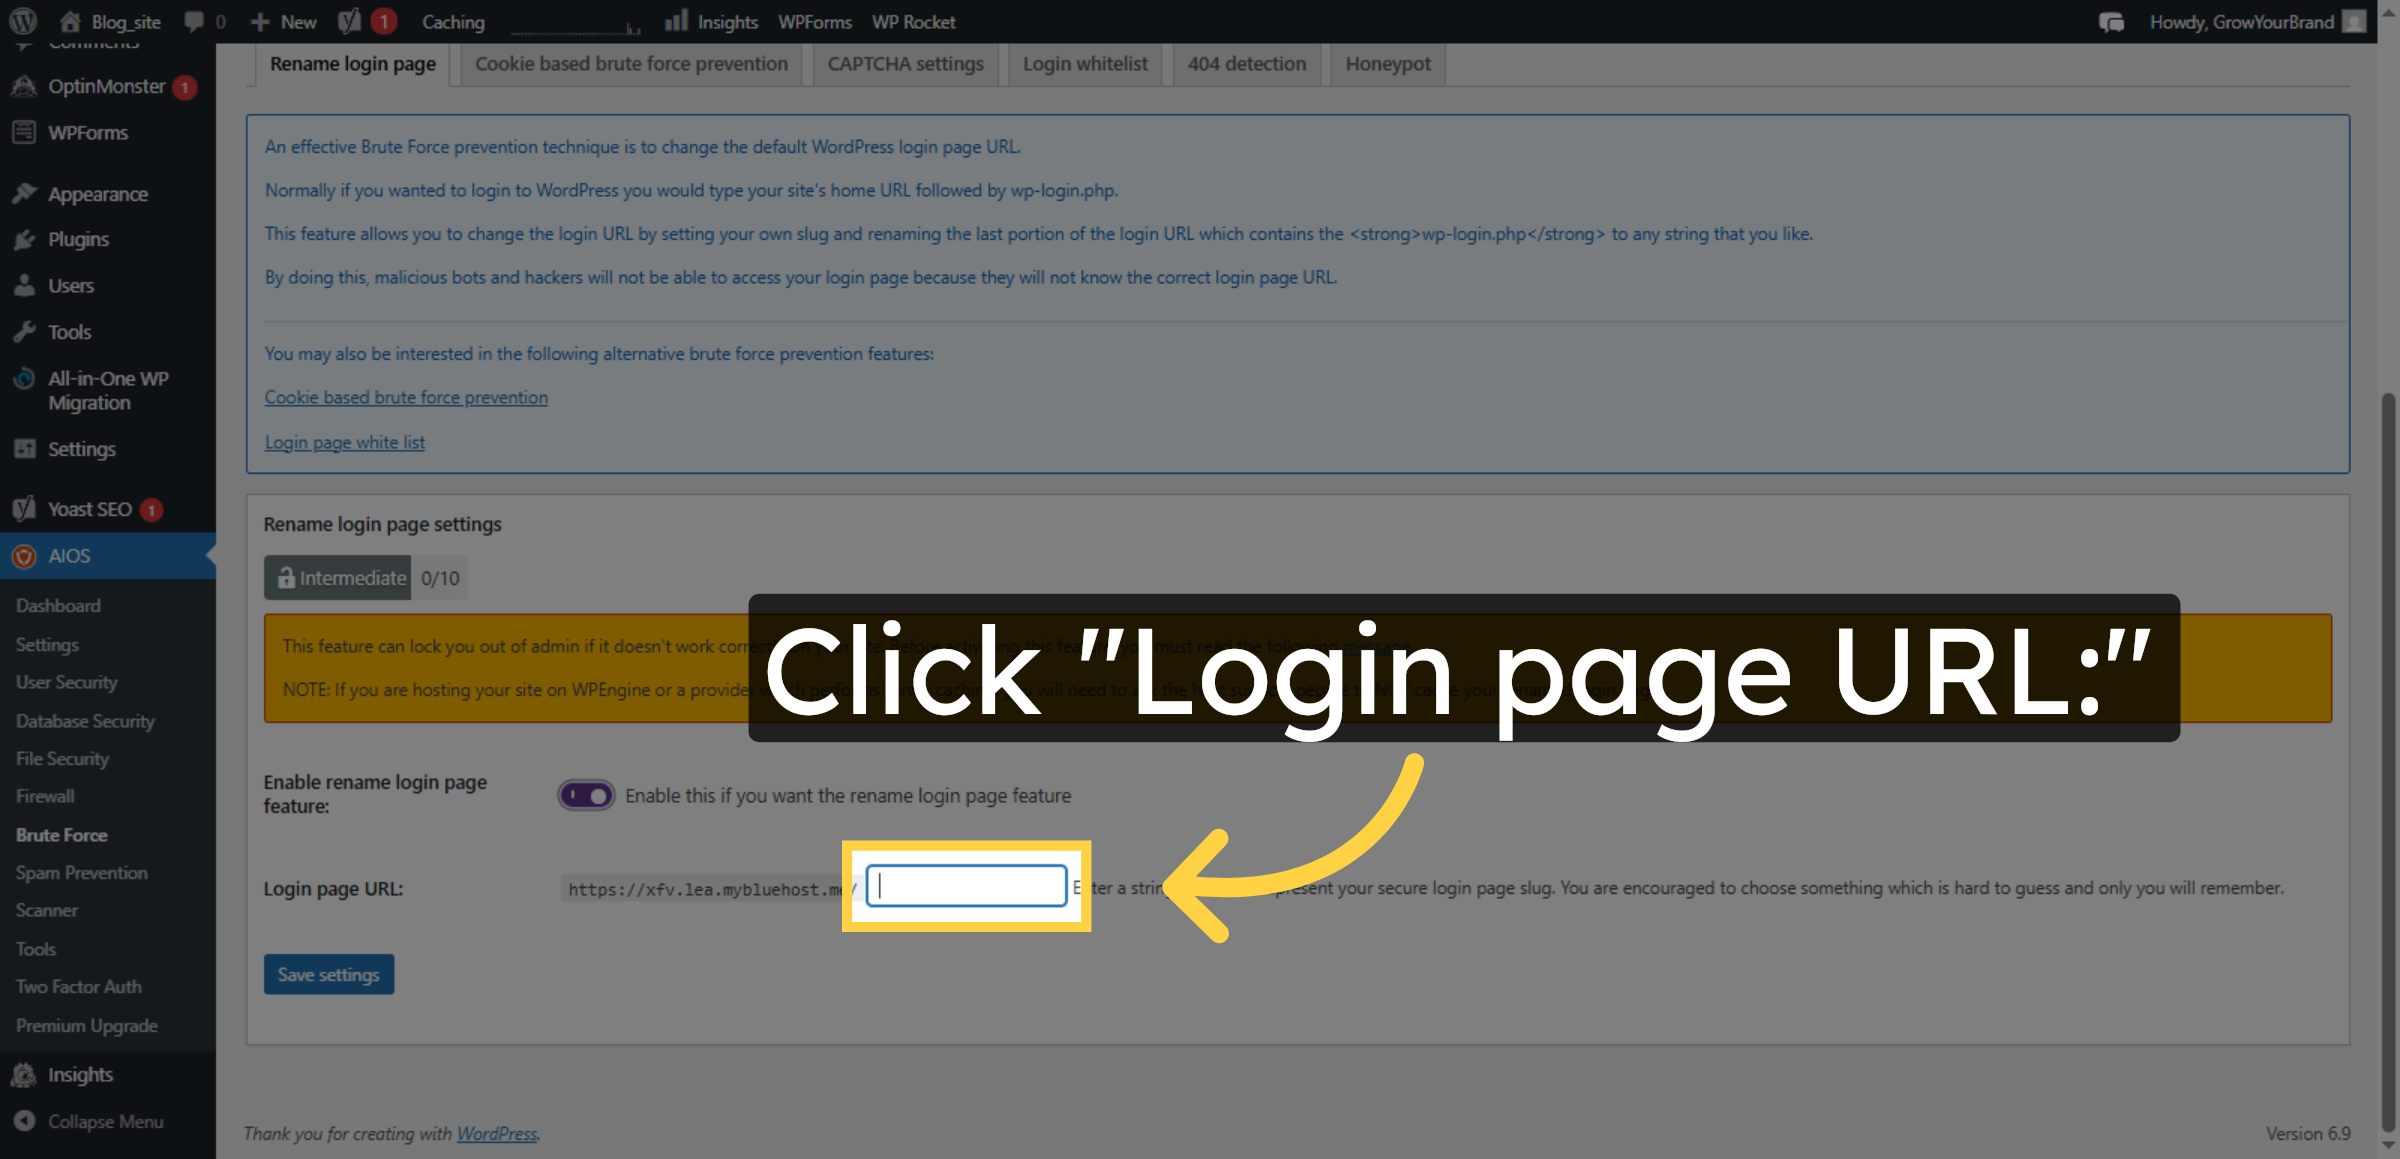
42. Edit Login Page URL
Click the Login page URL field to customize the login page address.
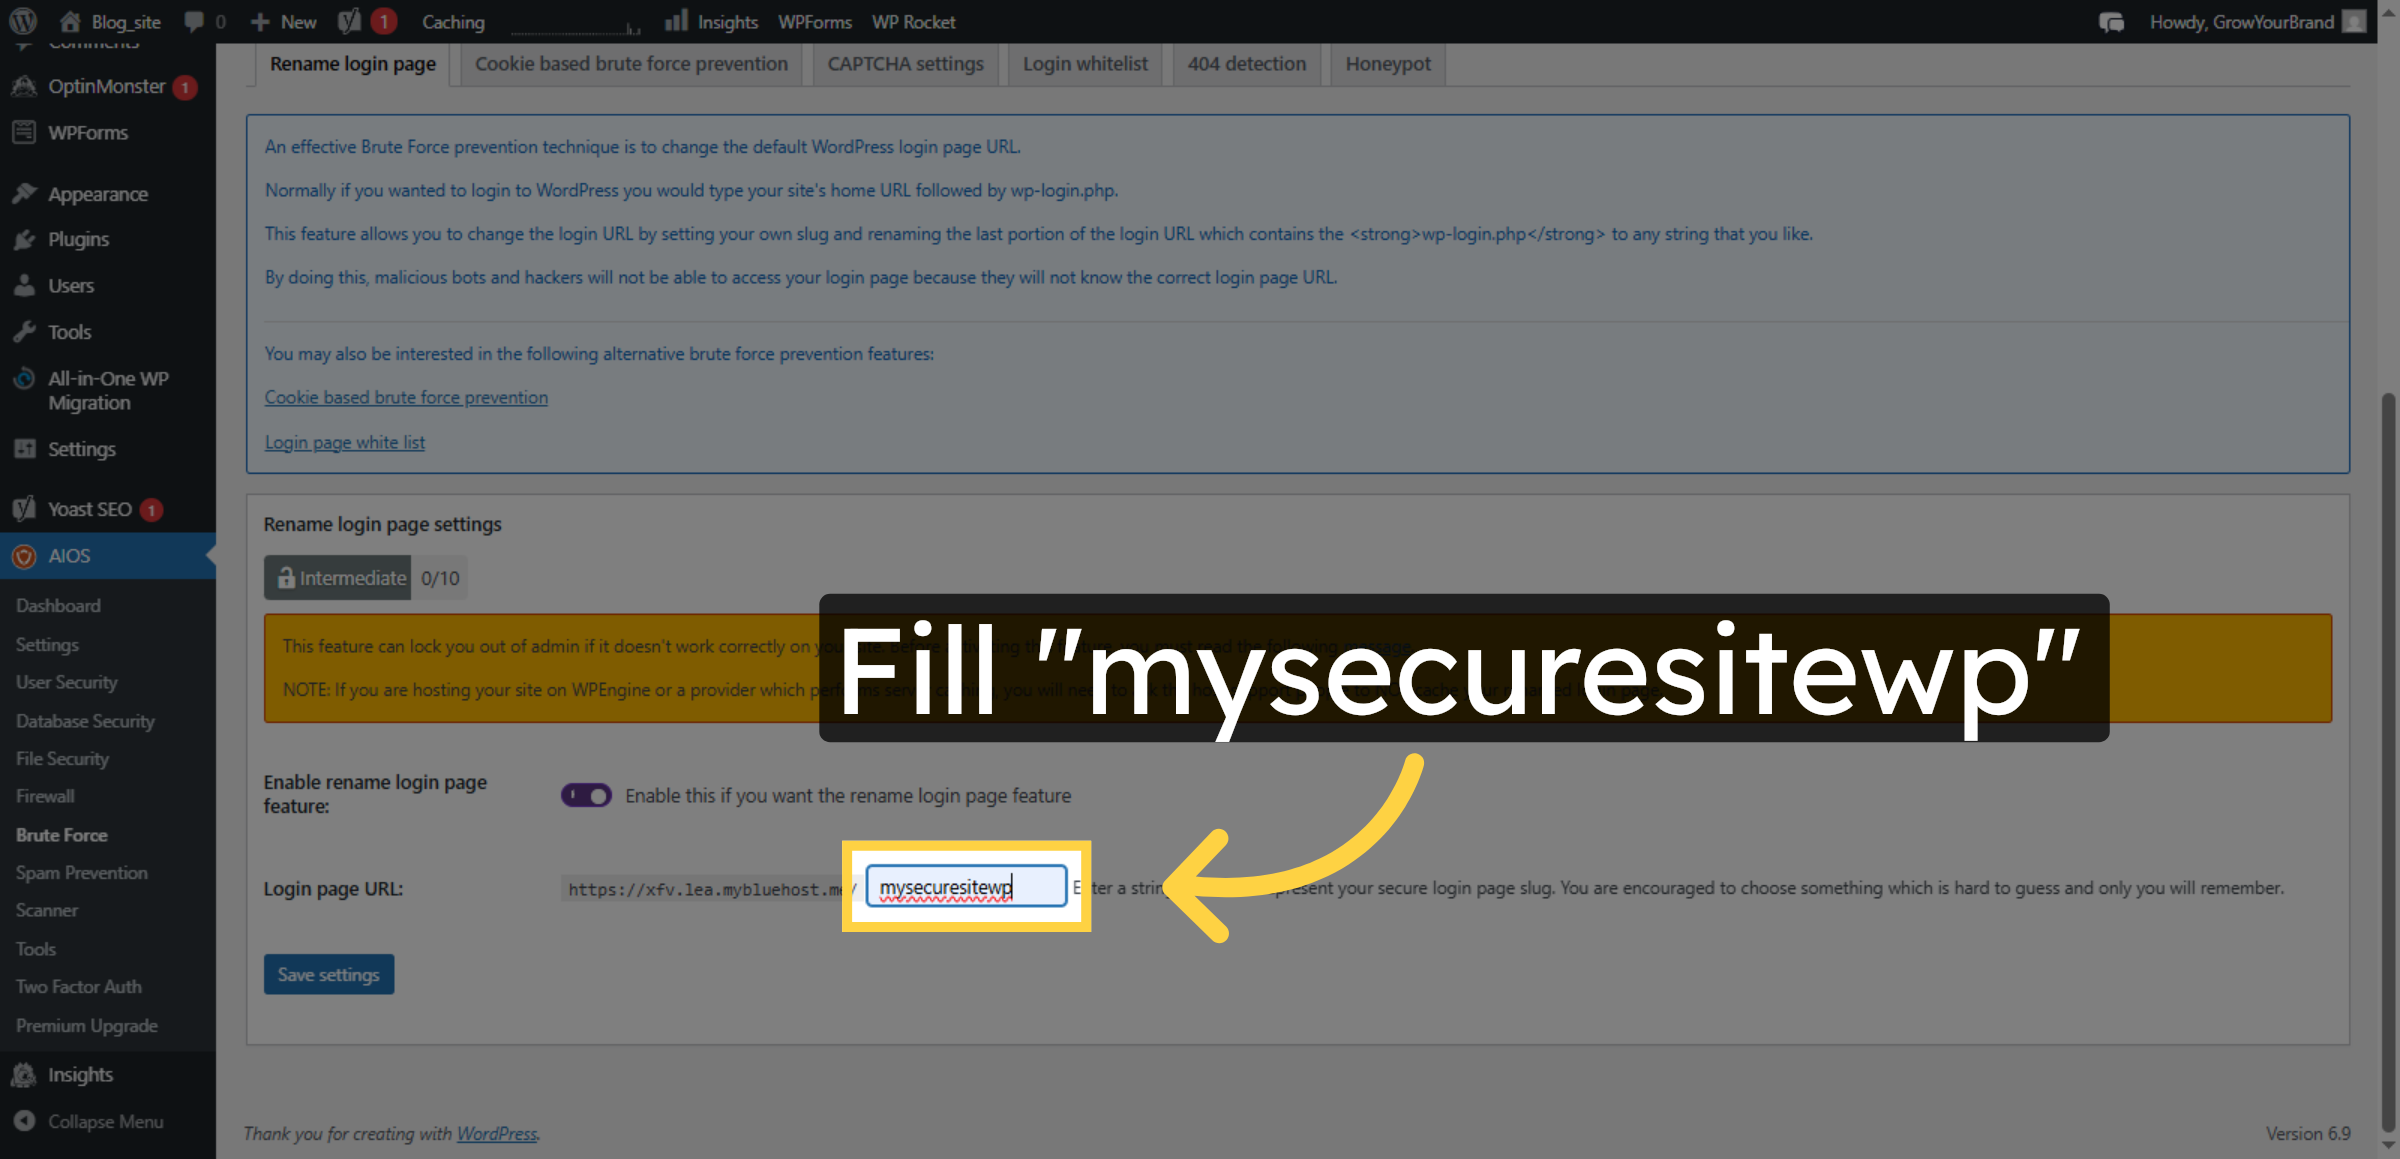
43. Set Custom Login URL
Enter a custom login URL to enhance security by obscuring the login page.
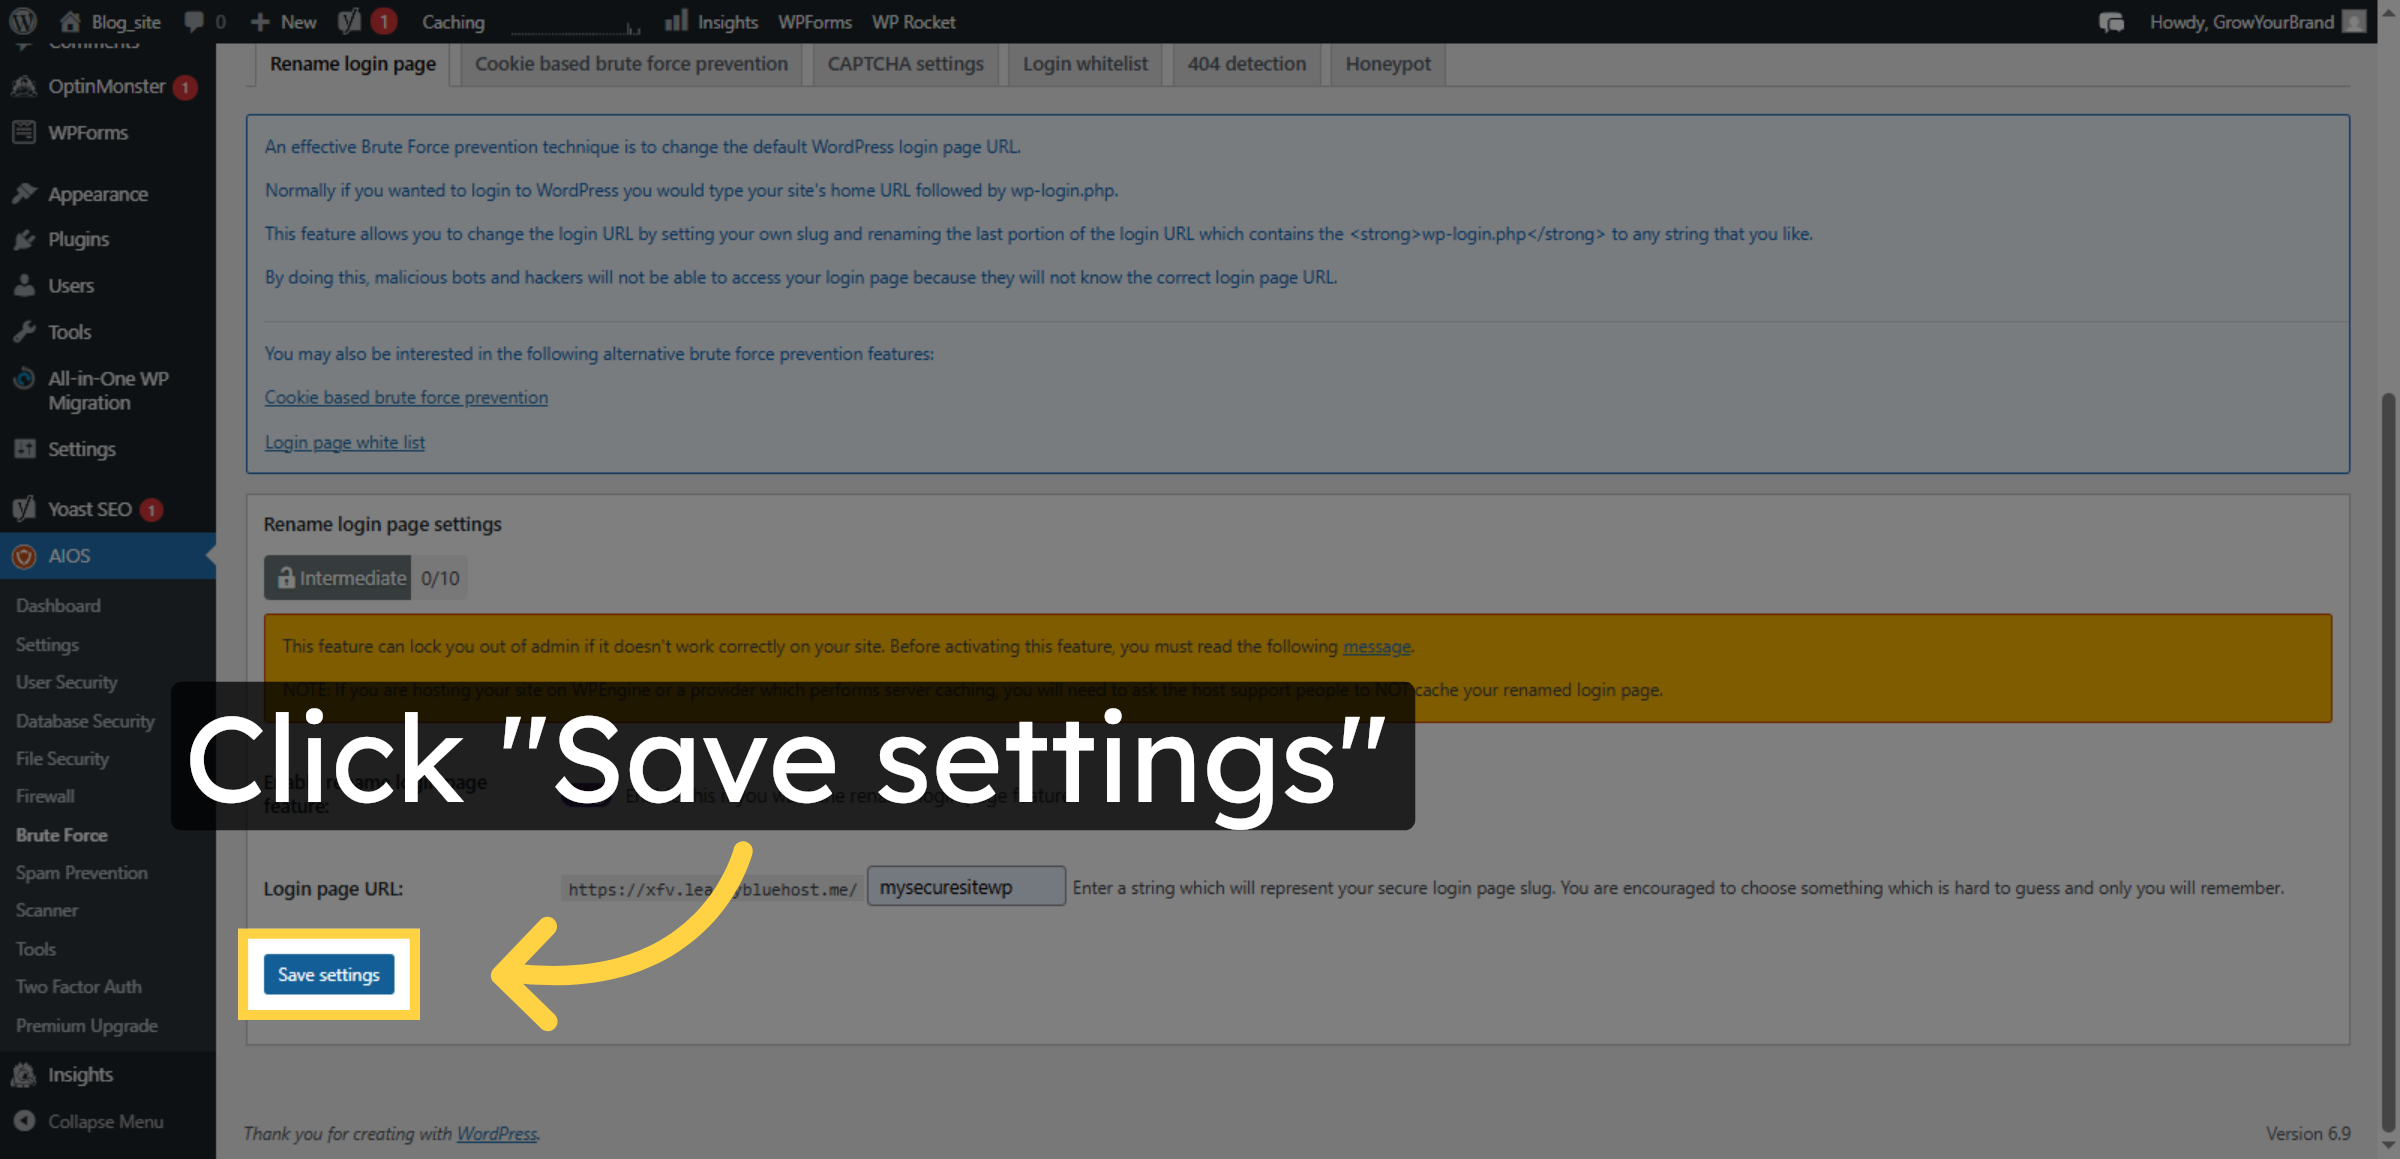
44. Save Brute Force Settings
Click the Save settings button to apply brute force protection configurations.
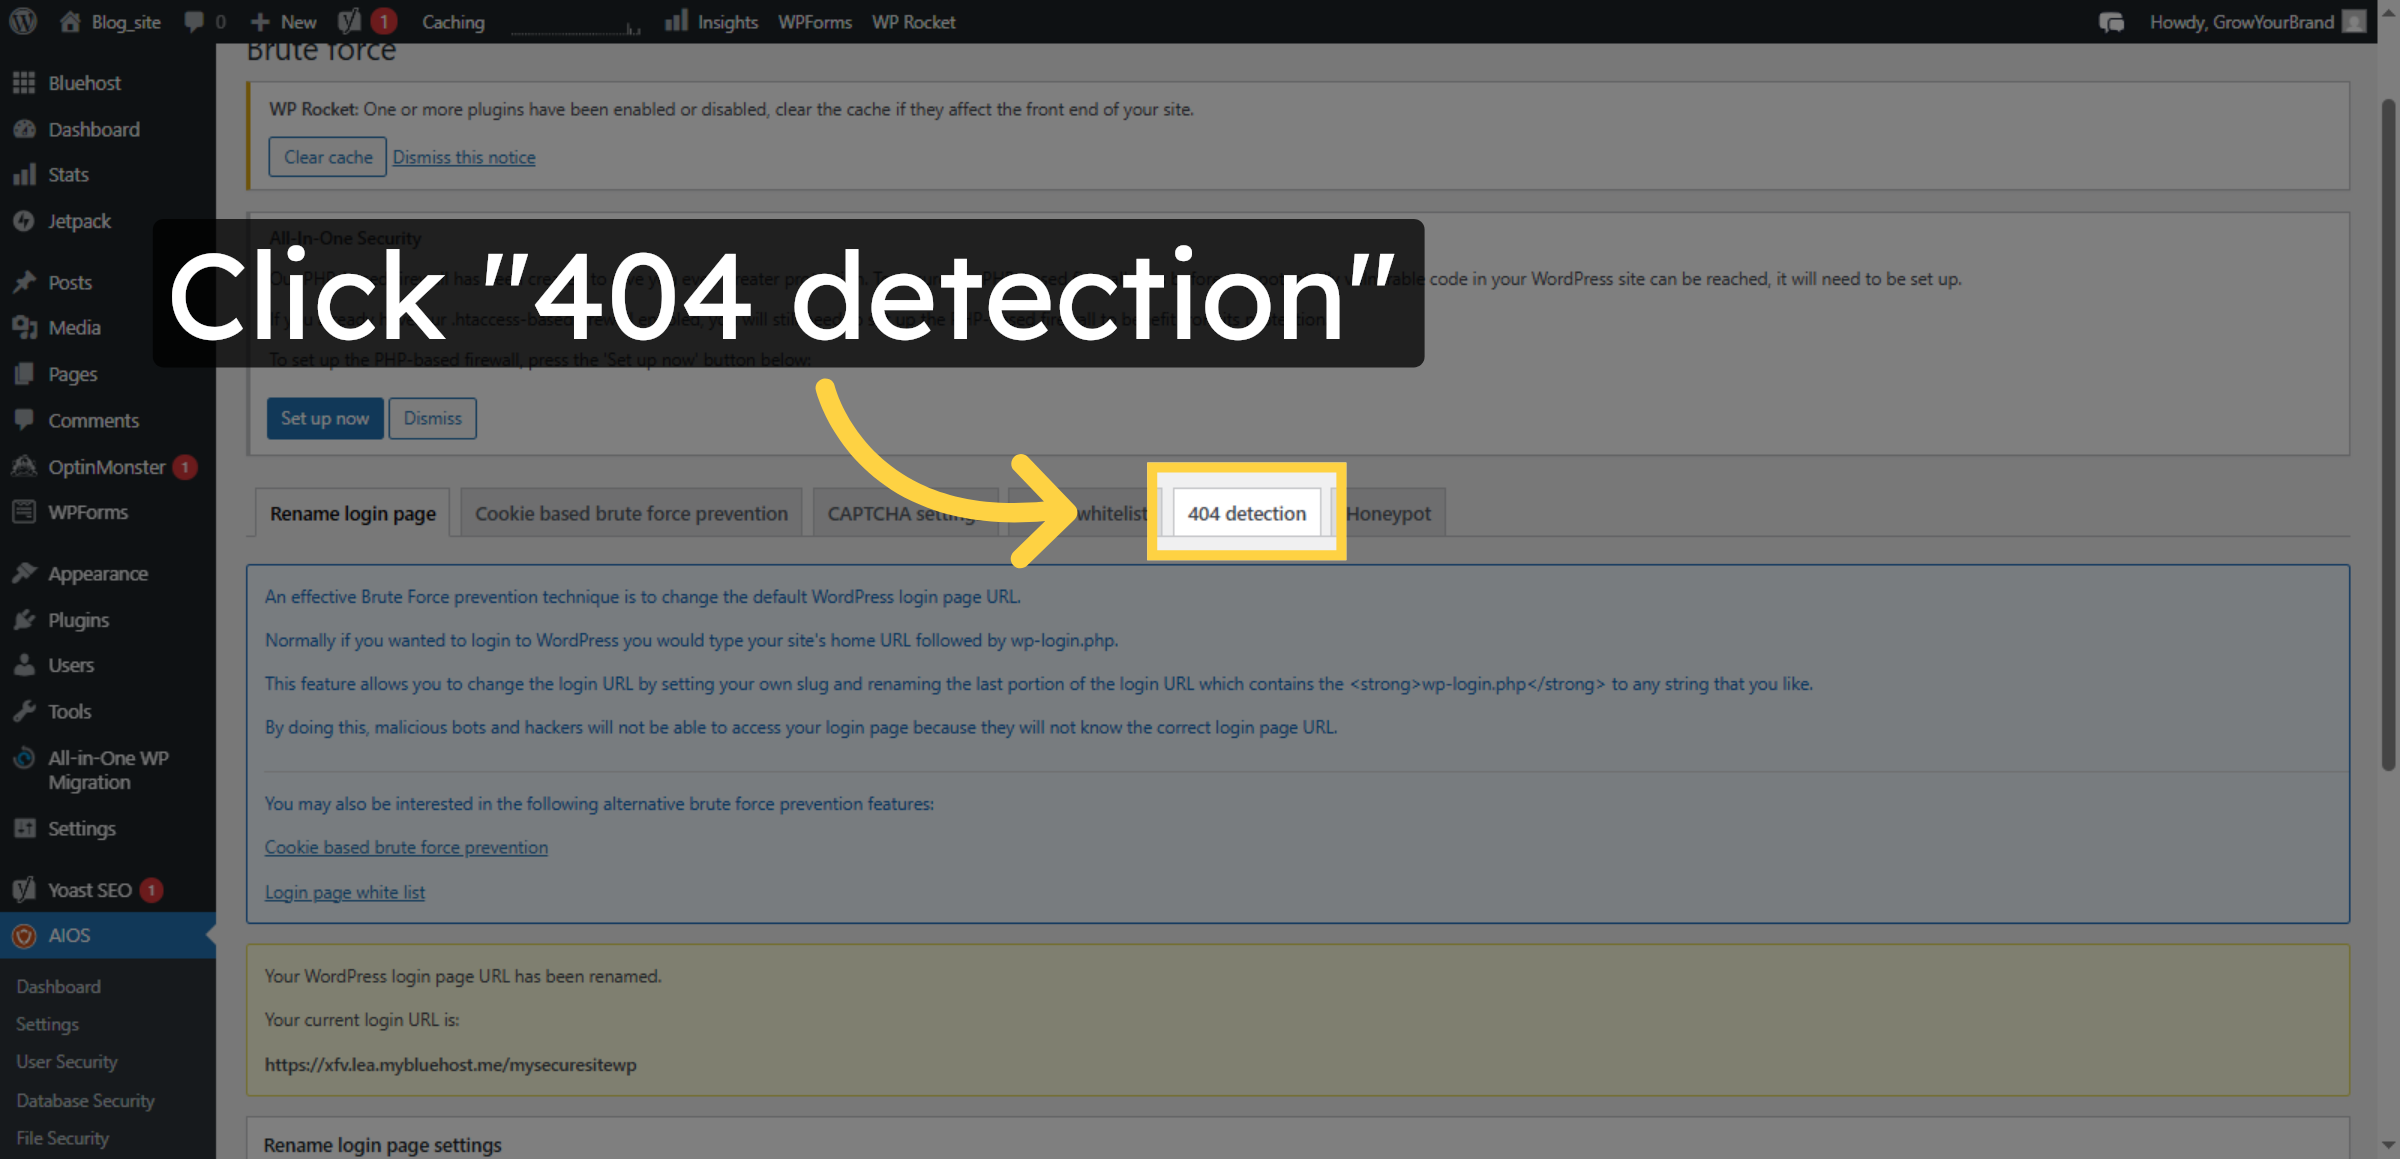
45. Open 404 Detection Settings
Click the 404 detection section to monitor invalid page requests.
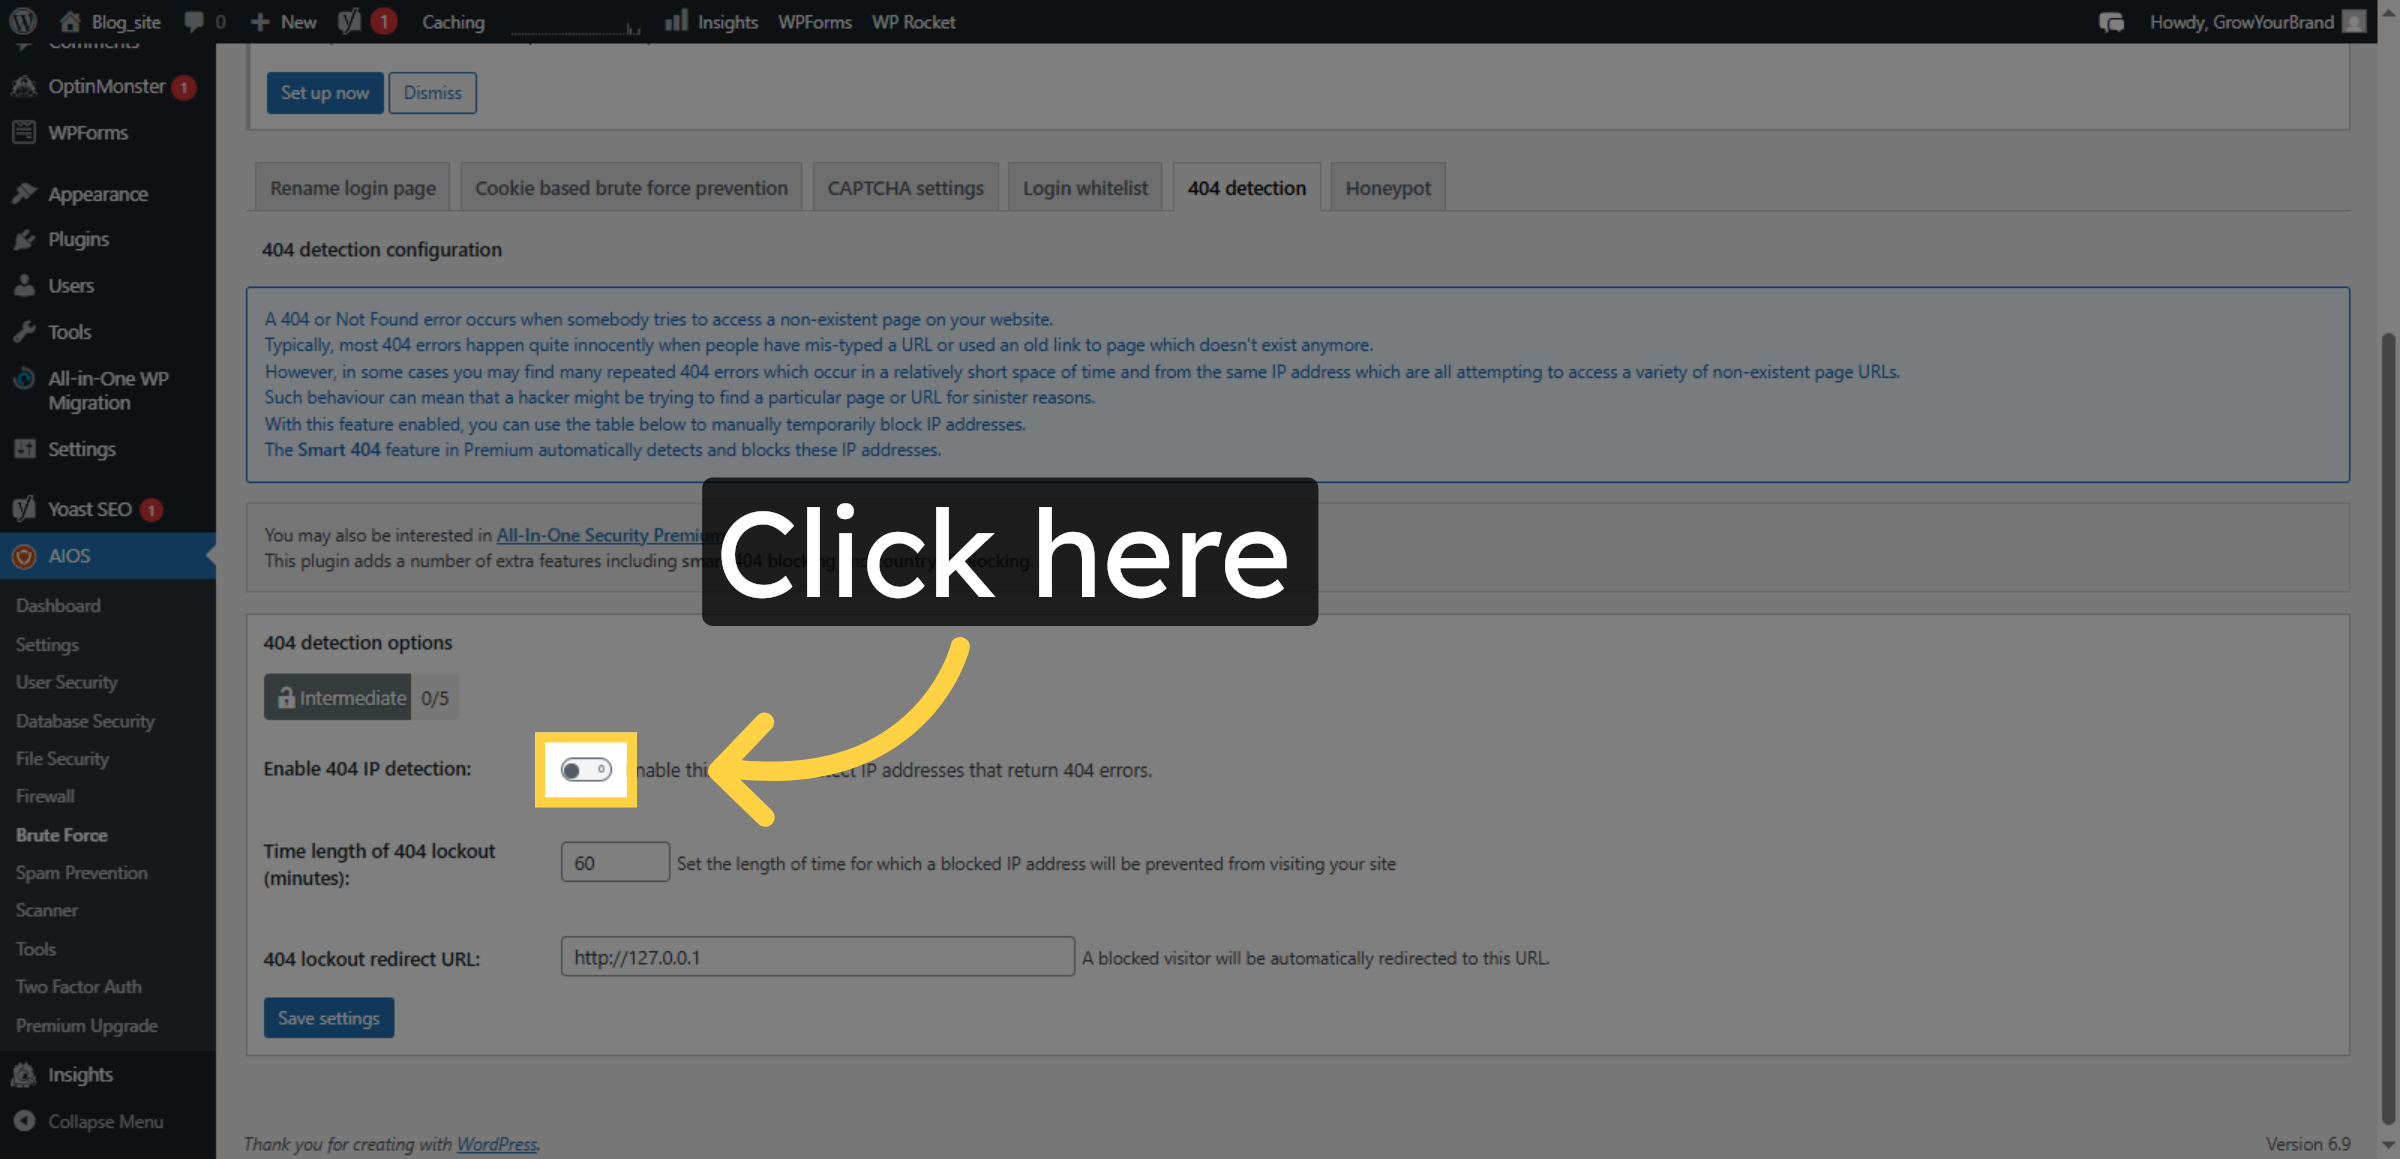
46. Enable 404 Detection
Click the field to activate 404 error detection features.
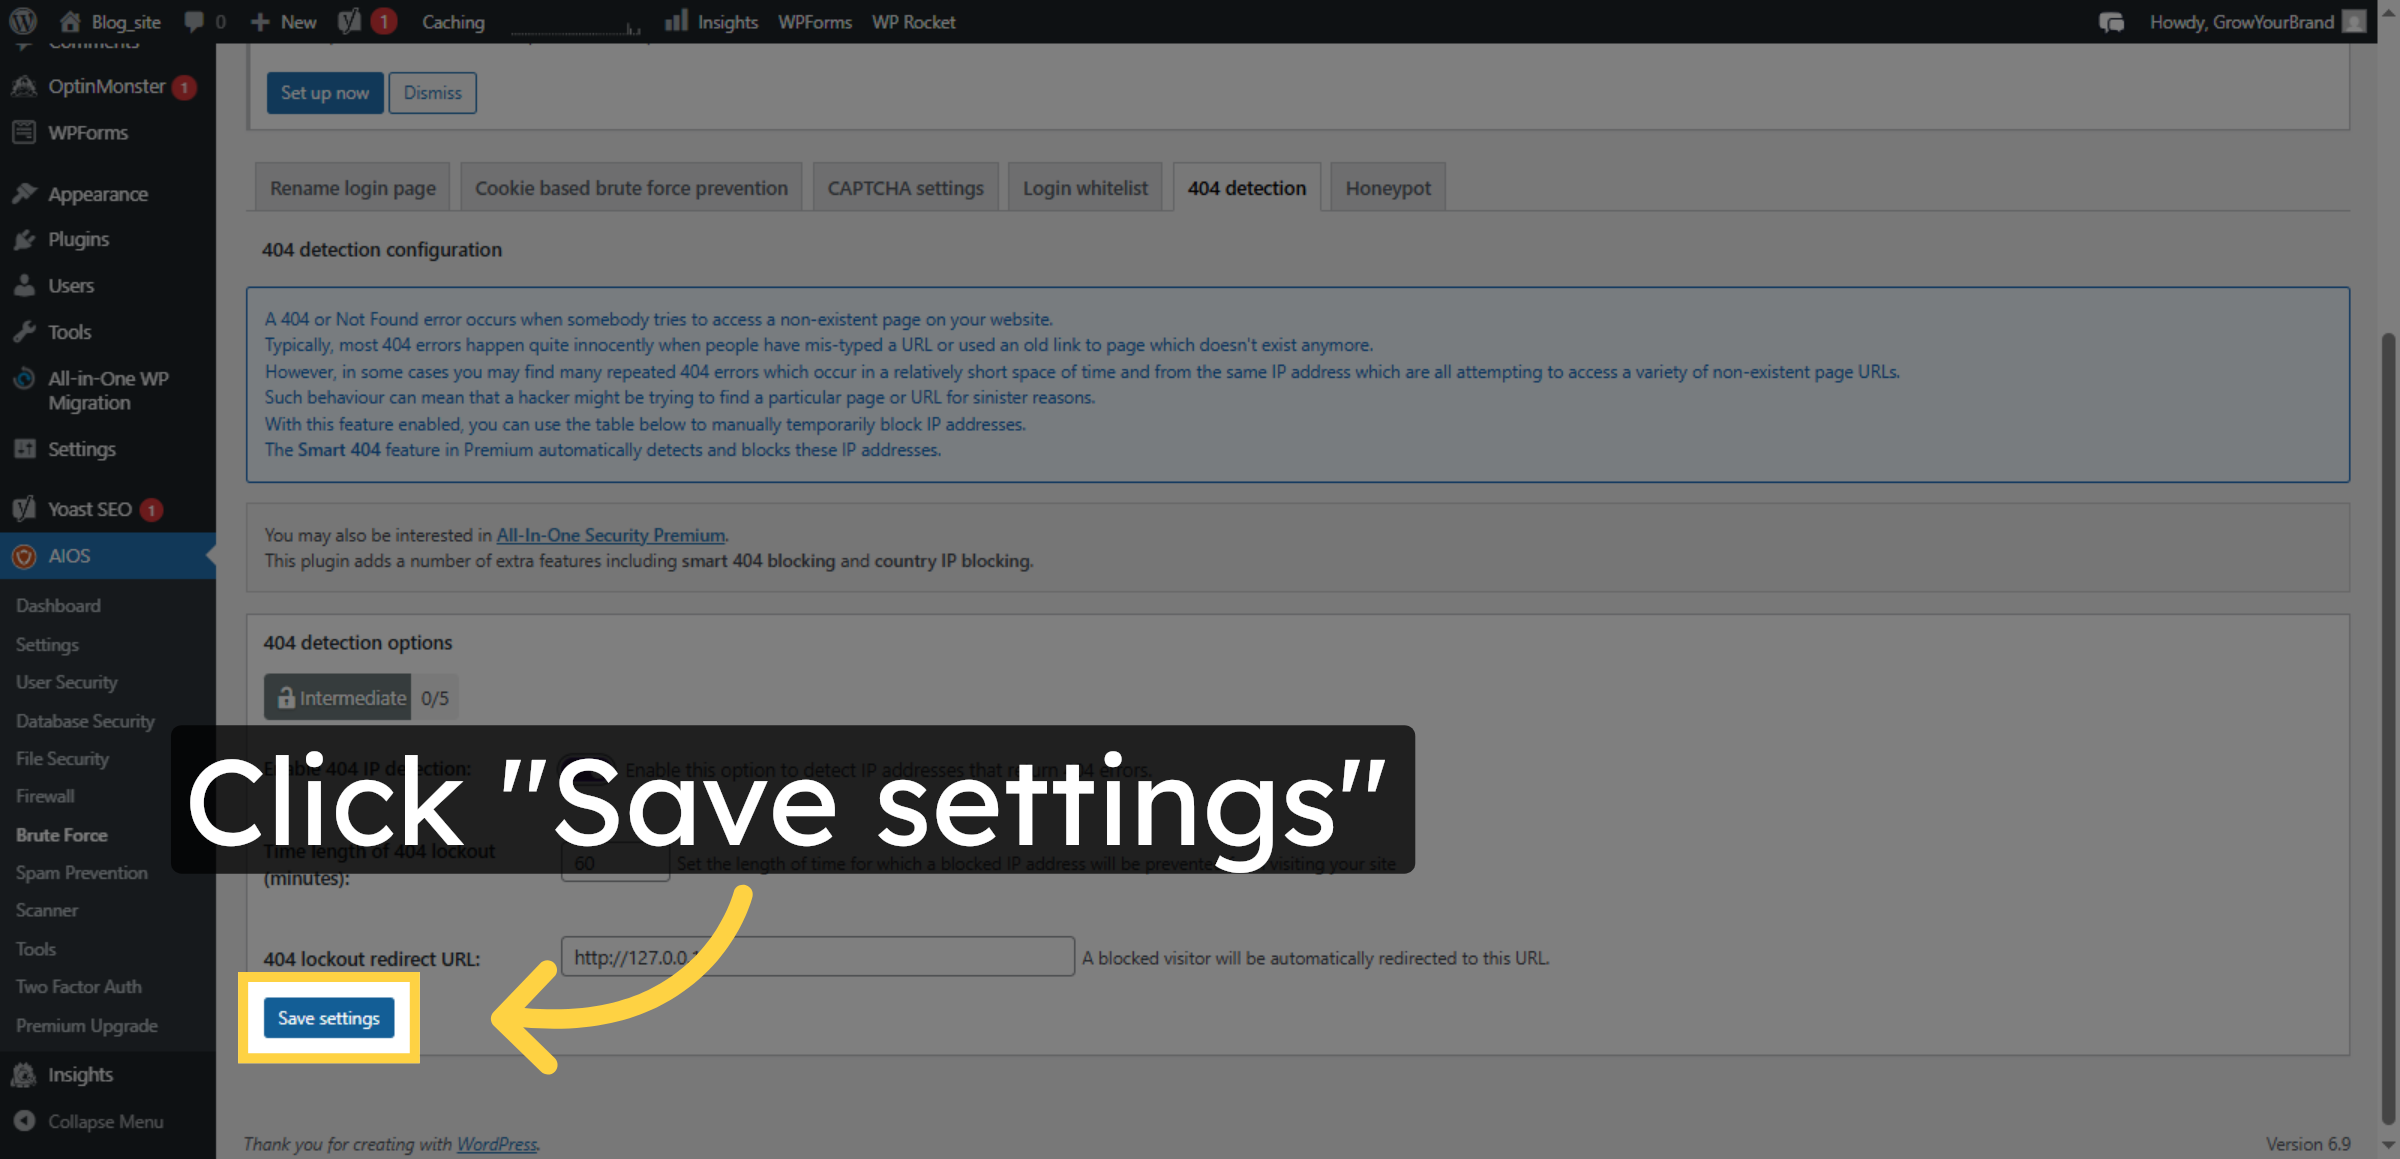
47. Save 404 Detection Settings
Click the Save settings button to save your 404 detection configurations.
Conclusion
By following this guide, you have successfully strengthened your WordPress website with firewall protection, malware scanning, and advanced security settings. These measures help block harmful traffic, prevent unauthorized access, and protect your website data.
To maintain security, regularly update plugins, review security settings, and monitor suspicious activities. With consistent maintenance, your website will remain secure and reliable.
WooHelpDesk Support
Need help with WordPress security, firewall setup, or malware removal? WooHelpDesk is here to assist you.
Visit: https://www.woohelpdesk.com
Call Us Toll-Free: +1 888 602 0119 (US & Canada)
Secure Setup | Trusted Support
Contact WooHelpDesk today to protect your website.