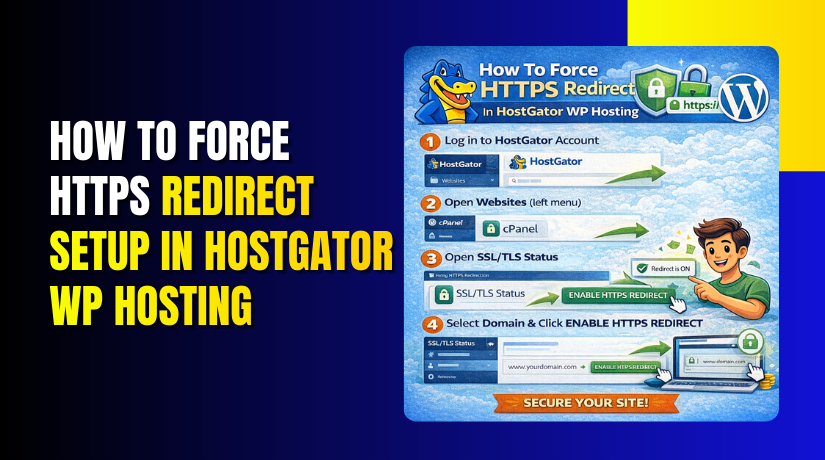
How To Force HTTPS Redirect Setup In HostGator WP Hosting
Introduction
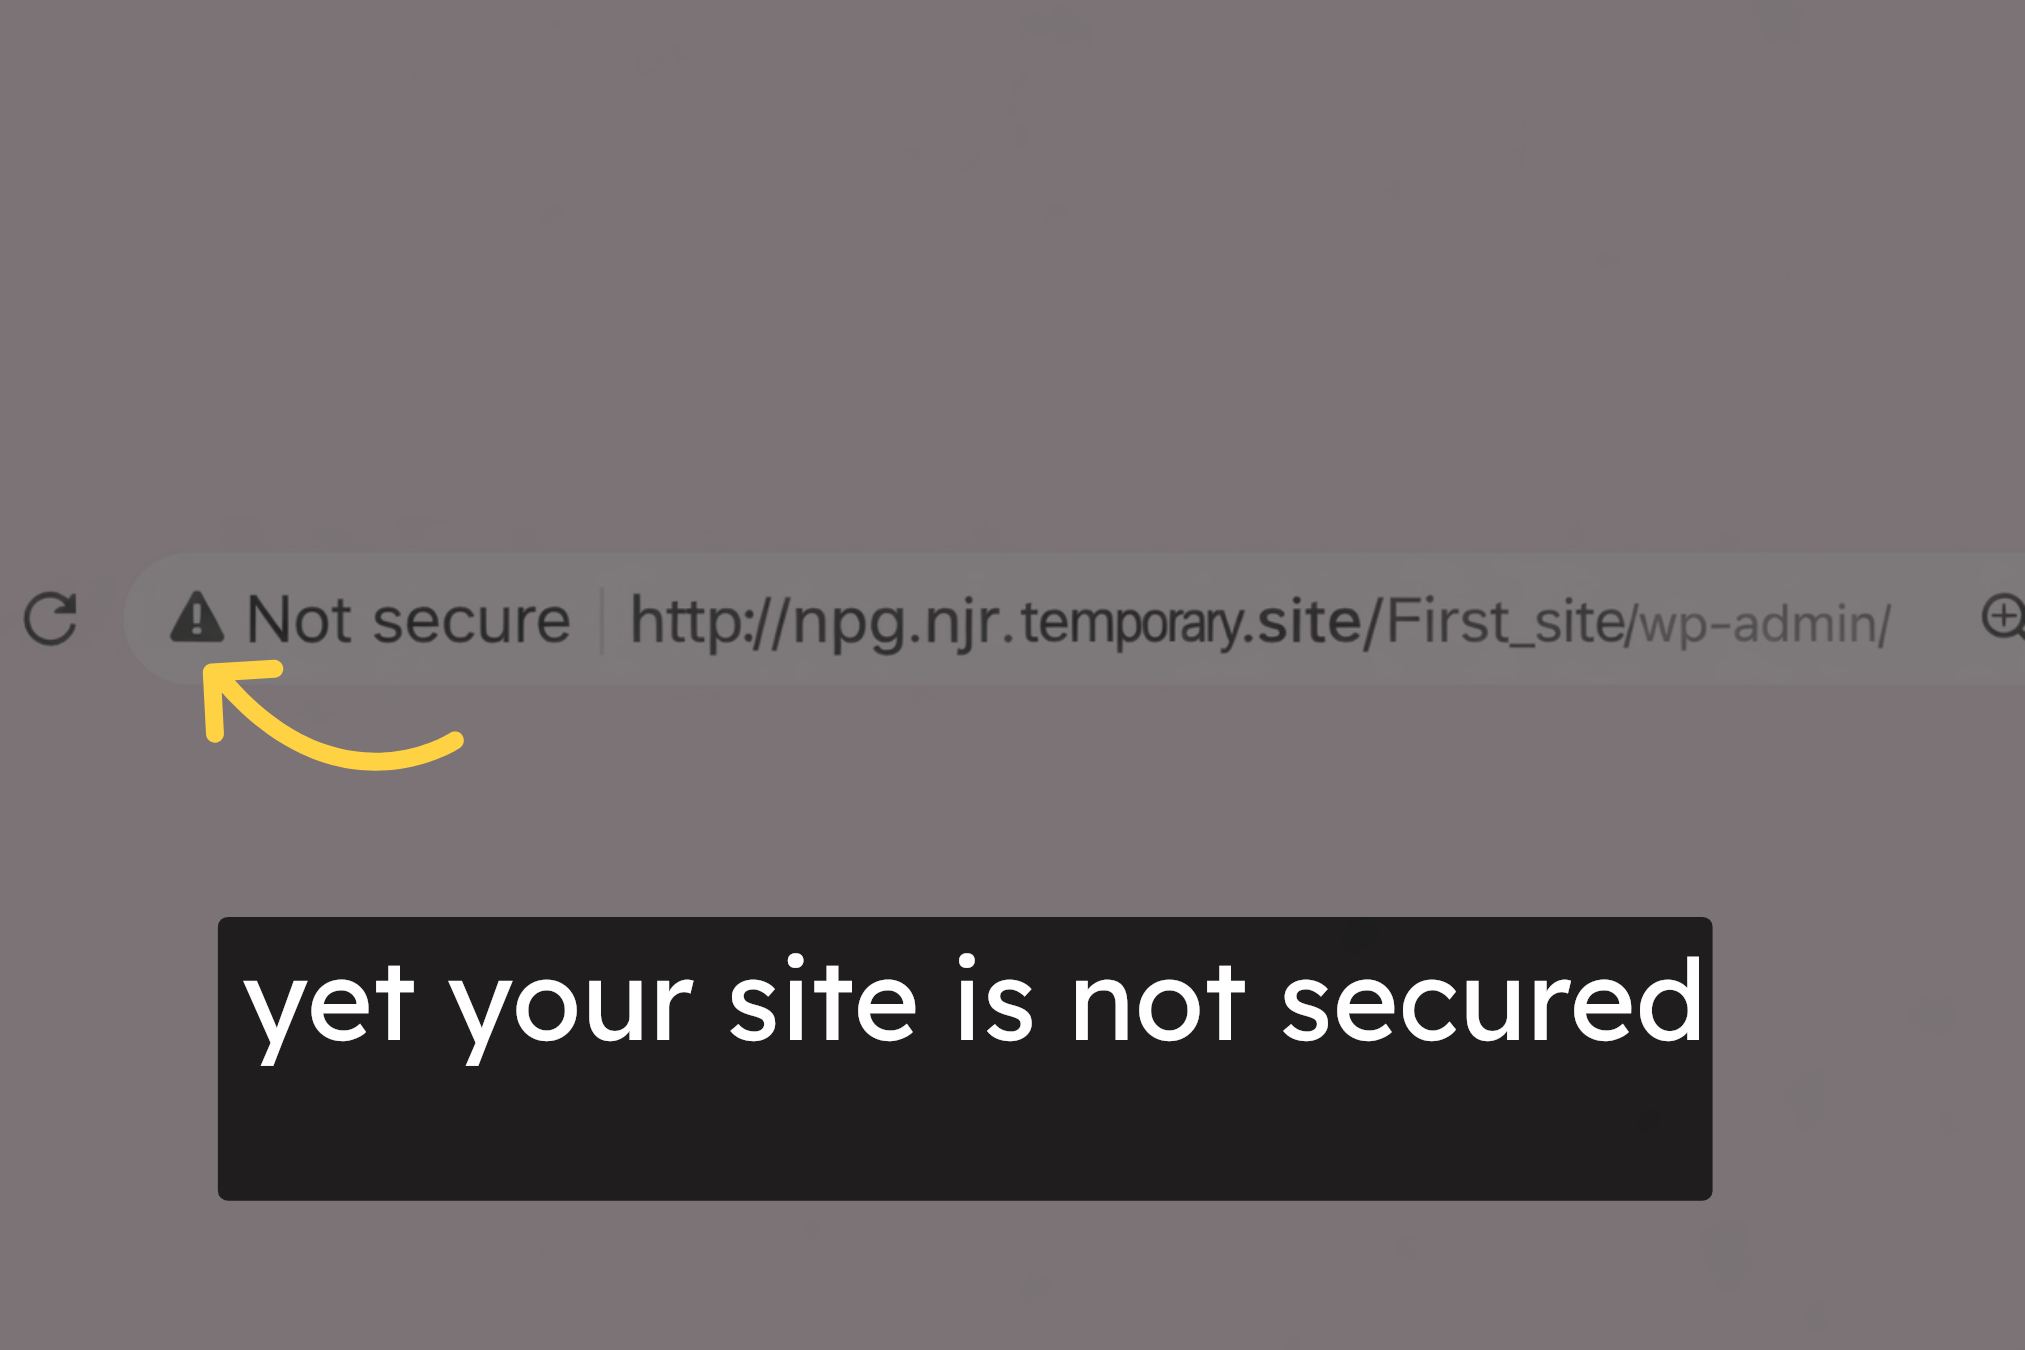
Securing your WordPress website with HTTPS is essential for protecting user data, improving search engine rankings, and building trust with visitors. If your site still appears as “Not Secure,” it usually indicates that the SSL certificate is not fully configured or that the site URLs are still using HTTP instead of HTTPS. This guide provides a clear, step-by-step walkthrough to help you force HTTPS on a WordPress website hosted on HostGator, starting from accessing the hosting dashboard and file manager to updating the wp-config.php file and verifying WordPress general settings, ensuring your site loads securely for all visitors.
1. https Issue
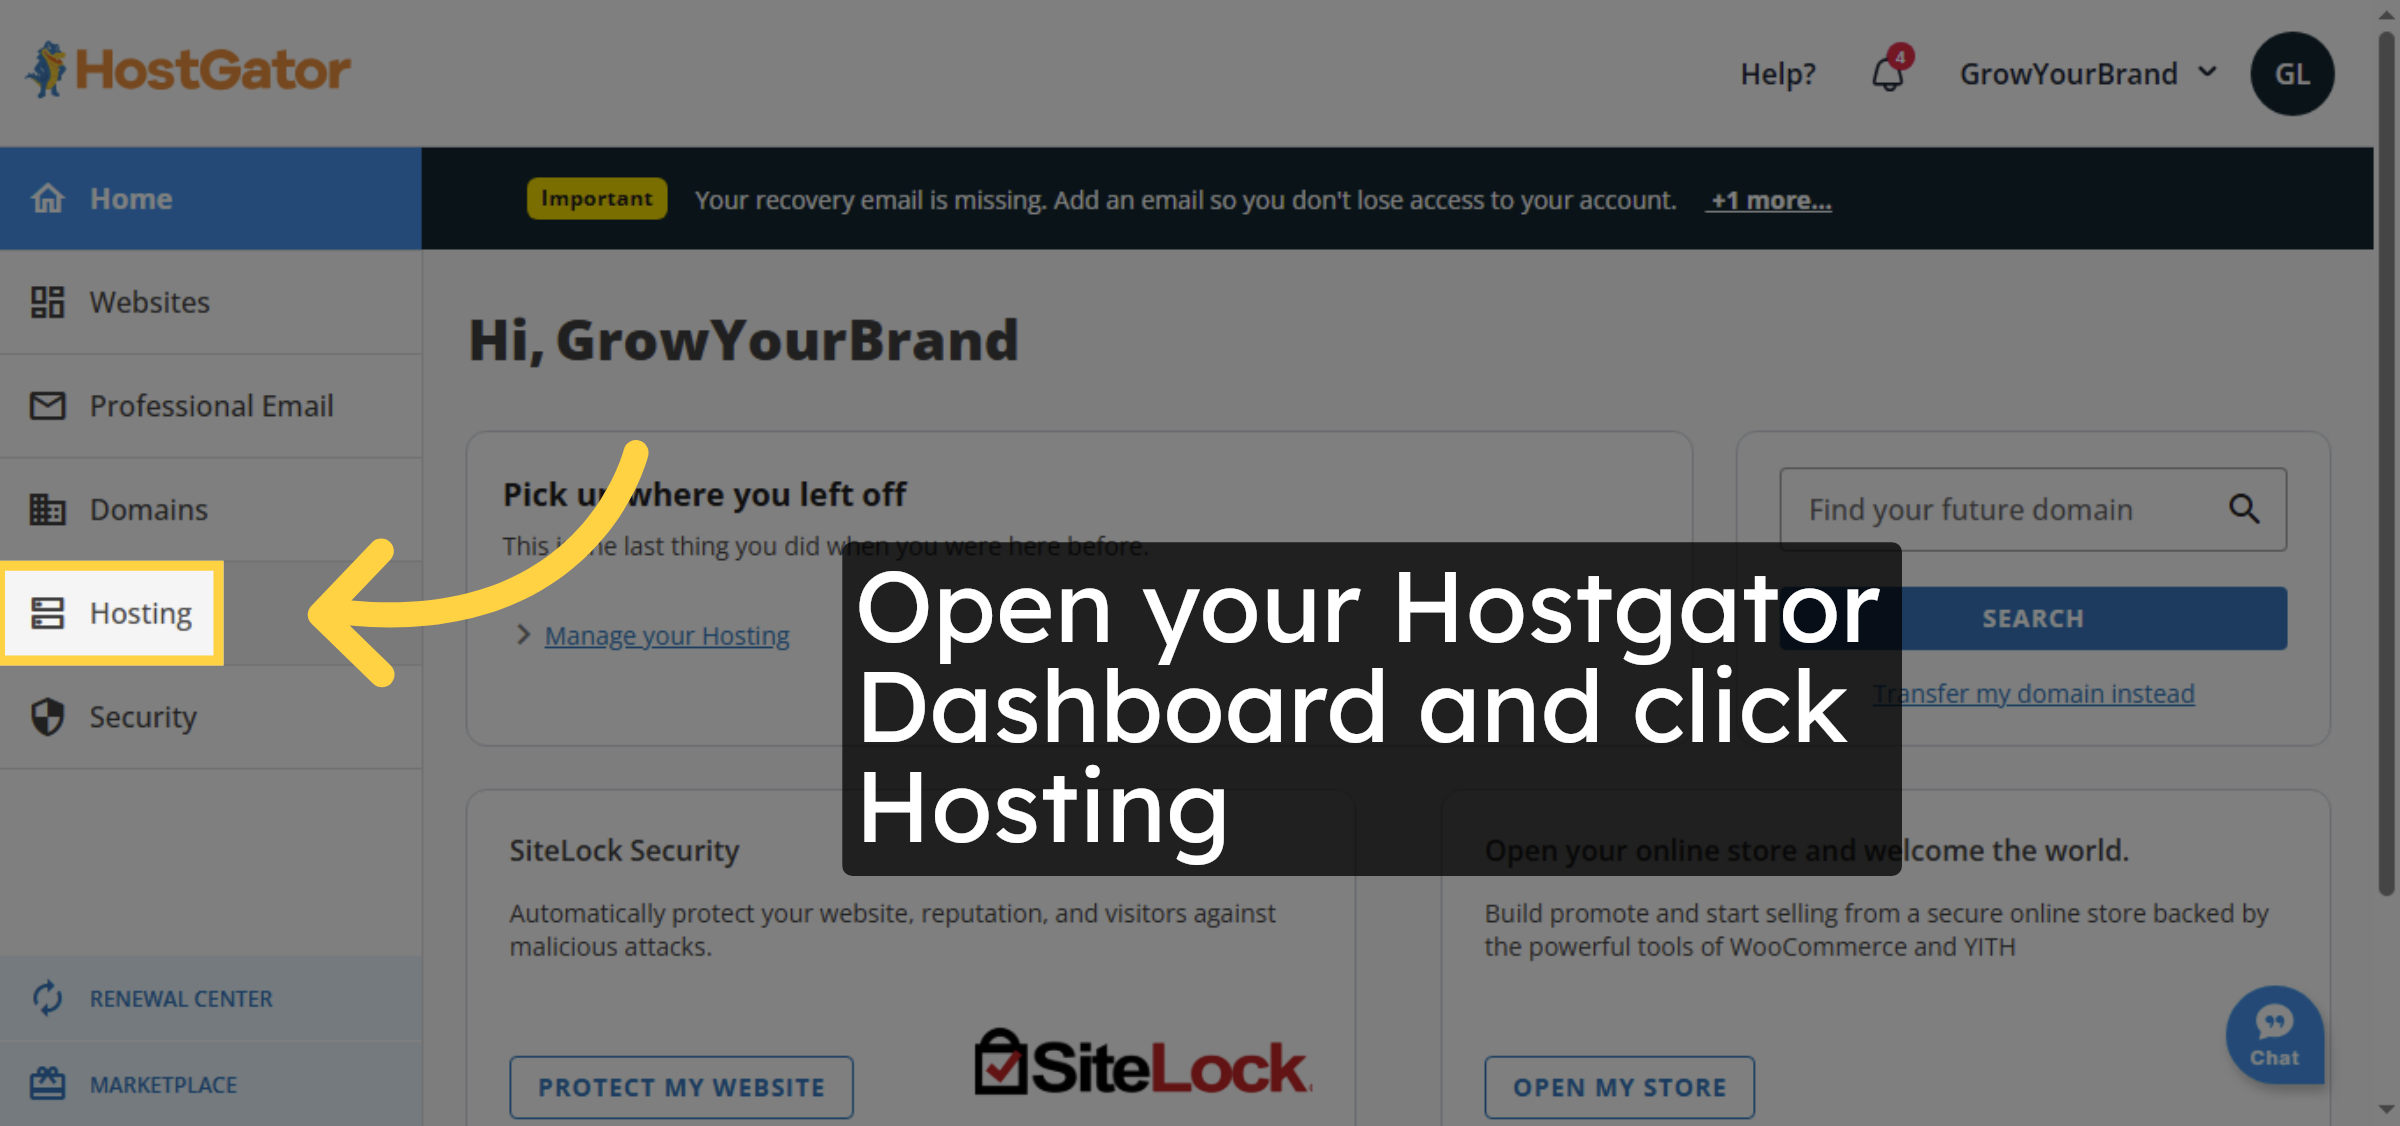
2. Access DNS Hosting
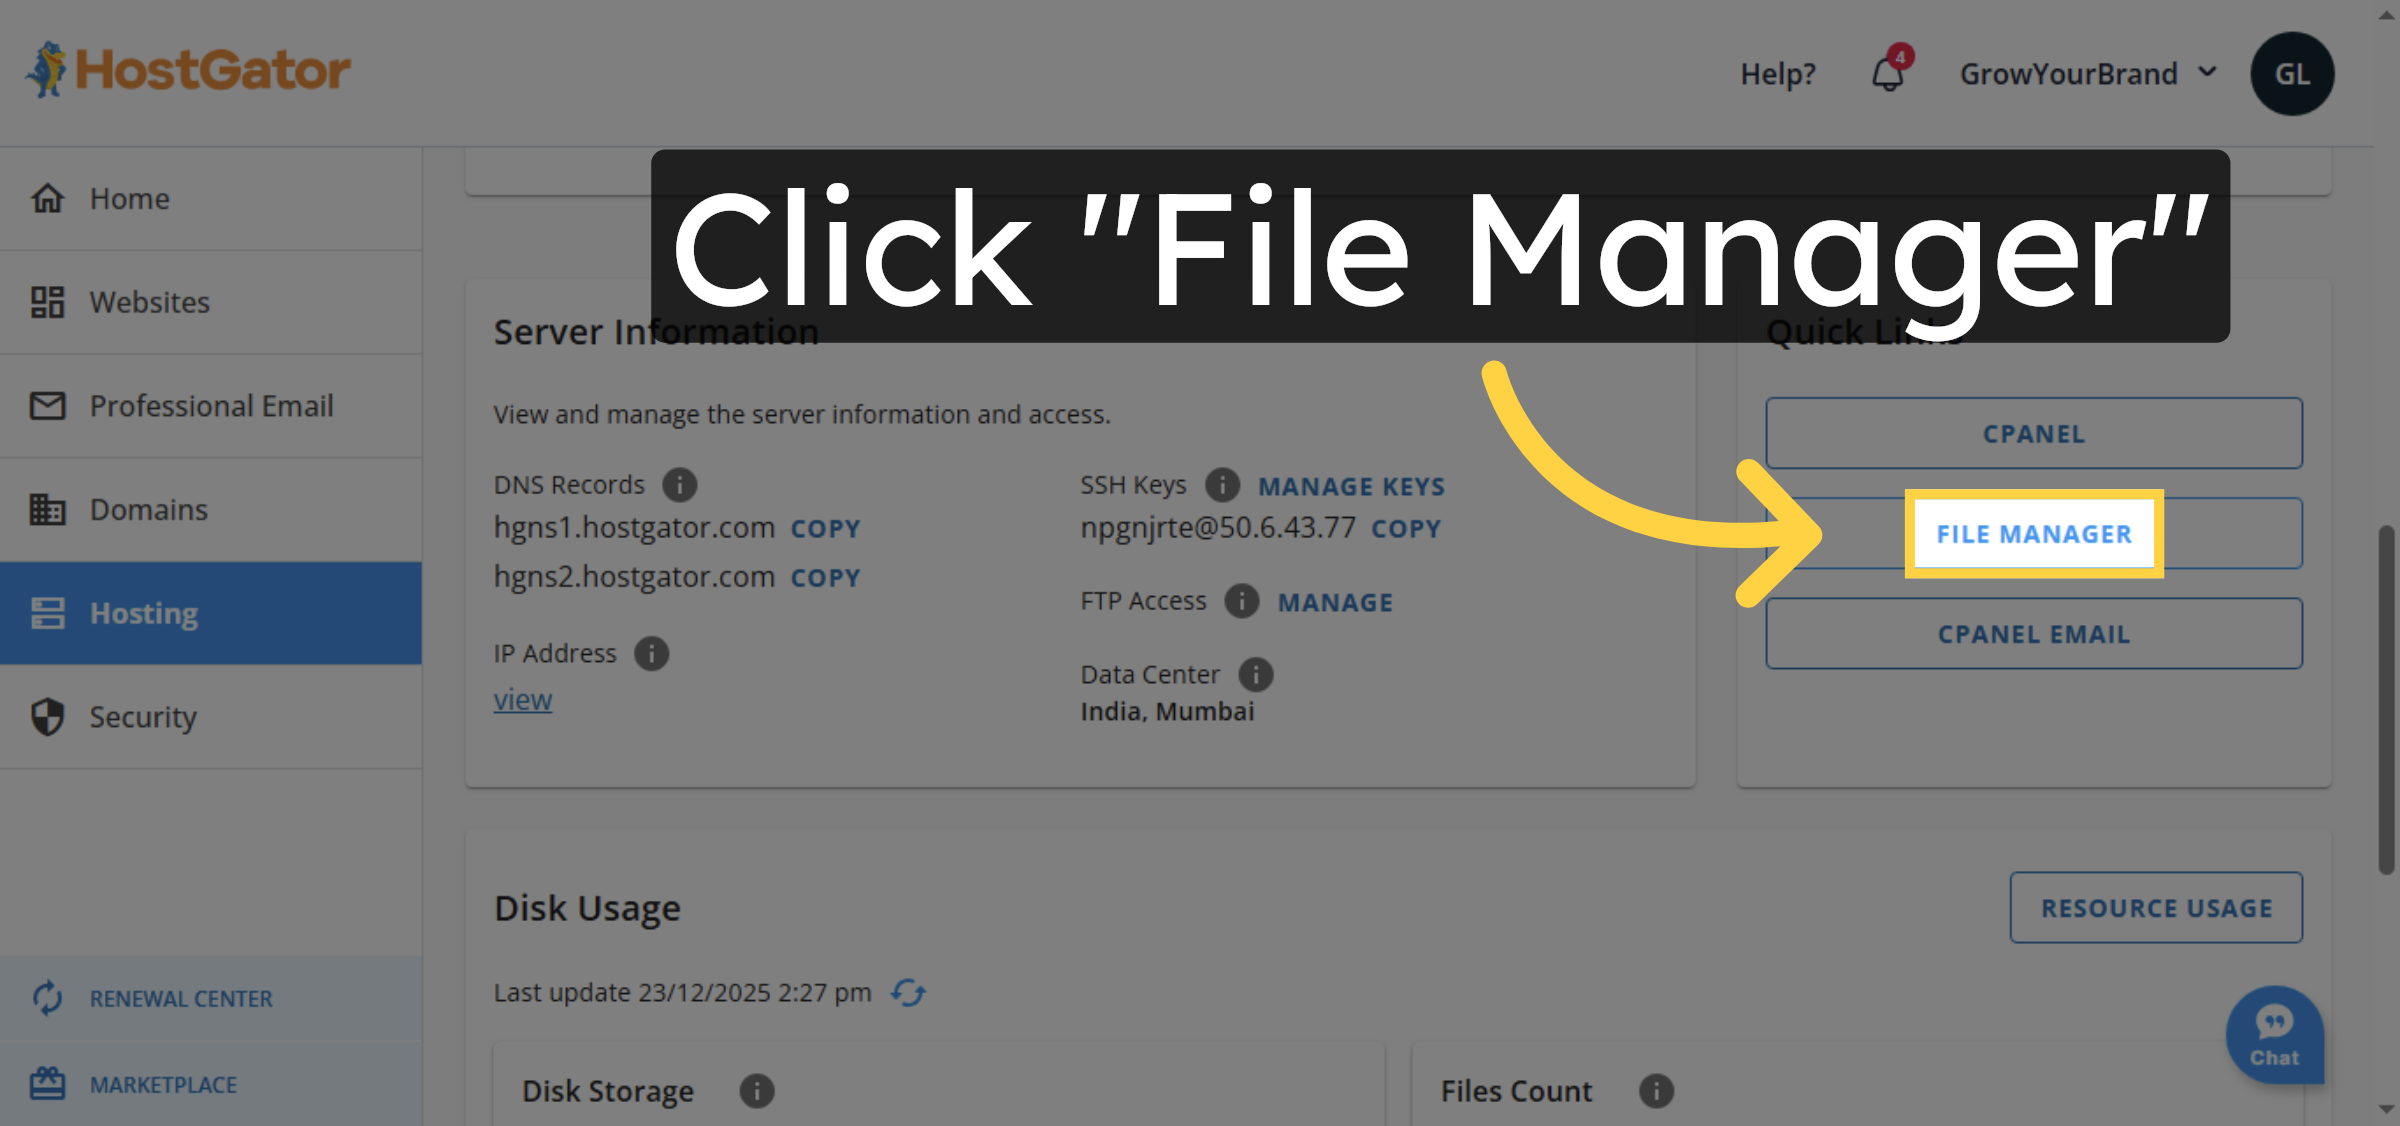
3. Open File Manager
4. Open Public HTML Folder

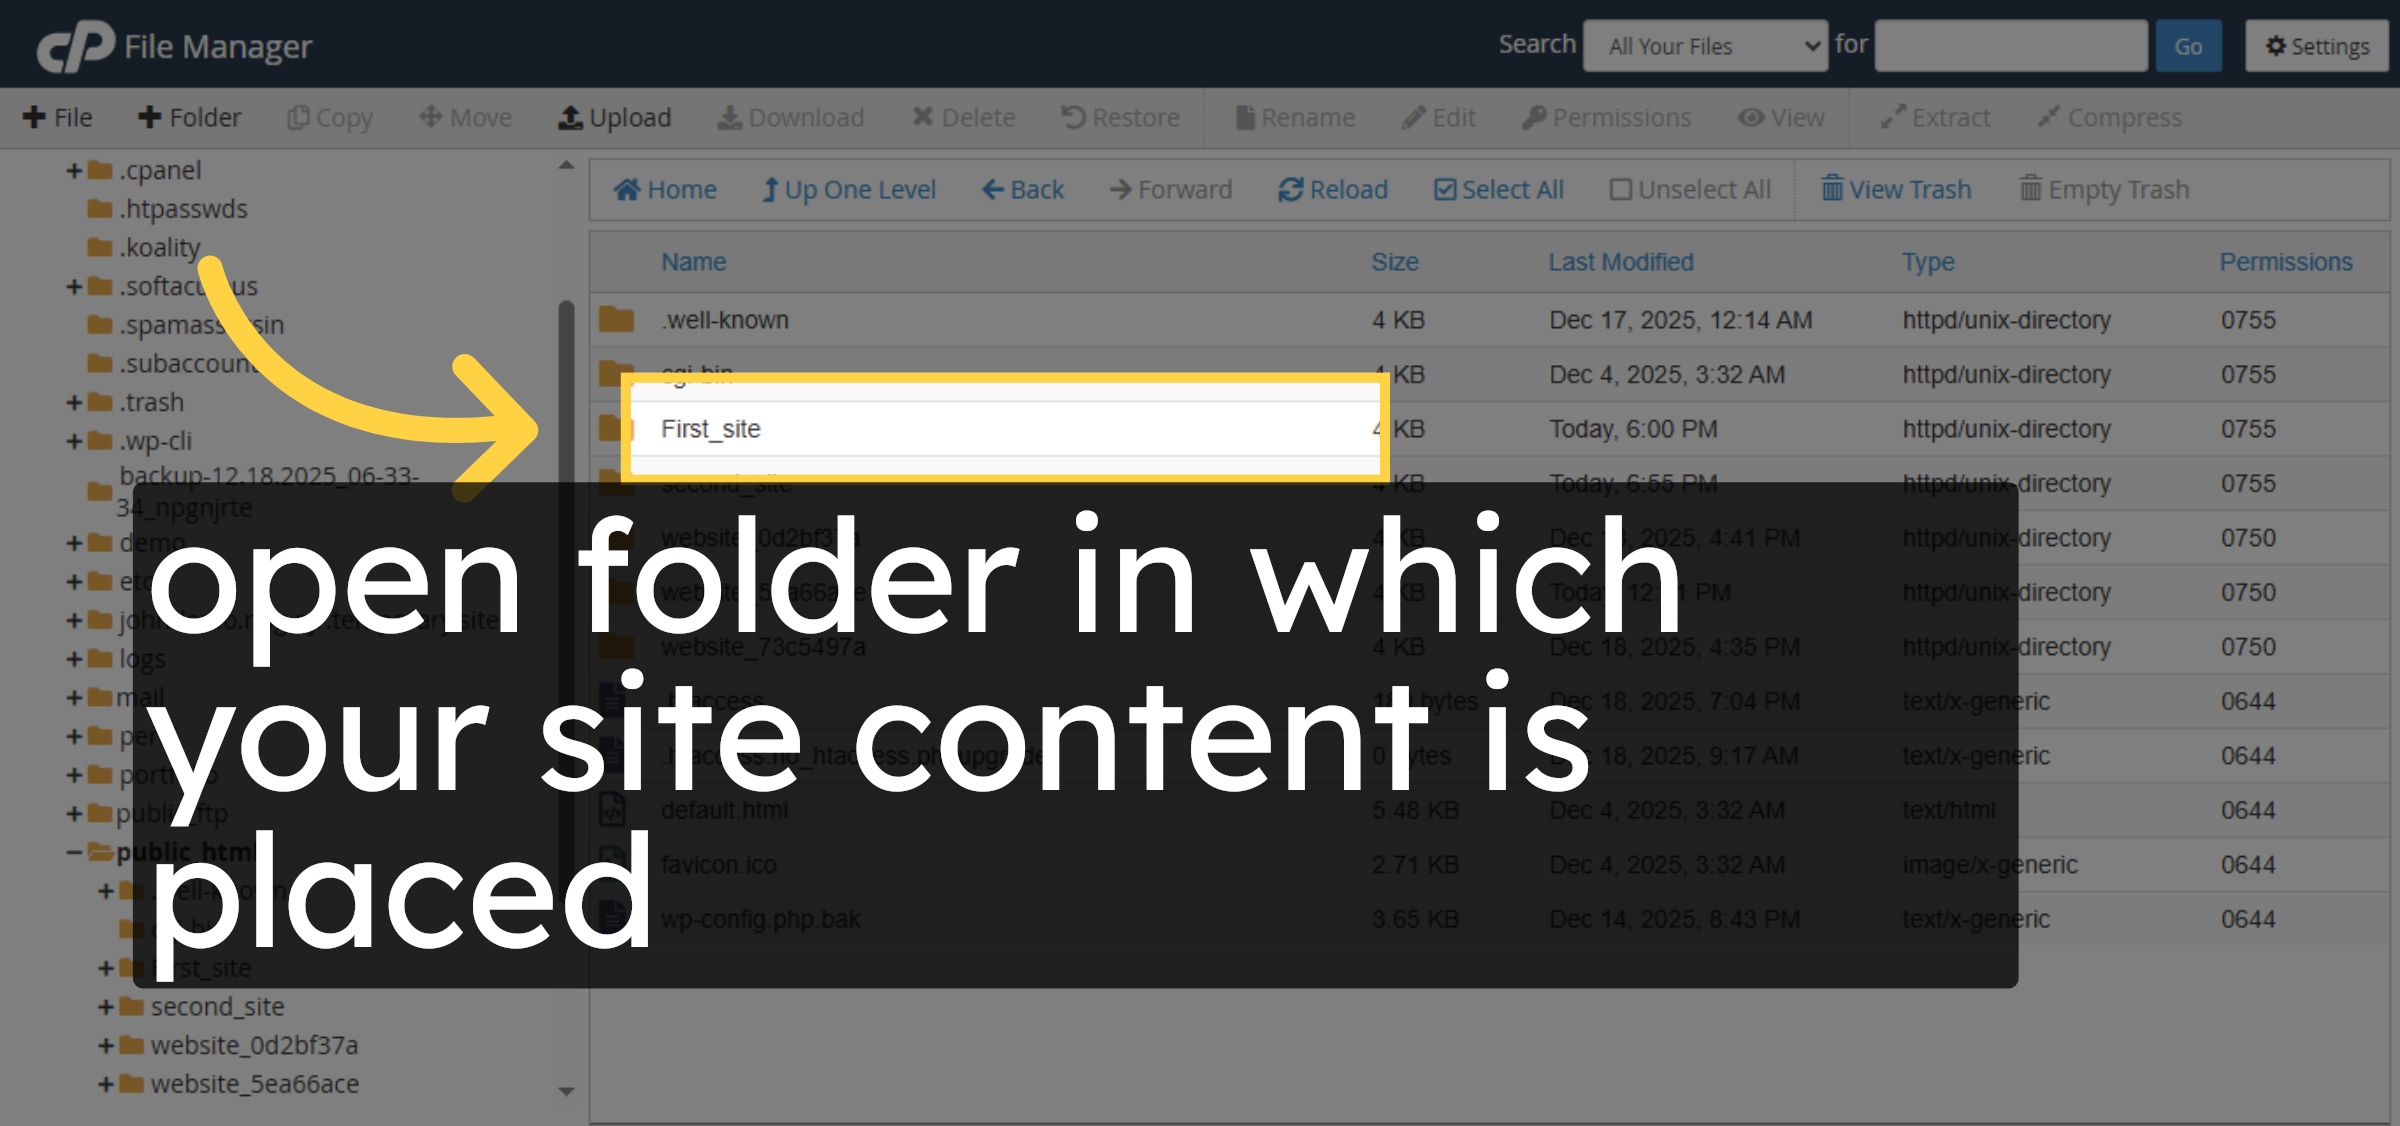
5. Open Site Folder
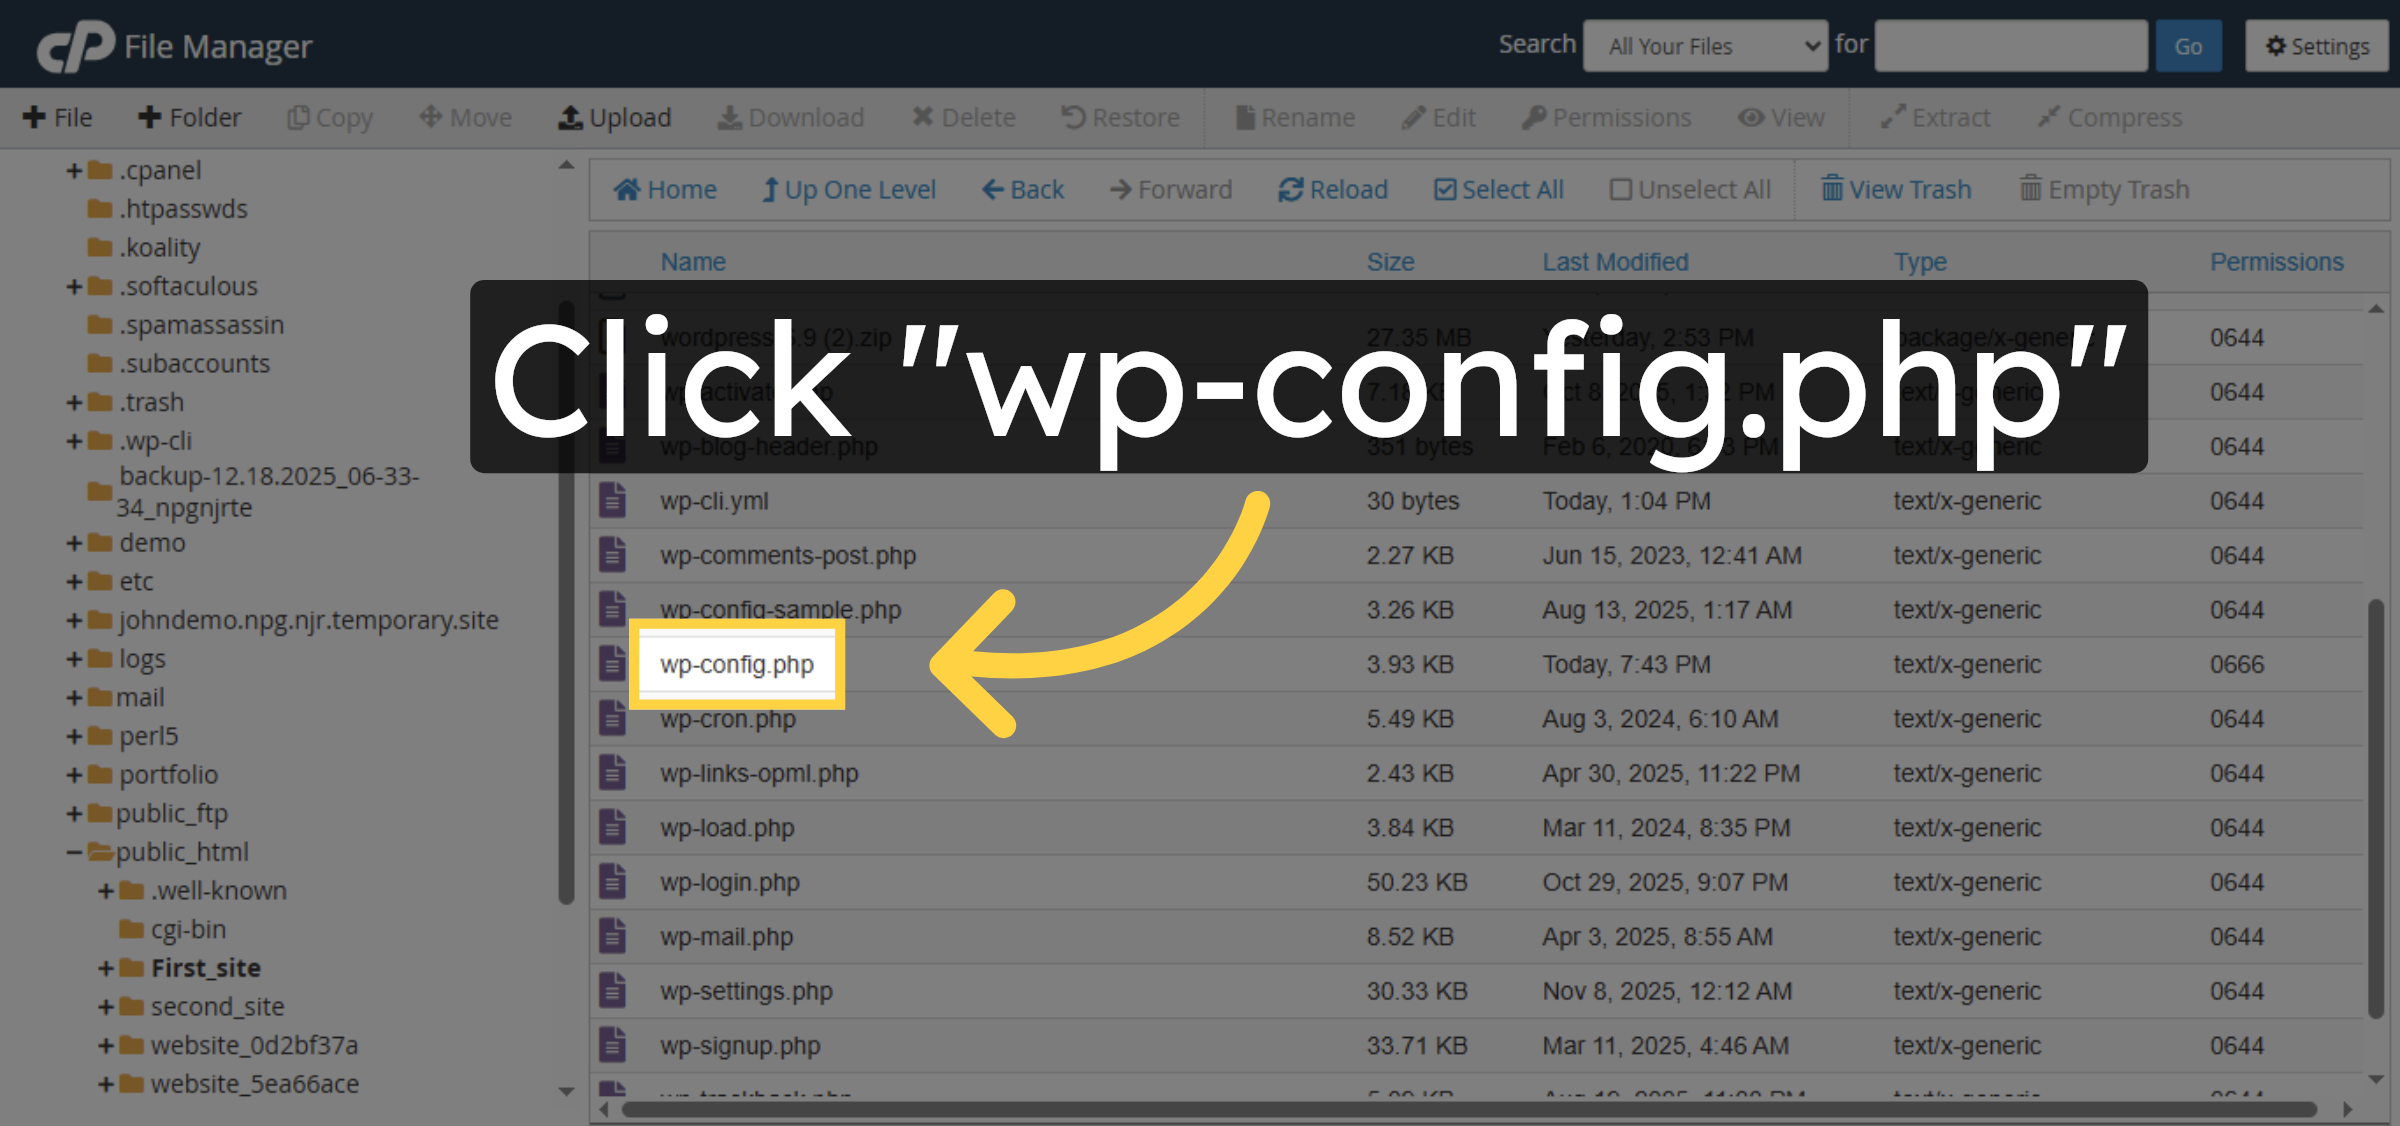
6. Select wp-config.php File
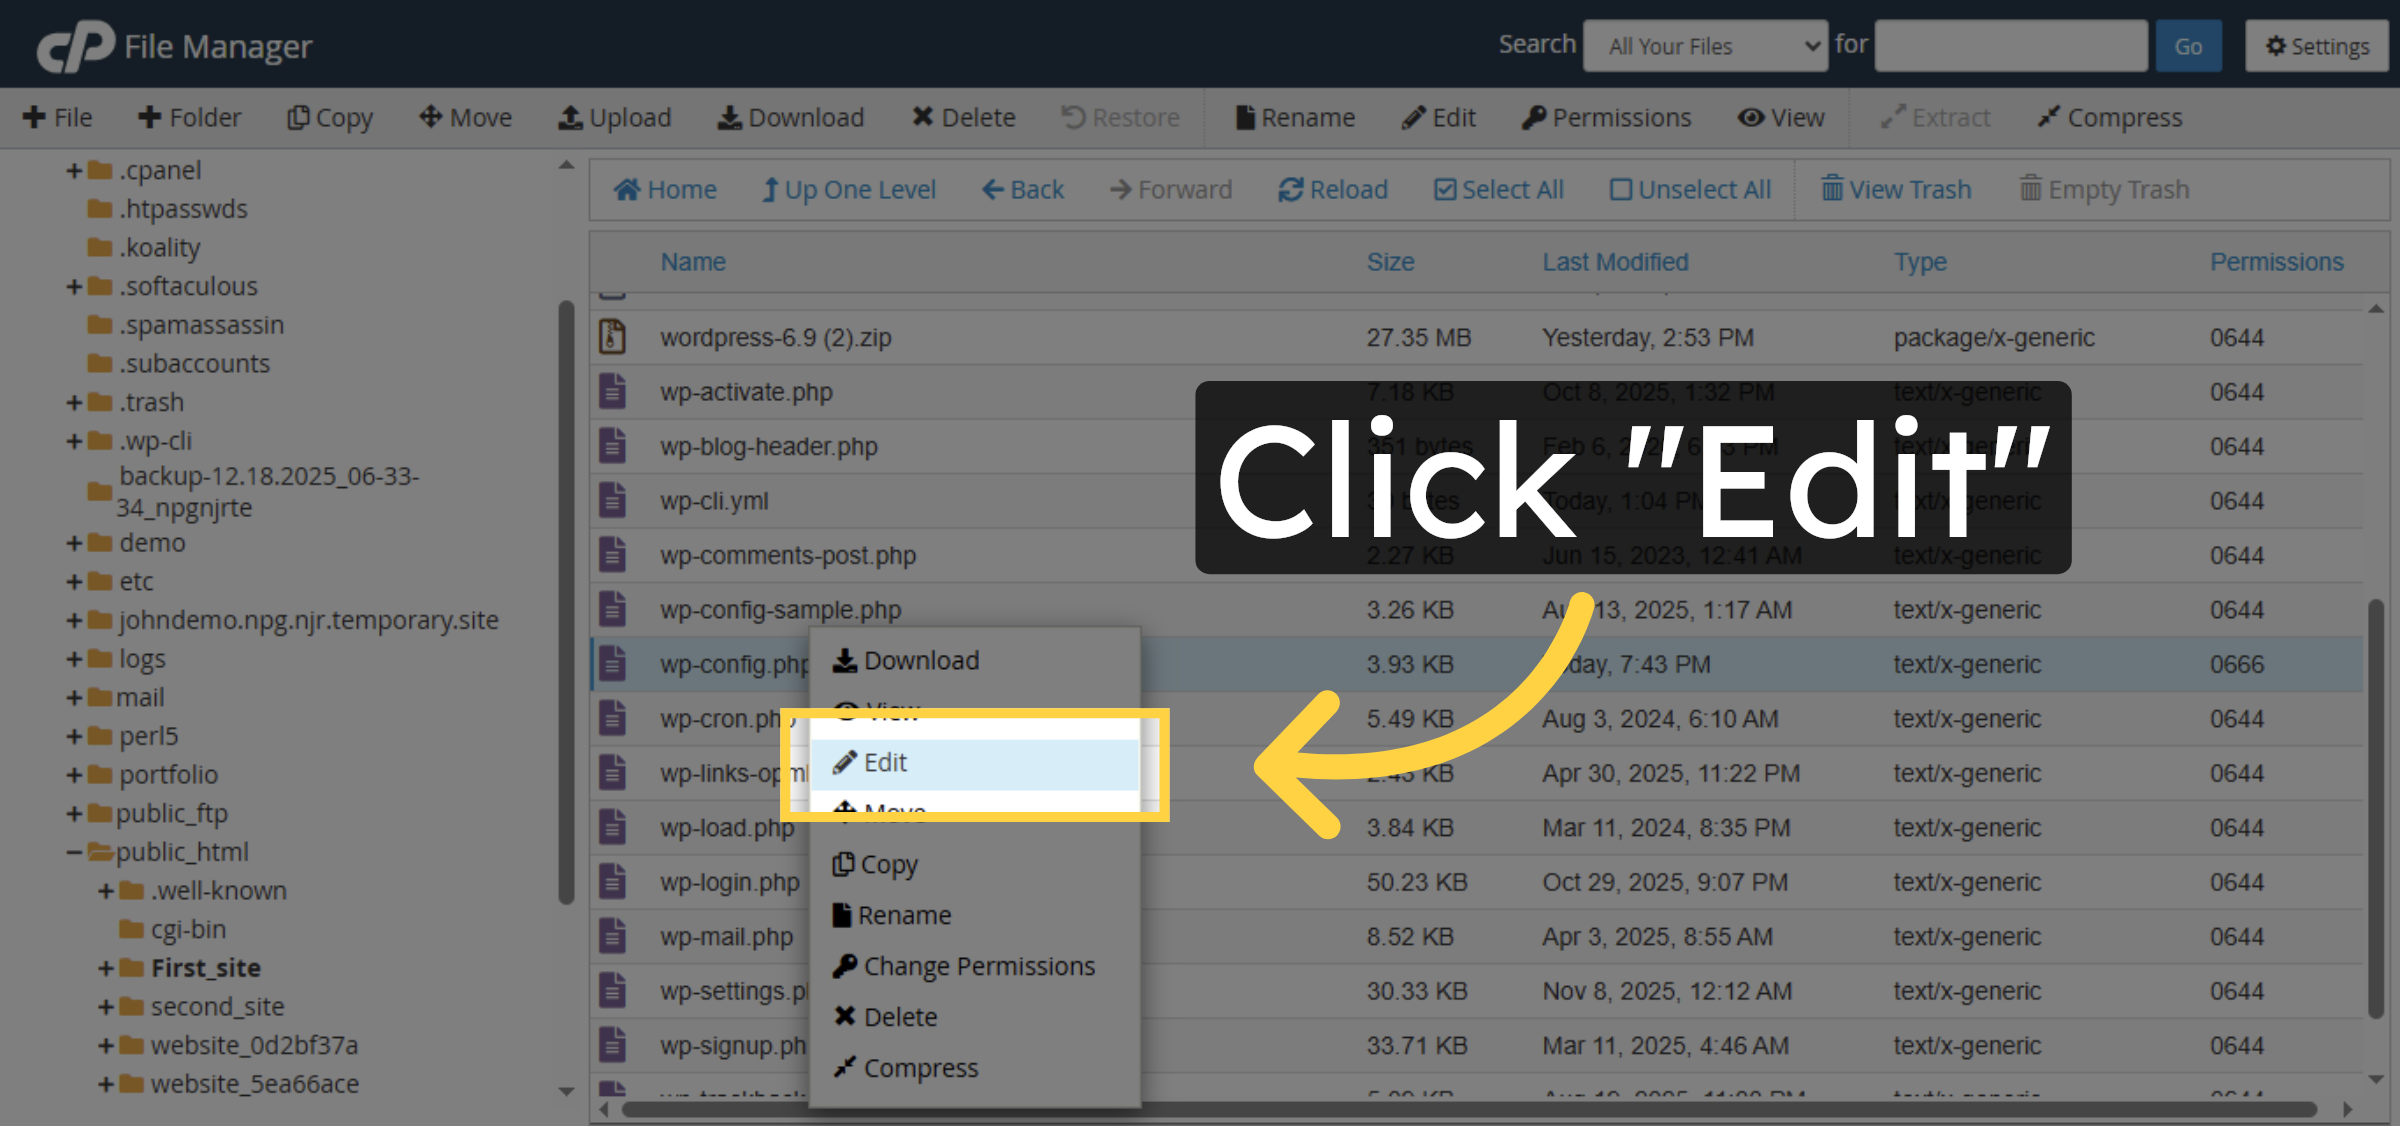
7. Initiate File Edit
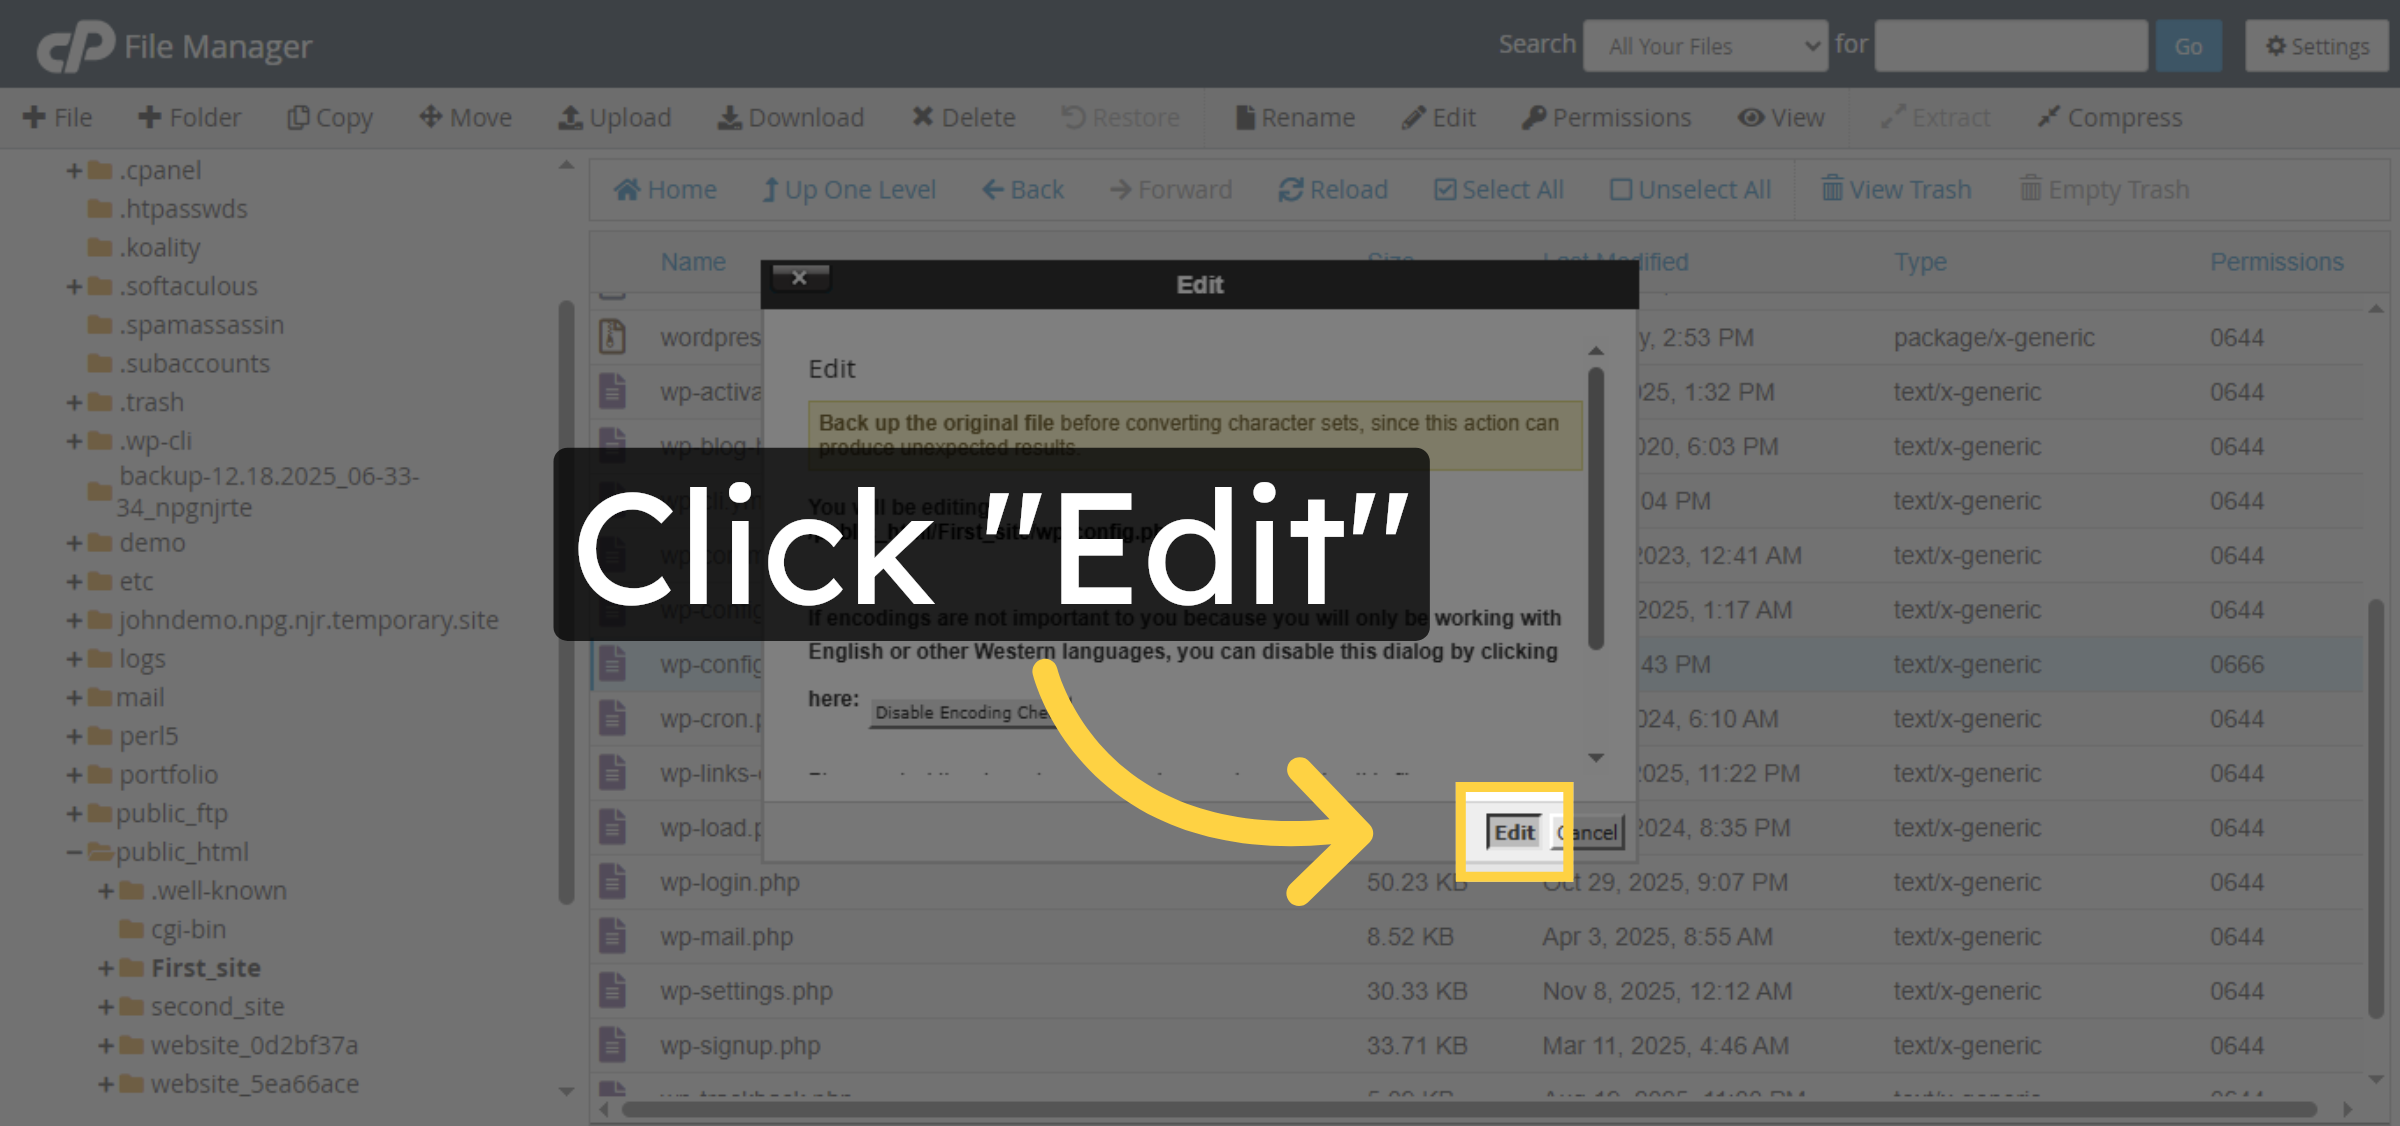
8. Confirm Edit Action
9. Navigate To Save Location
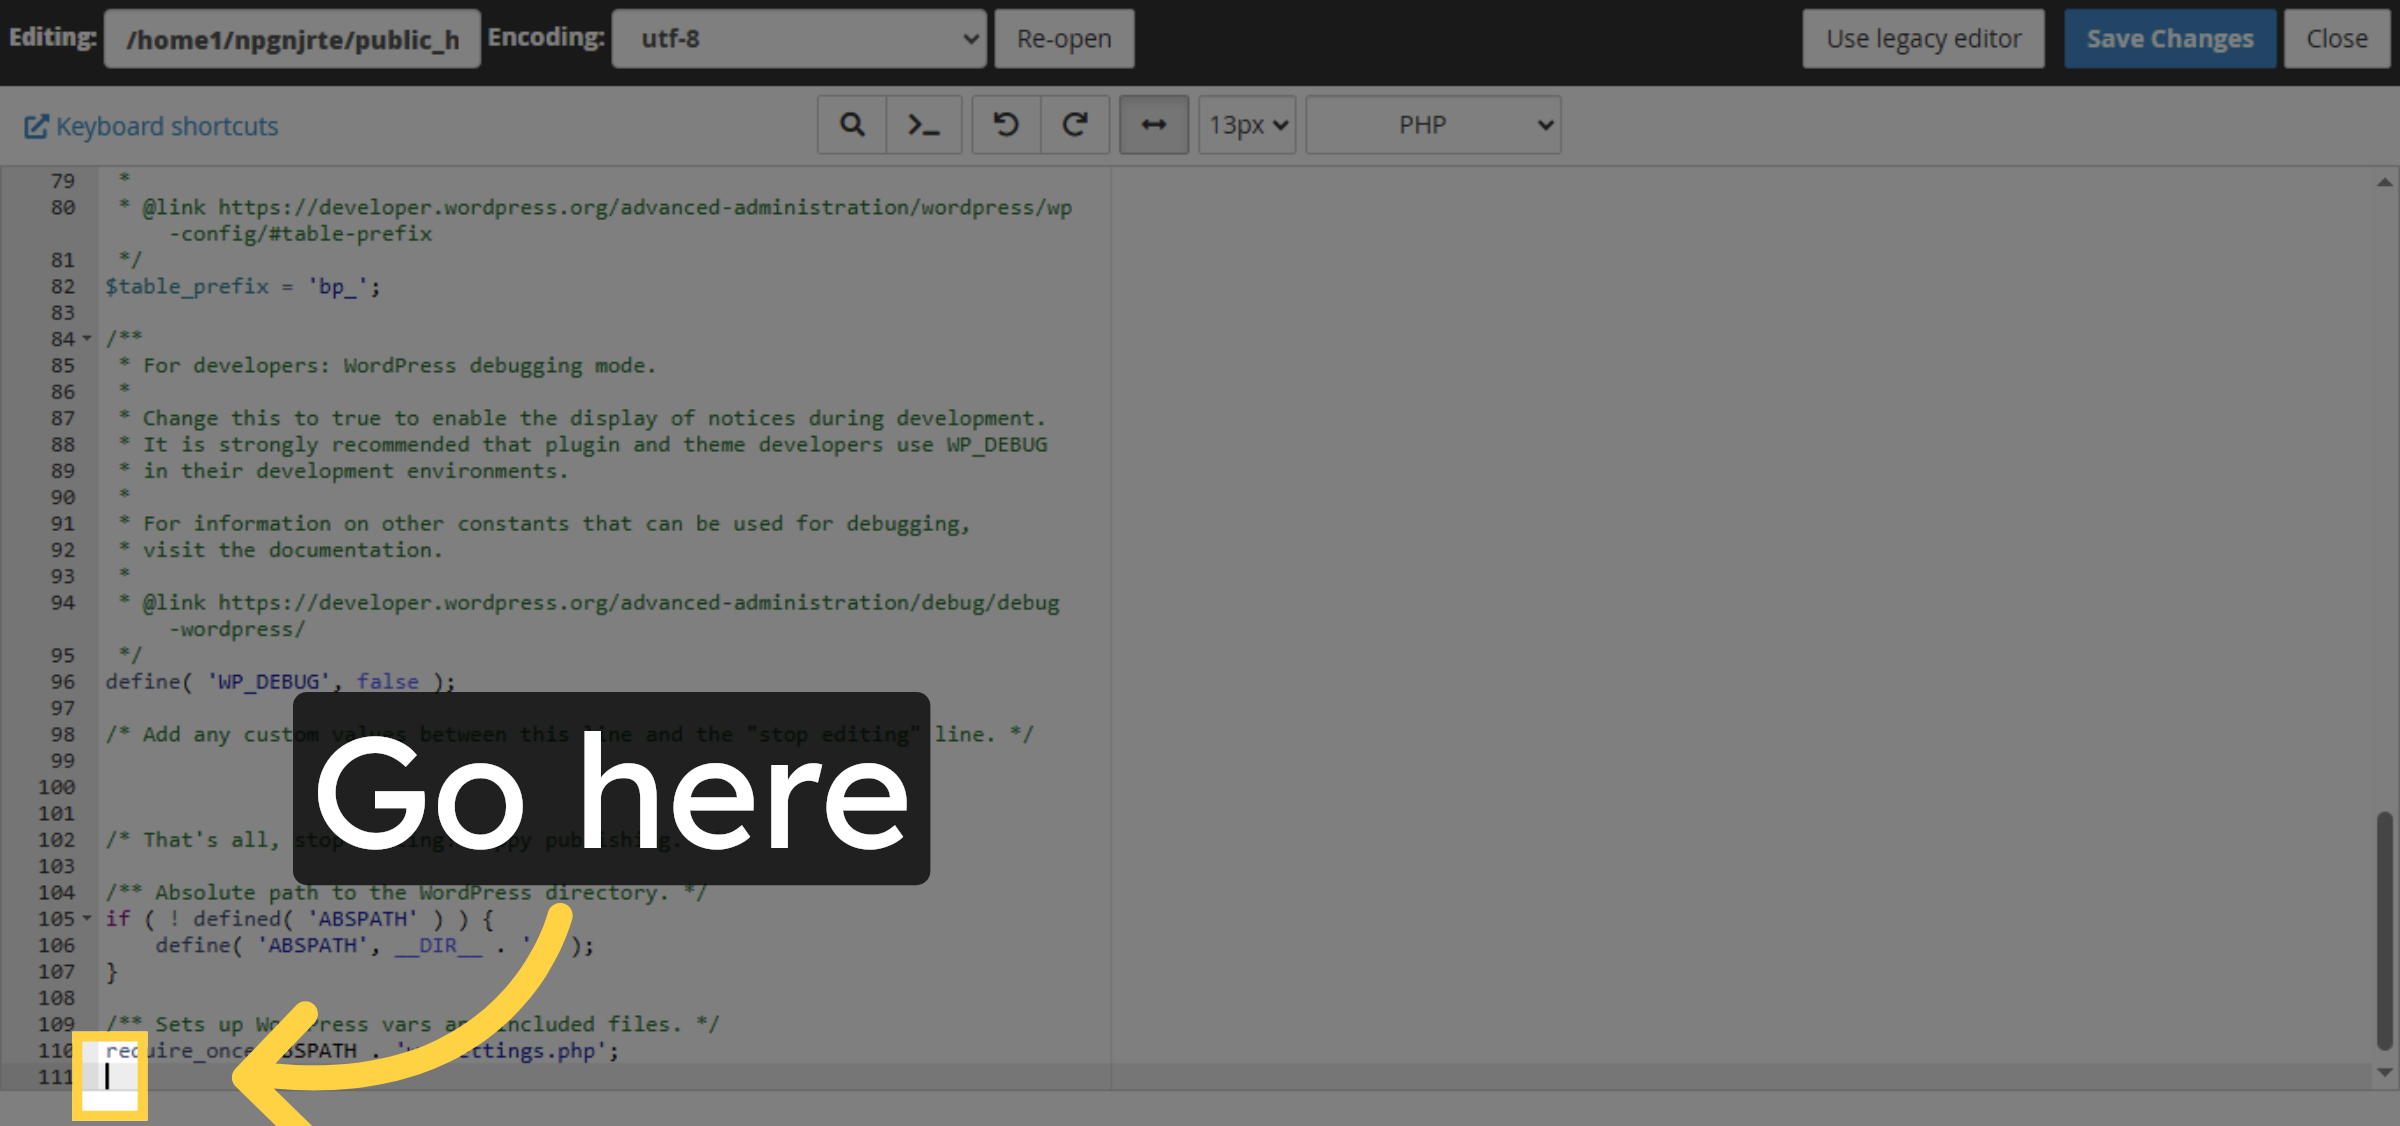
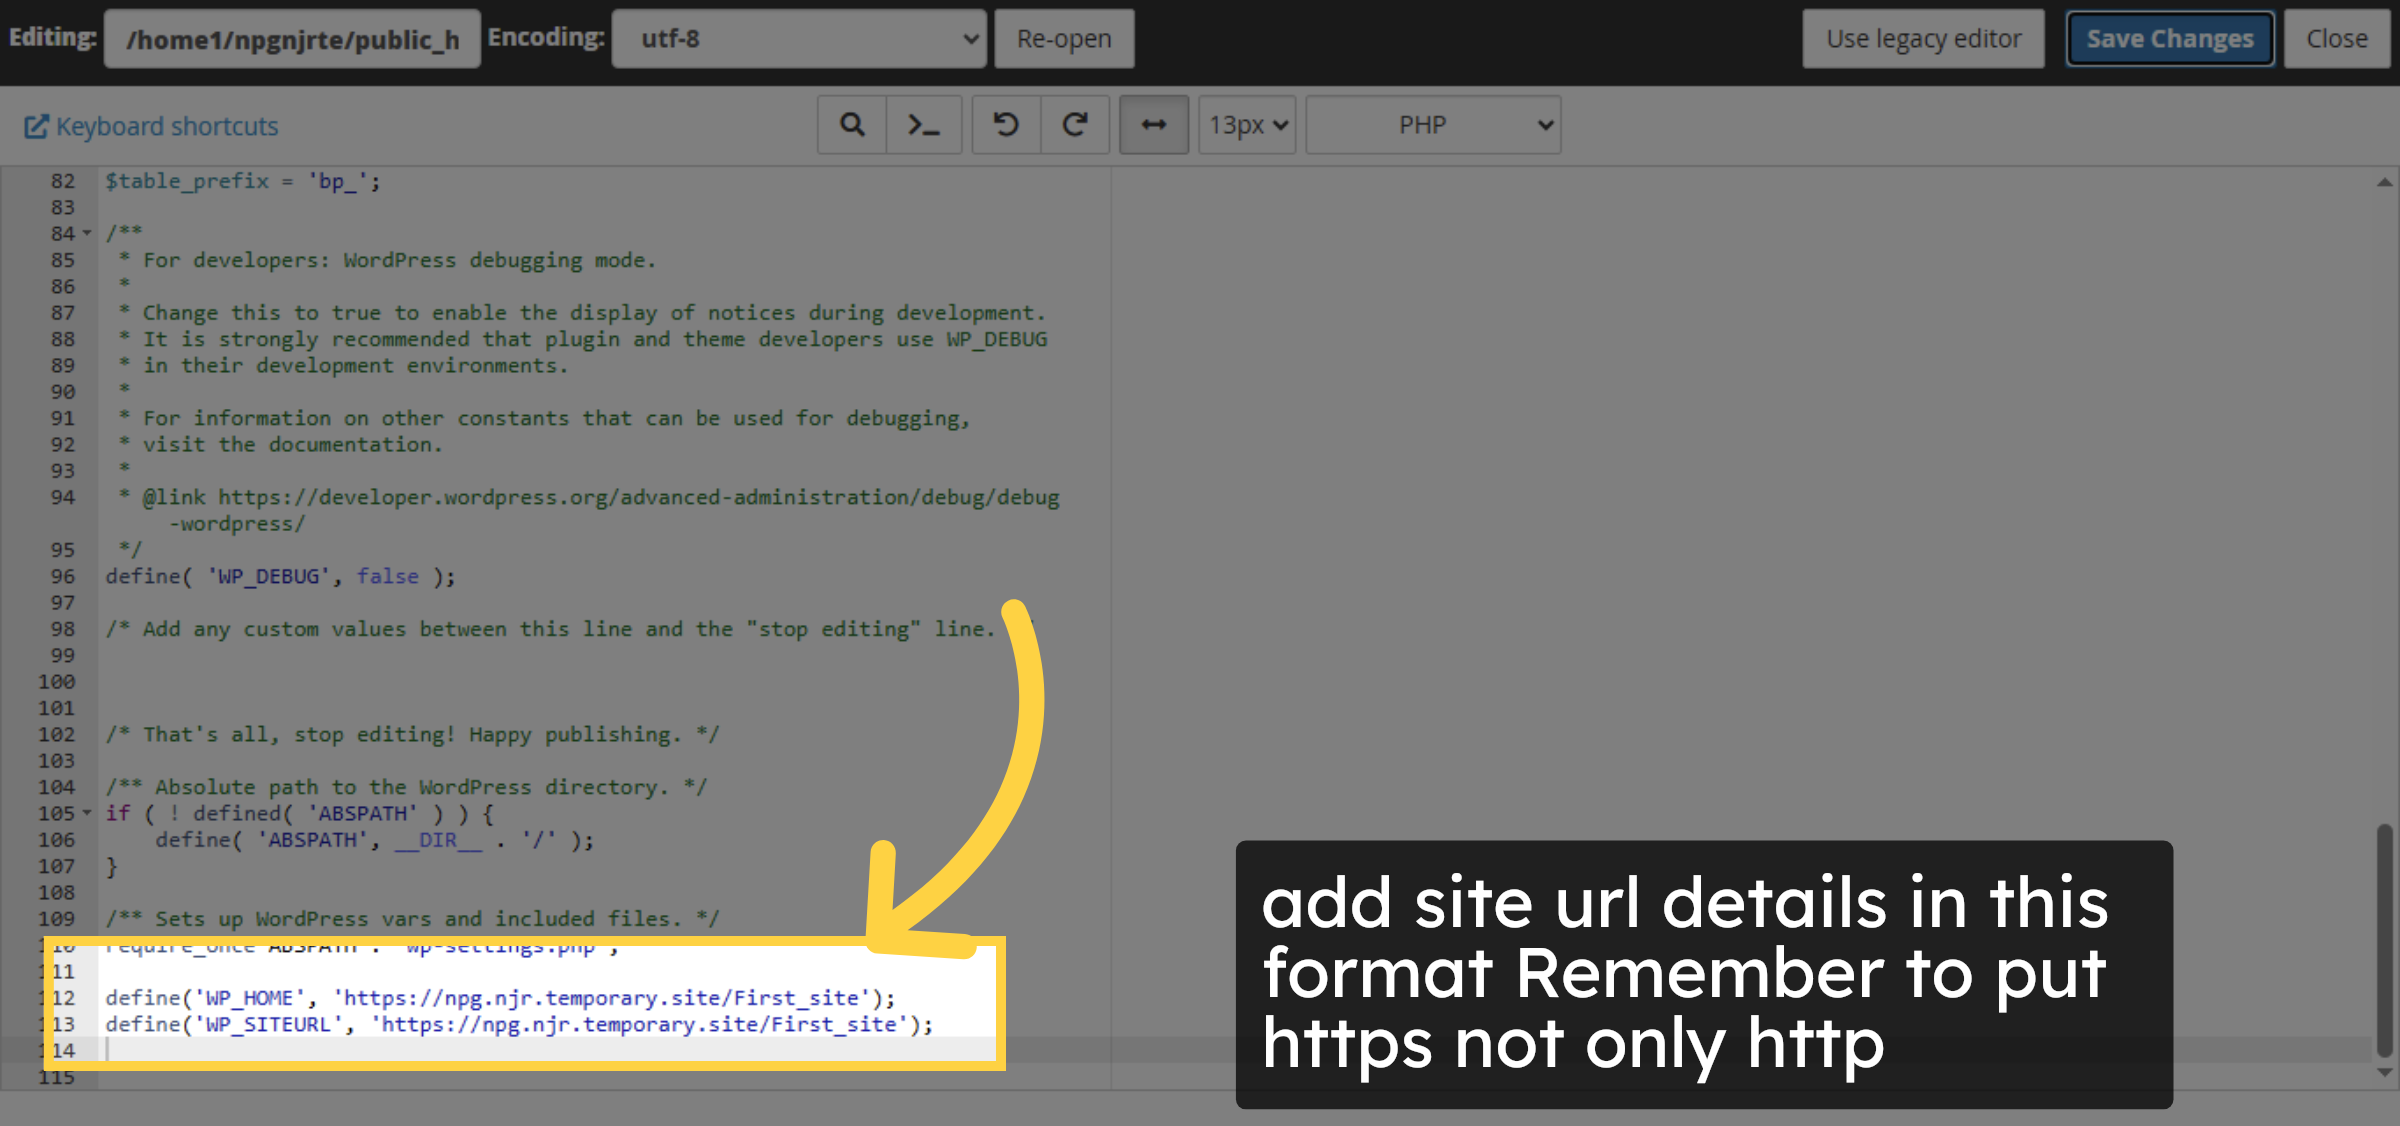
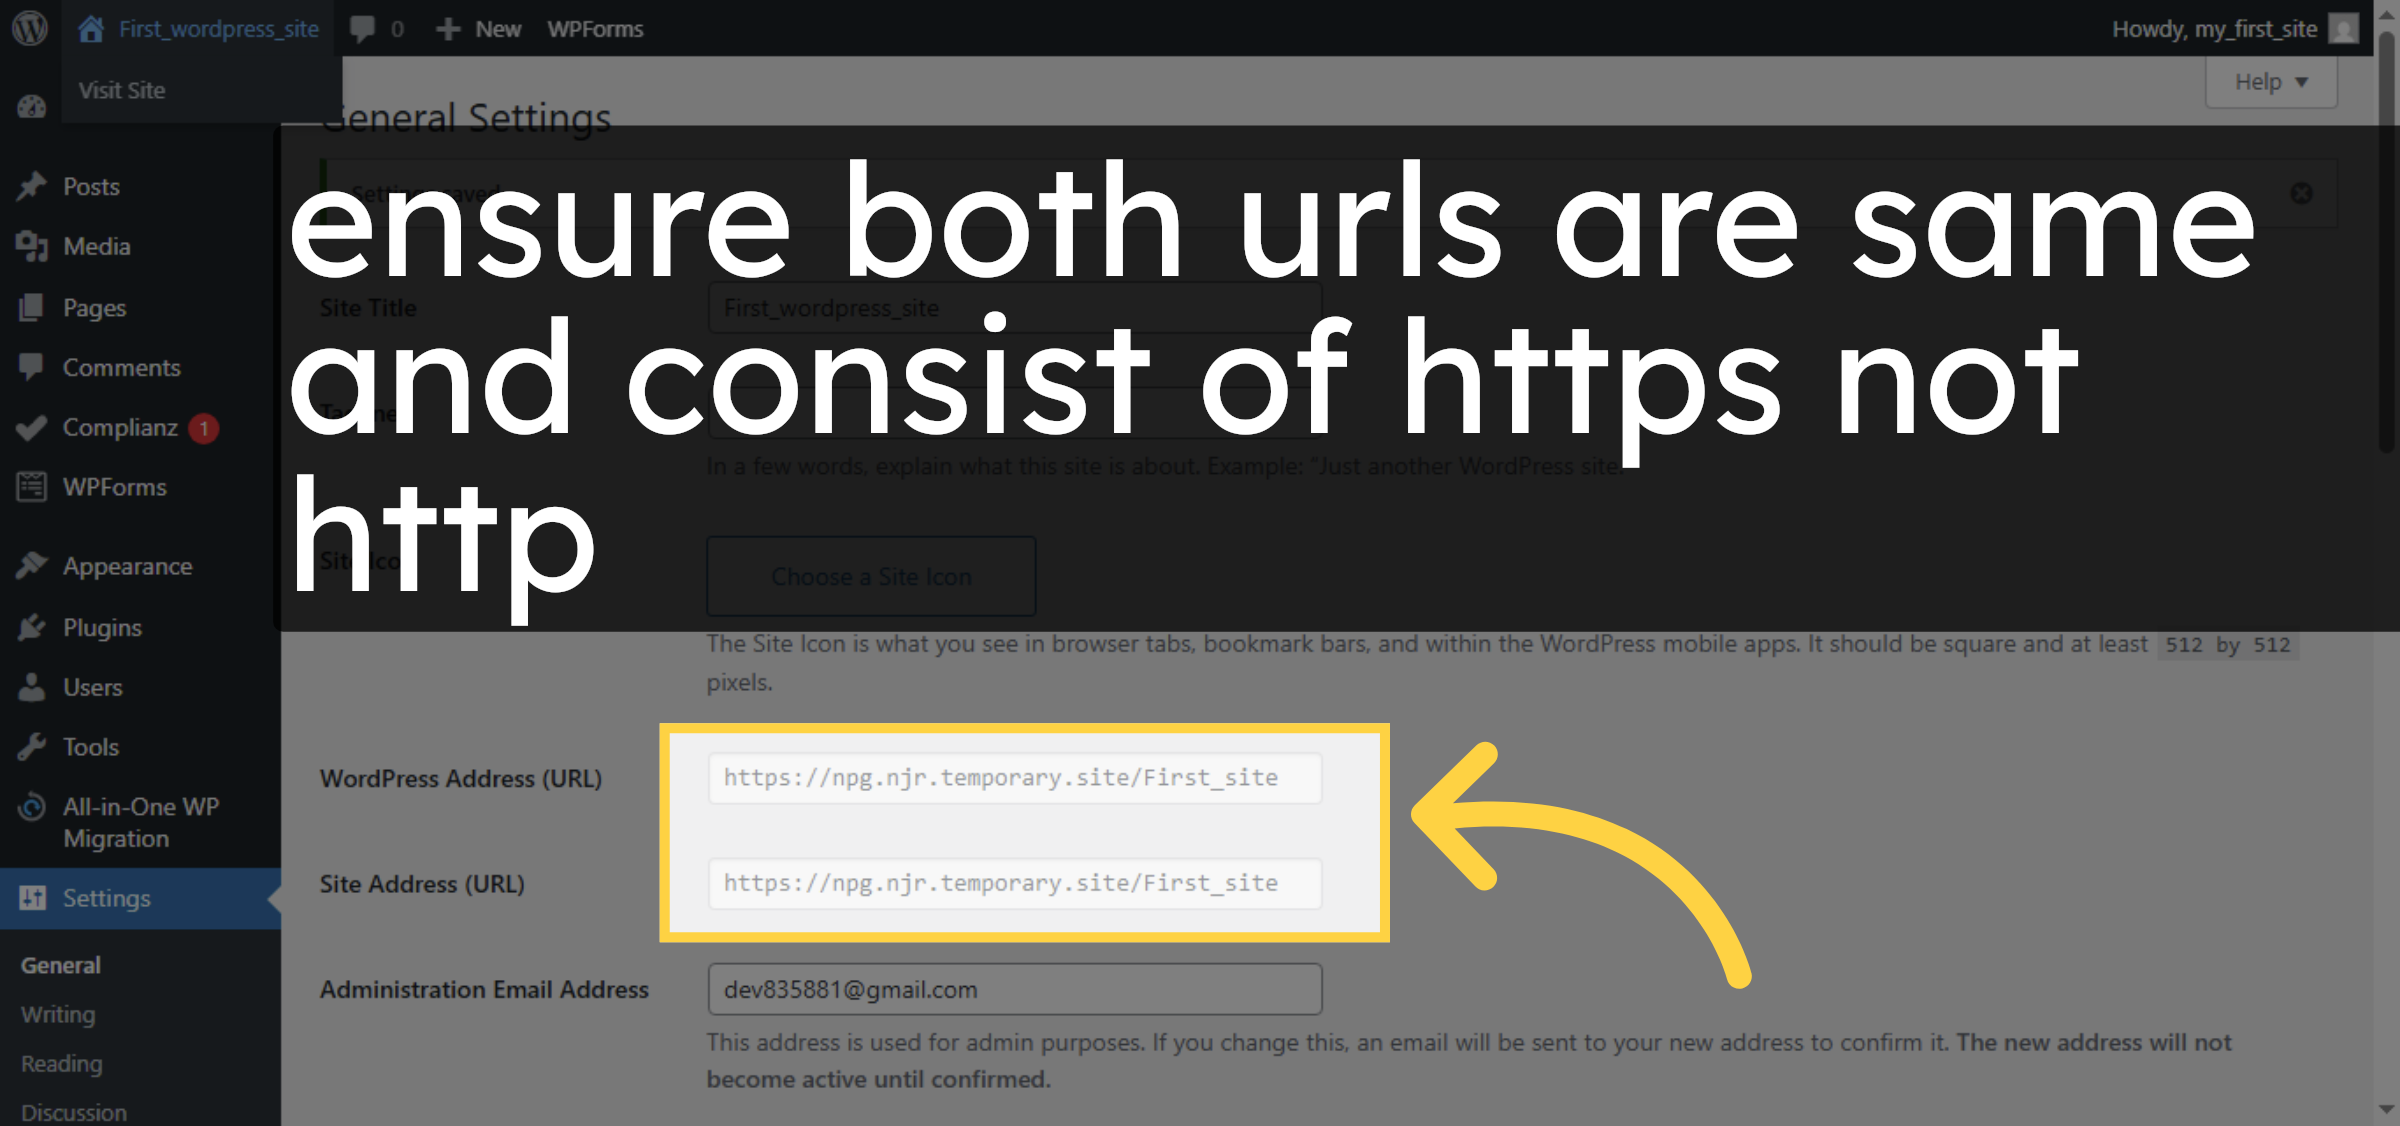
10. Fill site URLs
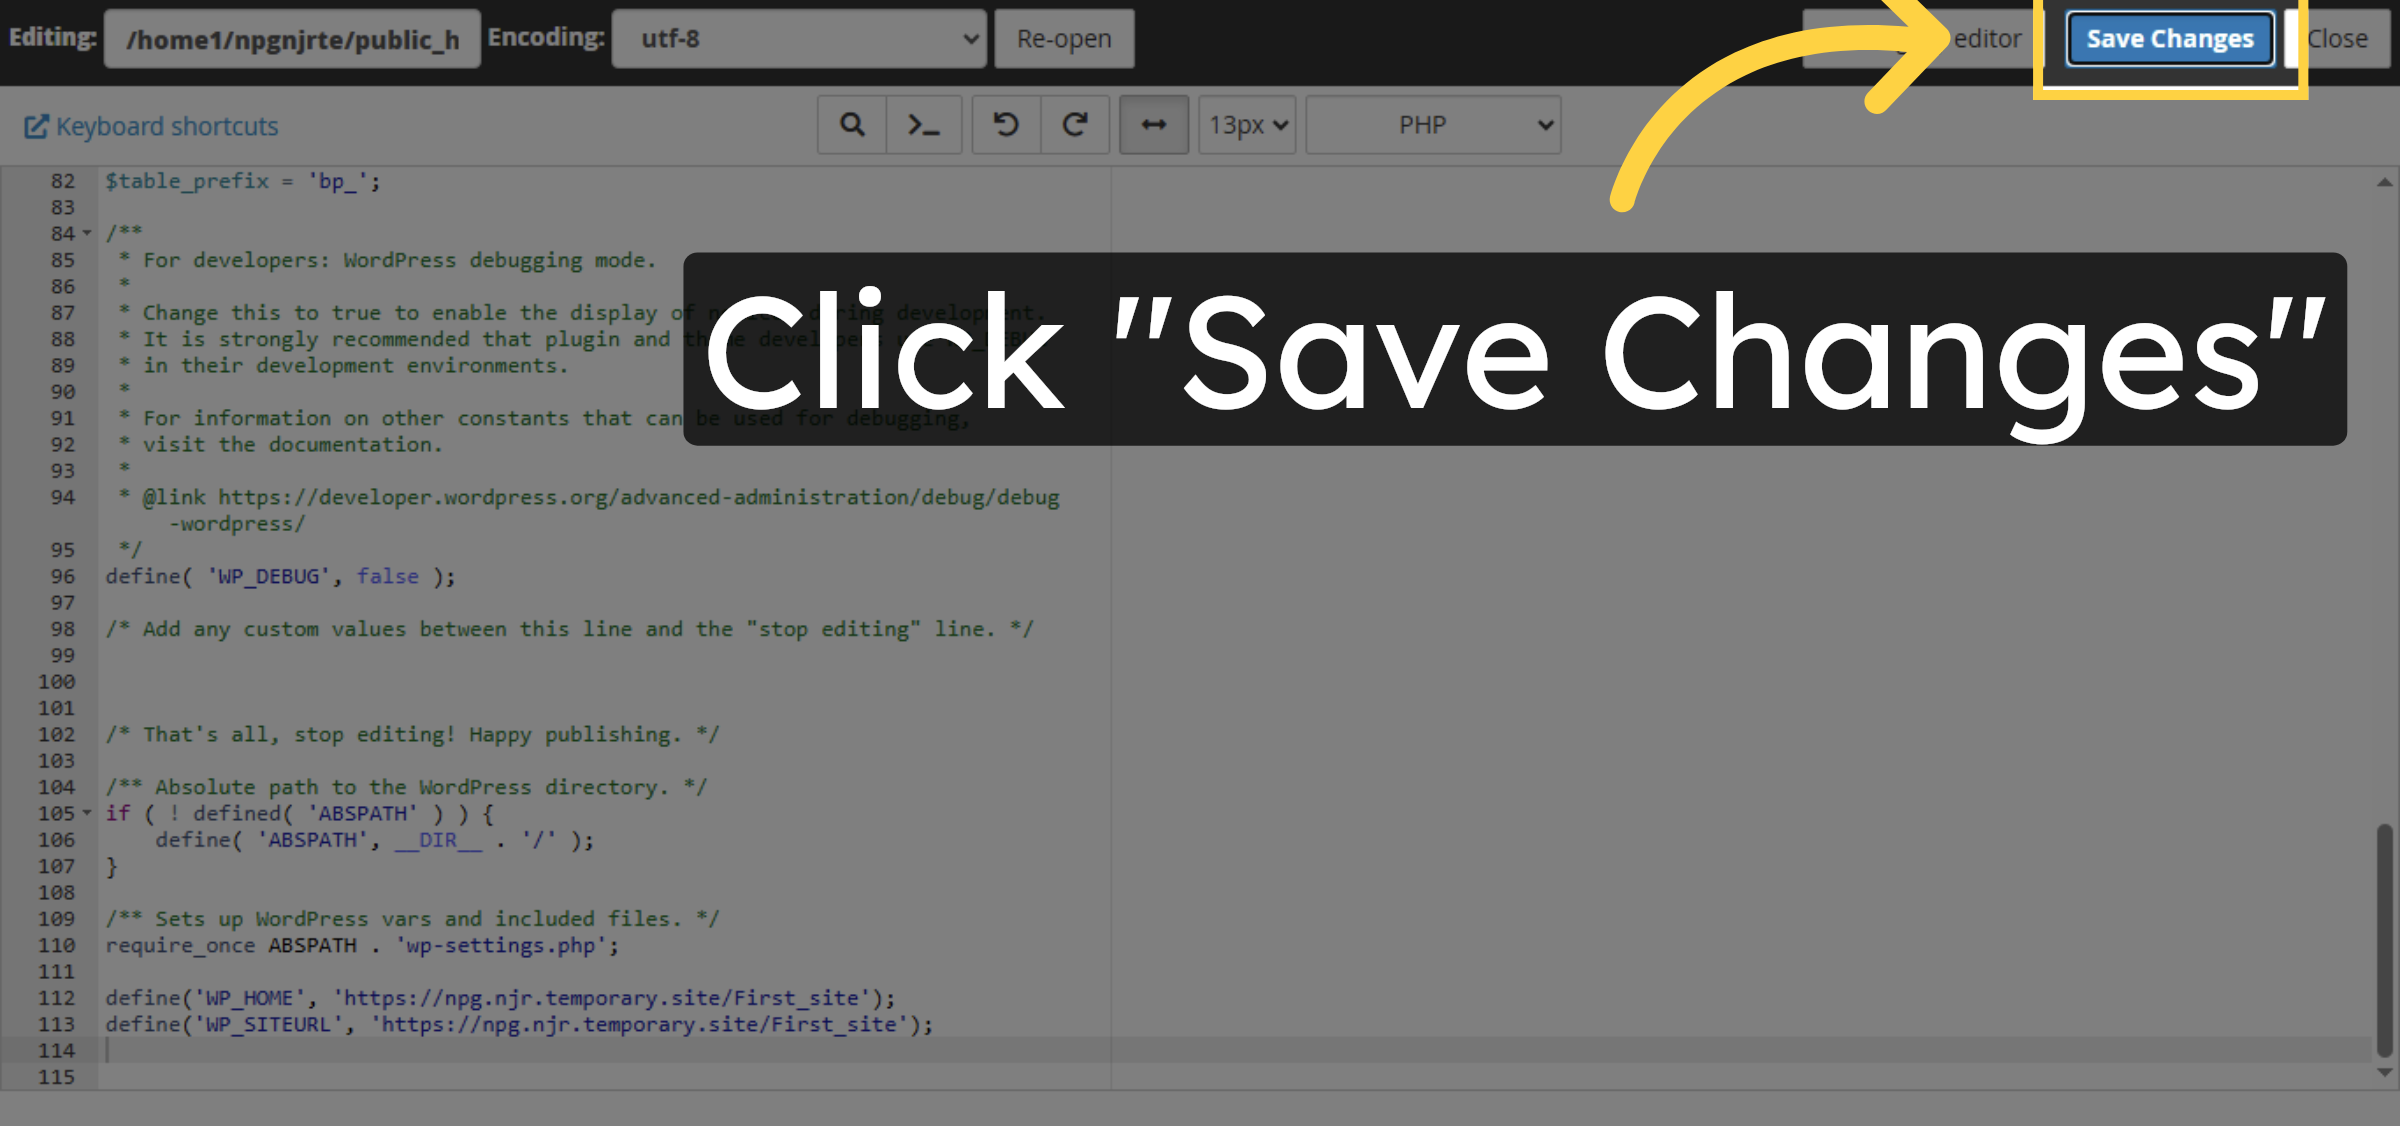
11. Confirm Save Action


12. Open your website
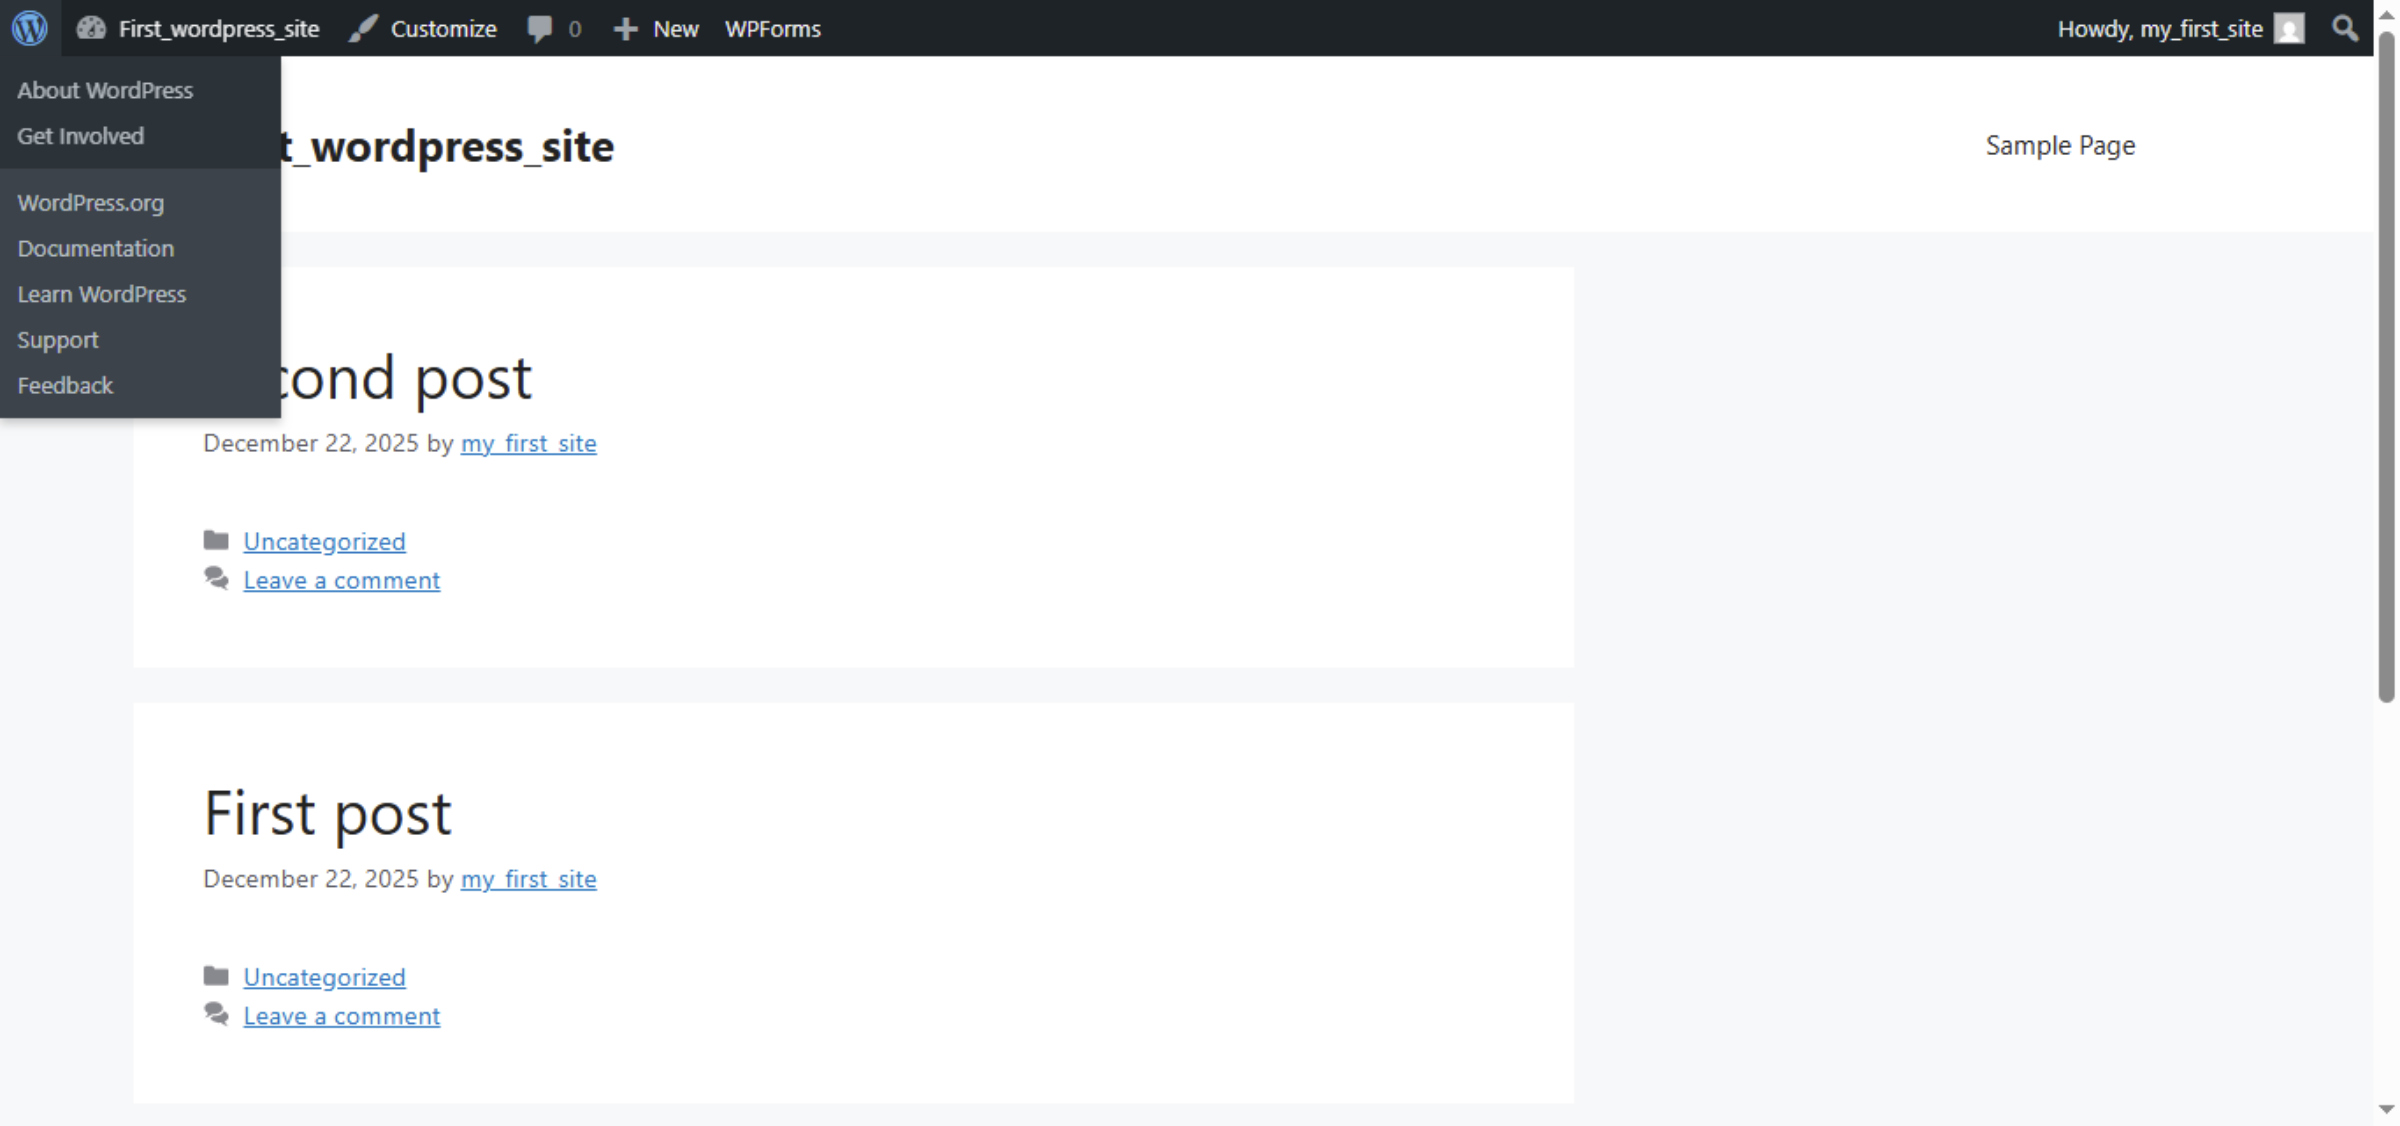
13. Open admin Dashboard
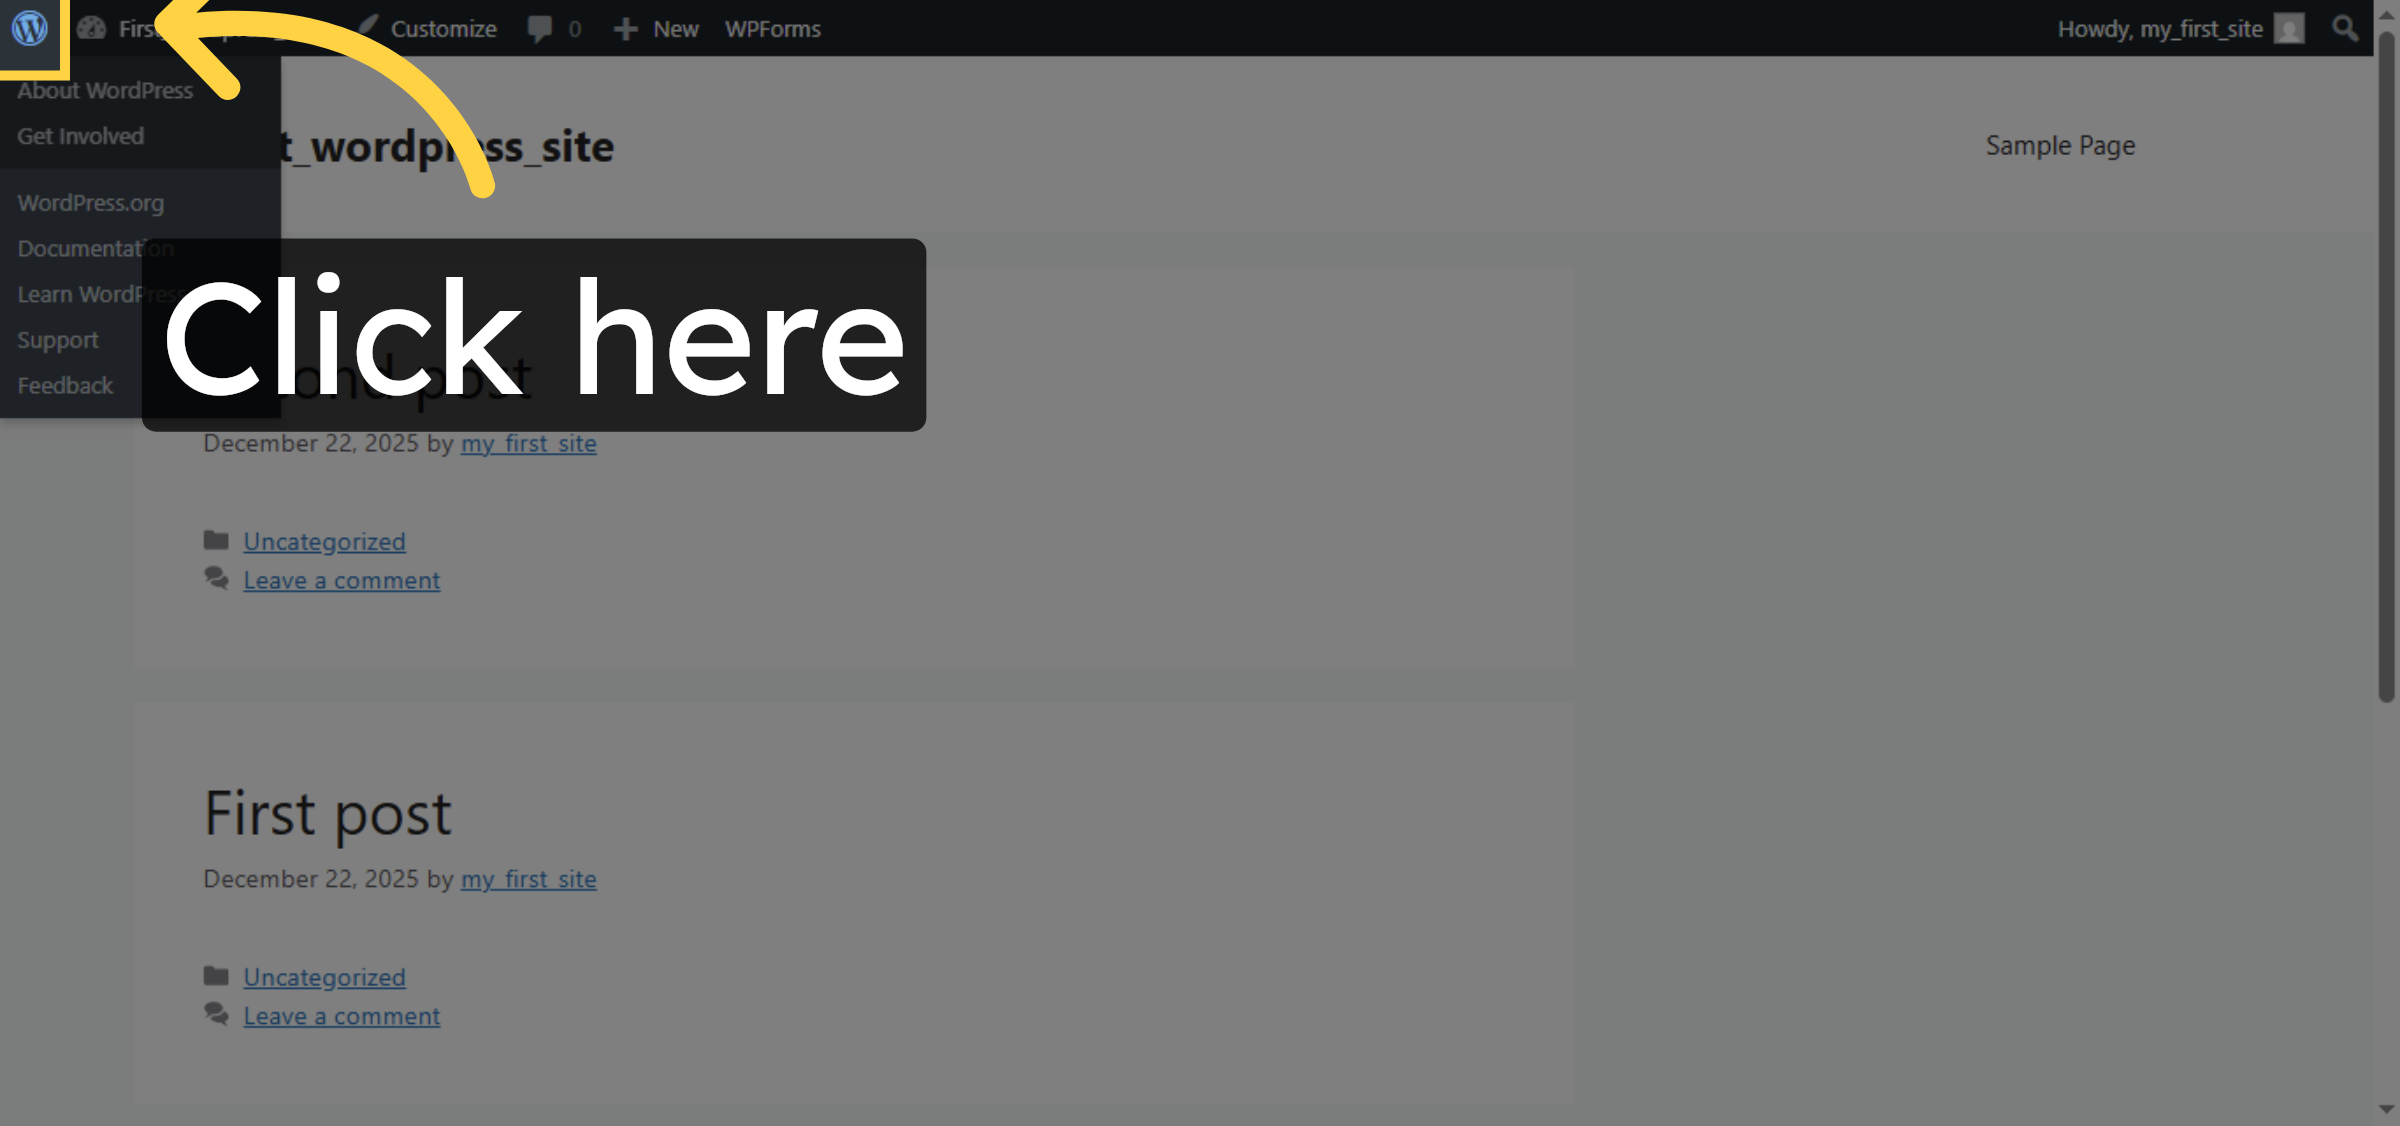
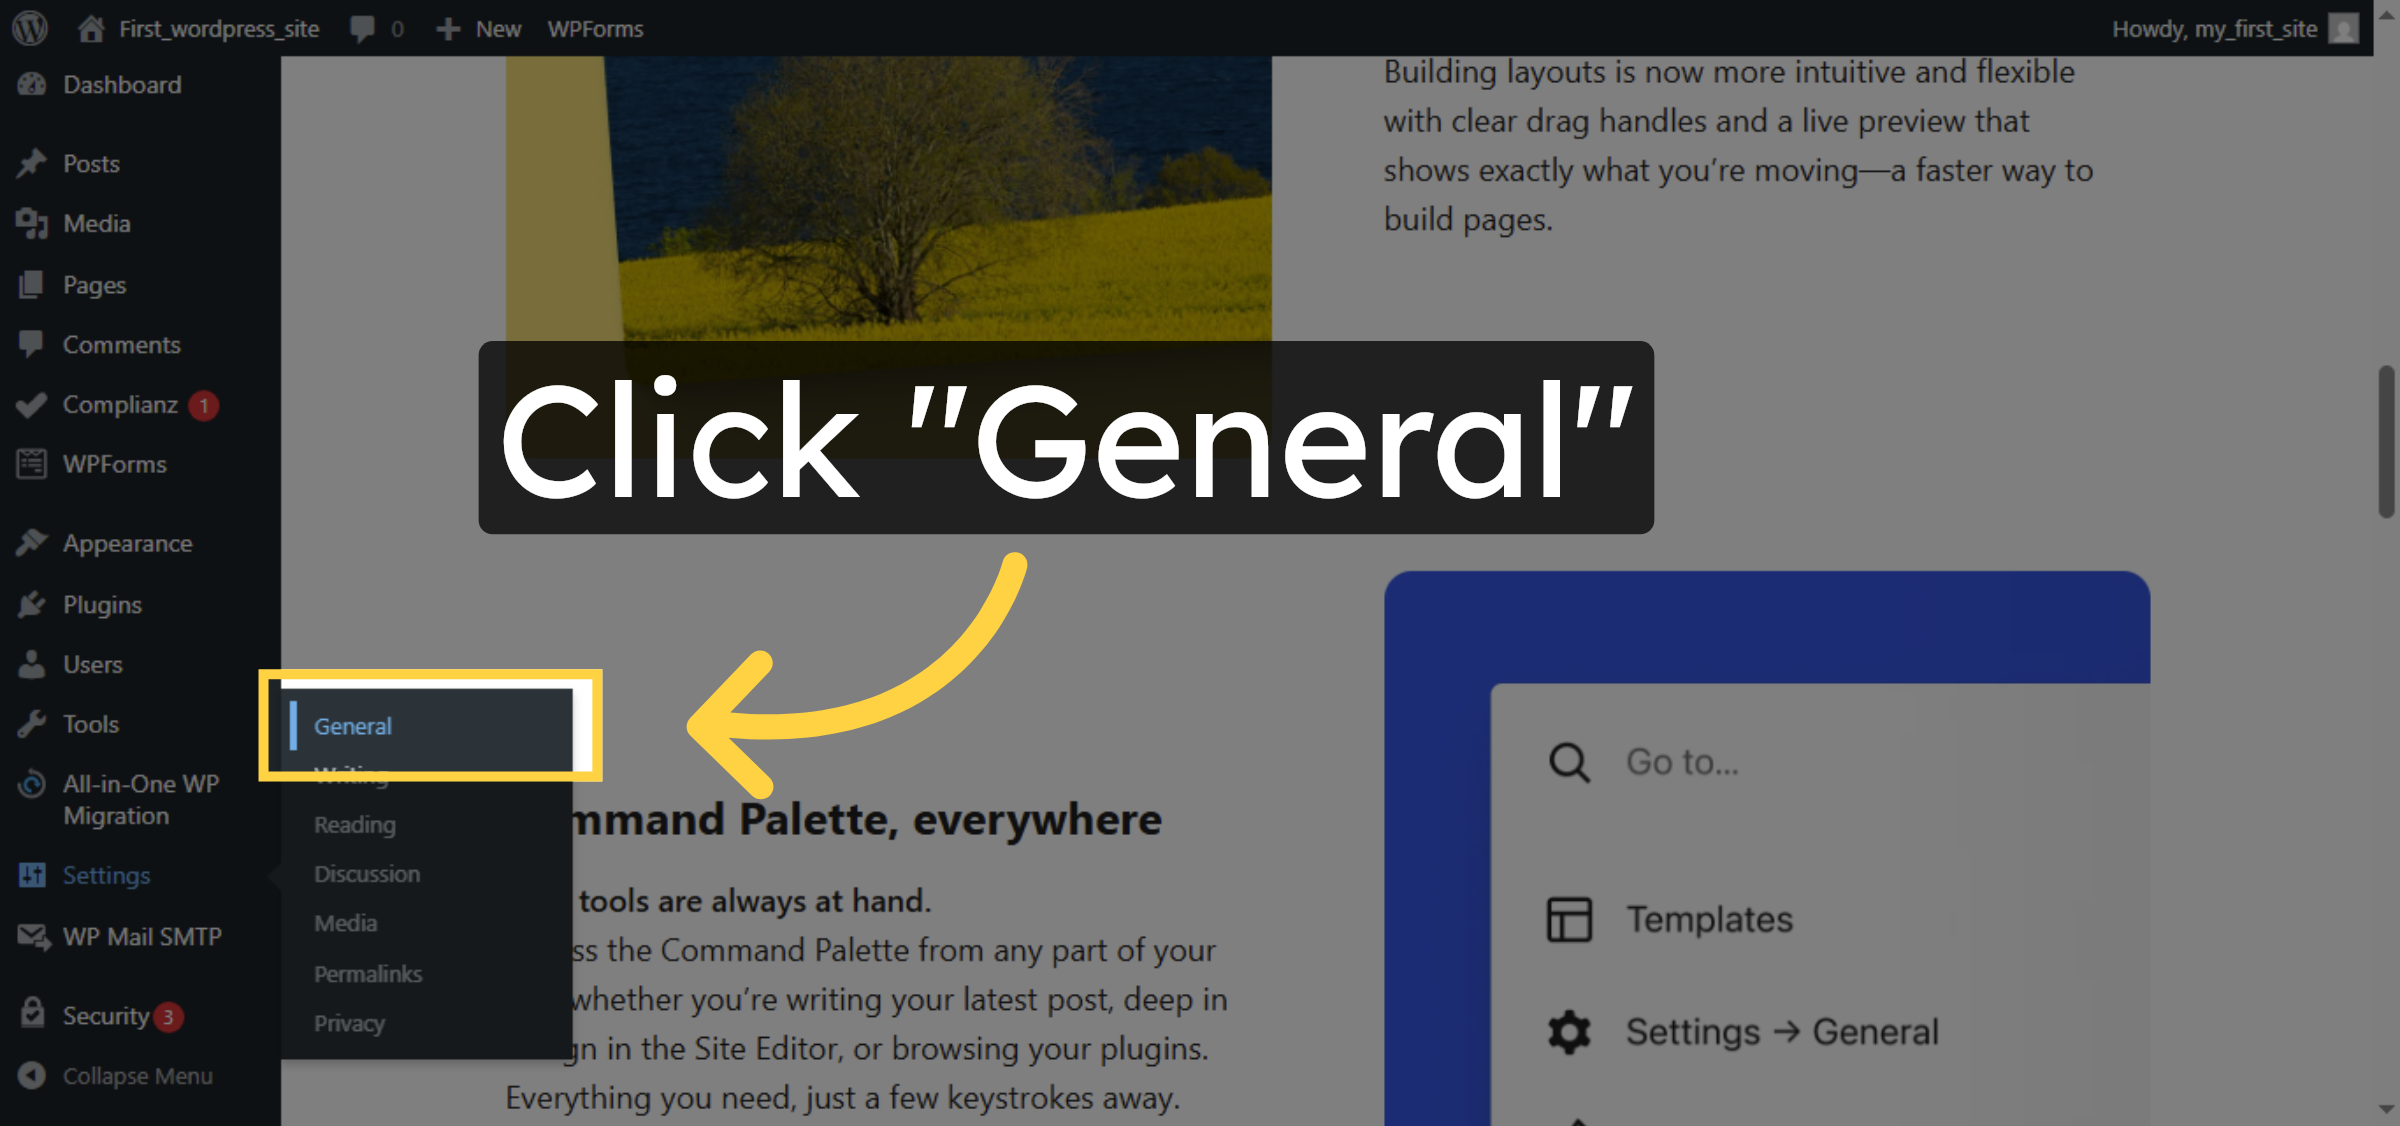
14. Open General Settings
15. Open WordPress Site Folder
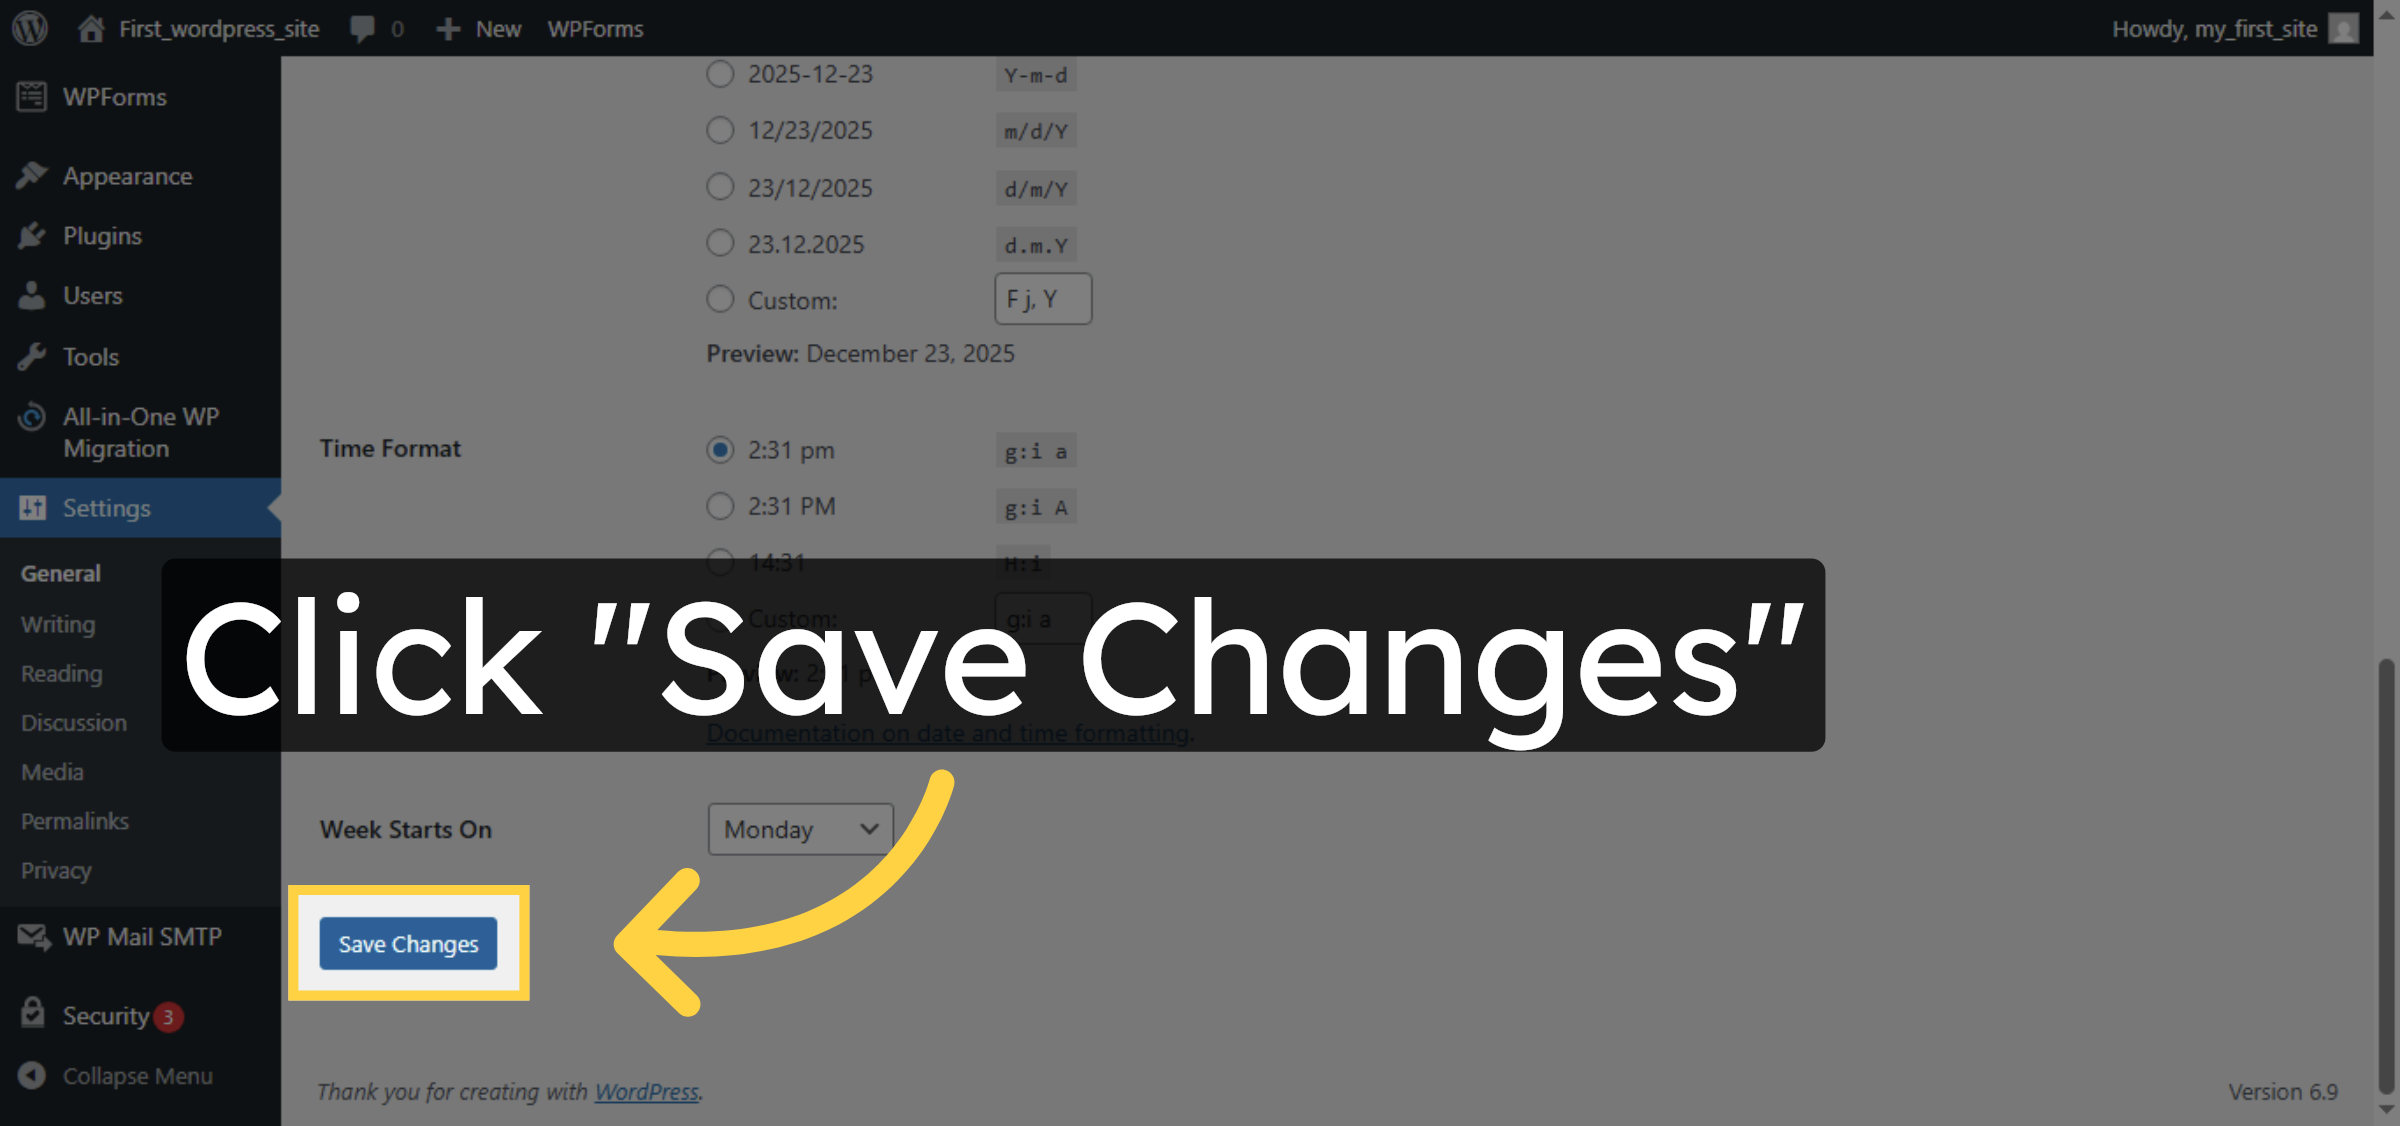
16. Save General Settings
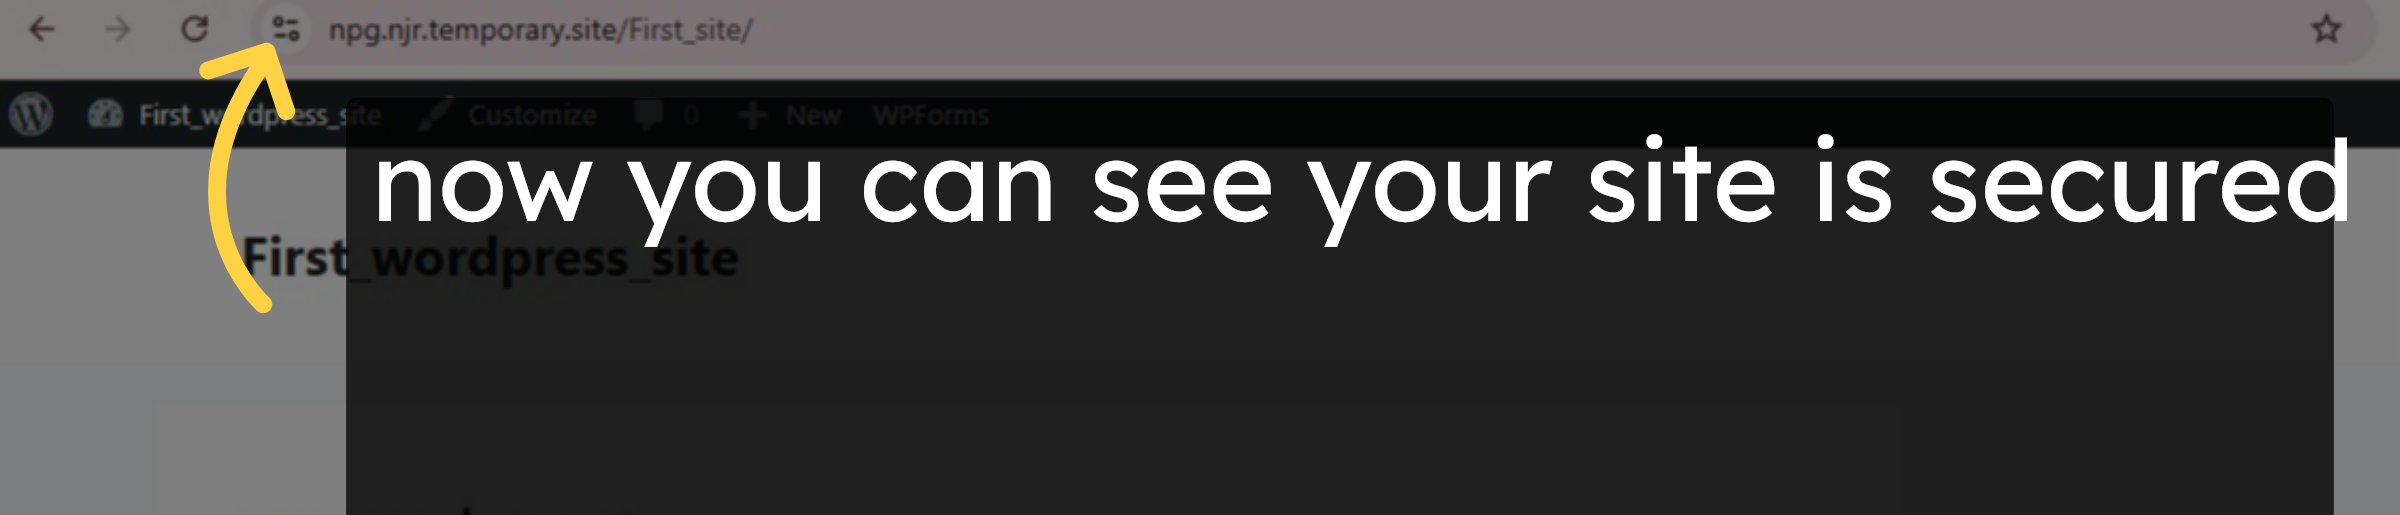
17. Verify
Conclusion
By following the steps outlined in this guide, you can successfully secure your WordPress website hosted on HostGator by enabling HTTPS and forcing all traffic to use encrypted connections. Updating the wp-config.php file and WordPress general settings ensures that your website URL consistently uses HTTPS, protecting sensitive data and providing a safer experience for your visitors. This method also boosts your site’s credibility and improves search engine performance, offering a reliable solution for maintaining website security.
-
Visit: https://www.woohelpdesk.com
-
Call Us Toll-Free: +1 888 602 0119 (US & Canada)
-
Get professional assistance with WordPress security, HTTPS configuration, plugin setup, and HostGator hosting management


