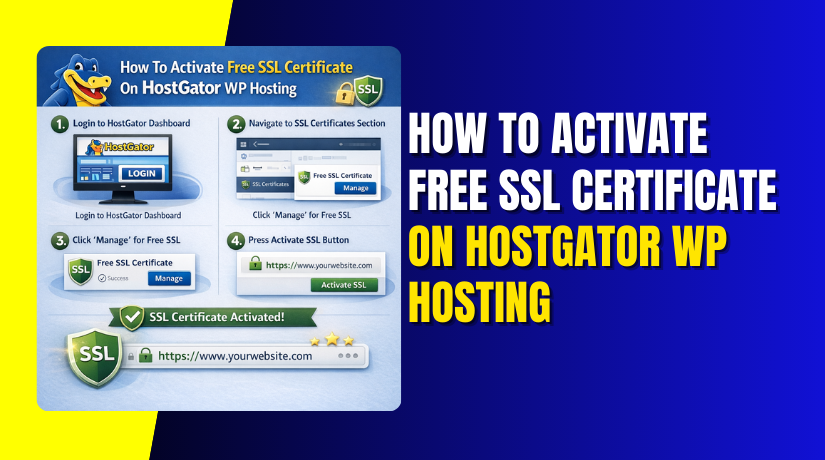
How To Activate Free SSL Certificate On HostGator WP Hosting
Introduction
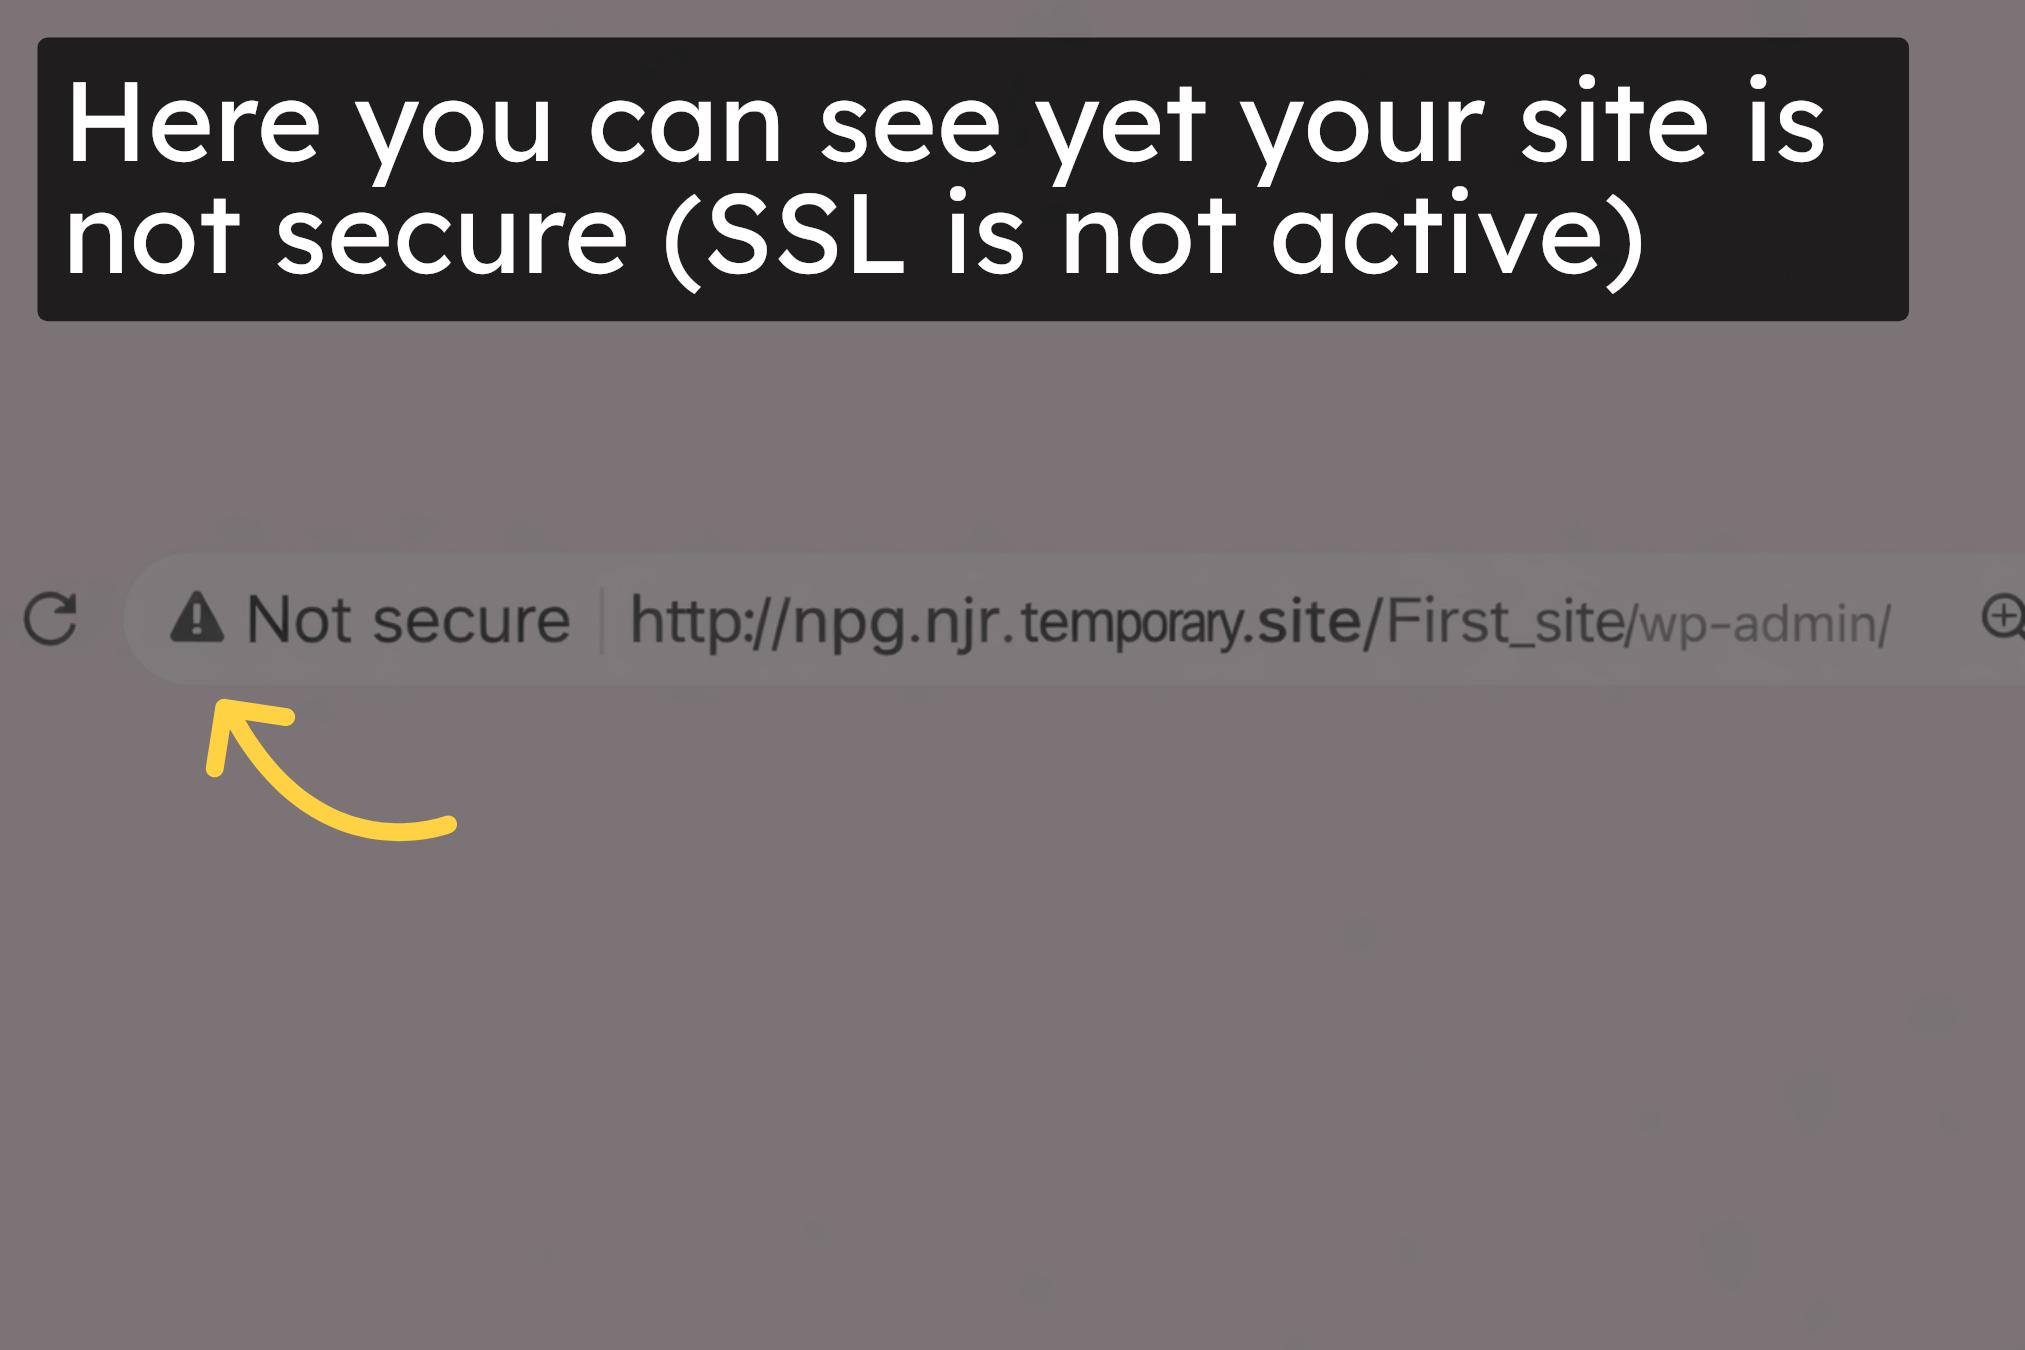
An SSL certificate is essential for securing your WordPress website and protecting user data. When SSL is not enabled, visitors may see a “Not Secure” warning in their browser, which can affect trust and search engine rankings. This guide explains how to resolve SSL issues on HostGator WordPress hosting by activating a free SSL certificate using the AutoSSL feature in cPanel. It walks you through accessing the HostGator dashboard, navigating to cPanel, running the AutoSSL process, and verifying SSL activation on your website. By following these steps, you can ensure that your WordPress site uses HTTPS and provides a secure browsing experience for all visitors.
1. SSL Issue
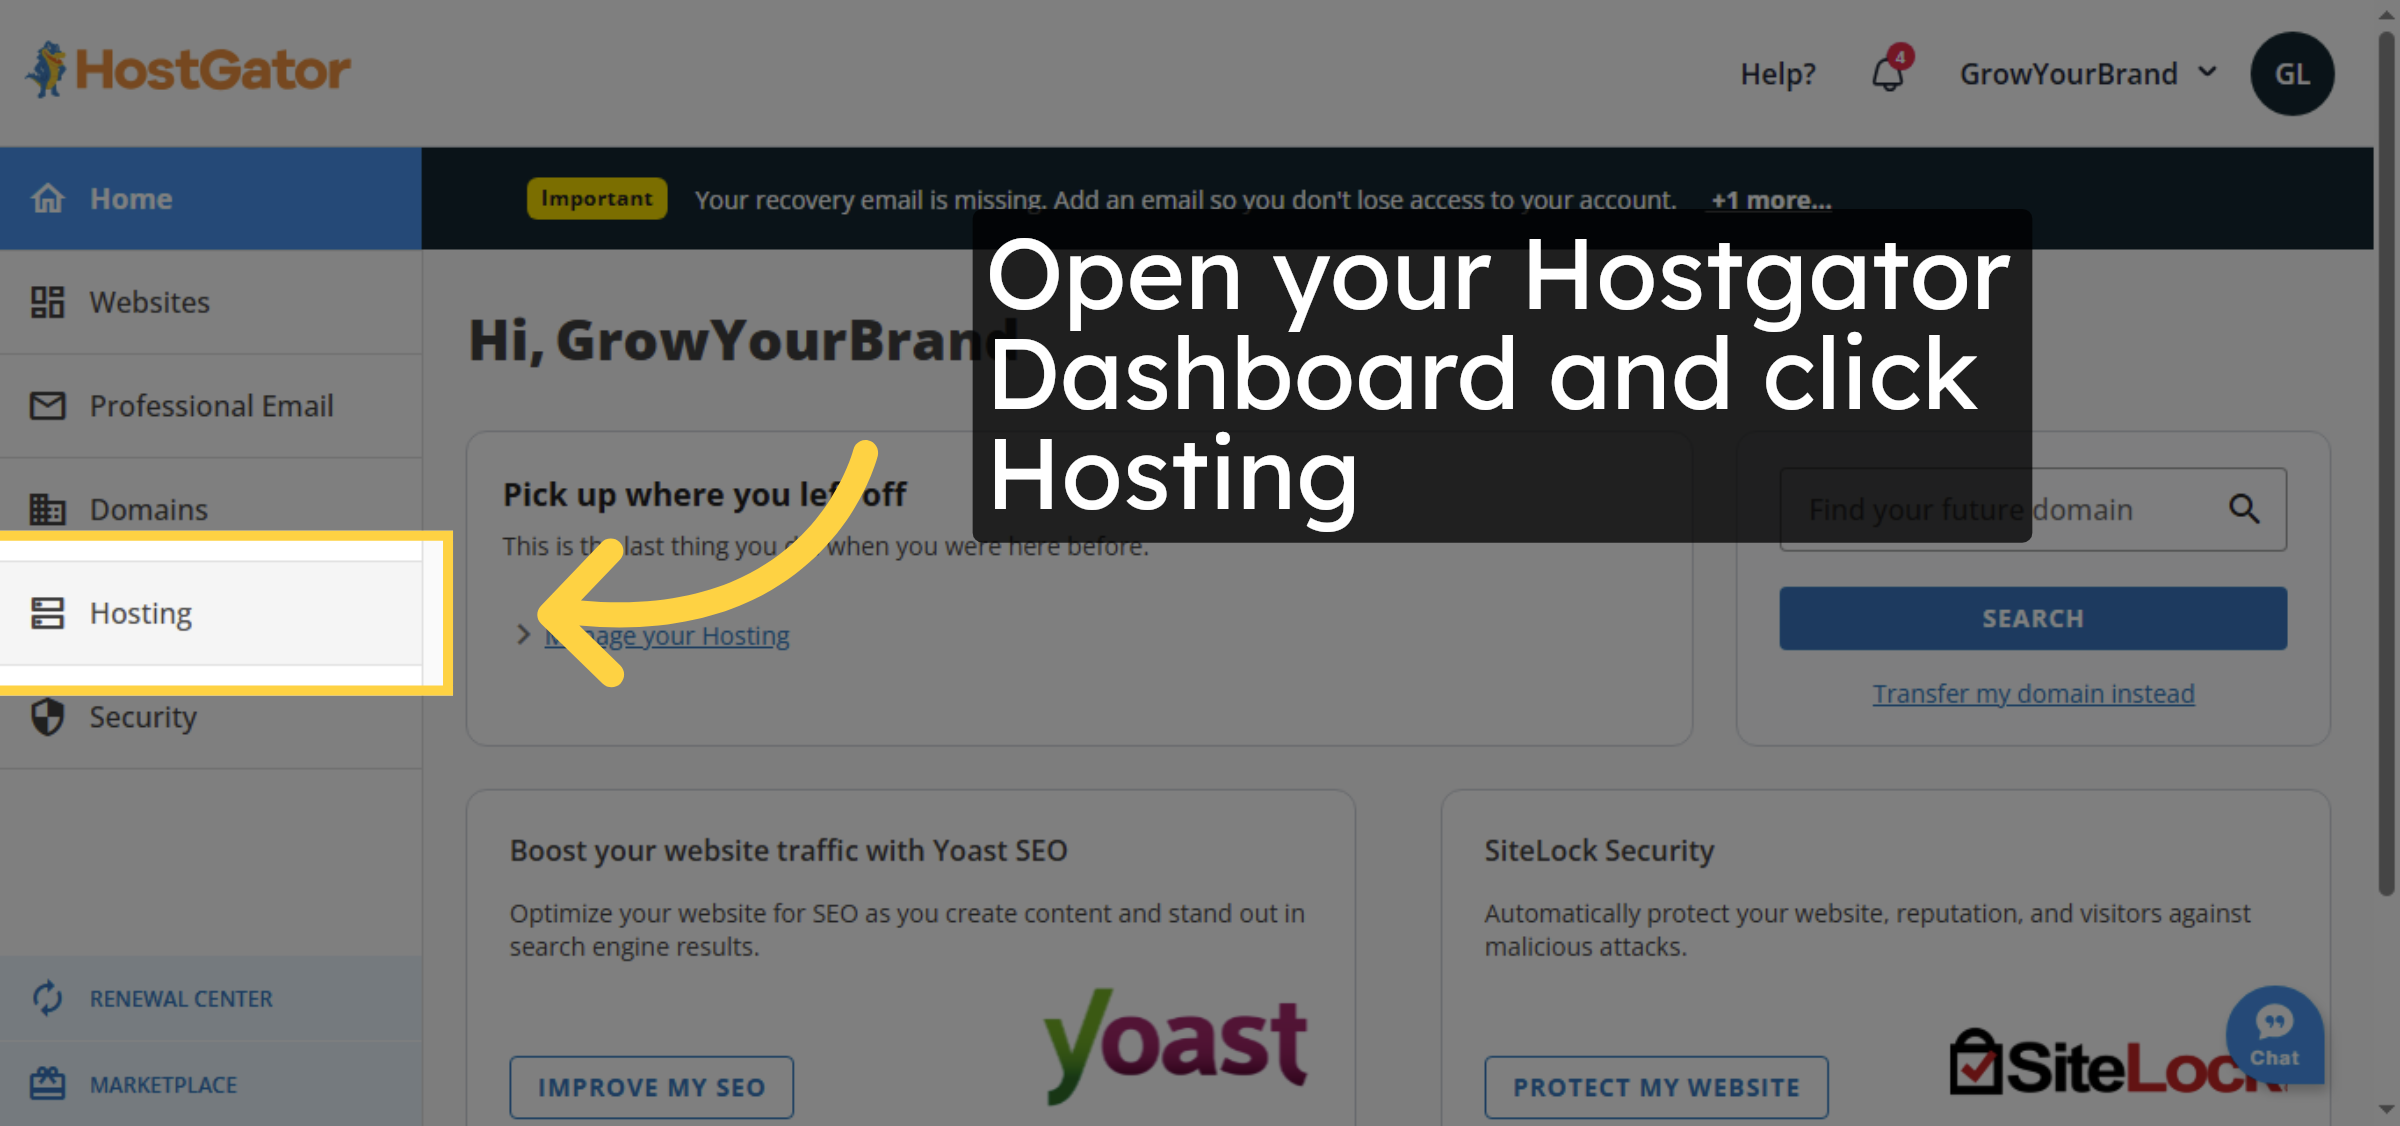
2. Open Hostgator Dashboard
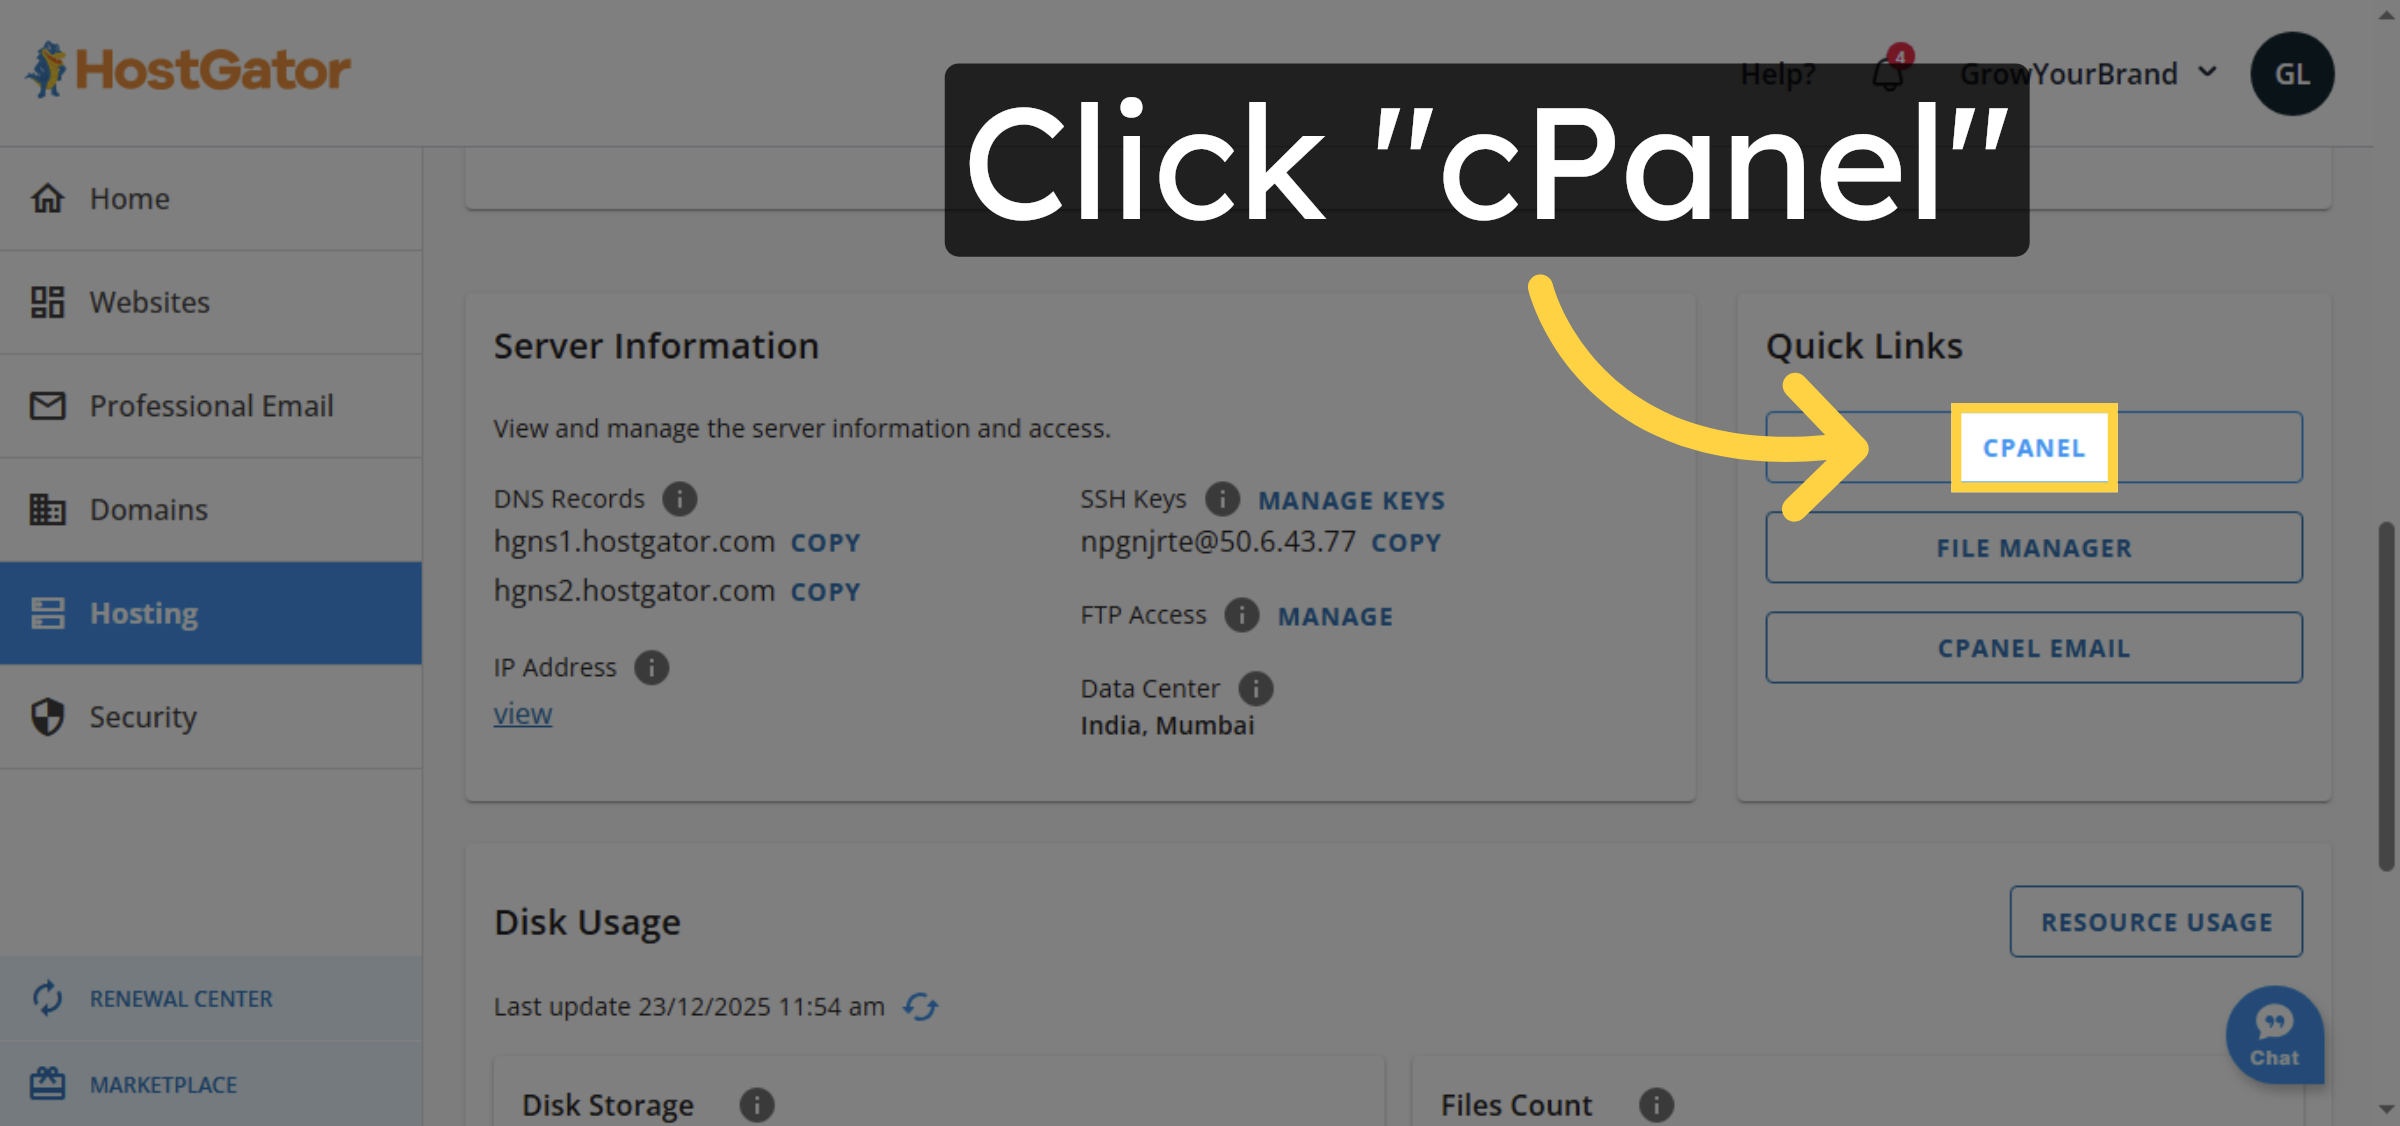
3. Open cPanel Interface
4. Switch to cPanel URL
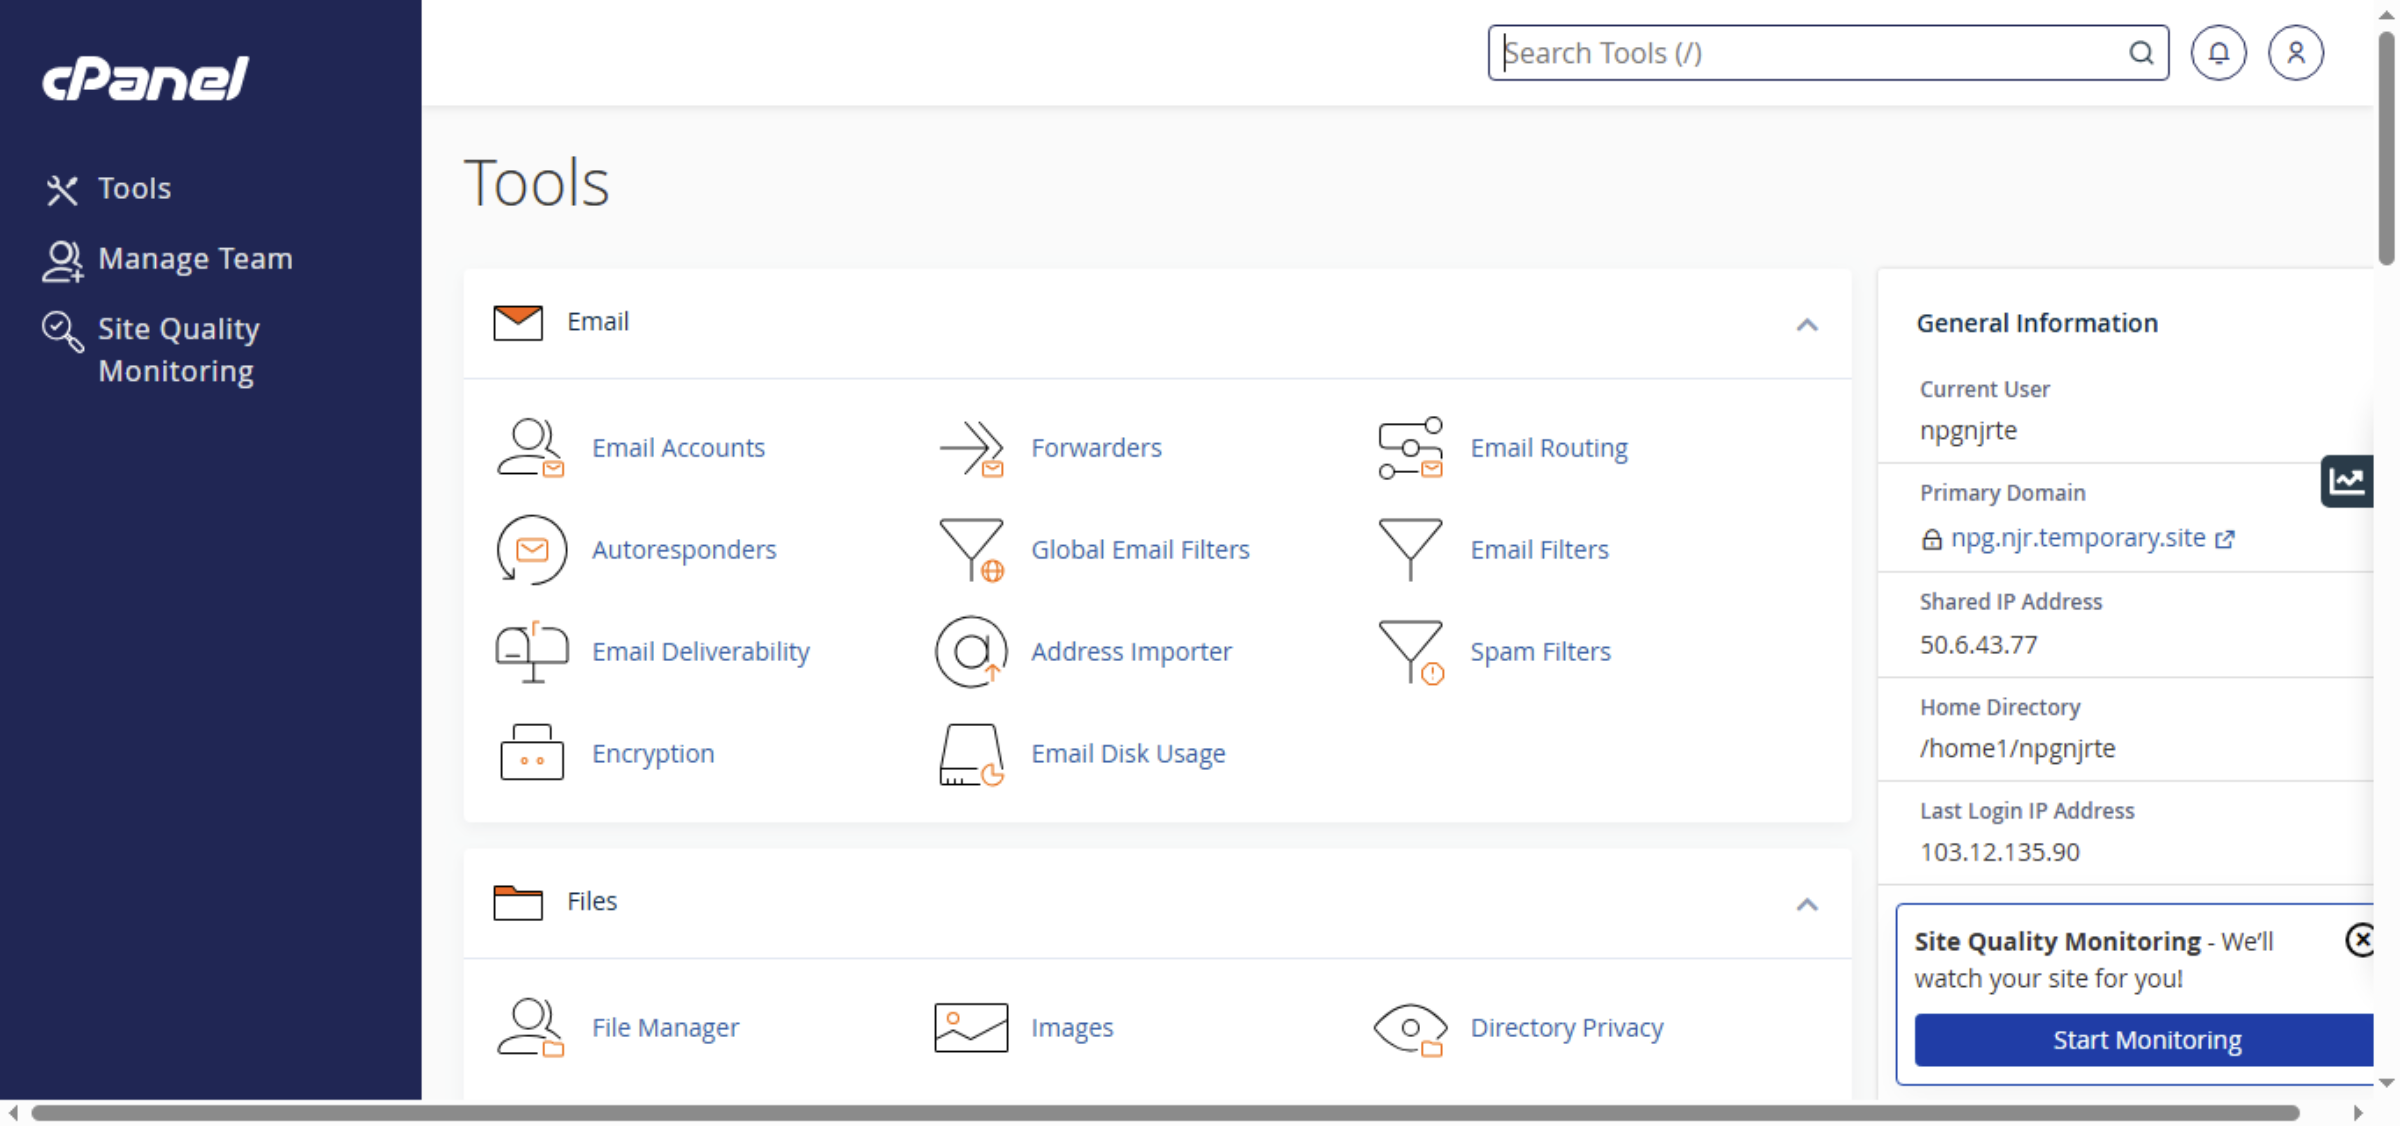
5. Access SSL Management

6. Proceed With SSL Setup

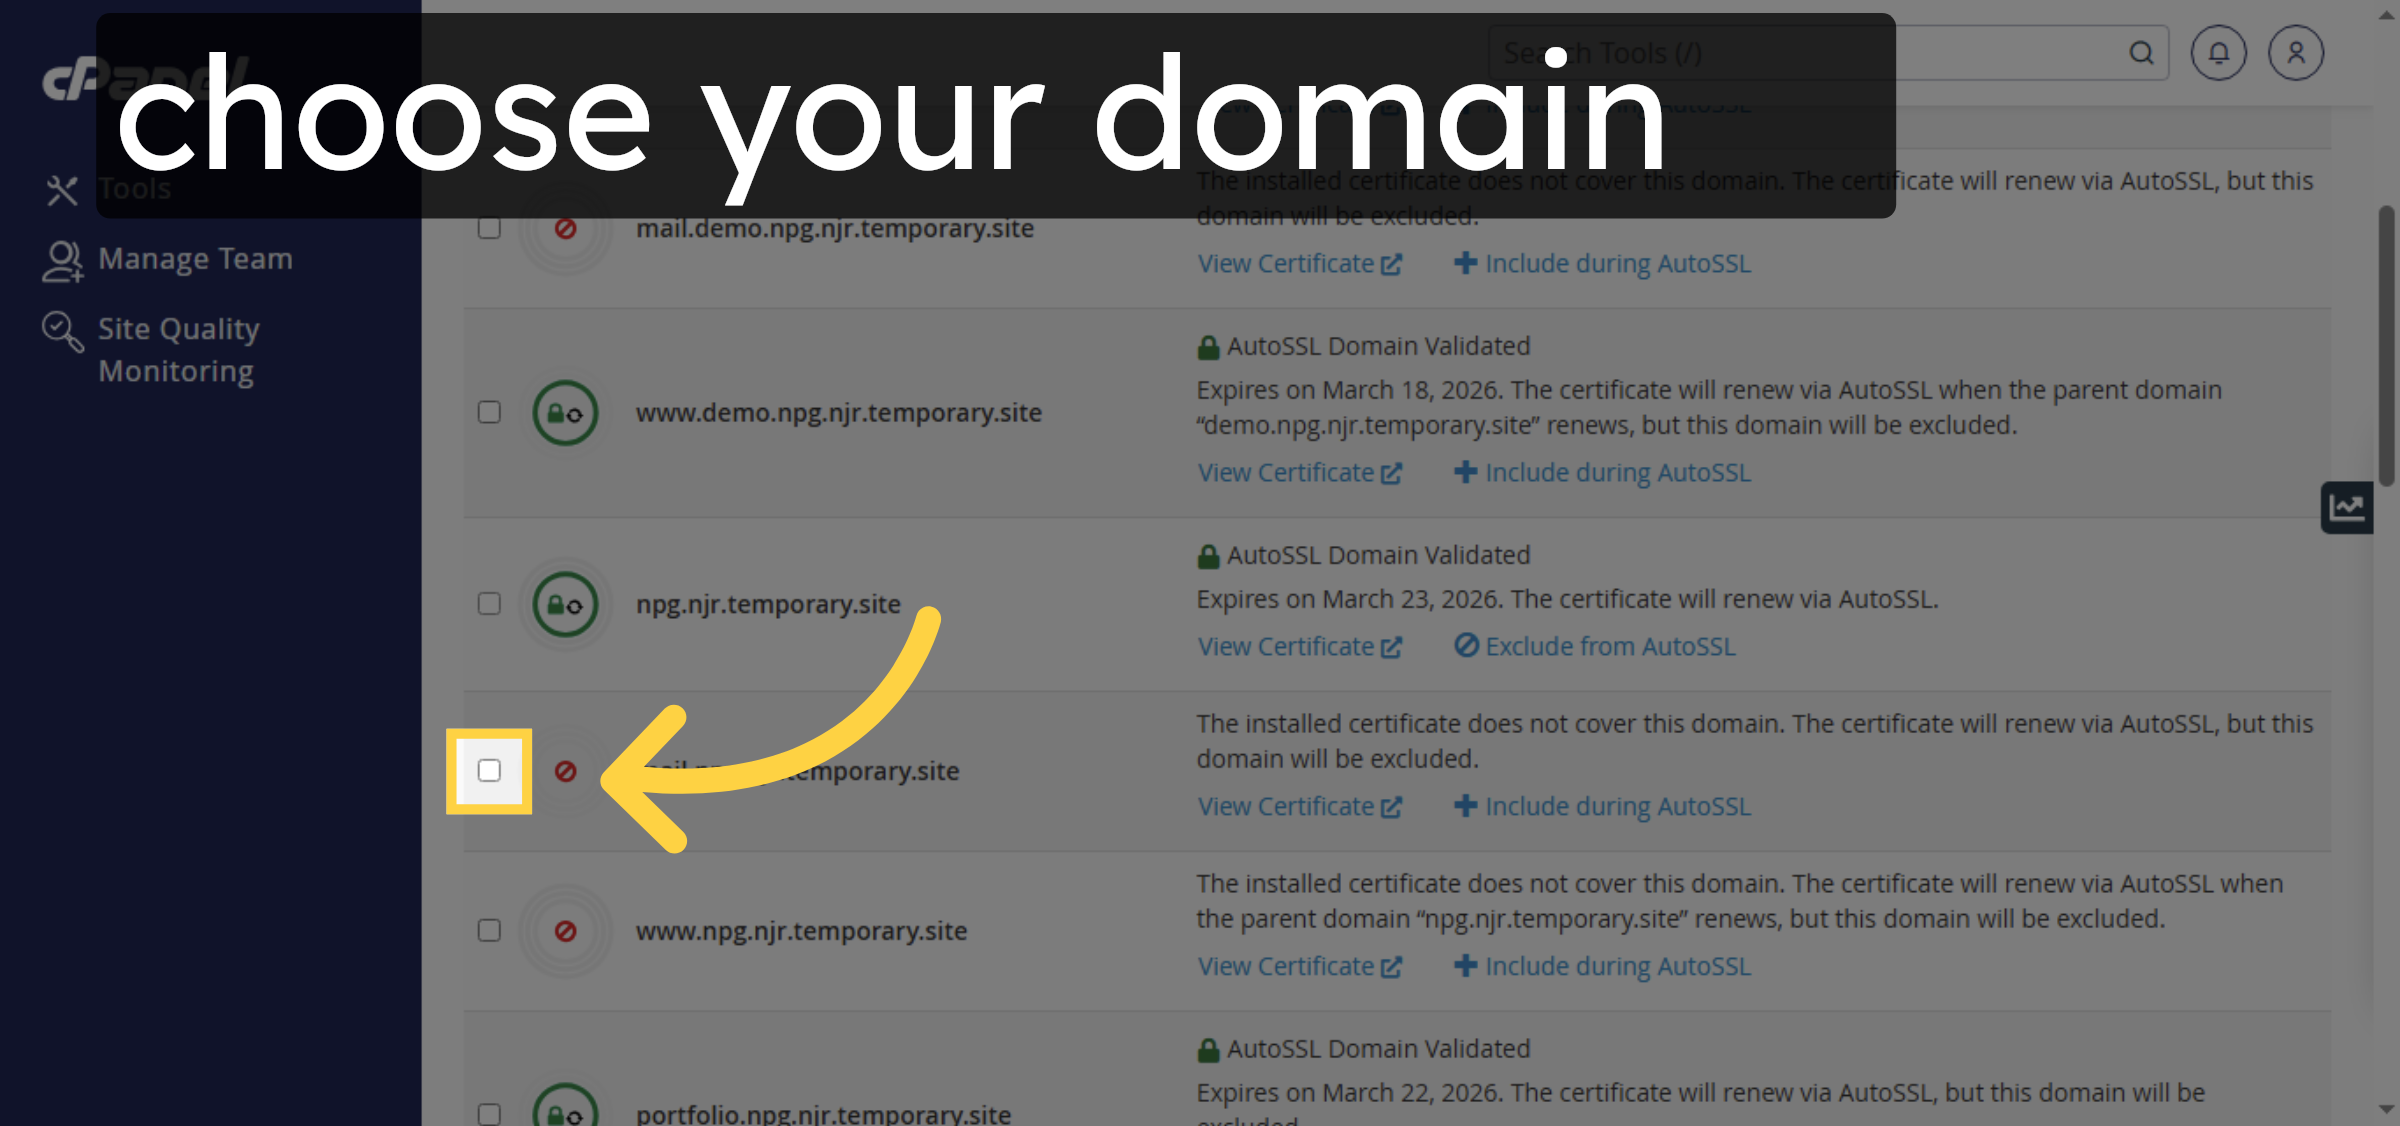
7. Select Domain for SSL
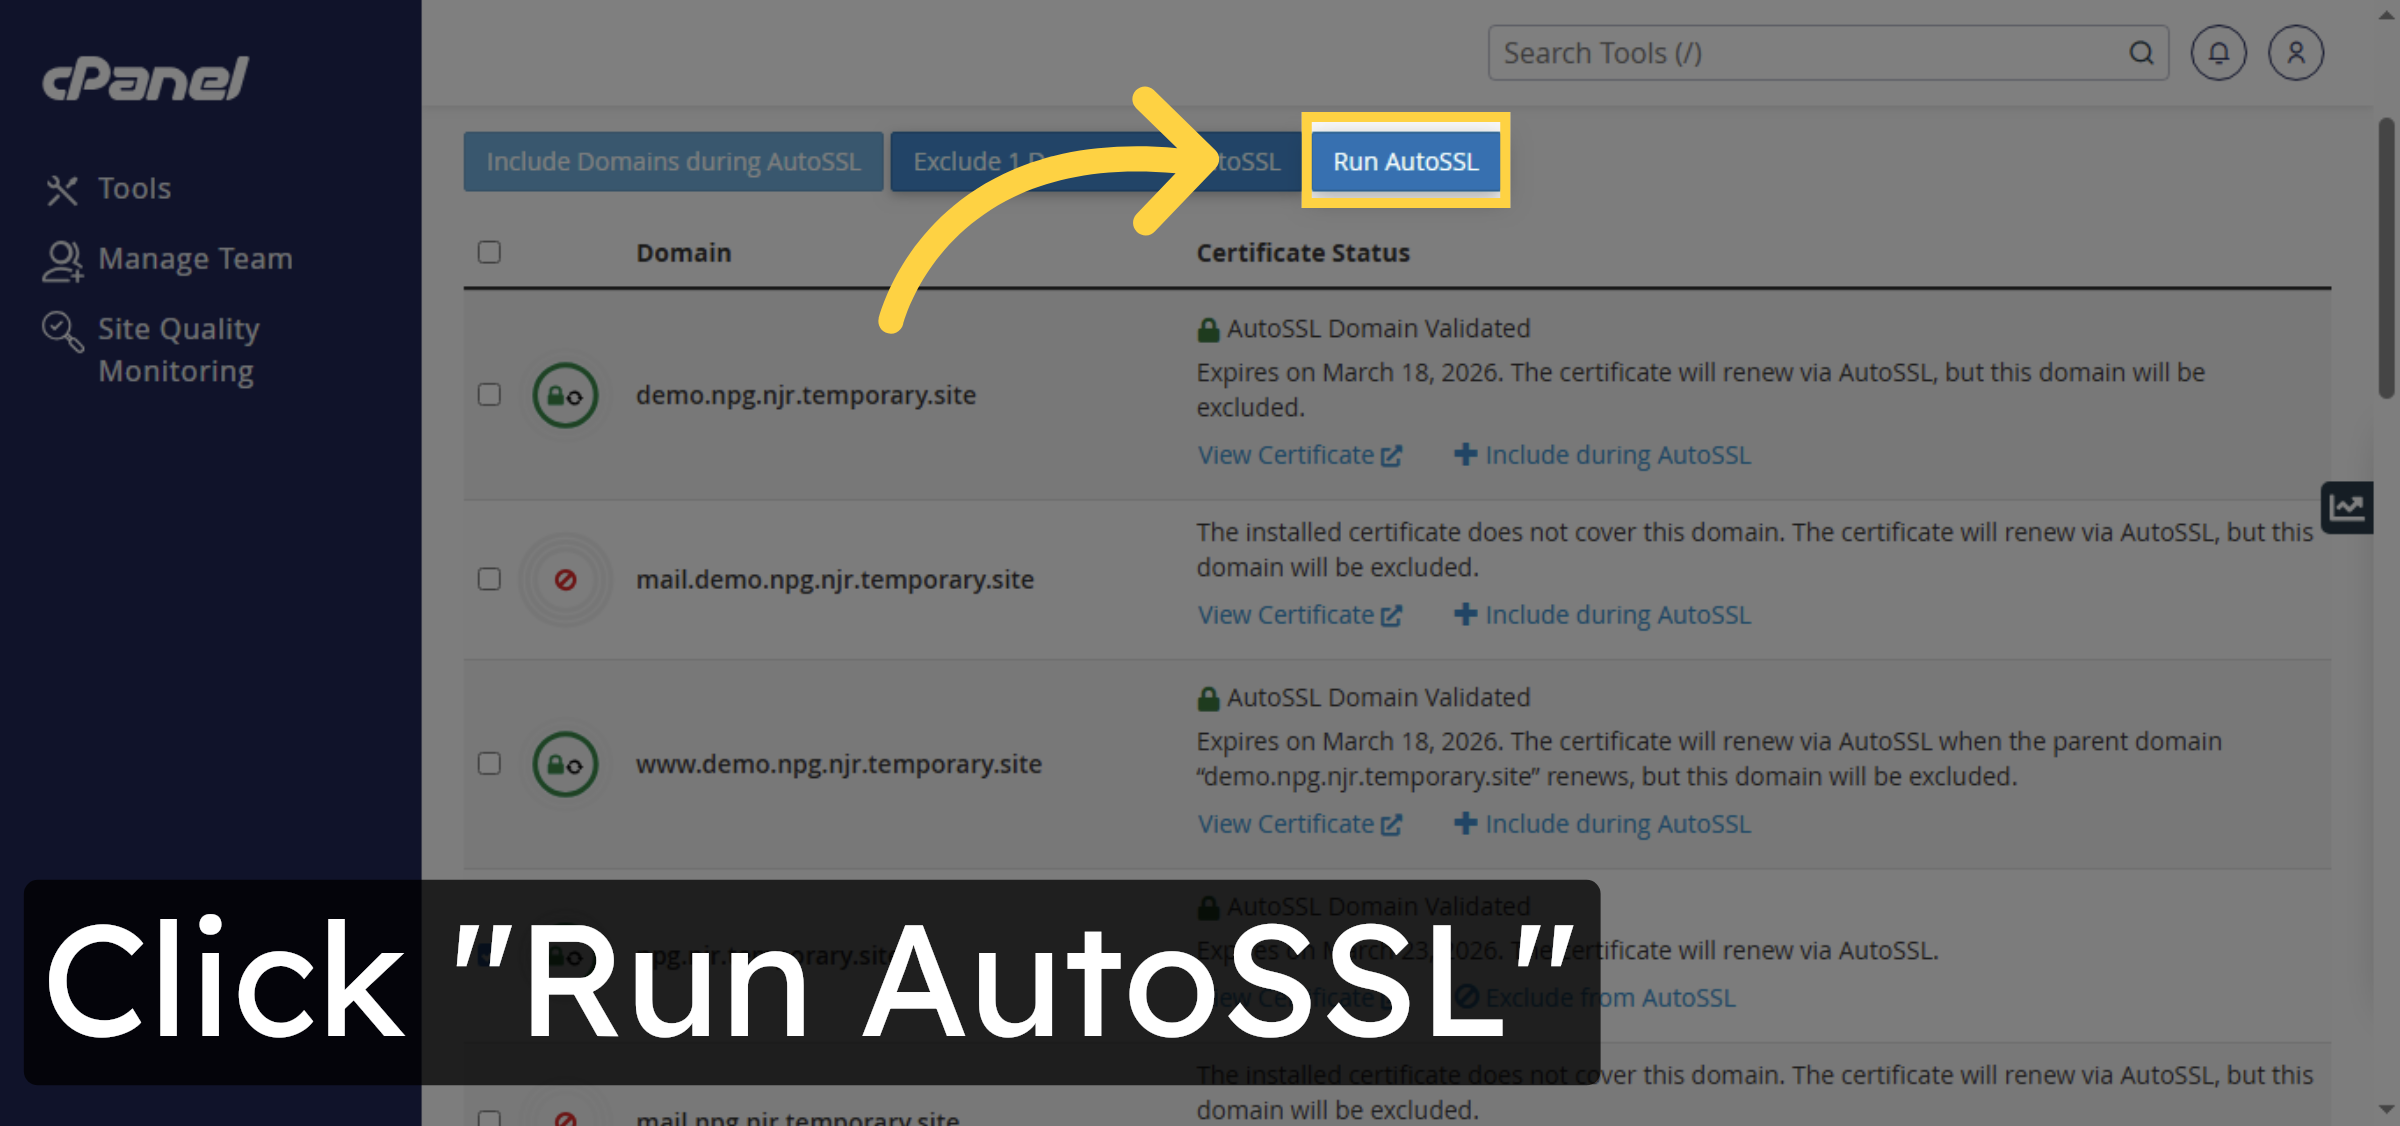
8. Run AutoSSL Process
9. Switch to Website Dashboard
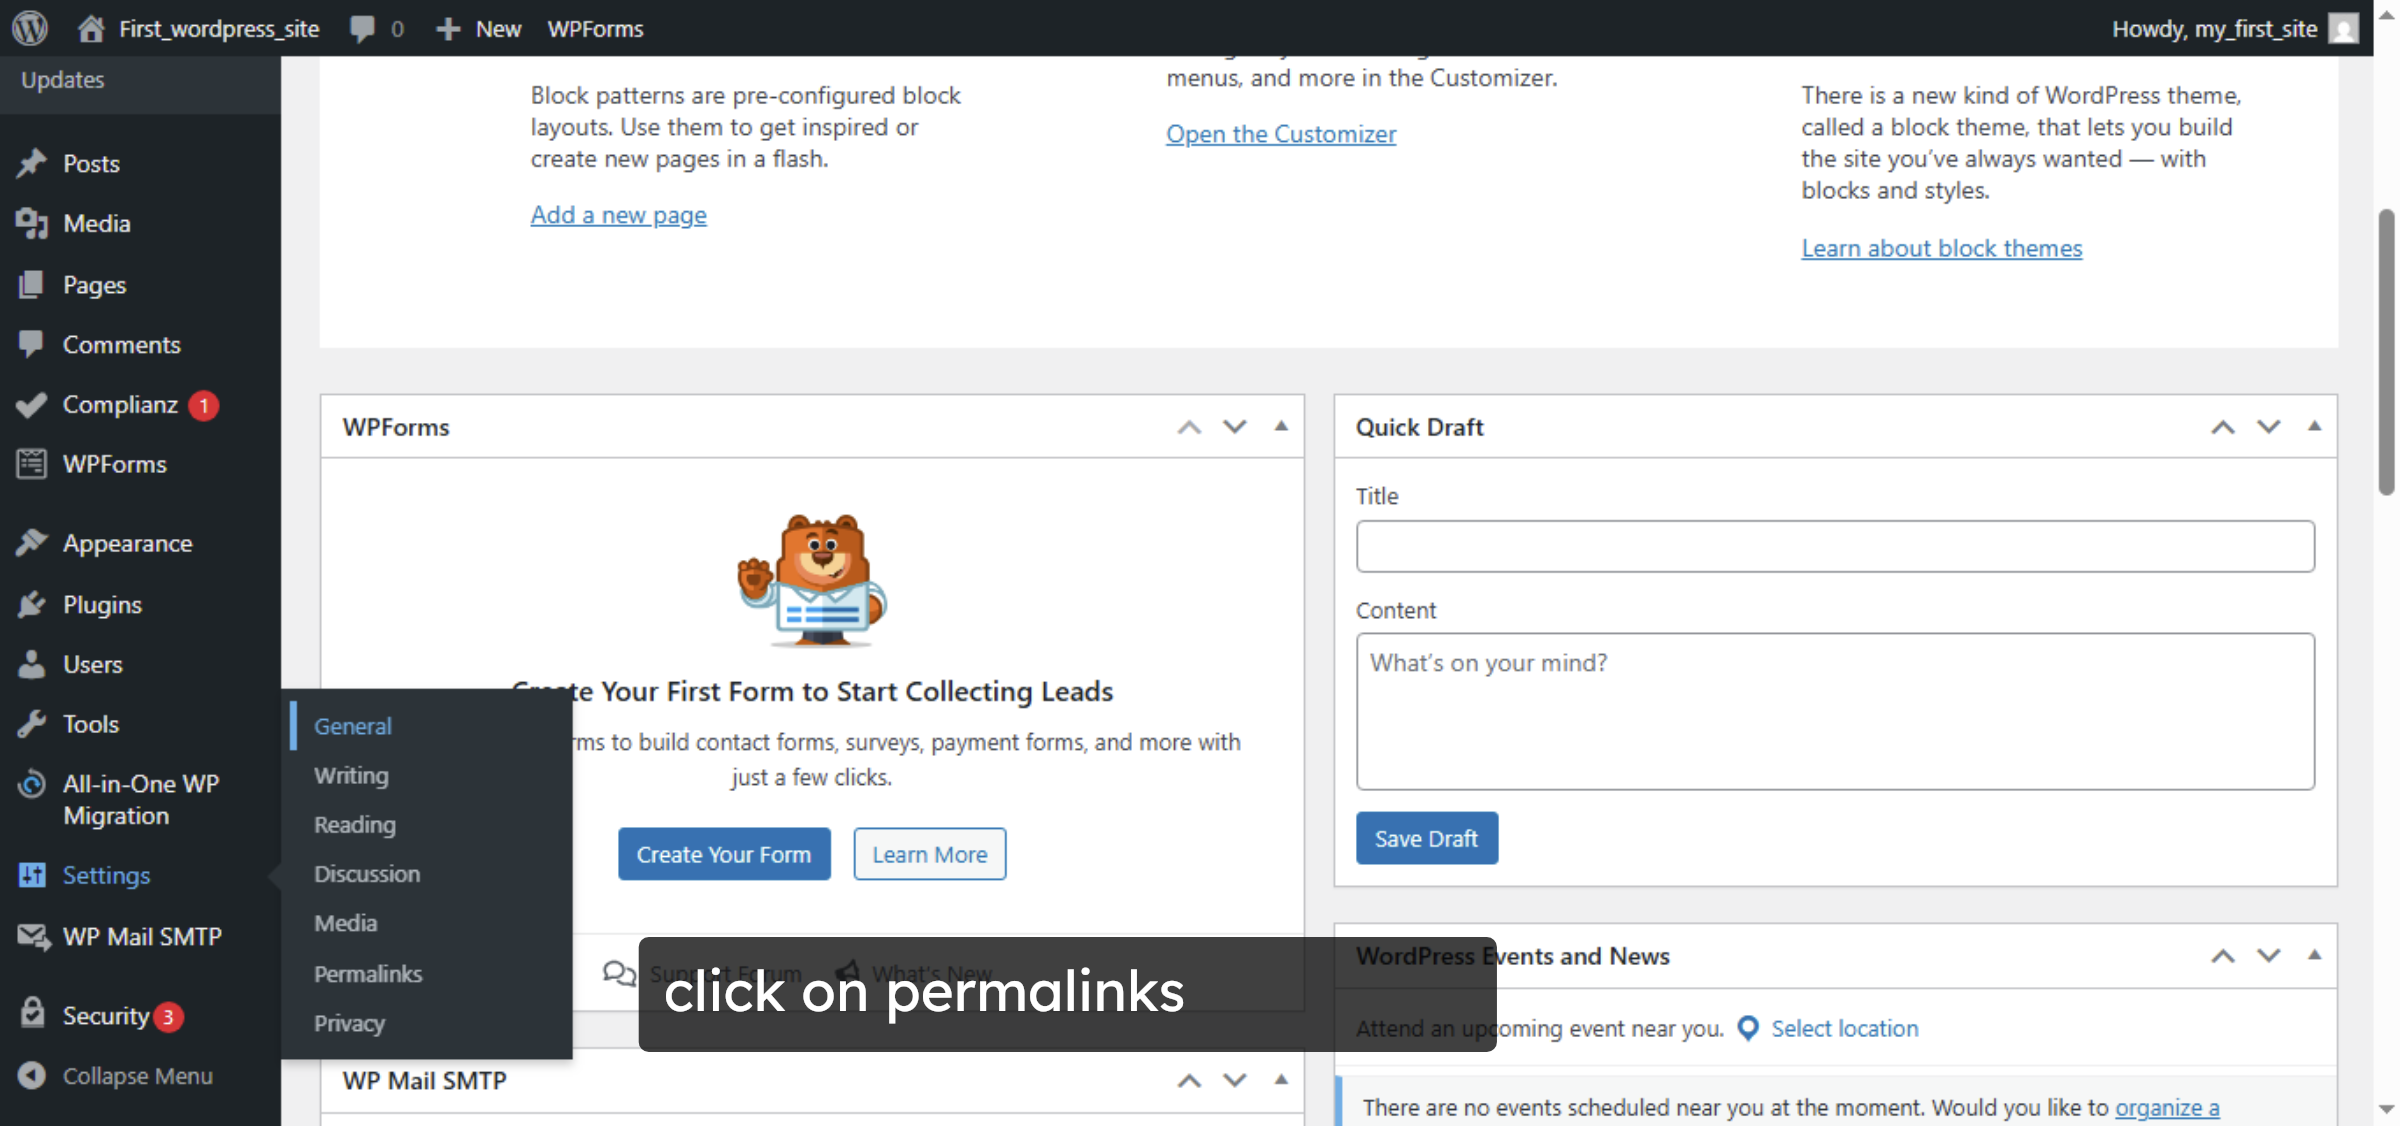


10. Save Configuration Changes

11. Access WordPress Site
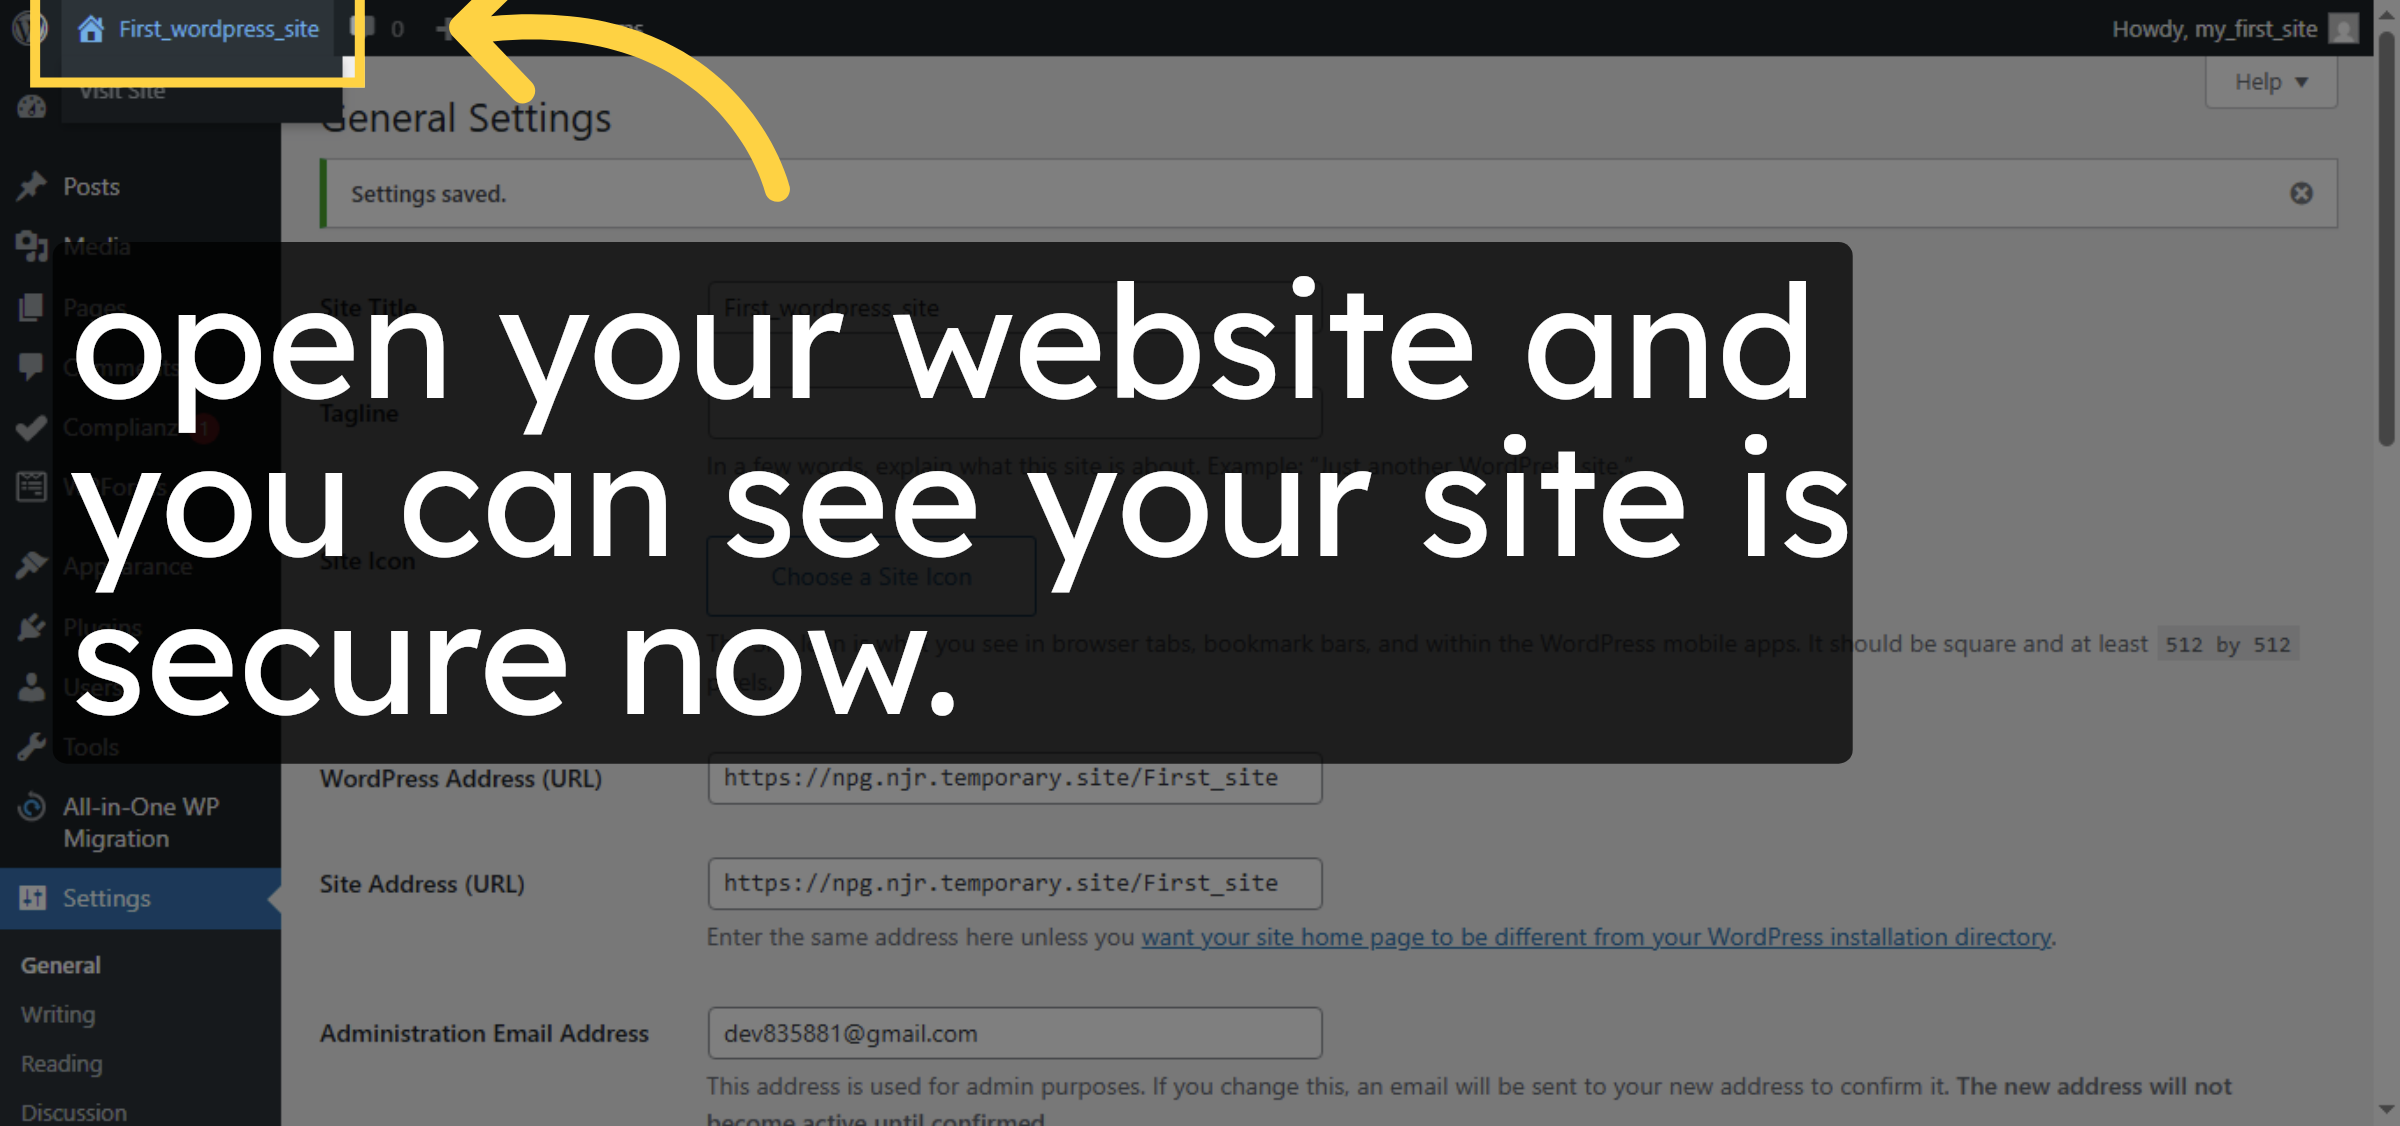
12. Verify SSL Status

Conclusion
By following the steps outlined in this guide, you can successfully activate a free SSL certificate on your HostGator WordPress hosting account. Running the AutoSSL process installs and applies the SSL certificate to your domain automatically. Once the configuration is saved and the website is verified, your site will load securely over HTTPS. Enabling SSL not only protects sensitive data but also improves website credibility and overall security.
-
Visit: https://www.woohelpdesk.com
-
Call Us Toll-Free: +1 888 602 0119 (US & Canada)
-
Get expert help with SSL activation, WordPress security, HostGator setup, and WooCommerce support


