Introduction
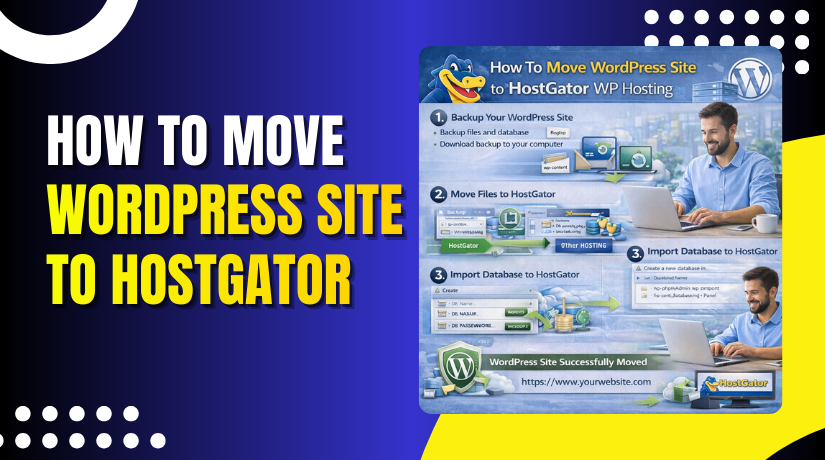
Migrating a WordPress website from a local environment to HostGator WP Hosting involves exporting your existing site data, setting up a new WordPress installation on HostGator, and importing the exported content into the new environment. This process ensures that your website’s content, structure, and settings are transferred accurately without the need to rebuild the site manually. This guide provides a detailed walkthrough of exporting your WordPress site using a migration plugin, creating a temporary WordPress site on HostGator, and importing your site data successfully. It also covers important post-migration steps such as updating permalink settings and verifying site functionality. This method is ideal for users who want a structured, reliable, and secure approach to moving a locally hosted WordPress website to HostGator WP Hosting
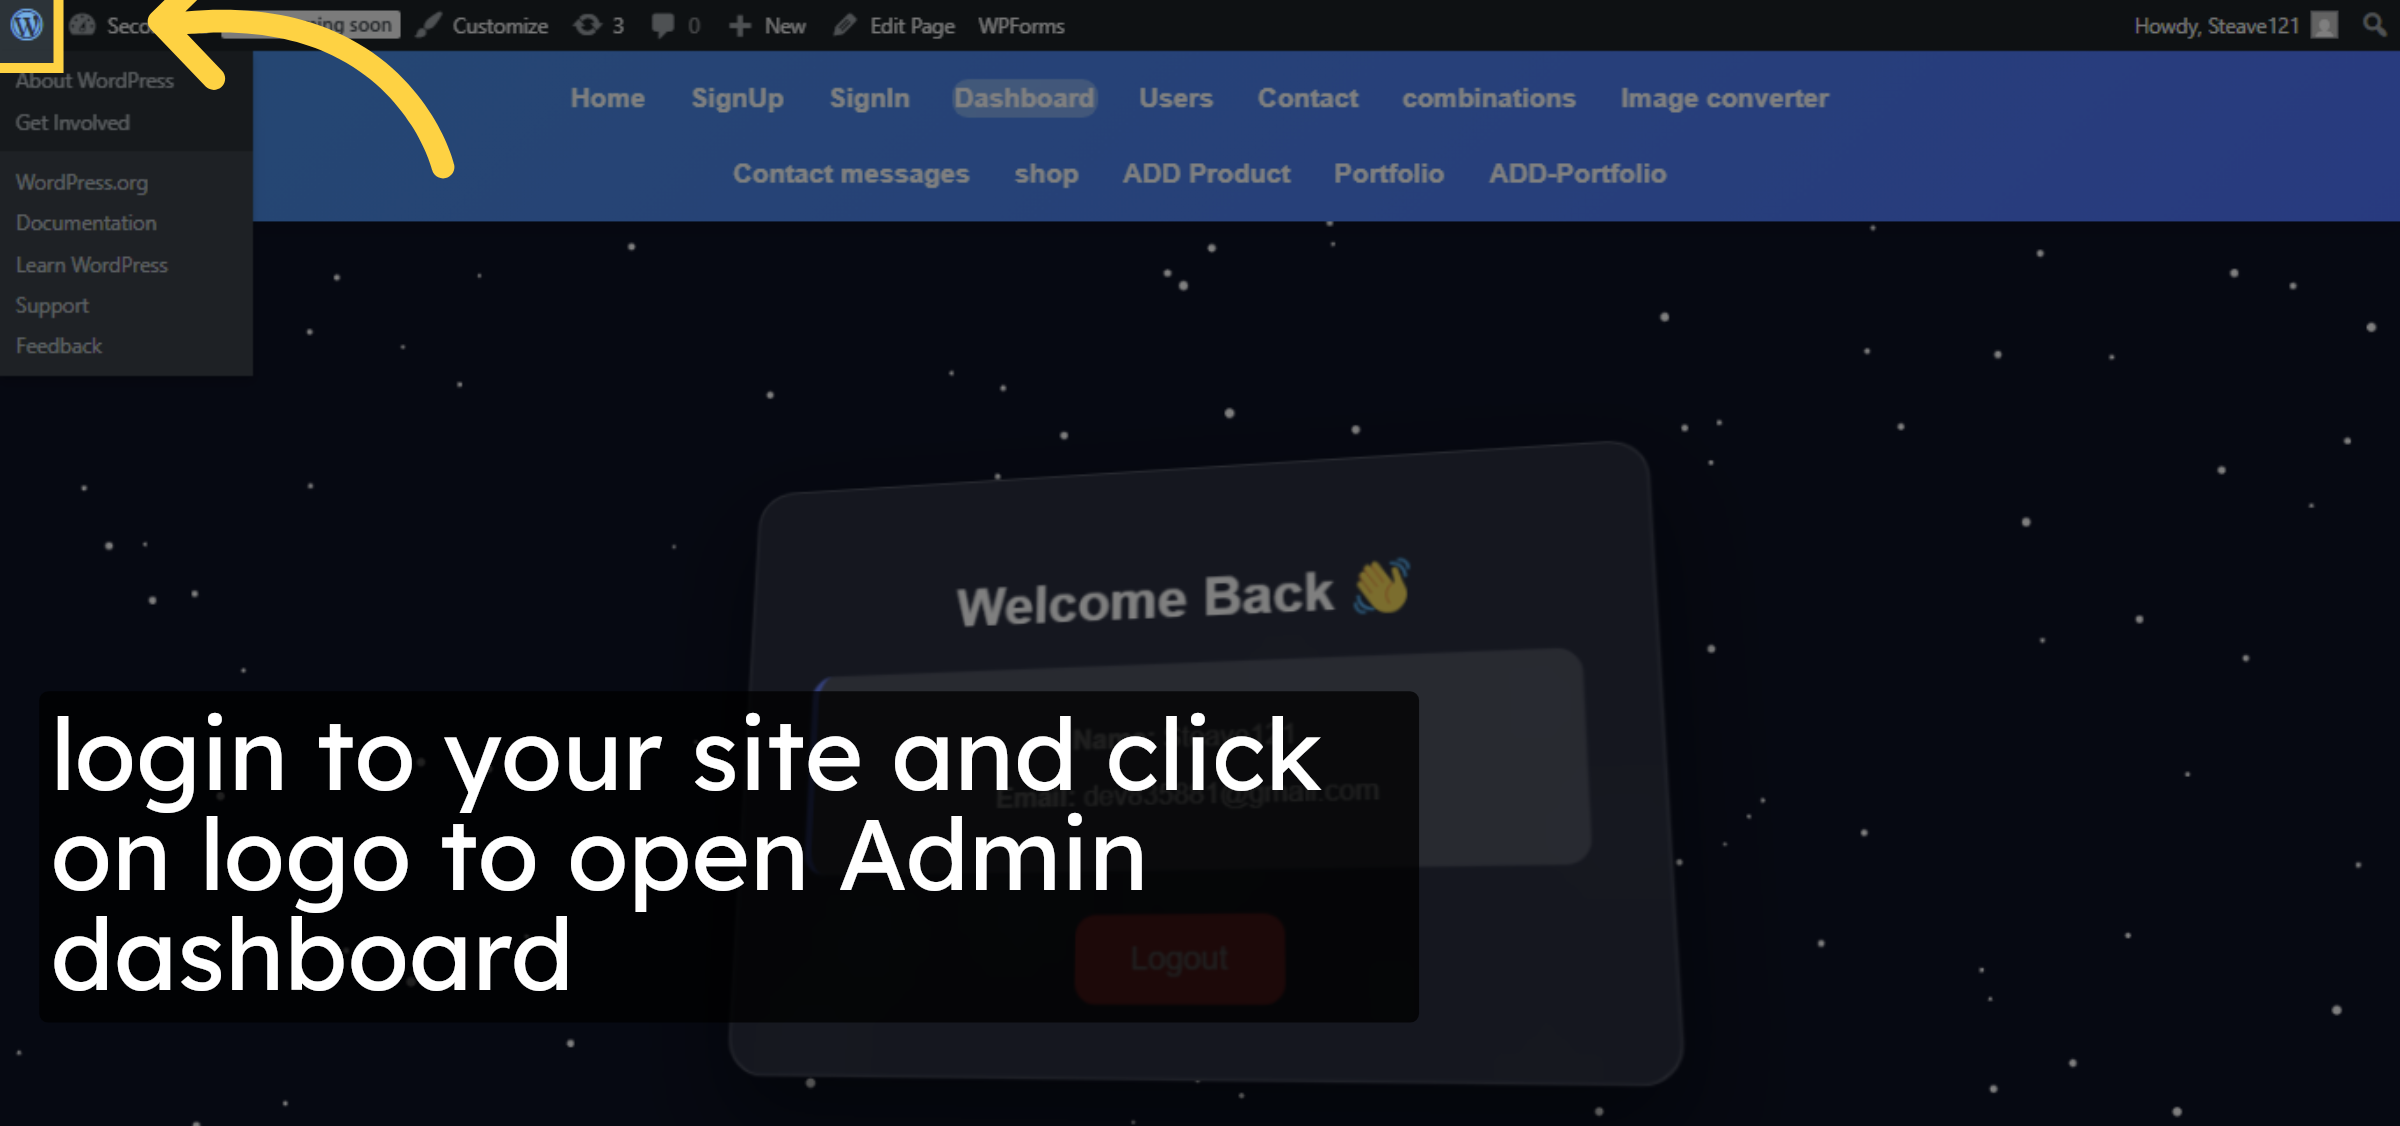
1. Login to your site
login to your site and click on logo to open Admin dashboard
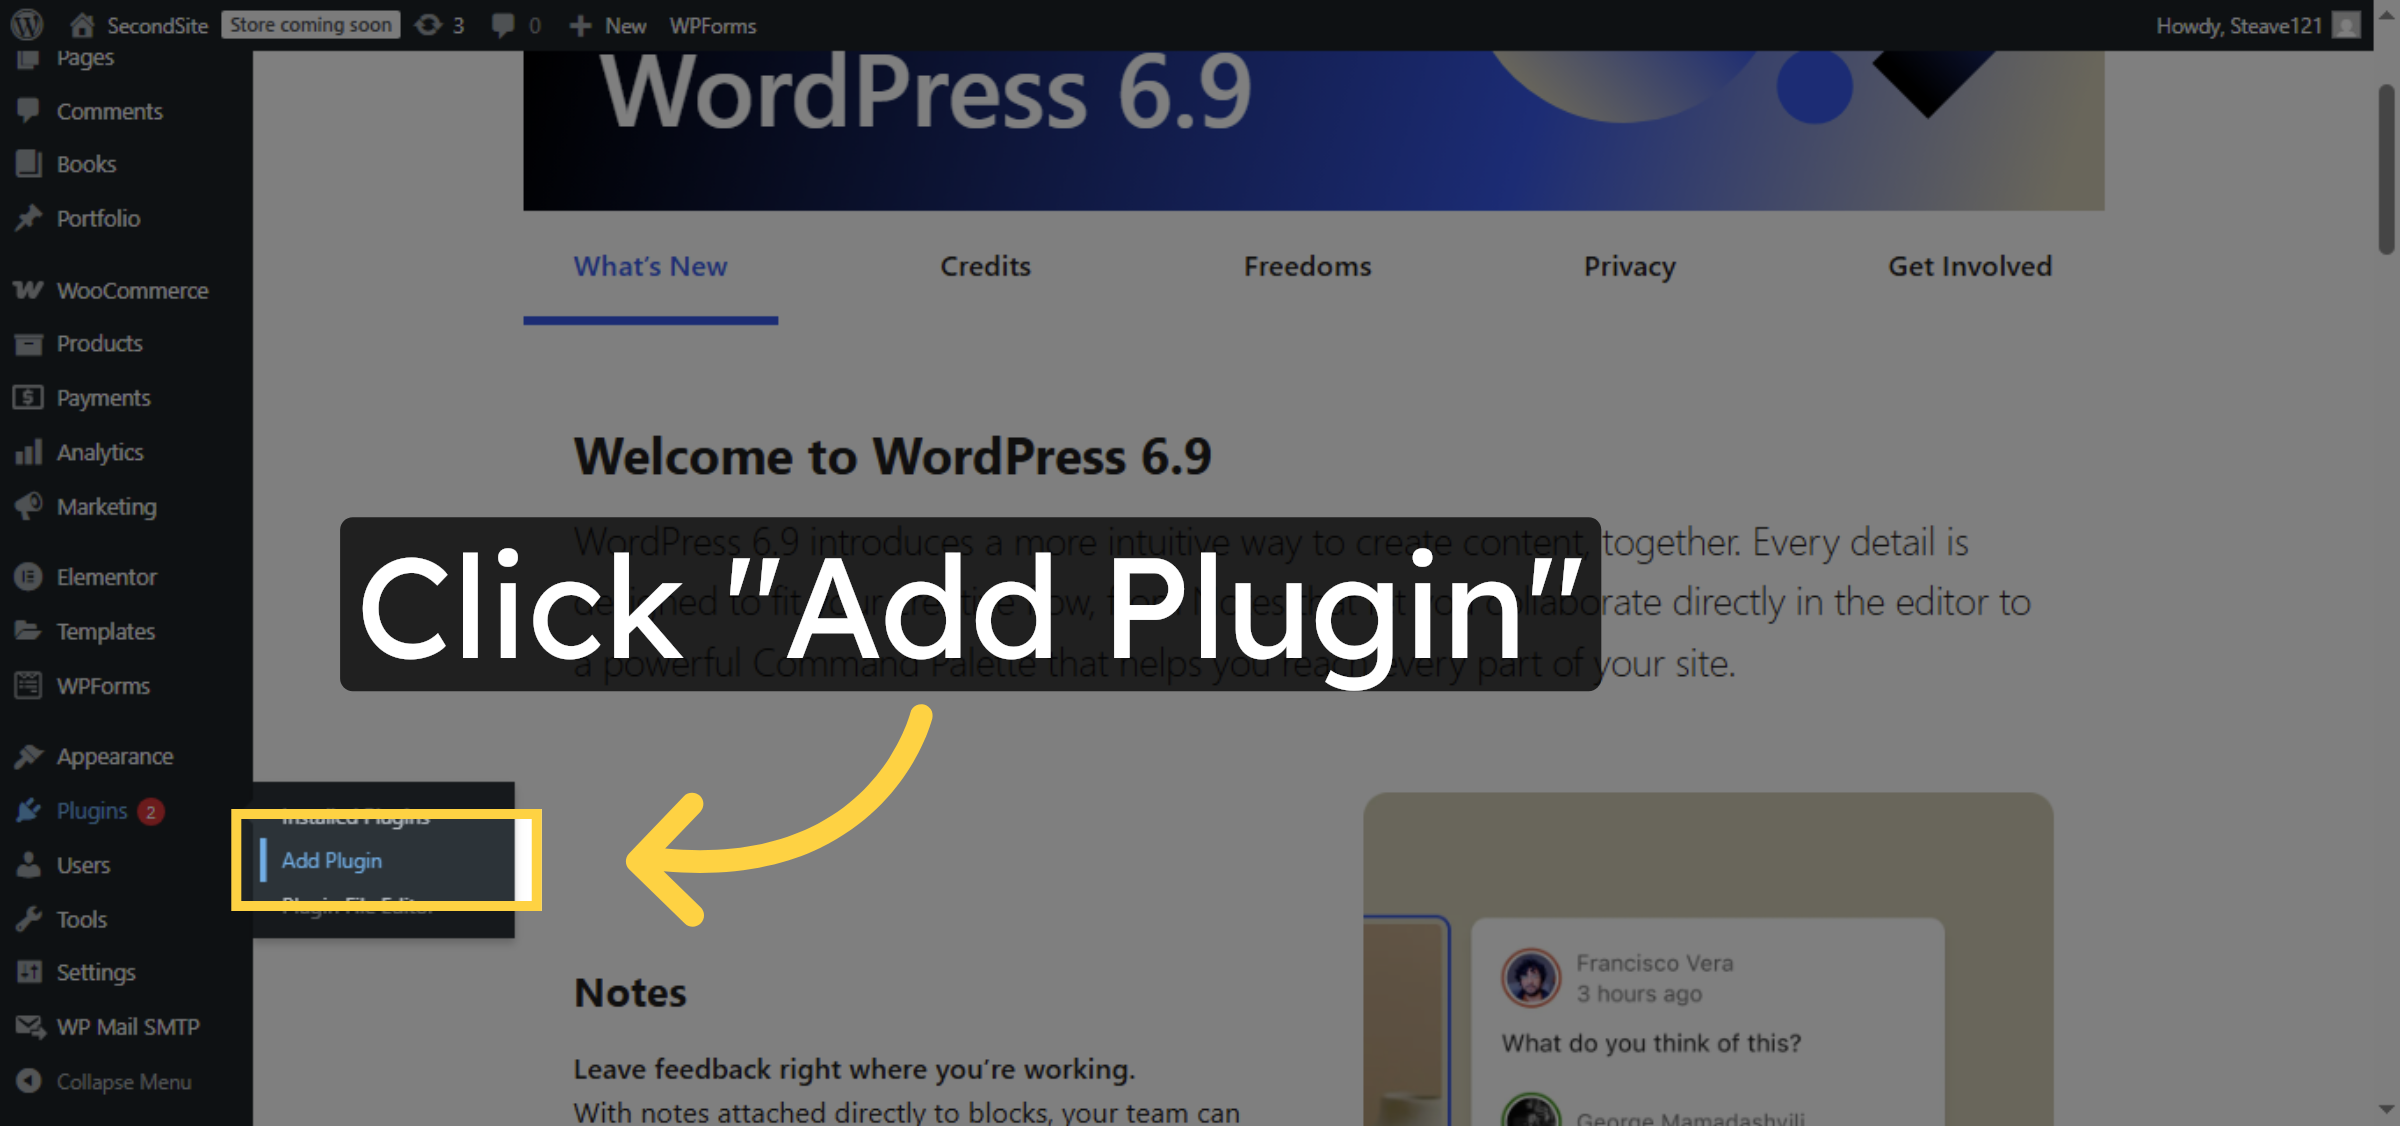
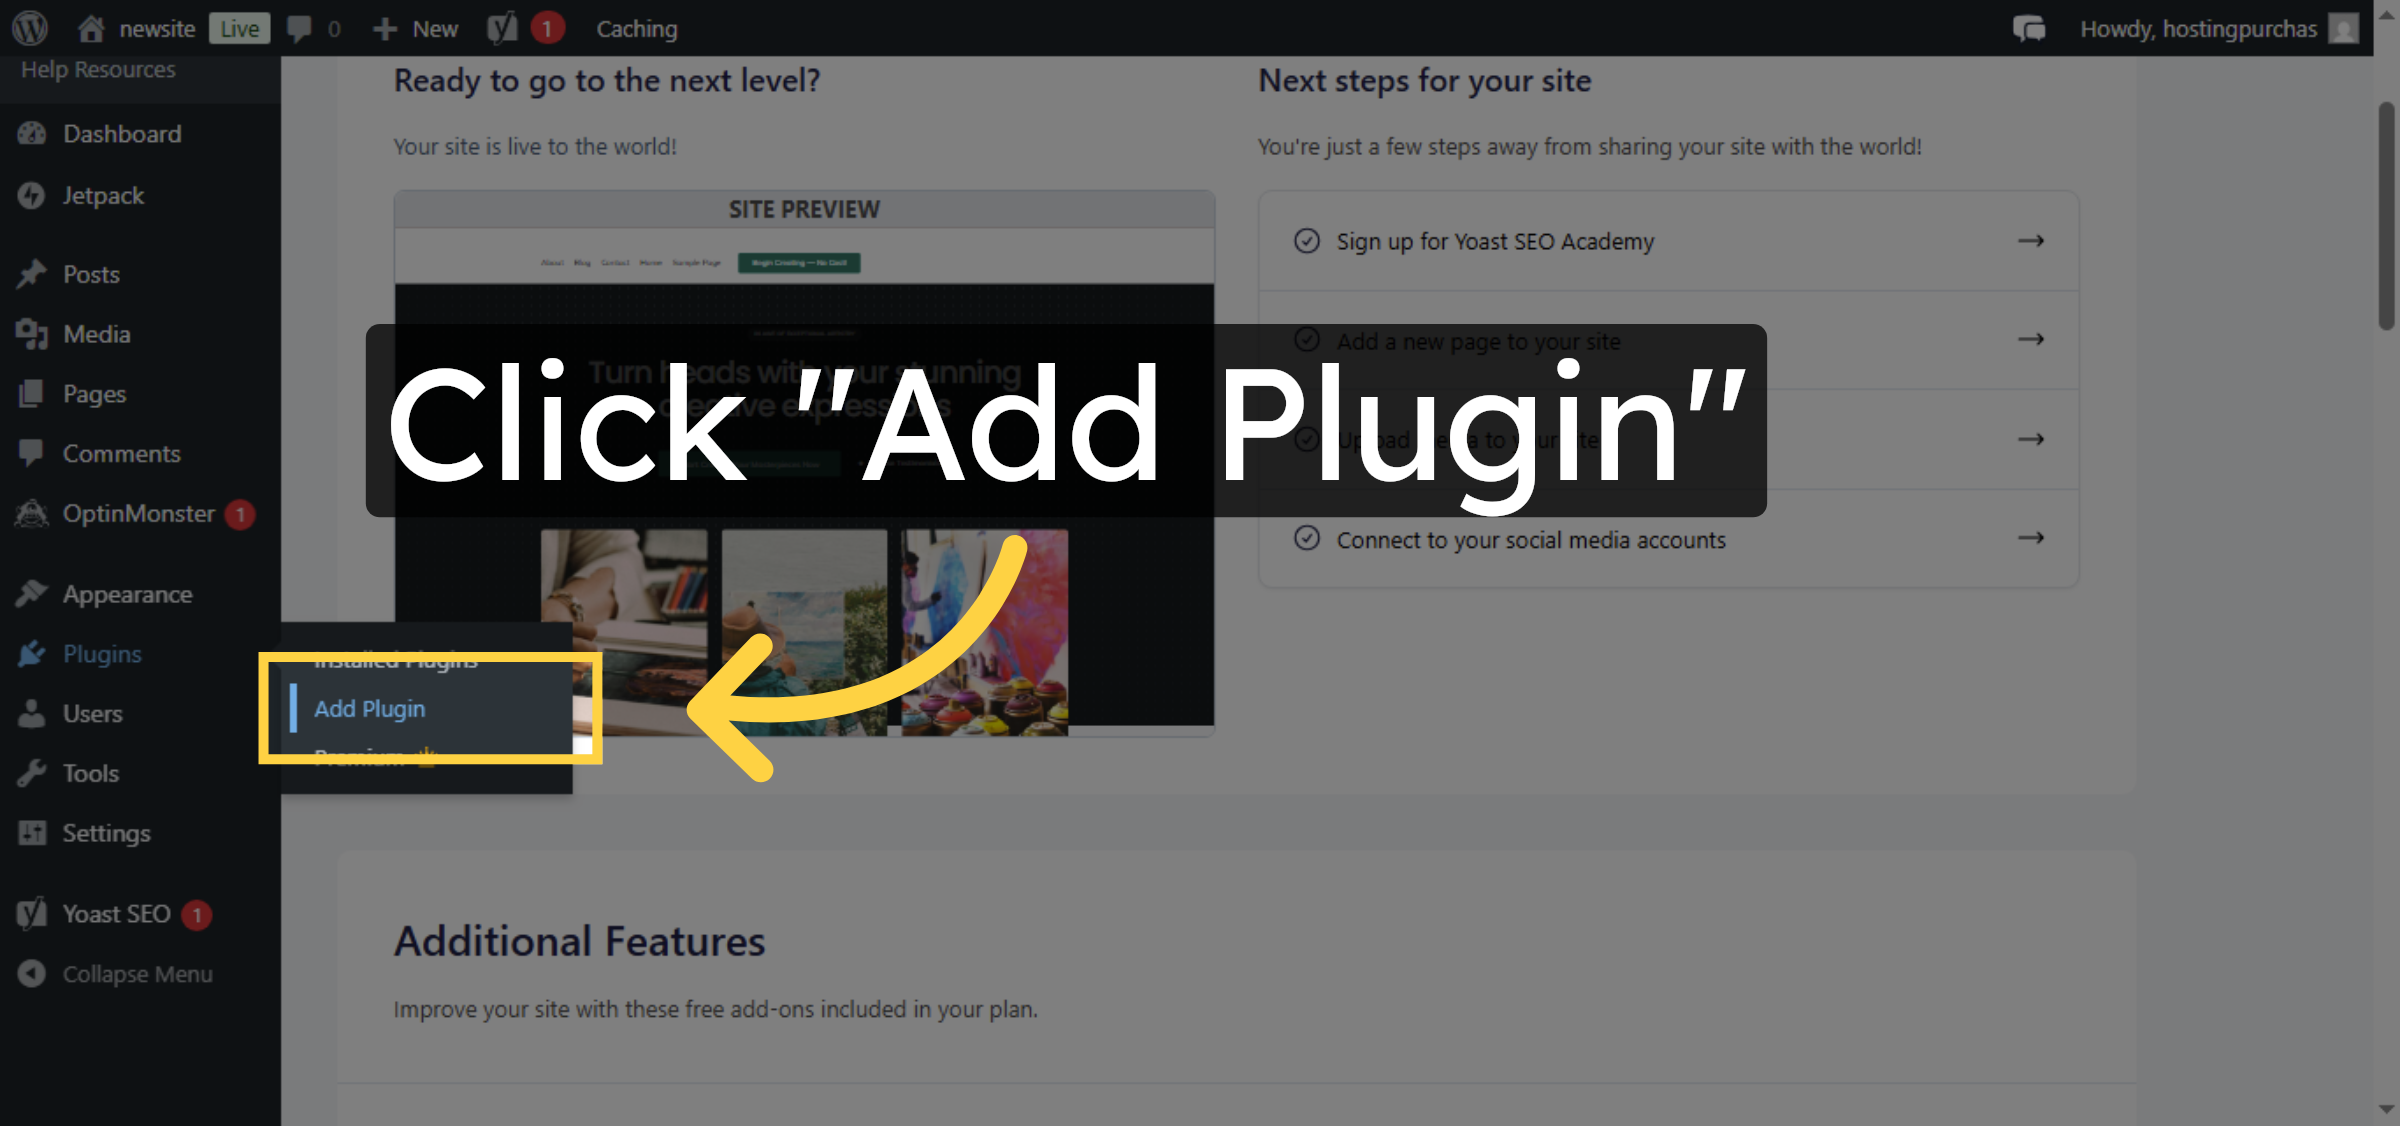
2. Add New Plugin
Click “Add Plugin” to start installing a new plugin for site migration.
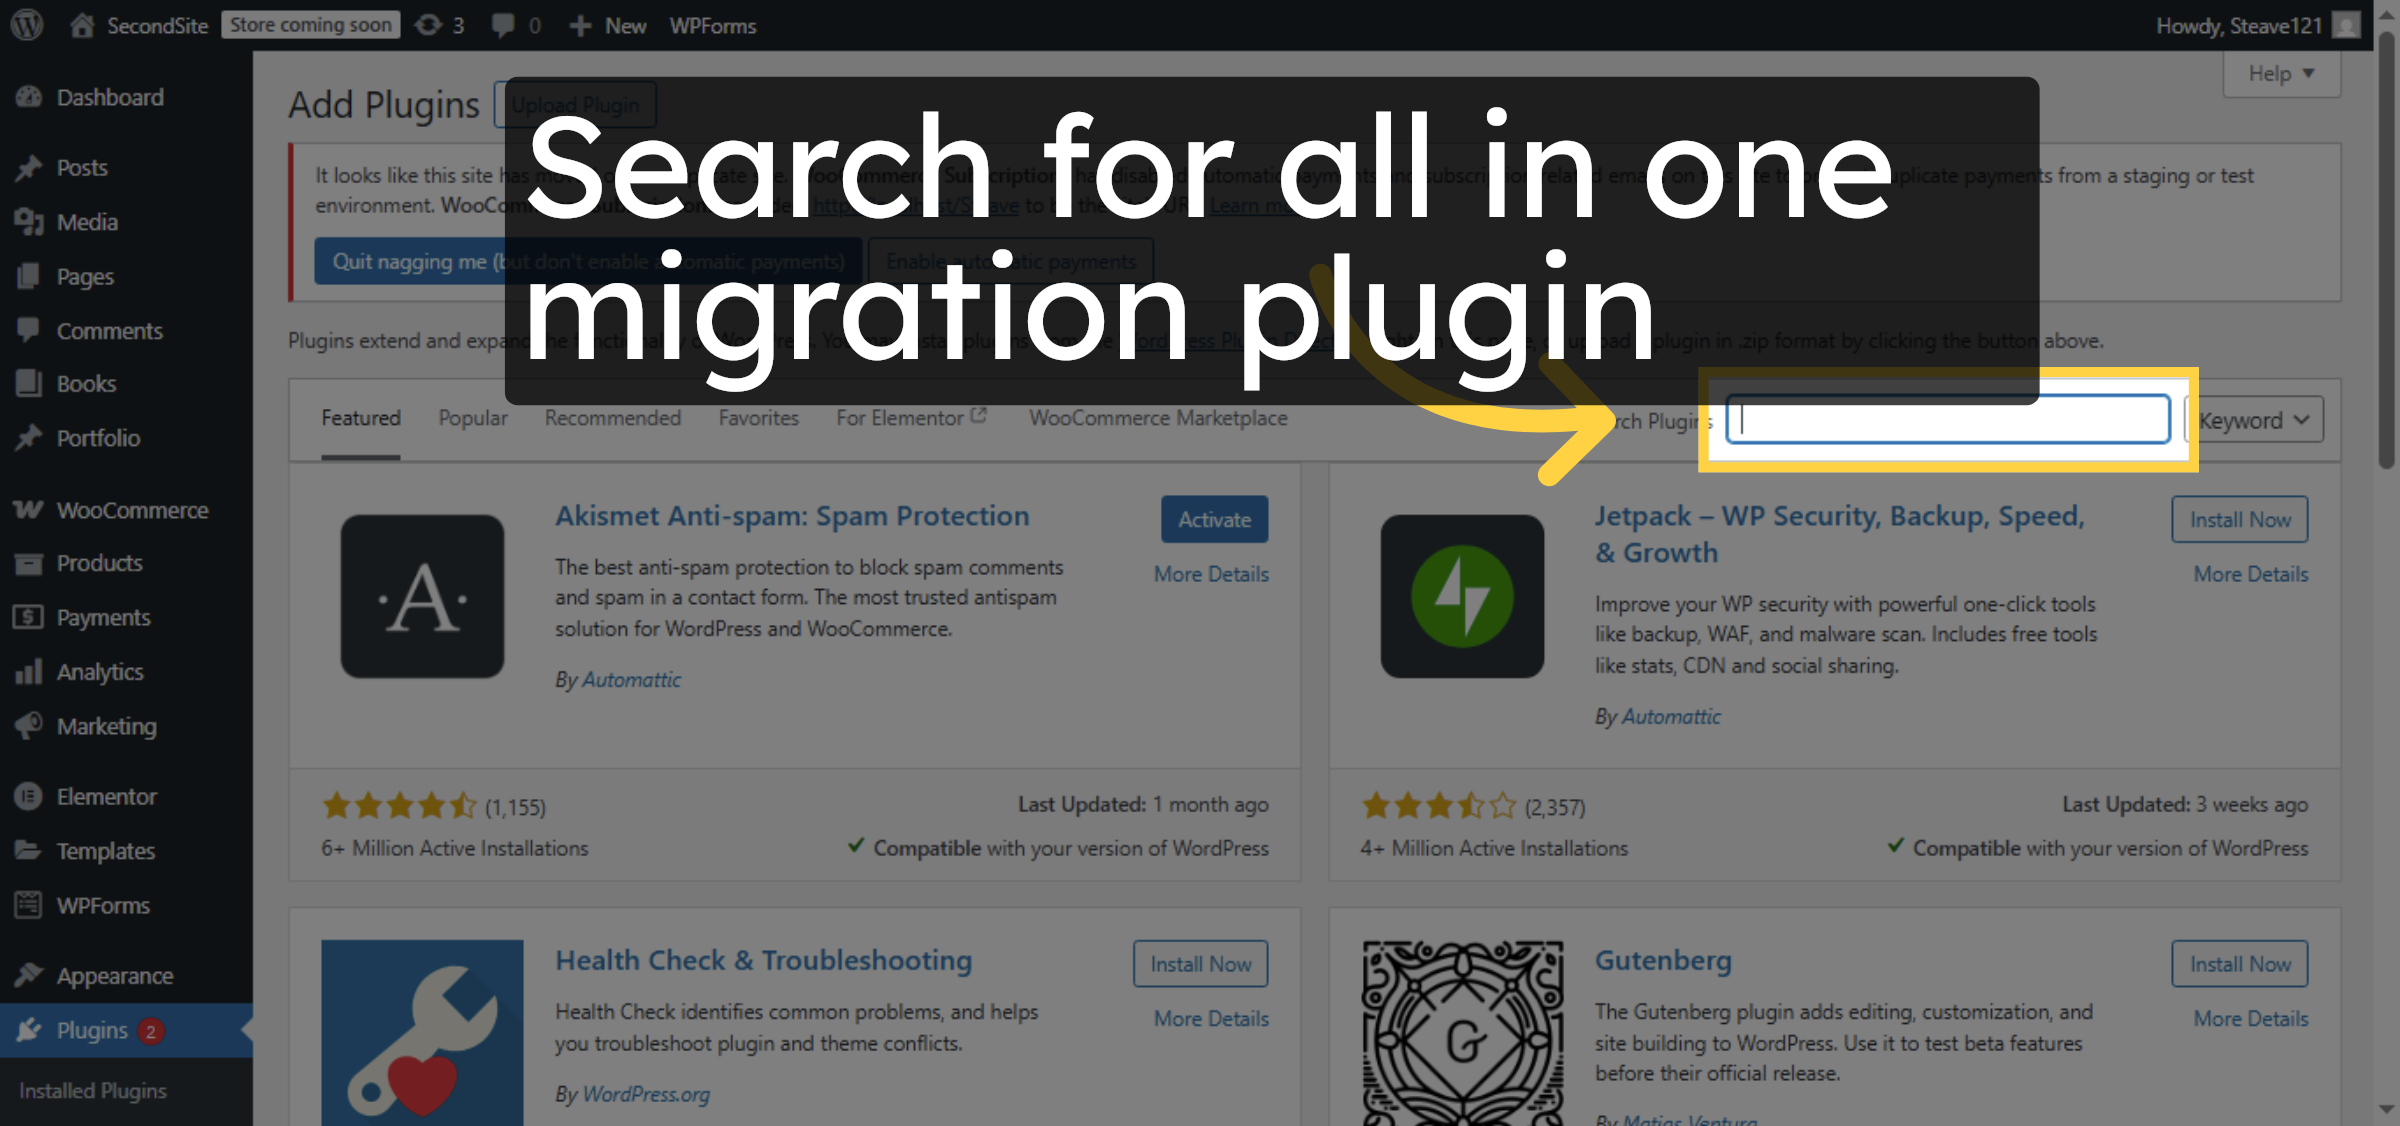
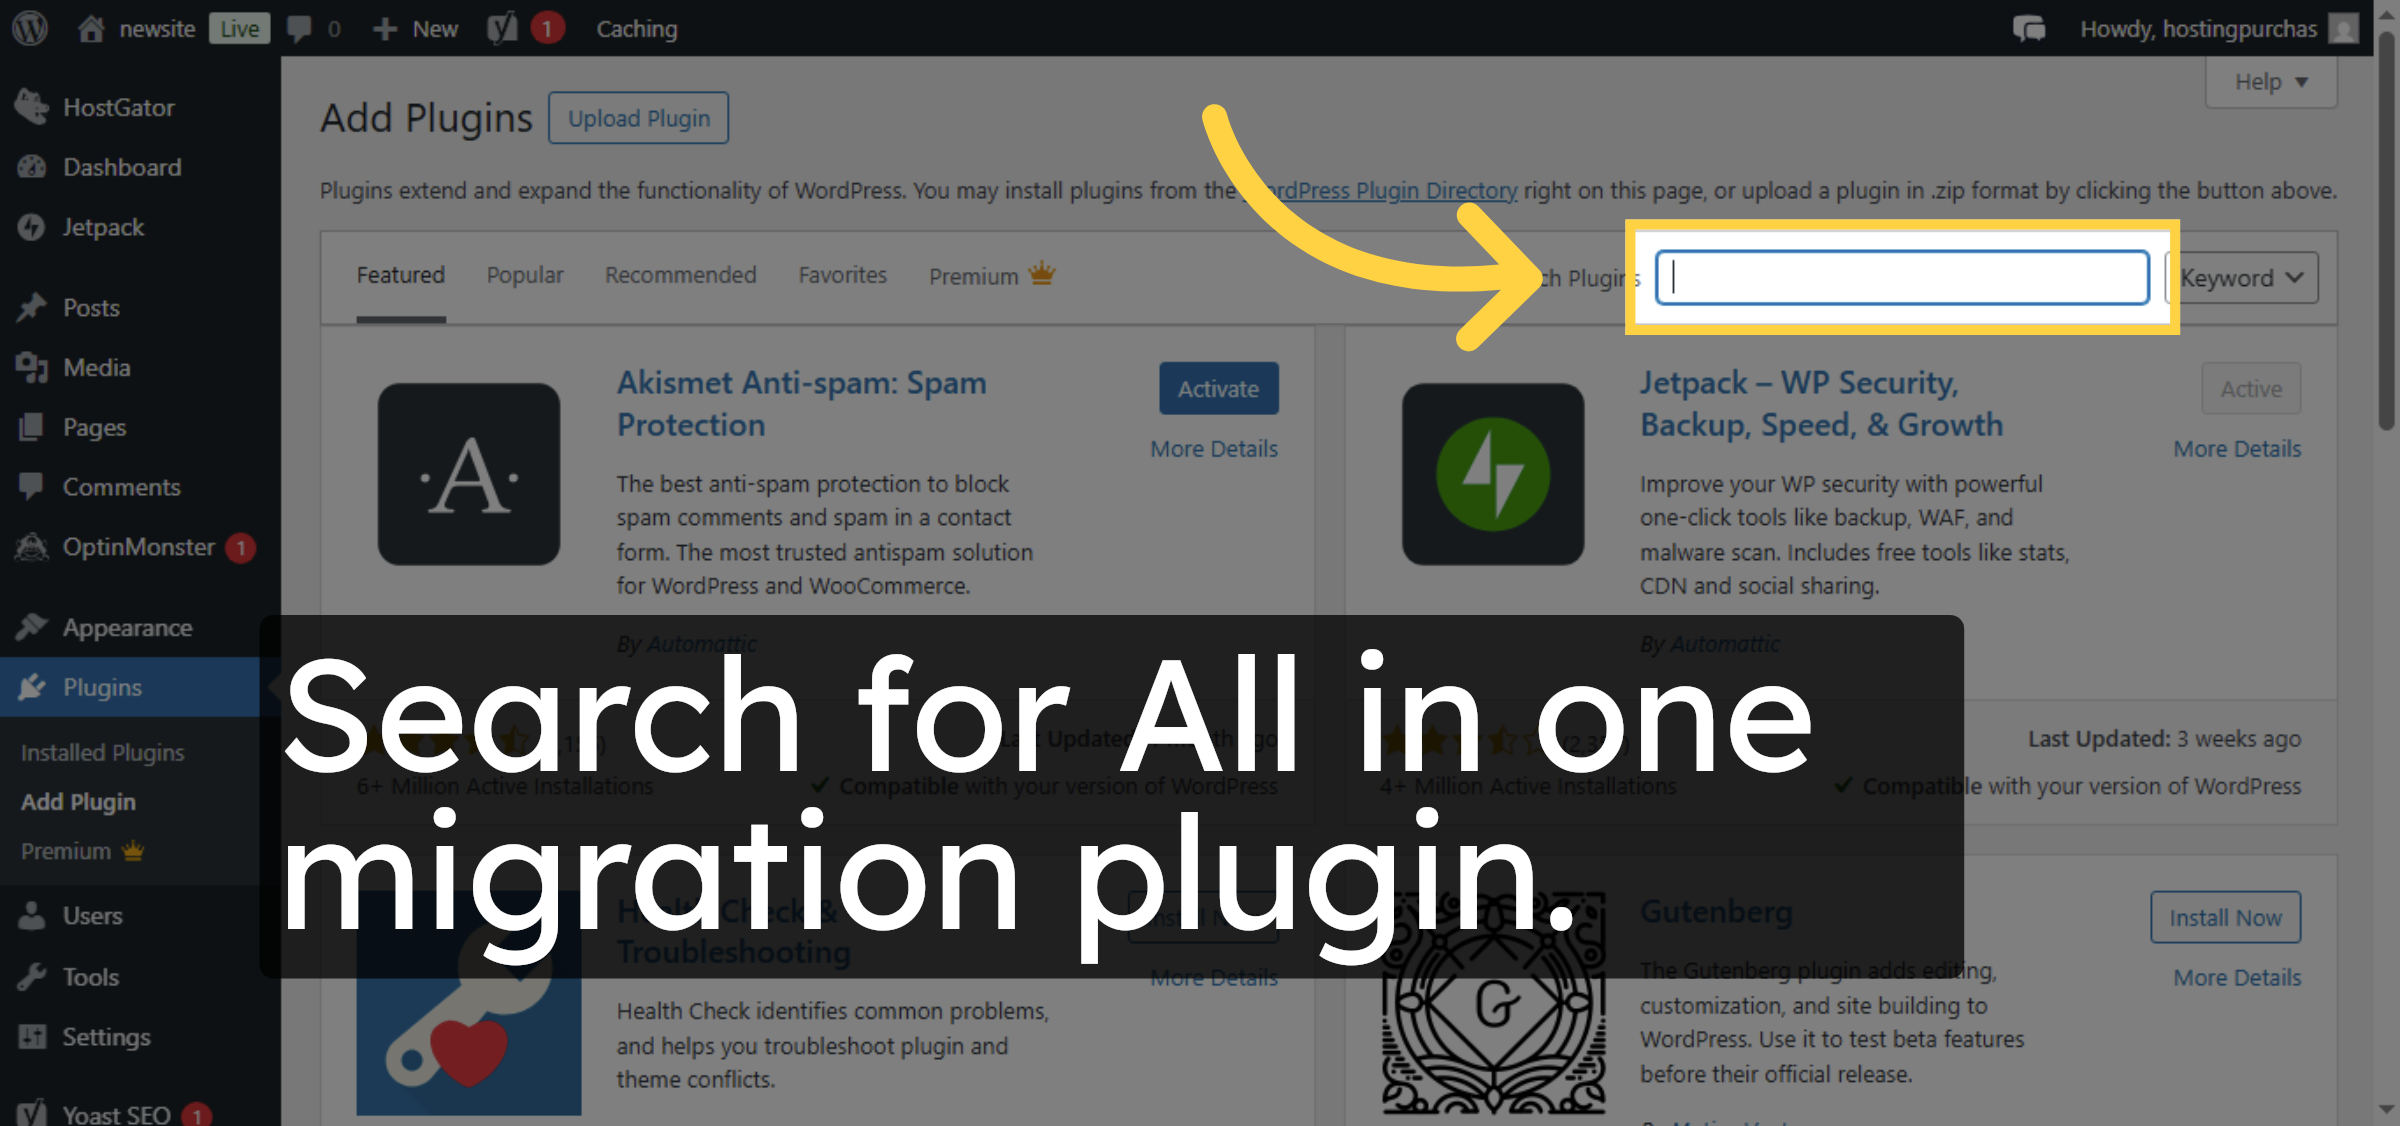
3. Search Plugins
Search for all in one migration plugin
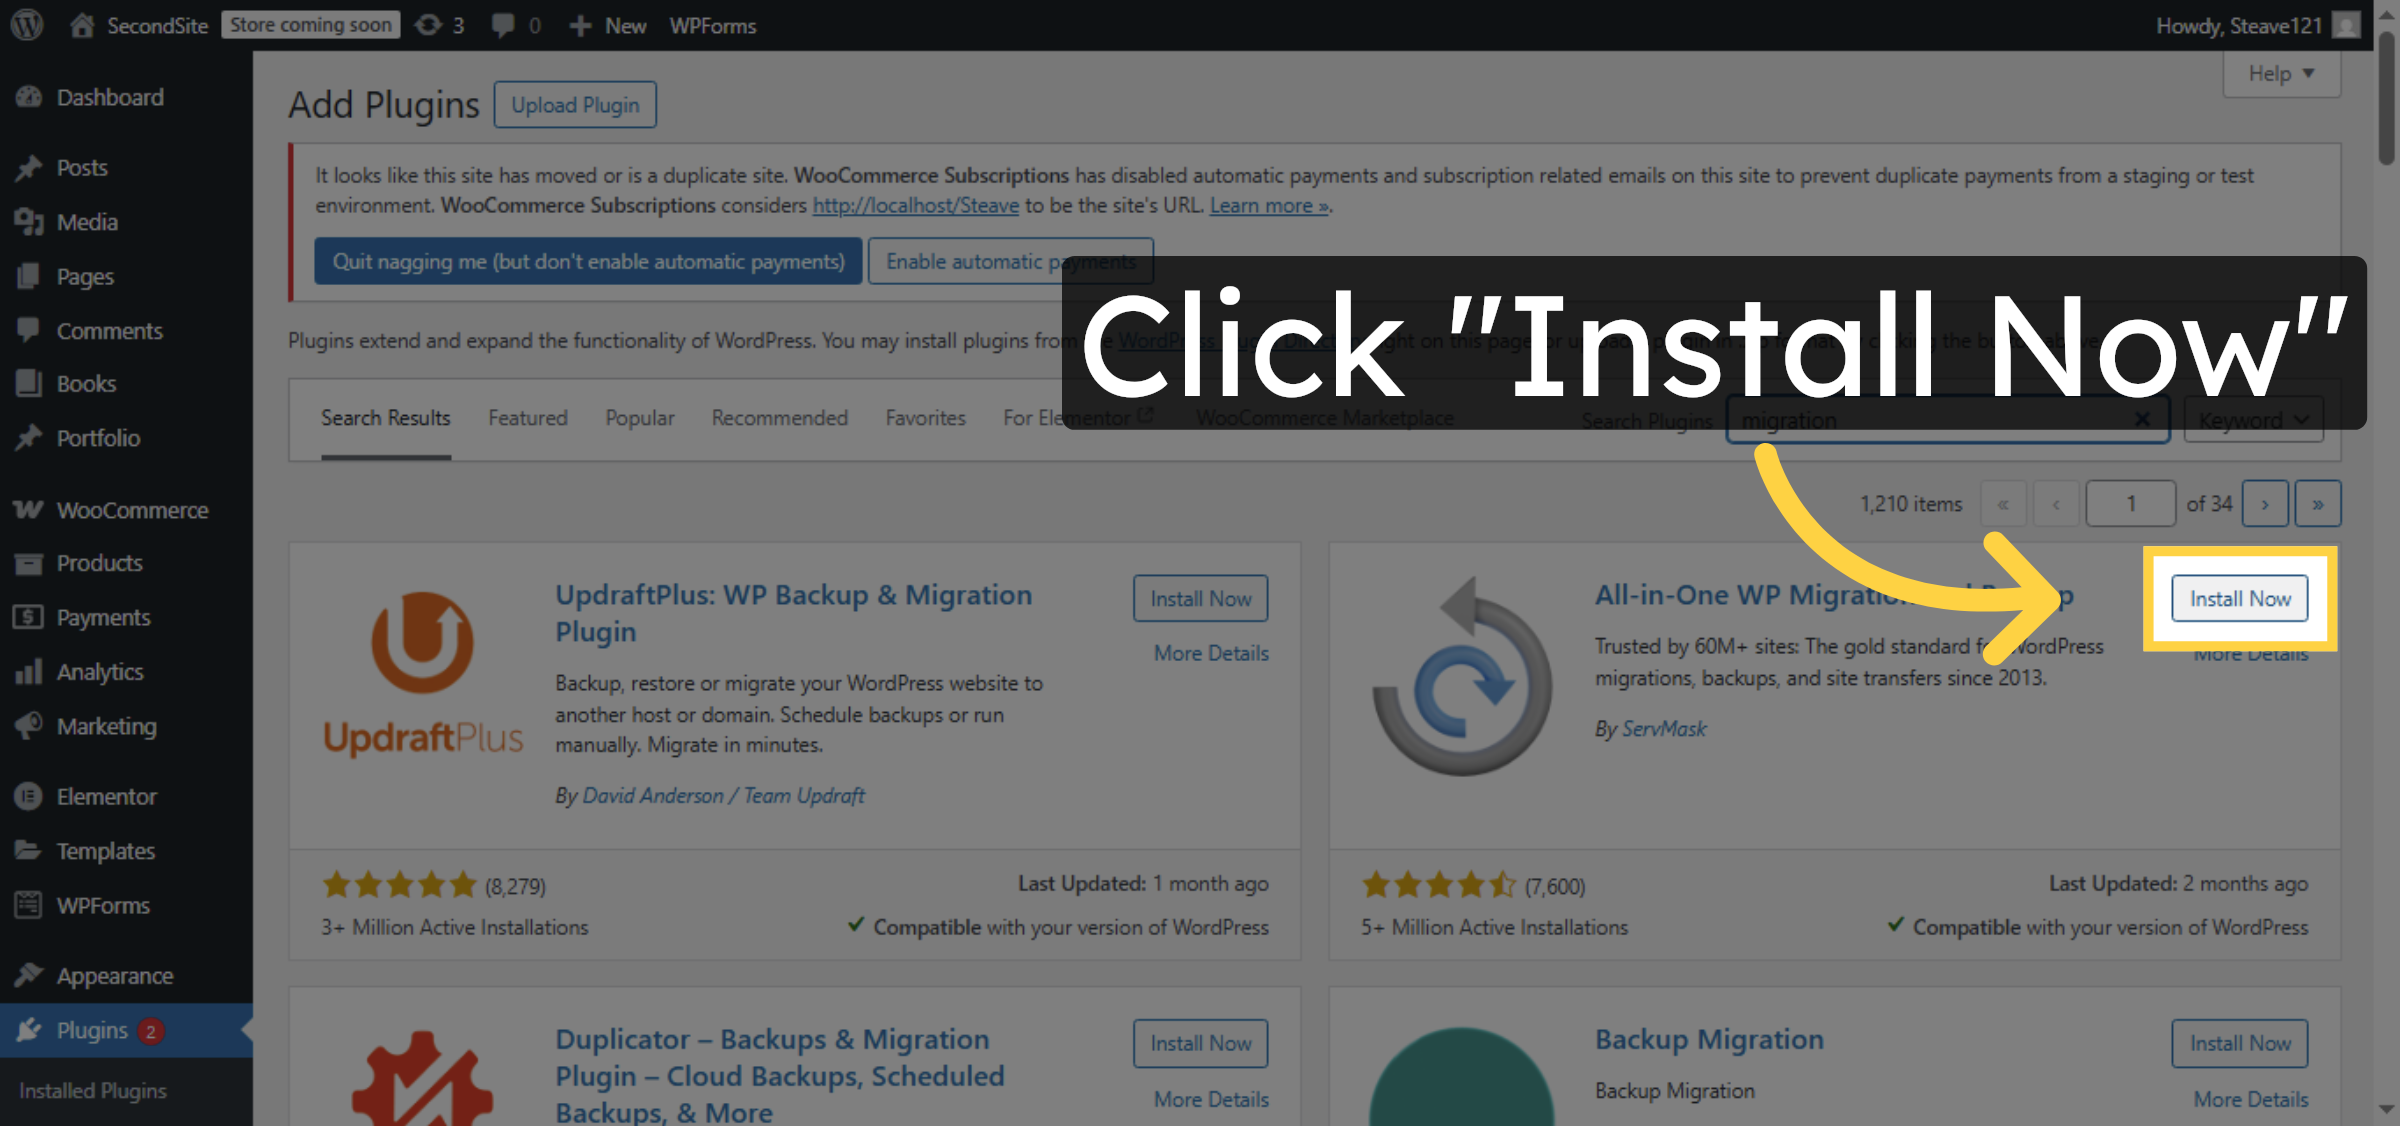
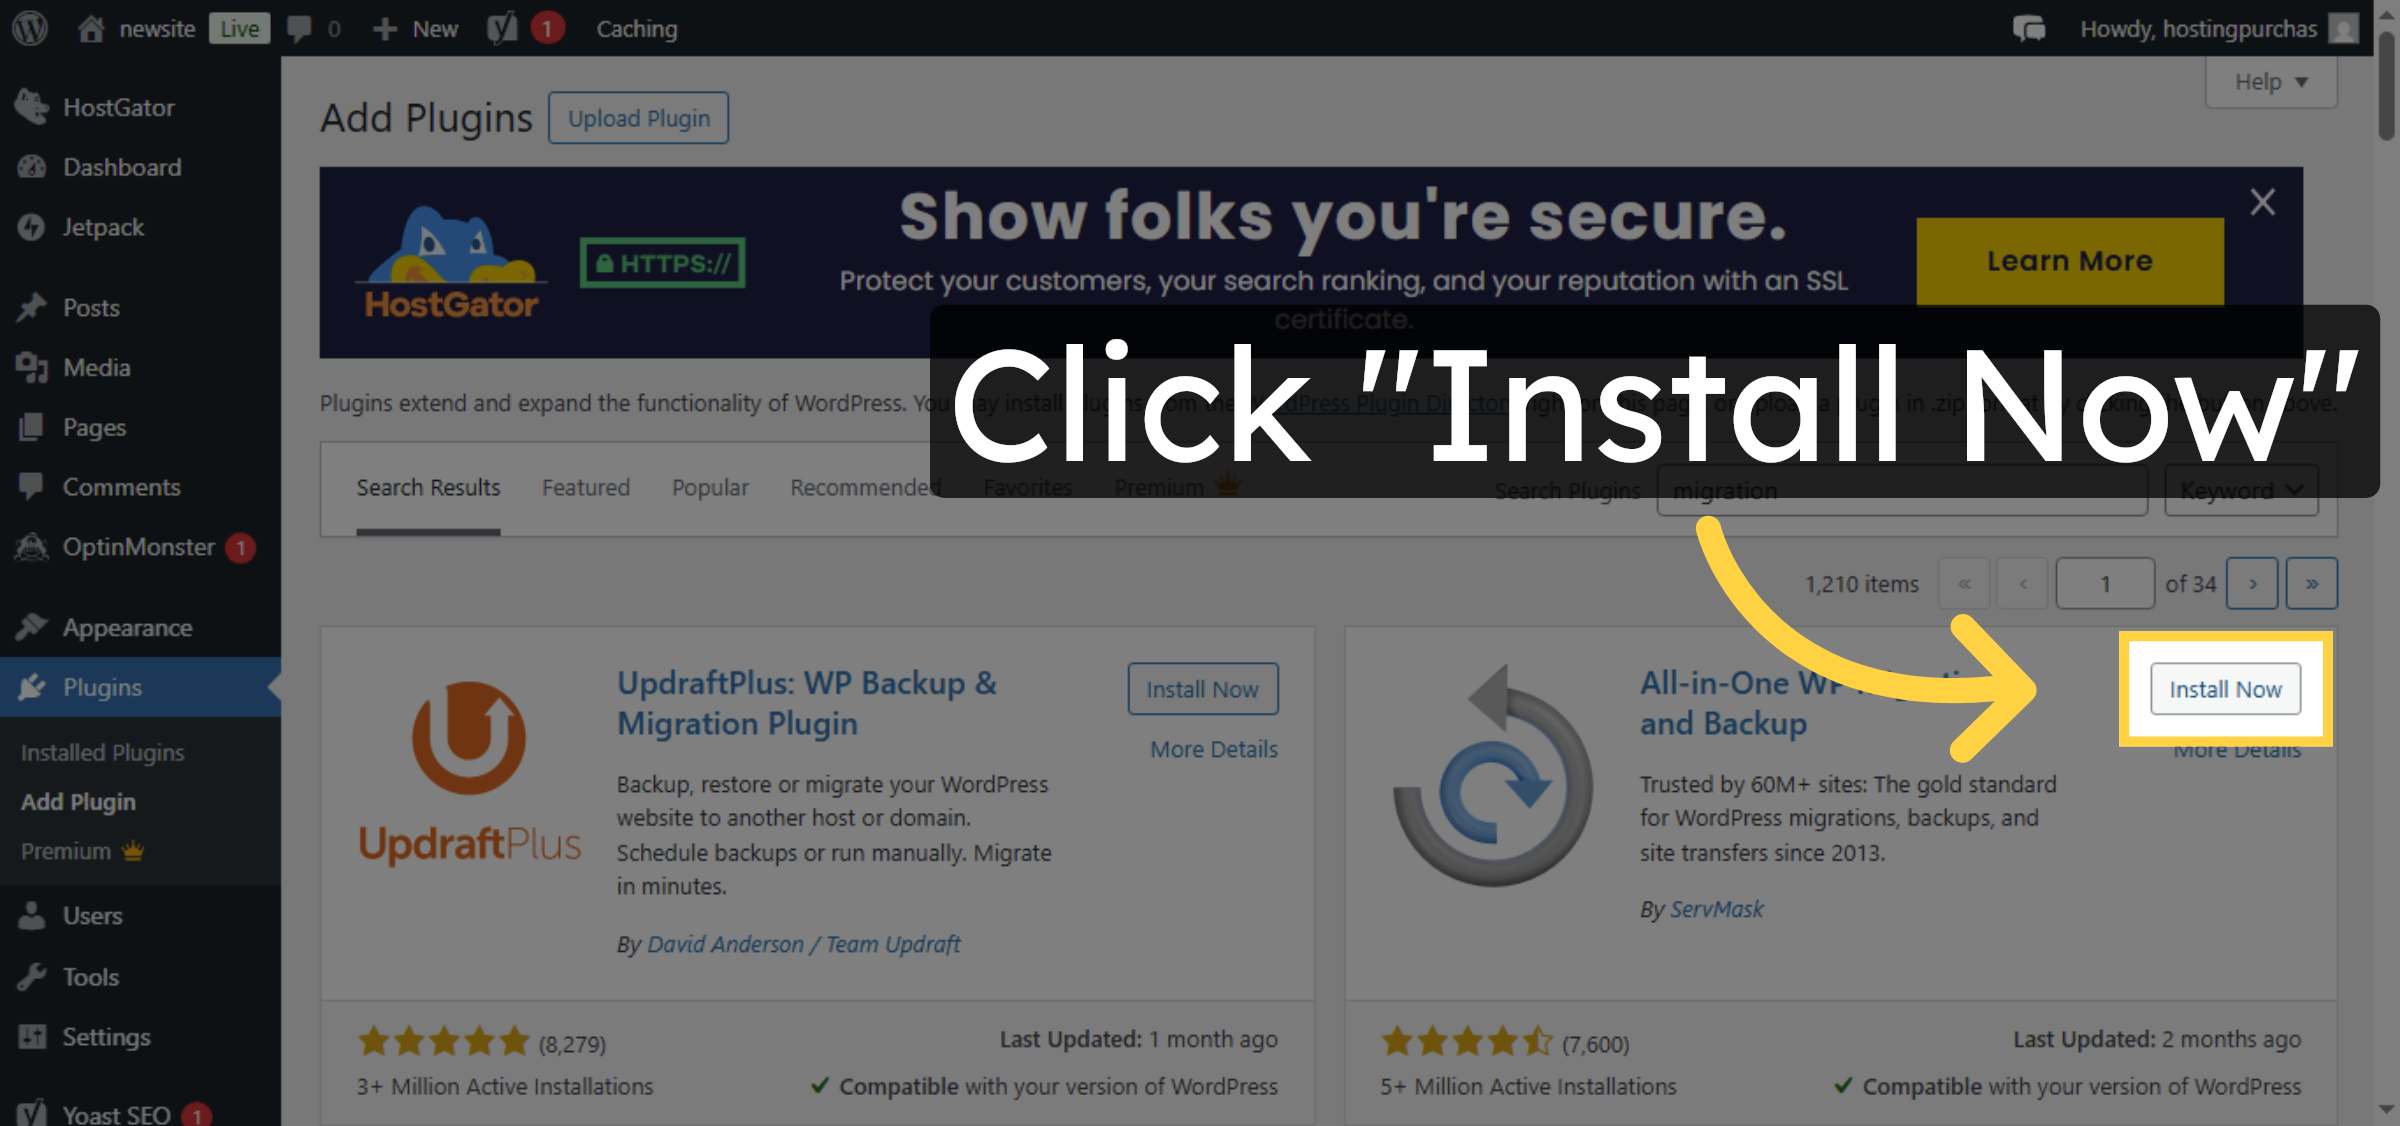
4. Install Migration Plugin
Click “Install Now” to install the selected migration plugin.
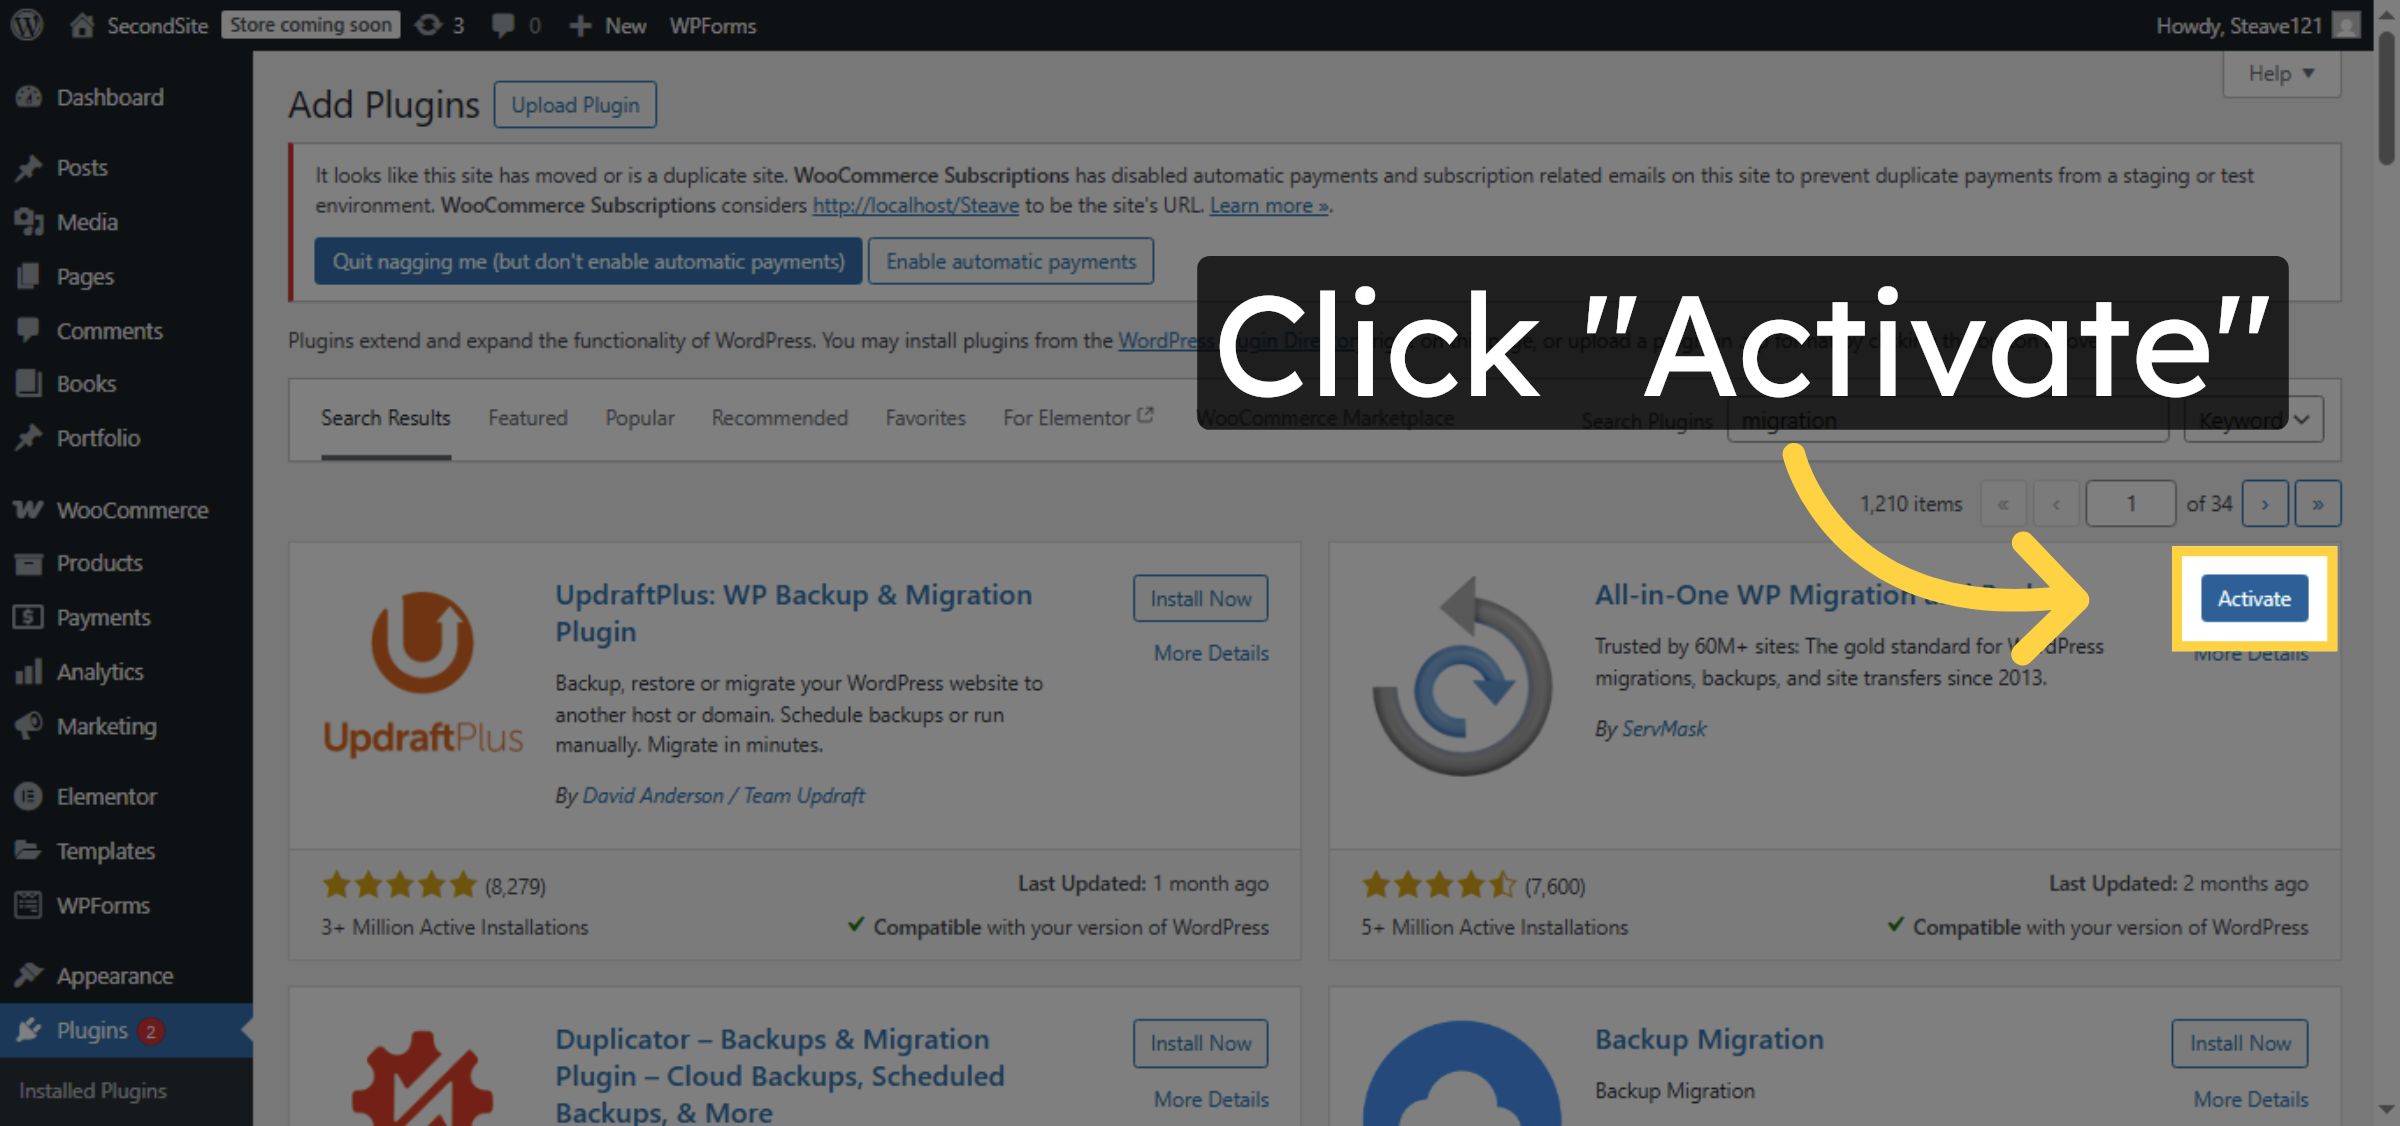
5. Activate Migration Plugin
Click “Activate” to enable the migration plugin on your WordPress site.
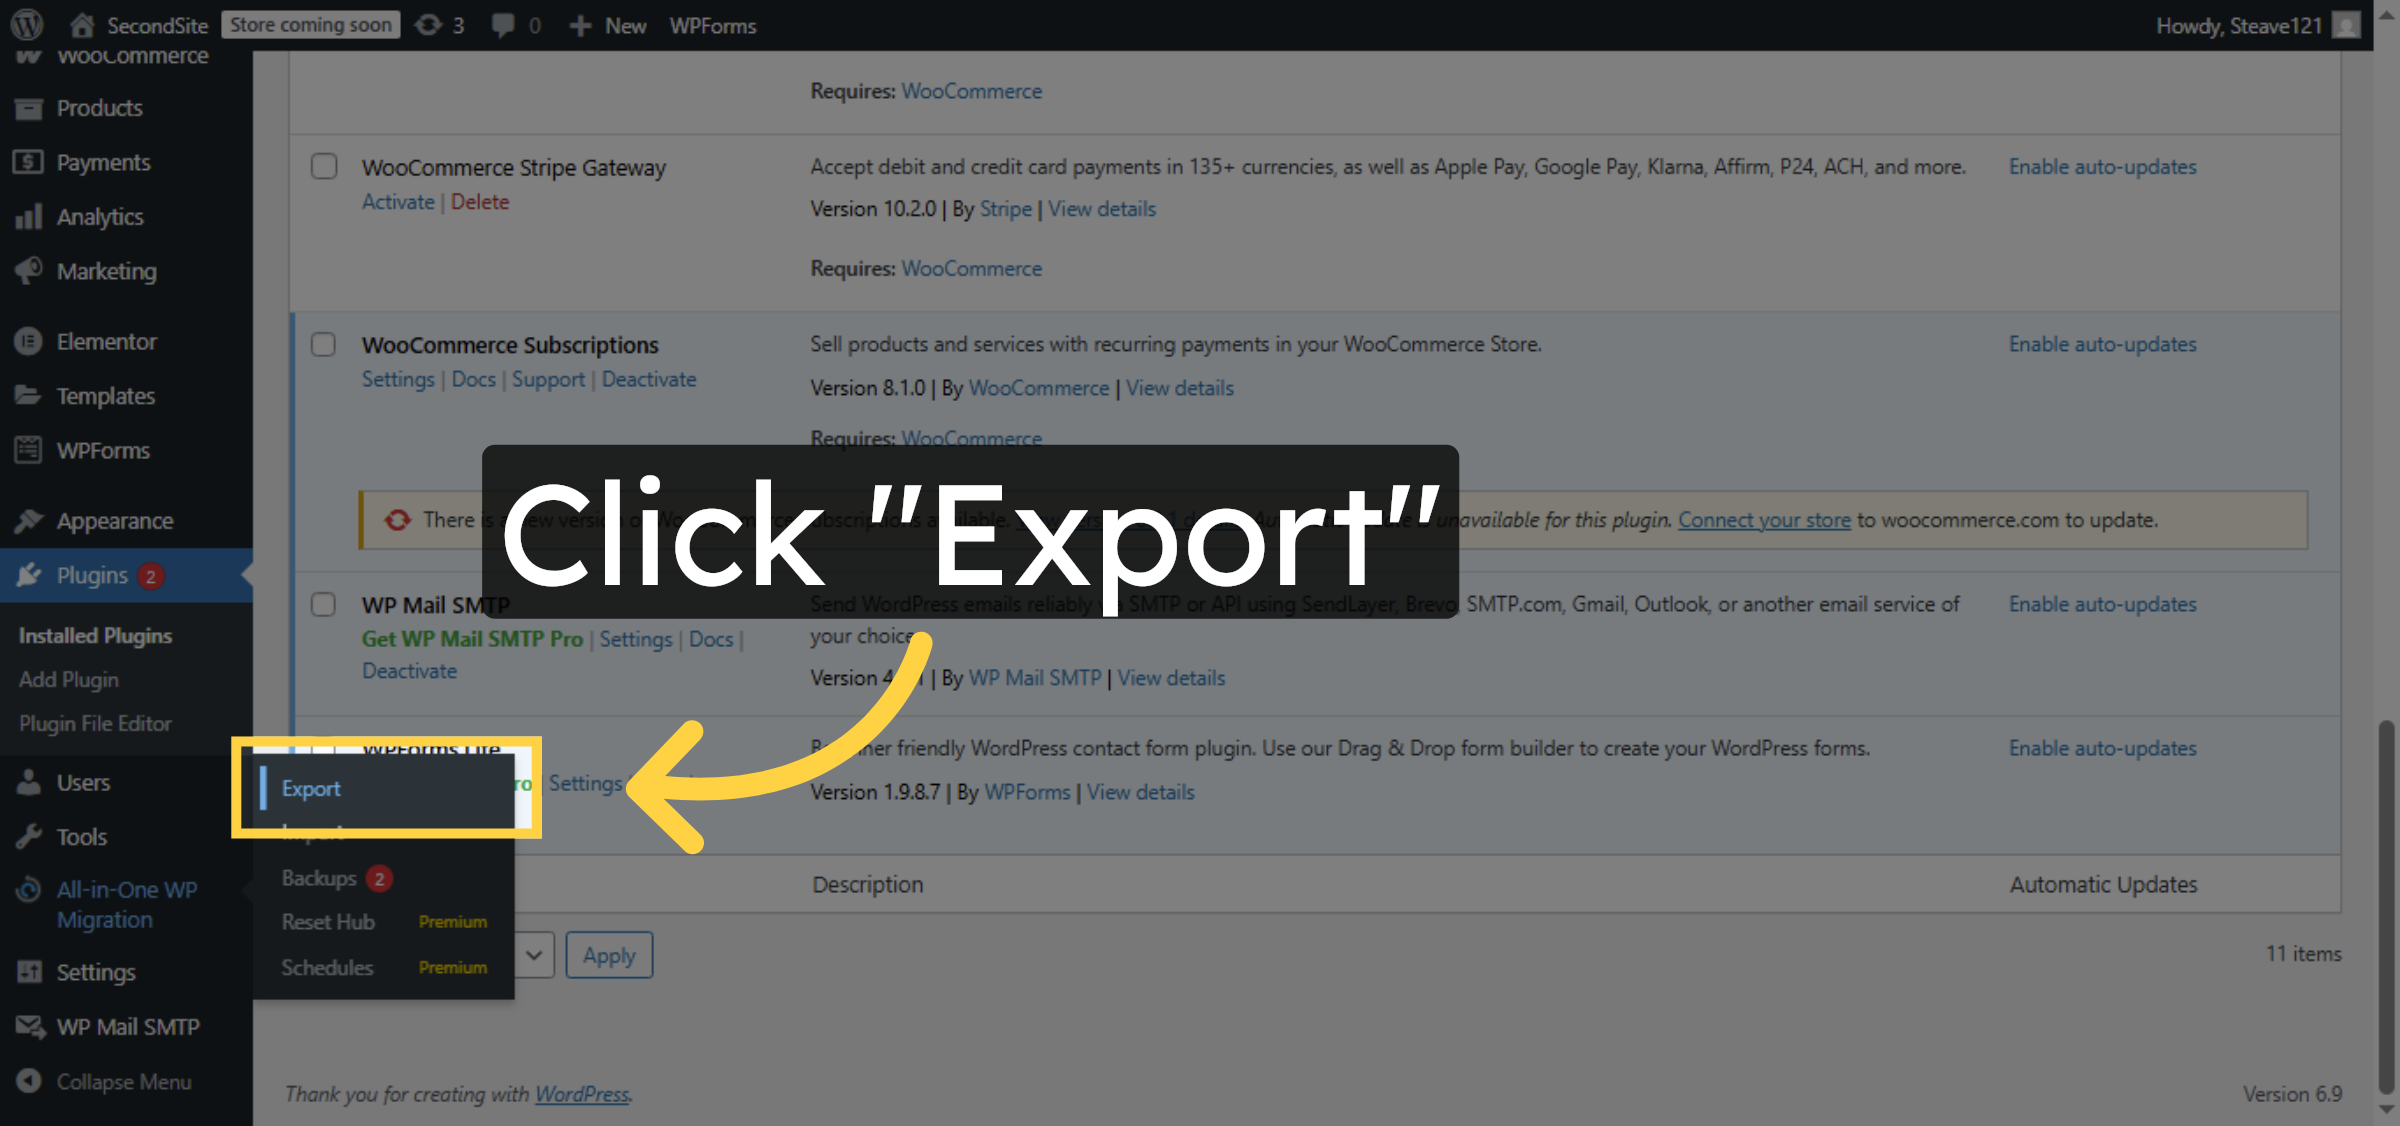
6. Export Site
Click “Export” to begin exporting your WordPress site data.
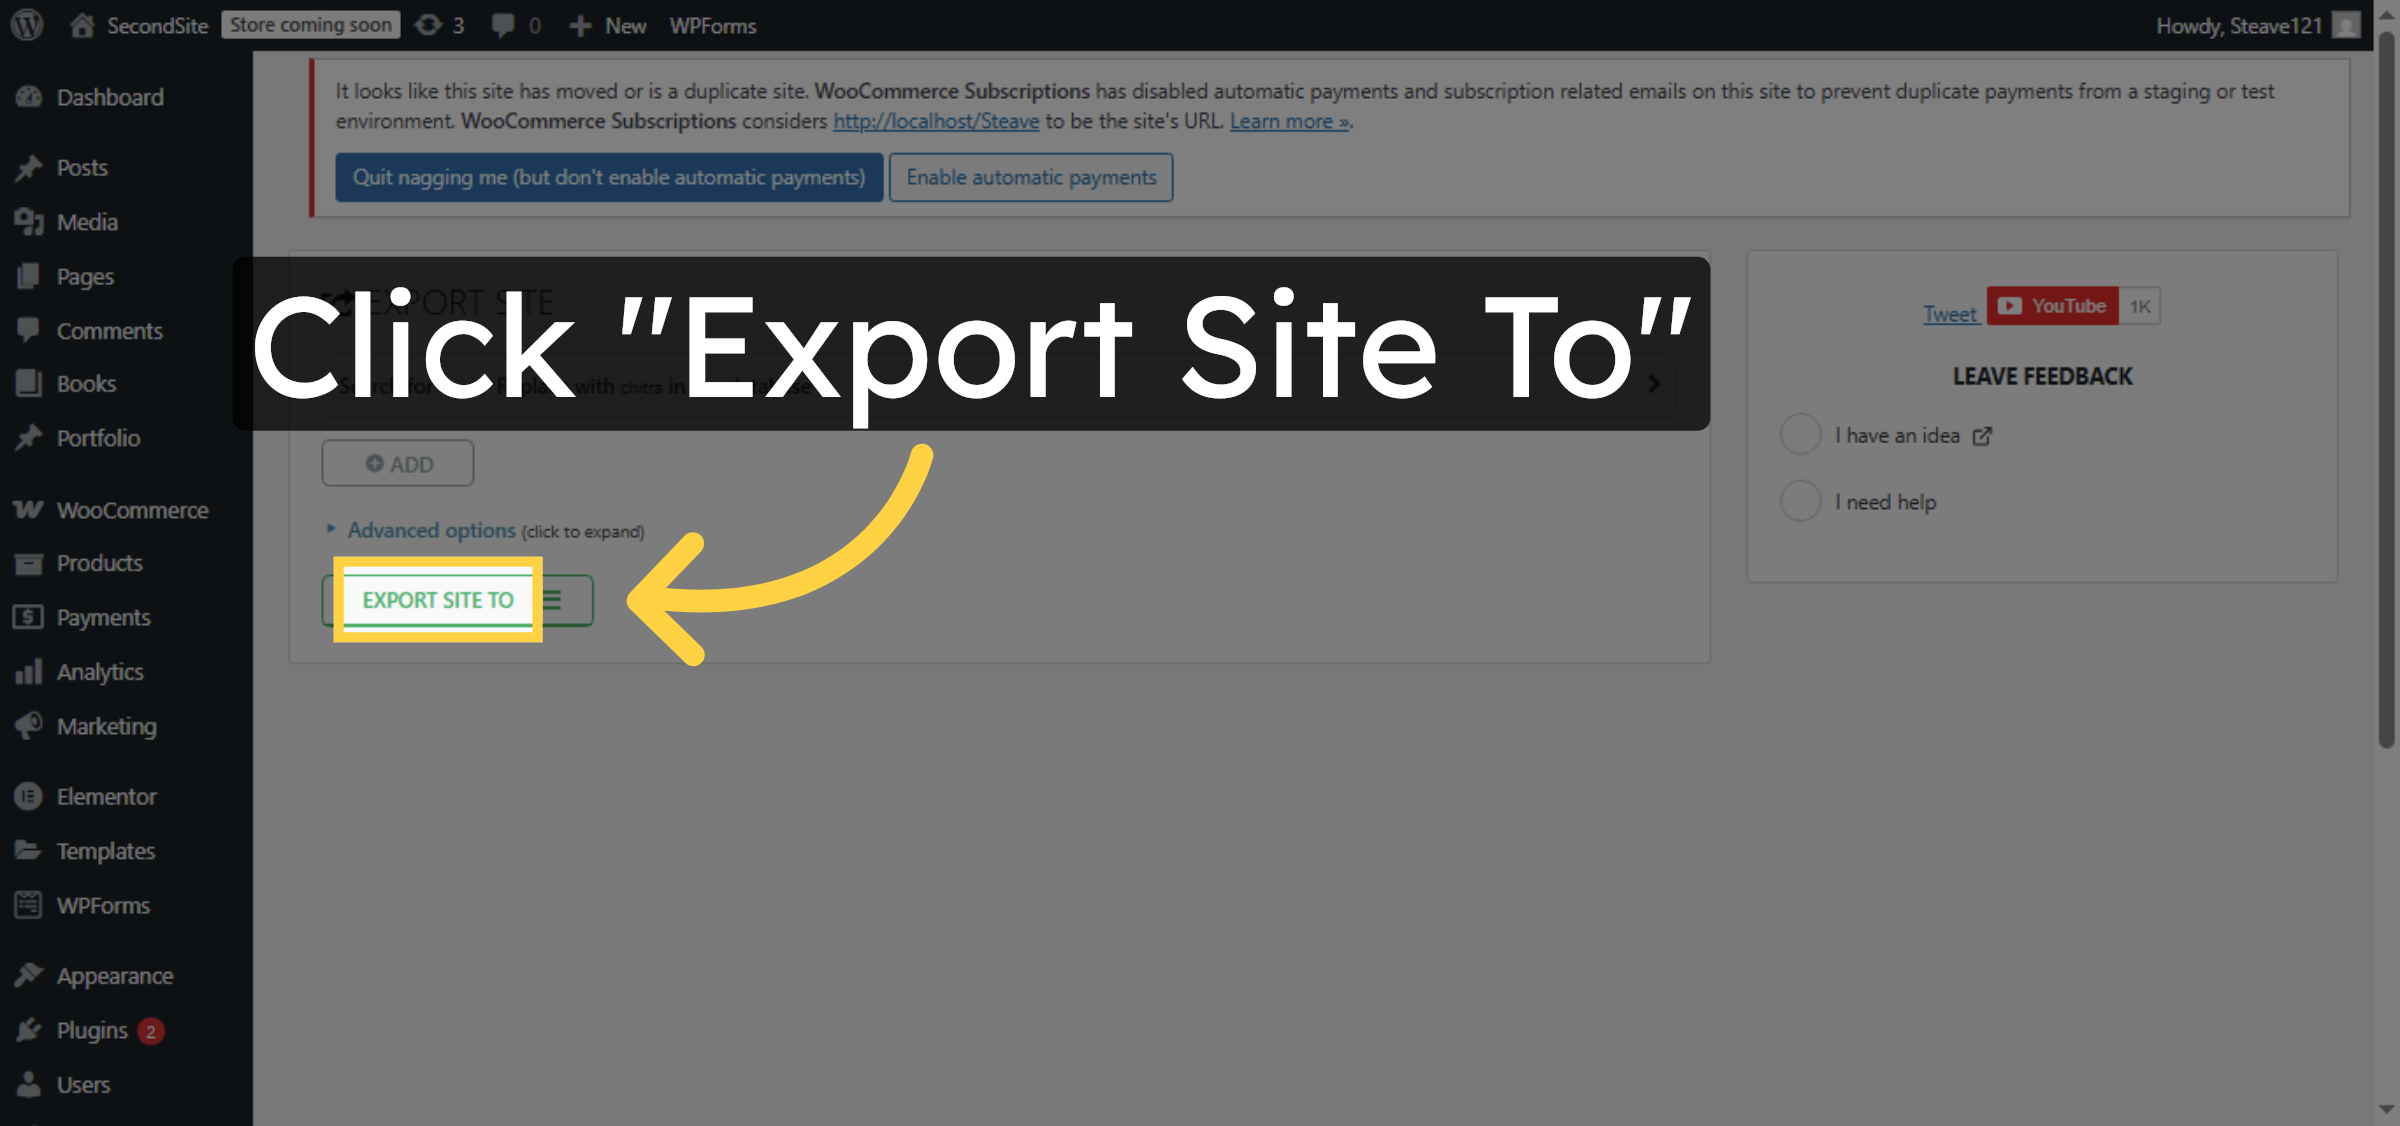
7. Choose Export Destination
Click “Export Site To” to select where to save your exported file.
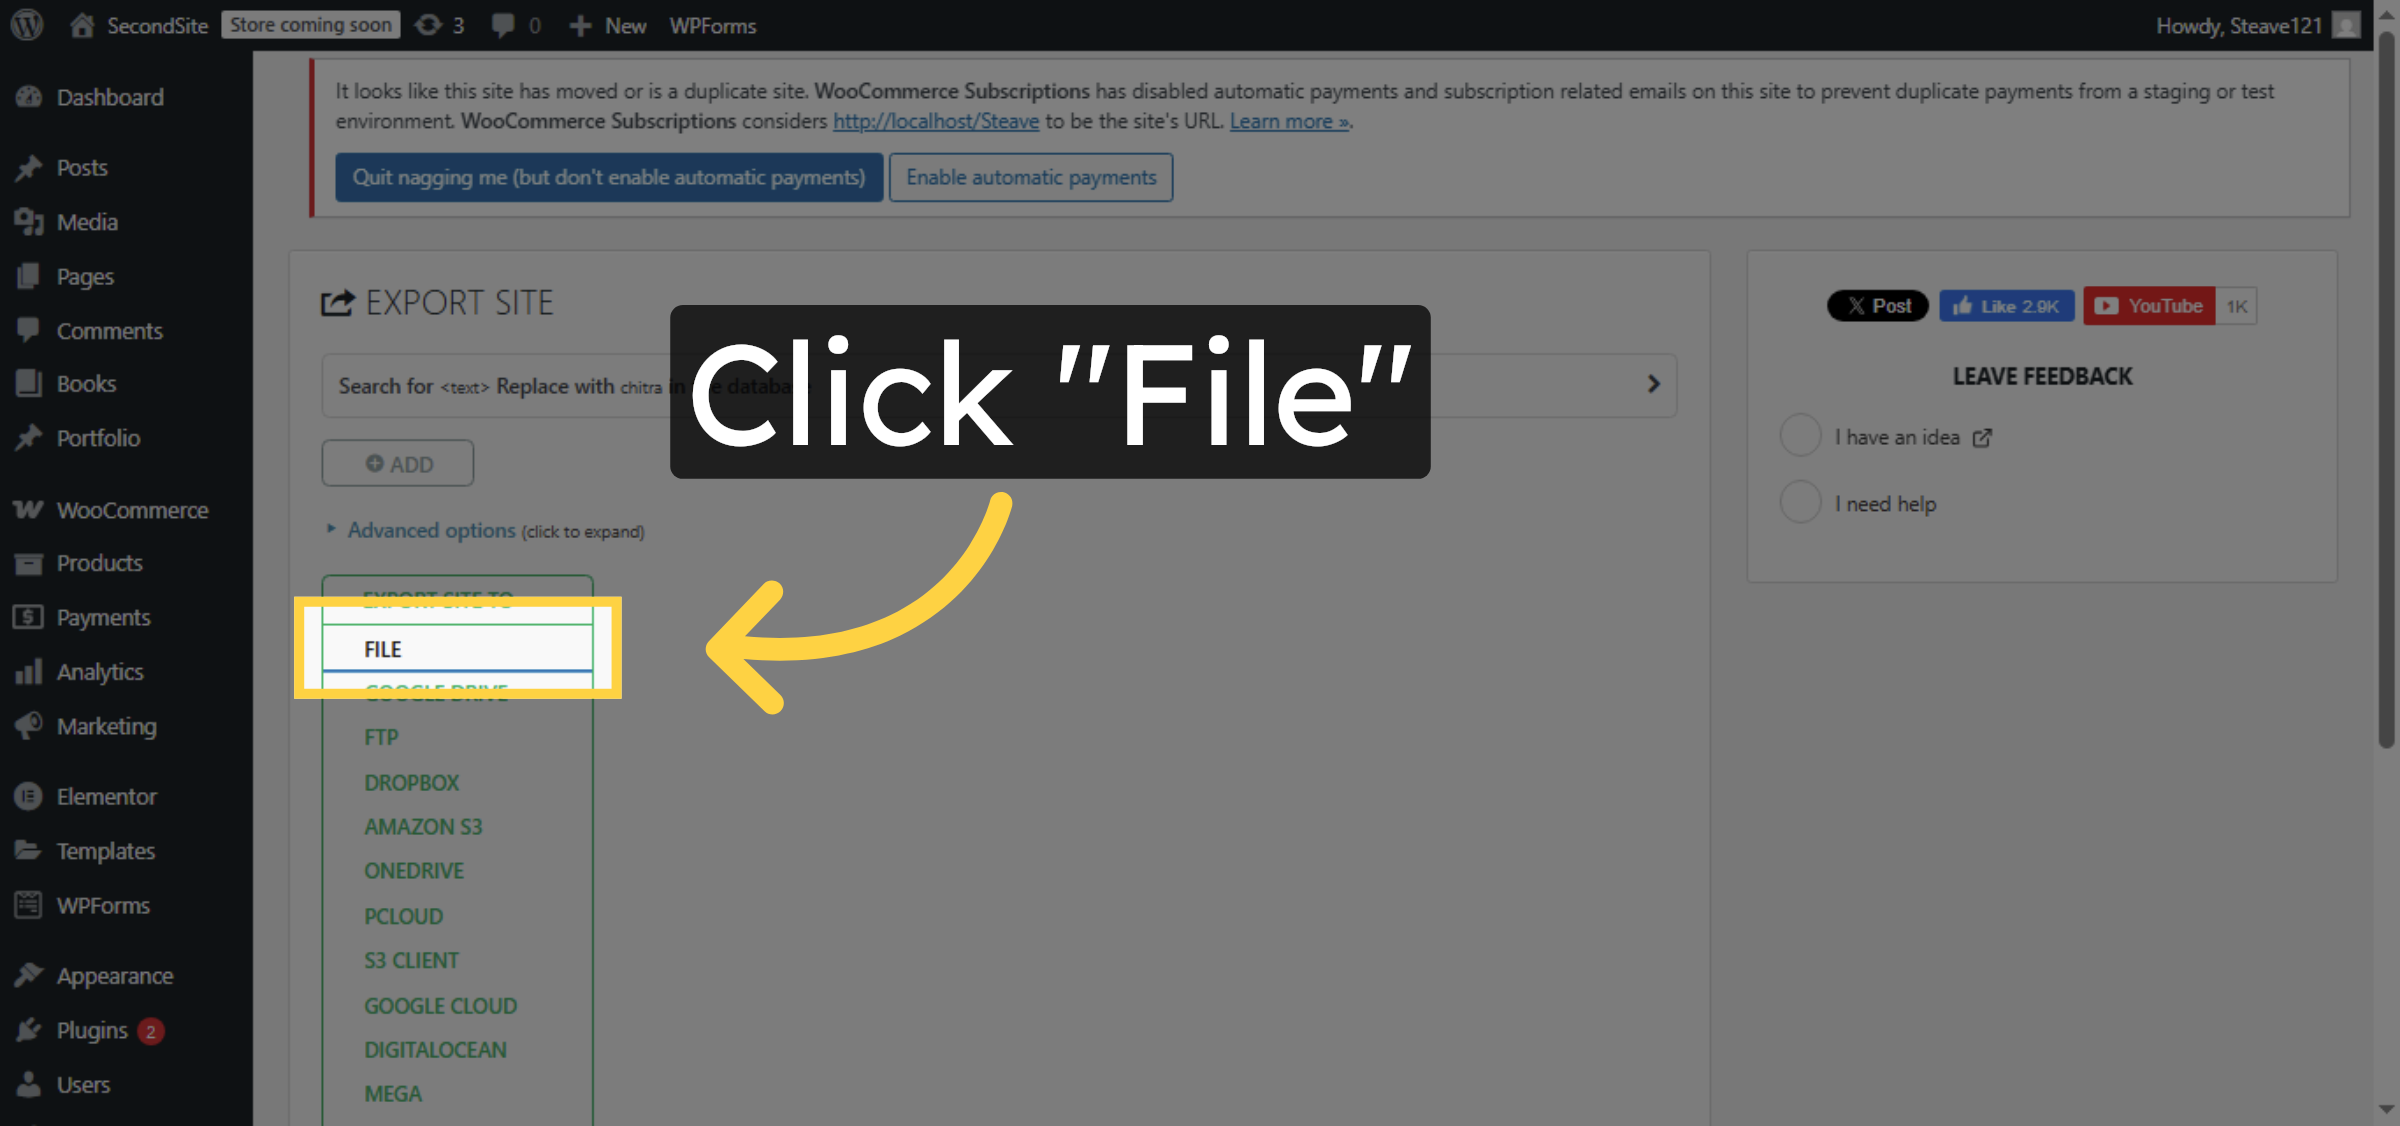
8. Select File Option
Click “File” to export your site as a downloadable file.
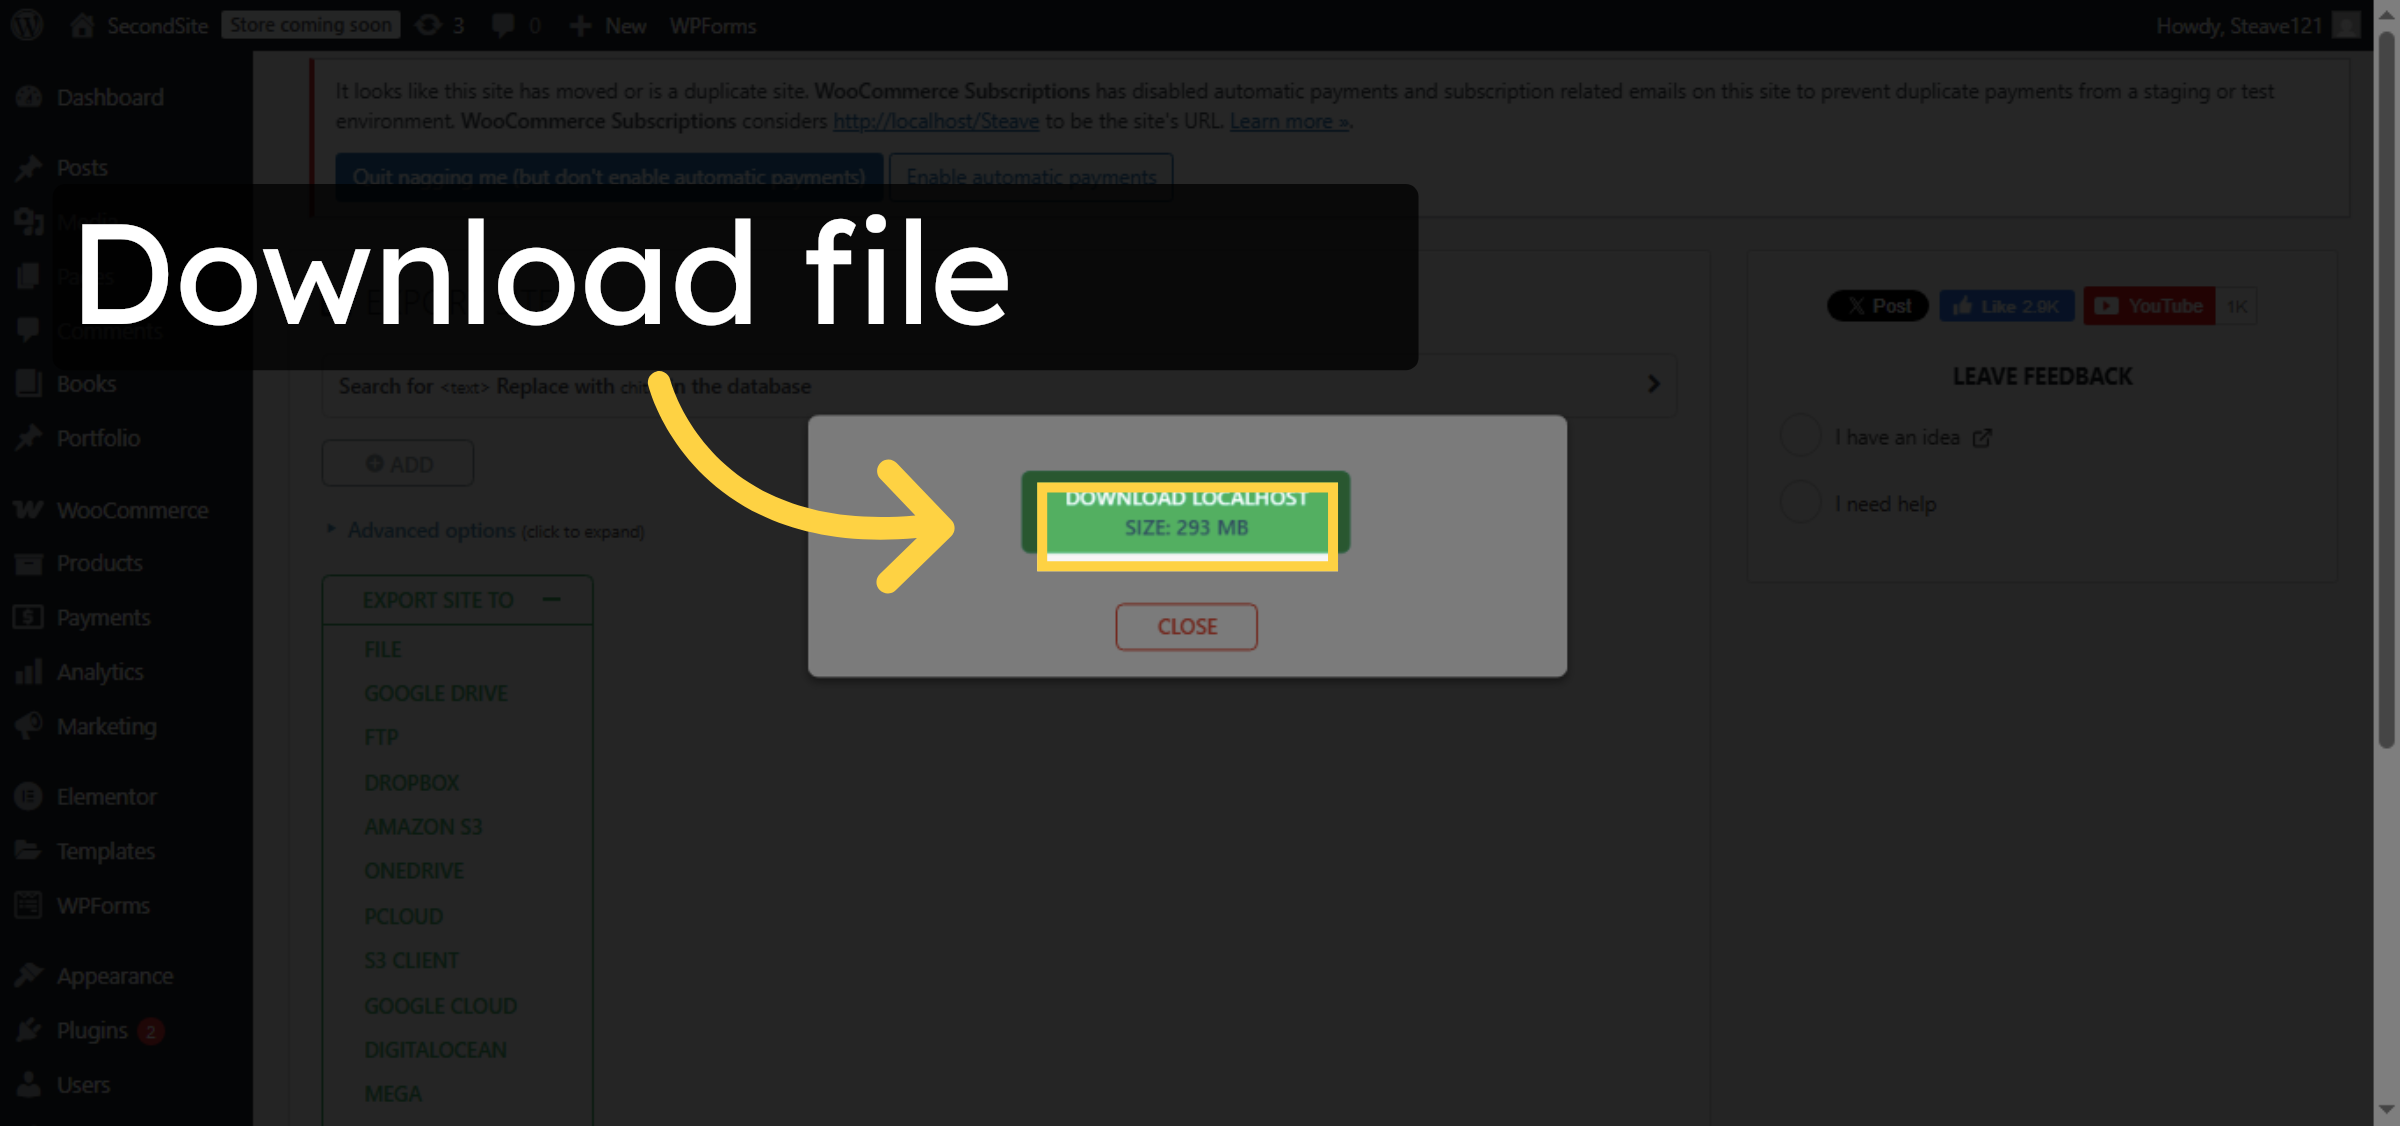
9. Download Exported file
Download exported file and save it to your local System
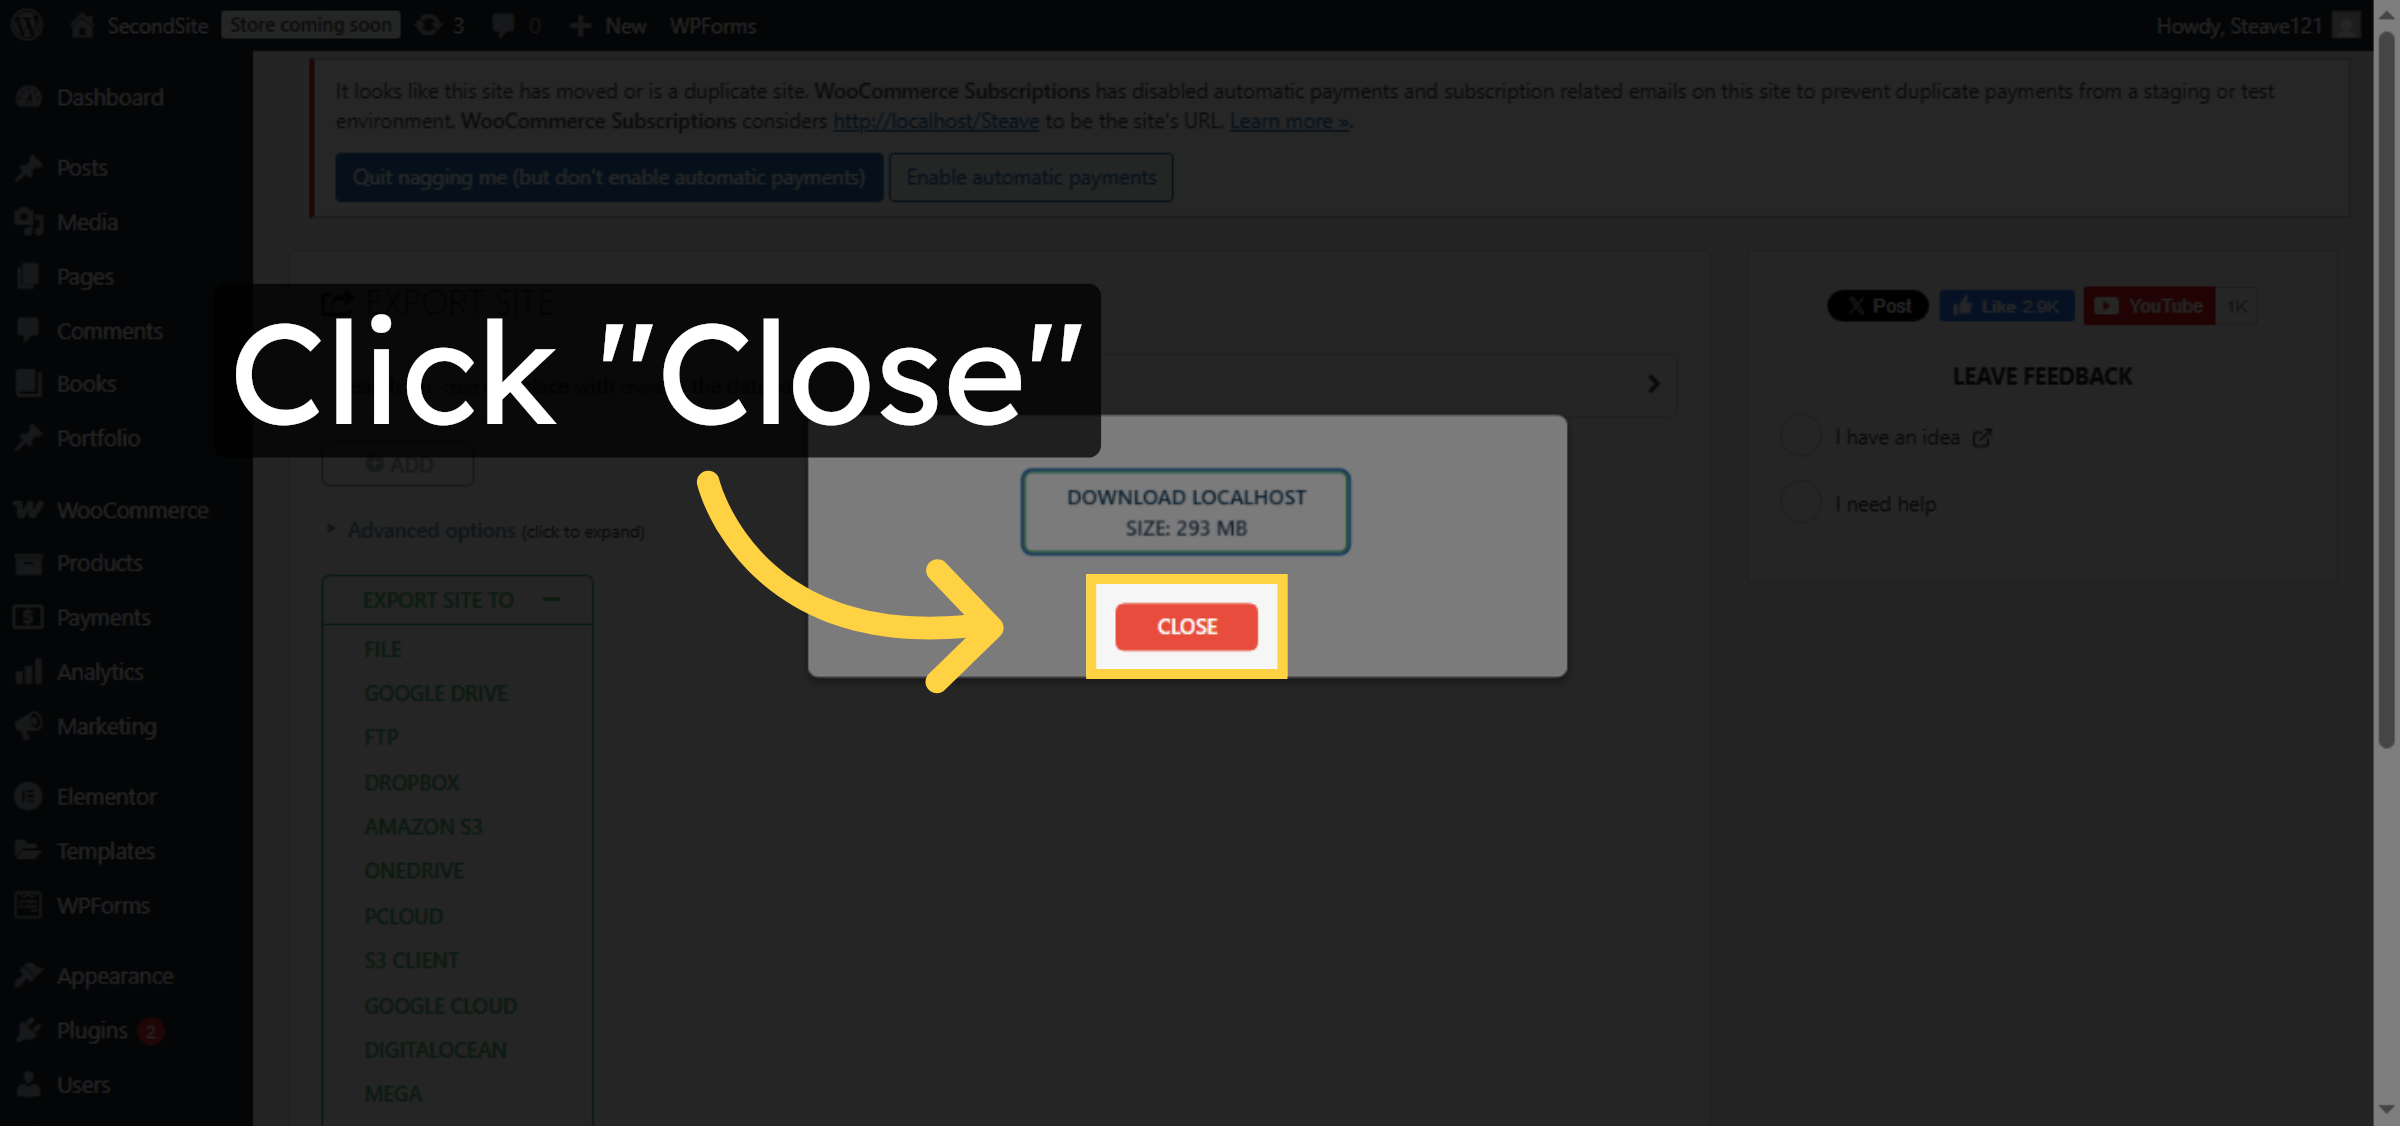
10. Close Export Window
Click “Close” to finish the export process and close the window.
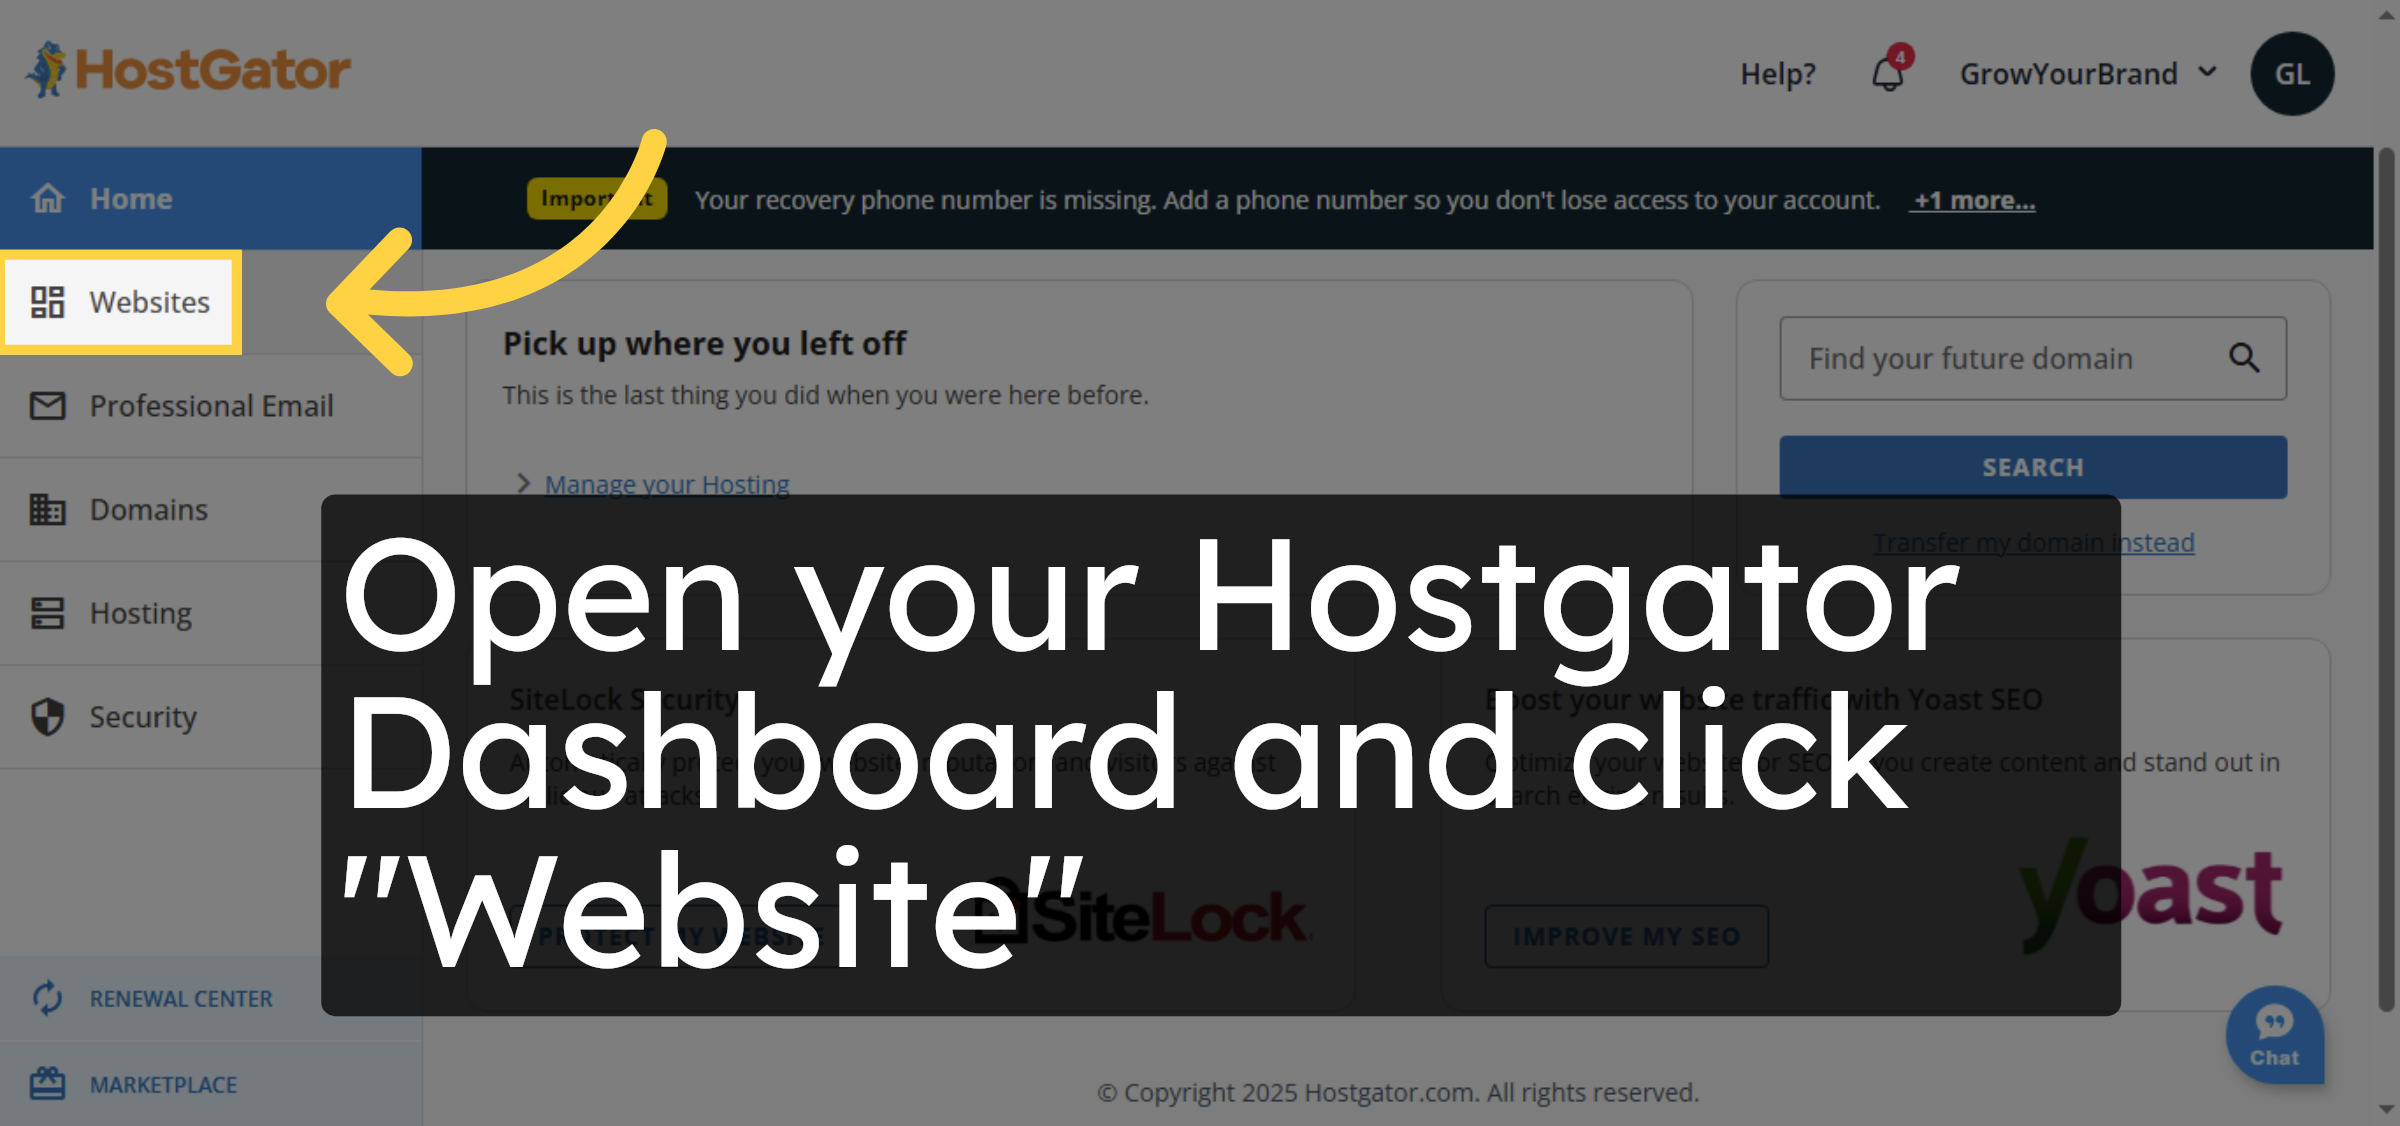
11. Access HostGator Dashboard
Open your Hostgator Dashboard and click “Website”
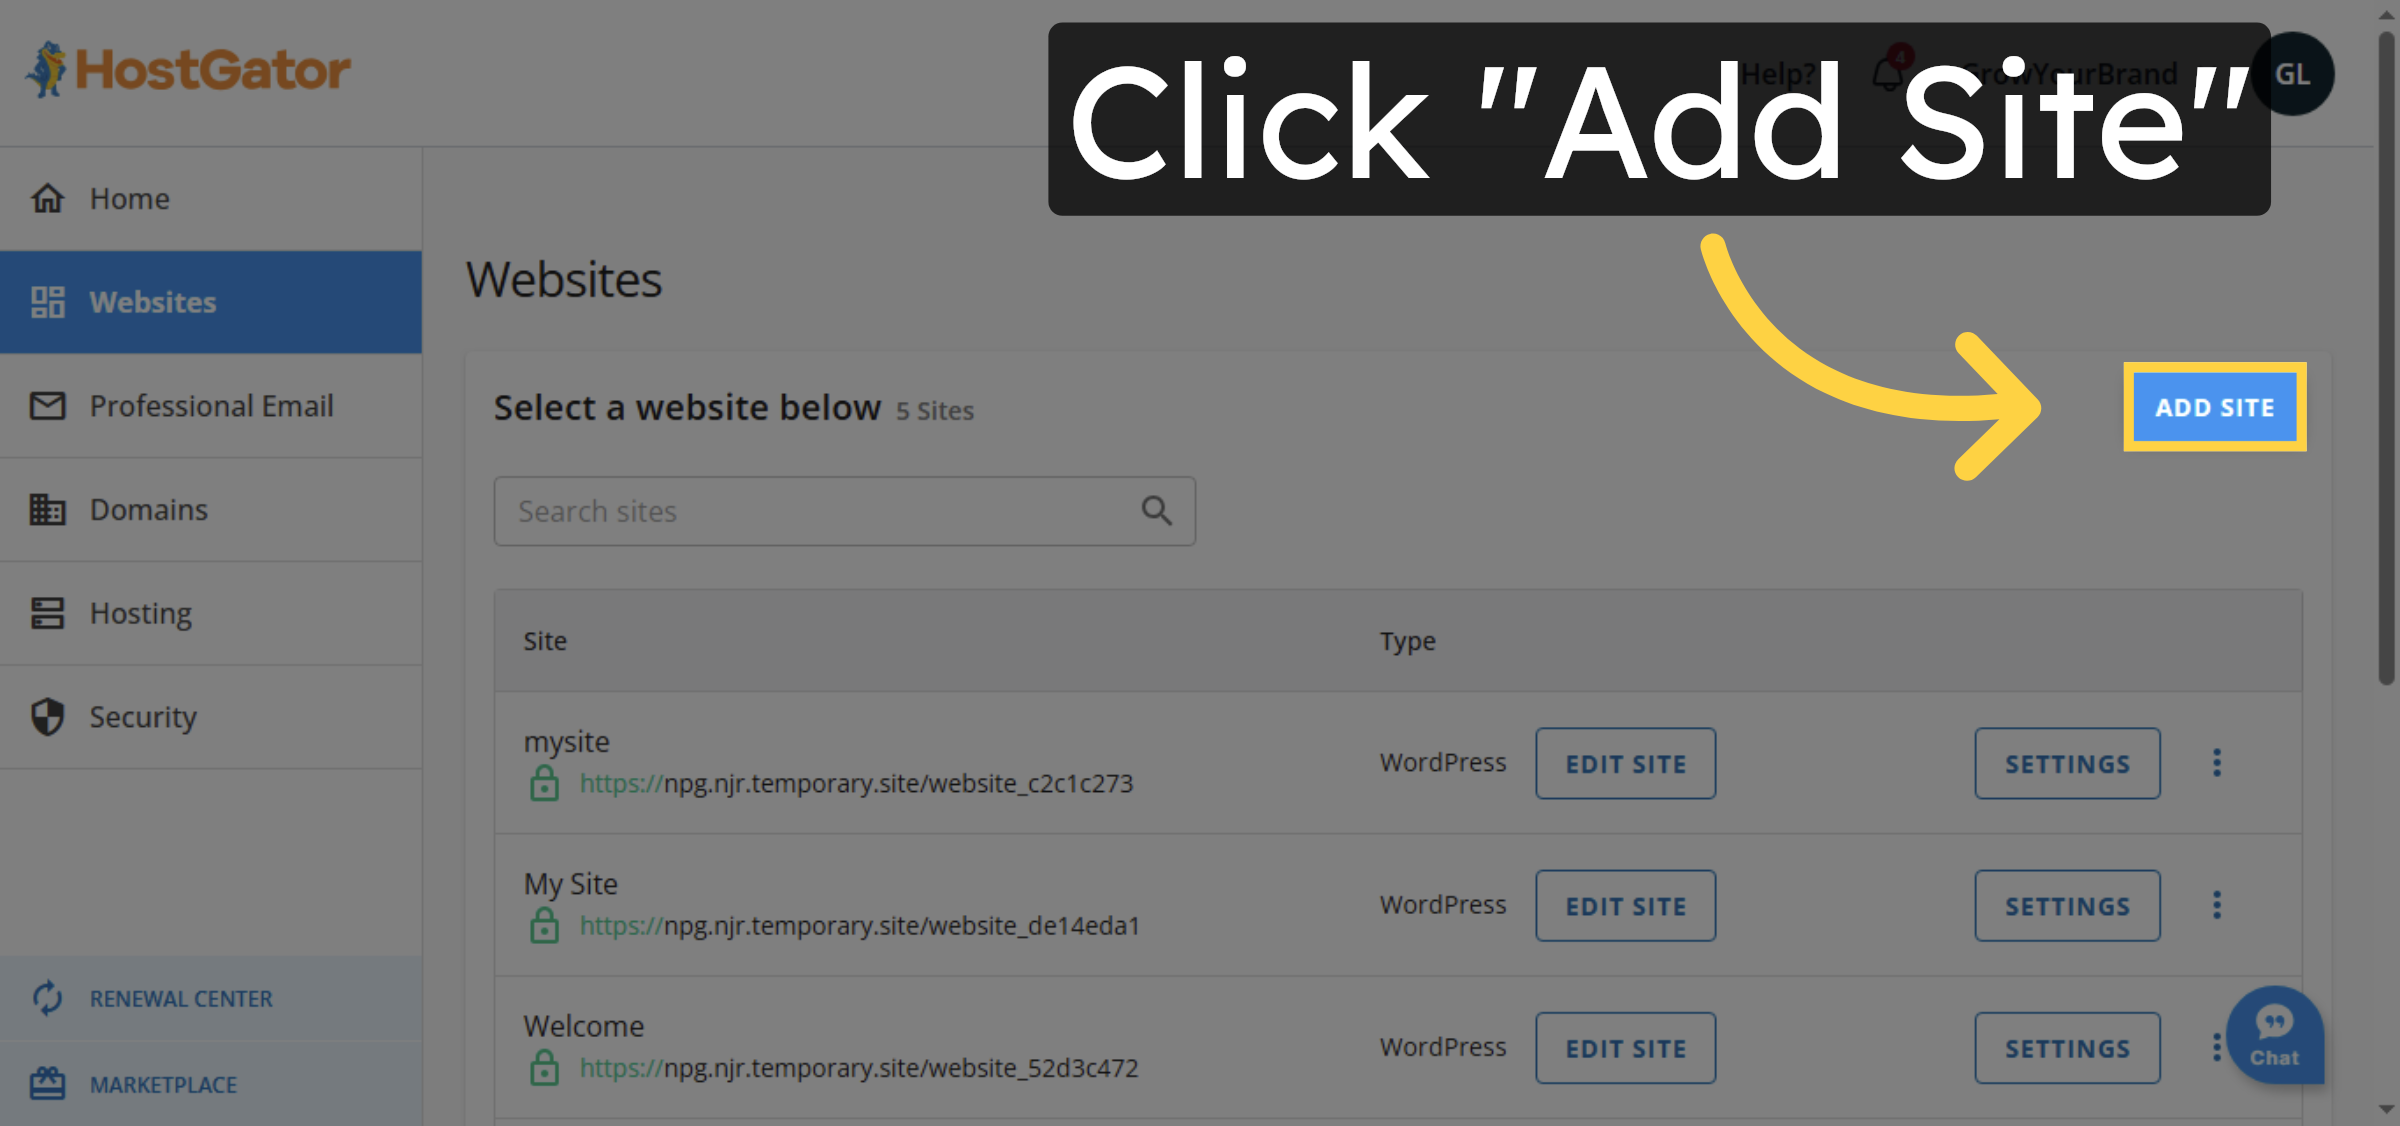
12. Add New Site
Click “Add Site” to start setting up a new WordPress site on HostGator.
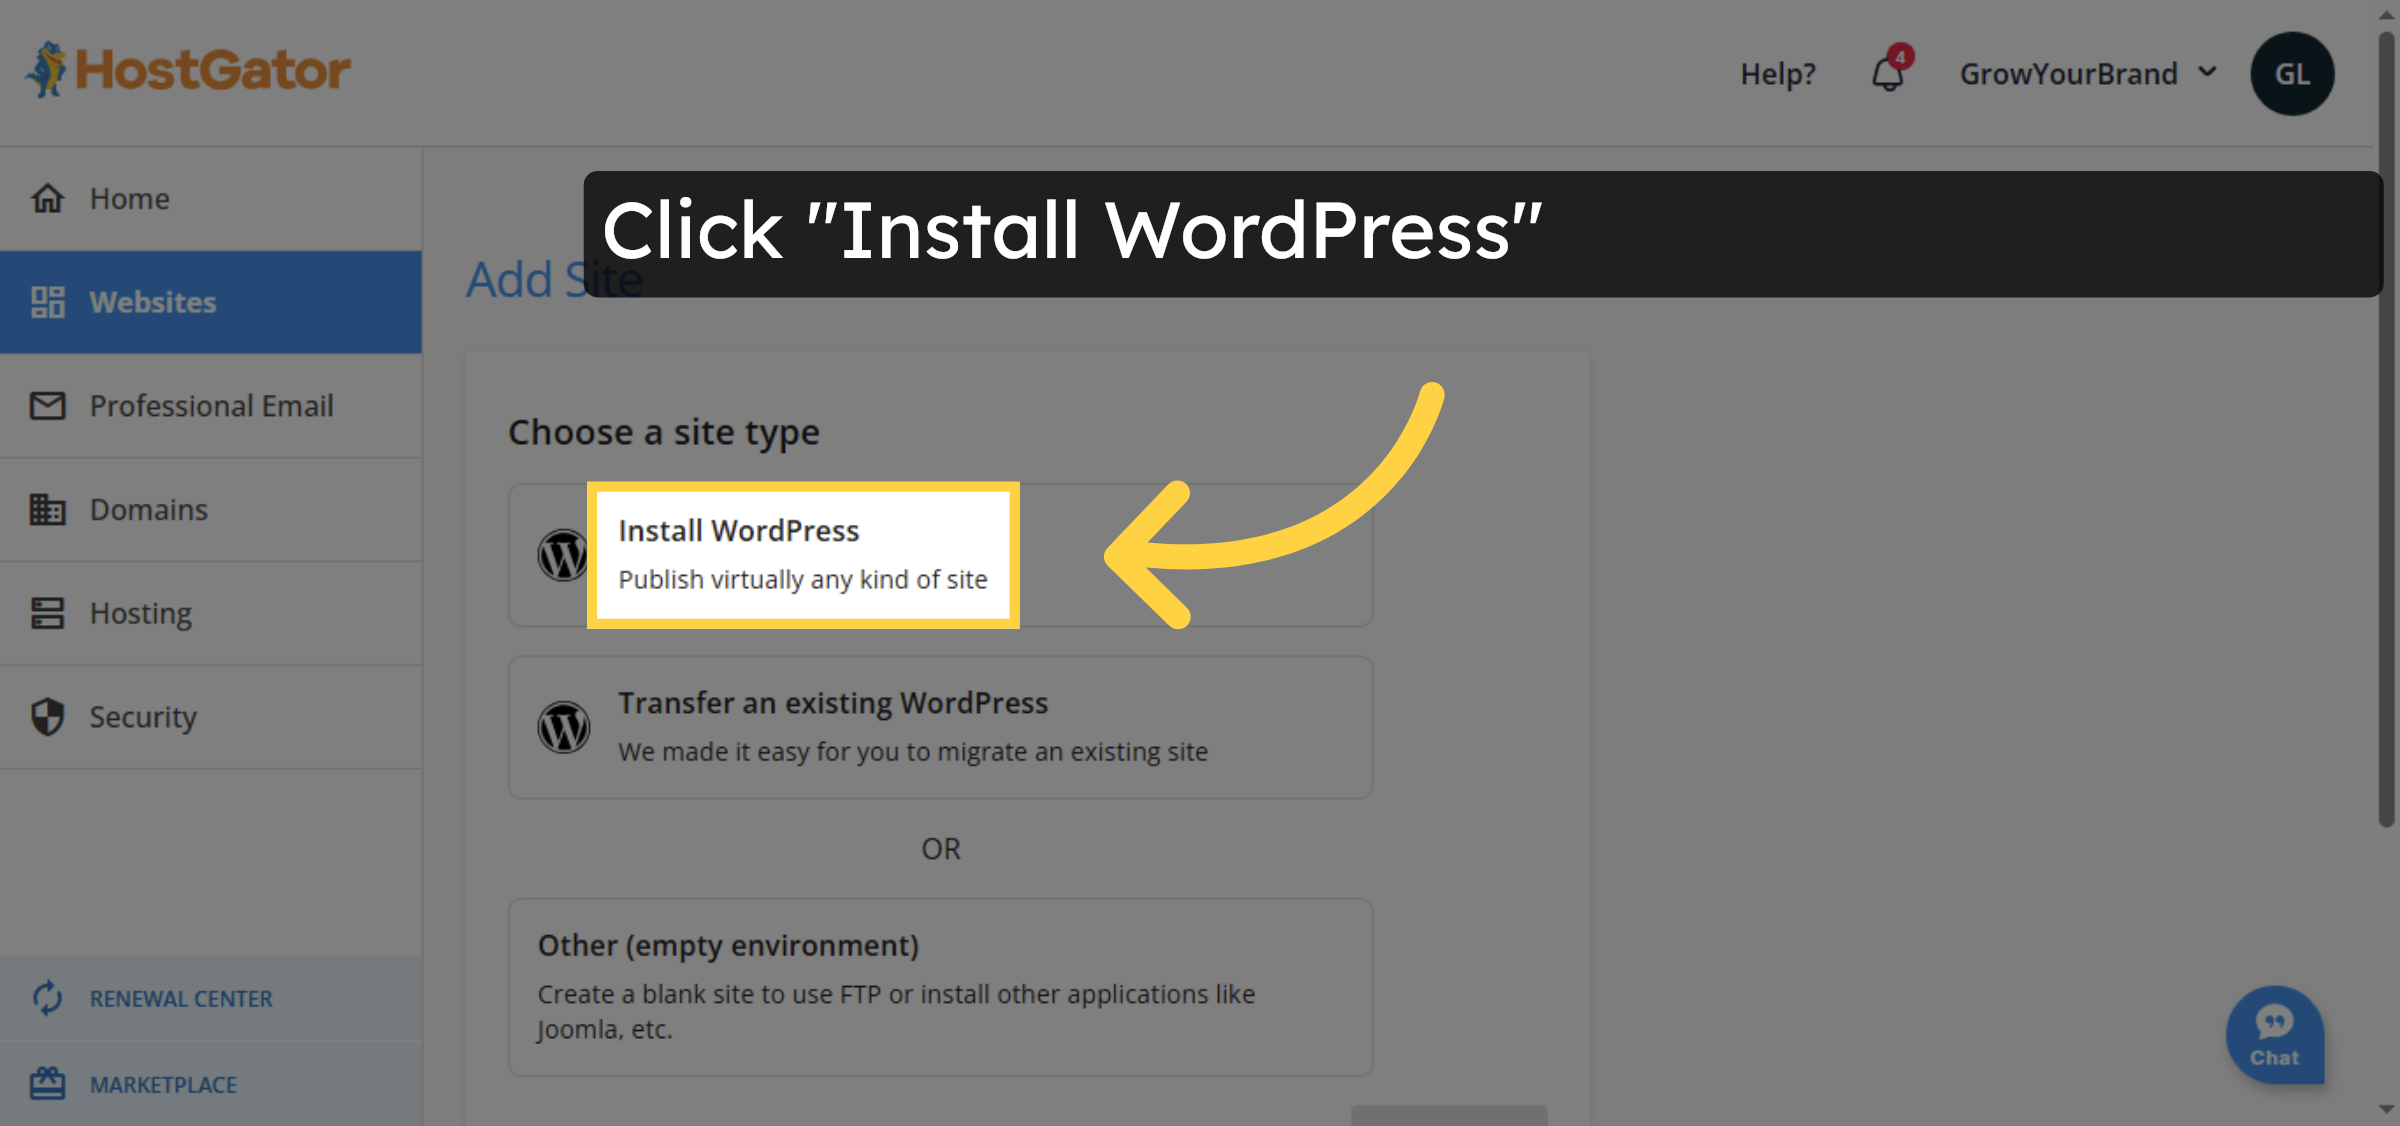
13. Install WordPress
Click “Install WordPressPublish virtually any kind of site” to begin WordPress installation.
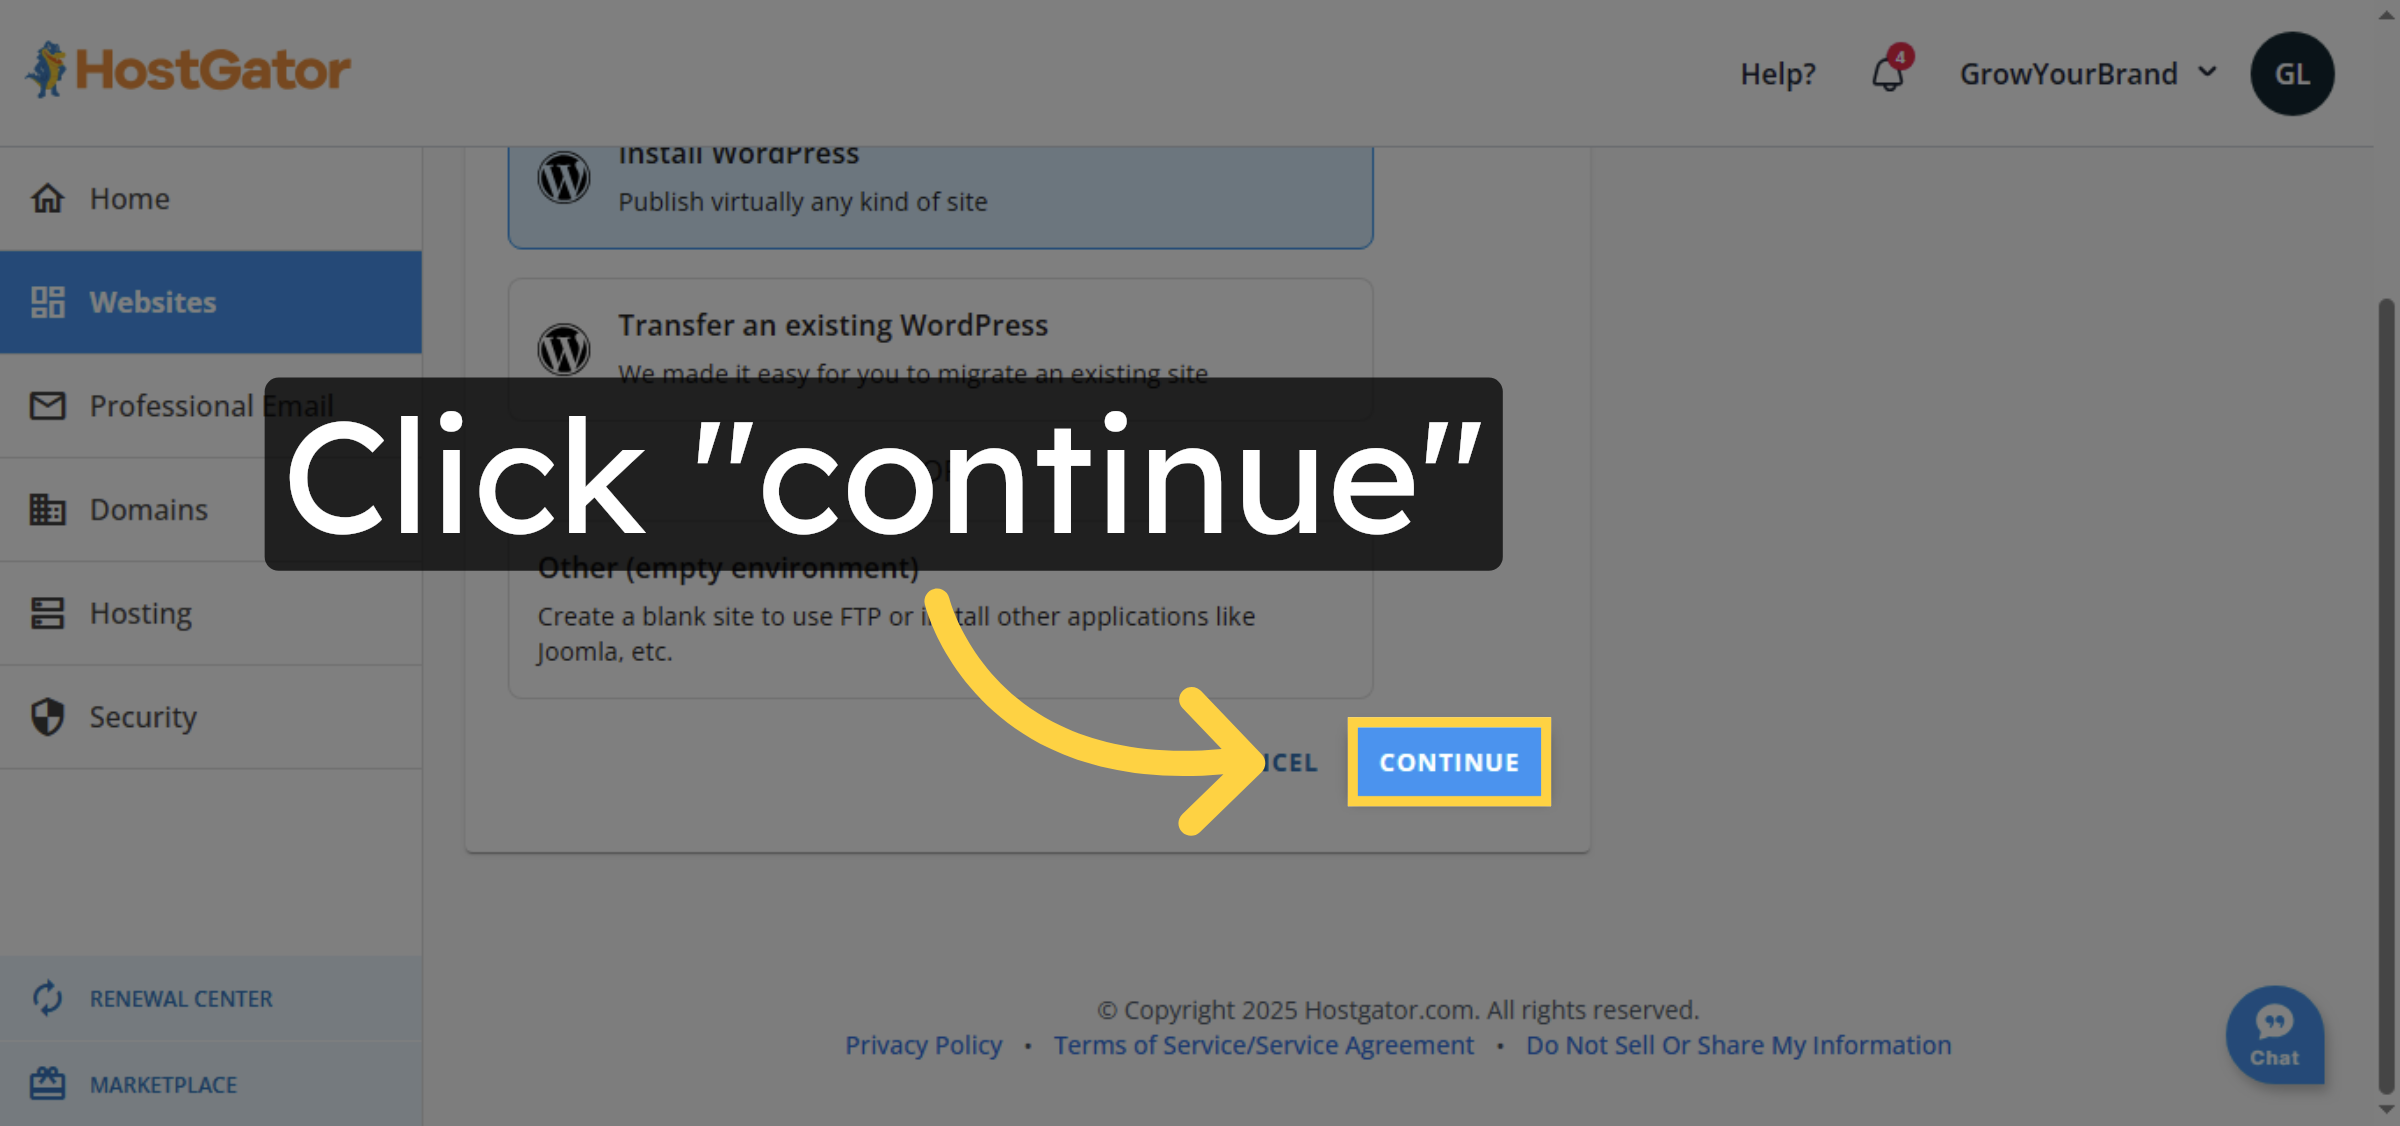
14. Continue Installation
Click “continue” to proceed with the WordPress installation process.
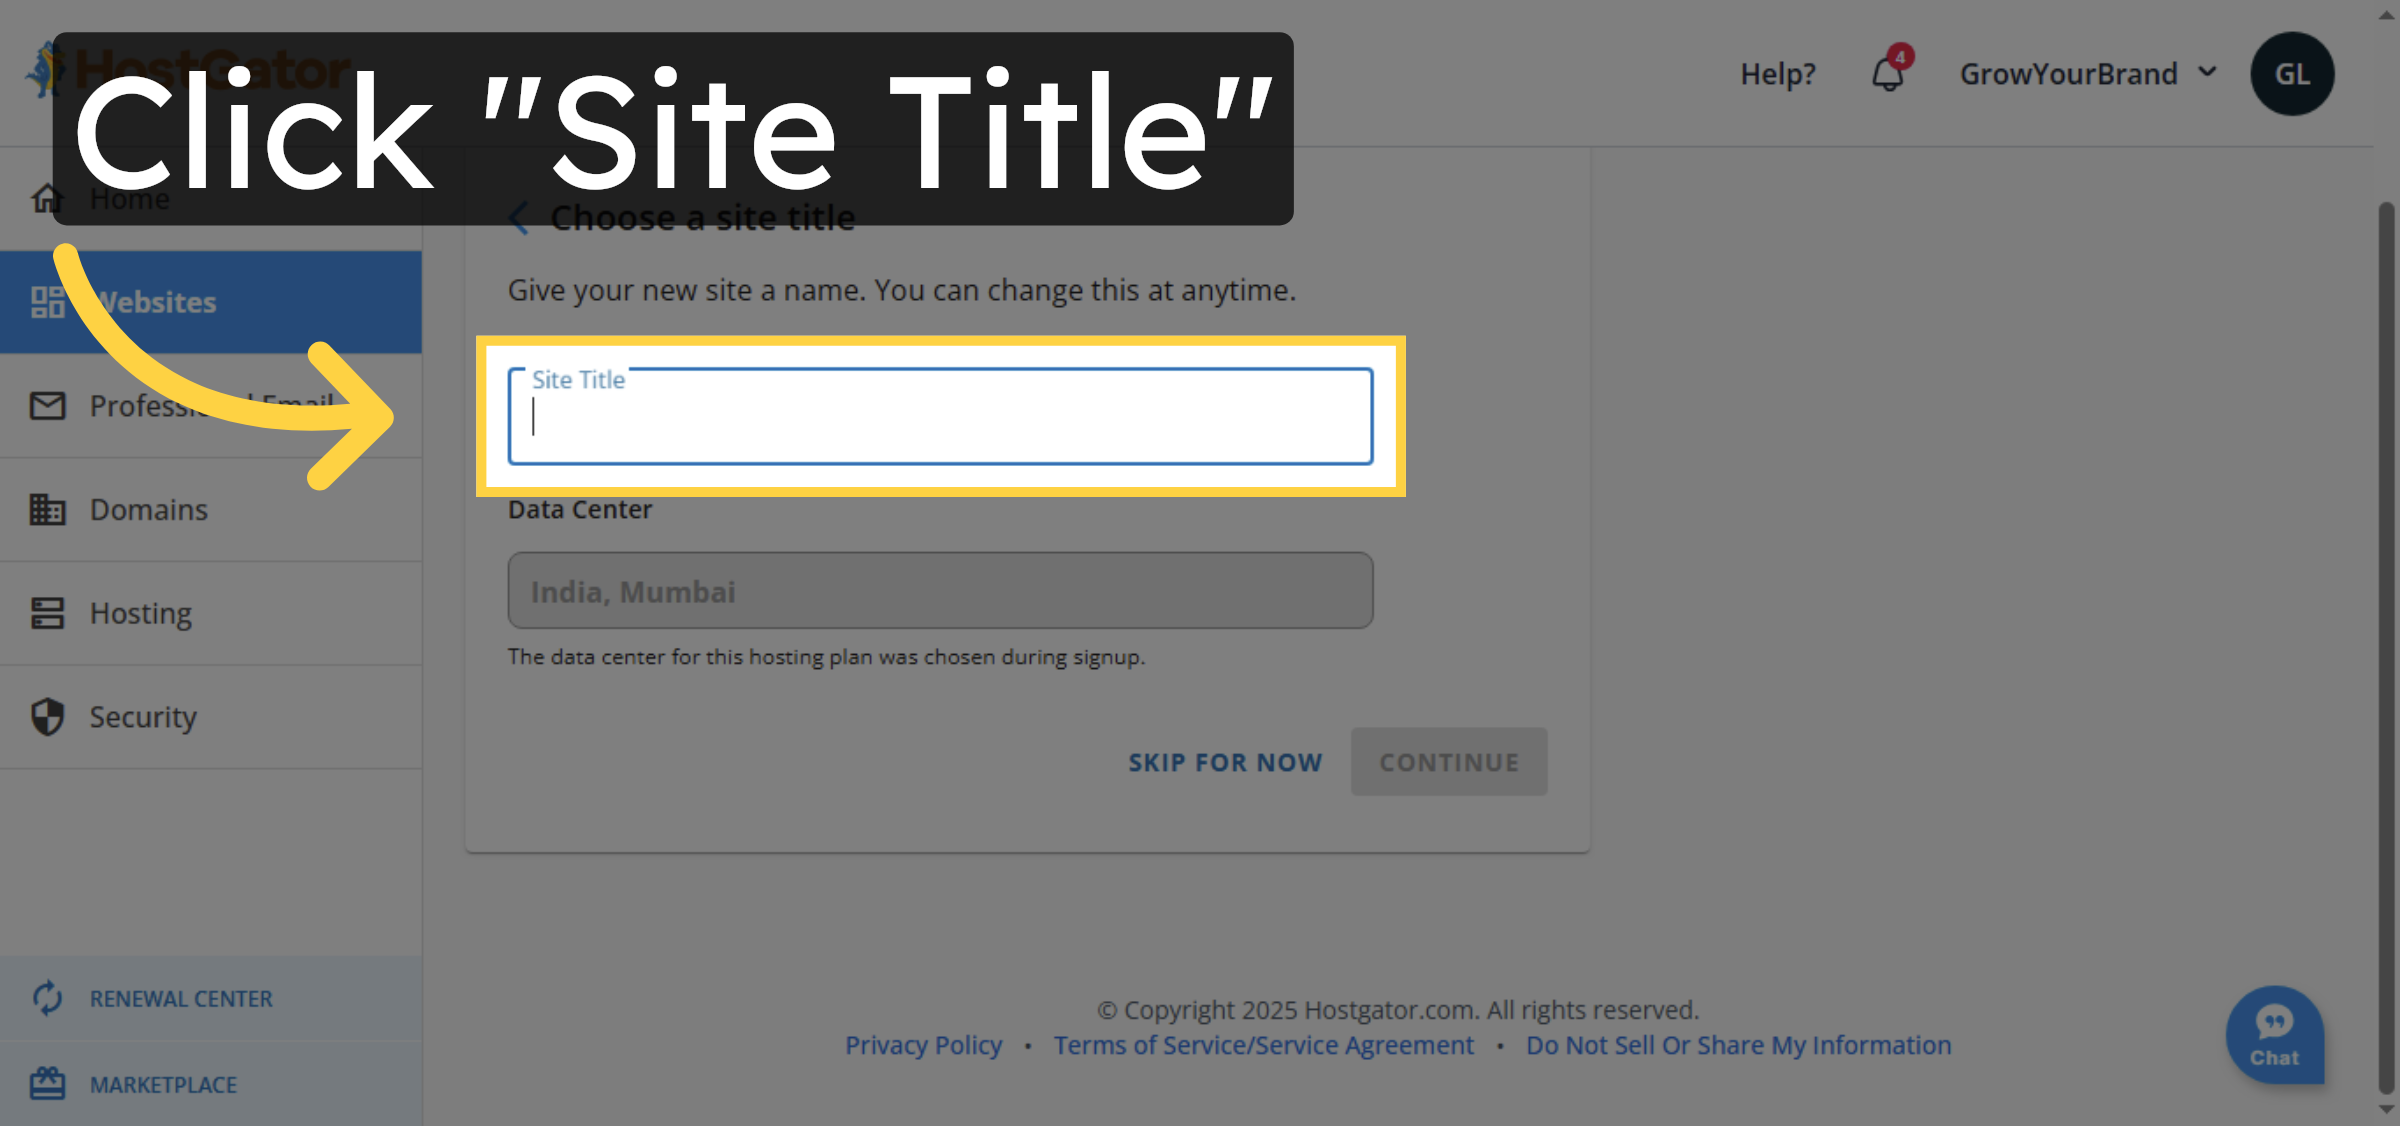
15. Enter Site Title
Click “Site Title” to enter the name for your new WordPress site.
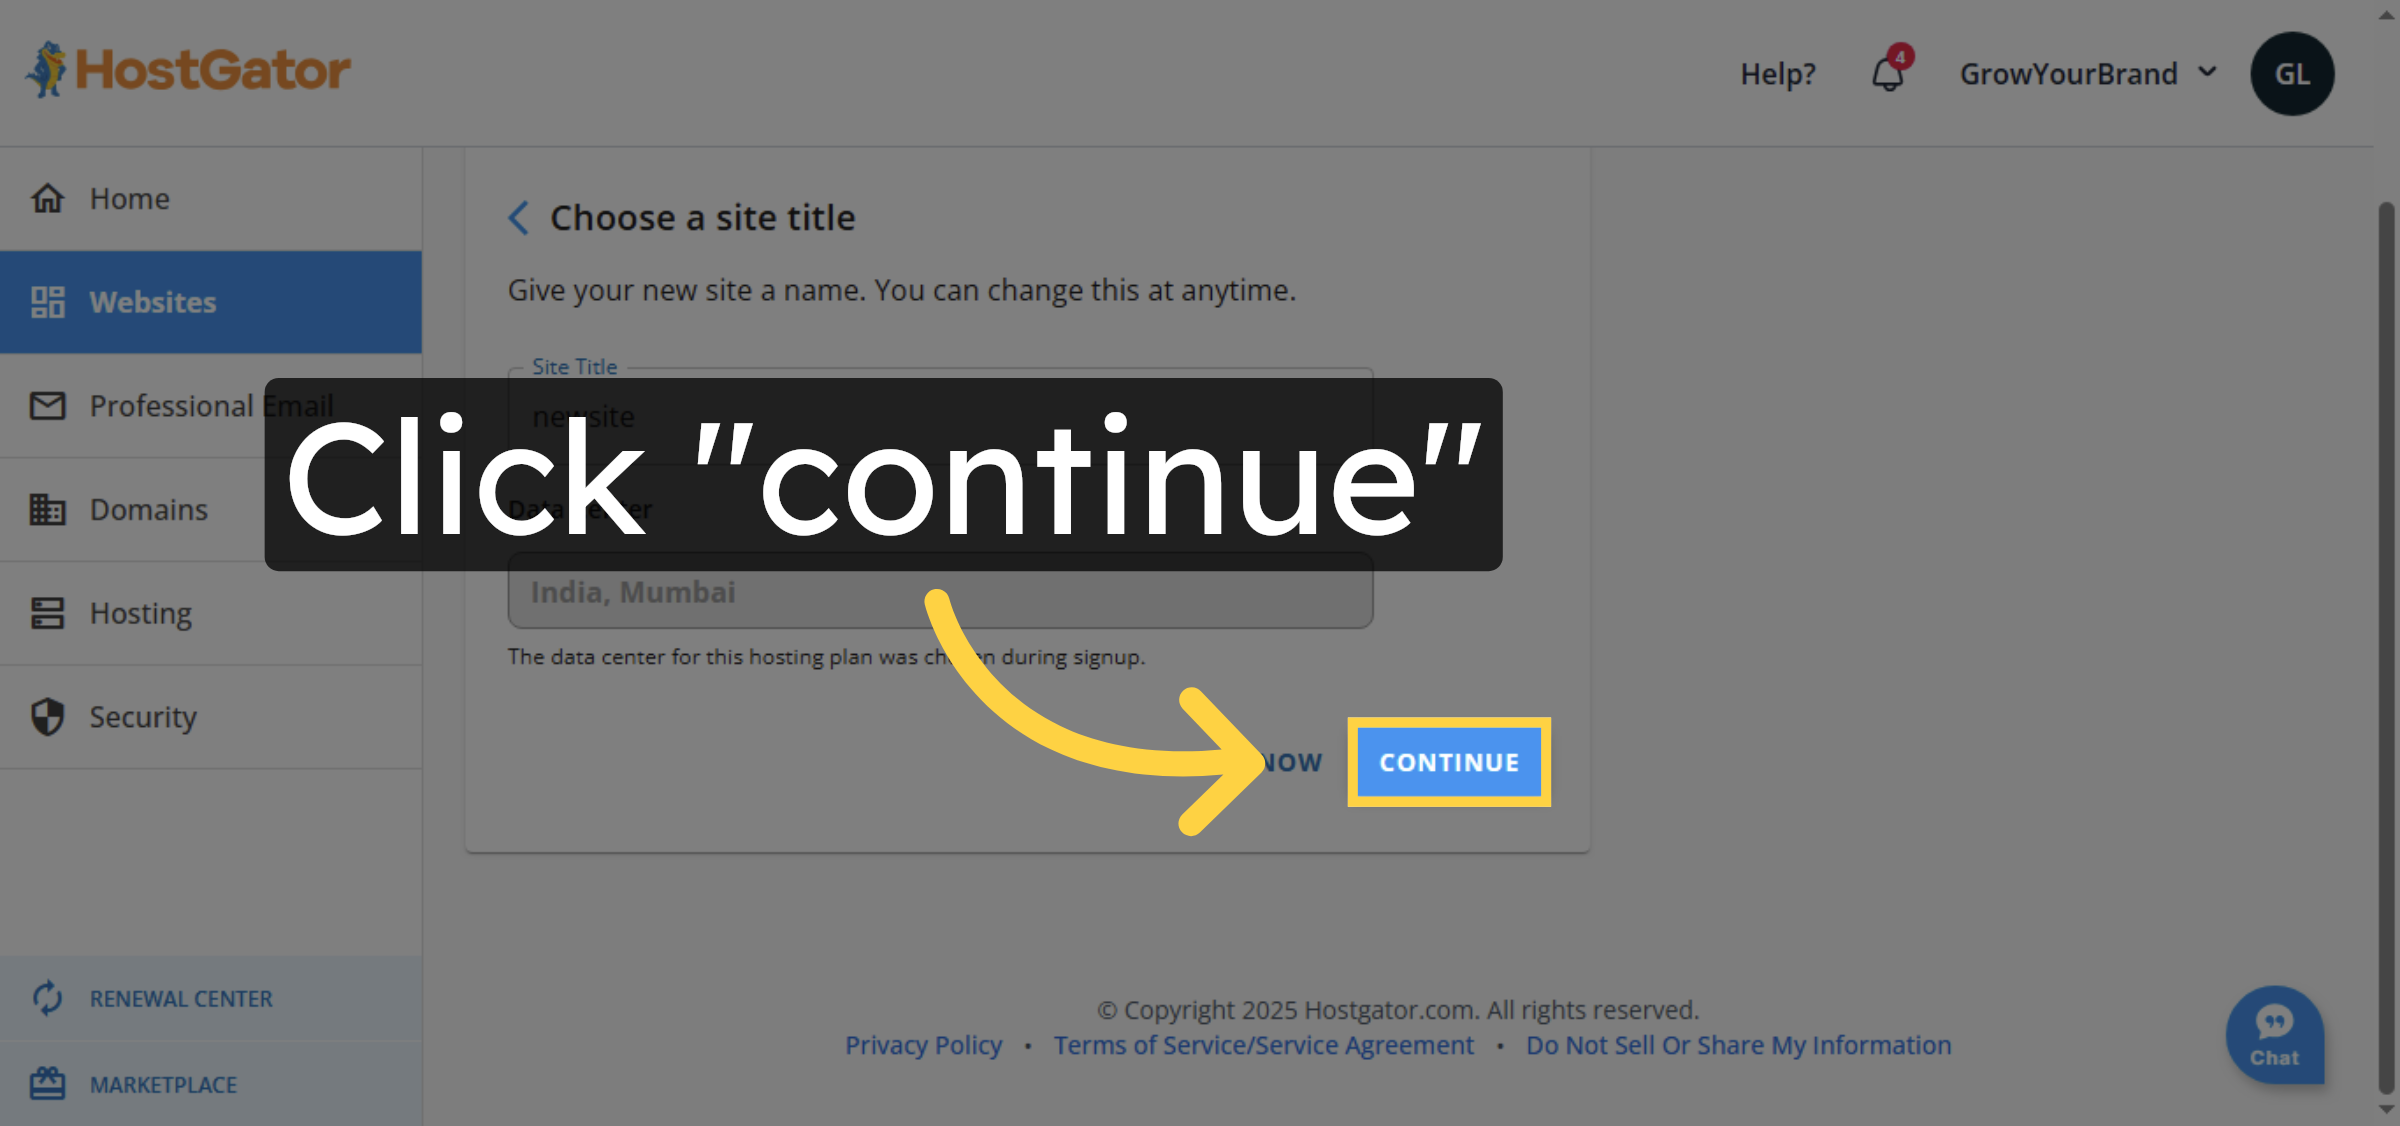
16. Proceed with Setup
Click “continue” to move forward with the site setup.
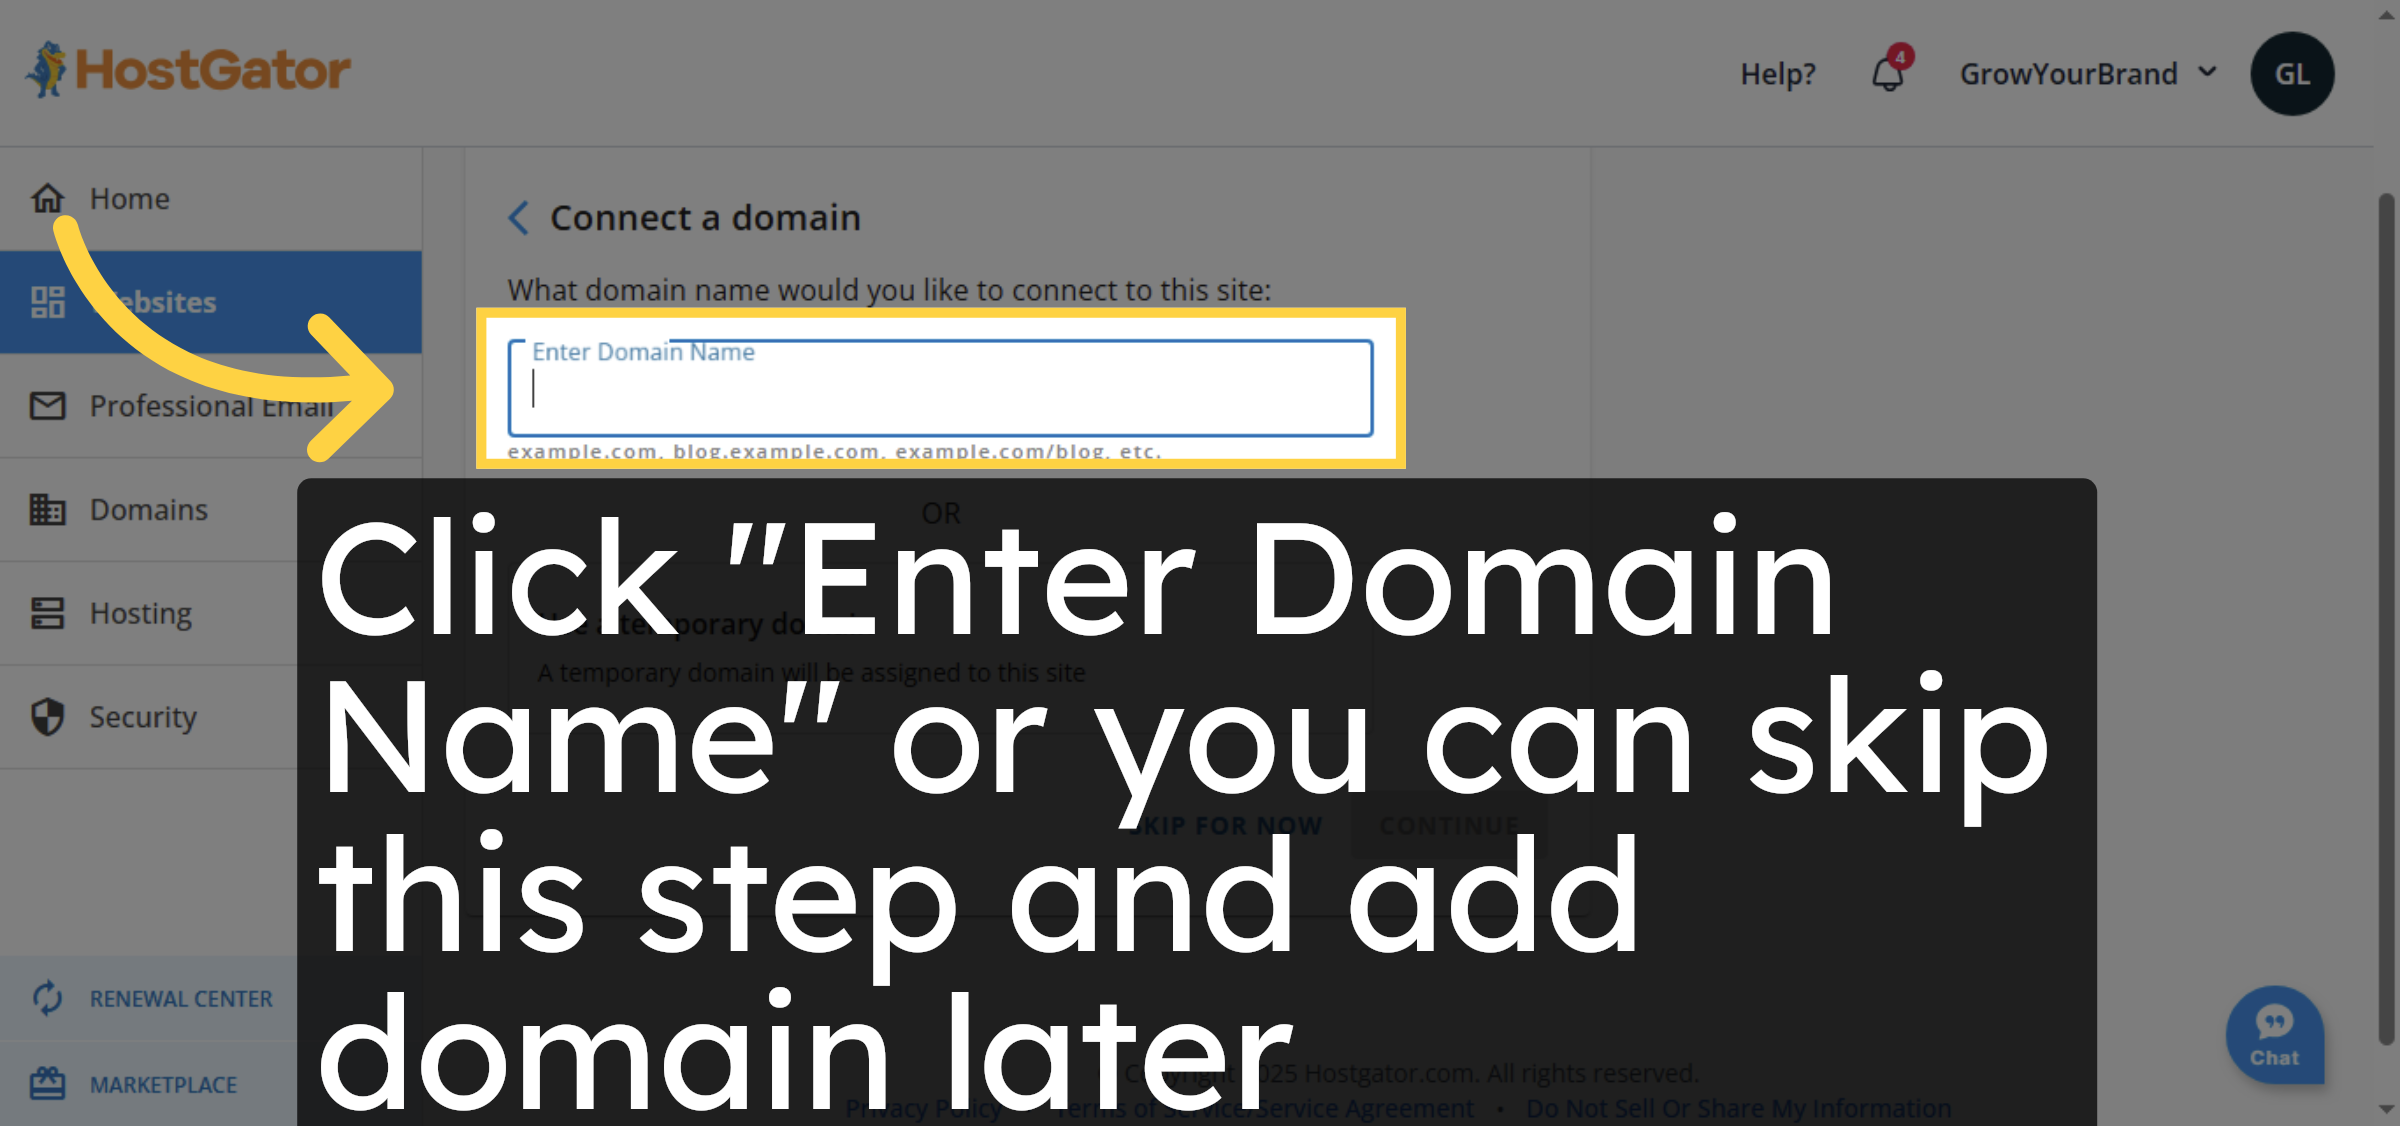
17. Enter Domain Name
Click “Enter Domain Name” or you can skip this step and add domain later.
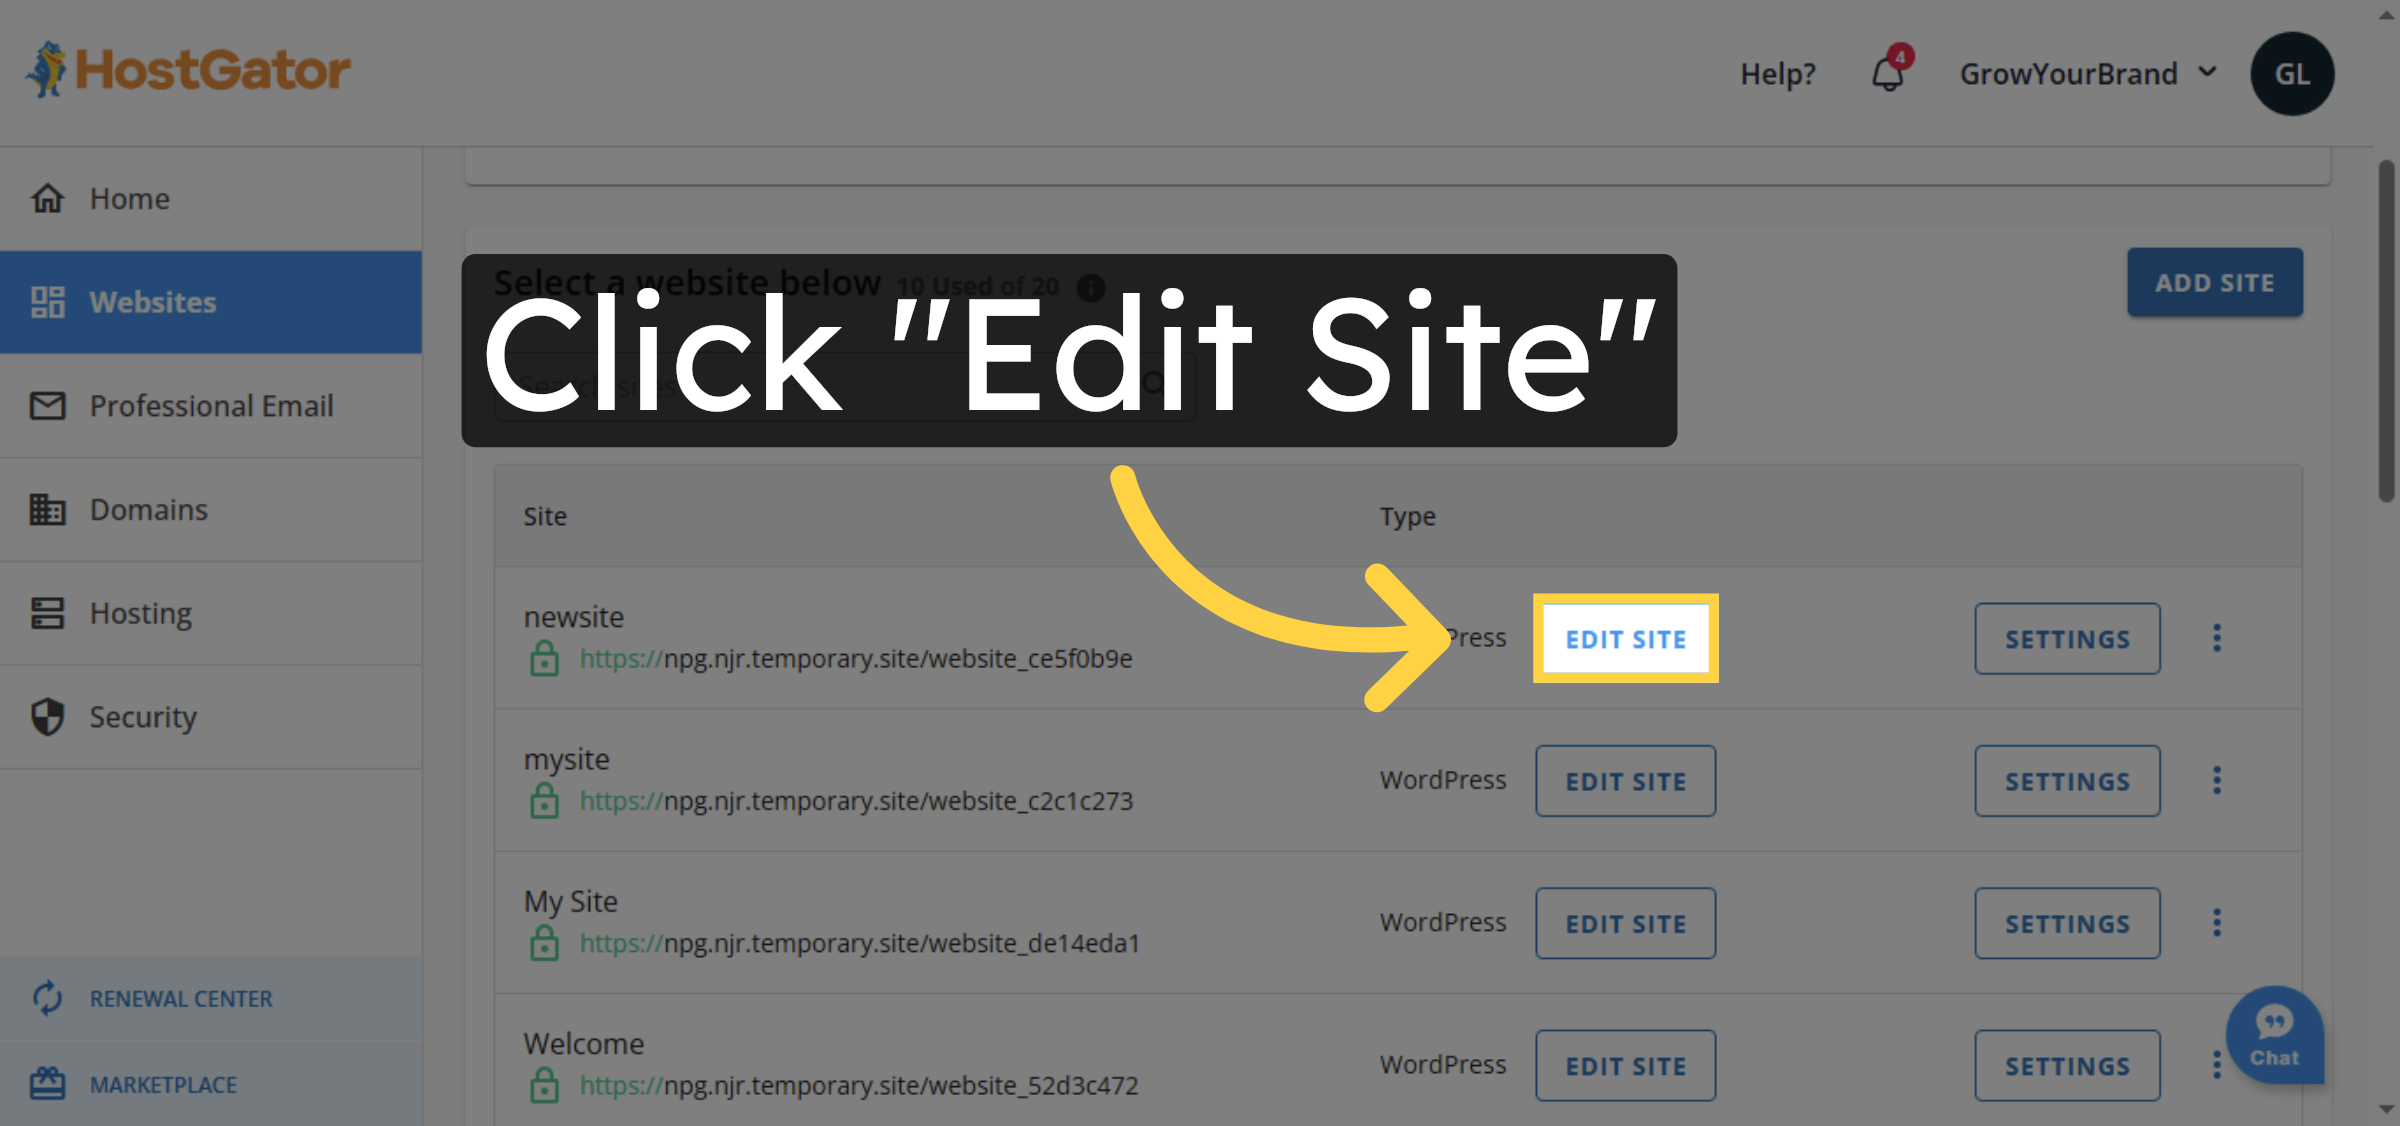
18. Edit Site Settings
Click “Edit Site” to customize your new WordPress site settings.
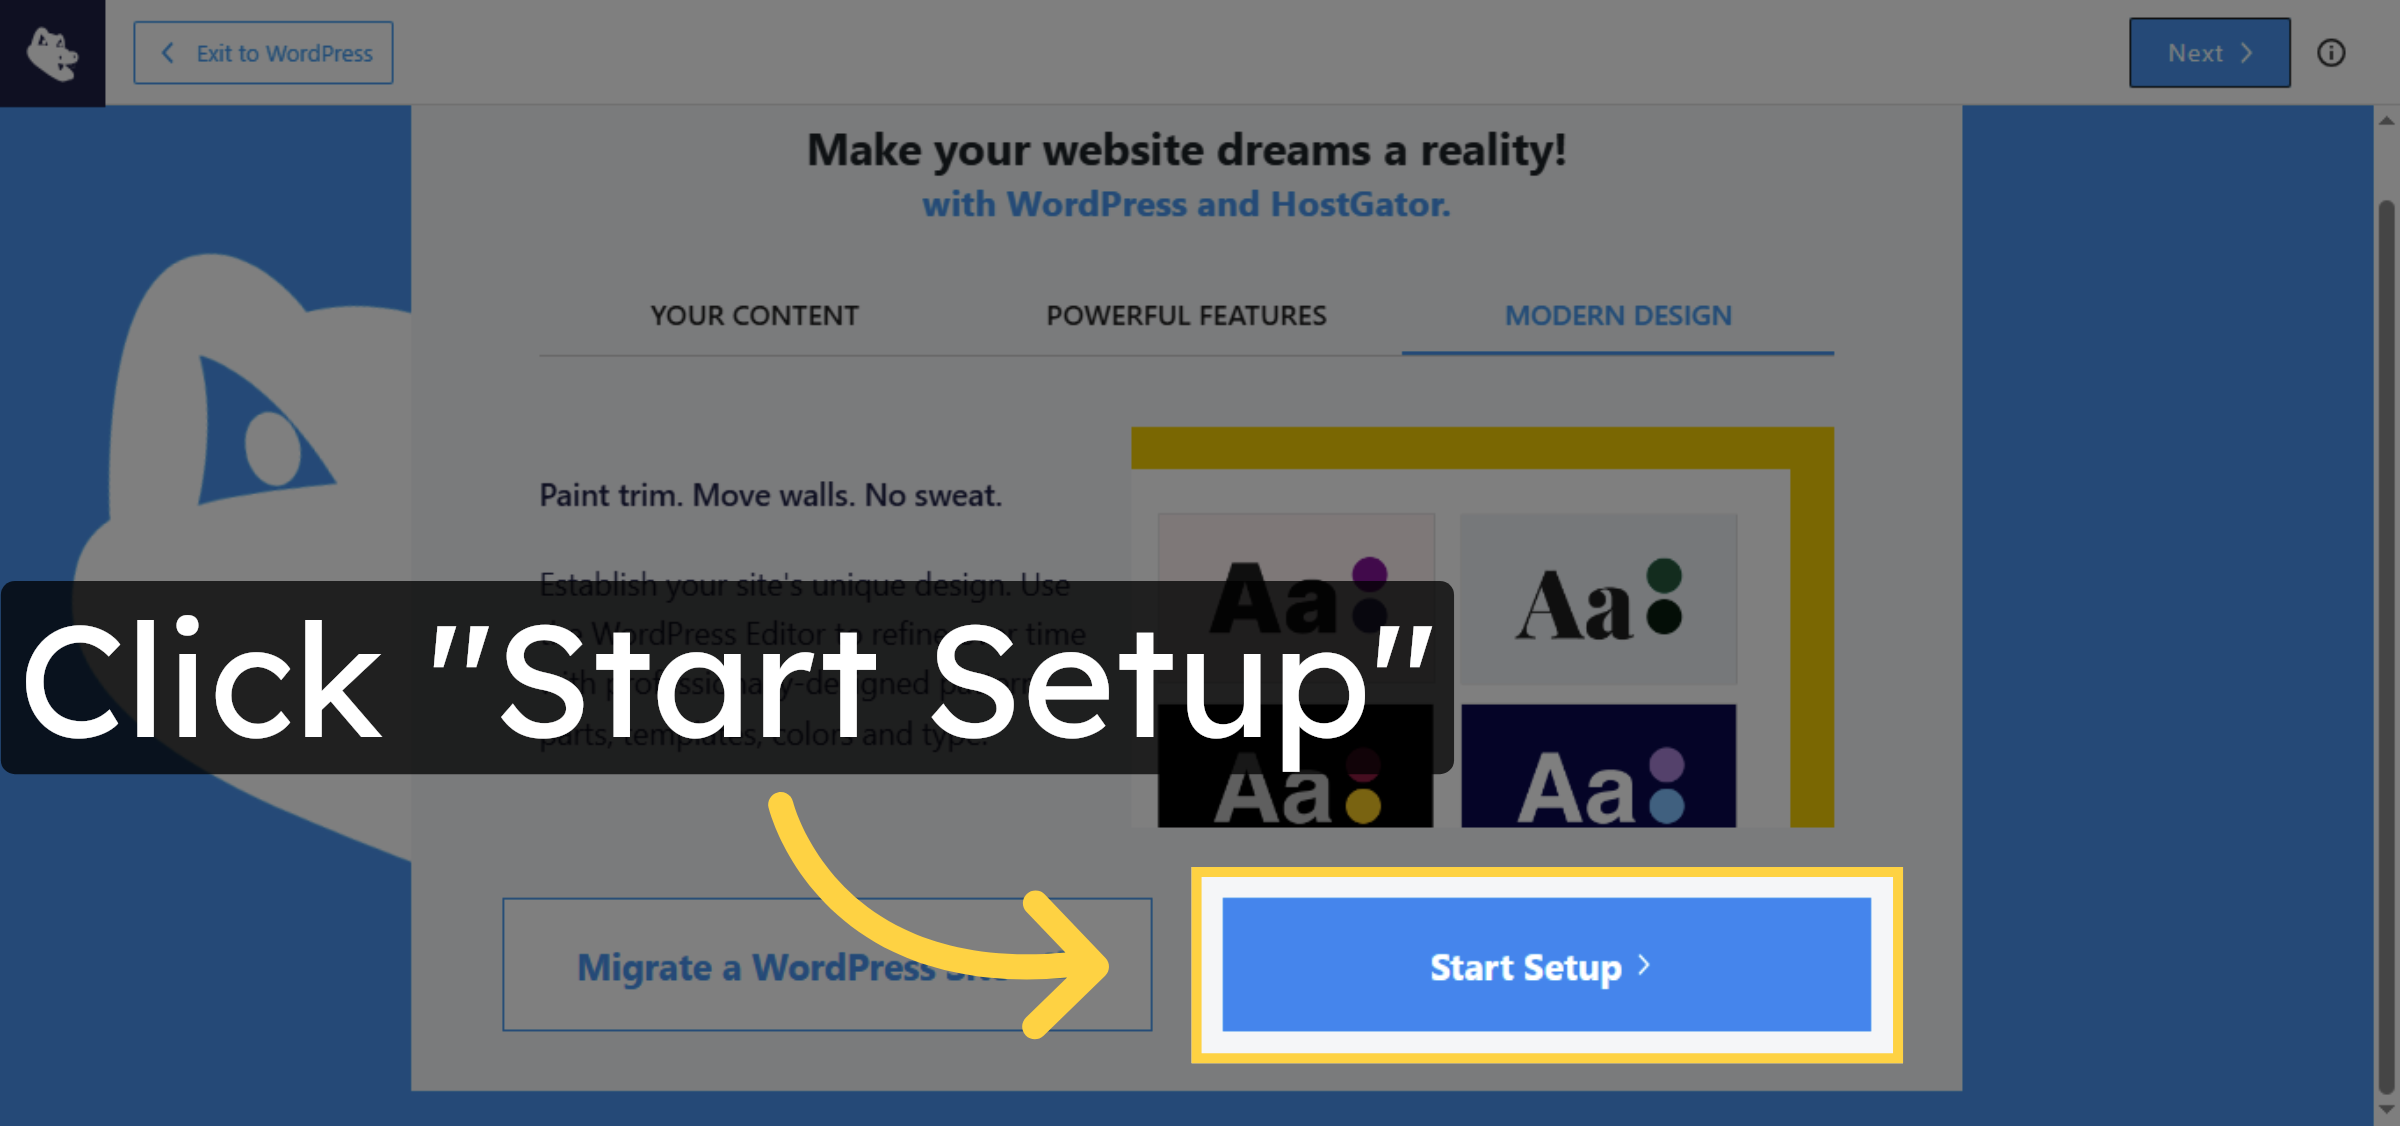
19. Start Site Setup
Click “Start Setup” to begin configuring your temporary WordPress site.
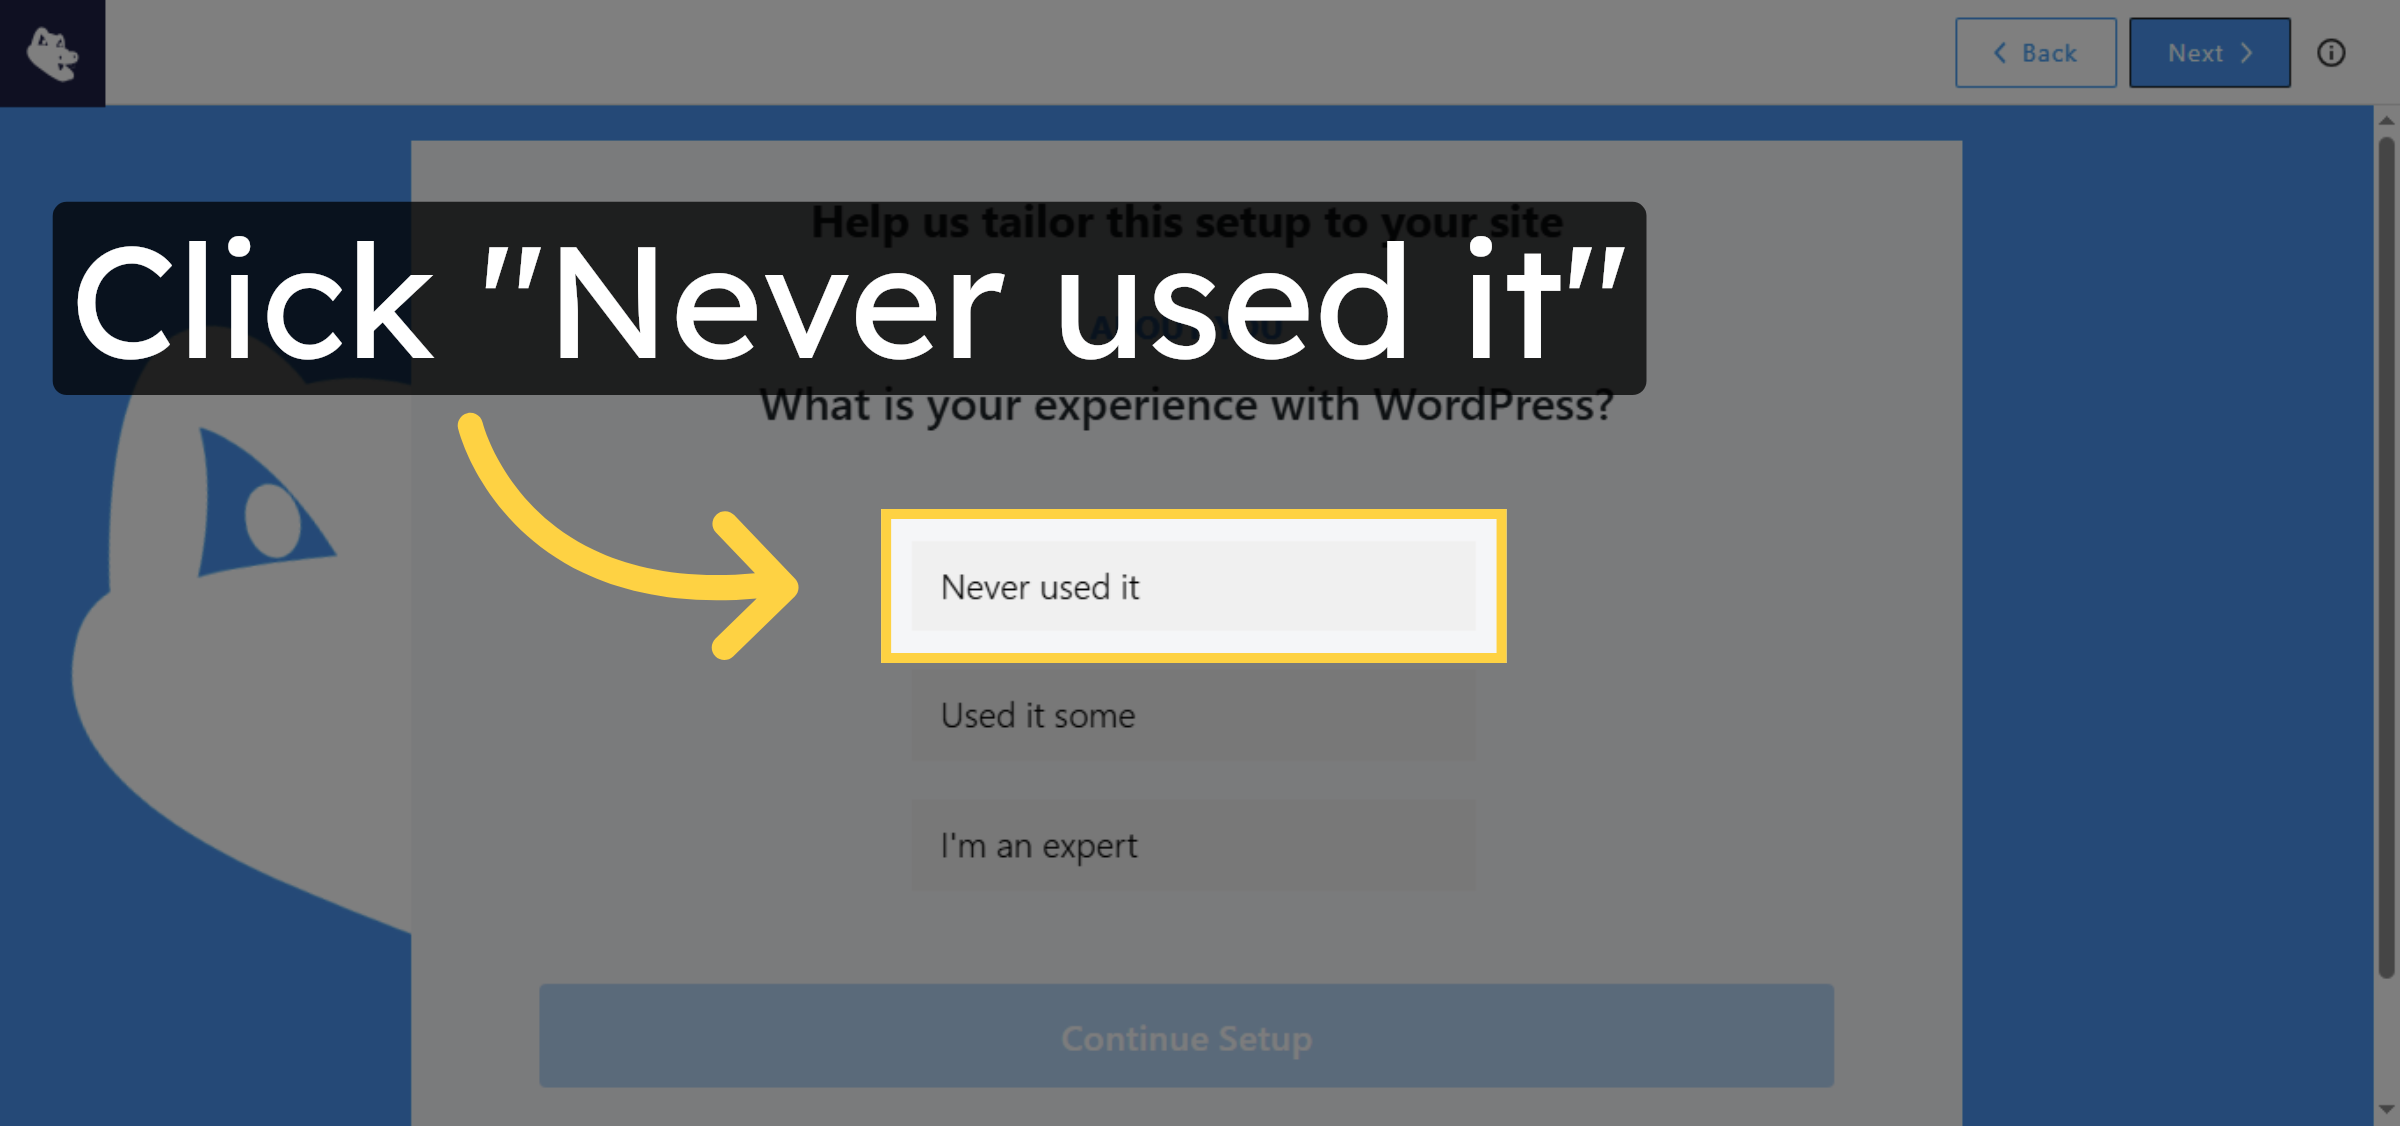
20. Select New User Option
Click “Never used it” to indicate this is your first time using the site.
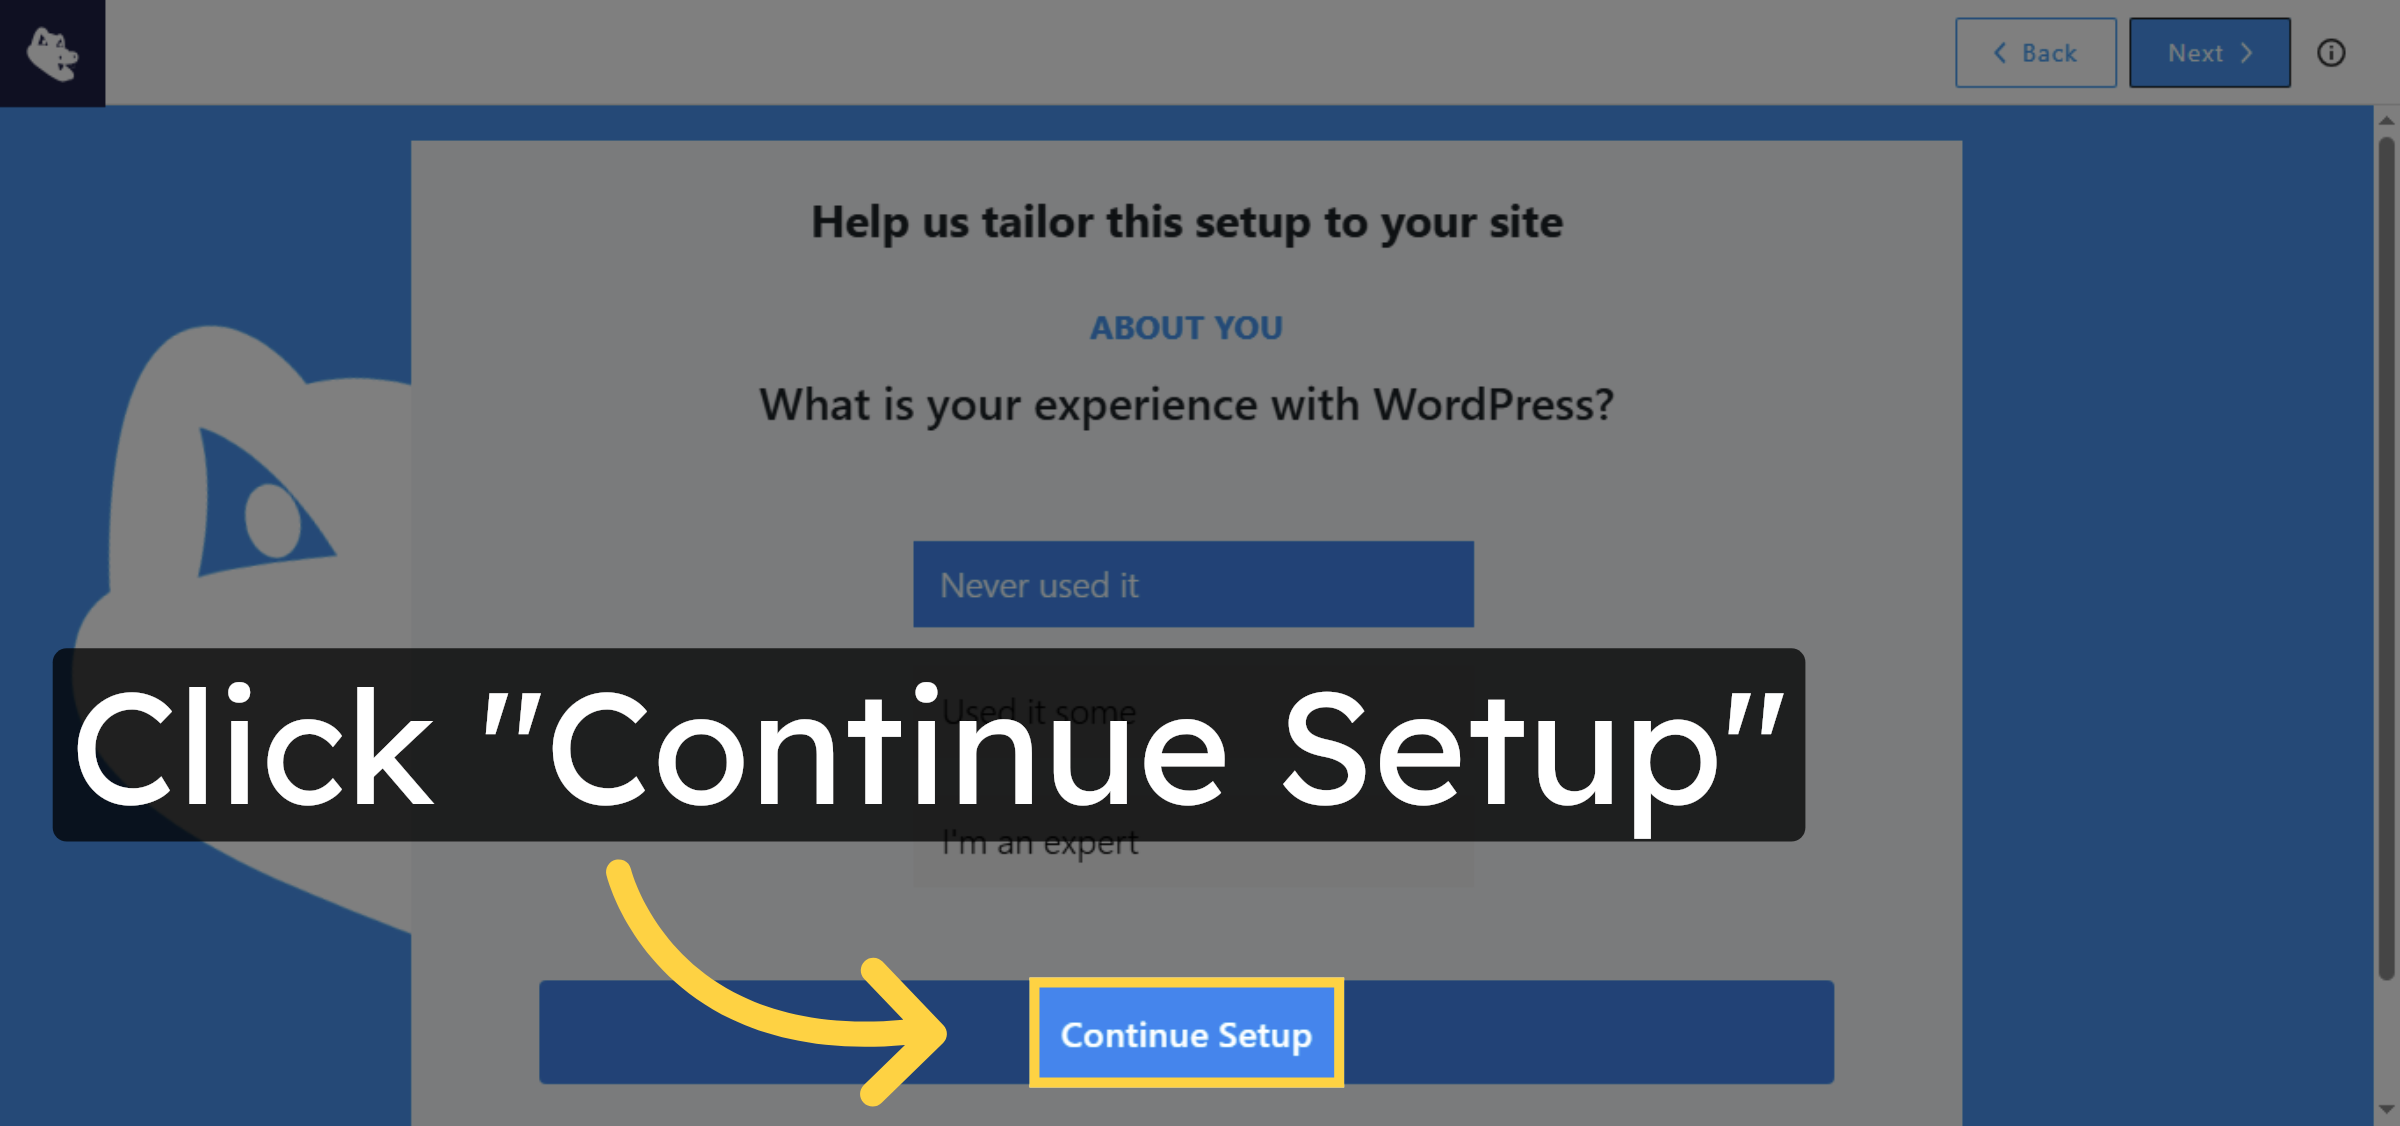
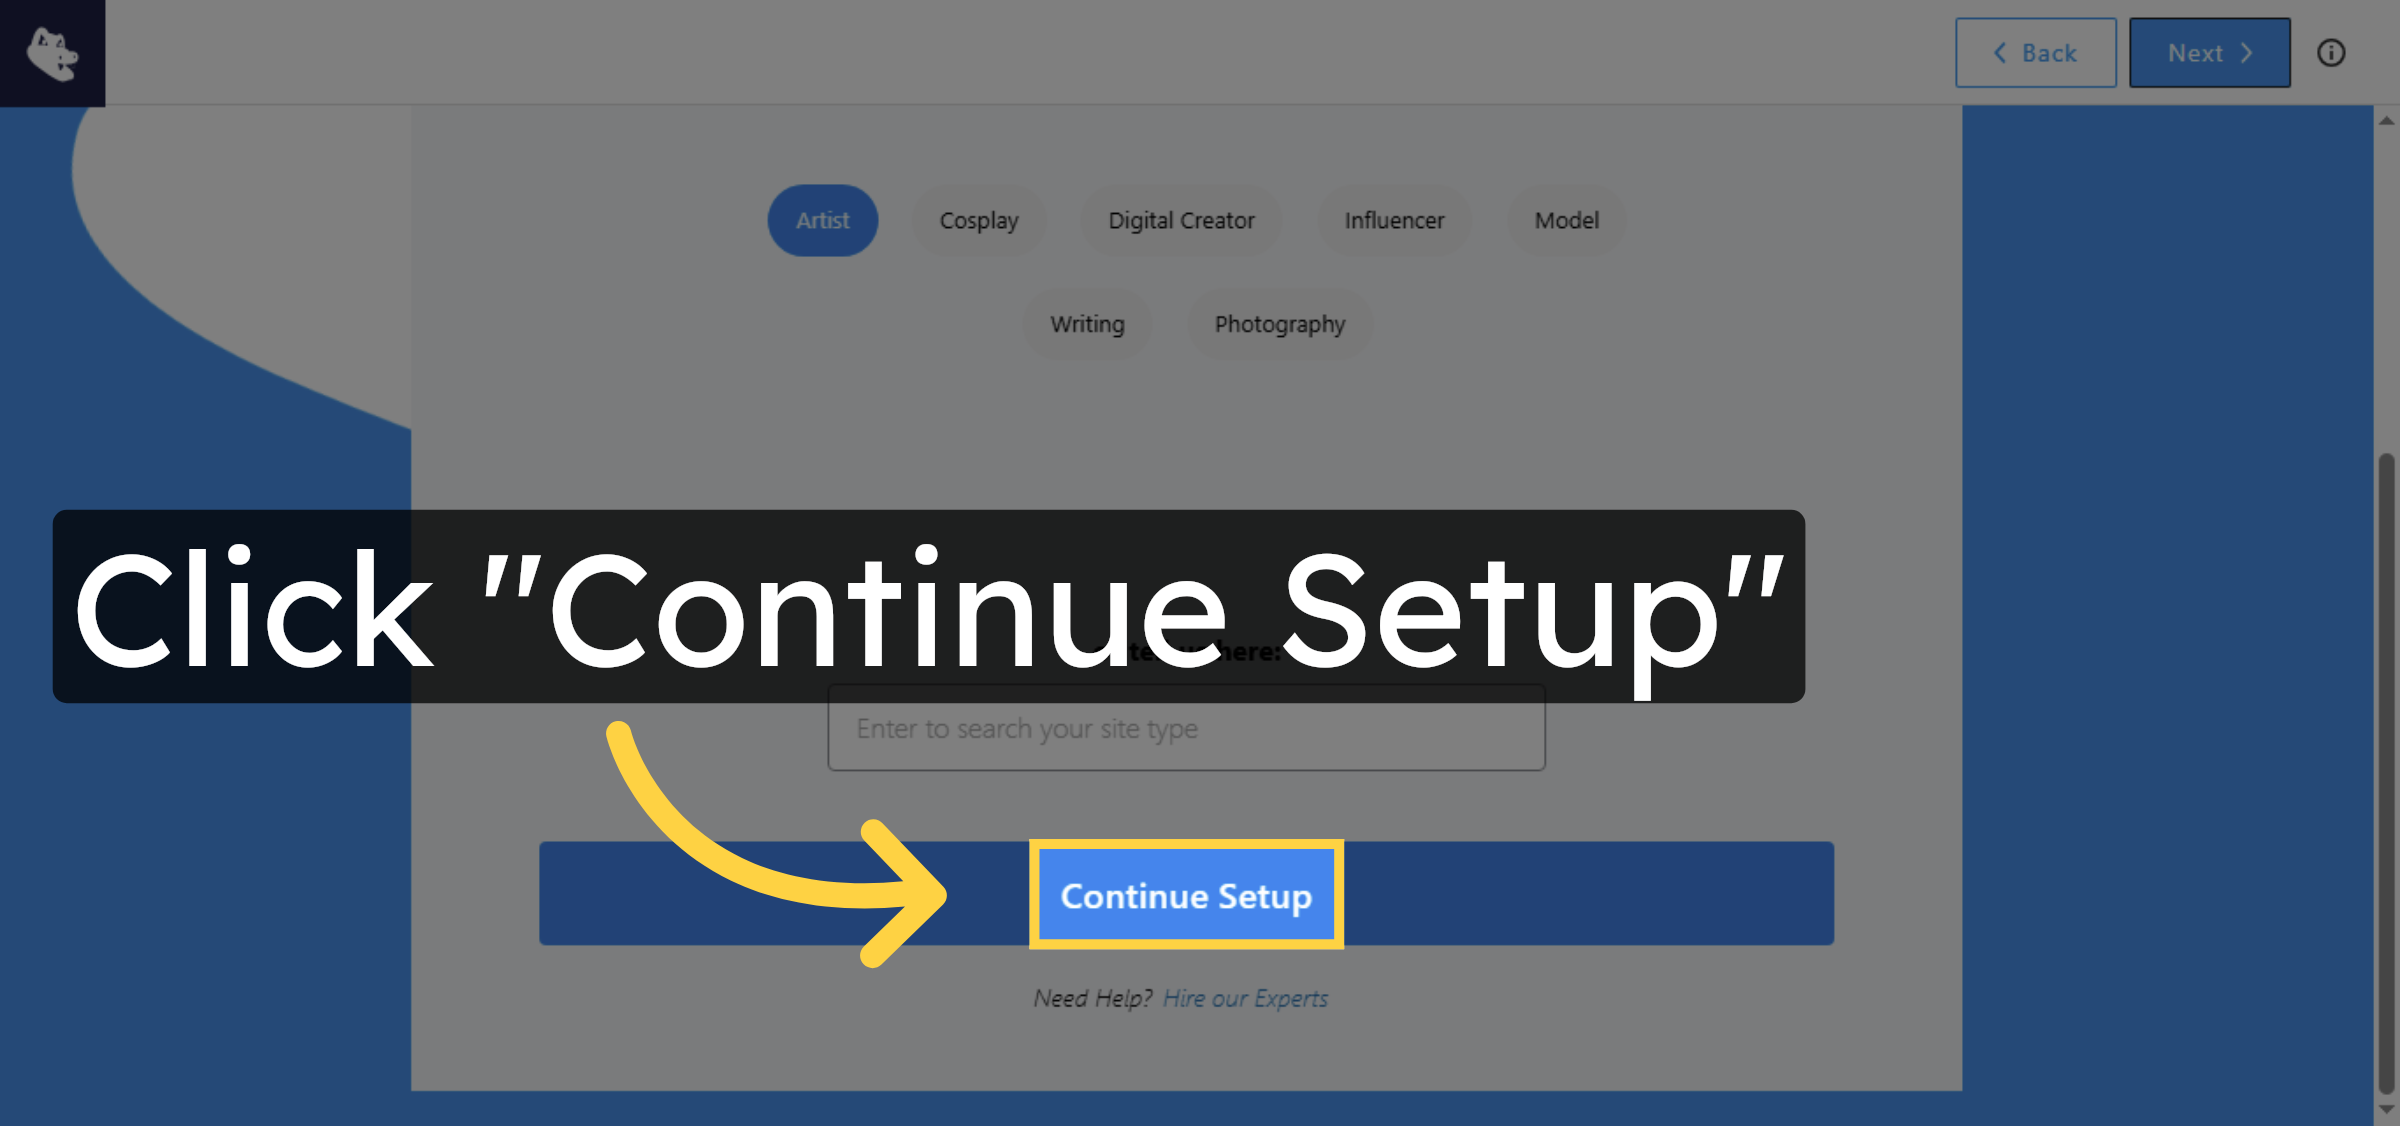
21. Continue Setup
Click “Continue Setup” to proceed with the configuration.
22. Choose Category
Choose any category based on which your website is based.

23. Proceed with Setup
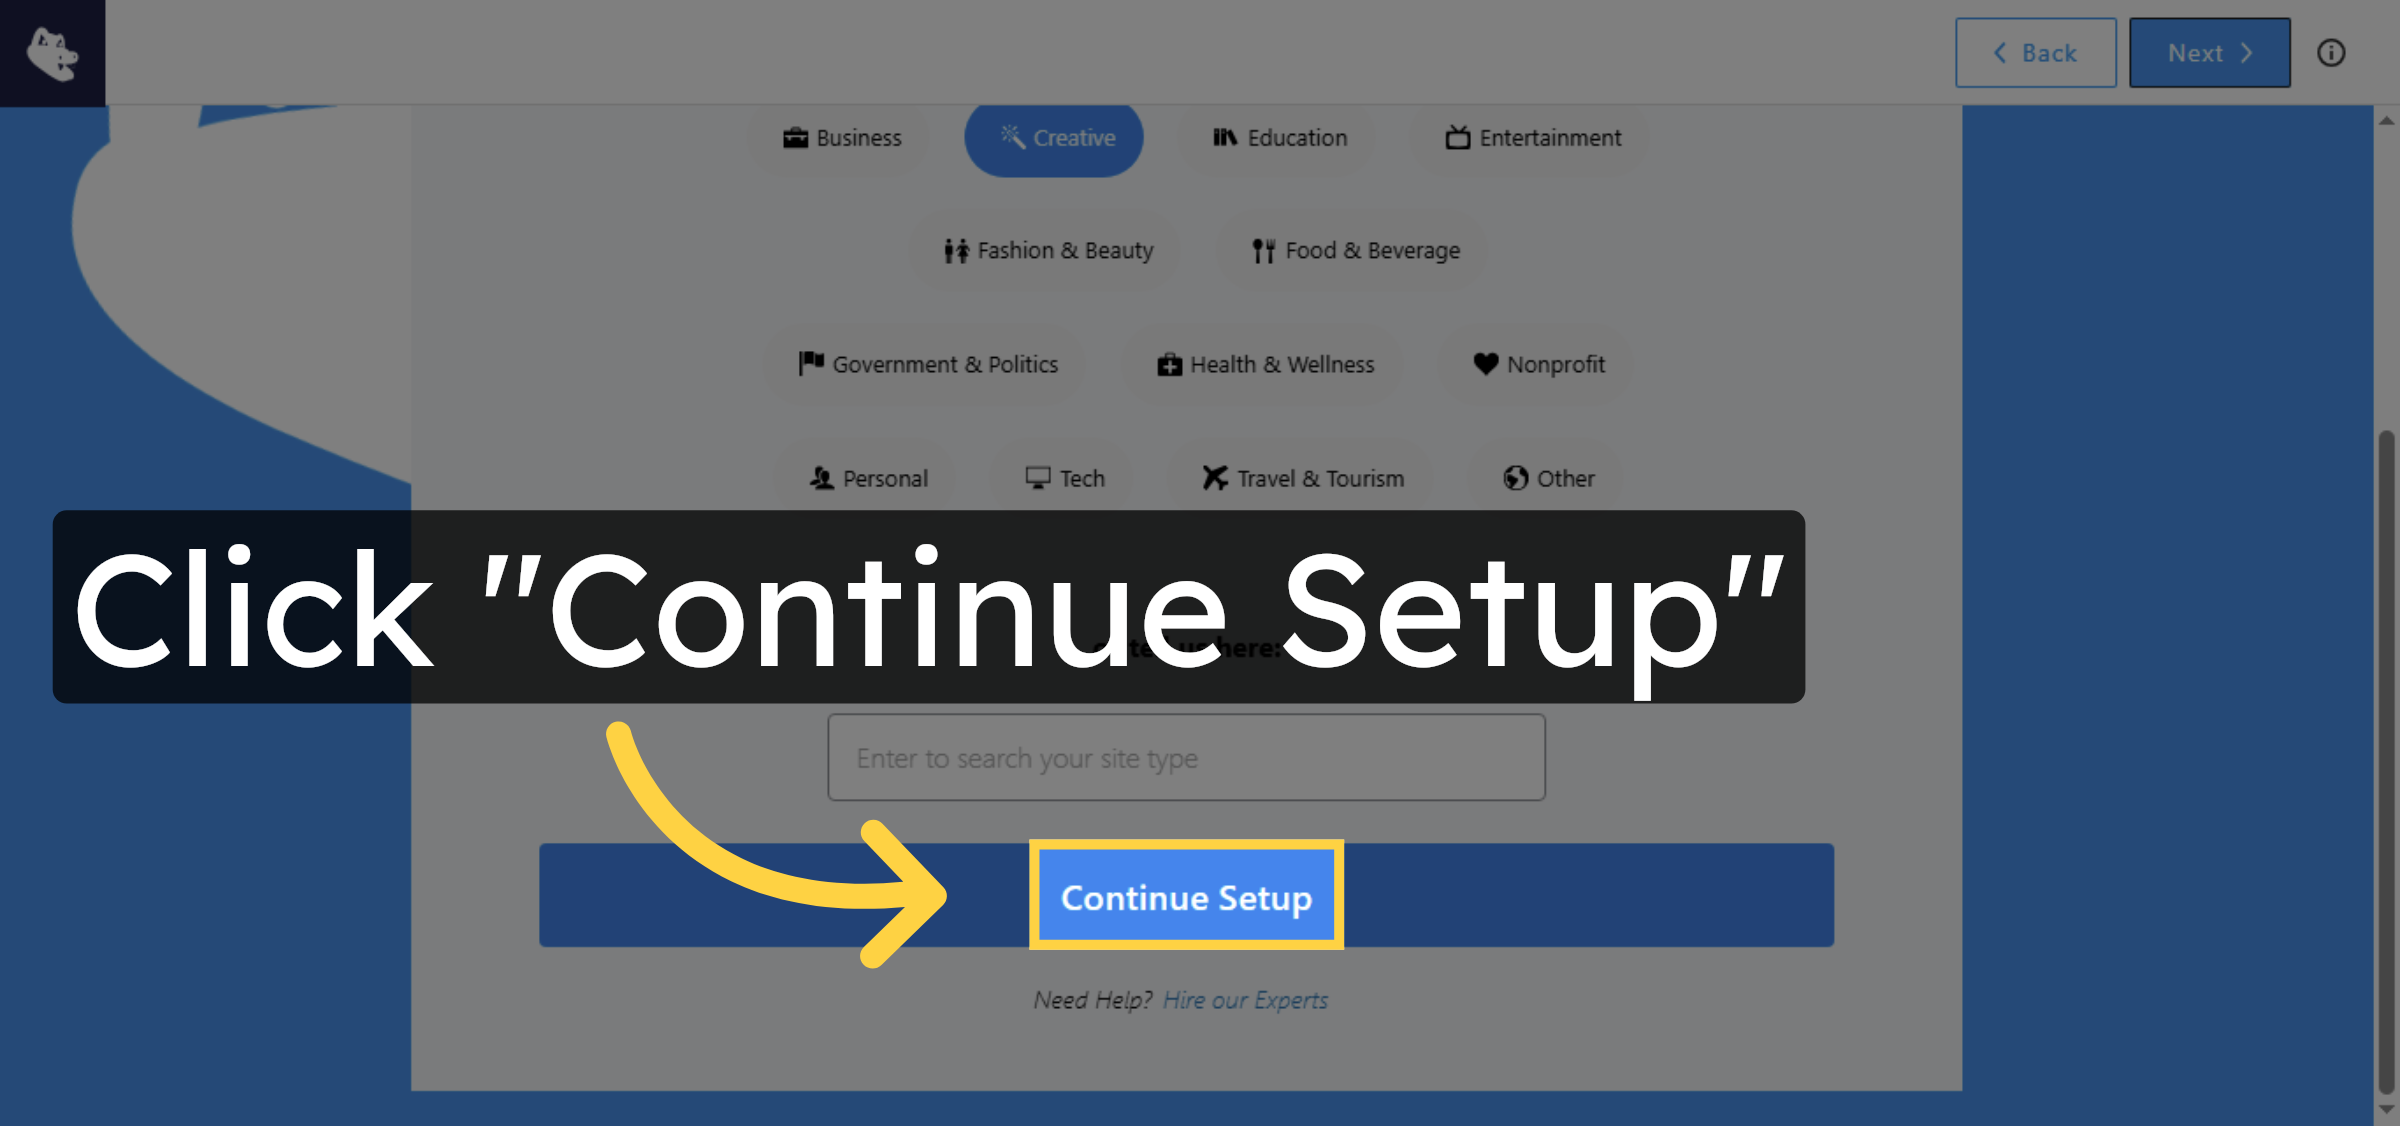
Click “Continue Setup” to move to the next step.
24. Select Role
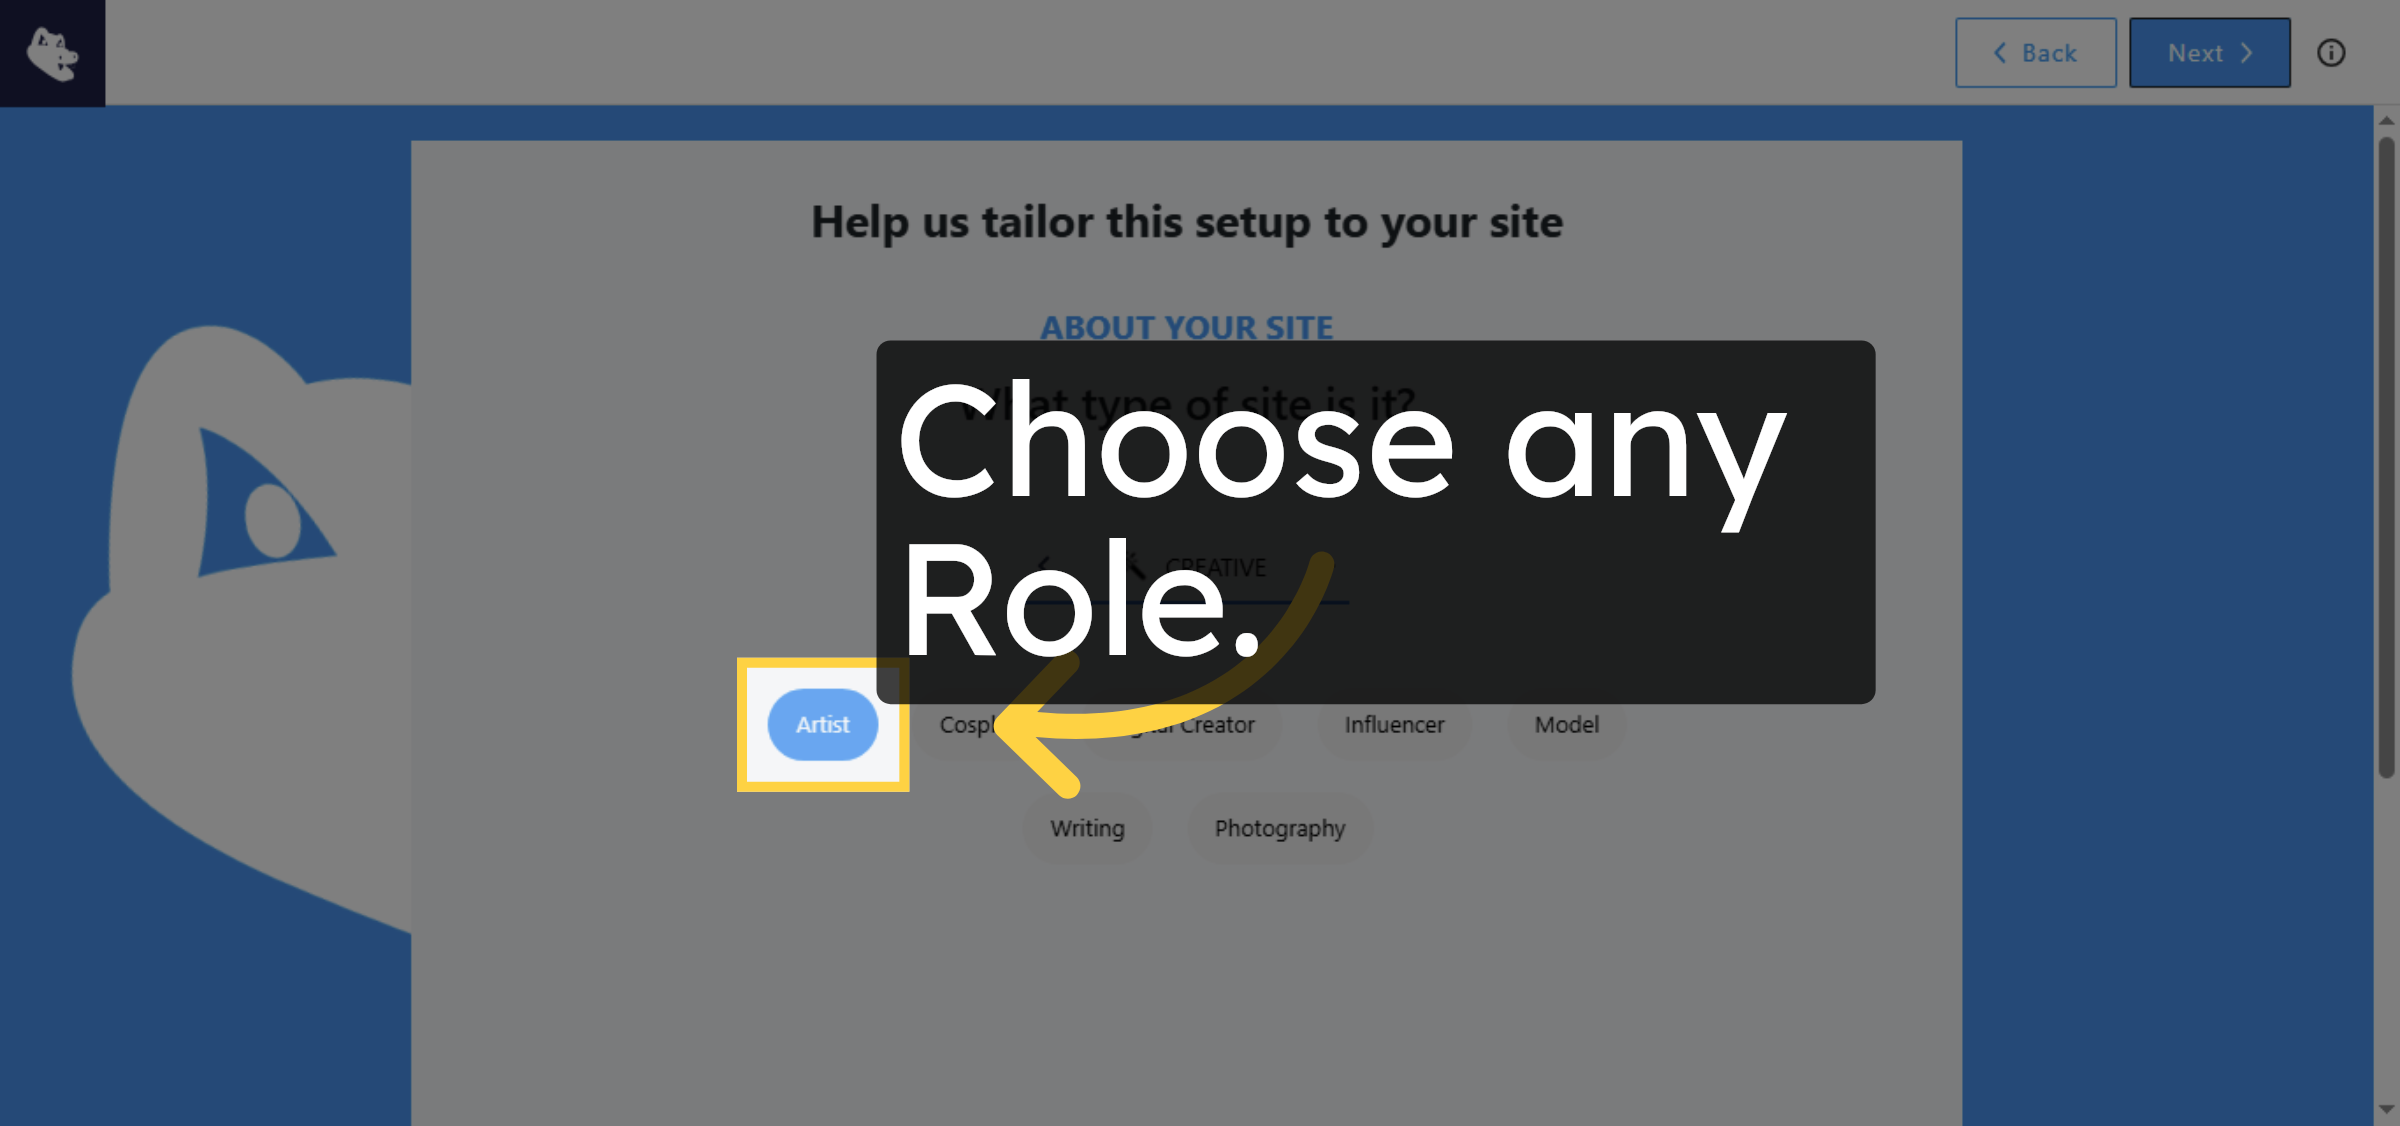
Choose any Role.
25. Continue Setup
Click “Continue Setup” to advance the setup process.
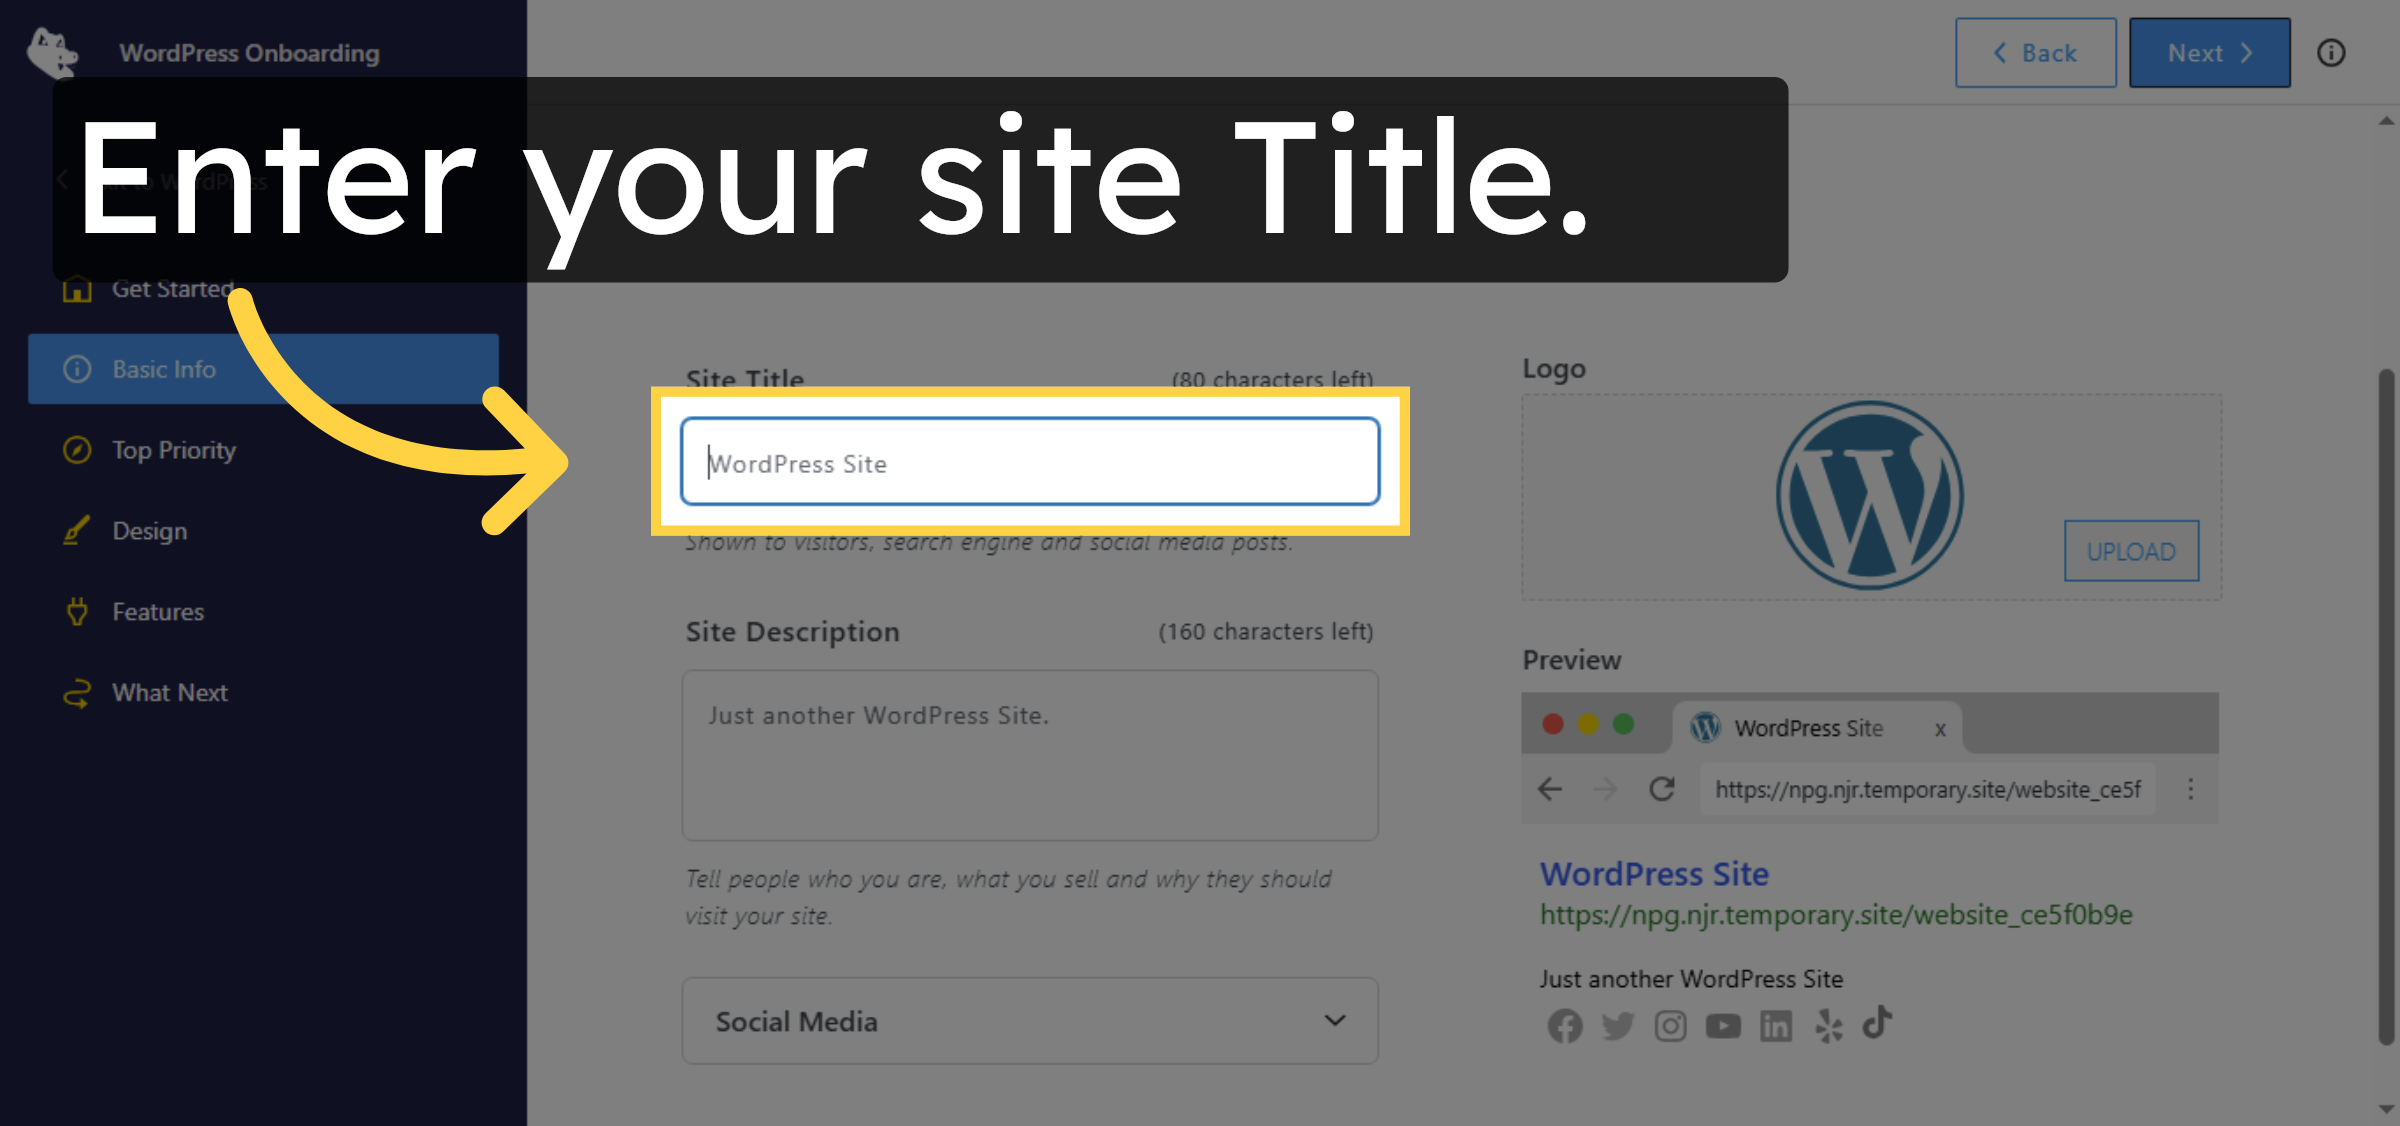
26. Enter Title
Enter your site Title.
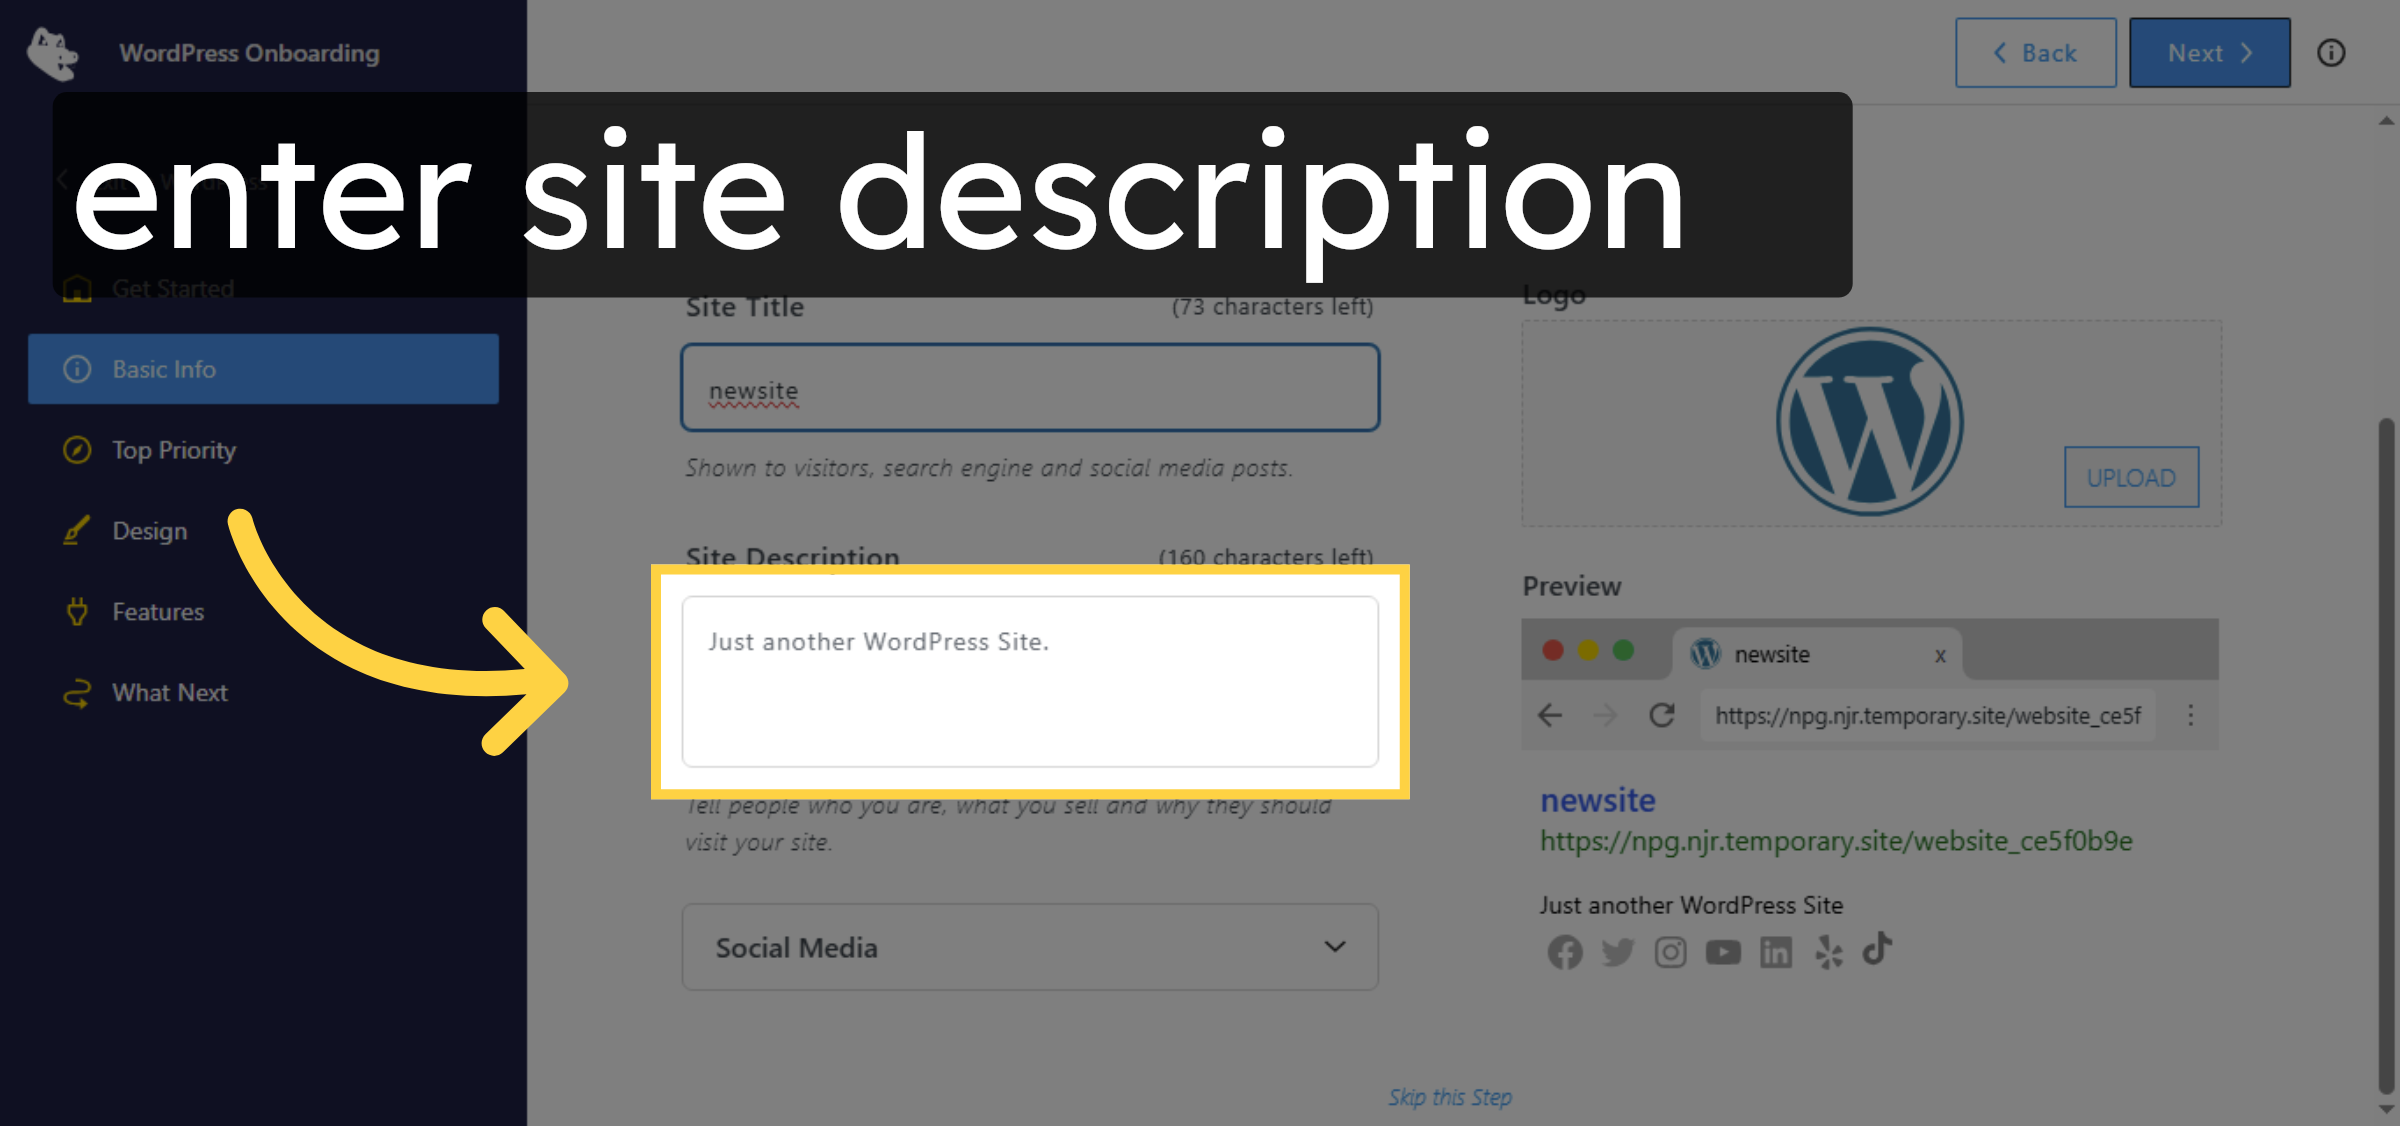
27. Edit Site Description
Enter description which clearly define your site.
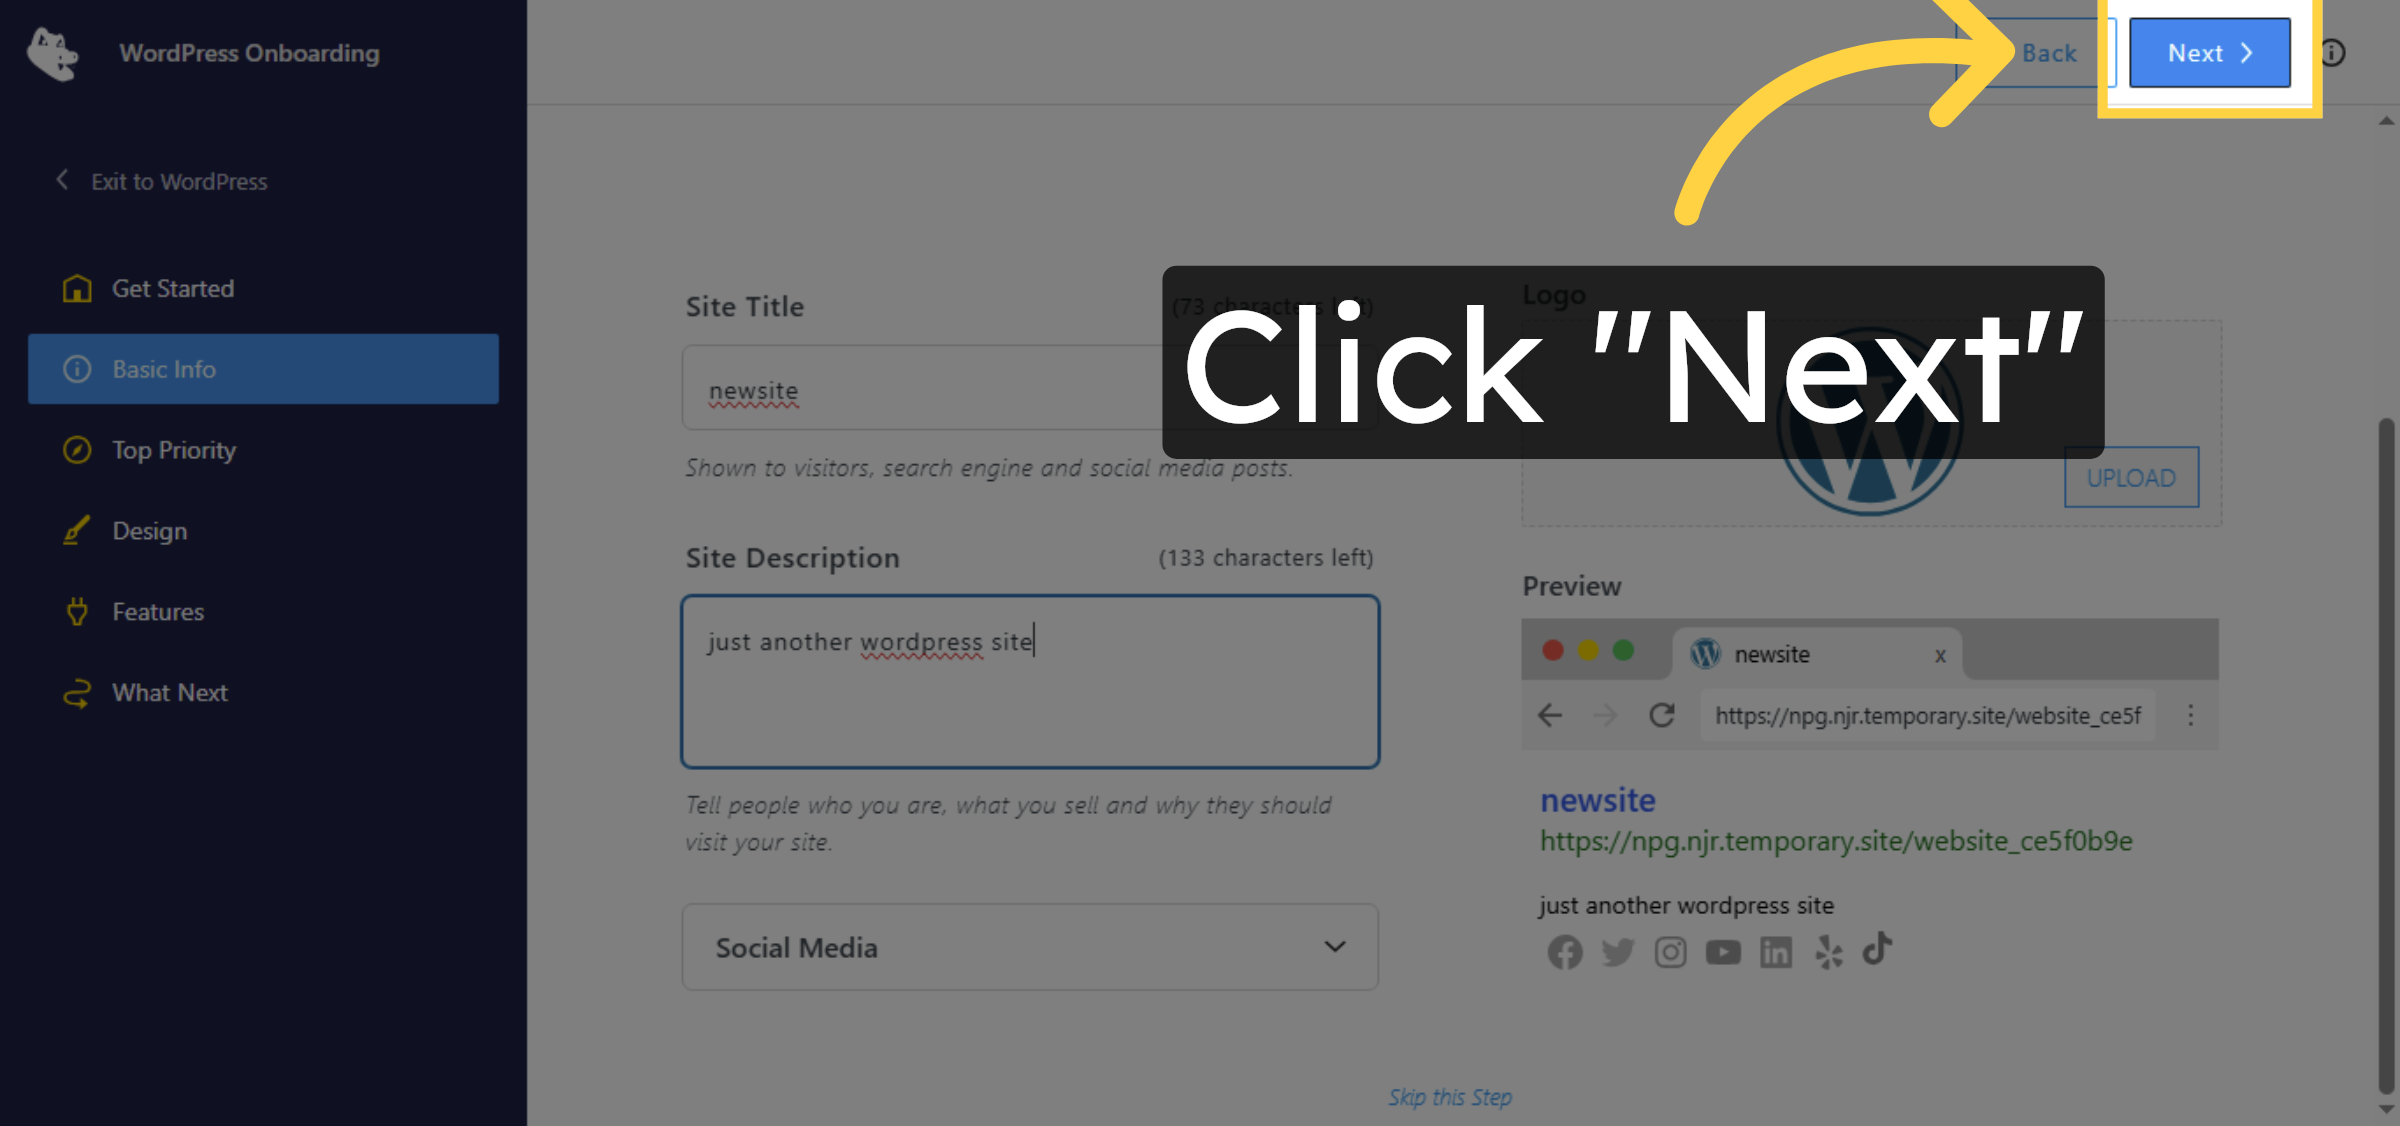
28. Proceed to Next Step
Click “Next” to continue the setup process.
29. Advance Setup
Click “Next” to move forward in the configuration.
30. Continue Setup
Click “Next” to proceed with the setup.
31. Next Configuration Step
Click “Next” to advance to the following setup stage.
32. Continue Setup
Click “Next” to keep progressing through the setup.
33. Proceed to Next Step
Click “Next” to continue with the configuration.

34. Proceed Next
Click “Next” to move to the next setup phase.
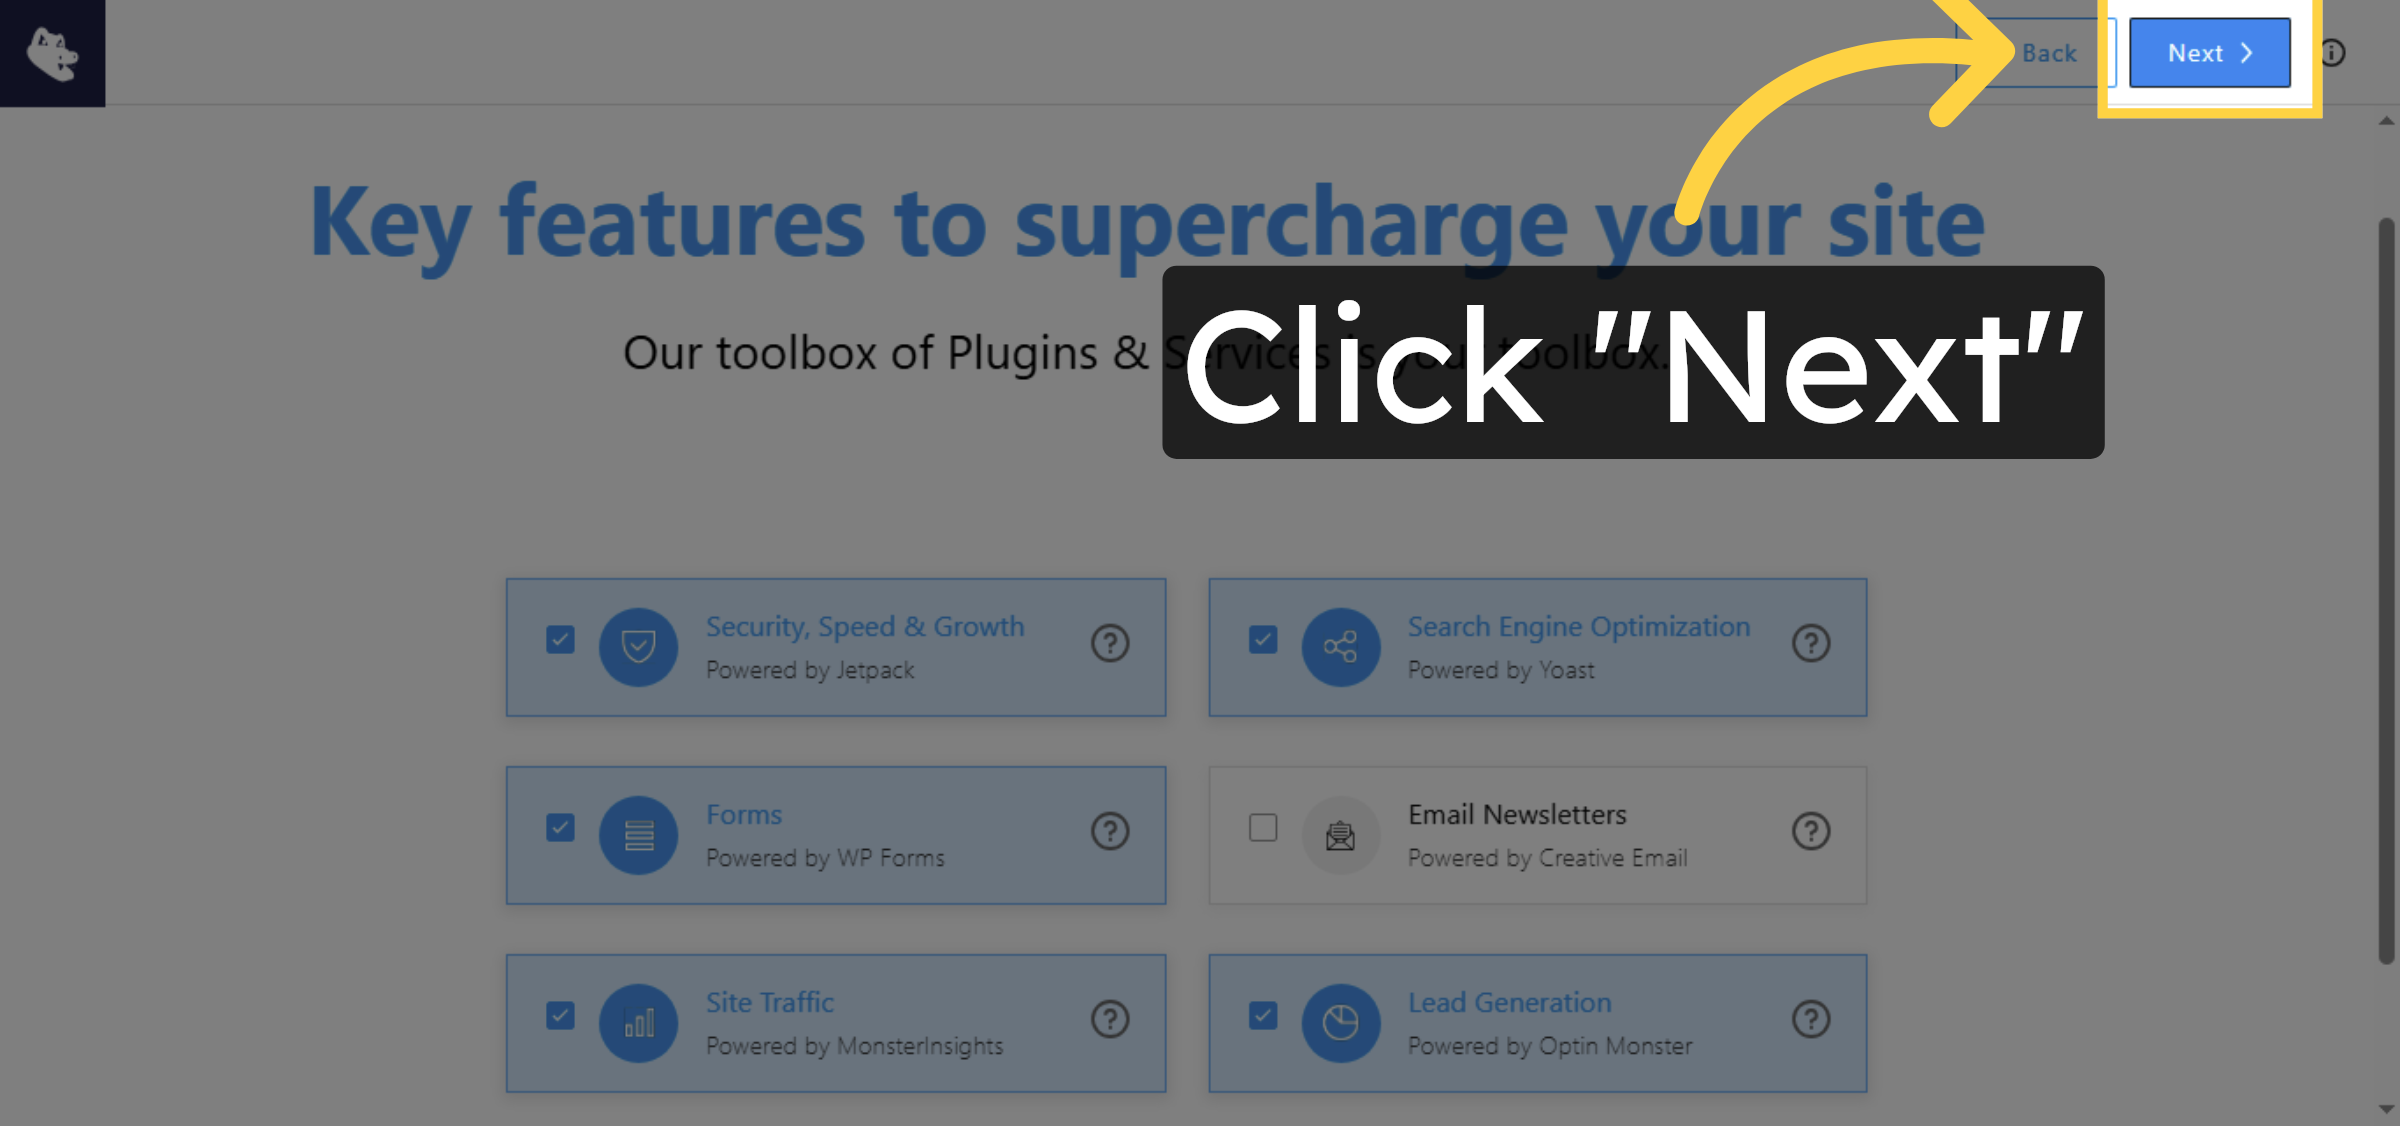
35. Continue Setup
Click “Next” to proceed further in the setup.
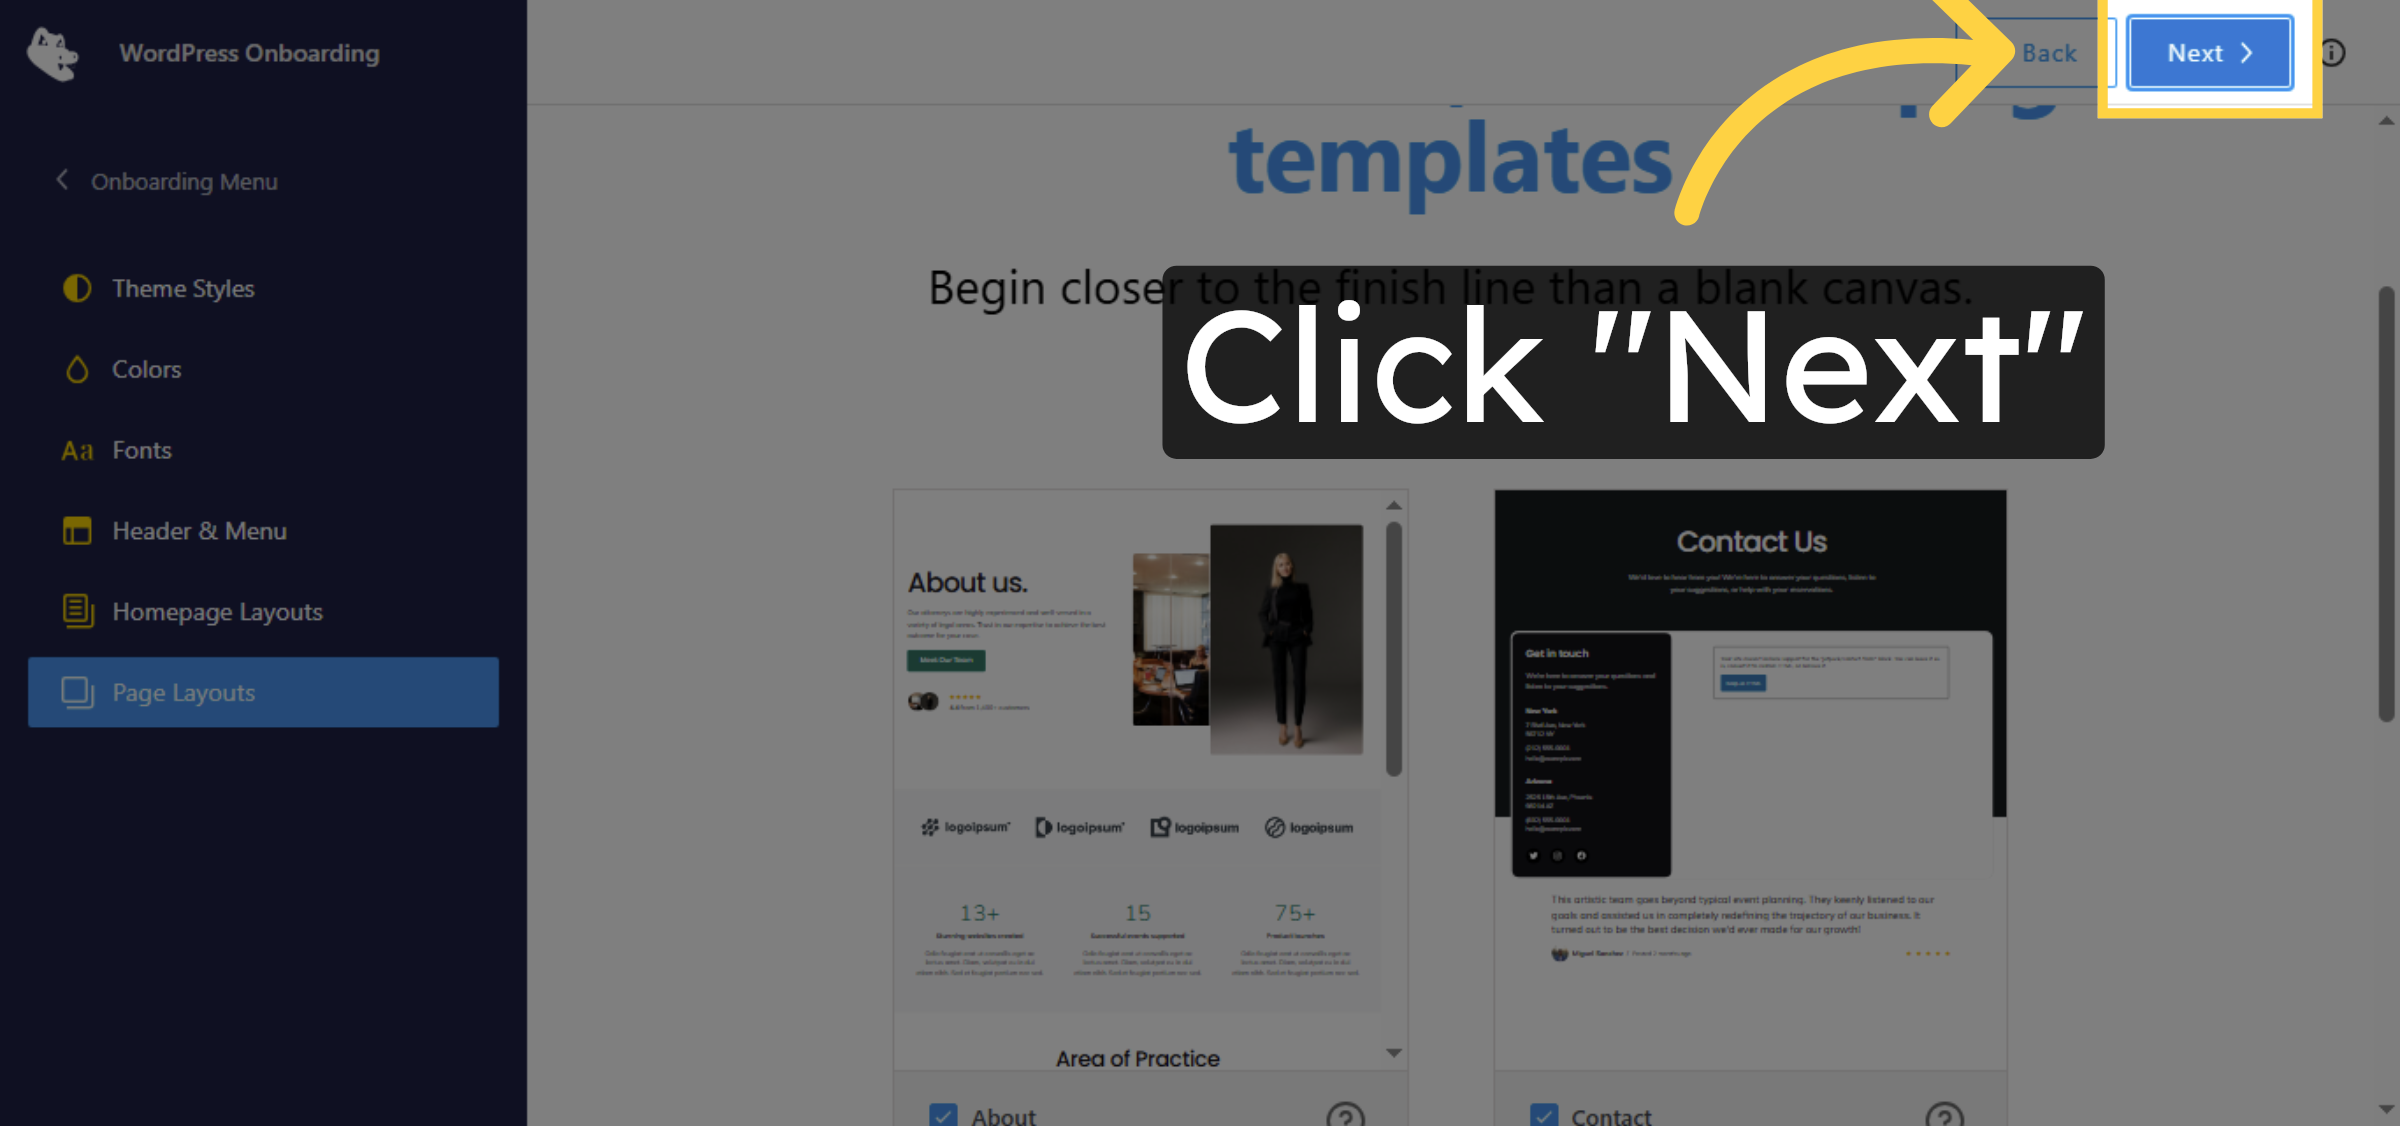
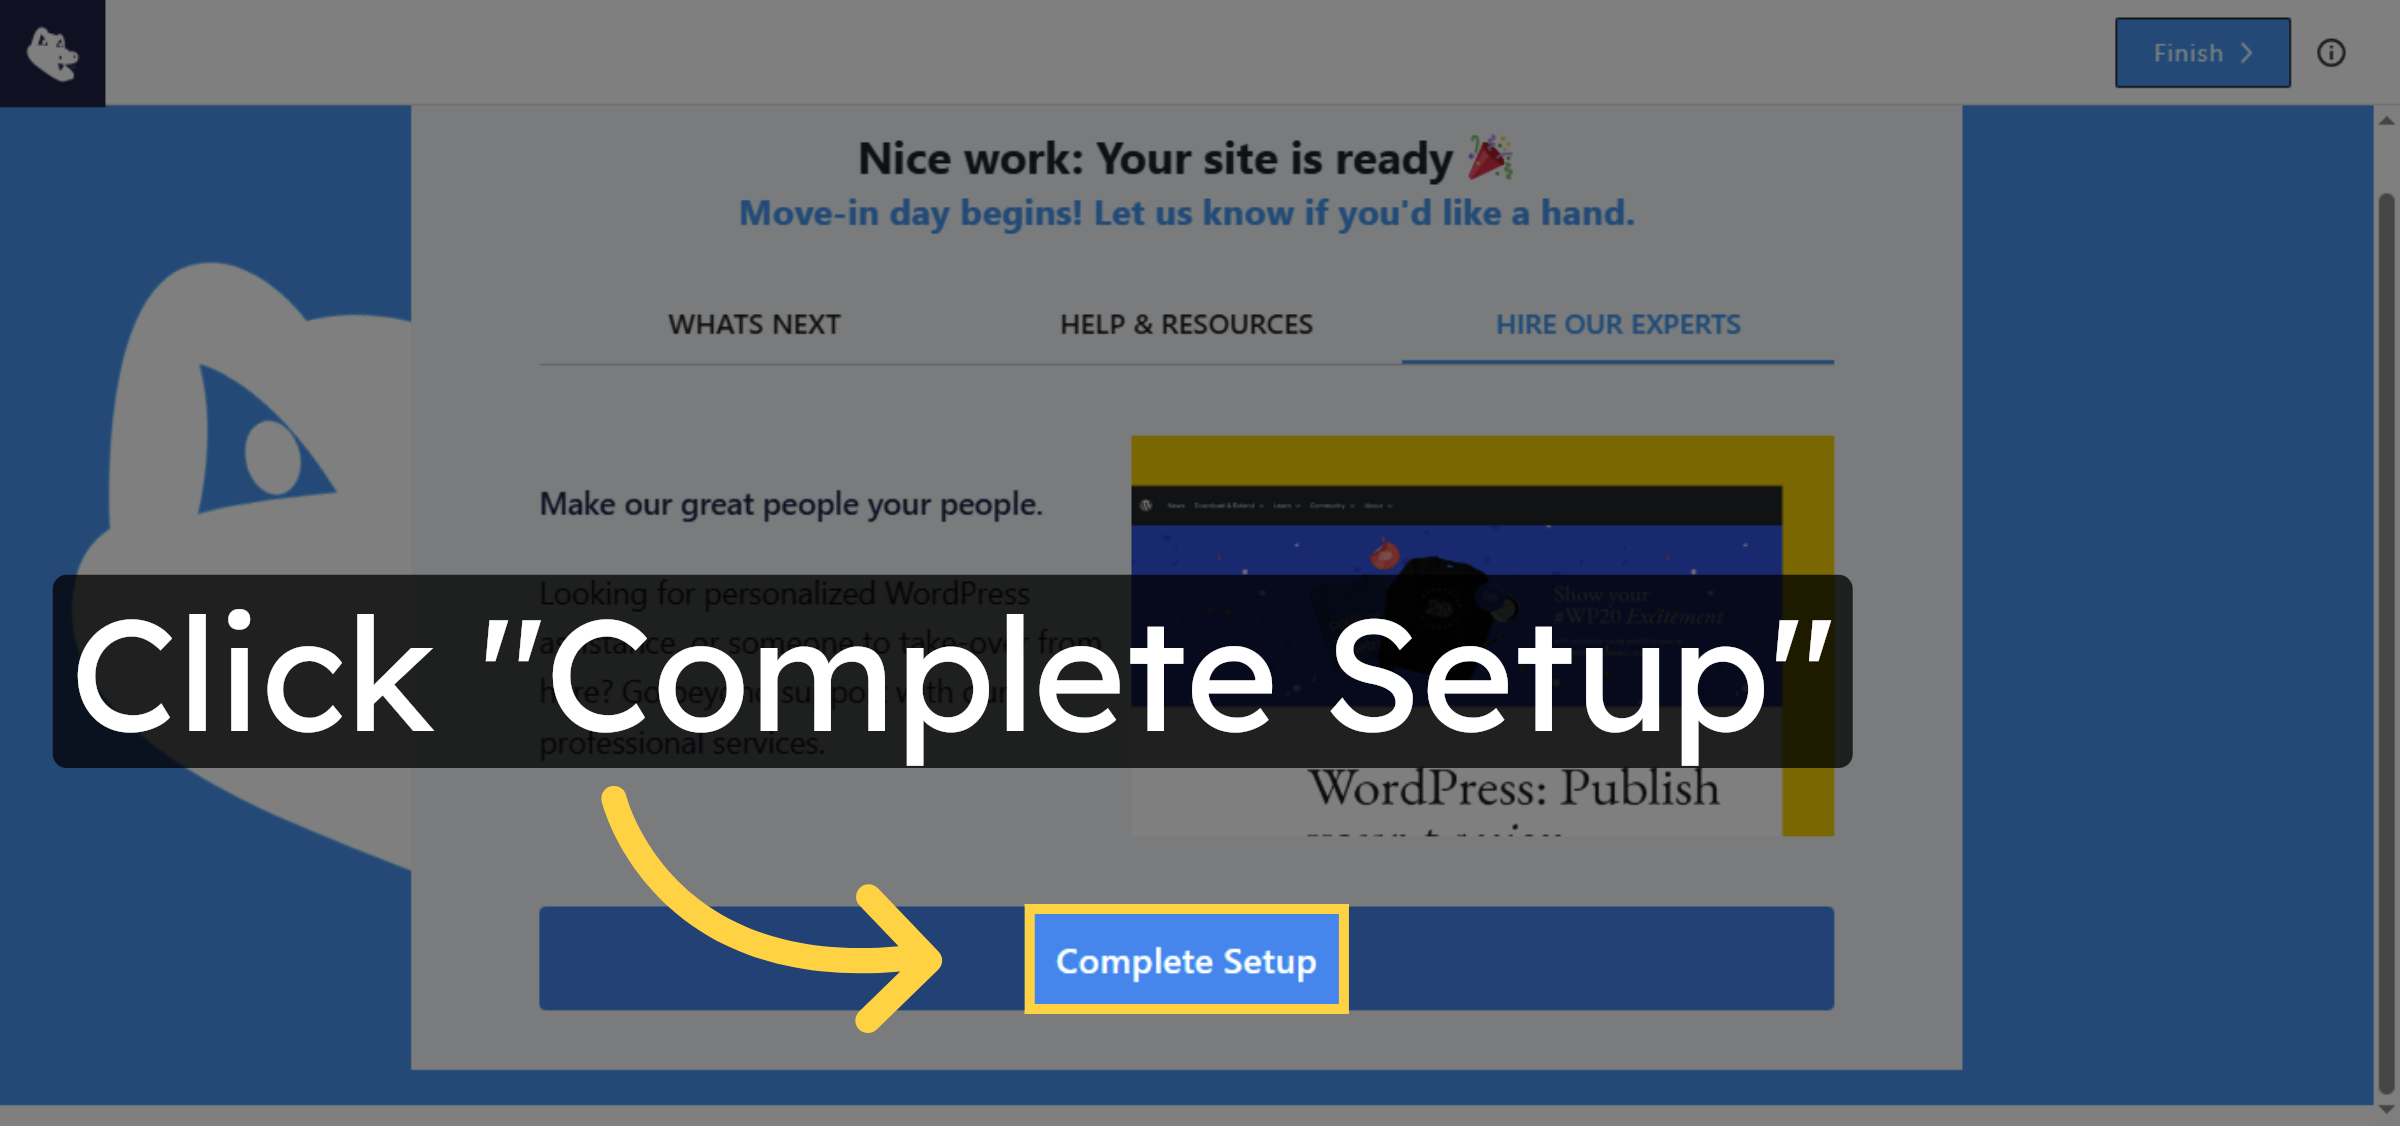
36. Complete Setup
Click “Complete Setup” to finalize the temporary site configuration.
37. Add Plugin on Temporary Site
Click “Add Plugin” to install a plugin on the temporary WordPress site.
38. Search Plugin
Search for All in one migration plugin.
39. Install Migration Plugin
Click “Install Now” to install the migration plugin on the temporary site.
40. Activate Migration Plugin
Click “Activate” to enable the migration plugin on the temporary site.

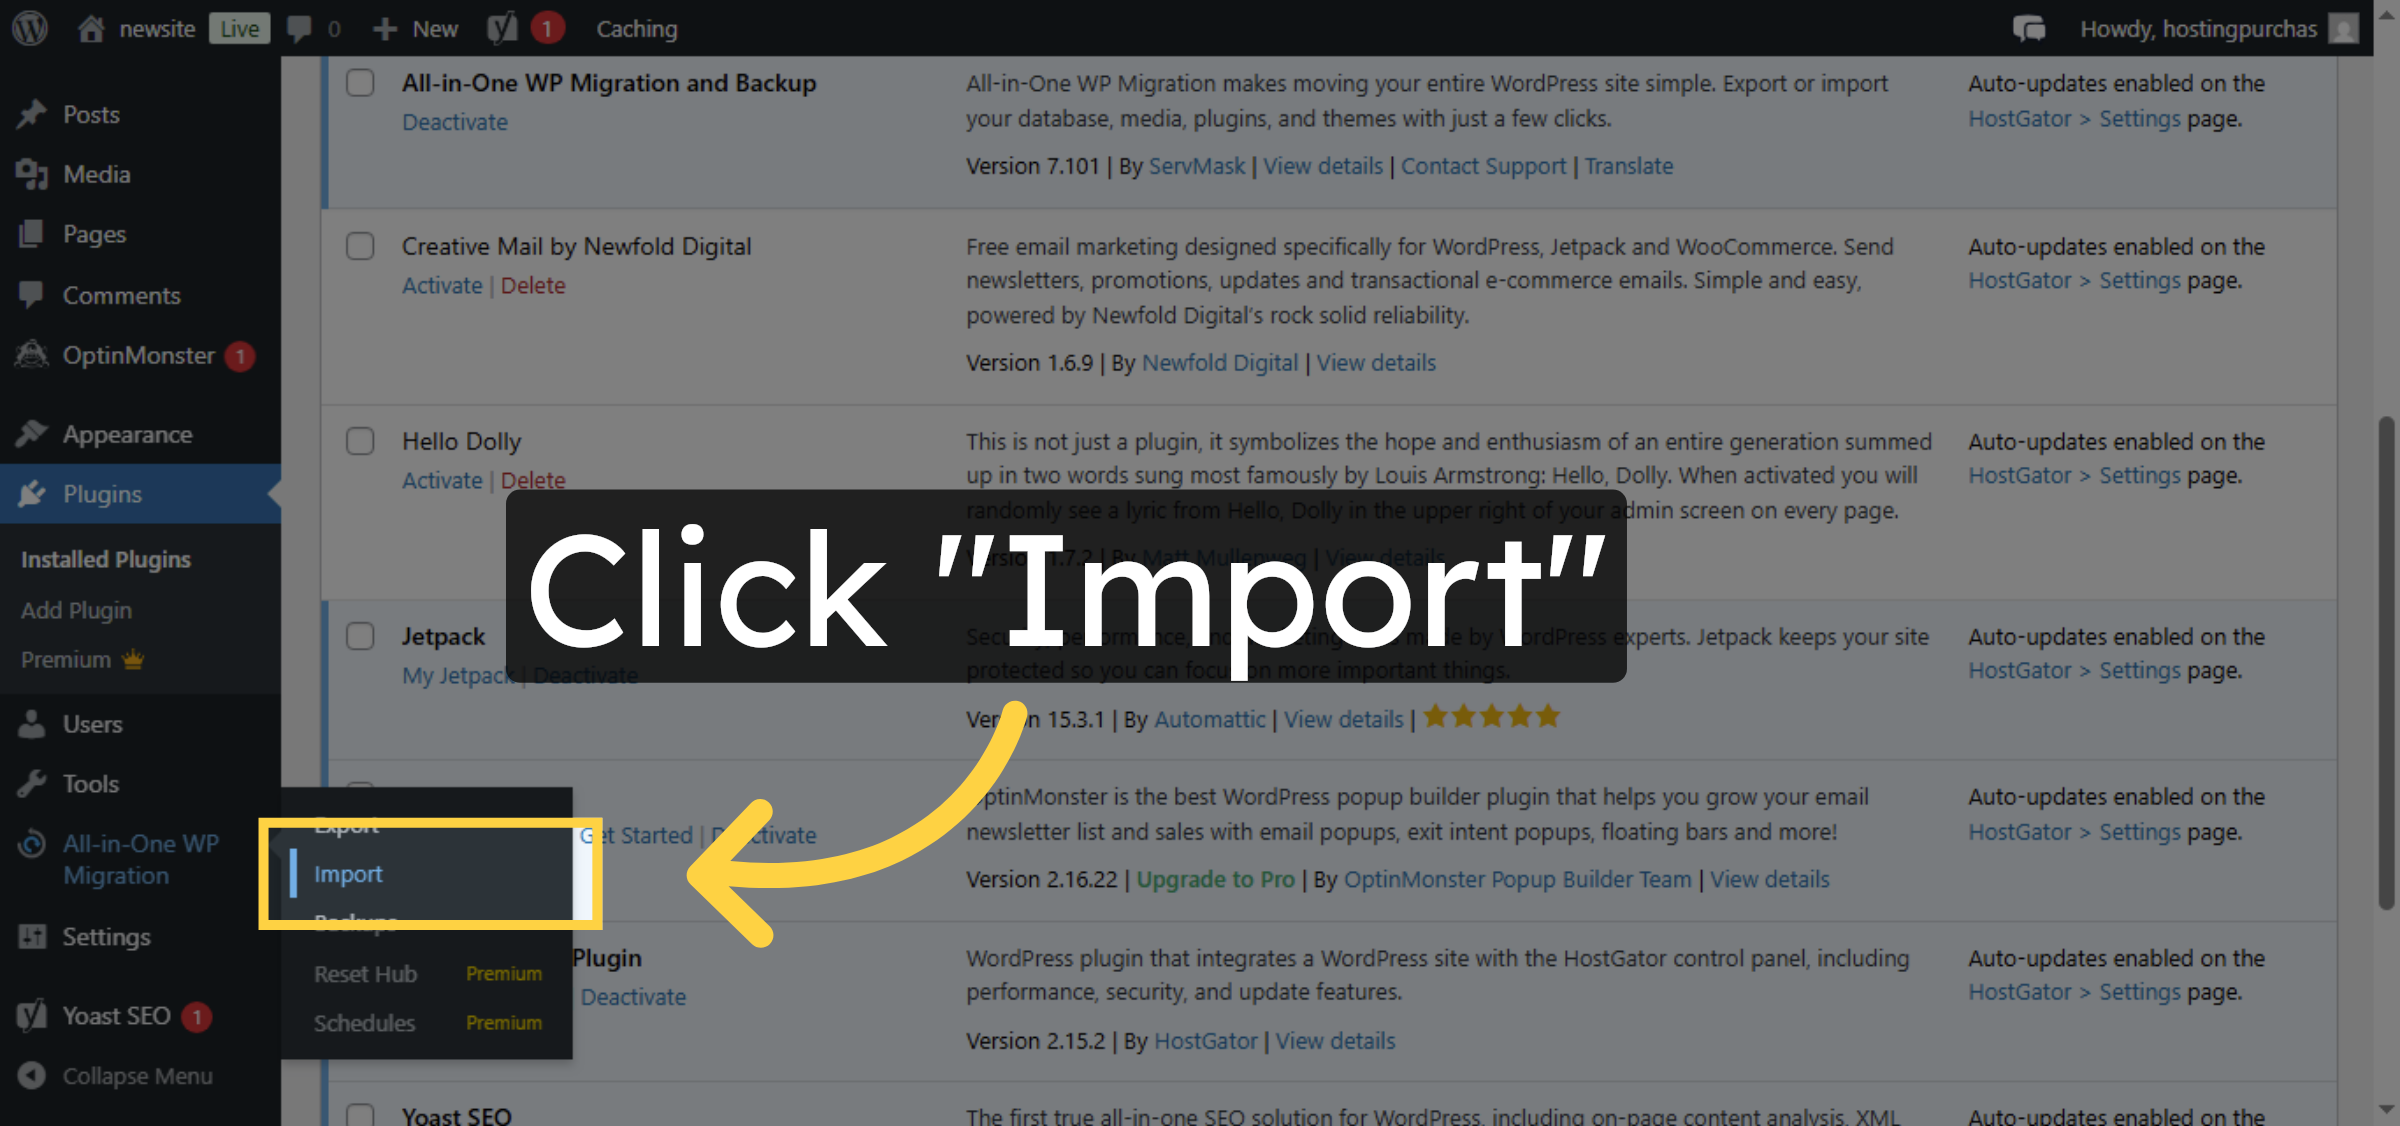
41. Import Site Data
Click “Import” to start importing your WordPress site data.
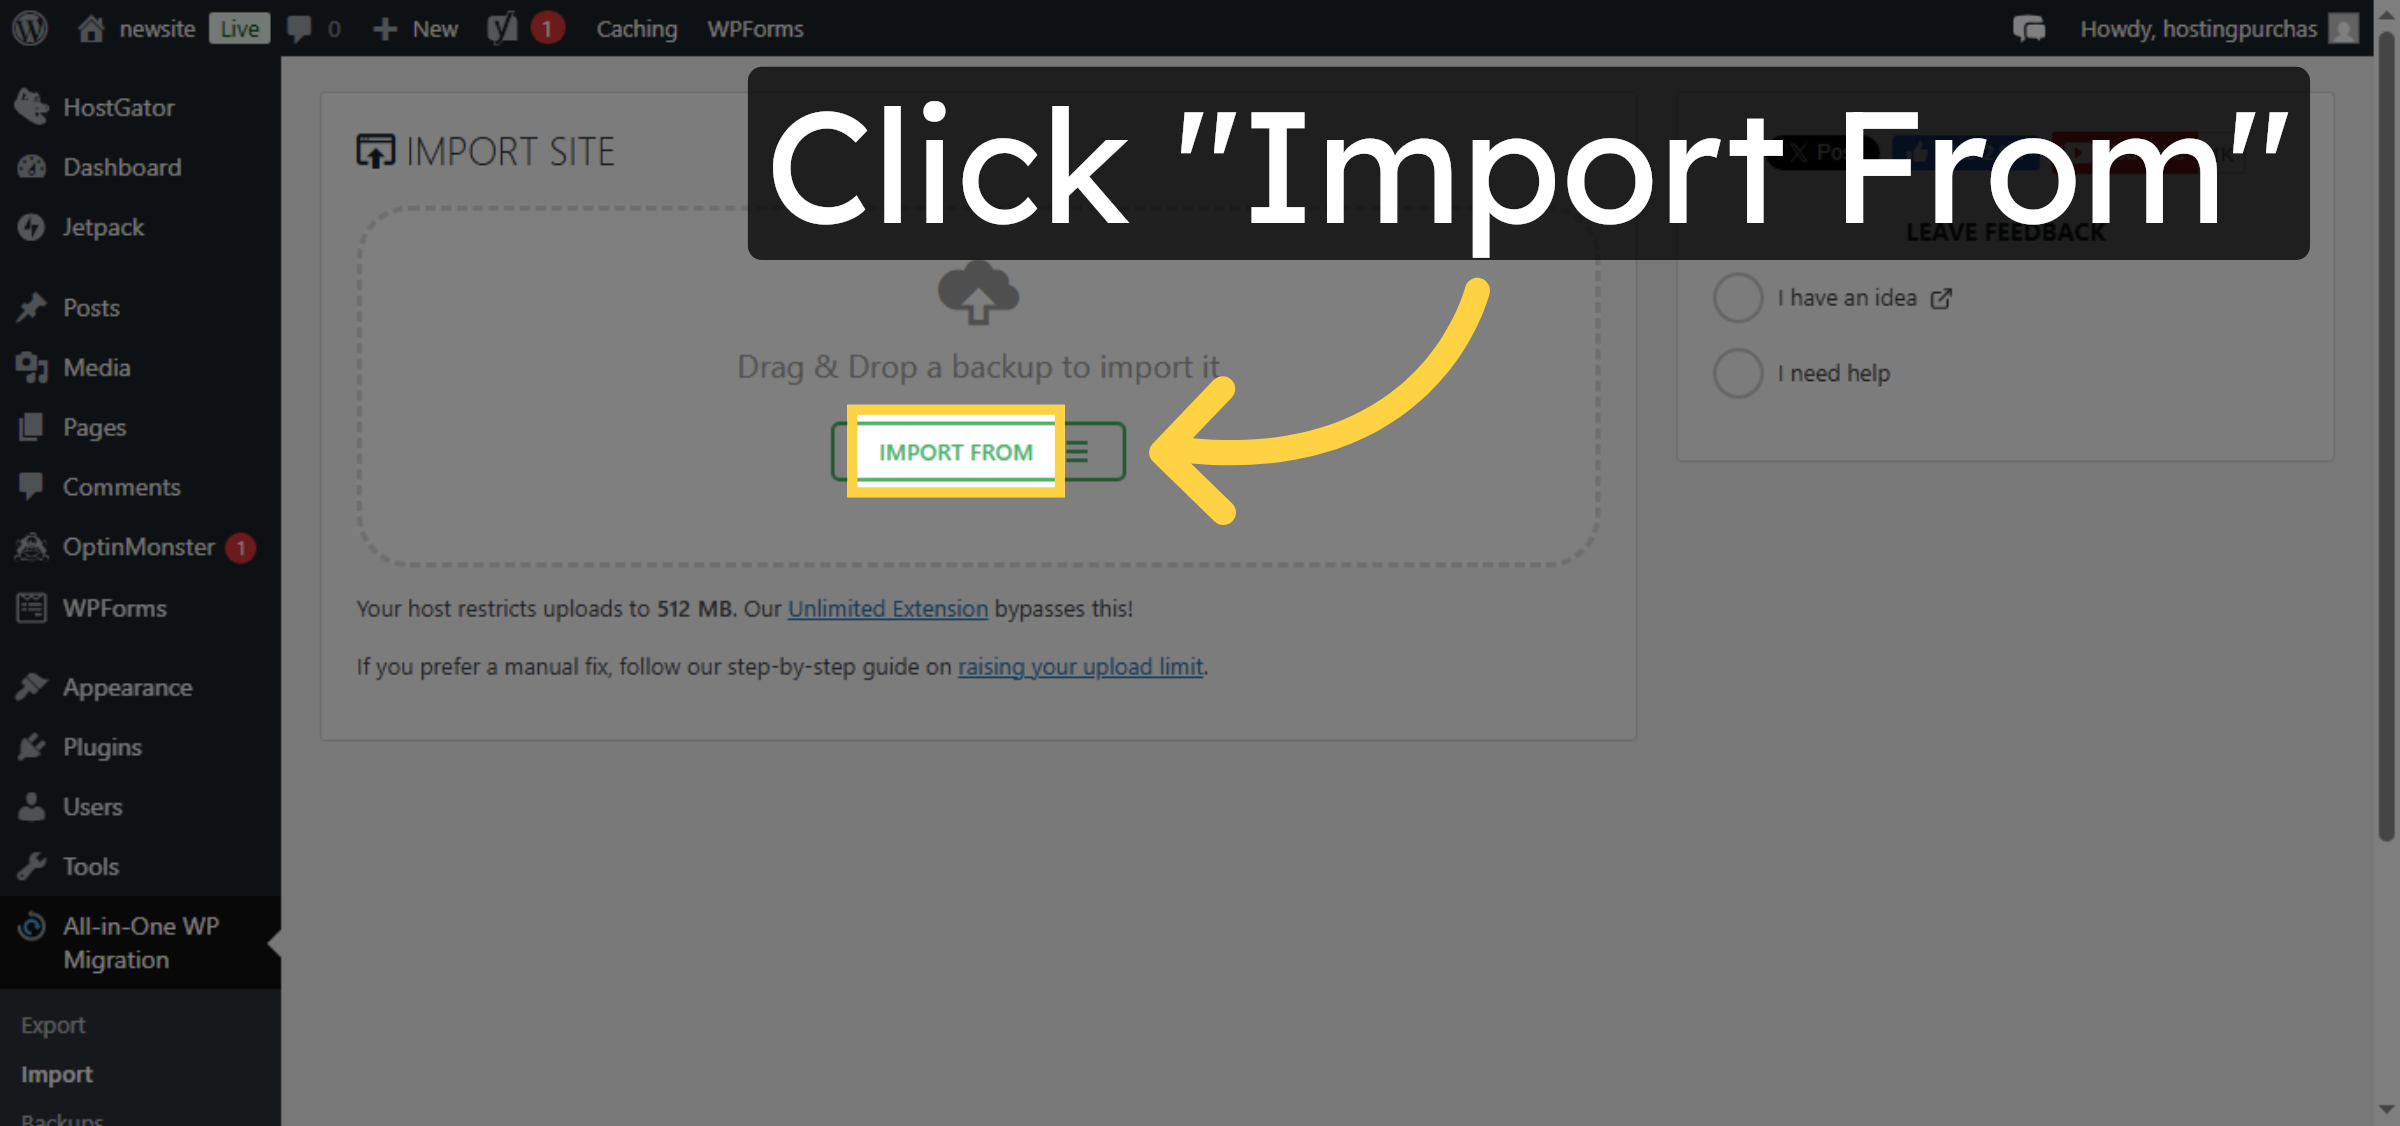
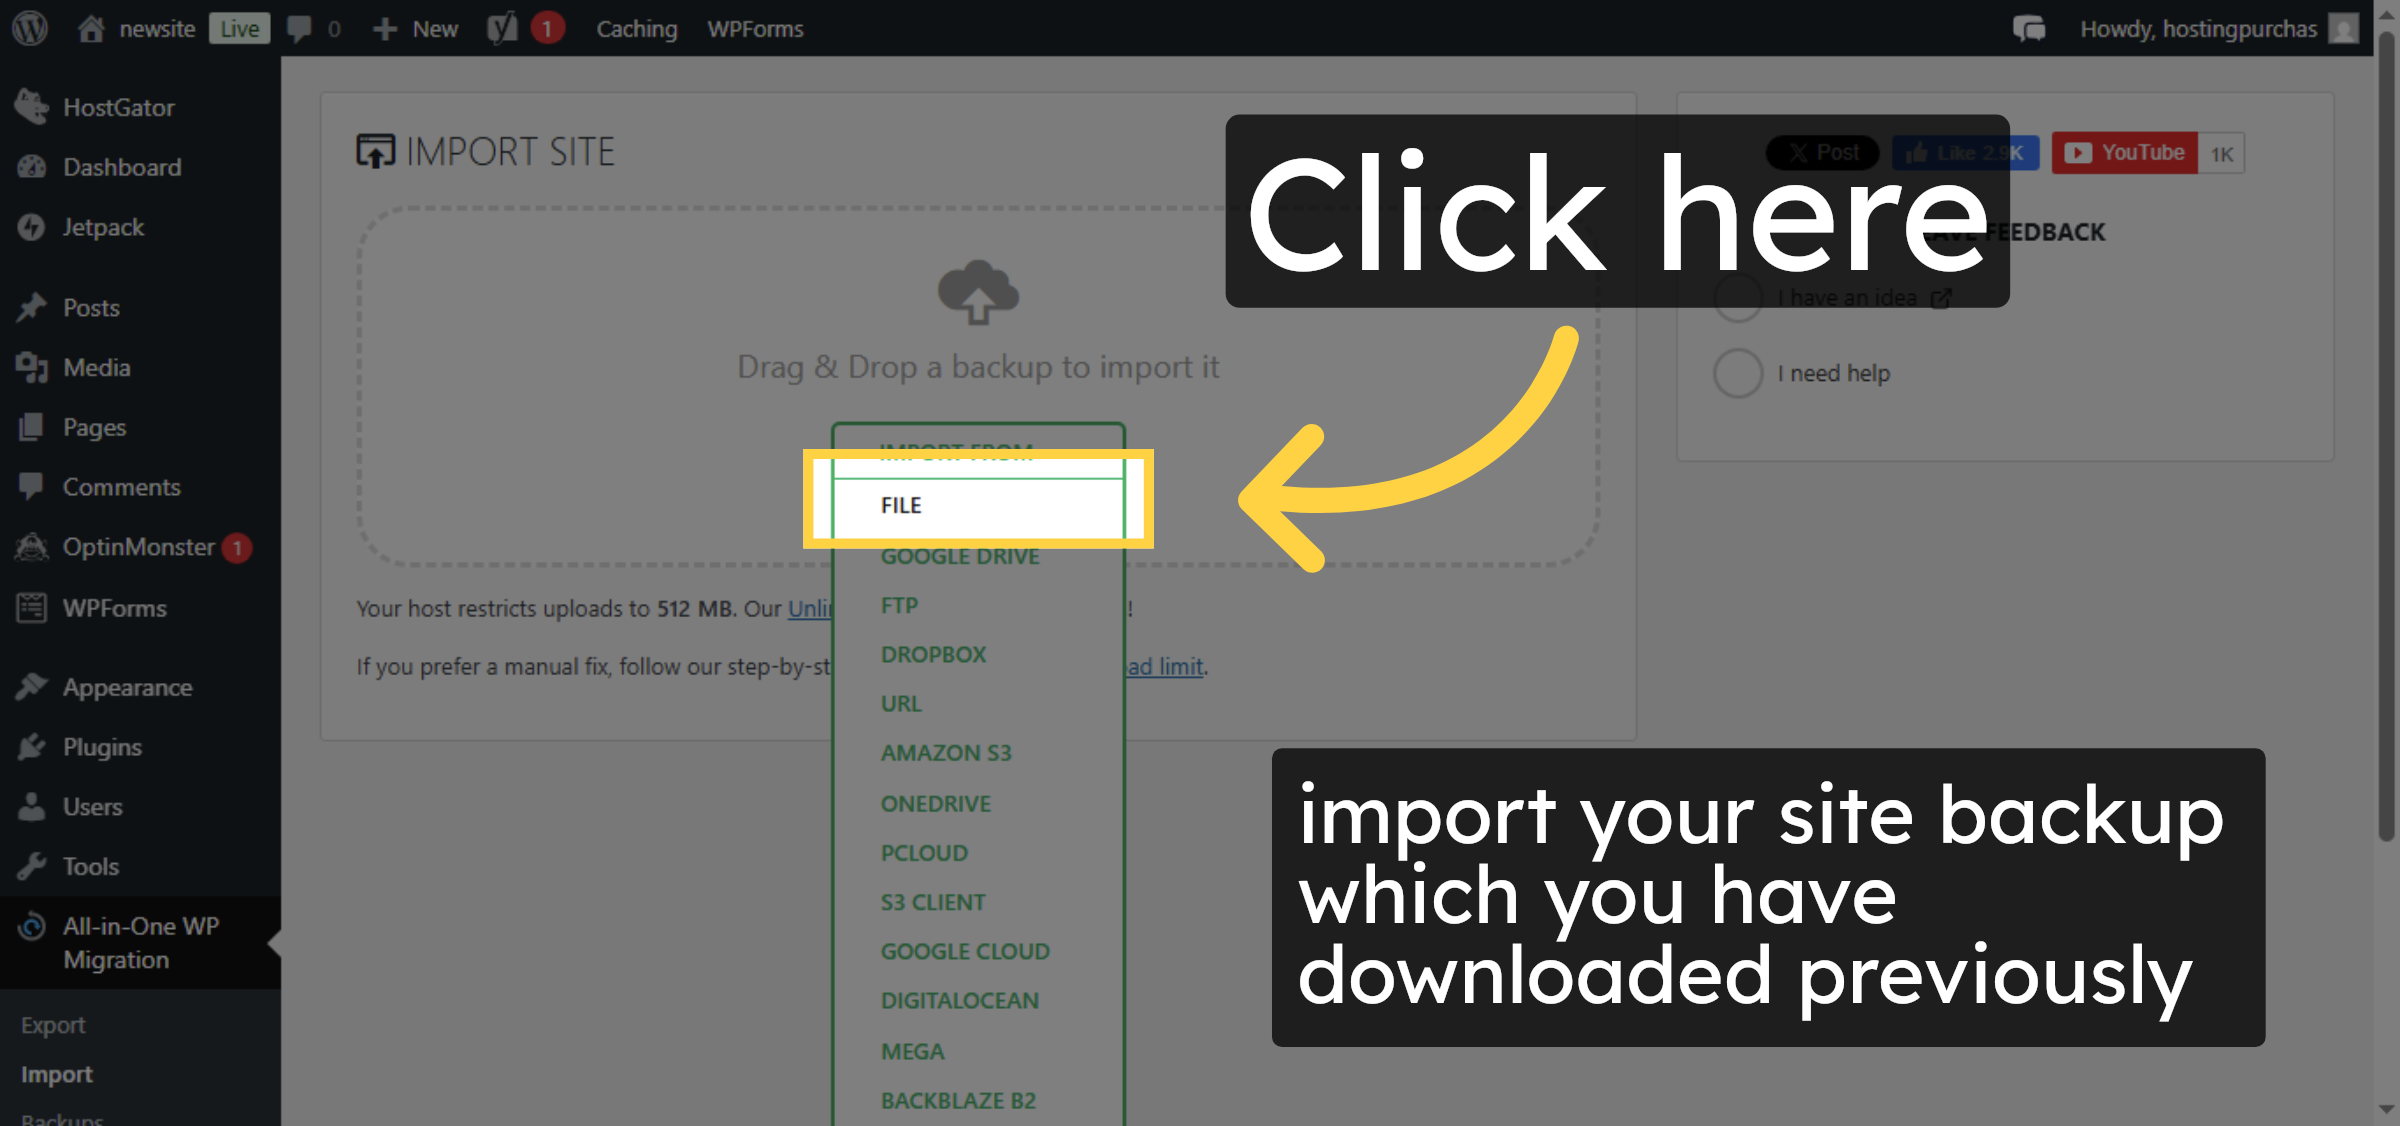
42. Select Import Source.
Click “Import From” to choose the source of your site import.
43. Choose Import File
Click here to select the exported site file for import.
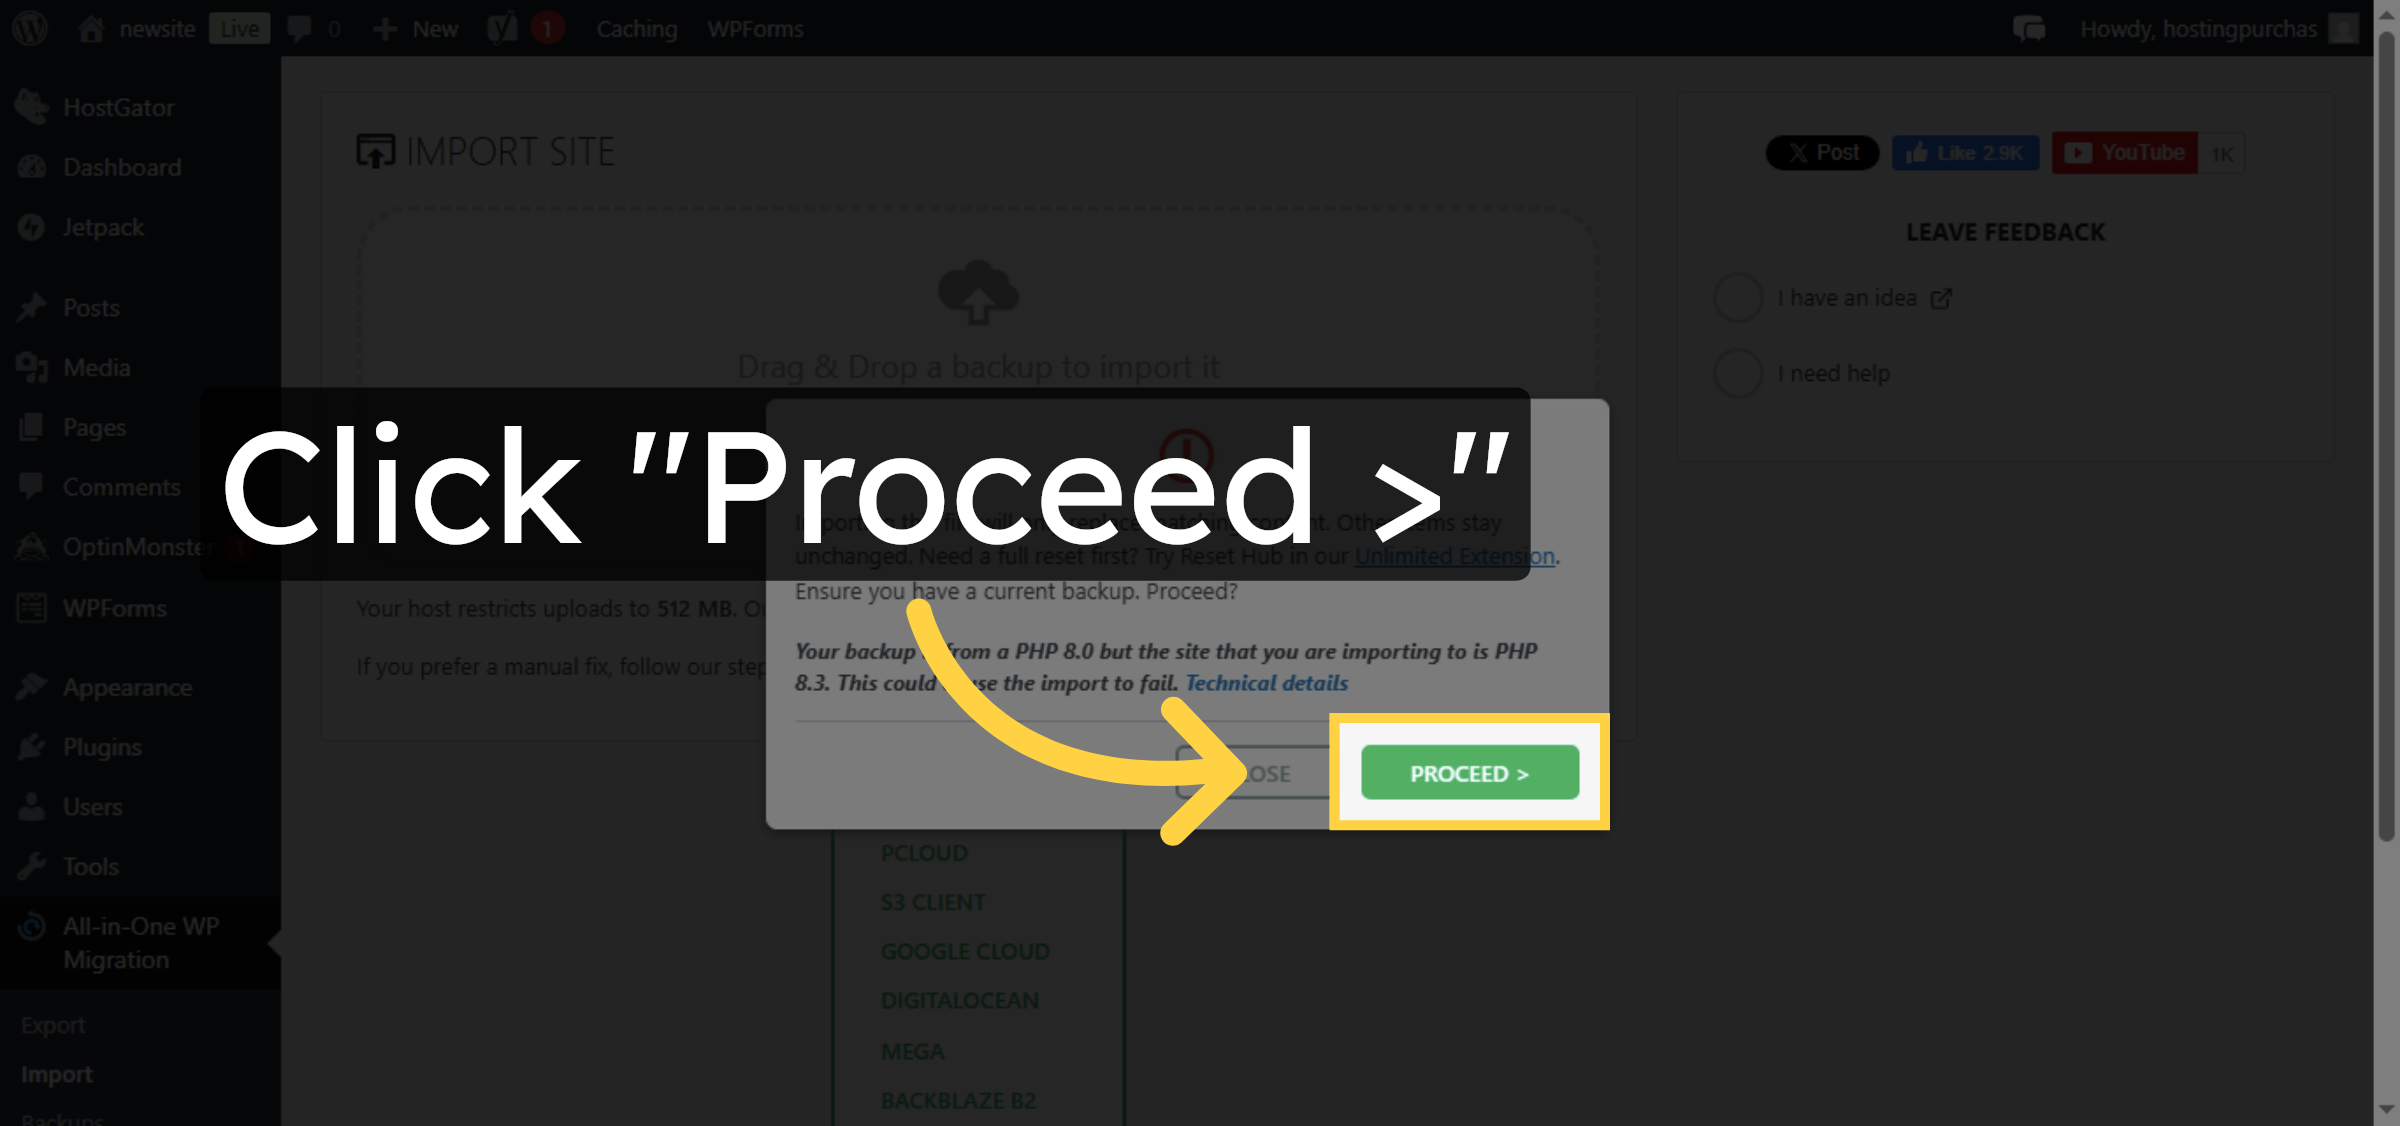
44. Proceed with Import
Click “Proceed >” to continue importing your site data.
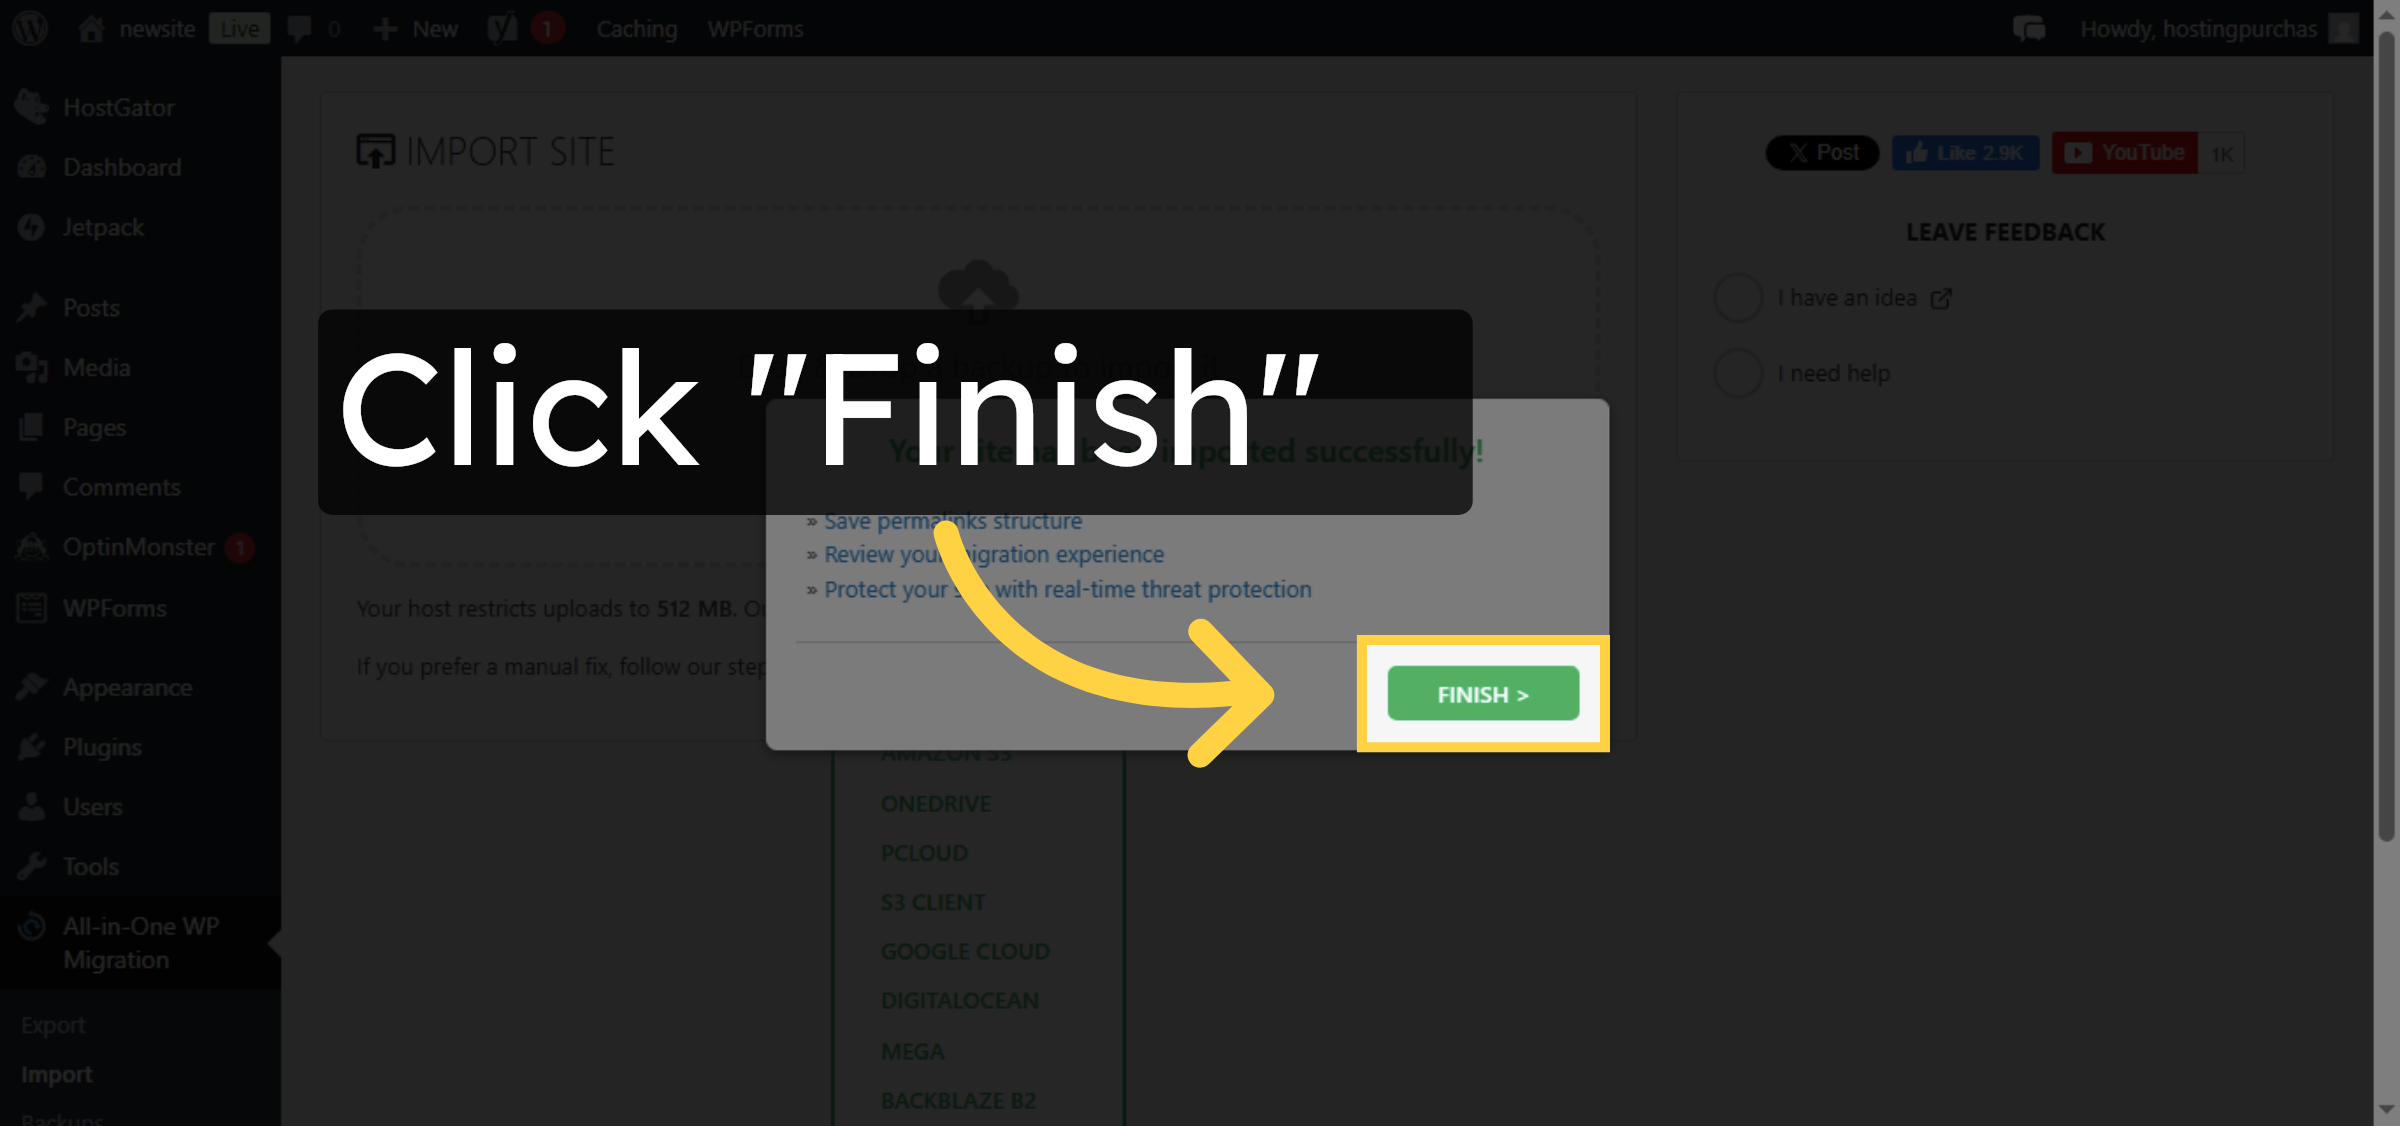
45. Finish Import
Click “Finish ” to complete the import process.
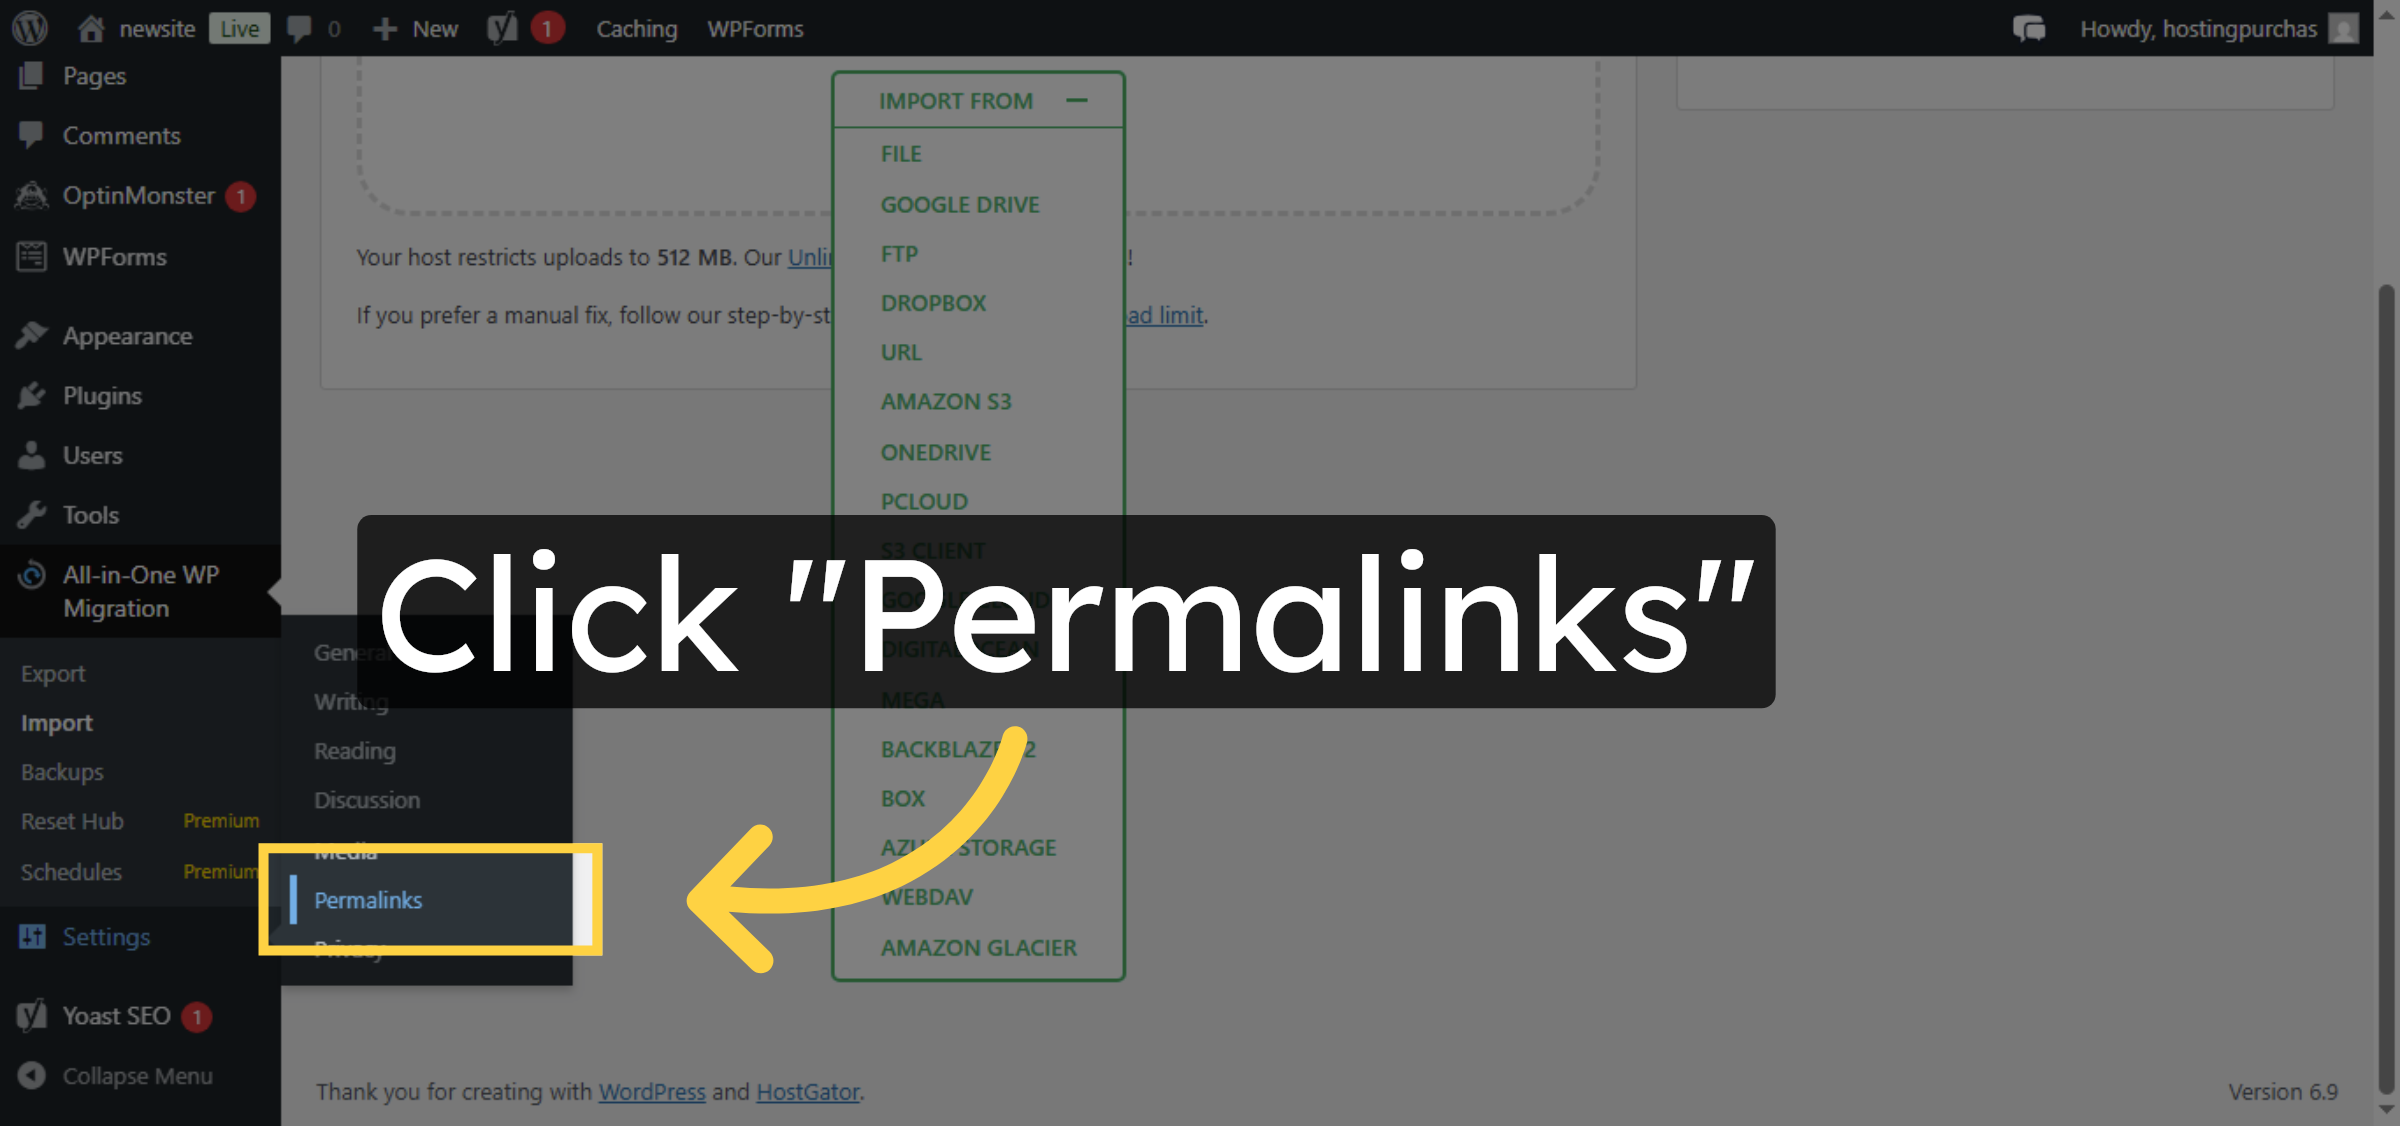
46. Open Permalink Settings
Click “Permalinks” to access permalink configuration options.
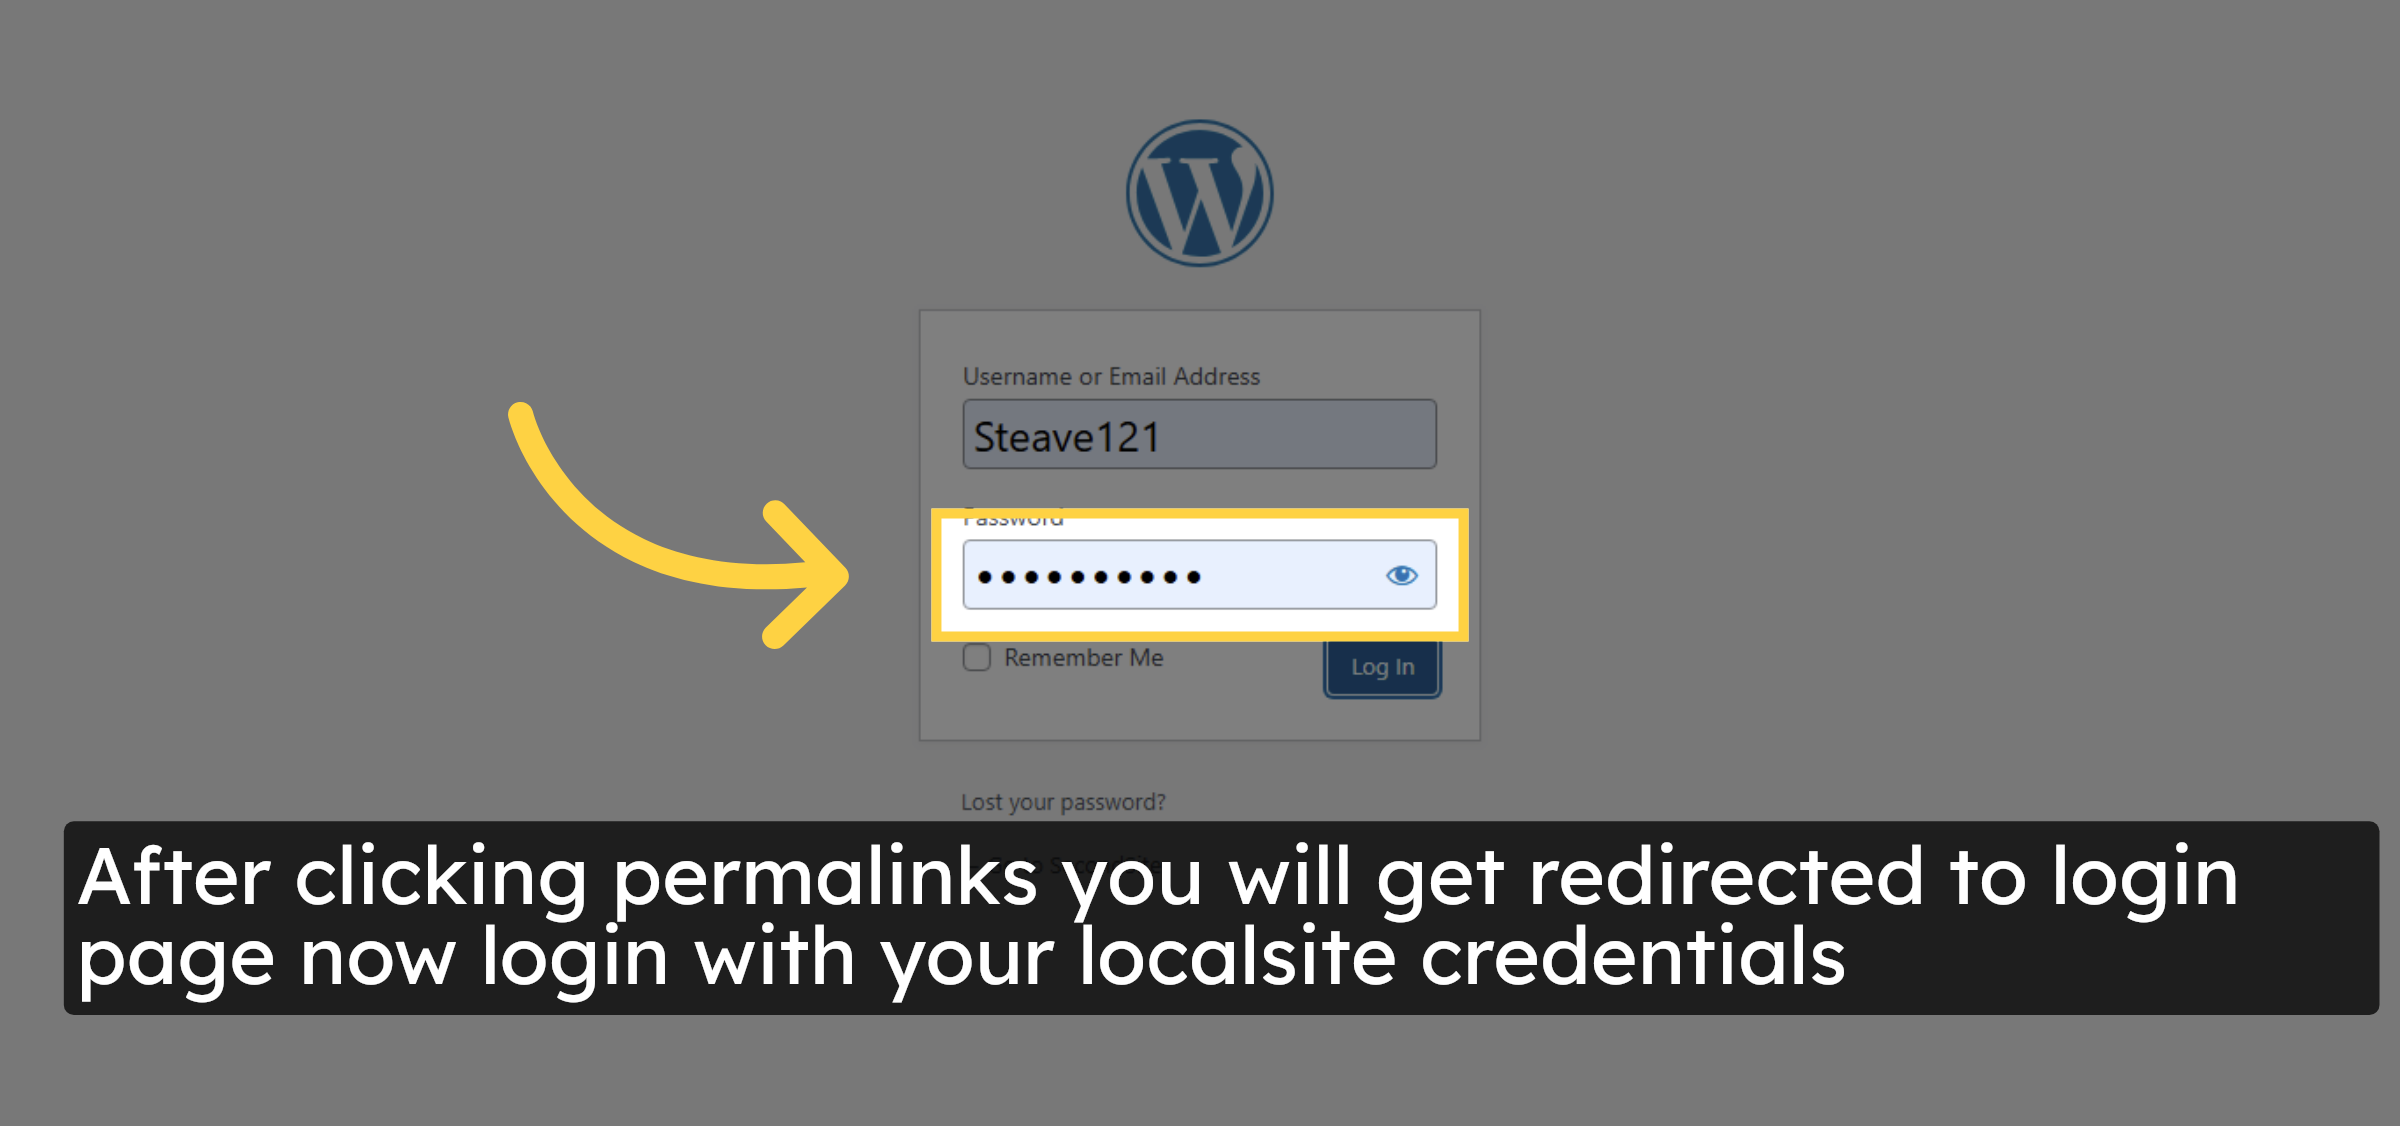
47. Enter Password and login
After clicking permalinks you will get redirected to login page now login with your localsite credentials
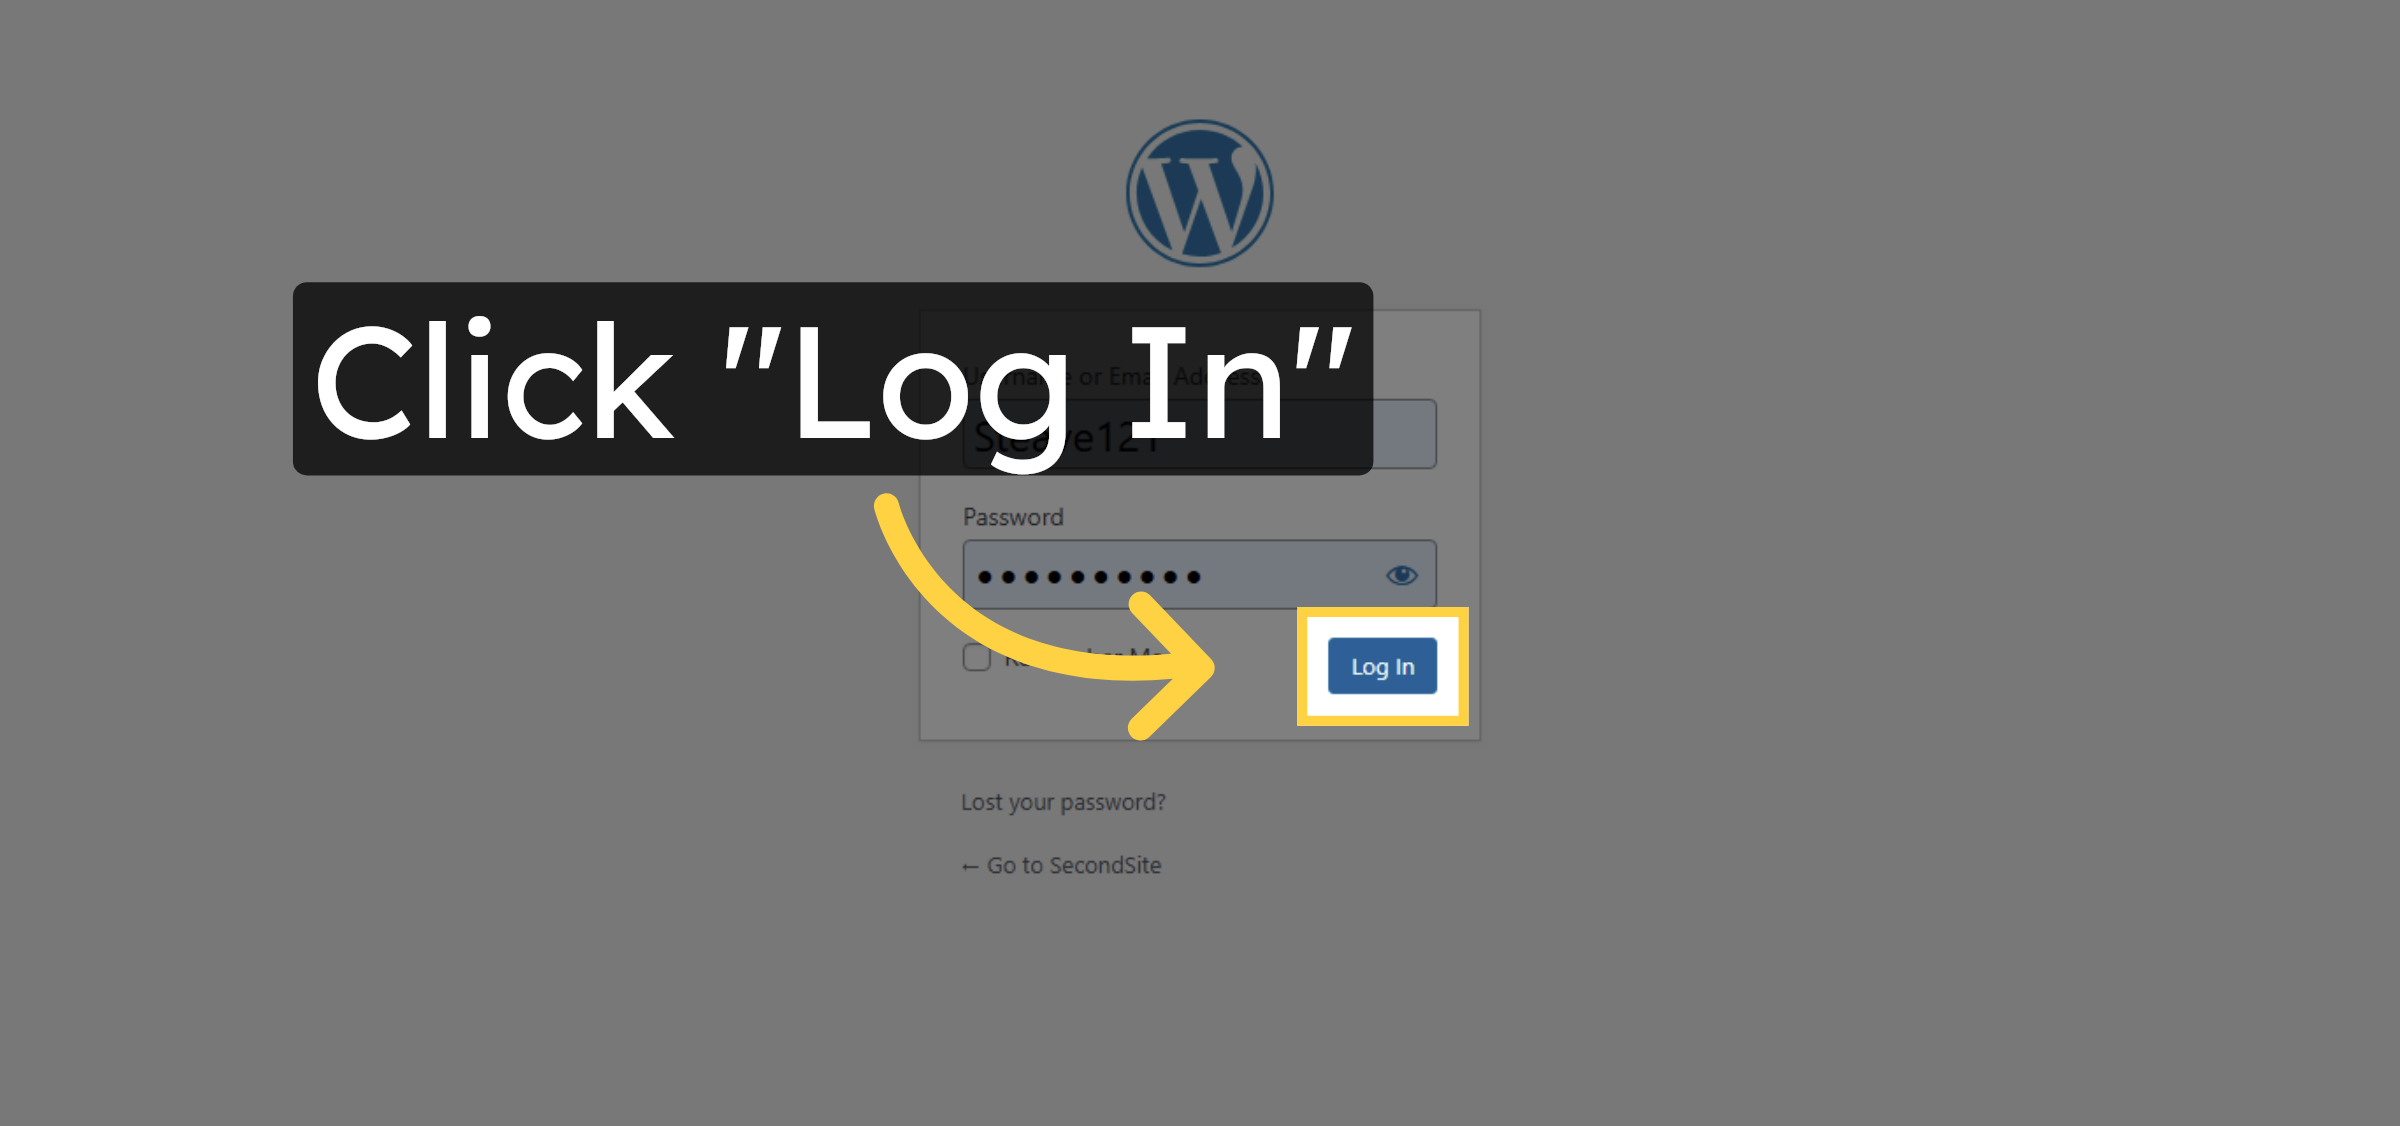
48. Log In to Site
Click “Log In” to access your WordPress dashboard.
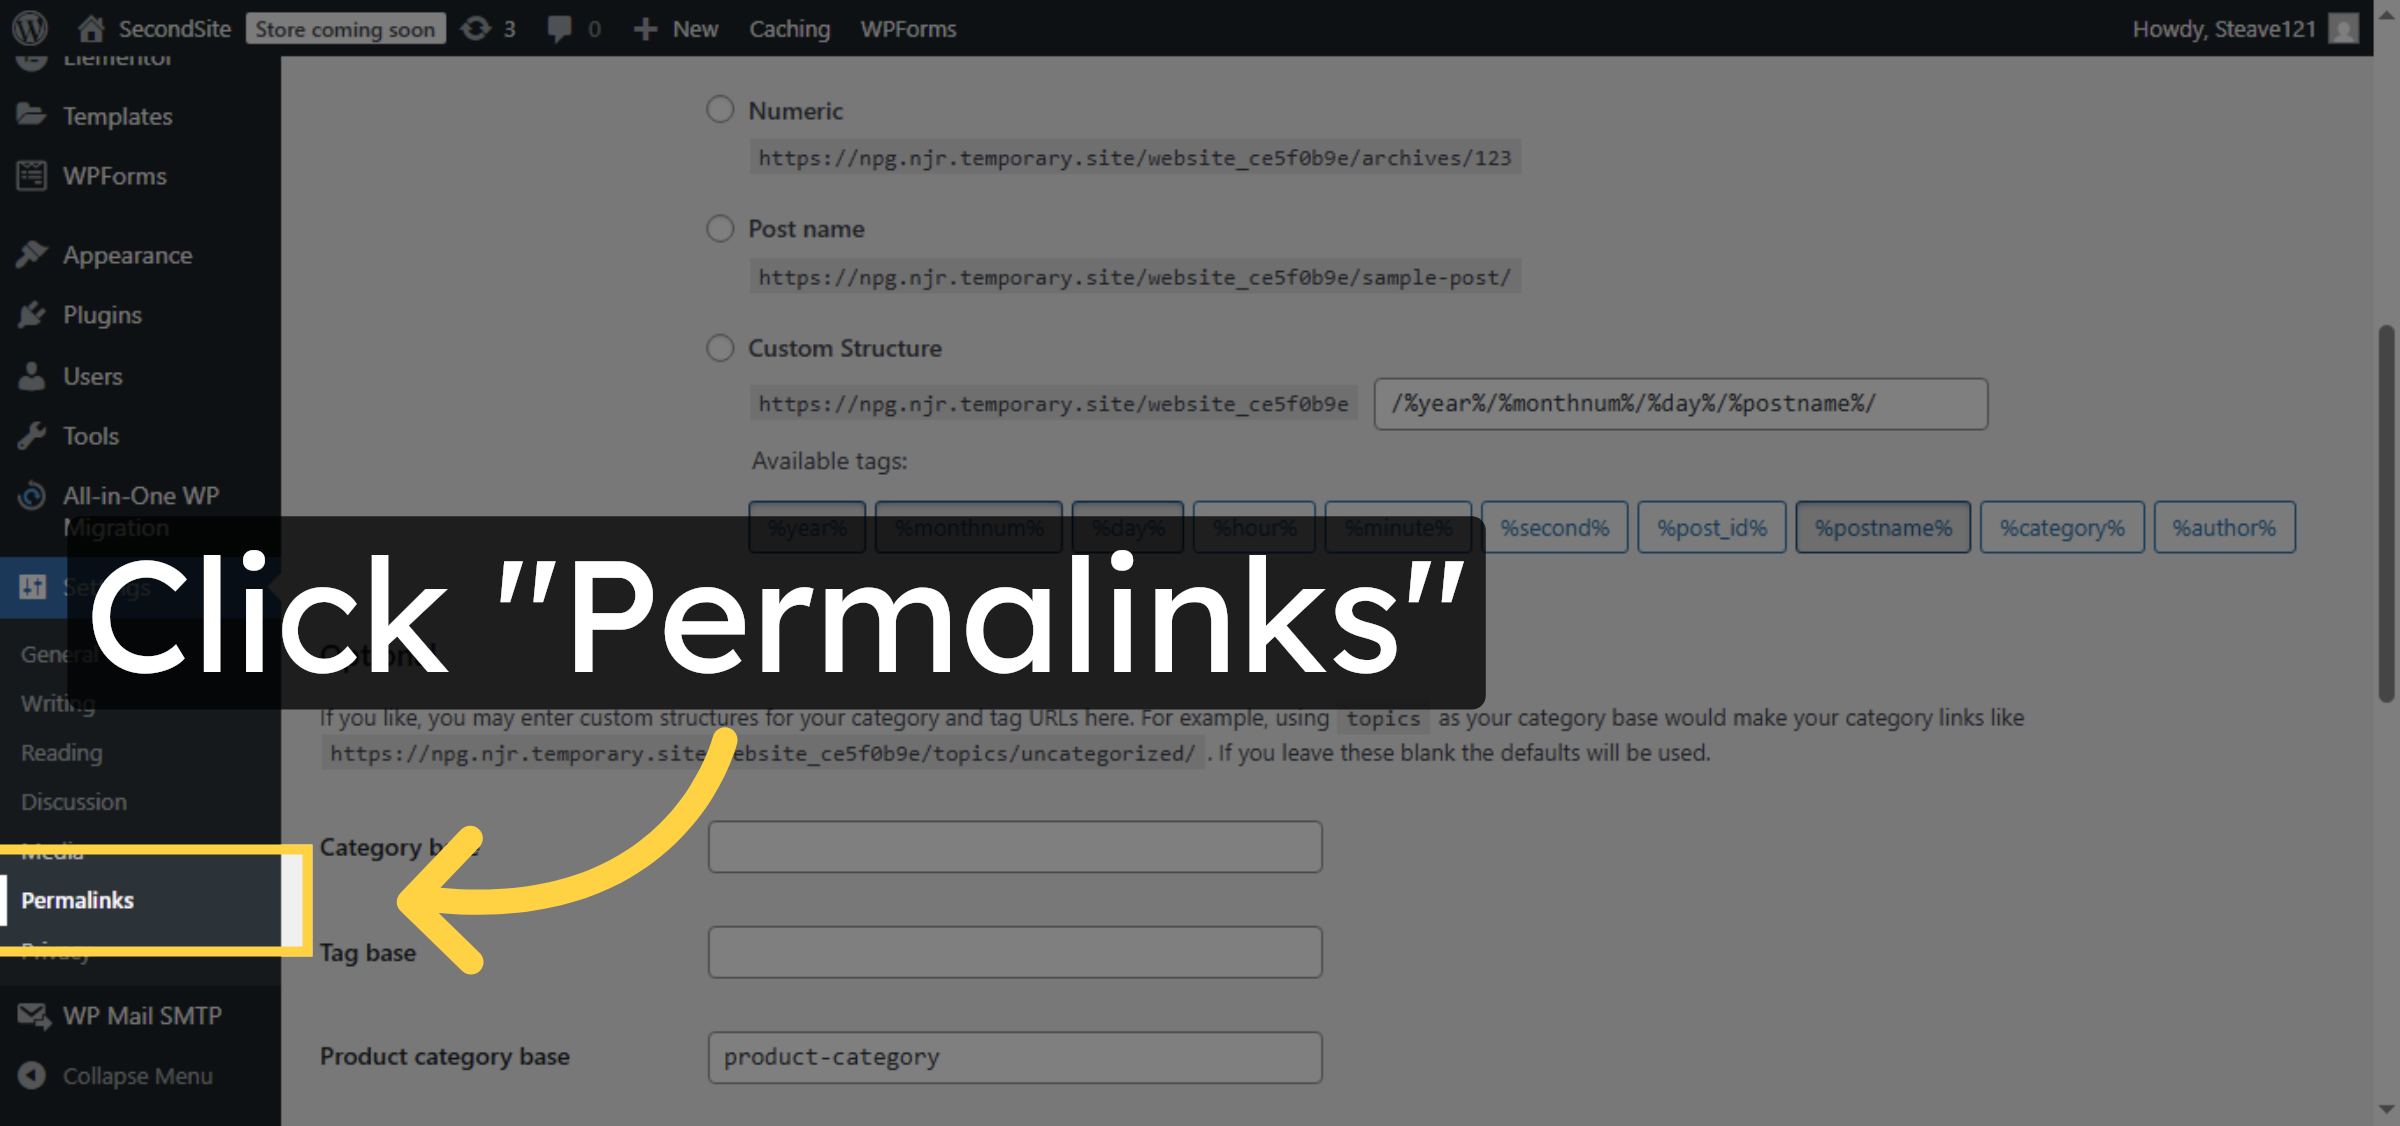
49. Access Permalink Settings
Click “Permalinks” again to review permalink settings.
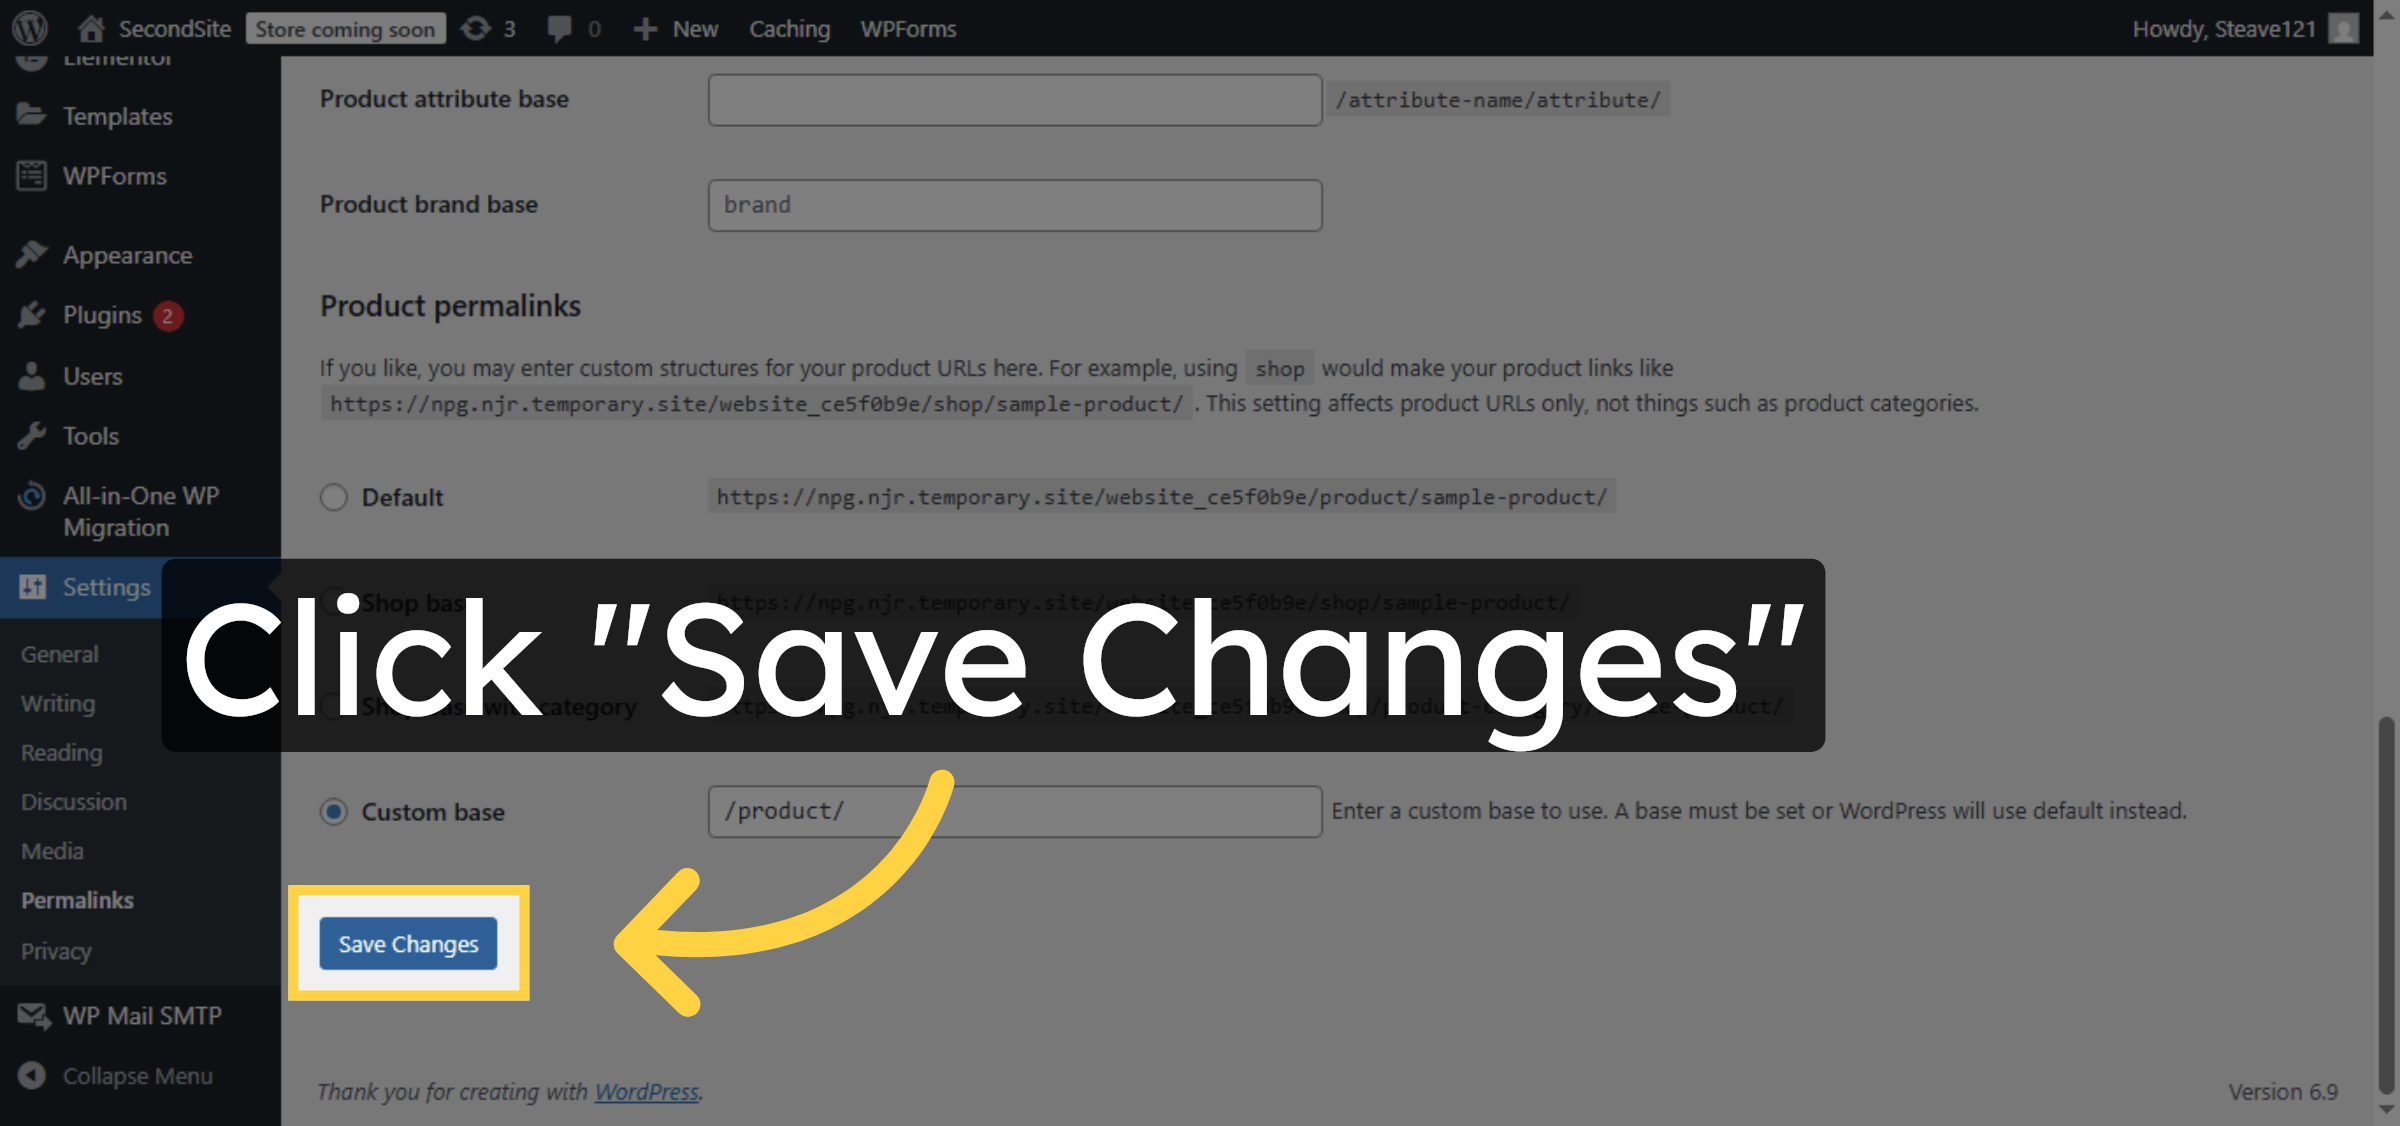
50. Save Permalink Changes
Click “Save Changes” to apply your permalink configuration.
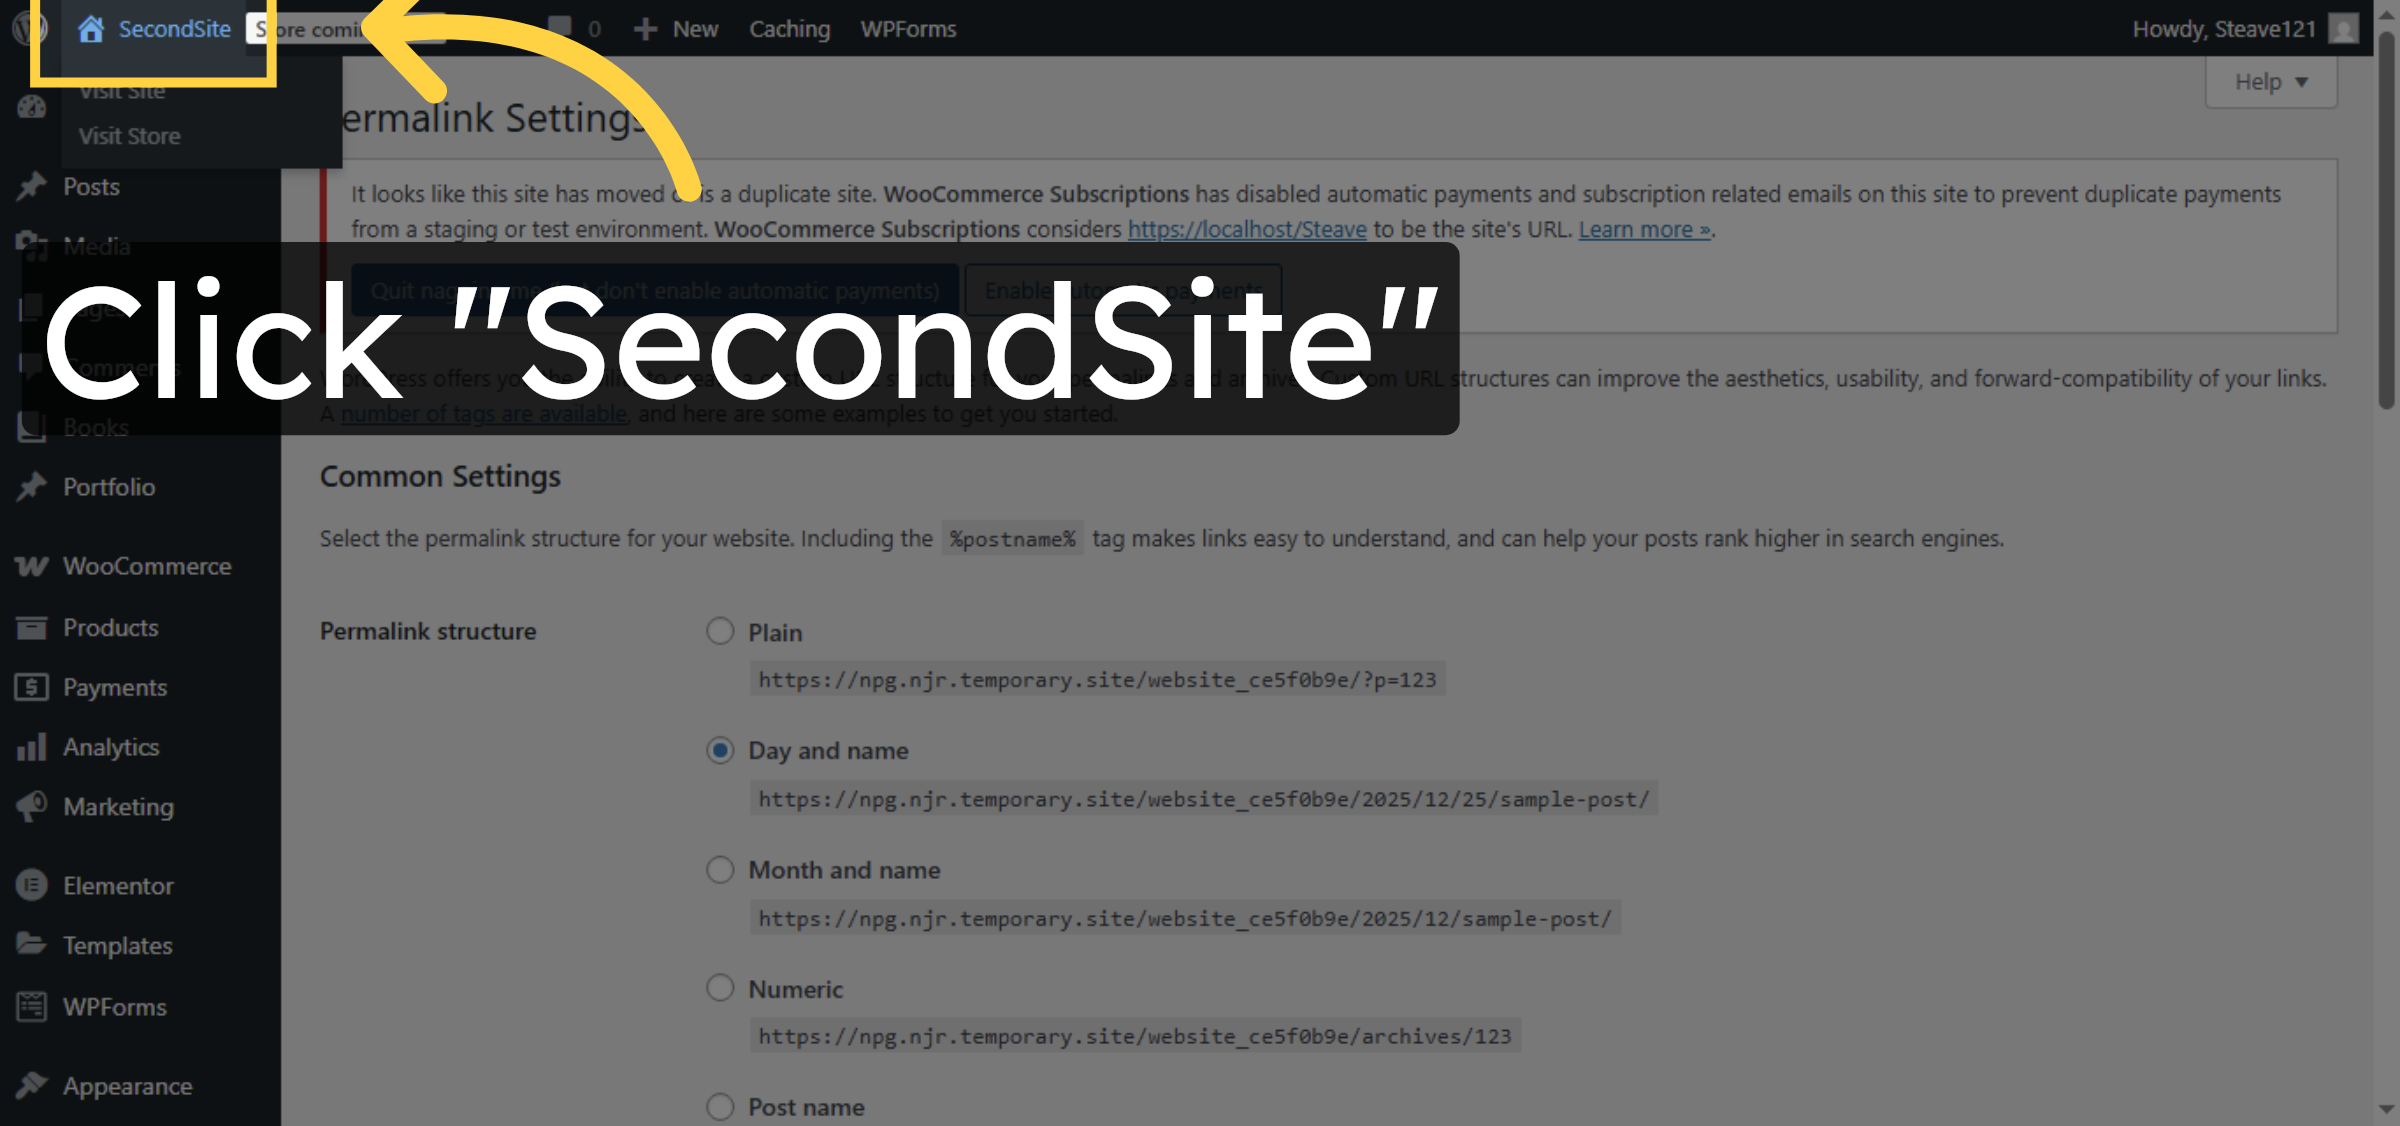
51. Visit Site
Visit and verify your website.
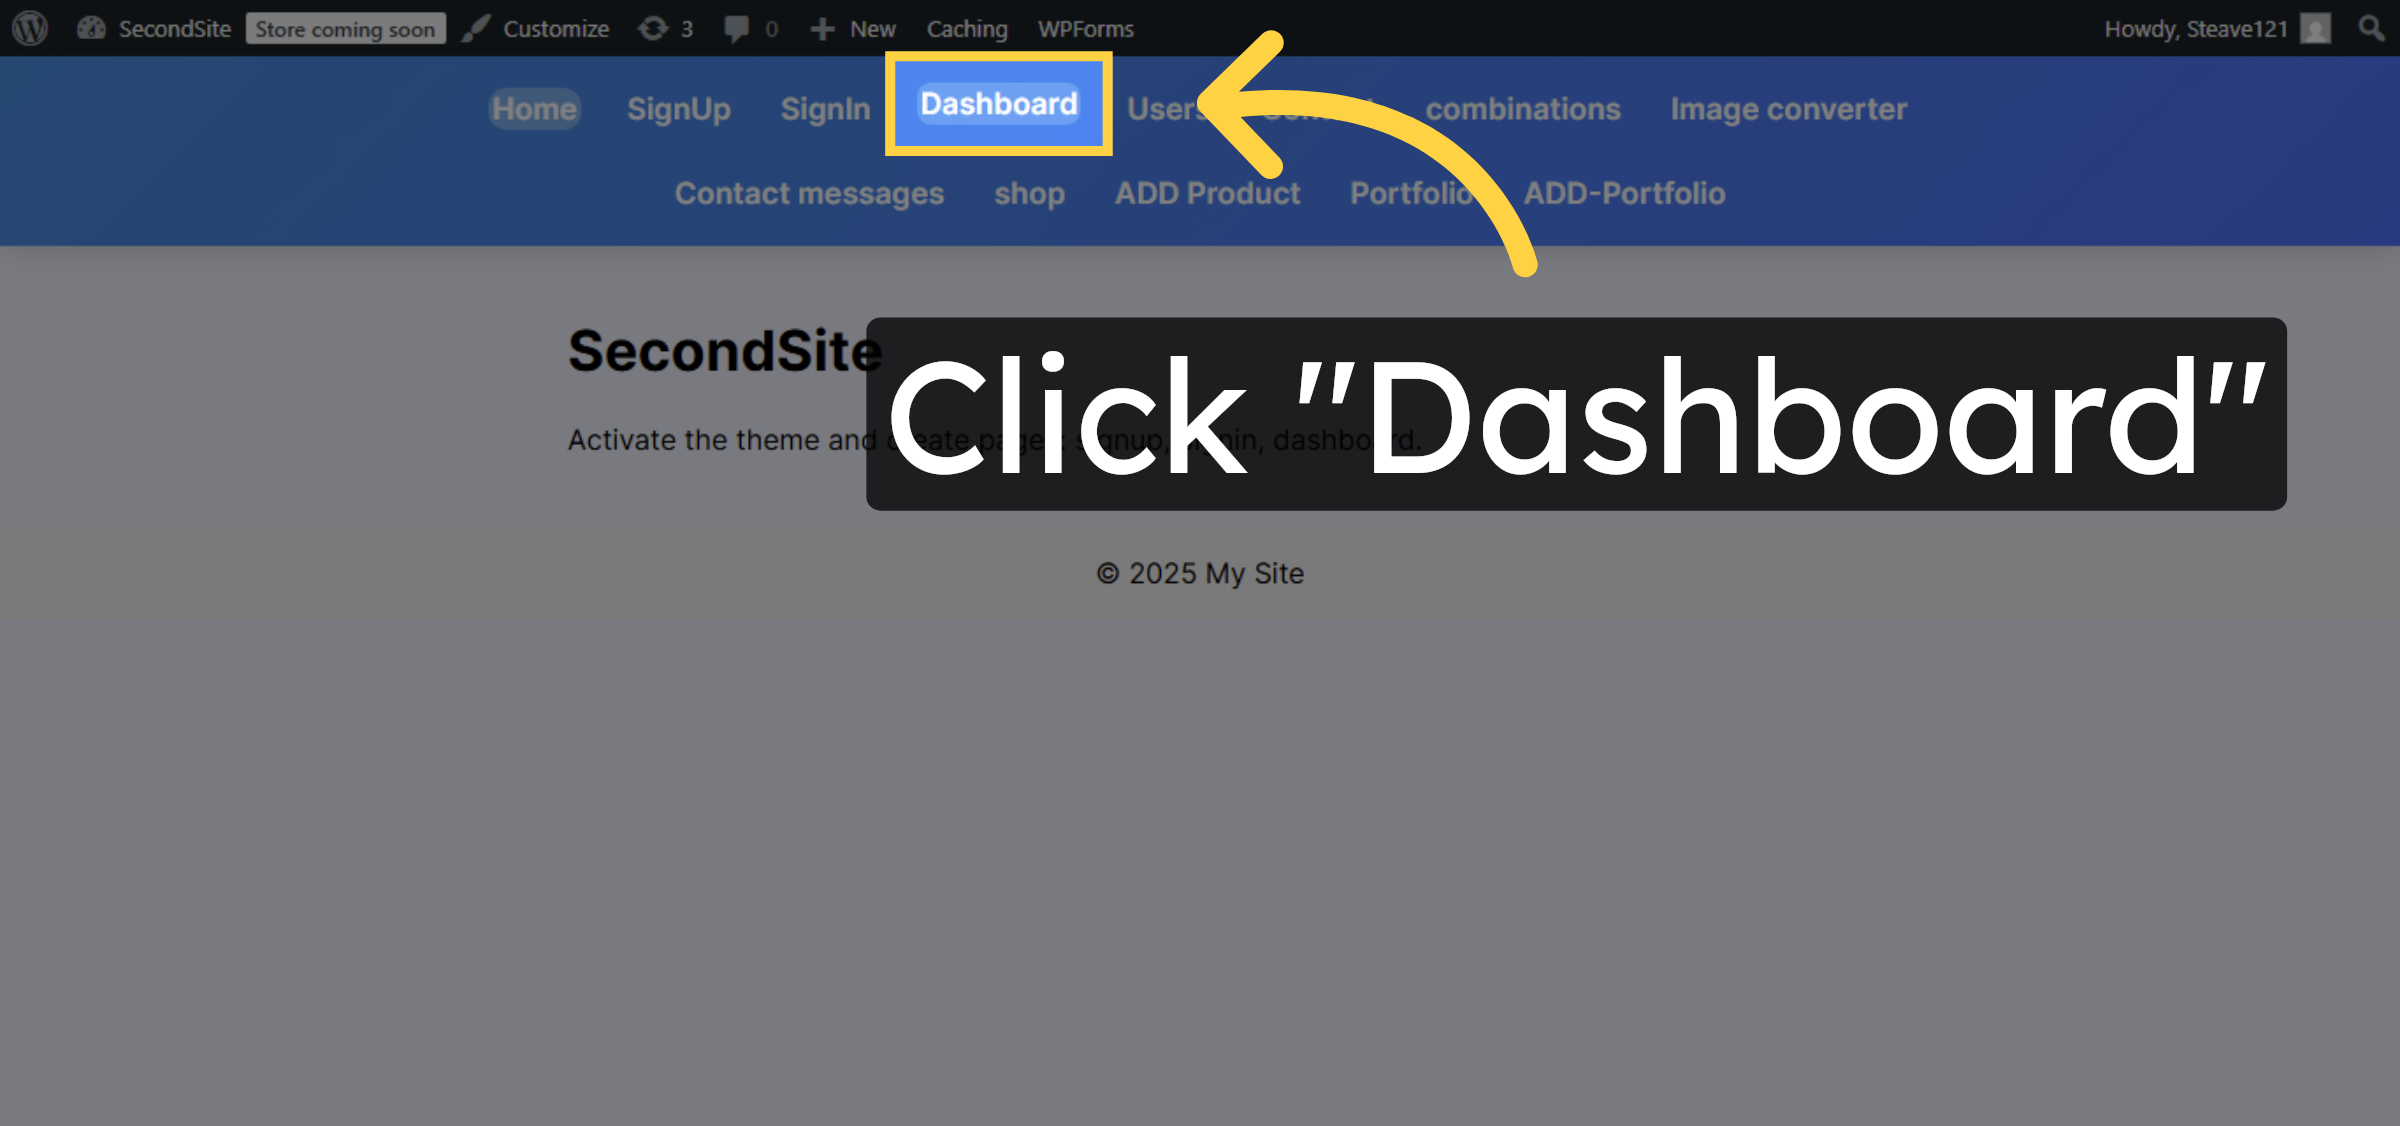
52. Open Site Dashboard
Click “Dashboard” to access the administrative area of your site.
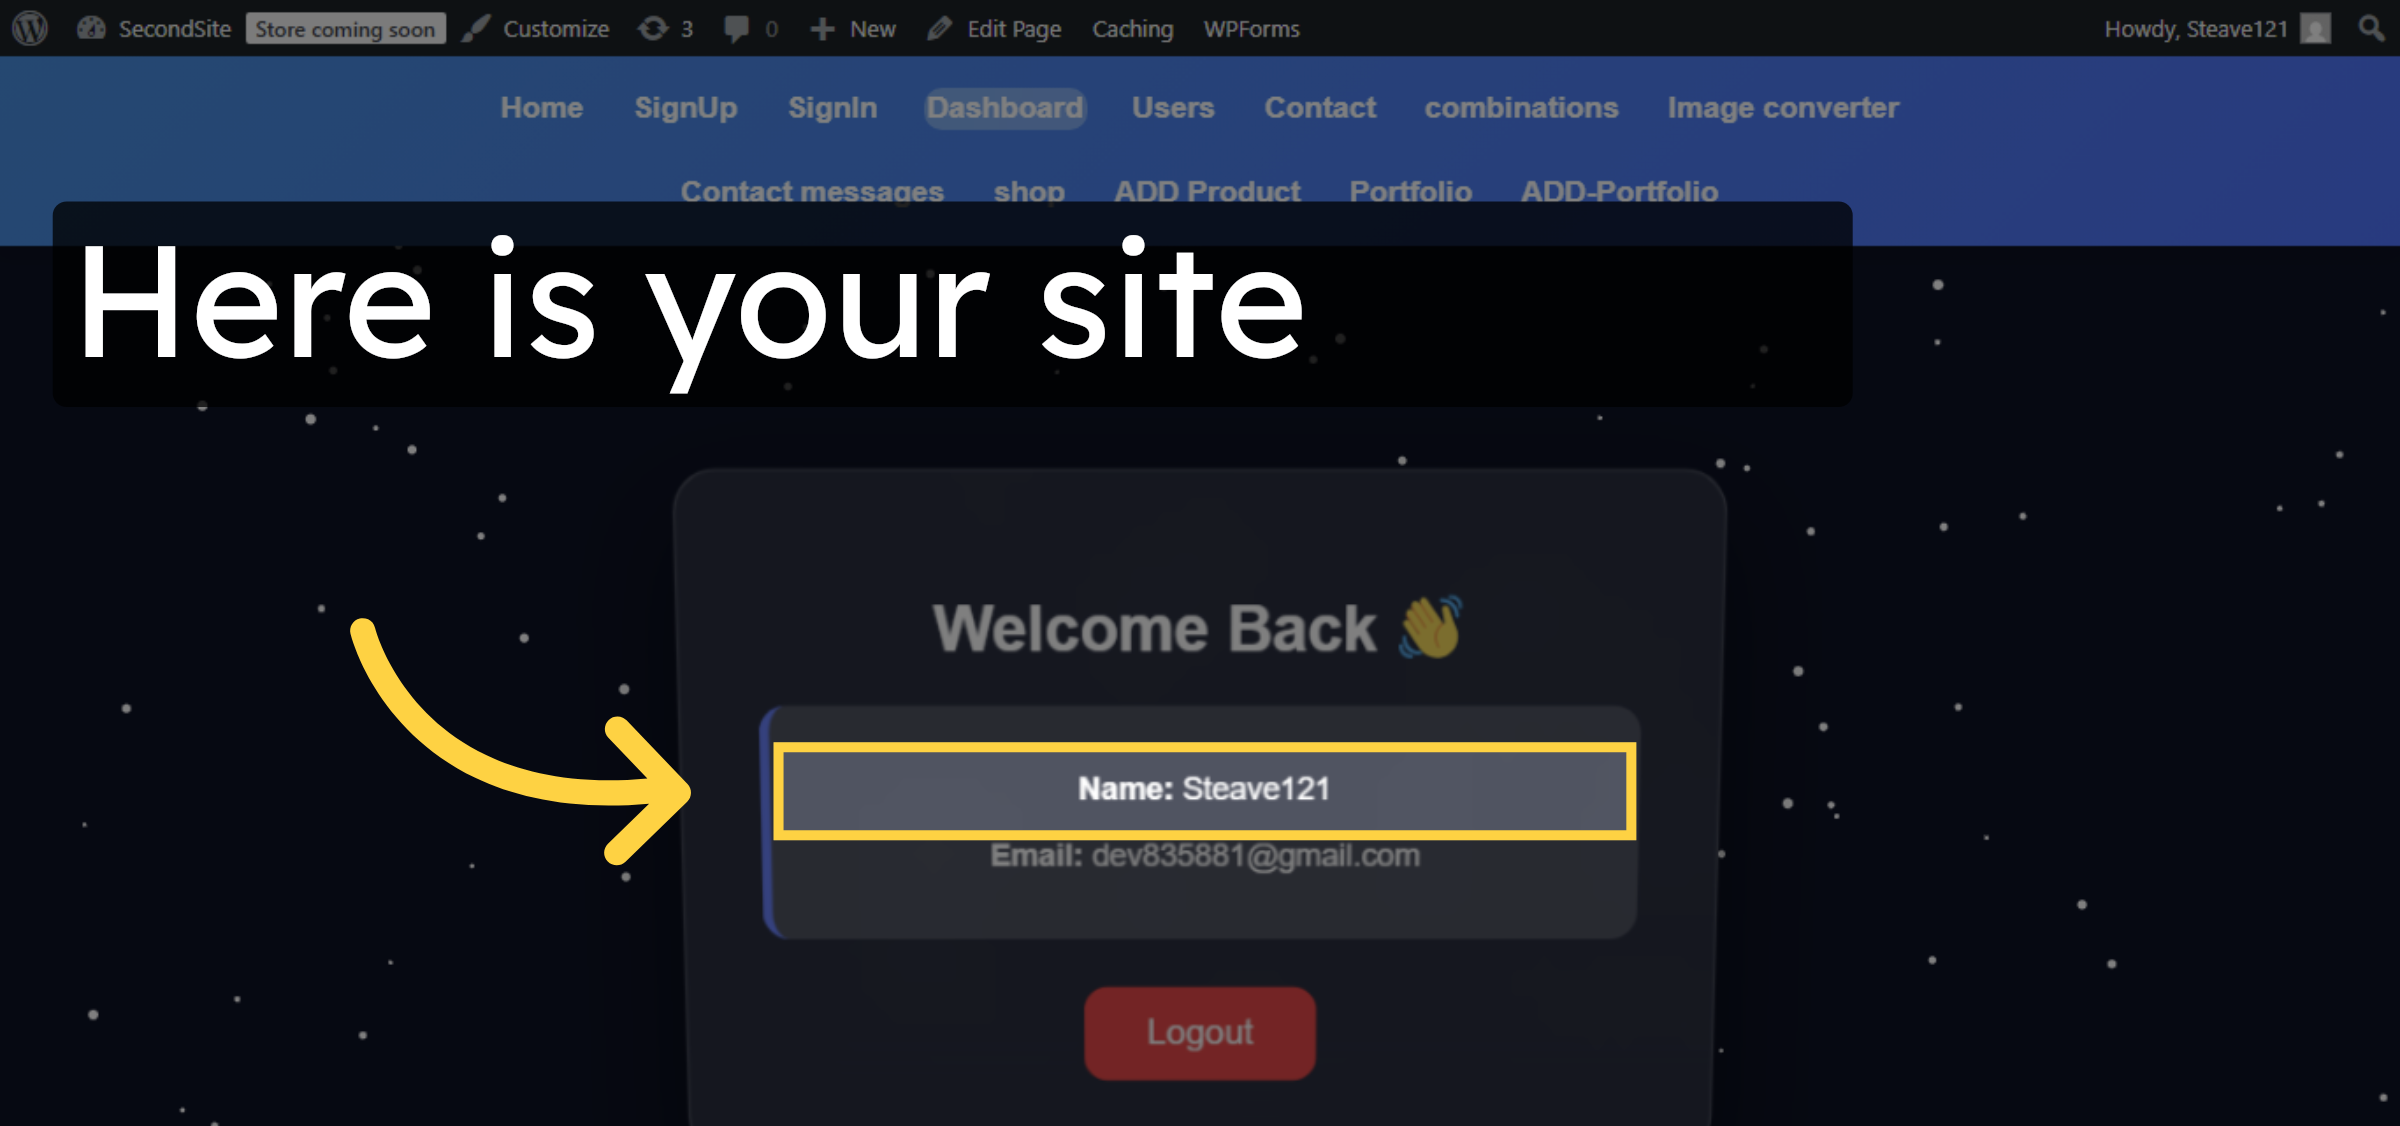
53. View User Profile
Here you can see you website is moved successfully to Hostgator WP Hosting.
Conclusion
By following the steps outlined in this guide, you can successfully move your WordPress website from a local environment to HostGator WP Hosting. Exporting your site data, completing the WordPress setup on HostGator, and importing the site files ensures that your content and configurations are preserved during the migration. Updating permalink settings and verifying the site after import helps confirm that the migration was completed correctly. This plugin-based migration approach provides a dependable solution for users looking to transition their WordPress sites to HostGator with minimal risk and downtime.
-
Visit: https://www.woohelpdesk.com
-
Call Us Toll-Free: +1 888 602 0119 (US & Canada)
-
Get professional support for WordPress migrations, local-to-hosting transfers, hosting setup, and WooCommerce assistance