How to import wordpress website content on hostgator
Introduction
Migrating a WordPress website to HostGator WP Hosting involves exporting your existing site data and importing it into a freshly installed WordPress environment. This process ensures that your website’s content, plugins, and configurations are transferred accurately without rebuilding the site from scratch. This guide explains how to import an exported WordPress site into HostGator WP Hosting using a migration plugin. It covers logging in to a newly installed WordPress site, installing and activating the required migration plugin, importing your site files, and updating permalink settings after the migration. This method is suitable for website owners, developers, and administrators who want a reliable and structured approach to moving their WordPress website to HostGator while minimizing downtime and data loss.
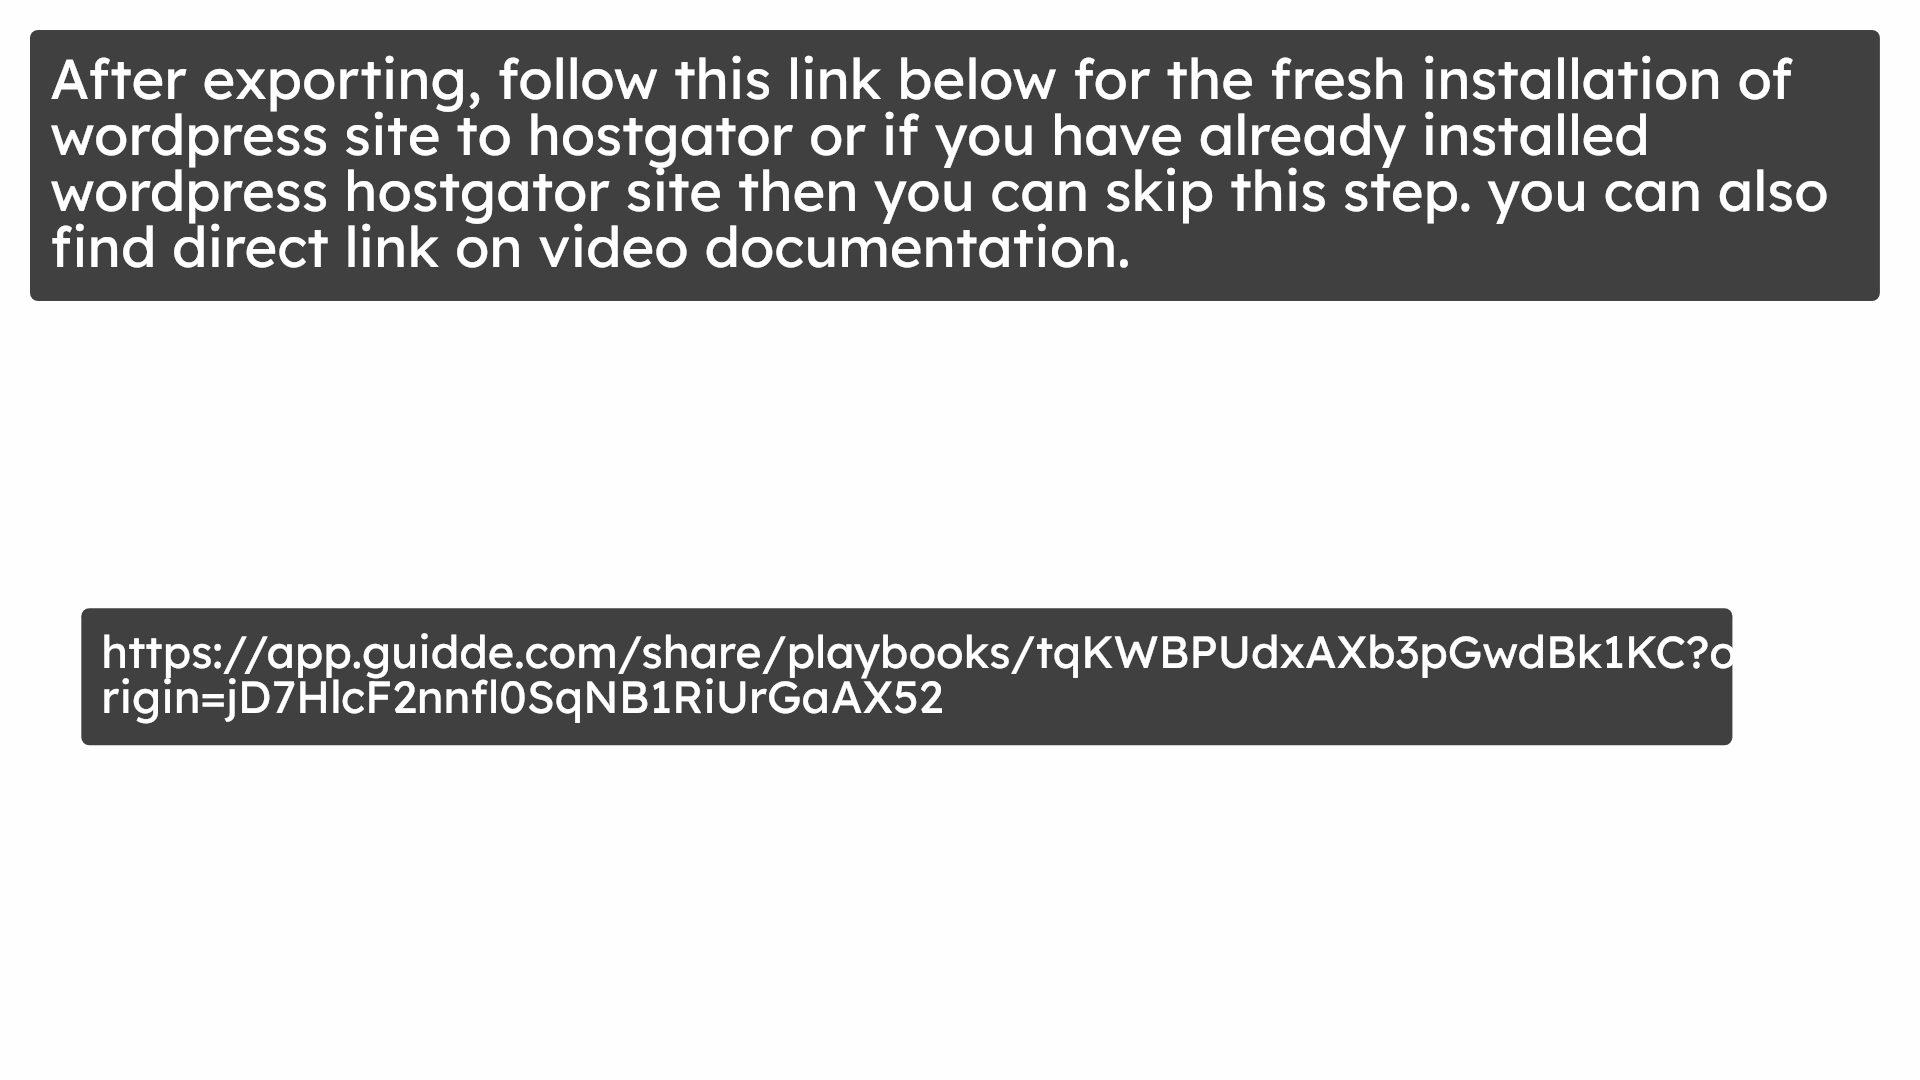
1. First export your site file.
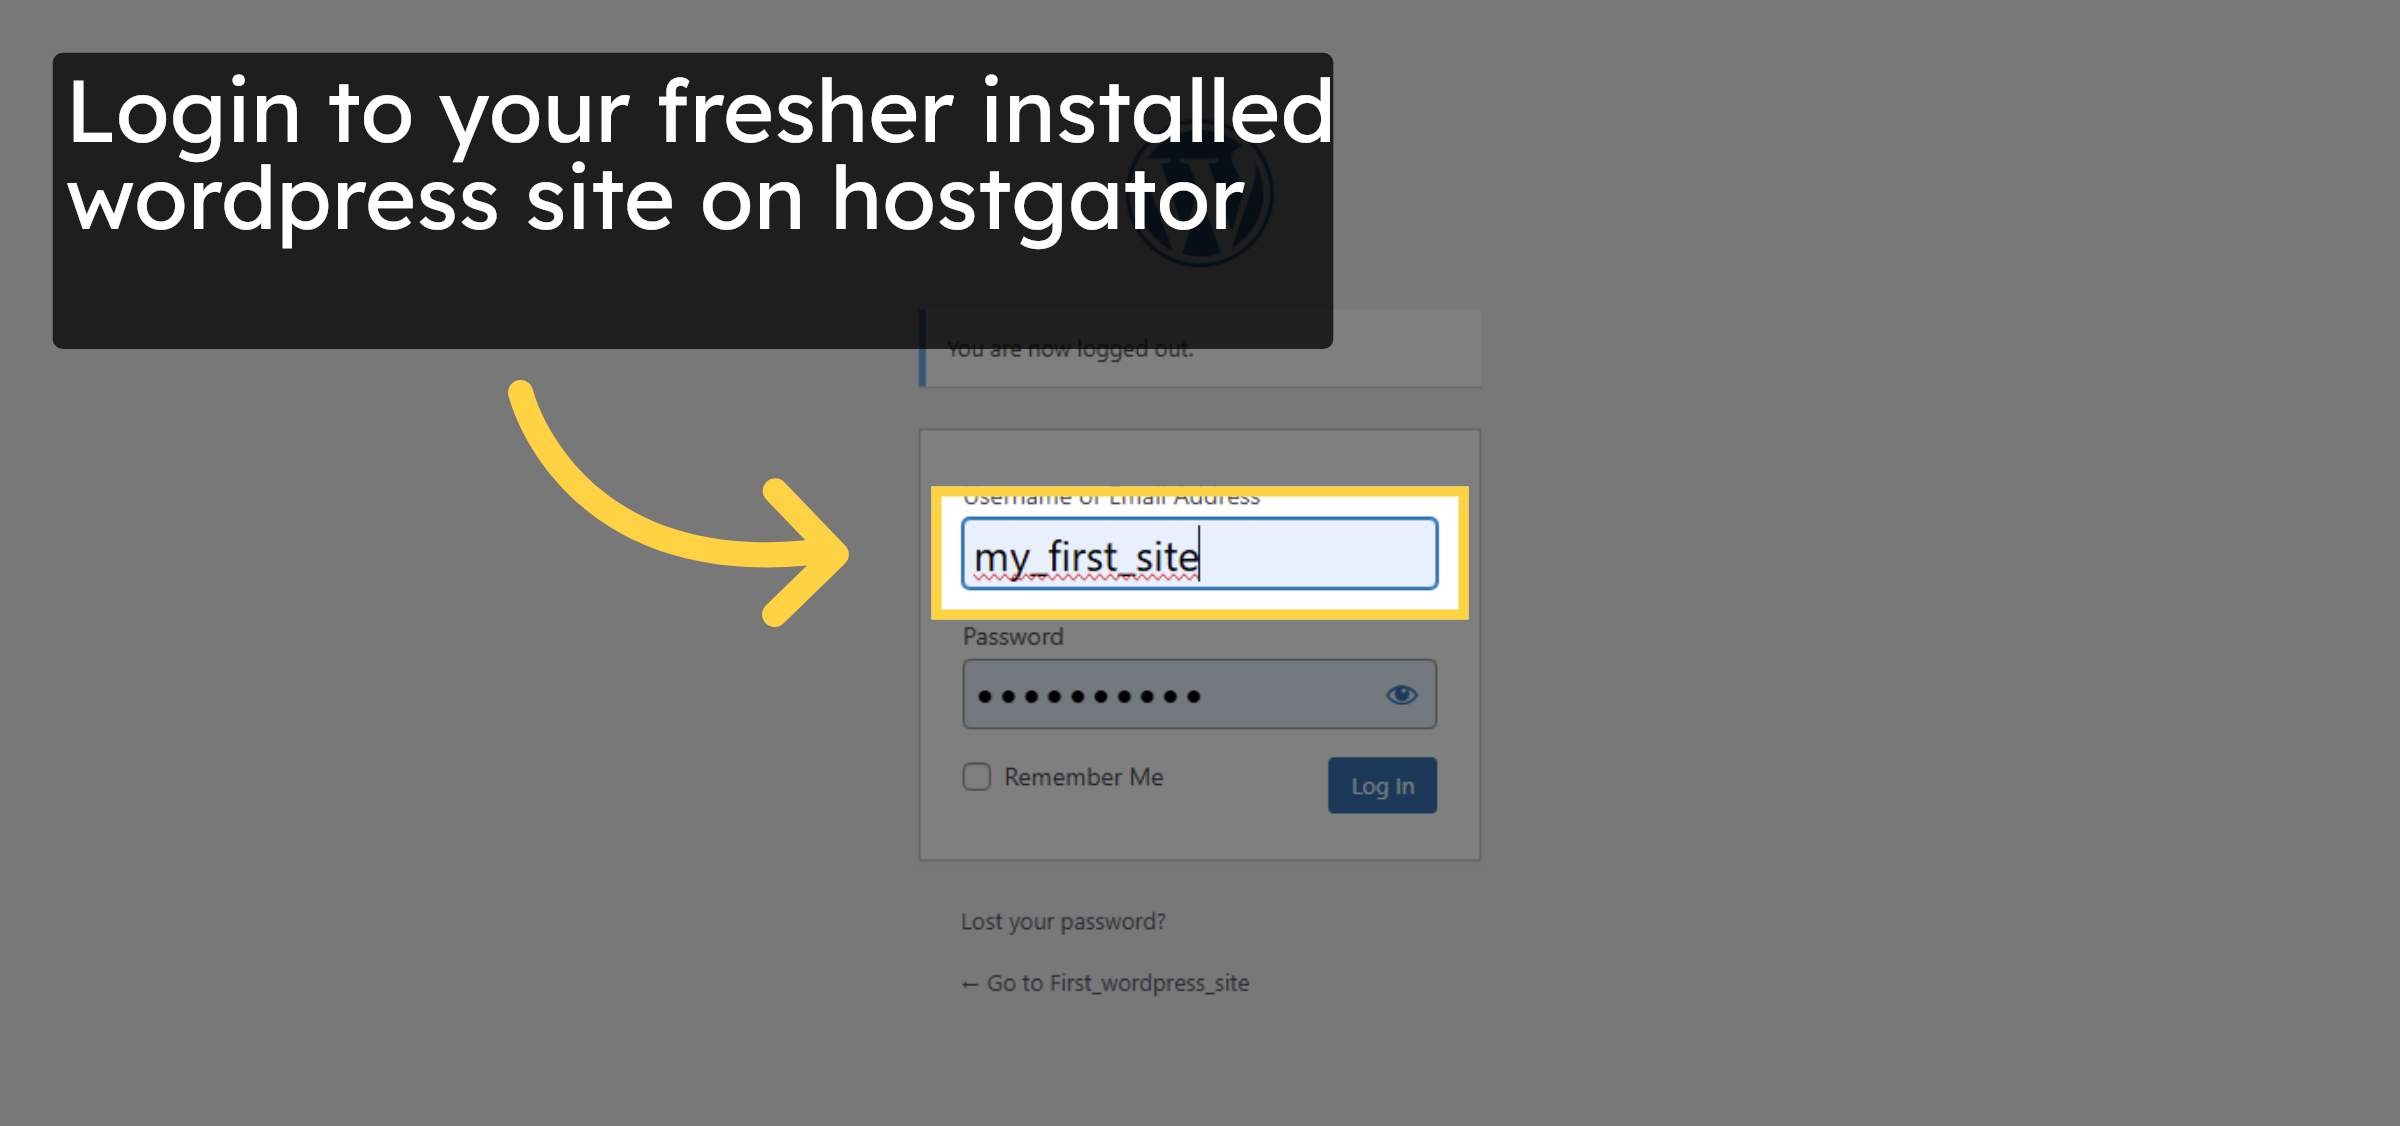
2. Login
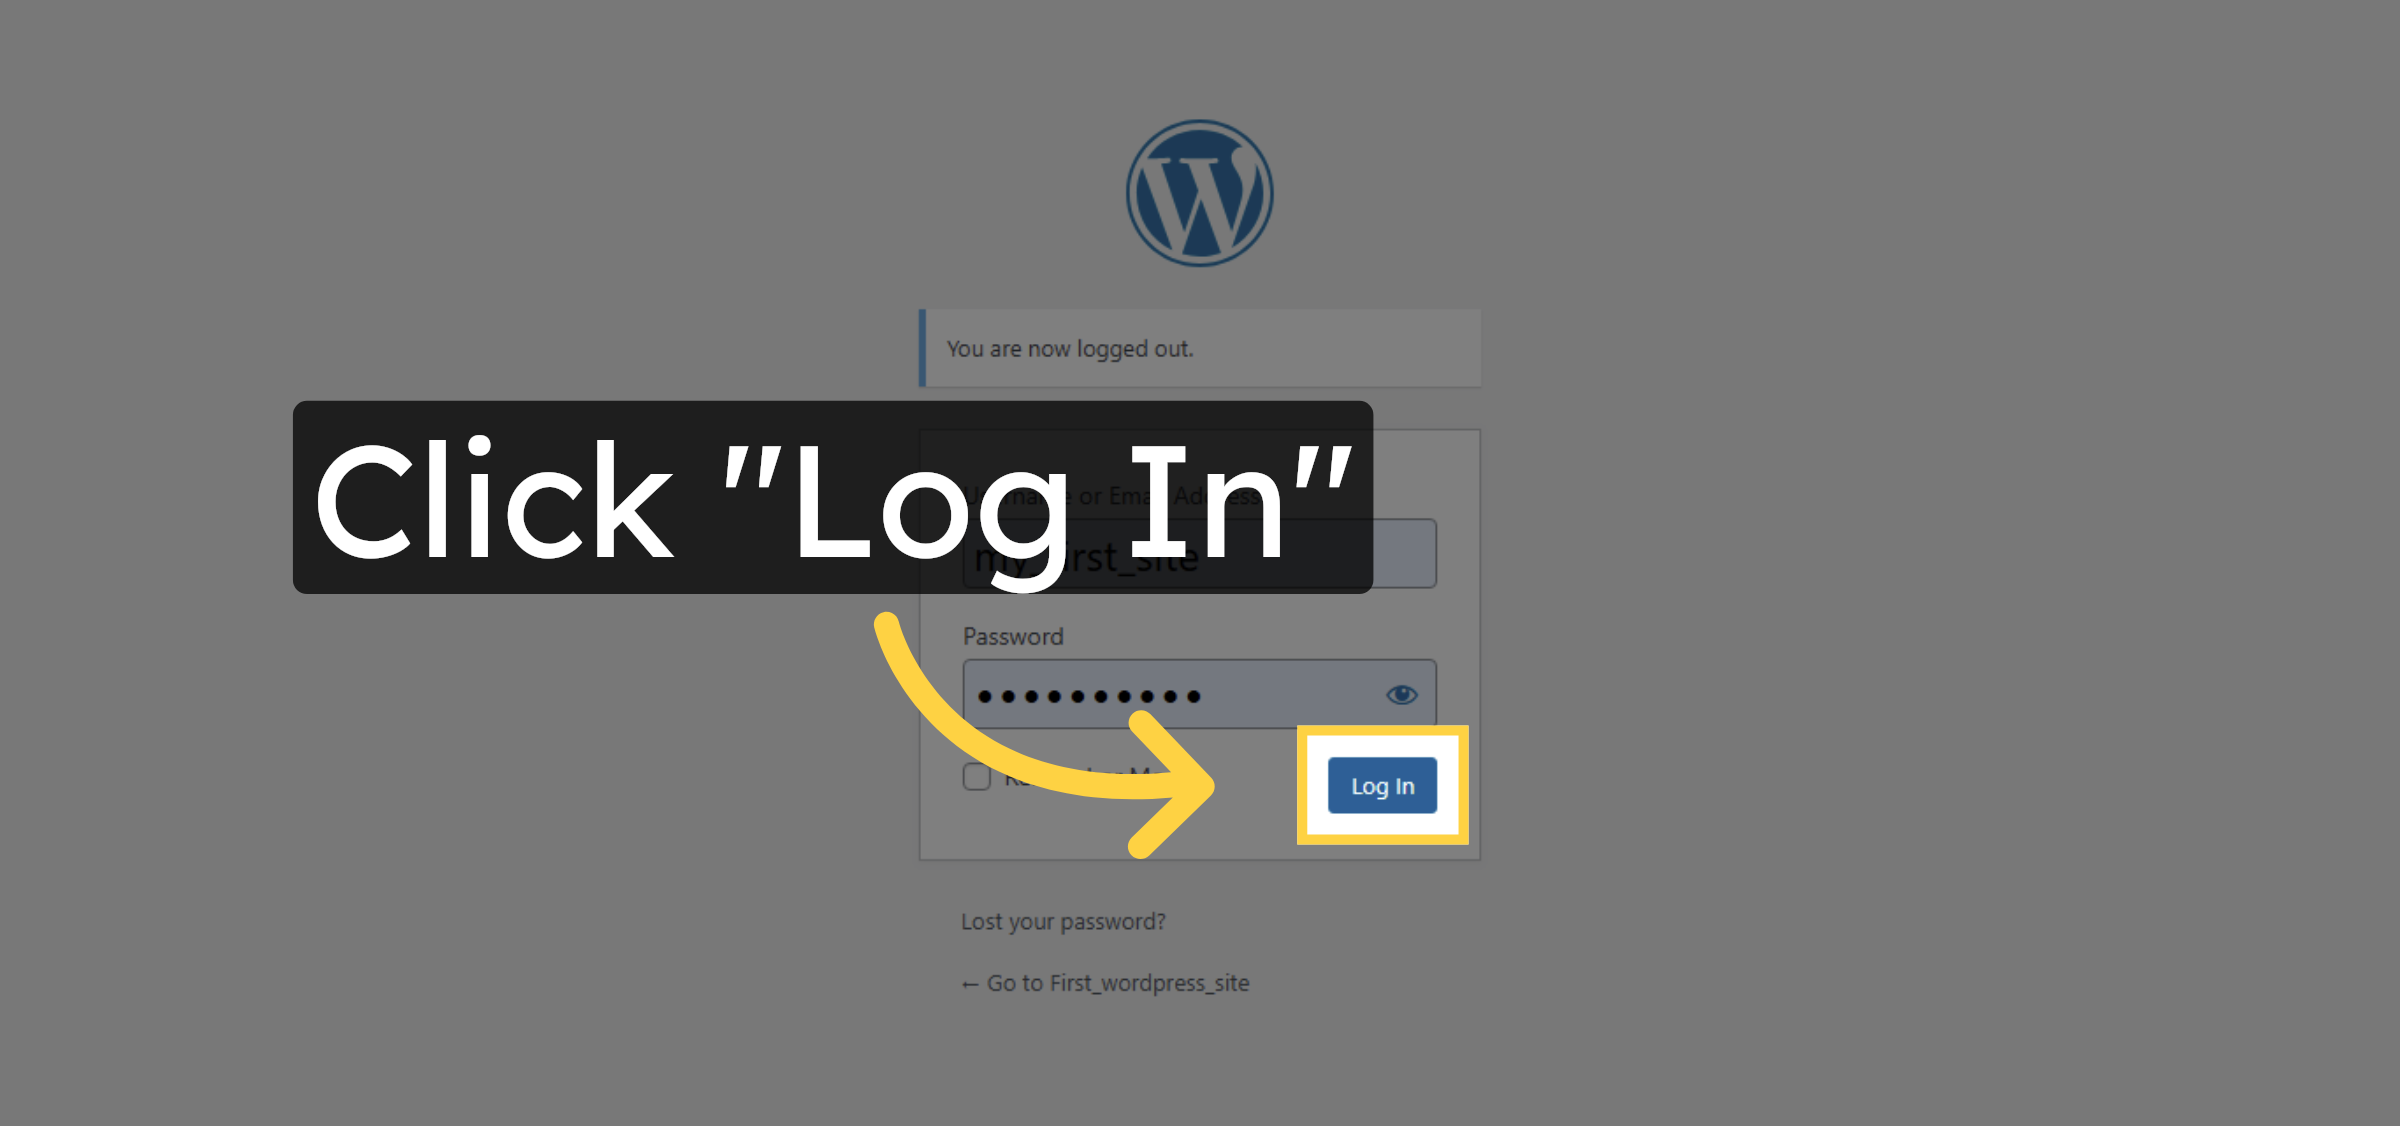
3. Click Log In Button
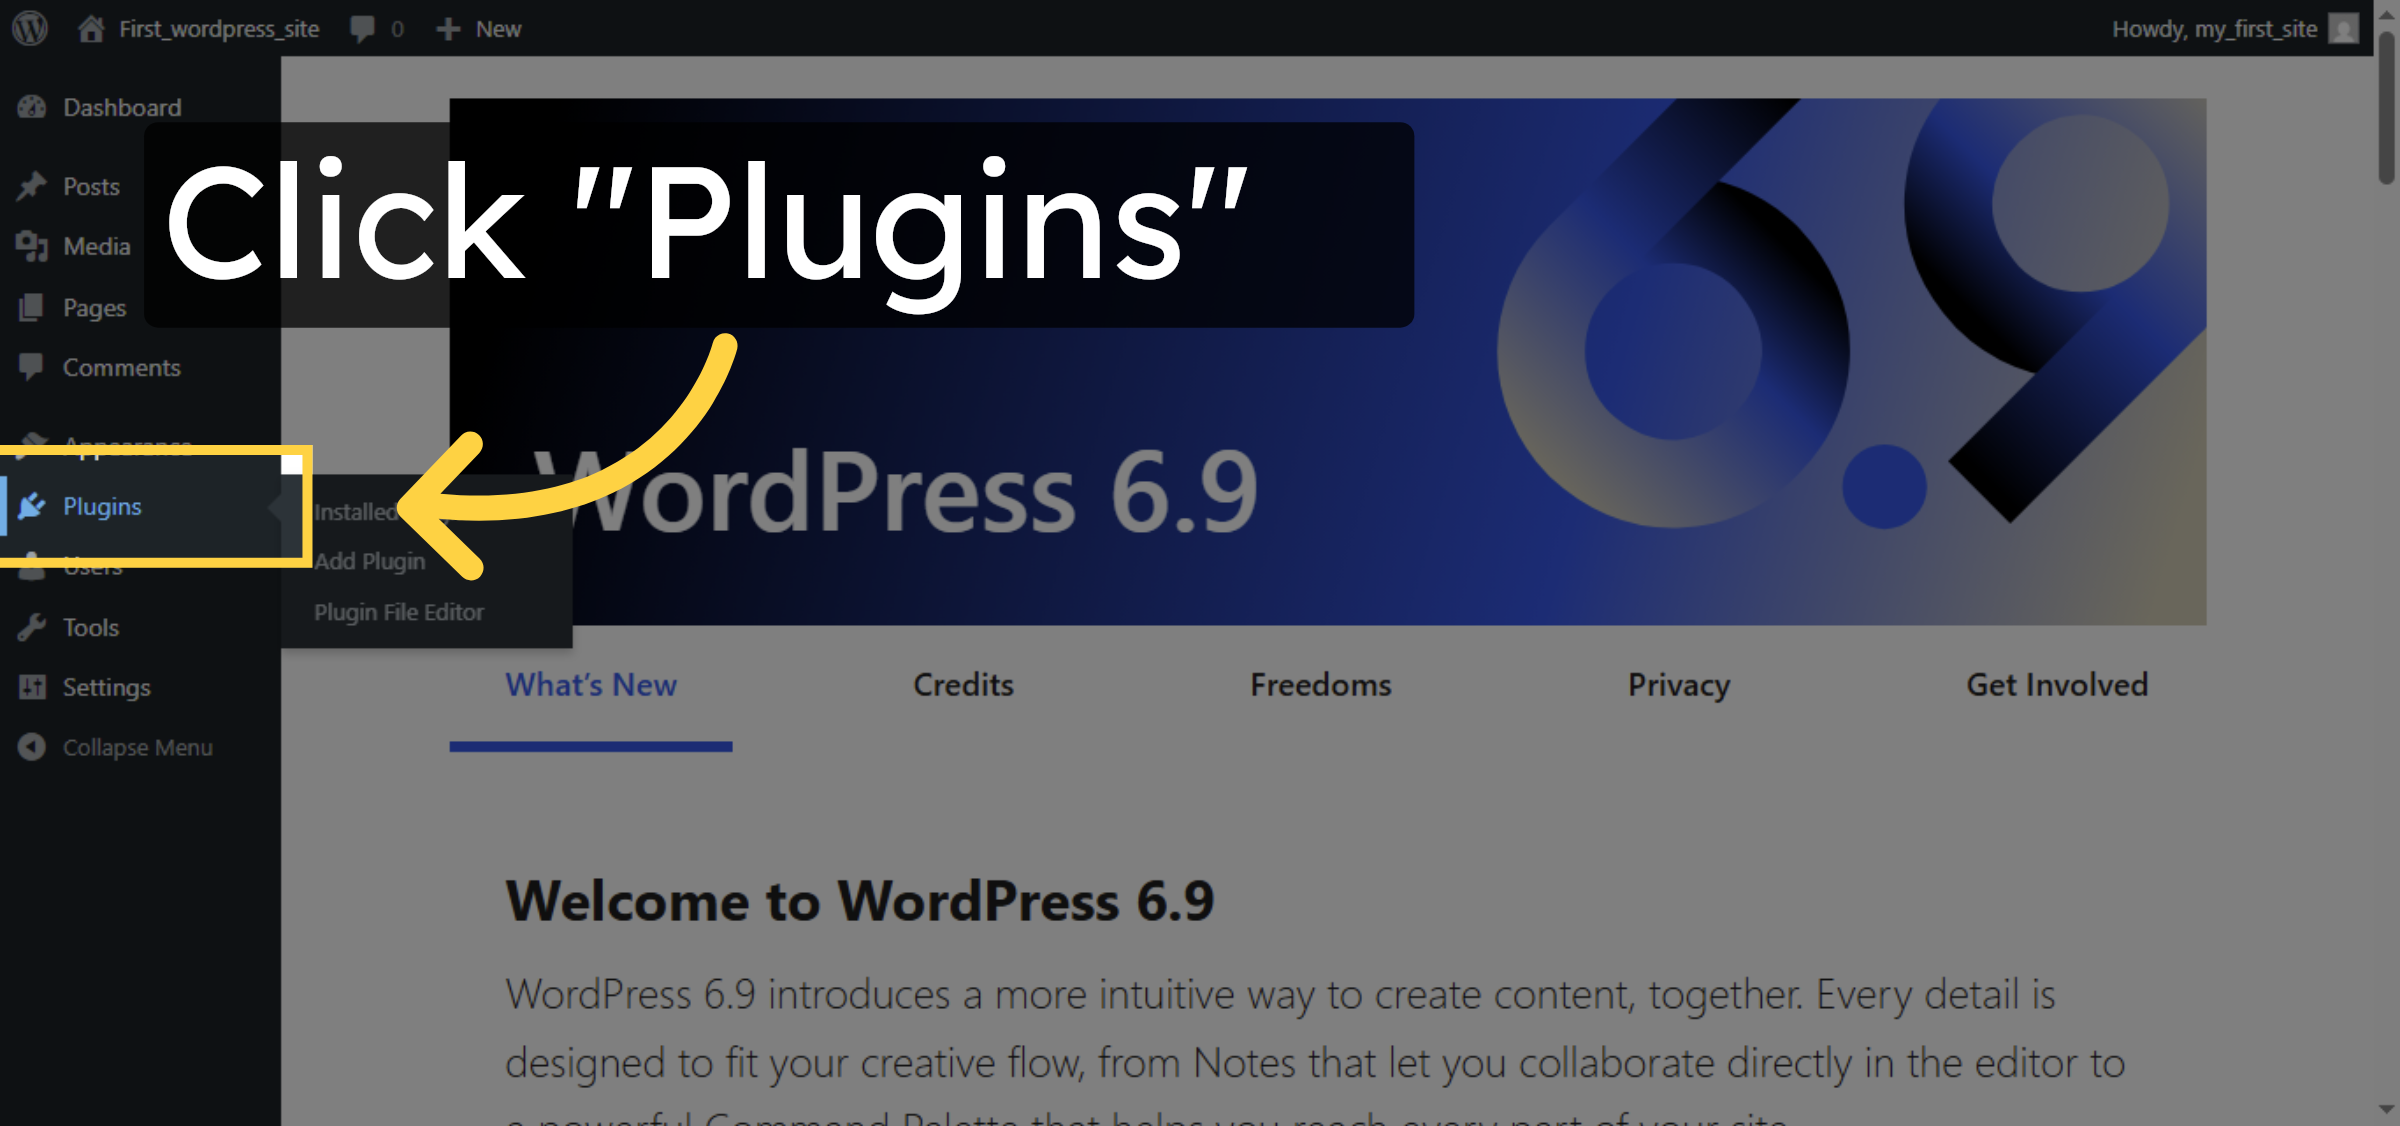
4. Open Plugins Section
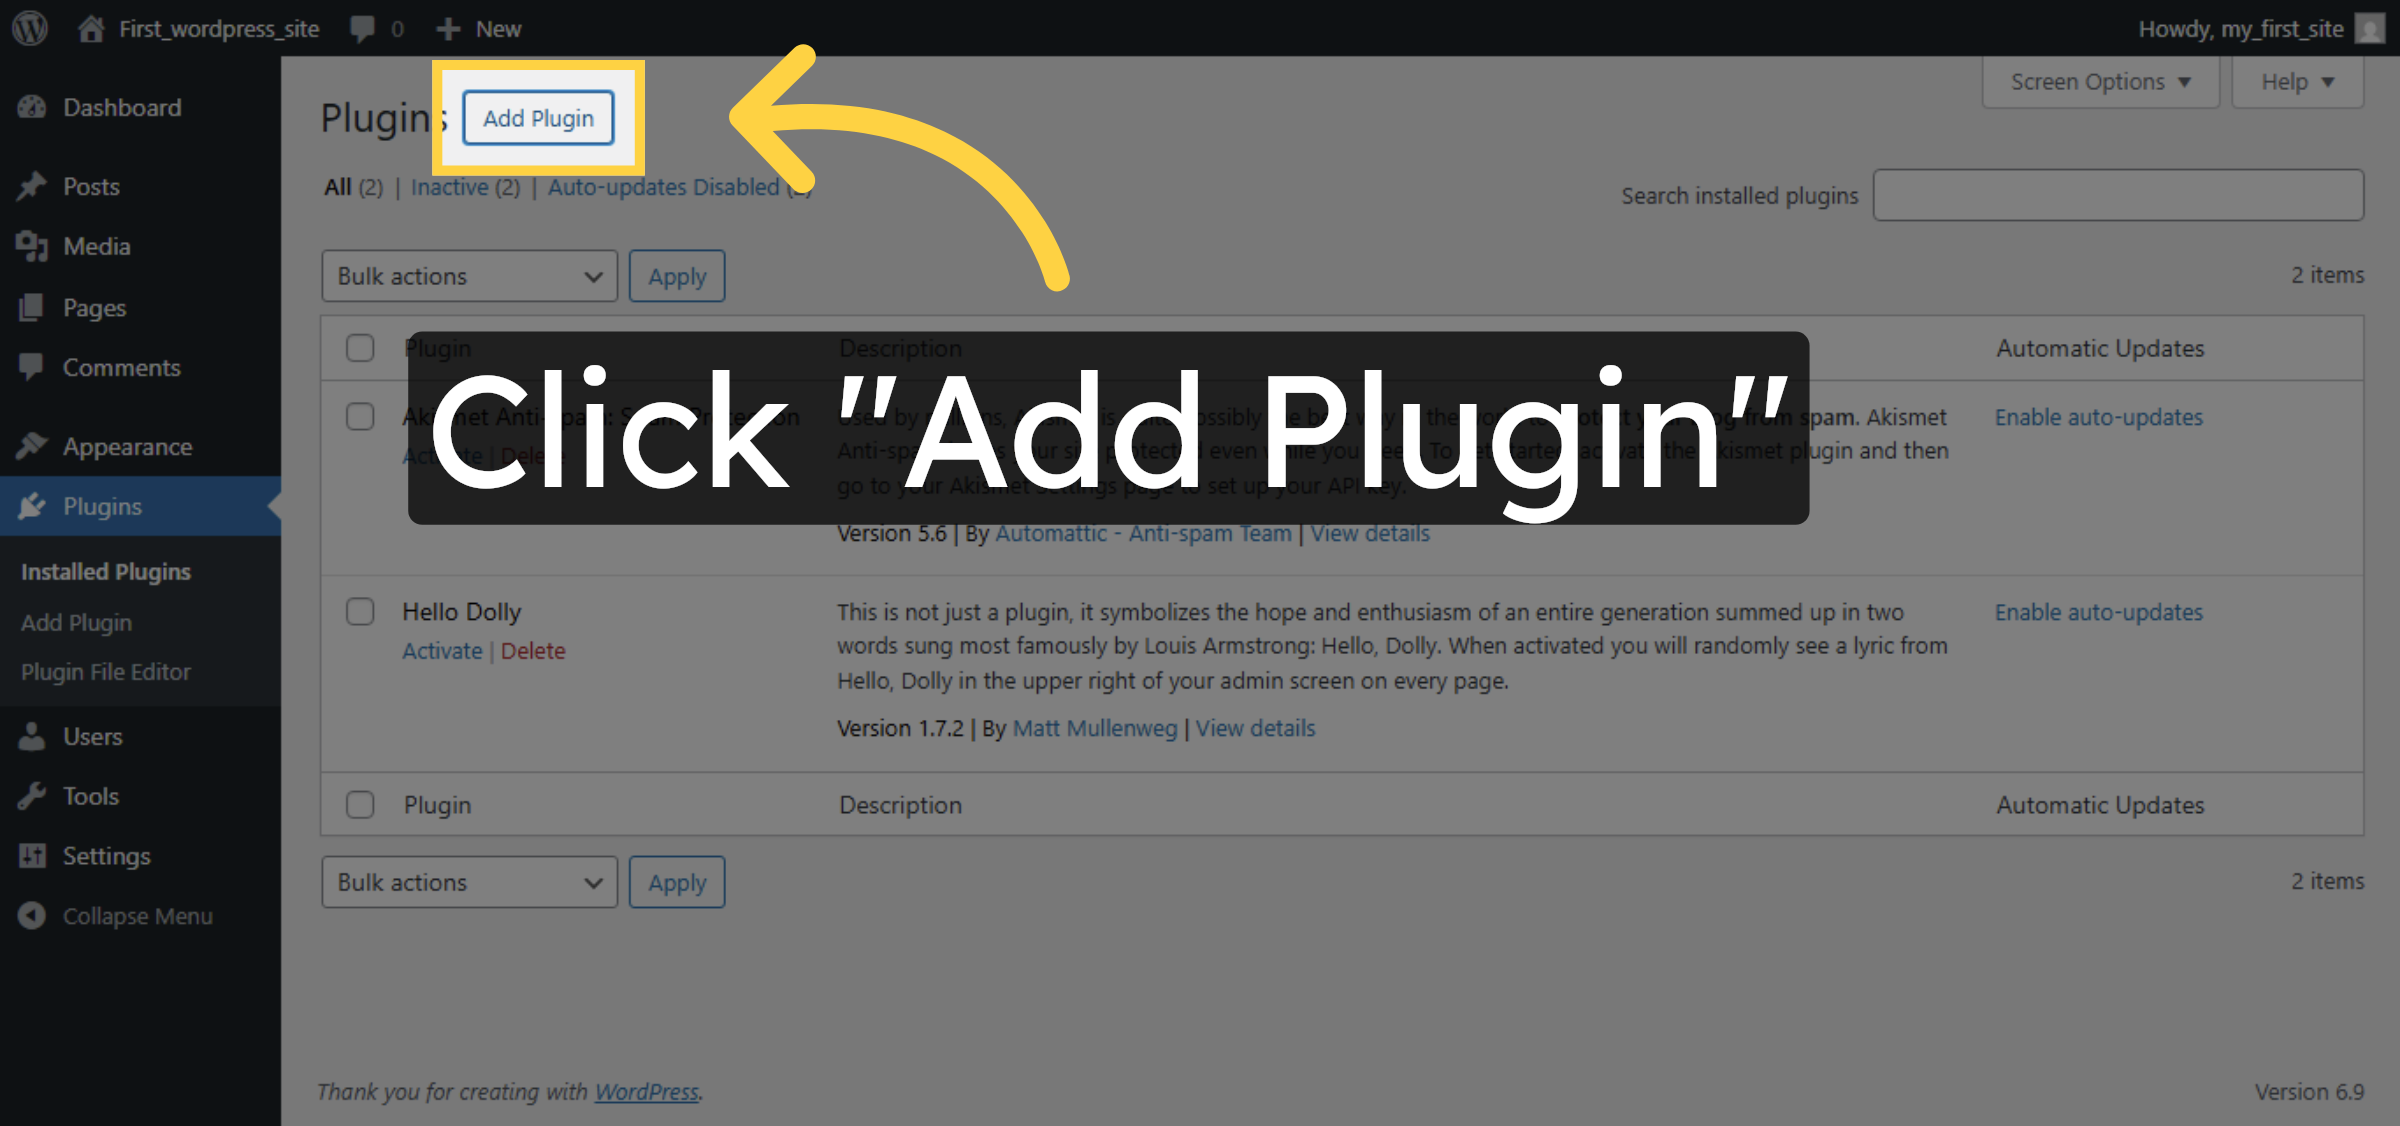
5. Add New Plugin
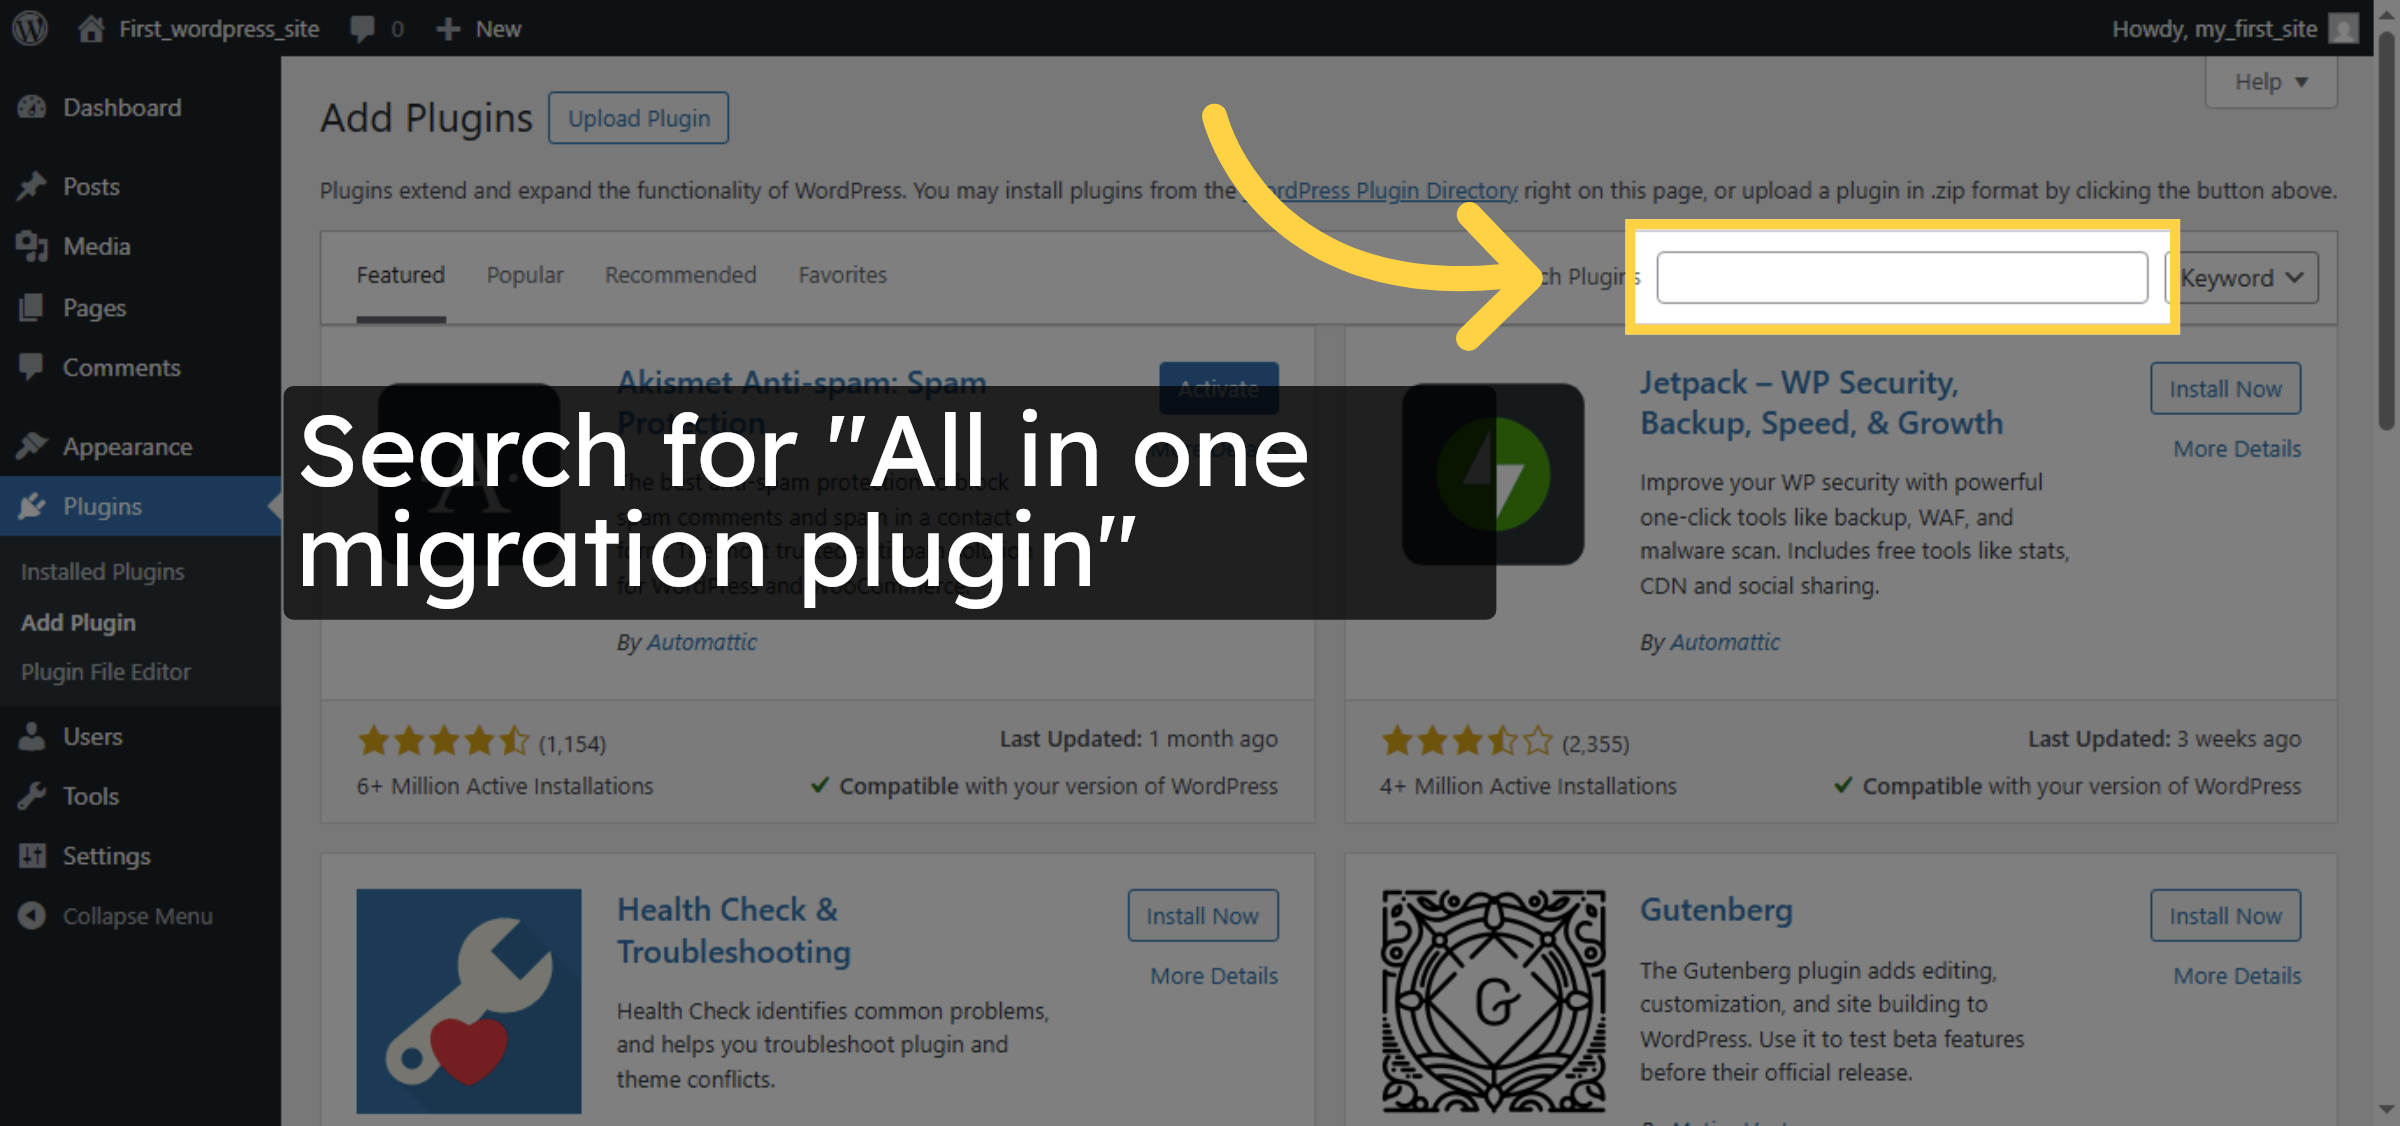
6. Search For Migration Plugin
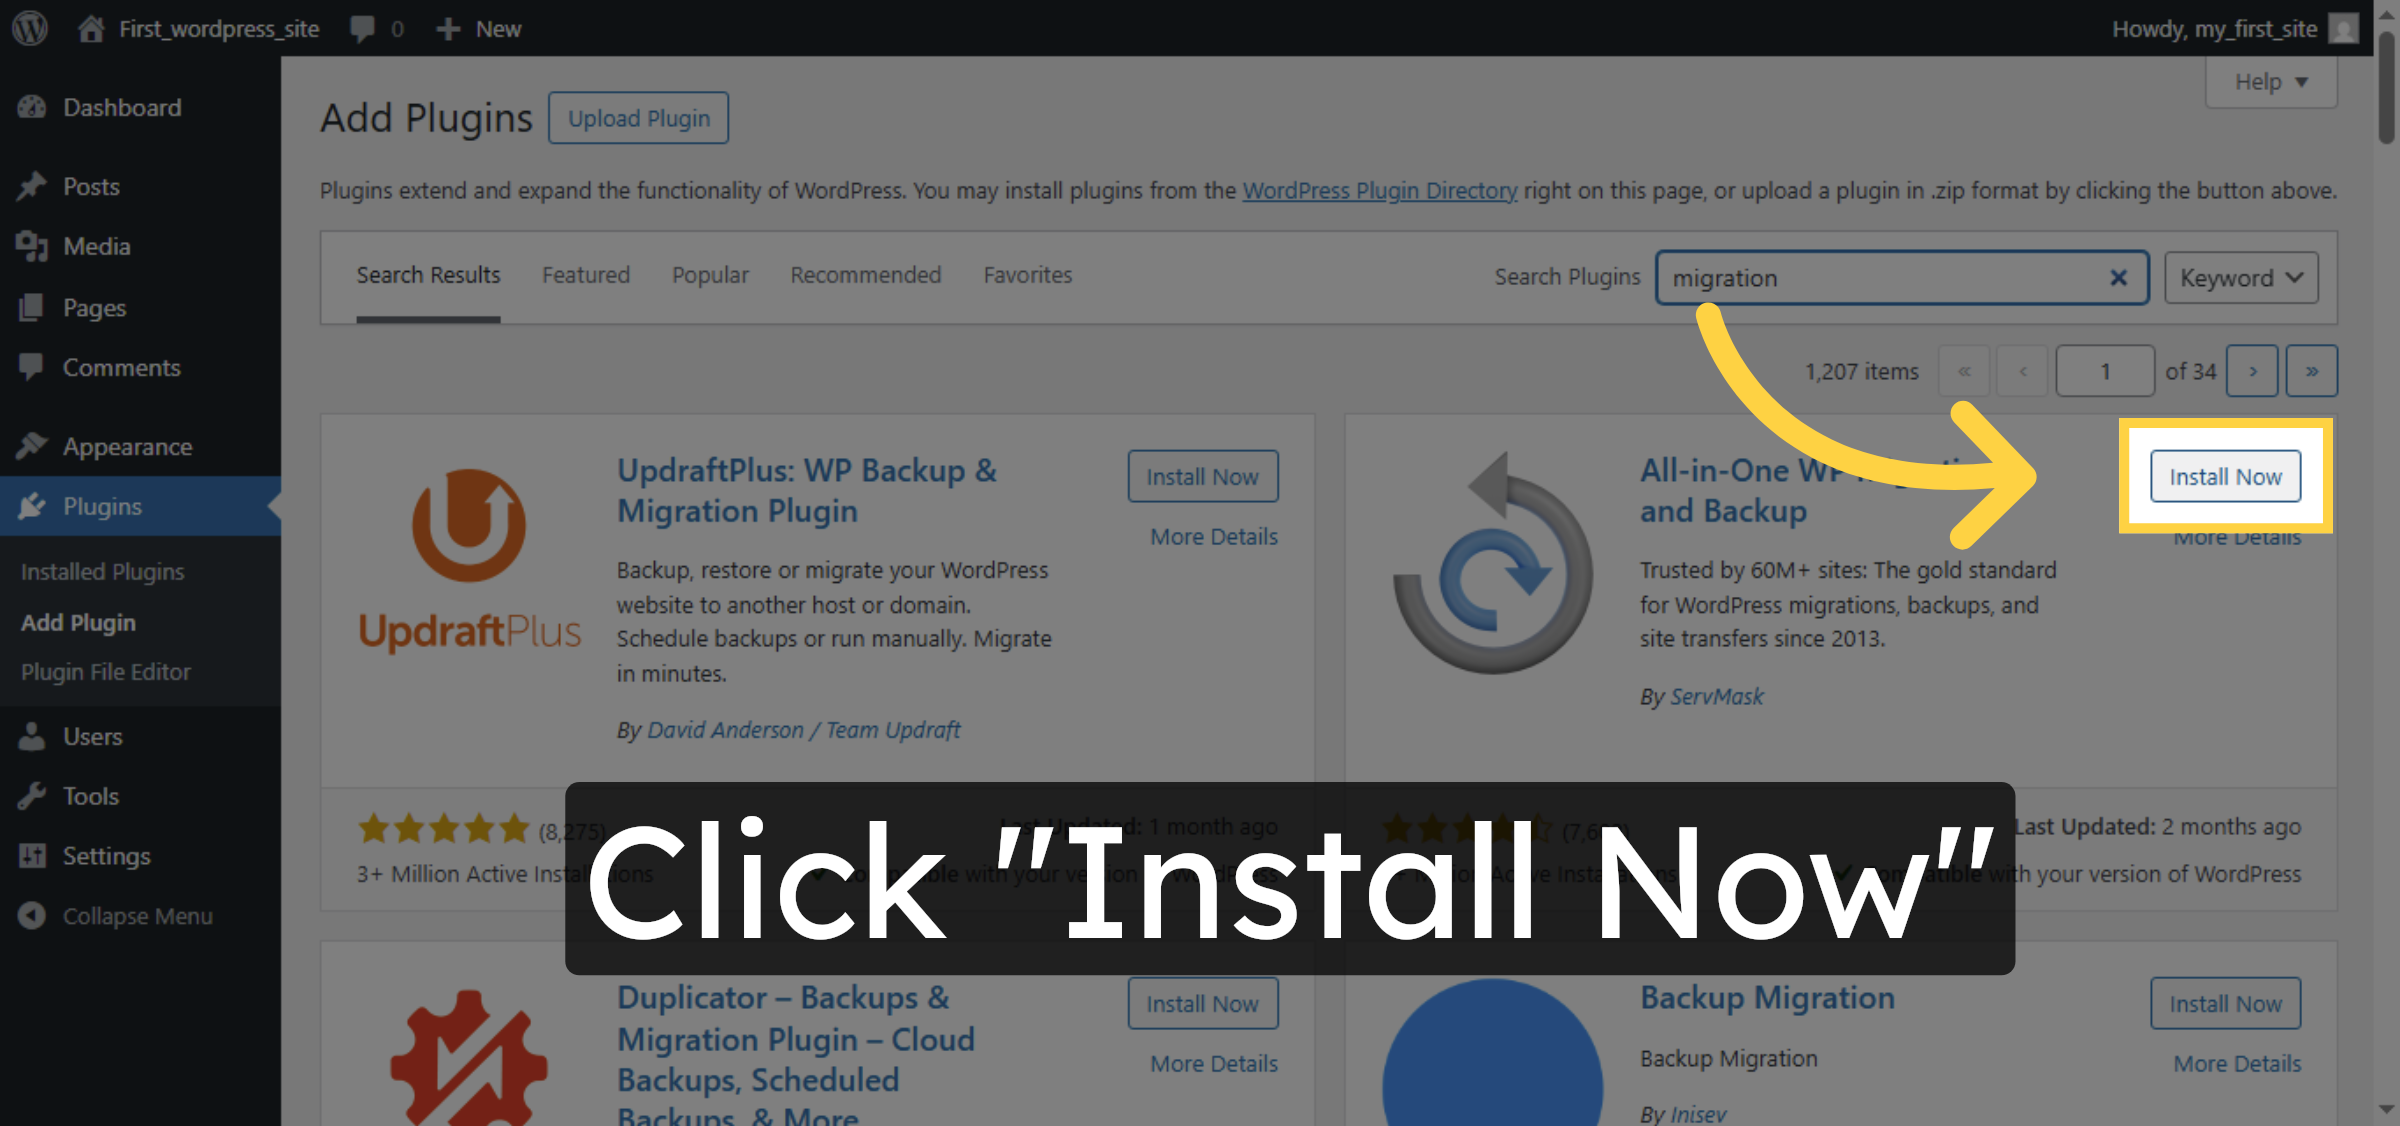
7. Install Migration Plugin
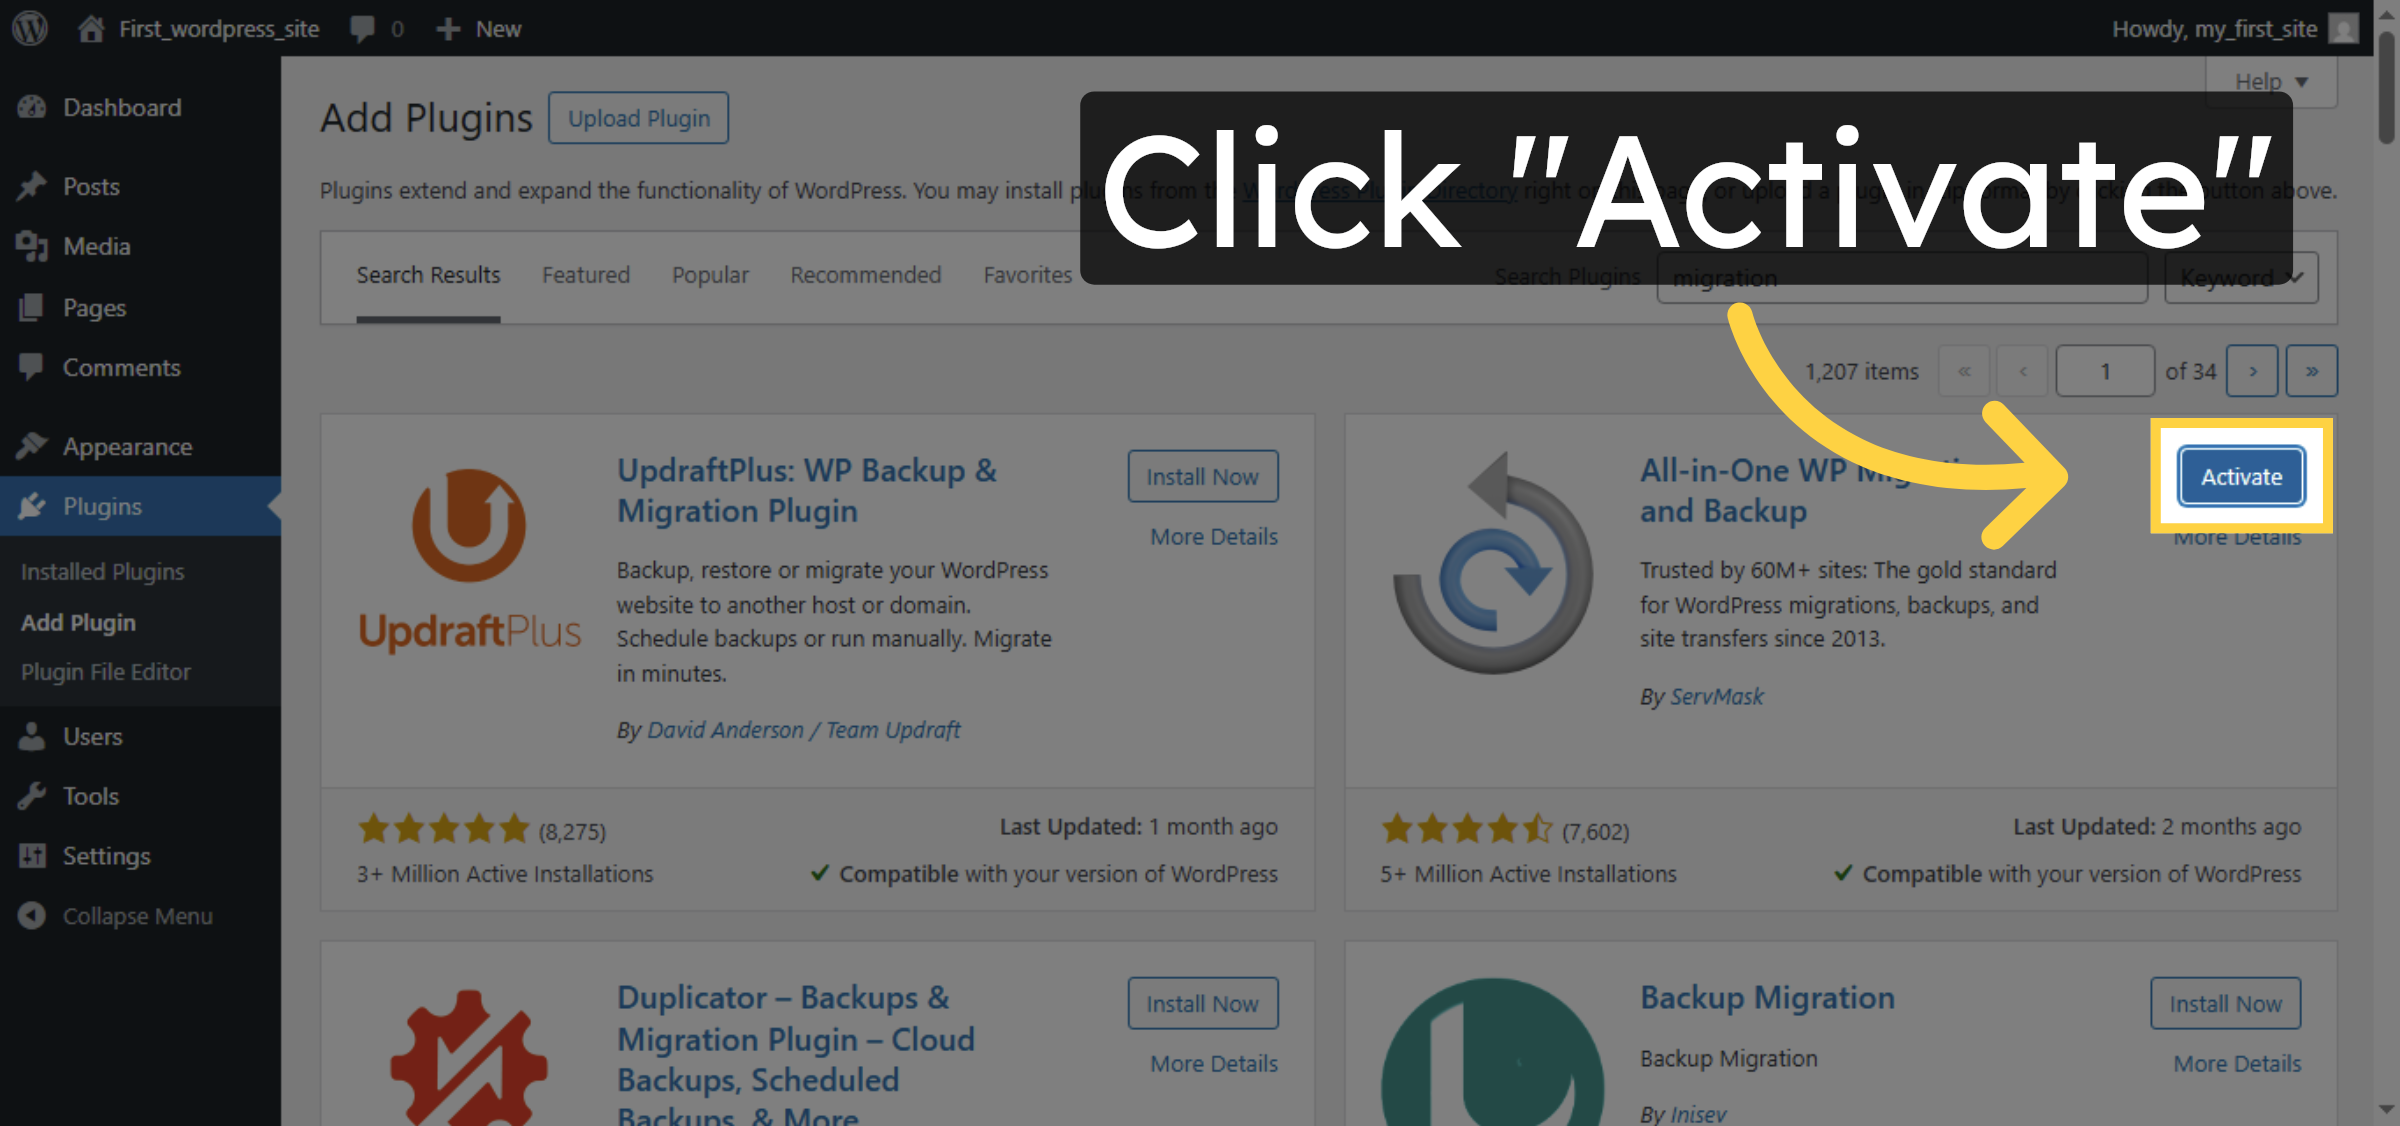
8. Activate Migration Plugin
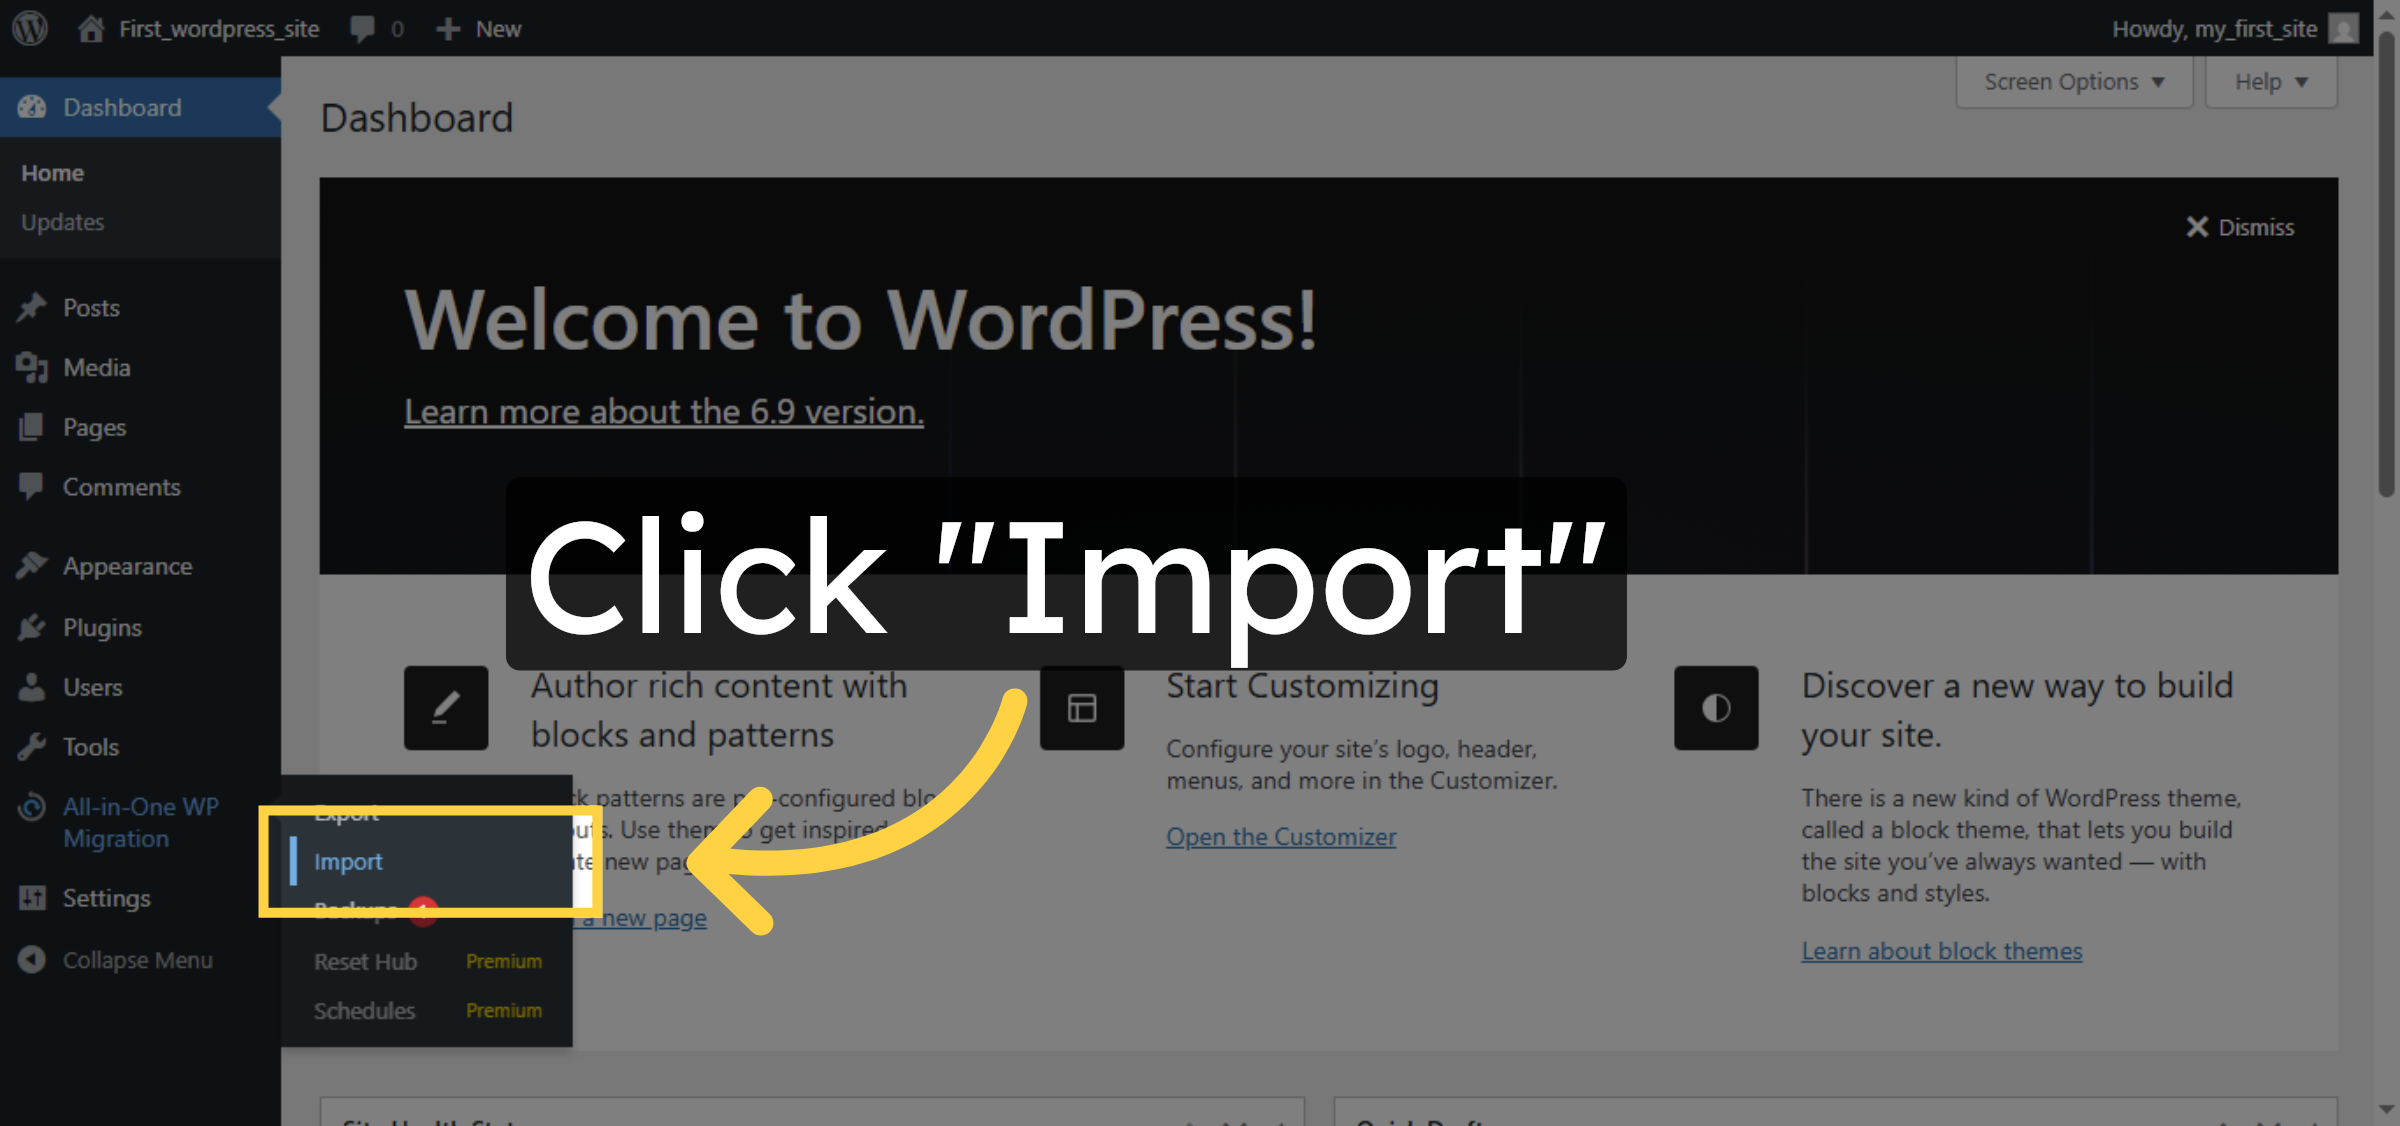
9. Click Import Option
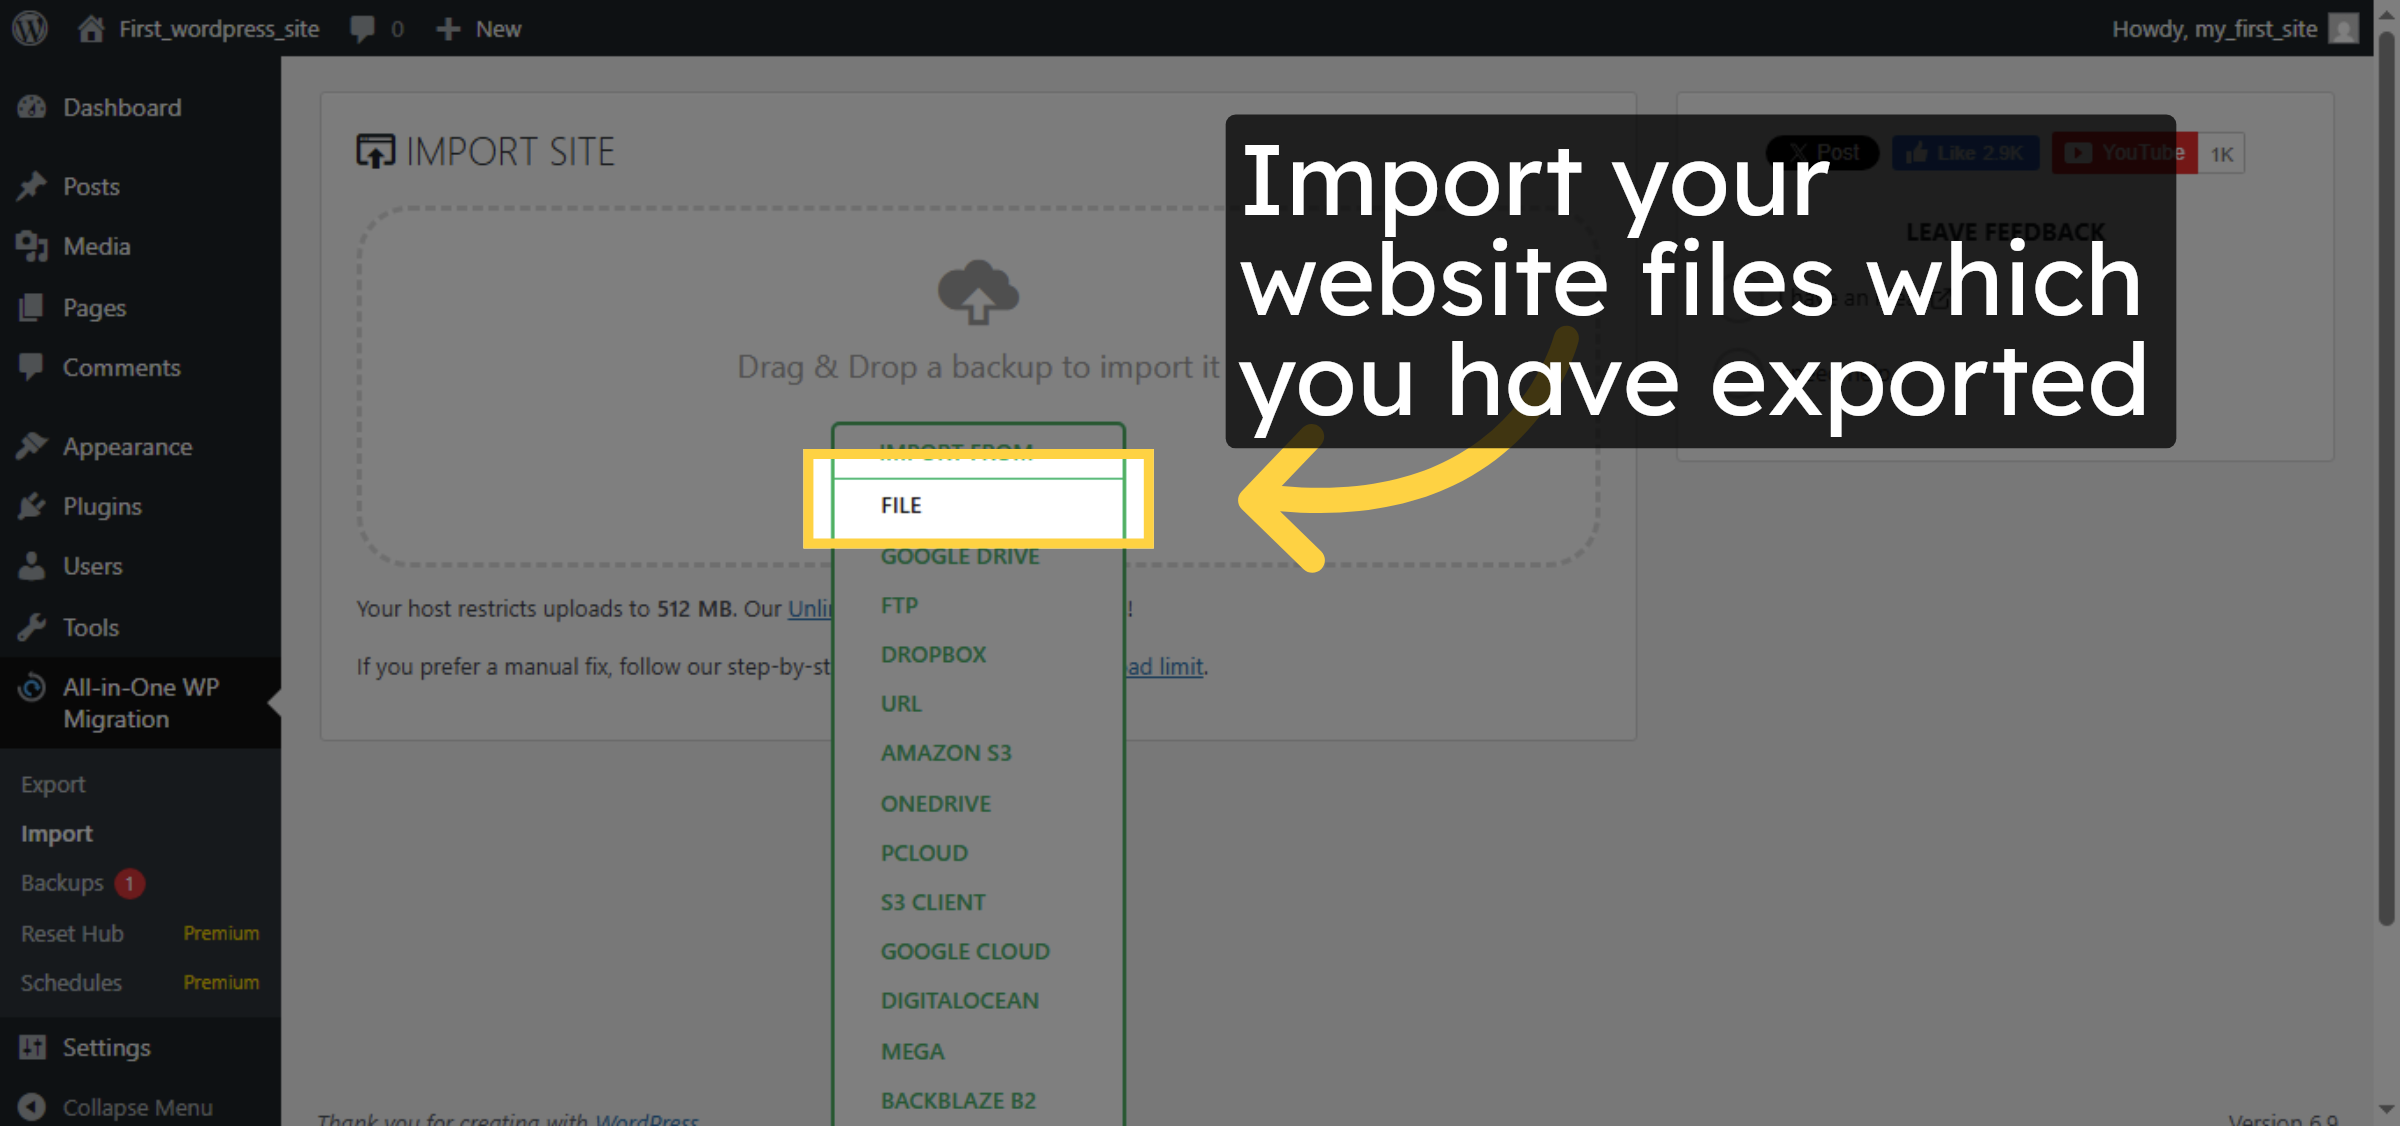
10. Select Import Source
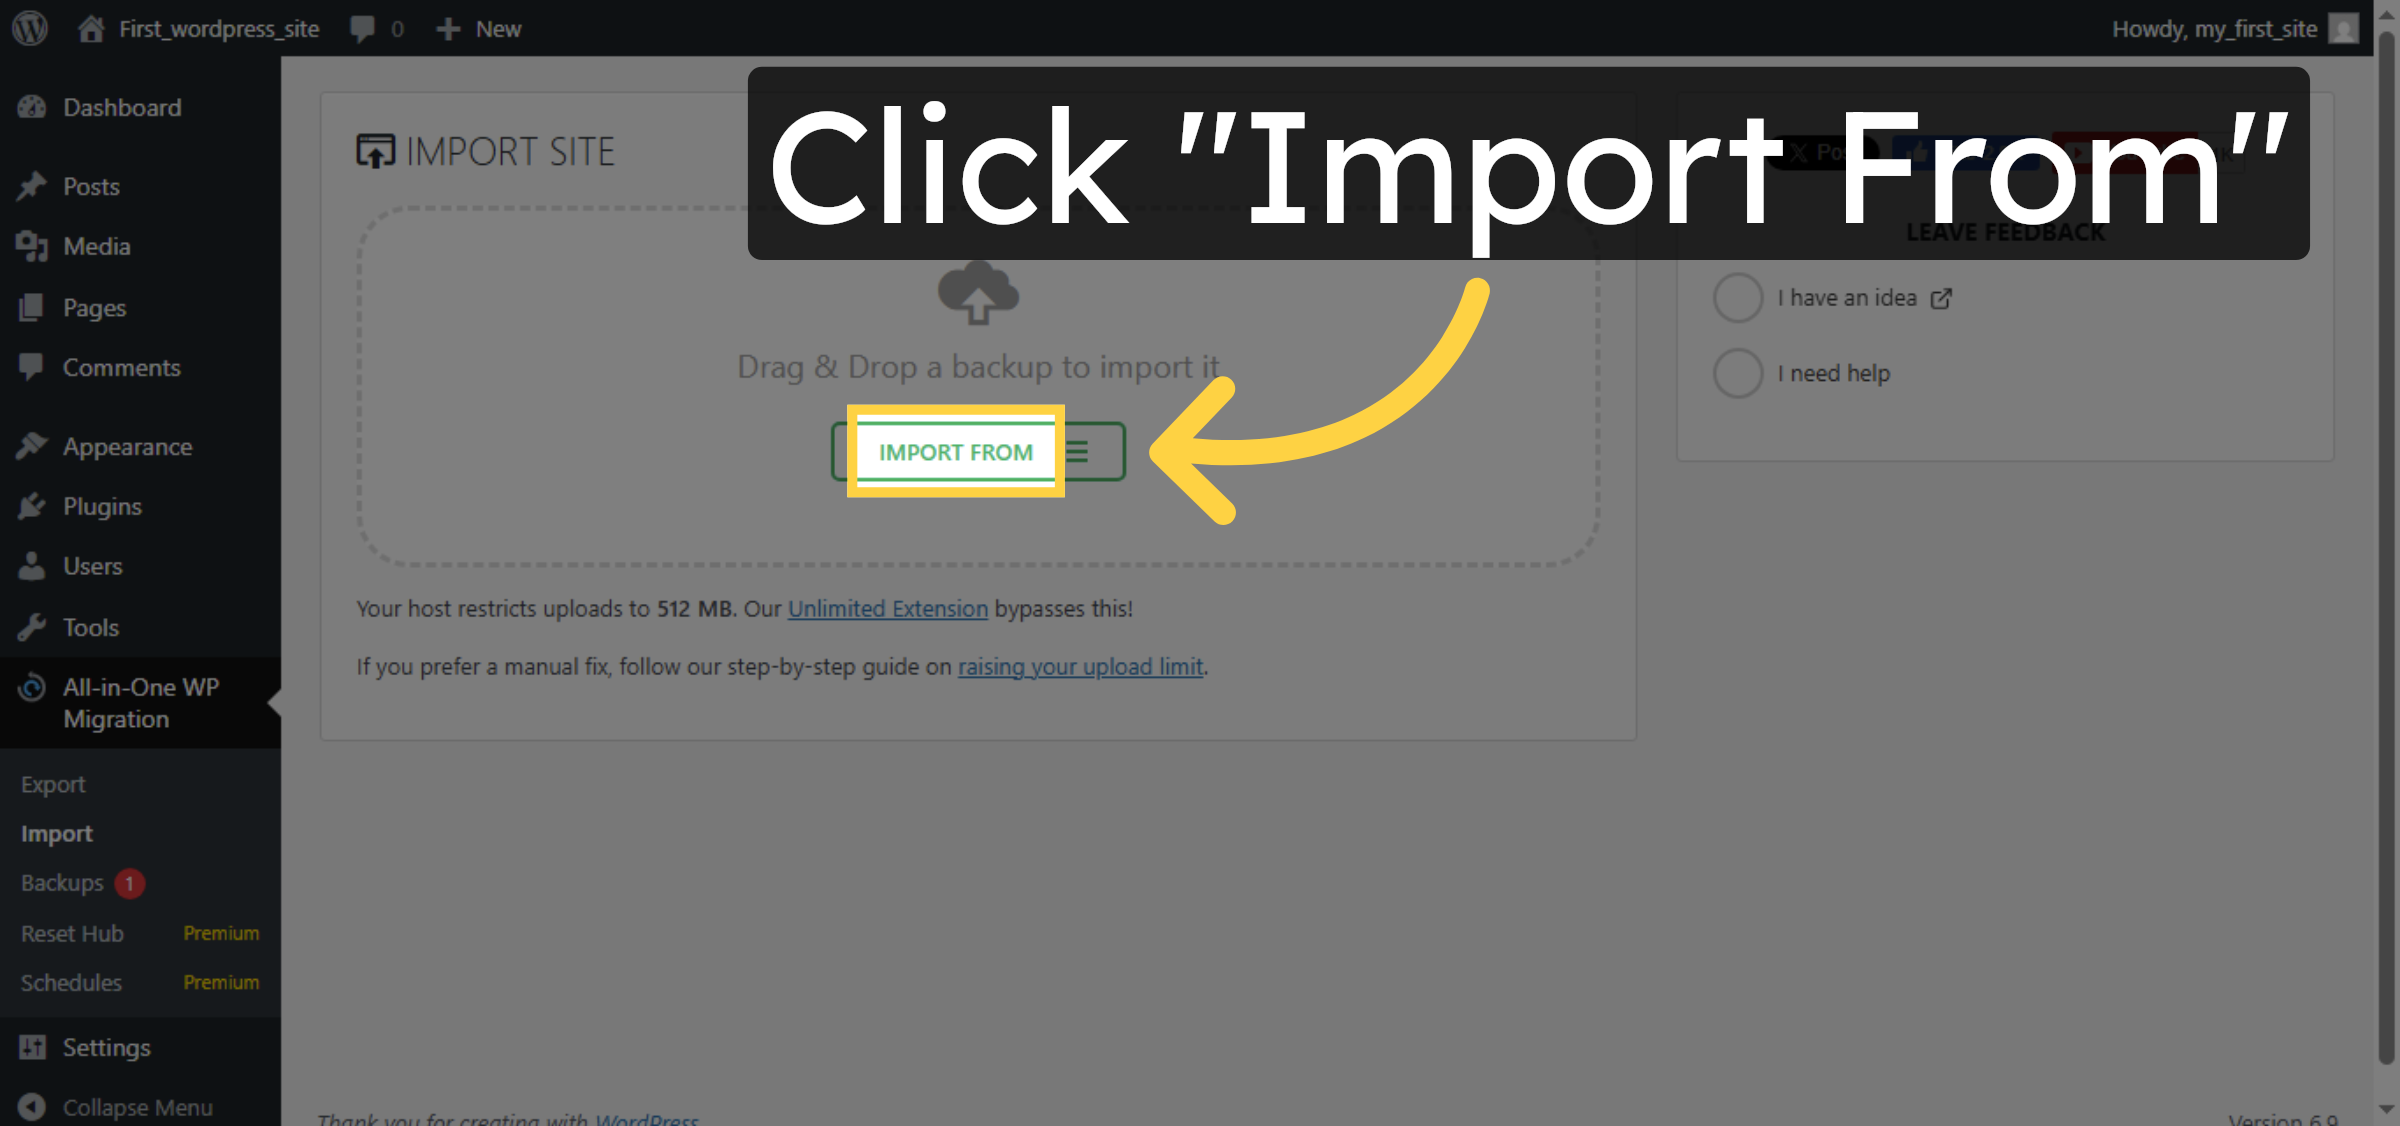
11. Open Import File Selector


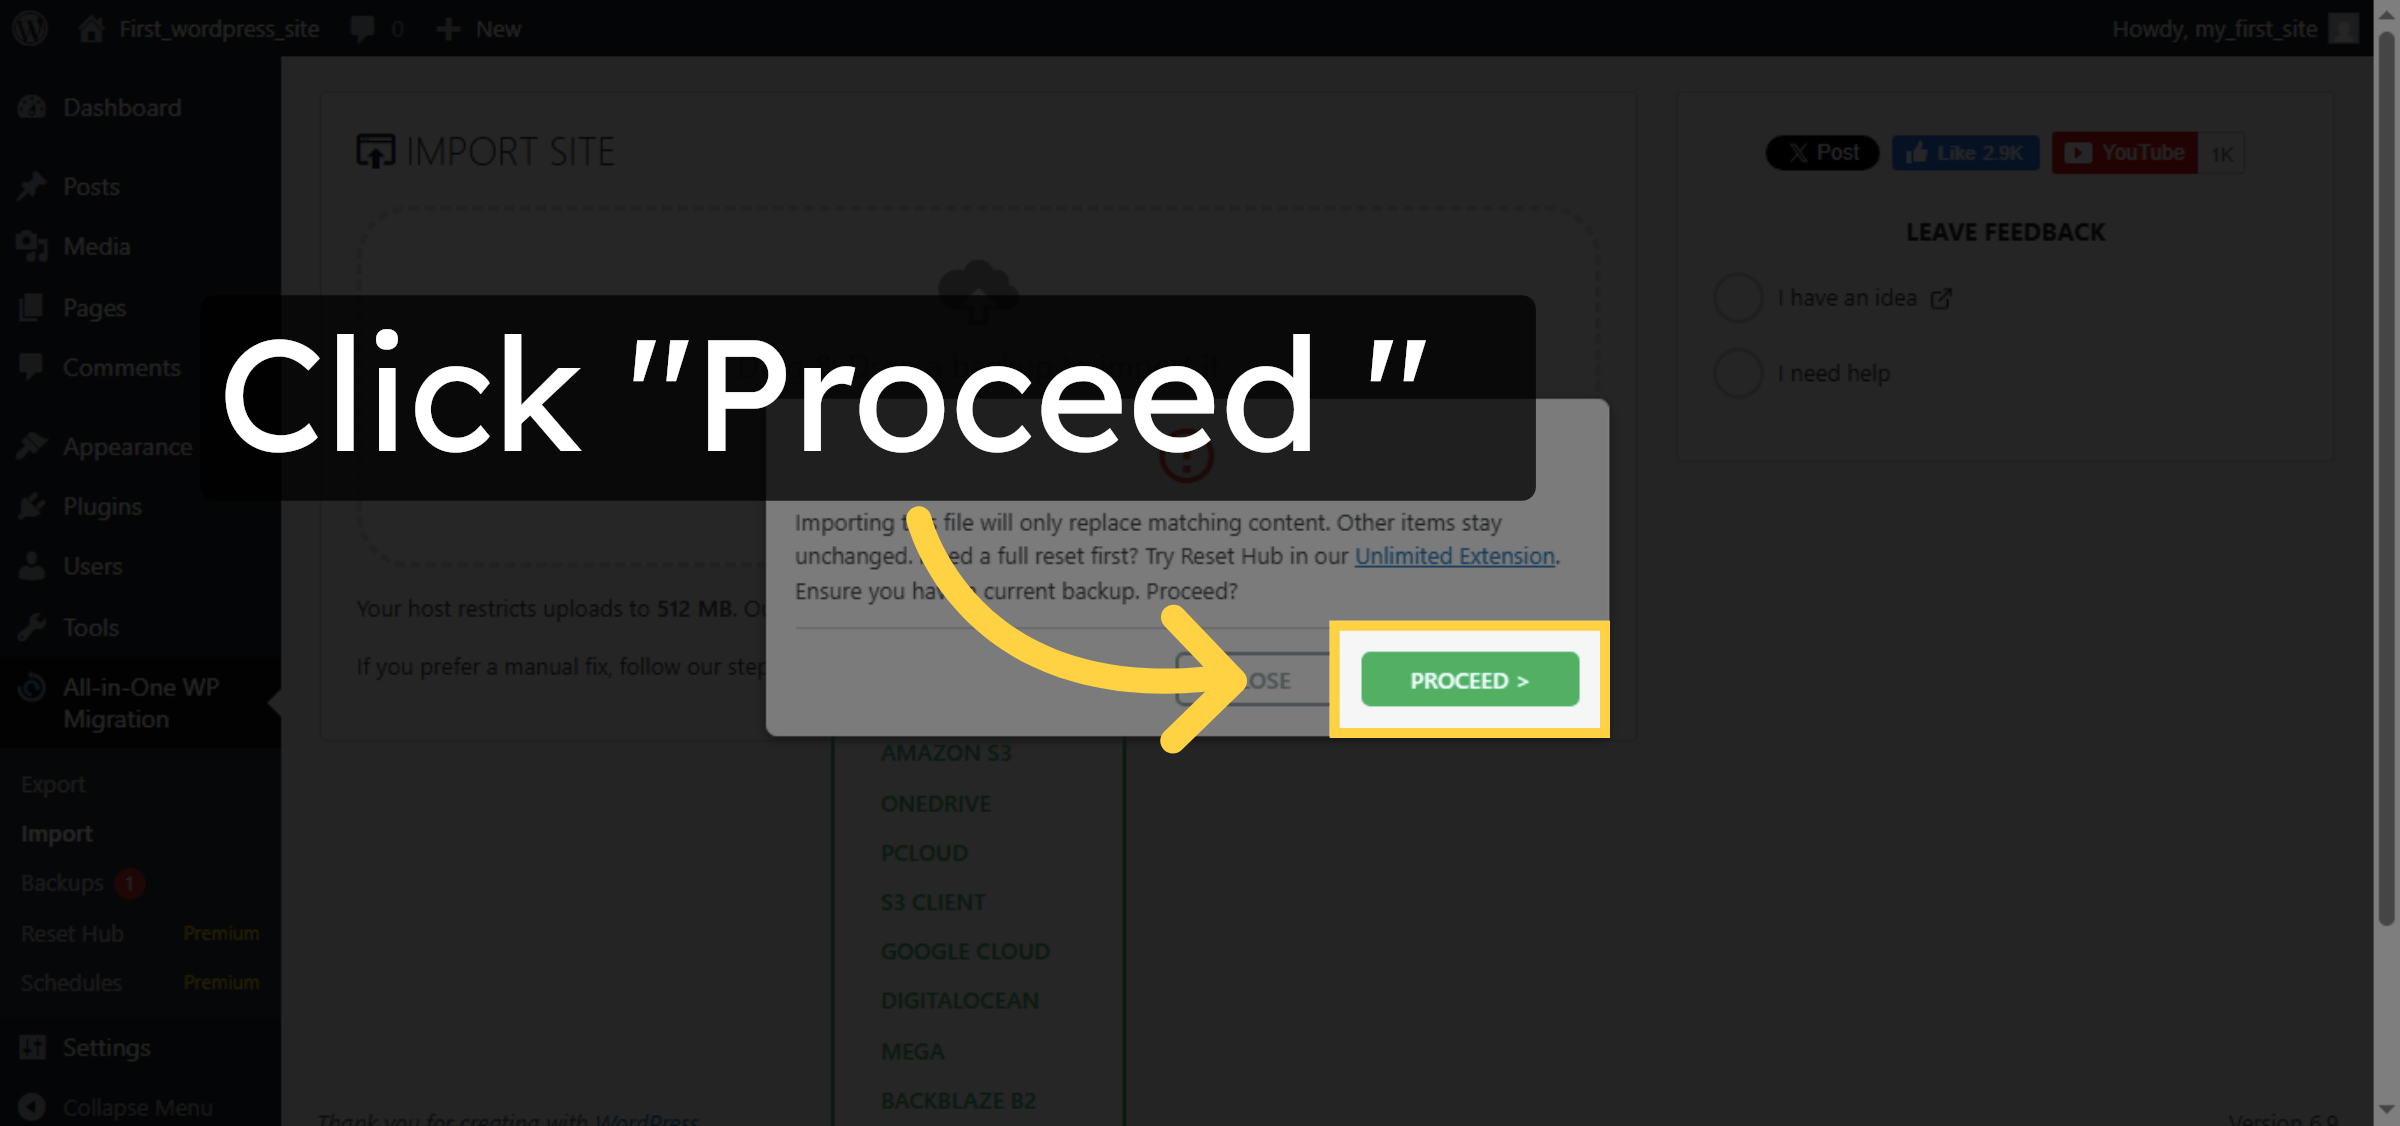
12. Proceed With Import
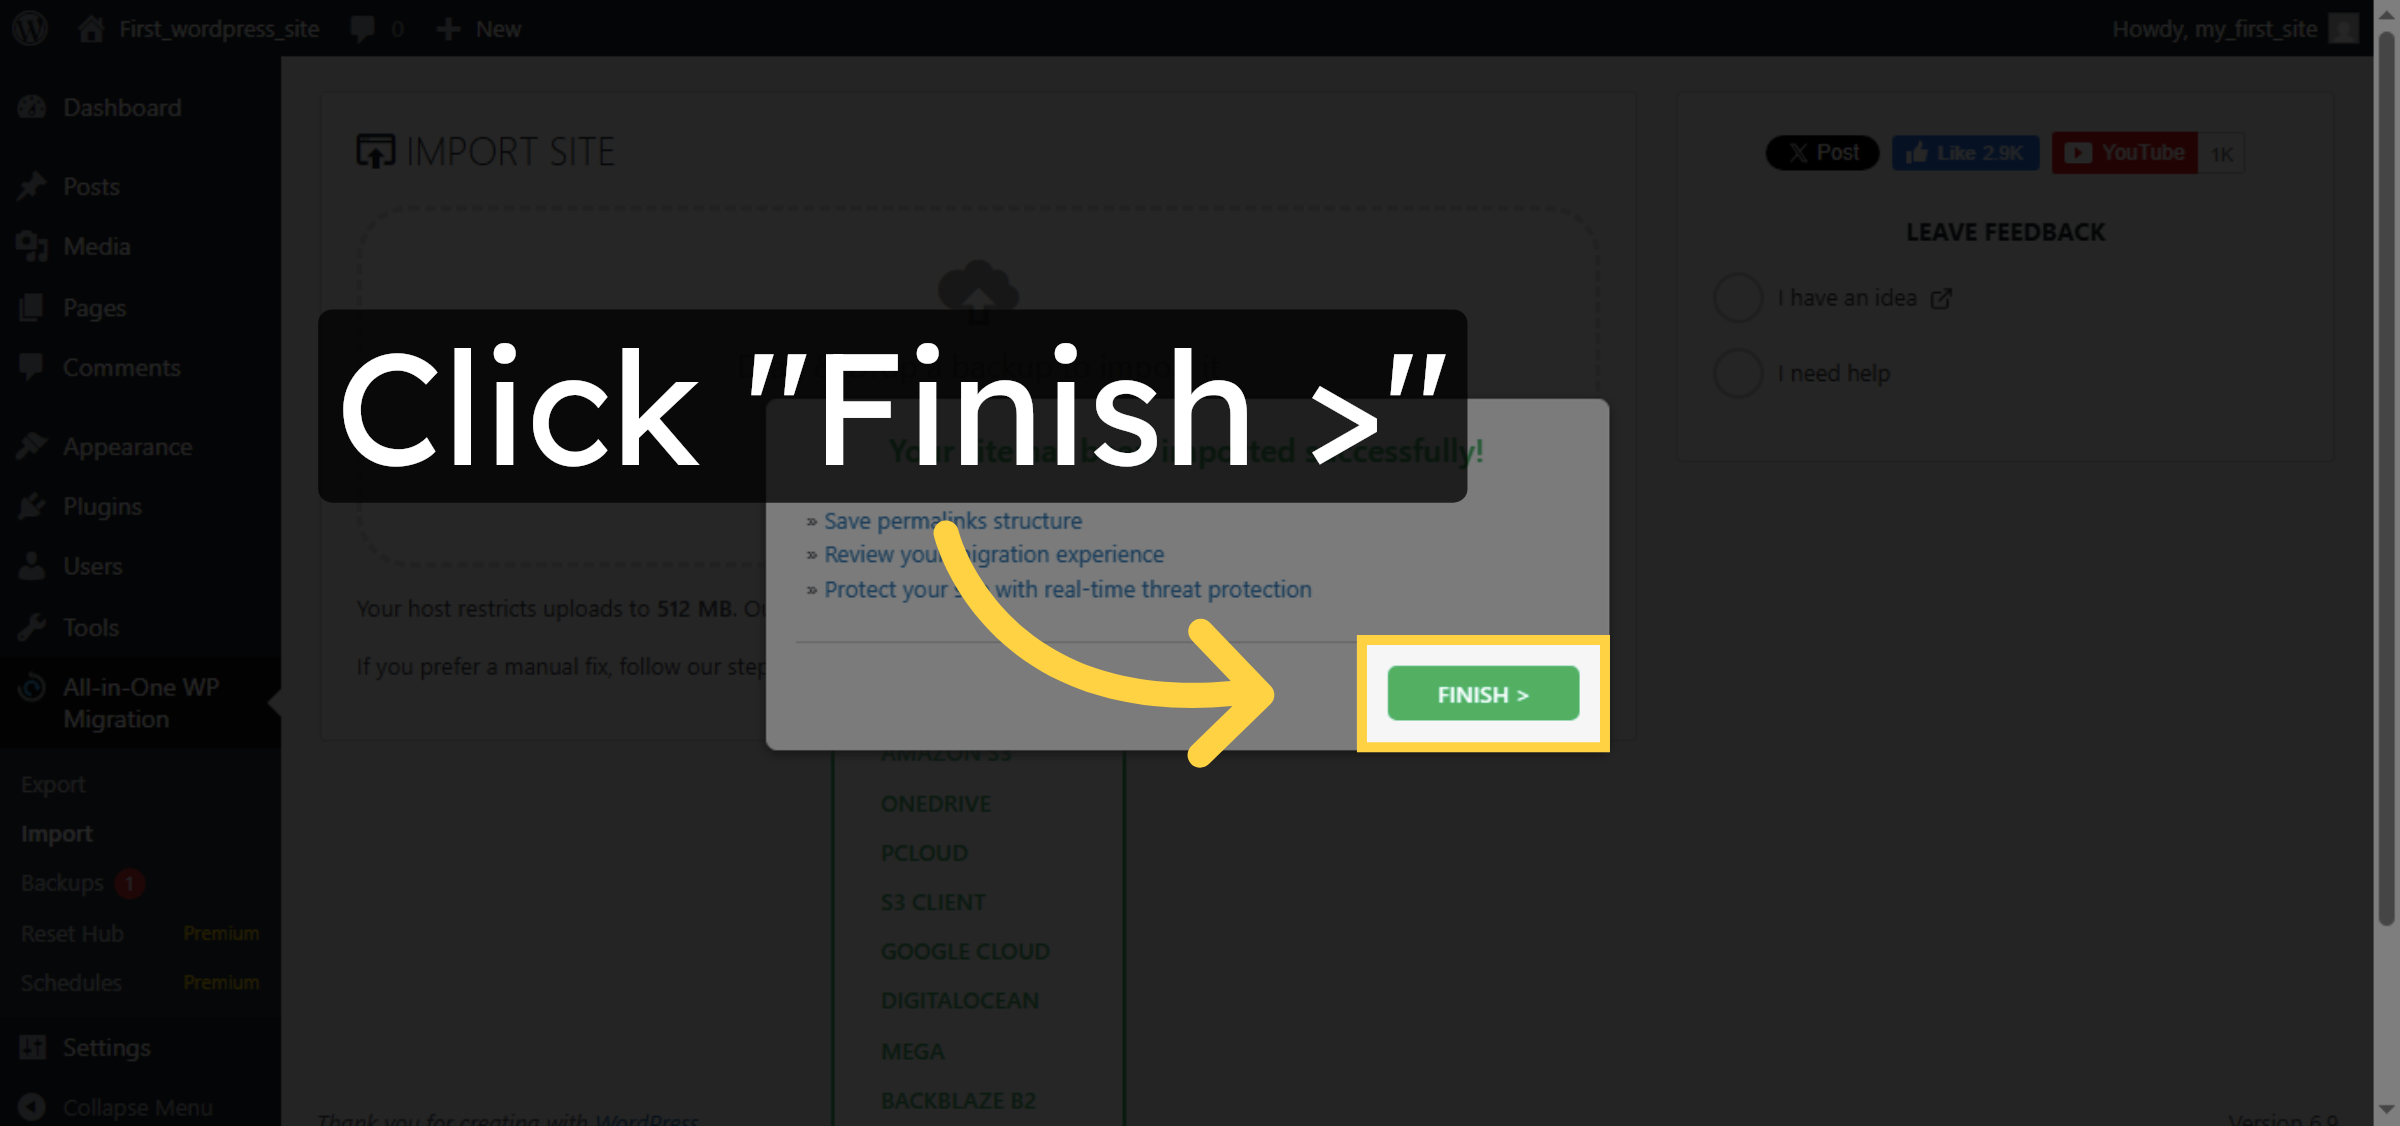
13. Finish Import Process
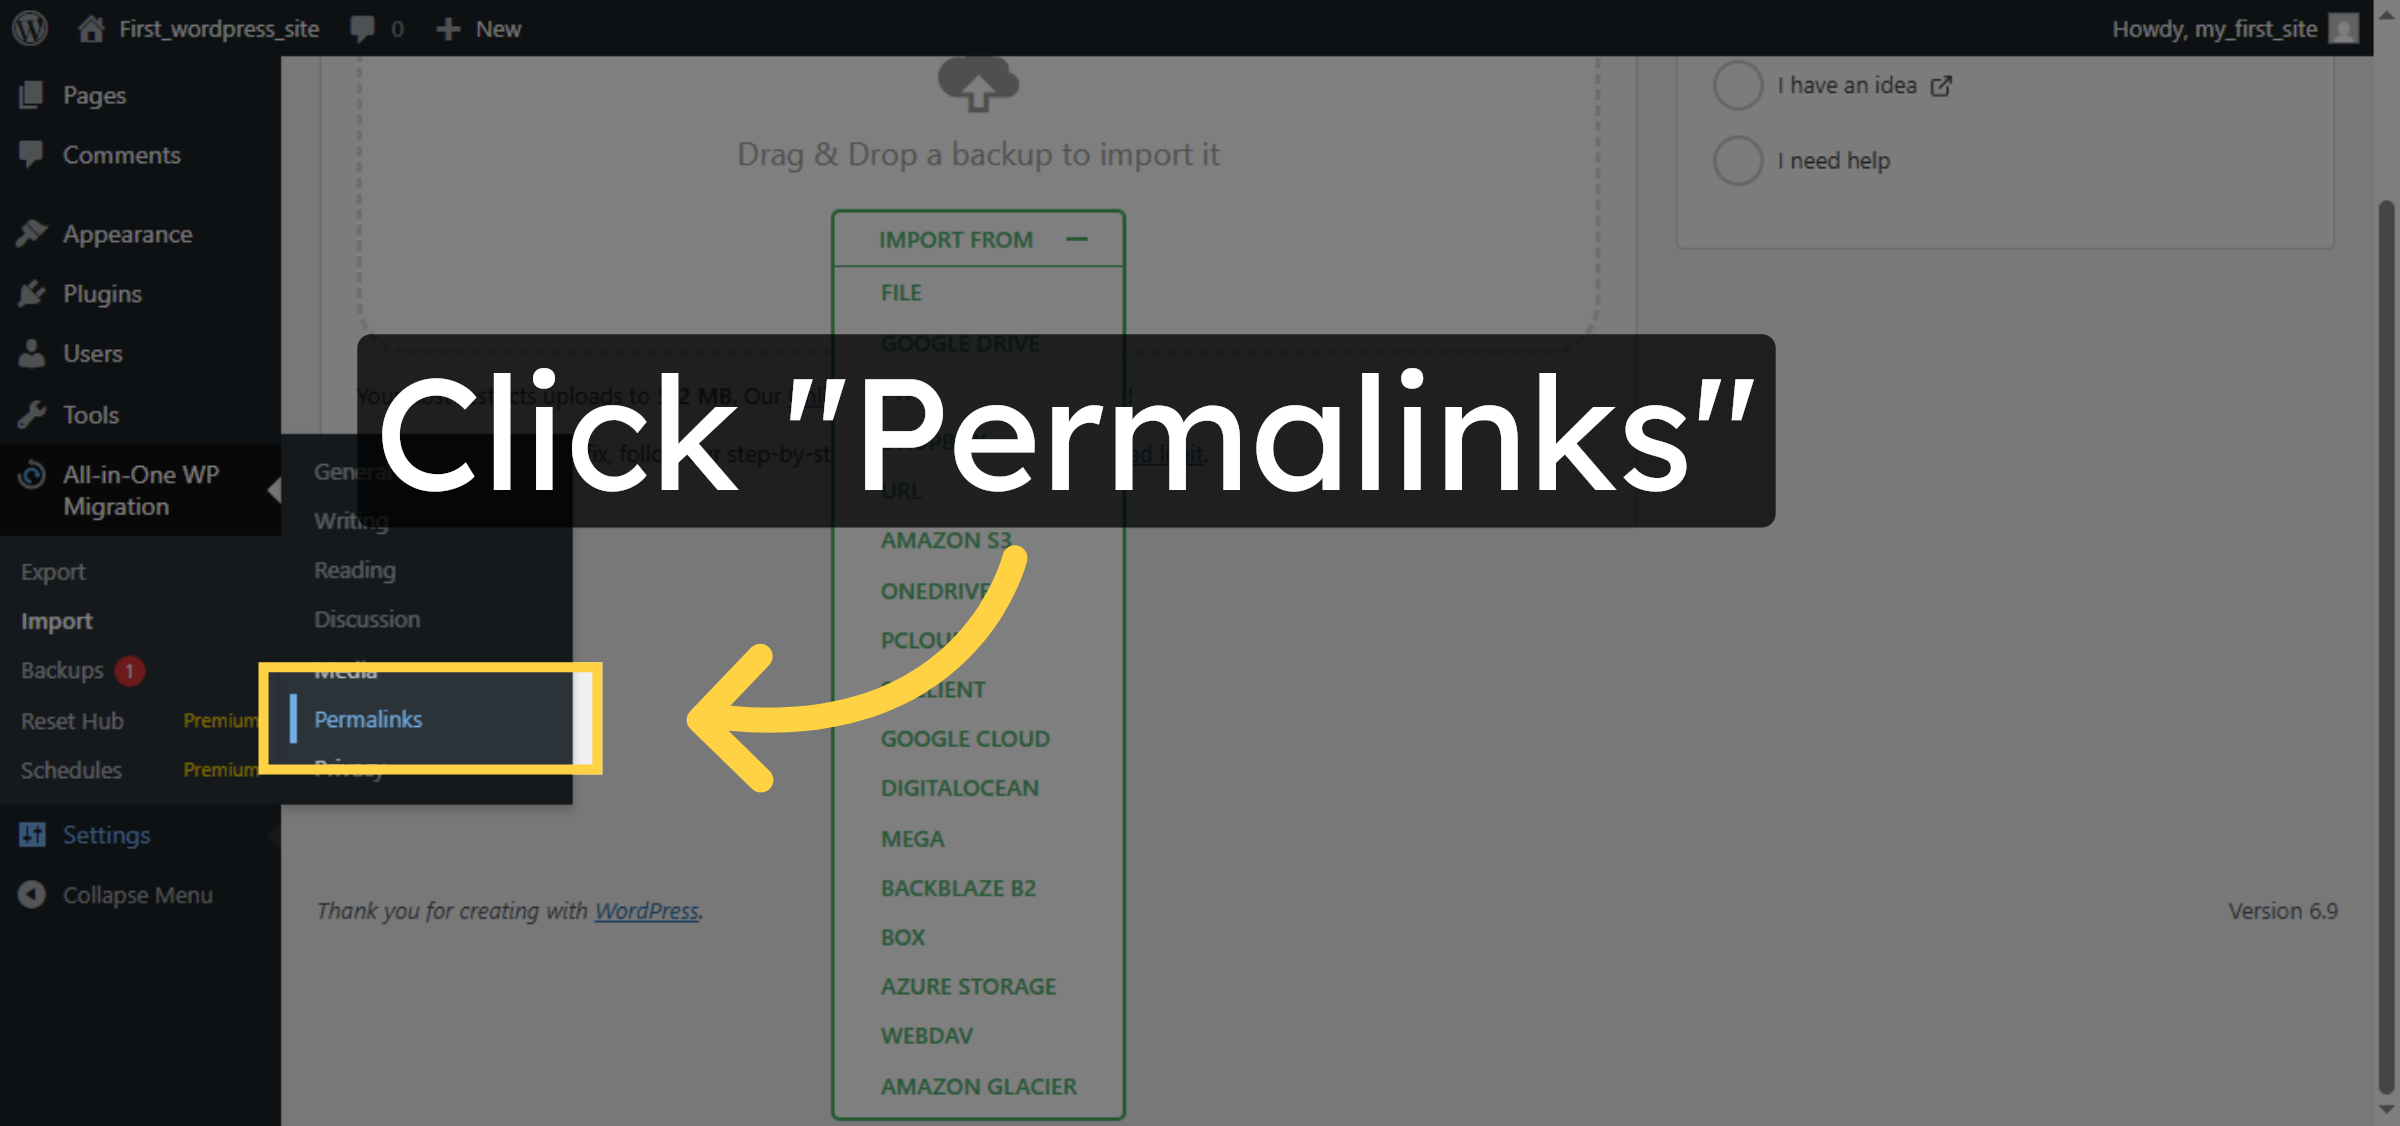
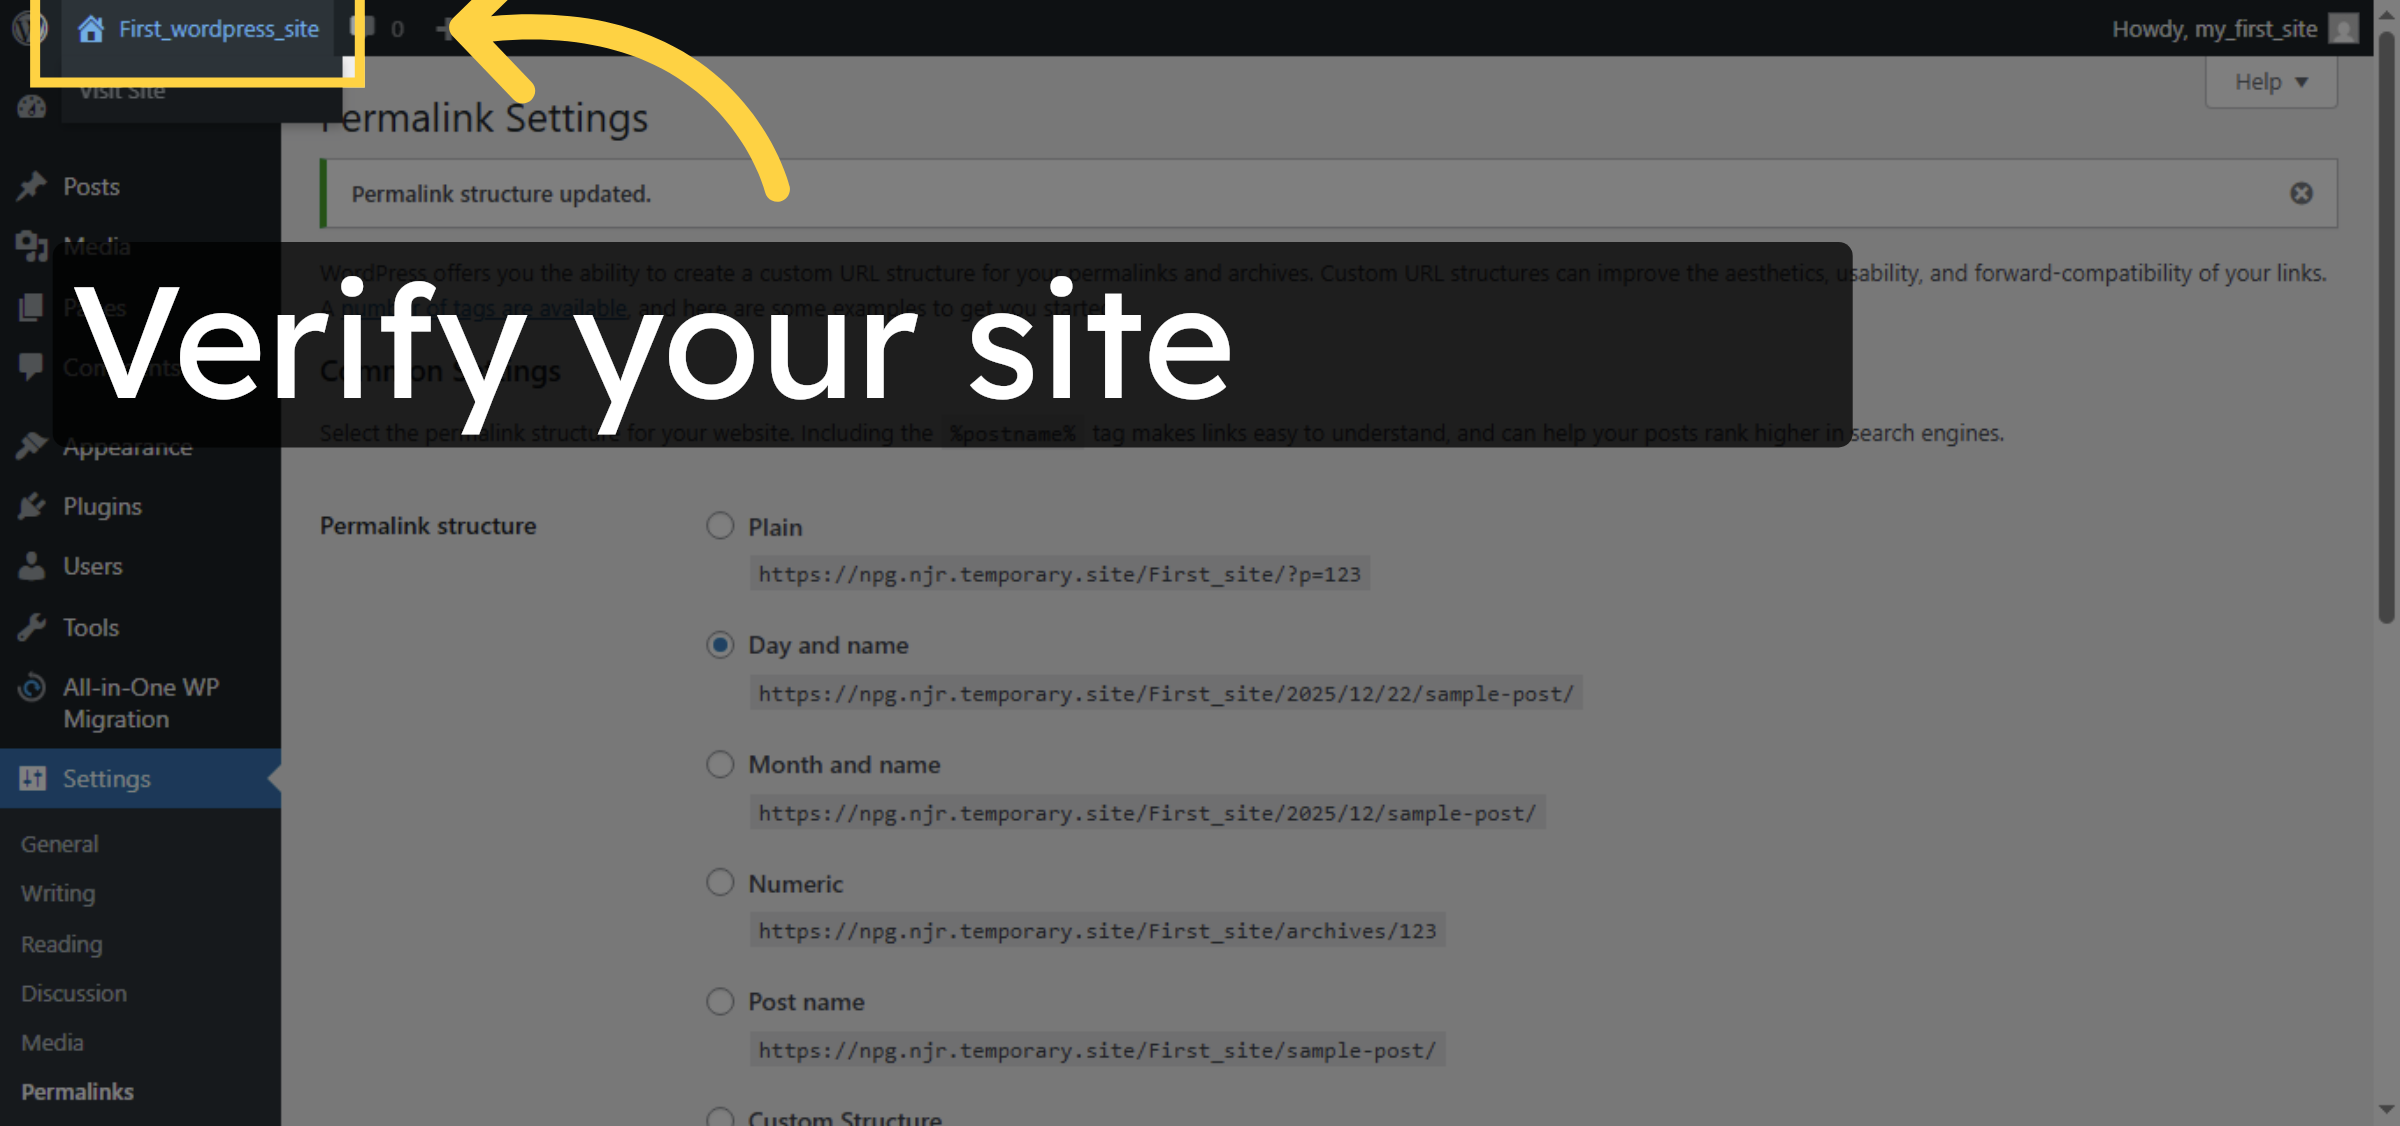
14. Open Permalinks Settings
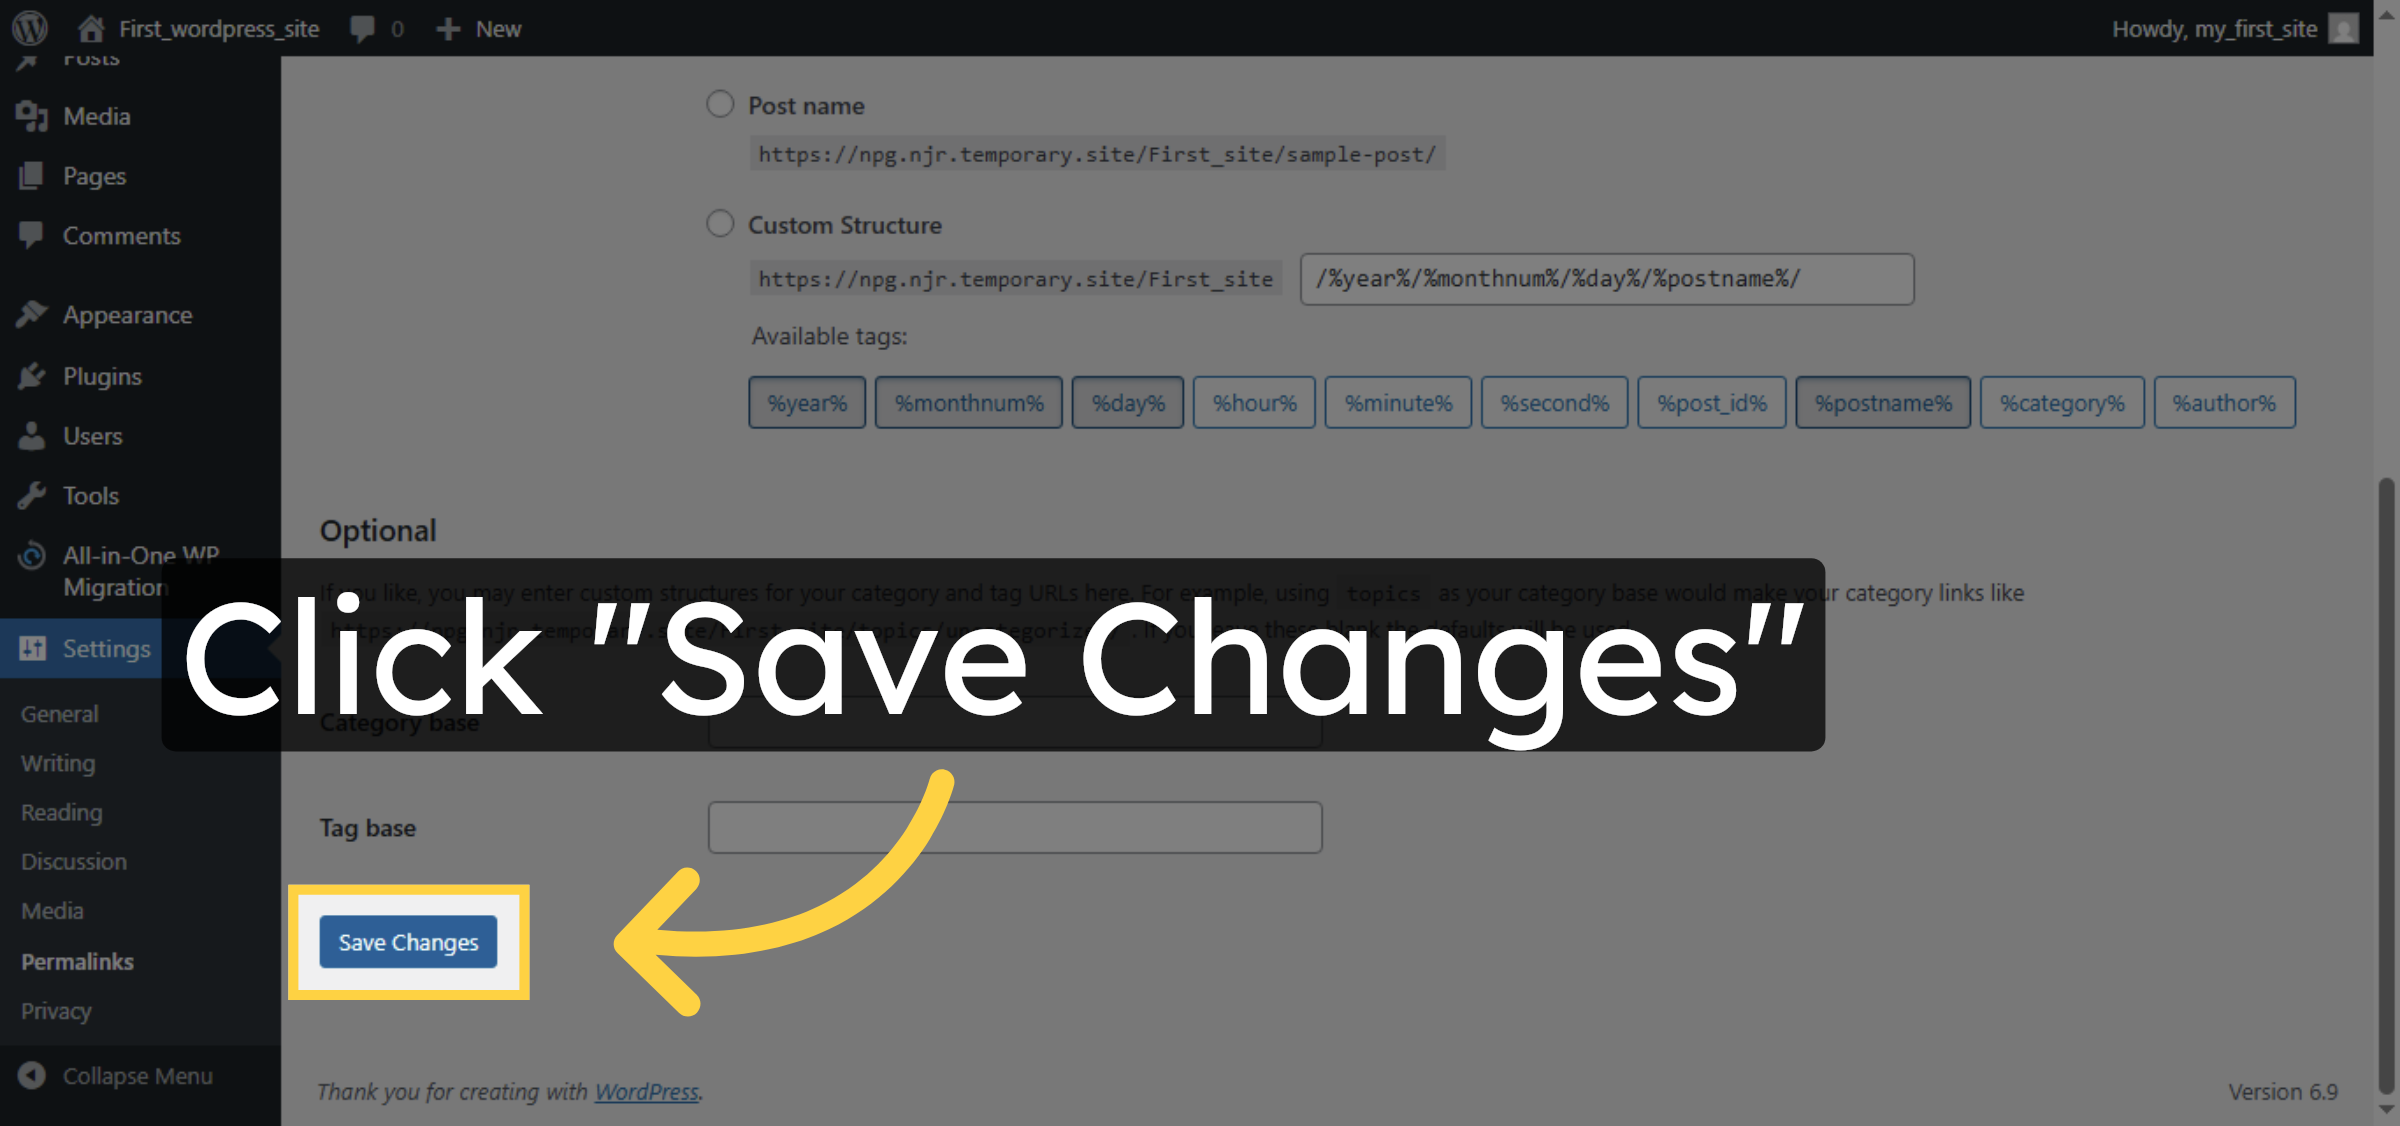
15. Save Permalink Changes
16. Open WordPress Site Dashboard
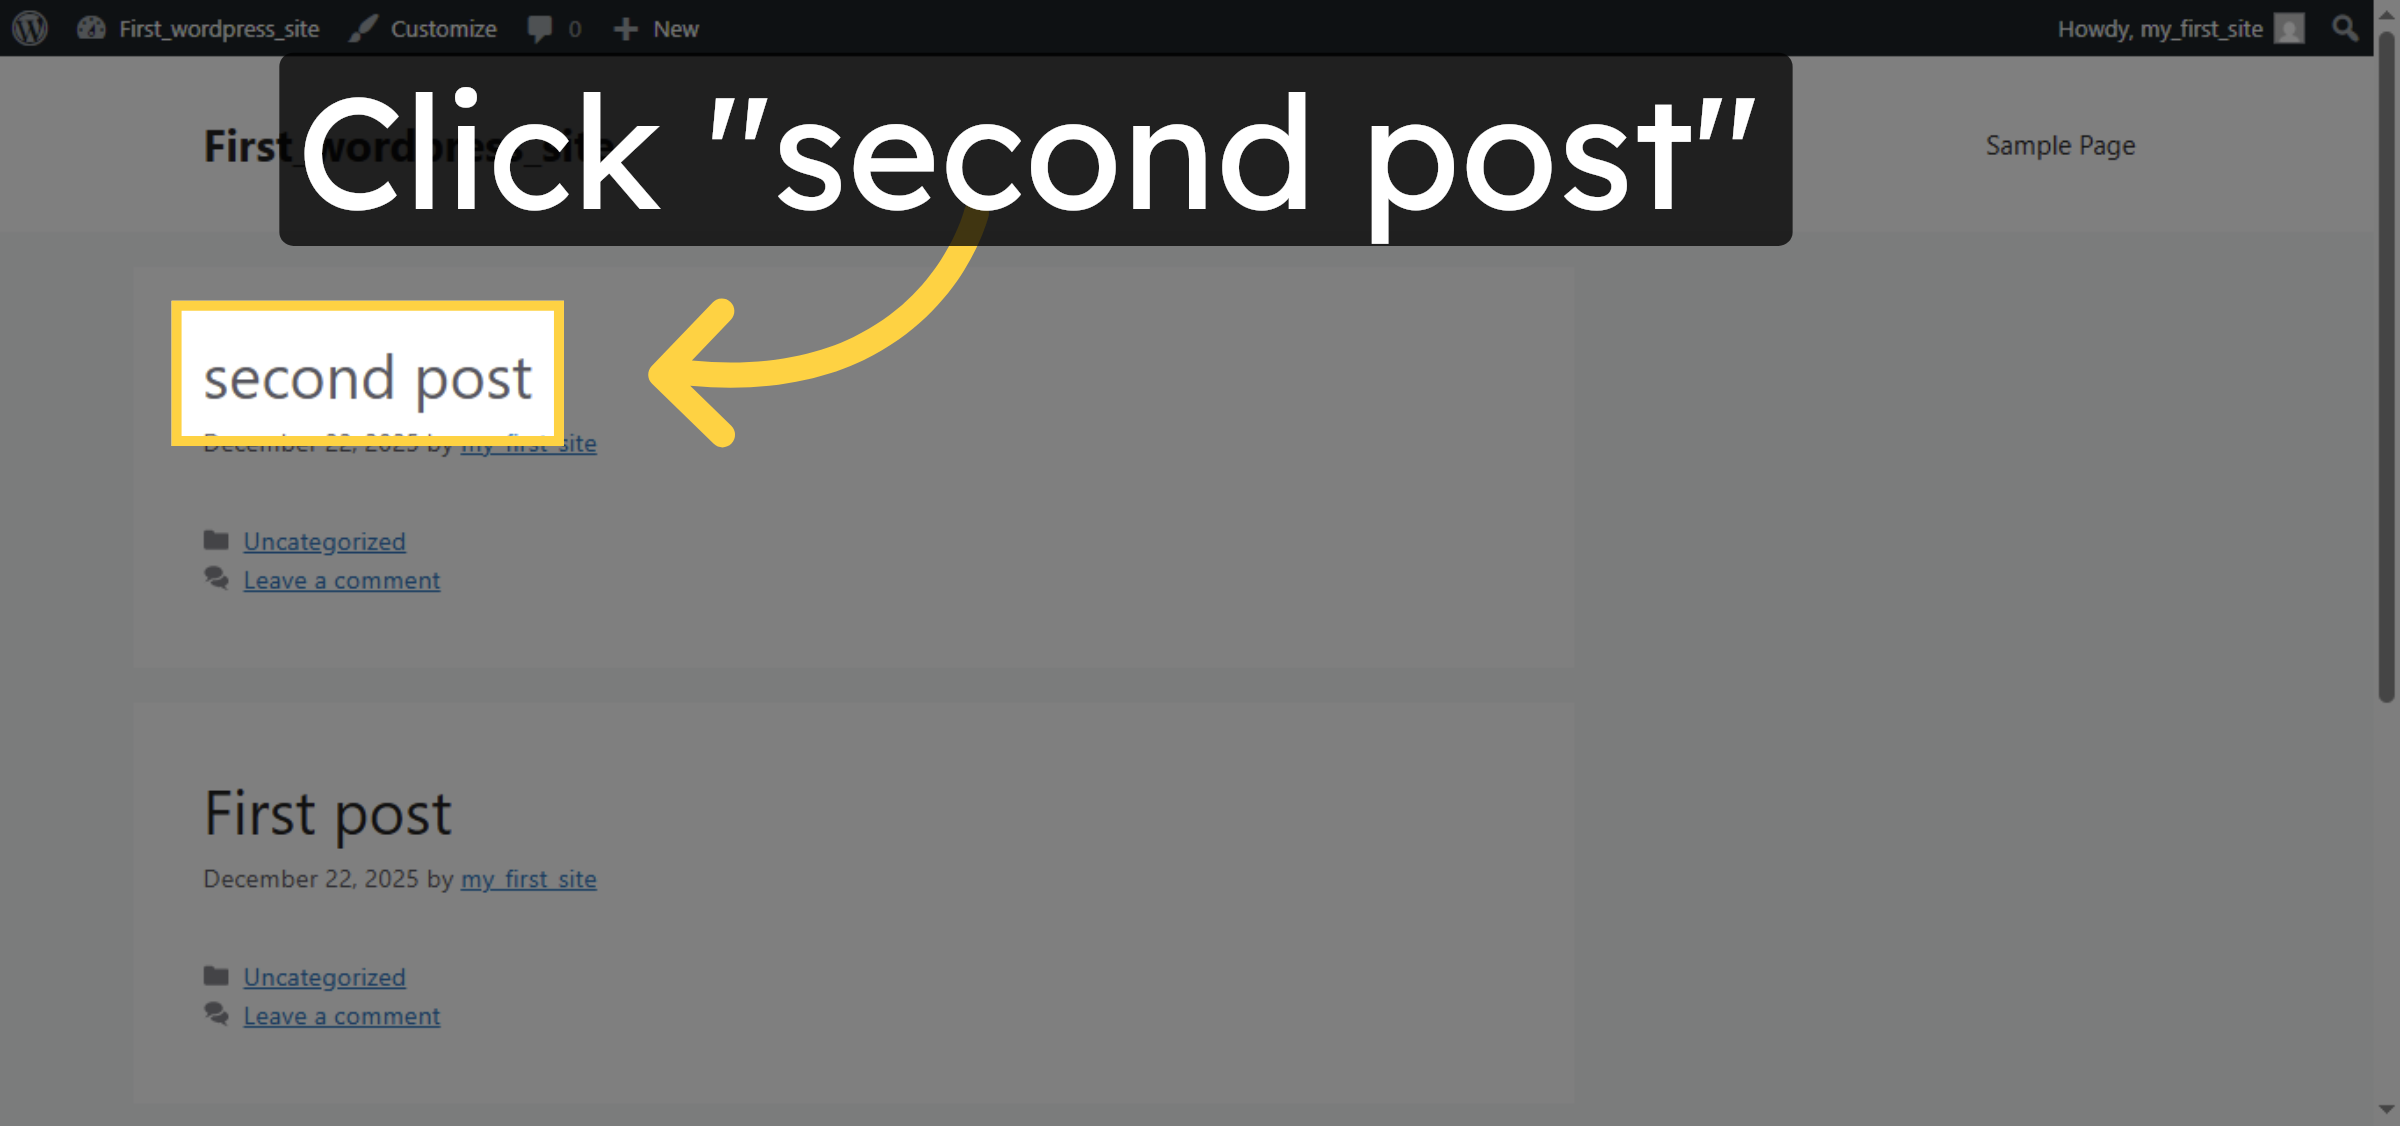
17. View Imported Post
Conclusion
By following the steps in this guide, you can successfully migrate your WordPress website to HostGator WP Hosting by importing previously exported site data. Installing the migration plugin, completing the import process, and updating permalink settings ensures that your website functions correctly in the new hosting environment. Once the migration is complete, verifying imported posts confirms that your content has been transferred successfully. This plugin-based approach provides a dependable and repeatable method for WordPress migrations, making it suitable for both beginners and experienced users.
-
Visit: https://www.woohelpdesk.com
-
Call Us Toll-Free: +1 888 602 0119 (US & Canada)
-
Get professional support for WordPress migrations, hosting setup, troubleshooting, and WooCommerce management


