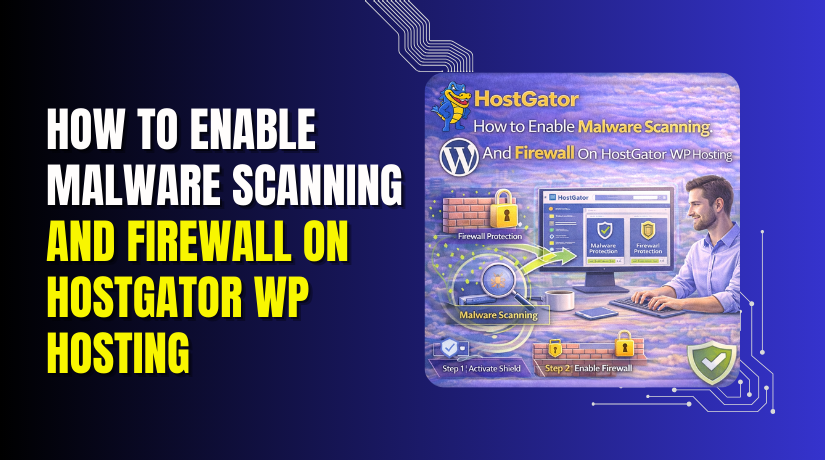
Introduction
In today’s digital environment, website security is essential for maintaining data integrity, user trust, and uninterrupted online operations. WordPress websites hosted on shared platforms such as HostGator are often targeted by malware, unauthorized access attempts, and automated cyber threats. Without proper protection, these risks can lead to data loss, performance issues, and reputational damage.
This guidde provides a comprehensive, step-by-step approach to enabling malware scanning and firewall protection on HostGator WordPress hosting using the All In One Security (AIOS) plugin. It covers critical security configurations, including user account protection, strong password enforcement, database security, file protection, firewall rules, brute-force attack prevention, spam control, and REST API security. By following this guide, website administrators can implement industry-standard security practices to minimize vulnerabilities, enhance system stability, and ensure long-term website safety.
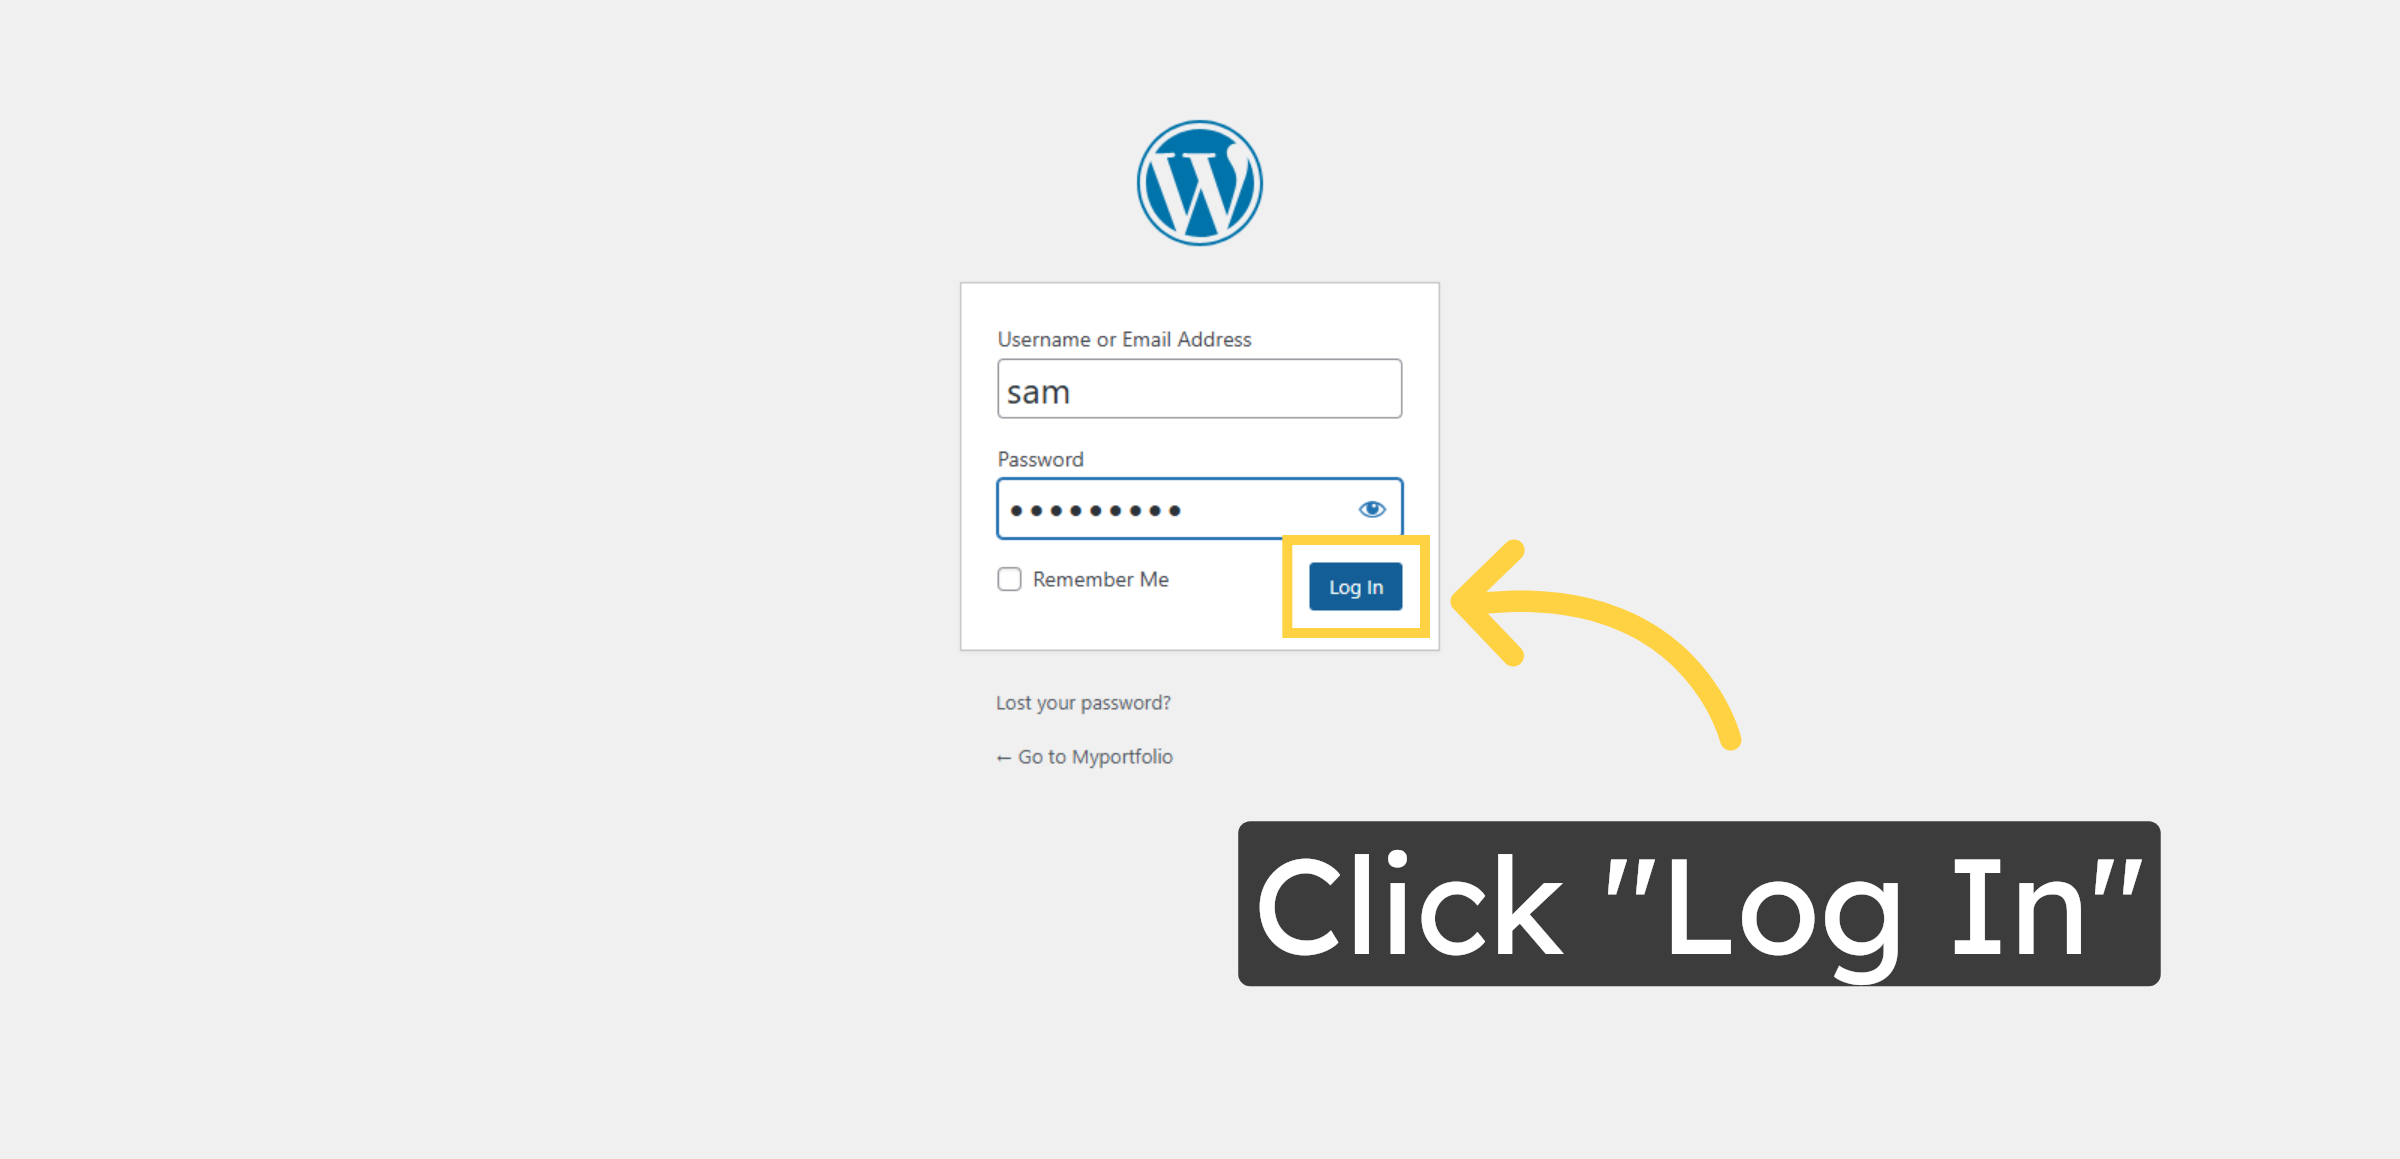
1. Login to WordPress Admin Panel
This screen is used to log in to the WordPress admin panel to manage security settings and enable malware and firewall protection.
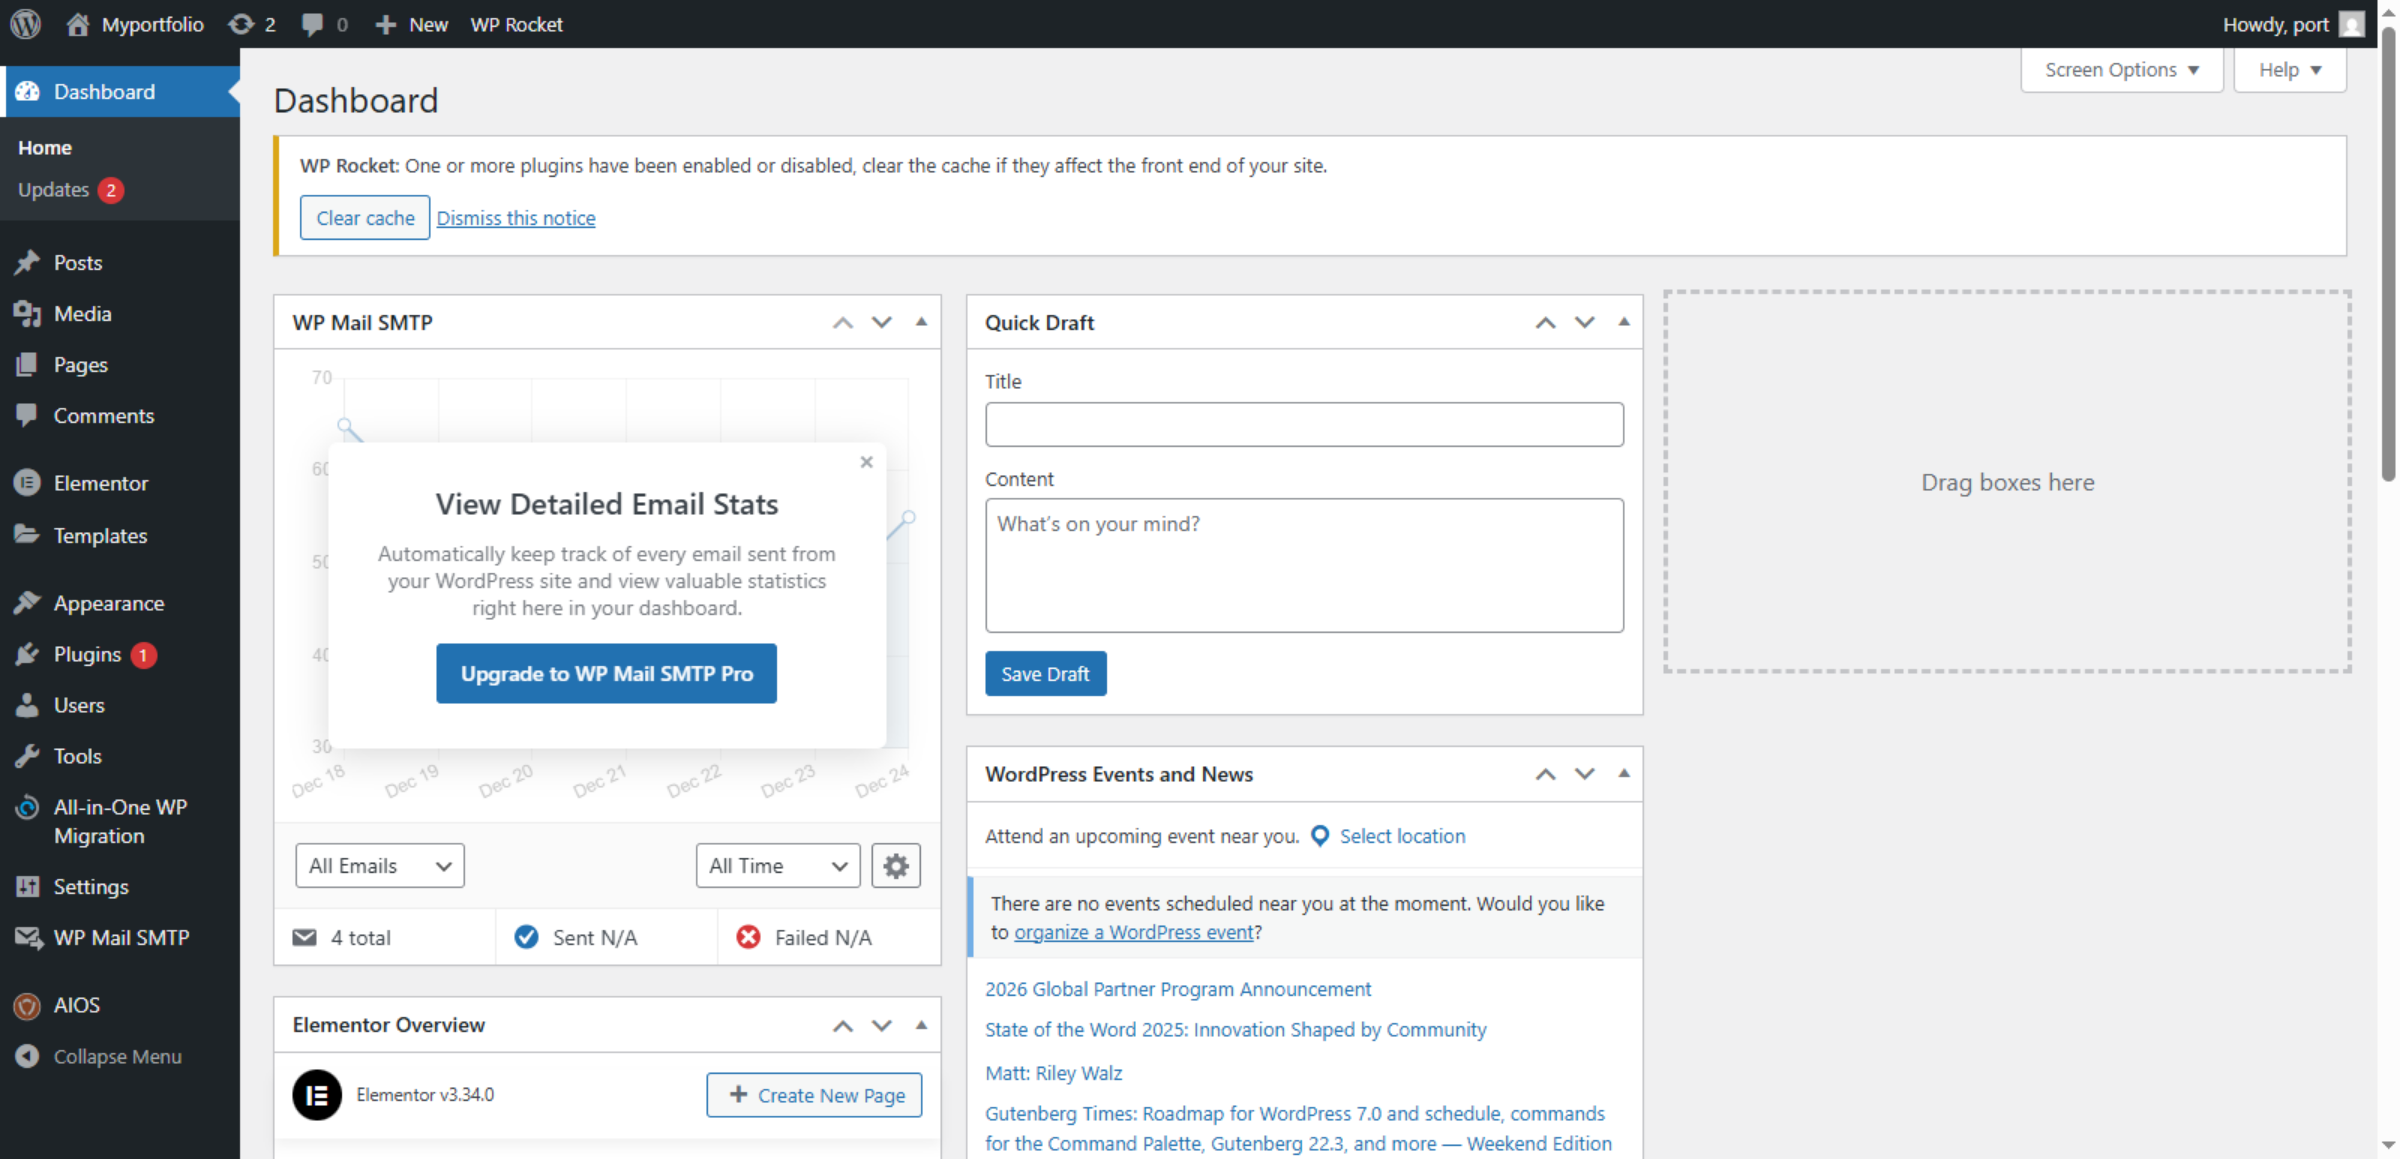
2. WordPress Admin Dashboard
This screen shows the WordPress admin dashboard, where security and email plugins can be managed to help enable malware scanning and firewall protection.
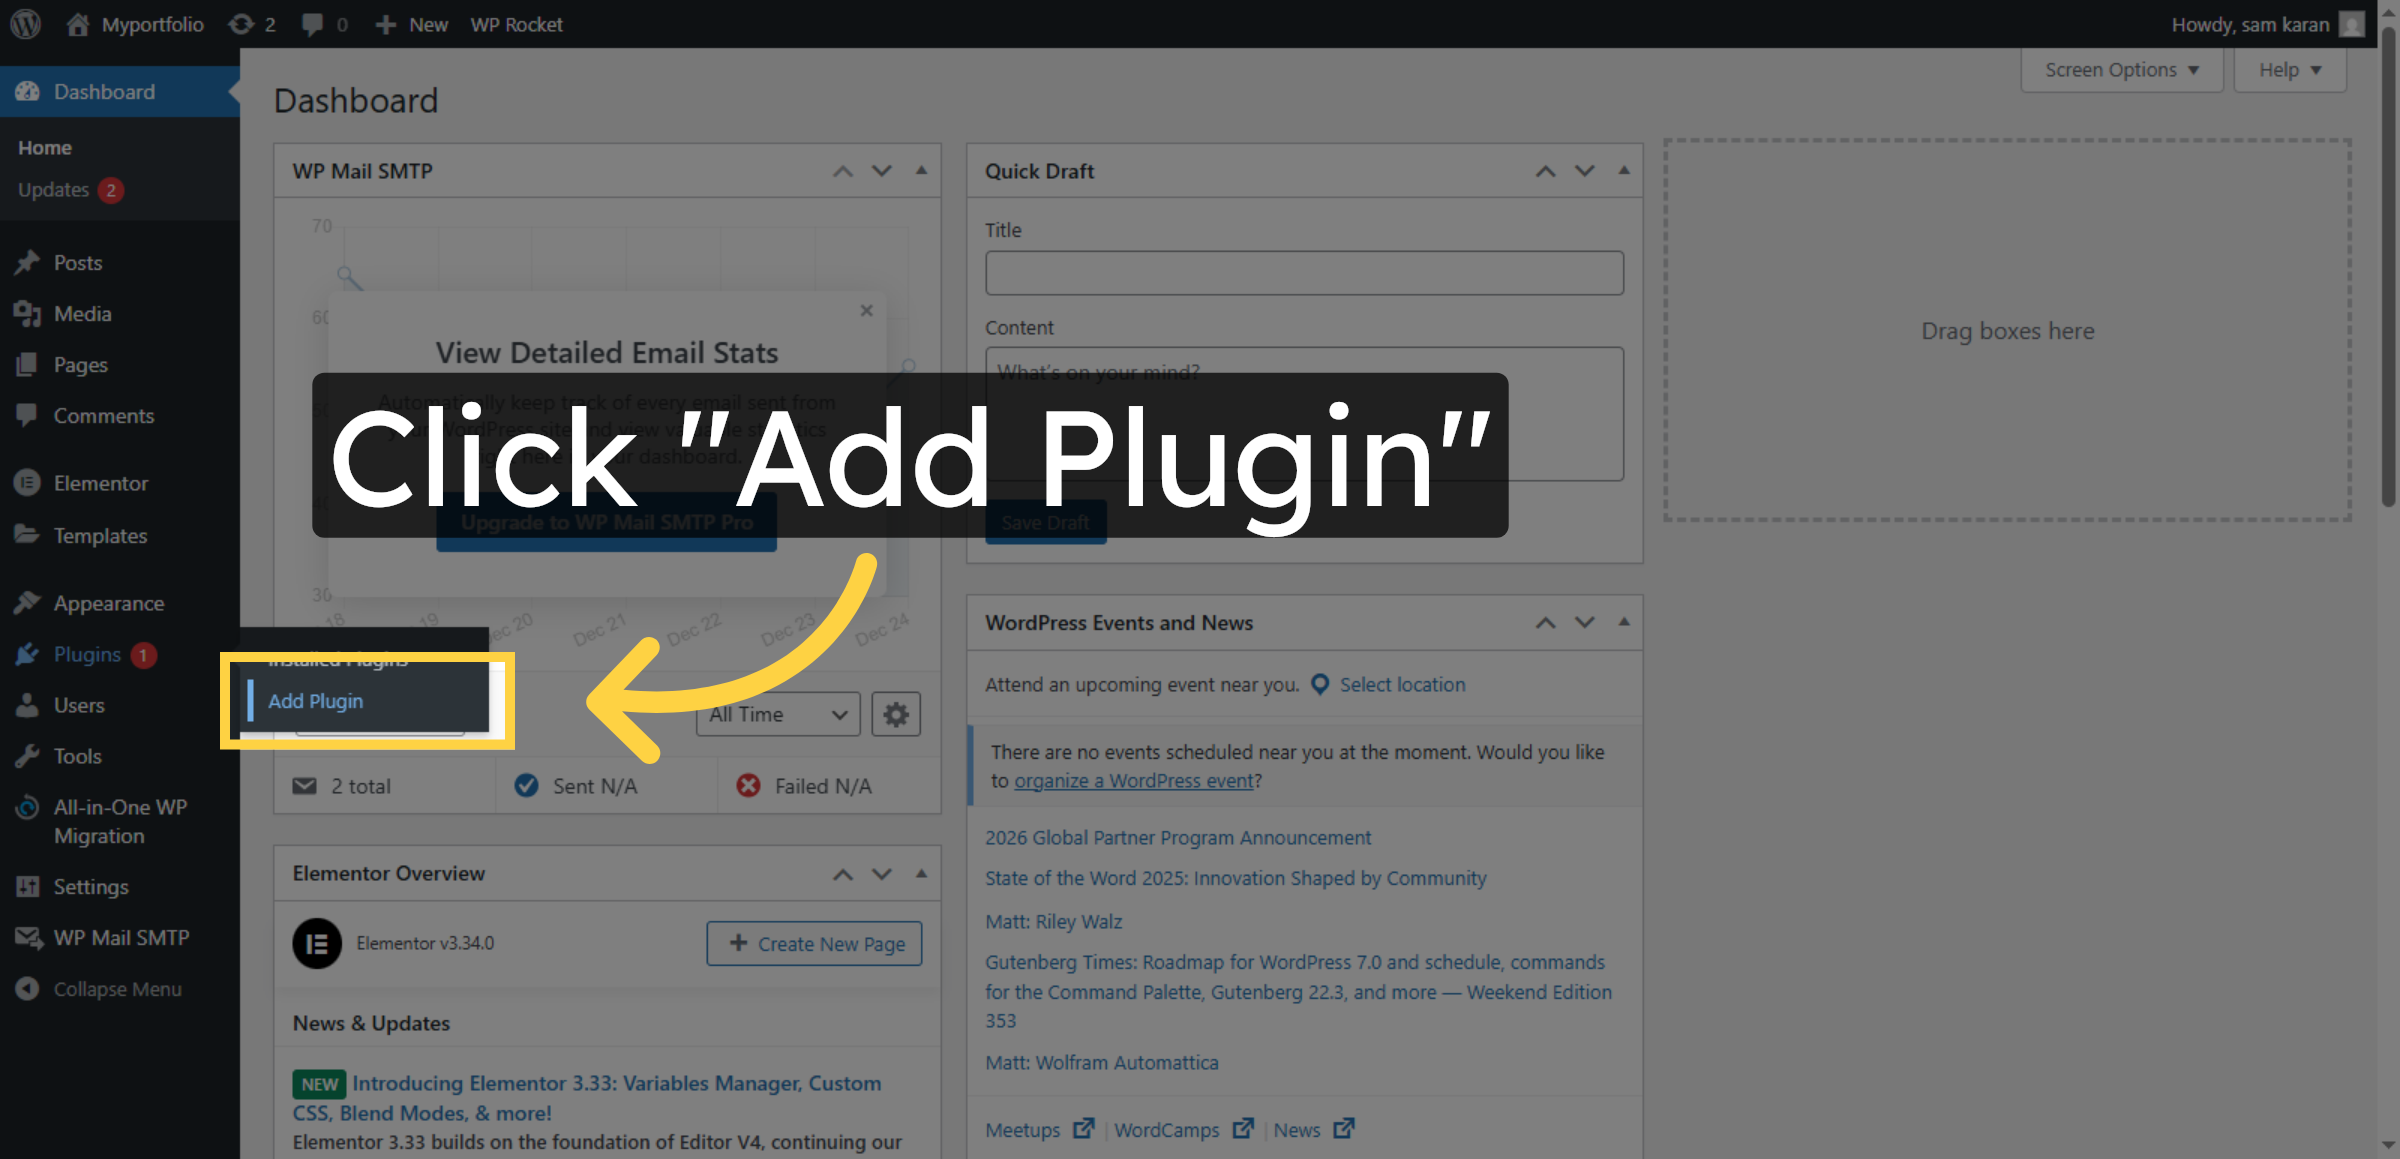
3. Open Add Plugin Page
Use this option to add new plugins in WordPress to improve website features and security.
4. Access Plugin Search
This screen shows the WordPress plugin directory, where you can search for required plugins by name to install security, backup, or performance tools.

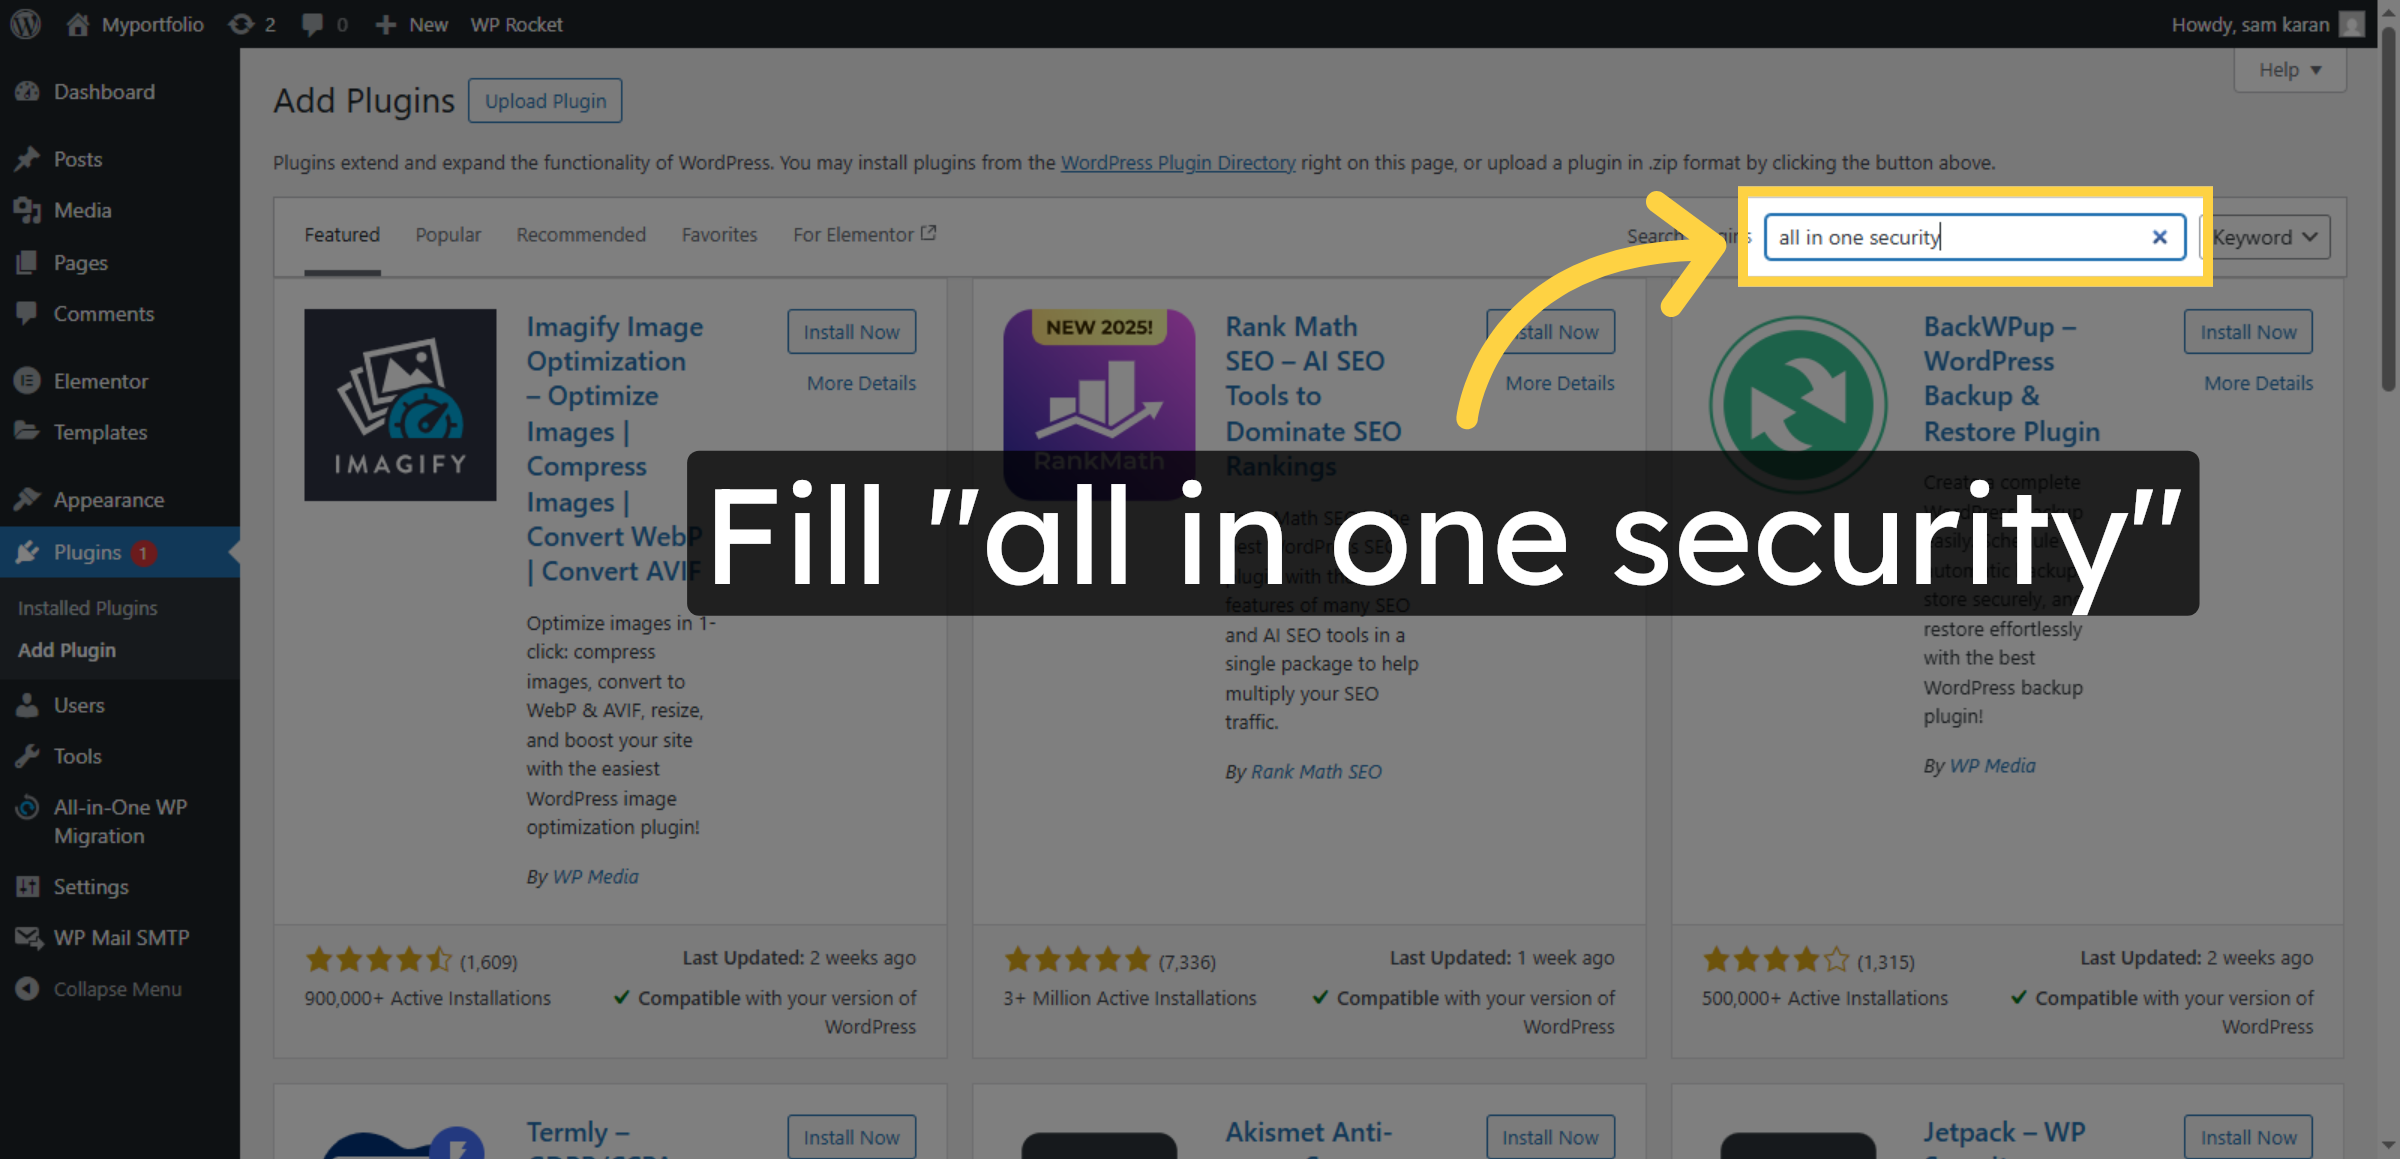
5. Search All In One Security
Use the search box to find the required security plugin, such as “All in One Security,” for installing malware scanning and firewall protection on your WordPress website.
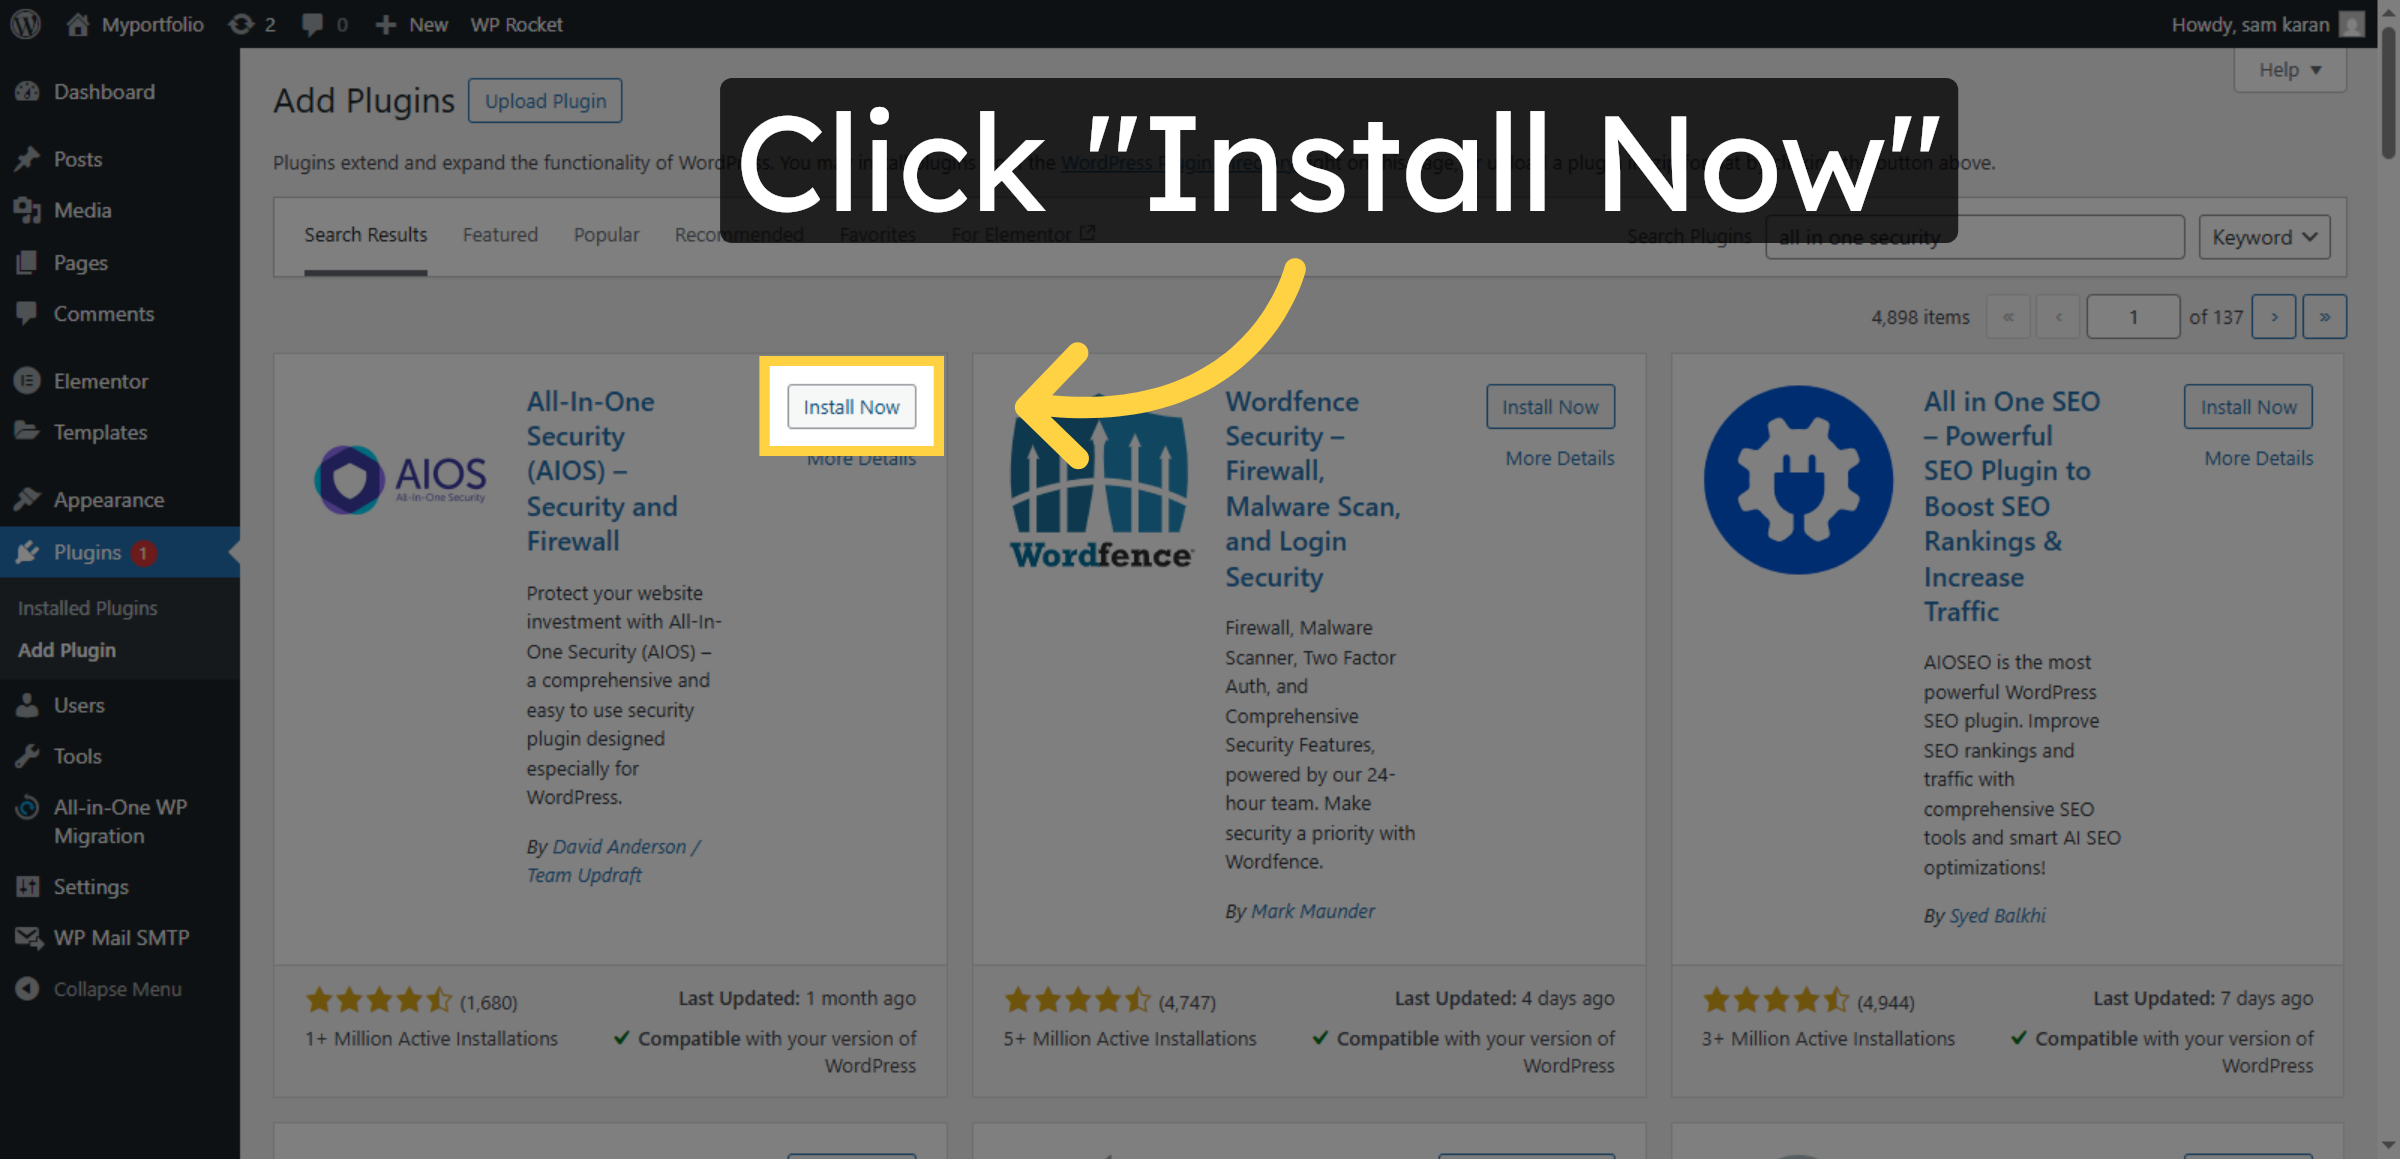
6. Install Security Plugin
Click the Install Now button to download and install the selected security plugin on your WordPress website for malware scanning and firewall protection.
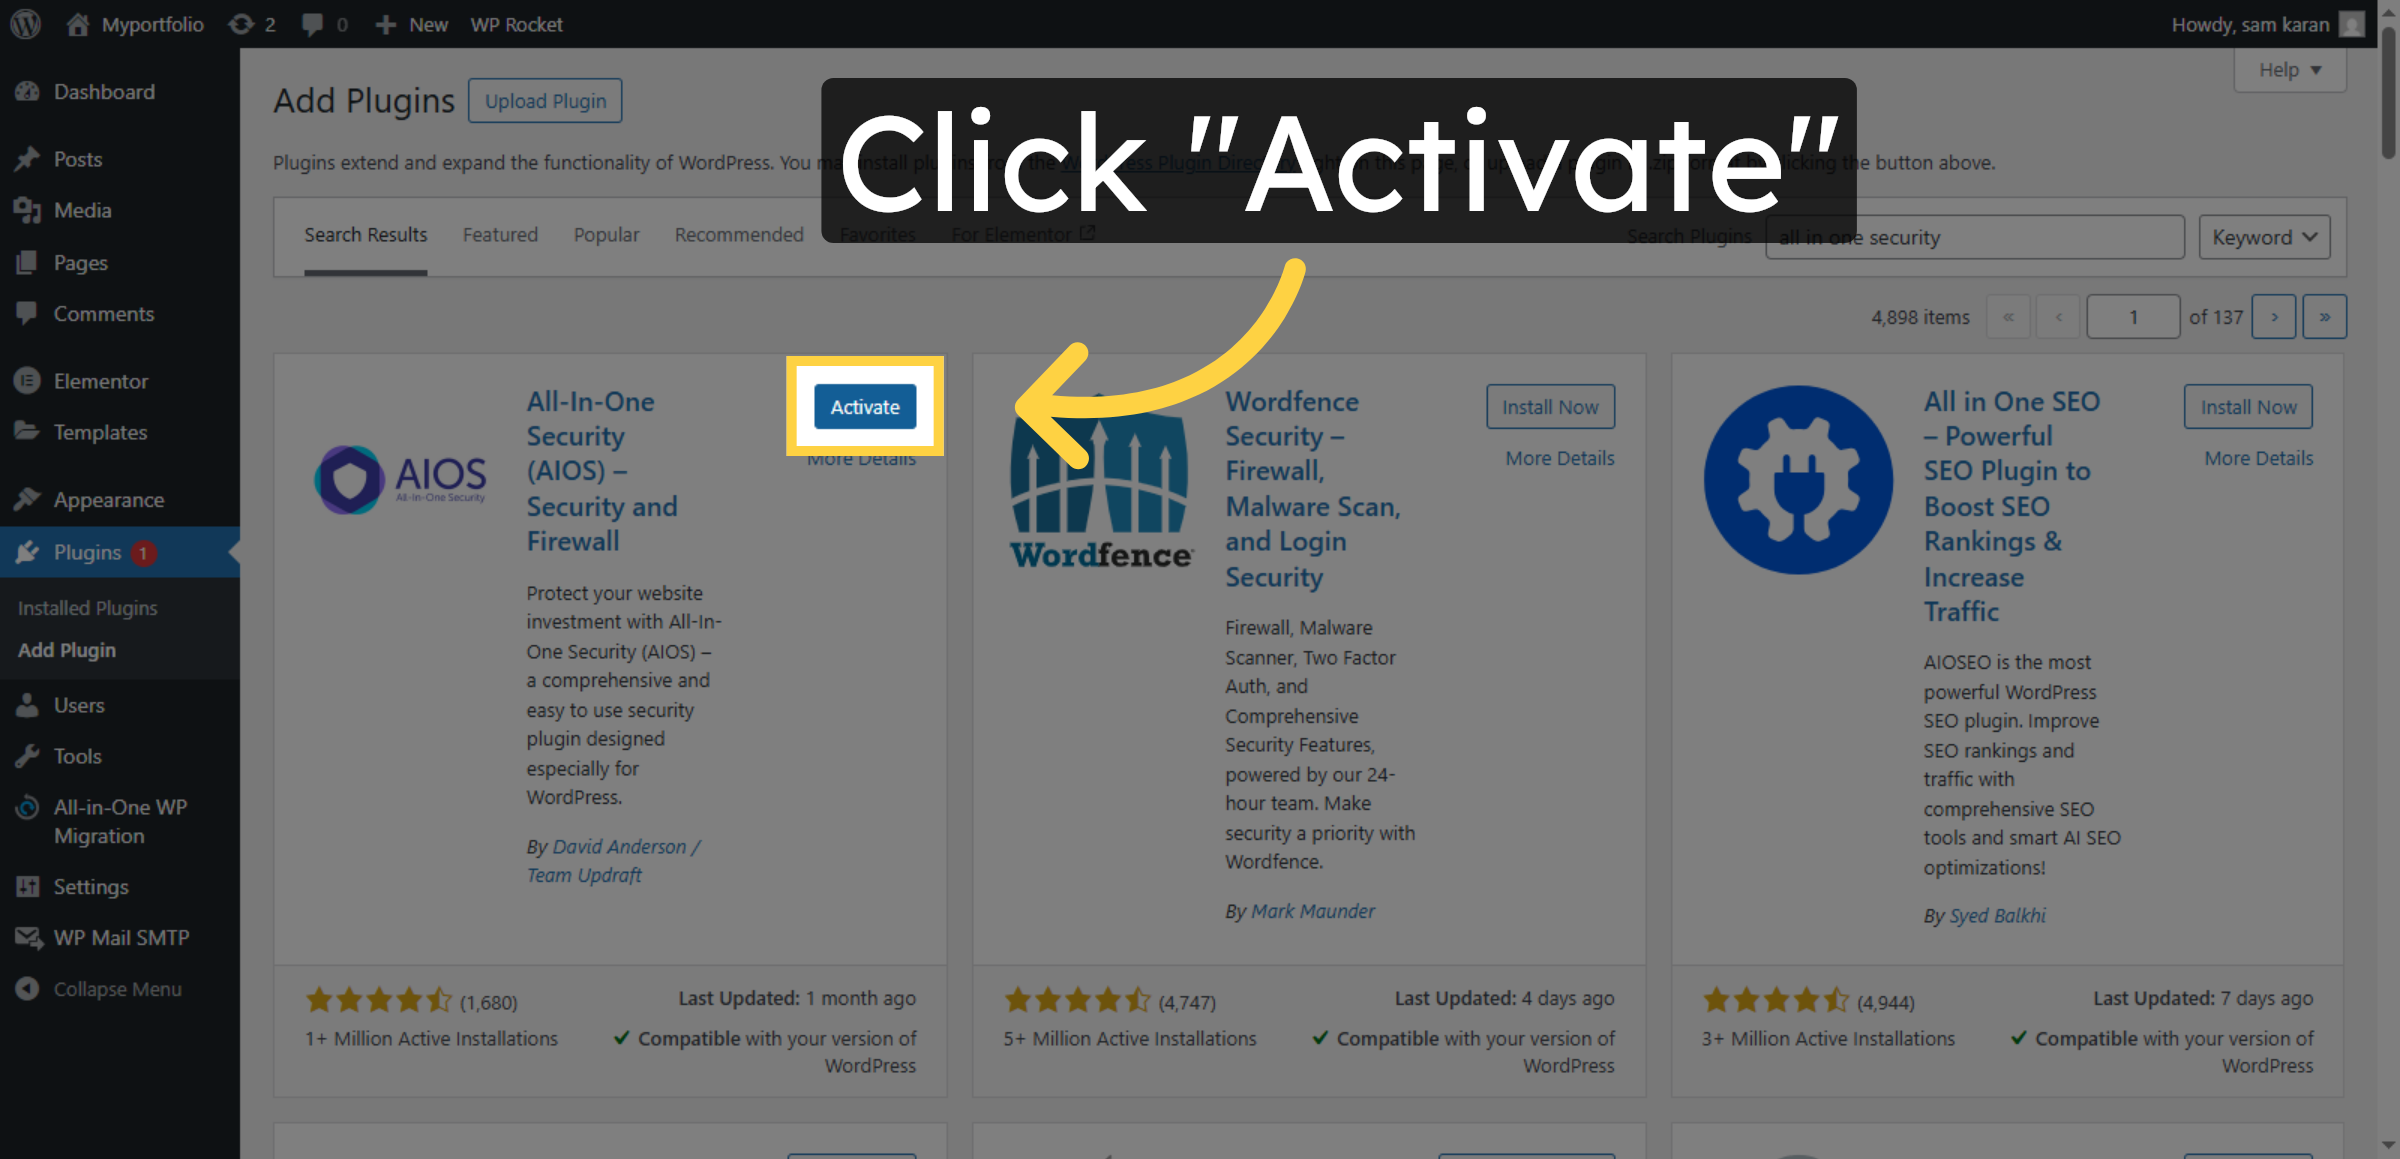
7. Activate Security Plugin
Click Activate to enable the All In One Security plugin.
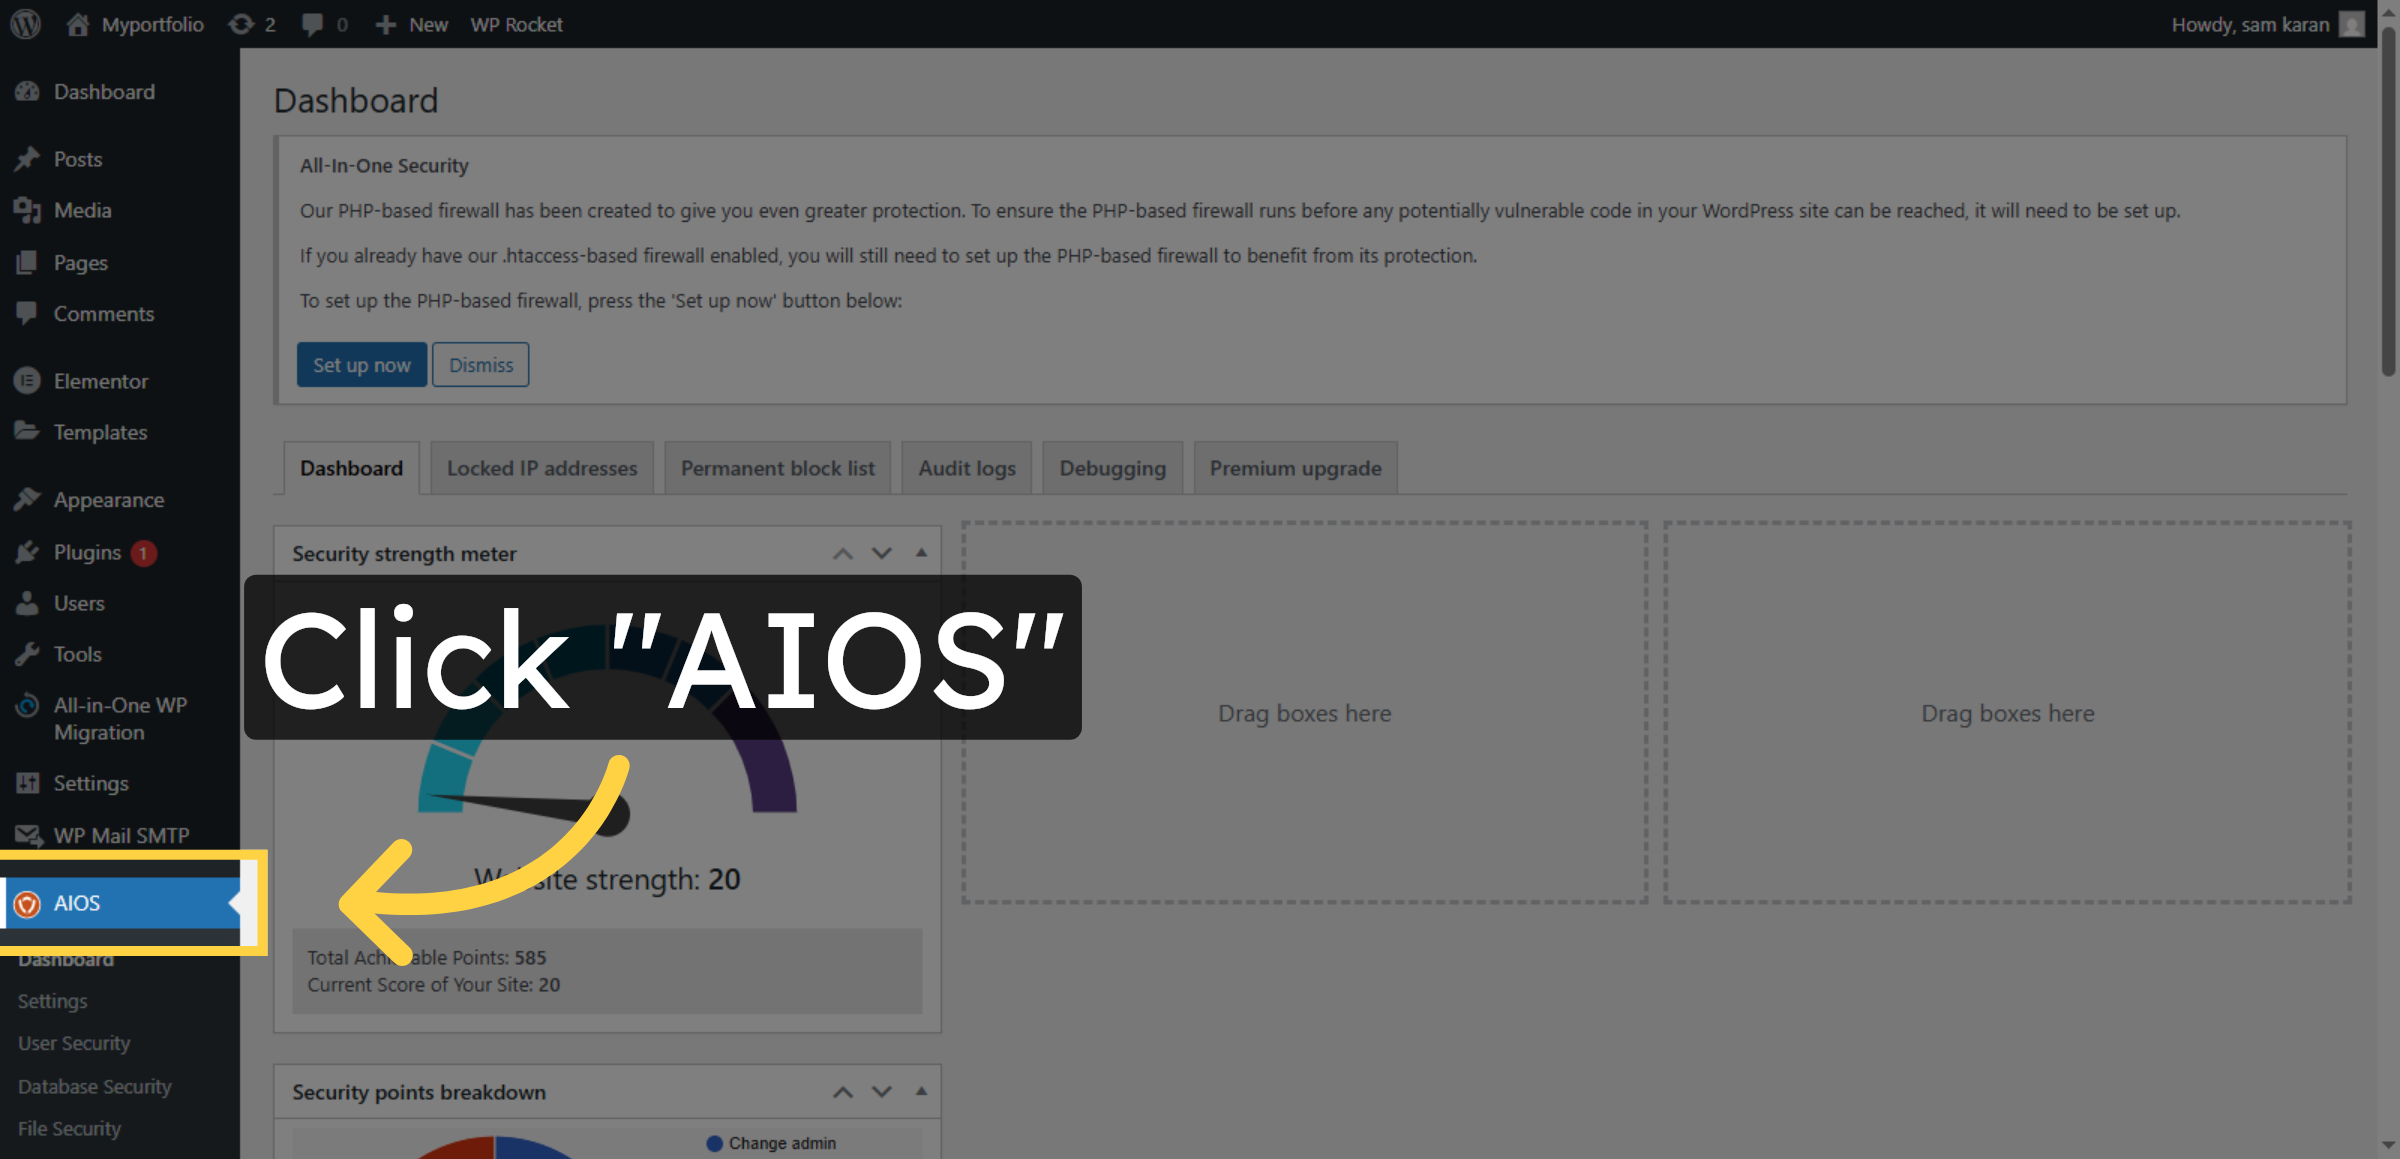
8. Access AIOS Settings
Click AIOS (All In One Security) from the WordPress dashboard menu to access security settings and configure malware scanning and firewall protection for your website.
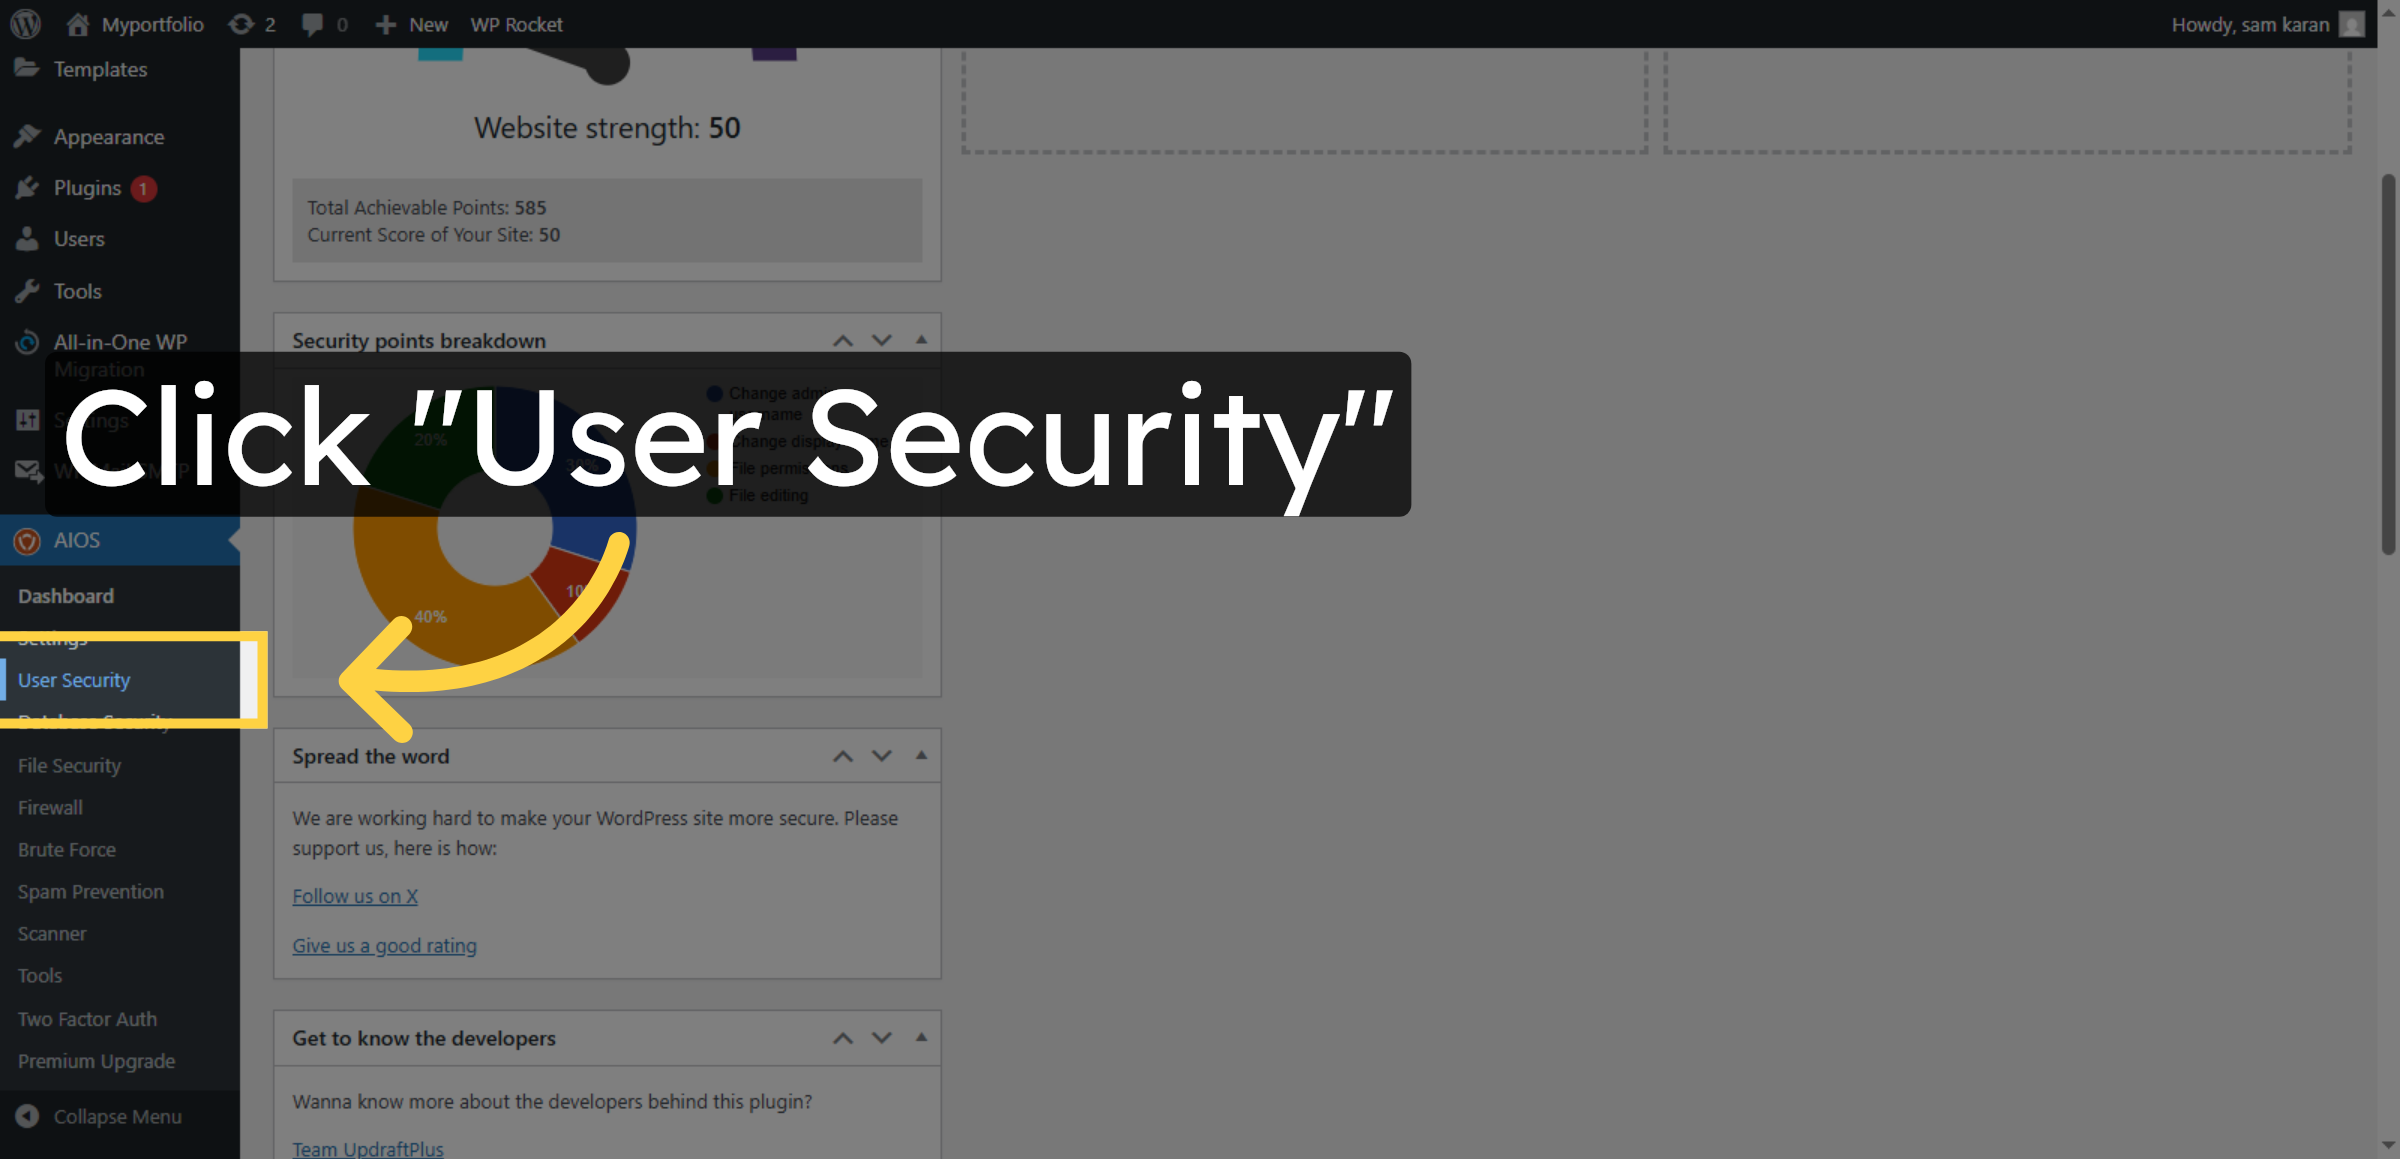
9. Select User Security
Click User Security in the AIOS plugin menu to manage login protection, user permissions, and account security settings for your WordPress website.
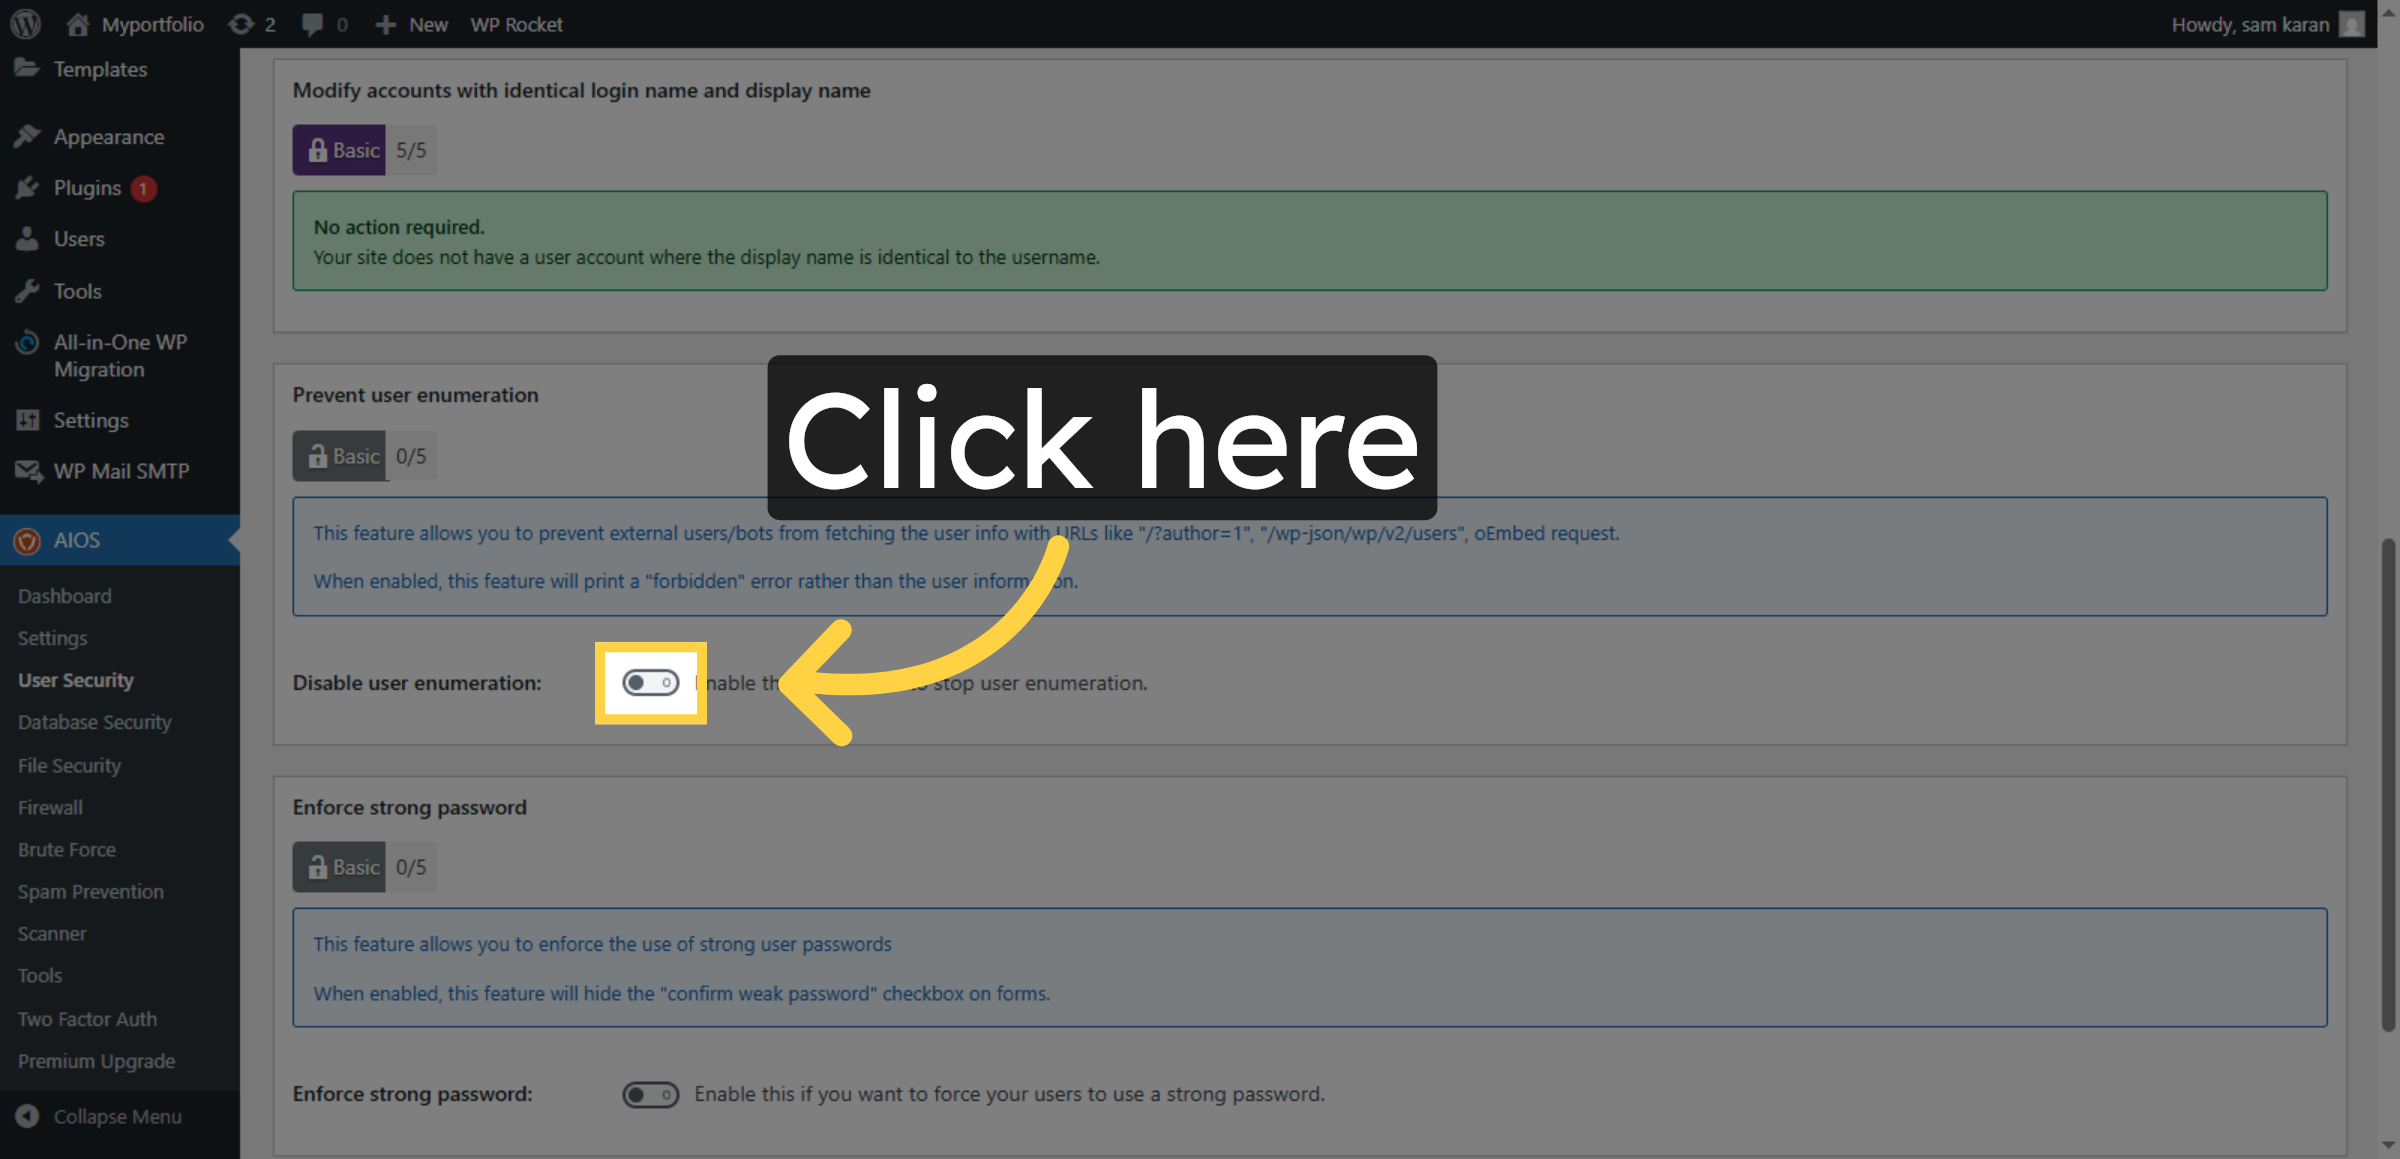
10. Enable User enumeration Security Feature
This option is used to enable user enumeration protection in the AIOS security plugin, preventing hackers from identifying valid usernames and improving overall website security.
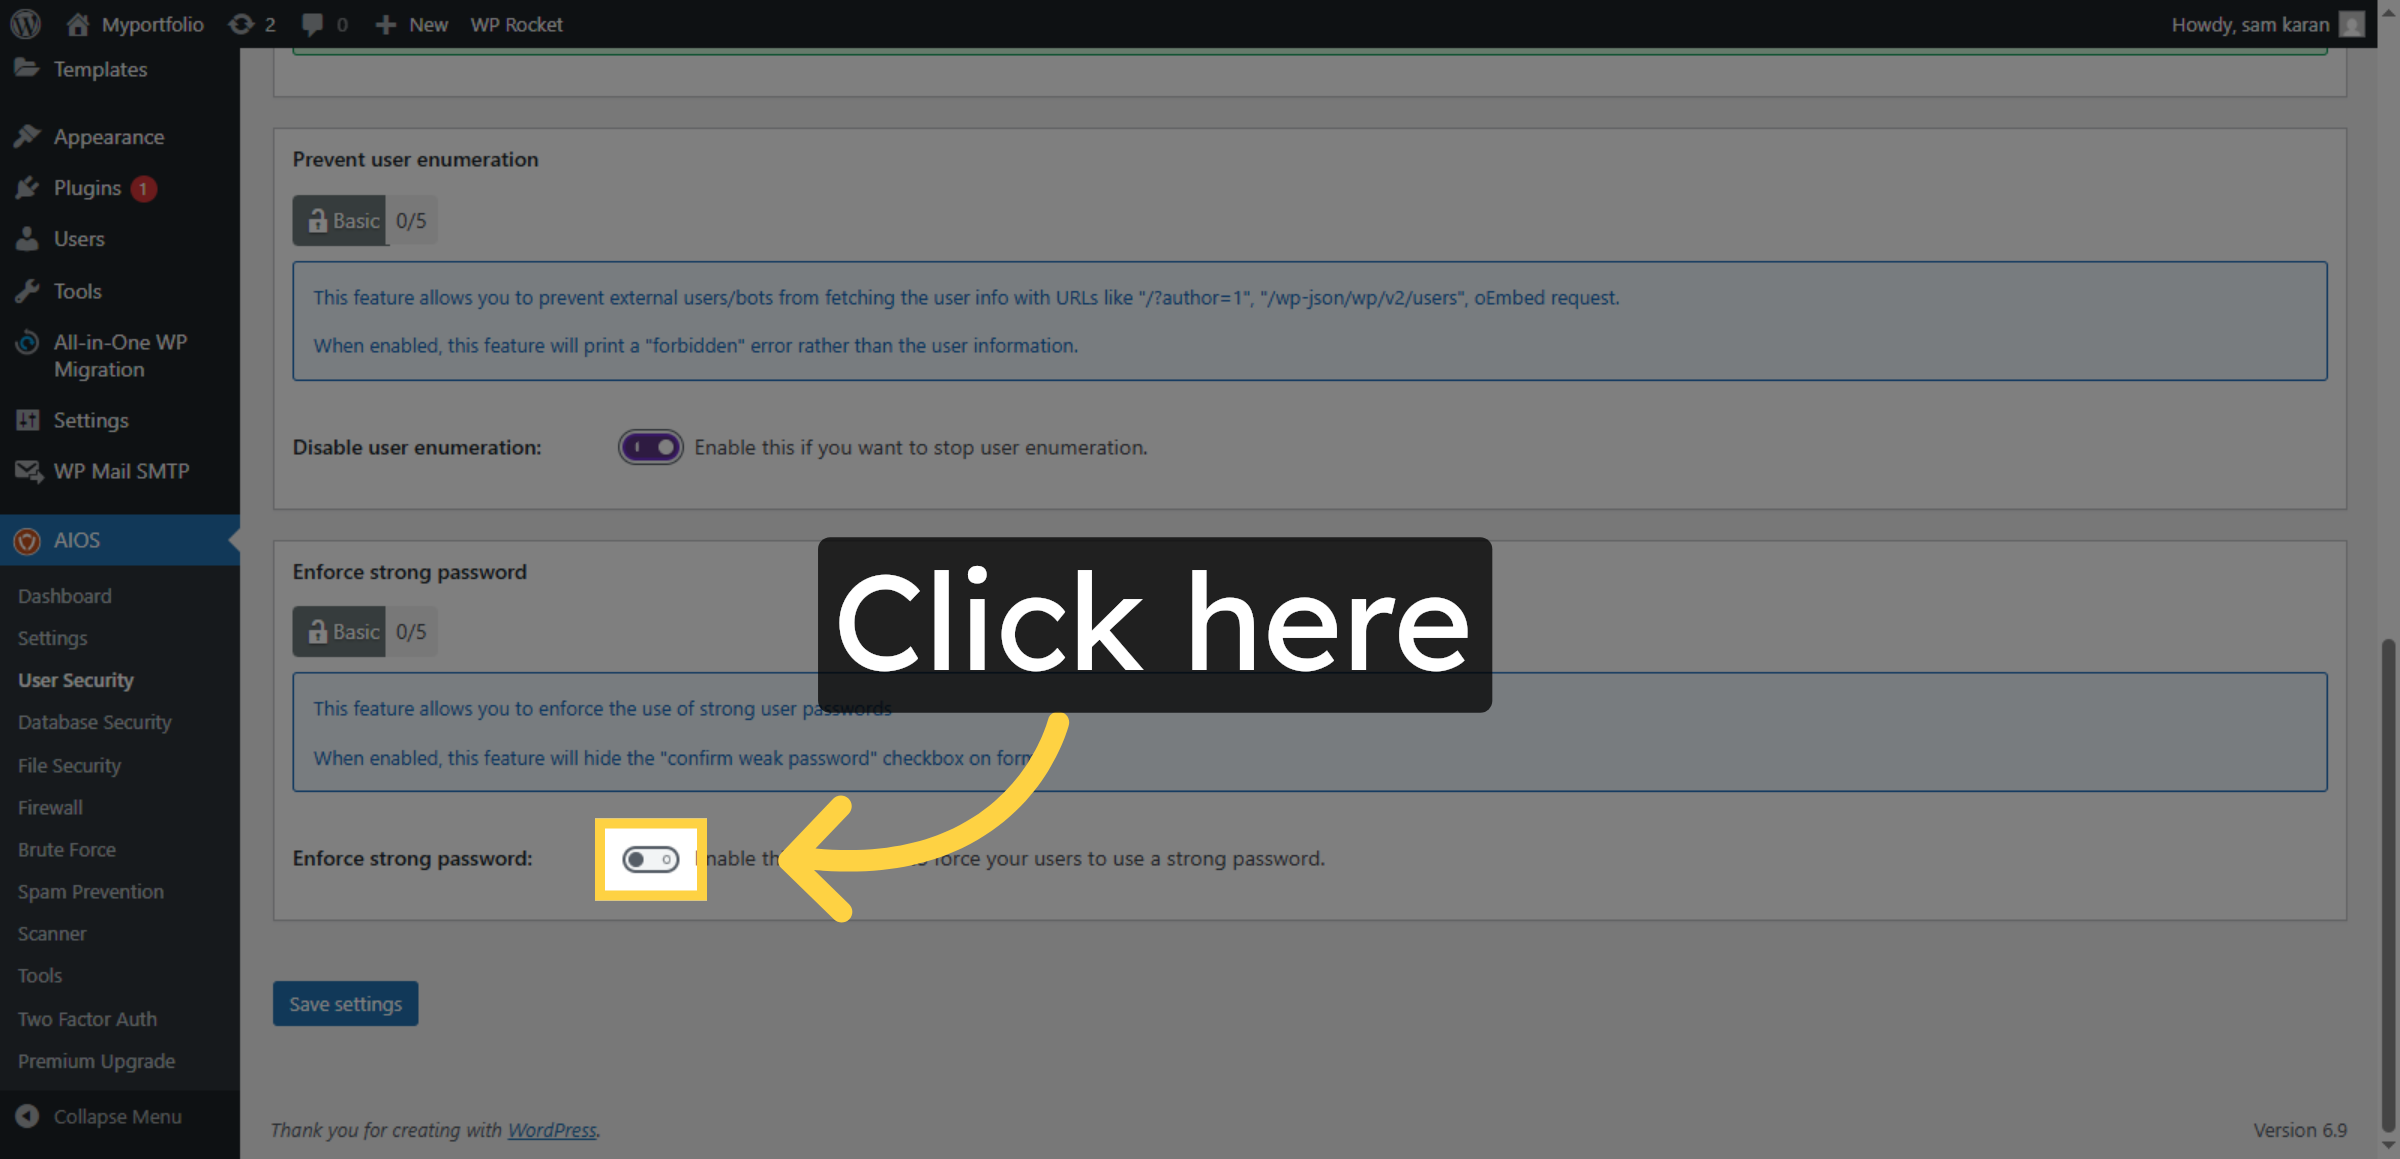
11. Enable Strong Password Enforcement
This option is used to enable strong password enforcement in the AIOS security plugin, ensuring all users create secure passwords to protect the website from unauthorized access.
12. Save User Security Settings
Click Save settings to confirm user security configurations.
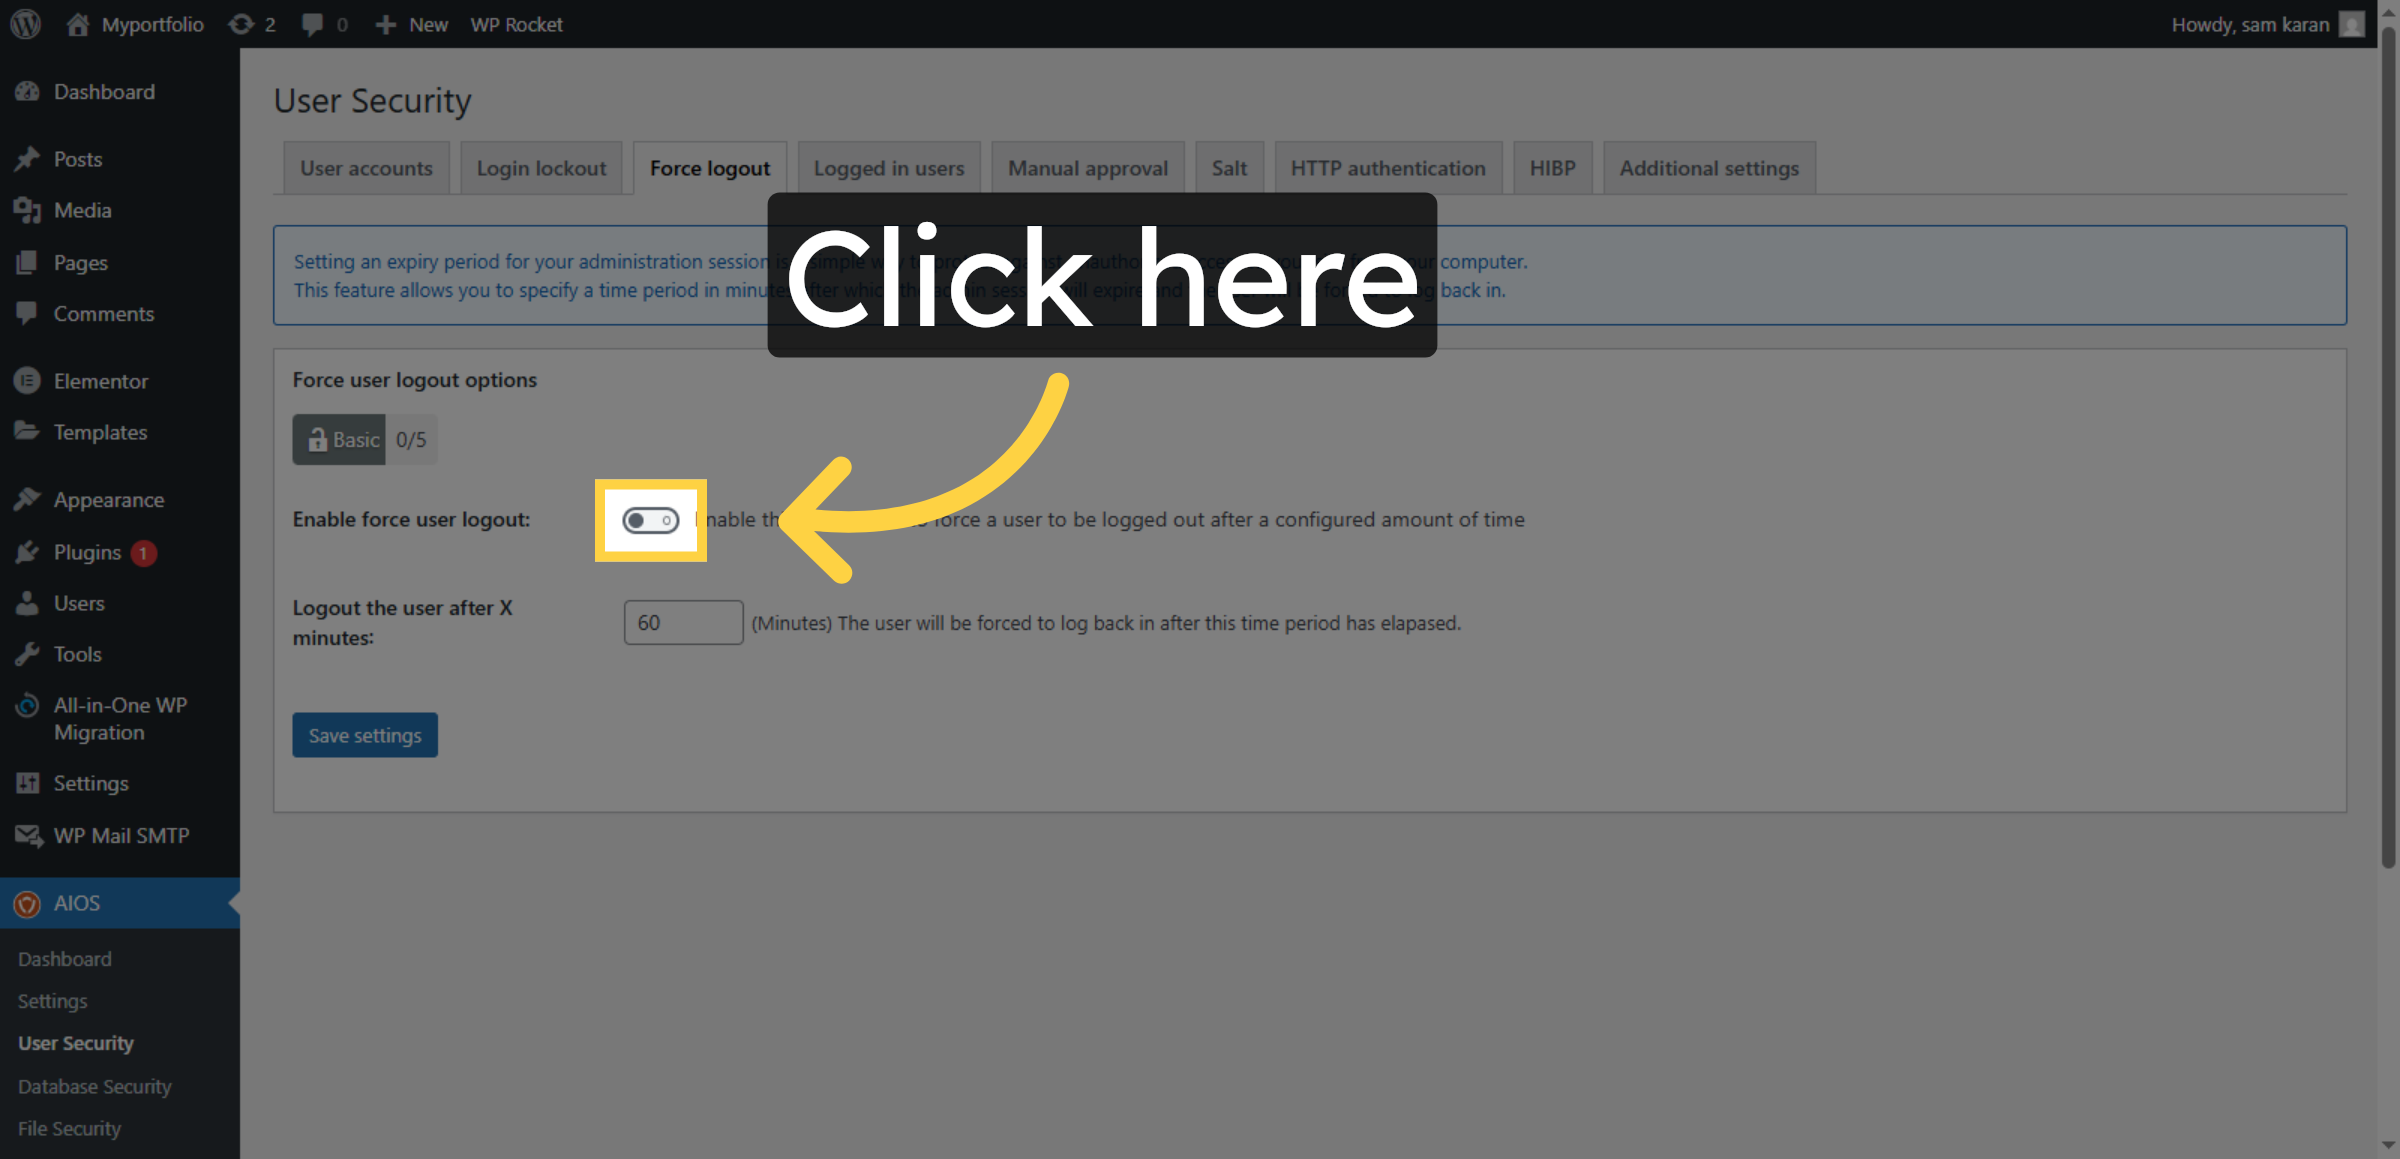
13. Force User Logout
is option is used to enable the Force Logout feature in the AIOS security plugin, which automatically logs out inactive or suspicious users to prevent unauthorized access.

14. Enable Force Logout
This option is used to enable the Force Logout feature, which automatically logs users out after a set time to improve website security and prevent unauthorized access.
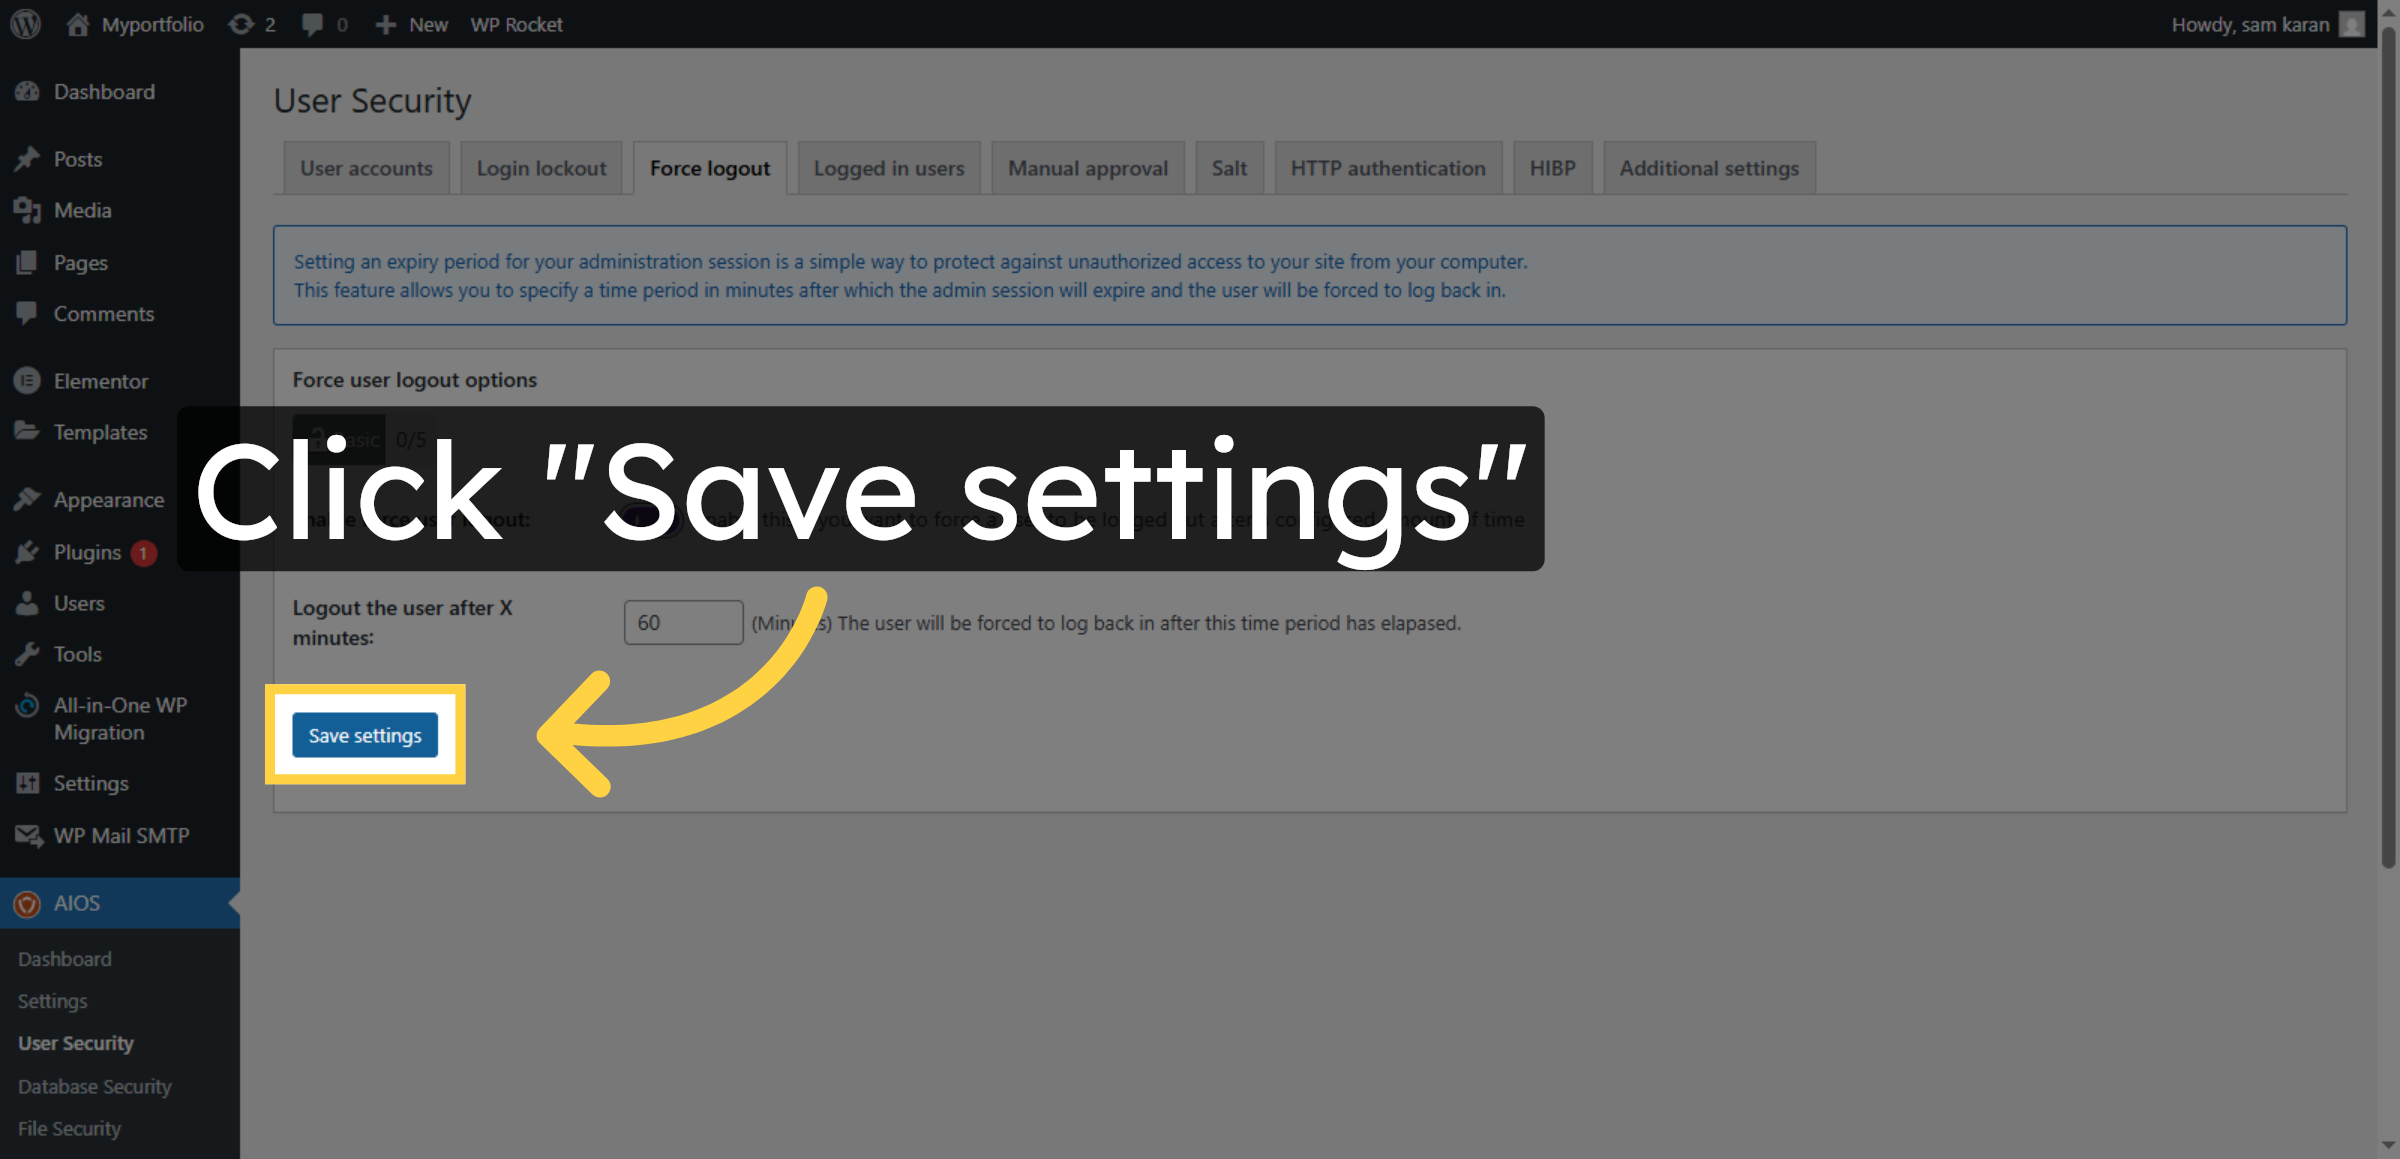
15. Save Force Logout Settings
Click Save settings to apply force logout changes.
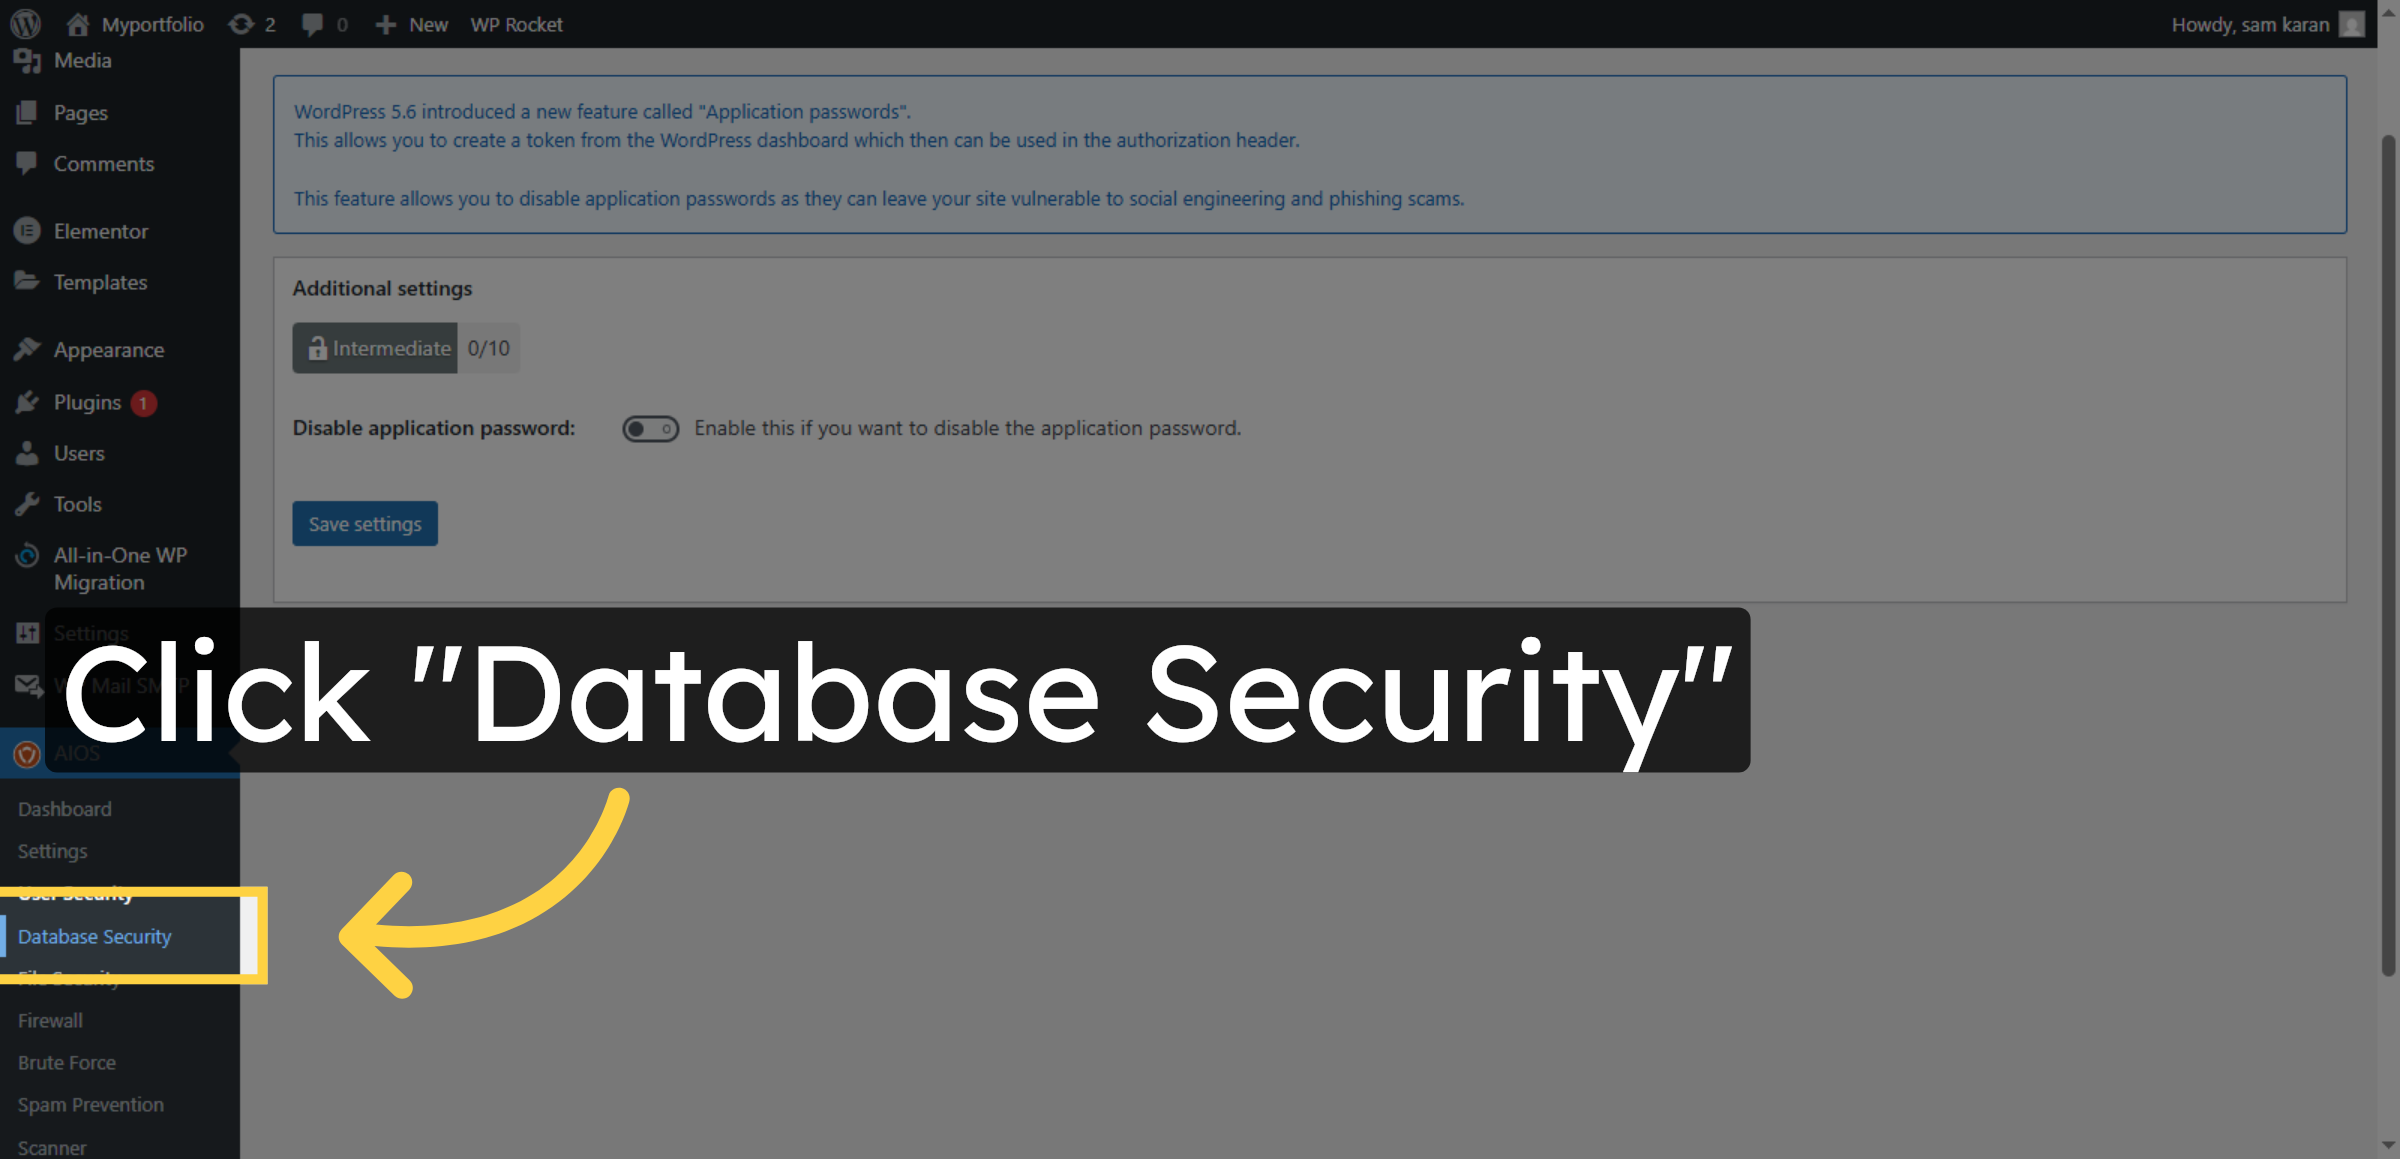
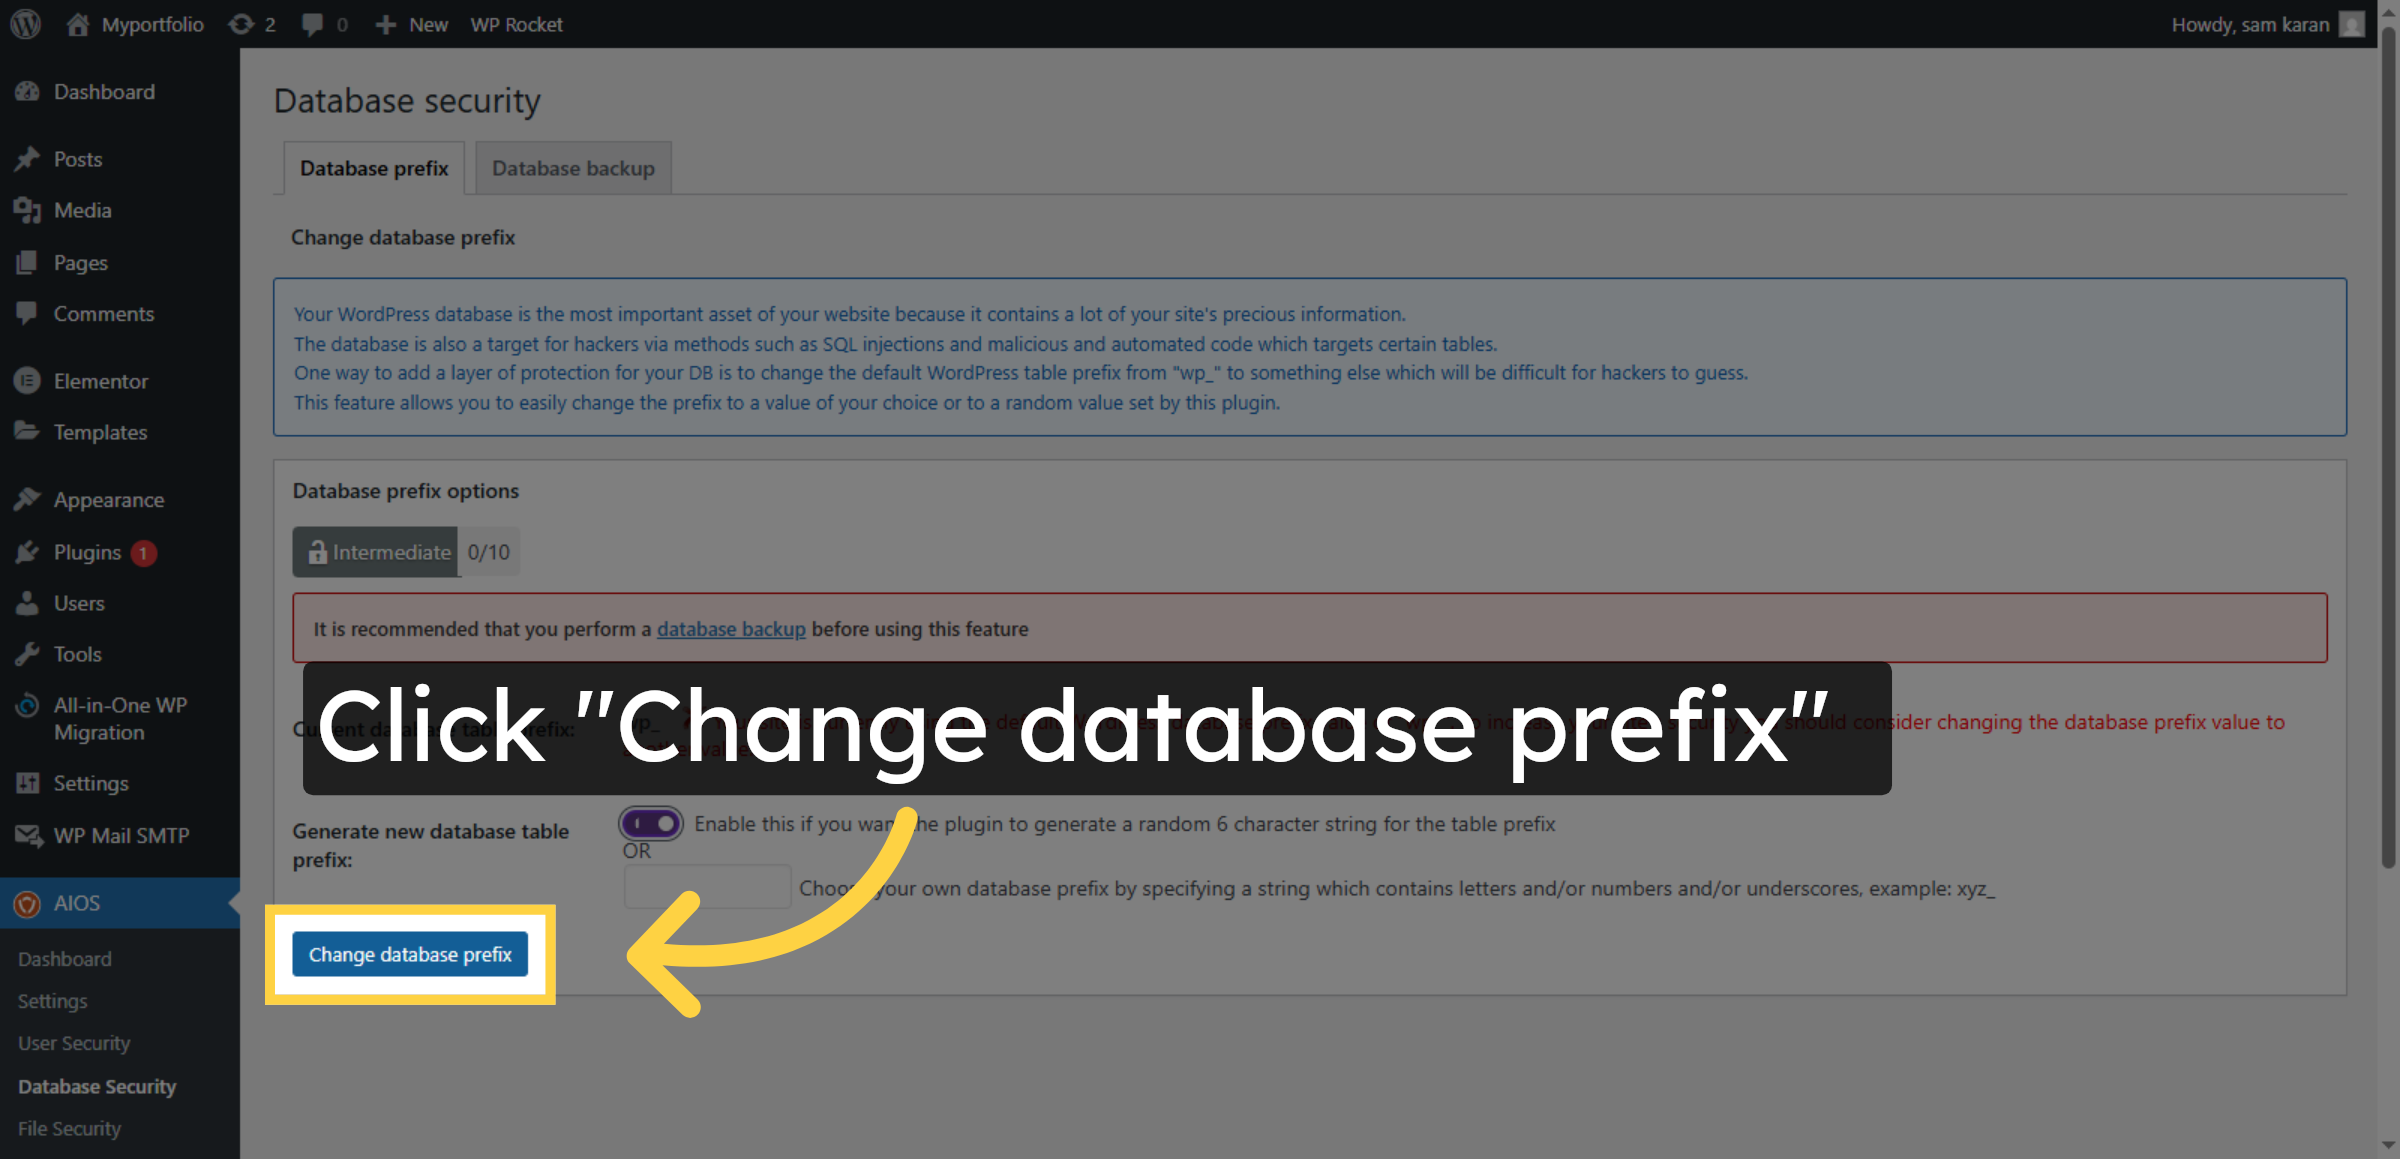
16. Select Database Security
Click Database Security in the AIOS plugin menu to manage and strengthen database protection, helping prevent unauthorized access and data breaches.
17. Enable Generate New Database Table Prefix
This option is used to generate a new database table prefix, helping protect the WordPress database from SQL injection attacks and improving overall security.
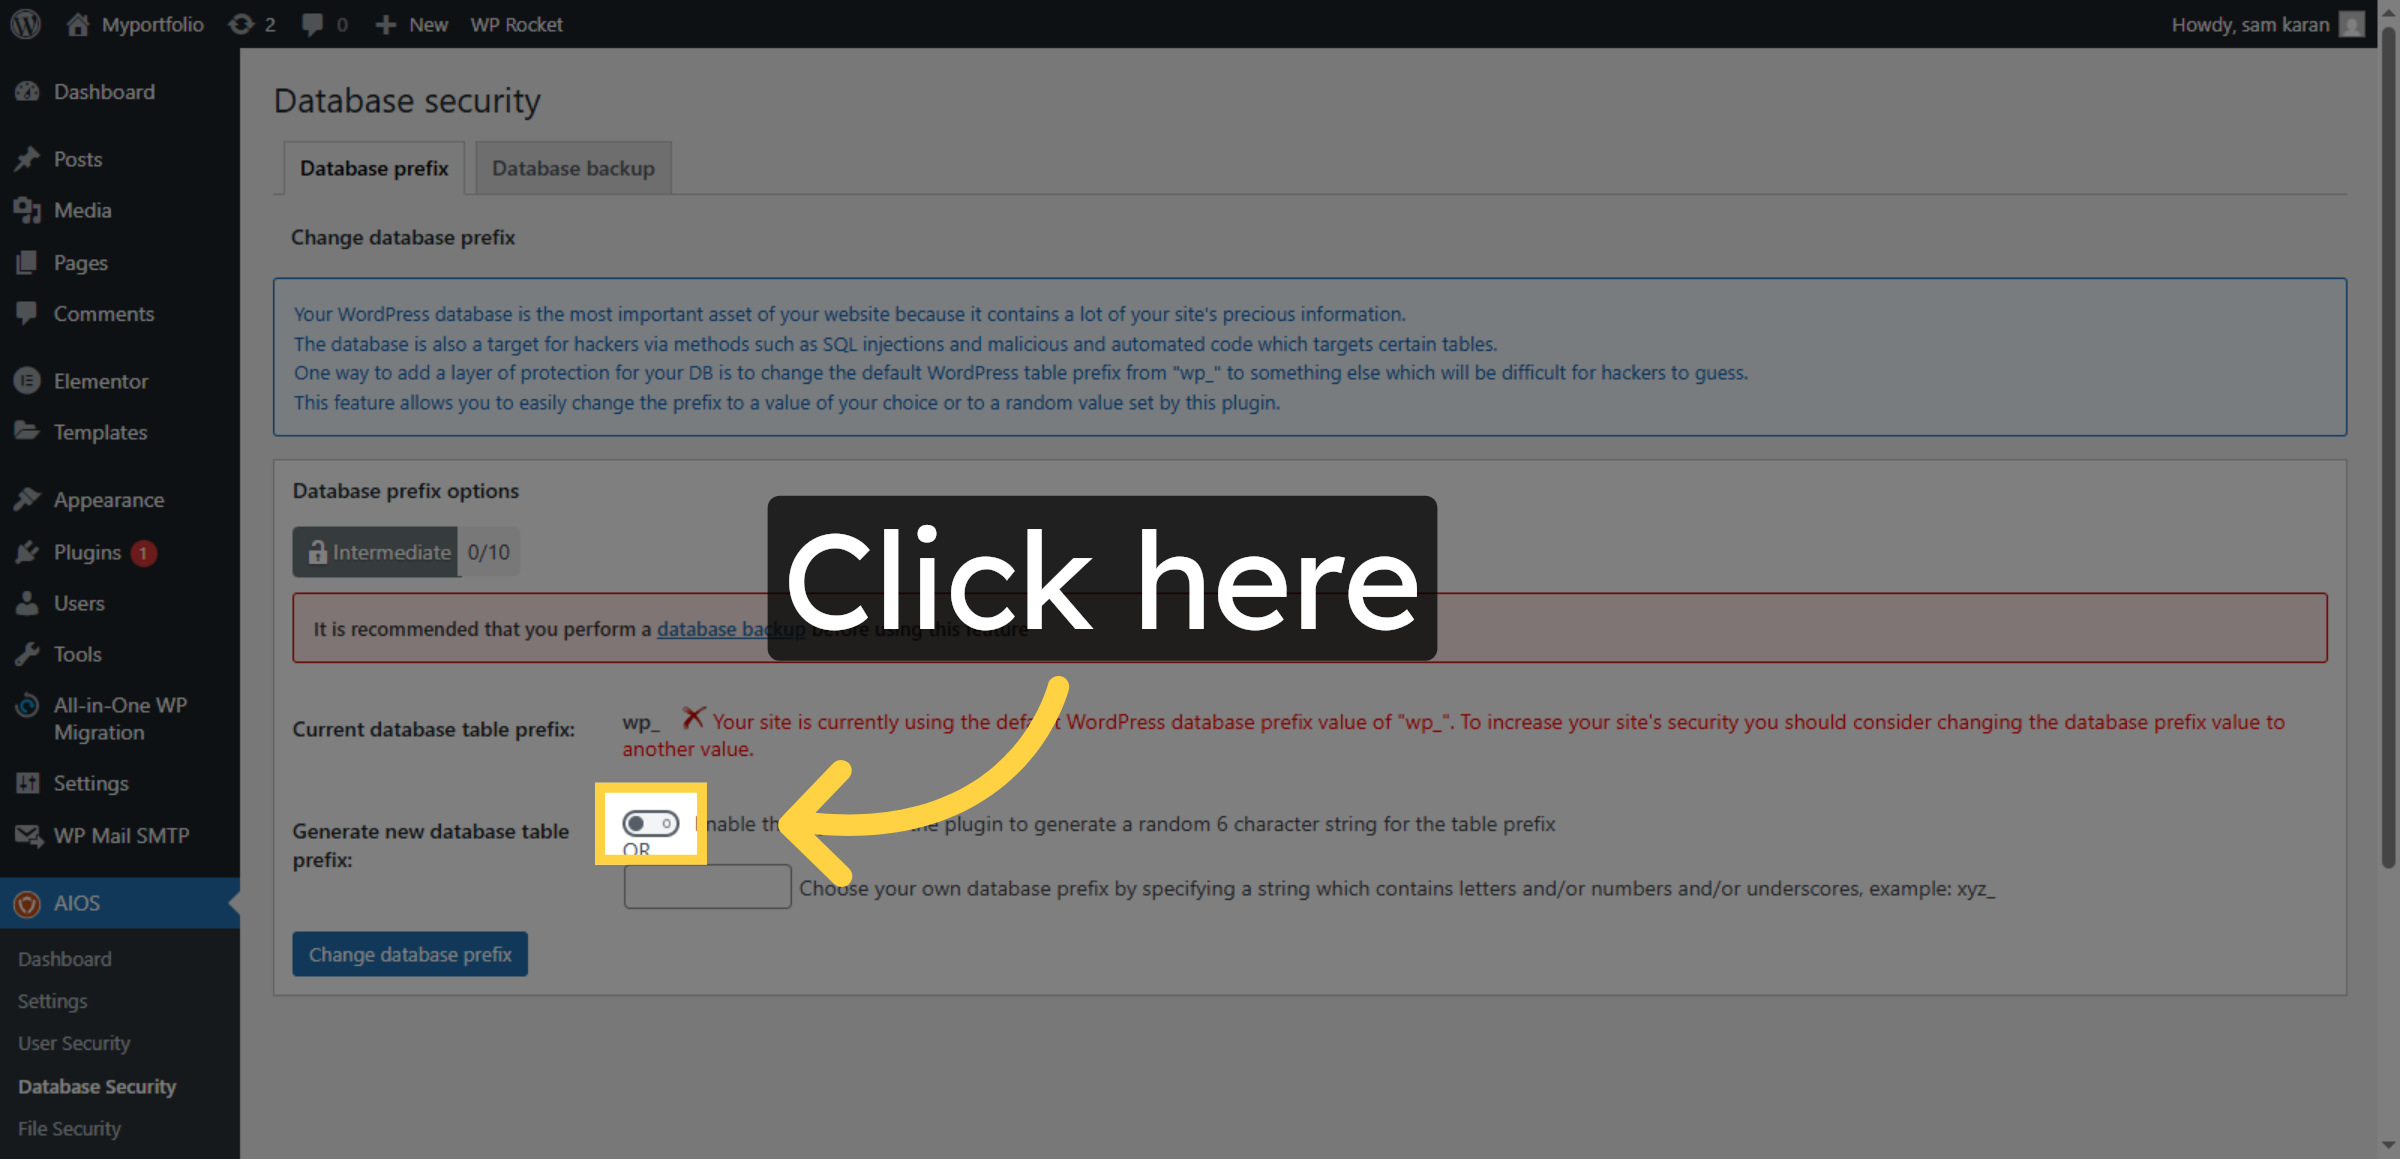
18. Change Database Prefix
Click Change database prefix to enhance database security.
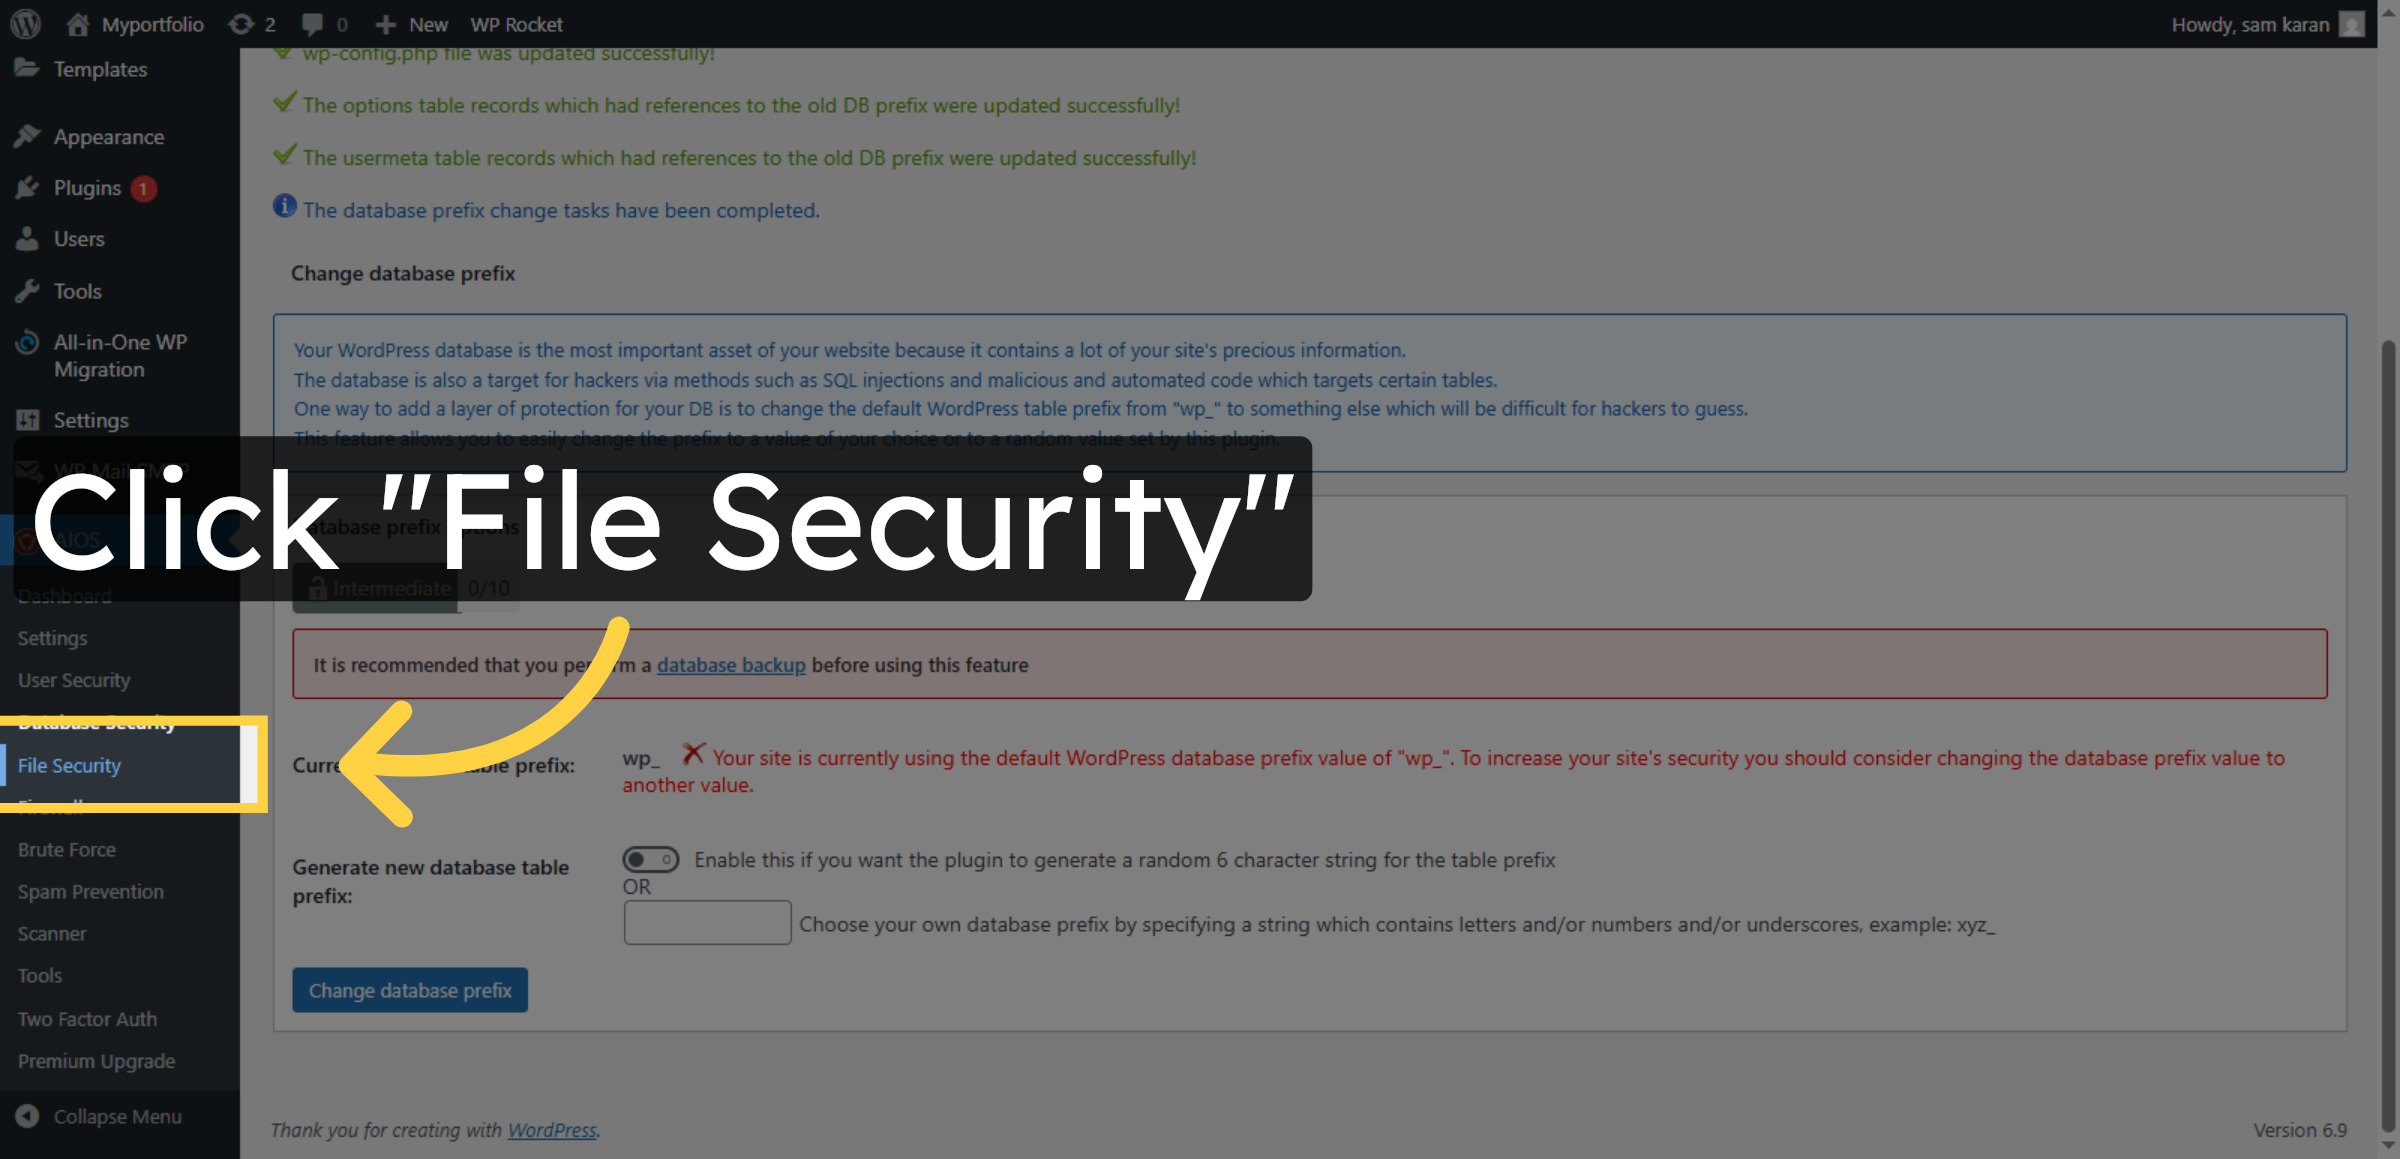
19. Return To File Security
Click File Security to revisit file protection options.
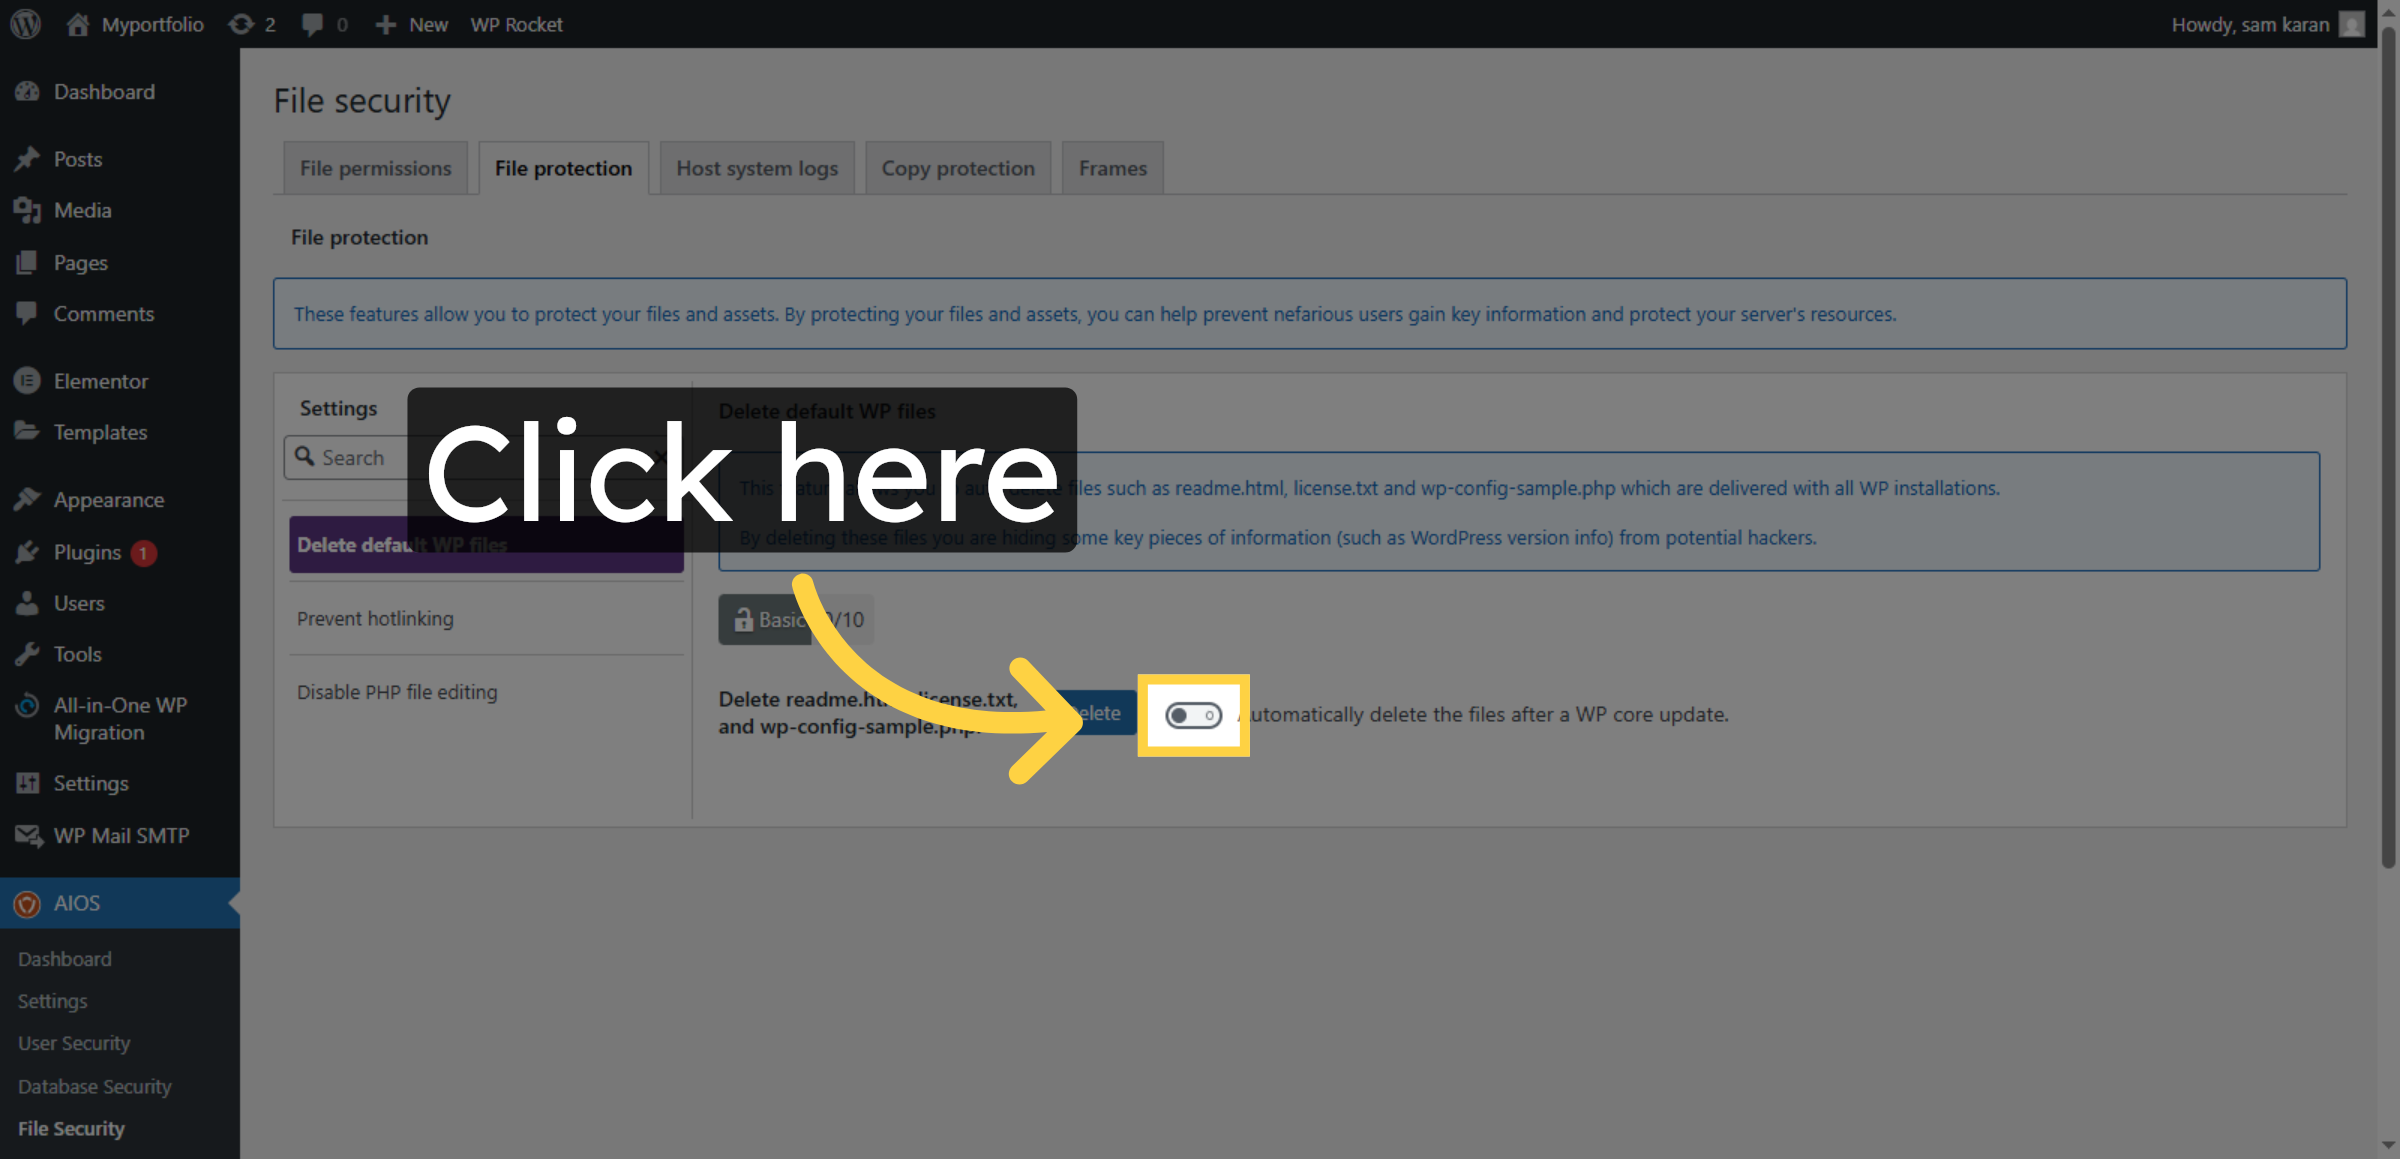
20. Open File Protection
Click File protection to adjust file security settings.

21. Enable File Protection
Click here to enable file protection again.
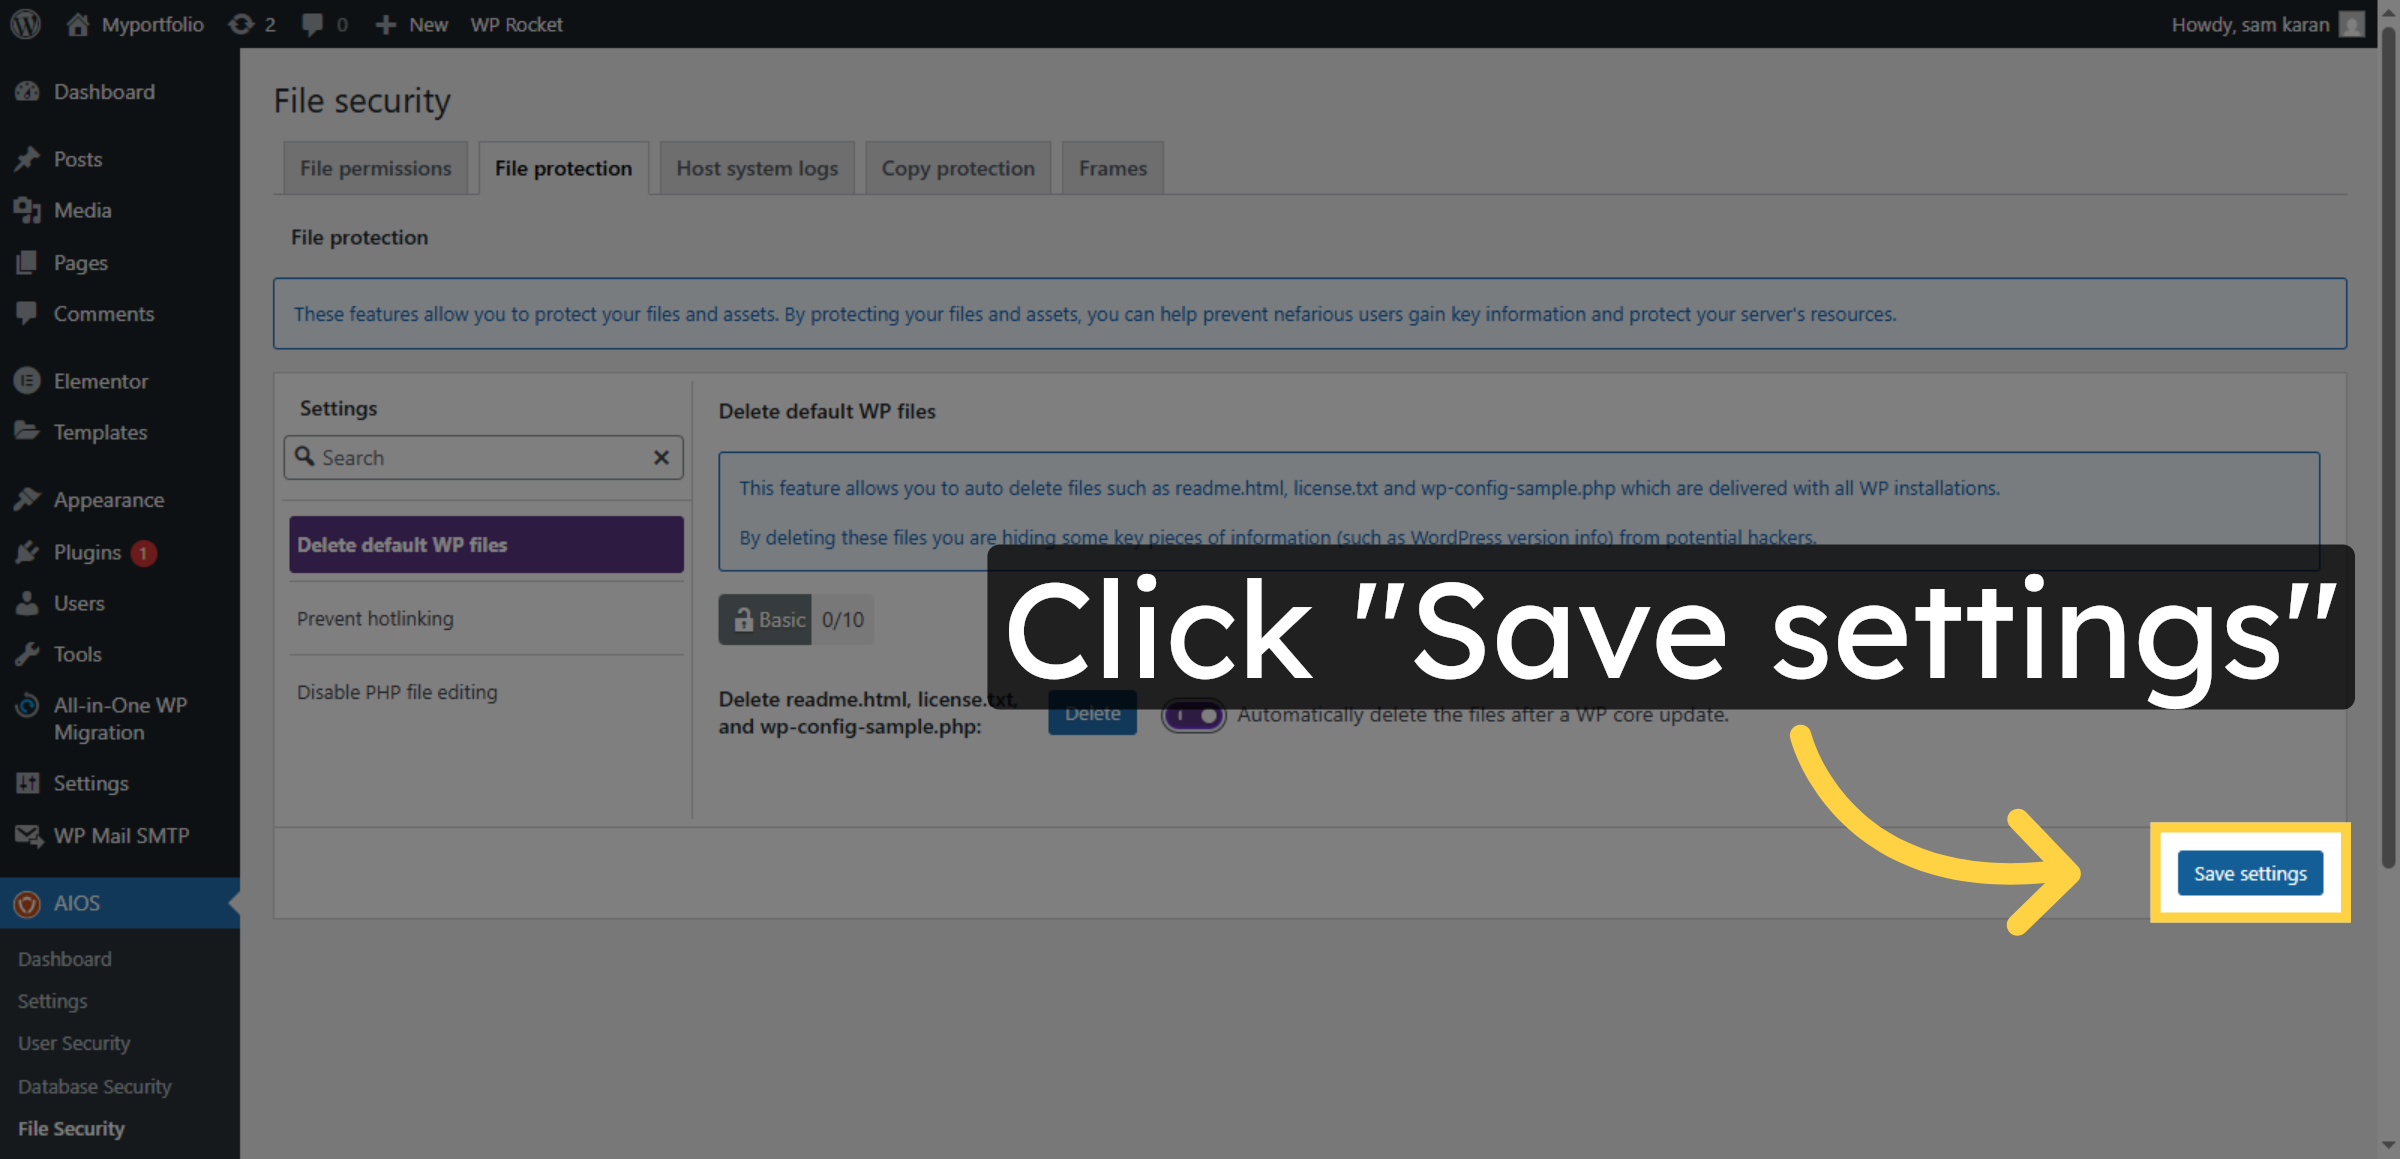
22. Save File Protection Settings
Click Save settings to confirm file protection changes.
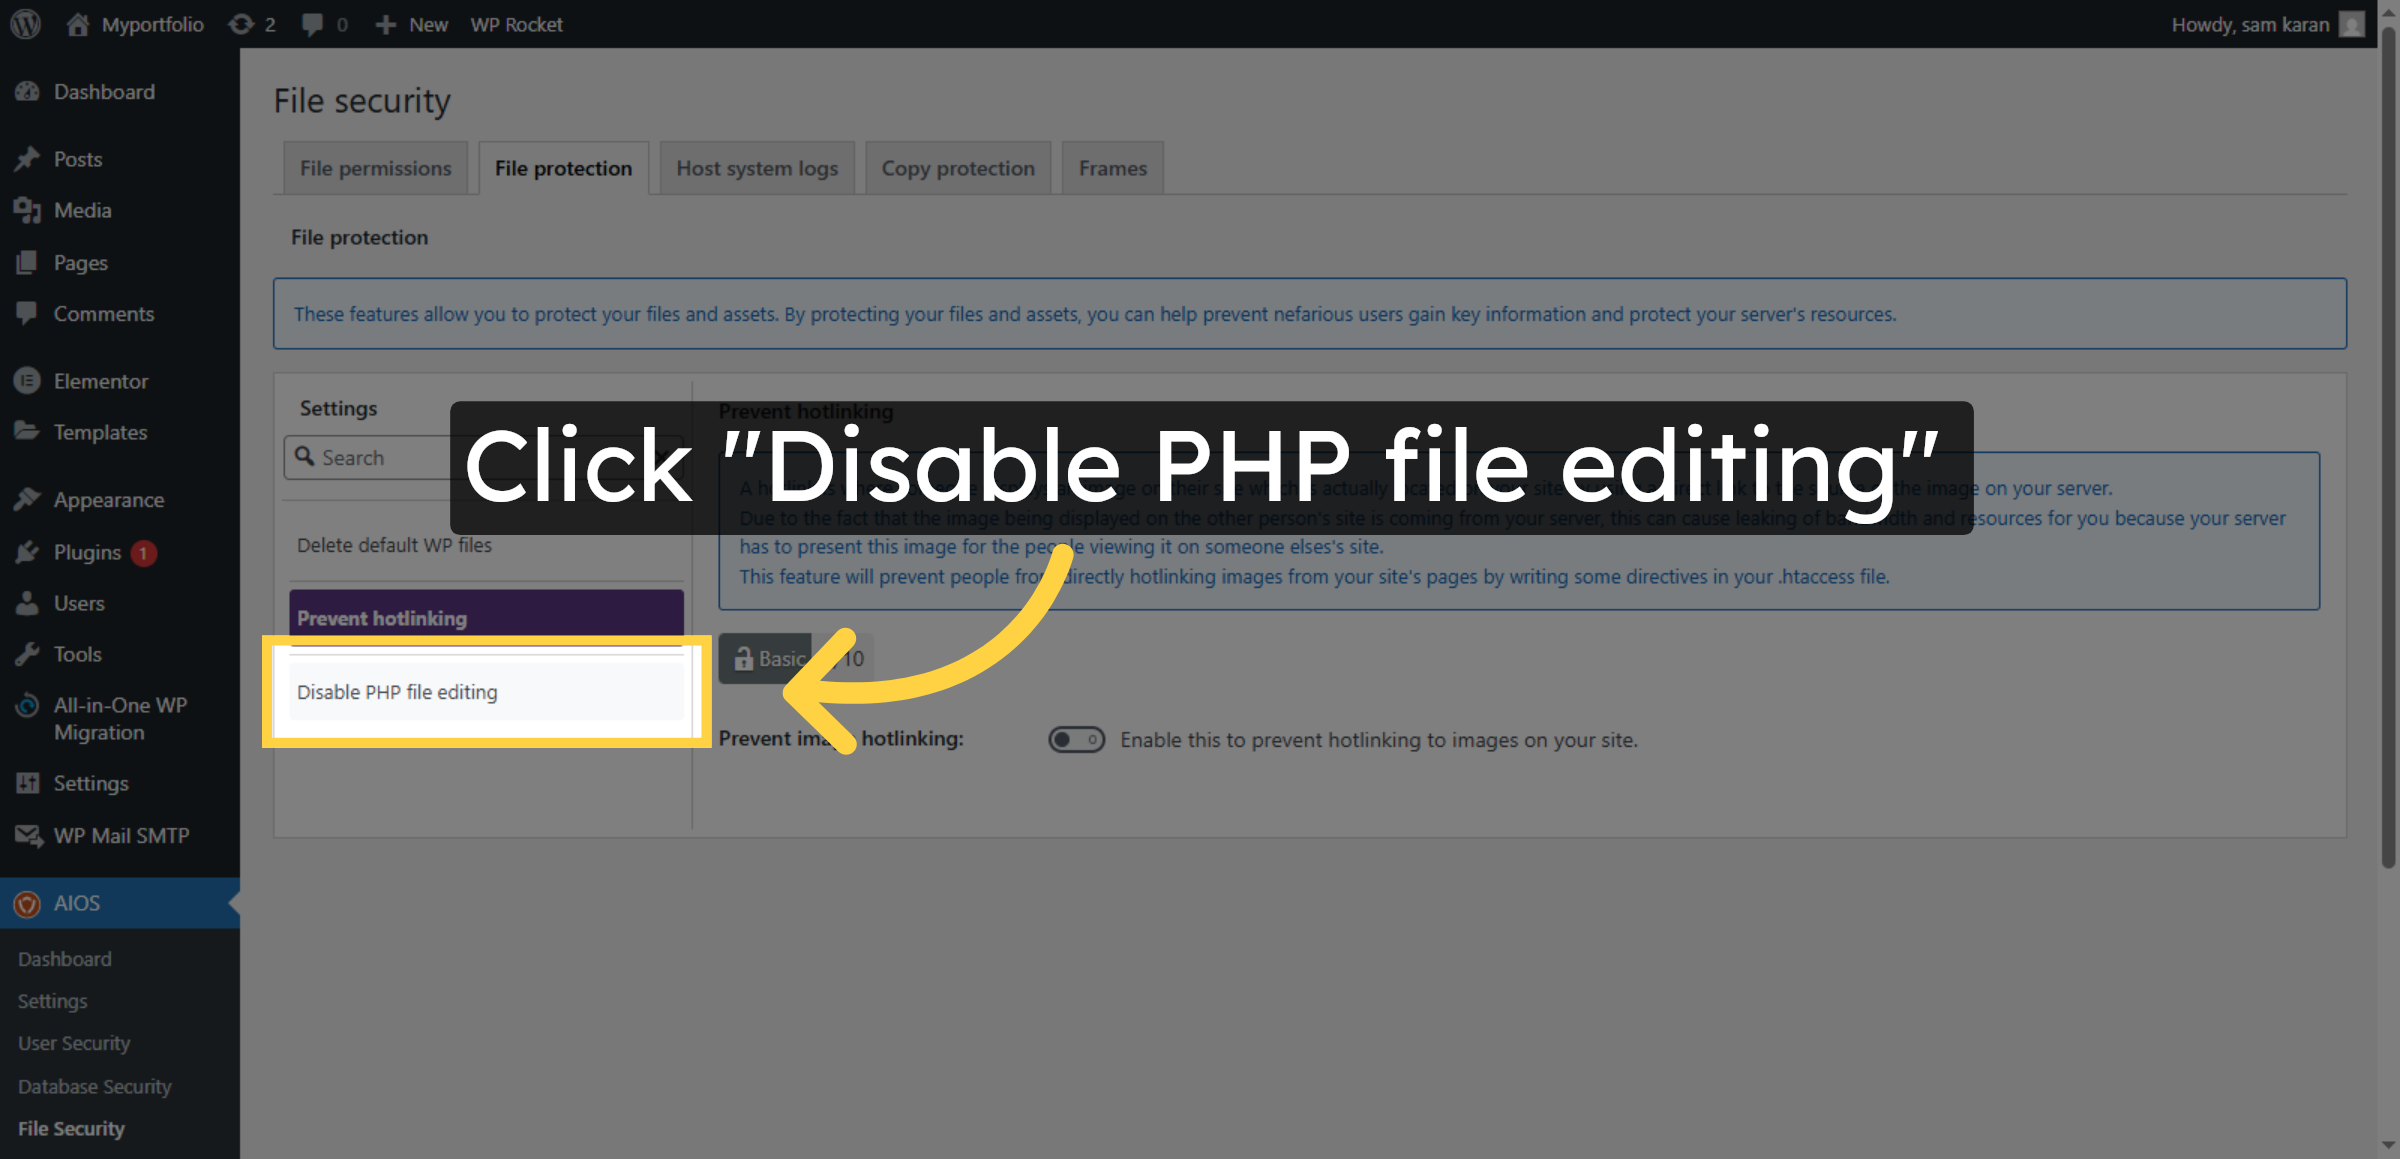
23. Disable PHP File Editing
Click Disable PHP file editing to secure your files.
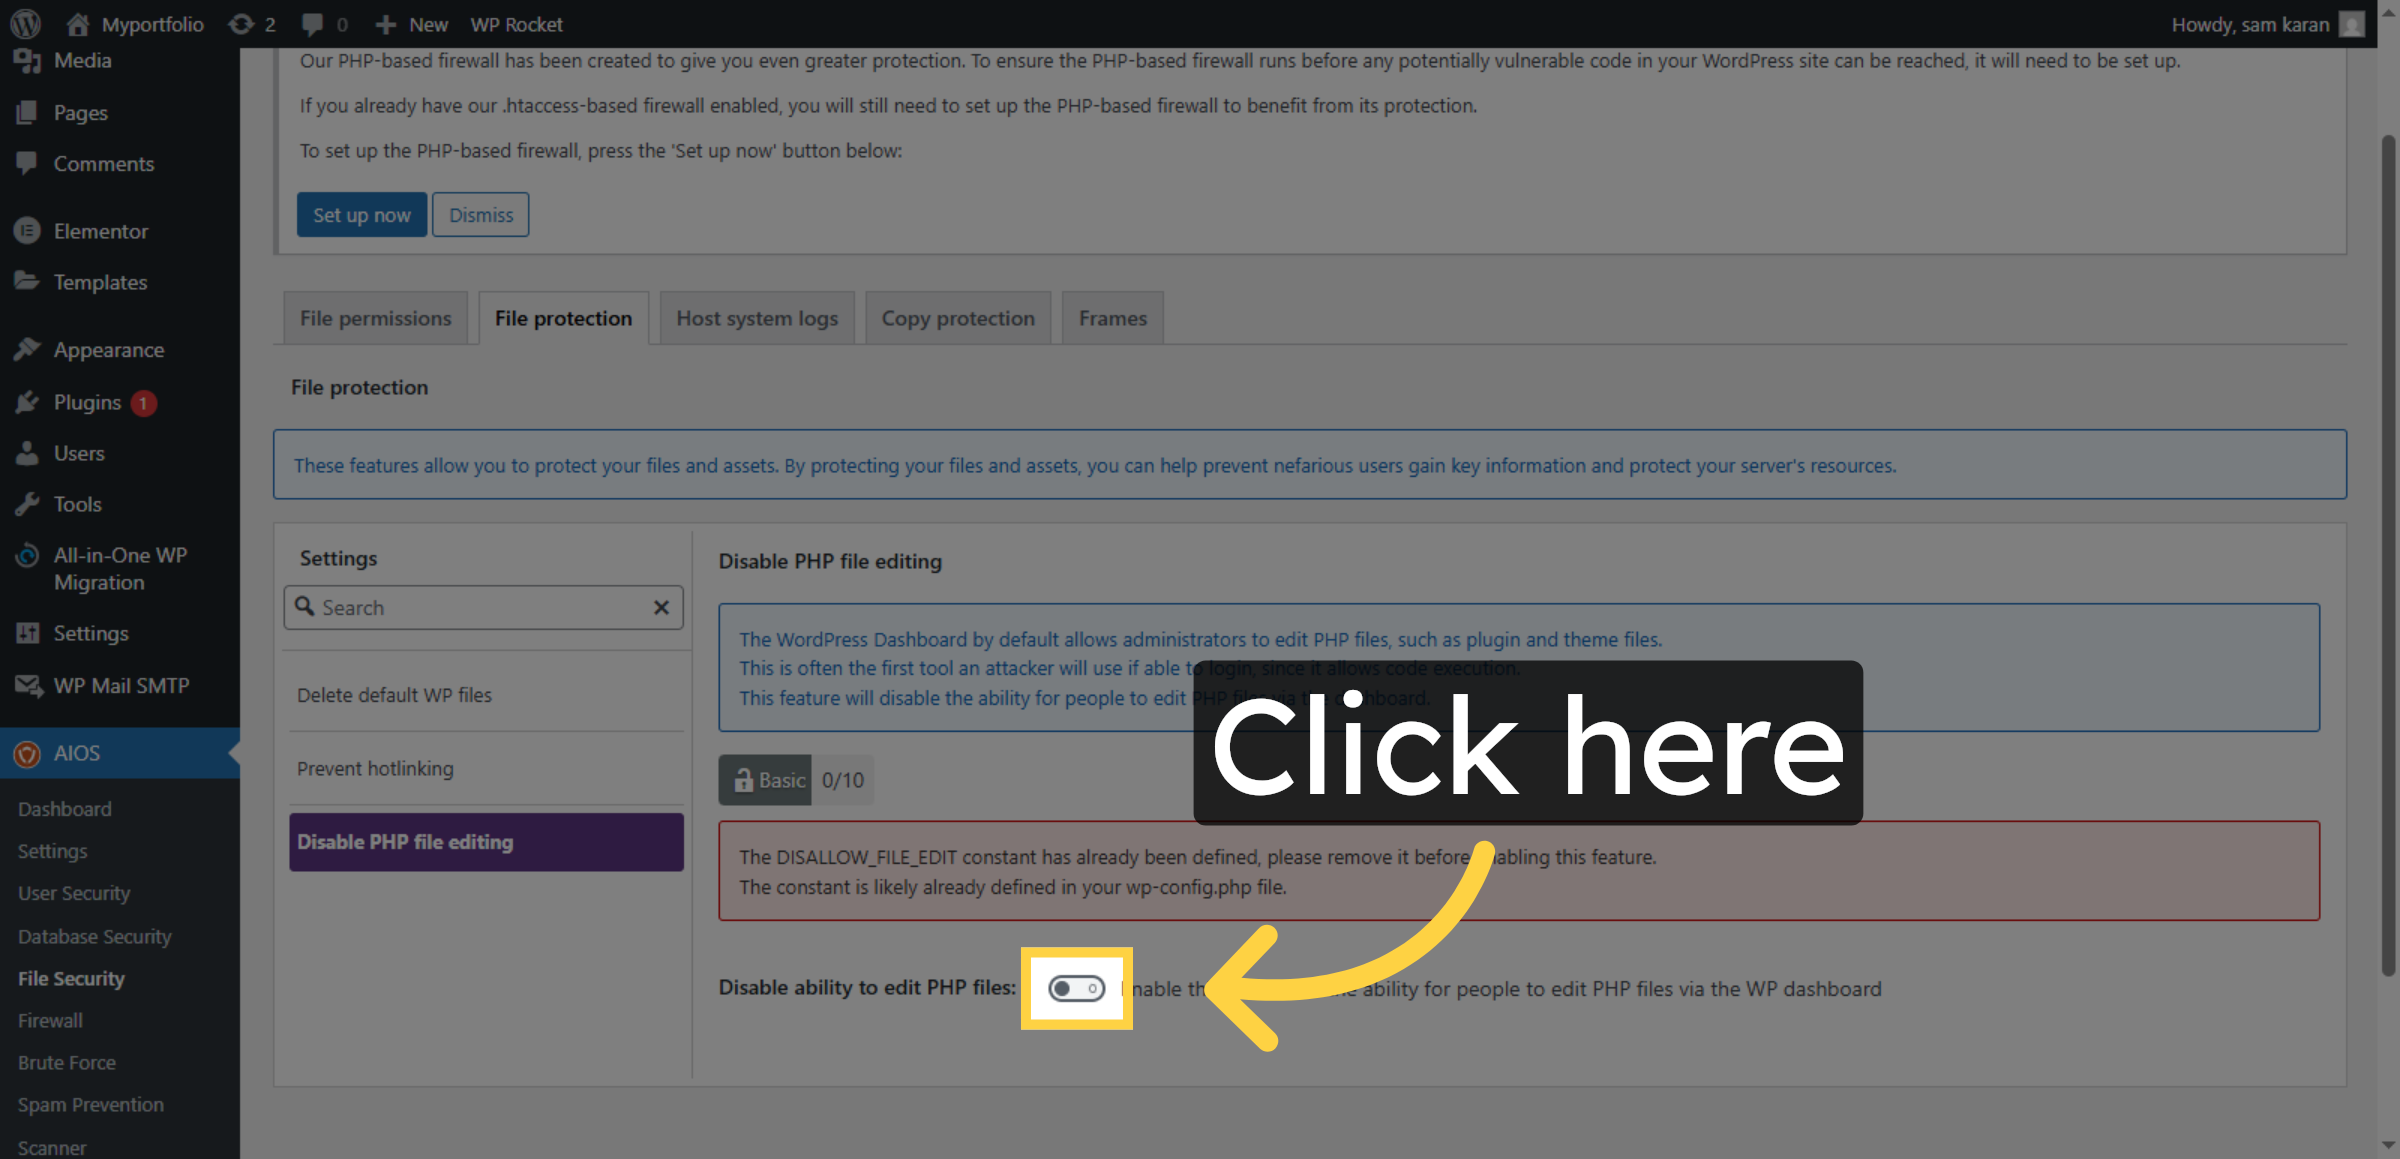
24. Enable File Protection
Click here to enable the (Disable ability to edit PHP files) file protection.
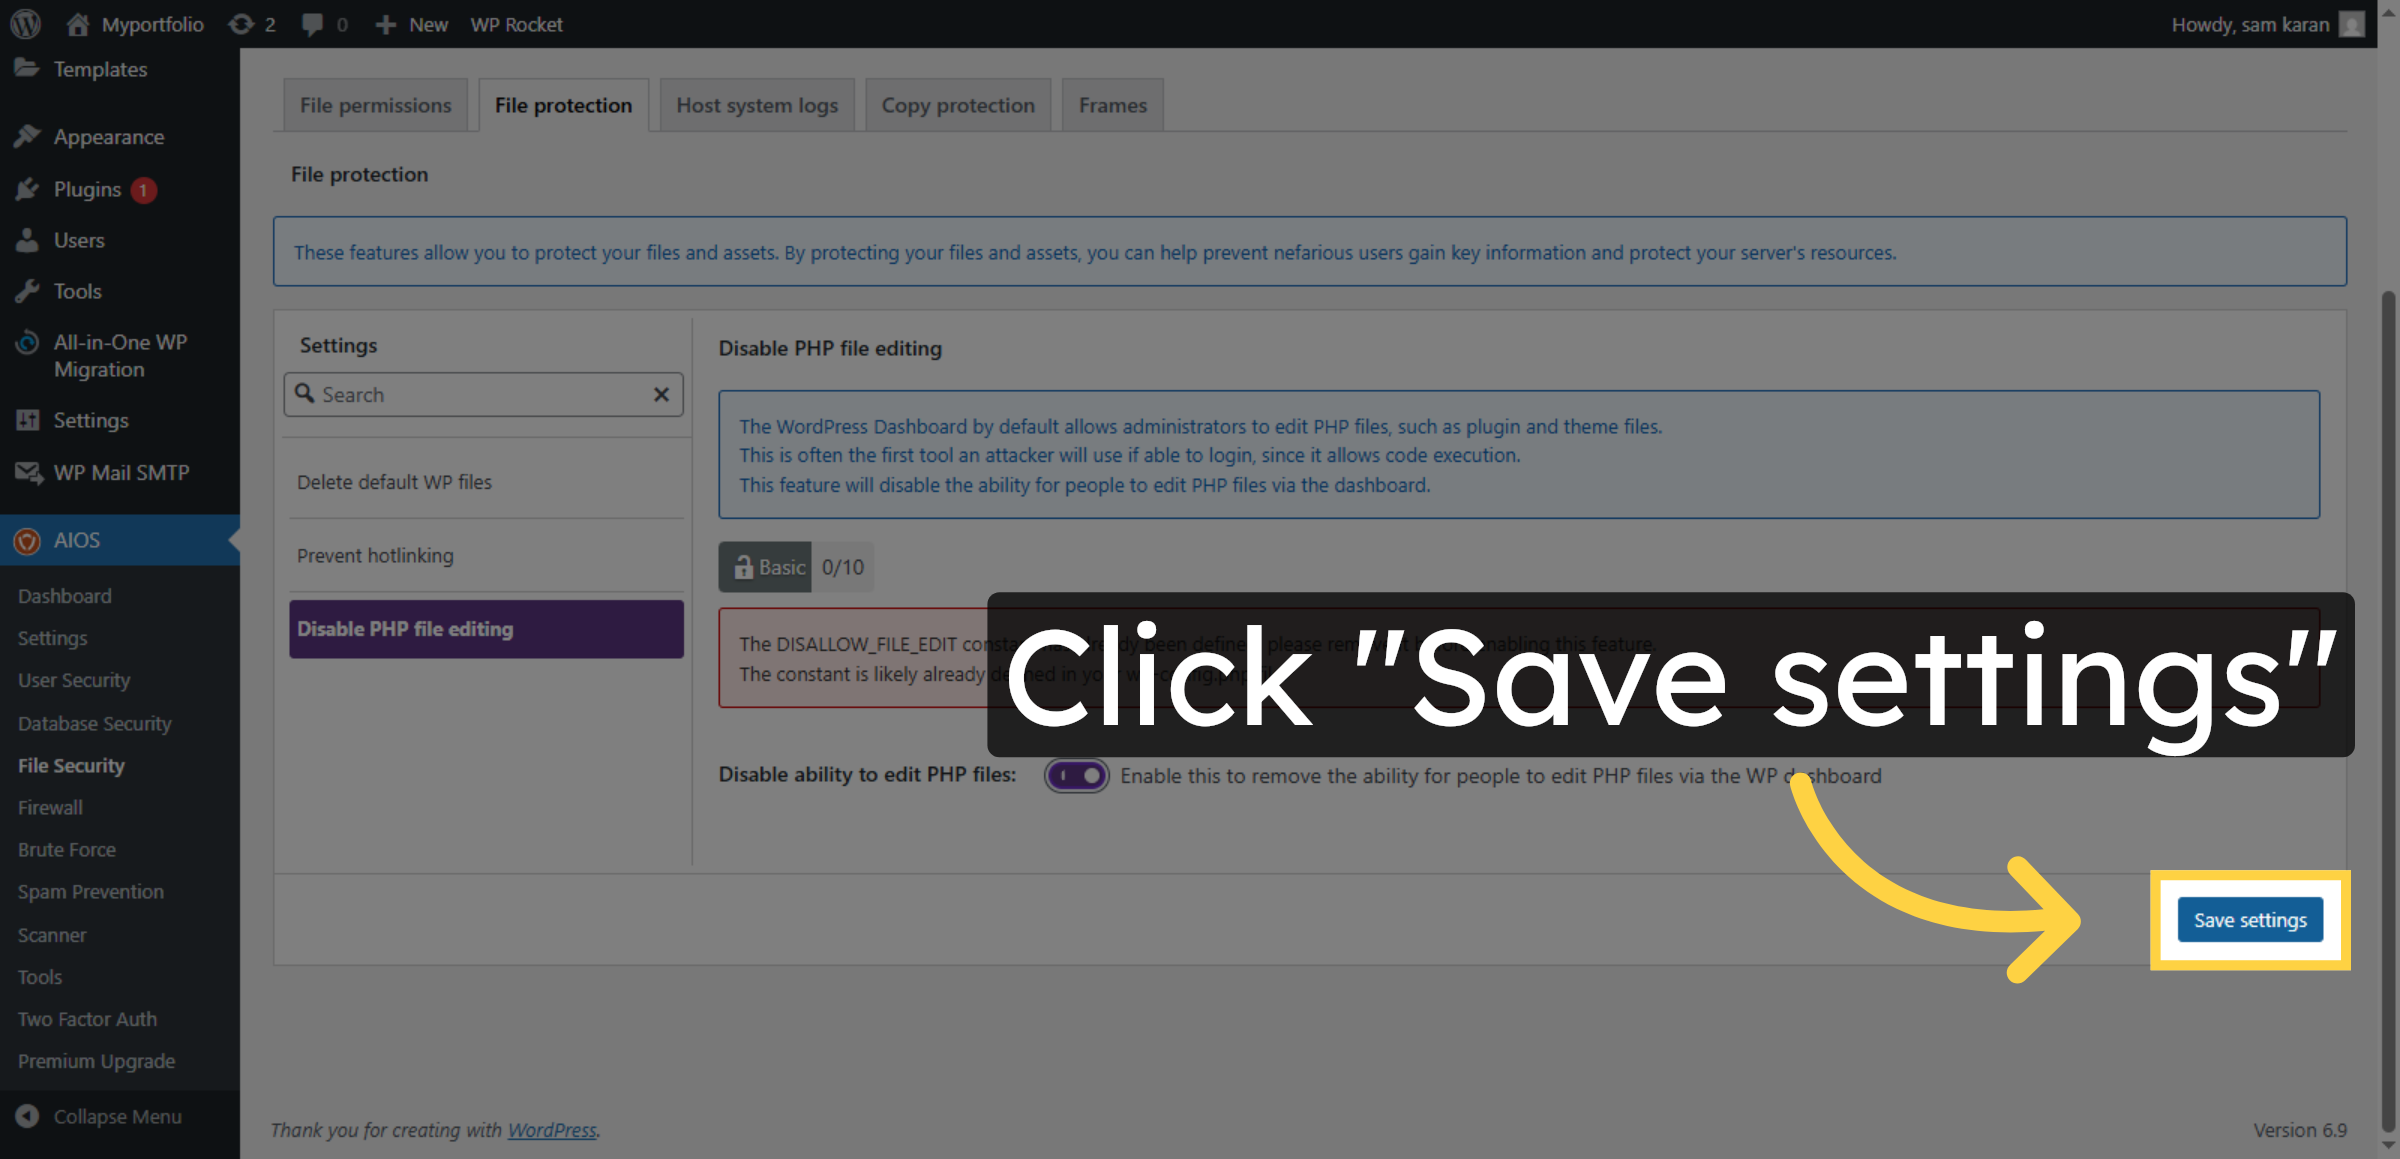
25. Save File Security Settings
Click Save settings to apply file security changes.
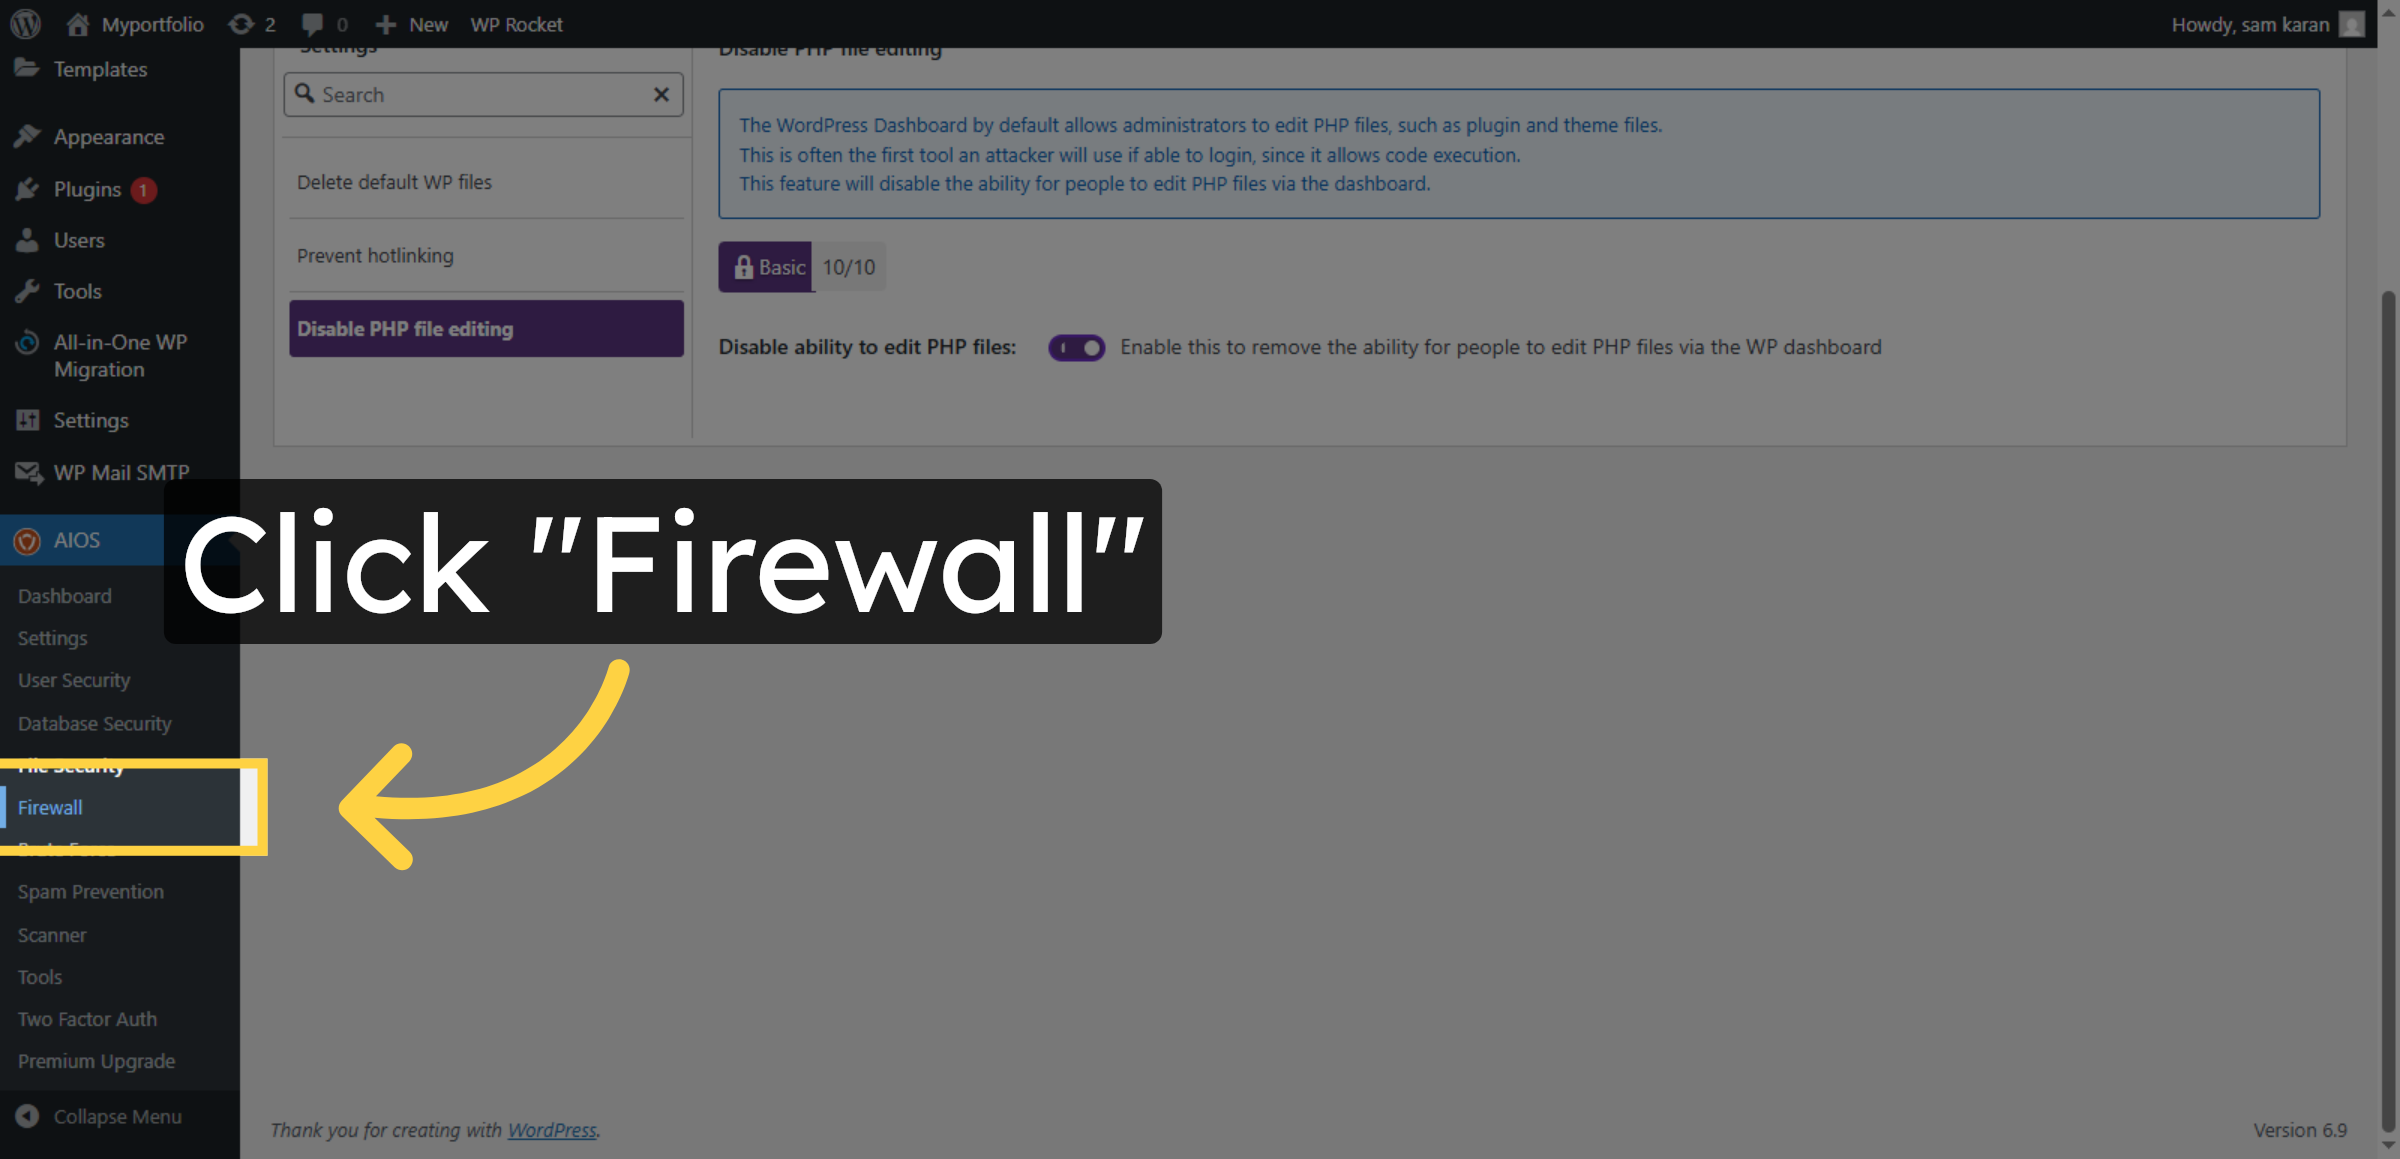
26. Open Firewall Settings
Click Firewall to access firewall configuration options.
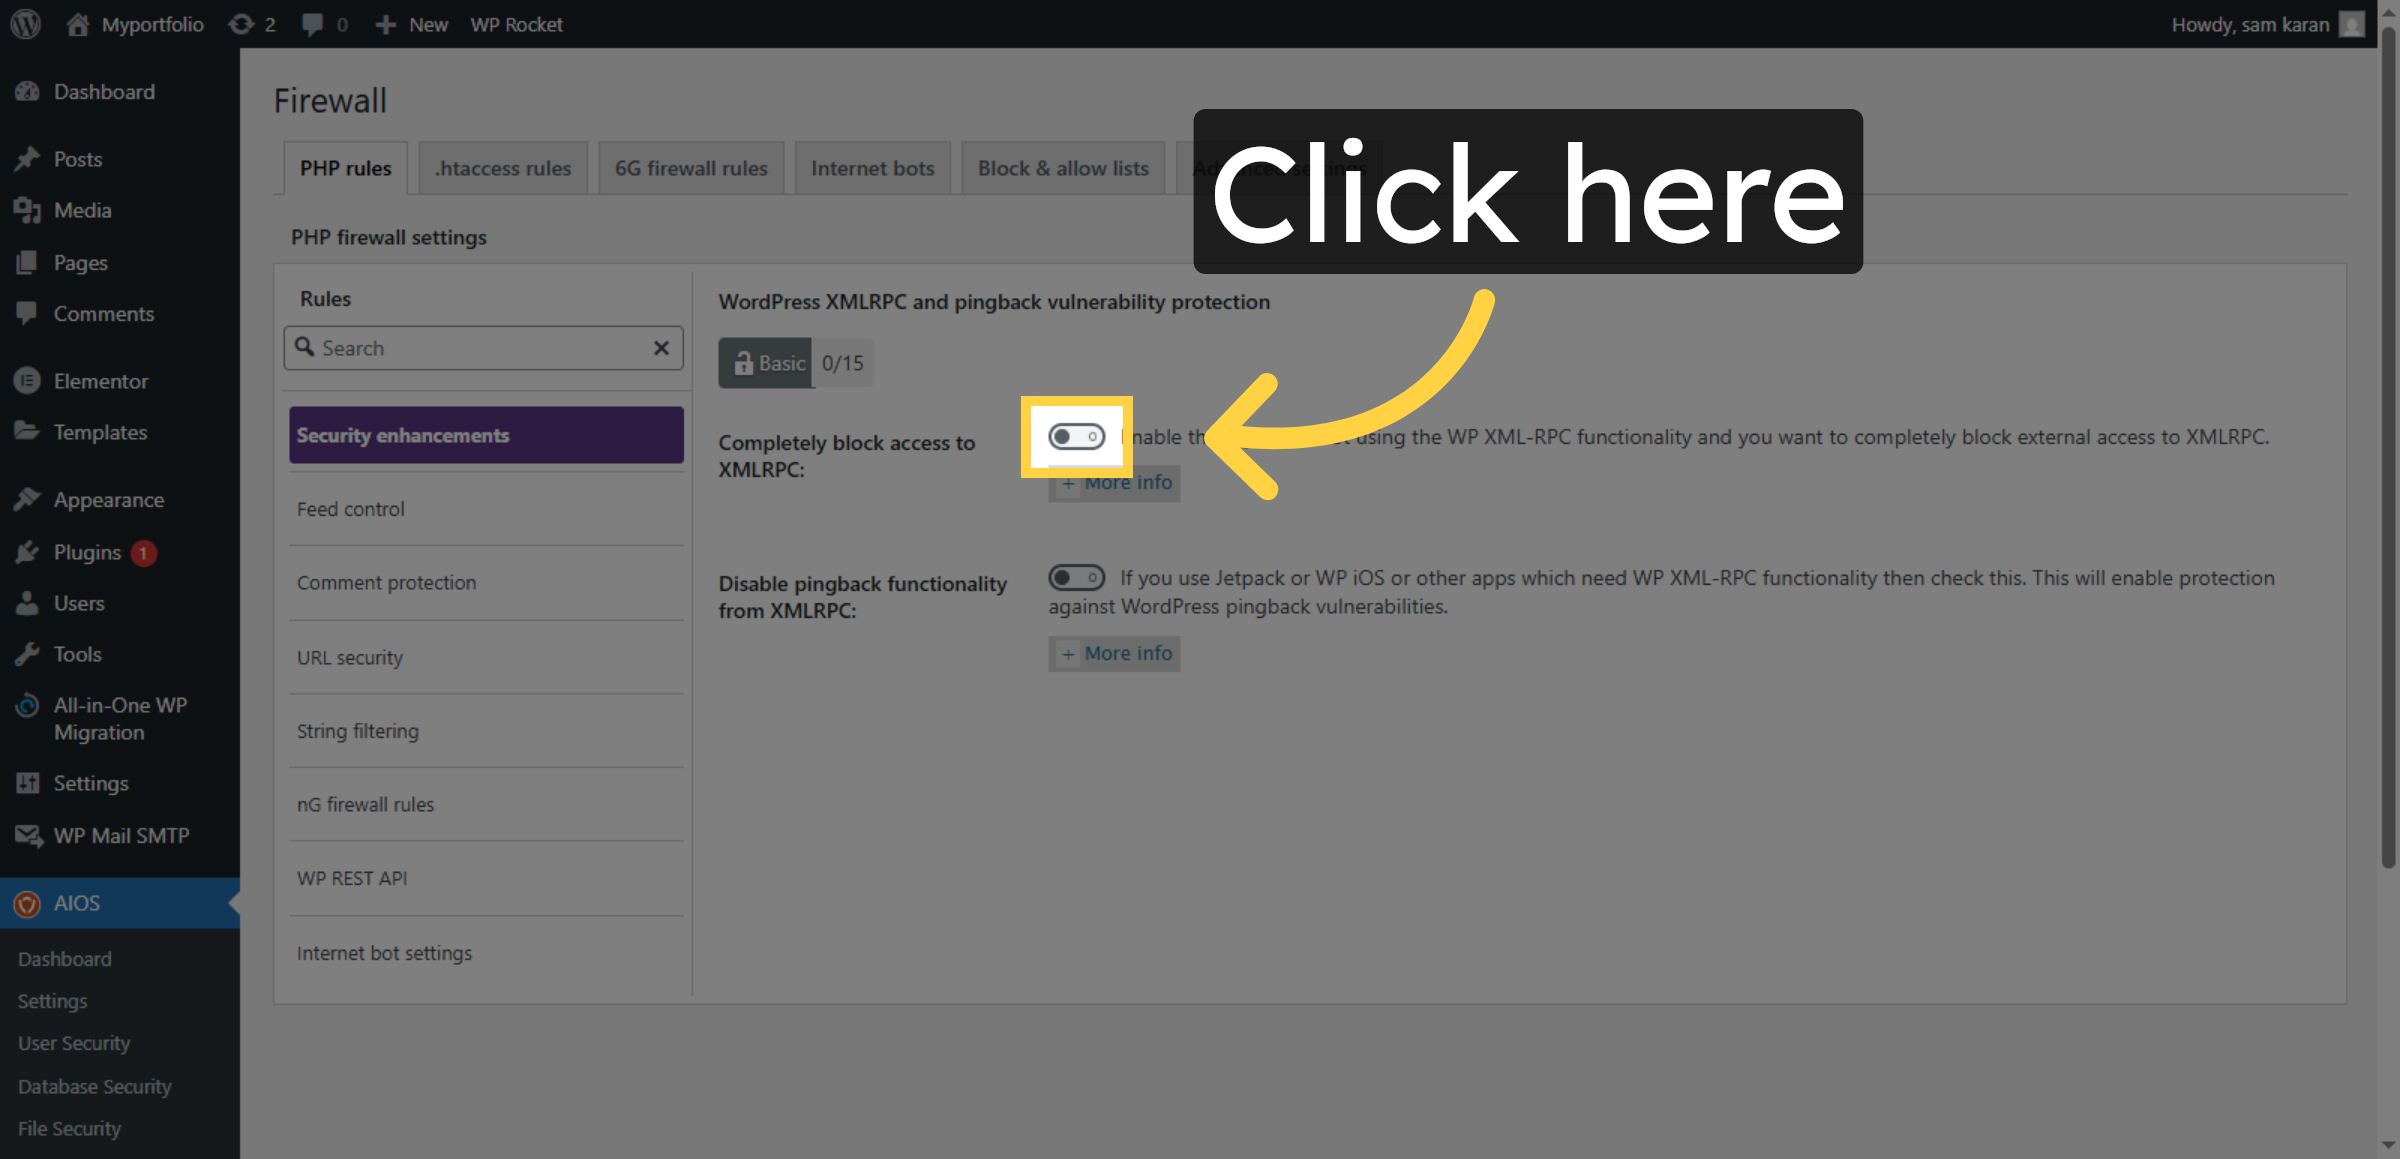
27. Enable Firewall Feature
Click here to enable the firewall feature.
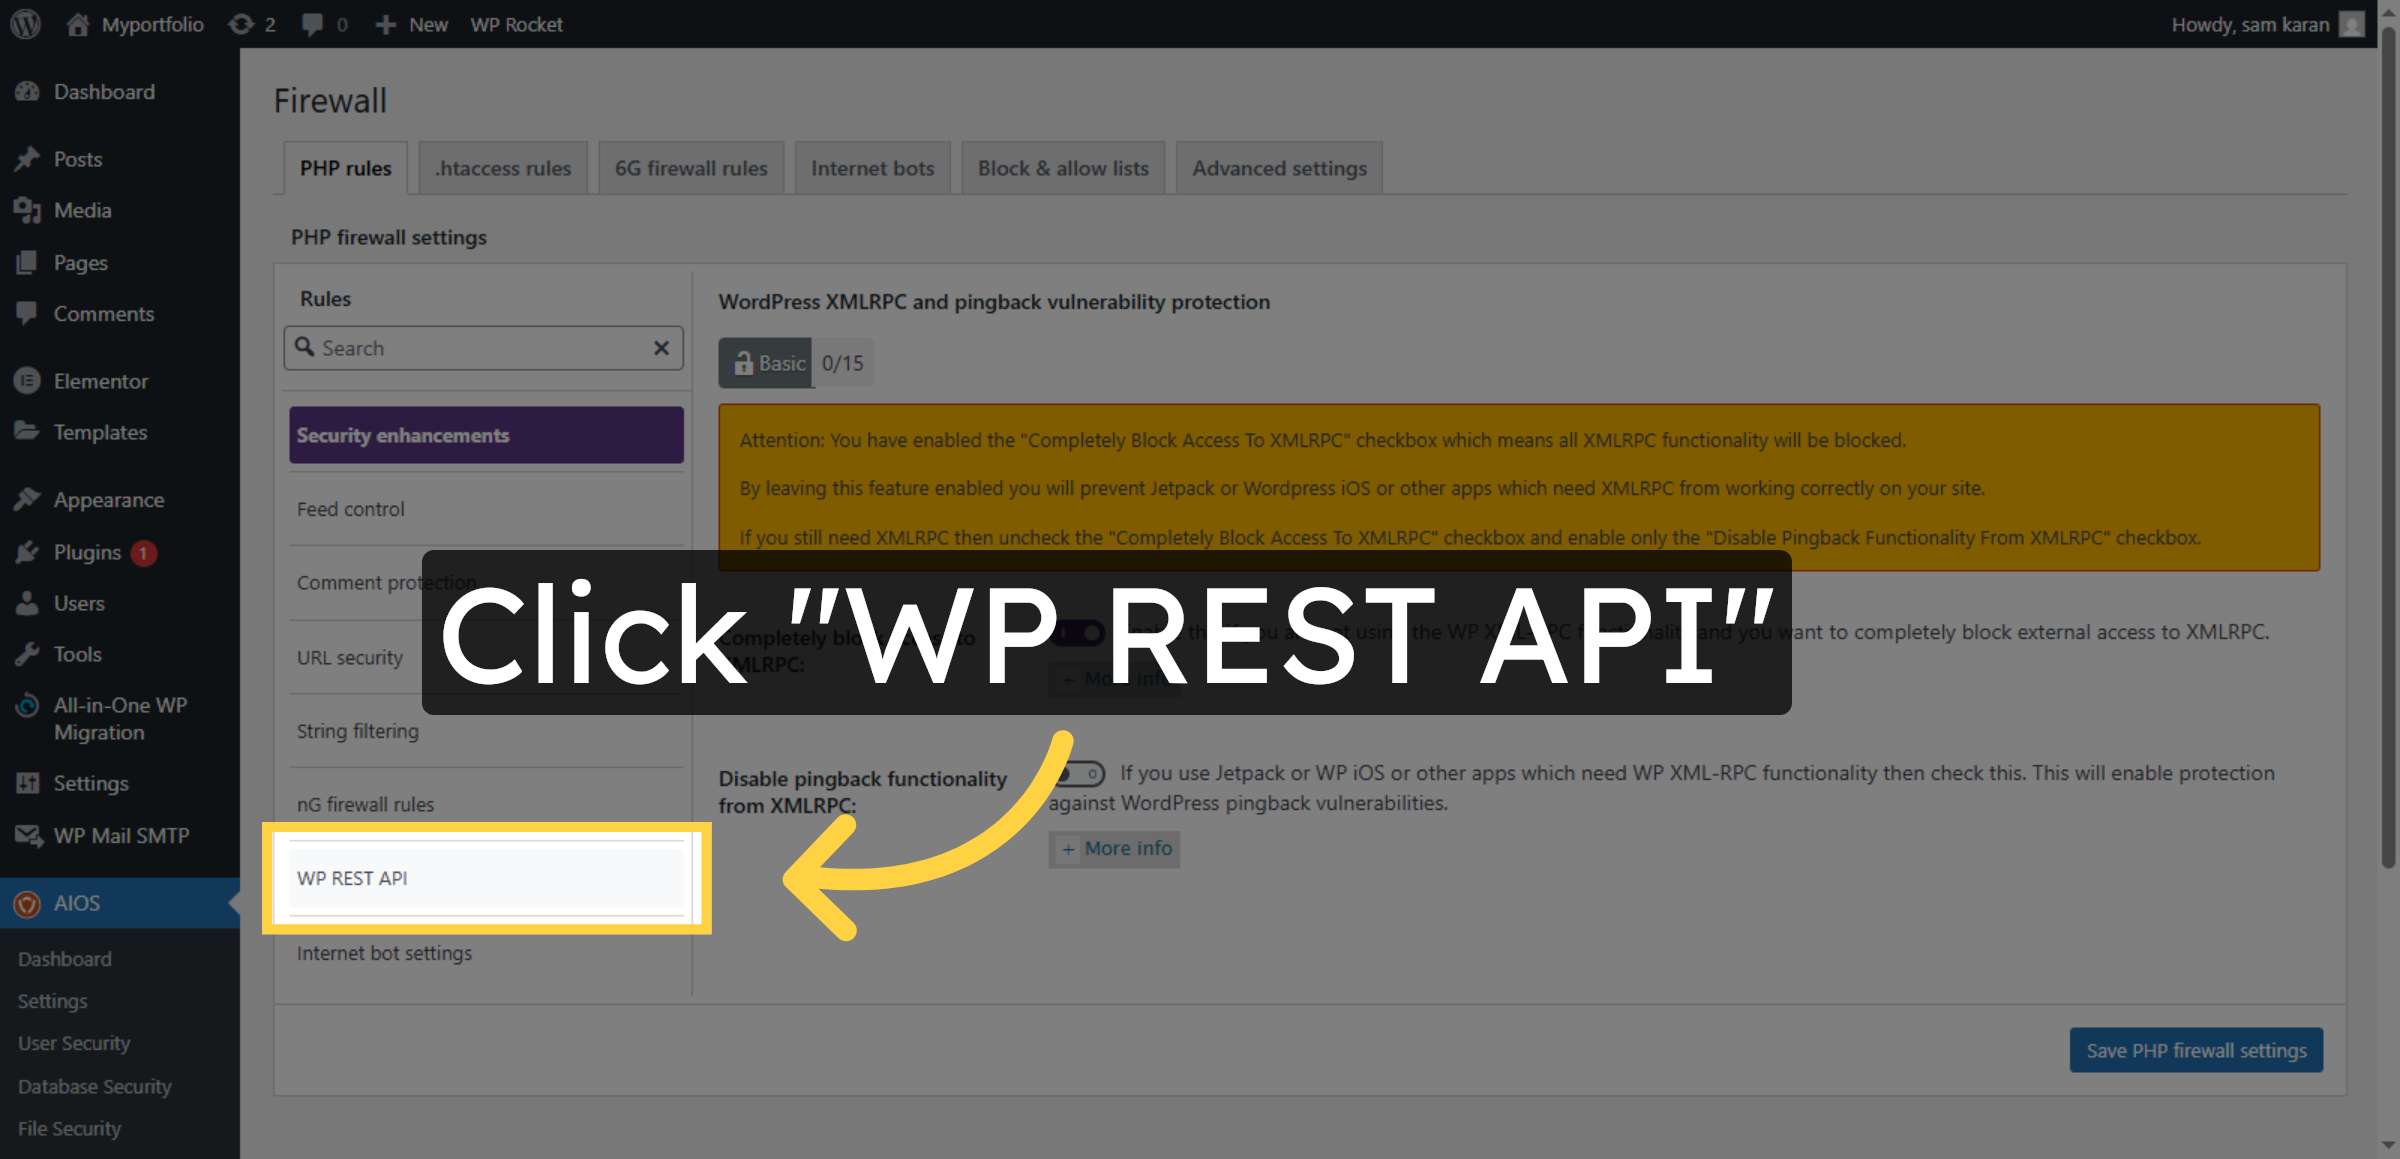
28. Select WP REST API
Click WP REST API to configure API security.
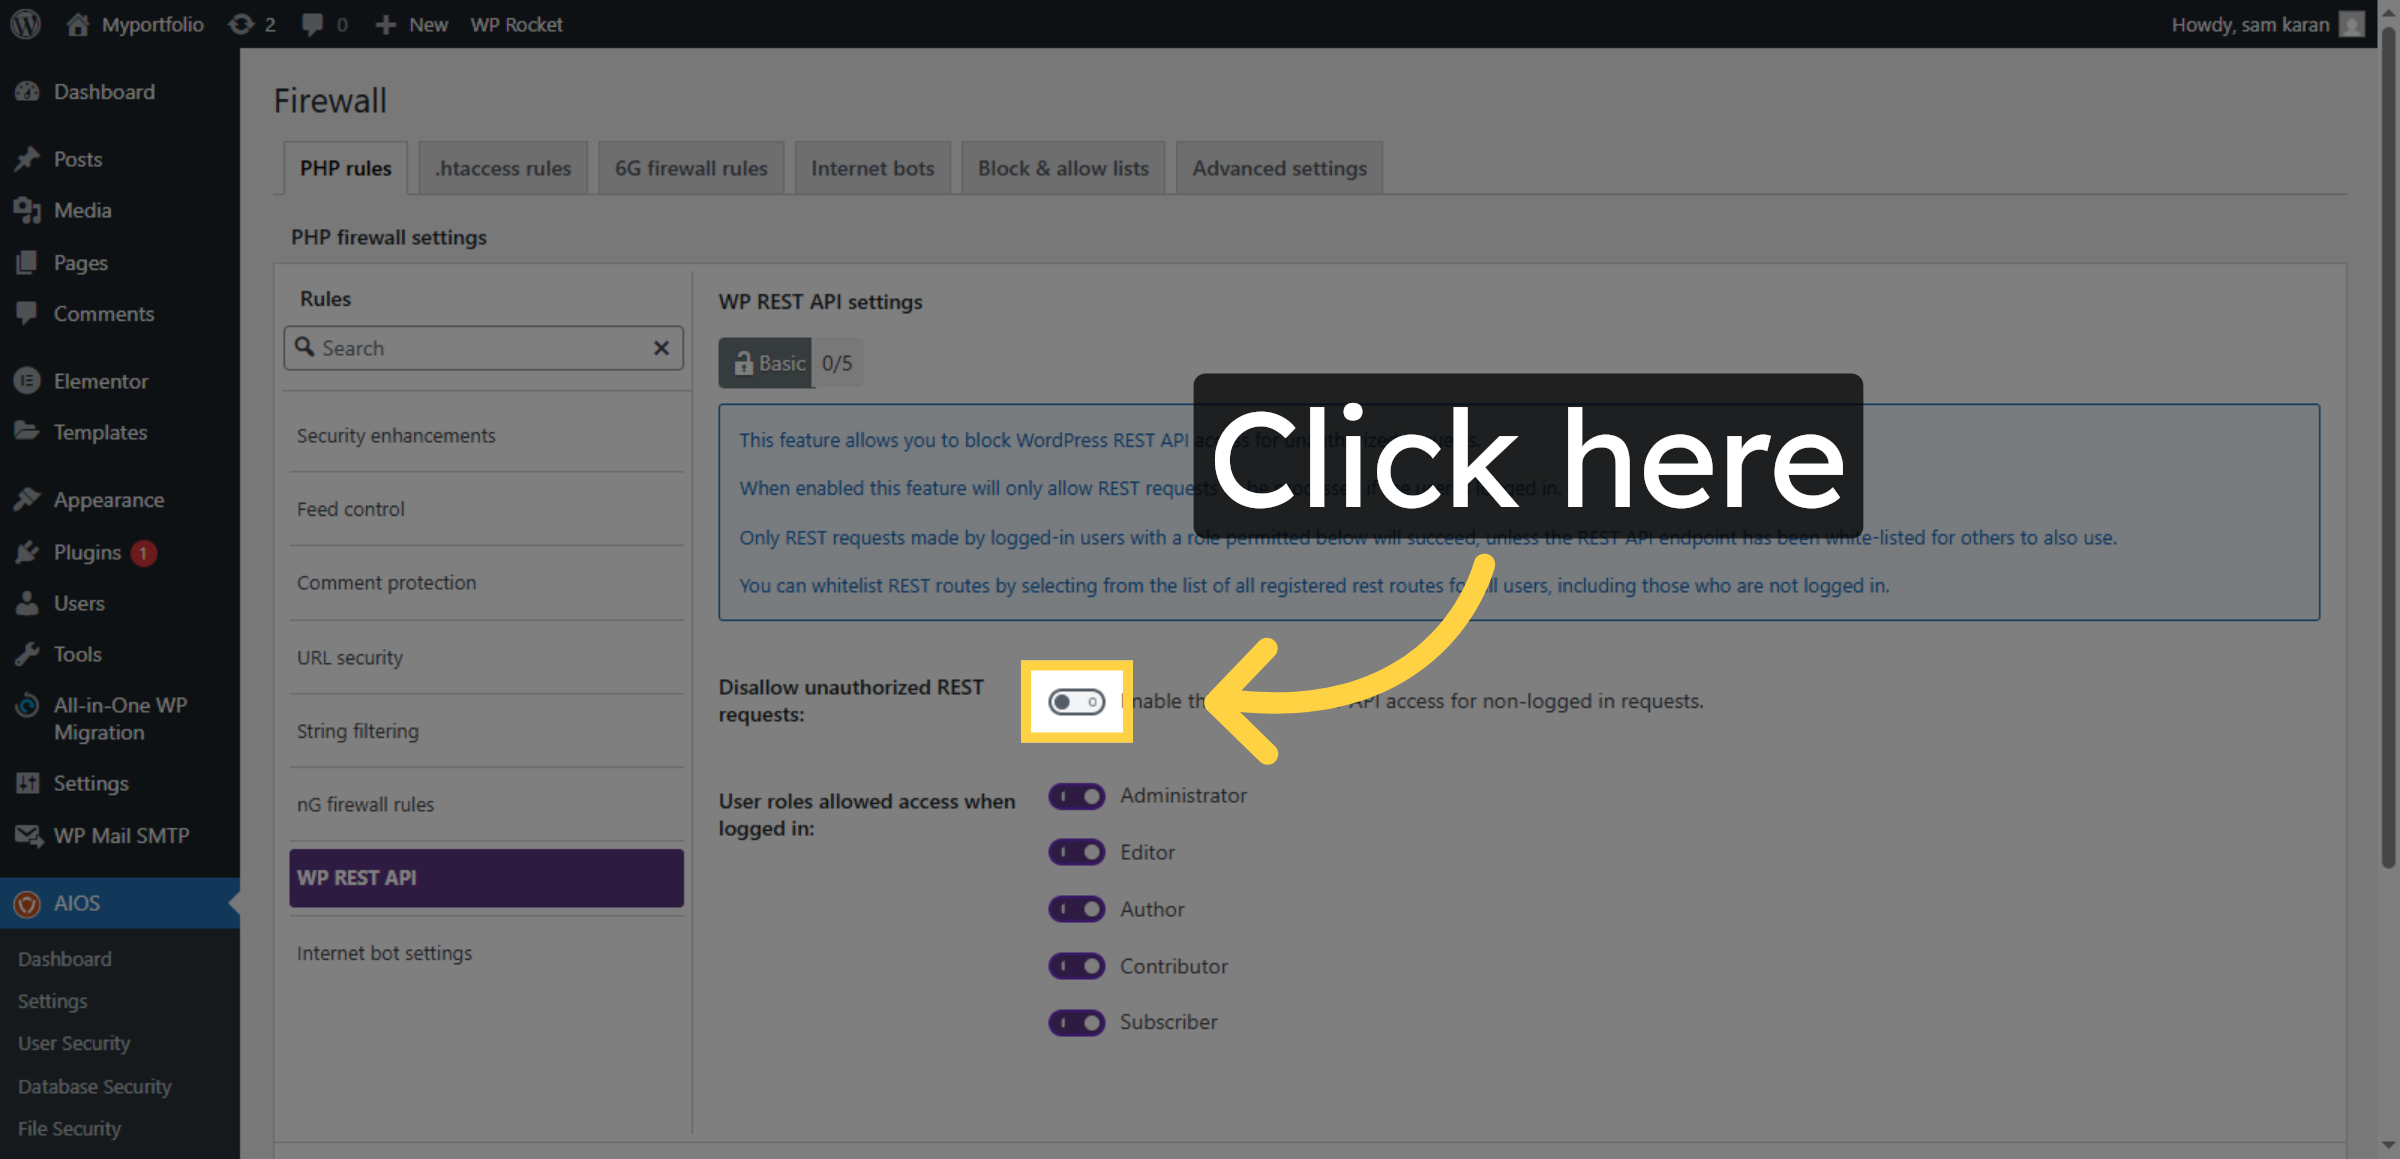
29. Enable WP REST API Protection
Click here to enable WP REST API security.
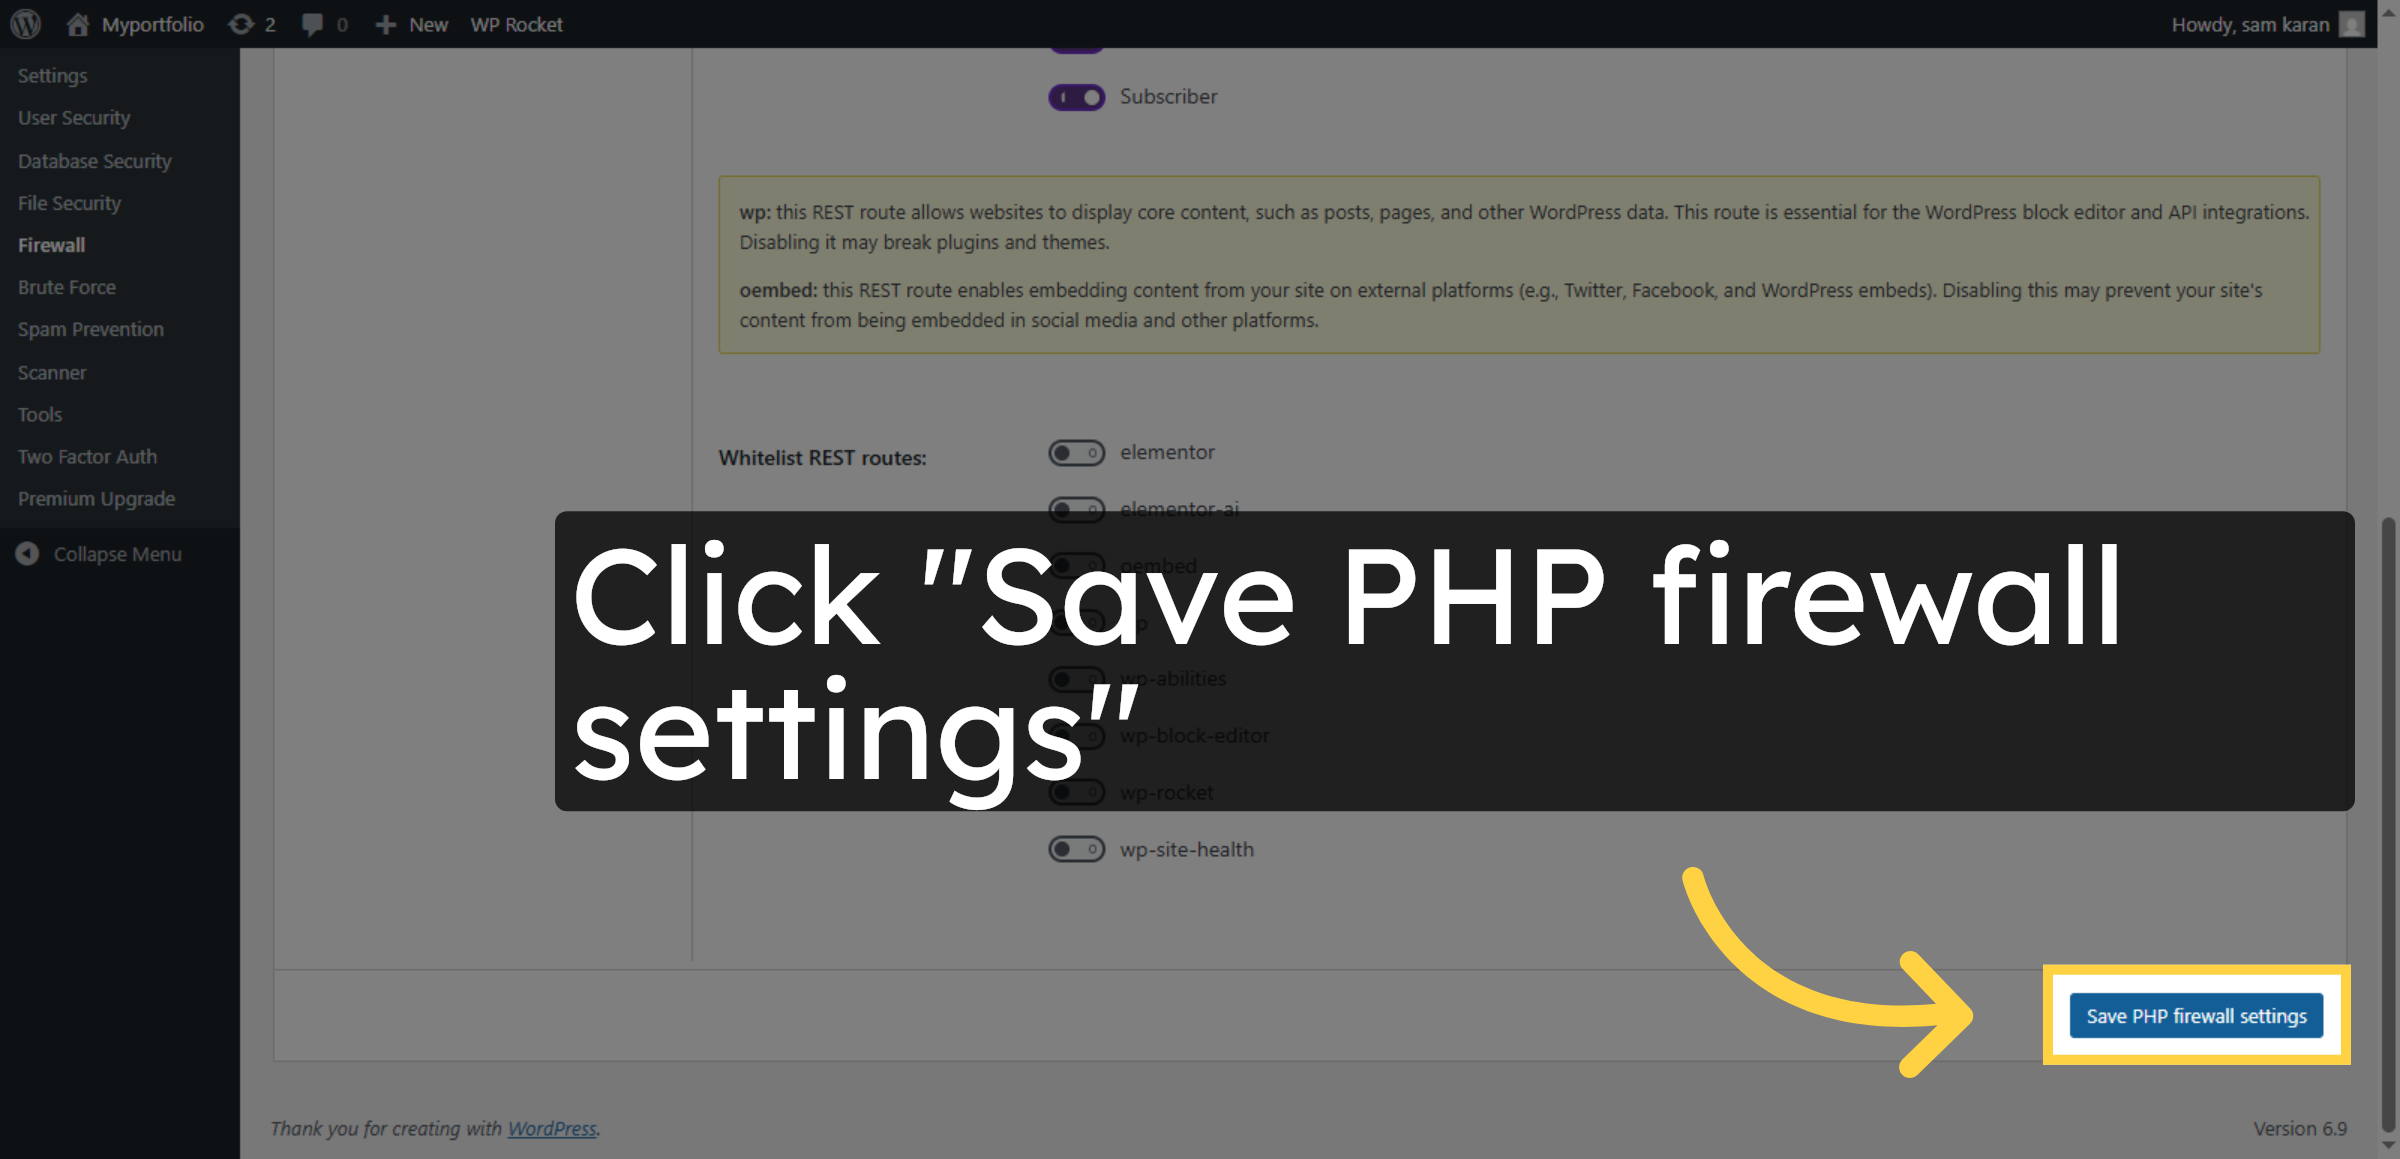
30. Save PHP Firewall Settings
Click Save PHP firewall settings to apply changes.
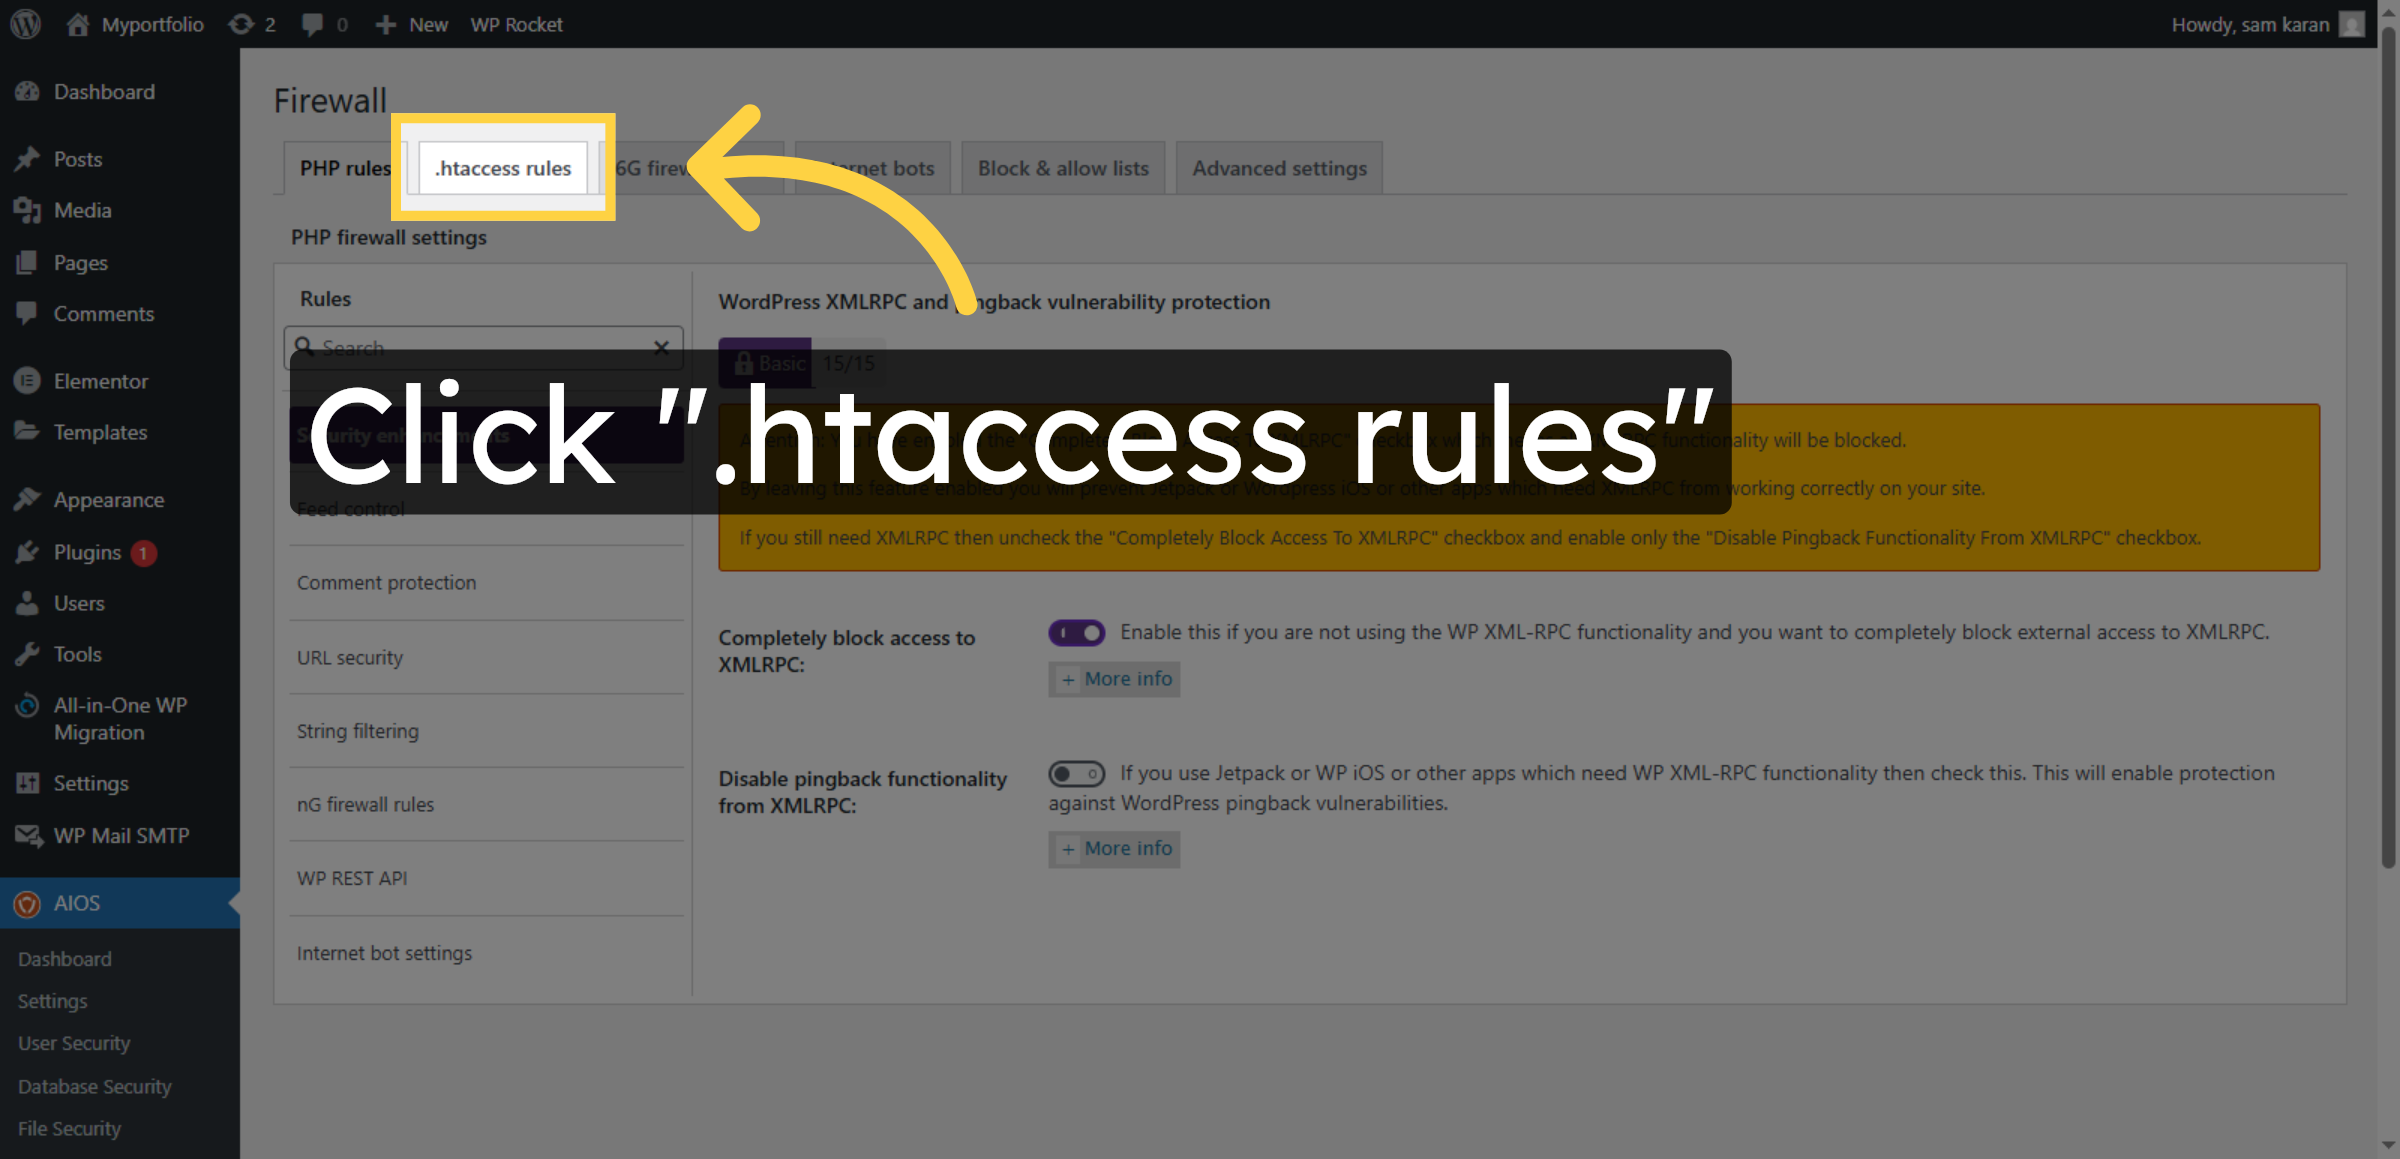
31. Open .htaccess Rules
Click .htaccess rules to manage server security rules.
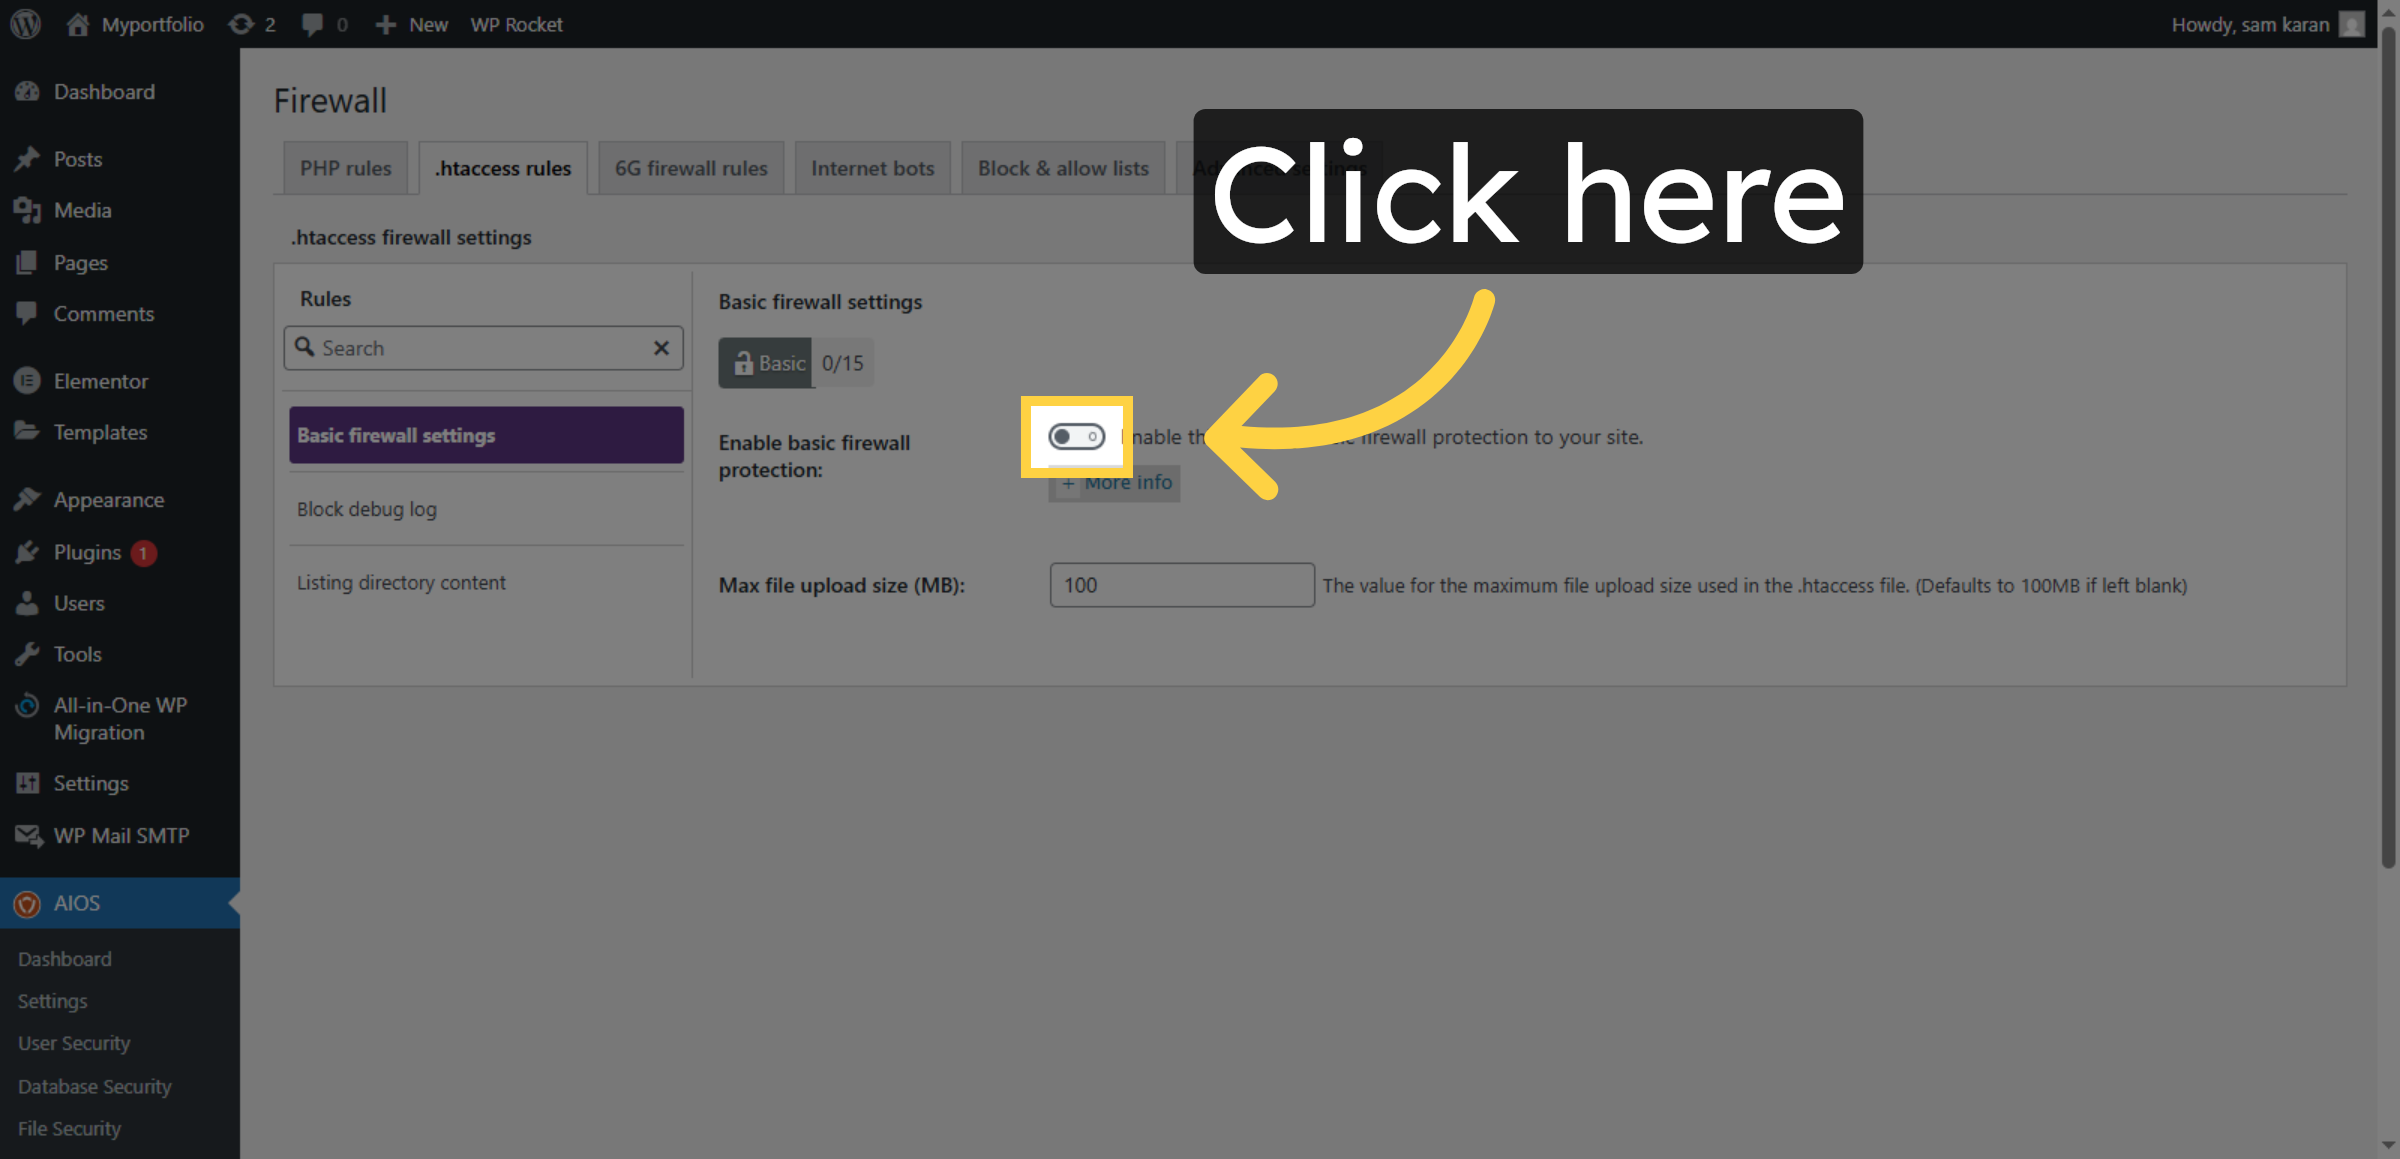
32. Enable .htaccess Rules
Click here to enable .htaccess firewall rules.
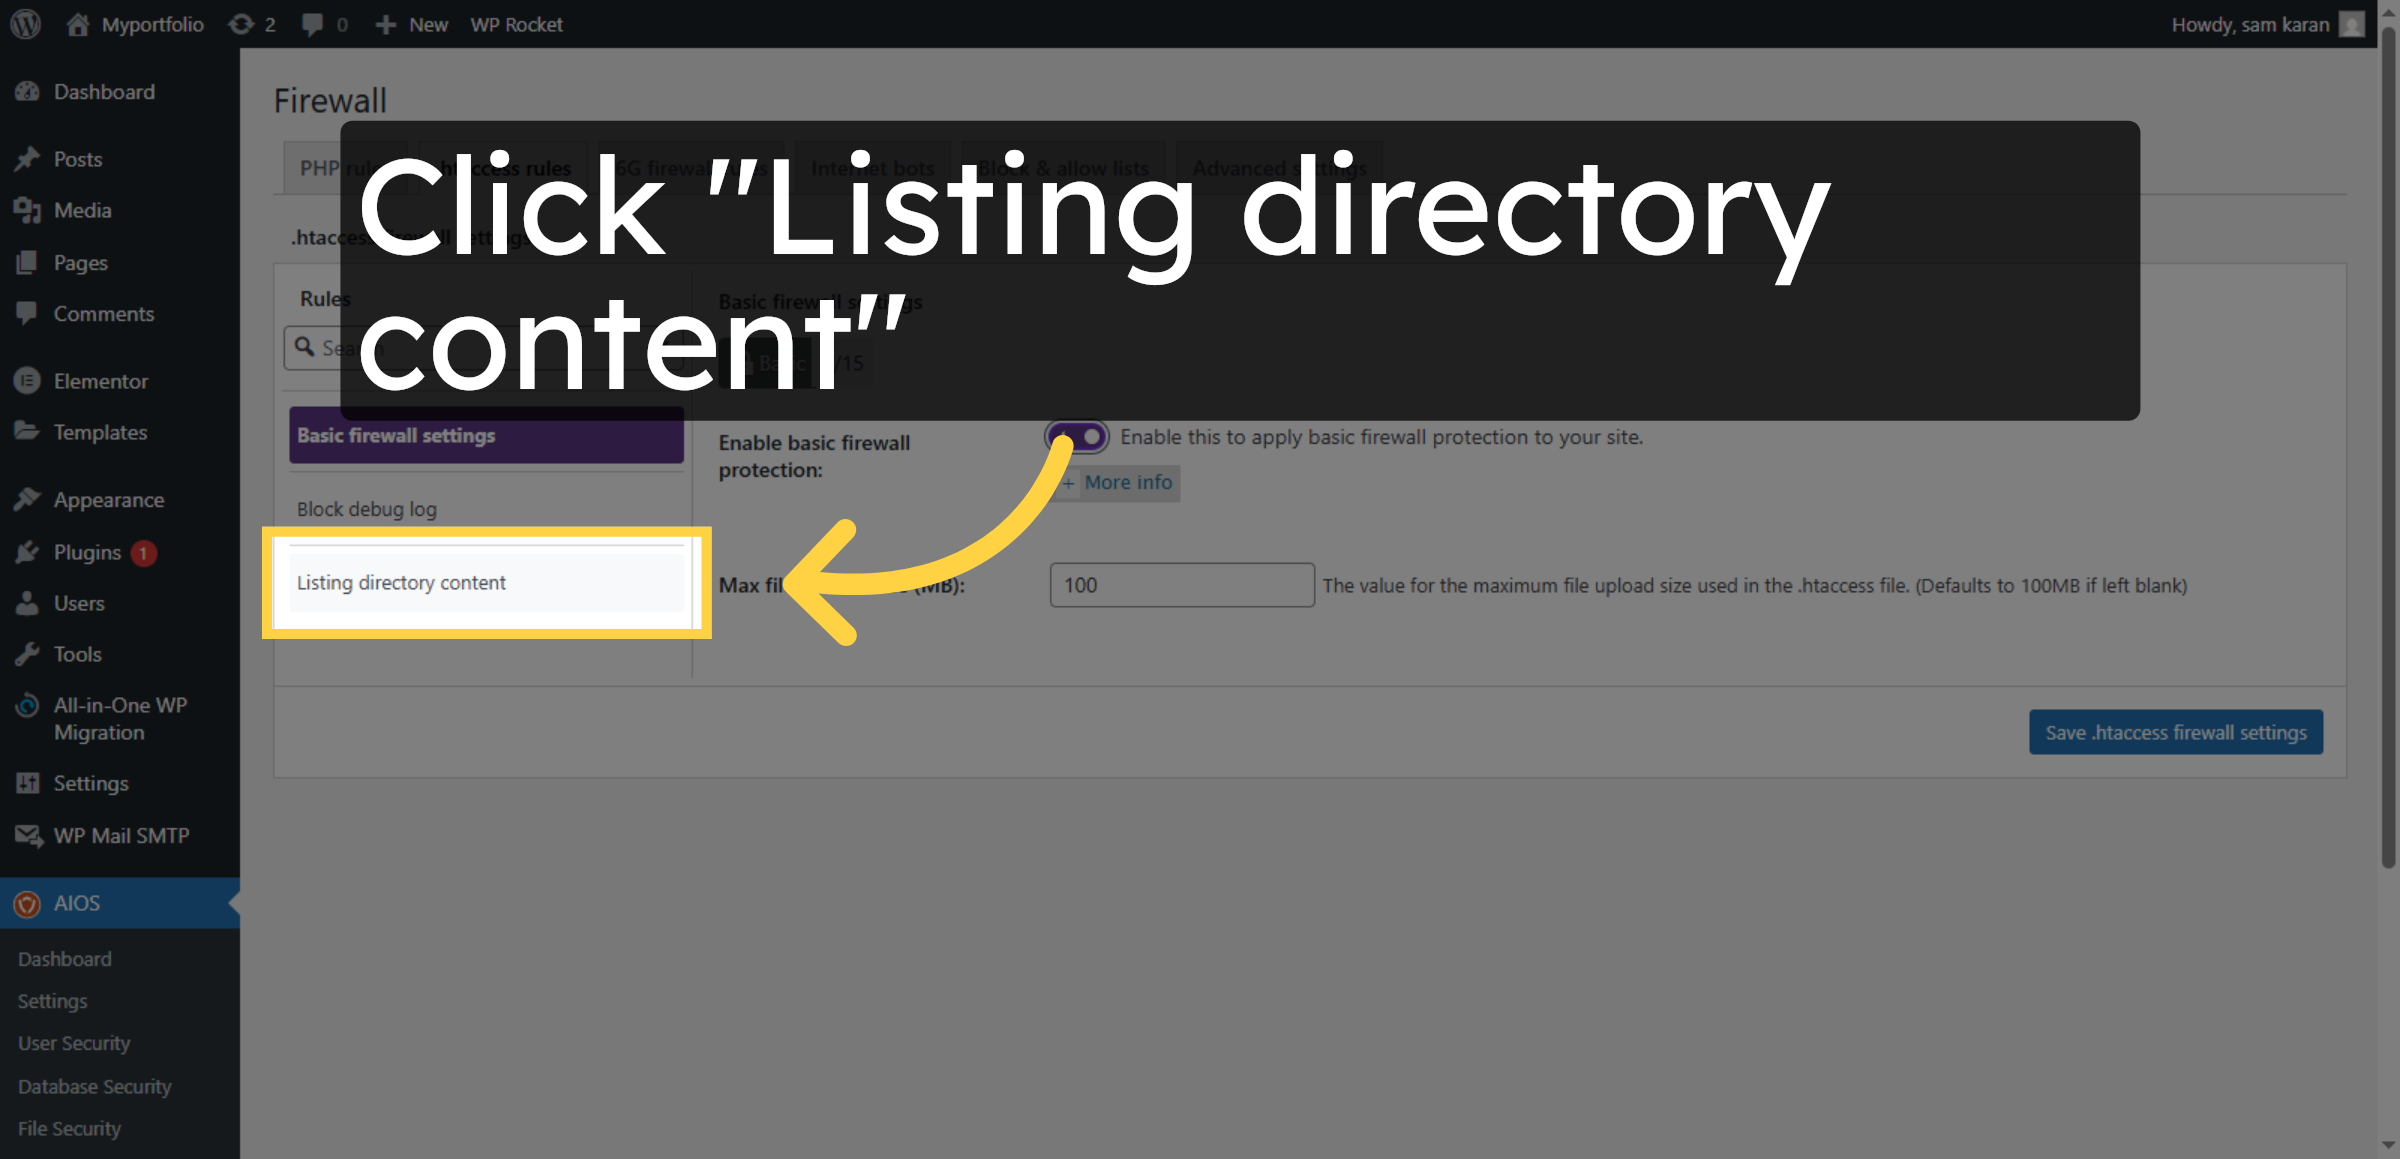
33. Select Directory Listing
Click Listing directory content to prevent directory browsing.
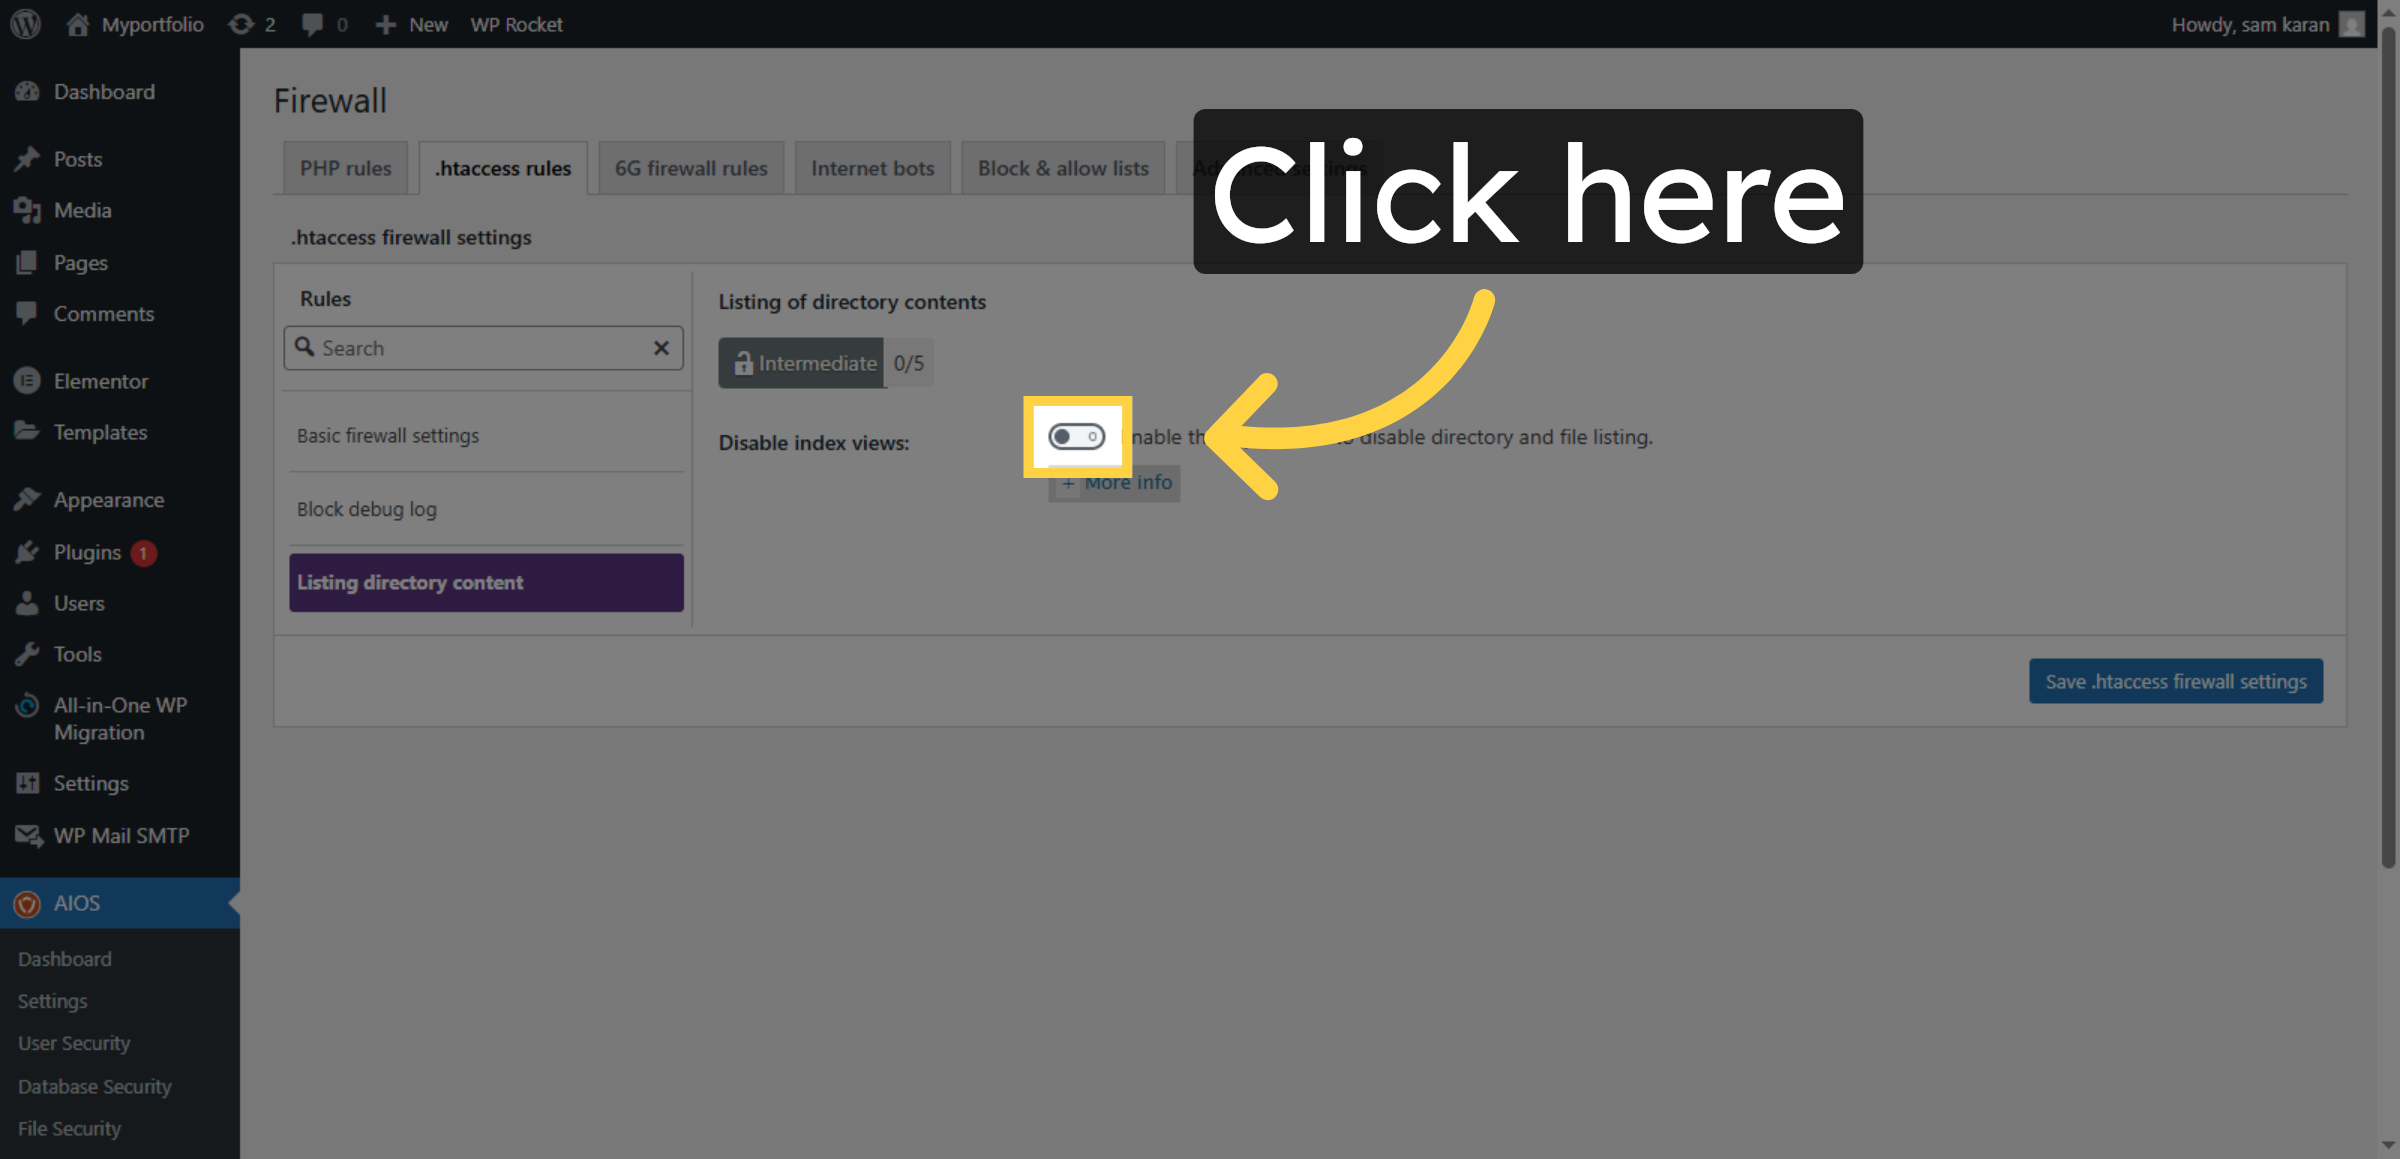
34. Enable Directory Listing Protection
Click here to enable directory listing protection.
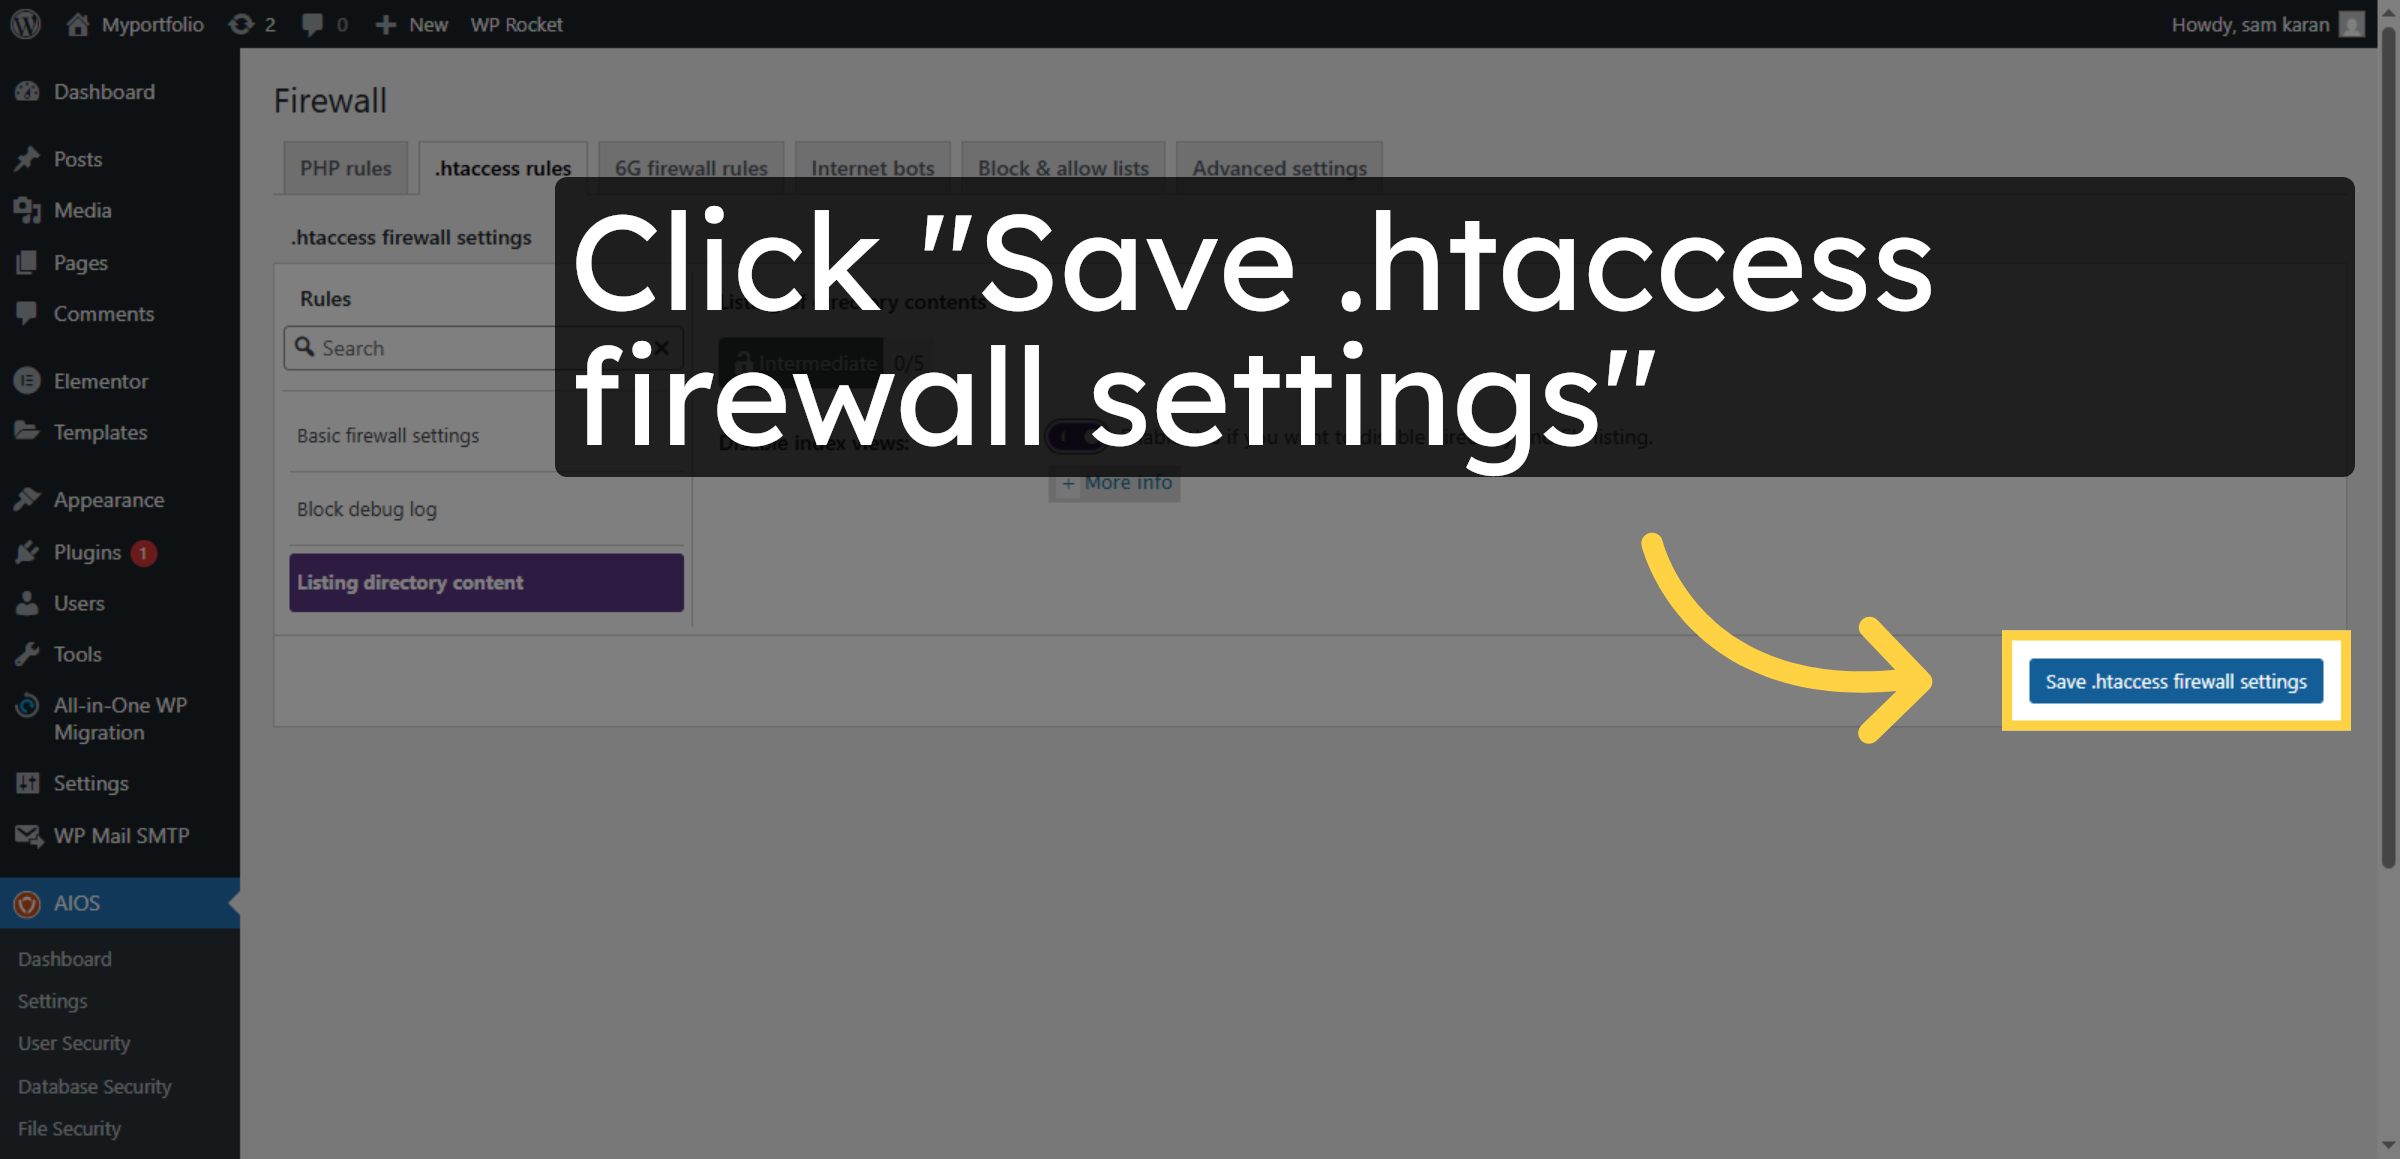
35. Save .htaccess Firewall Settings
Click Save .htaccess firewall settings to confirm changes.
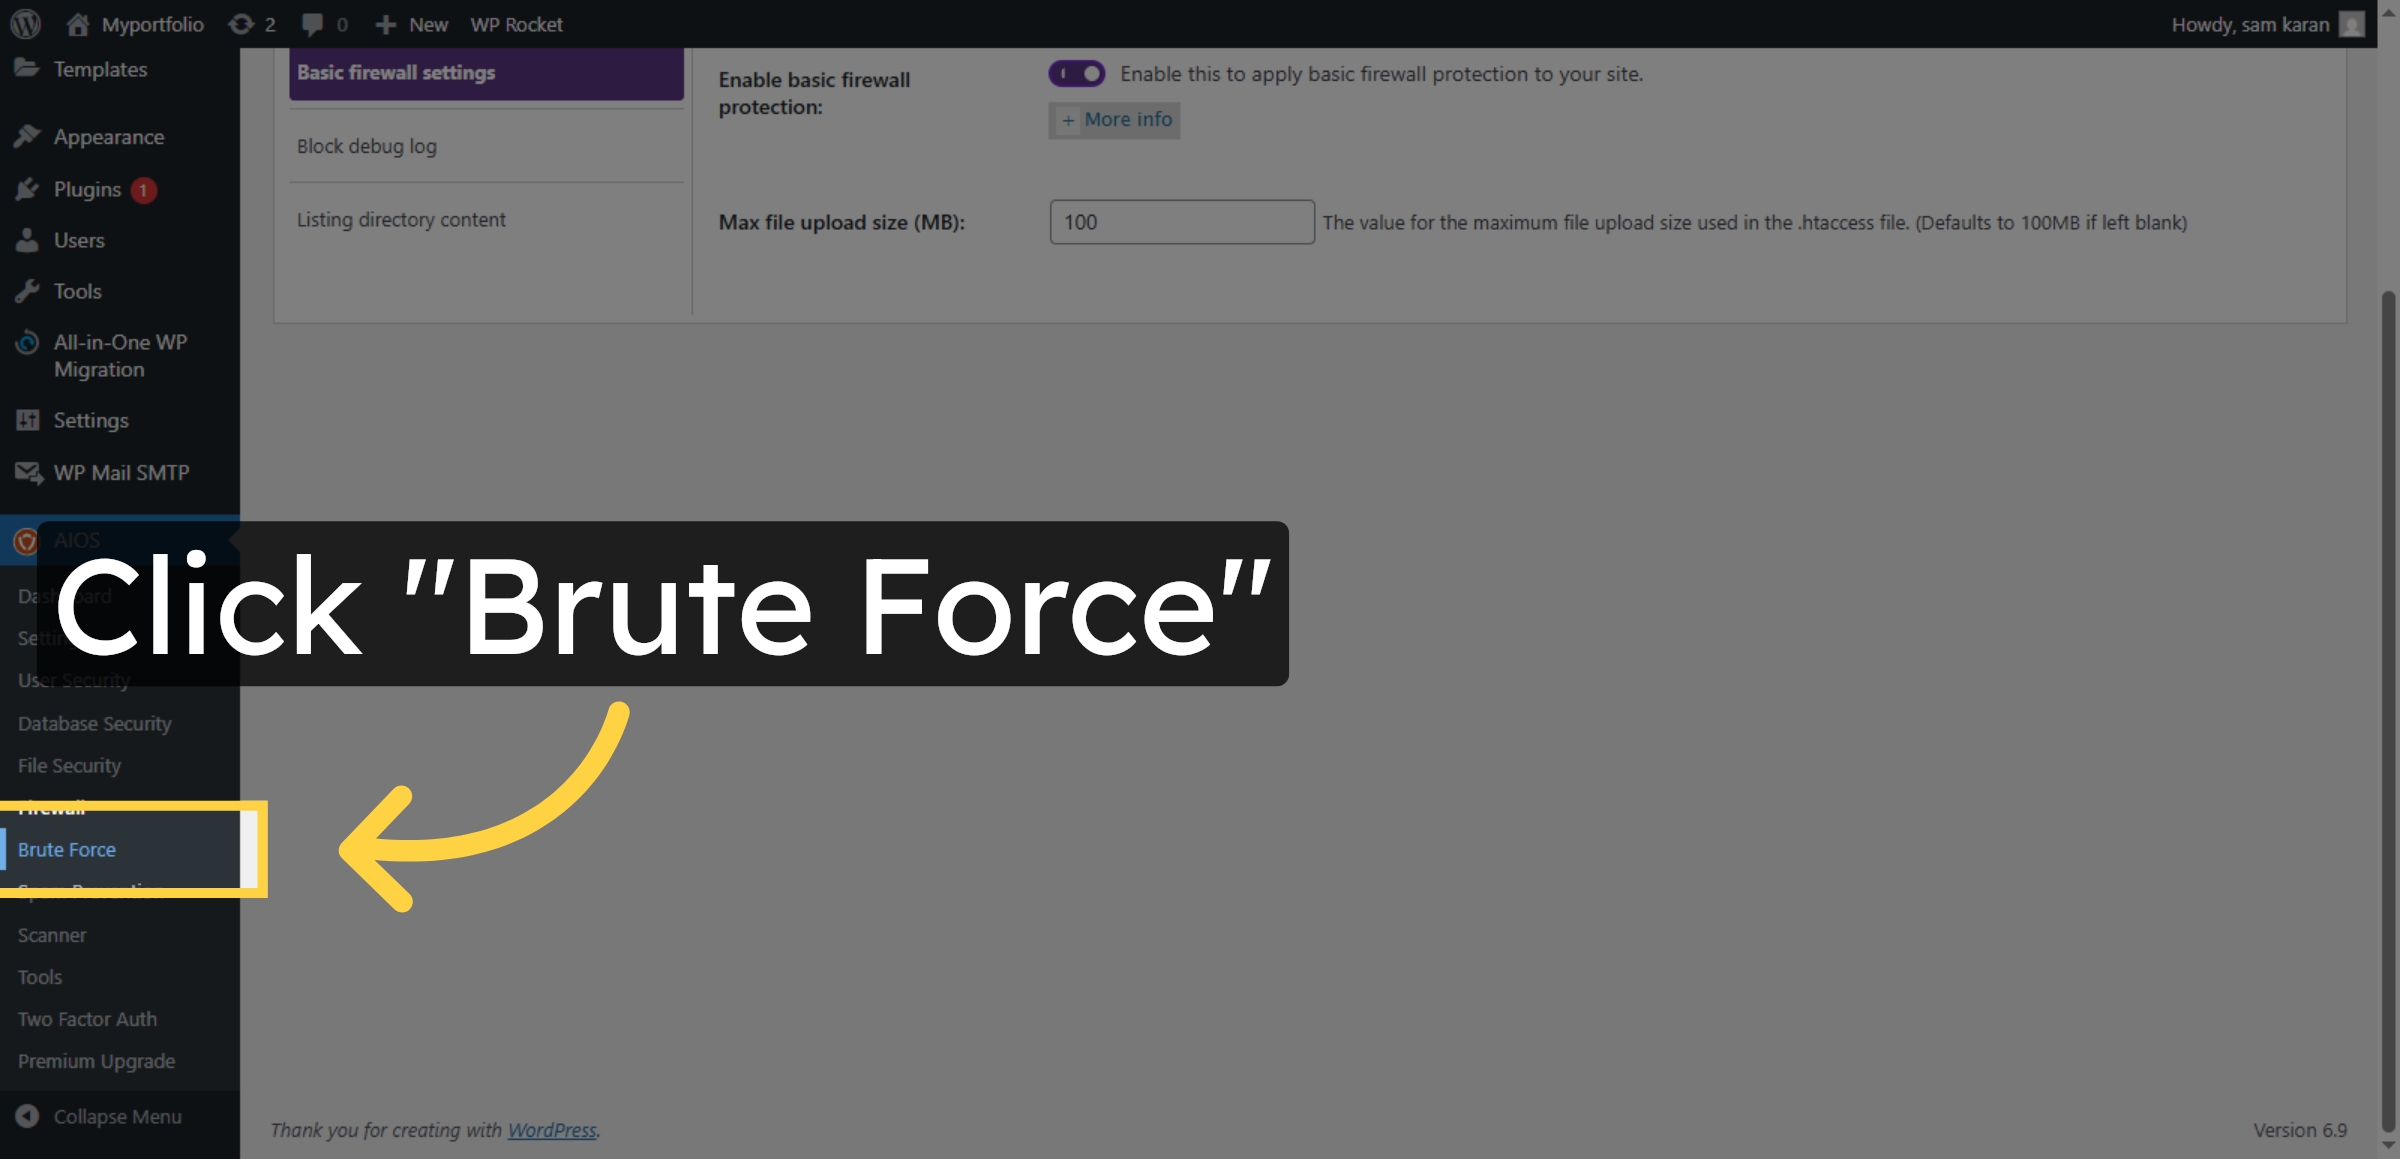
36. Select Brute Force Protection
Click Brute Force to configure brute force security.
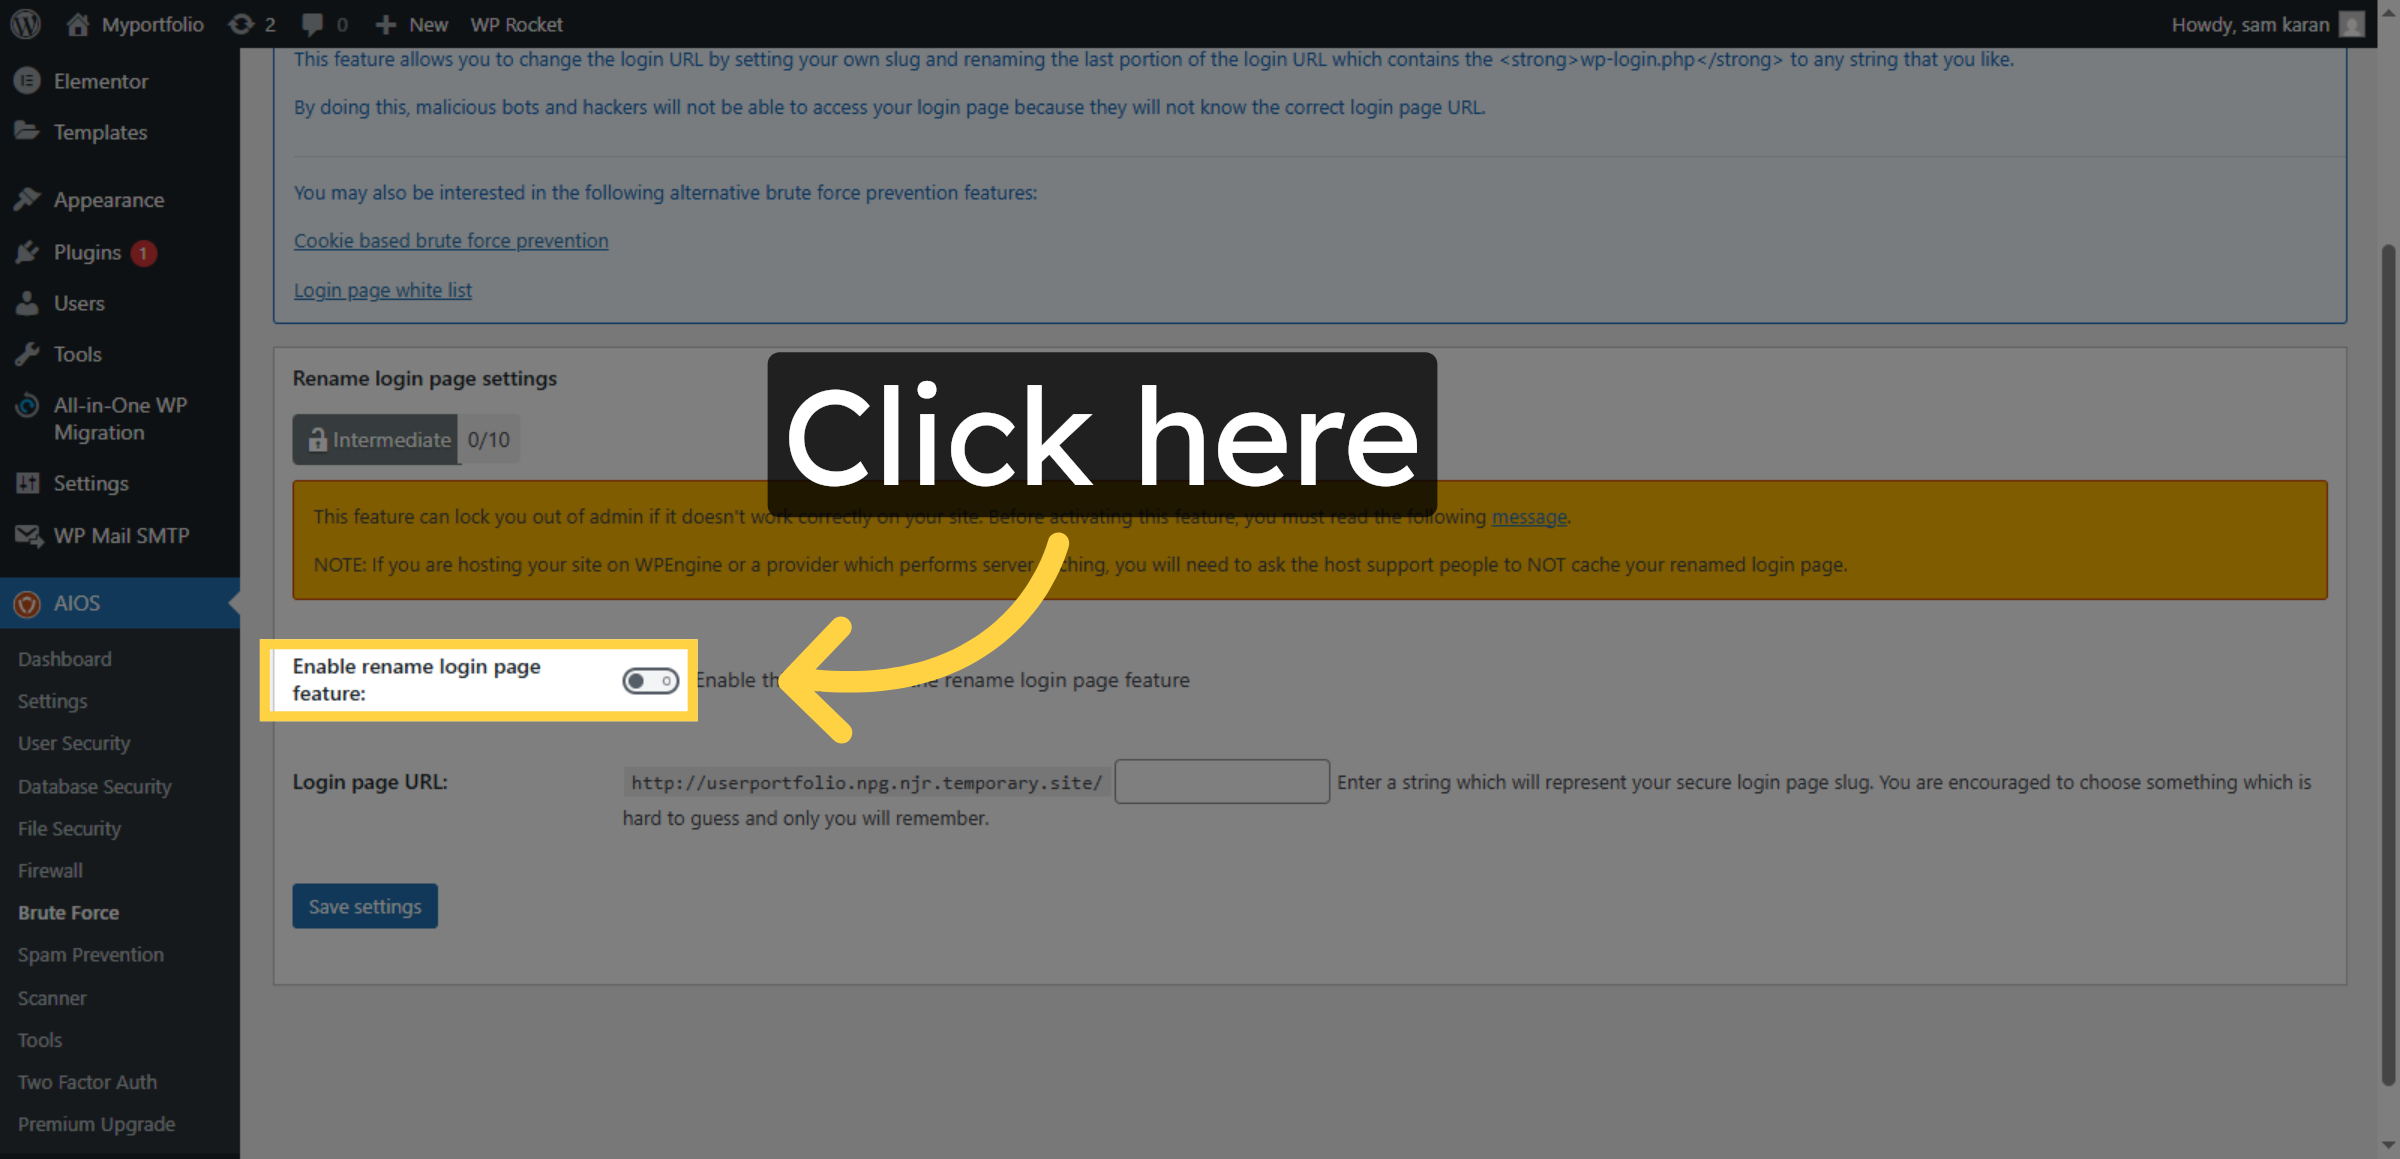
37. Enable Brute Force Protection
Click here to enable brute force protection.
38. Open Login Page URL Setting
Click Login page URL to customize your login address.
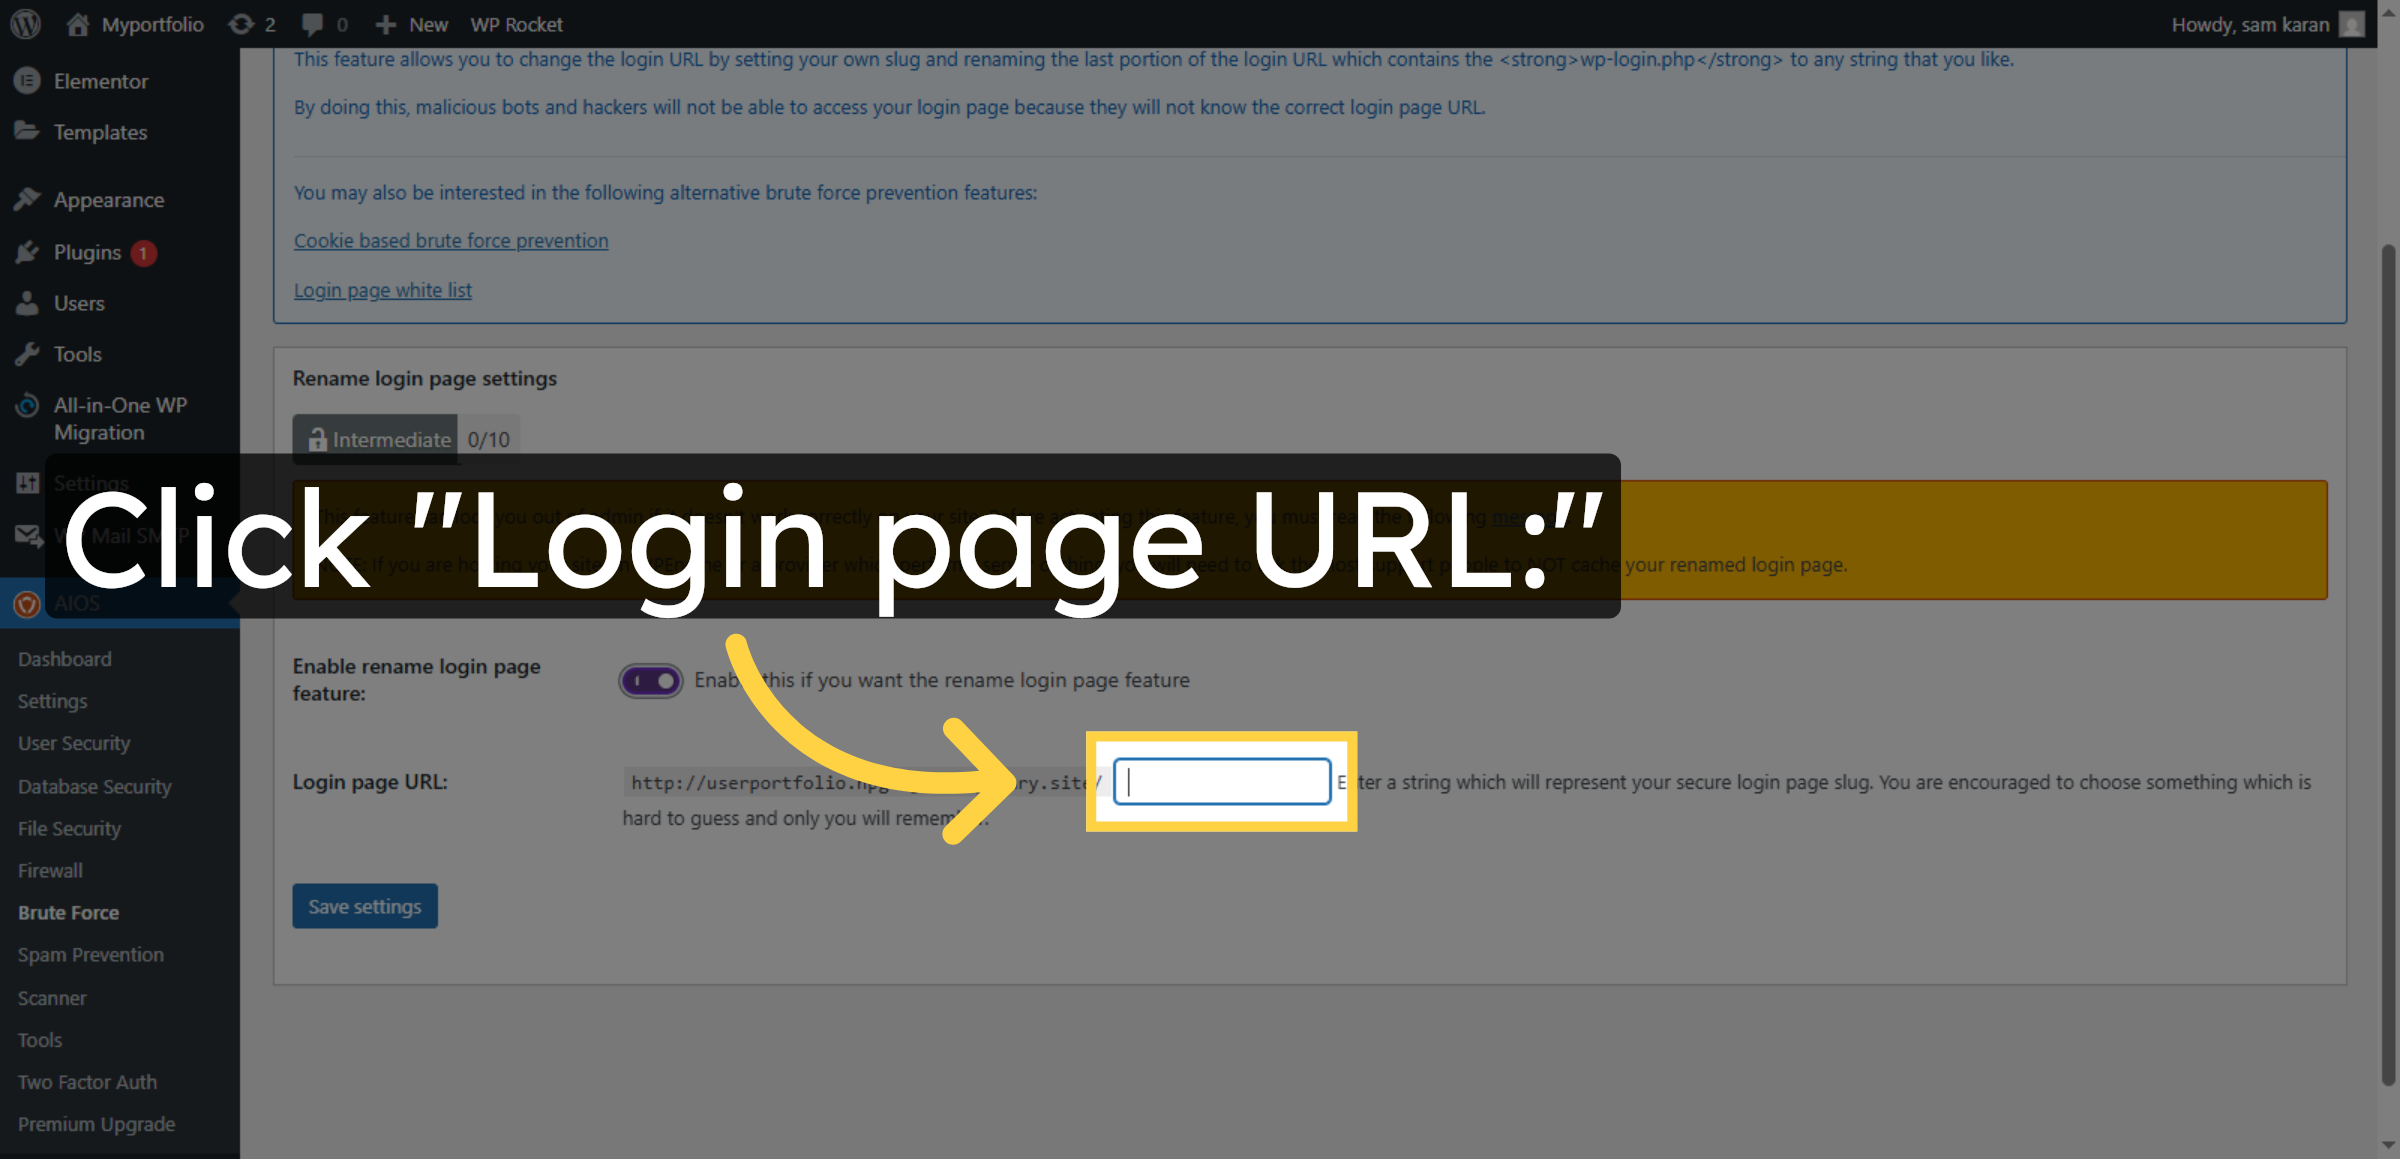
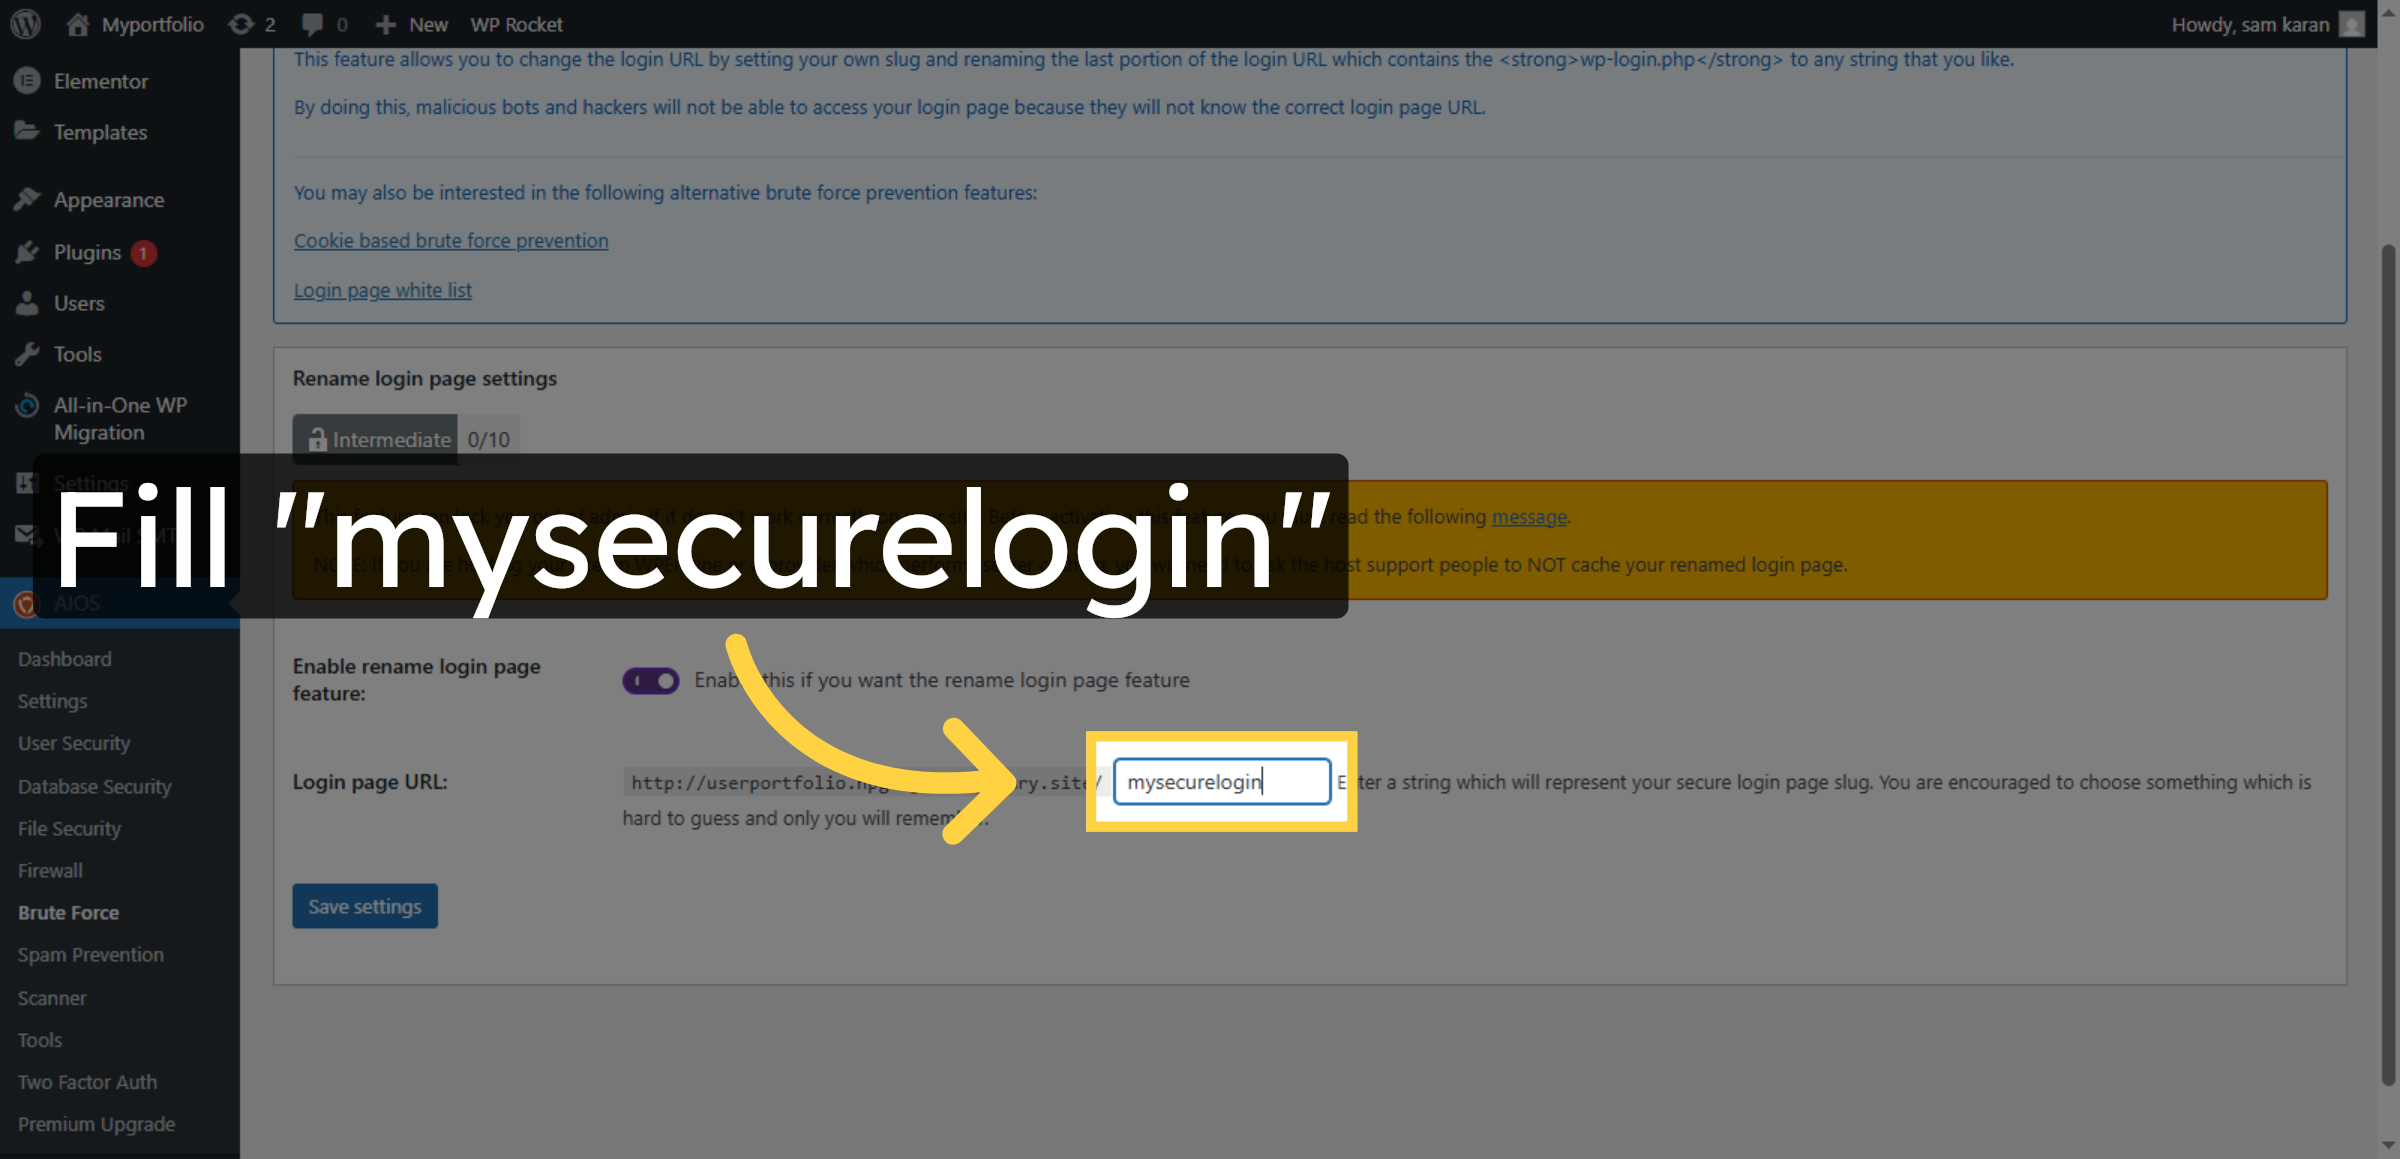
39. Enter Custom Login URL
Enter mysecurelogin as your custom login page URL.
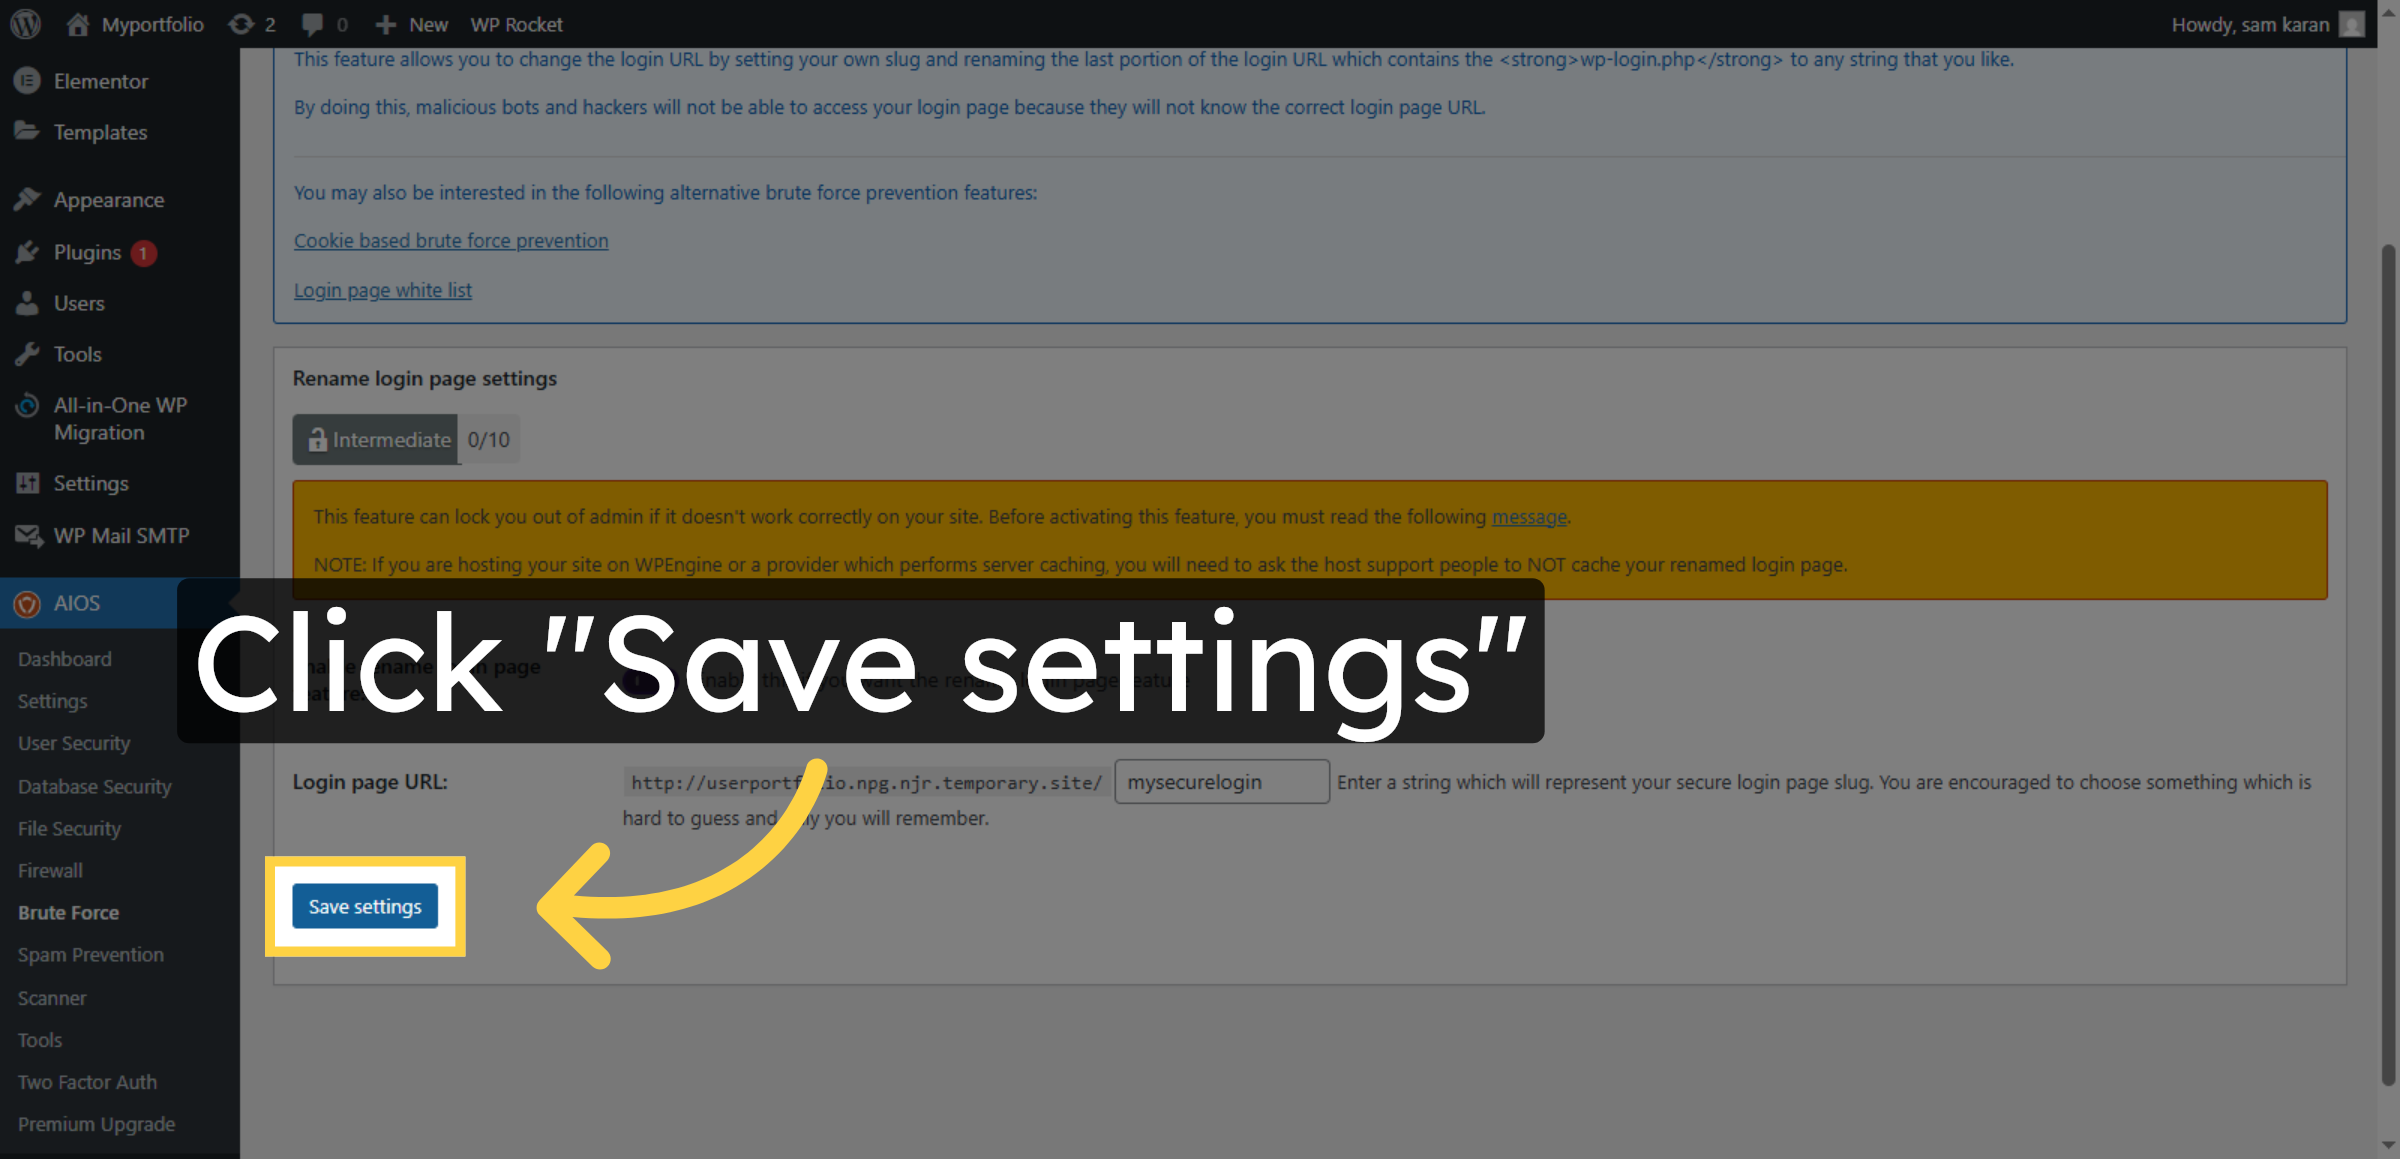
40. Save Login URL Settings
Click Save settings to apply the custom login URL.
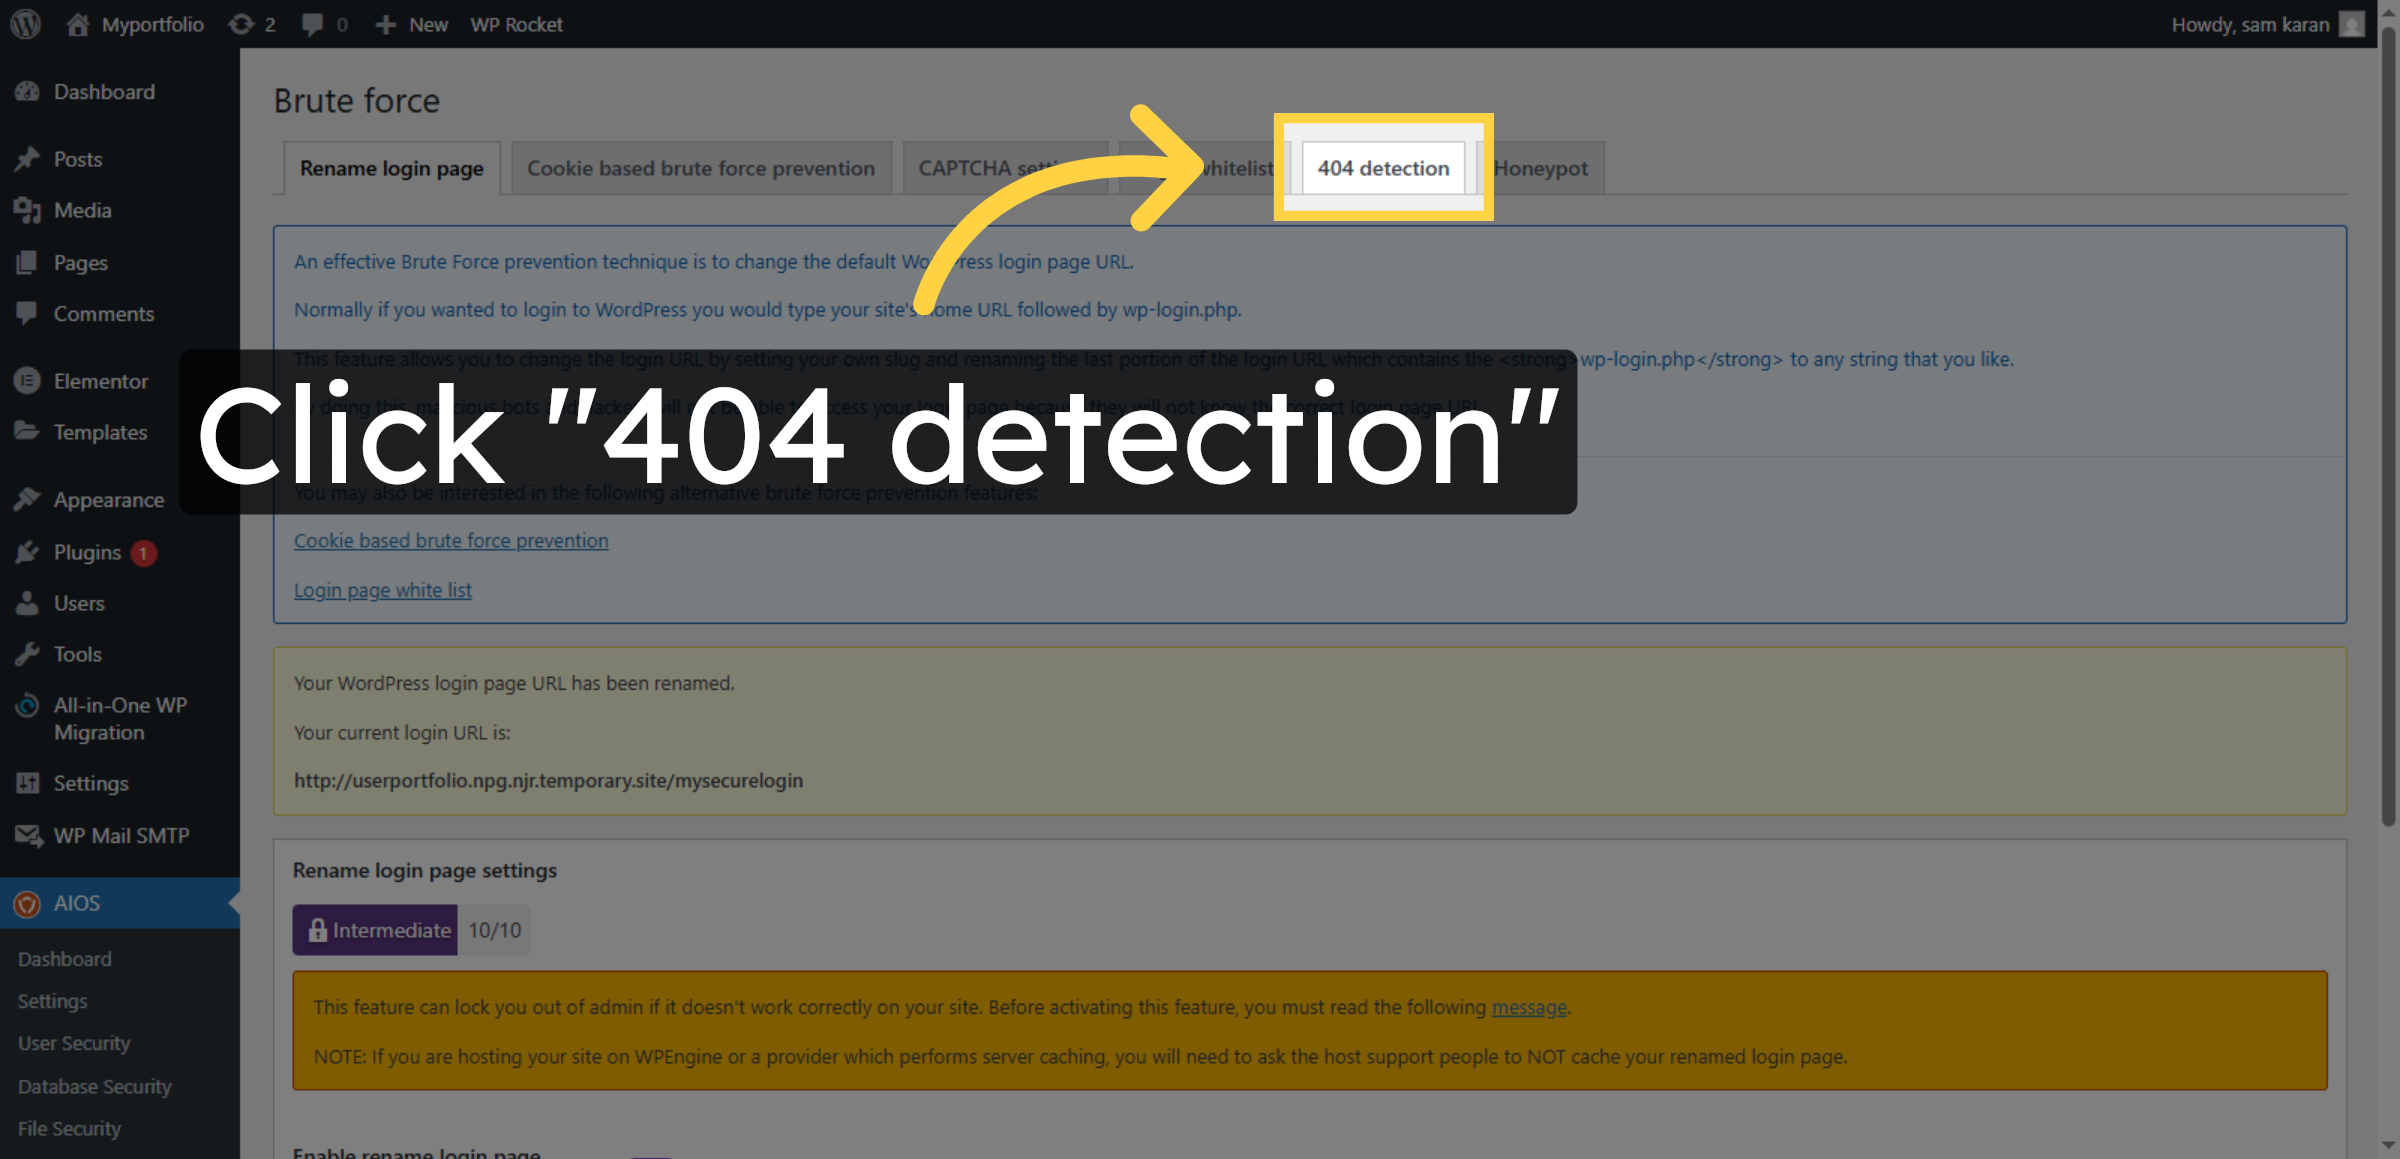
41. Select 404 Detection
Click 404 detection to configure error page security.
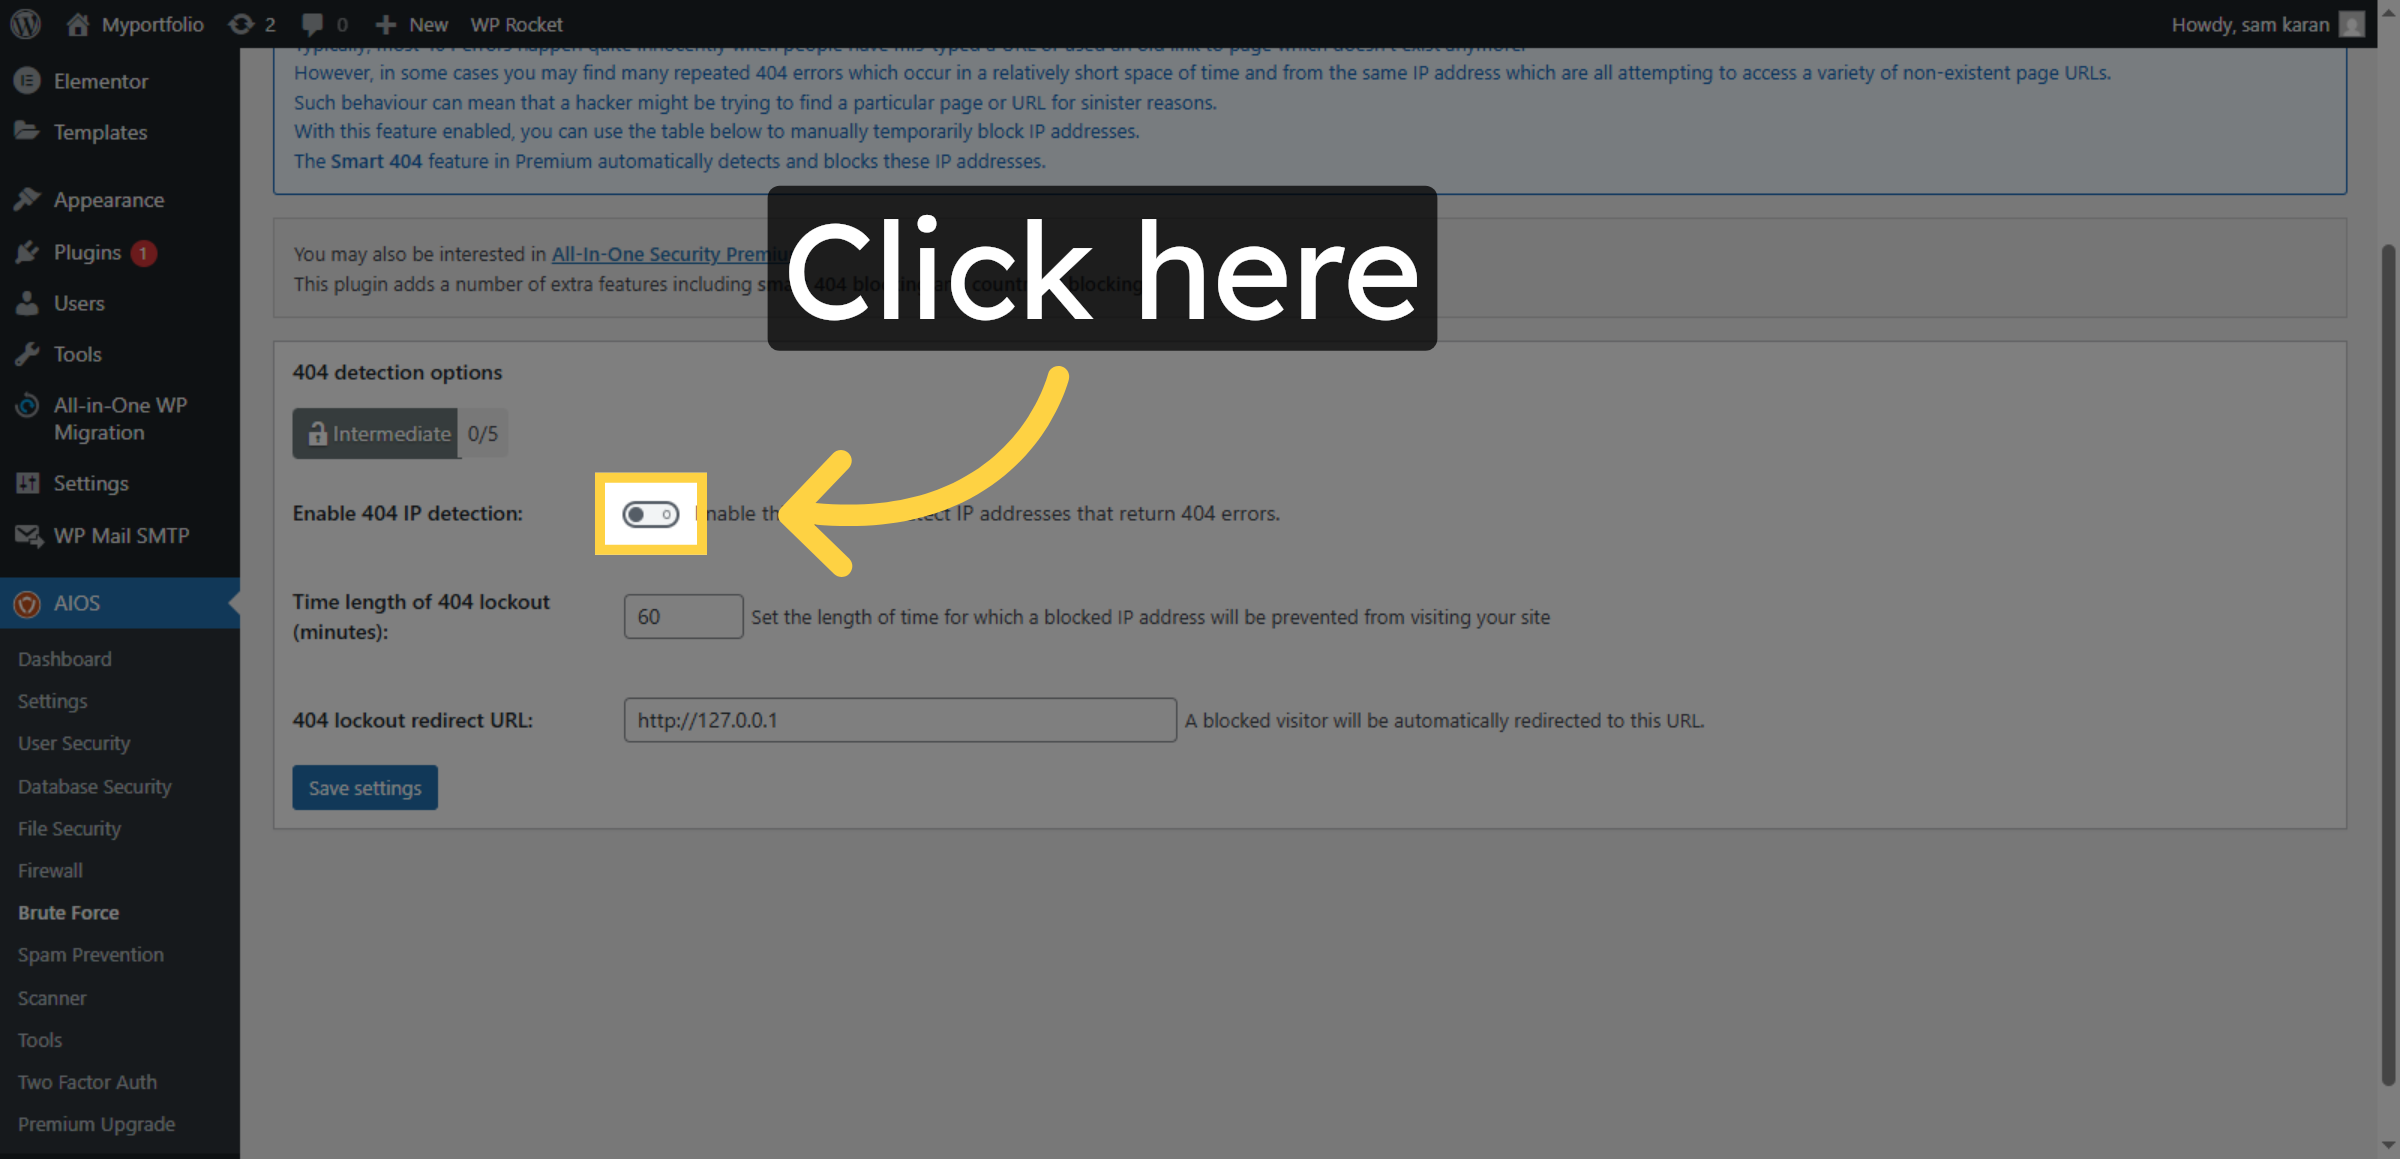
42. Enable 404 Detection
Click here to enable 404 detection.
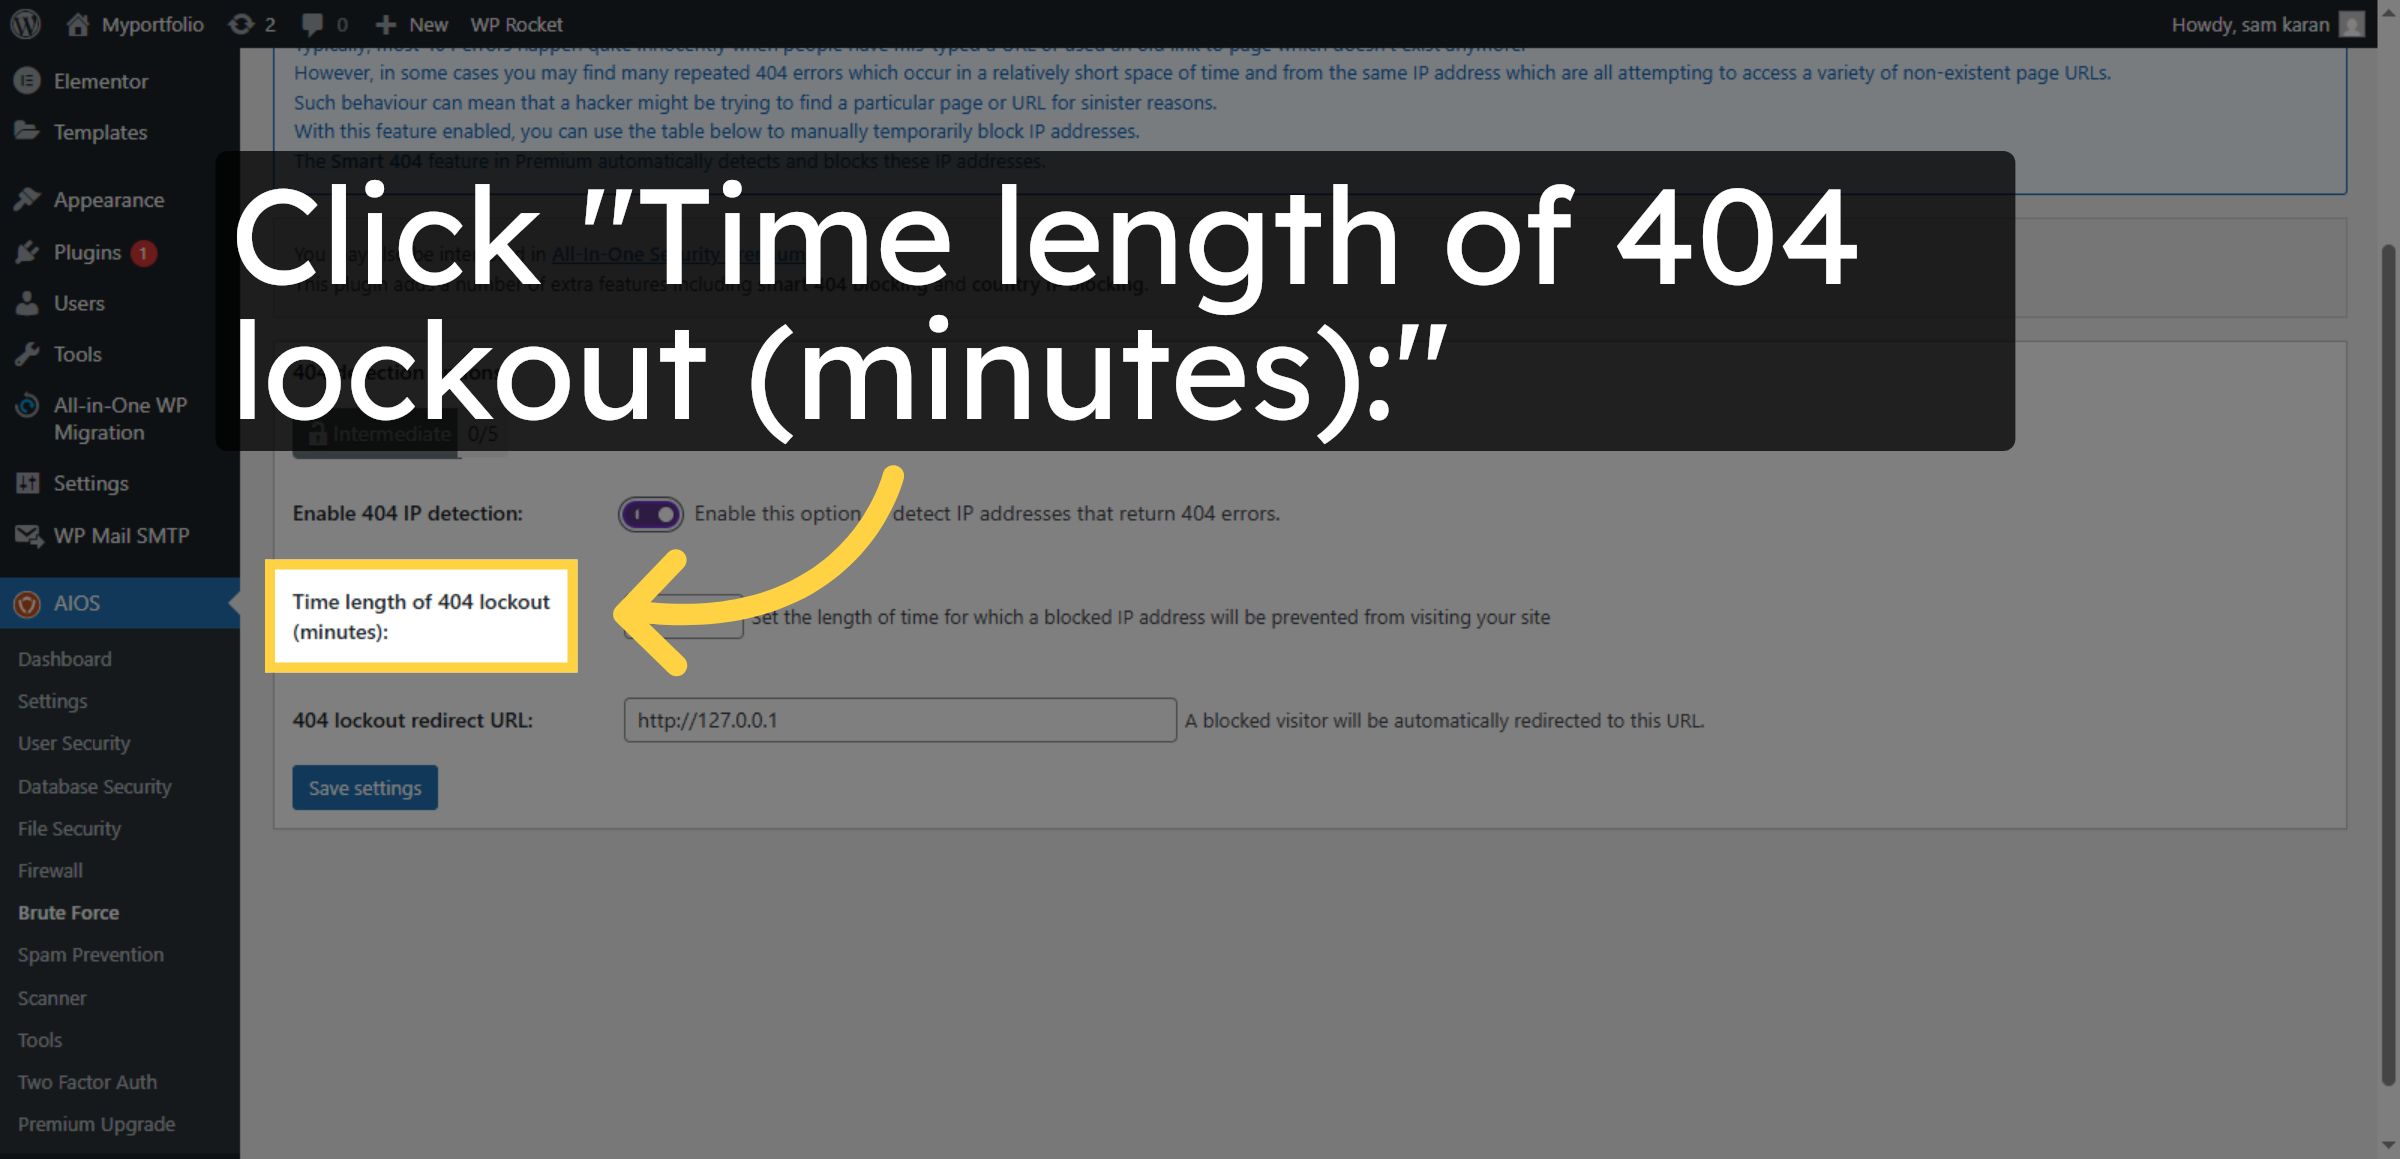
43. Set Time Length of 404 Lockout
Click Time length of 404 lockout (minutes) to set duration.
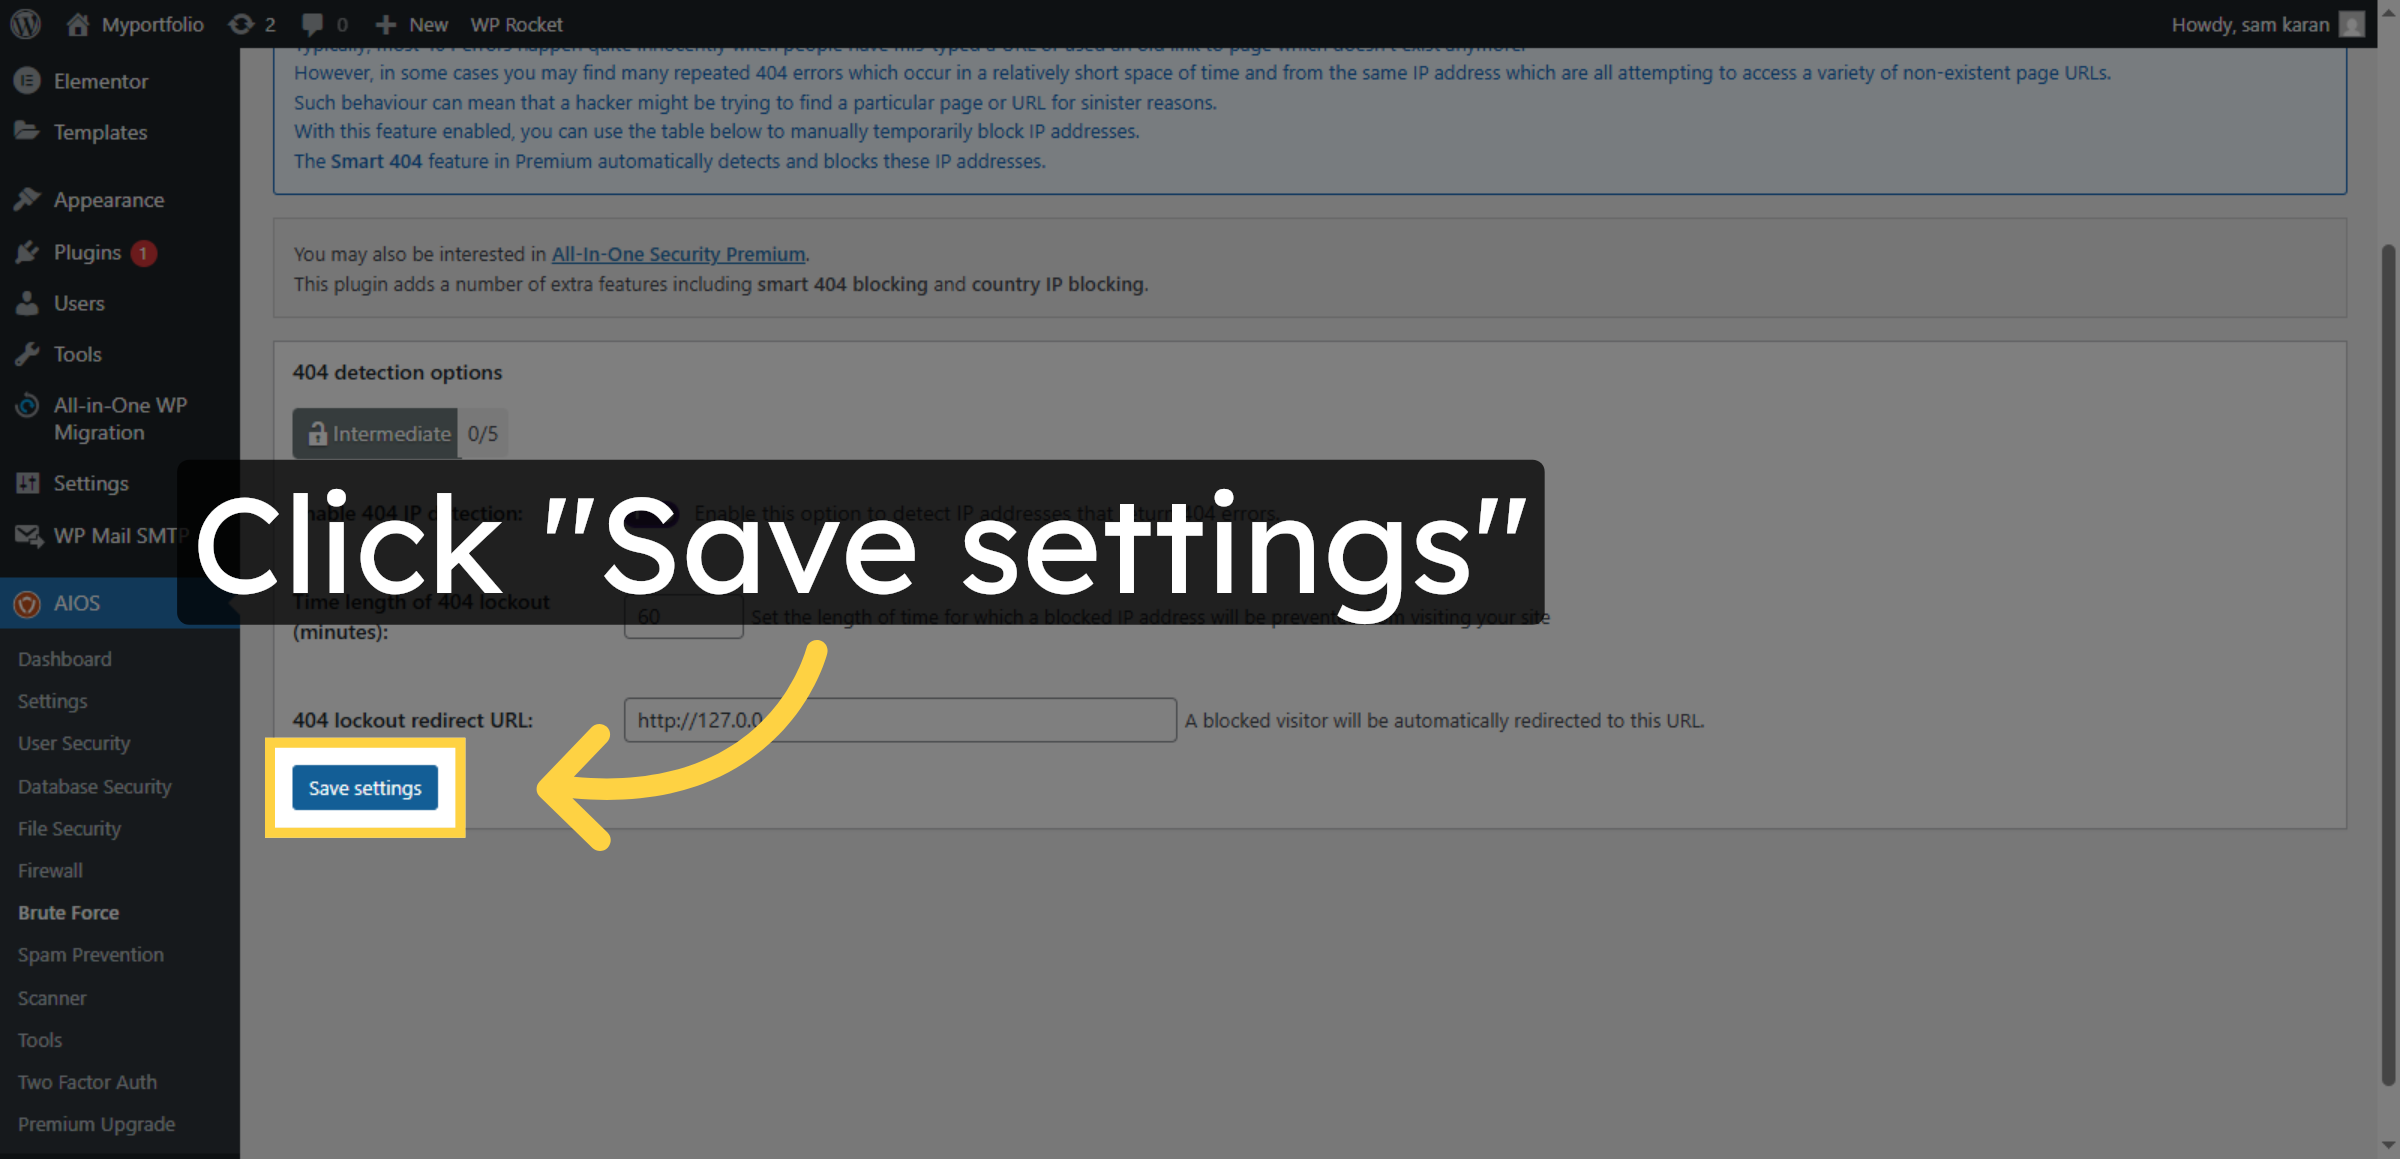
44. Save 404 Detection Settings
Click Save settings to confirm 404 detection changes.
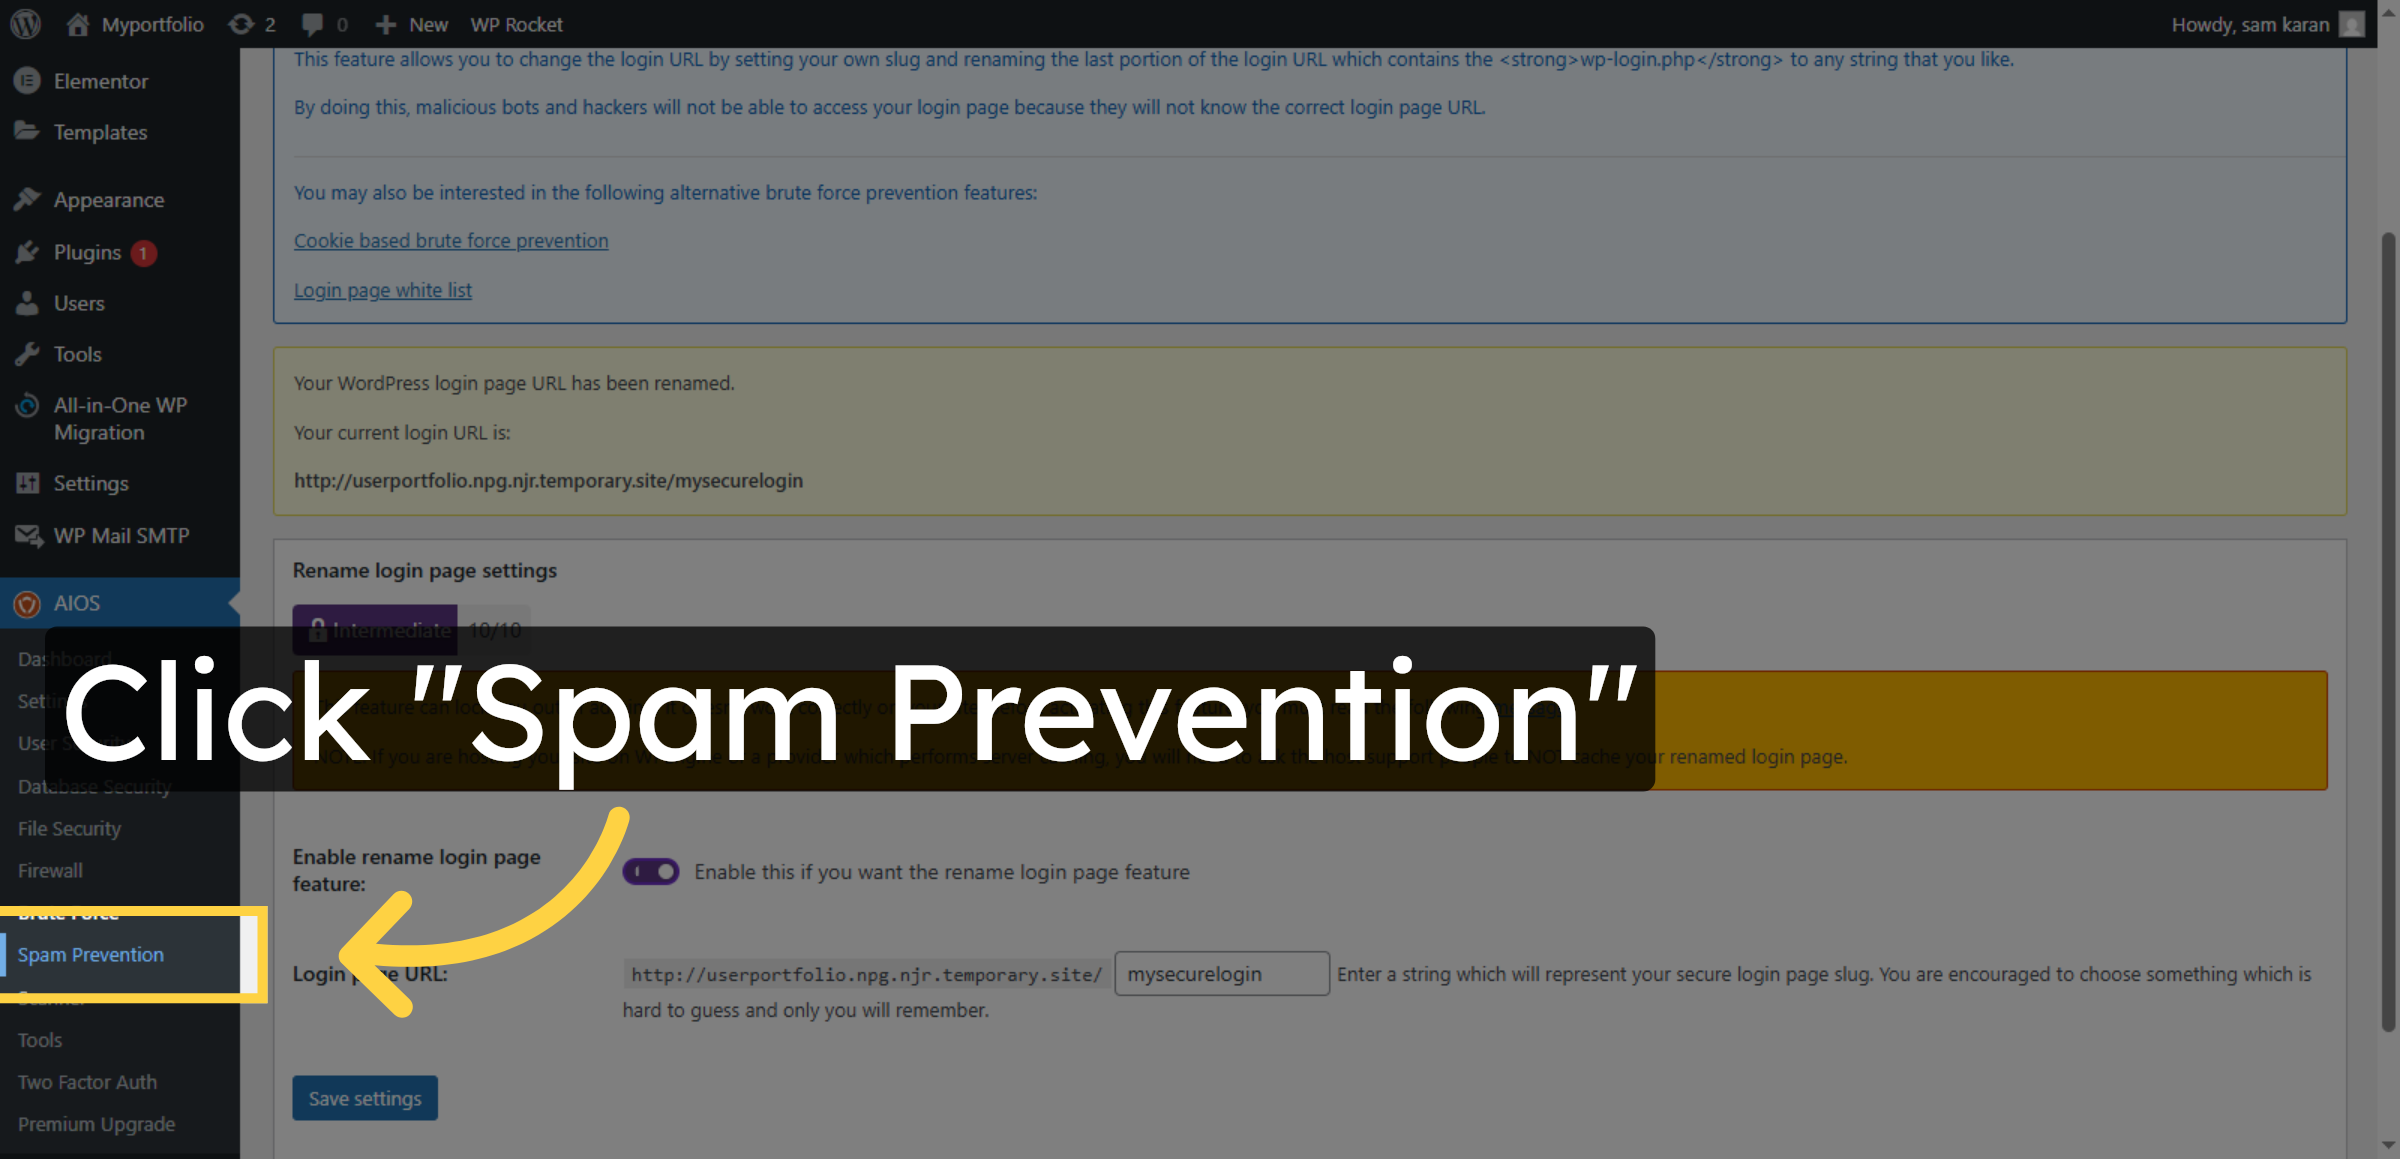
45. Open Spam Prevention
Click Spam Prevention to manage comment spam settings.
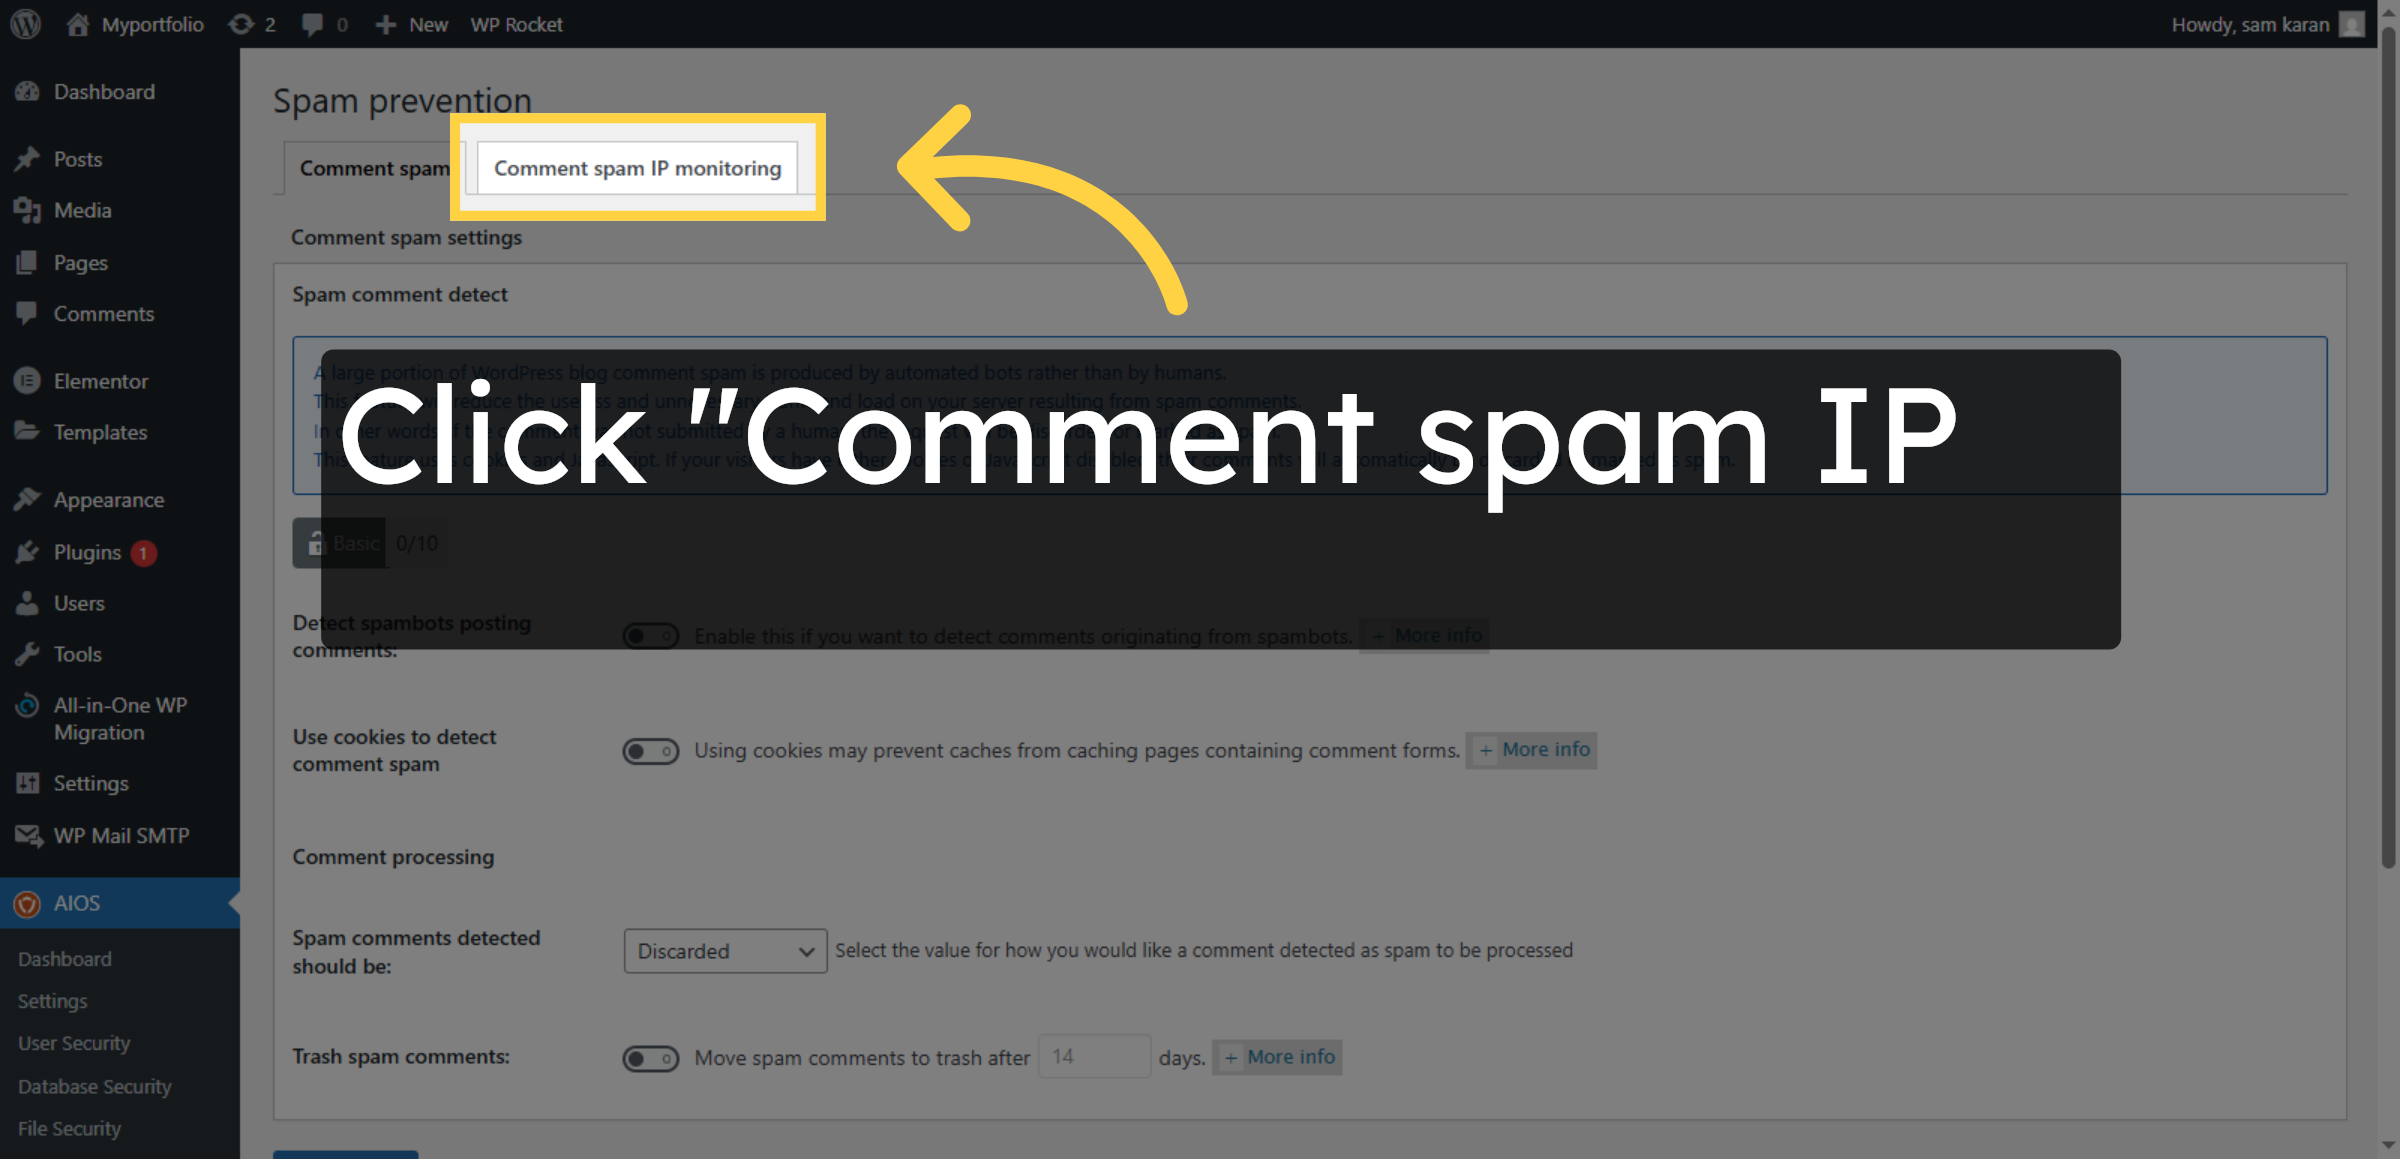
46. Select Comment Spam IP Monitoring
Click Comment spam IP monitoring to track spam IPs.
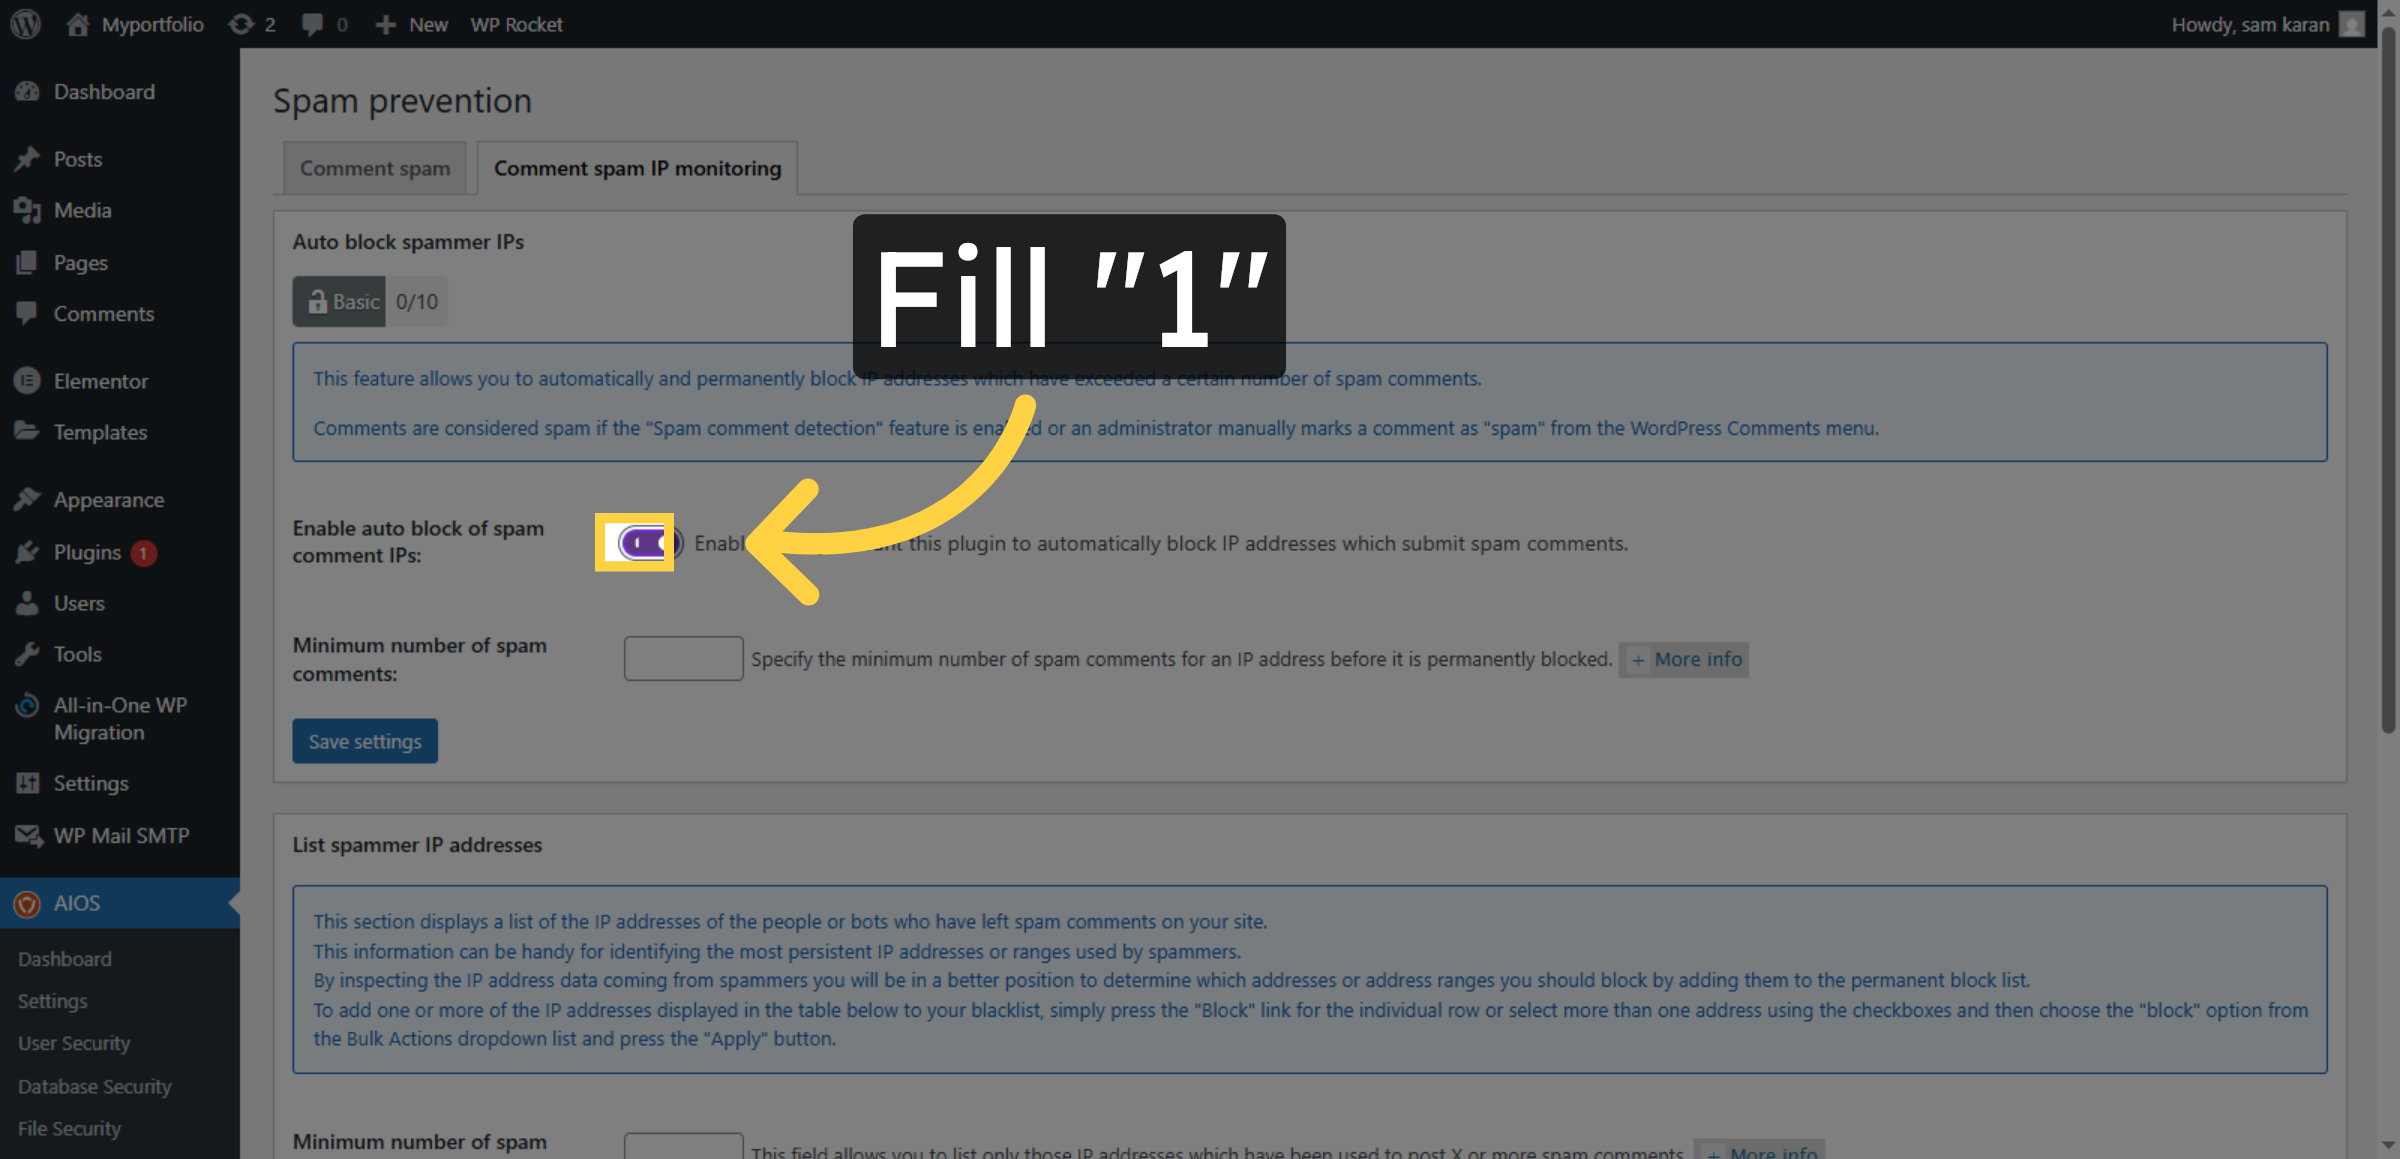
47. Set Spam IP Monitoring Level
Enter 1 to activate spam IP monitoring.
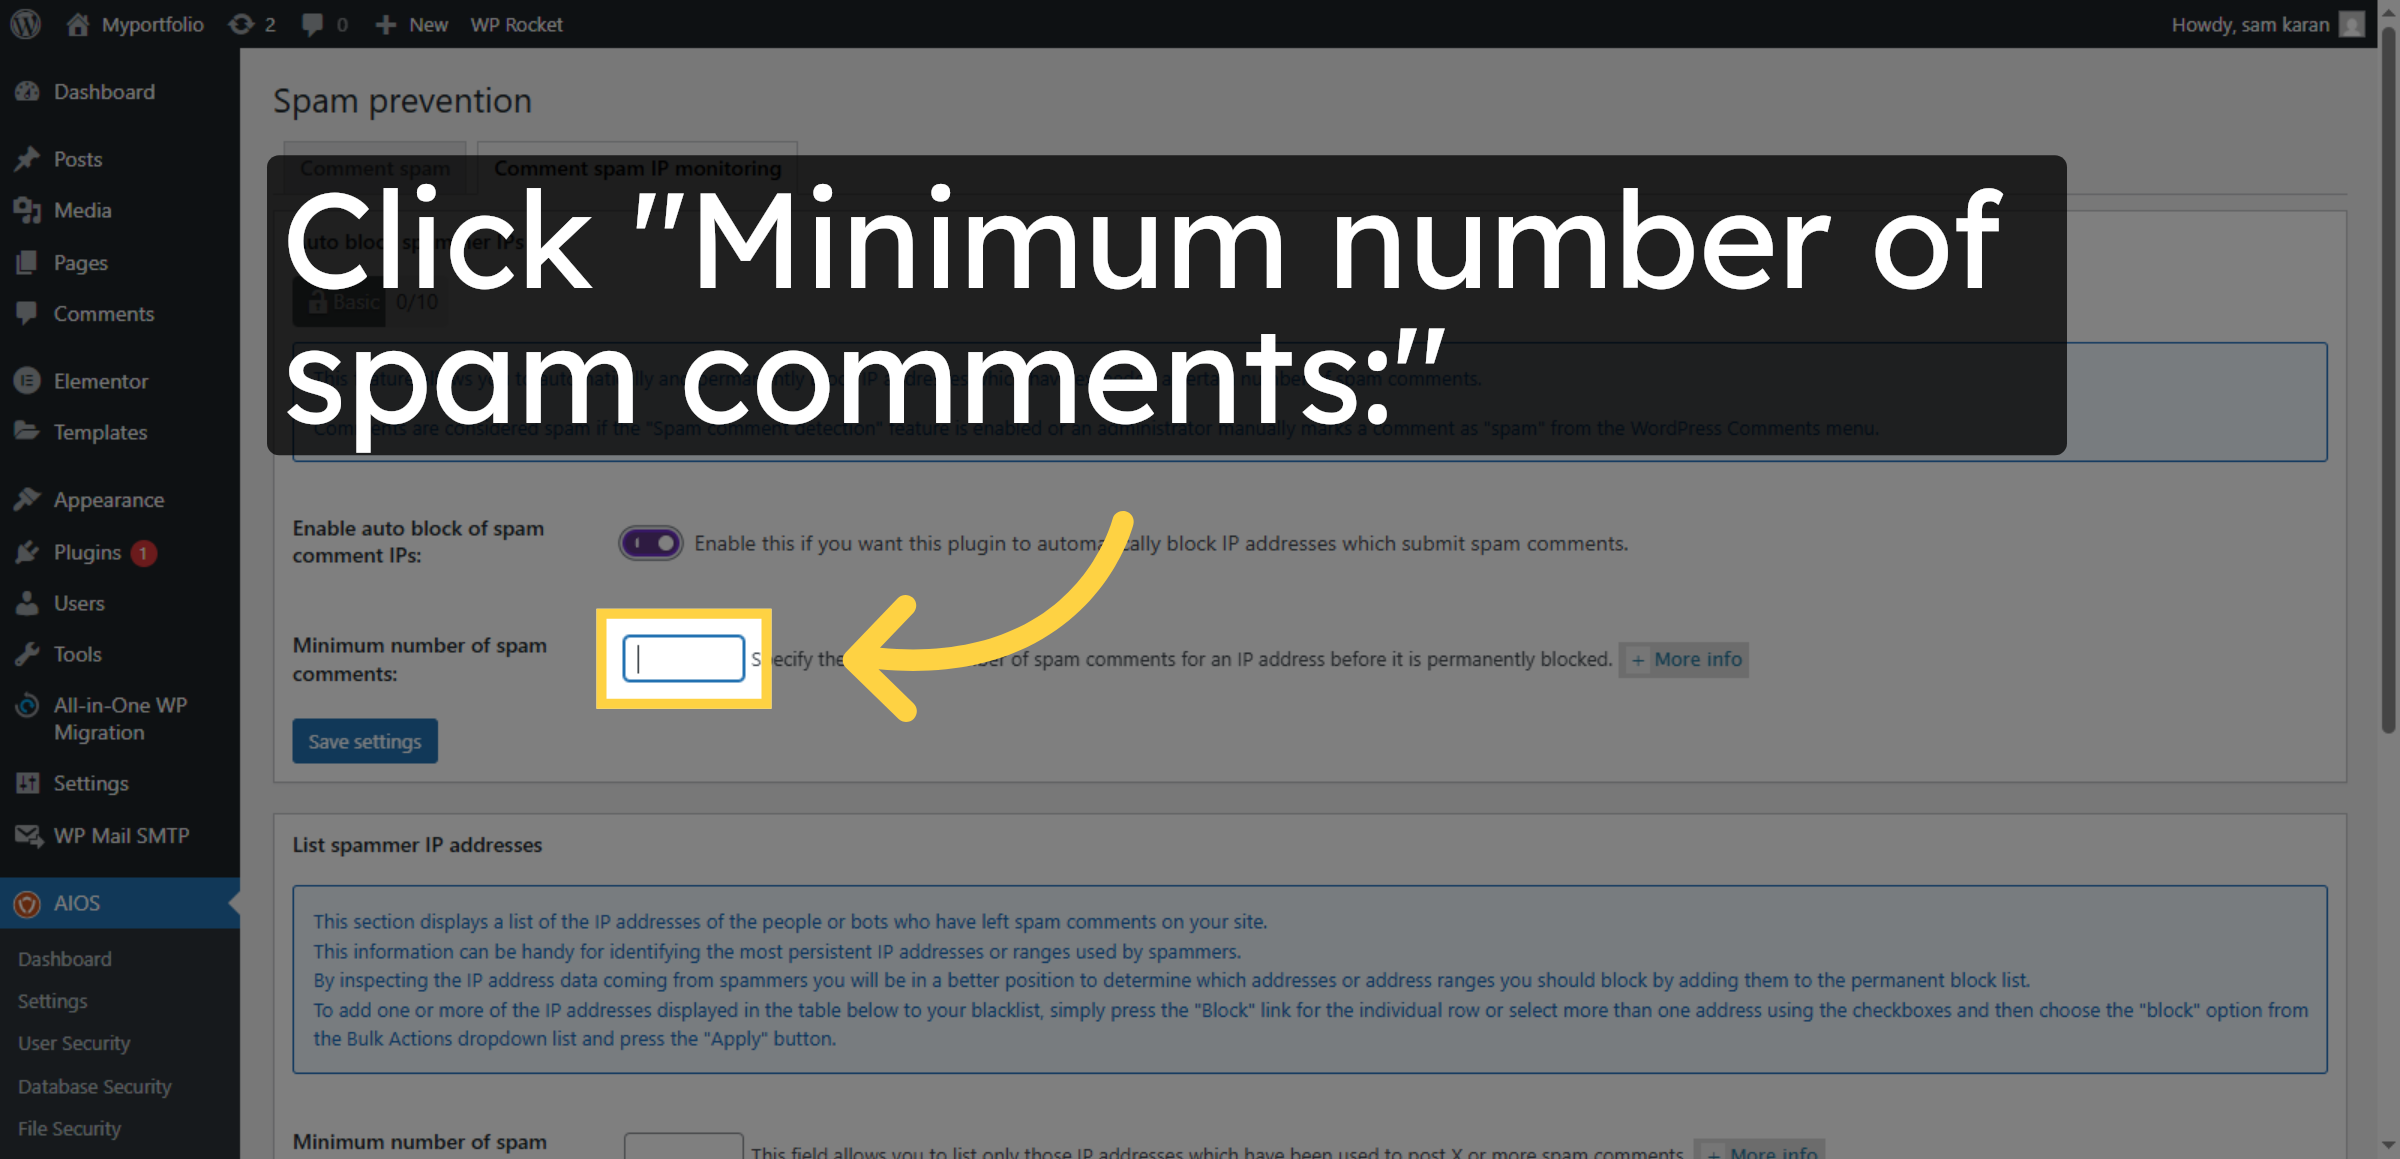
48. Set Minimum Spam Comments
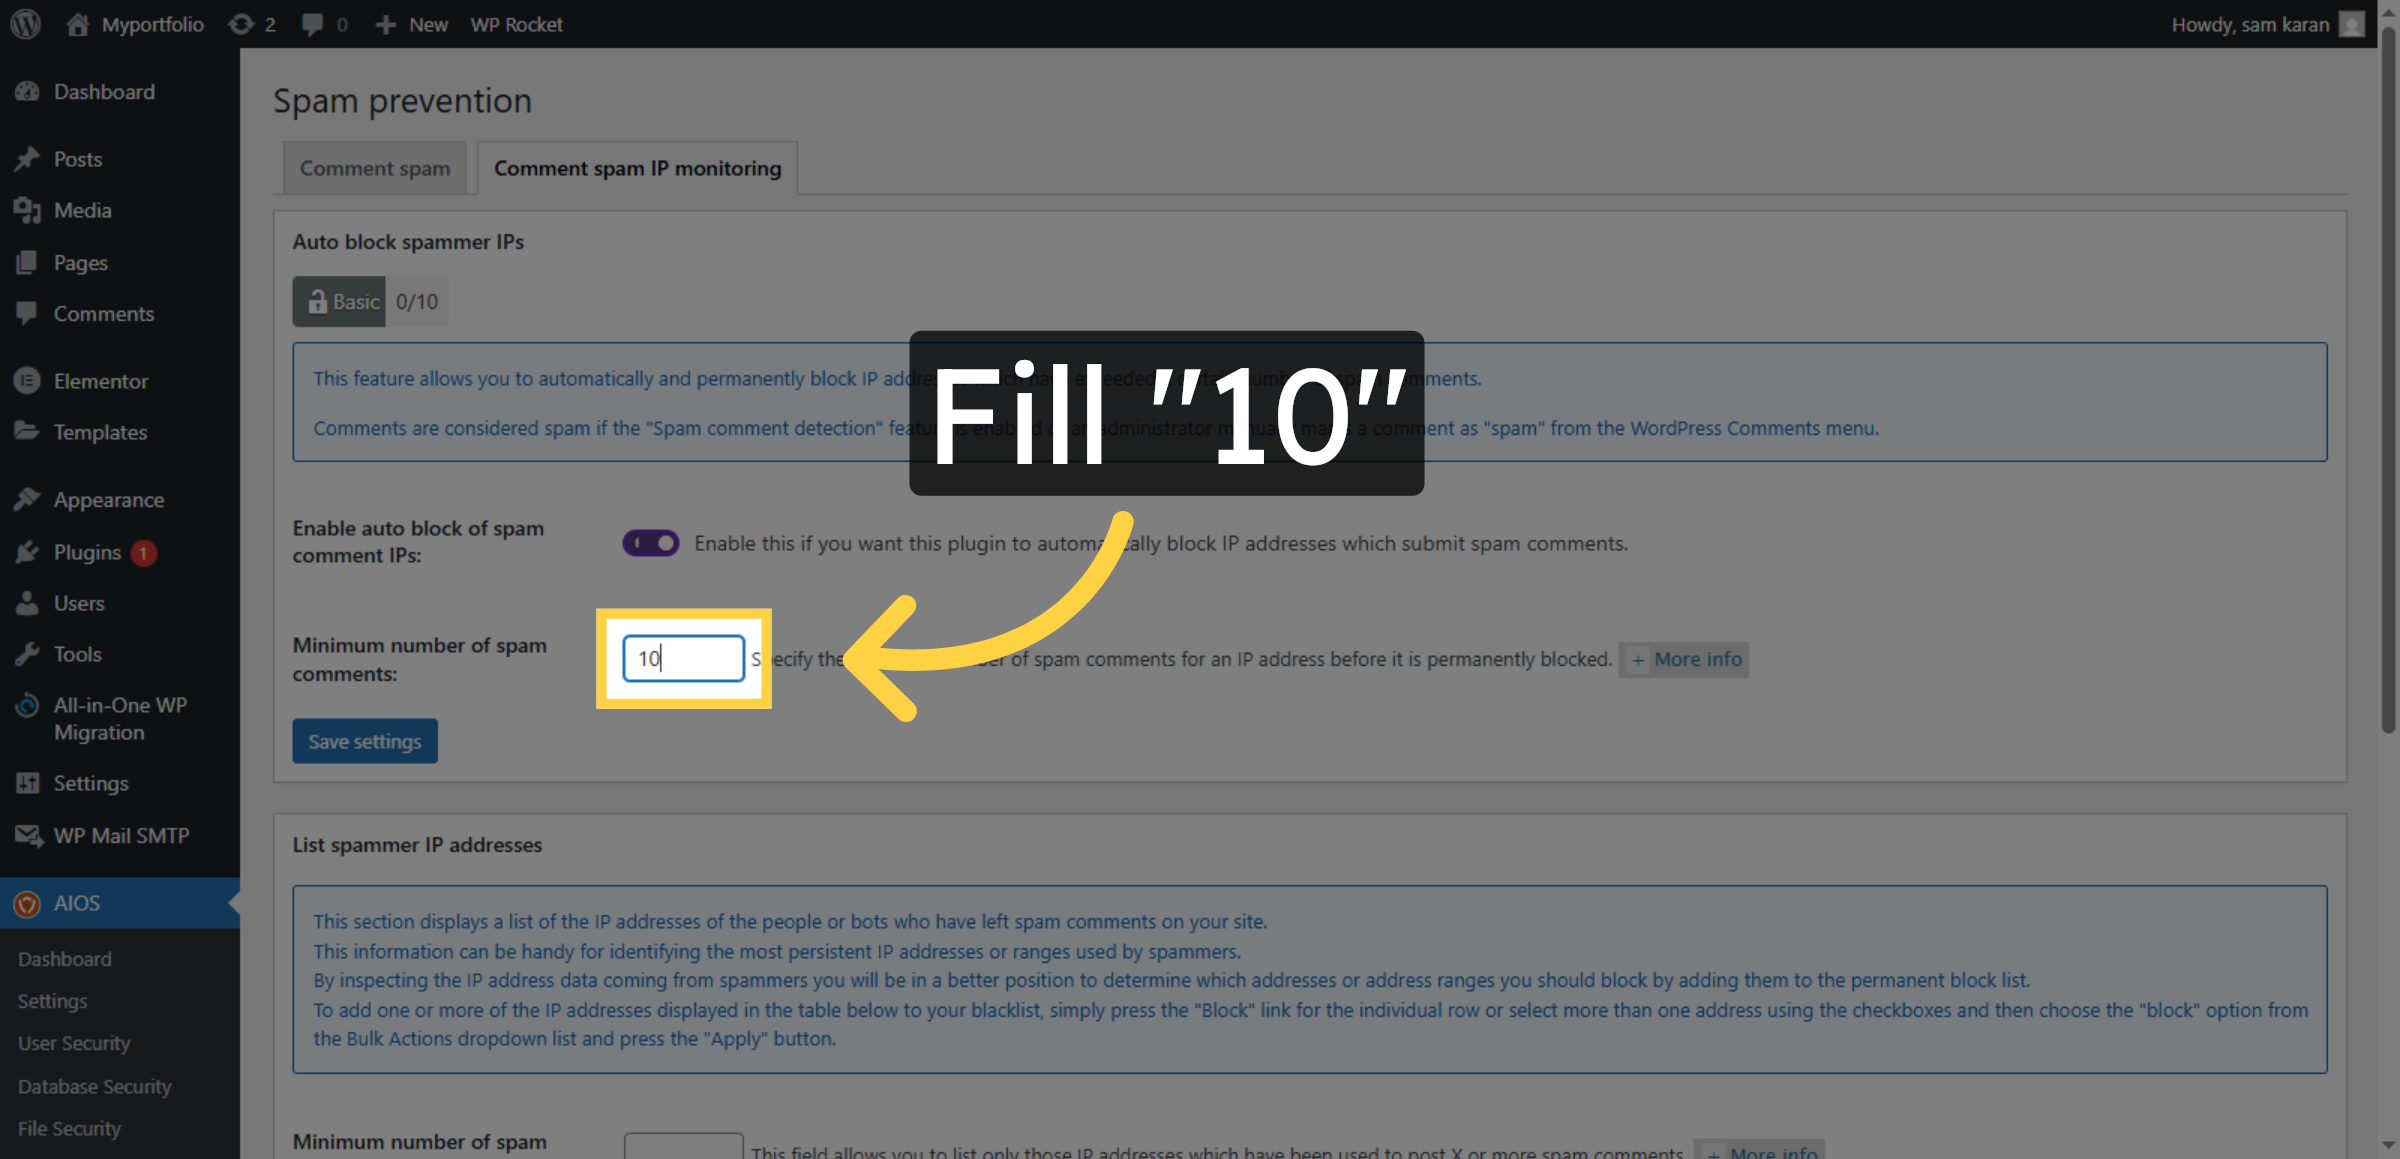
Click Minimum number of spam comments to set threshold.
49. Enter Spam Comment Threshold
Enter 10 as the minimum number of spam comments.
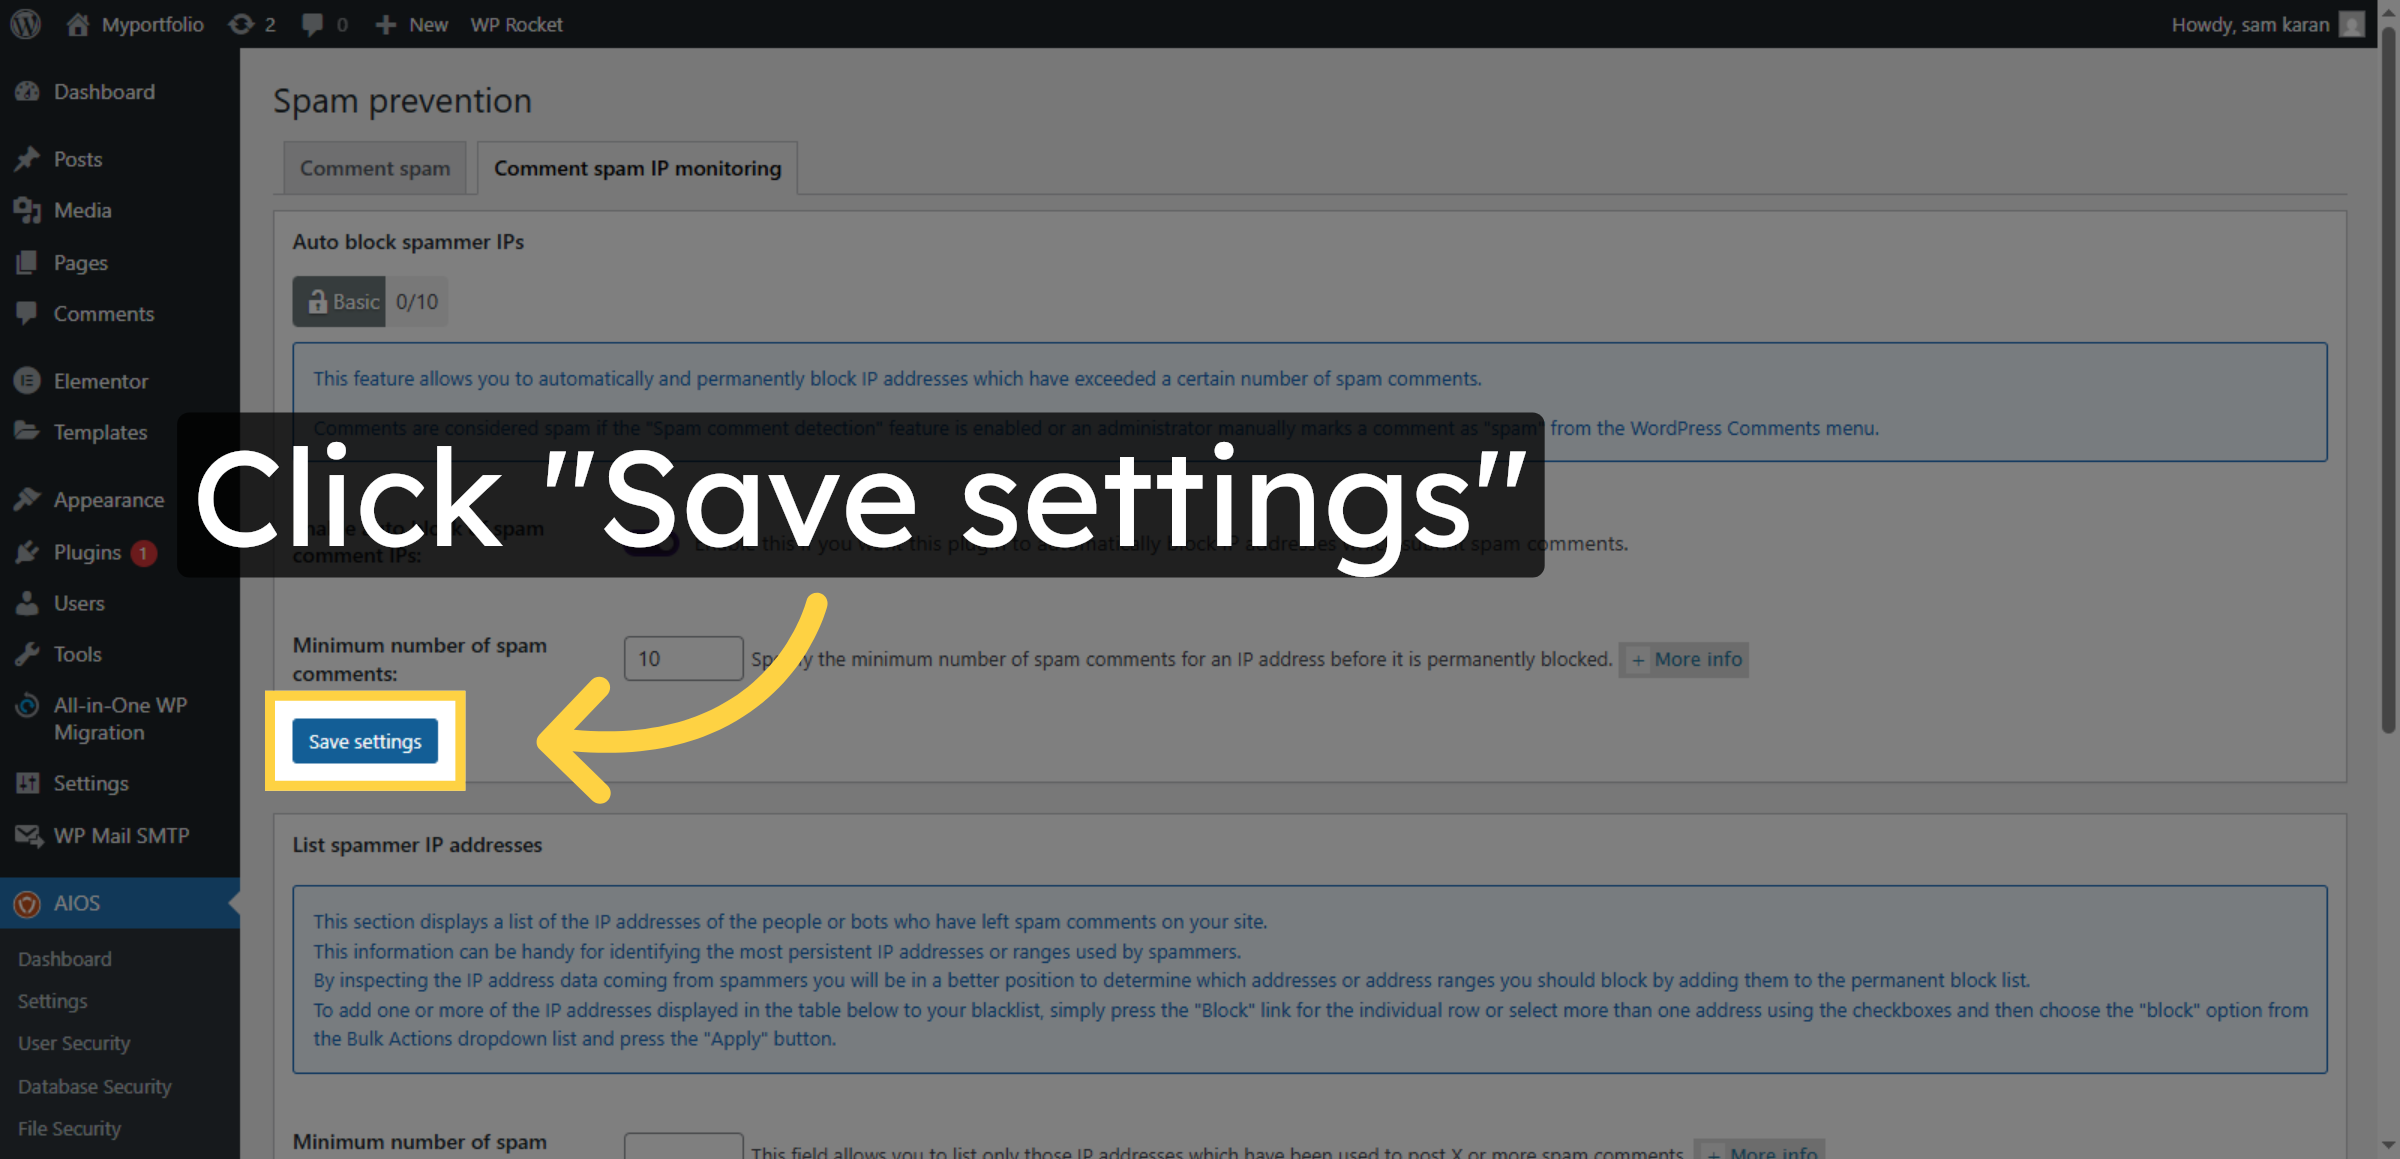
50. Save Spam Prevention Settings
Click Save settings to apply spam prevention configurations.
Conclusion
Implementing effective security measures is a vital responsibility for every WordPress website owner. By completing the steps outlined in this guide, you have successfully strengthened your website against common cyber threats through malware scanning, firewall configuration, and advanced security controls. These settings help prevent unauthorized access, protect sensitive data, reduce spam activity, and improve overall system reliability.
Maintaining strong security requires continuous monitoring, timely updates, and regular reviews of security configurations. Periodic assessments of user access, firewall rules, and database protection will further enhance your website’s resilience. With these protective measures in place, your website is better equipped to deliver consistent performance, protect user information, and maintain operational stability in a rapidly evolving digital landscape.
WooHelpDesk Support
If you require professional assistance with WordPress security, malware removal, firewall optimization, performance enhancement, or website maintenance, WooHelpDesk provides reliable and expert technical support.
Visit: https://www.woohelpdesk.com
Call Us Toll-Free: +1 888 602 0119 (US & Canada)
Trusted Support | Fast Resolution | Secure Solutions
Contact WooHelpDesk today to ensure your website remains secure, optimized, and fully protected.