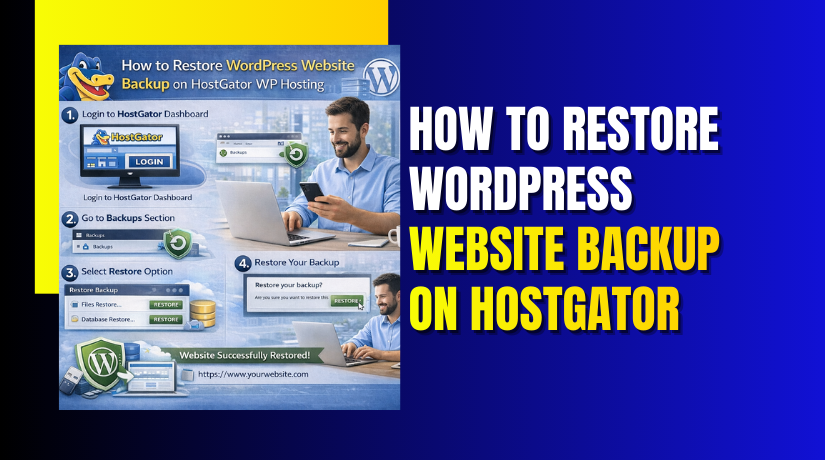
How to Restore WordPress Website Backup on HostGator Hosting
Introduction
Website backup restoration is a critical process for recovering data after system failures, security incidents, accidental deletions, or migration activities. A properly restored backup ensures that your WordPress website returns to its original functionality, design, and content without data loss. Hosting platforms such as HostGator provide a stable environment for WordPress websites, but having the ability to independently restore backups gives website owners greater control and reliability.
This guide explains how to restore a WordPress website backup using HostGator WP Hosting and the All-in-One WP Migration plugin. It provides step-by-step instructions for installing the backup plugin, downloading backup files, importing website data to a new domain, configuring permalink settings, and verifying restored content. By following this guide, users can efficiently recover their websites and minimize downtime during restoration or migration processes.
1. Log In to WordPress Admin
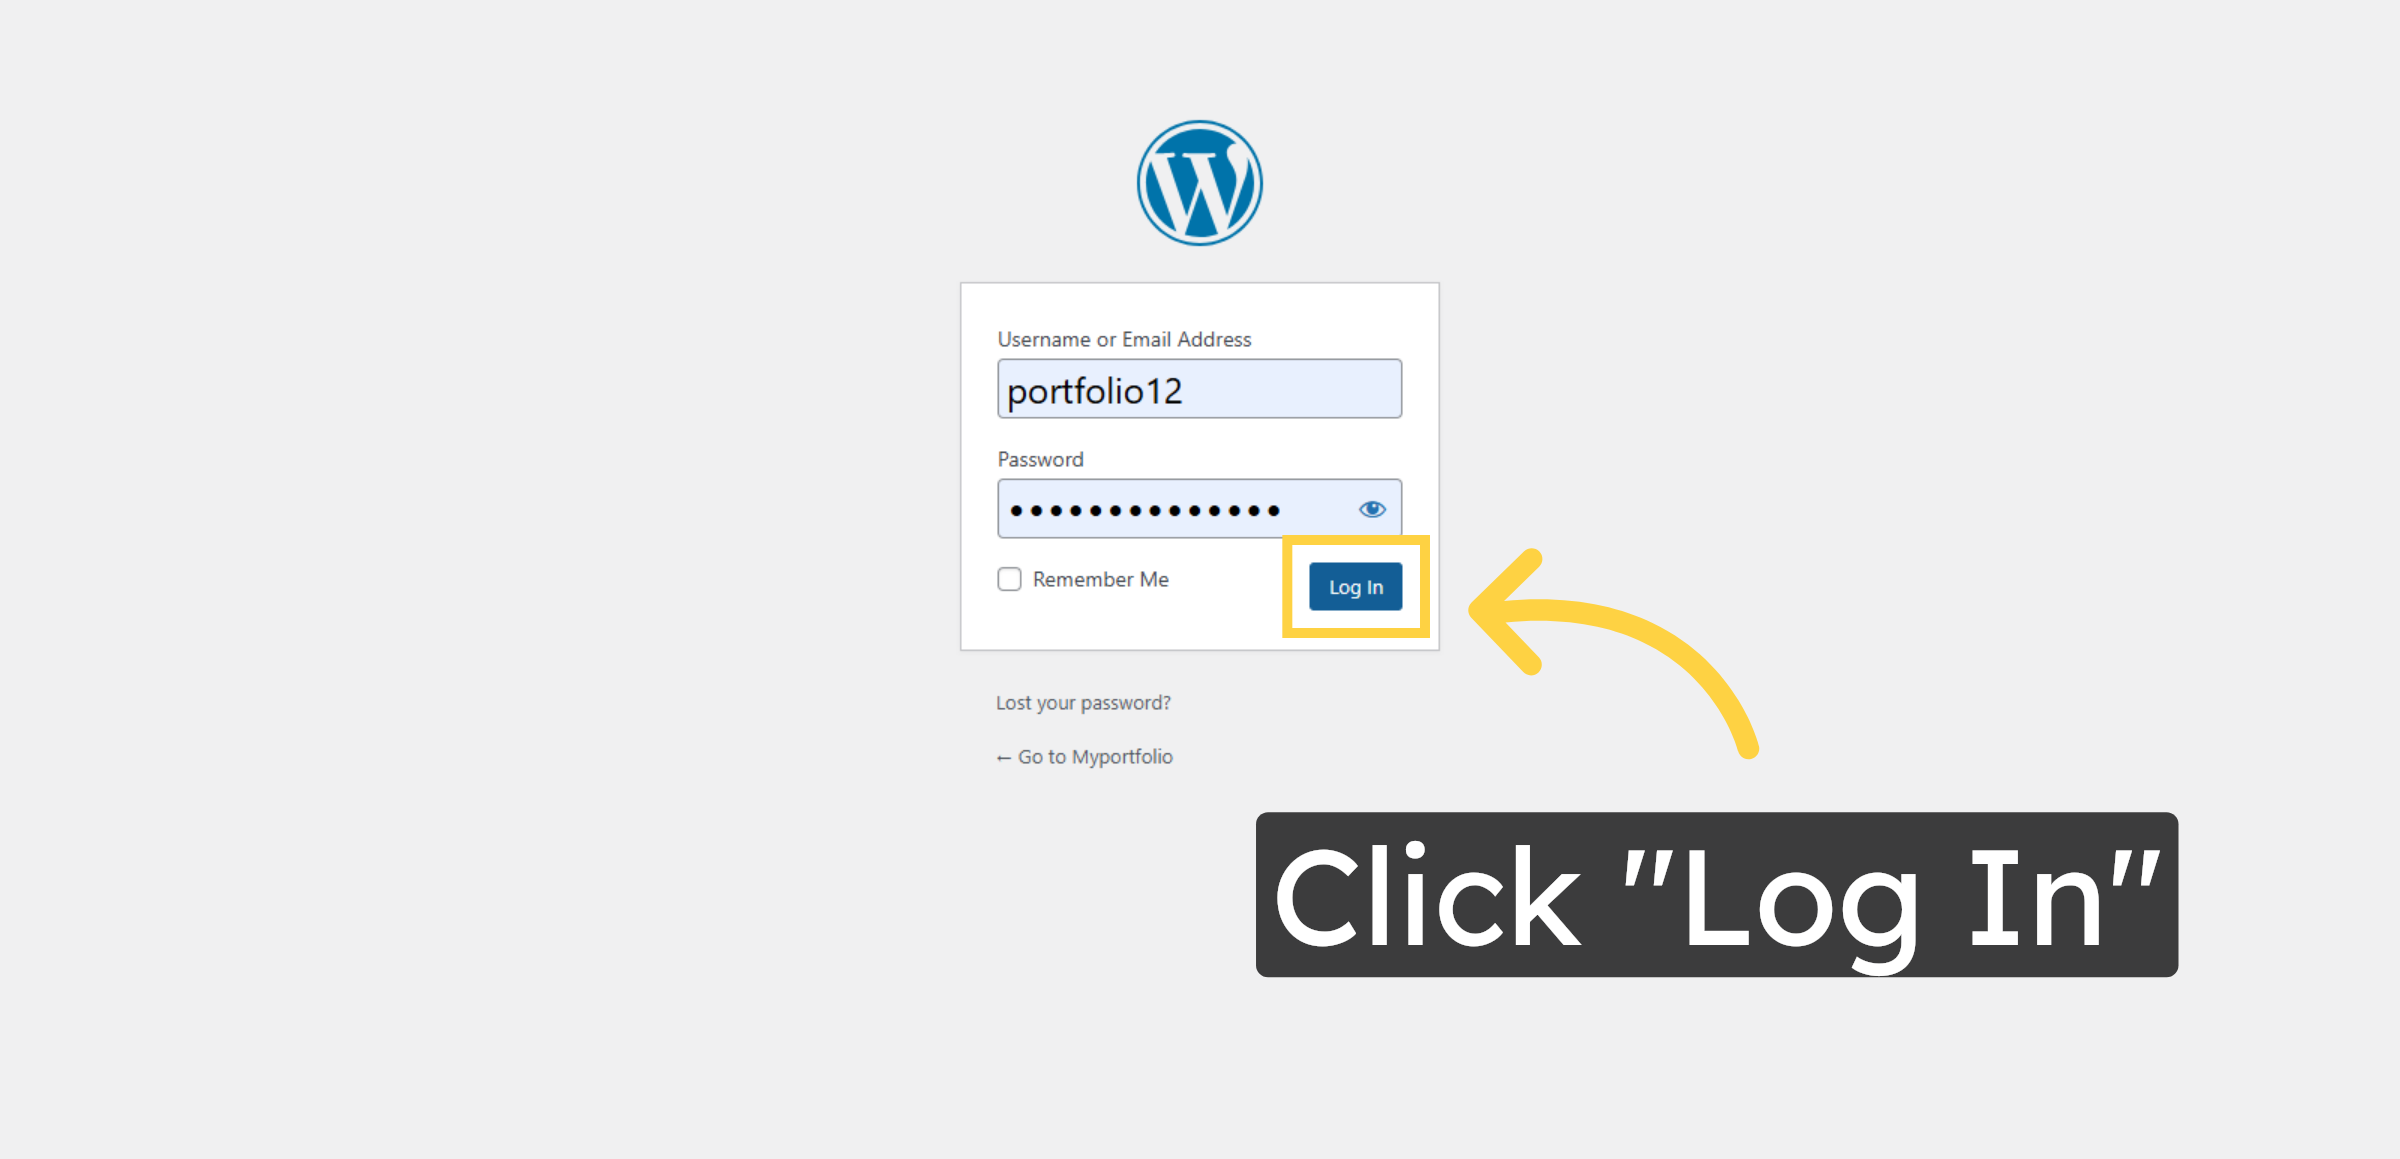
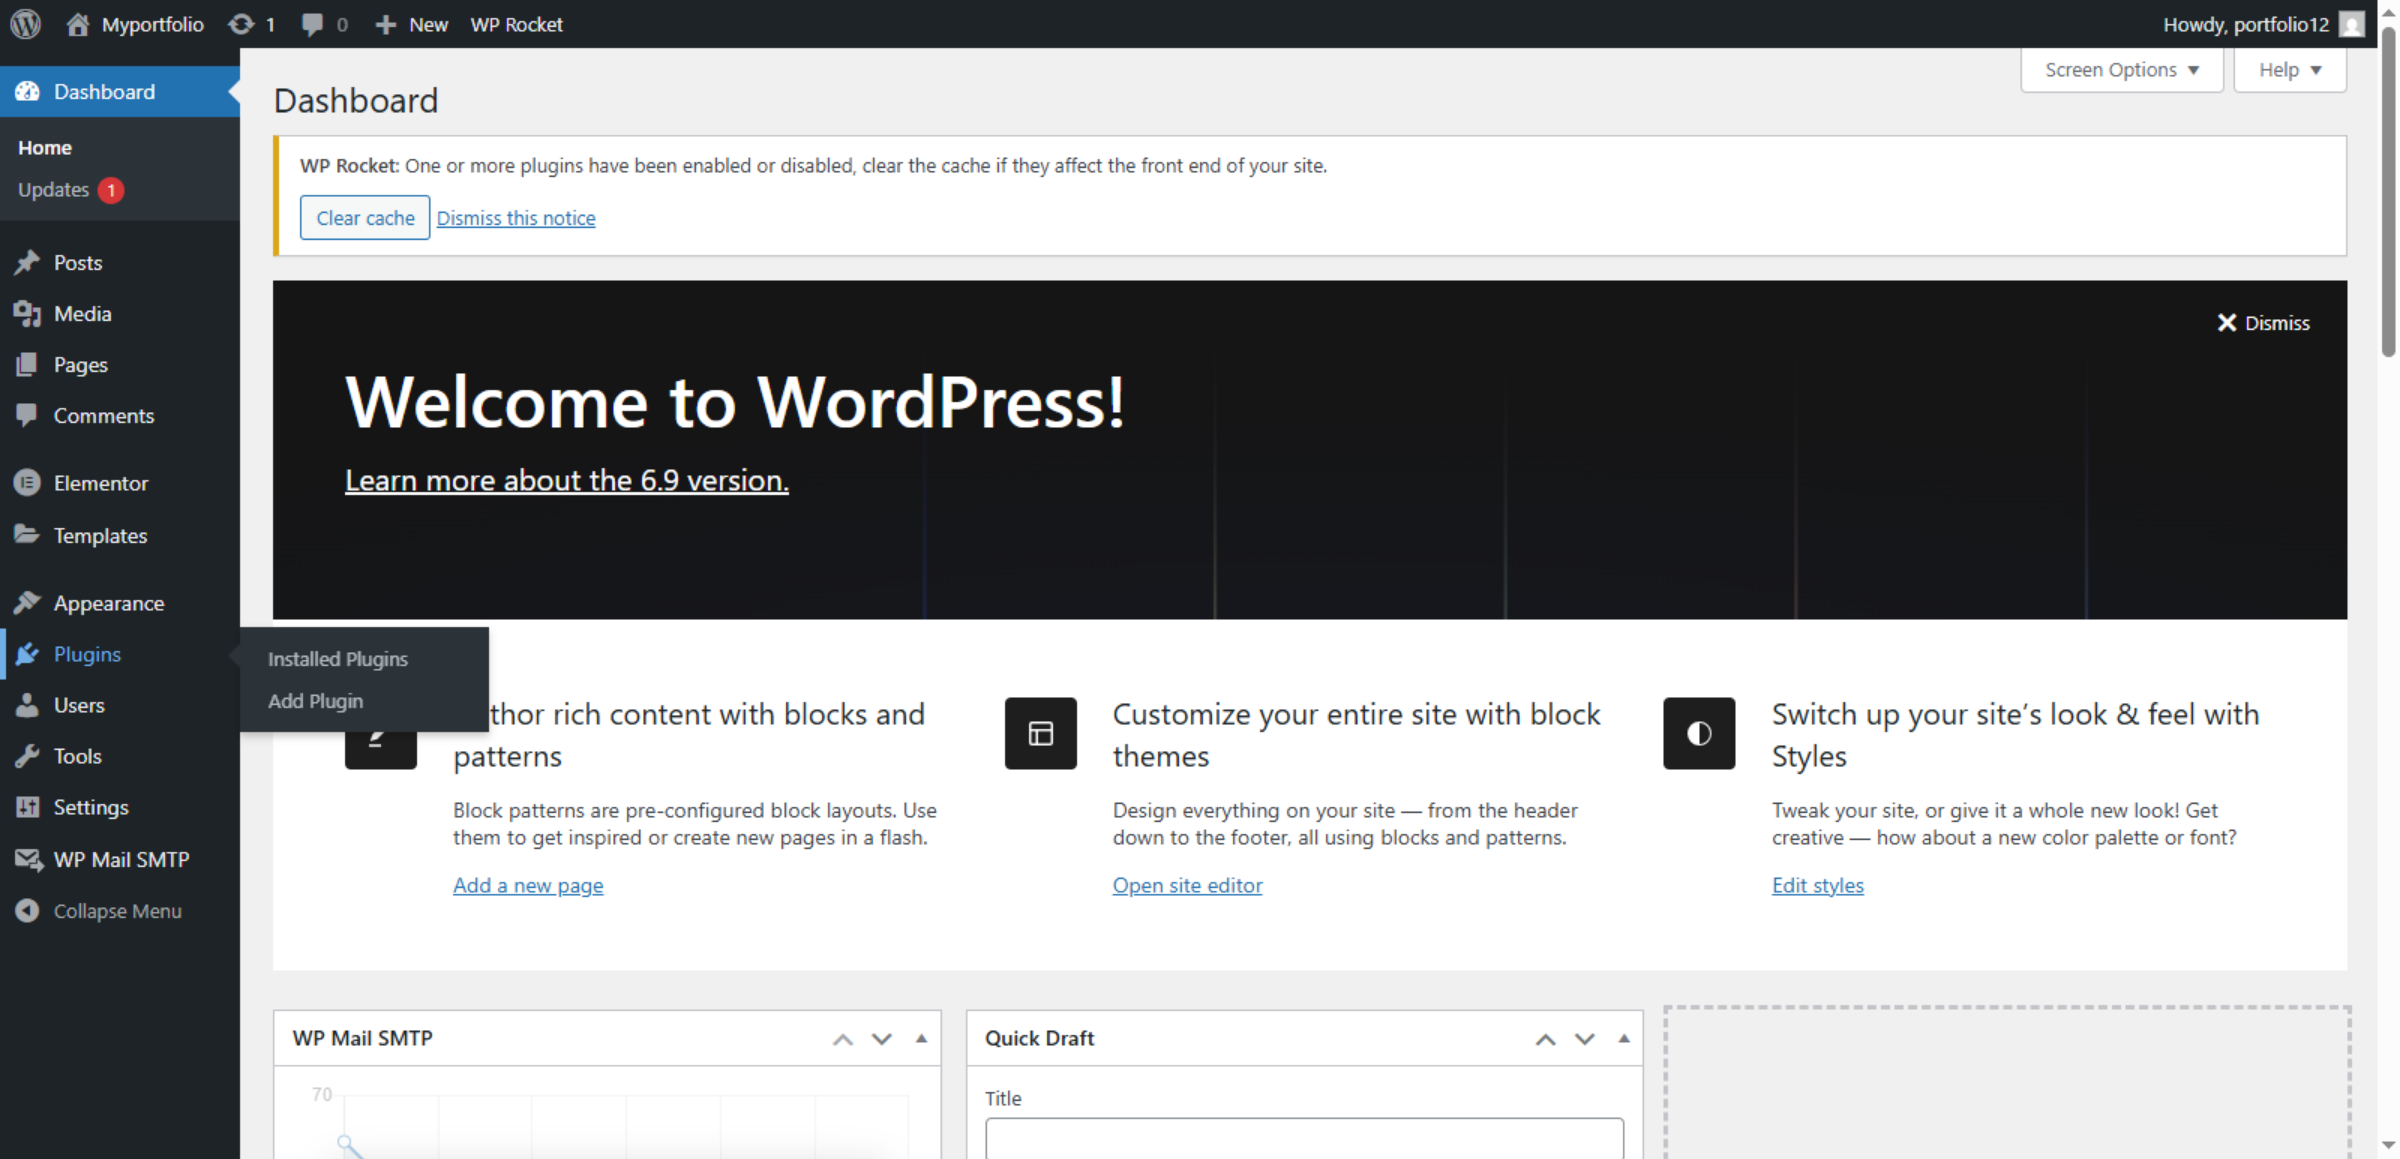
2. Access WordPress Admin dashboard
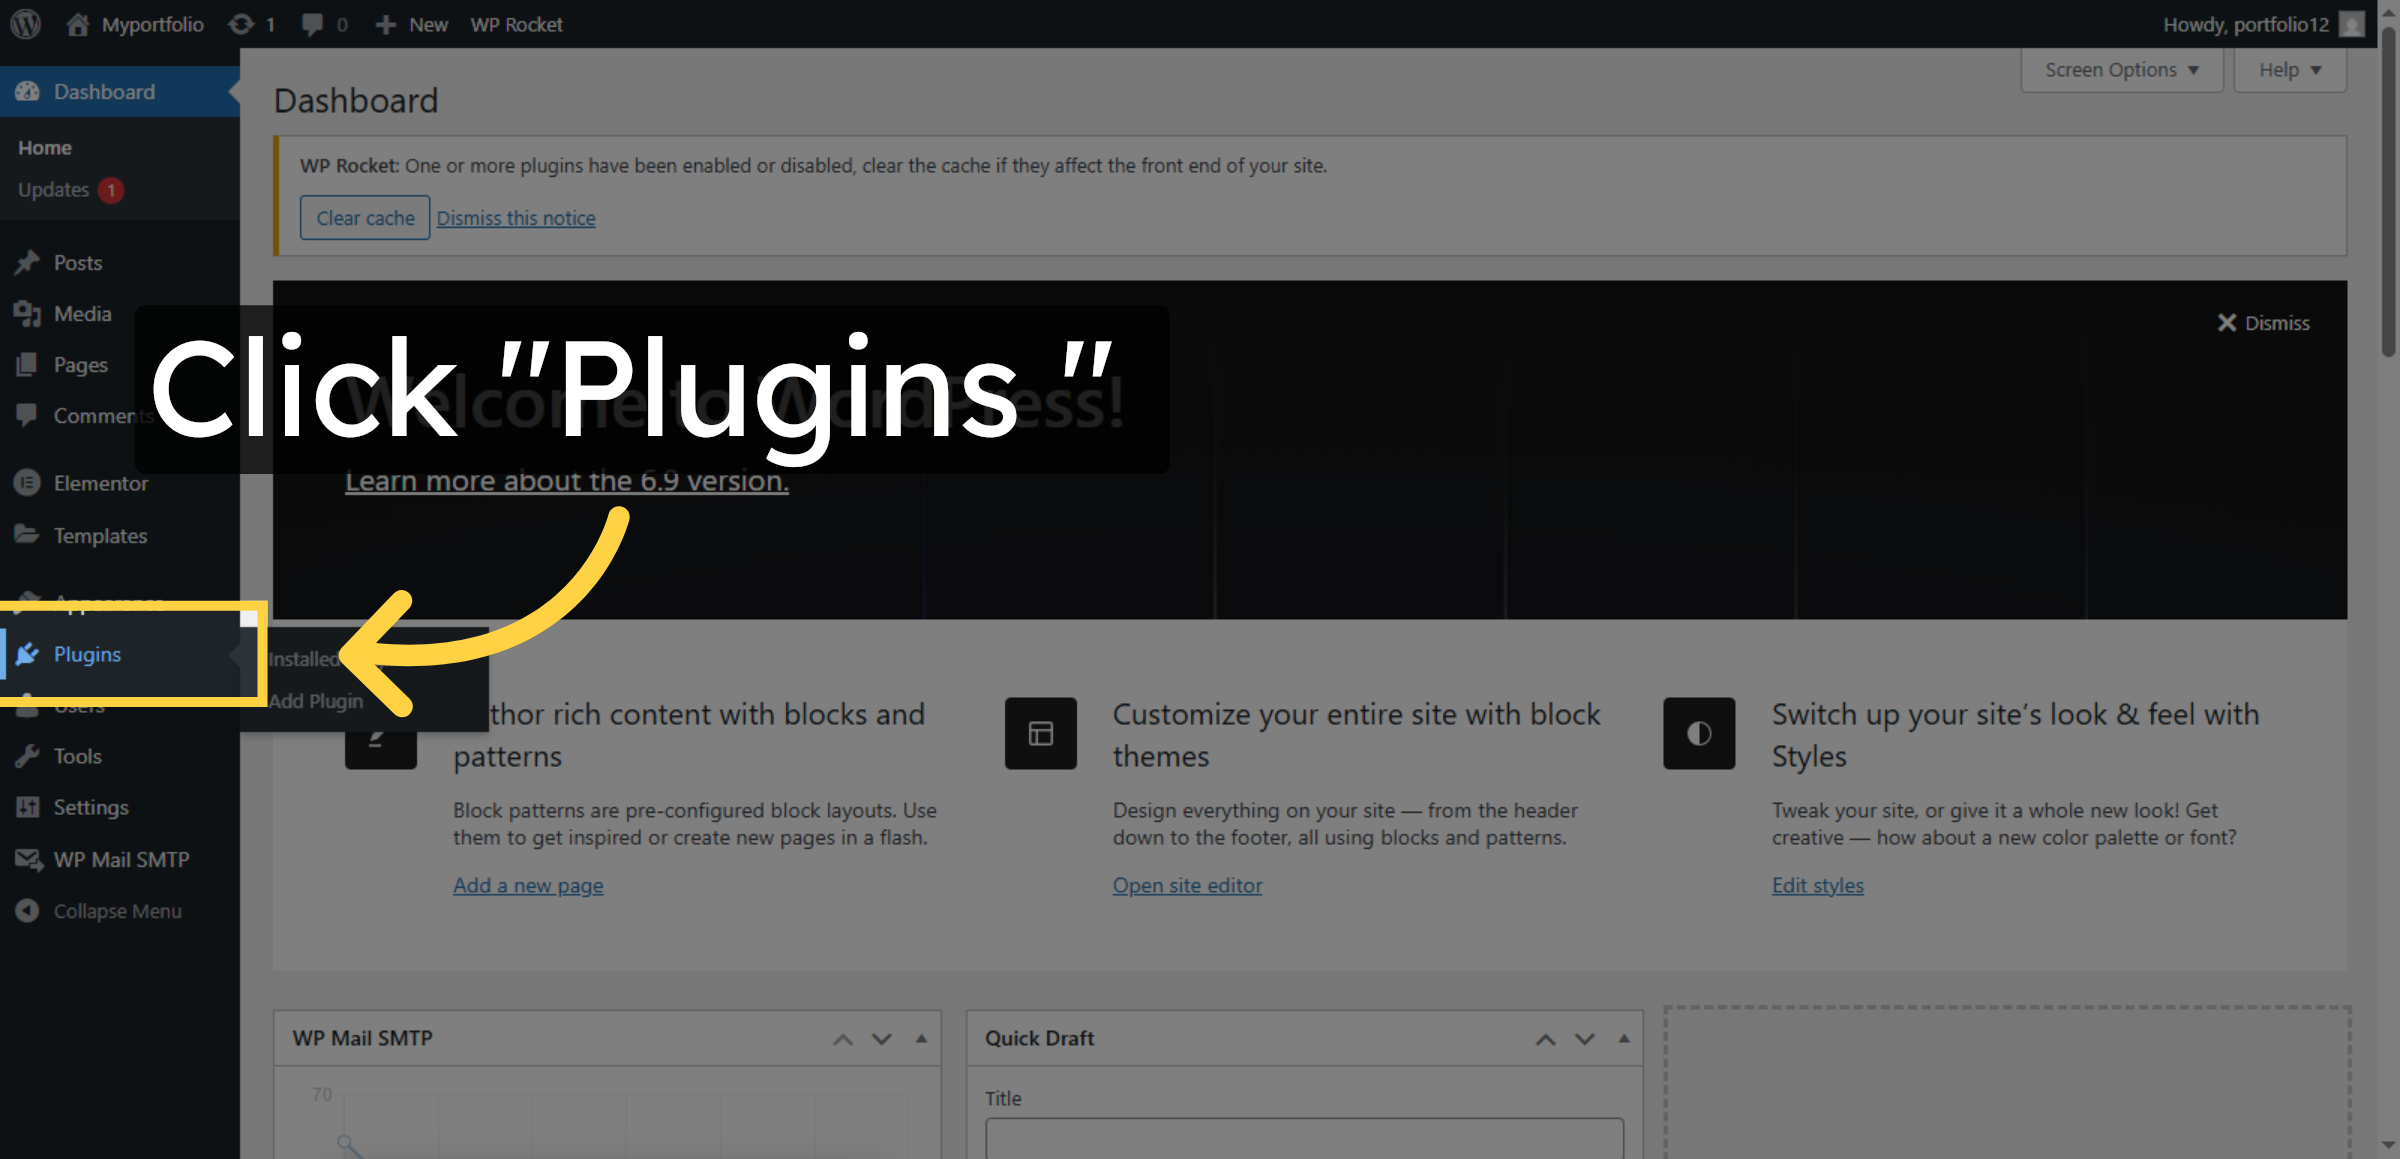
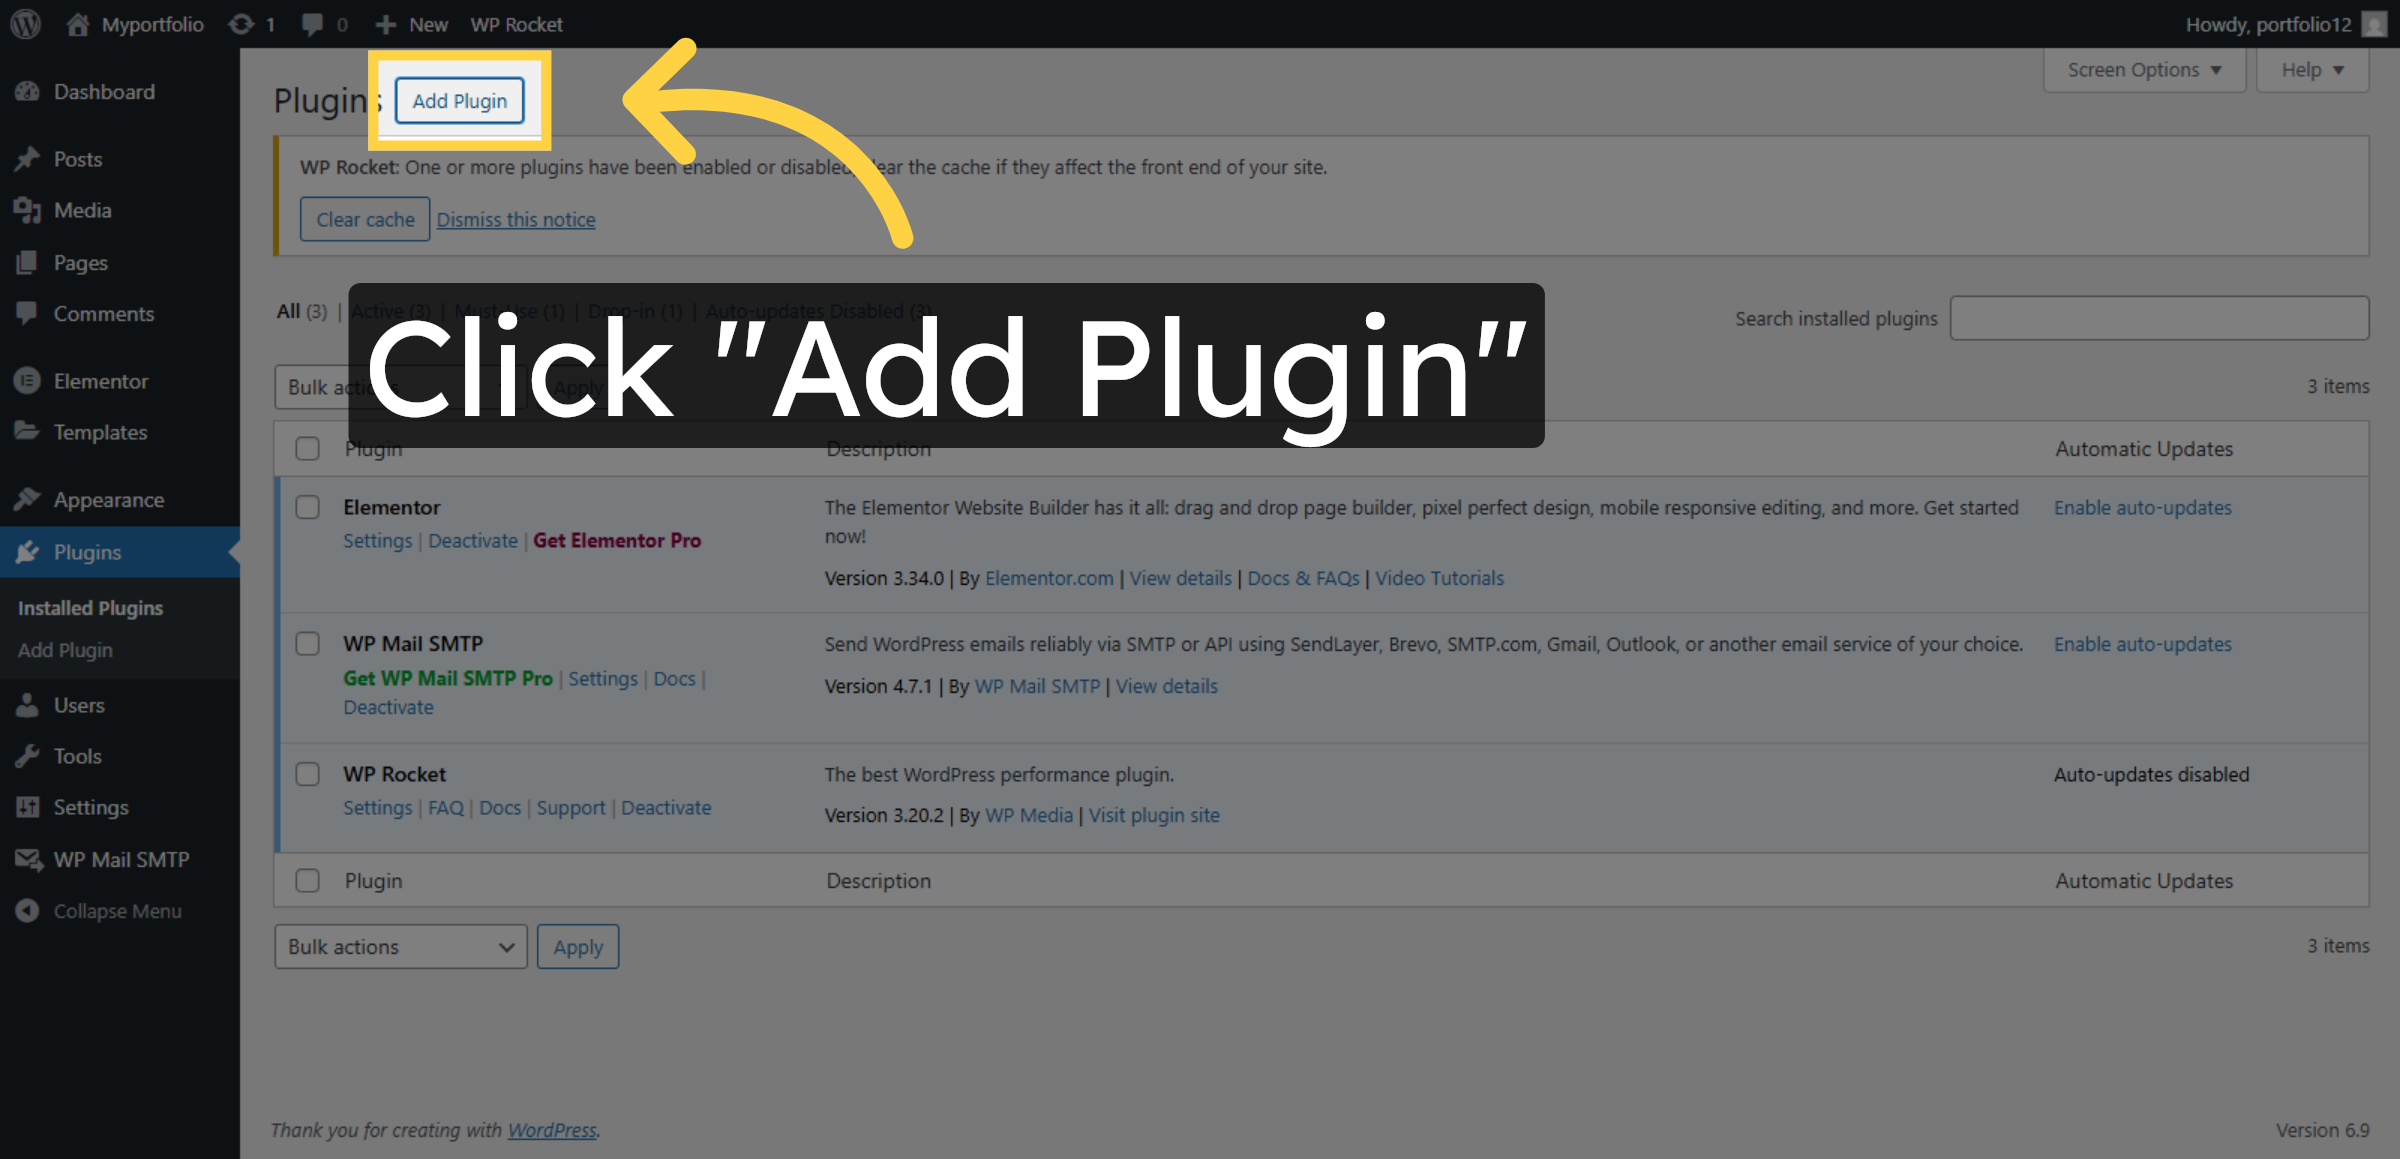
3. Open Plugins Section
4. Add New Plugin
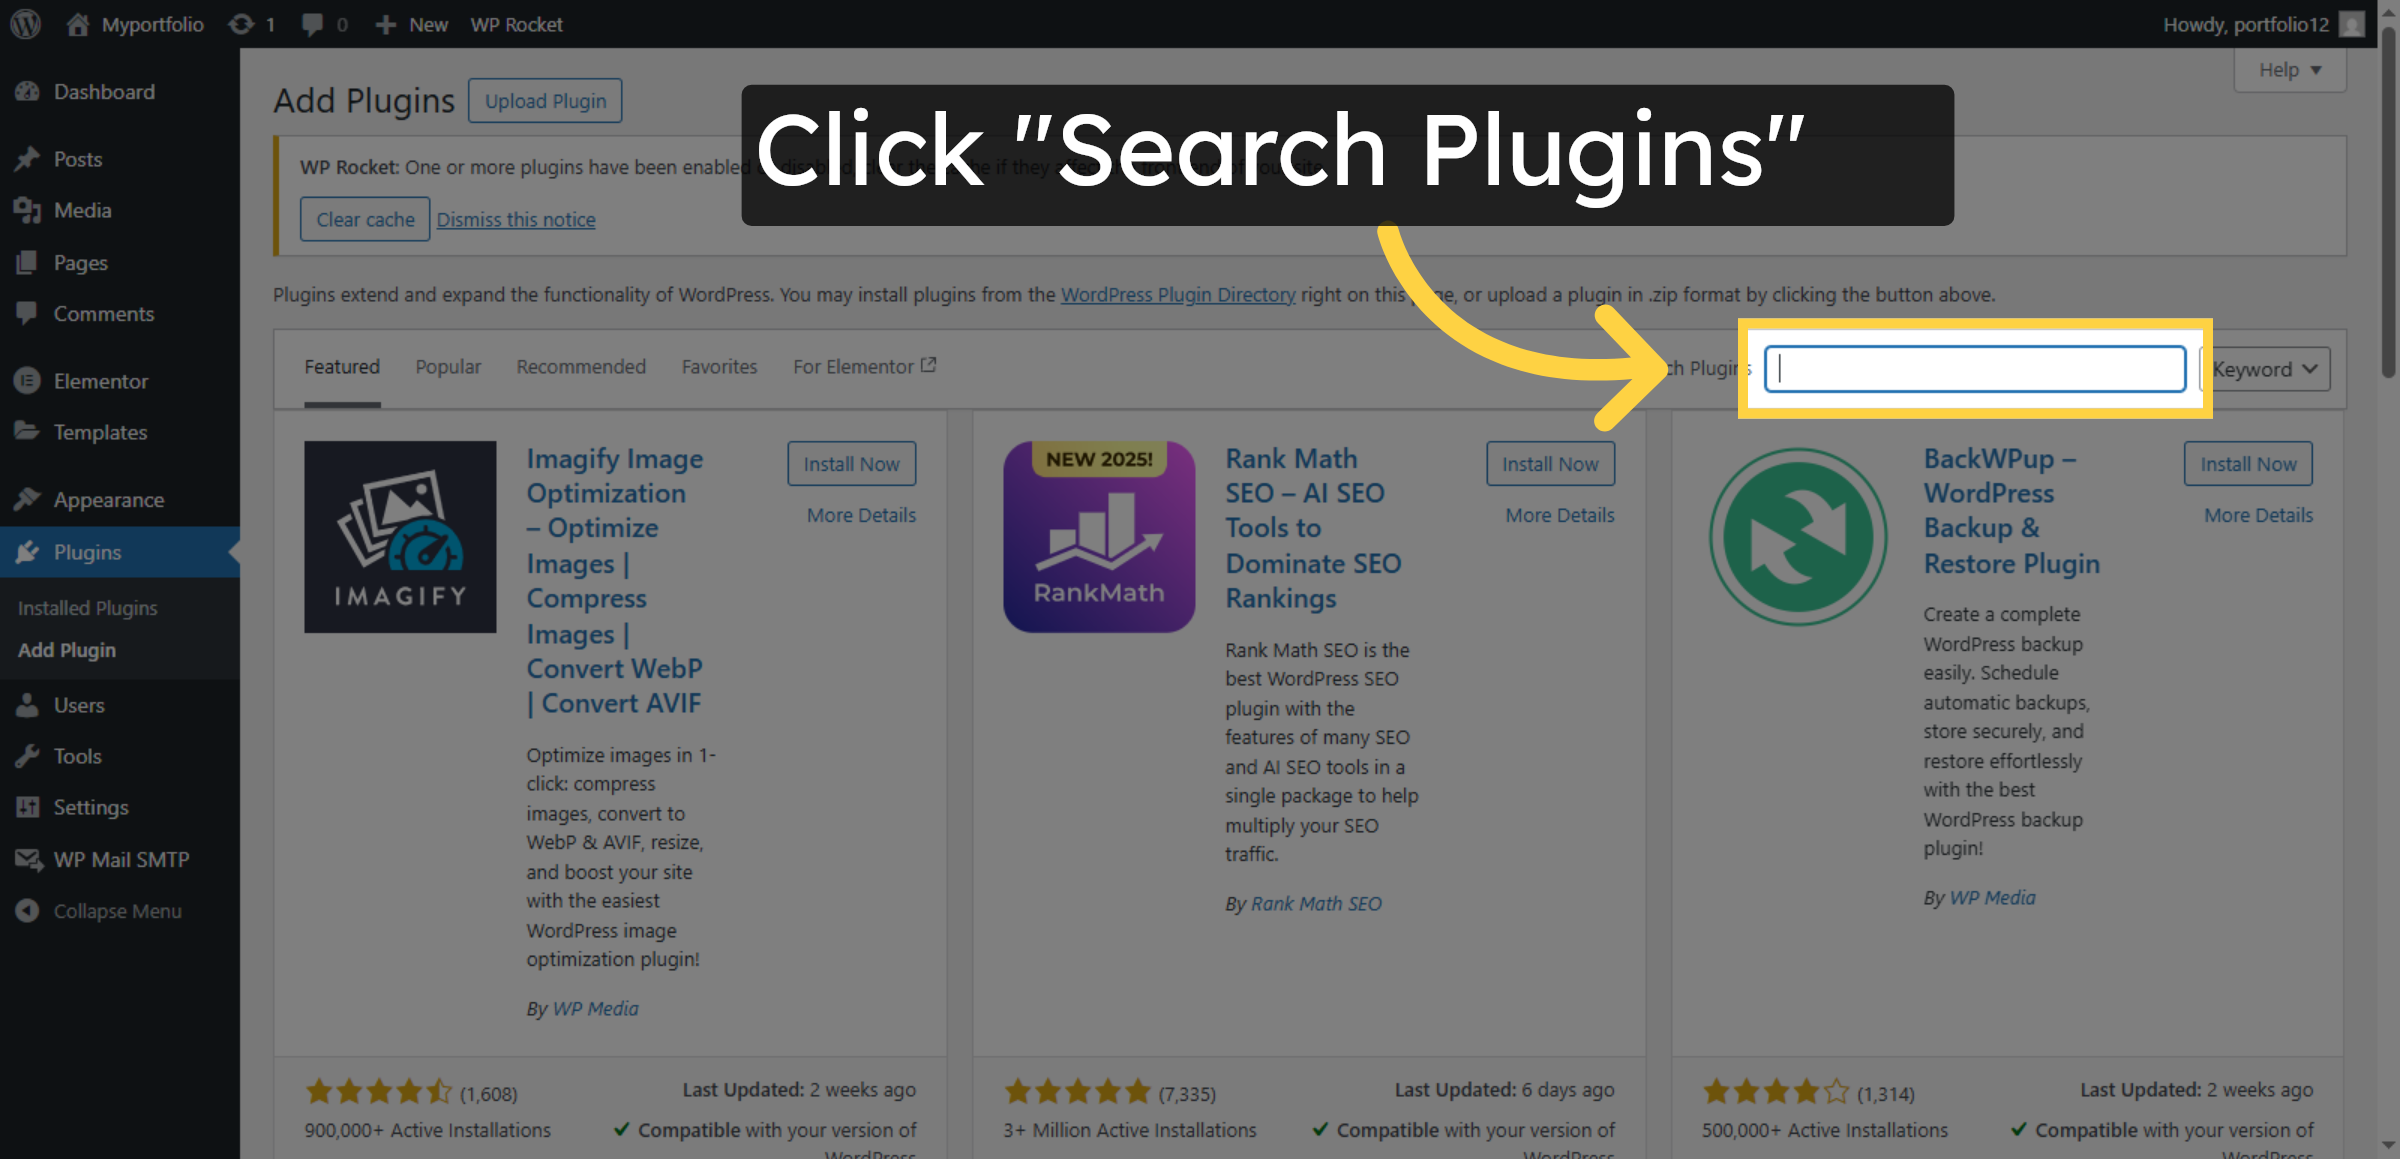
5. Access Plugin Search
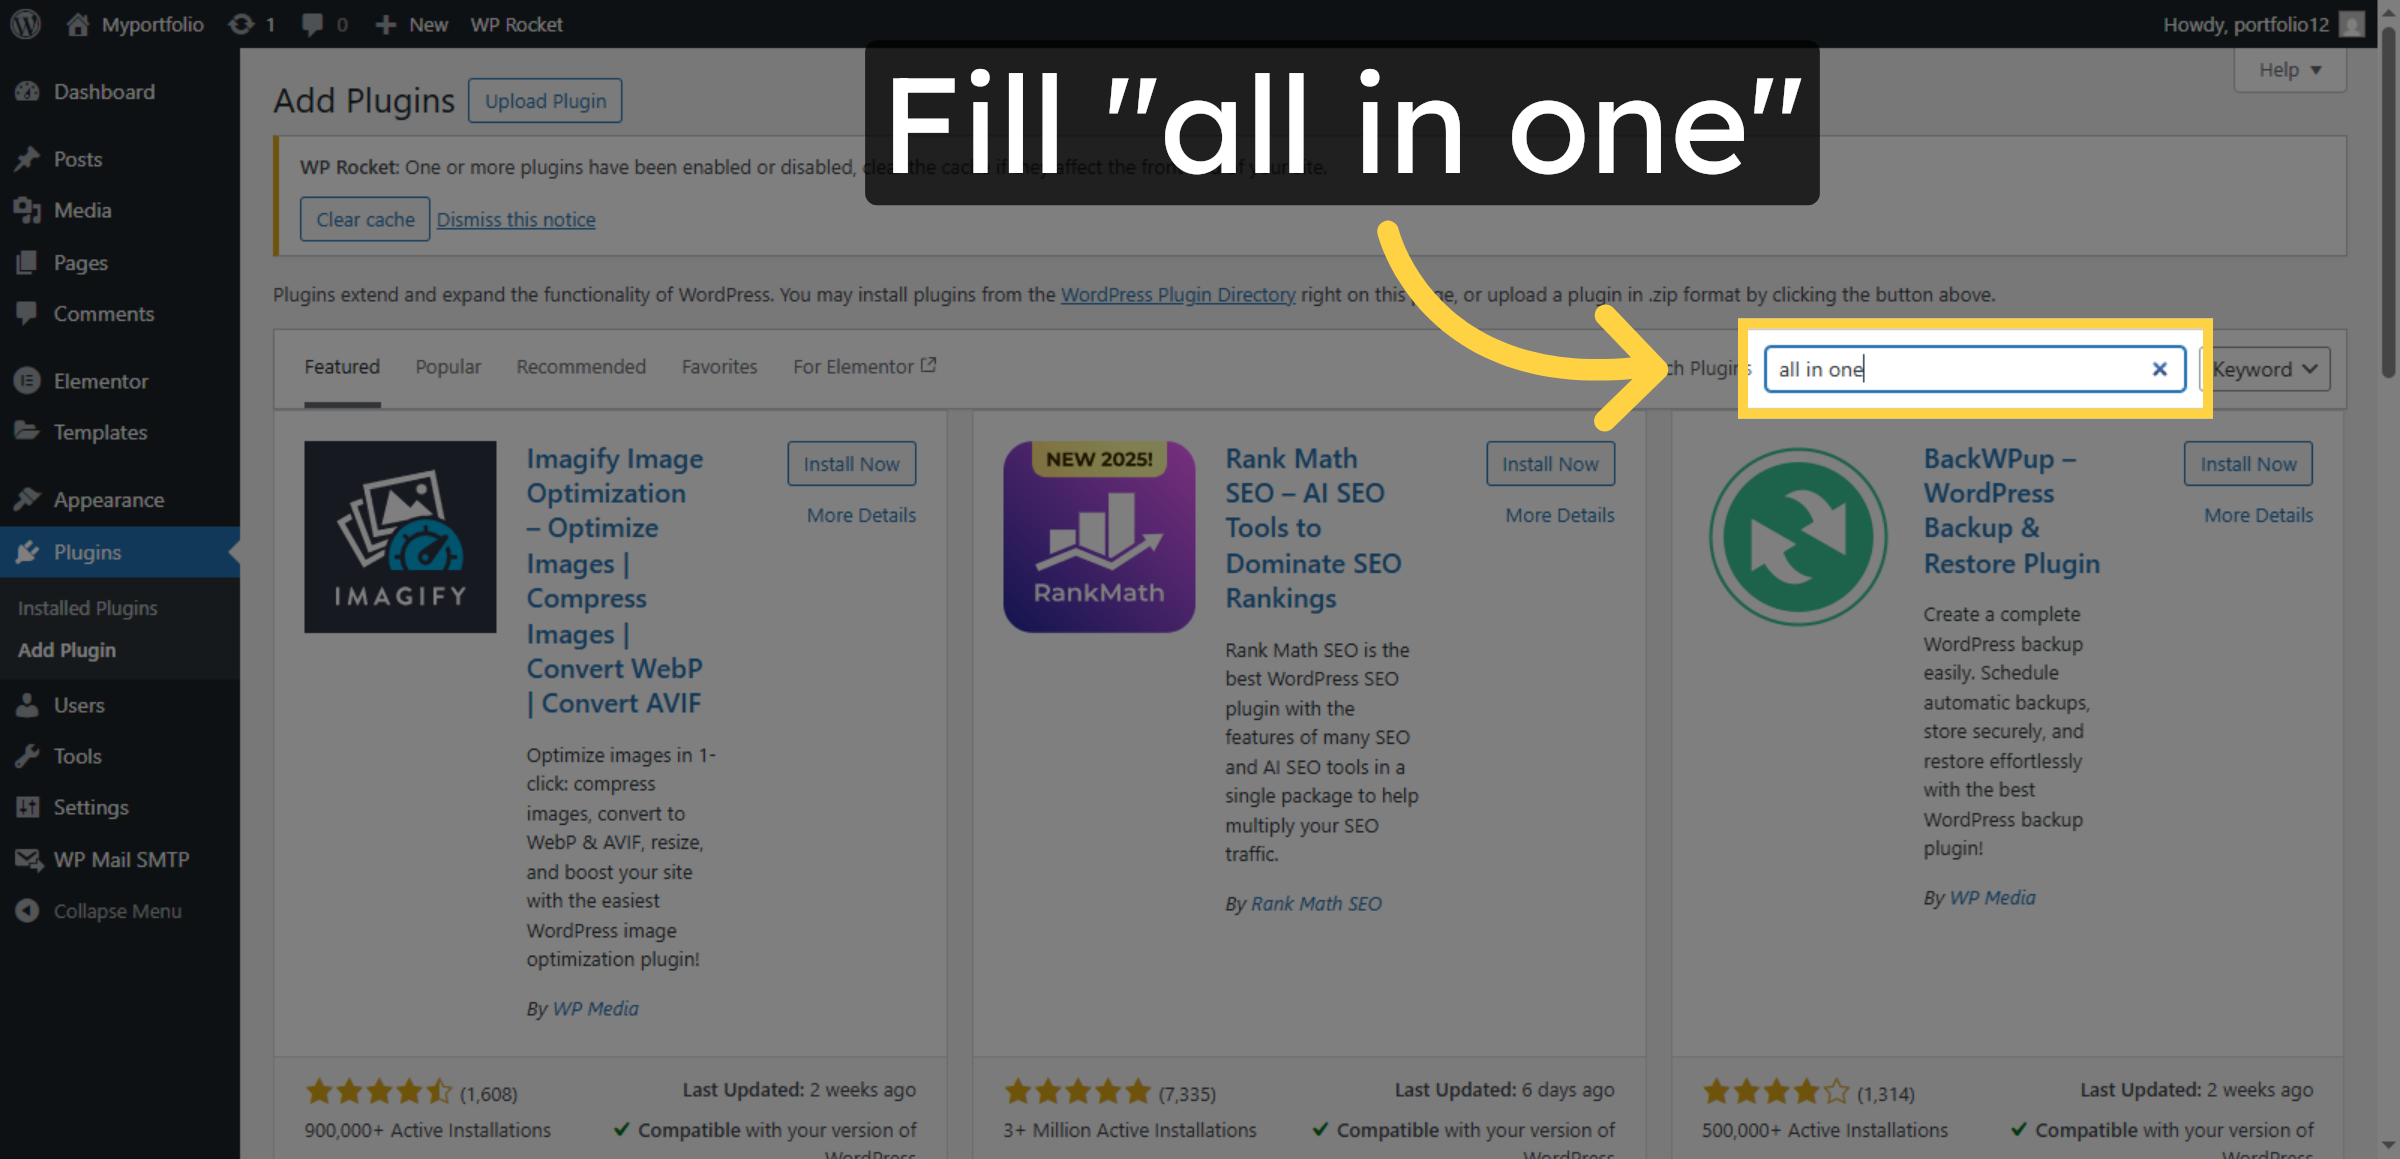
6. Search for All-in-One Backup Plugin
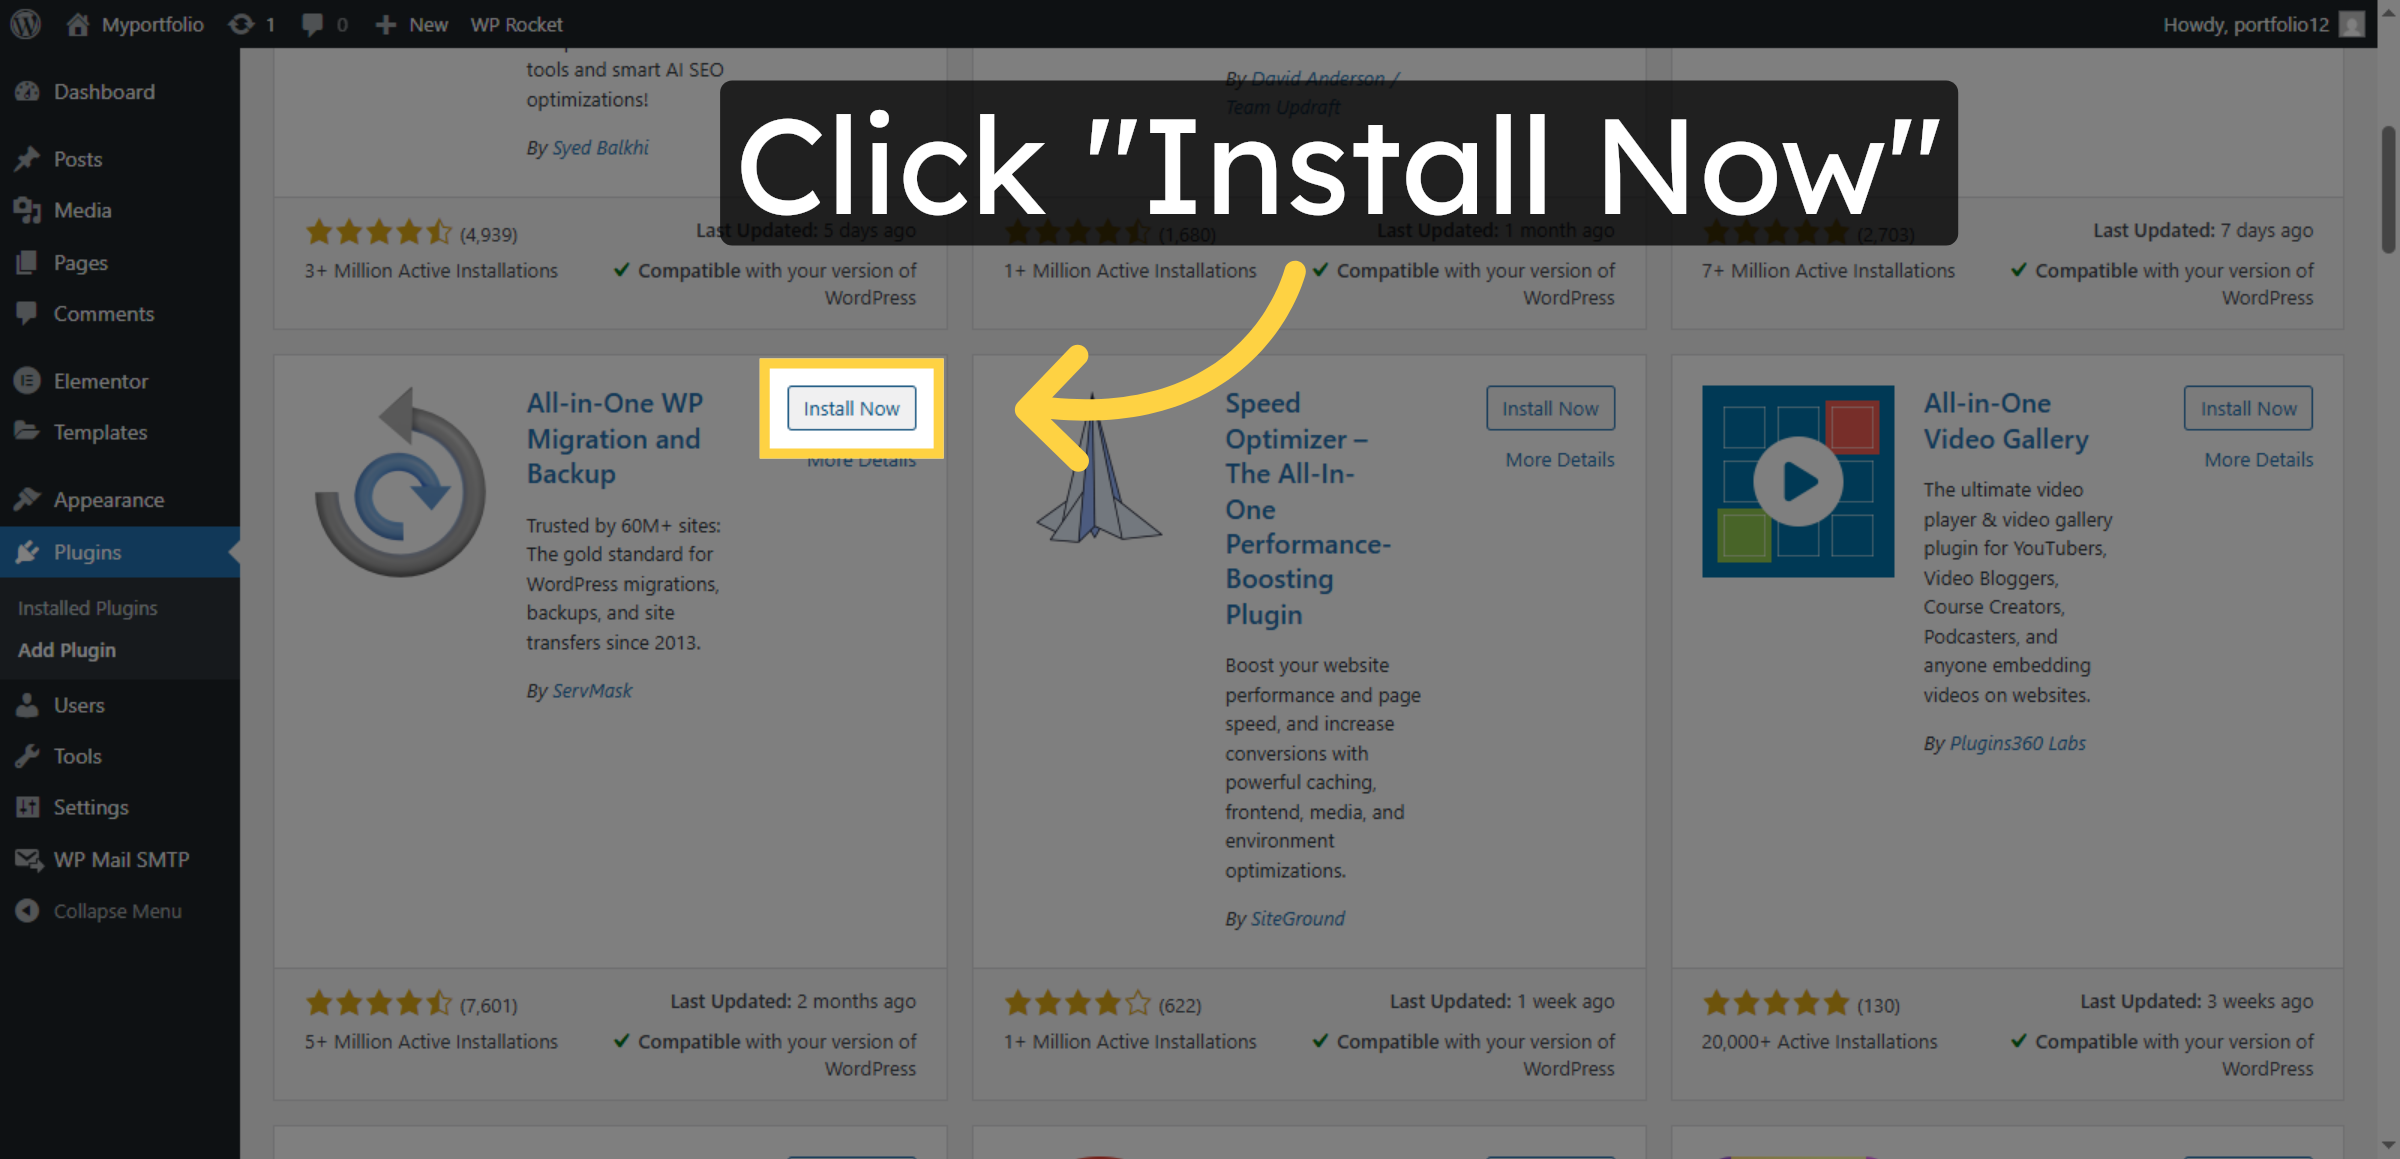
7. Install Backup Plugin
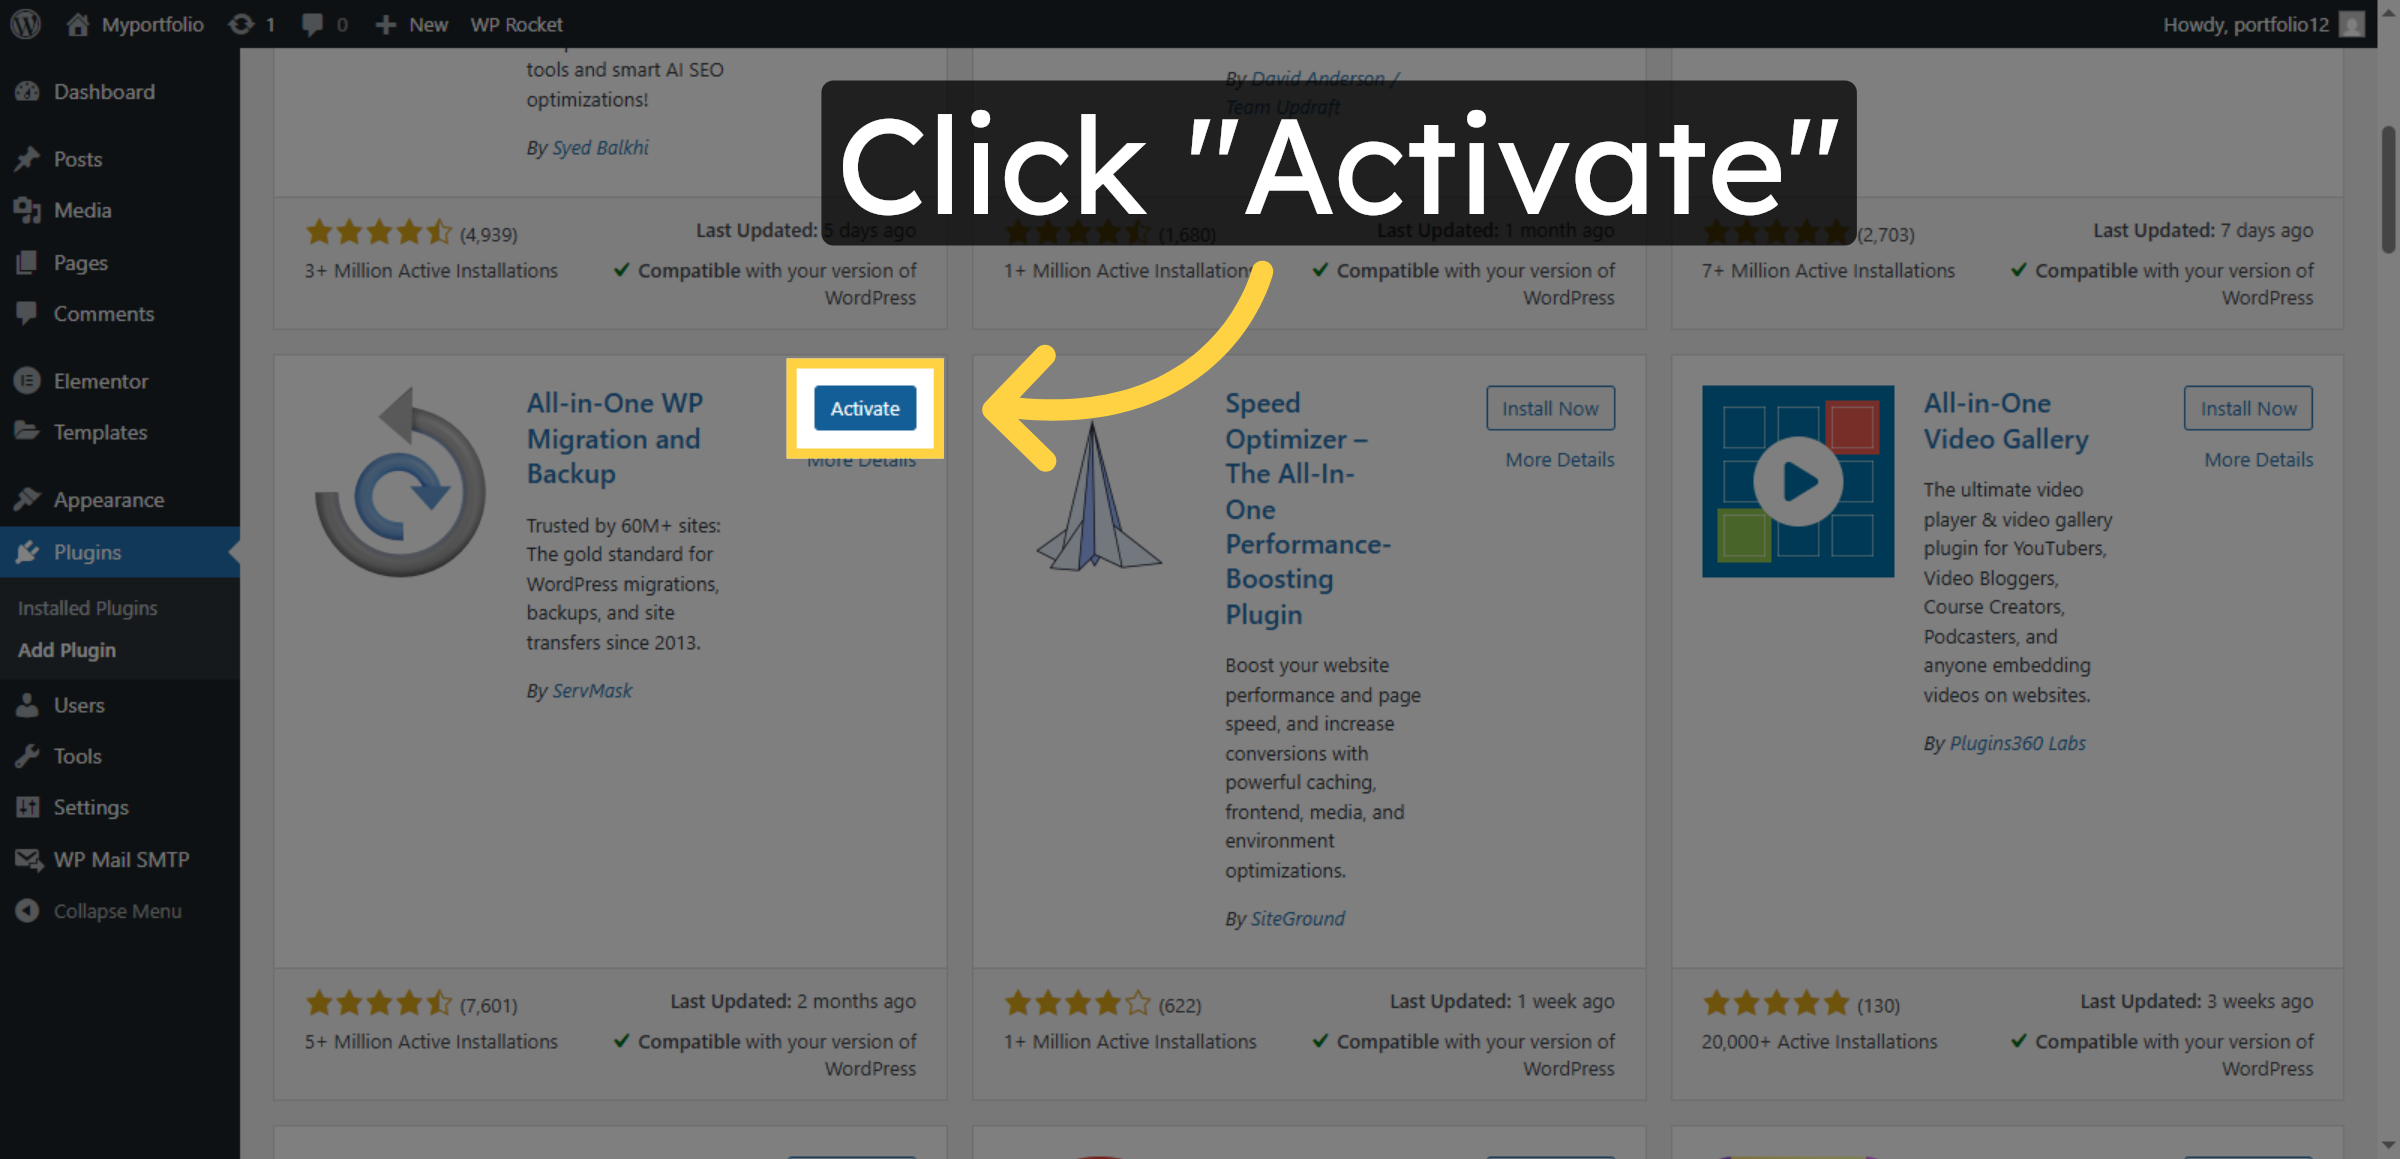
8. Activate Backup Plugin
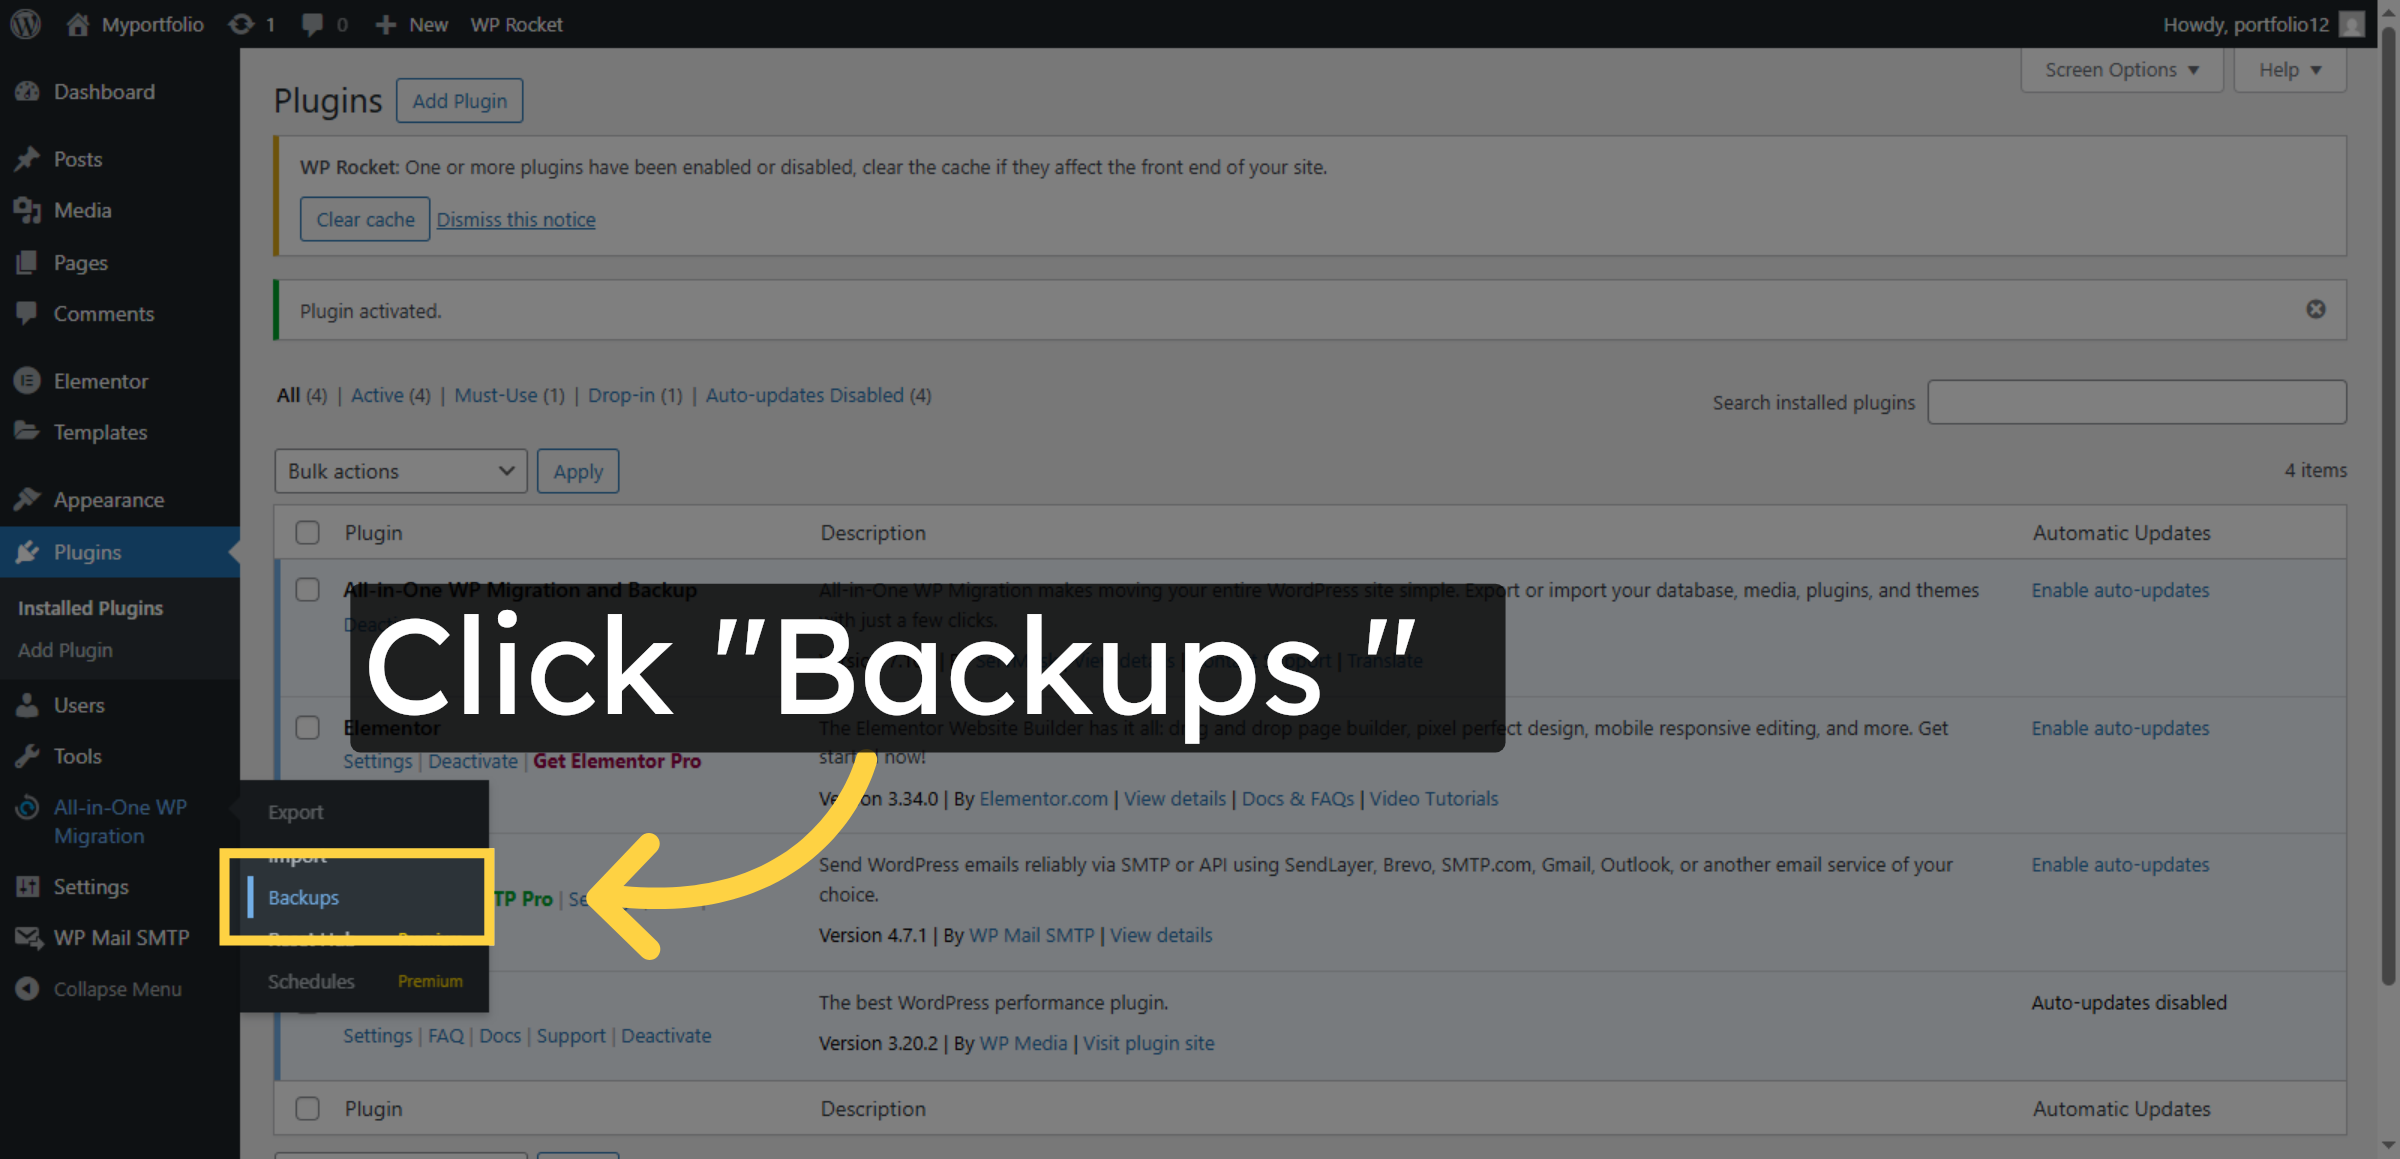
9. Open Backups Tab
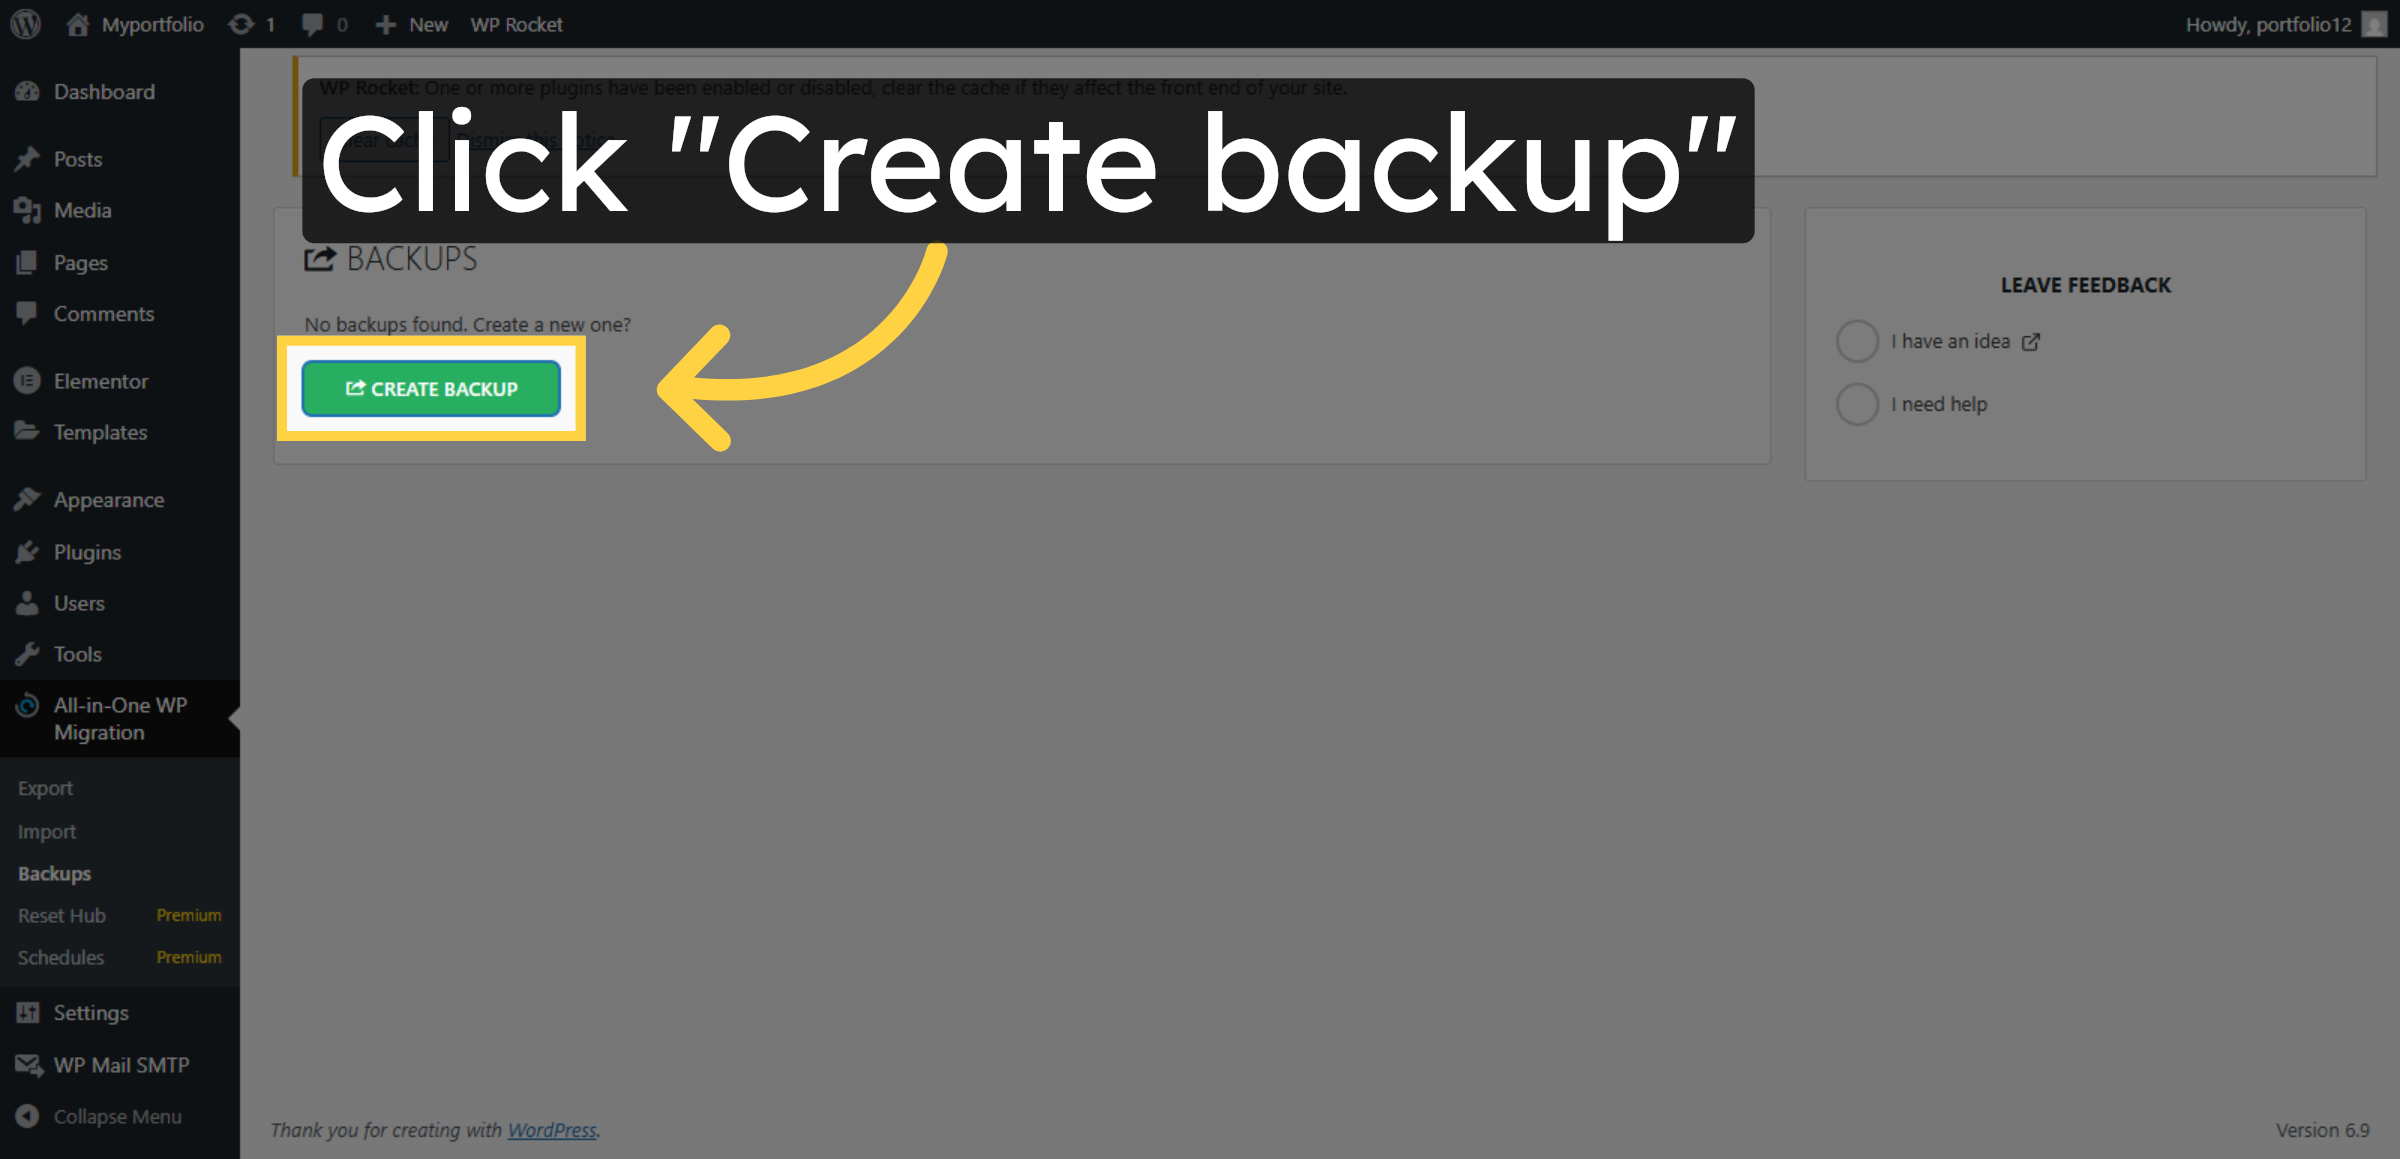
10. Create New Backup
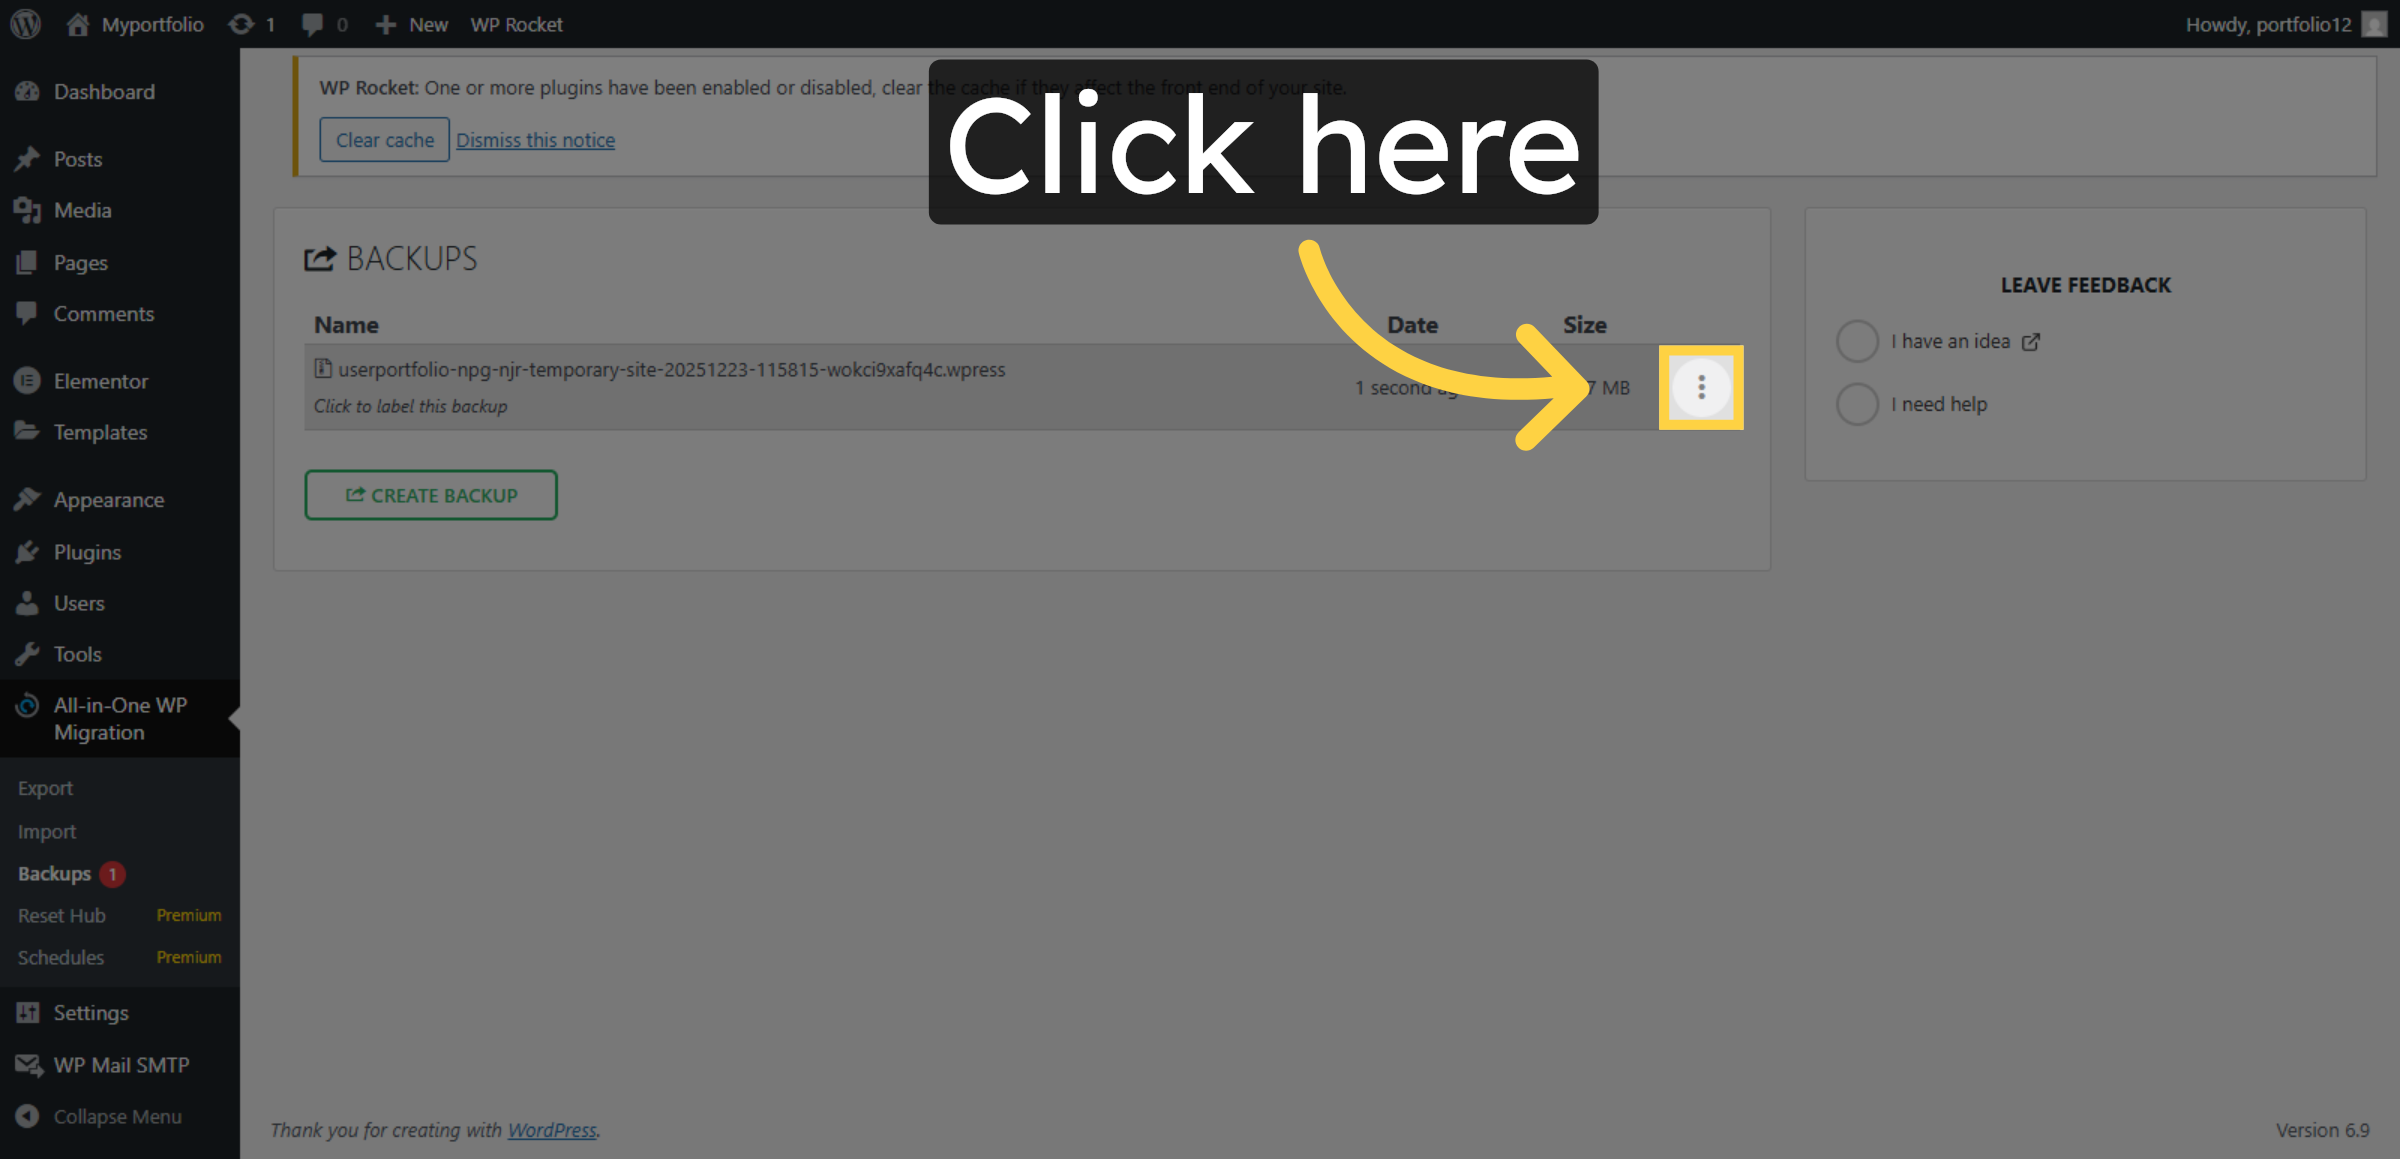
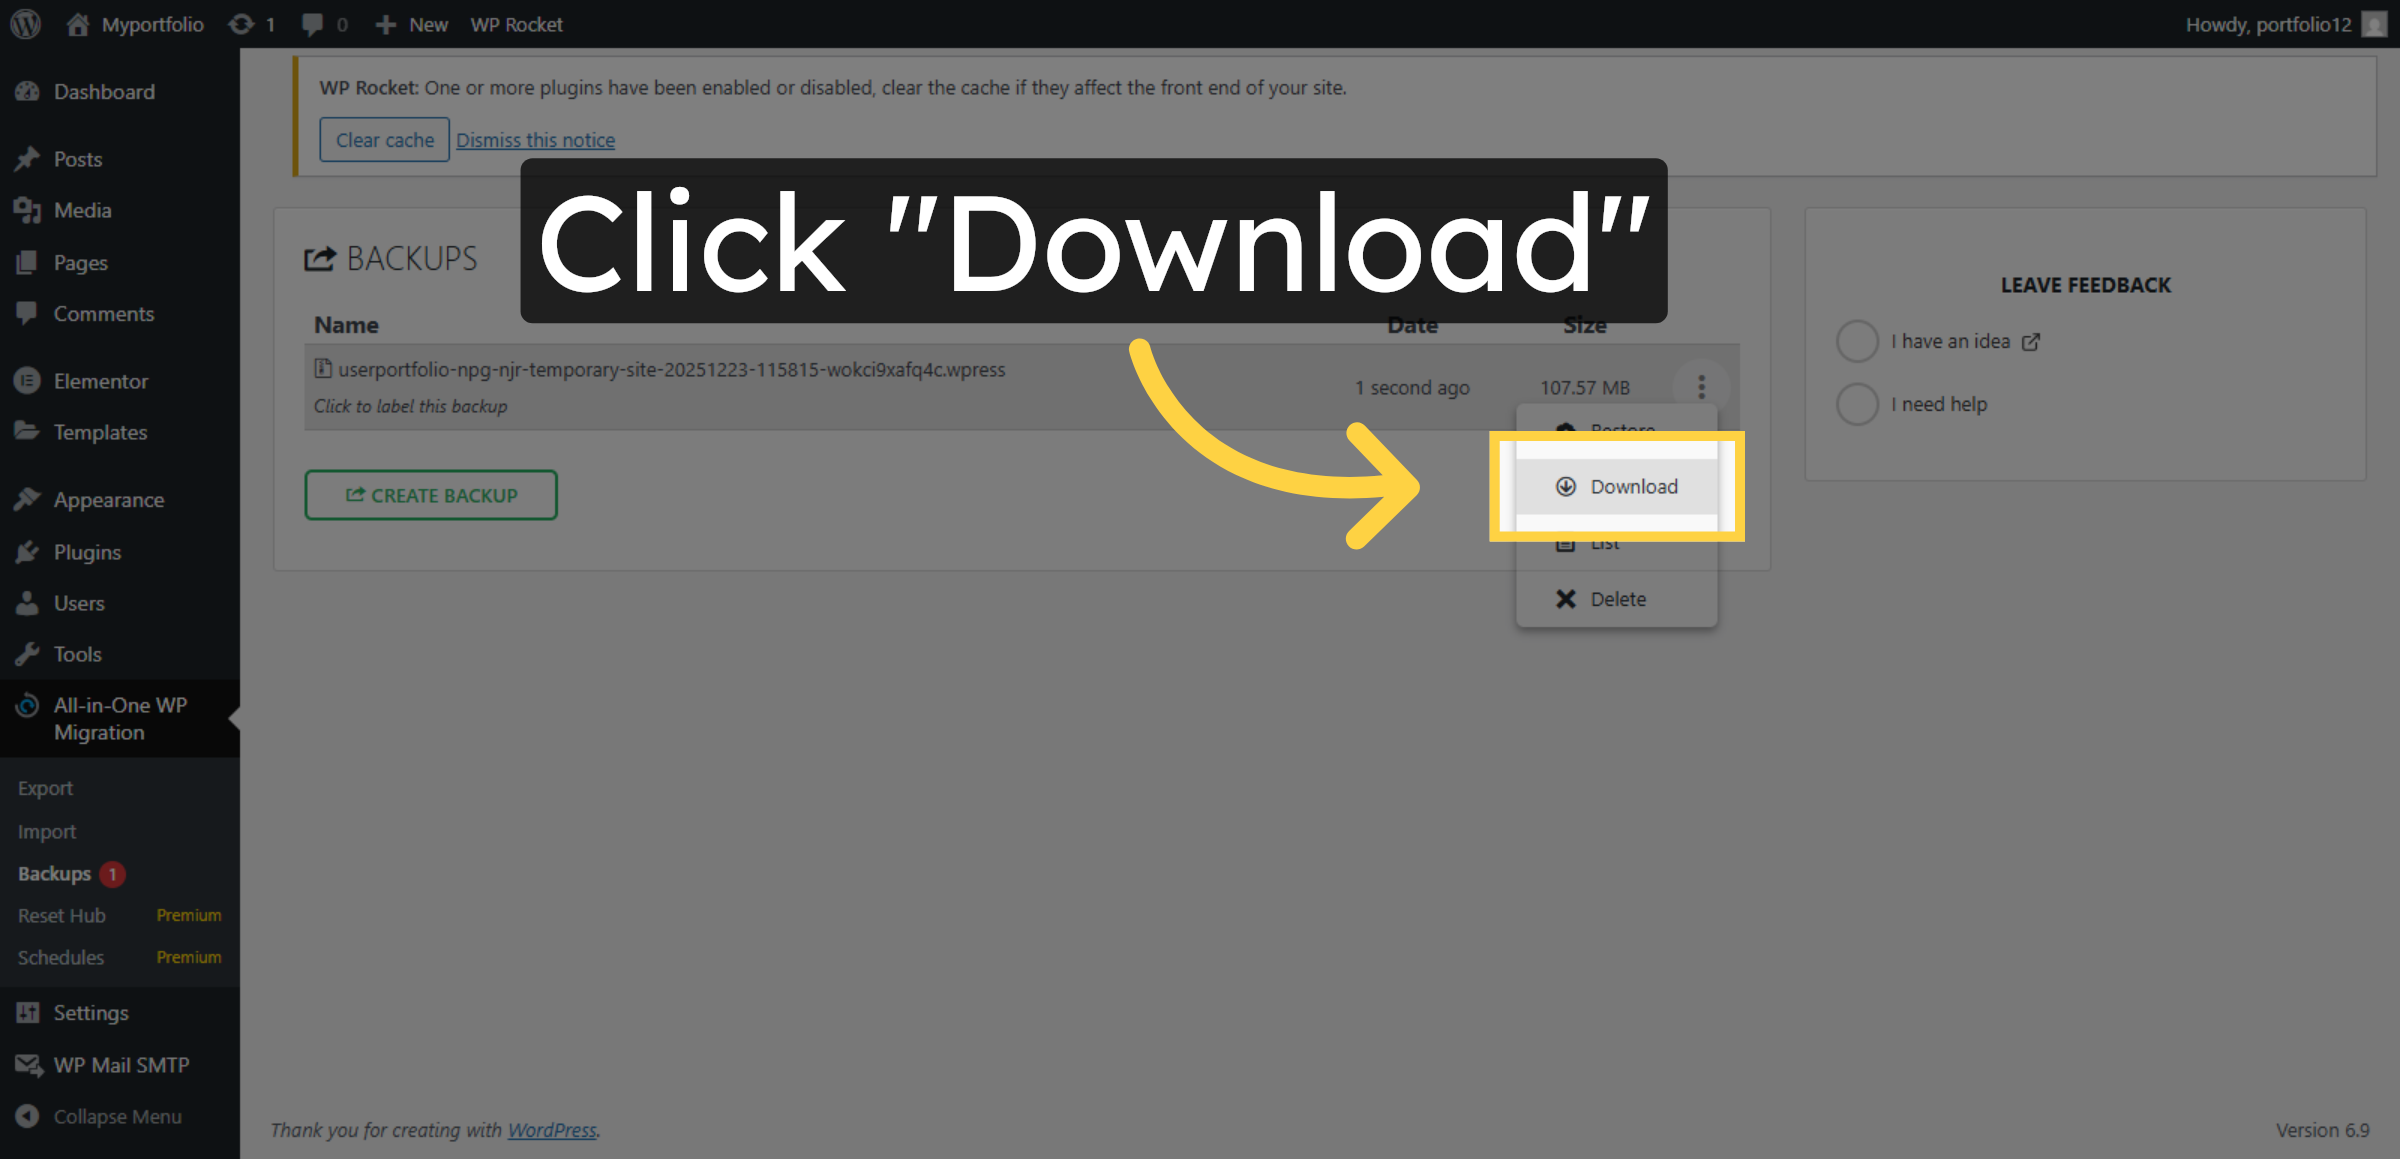
11. Access Download Link
12. Download Backup File
13. Now….
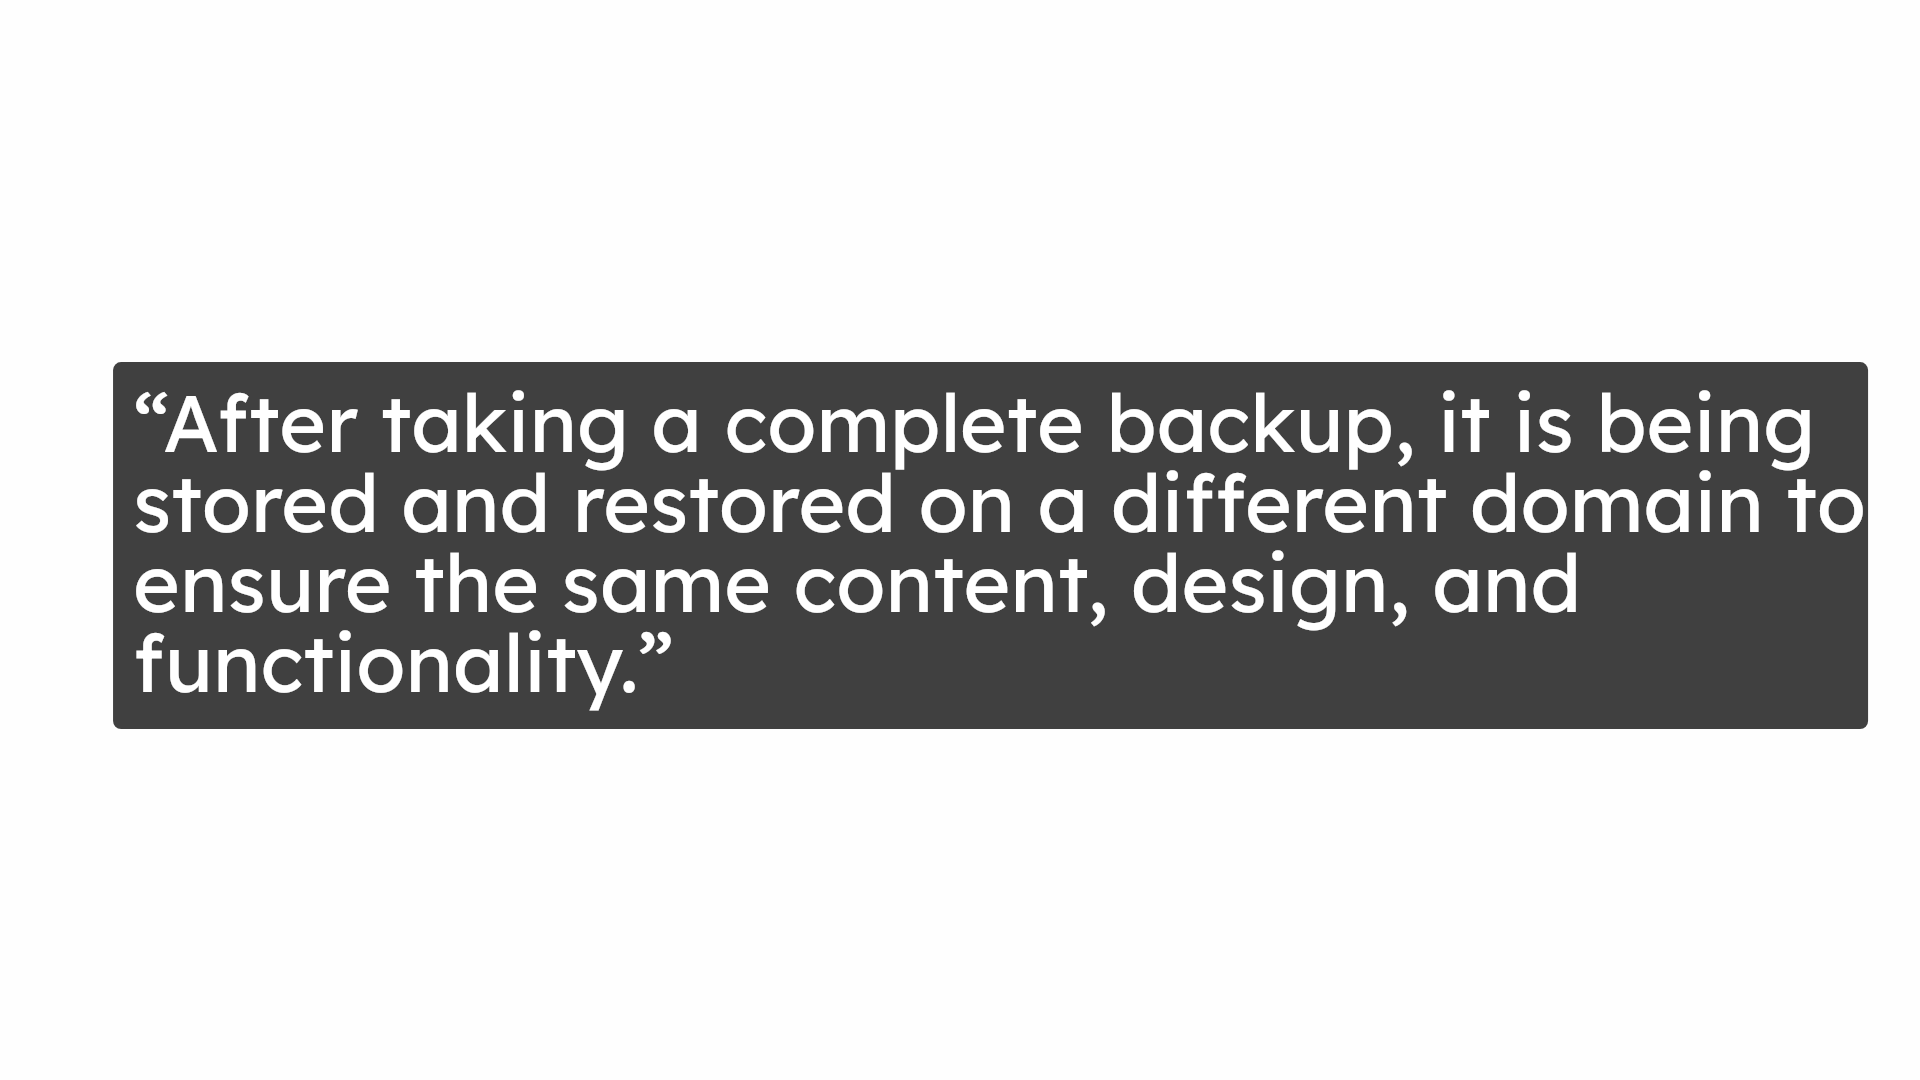
14. This is the another domain dashboard where we are restoring backup
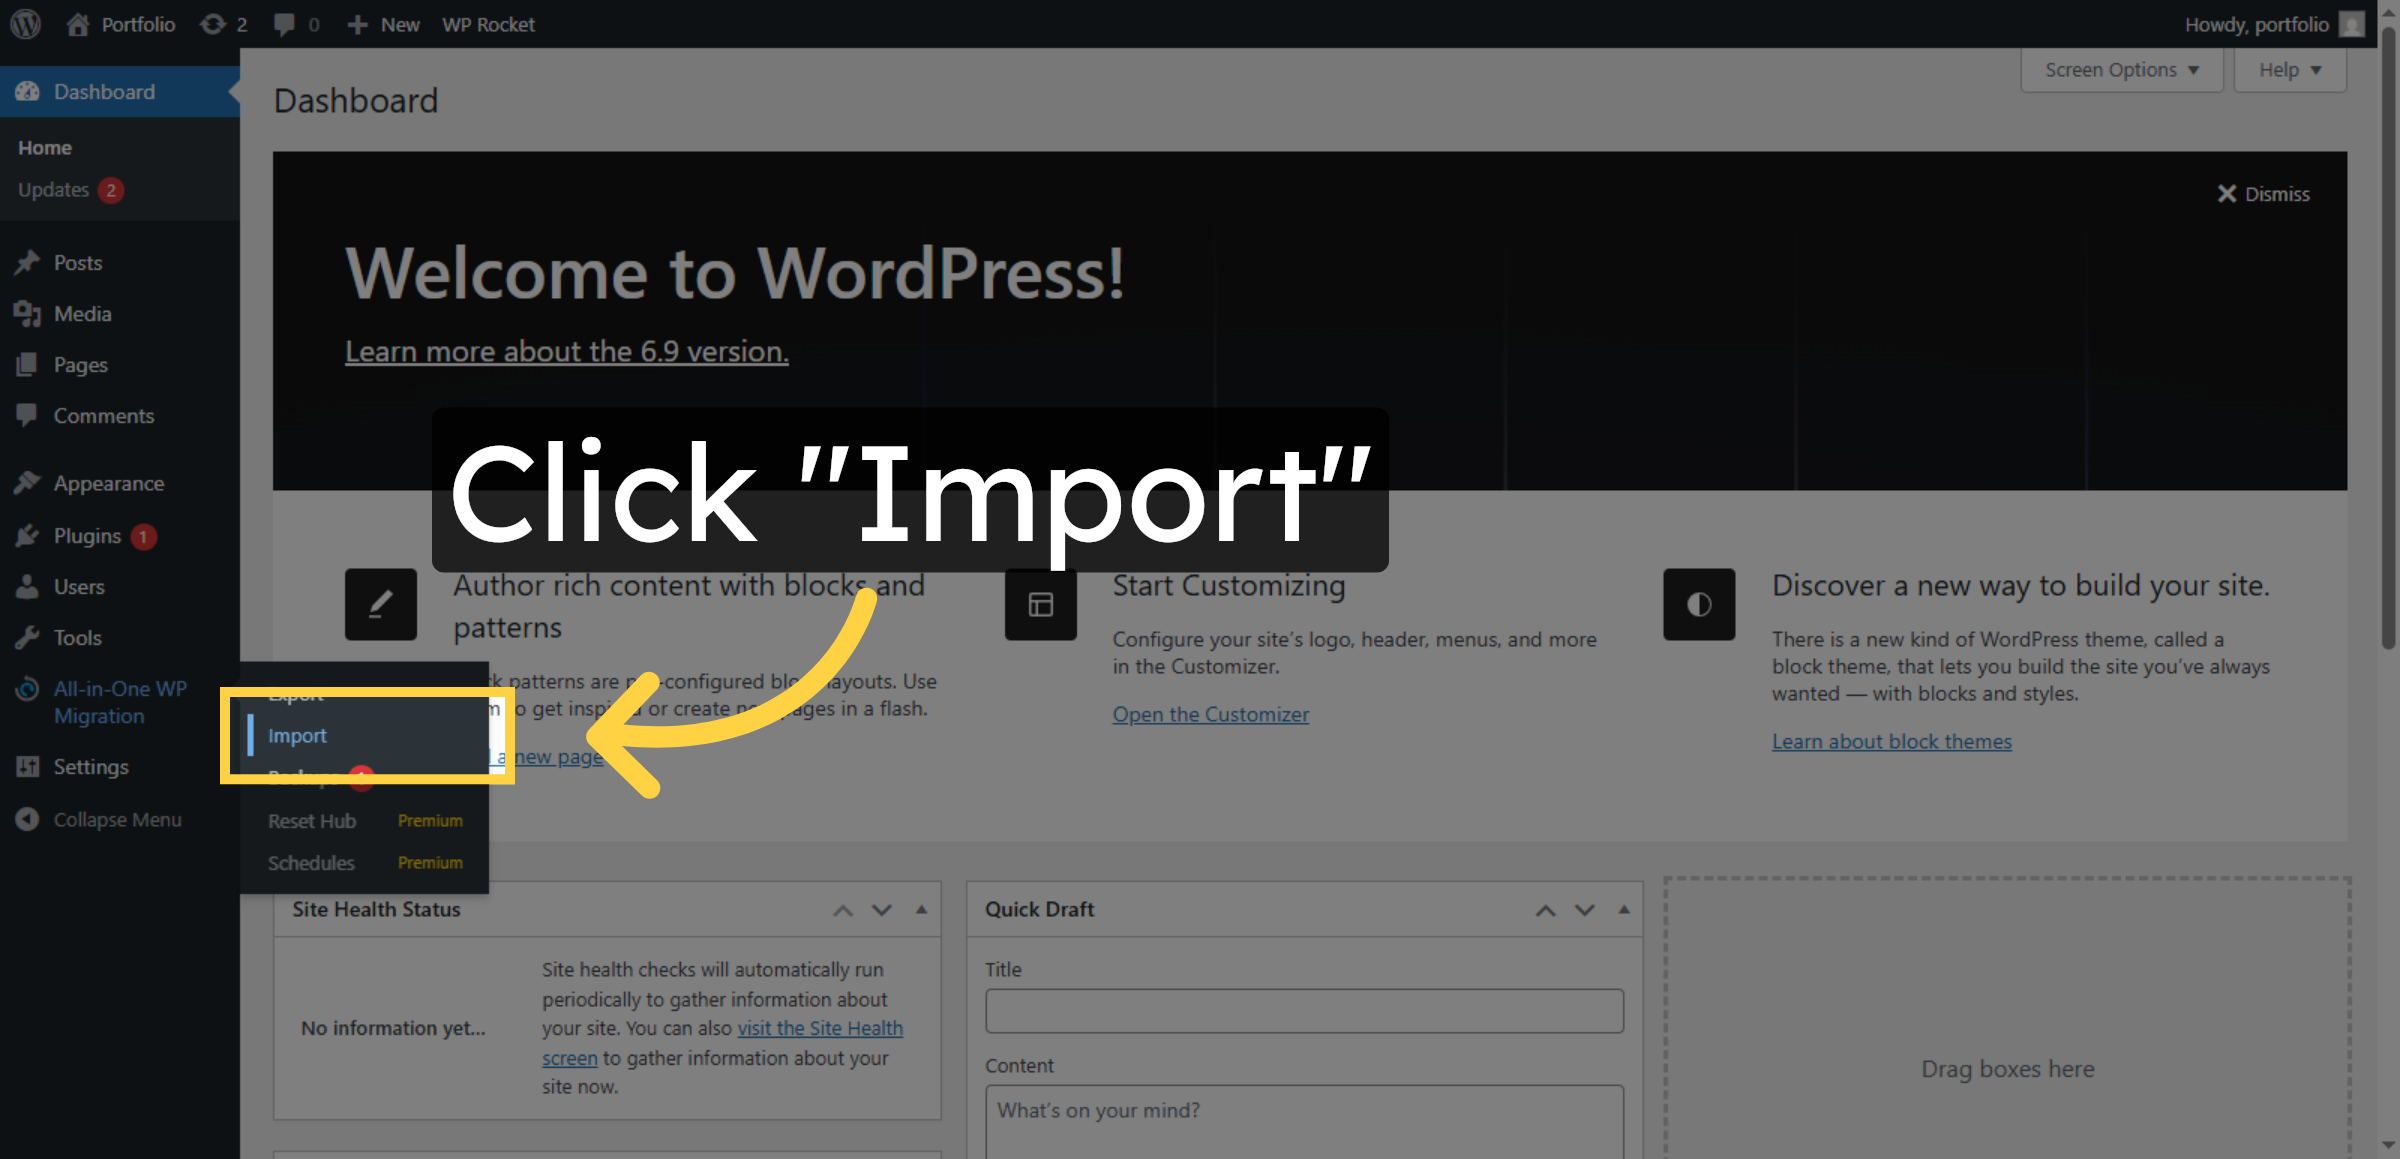
15. Click Import Button
16. Open Import Options
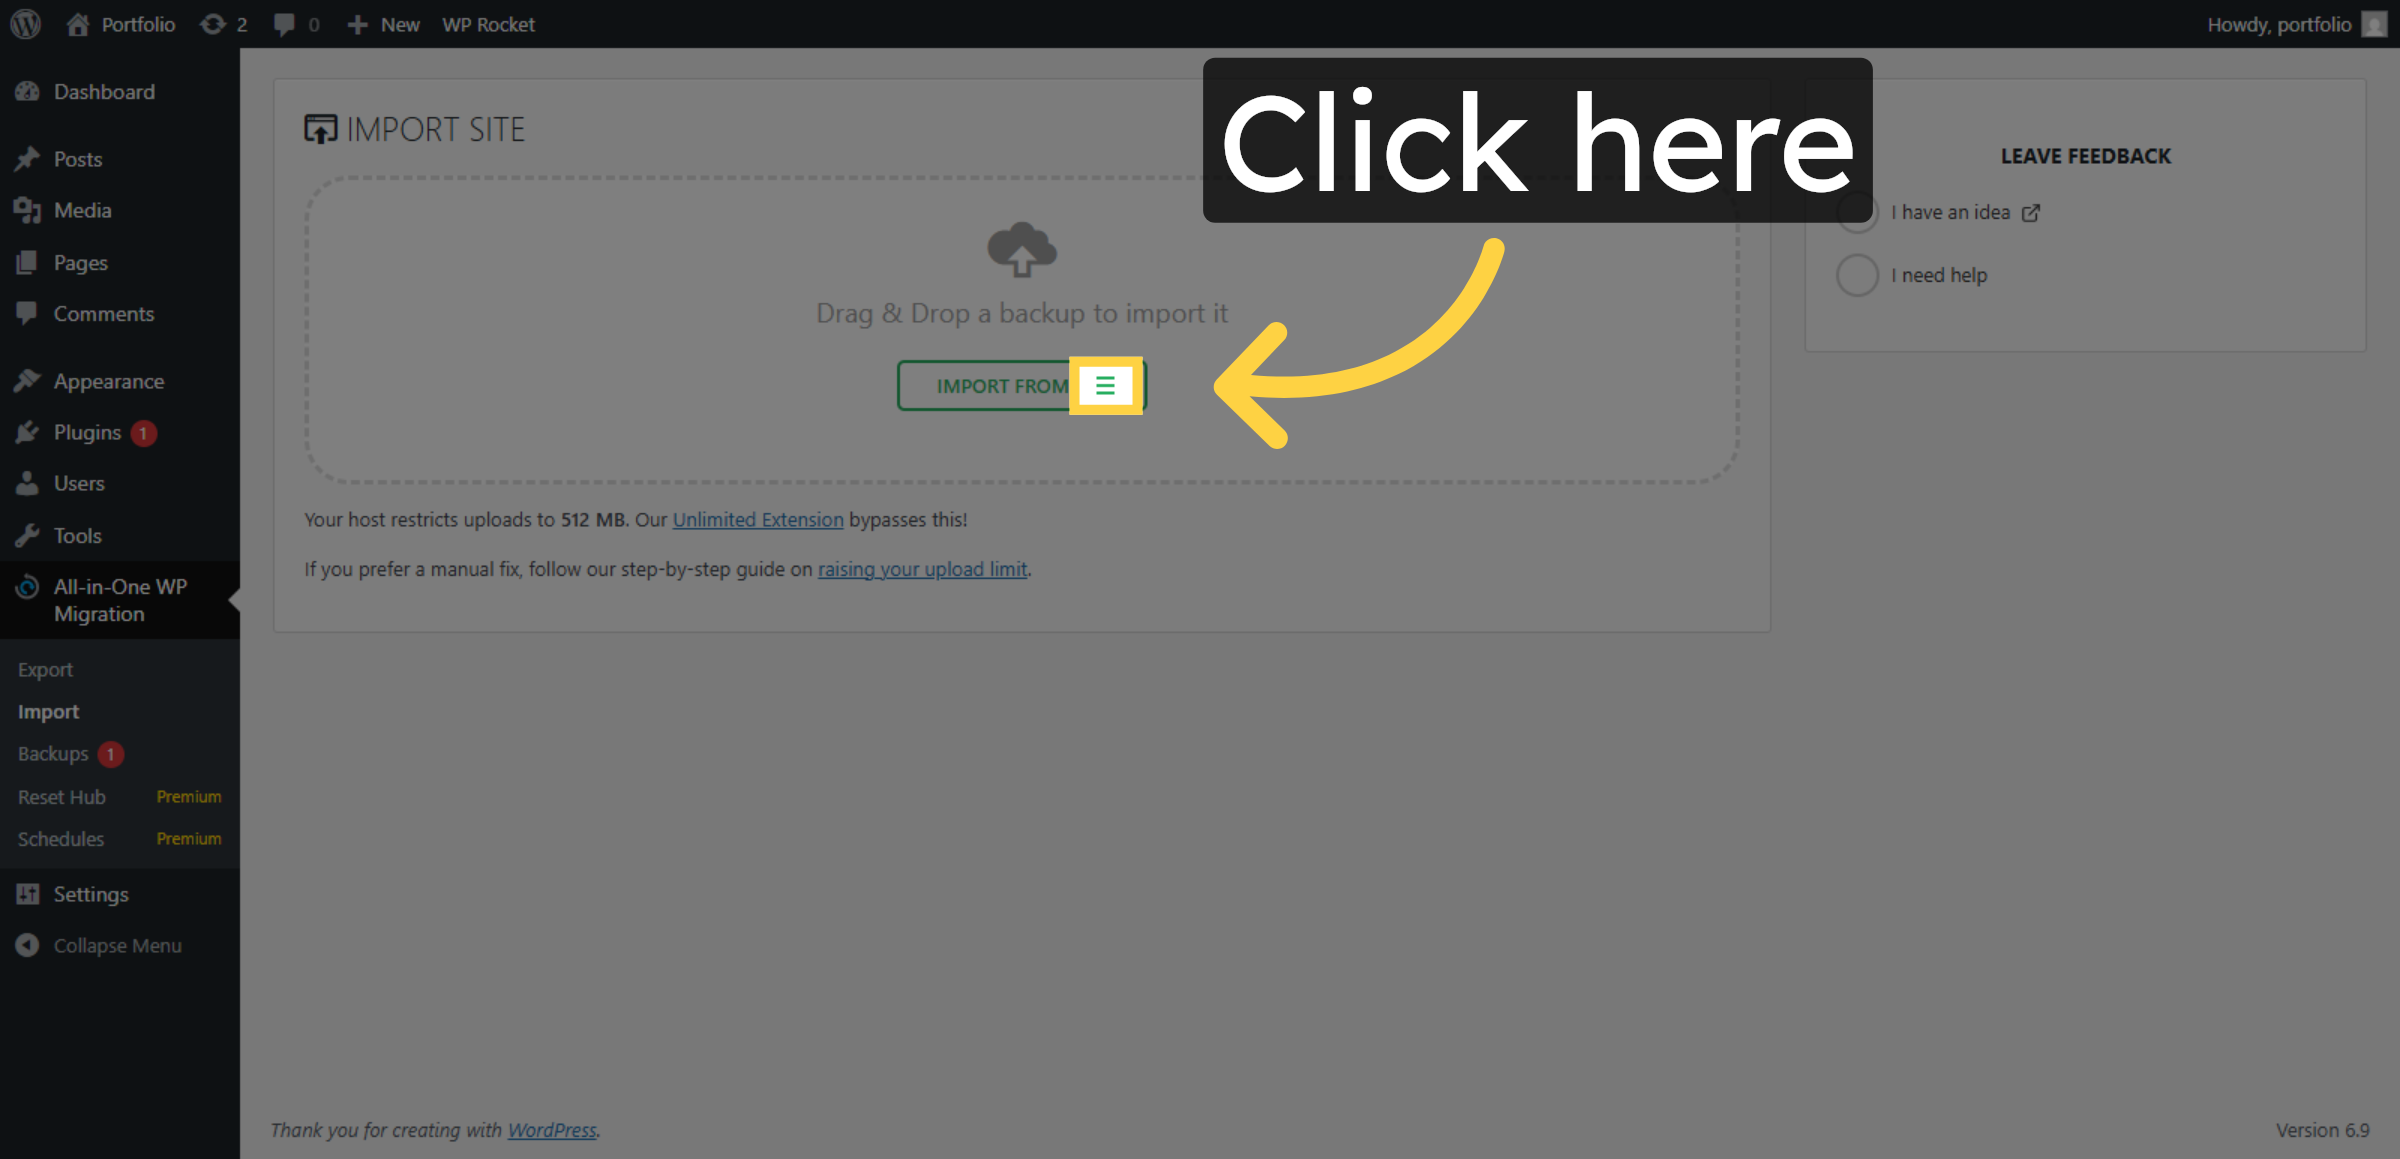


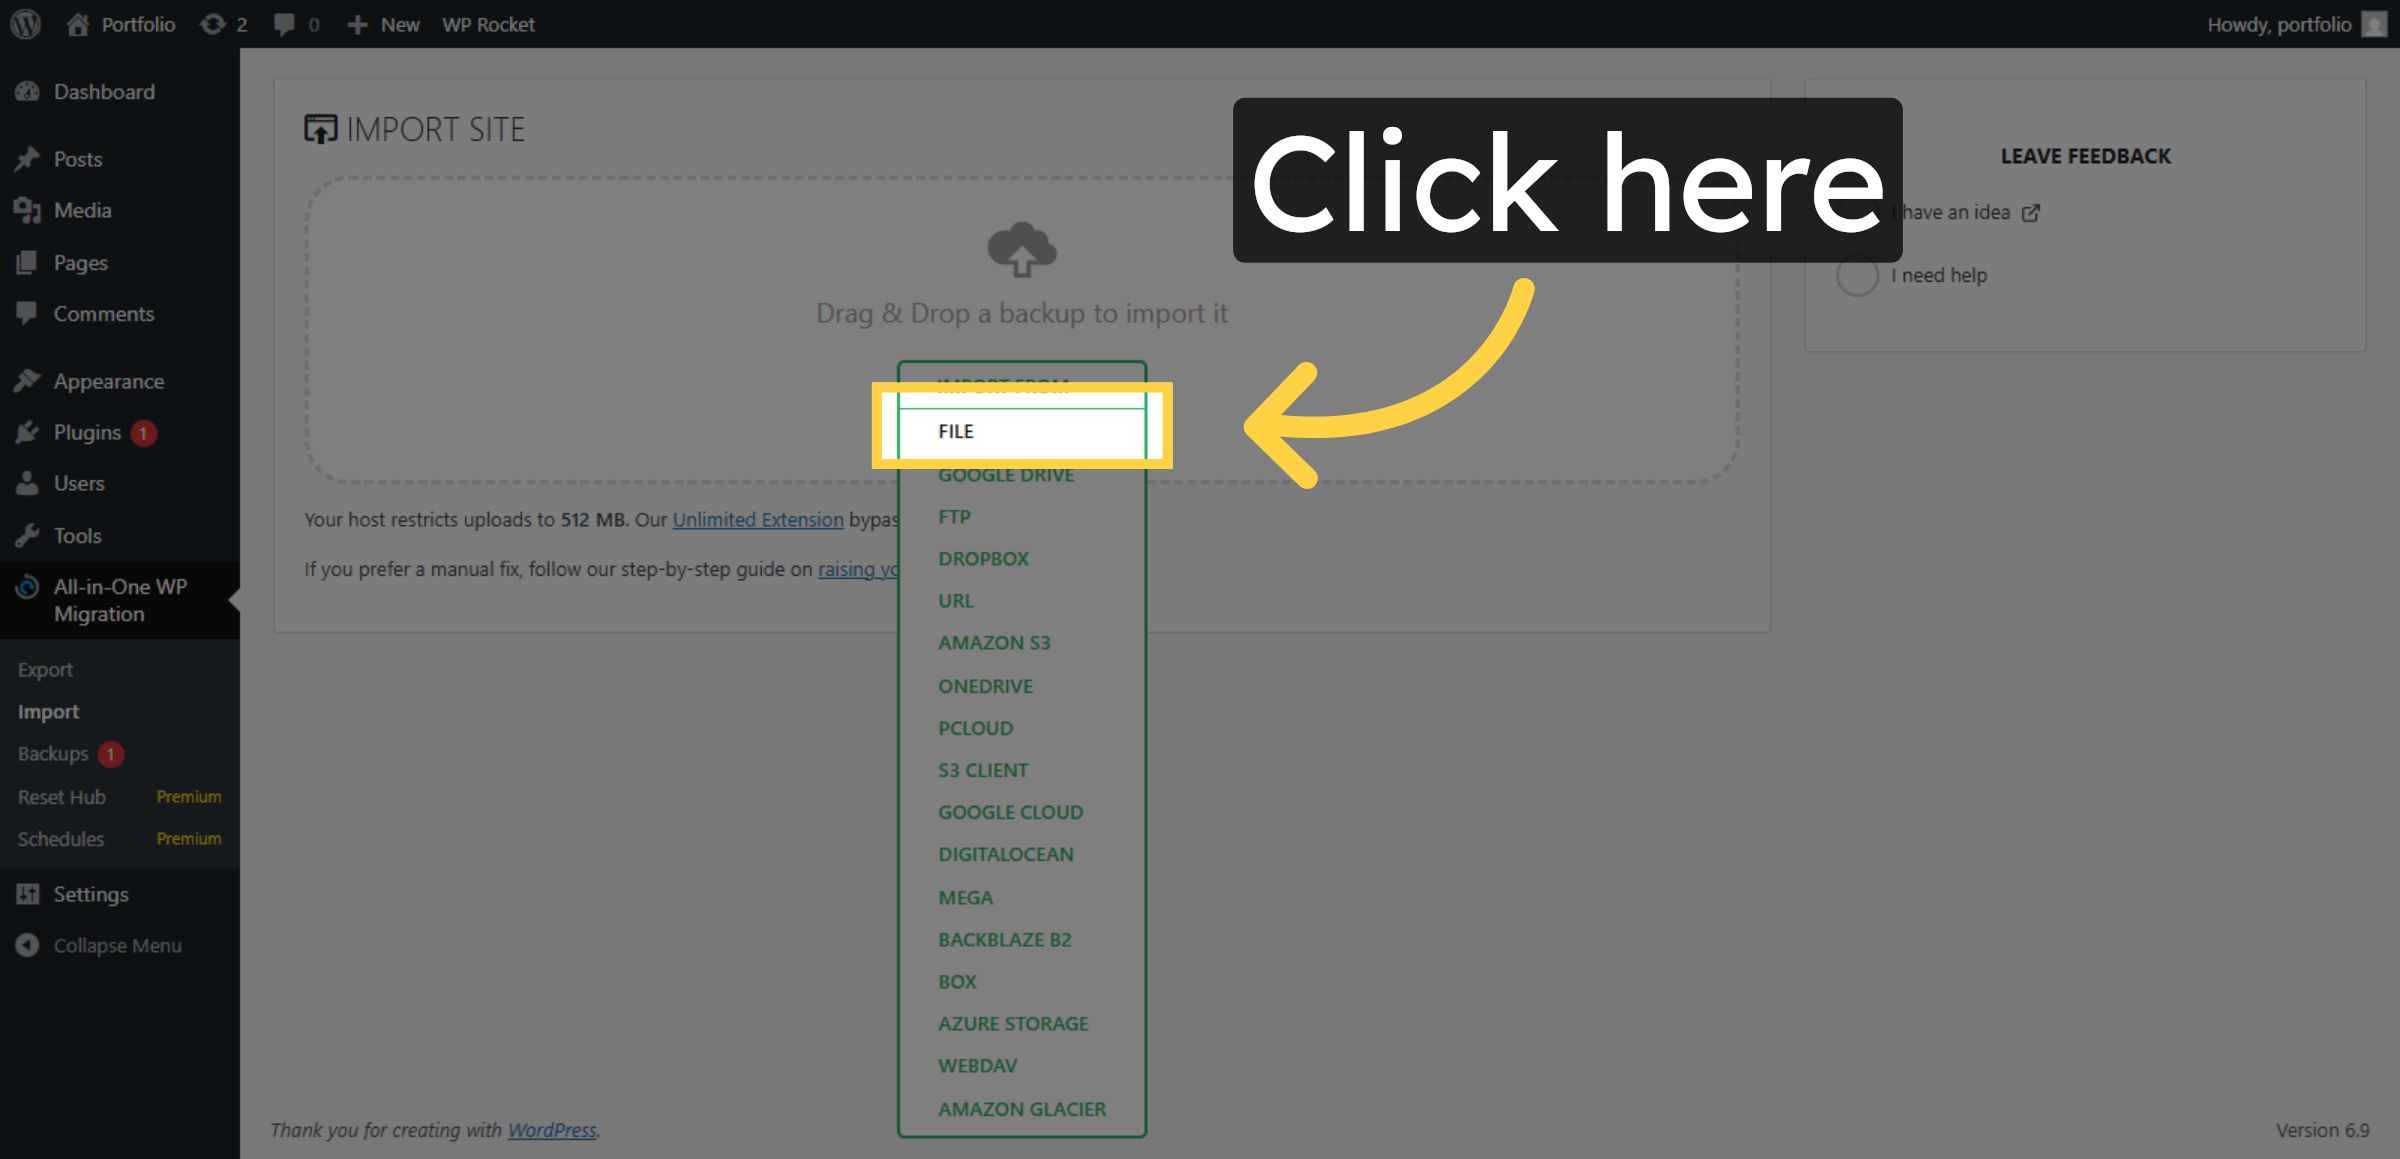
17. Select Import Source
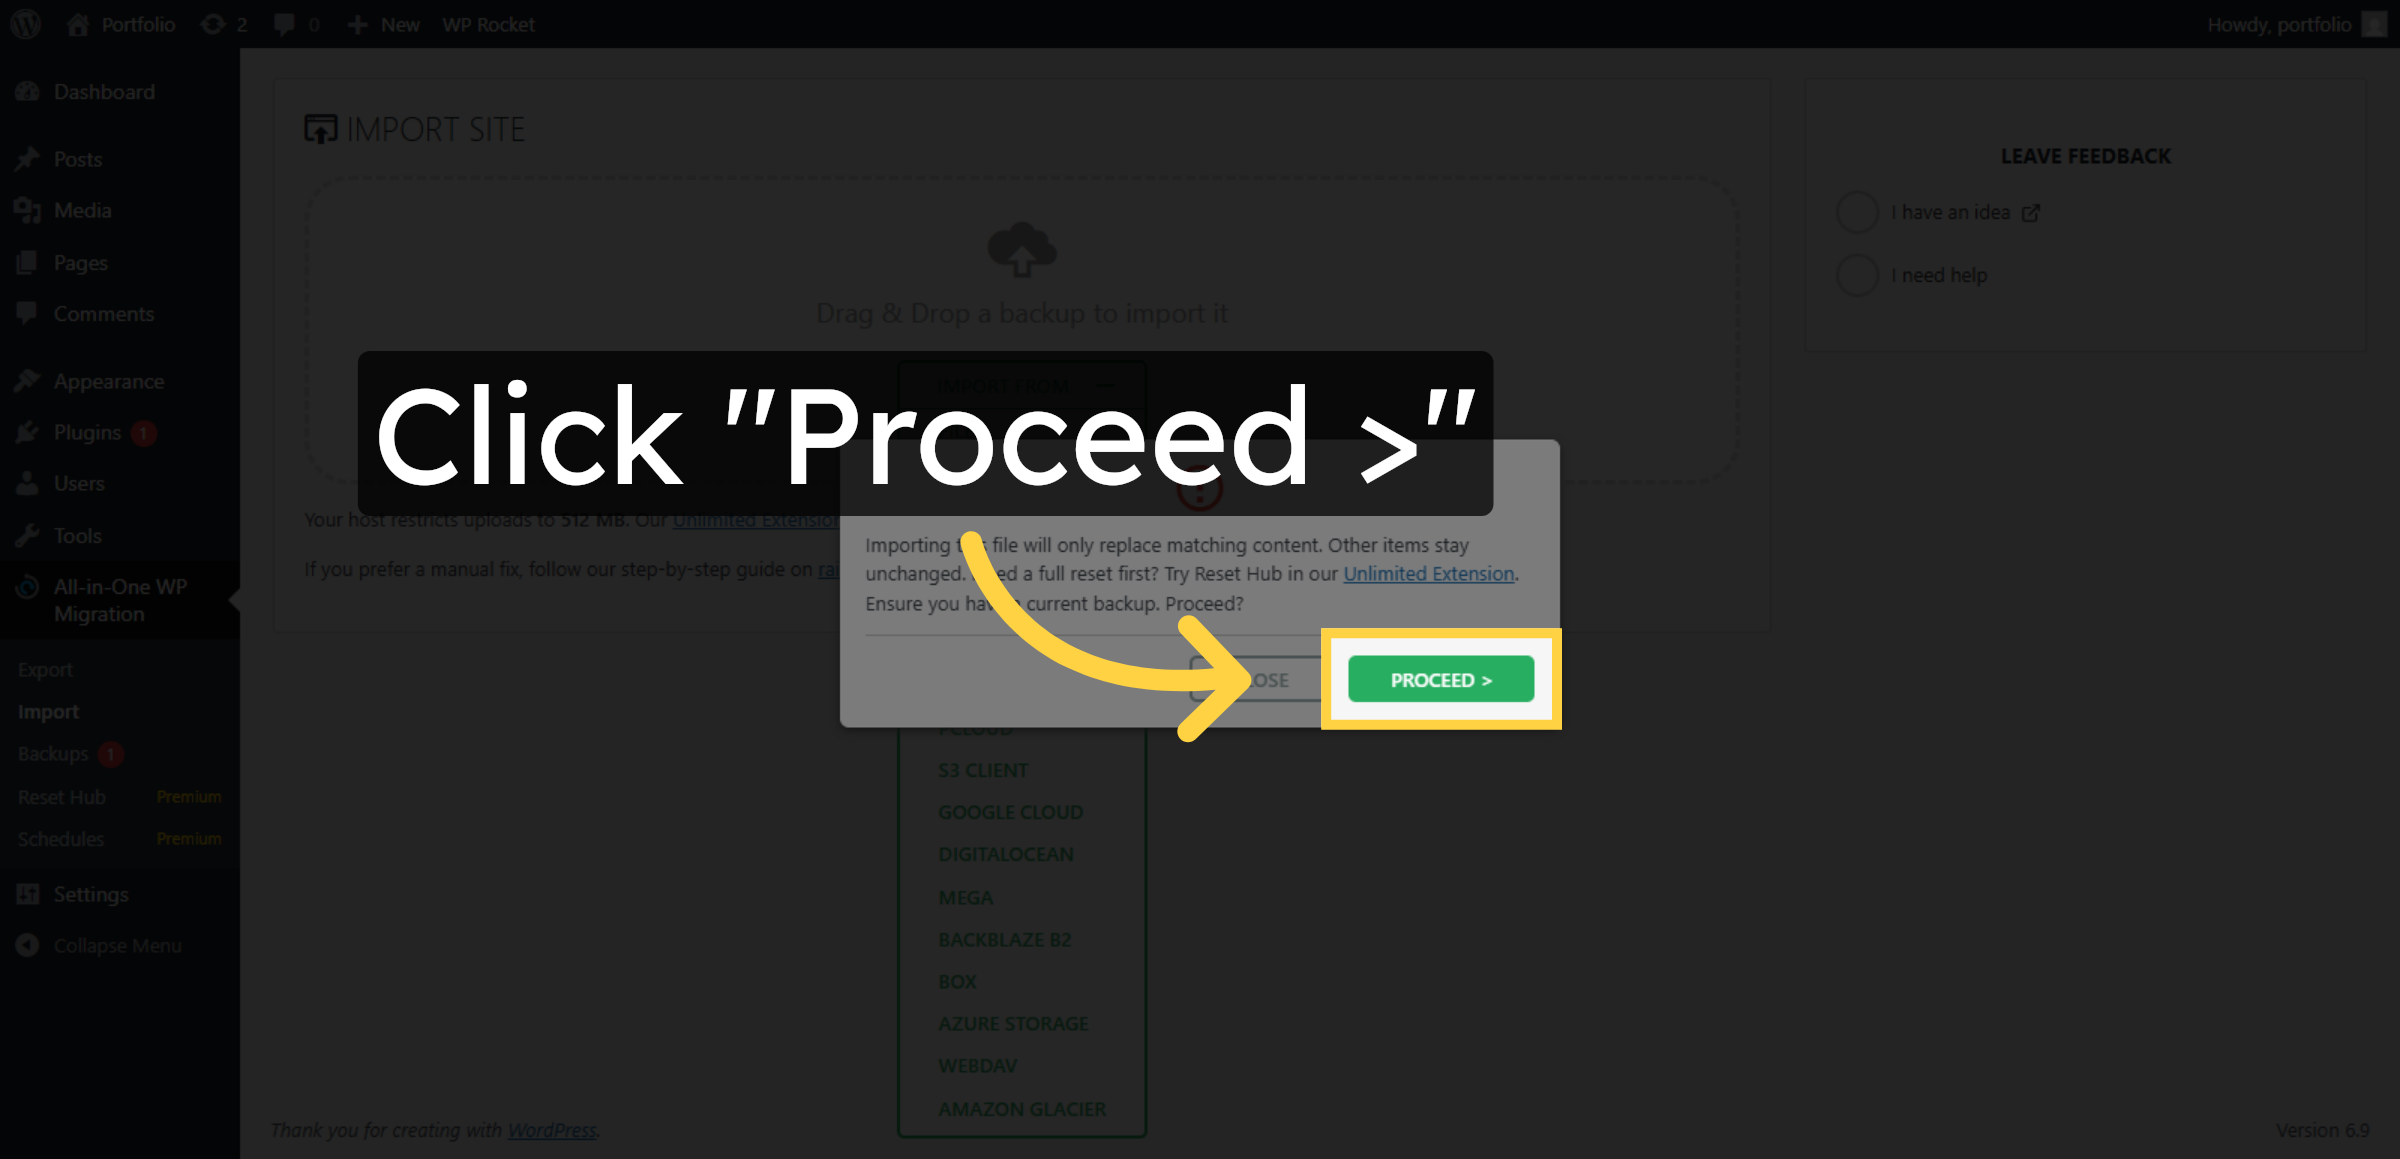
18. Click Proceed Button
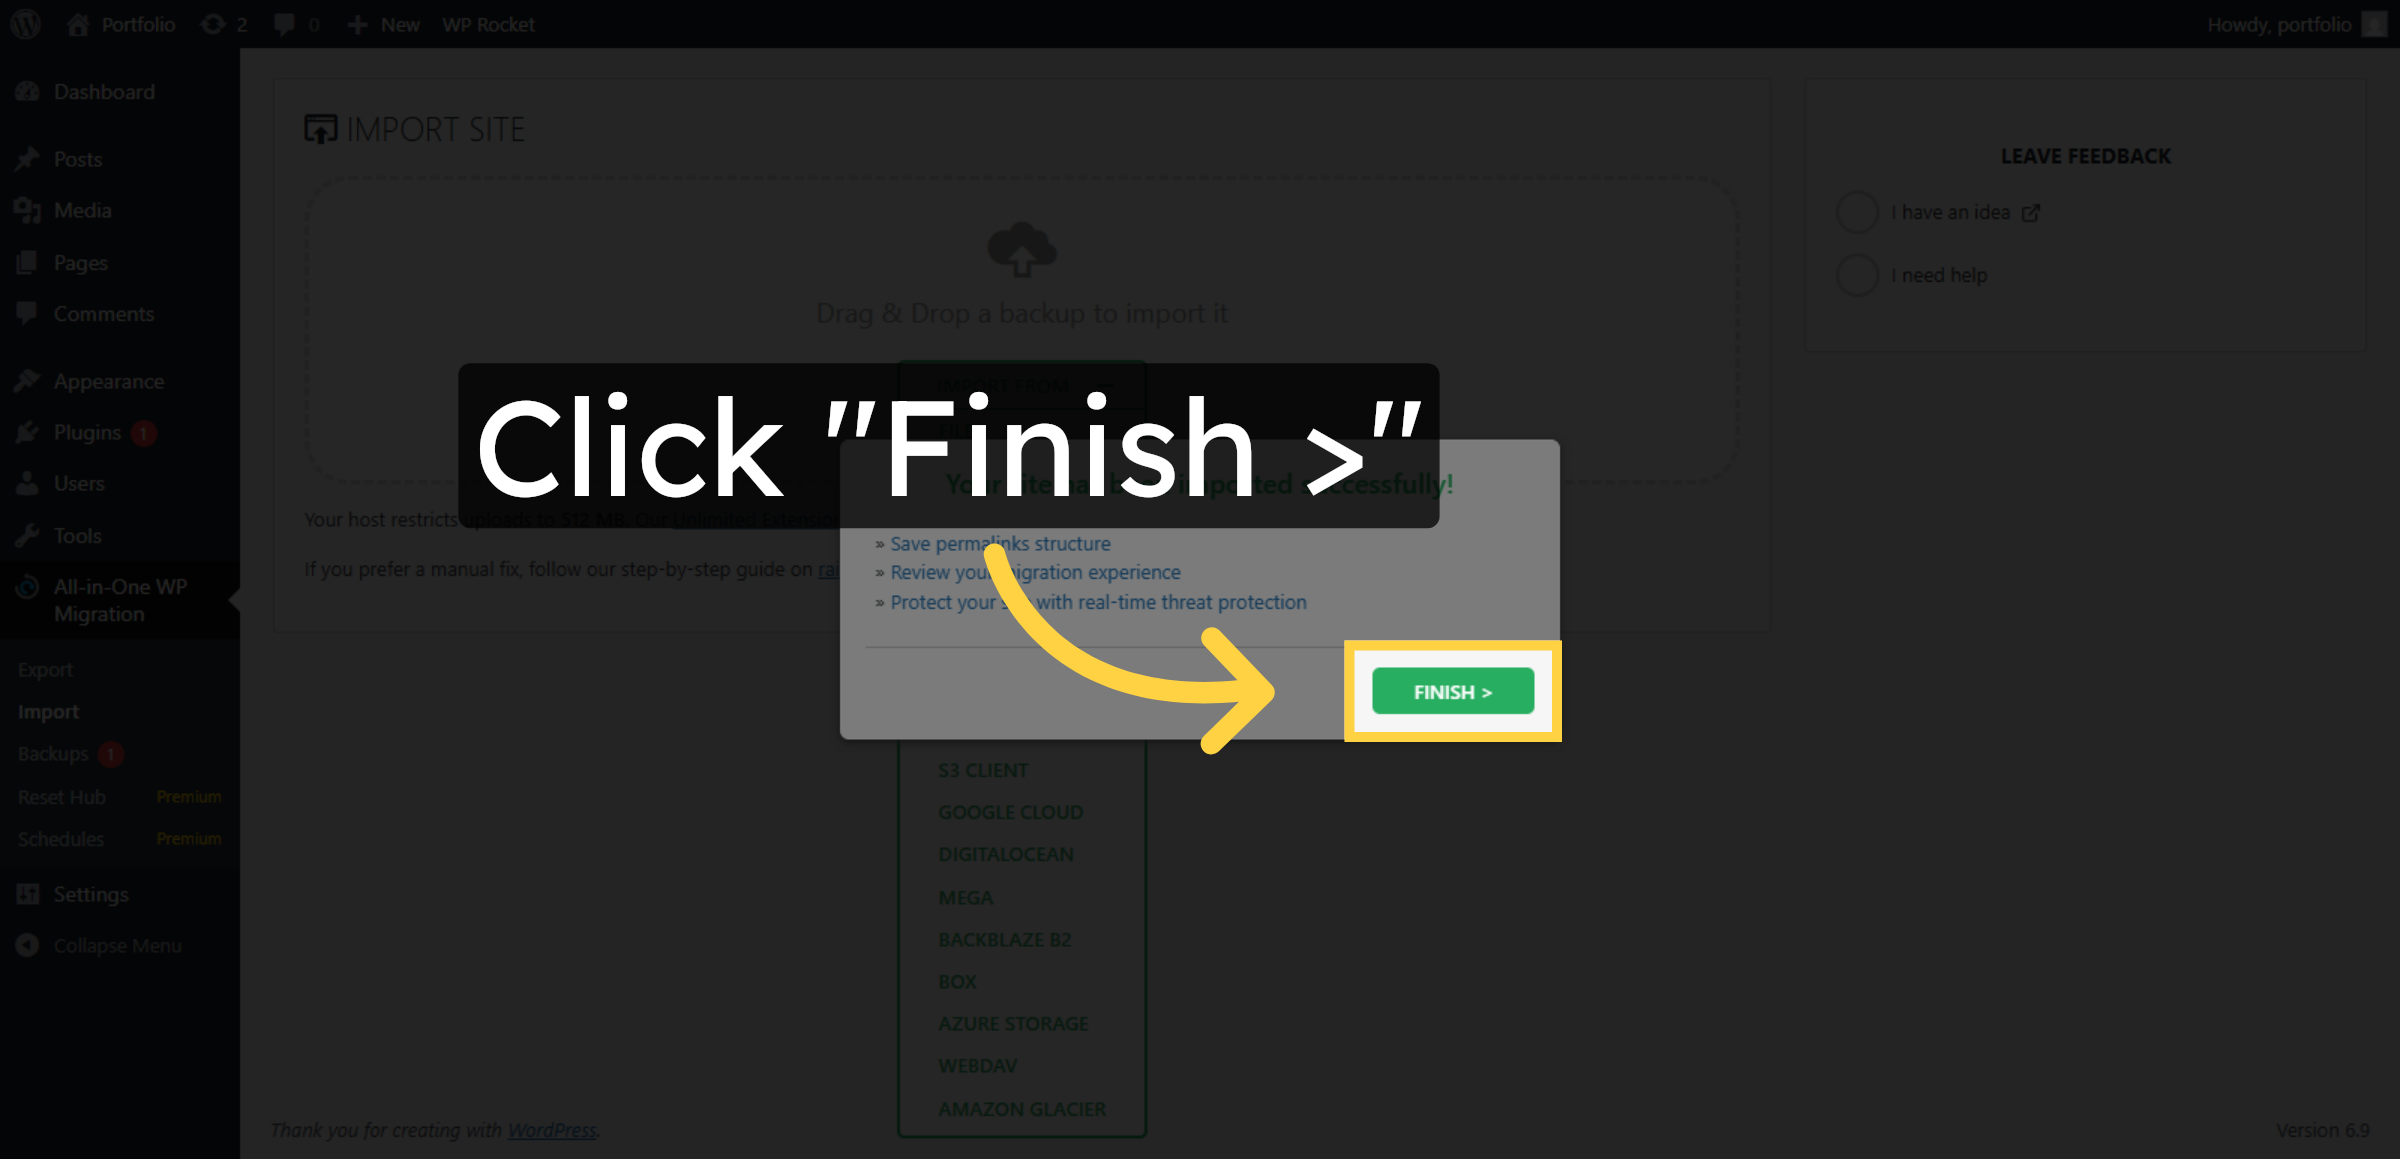
19. Click Finish Button
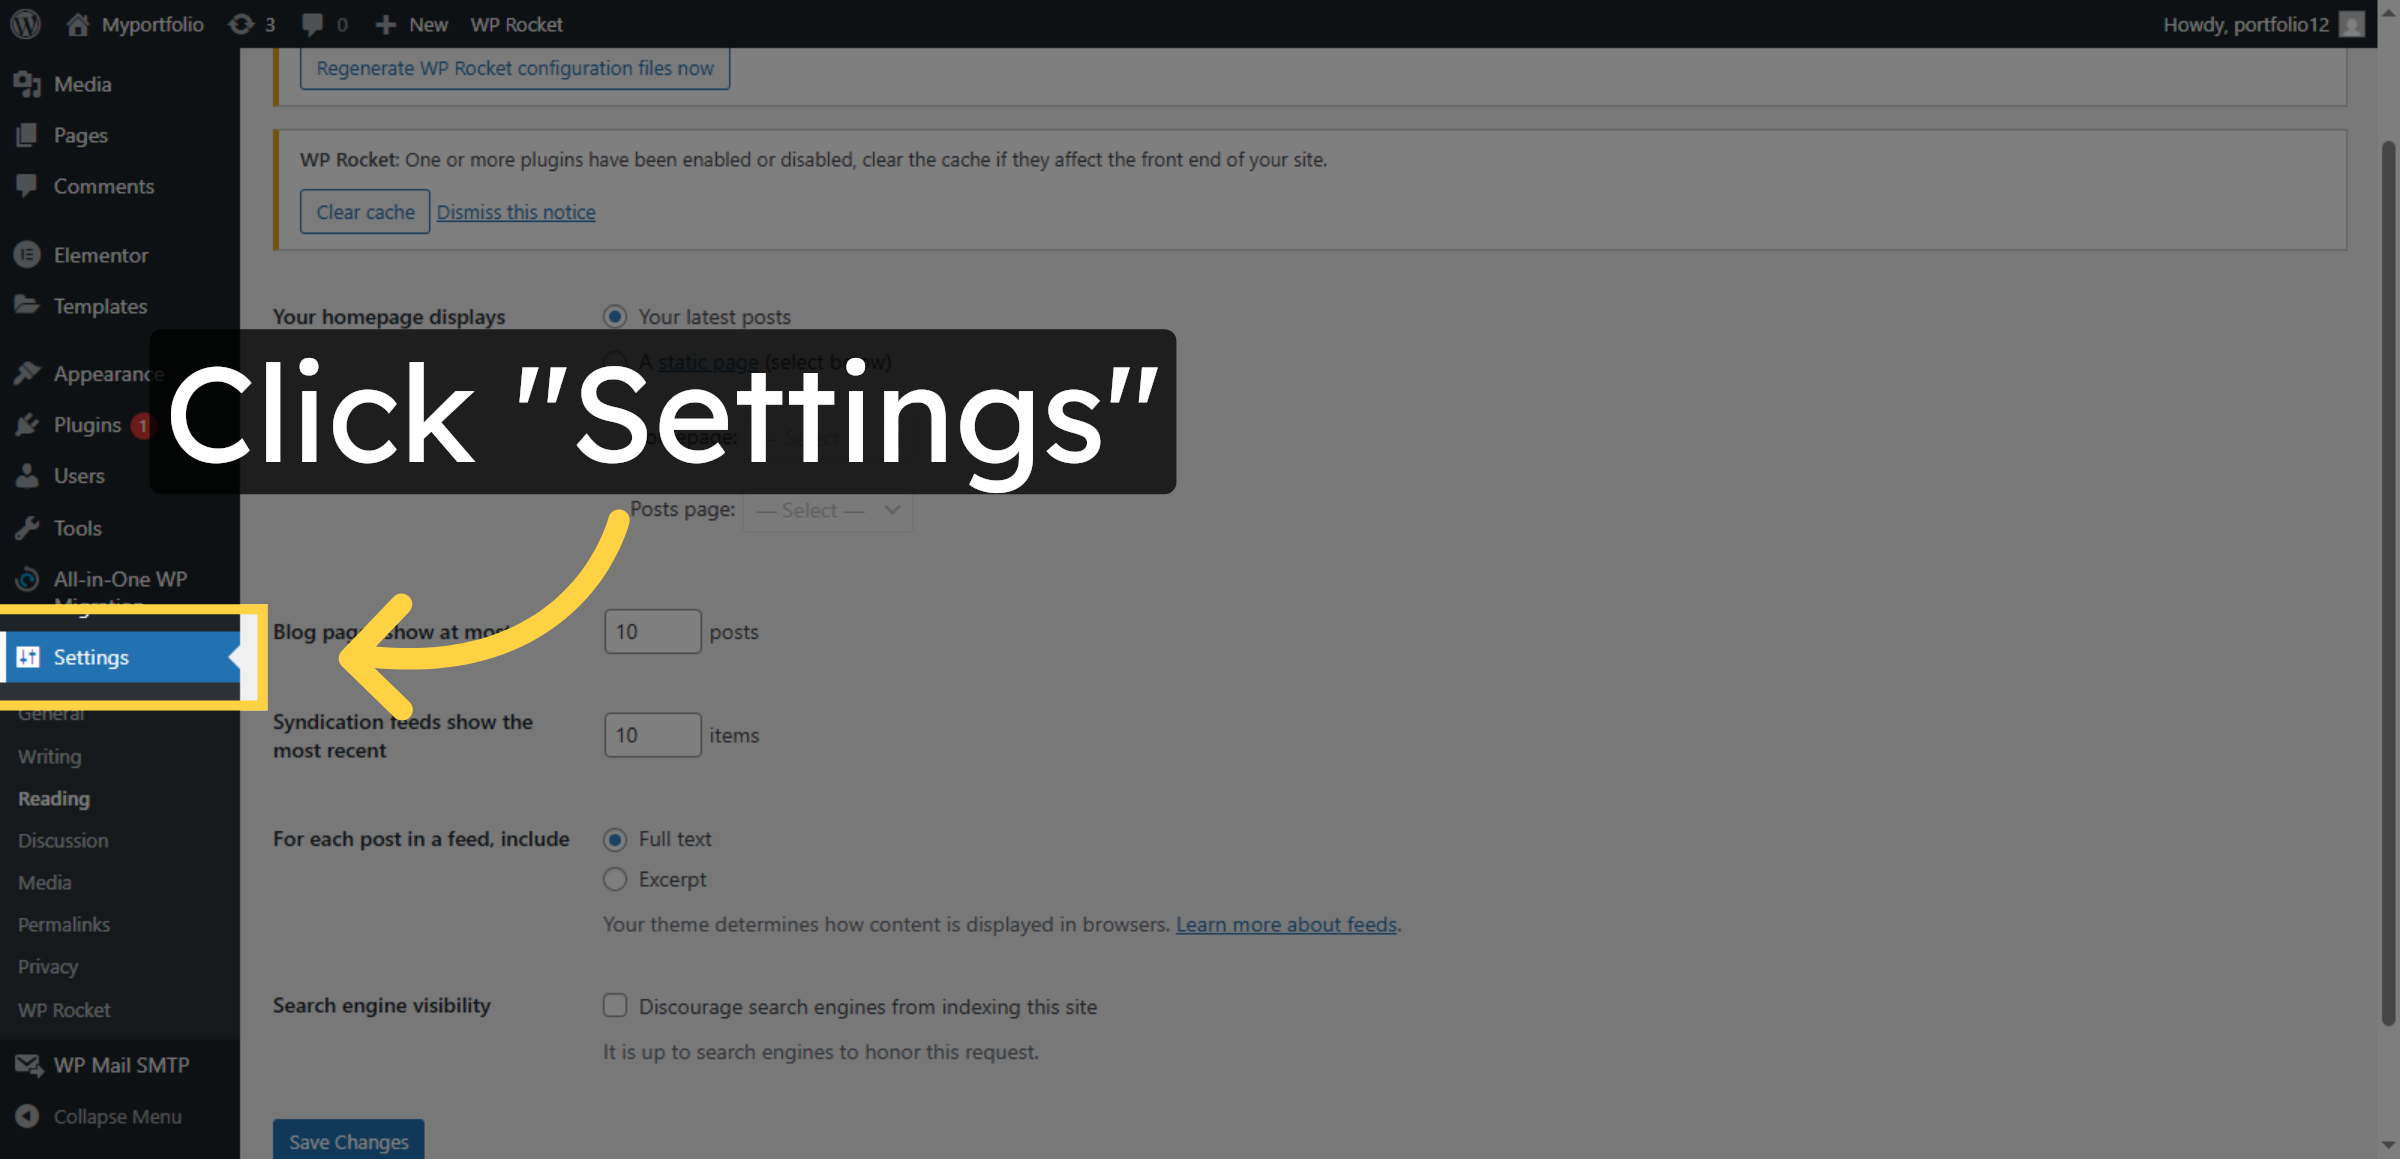
20. Navigate to Settings
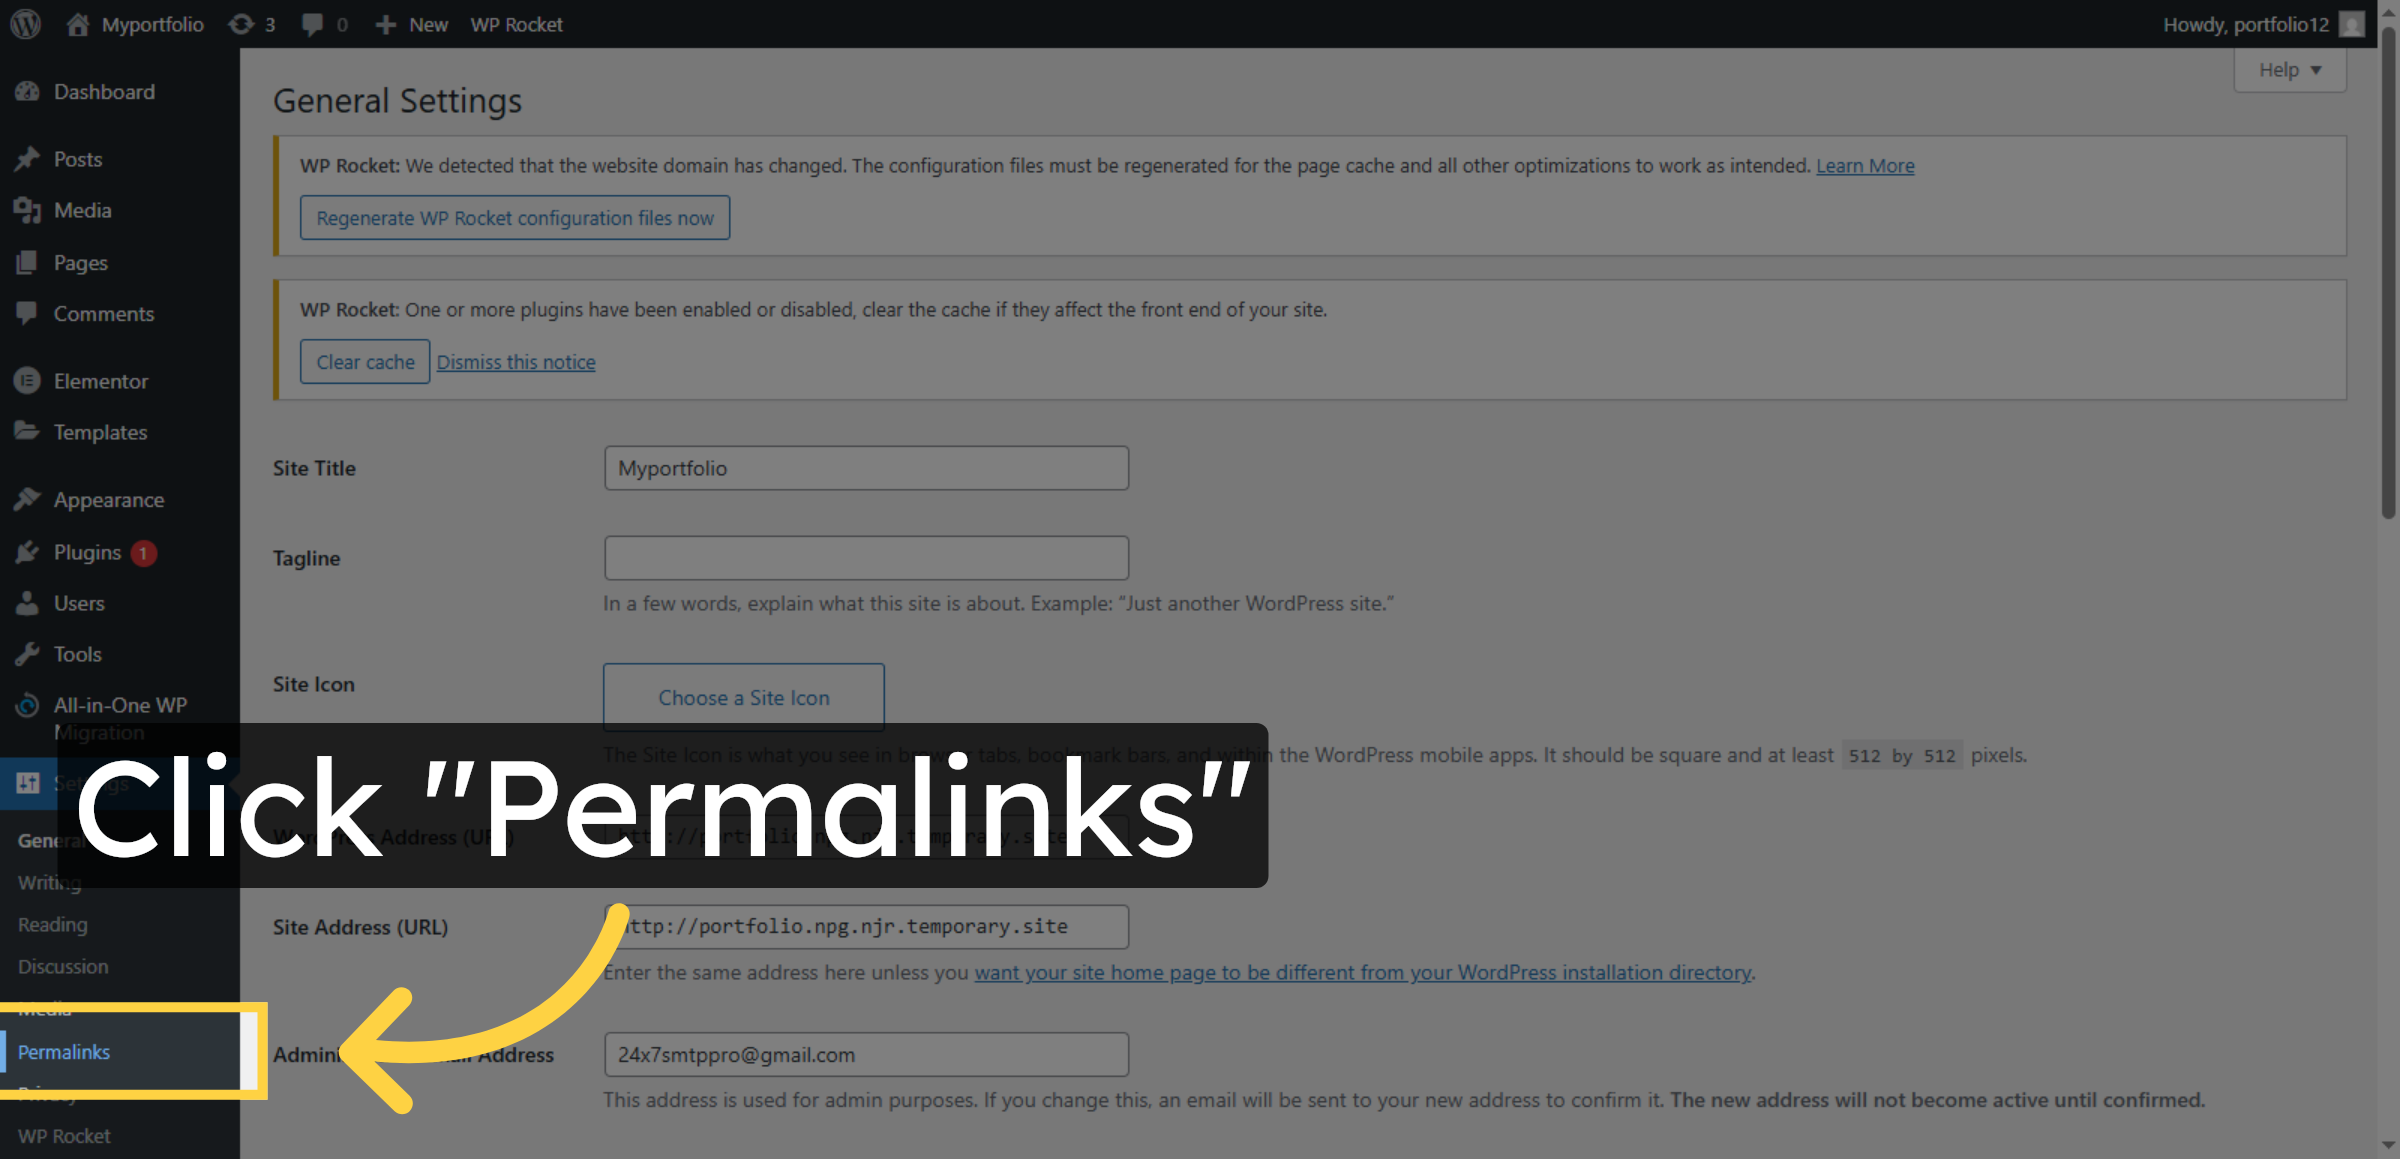
21. Select Permalinks Section
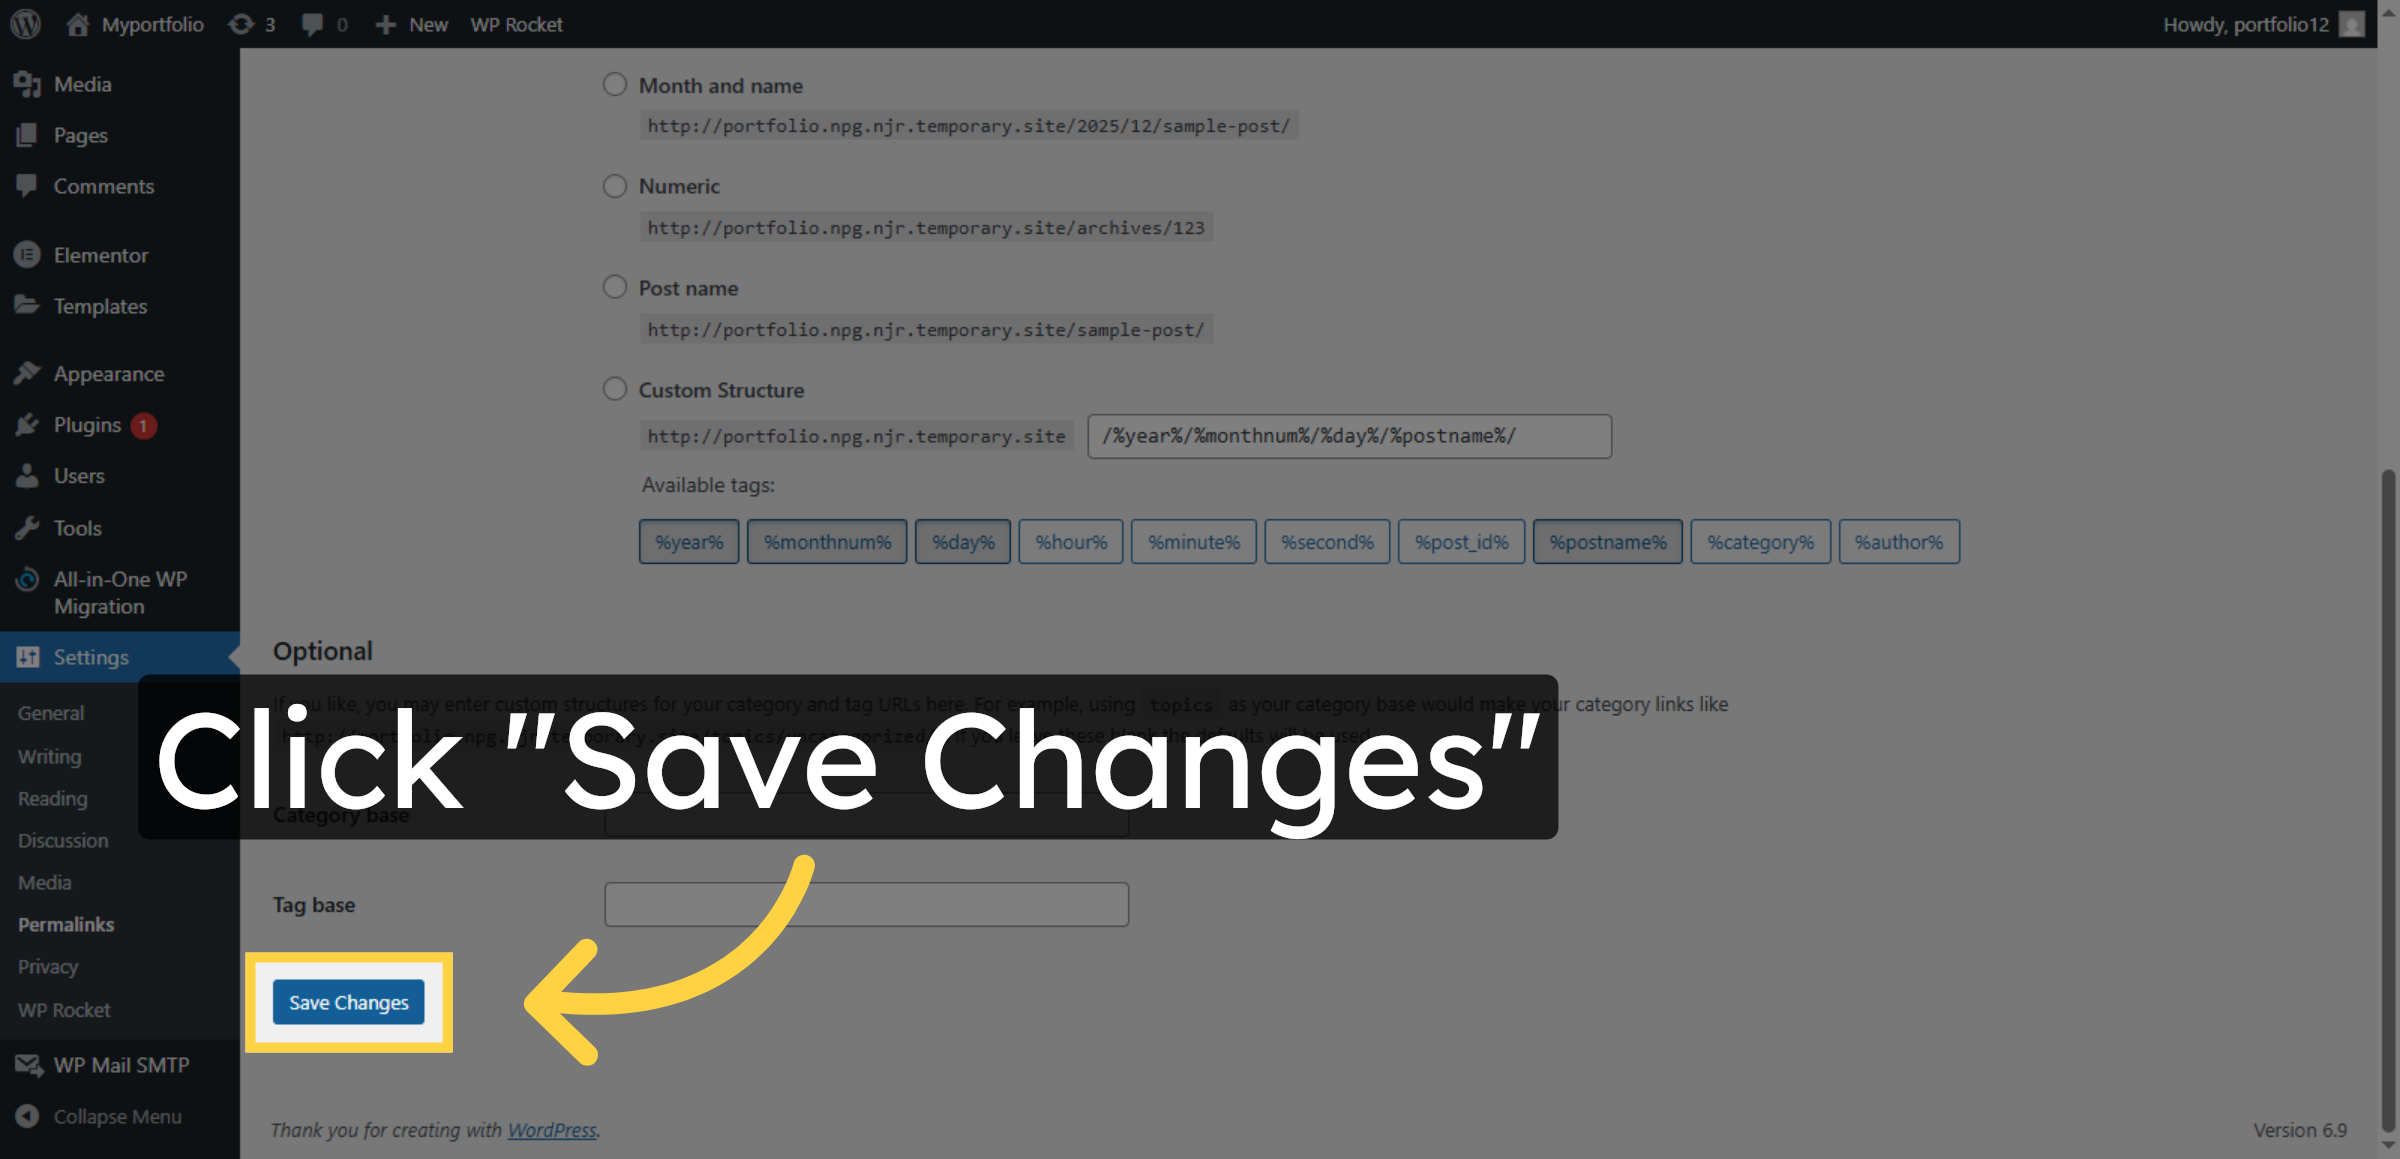
22. Save Permalink Changes
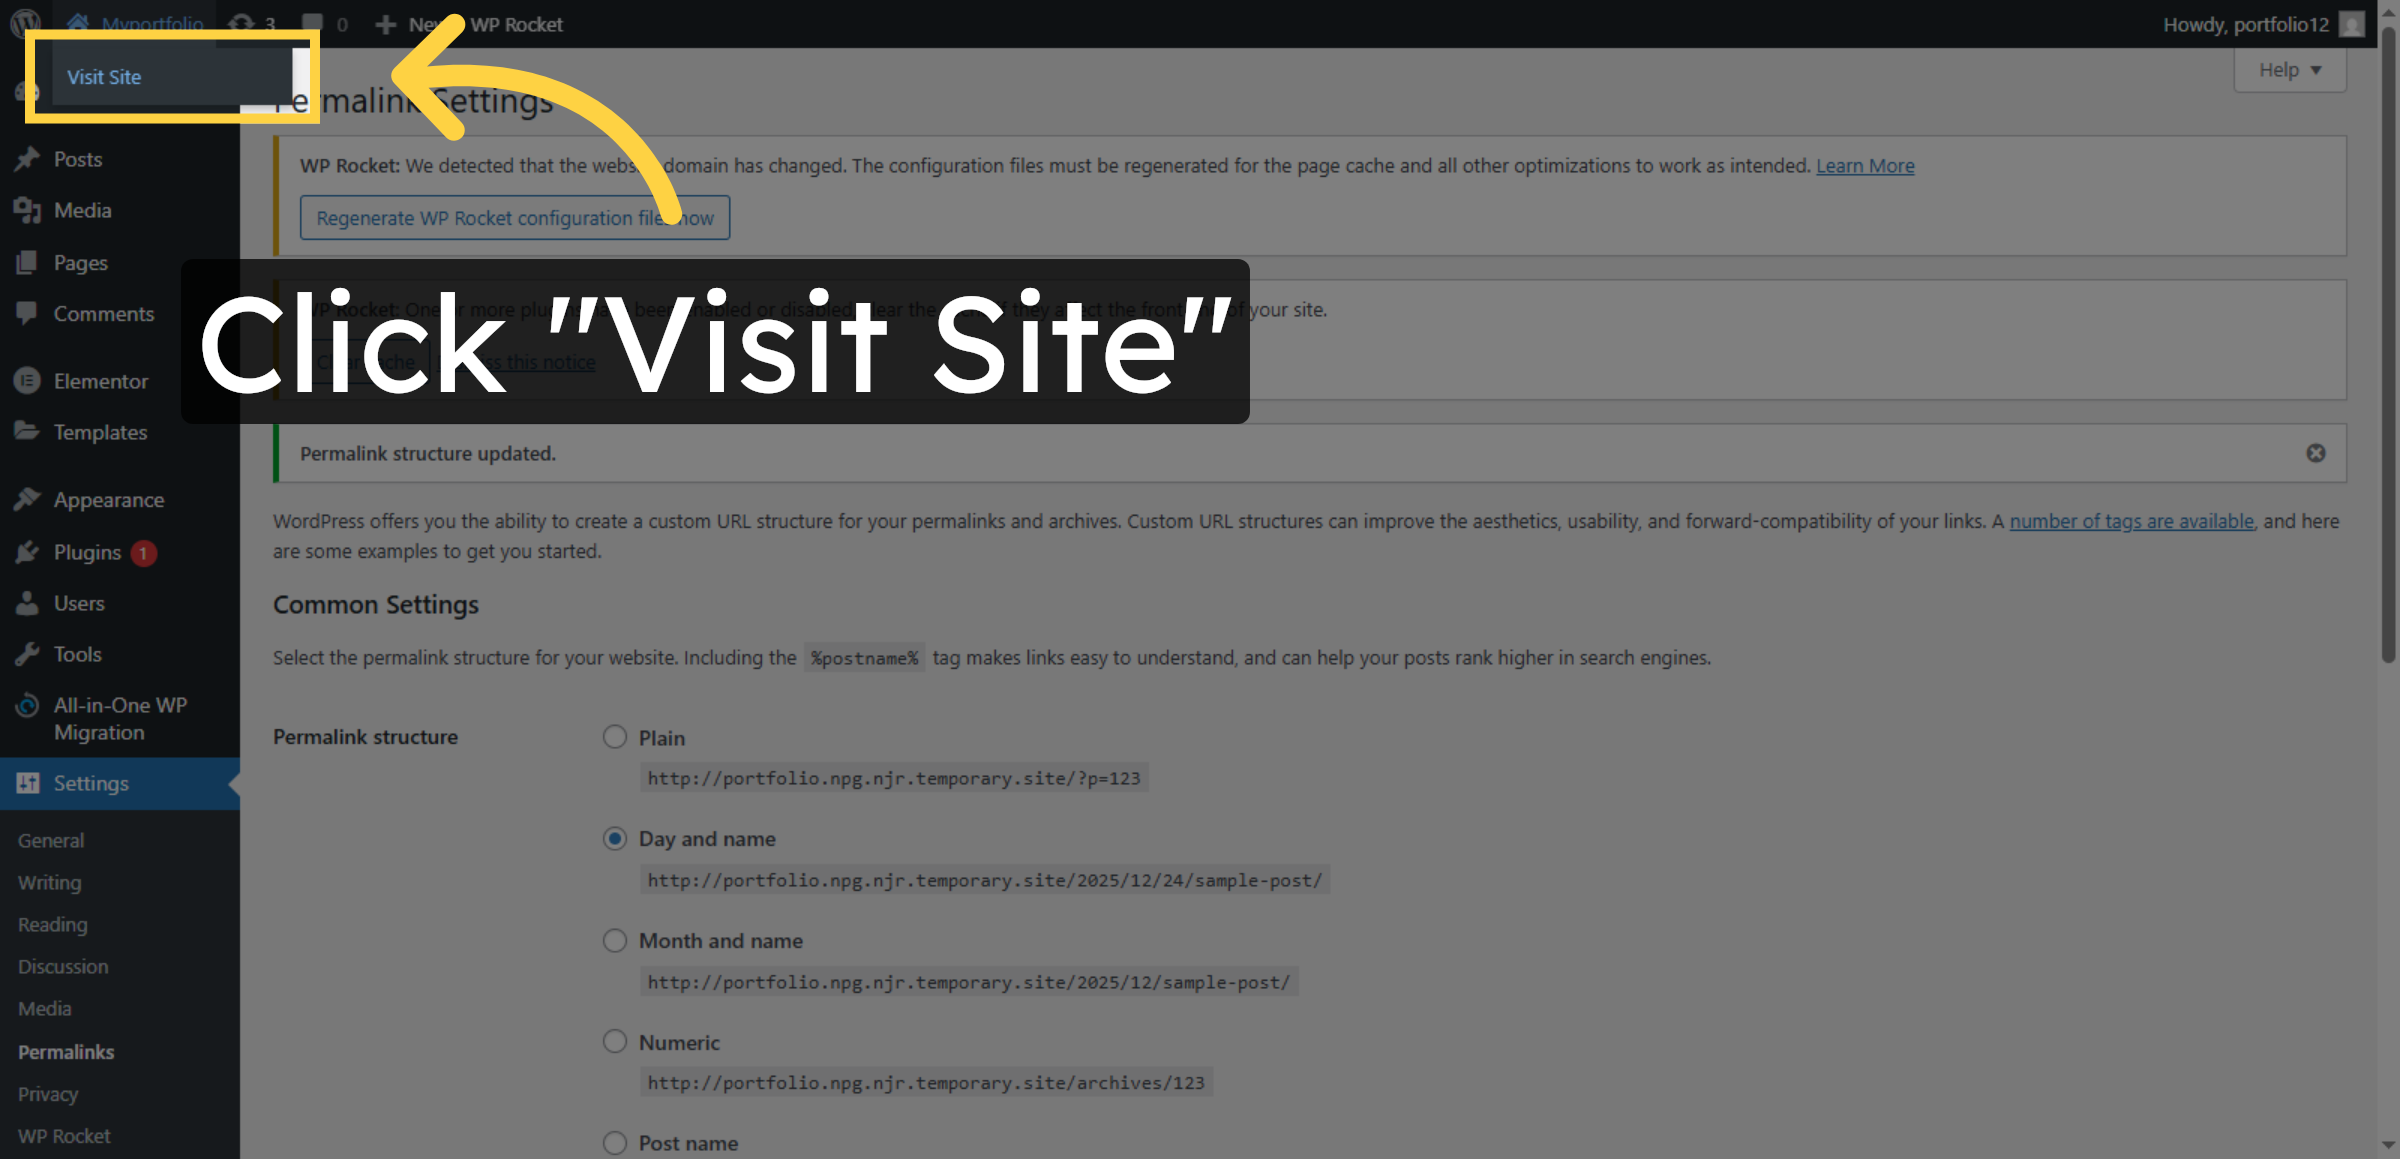
23. Visit Your Site
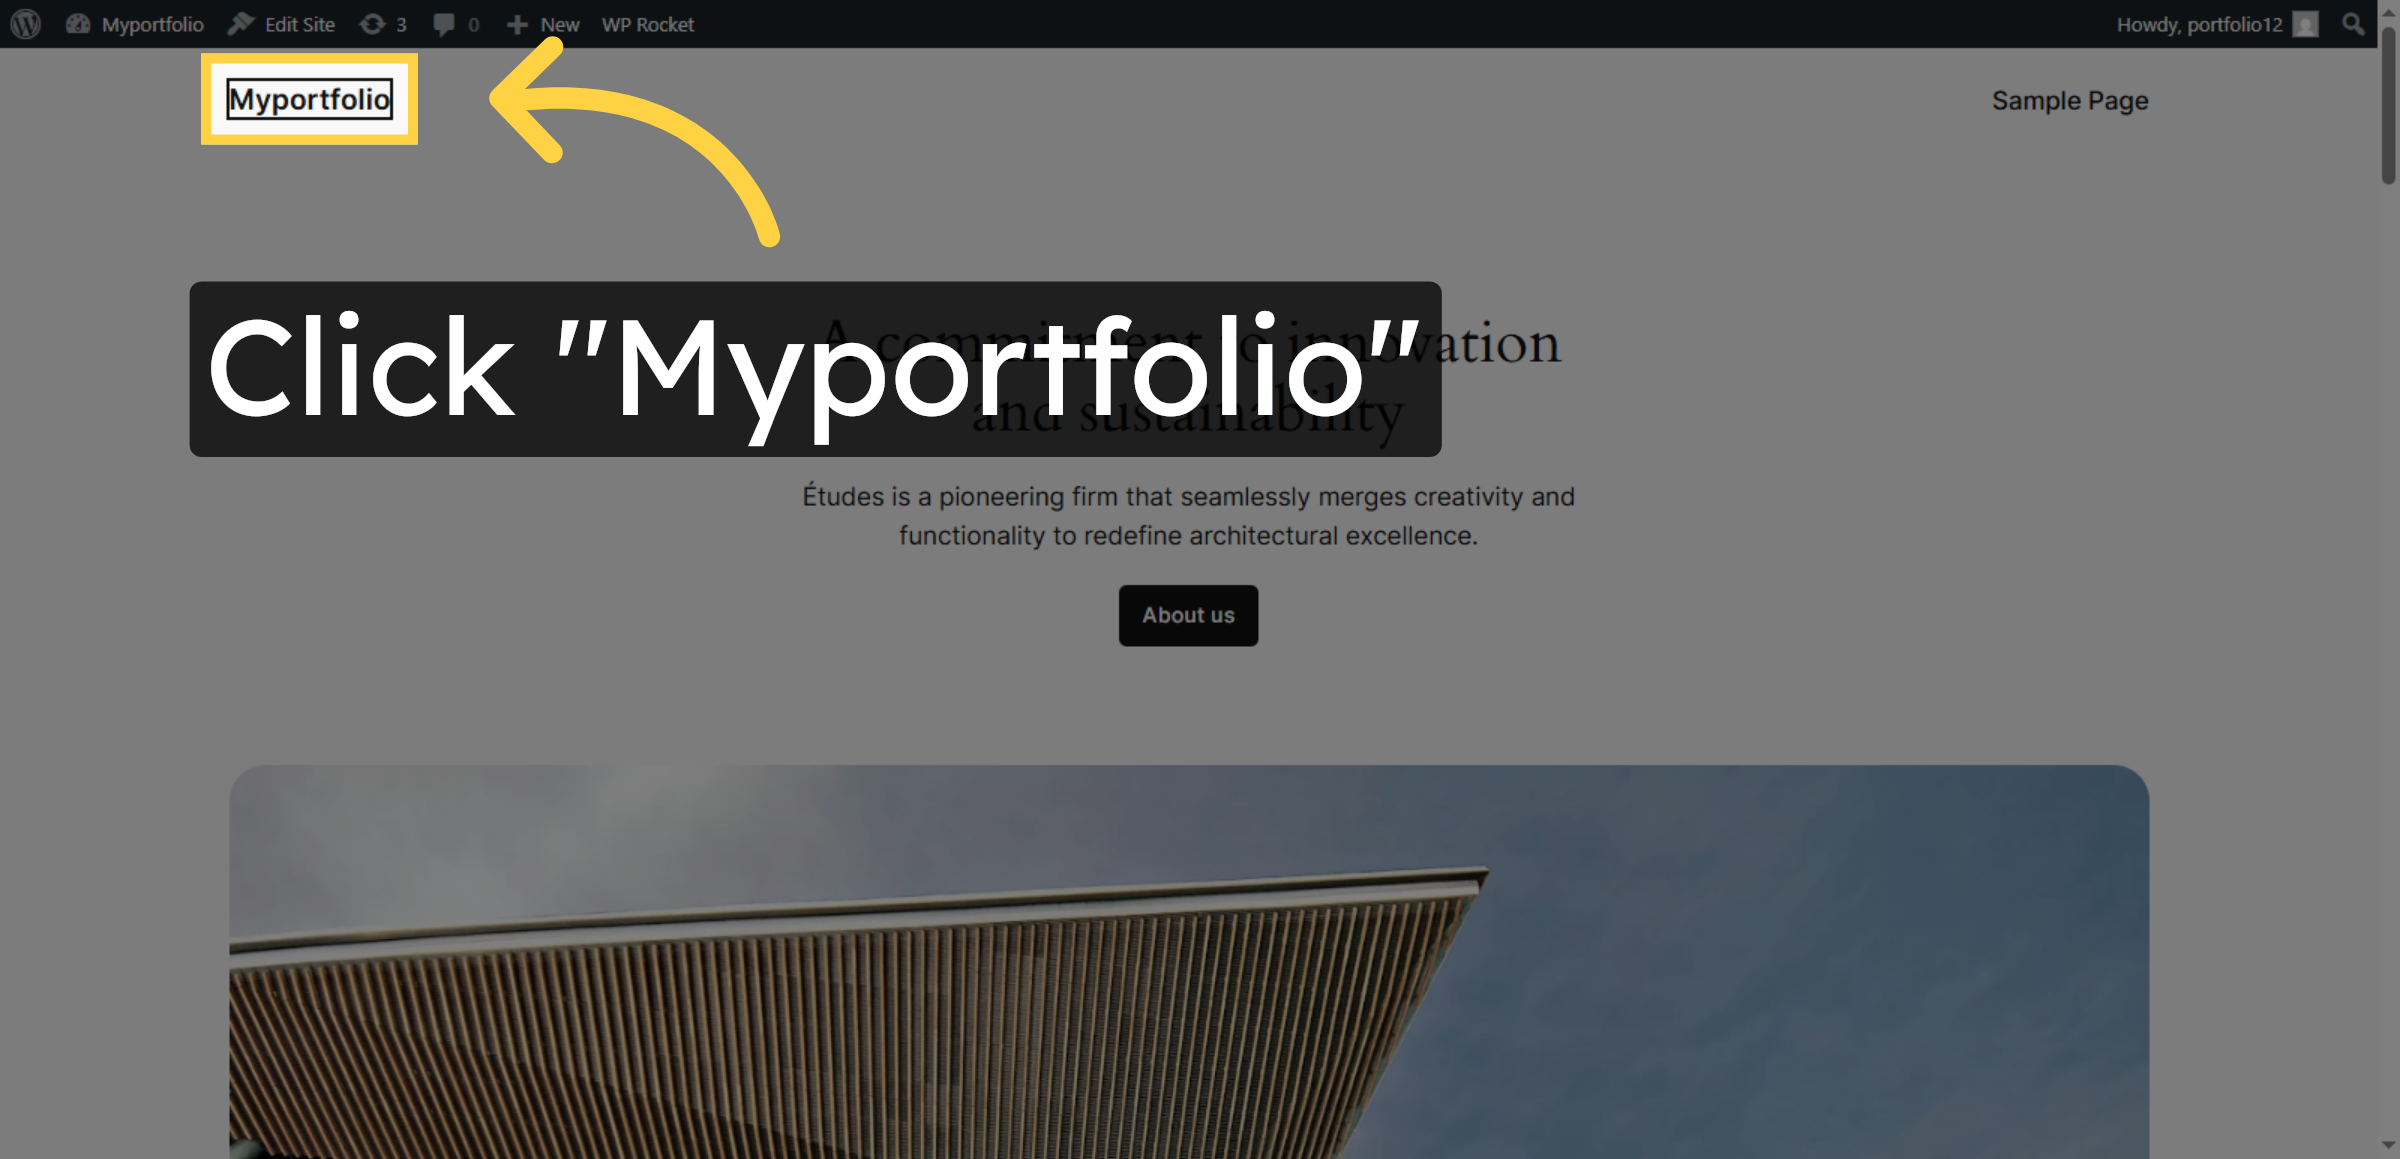
24. Open Myportfolio Section
Conclusion
Restoring website backups is an essential skill for maintaining business continuity and protecting valuable online assets. By following the steps outlined in this guide, you have successfully restored your WordPress website on HostGator hosting, including all core files, databases, and content. This process ensures that your website remains operational even after unexpected disruptions or platform changes.
To maintain long-term website stability, it is recommended to perform regular backups, securely store backup files, and periodically test restoration procedures. Keeping updated records of backup locations and restoration settings further improves recovery efficiency. With proper backup management practices in place, your website remains resilient, secure, and prepared for future technical challenges.
WooHelpDesk Support
Need professional assistance with WordPress backup restoration, website migration, data recovery, or hosting configuration? WooHelpDesk offers expert technical support to ensure smooth and secure website recovery.
Visit: https://www.woohelpdesk.com
Call Us Toll-Free: +1 888 602 0119 (US & Canada)
Fast Recovery | Secure Migration | Trusted Support
Contact WooHelpDesk today for reliable WordPress and hosting support solutions.


