How to Migrate WordPress Website to Hostinger WordPress Hosting
Introduction
Migrating a WordPress website to a new hosting platform requires careful planning to avoid data loss, broken links, or downtime. Hostinger provides reliable WordPress hosting that supports easy website migration using trusted tools such as the All-in-One WP Migration plugin. This plugin allows users to export their complete website, including files, databases, themes, plugins, and settings, and import it into a new hosting environment without technical complexity.
This guidde explains the step-by-step process to migrate a WordPress website to Hostinger WordPress Hosting. It covers exporting the existing website, downloading the backup file, importing it into the new Hostinger account, and finalizing site settings such as permalinks. By following this guide, users can ensure a smooth and secure website transfer.
1. NOTE
To migrate your existing WordPress website to Hostinger WordPress Hosting, start by exporting the website before proceeding with the migration.
We are exporting the existing website from https://darkturquoise-buffalo-320933.hostingersite.com/ to migrate it to another hosting.
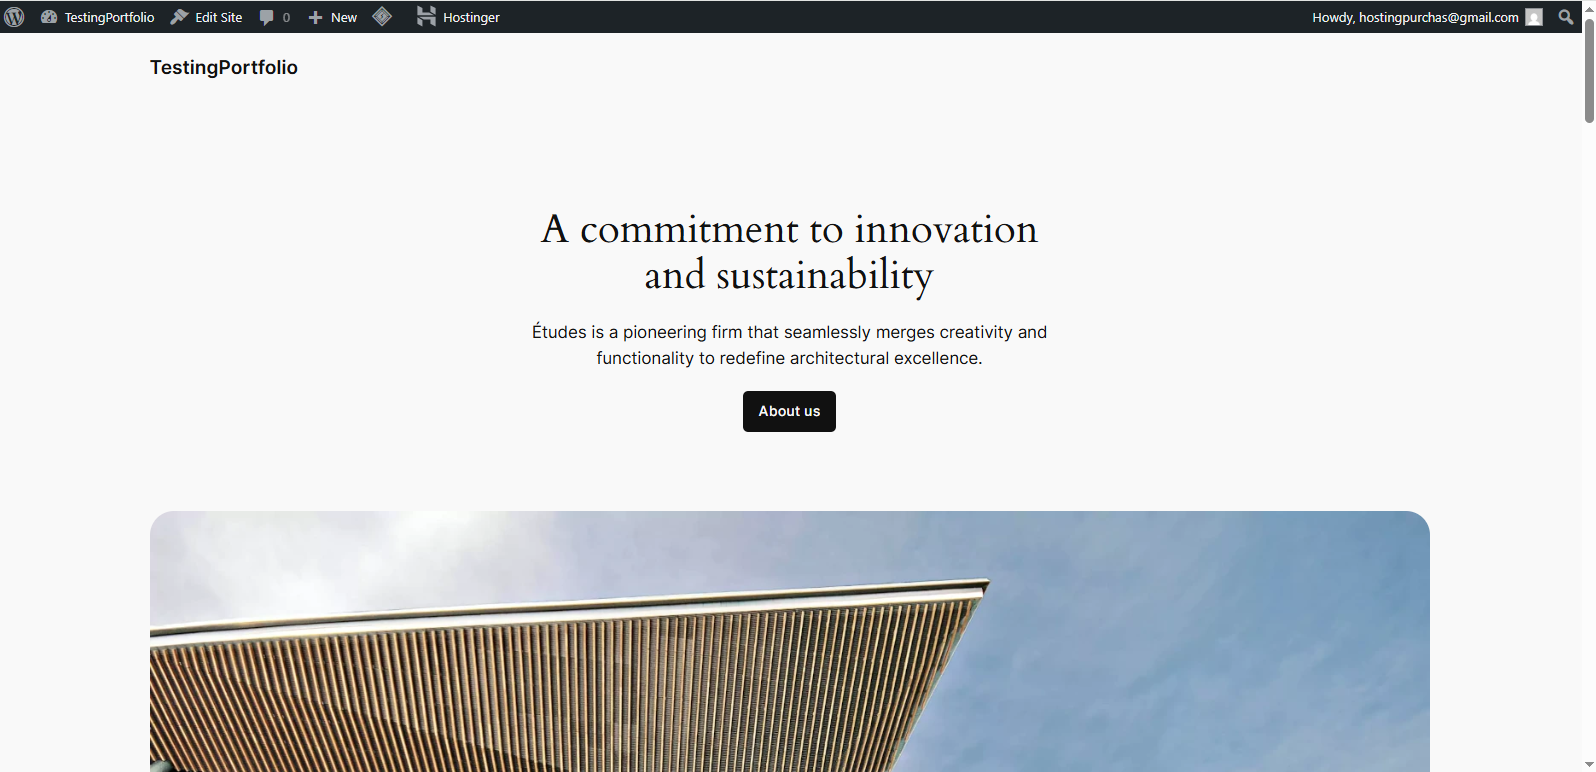
2. Existing Website for Export
This is the existing website that will be exported and migrated to another hosting.
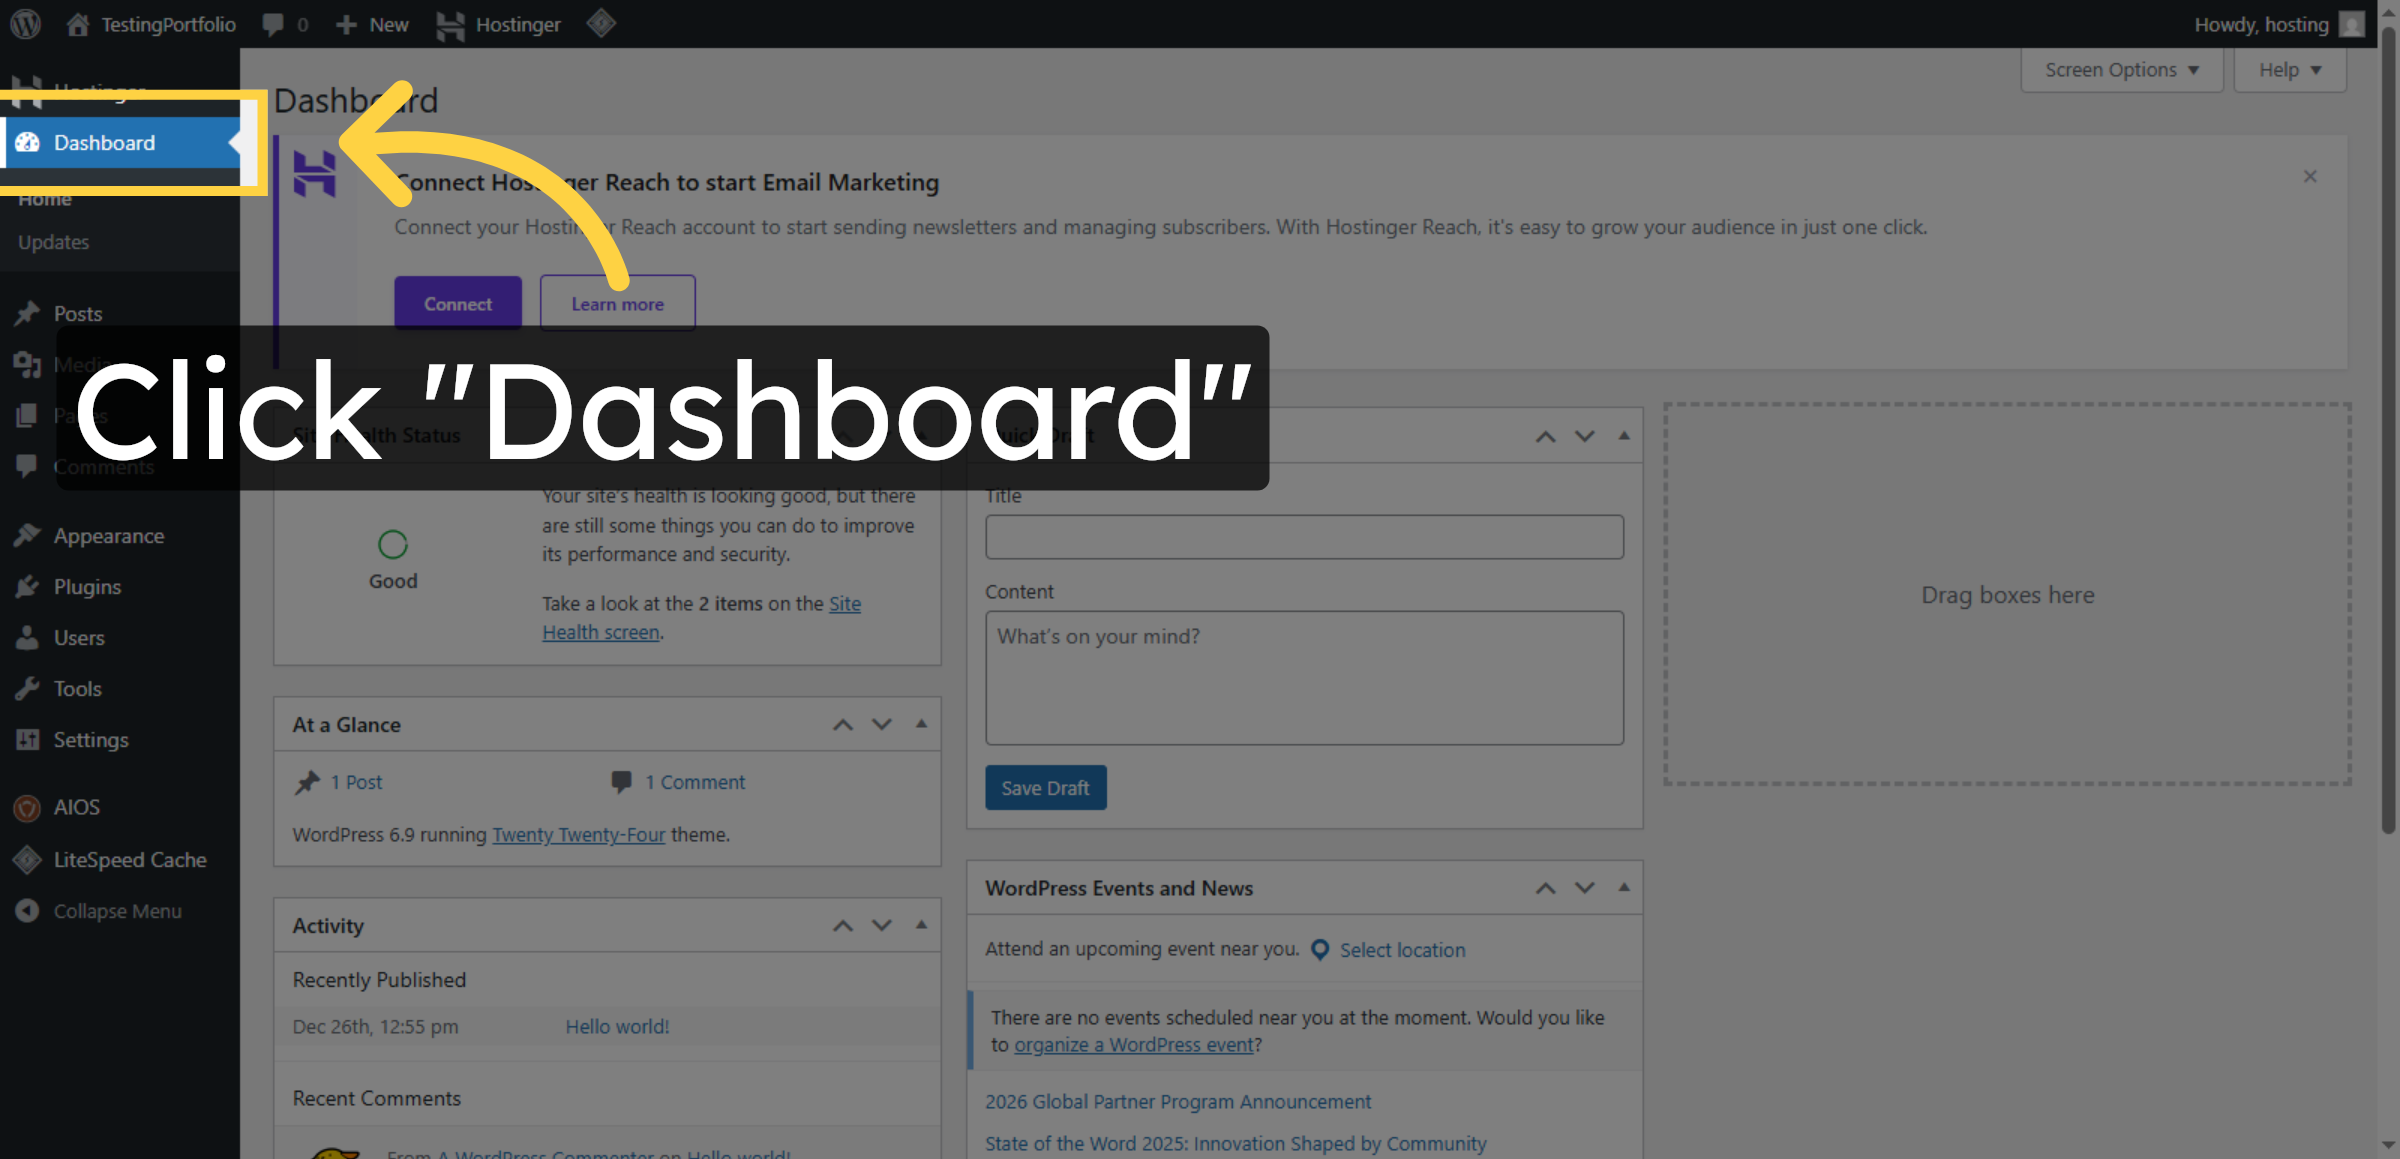
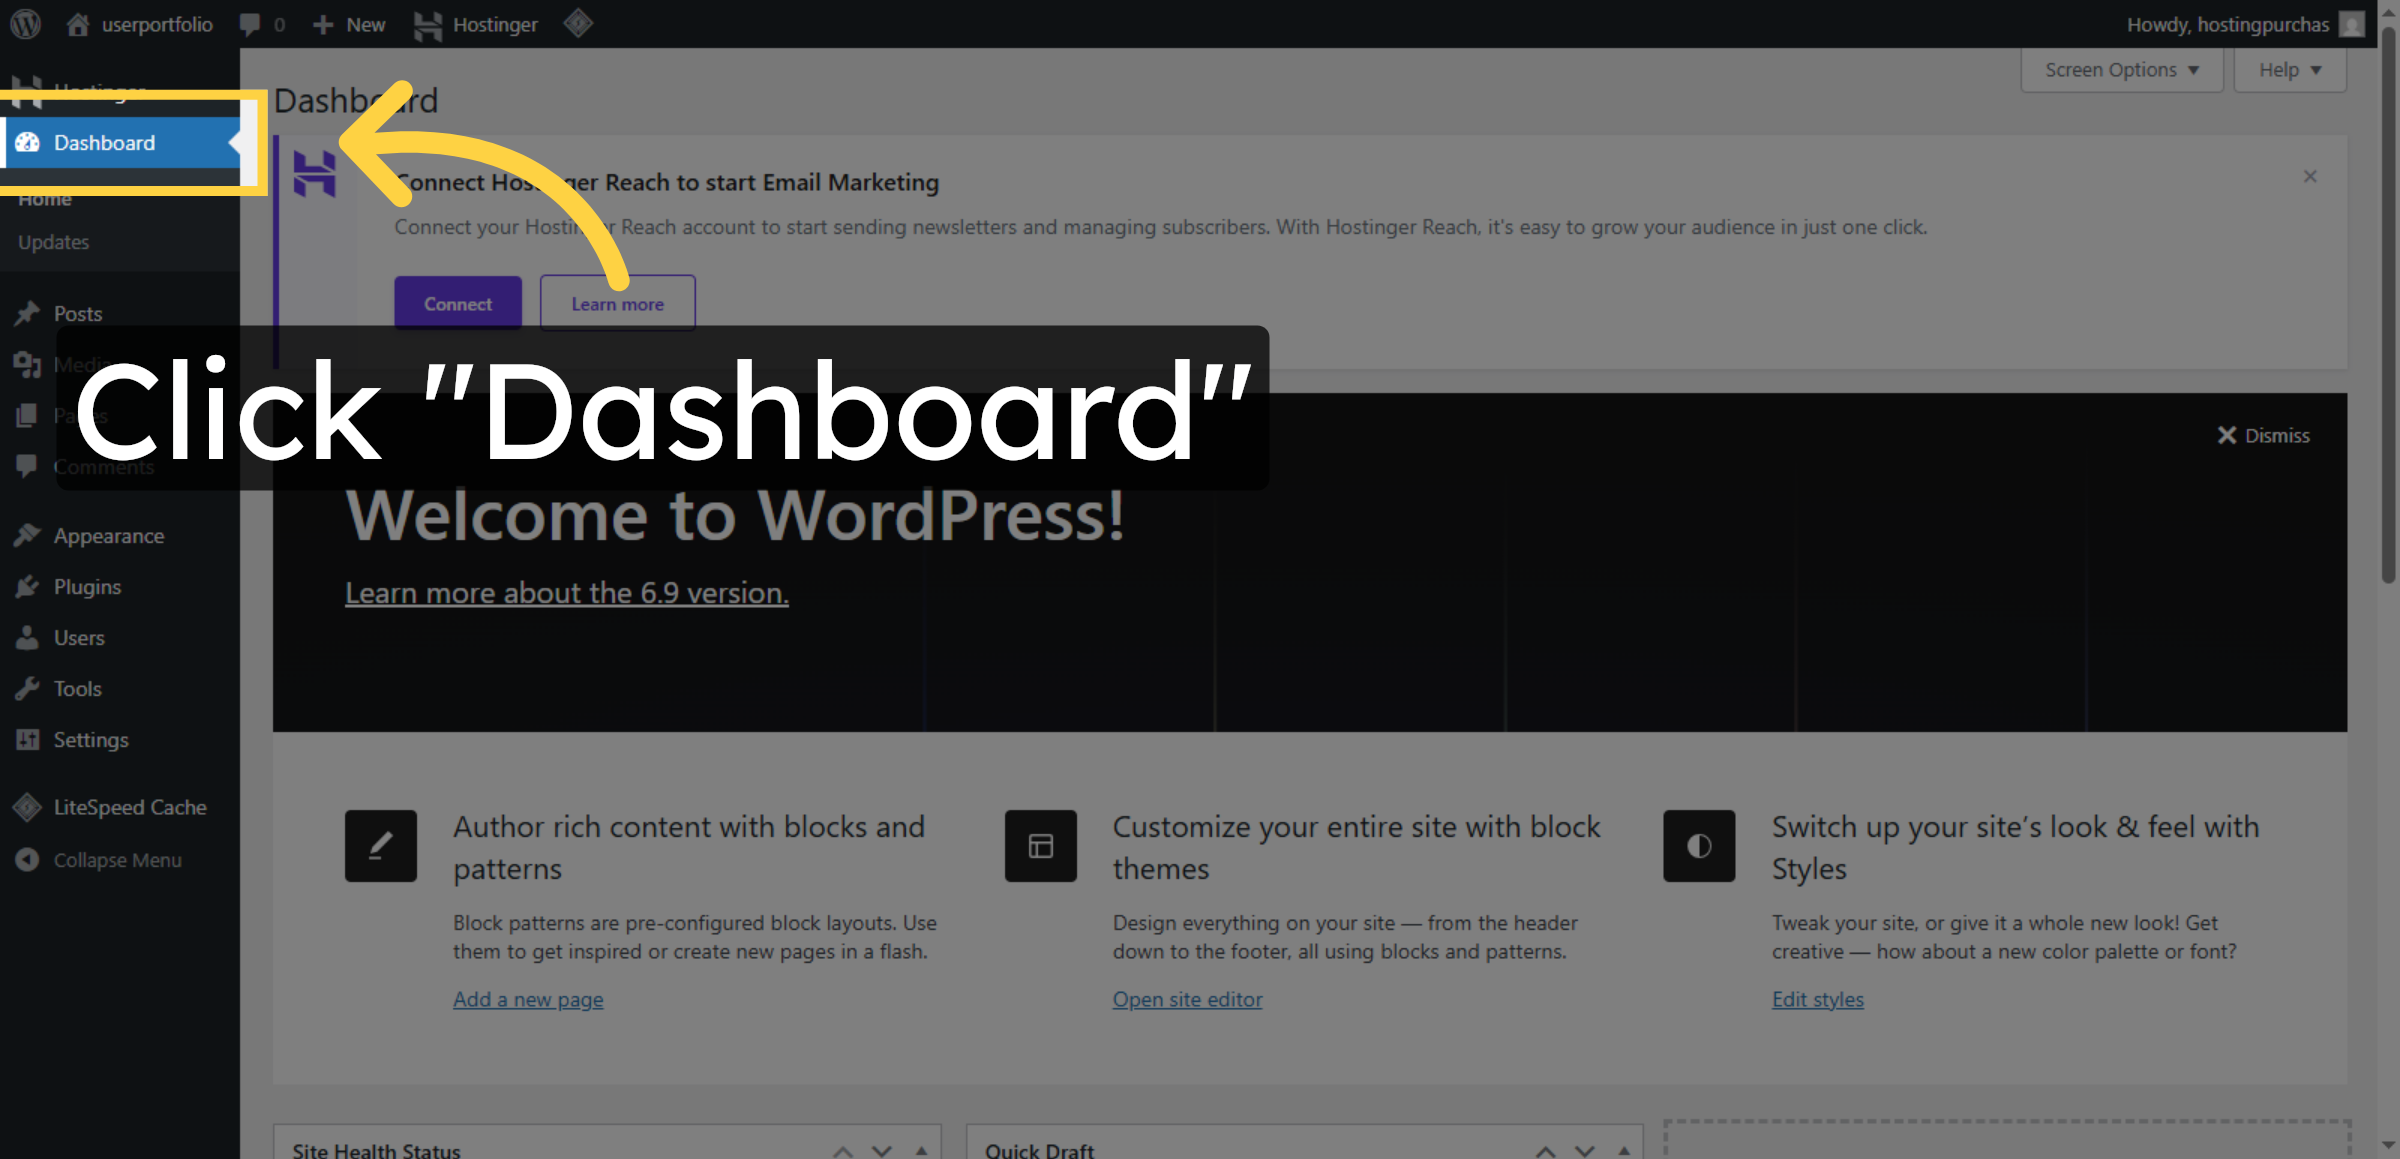
3. Open Dashboard
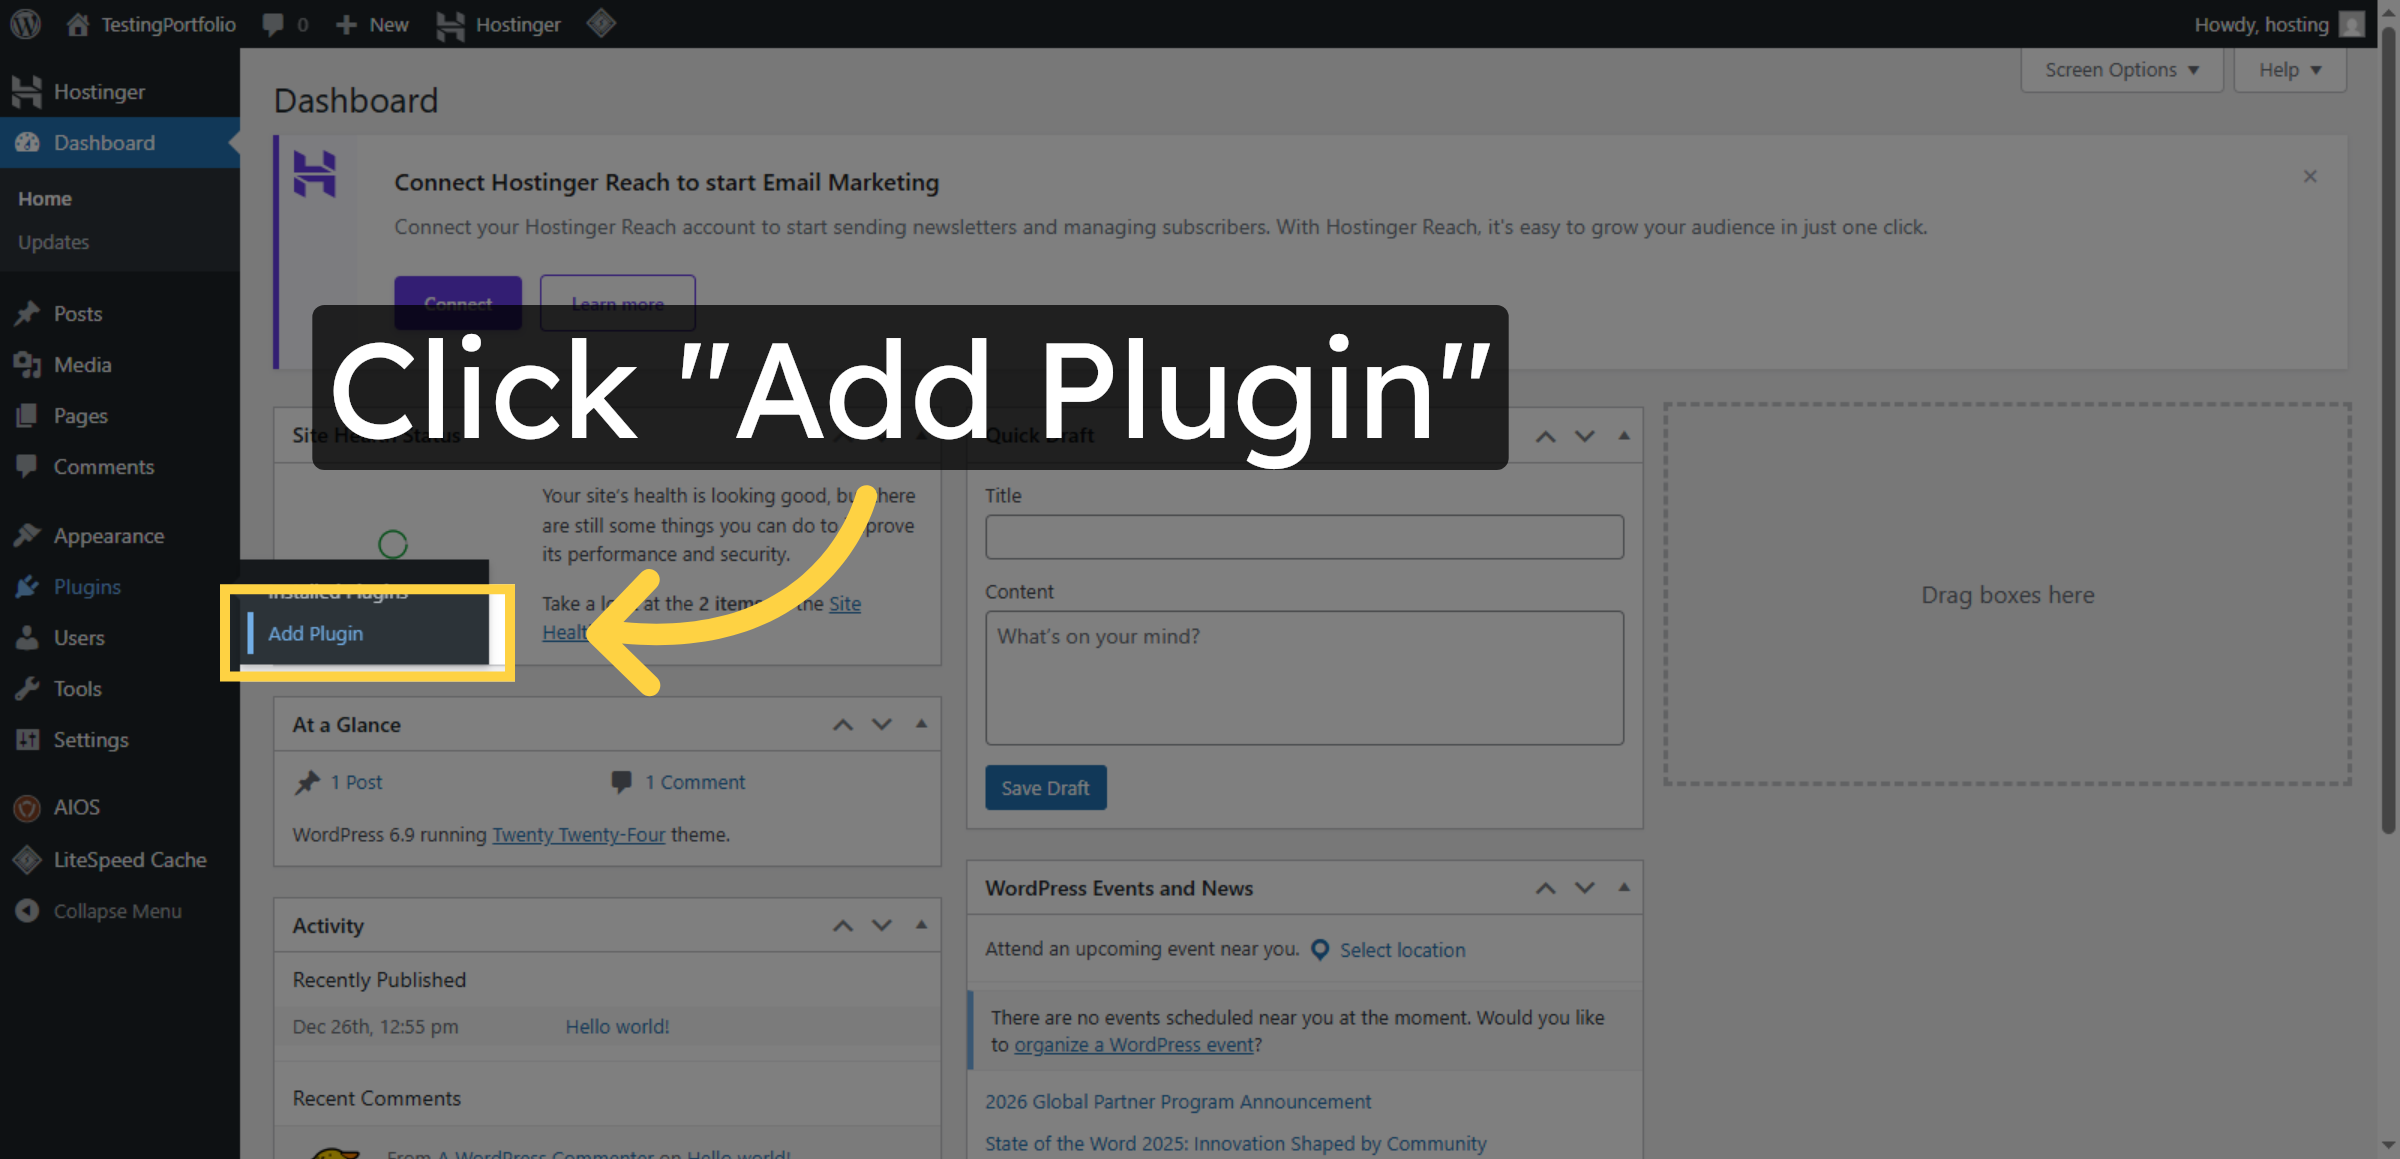
4. Add New Plugin
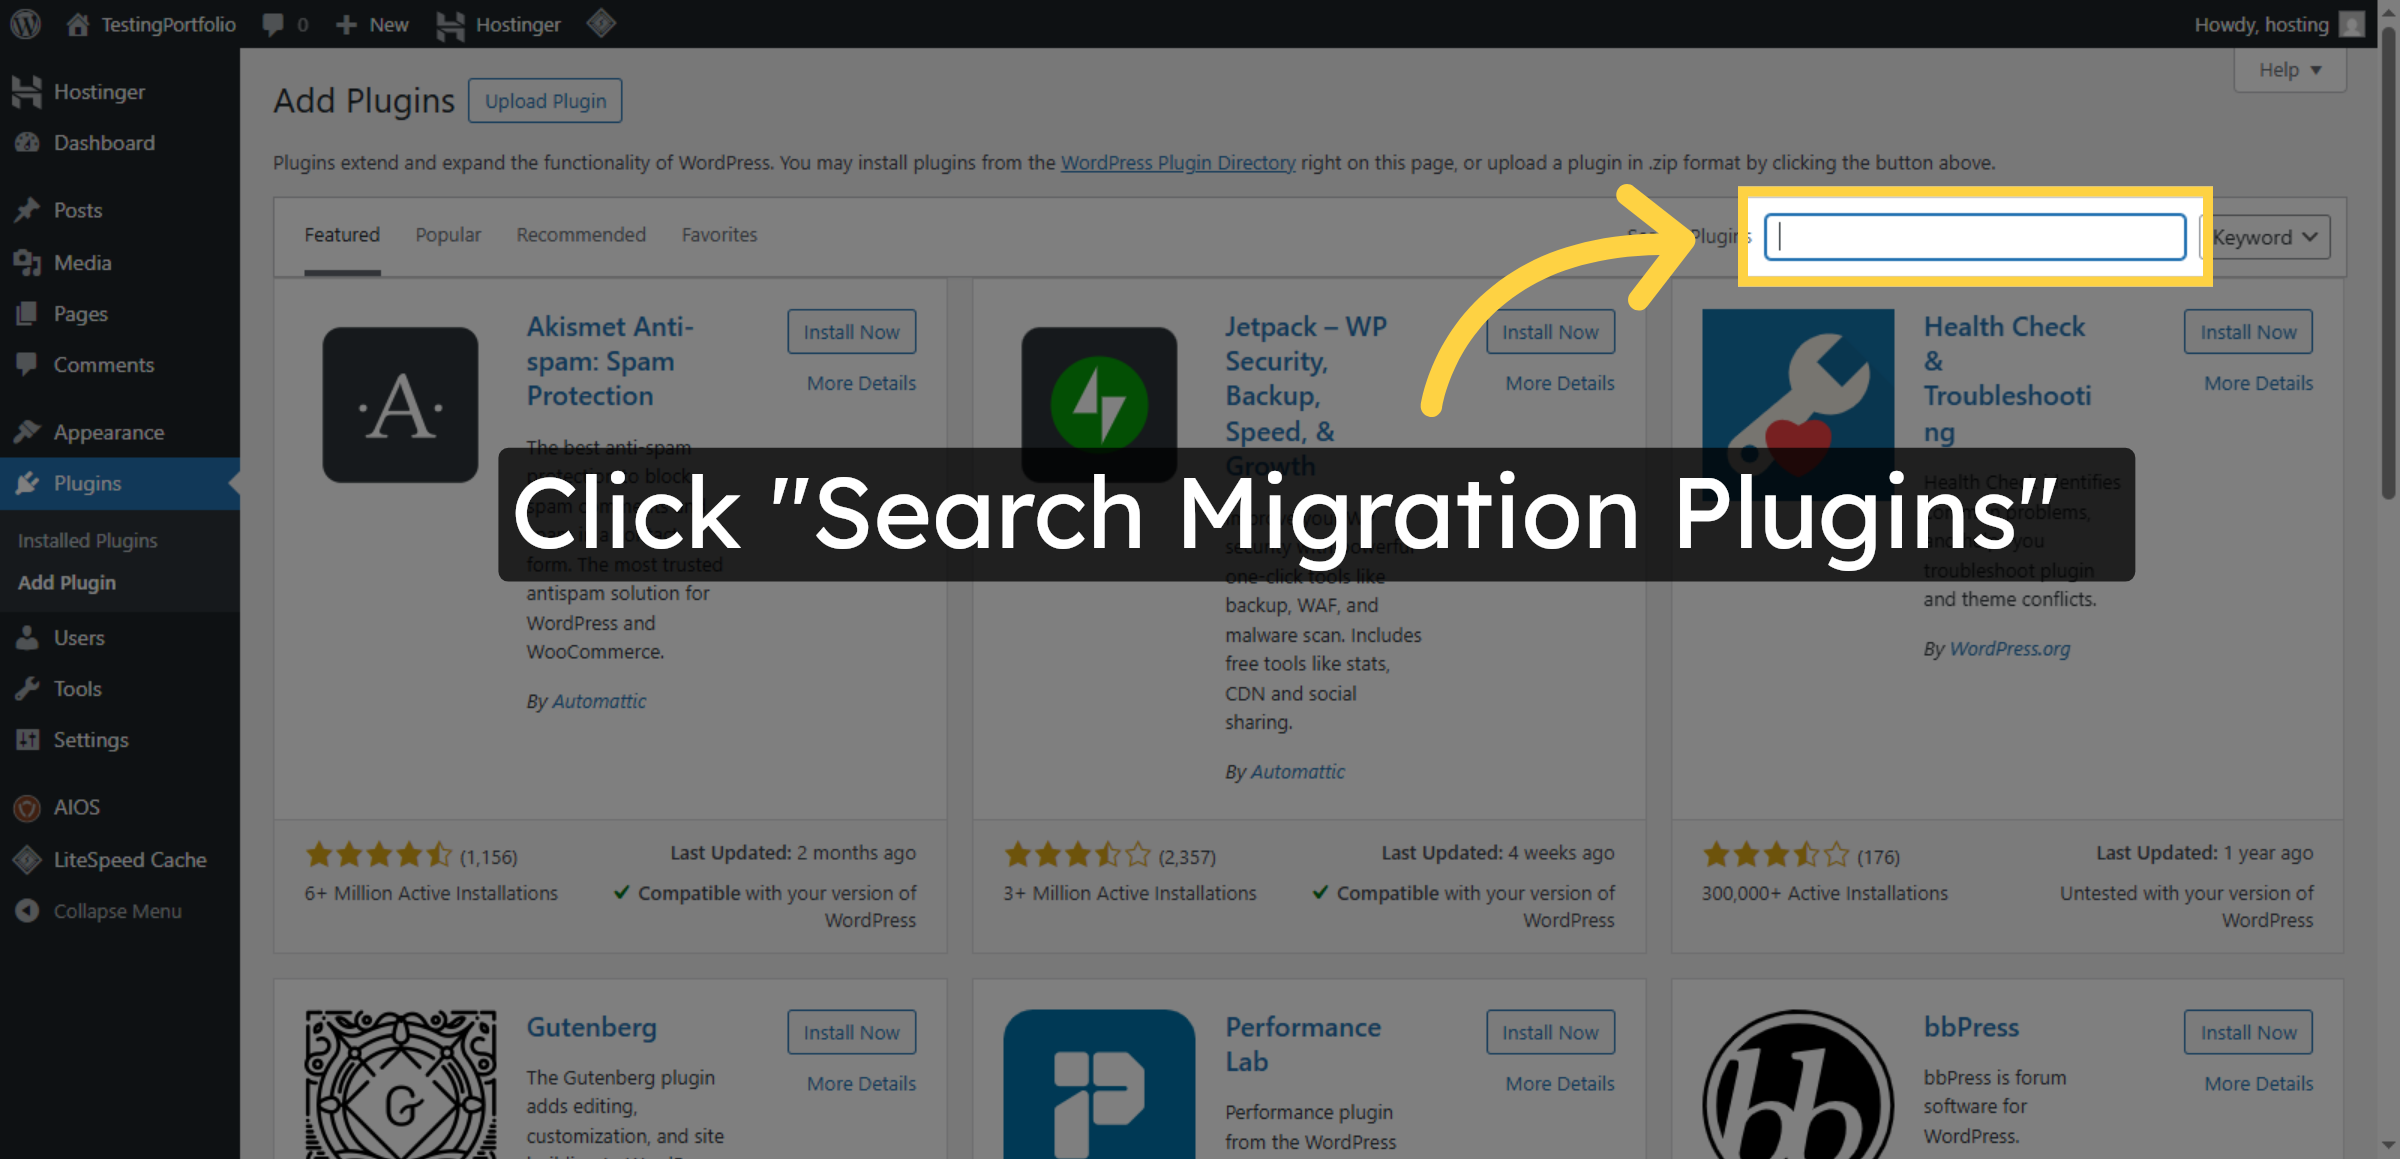
5. Search for Plugins
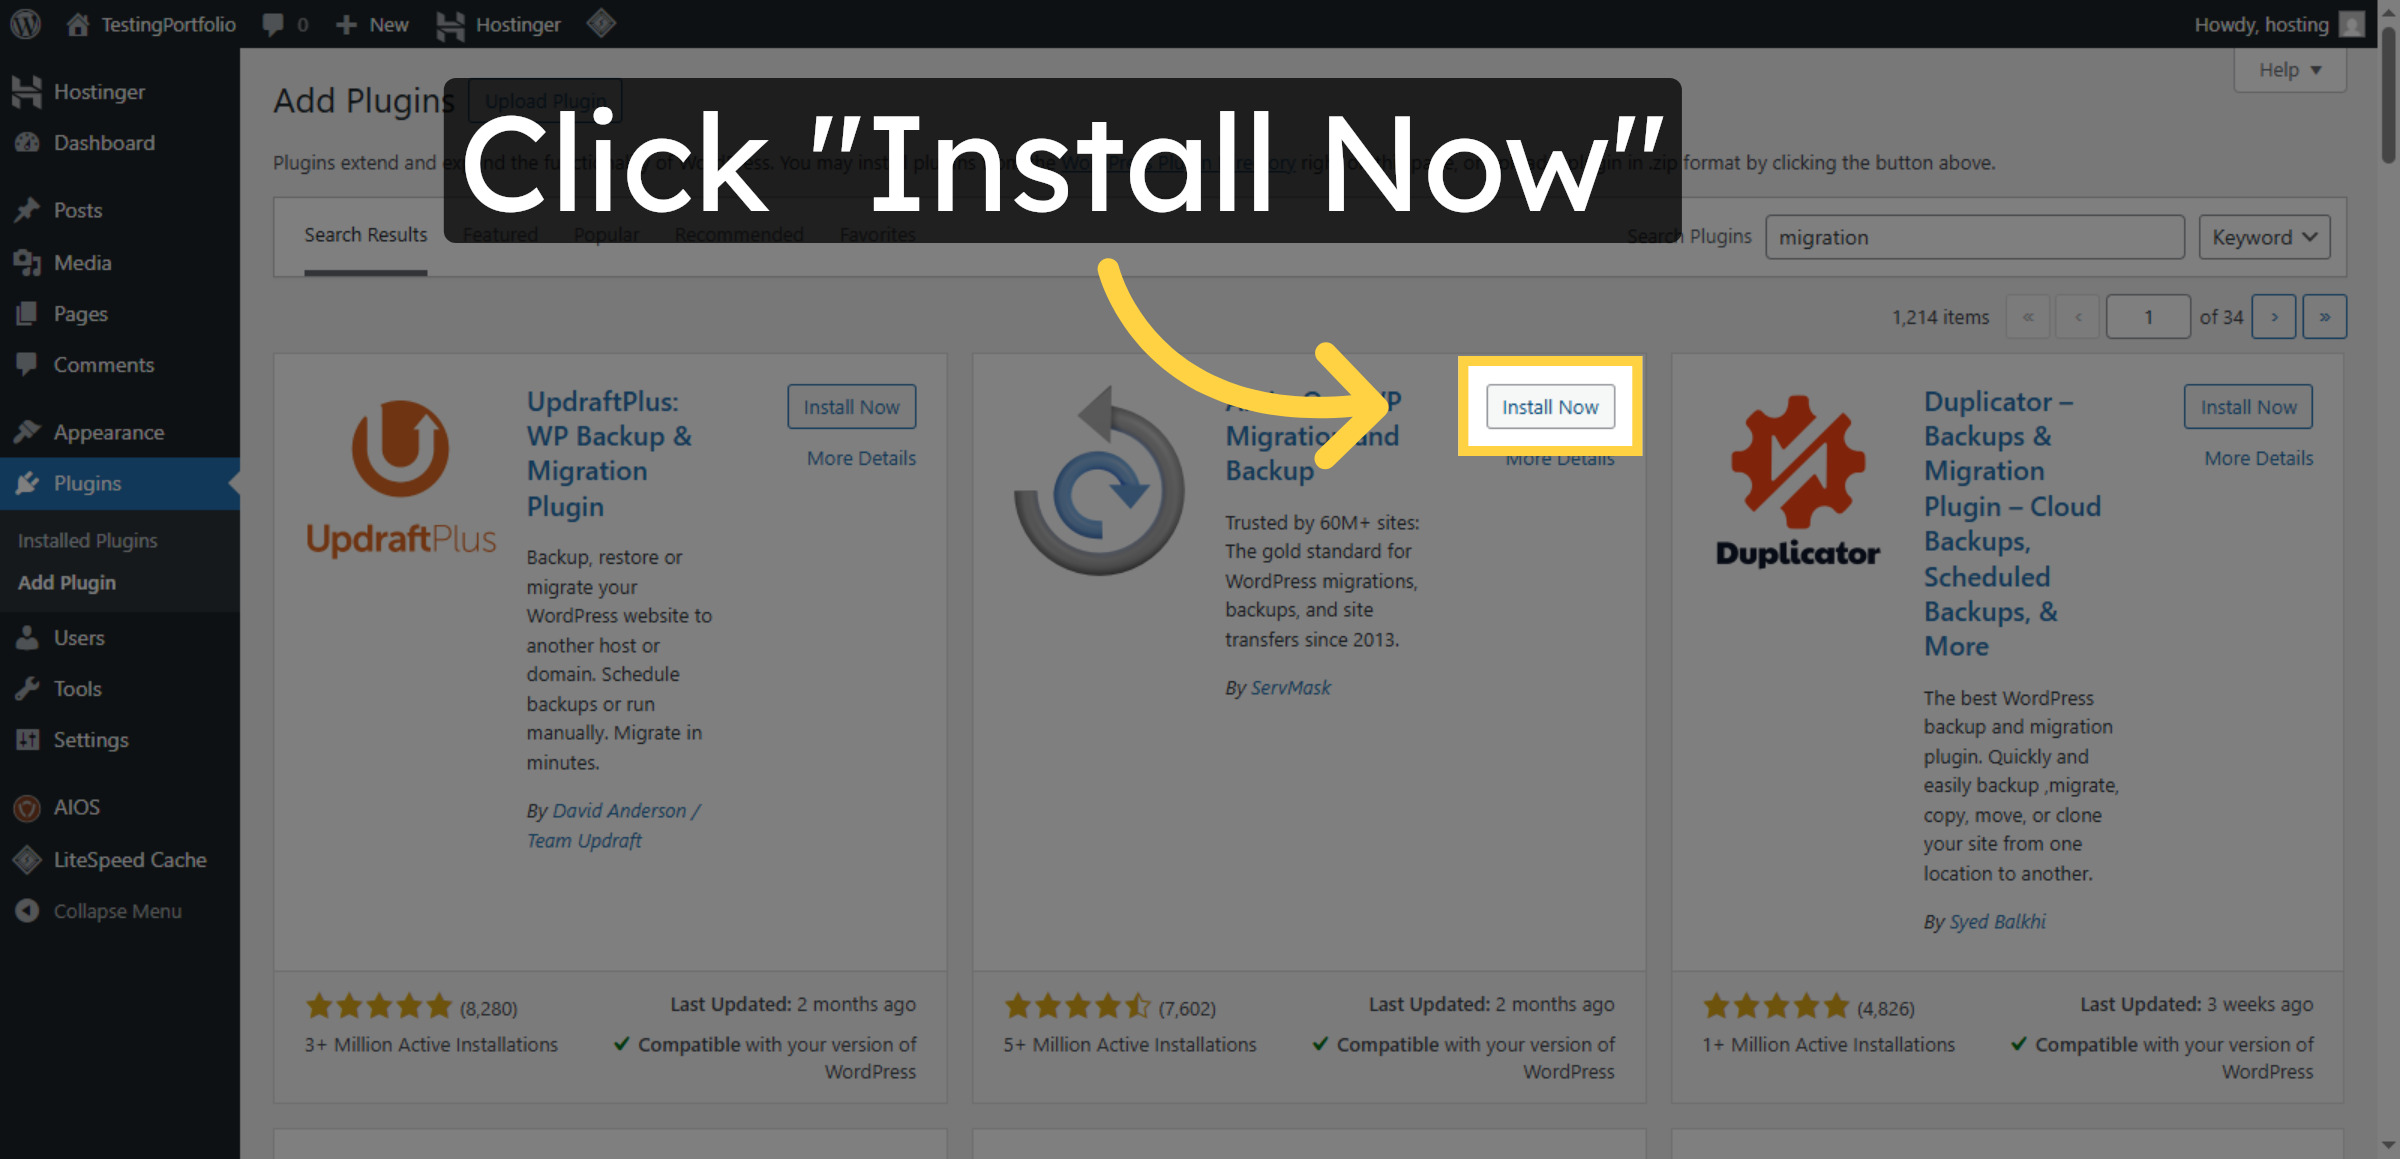
6. Install Migration Plugin
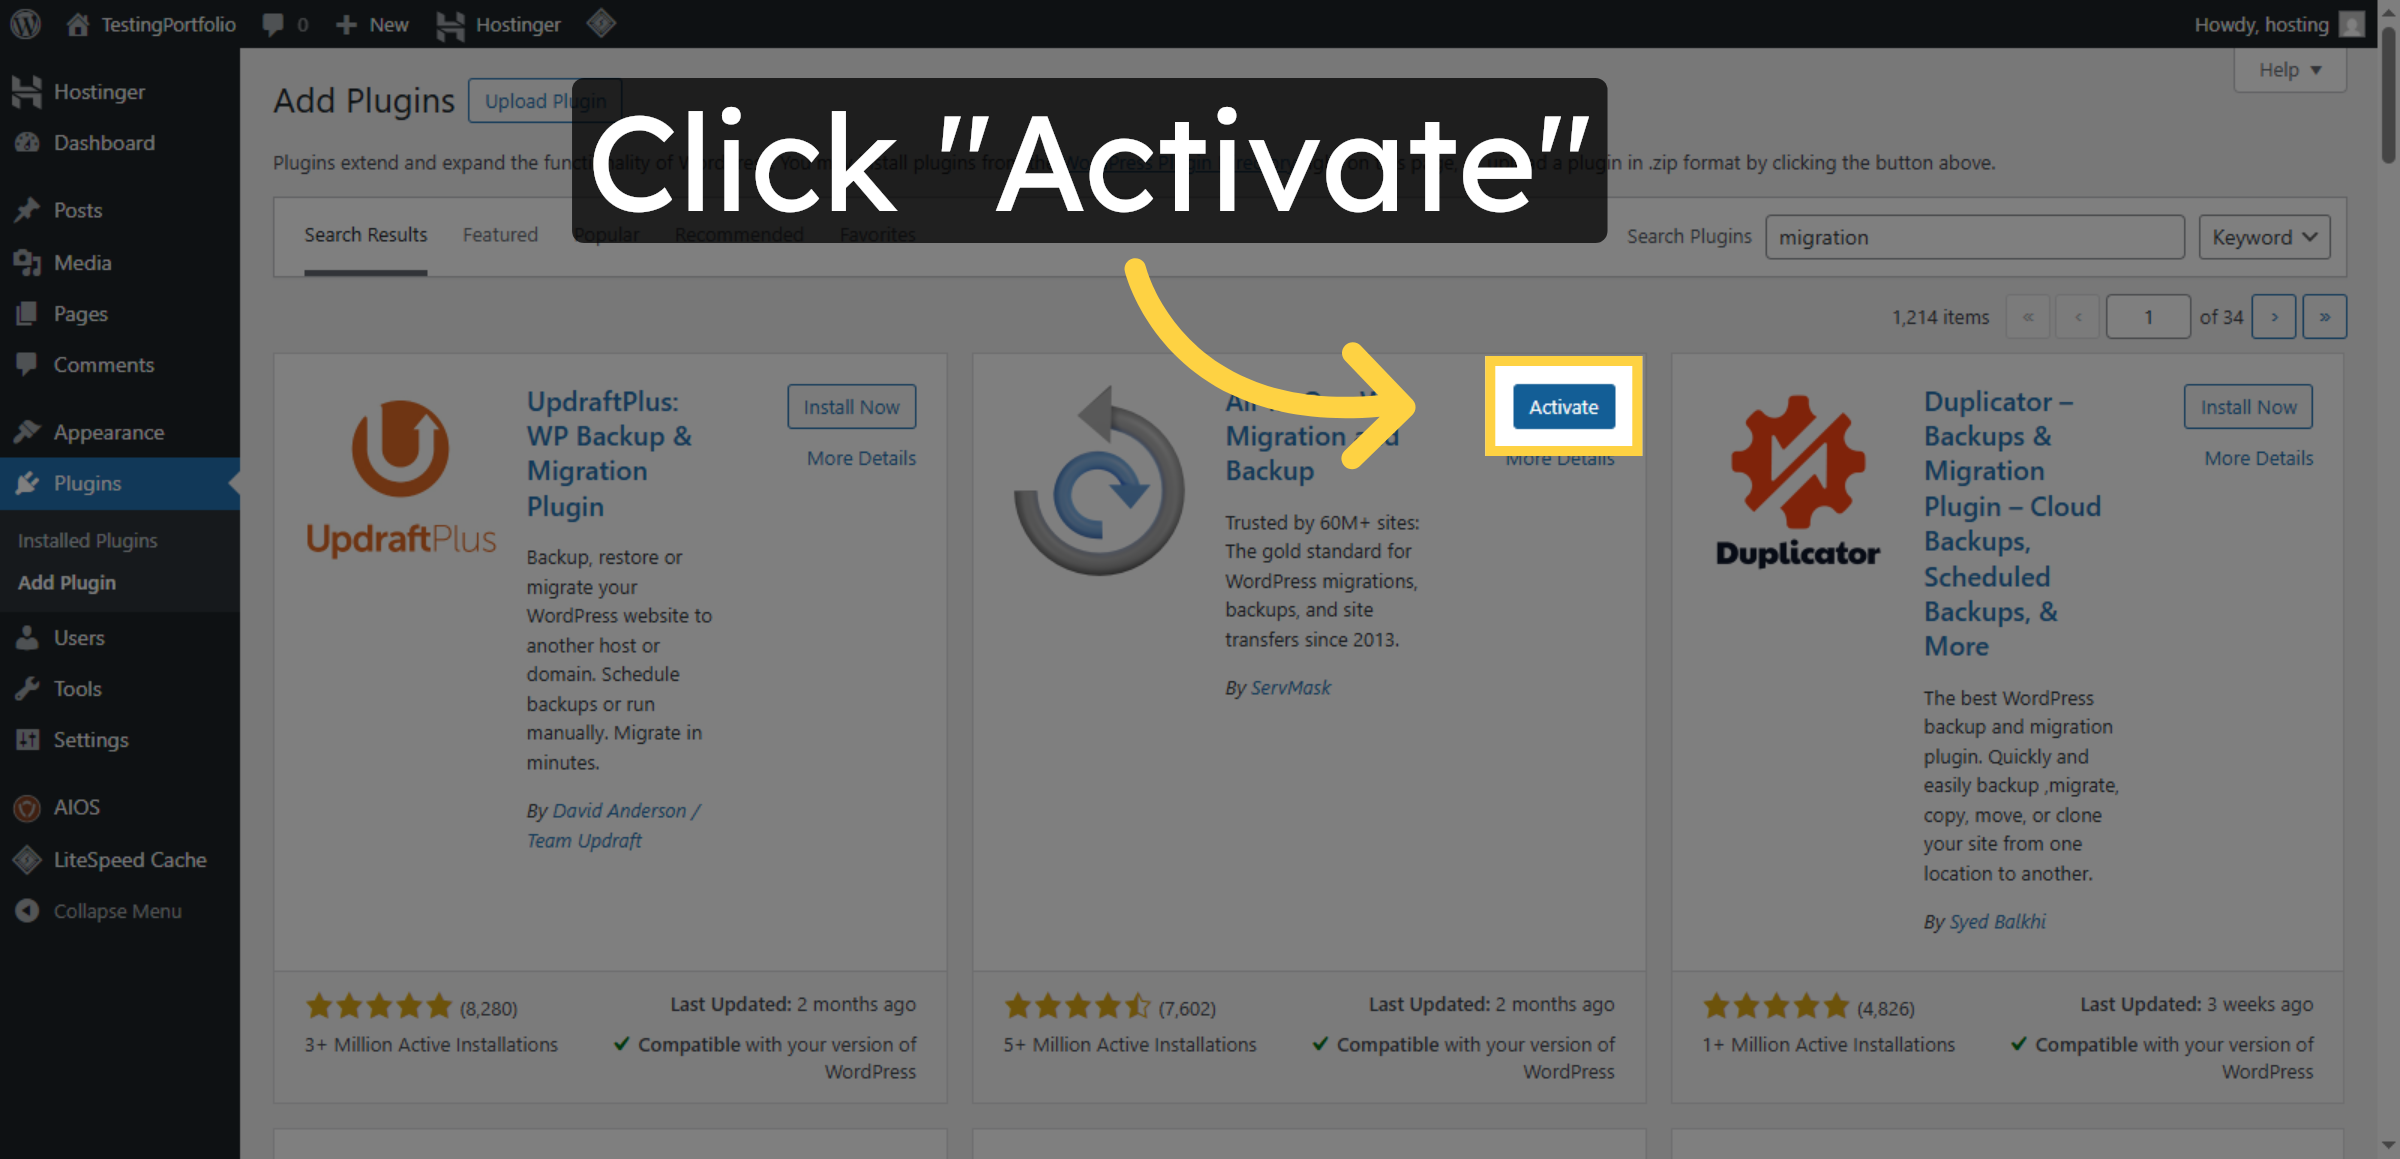
7. Activate Migration Plugin
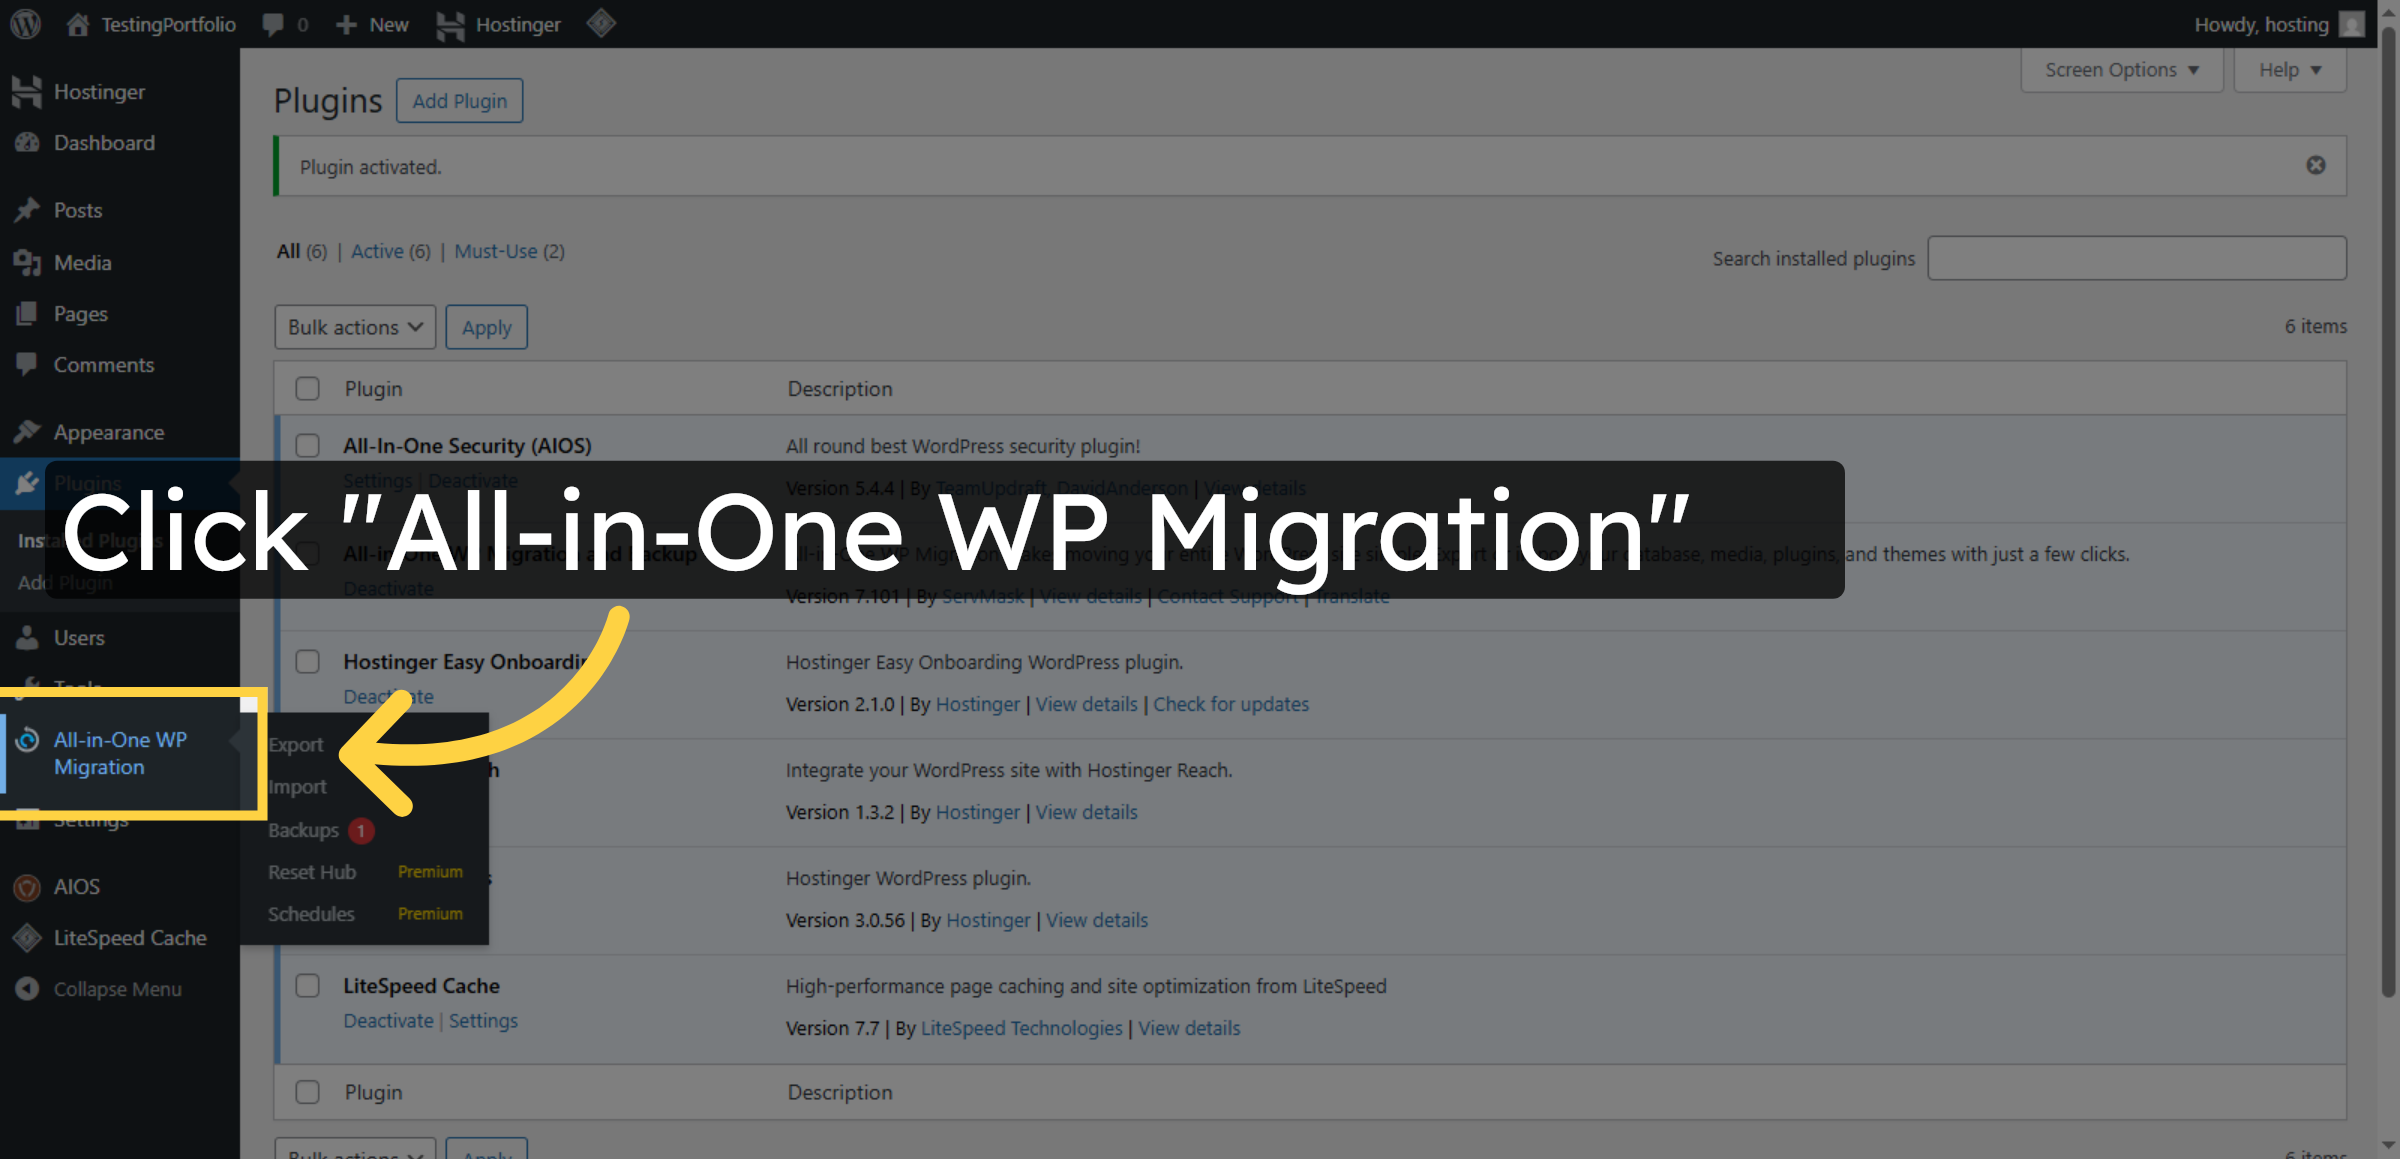
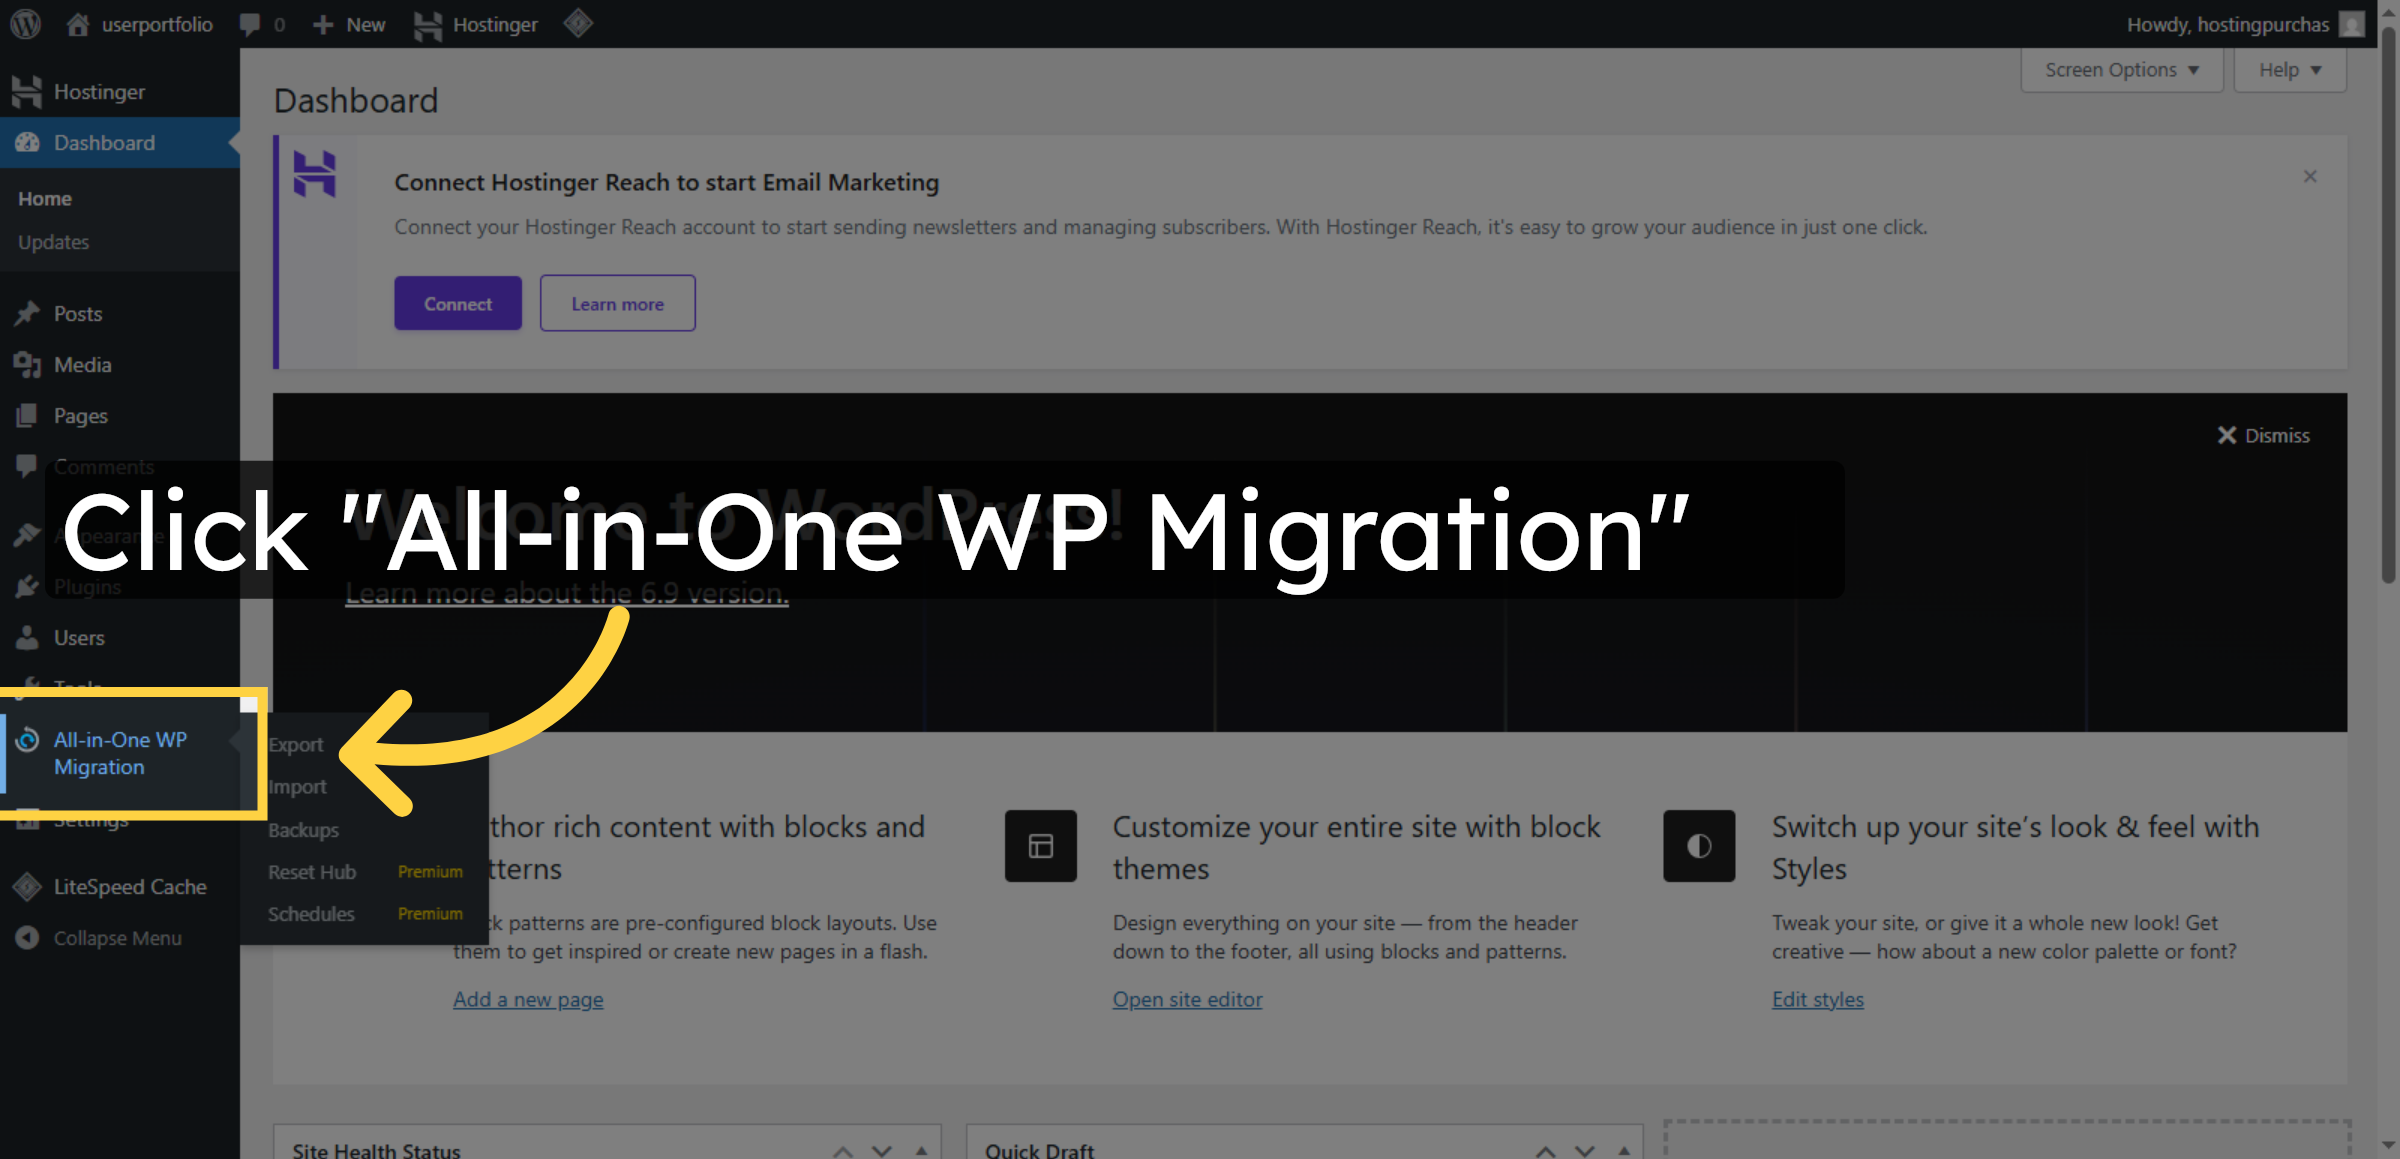
8. Open Migration Plugin
9. Click Export
Click the Export button to generate and download the exported site file.

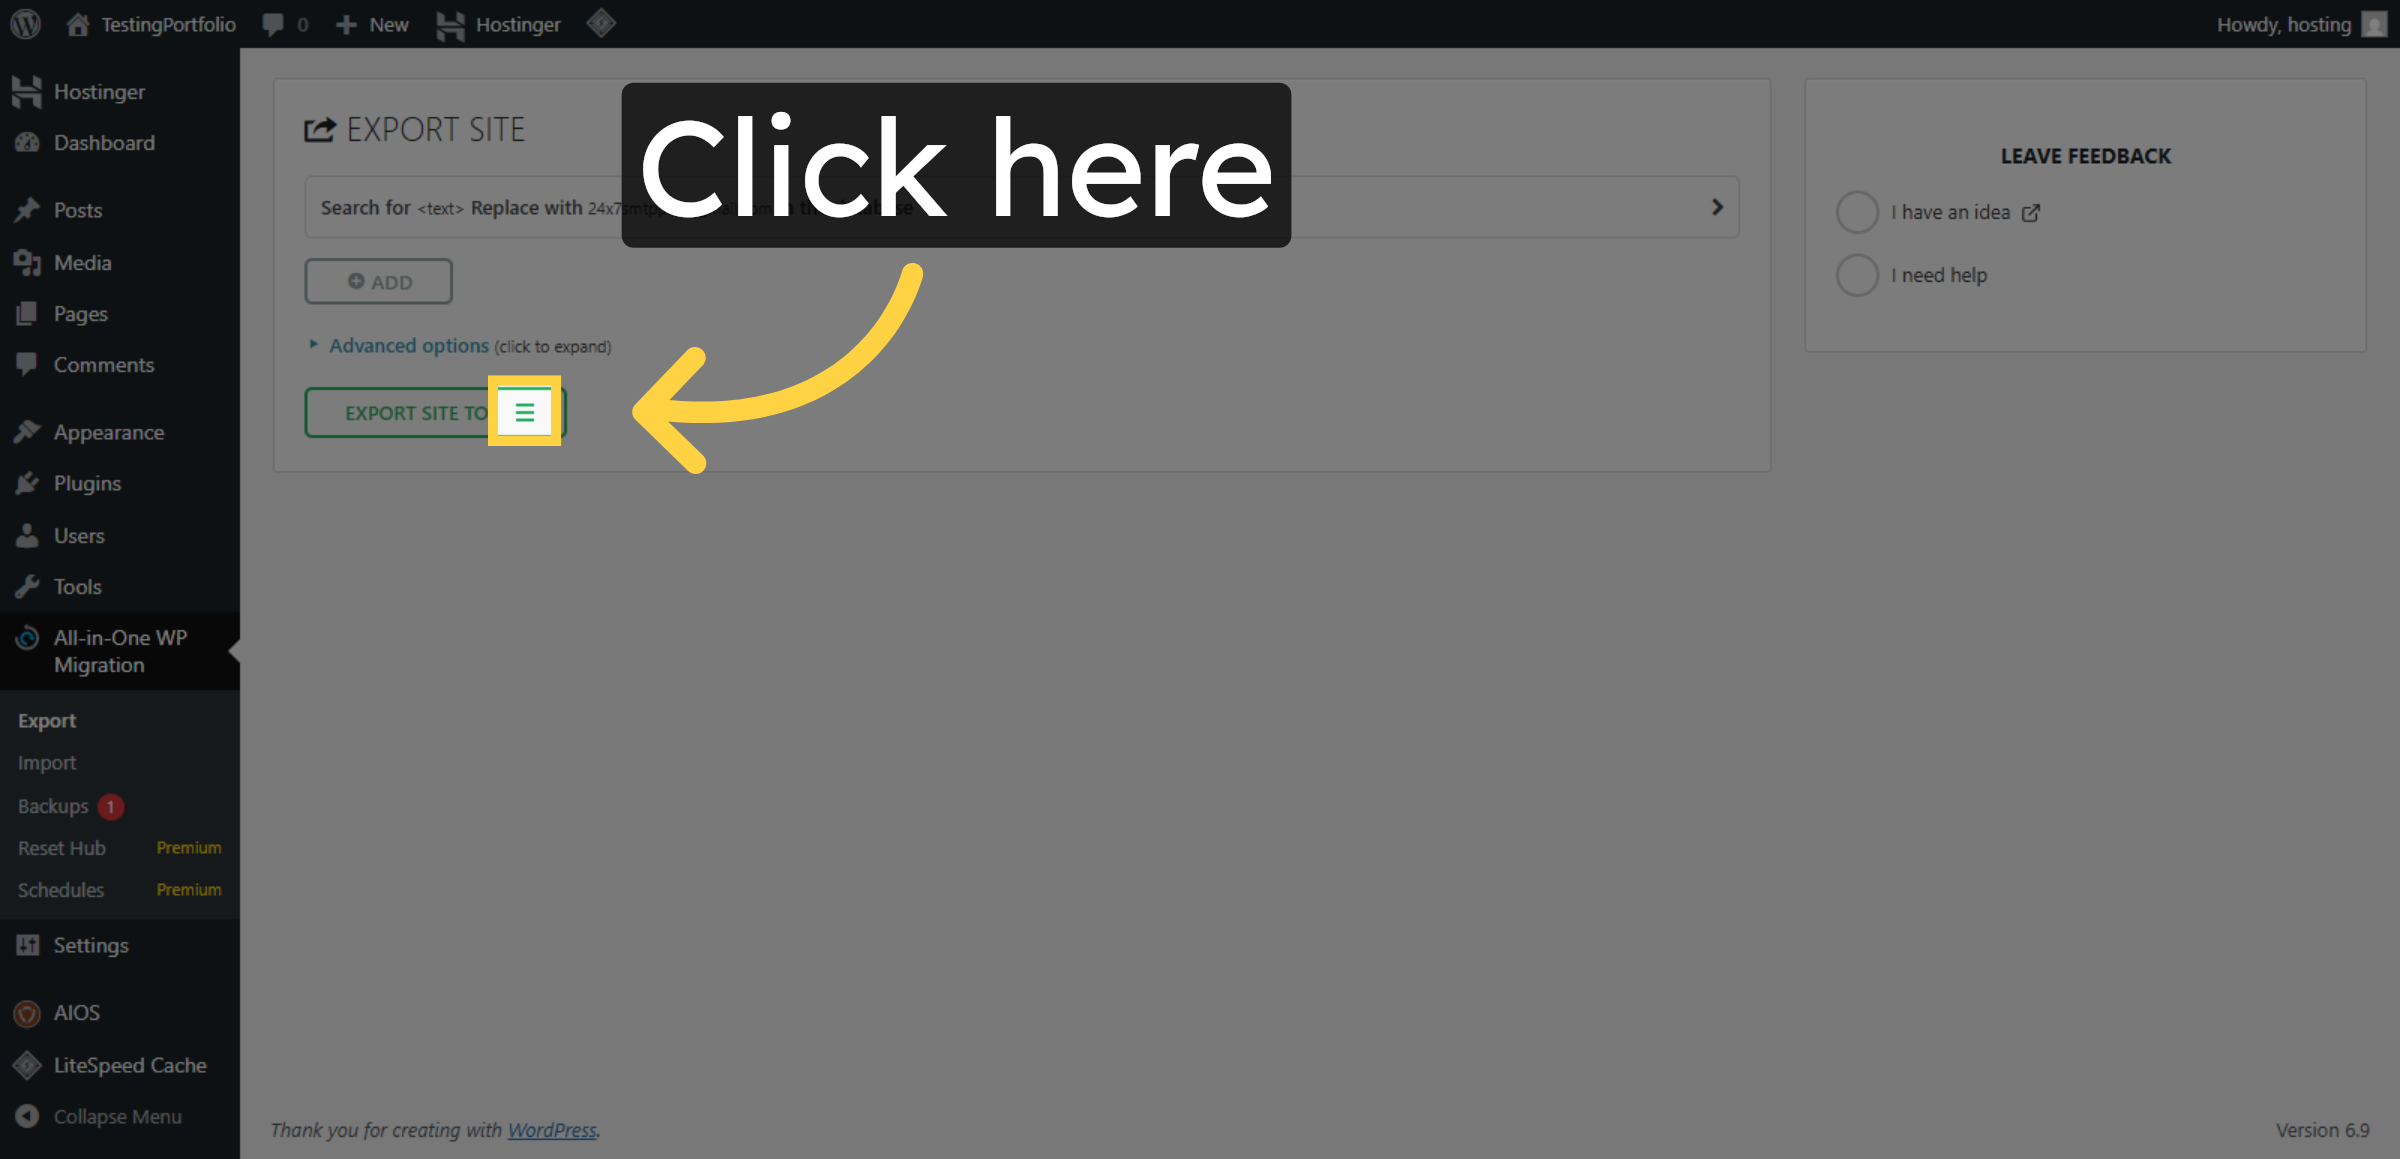
10. Choose Export site to
Choose the website you want to export from the list.
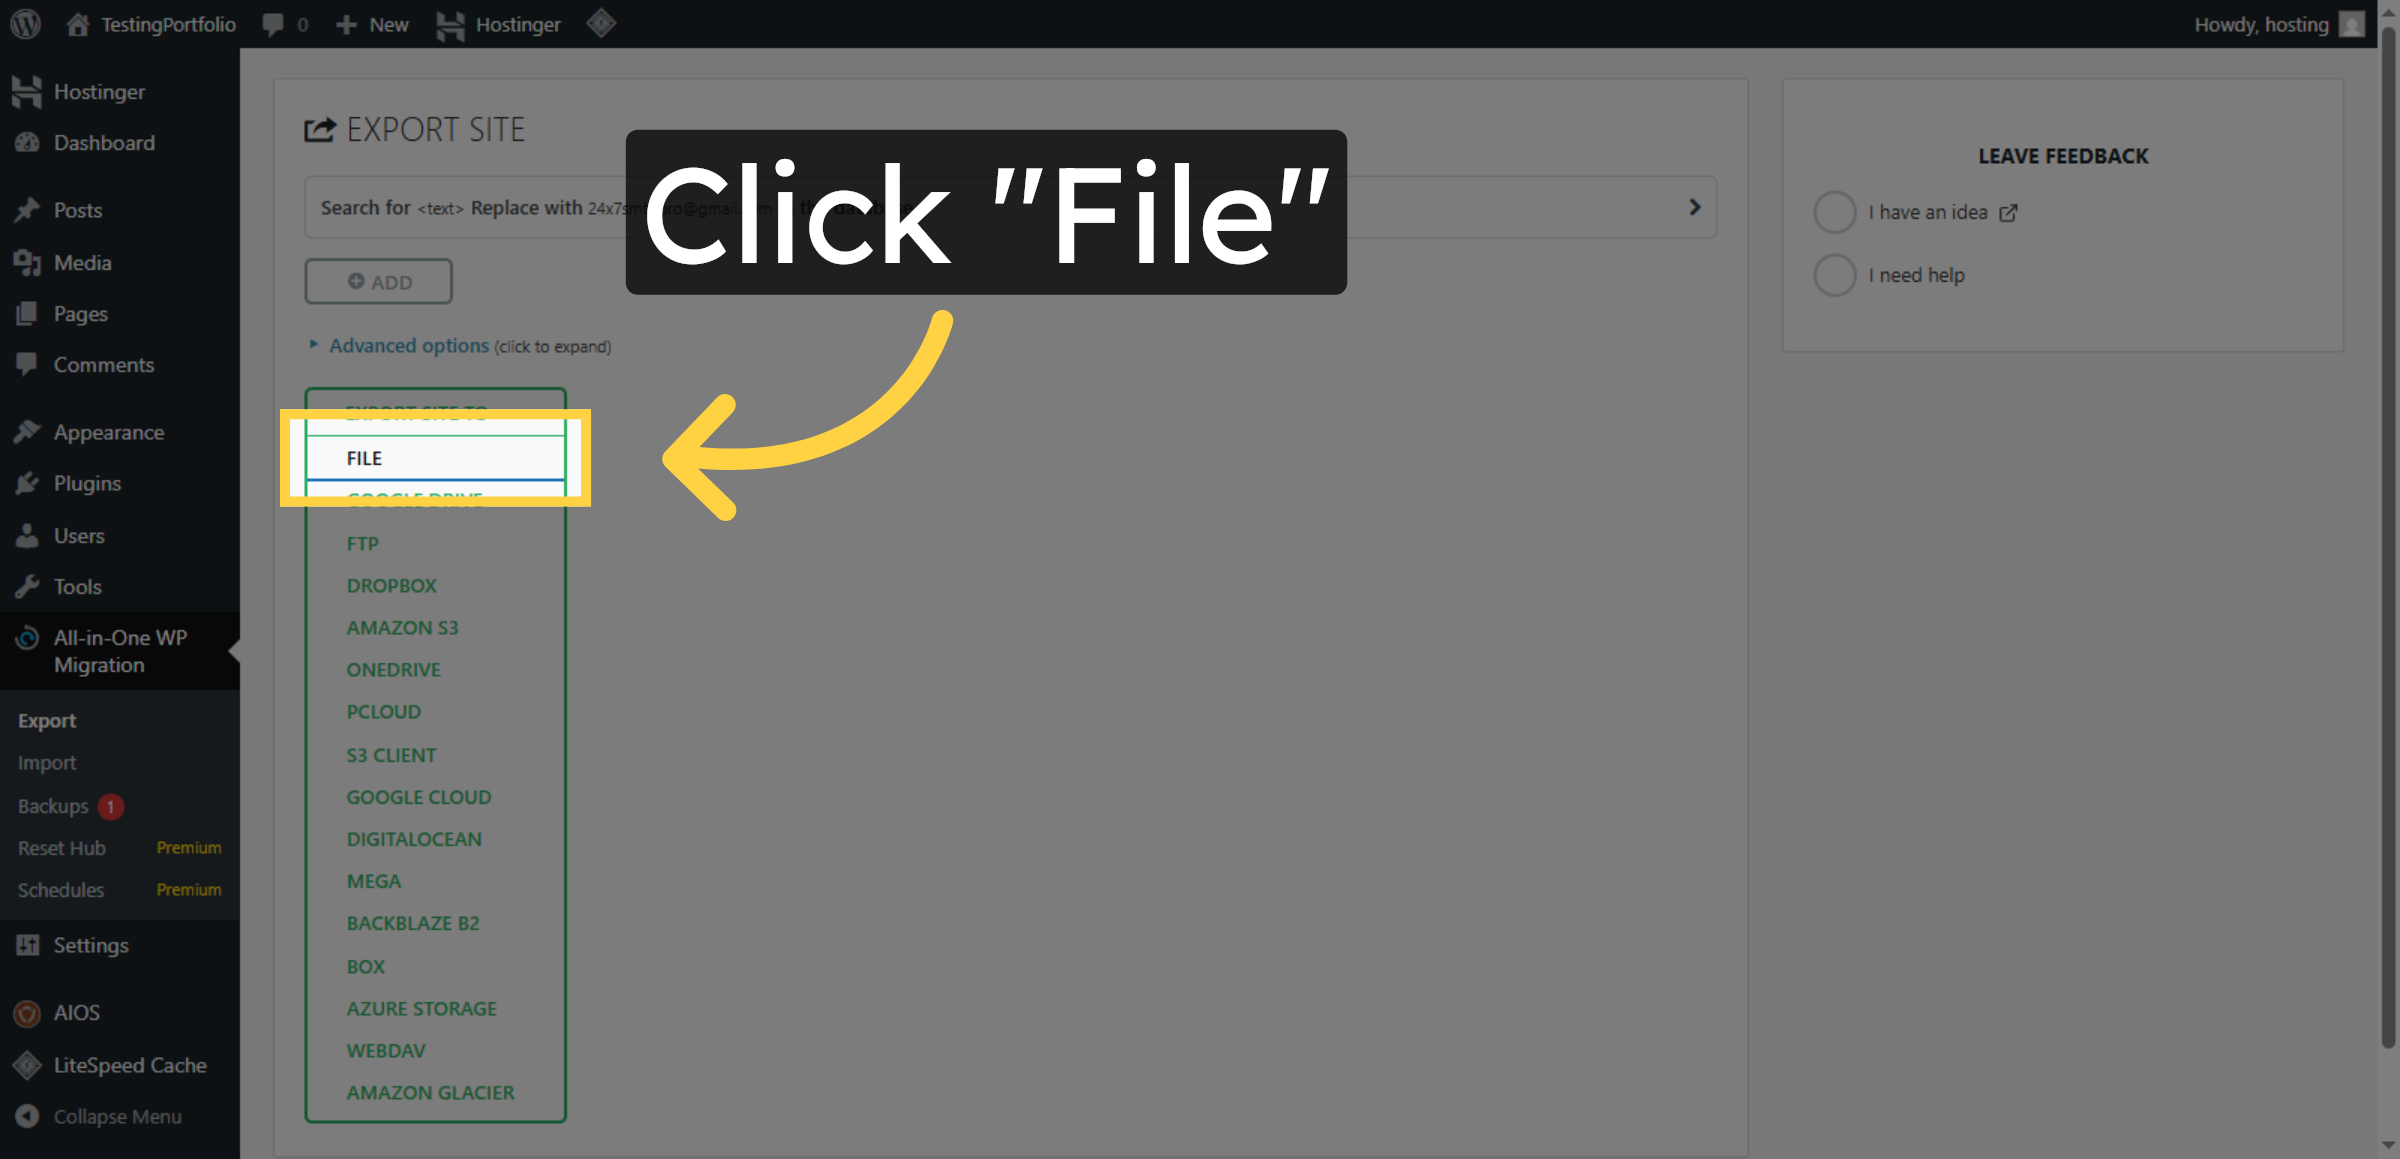
11. Select Export File
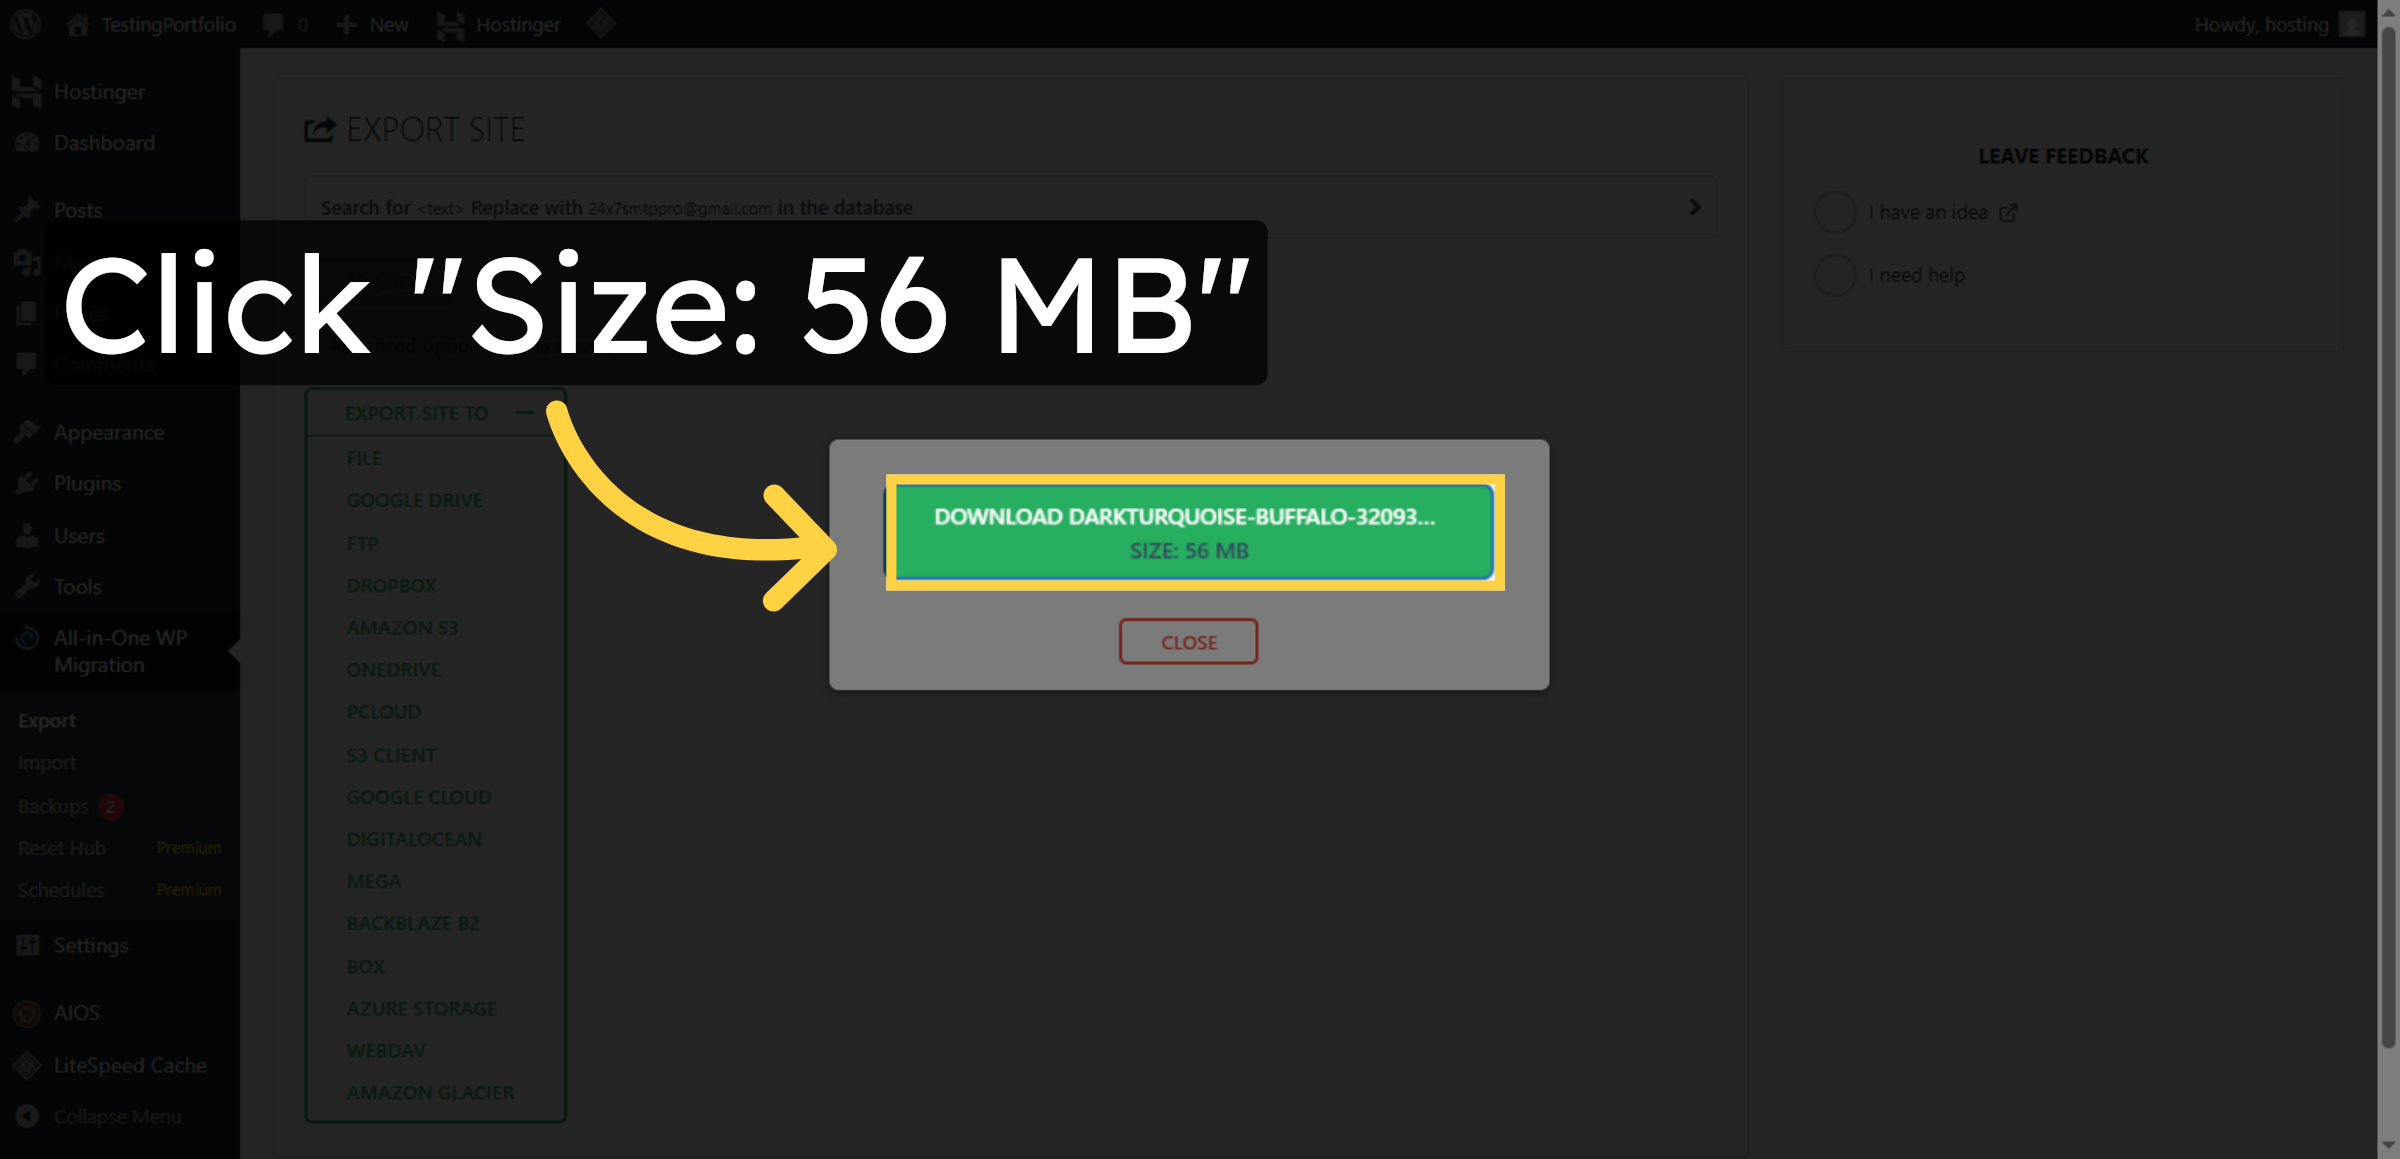
12. Download Backup File
Click the backup file sized 56 MB to select it for download.
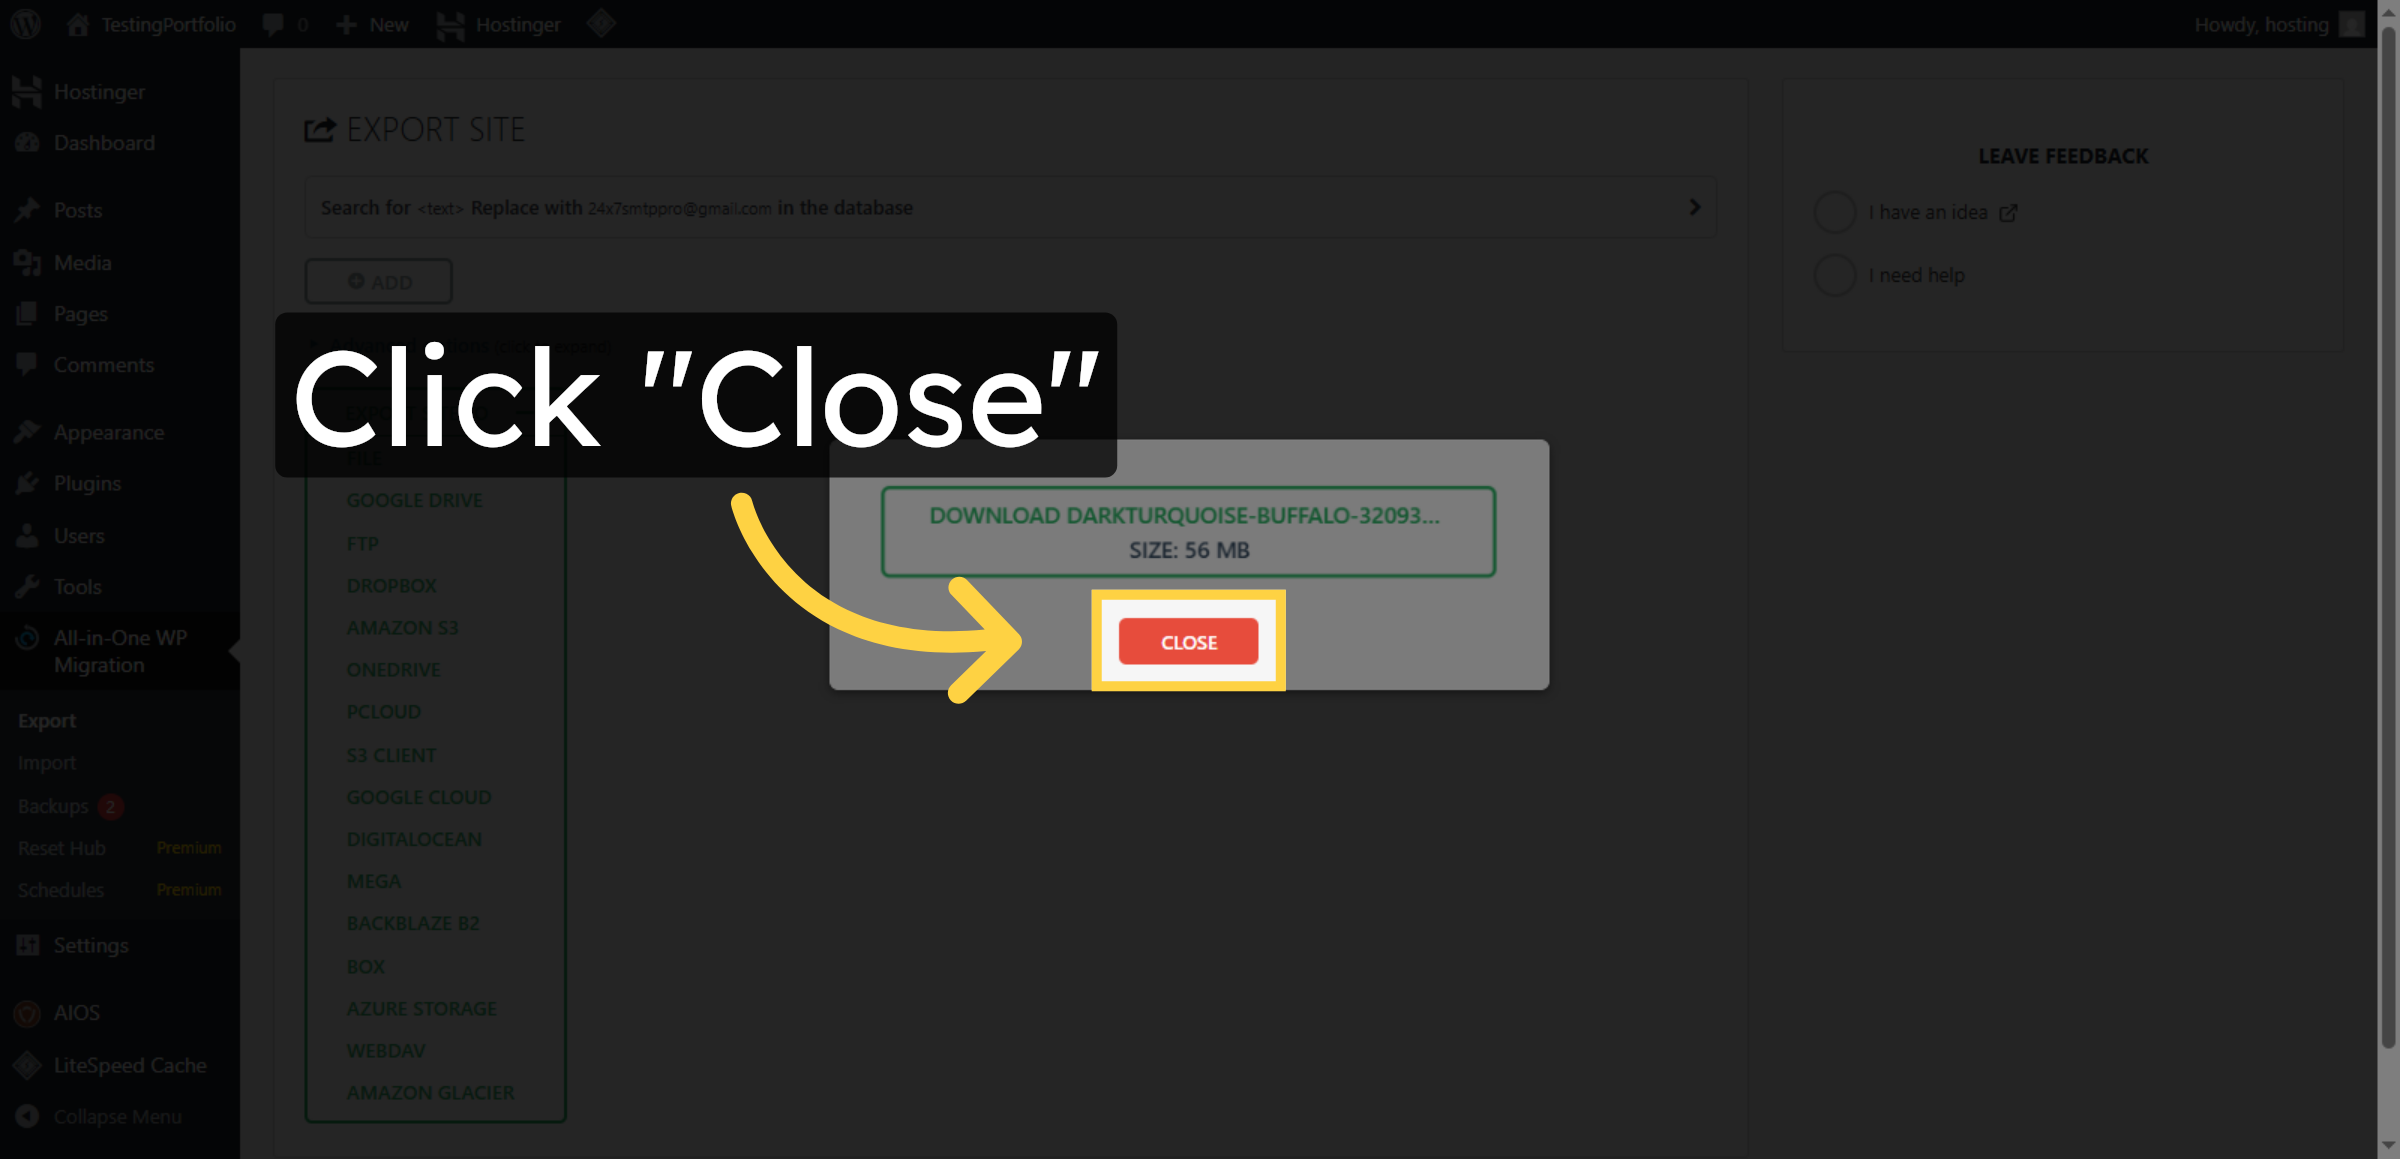
13. Close Export Window
14. NOTE
“The existing website has been successfully exported, and the same backup has been used to migrate the website to this hosting.
The migrated website can be viewed at the URL given below –
https://sandybrown-starling-957372.hostingersite.com/
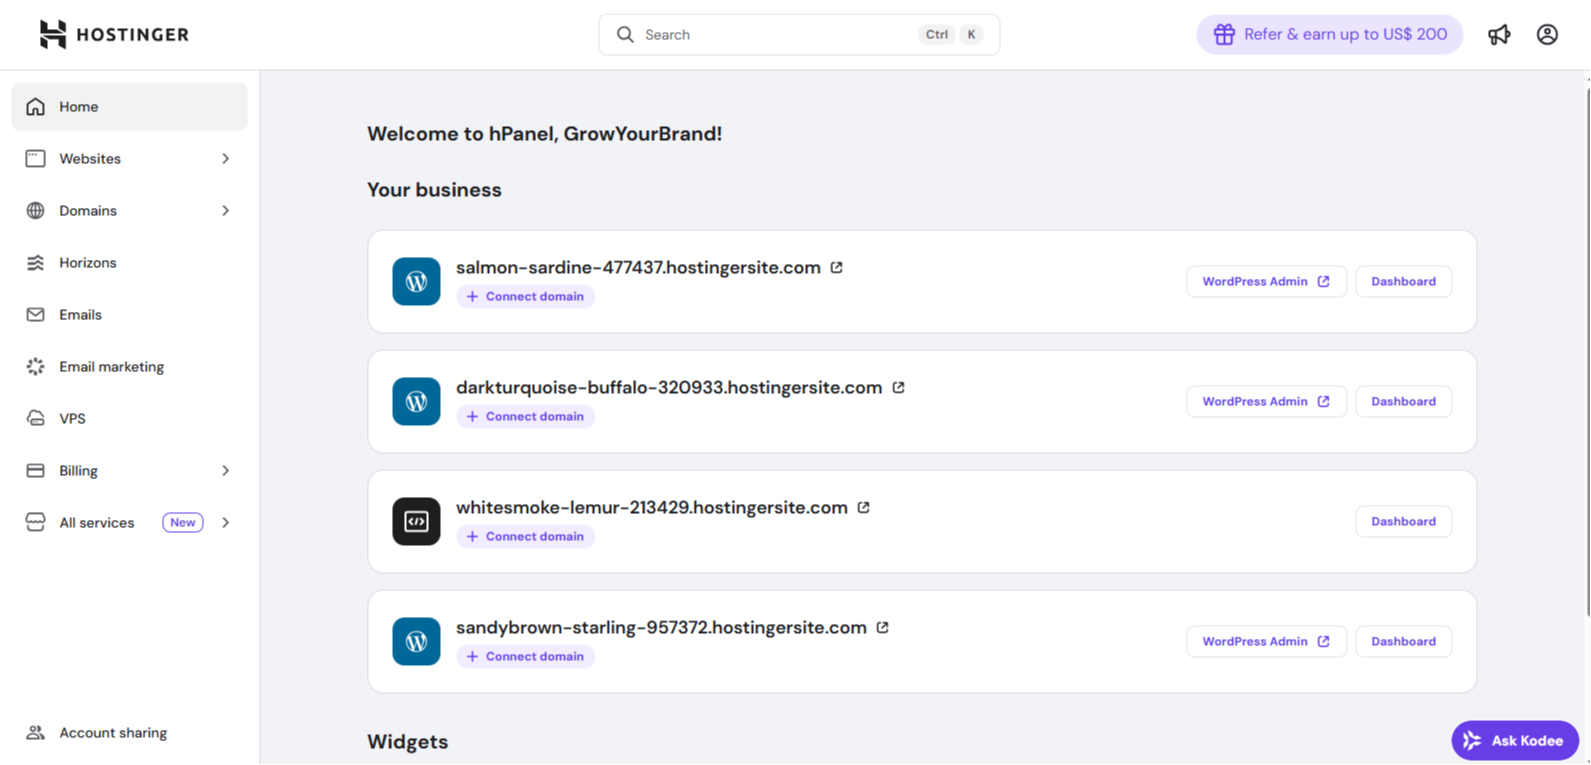
15. Another Hosting Dashboard
You will learn how to reach your website dashboard and visit your live site efficiently.
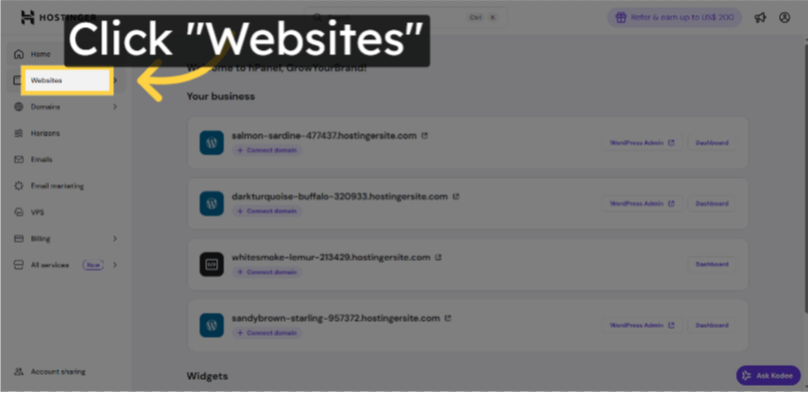
16. Click Websites Menu
Click the Websites menu in your Hostinger dashboard to view all your hosted sites.
17. Access WP Admin Panel
Click the WP Admin button to open the WordPress administration panel for your site.


18. Switch To Specific Hosting Site
Switch to the hosting site sandybrown-starling-957372.hostingersite.com to manage that particular WordPress installation.
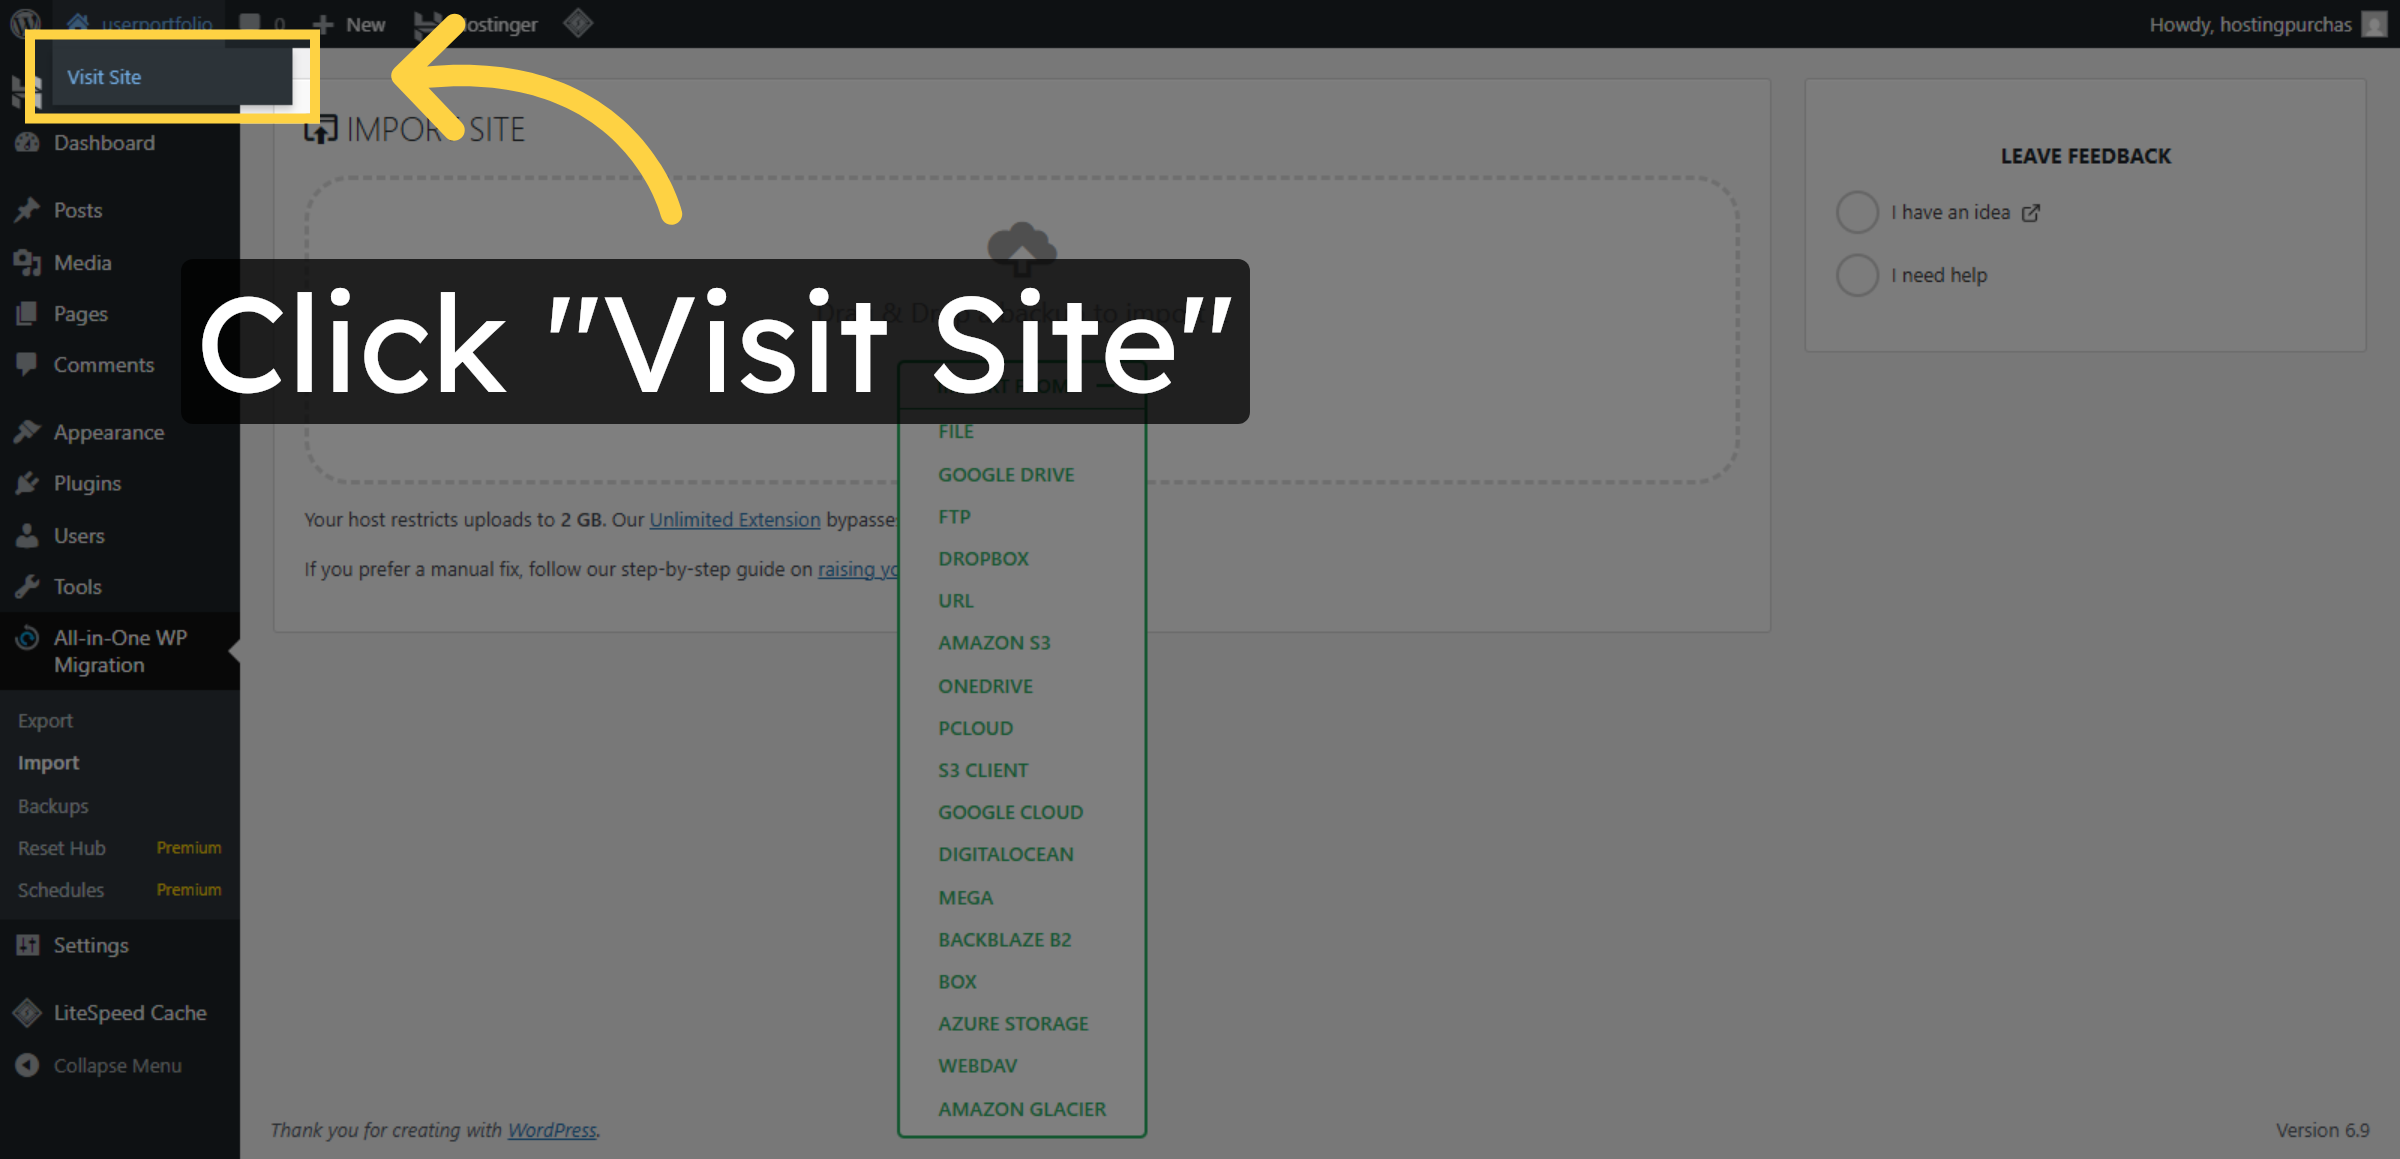
19. Visit Your WordPress Site
Click Visit Site to open the live version of your WordPress website in a new tab or window.

20. Destination Website for Import
This website is the target site where the previously exported website is being imported.
21. Switch Hosting Account
22. Open New Dashboard
23. Access Migration Plugin
24. Start Import Process
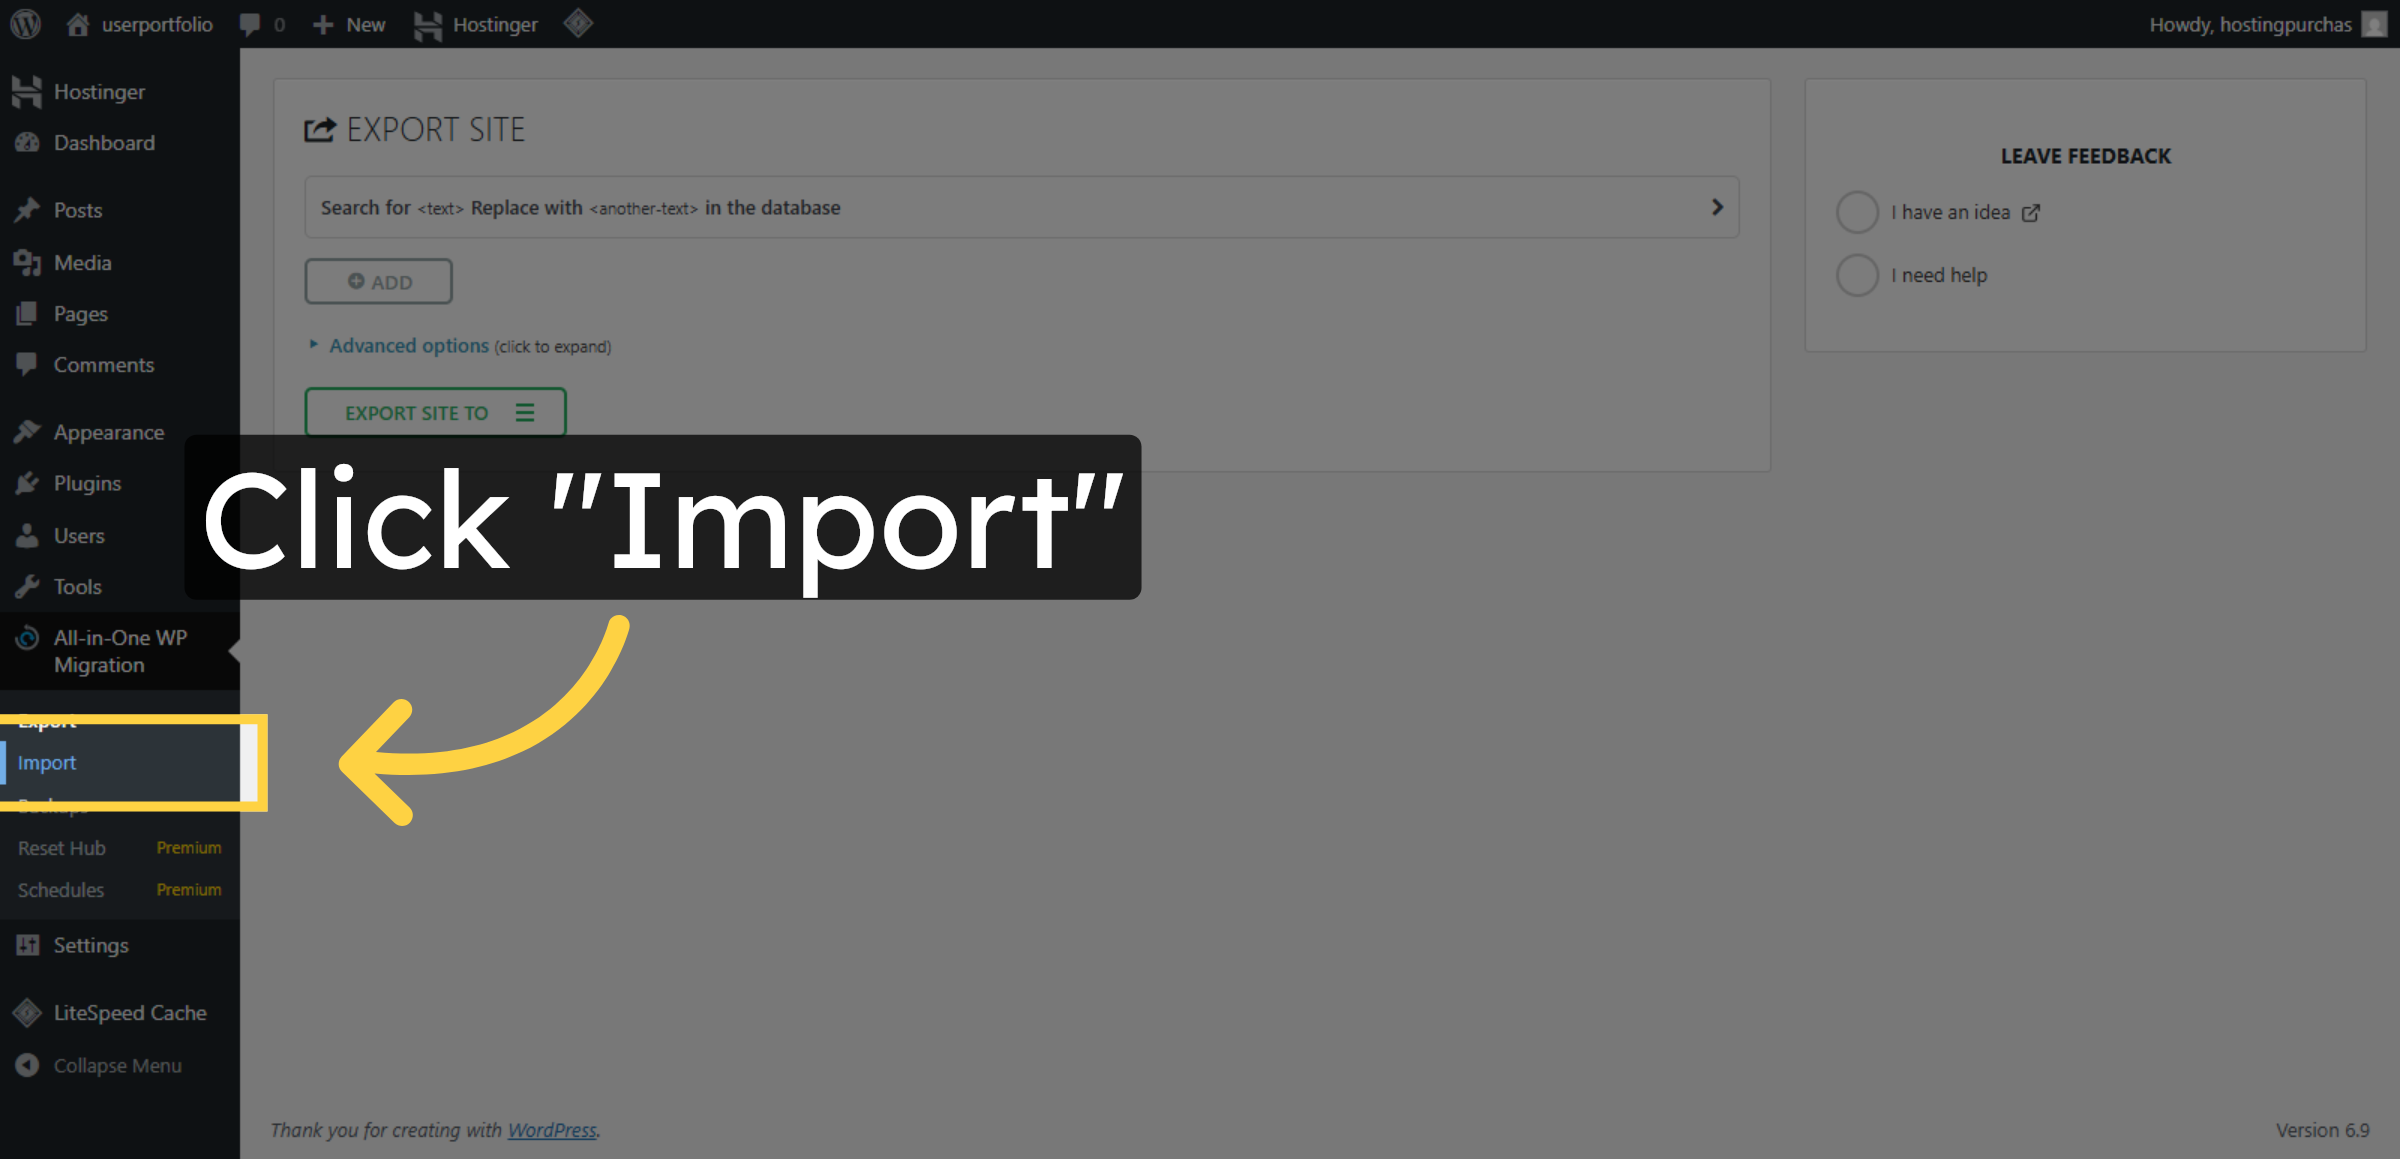
25. Open Import Options
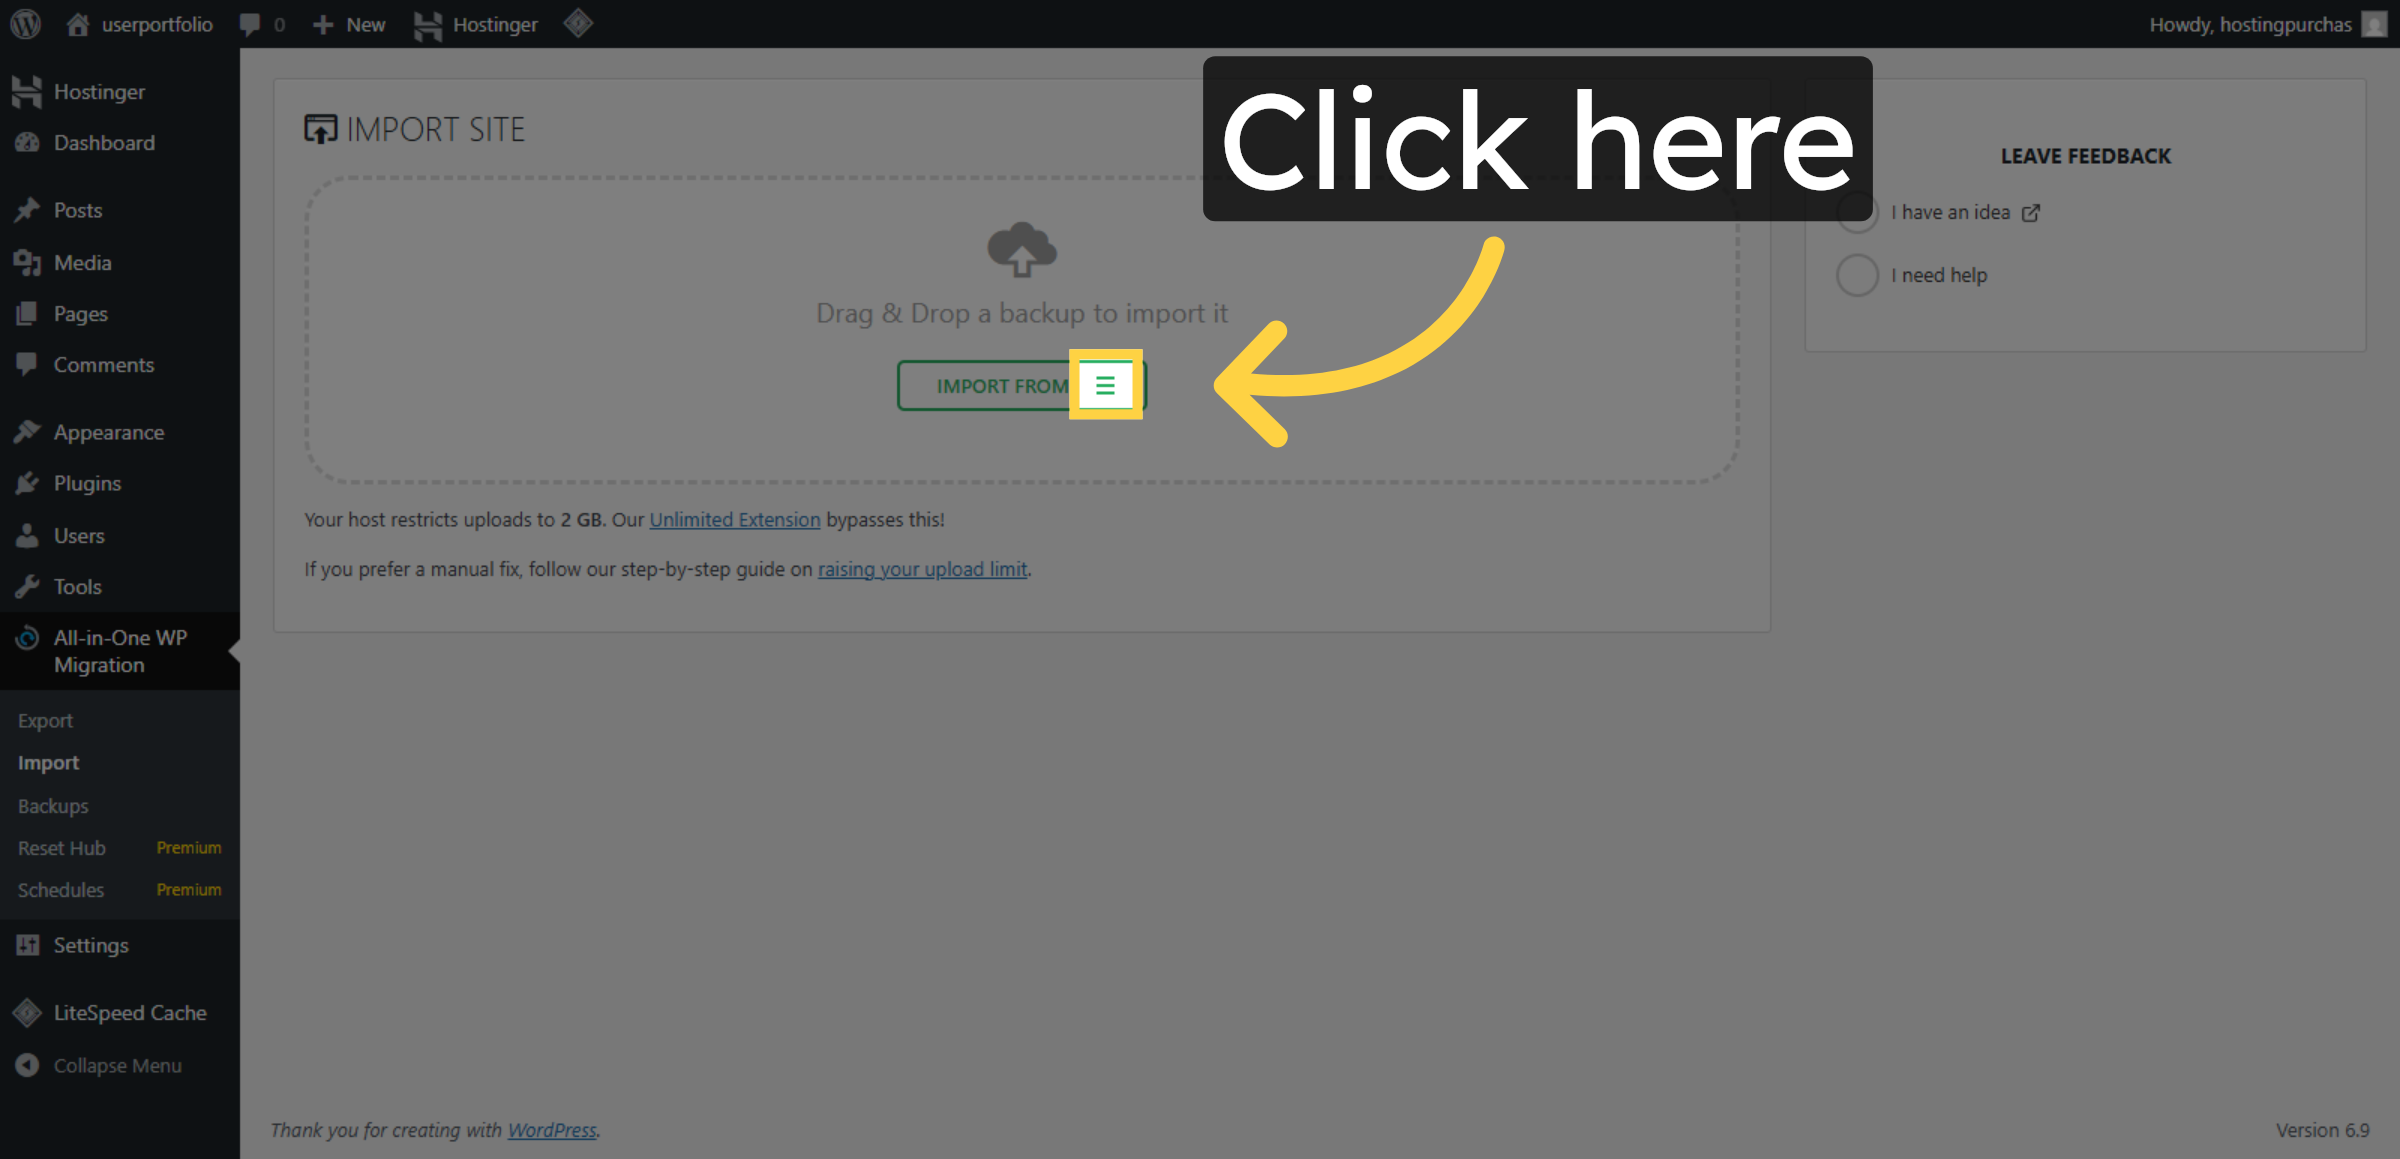
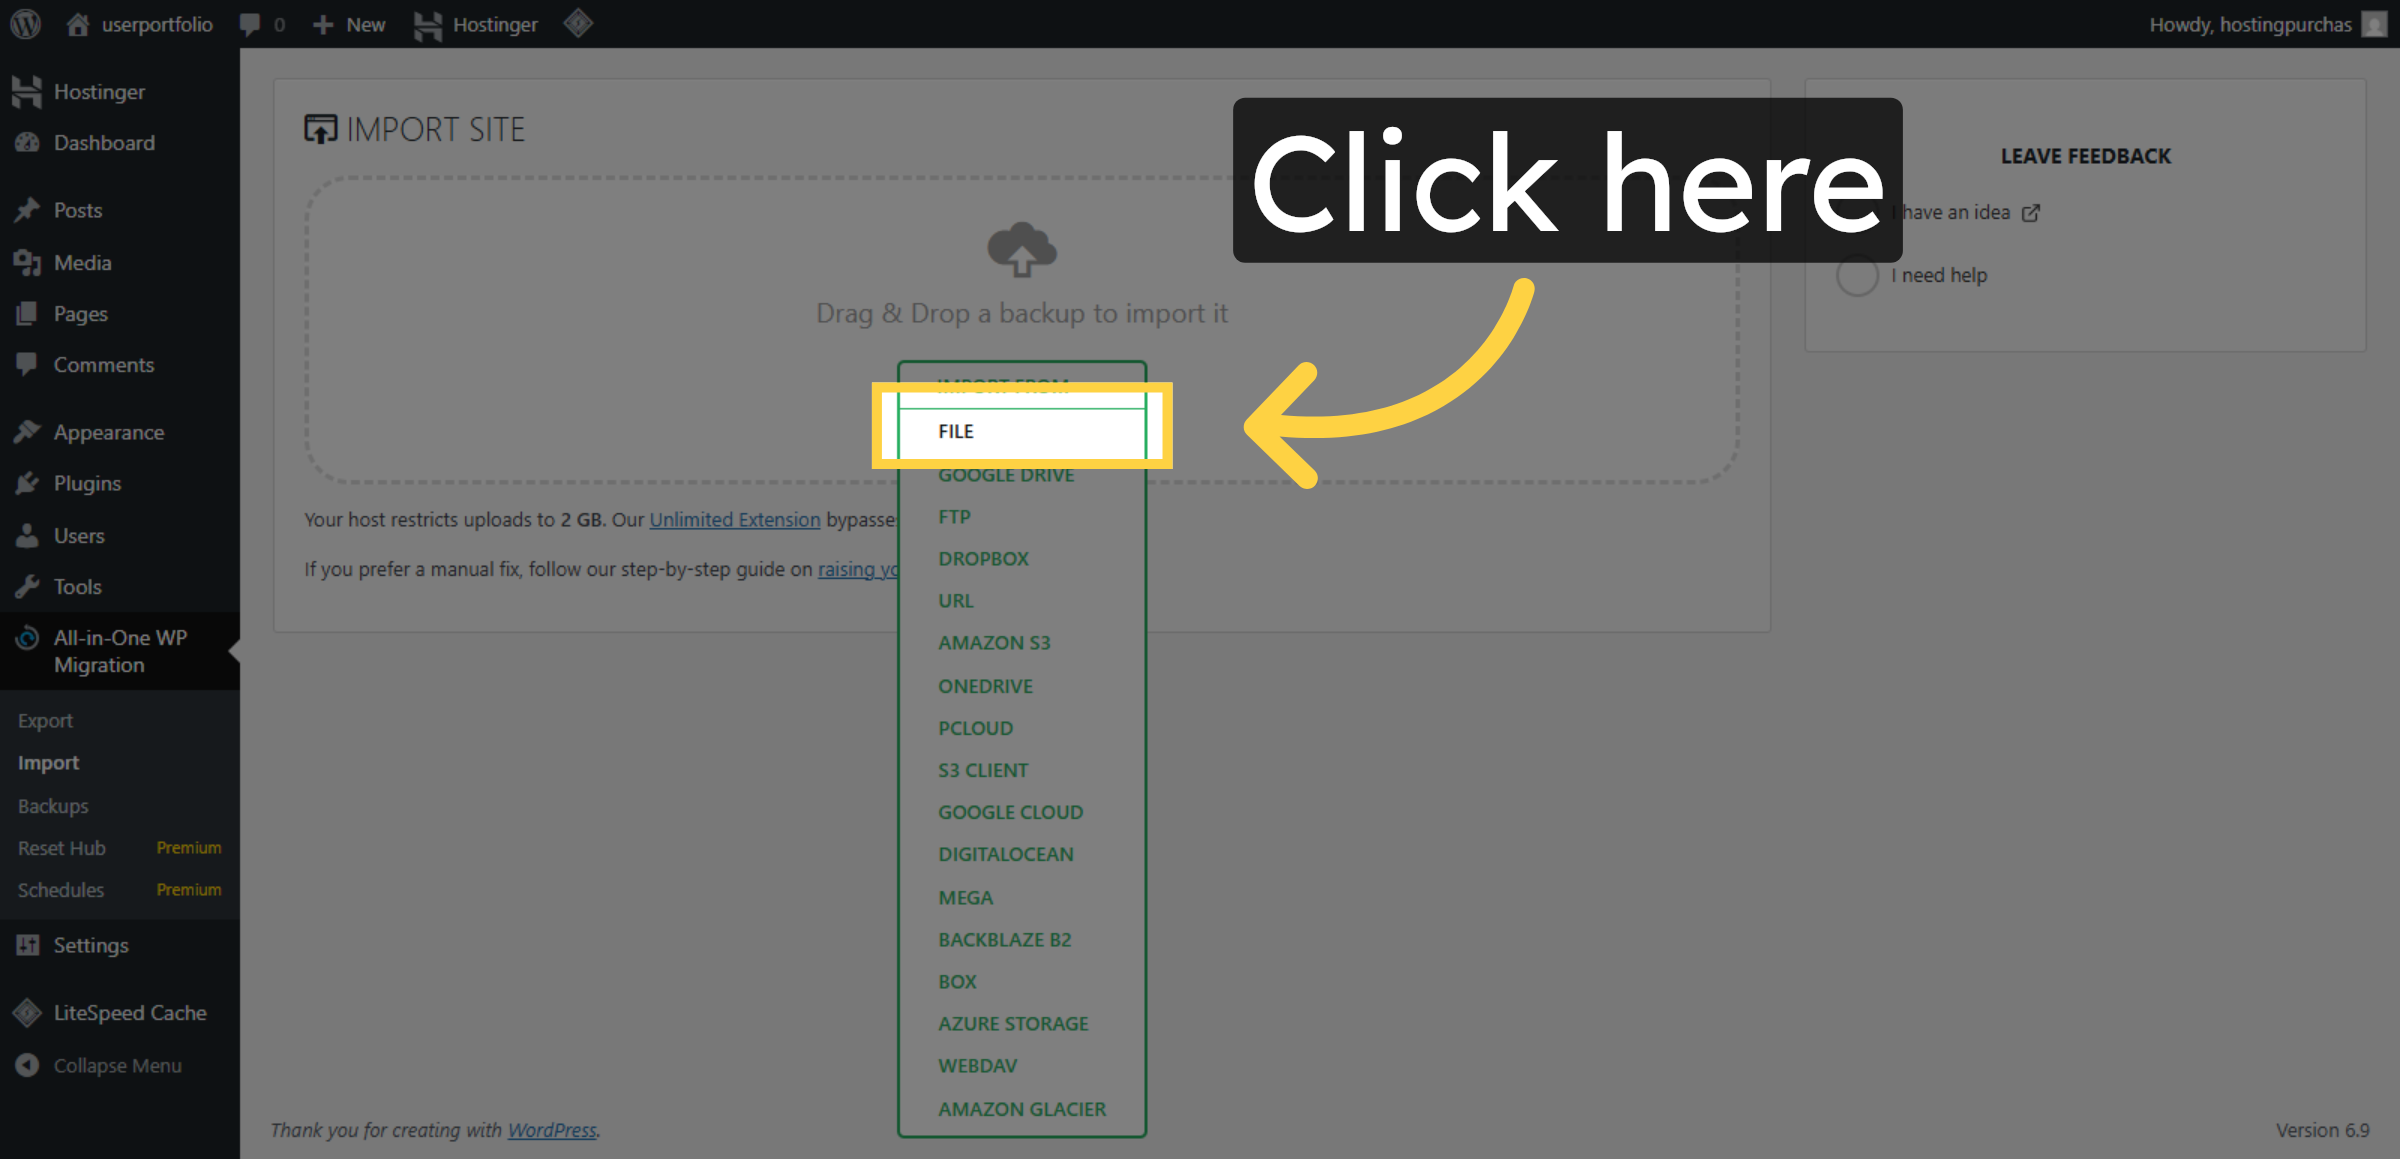
26. Select Import File
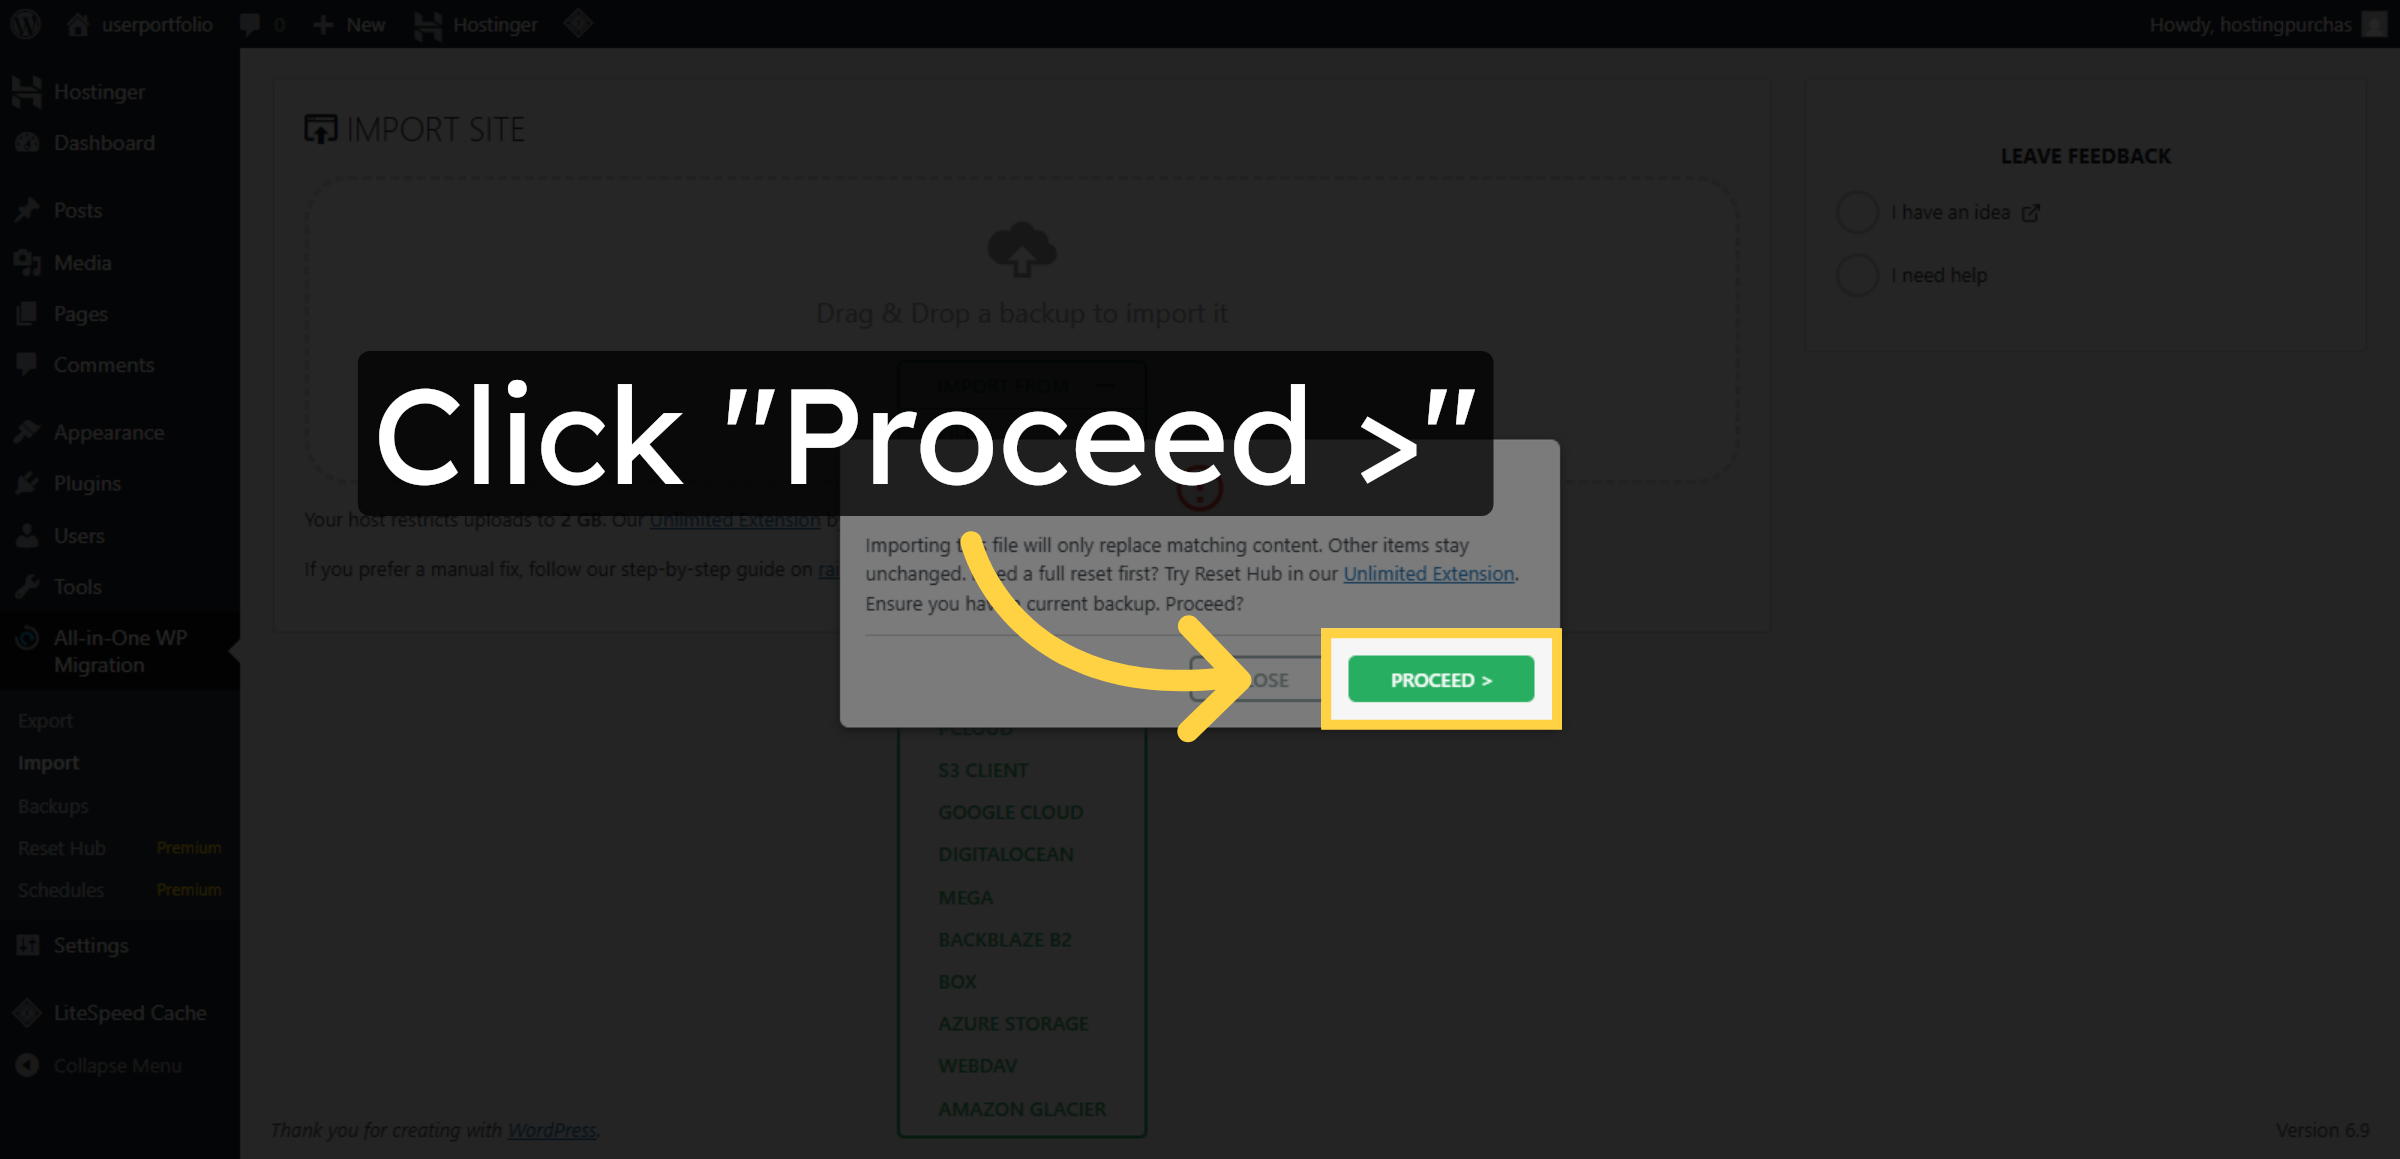
27. Proceed with Import
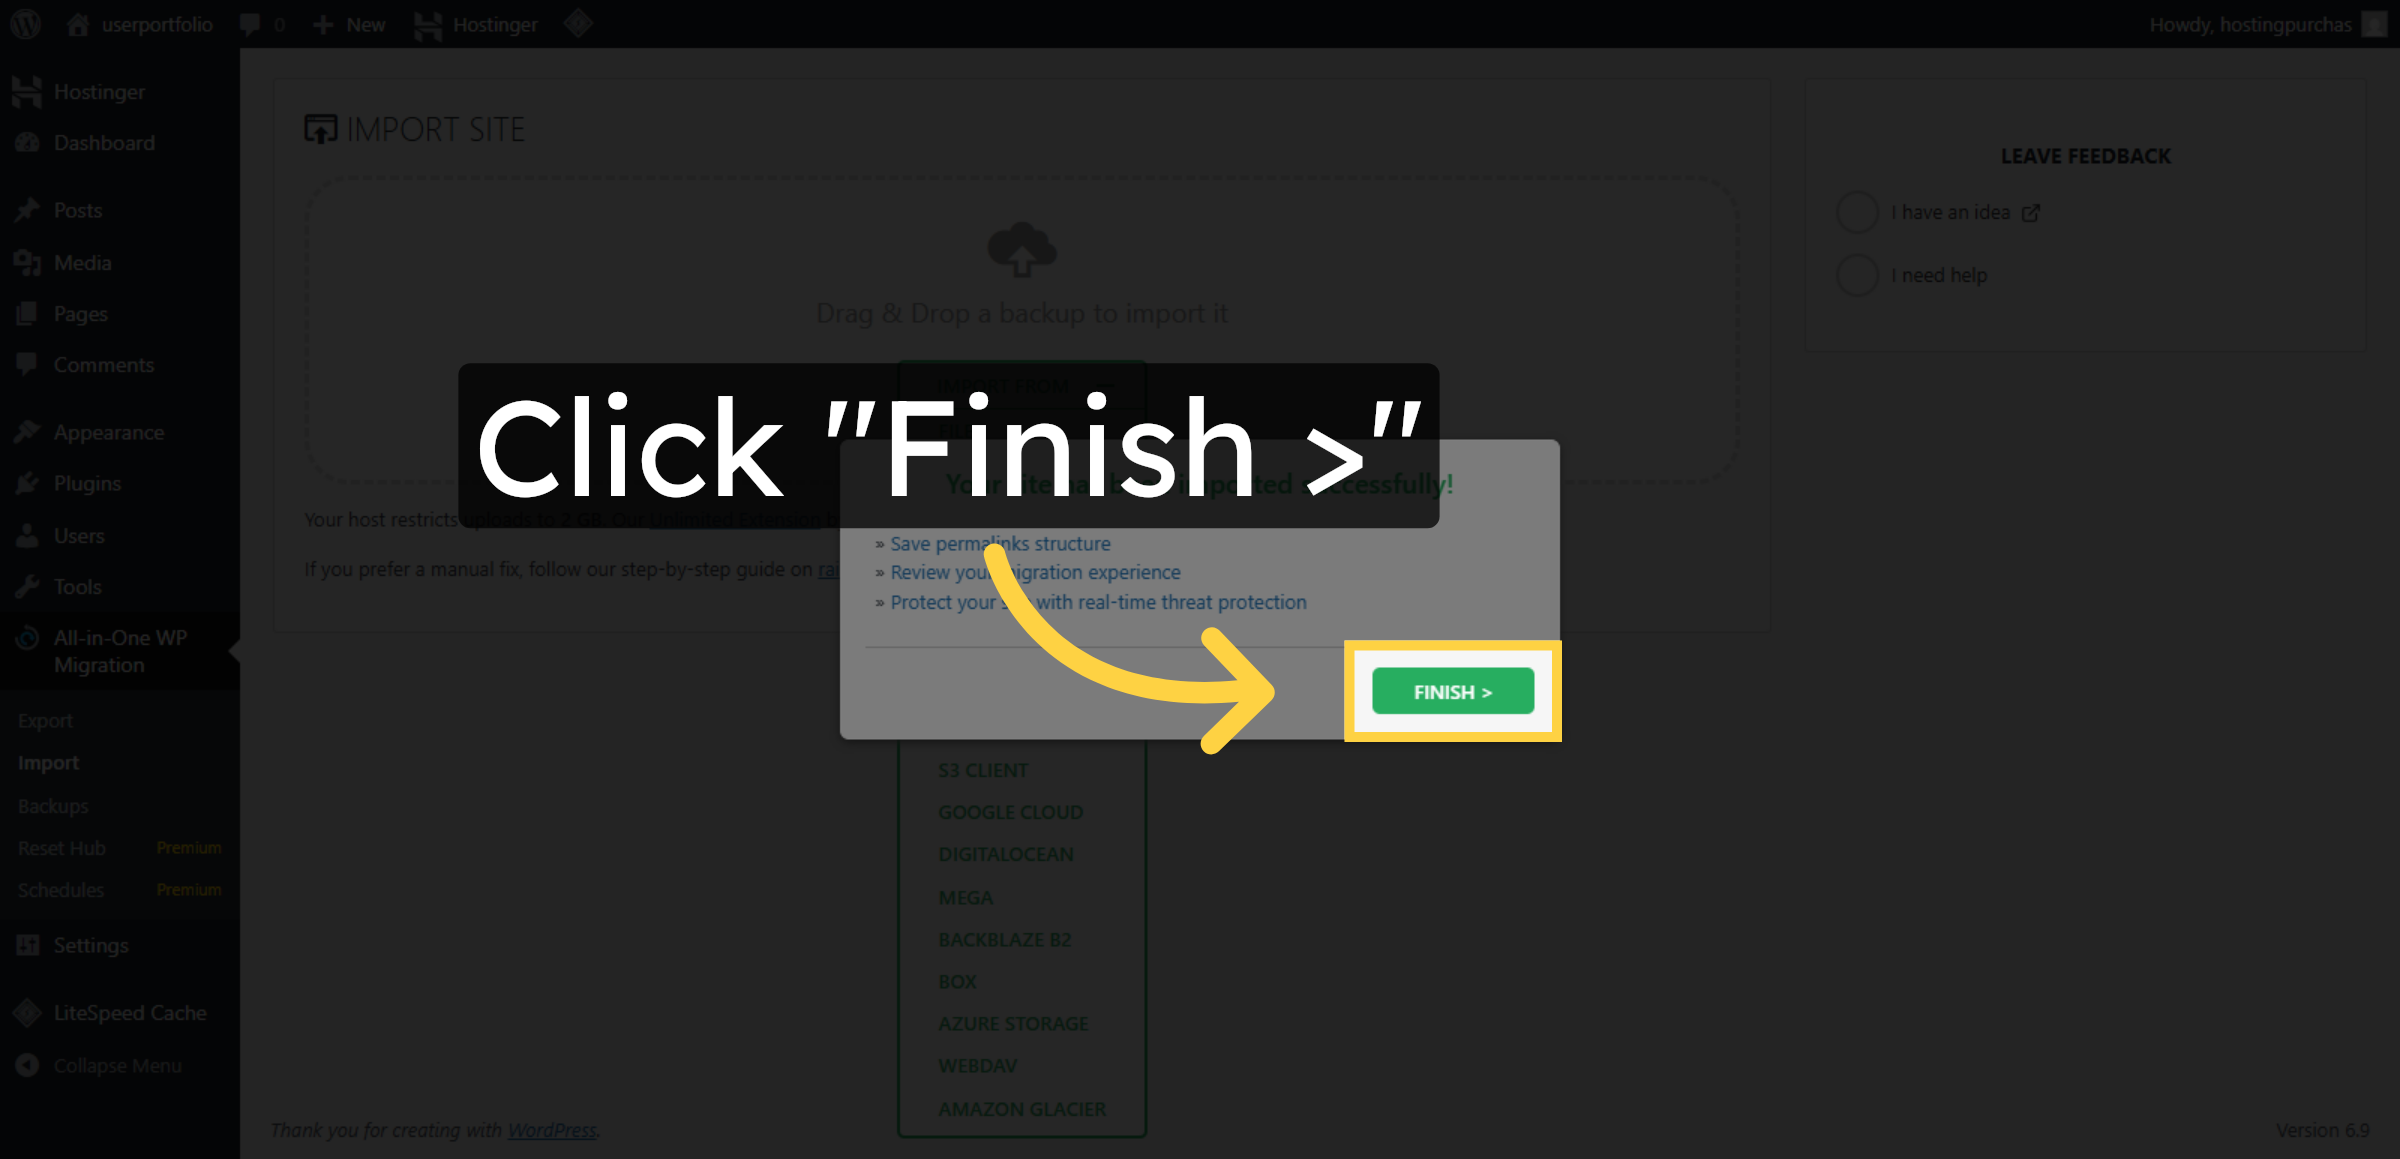
28. Finish Import
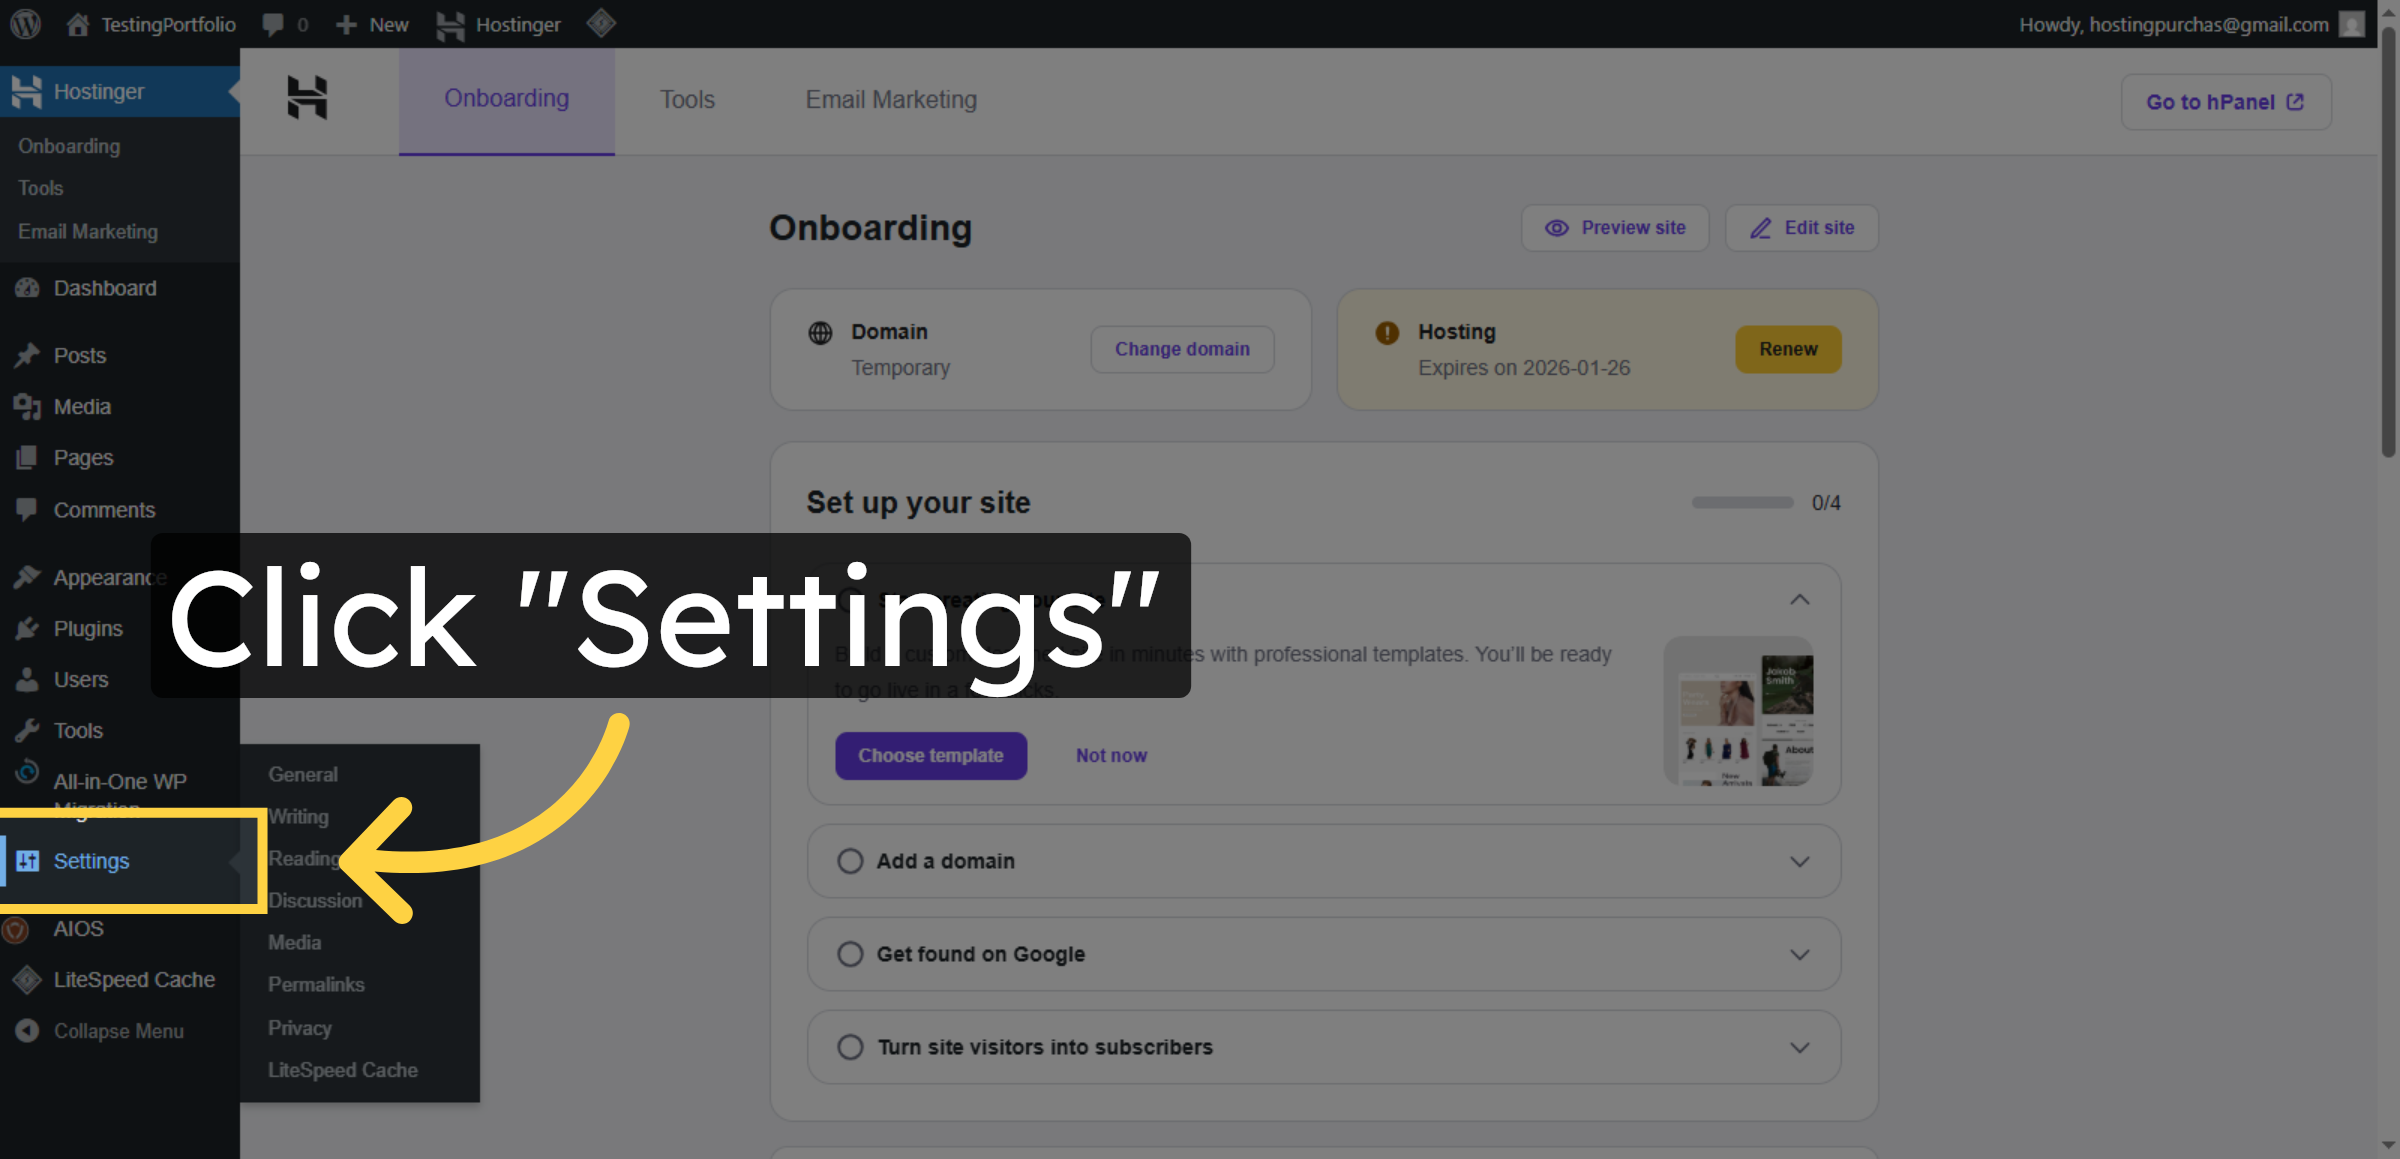
29. Open Settings Menu
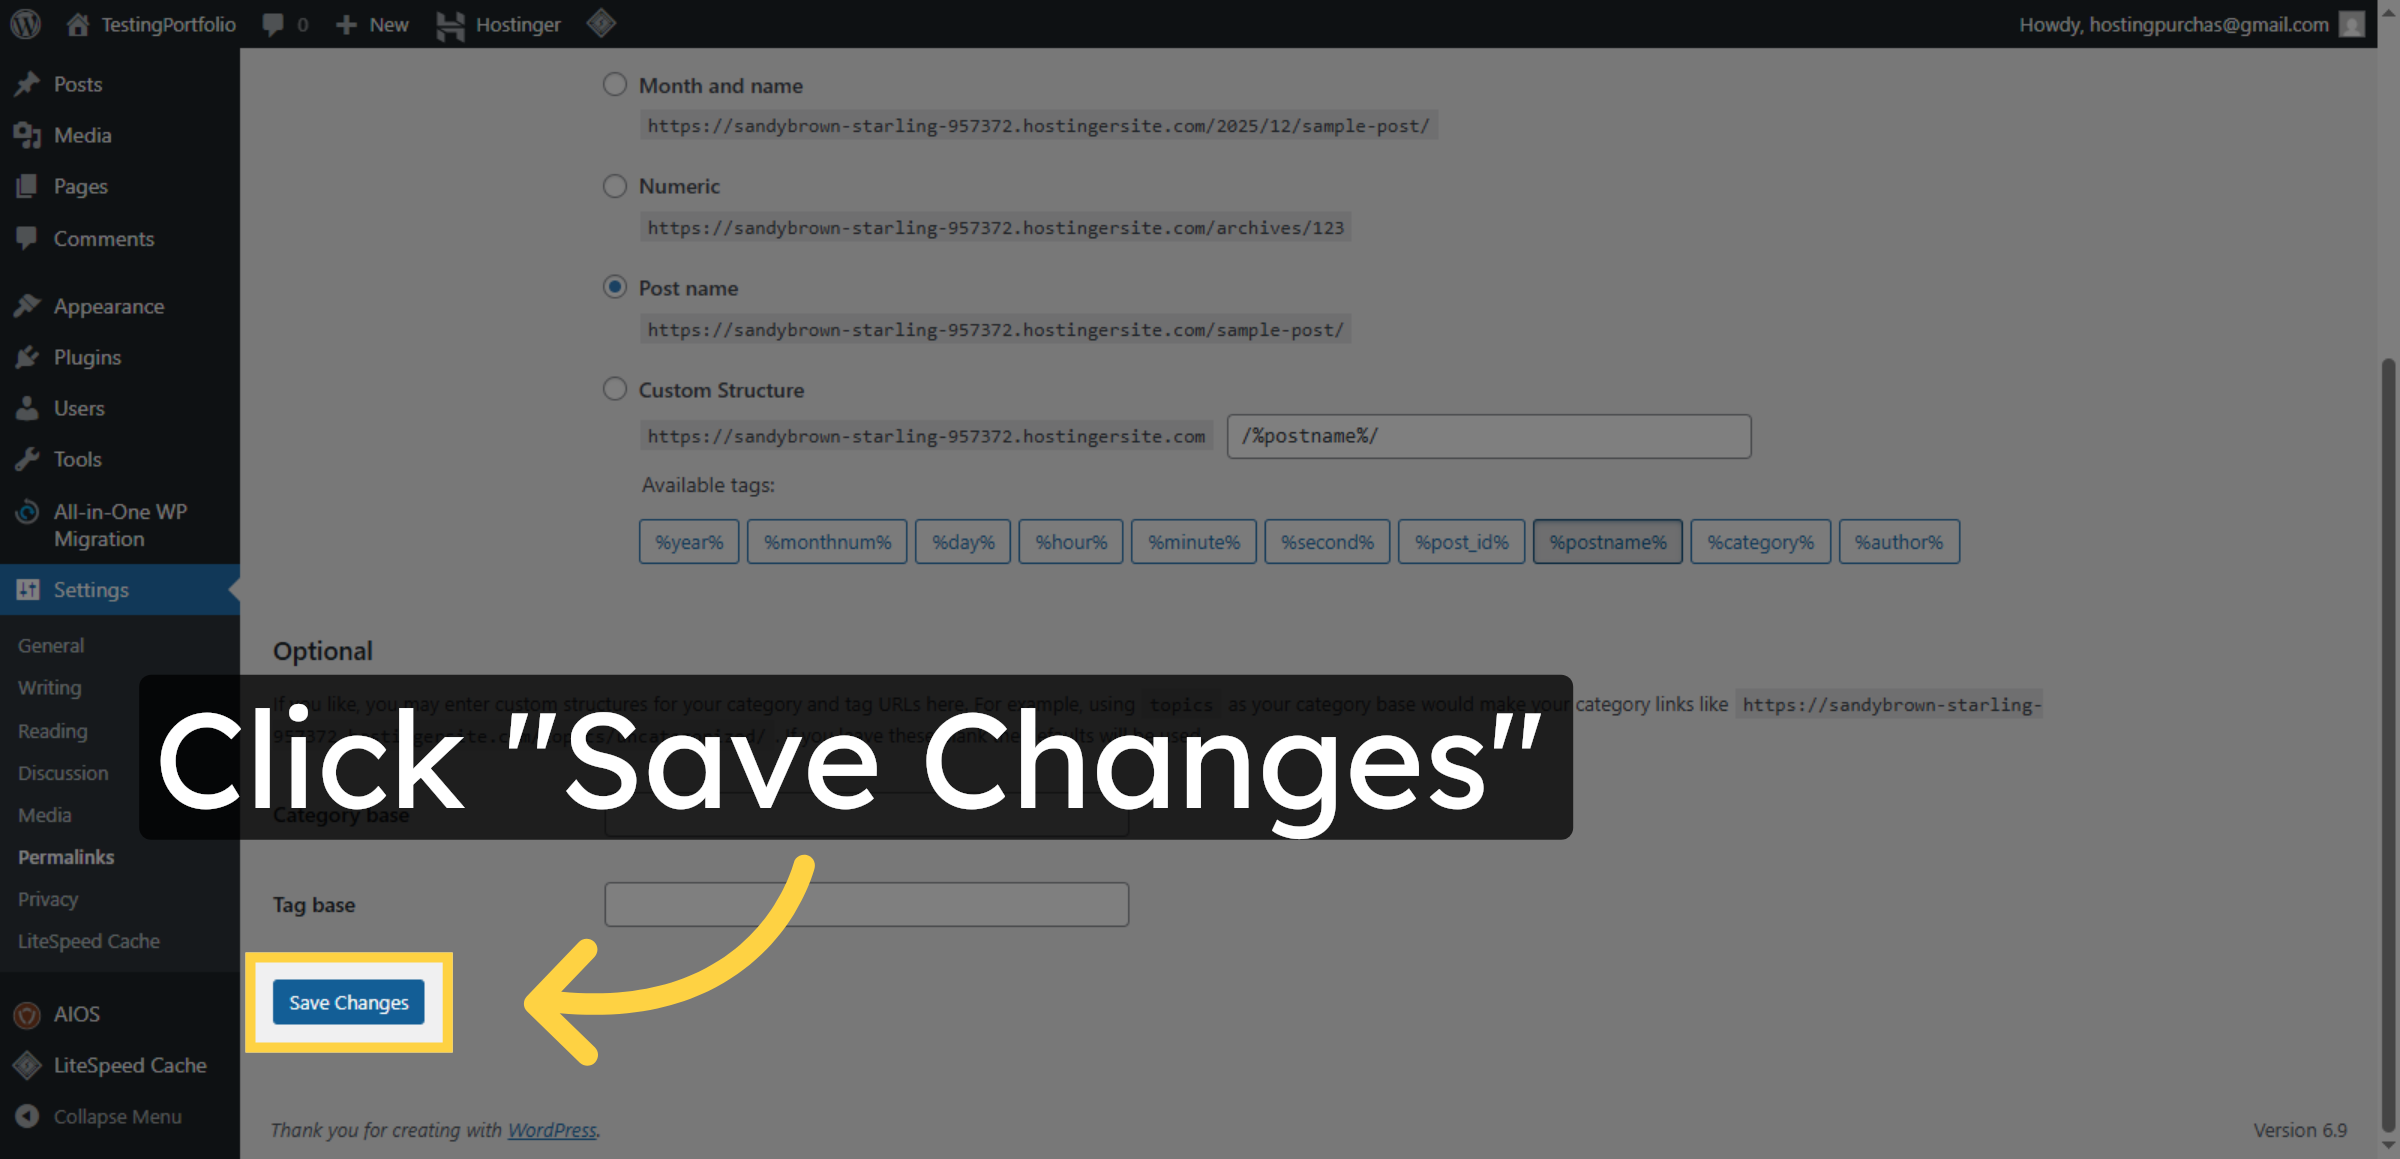
30. Access Permalink Settings

31. Save Permalink Changes
32. Visit Migrated Site
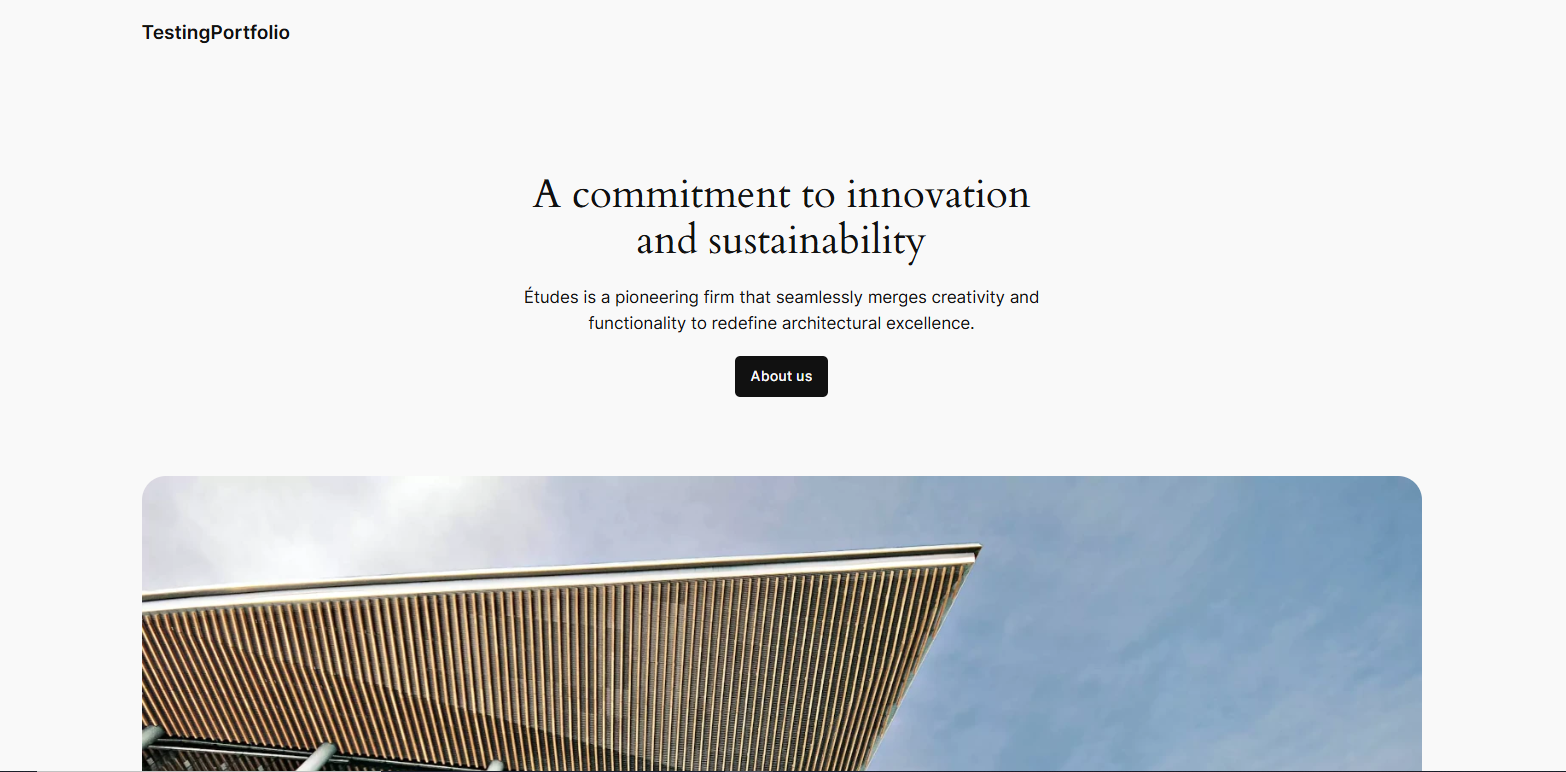
33. Website Successfully Migrated
The website has been successfully migrated and is now live on the new hosting environment.
Conclusion
By following this guide, you have successfully migrated your WordPress website to Hostinger WordPress Hosting using the All-in-One WP Migration plugin. The process included exporting your original site, importing it into the new hosting account, verifying the migrated content, and updating permalink settings to maintain proper URL structure.
After migration, it is recommended to thoroughly test your website, check all pages and forms, and confirm that plugins and themes are working correctly. Regular backups and performance monitoring will help keep your migrated website secure and optimized for long-term success.
WooHelpDesk Support
Need professional assistance with WordPress migration, hosting setup, or website management? WooHelpDesk provides expert support for smooth website transfers and reliable technical solutions.
Visit: https://www.woohelpdesk.com
Call Us Toll-Free: +1 888 602 0119 (US & Canada)
Reliable Migration | Secure Hosting | Expert Support


