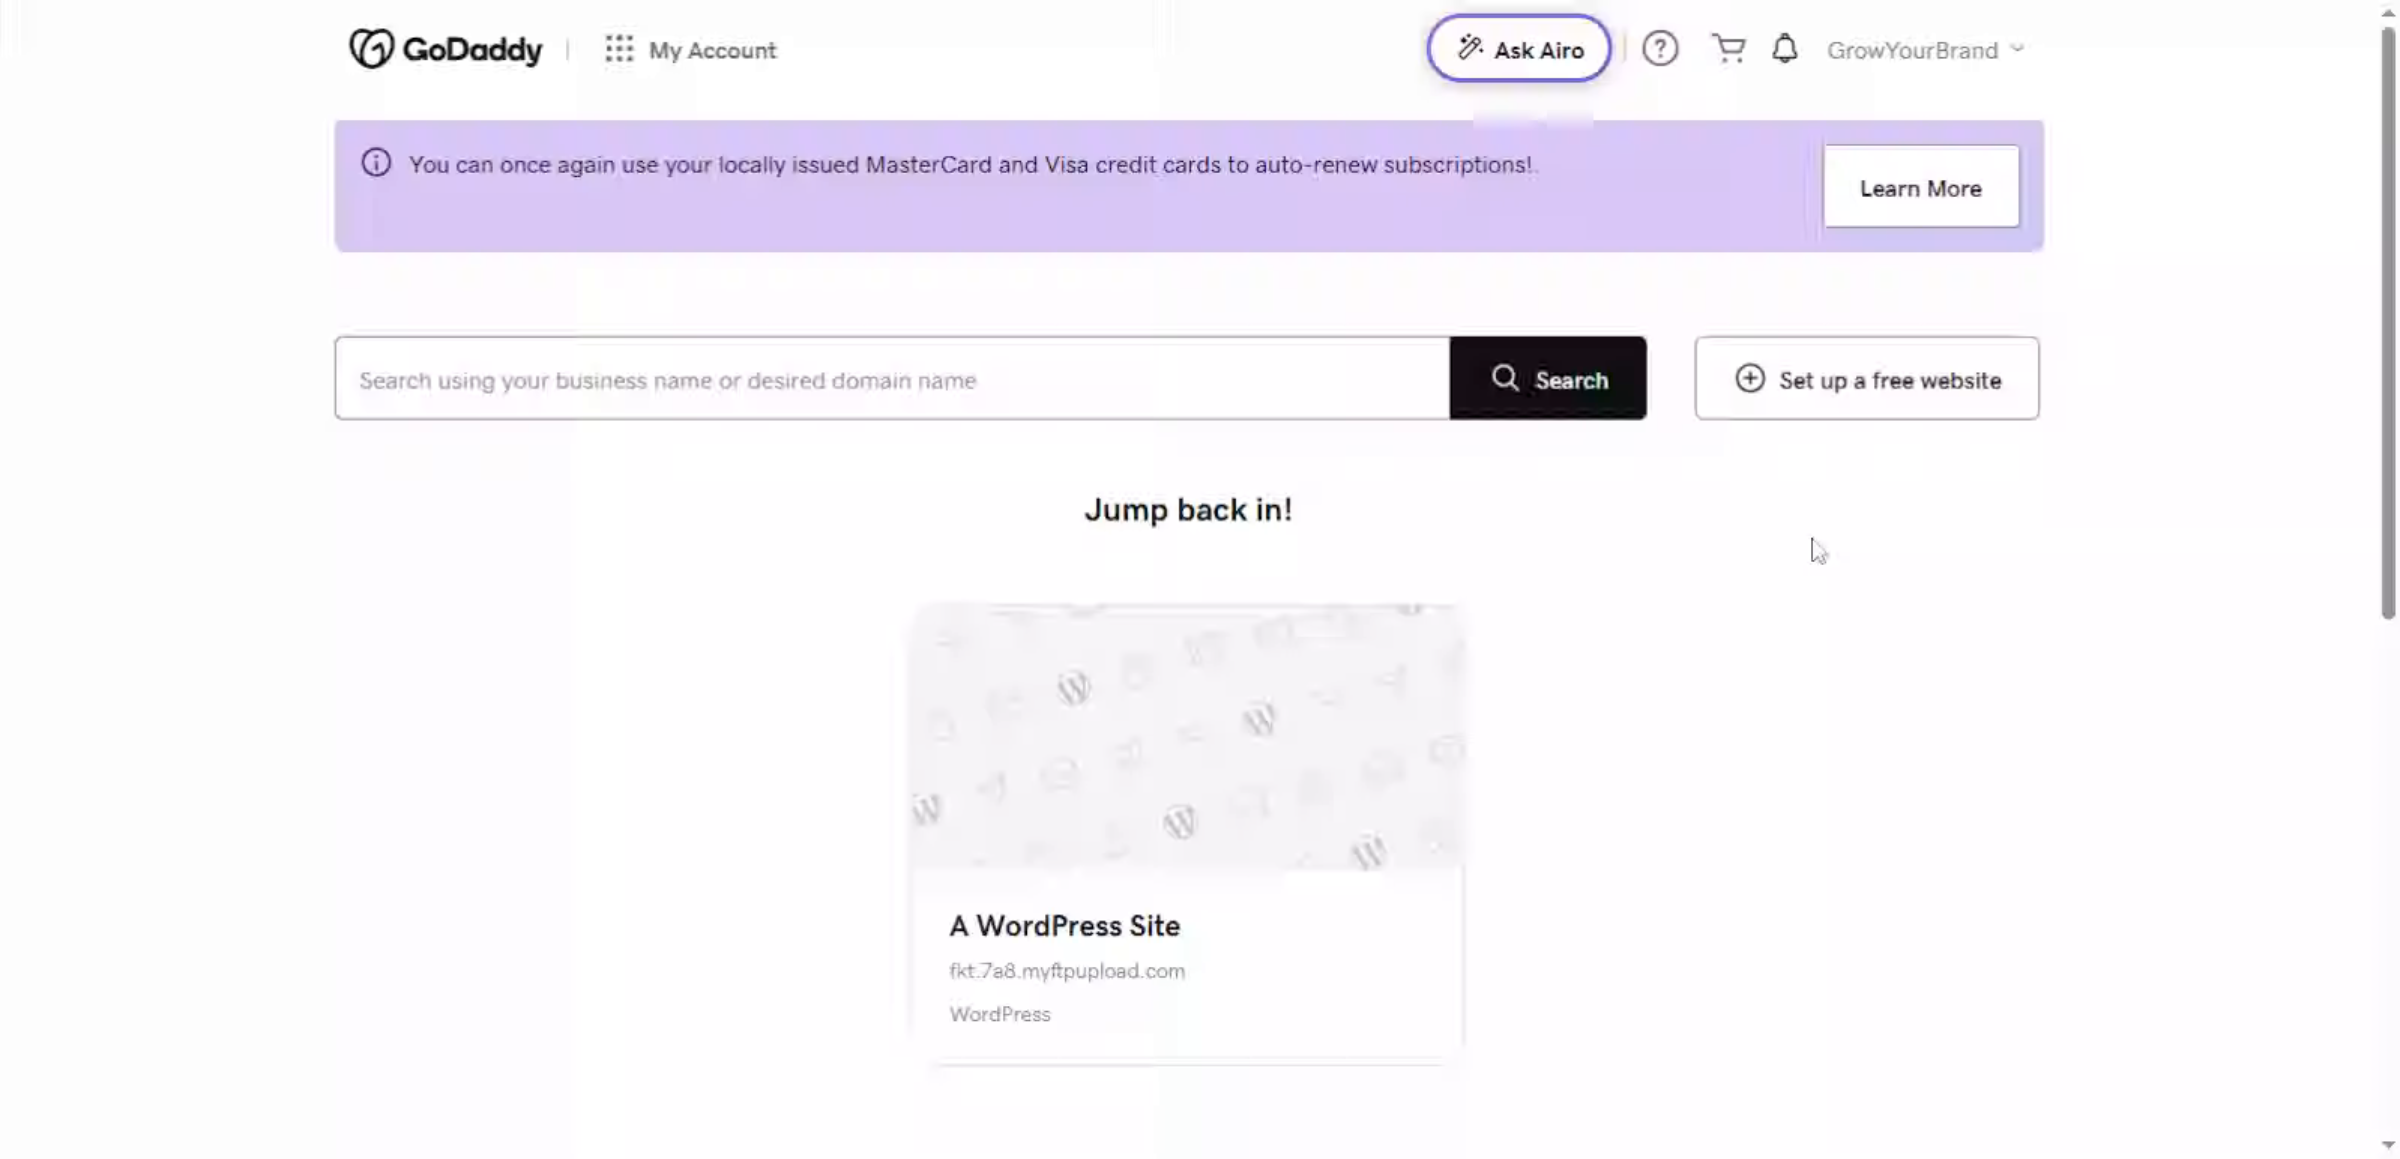
Introduction
Exporting a WordPress website is an essential process for creating secure backups, preparing for migration, or preserving website data for future recovery. A complete export ensures that all website content, themes, plugins, media files, and database records are stored safely in a single file. GoDaddy provides easy access to WordPress management tools that support efficient website exports.
This guidde explains how to export a WordPress website from GoDaddy WP Hosting using the All-in-One WP Migration plugin. It covers accessing the GoDaddy dashboard, opening the WordPress admin panel, installing the required plugin, and generating a downloadable backup file. By following this guide, users can protect their website data and simplify future site transfers.
1. GoDaddy Account Dashboard
This section explains how to use the GoDaddy Account Dashboard to export a WordPress website from GoDaddy WP Hosting, enabling users to create backups or migrate their site safely.
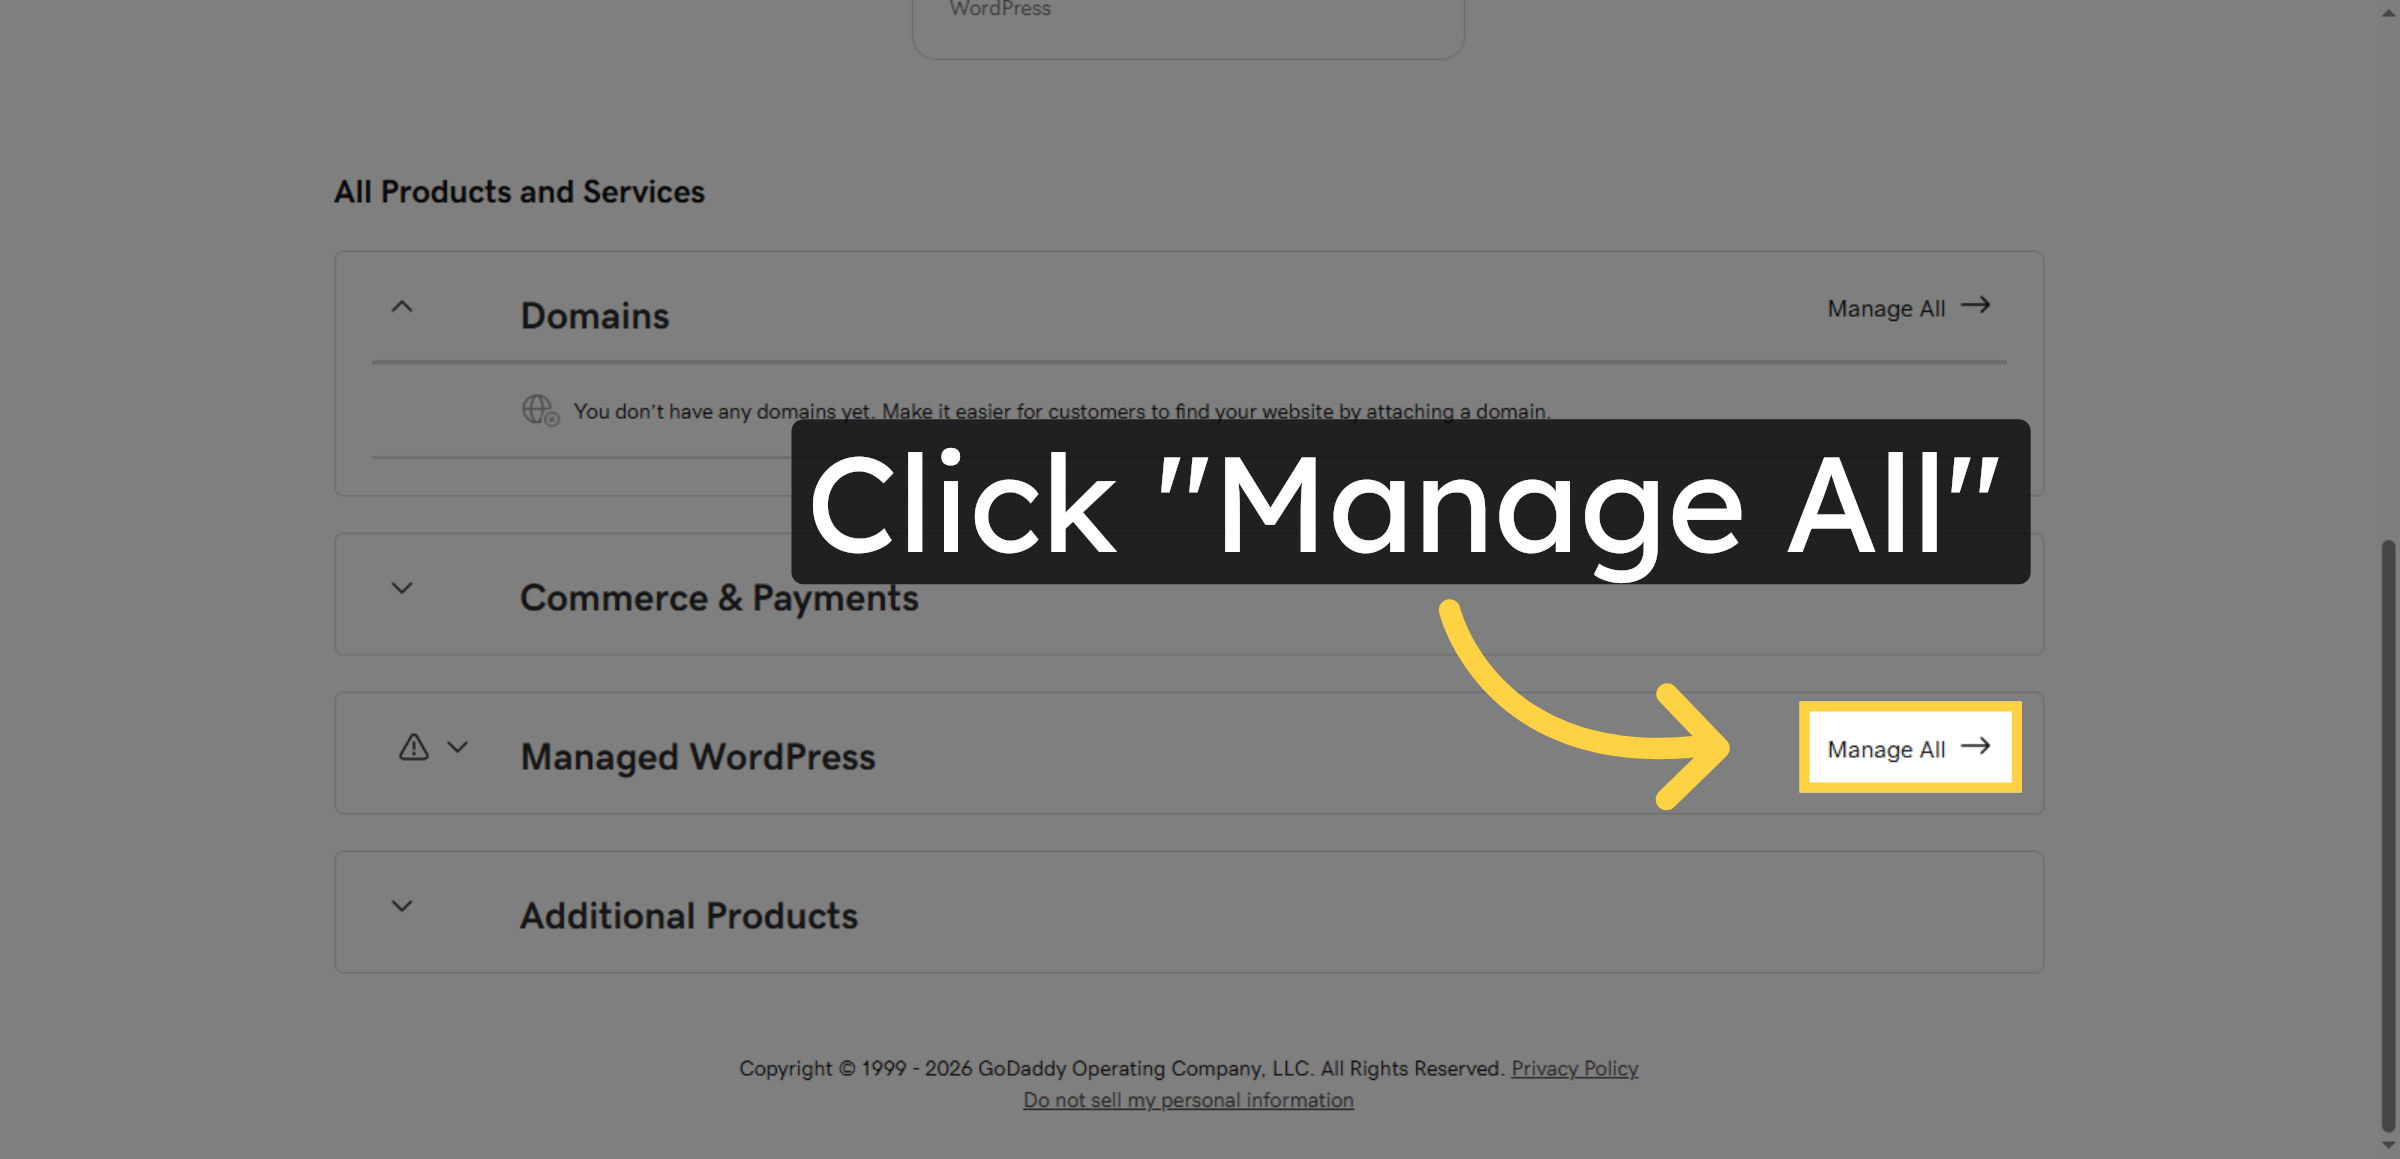
2. Open Manage All Section
Click “Manage All” to view all your hosting and website management options within GoDaddy.
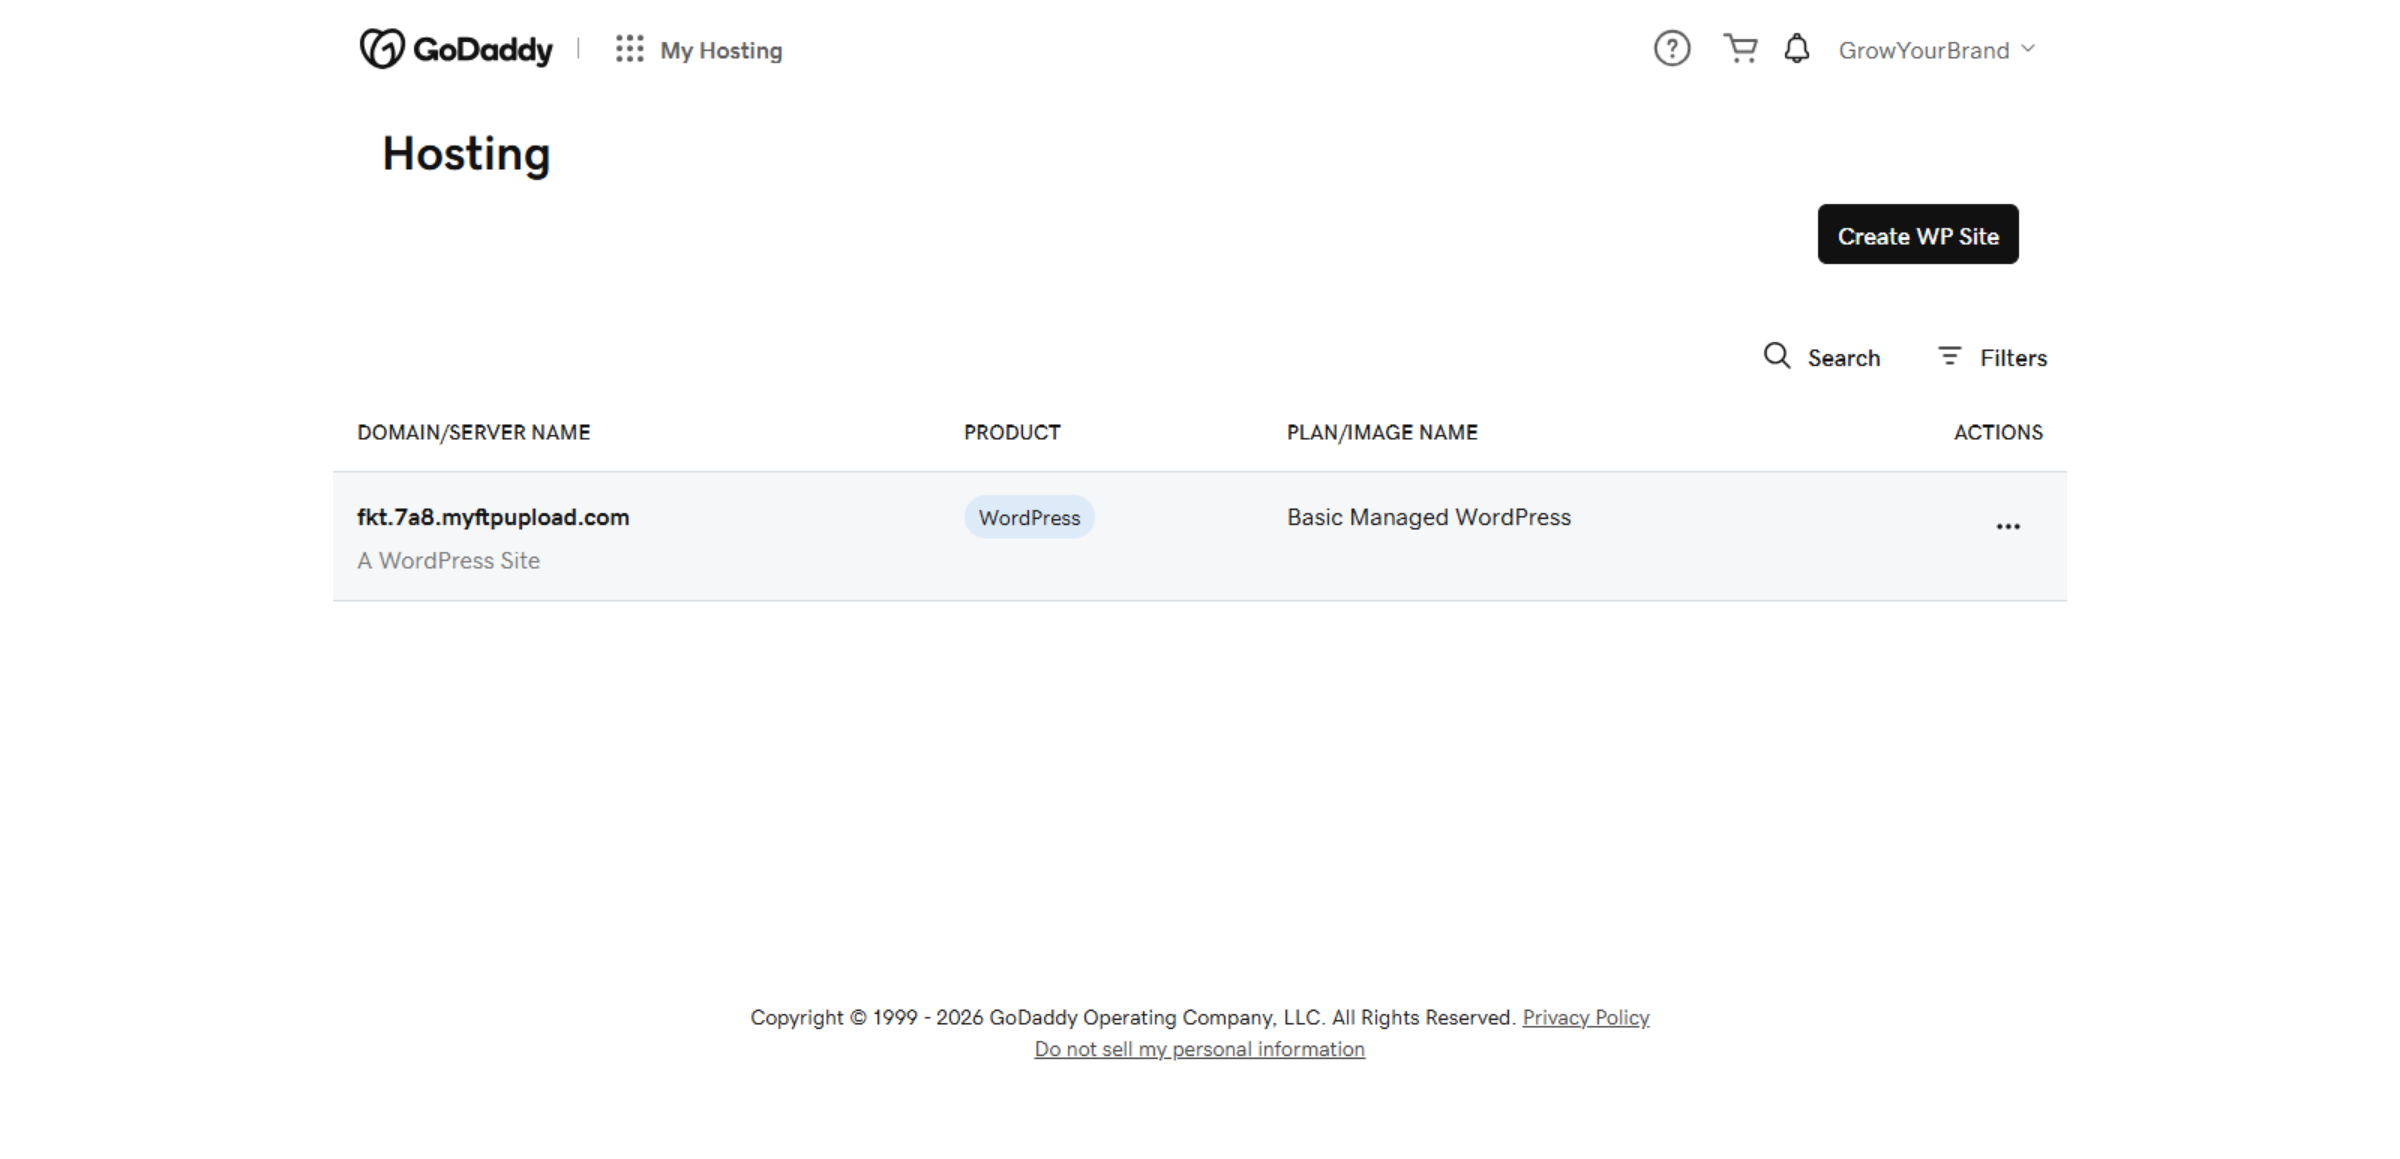
3. Switch To Hosting Dashboard
Switch to the GoDaddy hosting dashboard by navigating to host.godaddy.com to access hosting controls.
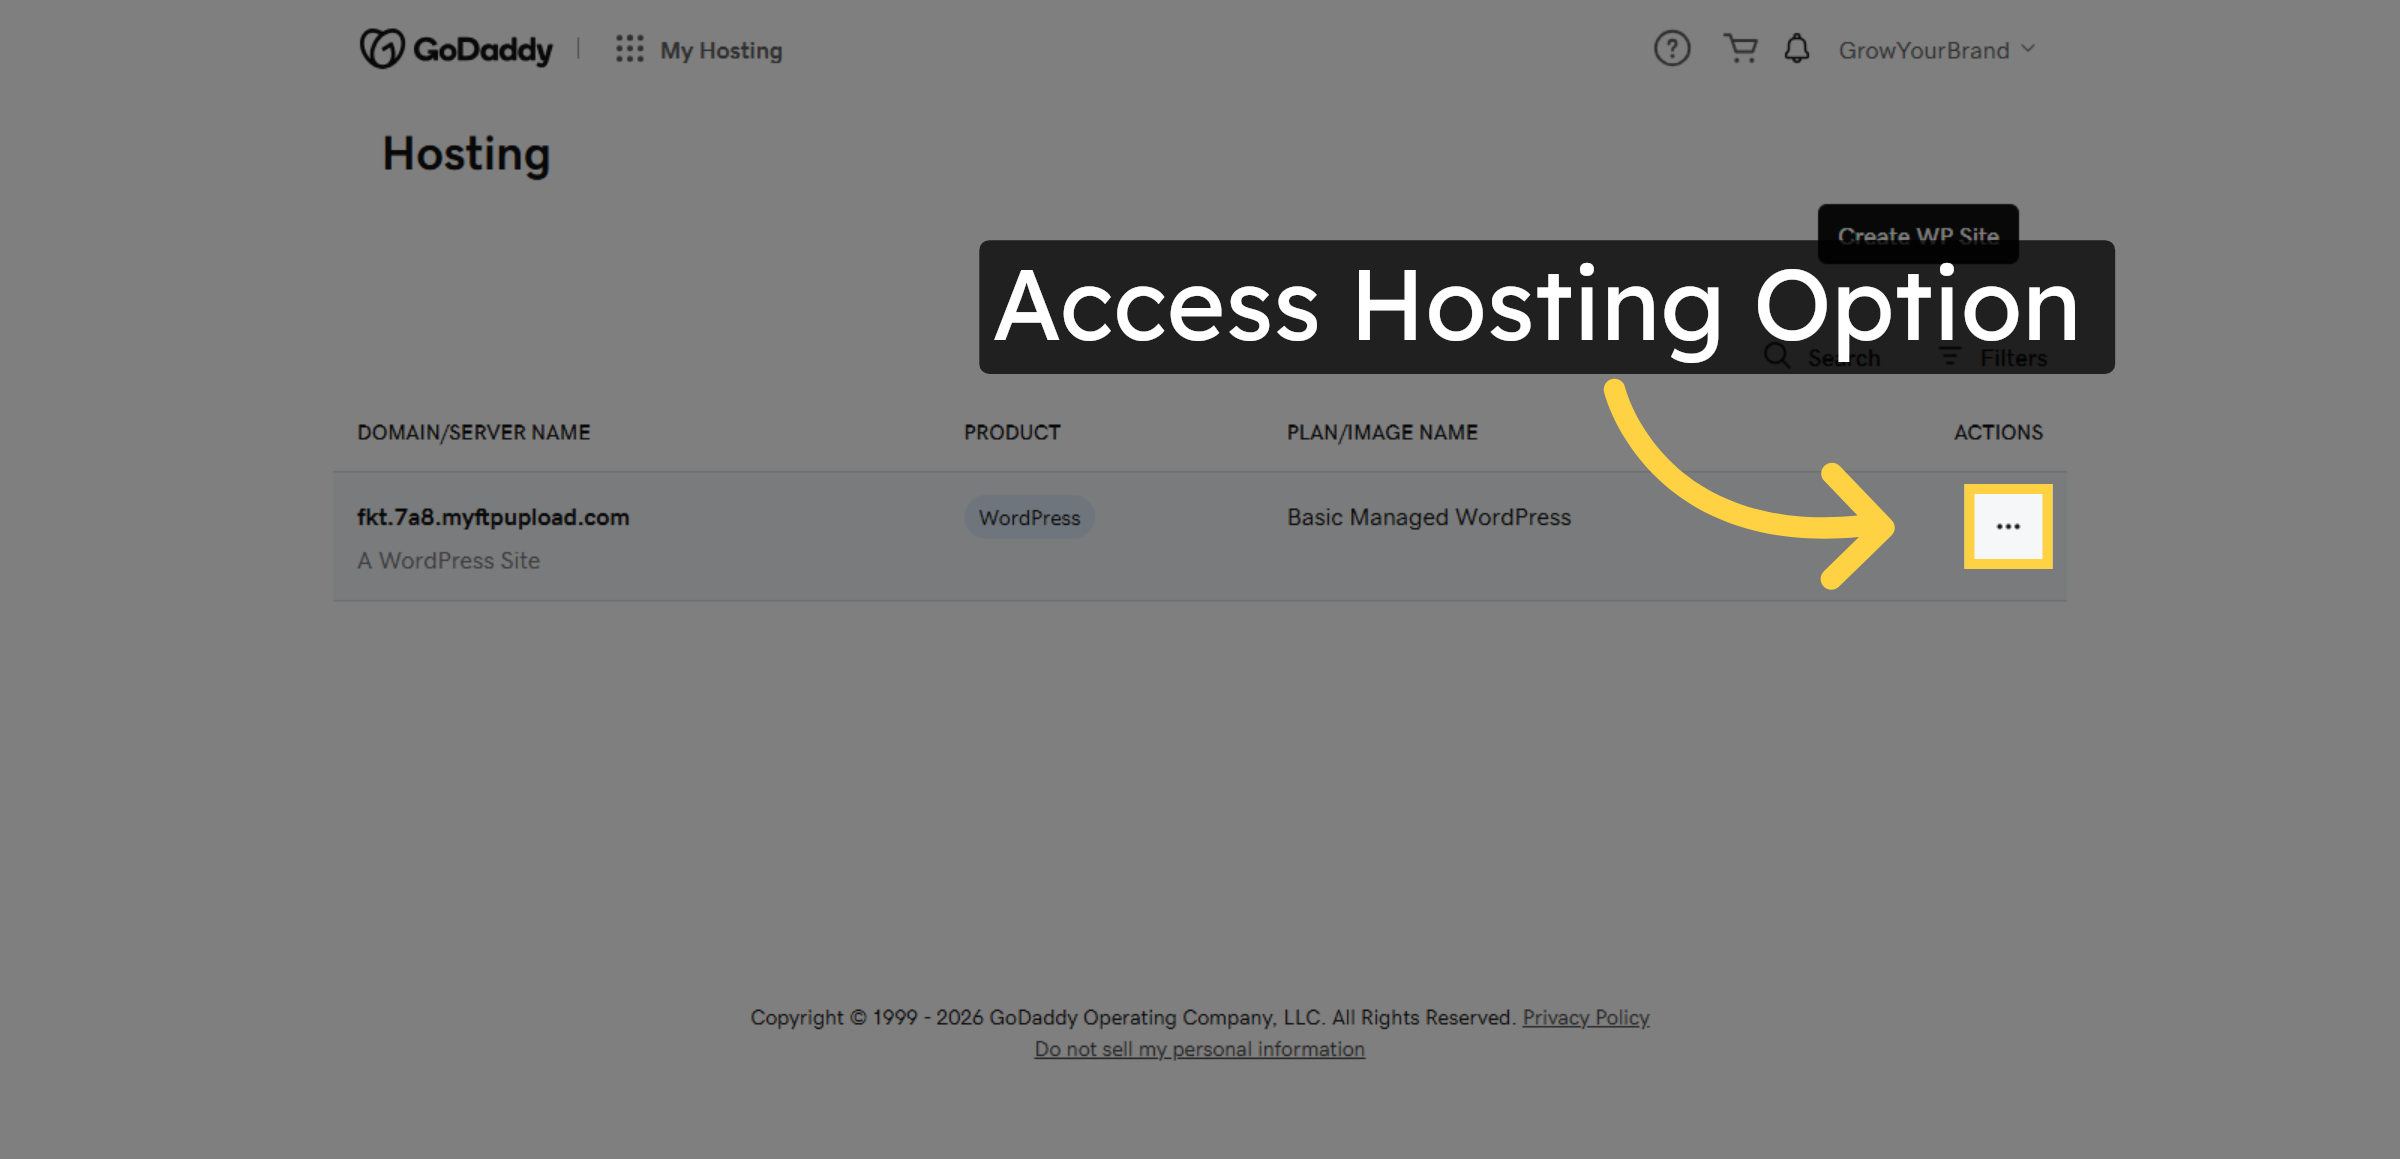
4. Access Hosting Option
Click the designated area to open hosting management options for your WordPress site.
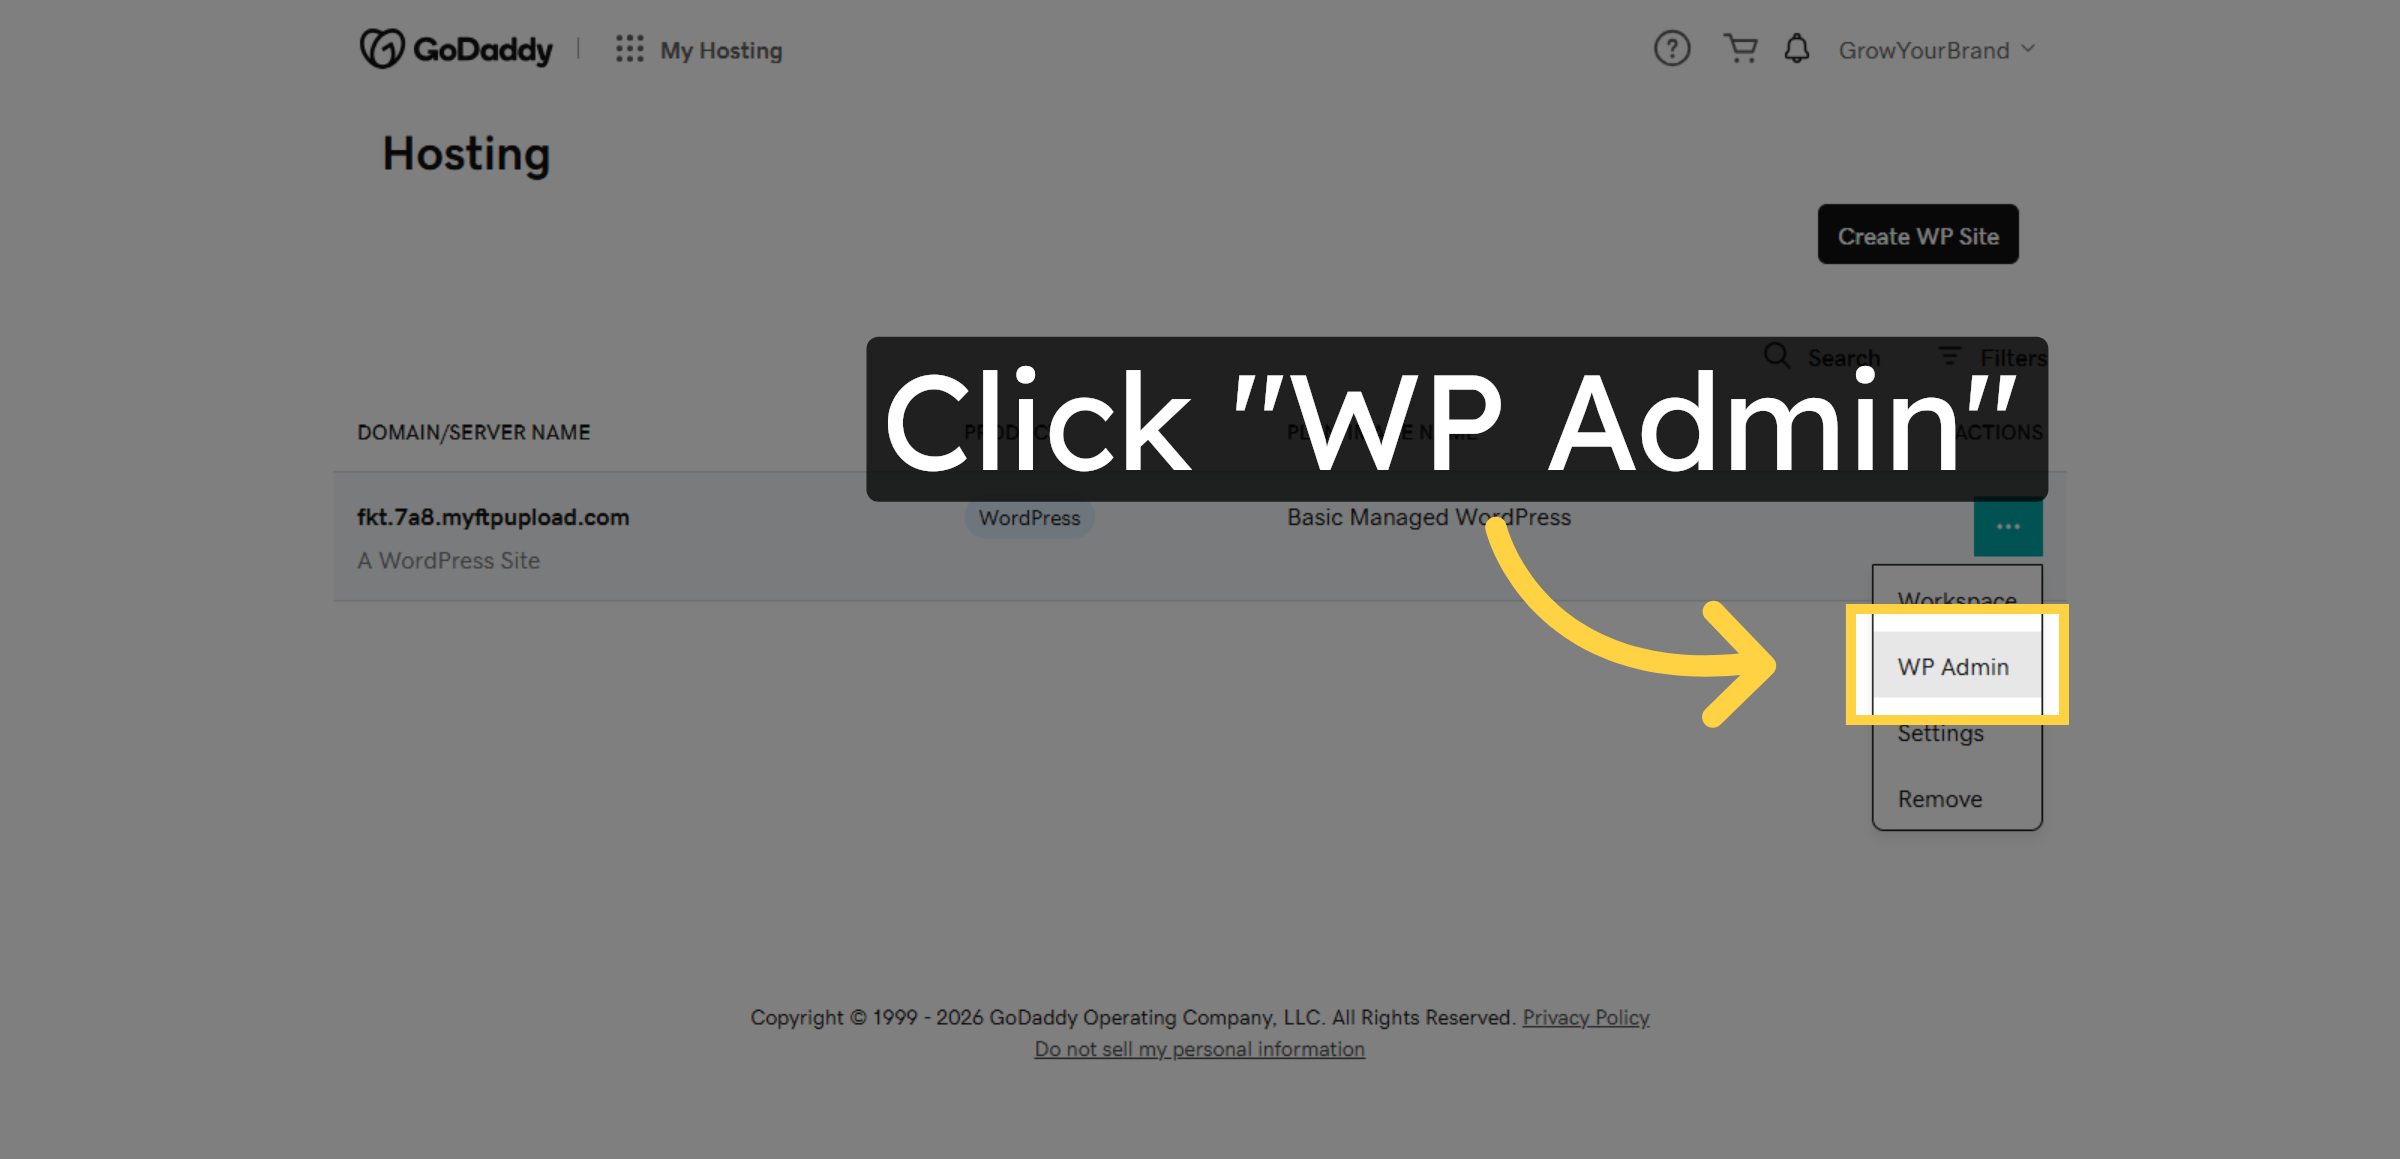
5. Click WP Admin Panel
Click “WP Admin” to access the WordPress administration dashboard for your website.
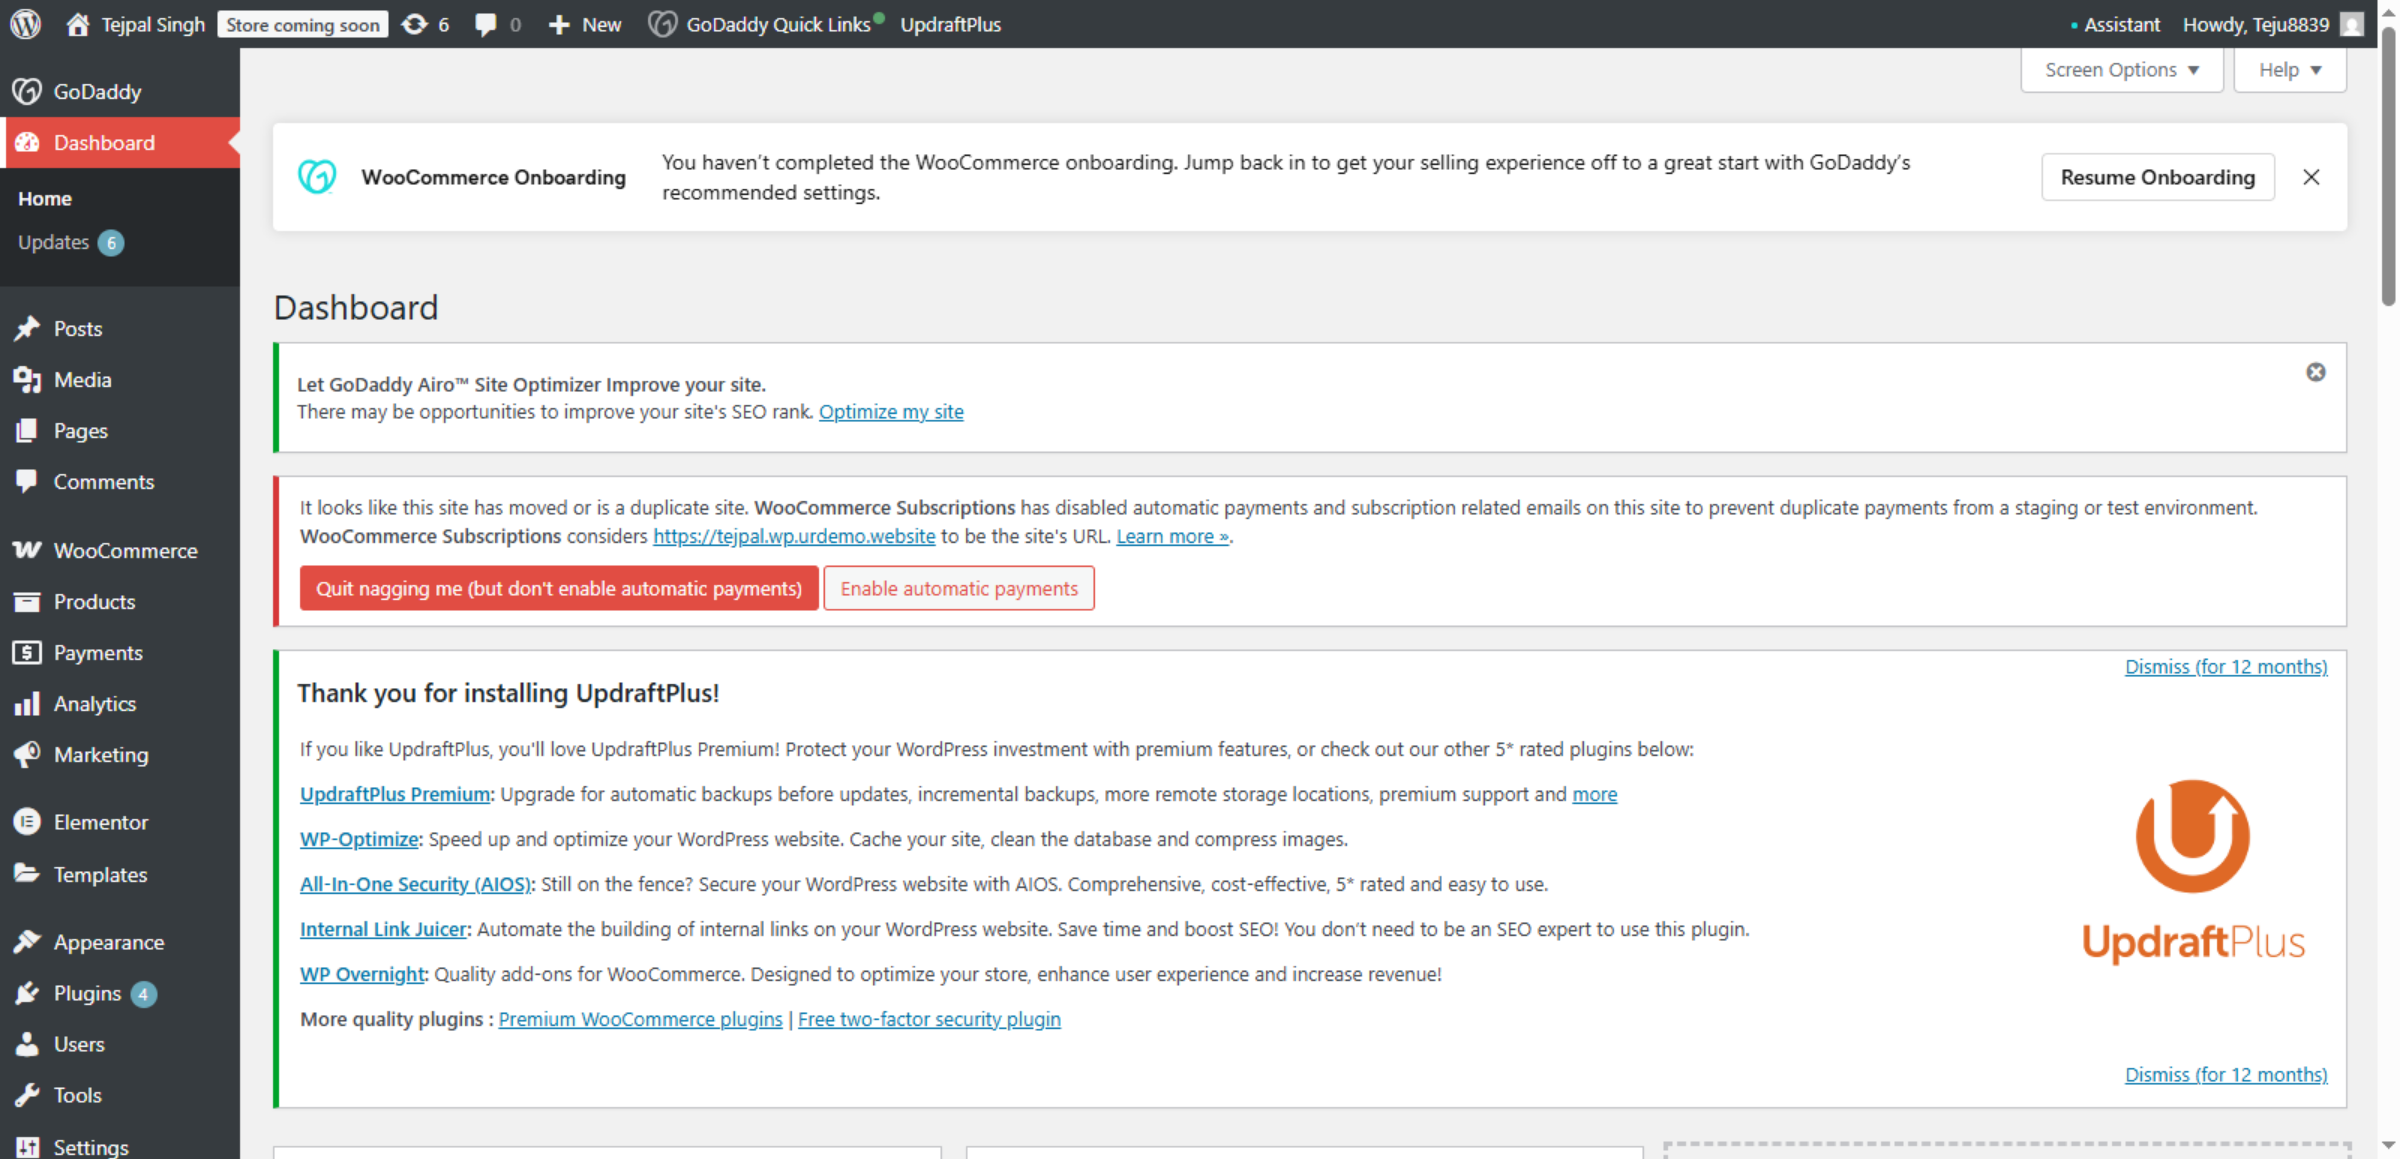
6. Switch To WordPress Dashboard
Switch to your WordPress dashboard hosted at your site’s FTP address to manage site content and plugins.
7. Navigate To Add Plugins
Click “Add Plugin” to open the plugin installation interface in WordPress.

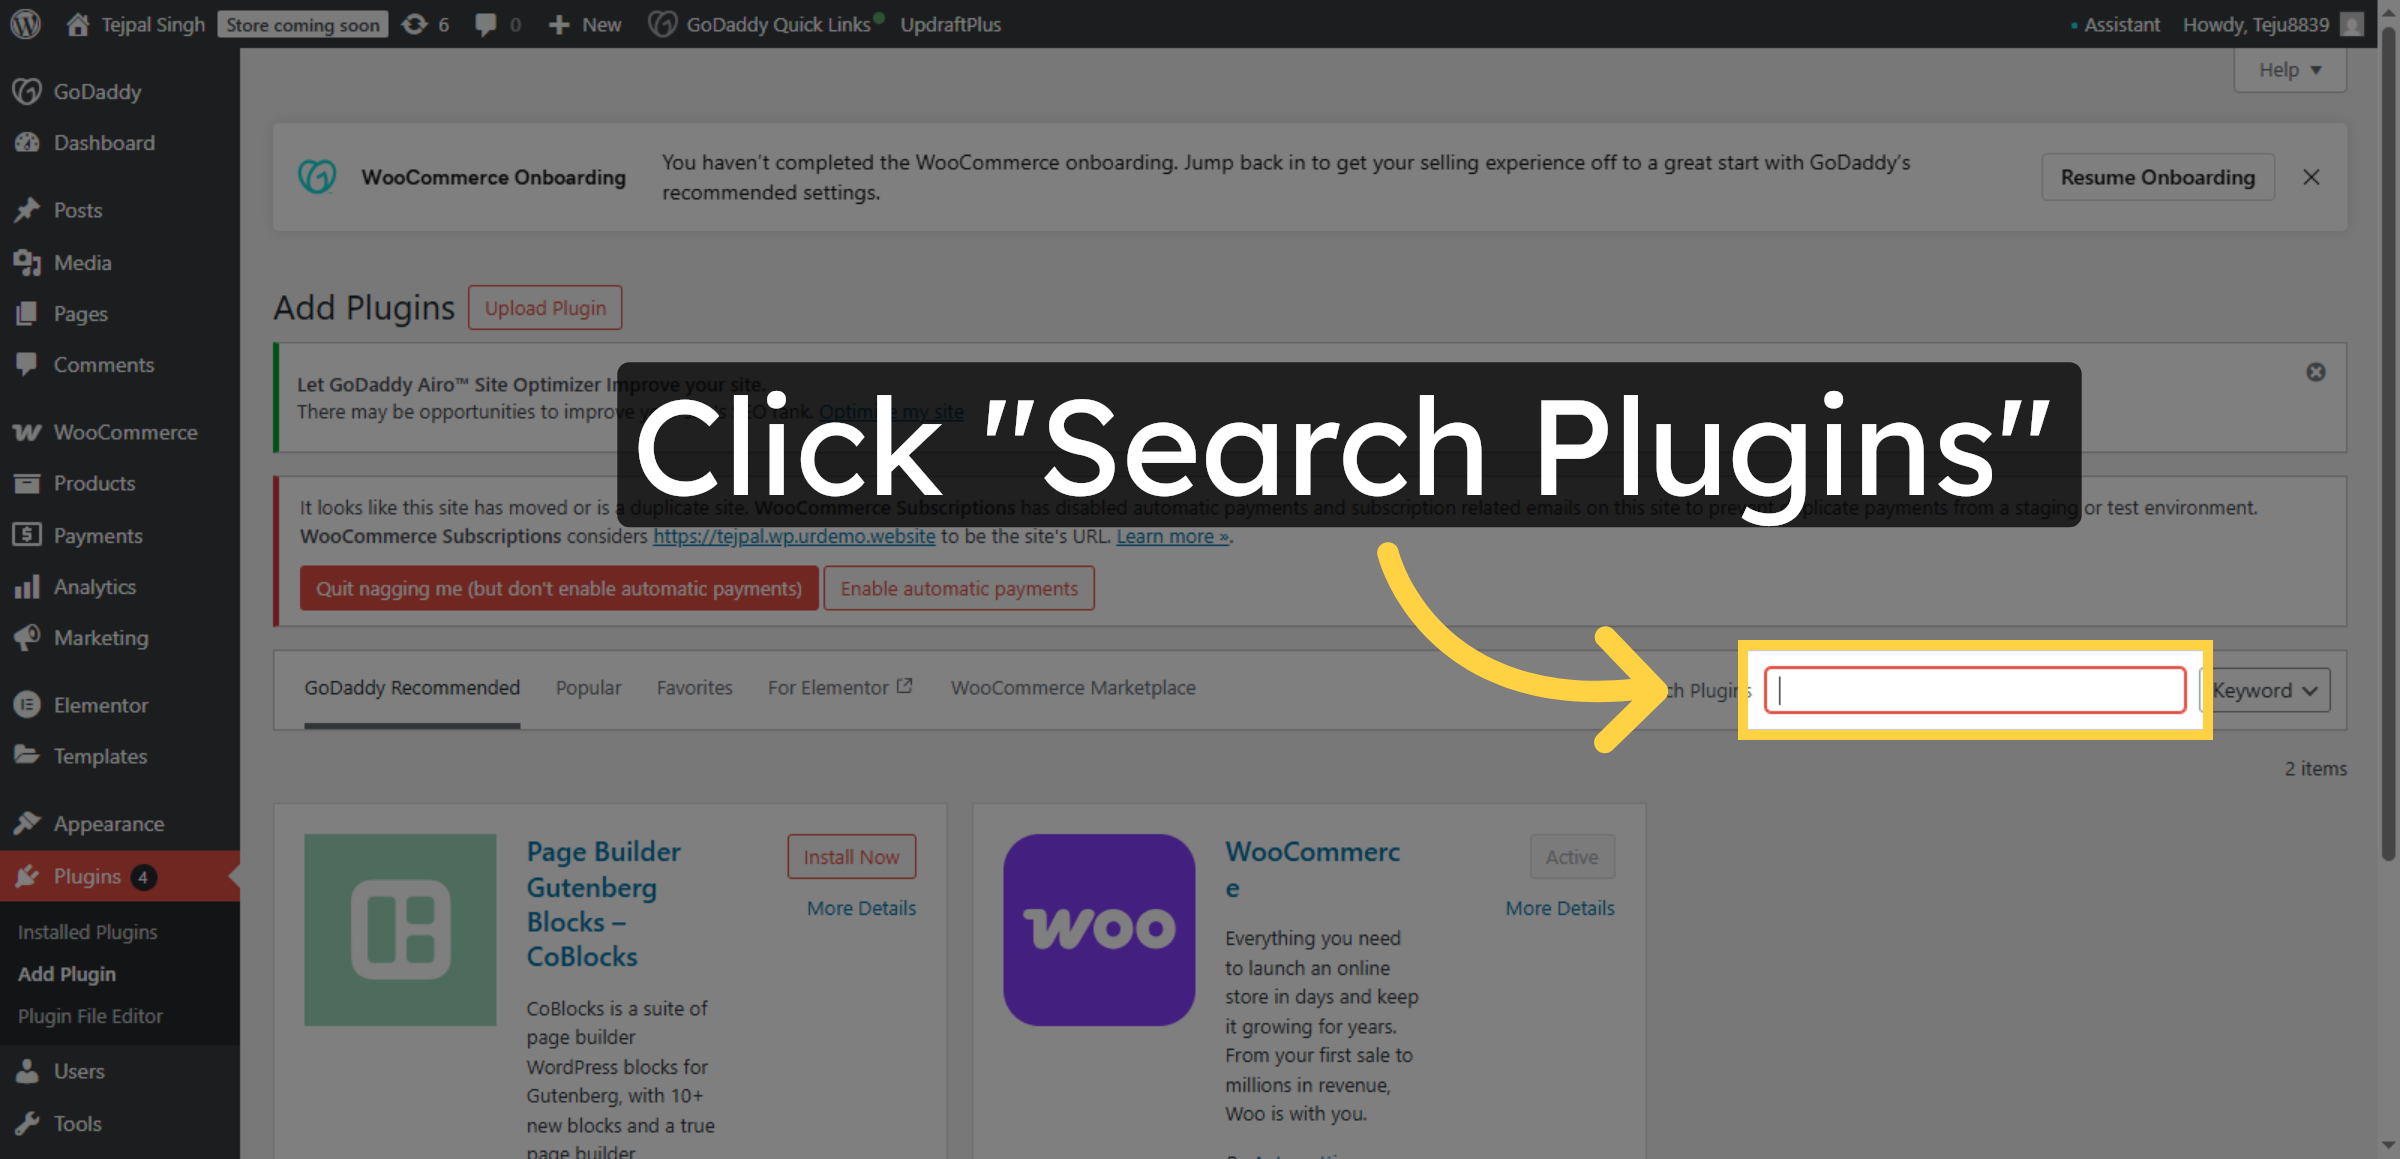
8. Search For Plugins
Click the “Search Plugins” field to find new plugins to install on your WordPress site.
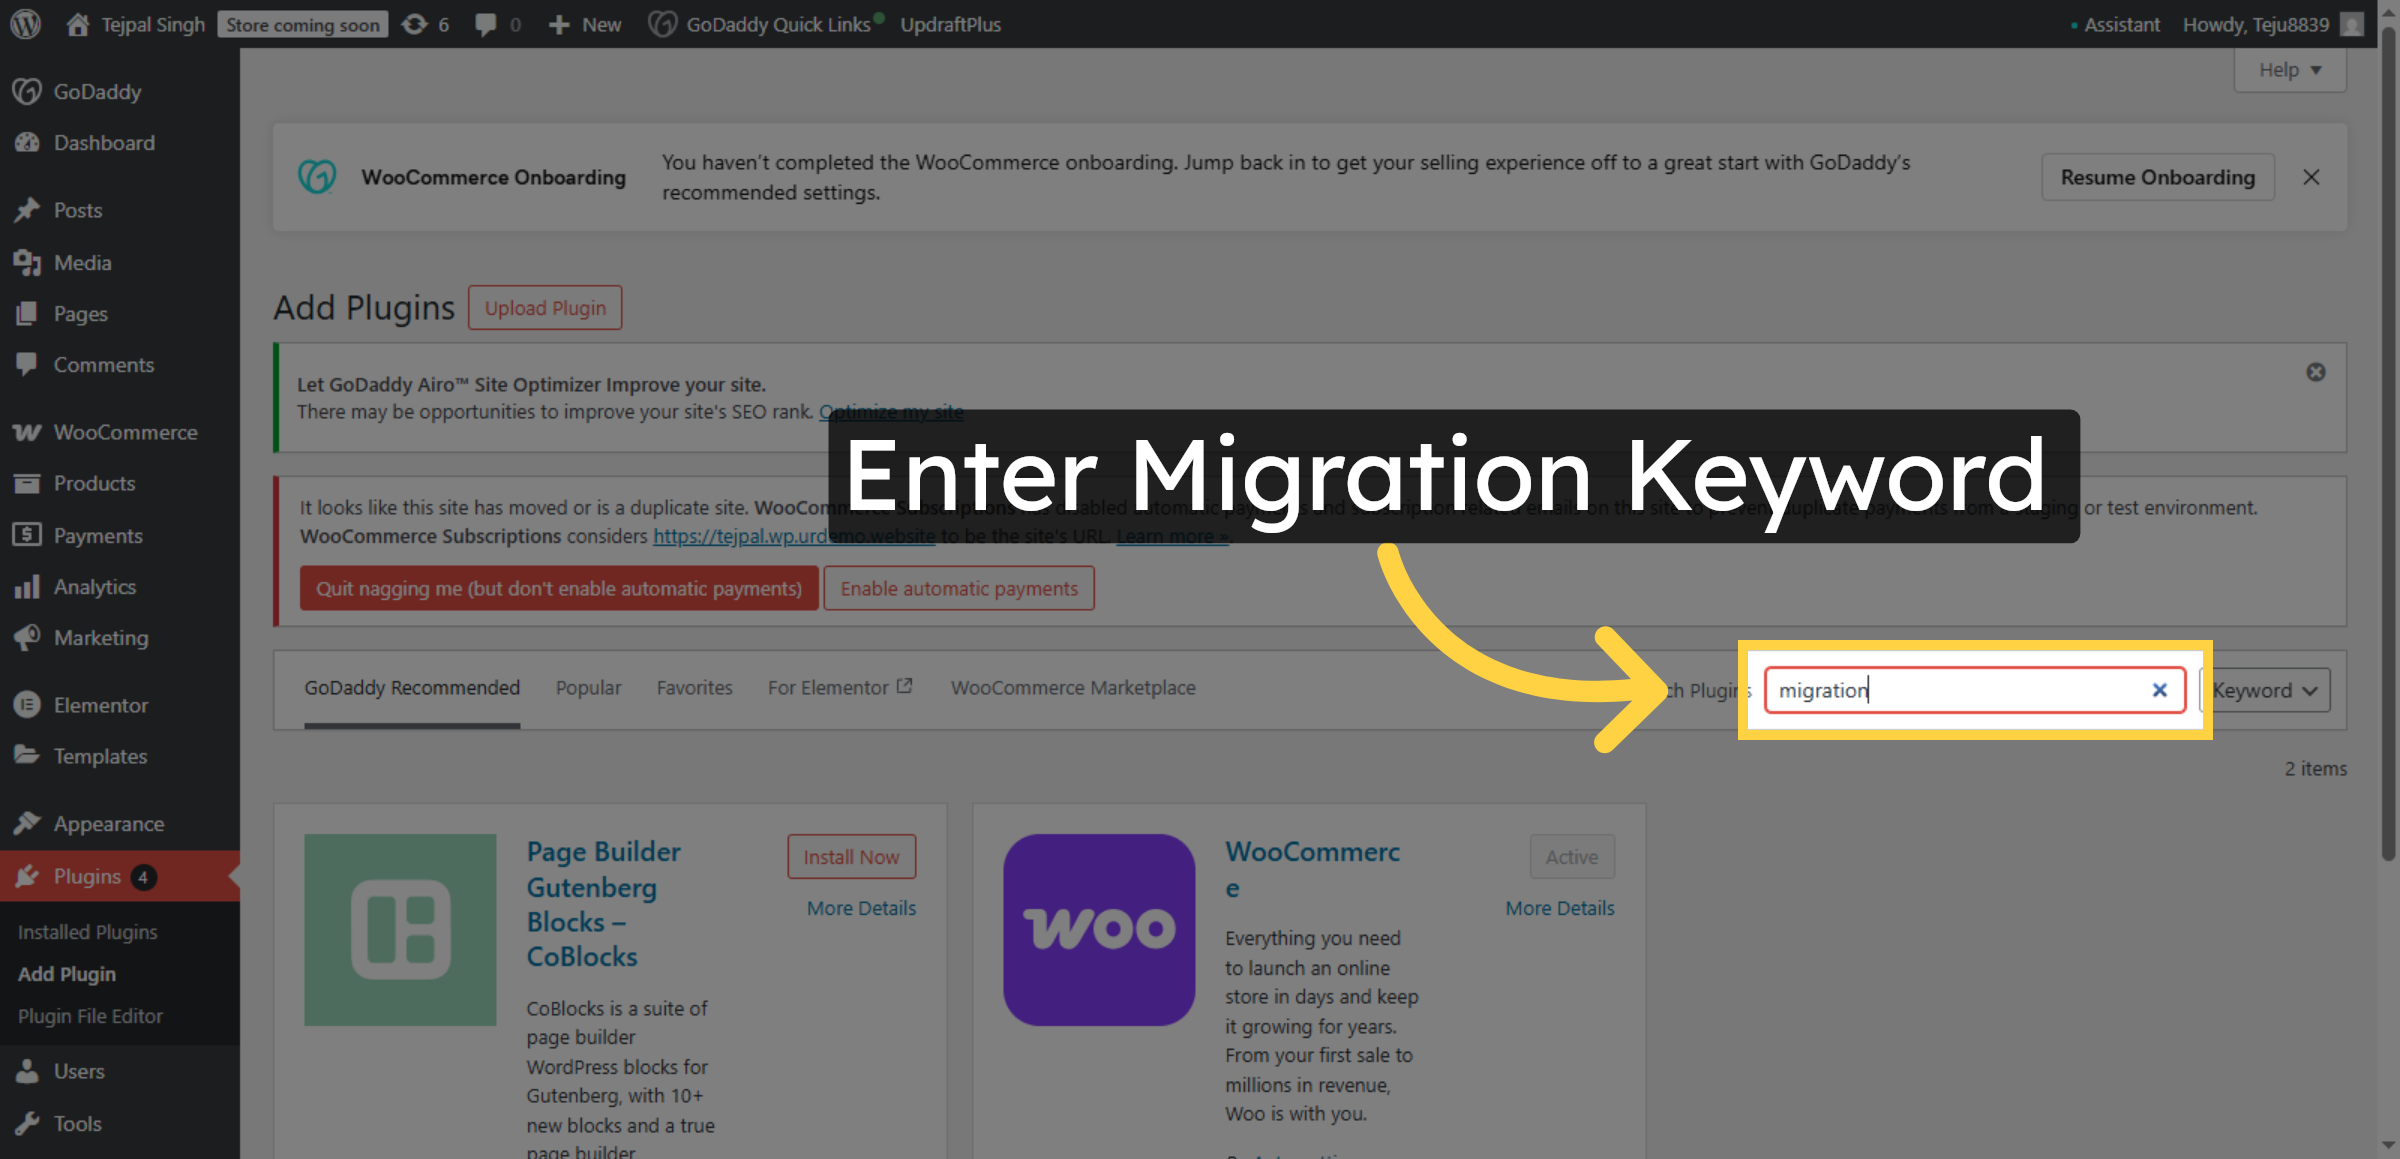
9. Enter Migration Keyword
Enter the keyword “migration” in the search box to locate migration-related plugins.
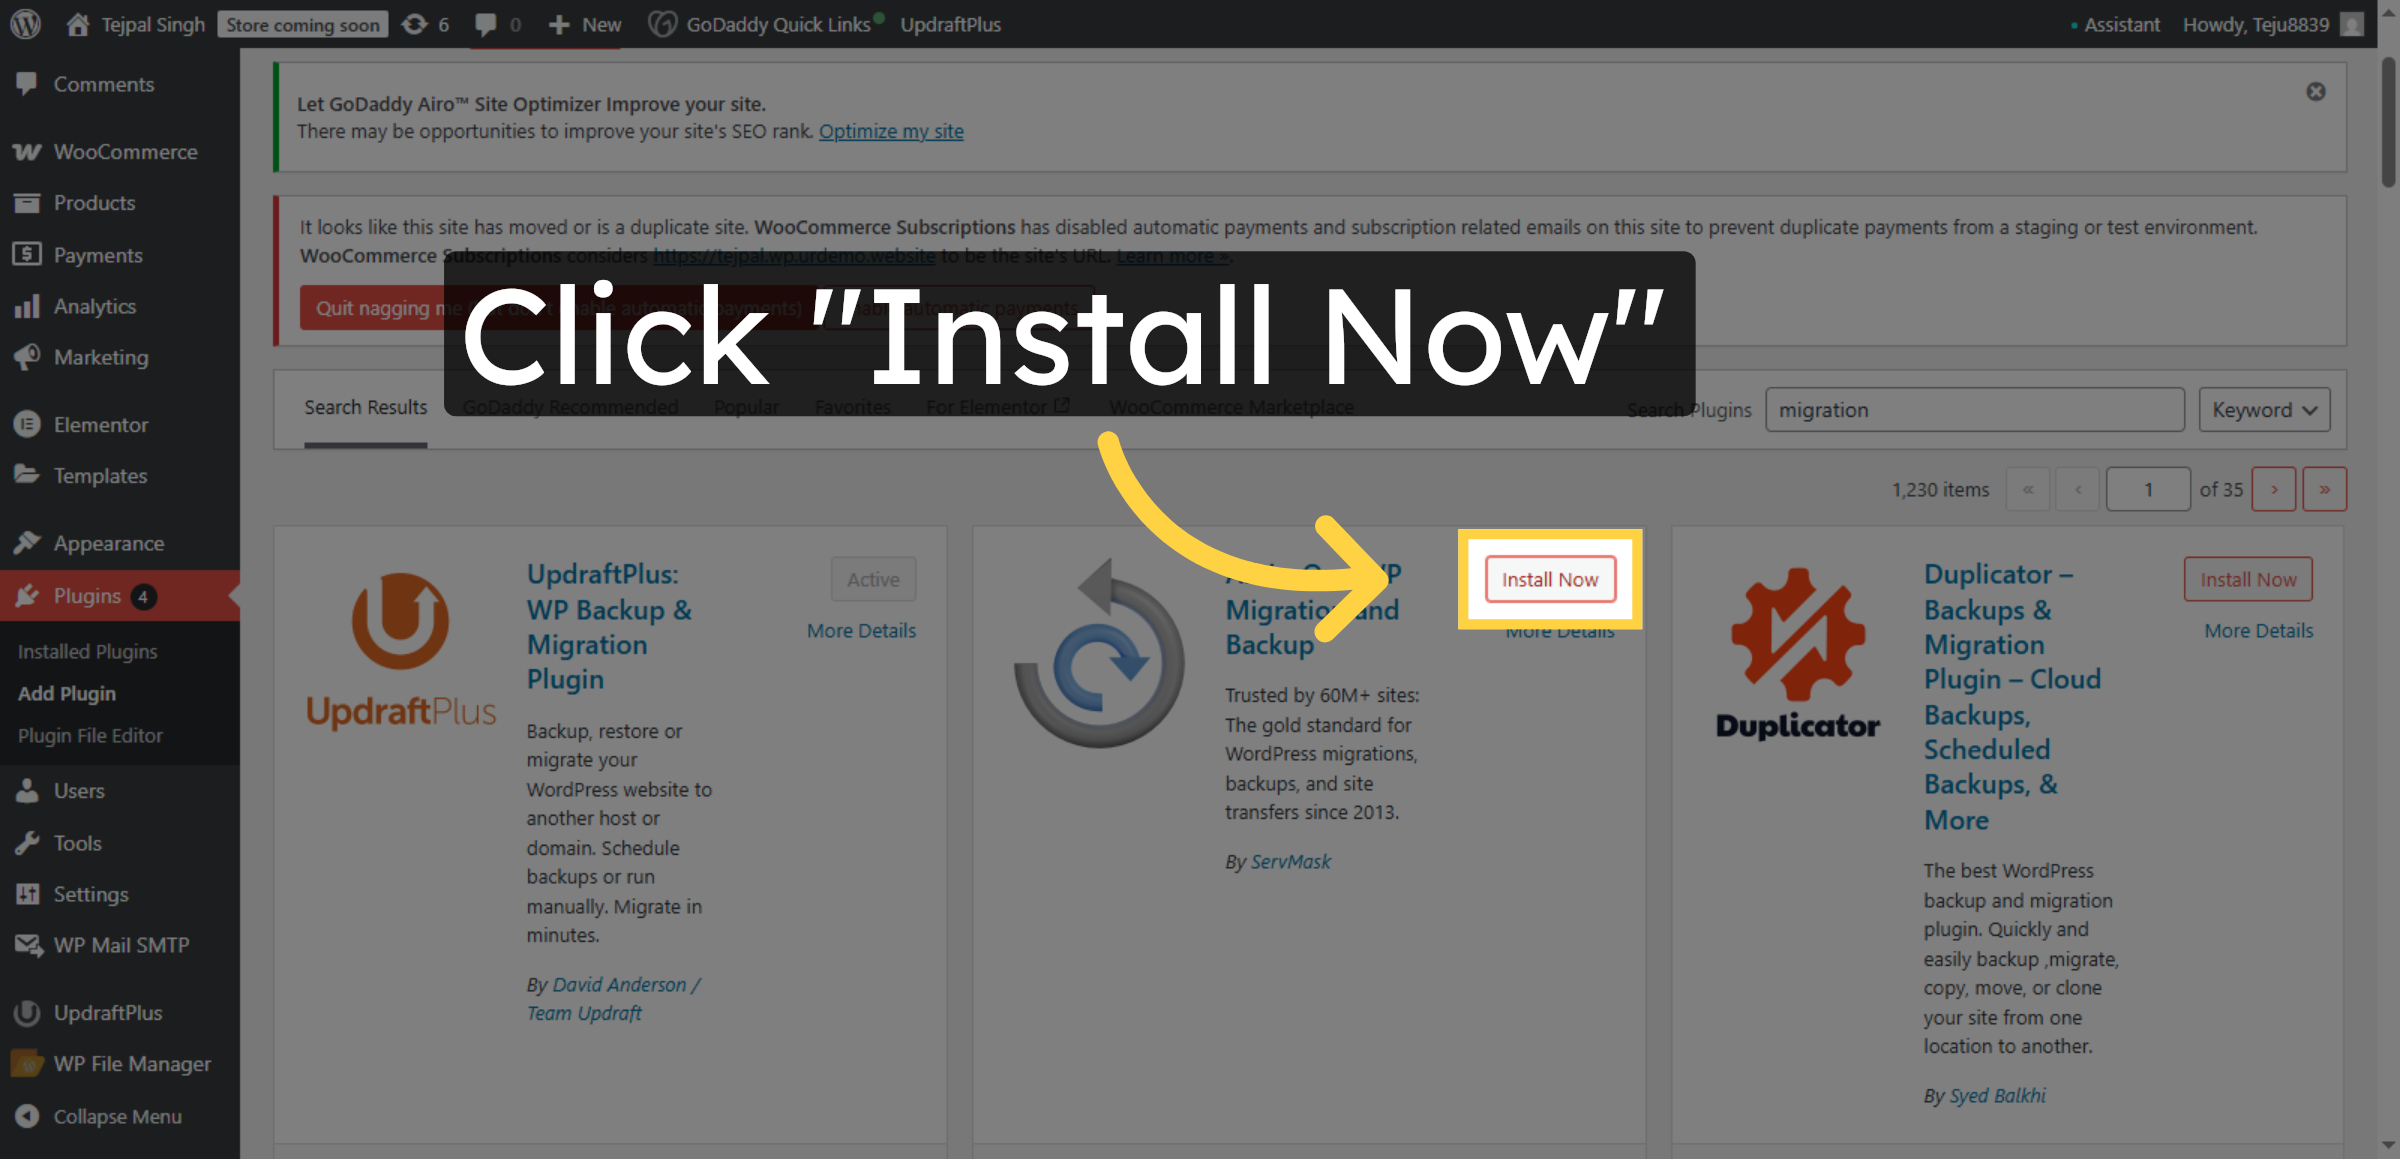
10. Install Migration Plugin
Click “Install Now” to begin installing the All-in-One WP Migration plugin for exporting your site.
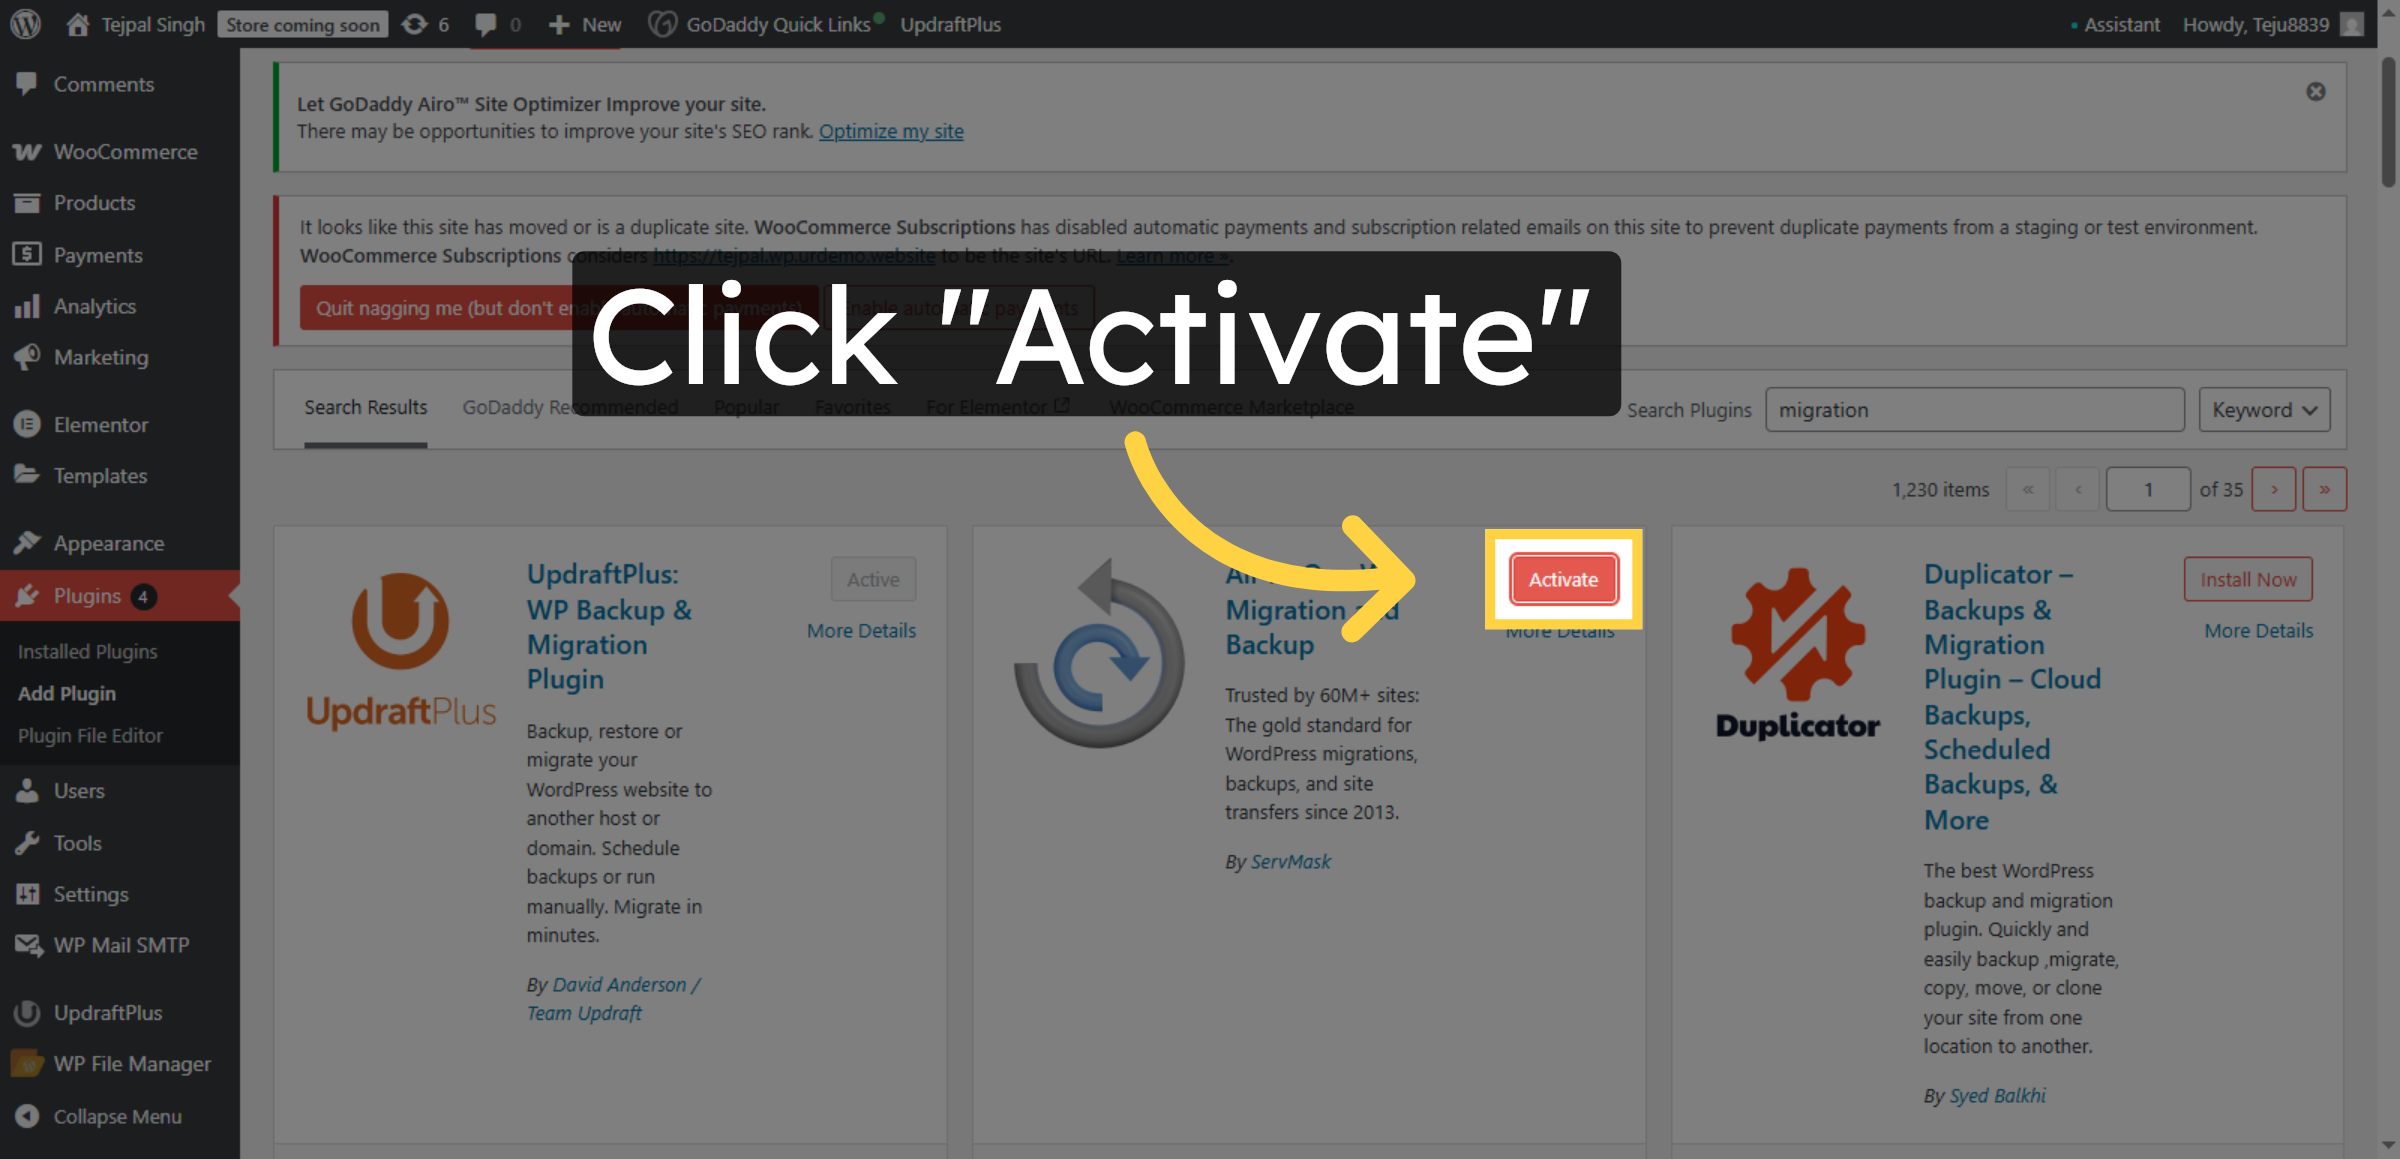
11. Activate Migration Plugin
Click “Activate” to enable the All-in-One WP Migration plugin on your WordPress site.
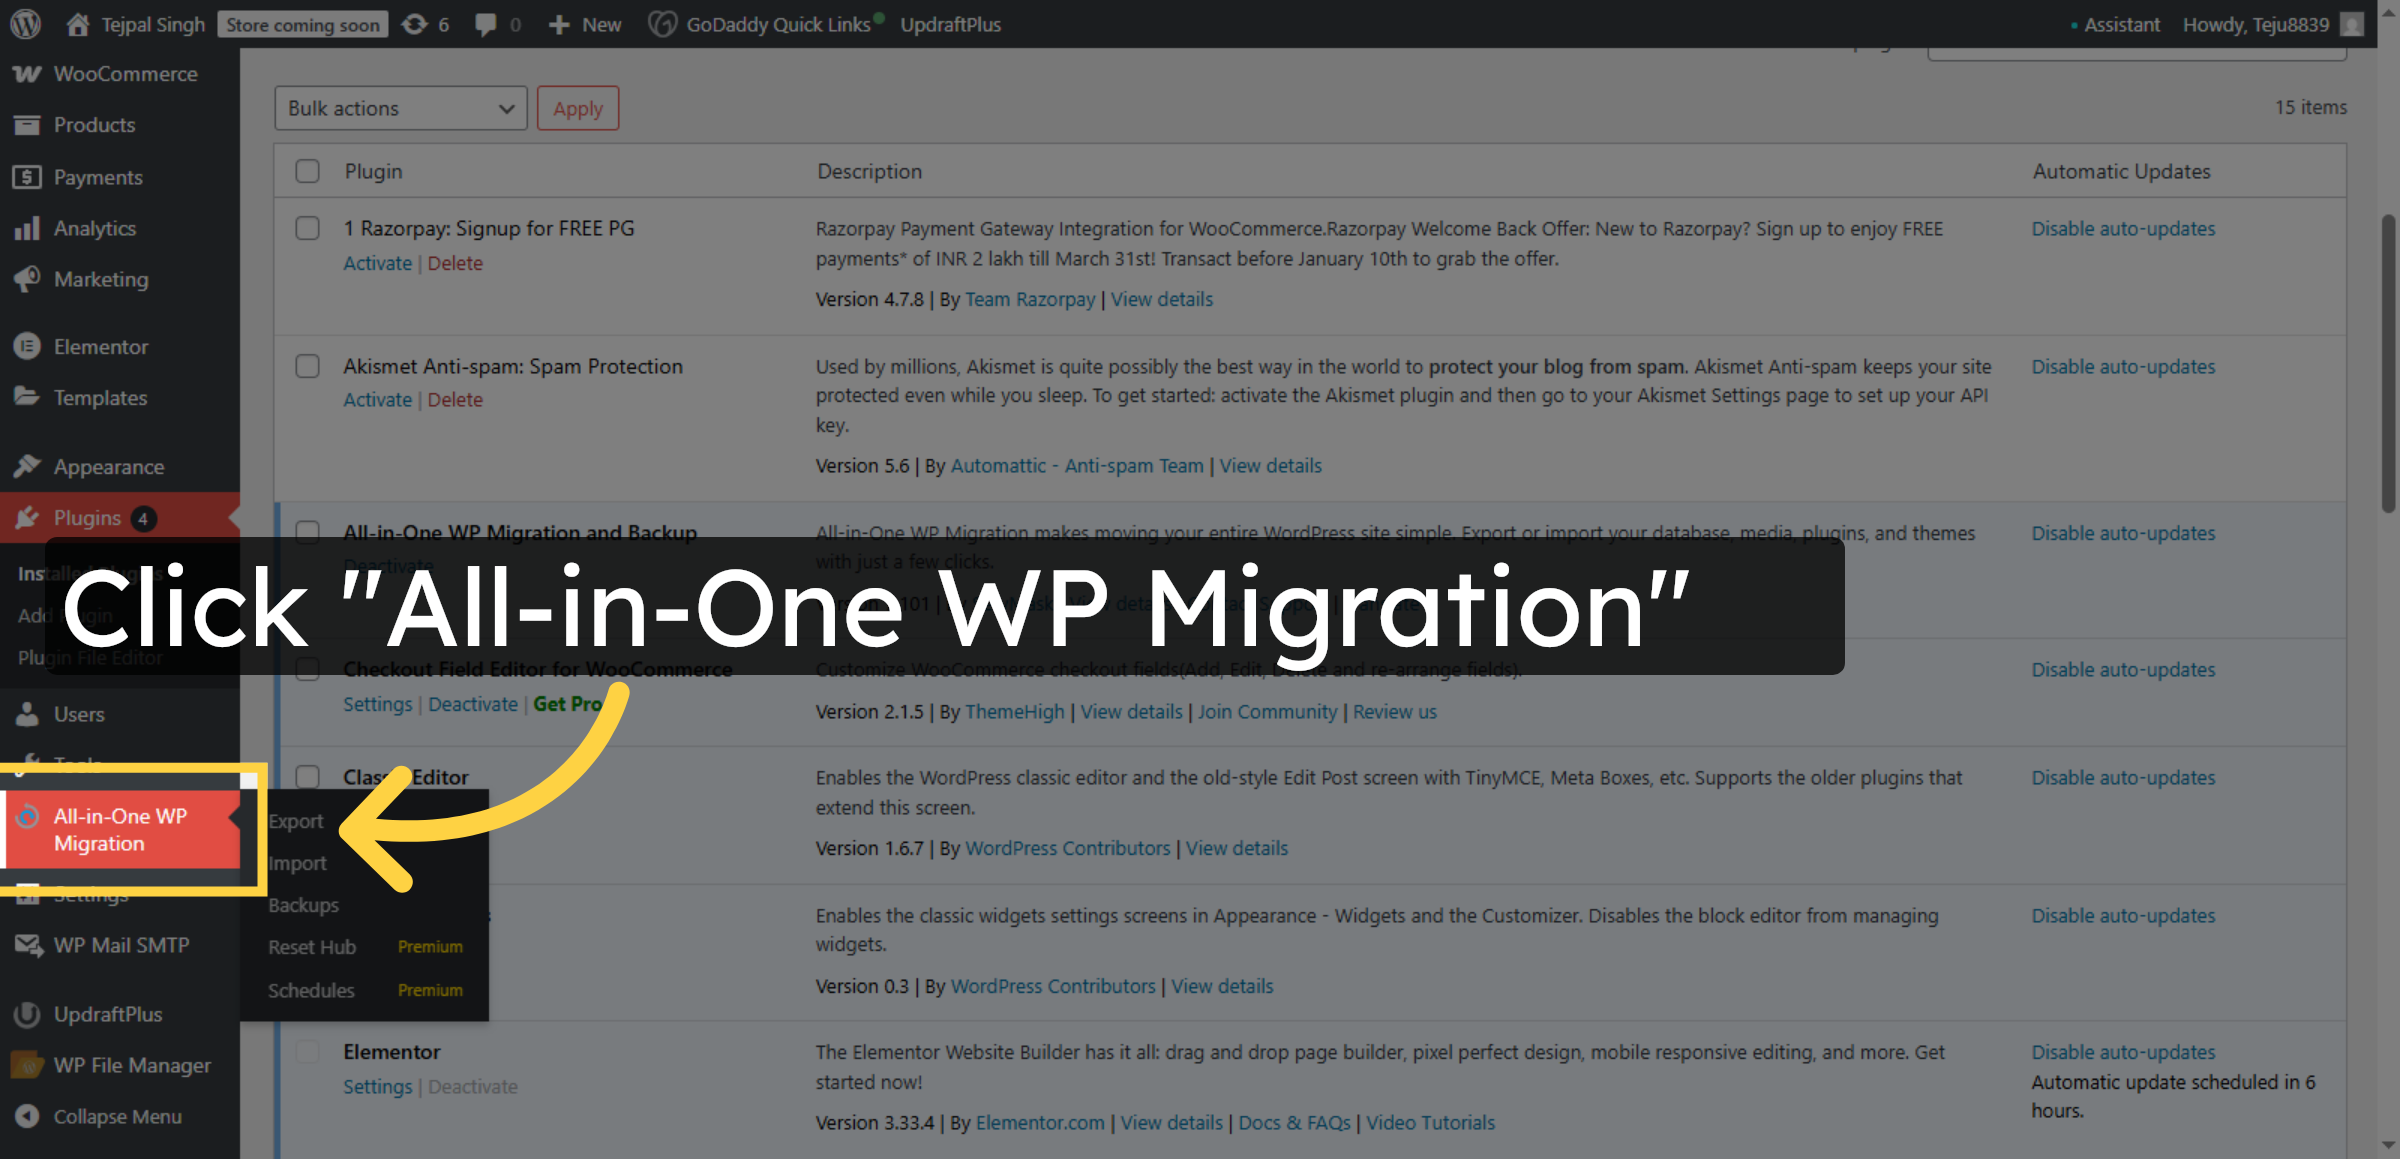
12. Open Migration Plugin
Click “All-in-One WP Migration” in the WordPress menu to access the plugin’s export features.
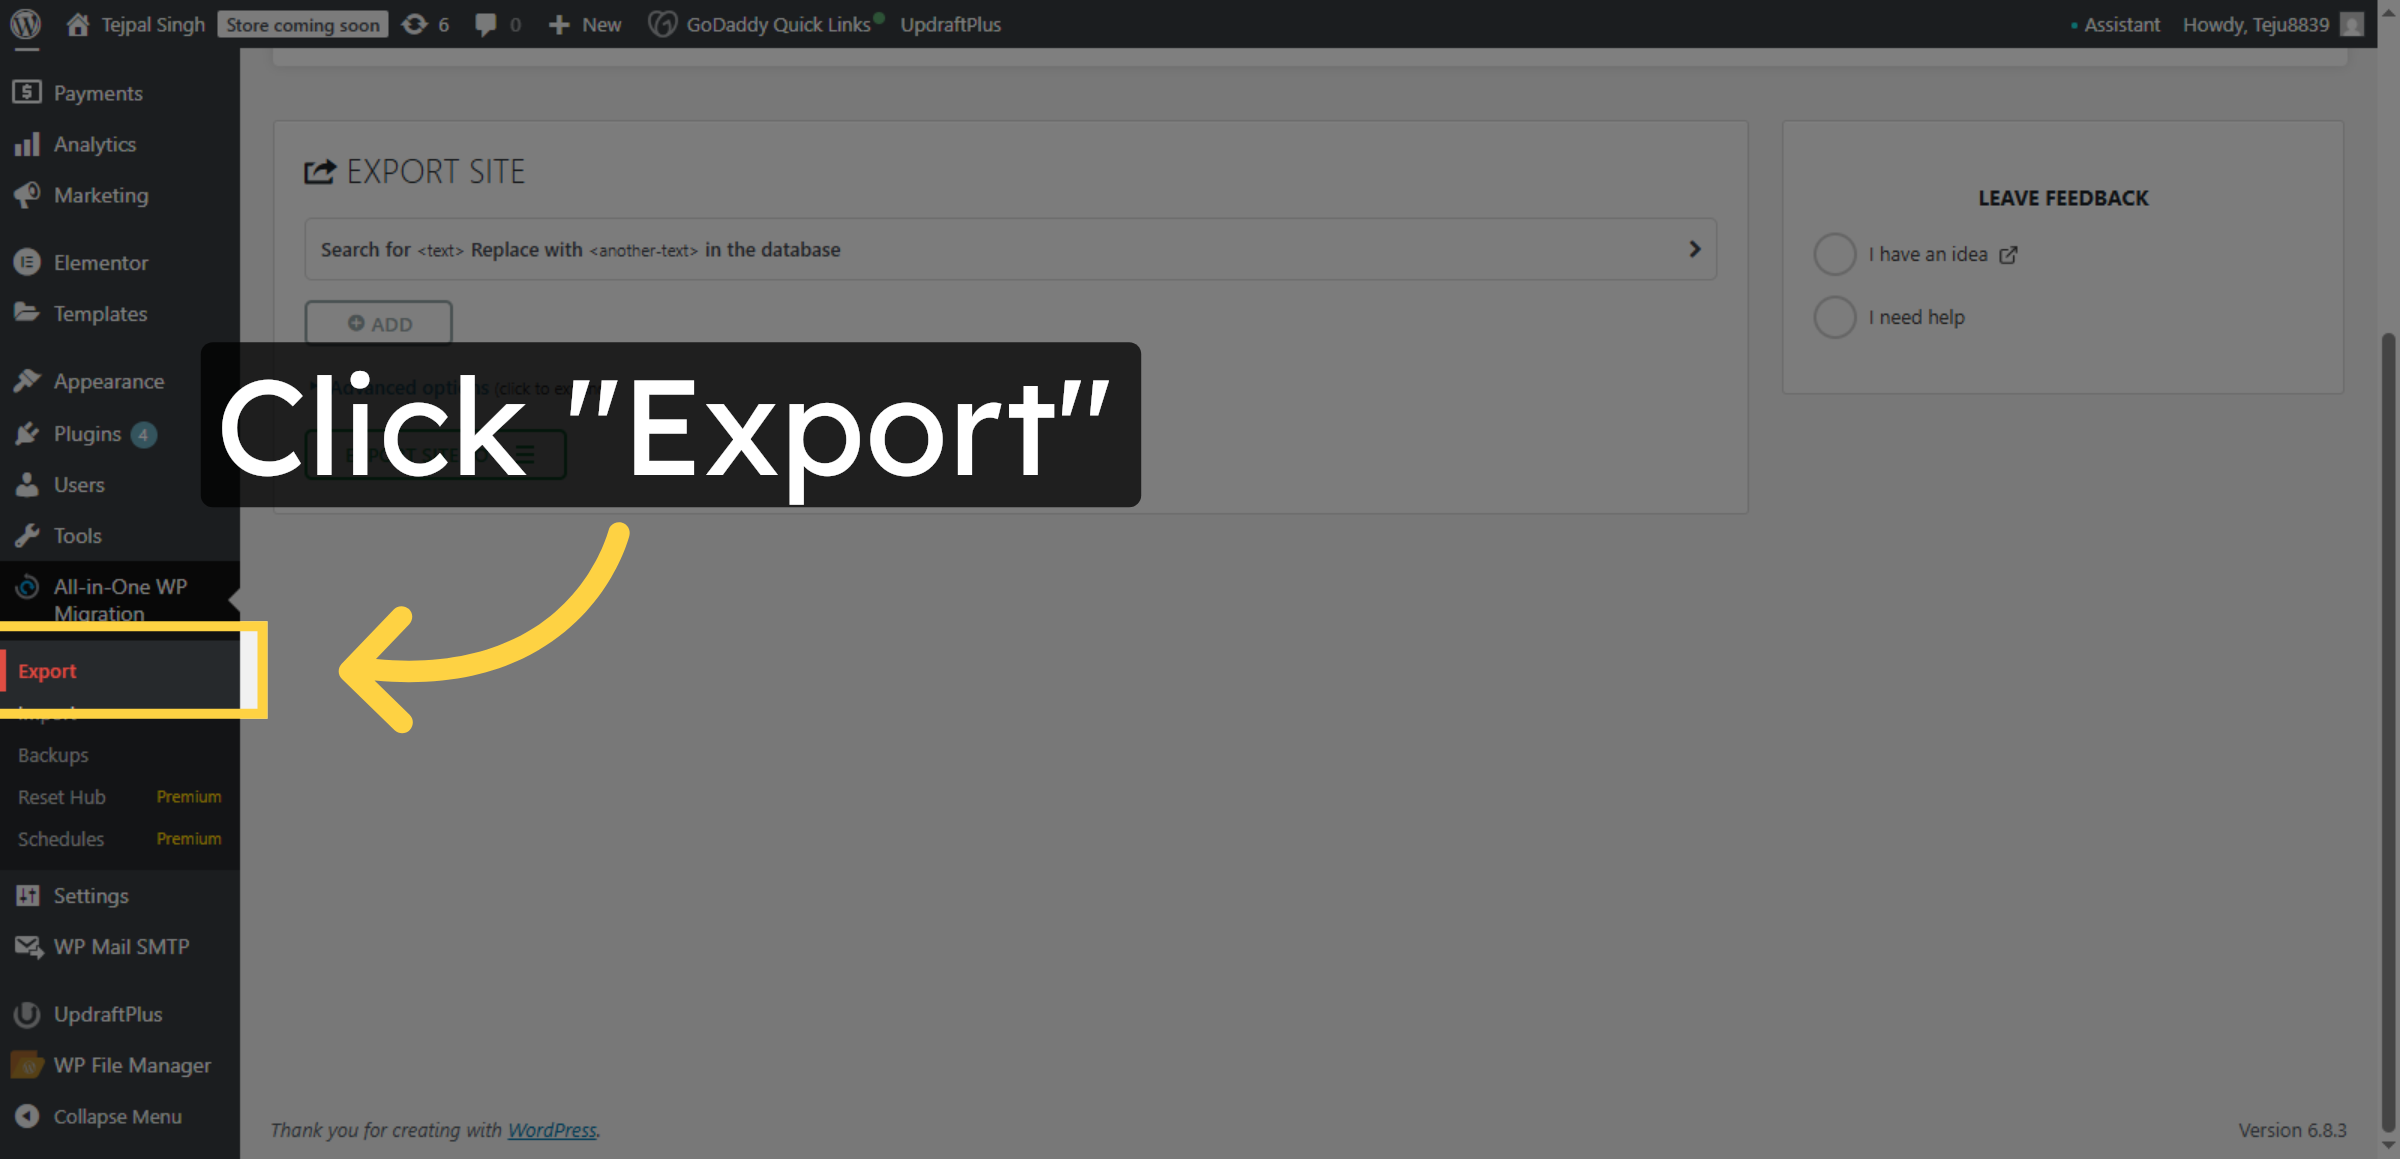
13. Start Export Process
Click “Export” within the plugin to begin preparing your website files for download.
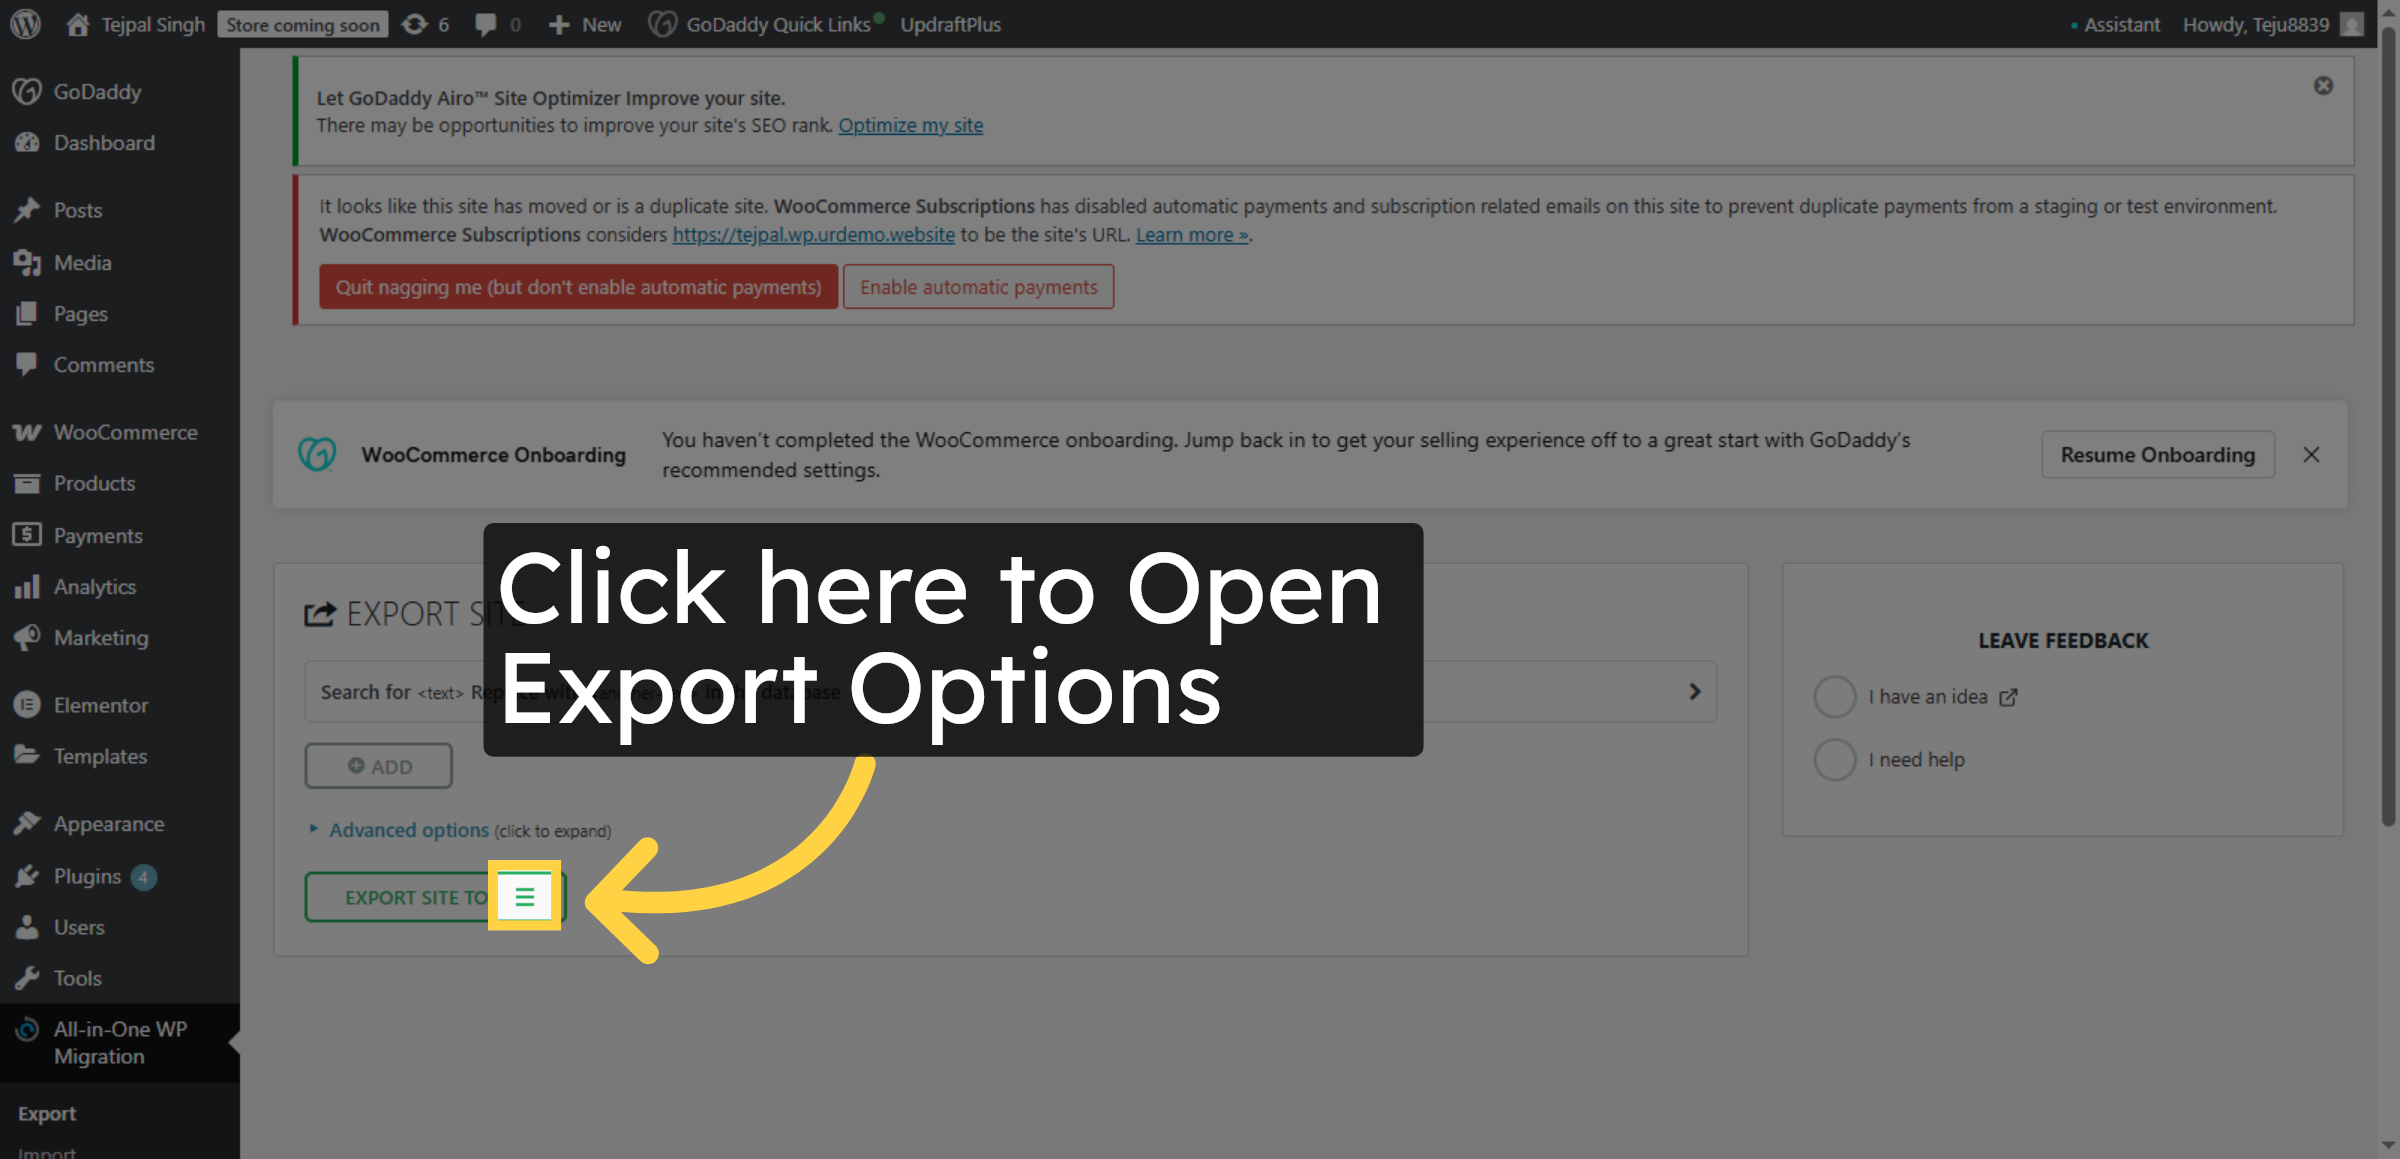
14. Open Export Options
Click the designated area to reveal export destination options for your website data.
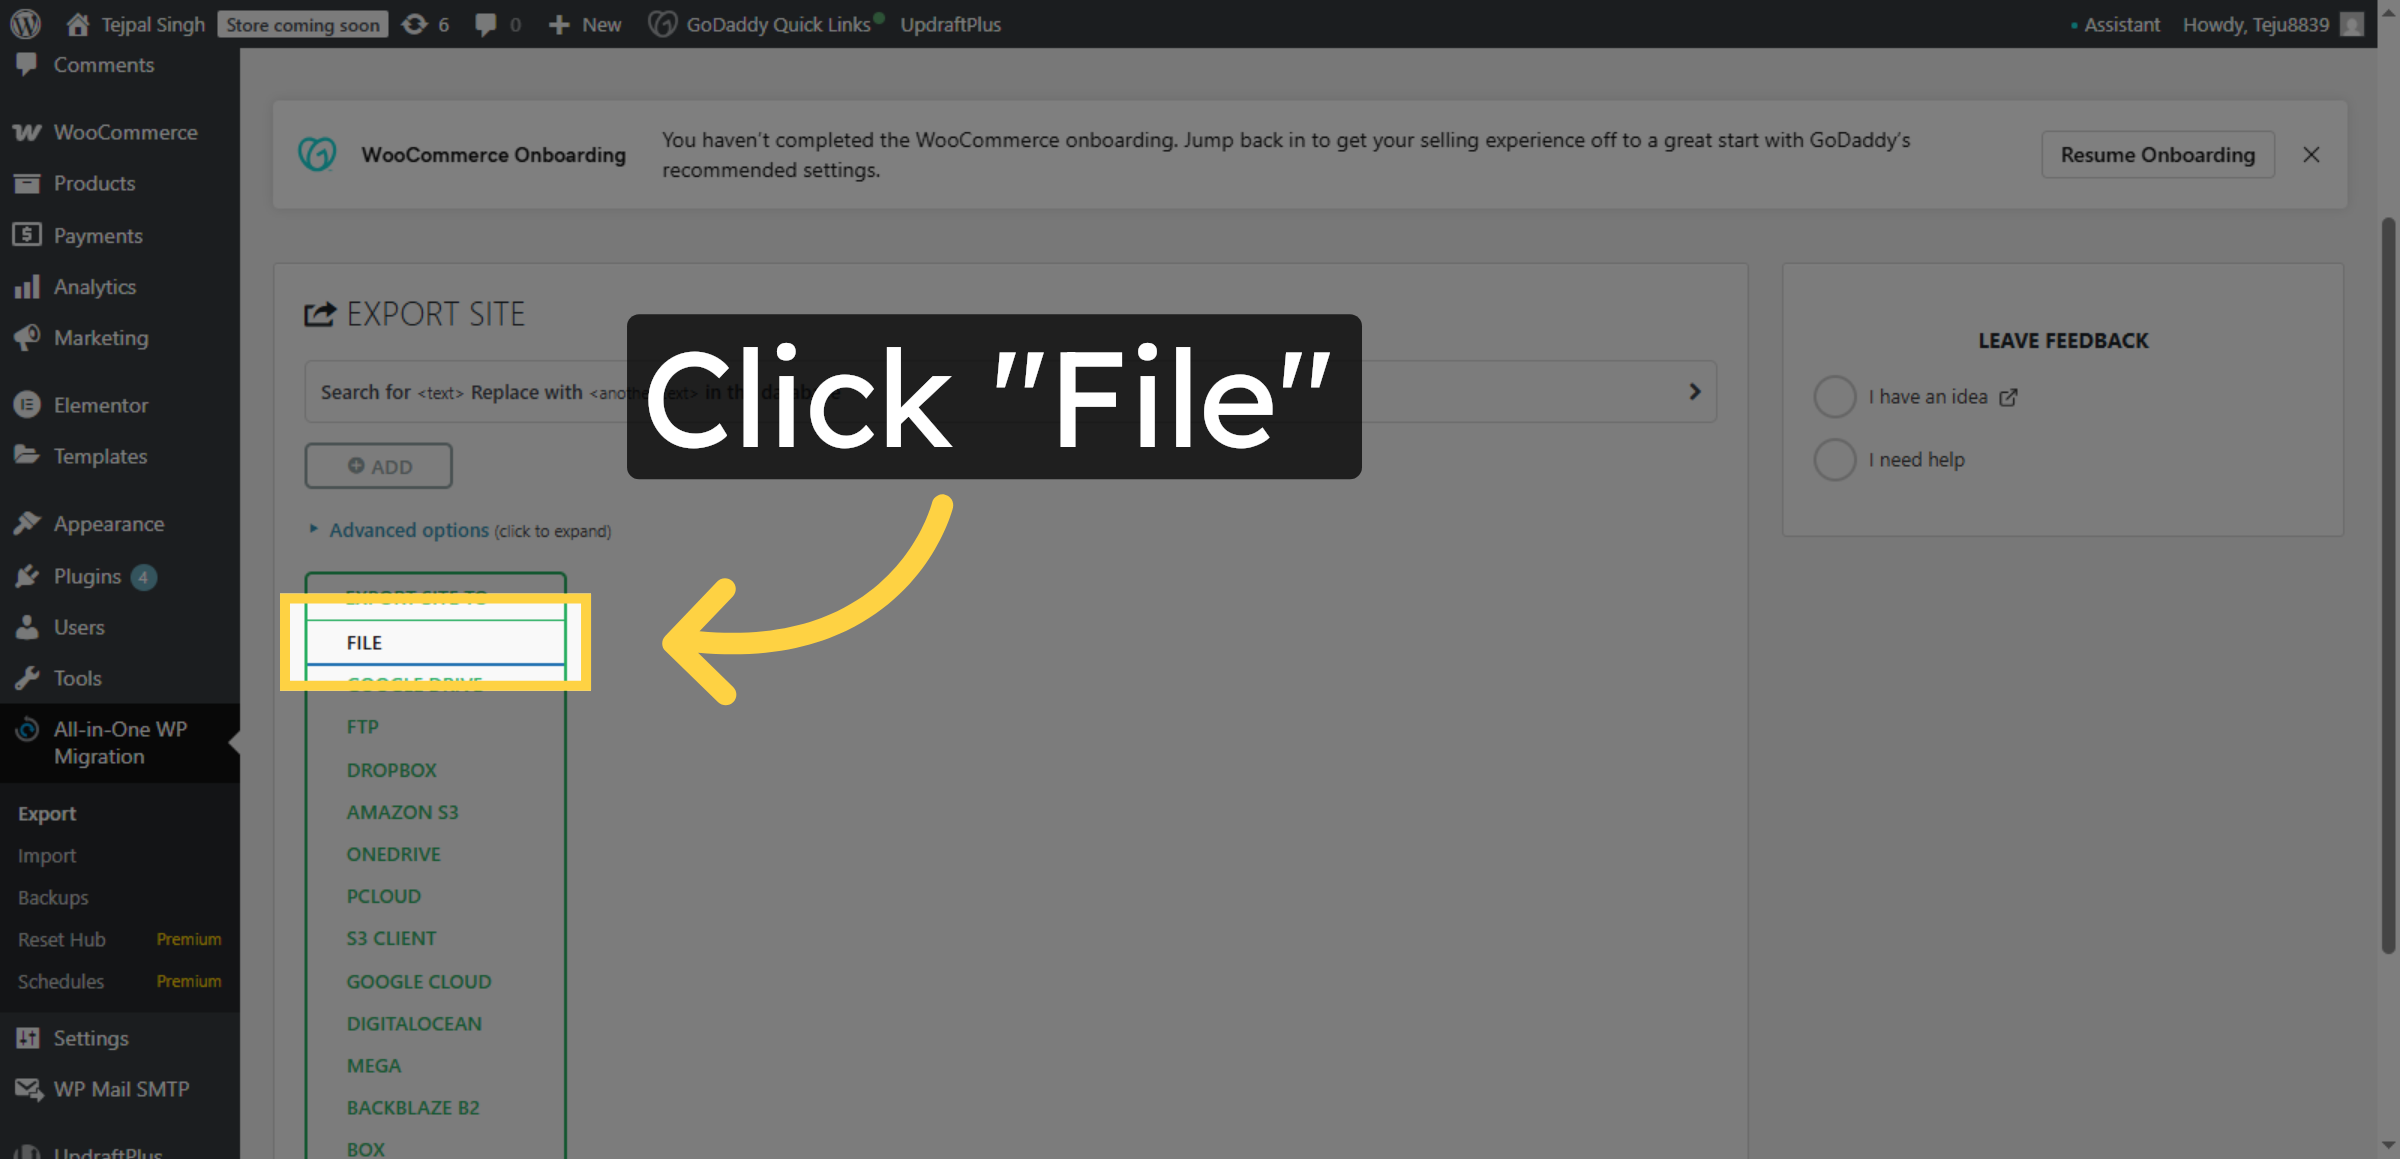
15. Select File Export
Click “File” to choose exporting your website as a downloadable file.
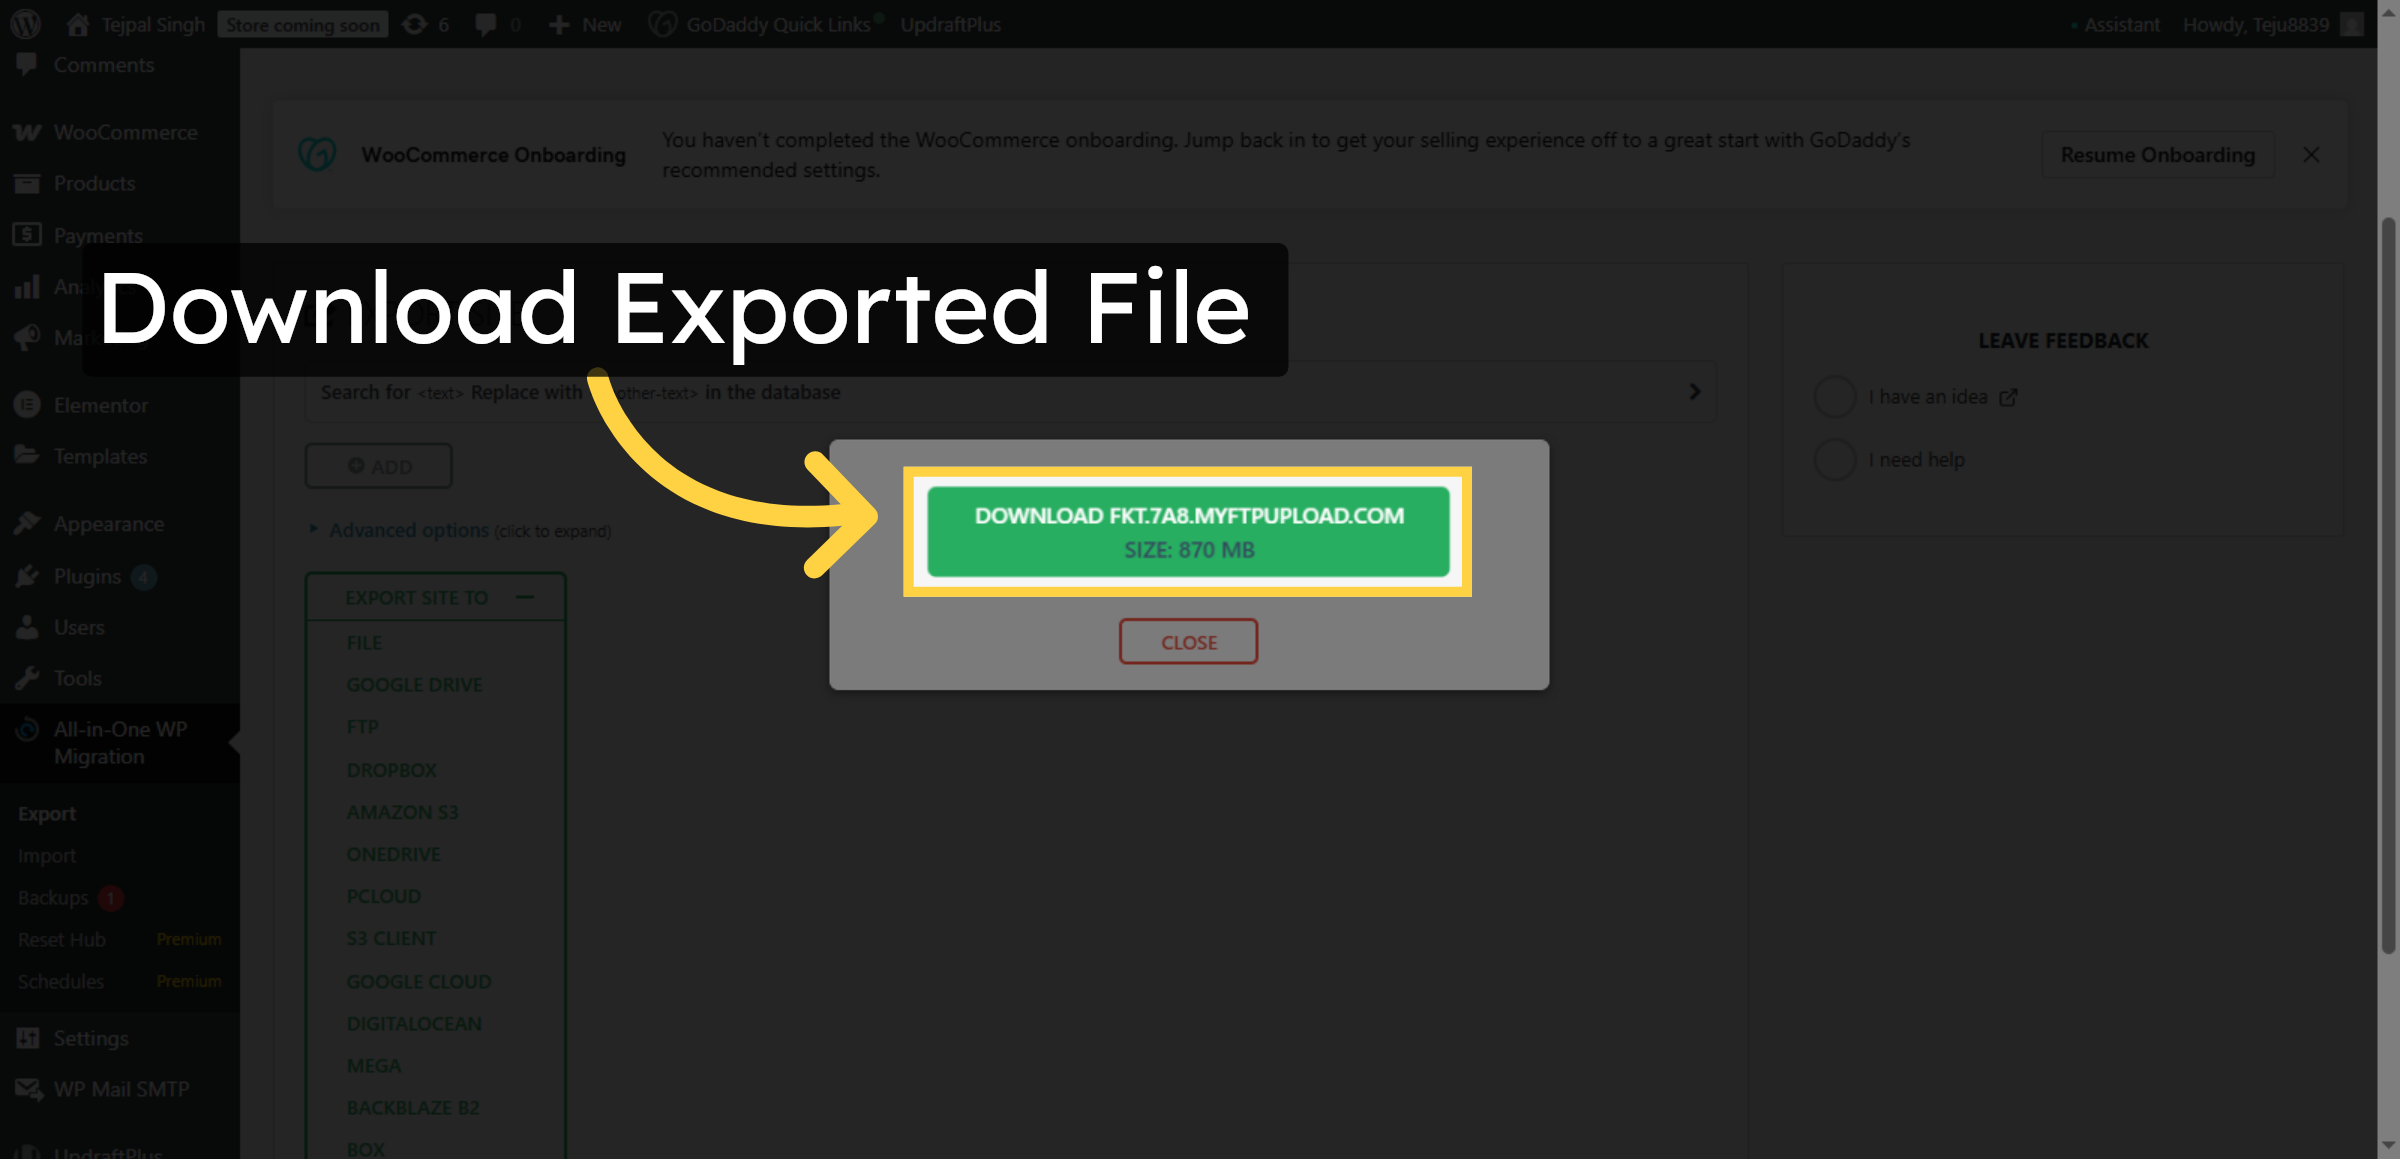
16. Download Exported File
Click “Download” followed by your site’s file name to save the exported website file to your computer.
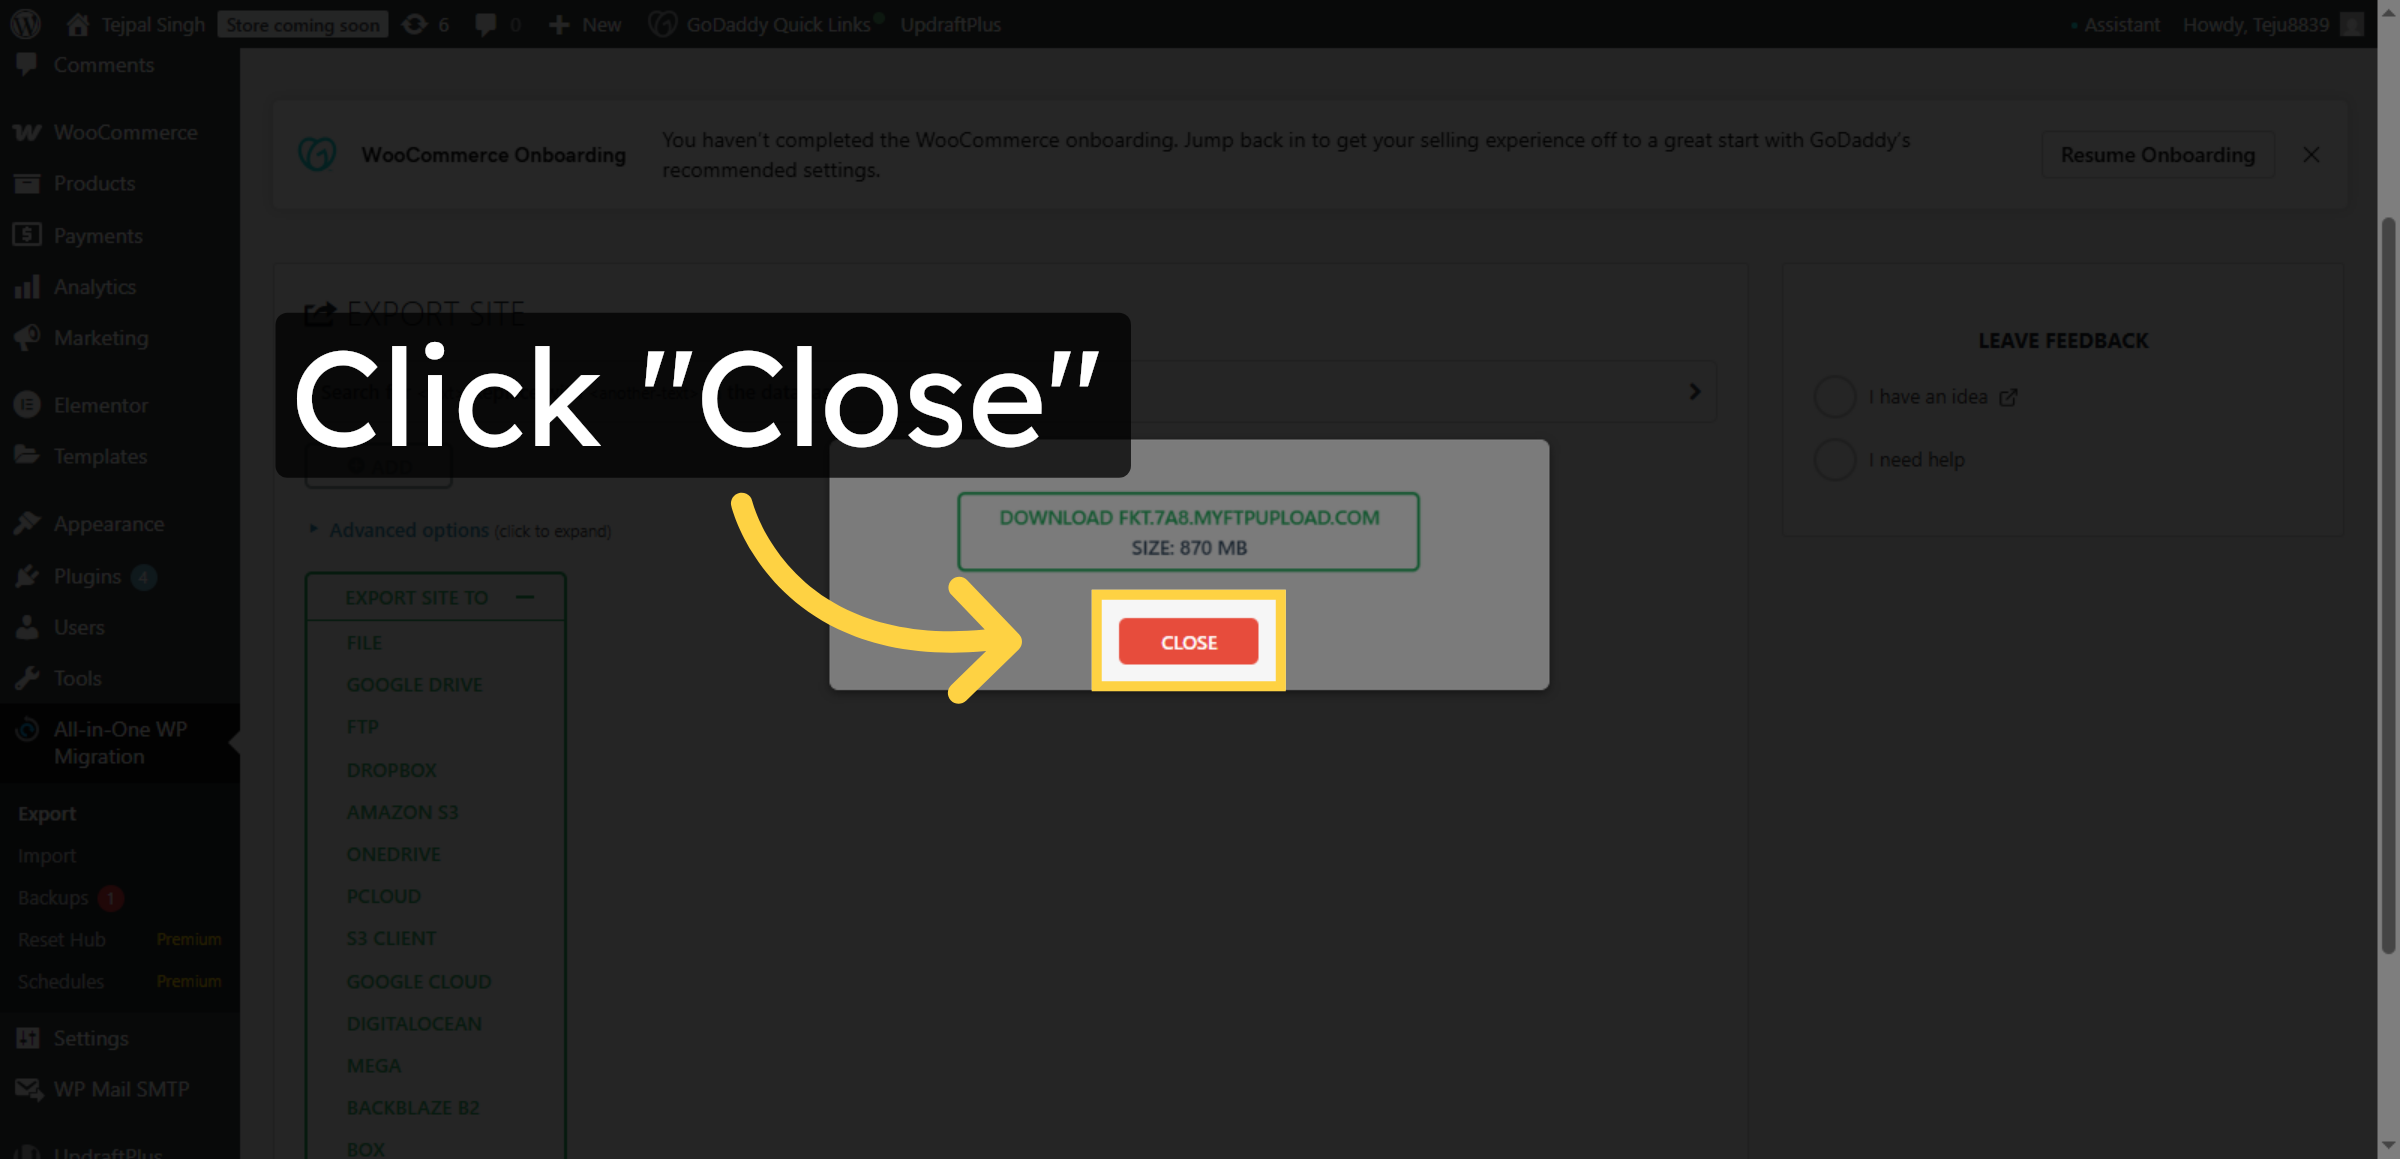
17. Close Export Interface
Click “Close” to exit the export interface after successfully downloading your website file.
Conclusion
By following this guide, you have successfully exported your WordPress website from GoDaddy hosting into a secure backup file. This export file can be used for migration, restoration, or emergency recovery, ensuring that your website remains protected.
To maintain data safety, it is recommended to store backup files in multiple secure locations and perform regular exports as part of routine maintenance. Consistent backup practices help prevent data loss and ensure business continuity.
WooHelpDesk Support
Need help with WordPress exports, backups, or website migration? WooHelpDesk is here to assist you.
Visit : https://www.woohelpdesk.com
Call Us Toll-Free: +1 888 602 0119 (US & Canada)
Secure Backups | Expert Support
Contact WooHelpDesk today for professional WordPress assistance.