How to Create a Shop Page in WooCommerce Step by Step?
Table of Contents
- Introduction
- What is a Shop Page?
- What are the Key Features of a Shop Page in WooCommerce?
- How to Create a Shop Page in WooCommerce Step by Step?
- How to Make WooCommerce Shop Page Full Width?
- How to Add or Remove a Sidebar on the WooCommerce Shop Page?
- Tips on How to Improve WooCommerce Shop Page Loading Speed?
- Final Verdict
Introduction
Creating a functional and attractive WooCommerce shop page is essential for any online store. WooCommerce provides you with a wide range of customization options, allowing you to create a store page that reflects your brand while providing a smooth shopping experience.
Setting up your WooCommerce shop page correctly will ensure that customers can easily browse products, make purchases, and navigate through your store without confusion. This guide will walk you through every step to set up your WooCommerce shop page, customize it, and make it the best version of your store page.
In this guide, we will also explore the key features of the WooCommerce shop page, including layout, filtering options, and how to make it full-width. Additionally, you will learn how to set up a WooCommerce product page, customize it, and create a unique shopping experience for your visitors.
What is a Shop Page?
A WooCommerce shop page is the main page that displays all the products you offer in your store. It serves as the central hub for browsing your products and serves as the storefront of your WooCommerce website. When customers visit your site, the shop page is typically the first thing they see, and it’s where they can start searching for the products they want to buy.
The shop page is automatically created when you install WooCommerce, but it can be customized according to your needs. WooCommerce gives you full control over the look, layout, and features of your shop page, so it can align with your brand’s style and customer expectations. Customers can filter products by categories, attributes, or price, and view detailed information for each item.
- Central Product Listing: It showcases all the products available on your WooCommerce store.
- Grid or List View: Customers can view your products in different layouts, including grid or list.
- Navigation: It allows easy navigation with filtering options for better browsing.
- Customizable Layout: Customize how products appear, the number of items per row, and more.
- Responsive: WooCommerce shop pages are designed to work across various devices, ensuring a smooth experience on mobile and desktop.
What are the Key Features of a Shop Page in WooCommerce?
A well-designed WooCommerce shop page should feature several key components to make it easier for customers. Here are the key features you should consider when designing your WooCommerce shop page:
1. Product Display Layout
- The shop page displays your products in a grid or list layout.
- You can control the number of products per row and per page.
- The layout is customizable to match the design of your store.
- Product images, titles, prices, and “Add to Cart” buttons are displayed.
- Customers can click on a product to see more detailed information.
2. Product Categories
- WooCommerce allows you to categorize your products for better organization.
- Categories help customers easily navigate and find specific products.
- Categories can be displayed in a sidebar or header for easy access.
- Product categories make it easier to manage inventory in the backend.
- You can assign multiple categories to a product if necessary.
3. Sorting and Filtering Options
- Customers can sort products based on price, popularity, or rating.
- Filtering options allow users to narrow down results by attributes like size, color, or brand.
- Filtering can be done by price range or specific product features.
- Sorting and filtering options enhance the shopping experience by saving time.
- A well-structured filter system can increase conversion rates by guiding customers.
4. Product Quick View
- The product quick view feature allows customers to see product details without leaving the shop page.
- It saves time and enhances the user experience by not interrupting the shopping flow.
- Quick view displays product name, image, price, and short description.
- Customers can quickly add products to the cart from the quick view.
- Quick view improves browsing speed and encourages impulse buying.
5. Pagination and Infinite Scroll
- WooCommerce gives you the option to paginate products or use infinite scroll.
- Pagination breaks down products into multiple pages, providing easier navigation for smaller stores.
- Infinite scroll loads new products automatically as the user scrolls down.
- Infinite scroll is great for stores with many products, offering a seamless browsing experience.
- Choose the method that fits your store size and customer preferences.
6. Product Badges
- Product badges can be used to highlight promotions like “Sale” or “New Arrival.”
- They draw attention to discounted or special offer items.
- Badges are customizable, so you can change the colors or text.
- Show badges for clearance sales or seasonal promotions to increase urgency.
- Product badges help inform customers about product availability and discounts.
7. Add to Cart Button
- The Add to Cart button is prominently displayed on the shop page.
- A visible and functional button makes it easy for customers to add items to their cart.
- You can customize the button’s color and placement to match the store’s theme.
- WooCommerce automatically updates the cart when an item is added, showing a notification.
- Quick add-to-cart functionality can also be integrated for faster transactions.
8. Product Reviews and Ratings
- Product reviews and ratings provide social proof and influence customer purchasing decisions.
- Displaying product reviews on the shop page allows customers to make informed choices.
- WooCommerce allows customers to leave ratings and reviews for each product.
- Positive reviews can increase trust and encourage sales.
- Ratings can be displayed on the product images or underneath the product description.
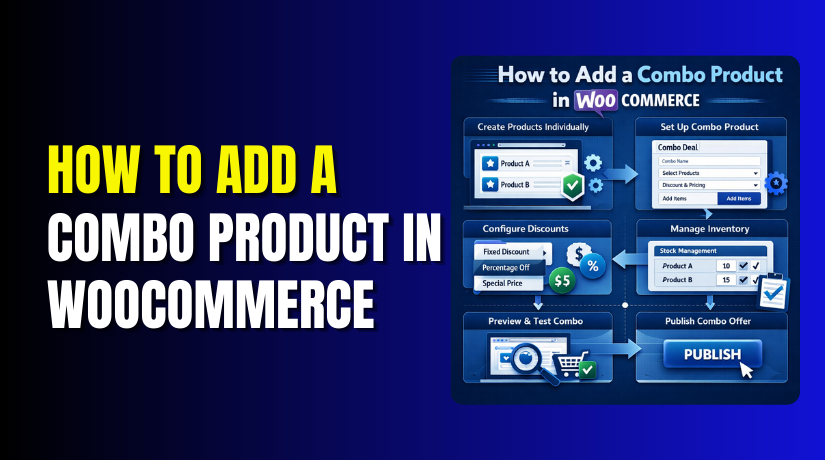
How to Create a Shop Page in WooCommerce Step by Step?
Creating and customizing your WooCommerce shop page is an essential part of building your online store. Follow these steps to create a shop page that is functional, attractive, and easy to navigate:
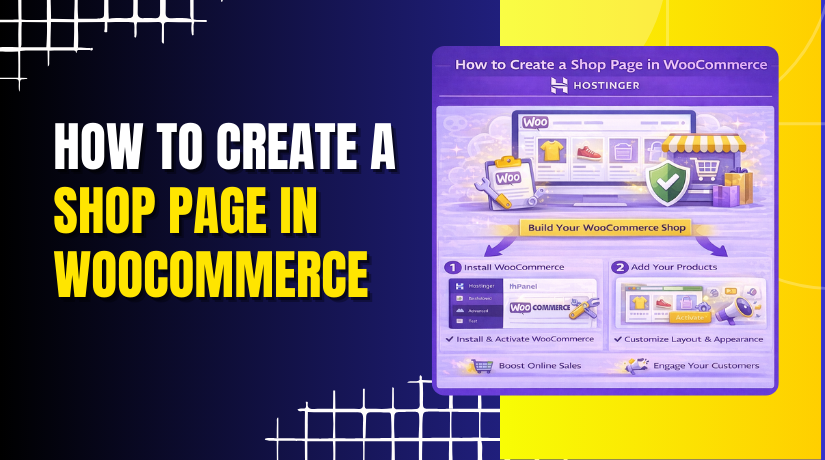
Step 1: Install and Activate the WooCommerce Plugin
Dashboard → Plugins → Add New → Search for WooCommerce → Install & Activate
- Navigate to the WordPress dashboard and go to Plugins.
- Click Add New and search for the “WooCommerce” plugin.
- Install and activate the plugin from the WordPress repository.
- After activation, WooCommerce will automatically generate a Shop page for your store.
Step 2: Set the Shop Page as Your Homepage
Settings → Reading → A static page → Select Shop Page → Save Changes
- Go to Settings → Reading in the WordPress dashboard.
- Under Your homepage displays, select A static page.
- From the Homepage dropdown, select the Shop page created by WooCommerce.
- Click Save Changes to make your shop page the homepage.
Step 3: Customize the Shop Page Layout
Pages → Shop Page → Edit → Customize Layout (Gutenberg or Page Builder)
- Go to Pages > All Pages and find the Shop page.
- Click Edit to modify the content or layout of your shop page.
- Use the Gutenberg Editor or a page builder like Elementor to adjust the layout.
- Add custom sections like banners, categories, or featured products.
- Save your changes and preview the shop page to see the updates.
Step 4: Add and Categorize Products
WooCommerce → Products → Add New → Fill in Product Details → Publish
- Navigate to WooCommerce > Products > Add New.
- Add product title, description, price, and images.
- Categorize products by selecting relevant product categories.
- Click Publish to make the product visible on the shop page.
Step 5: Configure Product Display Settings
WooCommerce → Settings → Products → Adjust Display Settings
- Go to WooCommerce > Settings > Products.
- Adjust the number of products per row and products per page.
- Configure product sorting options (e.g., by price, popularity).
- Save your settings once you are satisfied with the configuration.
Step 6: Add Custom Filters and Sorting Options
Install Plugin → Configure Filters → Enable Sorting Options → Save Changes
- Install a plugin like WooCommerce Product Filter to add filtering options.
- Configure the filter settings (e.g., by size, color, price).
- Enable sorting options like sorting by price or rating.
- Save the changes and test the filters and sorting options.
How to Make WooCommerce Shop Page Full Width?
Making your WooCommerce shop page full width can improve the browsing experience by showcasing more products. Follow these steps to make it full-width:
Step 1: Check Theme Settings
Appearance → Customize → Layout → Select Full Width → Save Changes
- Go to Appearance > Customize in your WordPress dashboard.
- Look for the Layout or Page Settings section.
- Select Full Width as the page layout option.
- Click Save Changes to apply the settings.
Step 2: Modify Page Template (If Required)
Theme Files → Edit page.php or archive-product.php → Remove Sidebar → Adjust Container Width
- Go to your theme folder and locate page.php or archive-product.php.
- Remove the sidebar code that limits the page width.
- Adjust the content container width to 100% to fill the entire page.
- Save your changes and refresh the shop page.
Step 3: Use Custom CSS
Appearance → Customize → Additional CSS → Add CSS Code
- Go to Appearance > Customize > Additional CSS.
Add the following code to remove the sidebar and make the page full width:
.woocommerce-page .content-area {
width: 100%;
}


.woocommerce-page .sidebar {
display: none;
}
- Publish the changes to make the shop page full-width.
How to Add or Remove a Sidebar on the WooCommerce Shop Page?
WooCommerce provides flexibility when it comes to the layout of your shop page. You can either add a sidebar to your shop page for product categories, filters, or recent products, or remove it for a cleaner, full-width layout.
Step 1: Check Your Theme Settings
- Go to the WordPress Dashboard > Appearance > Customize.
- Look for the Layout Options or Page Layout section in your theme customizer.
- Some themes provide an option to select a sidebar layout or full-width layout for the shop page.
- If a sidebar is selected, you can change it to Full Width if you want to remove the sidebar.
Step 2: Modify the Shop Page Template (if needed)
- If your theme doesn’t allow you to remove the sidebar through the customizer, you’ll need to modify the theme’s template file.
- Go to your theme folder and find archive-product.php (this is usually where the layout for the shop page is defined).
Inside this file, find the sidebar code, which is usually something like:
<div id=”primary” class=”widget-area”>
<?php dynamic_sidebar( ‘sidebar-1’ ); ?>
</div>
- Remove or comment out the sidebar code to make the shop page full width.
- If you want to add the sidebar back later, simply re-enable the code.
Step 3: Use Custom CSS to Remove the Sidebar (Optional)
- If your theme doesn’t allow for easy customization, you can use custom CSS to remove the sidebar and make the page full width.
- Go to Appearance > Customize > Additional CSS in the WordPress dashboard.
Add the following CSS code to hide the sidebar and make the page full width:
.woocommerce-page .content-area {
width: 100%;
}
.woocommerce-page .sidebar {
display: none;
}
- Save the changes, and refresh your shop page to ensure it’s full width.
Step 4: Use a Page Builder (if applicable)
- If you’re using a page builder like Elementor or WPBakery, you can design your shop page without worrying about sidebars.
- Create a custom layout for your shop page, and simply choose to exclude the sidebar.
- Drag and drop elements like product categories, product grids, and filters into the main content area.
- Save your custom layout and preview it to make sure the sidebar is removed and the page looks how you want it.
Tips on How to Improve WooCommerce Shop Page Loading Speed?
- Install image optimization plugins like Smush or Imagify to compress and optimize product images without sacrificing quality. Large images can slow down your page load times significantly.
- After installation, compress product images using the plugin to reduce their size. Optimized images will load faster, improving your shop page speed.
- Install caching plugins like W3 Total Cache or WP Rocket to improve your shop page speed. Caching reduces the amount of data your site has to reload for every visitor, speeding up your page.
- Minify CSS/JavaScript files using a plugin like Autoptimize. This will remove unnecessary characters from your files, reducing their size and improving page load times.
- Test website performance using tools like Google PageSpeed Insights to check load speed and get suggestions for improvement.
Final Verdict
Setting up your WooCommerce shop page correctly is crucial for a successful online store. By following the above steps, you can create a fully functional, user-friendly shop page that provides an excellent experience for your customers.
Making your shop page full width, customizing product display settings, and organizing products effectively will help drive conversions and make your store visually appealing. Regularly test your layout and update it as needed to ensure your WooCommerce shop stays competitive and efficient.
Have questions before starting with WooCommerce & WordPress? Get support here at WooHelpDesk.