Razorpay for WooCommerce – Secure & Seamless Payment Gateway Integration
Table of Contents
- Introduction
- What is Razorpay for WooCommerce?
- Key Features of Razorpay for WooCommerce
- How to Install and Configure Razorpay Plugin?
- Pricing & Platform Fees
- My Experience with Razorpay Plugin
- Who Should Use Razorpay?
- Final Verdict
- FAQ
Introduction
Running a WooCommerce store means providing a smooth checkout experience. But payment failures, complex setups, and security concerns often get in the way.
Store owners want to offer all major payment options. They also want secure transactions, low fees, and fast settlements. That’s where Razorpay for WooCommerce makes a difference.
In this article, we’ll explore what Razorpay offers, how to set it up, pricing, pros & cons, and useful links. You’ll also learn how to get professional help if needed.
Need expert support for setup or debugging? Use our Installation & Troubleshooting Services.
What is Razorpay for WooCommerce?
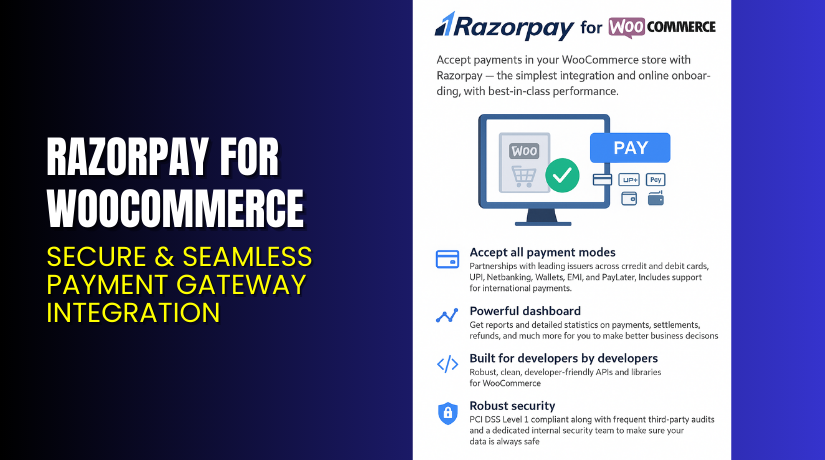
Razorpay for WooCommerce is a powerful payment gateway plugin that enables store owners to accept online payments in India and globally. Built for Indian businesses, it supports over 100 payment methods and 180 currencies.
Developed by Razorpay, it allows secure transactions via UPI, credit/debit cards, net banking, wallets, and more.
It offers features like instant onboarding, no-code integration, PCI-DSS compliance, and real-time analytics. Whether you’re a startup or enterprise, Razorpay adapts to your scale.
Key Features of Razorpay for WooCommerce
| Feature | Description | Why It Matters |
| Multiple Payment Modes | Accept UPI, cards, wallets, net banking, EMI | Ensures convenience for every customer |
| International Payments | Accept payments in 180+ currencies | Expand your store to global customers |
| Instant Integration | No-code setup through WordPress plugin | Quick launch without technical help |
| Magic Checkout | Autofills shipping and payment details | Speeds up conversions and reduces cart abandonment |
| PCI DSS Level 1 Security | End-to-end encrypted transactions | Meets all compliance and security needs |
| Smart Analytics Dashboard | Track success rates, refunds, and failures | Helps improve your checkout performance |
| Mobile-Responsive Design | Works seamlessly on smartphones | Essential for mobile-first users |
| Auto-Refund and Reconciliation | Automates customer refund process | Reduces manual errors and saves time |
How to Install and Configure Razorpay Plugin?
Follow these simple steps to install Razorpay on your WooCommerce store:
- Visit the Razorpay Plugin Page.
- Sign up and complete onboarding with business documents.
- In WordPress, go to Plugins > Add New.
- Search for Razorpay for WooCommerce or upload the plugin manually.
- Install and activate the plugin.
- Go to WooCommerce > Settings > Payments > Razorpay.
- Enter your Razorpay Key ID and Secret Key.
- Enable and configure:
- Payment methods to offer
- Payment success/failure redirects
- Logging for debug
- Test the plugin using Razorpay sandbox mode before going live.
For a detailed guide, refer to the official documentation.
If you face issues, use our Installation & Troubleshooting Services.
Pricing & Platform Fees
Razorpay does not charge setup or monthly fees. You only pay a platform fee per transaction:
| Fee Type | Rate | Notes |
| Platform Fee | 2% per transaction | On all domestic payment modes |
| GST | Additional 18% GST | Applied on platform fee |
| International Payments | Slightly higher | Based on currency and risk profile |
All reports (custom and standard) are provided at no extra cost.
Visit Razorpay Pricing Page for updates.
Buy Razorpay for WooCommerce Now
Razorpay offers a free plugin with transparent pricing. You pay only when you make sales.
Want expert help for a flawless setup? Get our Installation & Troubleshooting Services.
My Experience with Razorpay Plugin
We tested Razorpay with a WooCommerce site selling digital products. Here’s what stood out:


Pros:
- Setup took less than 15 minutes
- No coding required
- Supports all major Indian payment options
- High success rate for UPI and card payments
- Instant alerts on order status and refunds
- Clean and responsive checkout flow
- Magic Checkout is a huge plus for mobile users
Cons:
- International payment support needs additional verification
- Reports are detailed but not customizable in dashboard
- Email support can be slow during peak hours
Who Should Use Razorpay?
This plugin is ideal for:
- Indian WooCommerce stores wanting to accept UPI and cards
- Local businesses seeking low-cost payment integration
- Online shops needing global currency support
- Subscription-based WooCommerce sites
- Freelancers and agencies running client stores
- Store owners looking for a fast, secure payment setup
Useful Resources
Final Verdict
Razorpay for WooCommerce is a reliable, secure, and affordable way to accept payments online. It simplifies checkout, boosts conversion, and handles all payment modes used in India.
Its easy setup, smart reporting, and mobile optimization make it a must-have for any Indian WooCommerce store.
If you’re just starting or switching from a costly payment processor, Razorpay gives you better value.
Start with Razorpay Now. Need technical support? Use our WooHelpDesk Services.
FAQ
Q1. Does Razorpay support international payments?
Yes. You can accept payments in 180+ currencies after verification.
Q2. Is there a monthly fee for using Razorpay?
No. There are no setup or monthly charges. Only transaction fees apply.
Q3. Can I use Razorpay for subscription payments?
Yes. Razorpay supports recurring billing with its Subscriptions module.
Q4. How secure is Razorpay for WooCommerce?
Very secure. It is PCI DSS Level 1 certified and fully encrypted.
Q5. What is the platform fee?
2% on each transaction, plus 18% GST on that fee.
Q6. Can I customize the checkout page?
You can modify checkout messages and UI via the Razorpay dashboard or WooCommerce settings.