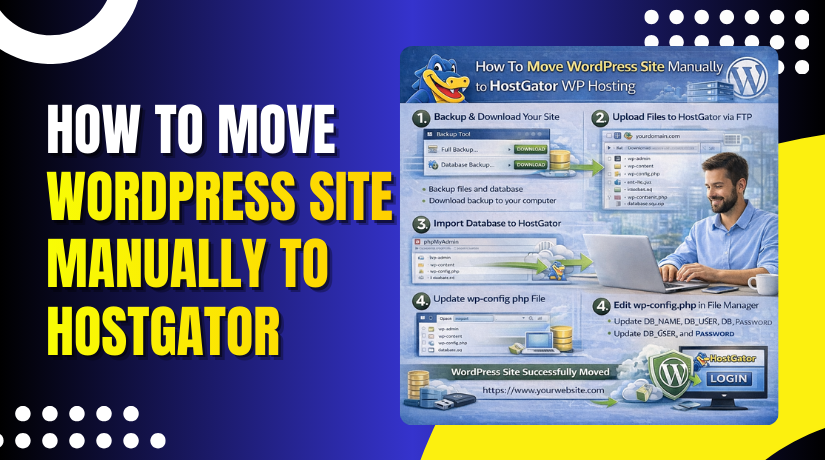
Introduction
Migrating a WordPress website from a local environment to HostGator WP Hosting can be accomplished by exporting your site data and manually setting up WordPress on the hosting server. This guide walks you through the complete process, including exporting your website using a migration plugin, creating a new website directory on HostGator, uploading and configuring WordPress files, setting up a MySQL database, and importing your site data into the new environment. It also covers essential configuration steps such as updating permalink settings and verifying site functionality after migration. This approach is suitable for users who want full control over the migration process and prefer a structured, step-by-step method to ensure that their website is transferred accurately and securely to HostGator WP Hosting.
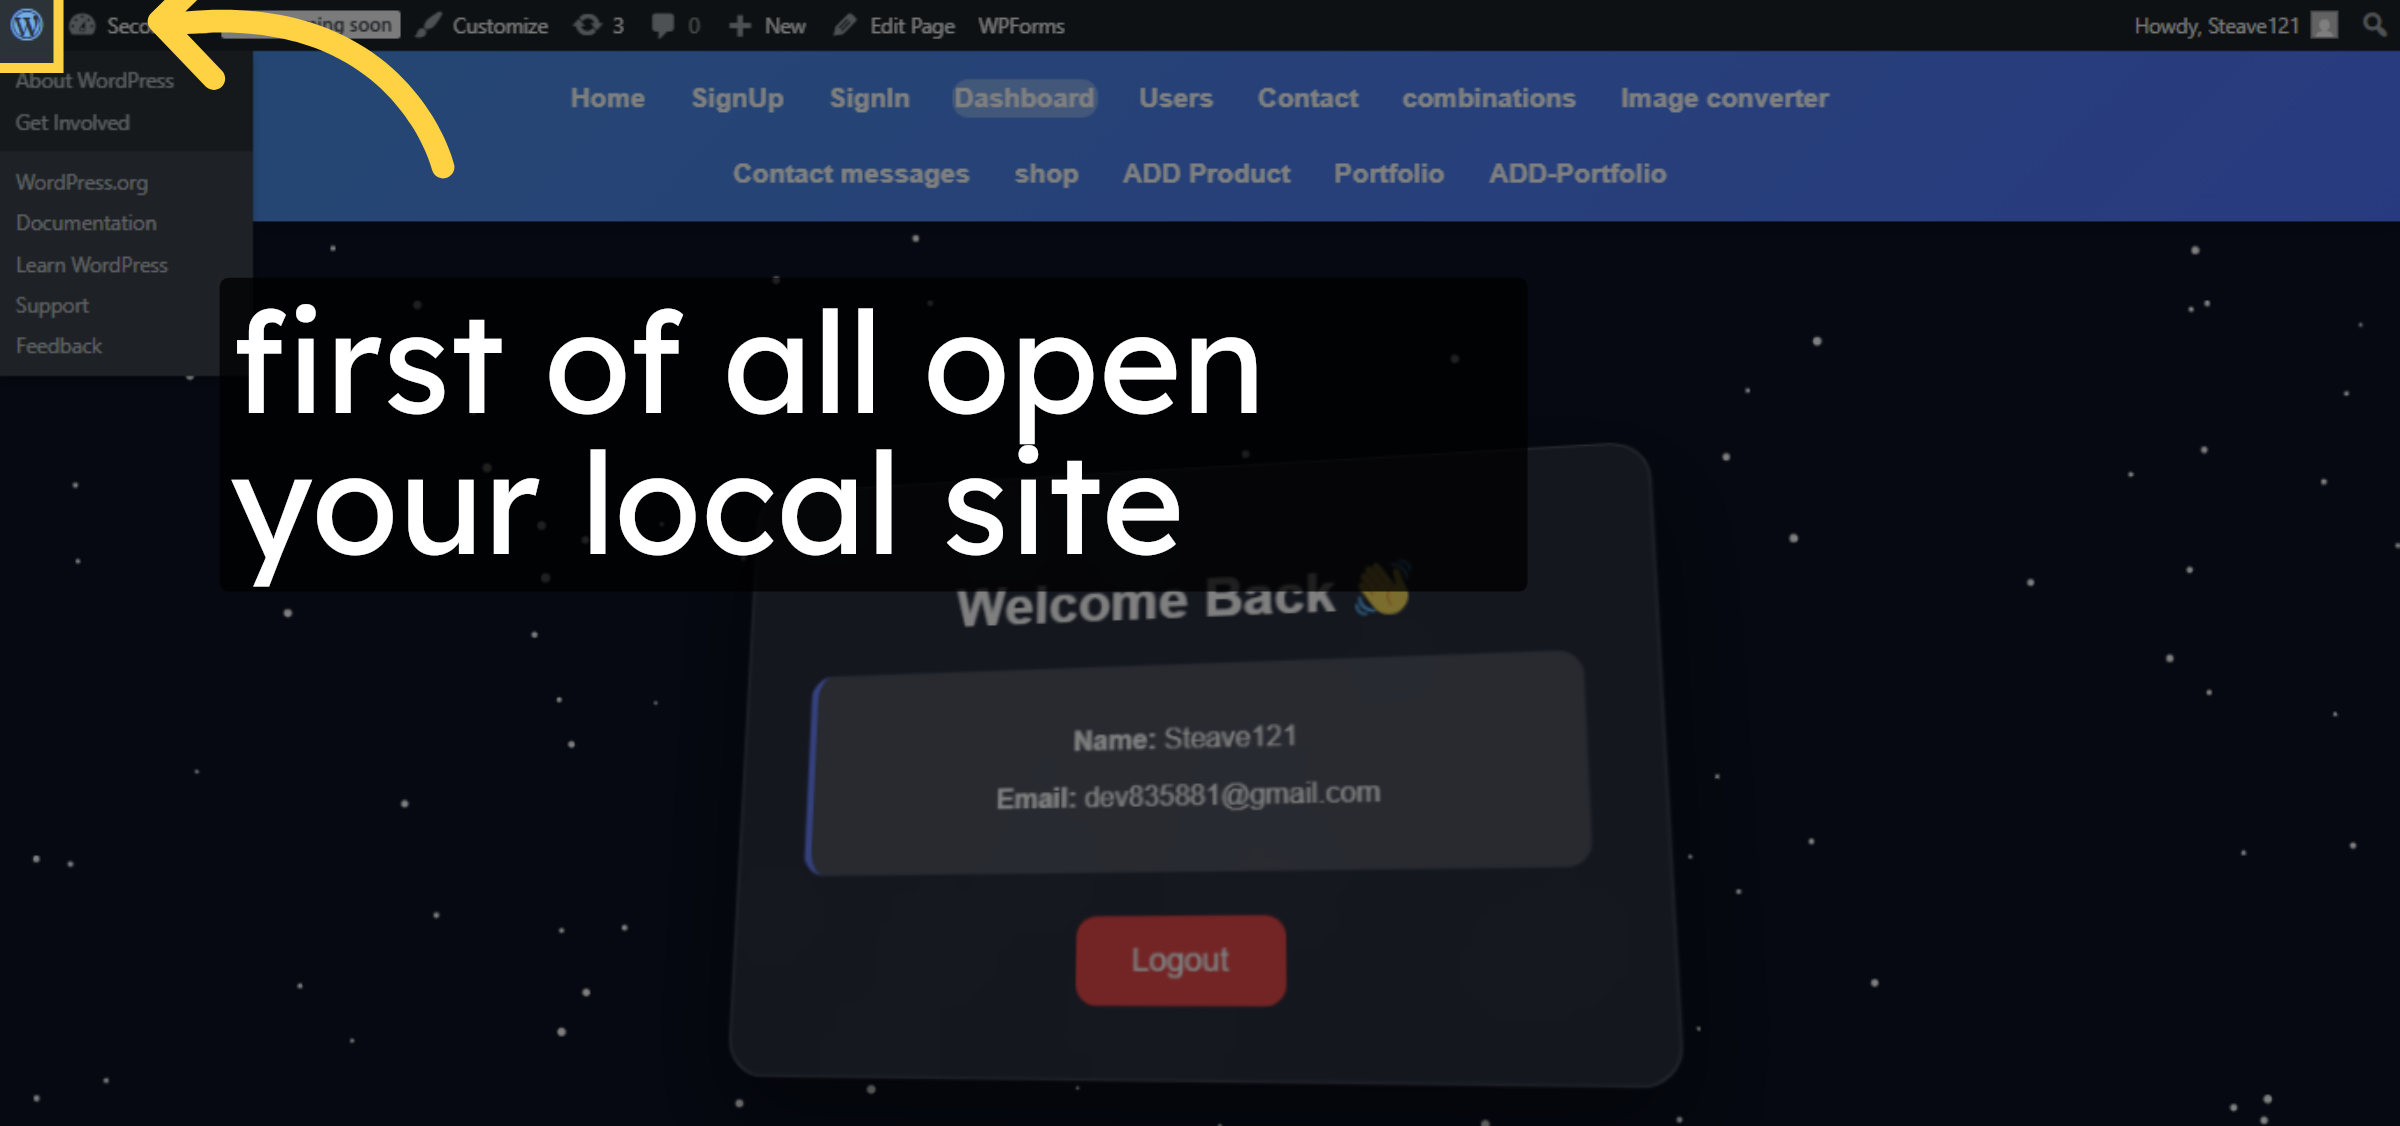
1. Open website
Open your website Admin dashboard.
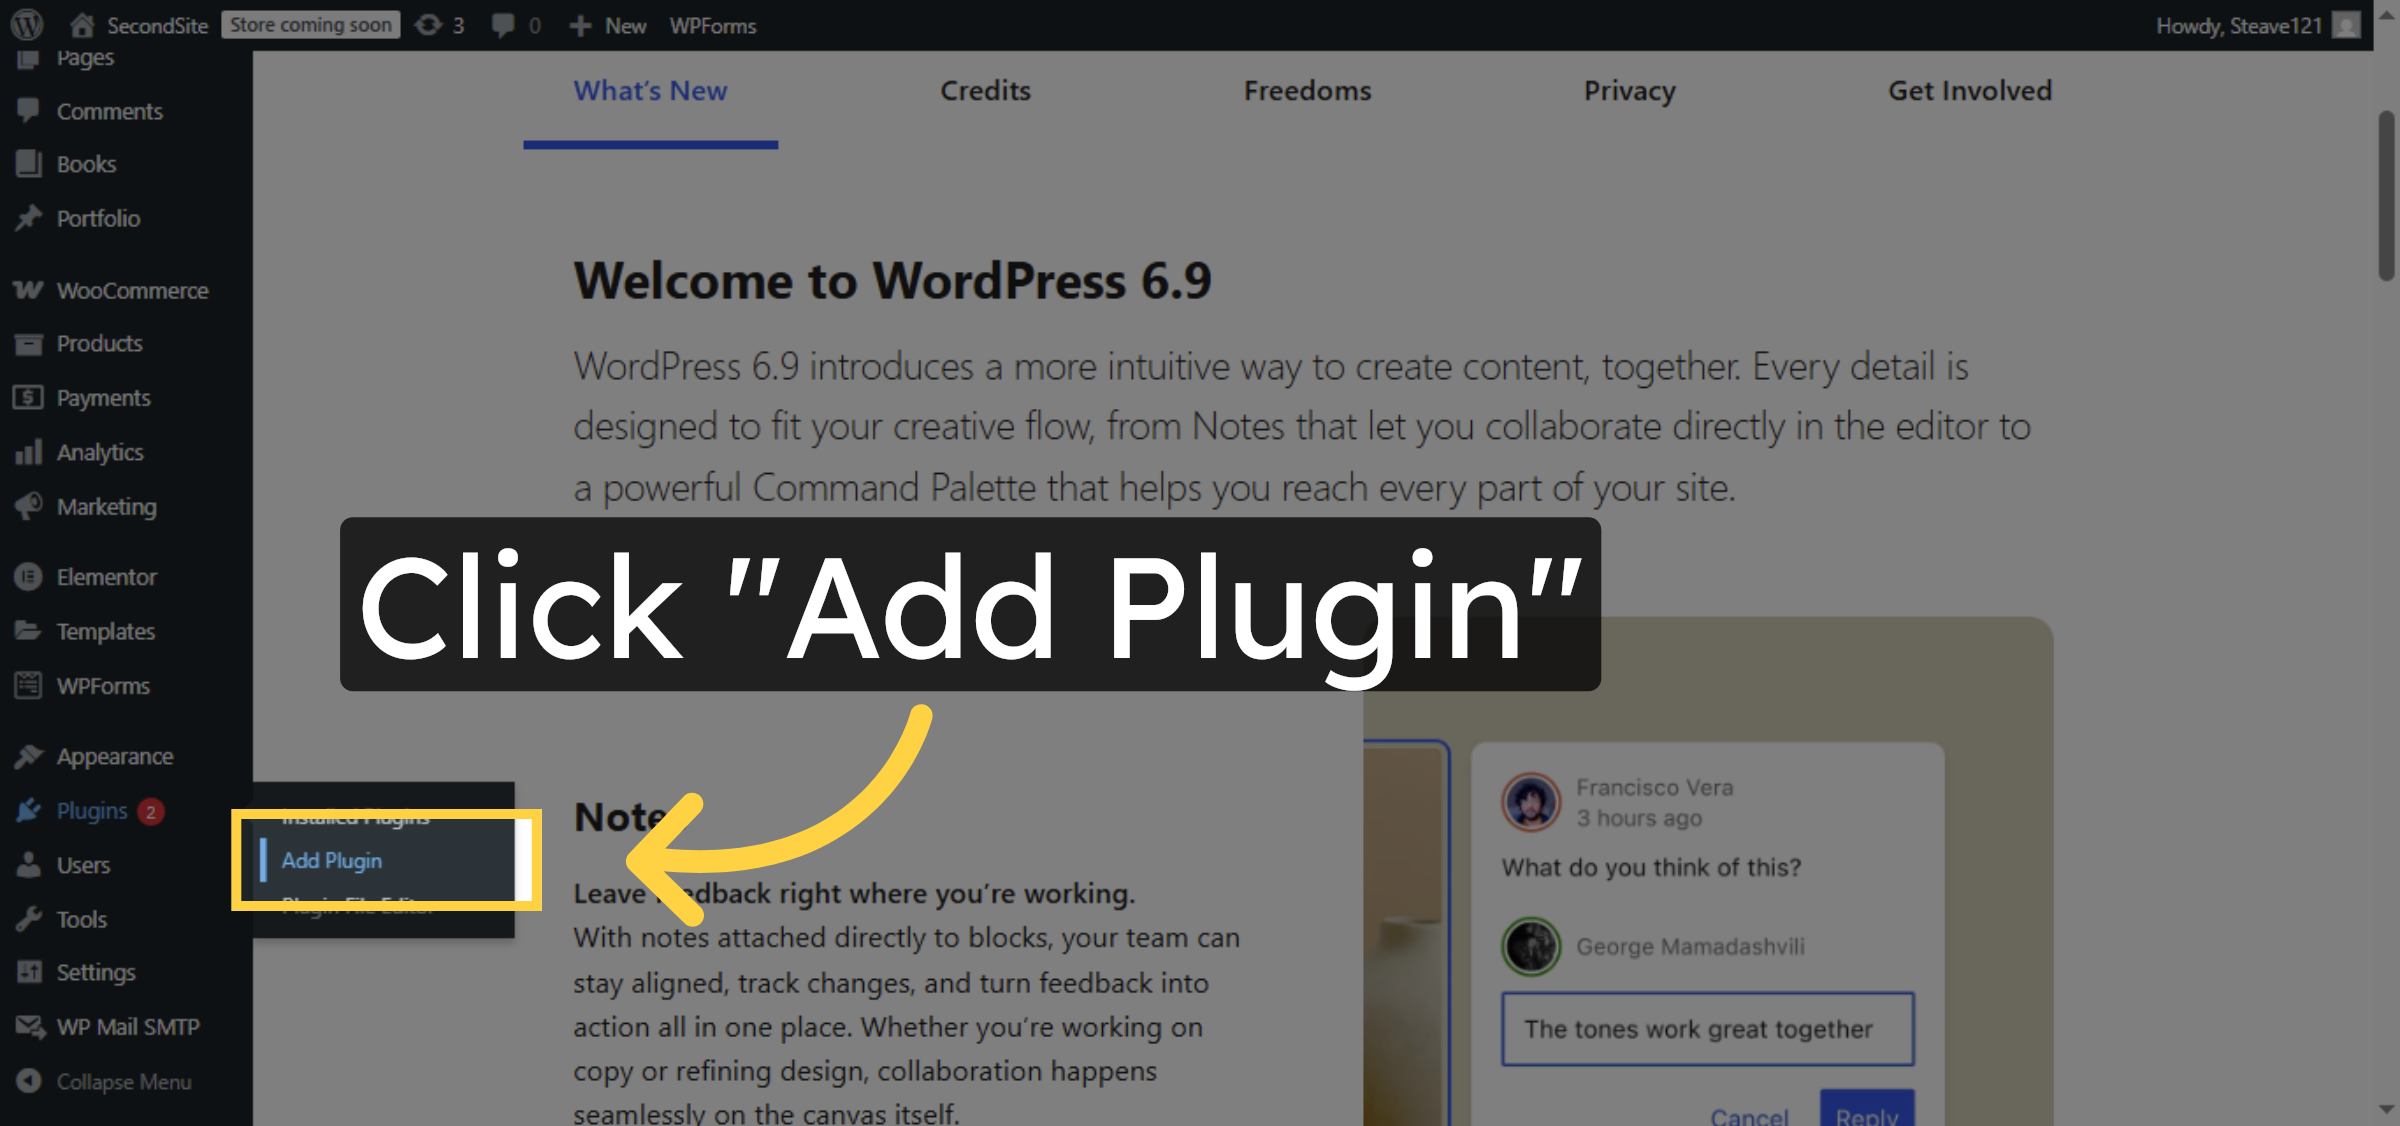
2. Add New Plugin
Click “Add Plugin” to start adding a new plugin.
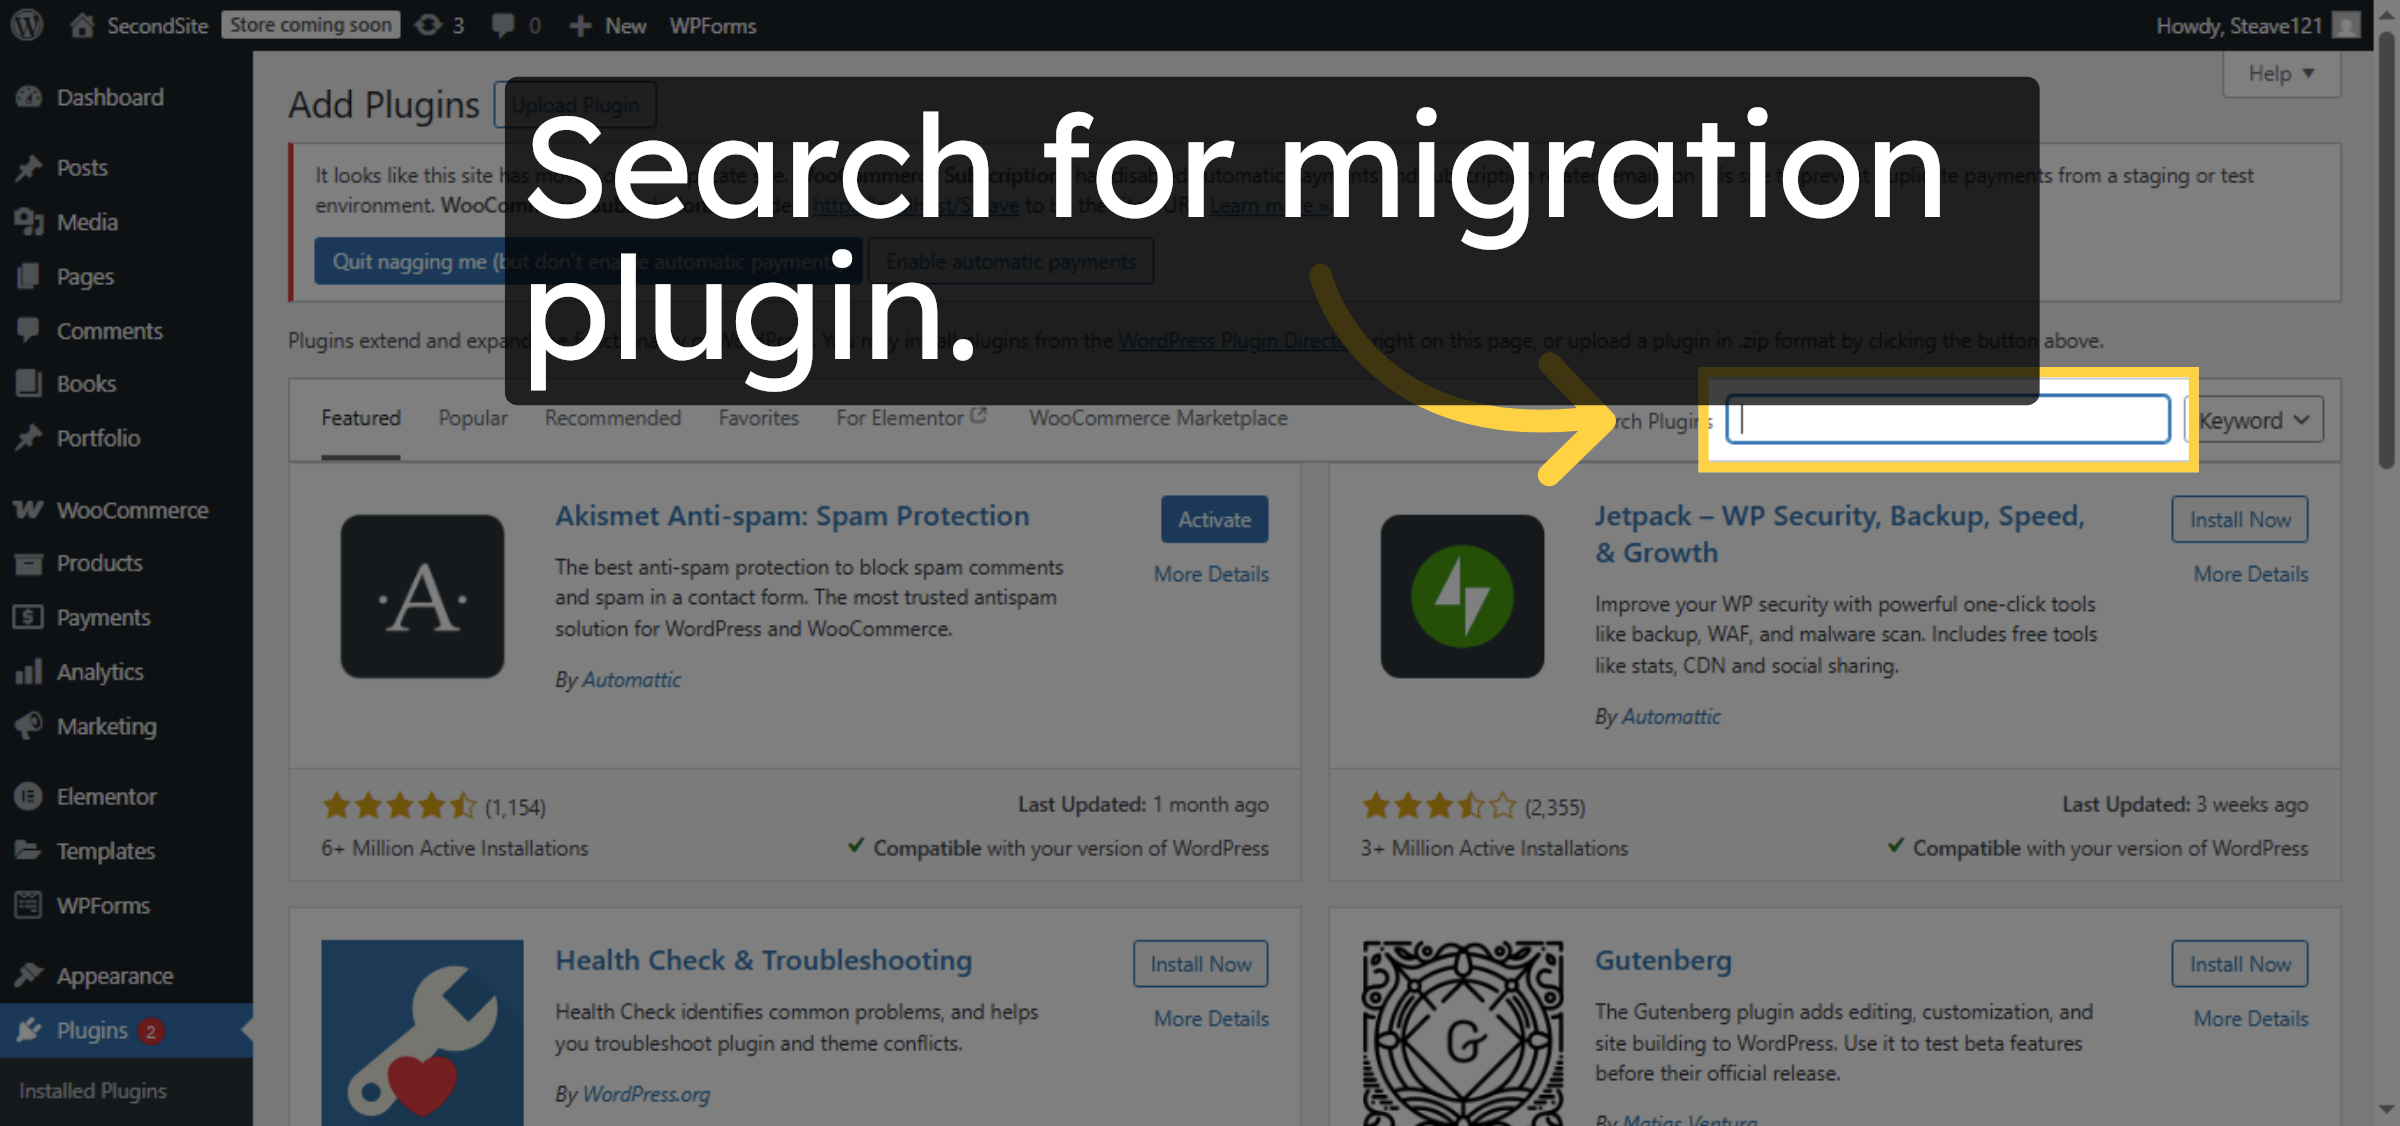
3. Search Plugins
Search for “All in one migration plugin”
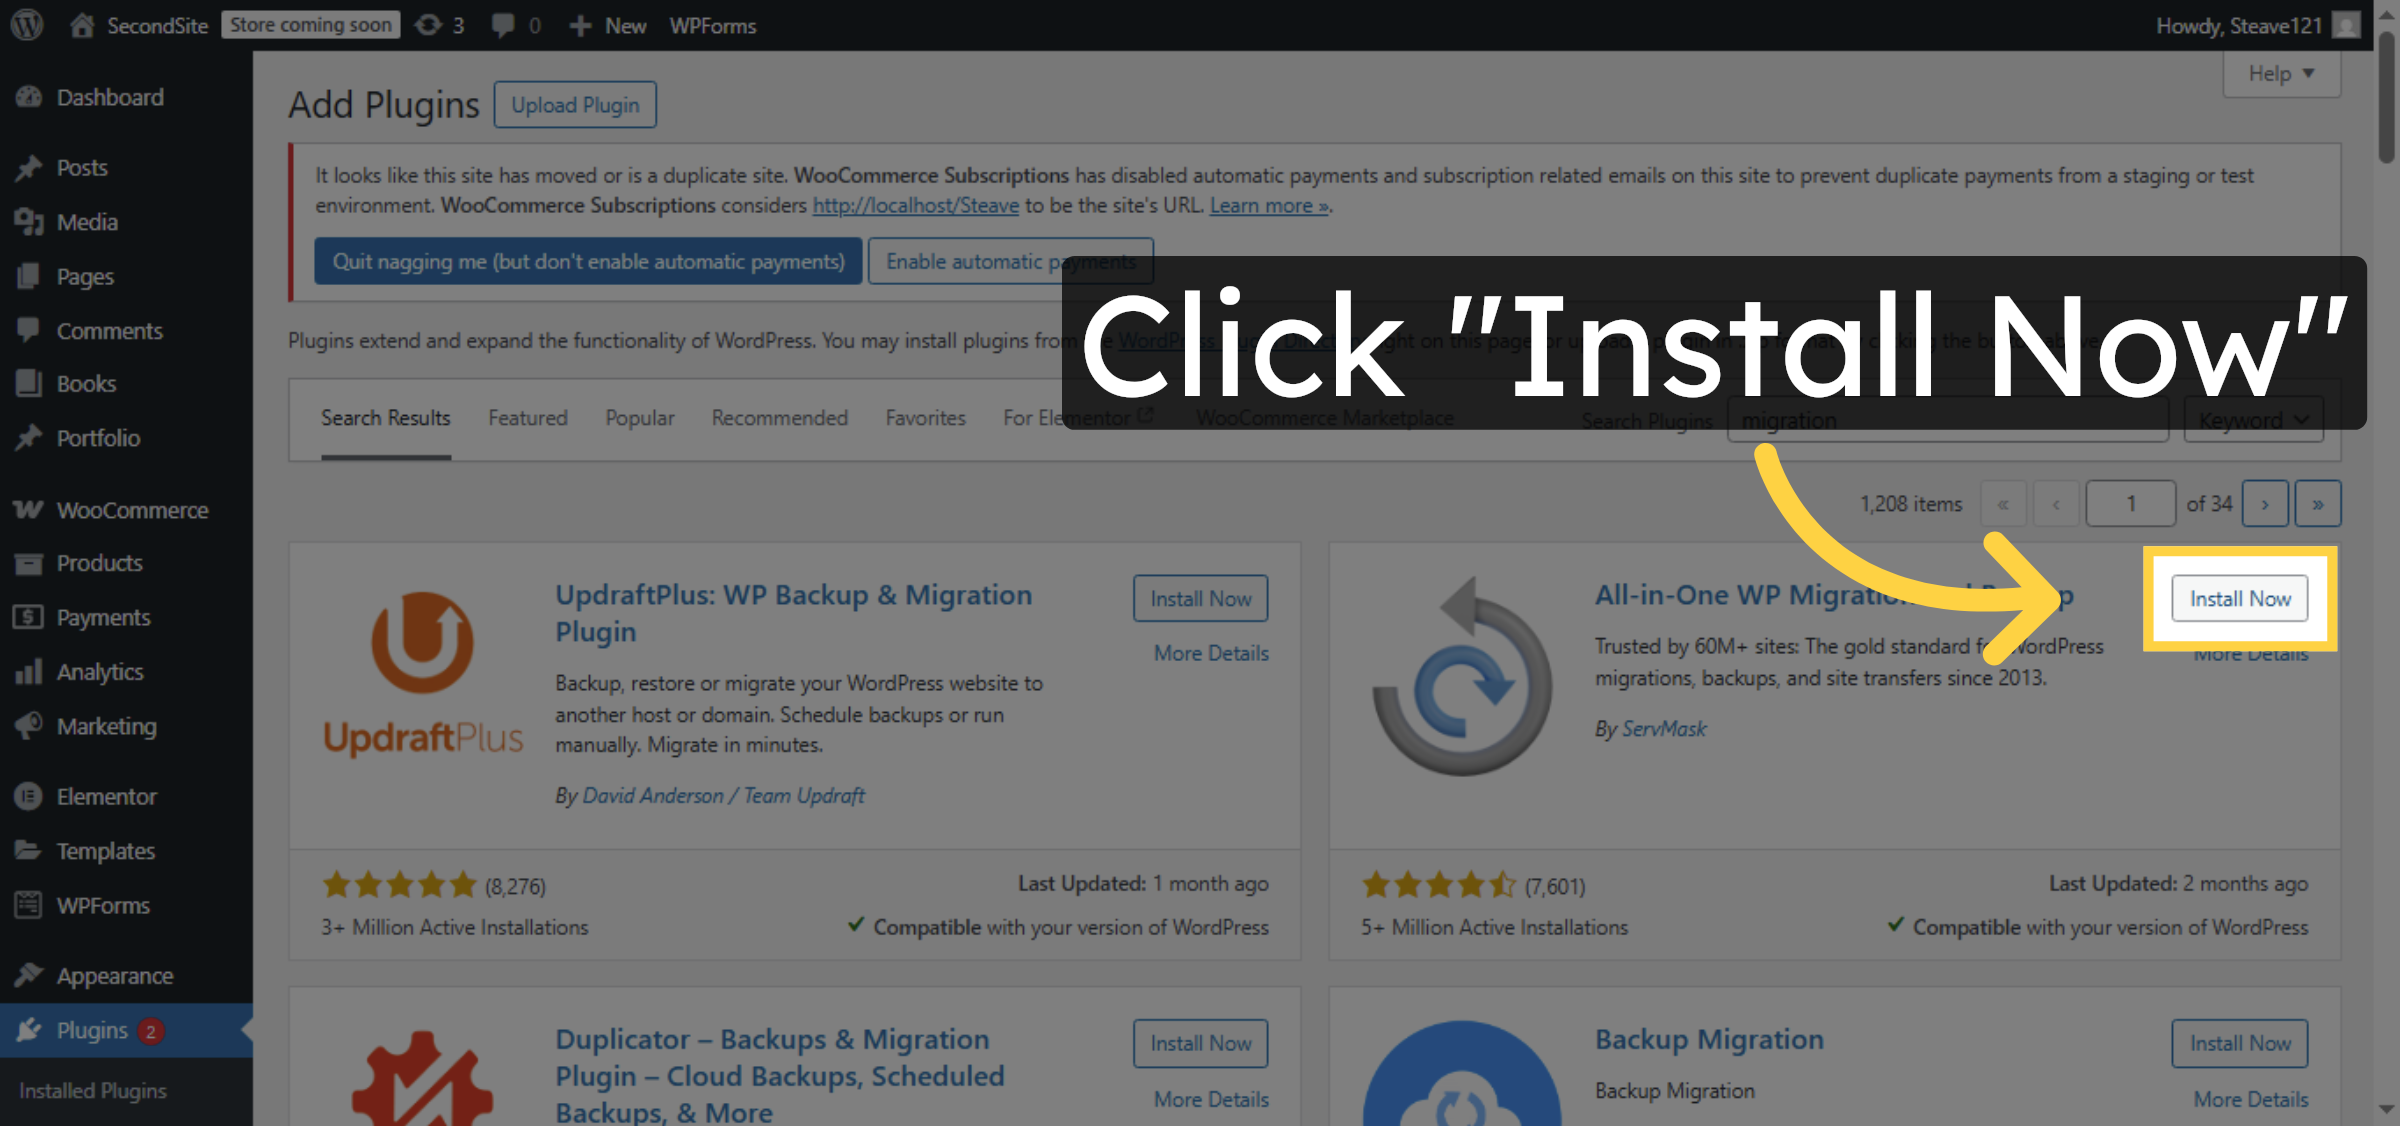
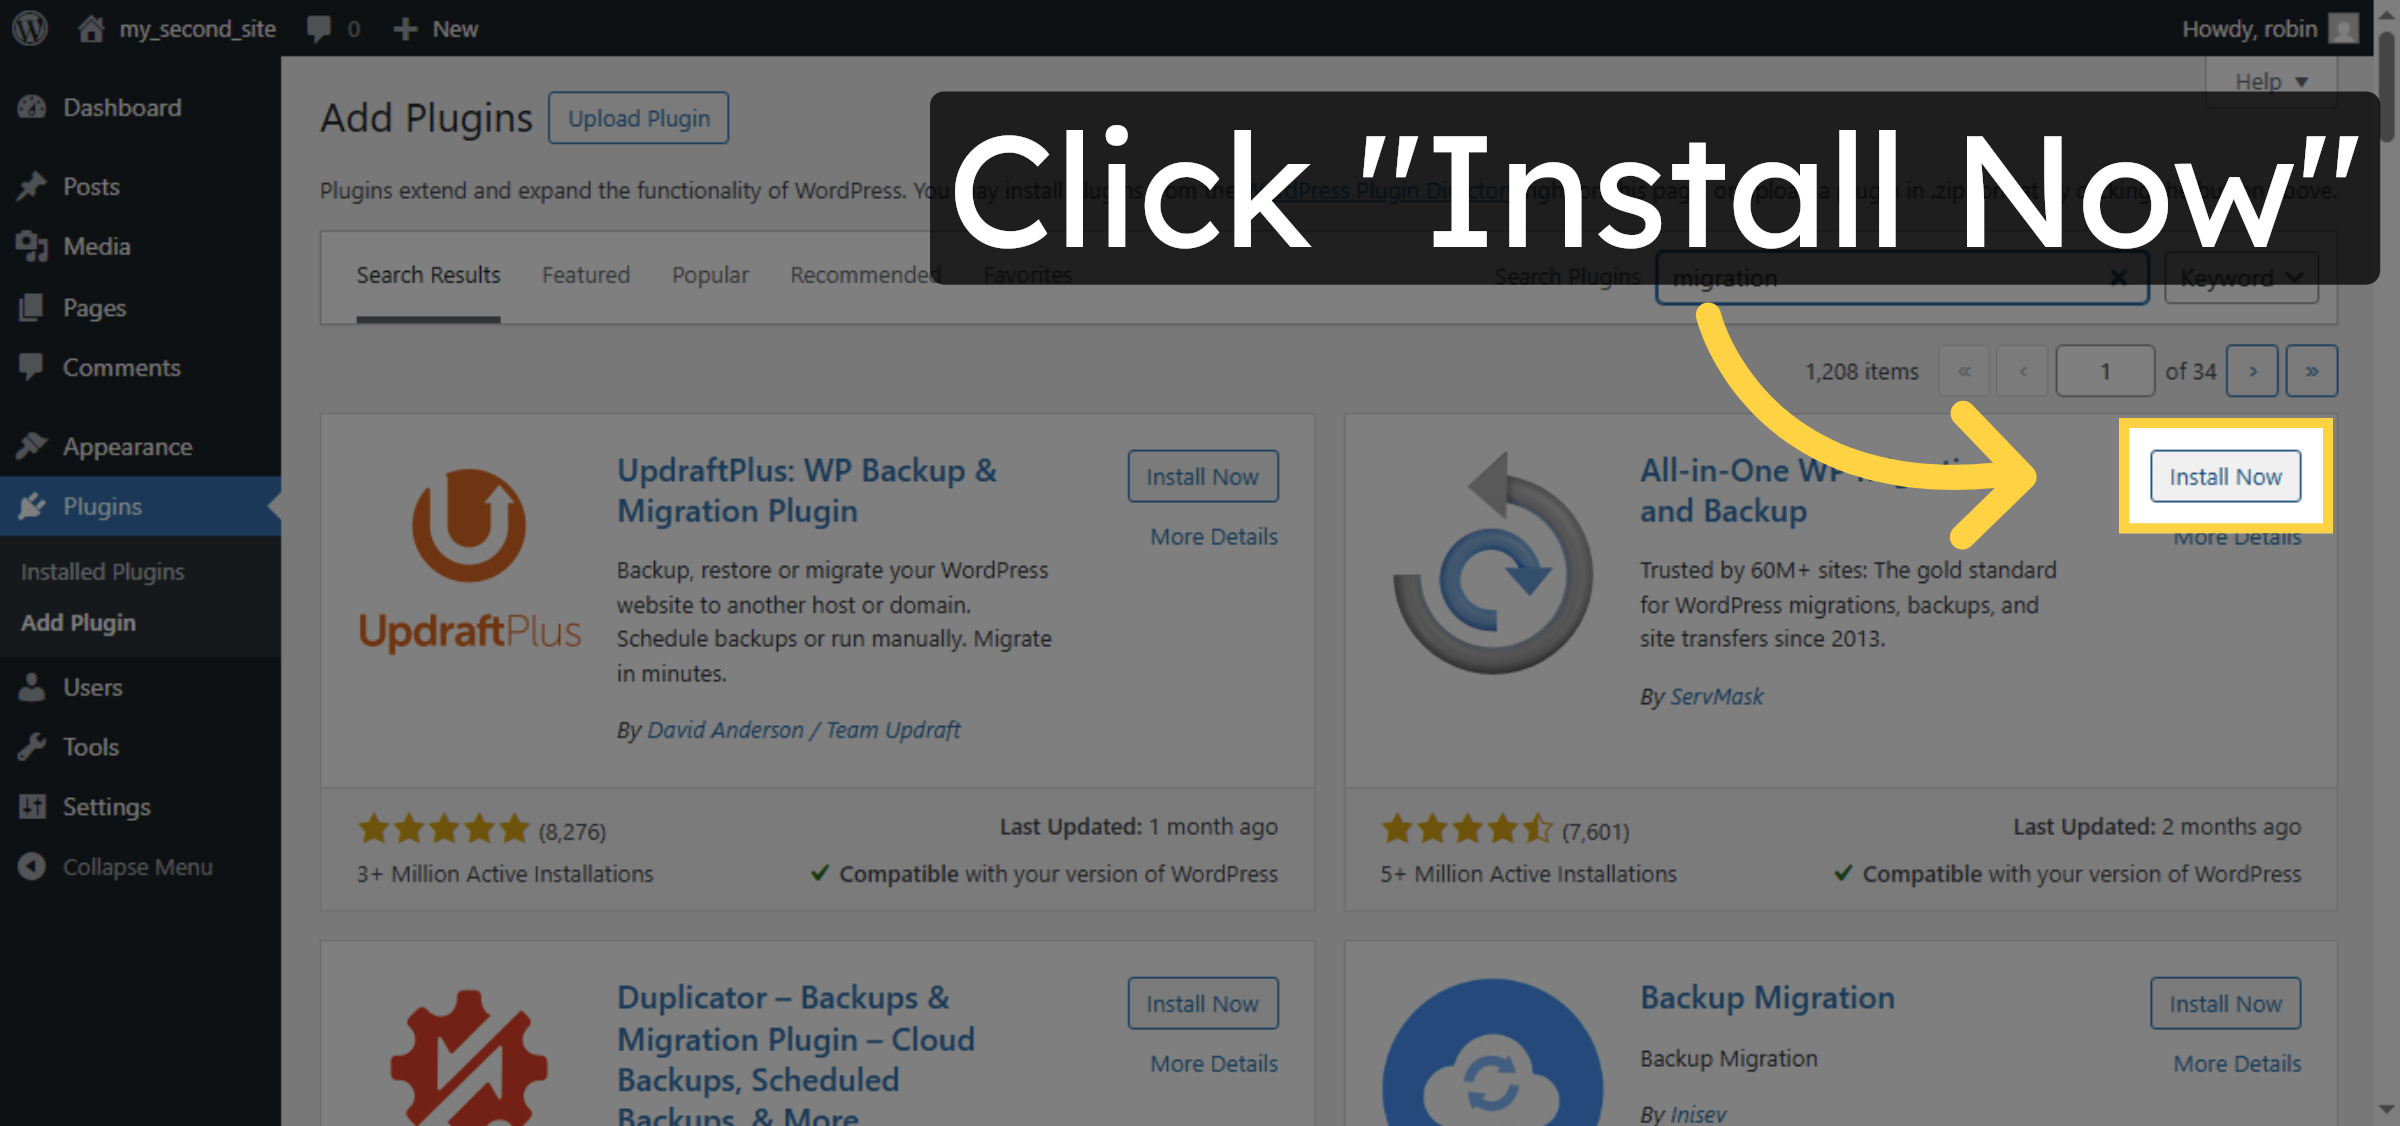
4. Install Migration Plugin
Click “Install Now” to install the migration plugin.
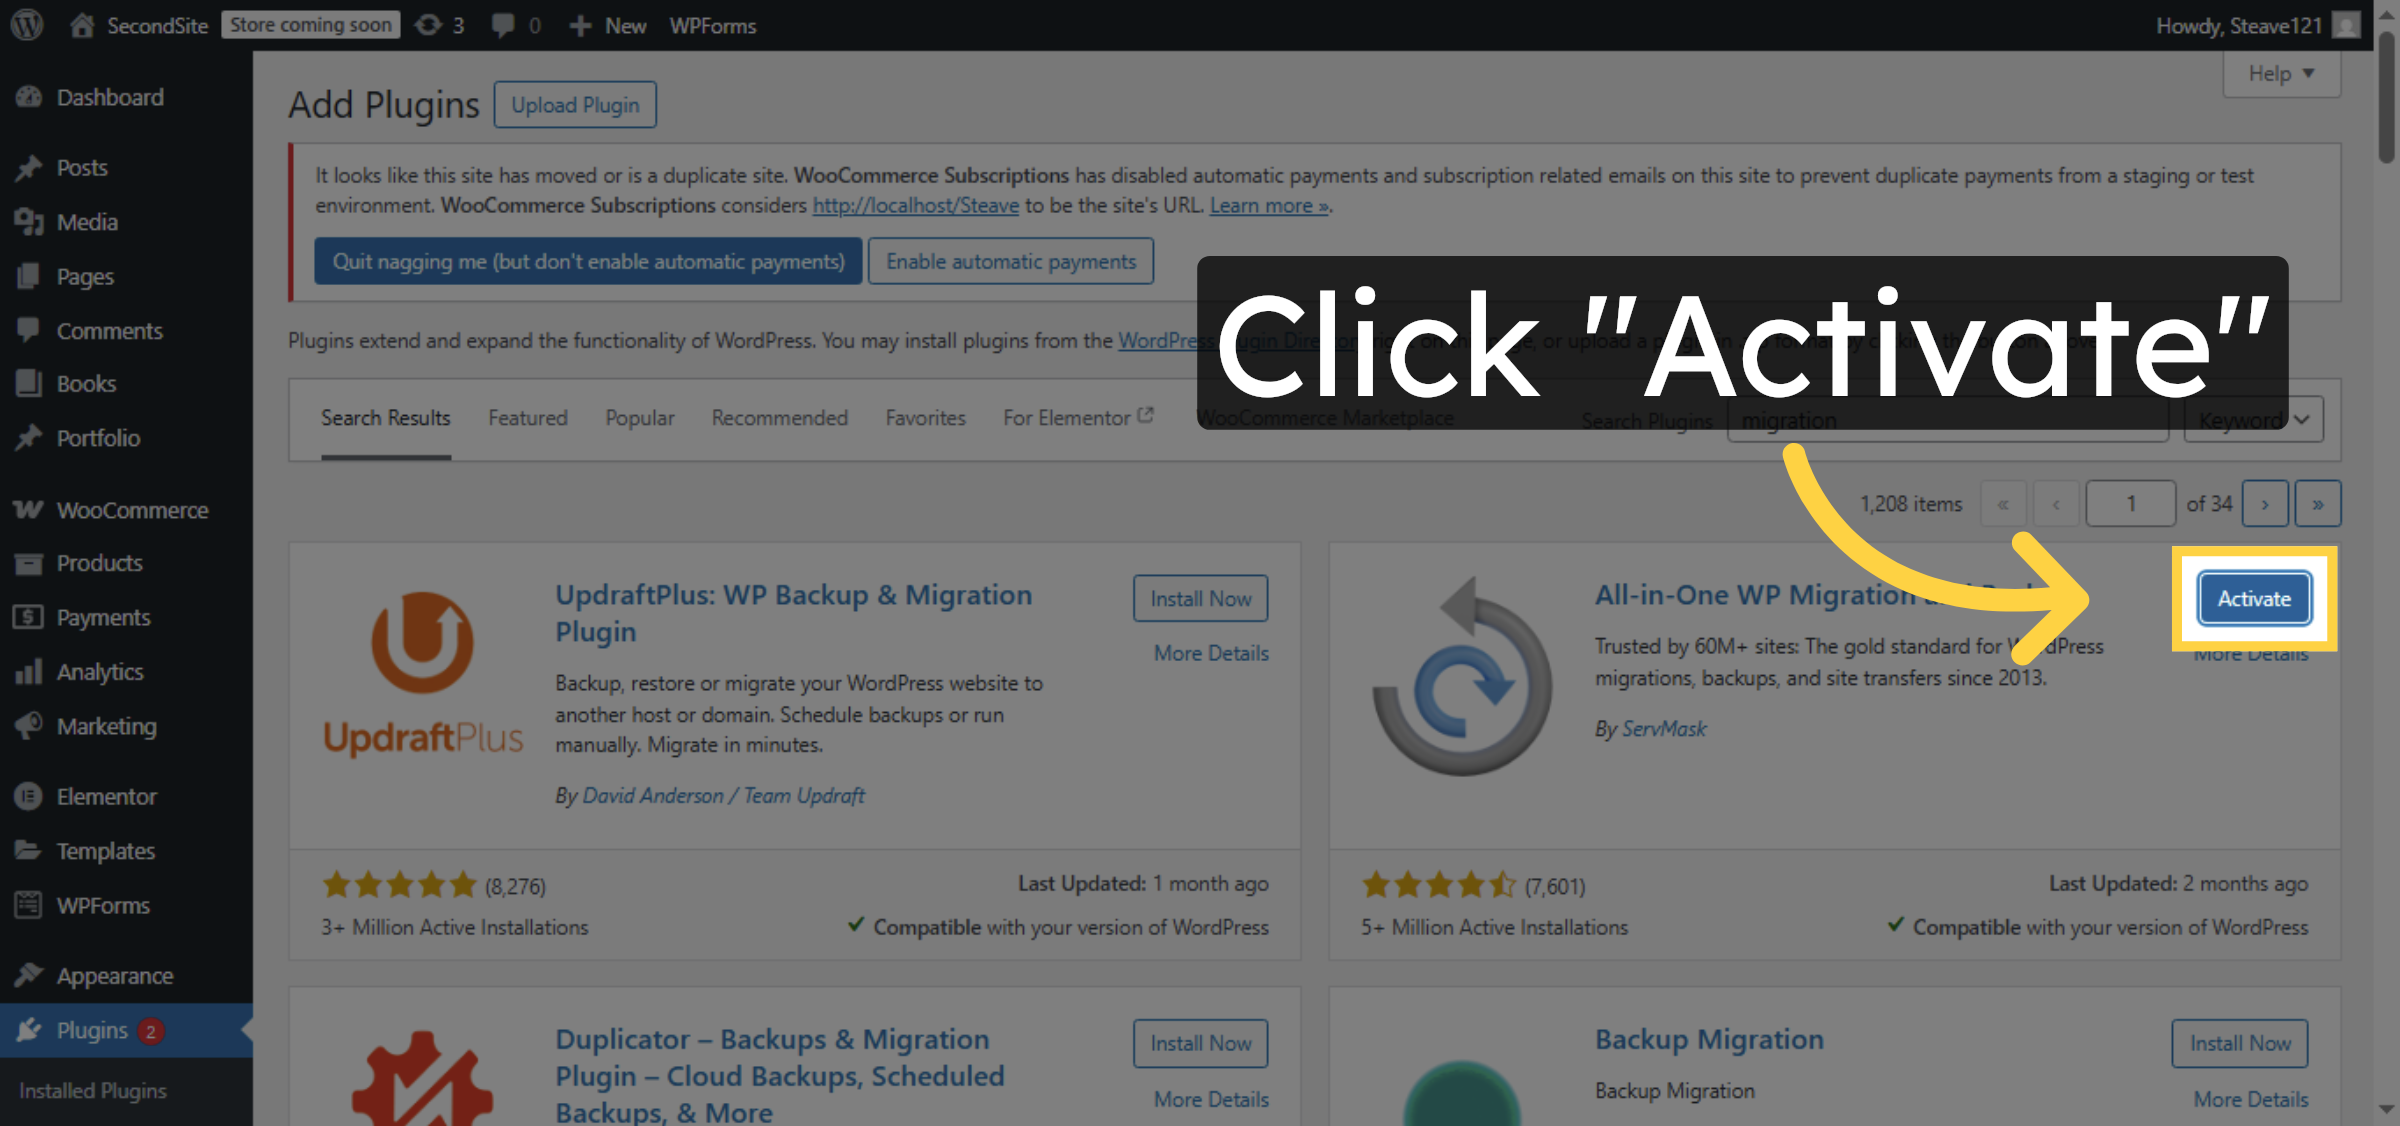
5. Activate Migration Plugin
Click “Activate” to enable the migration plugin.
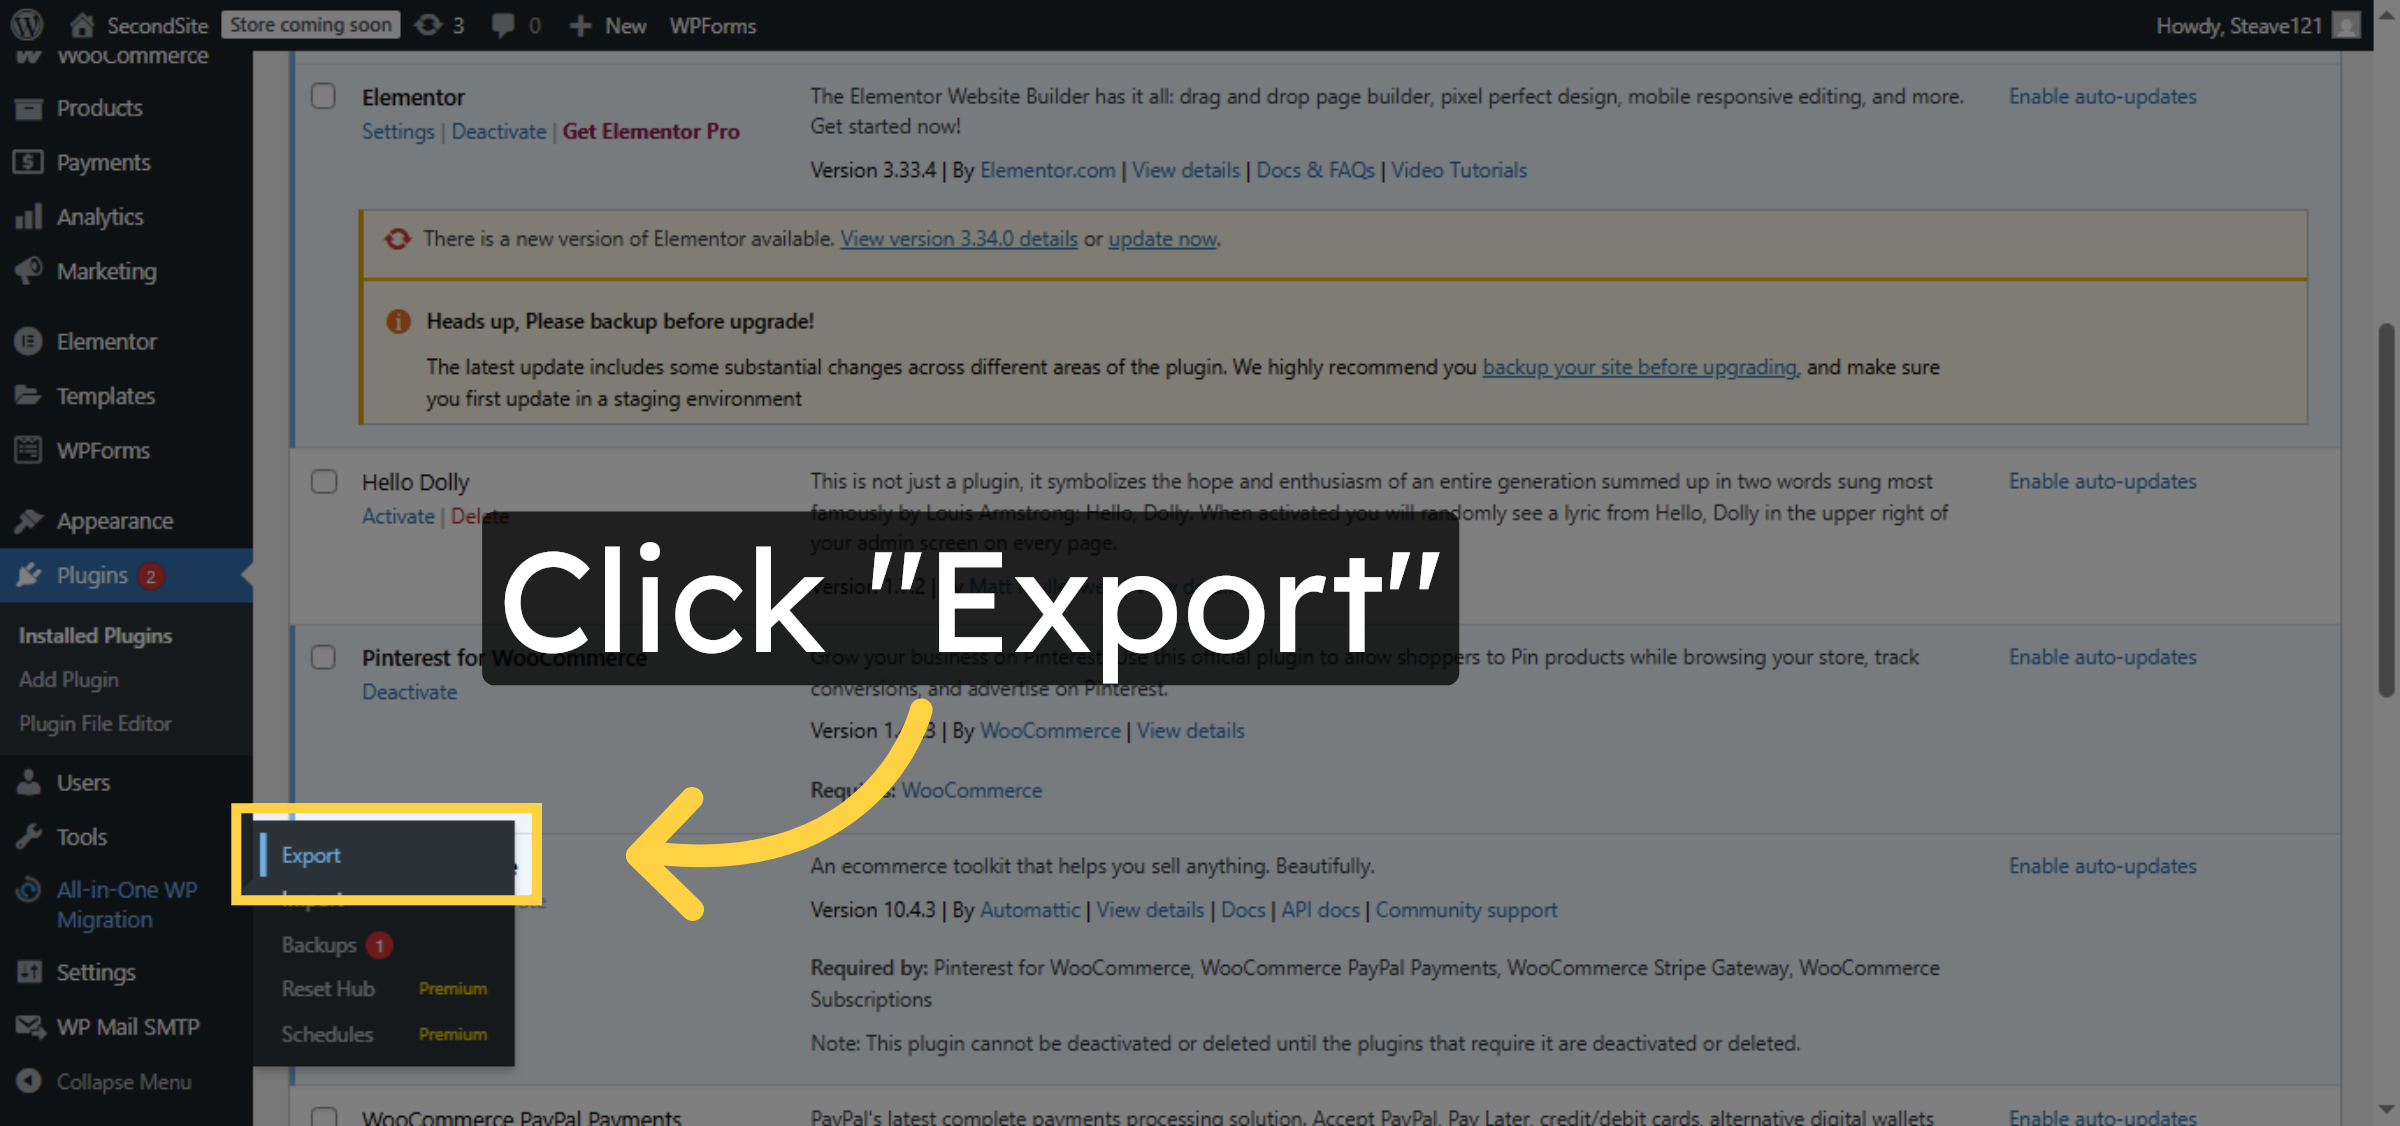
6. Export Site Data
Click “Export” to begin exporting your site data.
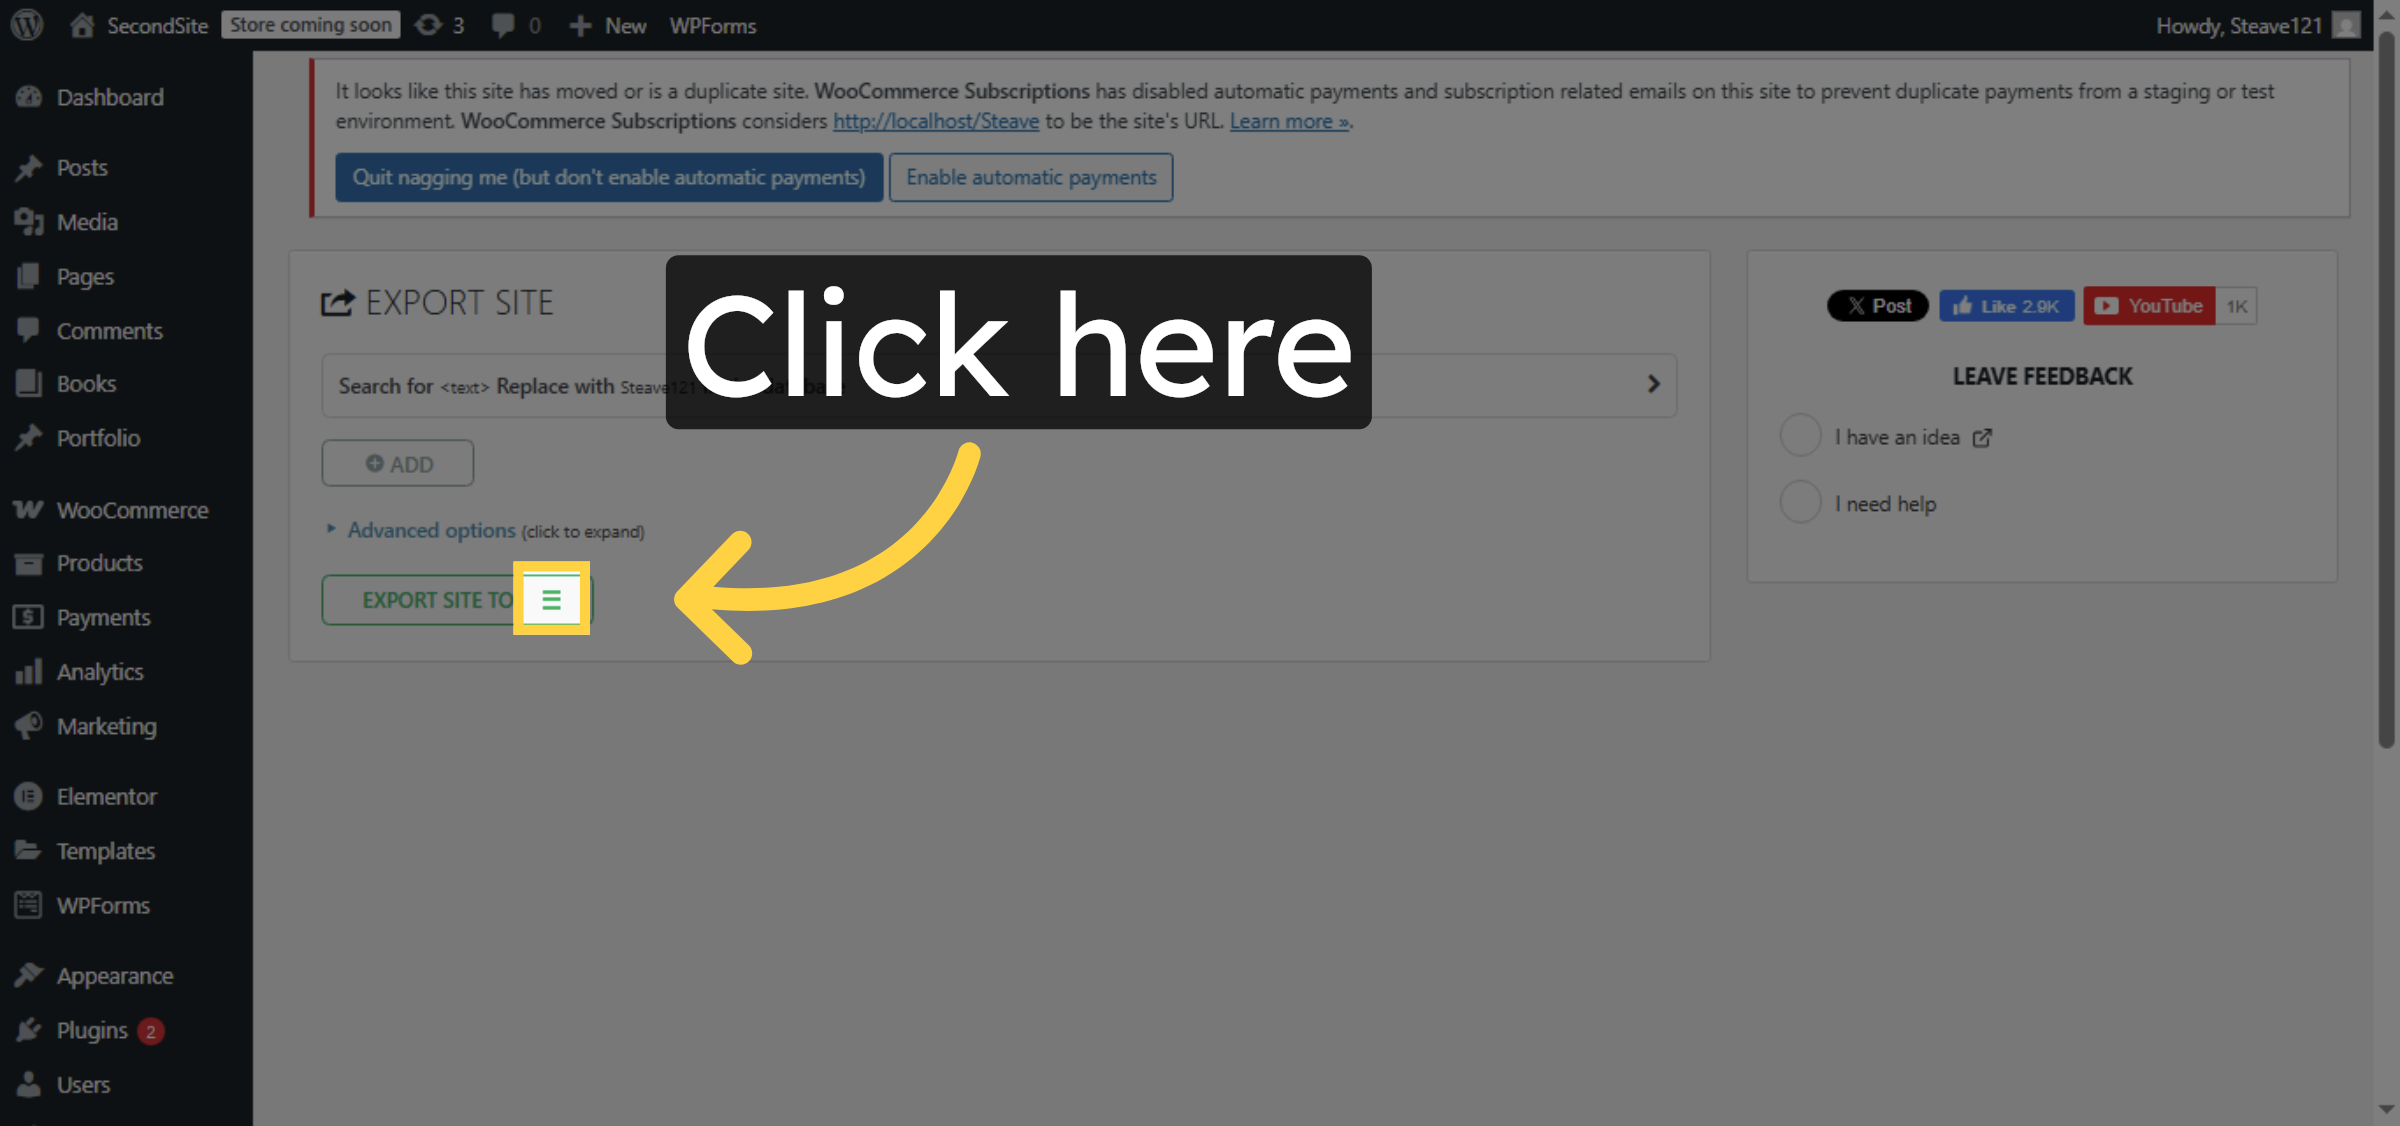
7. Confirm Export Action
Click here to confirm the export action.
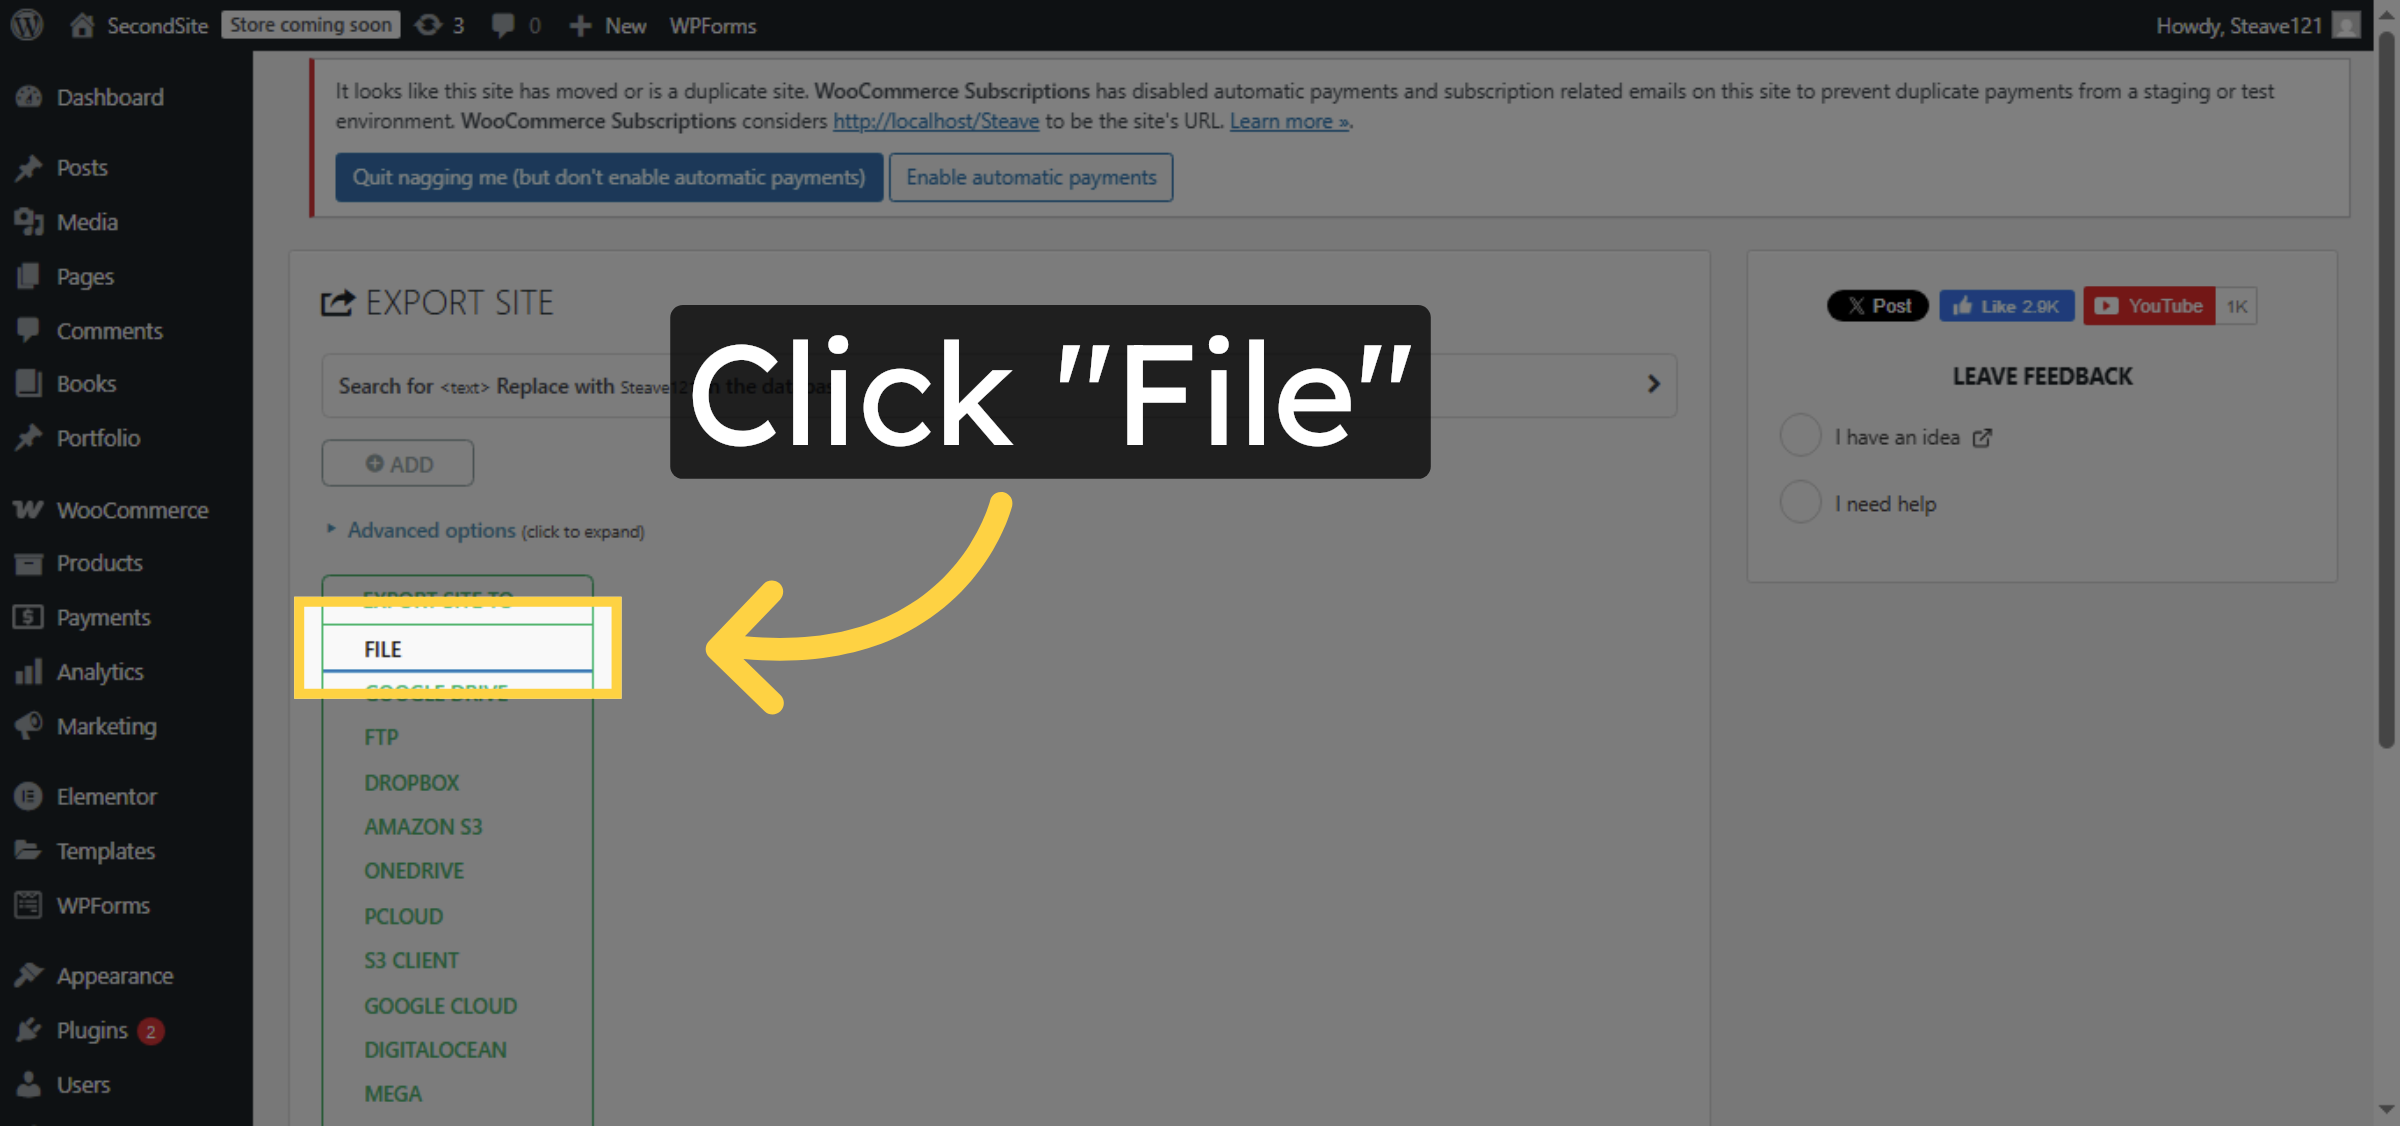
8. Open Exported File Menu
Click “File” to access the exported file options.
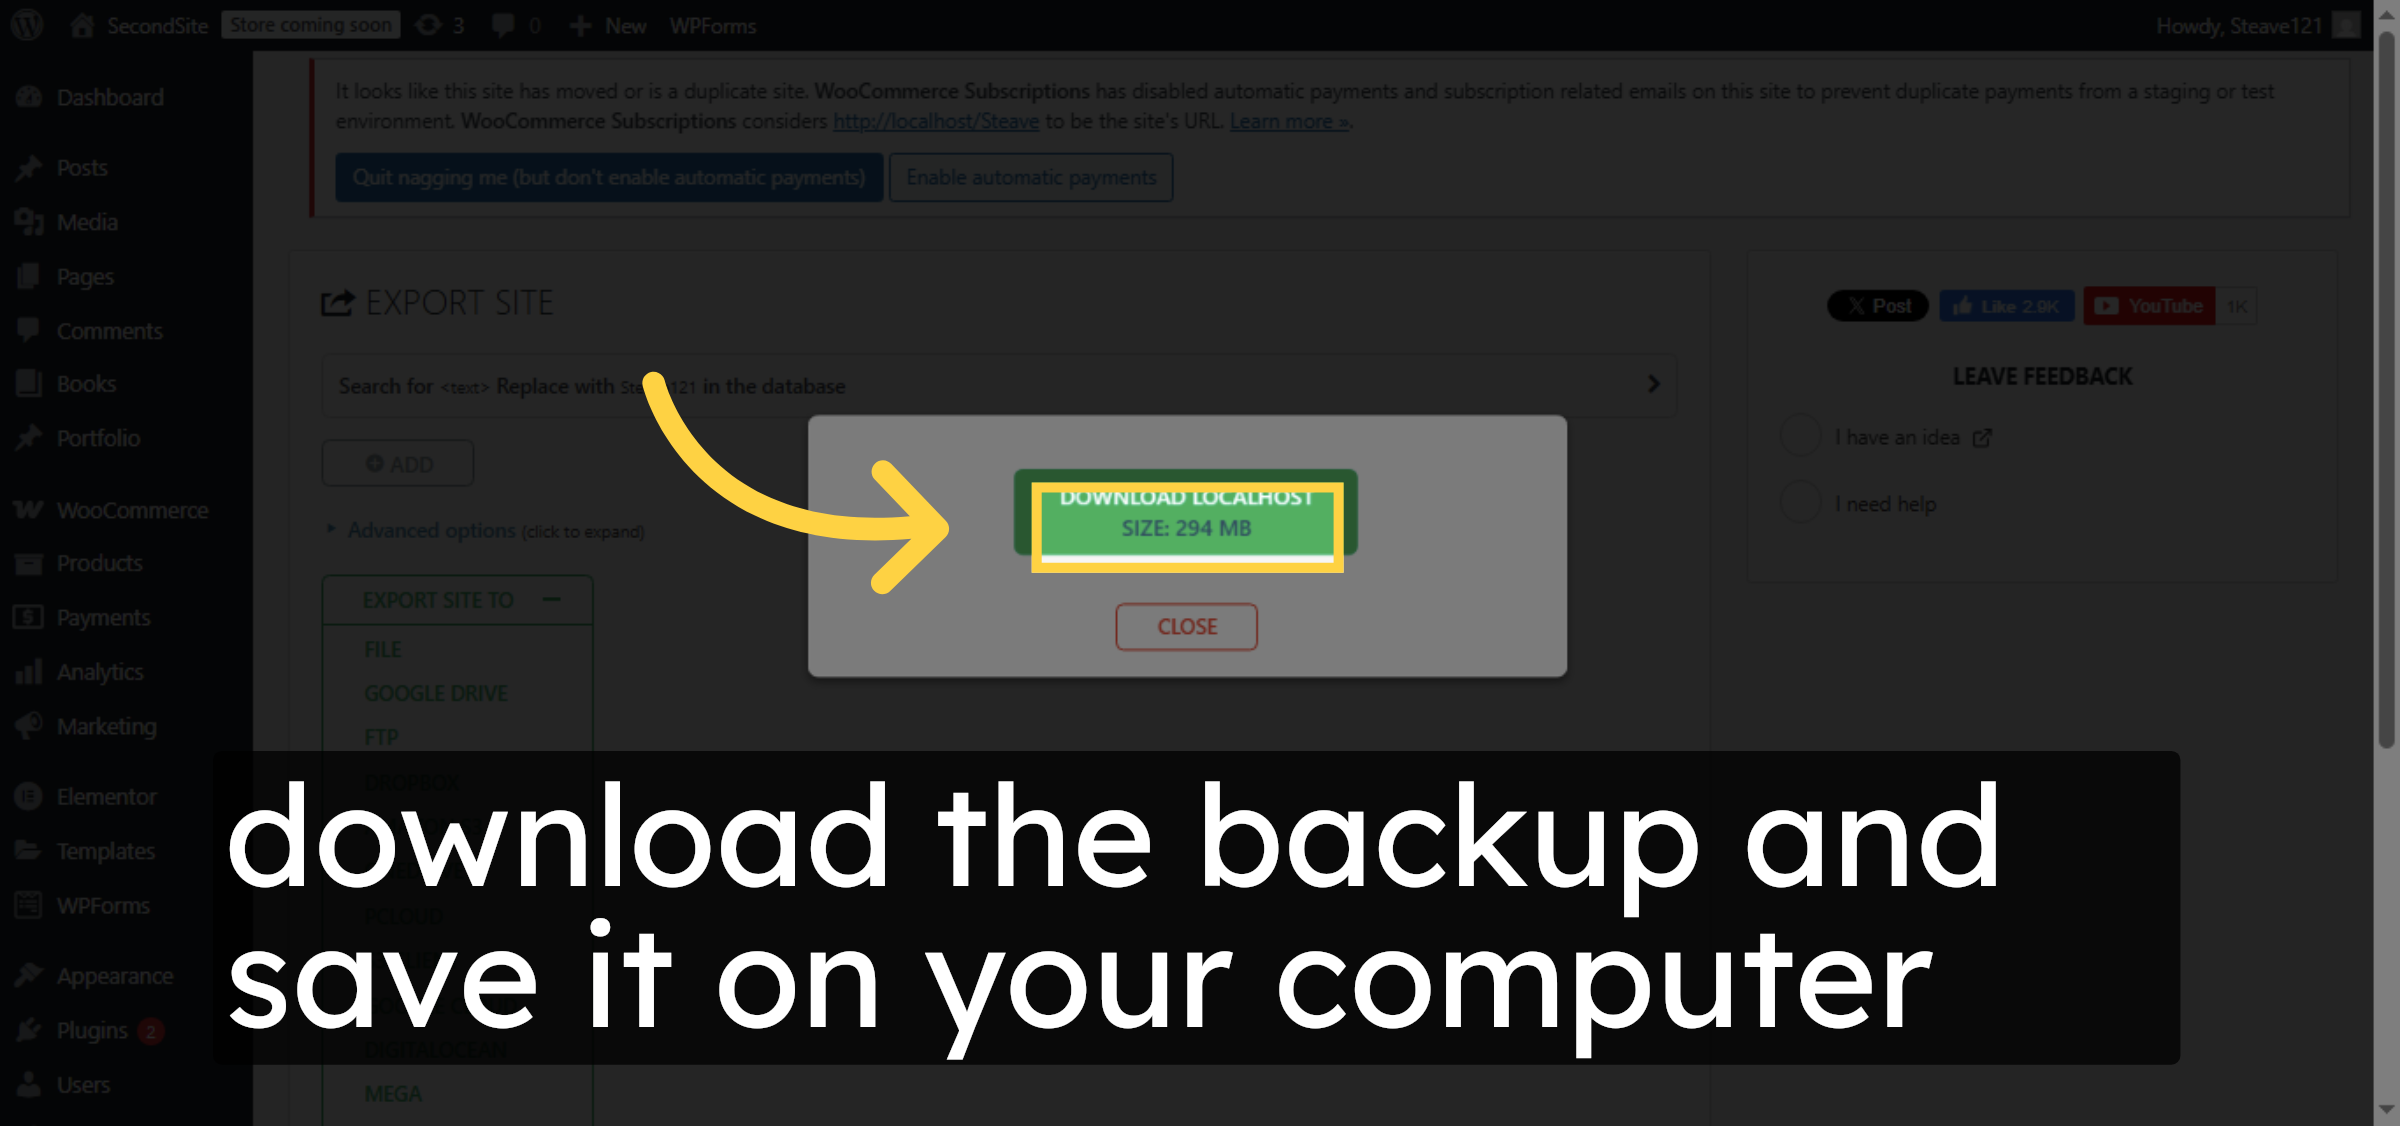
9. Download exported file
ownload the backup and save it on your computer.
10. Close Exported File Menu
Click “Close” to exit the file menu.

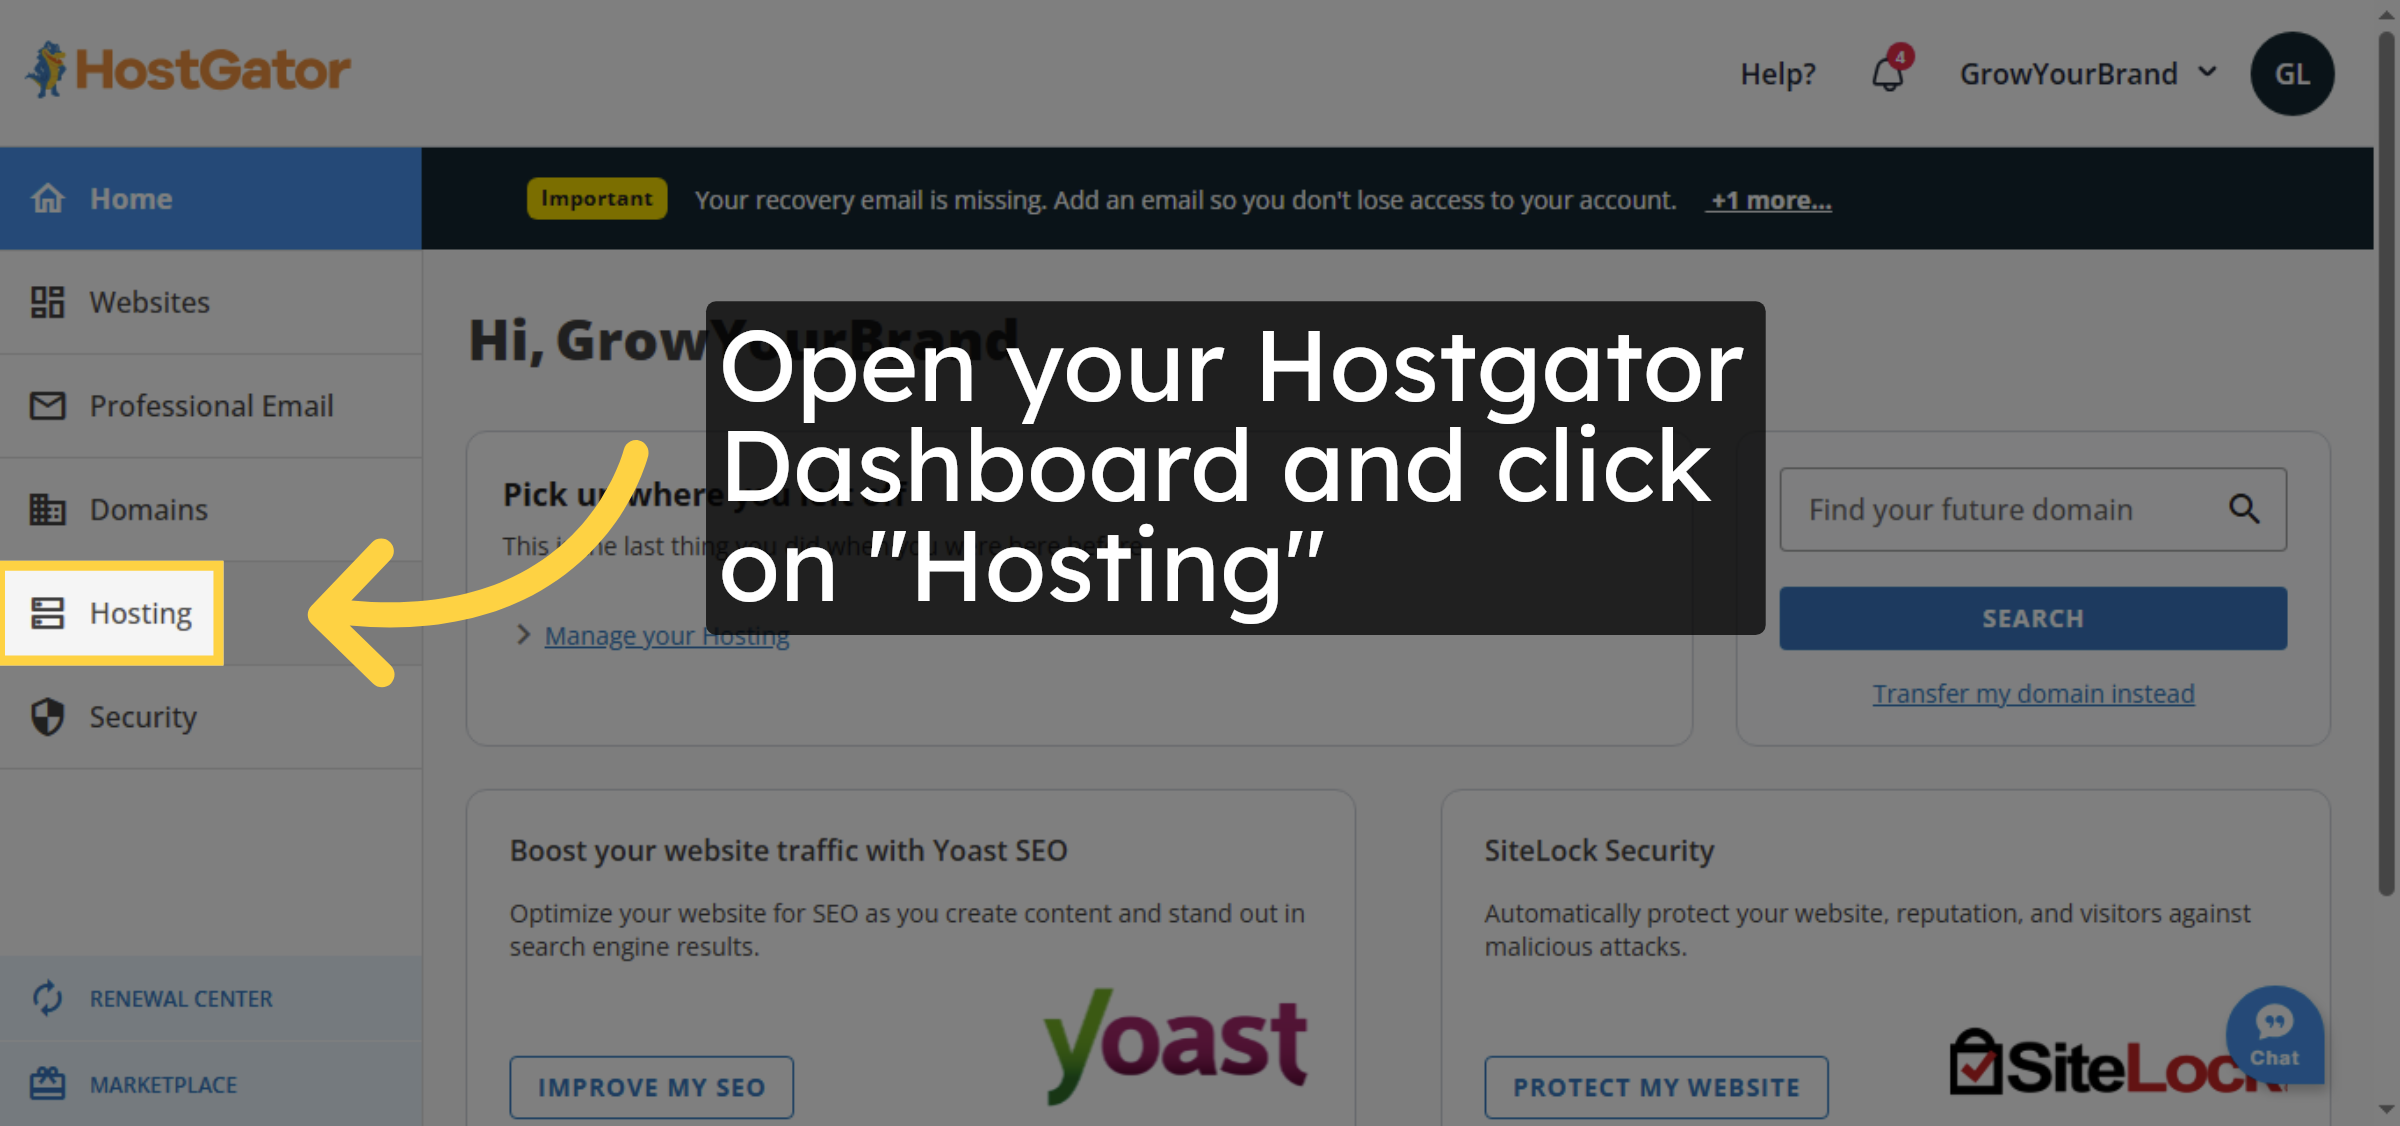
11. Open Hostgator Dashboard
Open your Hostgator Dashboard and click on “Hosting”
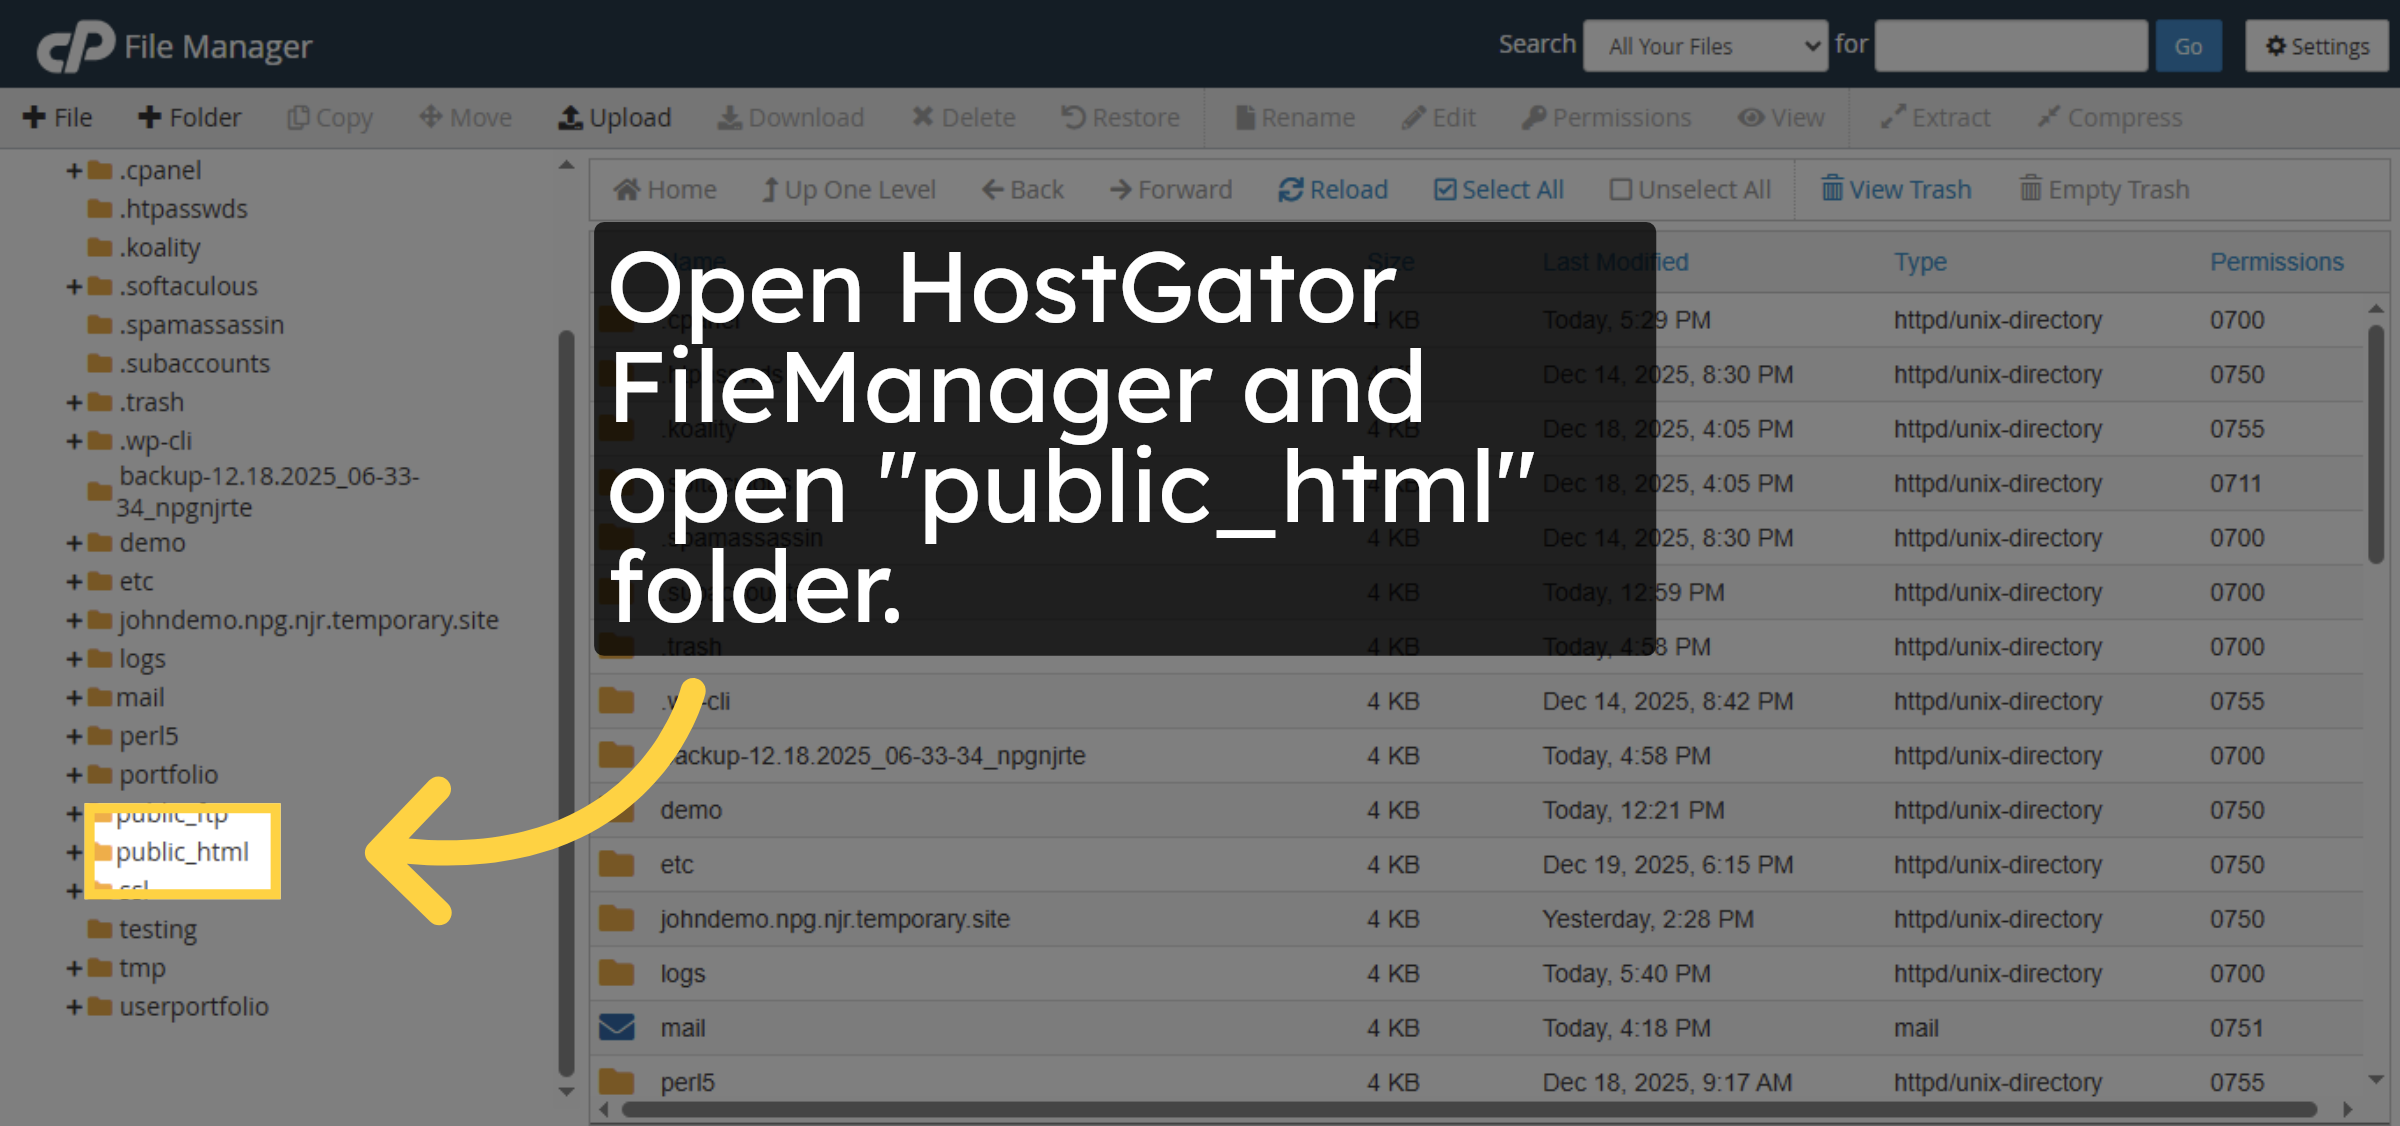
12. Open HostGator FileManager
Open HostGator FileManager and open “public_html” folder.
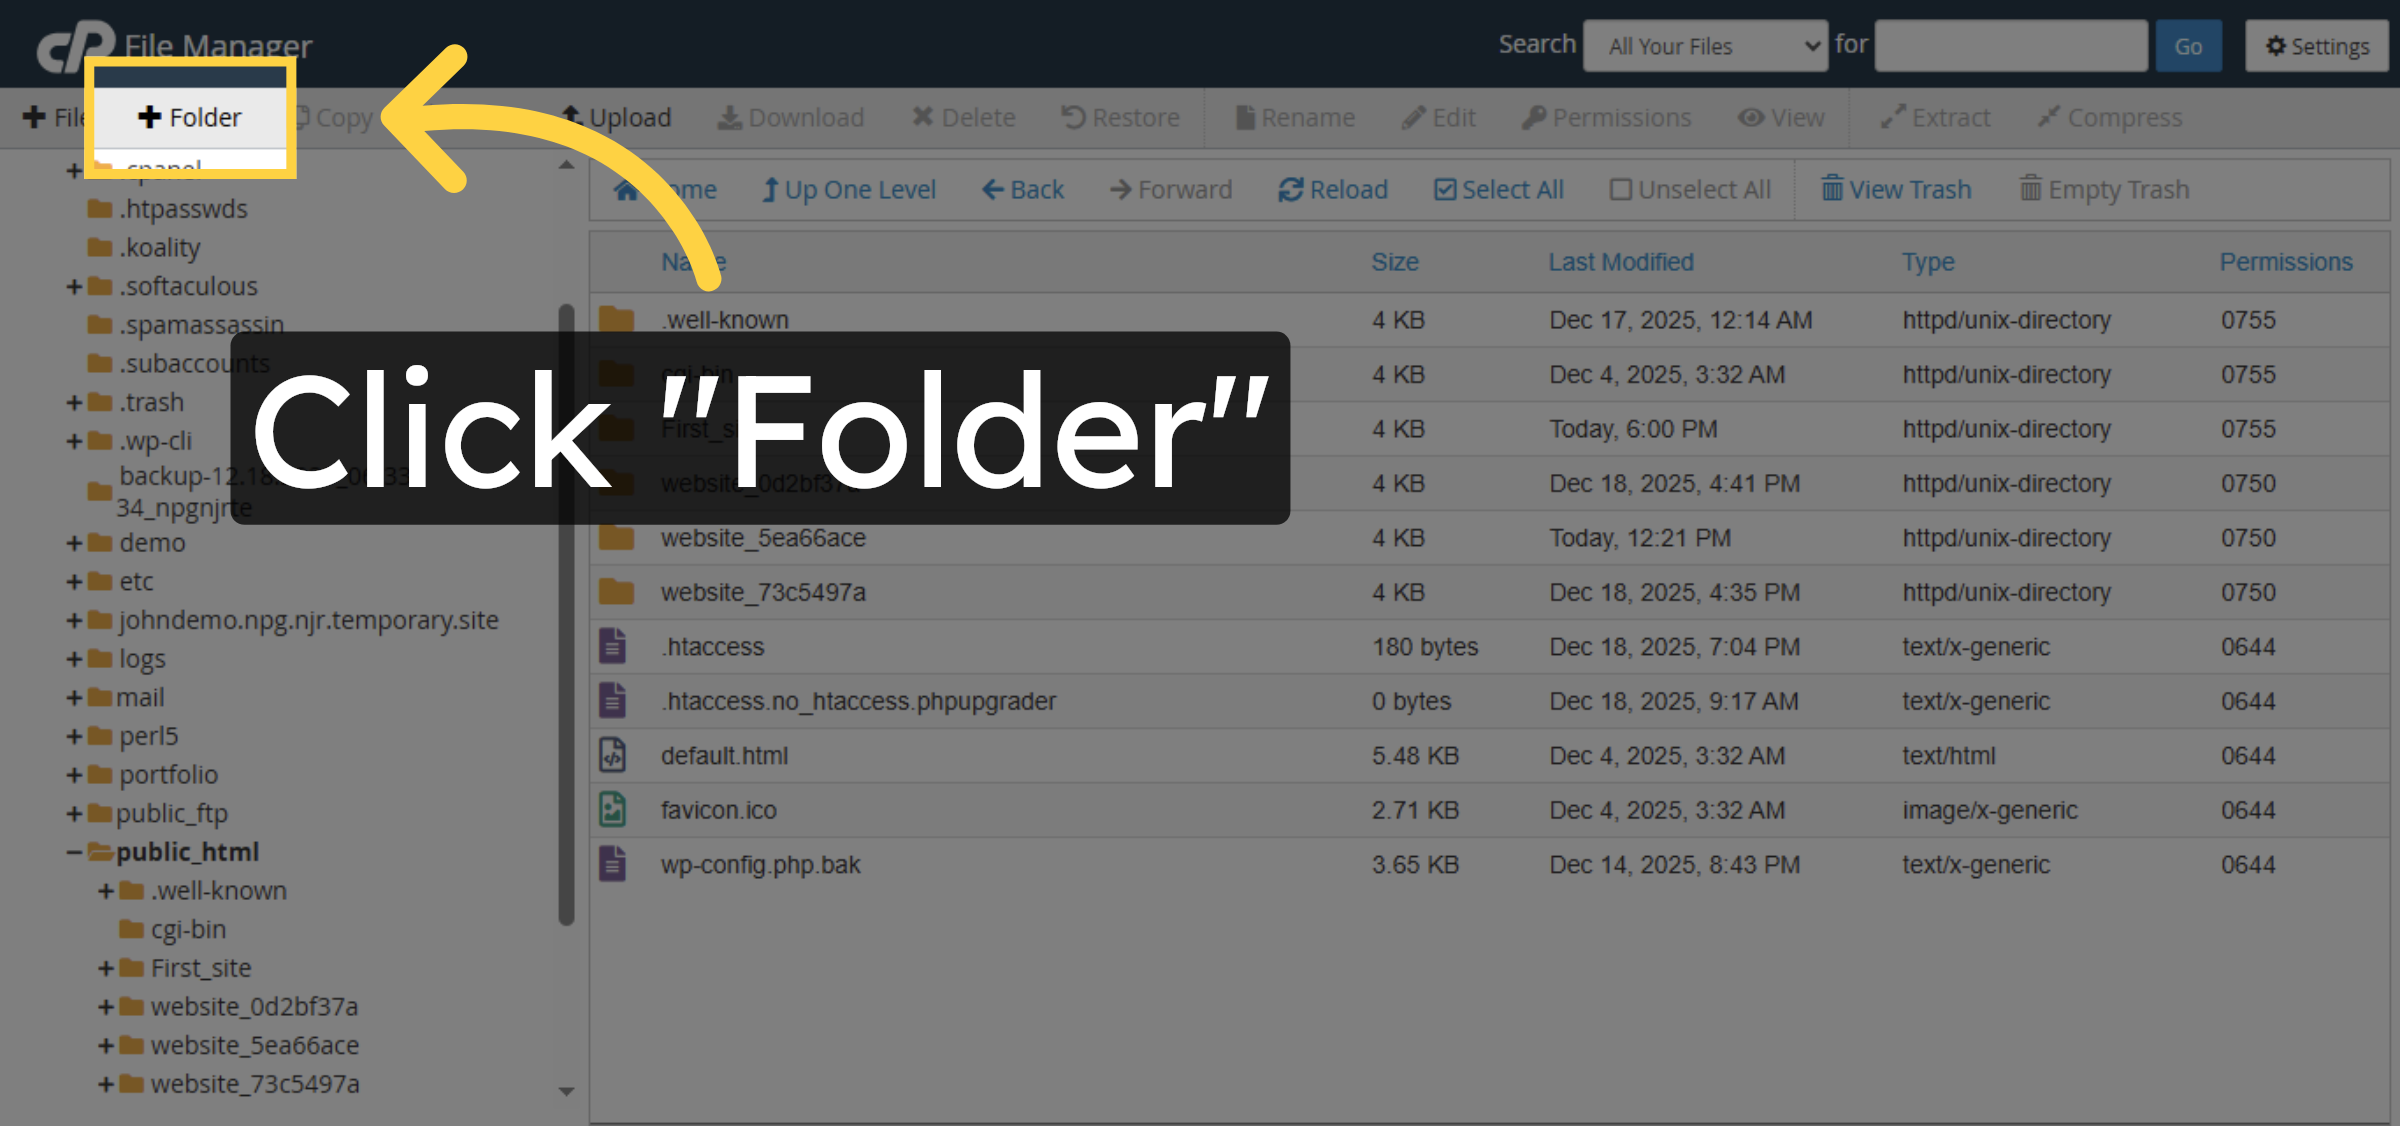
13. Create New Folder
Click “Folder” to create a new directory for your site.
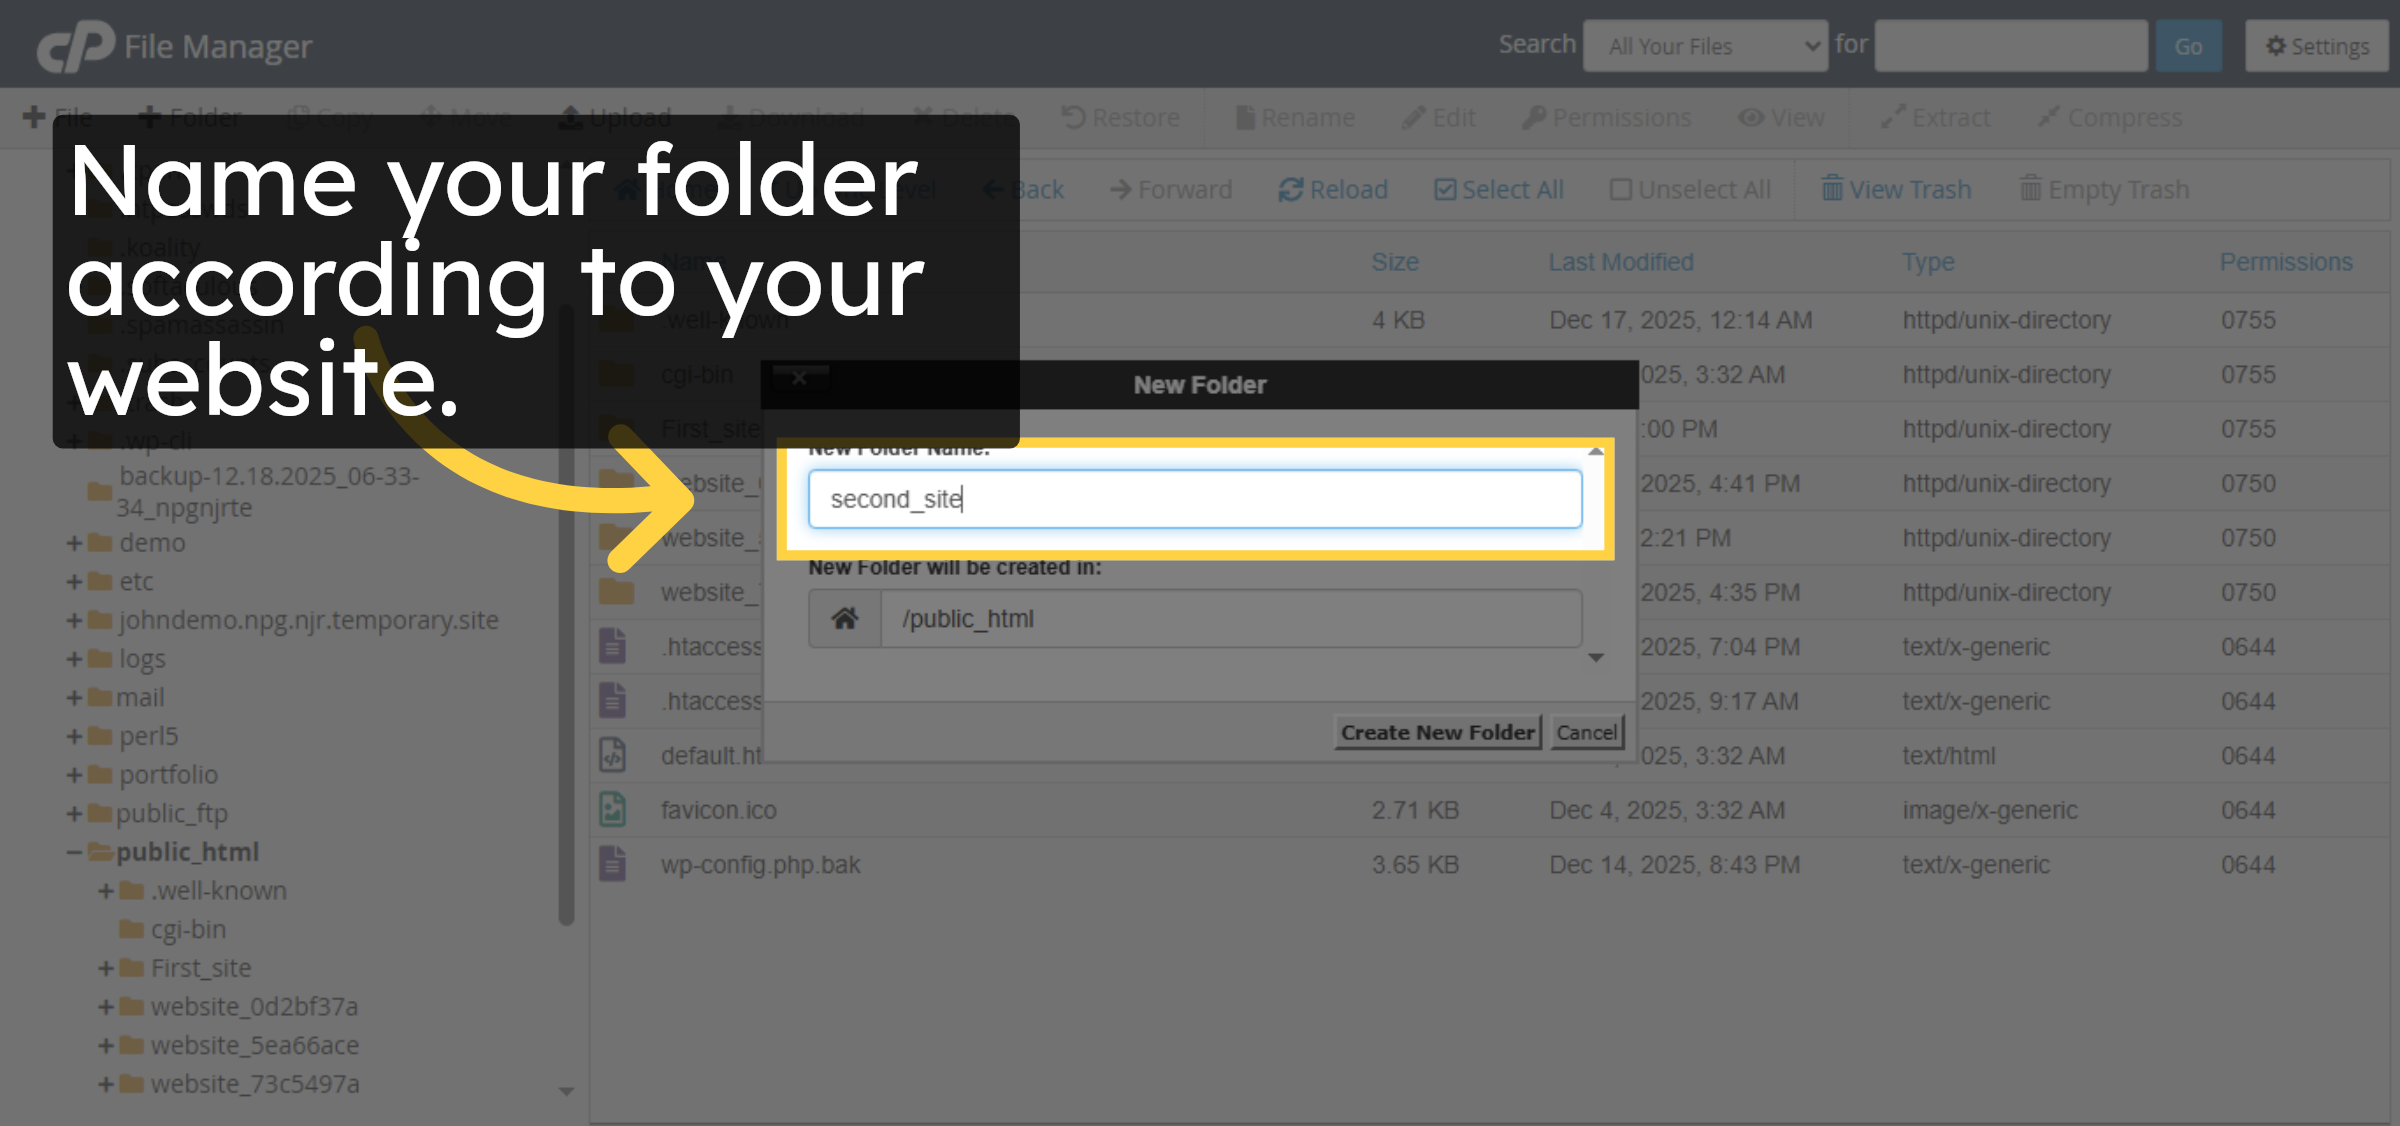
14. Name New Folder
Name your folder according to your website.
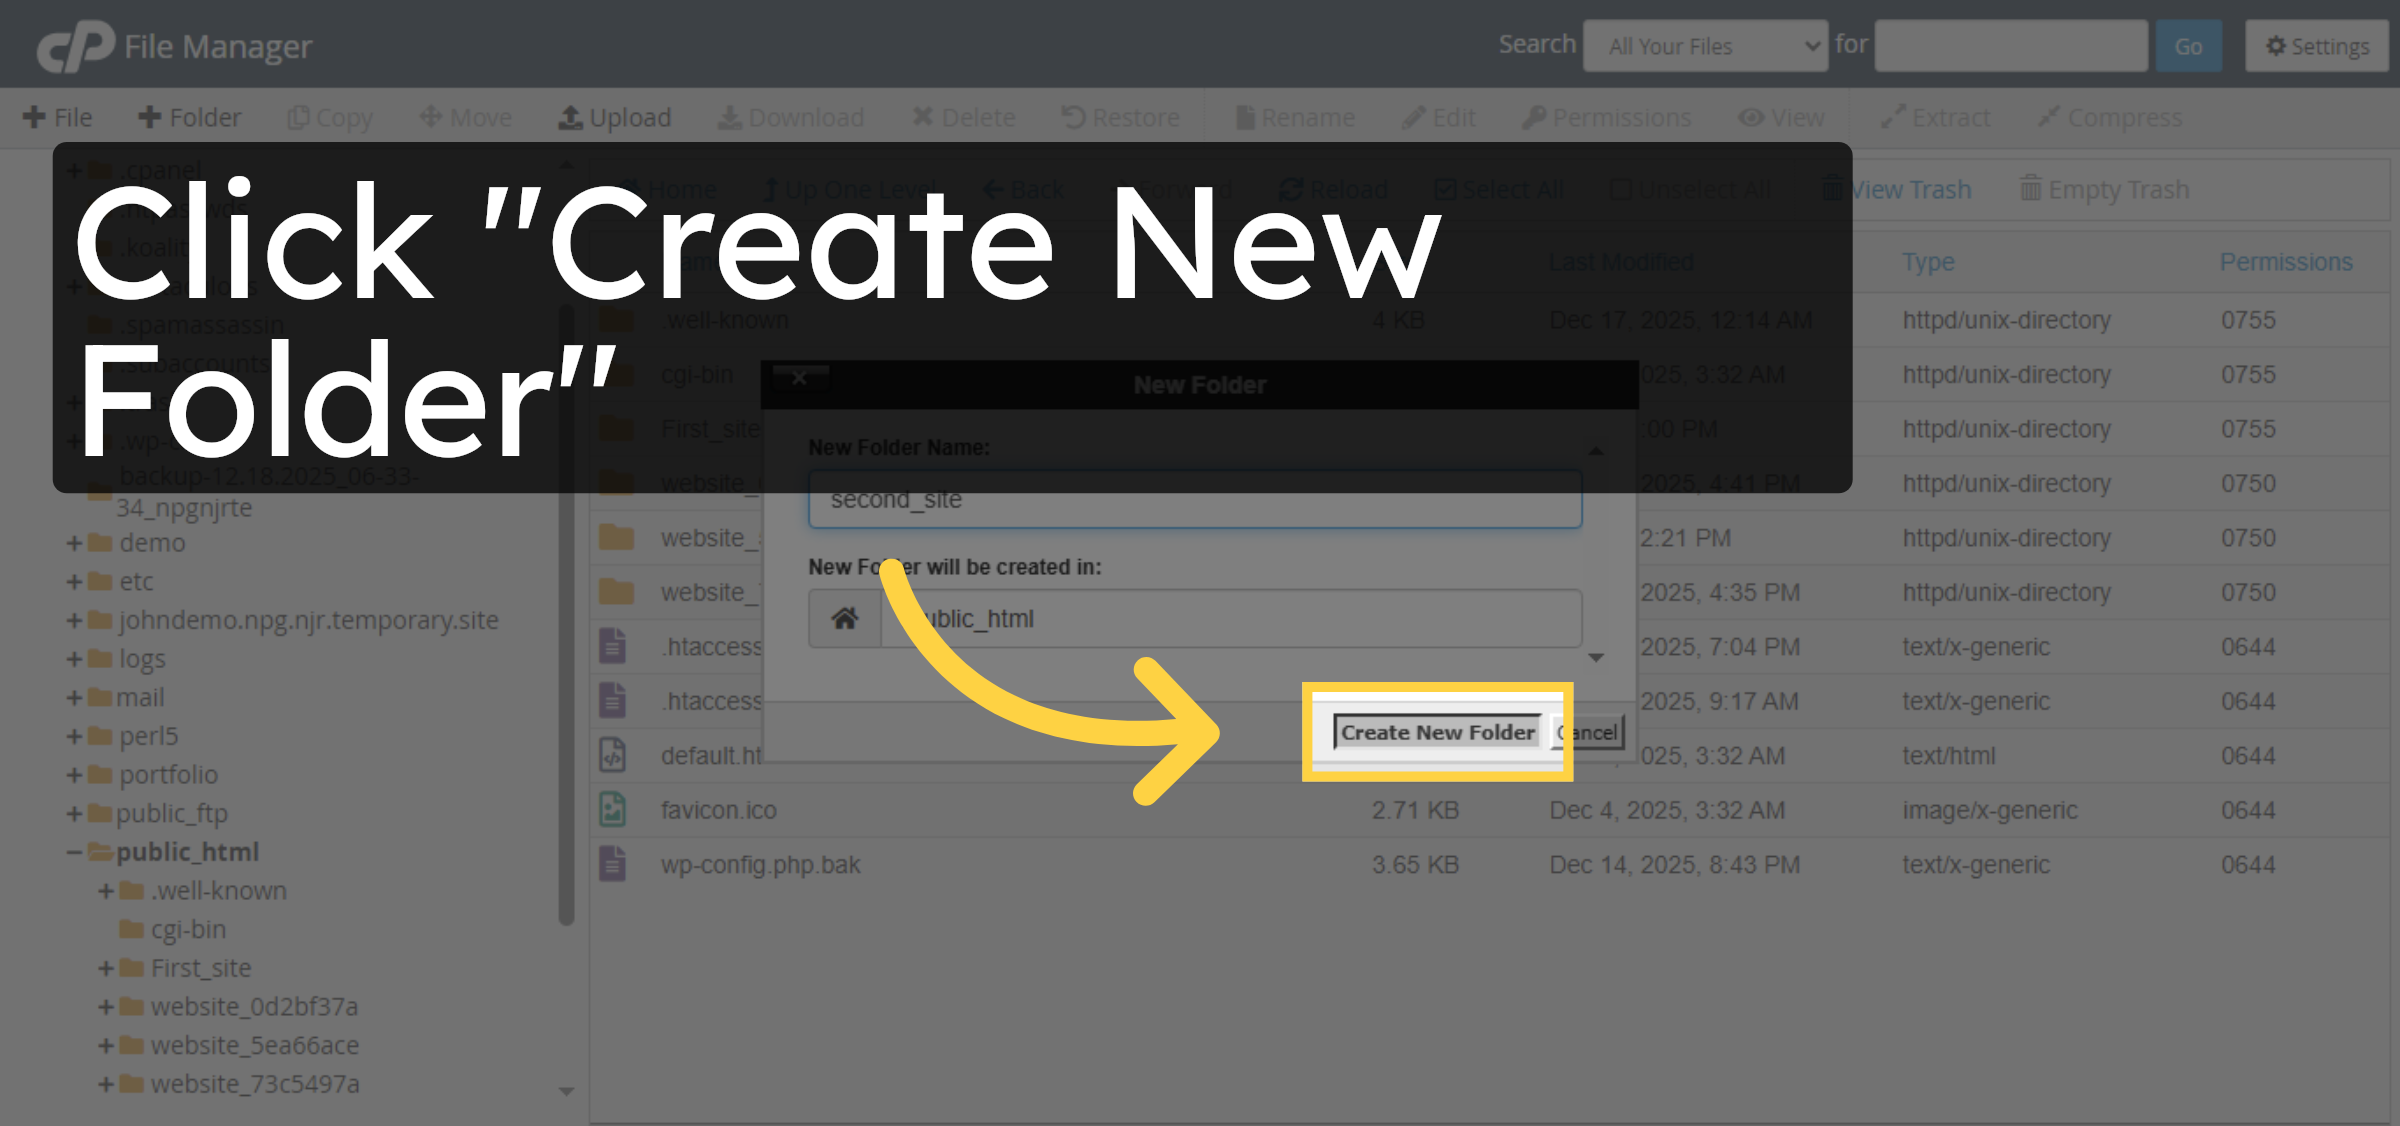
15. Confirm Folder Creation
Click “Create New Folder” to create the directory.
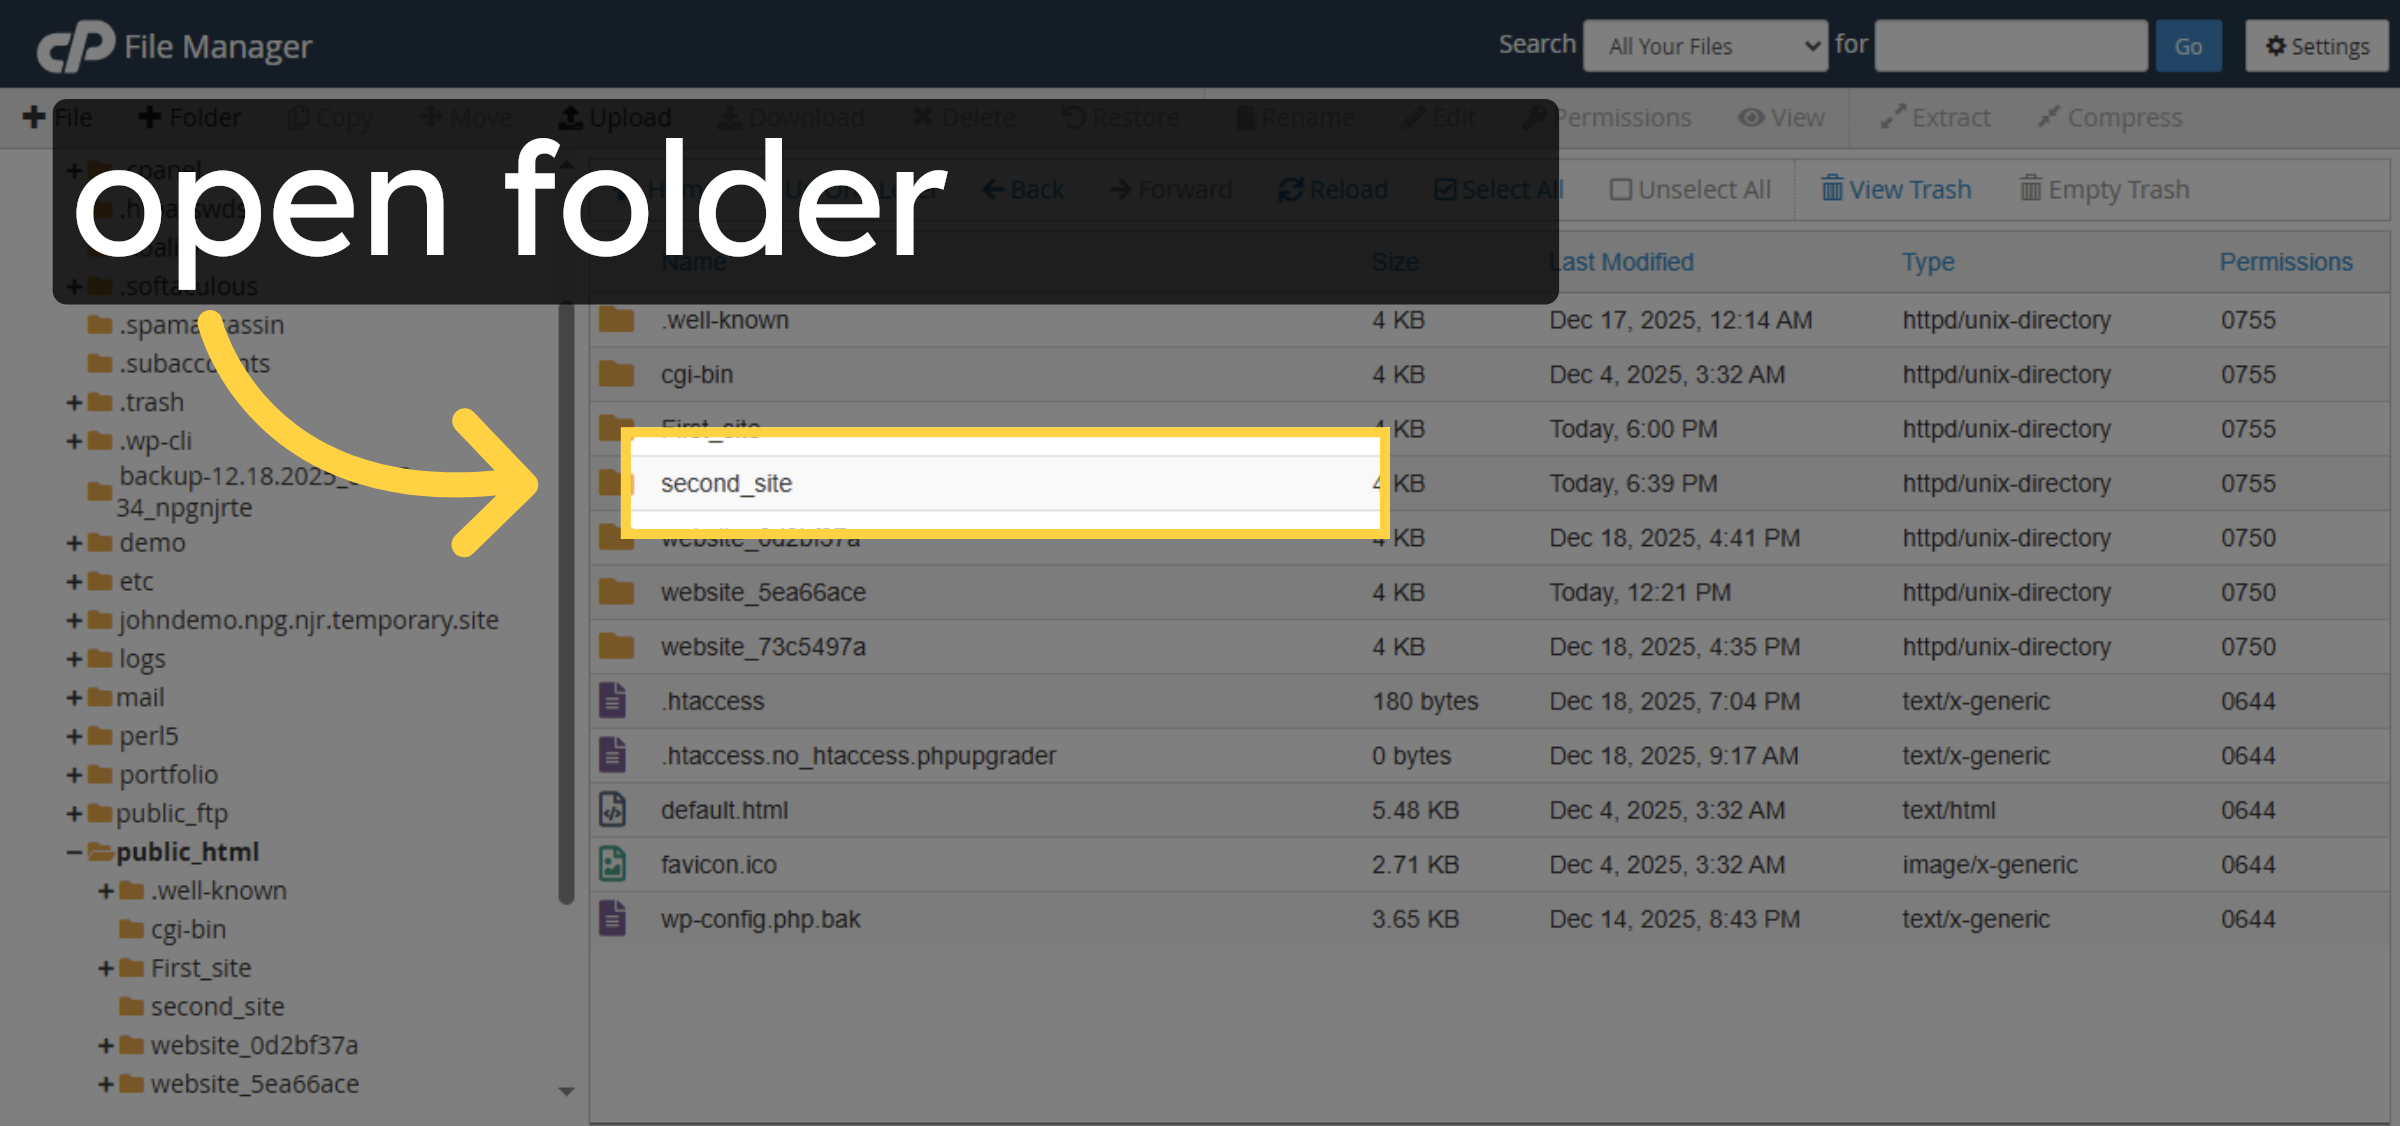
16. Open New Folder
Open Your website folder.
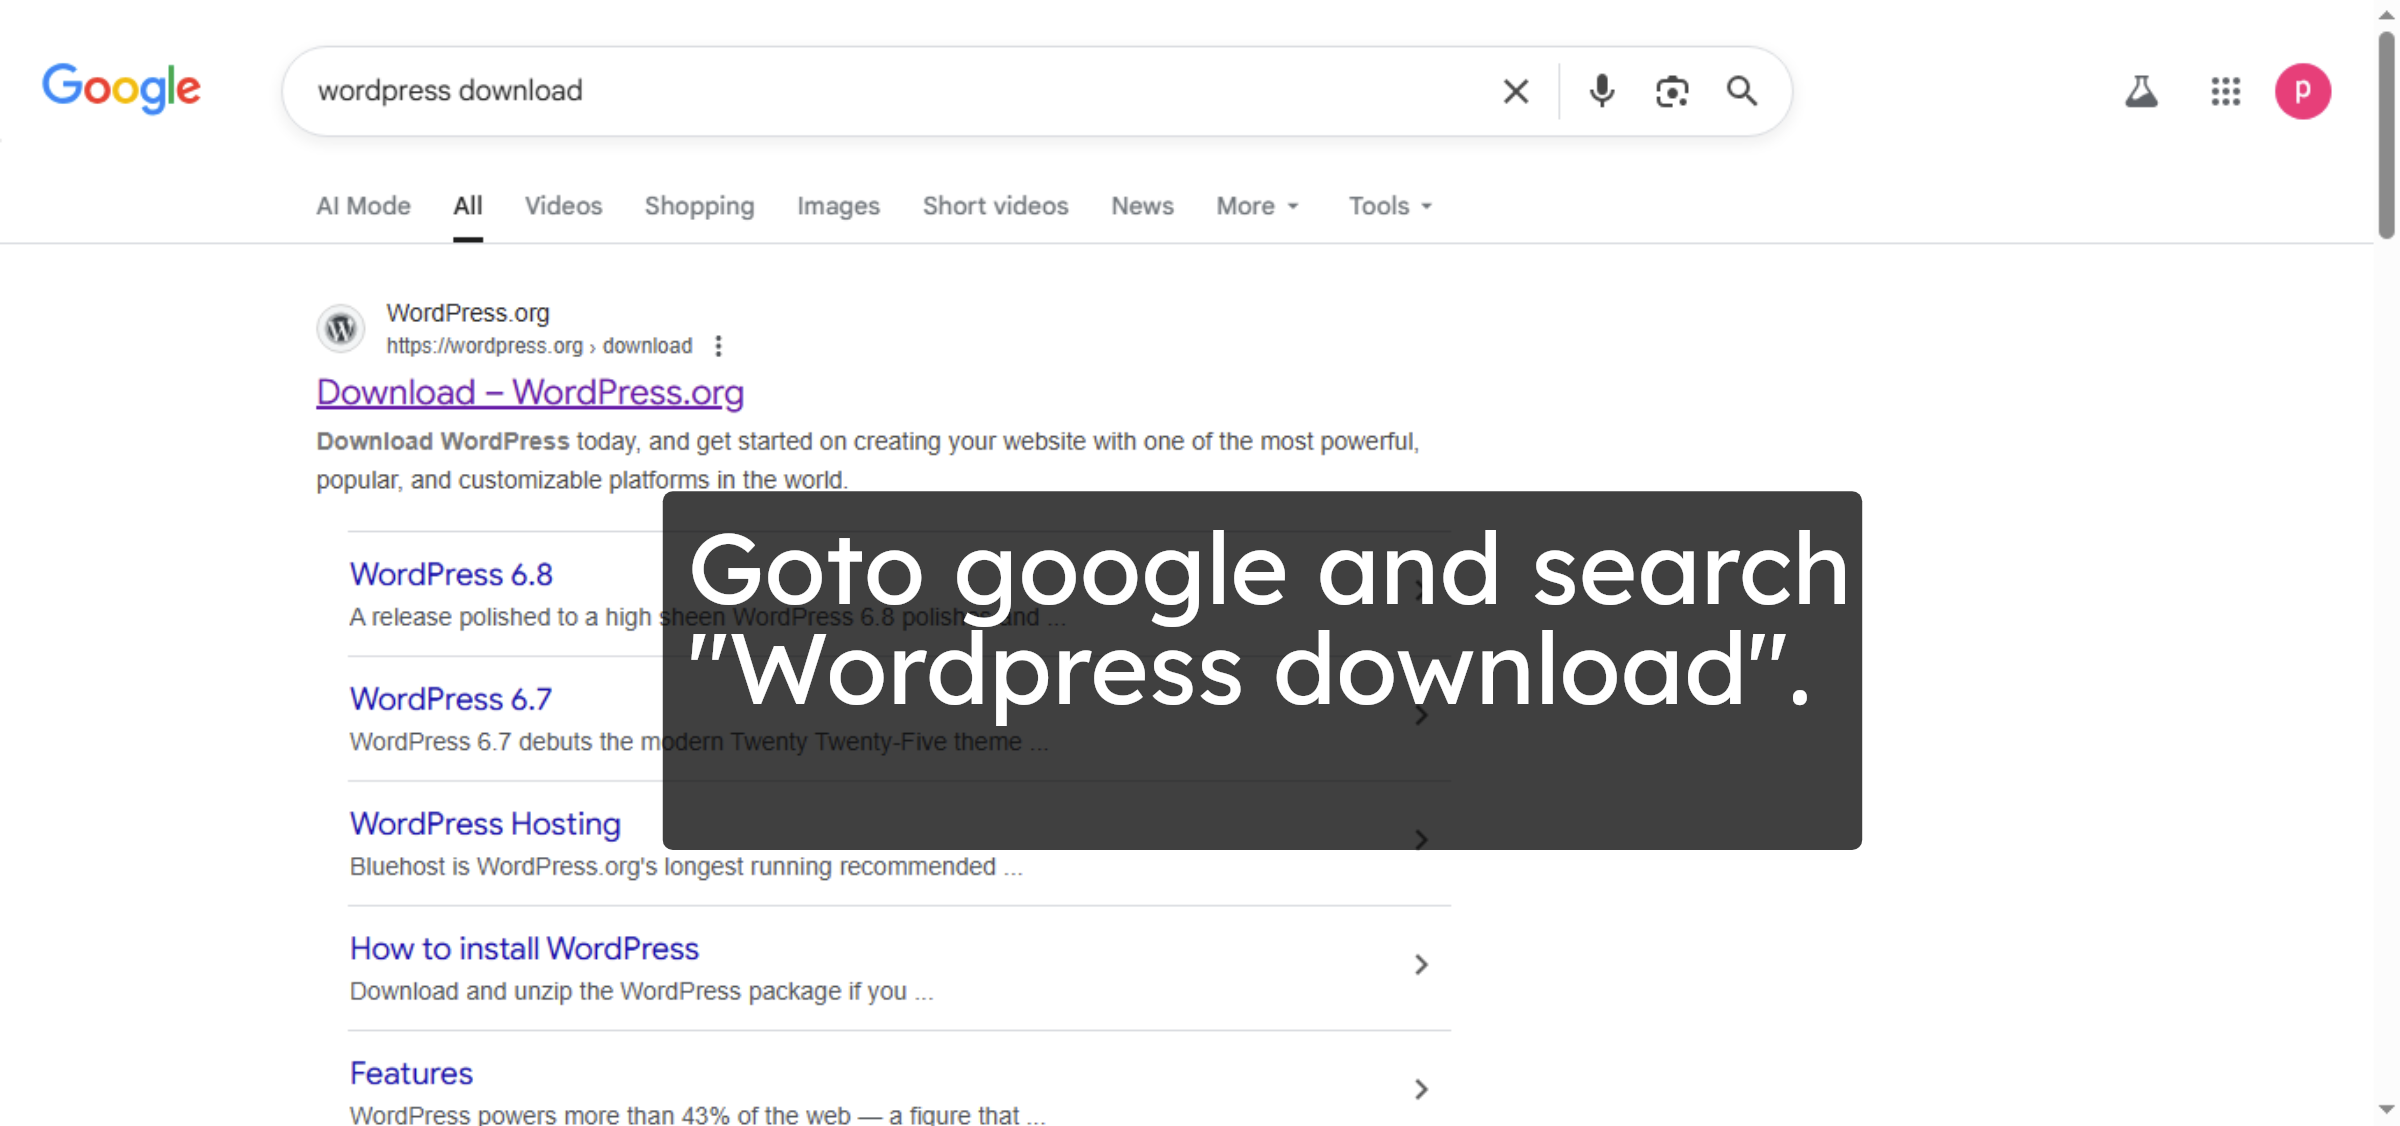
17. Open Google Website
Goto google and search “WordPress download”.
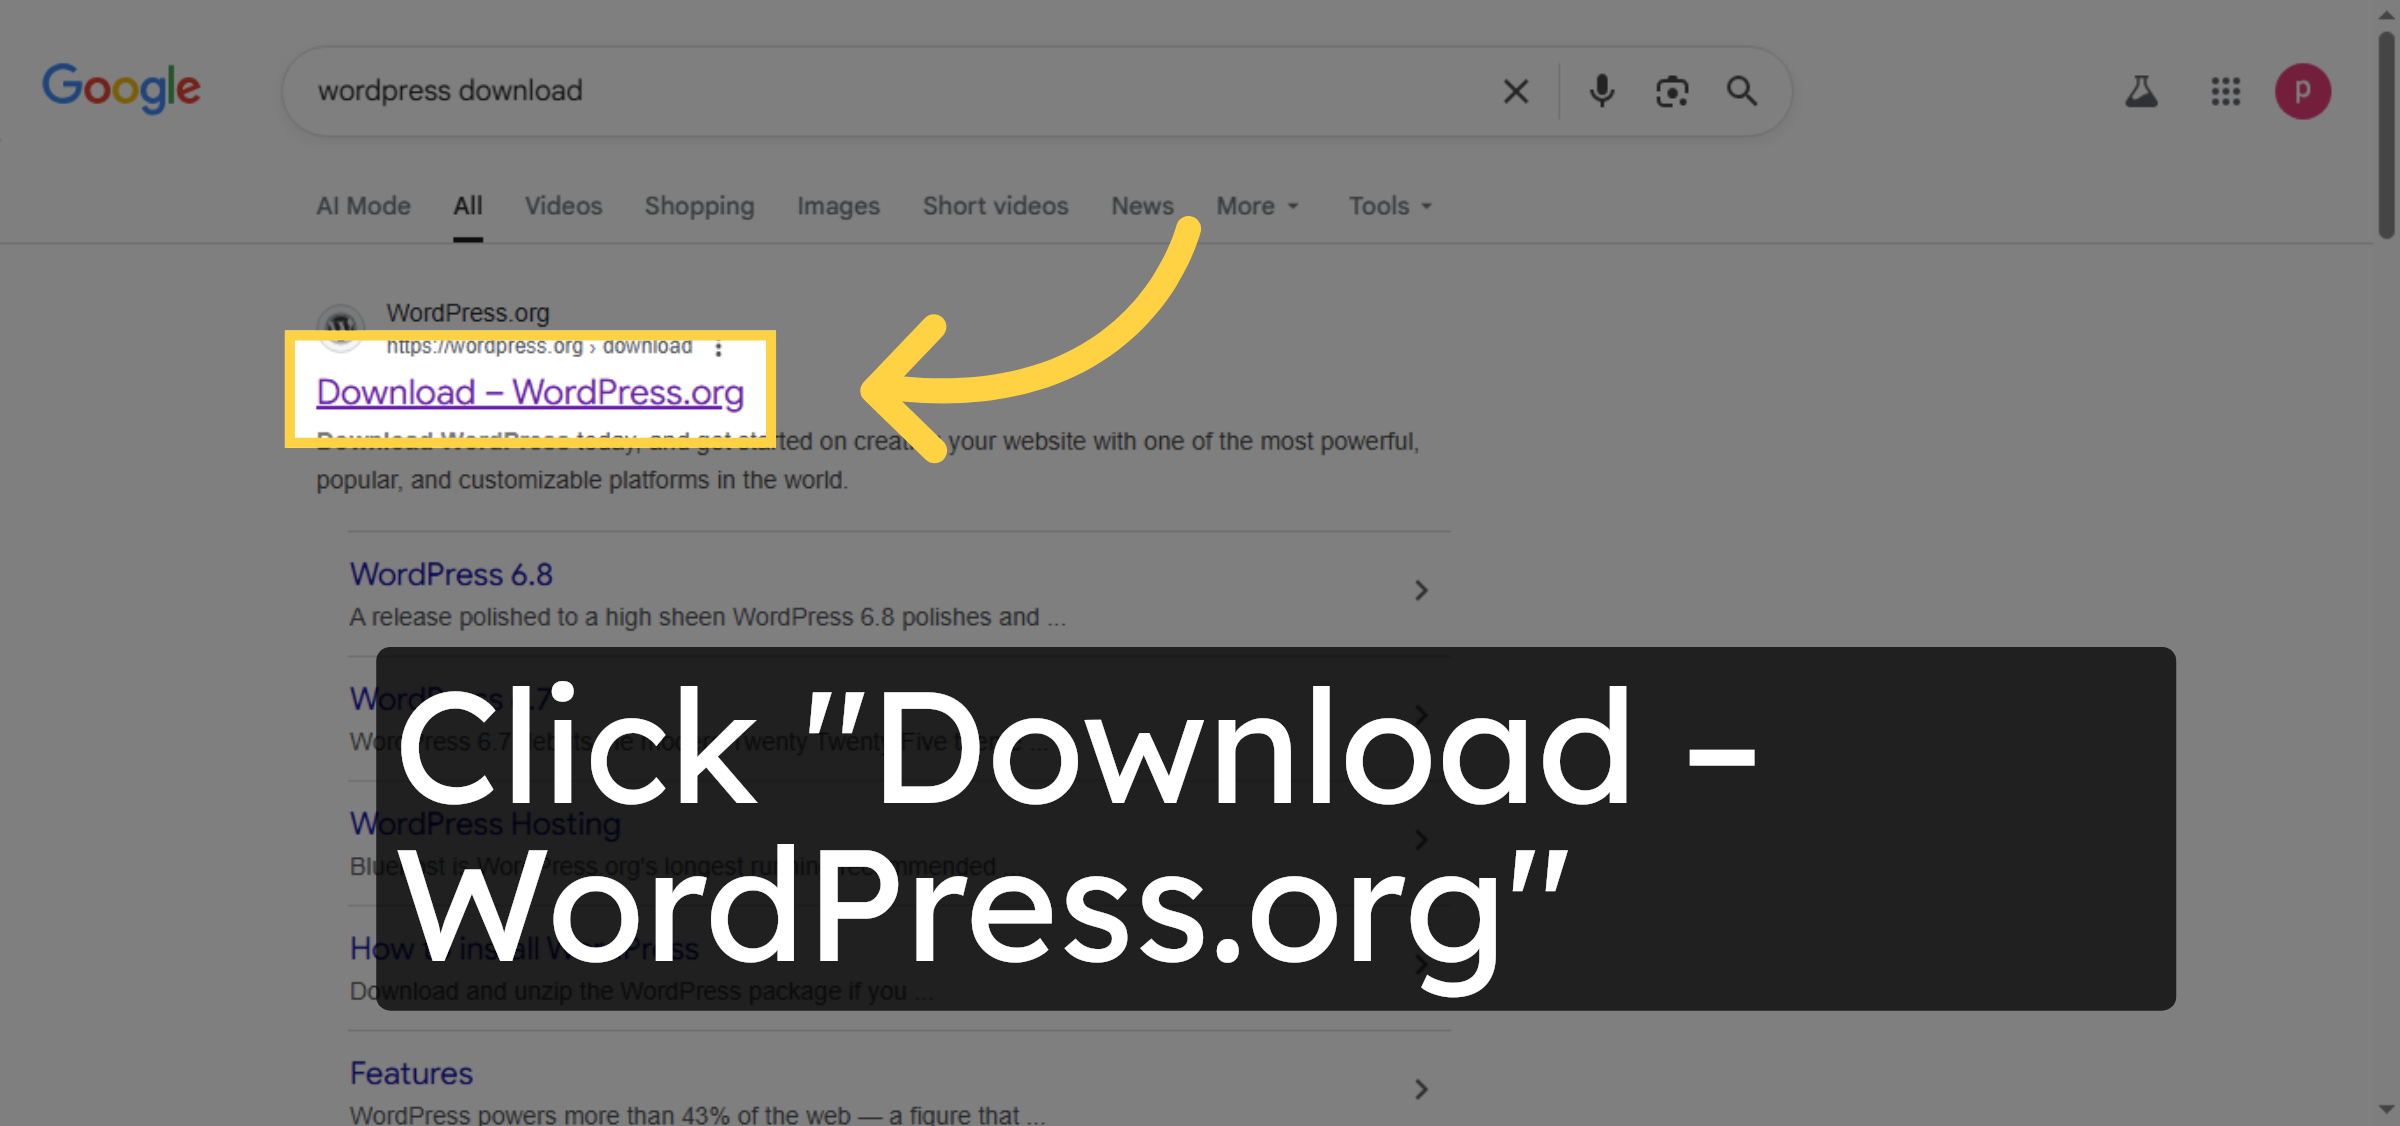
18. Access WordPress Download
Click “Download – WordPress.org” to go to the official WordPress site.
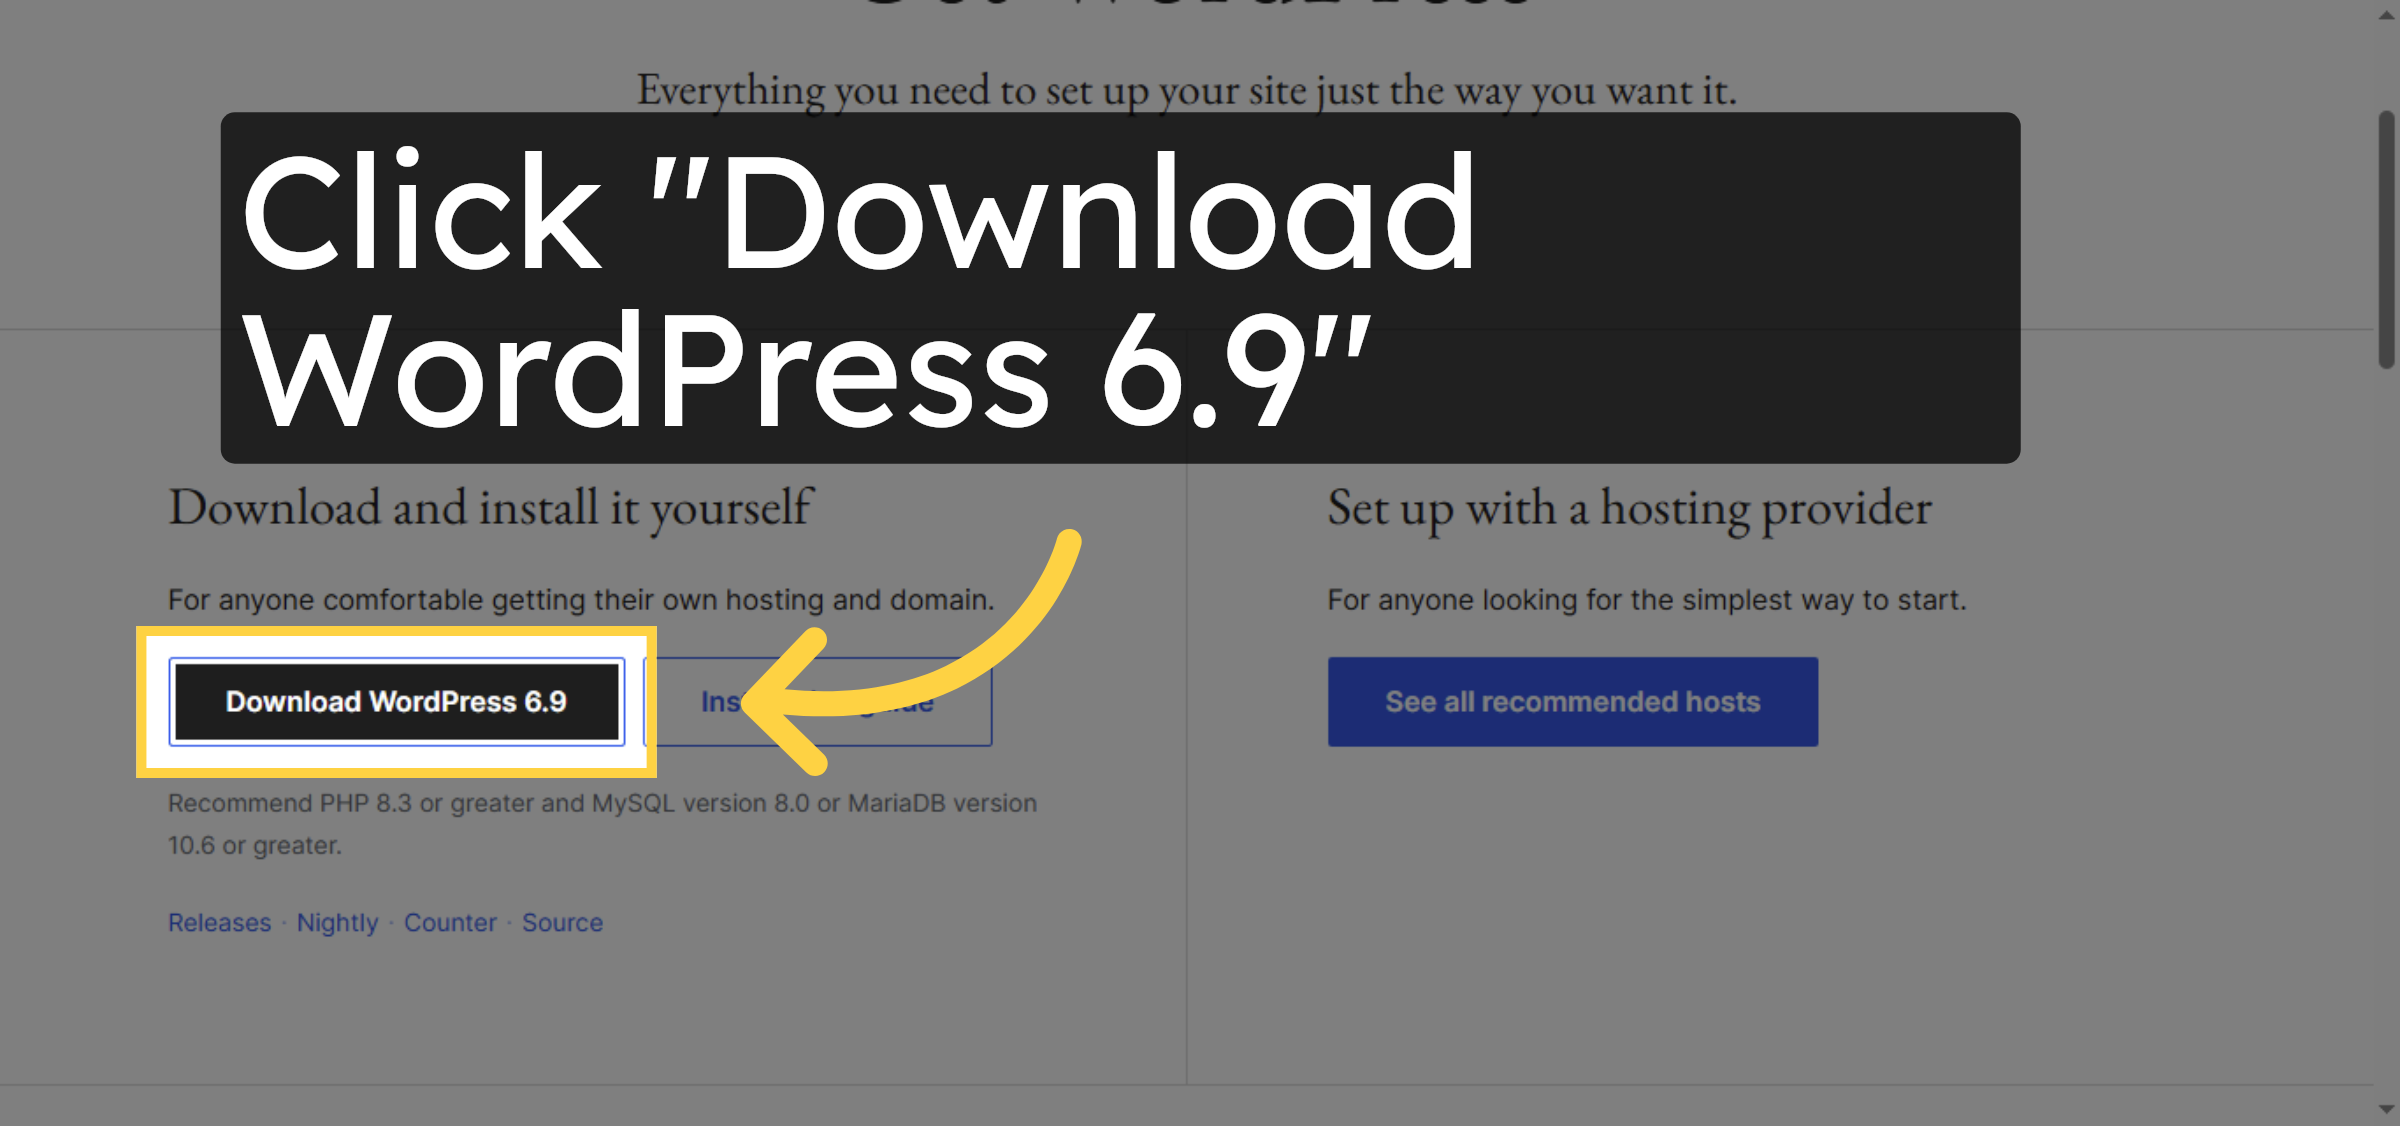
19. Download WordPress
Click “Download WordPress 6.9” to get the latest release.
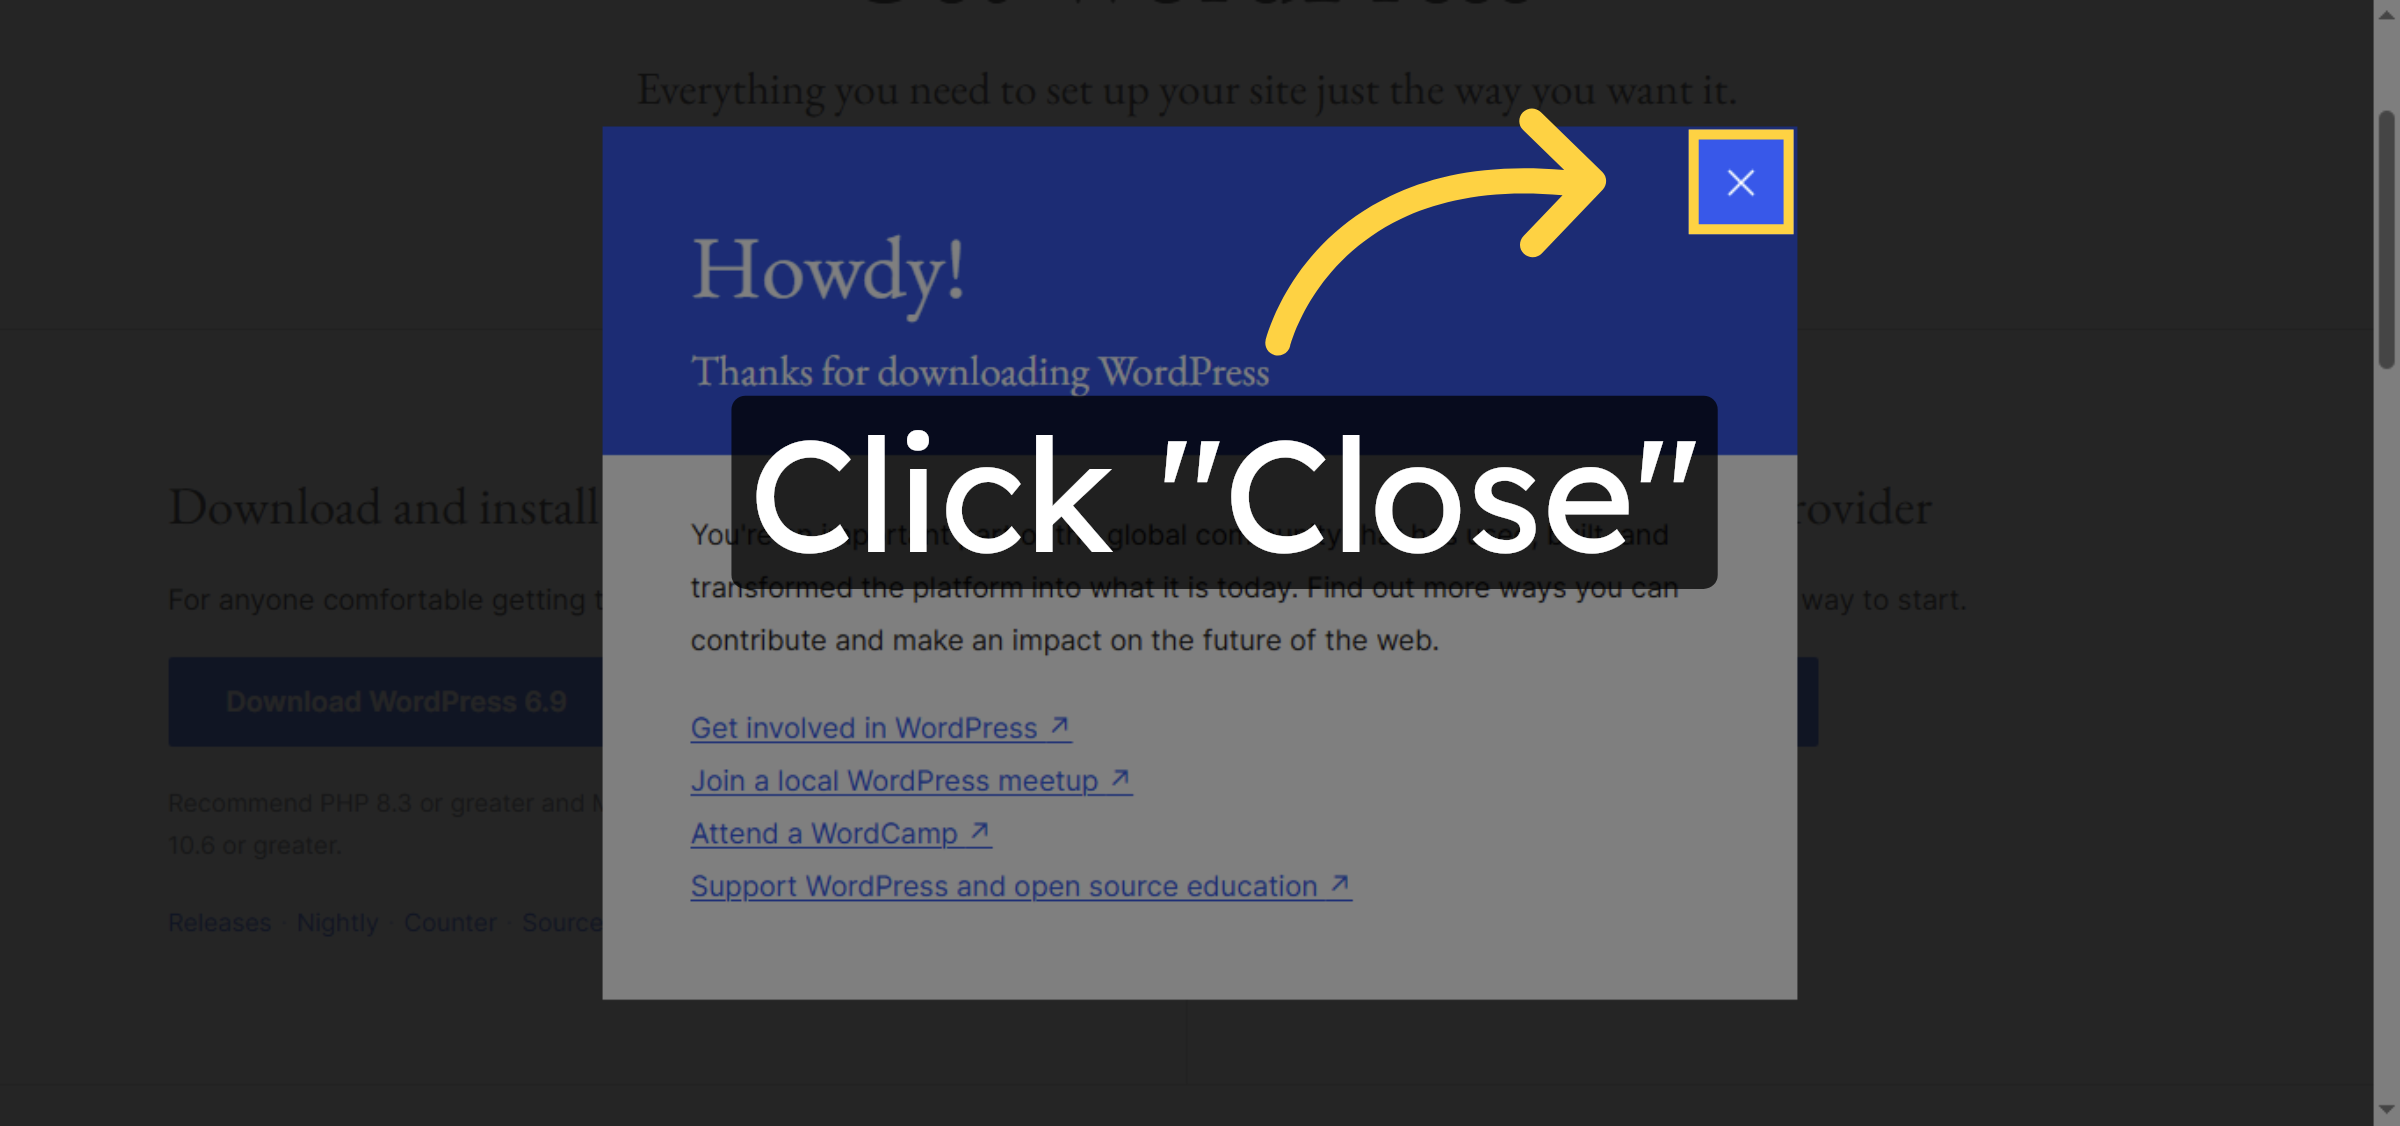
20. Close Download Popup
Click “Close” to exit the download popup.
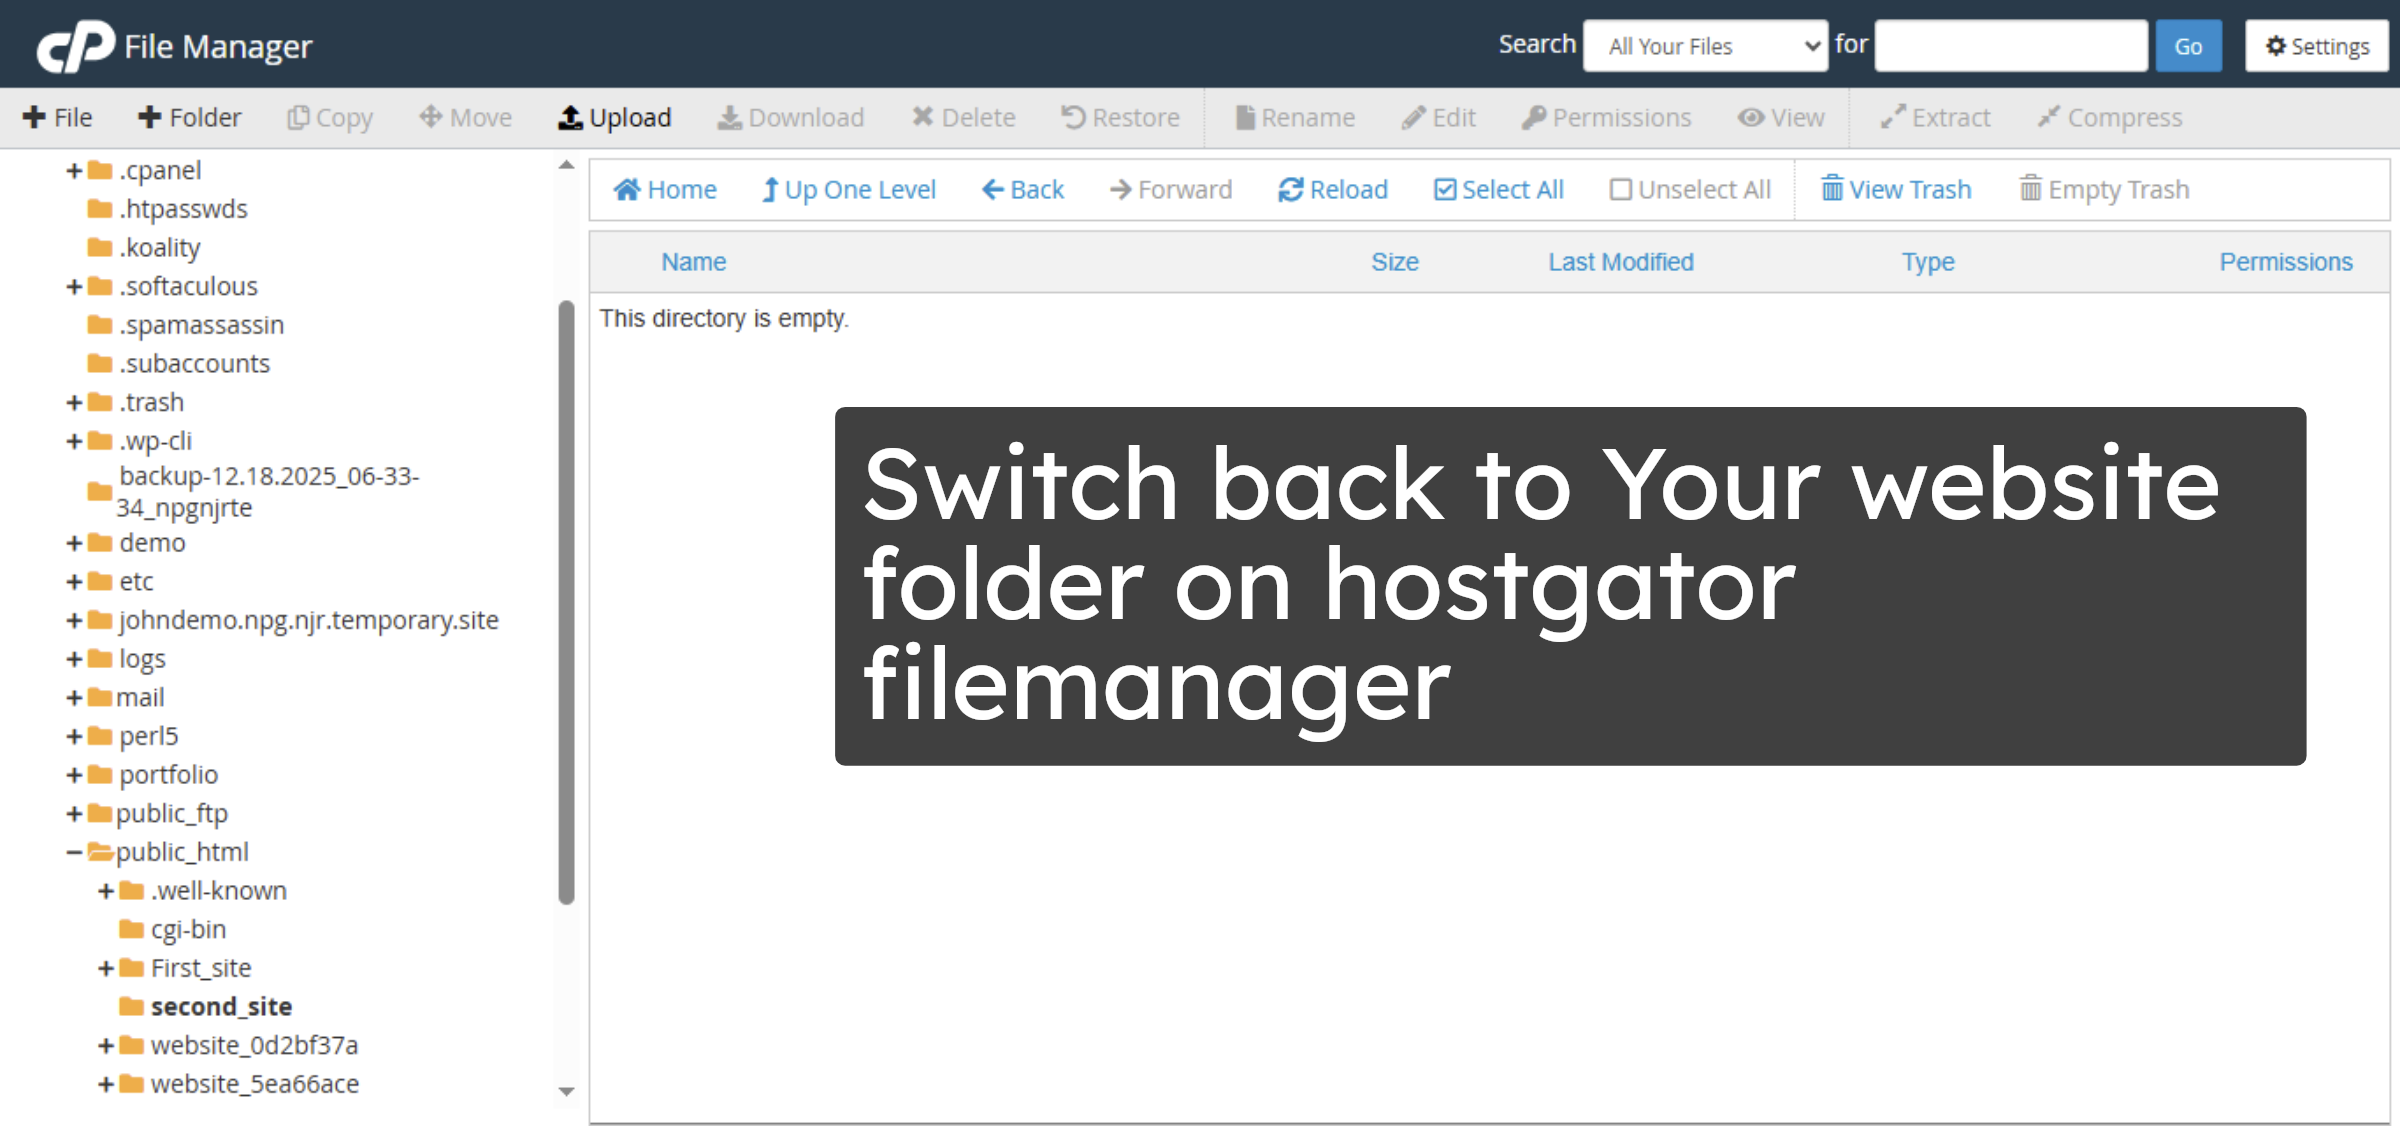
21. Return to HostGator Panel
Switch back to Your website folder on hostgator filemanager
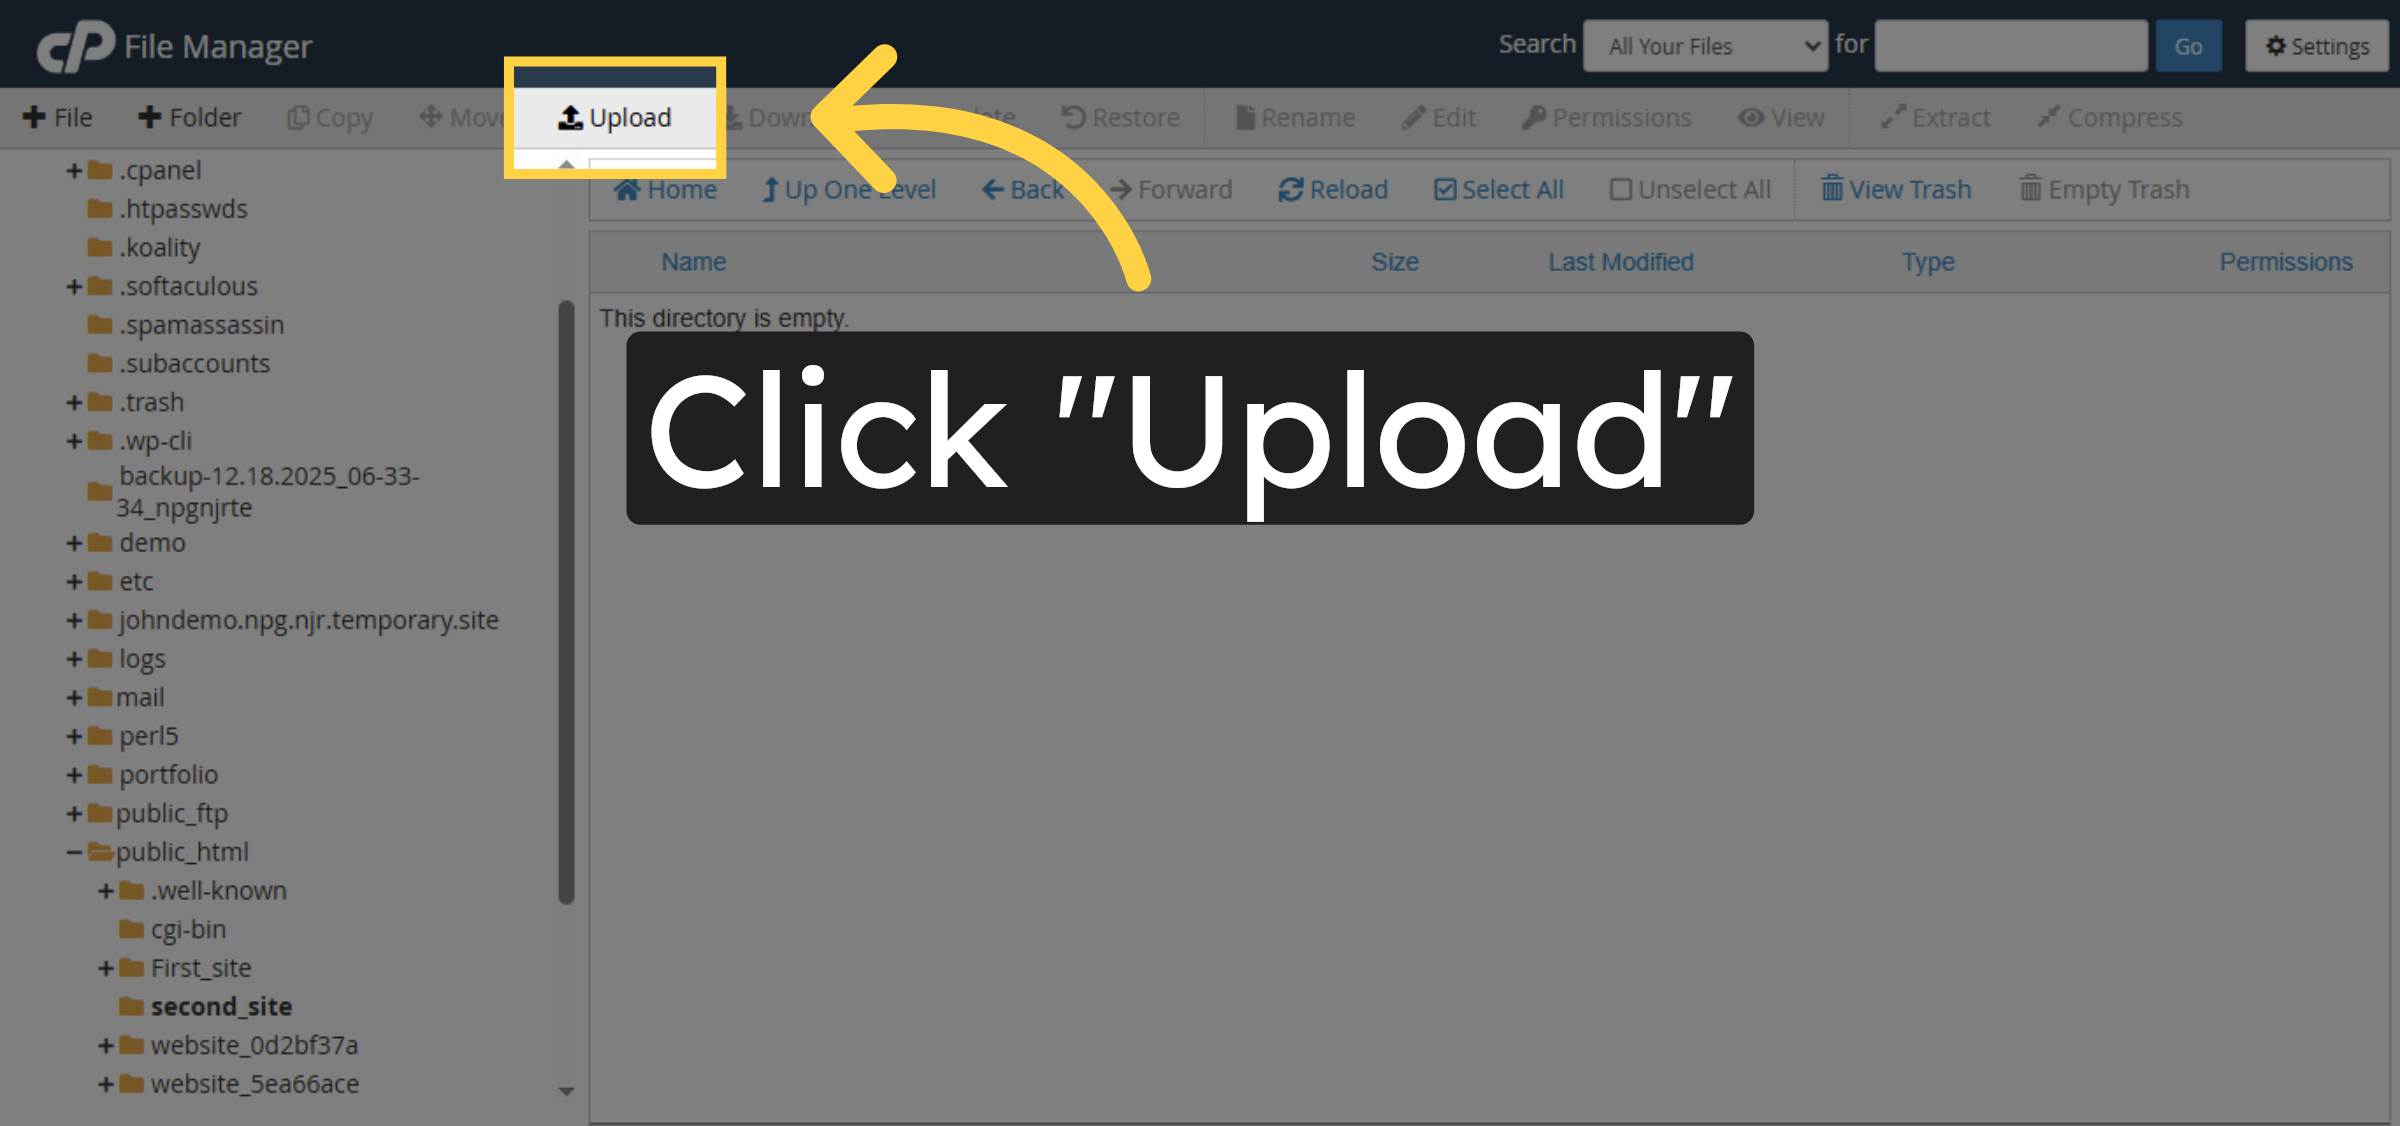
22. Open Upload Section
Click “Upload” to upload WordPress files.
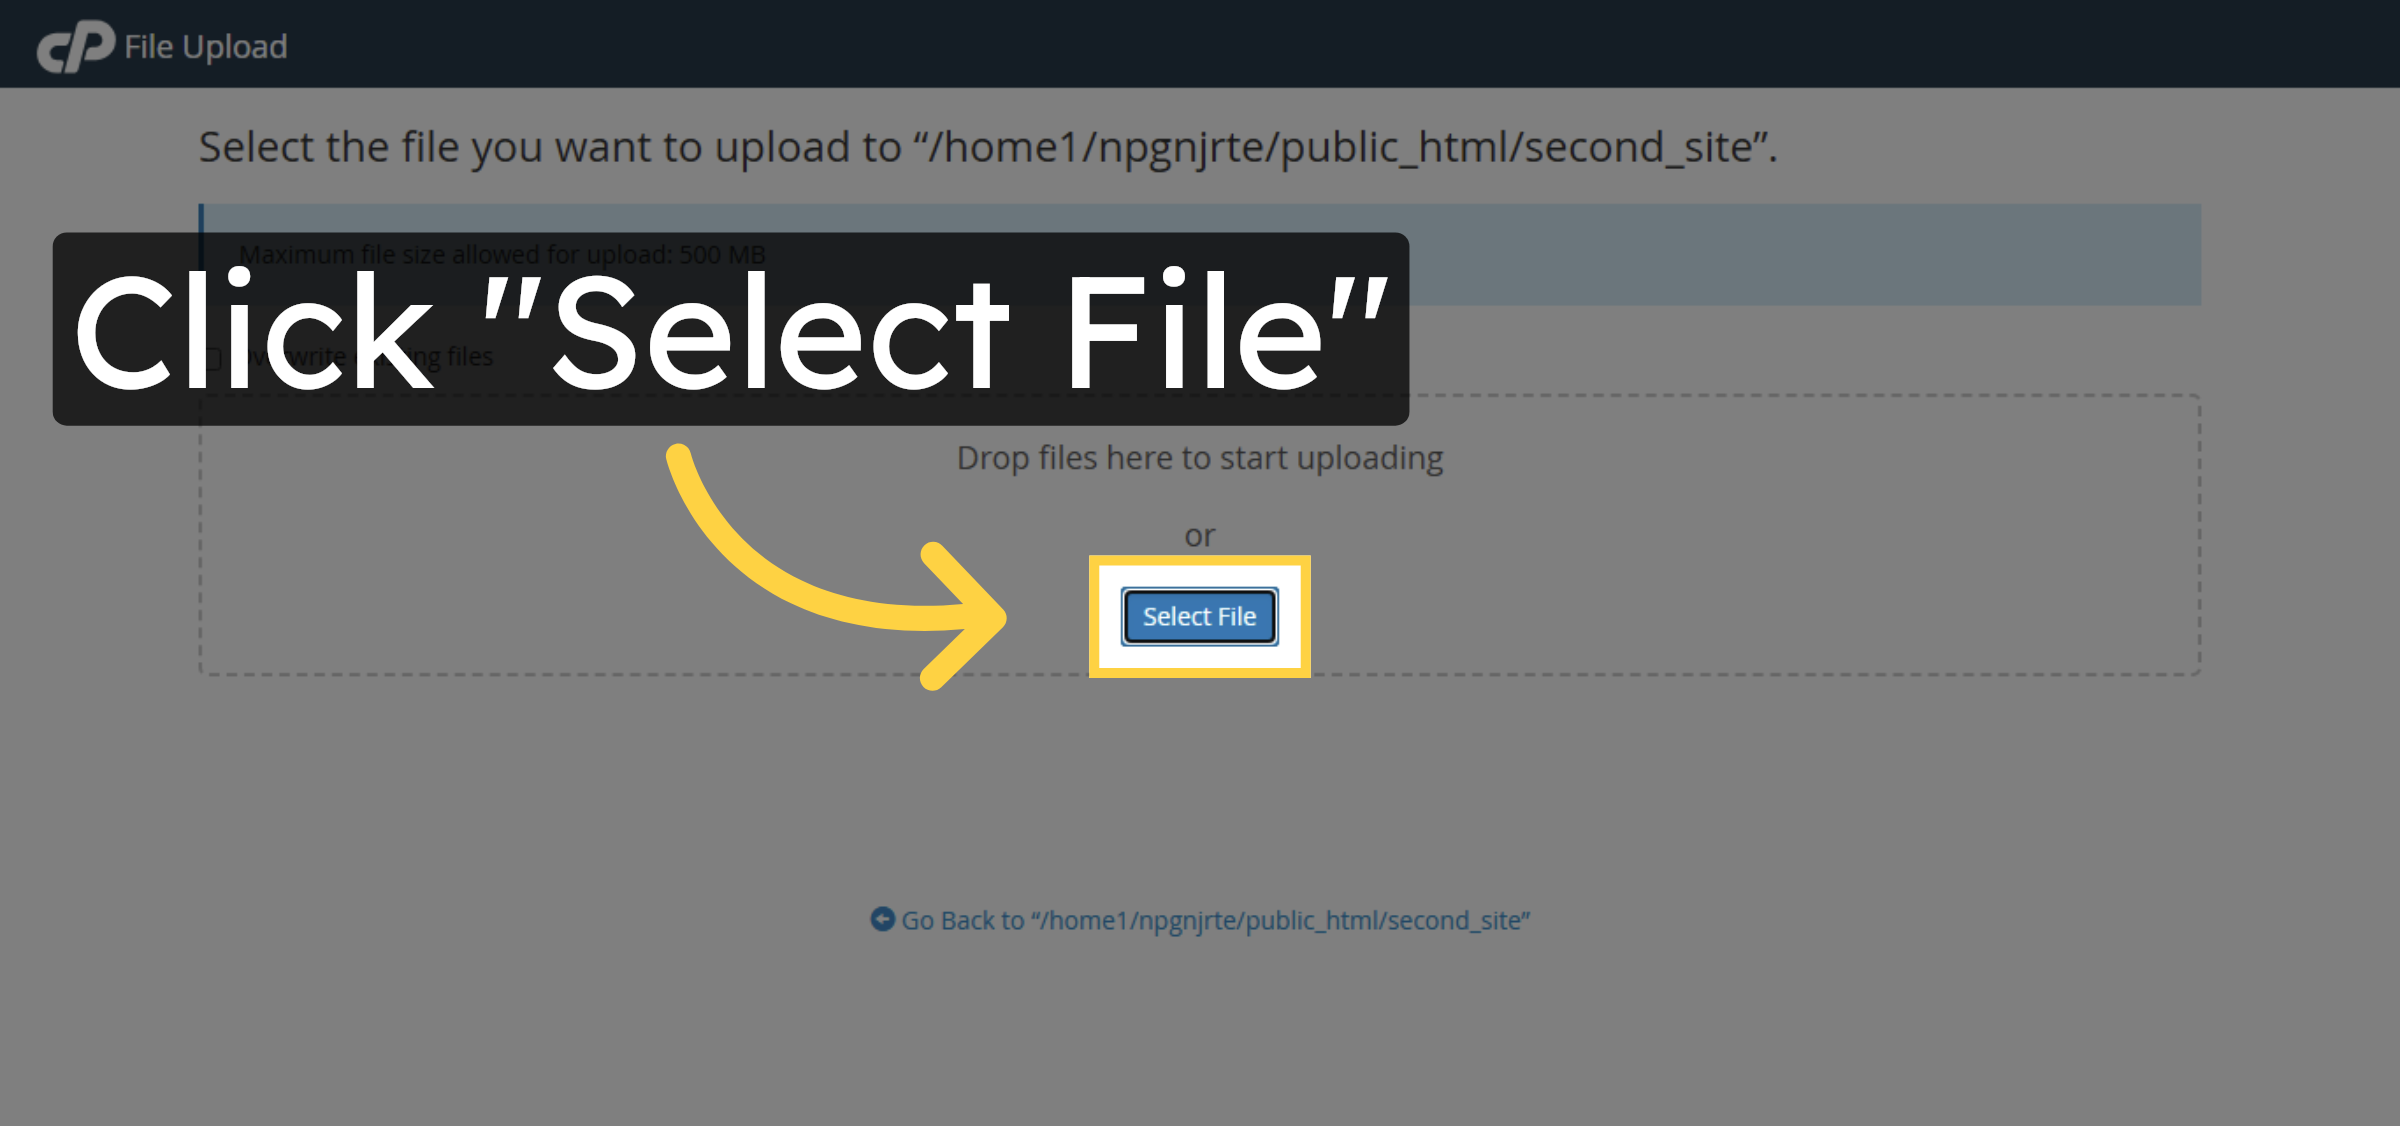
23. Select File to Upload
Click “Select File” to choose the WordPress zip file.
24. Choose WordPress Zip File
Select the WordPress zip file from your computer.

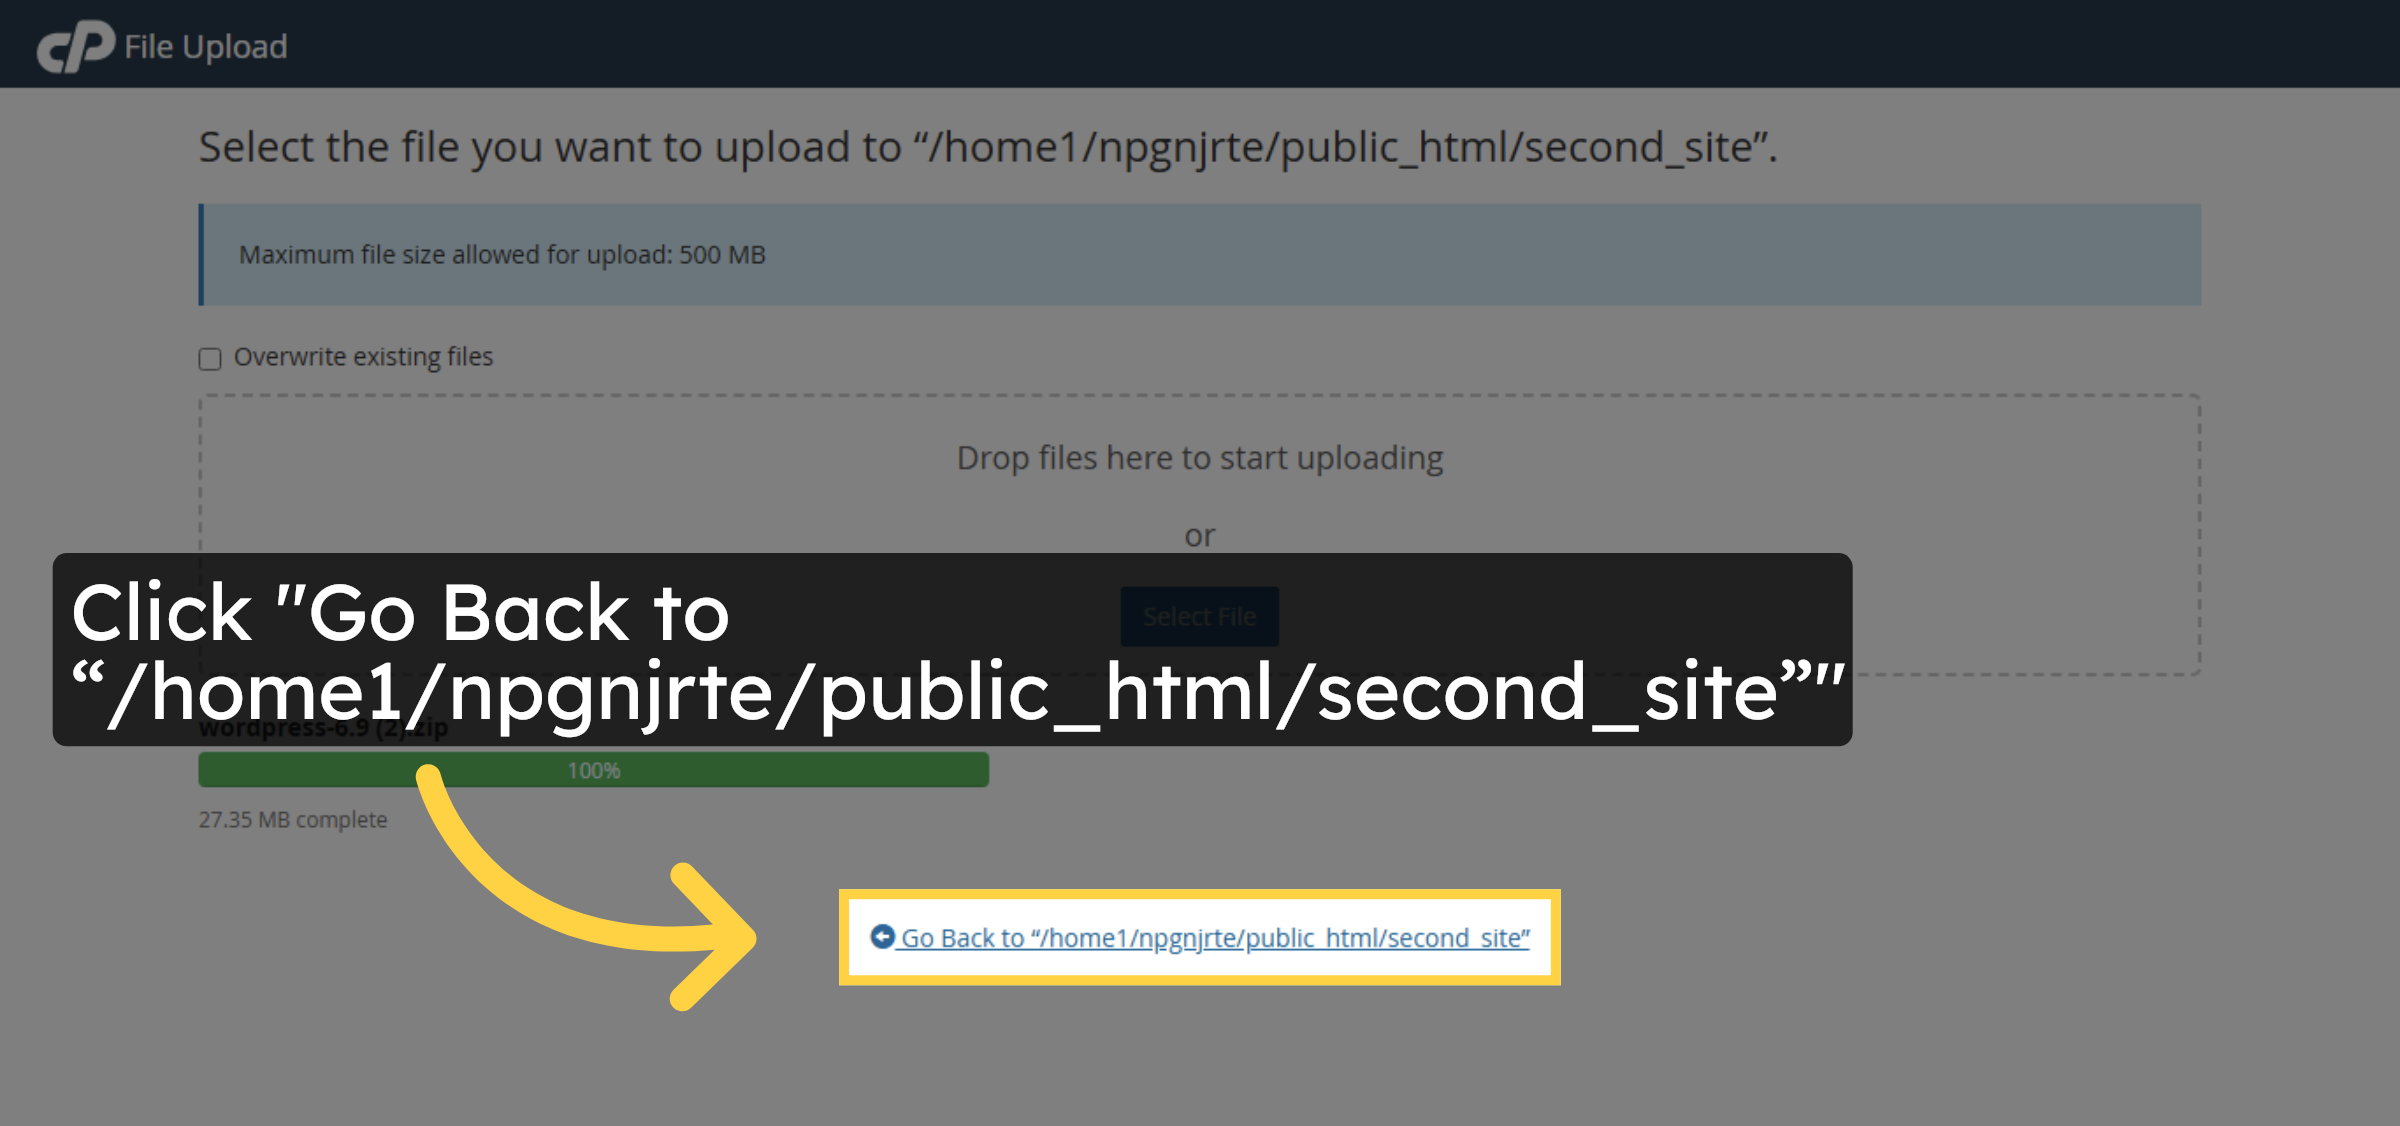
25. Return to Folder View
Click “Go Back”.
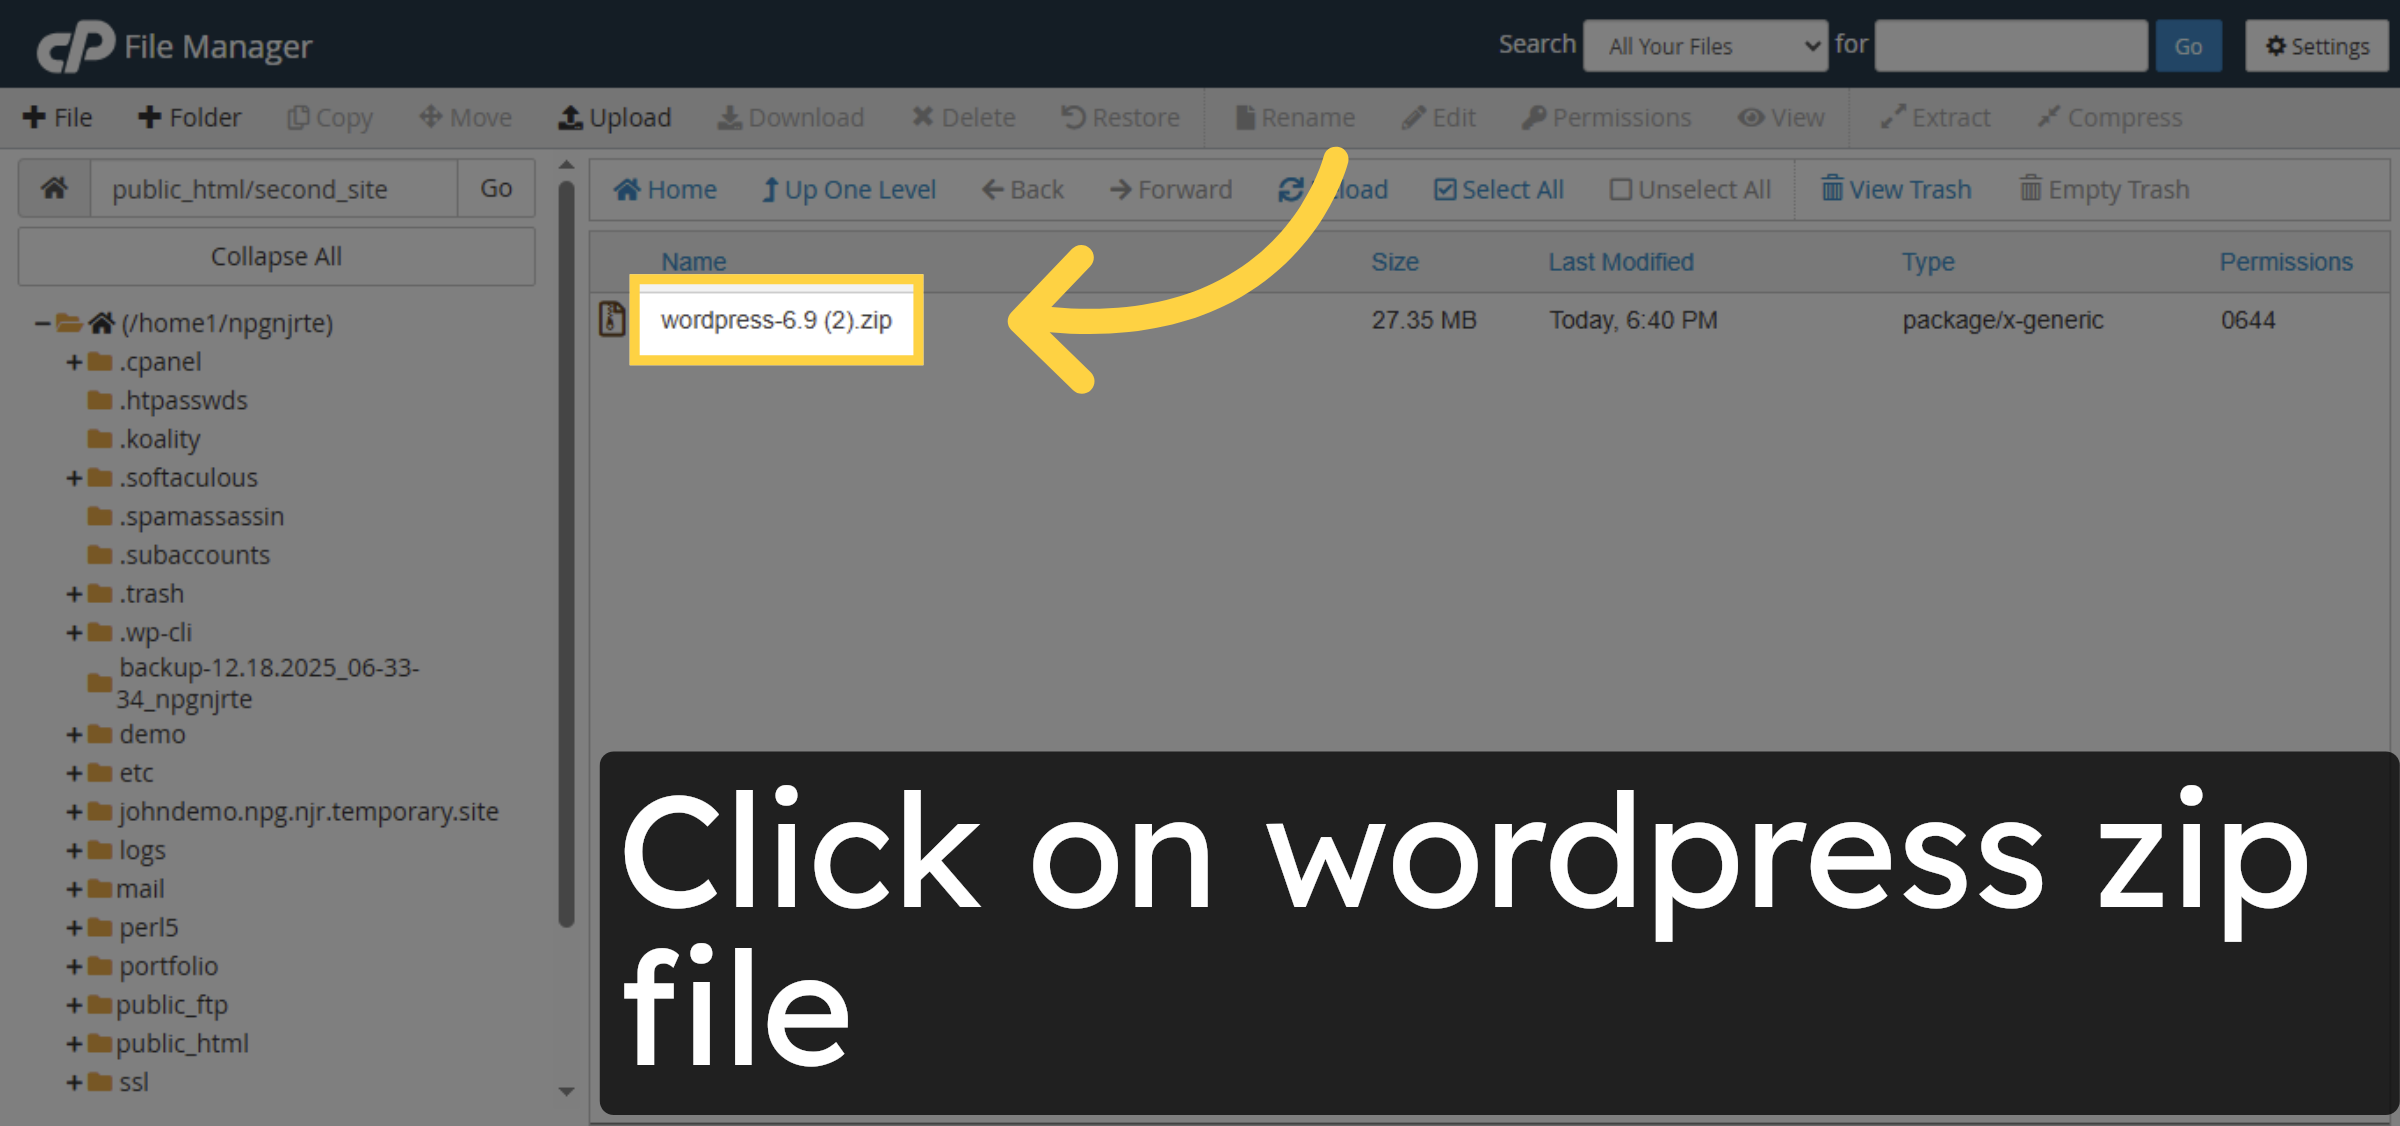
26. Select WordPress Zip
Click on wordpress file
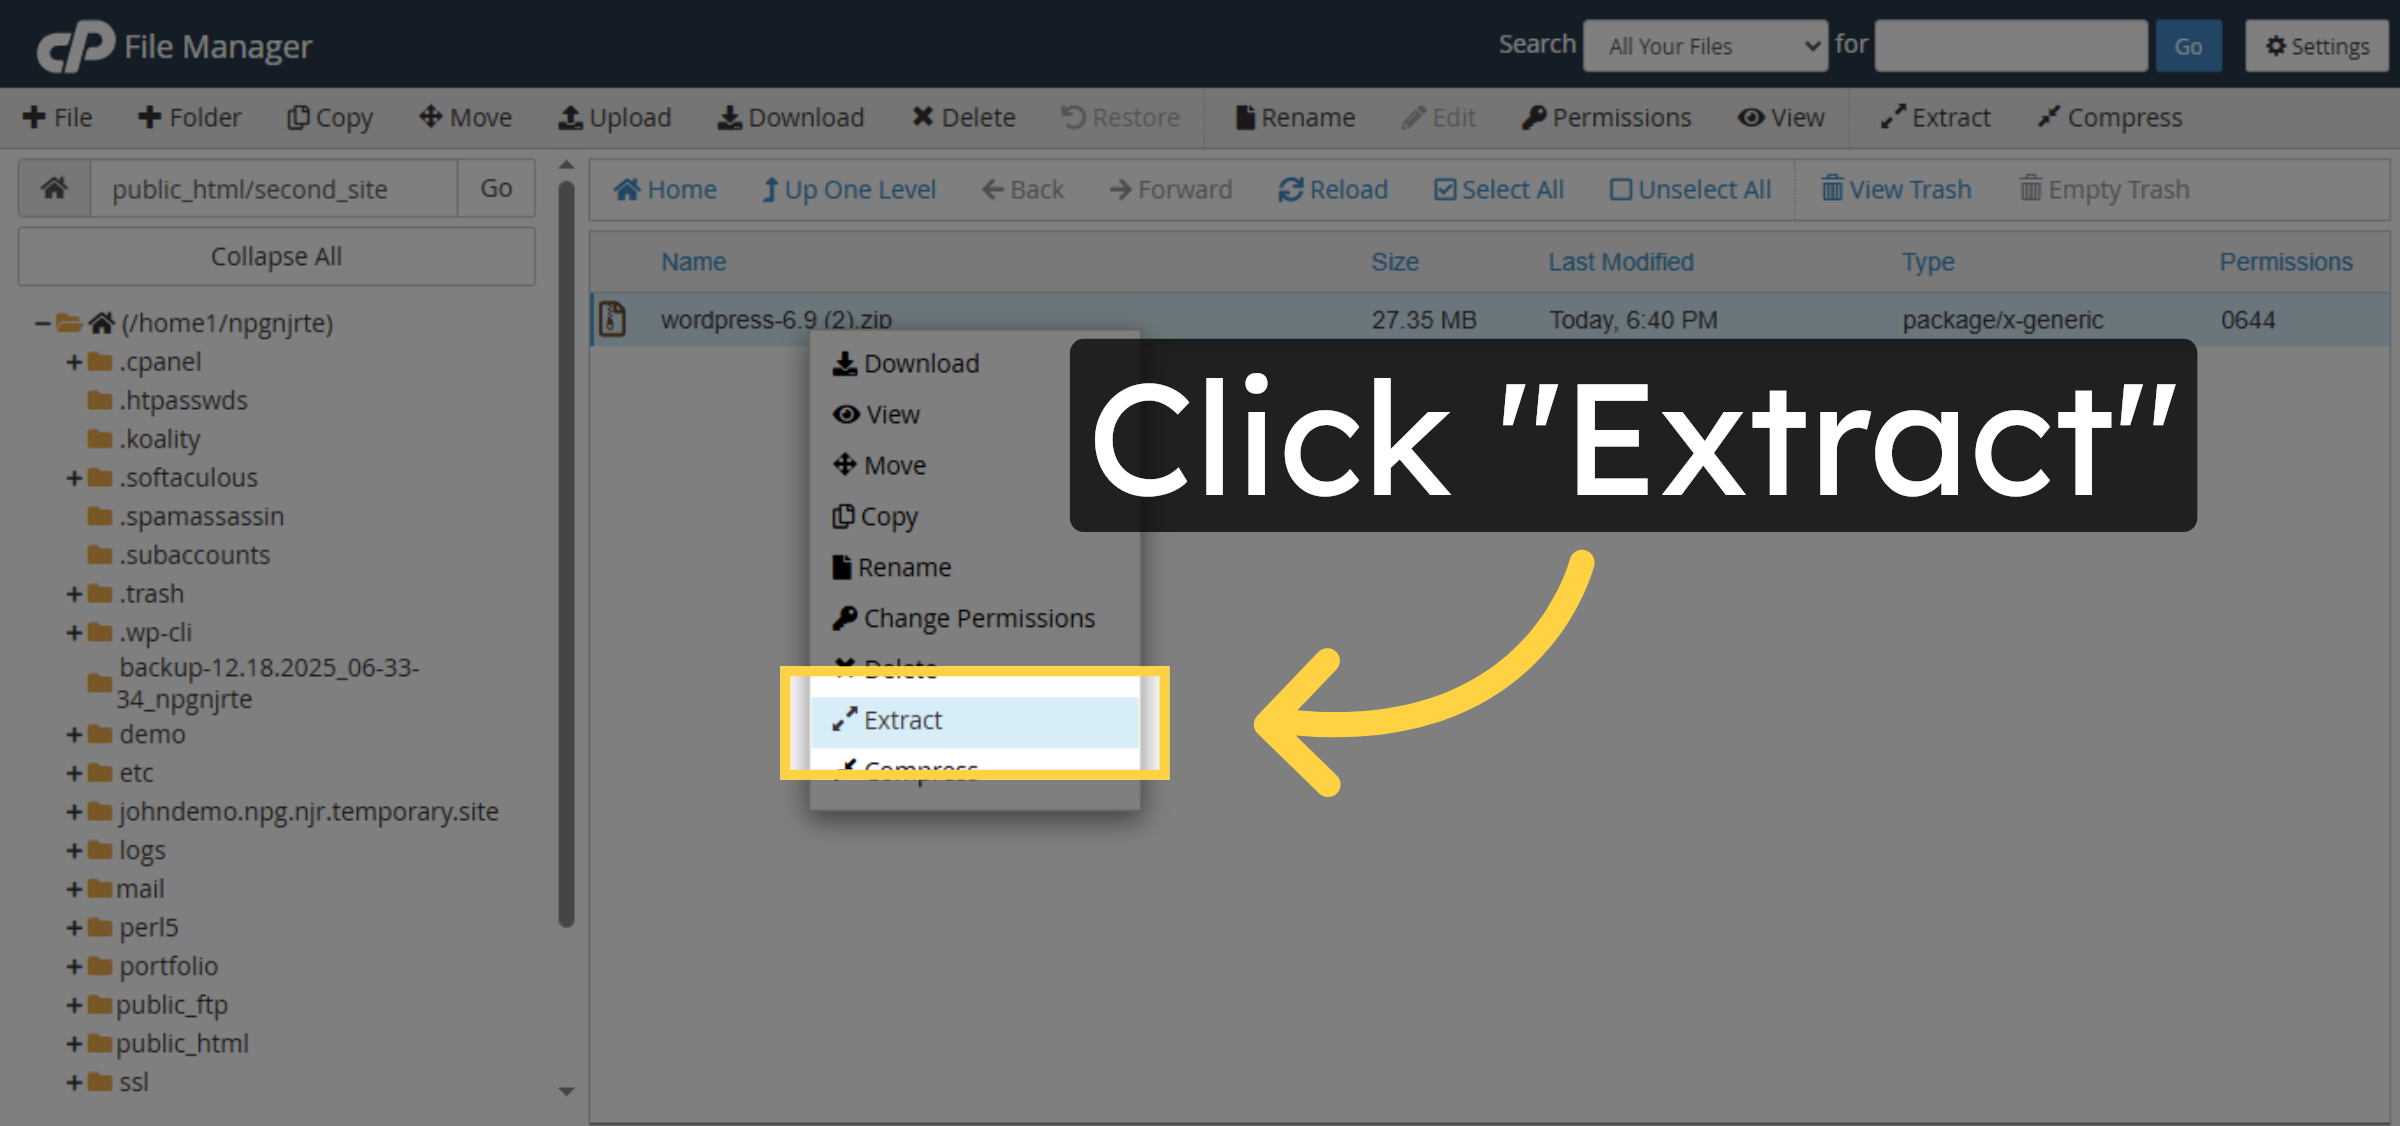
27. Extract WordPress Files
Click “Extract” to begin extracting the WordPress files.
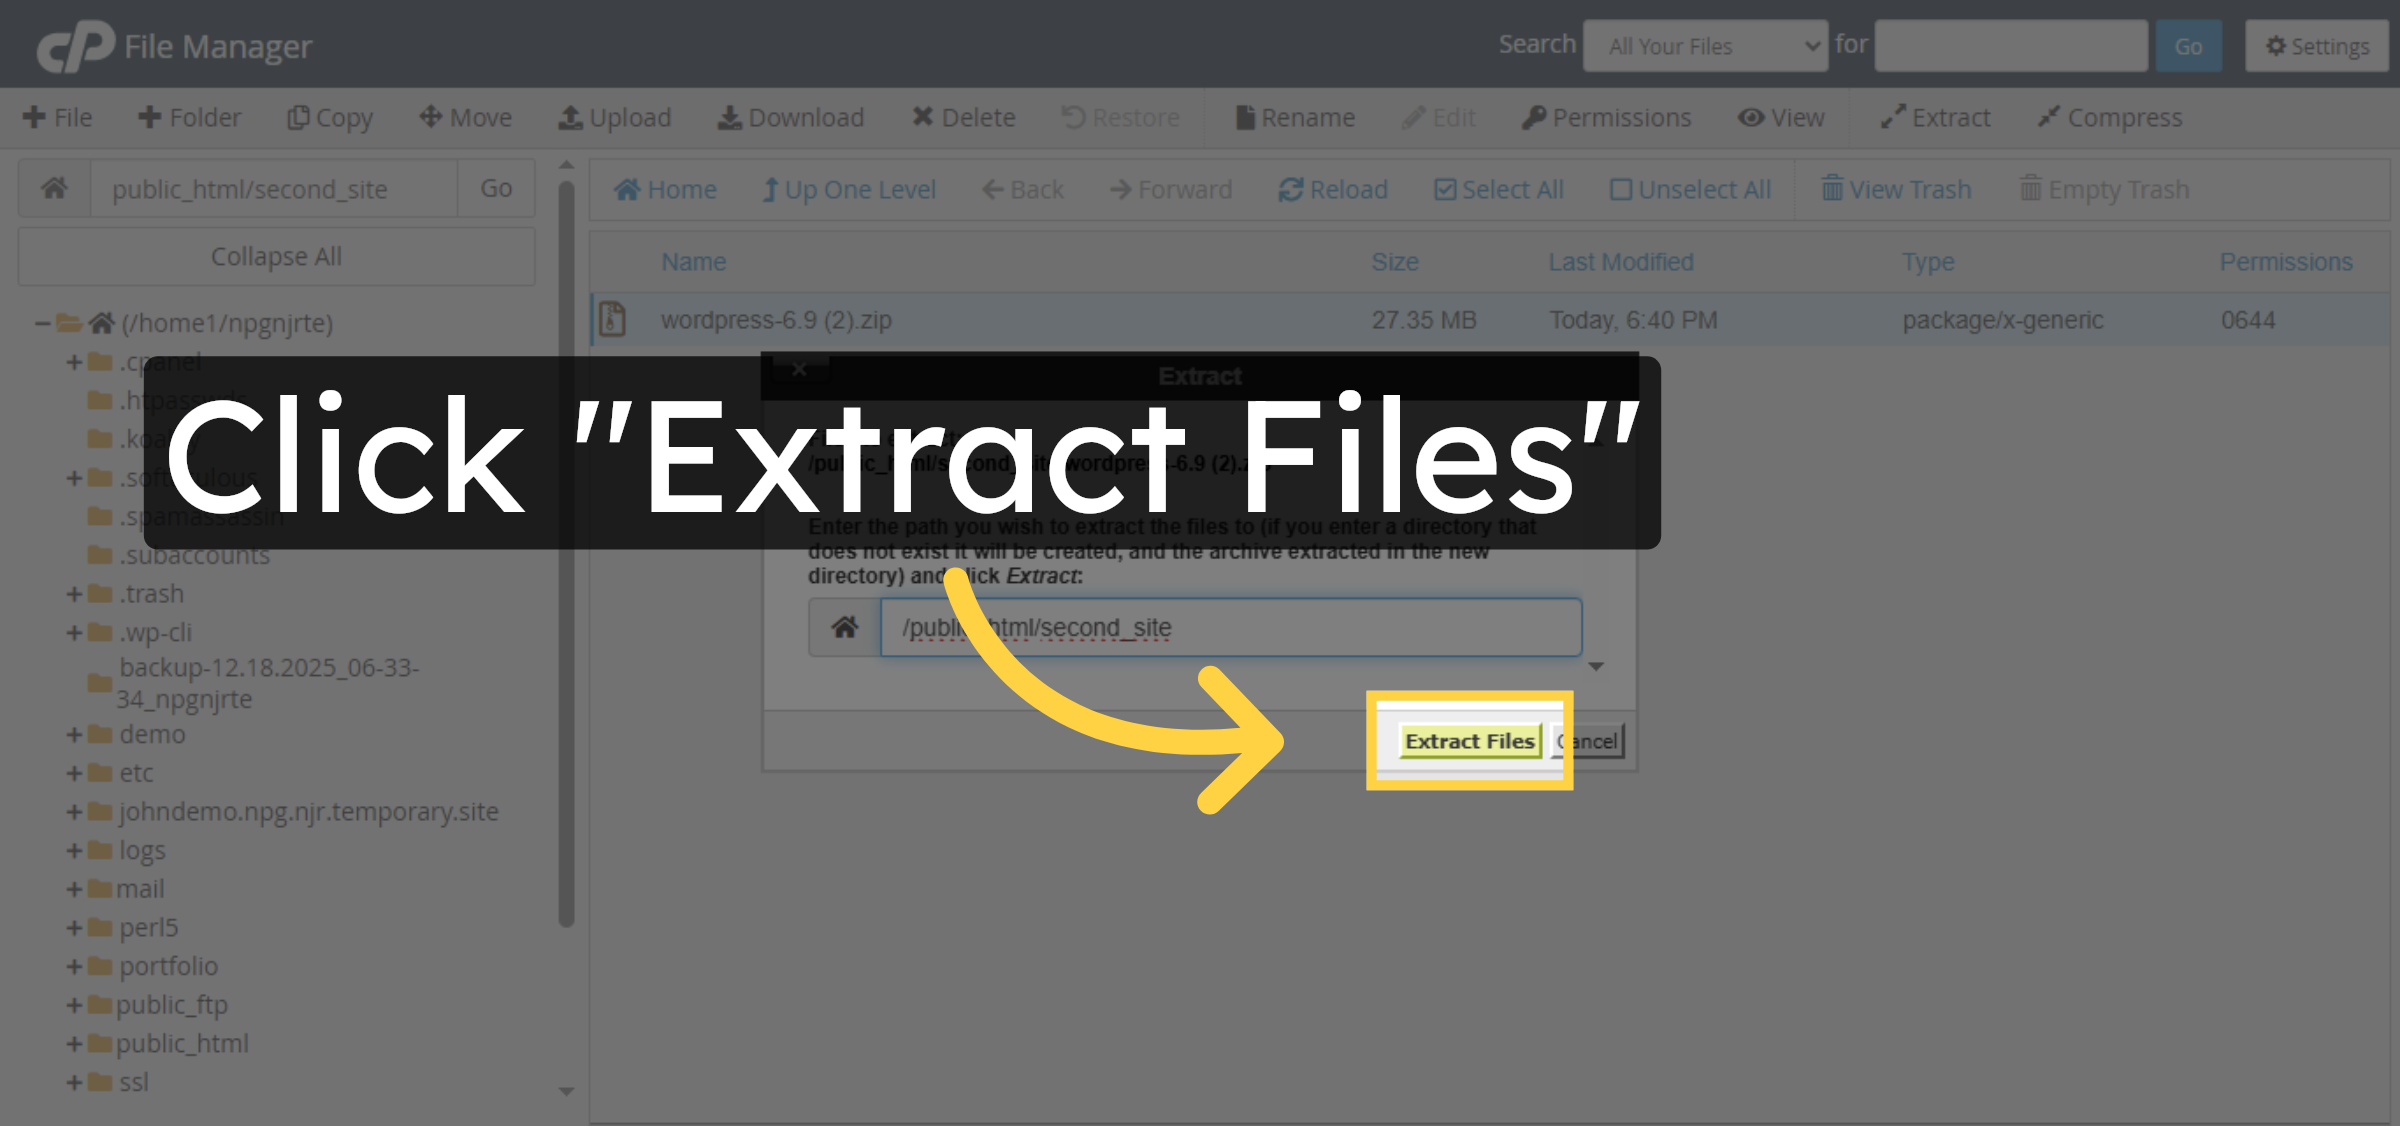
28. Confirm Extraction
Click “Extract Files” to confirm file extraction.
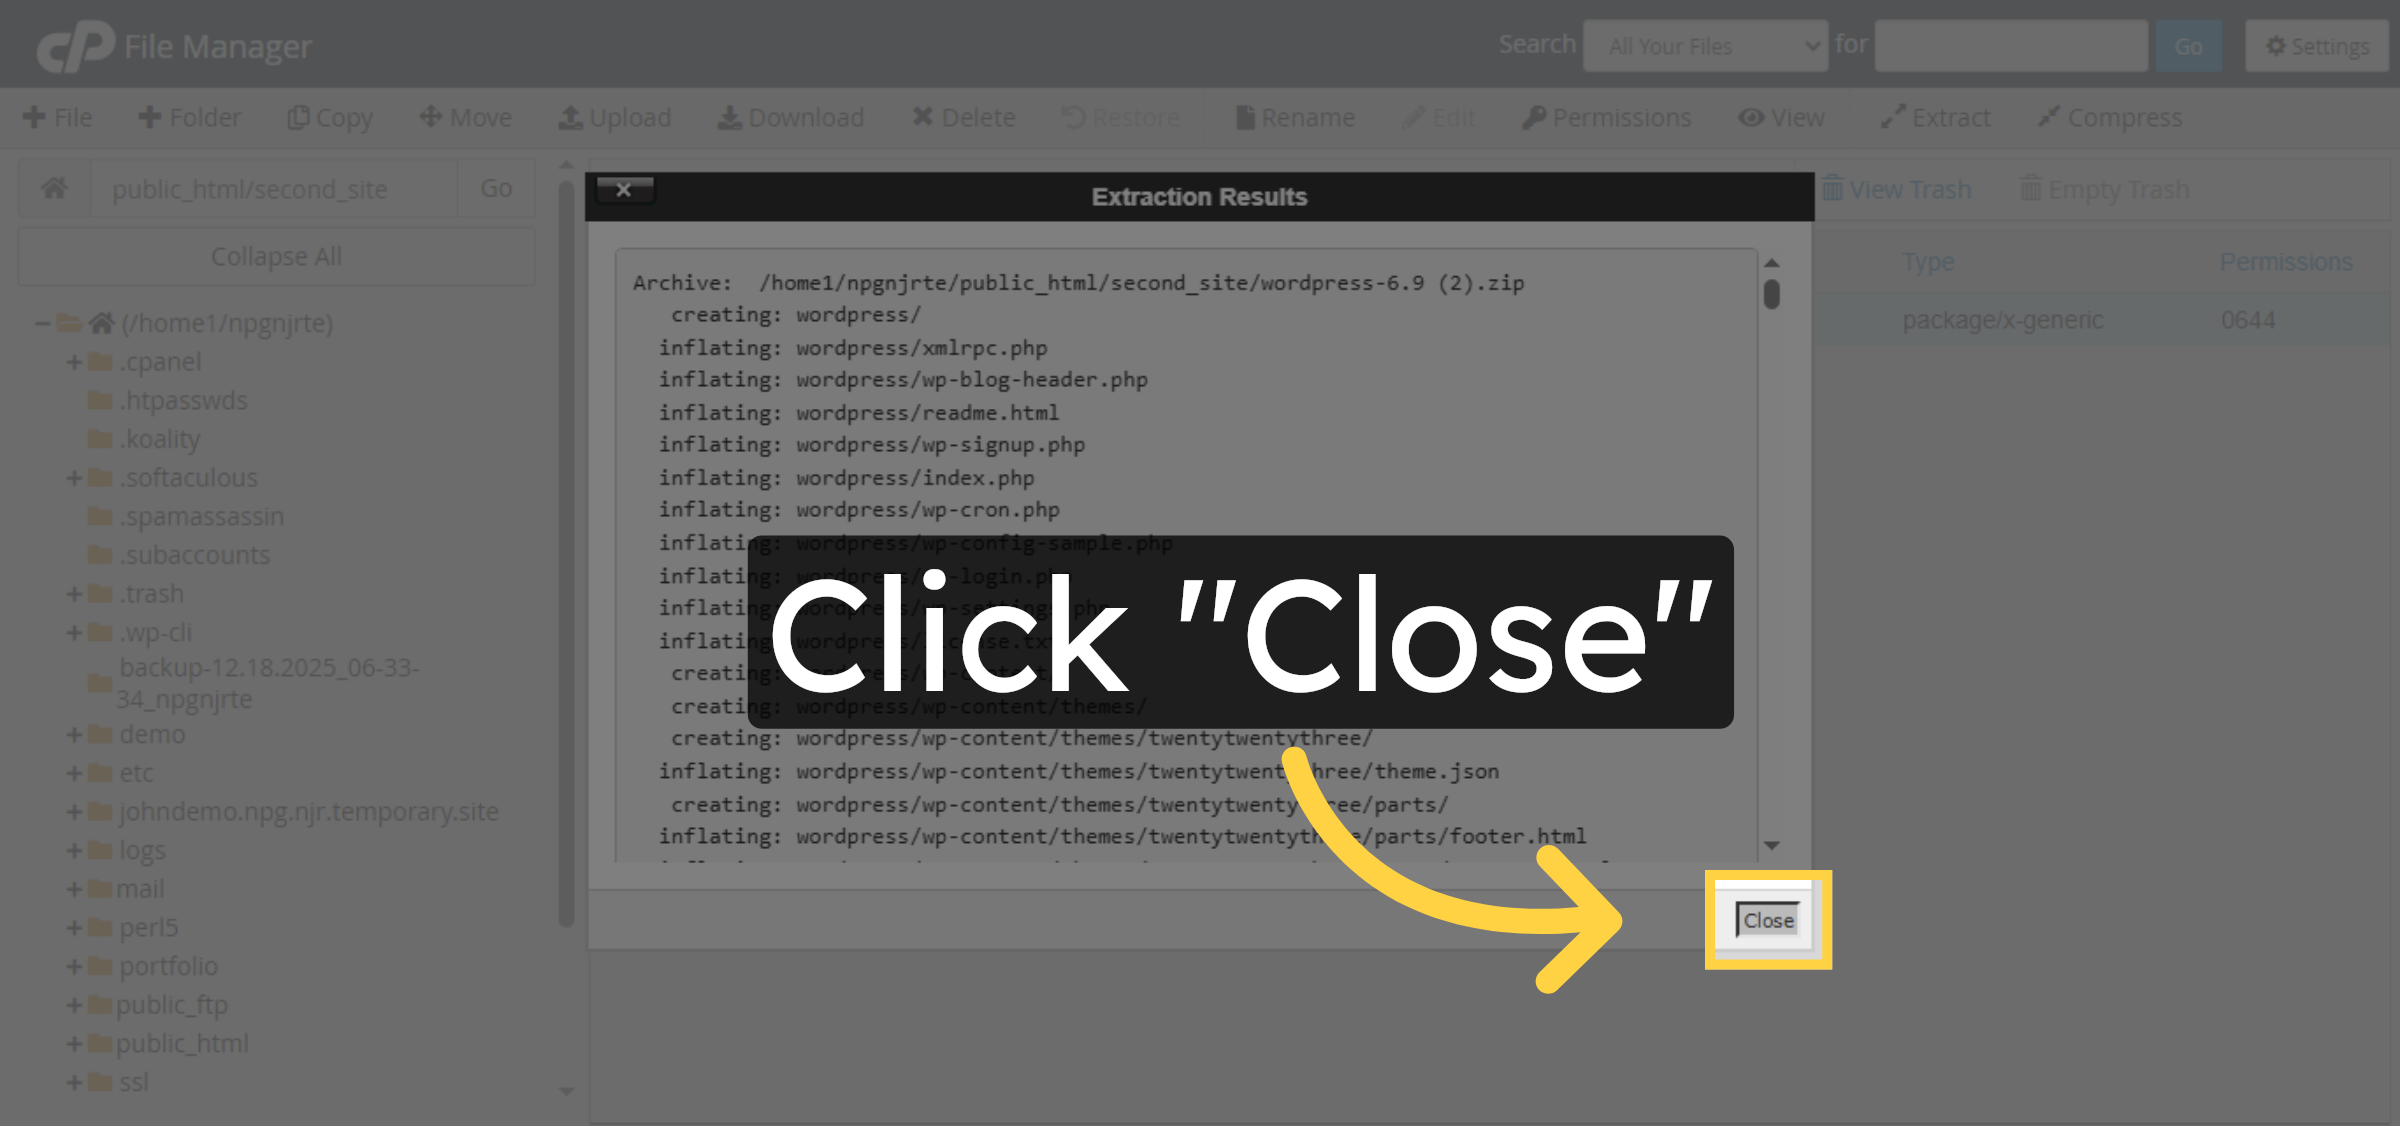
29. Close Extraction Window
Click “Close” to exit the extraction window.
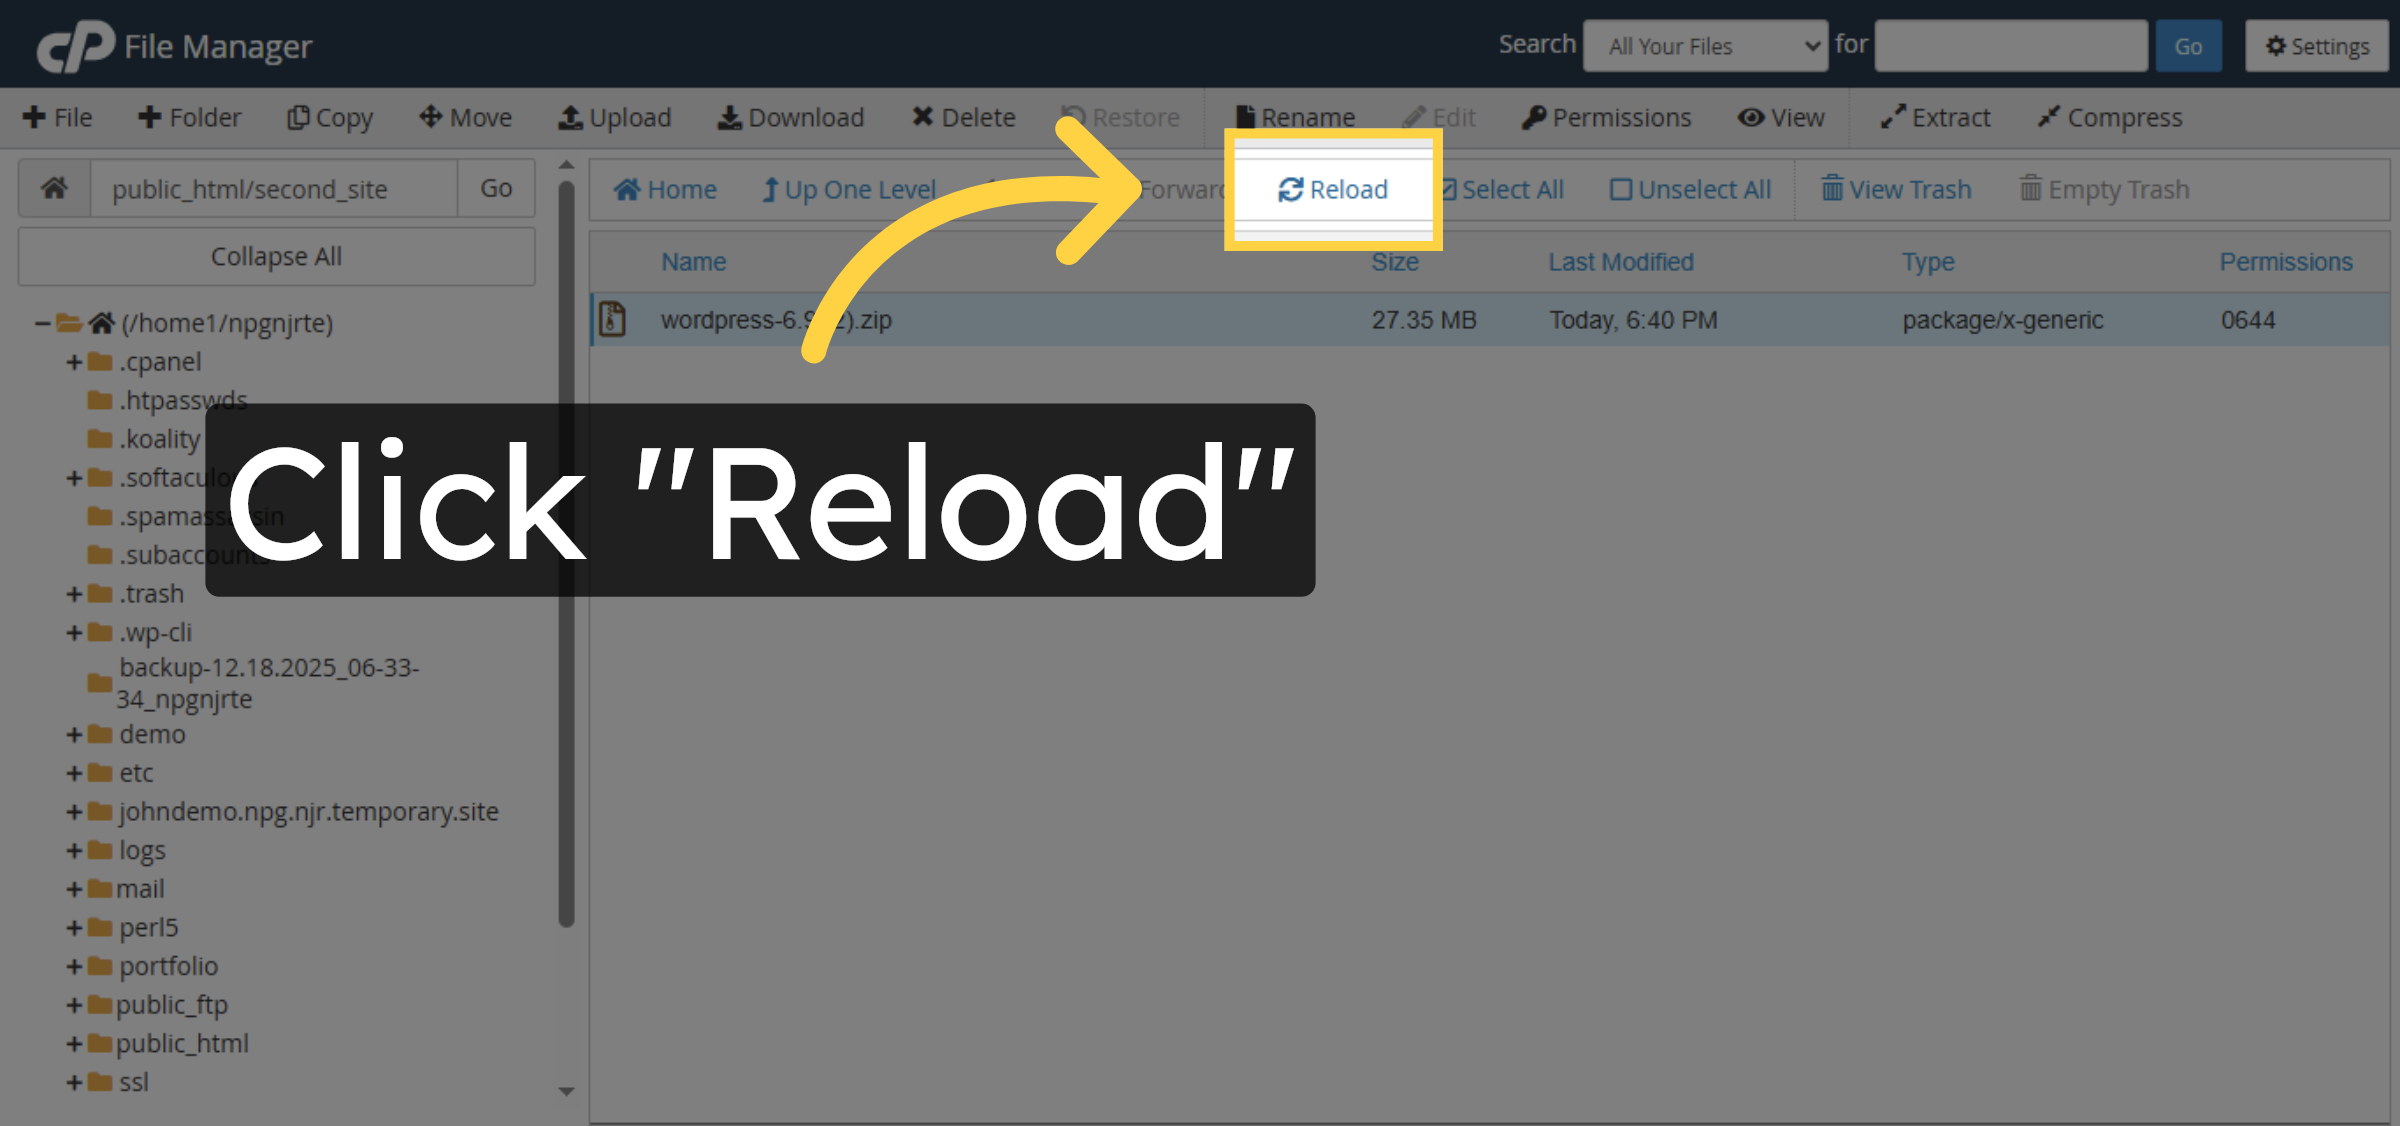
30. Reload File List
Click “Reload” to refresh the file list.
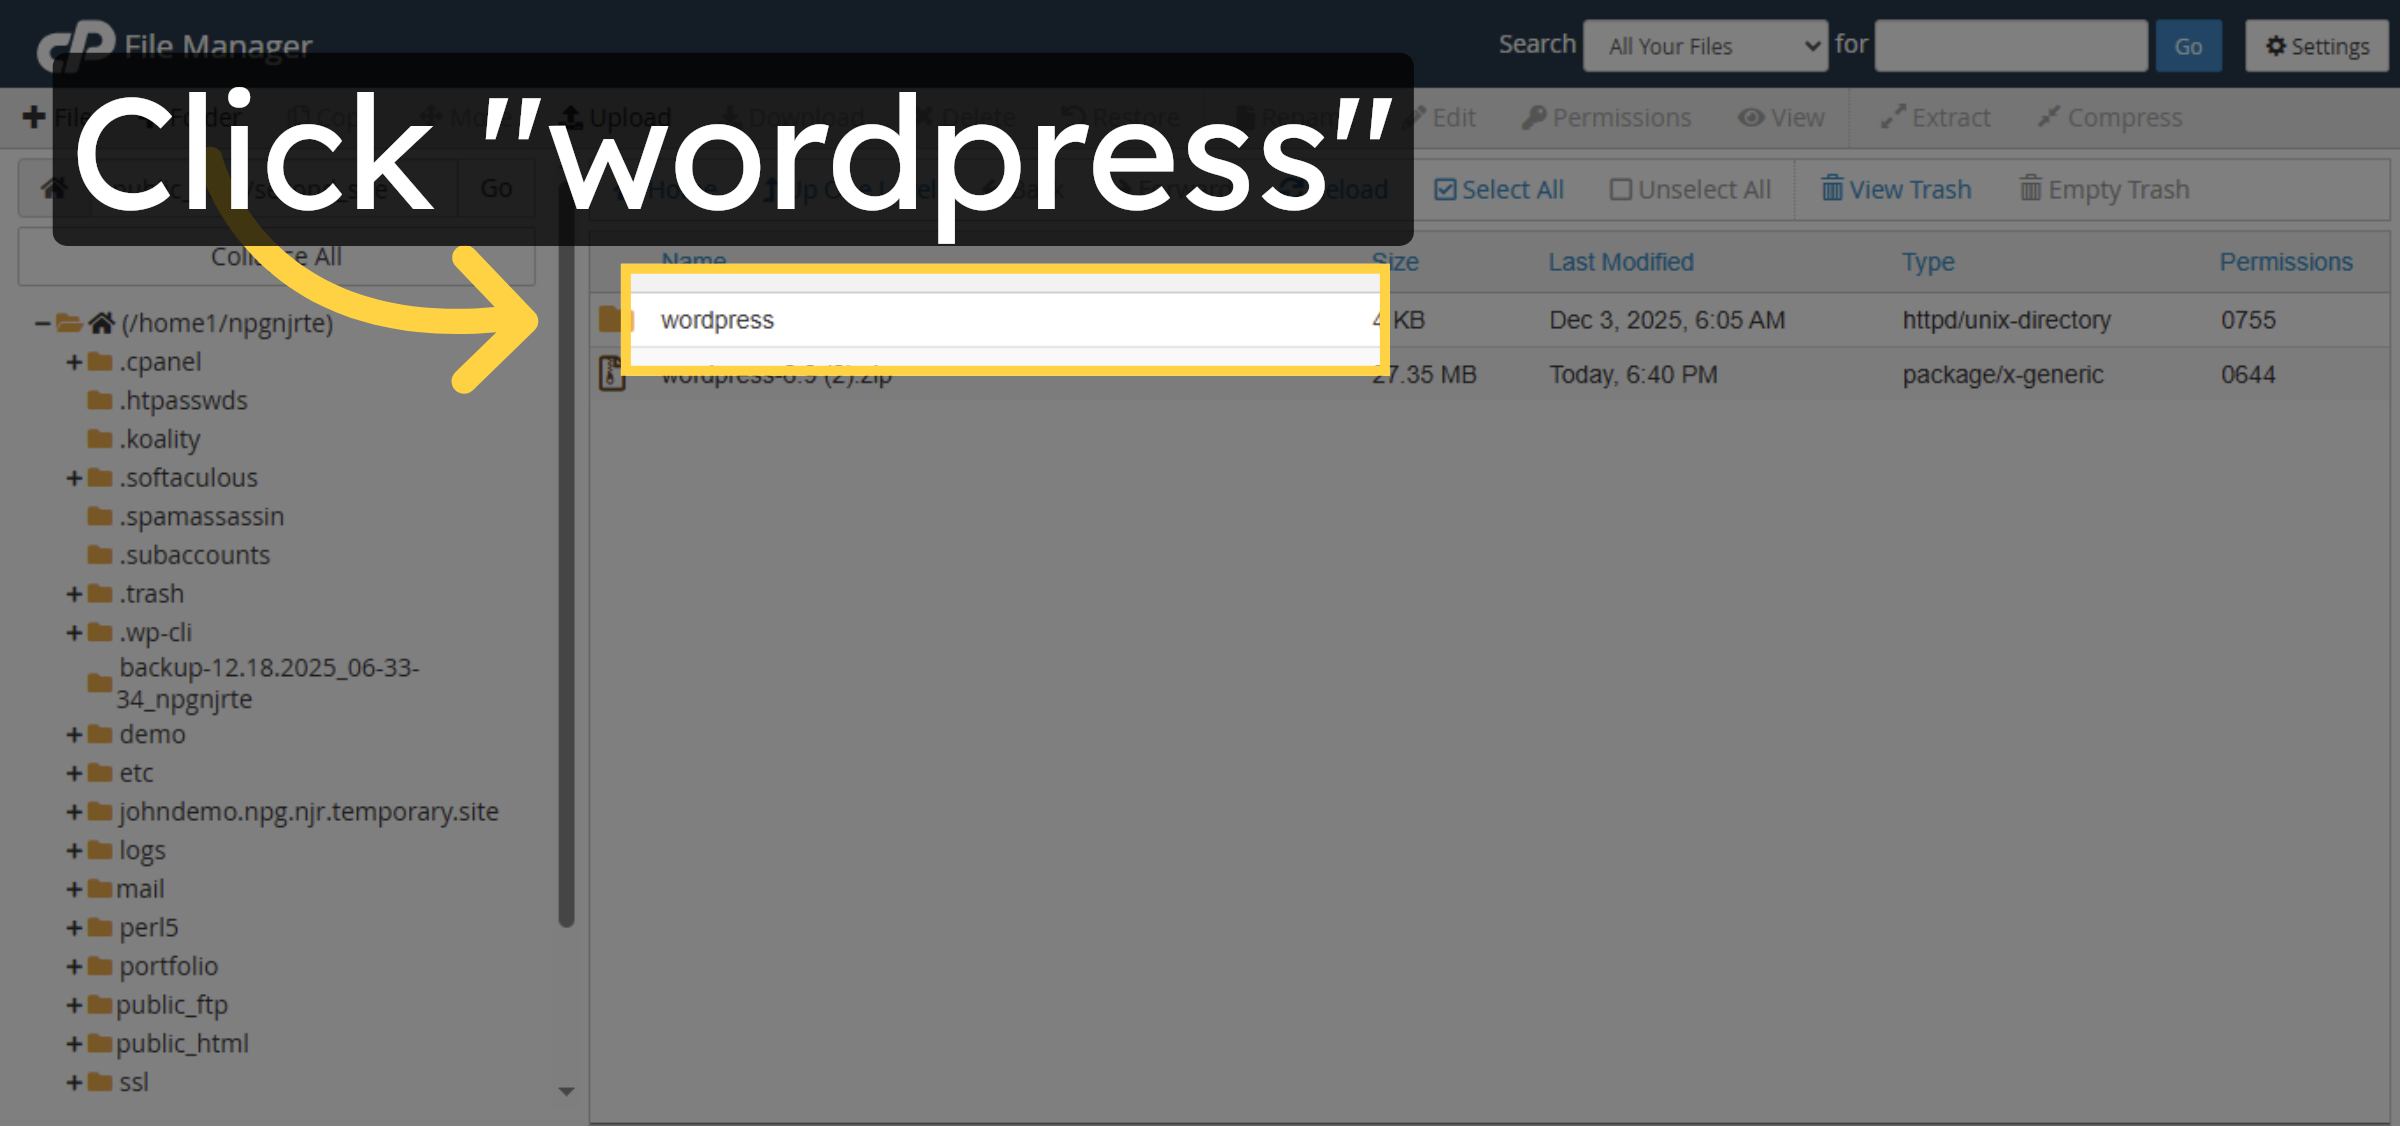
31. Open WordPress Folder
Click “wordpress” to open the extracted WordPress folder.
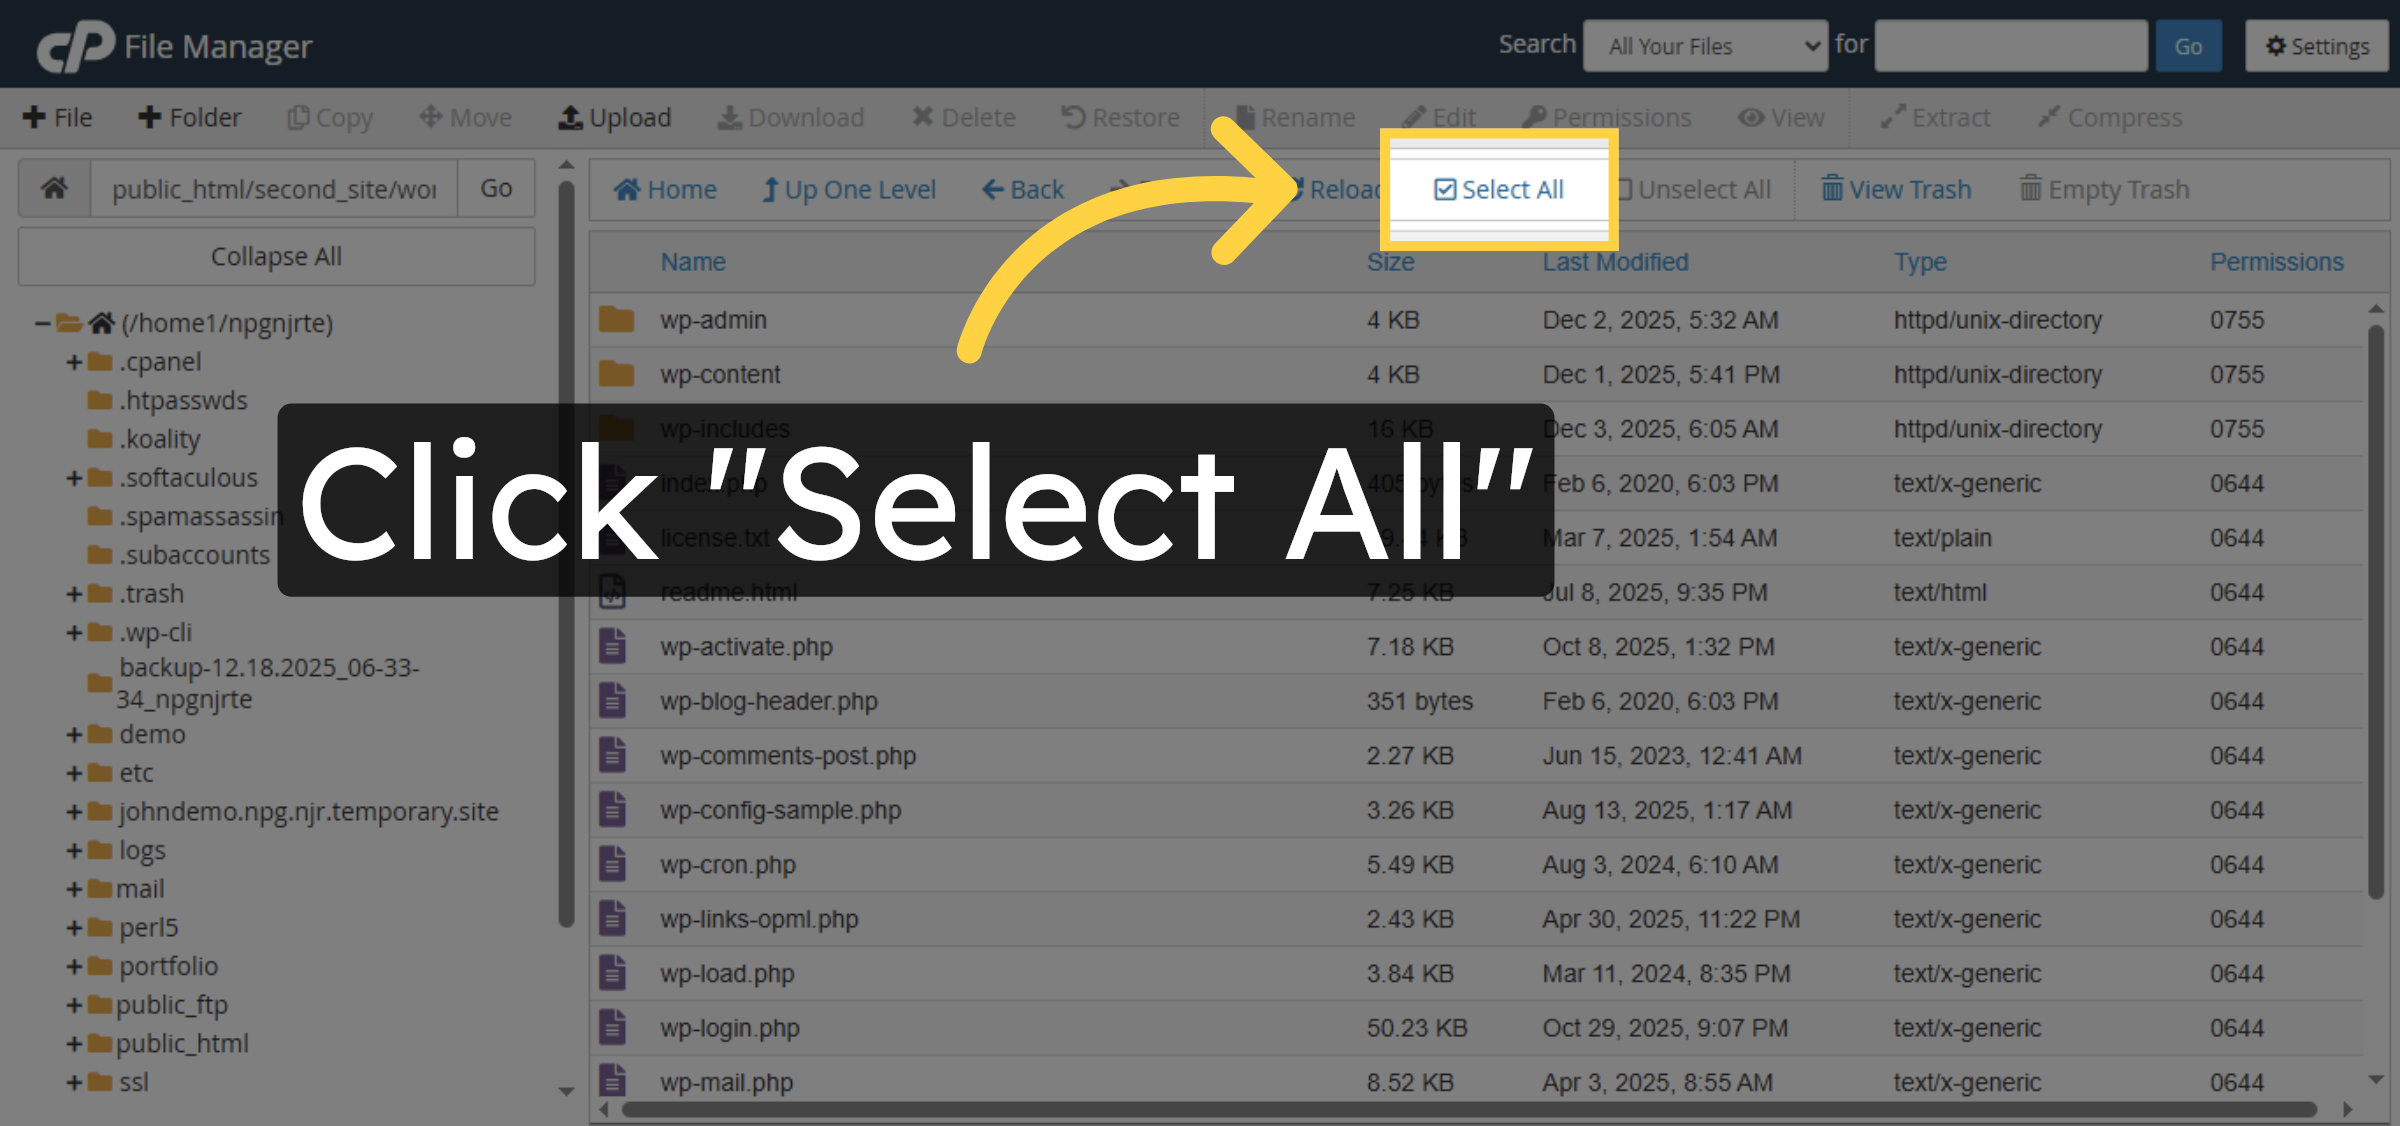
32. Select All Files
Click “Select All” to select all WordPress files.
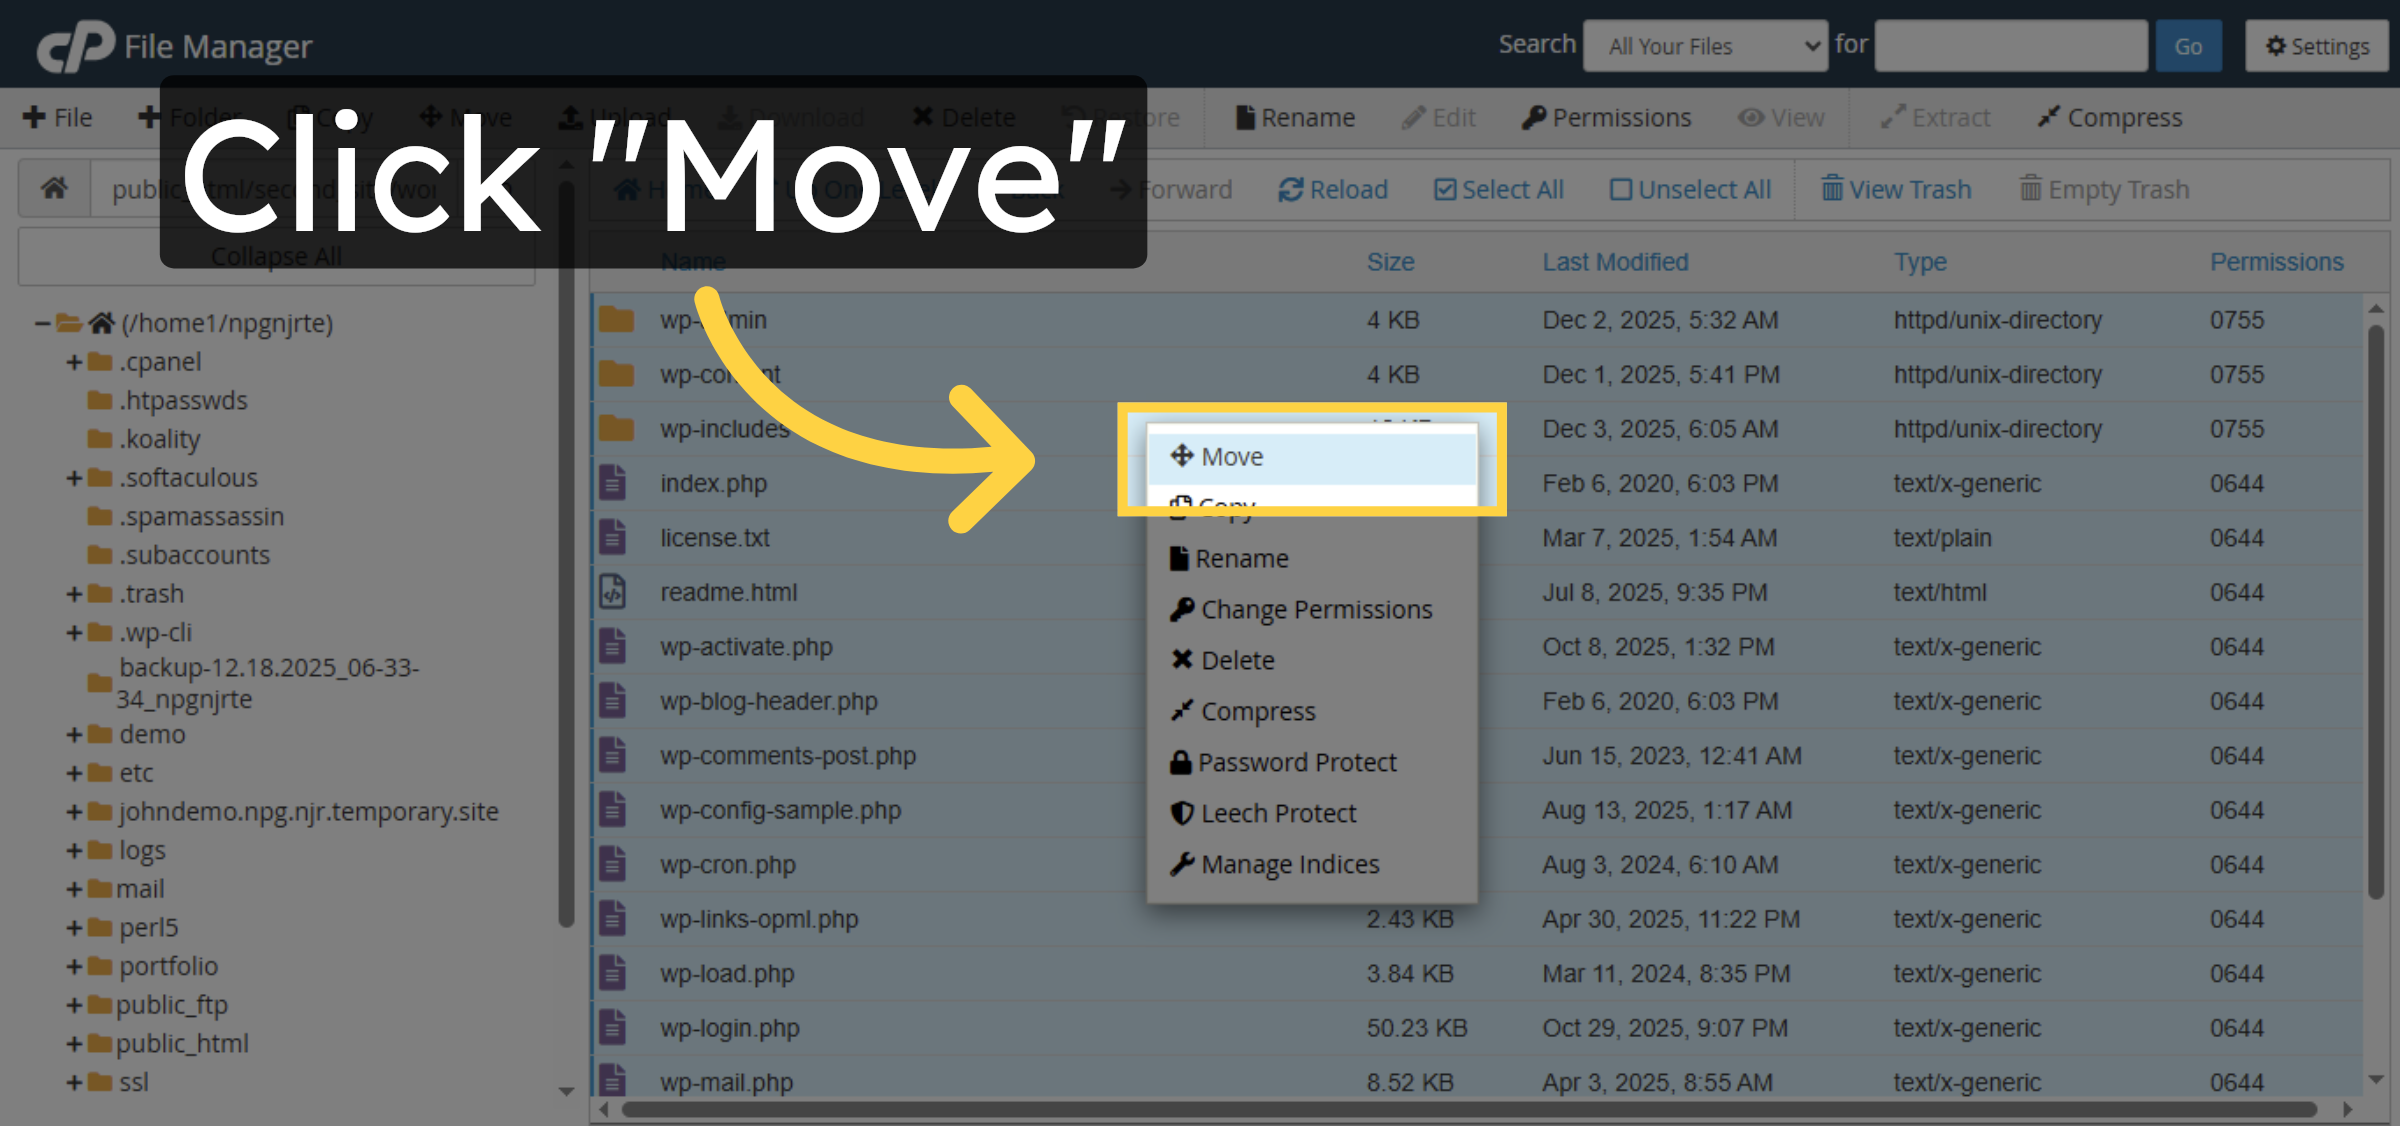
33. Initiate Move Files
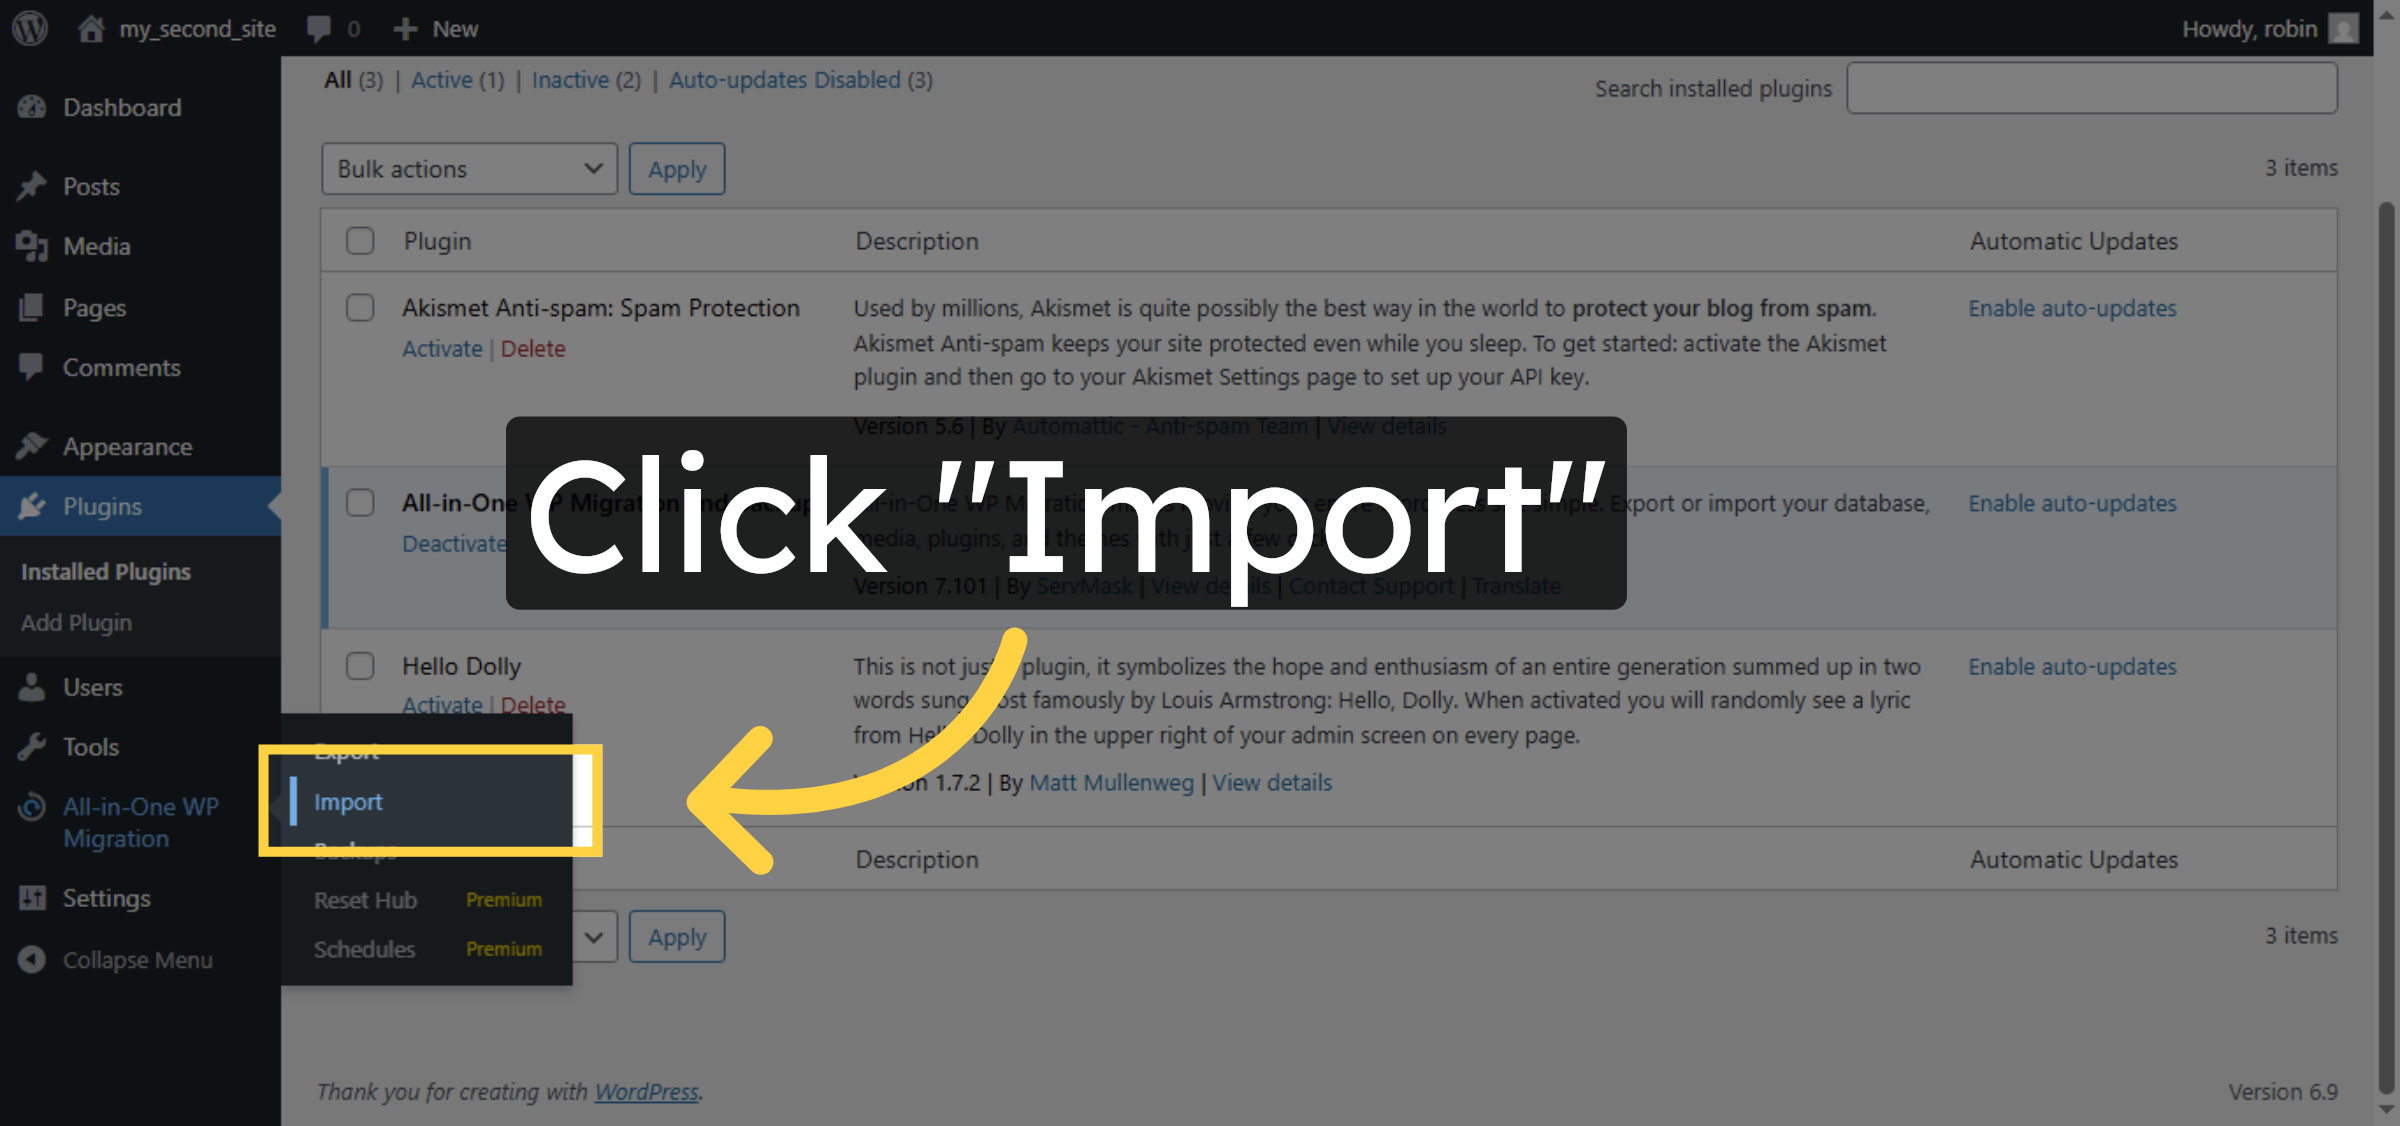
Right click on mouse Click “Move” to start moving the selected files.
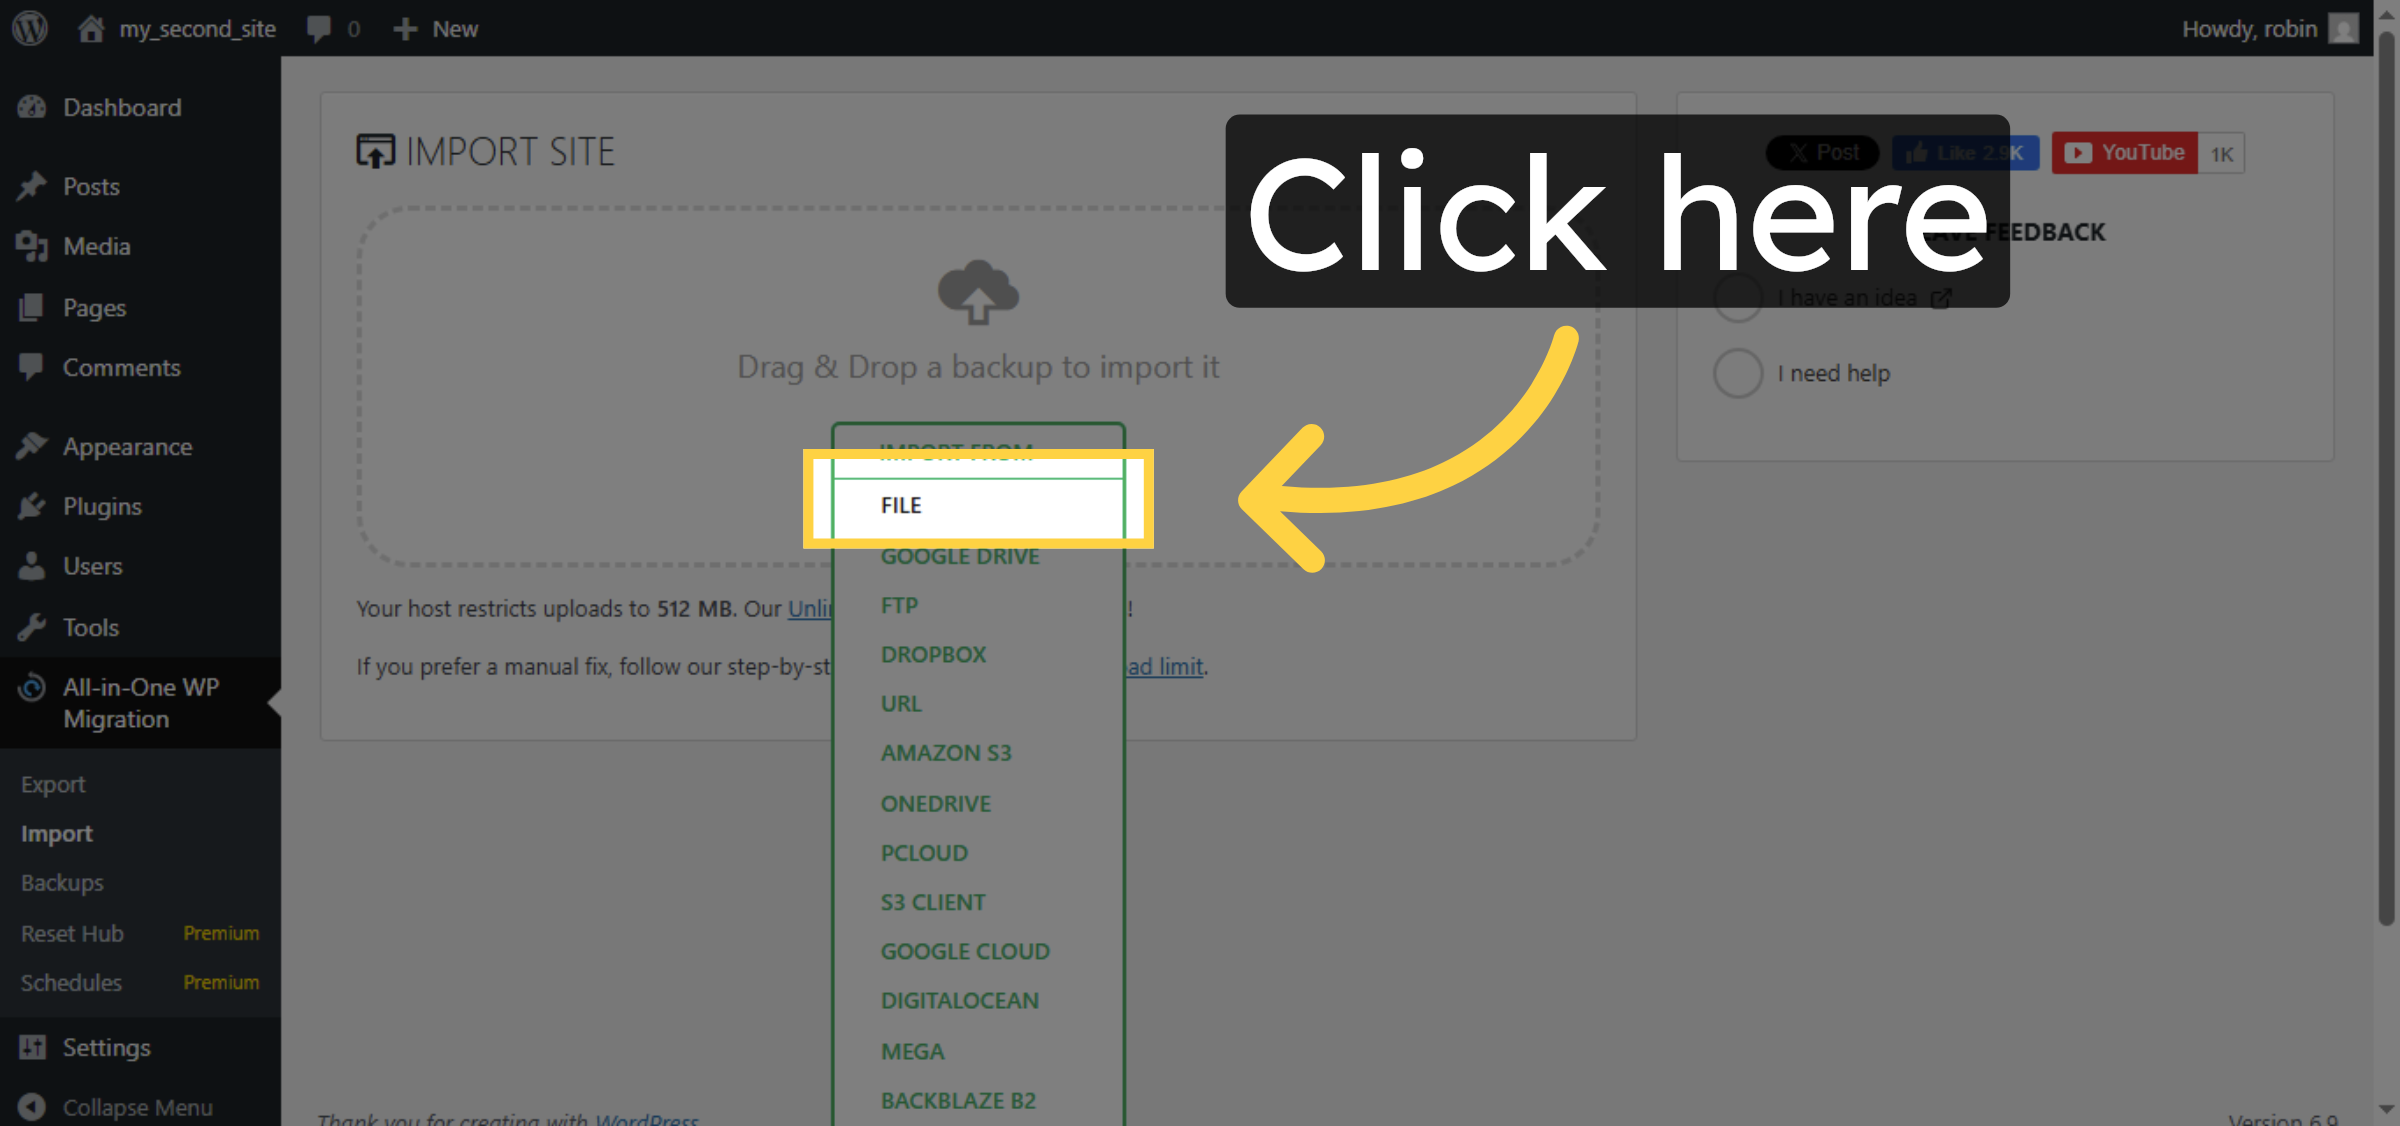
34. Enter Destination Path
Move all files directly into your website folder from WordPress folder
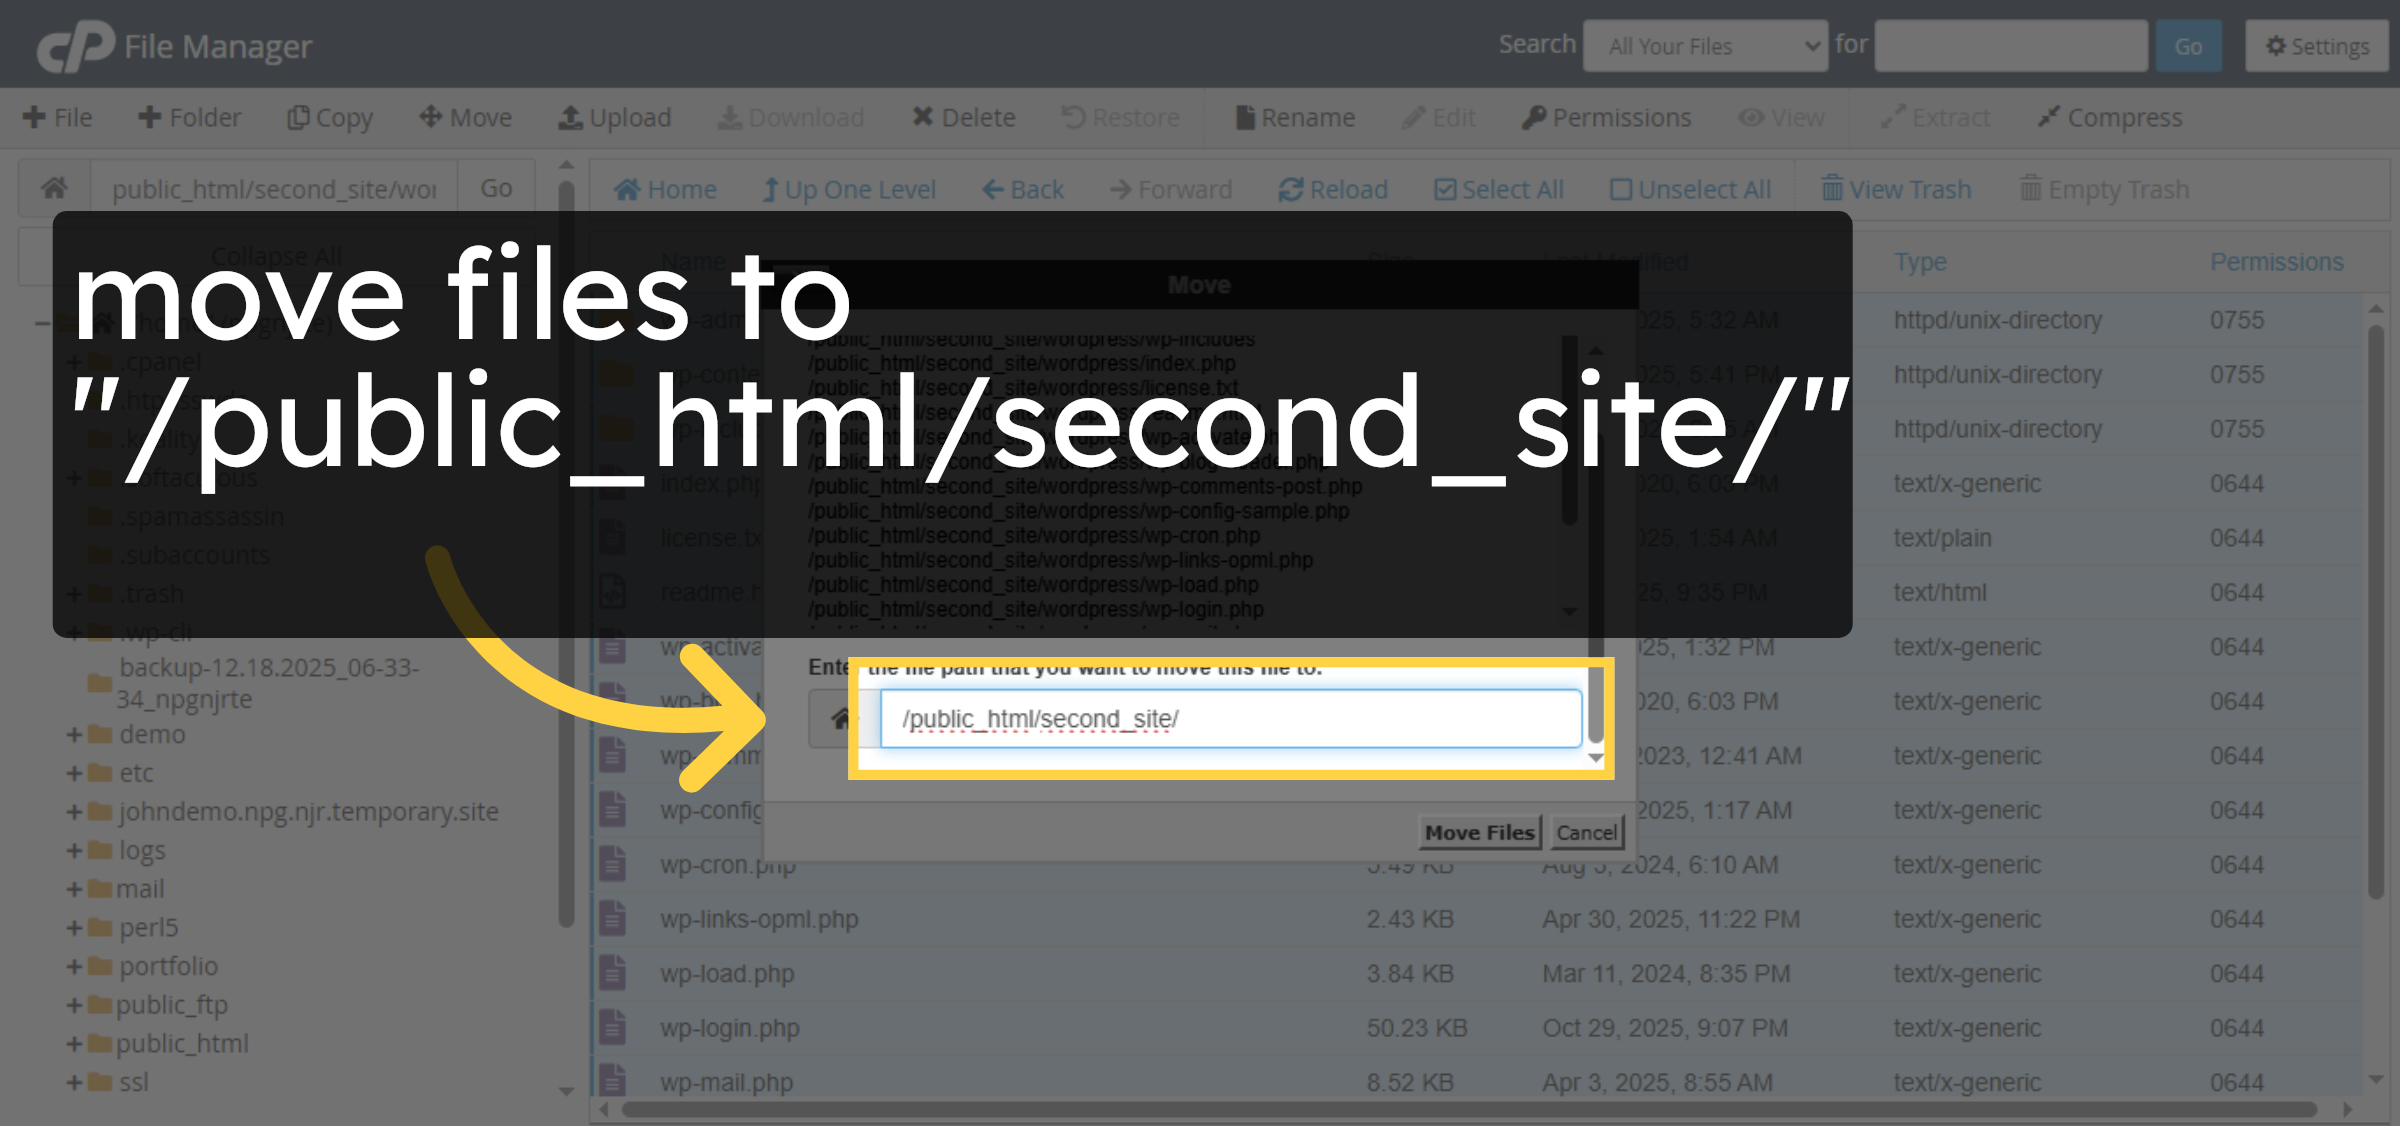
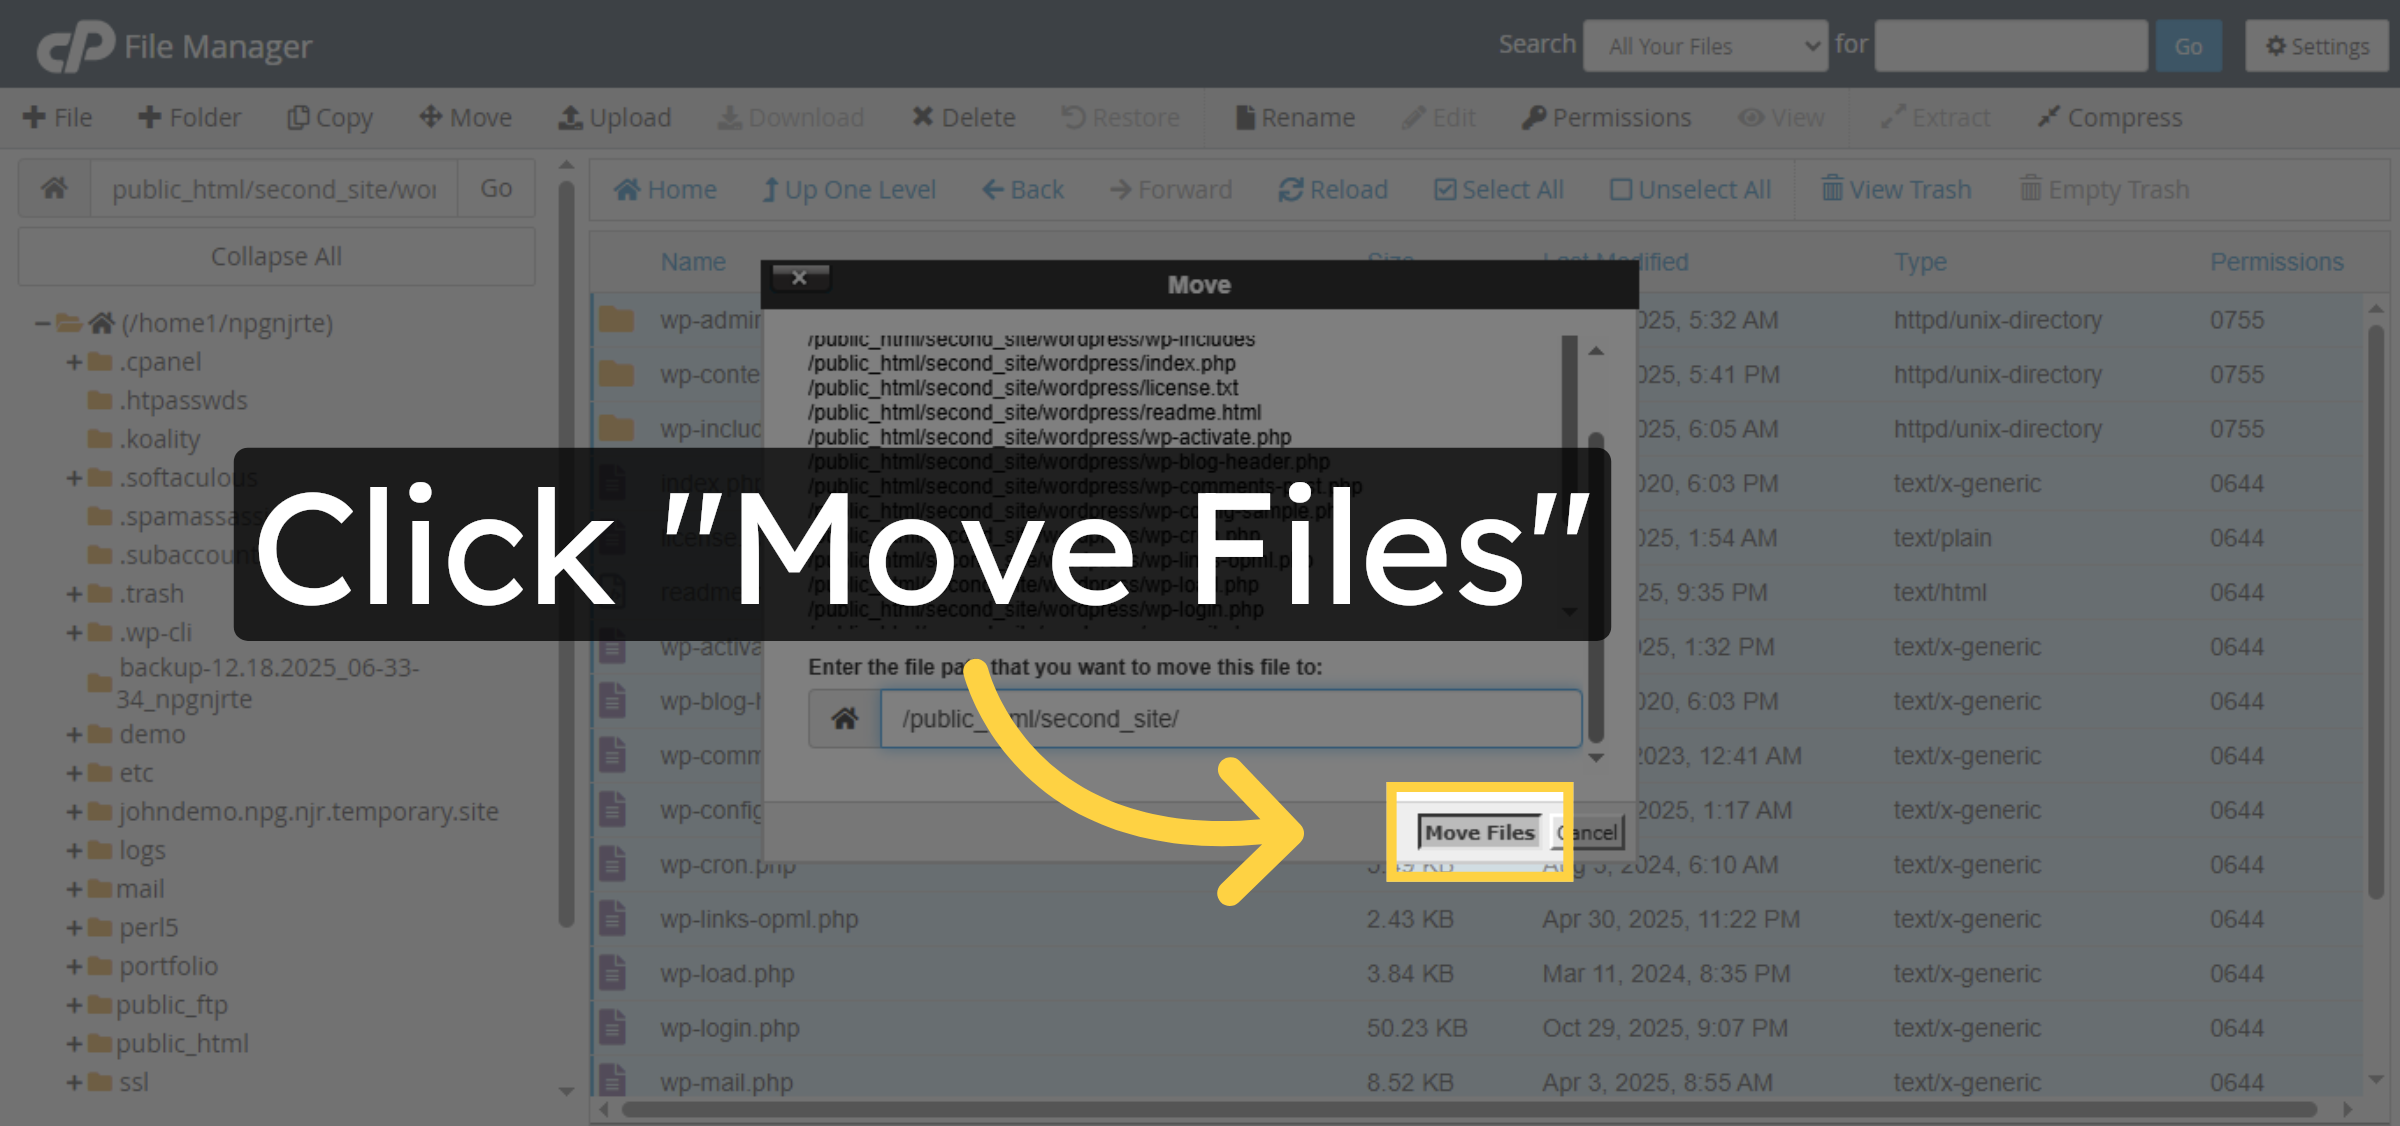
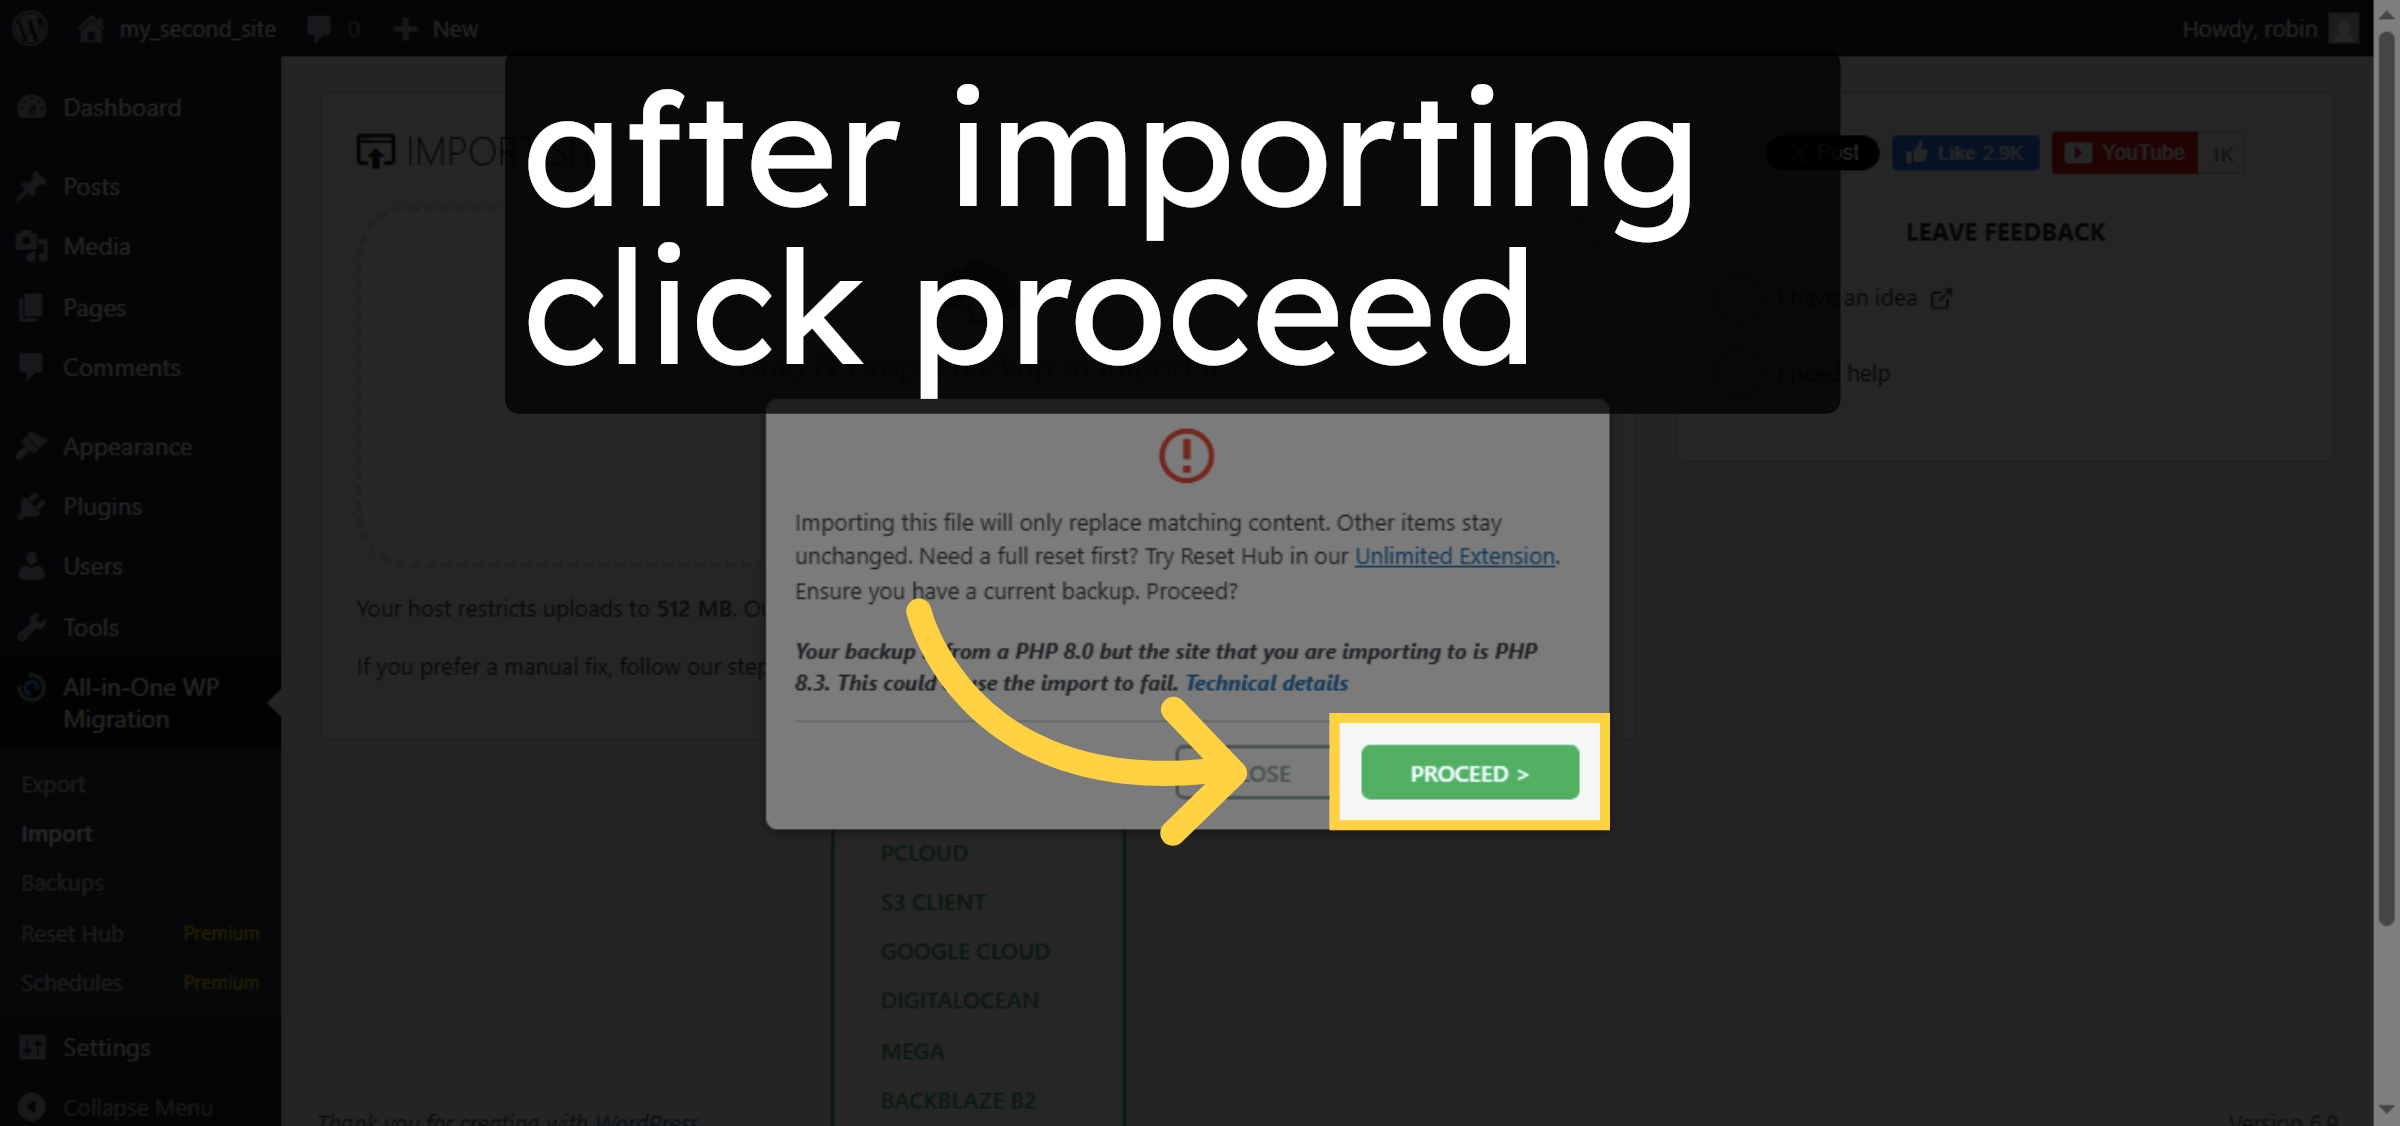
35. Confirm Move Files
Click “Move Files” to move the WordPress files to the new folder.
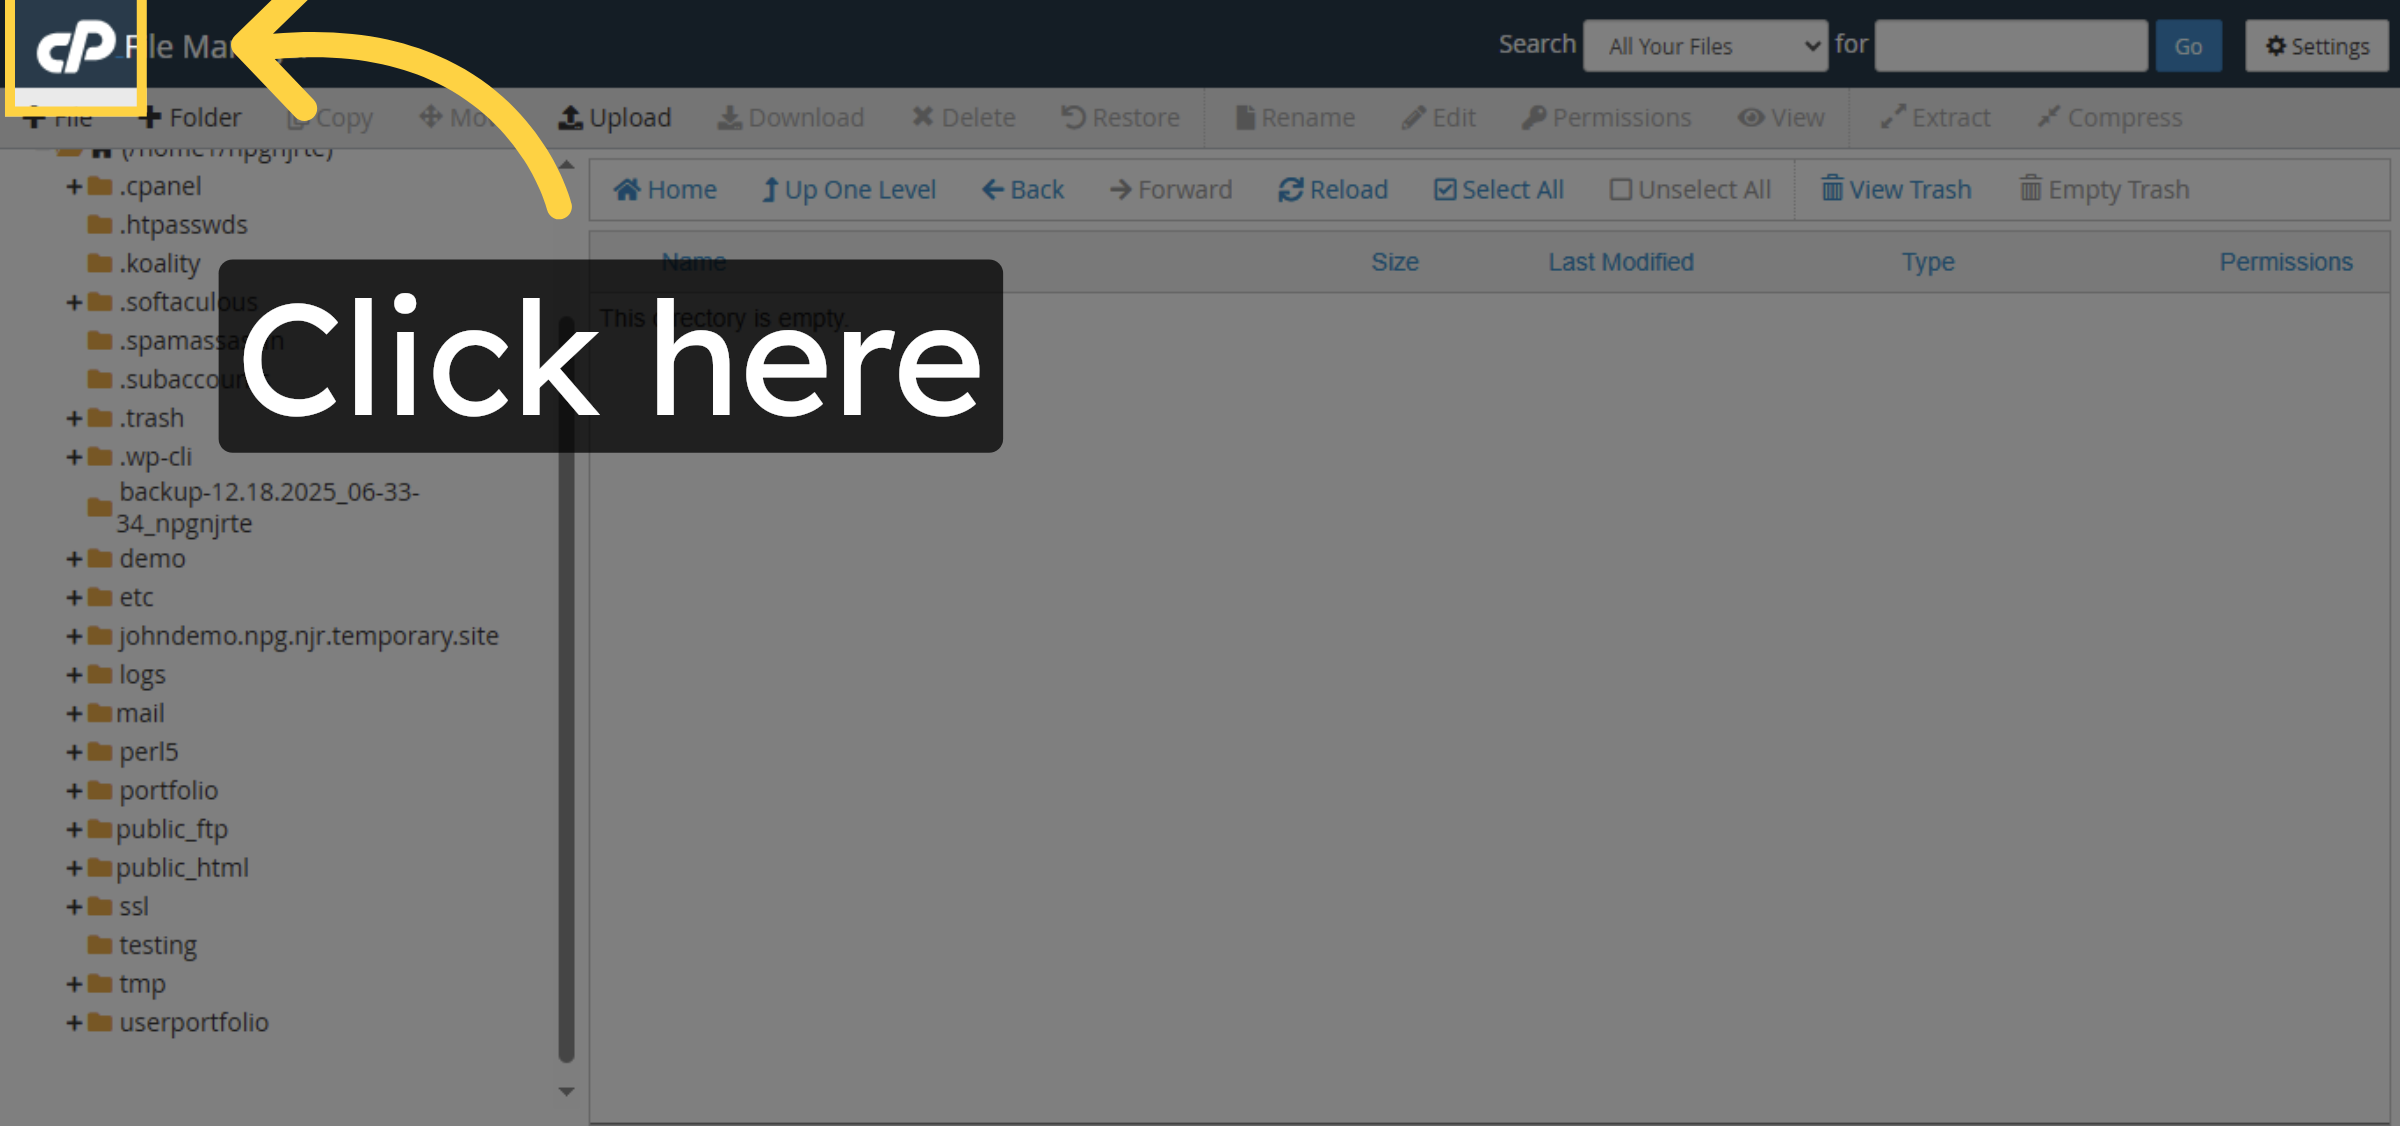
36. Open Control Panel Home
Click here to return to the HostGator control panel home.
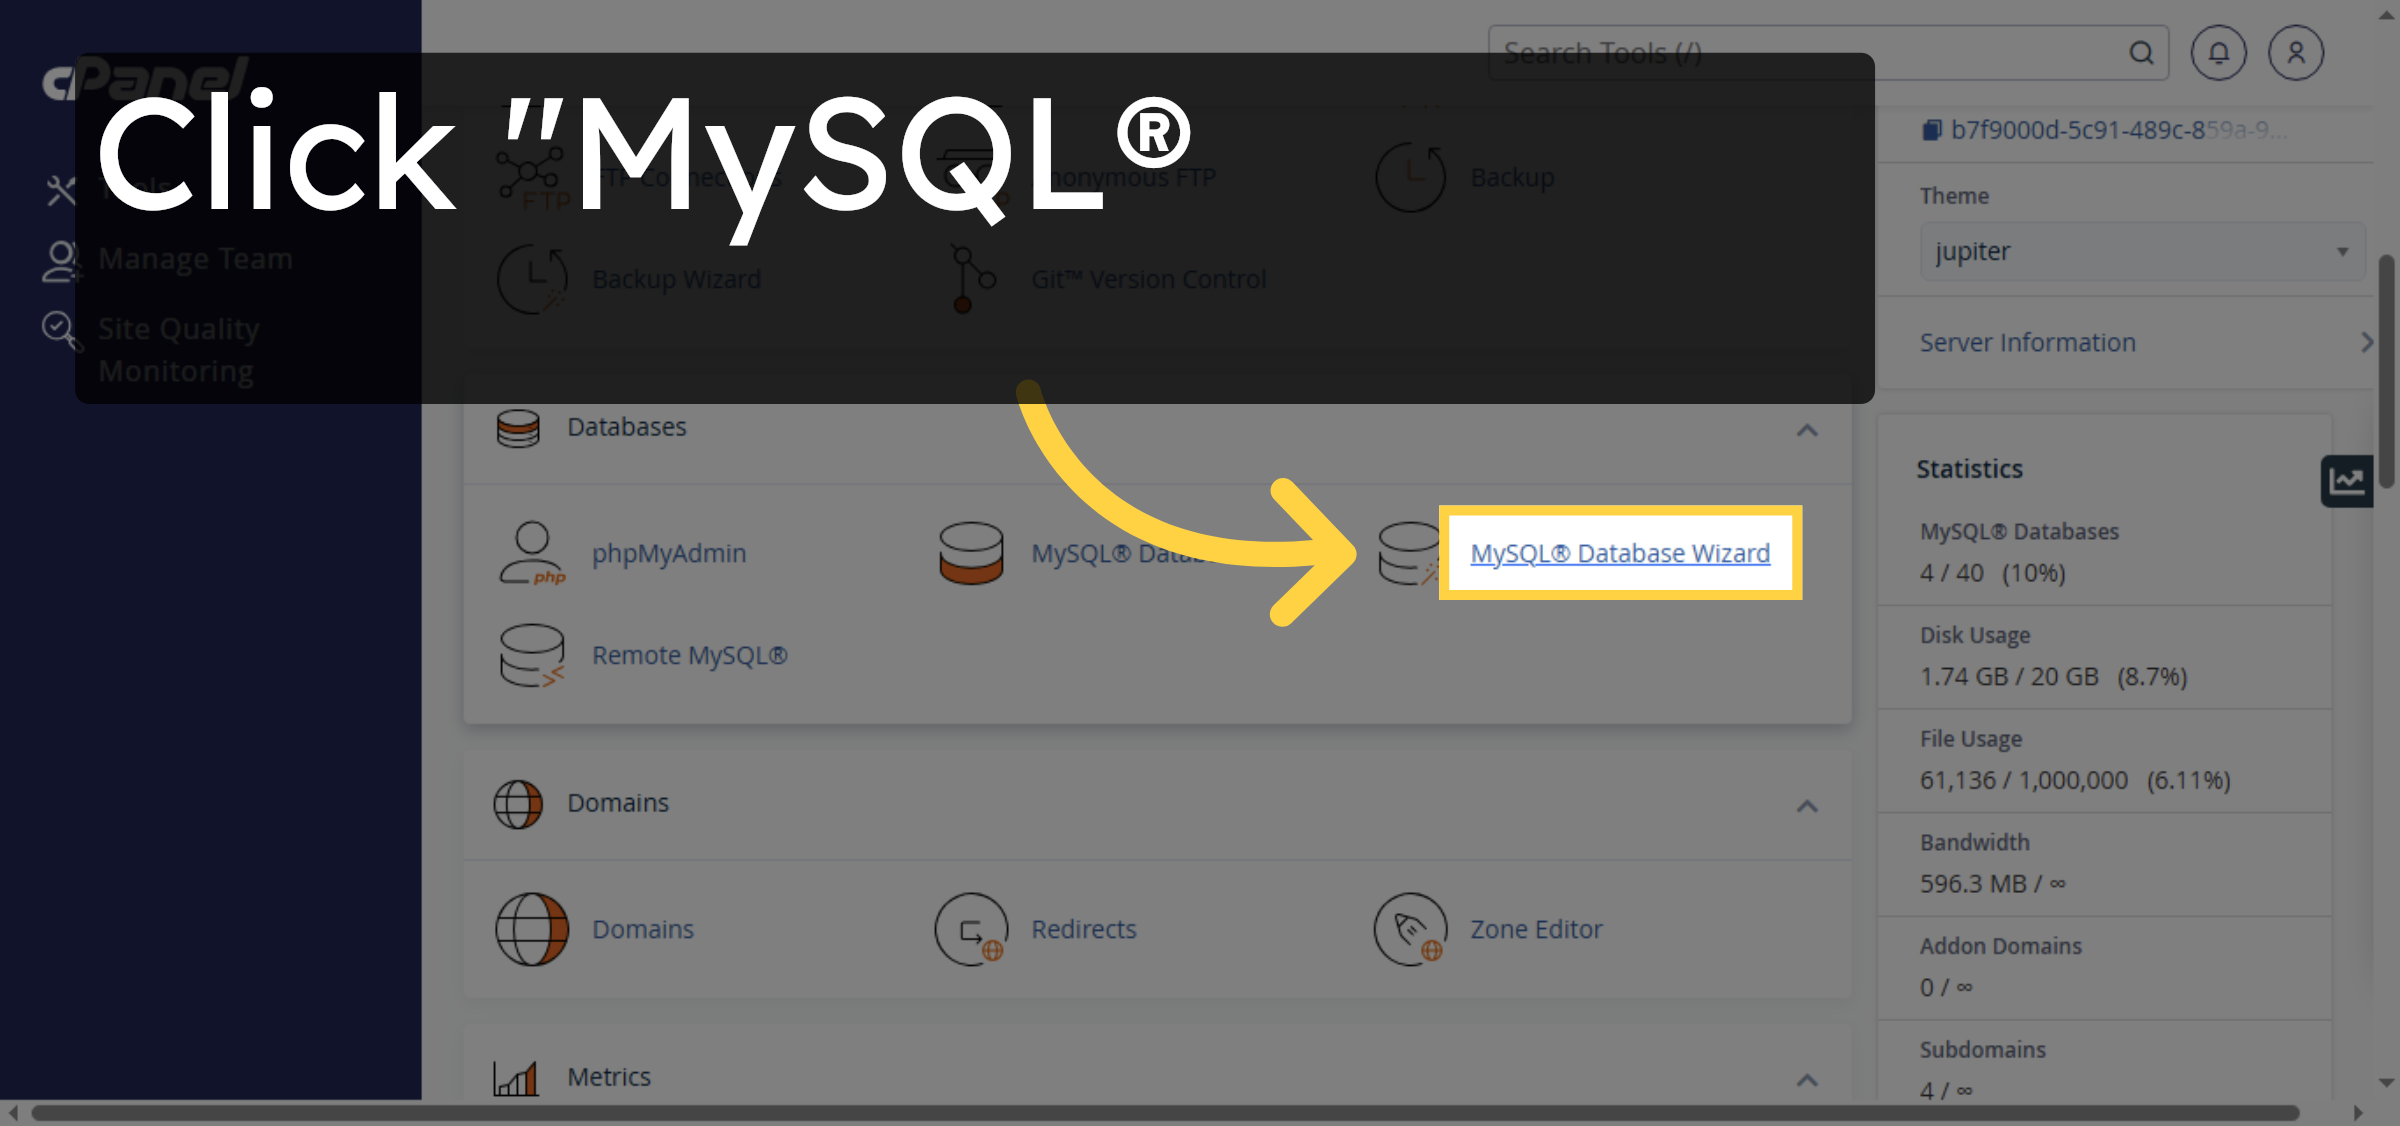
37. Open MySQL Database Wizard
Click “MySQL® Database Wizard” to create a new database.
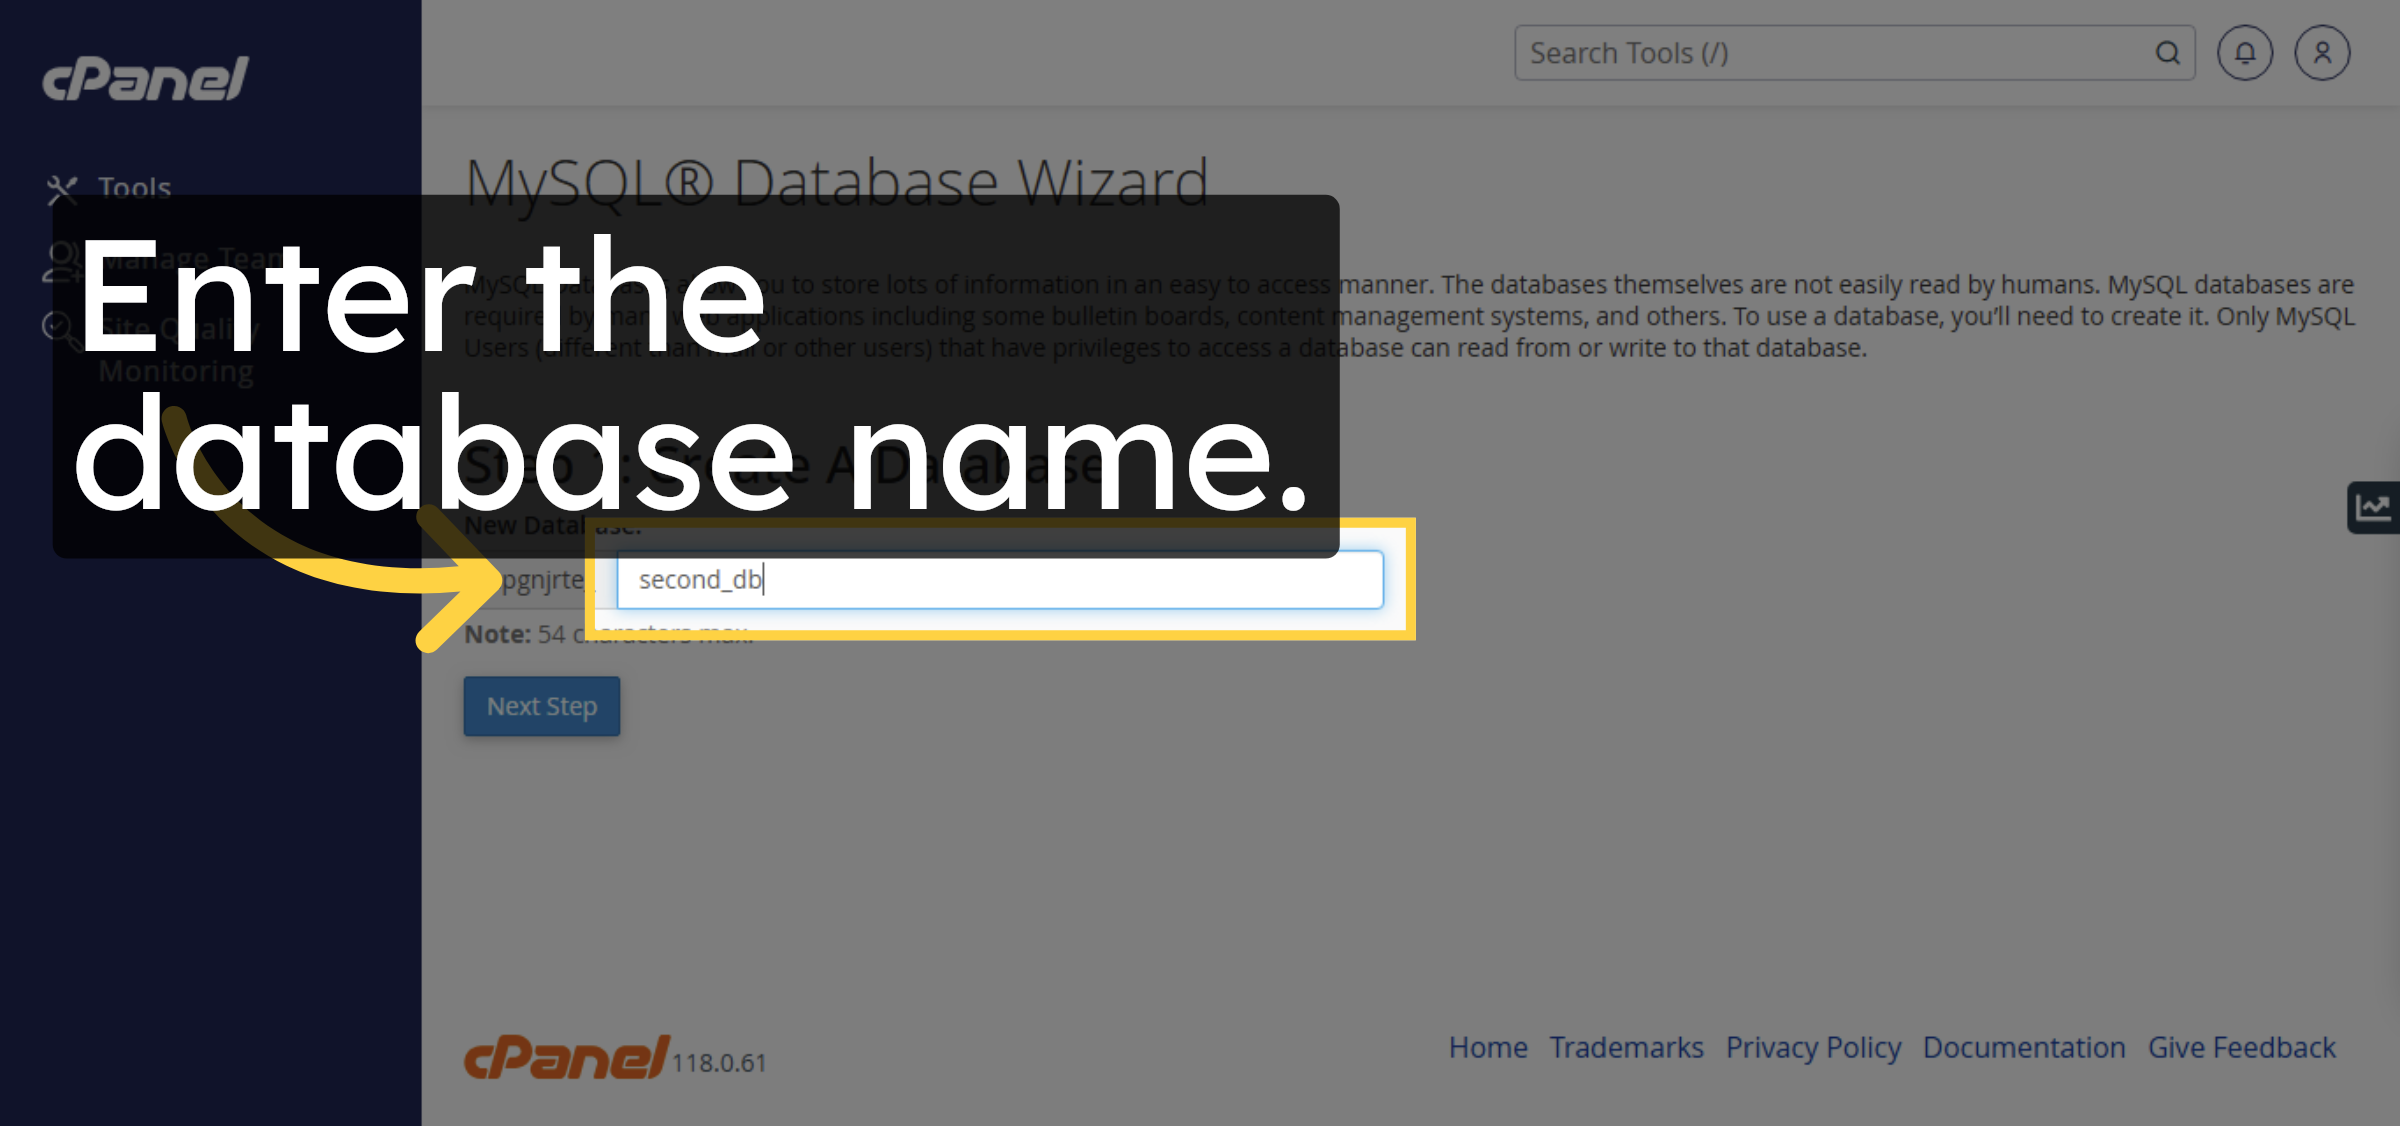
38. Name New Database
Enter the database name.
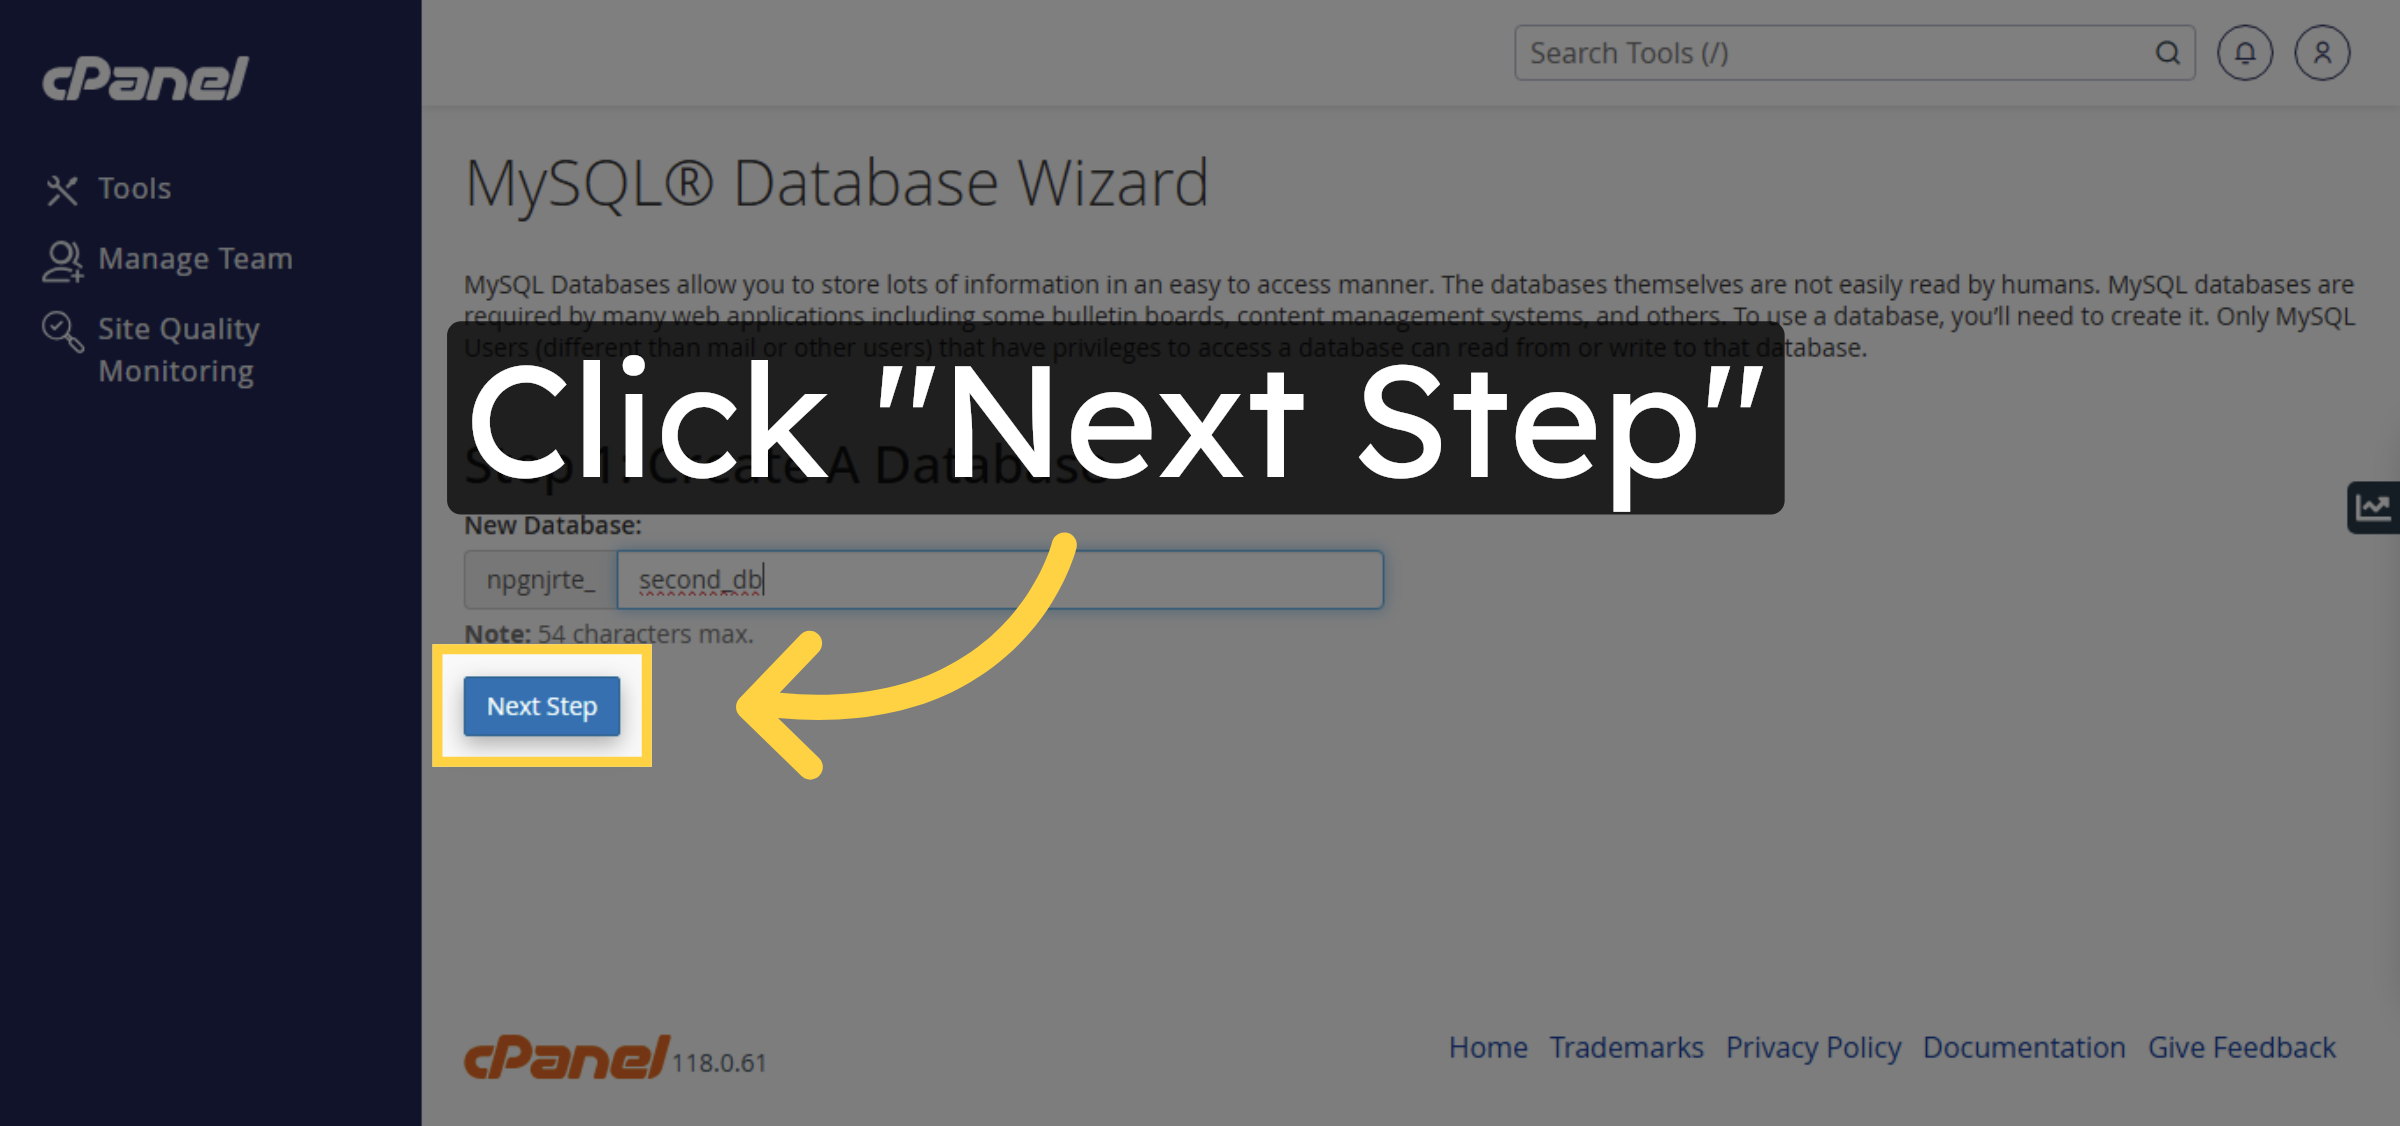
39. Proceed to Next Step
Click “Next Step” to continue database setup.
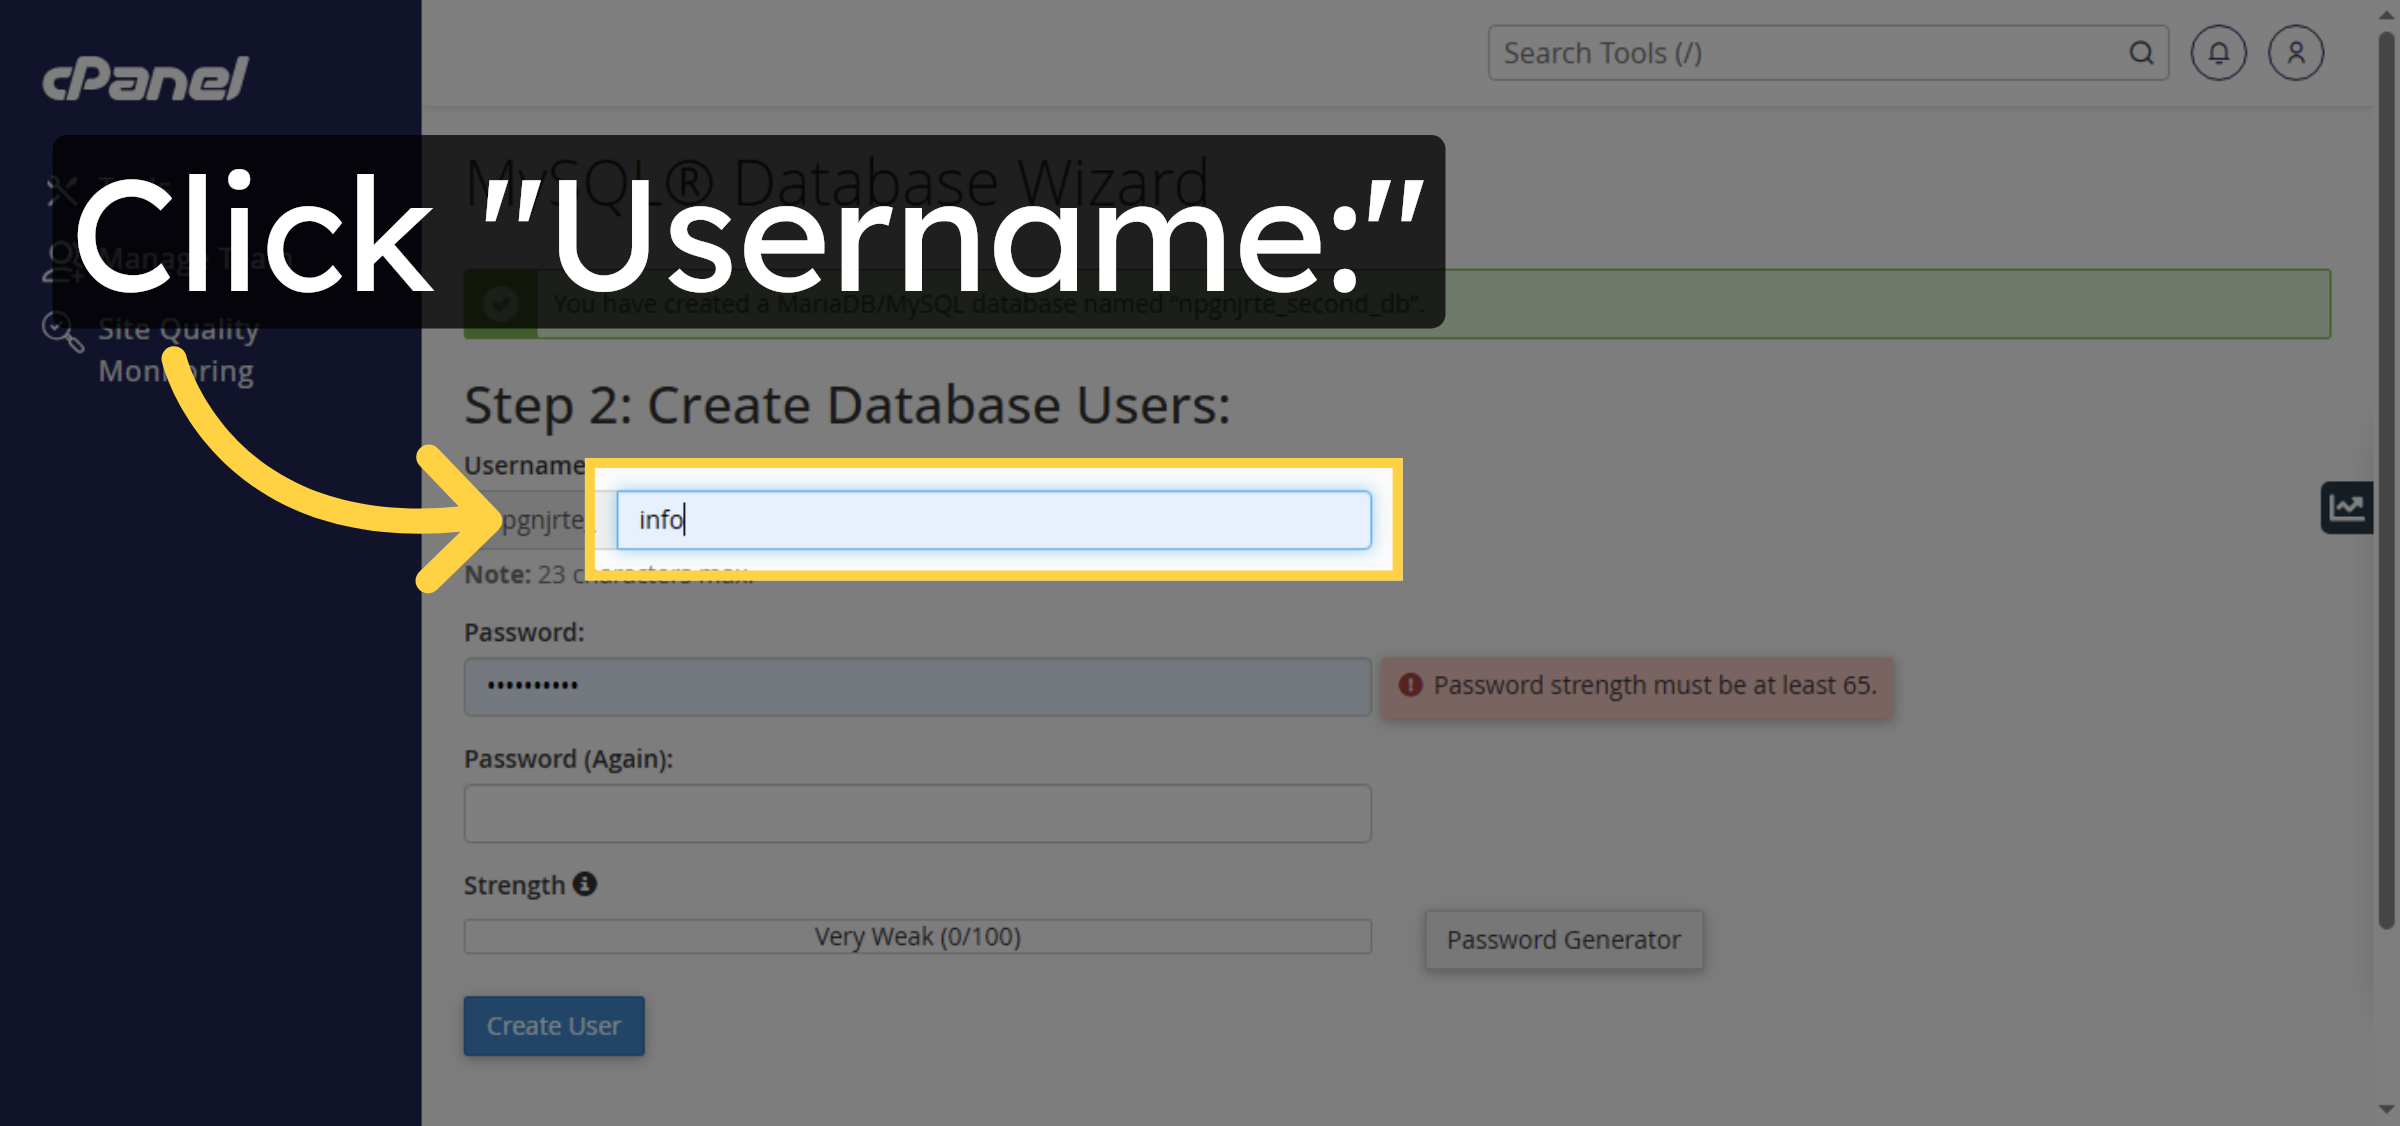
40. Select Username Field
Click “Username:” to enter a database username.
41. Select Password Field
Click “Password:” to enter the database password.

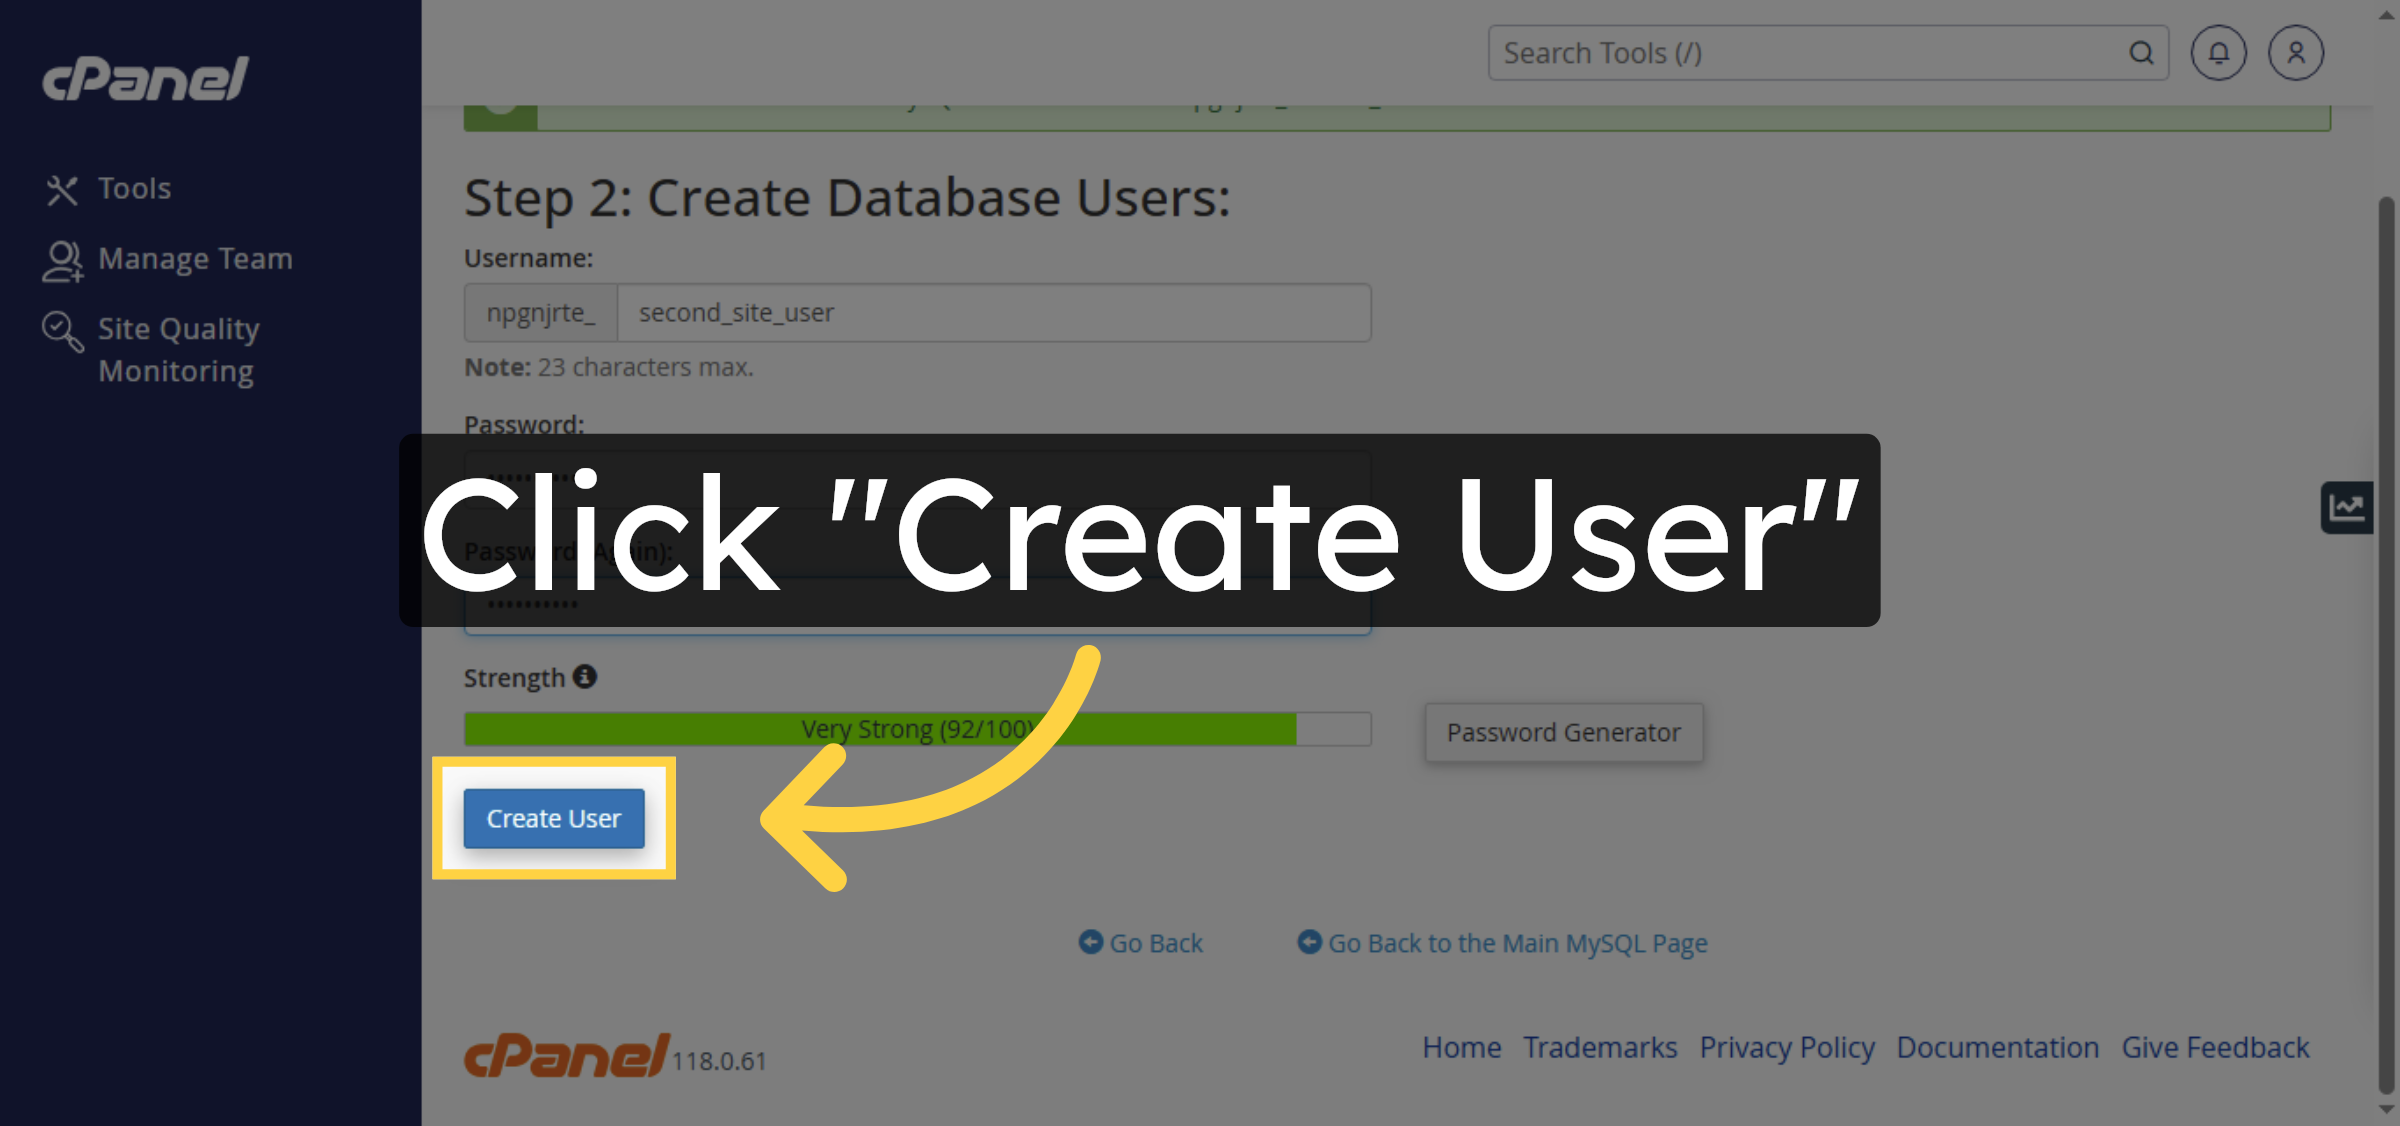
42. Create Database User
Click “Create User” to finalize the database user creation.
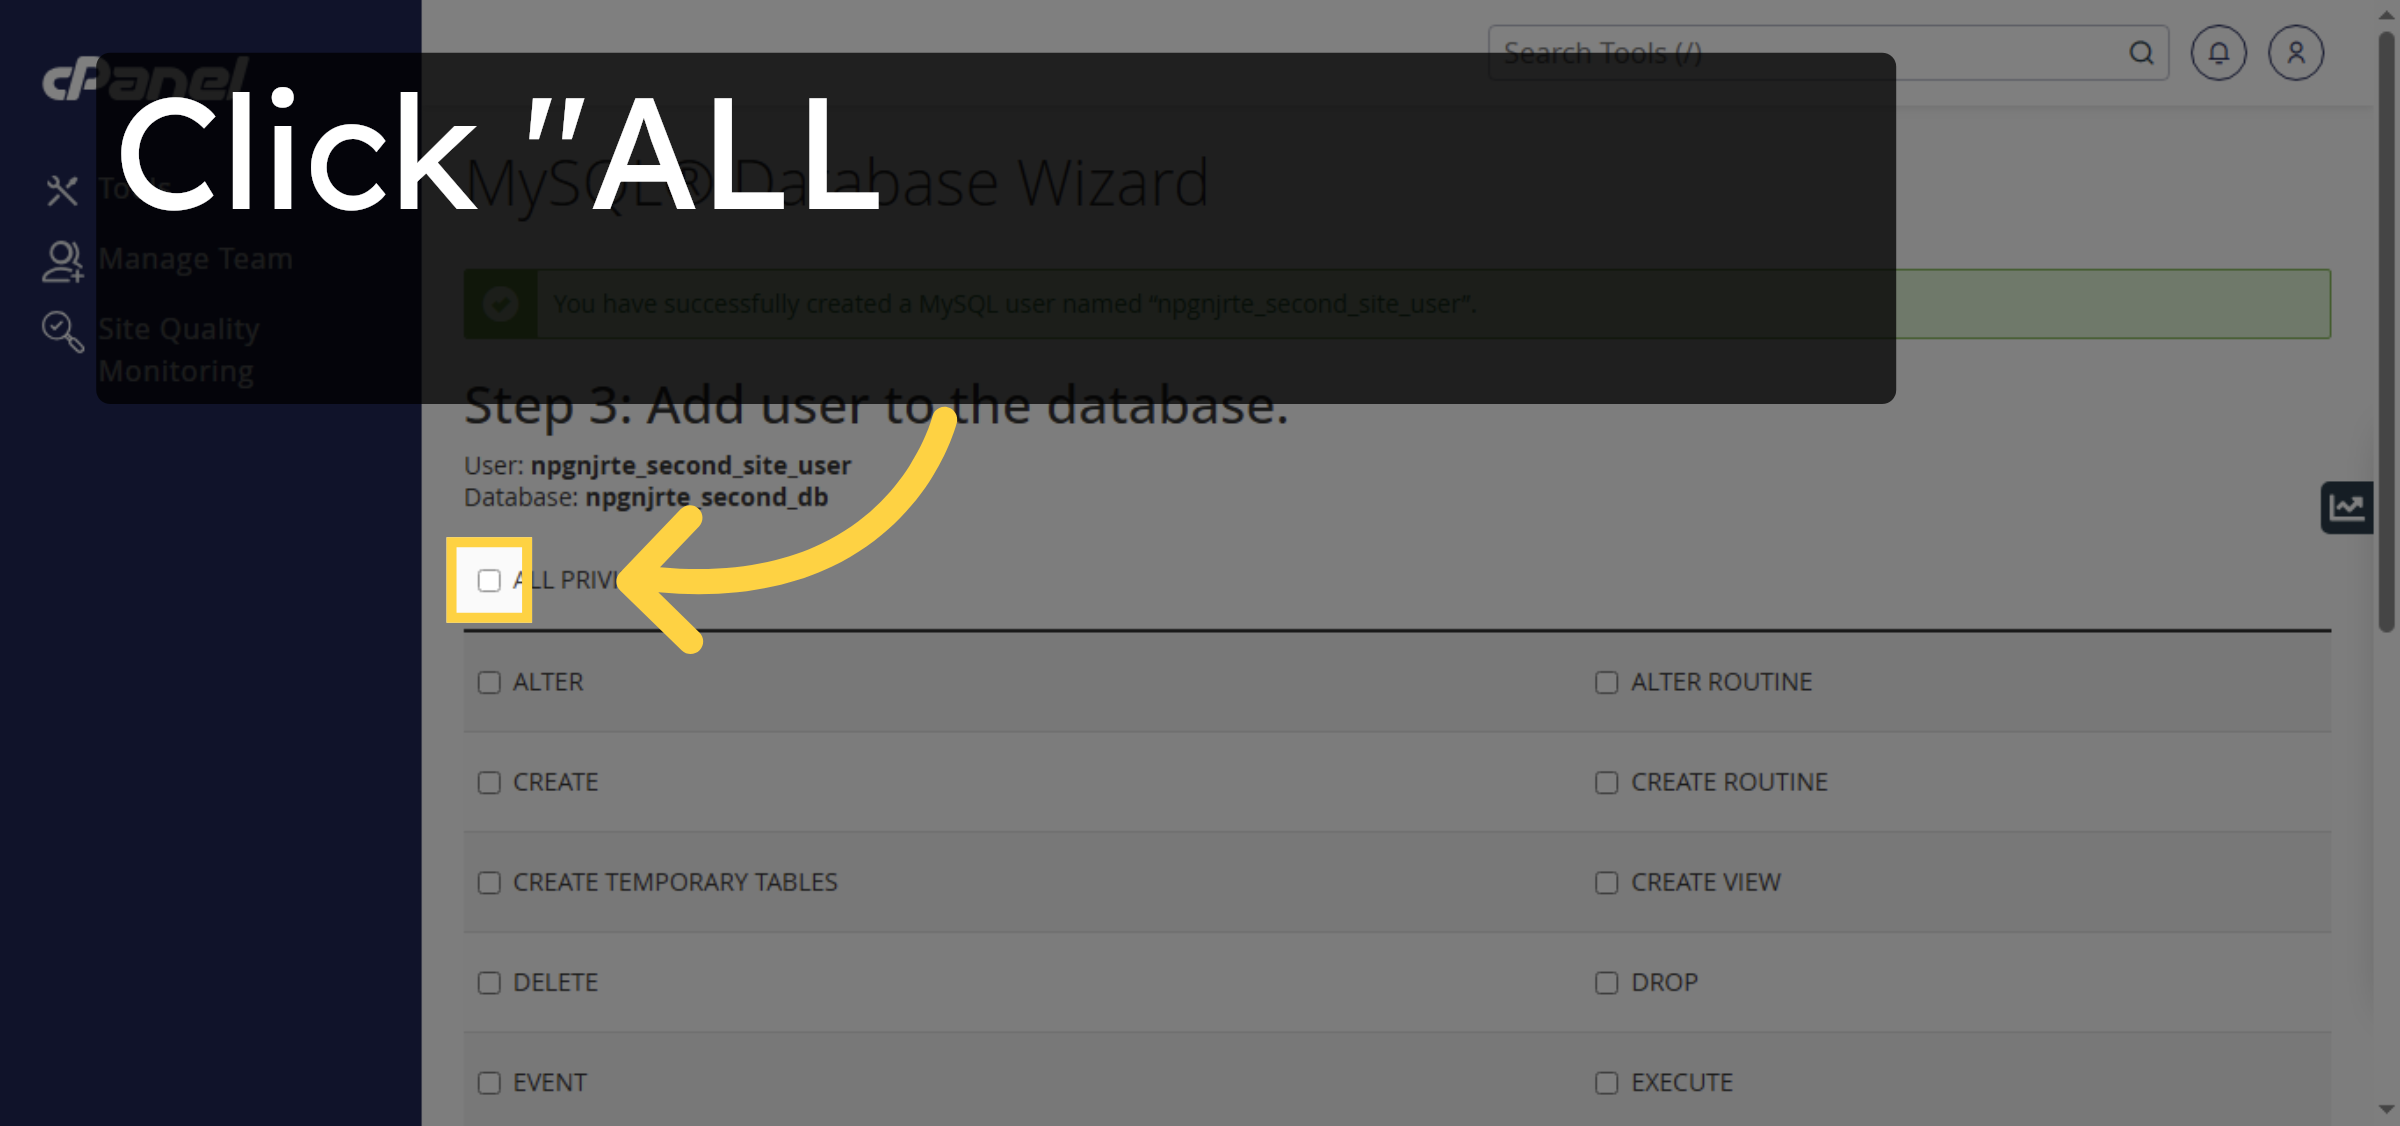
43. Grant All Privileges
Click “ALL PRIVILEGES” to grant full access to the user.
44. Apply Privilege Changes
Click “Make Changes” to save the privilege settings.

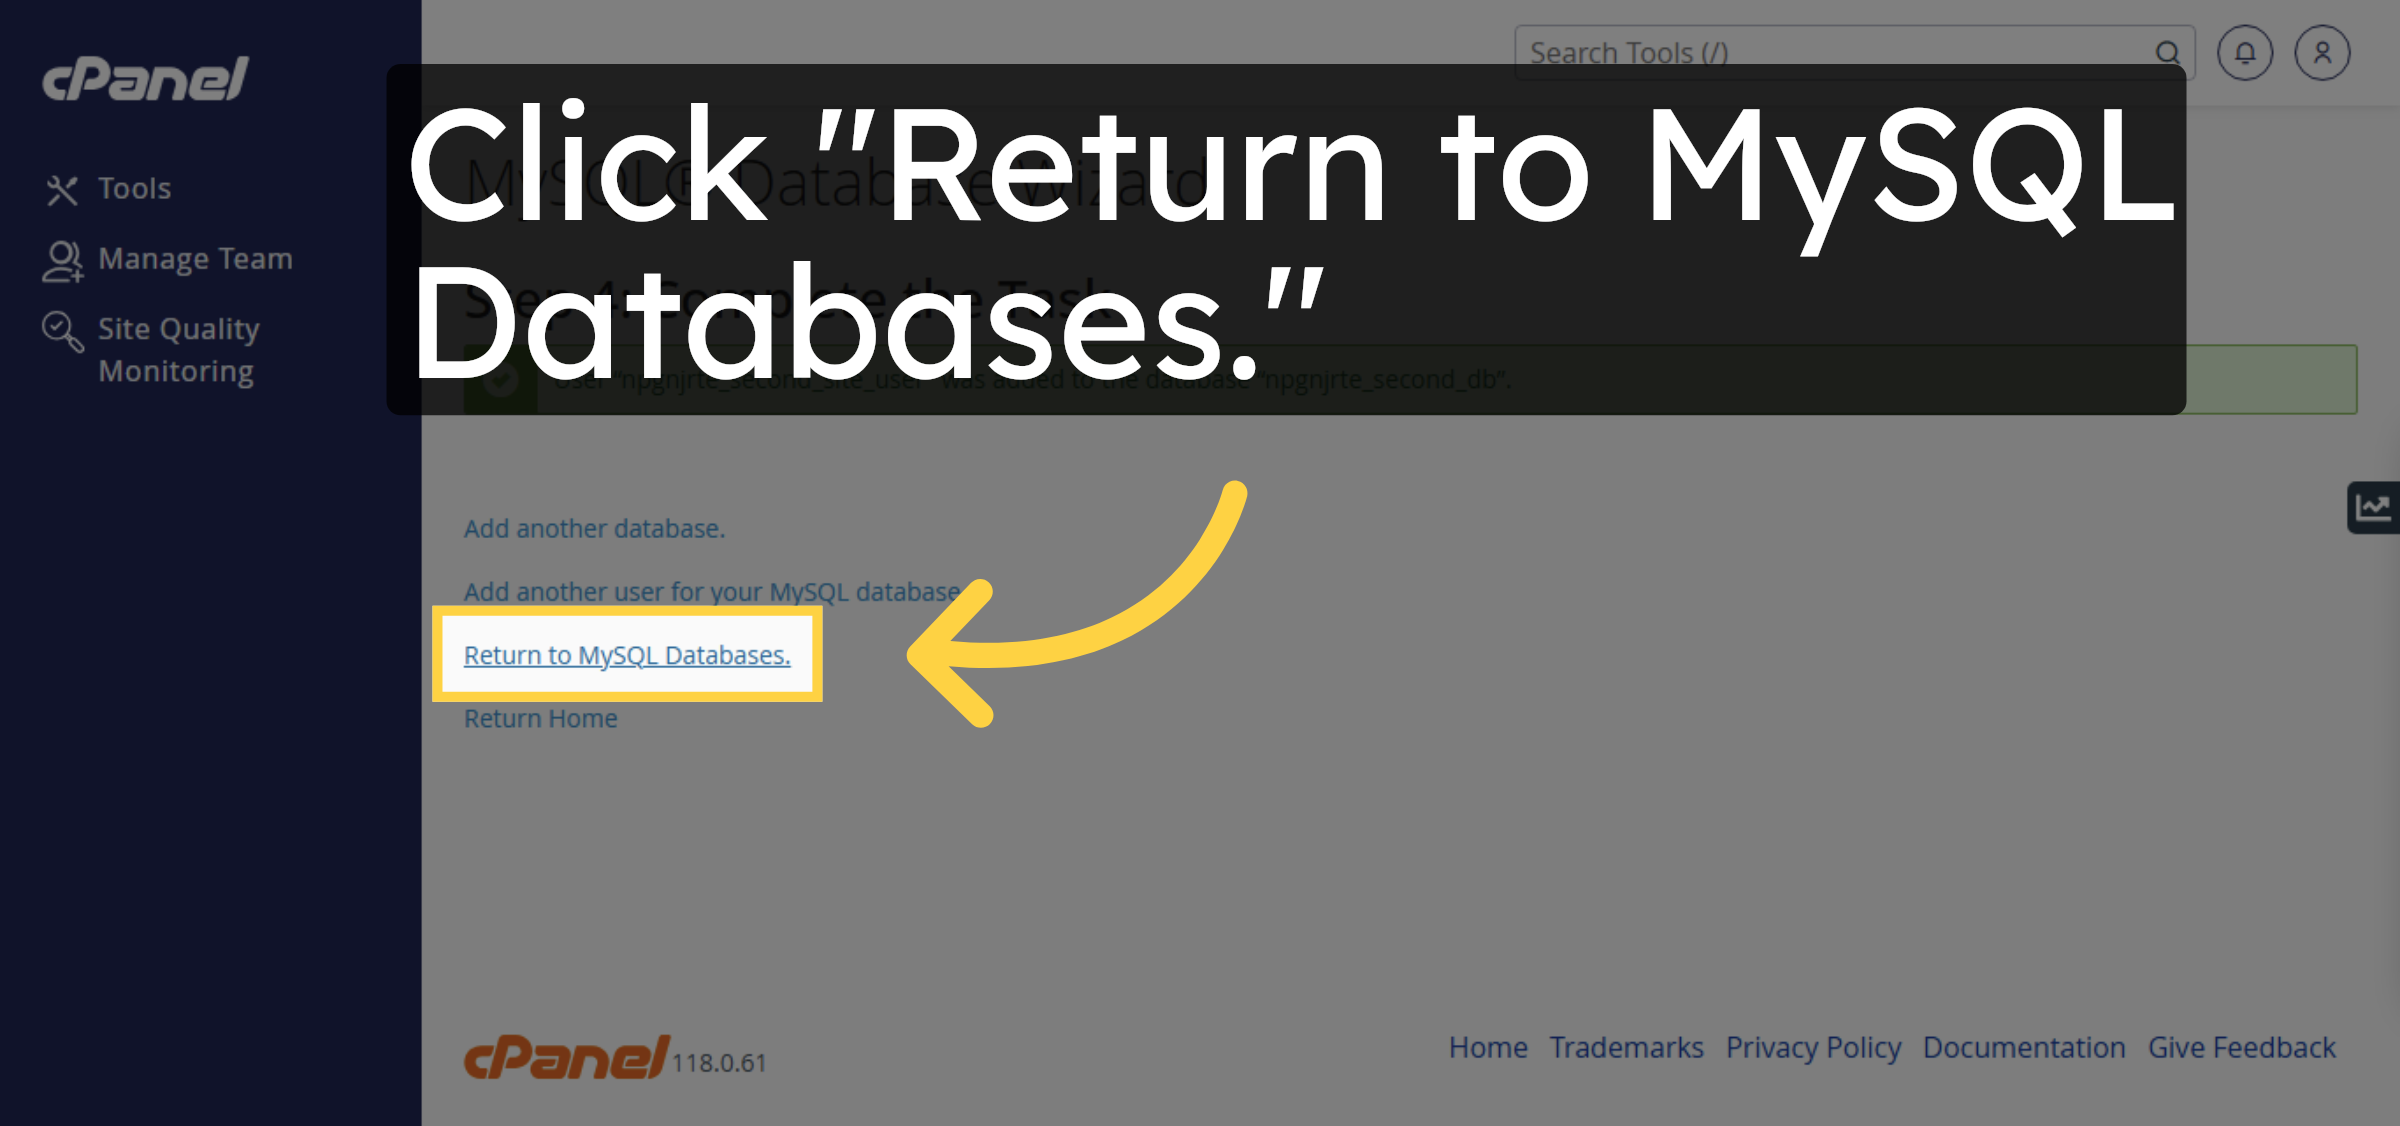
45. Return to Database List
Click “Return to MySQL Databases.” to go back to the database overview.
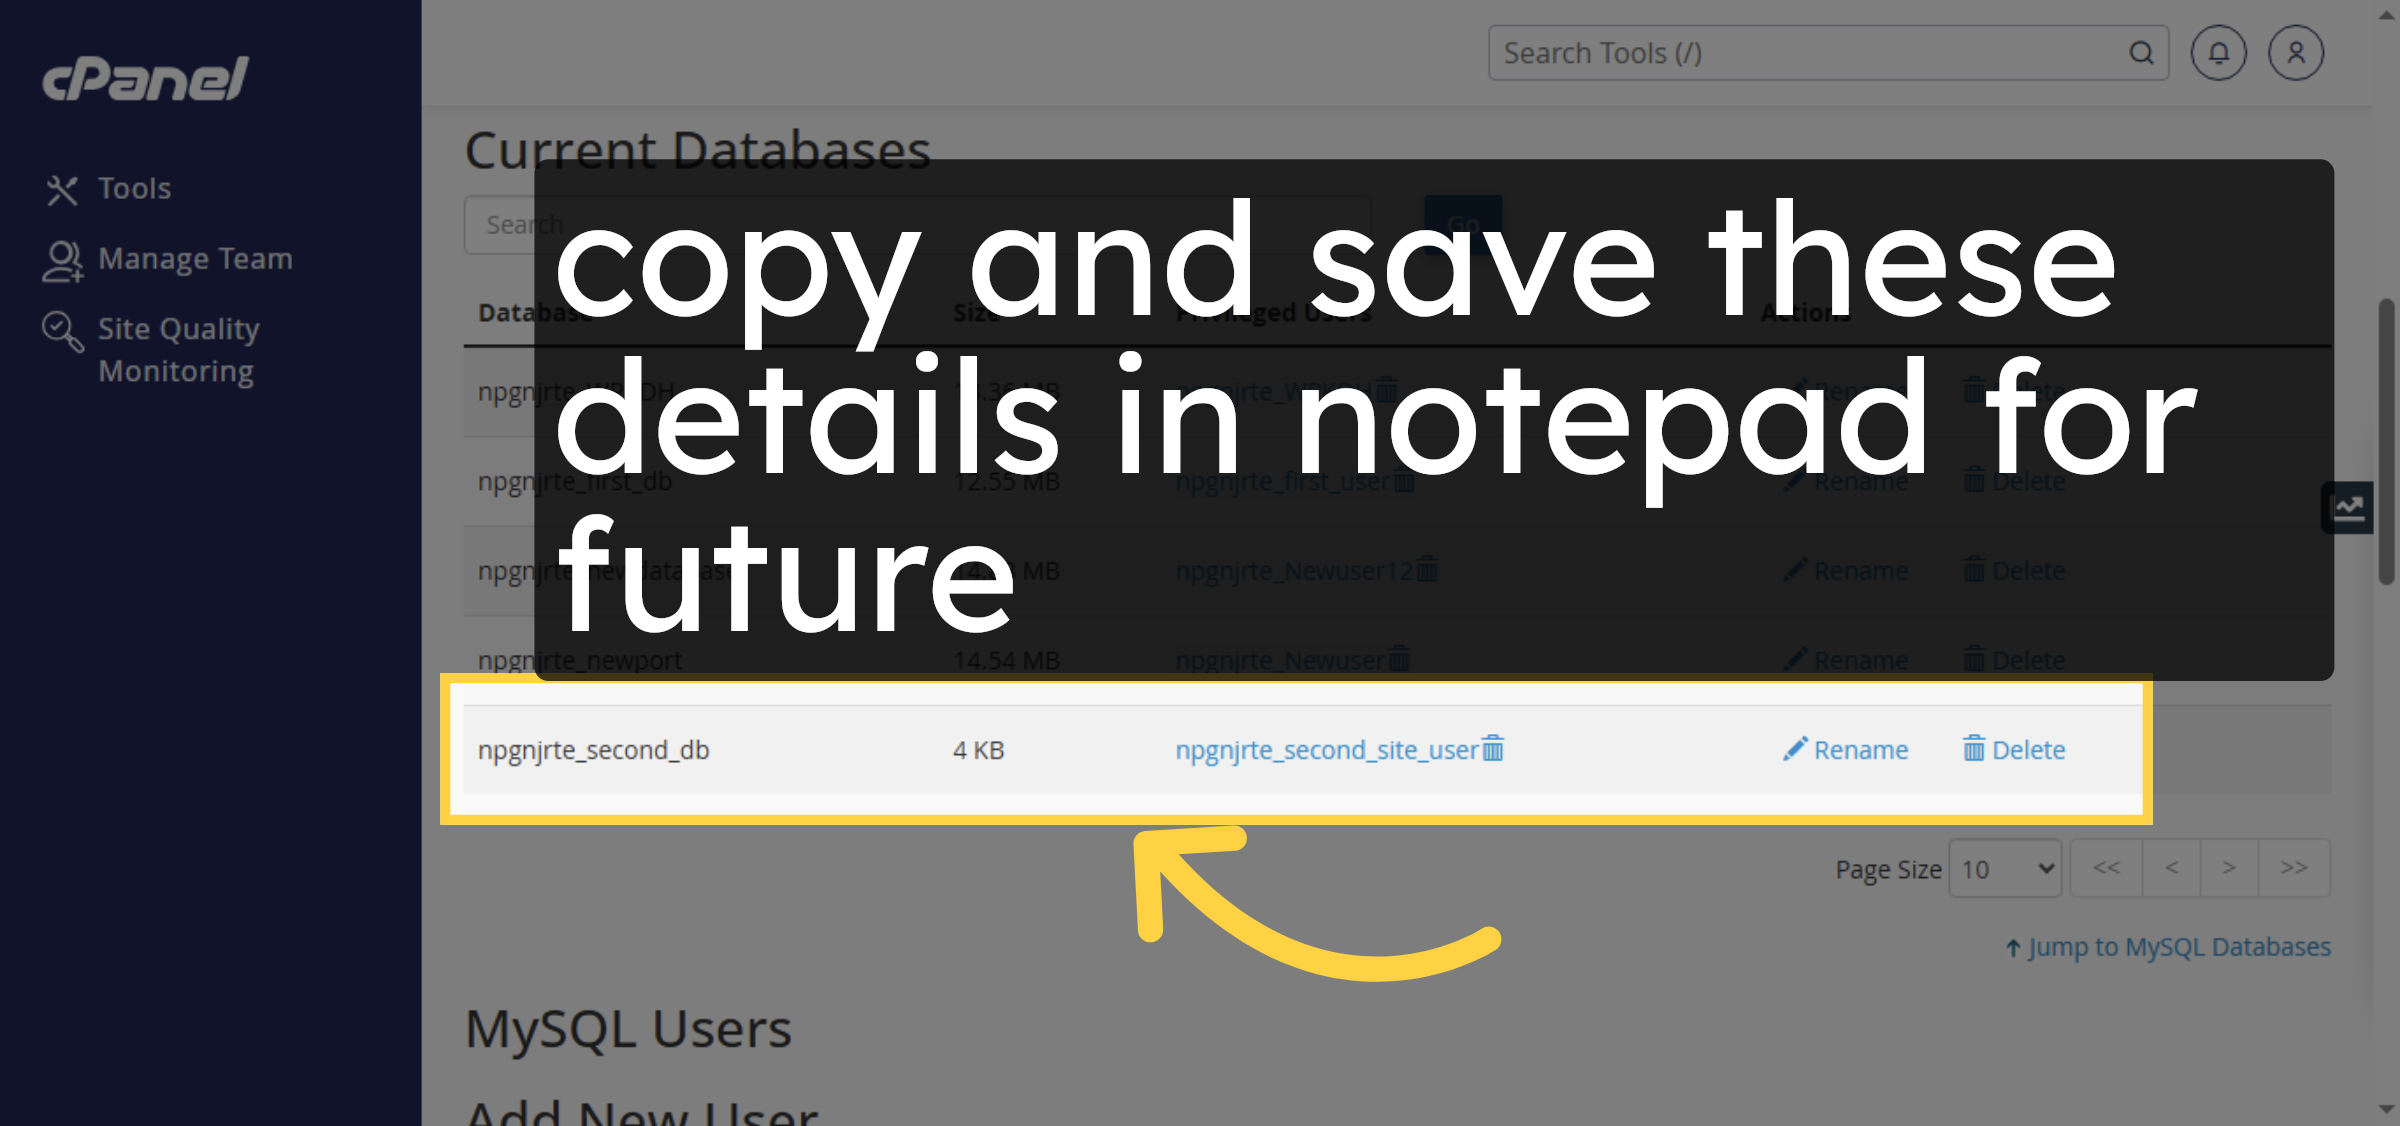
46. Save Database Details.
copy and save these details in notepad for future
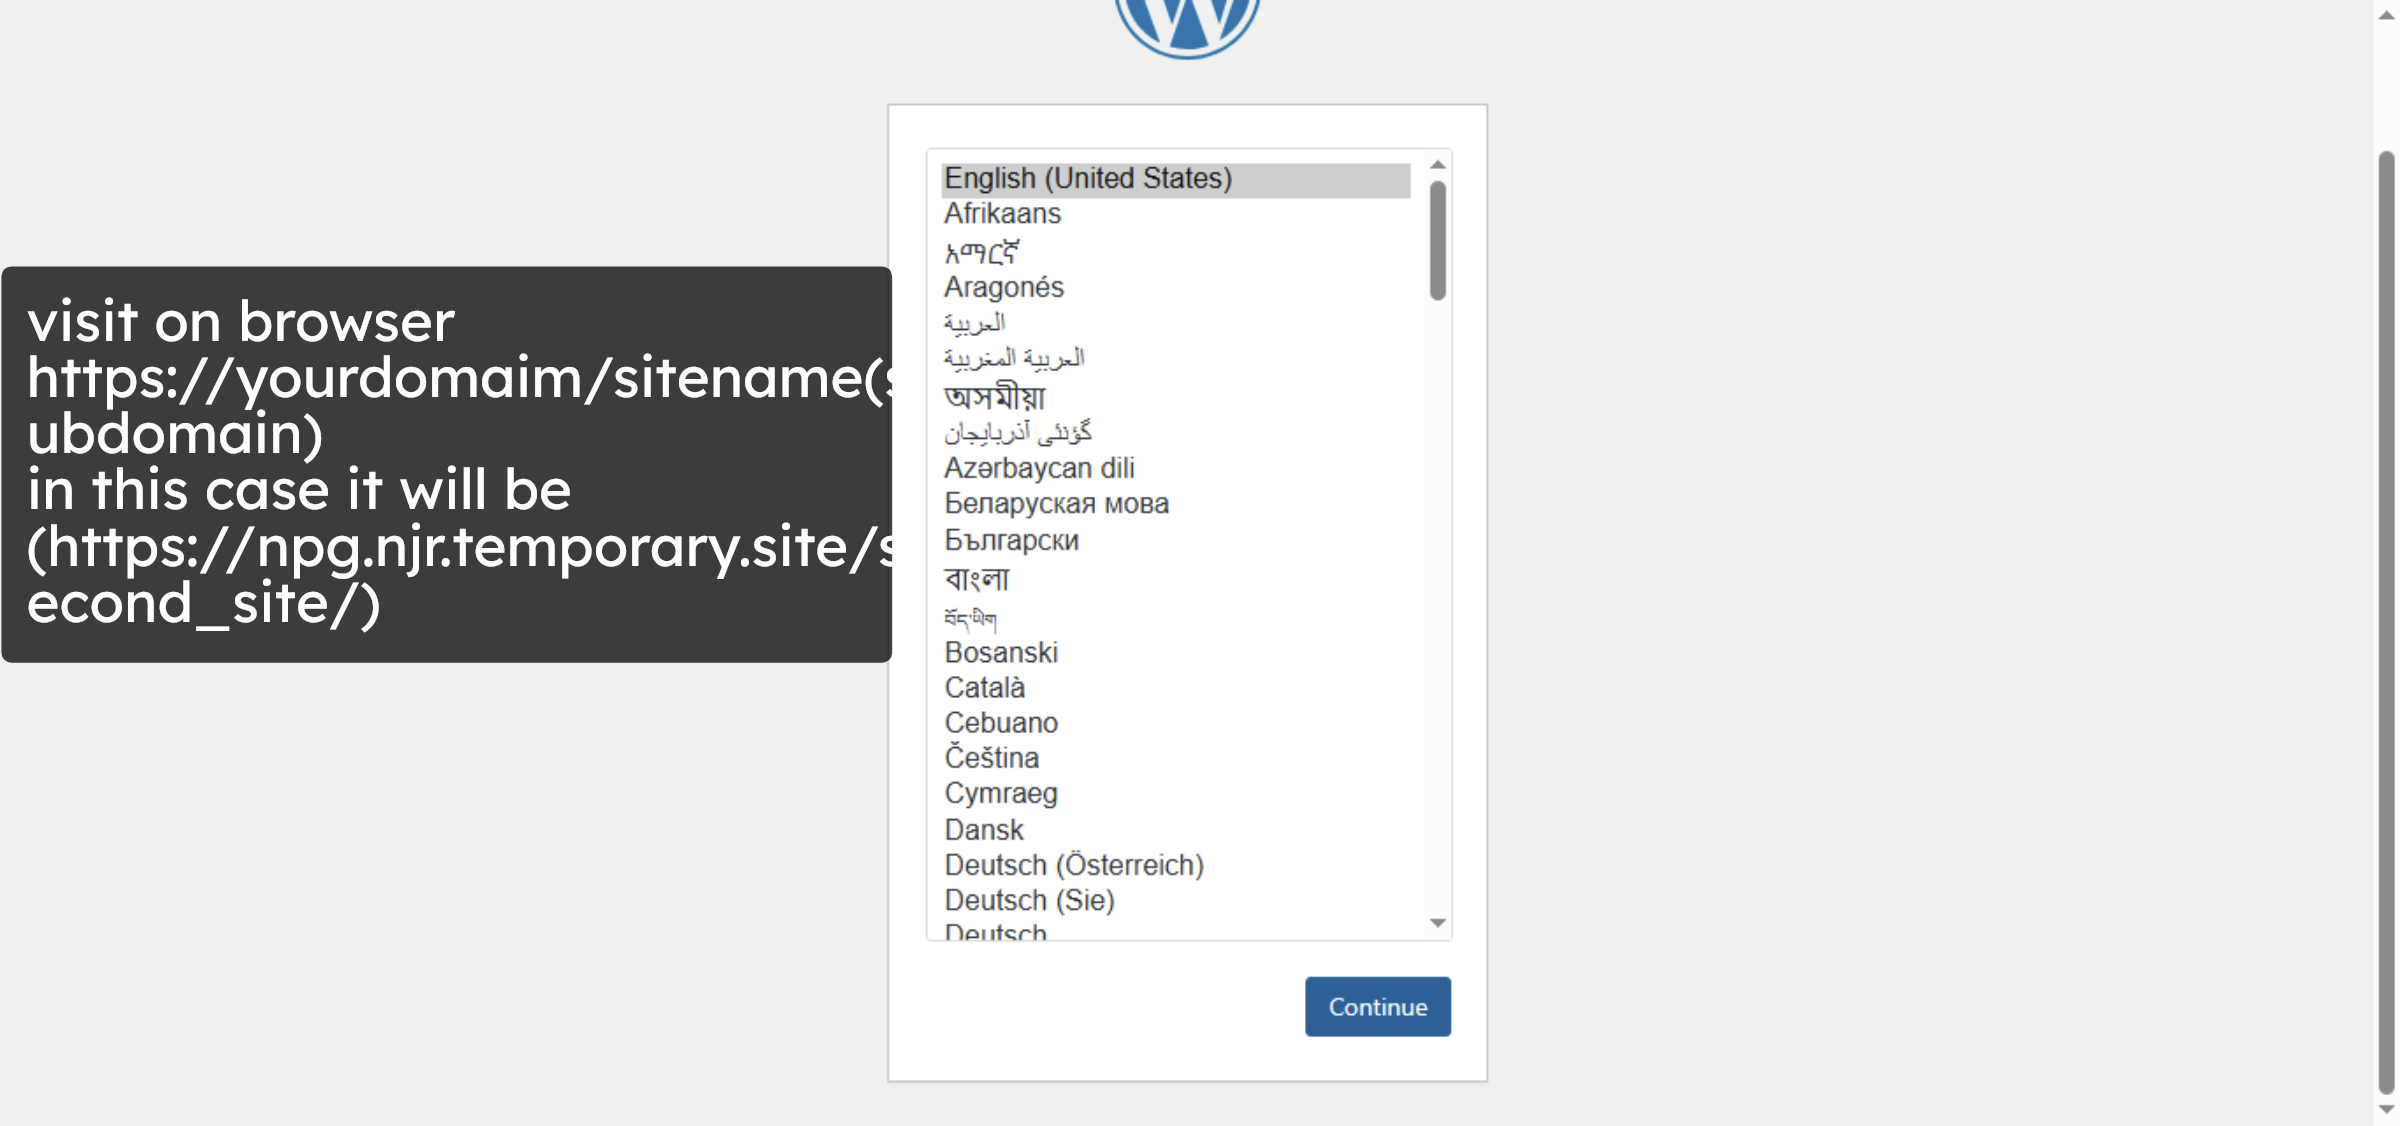
47. Open your website.
Visit your website by typing your website url on chrome.
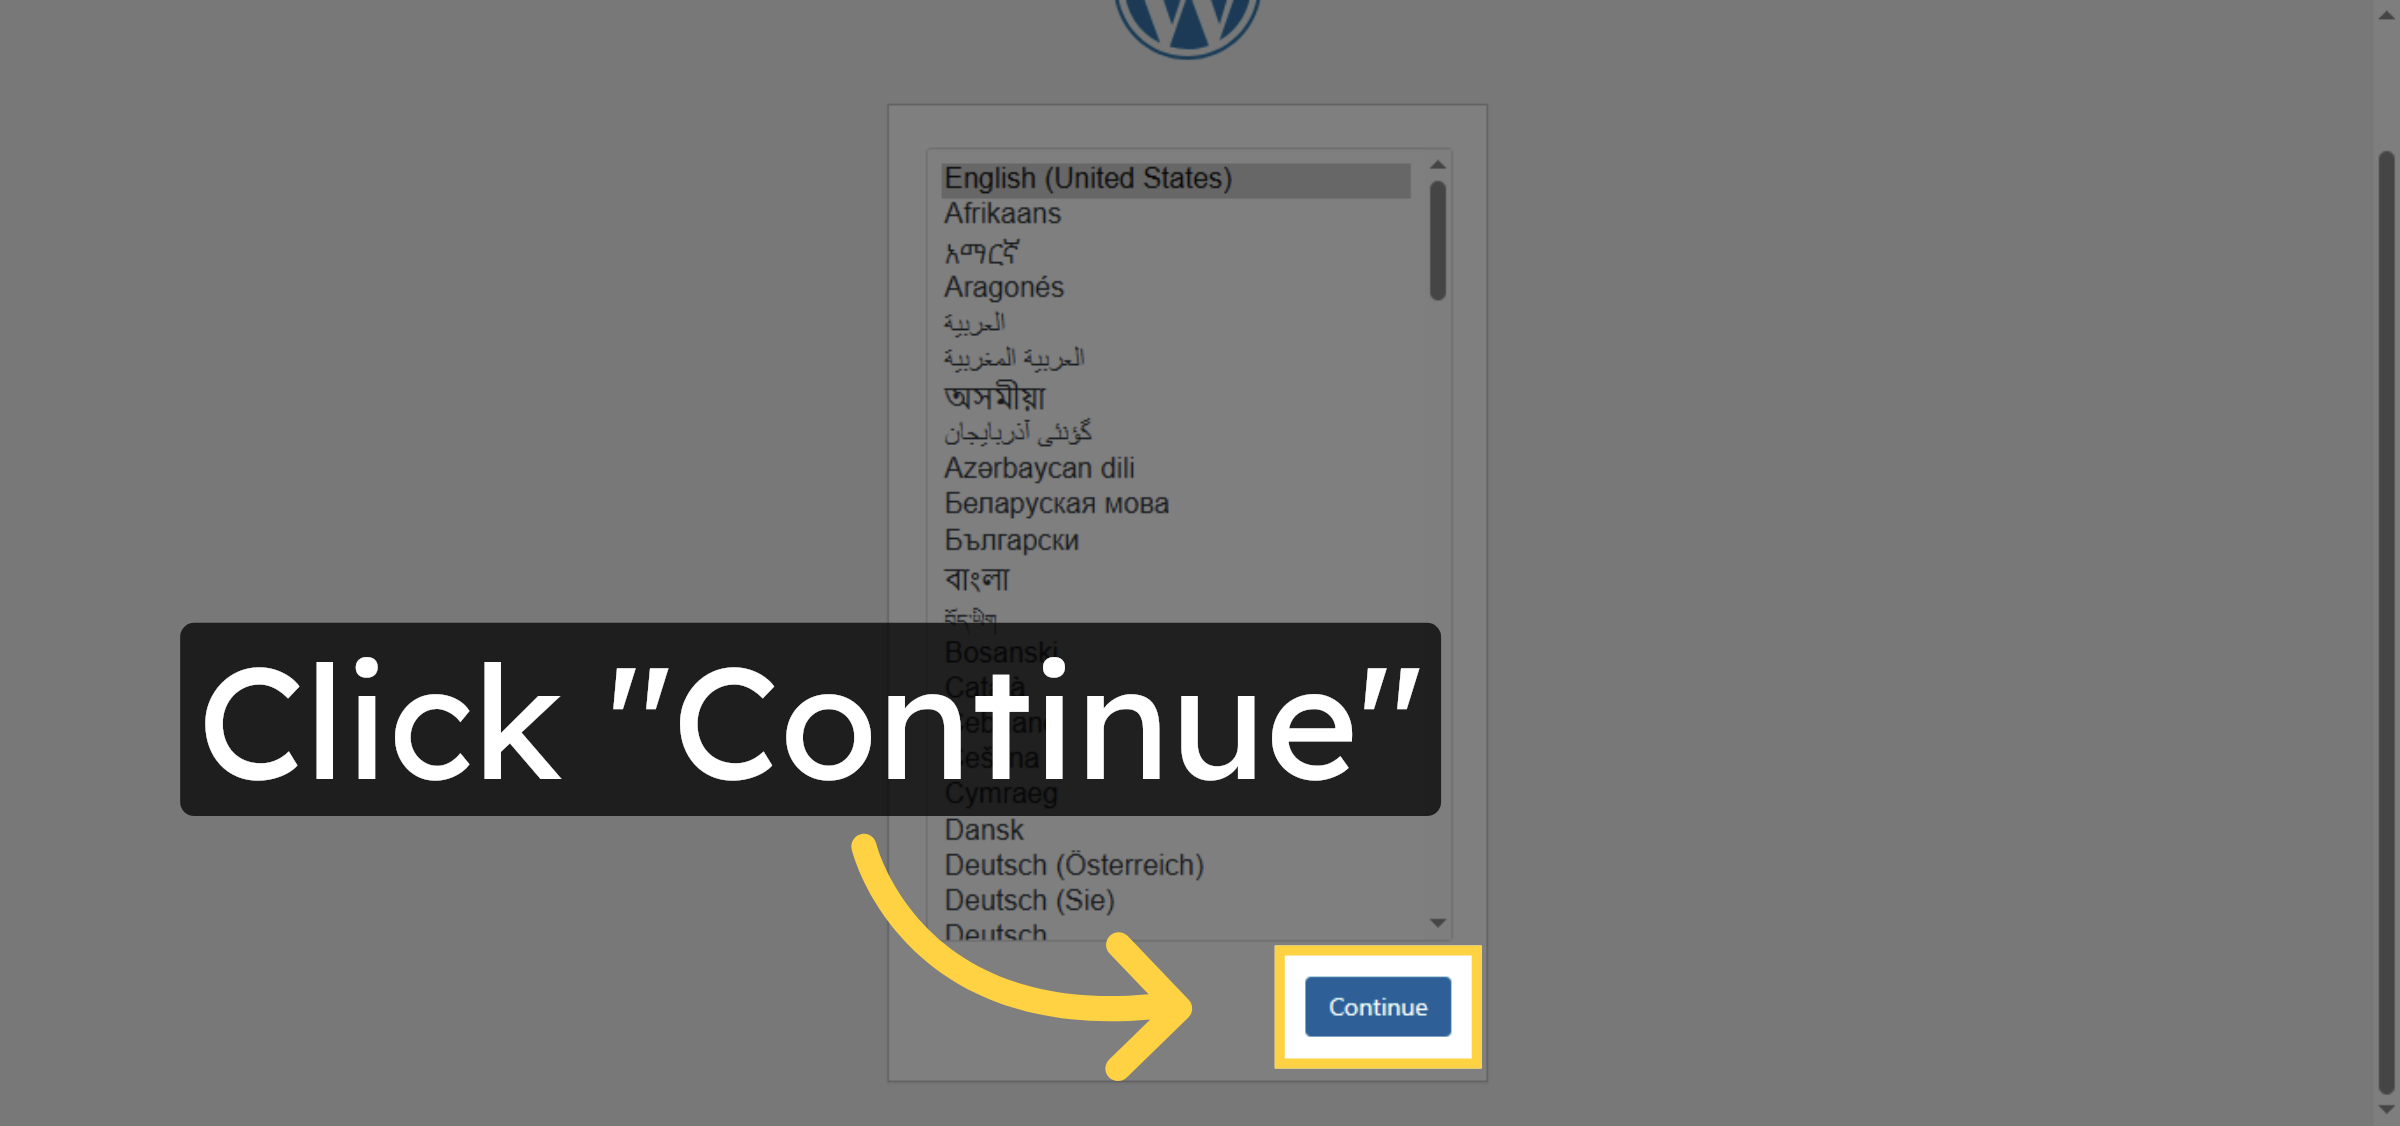
48. Continue Setup
Click “Continue” to proceed with the WordPress setup.
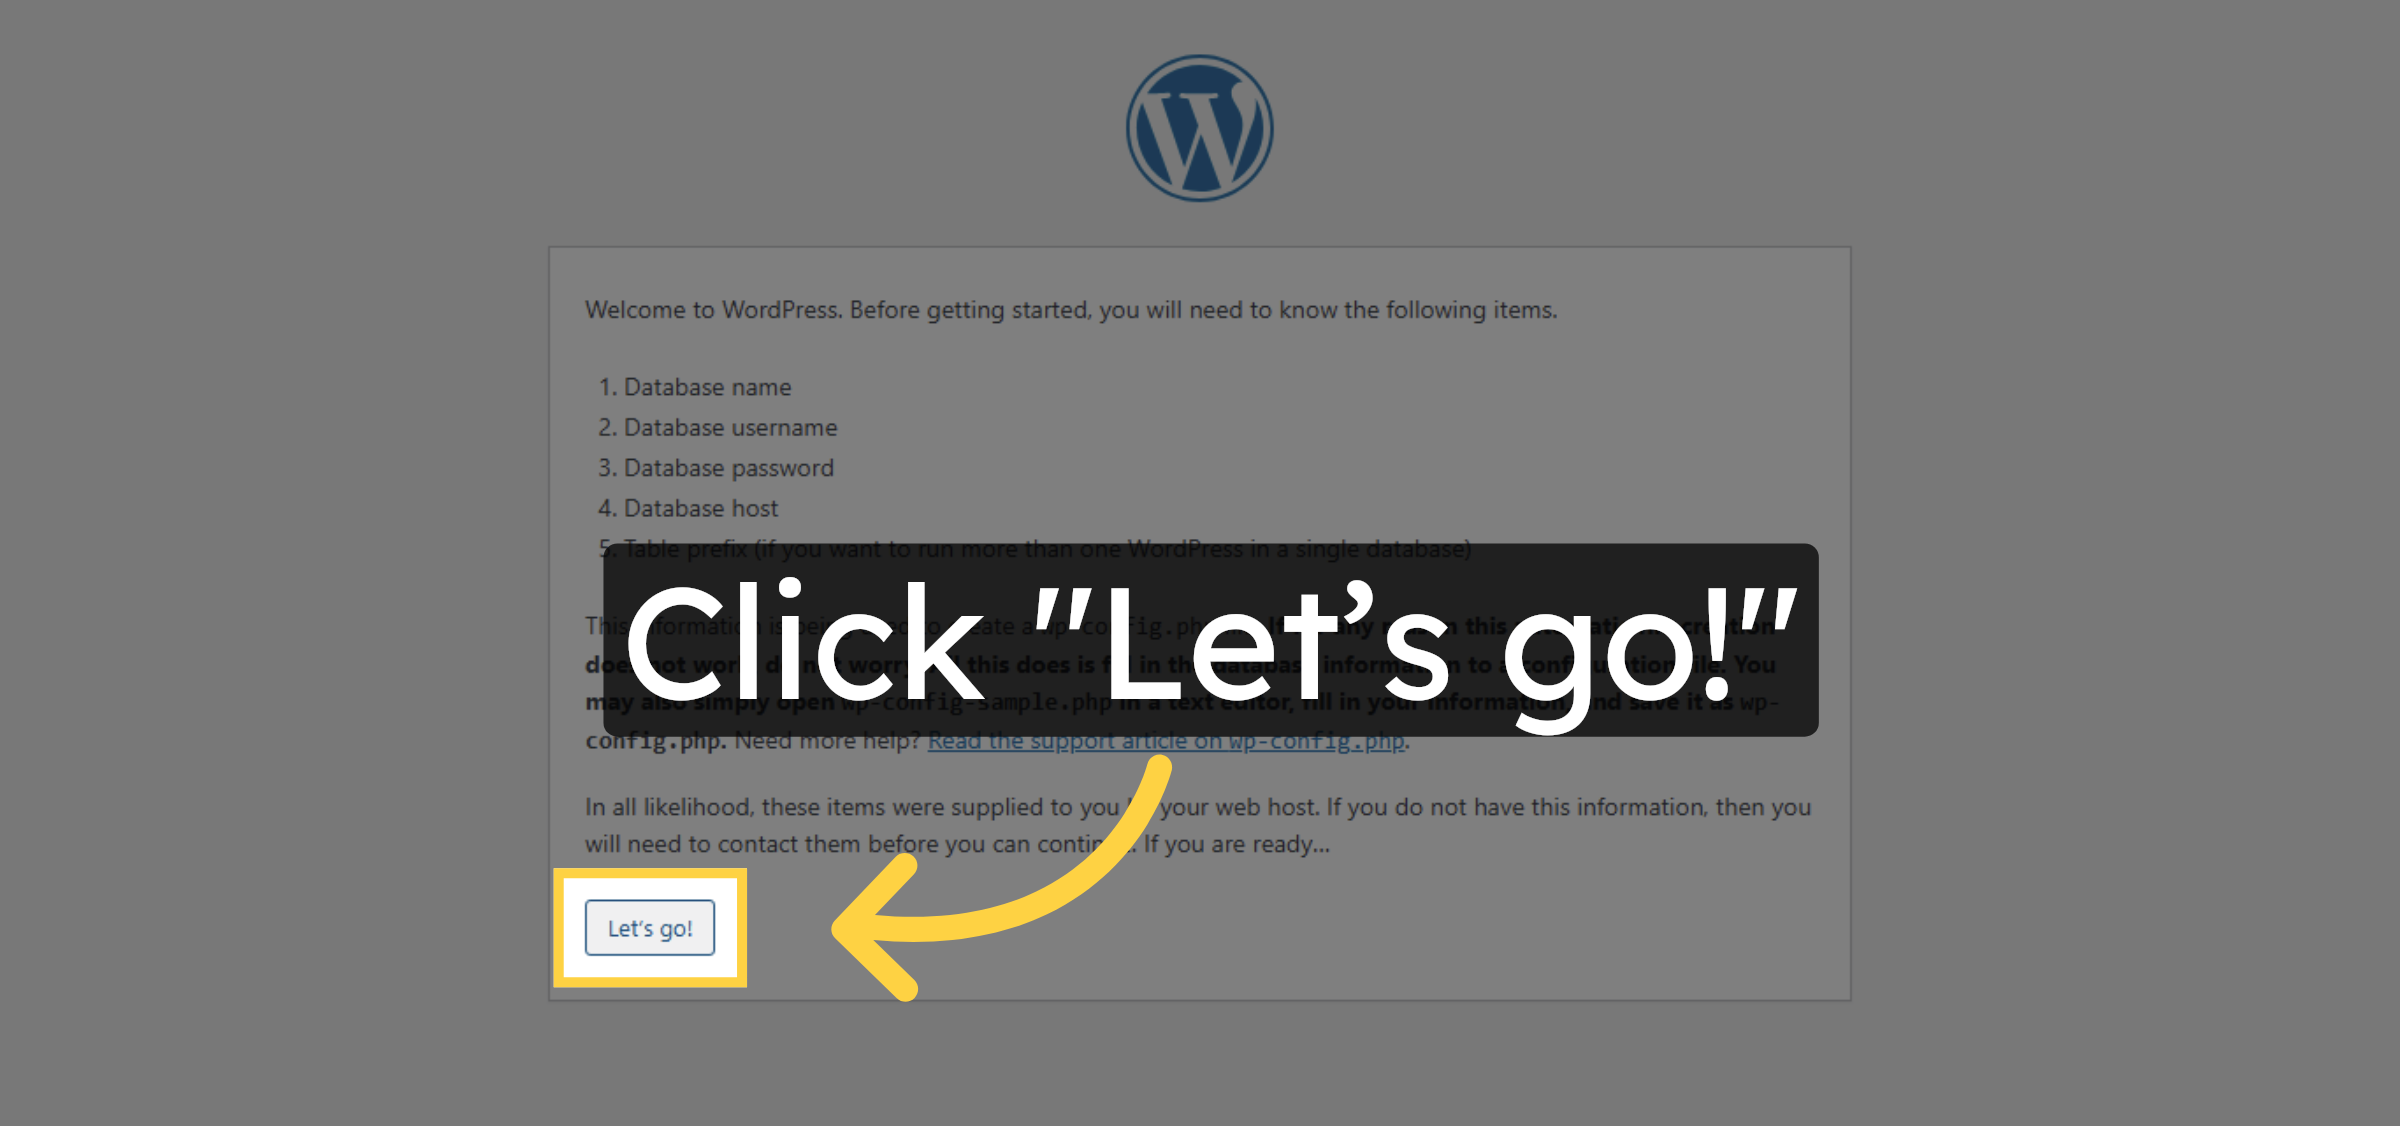
49. Start Installation
Click “Let’s go!” to begin the installation process.
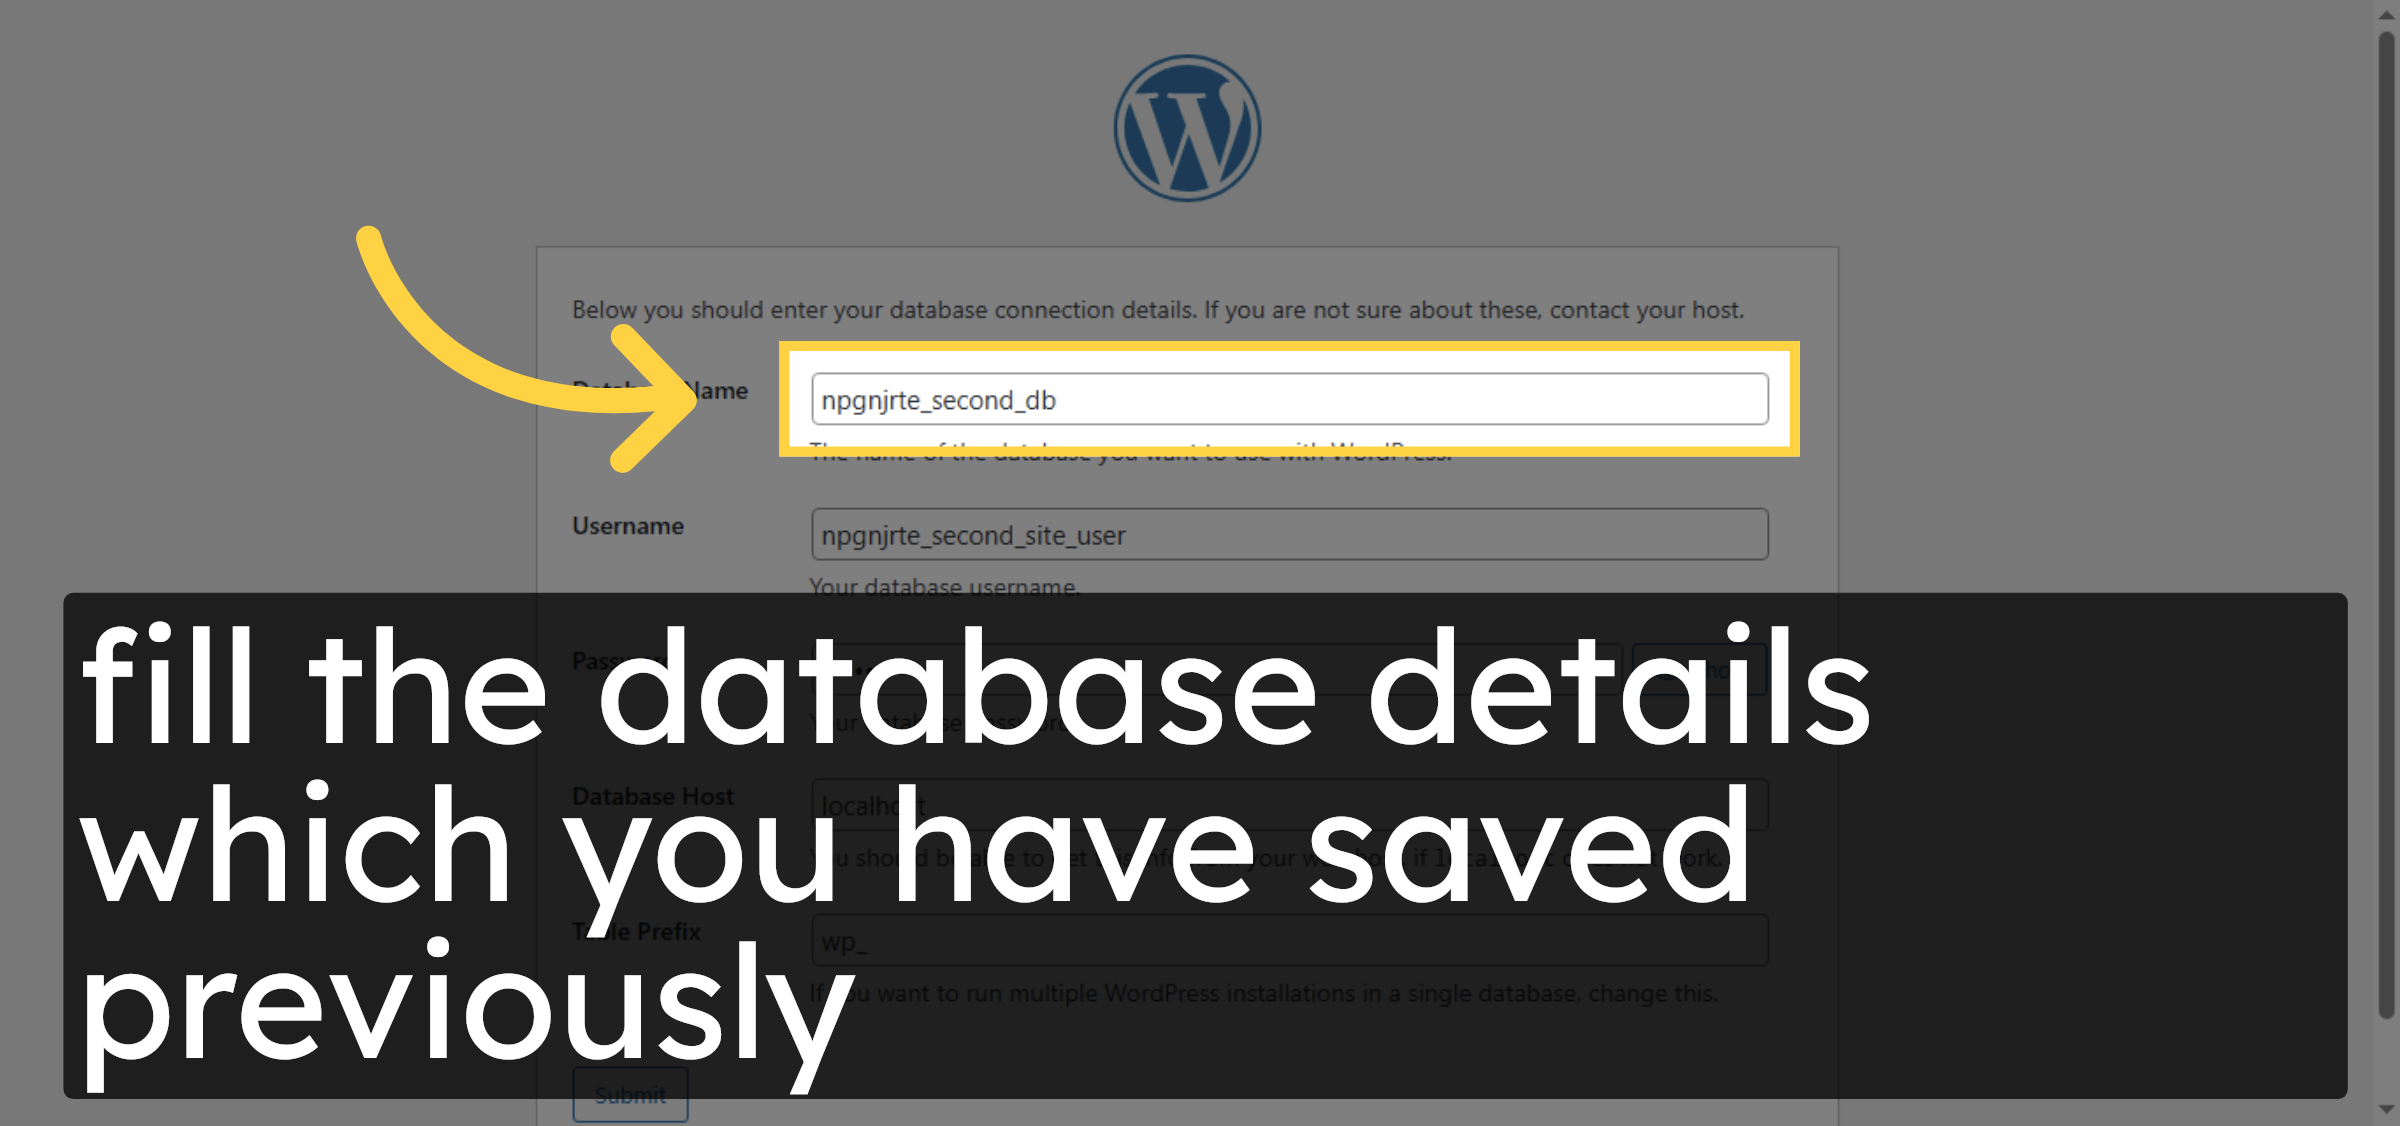
50. Fill Database Details
fill the database details which you have saved previously
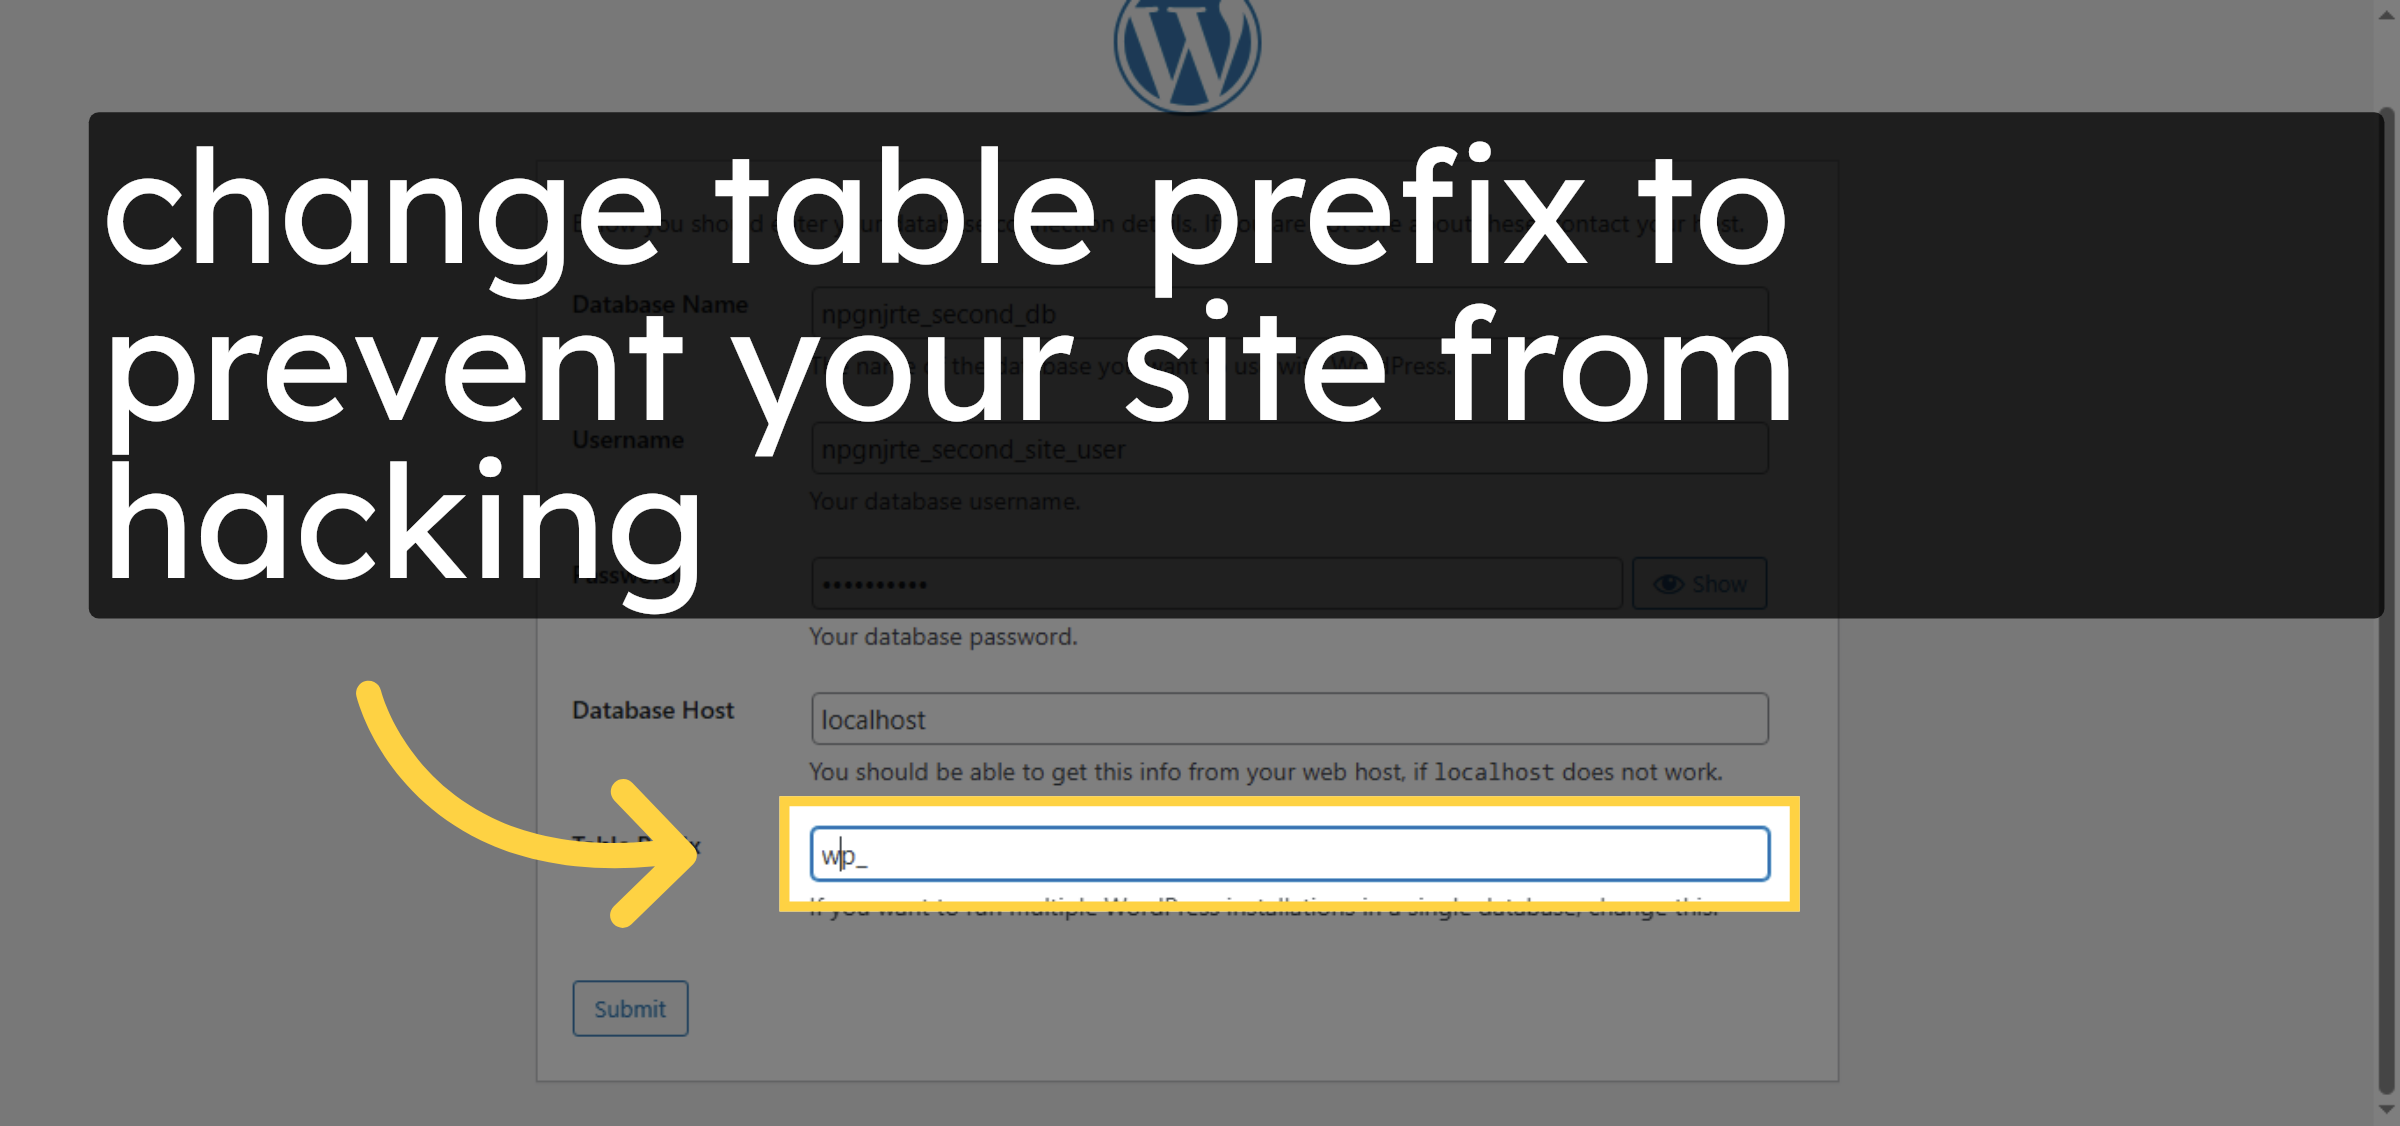
51. Select Table Prefix Field
change table prefix to prevent your site from hacking.
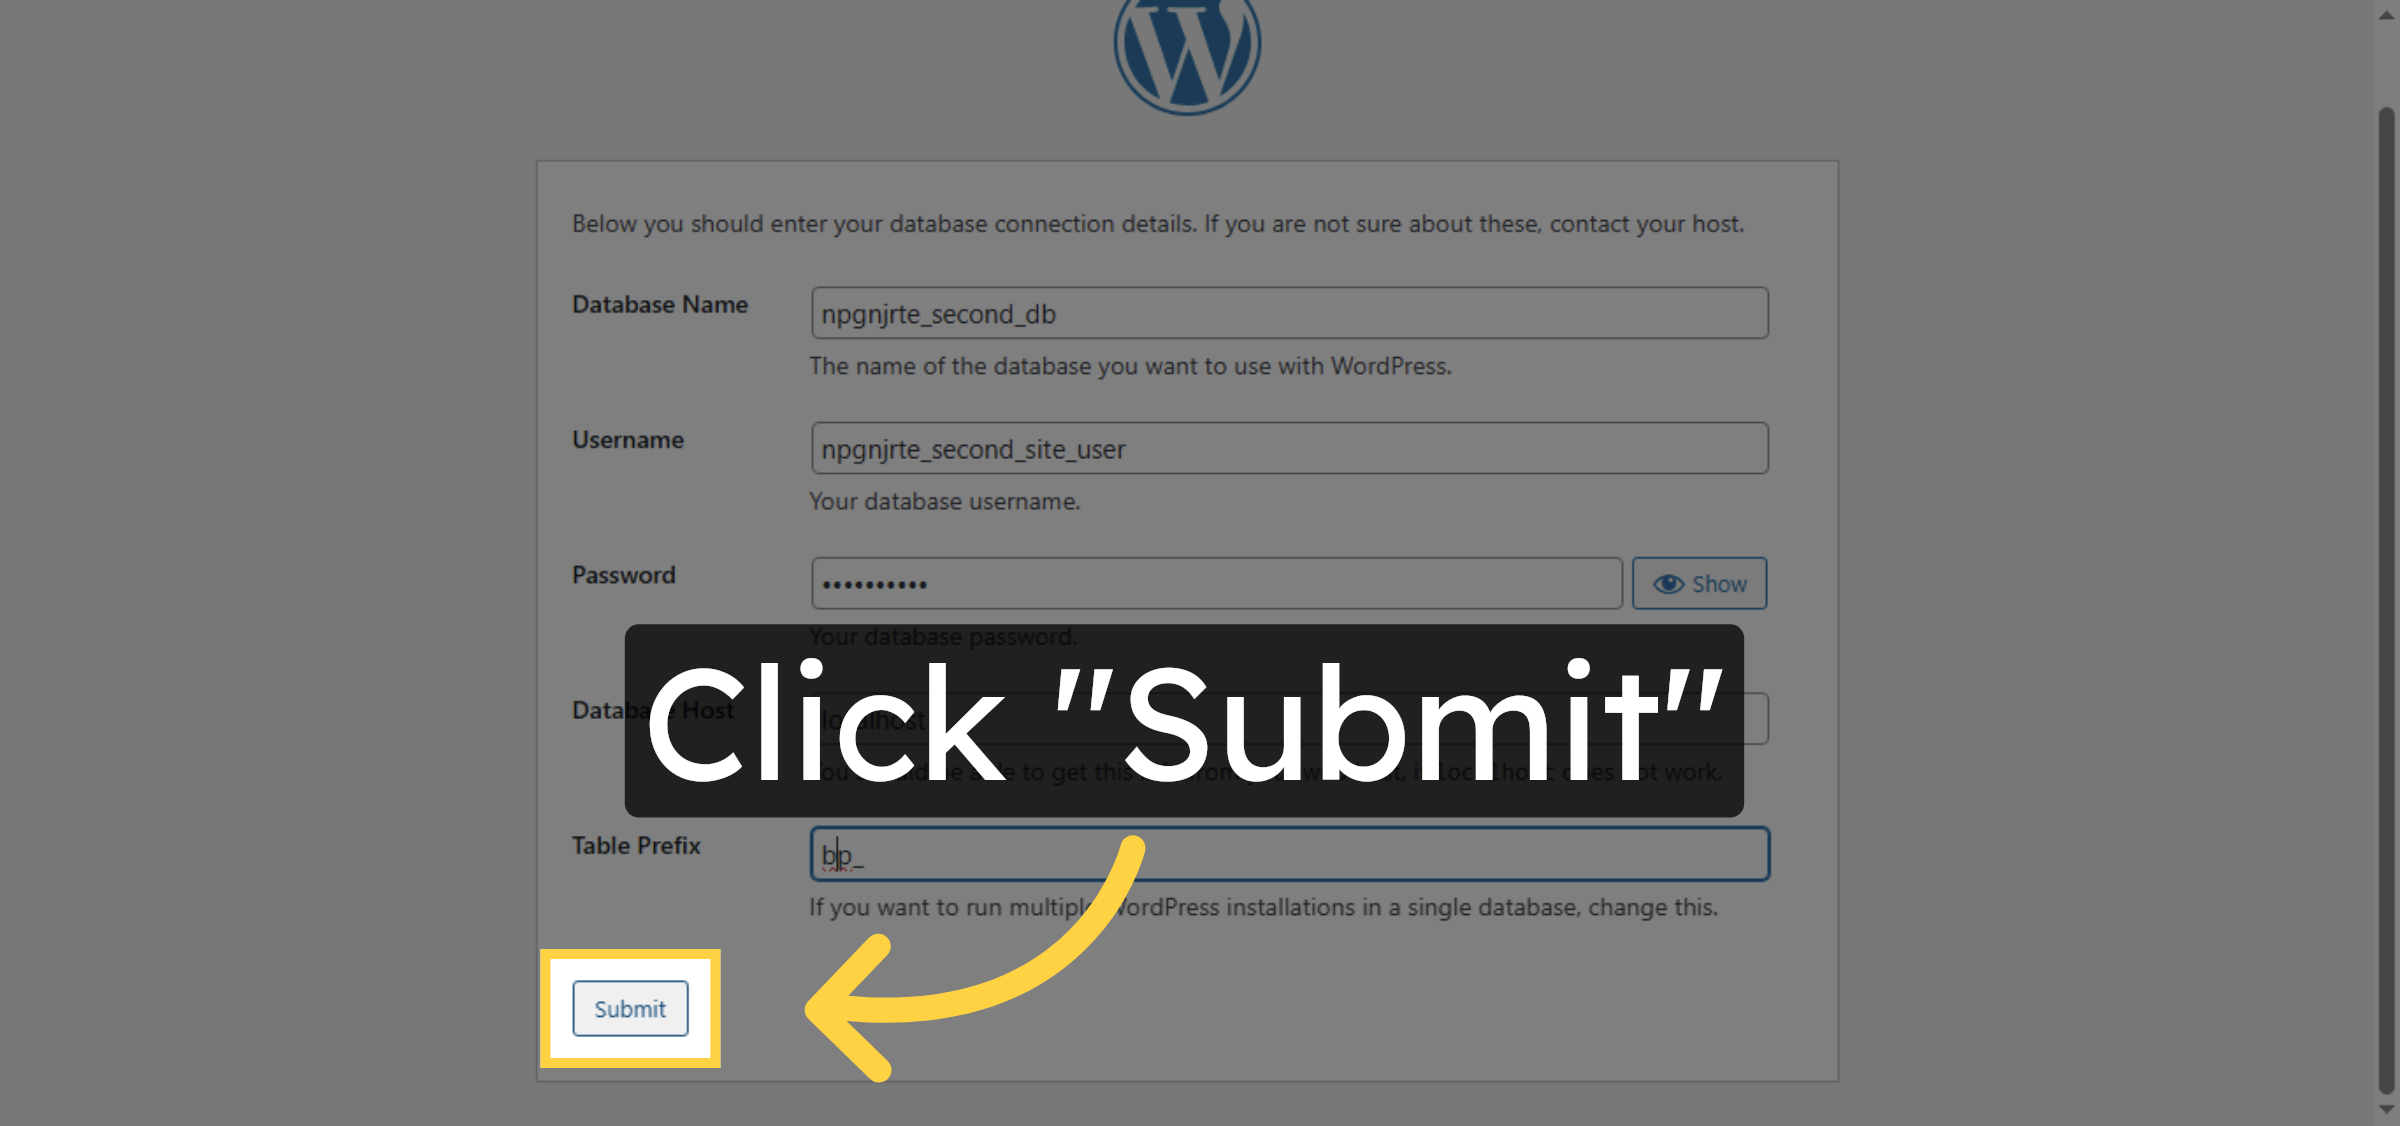
52. Submit Database Info
Click “Submit” to save the database configuration.
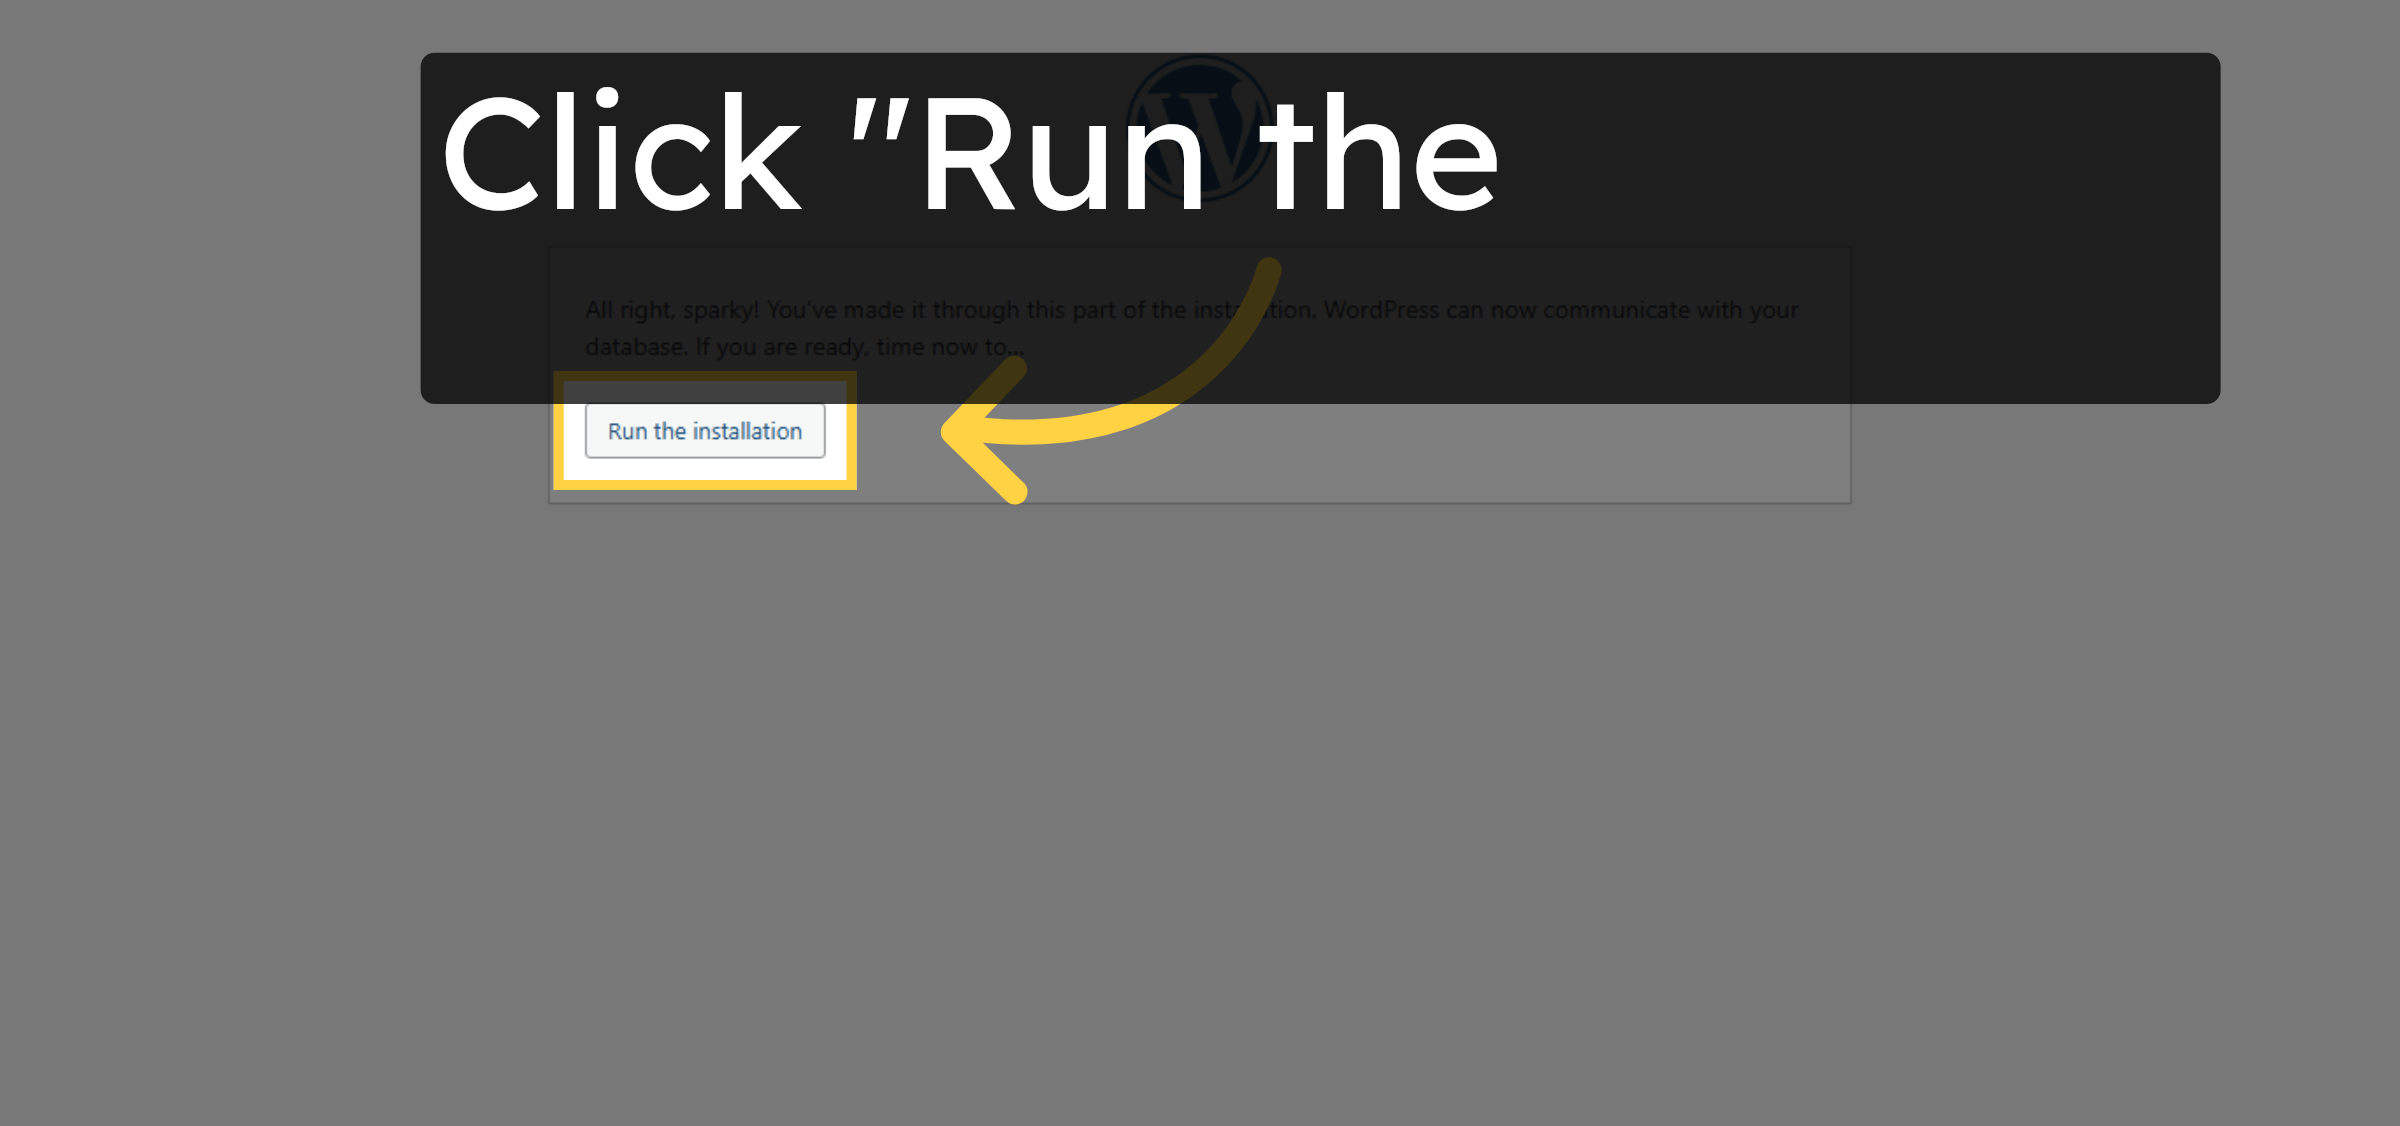
53. Run Installation
Click “Run the installation” to start installing WordPress.
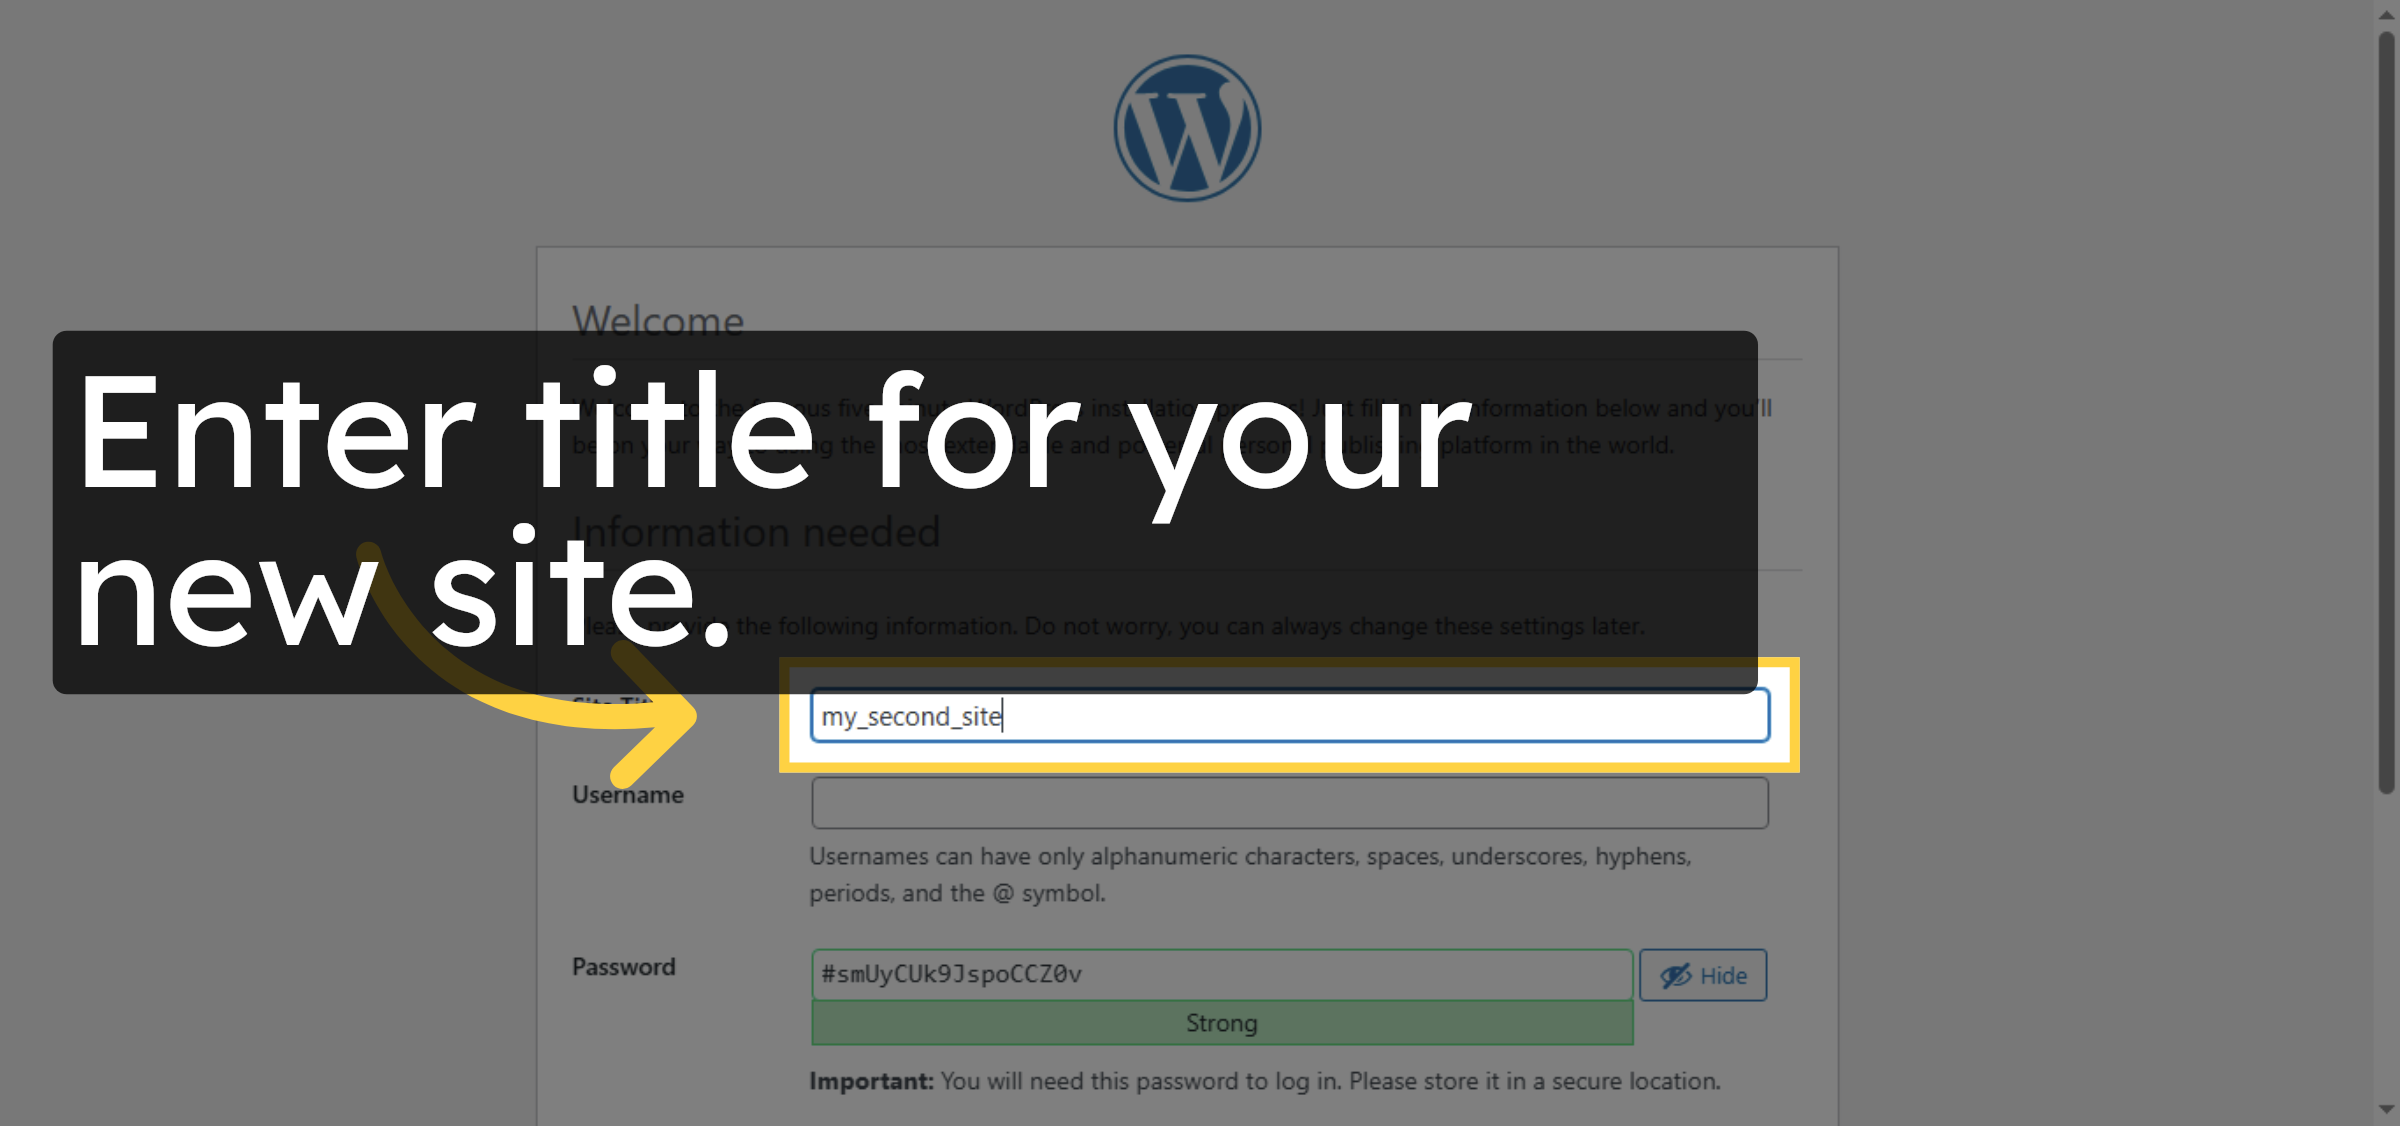
54. Enter Site Title
Enter title for your new site.
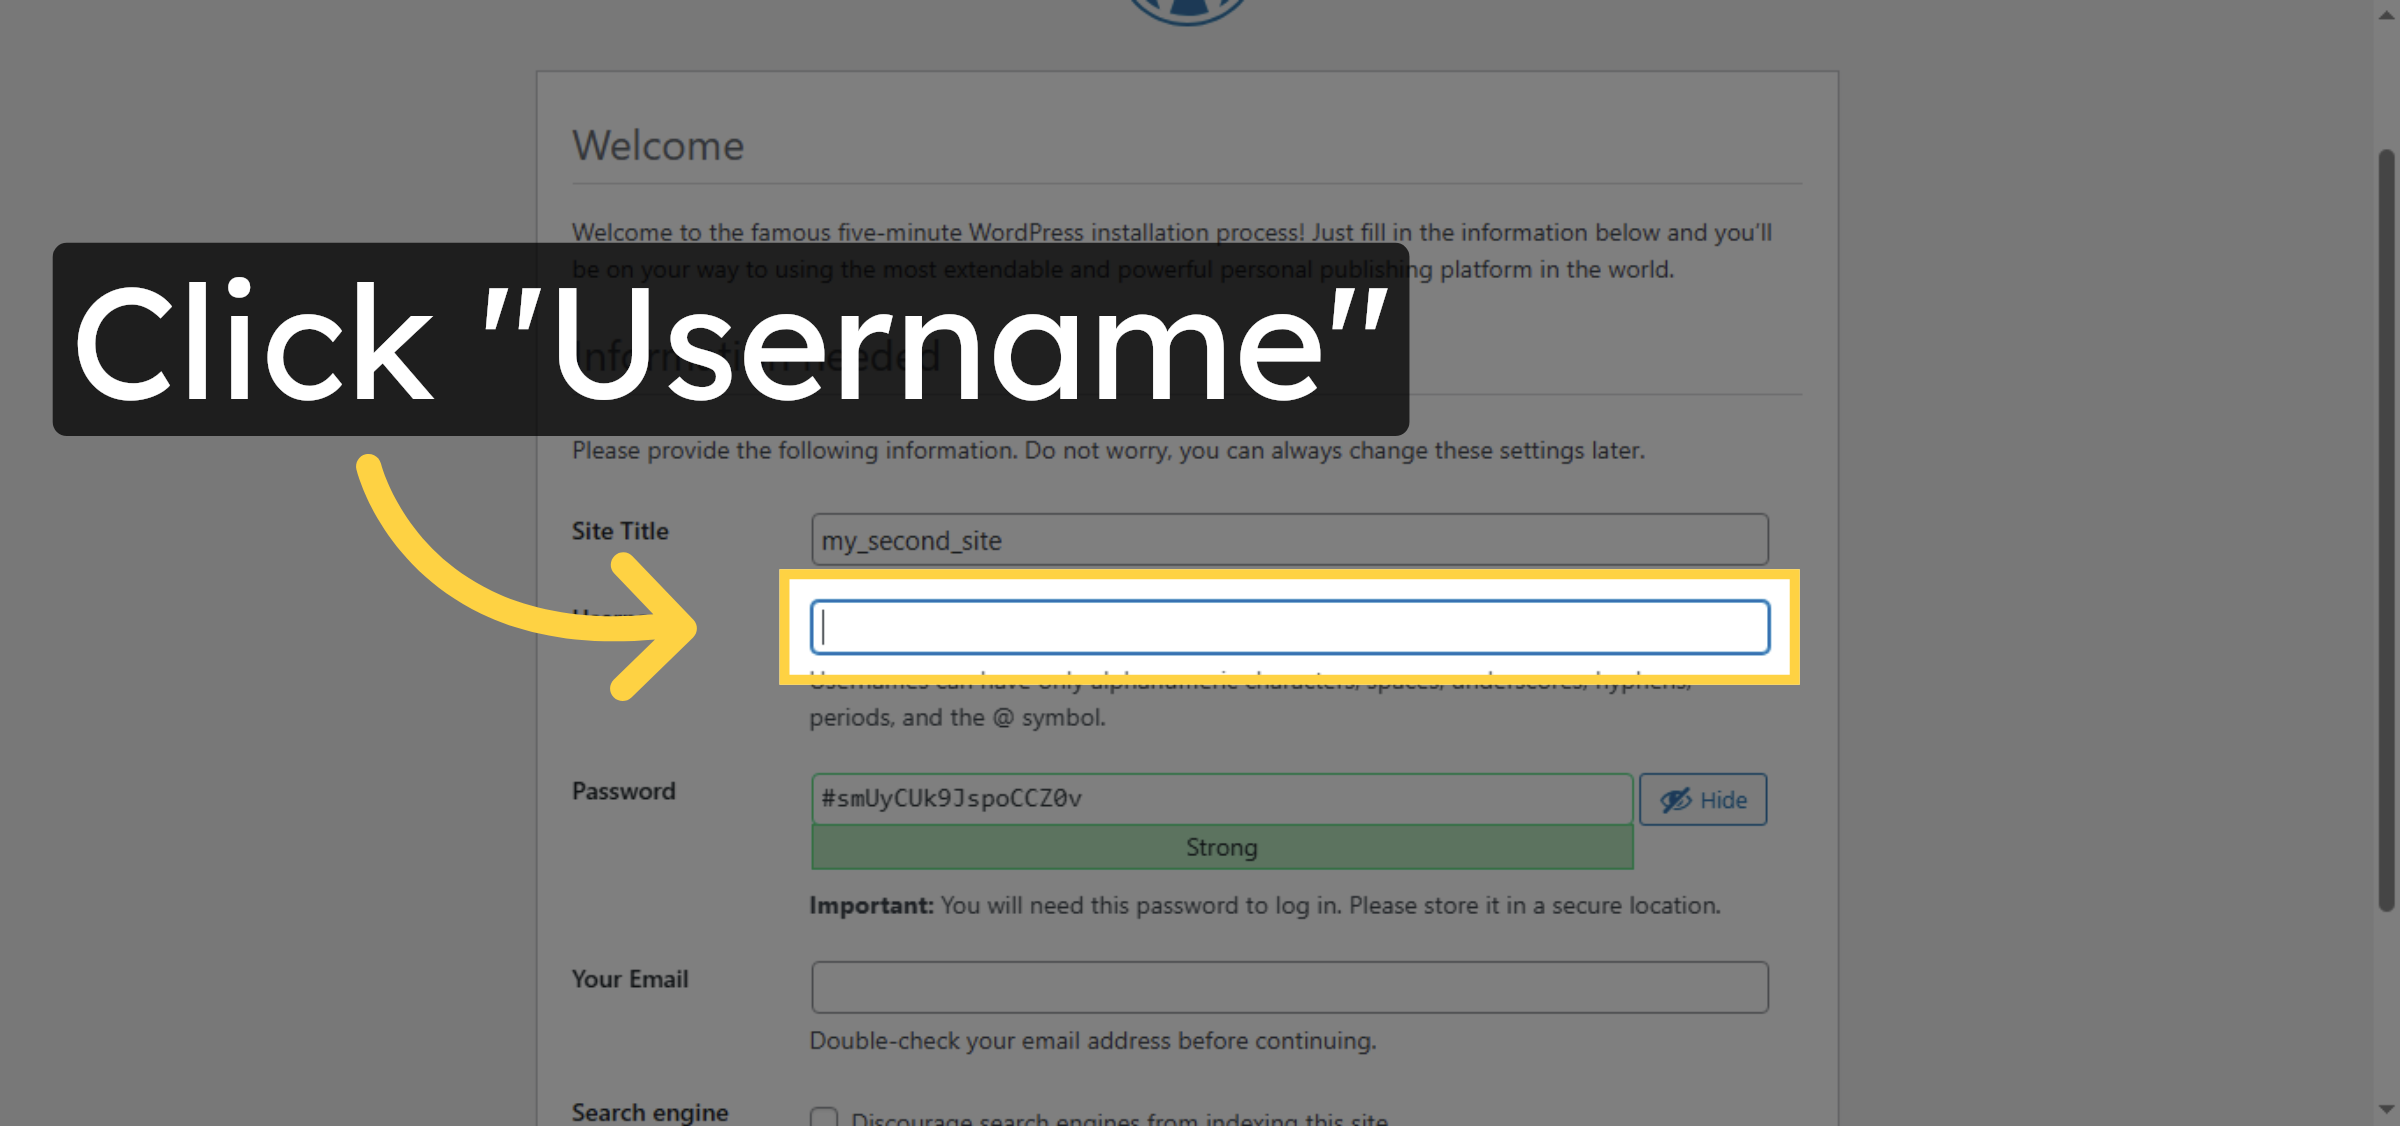
55. Select Username Field
Click “Username” to enter your WordPress username.
56. Select Password Field
Click “Password” to enter your WordPress password.

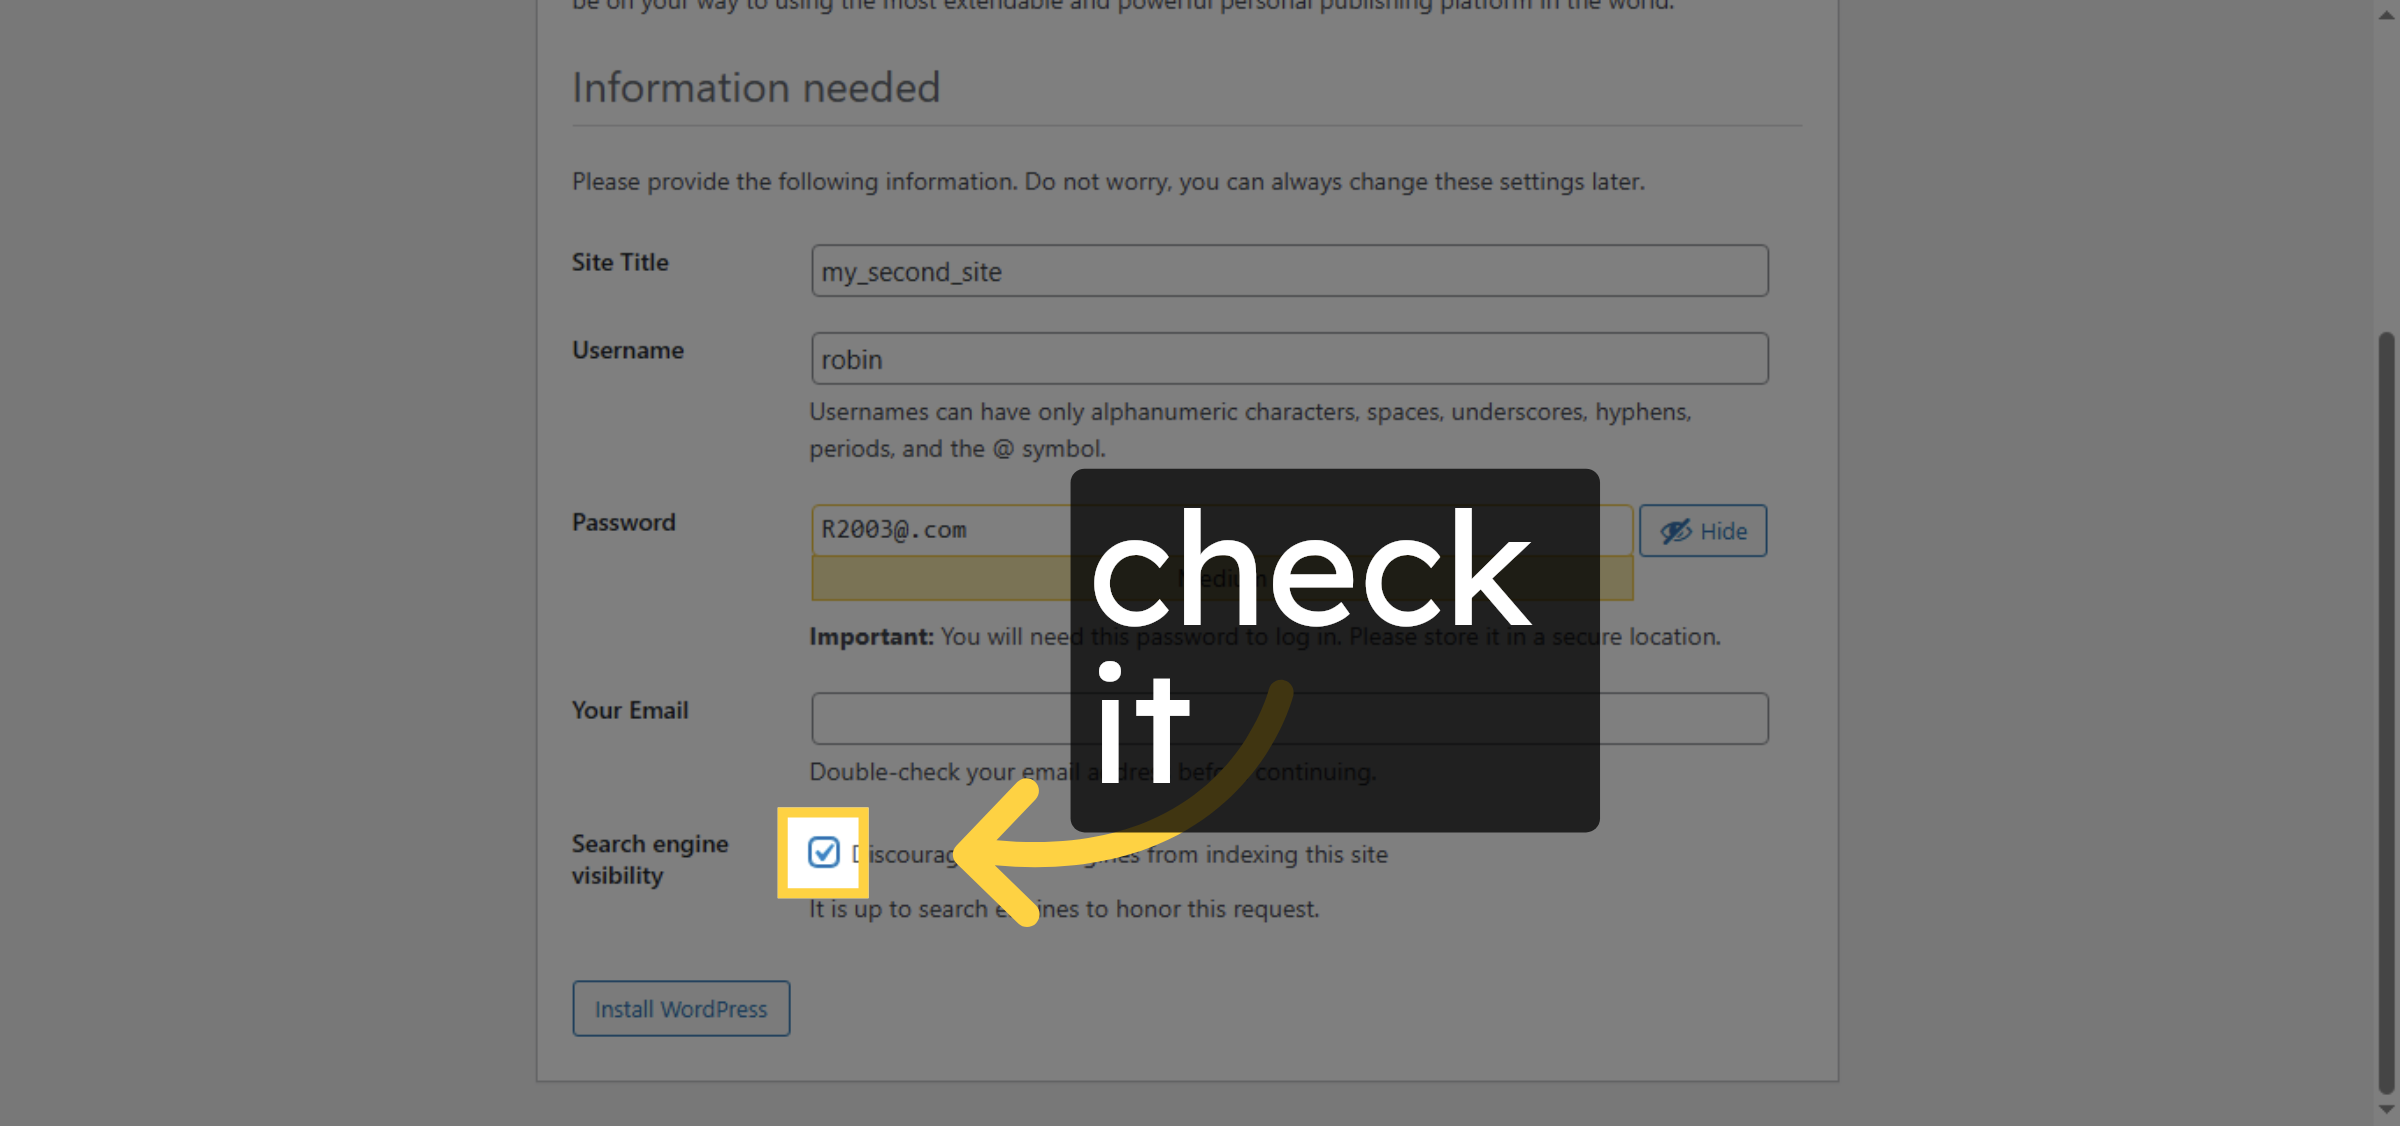
57. Set Search Engine Option
Disable Search en
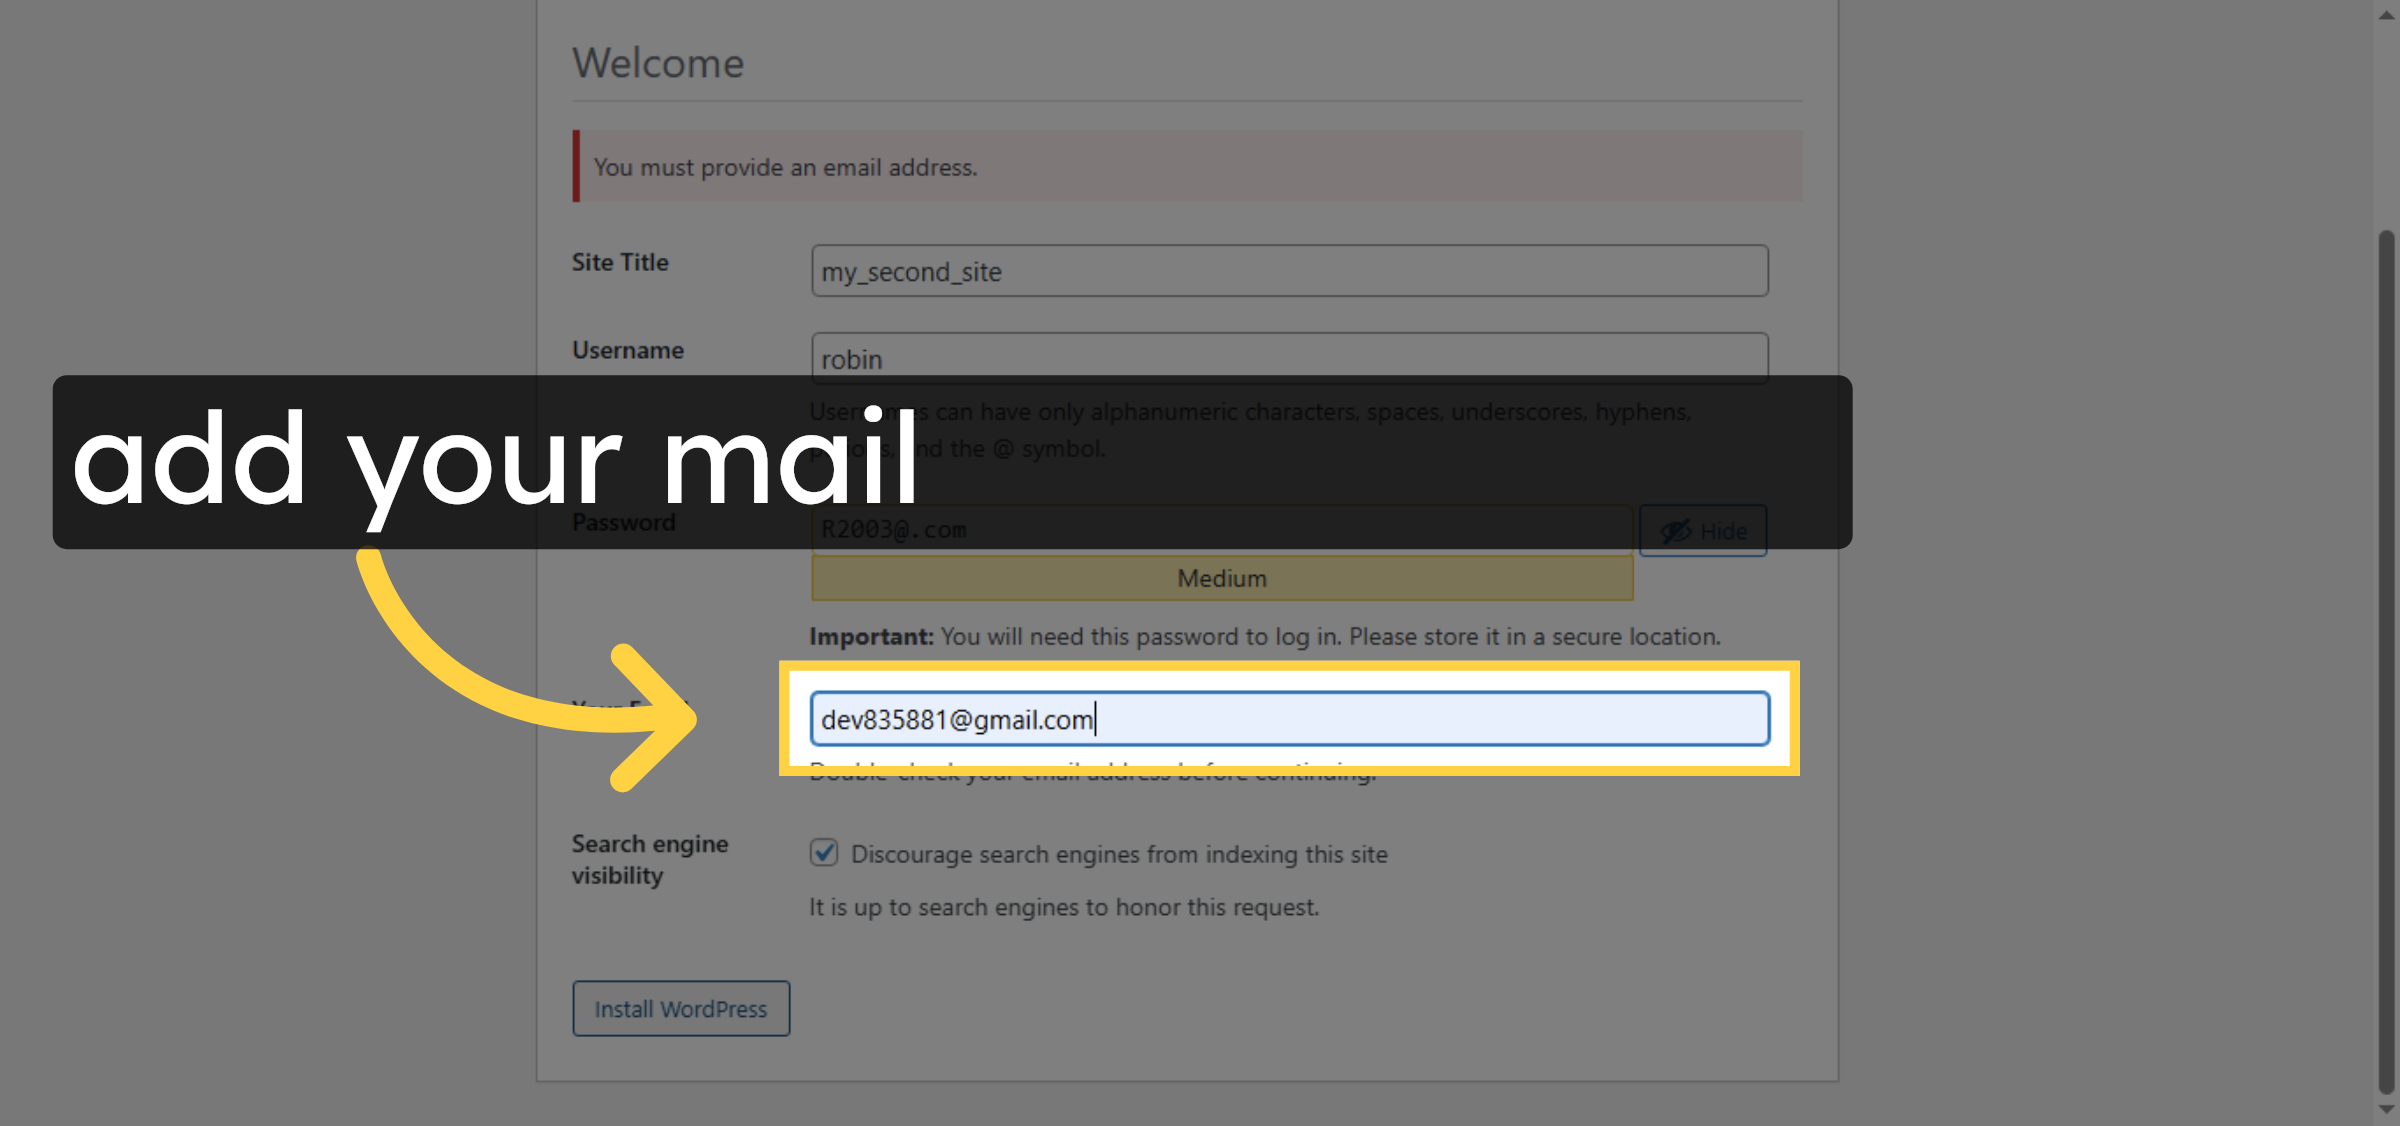
58. Enter Contact Email
Enter your email address to receive notifications.
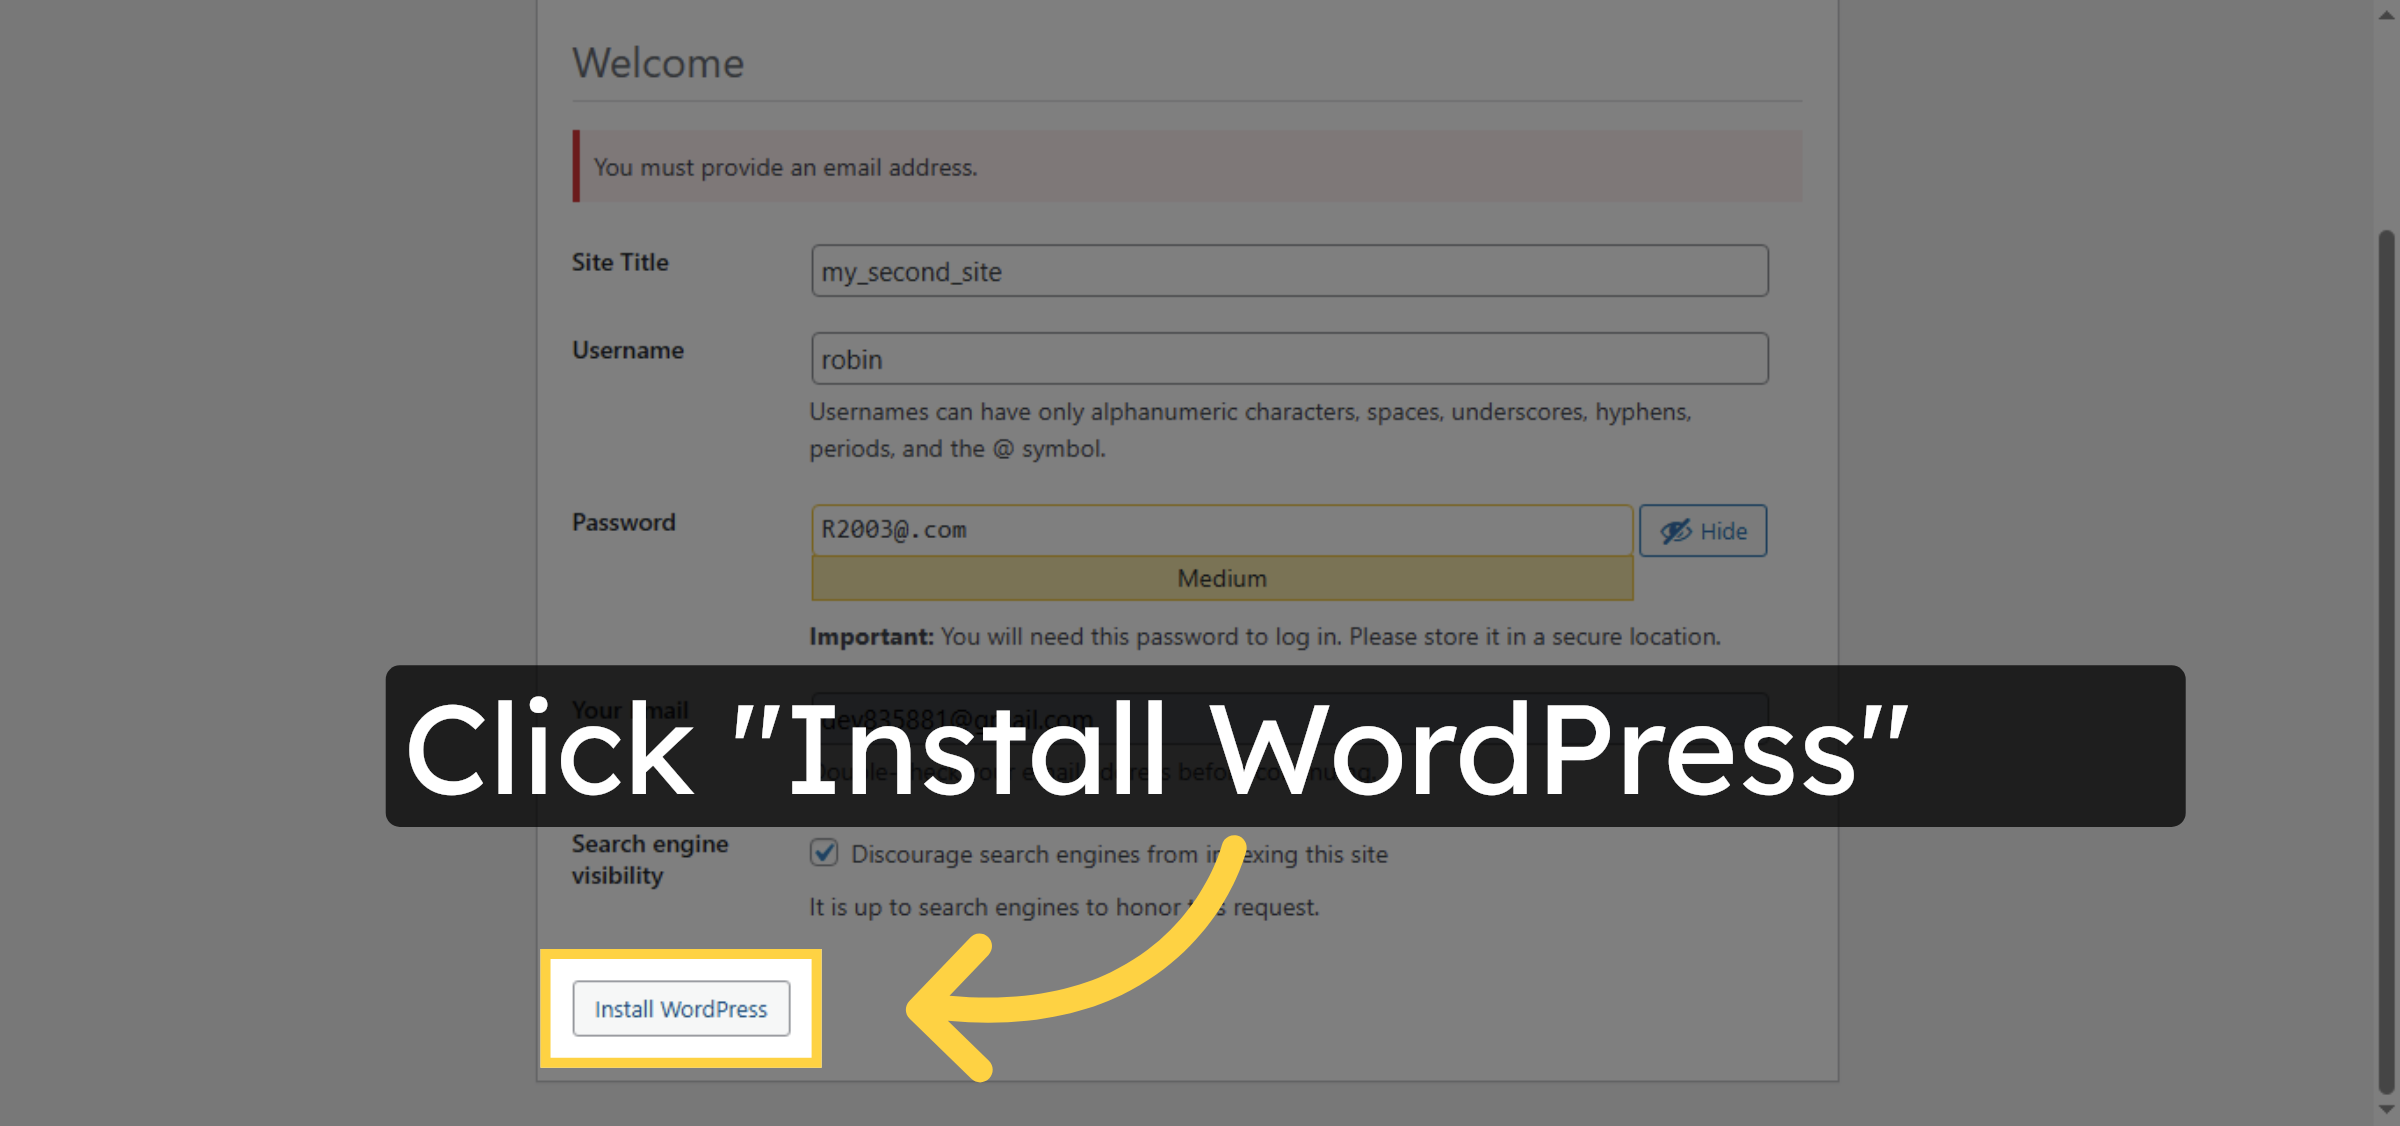
59. Confirm Installation
Click “Install WordPress” to finalize the setup.
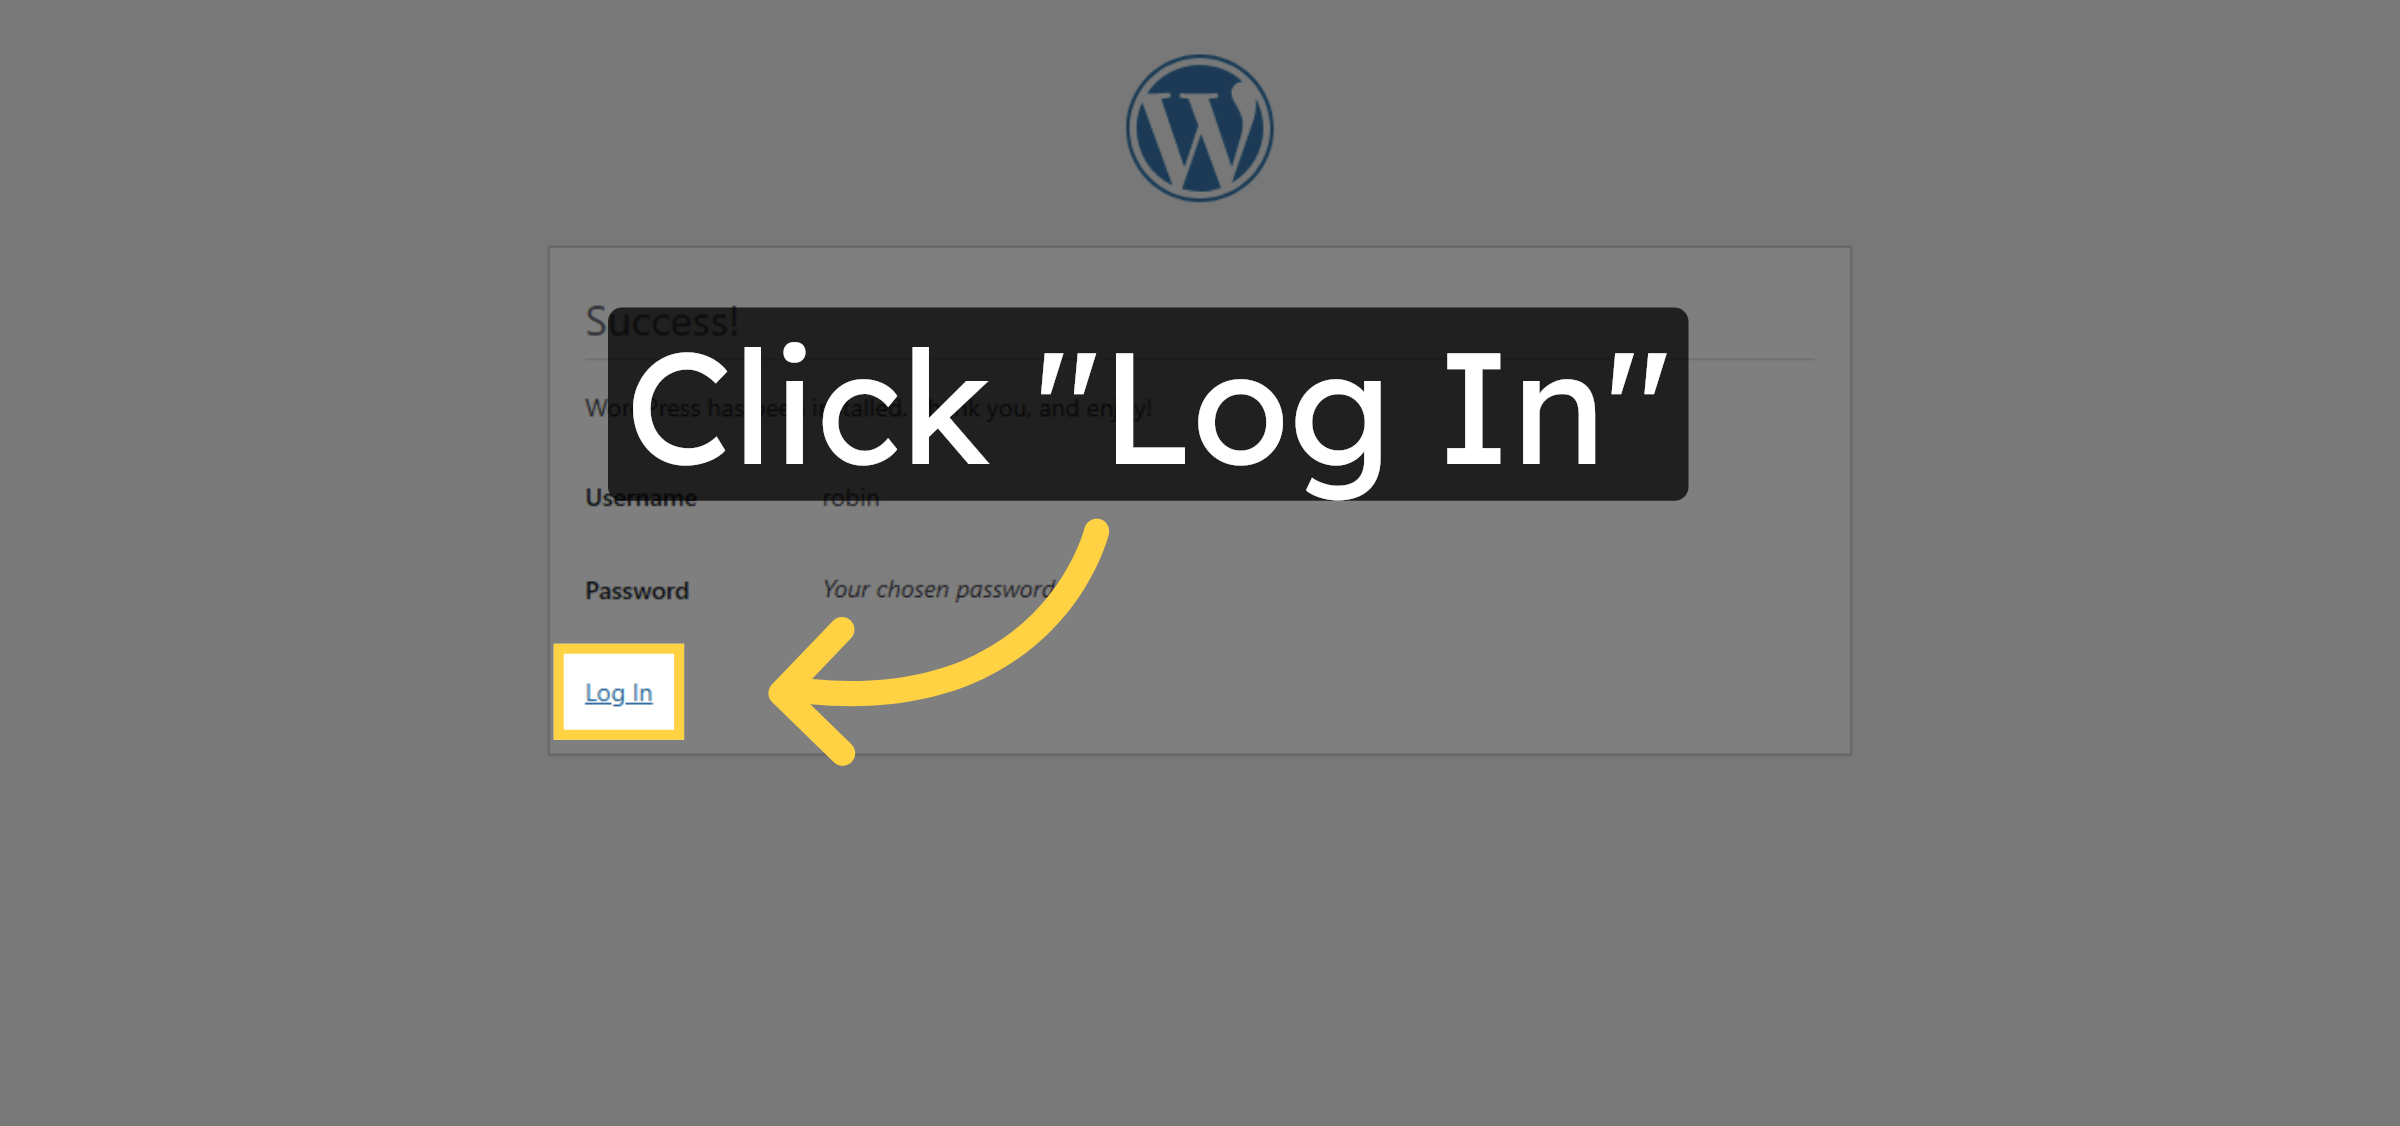
60. Open Login Page
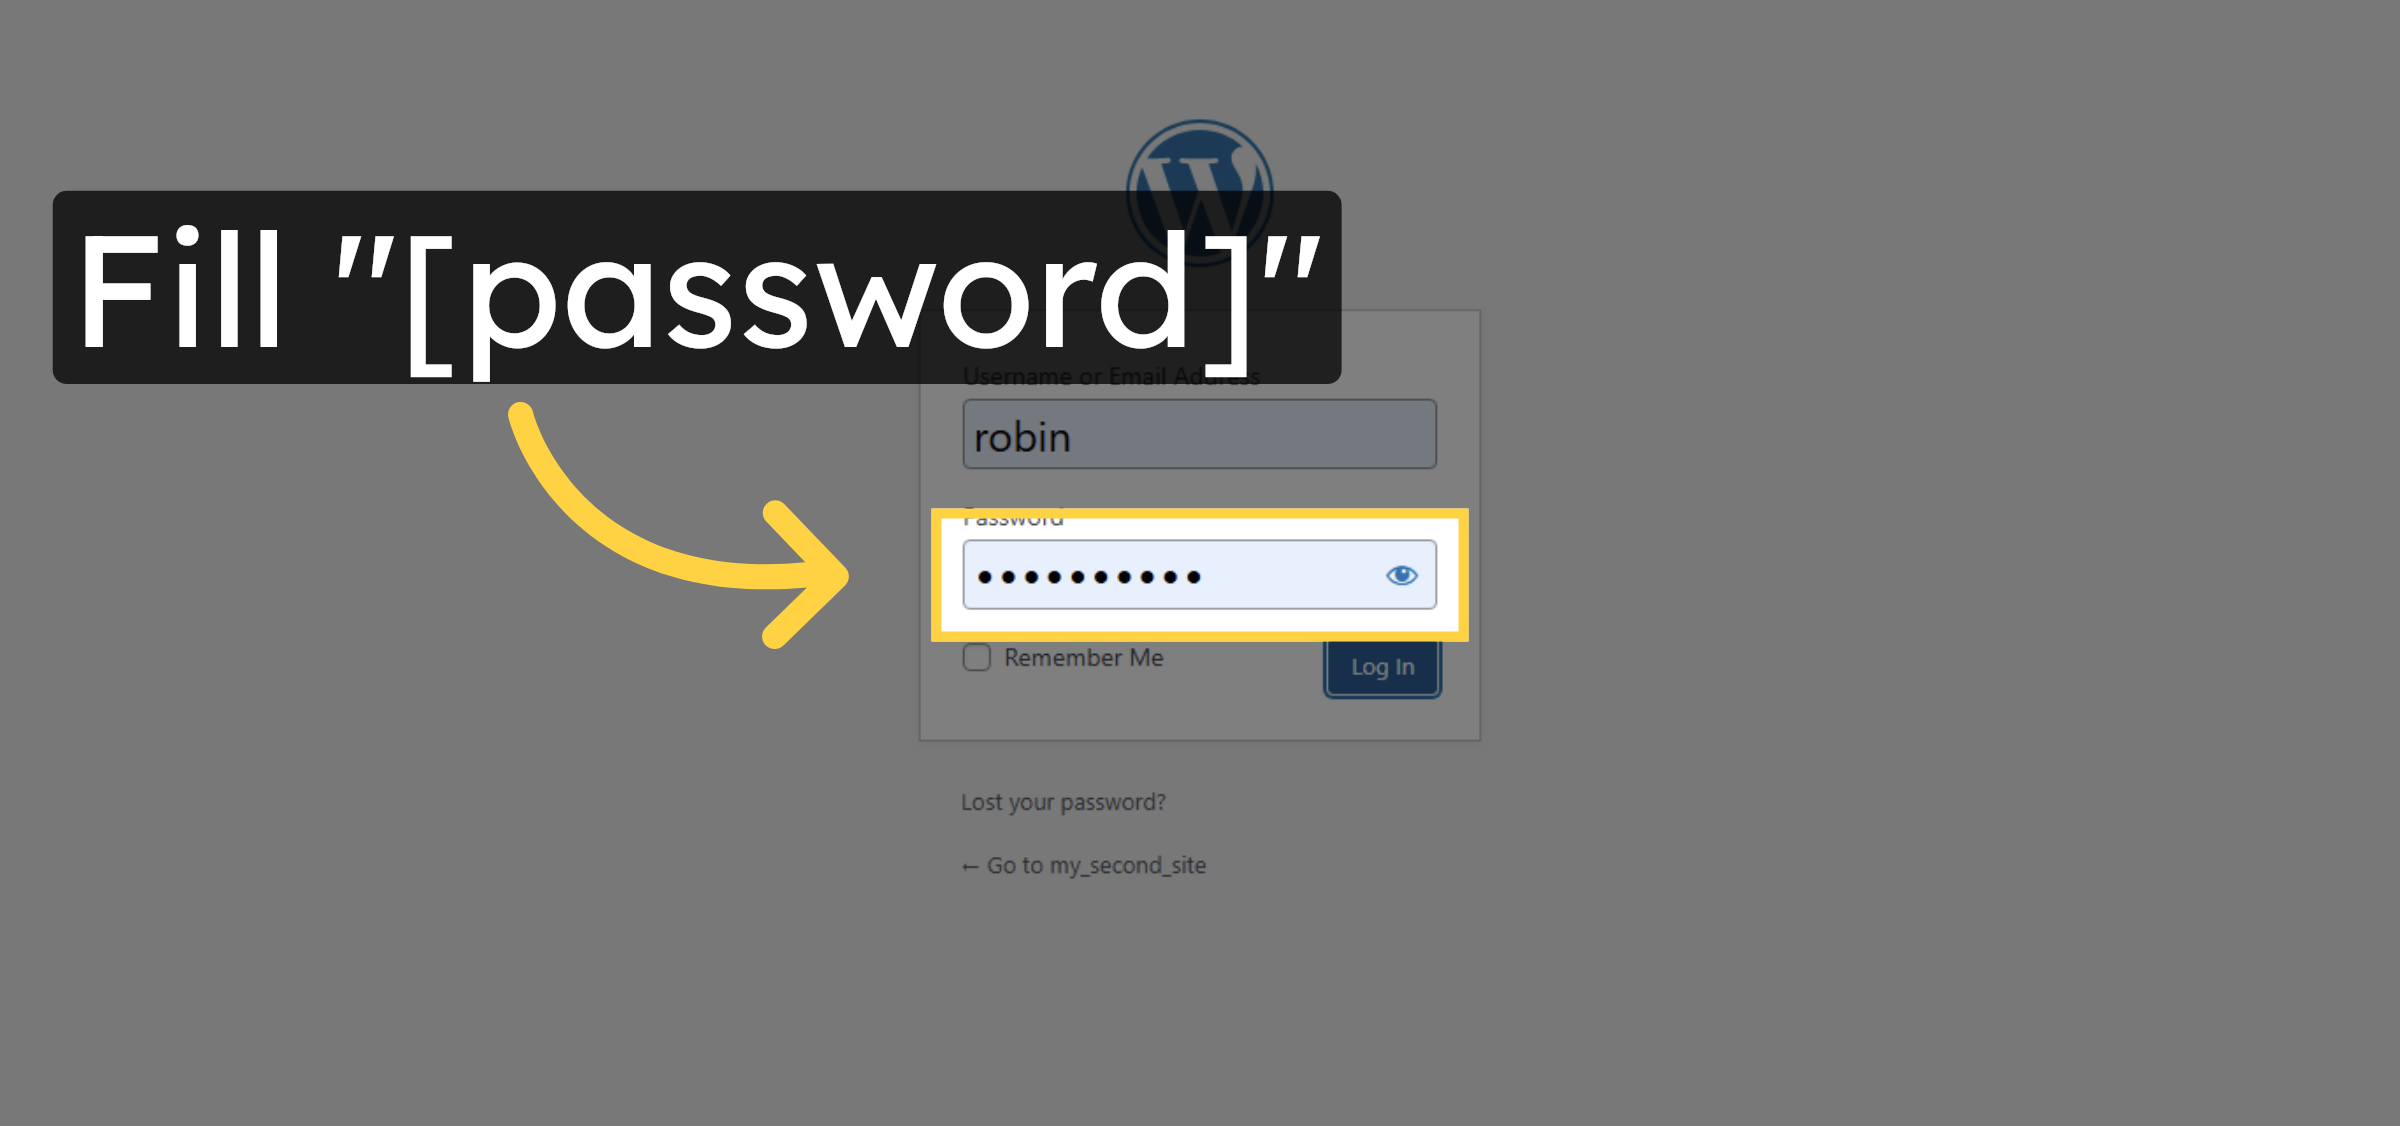
Click “Log In” to access your WordPress dashboard.
61. Enter Login Password
Enter your password to log in to WordPress.
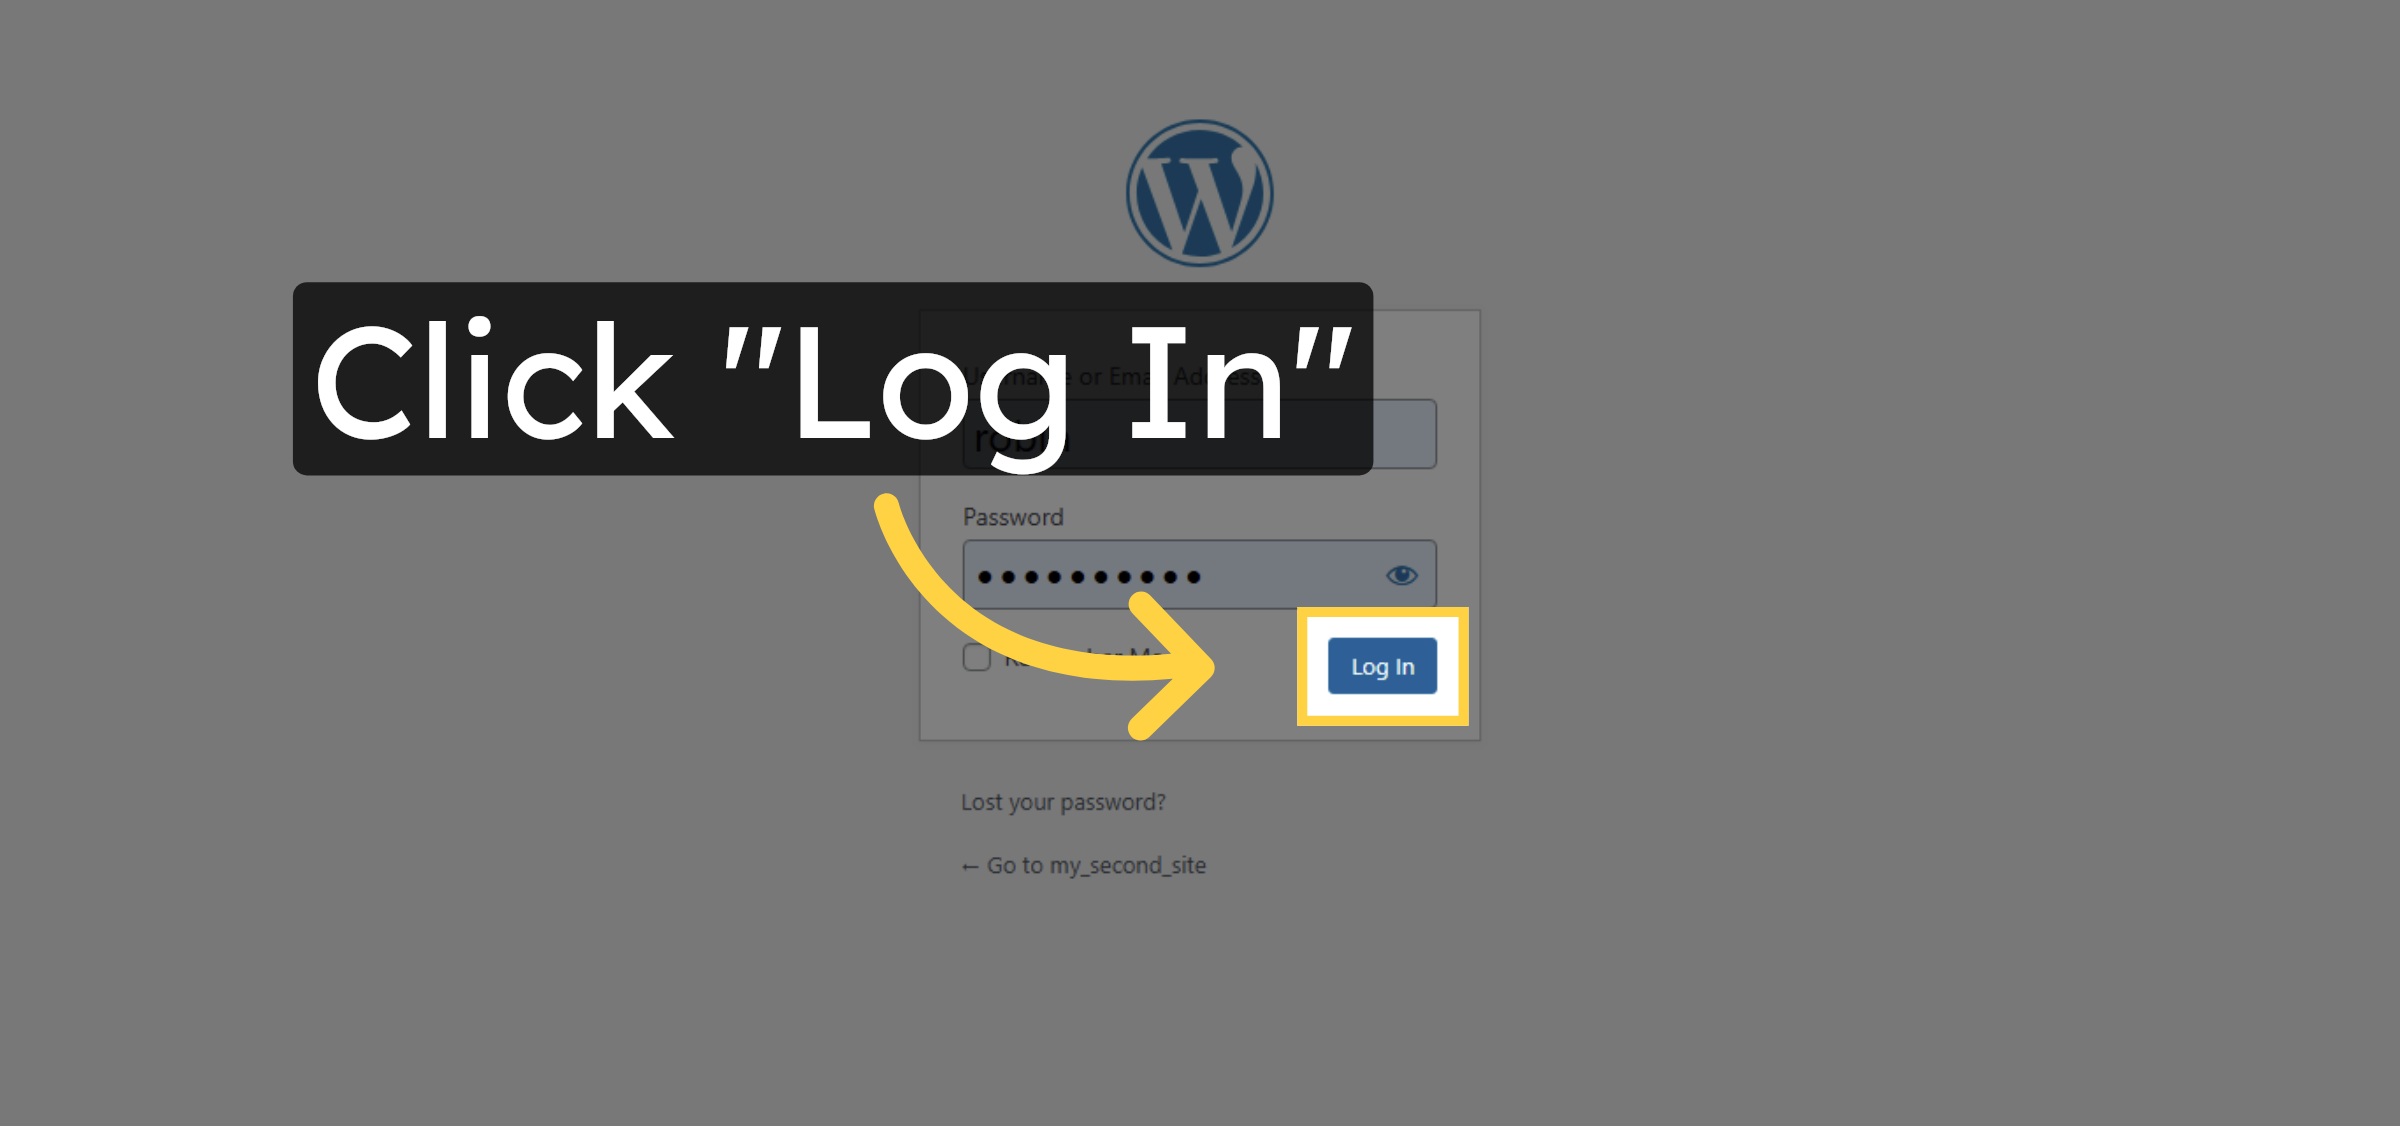
62. Submit Login
Click “Log In” to enter your WordPress admin area.
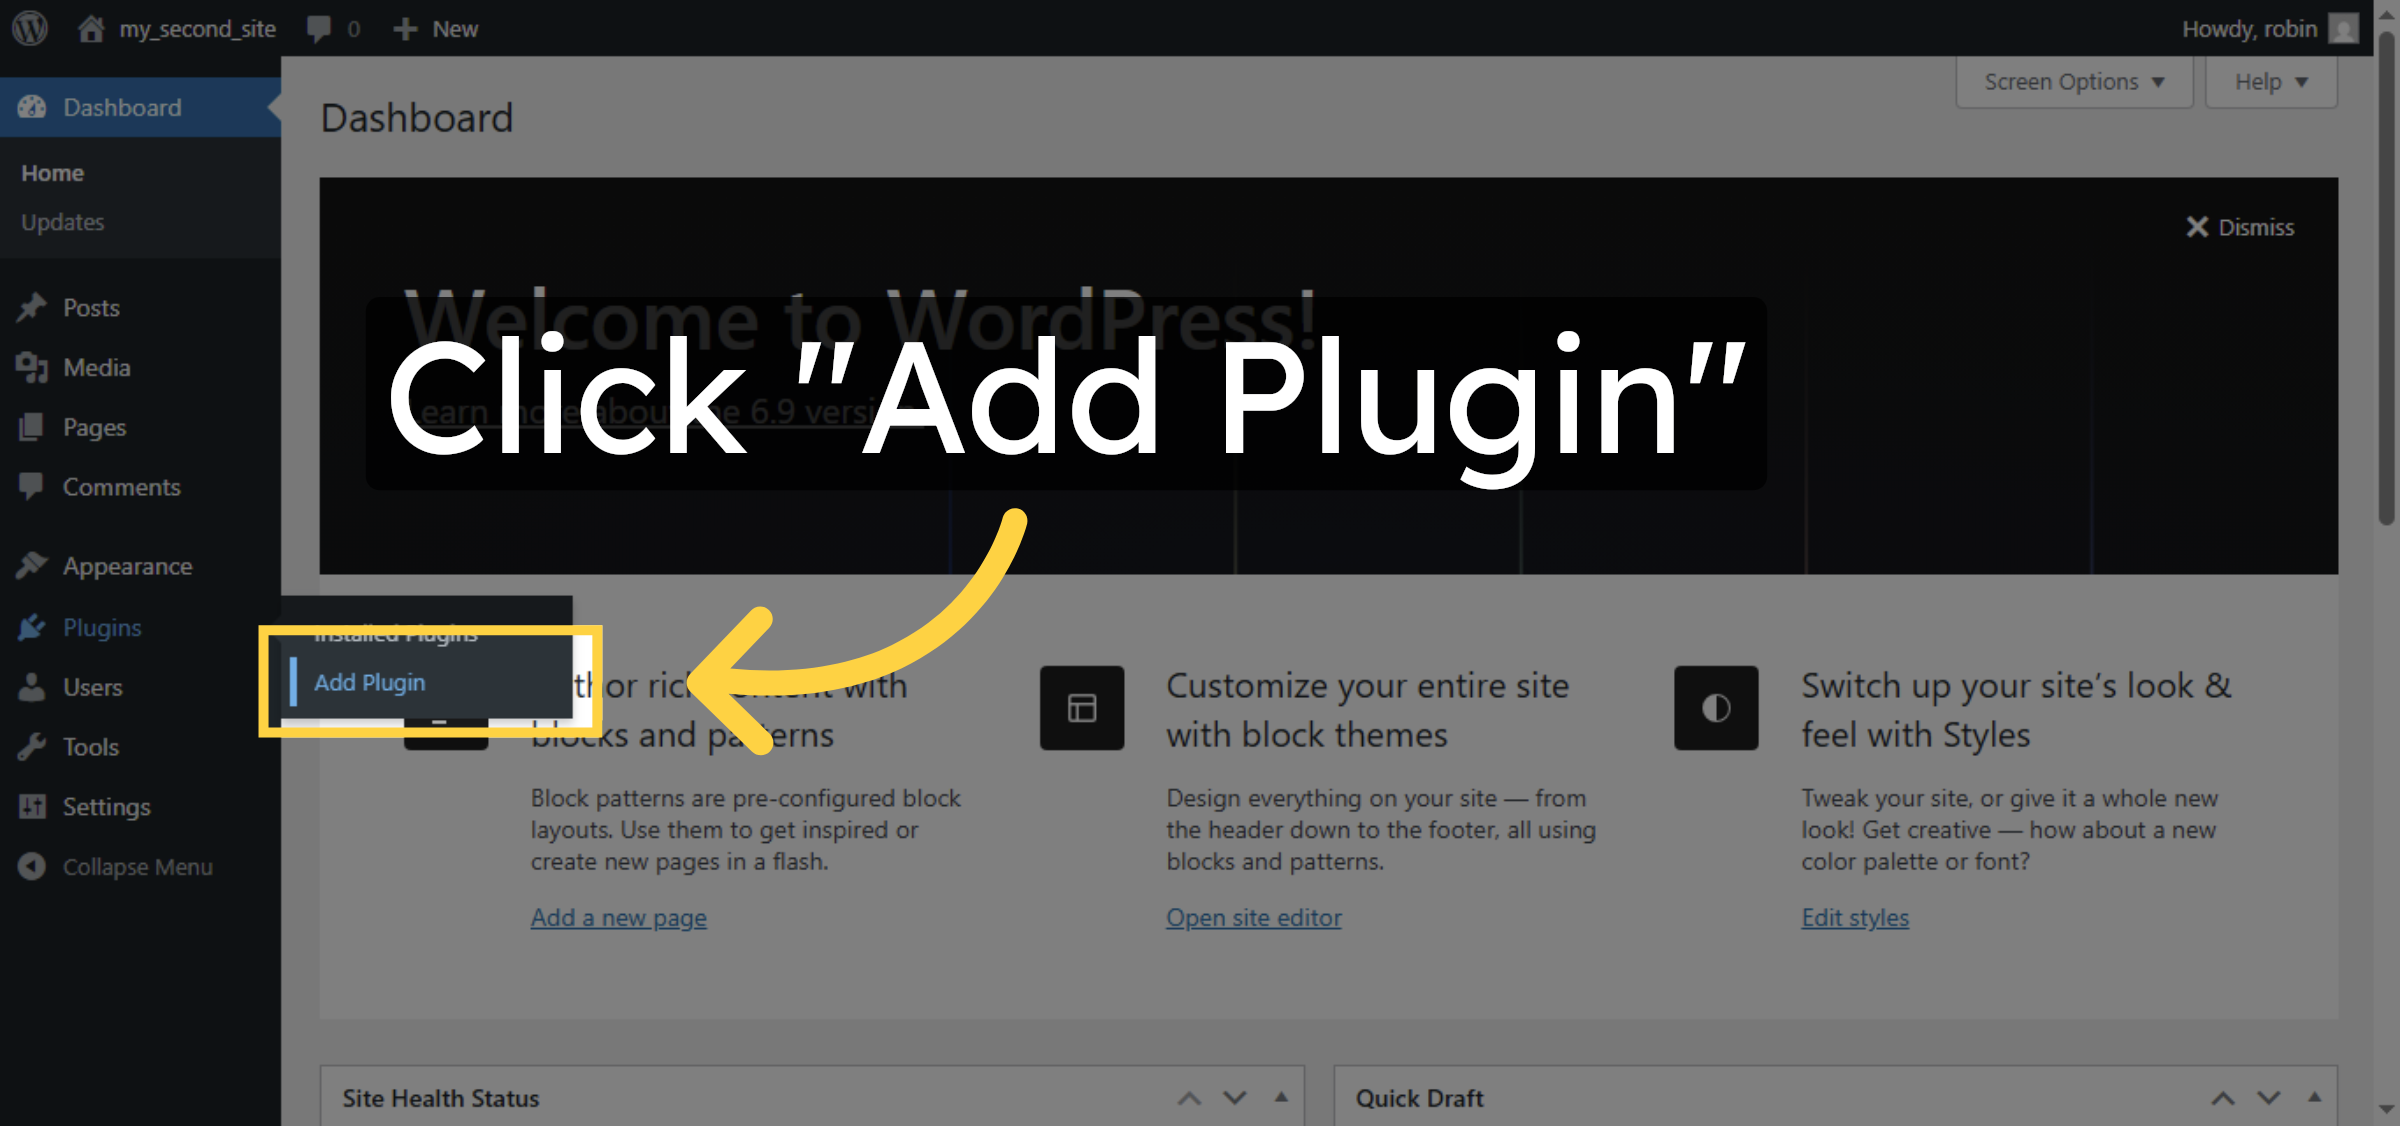
63. Add New Plugin
Click “Add Plugin” to add a new plugin in WordPress.
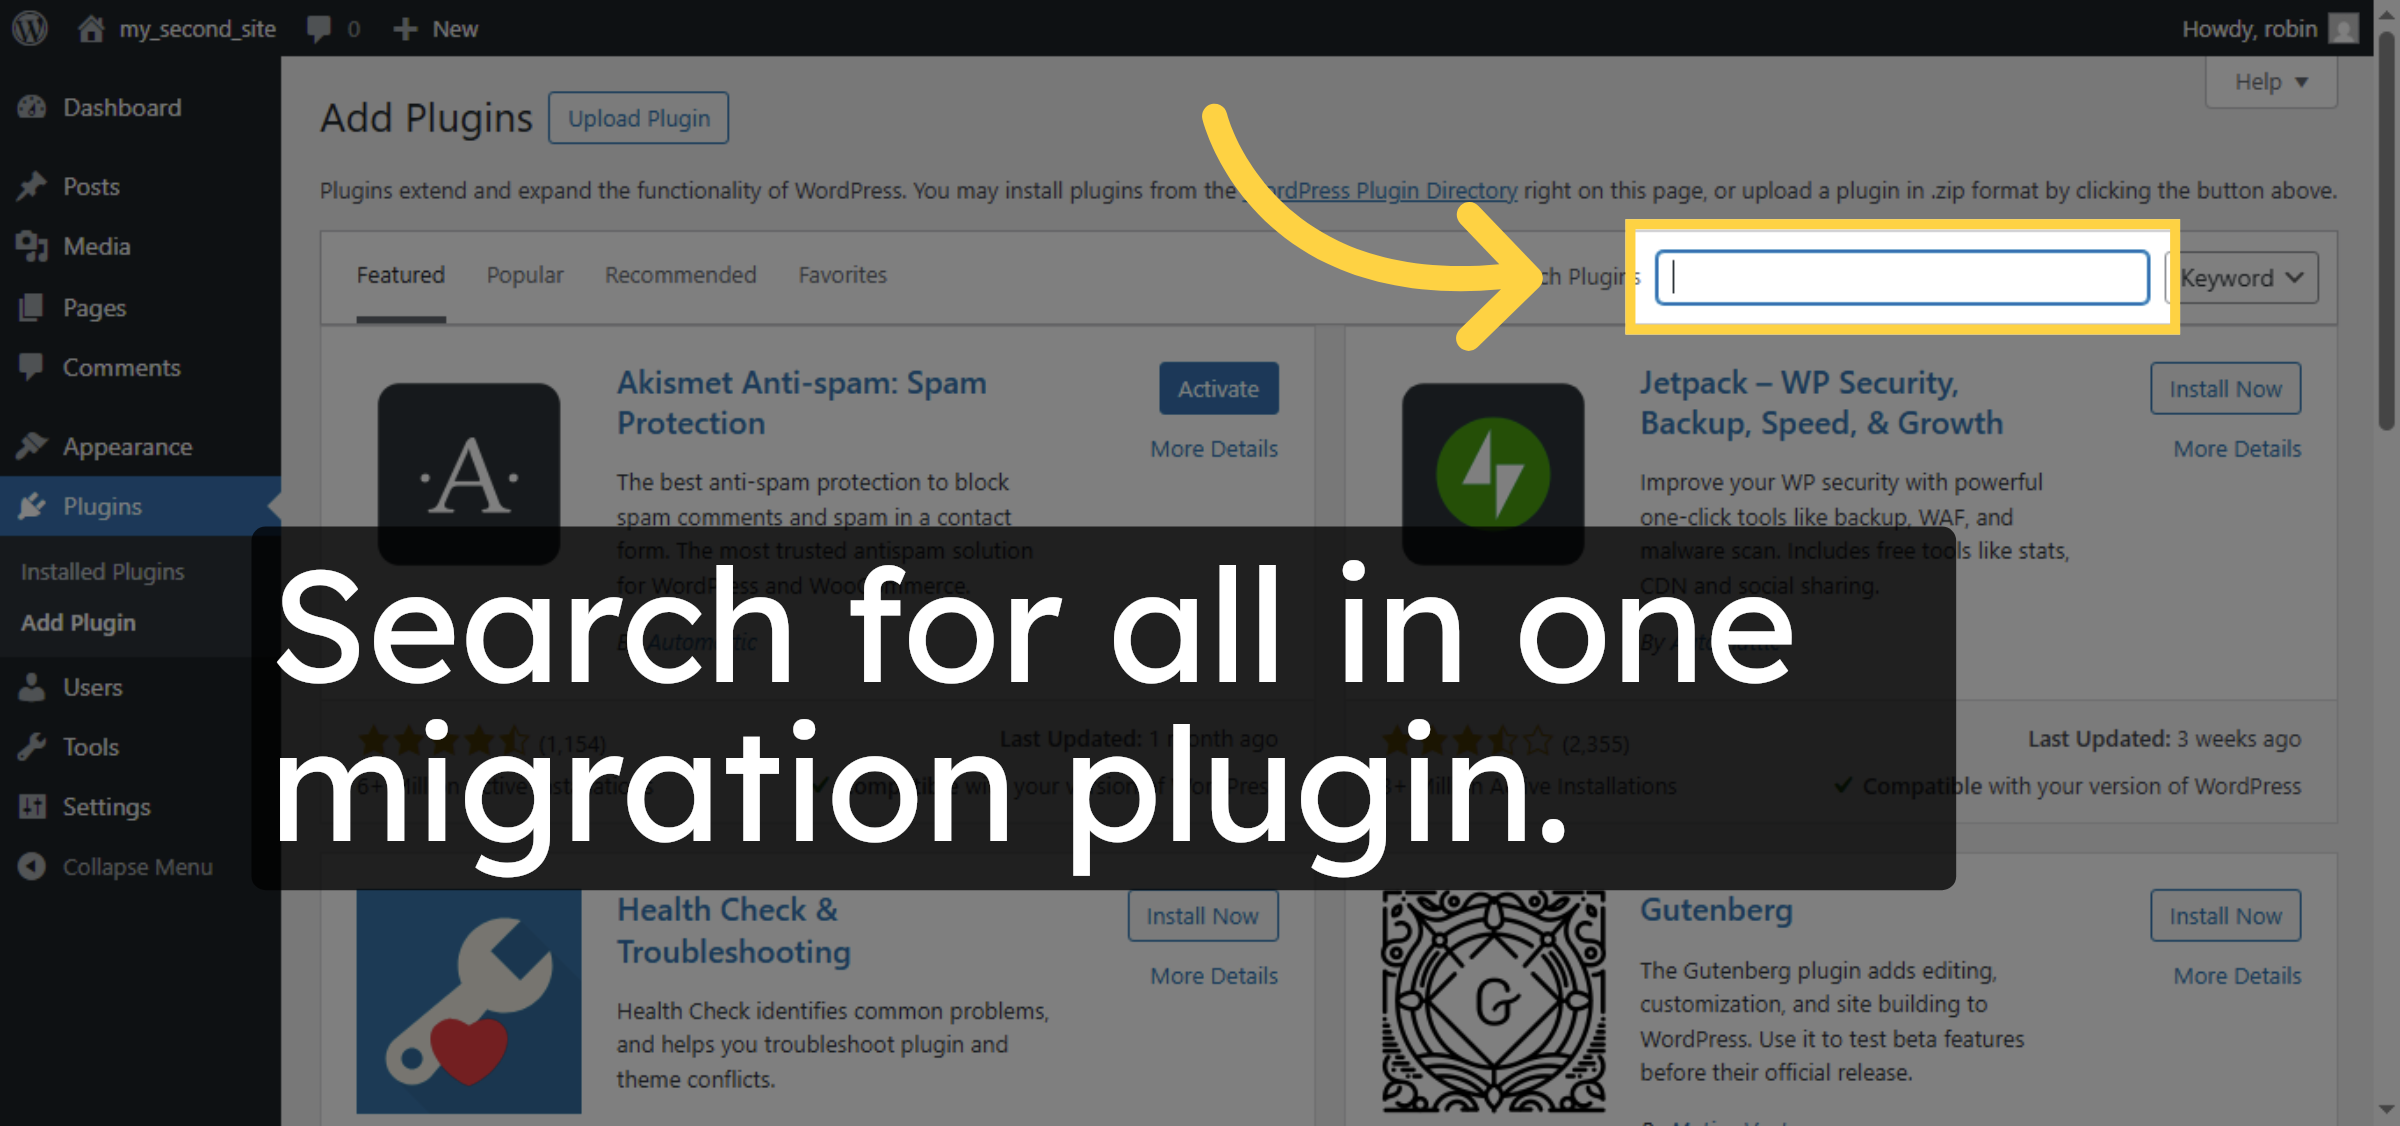
64. Search Plugins
Search for all in one migration plugin.
65. Install Migration Plugin
Click “Install Now” to install the migration plugin.
66. Activate Migration Plugin
Click “Activate” to enable the migration plugin.

67. Import Site Data
Click “Import” to start importing your site data.
68. Select Import Source
Click “Import From” to choose the import source.

69. Confirm Import Action
Click here to confirm the import action.
70. Proceed with Import
Click “Proceed” to continue importing your site.
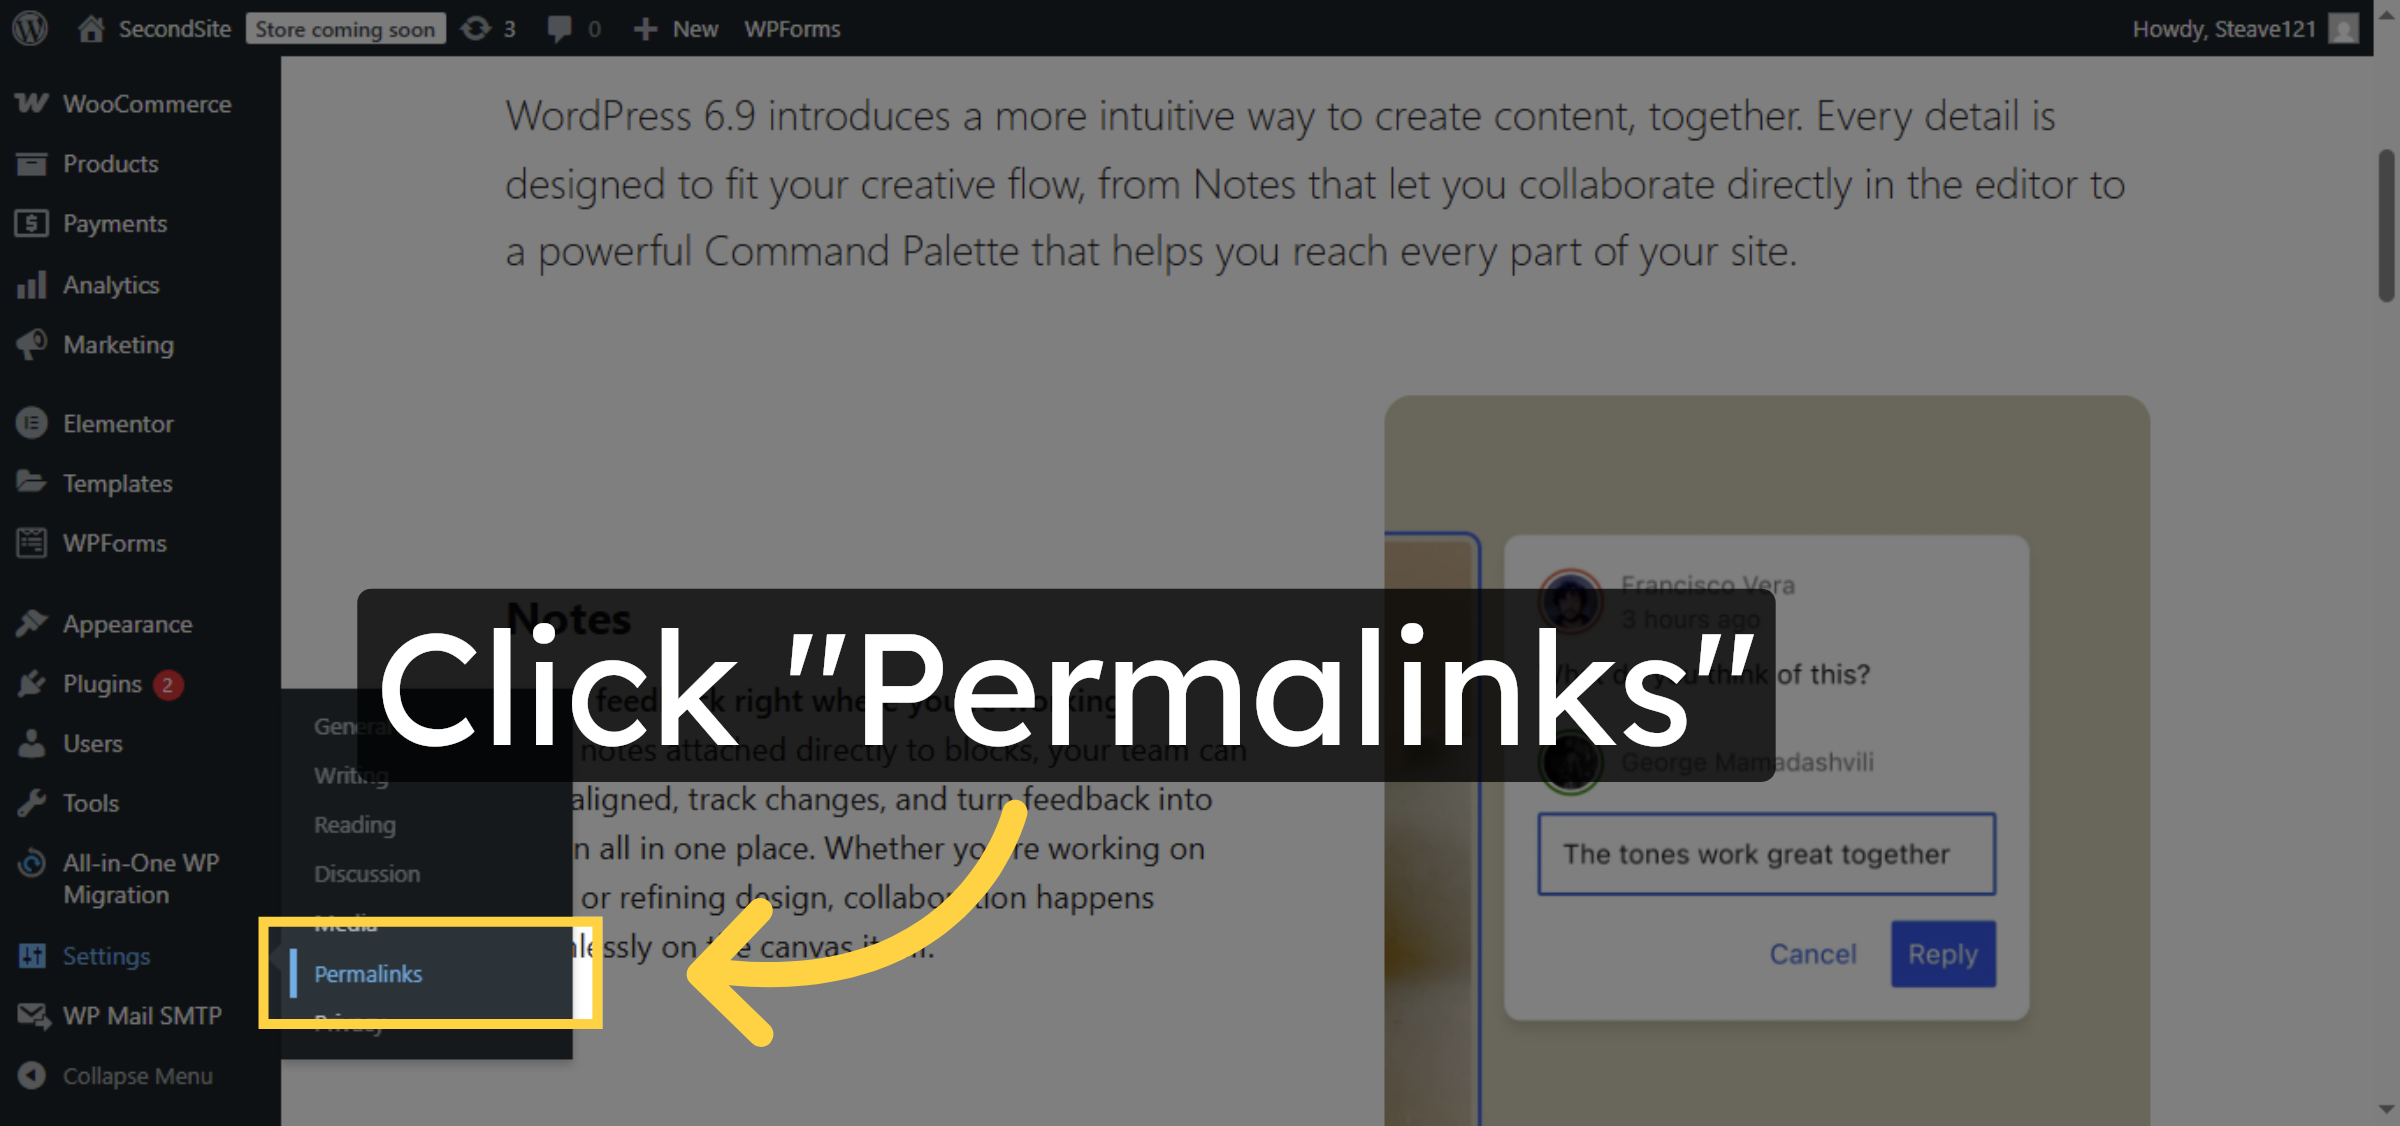
71. Open Permalinks Settings
Click “Permalinks” to access permalink configuration.
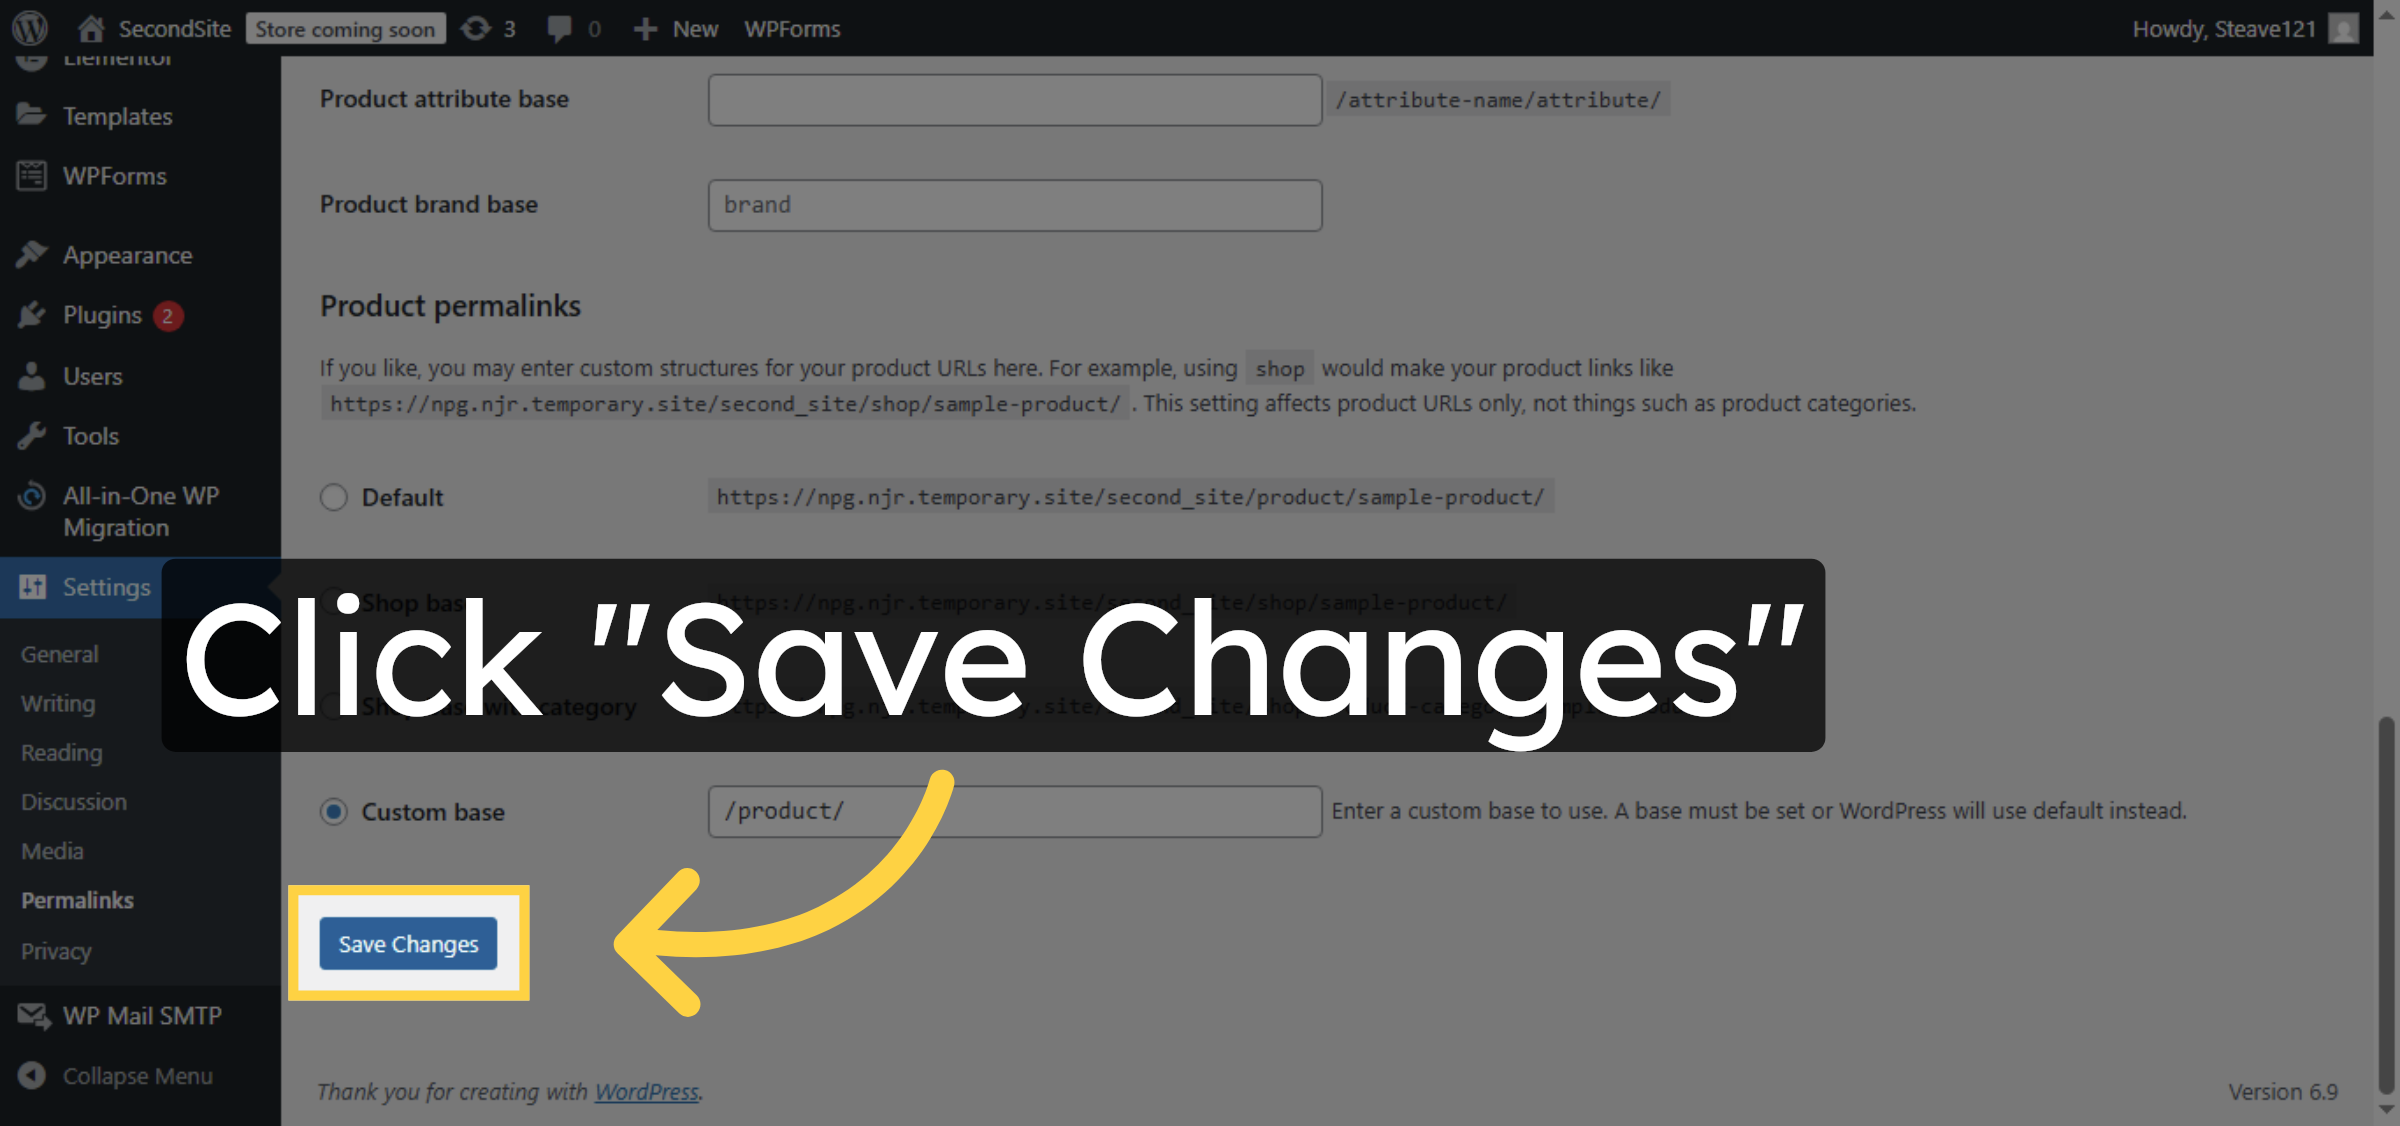
72. Save Permalink Changes
Click “Save Changes” to apply the permalink settings.
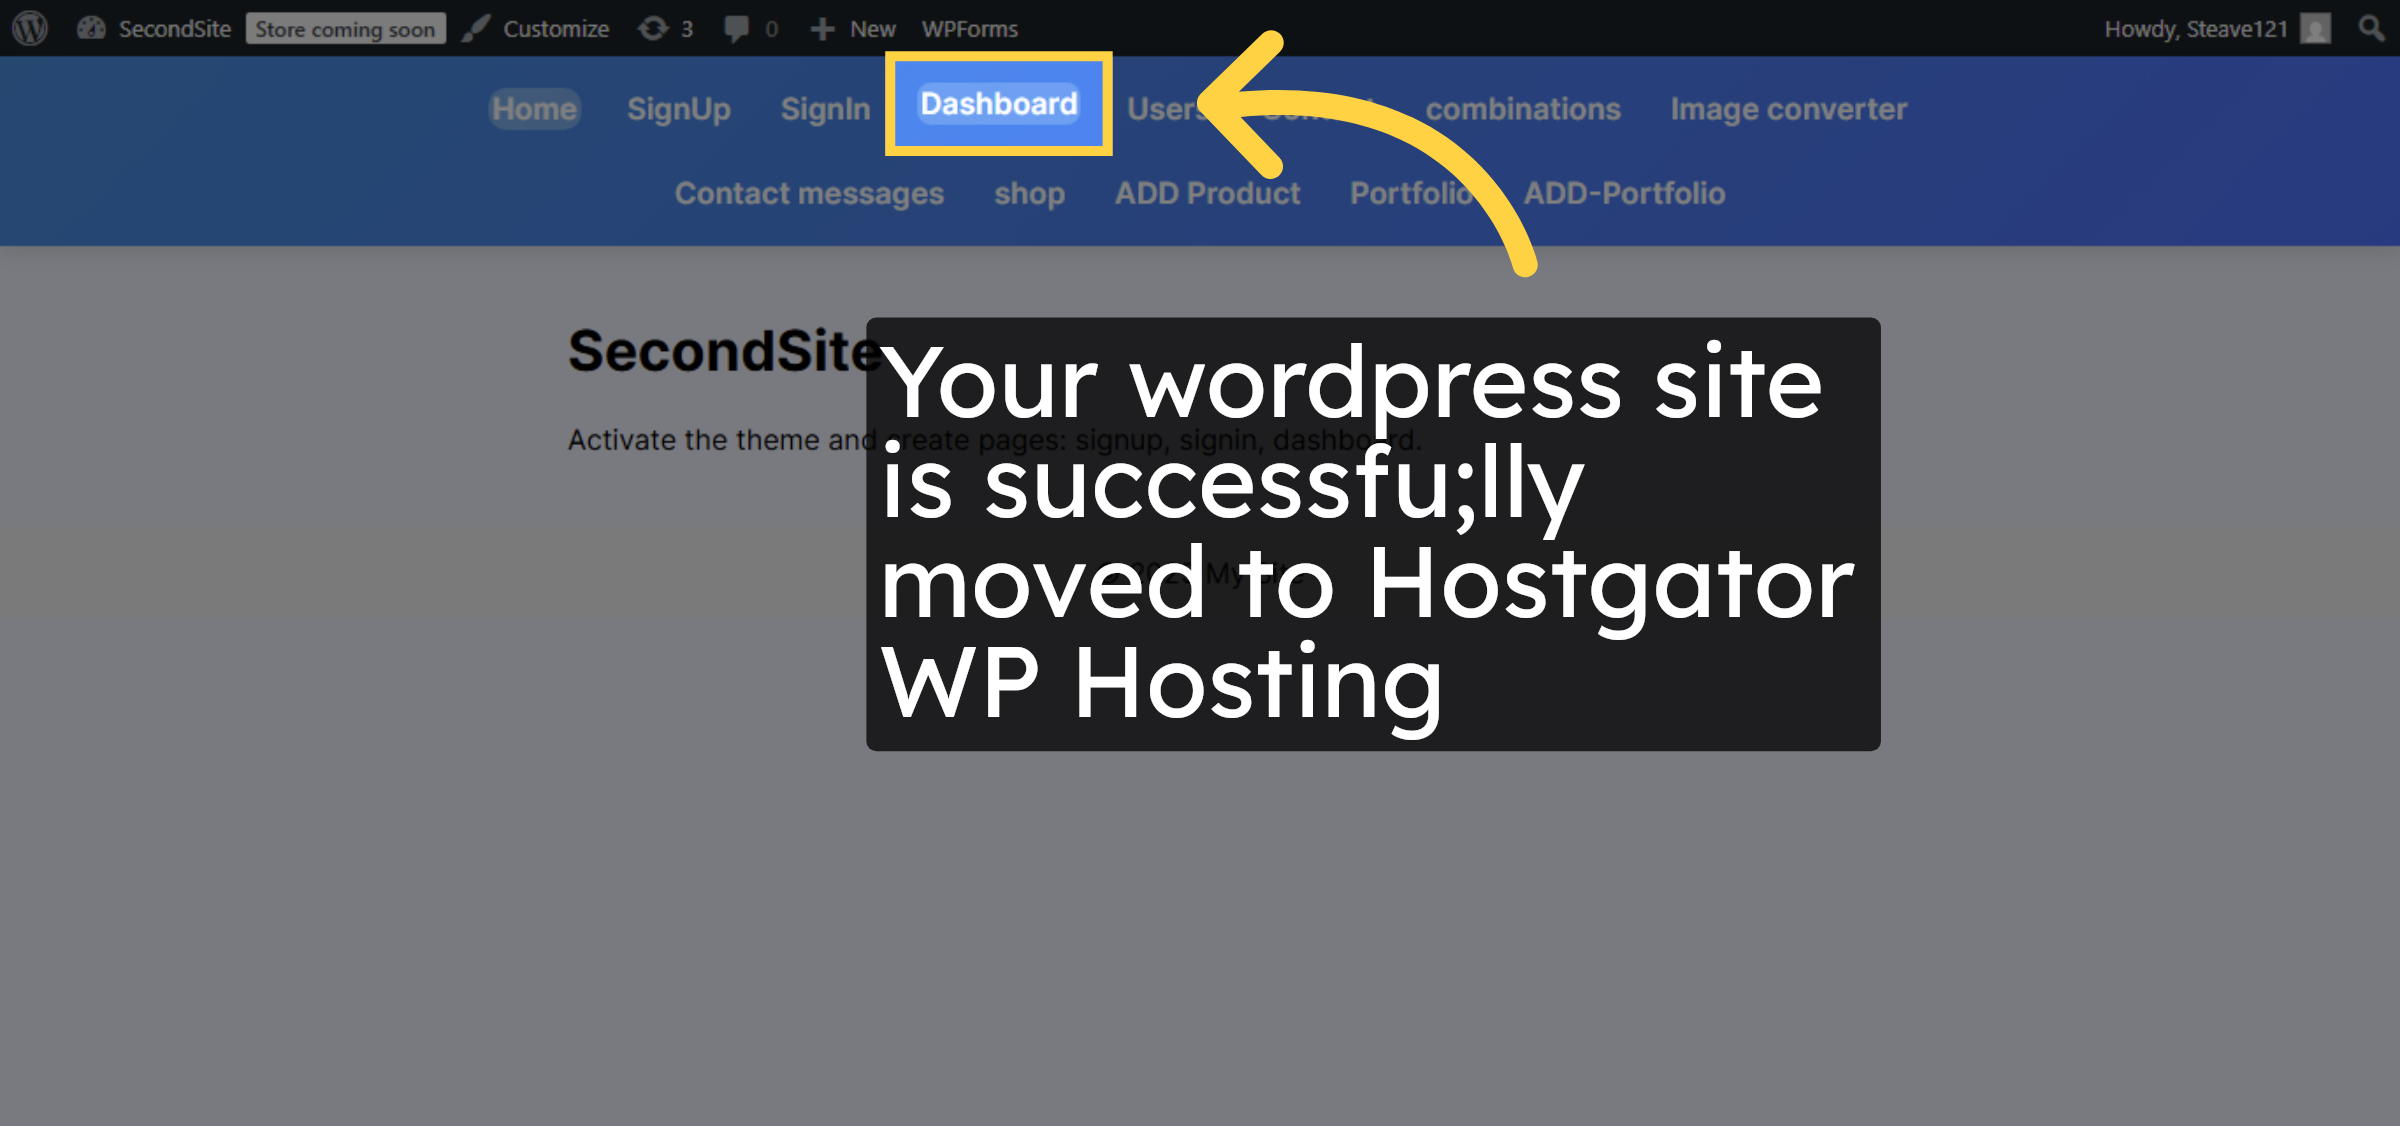
73. Open Site Dashboard
Click “SecondSite” to open your migrated site dashboard.

74. Access Dashboard
Click “Dashboard” to manage your WordPress site.
Conclusion
By following the steps outlined in this guide, you can successfully move your WordPress website from a local environment to HostGator WP Hosting using both plugin-based export and manual WordPress setup. Creating the database, configuring WordPress files, importing site data, and updating permalink settings ensures that your website functions correctly in the new hosting environment. Verifying the site after migration confirms that all content and configurations have been transferred properly. This method provides a reliable solution for users who want a complete and controlled WordPress migration workflow.
-
Visit: https://www.woohelpdesk.com
-
Call Us Toll-Free: +1 888 602 0119 (US & Canada)
-
Get professional assistance with WordPress migrations, database setup, manual installations, and HostGator hosting configuration