How To Install WordPress Manually on HostGator WP Hosting
Introduction
Installing WordPress manually on HostGator gives you full control over your website setup, from database creation to file configuration and security settings. This step-by-step guide walks you through the complete manual installation process using HostGator’s dashboard and cPanel, including creating a MySQL database, assigning user privileges, uploading and extracting WordPress files, and completing the WordPress installation wizard. By following these instructions carefully, you ensure a clean, secure, and properly configured WordPress setup tailored to your hosting environment. Manual installation is especially useful when working with custom folders, temporary URLs, or when you want a deeper understanding of how WordPress works behind the scenes on your hosting server.
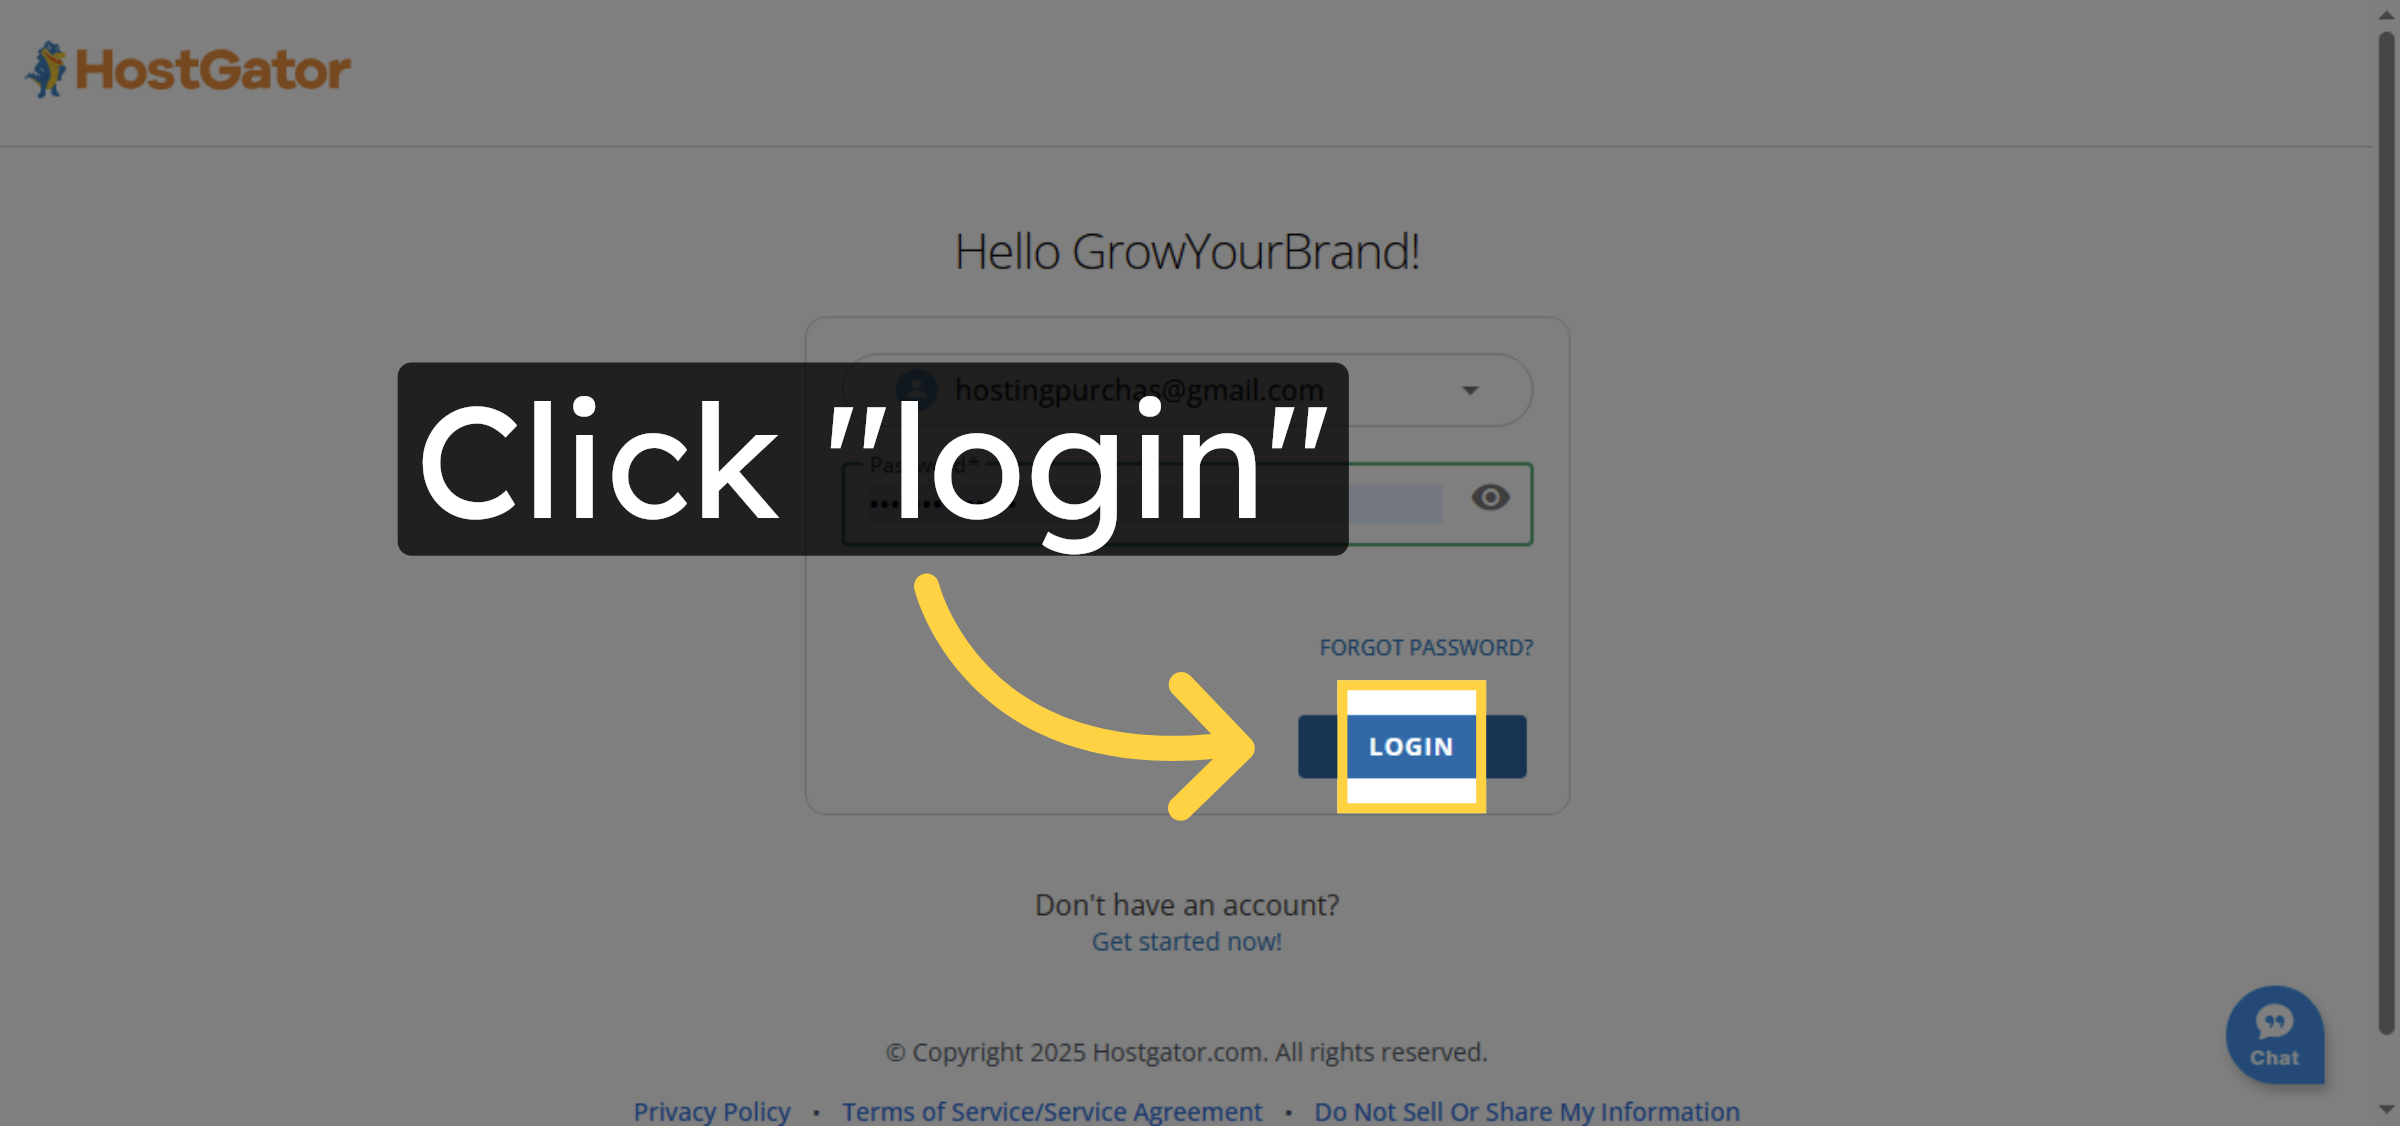
1. Click Login Button
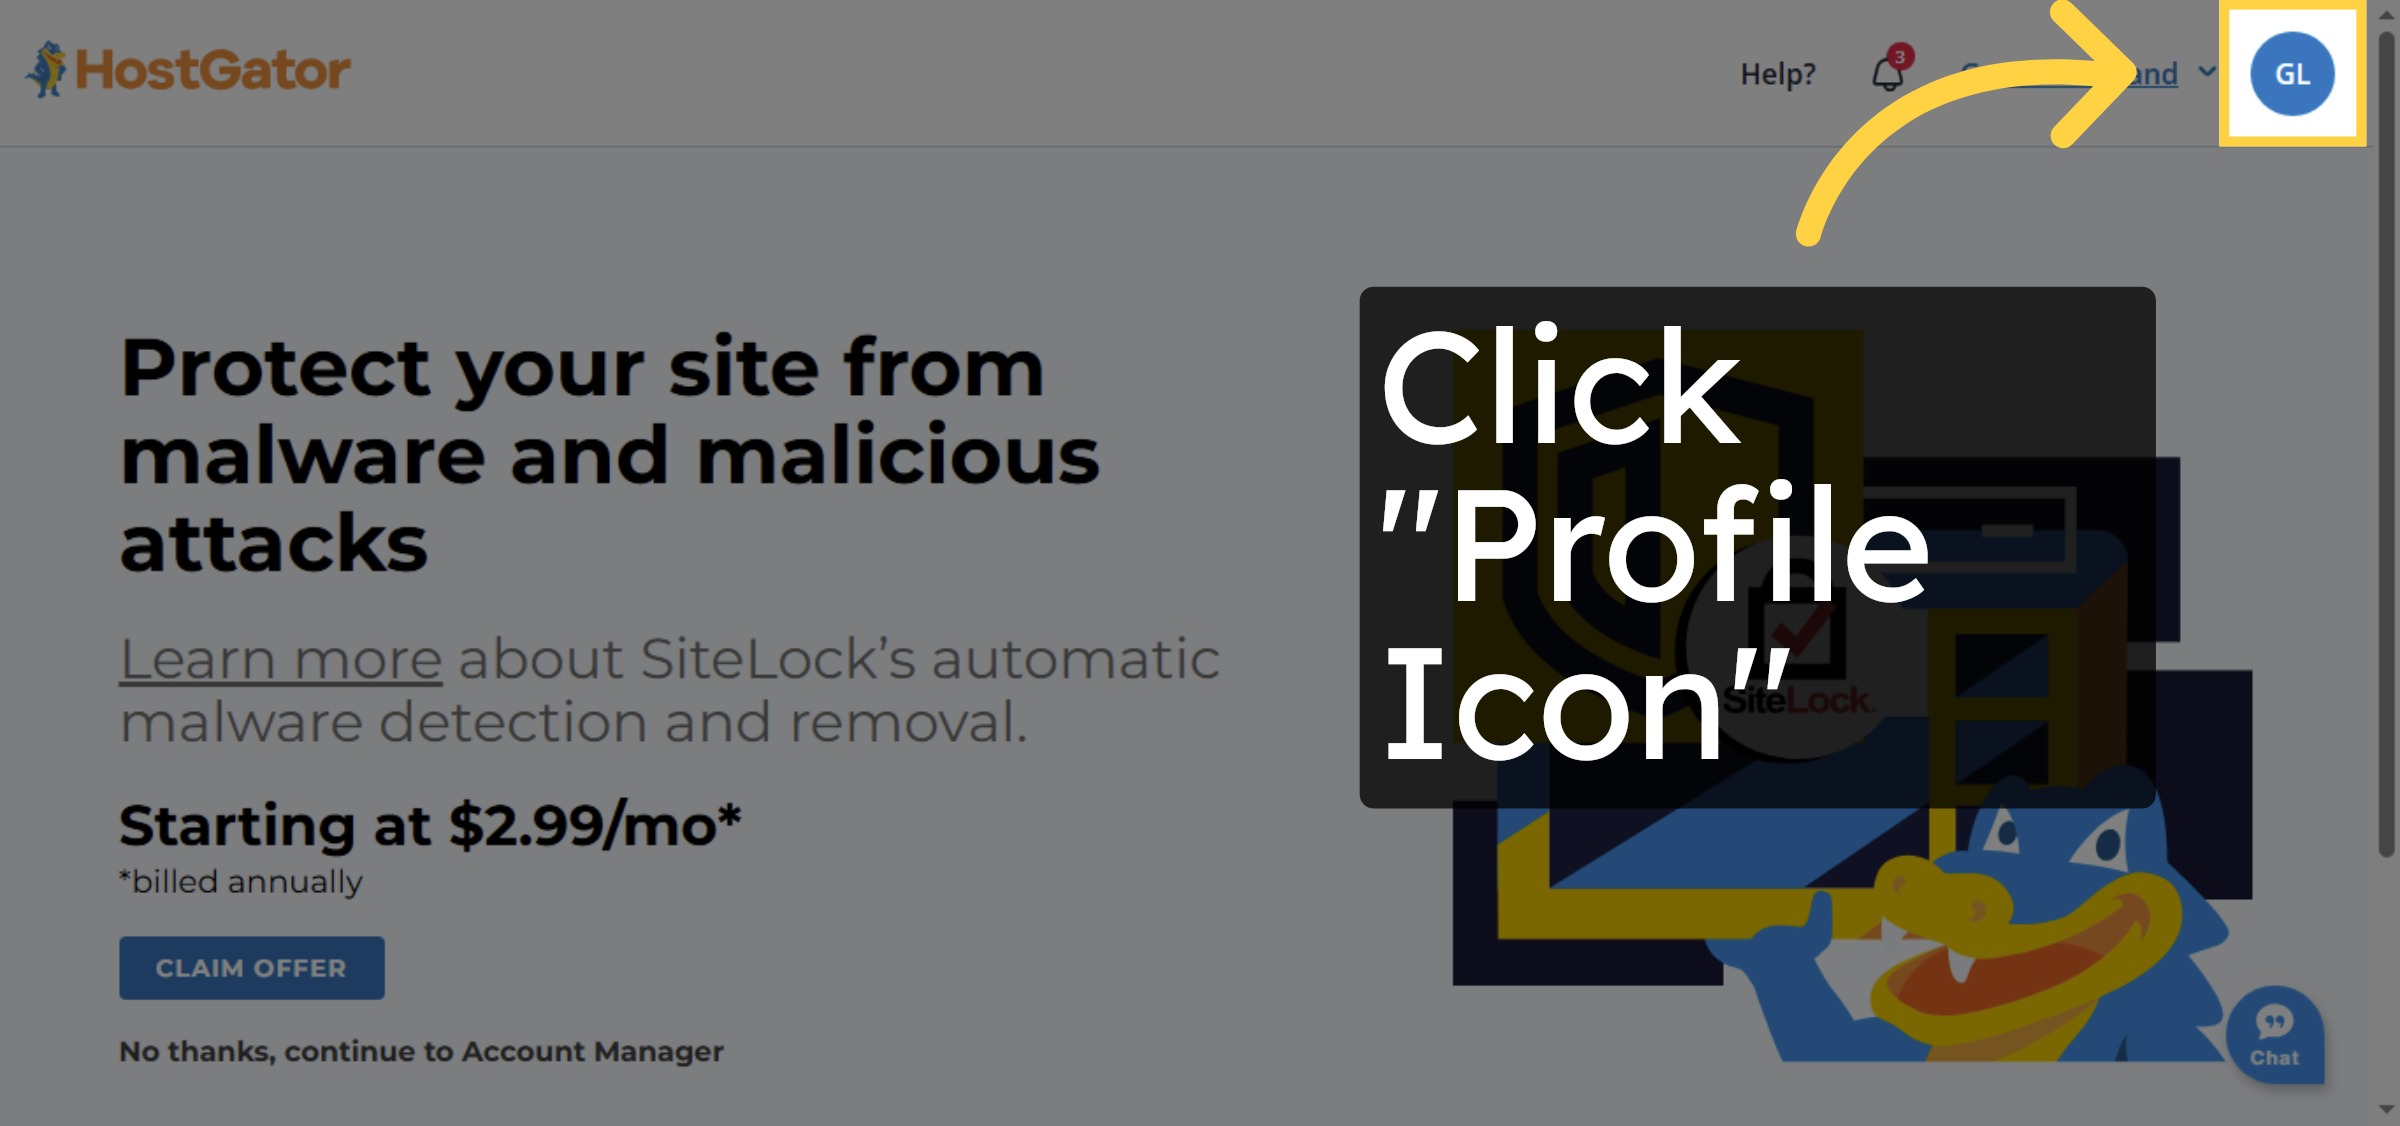
2. Select Your Profile Icon Option
3. Navigate to Home

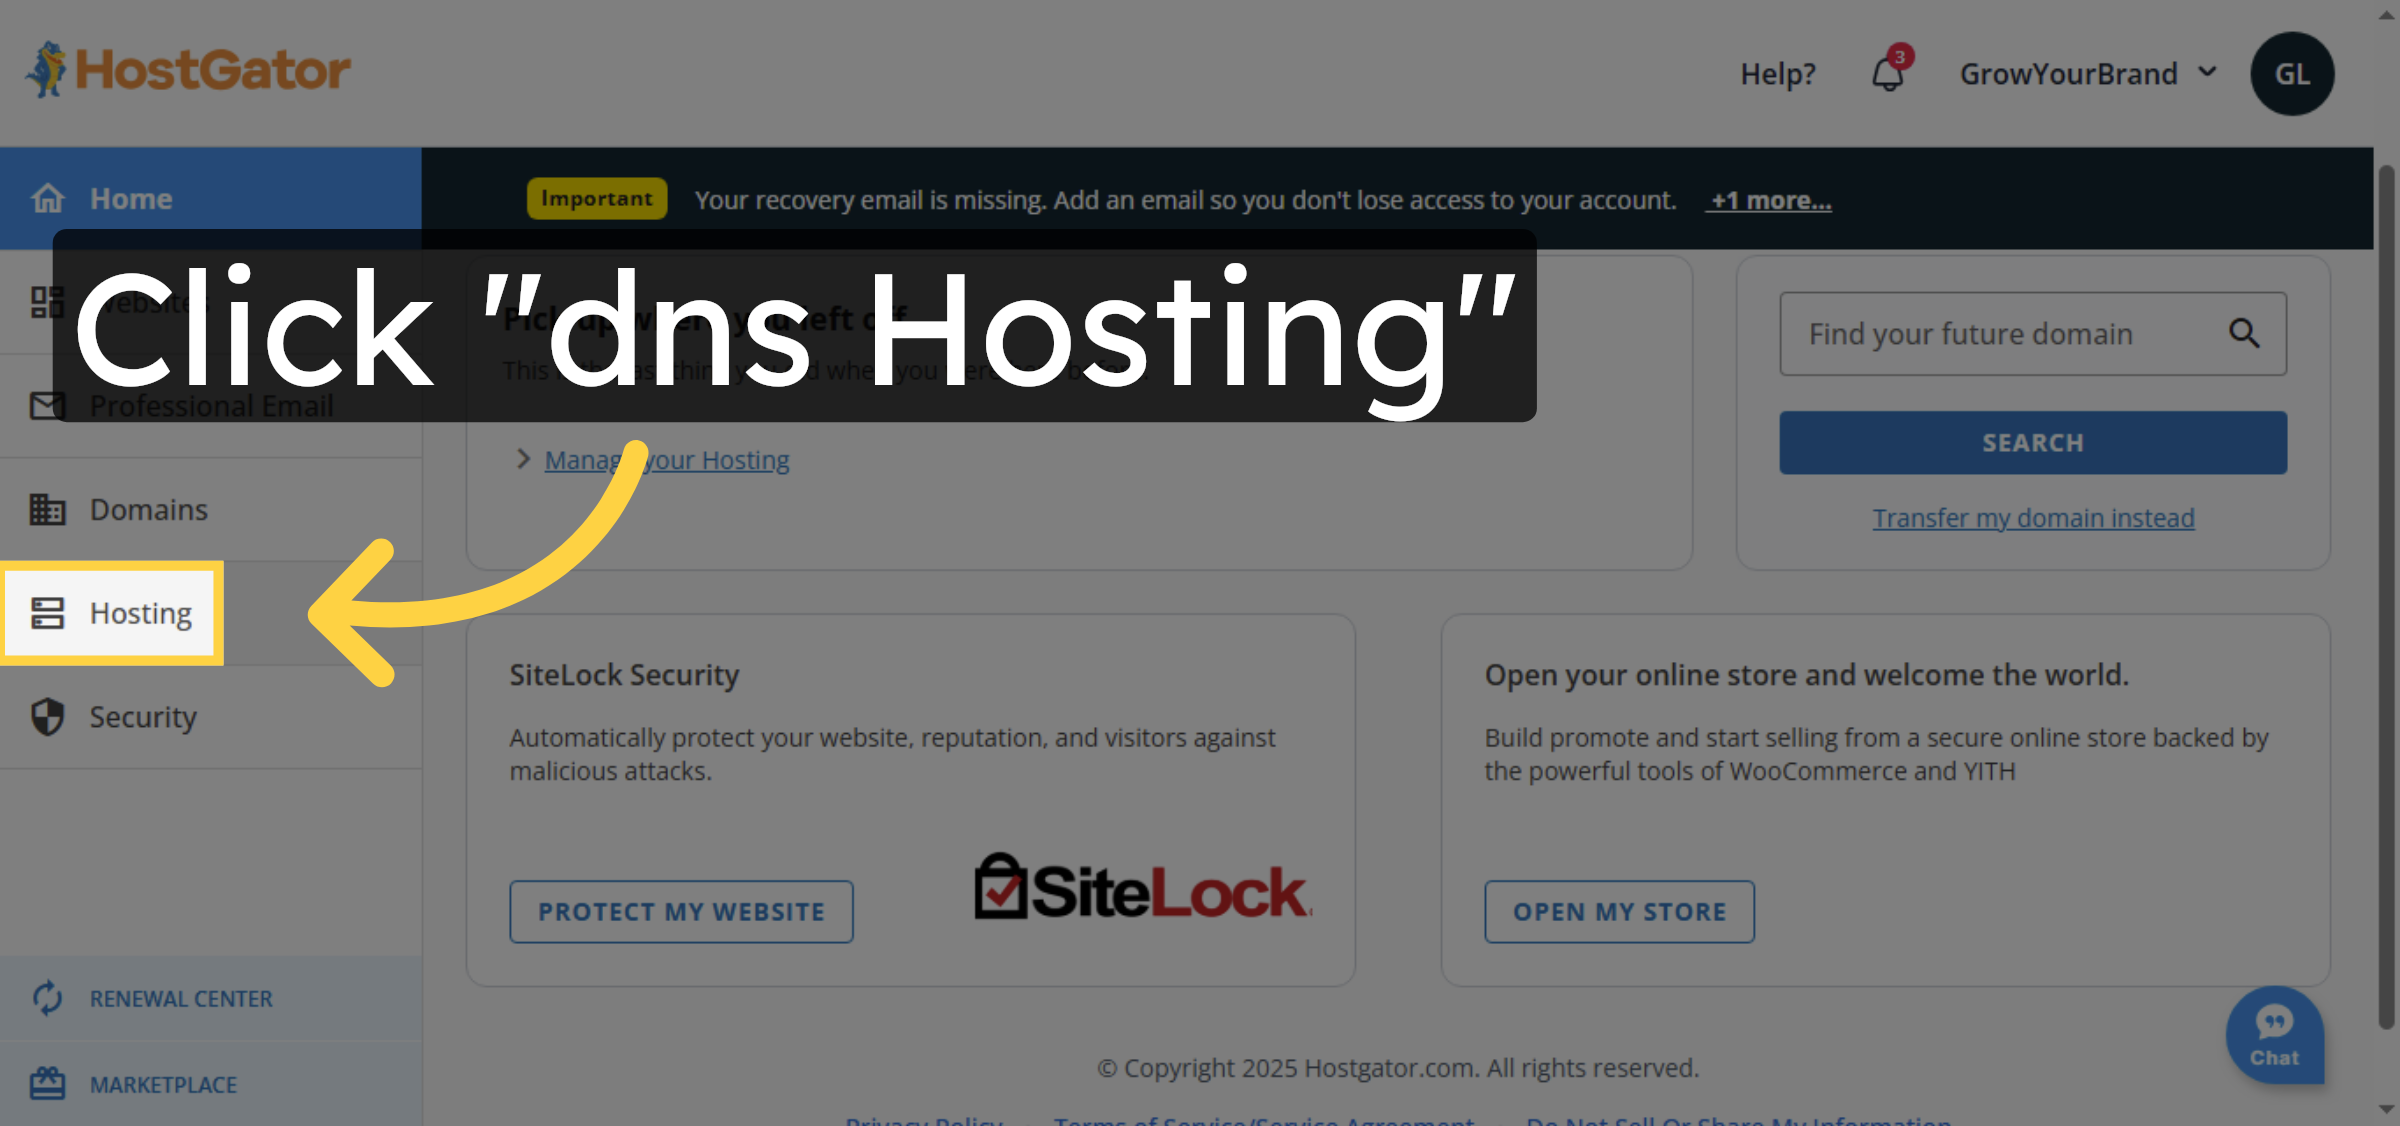
4. Open DNS Hosting
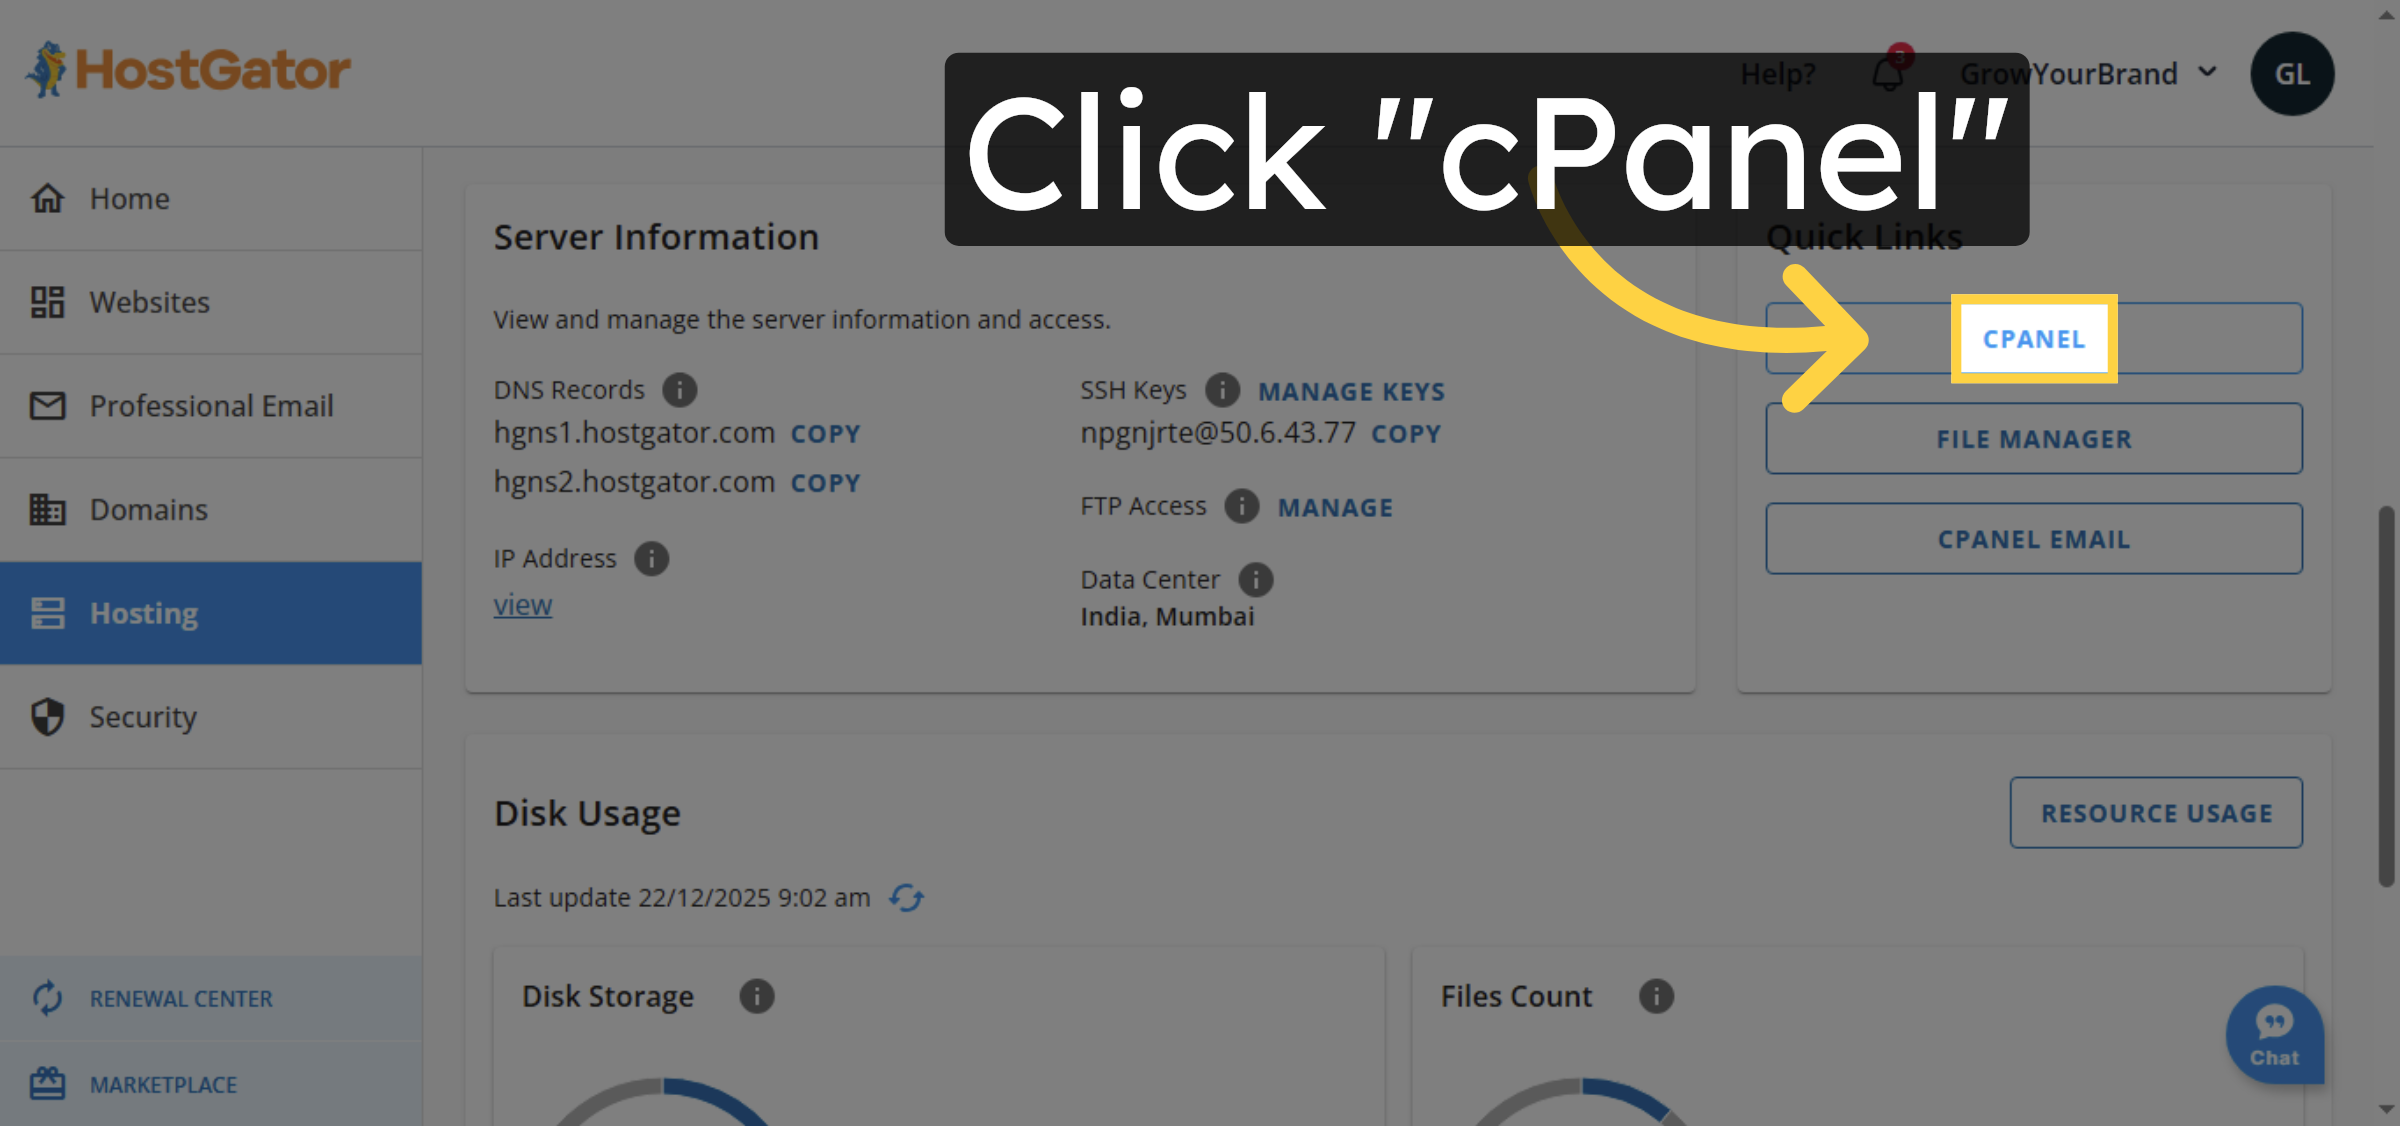
5. Access cPanel
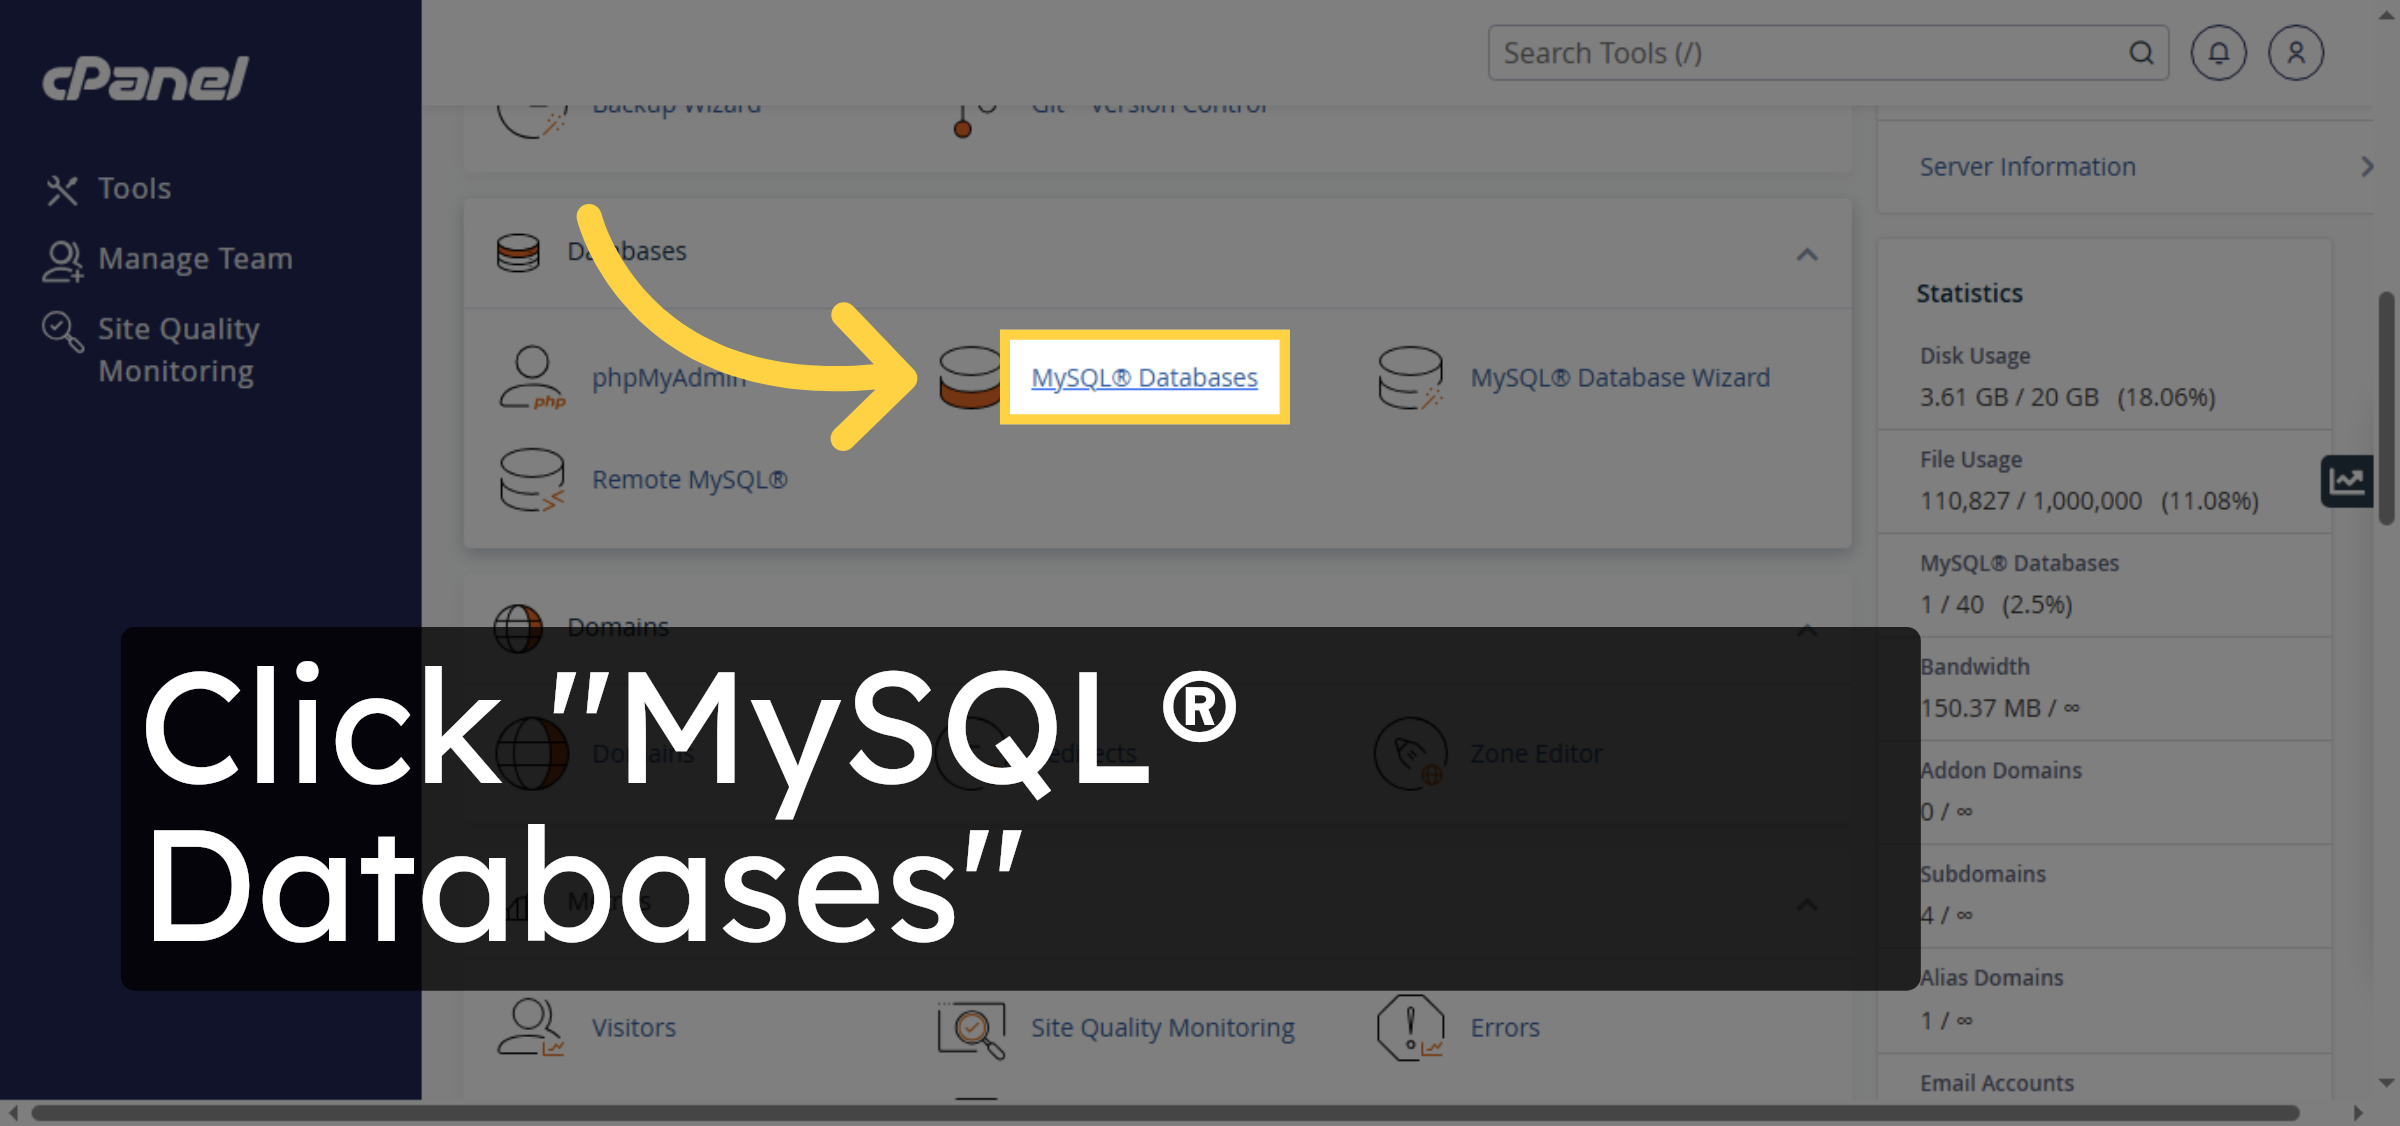
6. Open MySQL Databases
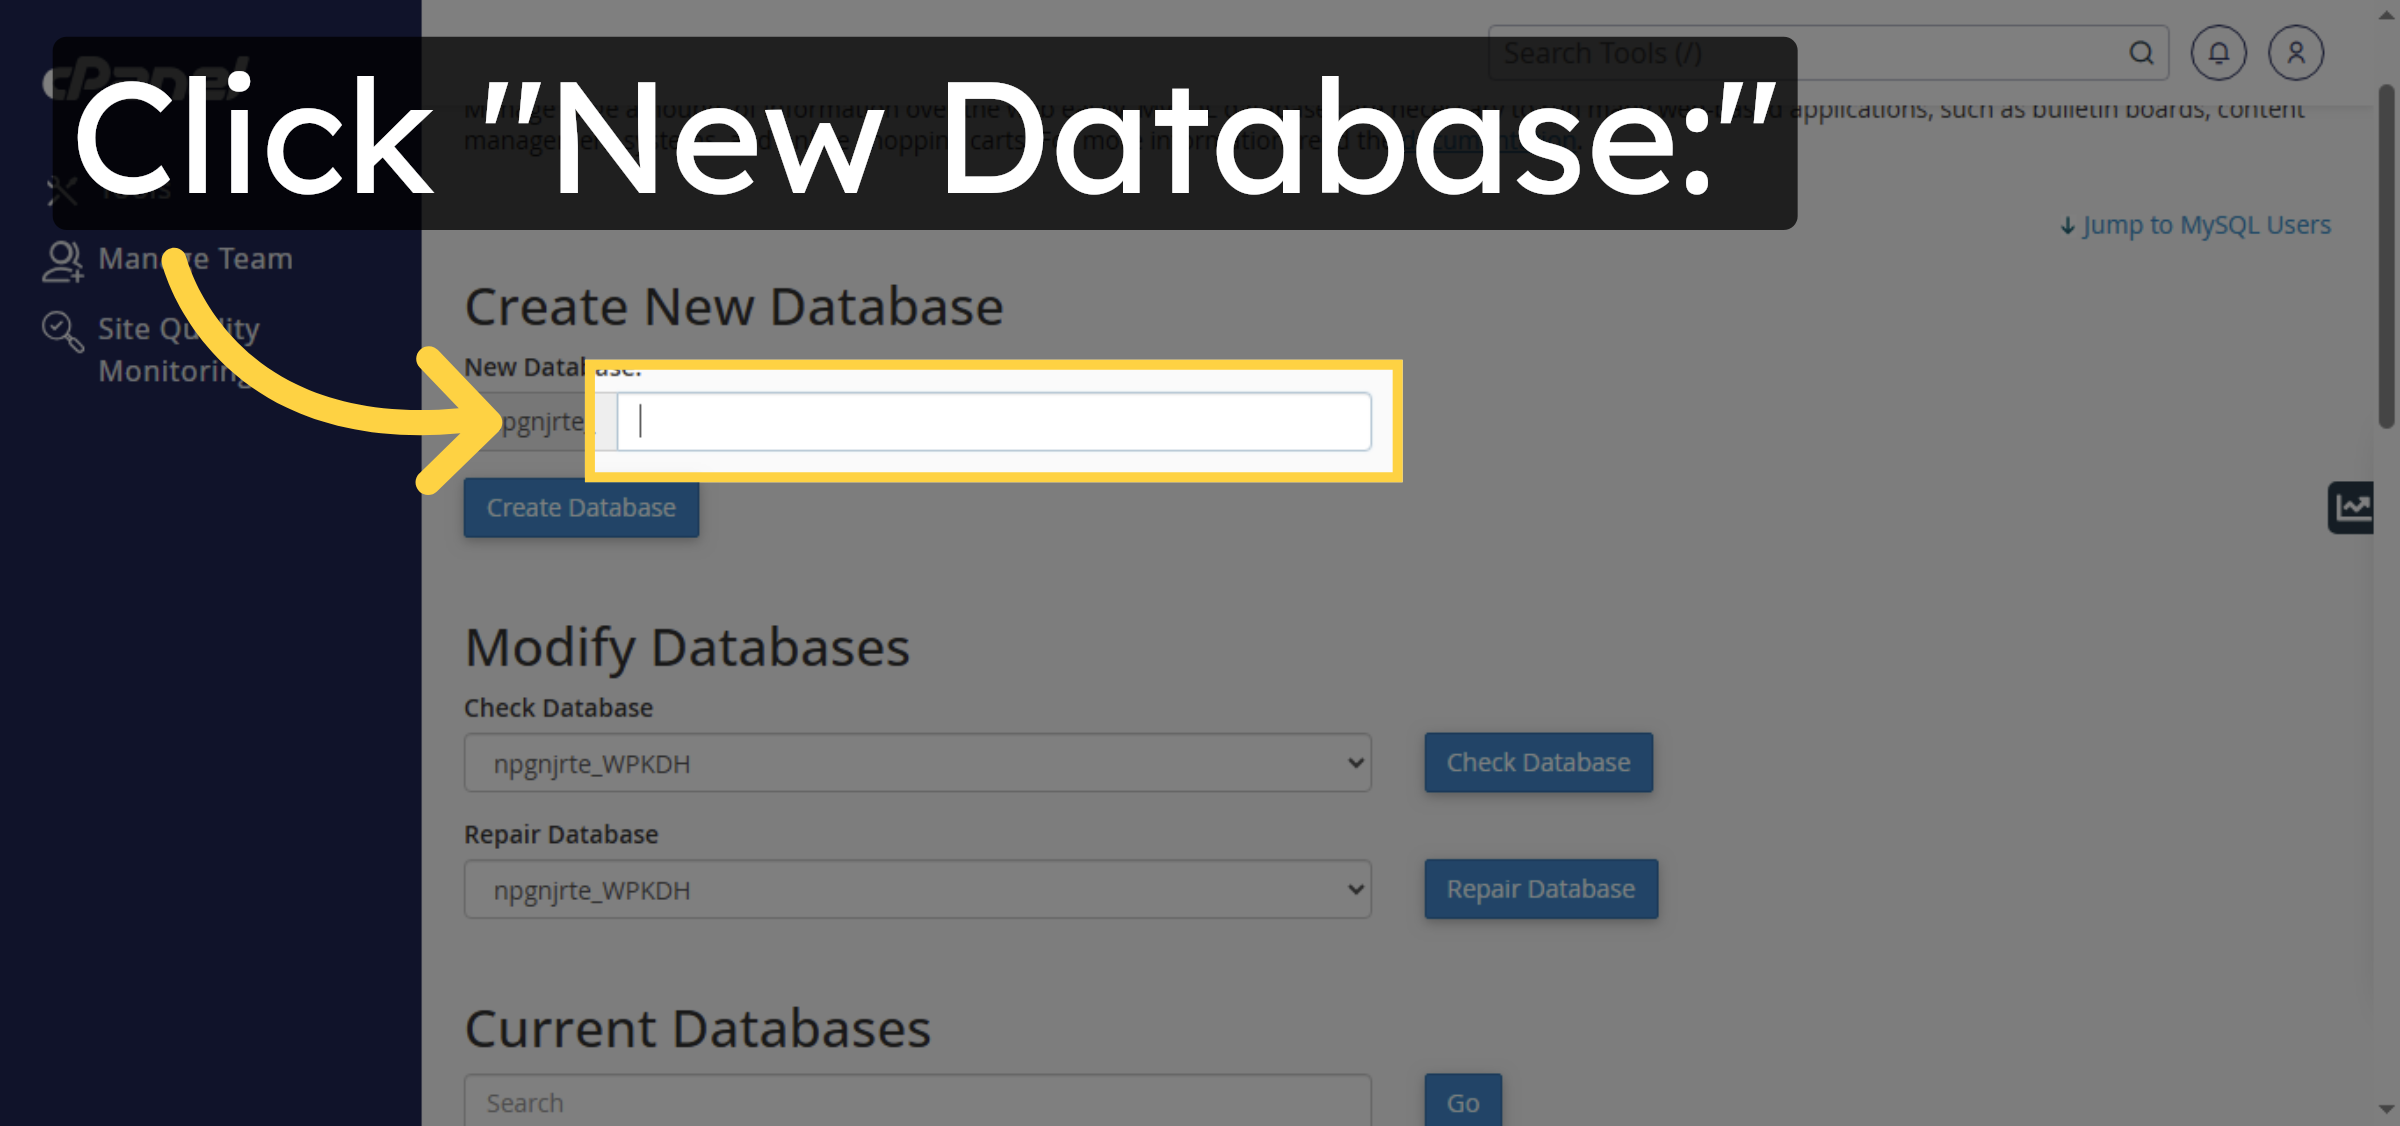
7. Select New Database Field
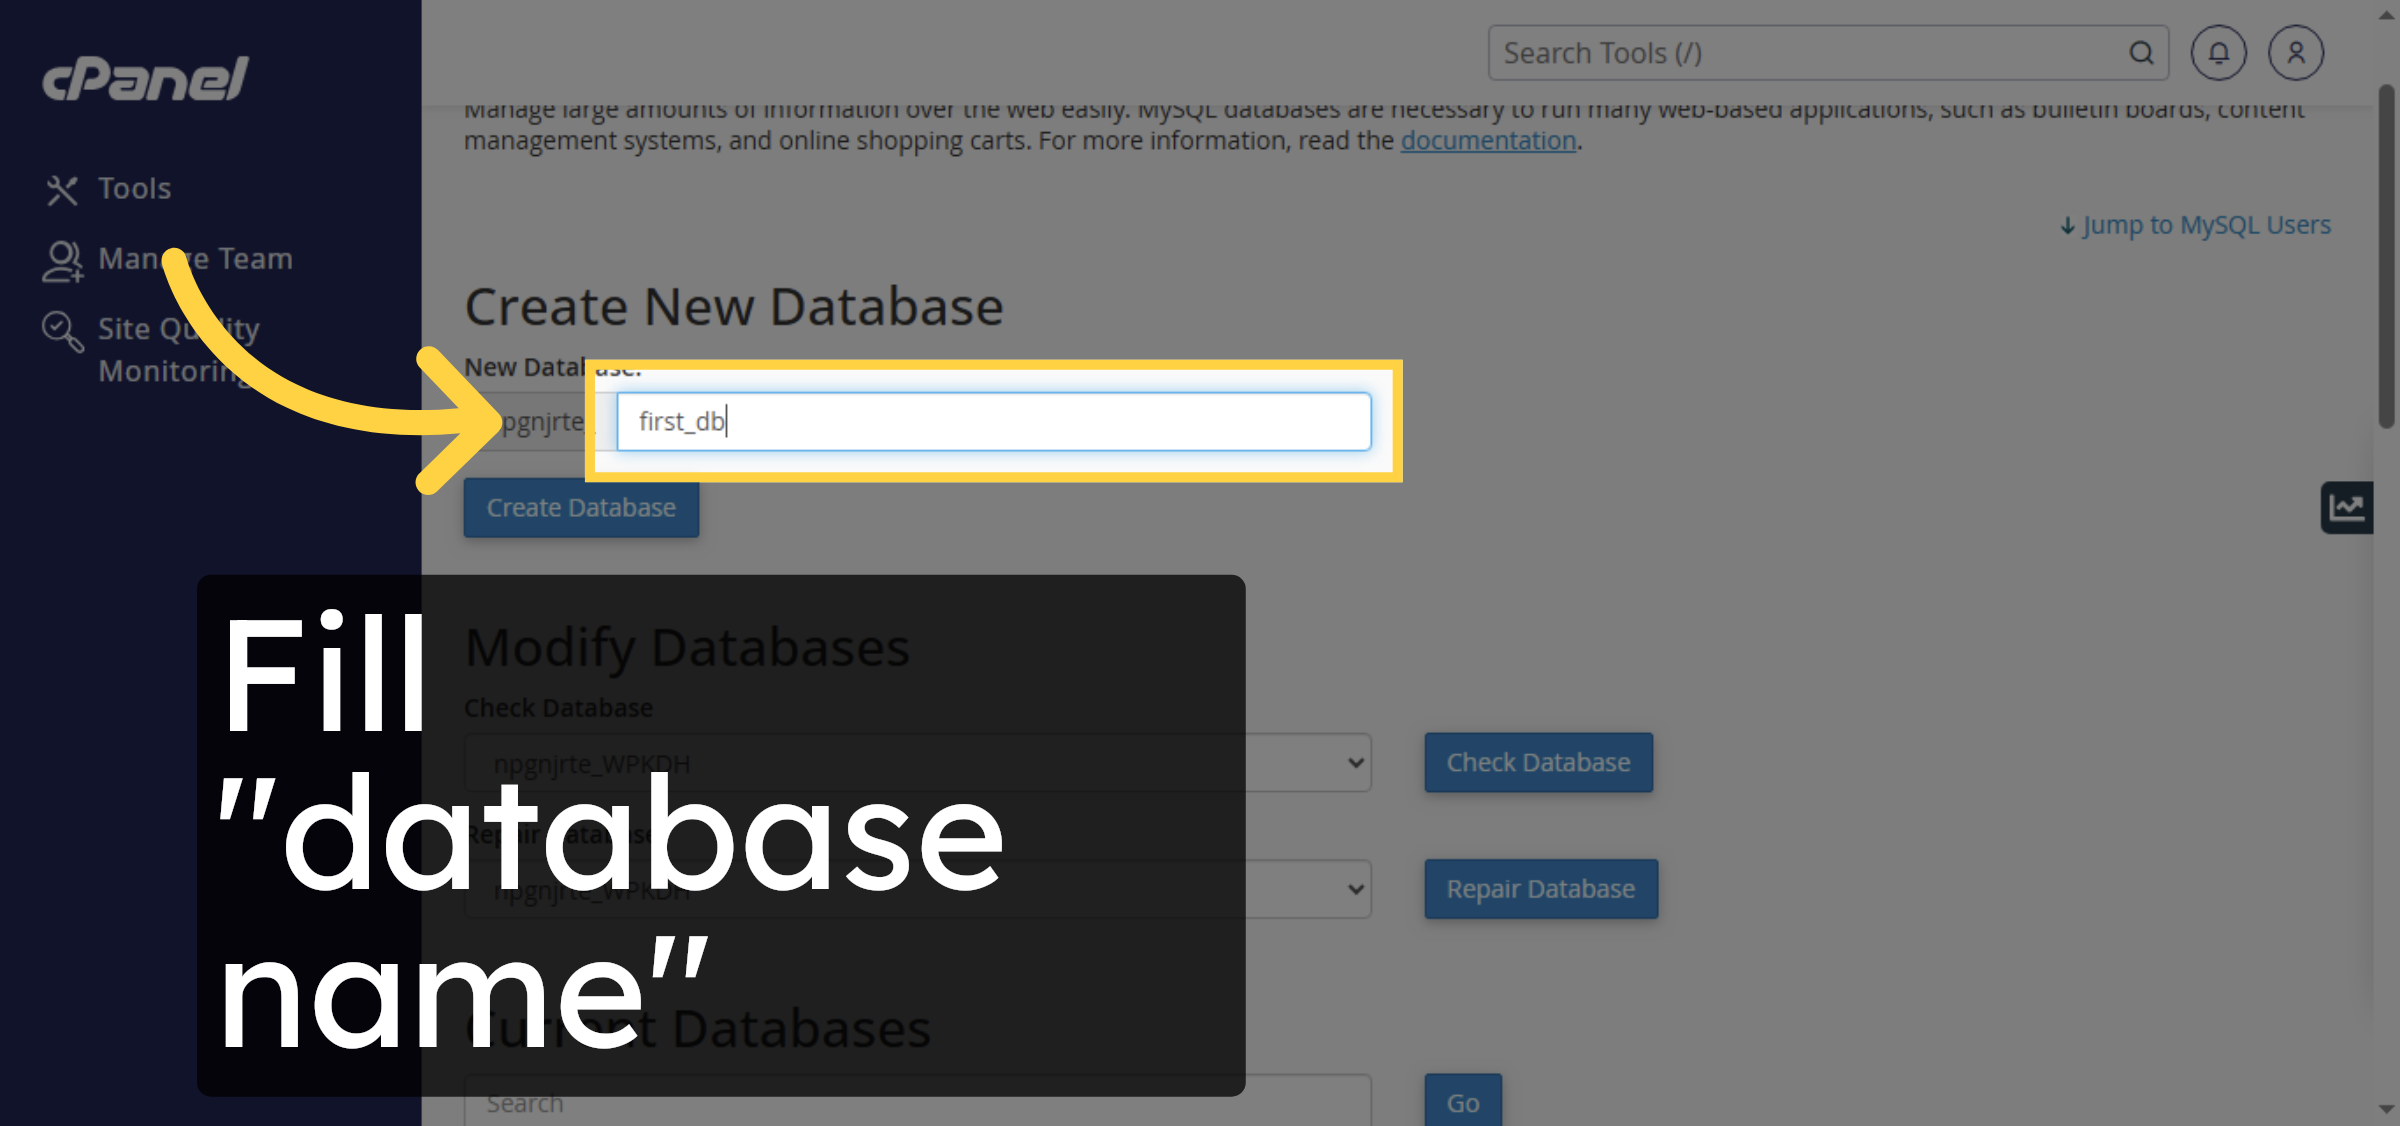
8. Enter Database Name
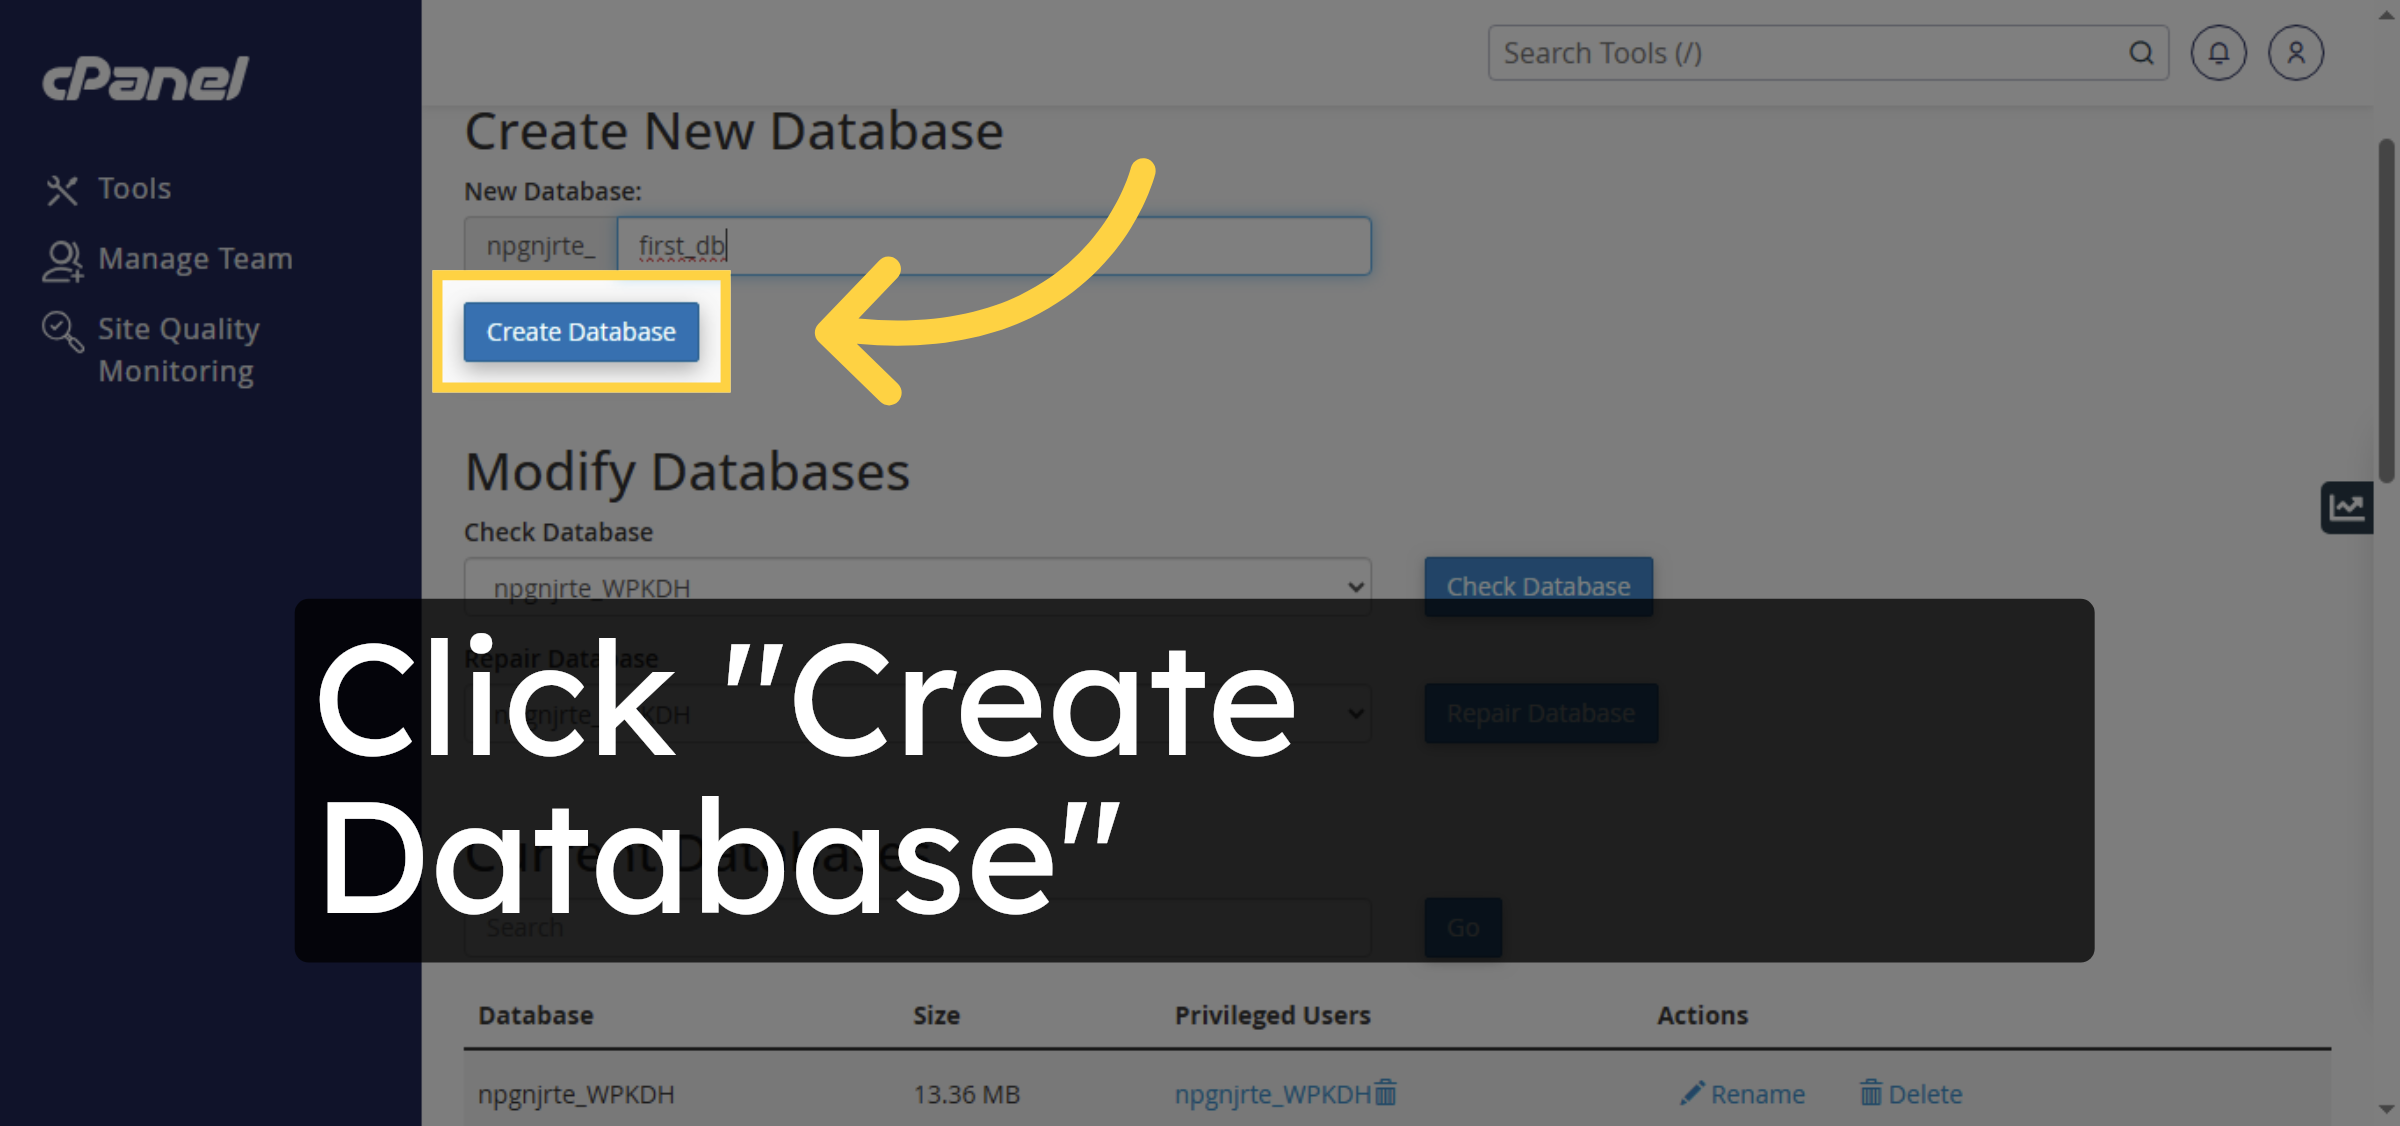
9. Create Database
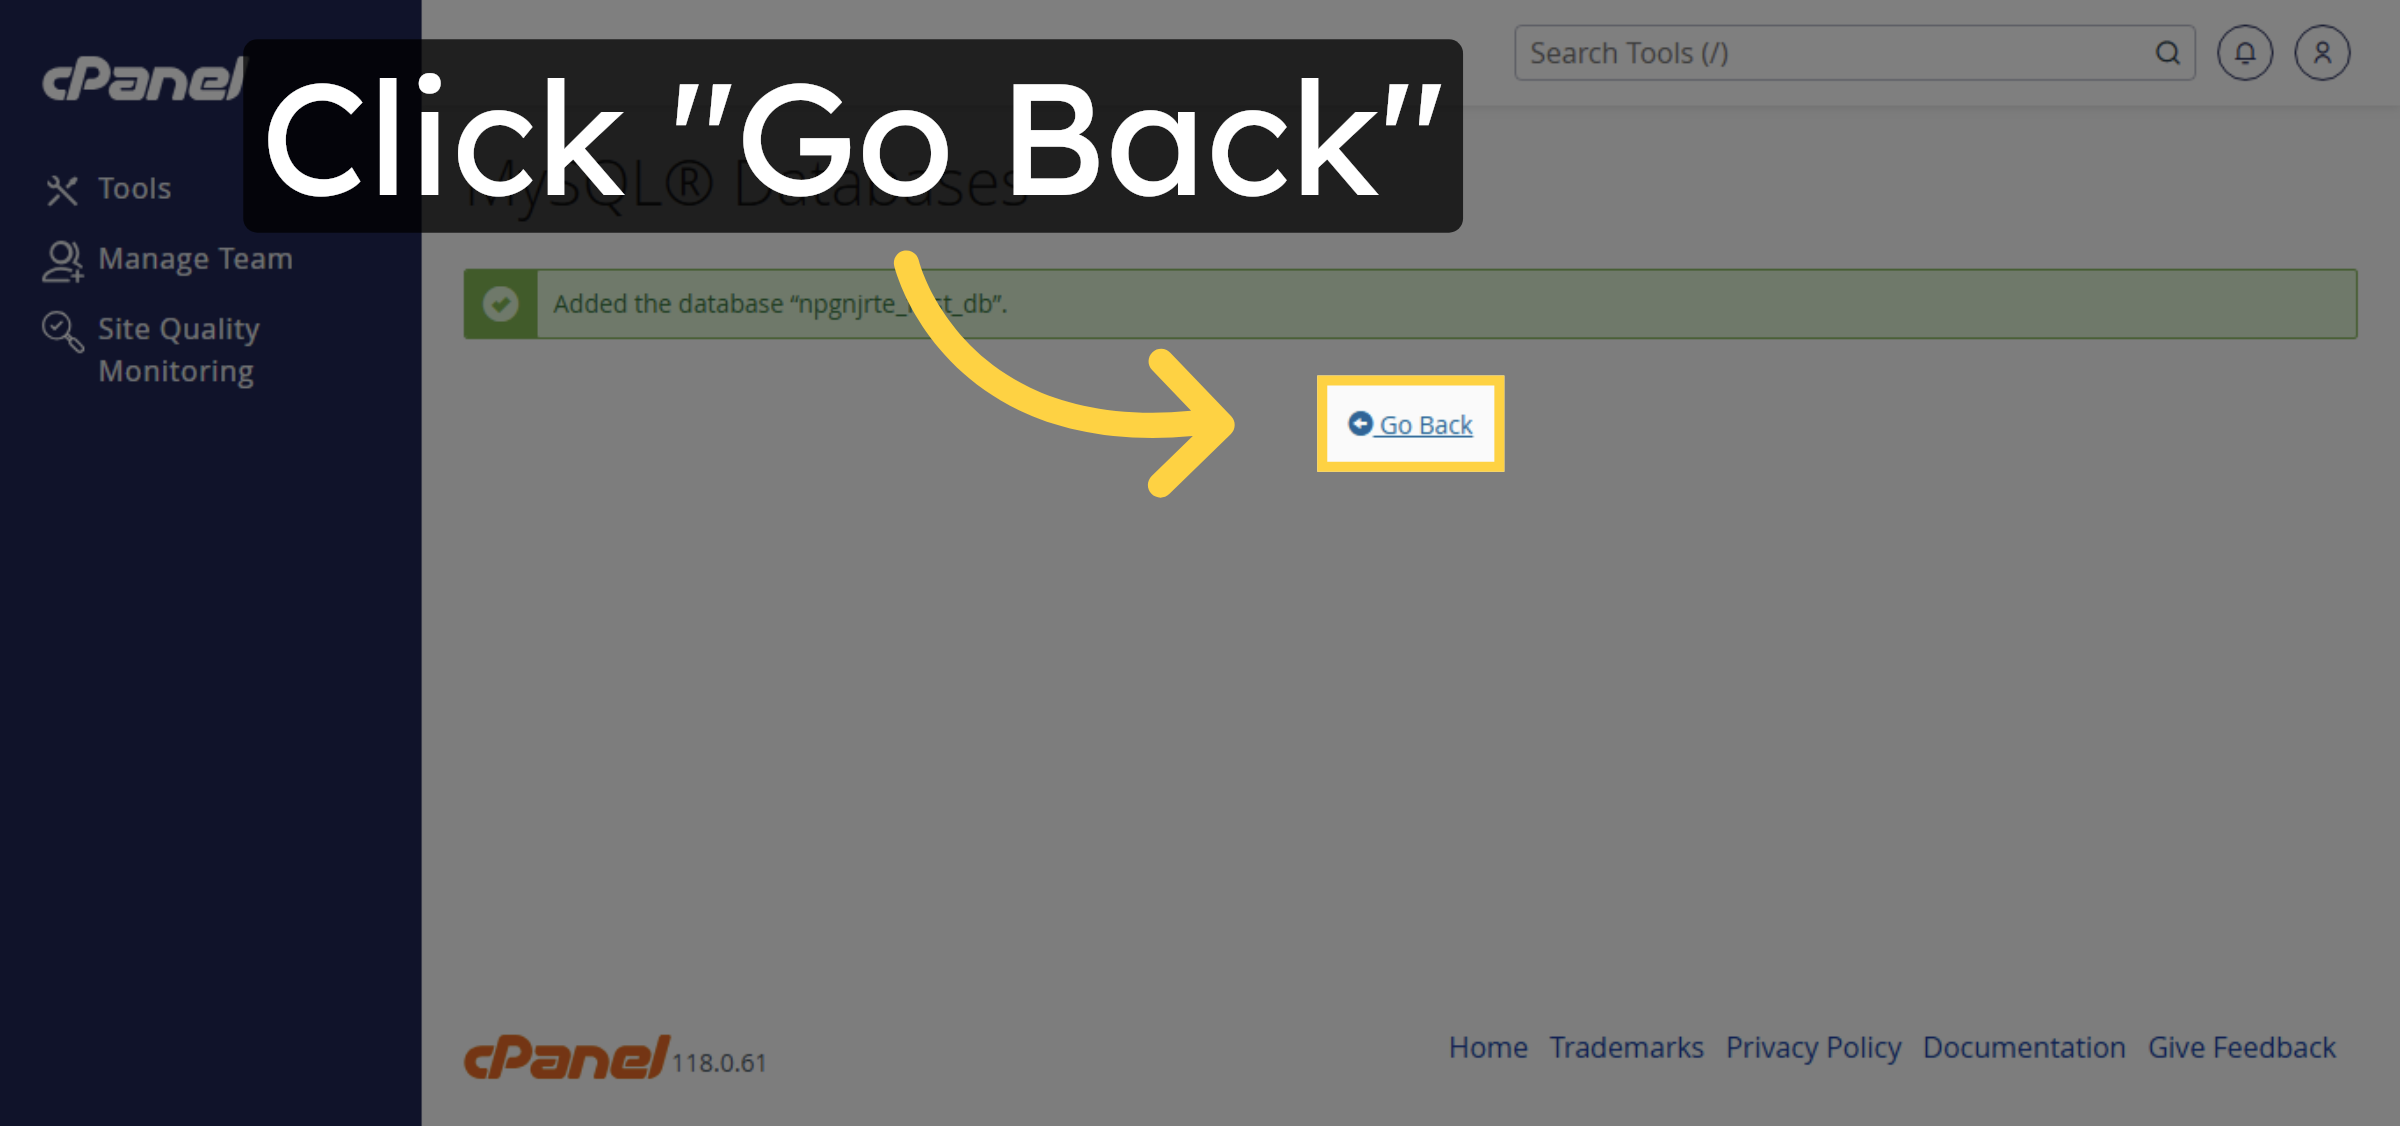
10. Return to Previous Page
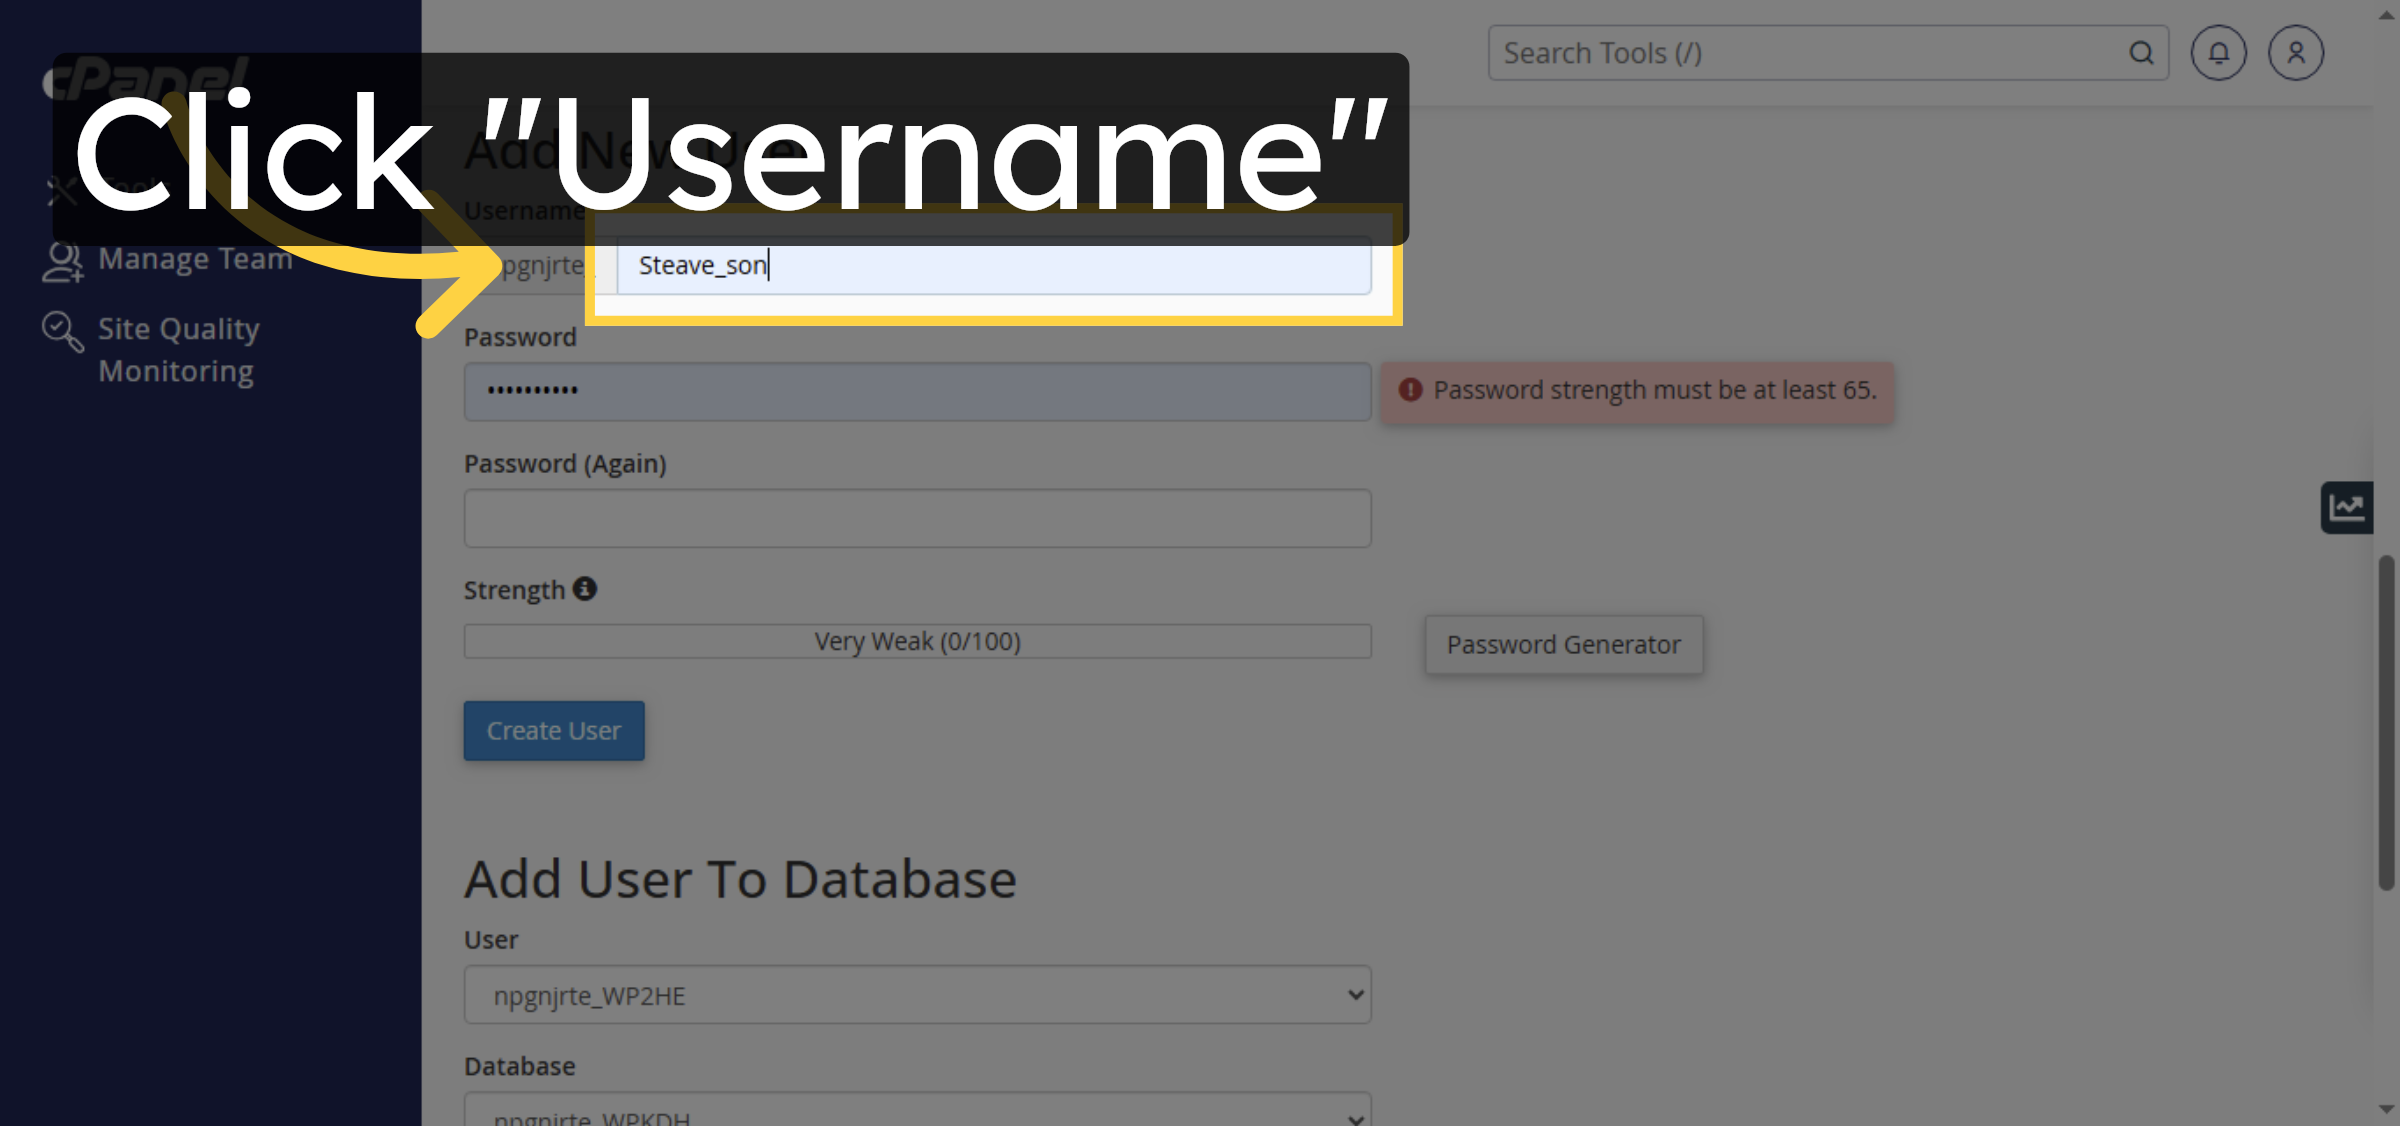
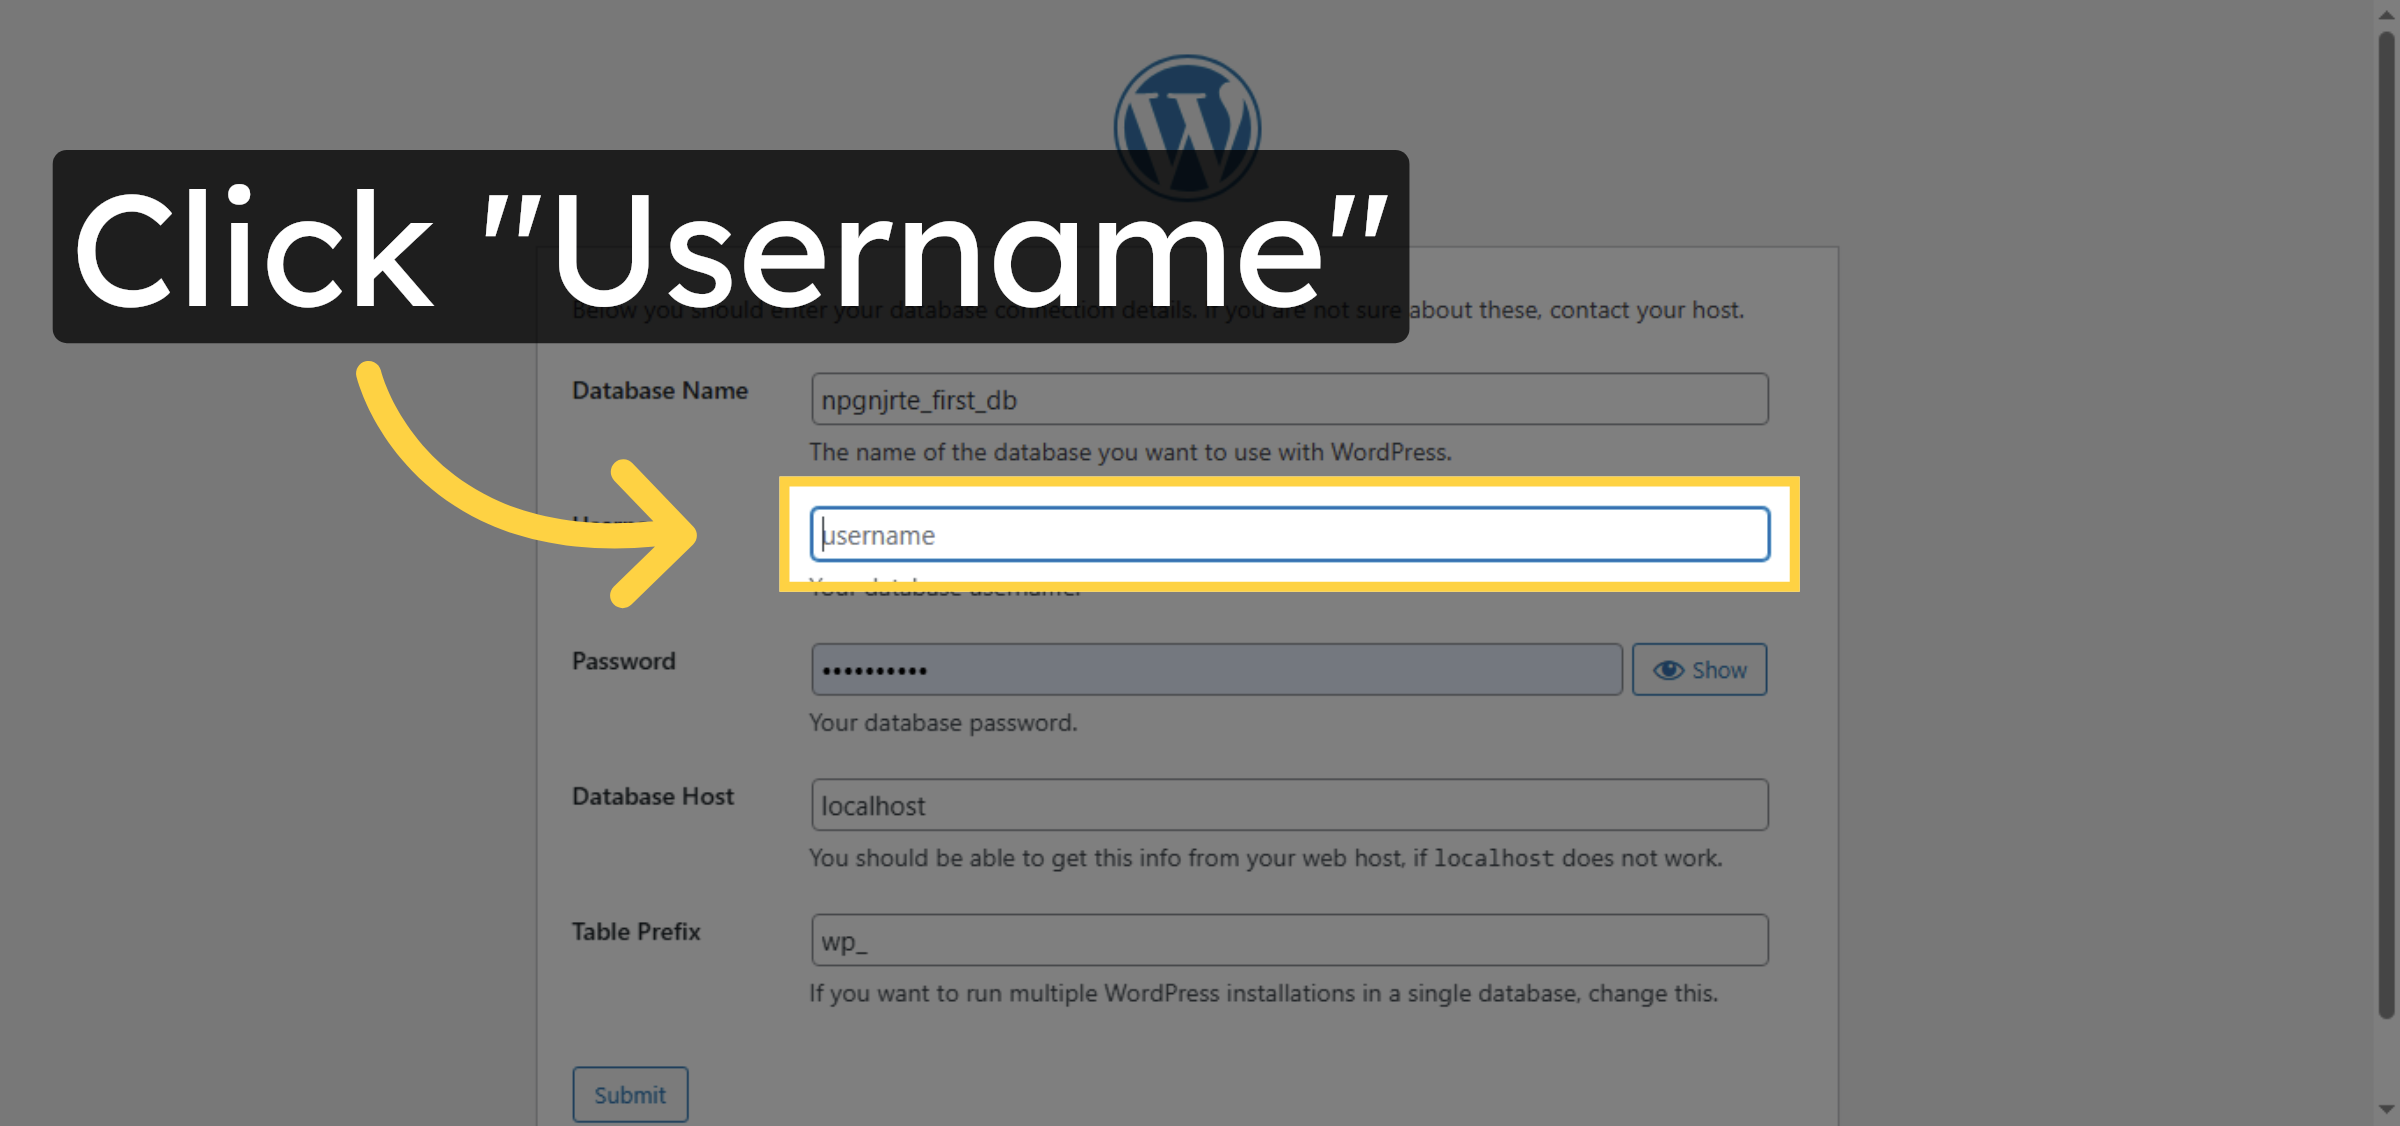
11. Select Username Field
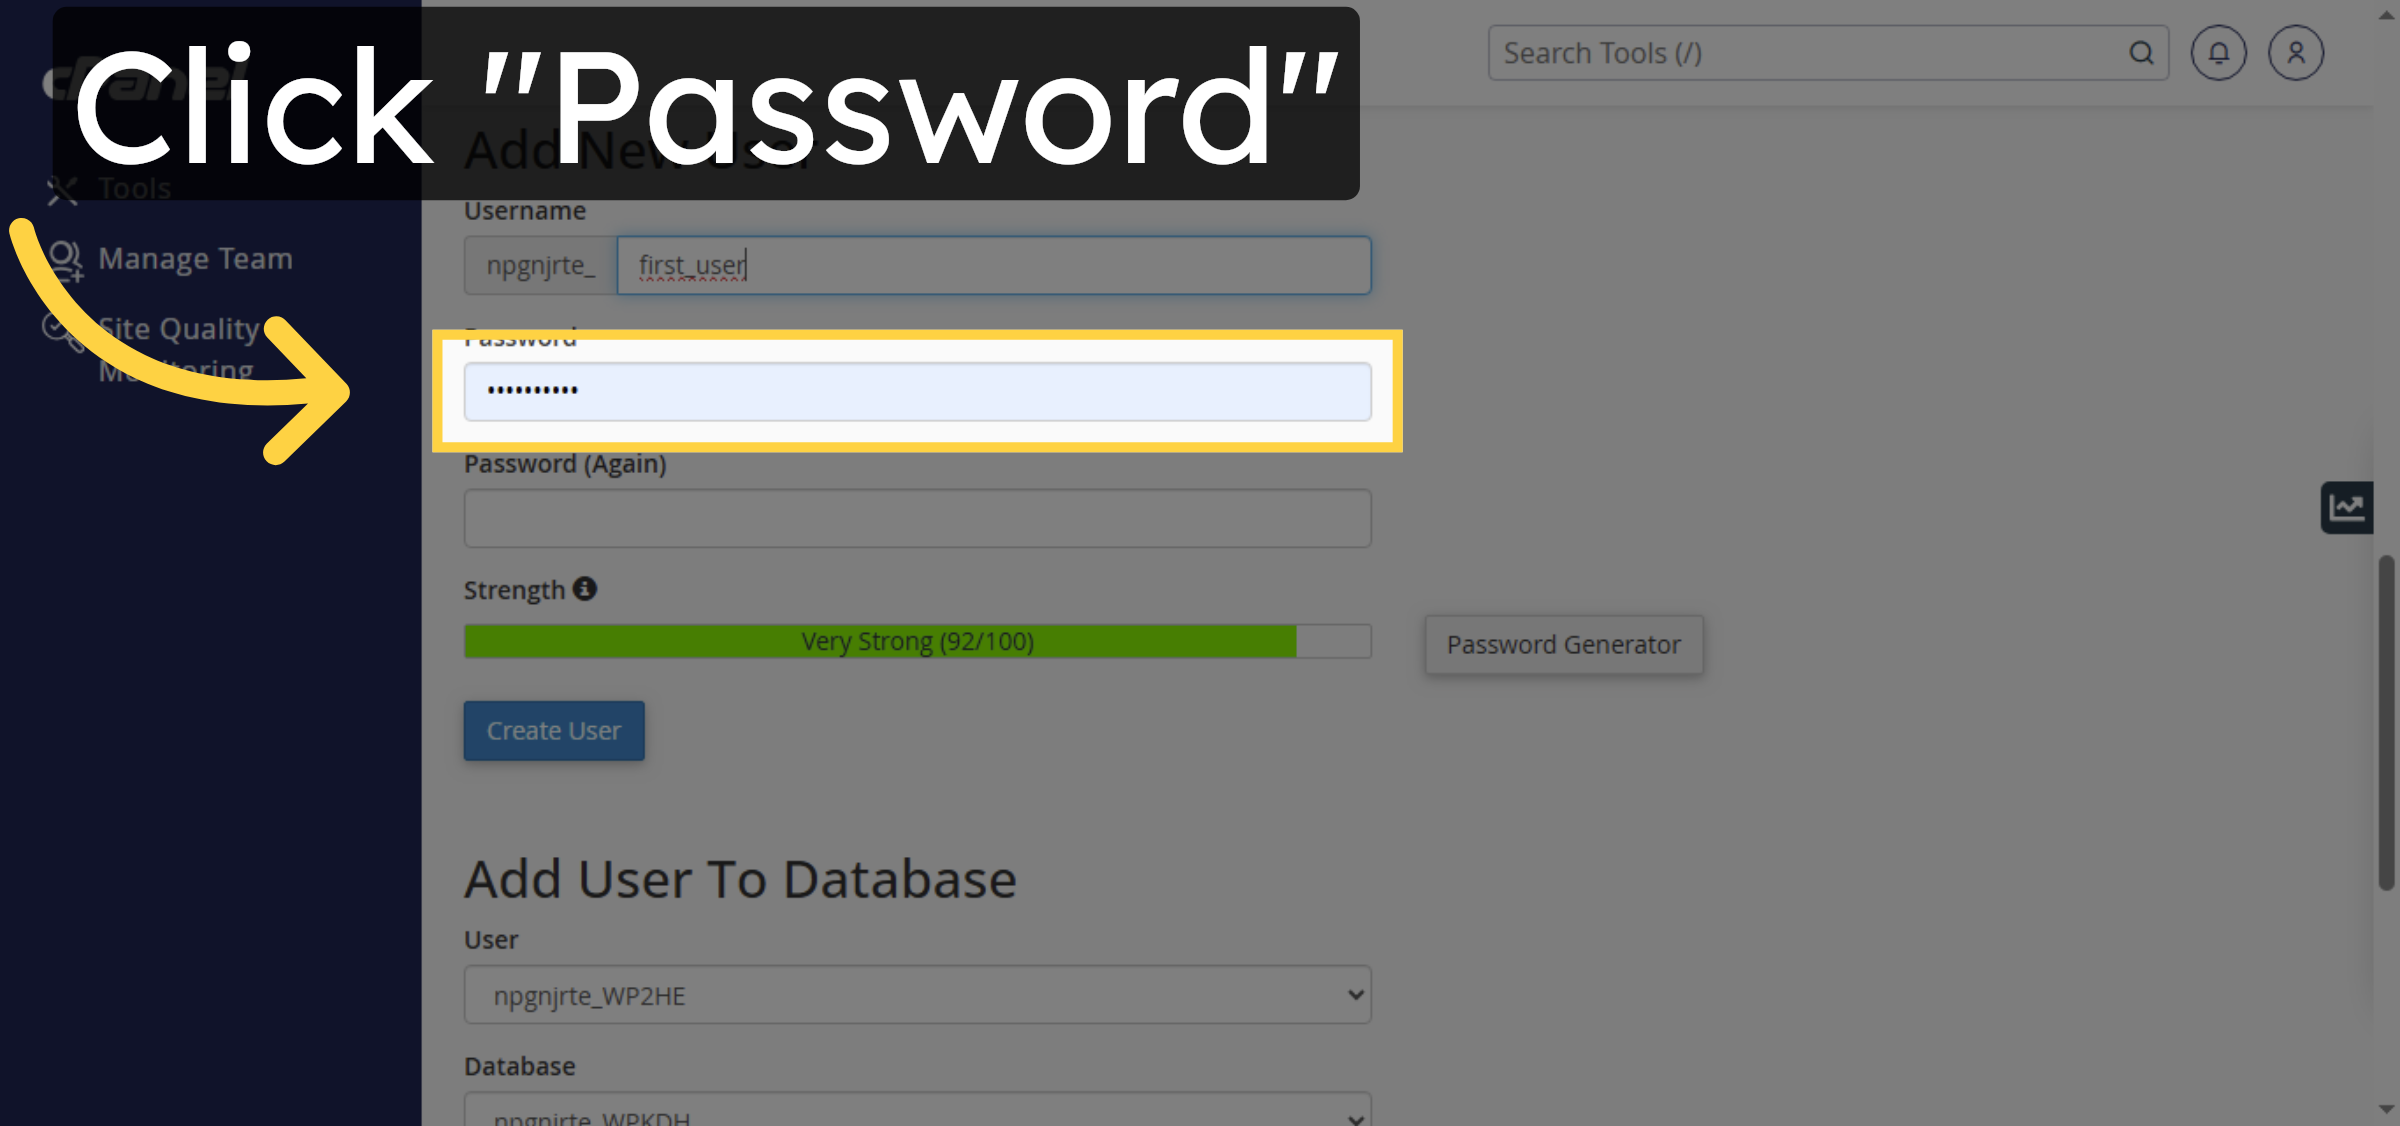
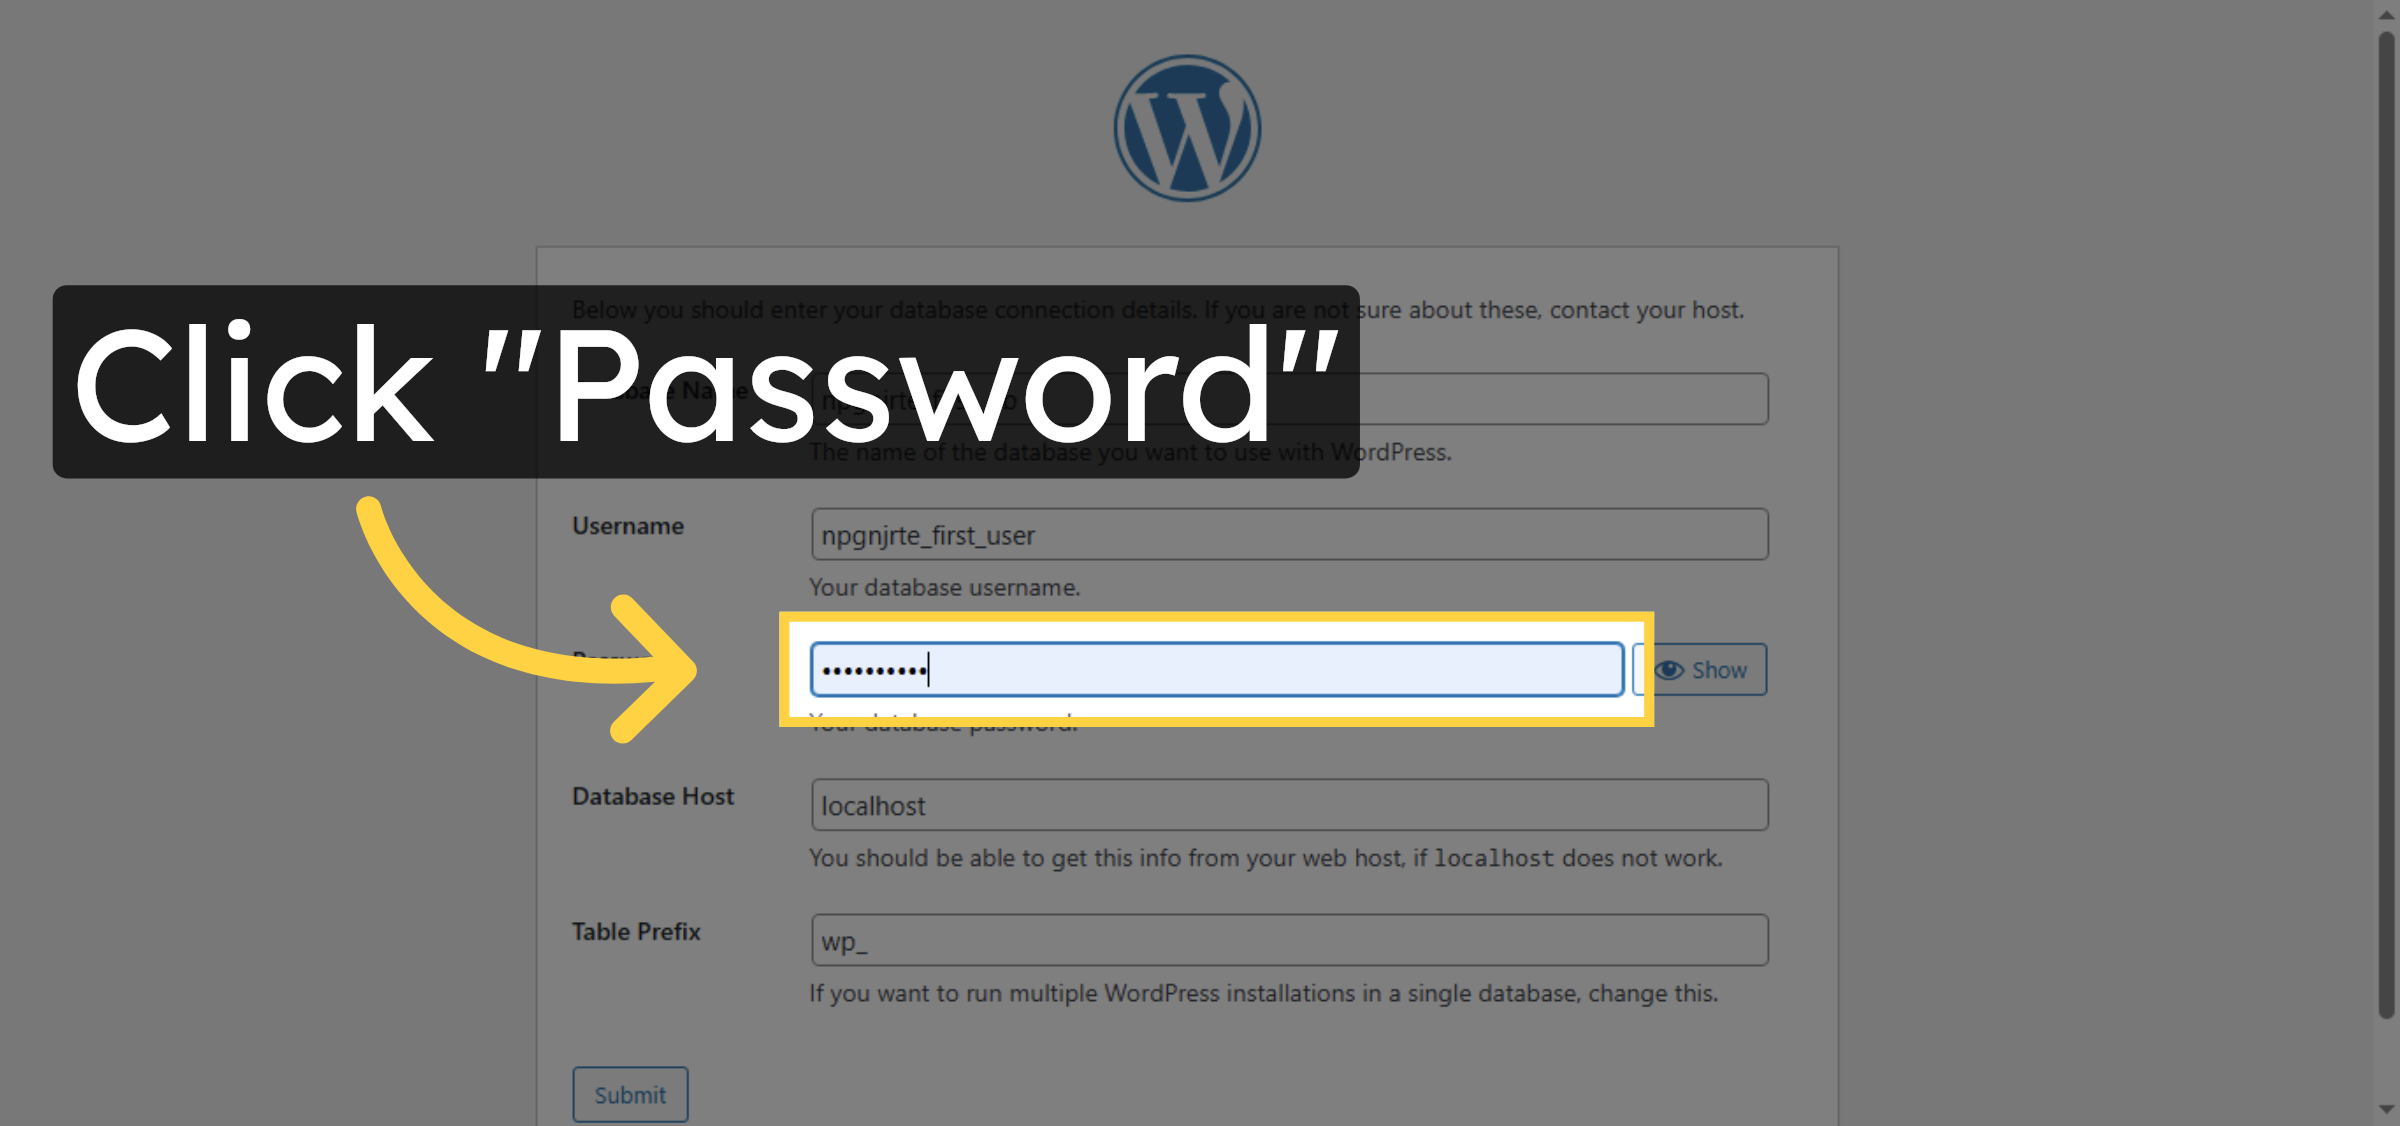
12. Select Password Field
13. Return to Database Overview
14. Go back
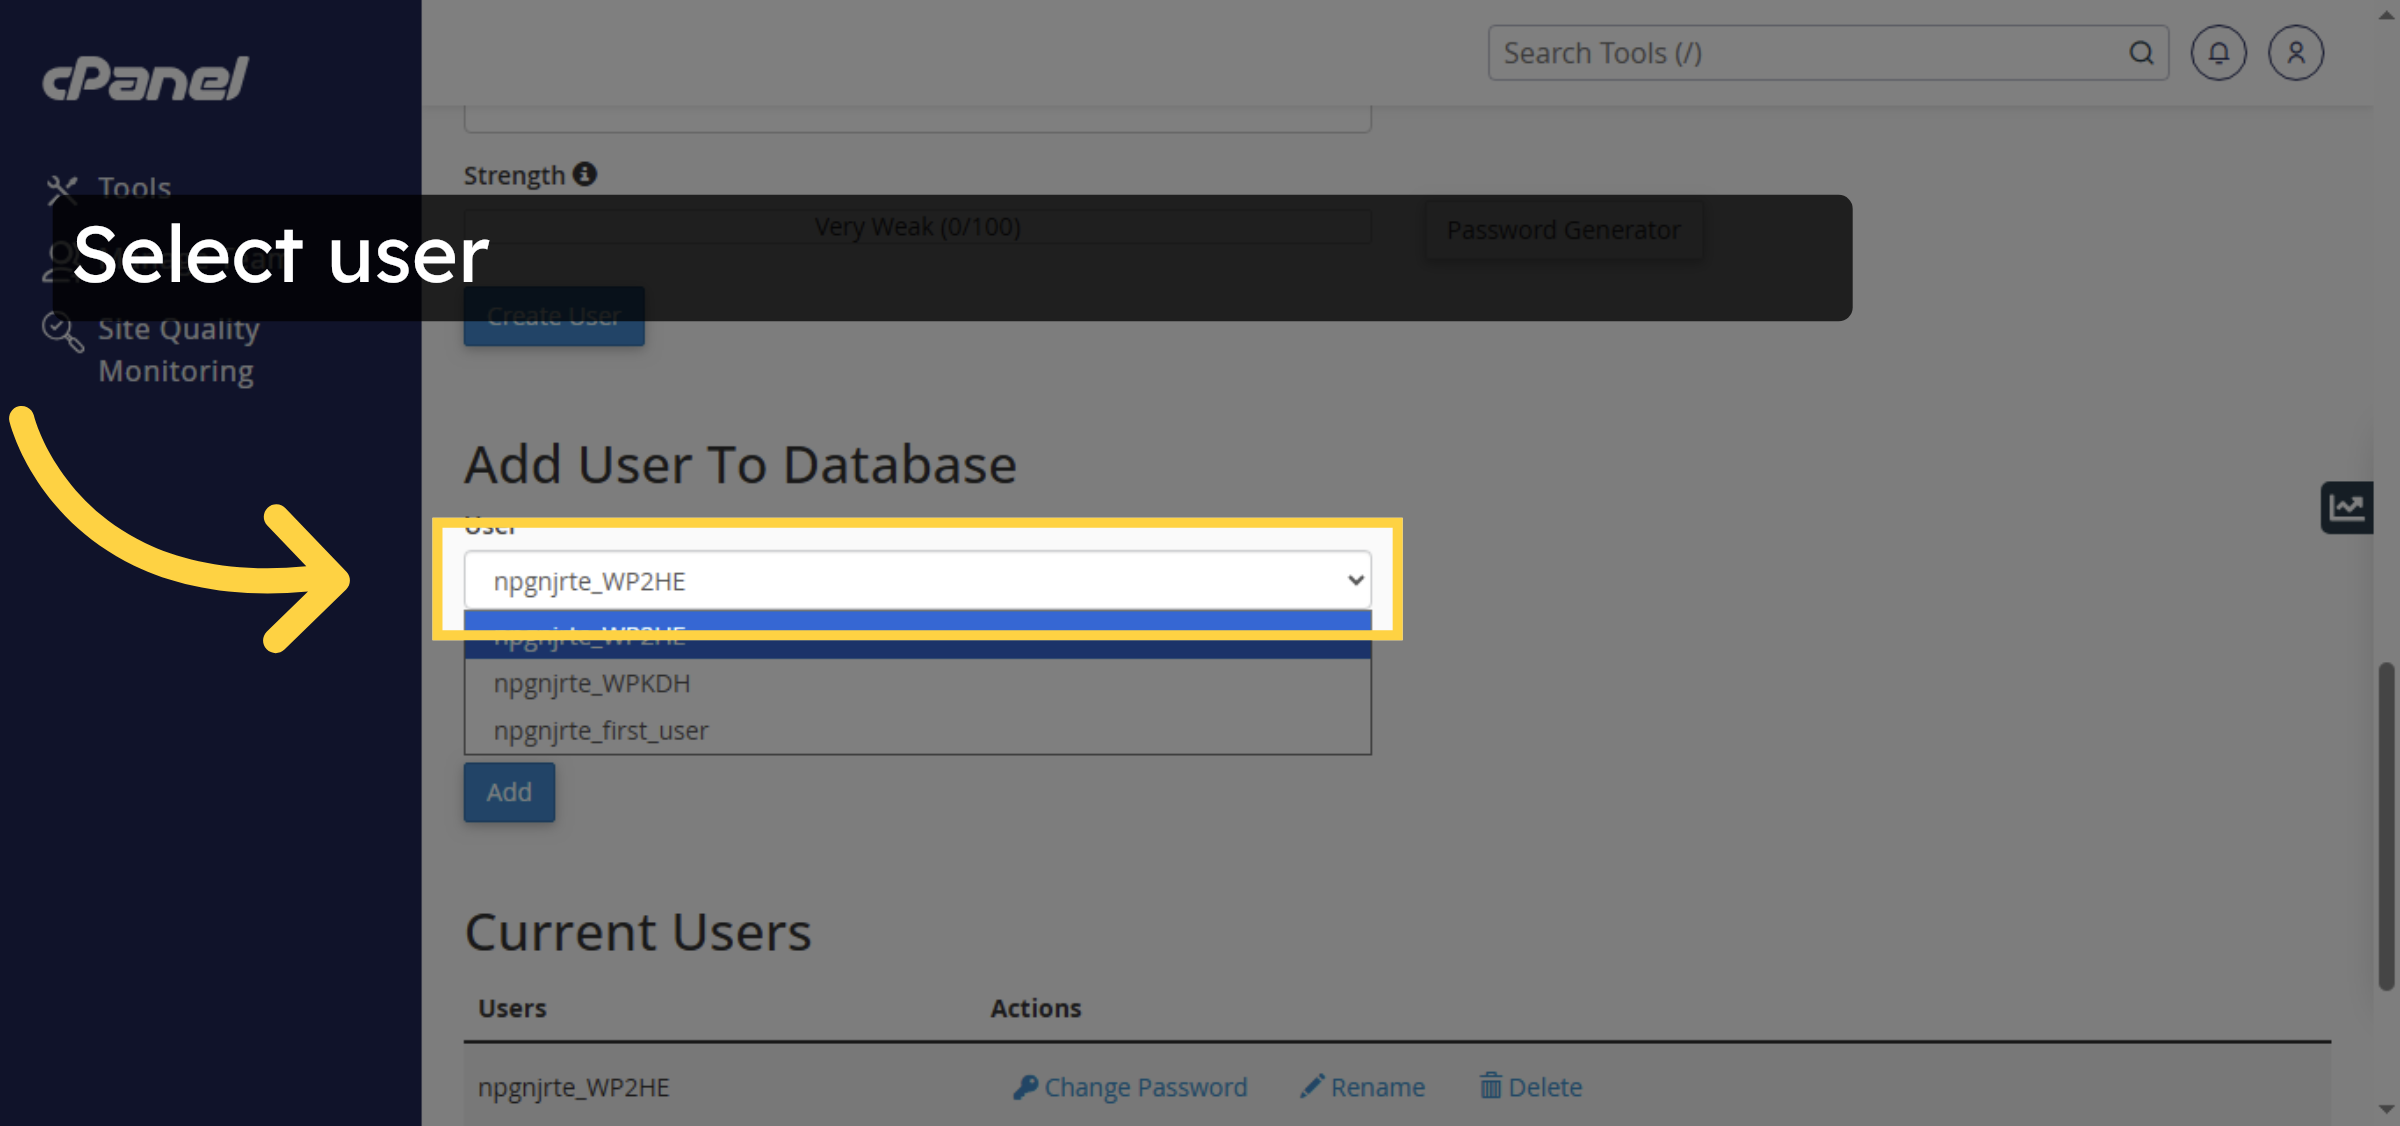
15. Select user
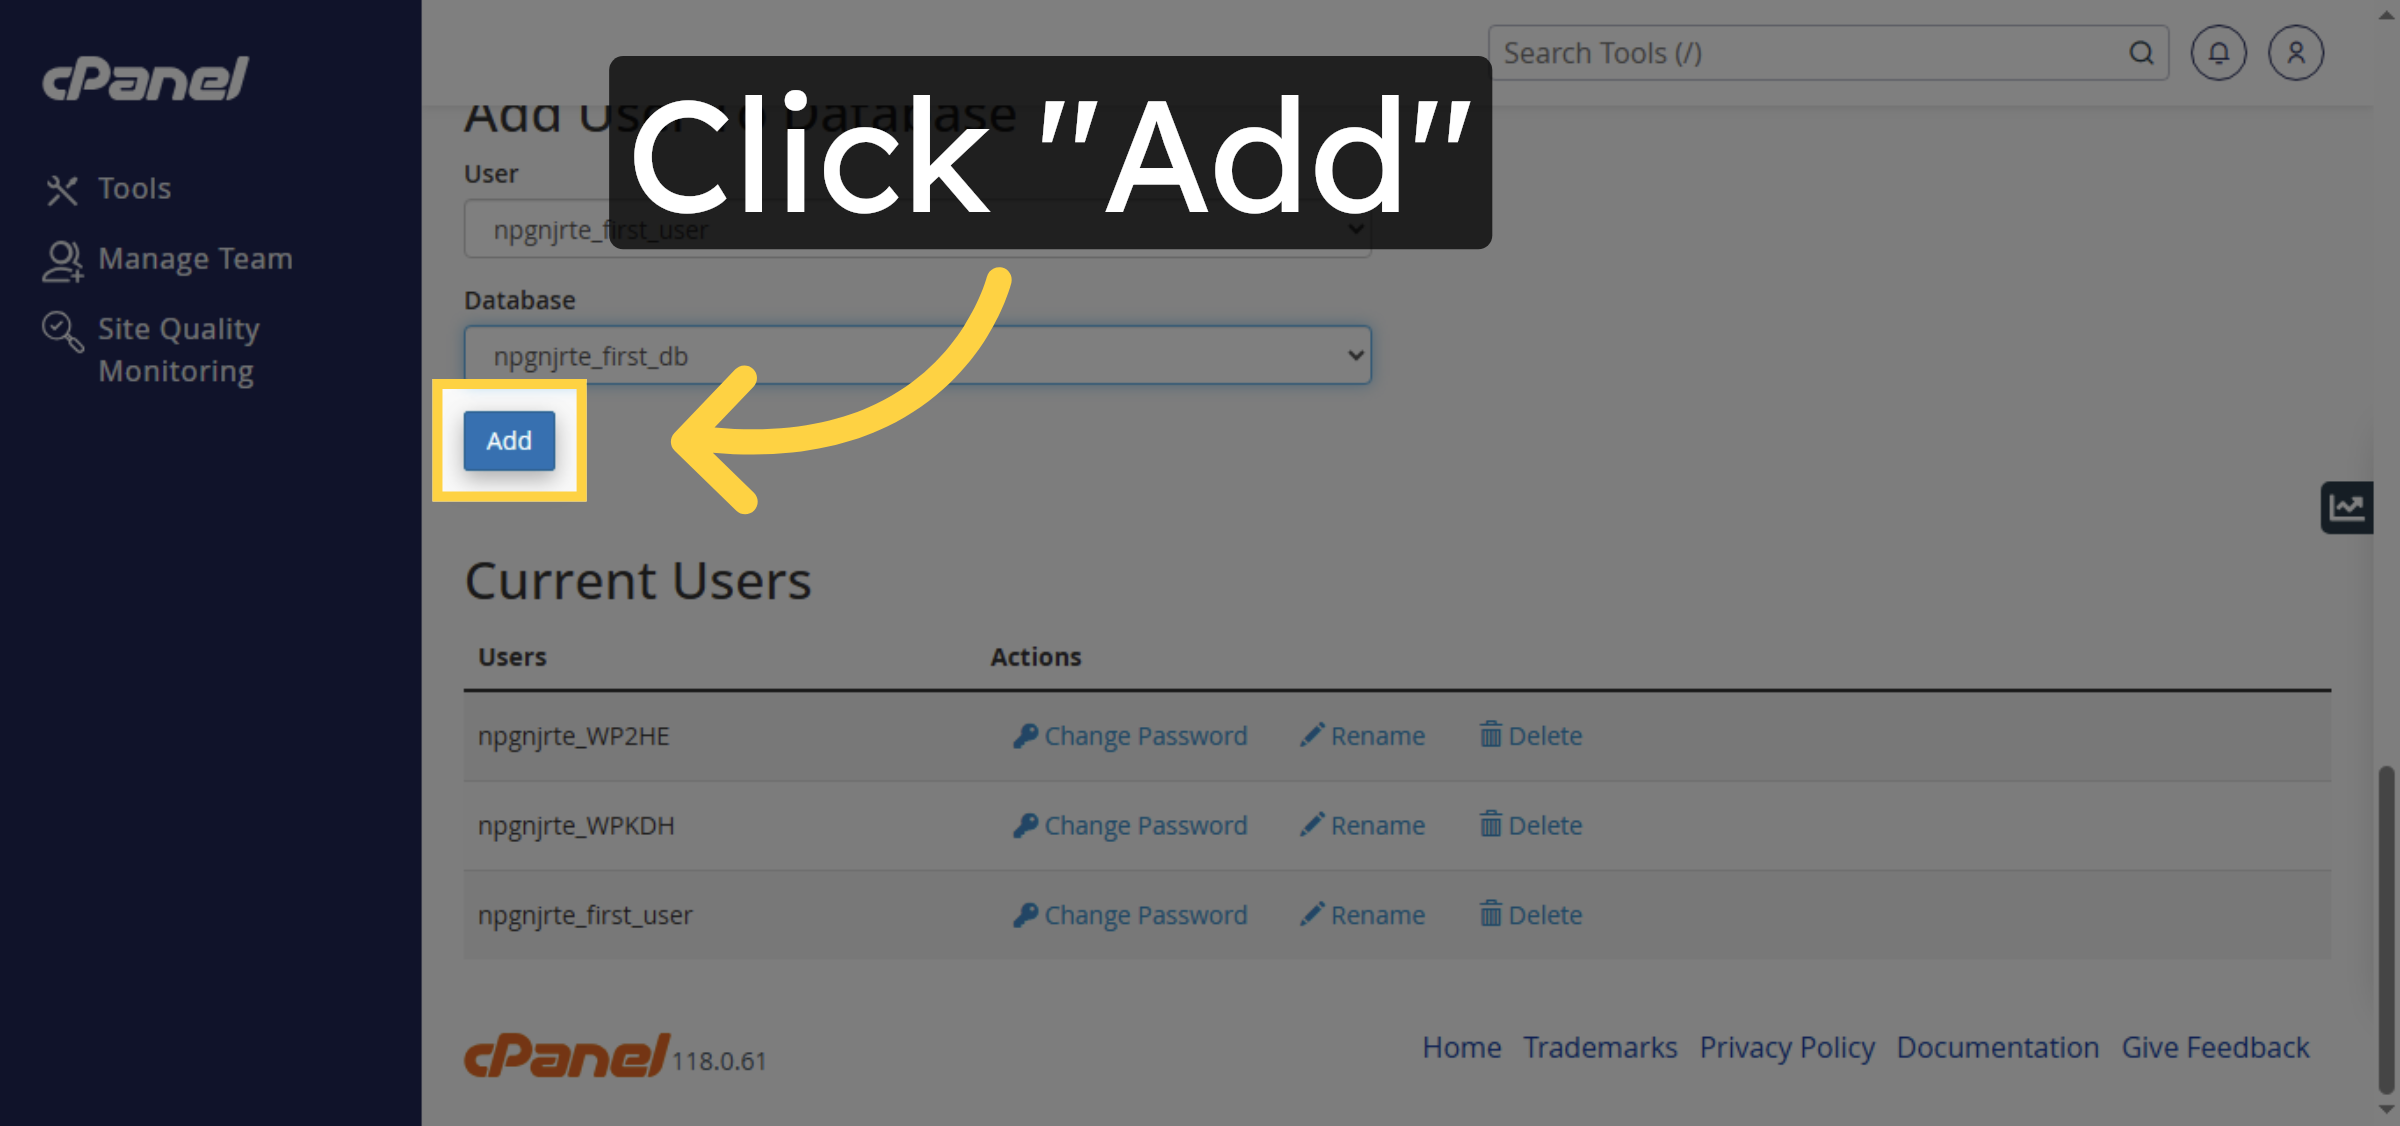
16. Select Database

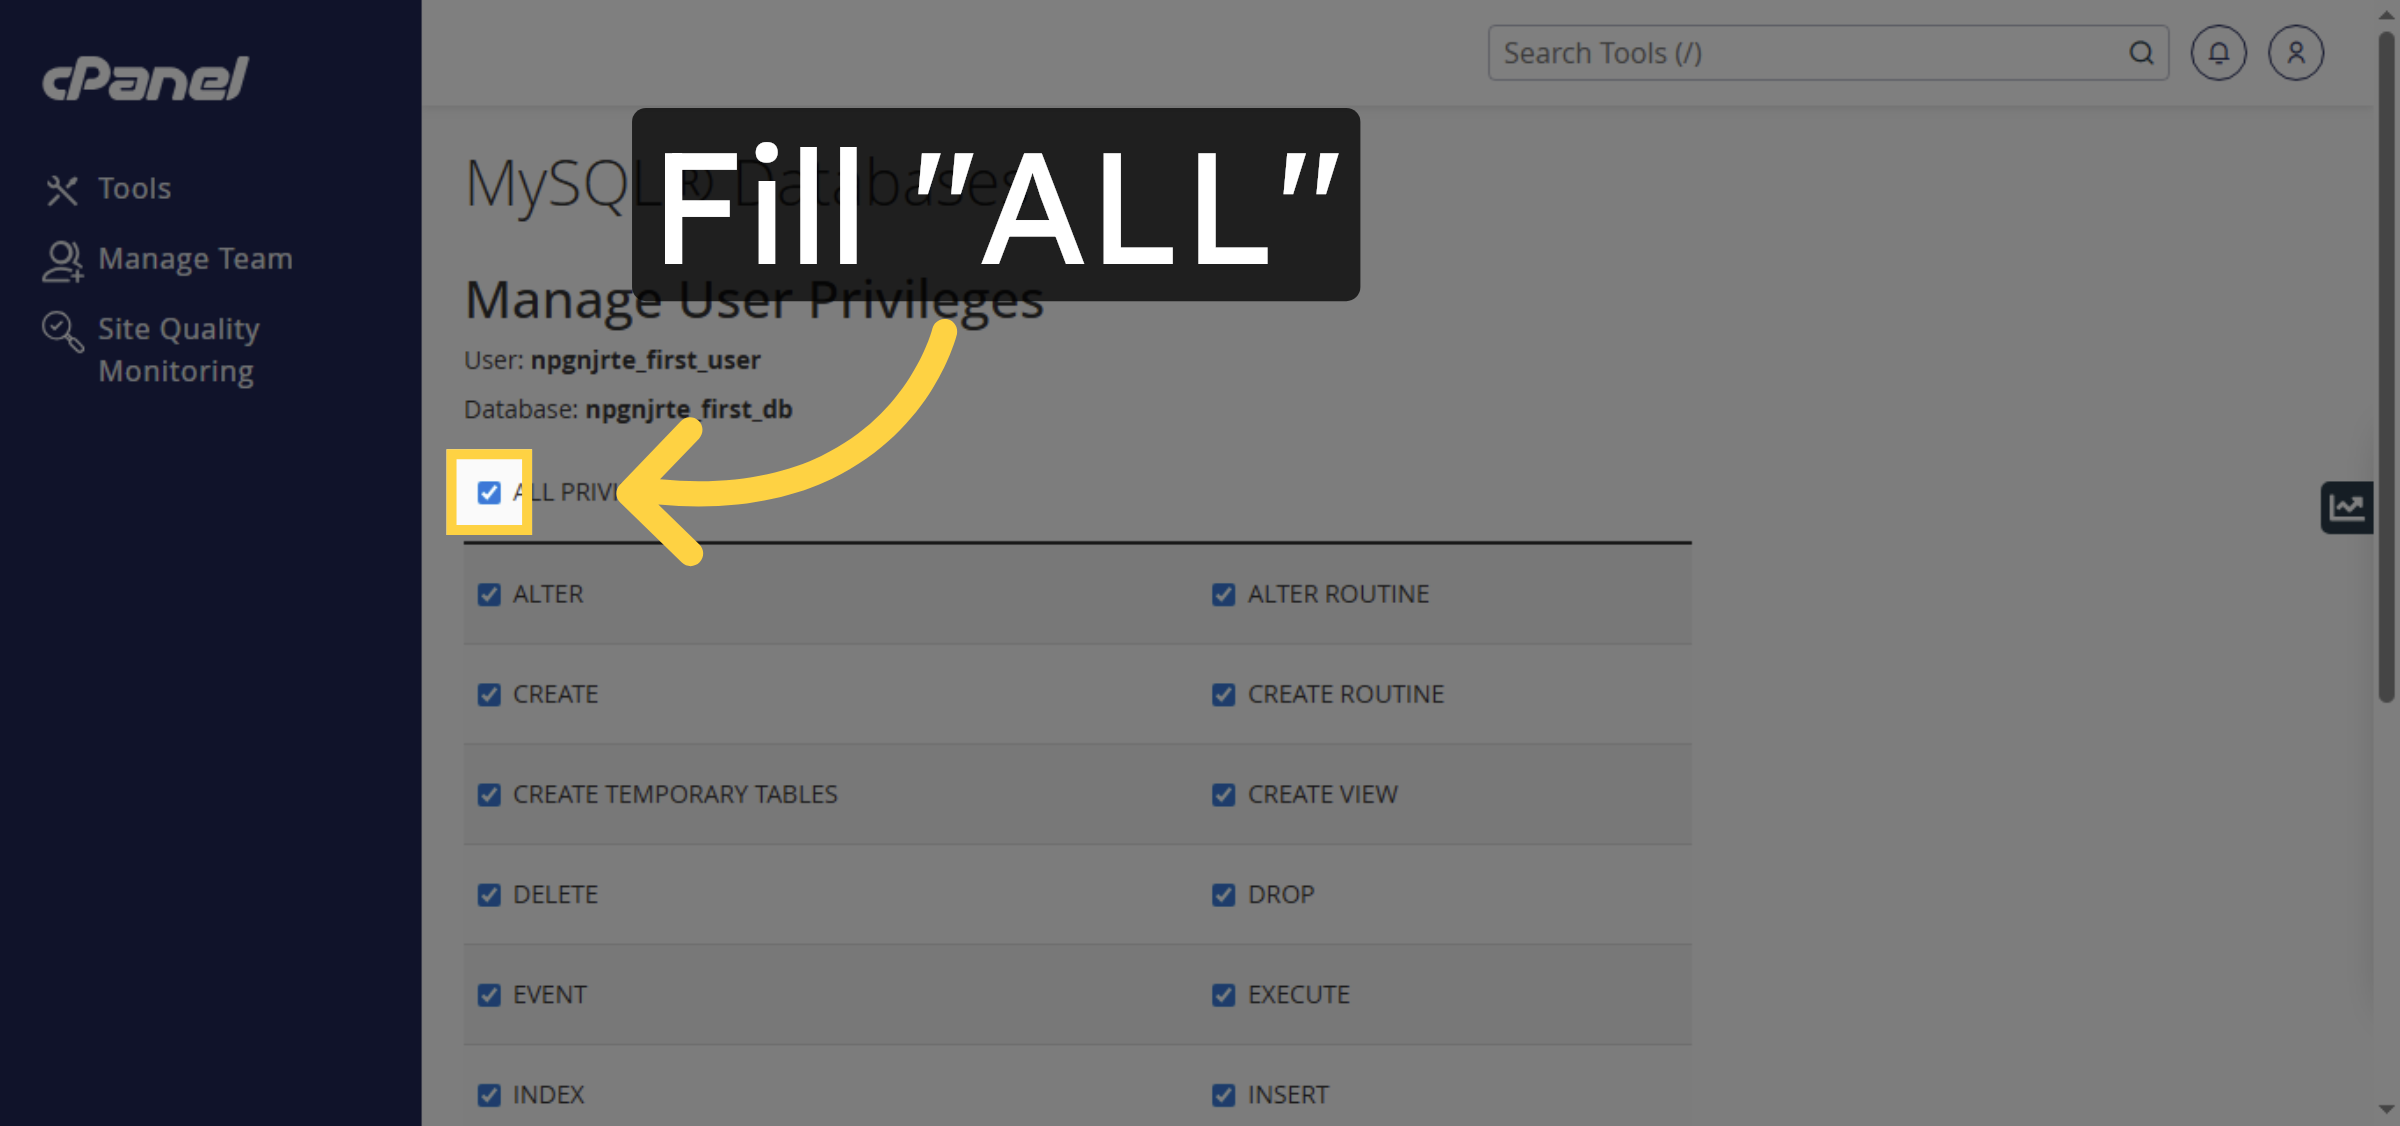
17. Select All Privileges
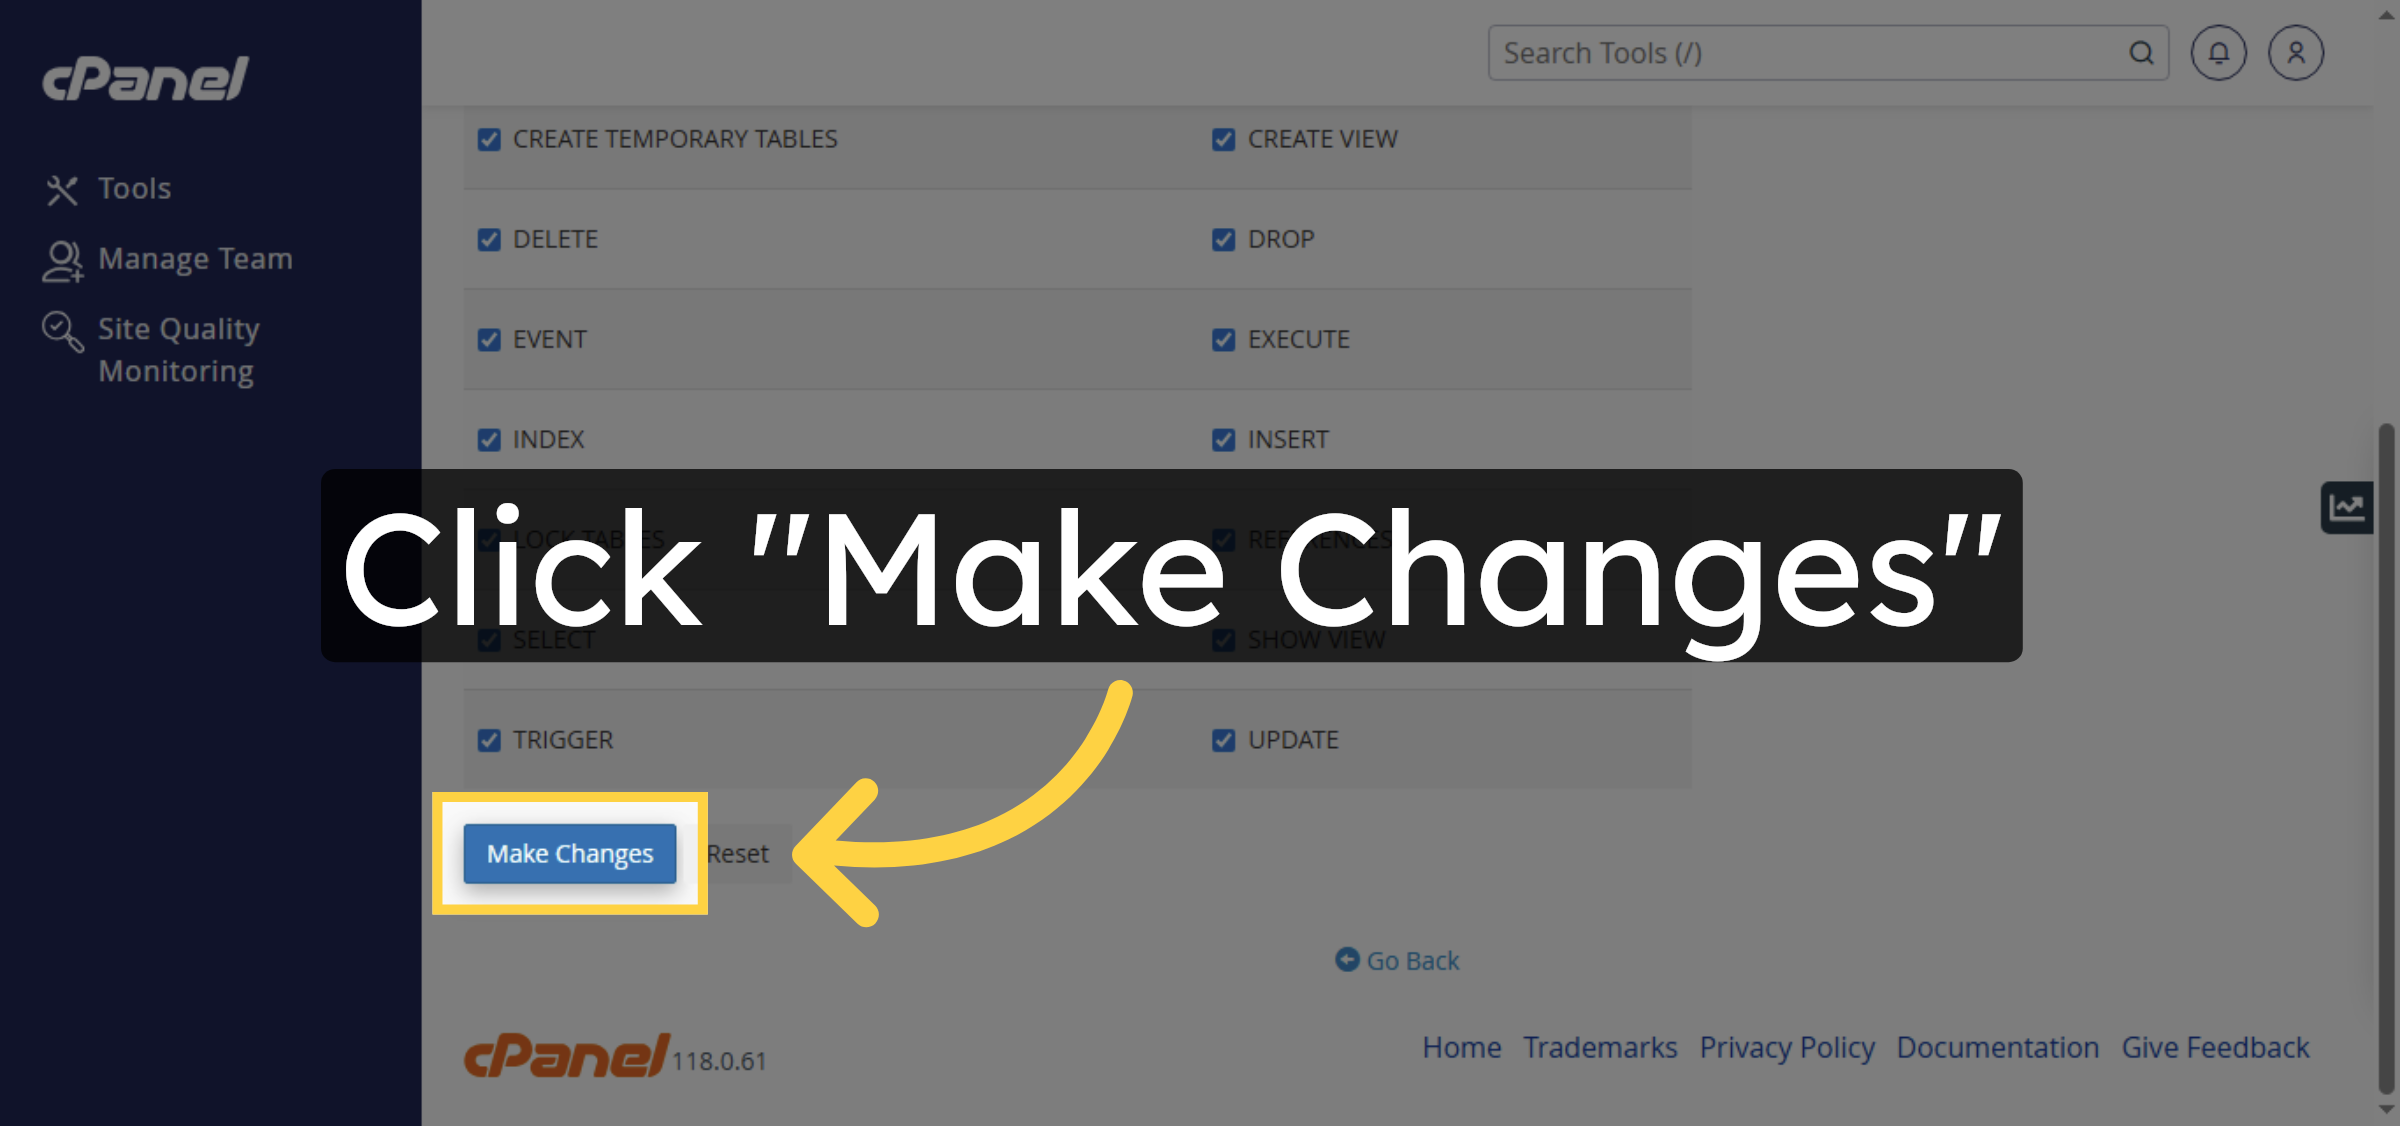
18. Save Privilege Changes
19. Save changes
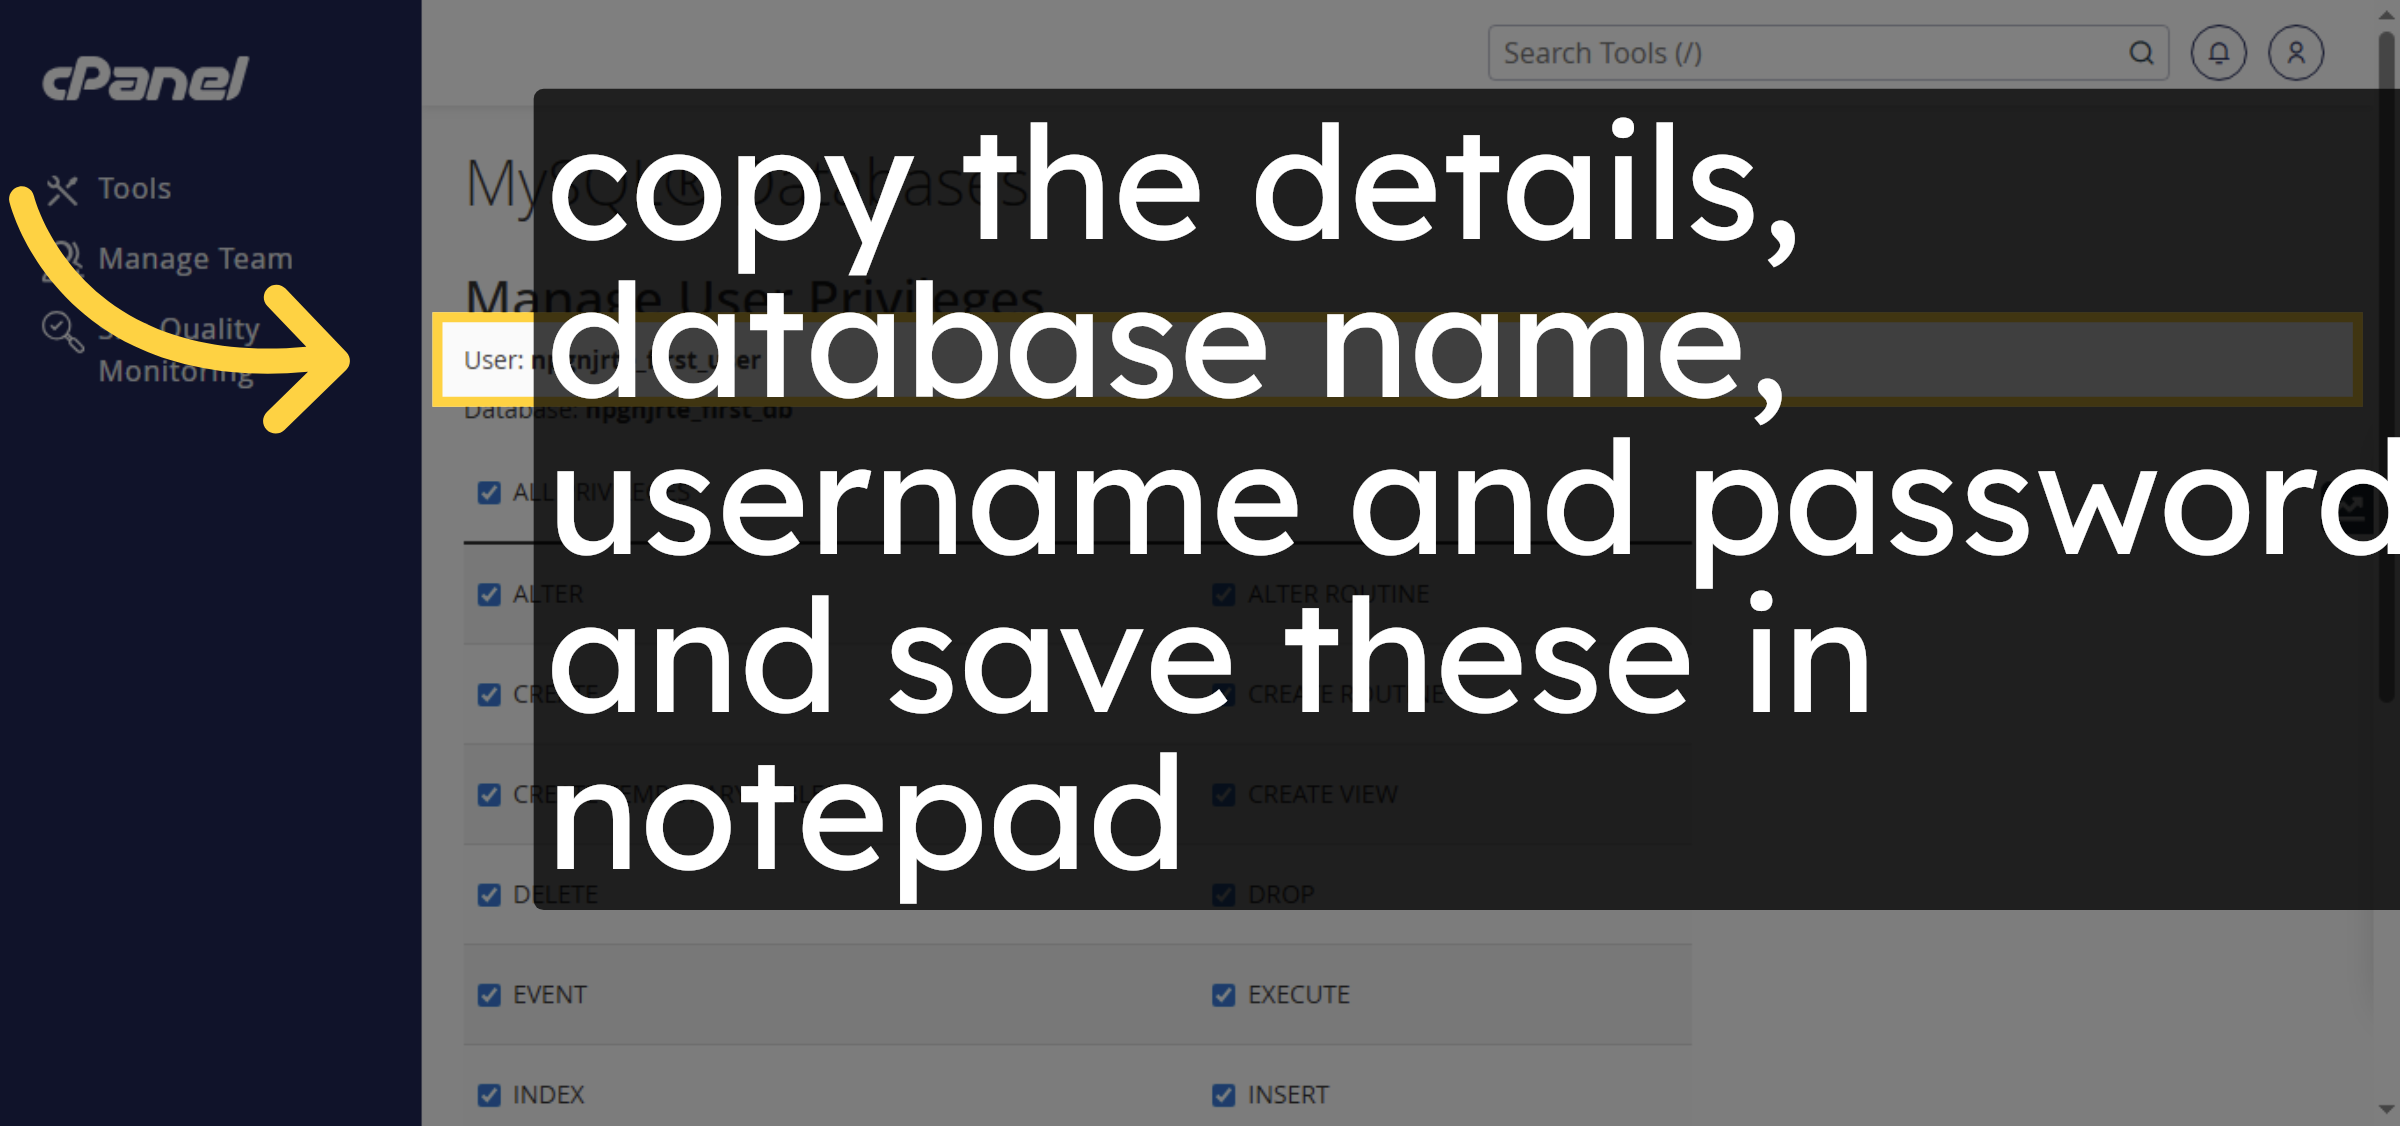
20. Save Database Details
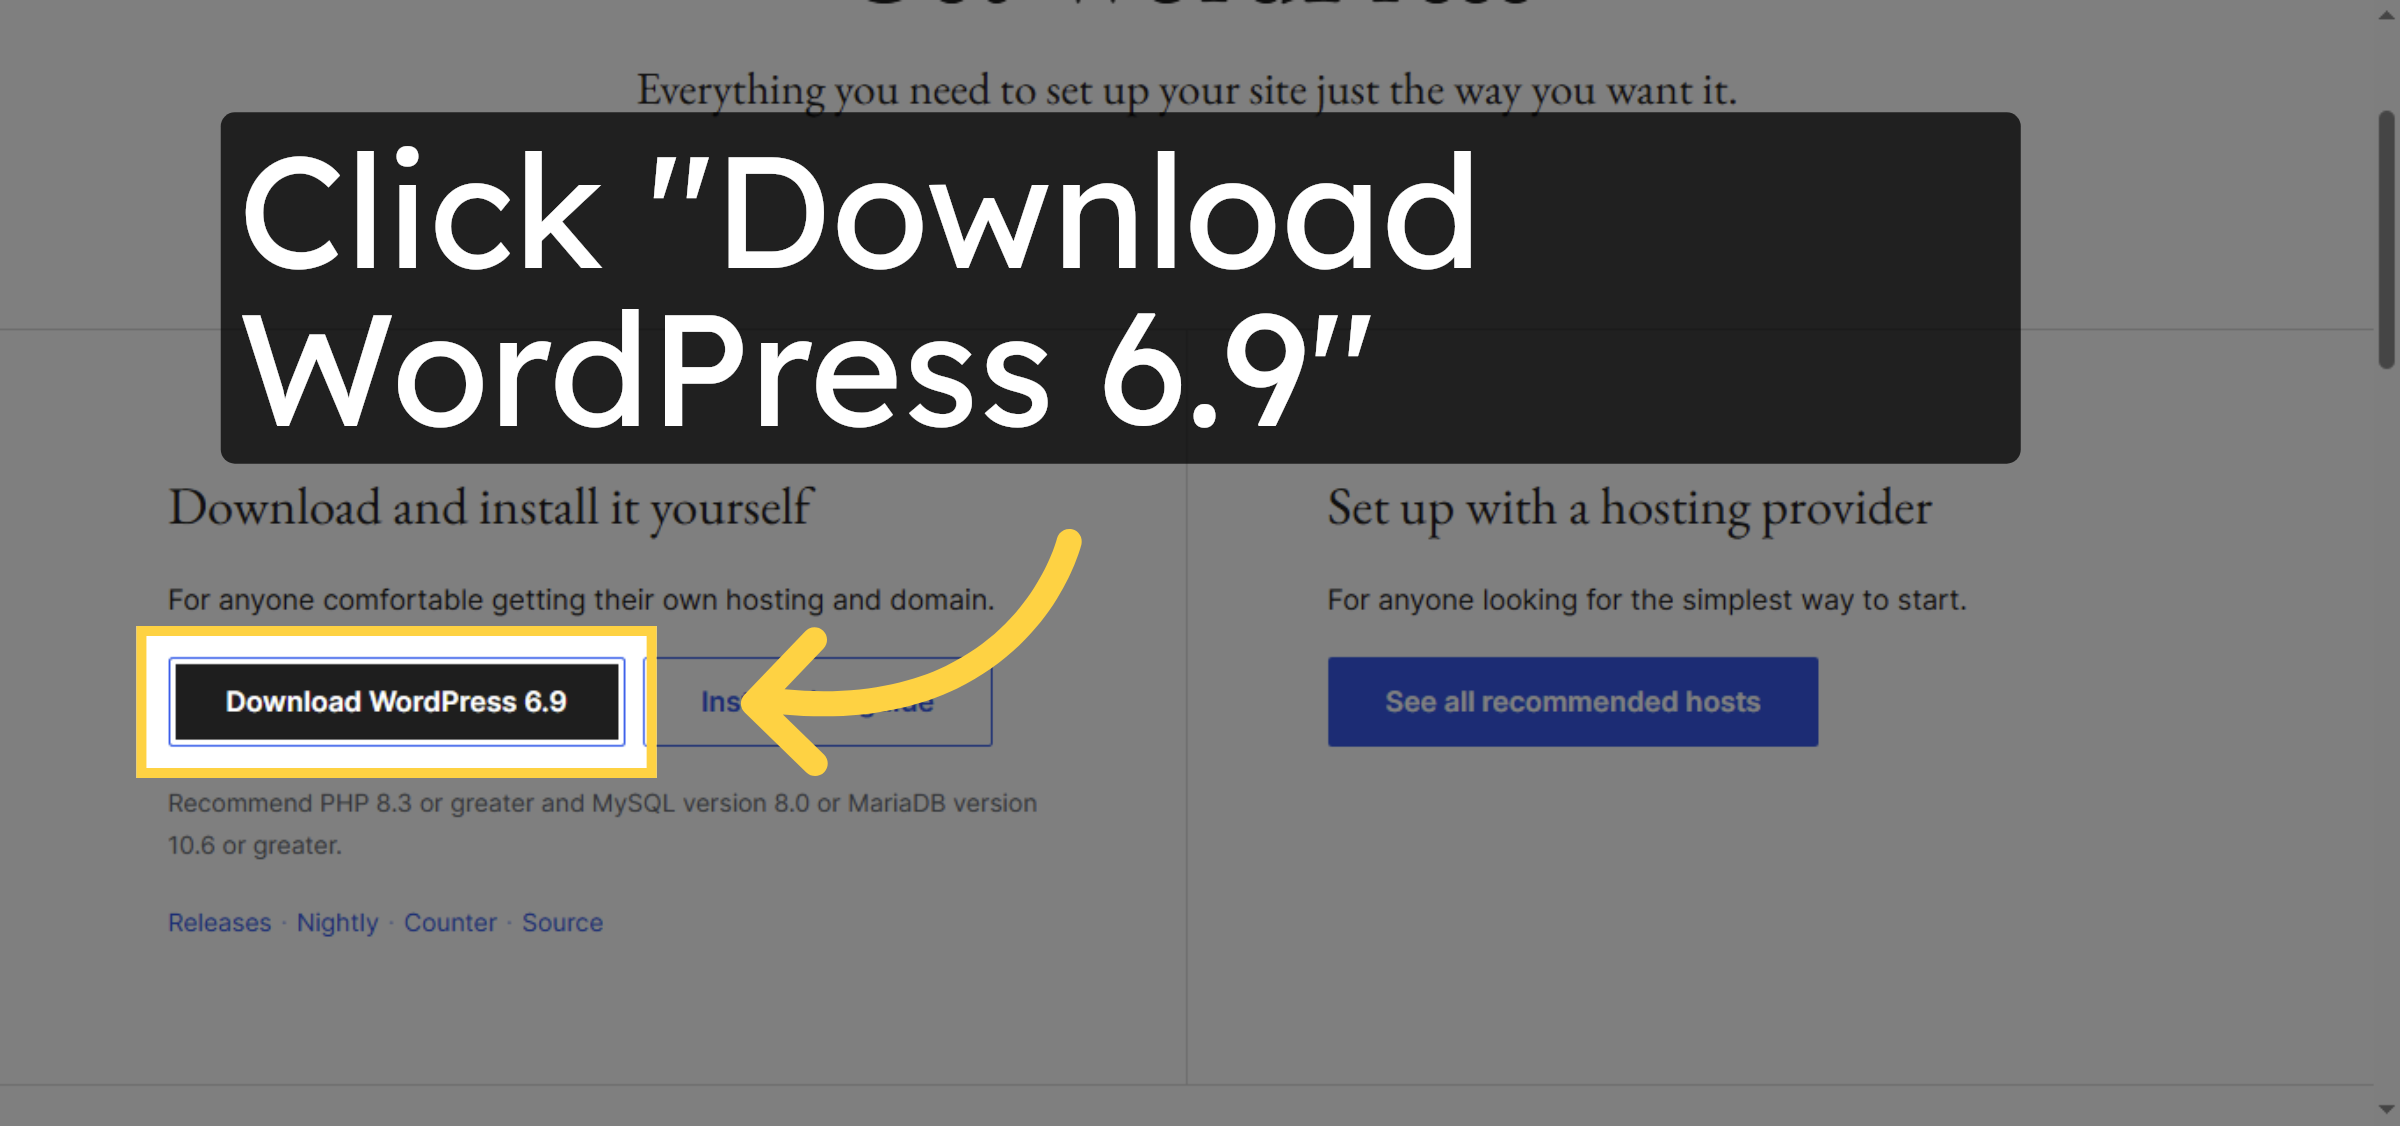
21. download WordPress from the official WordPress website.
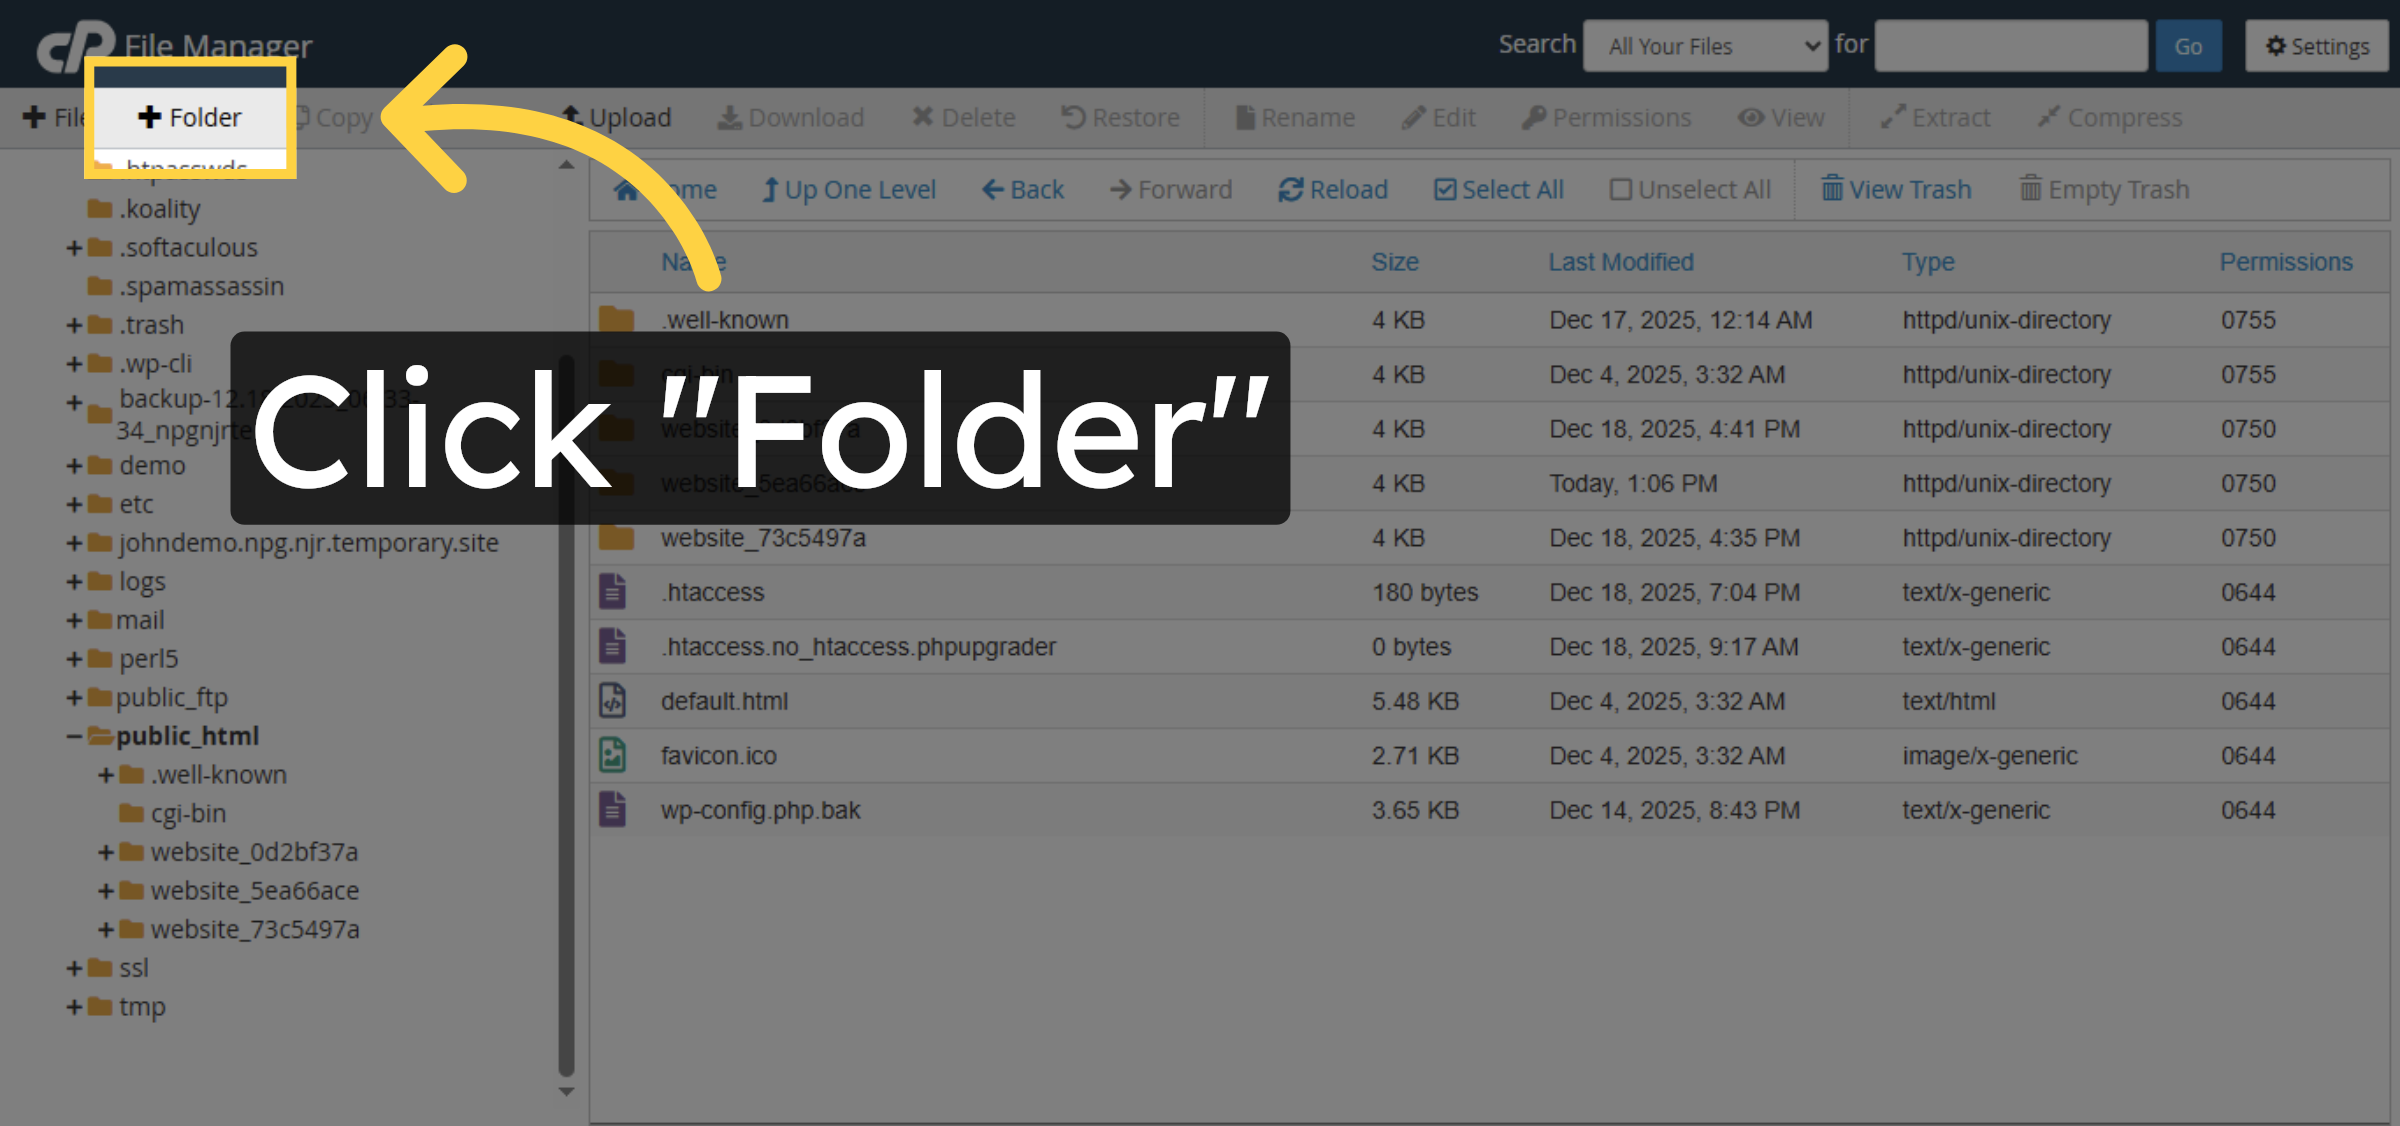
22. Create New Folder
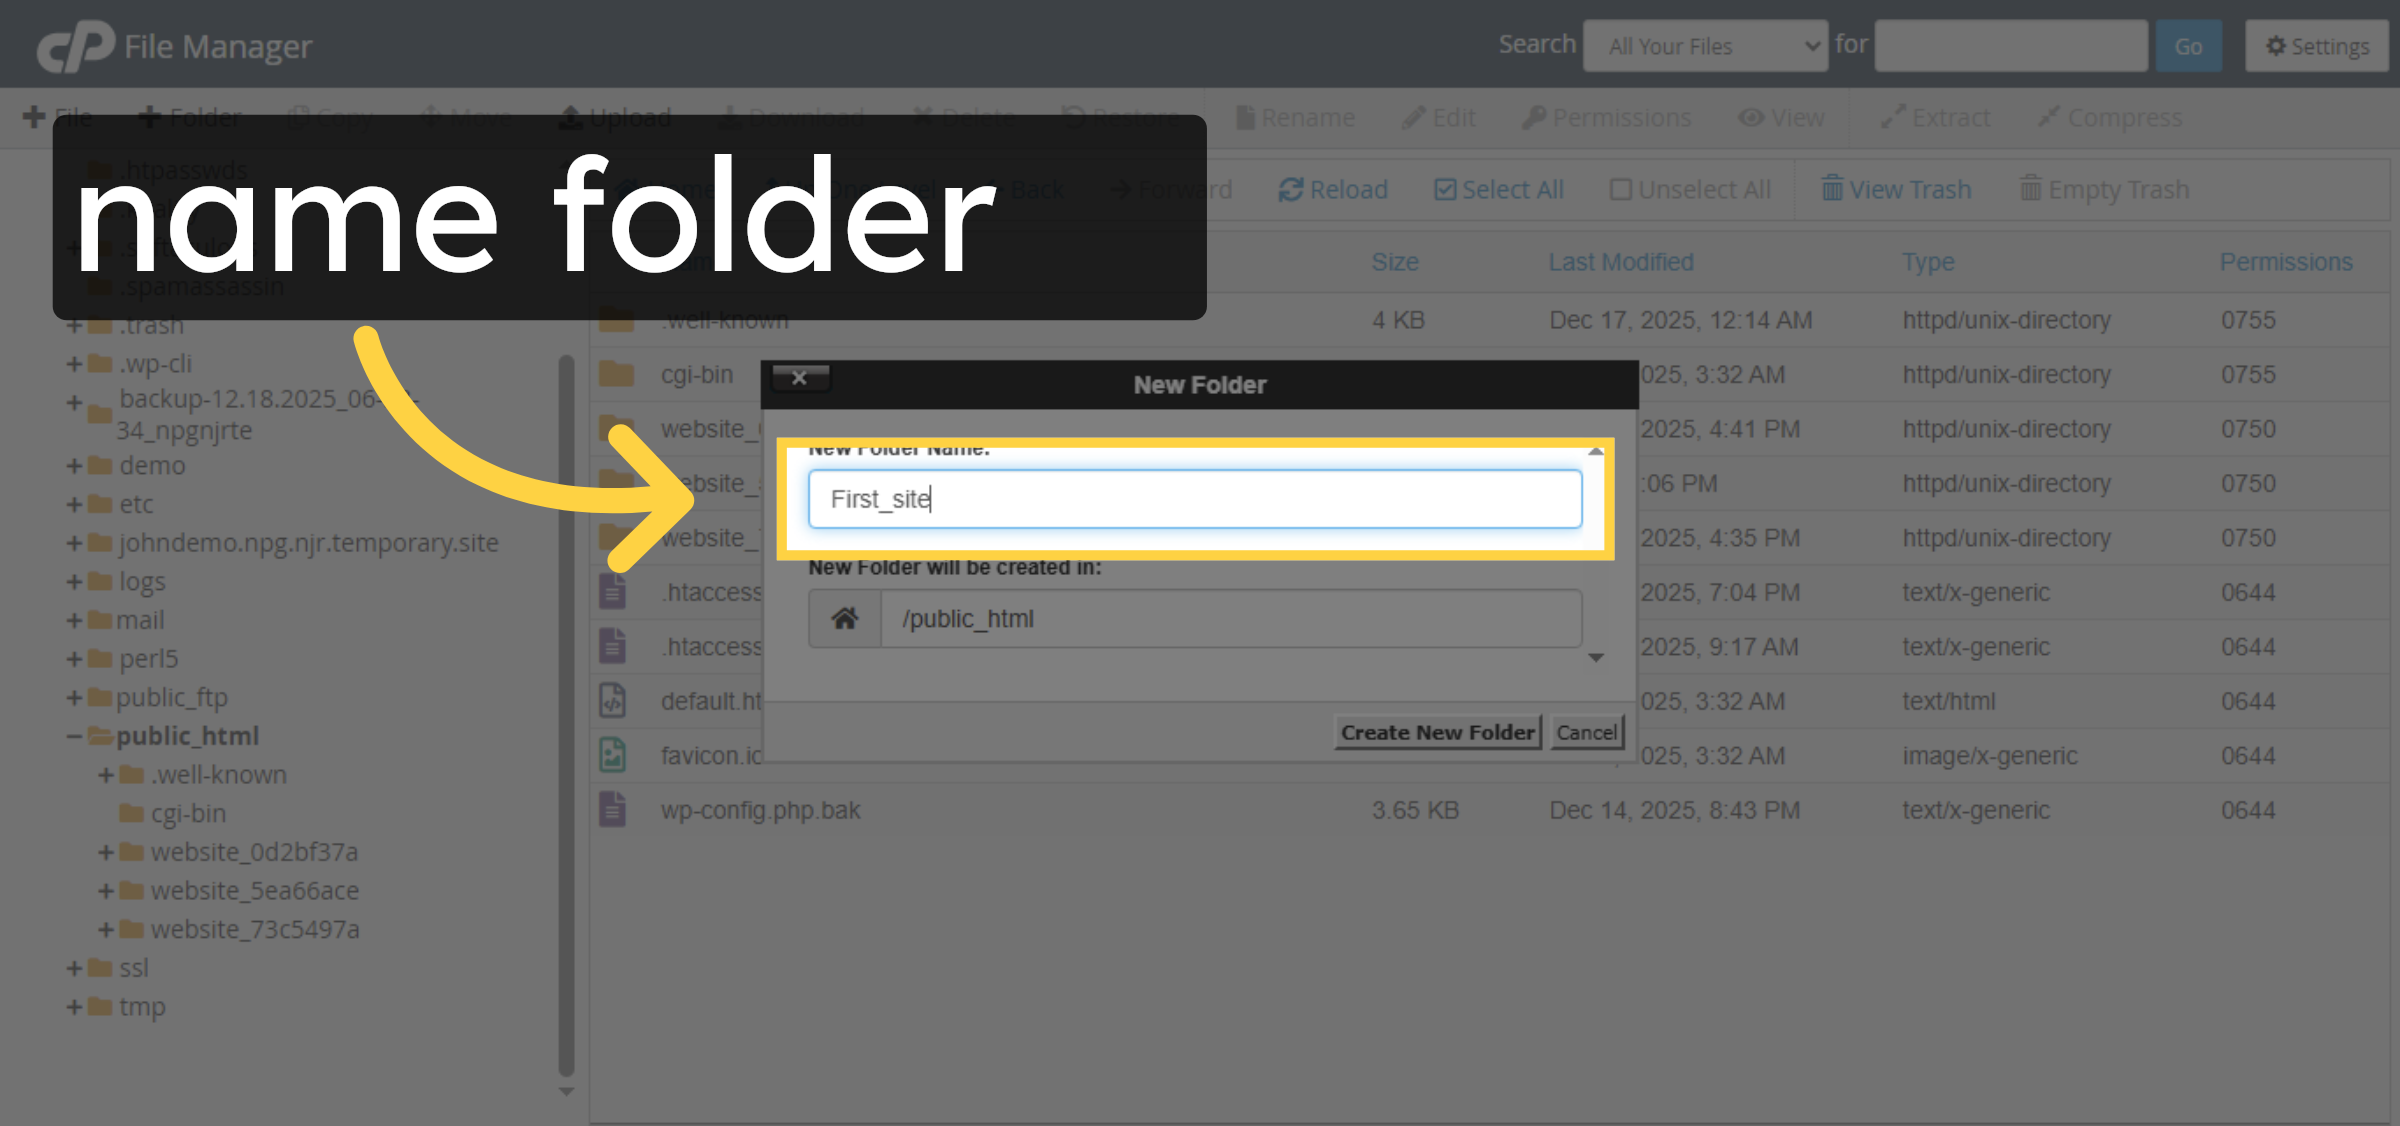
23. Create Folder
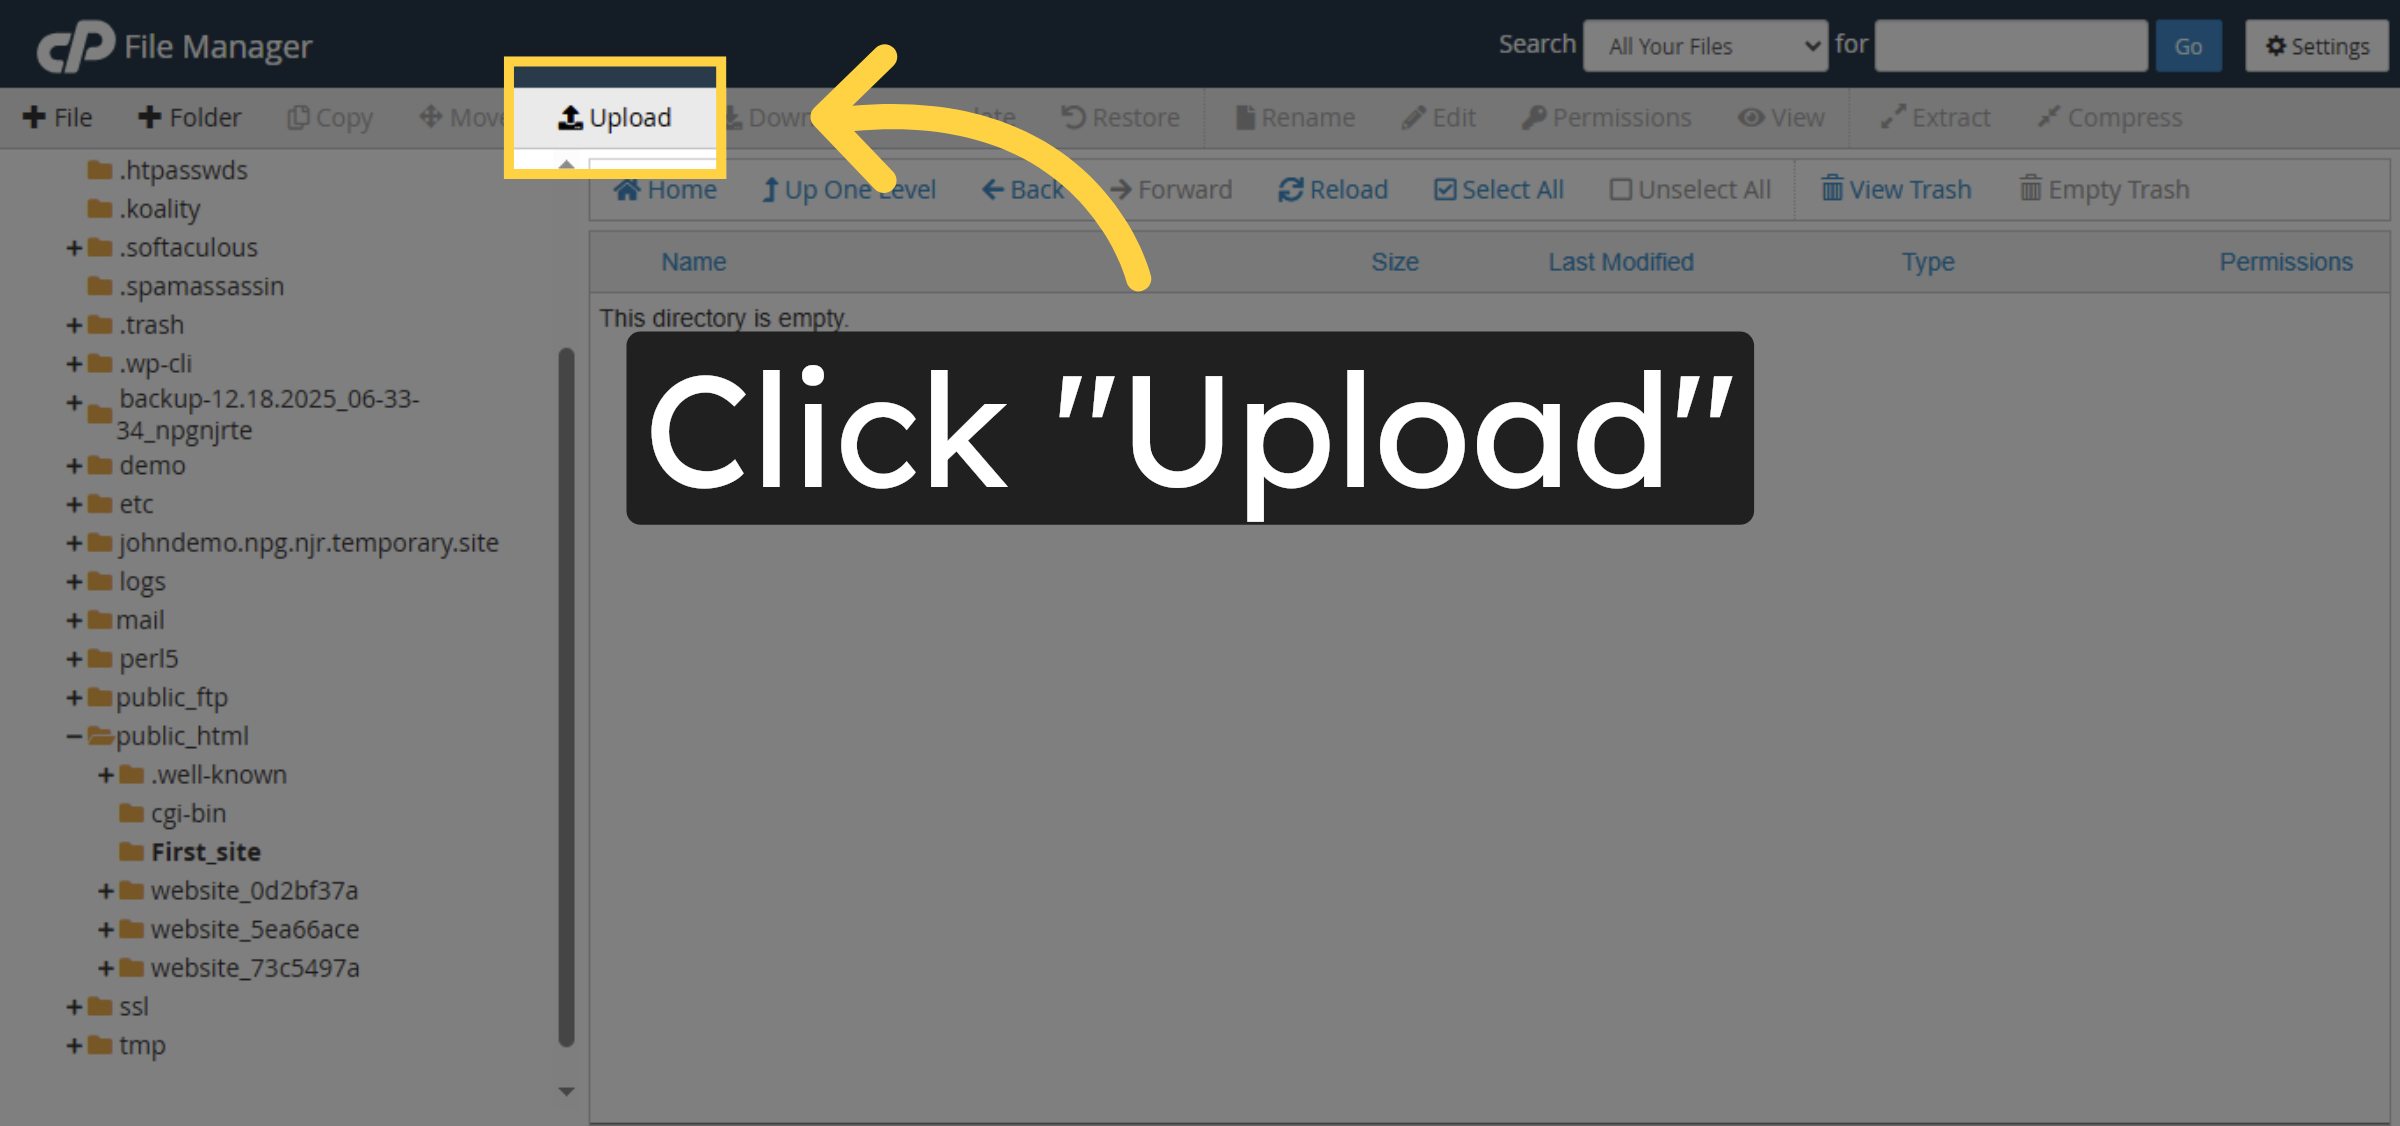
24. Open Upload Interface

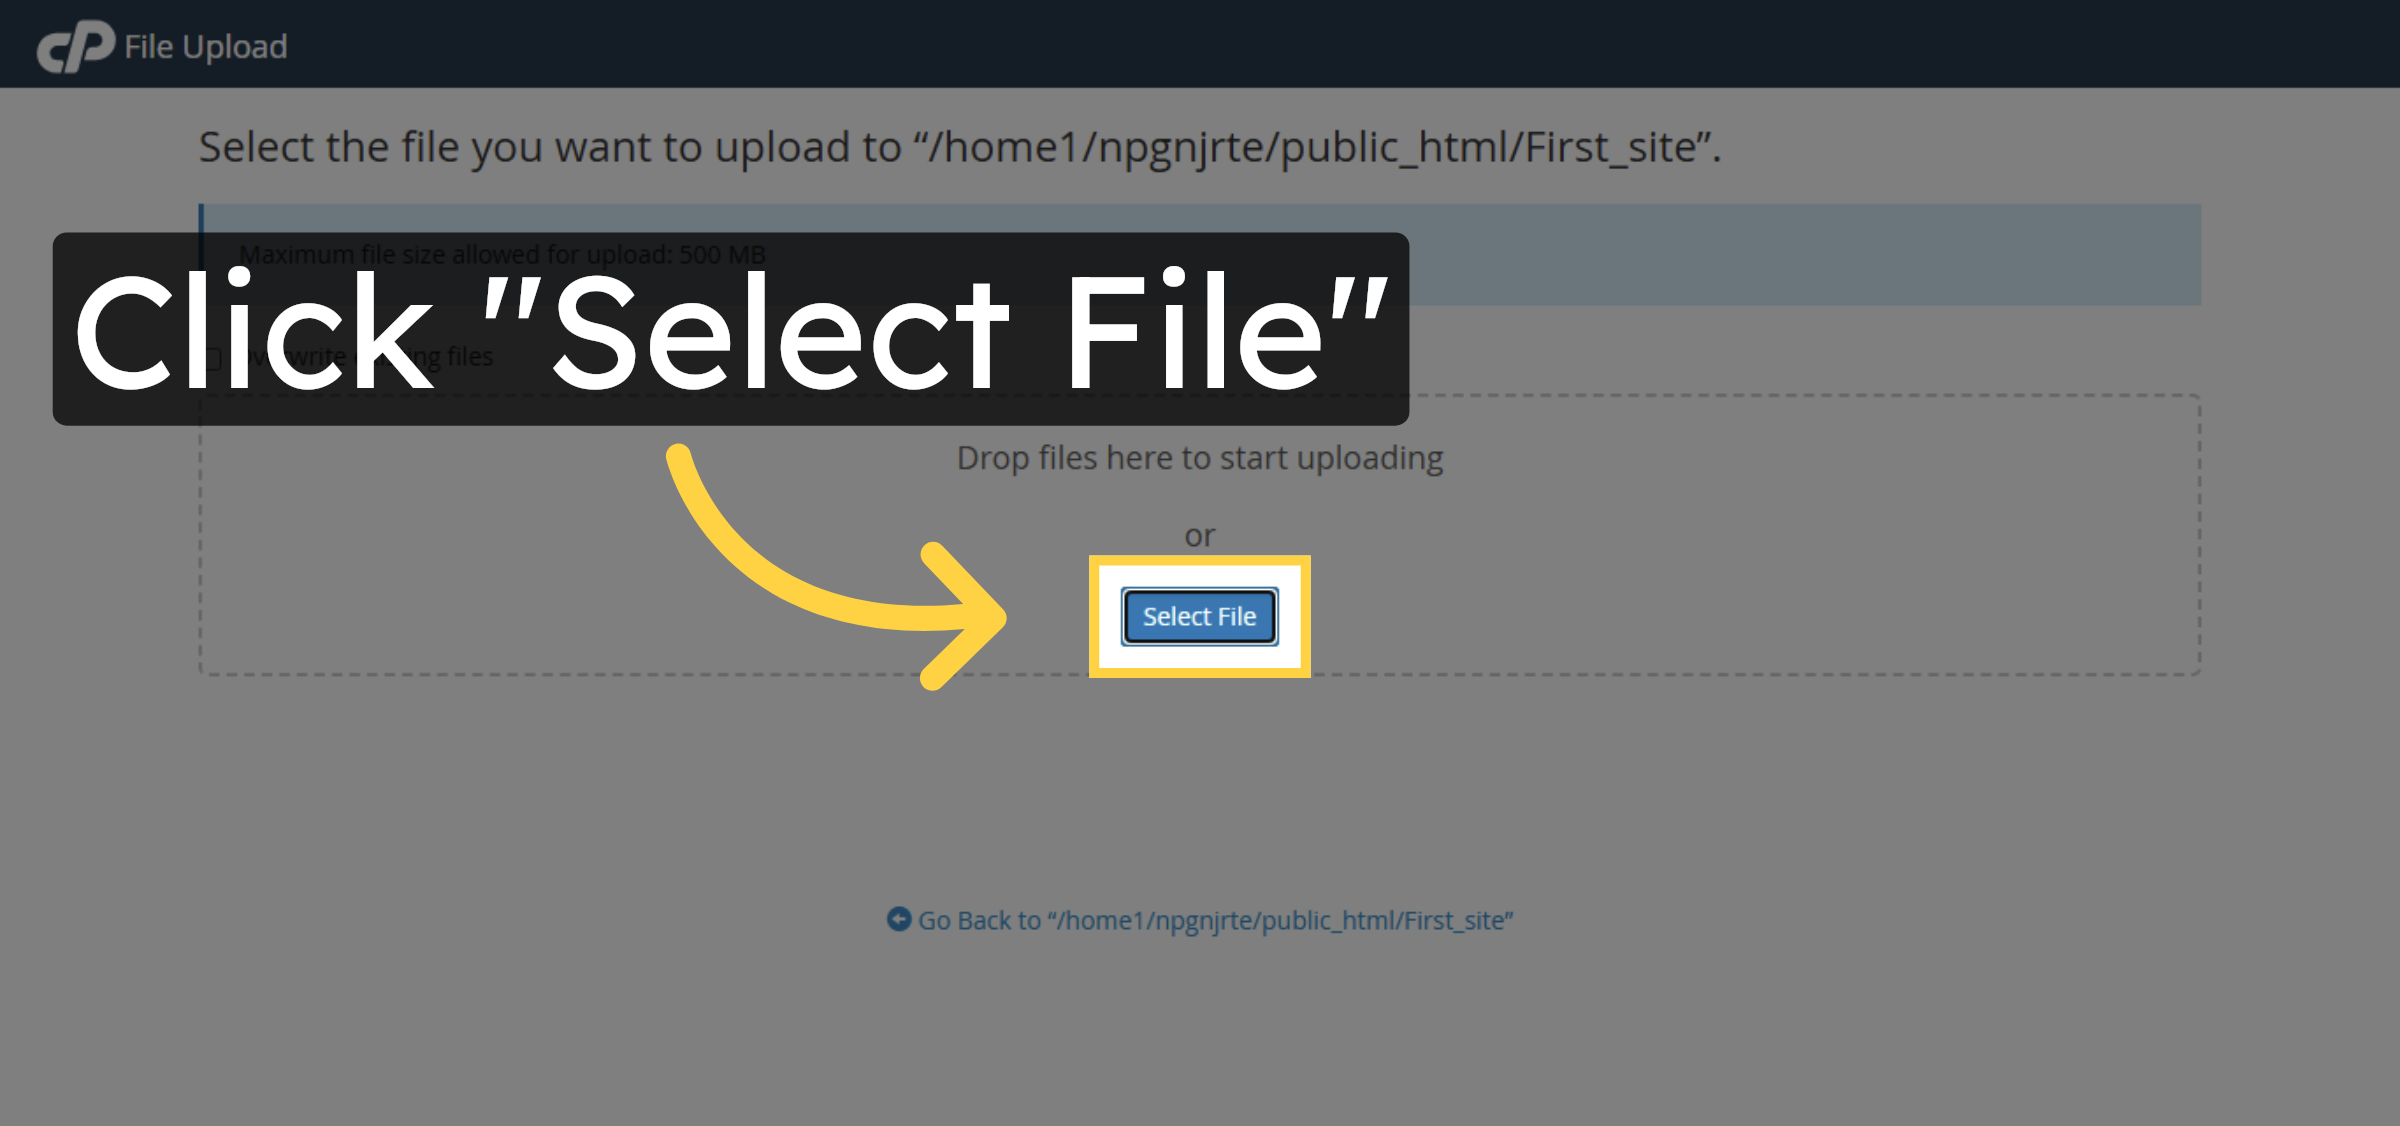
25. Select File to Upload
26. Choose WordPress Zip File
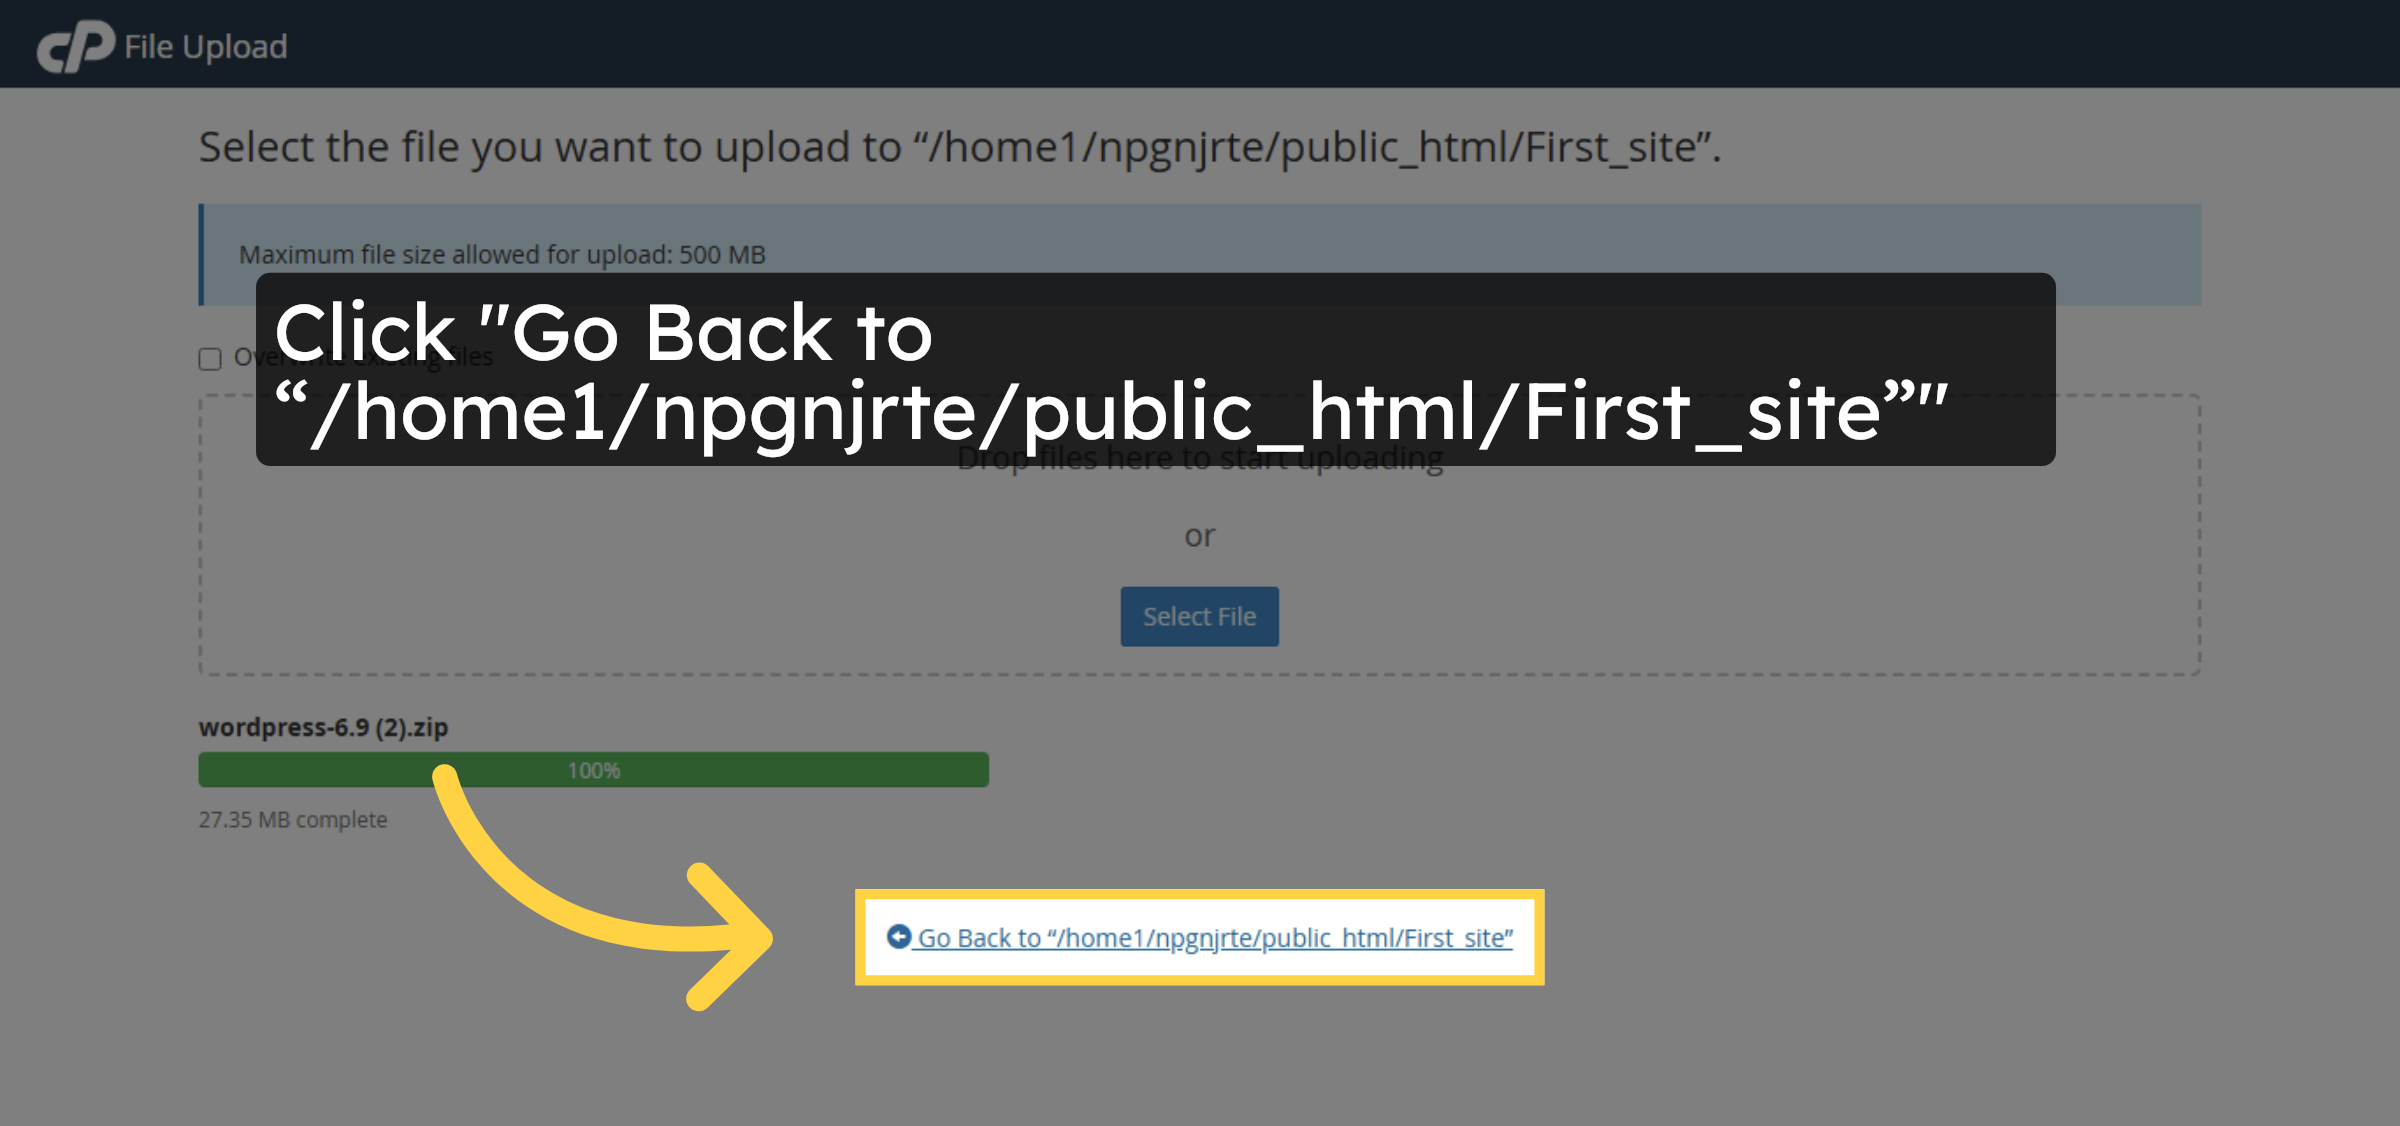
27. Select Uploaded Zip File
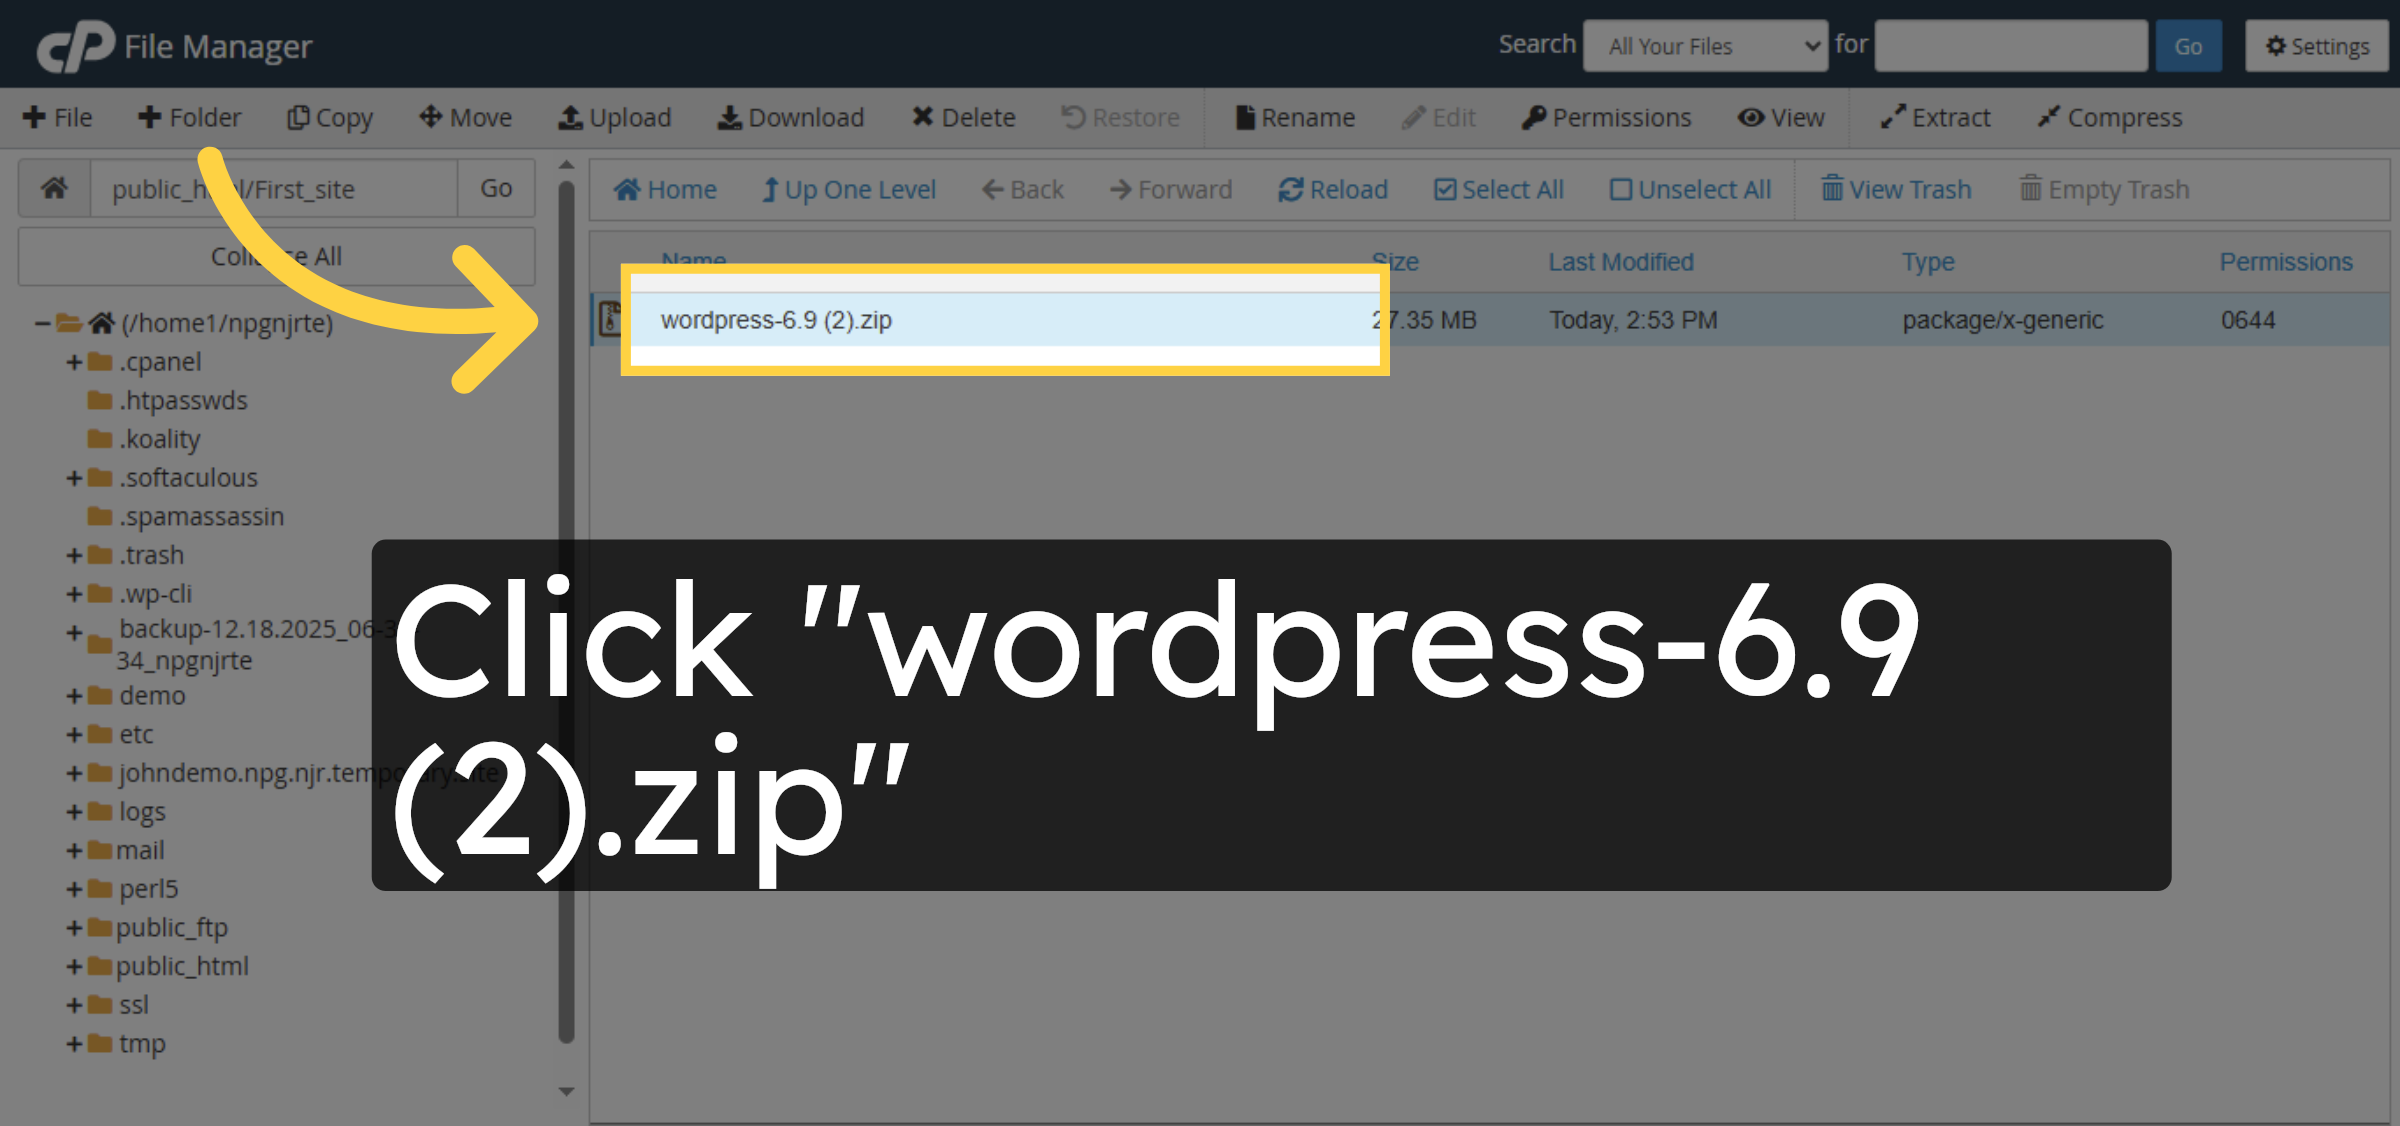
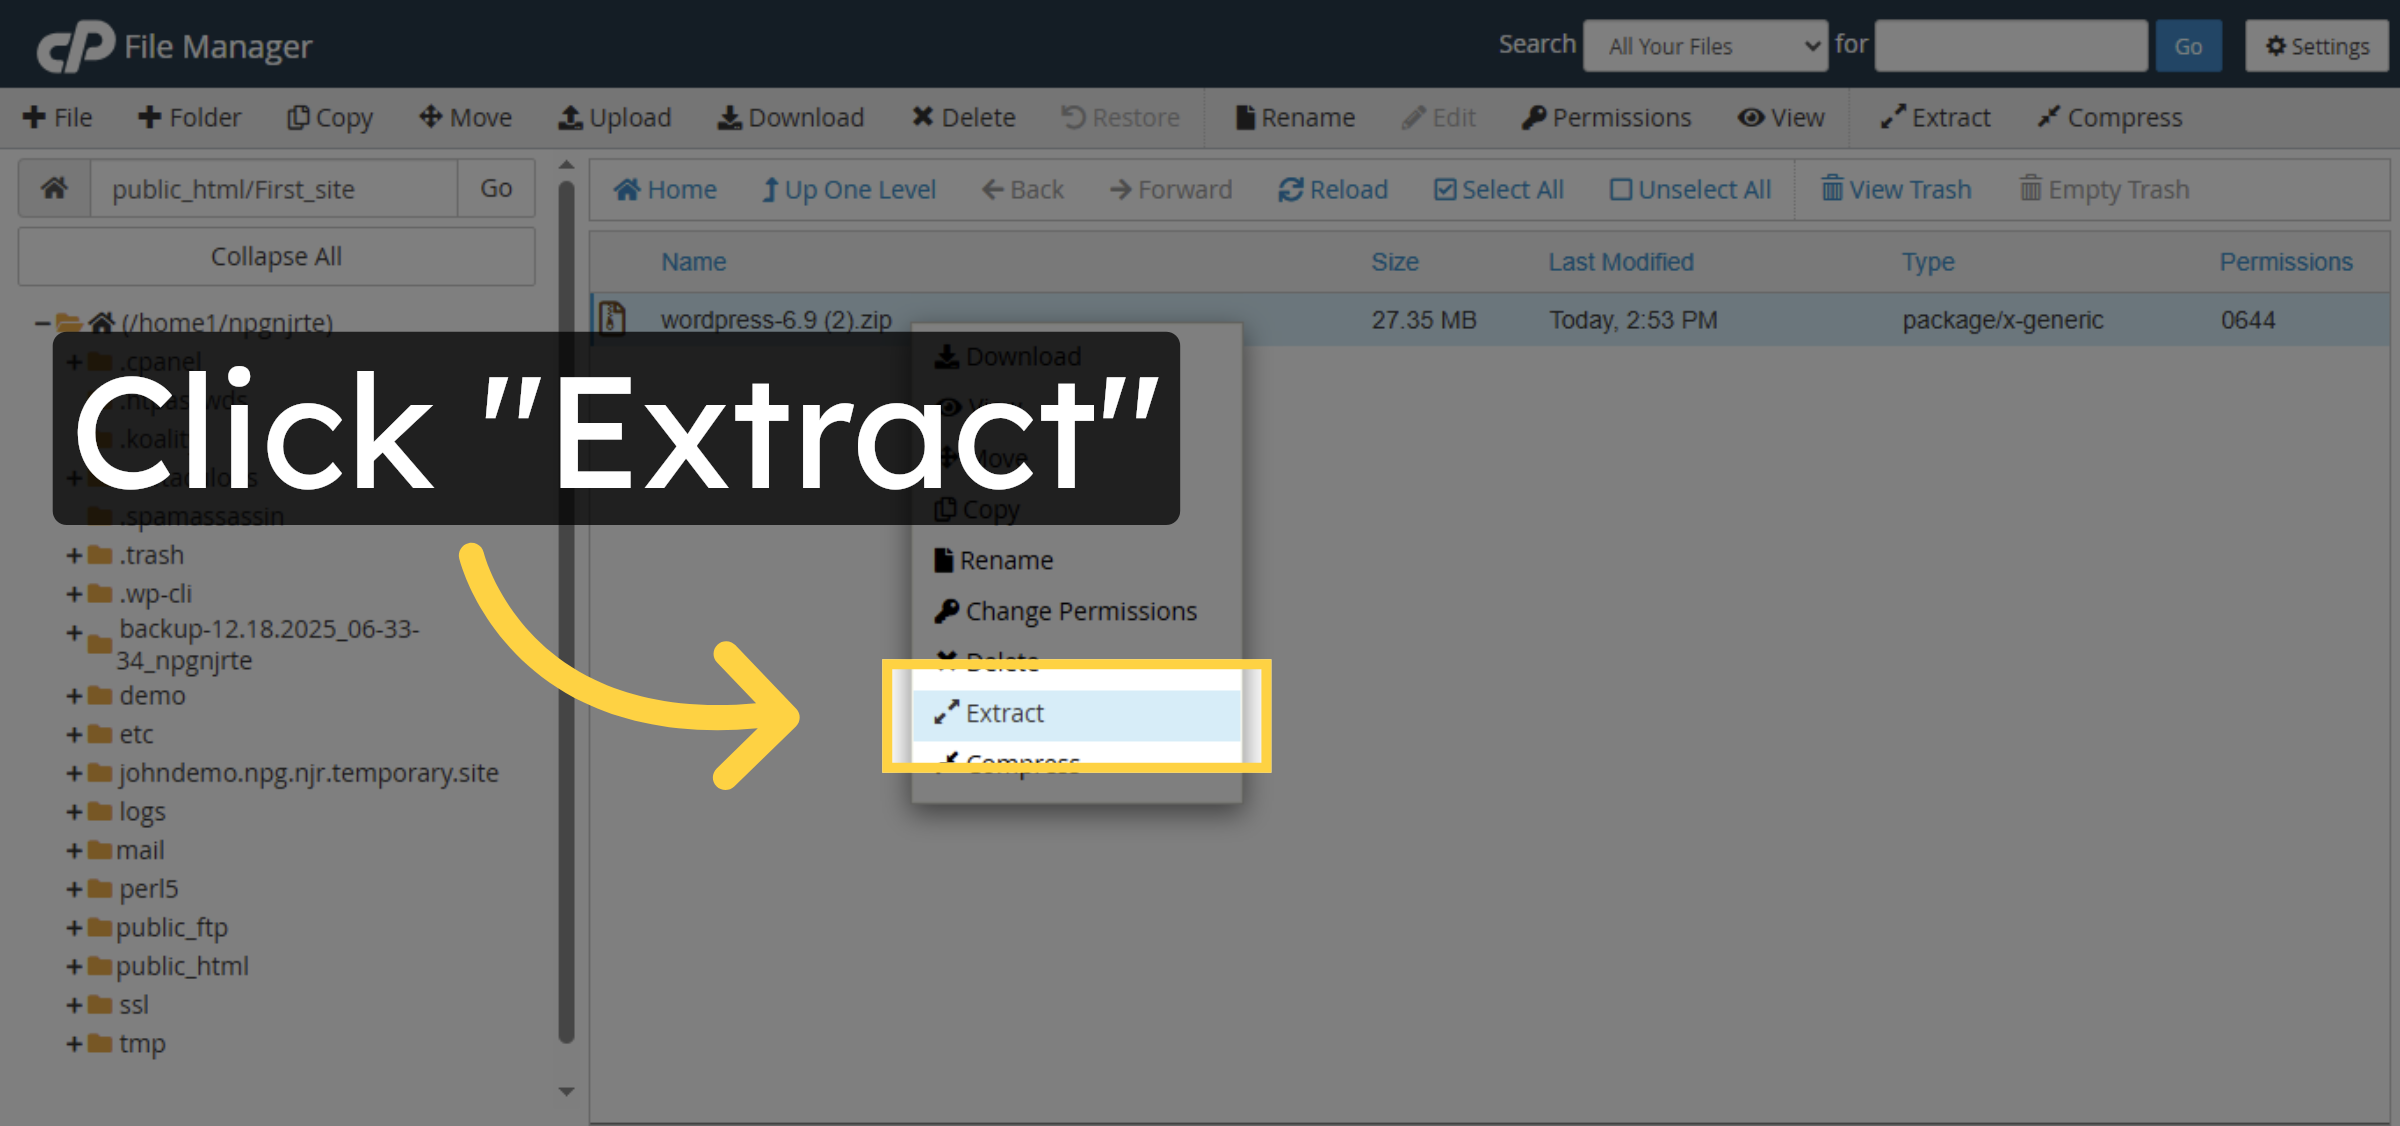
28. Extract WordPress Files
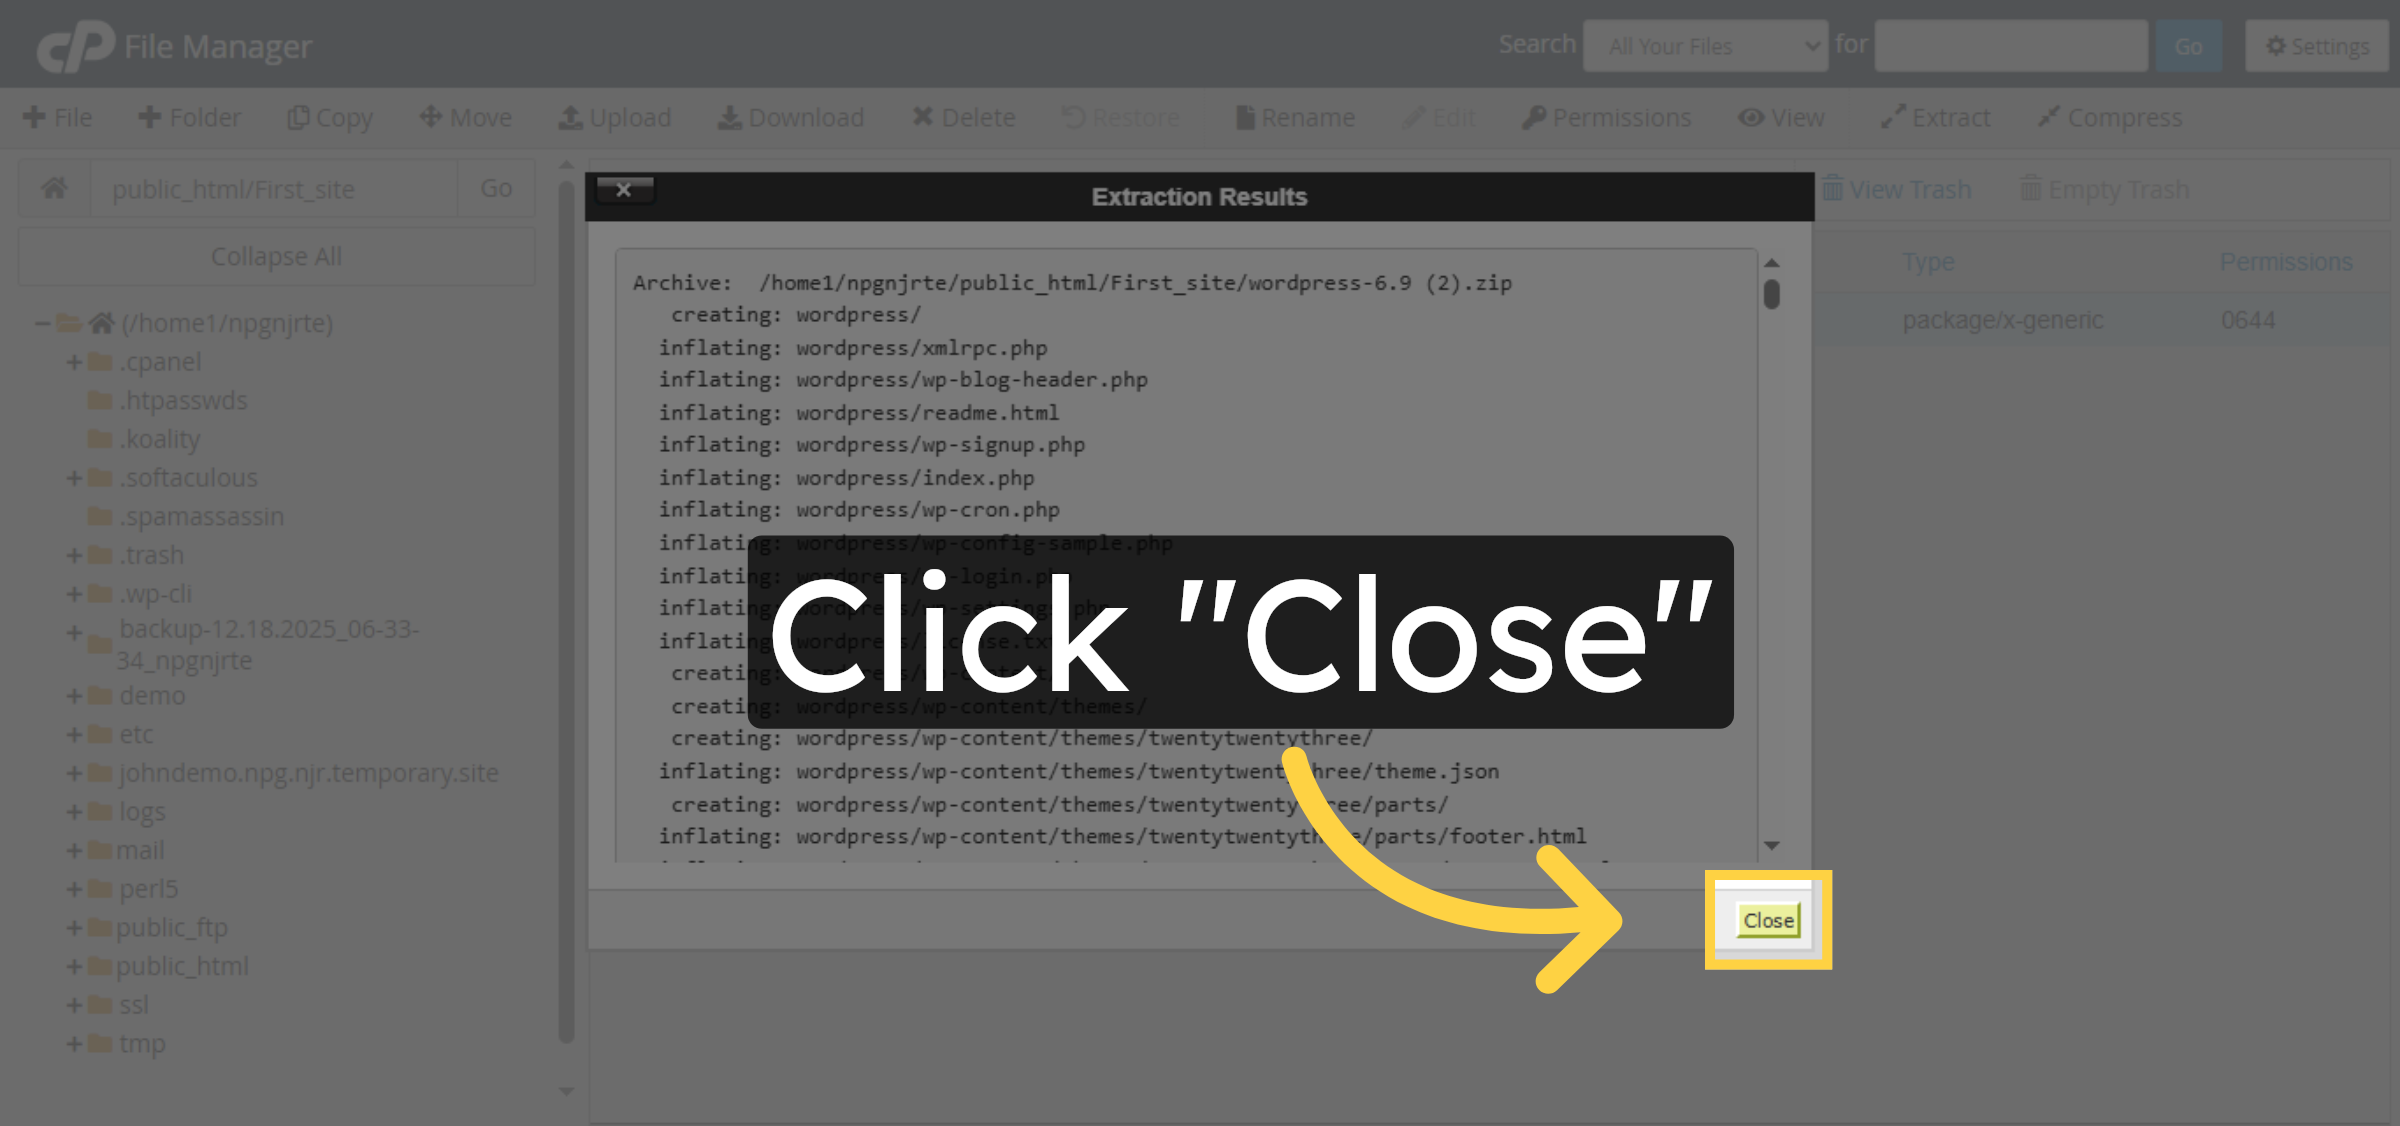
29. Confirm Extraction
30. Close Extraction Window

31. Reload File Manager


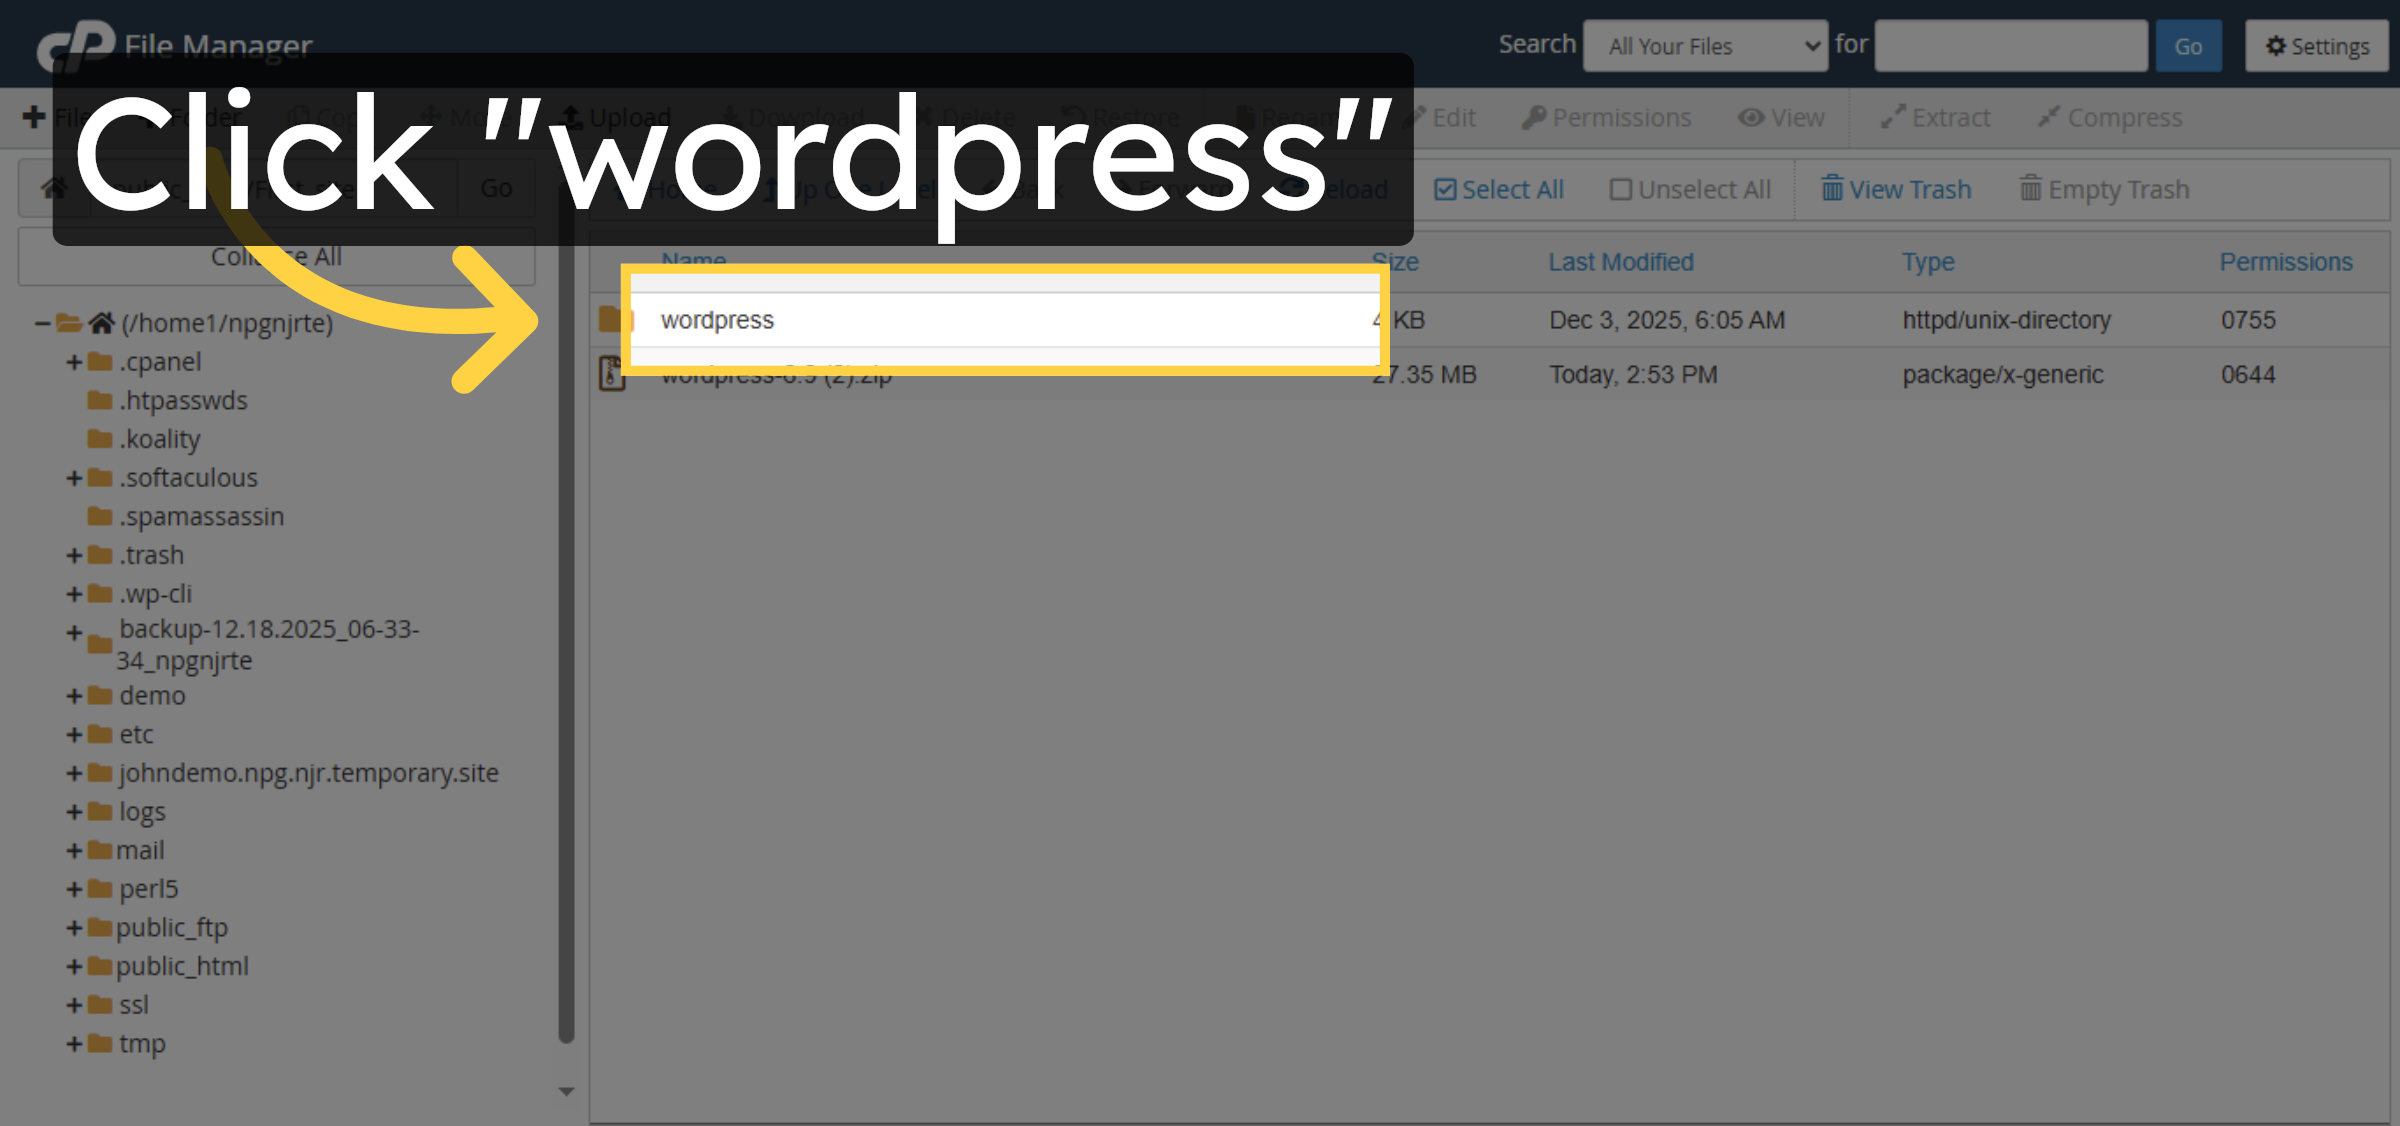
32. Open WordPress Folder

33. Open WordPress Subfolder
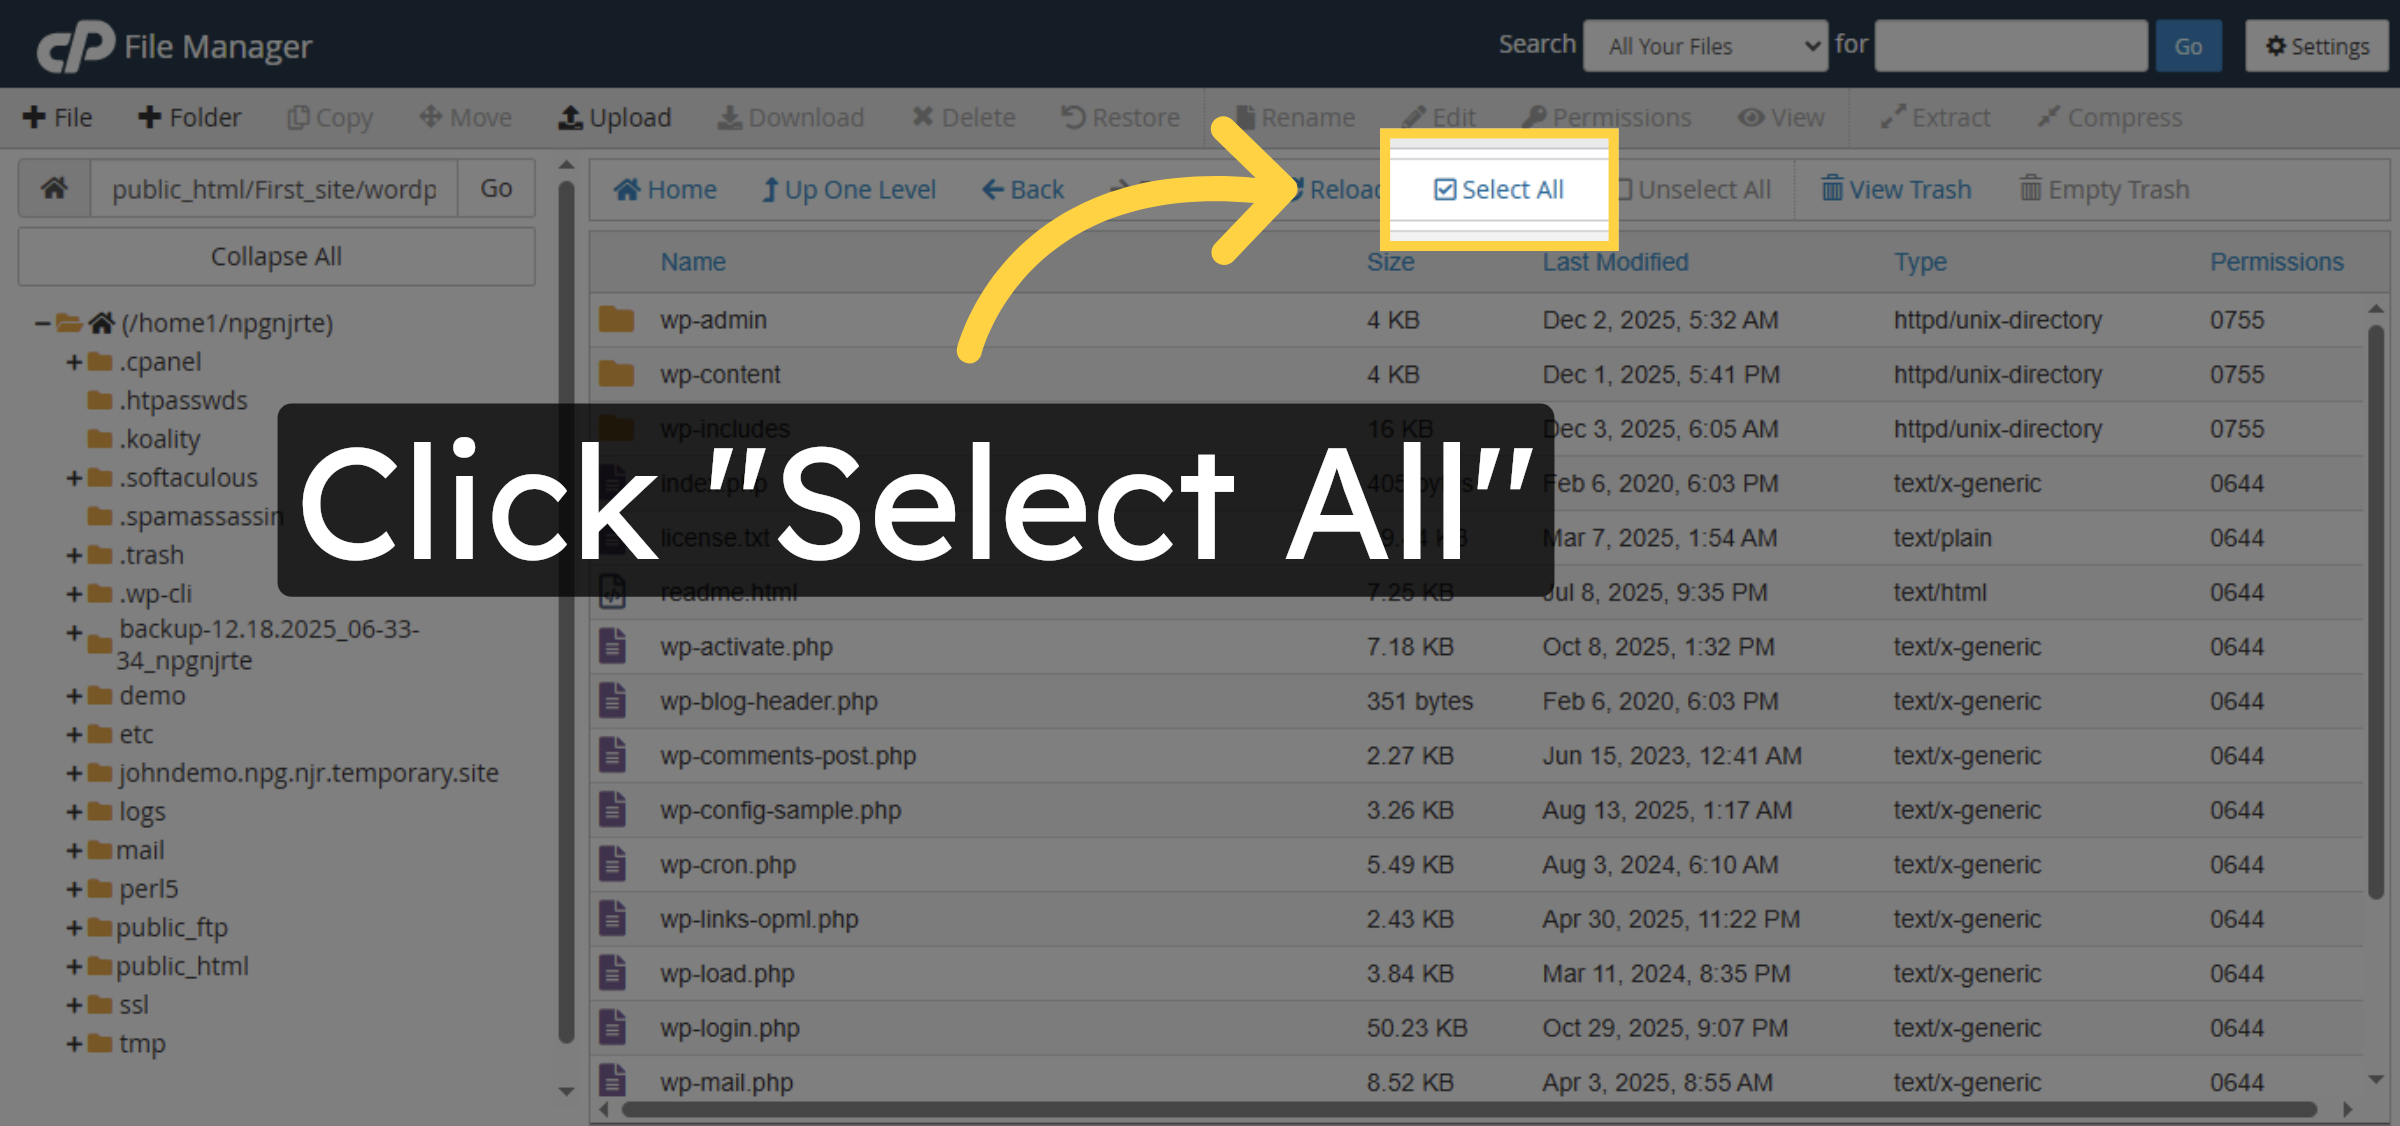
34. Select all
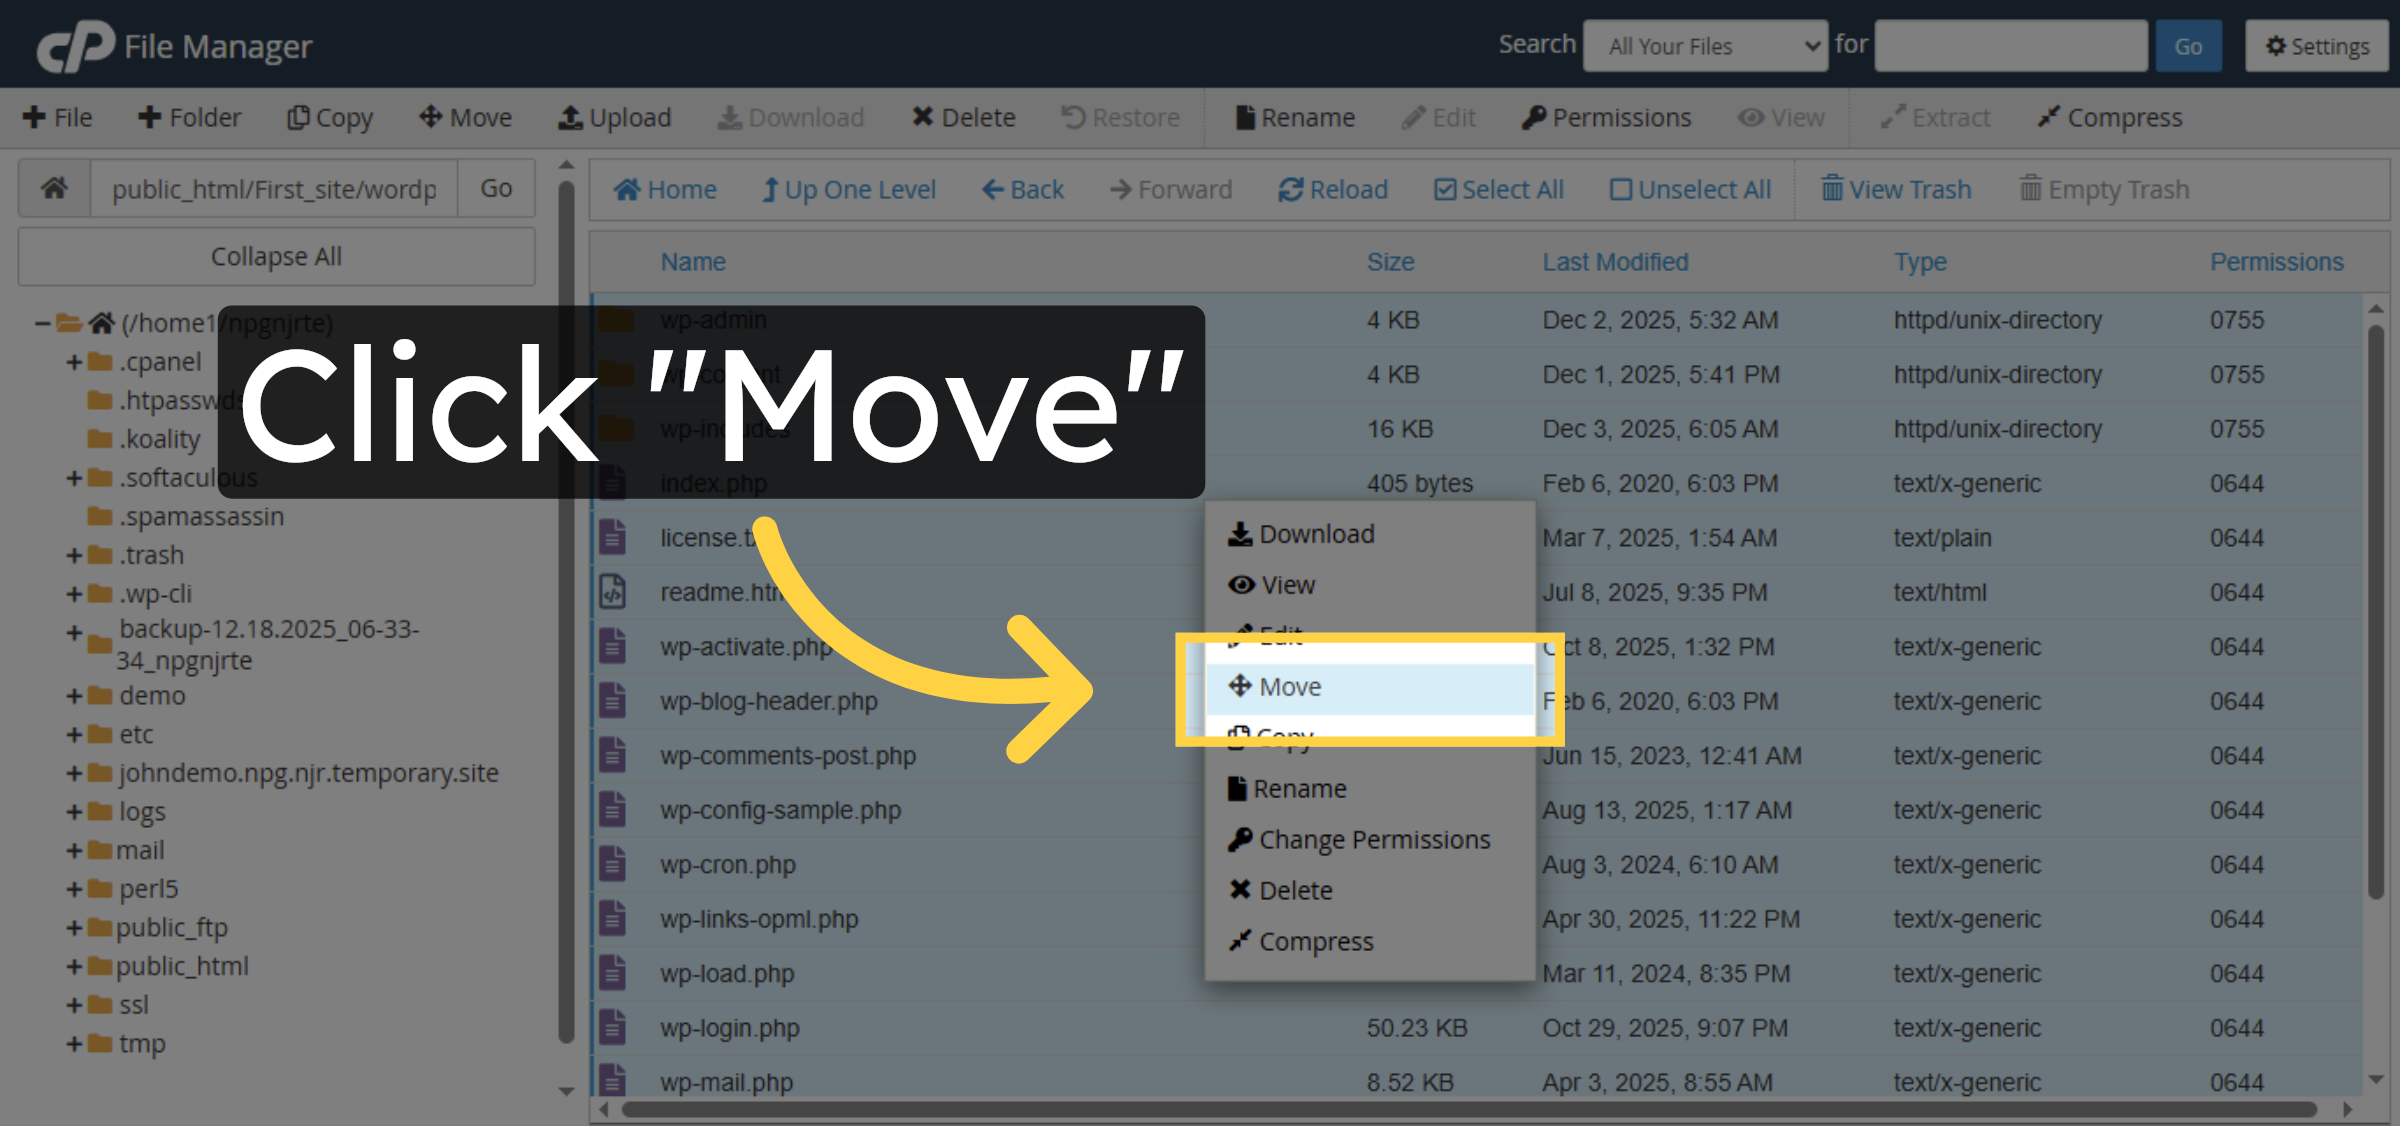
35. Click on Move
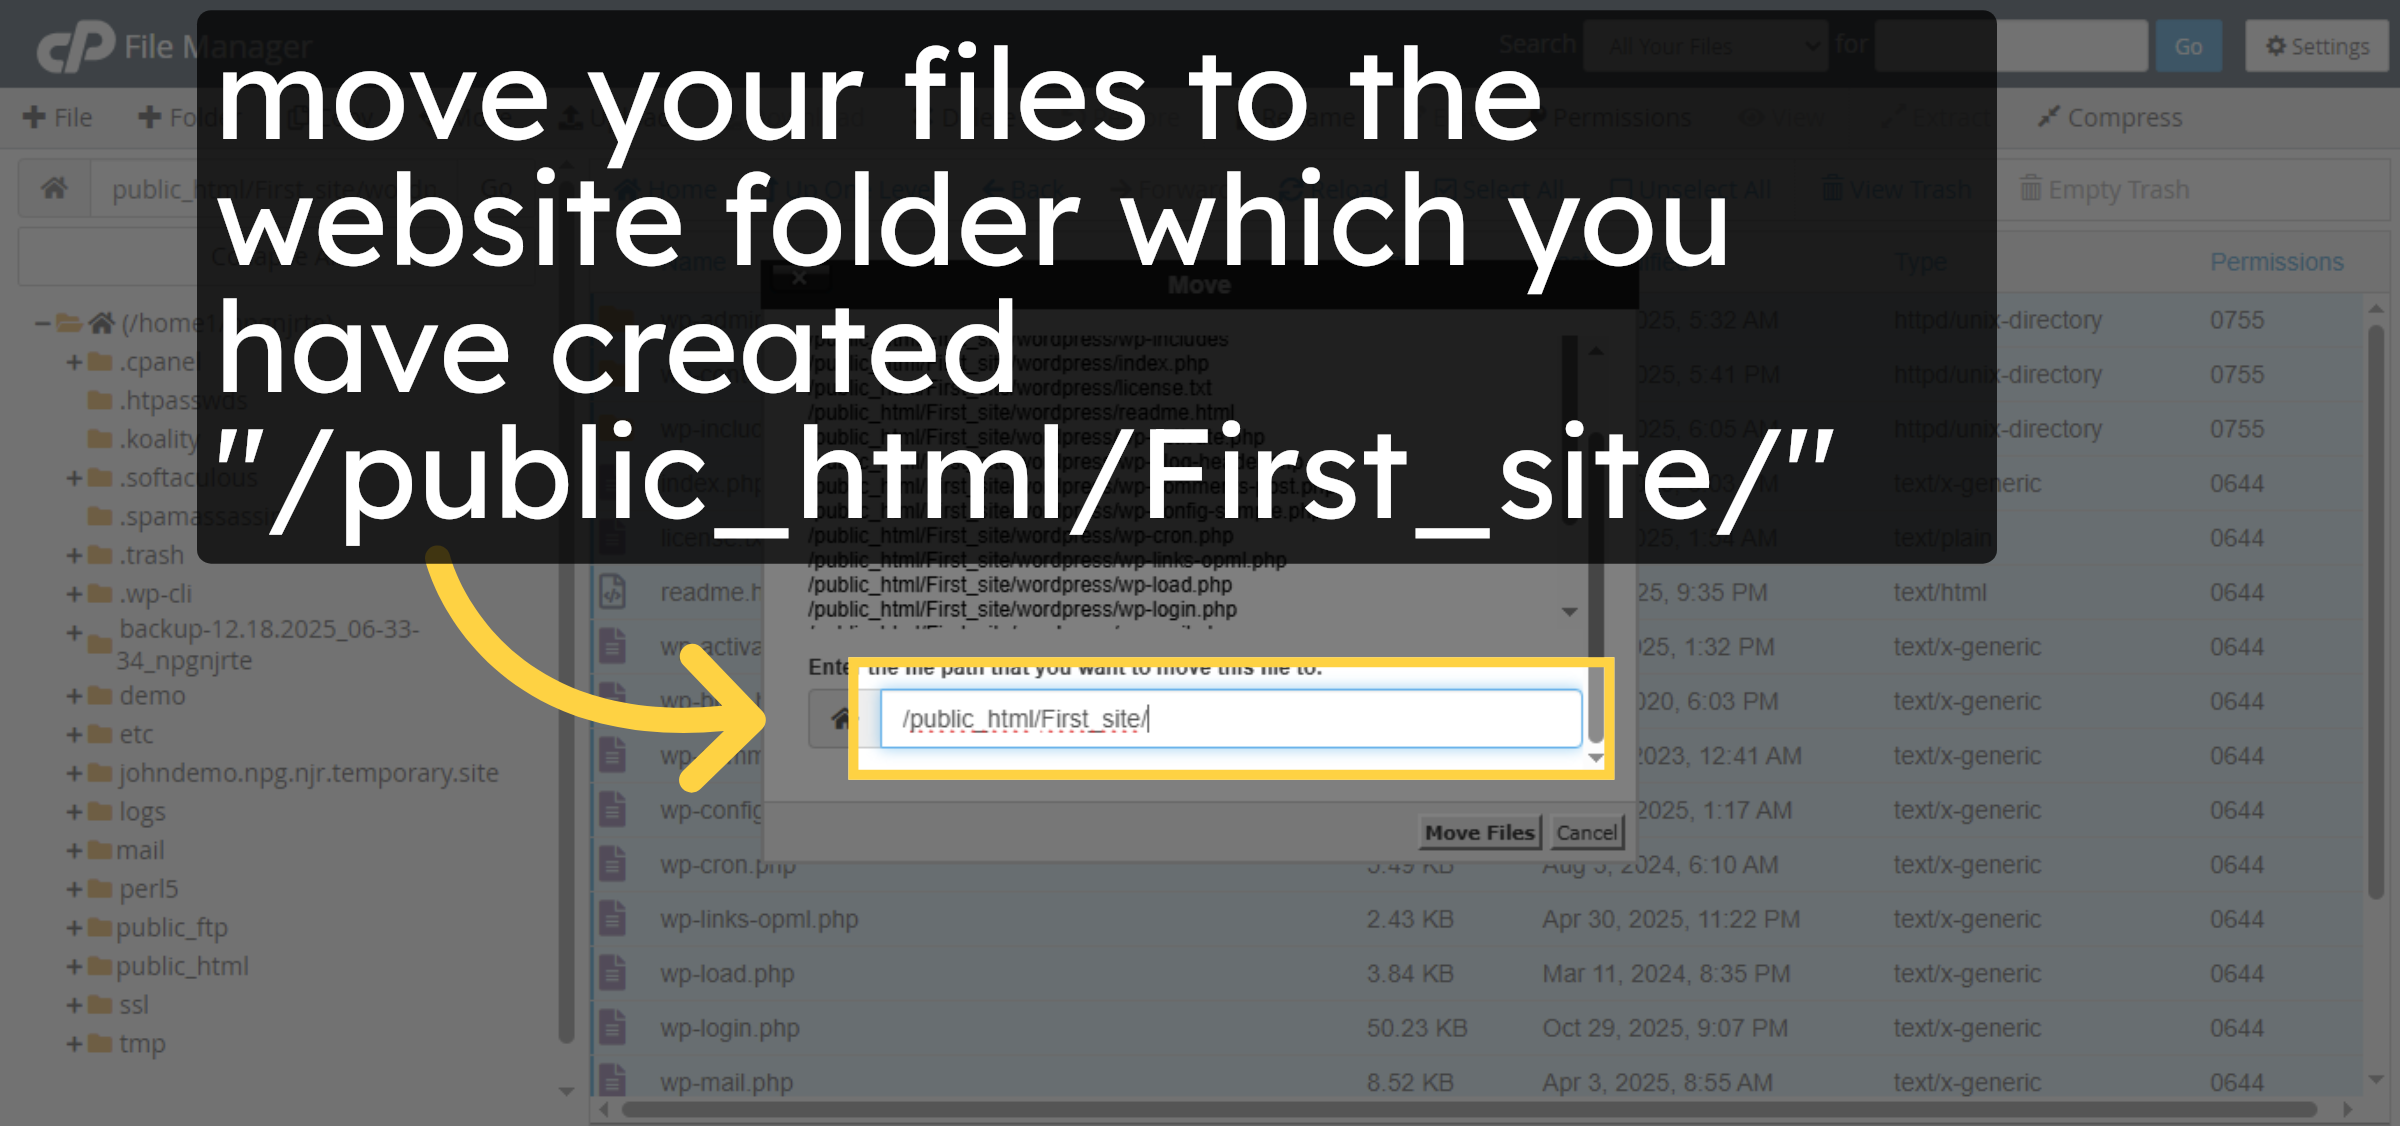
36. Check Path
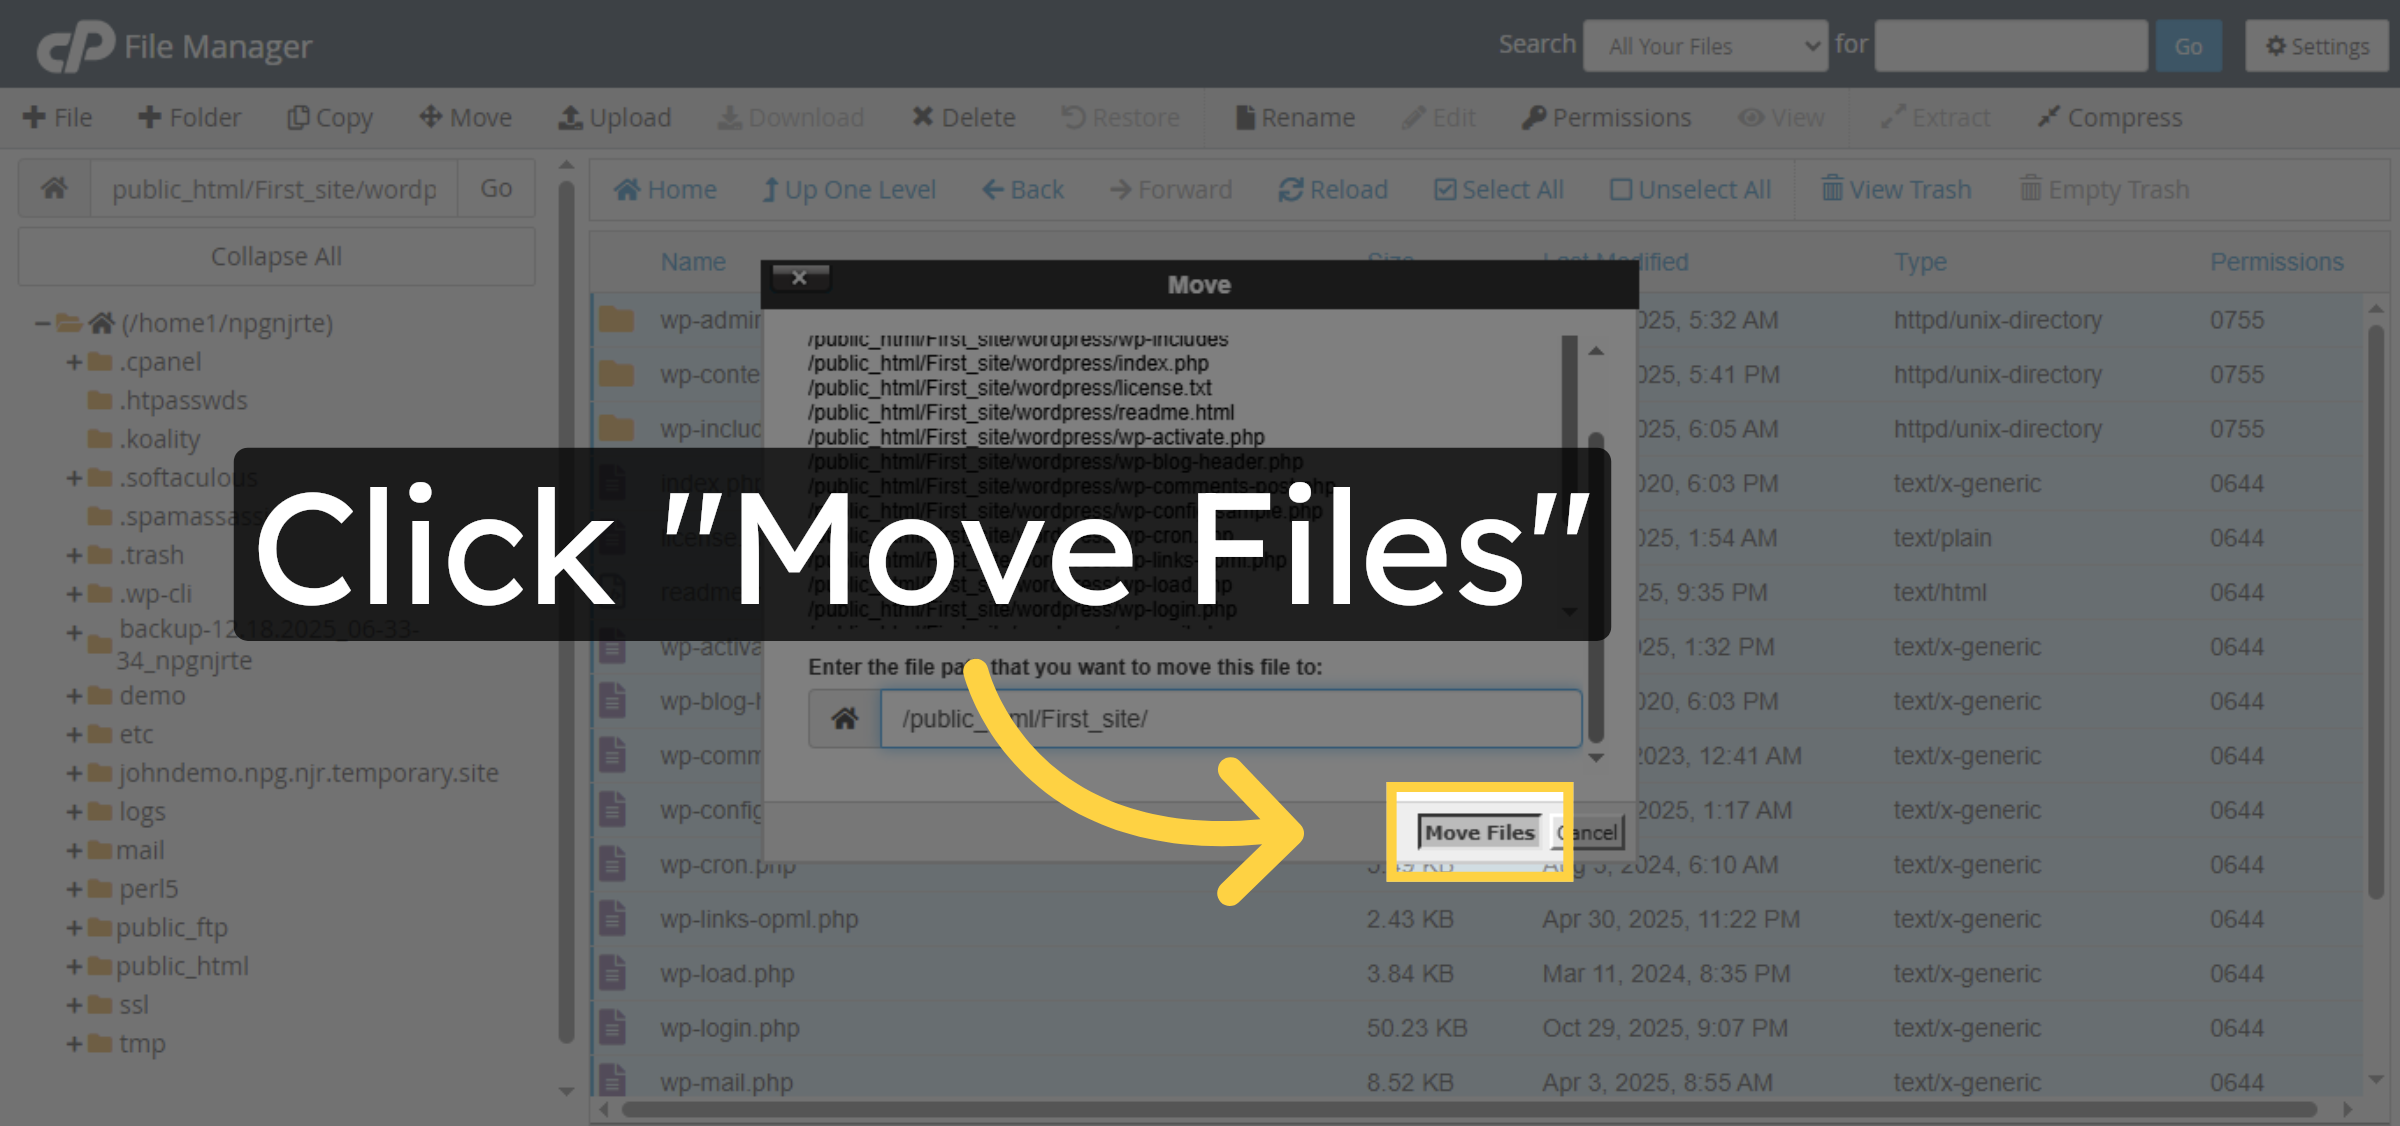
37. Confirm
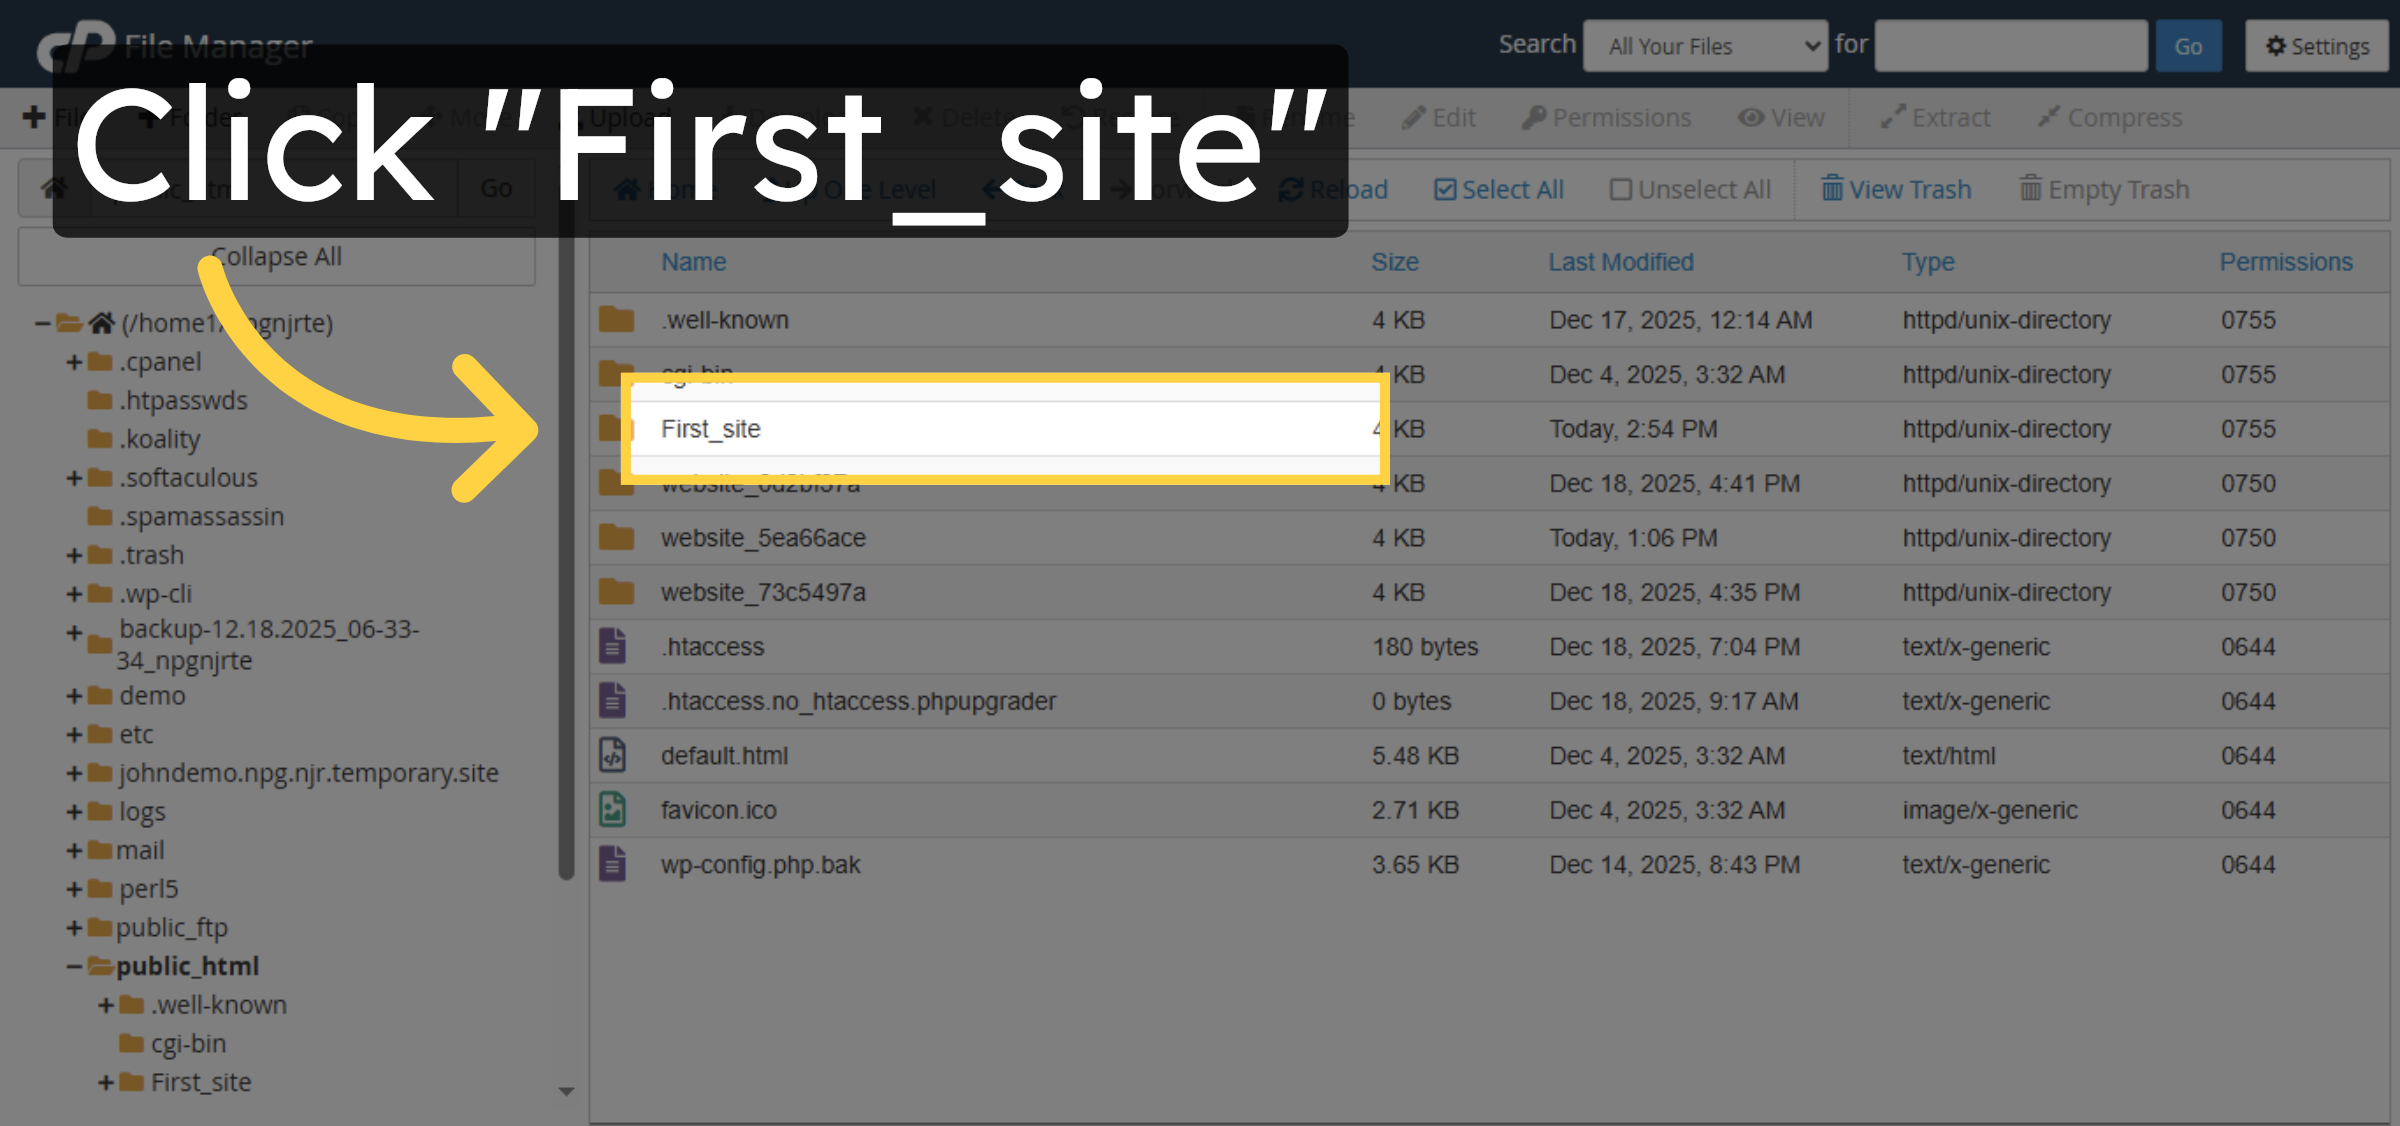
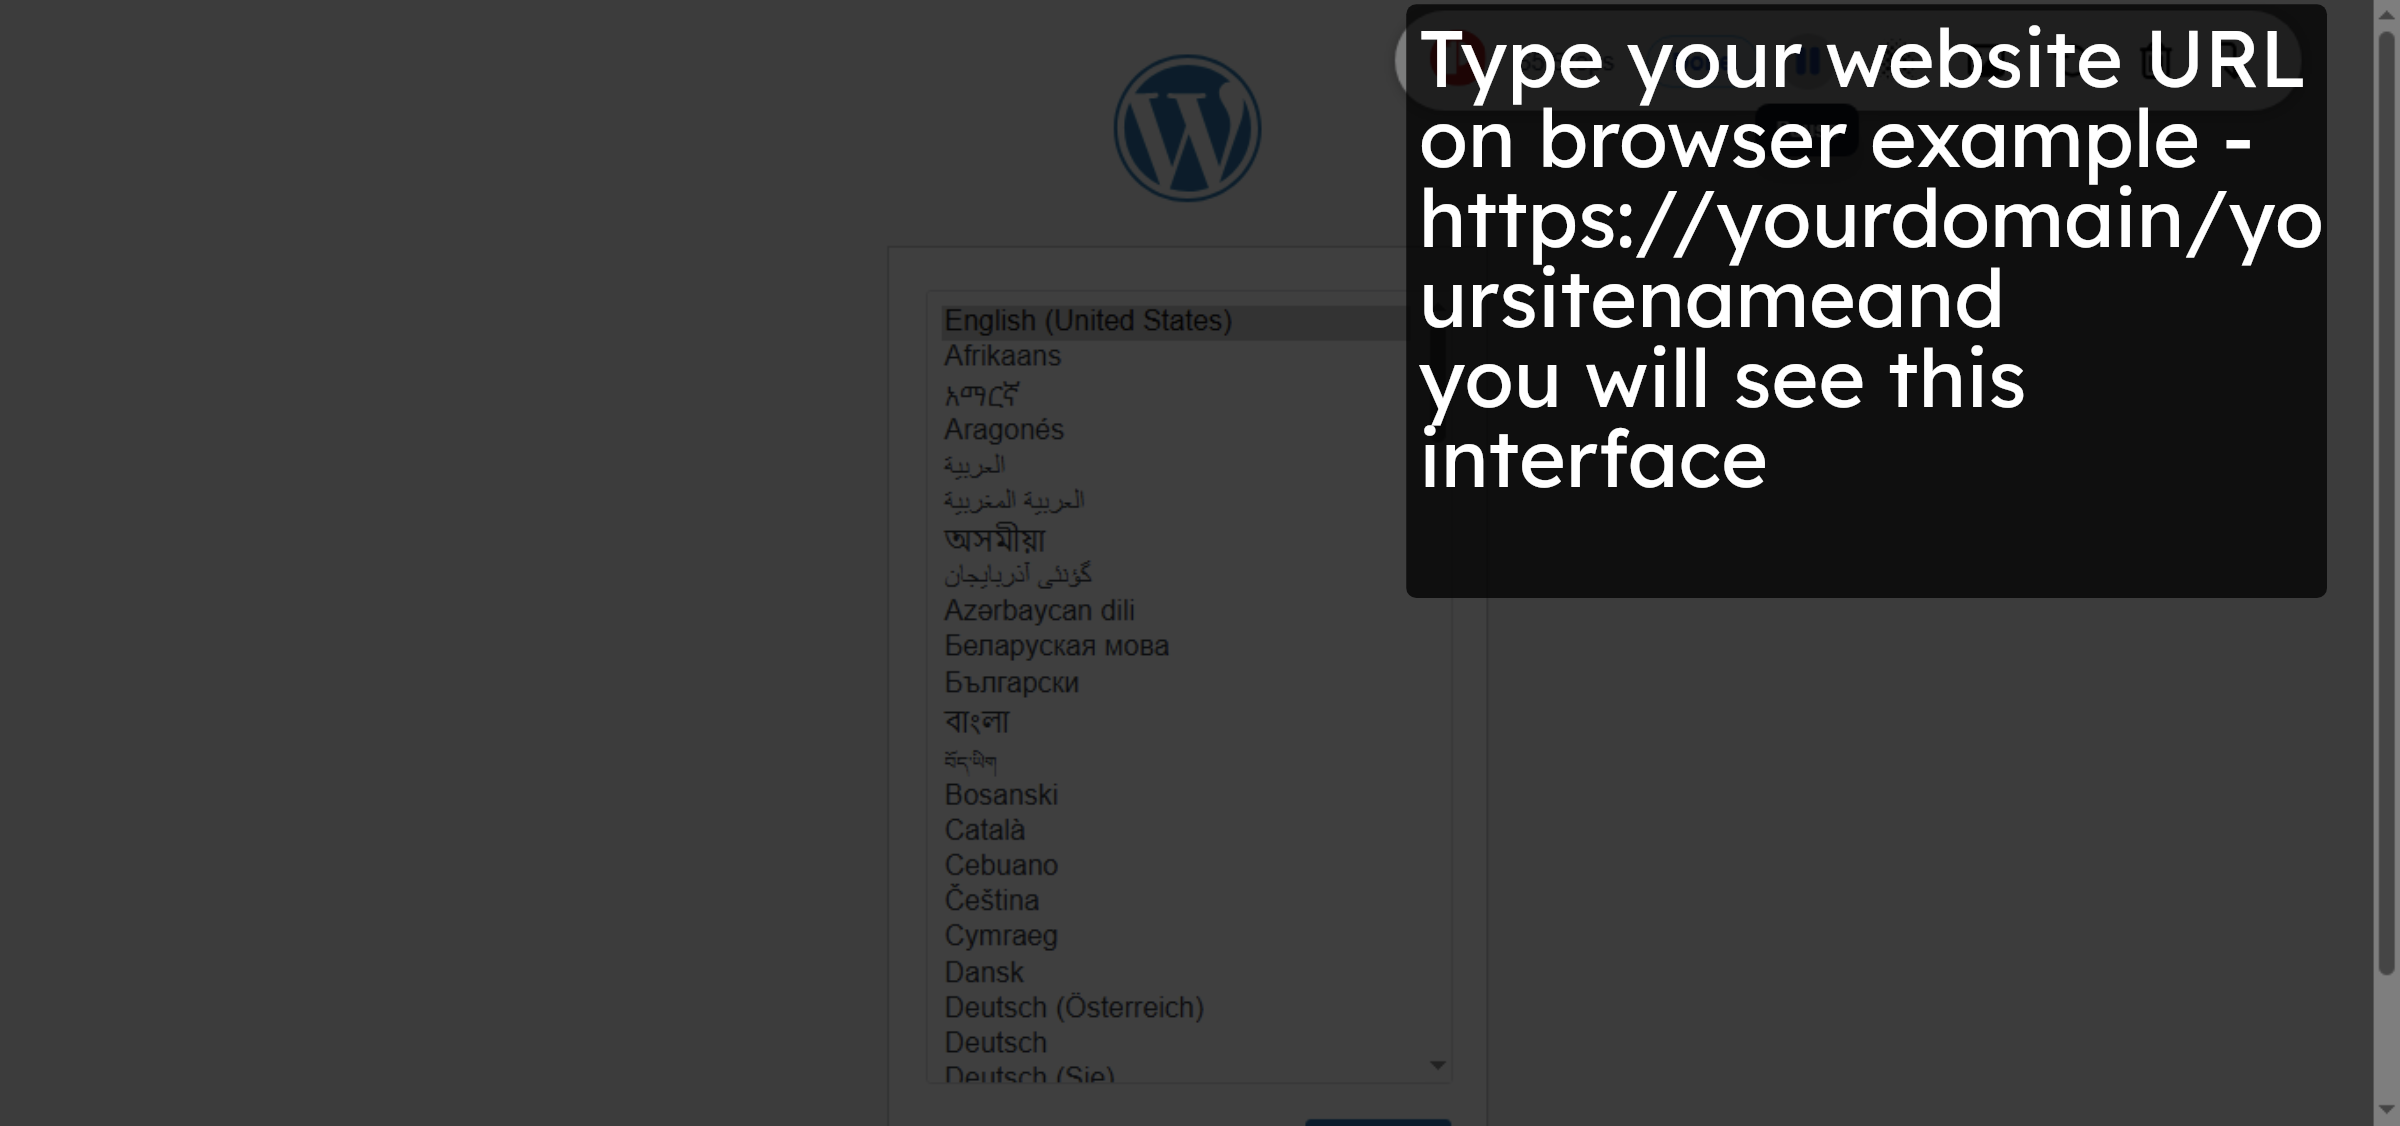
38. Open Site Folder Again
39. Switch to Temporary Site
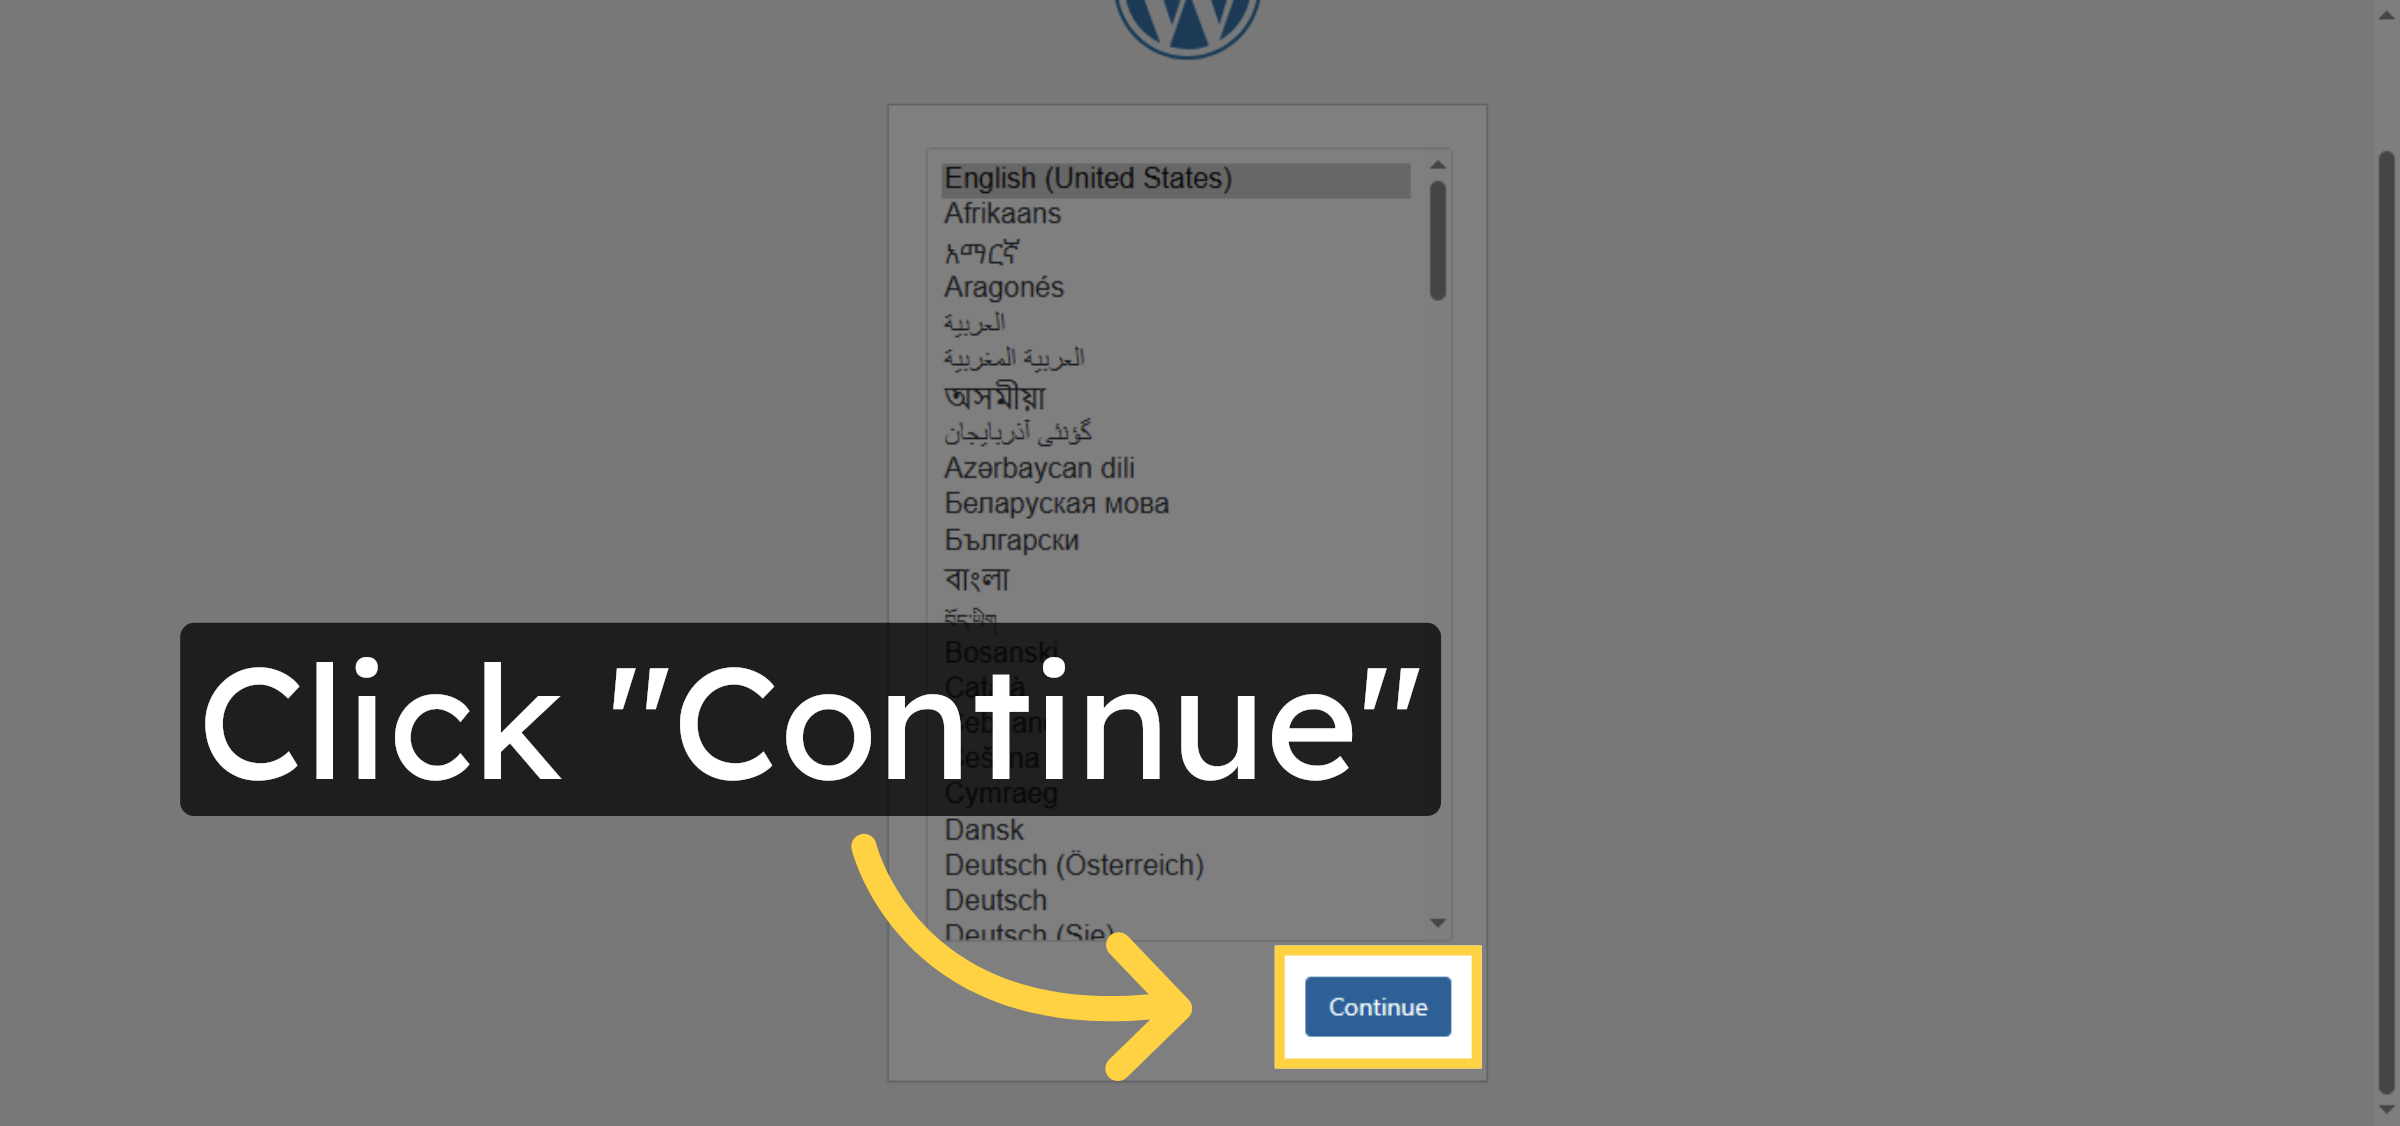
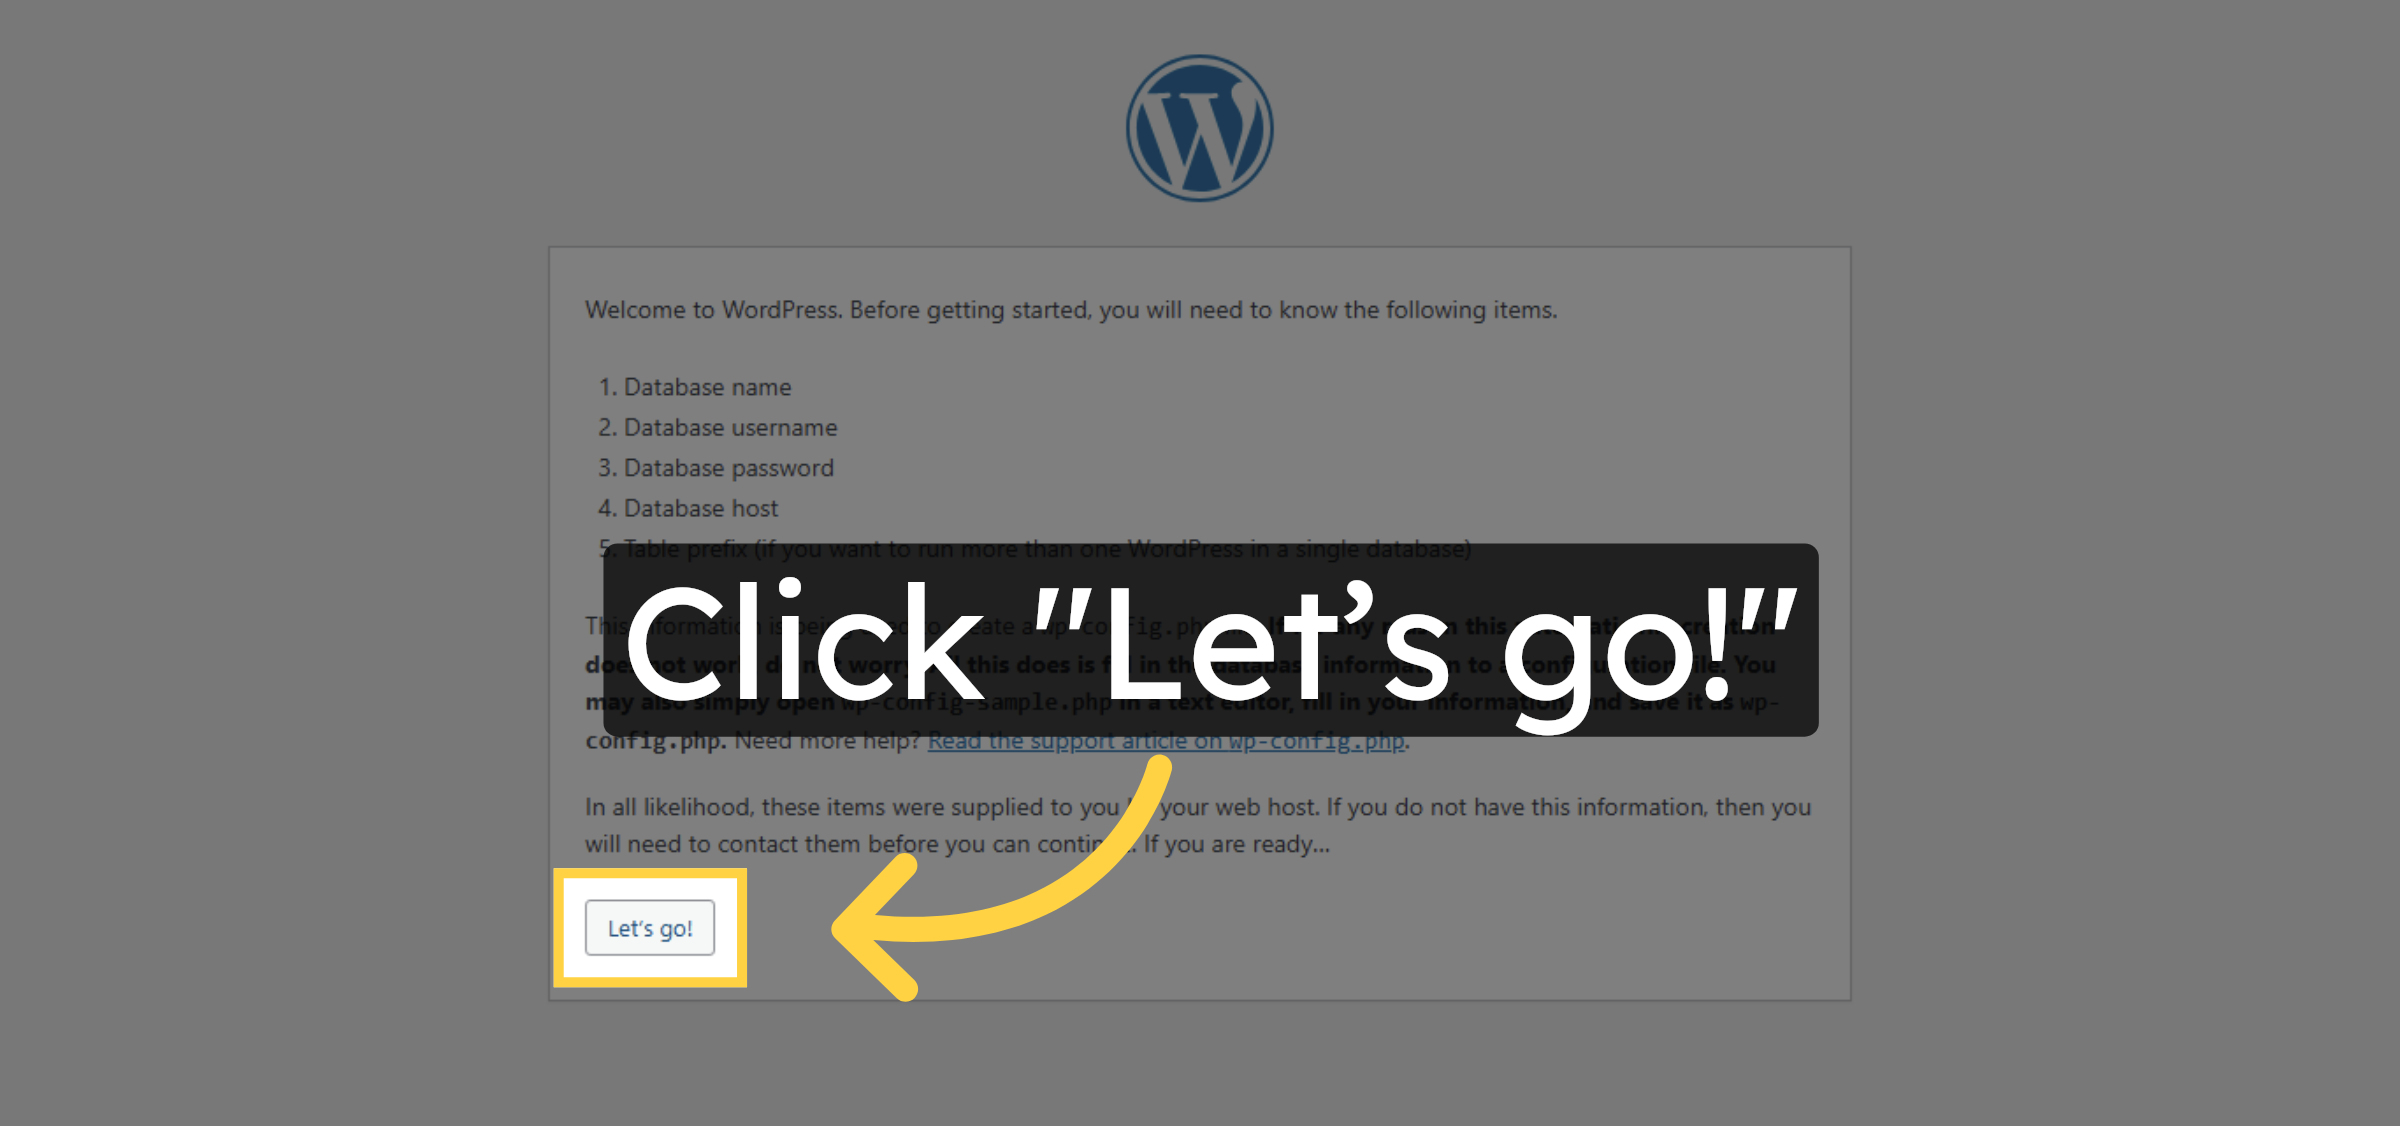
40. Start Installation
41. Select Database Name Field
42. Enter Database Name
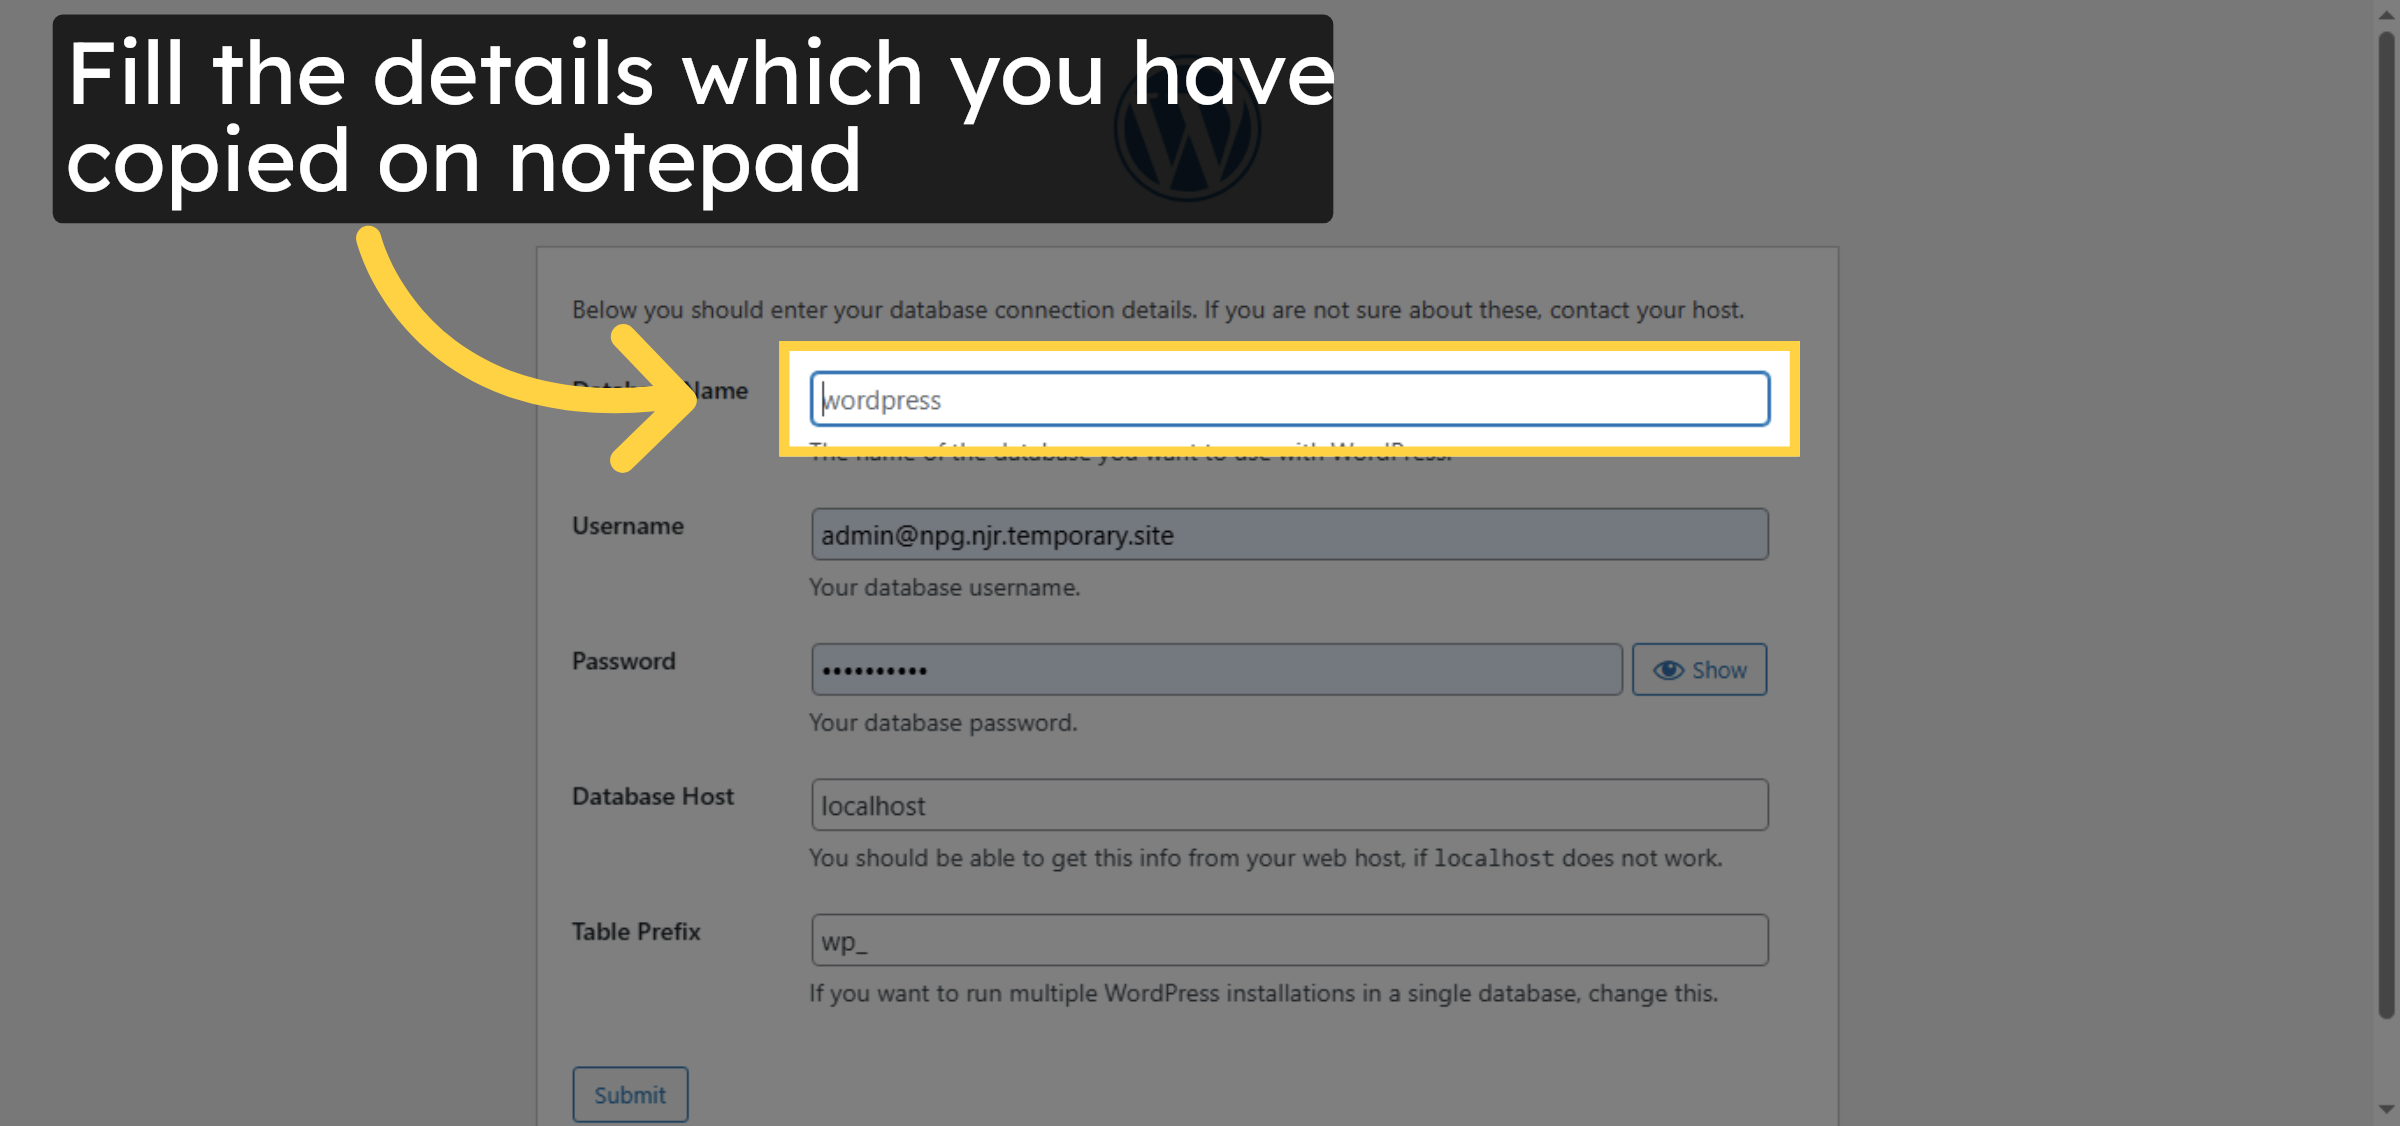
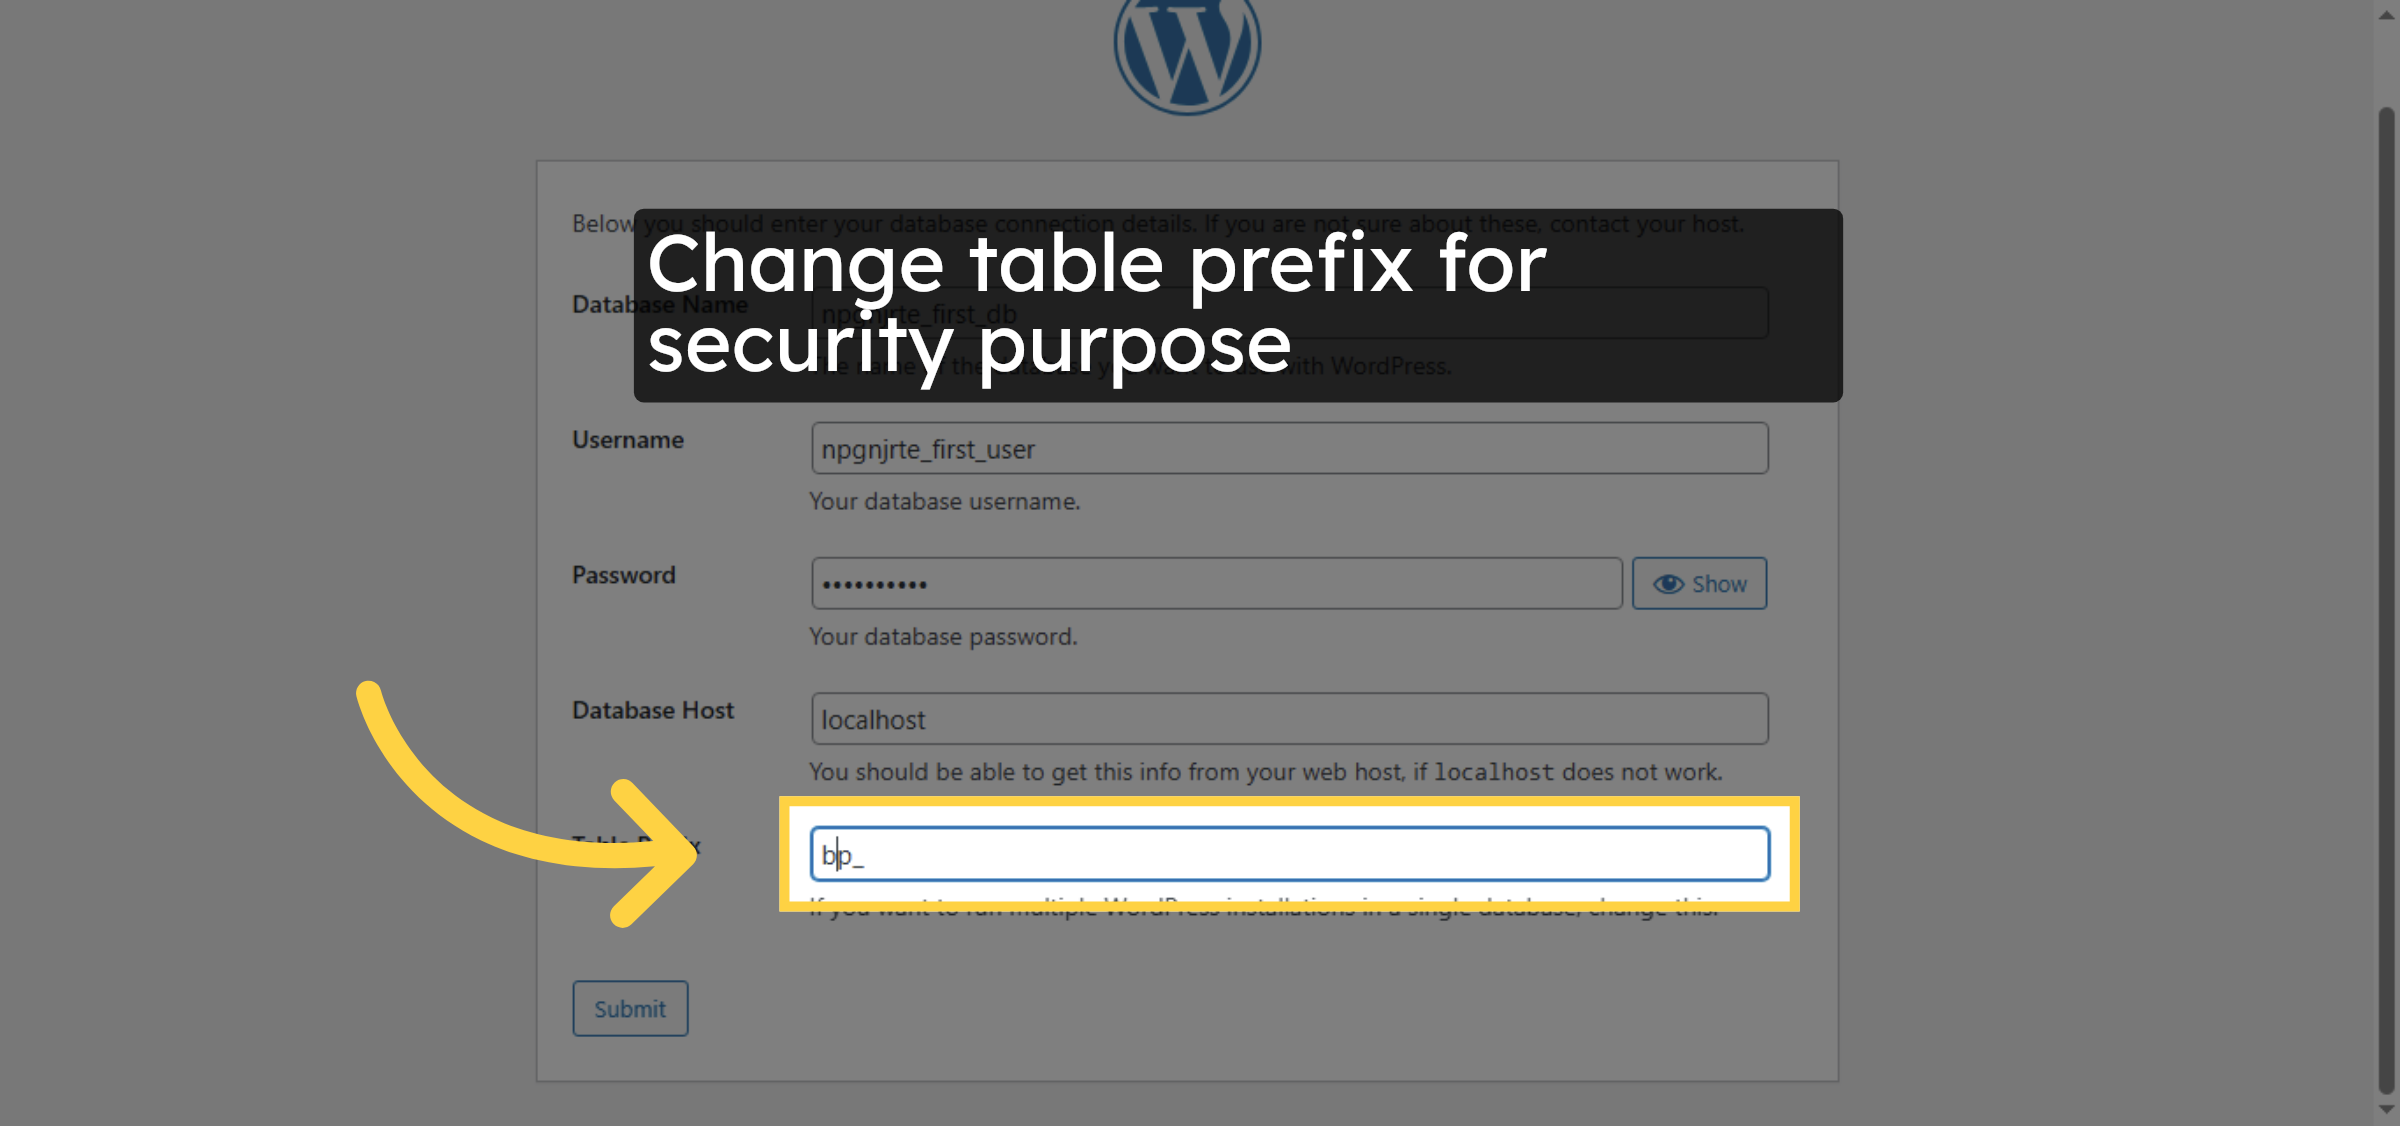
43. Enter Database User
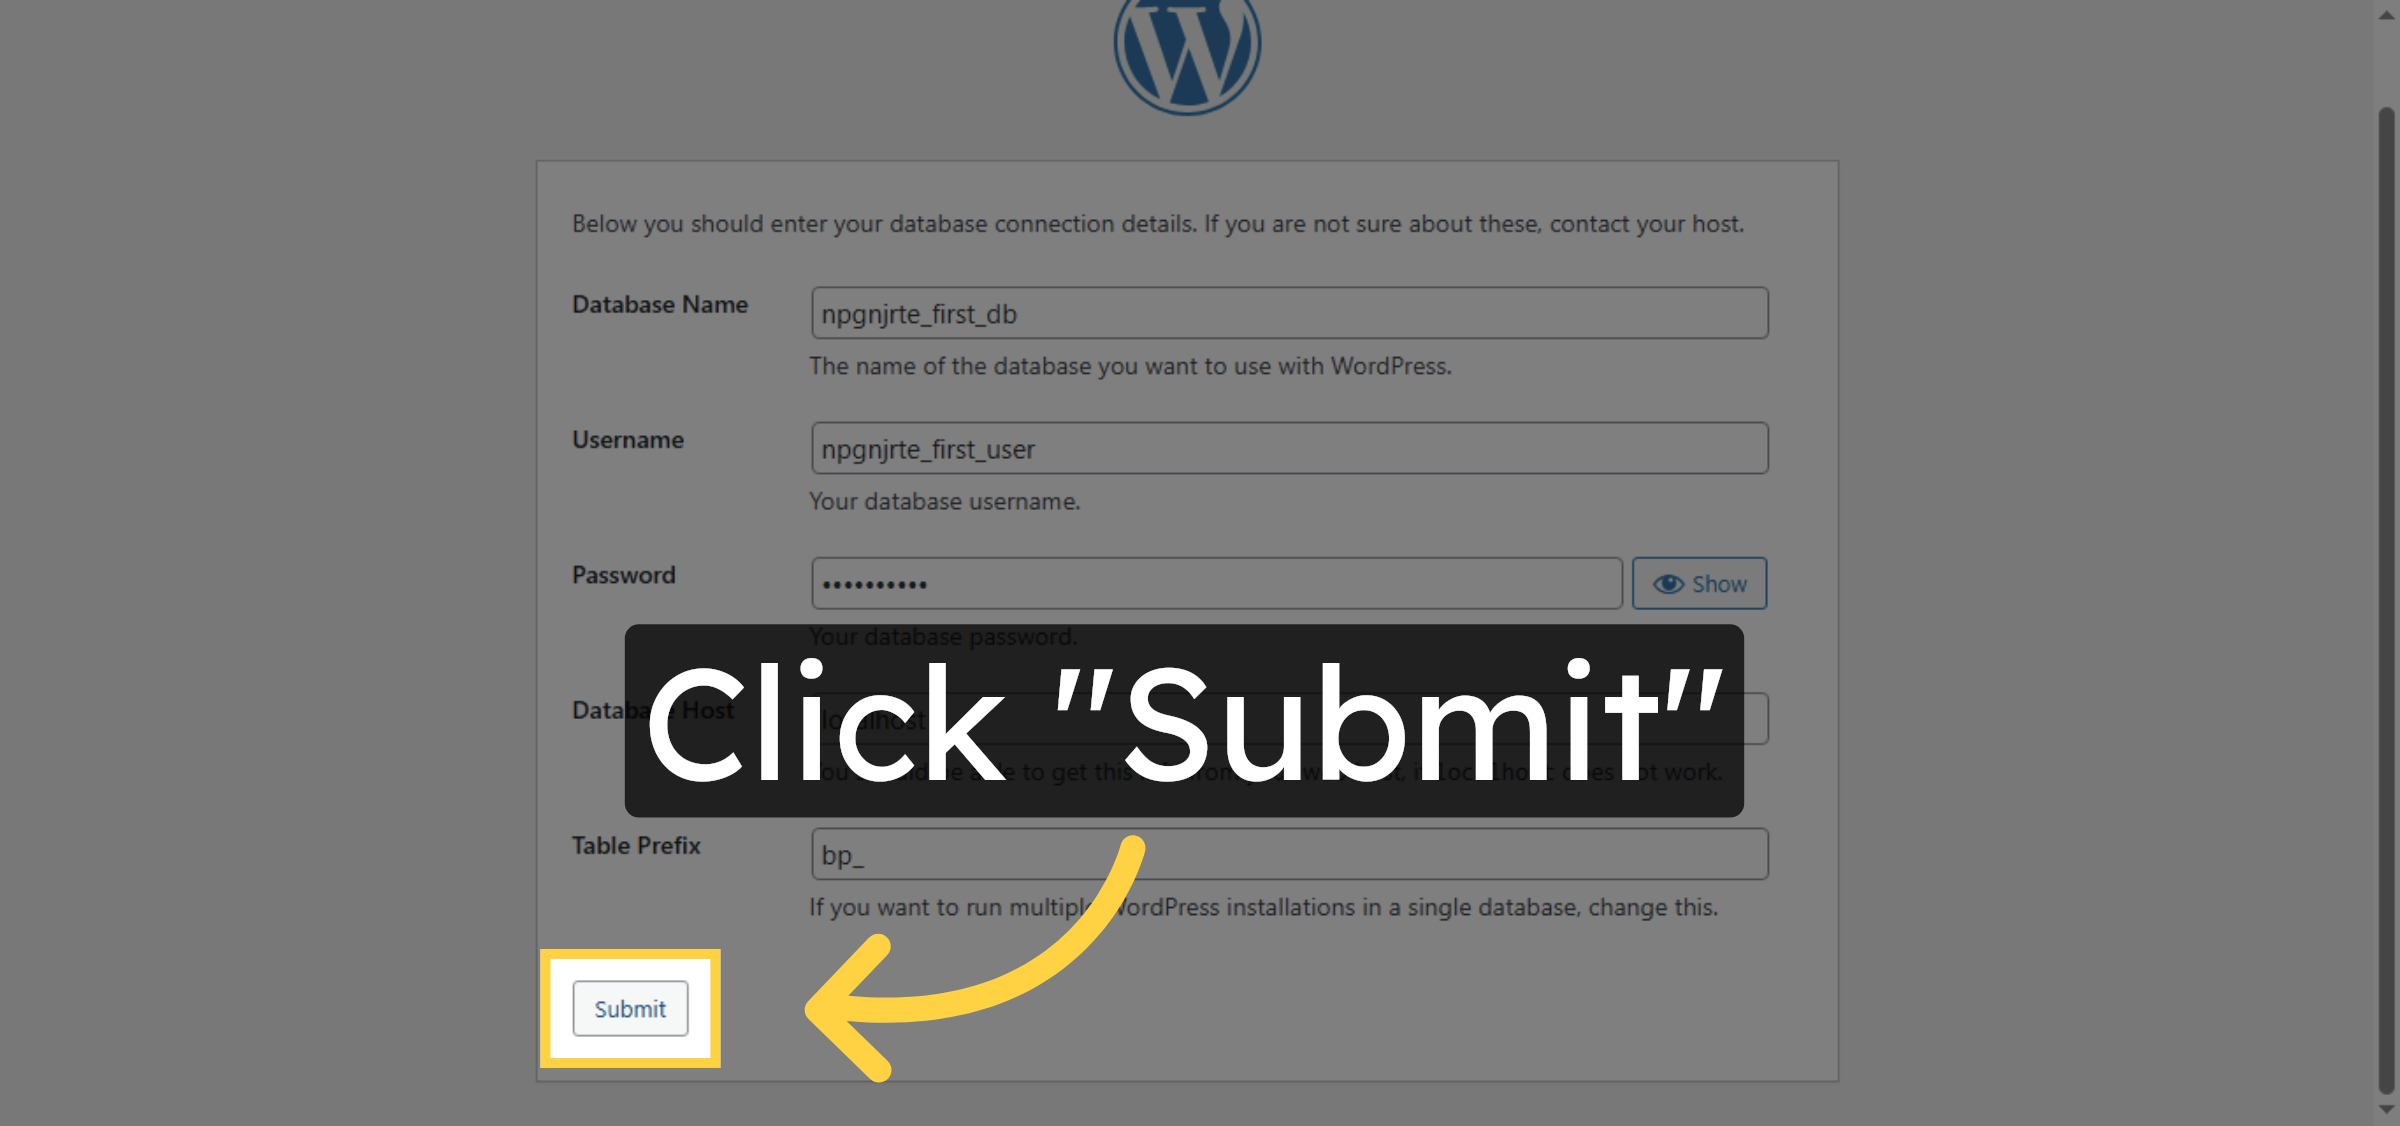
44. Enter Database Password
45. Change prefix
46. click on submit
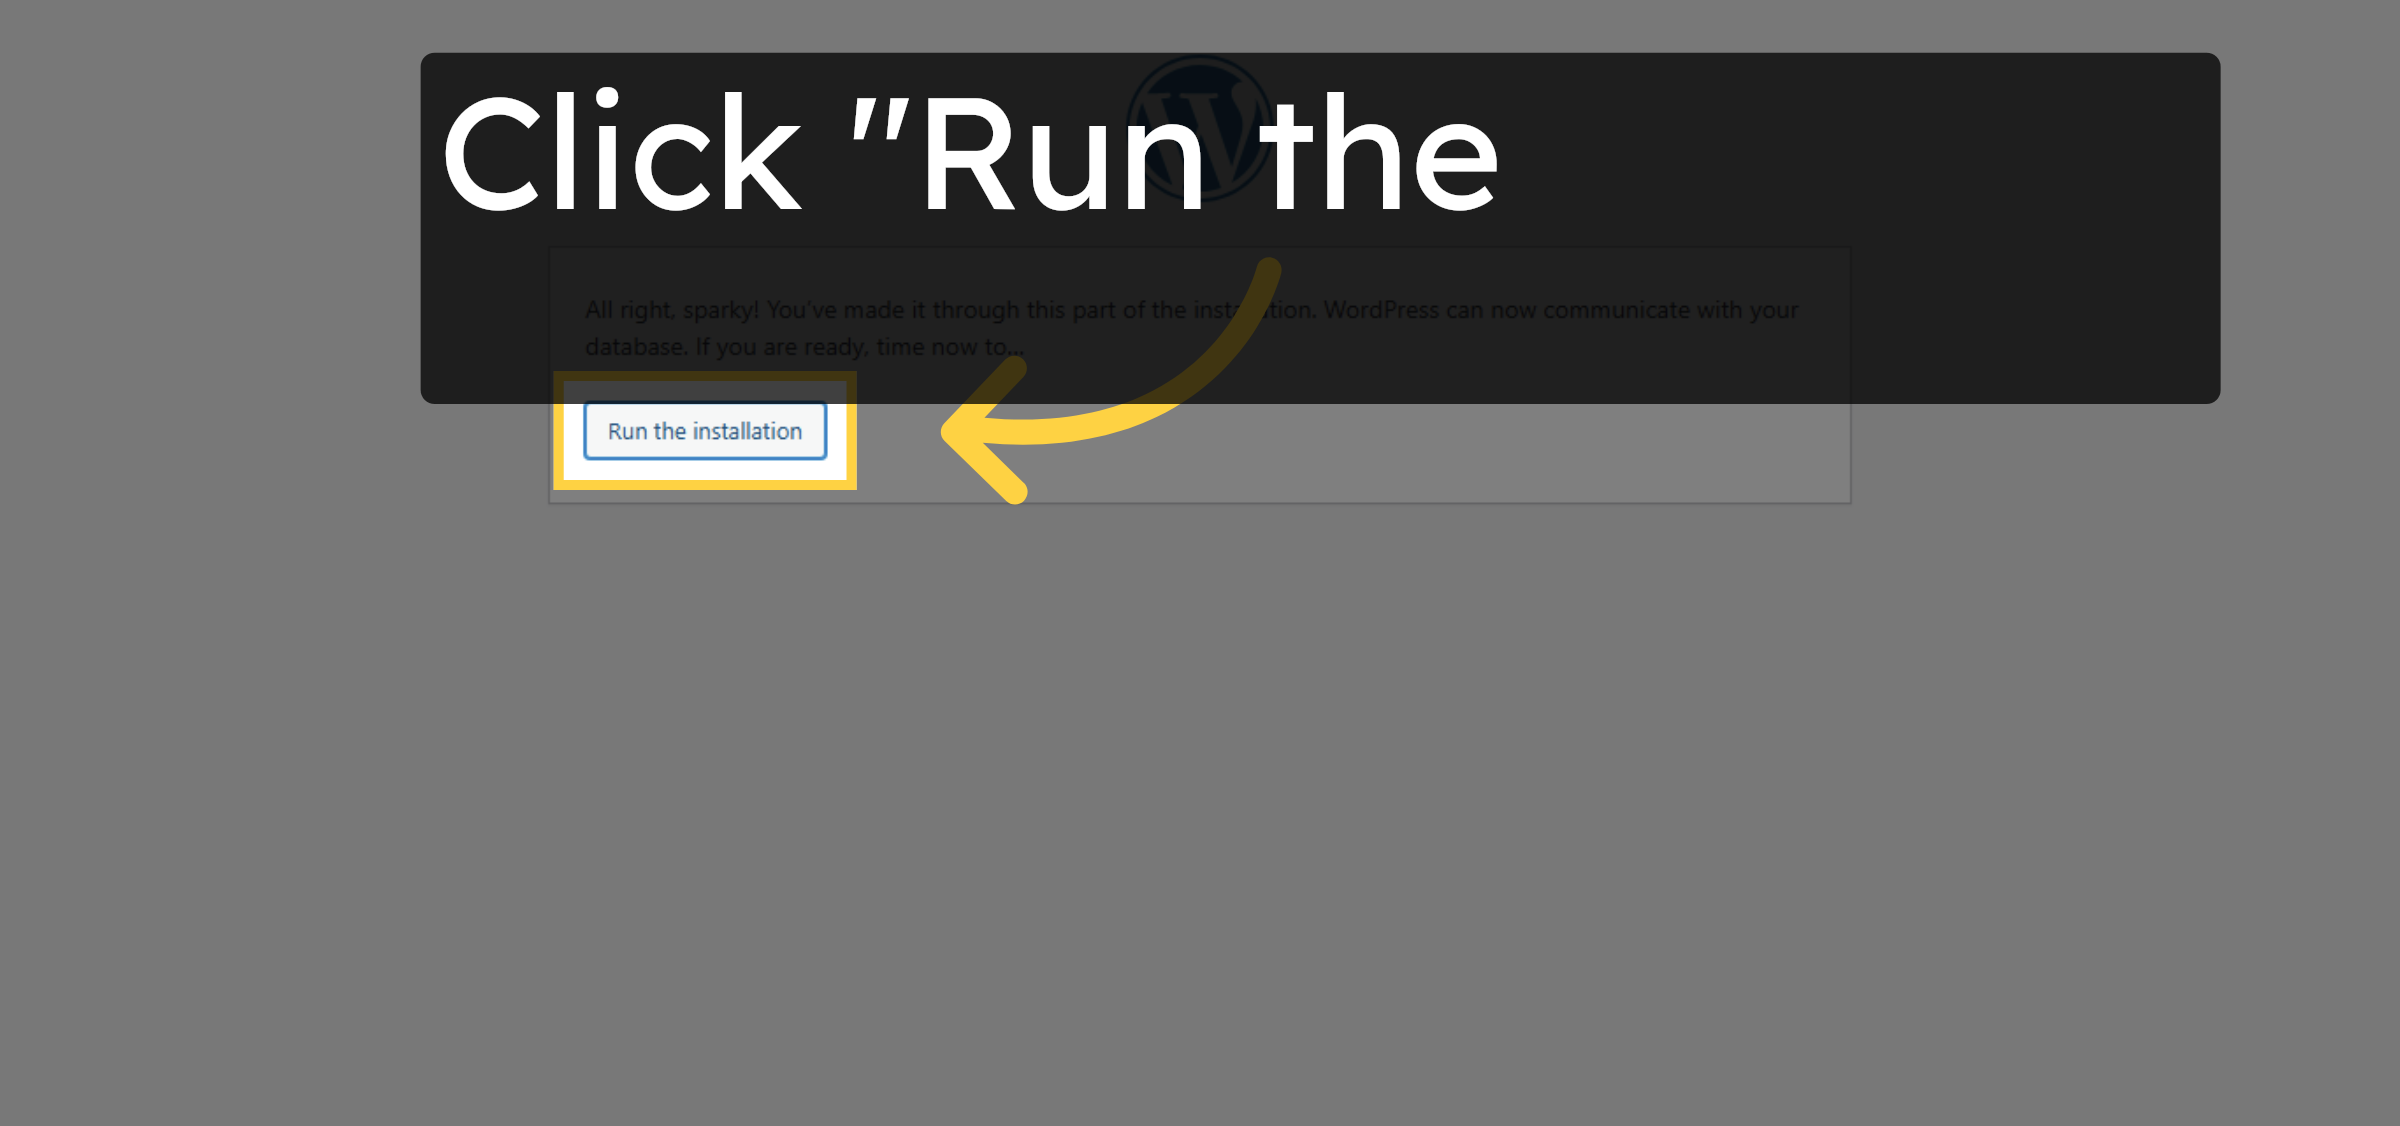
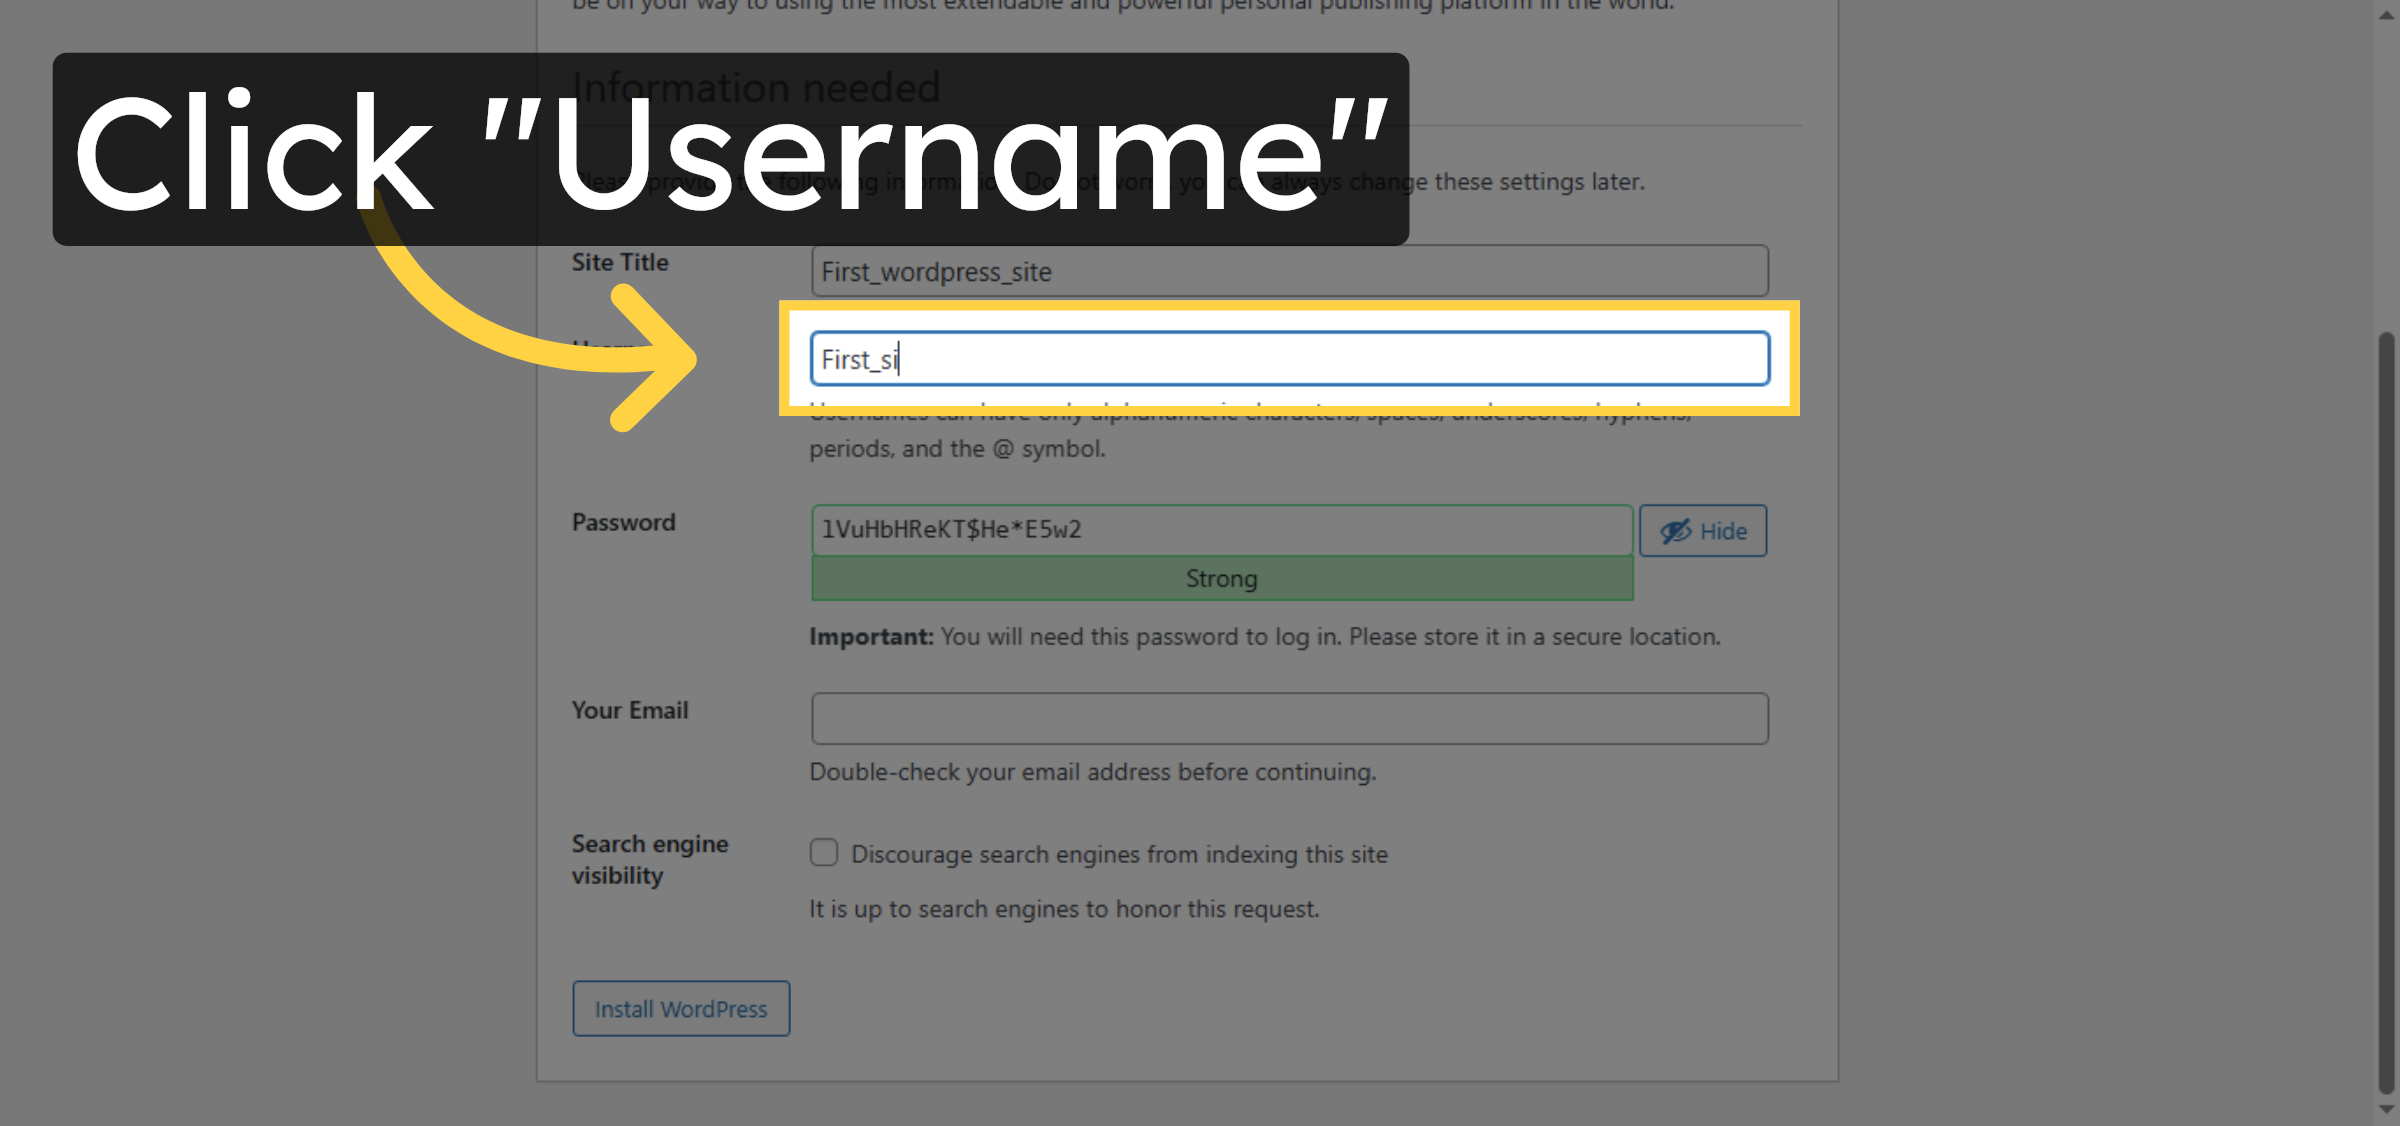
47. Run the installation
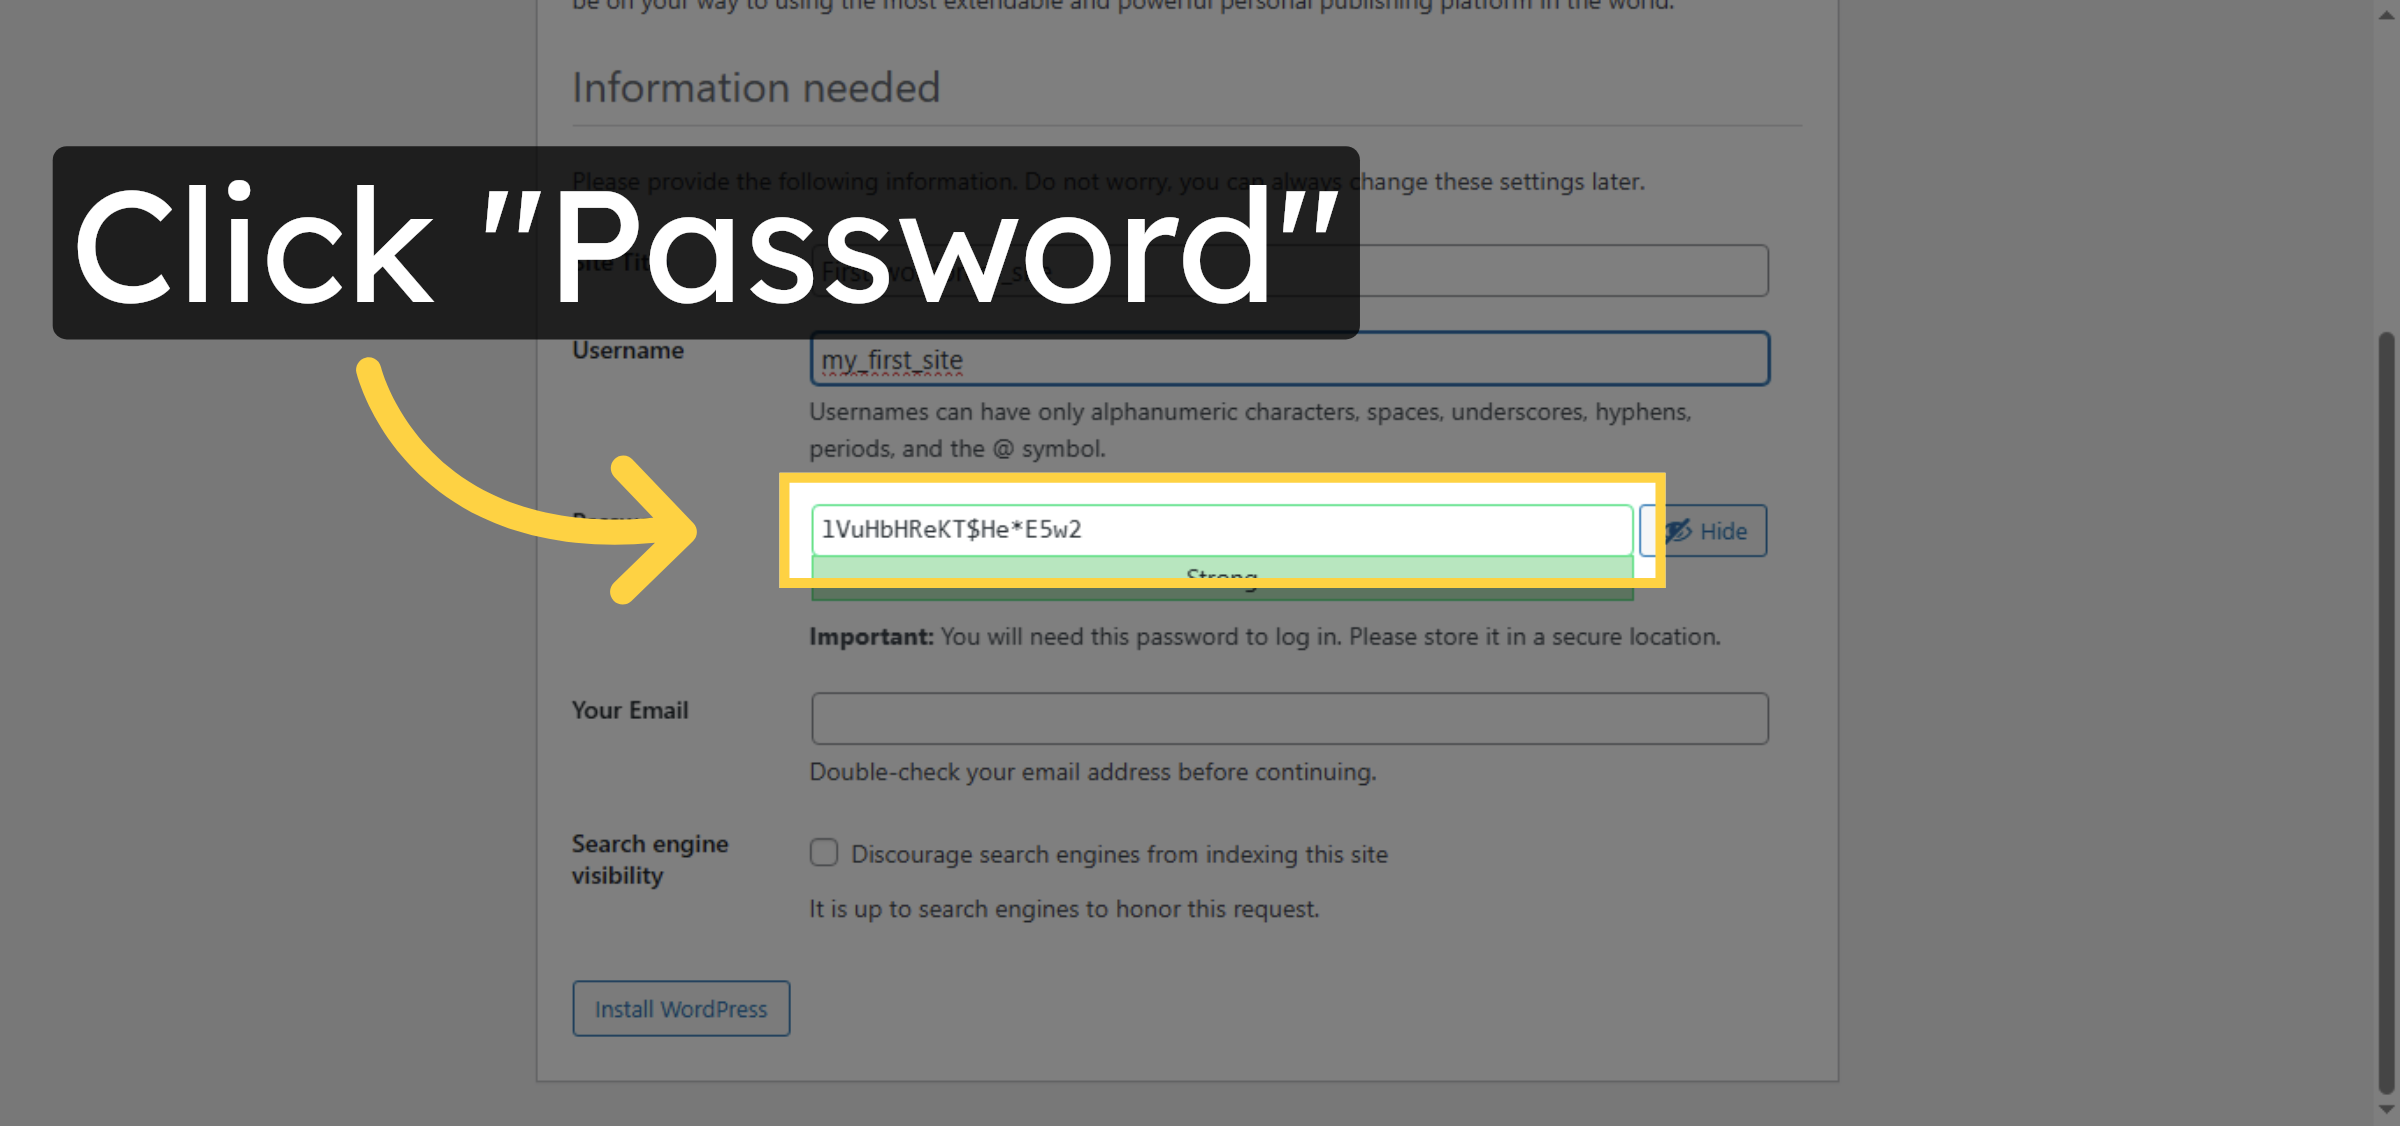
48. select site title

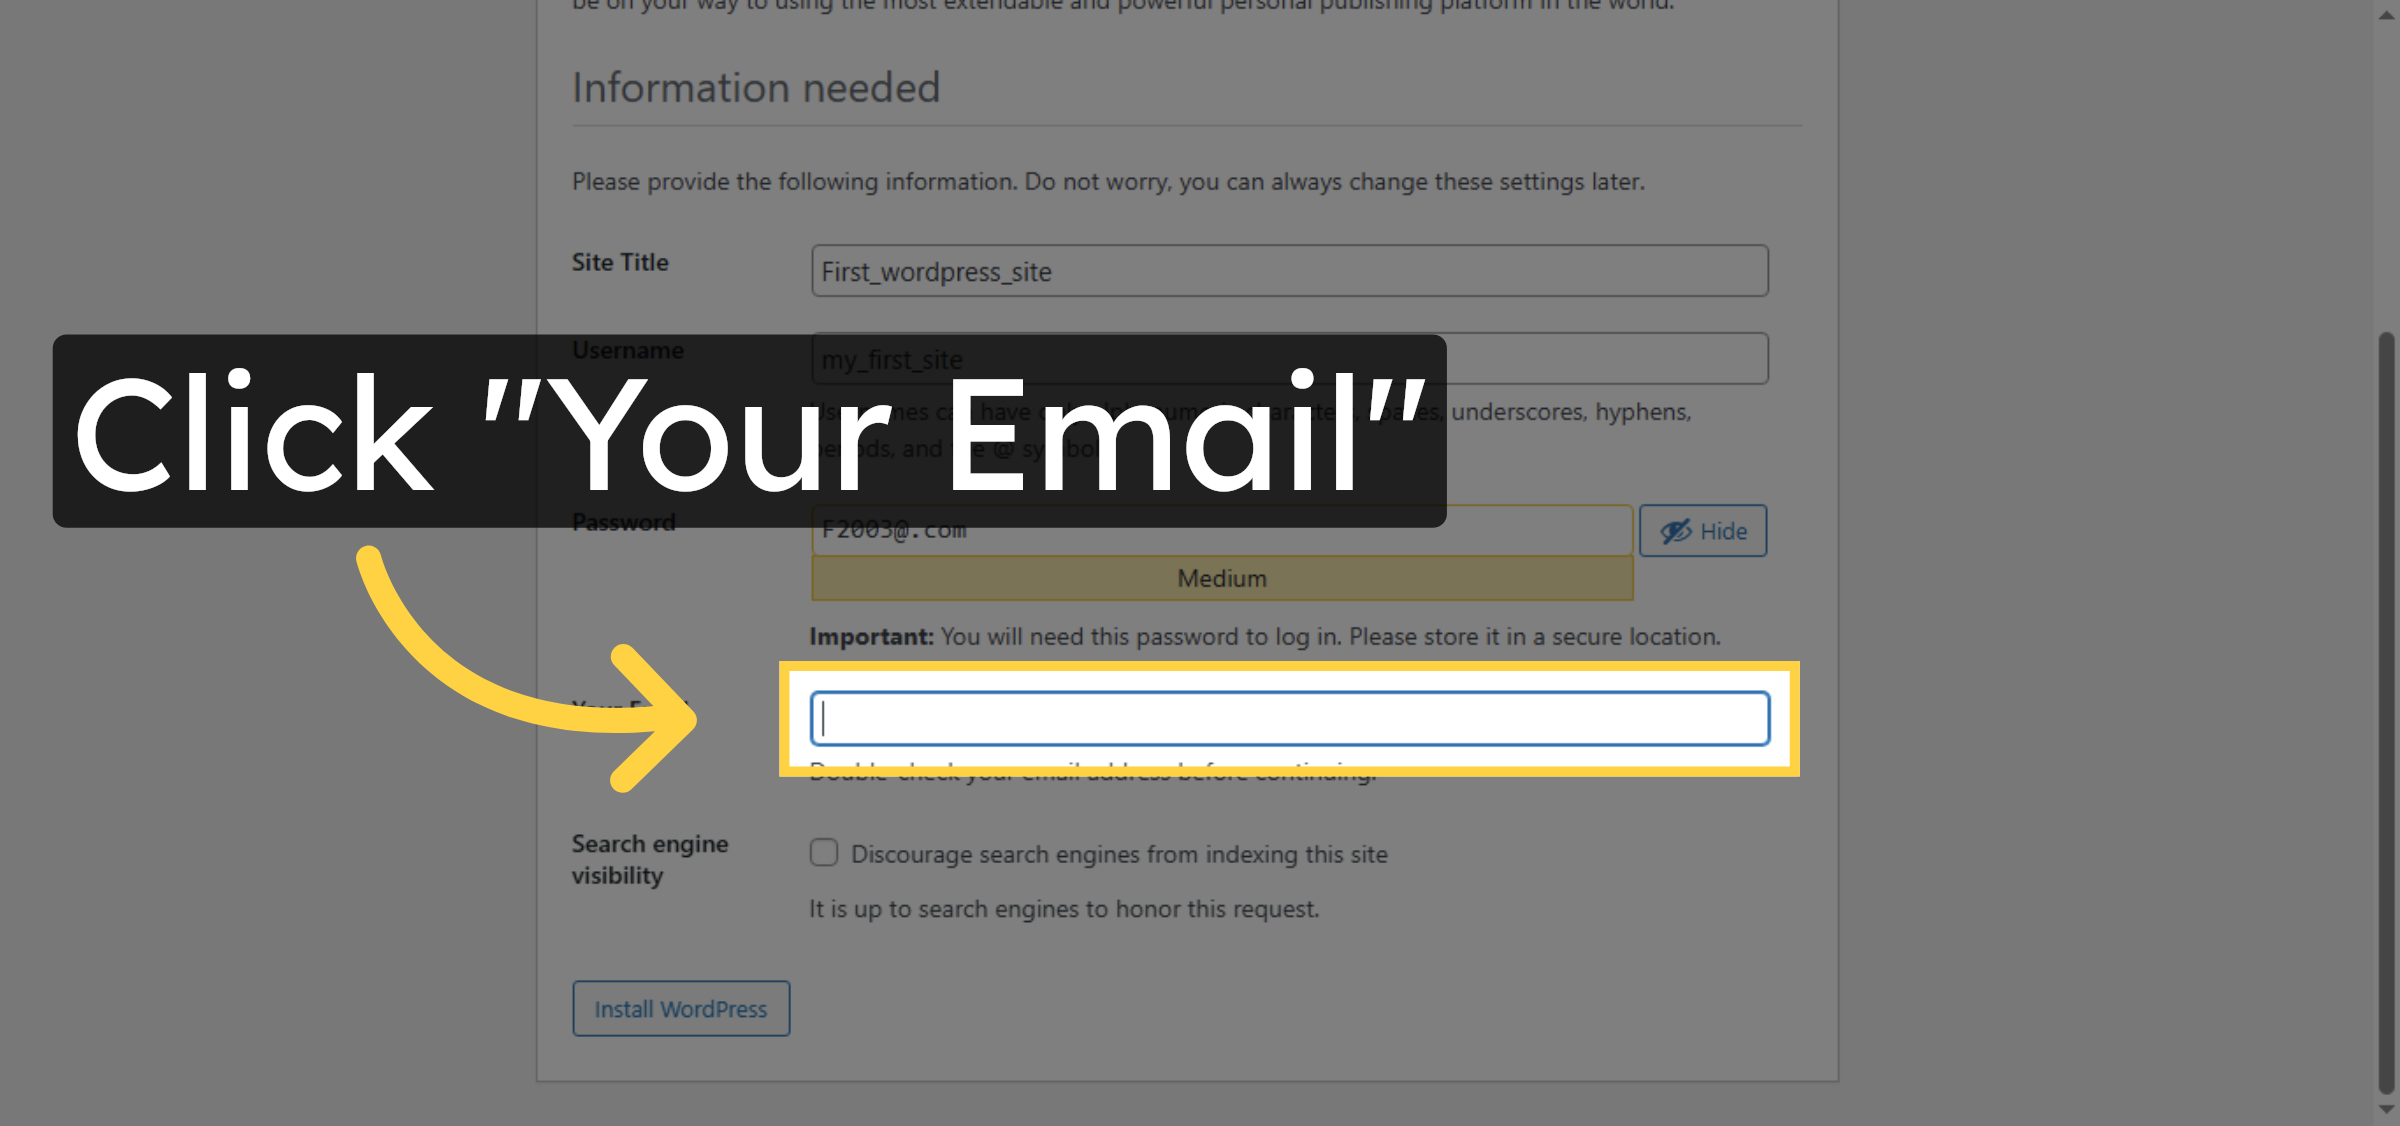
49. Enter Admin Username
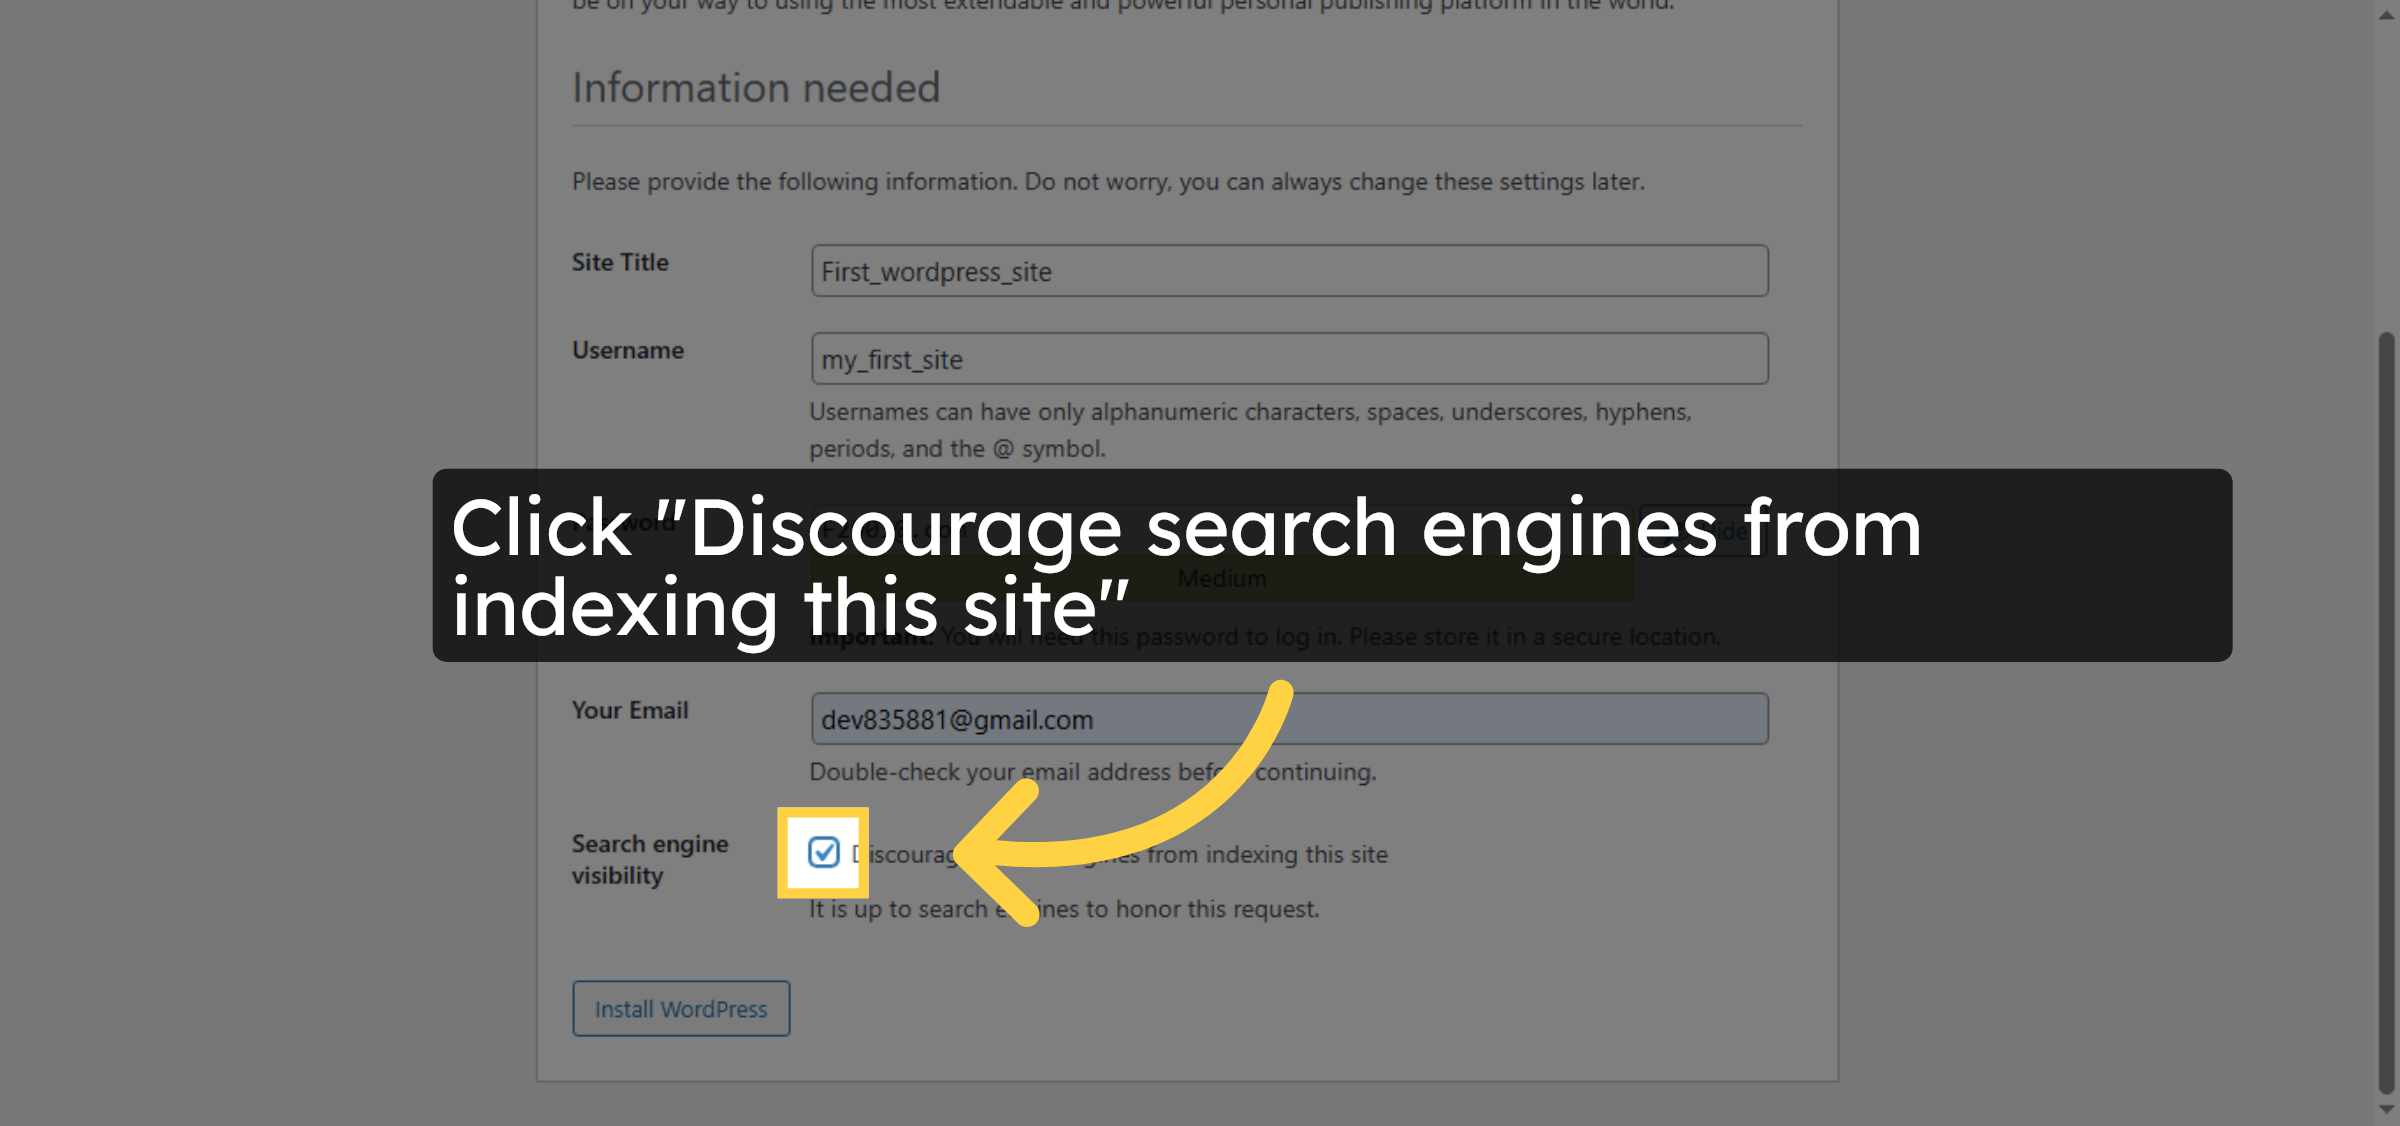
50. Enter Admin Password
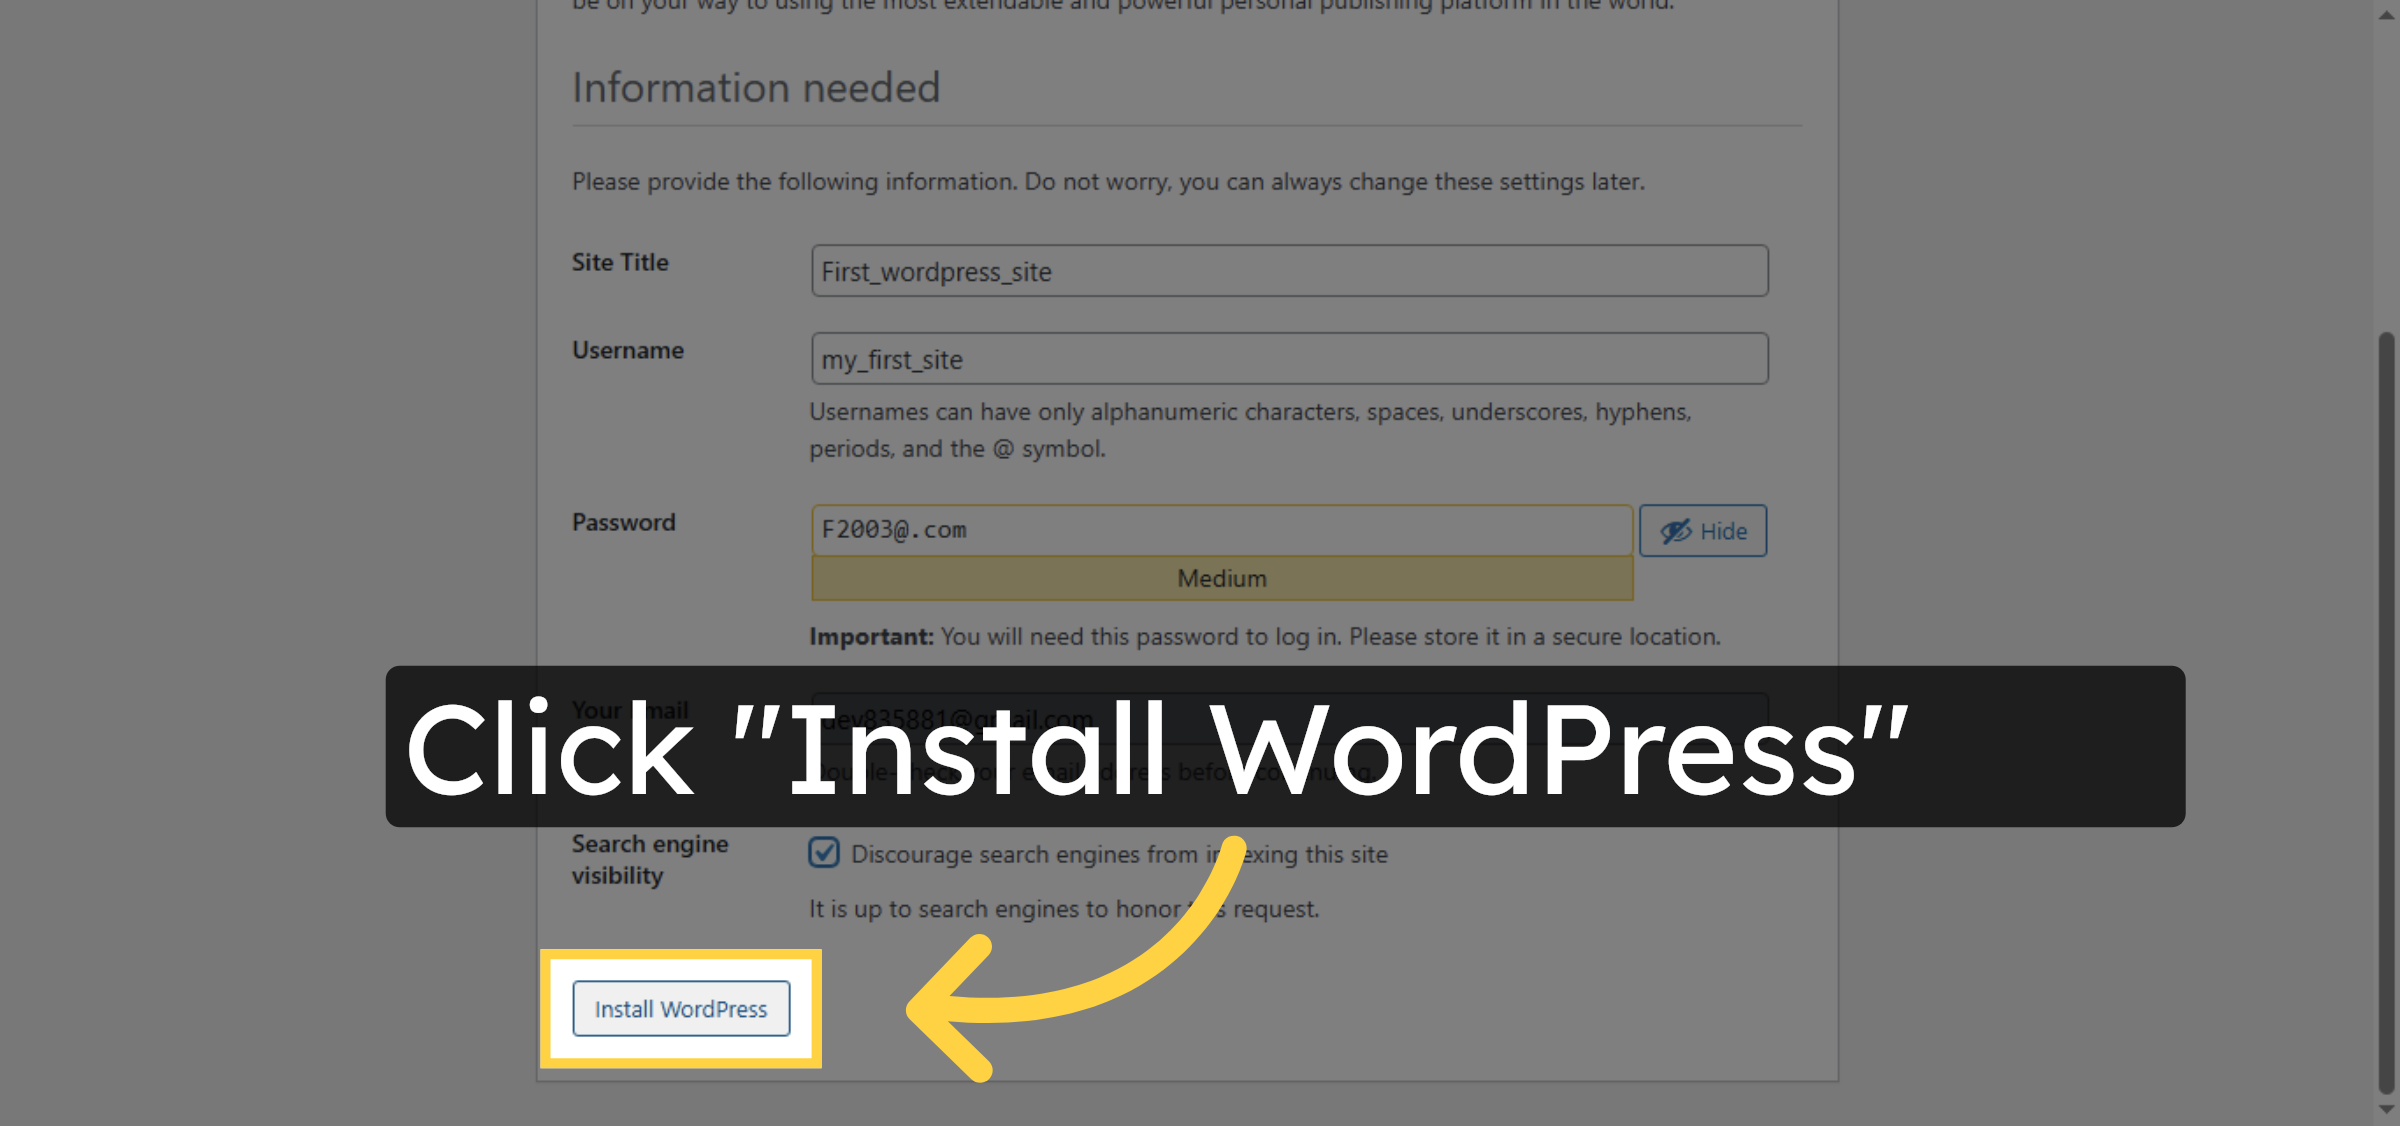
51. Enter Contact Email
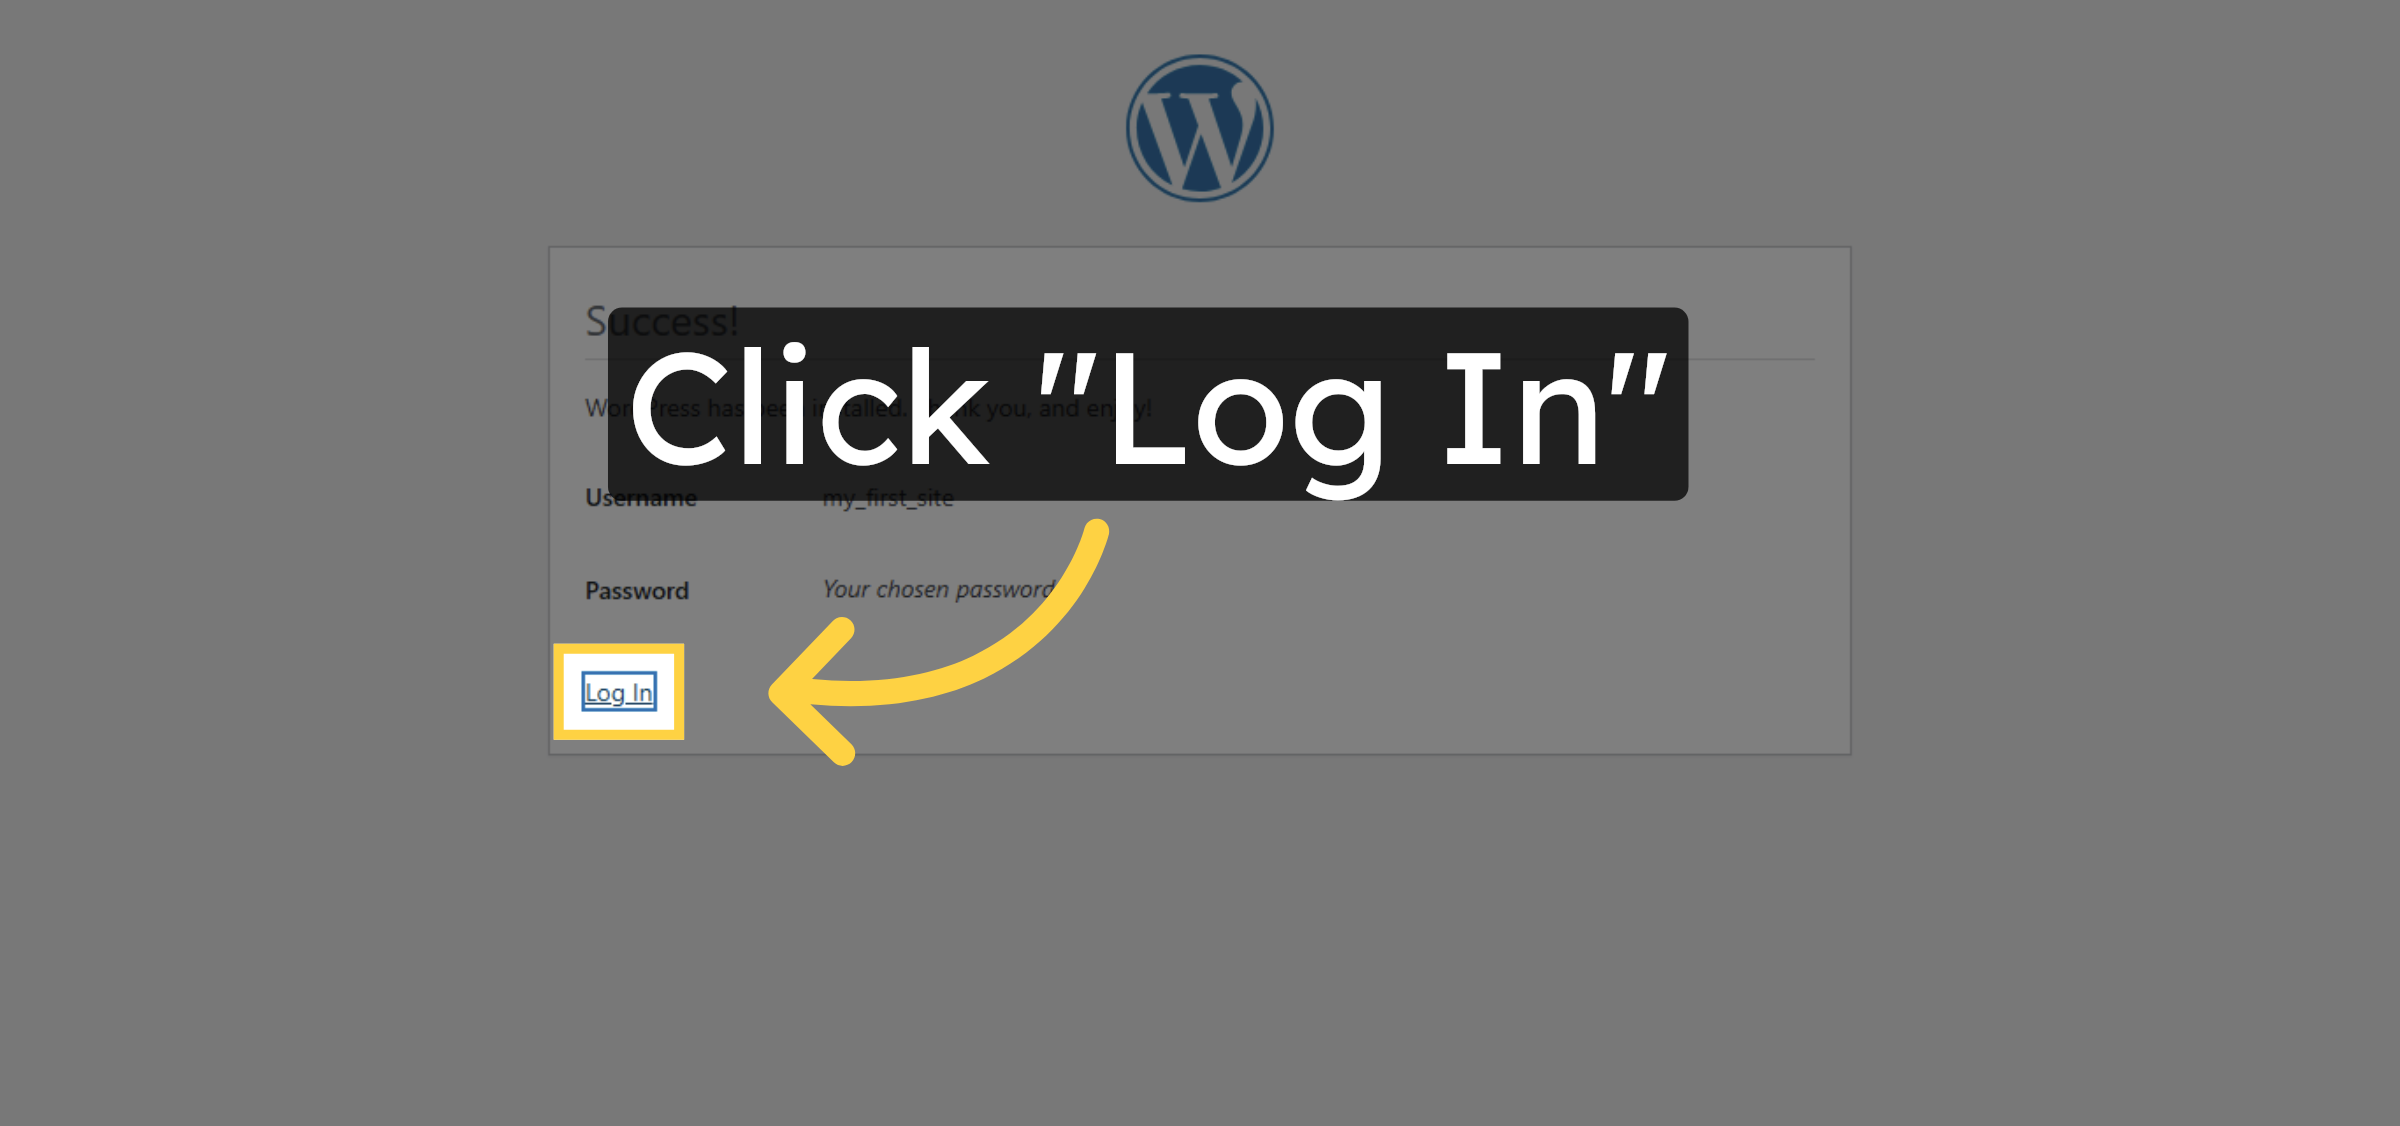
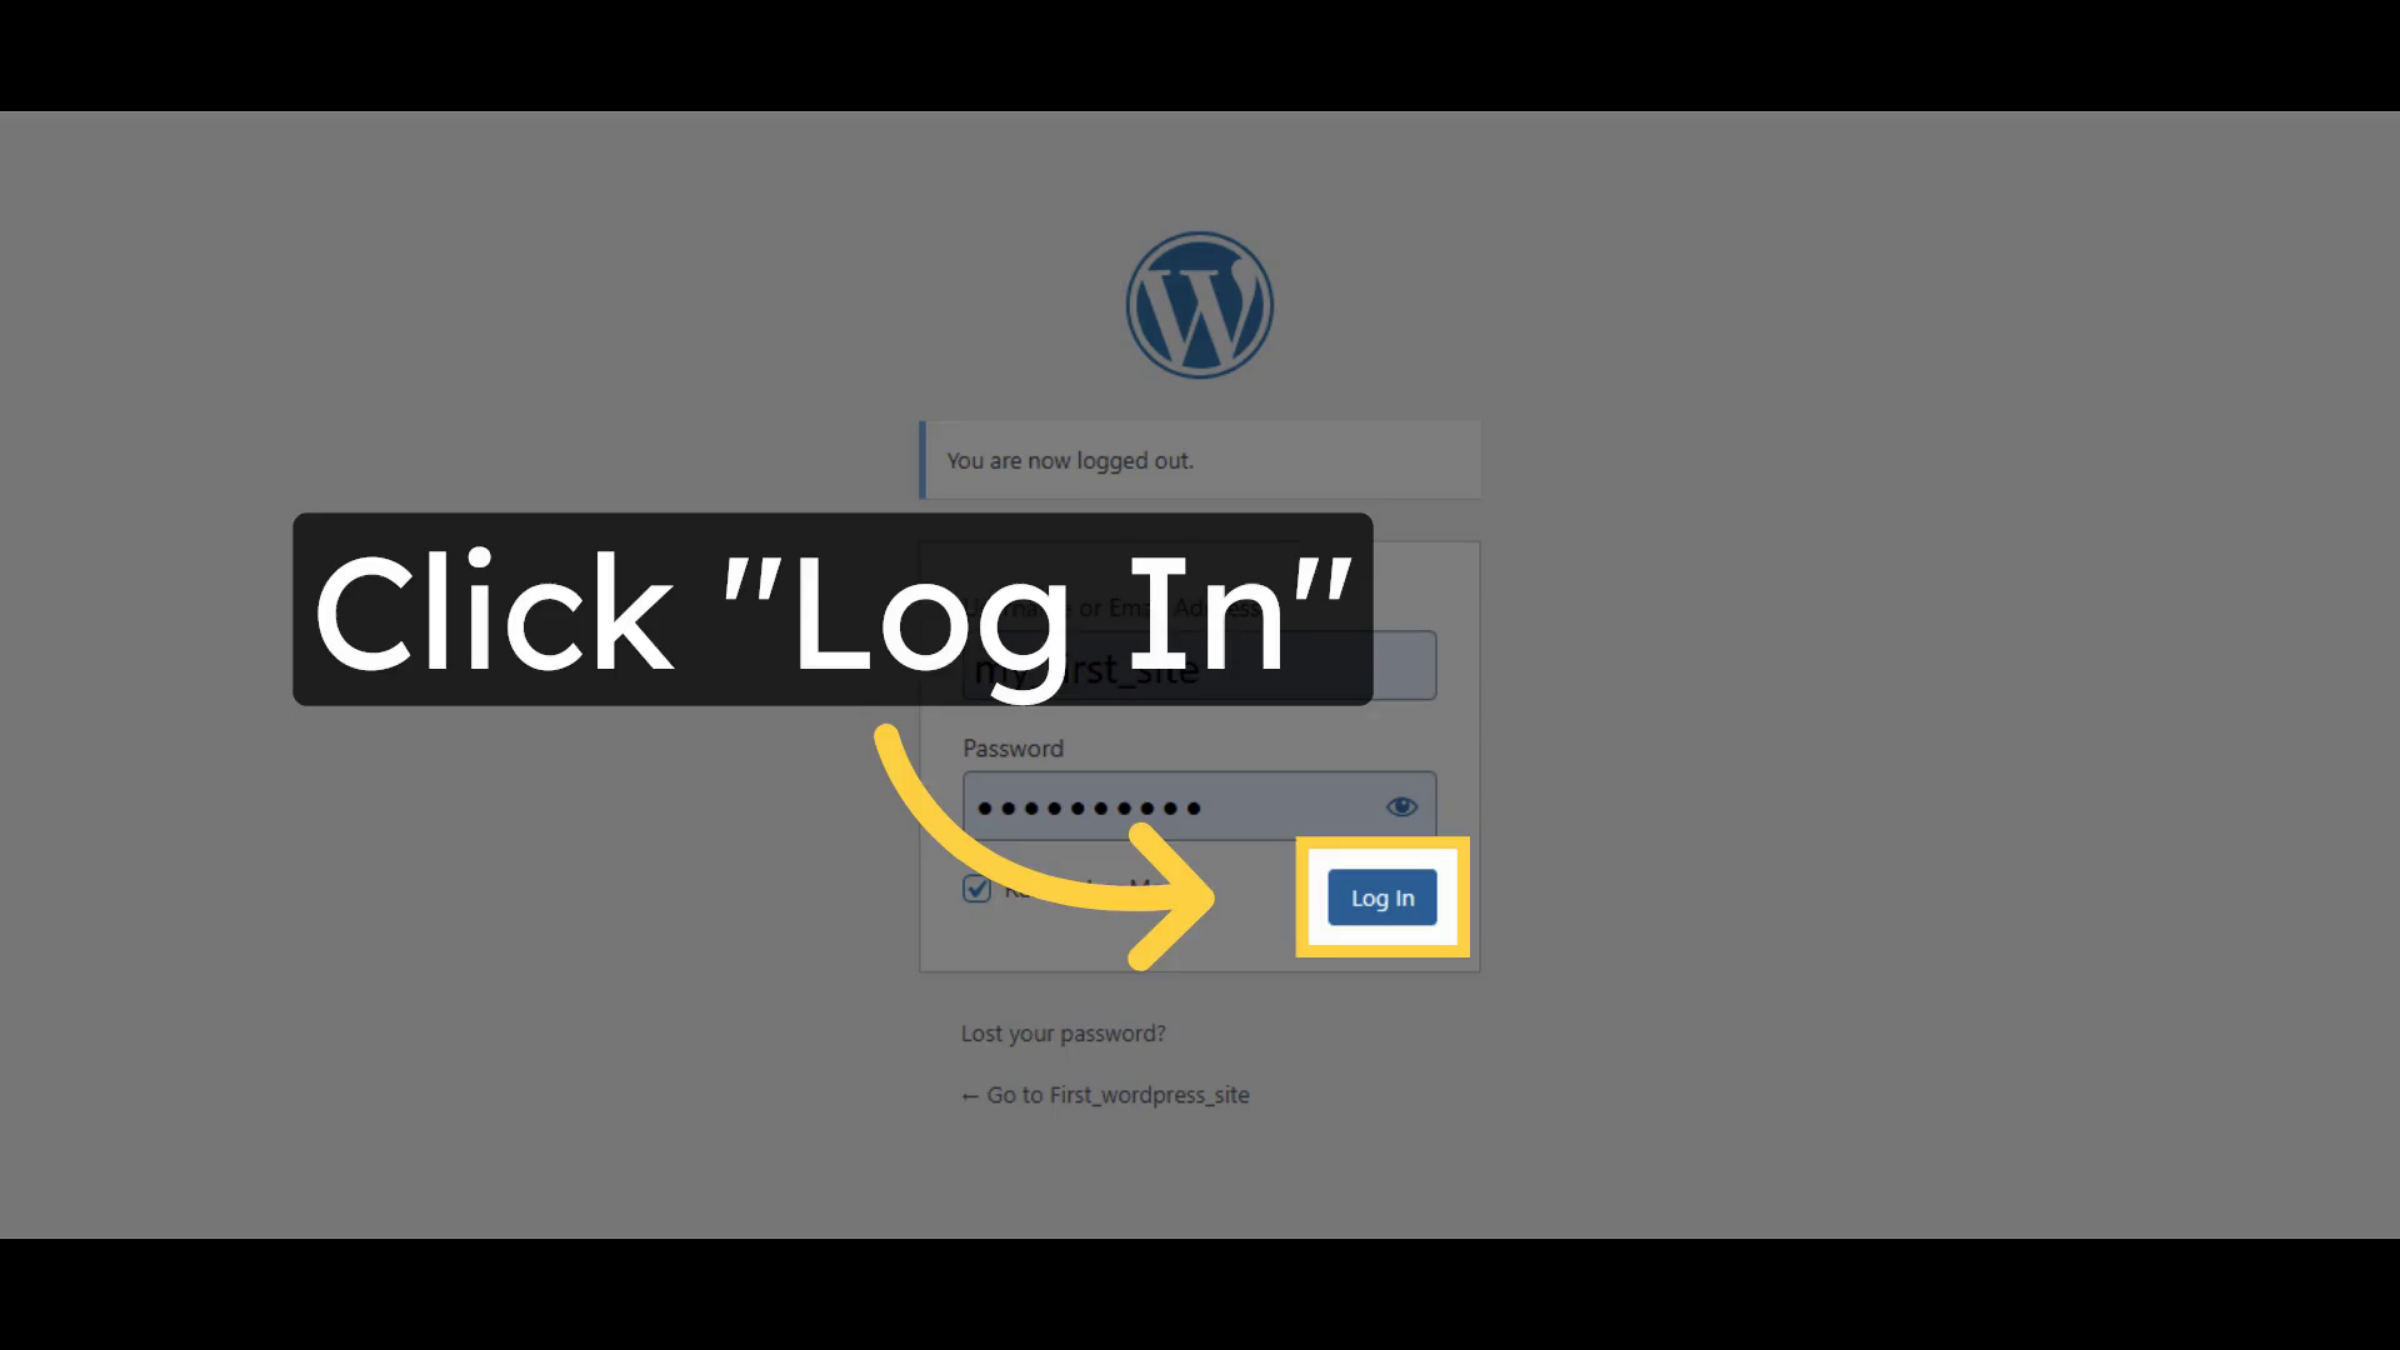
52. Reconfirm Search Engine Setting
53. Install wordpress
54. Click “Log In”
55. Navigate and Access WordPress Blog Posts
Conclusion
By following the steps outlined in this guide, you have successfully installed WordPress manually on HostGator WP Hosting. From creating the database and configuring user privileges to uploading WordPress files and completing the installation wizard, each step ensures your website is properly set up and secure. This manual installation method provides greater control, improved security, and a solid foundation for managing, customizing, and scaling your WordPress website efficiently.
-
Visit: https://www.woohelpdesk.com
-
Call Us Toll-Free: +1 888 602 0119 (US & Canada)
-
Get professional support for WordPress installation, migrations, database setup, HostGator hosting configuration, troubleshooting, and WooCommerce management