How to Install WordPress on GoDaddy WP Hosting Efficiently
Introduction
Installing WordPress is the first step toward creating a professional and fully functional website. A proper installation ensures smooth performance, secure configuration, and easy site management. GoDaddy provides a managed WordPress hosting platform that allows users to install WordPress quickly without complex technical steps.
This guidde explains how to install WordPress on GoDaddy WP Hosting using the built-in automatic setup process. It covers accessing the GoDaddy dashboard, creating a new WordPress site, selecting setup options, and accessing the WordPress admin panel. By following this guide, users can launch their websites efficiently and begin building their online presence.
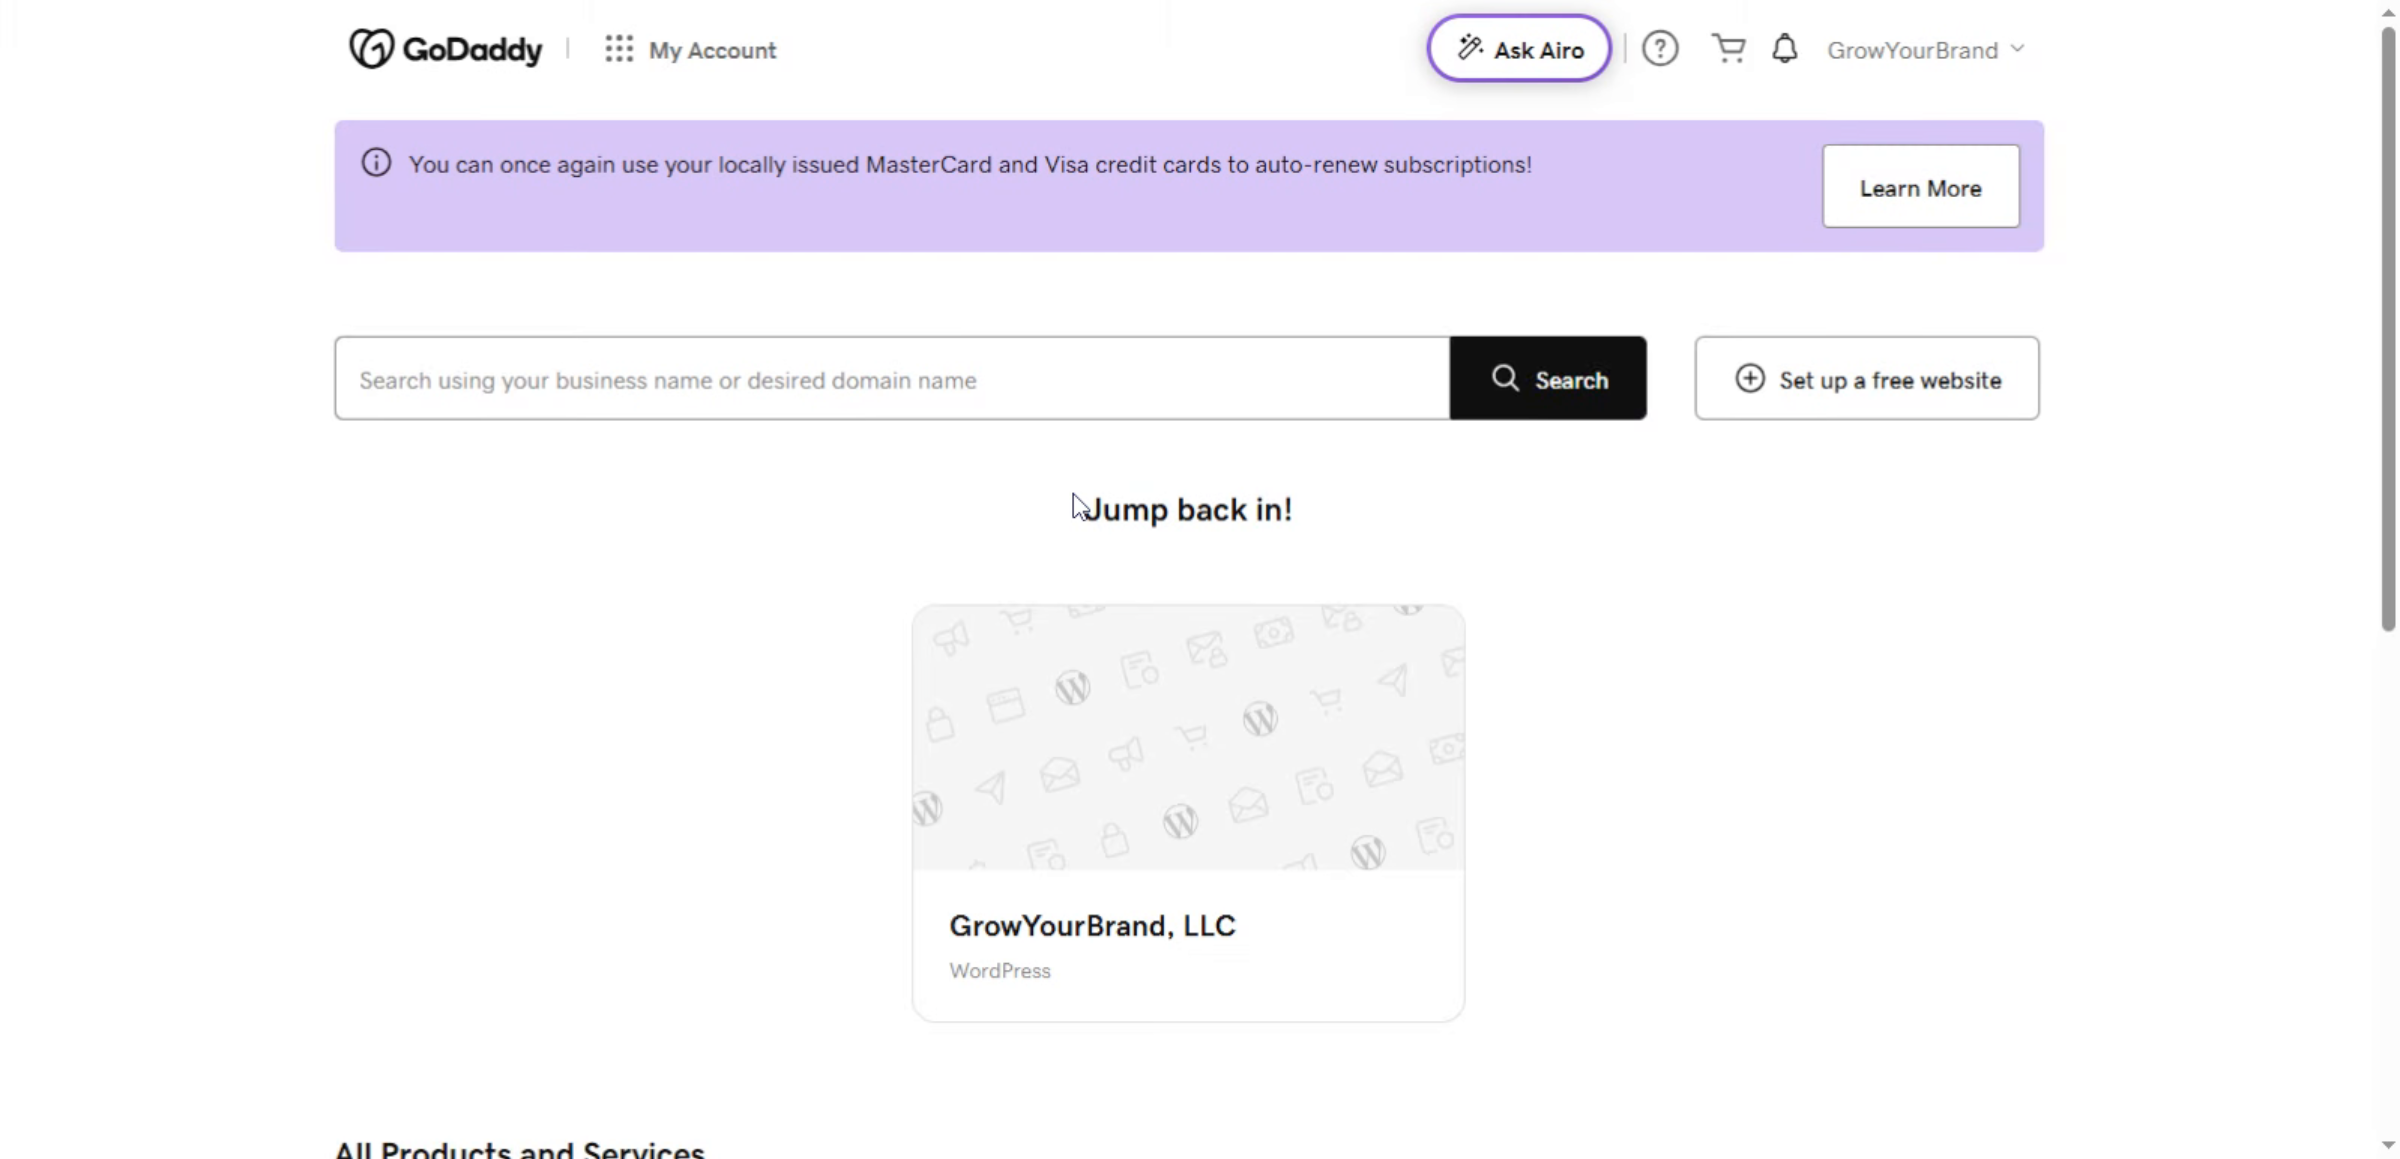
1. GoDaddy Account Dashboard
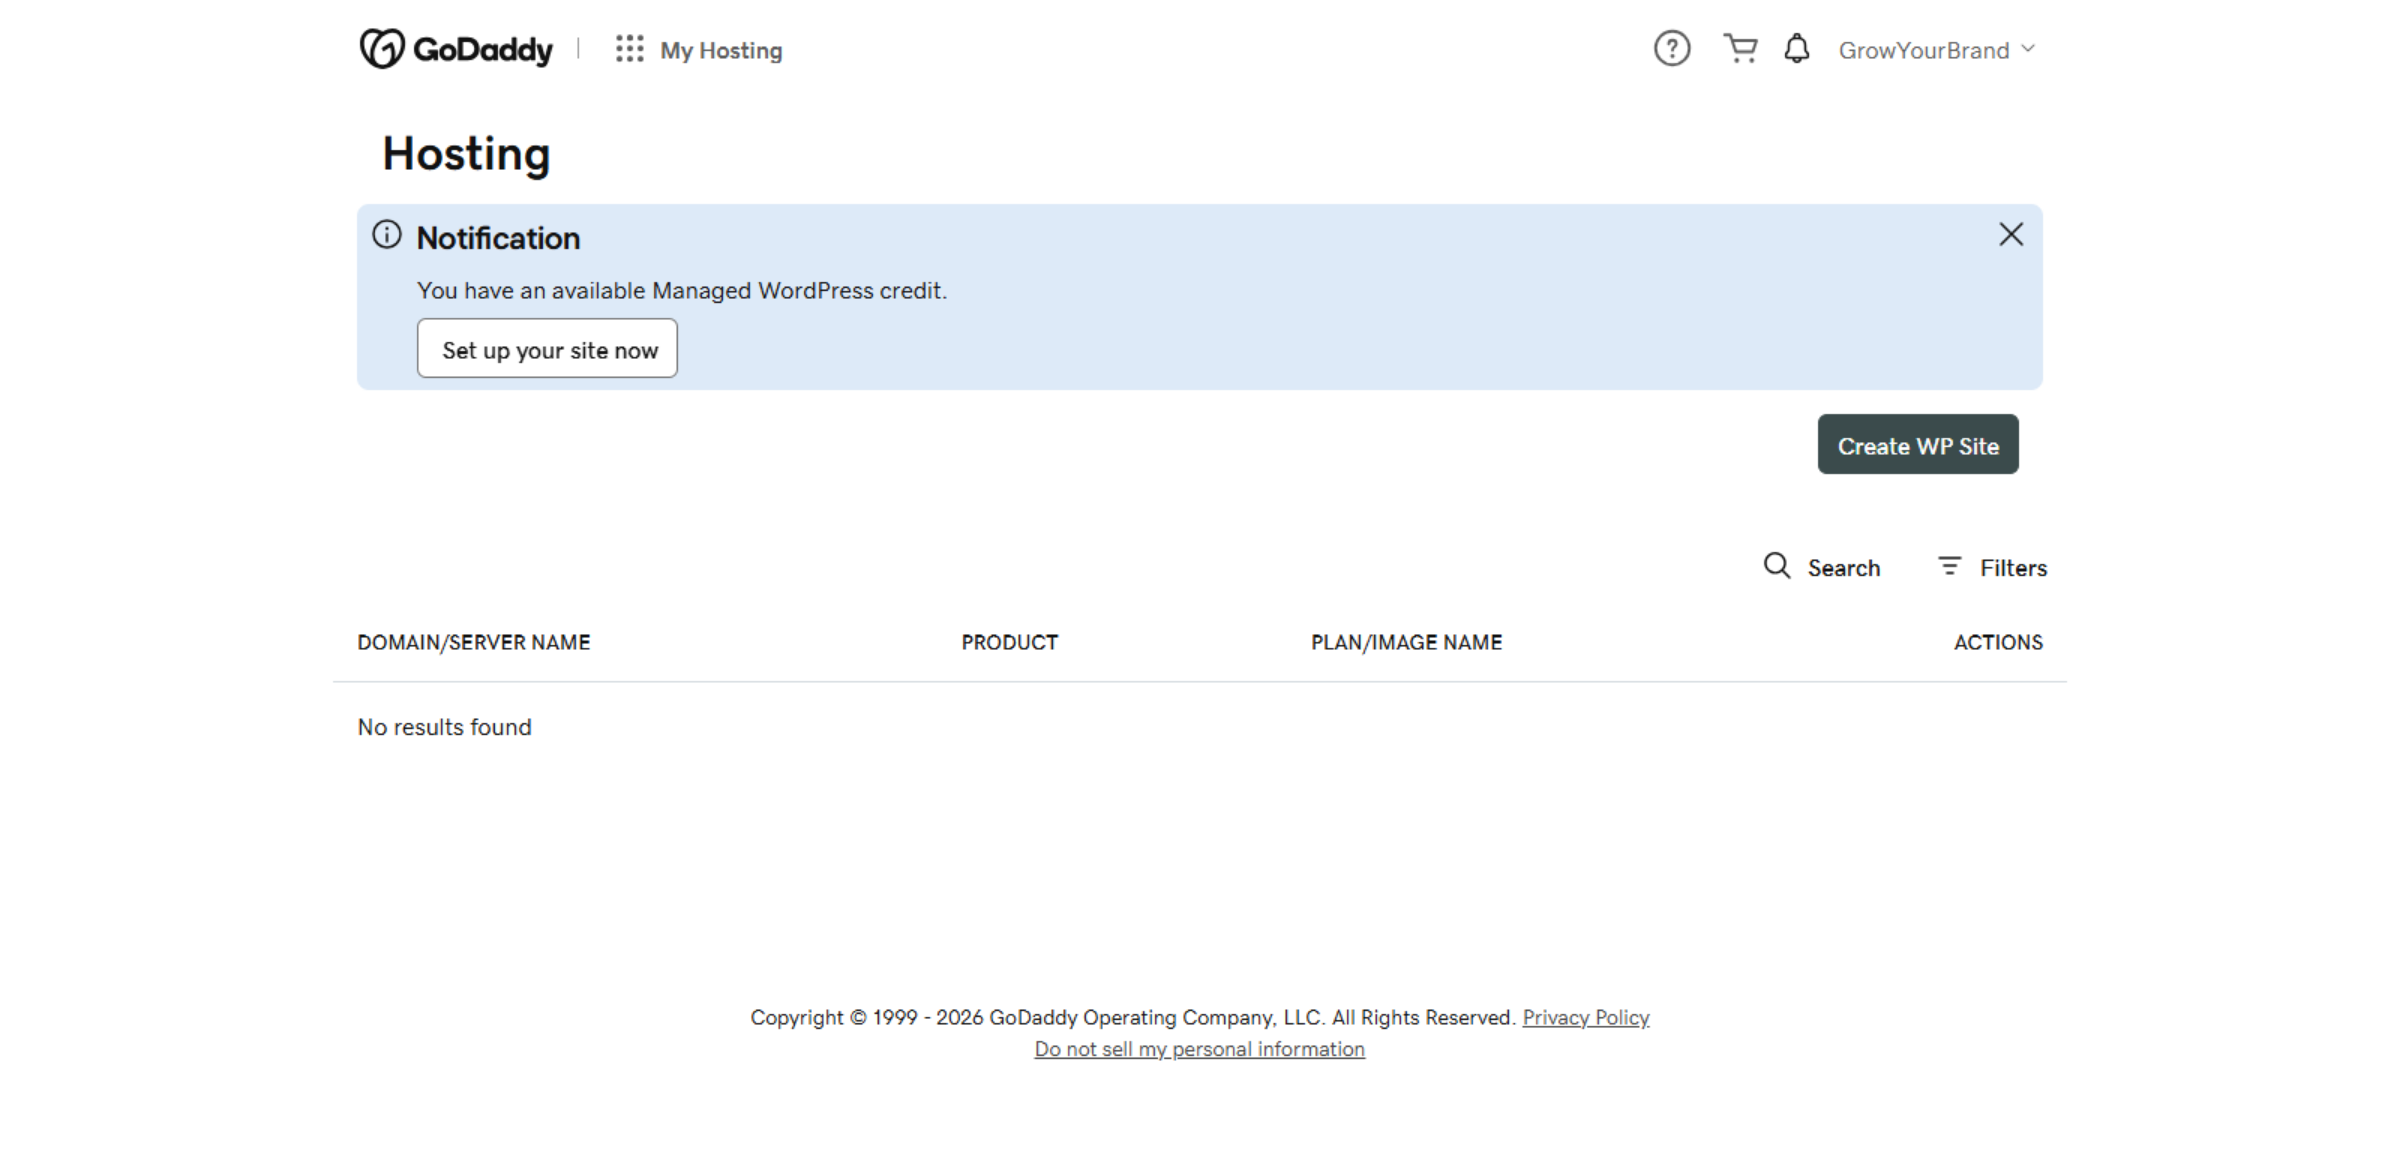
From the GoDaddy dashboard, you can access your WordPress hosting and start the WordPress installation process. This is the main control panel for managing your website services.
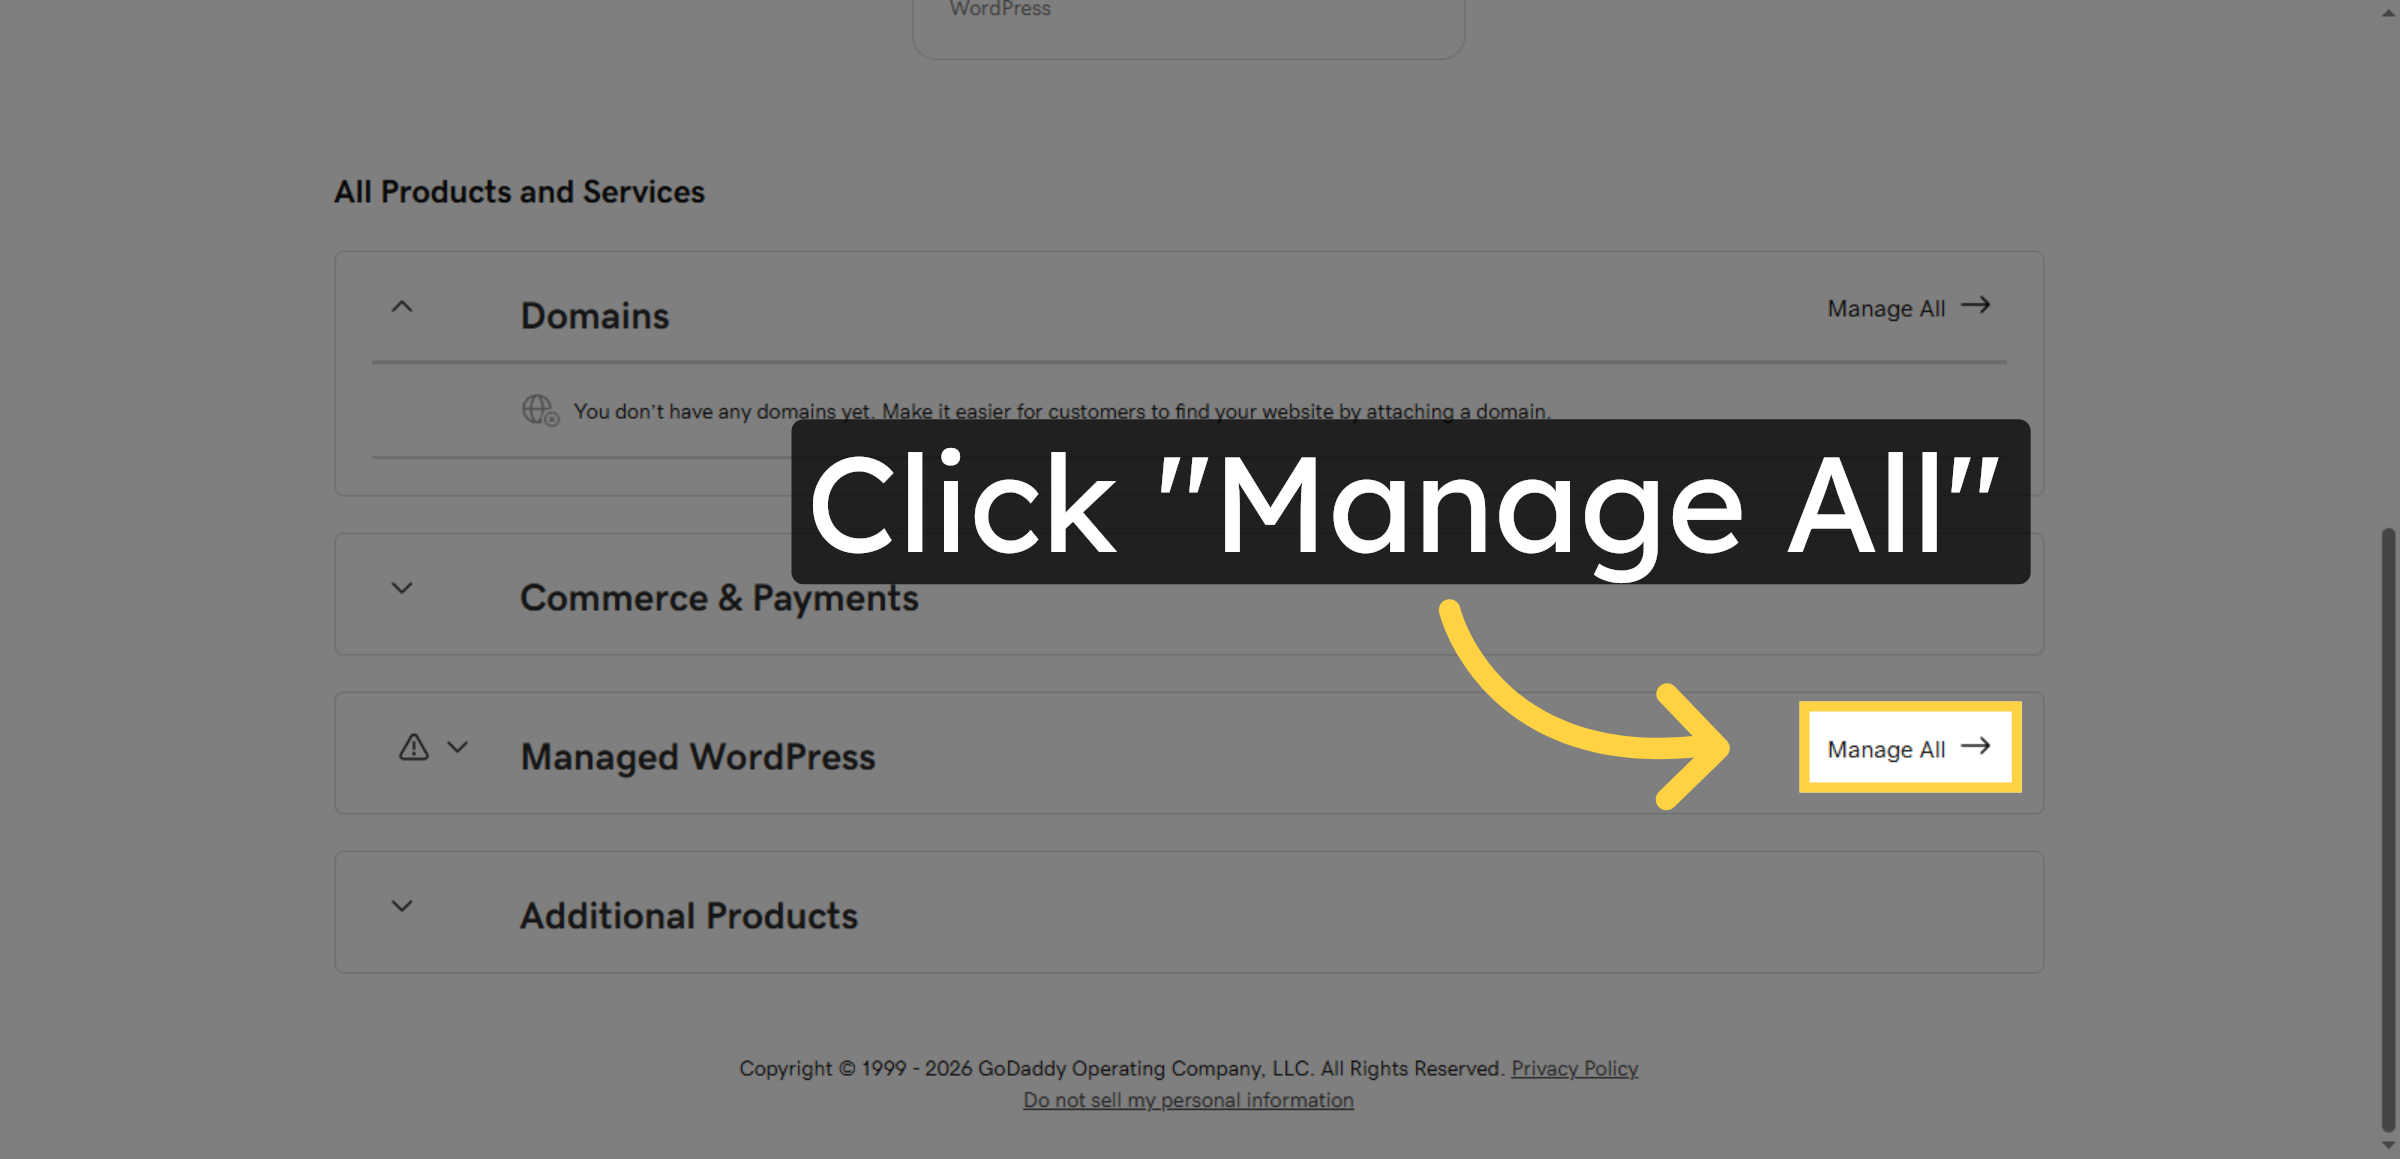
2. Access the Managed WordPress section
Click “Manage All” to access all WordPress websites. Easily manage your WordPress sites, updates, and settings in one place.
3. Navigate to Hosting Dashboard
Switch to the hosting dashboard at host.godaddy.com to manage your hosting environment.
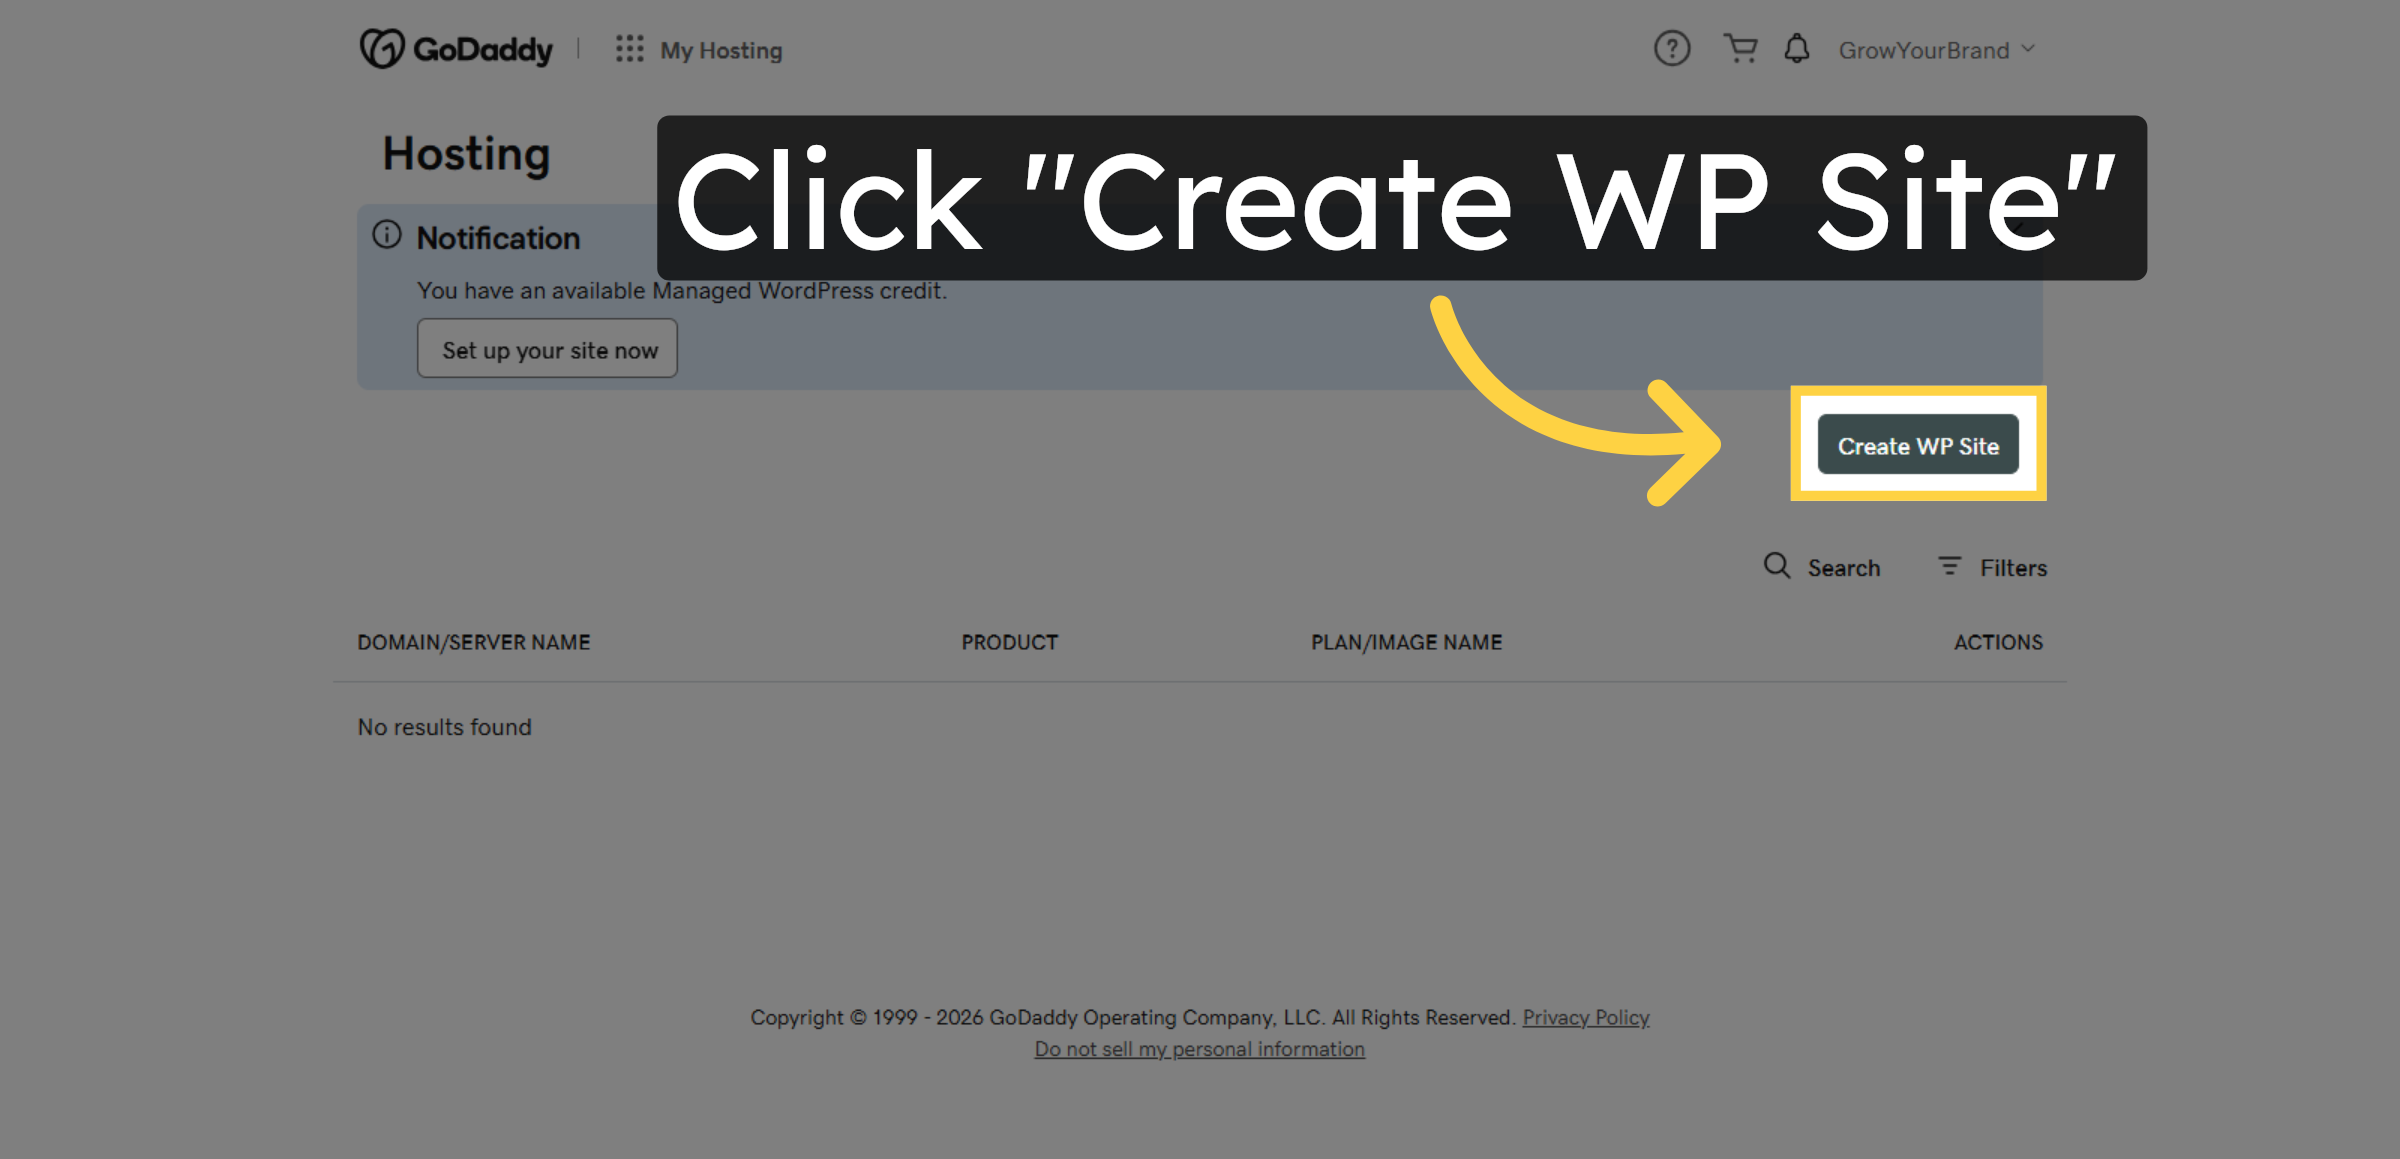
4. Initiate WordPress Site Creation
Click Create WP Site to start GoDaddy’s automatic WordPress setup. WordPress is installed instantly, with no manual configuration required.
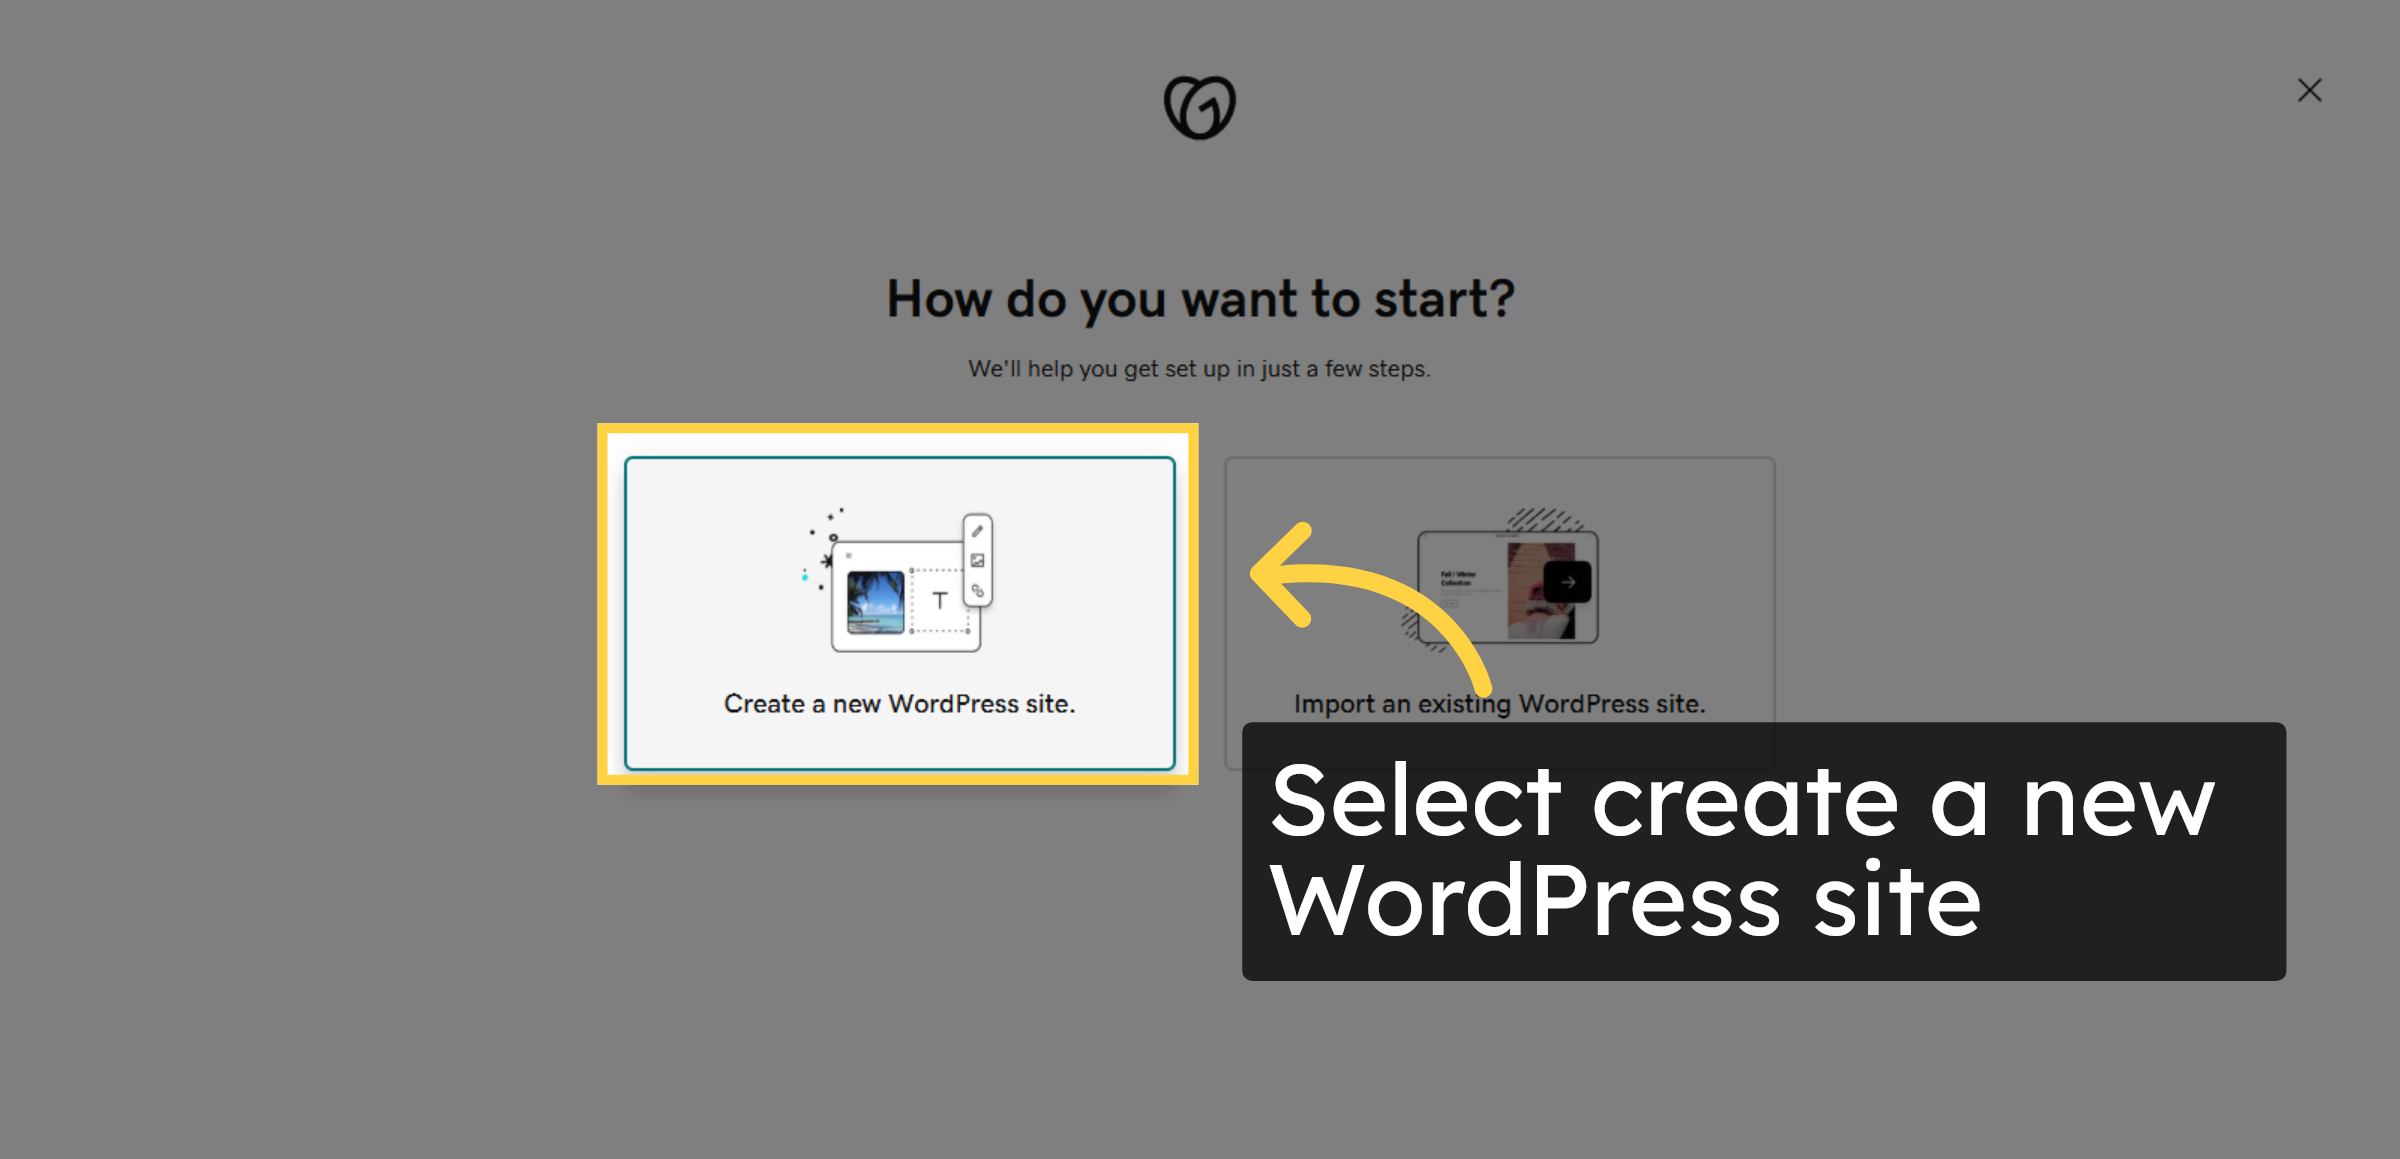
5. Create a New WordPress Site
Select Create a new WordPress site to start with a fresh installation. GoDaddy will automatically install WordPress and prepare the site for you without any manual setup.
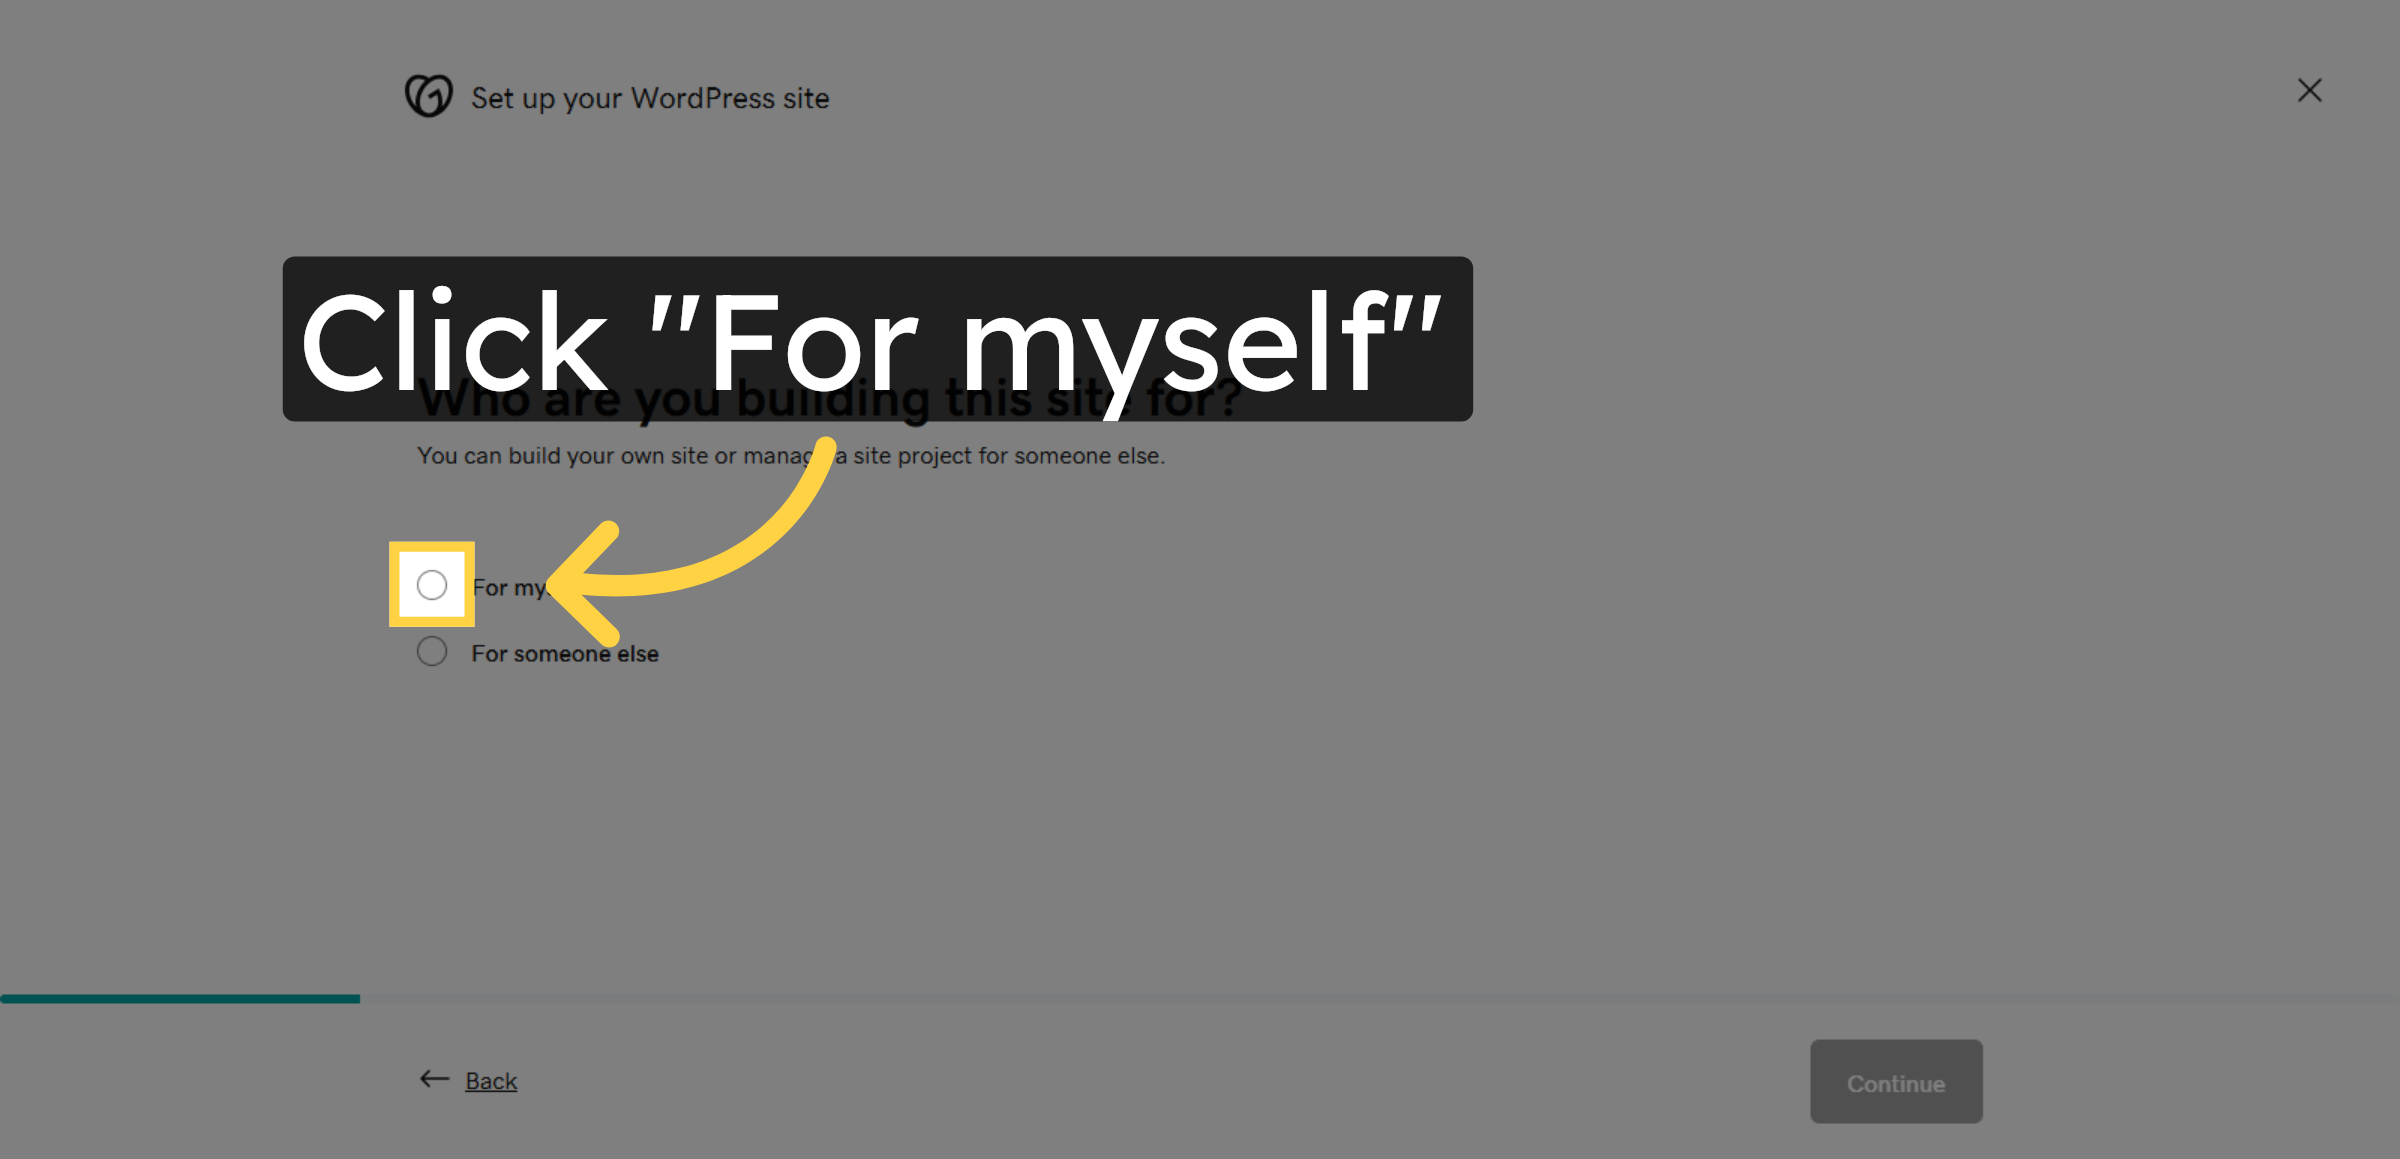
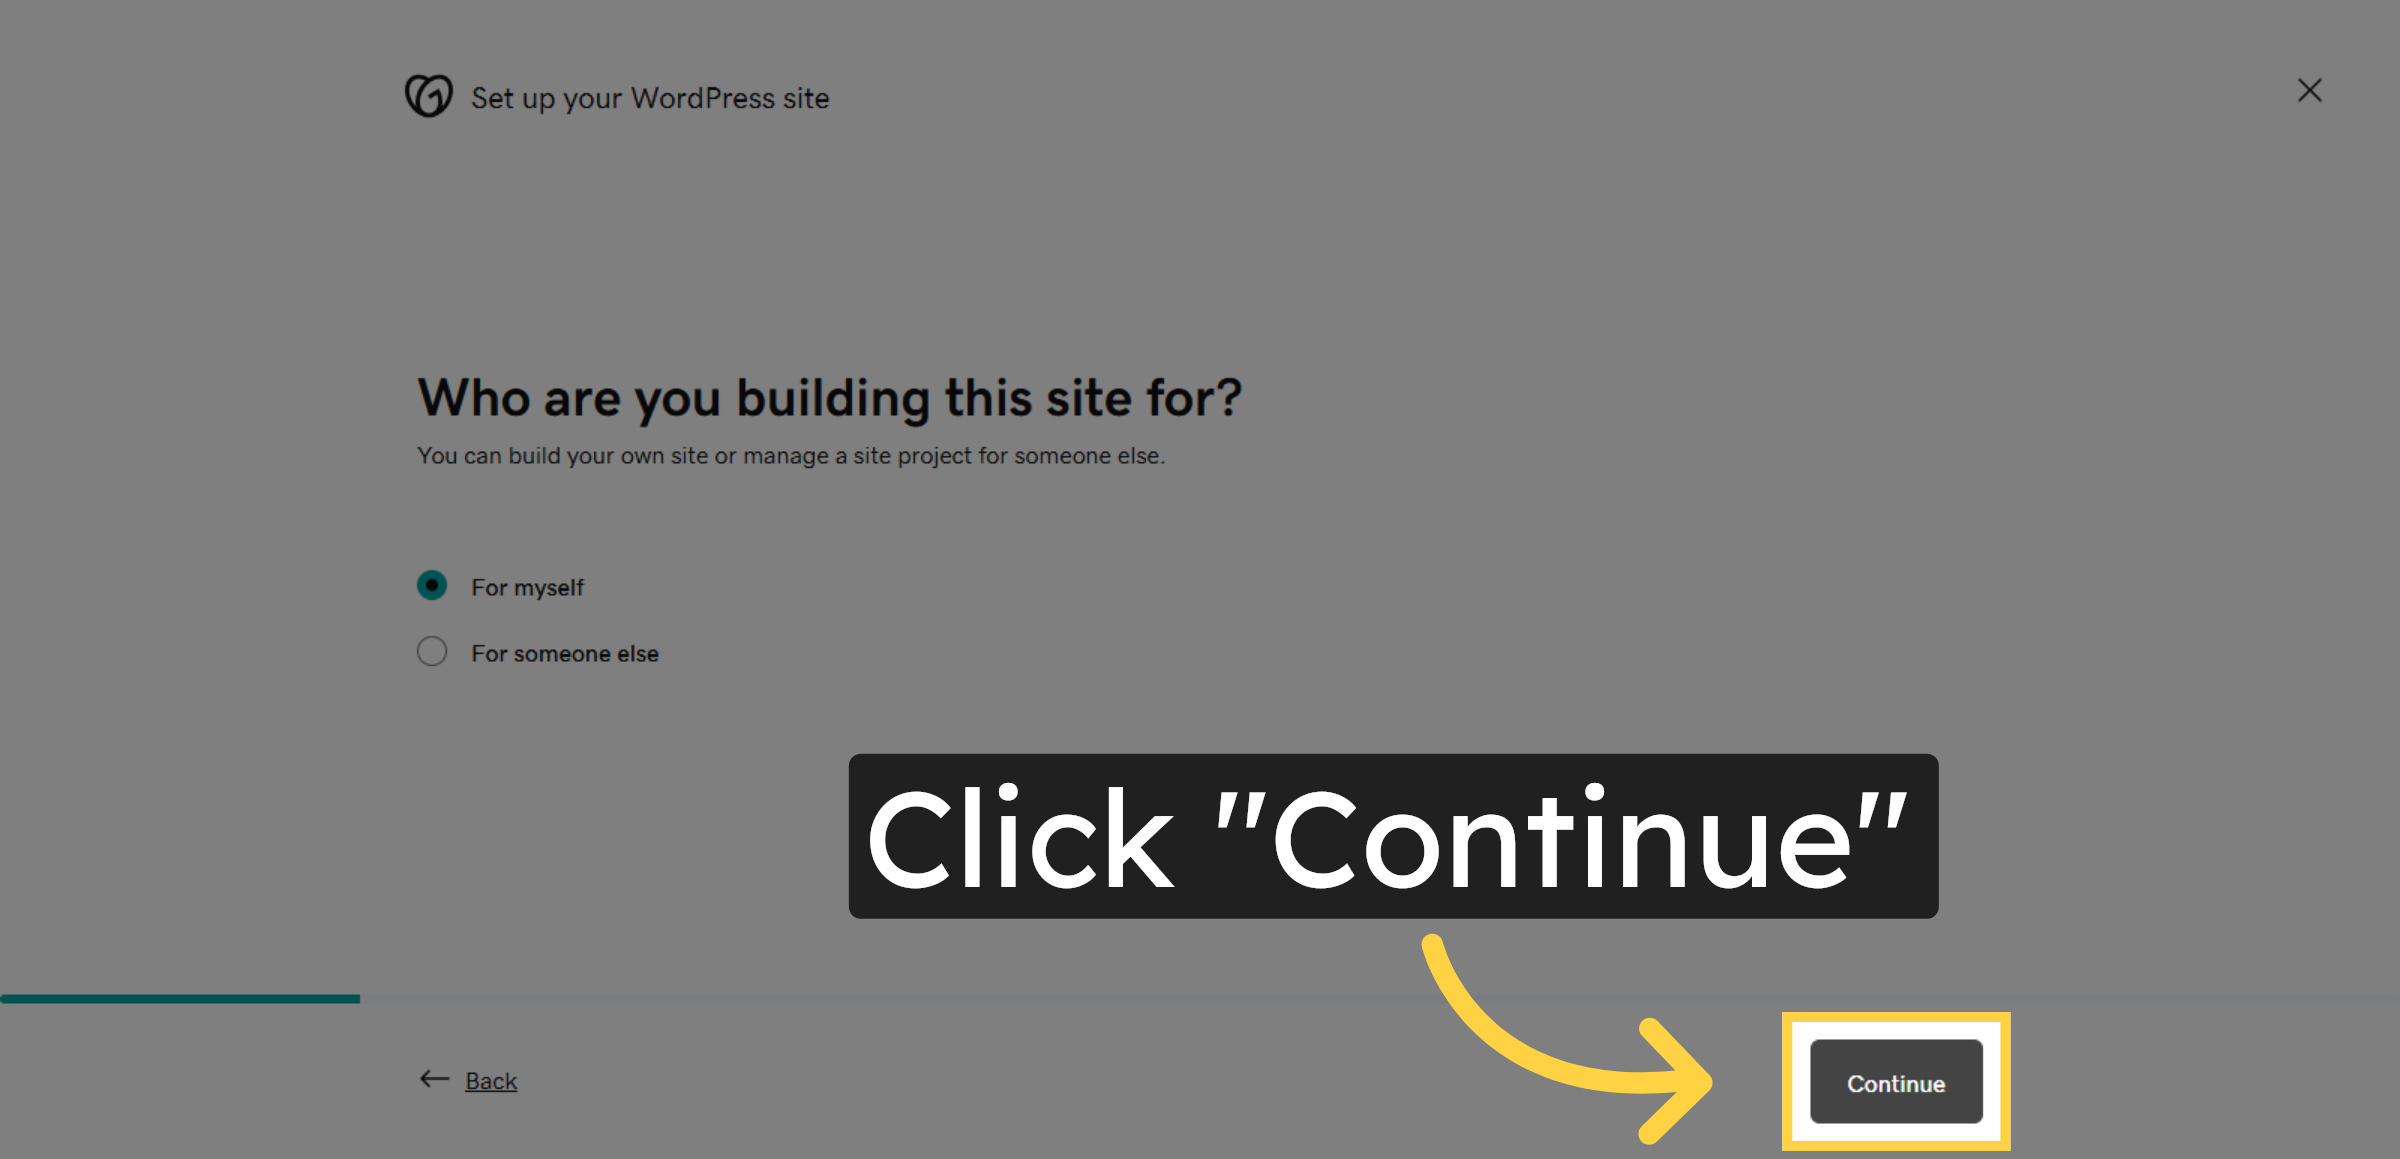
6. Identify Site Ownership
Click For myself to specify that you are building the site for personal use.
7. Continue Setup Process
Click Continue to proceed to the next step in the site creation workflow.
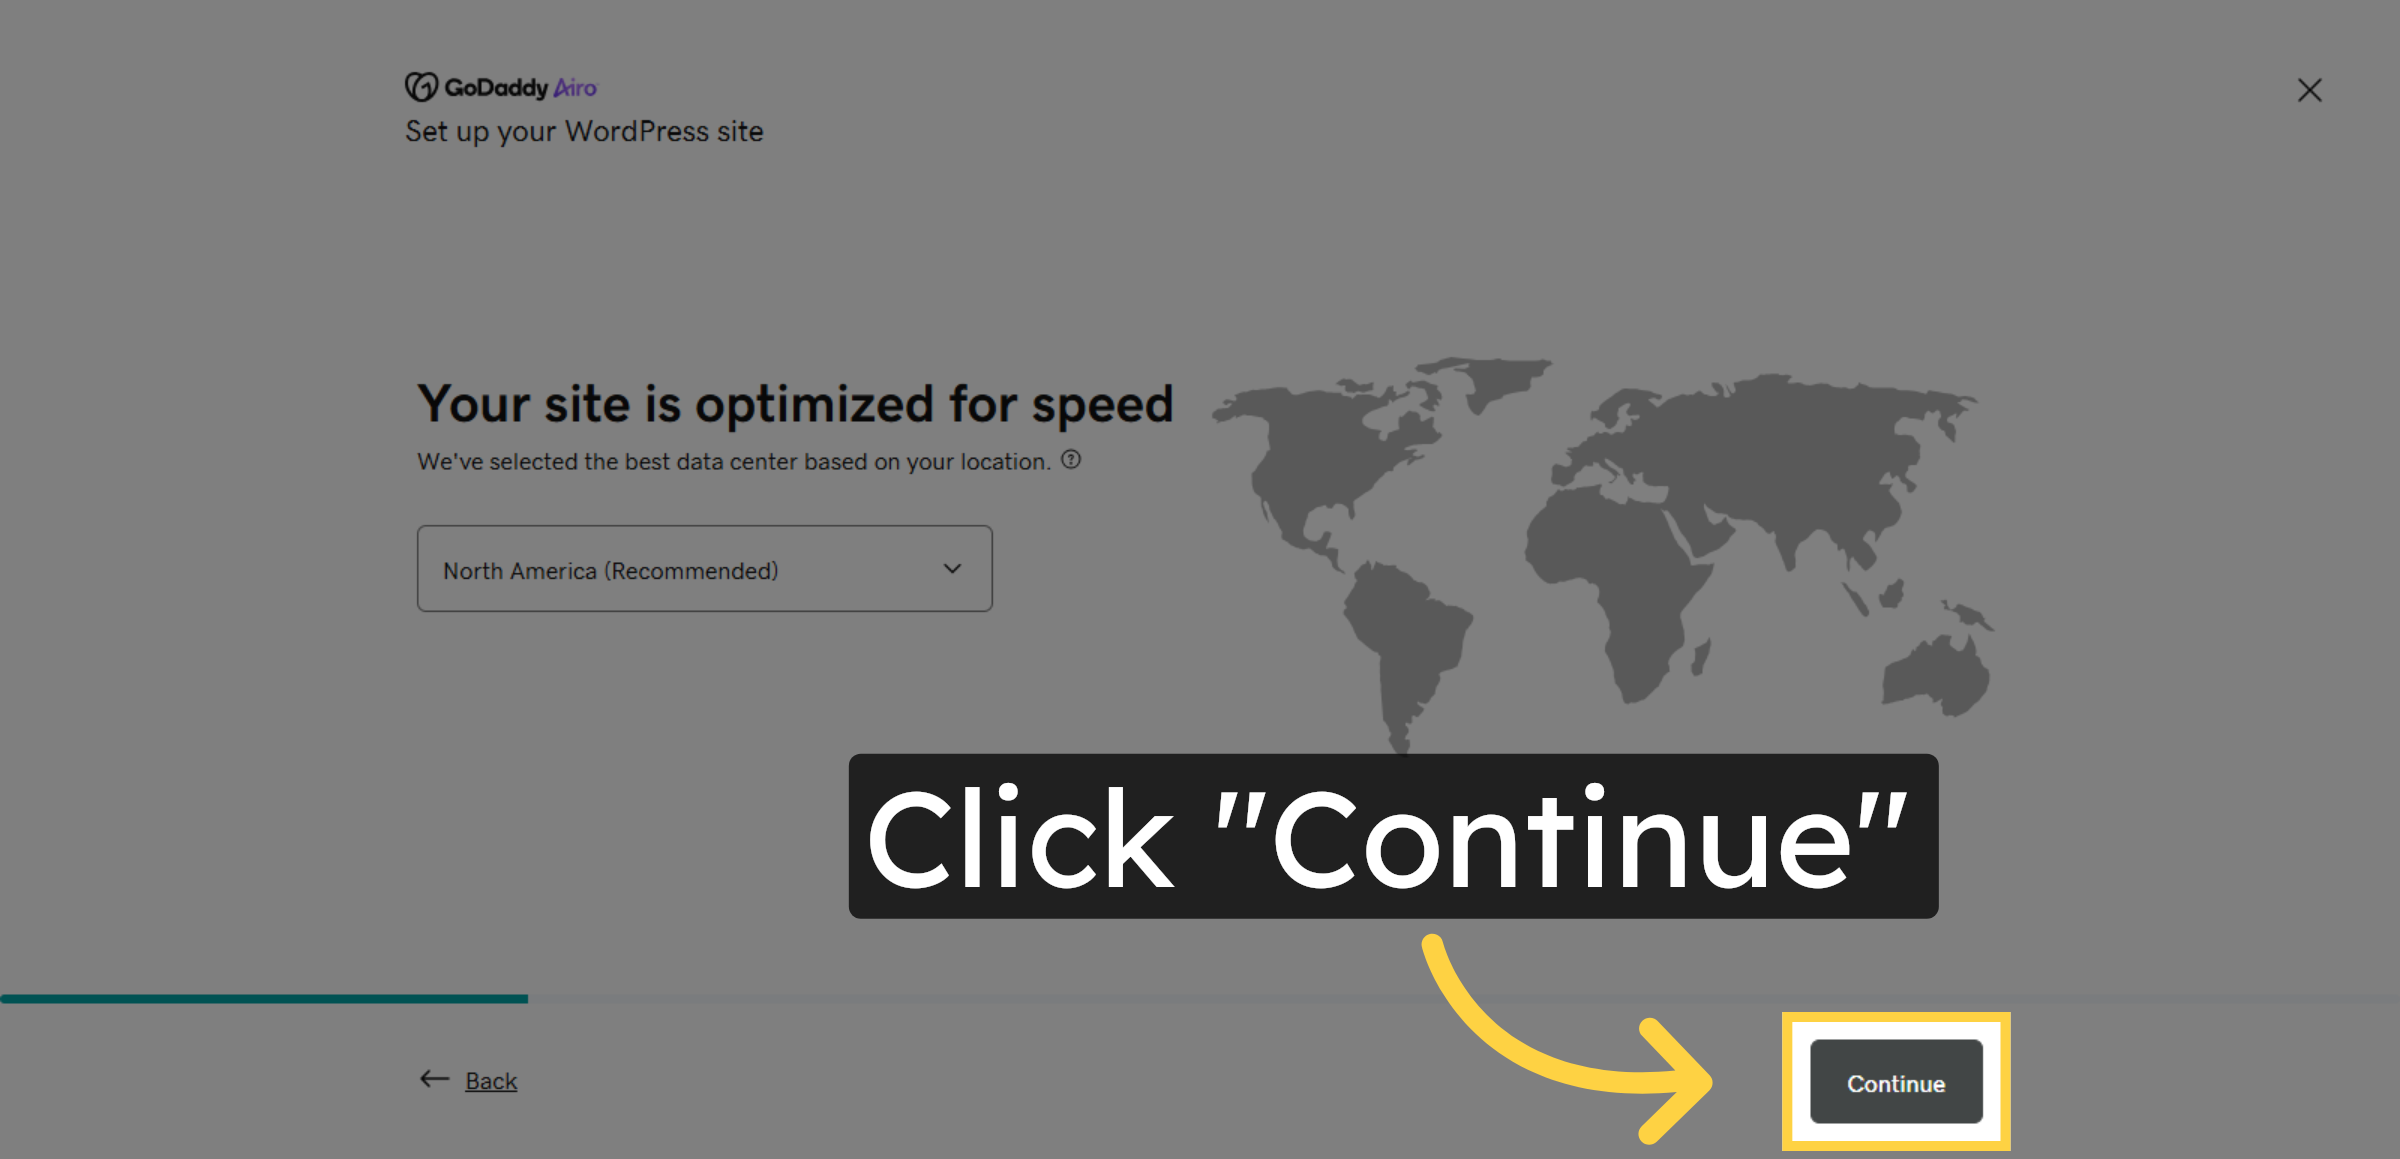
8. Confirm Site Optimization
Click Continue to accept the site optimization settings for improved speed.
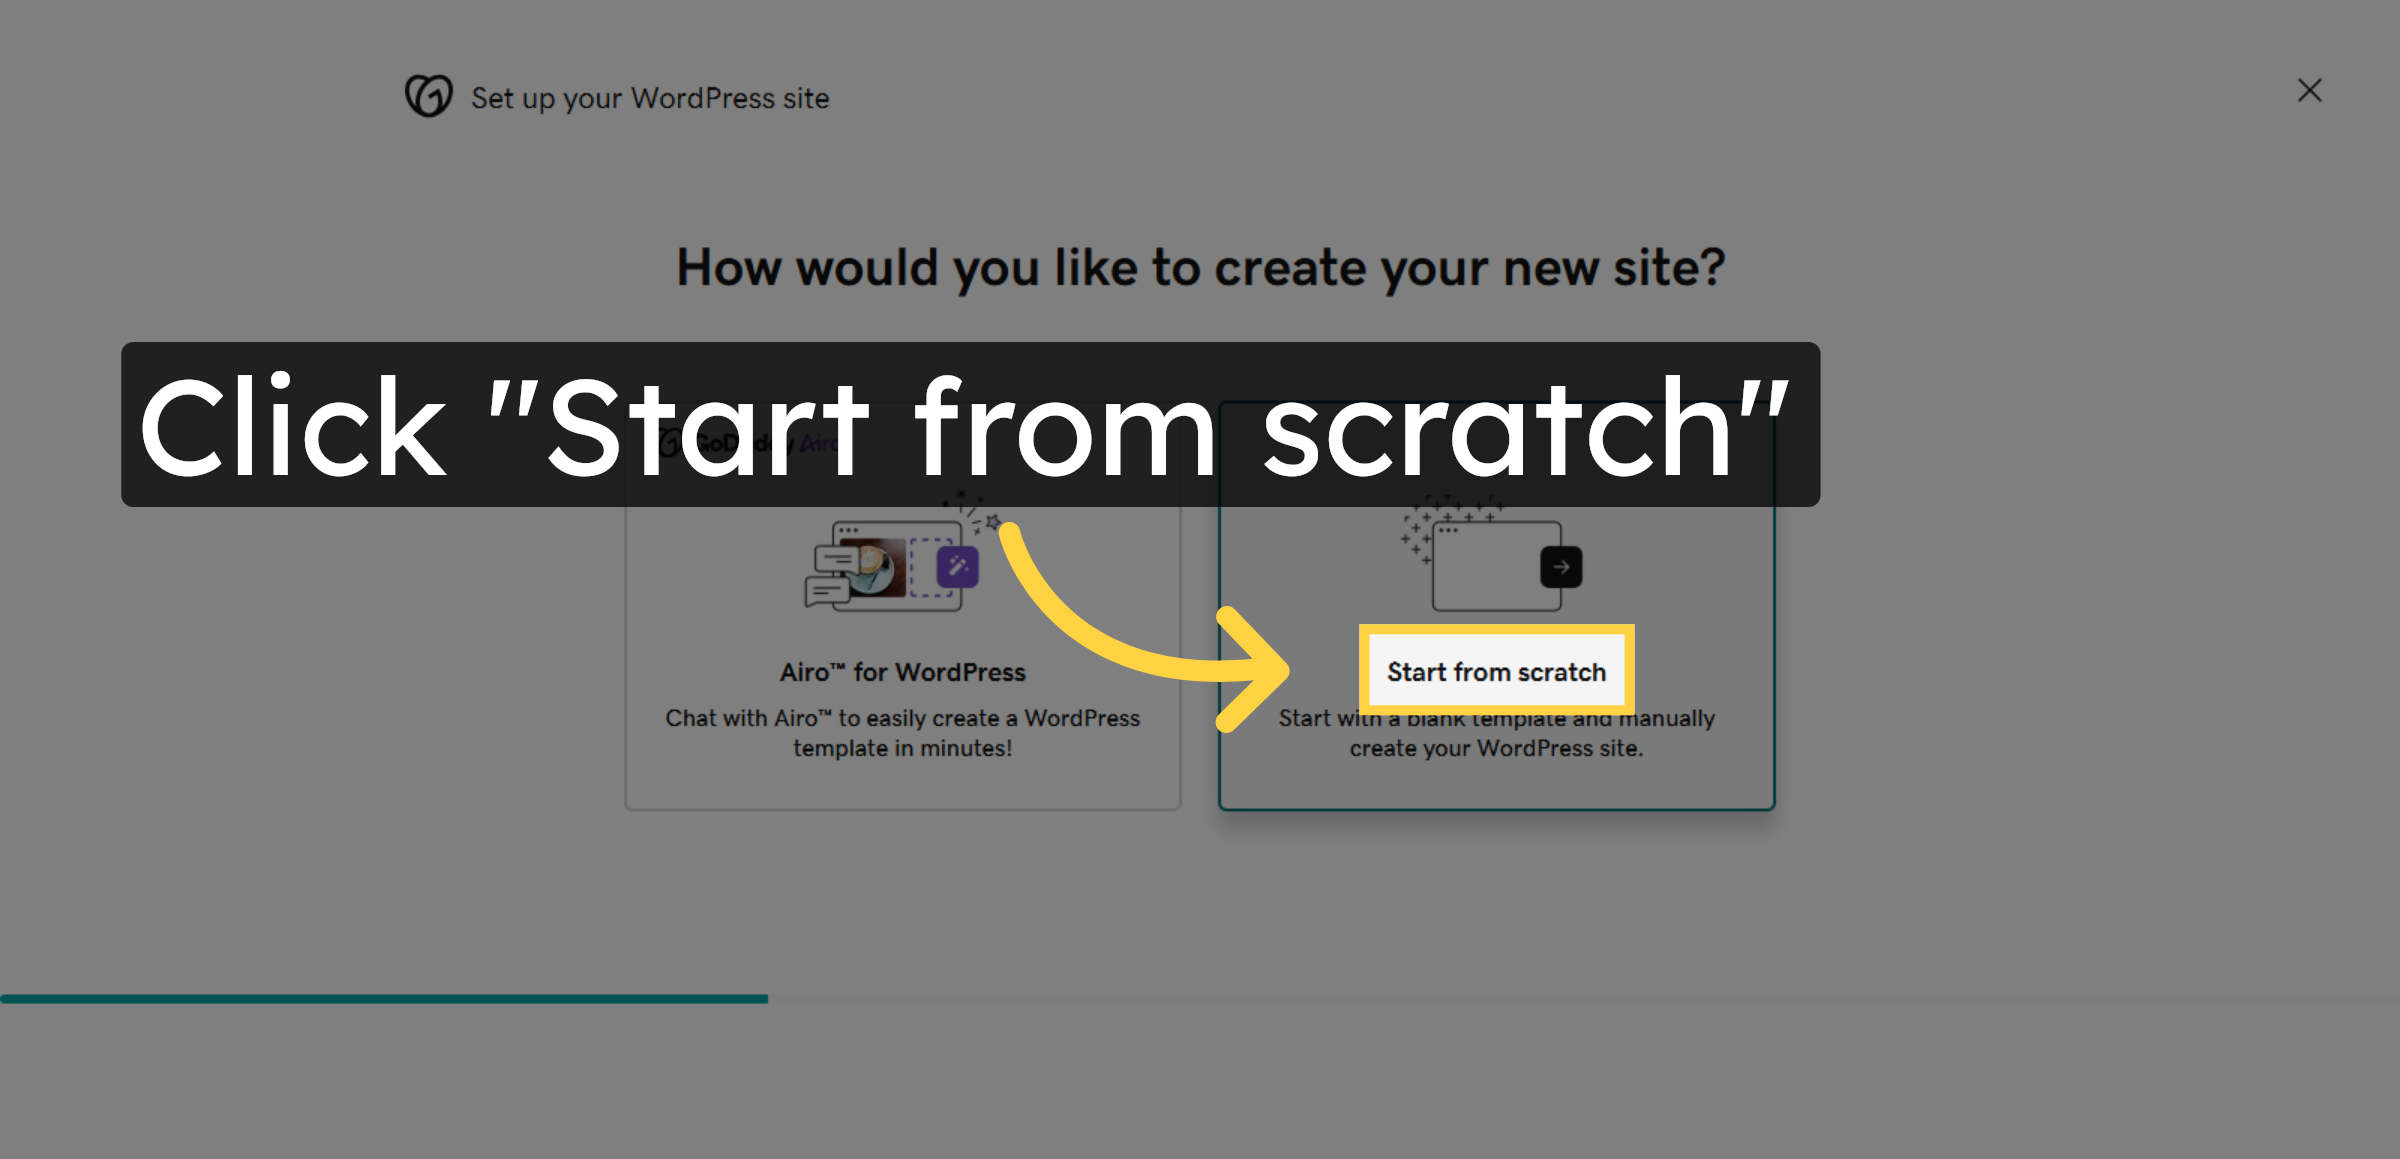
9. Choose Site Creation Method
Click Start from scratch to build your WordPress site without a pre-made template.
10. Enter WordPress Username
Click the confirmation area to finalize your WordPress username input.
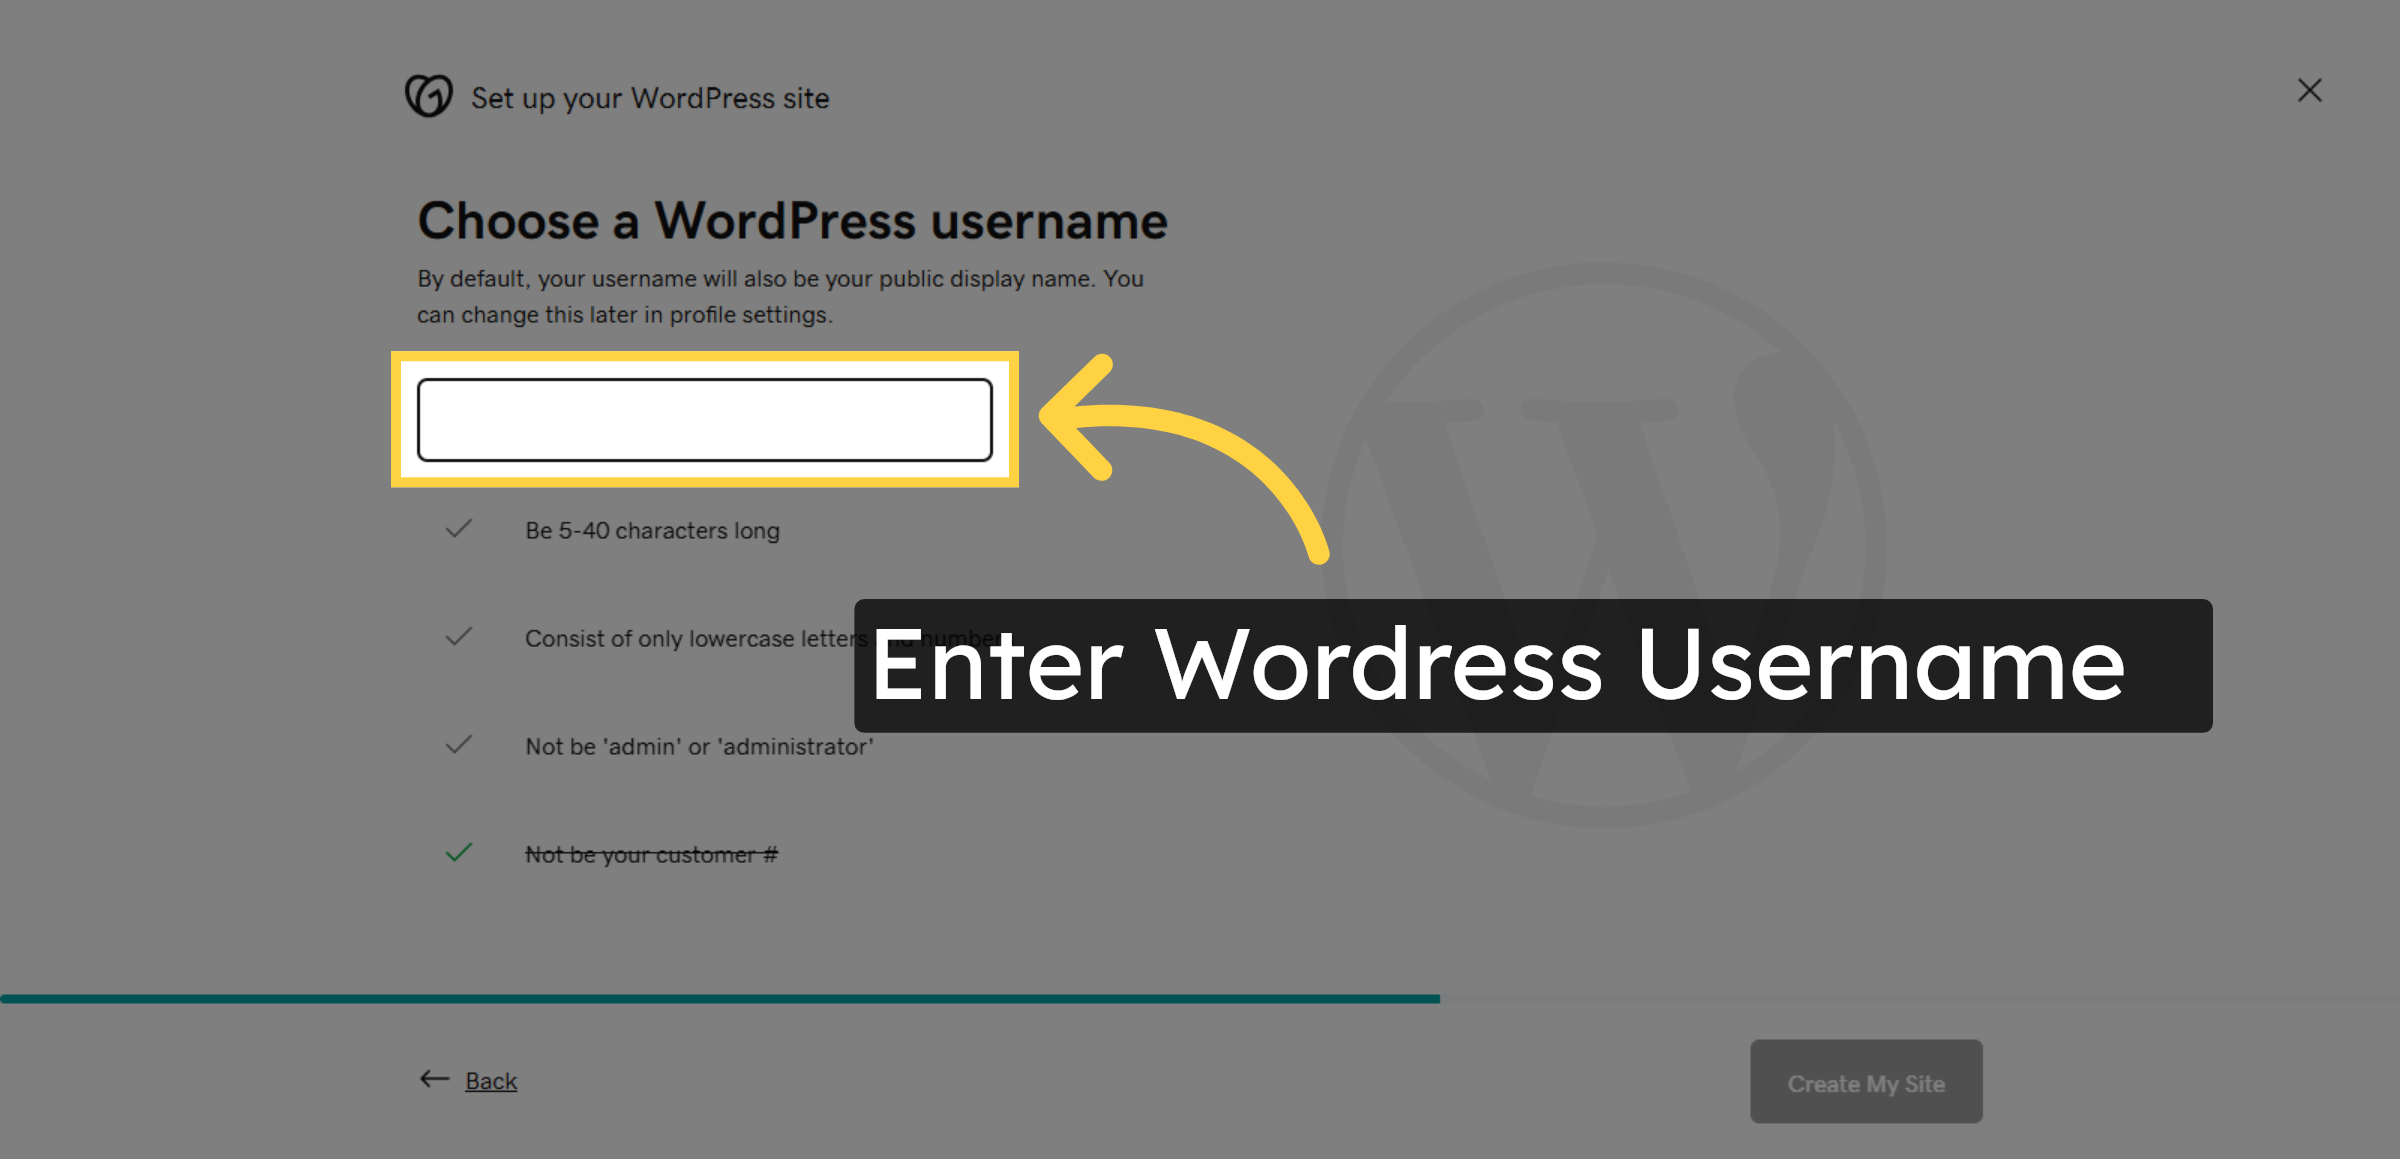
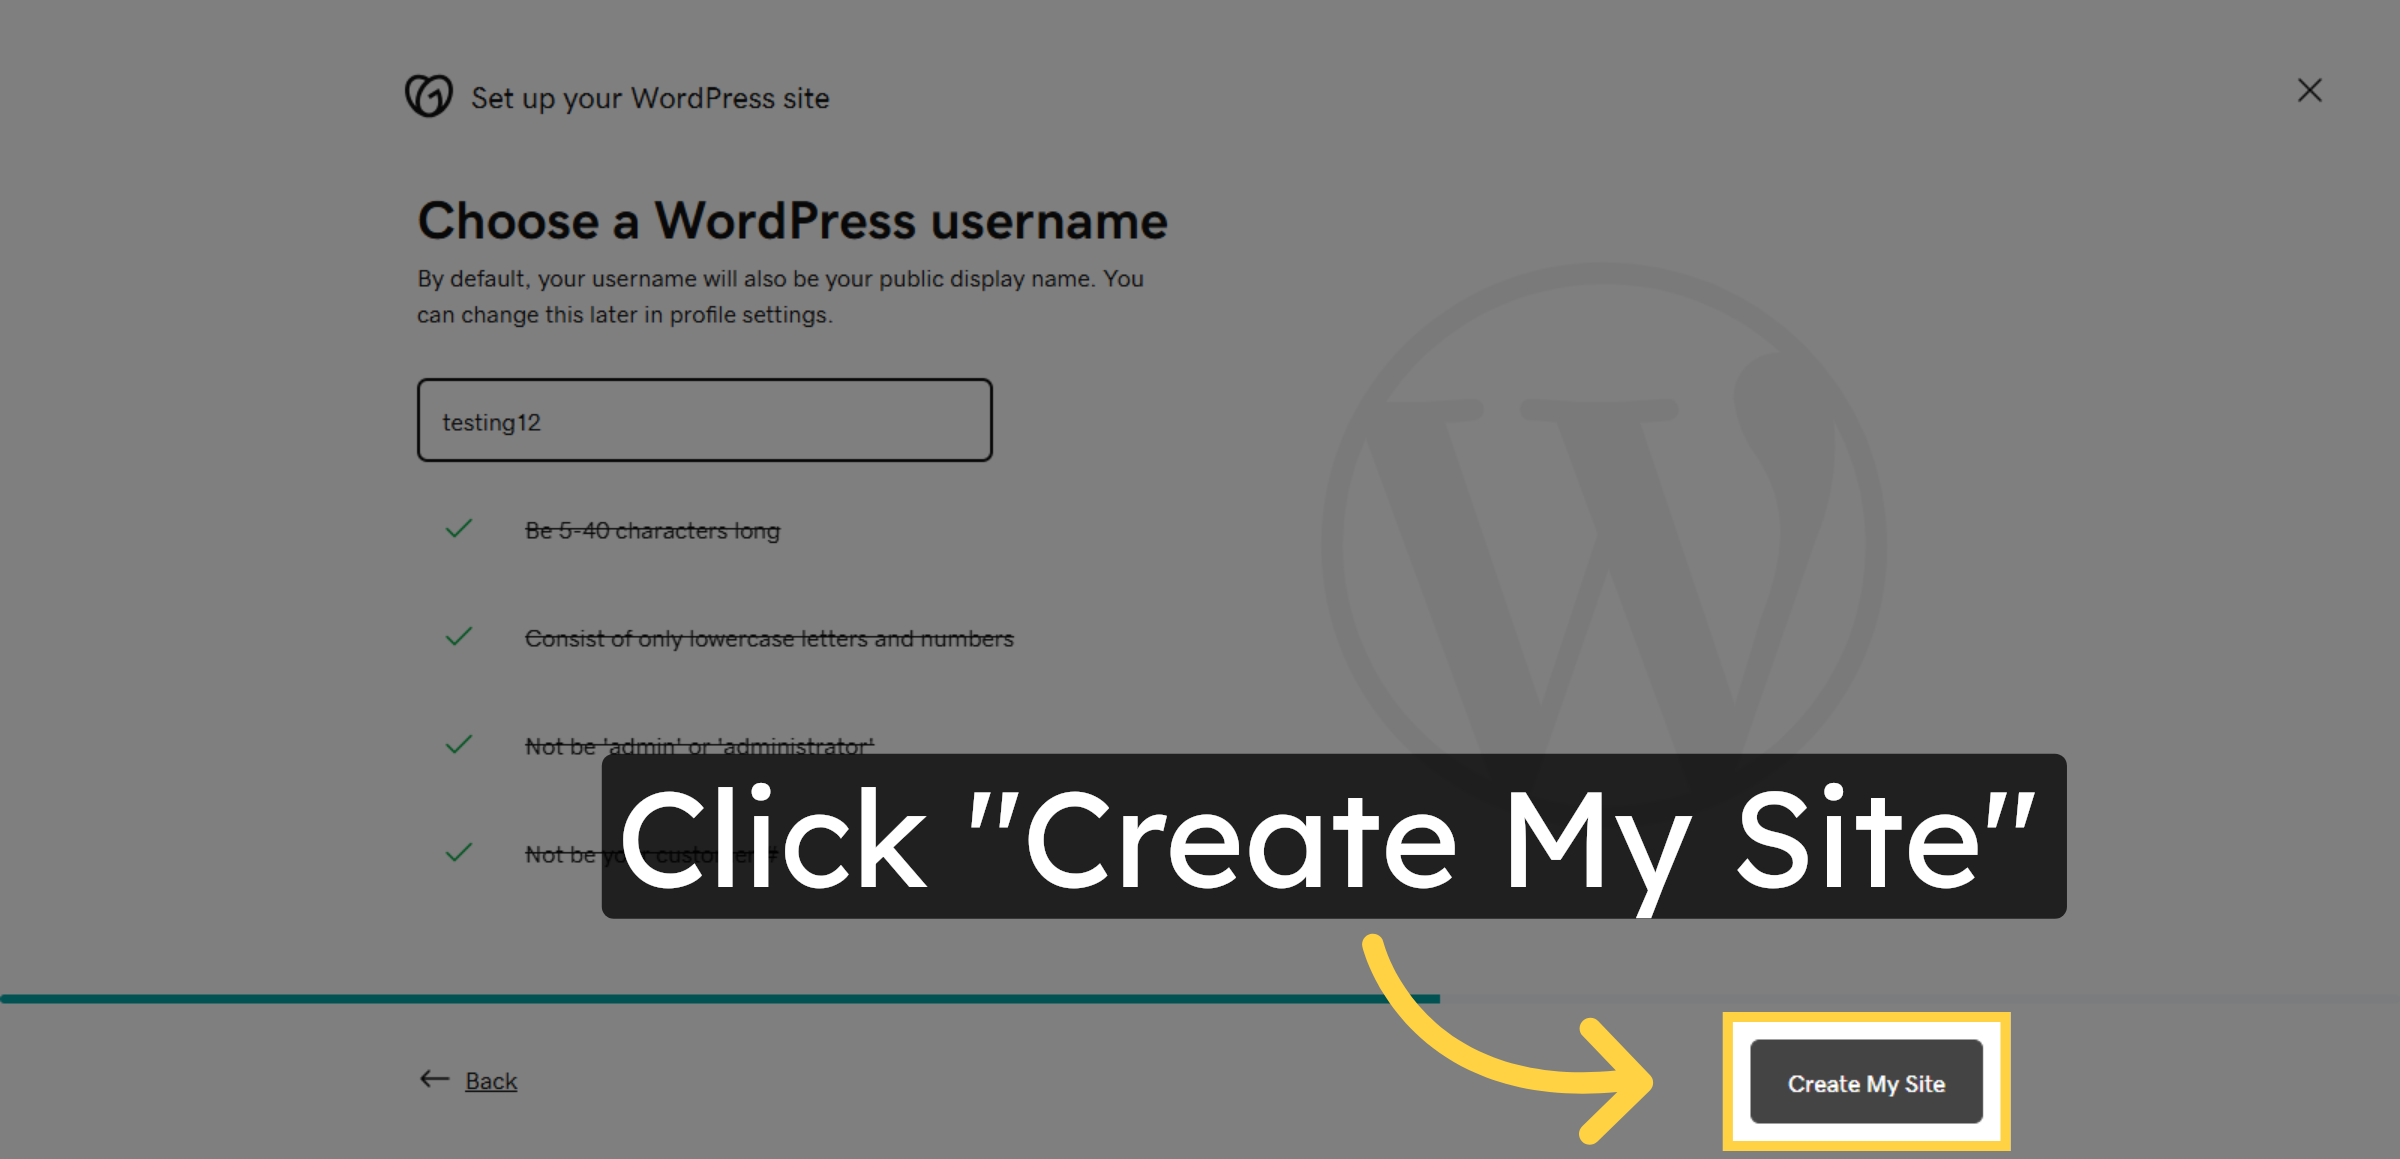
11. Create WordPress Site
Click Create My Site to complete the WordPress installation process.


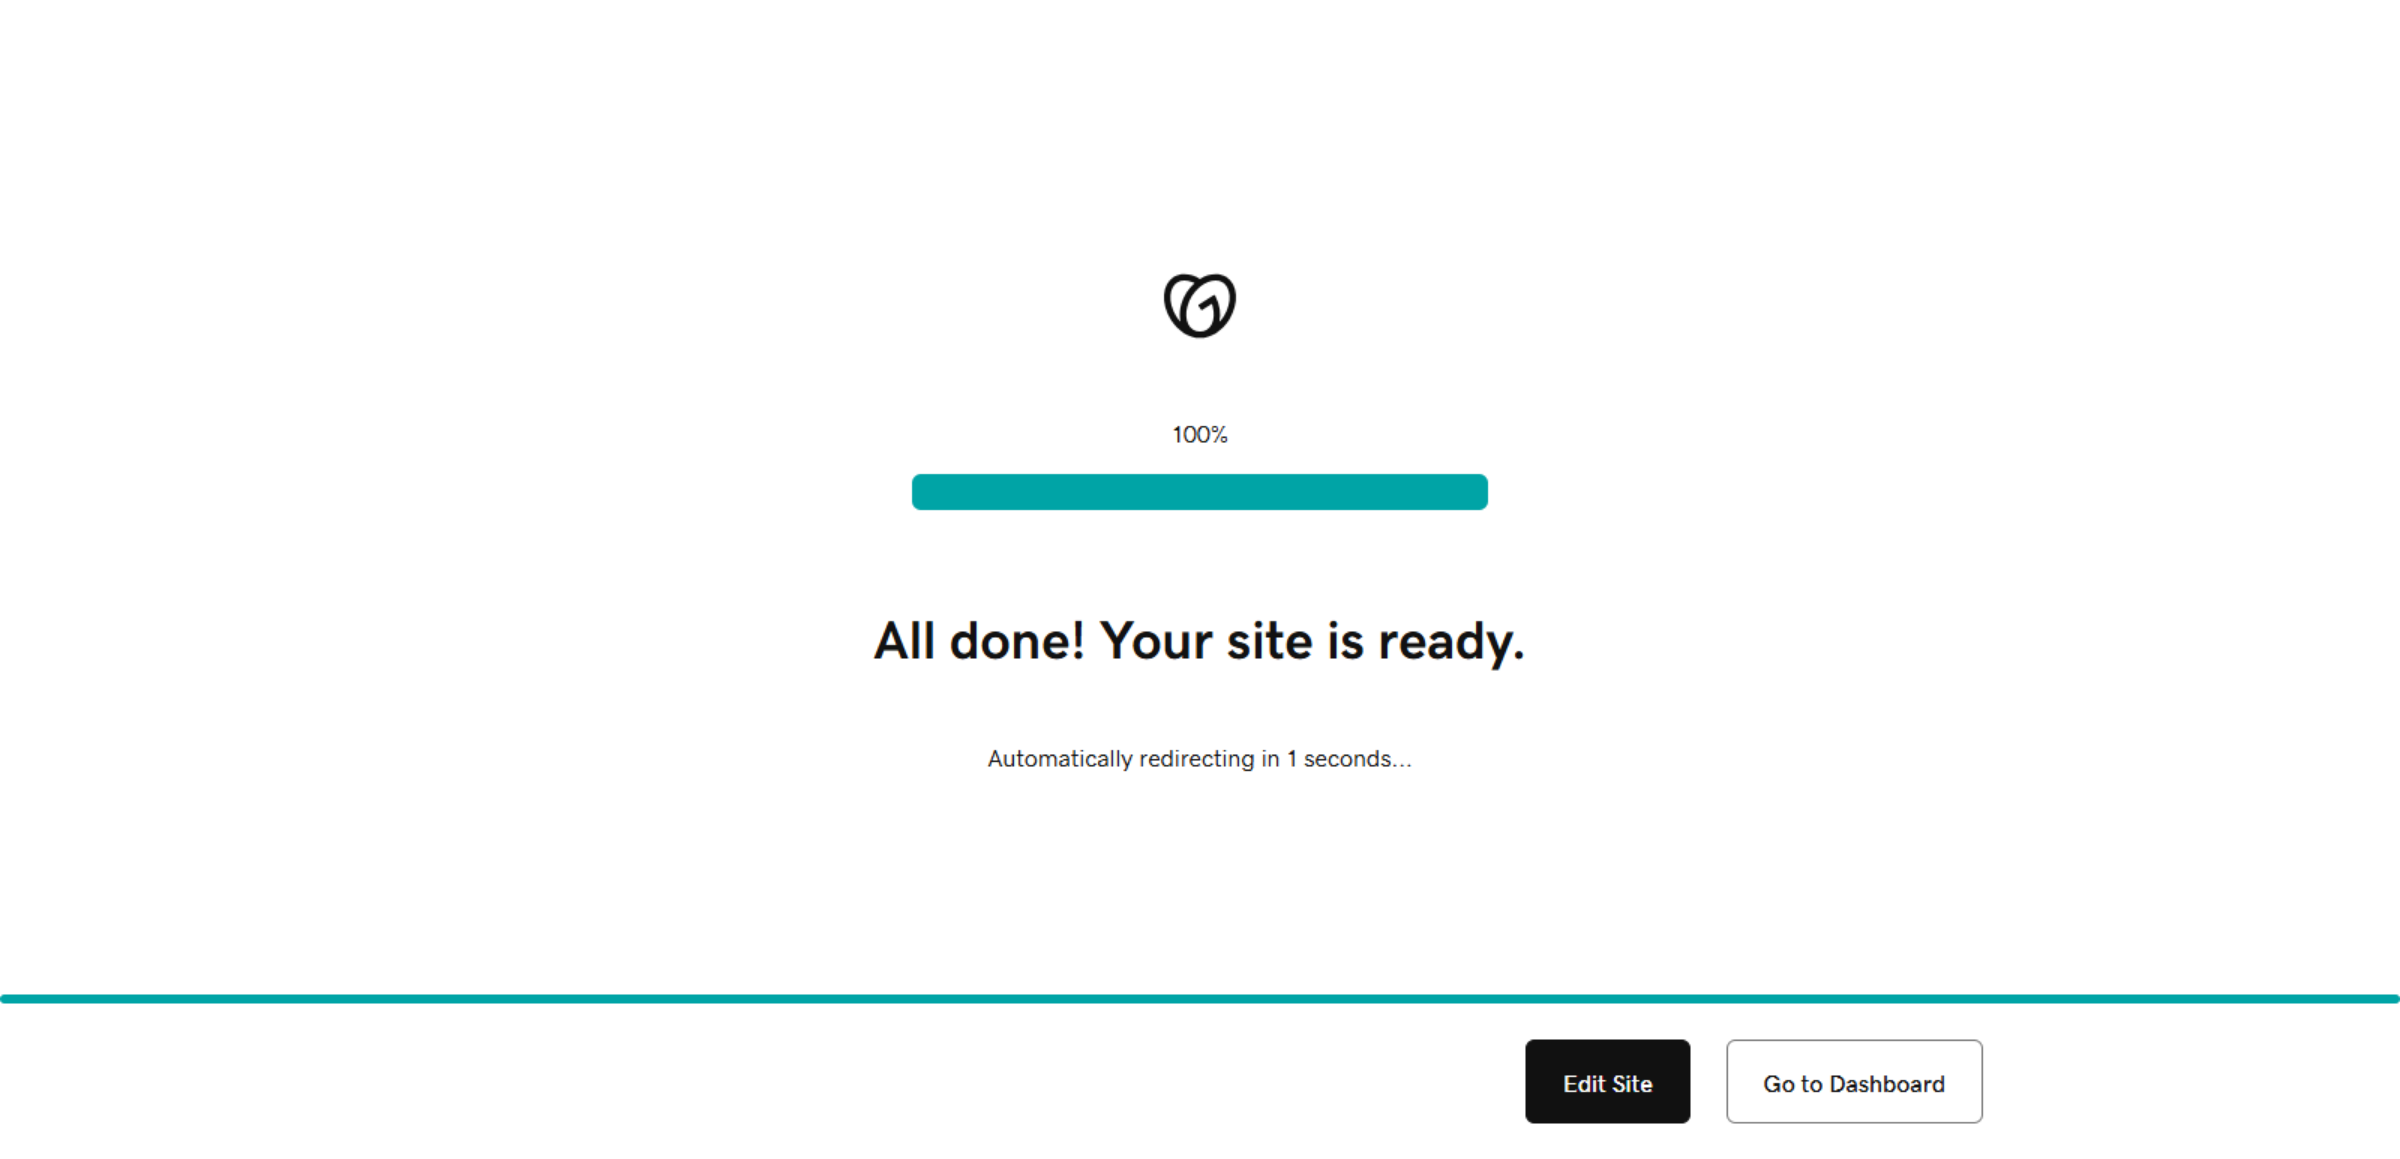
12. Acknowledge Site Completion
Click the confirmation message indicating your site is ready and the system is redirecting automatically.
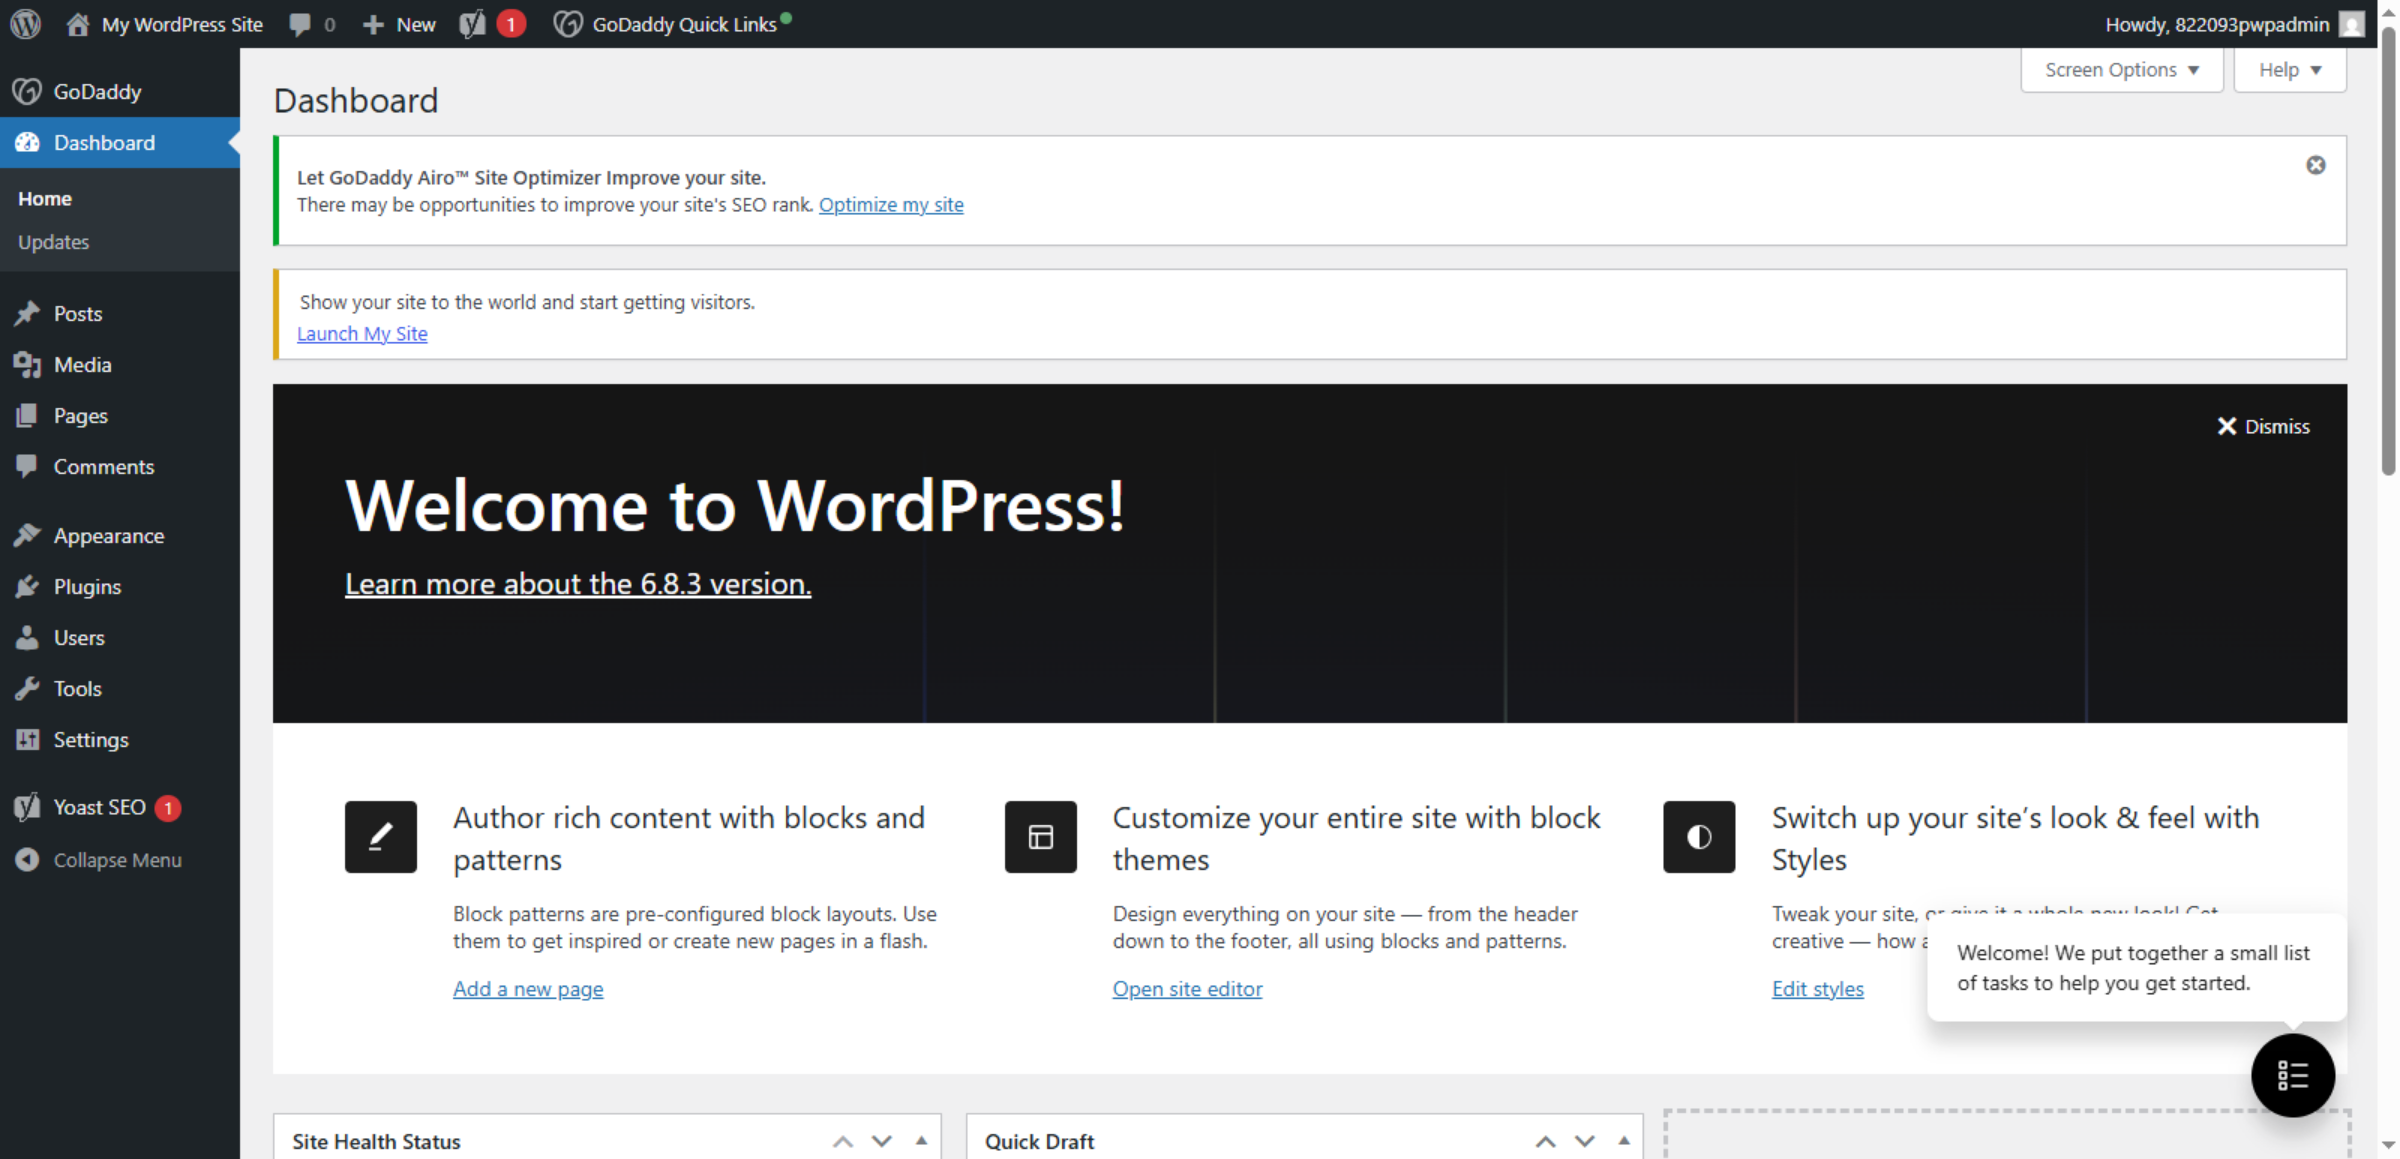
13. Access WordPress Dashboard
Switch to your WordPress dashboard at the provided URL to manage your site.
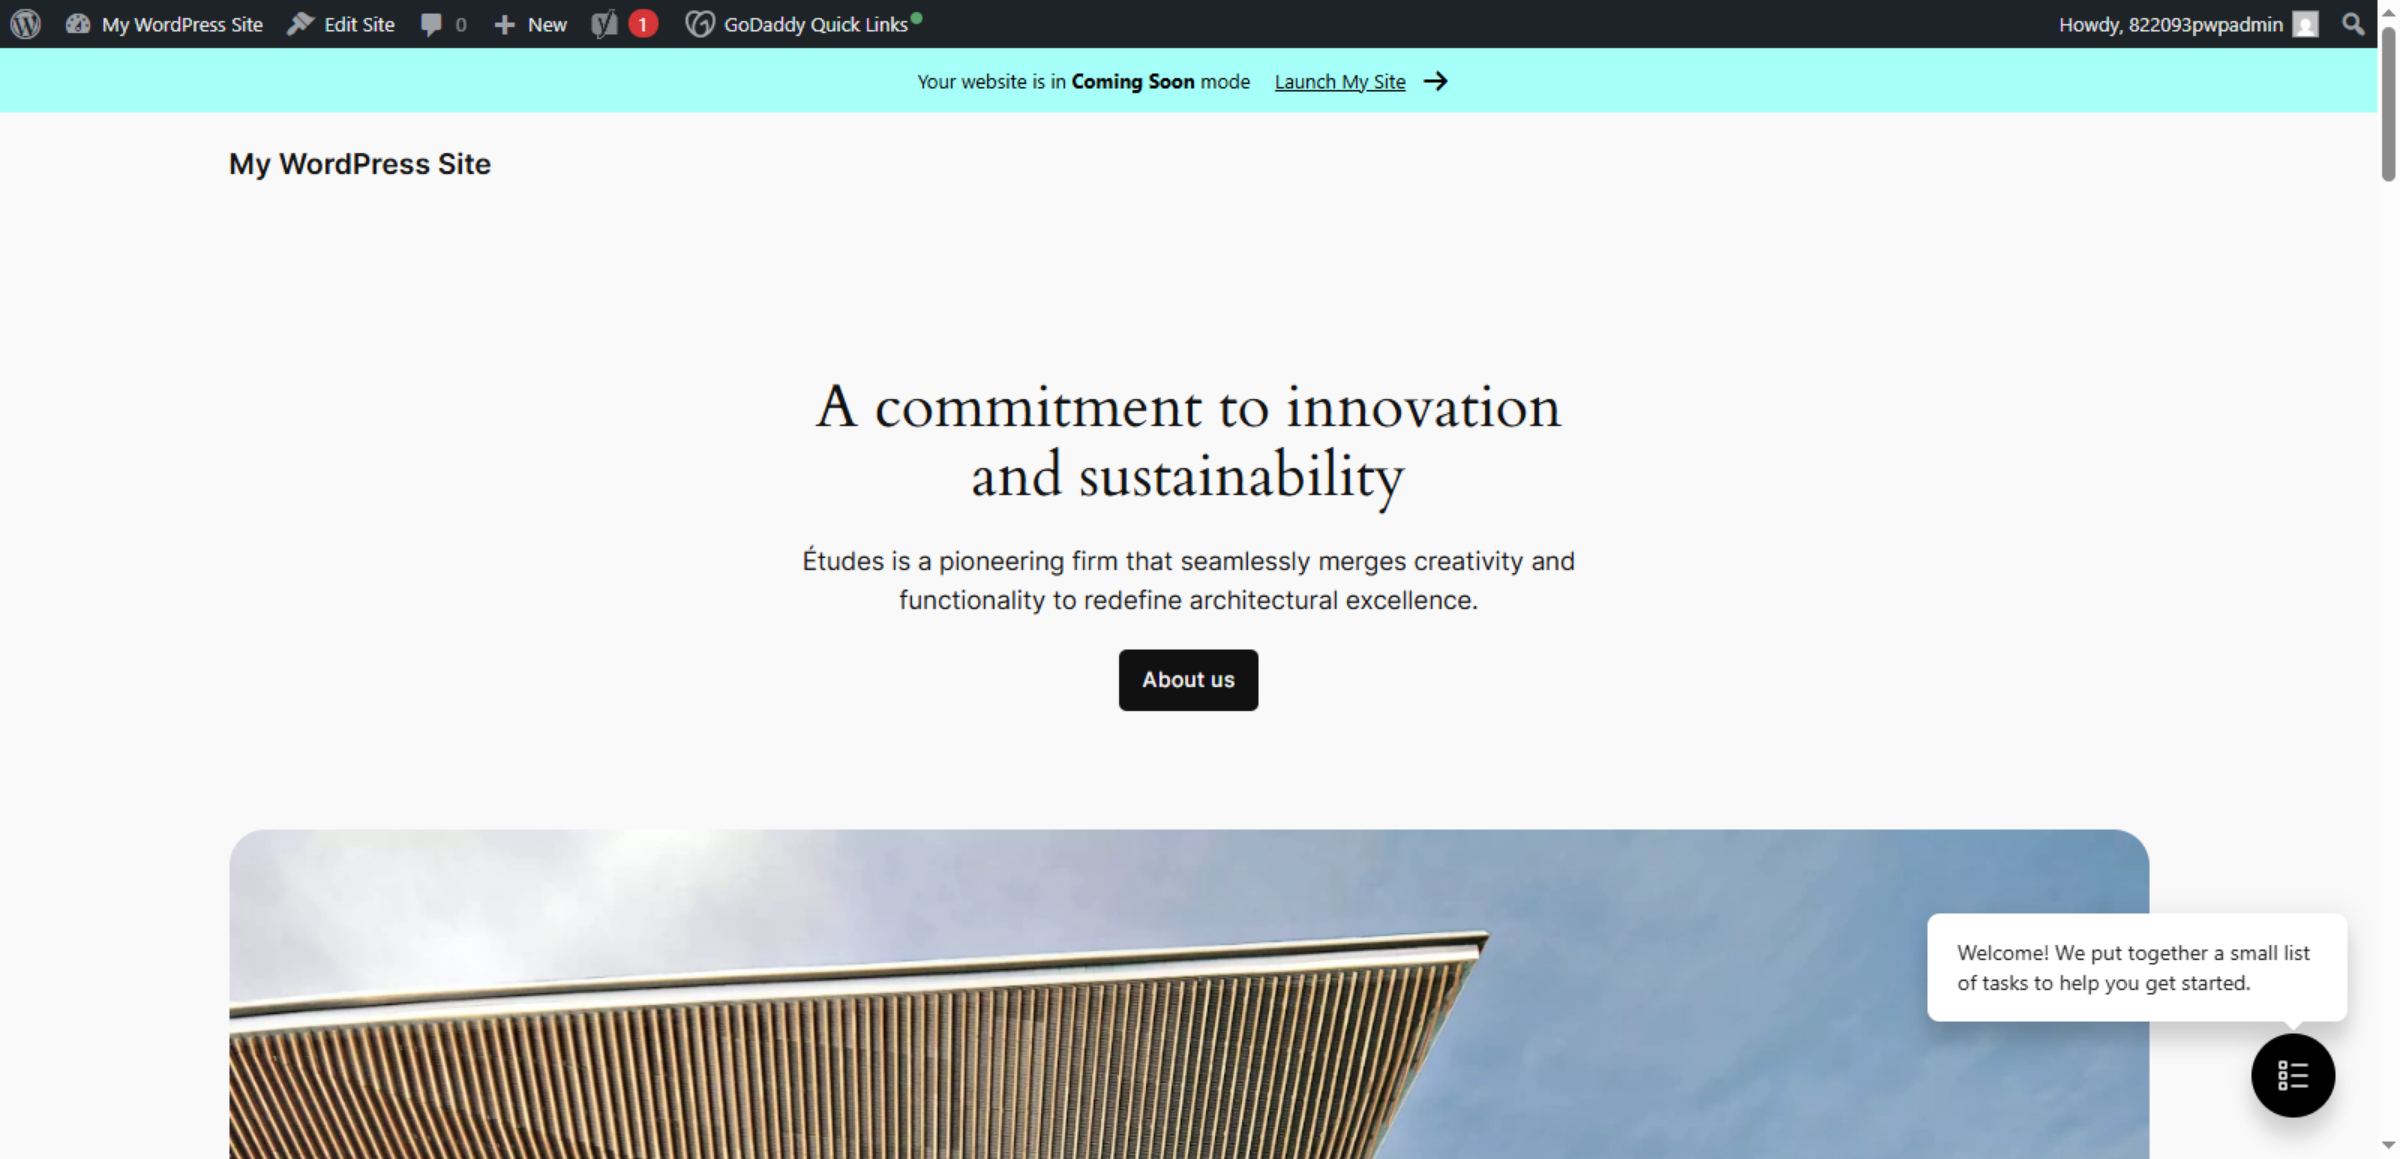
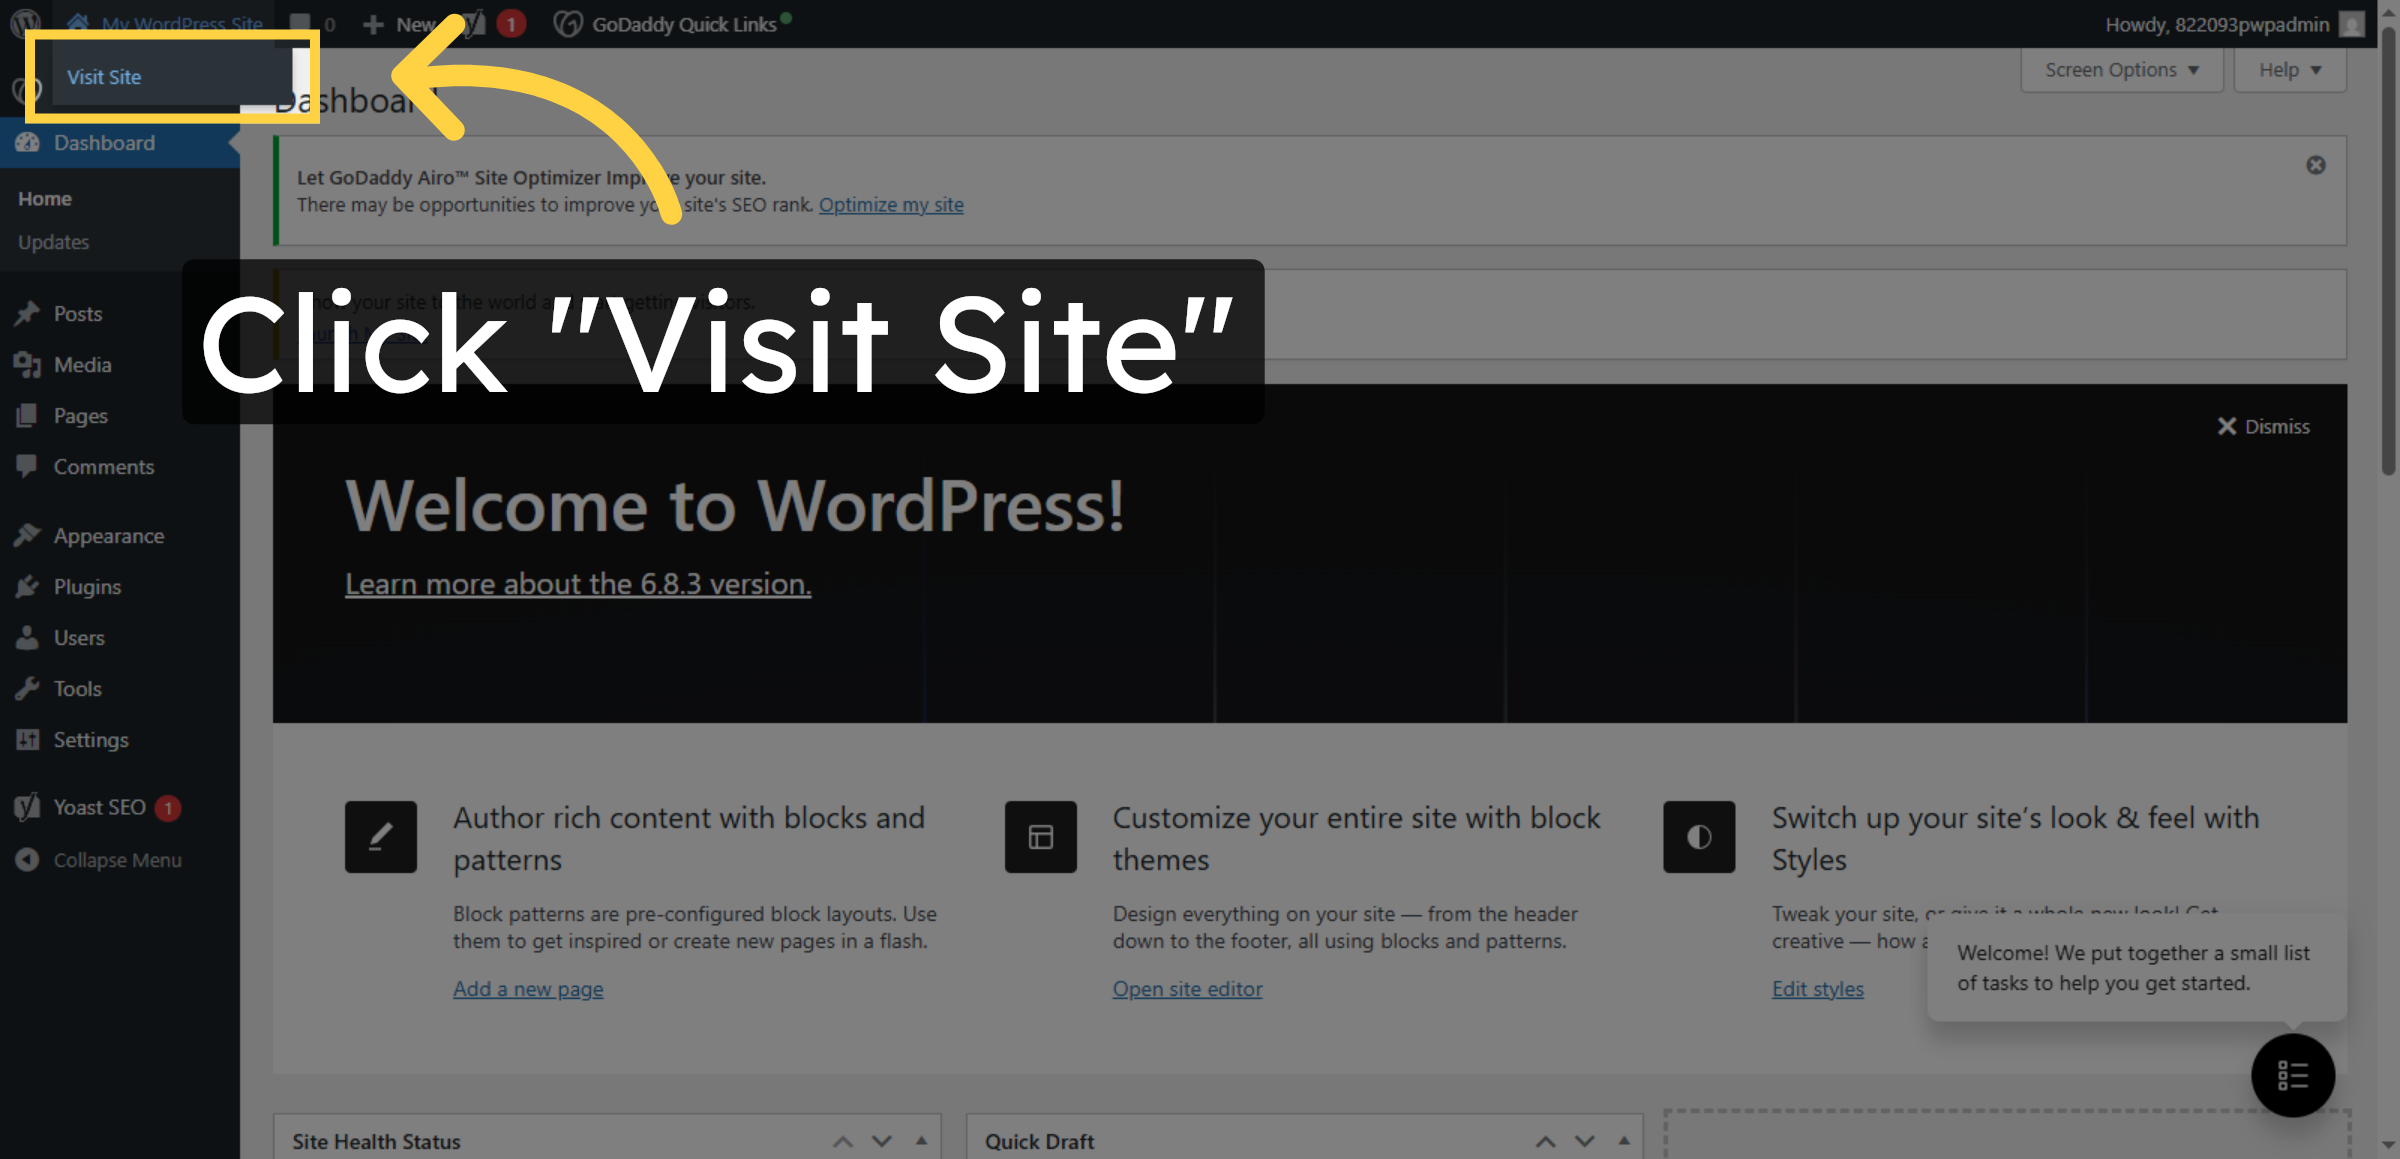
14. Visit Your WordPress Site
Click Visit Site to view your newly installed WordPress website in a browser.
15. Review Site Content
Click the displayed content section to explore your WordPress site’s default page and features.