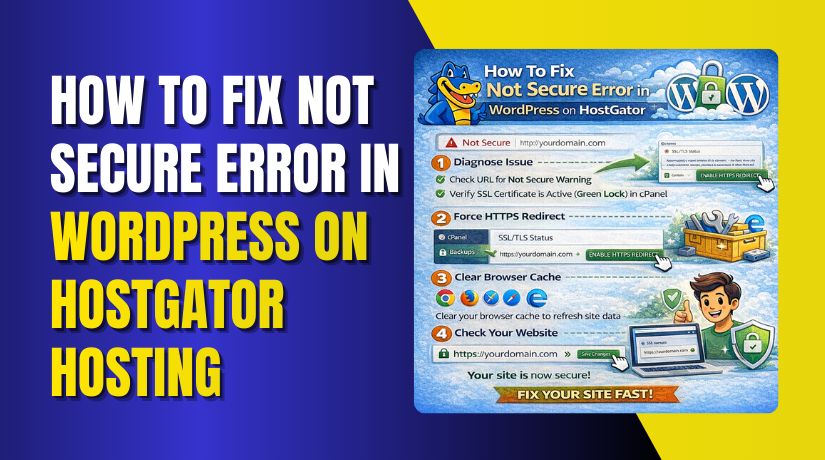
How To Fix Not Secure Error in WordPress on HostGator Hosting
Introduction
Seeing a “Not Secure” warning on your WordPress website can be concerning for both site owners and visitors. This issue usually occurs when SSL is not properly enabled or configured, even if an SSL certificate is already installed on the hosting account. This guide explains how to fix the “Not Secure” issue on a WordPress site hosted with HostGator by using the Really Simple SSL plugin. It walks you through installing and activating the plugin, enabling SSL within WordPress, and completing the necessary configuration steps. By following this process, you can quickly convert your site to HTTPS and ensure that all traffic is securely encrypted.
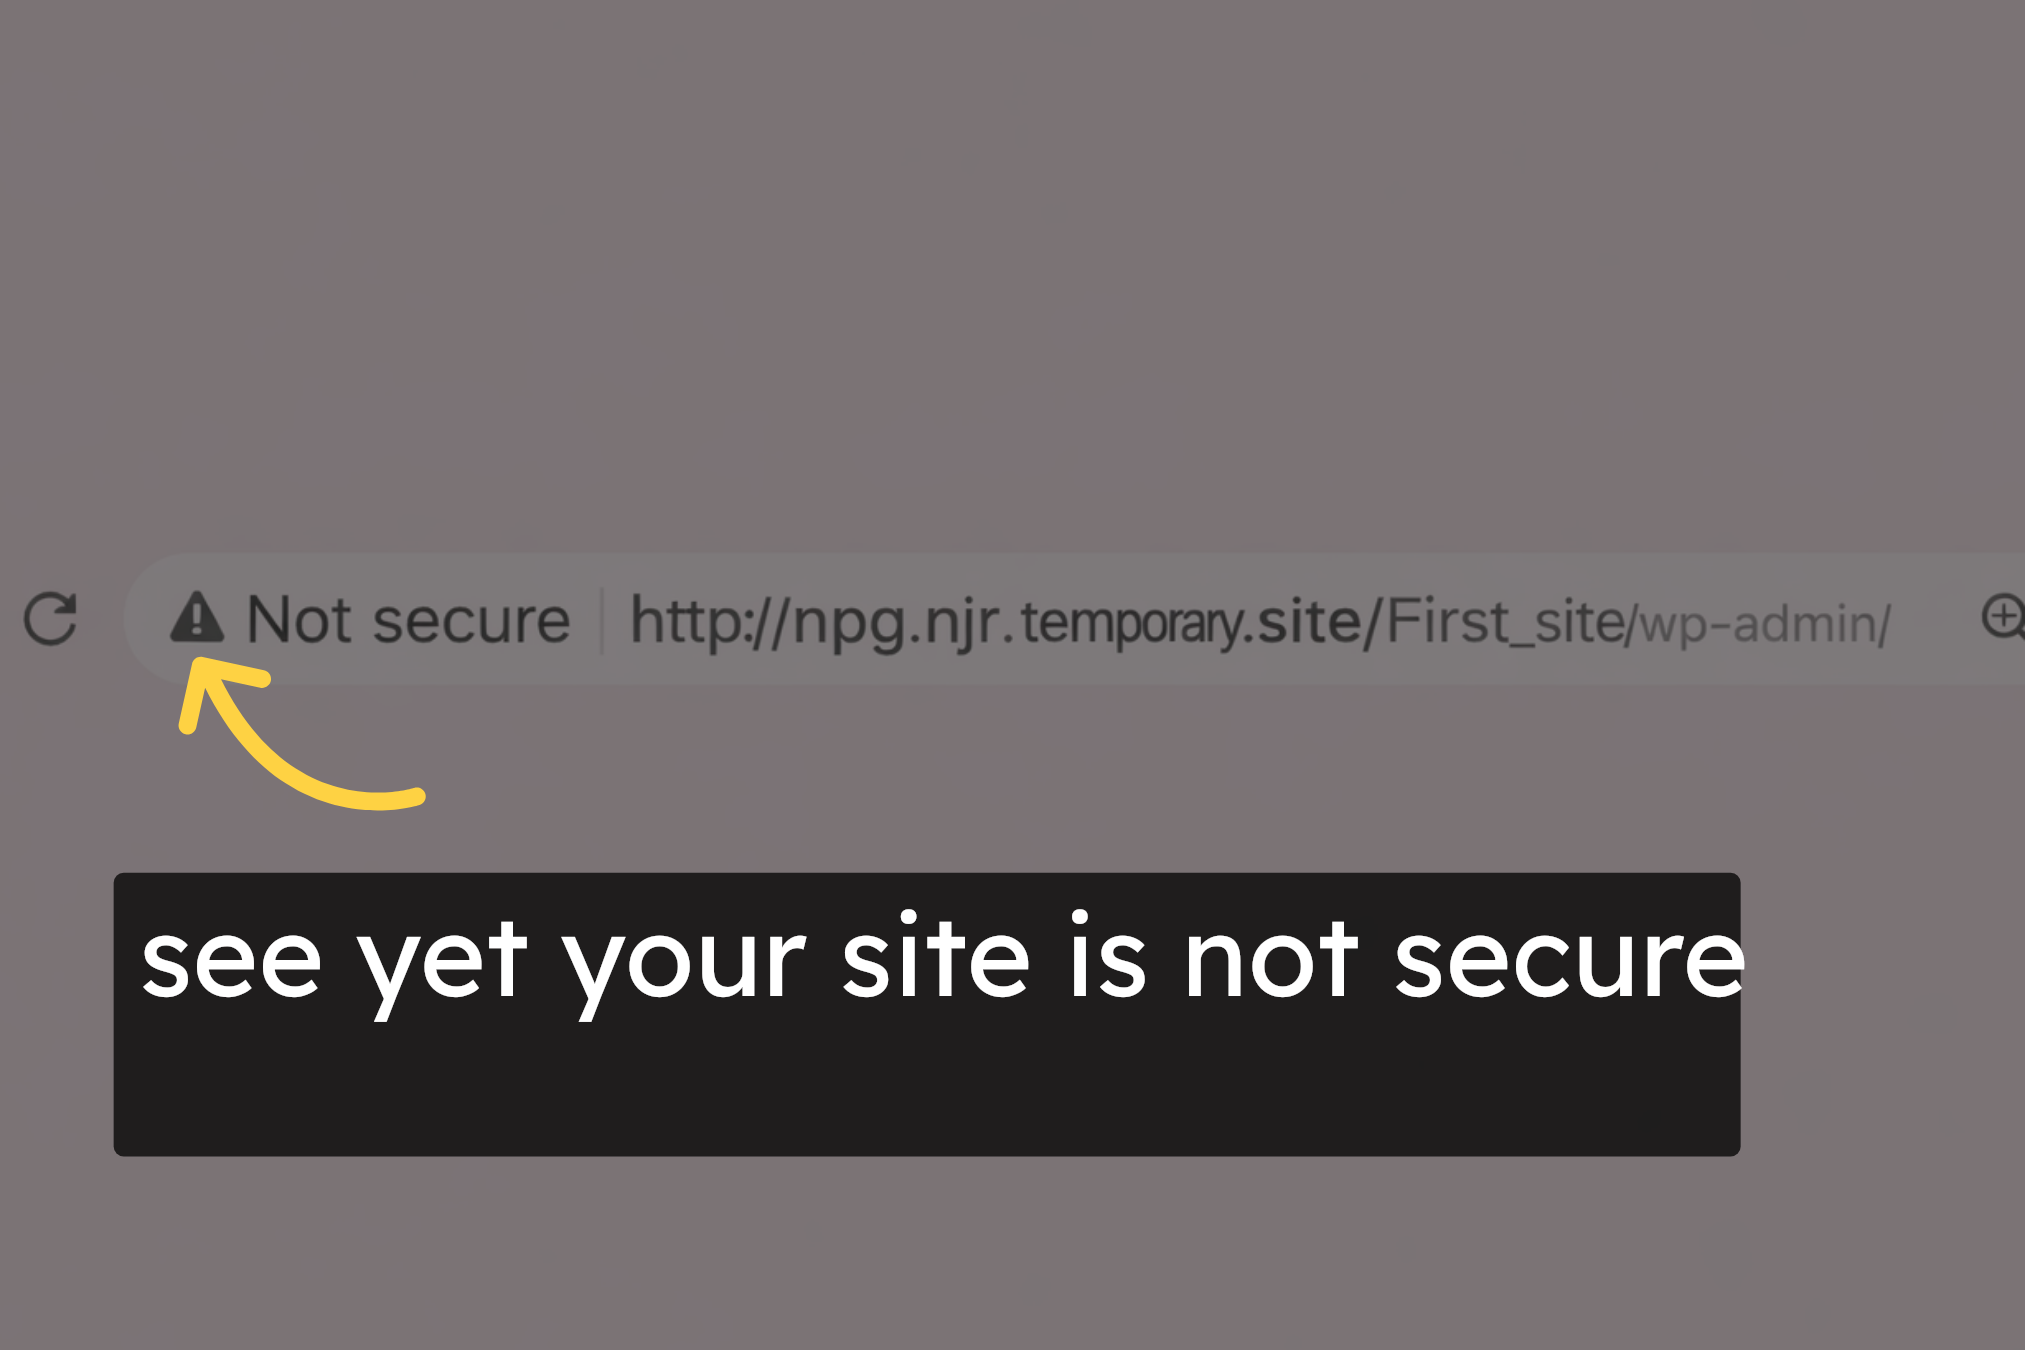
1. Not Secure Issue
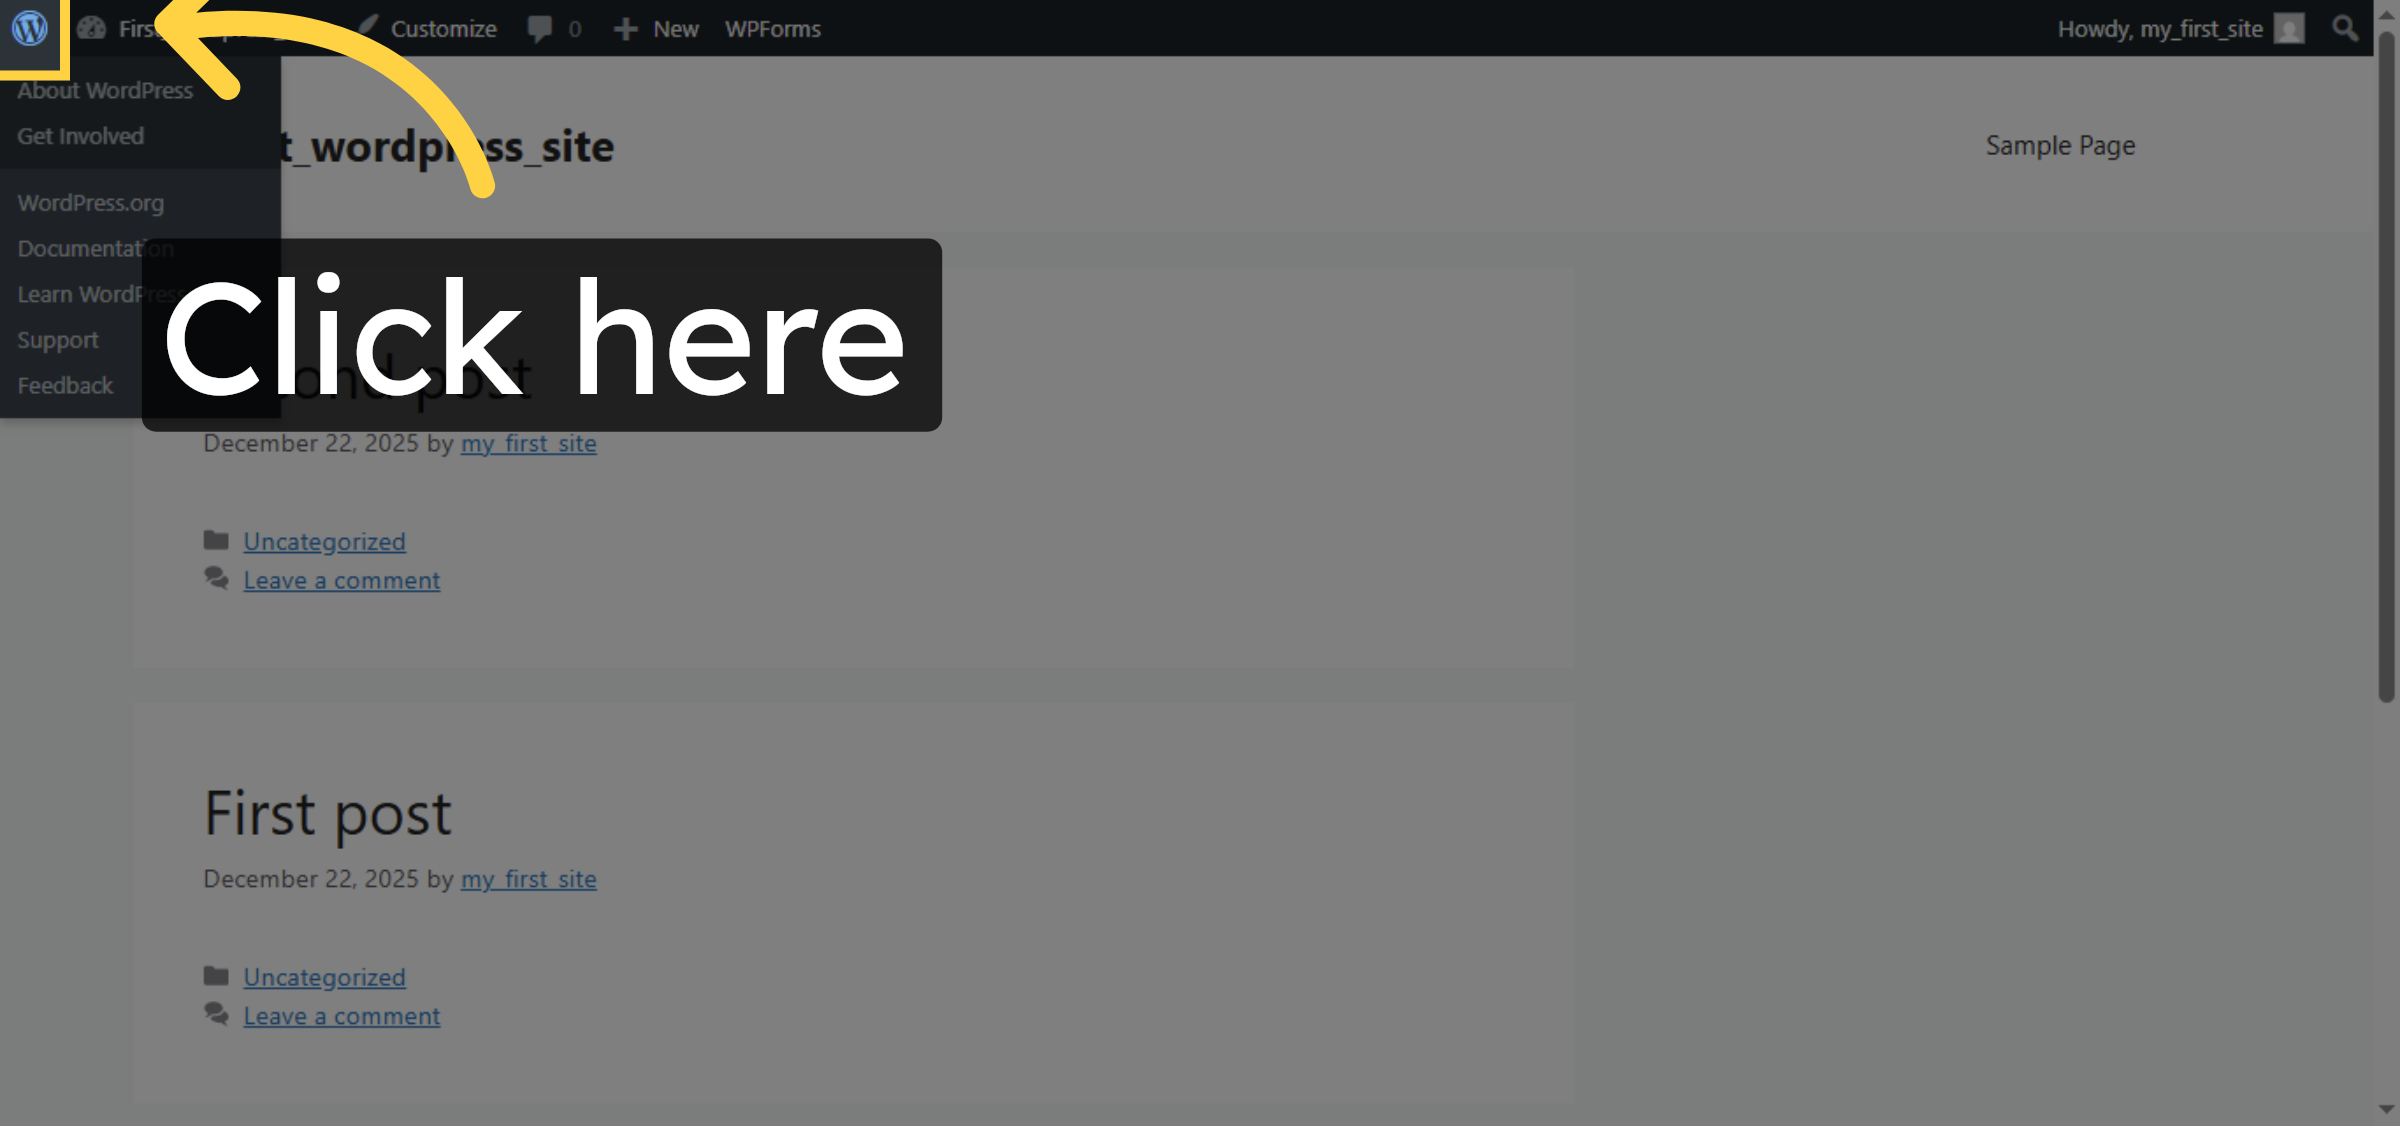
2. Open Admin Panel
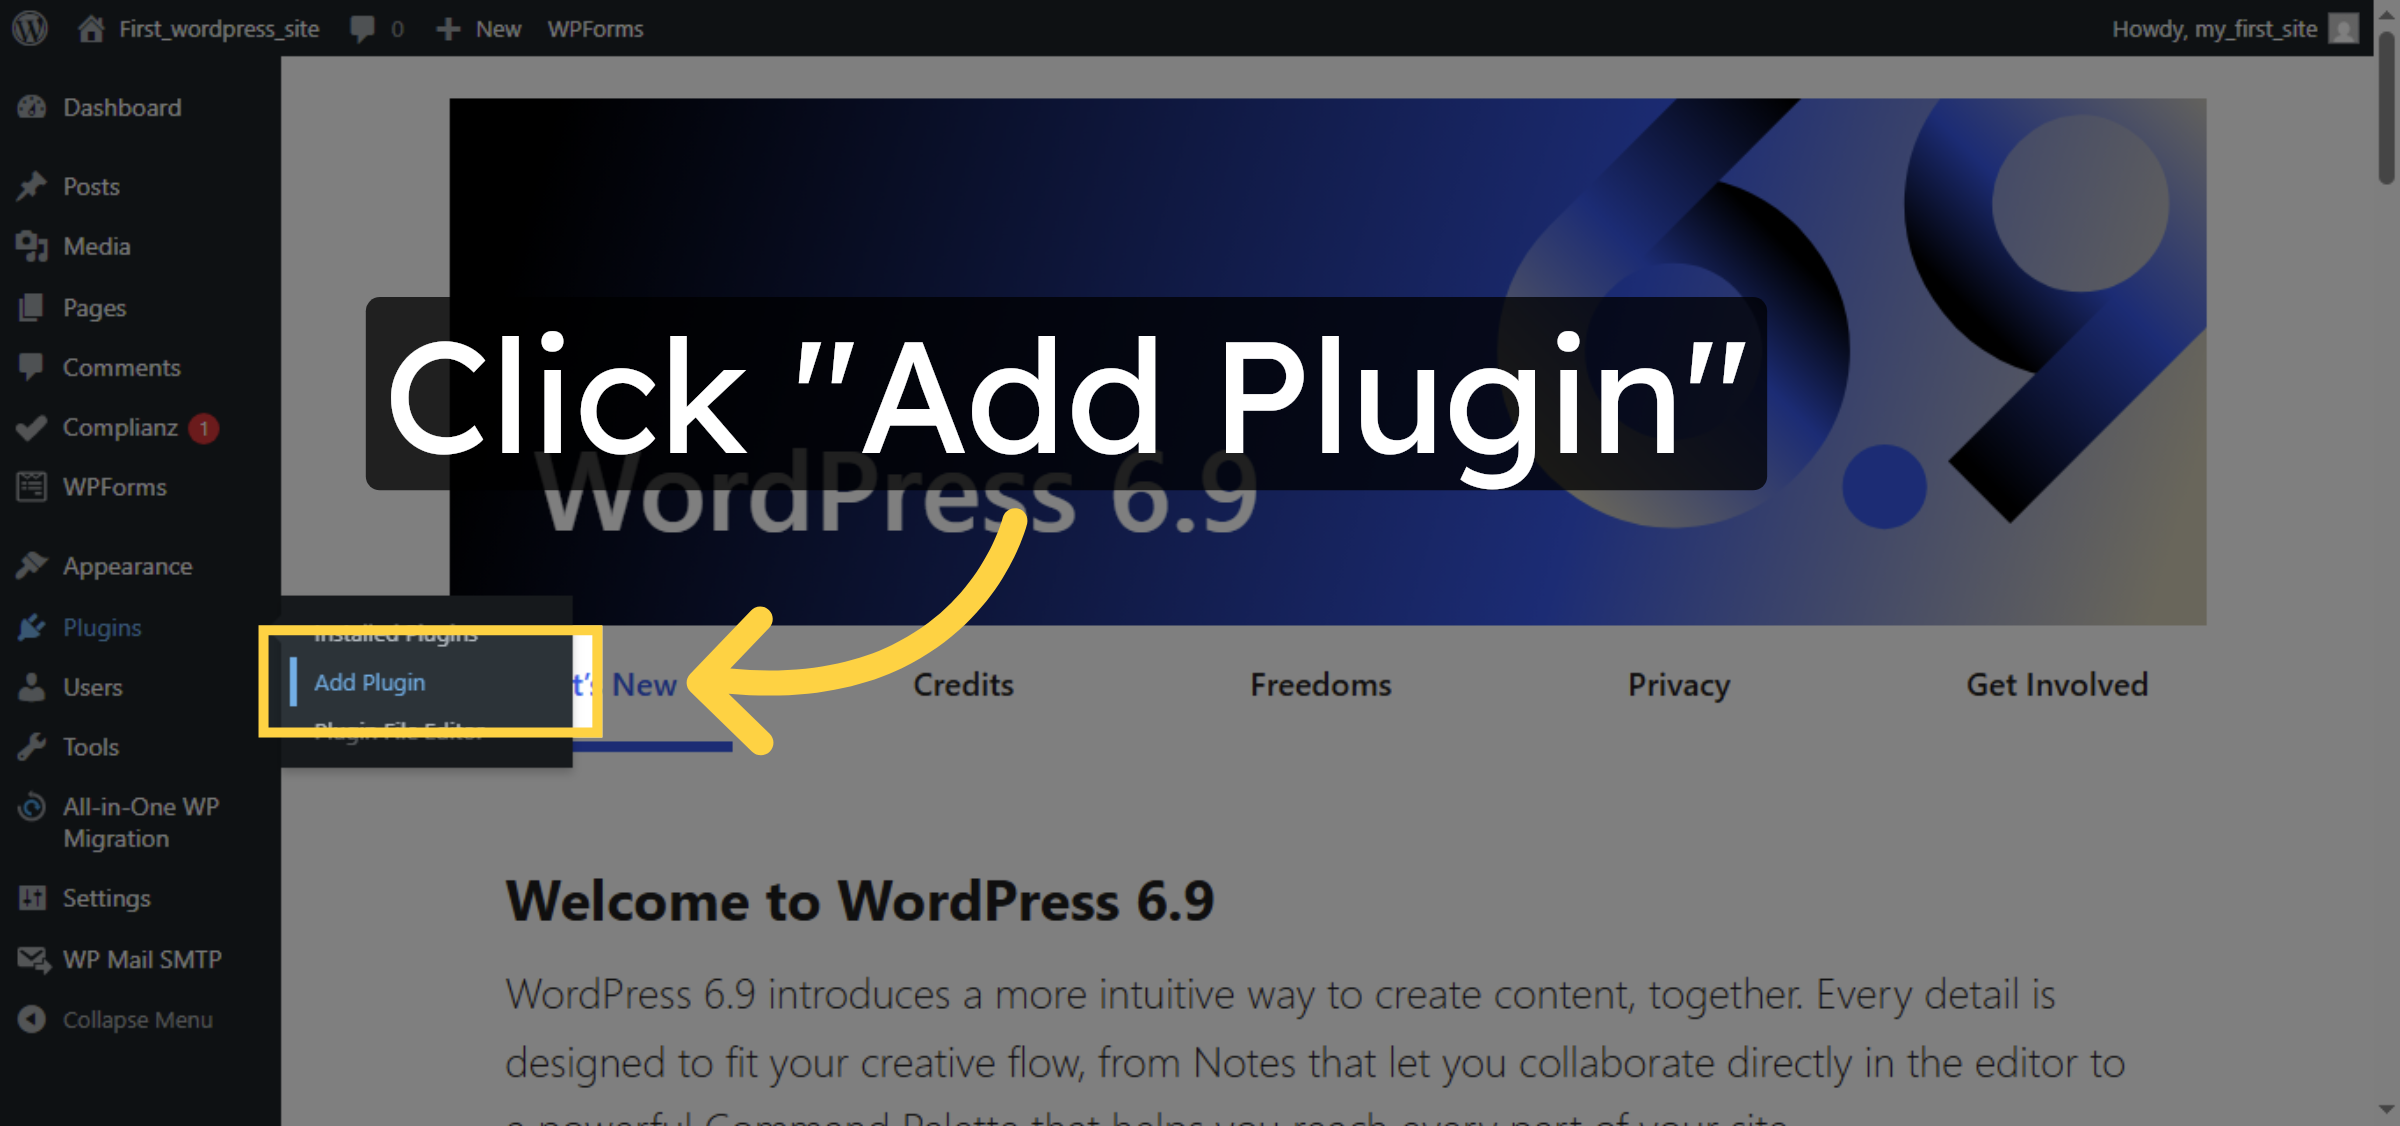
3. Add New Plugin
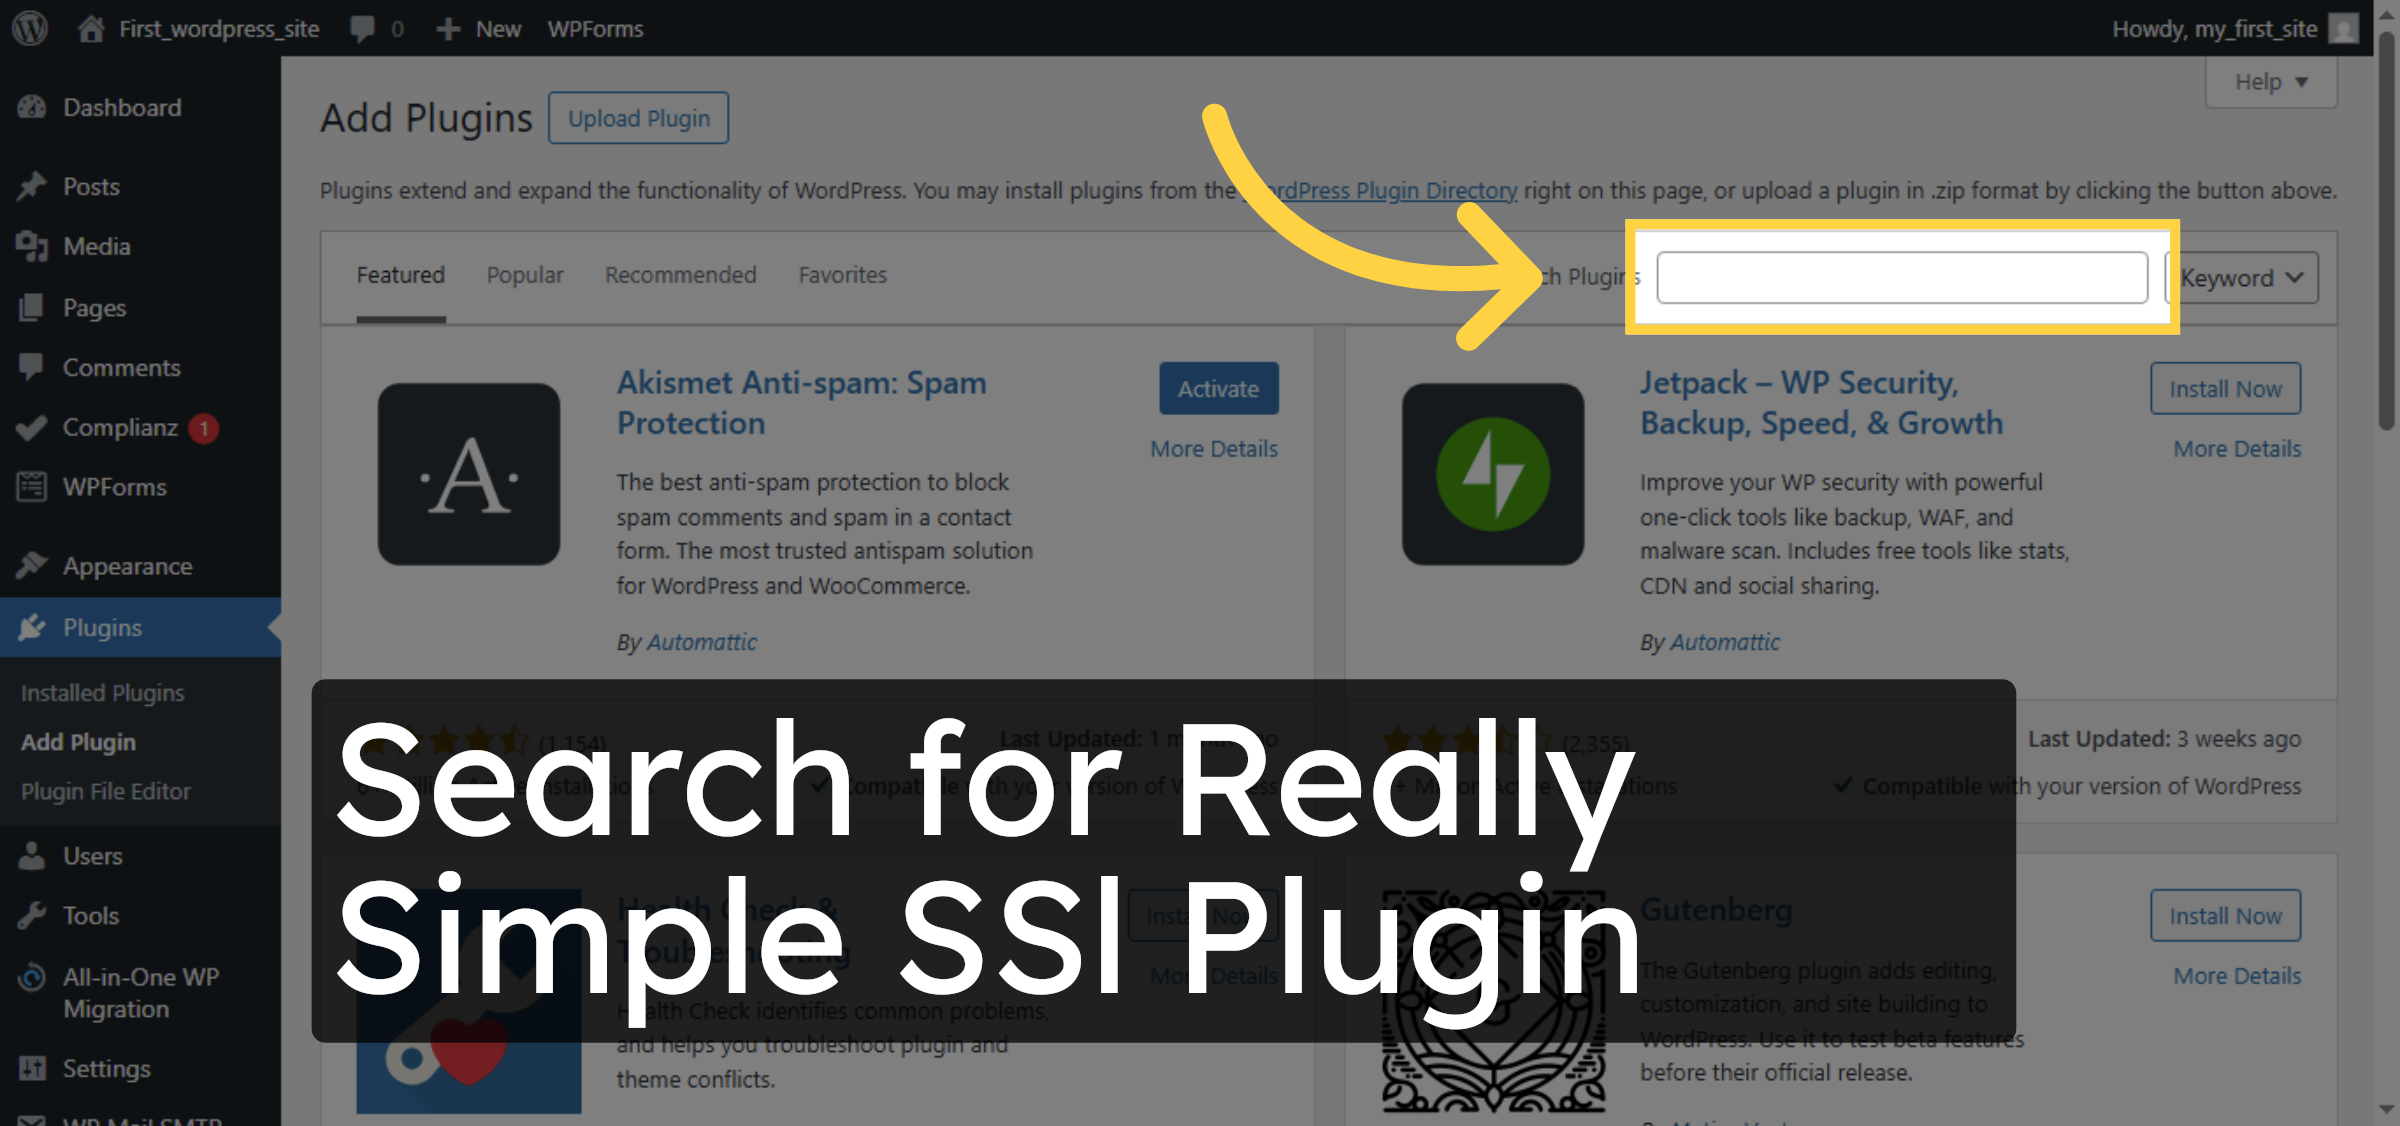
4. Search for Plugin
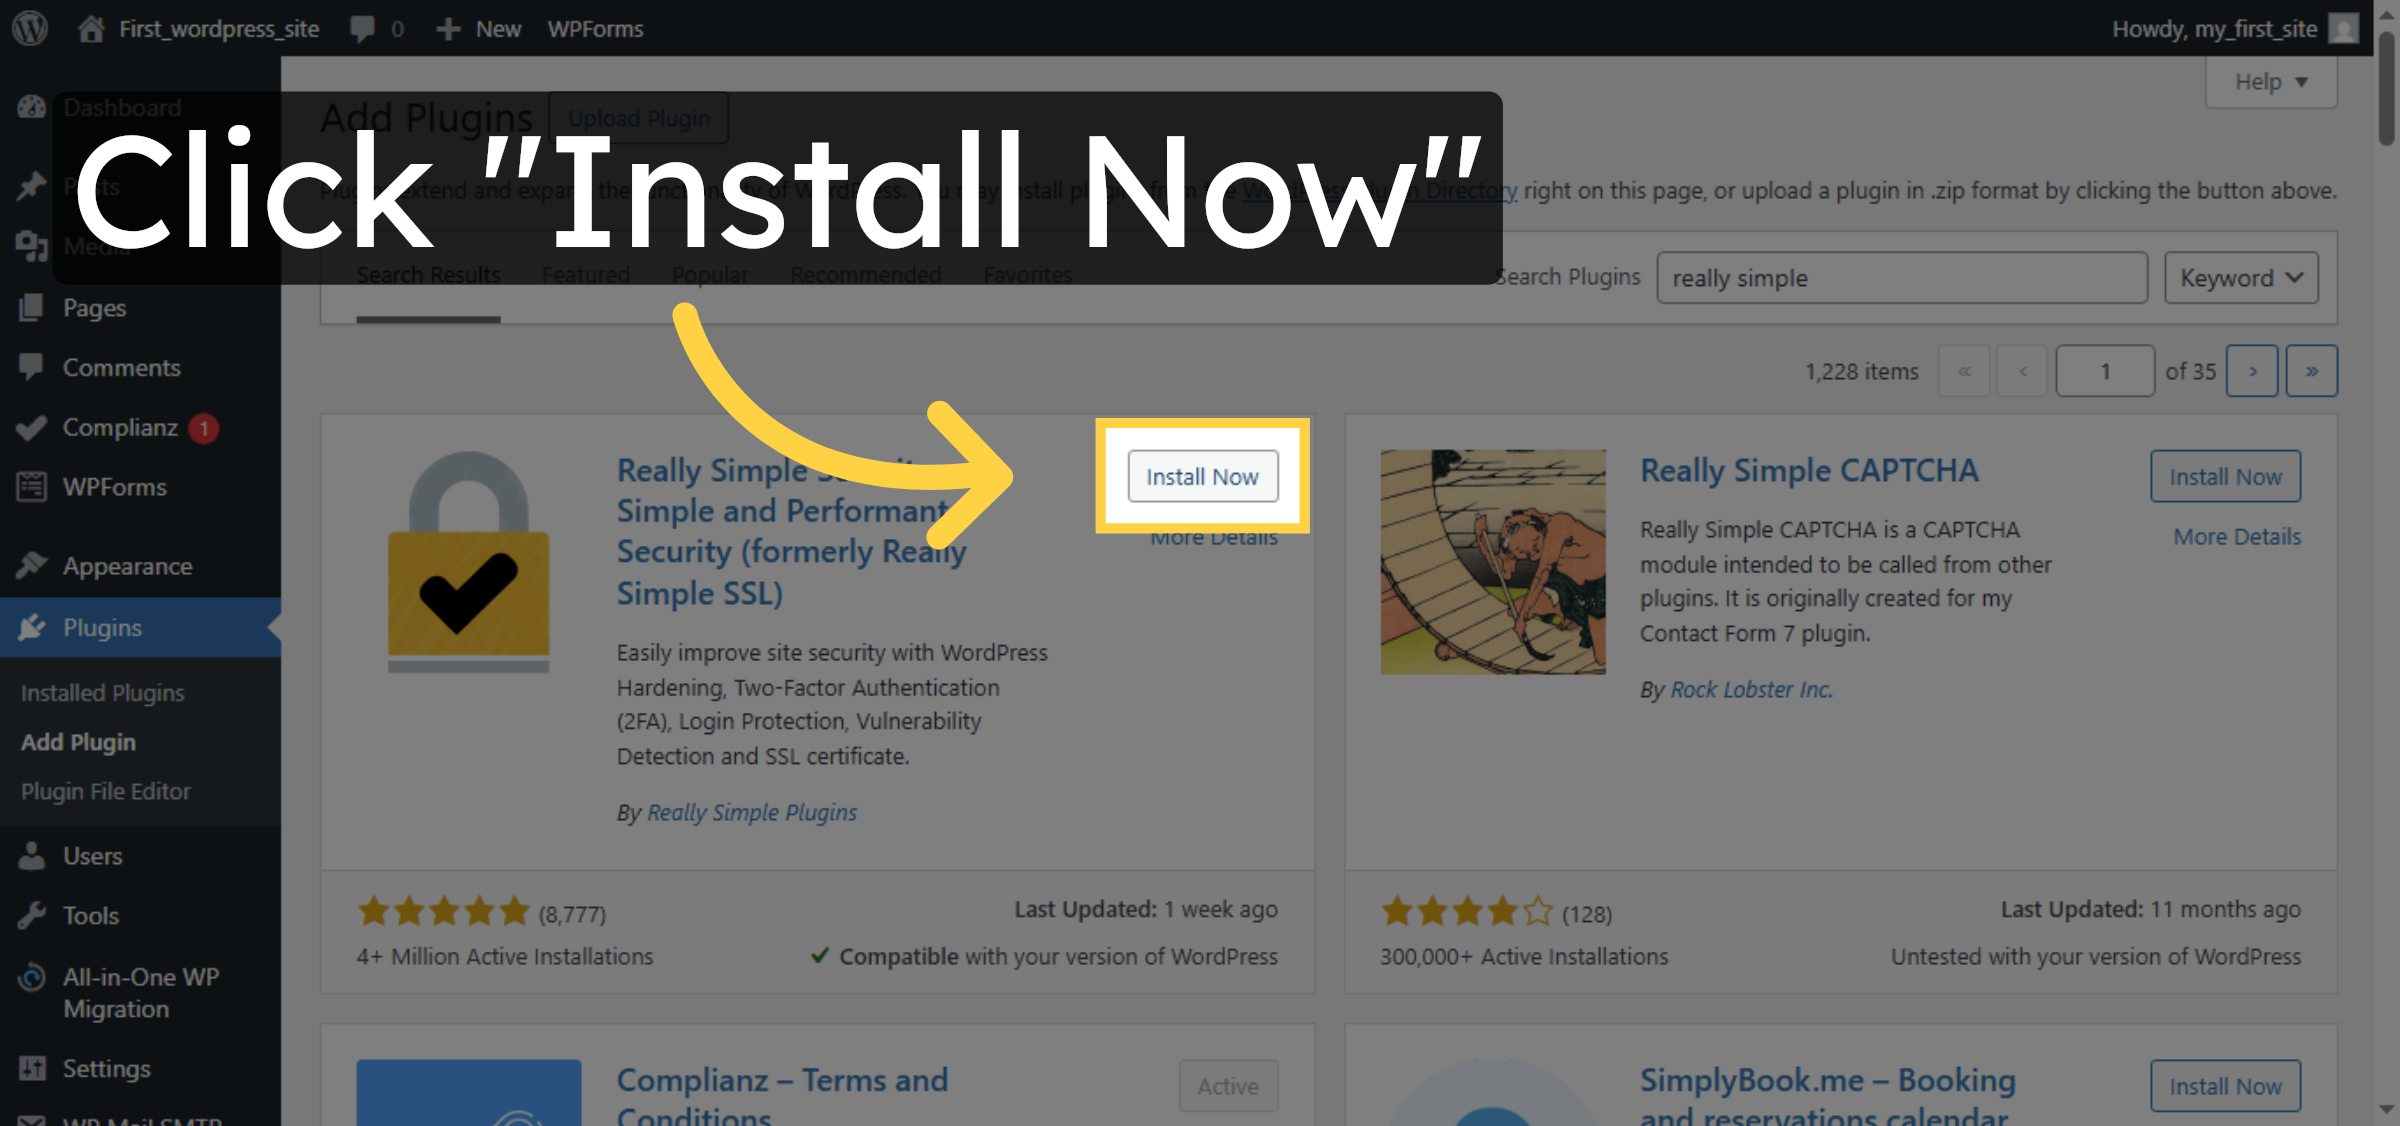
5. Install SSL Plugin
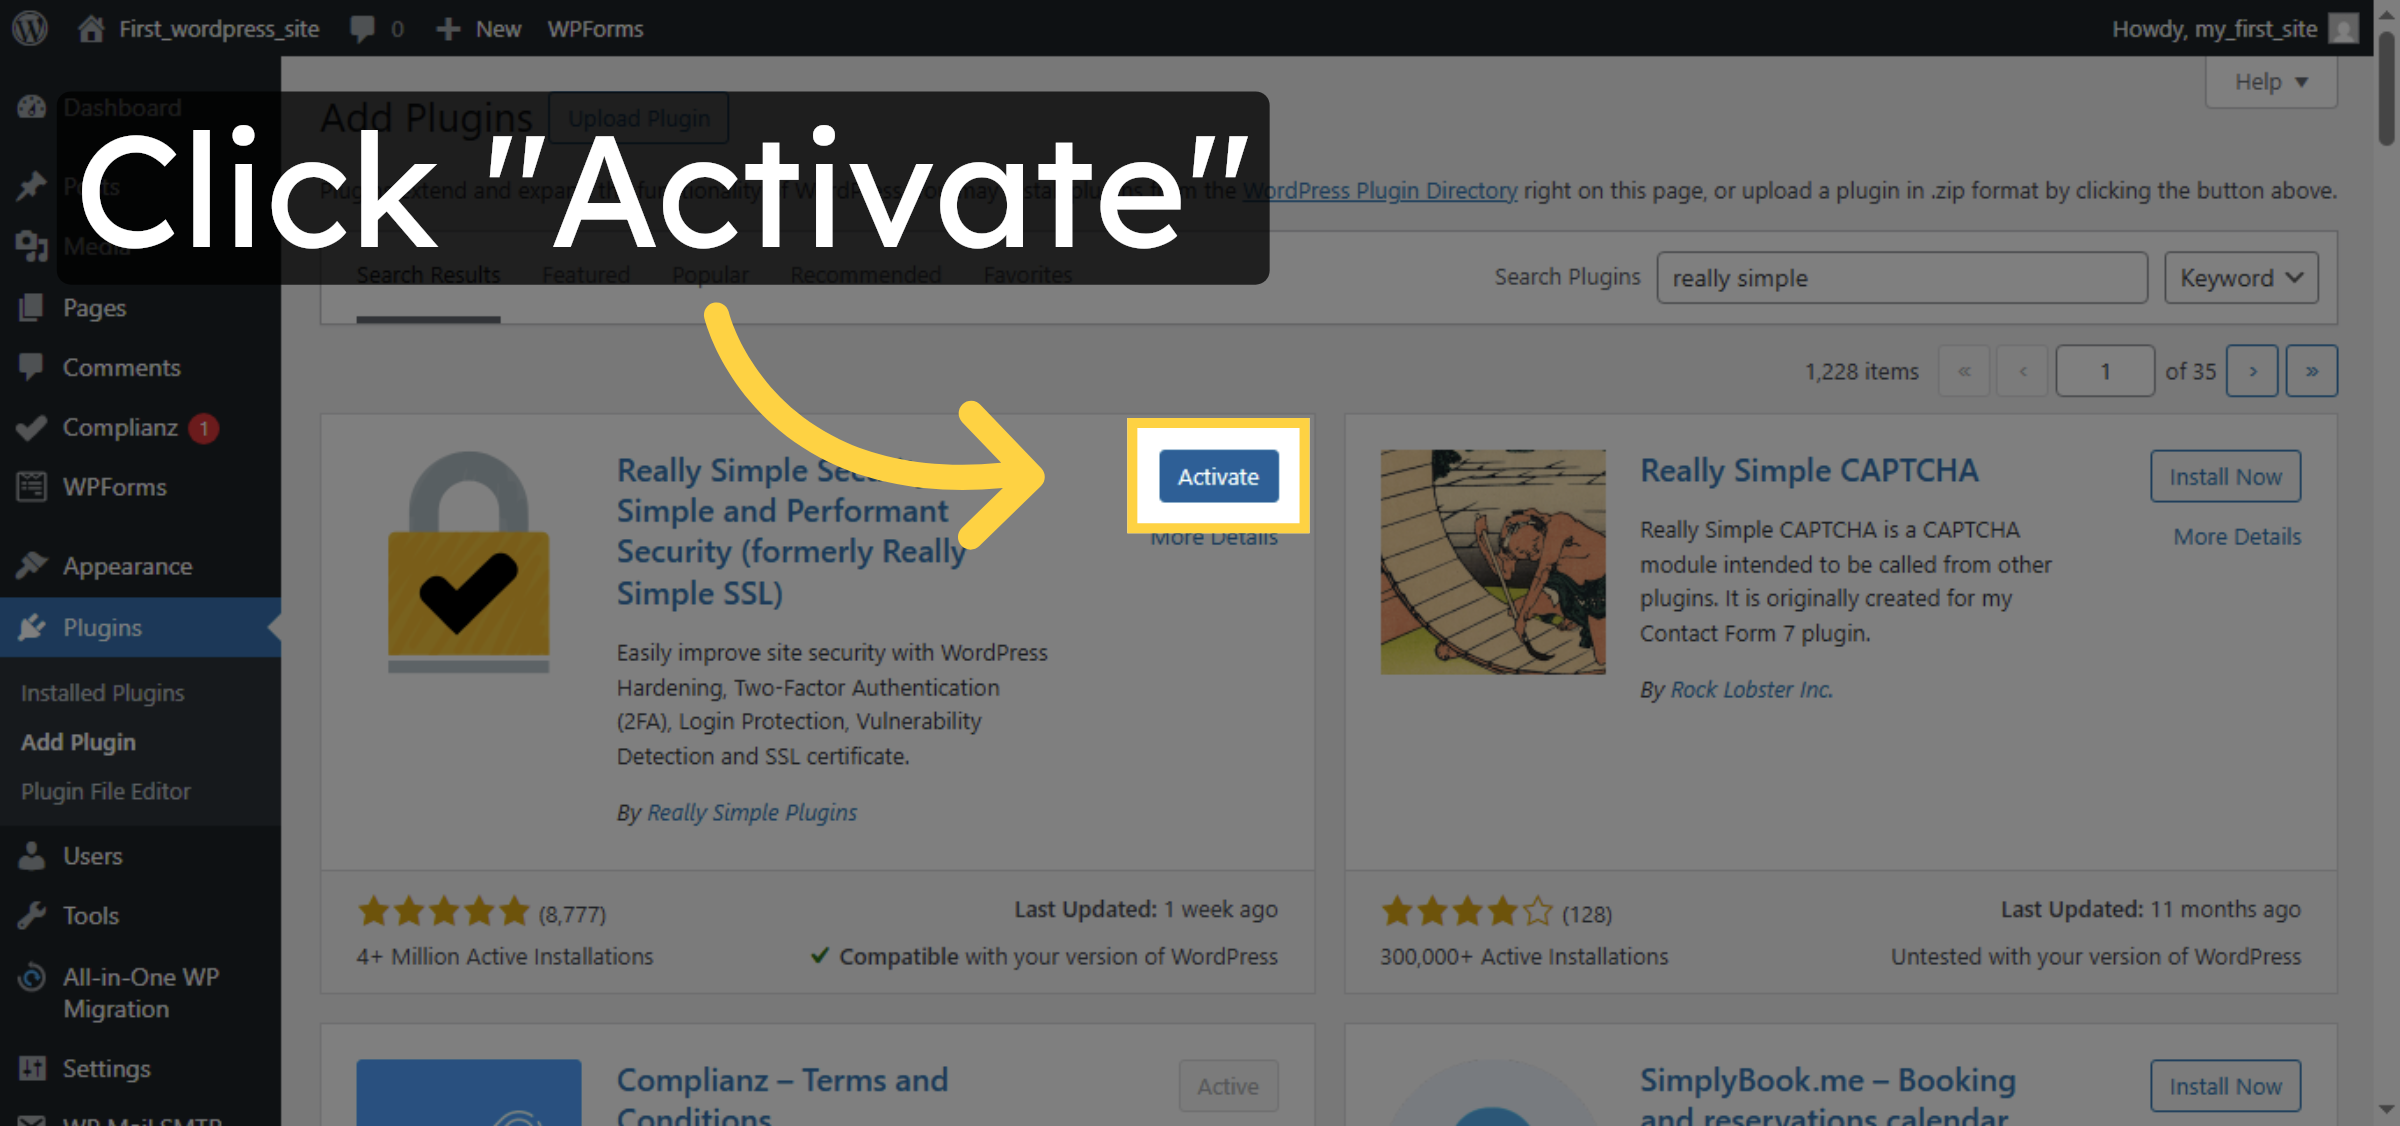
6. Activate SSL Plugin
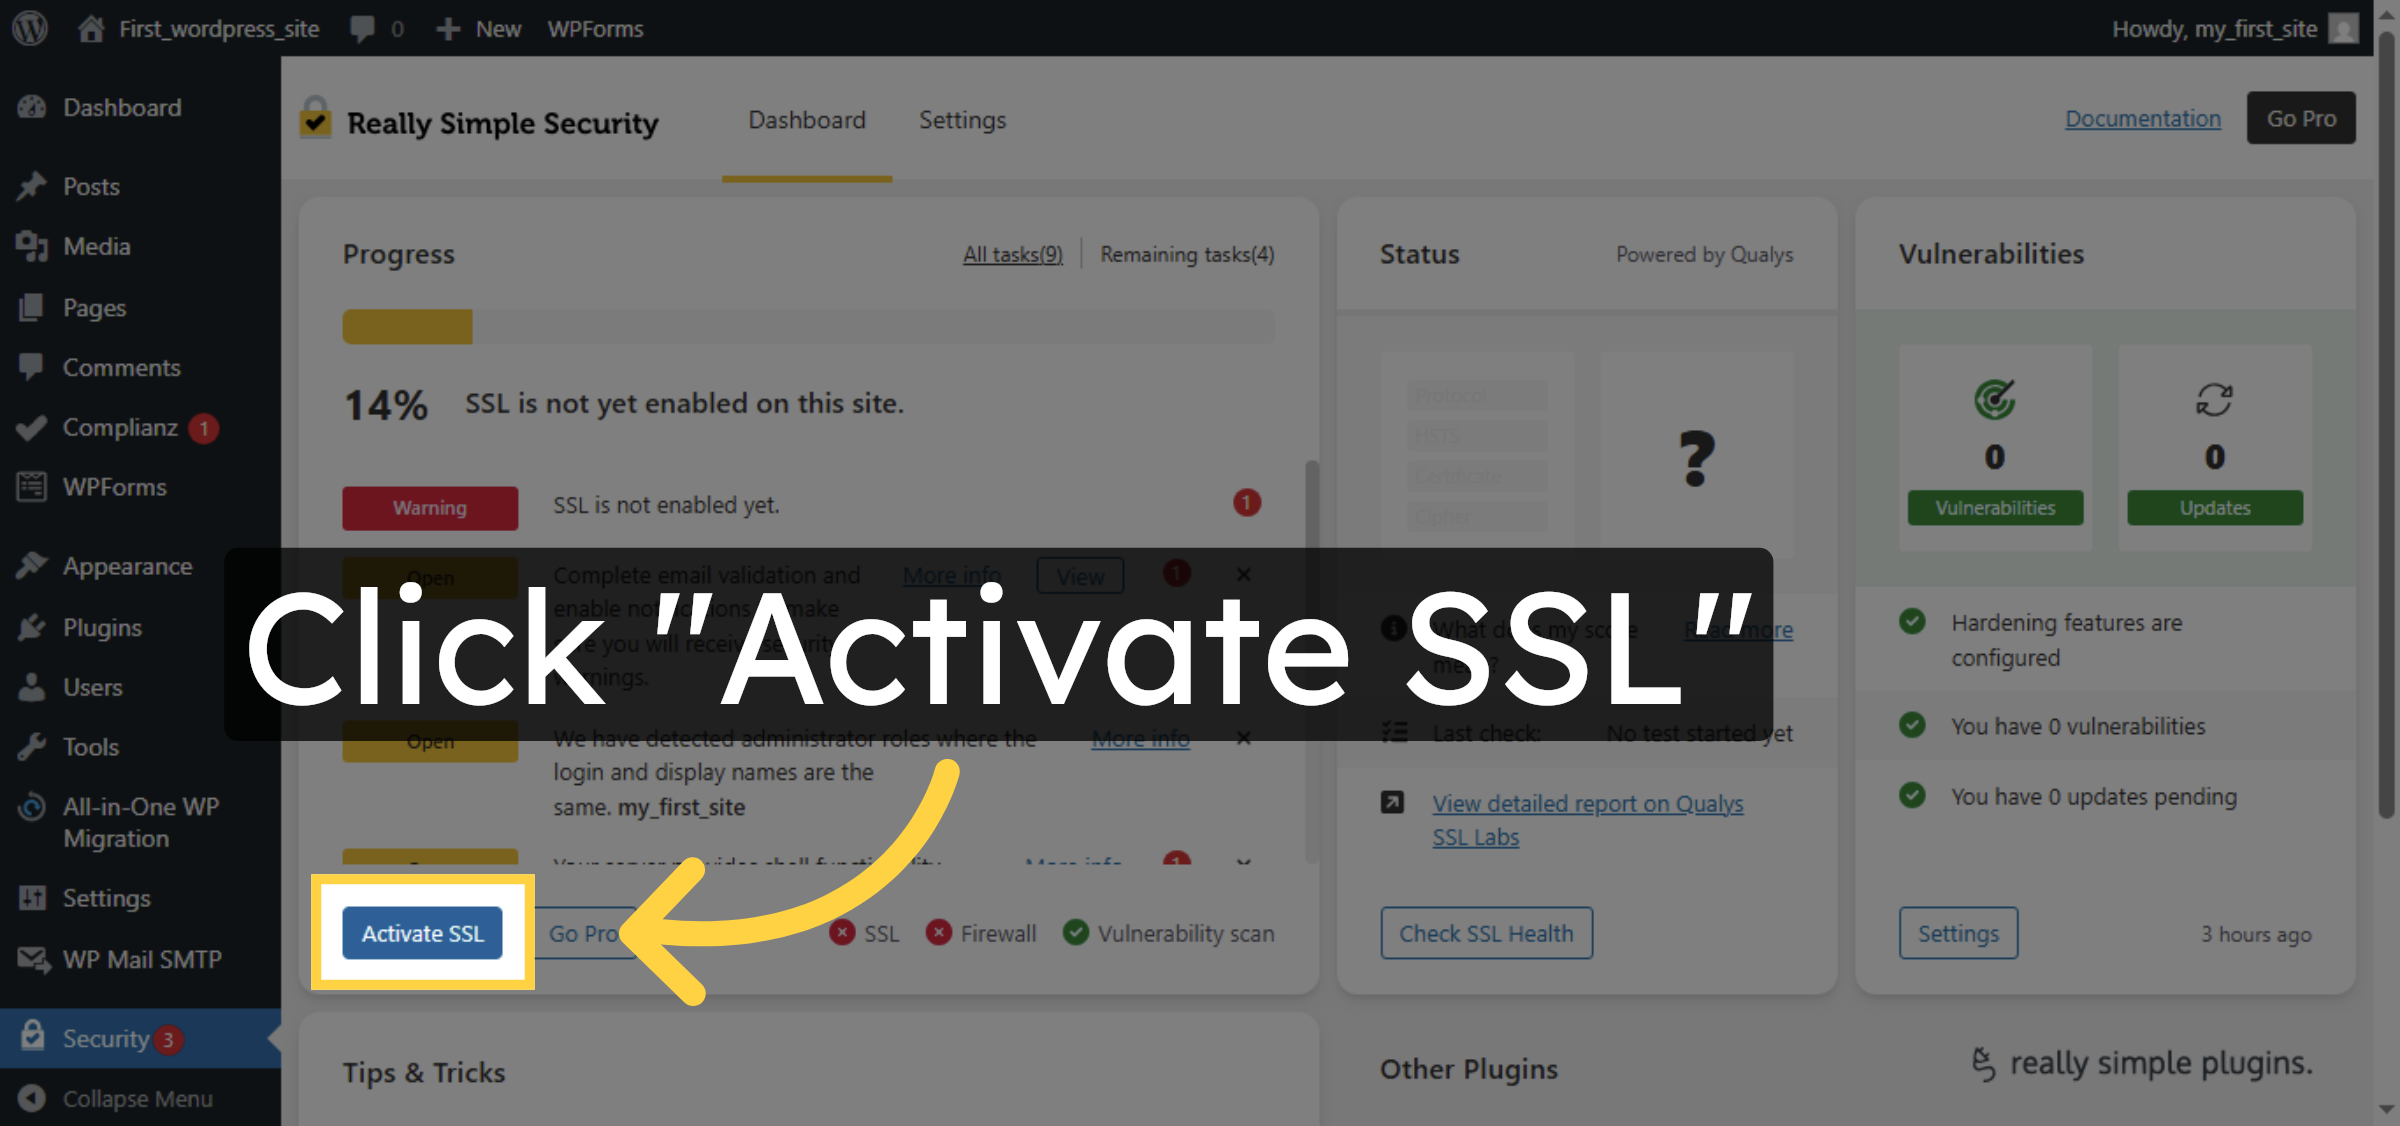
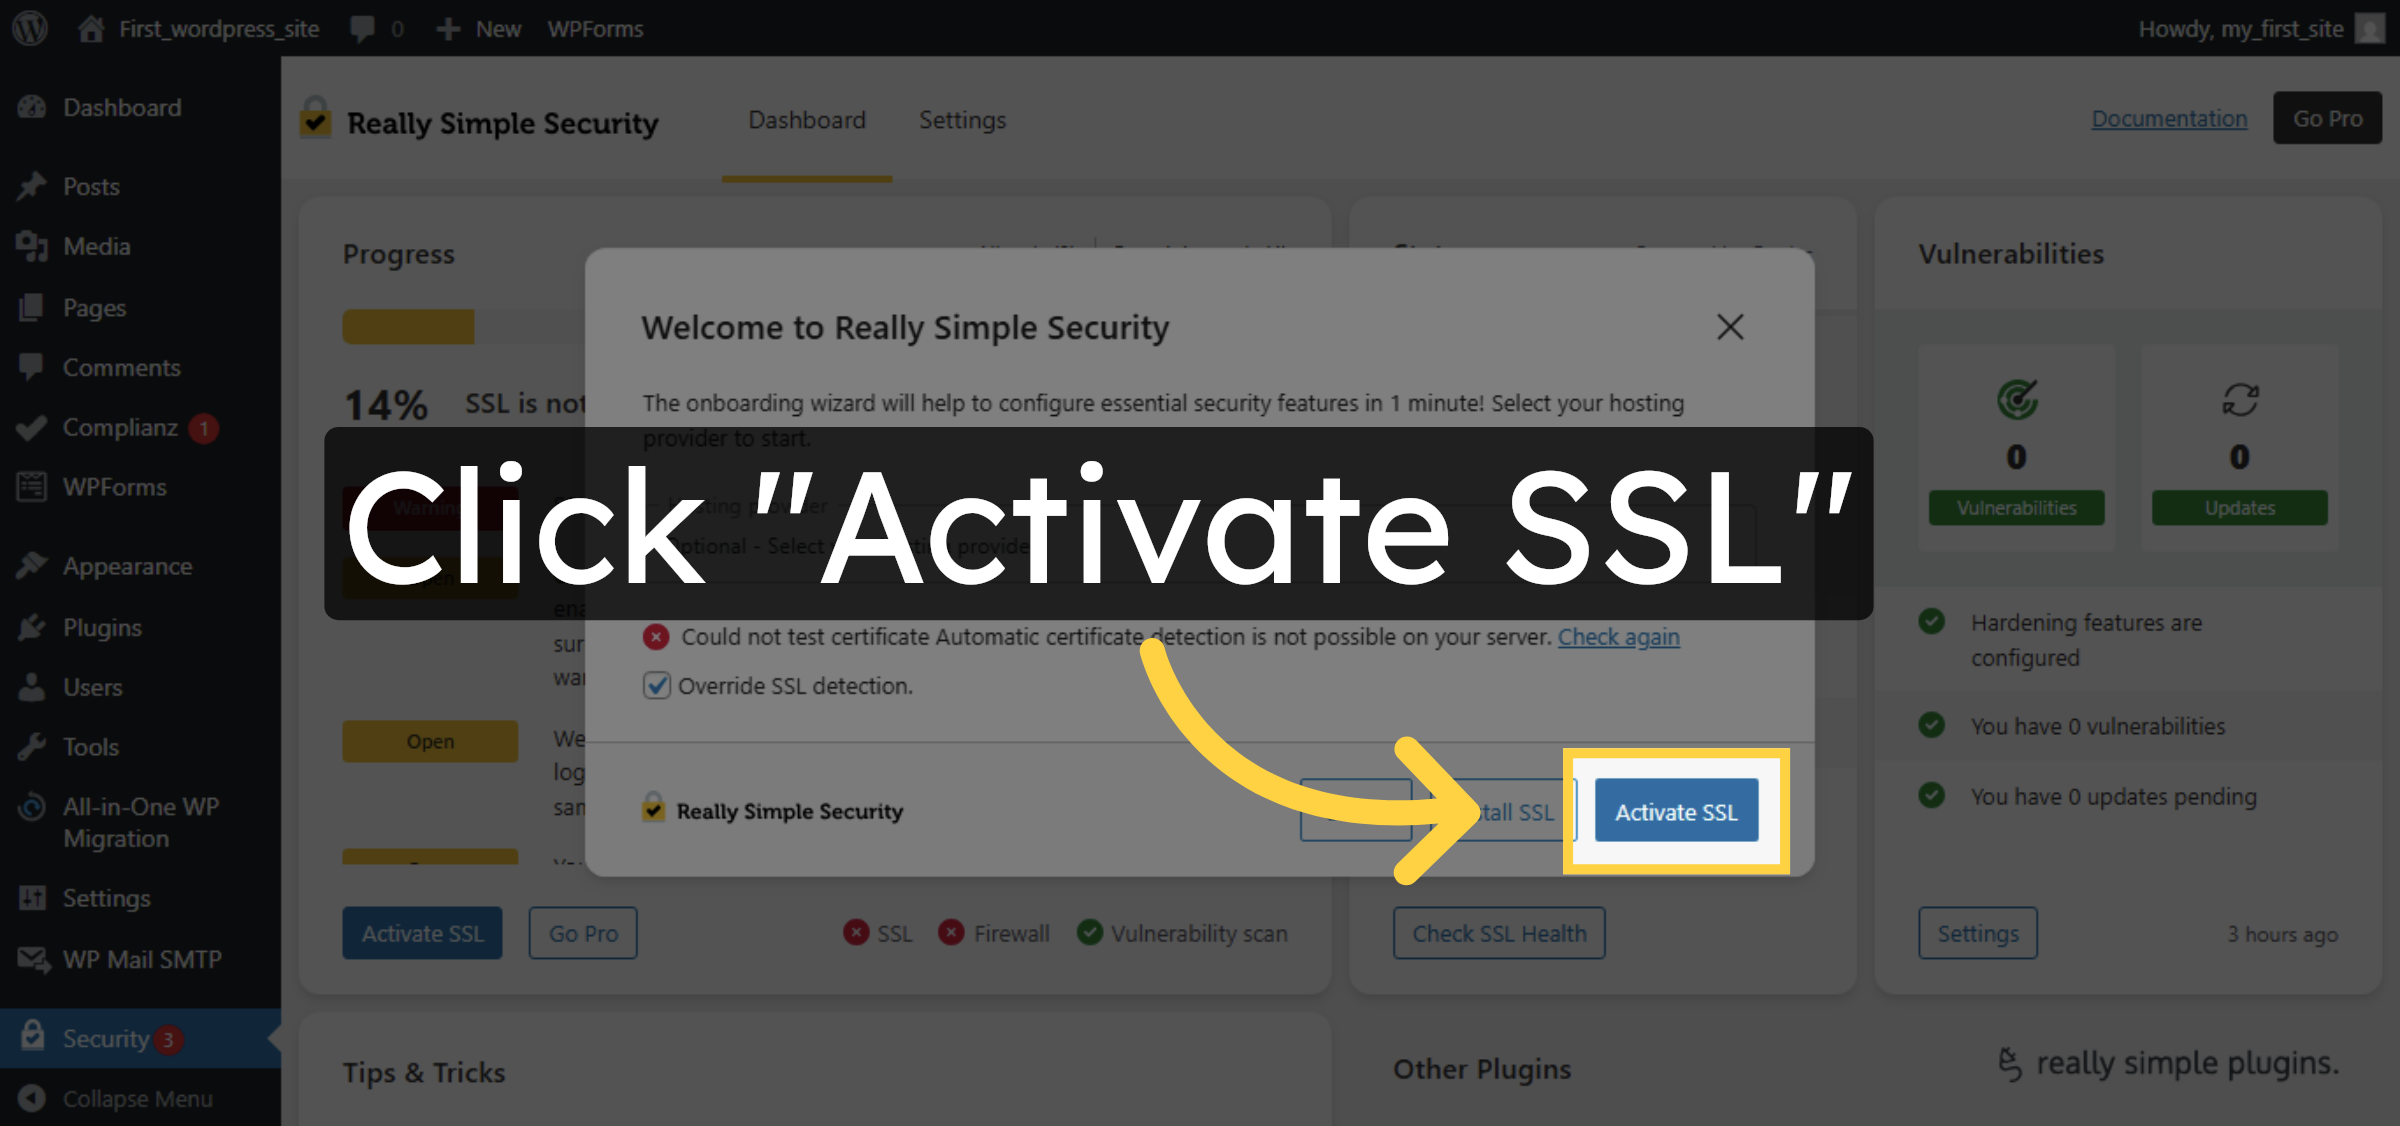
7. Start SSL Activation
8. Confirm SSL Activation
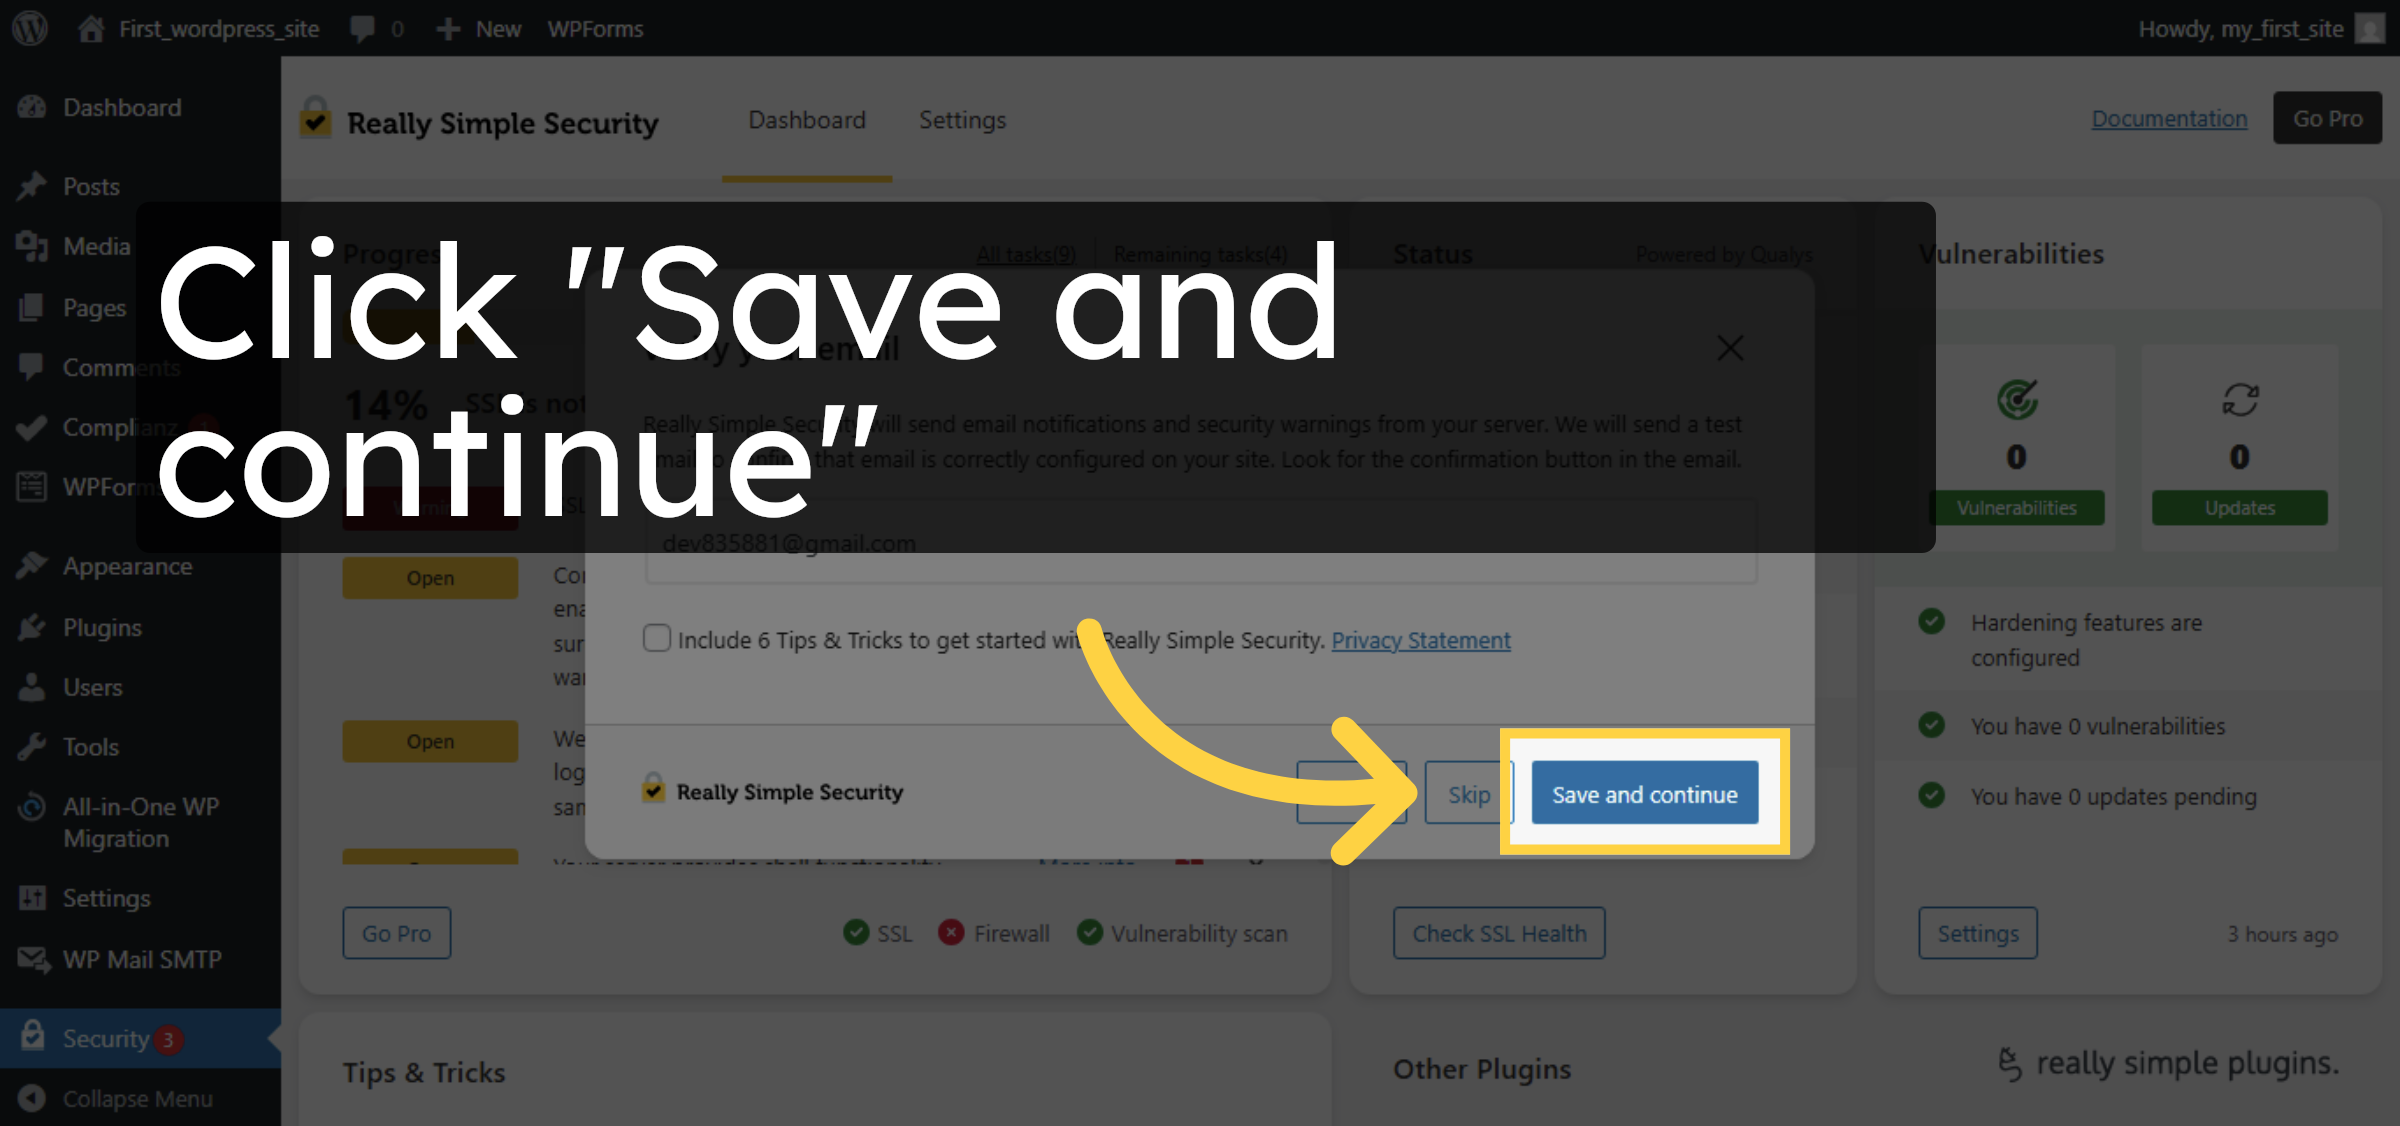
9. Save SSL Settings


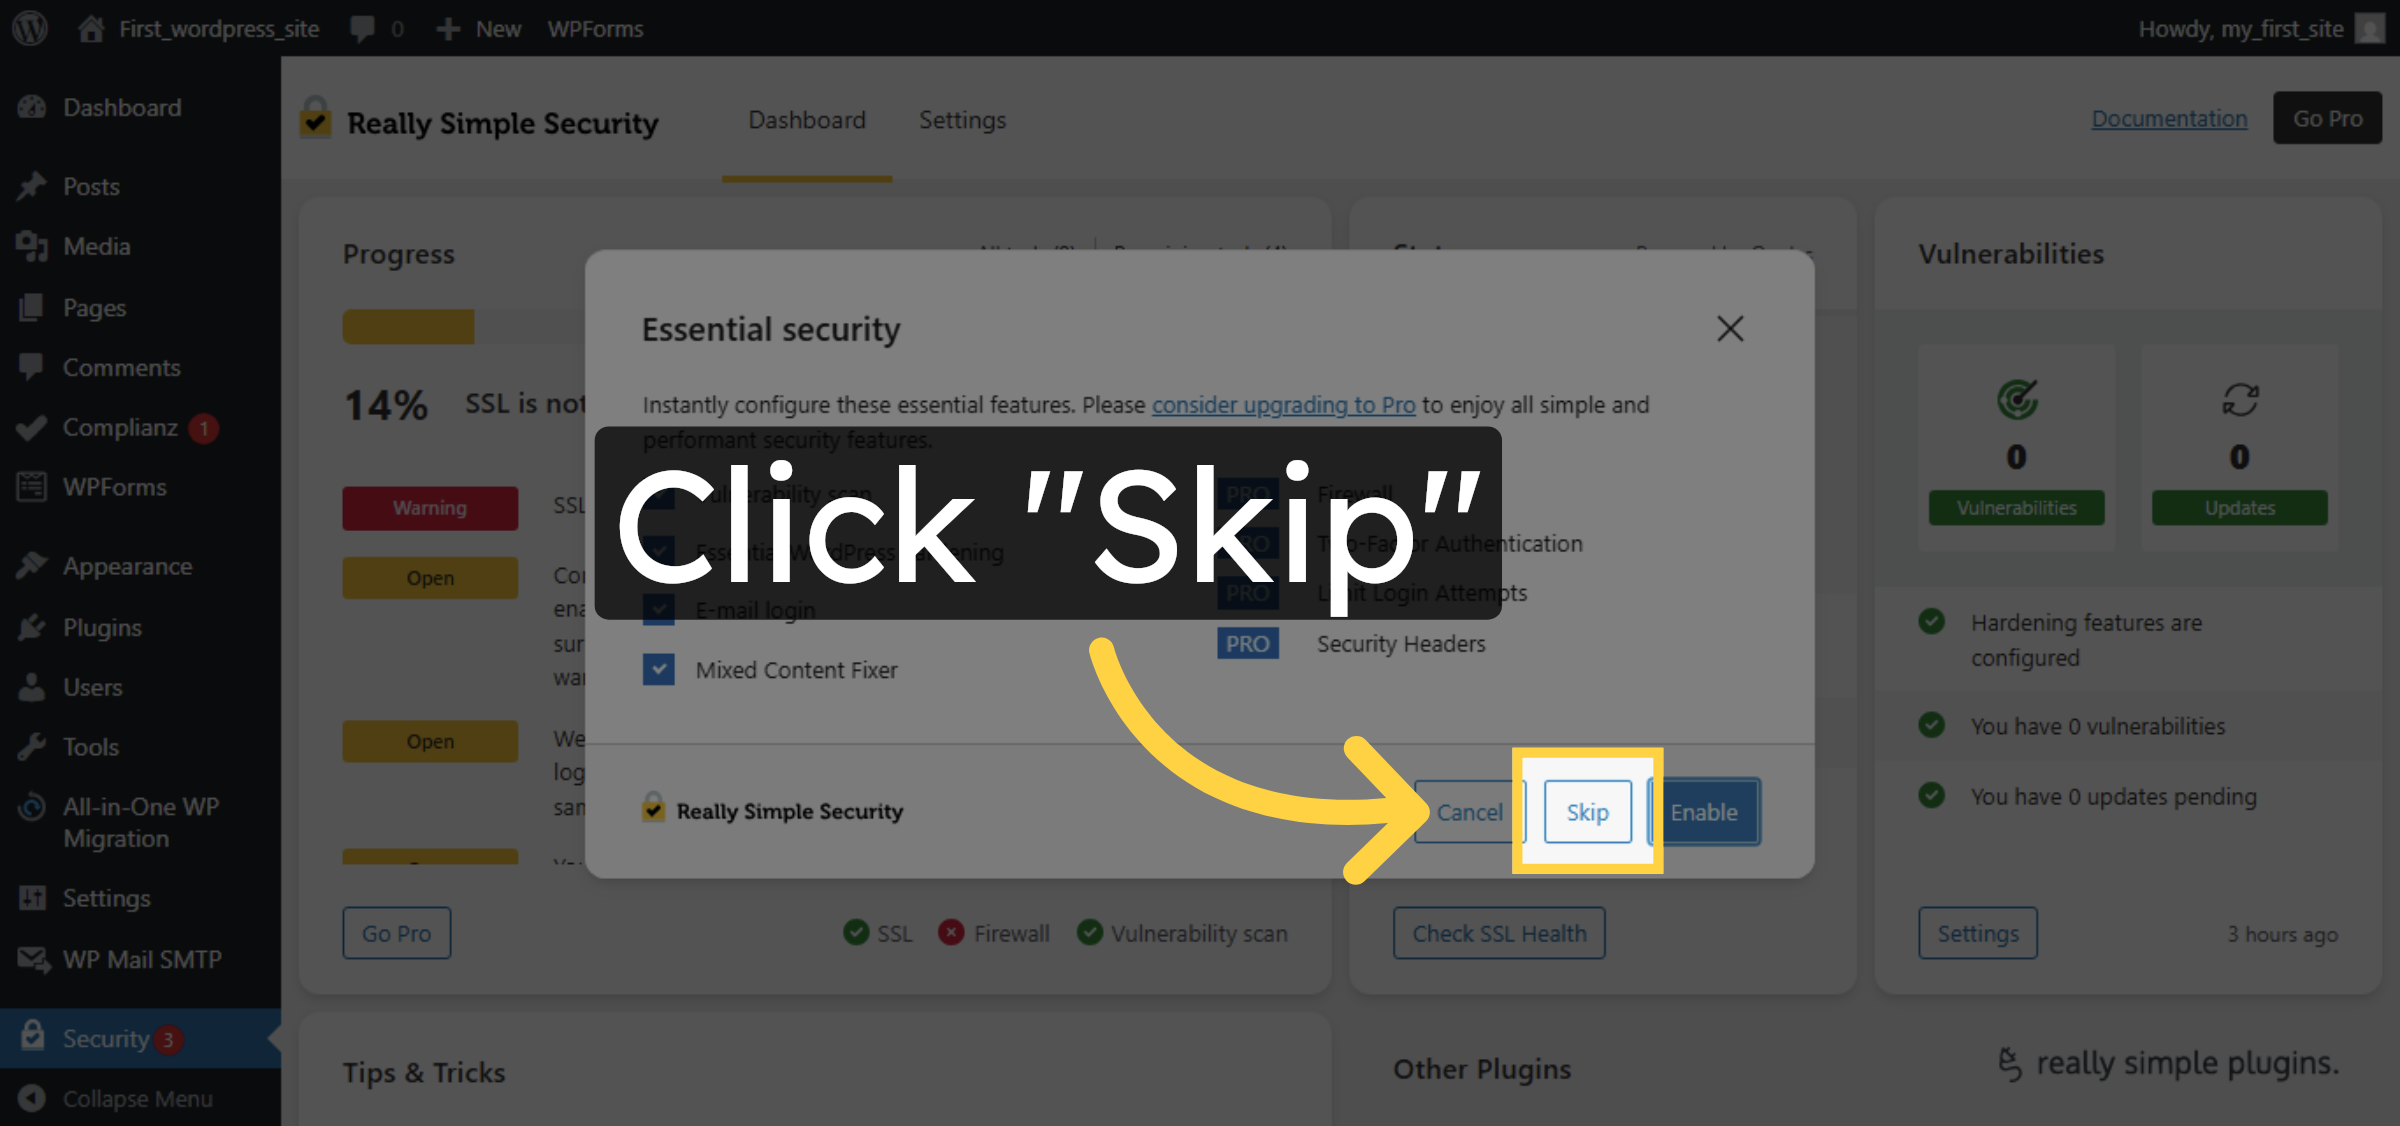
10. Skip Optional Setup
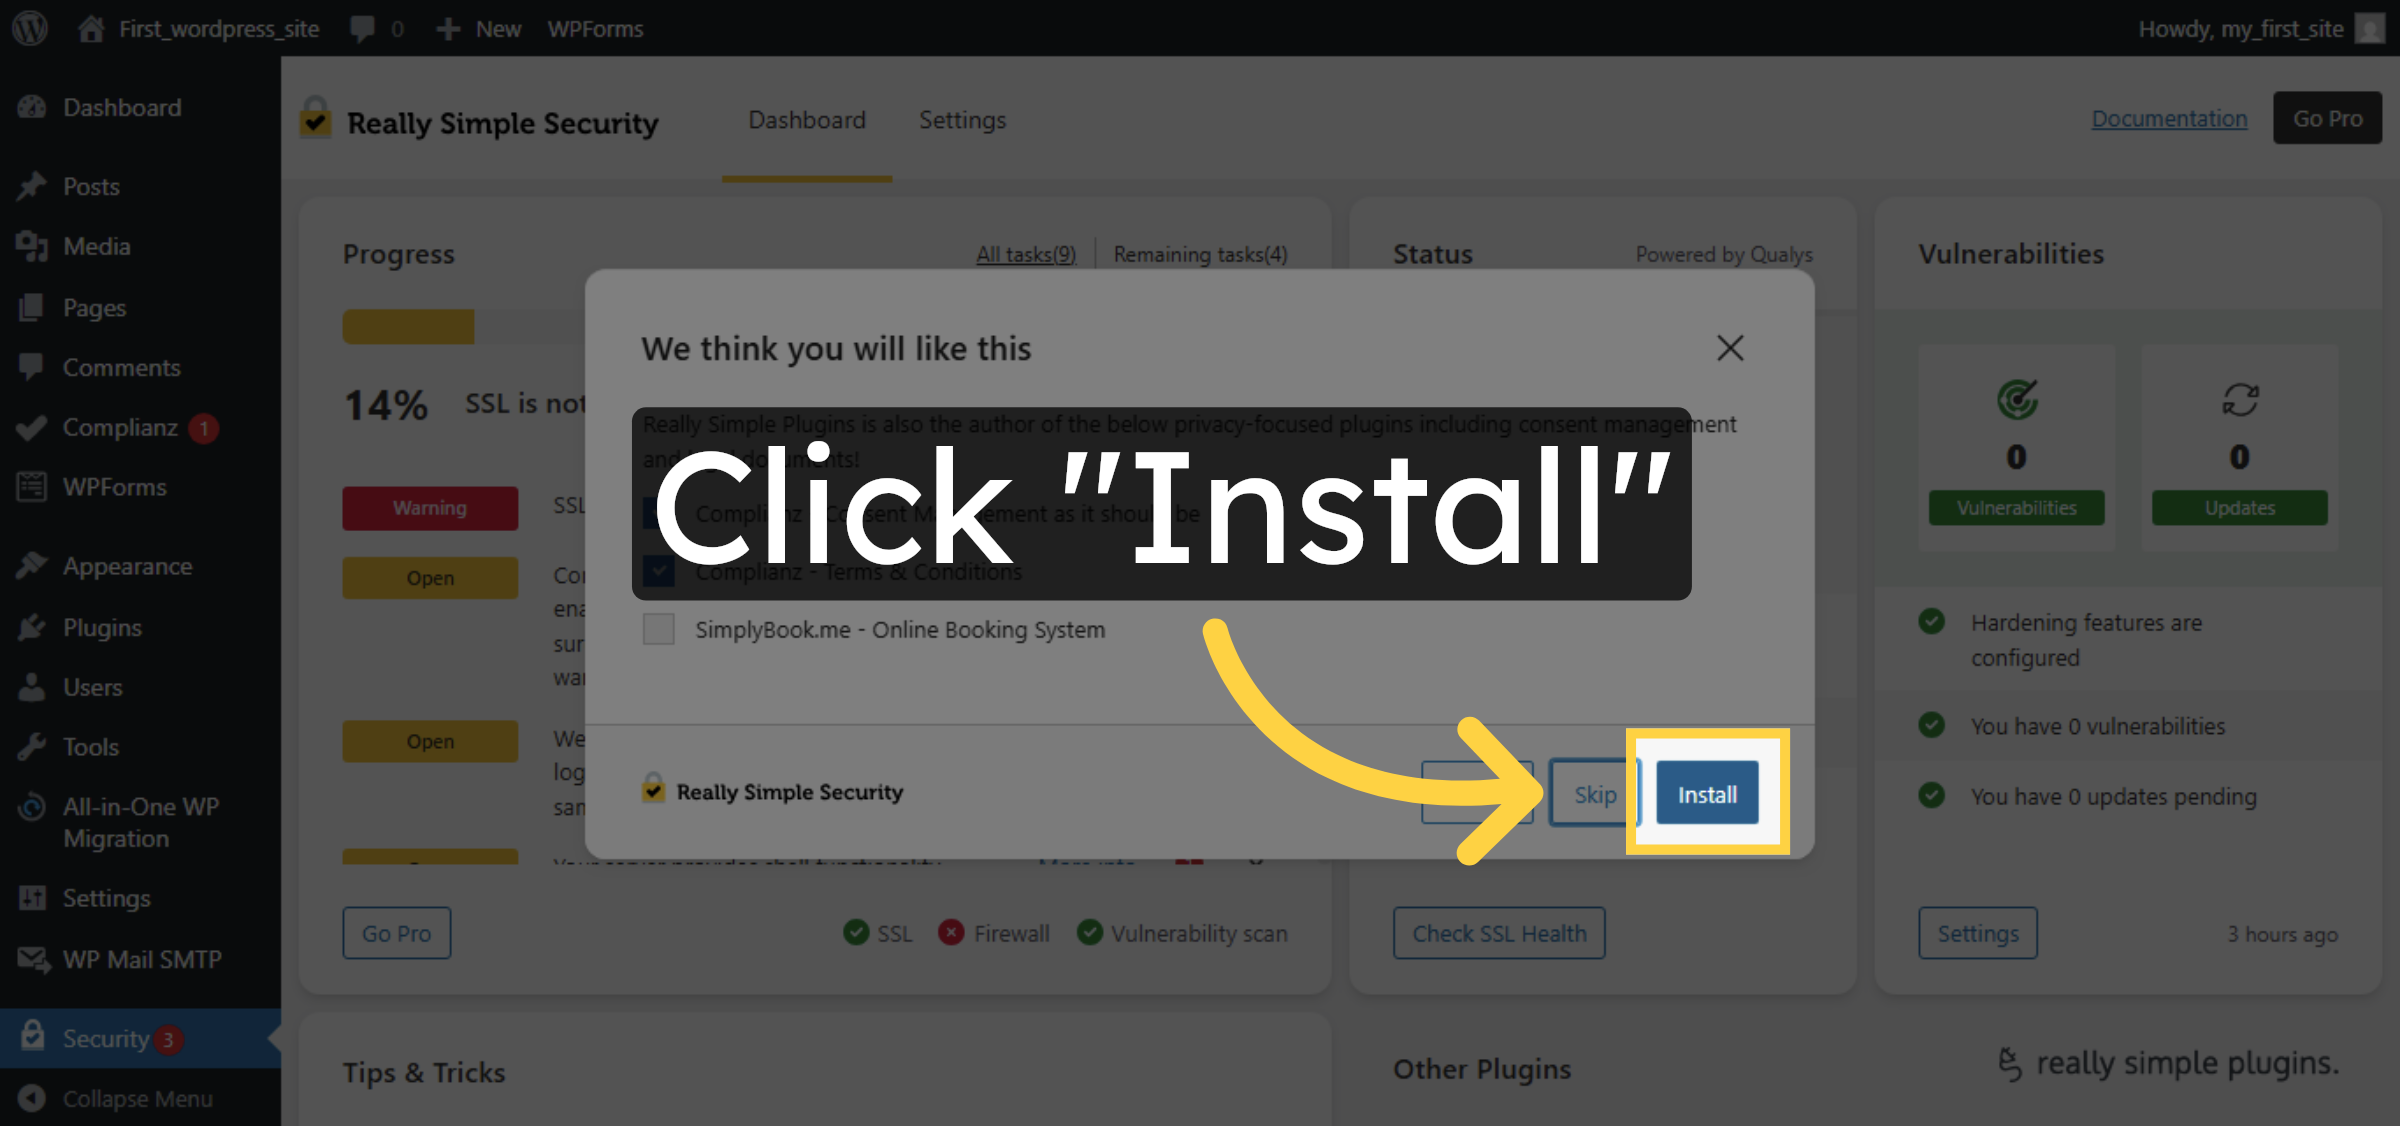
11. Install SSL Components
12. Complete SSL Setup

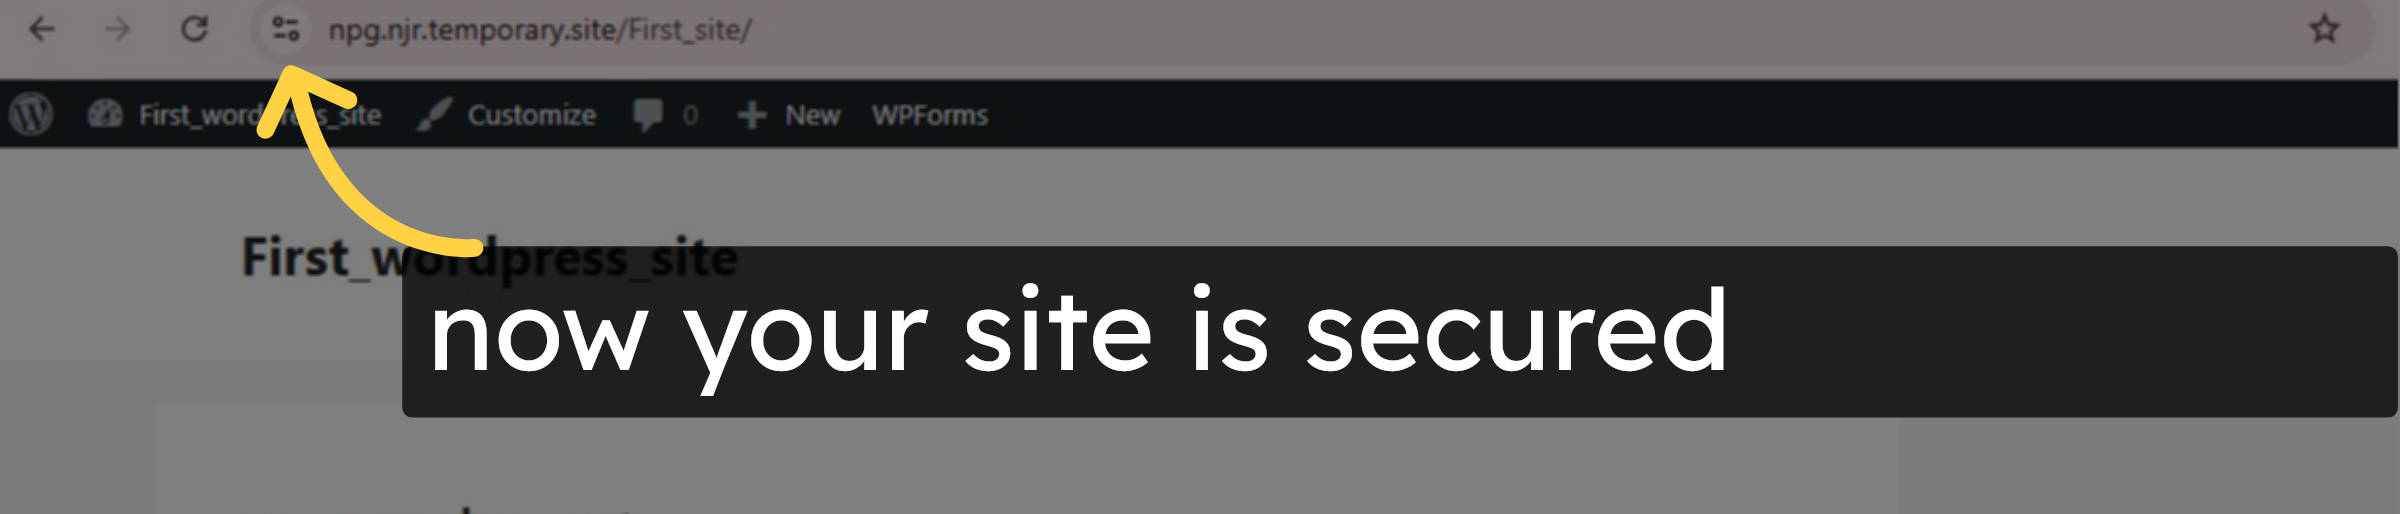
13. Verify
Conclusion
By following the steps in this guide, you can successfully resolve the “Not Secure” warning on your WordPress website using the Really Simple SSL plugin. Activating SSL within WordPress ensures that your site loads over HTTPS and that all internal links and resources are properly updated. Once the setup is complete and the site is refreshed, visitors will see a secure connection indicator in their browser. This method provides a simple and effective way to enhance website security and user trust.
-
Visit: https://www.woohelpdesk.com
-
Call Us Toll-Free: +1 888 602 0119 (US & Canada)
-
Get expert assistance with SSL issues, WordPress security, plugin configuration, and HostGator hosting support


