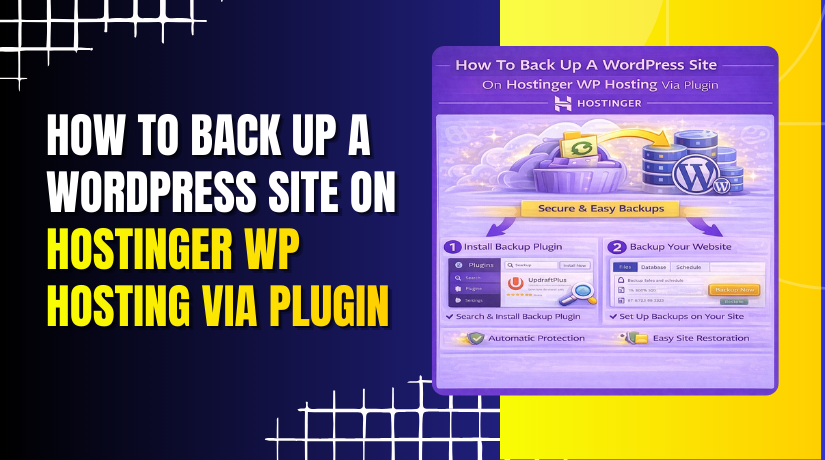
How To Back Up A WordPress Site On Hostinger Wp Hosting Via Plugin.
Introduction
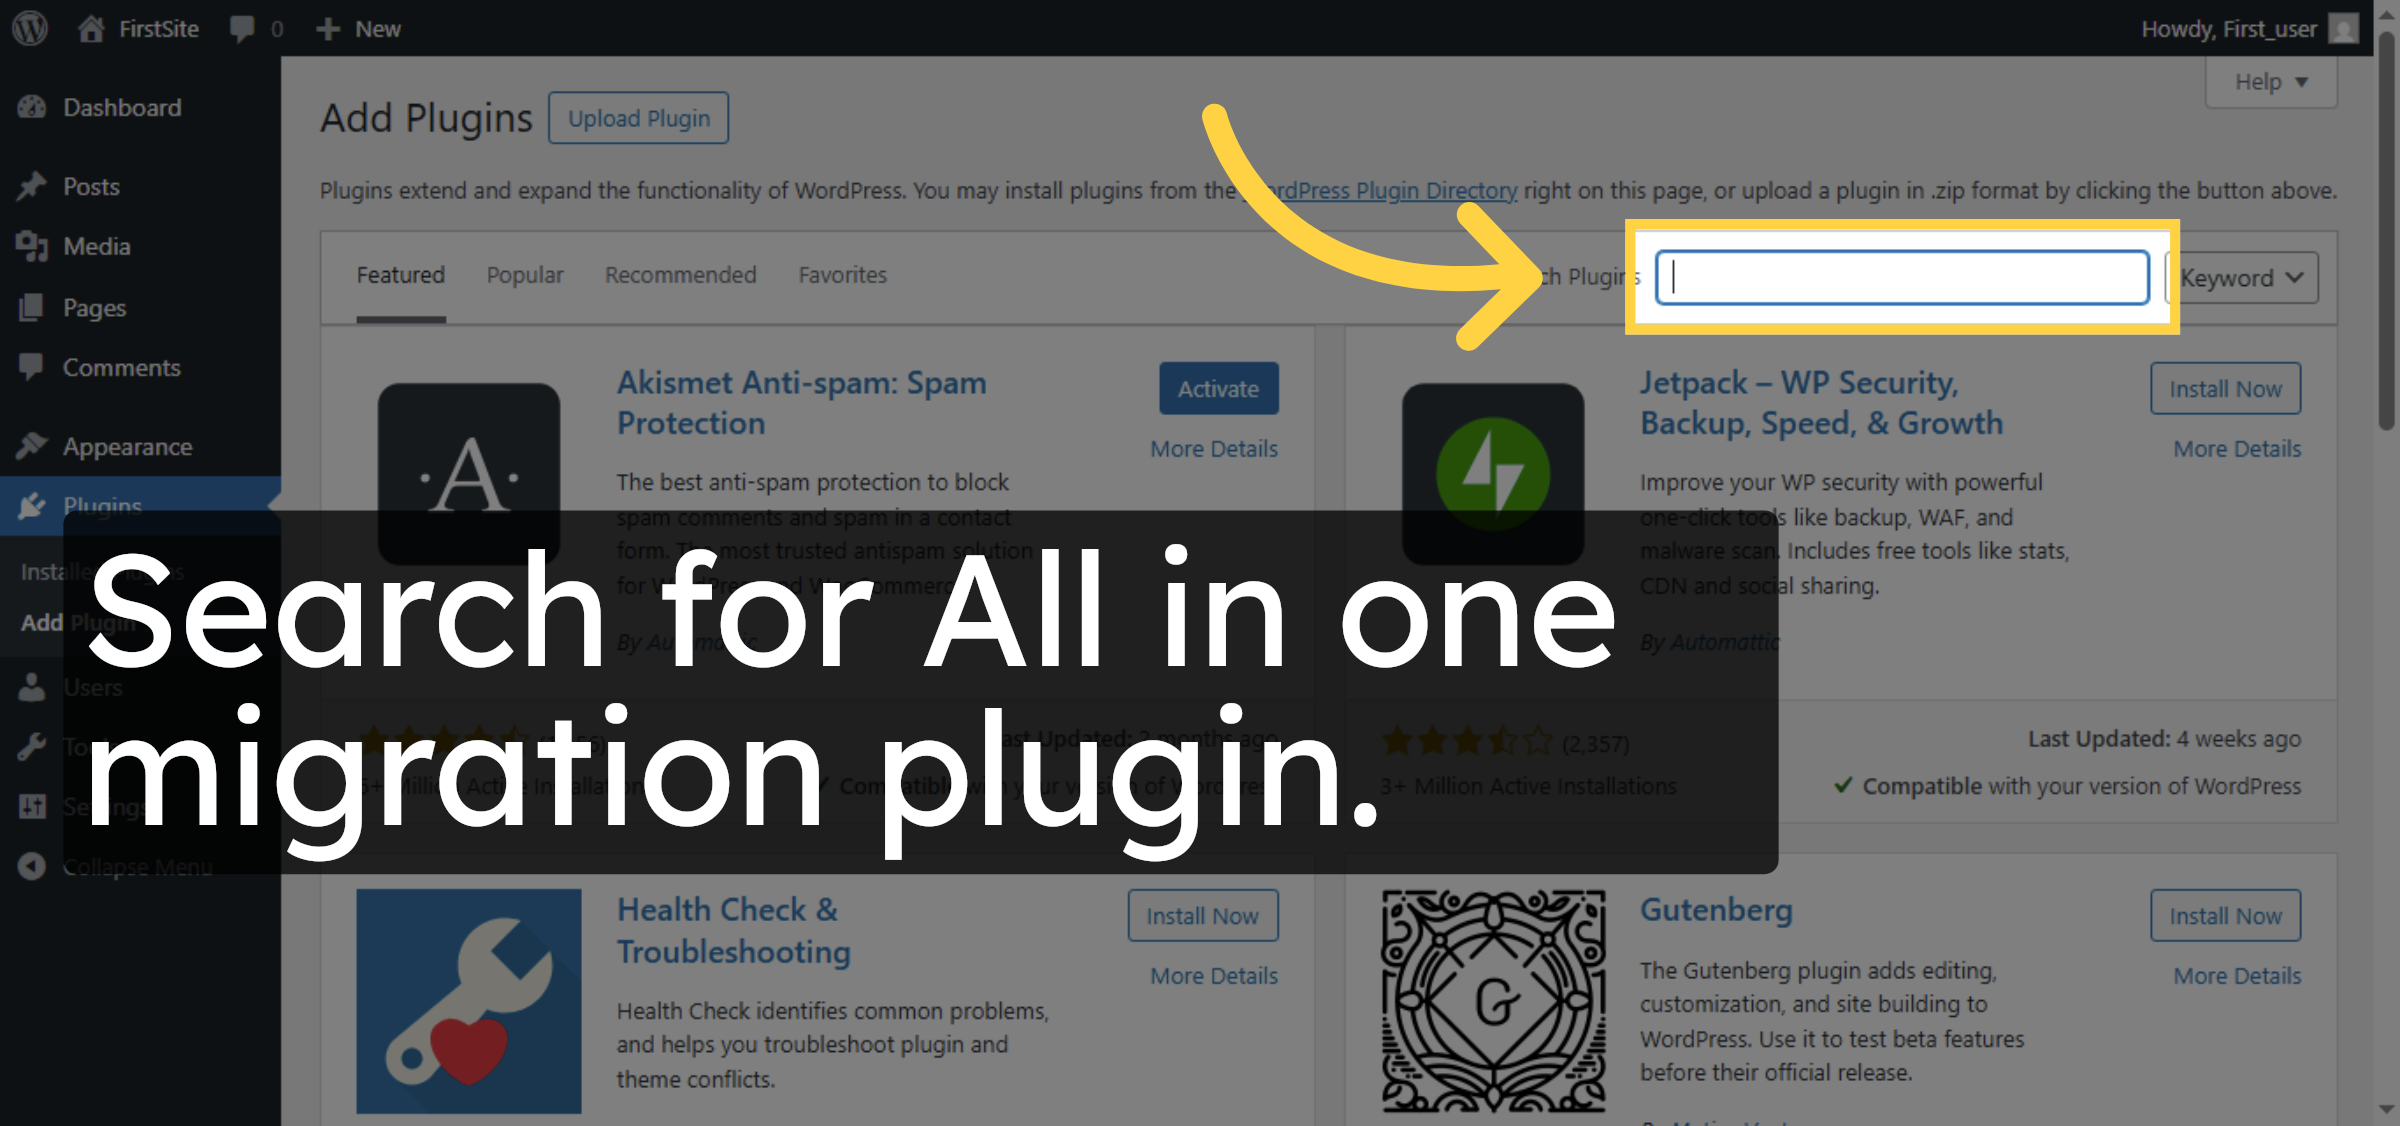
Creating regular backups is one of the most important practices for protecting your WordPress website from data loss, accidental changes, or security issues. A reliable backup ensures that you can quickly restore your site if something goes wrong during updates, plugin installations, or content modifications. Hostinger users can easily create website backups using a WordPress backup plugin such as All-in-One WP Migration, which simplifies the backup process without requiring technical expertise. In this guide, you’ll learn how to install and activate a backup plugin, create a complete backup of your WordPress site, and download the backup file for safekeeping. Following these steps helps ensure your website data remains secure and recoverable at all times.
1. Login Hostinger Account
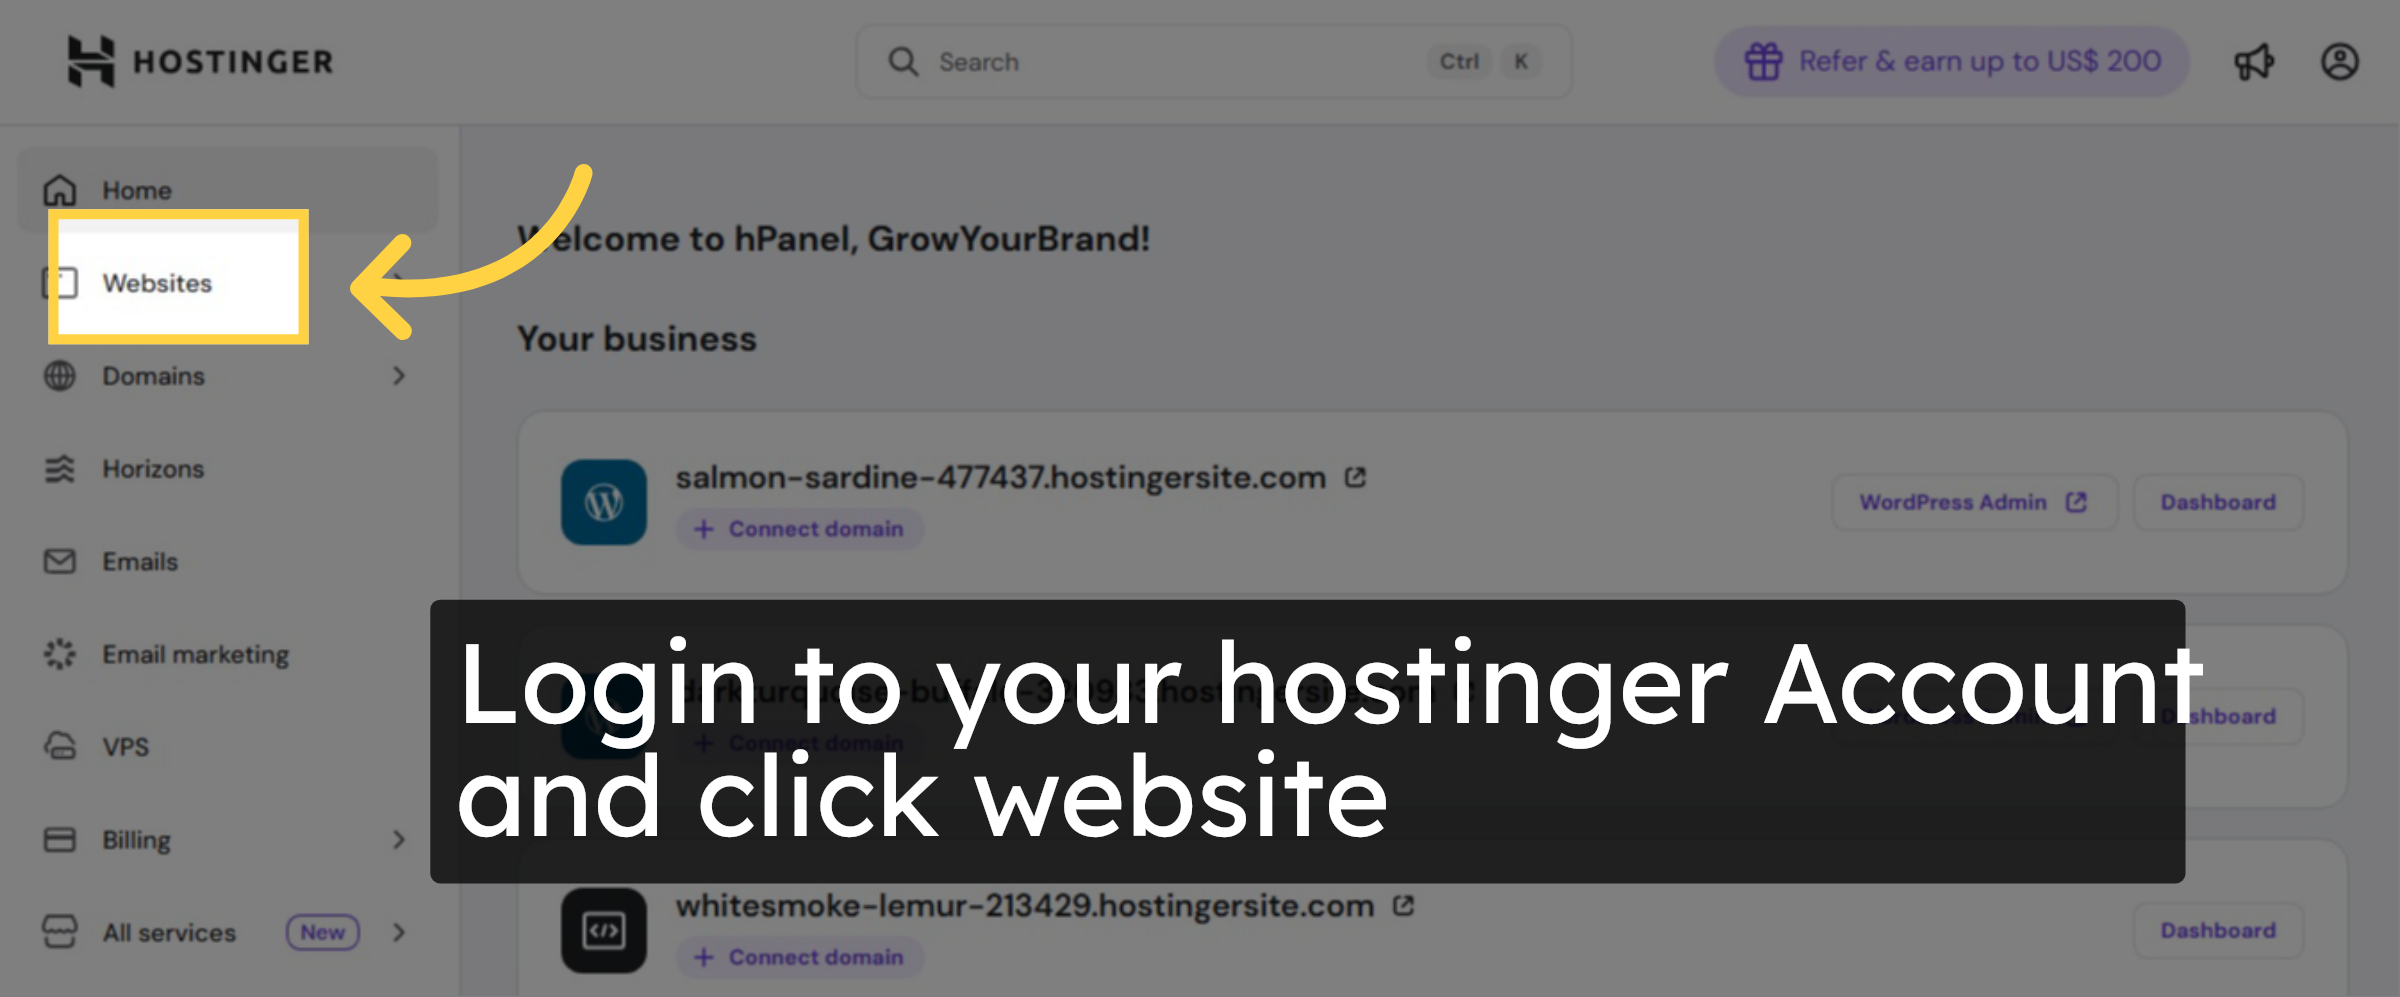
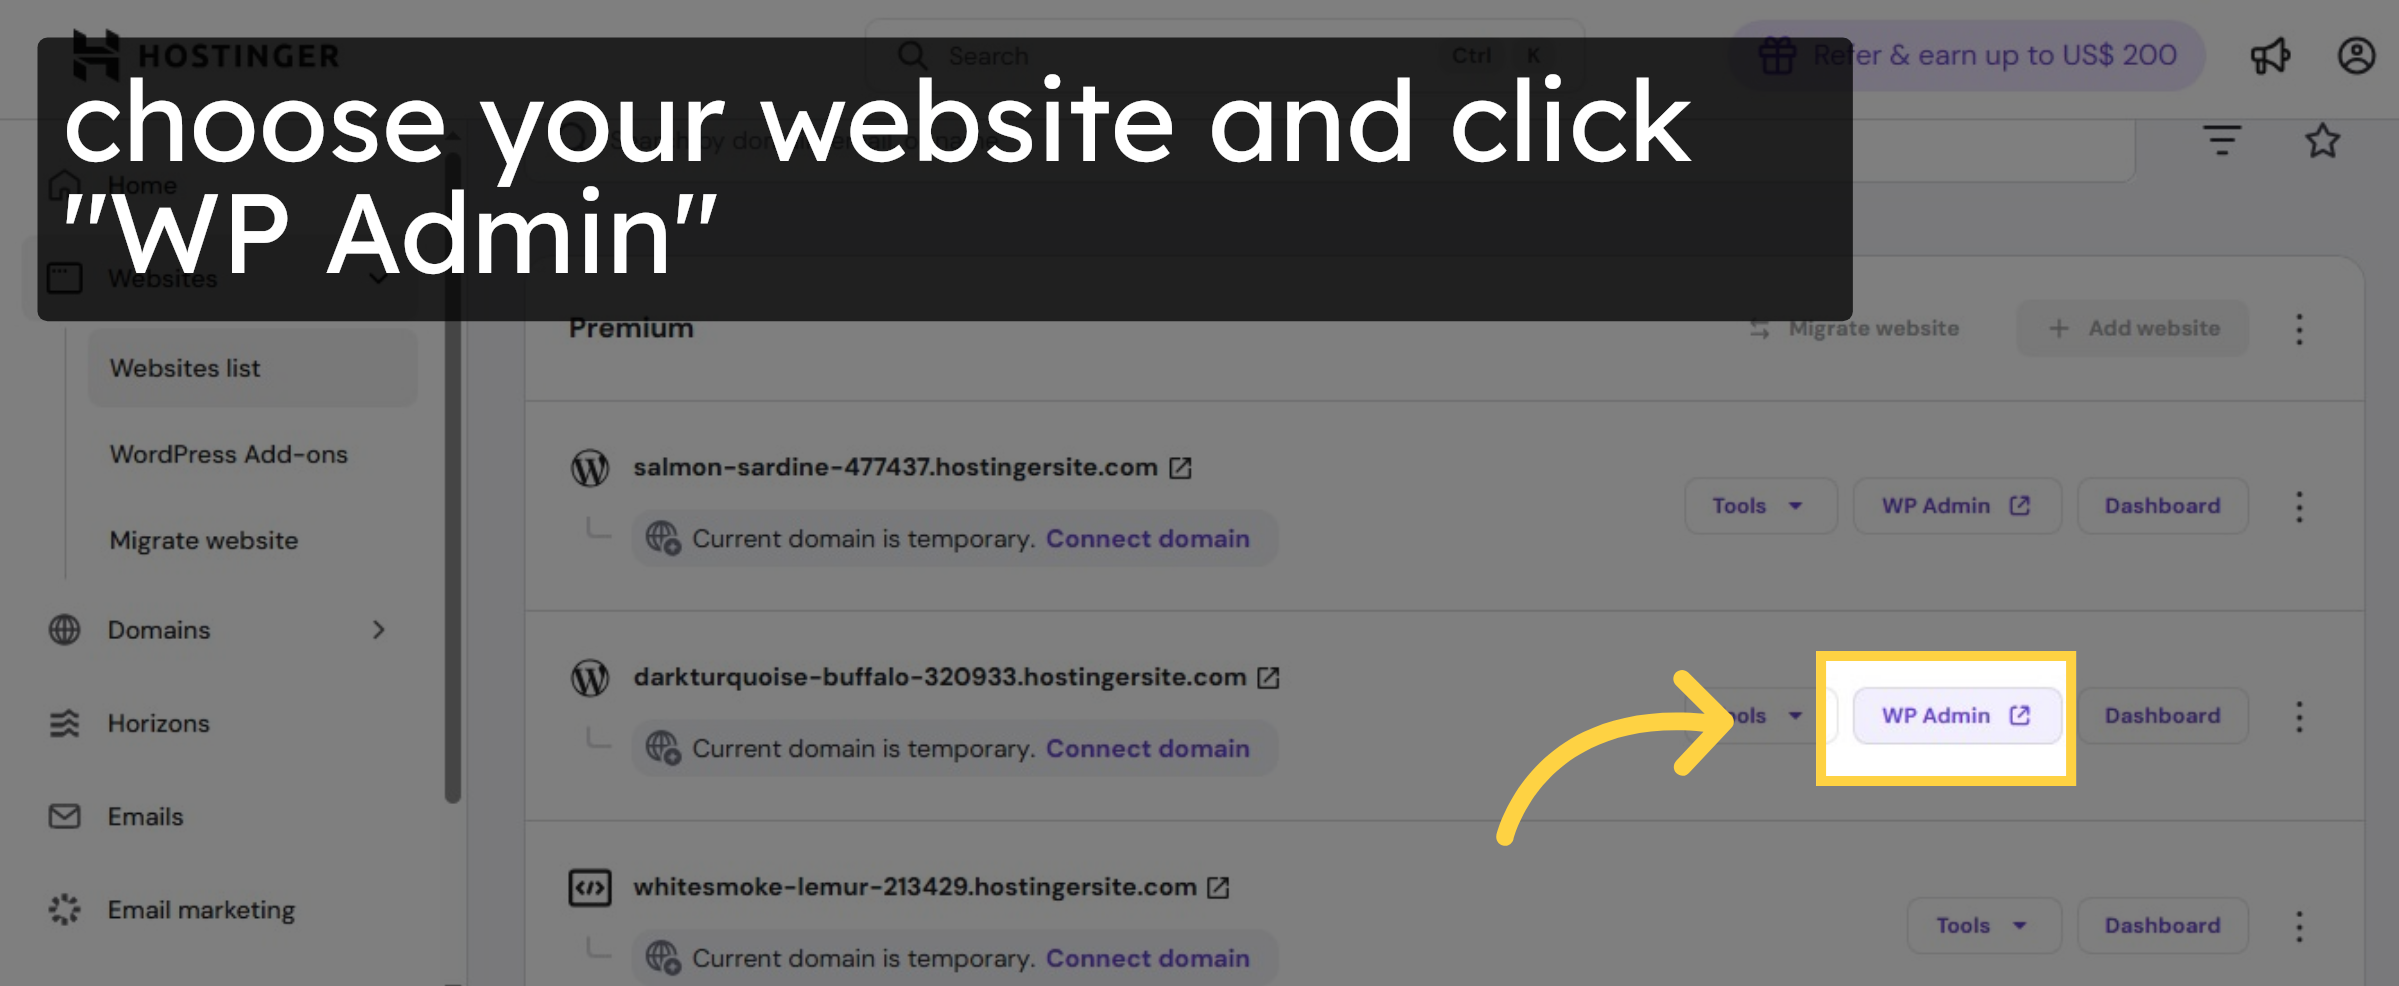
2. Choose your website.
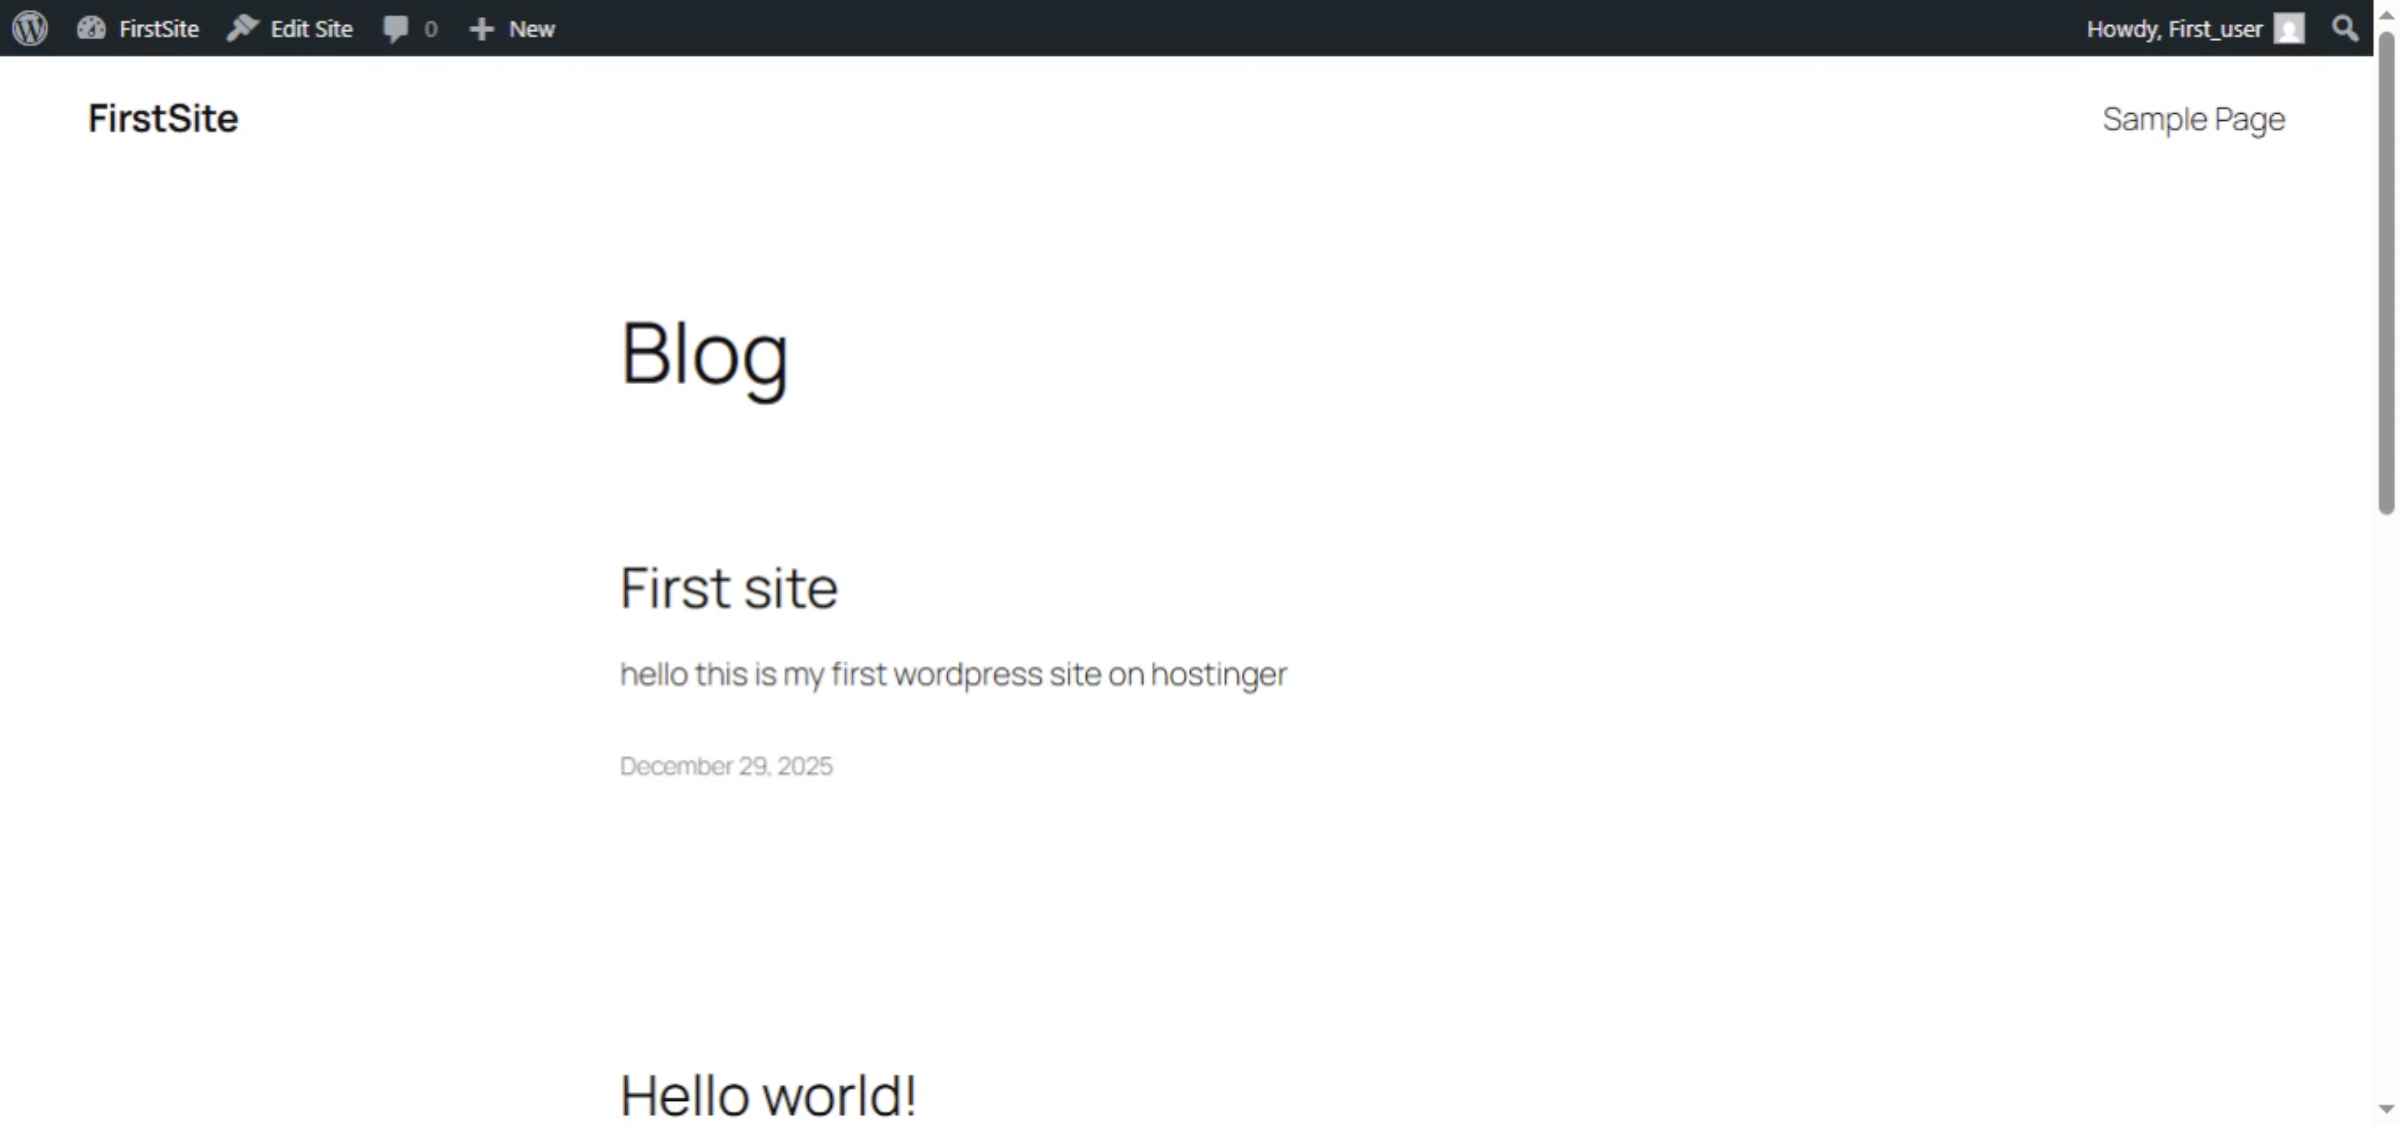
3. Check website content
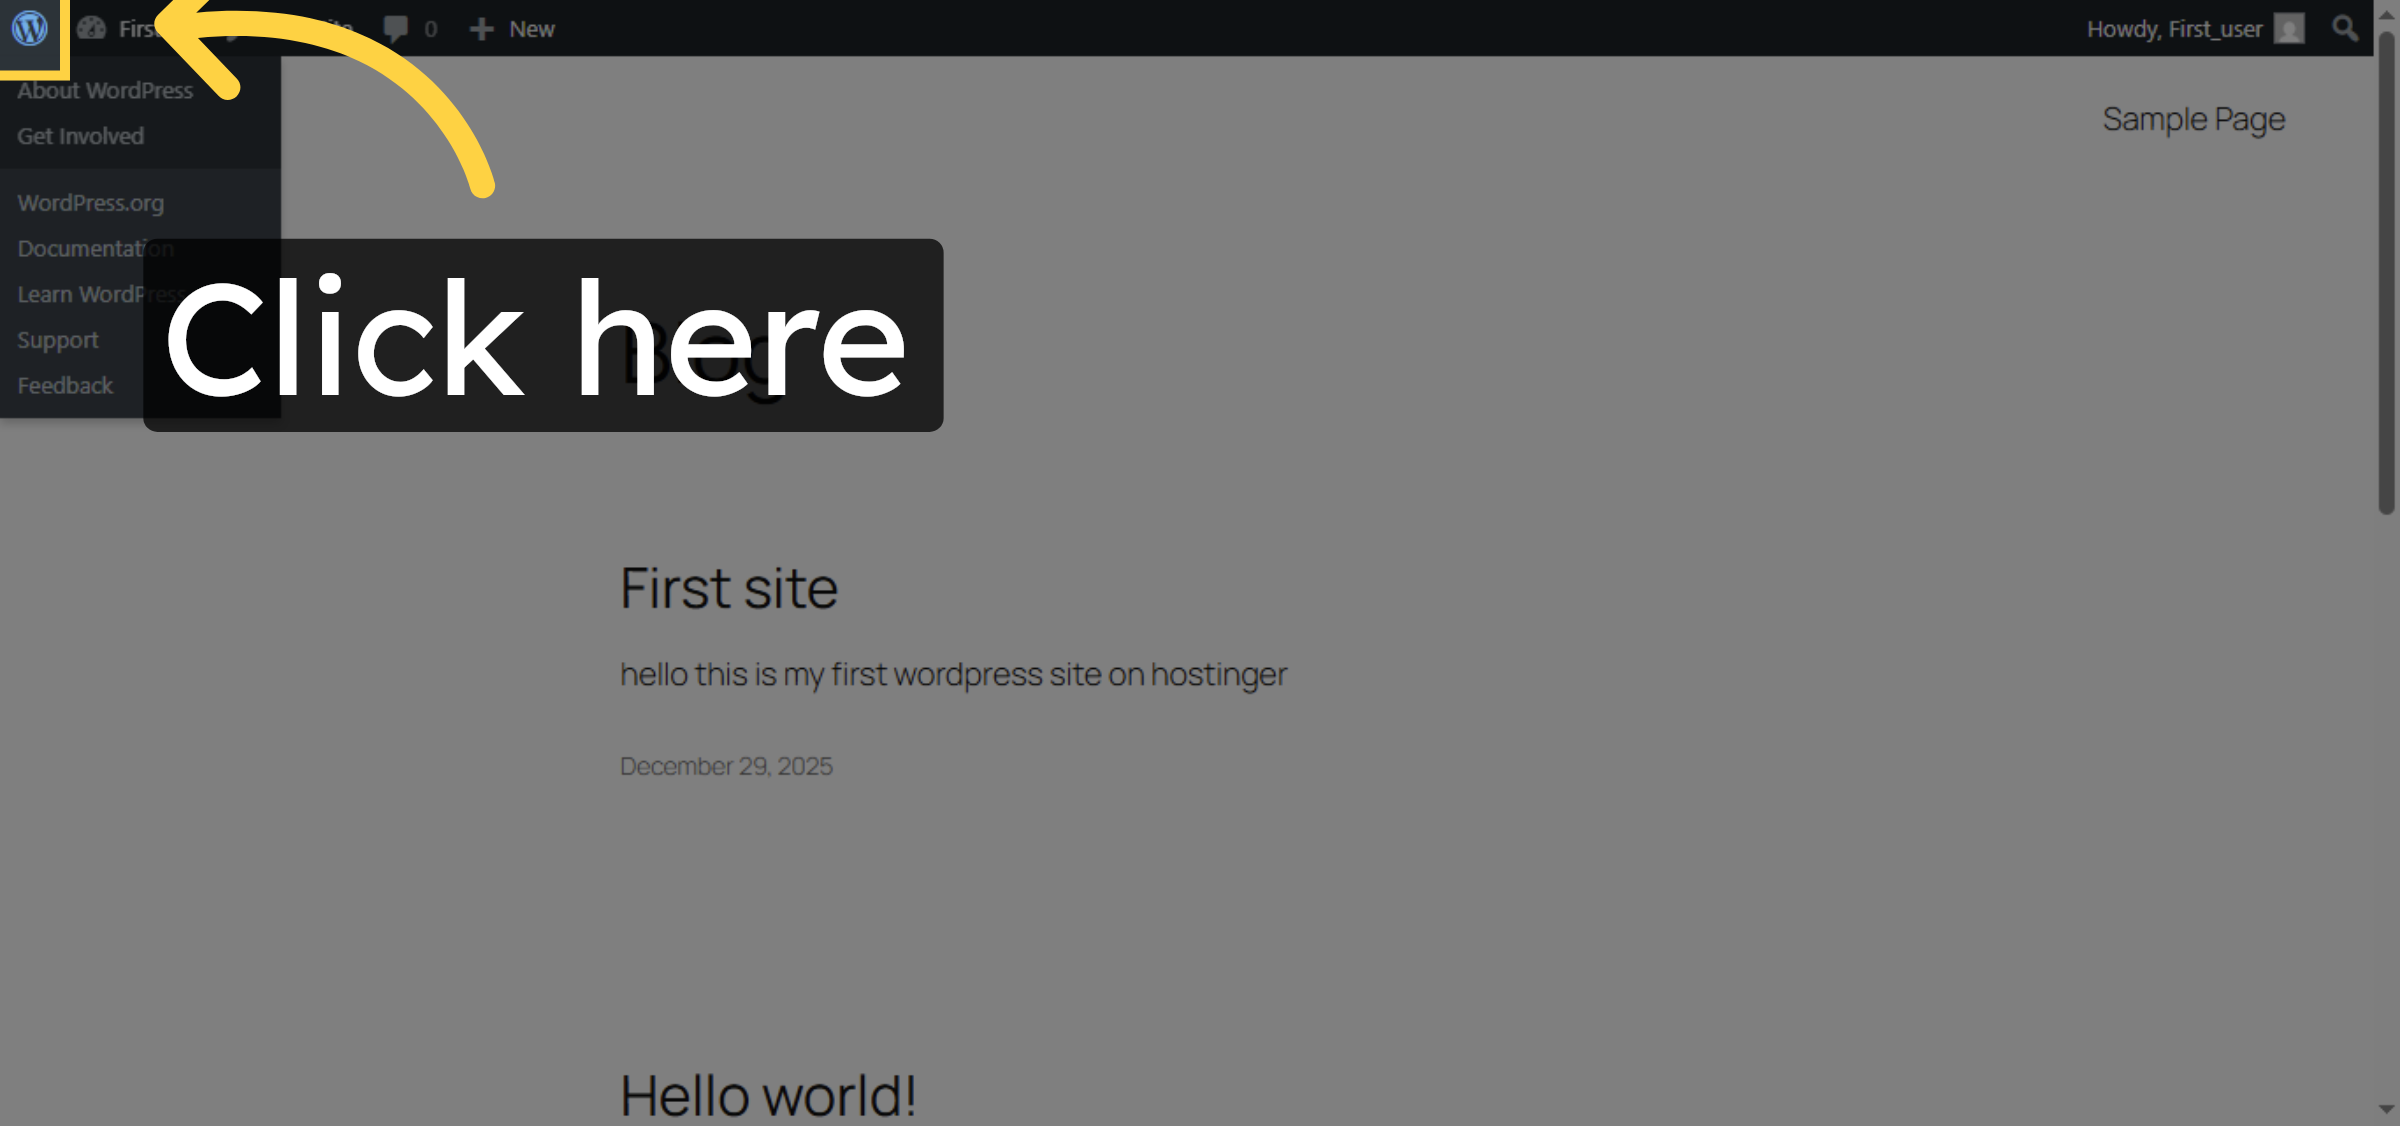
4. Open Dashboard
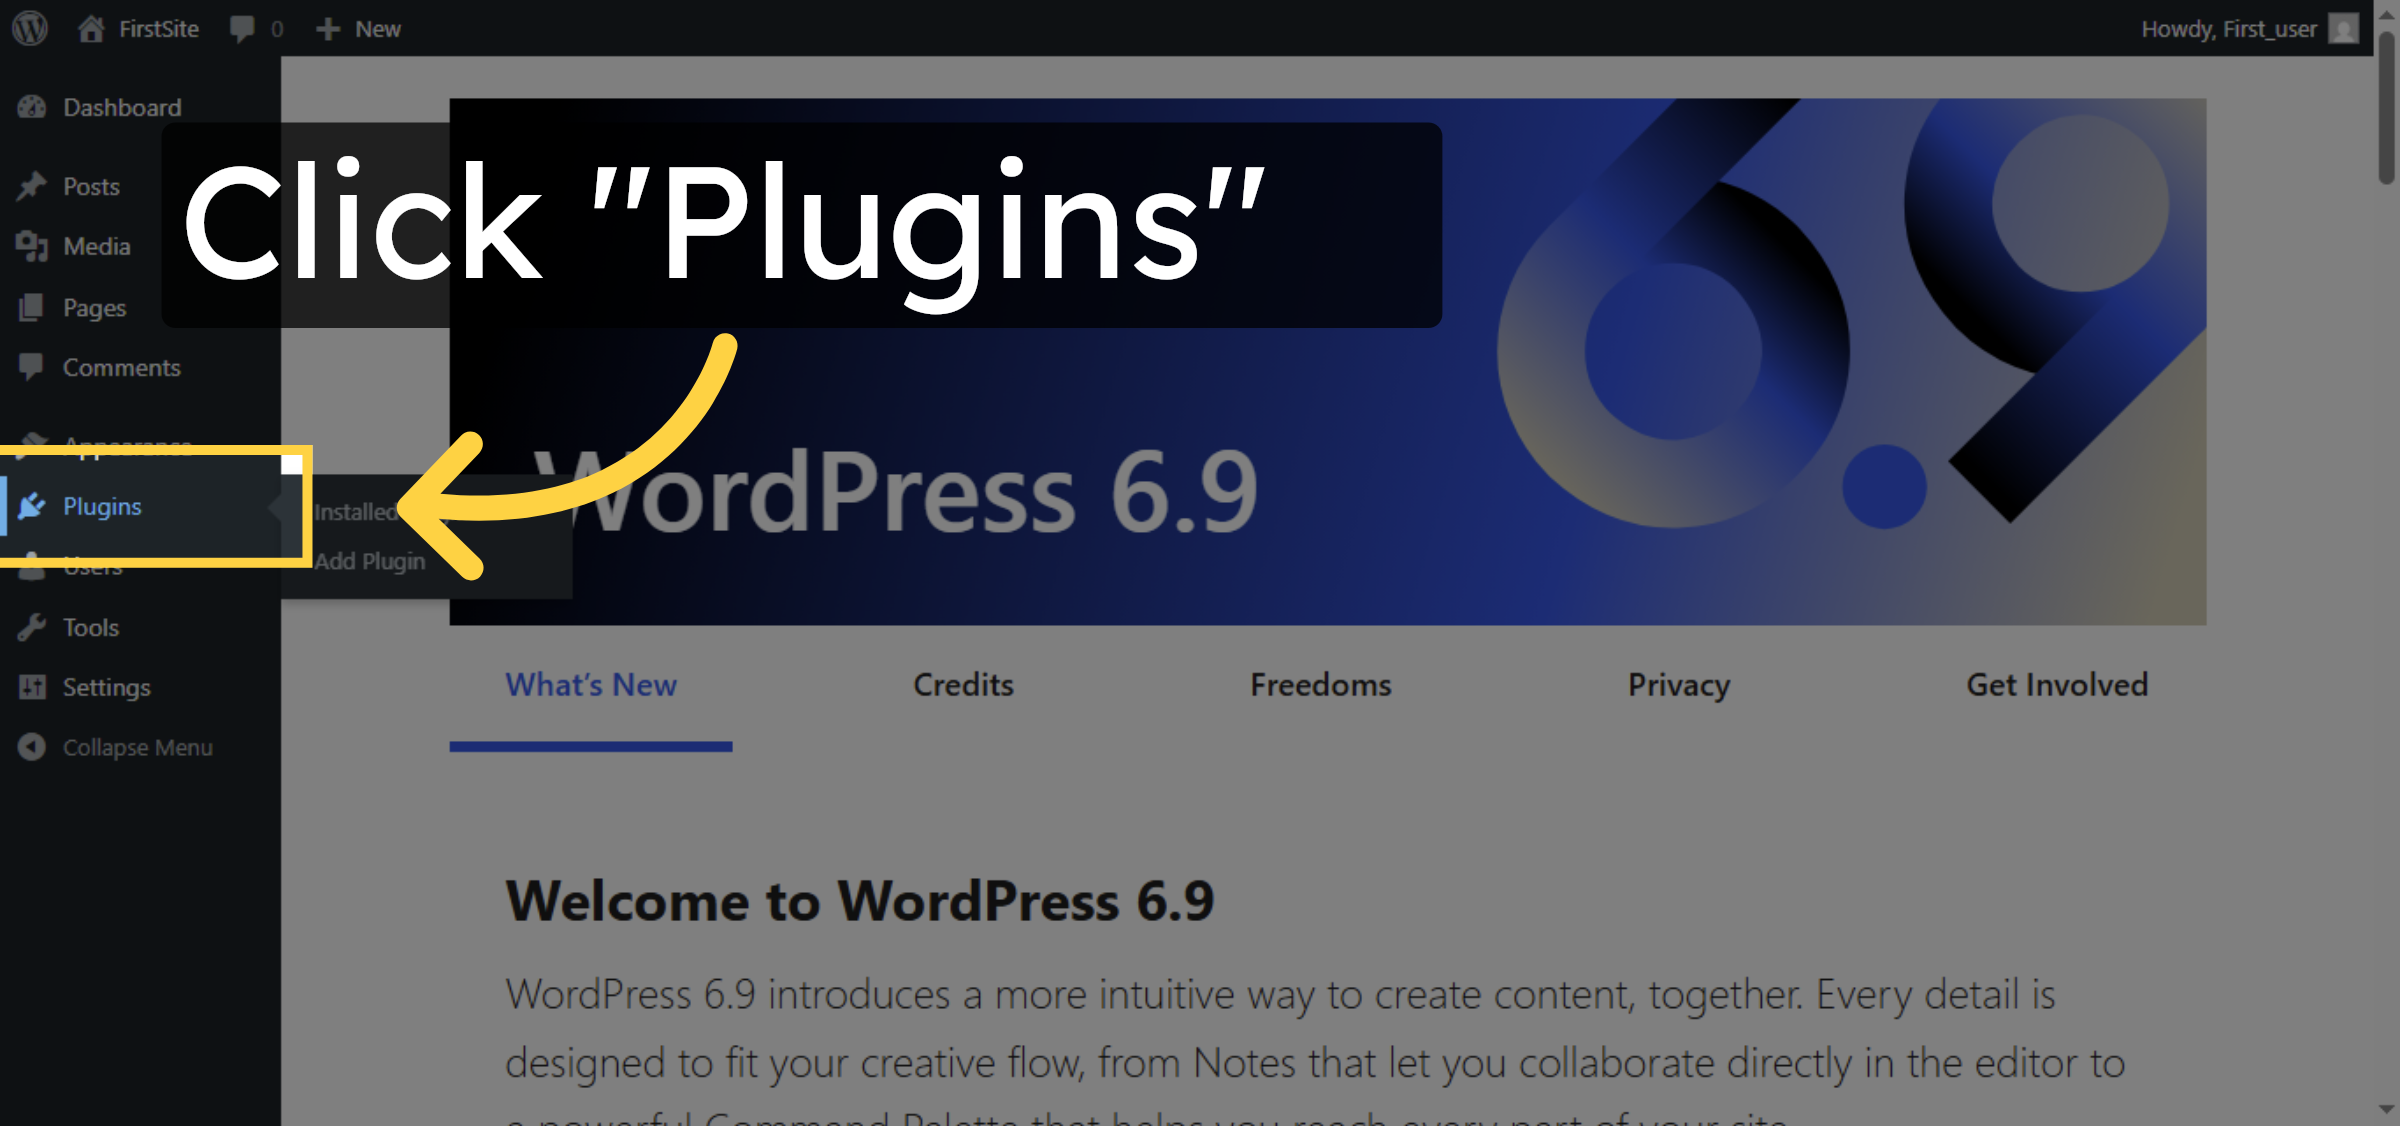
5. Access Plugins Menu
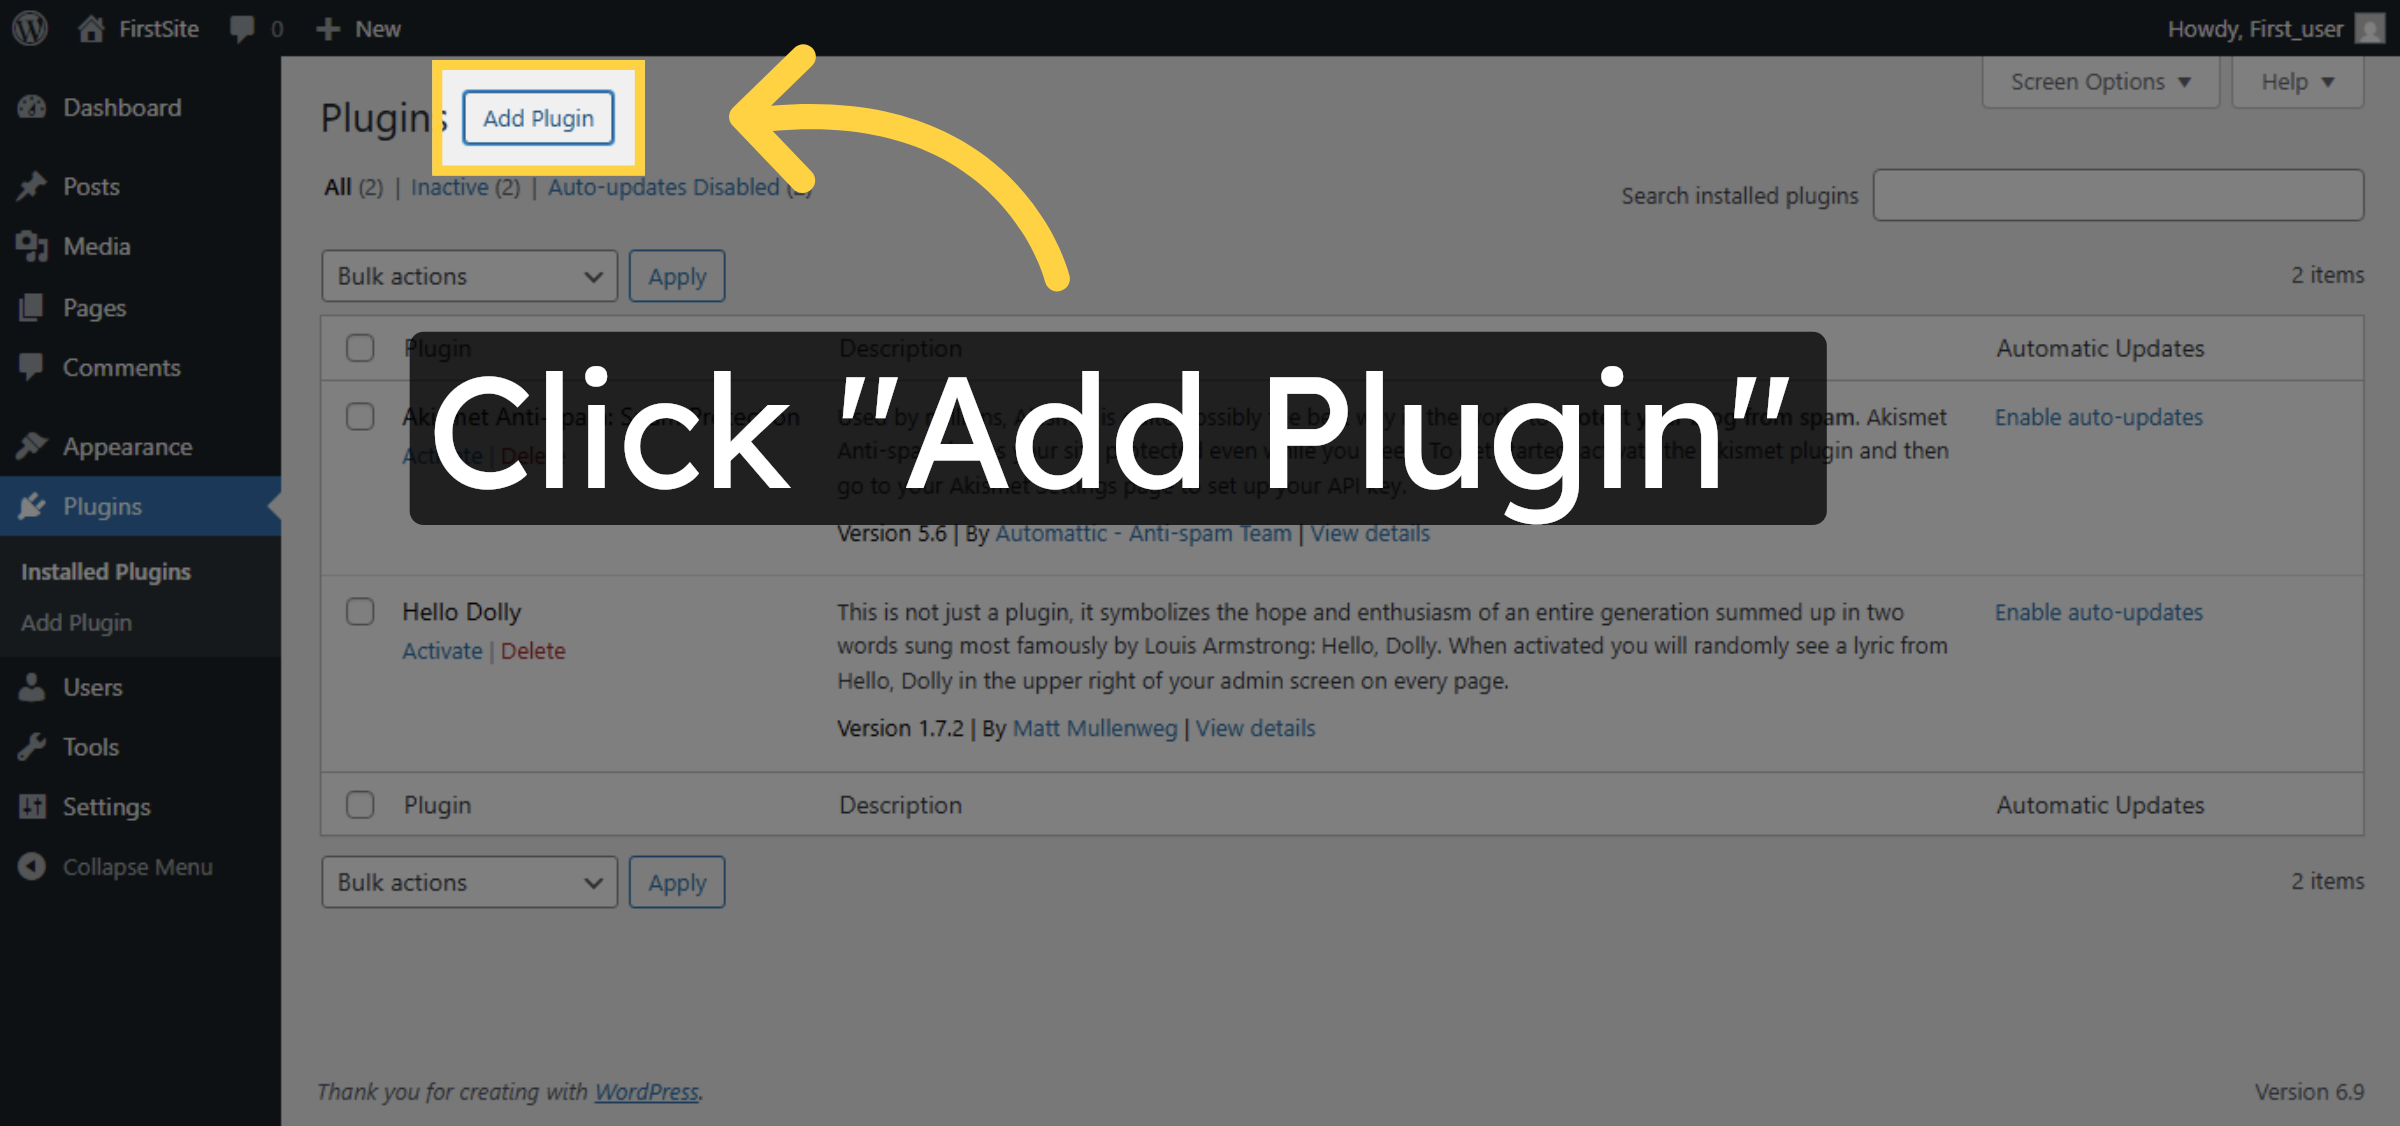
6. Add New Plugin
7. Search for Plugins
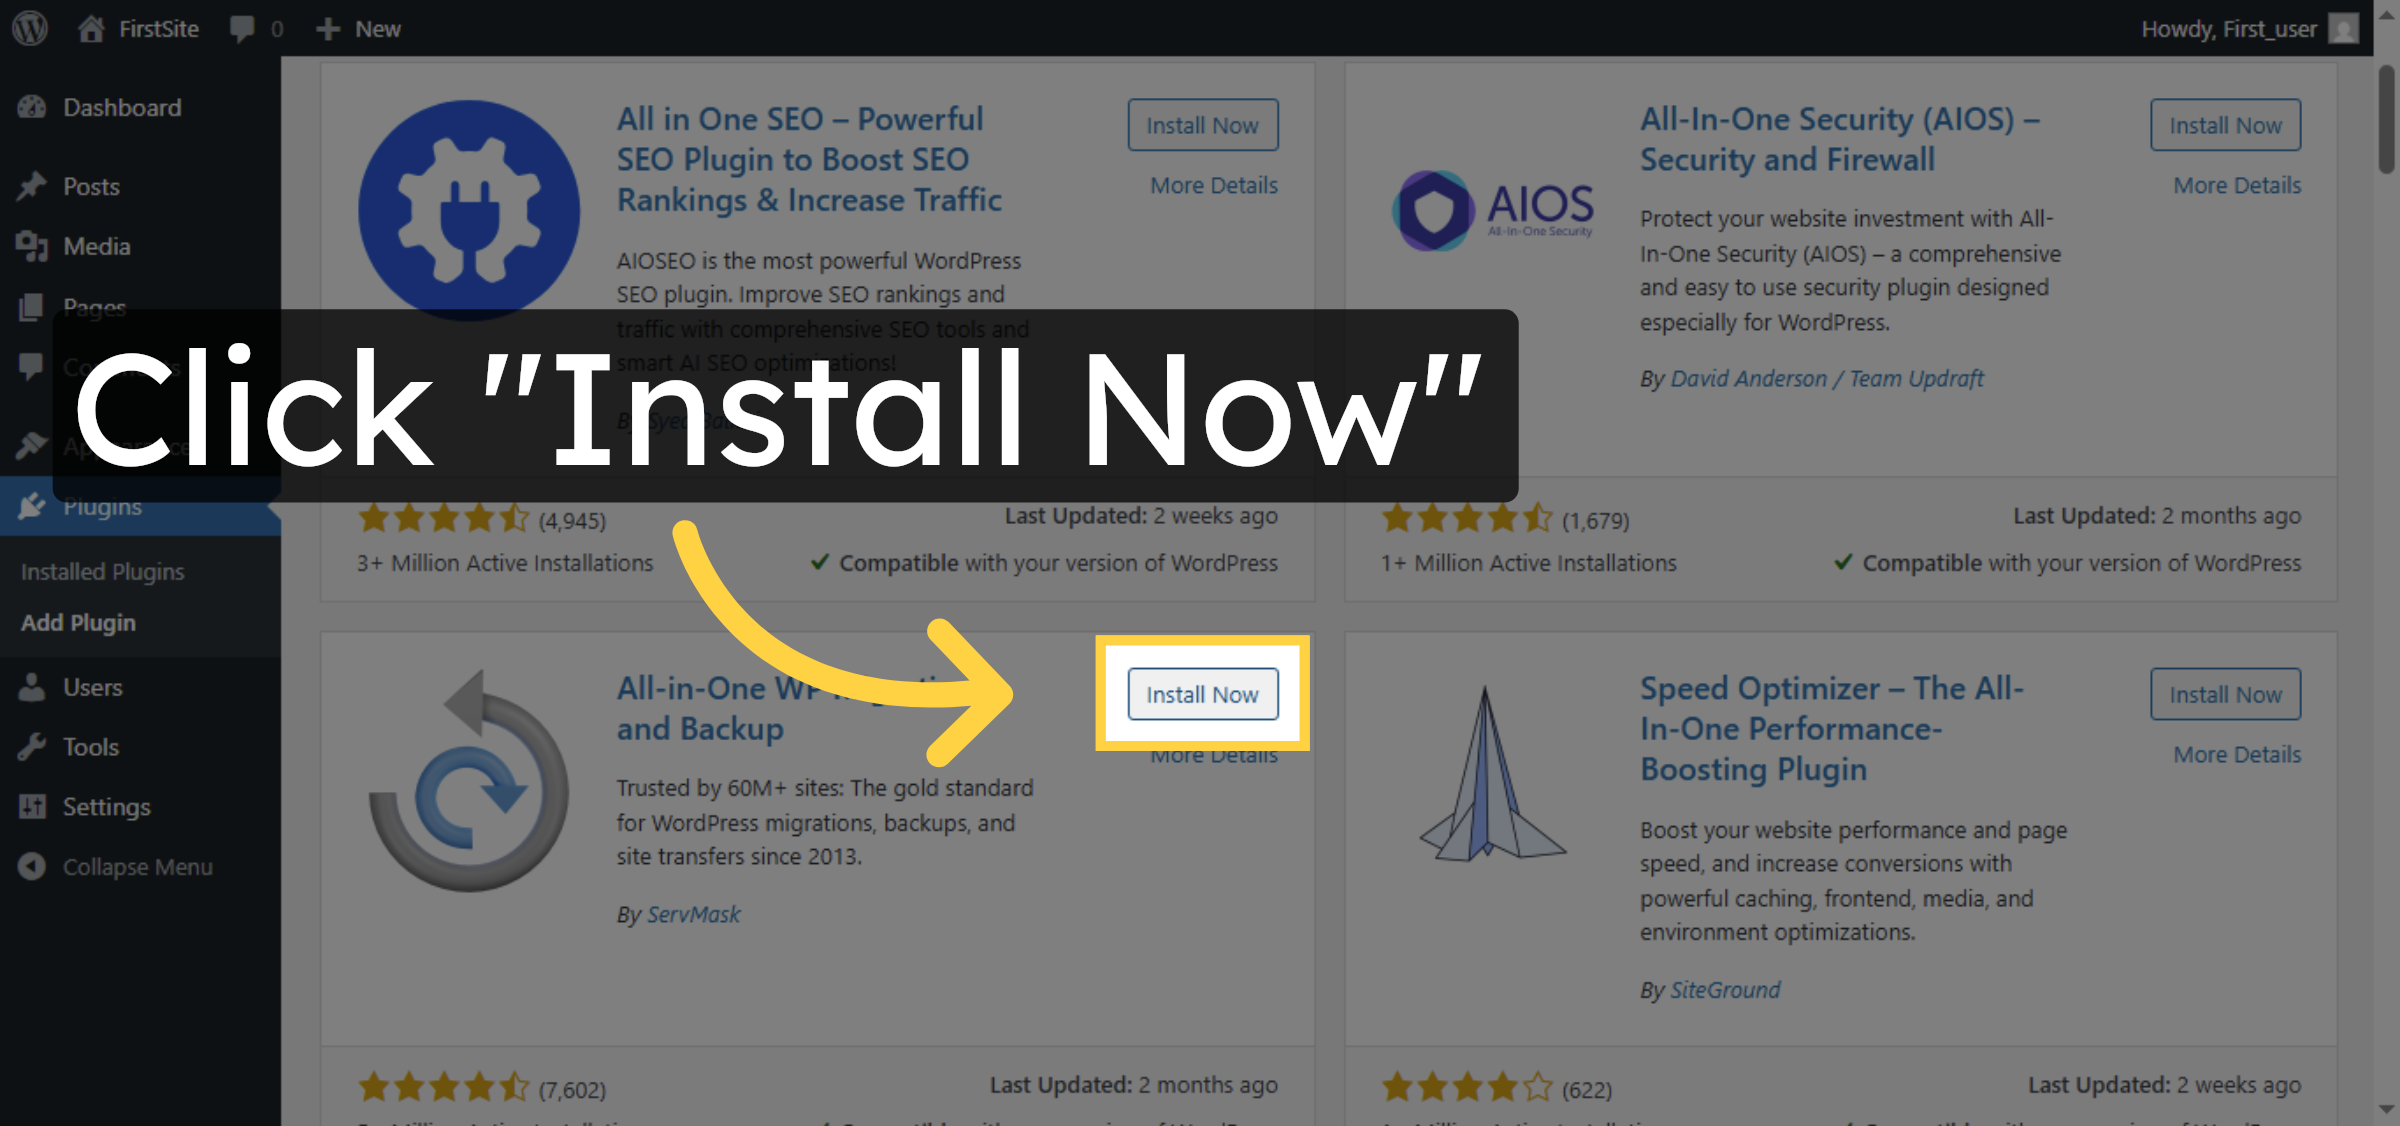
8. Install Backup Plugin
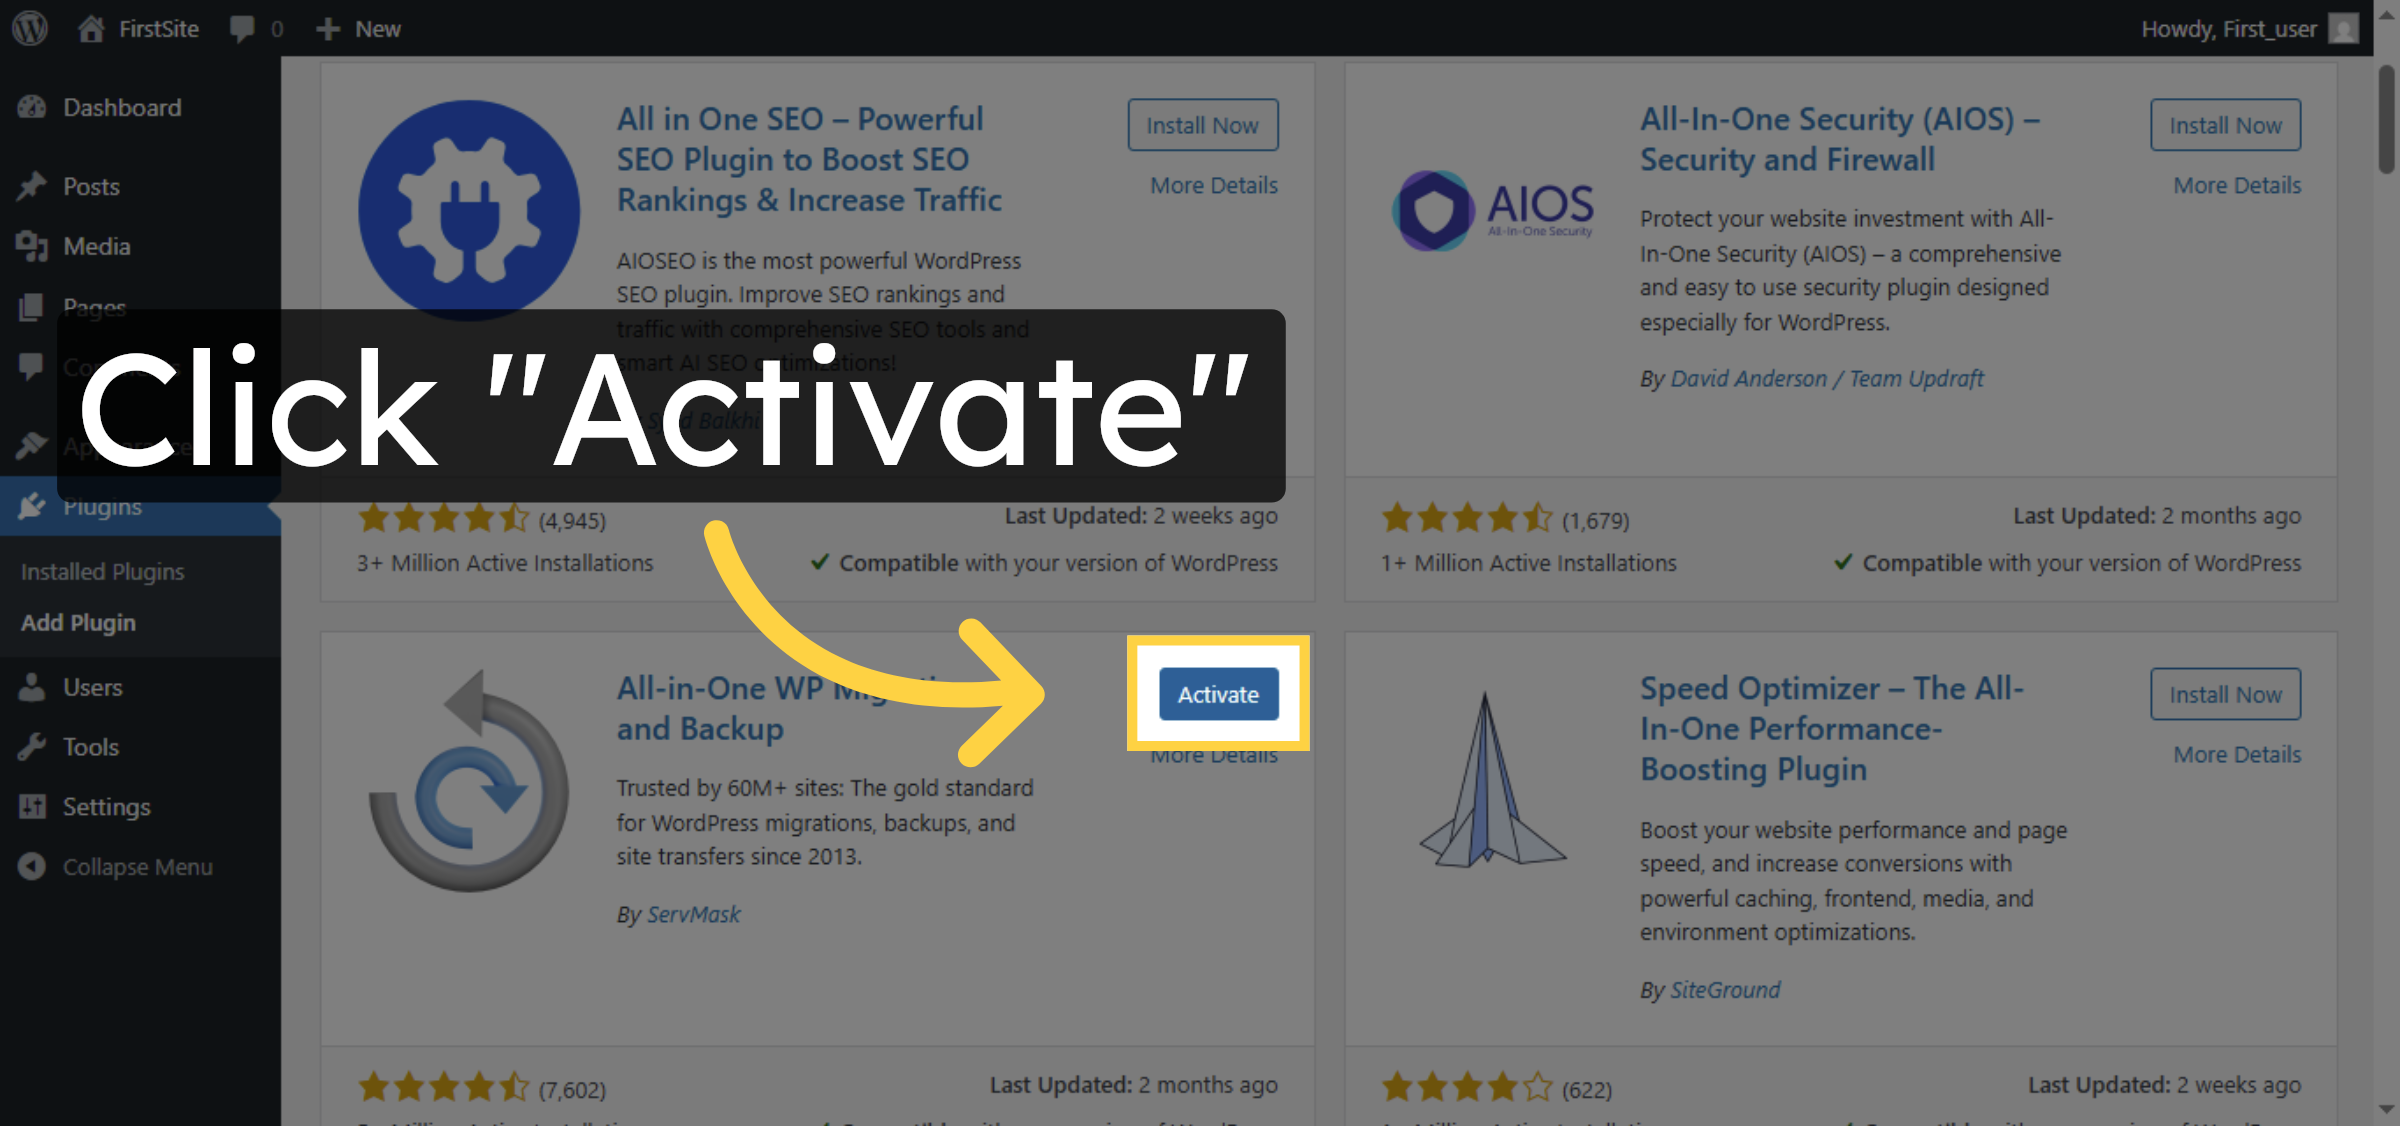
9. Activate Plugin


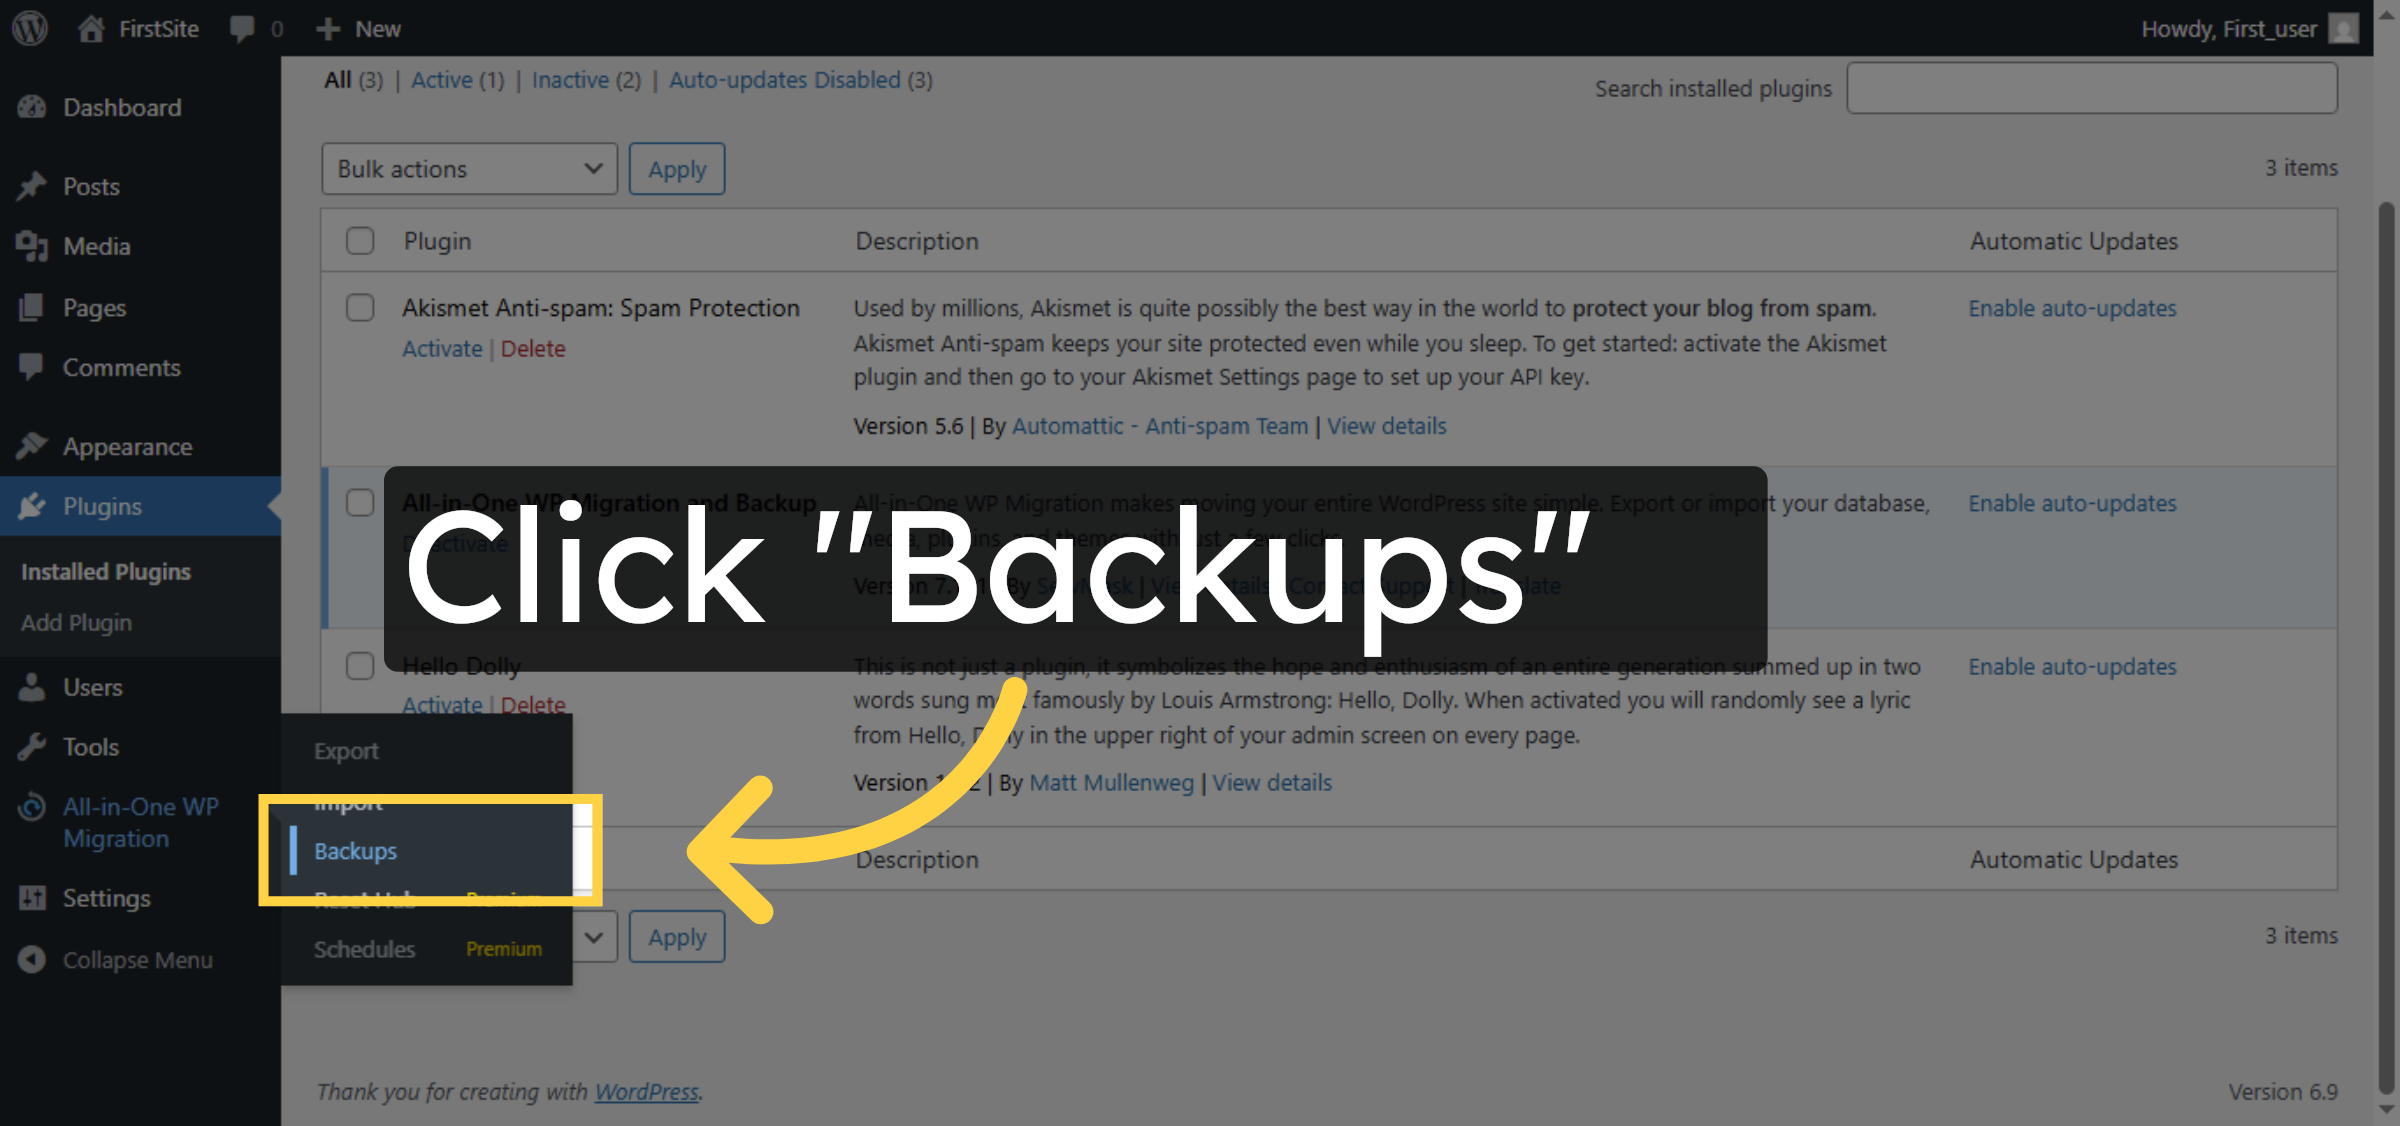
10. Open Backups Section
11. Create New Backup

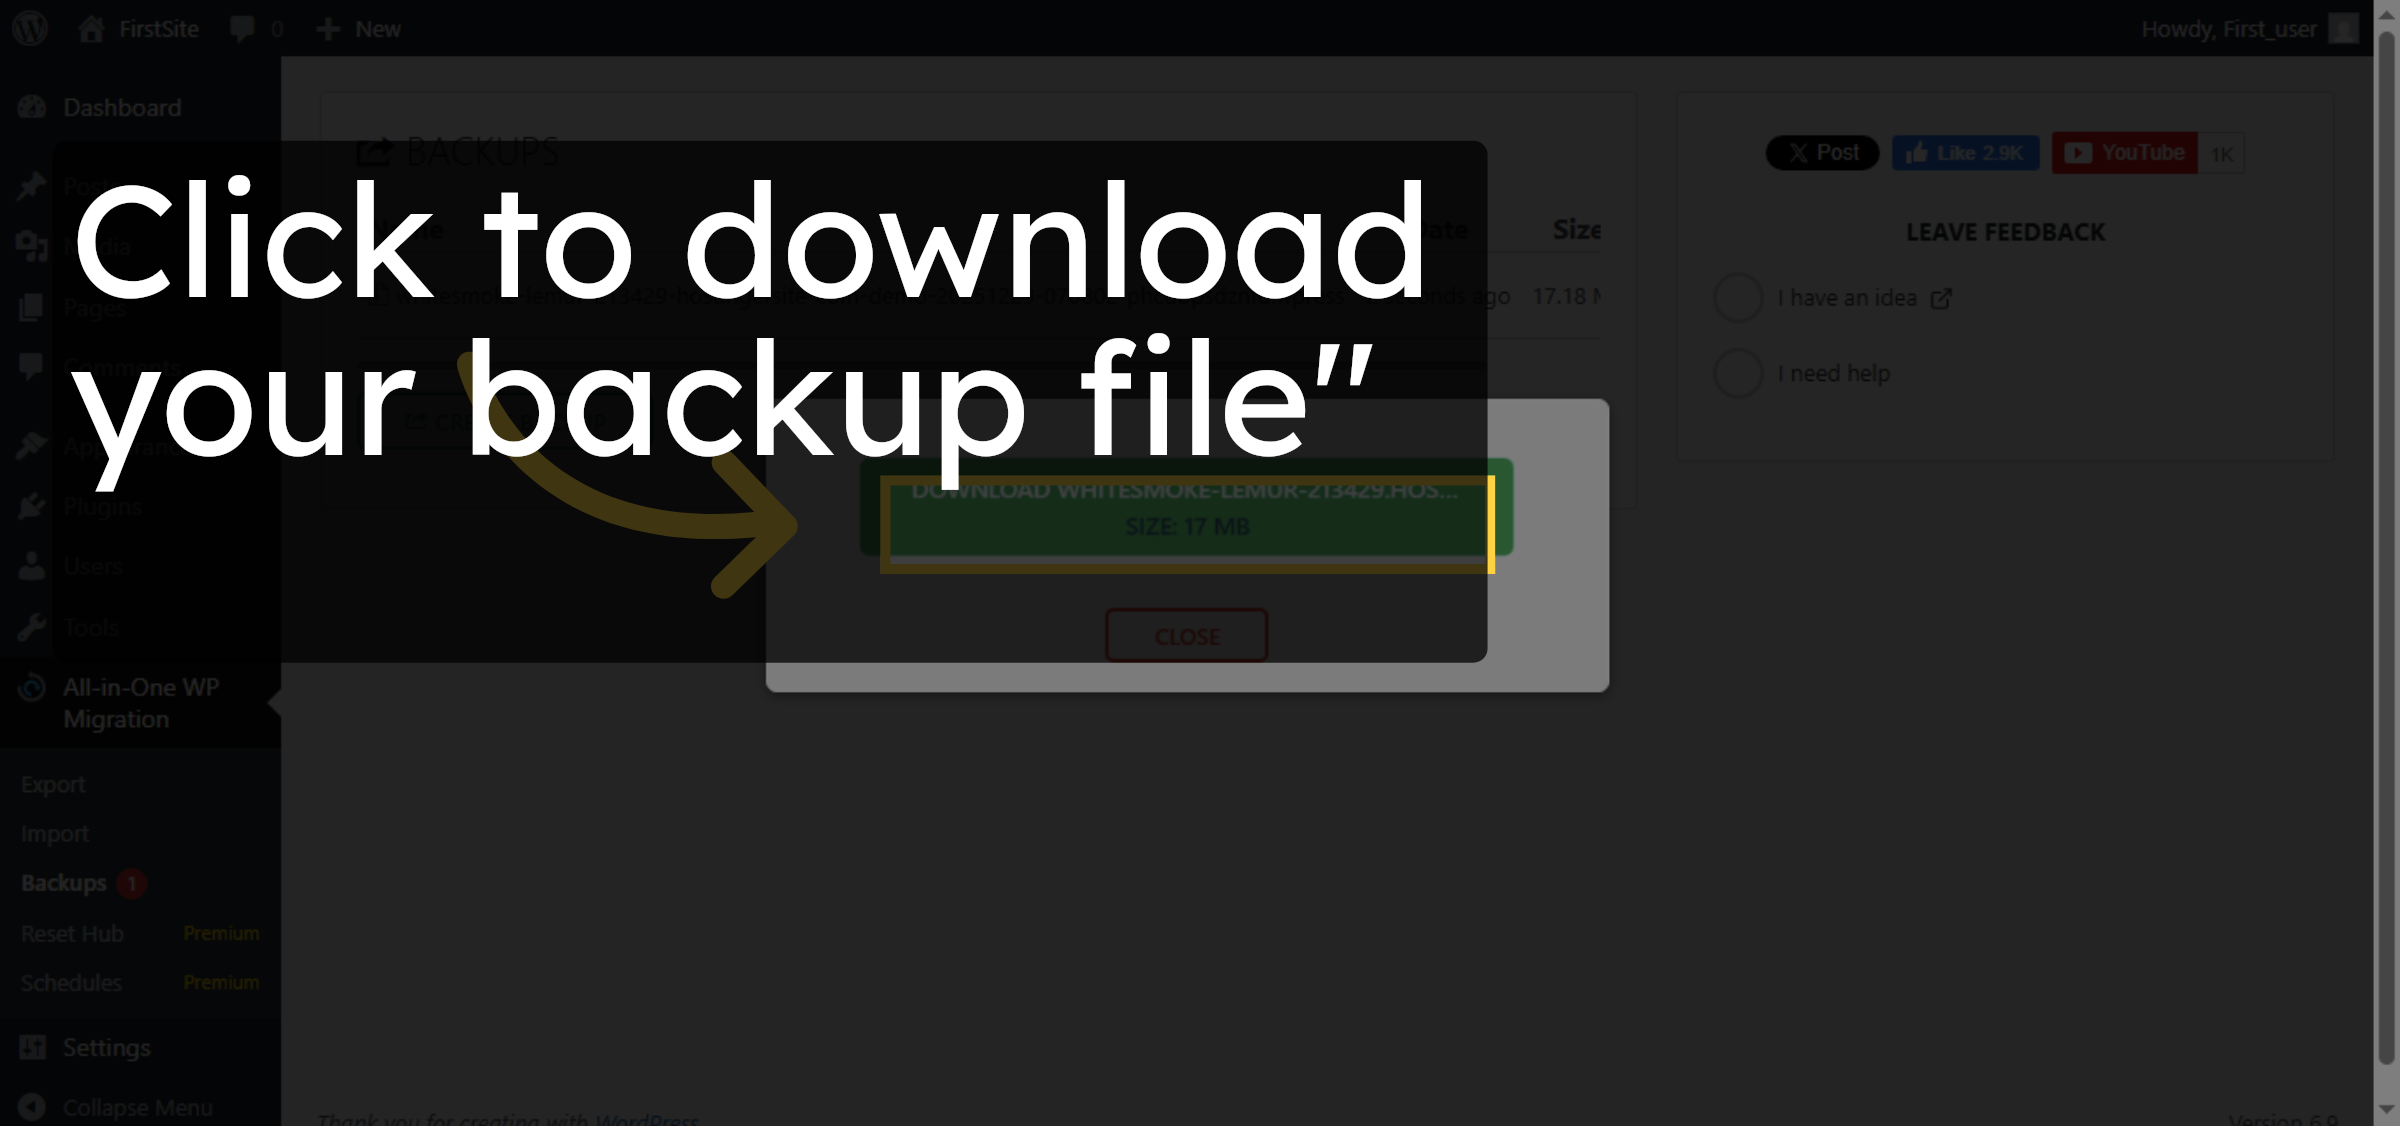
12. Download Backup
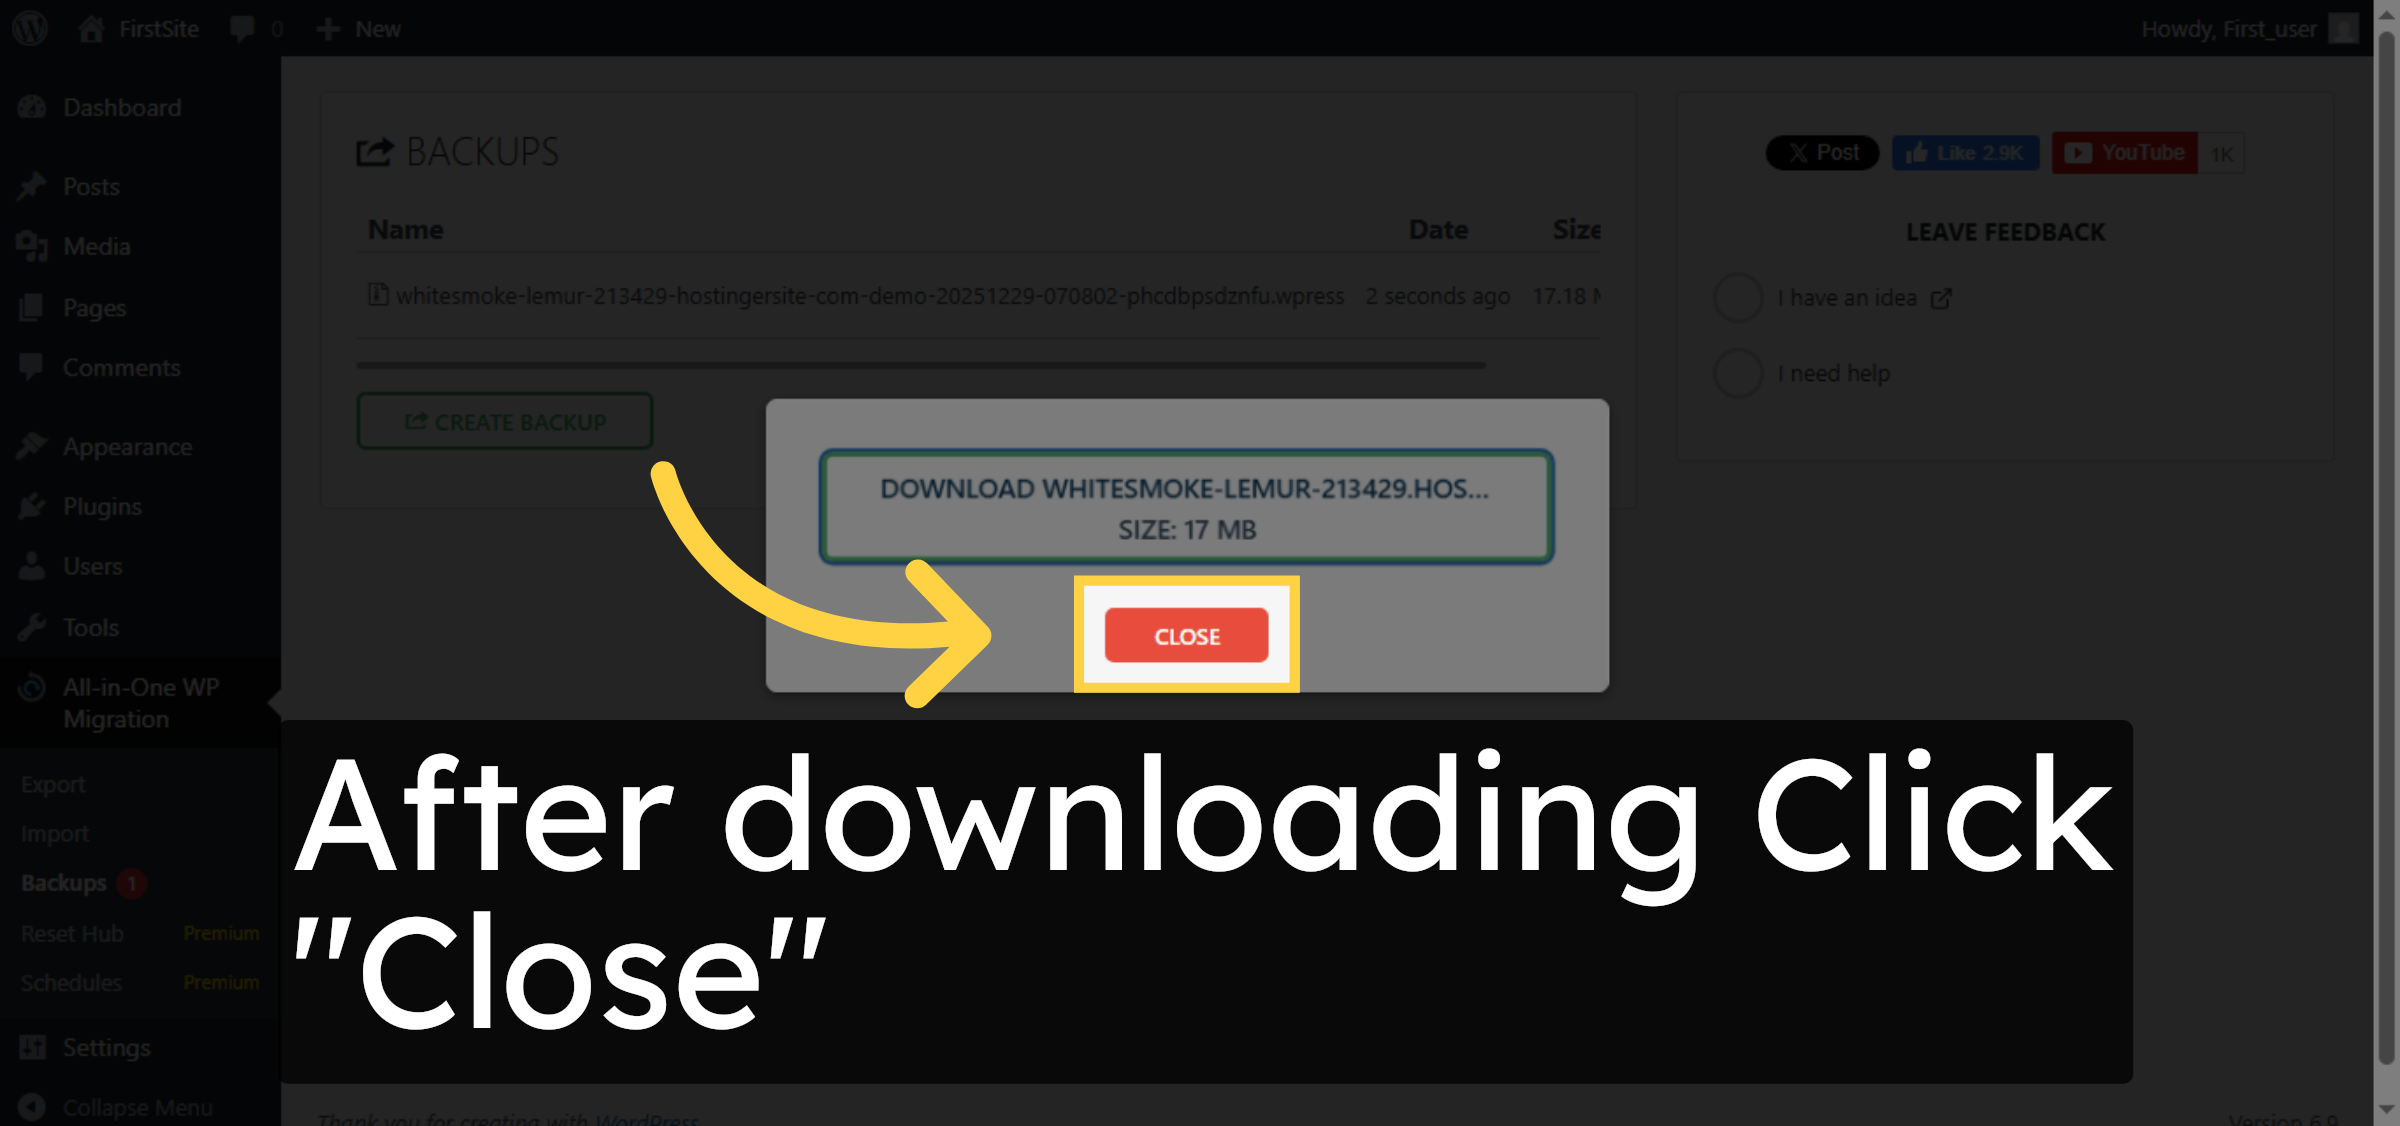
13. Close Backup Details
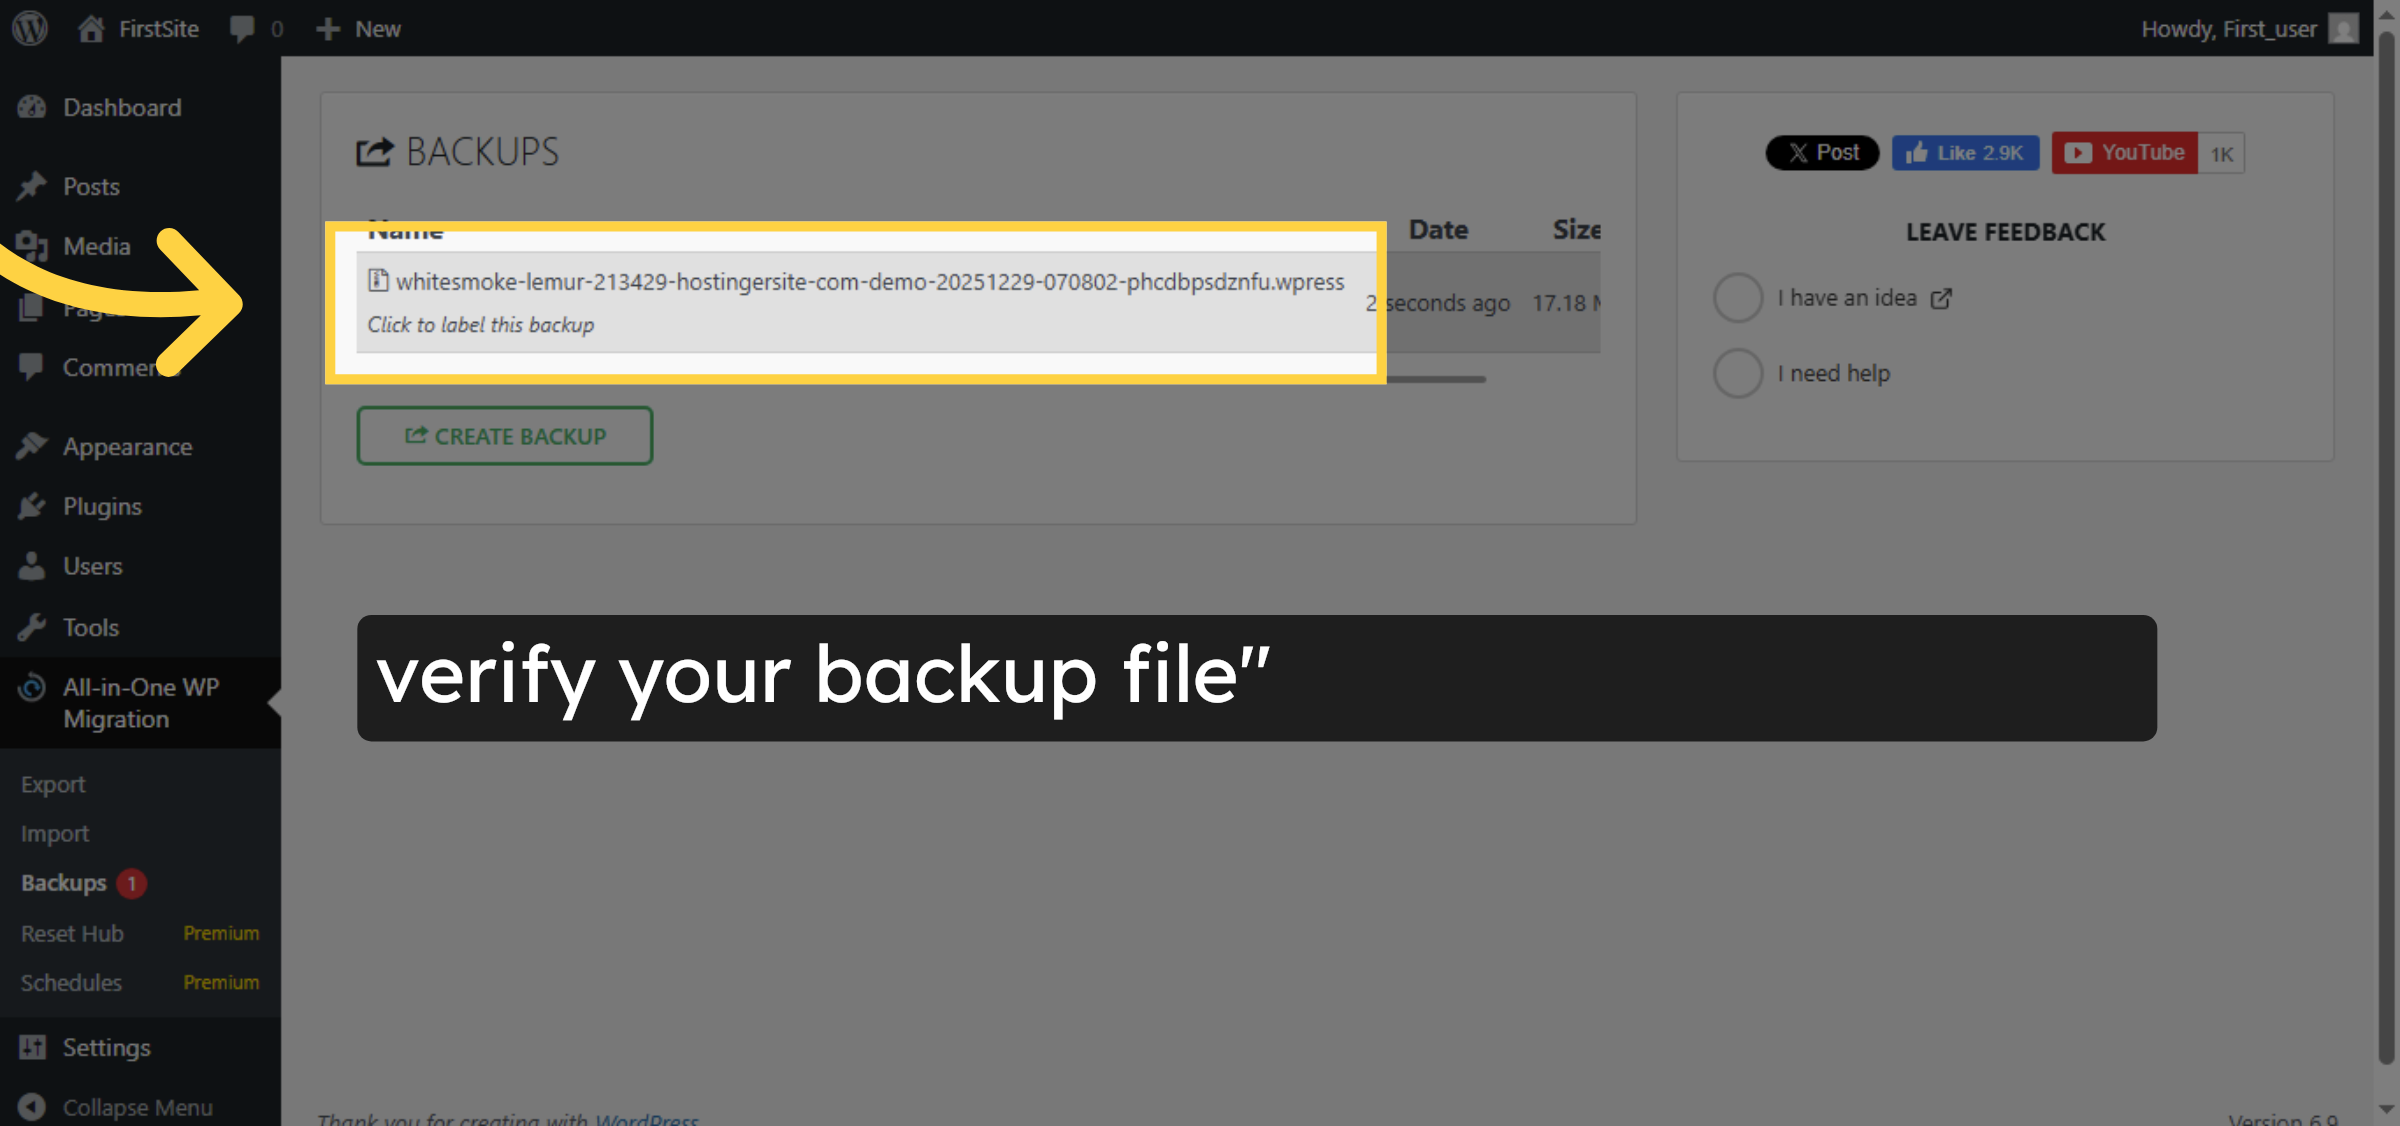
14. verify the file.
Conclusion
By following the steps outlined in this guide, you can successfully create and download a full backup of your WordPress website on Hostinger using a backup plugin. Regular backups help safeguard your website content, settings, and data against unexpected issues or failures. Maintaining up-to-date backups is a best practice for ensuring website stability, security, and peace of mind.
Visit: https://www.woohelpdesk.com
Call Us Toll-Free: +1 888 602 0119 (US & Canada)
Get professional support for WordPress configuration, hosting management, performance optimization, and troubleshooting.


