How to Add Payment Gateway Based Fees in WooCommerce
Table of Contents
- Introduction
- Key Features of Payment Gateway Based Fees for WooCommerce
- Setup Process – How to Configure the Plugin
- Fee Calculation Methods Explained
- Conditional Fee Rules
- Product-Level Fee Settings
- Tax Handling and Compatibility Notes
- Conclusion
Introduction
Every online store has different payment methods. Some are cheaper for store owners. Others come with higher transaction costs. WooCommerce by default does not allow charging extra fees based on payment methods.
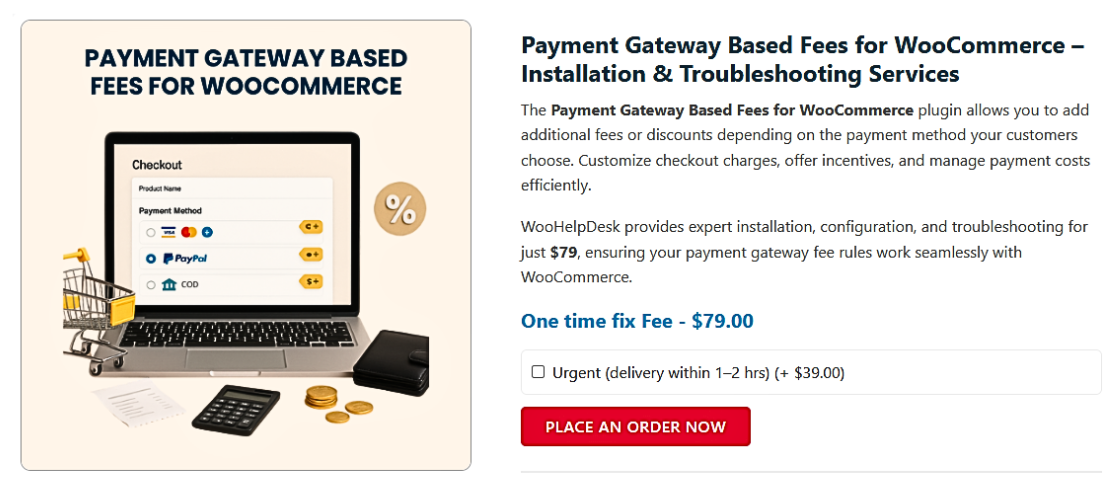
This is where the Payment Gateway Based Fees for WooCommerce plugin comes in. It helps store owners add extra fees depending on the payment option chosen by the customer at checkout.
It gives you full control over how and when fees are applied. You can apply a fixed fee or a percentage or even include the fee in the total order amount. This way, you can recover gateway costs and stay profitable.
It works well for businesses that deal with many payment options. If you want to encourage low-cost methods or cover extra charges, this plugin is perfect for you.

Key Features of Payment Gateway Based Fees for WooCommerce
- Add Fees by Payment Method
This plugin allows you to assign fees to specific payment gateways. For example, you can apply an extra charge for PayPal while keeping other methods fee-free. Each gateway has its settings, giving store owners full control over how payment fees are applied.
- Automatic or Manual Fee Application
Fees can be applied automatically at checkout based on the selected payment method. You can also add or change fees manually from the WooCommerce admin panel. This is useful when creating custom orders or updating payment methods after checkout.
- Three Fee Calculation Methods
The plugin offers three types of fee calculations: a fixed amount, a percentage added to the total, or a commission-style fee that ensures you receive a specific net amount after gateway charges. This flexibility lets you choose the most suitable model for your business.
- Product-Level Fee Configuration
In addition to cart-level fees, you can set fees for individual products. This is helpful when certain products require special handling or have higher transaction costs. Each product can have different fees per gateway, and the charges appear clearly in the order summary.
- Cart Value Conditions
You can control when fees are applied based on the total cart value. For instance, fees can be charged only if the order is under a specific amount or skipped if the cart exceeds a certain limit. This keeps your fee strategy dynamic and customer-friendly.
- Minimum and Maximum Fee Limits
Set a minimum fee to avoid charging too little, or a maximum to prevent overcharging. These limits help maintain a balance between cost recovery and customer satisfaction.
- Exclude Customers by Email
You can exclude certain users from fees by entering their email addresses. This is useful for rewarding loyal customers, staff, or wholesale accounts with no extra charges.
- Assign Tax Class to Fees
The plugin allows you to assign a tax class to each fee. You can choose standard rates, reduced rates, or no tax at all, depending on how your store handles additional charges.
- Configure Settings Per Gateway
Each payment gateway has its own dedicated settings tab. This means you can apply different rules, fee types, and conditions for each method separately, giving you detailed control over your store’s fee system.
- WPML Multilingual Compatibility
If your store runs in multiple languages, the plugin supports WPML. You can translate fee titles and labels for each language, offering a seamless experience to global customers.
- Supports WooCommerce Block Checkout
The plugin is fully compatible with WooCommerce’s new Block Checkout system. It works smoothly with modern checkout layouts, so no extra configuration is needed.
- Supports Manual Order Creation
When creating orders manually from the admin area, you can add fees directly. This feature is helpful for phone or in-person orders created by staff in the backend.
- Jetpack Automated Tax Incompatibility
The plugin does not work with Jetpack’s automated tax calculation. To use it correctly, you must disable this option in the WooCommerce tax settings. The manual tax setup continues to work without issues.
Setup Process – How to Configure the Plugin
Setting up the plugin is simple, even if you’re not a developer. Follow these steps to get started:
- Install the Plugin
Download the plugin from your WooCommerce account. Go to Plugins > Add New in your WordPress dashboard. Click Upload Plugin, choose the file, and click Install Now. - Activate and Access Settings
After activation, go to WooCommerce > Settings > Additional Fees. This is where you manage all plugin settings.

- Enable Fees for Gateways
Each payment method has its own tab. Enable fees for the ones you want to customize. Set the fee type (fixed, % or include in total), amount, and tax class. - Set Cart and Product Fee Rules
Add minimum/maximum cart limits and fee caps. Use the Product Data > Additional Fees tab to add product-specific fees. - Optional: Add Fees Manually
From the WooCommerce order admin screen, you can manually apply or edit fees. This is helpful for phone or offline orders added by staff.
Once set up, your store will apply fees based on the rules you’ve created. Everything runs automatically, but you still have full control when needed.
Fee Calculation Methods Explained
This plugin gives you three ways to apply payment fees. Each method fits different pricing needs. You can choose what works best for your store.
- Fixed Amount
This option adds a set fee to the order total.
Example: Add $5 every time a customer chooses PayPal.
It stays the same, no matter the cart value.
- Add Percentage to Total
This method adds a percentage of the cart total as a fee.
Example: If you set 5%, and the cart is $100, the fee is $5.
It increases or decreases with the cart value.
- Include Percentage in Total
This option includes the fee inside the final order amount. It ensures you still receive a fixed net amount.
Example: You want $100 after a 10% fee. The plugin charges $111.11. This method is useful when your payment provider charges a commission.
Each fee method is flexible. You can choose a different type for each gateway.


Conditional Fee Rules
You can control exactly when and how fees are applied. These settings help you stay fair and flexible.
- Cart Value-Based Rules
Set a minimum or maximum cart value for the fee to apply.
- Example: Only charge fees on orders under $150.
- Or skip the fee if the cart total is over $300.
This encourages customers to spend more and avoid fees.
- Minimum and Maximum Fee Limits
You can control the range of the applied fee.
- Set a minimum fee to ensure small orders still cover costs.
- Set a maximum fee to avoid overcharging on large orders.
This helps balance customer satisfaction with business goals.
- Exclude Customers by Email
You can stop fees from applying to specific customers.
- Just enter their email in the plugin settings.
- Useful for VIPs, test users, or staff.
This keeps your checkout experience smooth for important users.
- Per Gateway Settings
Each payment method has its own fee rules. You can apply different settings to each gateway. This is helpful if one gateway has higher costs than others.
Product-Level Fee Settings
The plugin does more than just apply fees to the entire cart. It also lets you assign fees to individual products. This gives you even more control over how and when fees appear.
You can enable fees for specific products in your store. These fees are based on the chosen payment method. This feature is helpful for high-value items or custom products.
Each product can have different fee settings for each gateway. For example, you may want to charge a 2% fee for PayPal on one product, but no fee on another.
To set this up, go to the product edit page in your dashboard. Inside the product data section, you’ll find an “Additional Fees” tab. There, you can choose:
- The payment gateways the fee applies to
- The fee type: fixed, percentage, or commission-style
- The fee value and any conditions
These fees appear under the product in the checkout and order summary. Customers can see what the charge is for and why it’s added. This helps build trust during the checkout process.
You can also control when the fee applies using product price limits. For example, you can skip the fee if the product price is over $500. This is useful for items with built-in profit margins.
Using product-level fees is a smart way to manage costs while keeping pricing fair for customers.
Tax Handling and Compatibility Notes
This plugin also supports tax settings for your payment fees. You can decide whether the extra fee should be taxed or not. This depends on your local laws or store policy.
Inside each gateway’s settings, you can choose a tax class. Common options include Standard Rate, Reduced Rate, or Zero Rate. If you don’t want tax applied, select “No tax required.” This keeps your store accurate and compliant.
The plugin also works well with multilingual stores. It supports WPML, a popular translation plugin for WooCommerce. You can translate the fee labels and titles in different languages. This improves the checkout experience for international customers.
However, there’s one limitation to know. The plugin is not compatible with Jetpack’s automated tax system. If you use Jetpack for taxes, you’ll need to turn off that feature. You can do this in the WooCommerce > Settings > Tax tab. Once disabled, you can manage taxes manually as needed.
Advanced users can also use a filter called wc_add_fees_calculated_fee. It allows developers to customize fee behavior with code. This is optional and only needed for special use cases.
Conclusion
The Payment Gateway Based Fees for WooCommerce plugin gives store owners more control. It helps recover payment gateway charges and adds flexibility to the checkout process.
With many settings and calculation methods, it fits all kinds of stores. You can apply fair rules, reward loyal customers, and manage costs better. Whether you sell digital products or physical items, this plugin makes fee handling easy.
If you need help setting up the plugin or customizing fee rules, our team at WooHelpDesk is here to support you. We provide friendly, expert guidance to make your WooCommerce store work exactly how you need it to.