
How To Access GoDaddy File Manager Via FTP For WordPress
Introduction
Managing WordPress files directly on your hosting server is an essential skill for website maintenance, troubleshooting, and customization. Whether you need to edit core files, upload custom scripts, fix errors, or manage backups, secure file access is required. In this guide, we explain how to access your GoDaddy hosting account, generate FTP (SFTP) credentials, and connect to your server using the FileZilla FTP client. FTP allows you to safely transfer files between your local system and your hosting server without relying solely on the WordPress dashboard. This is especially useful when the admin panel is inaccessible or when performing advanced changes. By following these steps, you’ll learn how to retrieve your FTP username, password, hostname, and port from GoDaddy, install FileZilla, and connect to your website’s root directory. Proper FTP access ensures better control, faster troubleshooting, and more efficient WordPress file management.
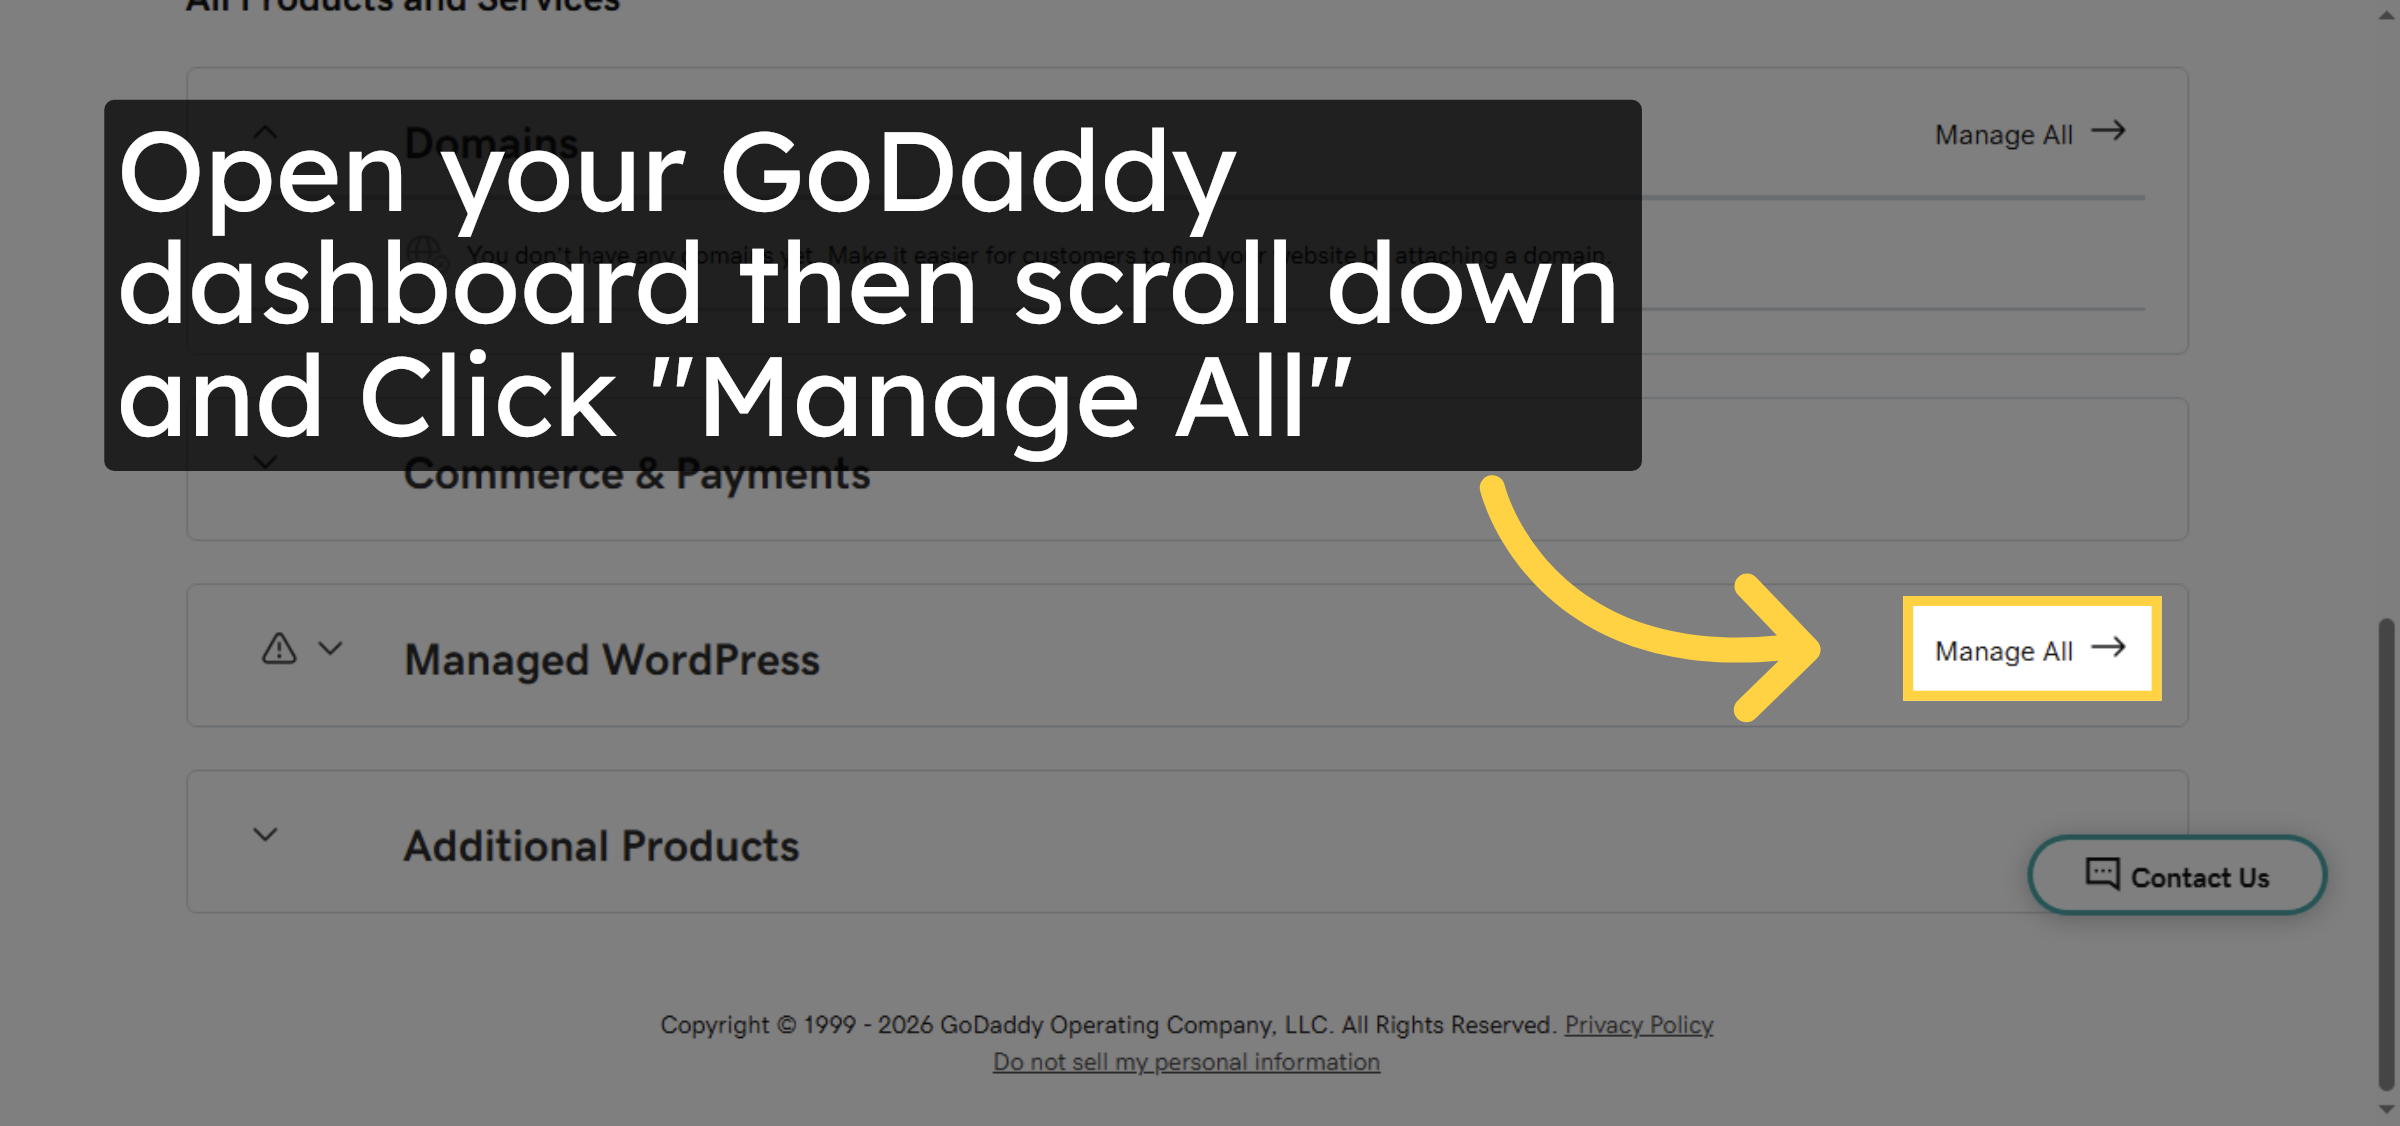
1. Click Manage All
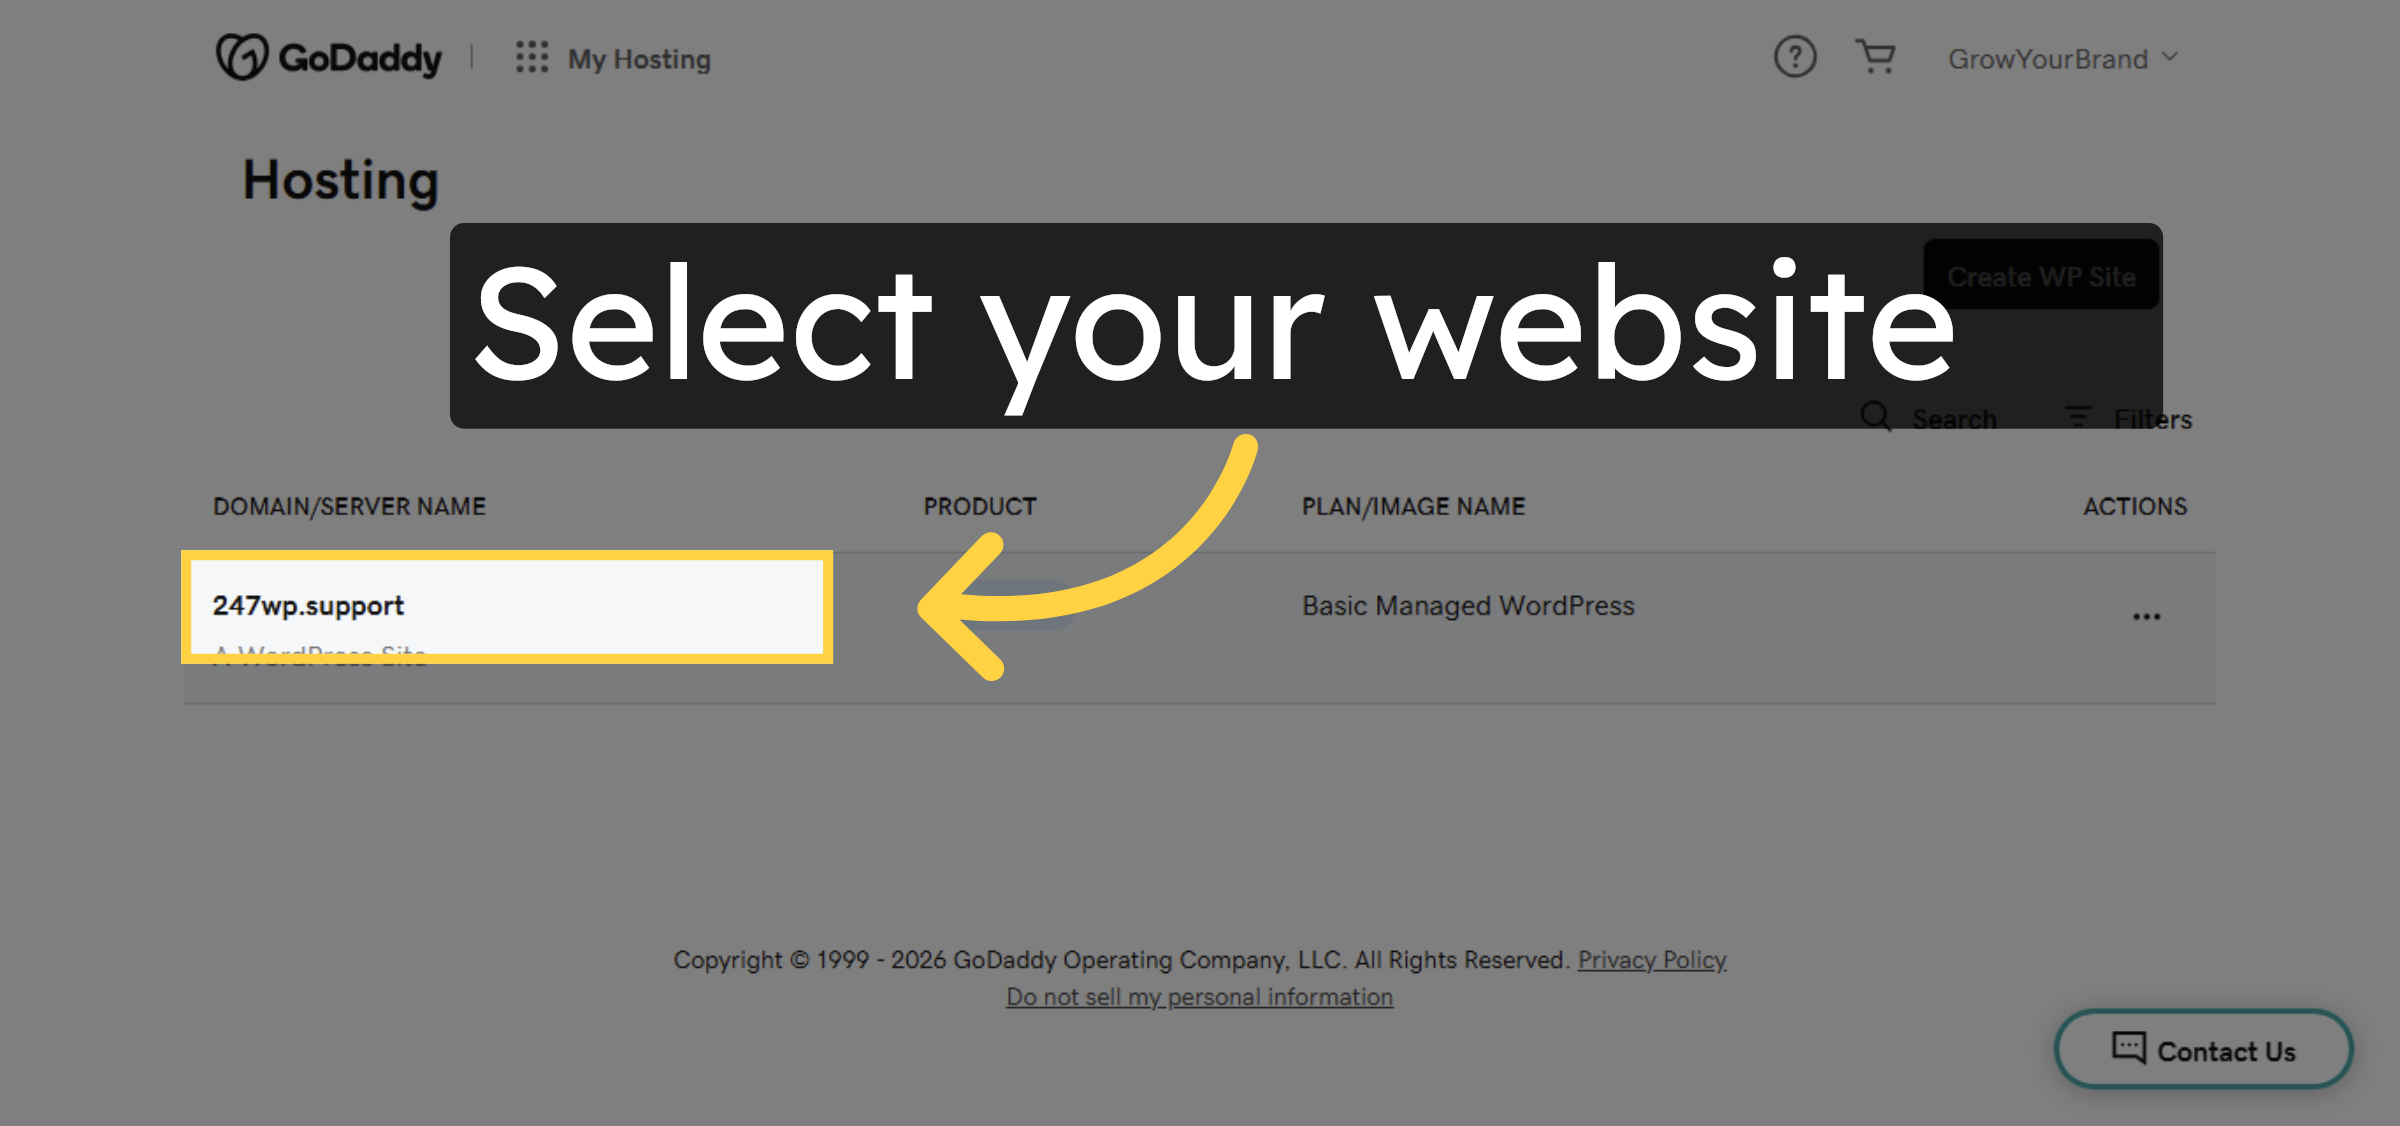
2. Select Hosting Account
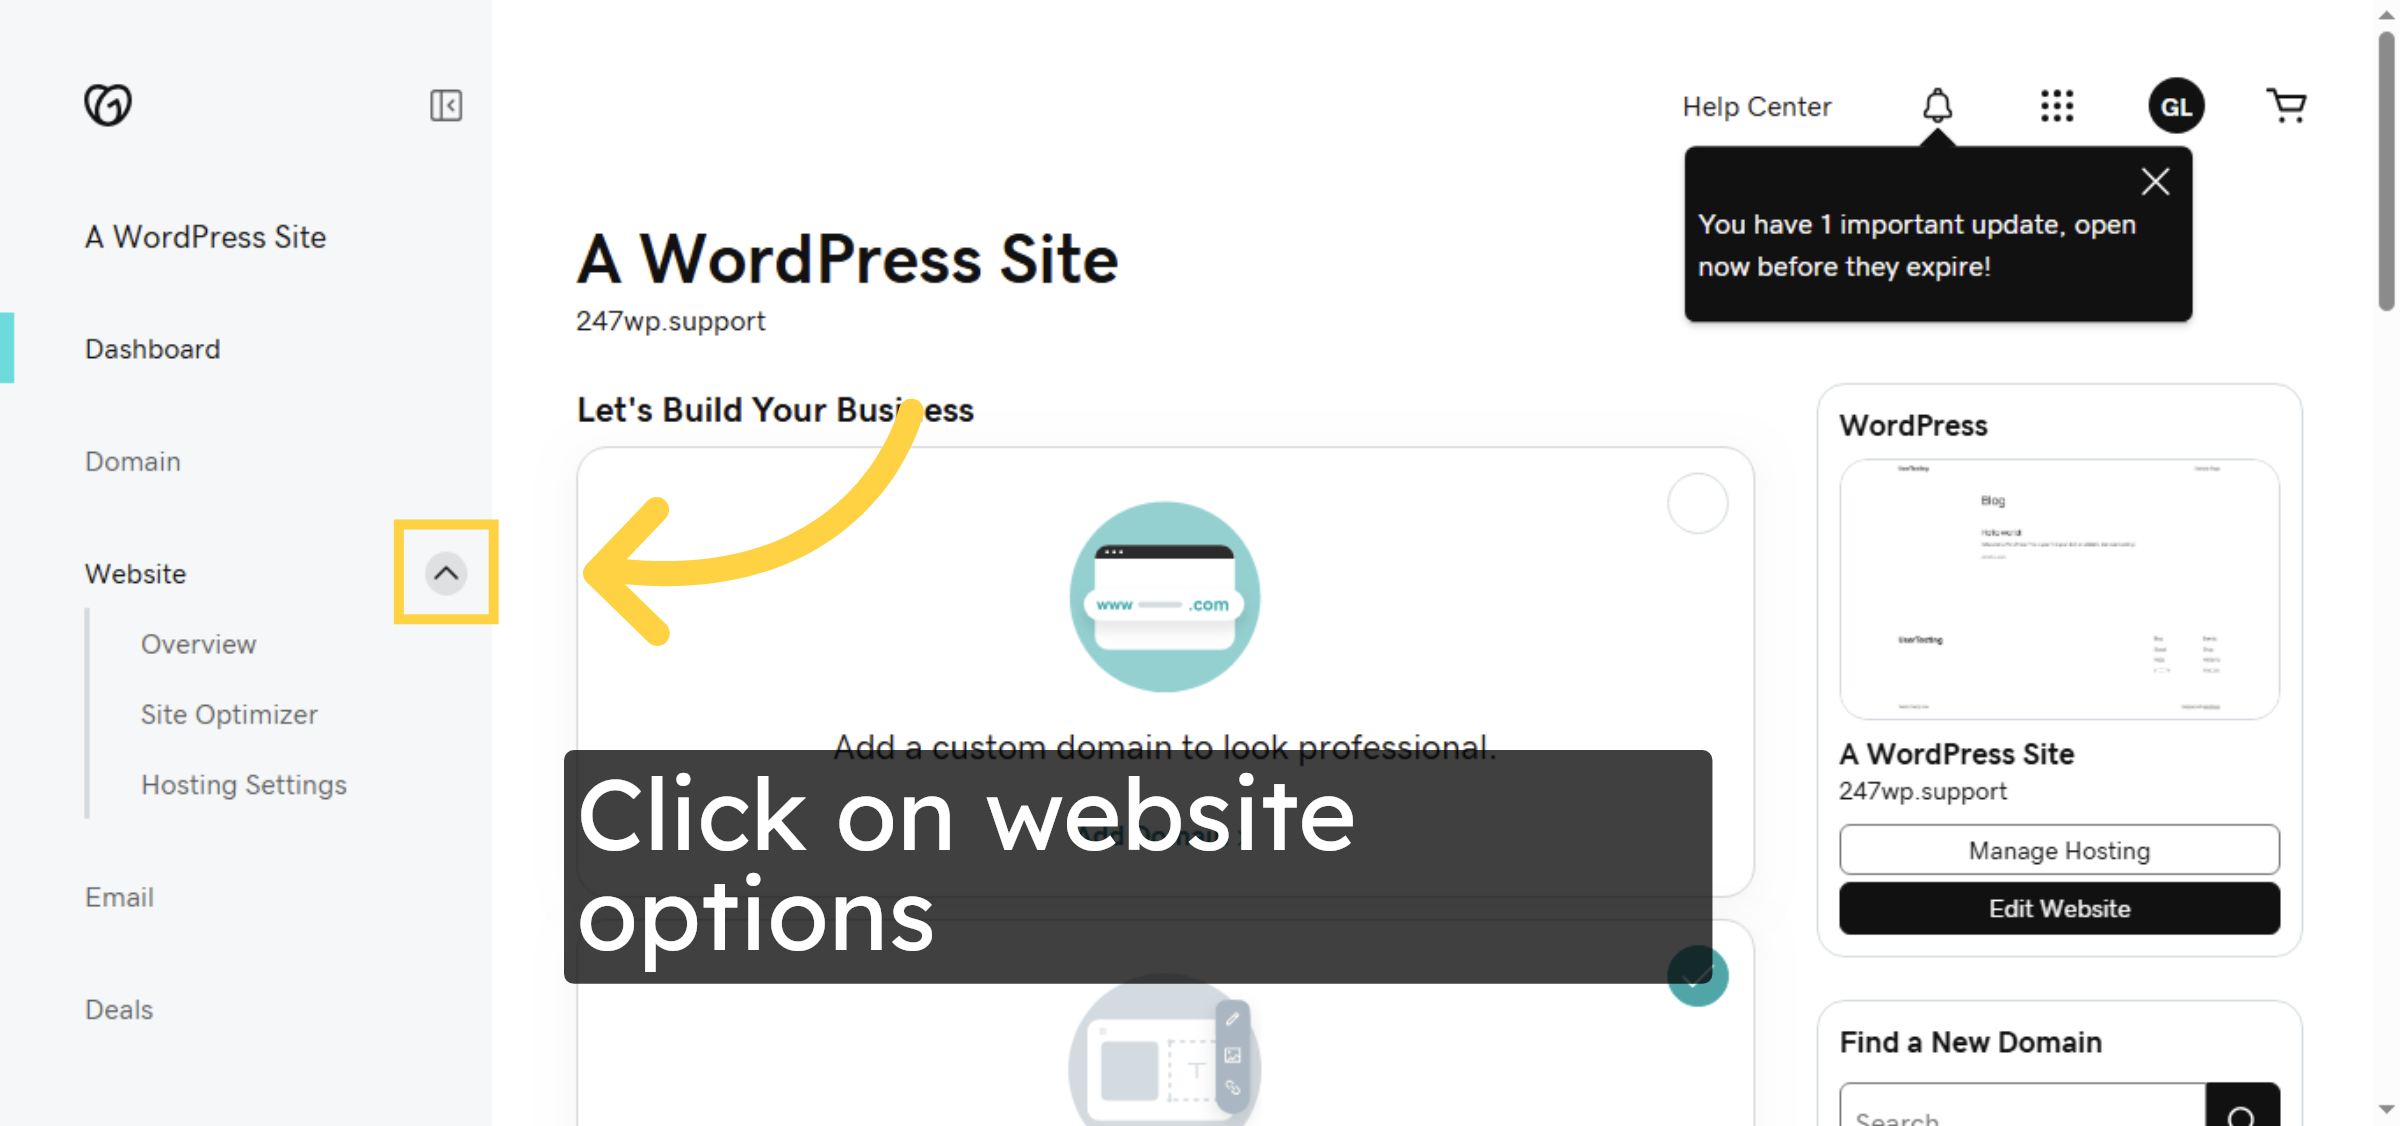
3. Access Hosting Options
4. Open Hosting Settings

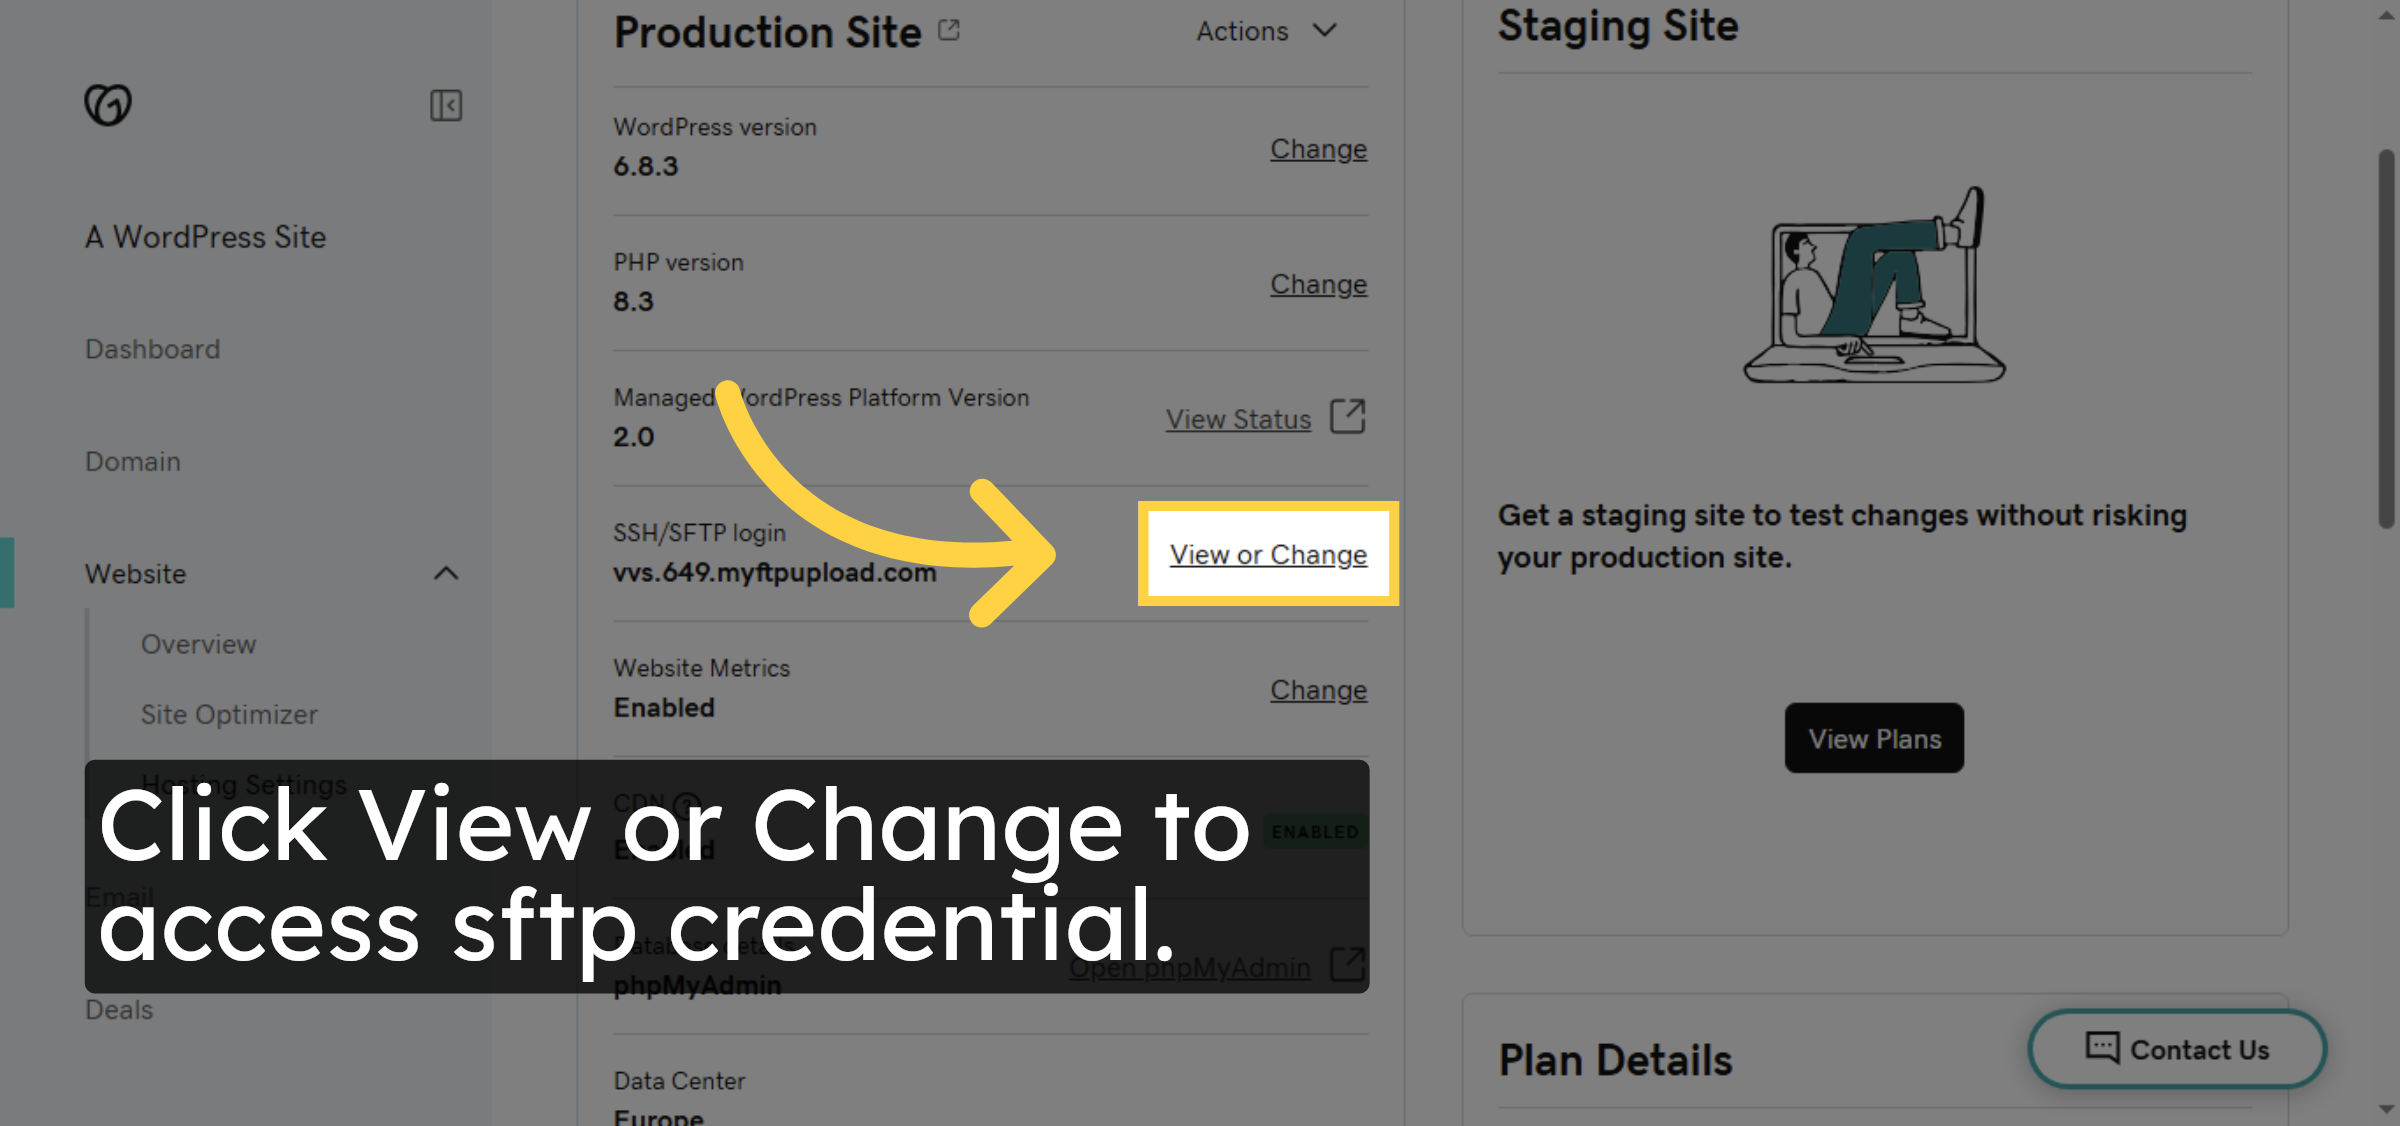
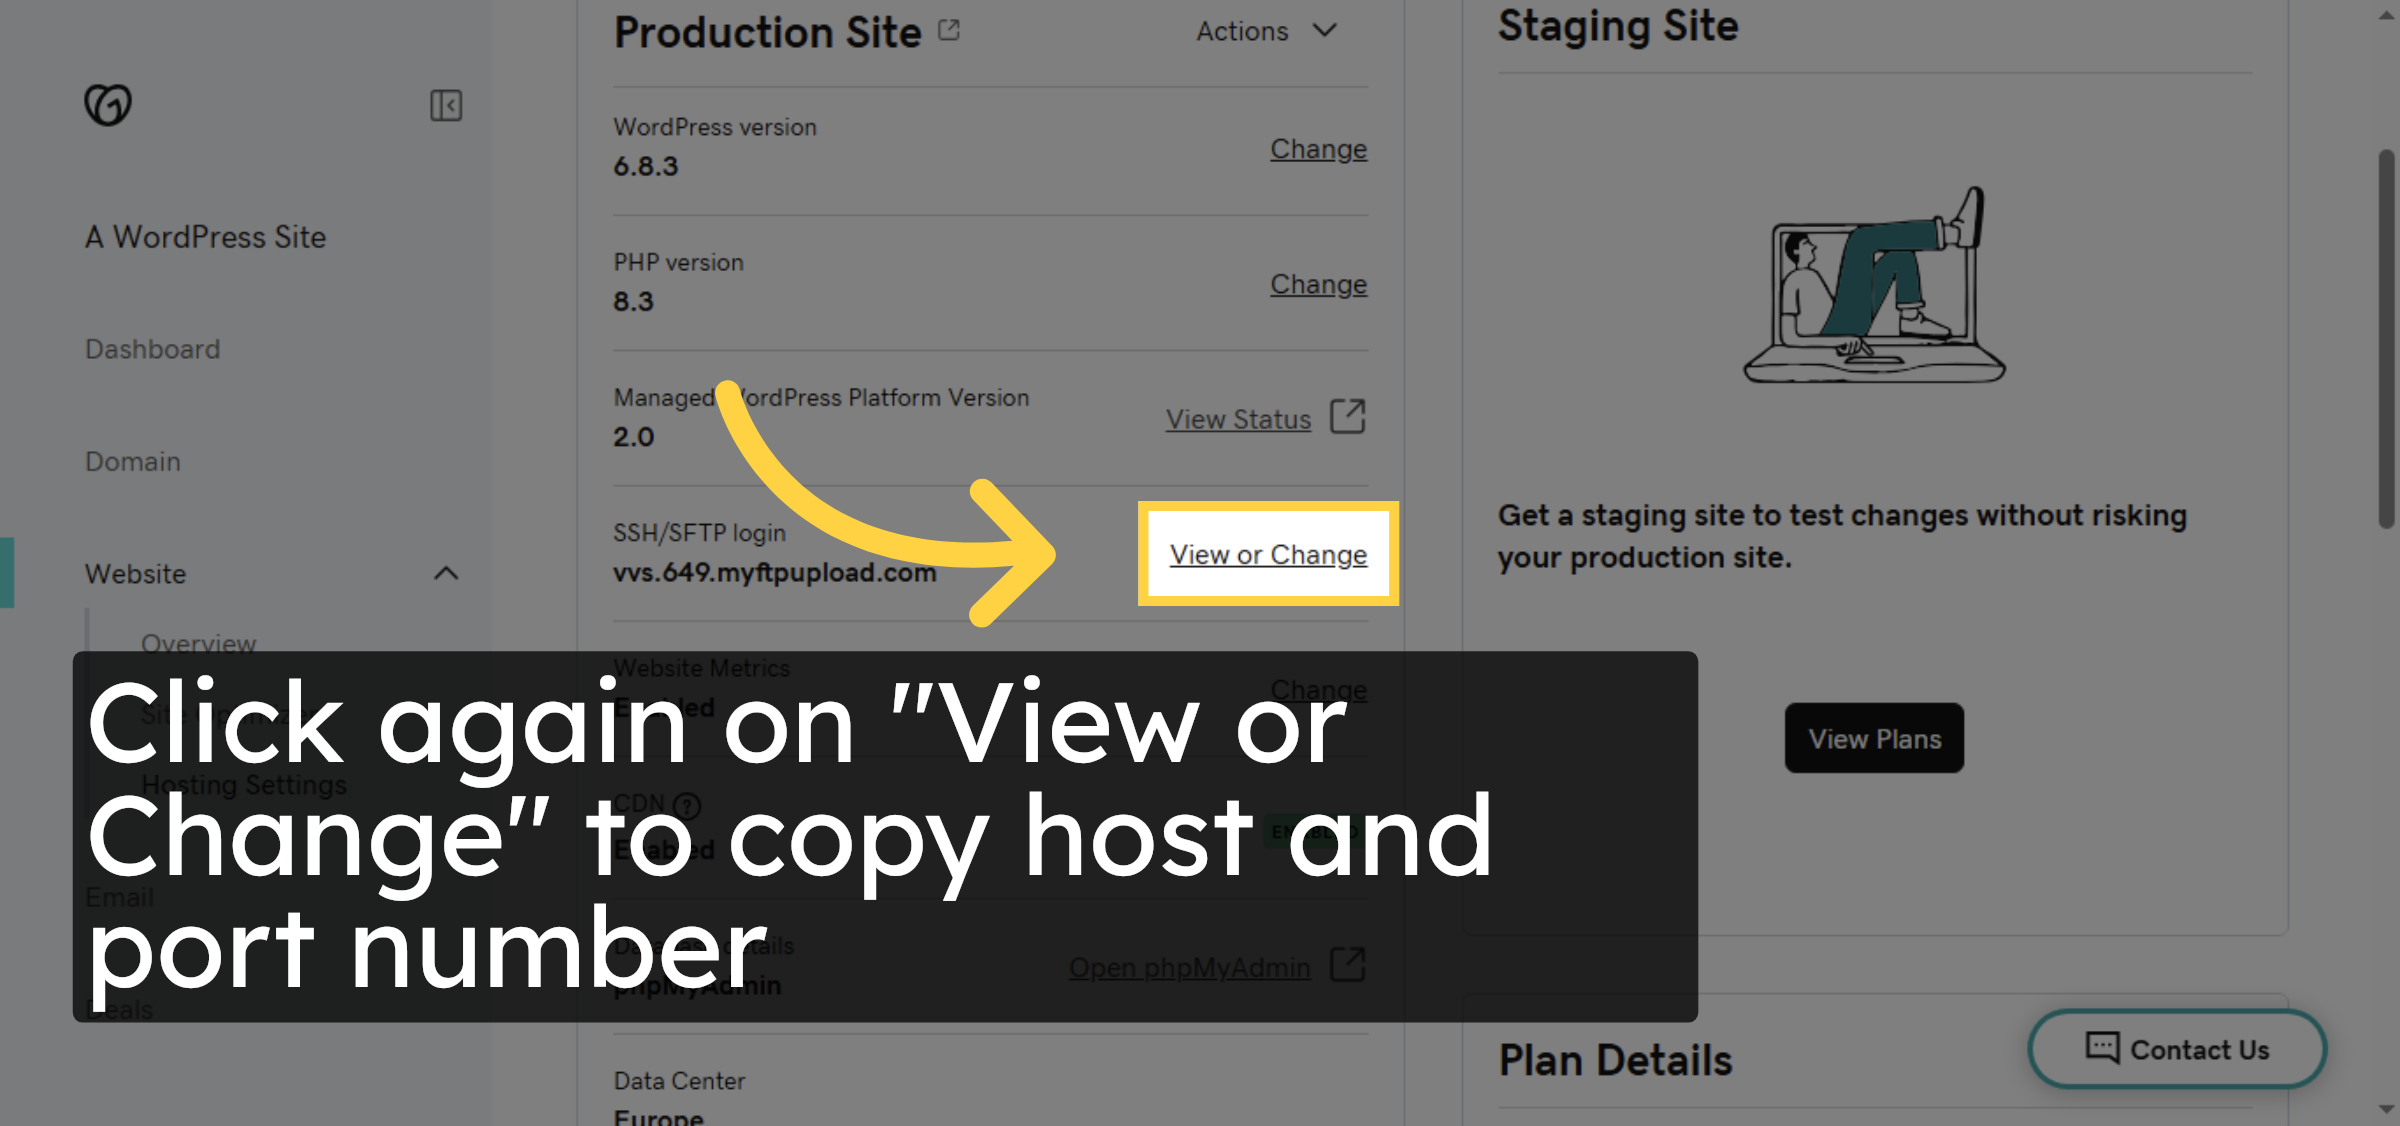
5. View Or Change sftp credential
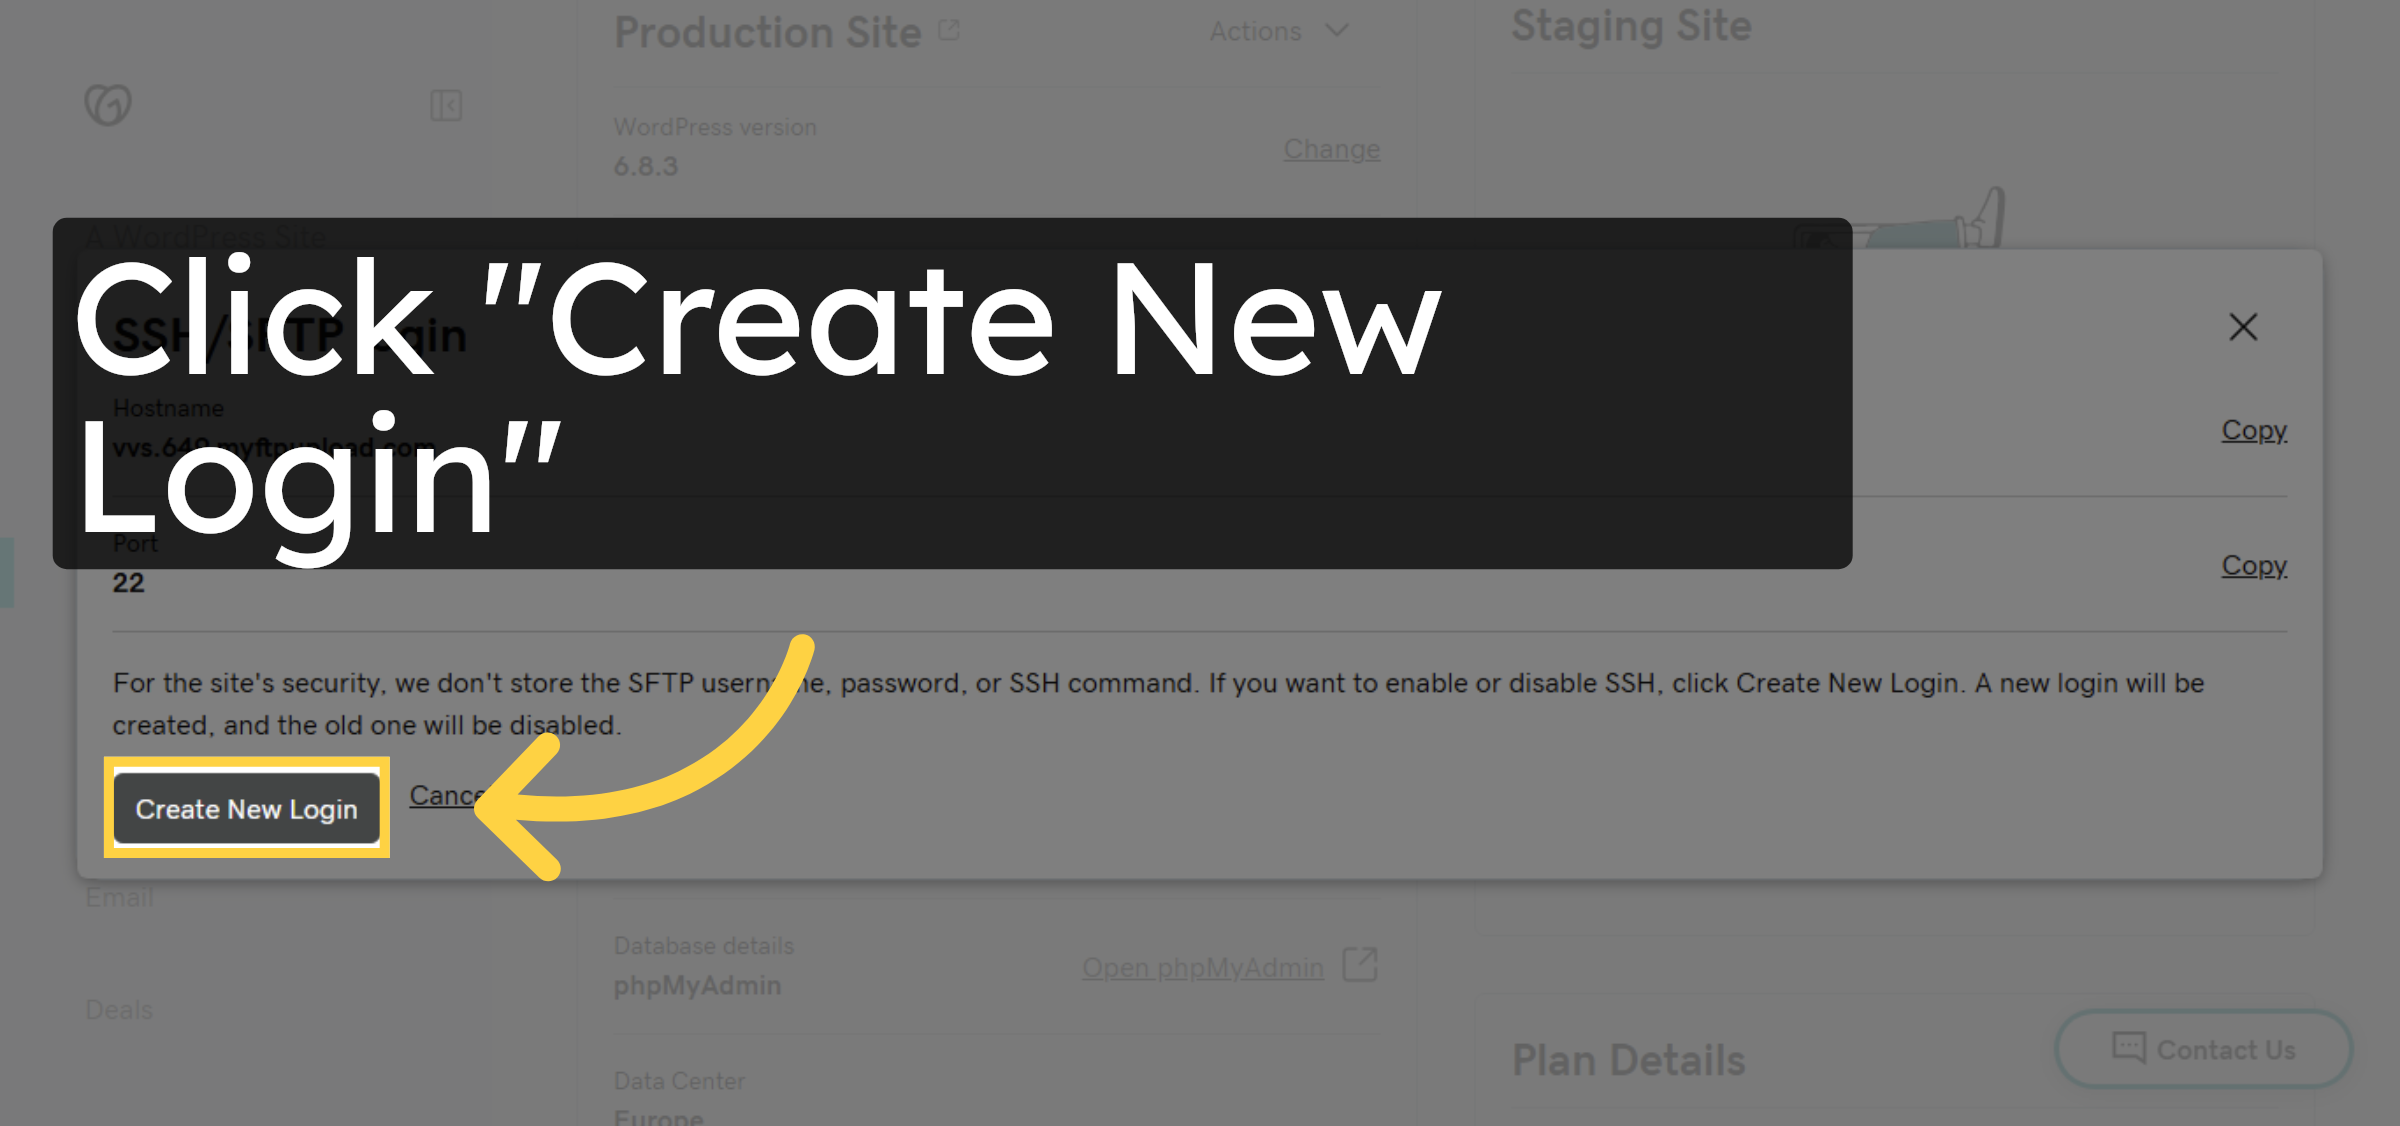
6. Initiate New Login Creation
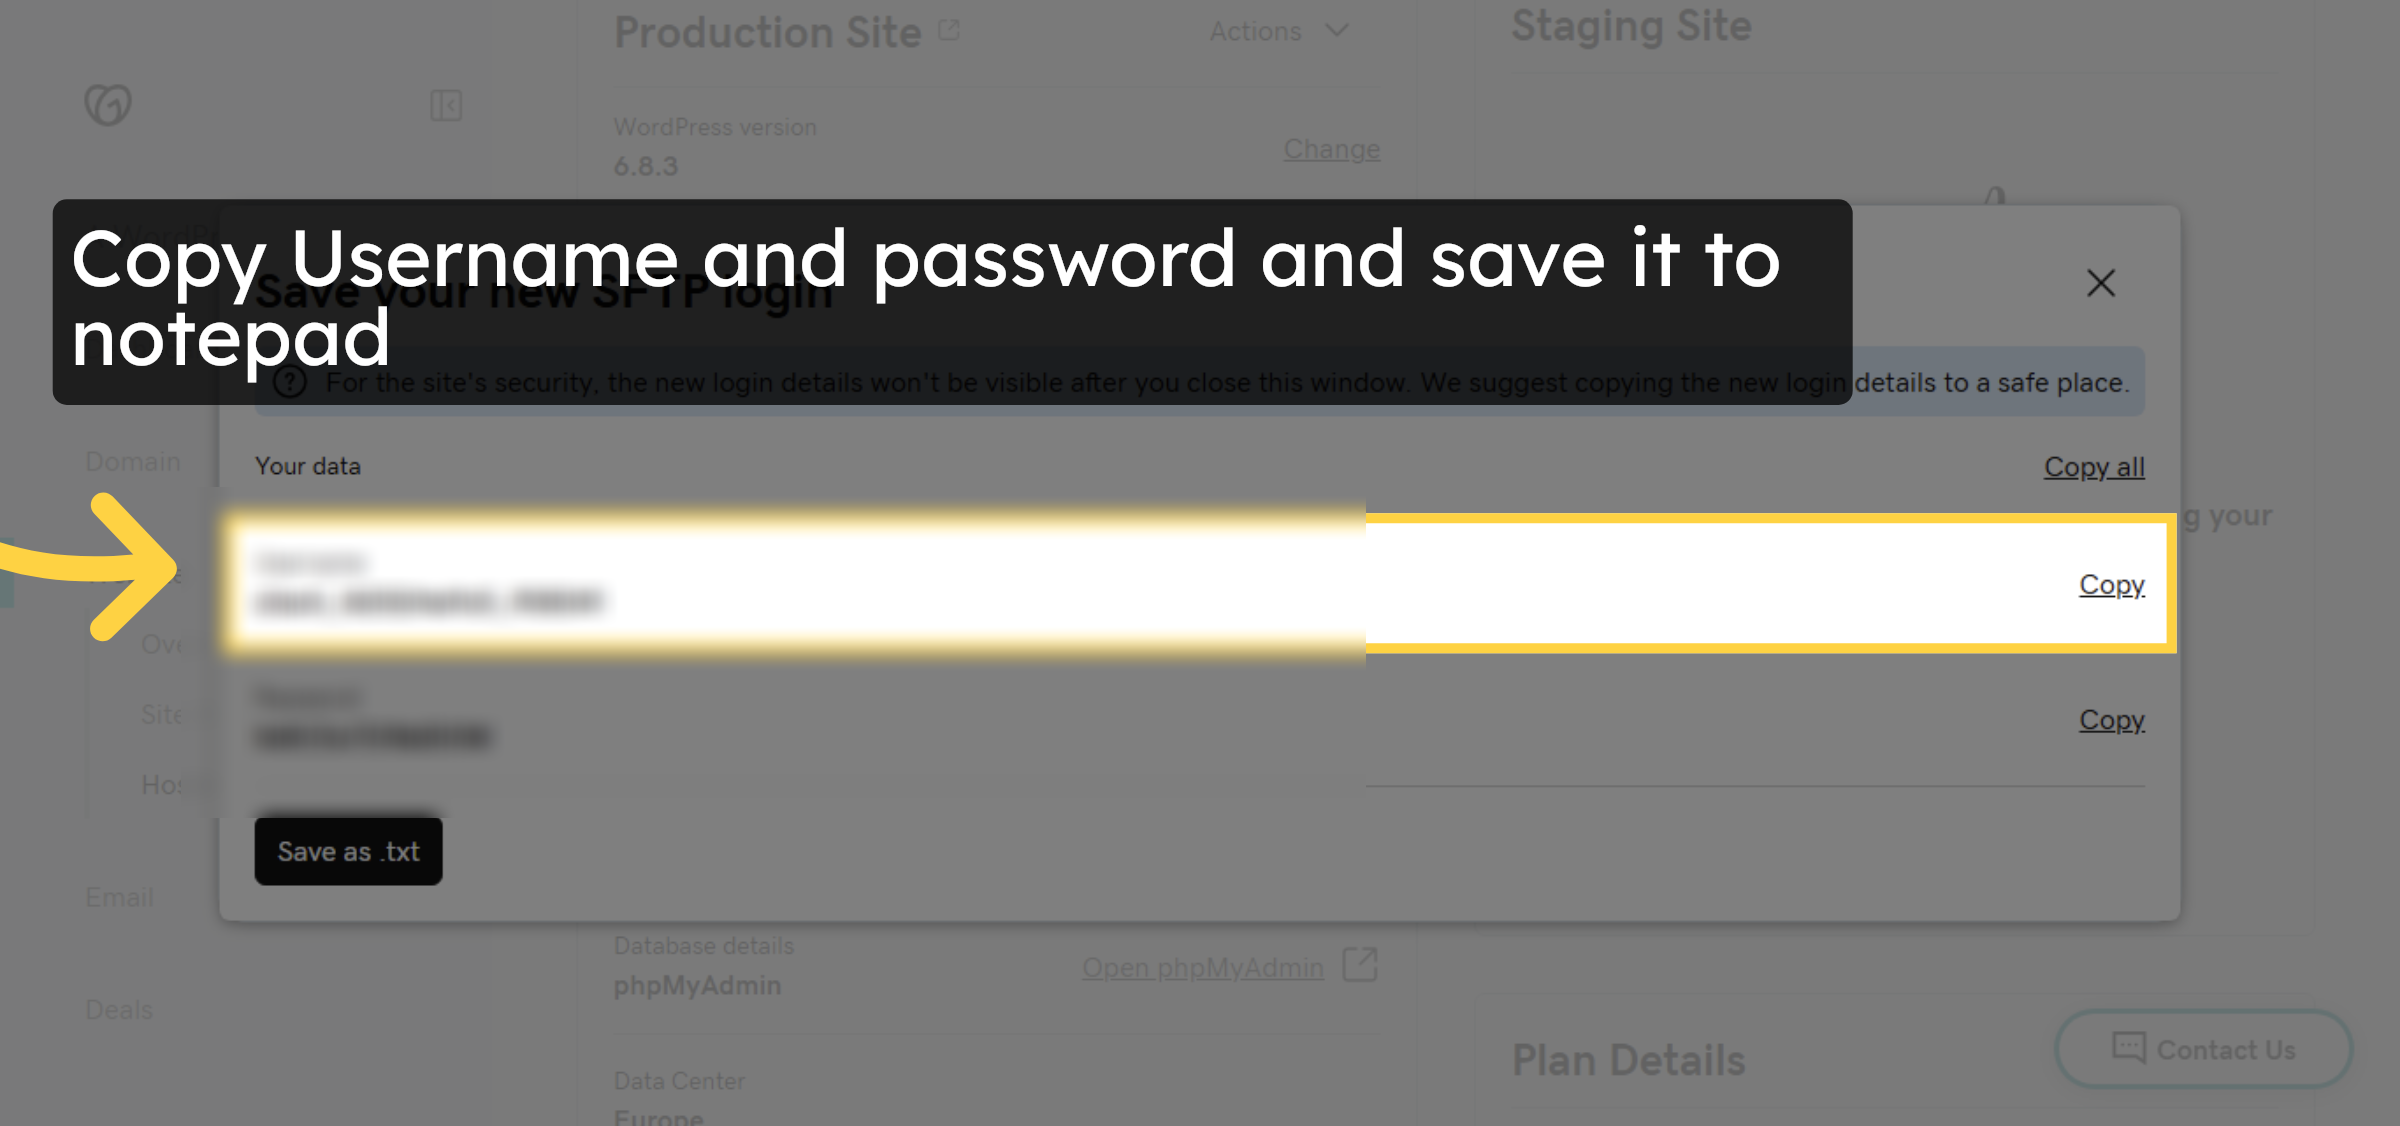
7. Copy FTP Username and password
8. Copy Host and port number
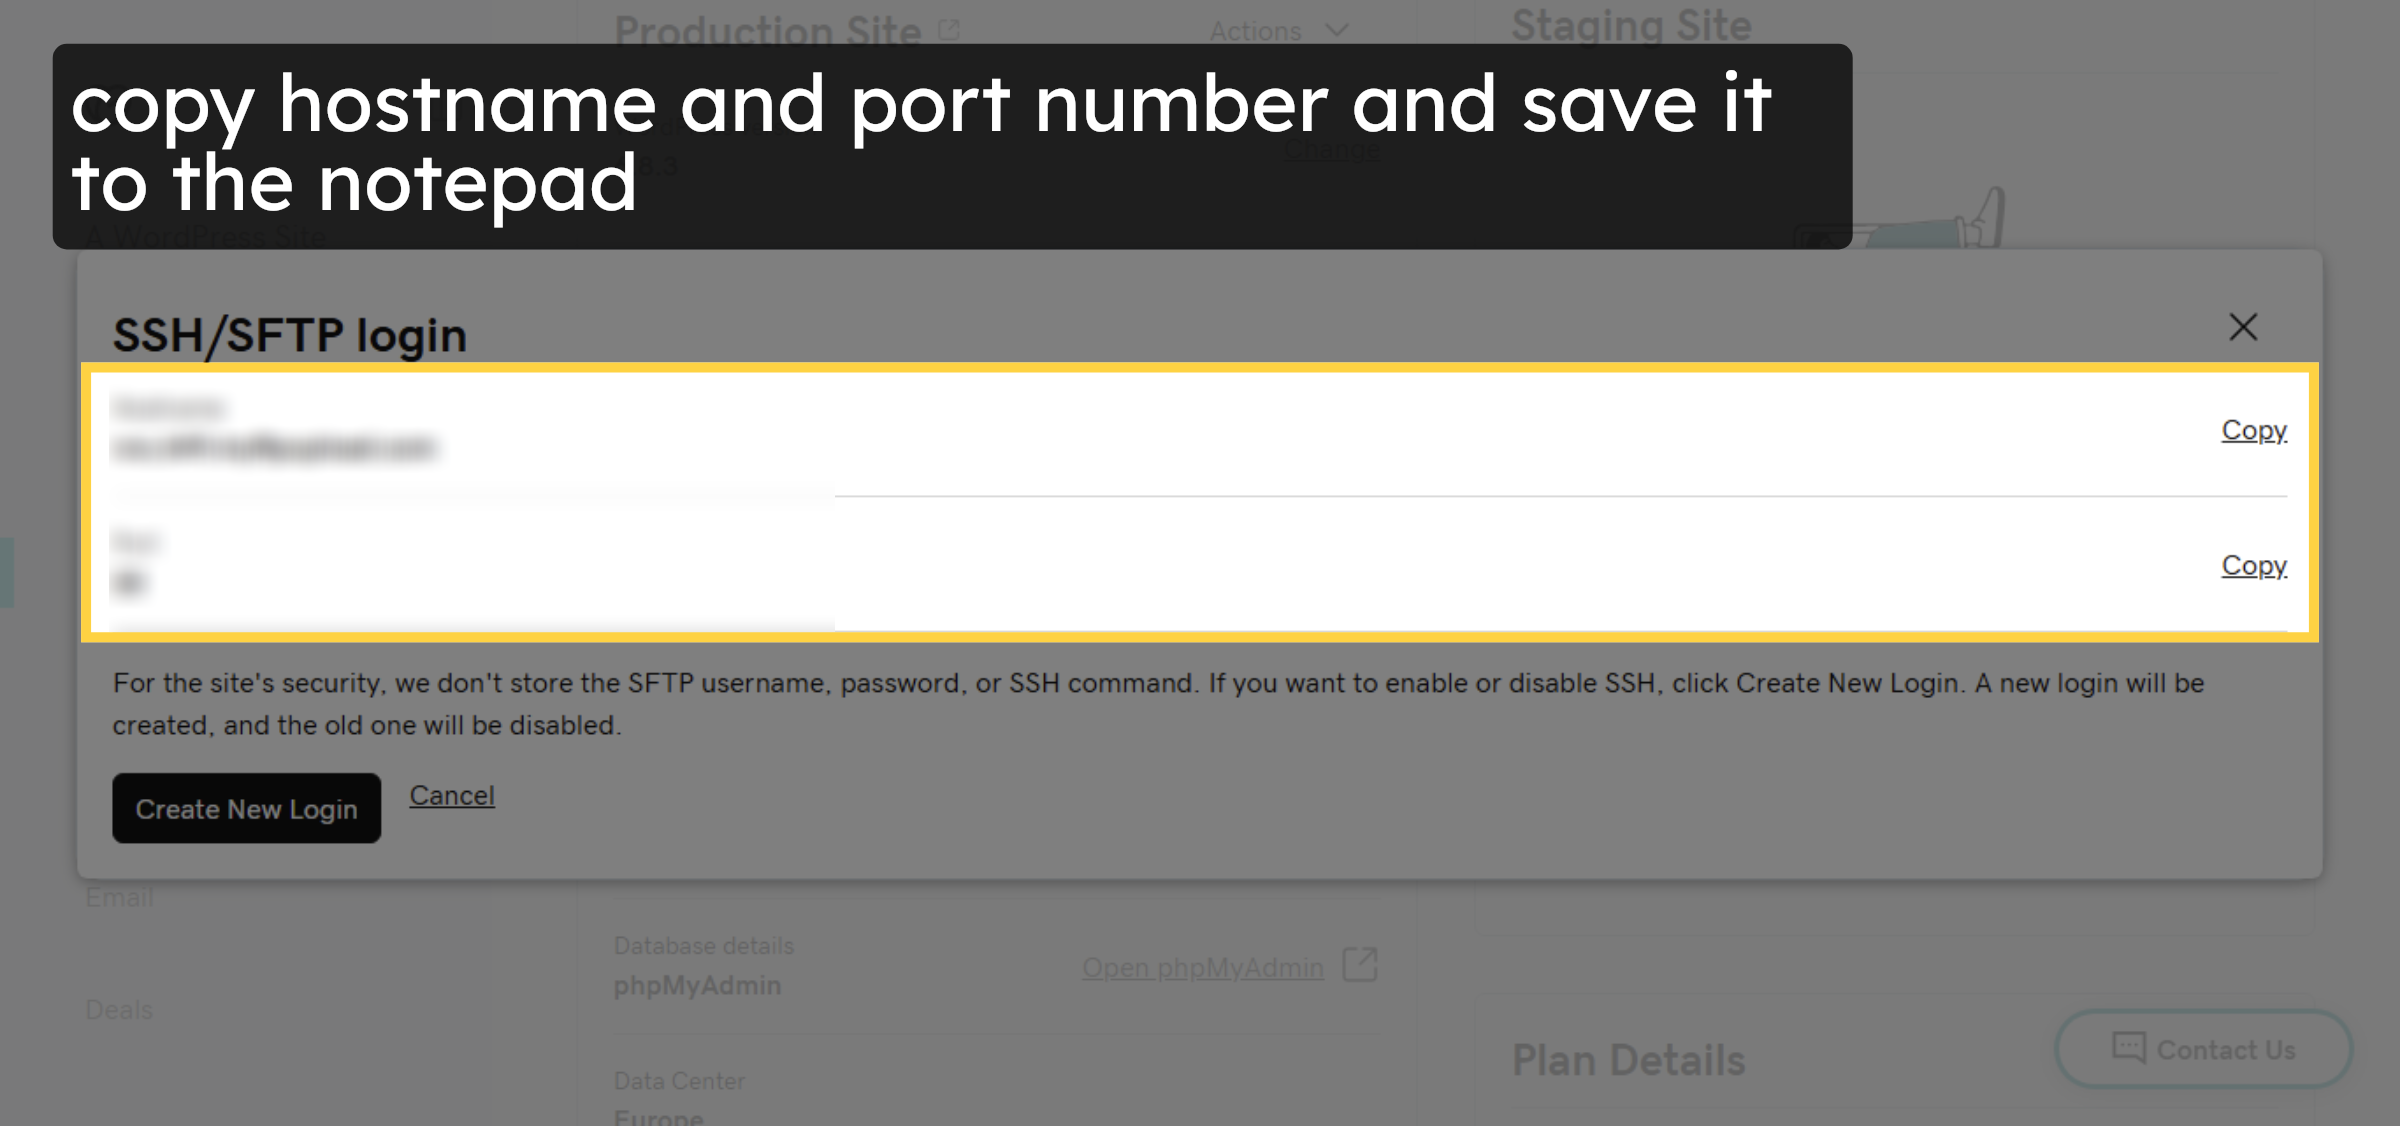
9. Copy FTP Hostname and port
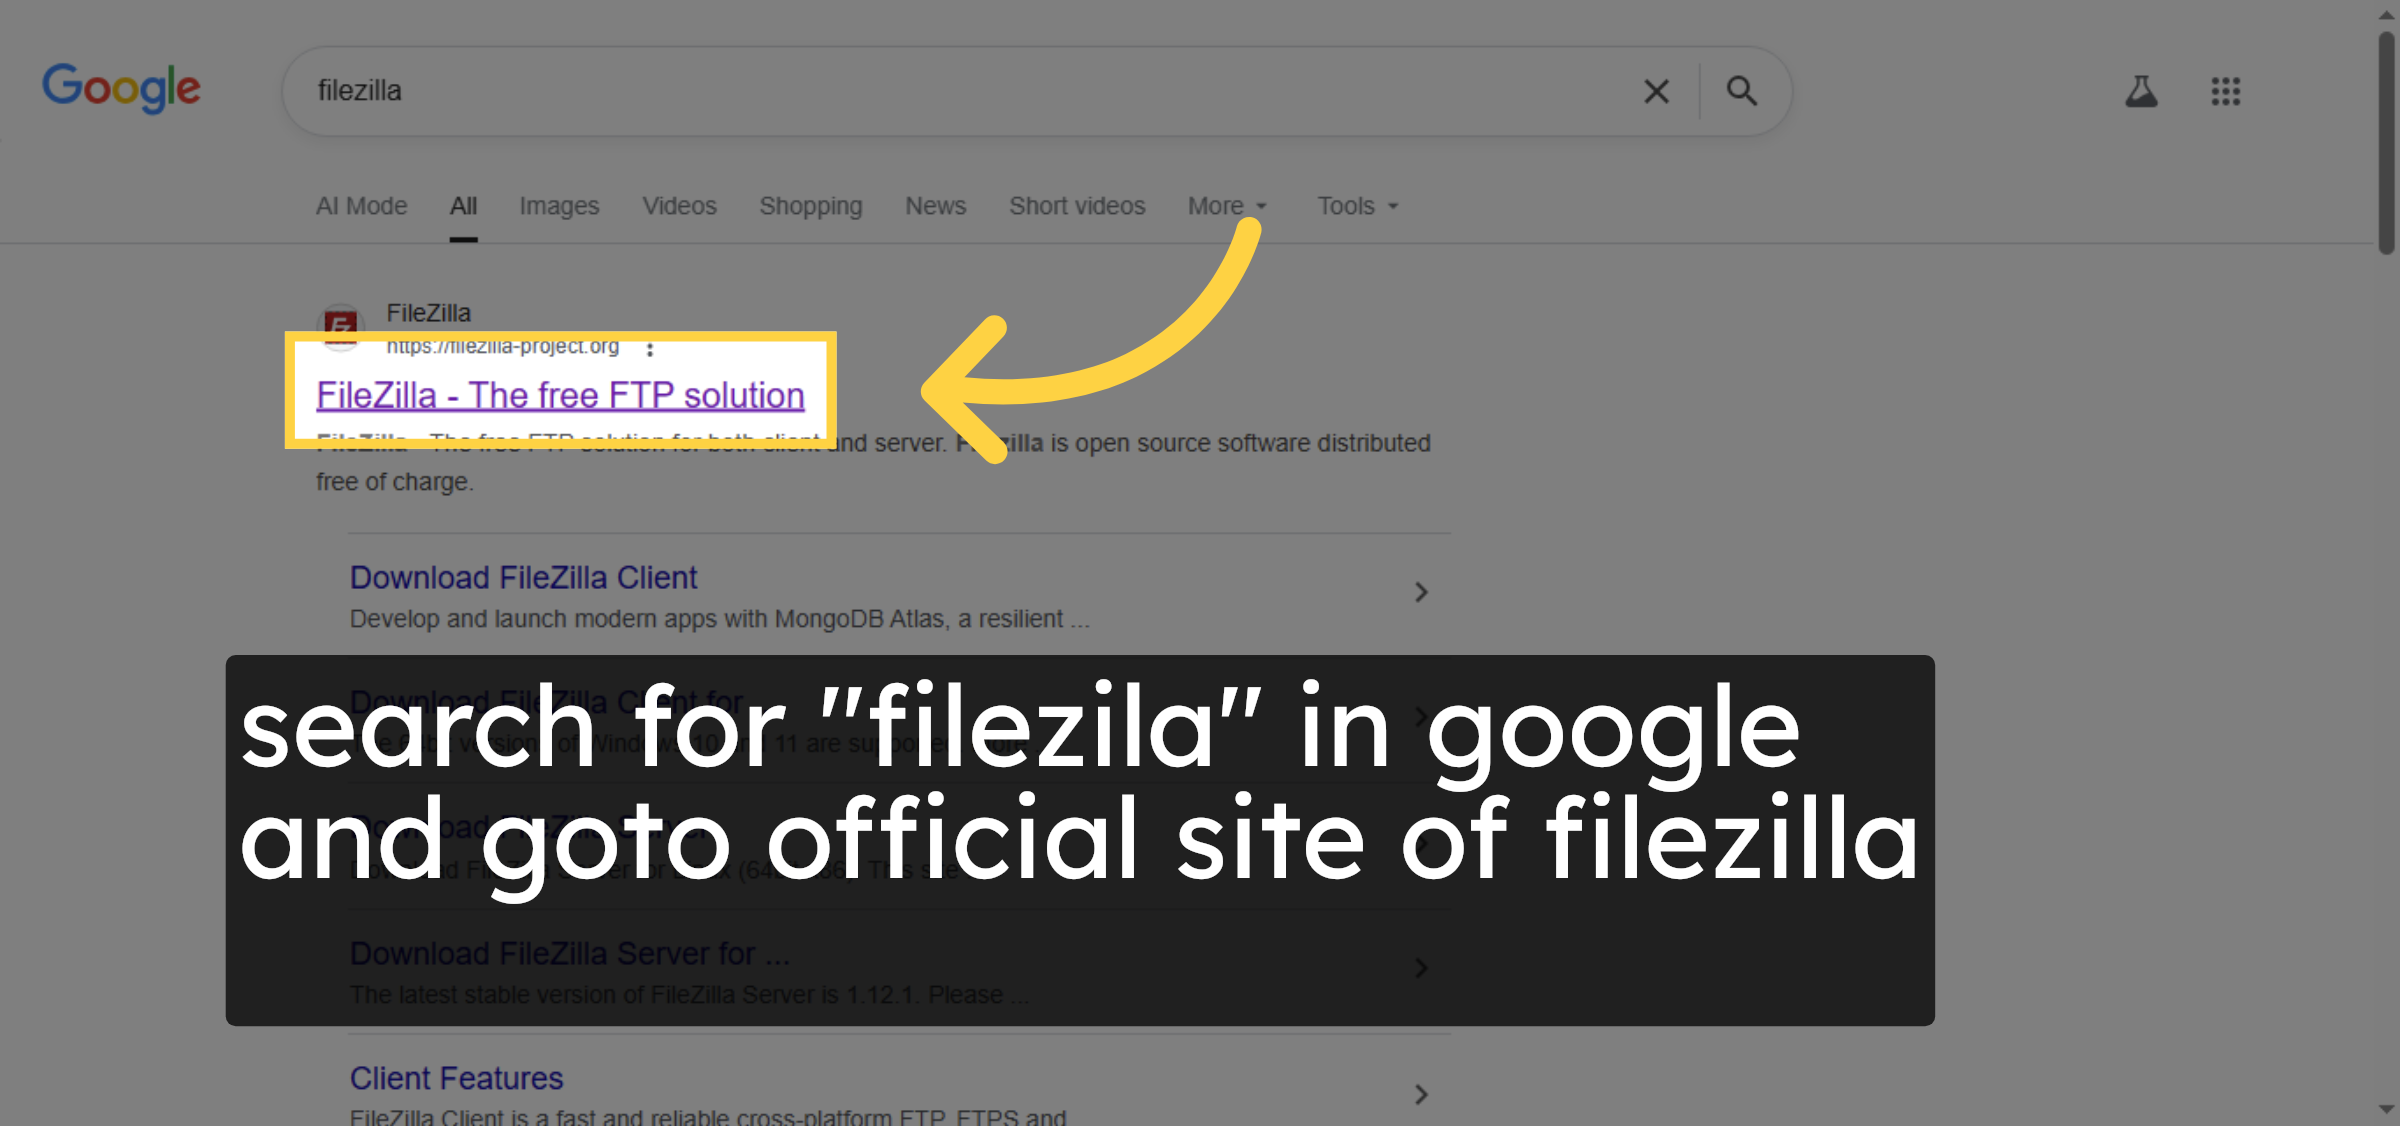
10. Select FileZilla Website
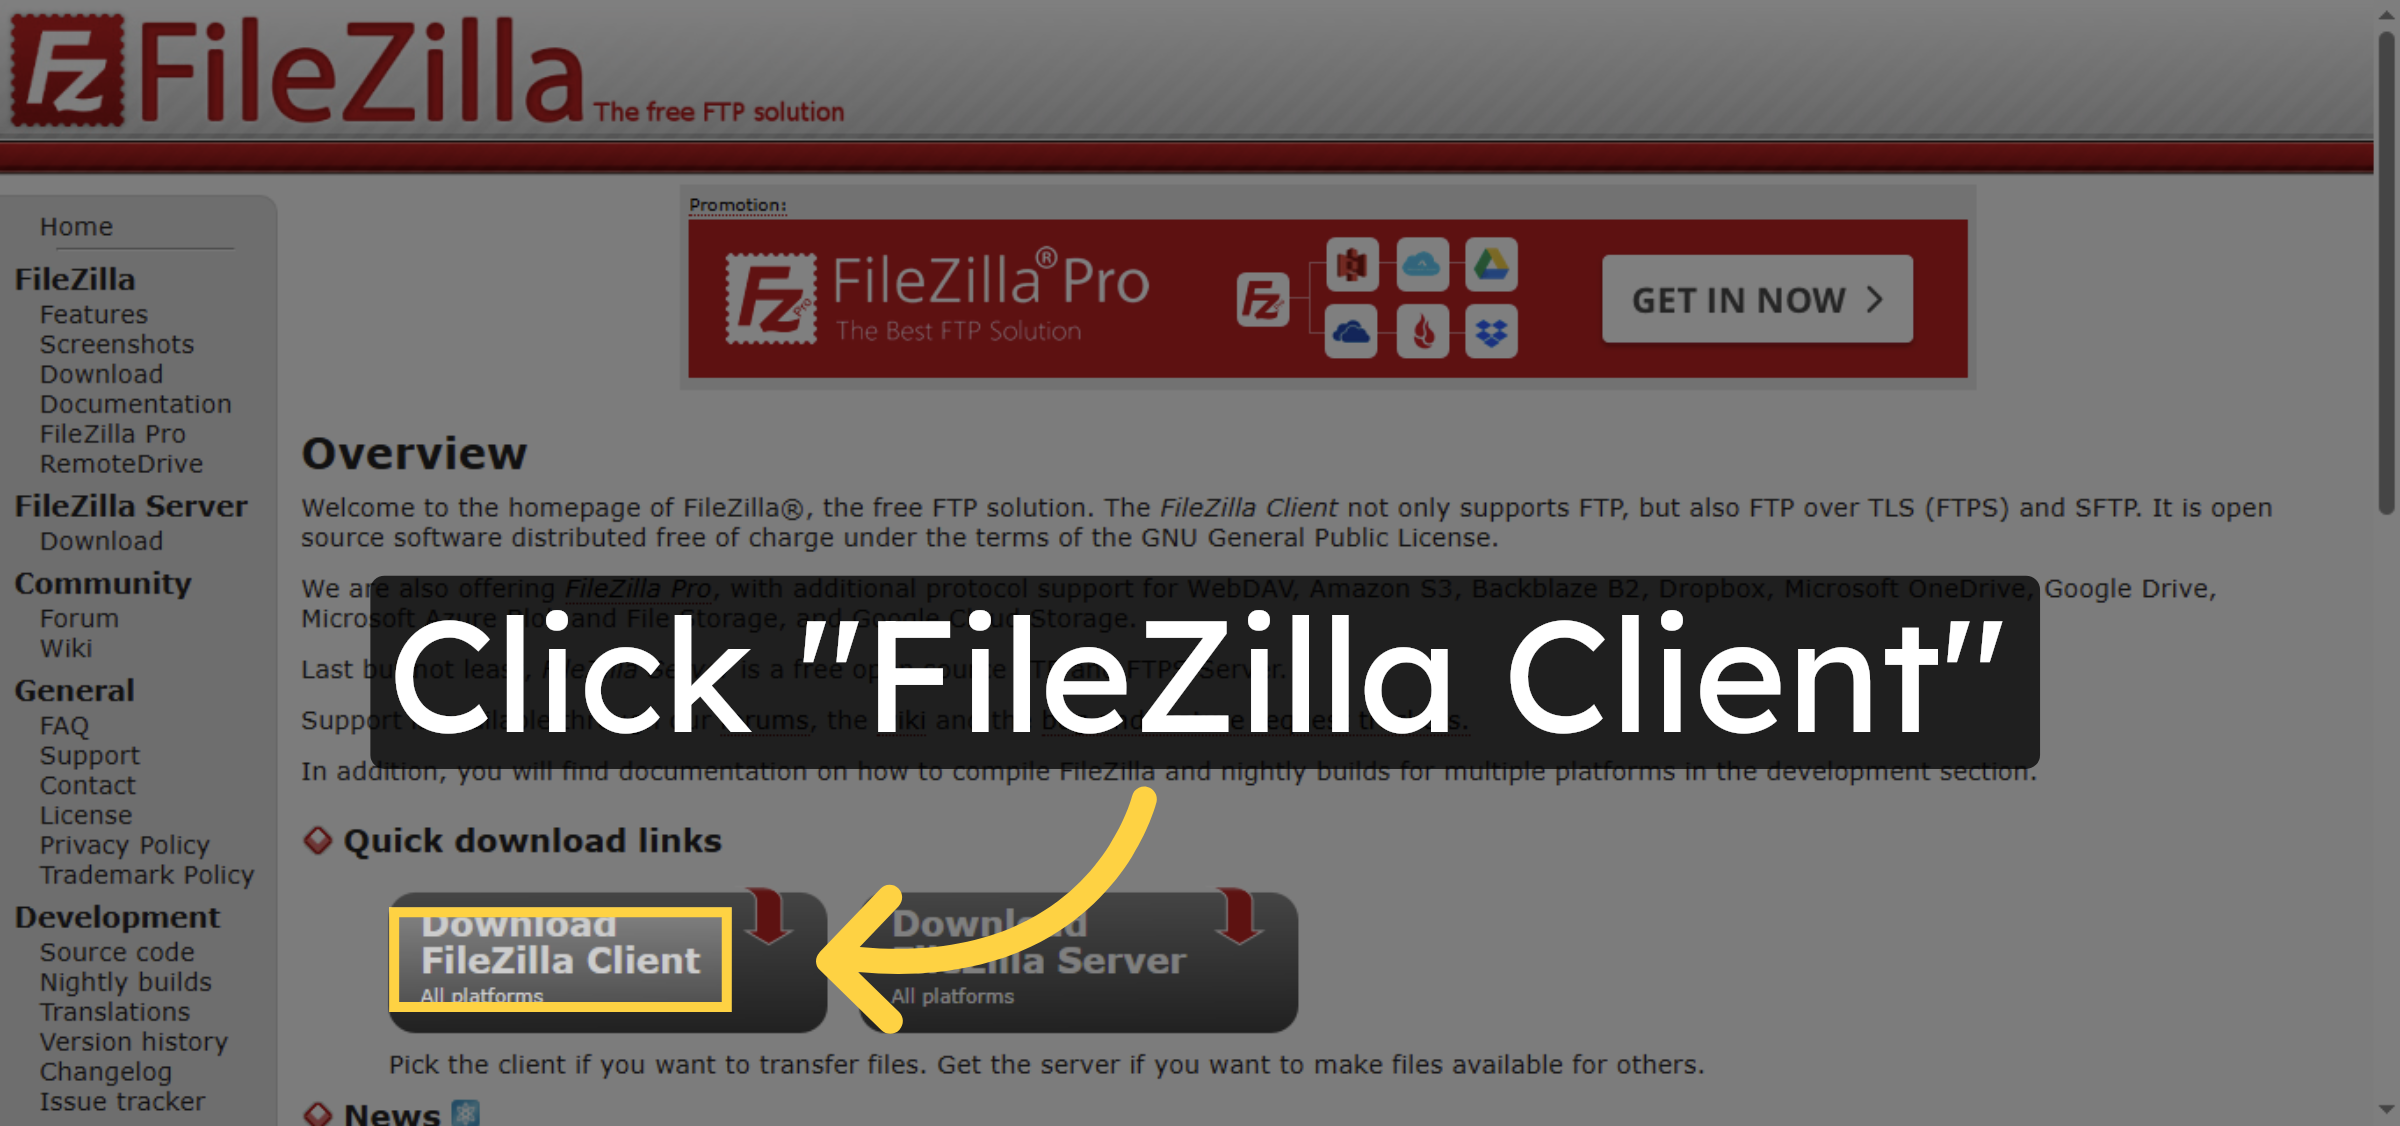
11. Navigate To FileZilla Client
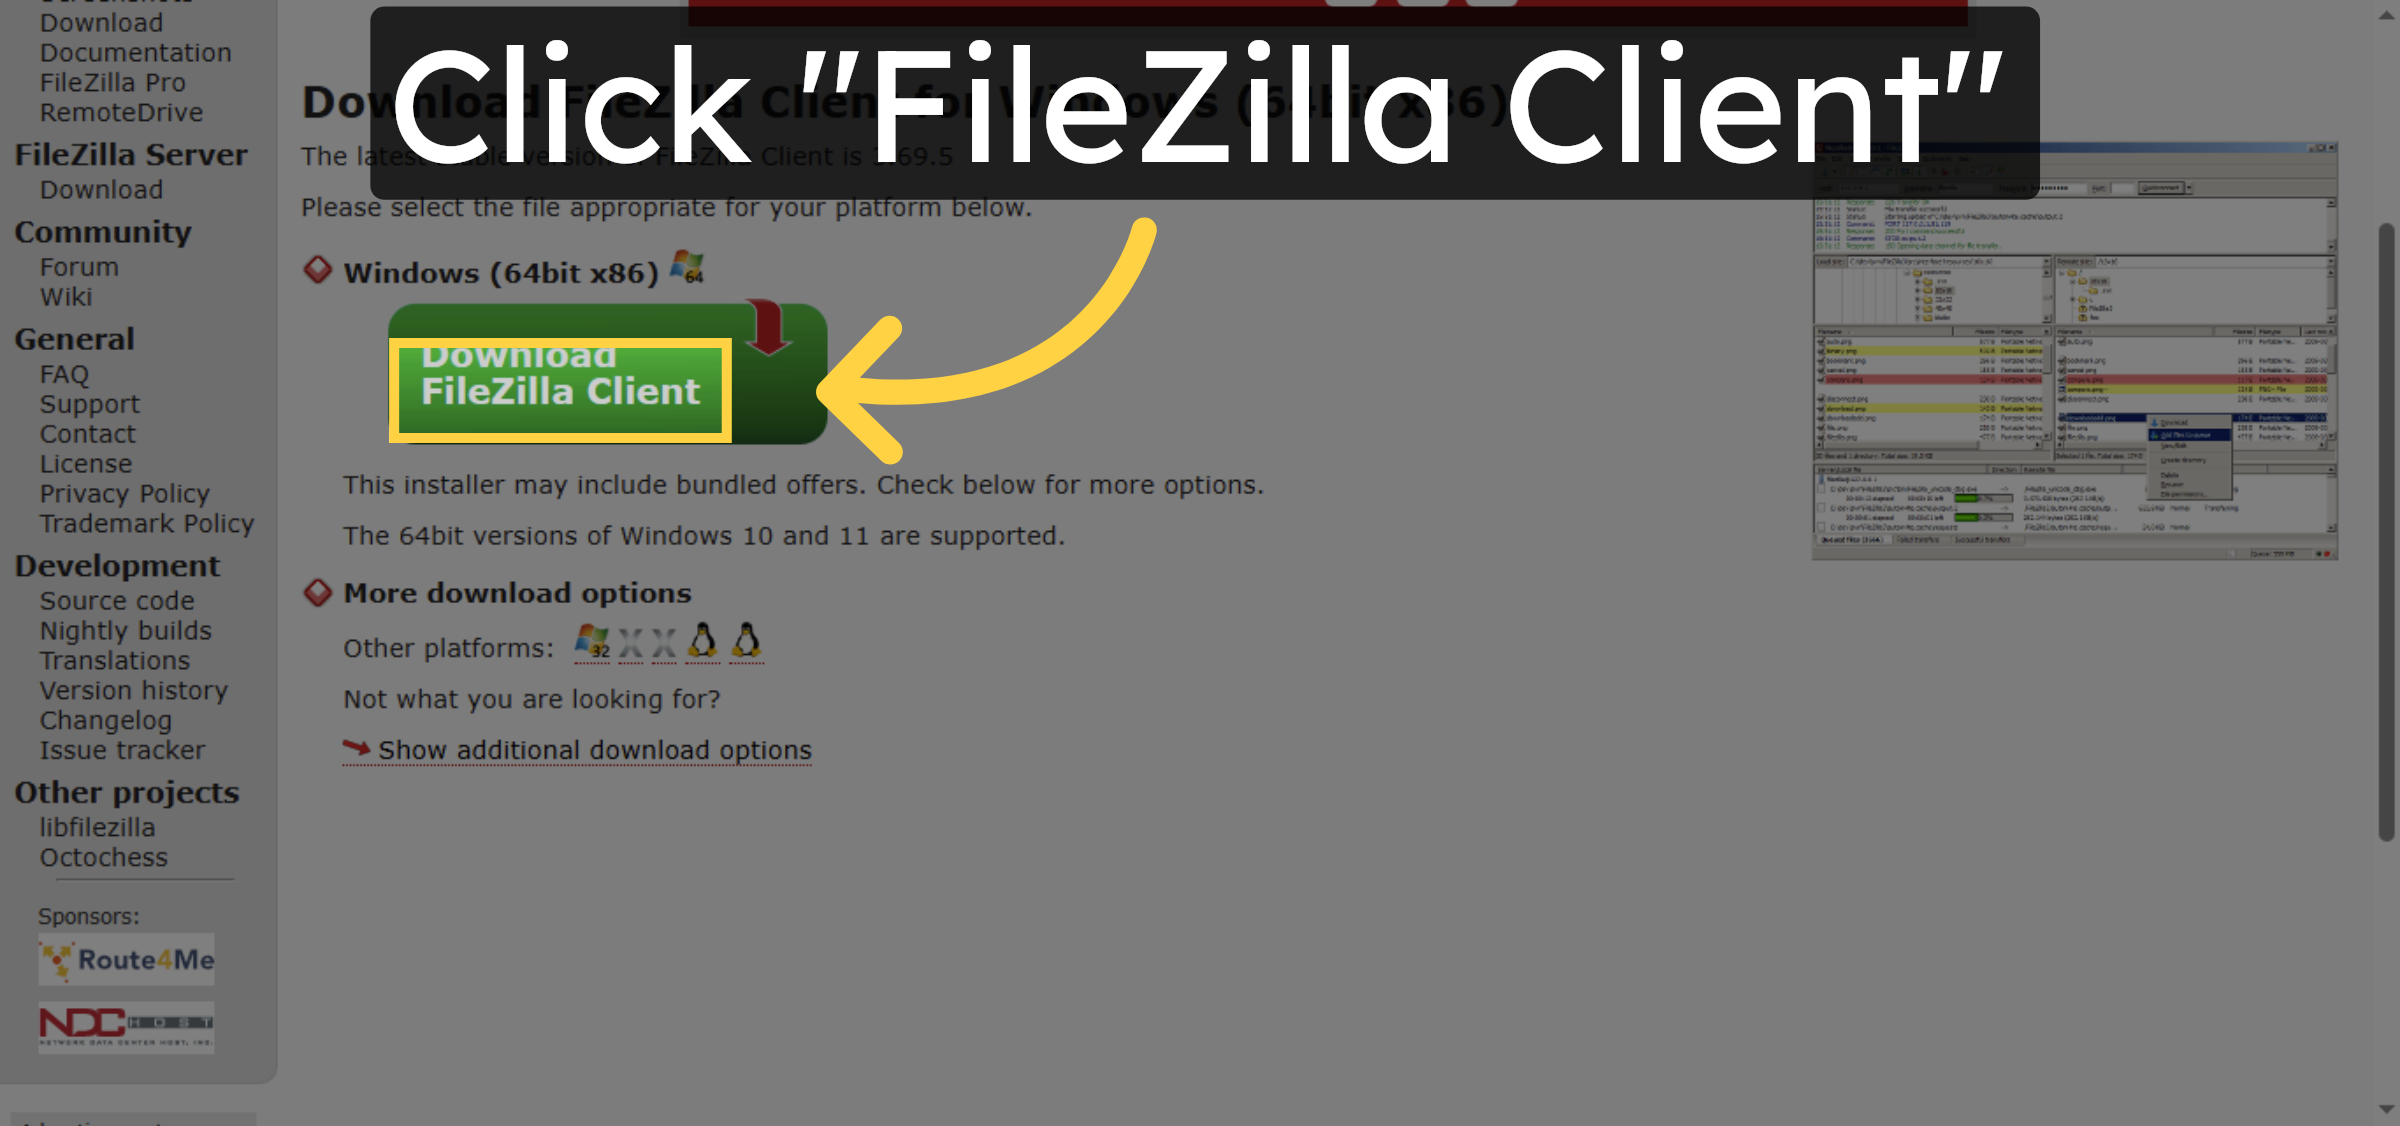
12. Choose FileZilla Client Version


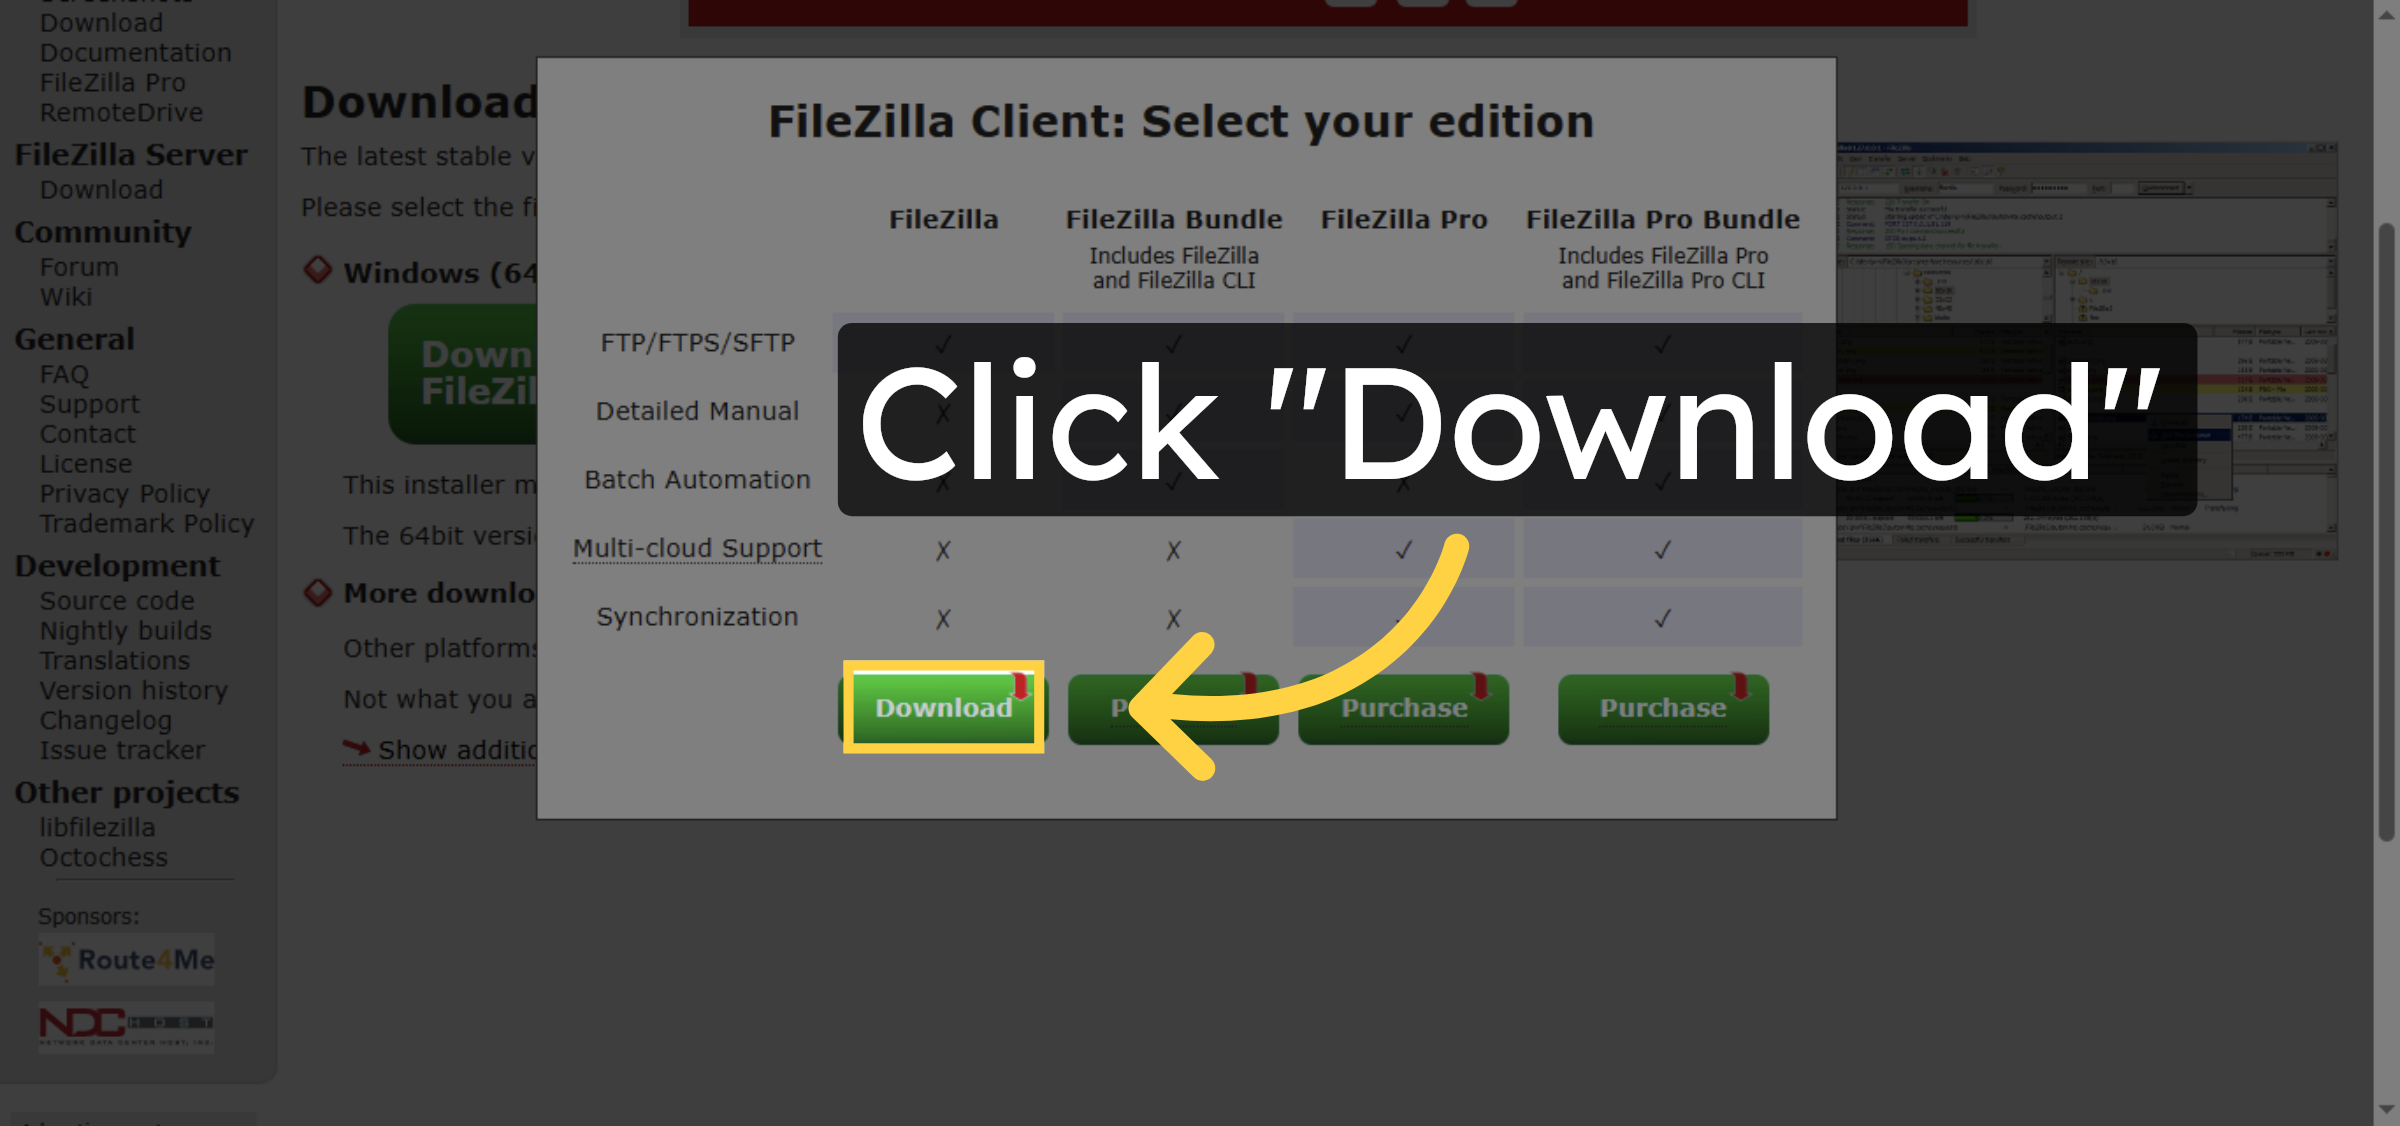
13. Download FileZilla Client
14. Install filezila in your computer
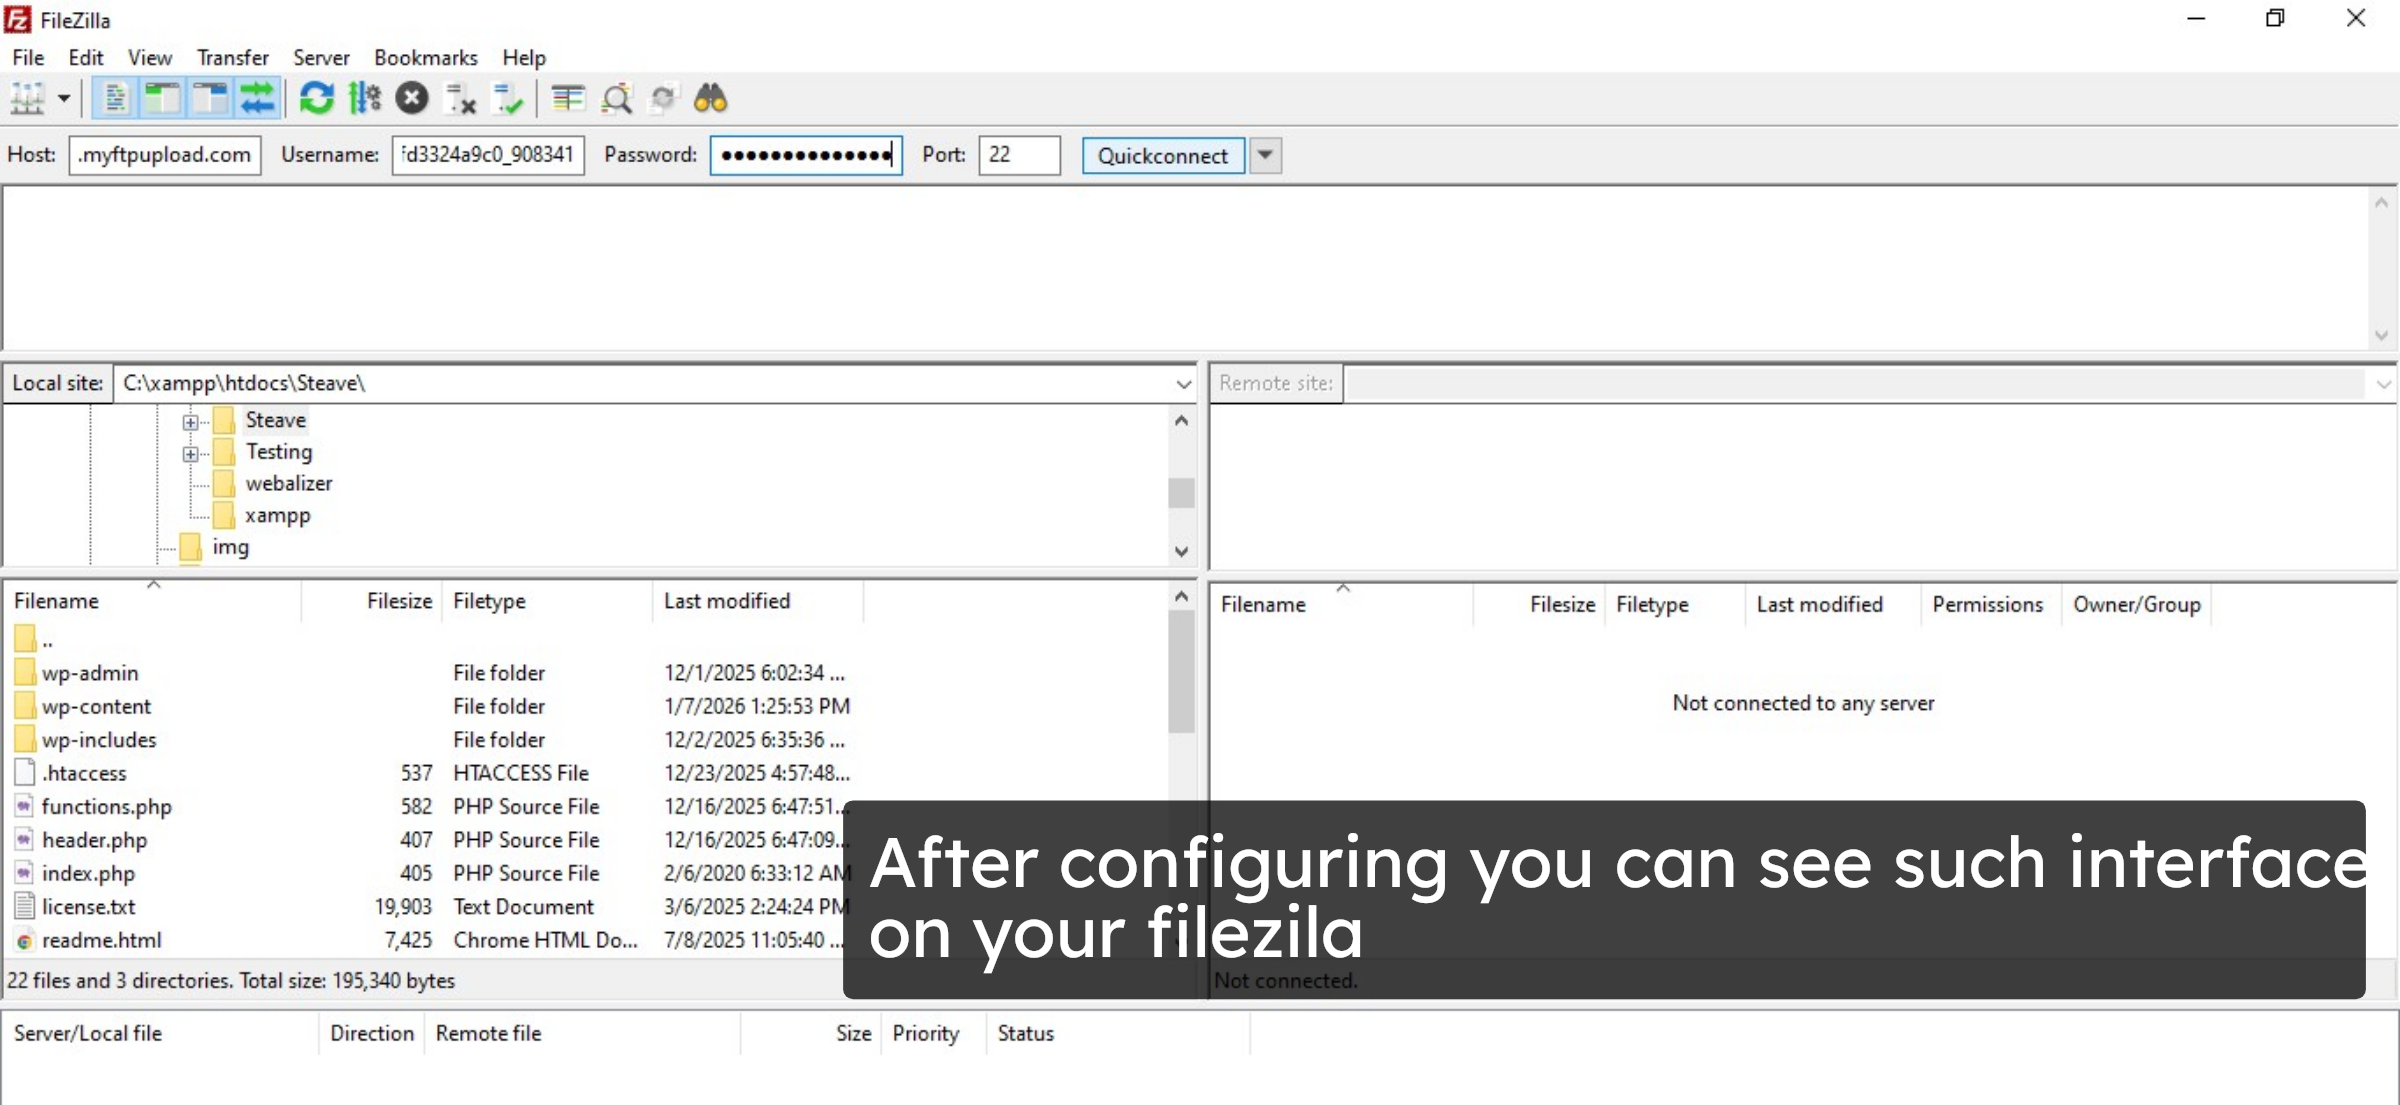
15. Filezilla interface
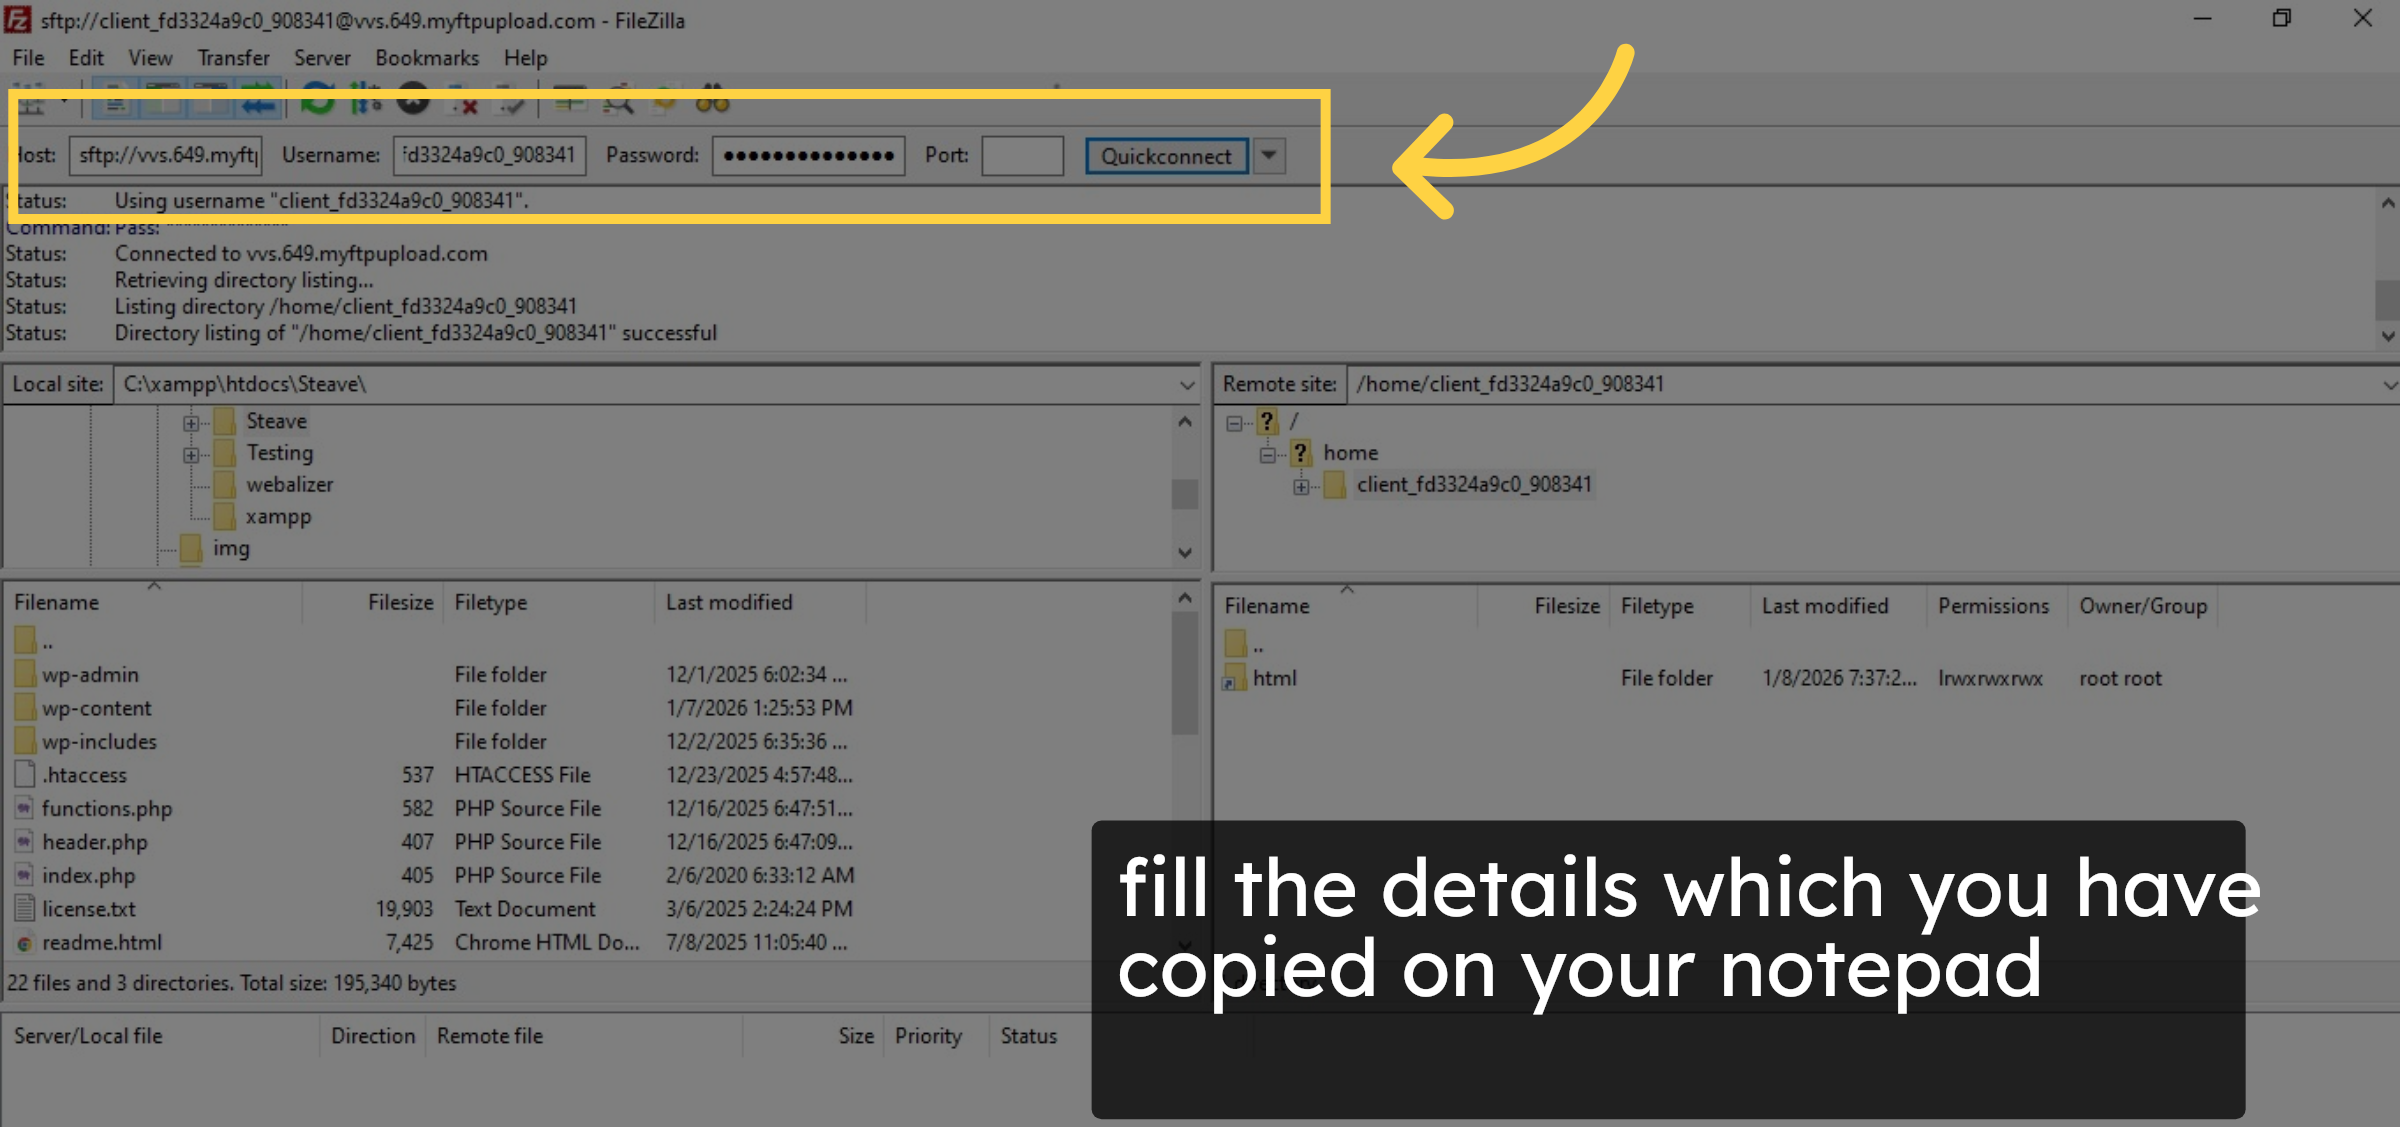
16. Connect to server
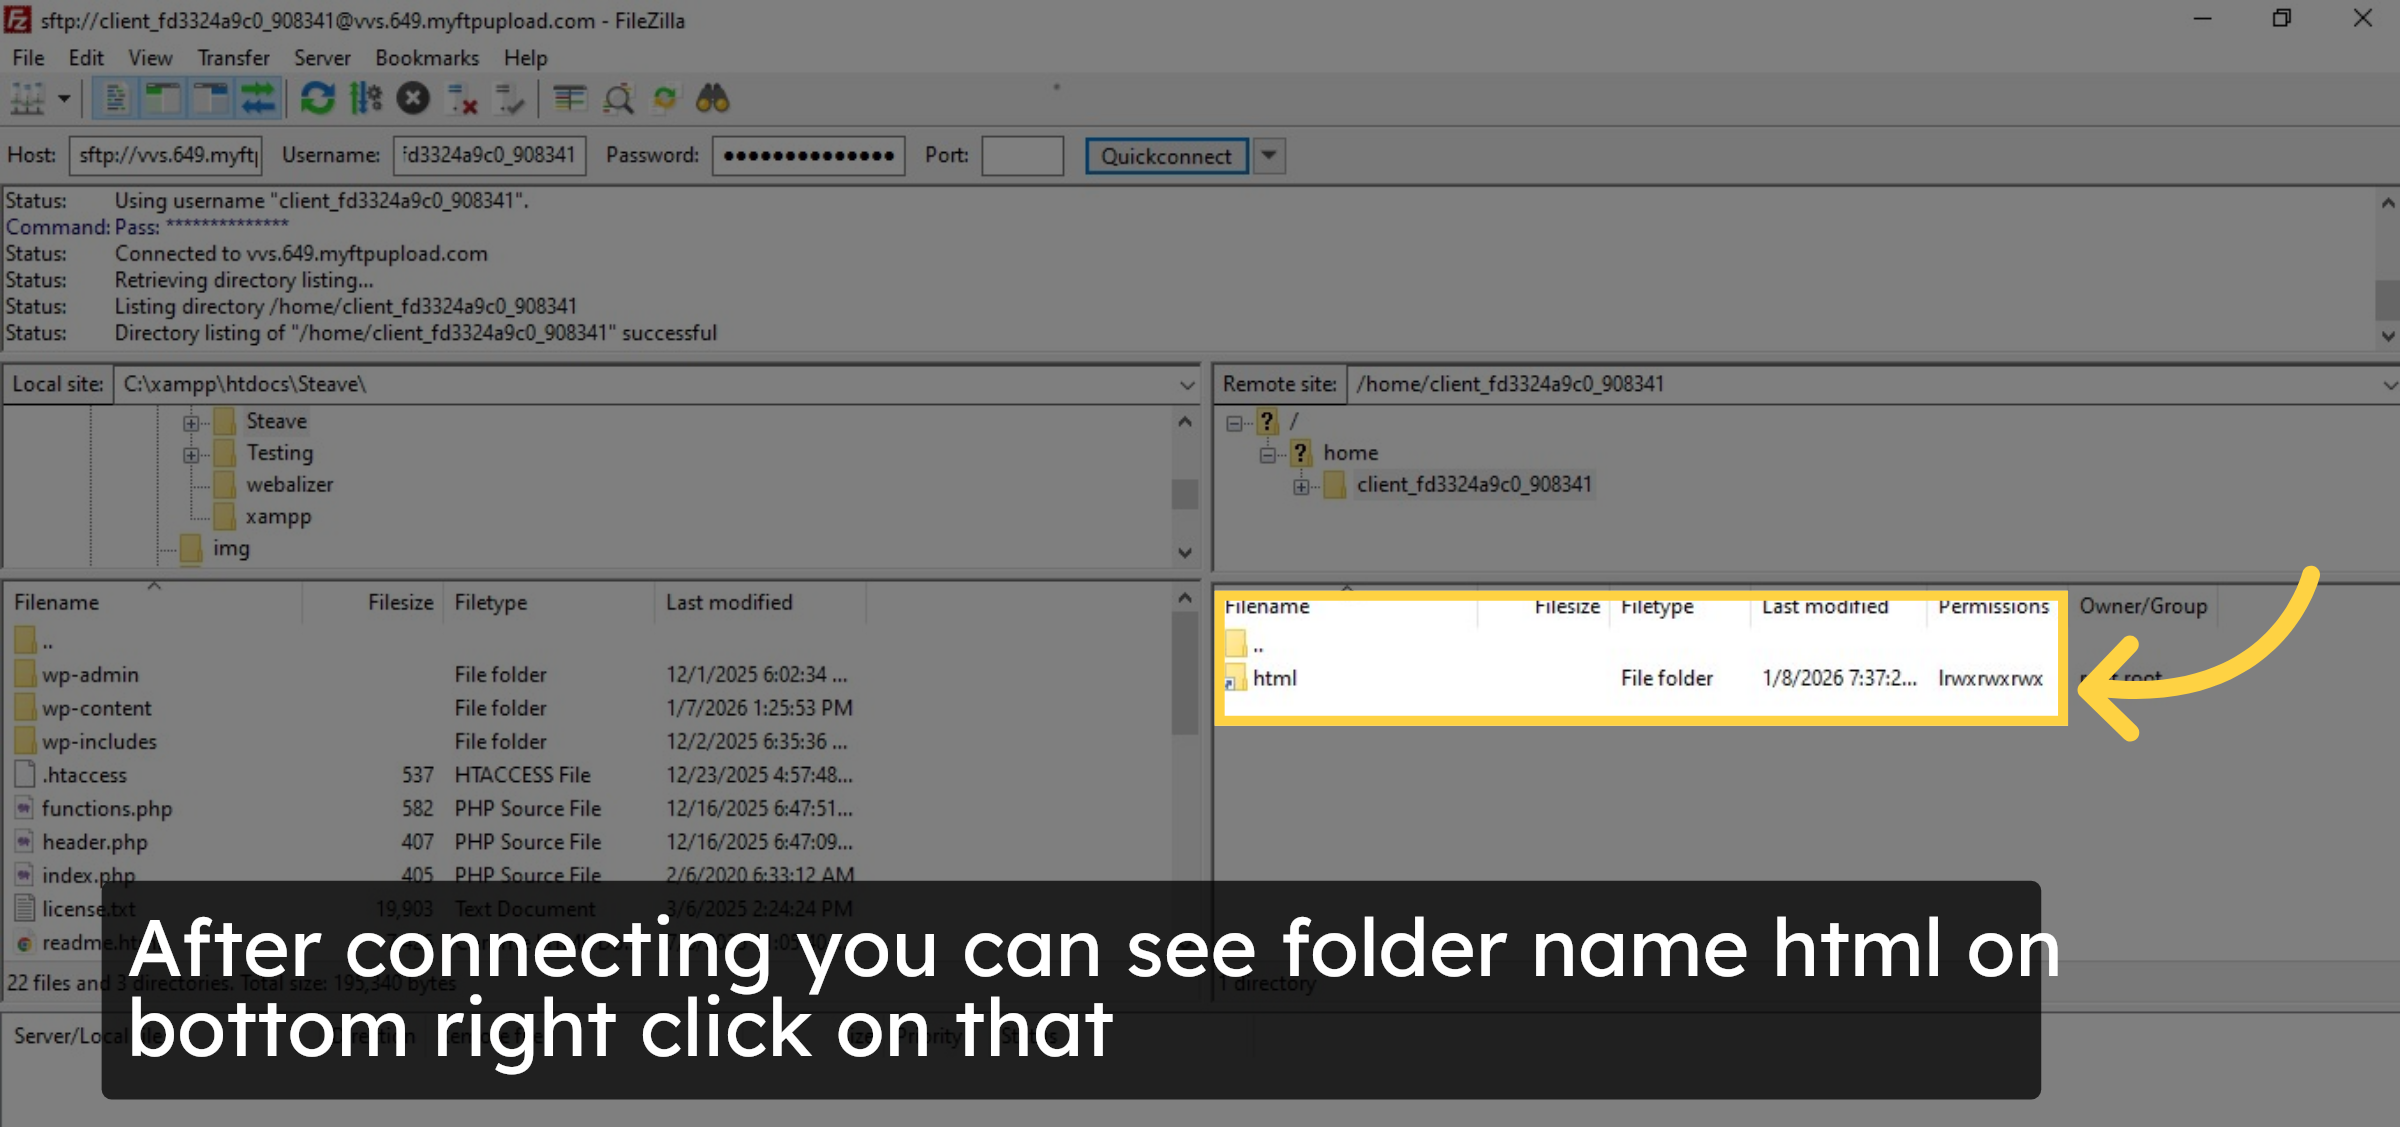
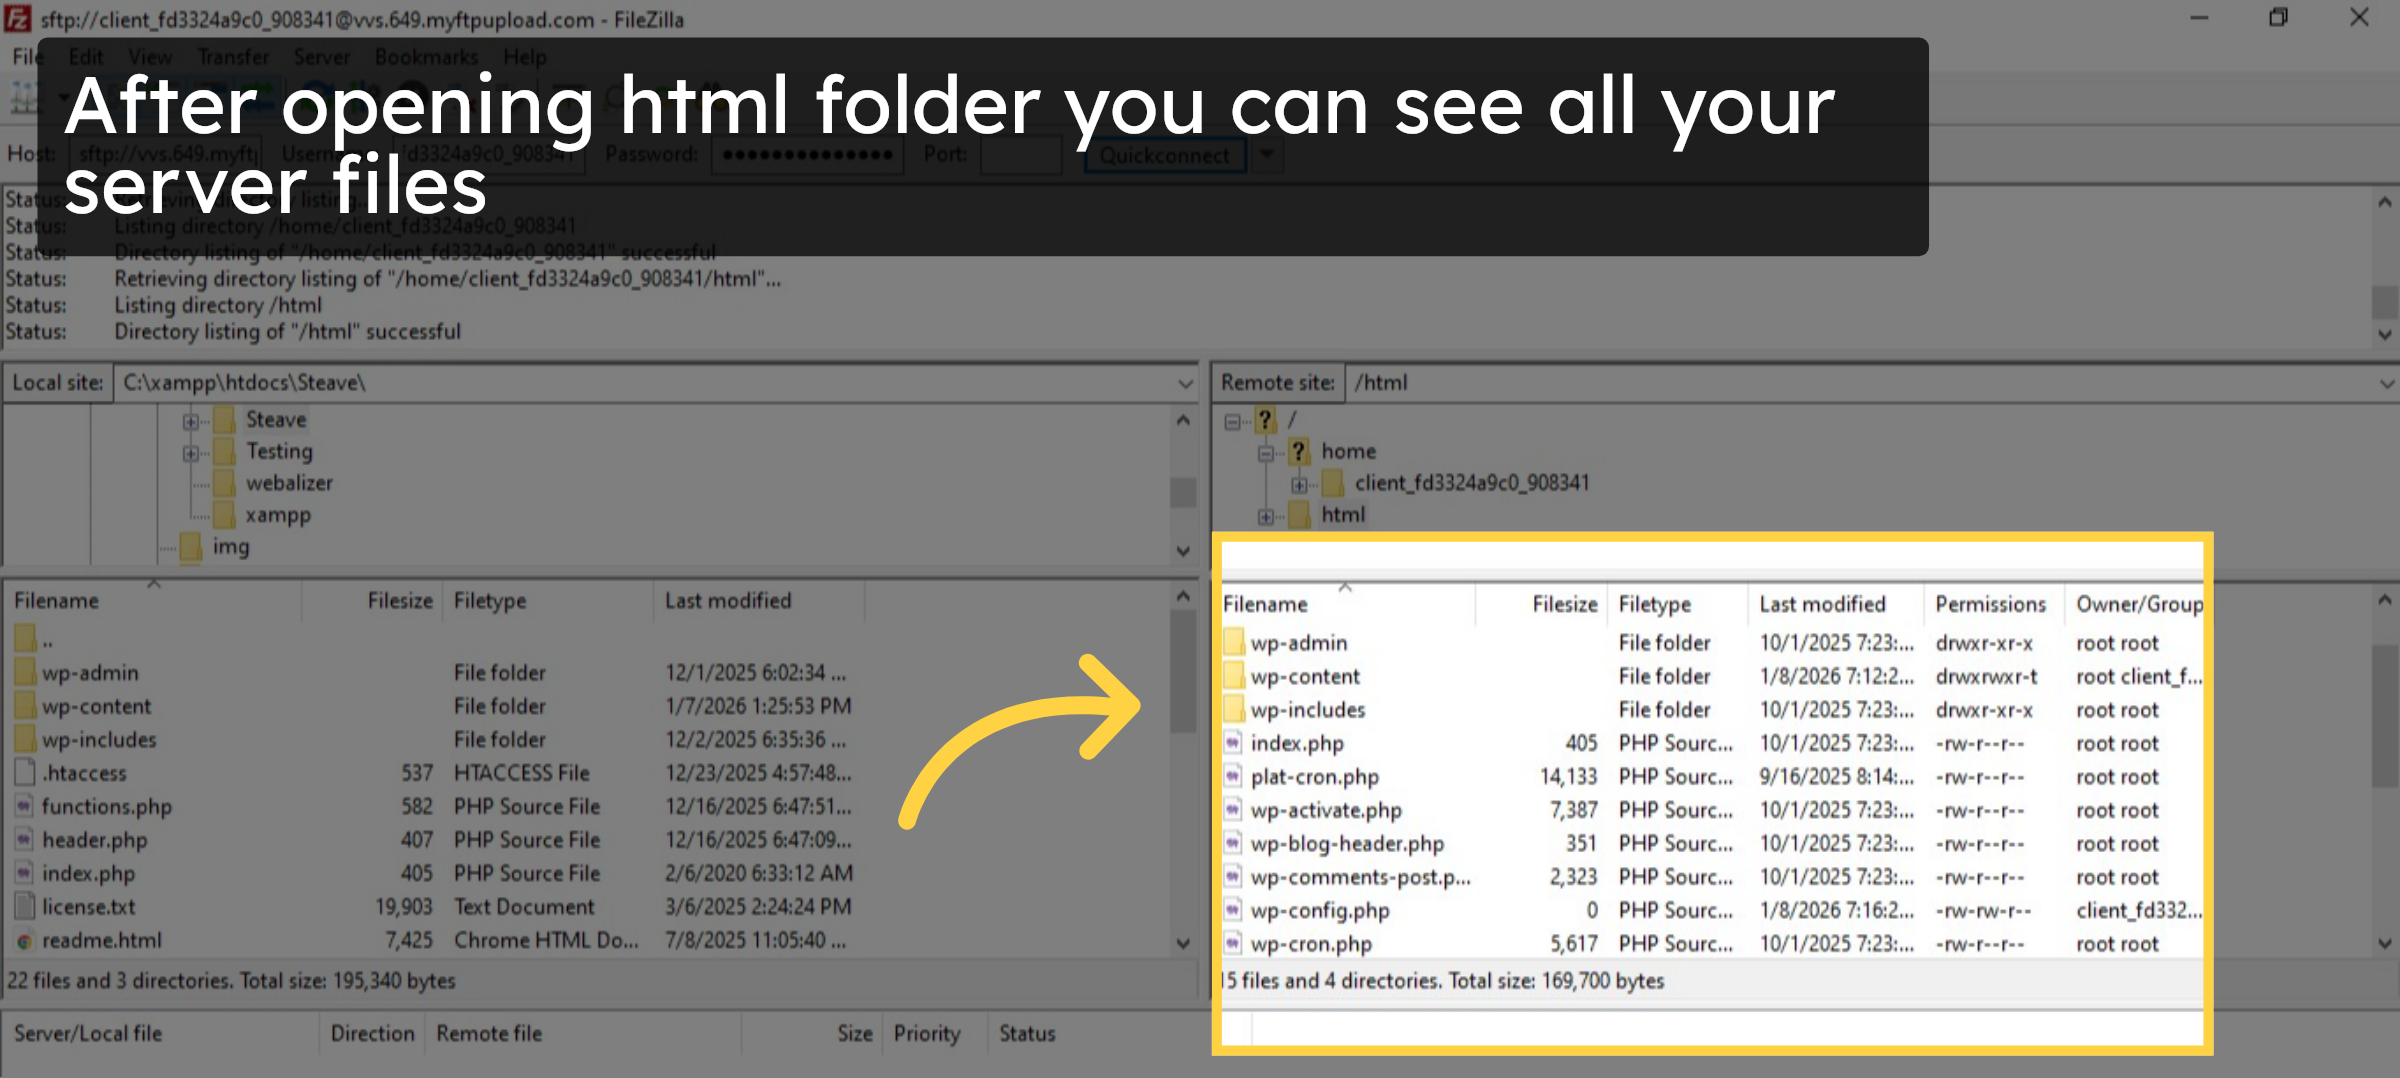
17. Open html folder
18. Verify your server files
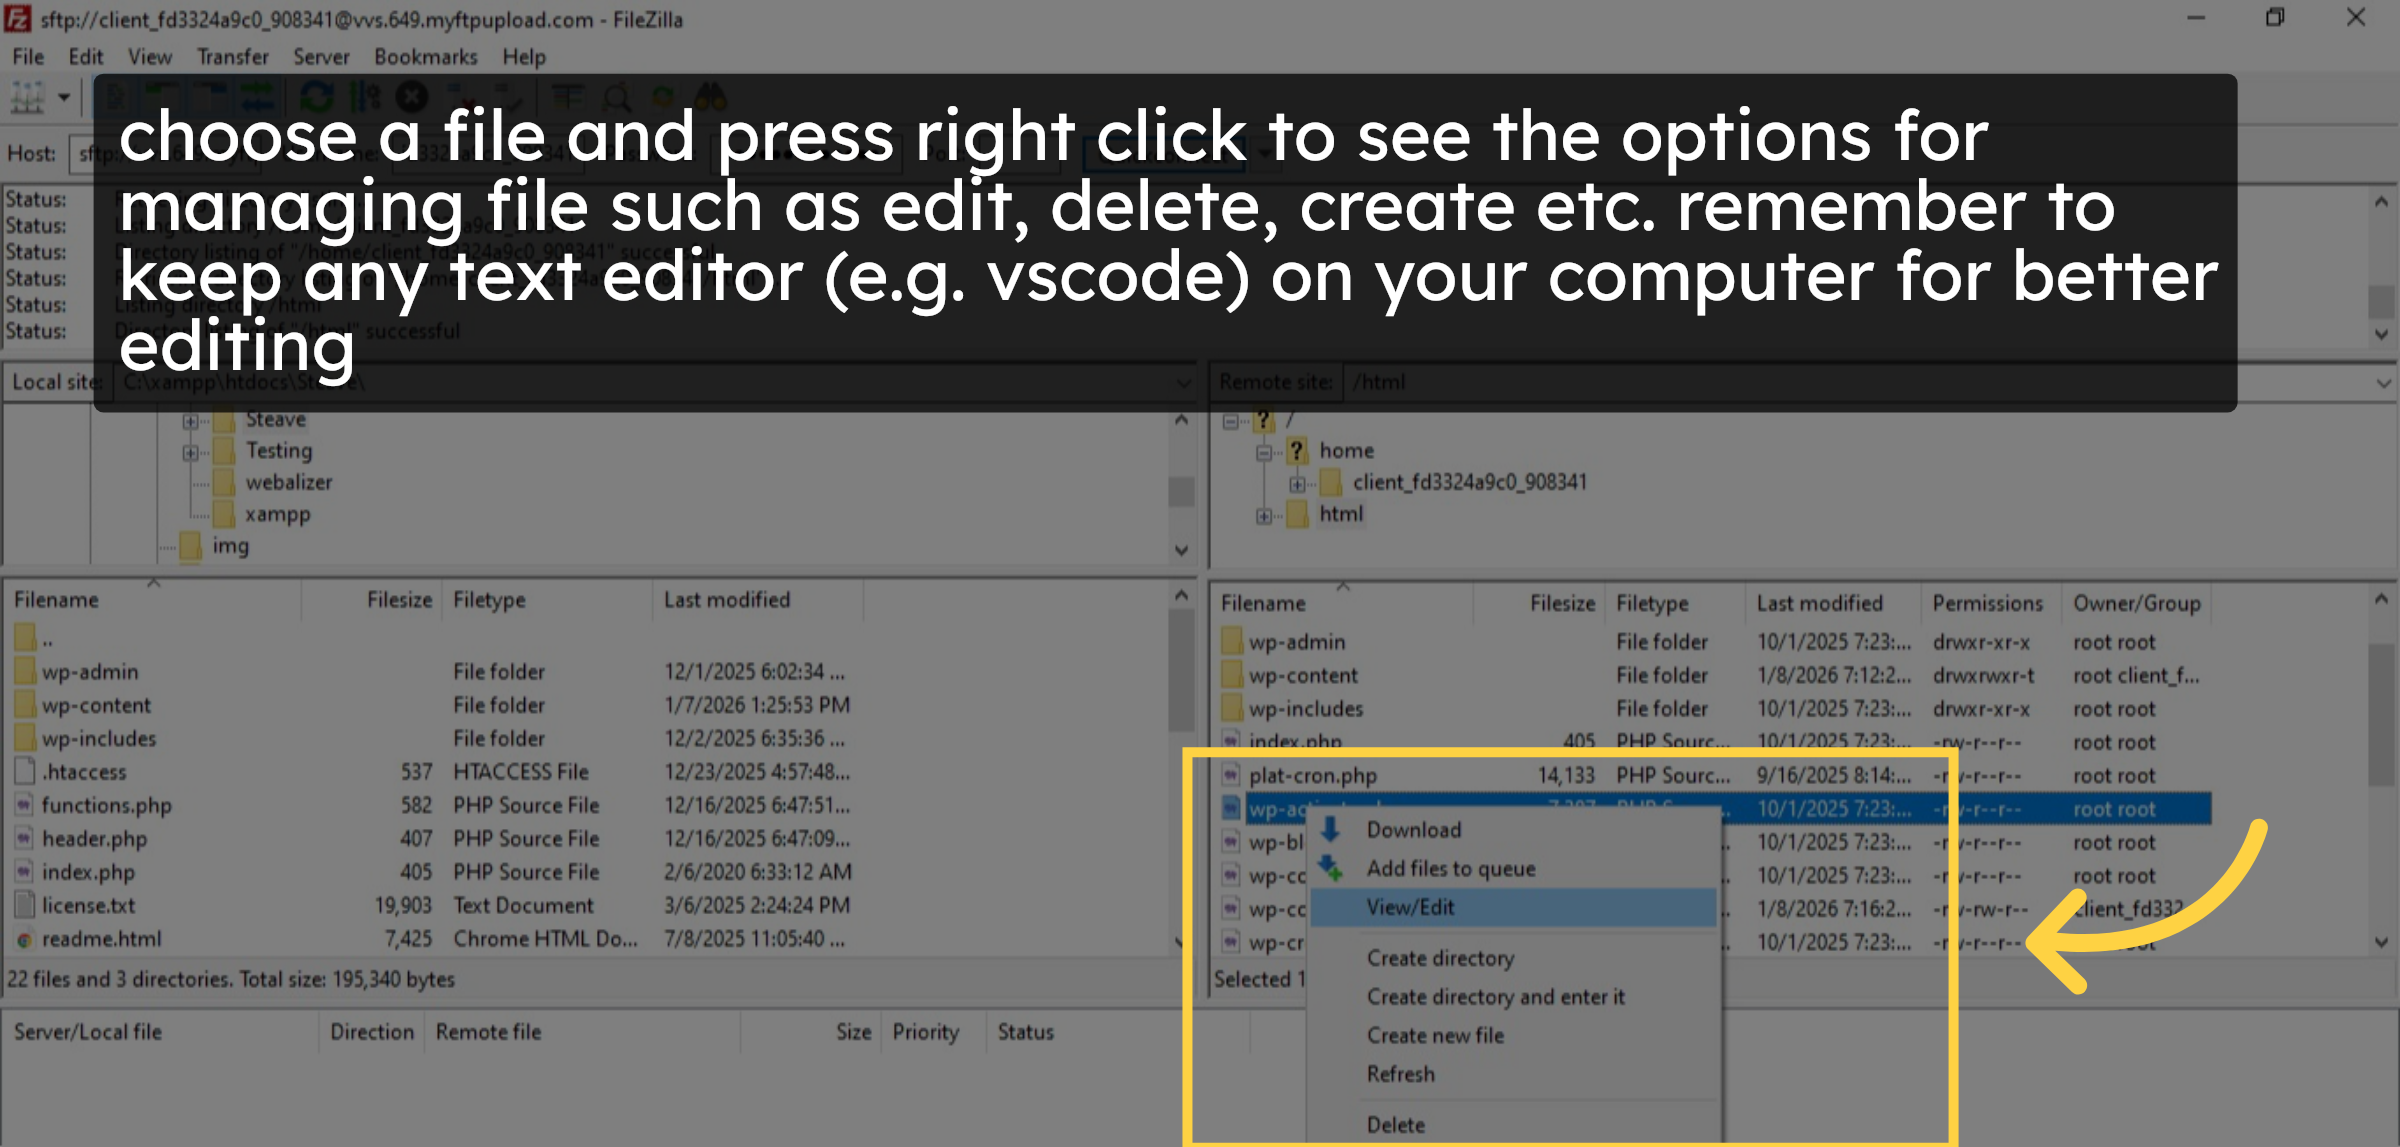
19. Manage your files.
Conclusion
By following the steps in this guide, you have successfully retrieved your FTP credentials from GoDaddy hosting and connected your server using FileZilla. This allows you to manage WordPress files efficiently, perform edits, uploads, and deletions safely, and maintain better control over your website. Using a proper FTP client and editor helps reduce errors and improves overall site management.
-
Visit: https://www.woohelpdesk.com
-
Call Us Toll-Free: +1 888 602 0119 (US & Canada)
-
Get professional support for GoDaddy FTP setup, FileZilla configuration, WordPress file management, hosting troubleshooting, and WooCommerce solutions


